Maintenance Log January 2011
January 31, 2011, Monday.
Went to
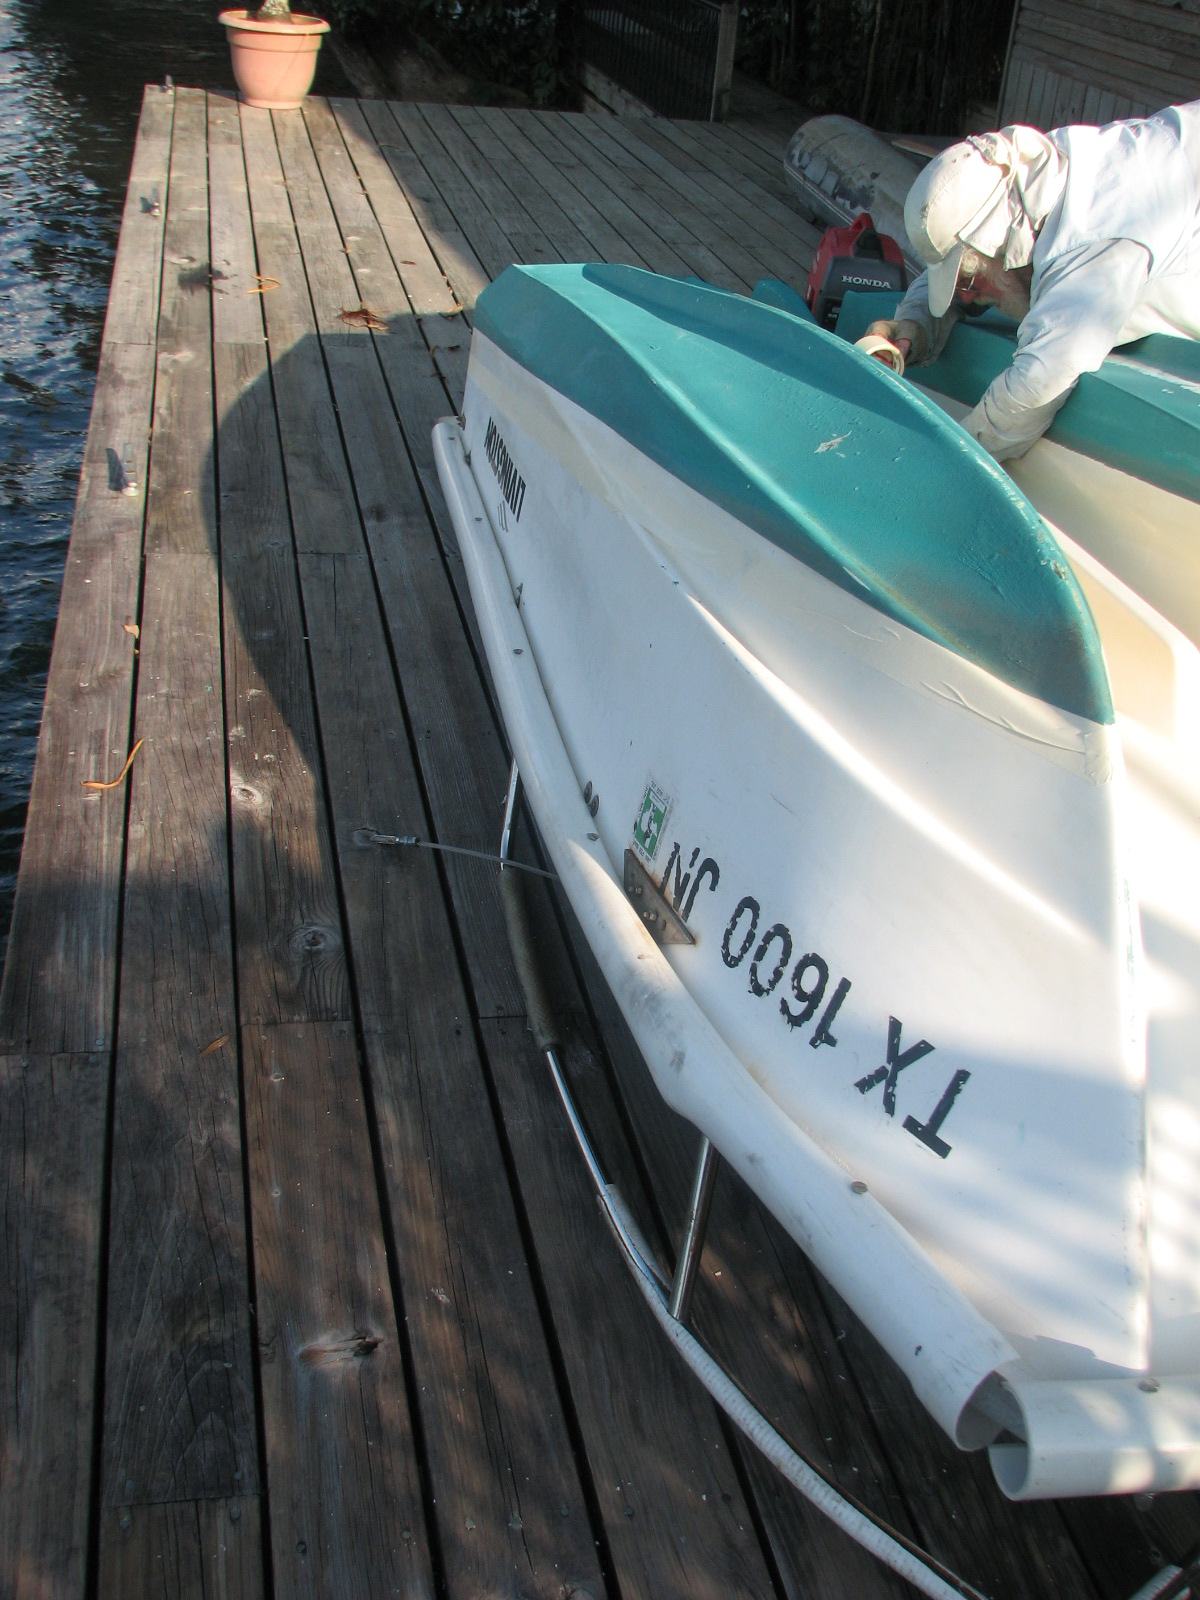
Nutria Marina to pick up Fedencio. He was going
to paint the letters on the bow so we would have the name back on the
bow of Dream Away. Fedencio made an evaluation, then he and I went into
town to purchase paint and brushes. We came back from town with a quart
of single part polyurethane paint and two brushes. I put the dinghy in
the water, and Fedencio worked on how the lettering was to be done. He
did the job, and it was not quite what we wanted, but the name is now
back on the bow. Fedencio charged us about $2.50 to do the job!
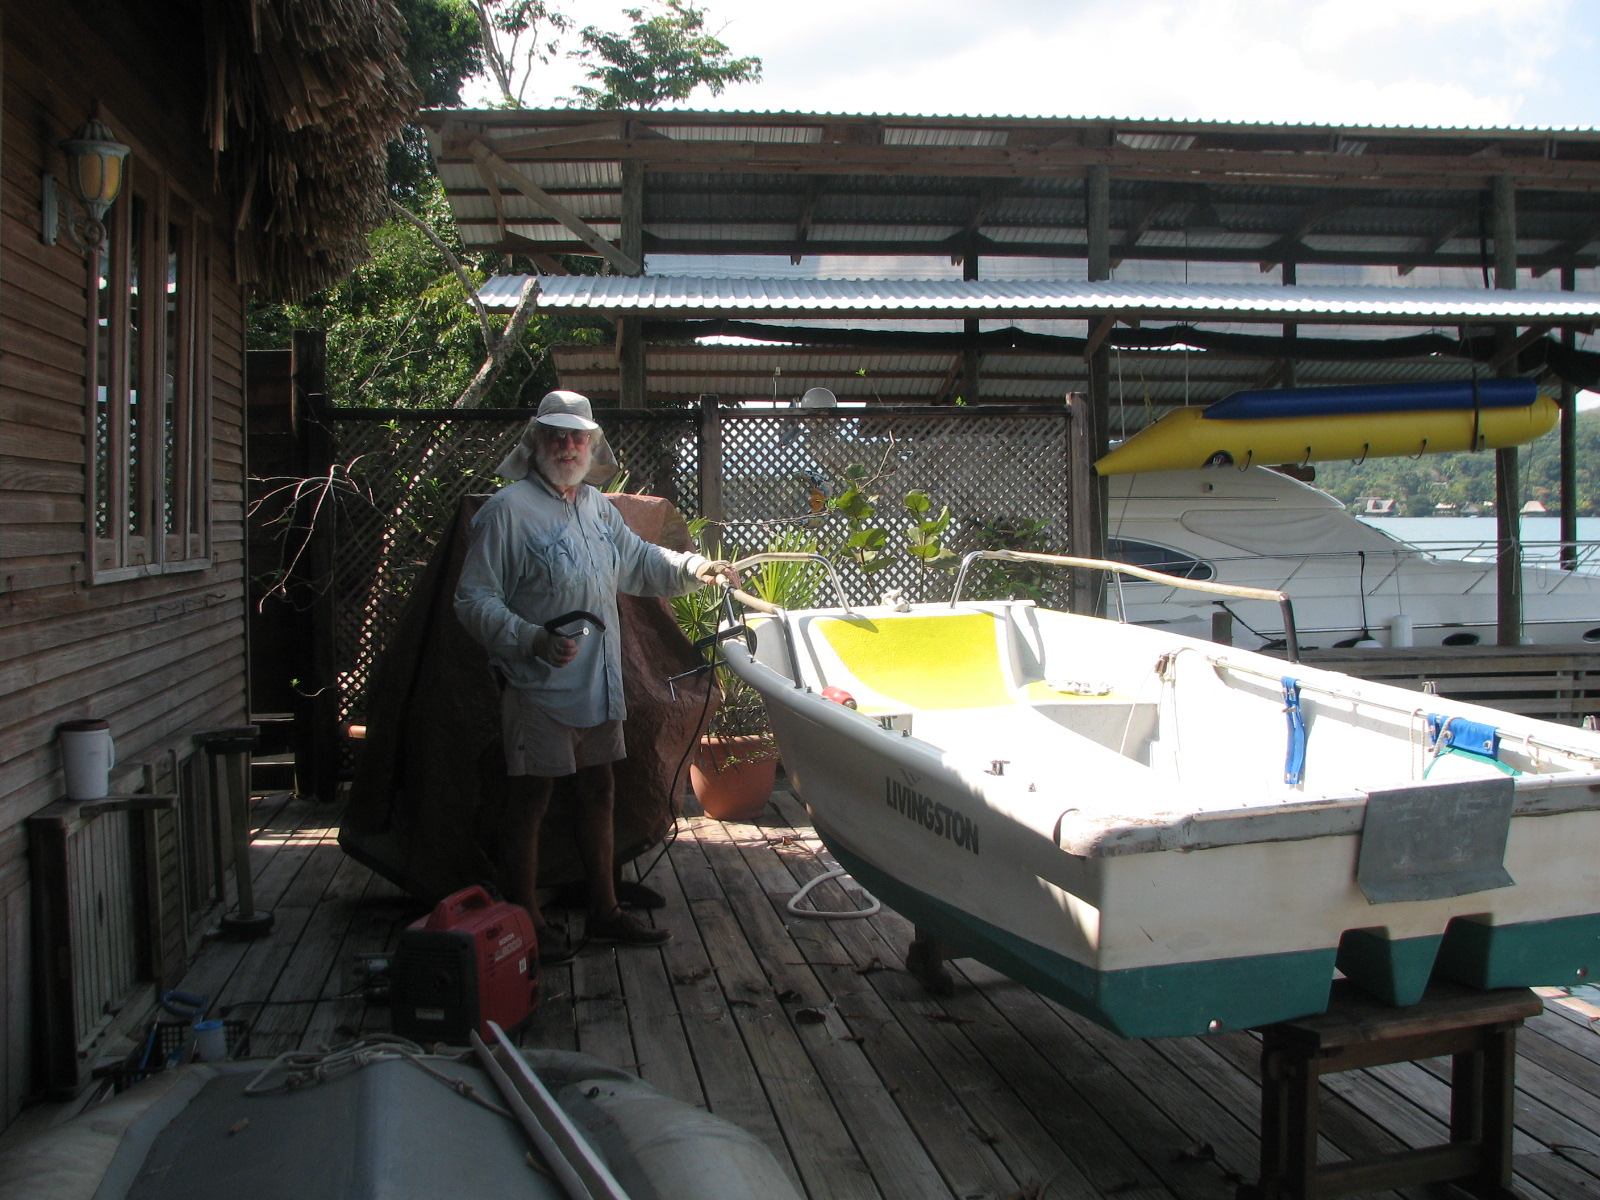
Fedencio Getting Ready To Paint On Letters
Moved more items from storage to
Dream Away. Except for the old name boards from the bow and a couple of
pieces of wood from the old cap rail, everything from the storage area
in the shop is now on Dream Away.
Moved the repaired man overboard
pole to Dream Away and installed the pole, light and the horseshoe ring
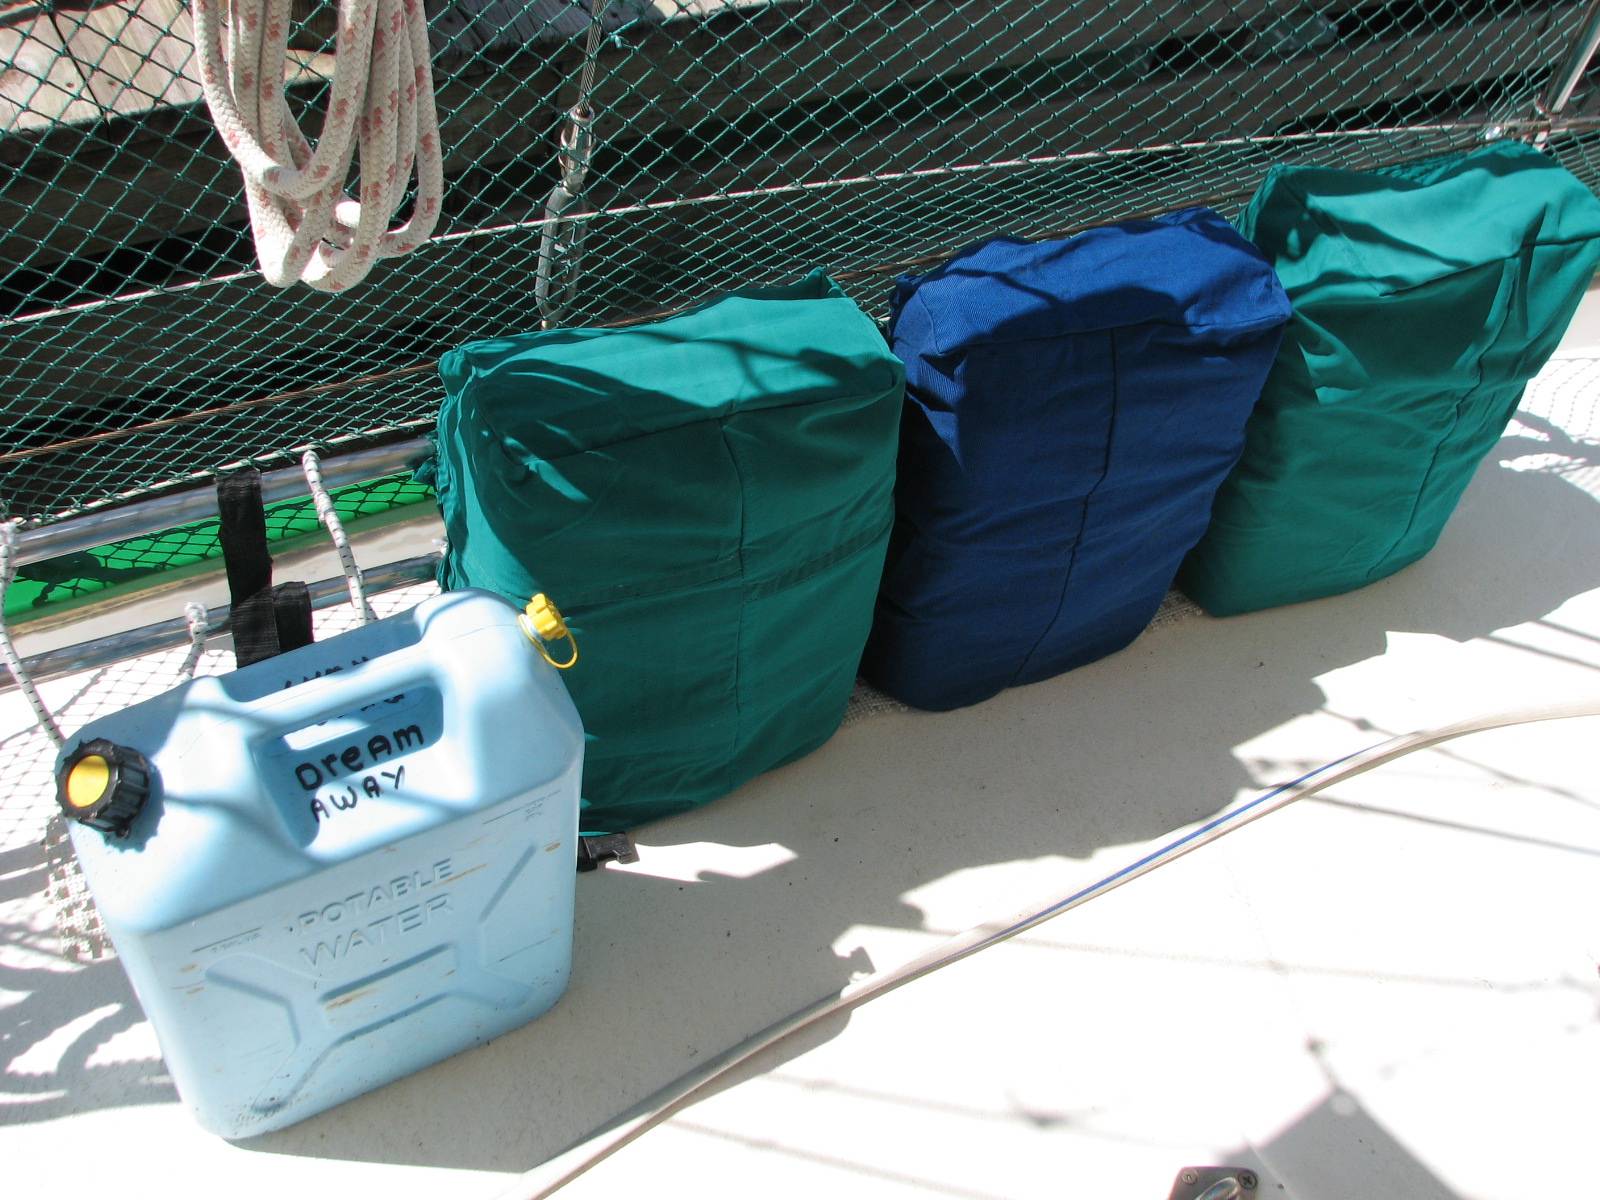
on Dream Away. Installed Jerry Jugs and new covers Looks good! Also
went and did some shopping and picked up laundry for us and for friend
Paul.
Jerry Jugs And New Covers Partially Installed
January 30, 2011, sunday.
Day
off, flea market, social engagements
January 29, 2011, Saturday.
Unpacked
storage area in shop and started to move stuff to Dream Away. This
included all of the Jerry Jugs for diesel and water, also moved two
suitcases of clothes to the rancho to be separated out and gone
through, the rescue Ring and the man overboard retrieval system, and
various boxes of stuff!
When I moved the man overboard
pole, I realized the fiberglass pole had started to delaminate. This
needed repair. I mixed a pot oof resin, and mixed some of the yellow
gelcoat with it. I added the catalyst, and applied the mixture to the
fiberglass man overboard pole. The resin kicked off and the repair
worked great. The pole is good for another few years until the UV takes
it toll.
Went to Backpackers for a Cajun
food. Had a great meal, wonderful entertainment, and a very good time.
Checked Dream Away Fuel Tanks.
Port tank contains 48 gallons, and the starboard tank contains 60
gallons of diesel.
January 28, 2011, Friday.
Yesterday
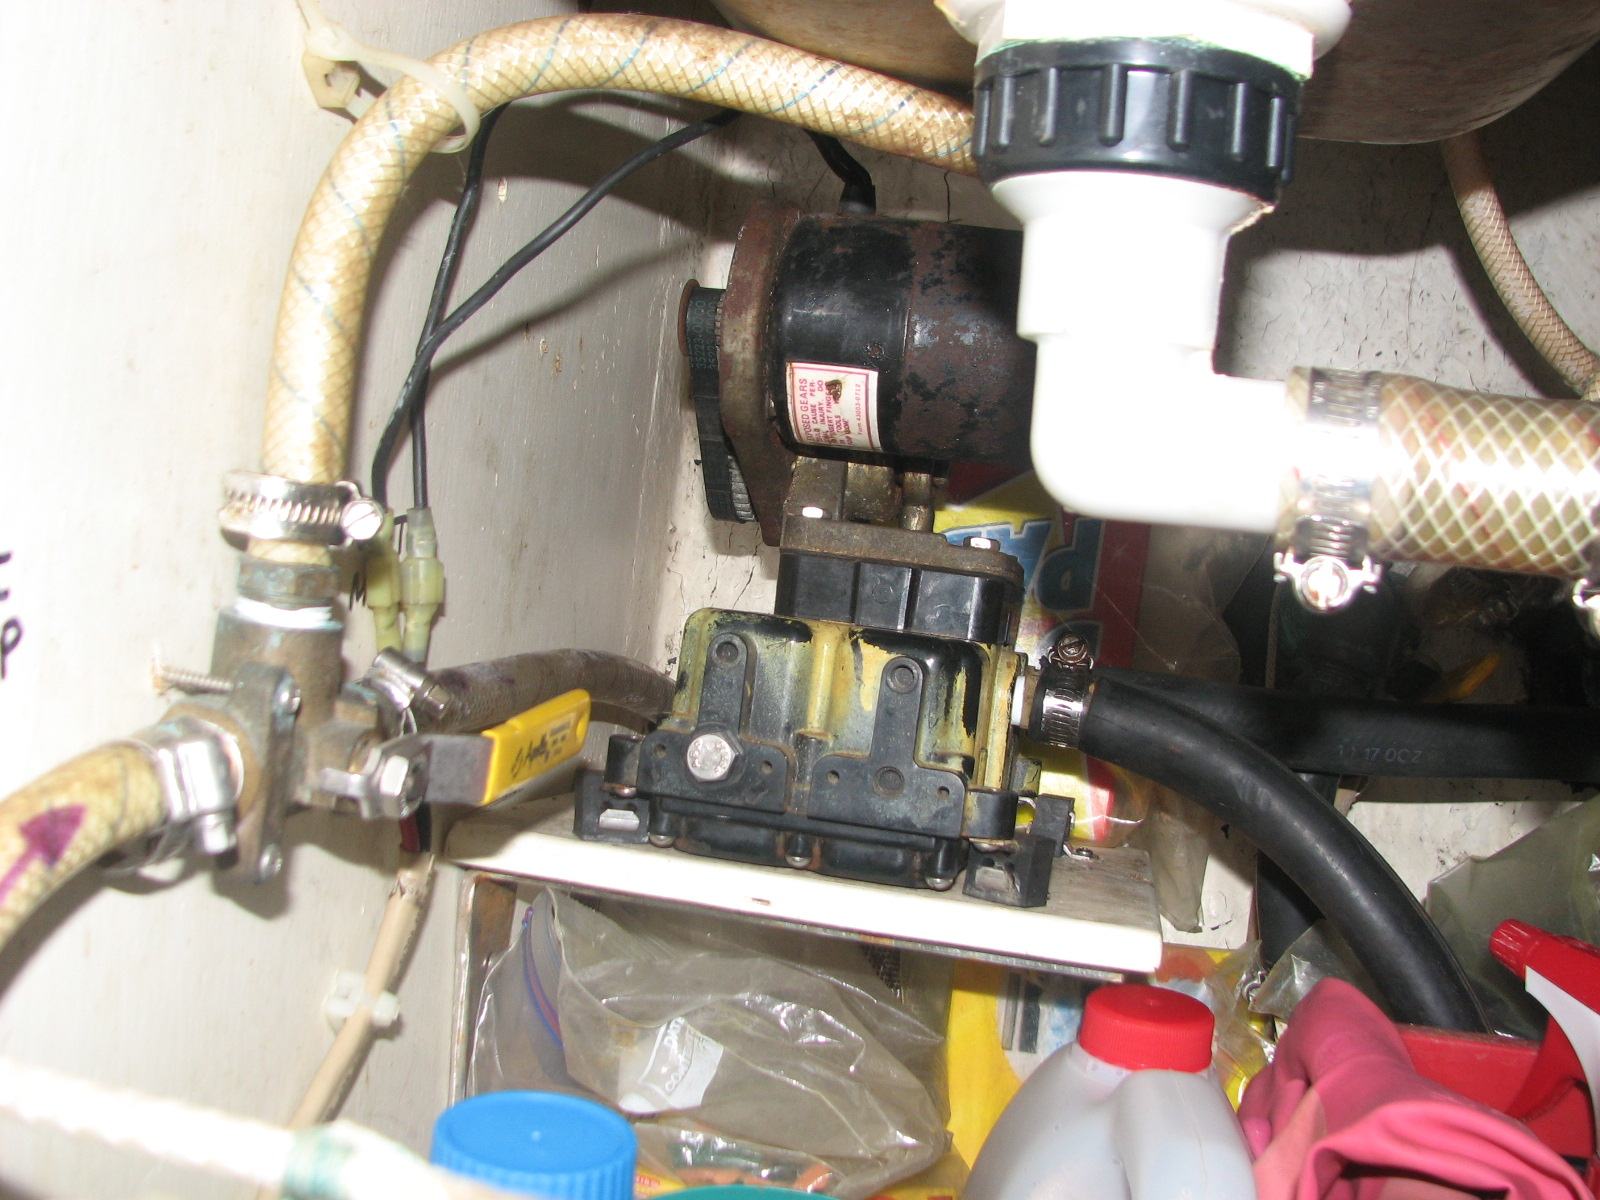
I got the physical pumps moved and installed. I did run the hose from
the valve to the water maker system, but it had not been attached.
Today I wanted to get the hose installed. I started by removing
everything off of the first shelf of the store room. This was necessary
to get the hose installed to the input of the water maker system. I
also wanted to thoroughly check the water maker system and the
refrigeration system. Once the shelf was cleared, I removed the
shelf, and I was able to gain complete access to the water maker system
and the refrigeration system
I removed the hose that was
attached to the input of the water maker system, and installed the hose
that I ran yesterday. I also put in a third filter housing for the
pre-filters to the high pressure pump on the water maker system. I used
to have three pre-filters, but when I changed the system over from 1/2"
hoses to 3/4" hoses, I could not find a 3/4" filter housing in Honduras
or Guatemala. When I was in the states last year, I brought back with
me a new 3/4" filter housing.
I installed this 3/4" filter housing in the
system. So now the pre-filters are back to design. First pre-filter is
30 micron, second pre-filter is 5 micron, and the third pre-filter is
for petroleum products.
I then checked the oil in the
high pressure pump, and checked the drive belts for wear. I also
checked and tightened all the hose connections in the system. Now it
was time to actually check water flow. When I turned on the pump, the
water flow was not good. I then switched the system to run on the main
cabin air conditioner. The water flow was not good either. the new March AC-5C-MD pump has a
much larger capacity in gallons per minute than the previous pump, but
I had used the March AC-5C-MD pump as the water
maker lift pump last year, so it seemed. there was a blockage in the
system.
First thing I did was to clean
the strainers for the water line into the March AC-5C-MD pump. While I was in
the area, I also cleaned the strainer for the refrigeration system.
Some trash in the strainers, which I cleaned out, but not enough to
cause a problem. I next went to the main raw water input strainer. This
is feed by a 1 1/2" input water line. When I took the top off of the
strainer, I discovered a plastic bag in the strainer! I removed the
plastic bag, put the strainer back together. I stared up the pump, and
then I had a lot of water going through the cooling line for the main cabin air conditioner. I then switched the water
system to the water maker and started the pump again. Now we had water
going through the system. I got the filter housings bleed, and the
system was working great. Now I was able to make water!
I then checked the refrigeration
system. I checked all of the connections for the refrigerant, checked
the oil in the compressor, and checked the drive belt for abnormal
wear. All looked good. I put the storeroom shelf back together, and the
boxes abck on the shelf. Last item for the day was to cut out a plastic
cover for the March AC-5C-MD pump. The pump is not
waterproof, so I wanted to have a cover for the pump whenever I had to
bleed either the input or output water hose.
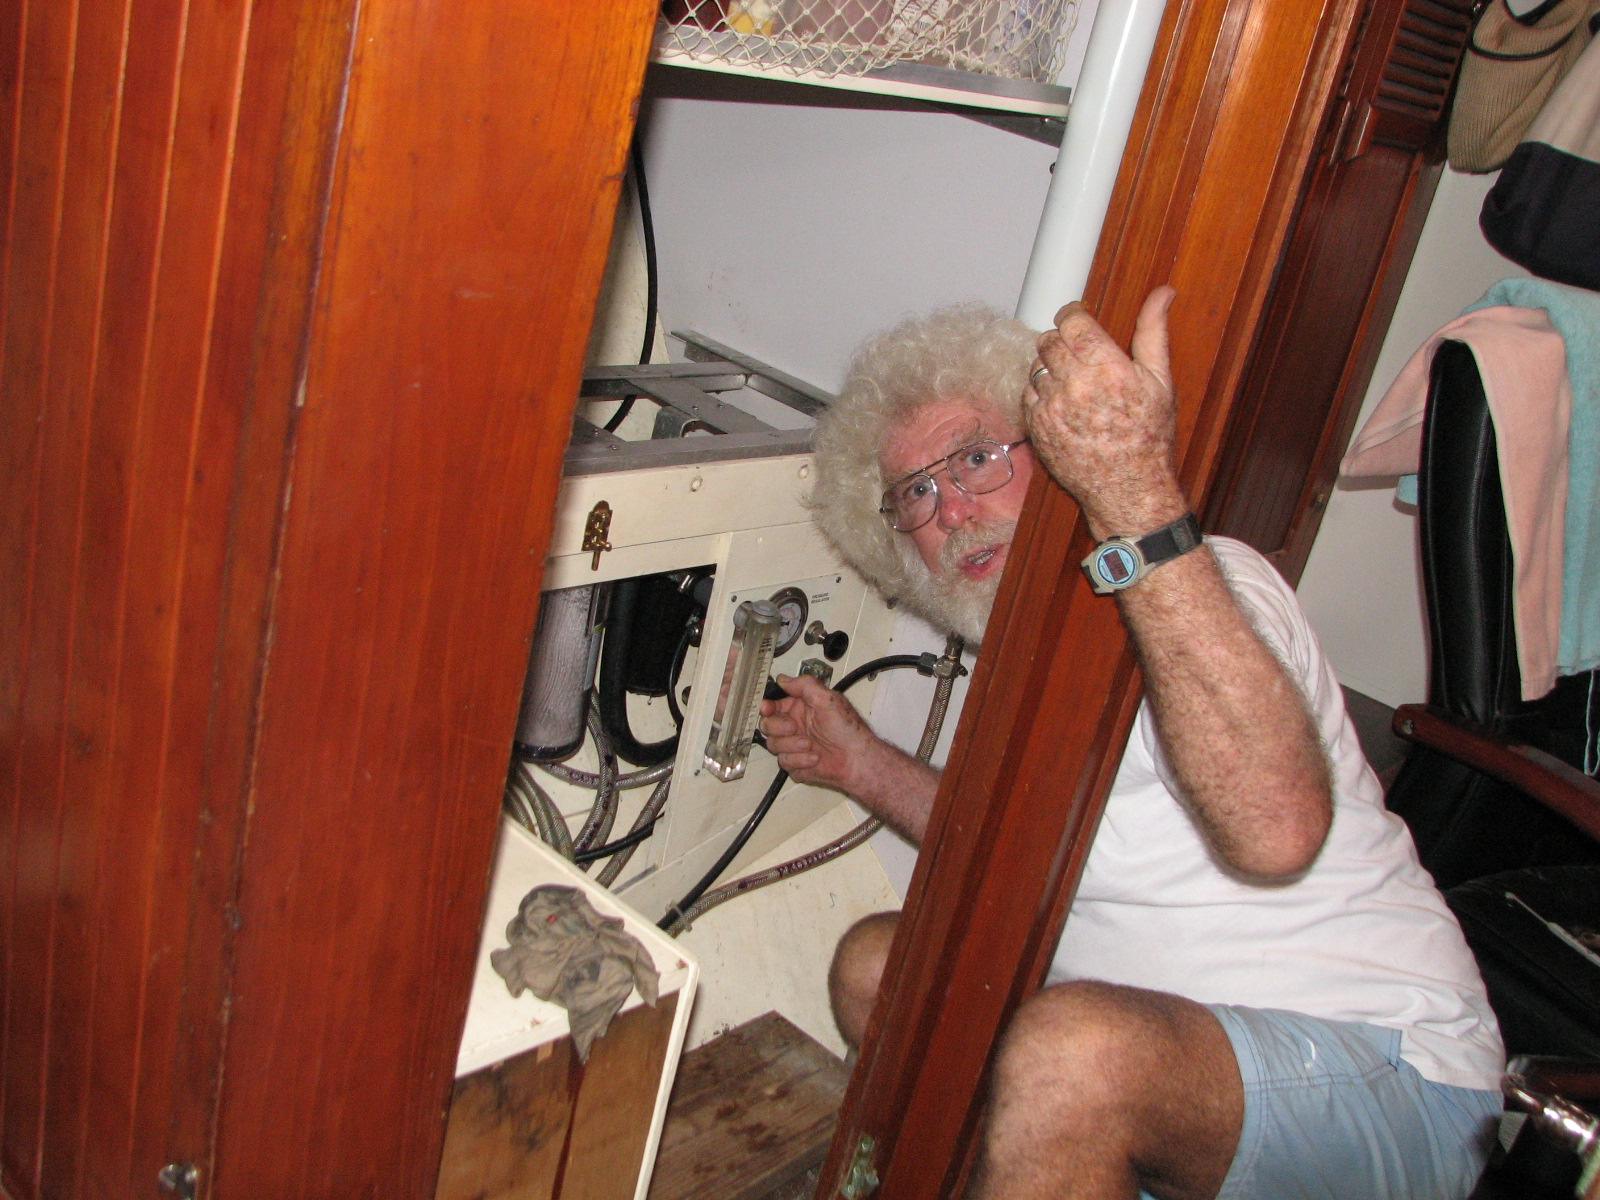
Water Maker System Under Storage Room Shelf
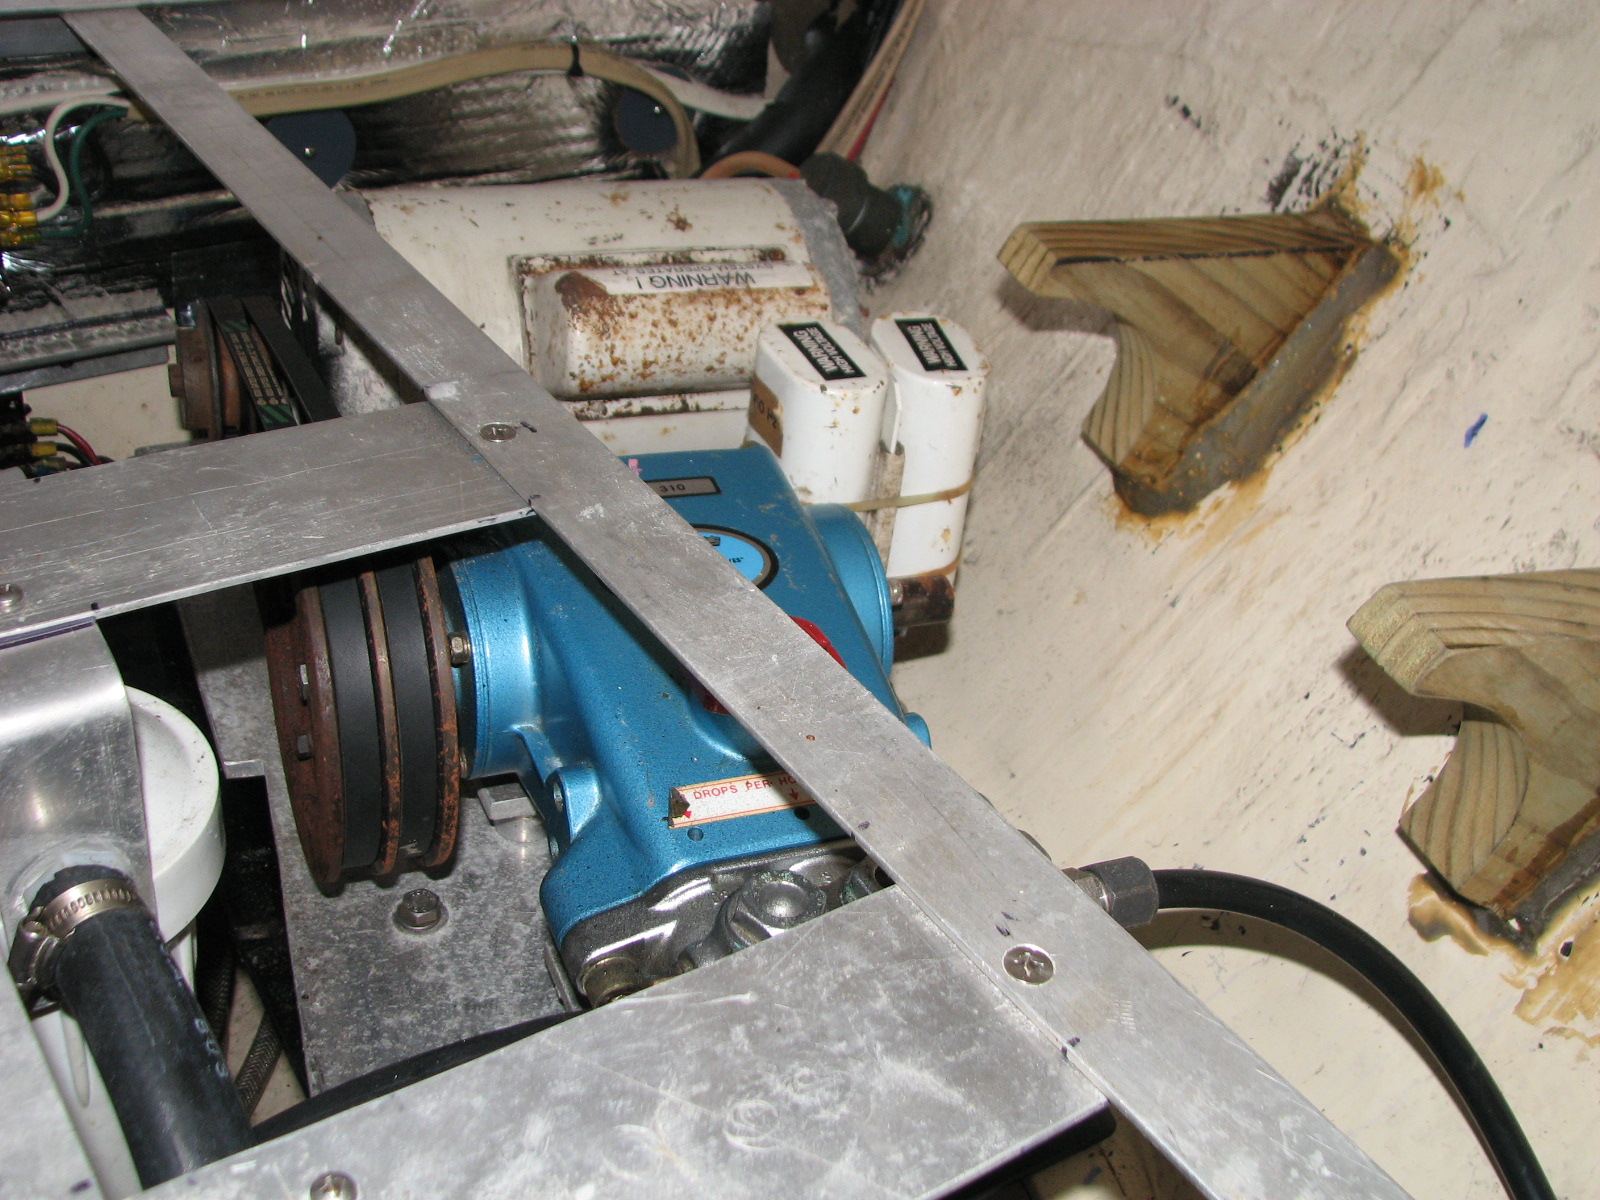
Captain Working On Water Maker System
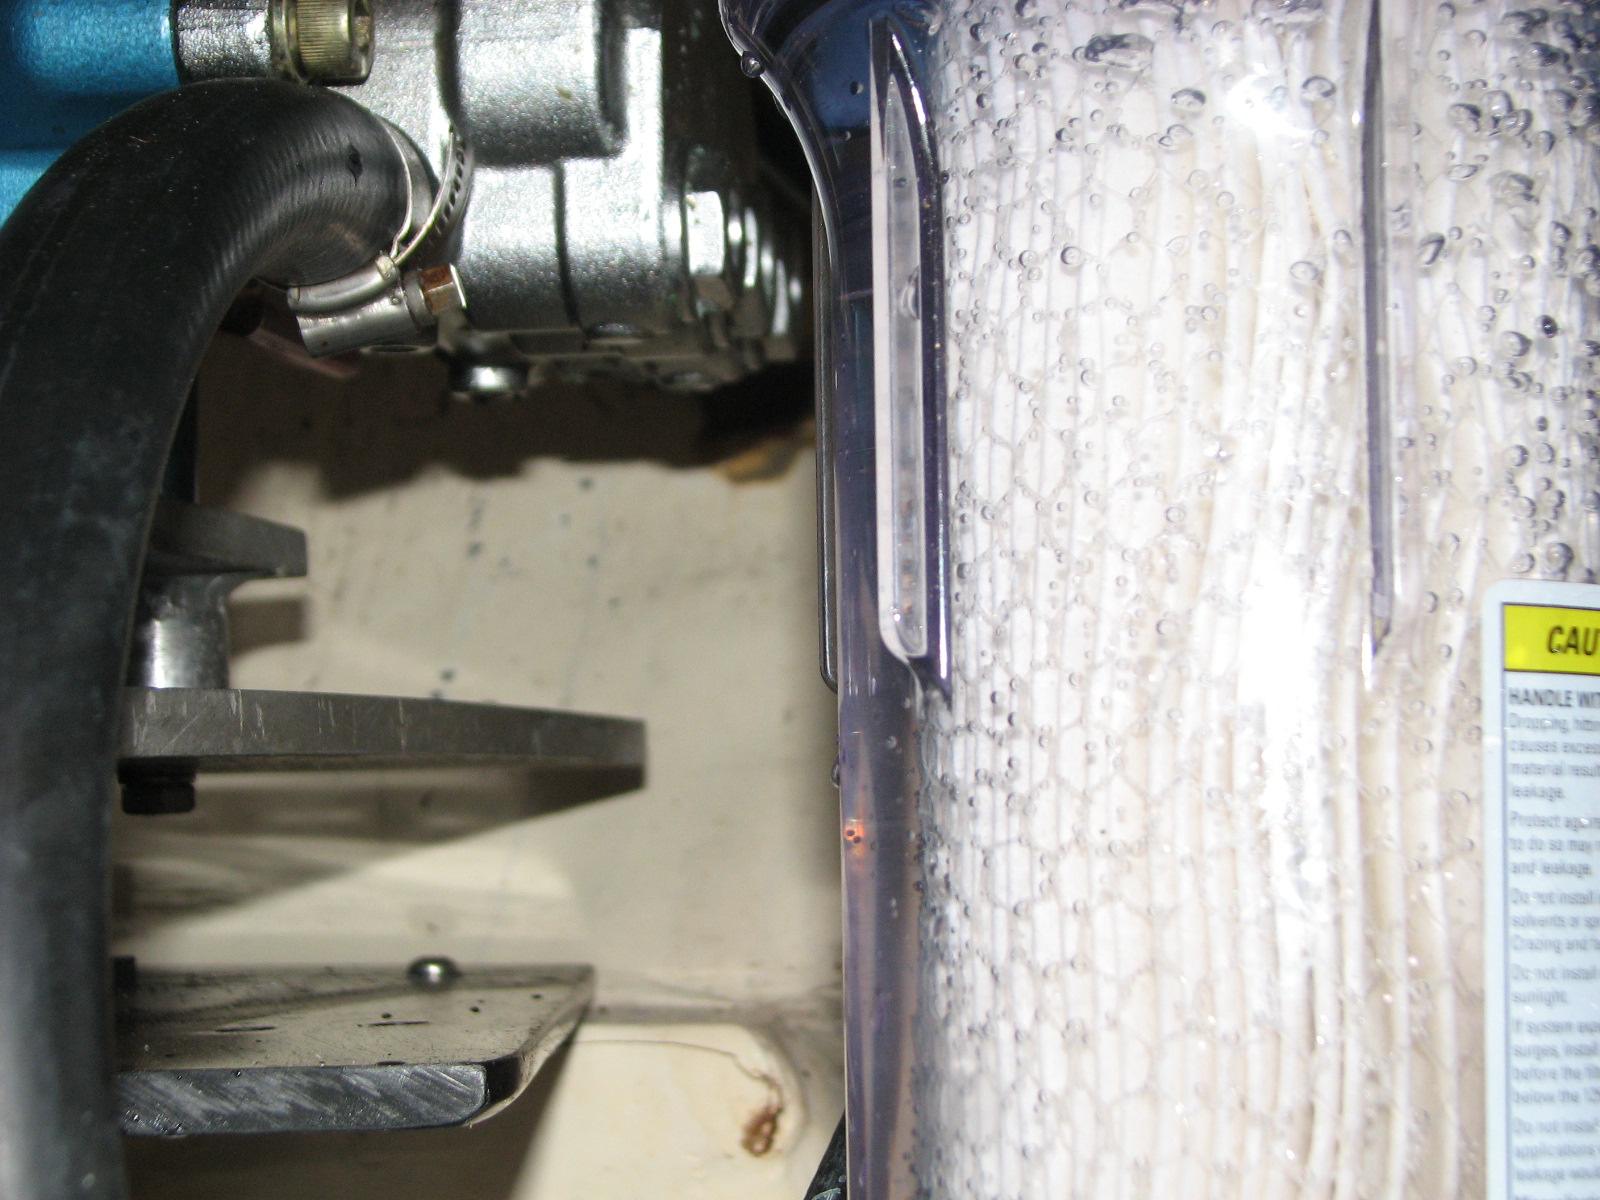
Water flowing Through New Filter Housing
January 27, 2011, Thursday.
A
really wet and rainy day, but I had an inside project scheduled.
One thing that really bothers me
about living on a boat is having enough spares to cover most problems.
One way to keep up with the amount of spares is to make one piece of
equipment work for several different uses. One place this is handy is
with water pumps. I have tried several times to find water one pump for
several uses, but you can not imagine how hard it is to
find one. Just in 12 VDC pumps, I have three different and
separate pumps. For my 115 VAC pumps, I have three different types. So,
spares for six different pumps!!
Today I started out to at least
solve the 115 VAC pump problem. Last year I put in a new lift pump for
the water maker. It is actually a cooling pump for large marine air
conditioners. When I got the new lift pump working with the water
maker, I decided to use this model pump, the March AC-5C-MD, as my air conditioner
cooling pump also. I came up with a plan to use the March AC-5C-MD as my water
maker lift pump, and my main cabin air conditioner cooling pump. This
plan eliminated the original main cabin air conditioner cooling pump, a
March LC-3CP-MD. This pump is now a spare
pump.
Today I rewired and re-plumbed
for the March AC-5C-MD pump. I have a relay
in the electrical system that provides power to the March AC-5C-MD pump. The normally
closed contacts allow the pump to be used as the main cabin air
conditioner cooling pump. With the main cabin air
conditioner powered off, I can turn on the water maker lift pump
from the circuit breaker panel. This opens the contacts on the relay to
the main cabin air conditioner, and switches
electricity to the pump so it can run as the water
maker lift pump.
The second part of getting the
system to work properly was to re-plumb the water to the pump. I ran
the input hose to the March AC-5C-MD pump through a
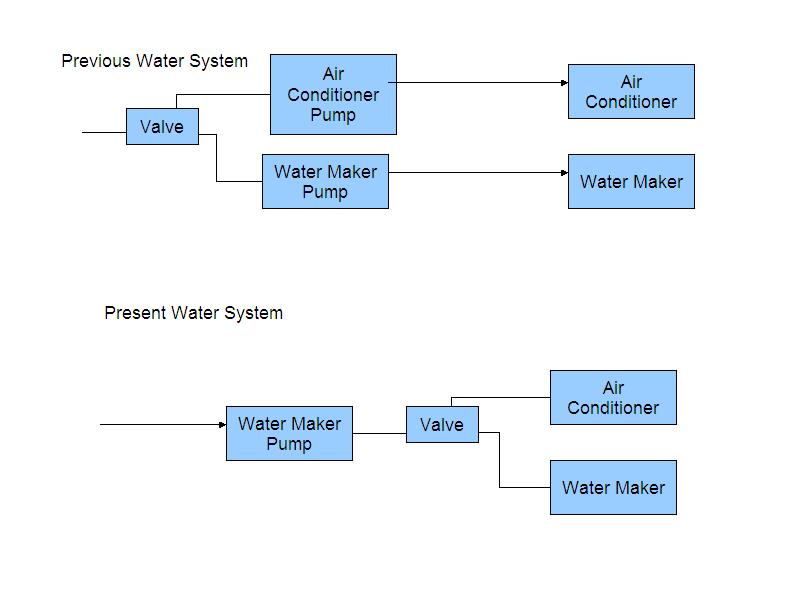
strainer. The output of the pump then goes to a valve that switches the
water to the main cabin air conditioner
or to the water maker. The actual hose to the water maker is not
connected as yet, but I did check out the system, and all works as
planned
Pump Configuration At Beginning Of The Day
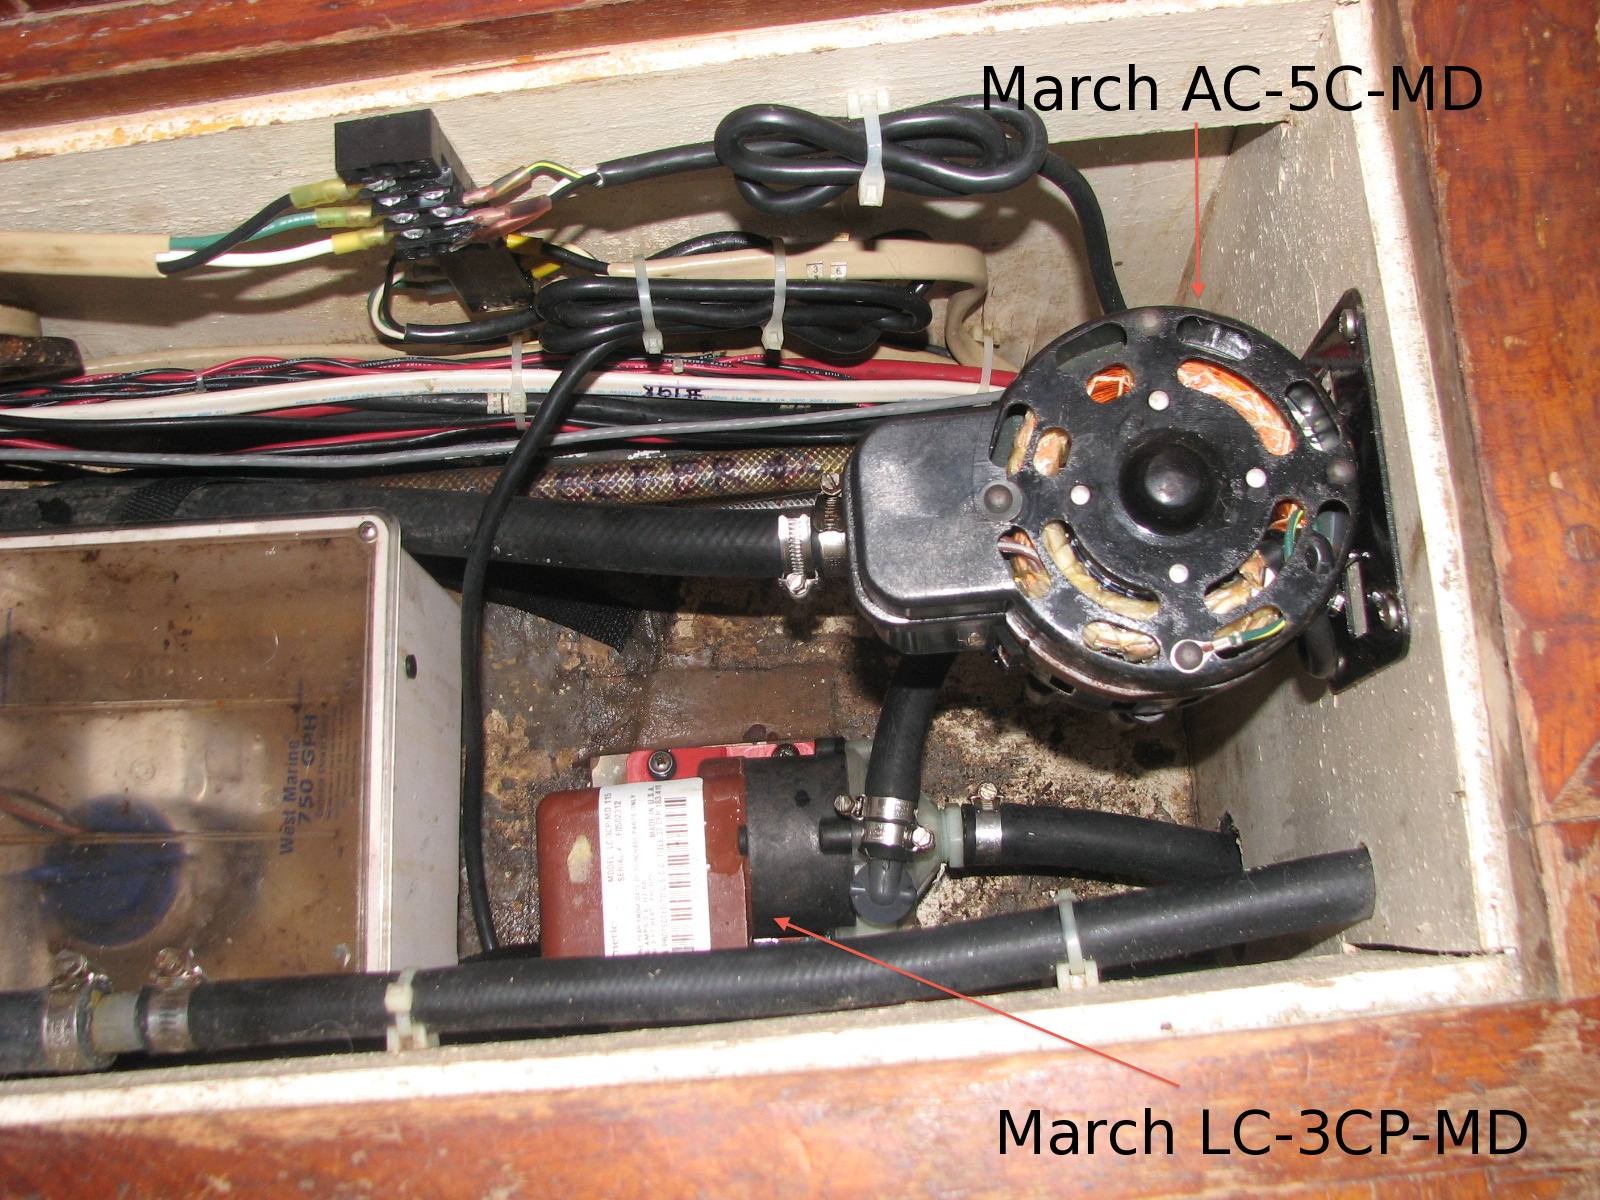
Pump Configuration With Just The March AC-5C-MD Installed
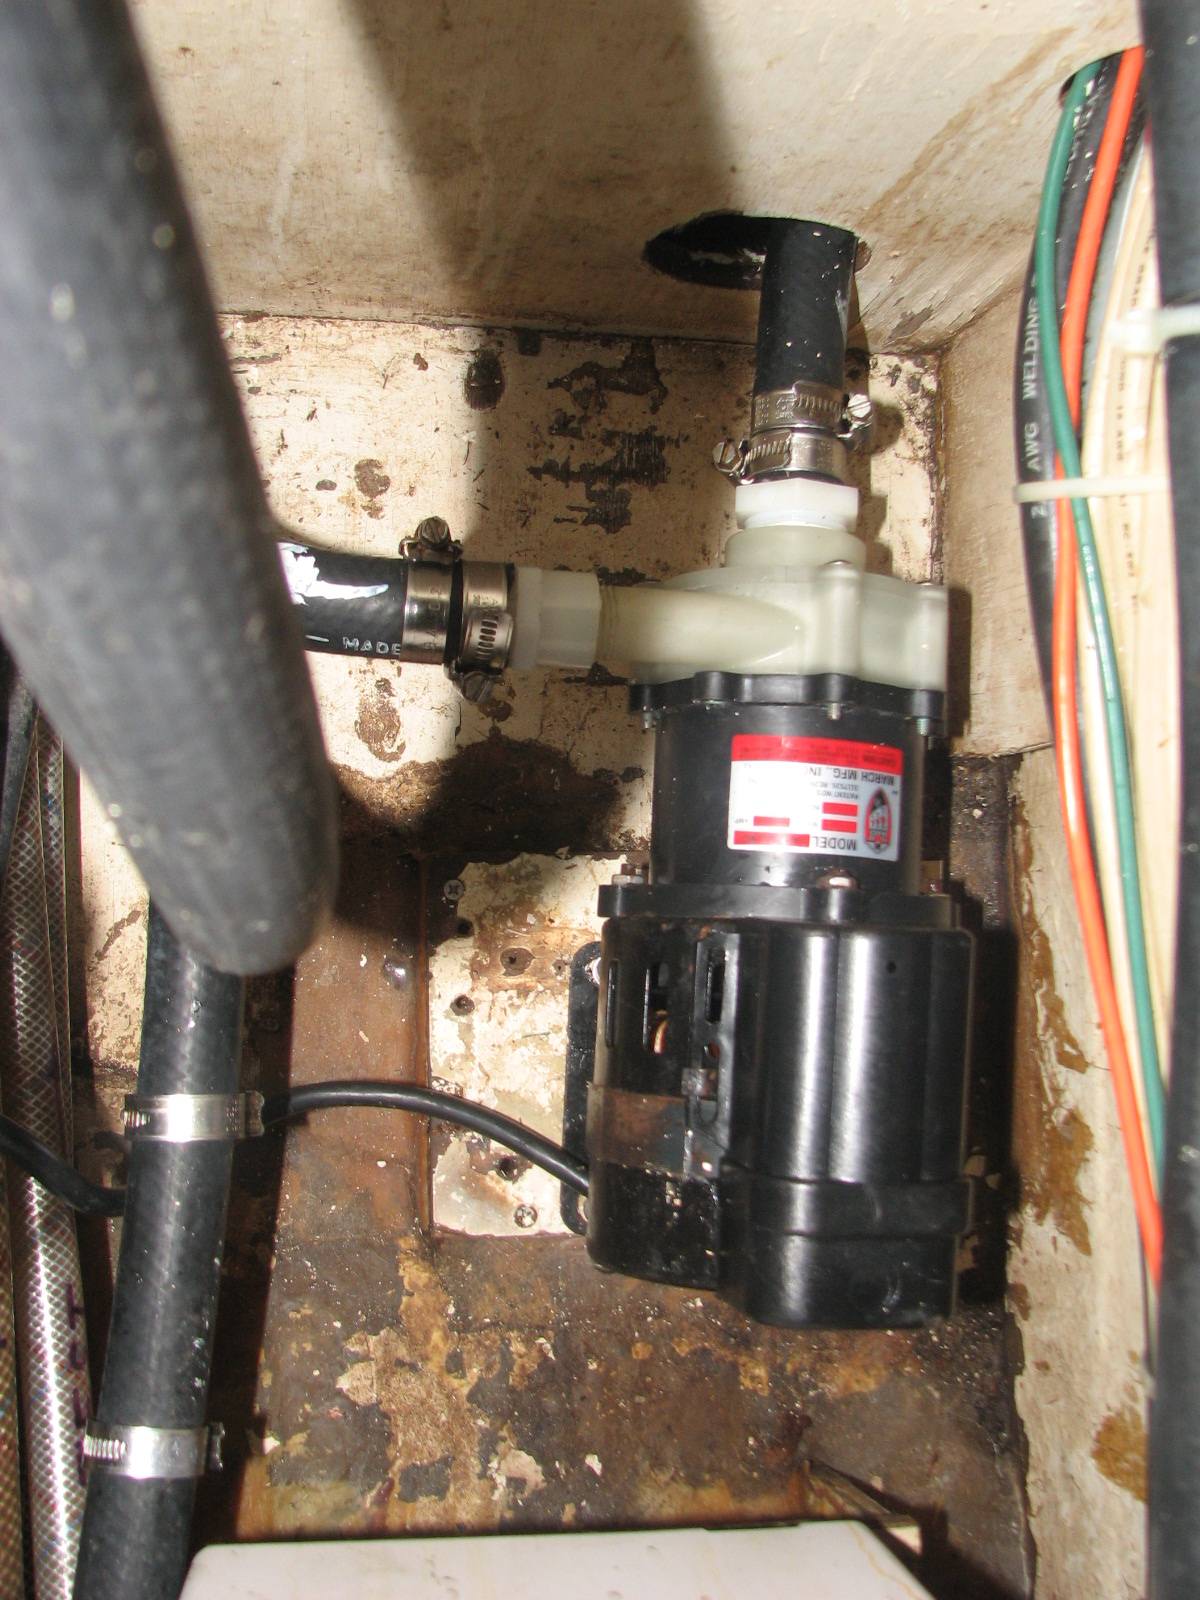
So the situation with the 115 VAC
pumps is this. I am using the March AC-5C-MD as the
main cabin air conditioner pump and the
water maker lift pump. If this pump goes bad, I have a spare pump, and
a rebuild kit for it. I have a second air conditioner for the aft
cabin, and it uses a March LC-2CP-MD as the cooling pump. If
the LC-2CP-MD pump goes bad it will be
replaced with the March LC-3CP-MD. If that pump goes
bad, it will be replaced with another March AC-5C-MD, the one
that is now the spare pump. At some point in time, way in the future,
all the 115 VAC pumps will be the same type and brand.
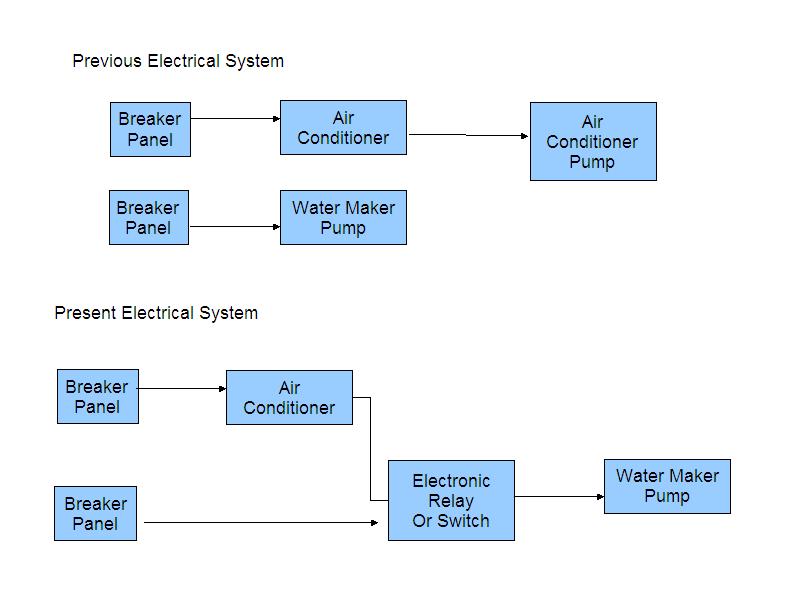
The following three drawings show
the electrical and water connections for the new system. The first
drawing shows connections for the relay that enables the March AC-5C-MD pump to be
turned on with either the main cabin air conditioner,
or the water maker lift pump. The second drawing shows
the electrical system as it was and now. The third drawing shows the
water system as it was and now.
Diaram Of The Connections For The Enabling Relay
 Diagram Of The Electrical System (Before And After)
Diagram Of The Water System (Before And After)
January 26, 2011, Wednesday.
First
on the agenda today was to put tender into the
water. Had help from friend Paul on that, and he also helped me carry
the Yamaha outboard form the shop to the front porch to re-install on
the tender. Also put the newly painted oars onto the tender, the fuel
tank, cushions, and small storage box. I also re-installed the Bimini
top on the tender. I started the outboard and moved the dinghy
from the porch over to the area reserved for tenders and dinghies.
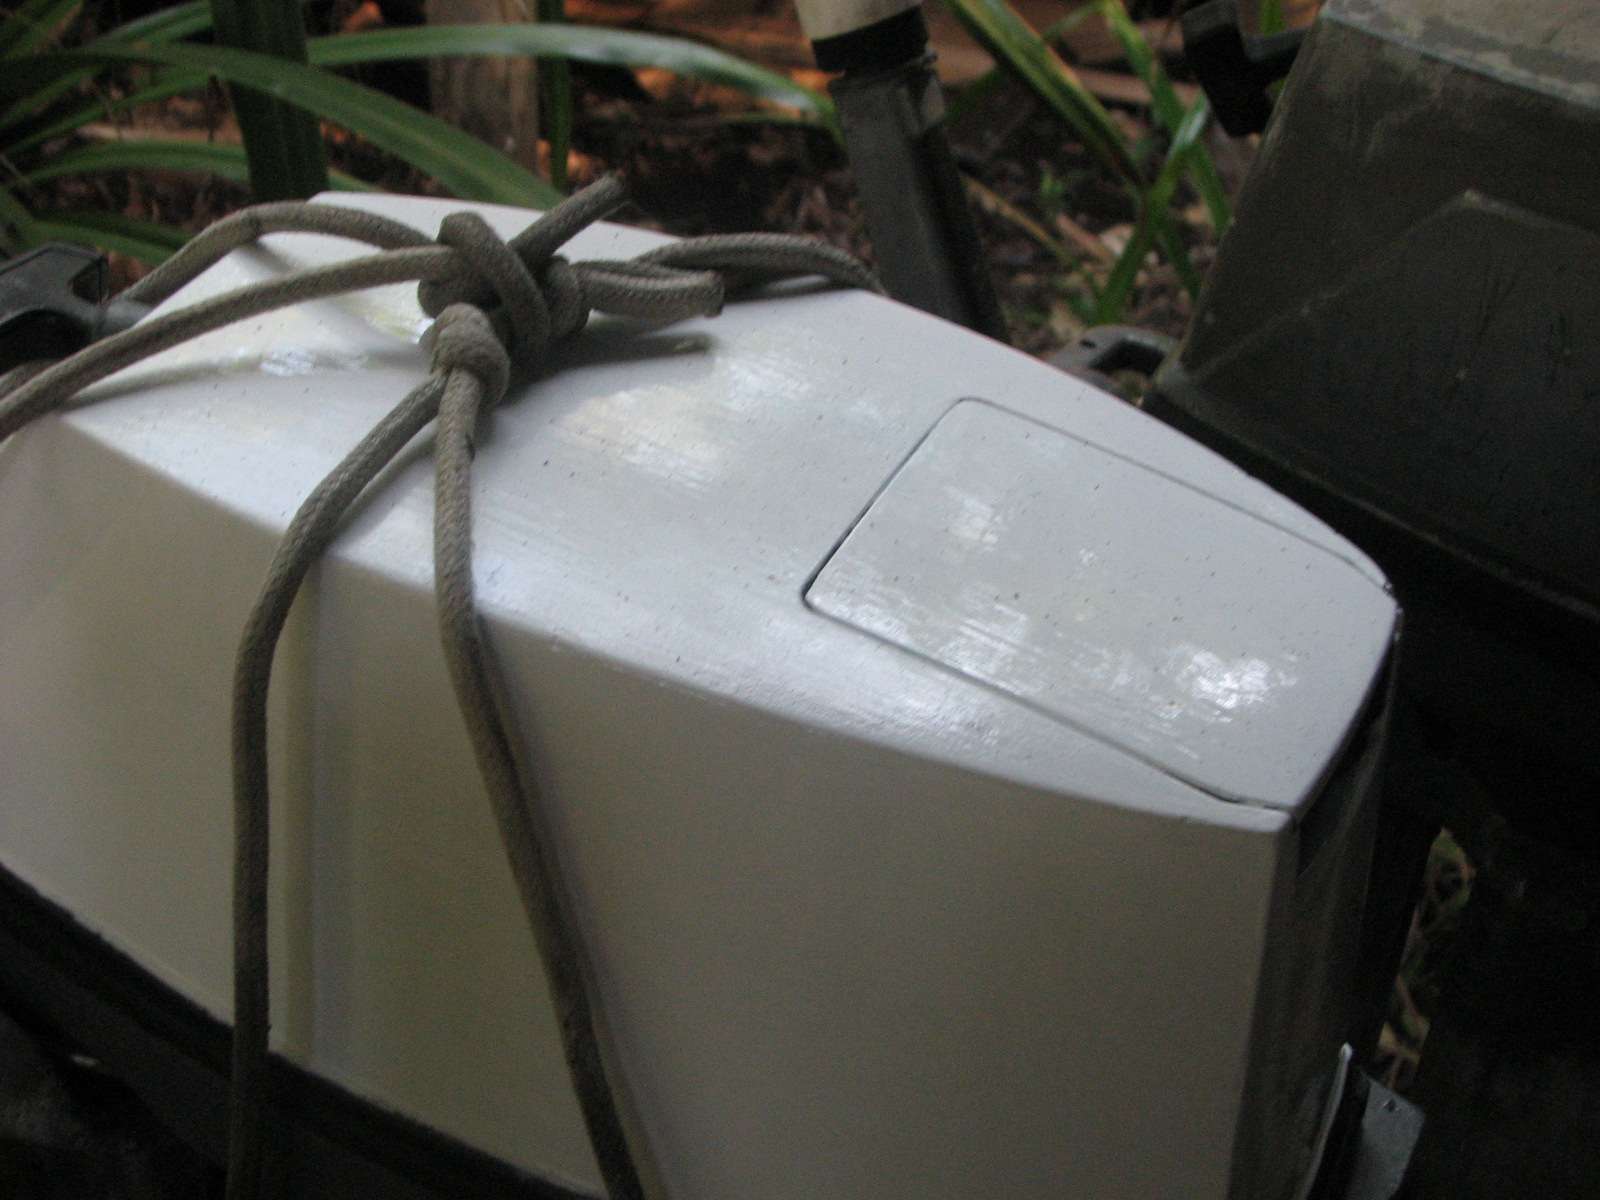
Yamaha Outboard With Newly Painted Cover
Today was the day of bilge pumps.
I checked out the Rule 2000 gallons per hour bilge pump.
Verified operation in automatic and manual mode. I
checked out the Rule 3700 gallons per hour bilge pump.
Verified operation in automatic and manual mode. I then checked
the Edson 30 gallon per minute manual pump.
This pump worked great with the long extension handle I made for it.
The last pump to check out was
the PAR Jabsco electric bilge pump. I
planned to move this pump as in its present location, something could
fall onto it, and prevent it from working. When I check the pump before
moving it , the pump would not work! I started troubleshooting
the problem by cleaning the input strainer, but it was not in bad shape
and was not the problem. I took the pump apart, but could find no
problem. I replaced the pump with my spare, but the same problem. OK, I
concluded the problem was the pickup that was in the bilge. Getting to
it, checking it out and putting it back was no small task. Just that
consumed about two hours, but the pickup was clean, and it was not the
problem. I finall took the strainer off of the input hose and looked at
it. The input to the strainer was clogged with junk from the bilge! I
cleaned it out and the pump worked fine. I then moved the pump to its
new location. All four of the manual and automatic bilge pumps work
along with the visual and audio alarms.
PAR Jabsco Electric Bilge Pump
In Its Original Location (The Shelf AboveIs A New Location)
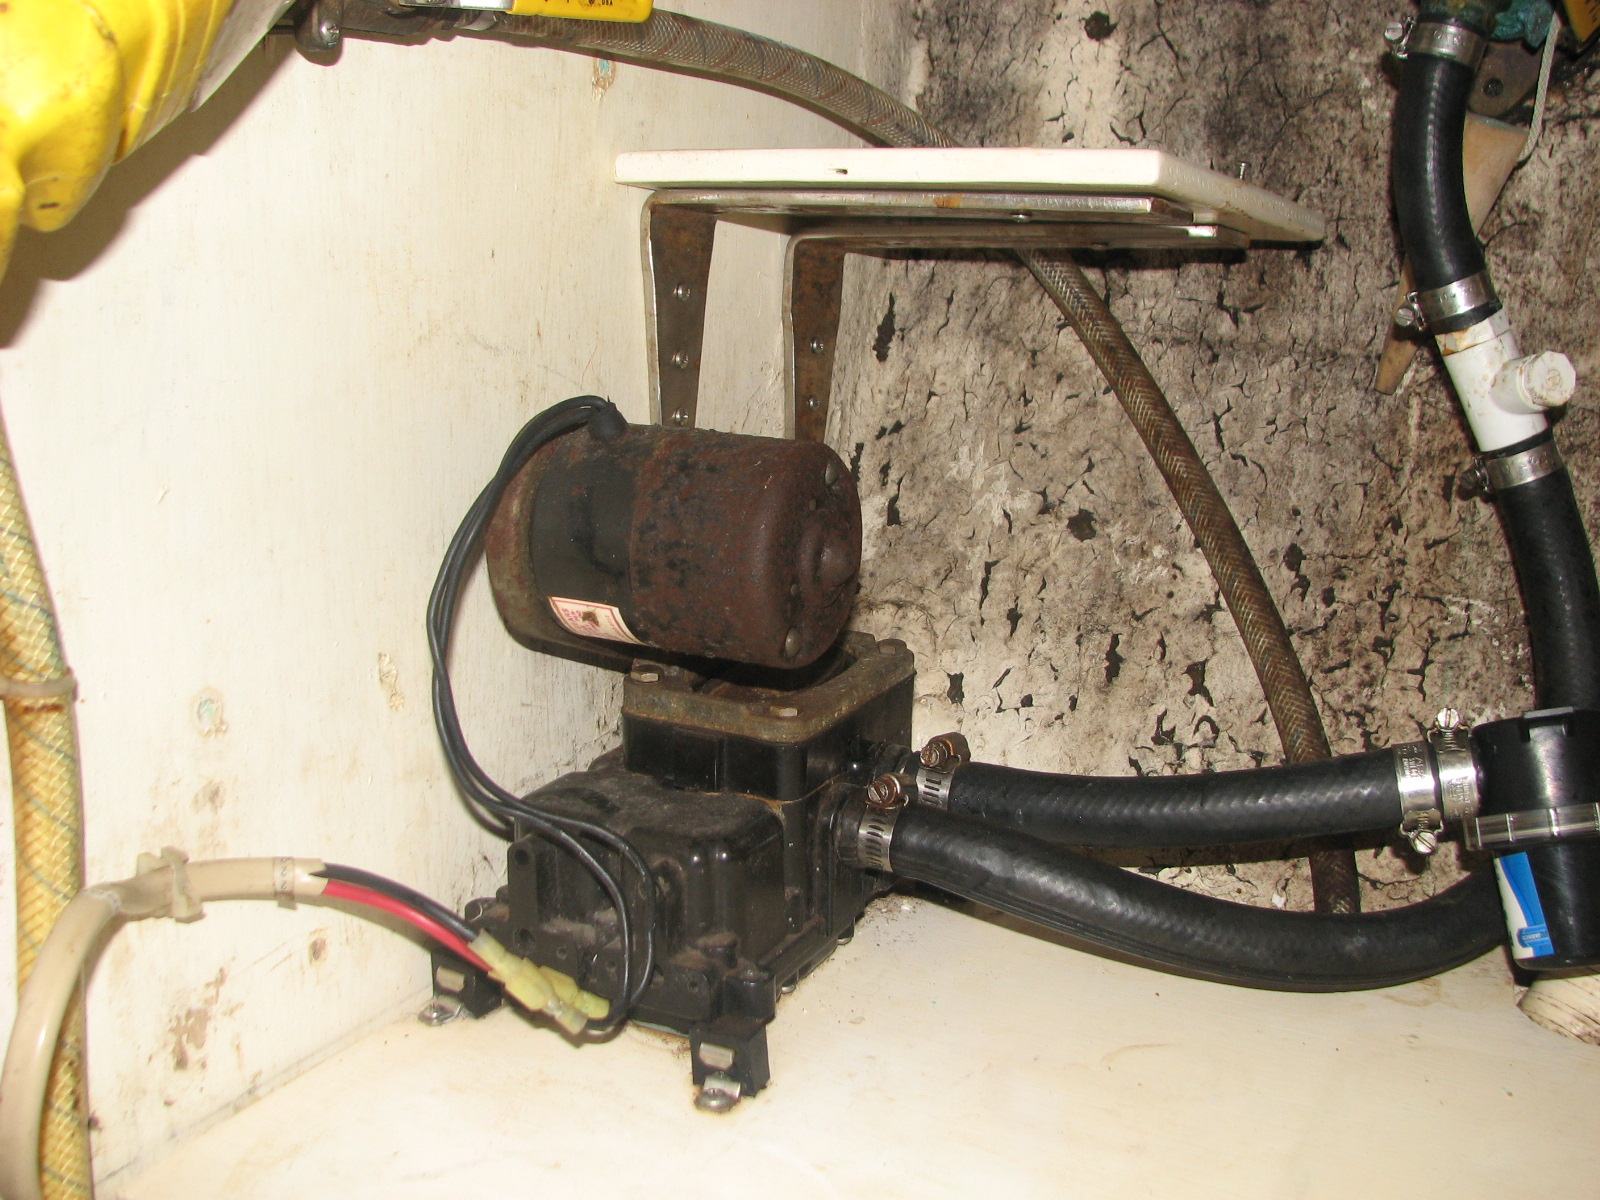
PAR Jabsco Electric Bilge Pump
In Its New Location
January 25,
2011, Tuesday.
Started
off the day with a shopping trip into town. Stopped at severl stores,
and got several items.
When I returned from the shopping
trip, I mixed up the anti-fouling paint and applied it to the bottom of
the tender. I did one coat of the anti-fouling paint and removed the
masking tape. I cleaned up the tender from any paint spills with
acetone and a rag. The directions on the paint said to wait for 16
hours before splashing the tender, so it will go into the water
tomorrow. I did not get any photos of the tender with the anti-fouling
paint on.
I got the small Mercury outboard
off of the stern of Dream Away, and serviced it. I removed and cleaned
the spark plug and put it back into the engine. I greased and
lubricated all if the parts that appeared to possibly be prone to
corrosion. If needed the Mercury outboard is ready to go.
I re-installed the pad eyes for
the boarding ladder on the starboard side. Finishing this completes the
forward cap rail project. There is now a lot less teak to maintain on
Dream Away, and probably four to five leaks that have been fixed.
January 24, 2011, Monday.
Installed
PVC side bumpers on the tender. This was a time consuming project, but
now we will be able come up beside other boats, and not mark them. We
should also be able bump into docks, and the tender will win!
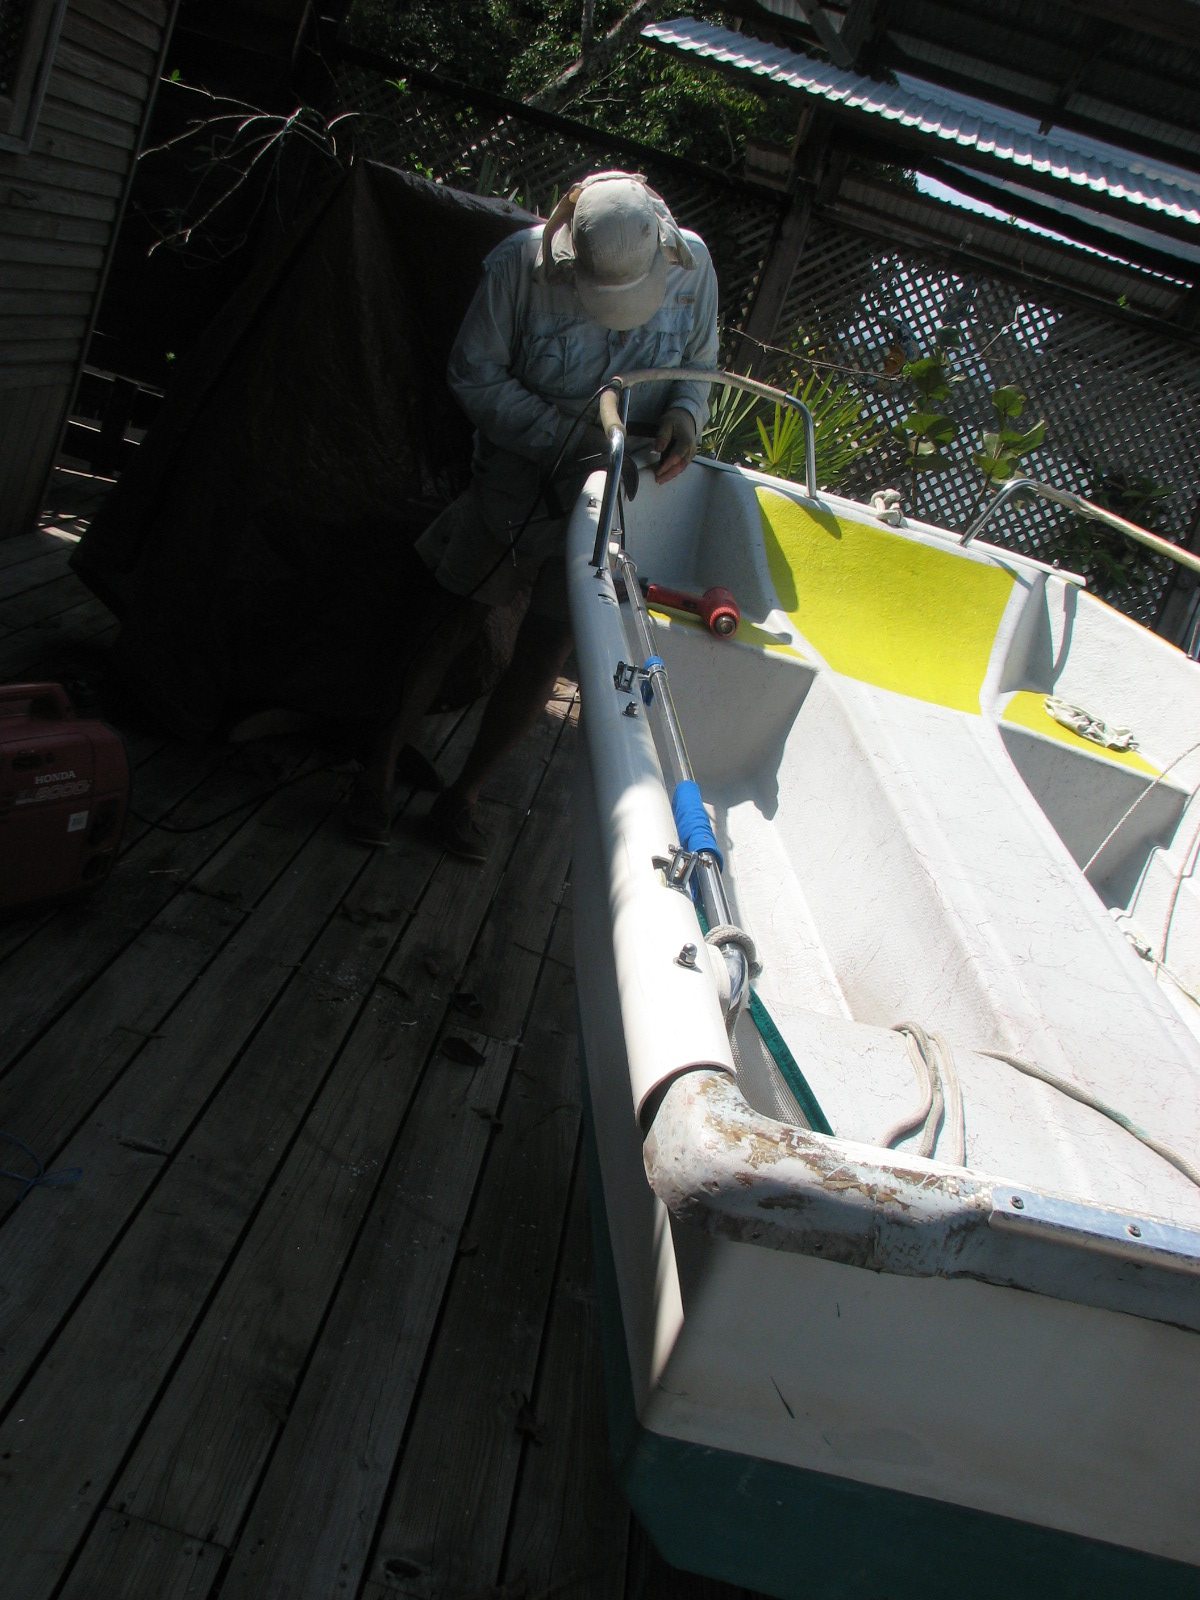
Captain Installing PVC Bumper/Rub Rail On Tender
Captain Installing PVC Bumper/Rub Rail On Tender
Captain Installing PVC Bumper/Rub Rail On Tender
I masked the waterline on the bottom of
tender to apply the anti-fouling paint.
Captain Applying masking Tape To Bottom Of
Tender
January 23, 2011, Sunday.
A
rainy day on the Rio. Spent the whole day doing work on the computers.
Did updates on the Apple with the Windows XP virtual machine, and also
did all the updates on the Gateway backup navigation computer. I tried
to download the Weather FAX on the XP virtual machine on the Apple, but
had a problem. I have seen the problem before, so will have to find the
solution in the help file. Would it be nice if the software worked as
advertised, out of the box!!
January 22, 2011, Saturday.
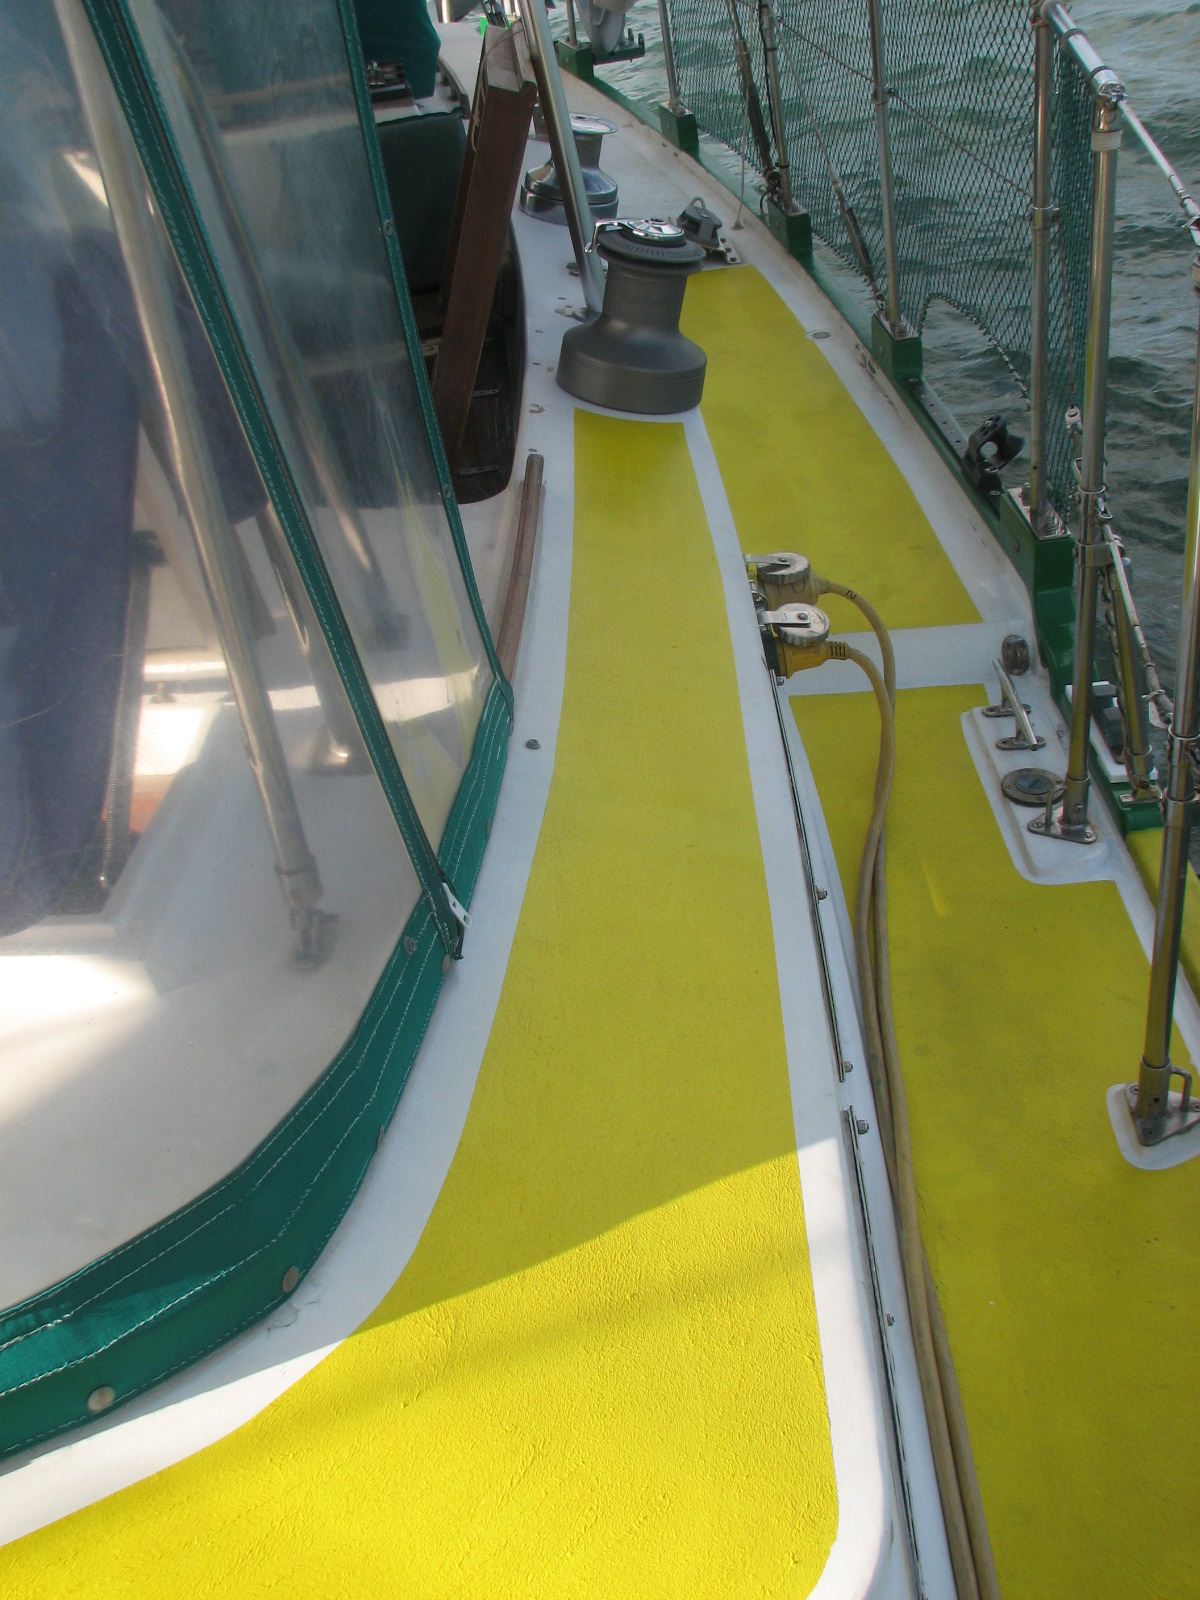
Went to the shop and mixed up two 5-ounce pots of gelcoat. I got
everything that I needed ready for the application, including getting
the dingy in the water and tied beside the boat. I was applying gelcoat
on the step at the life rail gate, so needed to be in the dinghy to
apply the gelcoat on the outside of the cap rail. Brought the gelcoat
to Dream Away and applied the two pots of gelcoat to the deck around
the cockpit and the starboard eyebrow.
I then mixed a third pot of
gelcoat and instead of using the Styrene substitute I purchased in the
Rio Dulce, I used some Styrene that I had left over from purchases in
Texas. This pot of gelcoat rolled on just fine, and it kicked off and
hardened really well without an application of standard floor wax. I
have to apply the standard floor wax over the
gelcoat that did not have the real Styrene in it.
I then removed the masking tape
for the areas where the gelcoat was applied. Because the first two pots
of gelcoat did not kick off completely because of the lack of Styrene
in the mix, I had to put standard floor wax over
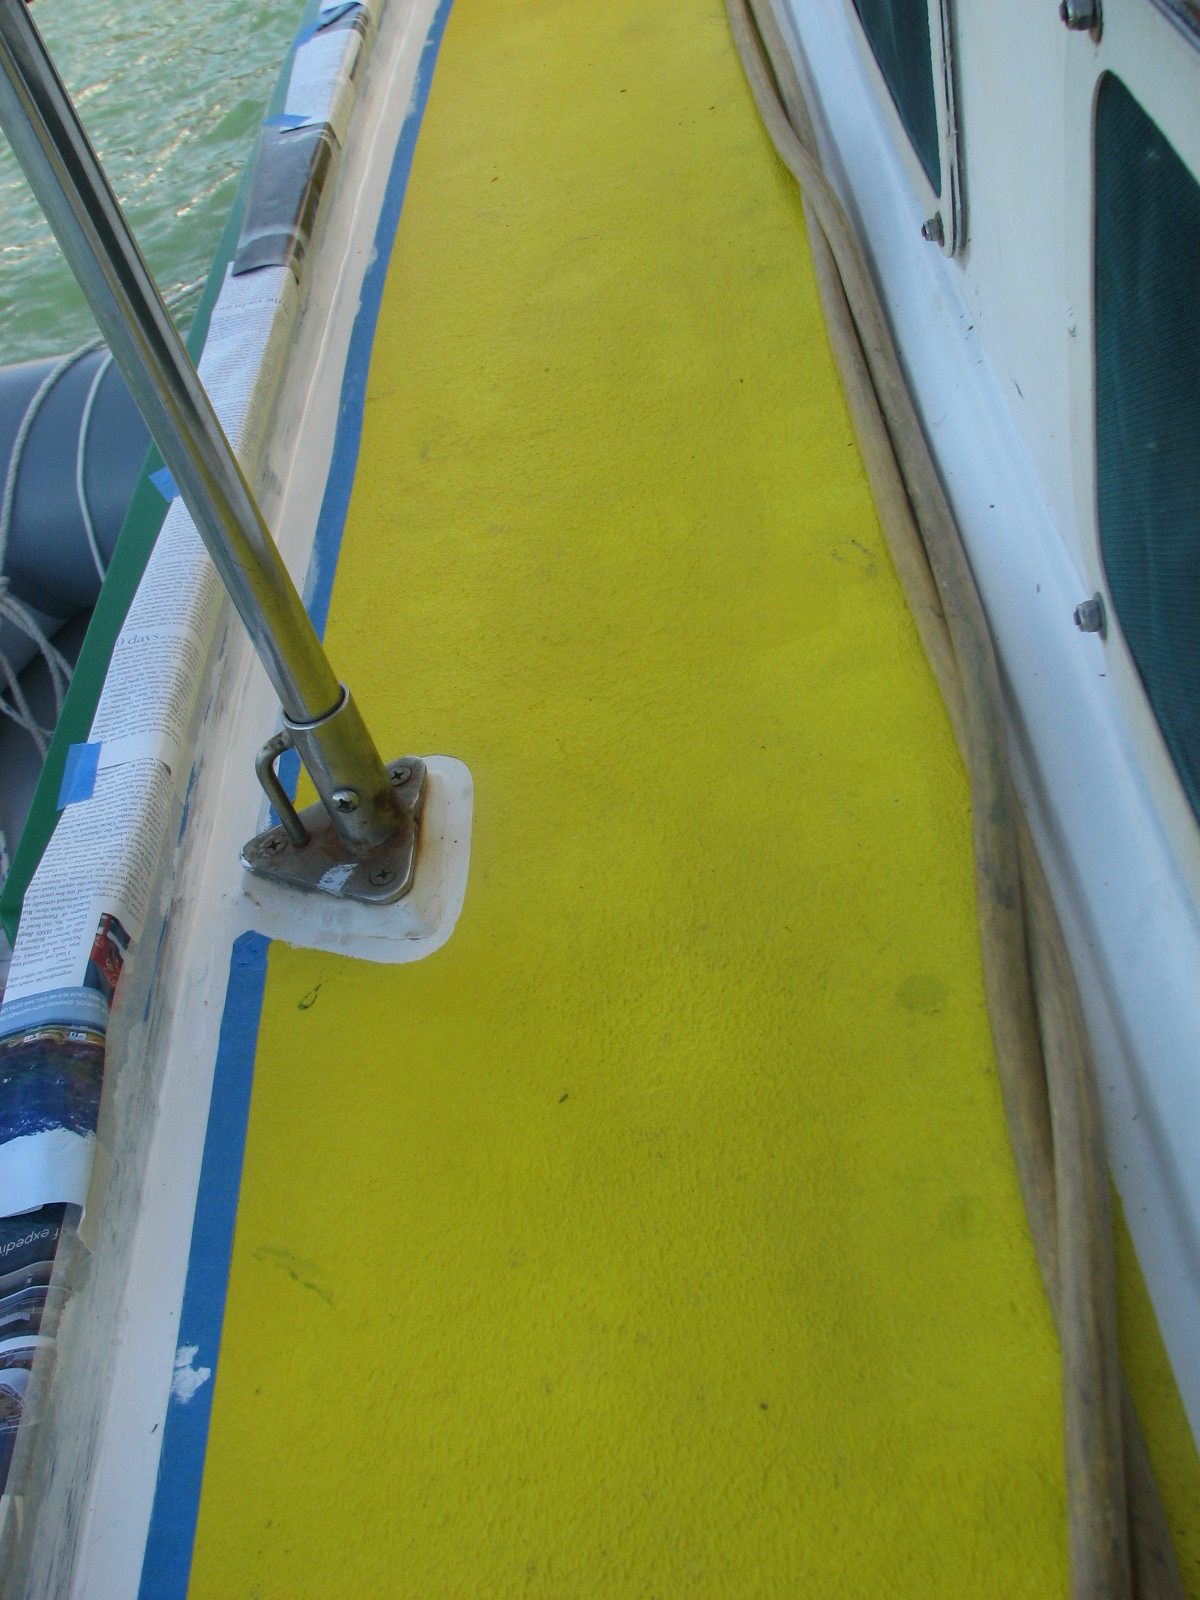
the gelcoat so it would kick off.
Captain Rolling Non-skid Gelcoat On Starboard Step Through Life Rail
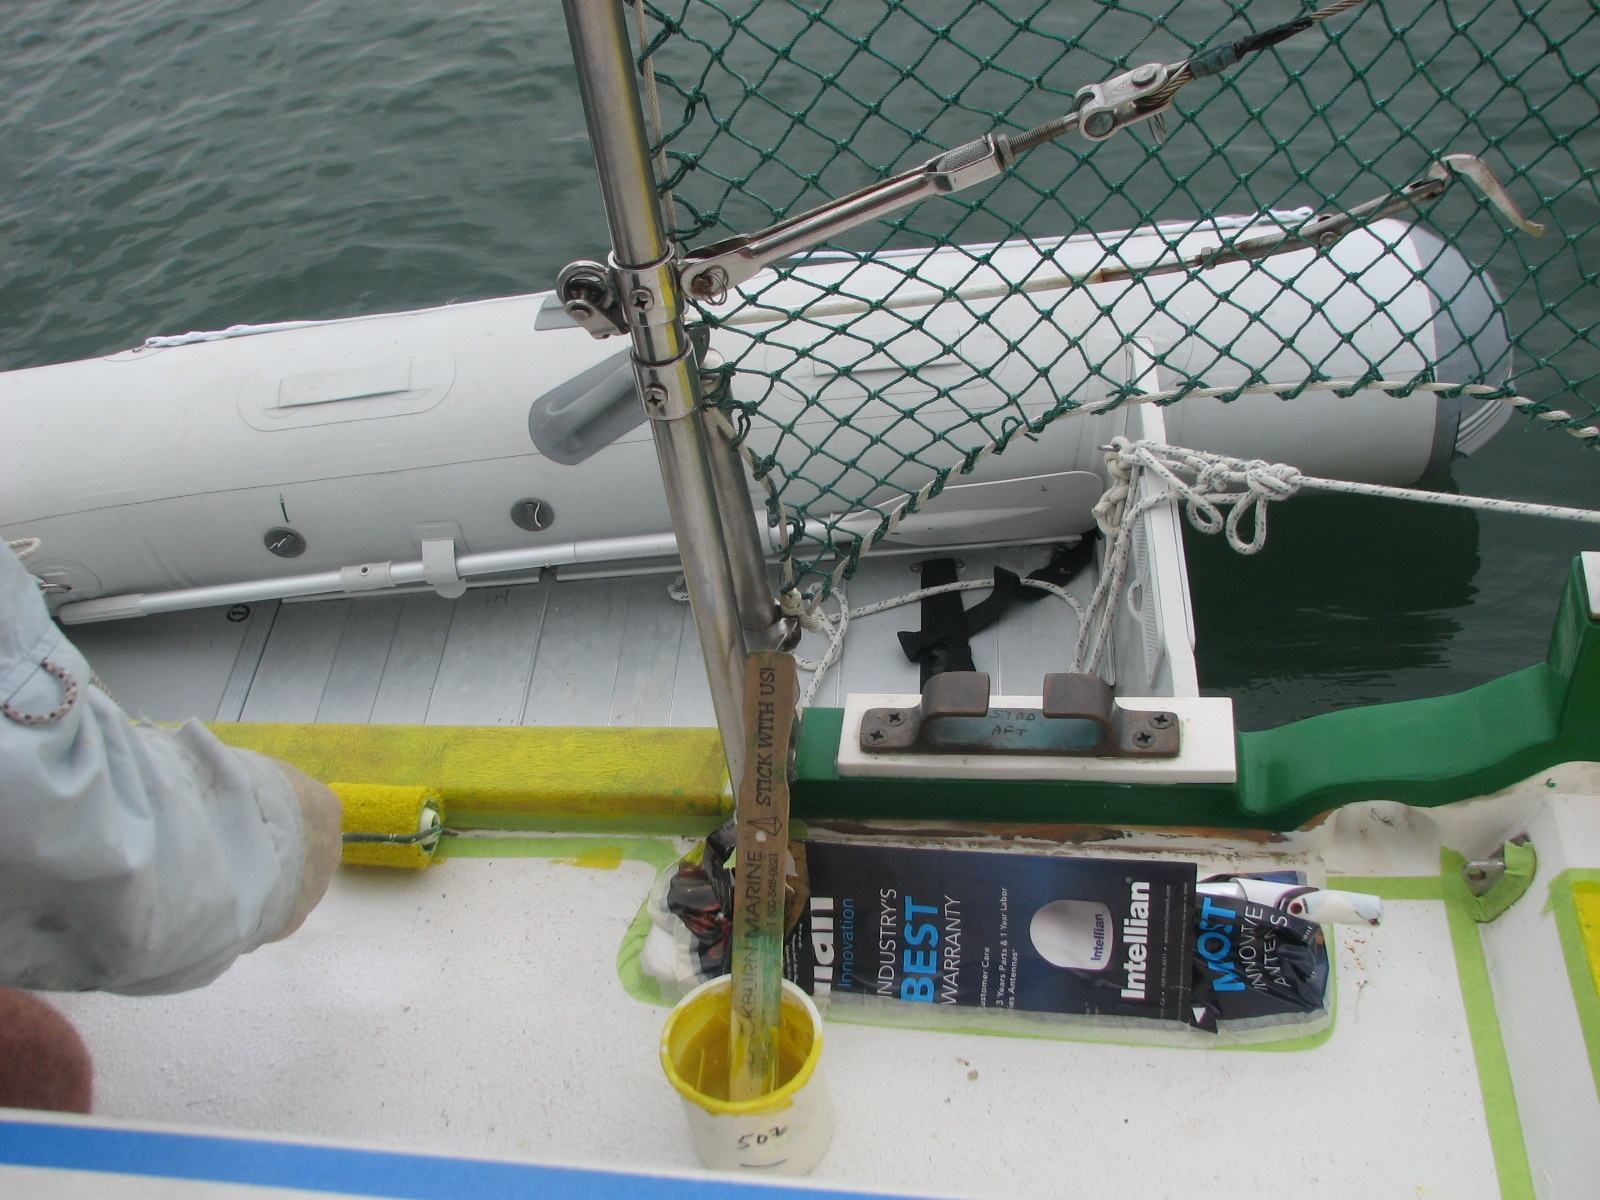
Rolled On Non-skid Gelcoat On The Starboard Side Near The Cockpit Deck
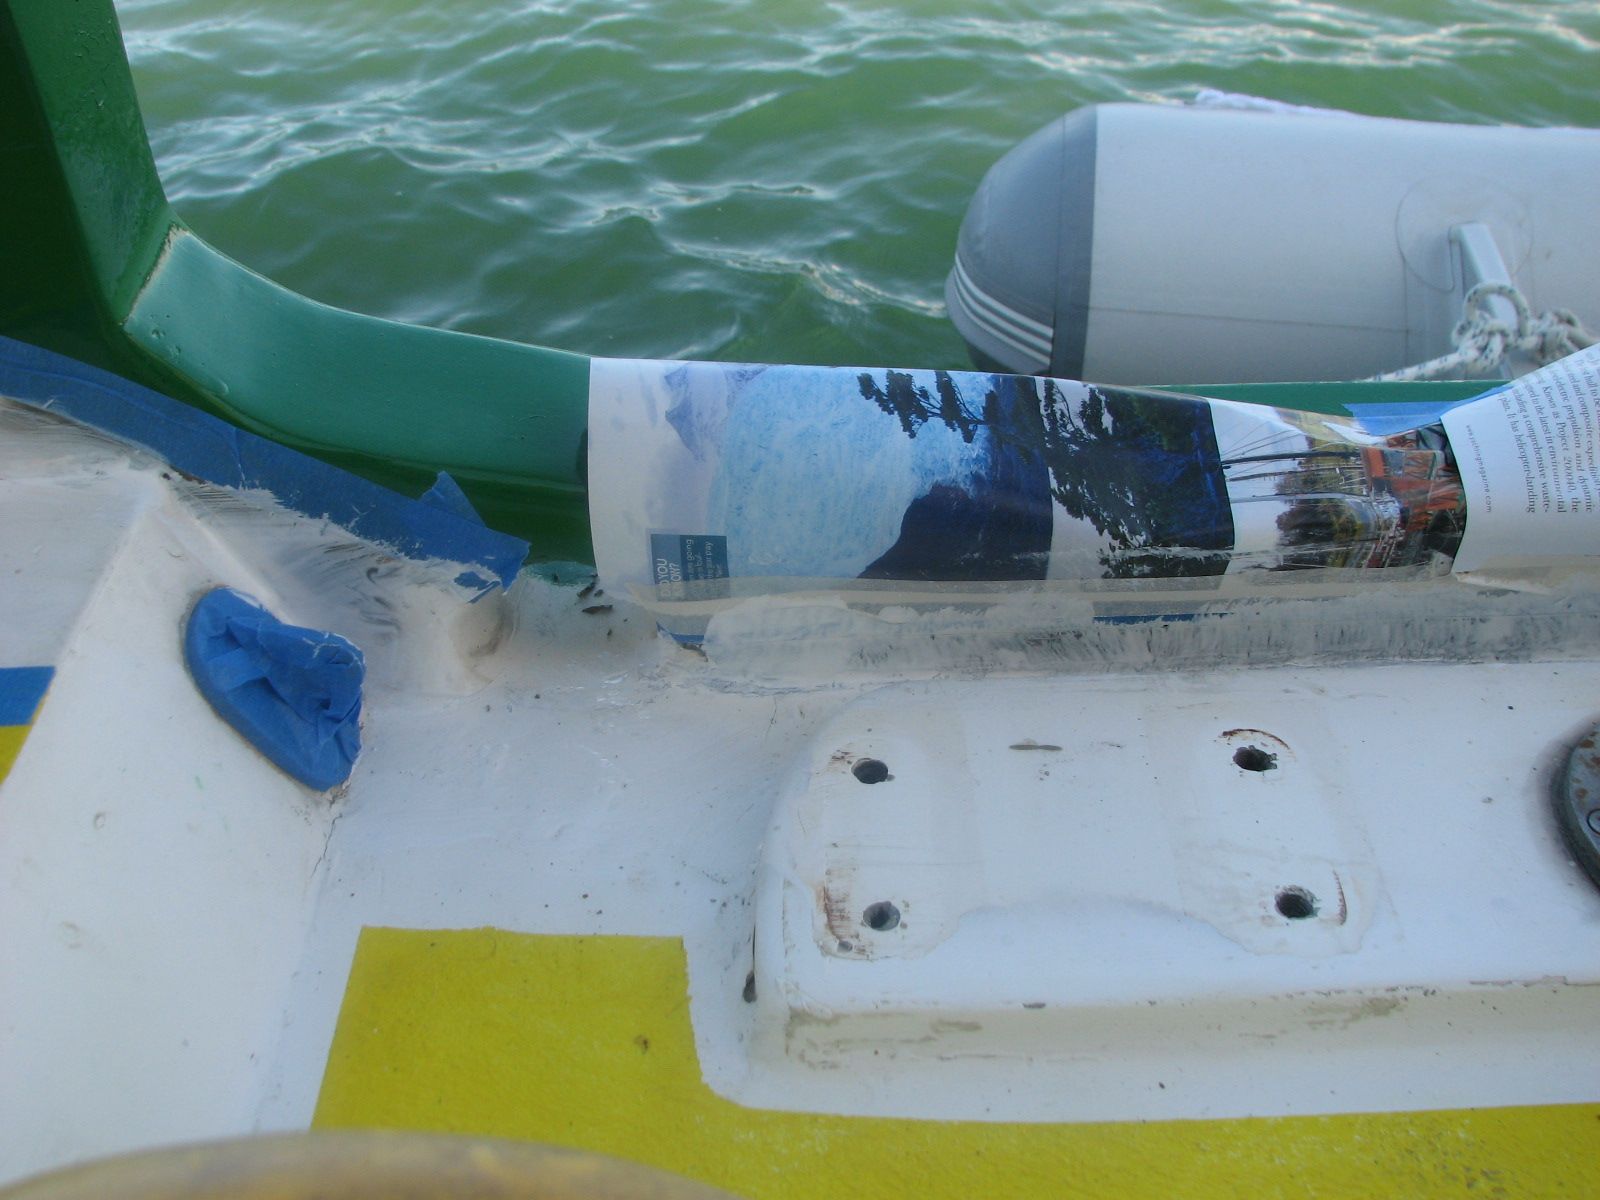
Bow Non-skid Gelcoat With Masking Tape Removed
Last year we had a problem where
sometimes when we rolled up the Genoa with the roller furling system,
it wrapped to tight, and we could not roll the sail completely in.
Today, I added seven extra revolutions of the line on the furling drum.
This should fix that problem.
Could not find any green quarts
of anti-fouling paint, so purchased a quart of blue anti-fouling paint
from a boater on the Rio. This is for the bottom of the tender. I also
purchased a 20 foot piece of 2 1/2" PVC pipe for bumpers on tender.
January 21, 2011, Friday.
Installed
genoa "T" track and the fair leads on the starboard forward cap rail.
Drilling And Tapping Bolt Holes For The Genoa "T" Track On Starboard
Side Forward Cap Rail
Captain Working On The Starboard Cap Rail Genoa "T" Track
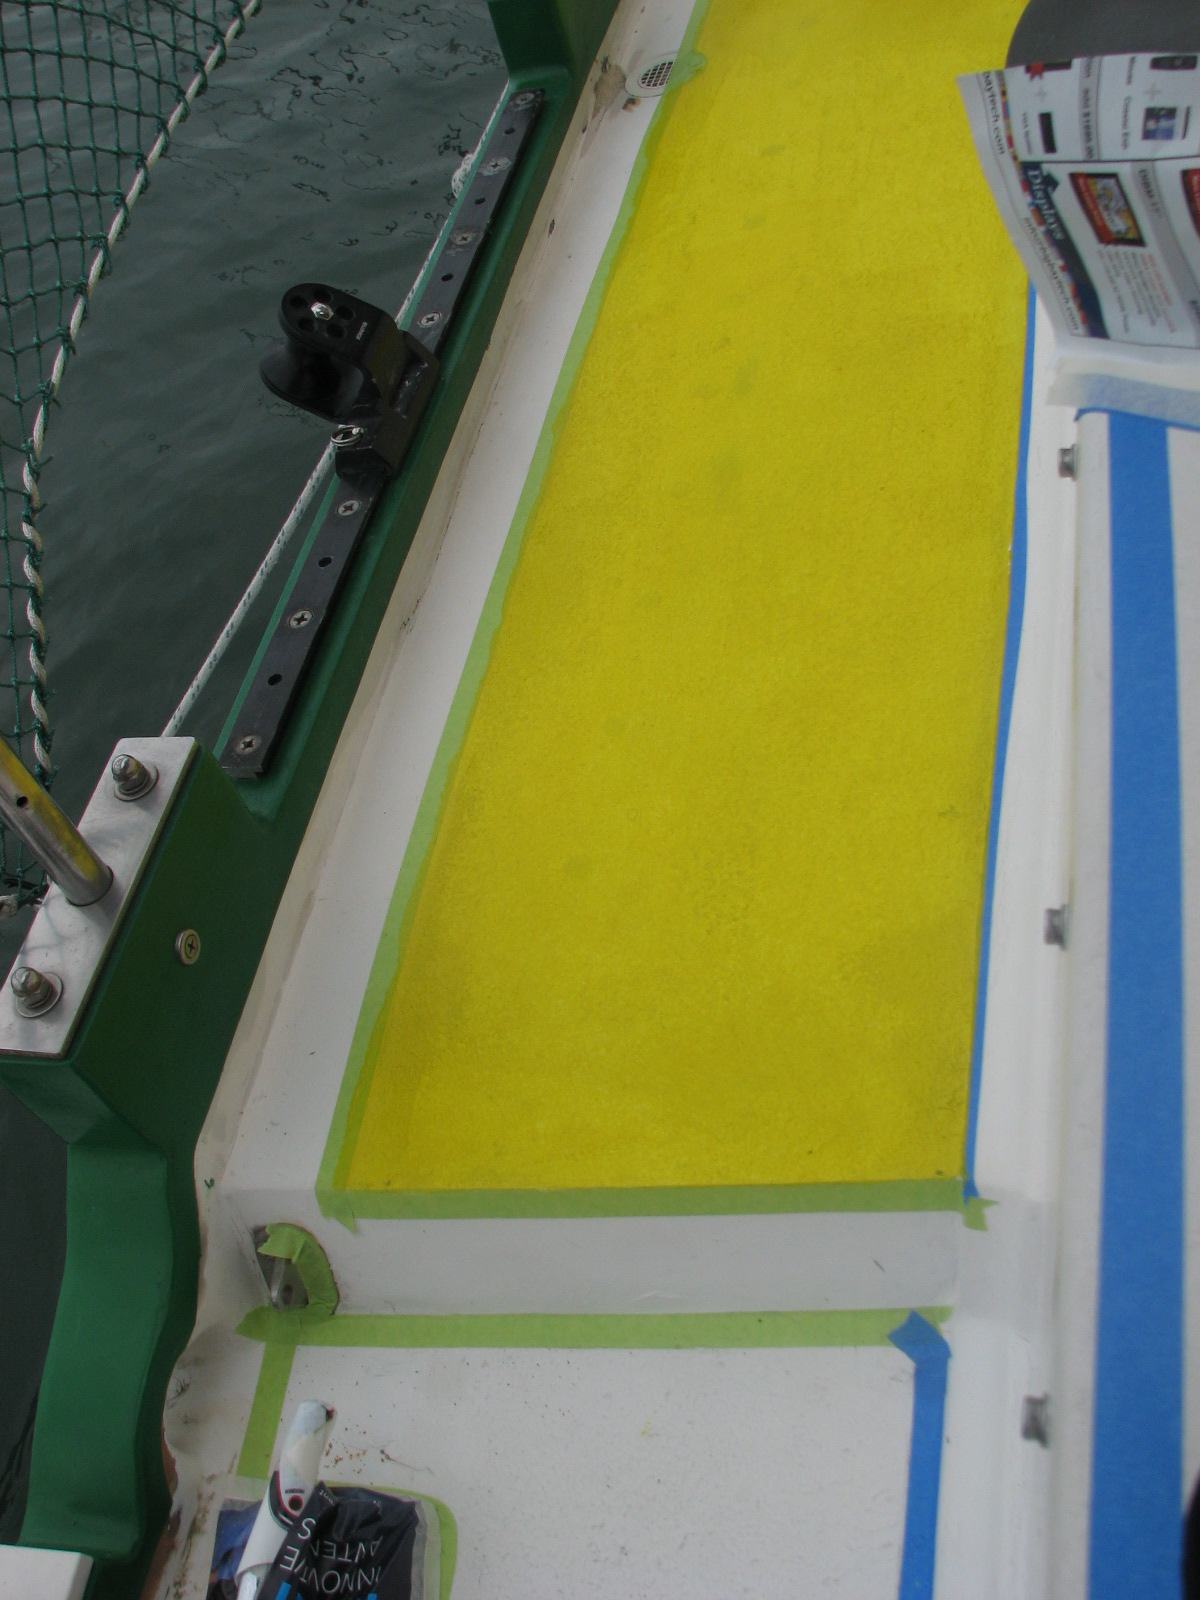
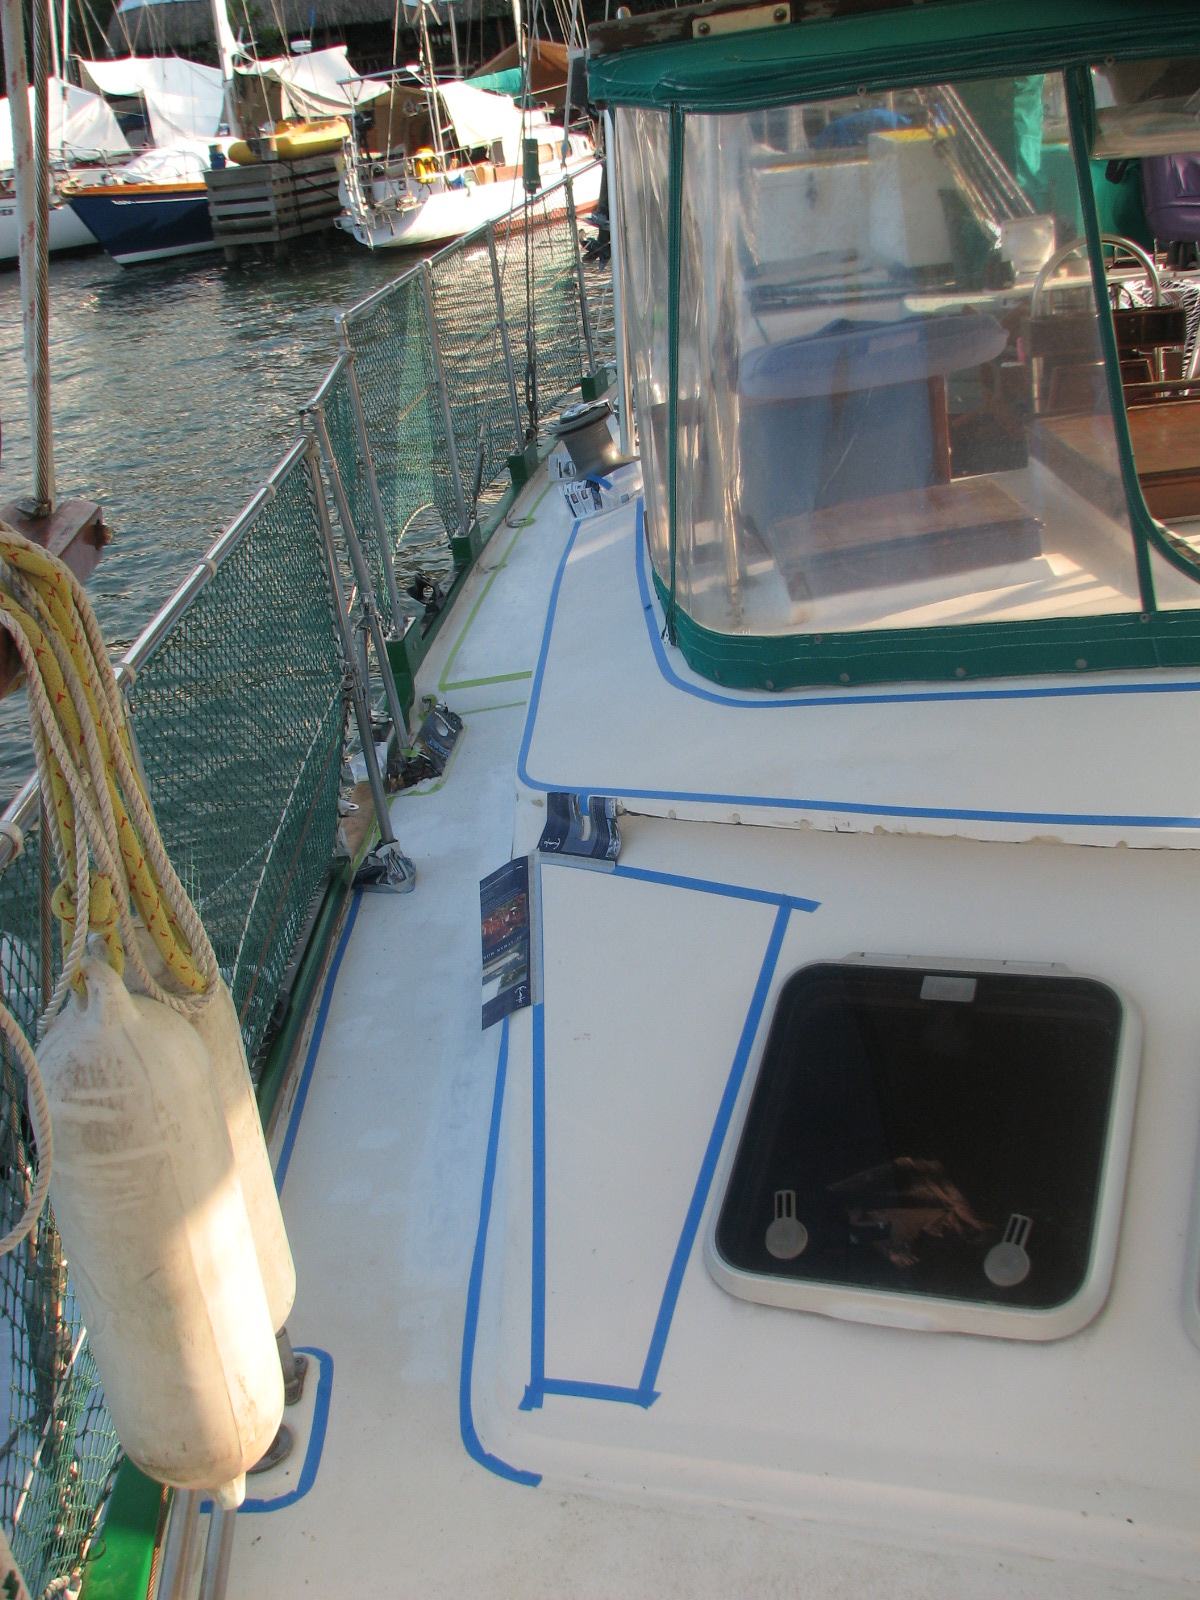
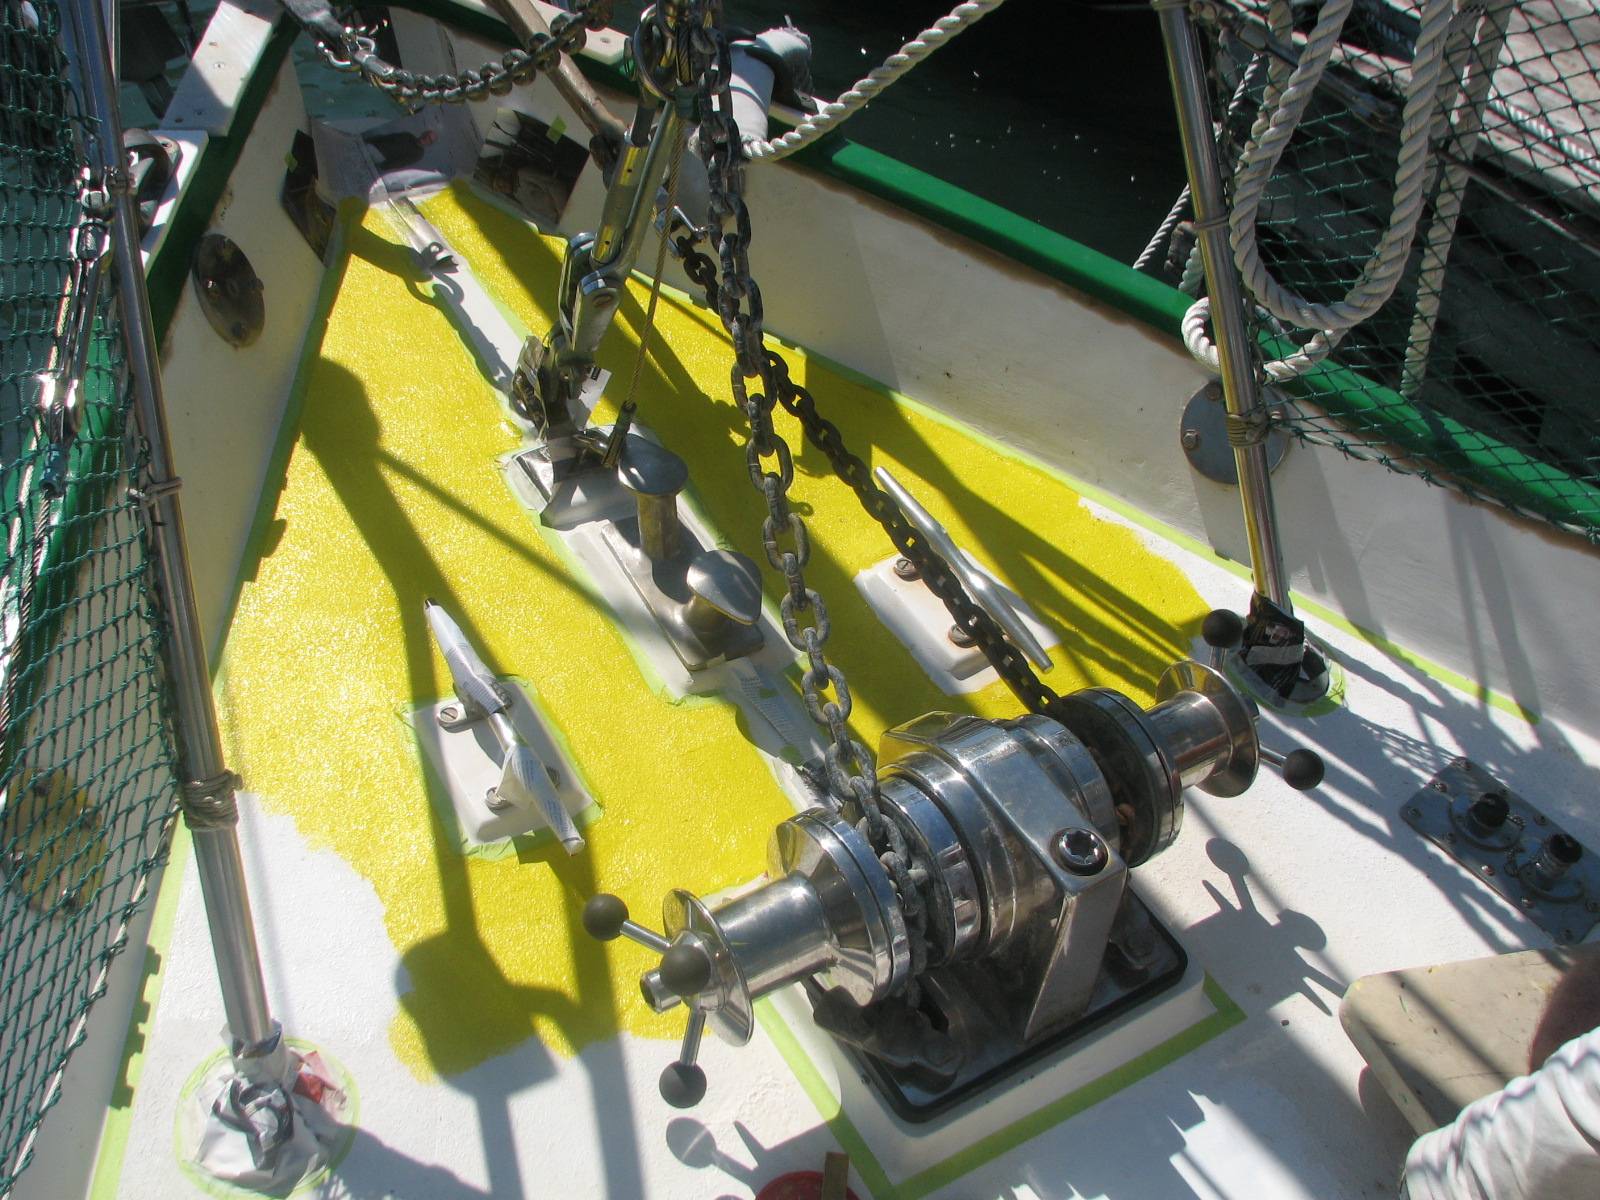
Masked off starboard deck just
outside the cockpit, starboard cockpit eyebrow and a portion of the bow
deck area getting ready to apply the non-skid gelcoat.
Starboard Deck And Eyebrow Masked-off In Preparation For Application Of
Non-skid Gelcoat
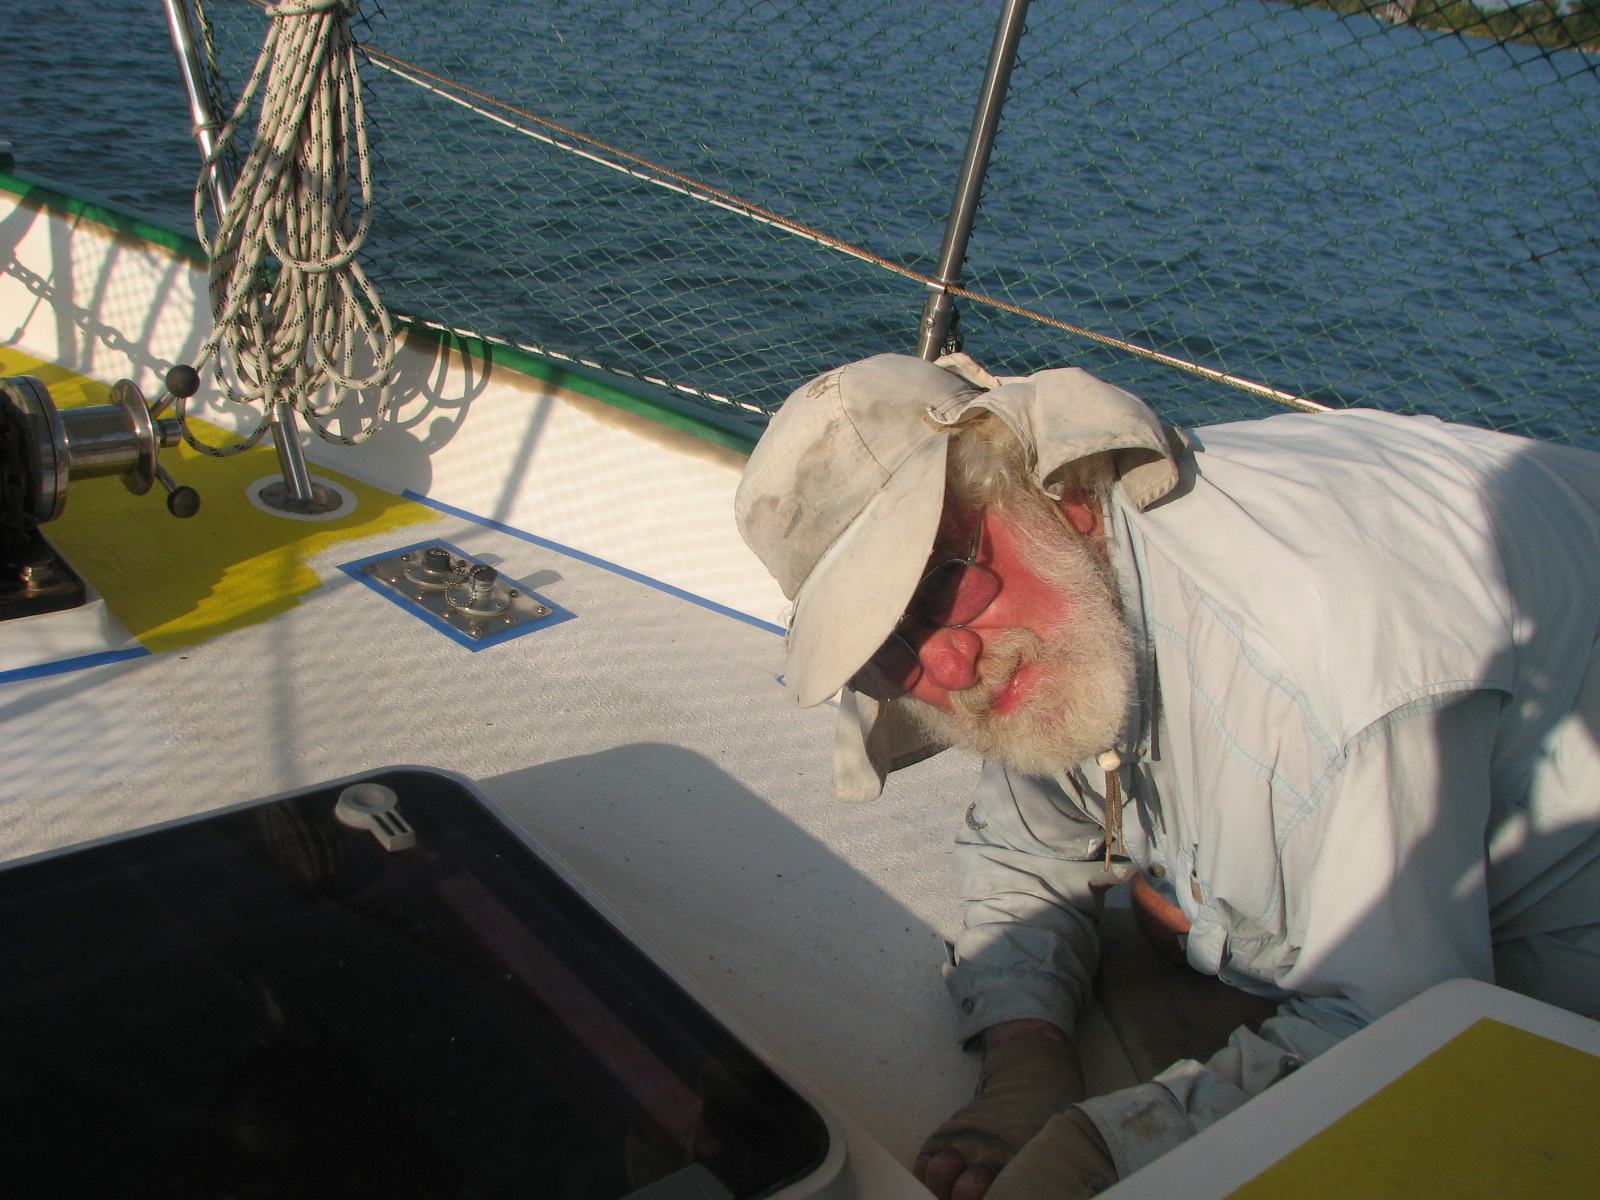
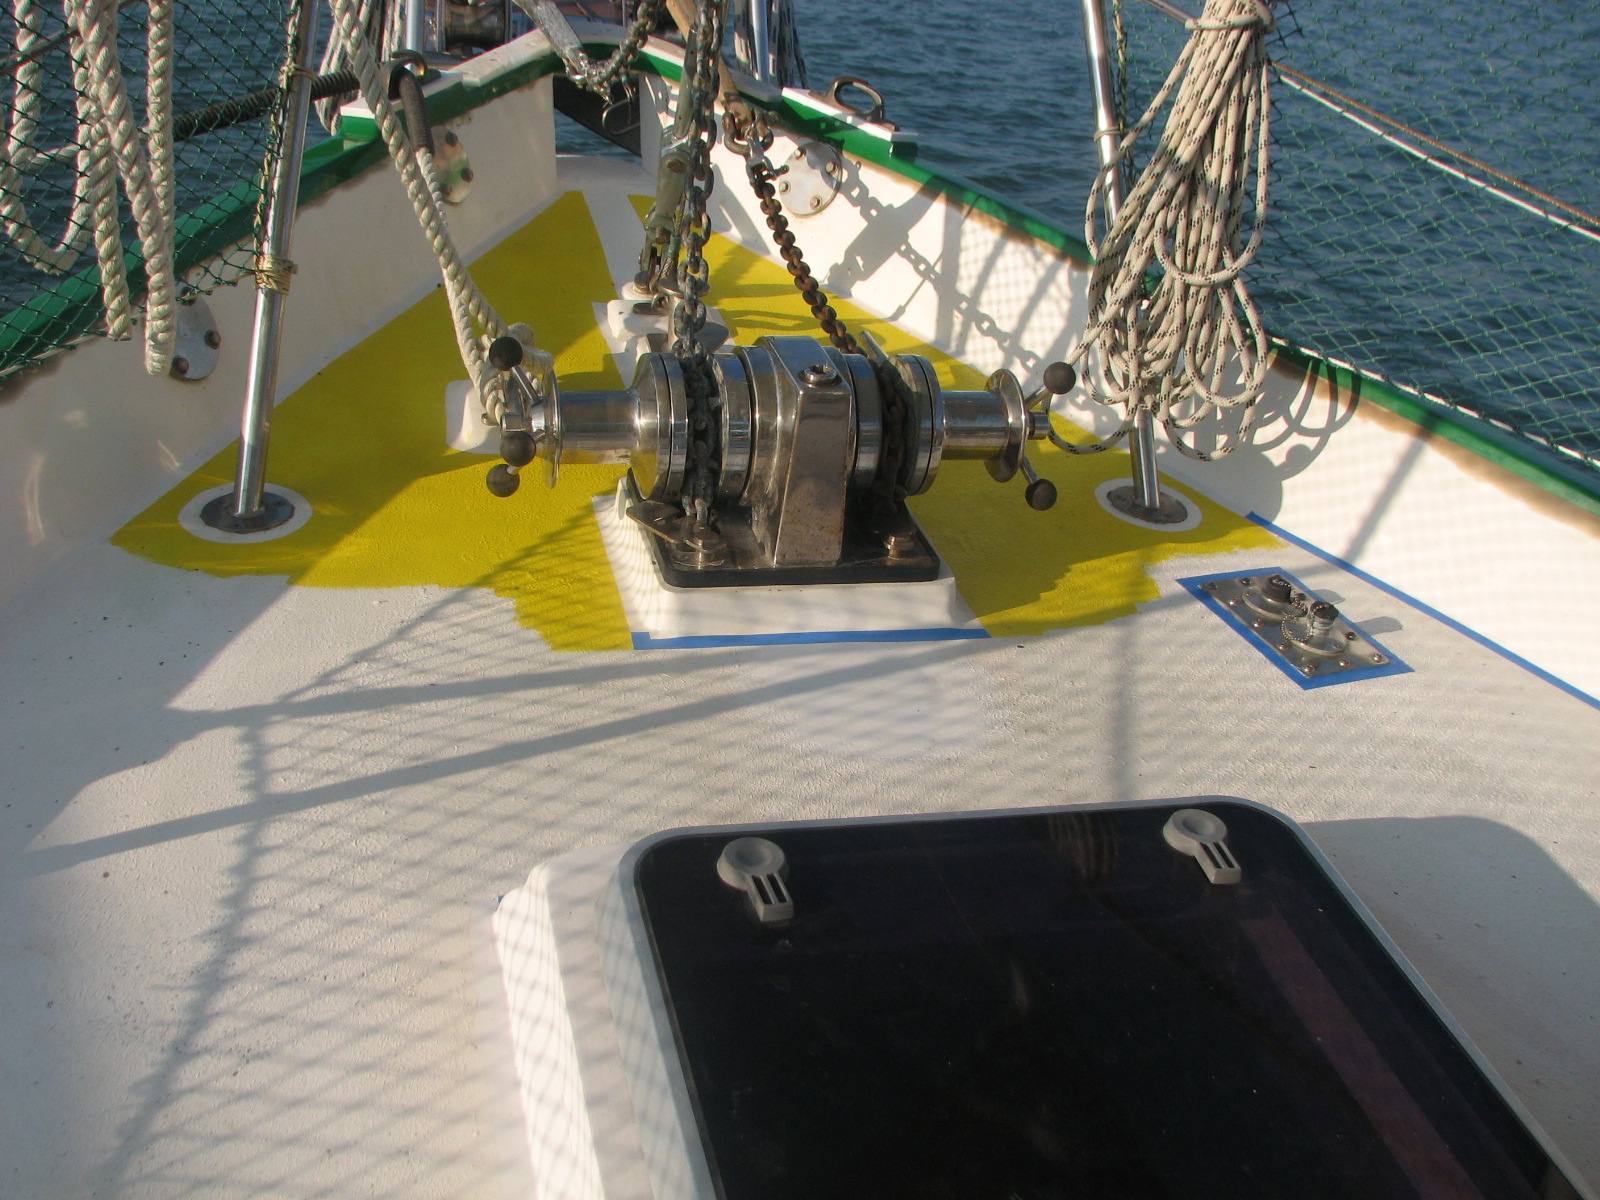
Captain Applying Masking Tape On Bow Of Dream Away
Bow Of Dream Away Masked-off
January 20, 2011, Thursday.
Early
this morning we turned Dream Away around. I had to finish installing
some of the hardware on the cap rail on the Starboard side, plus we get
better breezes into the boat because of the prevailing wind.
I had to go into town to do some
shopping. While I was gone, Efrain cleaned the starboard side hull,
which is now away from the dock. The whole hull from the waterline to
the shear stripe has been washed and cleaned. It looks really good to
start on this years cruise.
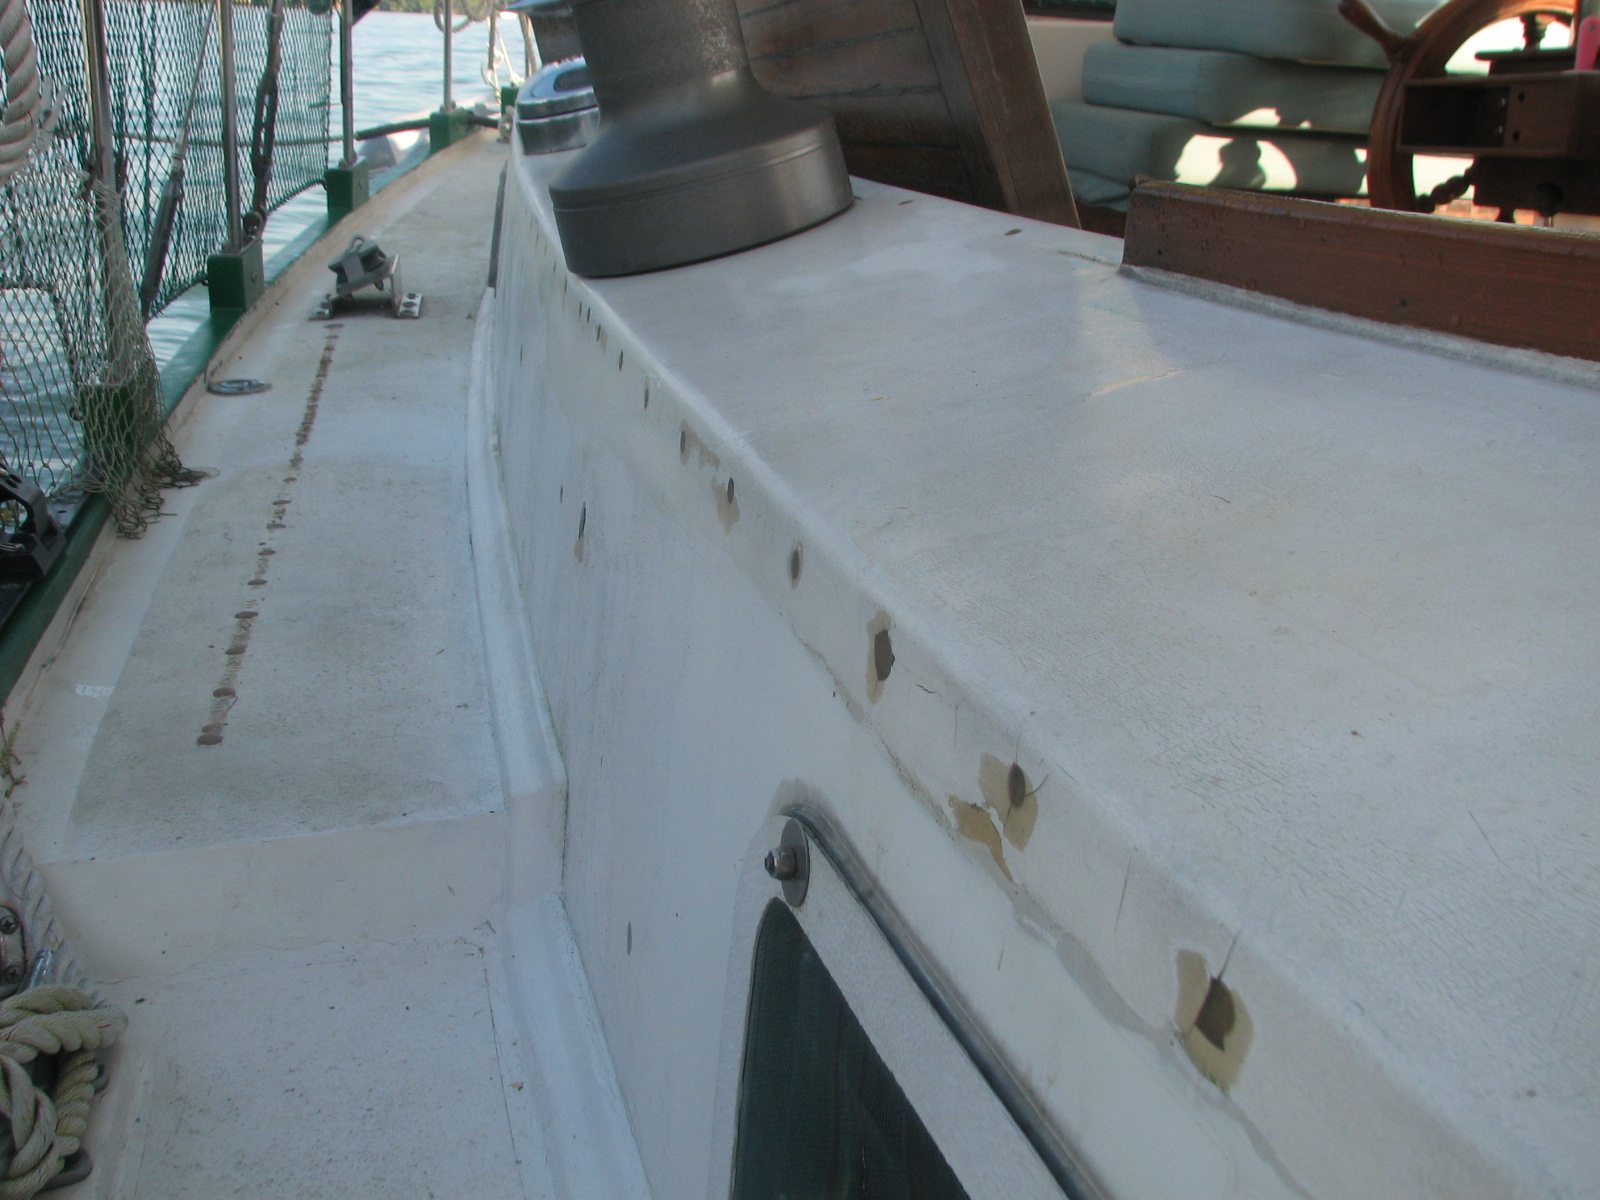
I sanded the deck on the
starboard side deck just outside the cockpit, and the starboard side
eyebrow in preparation for gelcoat and non-skid gelcoat application. I
then painted on white gelcoat to cover most of the blemishes on the
eyebrow and the deck just outside the cockpit.
I went back to the shop and
scraped all opf the Yamaha insignia off of my outboard cover. I then
sanded the cover and painted the cover with white two part paint. I do
this to hide the fact that I have a Yamaha engine. Pretty much outside
the US, Yamaha is the outboard of choice. I have made threats that when
I get back to the US, I am going to purchase Honda Outboard stickers
and put them on my outboard cover. Down here no one steals a Honda
outboard, because they have such a bad reputation.
Last item for the day was to cut
all the 5/16" flat head bolts I am going to use to attach the genoa "T"
track to the starboard forward cap rail. I had 4" and 4 1/2" bolts and
only needed 2 1/2" bolts. I had to cut 15 bolts.
January 19, 2011, Wednesday.
Since
I had the outboard off of the tender and hanging up in the shop, I
decided to give it a servicing. Took the fuel filter apart and cleaned
the filter and housing, and re-installed the fuel filter. Drained the
carburetor, and did not see any water or foreign material in the fuel
that was drained. Removed the spark plugs, cleaned them and reinstalled
them. Pumped grease into the one zerc fitting on the motor, and then
wiped grease on all of the stainless steel parts that are attached or
screwed into the aluminum housing.
I then bent the tender bow rails
back to as close as they were before our anchor dragging incident in
Roatan. I then drilled the necessary holes in the newly applied
fiberglass backing plates on the tender for the tender bow rails. I
installed the tender rails, adjusted their shape
a bit and they went right on.
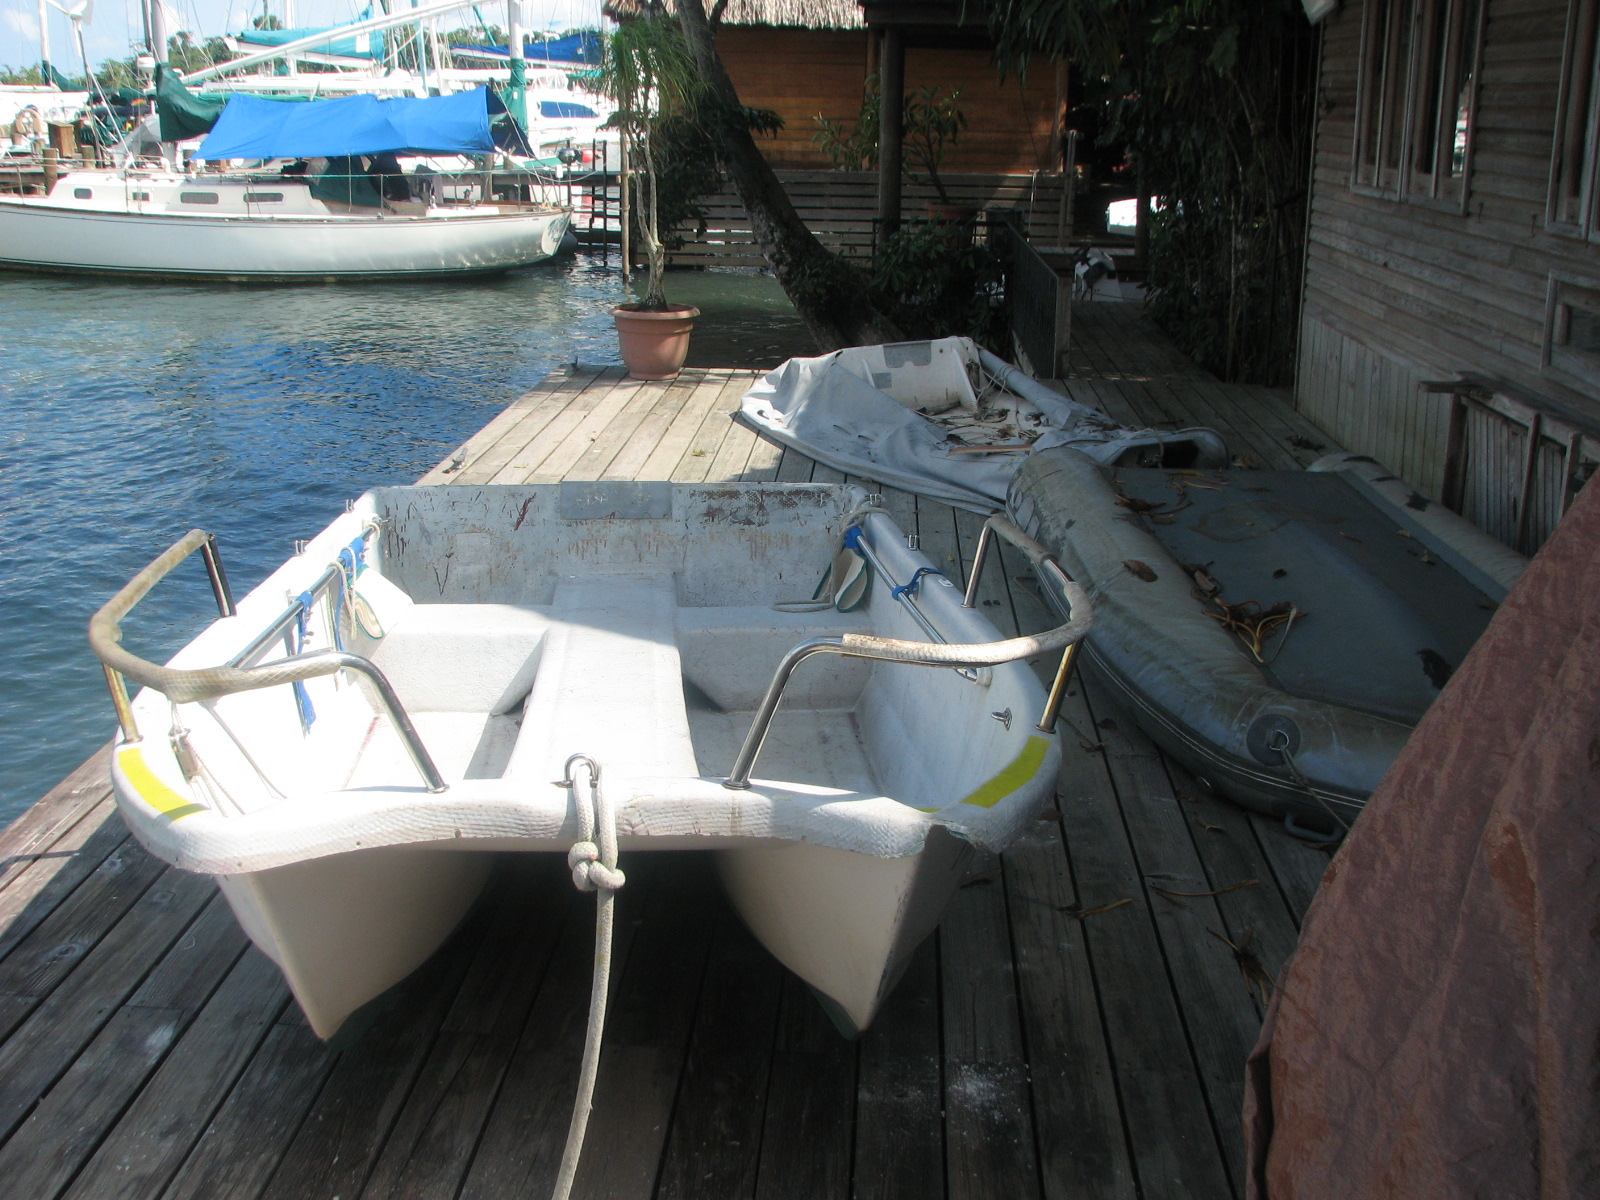
Rails Laying Beside Tender Before Intsallation
Newly Bent Bow Rails Re-Installed on Tender
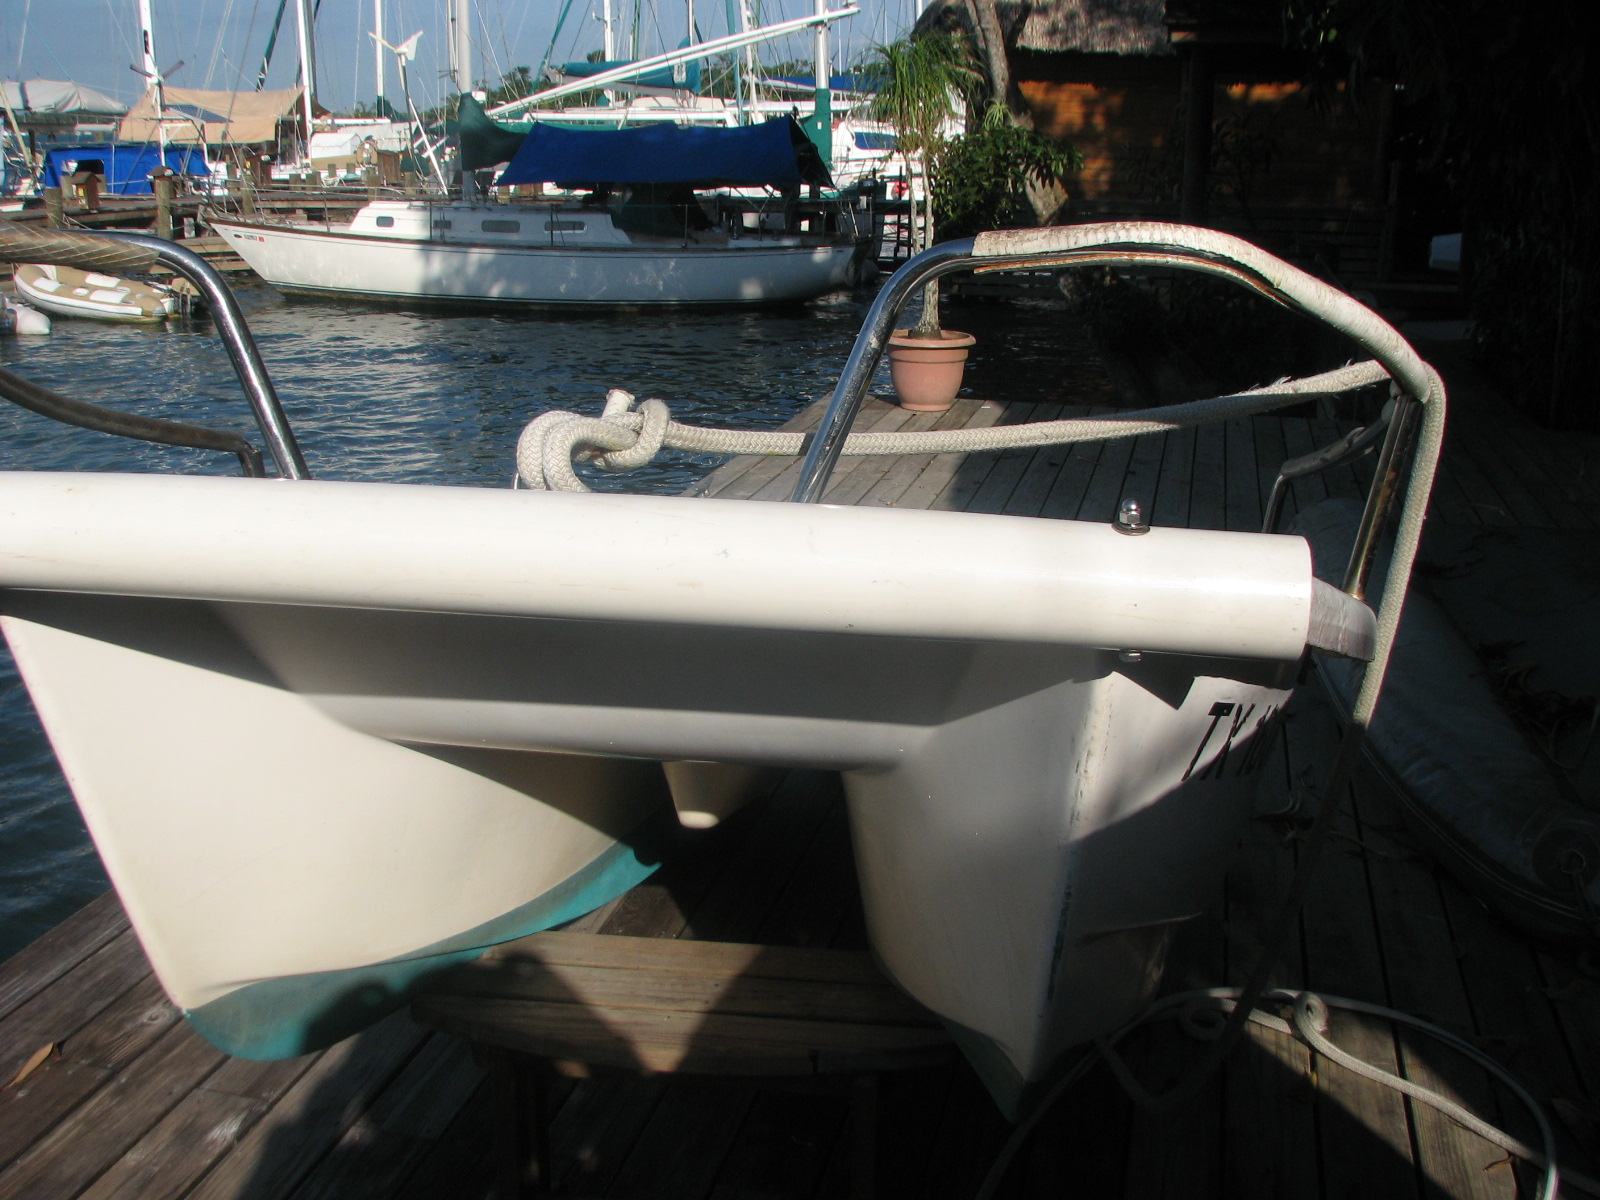
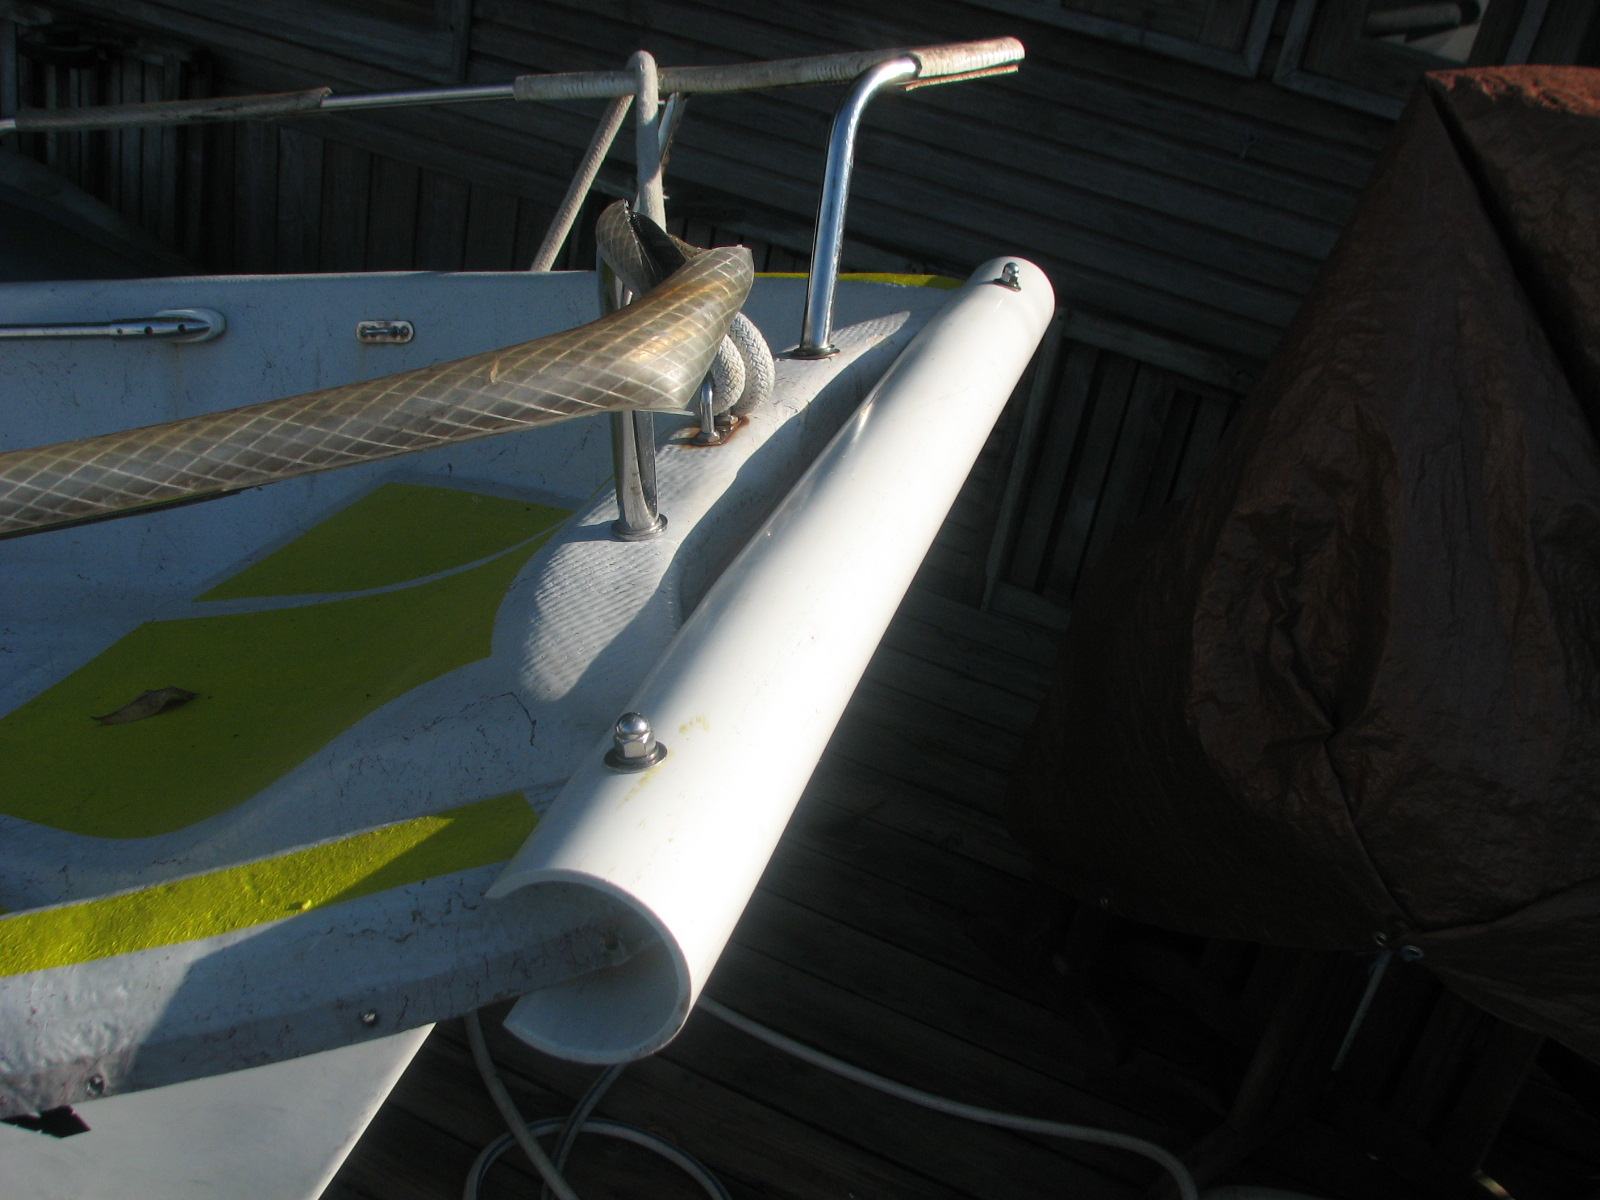
Designed and fitted a bumper for
the bow of the tender from 3 1/2 inch PVC pipe.
The old system of a fender just did not protect the bow of the tender.
As you can see from the photo above there is already a chunk out of the
port side bow. This new system should protect the bow. Time will tell.
I also plan to purchase a piece of 2 1/2 inch PVC pipe and use it to
protect the sides of the tender. I also installed a new security wire
to lock the tender up when we leave it at a dock. The new wire is 1/4
inch 7 X19 wire.
Front View Of Newly Installed Tender Bumper
New Tender Forward Bumper Viewed From Starboard Side
Luis helper, from Progresso
Upholstery, finished the installation of the snaps on navigation
station chair. This completes all of the work done on new fabric covers
for the main salon.
I did some repairs on the tender
bimini. I had to drill out some rivets, and then use a tap to put
threads in the holes, and then install 1/4 X 20 X 1/2 pan head bolts to
hold the pieces together. While I had all of the tools out, I also
drilled and tapped a hole on the starboard life rail on Dream Away.
When I was doing all of the work on the cap rail, I noticed a joint in
the life rail that did not have a proper bolt in it. This problem was
fixed!
Efrain cleaned hull on port side
and stern.
January 18, 2011, Tuesday.
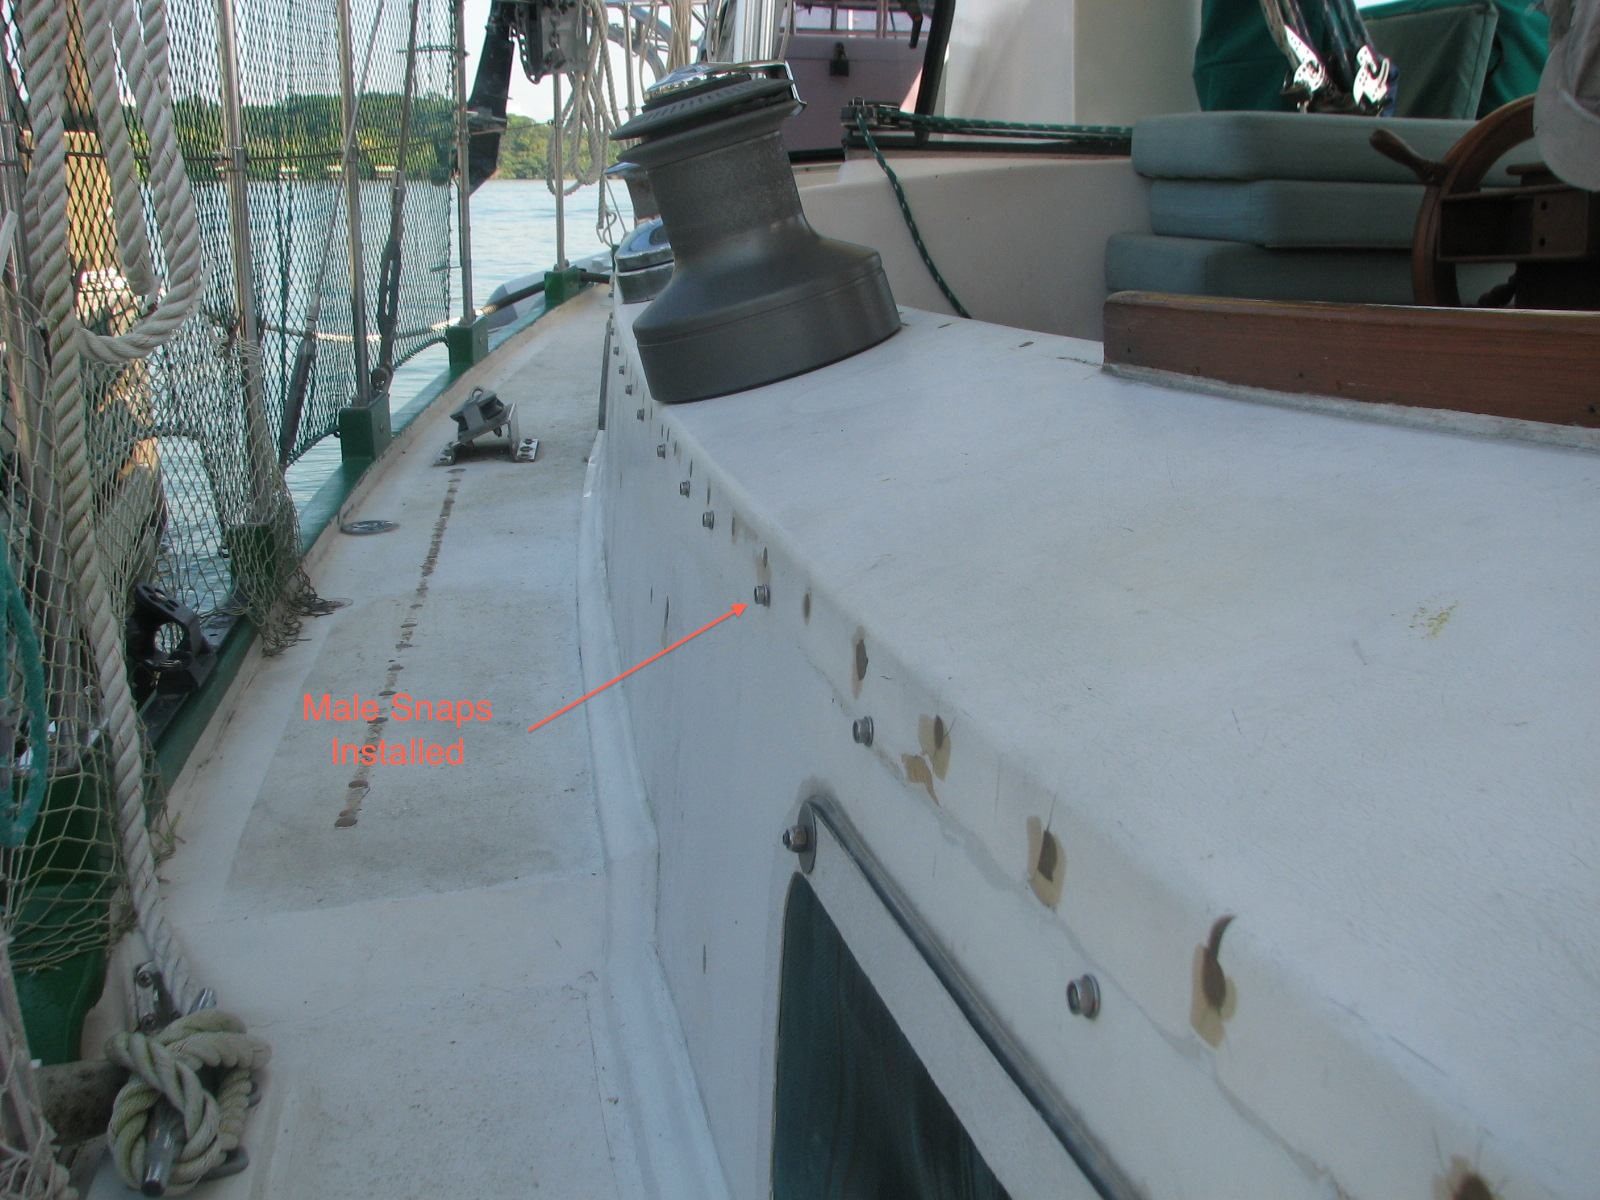
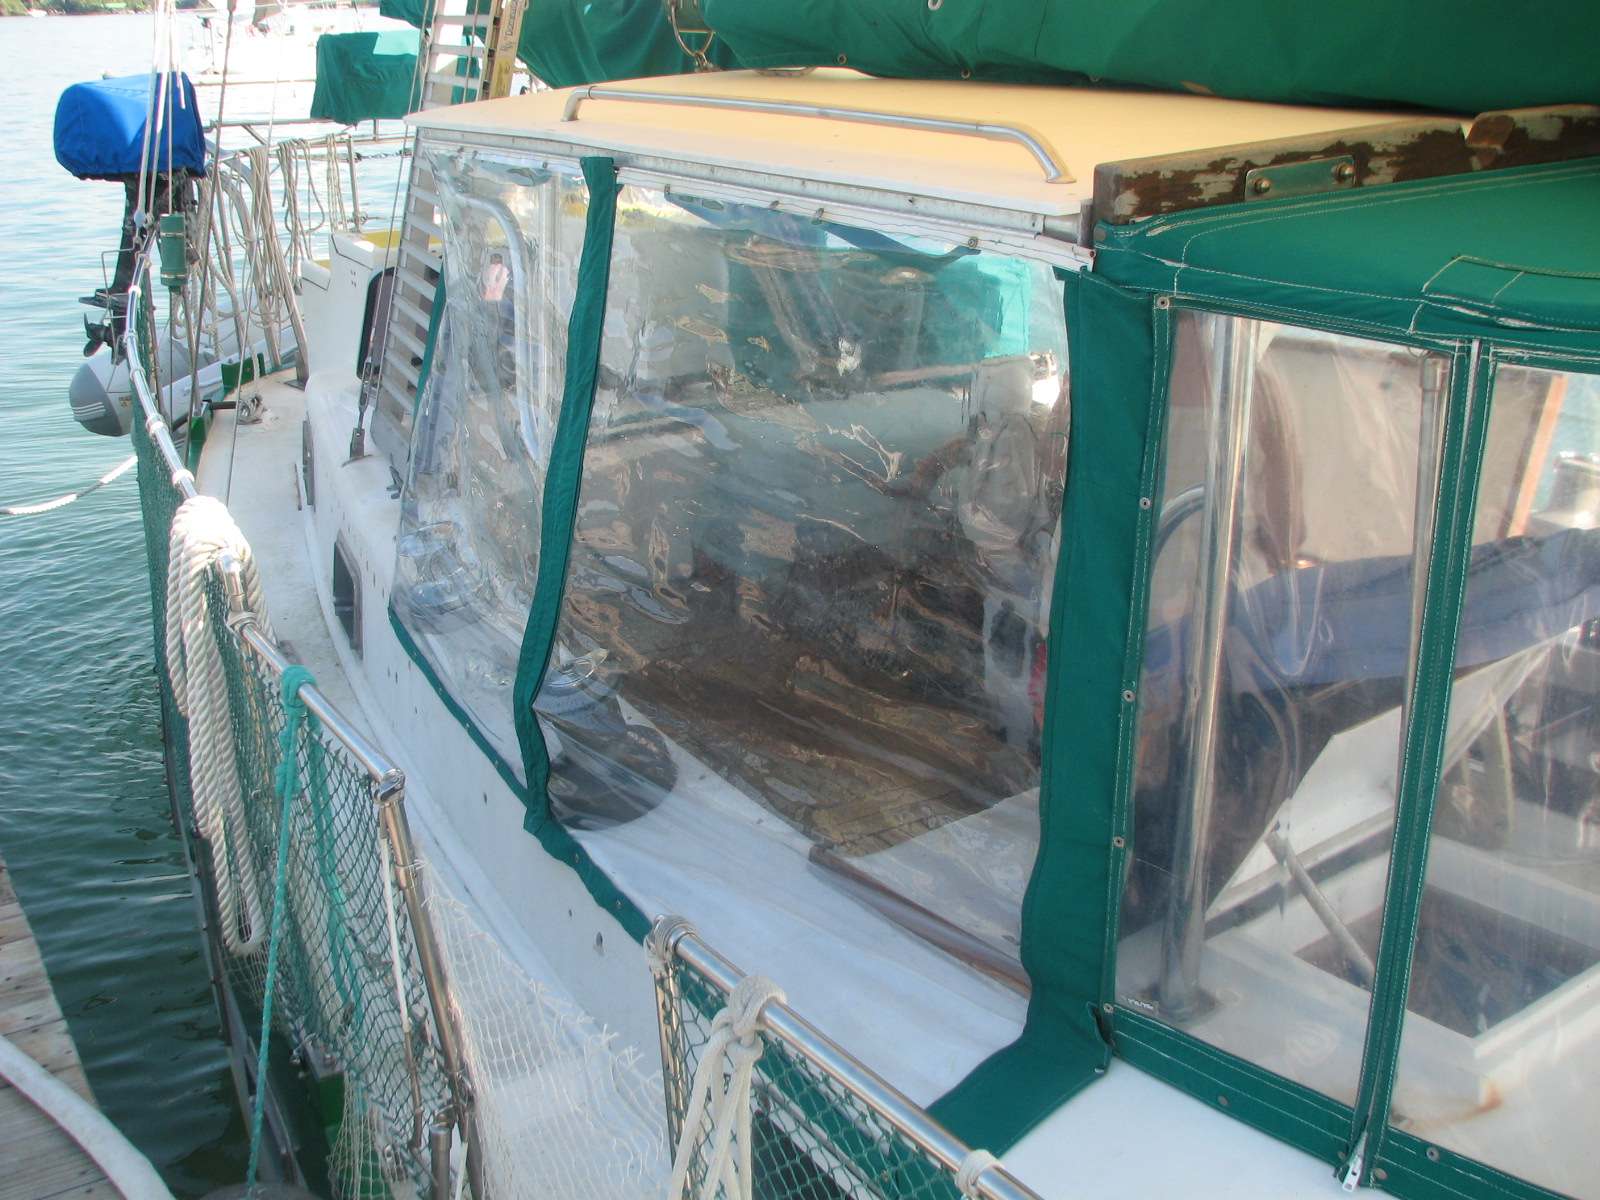
While waiting for the dew to dry, Kitty and I installed the plastic
enclosures on the starboard side that Luis had modified to fit better.
Luis had installed the female side of the snaps at the bottom of the
enclosures. Kitty and I installed the male end of the snaps on the side
of the cockpit. We are now ready for rainy or heavy weather on the
starboard and the port side. We then removed the starboard side
enclosures, rolled them up and put then in the forward cabin storage
area. I then removed each of the male snaps on the port and starboard
side of the cockpit, applied a coat of Life
Seal on each snap, and re-installed the snaps.
Starboard Side Of Cockpit With No Snaps Installed
Starboard Side Of Cockpit With Male Snaps Installed
Starboard Cockpit Enclosures Installed
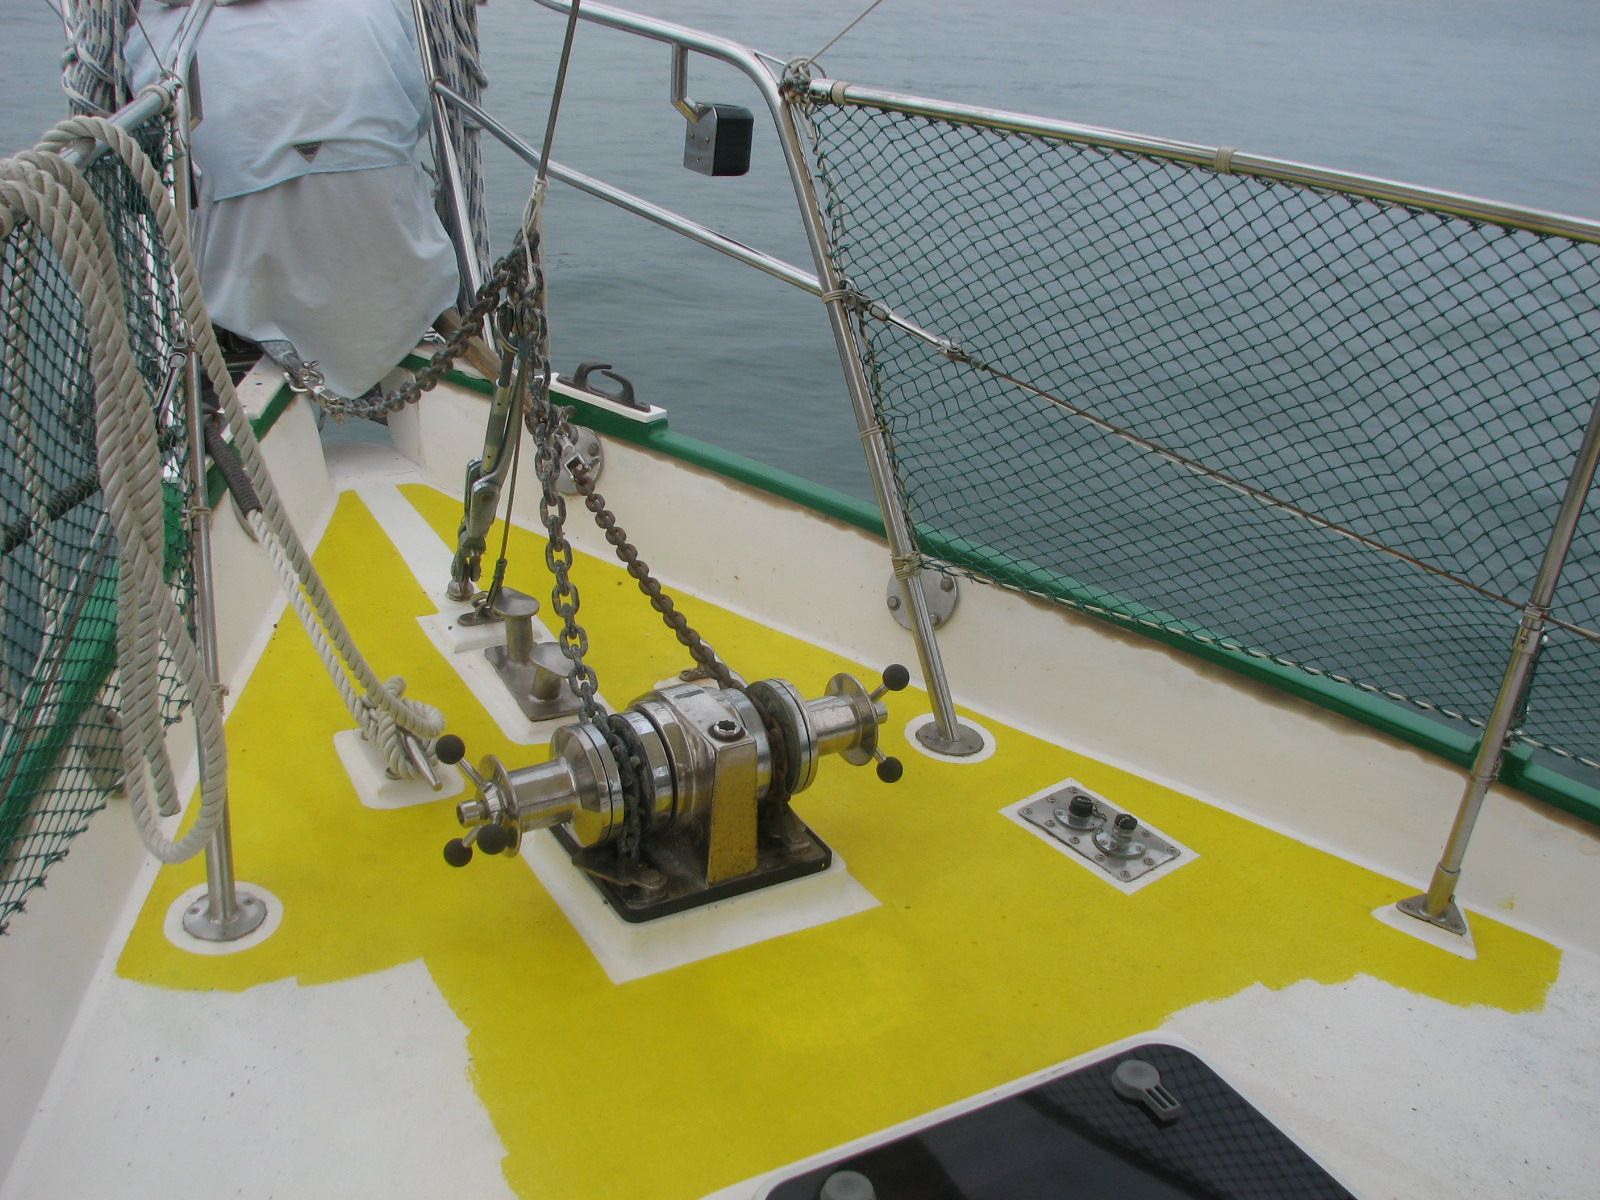
Next I went to the
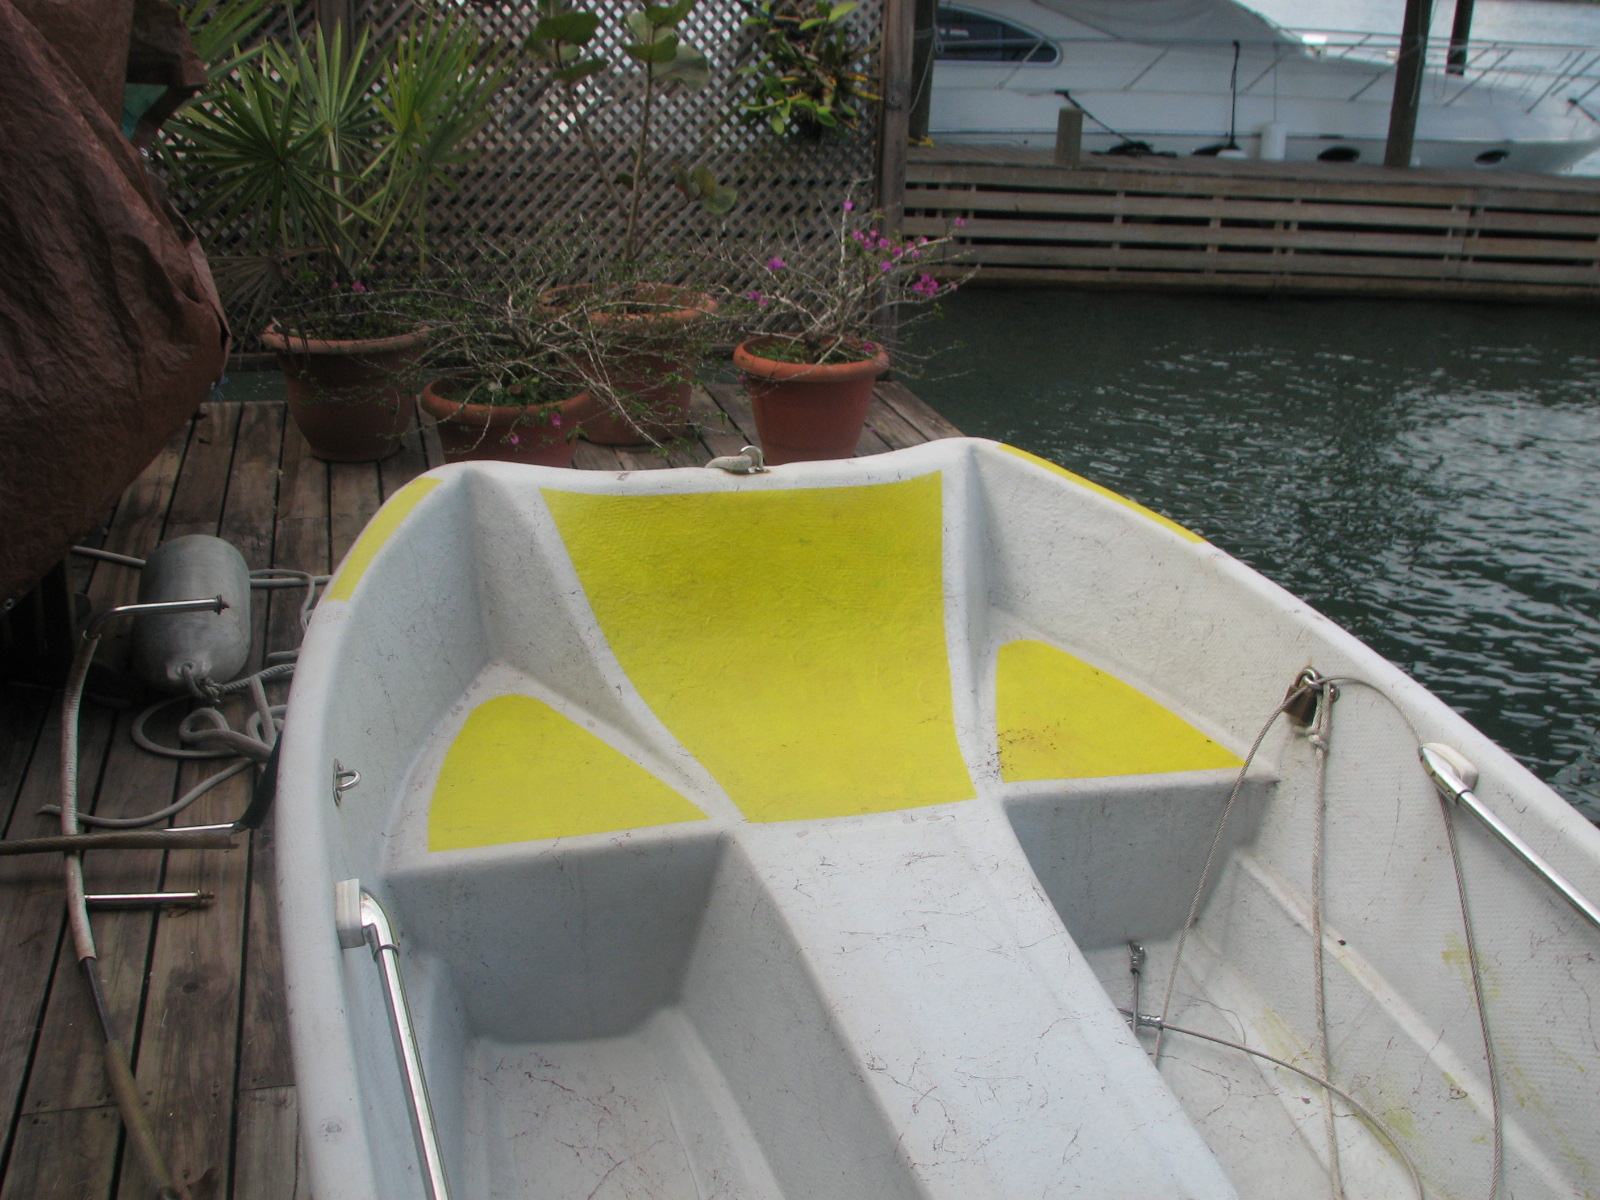
shop and mixed up a 5 ounce pot of non-skid gelcoat. I applied the
non-skid gelcoat to the front of the tender, and used the remainder of
the pot and applied it to the bow area of Dream Away. Got the
non-skid gelcoat all applied, then went back and removed all of the
masking tape. I then turned over the tender
Non-Skid Gelcoat On front Of Tender
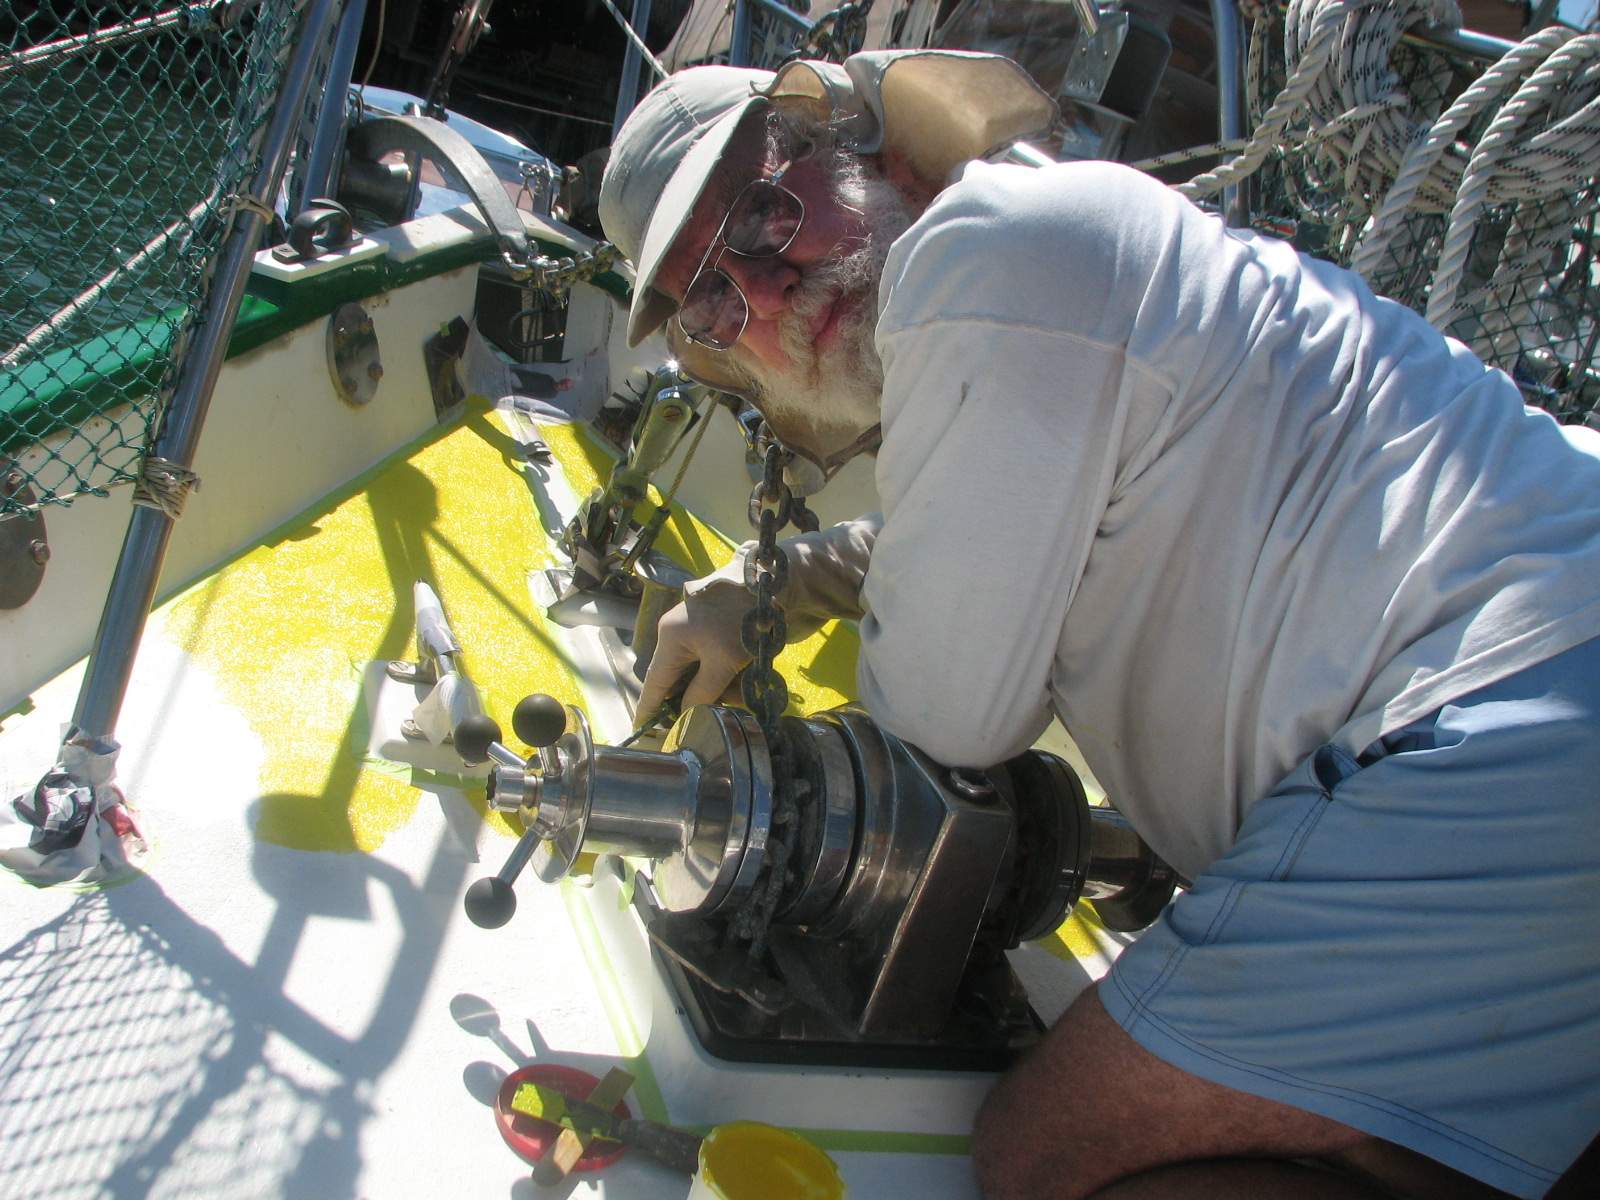
Captain Rolling On Non Skid Gelcoat On Bow Of Dream Away
Bow Of Dream Away Mostly Done
Yesterday I had installed masking
tape dams around the areas on the tender where the hand rails are
installed on the tender. It was very difficult to cut and install
backing plates under where the hand rails come through the side of the
tender, so I decided to apply fiberglass and resin, and basically
install a permanent backing plate. The masking tape dams allowed this
to happen. I cut seven pieces of fiberglass for each backing plate. I
then mixed a pot of resin, added catalyst, and went to work. I got all
of the backing plates made, and the tender turned right side up.
January 17, 2011, Monday.
Removed
Yamaha outboard from tender,
removed tender bimini, and removed all loose items from tender. Friend
Paul and I pulled the tender out of water and up onto the front porch
of the owners house to do some repairs and maintenance. Brought the
hoses from Dream Away over to the porch and washed off the bottom of
tender. After seven months of being in the Rio Dulce, the bottom and
sides were pretty filthy with slime and sludge. It was also obvious I
need to raise the waterline at the back of the tender, as the slime and
sludge was about two inches above the present waterline.
One of the maintenance projects
on the tender was to roll on the non-skid gelcoat. Last year I had
applied some non-skid tape on the front of the tender so we would not
slip while getting into and out of the tender. This tape worked for a
while, but the sun did it's thing, and the tape started coming off of
the front of the tender. I pulled off all of the remaining tape and
cleaned off the remaining adhesive. I then sanded down the area, and
wiped it all down with acetone. I then masked off the areas on the
front of the tender for the gelcoat non-skid. I also masked off the bow
of Dream Away in case I had too much gelcoat mixed up and needed a
place to roll it on. The plan is to completely roll on the yellow
non-skid gelcoat on the deck of Dream Away.
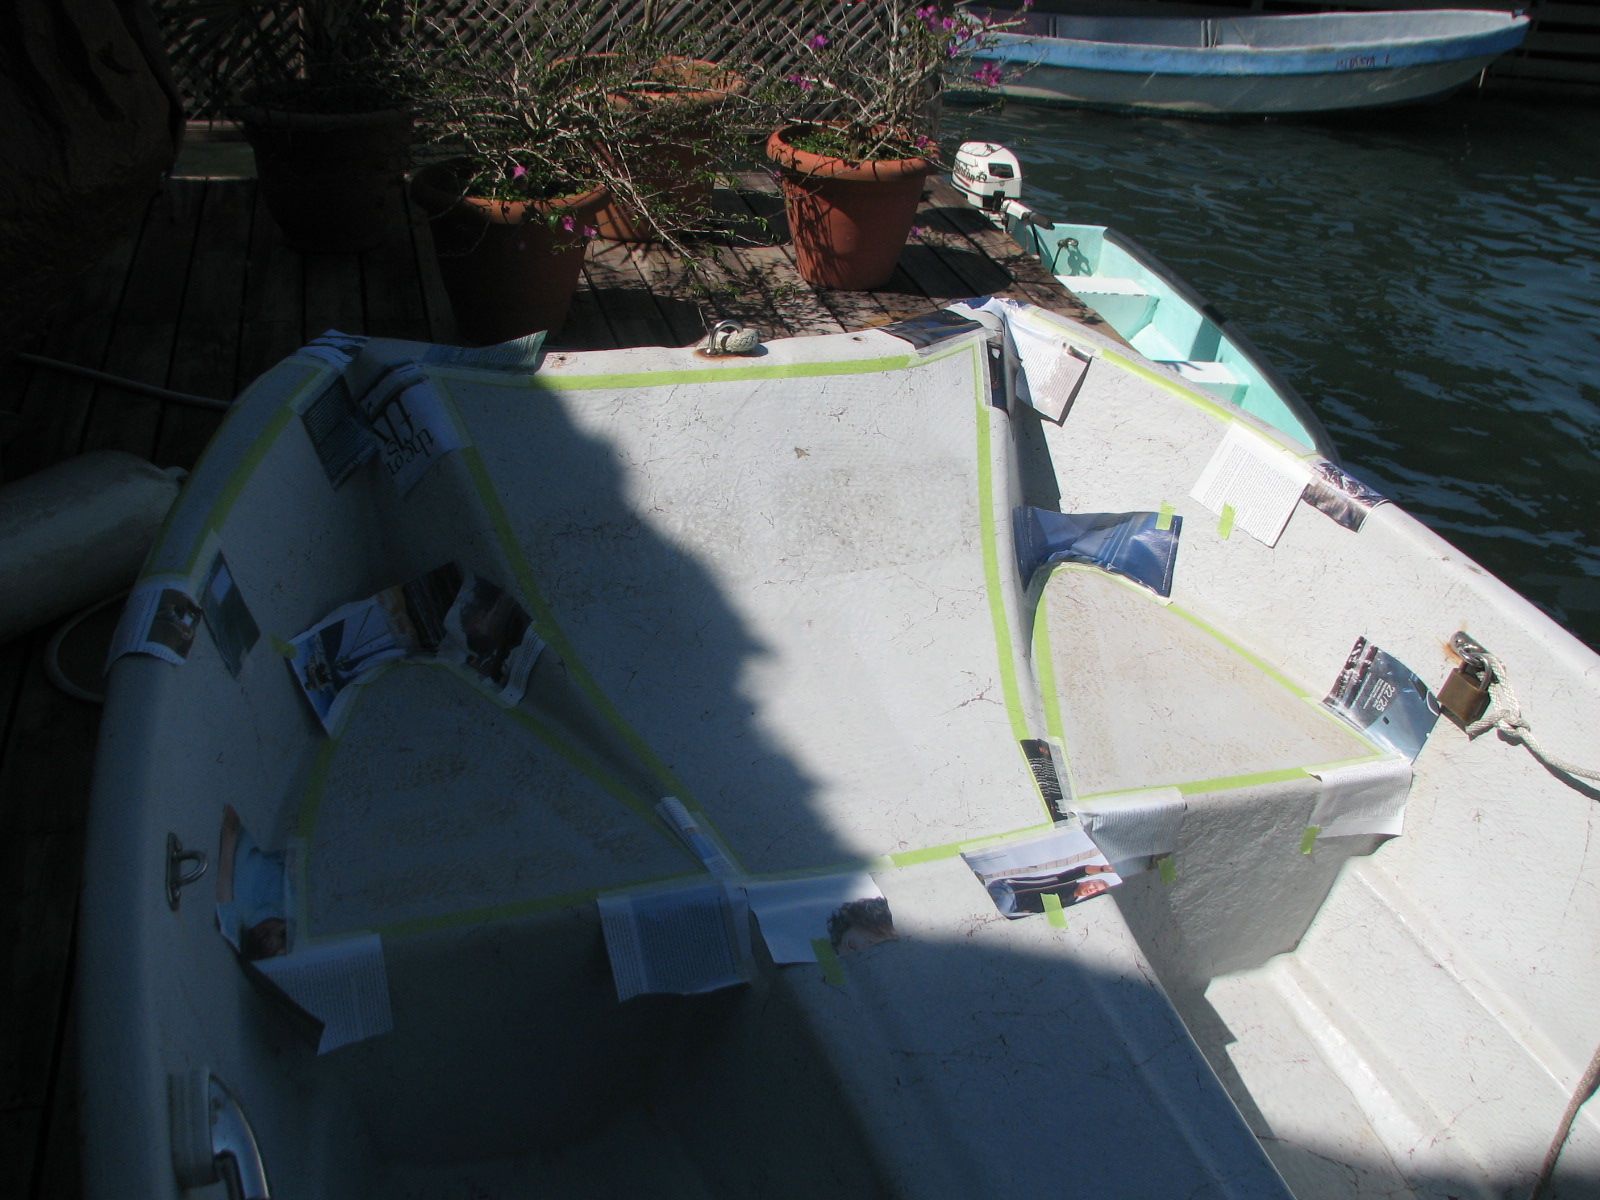
Dream Away Bow Masked Off To Roll On Non-Skid Gelcoat
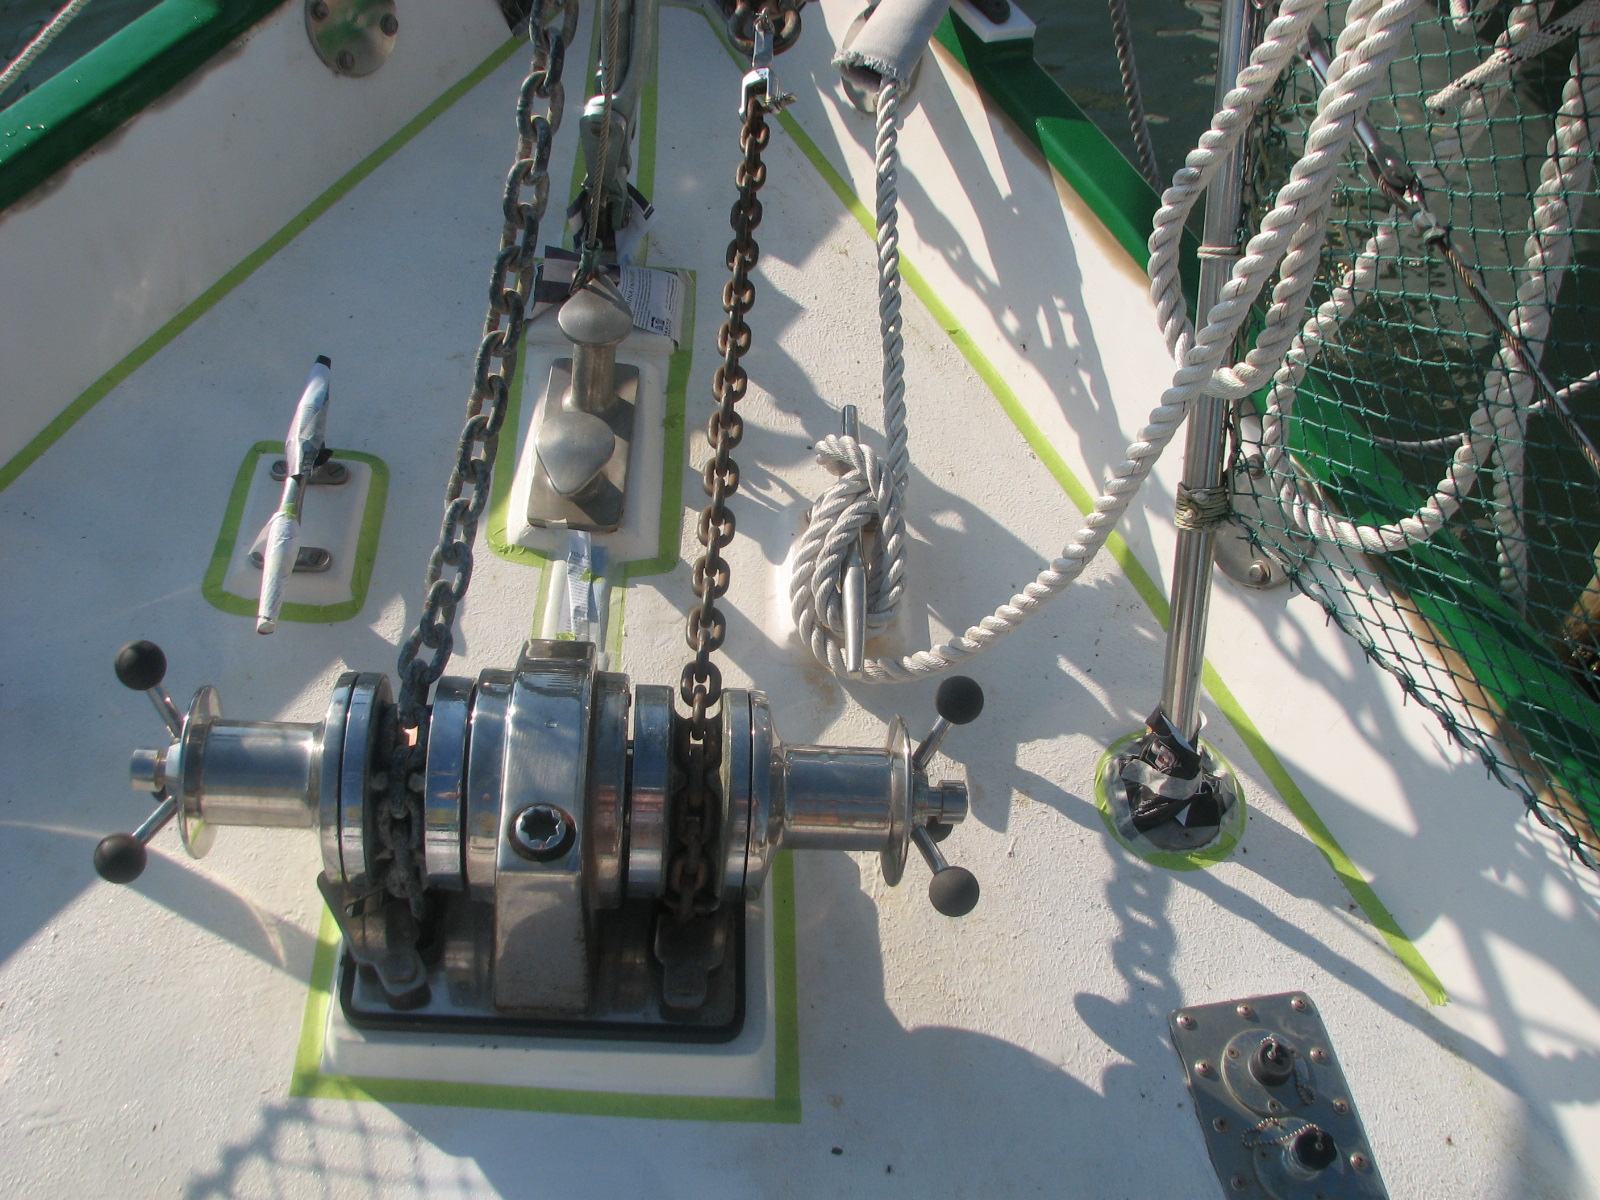
Tender With Masked Off Area For Non Skid Gelcoat
January 16, 2011, Sunday.
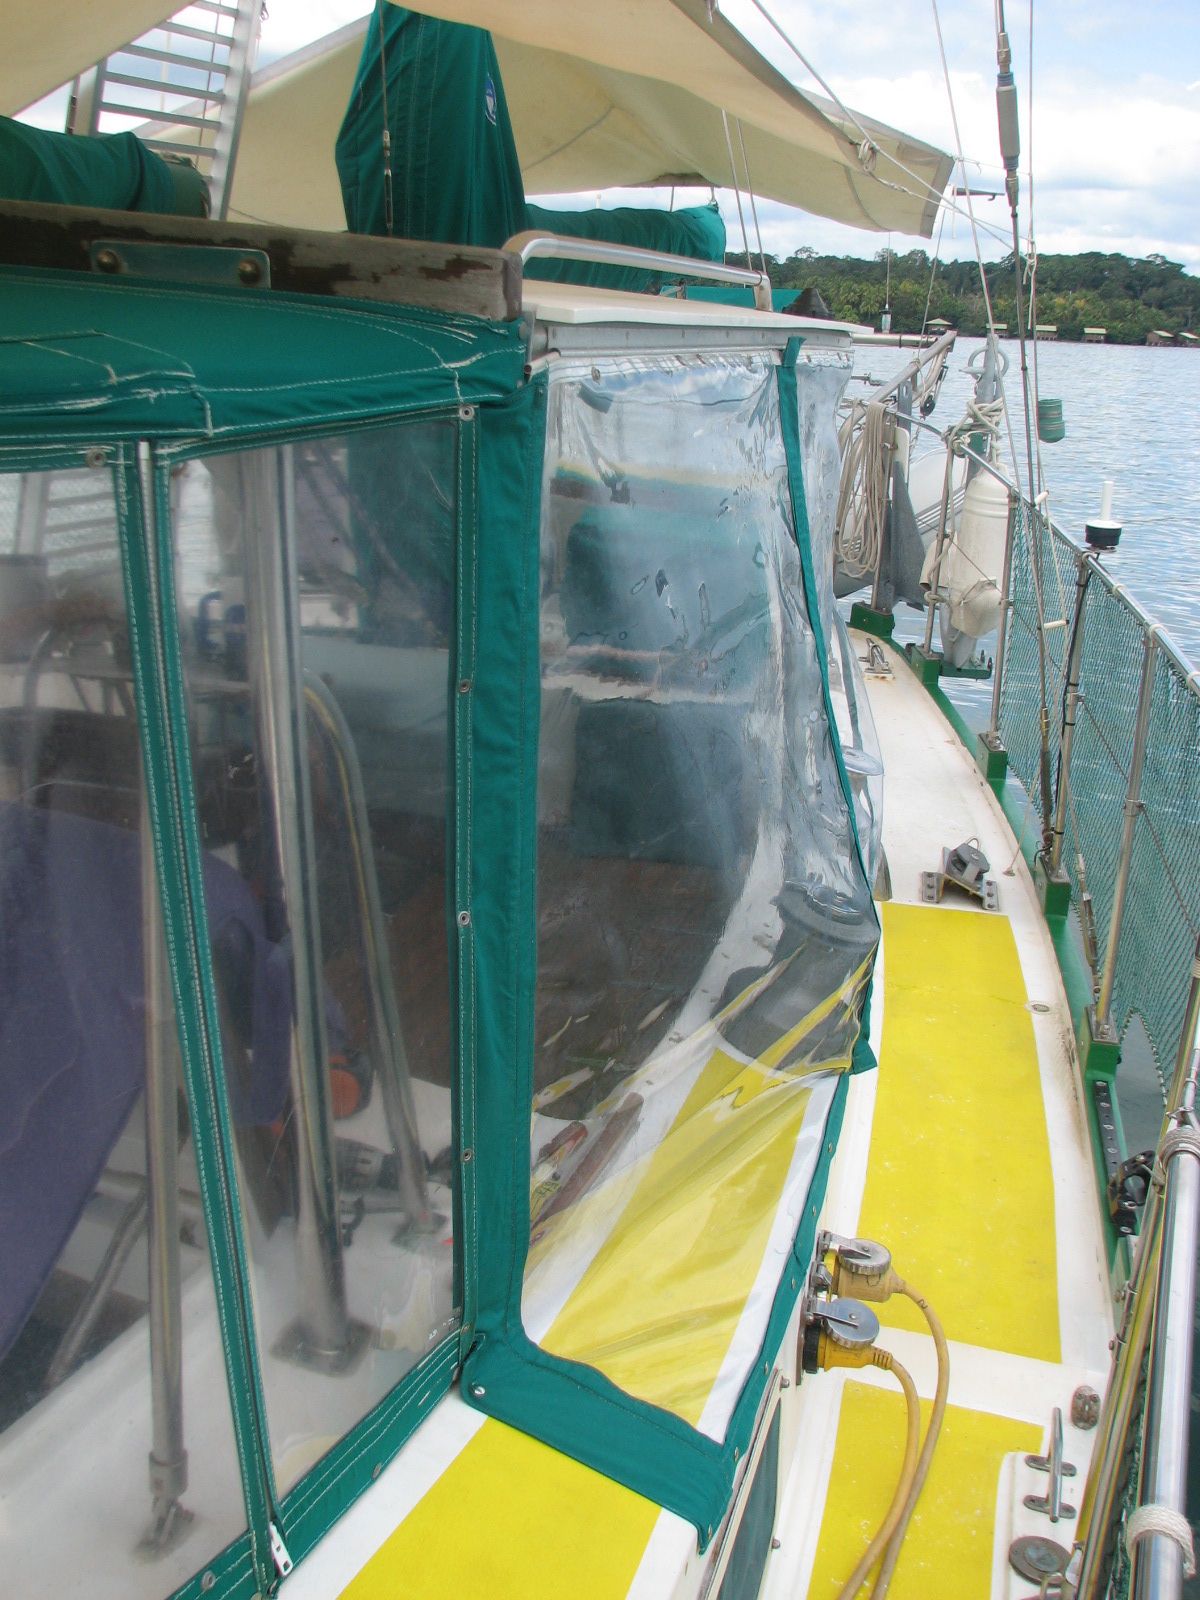
Kitty and I installed the plastic
enclosures on the port side that Luis had modified to fit better. Luis
had installed the female side of the snaps at the bottom of the
enclosures. Kitty and I installed the male end of the snaps on the side
of the cockpit. We are now ready for rainy or heavy weather on the port
side.
Newly Installed Port Side Weather Cockpit Enclosures Looking Aft
Newly Installed Port Side Weather Cockpit
Enclosures Looking Forward
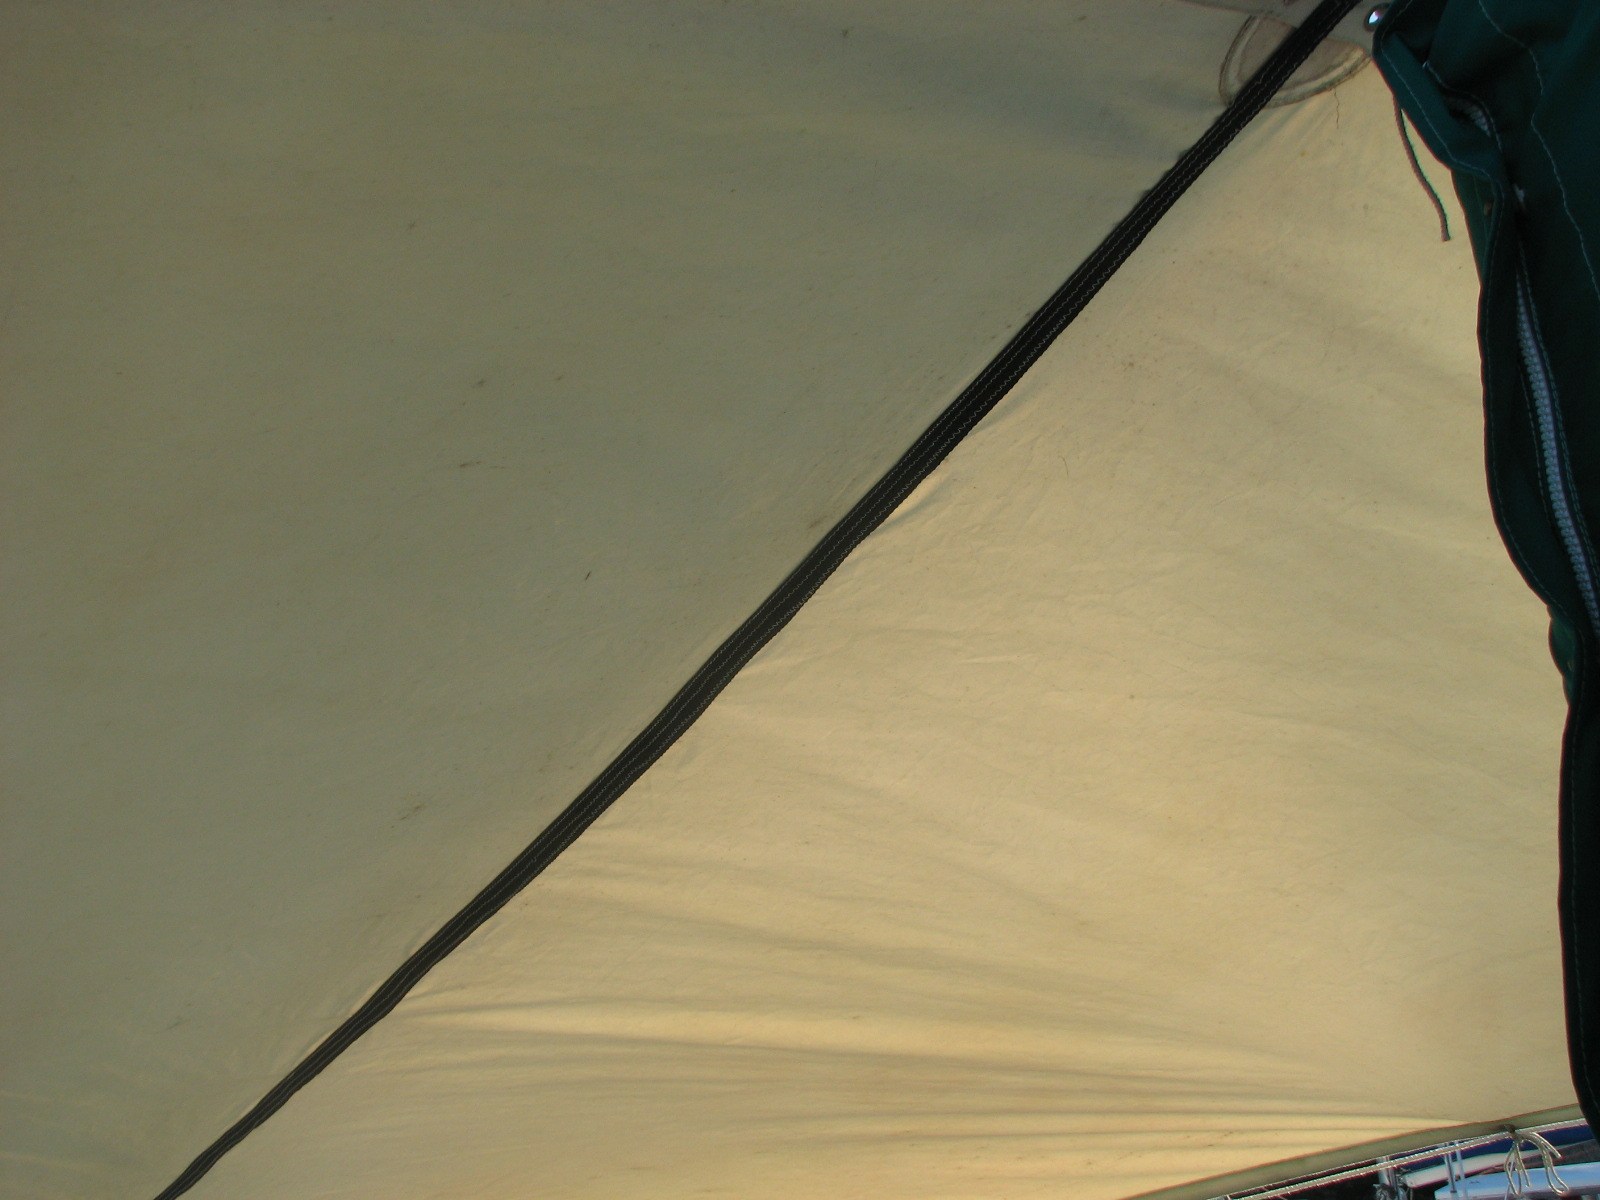
The
last project for the day was sewing the forward awning. I resewed the
the seam down the middle and then sewed on a black piece of webbing on
the the underside of the long awning seam. I used a zig zag stitch on
each side of the webbing and one down the middle. That should hold it
all together until I can afford to replace the awnings.
Underside Of Forward Awning Installed
January 15, 2011, Saturday.
Today
we went to the swap meet at Mario's Marina, then went into
town to do some shopping and have lunch.
I applied the third coat of paint
to the dinghy oar.
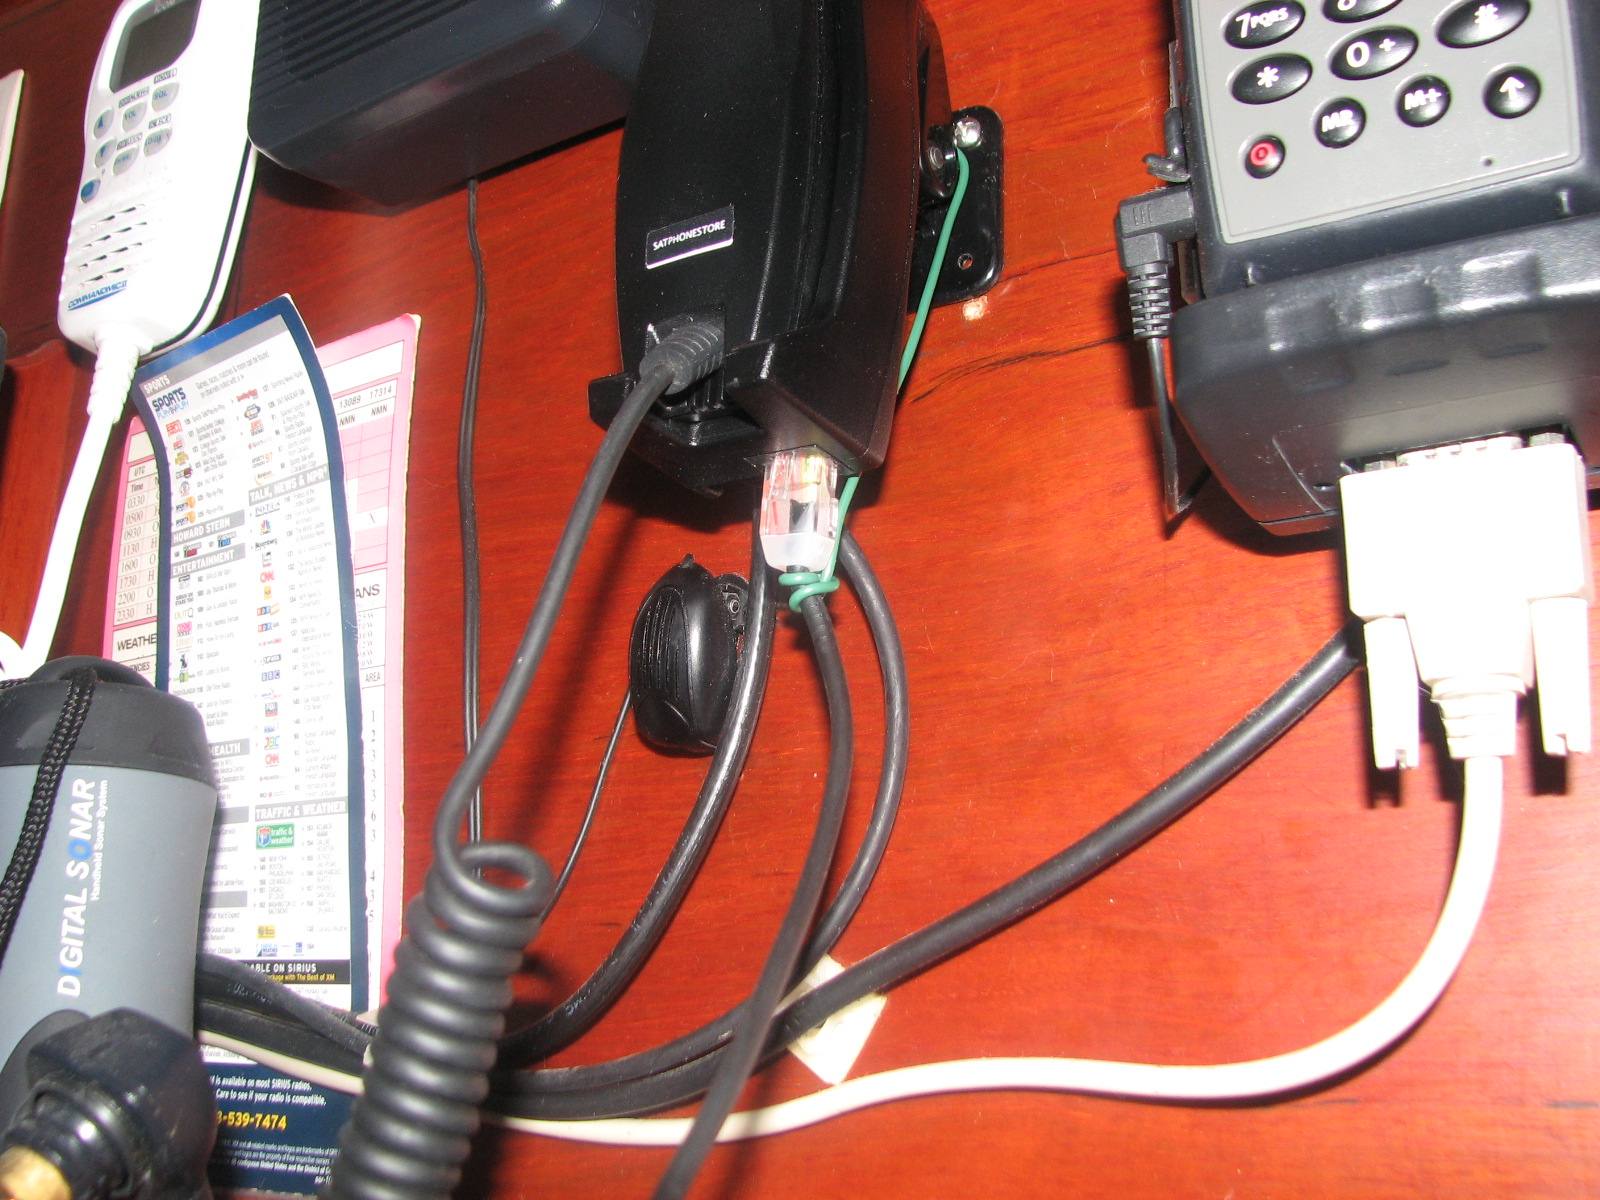
Next was coming up with a way to
keep the privacy handset for the Iridium satellite phone plugged into the
base. It has been a problem pretty much since it was installed, but
since Kitty and I usually talk with the speaker on, we do not use the
privacy hand set. I came up with a jury rig that will work until I can
get a more permanent fix made.
Iridium
Phone Privacy Handset Fix
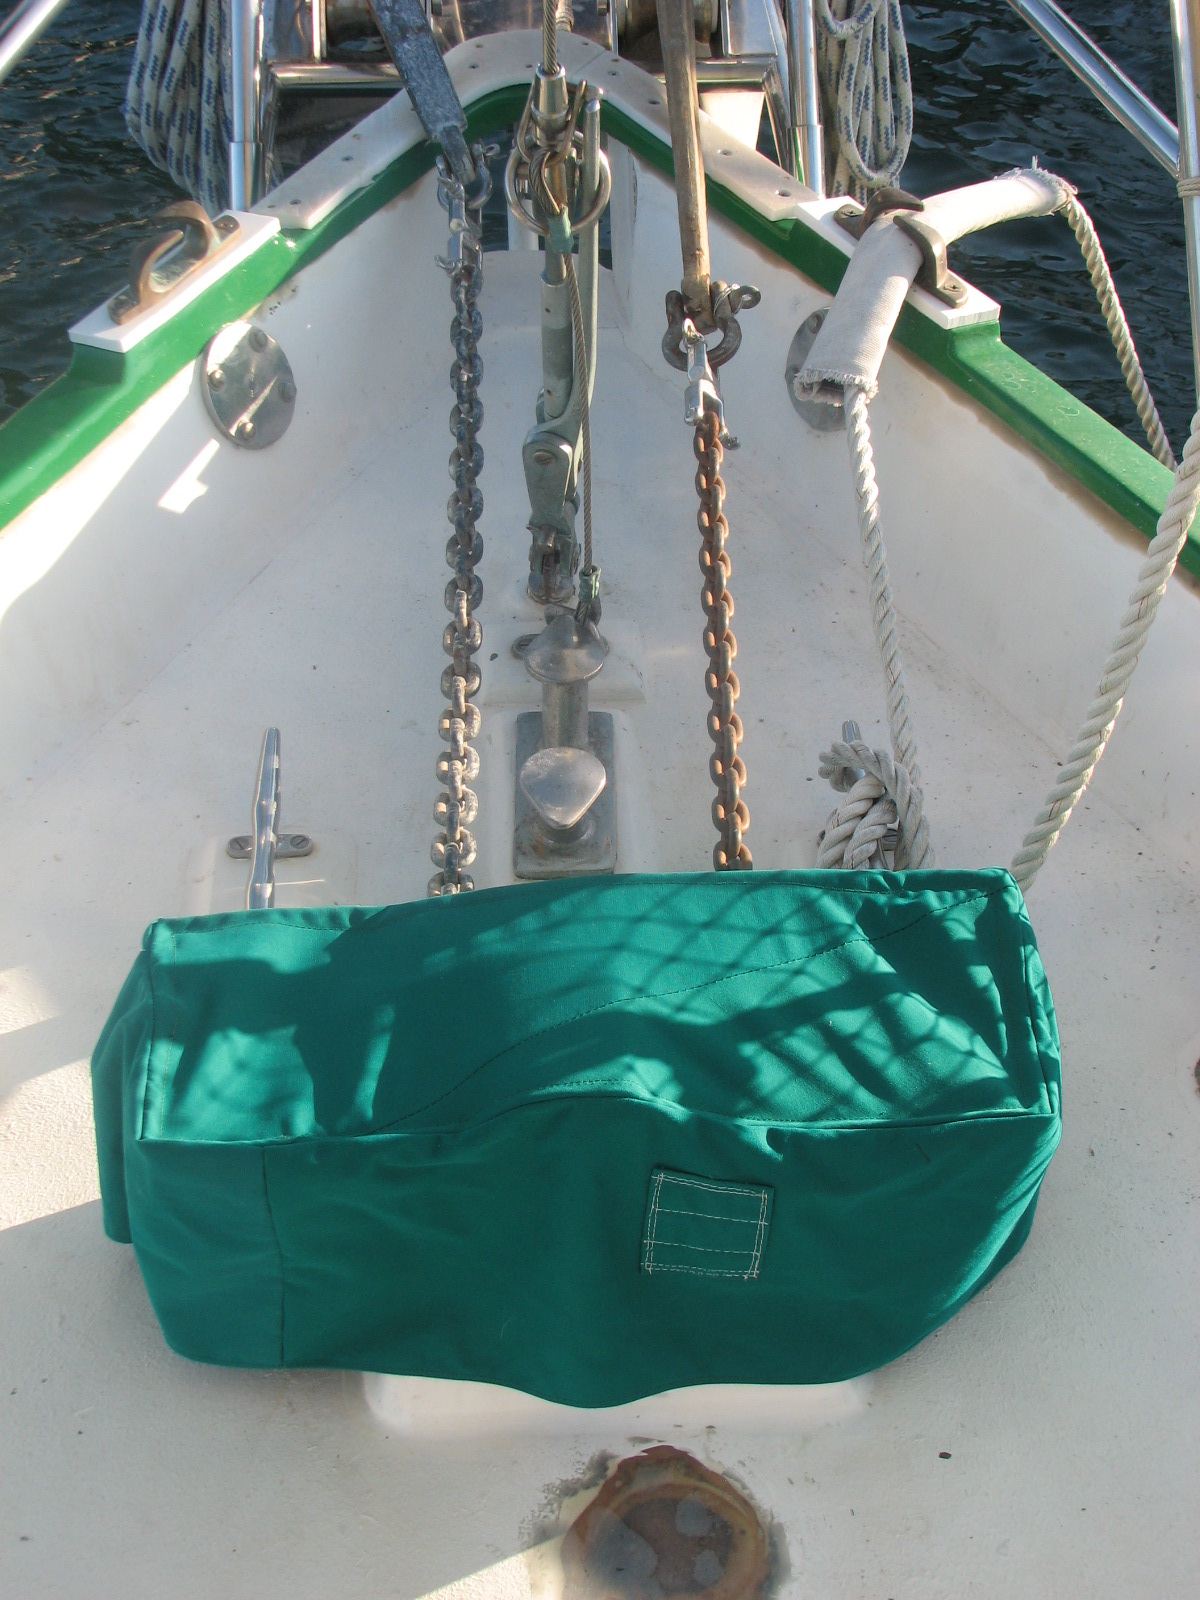
I put compressor box back into
place over the SCUBA compressor.
Captain With Compressor Box In Place, Also
Showing Boarding Ladder Cover, Life Raft Cover, And Mizzen Sail Cover
Skirts
January 14, 2011, Friday.
Day Off
January 13, 2011, Thursday.
Last
night we had high winds and the forward awning split the long seam. It is still a rainy day so
decided to break out my new Sailrite sewing machine that I purchased
from Paul. I started sewing and when I went around a grommet, I got to
close and broke a needle. I have many new needles, but they are a
different length, so I have to adjust the needle stroke. I had so many
interruptions during the day I did not get the adjustment done. Still
have to get the awning sewn!
The yellow non-skid gelcoat I
applied yesterday on the compressor box top and the port side eyebrow
was still a bit sticky, so applied a coat of wax to both.
January 12, 2011, Wednesday.
Finished
up engine room. I replaced all of the oil soak pads under the main
engine and the gen set. I also replaced the zinc in the main engine
heat exchanger, and checked the oil in the main engine transmission.
Ran the gen set for two hours to verify operation and make sure nothing
happed when I changed the oil and fuel filters.
I applied the second coat of
paint on dinghy oar.
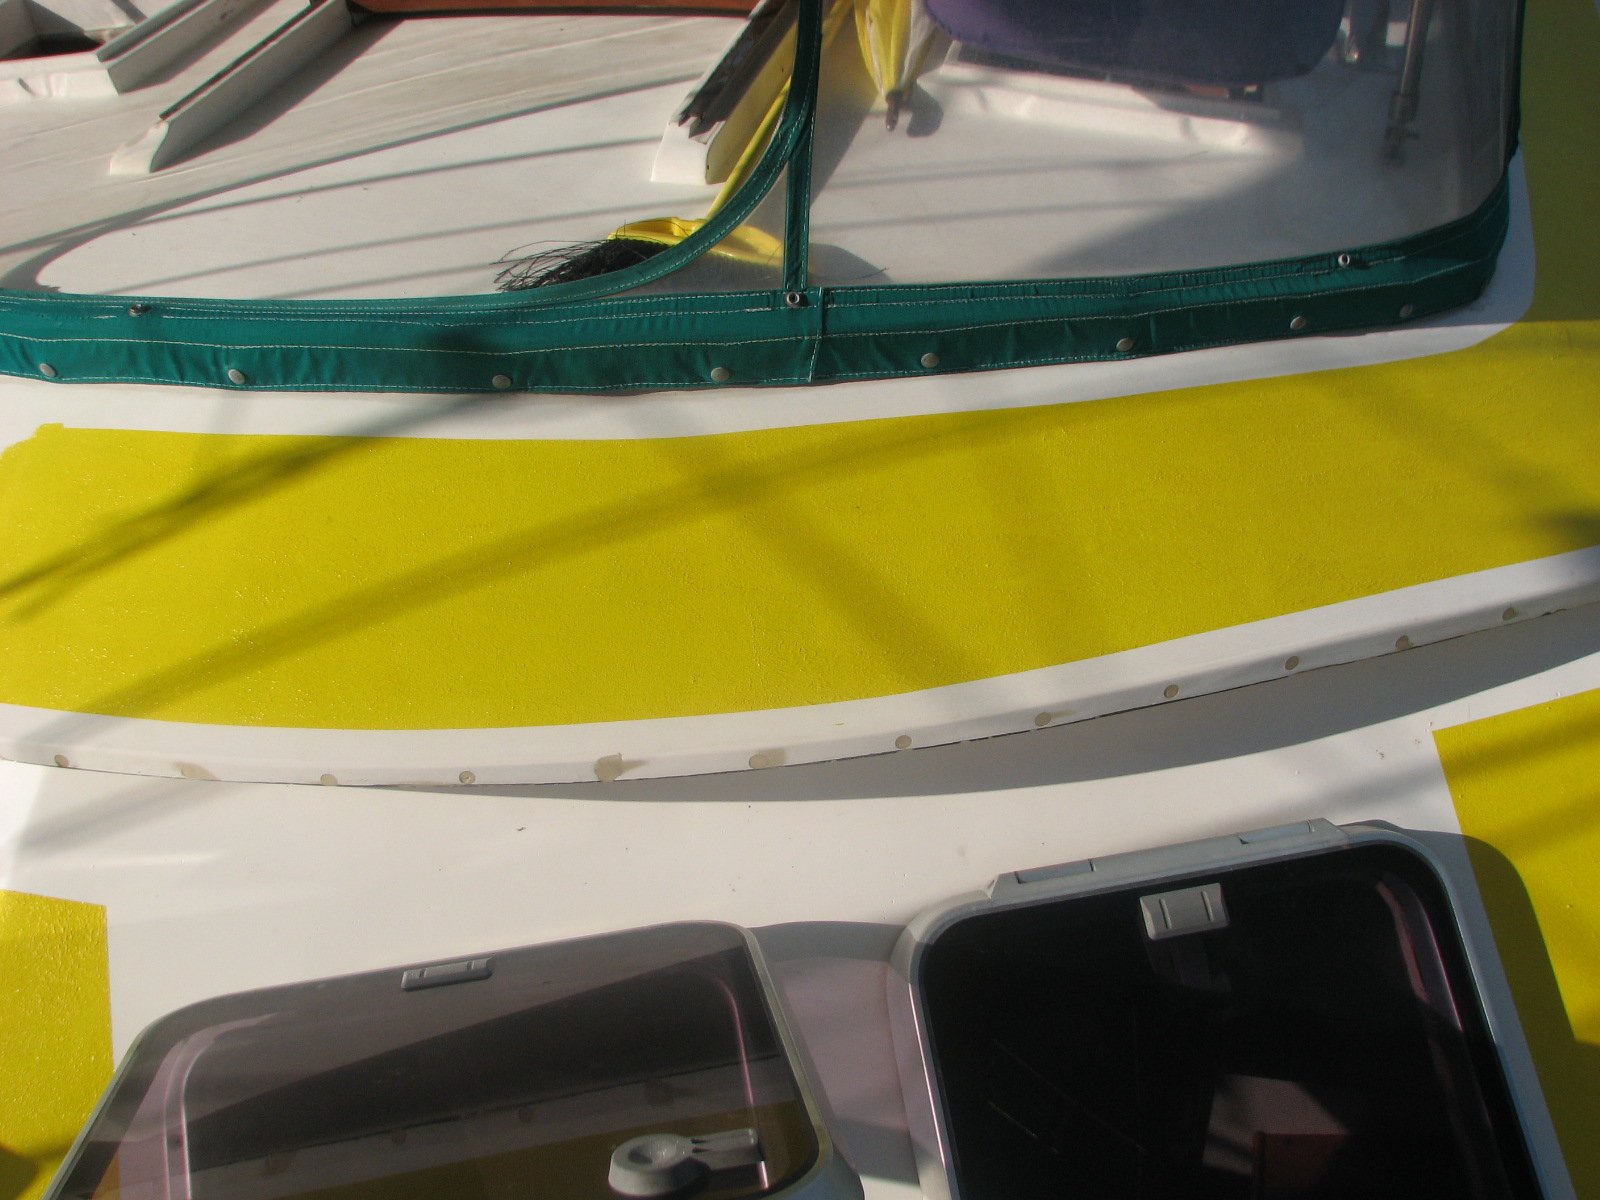
I masked the compressor box and
the port side eyebrow. I mixed up one five ounce pot of yellow gelcoat
and rolled it on the top of the compressor box and the port side
eyebrow. In this pot of gelcoat I added another 1/2 ounce of wax.
Forward Port Side Eyebrow Non-Skid Gelcoat
Port Side Eyebrow Non-Skid Gelcoat
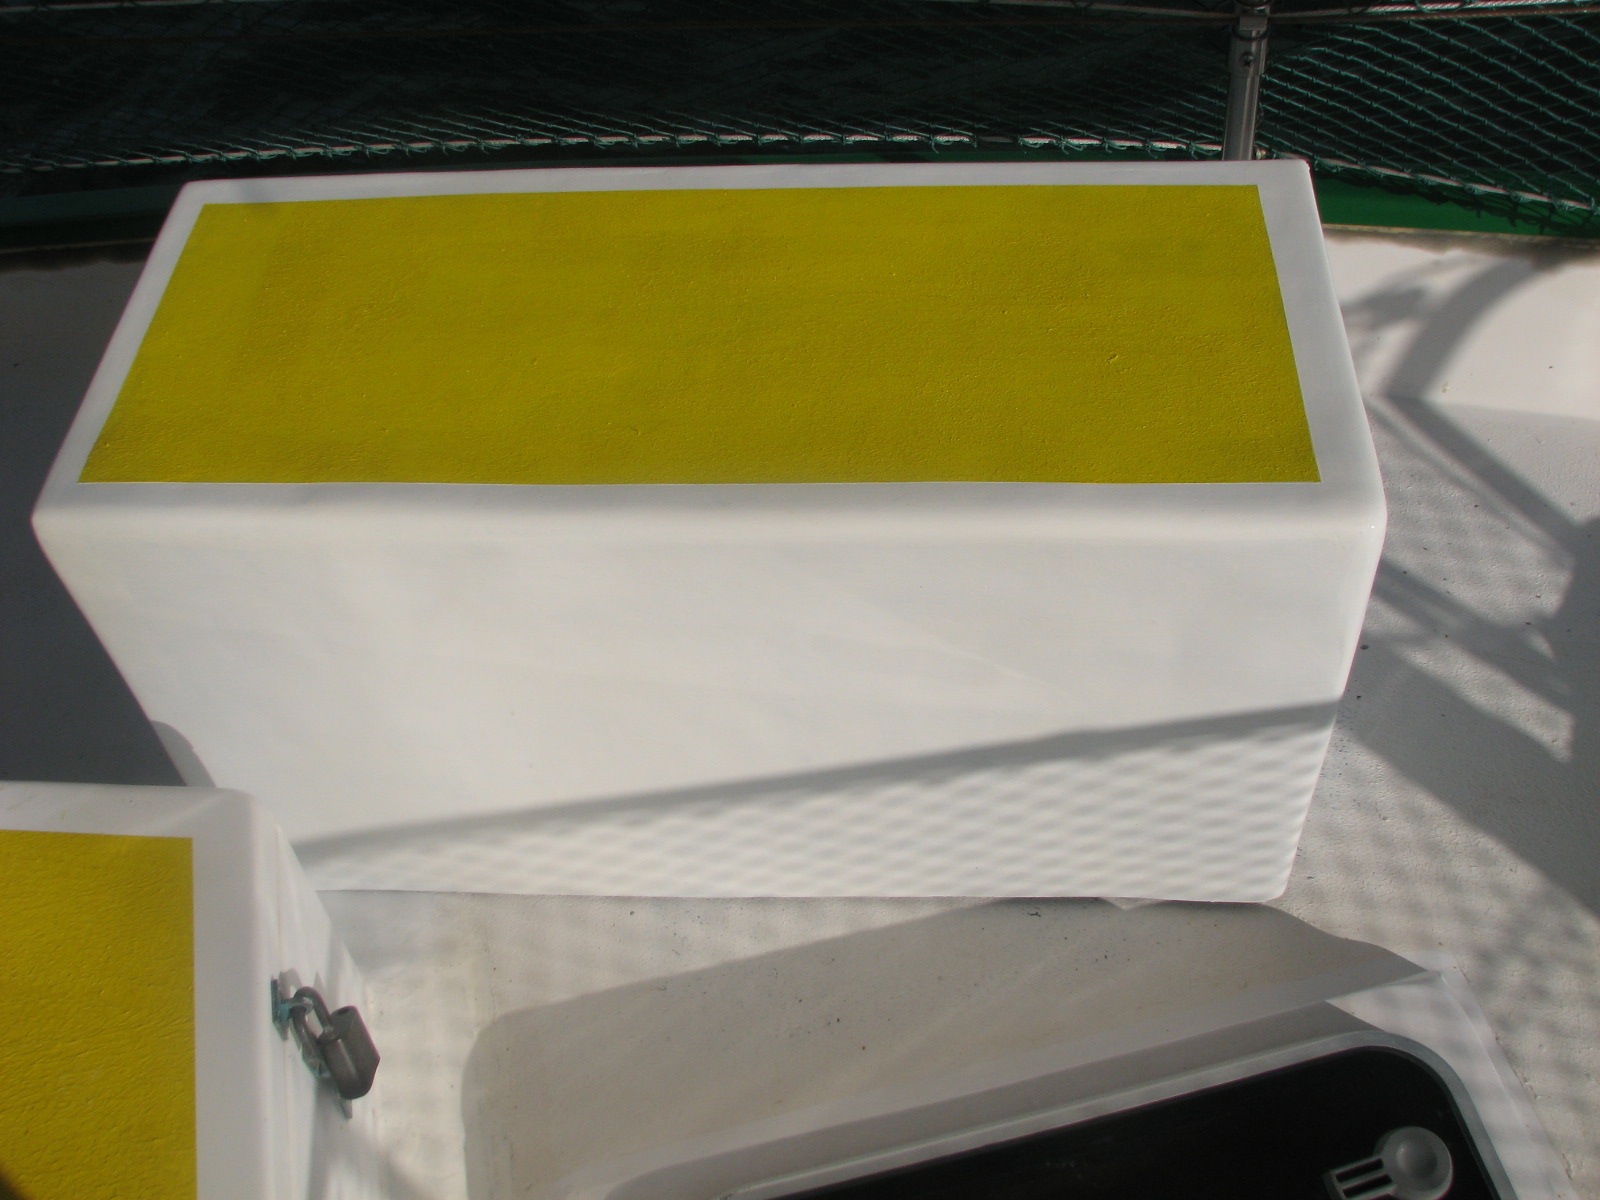
Compressor Box With Yellow Non-Skid On Top
January 11, 2011, Tuesday.
Today
is going to be nasty day. Started out by draining all of the yuk out of
the diesel standpipe. Next was to change out the Racor filters for the main engine and the
gen set. I also drained out the yuk in the bottom
of the Racor filter housings. This was
pretty much the "clean" part of the operation.
While I was doing the fuel
filters, I was filling the main engine and gen set oil filters with
oil. I had decided to change both of the Amsoil
oil filters. One of the filters is the full flow filter, and the second is the
by pass filter. The full flow filter is to be changed
at 300 hours of engine run time, and the bypass filter is to be changed at 600 hours of engine run time. Since the full flow filter was due to
be changed, and I had enough spares to change both filters, I decided
to do both. I was able to successfully change all four of the oil
filters without making a major mess. I cleaned up the area and got
everything looking good. I ran the main engine and the gen set for
about 10 minutes each. I then checked the oil in each engine, and
topped off the oil.
Paul and I removed the Sharp Microwave to get
turntable motor part number. The turntable is not turning reliably, so
I wanted to see if I could find the motor and replace it, and hopefully
it will fix the problem. We were able to get the part number, and I
turned the research of the motor over to my friend Jim who is coming
down to Dream Away the first of February. Jim found the part number and
we ordered the part. Paul and I put the Sharp Microwave
back into it's hole without any problems. It is so much easier with two
people putting the Sharp Microwave back.
Next Paul and I removed the Seaward Princess gas stove from its place
in the galley. It had been several years since we had cleaned the
ourtside of the stove and the area in which it rests, so it was in
need. Kitty worked on cleaning the outside of the stove, and I cleaned
the area in which the stove is placed so it can gimble. I did not take
any photos of the stove and area after it was cleaned, but did take
before photos.
Kitty Cleaning The outside of the Stove.
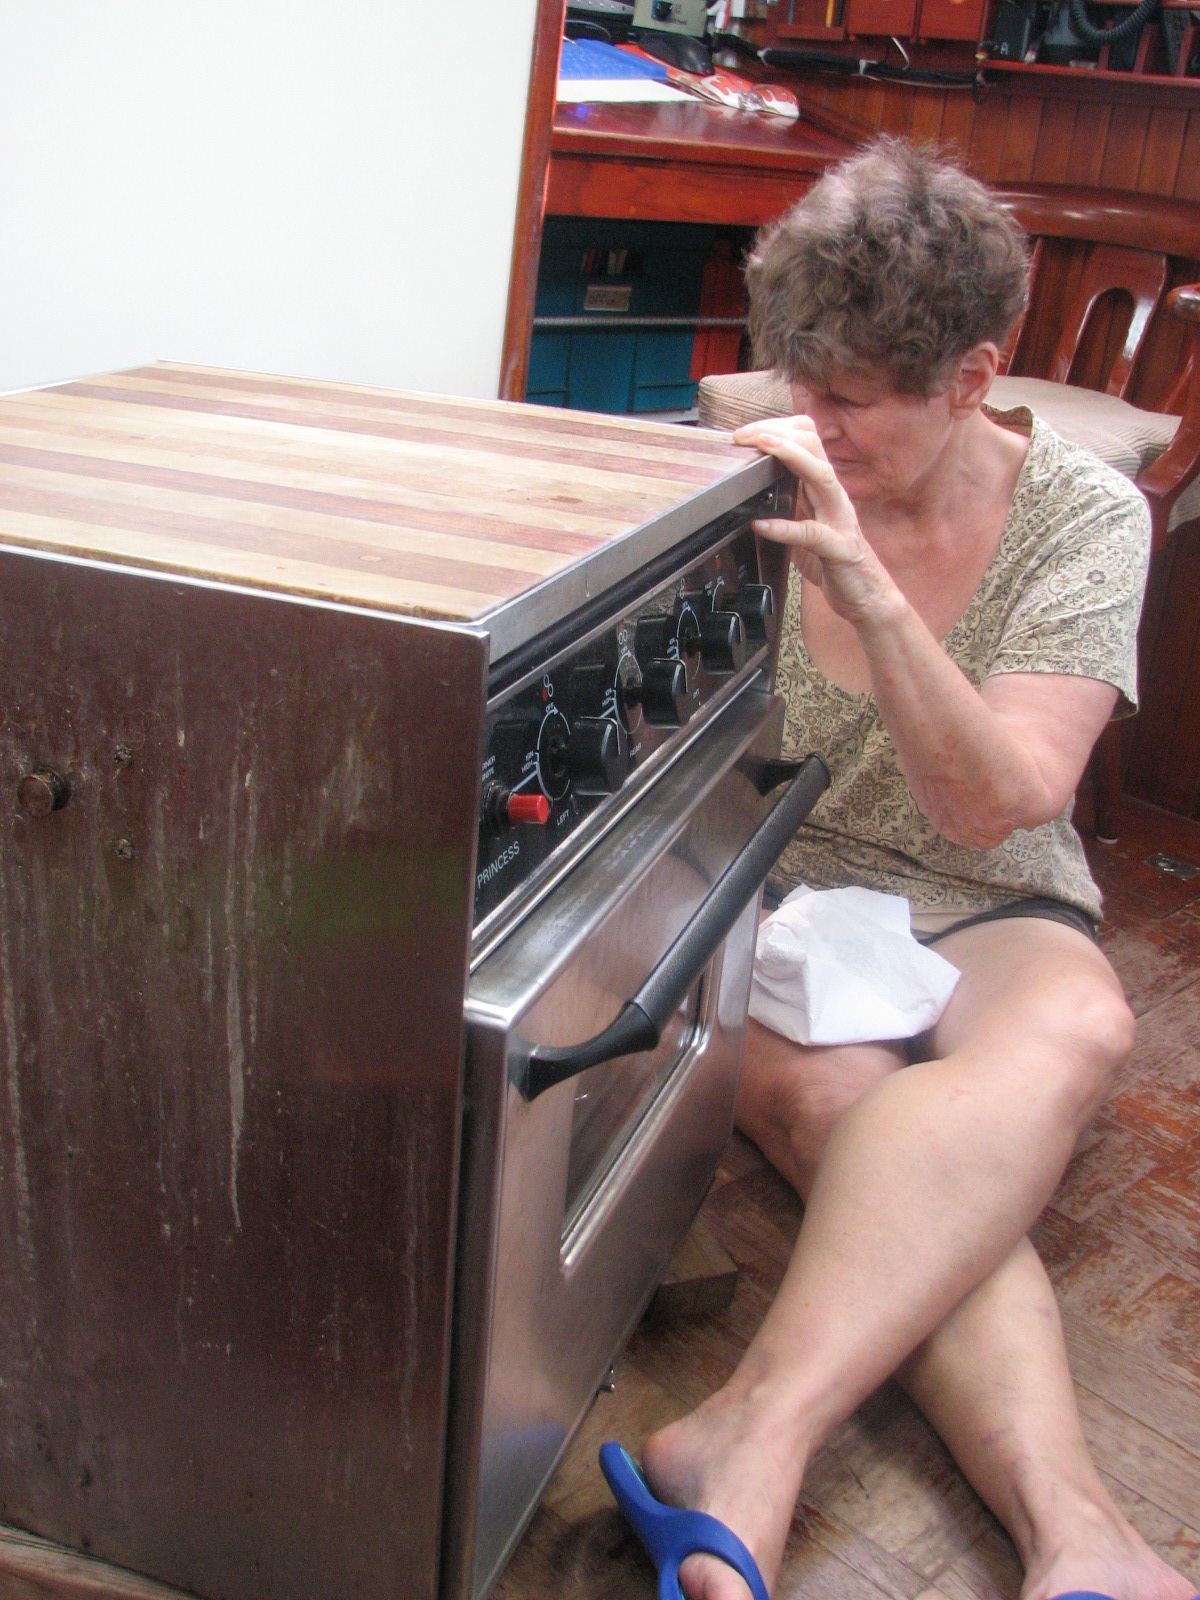
Area In Galley Where The Seaward Princess Gas Stove Normally
Resides
Last item fo rthe day was to
apply two coats of white gelcoat on top of the compressor box in
preparation of the non-skid gelcoat application.
January 10, 2011, Monday.
Helped
friend Paul get up his mast twice to try and repair his tri-color
light. This time it looks like we finally got the problem fixed on the
second try!
I went up the mizzen mast and
checked all of the rigging connections. Everything look good, no
problems found. I also took the VHF antenna connections apart, checked
them for corrosion, and sprayed corrosion block
into them, and re-connected them. No problems found there either. When
I got down from that project, we checked out all of the navigation
light, and they checked out, with no Problems found.
Kevin was on Dream Away all day
and finished up cleaning and polishing the stainless steel on Dream
Away. The will keep the stainless steel from showing rust stains for a
couple of months of the salt water environment once we leave the Rio.
Kevin Polishing The Stainless Steel
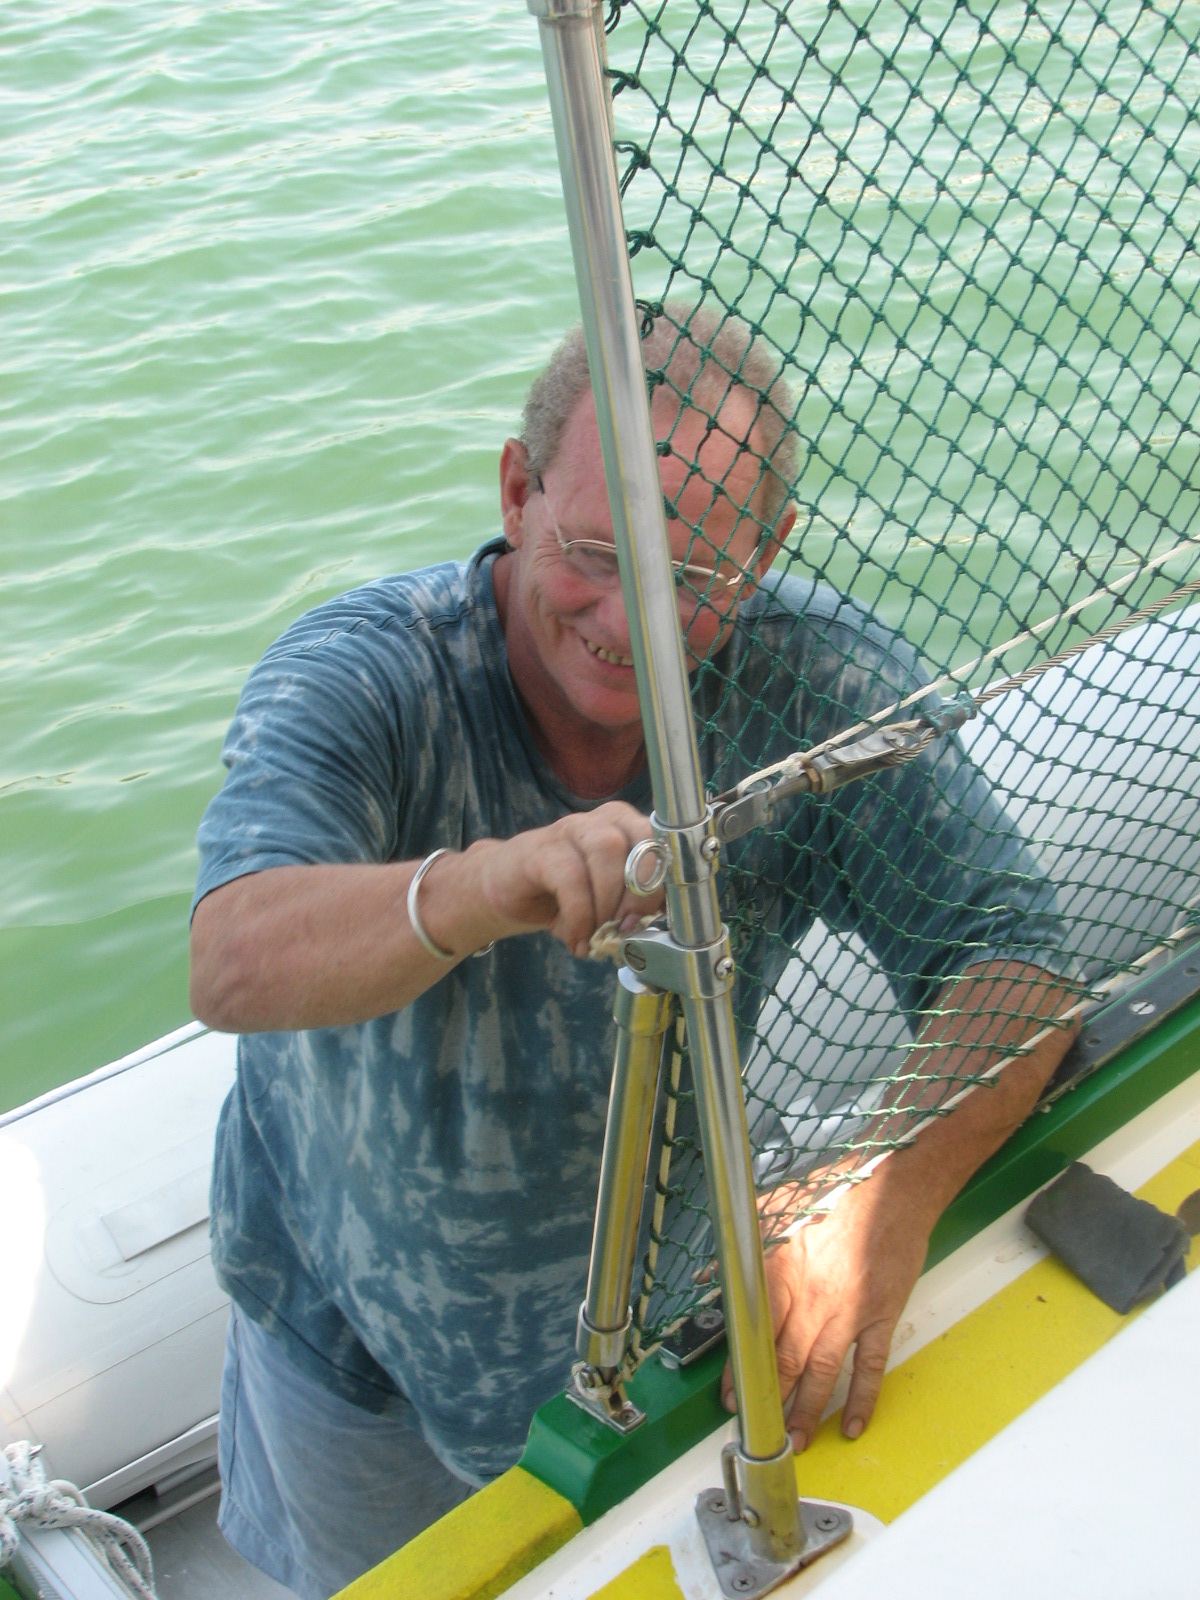
I sanded down the second dinghy
oar, and applied the first coat of yellow paint on the oar.
I applied a couple of coats of
the new polyurethane paint on compressor box. I only wanted to apply
one coat, but I mixed up too much paint. By the time I got the paint,
the catalyst and the reducer mixed up, I had enough for three coats!! I
decided if the paint did not kick off I would apply it until it started
to kick, or I ran out of paint. Fortunately I ran out of paint, and got
three good coats on the compressor box. It looks prett doon, and only
time will tell how well the paint lasts. I still have to apply white
gelcoat on the top of the box so I can roll on the yellow gelcoat
non-skid.
Compressor Box, Masked Off, Waiting For Paint
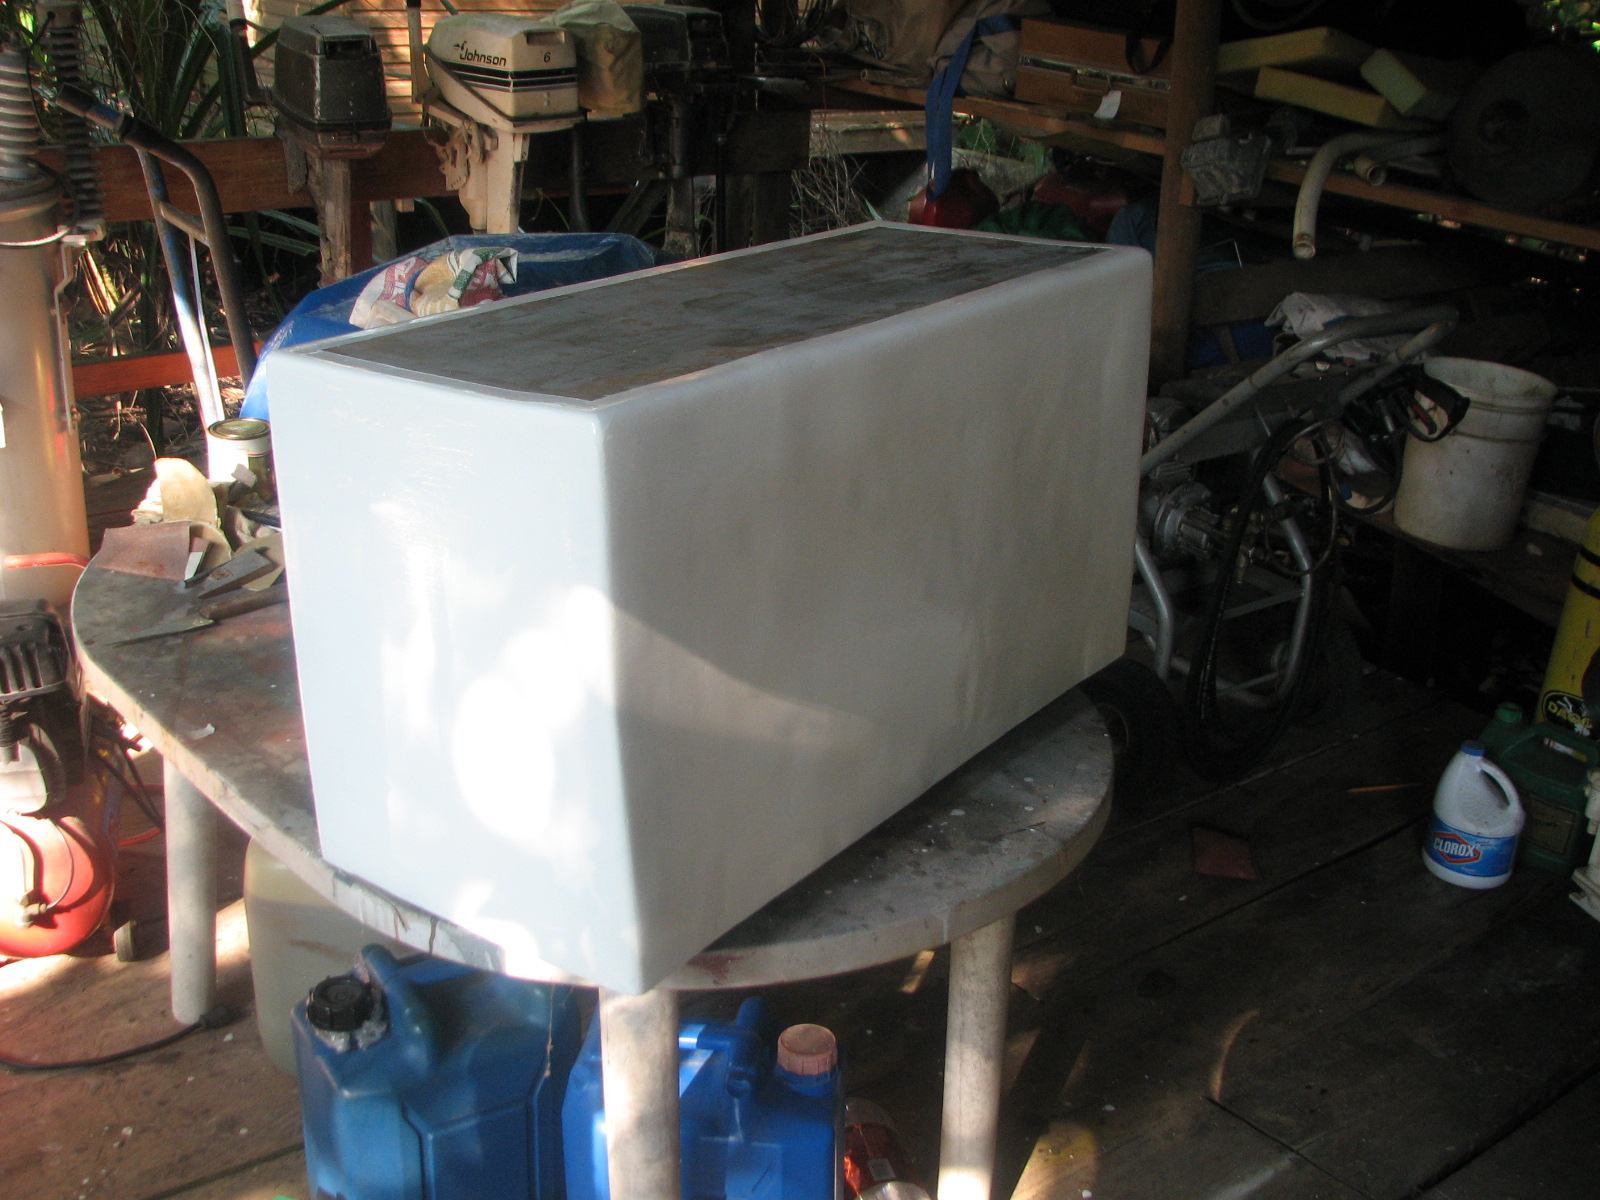
Compressor Box After Three Coats Of Paint
Compressor Box, Another View With Paint Applied
January 9, 2011, Sunday.
Helped
friend Paul get up his mast twice to try and repair his tri-color
light. Not successful, but should be able to finish the job tomorrow.
Paul
helped me to go up my main mast. I always do a rigging and light check
before going off on any long passage. I knew I had one spreader light
out and needed to repair that. I also had to get the halyards out of
the mast. When we came into Monkey Bay, I knew we would be here several
months, so I pulled down all of the halyards and the topping lift in
the main mast and tied messengers to the ends. This was done to keep
the halyards out of the sun. I also took down the two spinnaker
halyards. Before I could go up the mast I had to pull down the halyards
and the topping lift.
When I went up the main mast to
do my checks, I pulled the two spinnaker halyards up with me and ran
them in their proper blocks. I checked electrical connections and radio
connections at the top of the mast. I also sprayed all of the
connections down with corrosion block. As I came down the mast, I
checked all of the rigging and tangs. All looked really good. I
replaced the bulb in the starboard main spreader light, and came back
to the ground. I fell the main mast is ready for a long passage.
January 8, 2011, Saturday.
I
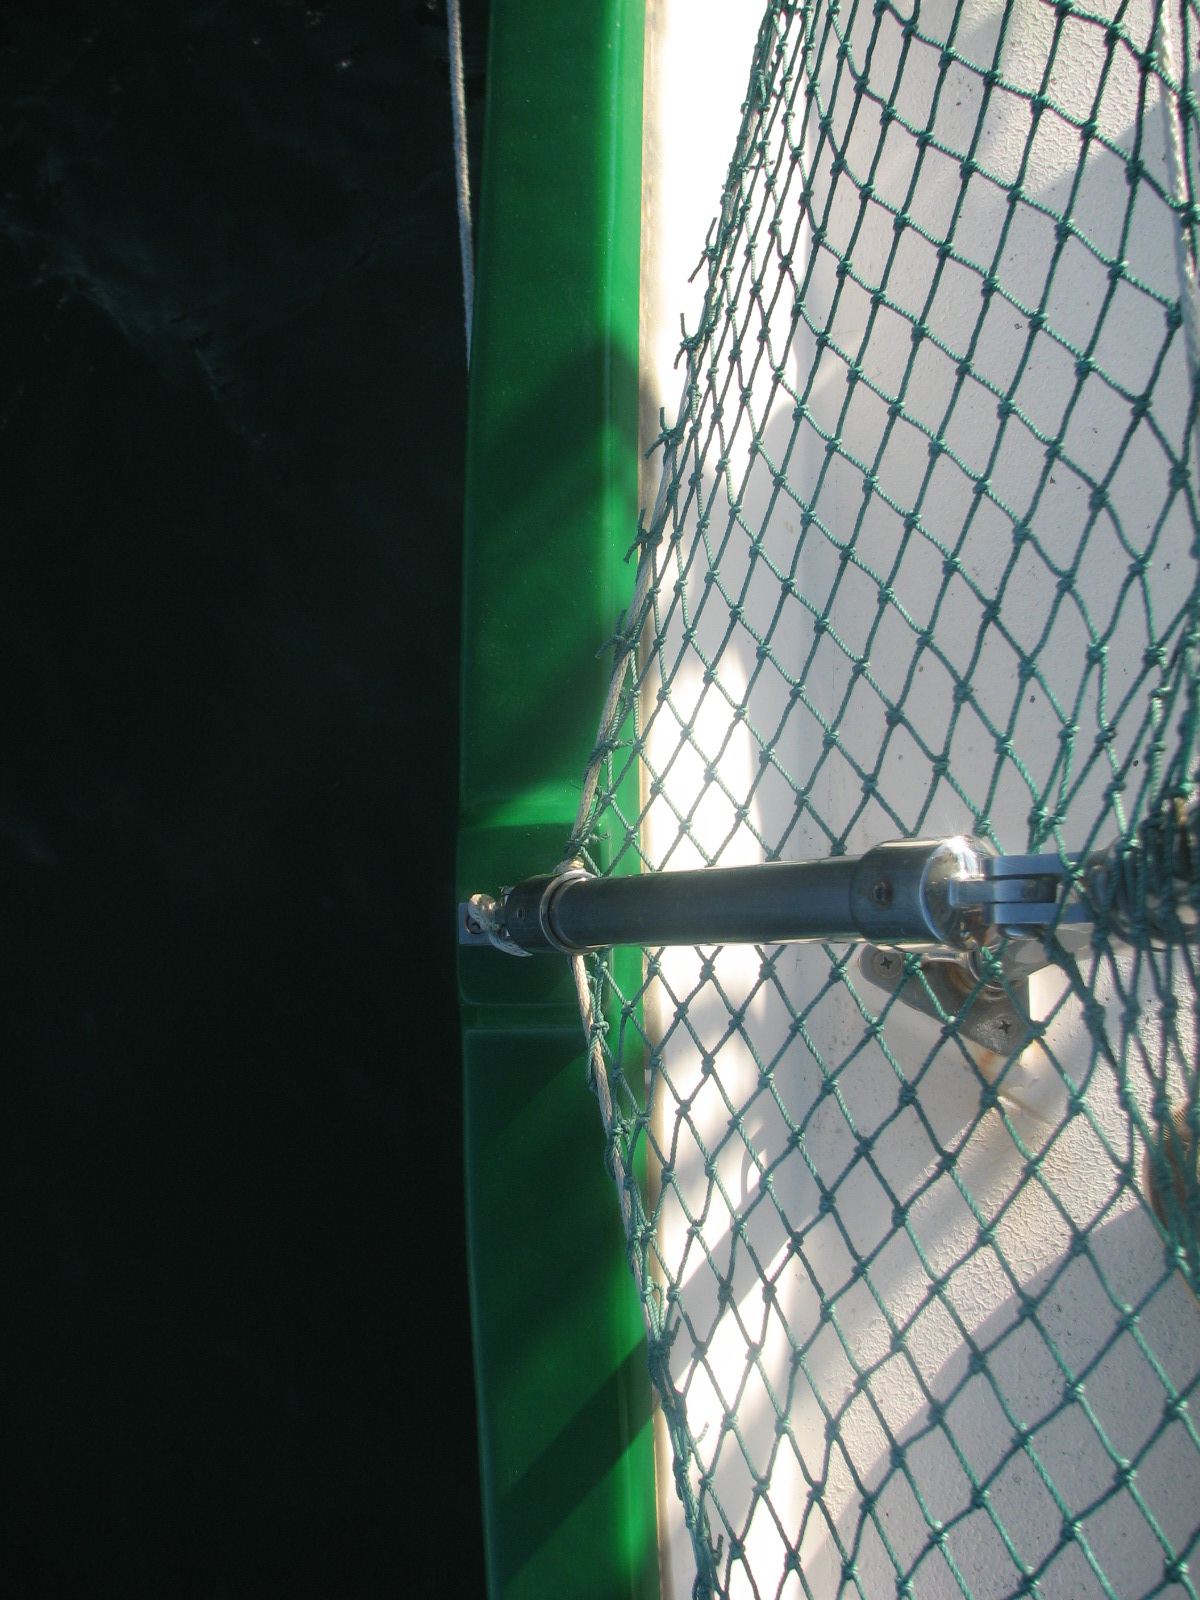
reinstalled the netting on the forward port side, and got the fair
leads back onto the genoa "T" track. I can finally say the forward port
side cap rail is officially finished. I just have to put some gelcoat
non-skid down on the port side eyebrow, and we can turn Dream Away
around, and I can finish the starboard side.
I applied one coat of thinned
epoxy on the second dinghy oar.
Kevin worked on the stainless
steel and was able to get it all cleaned. He will be back on Monday to
wax the stainless steel.
I put five gallons of diesel fuel
into the starboard fuel tank.
January 7, 2011, Friday.
Finished
installation of the hardware on the port side cap rail. This included
two lifeline stanchion support, one chock and the genoa "T" track. The
genoa "T" track consisted of 15 bolts that had to be drilled and tapped.
While I was working on the cap
rail parts, our friend Kevin was working on cleaning and waxing all of
the stainless steel on Dream Away. He needed soame work, and I needed
to get ahead on projects.
January 6, 2011, Thursday.
Started
the Nyalic
protectorant application on the repaired areas
of the port cap rail. It started to crinkle up again, just like the
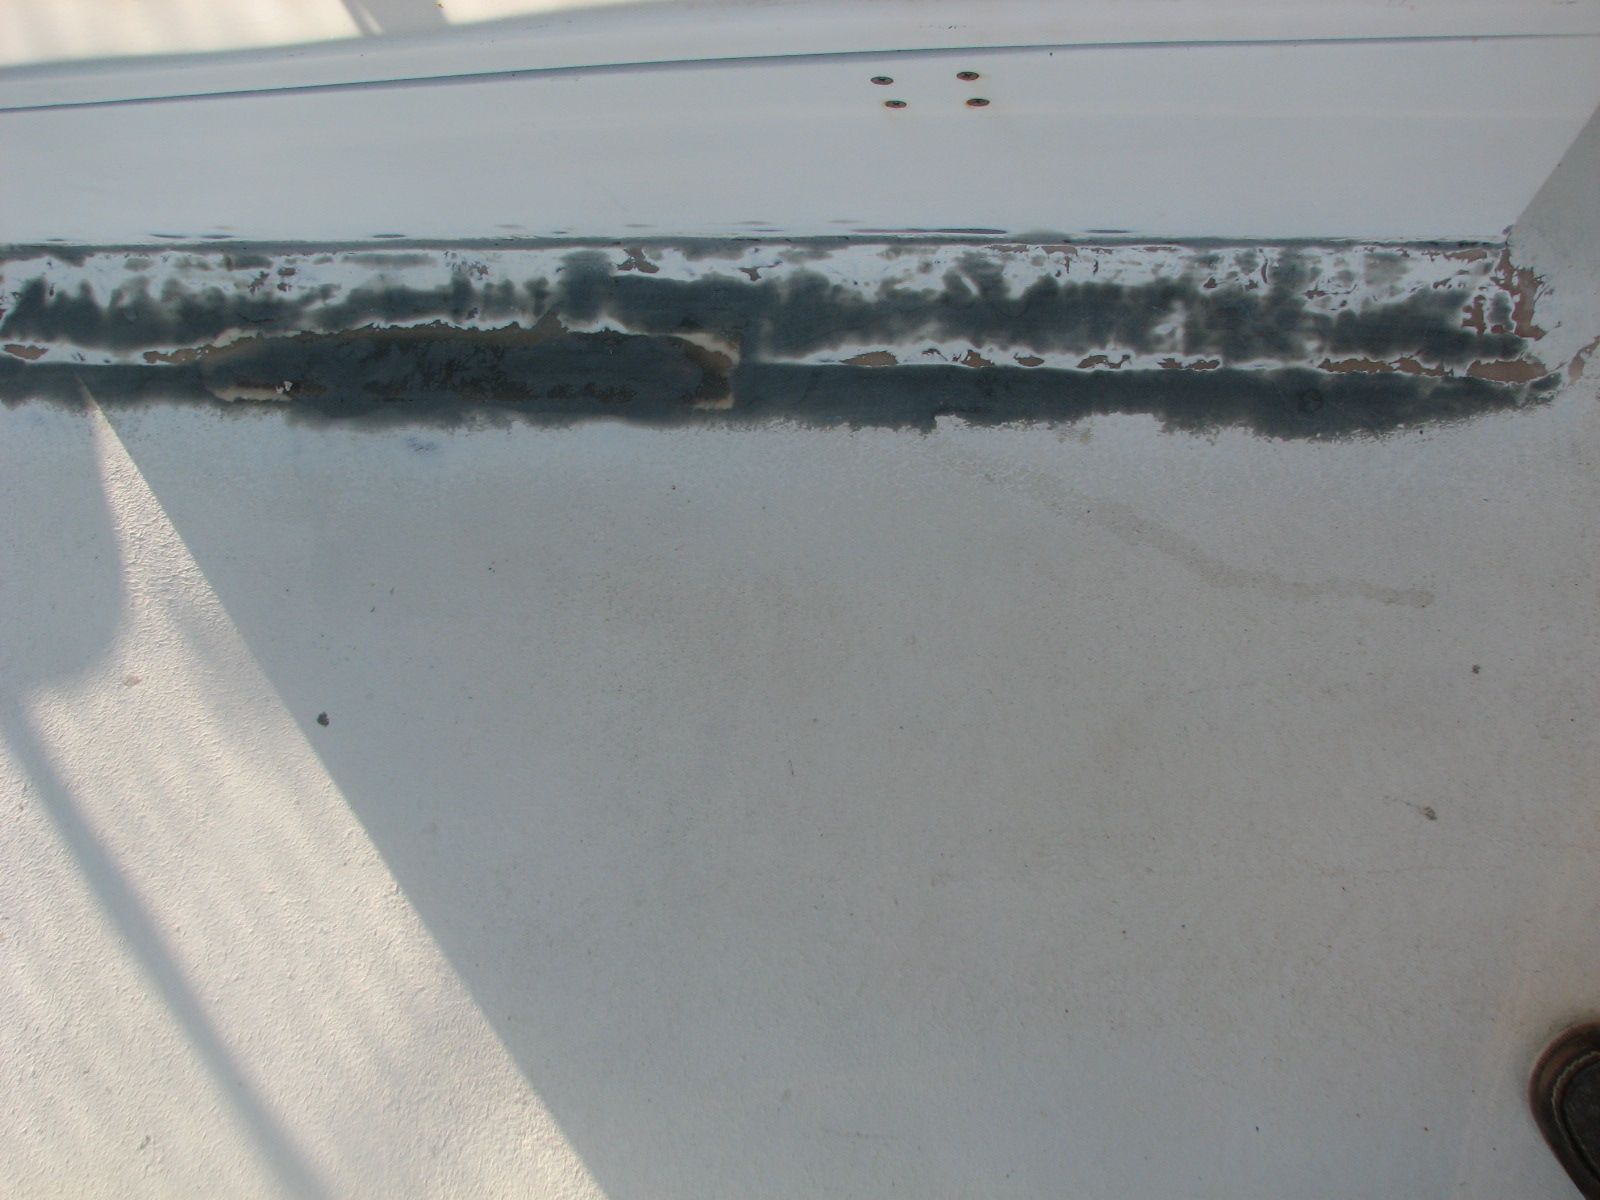
last time. I am not a happy camper. I have been six days waiting for
the Easypoxy Kelly Green
paint to dry. The recommended drying for the Easypoxy Kelly Green
paint is 24 hours. Will have to contact the Nyalic folks to see
what they say.
I masked the area for gelcoat
application where I have to install a cleat, chock and the "T" track on
the port side. Since I already had the cleat off it is much easier to
apply the gelcoat. I then applied the gelcoat, two coats, on the port
side cap rail area, the port side of the forward deck box, and the area
behind the anchor windlass. It set up very quickly, so removed the
masking tape.
Gelcoat Application, First Coat, Side Of Cap Rail.
Gelcoat Application, First Coat, Port Side Forward Deck Box
Gelcoat Application, Second Coat, Anchor Windlass Repair Area
Gelcoat Application, First Coat, Port Cap Rail, Near Cleat And Chock
Area
I removed the masking tape from
the shear stripe. I will attempt to repair the crinkled at a later
date.
I removed the paint sanded down
second oar. It is now ready for an epoxy application
January 5, 2011, Wednesday.
Sanded down
the repaired area just behind the anchor windlass, and the repaired
area on the port side of the forward deck box. Areas are now ready for
gelcoat application.
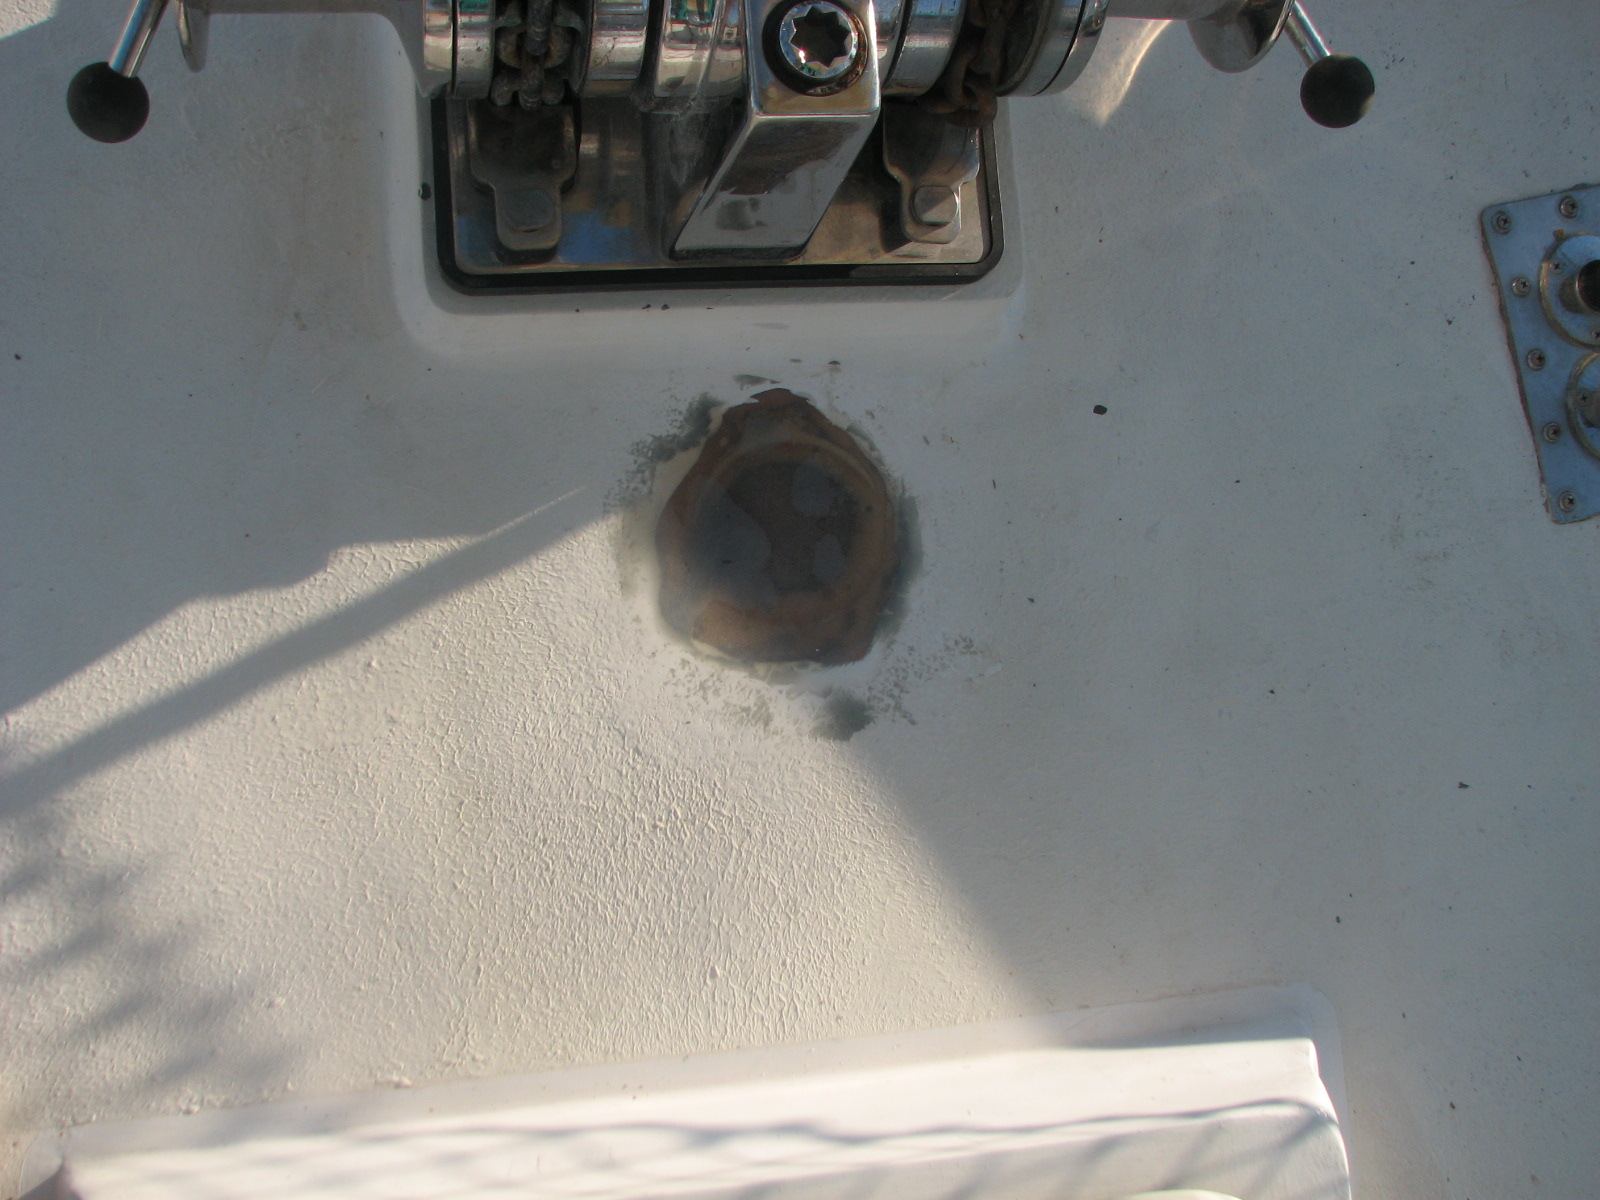
Area Behind Anchor Windlass Sanded And Ready For Gelcoat
Area Beside Forward Deck Box Sanded And Ready For Gelcoat
Started installing the port side
cap rail hardware back onto the port side cap rail. This include three
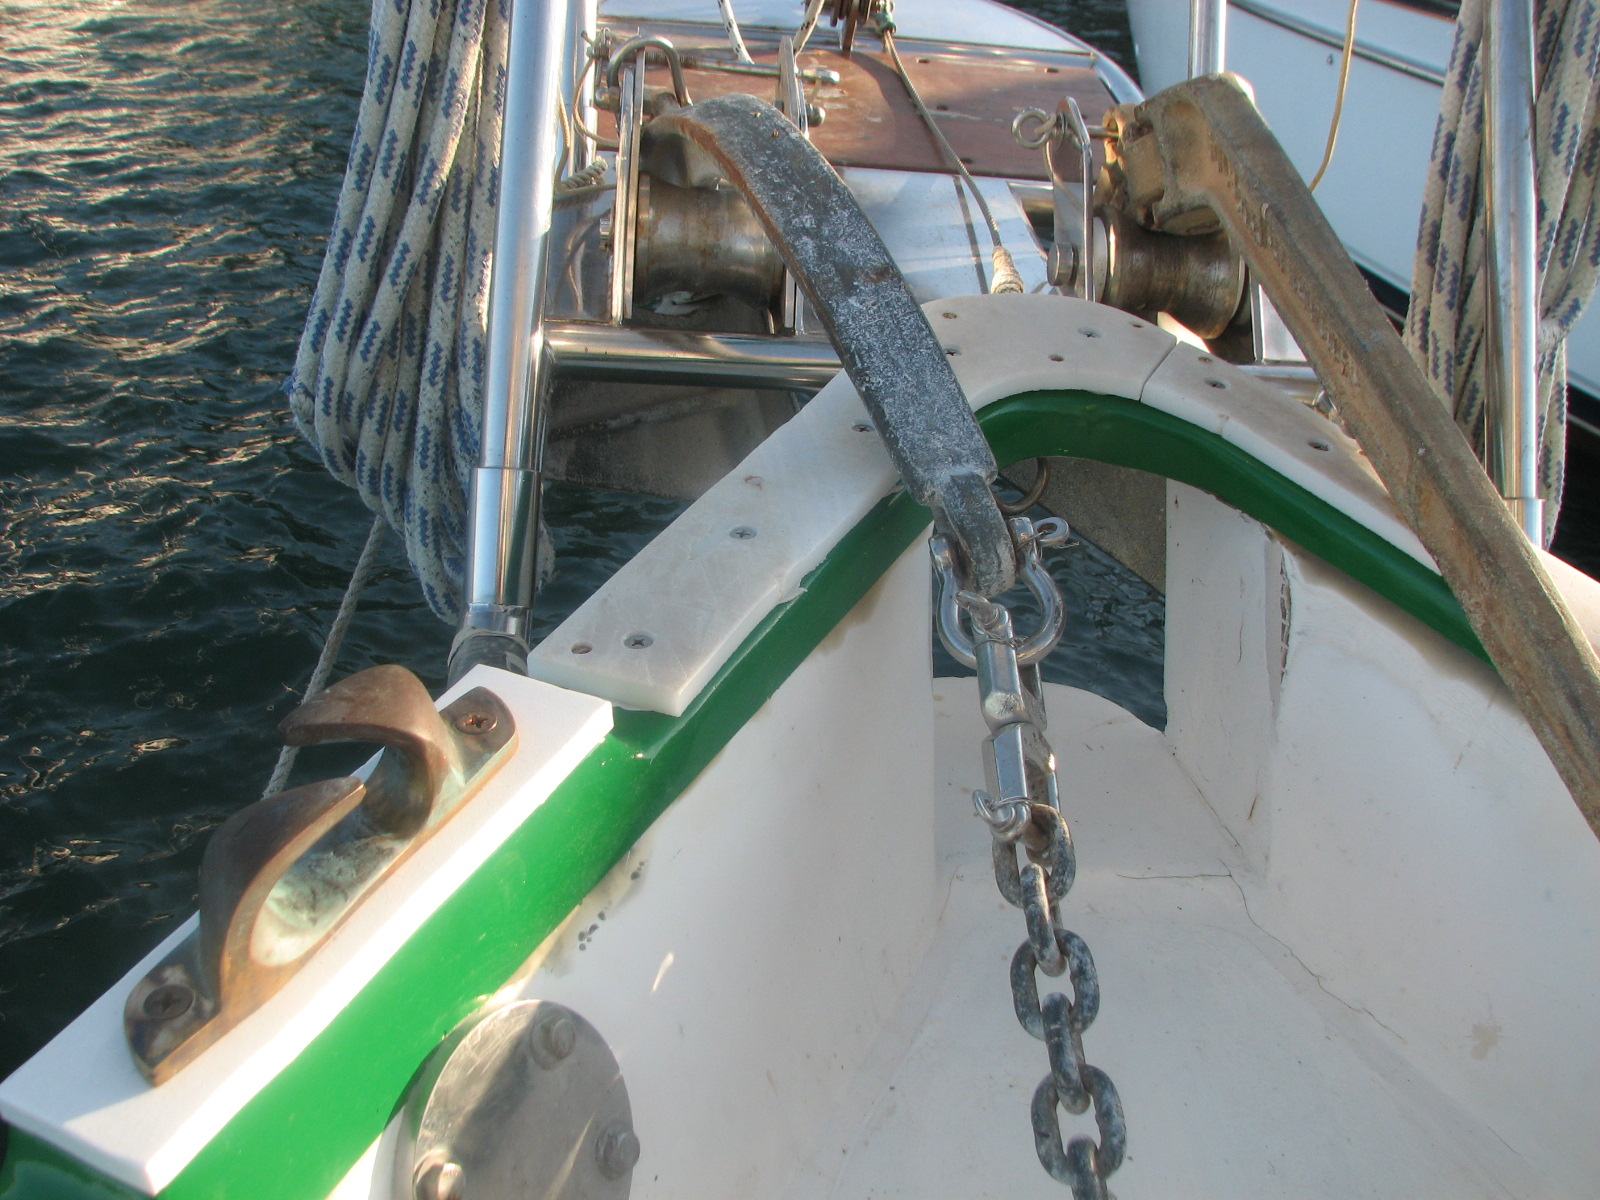
rope chocks and four lifeline stanchion supports. I also installed the sacrificial pieces for anchor and rode on the very front of
the cap rail. These pieces are used to prevent the anchor chain from
damaging the cap rail when the anchor is lowered or raised. I was now
able to get the anchors and the chain all back where it belonged. I did
not have time to complete the installation of the port side "T" track
for the jib fair leads.
Port Side Chock Installation
Port Side Lifeline Stanchion Support Installation.
sacrificial Strips Back Into Place
Anchors, Rode, And Windlass Cover Back In Place
January 4, 2011, Tuesday.
When we were in The Bay Islands of Honduras last year and had our
anchor dragging problem, and almost lost our dinghy, one of the
stainless steel bows, Bimini fitting, on the dinghy was lost. I had
asked Luis if he could bend one for me and install it on our dinghy. Luis brought back bow for dinghy and installed it. It looked
really good, and it was nice to have the dinghy Bimini back to normal.
Luis also brought back the repaired cockpit enclosures. They fit very
well also. Now when I get the eyebrow finished with the gelcoat
non-skid, I will be able to complete the installation of the cockpit
enclosures.
I finally finished painting the
first oar for the dinghy, and put it back on the dinghy. I brought the
second oar to shop and started sanding and stripping the paint on it.
Dinghy Oar With Last Coat Of Paint Hanging In The Shop
I applied another another coat of
putty on compressor box and the port side of the
forward deck box, and the area I filled with fiberglass just behind the
anchor windlass on Dream Away. I then
sanded down the compressor box again.
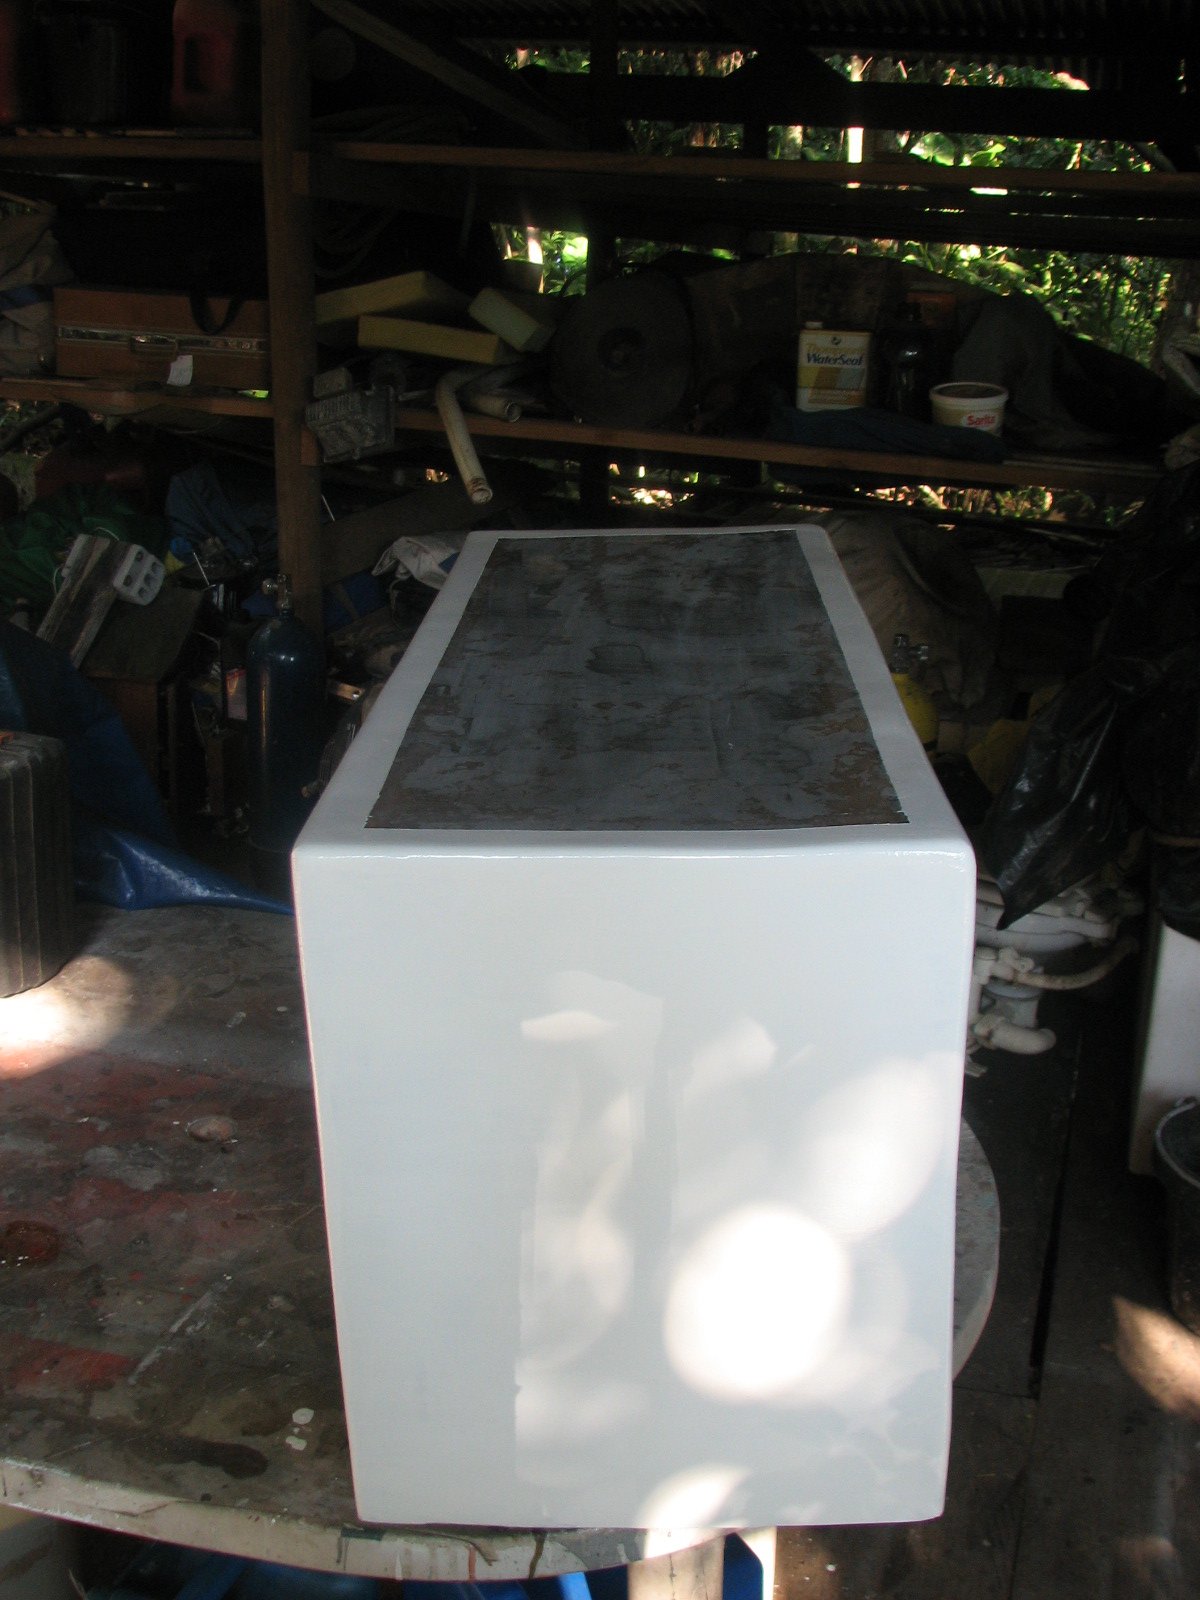
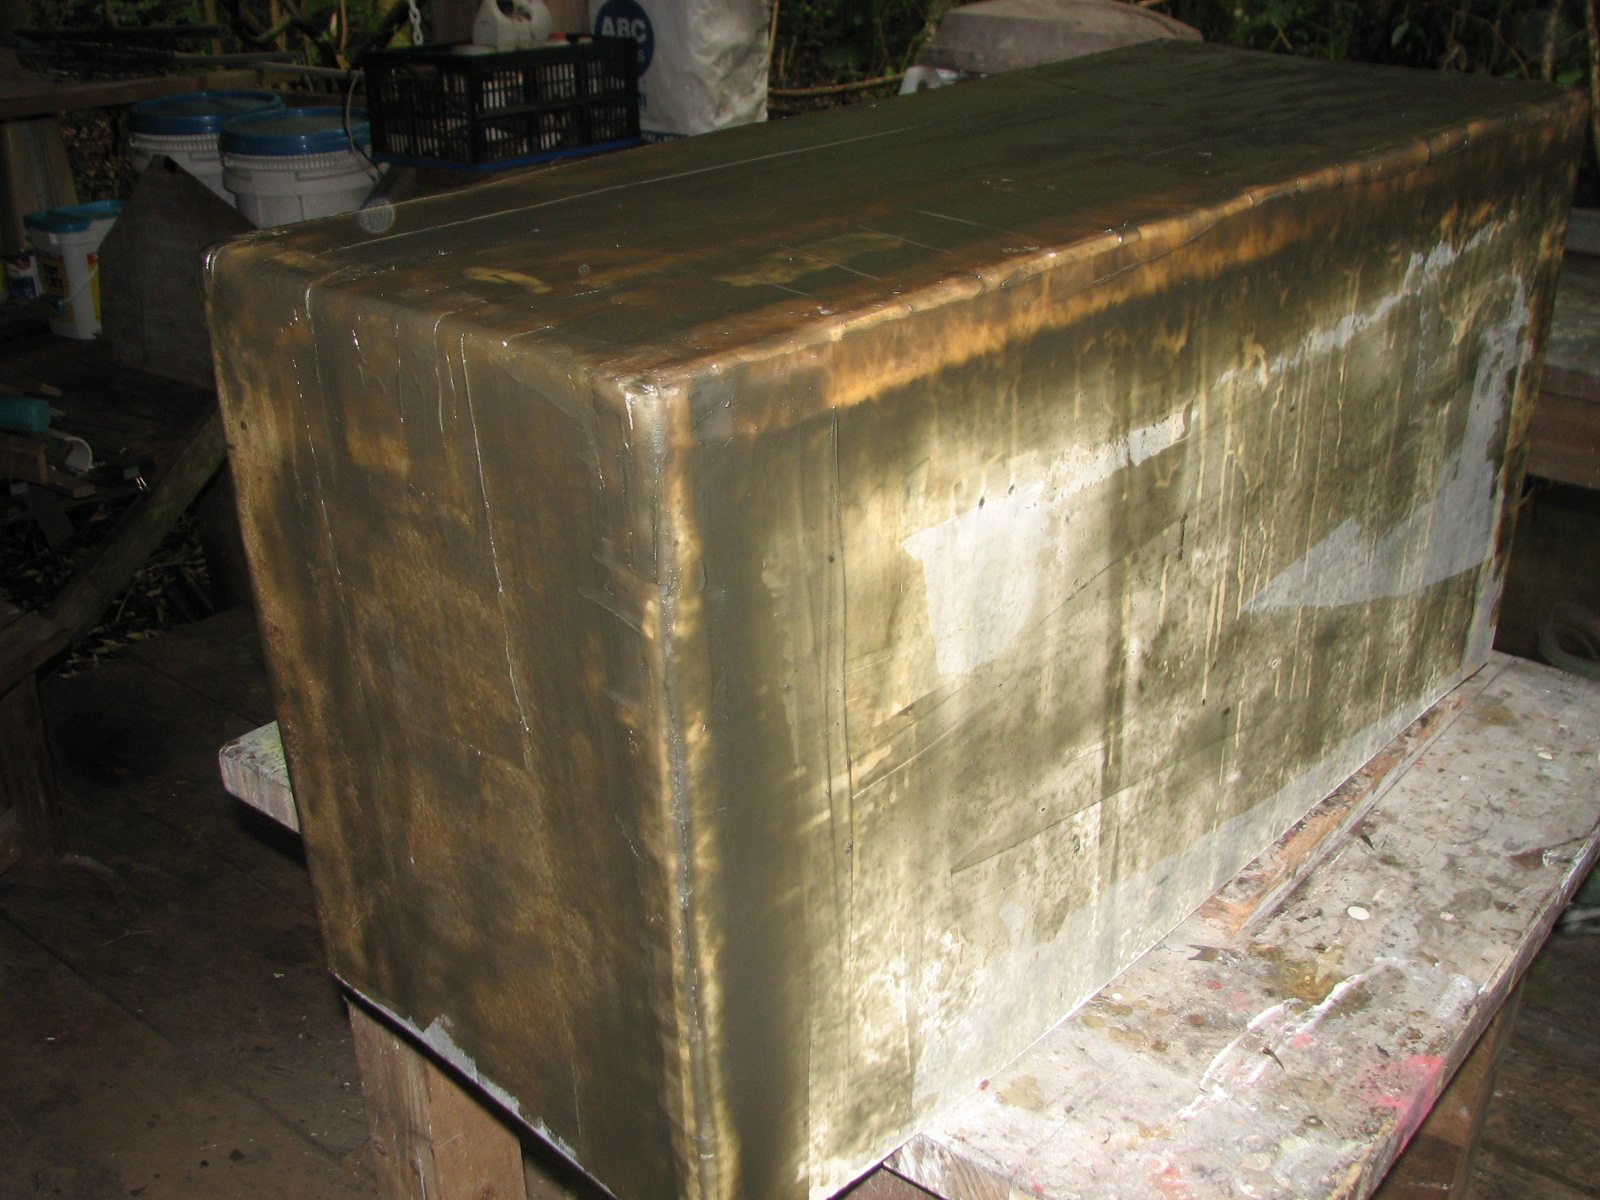
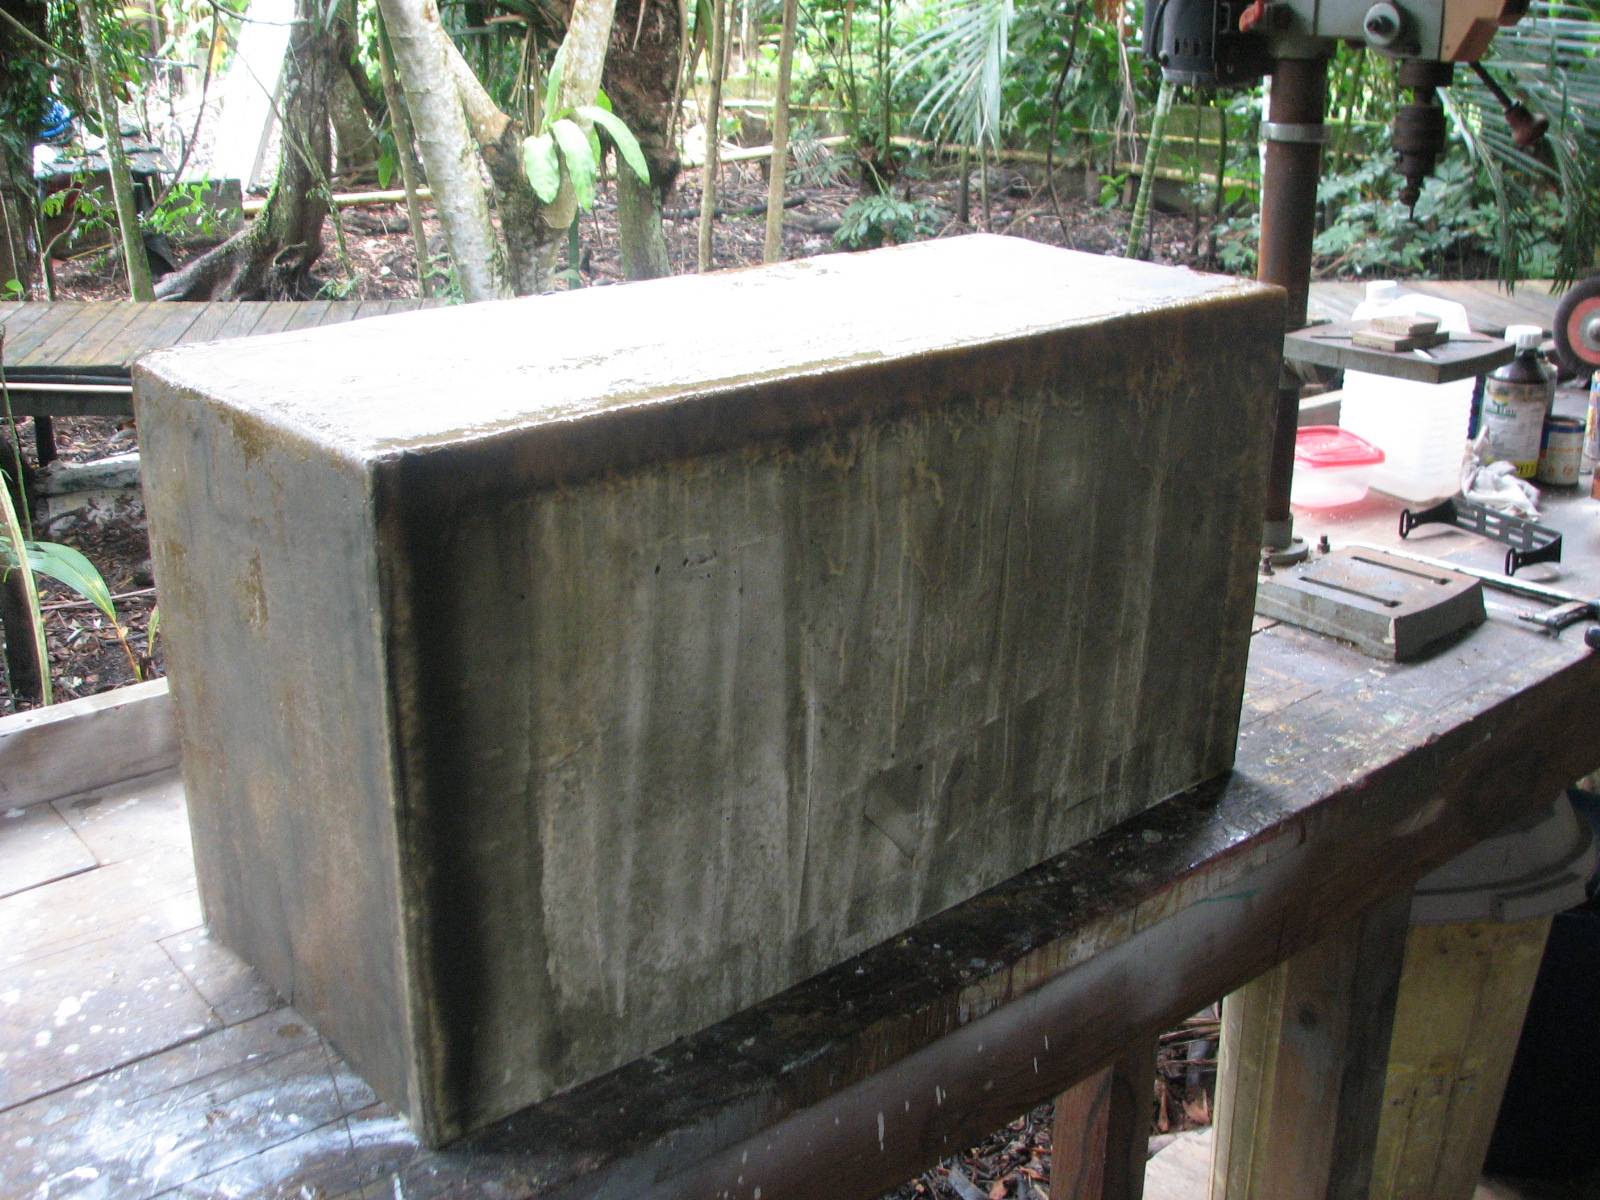
Compressor Box, Just After Putty Application
Compressor Box After Sanding
Compressor Box After Sanding
January 3, 2011, Monday.
Went
back to the shop and sanded the compressor cover. Got the cover as
smooth as possible, and then applied more putty.
Went to
Dream Away and sanded down the area that I repaired on
the port side of the forward deck box, and the area I filled with
fiberglass just behind the anchor windlass. I then washed down the
front deck of Dream Away. I also scrubbed off the wax I put on the
yellow gelcoat. It seems like the yellow non-skid gelcoat I applied has
set up very well, and should not have any problems.
We waited for Luis, the canvas
man we have been working with, to come over to the boat. He arrived and
we got a very good price for curtains in the main cabin. We also
arrived at a good price to have him repair the bad weather enclosures
we have for the cockpit. We have had them since we first left in 2004,
but they were barely serviceable. When Luis gets finished, we should be
able to be in the cockpit with the rain or waves splashing on the boat
during a passage, and remain very dry and comfortable.
January 2, 2011, Sunday.
Worked
on the computer doing updates to get some information on Christmas and
other stuff on the web page.
Went back to the shop and sanded
the compressor cover. Got the cover as smooth as possible, and then
applied more putty. hopefully the last application, but since I have
done this before, there will be at least another application.
January 1, 2011, Saturday.
First
this today was to put wax on the yellow gelcoat I rolled on yesterday.
This was done to make sure the gelcoat sets up and hardens.
I then put the second coat
of Easypoxy Kelly Green
paint on the shear stripe. I had just enough paint to cover the
repaired areas of the shear stripe. I will let the paint dry for a
couple of days before applying the Nyalic
protectorant.
I then went back to the shop to
work on the compressor cover. I sanded and cleaned up the cover from
the fiberglass application of yesterday. I mixed up a five ounce pot of
putty and applied it to the compressor cover.


