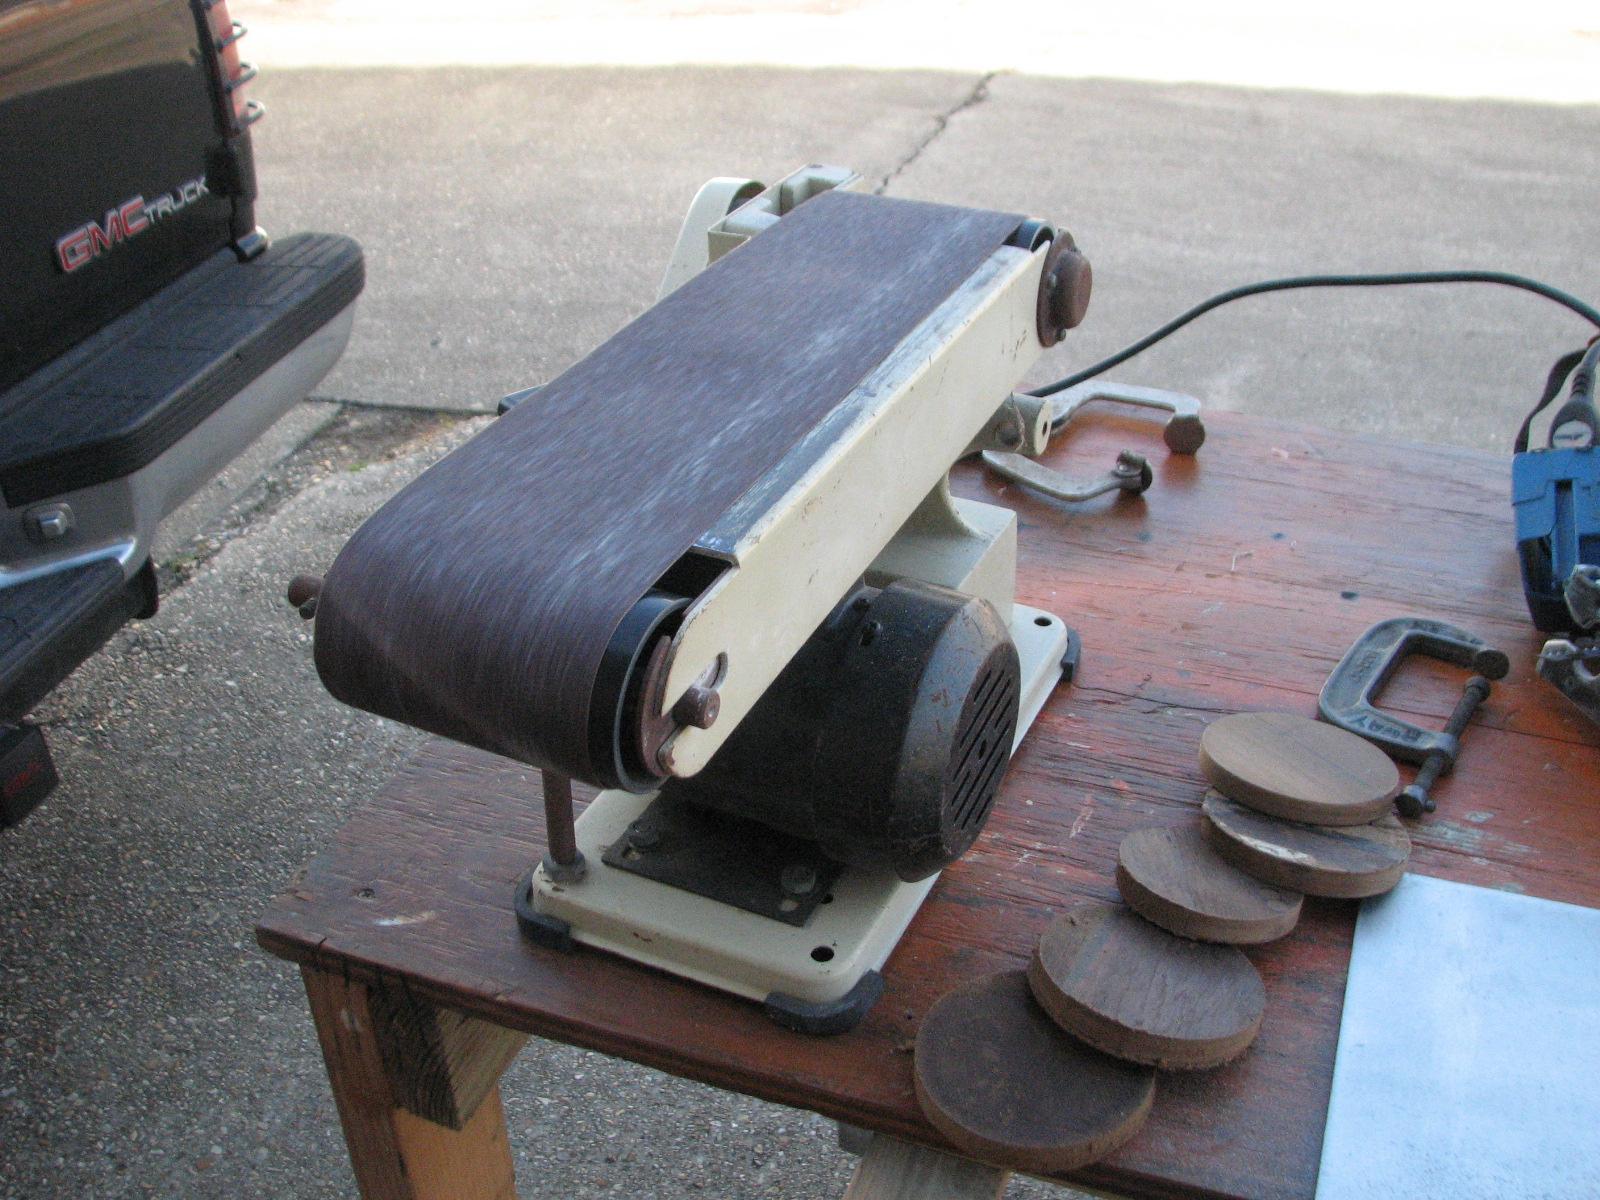
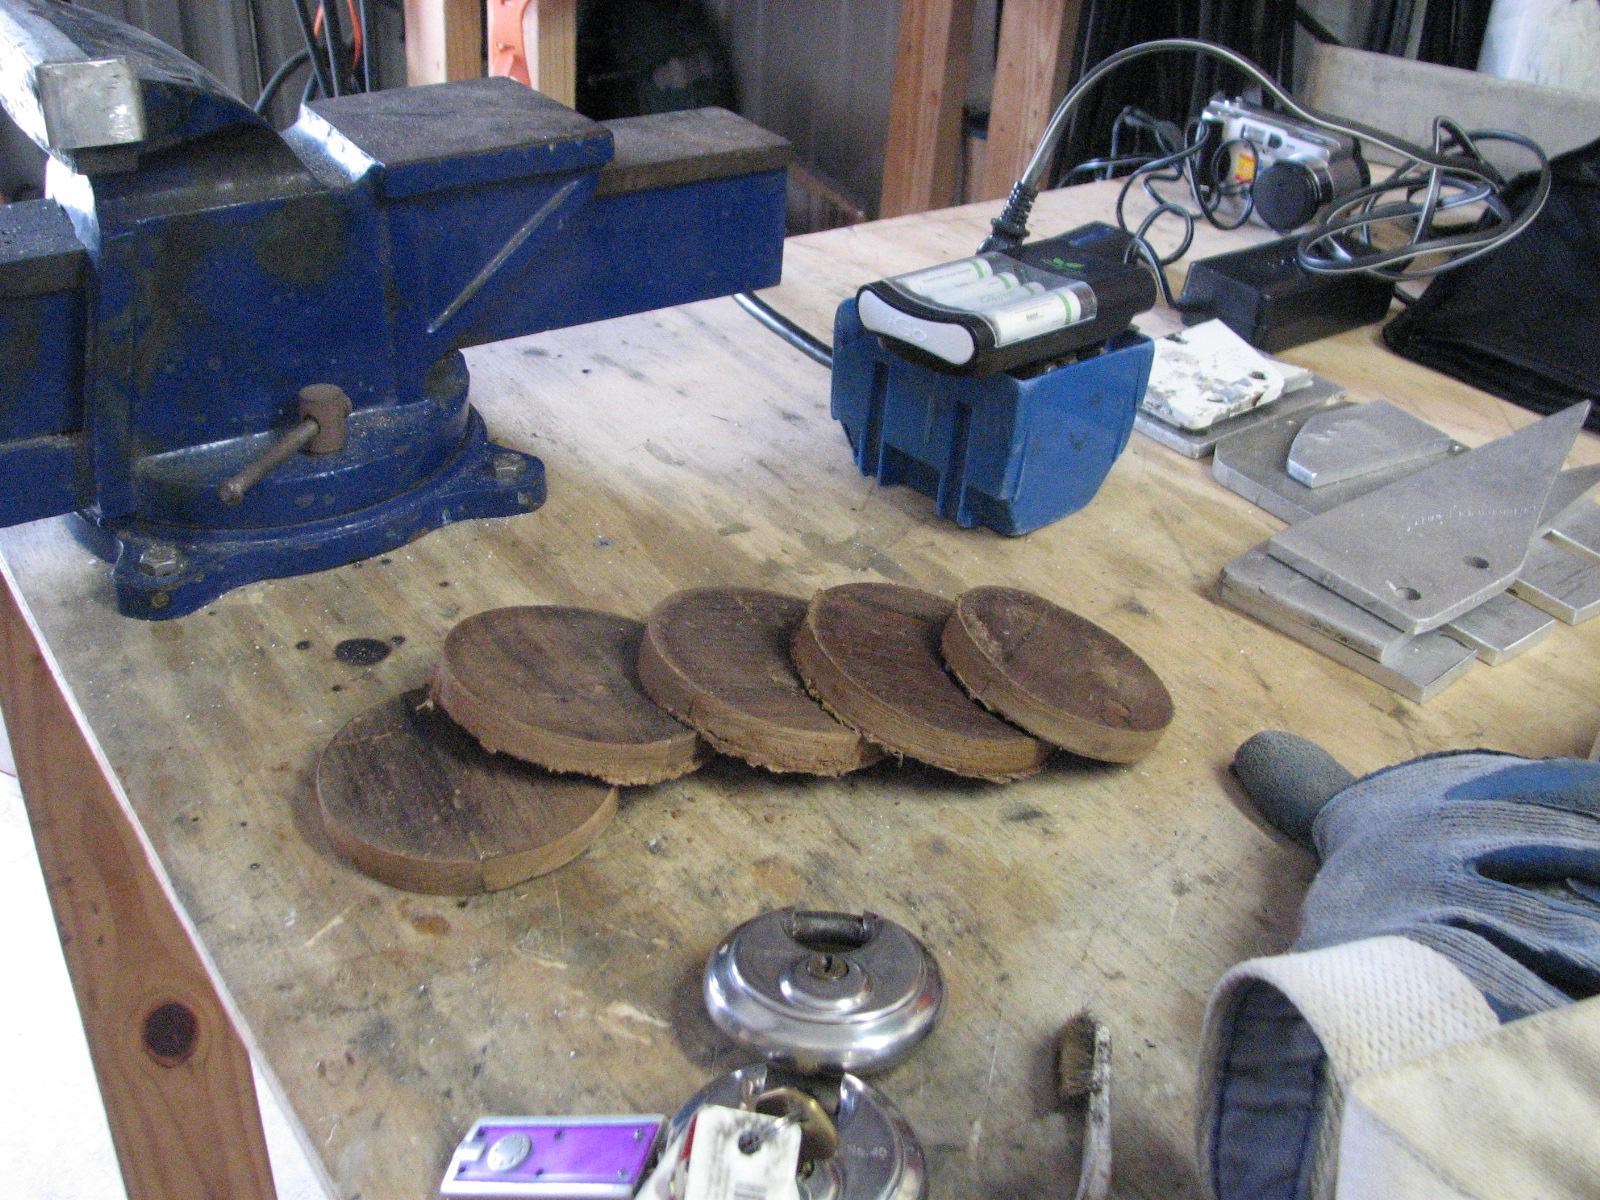
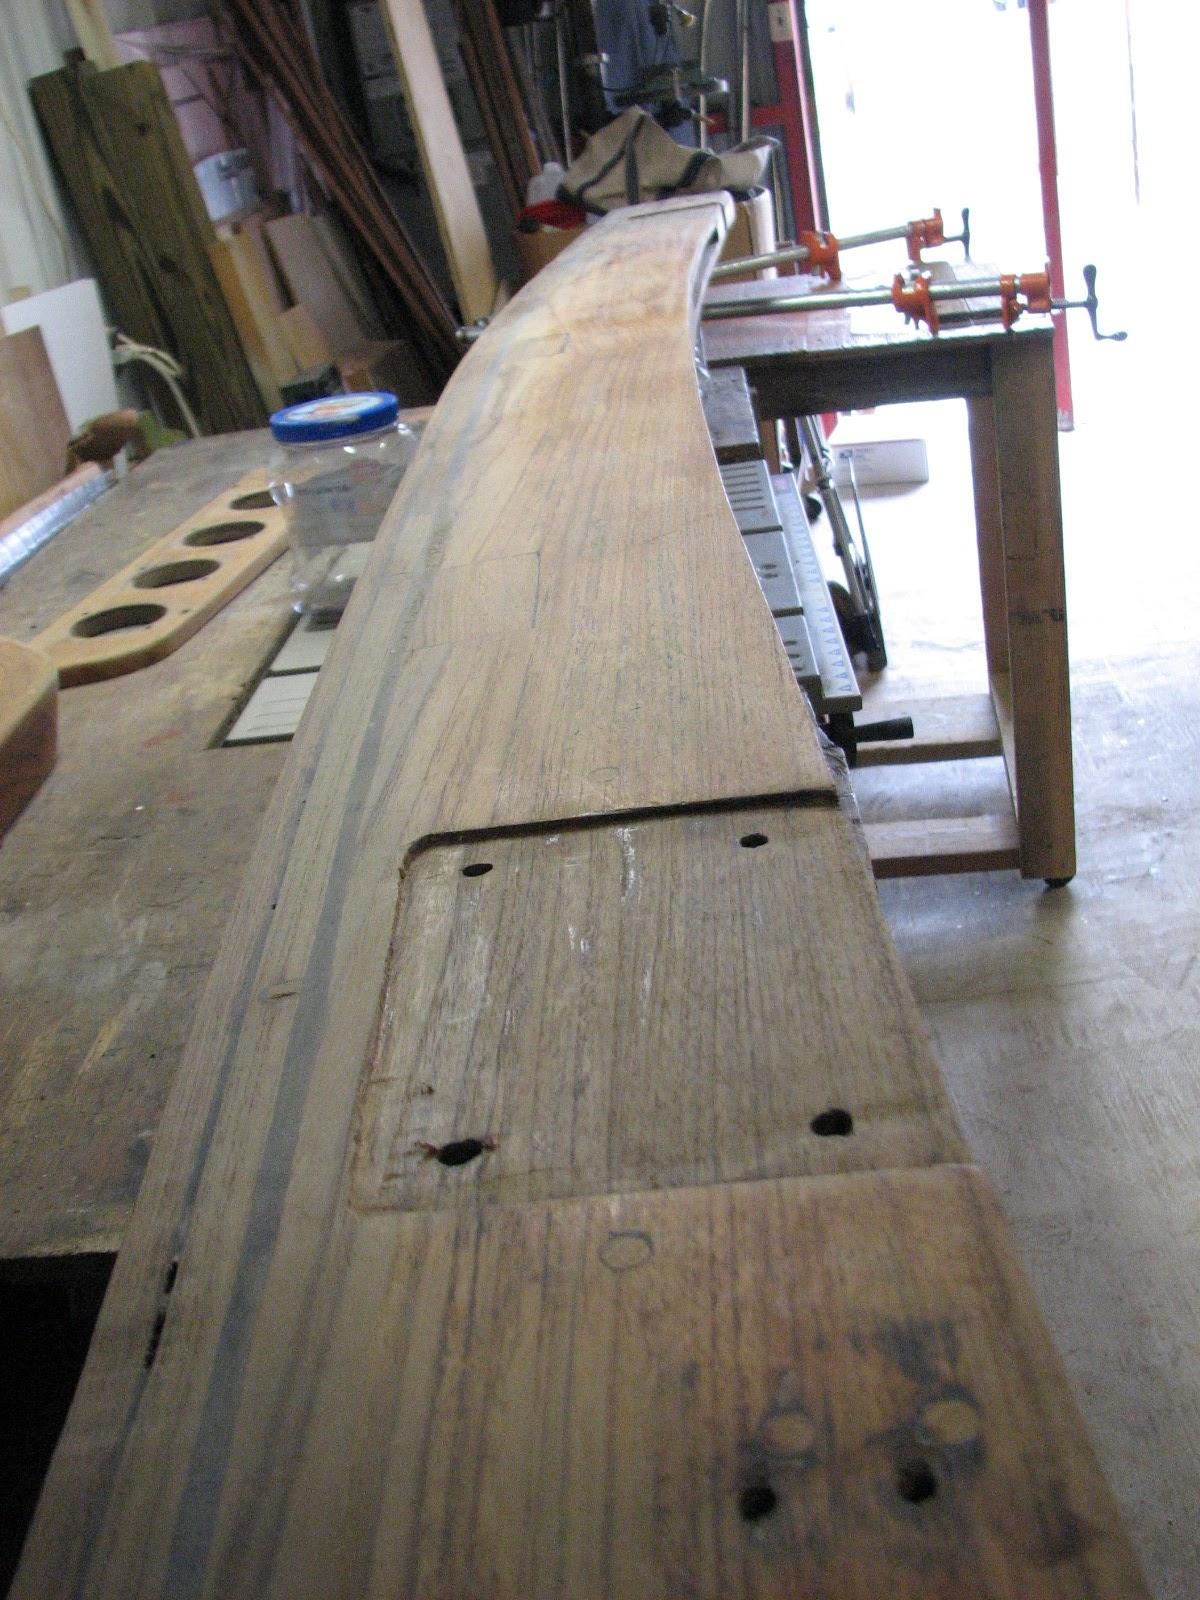
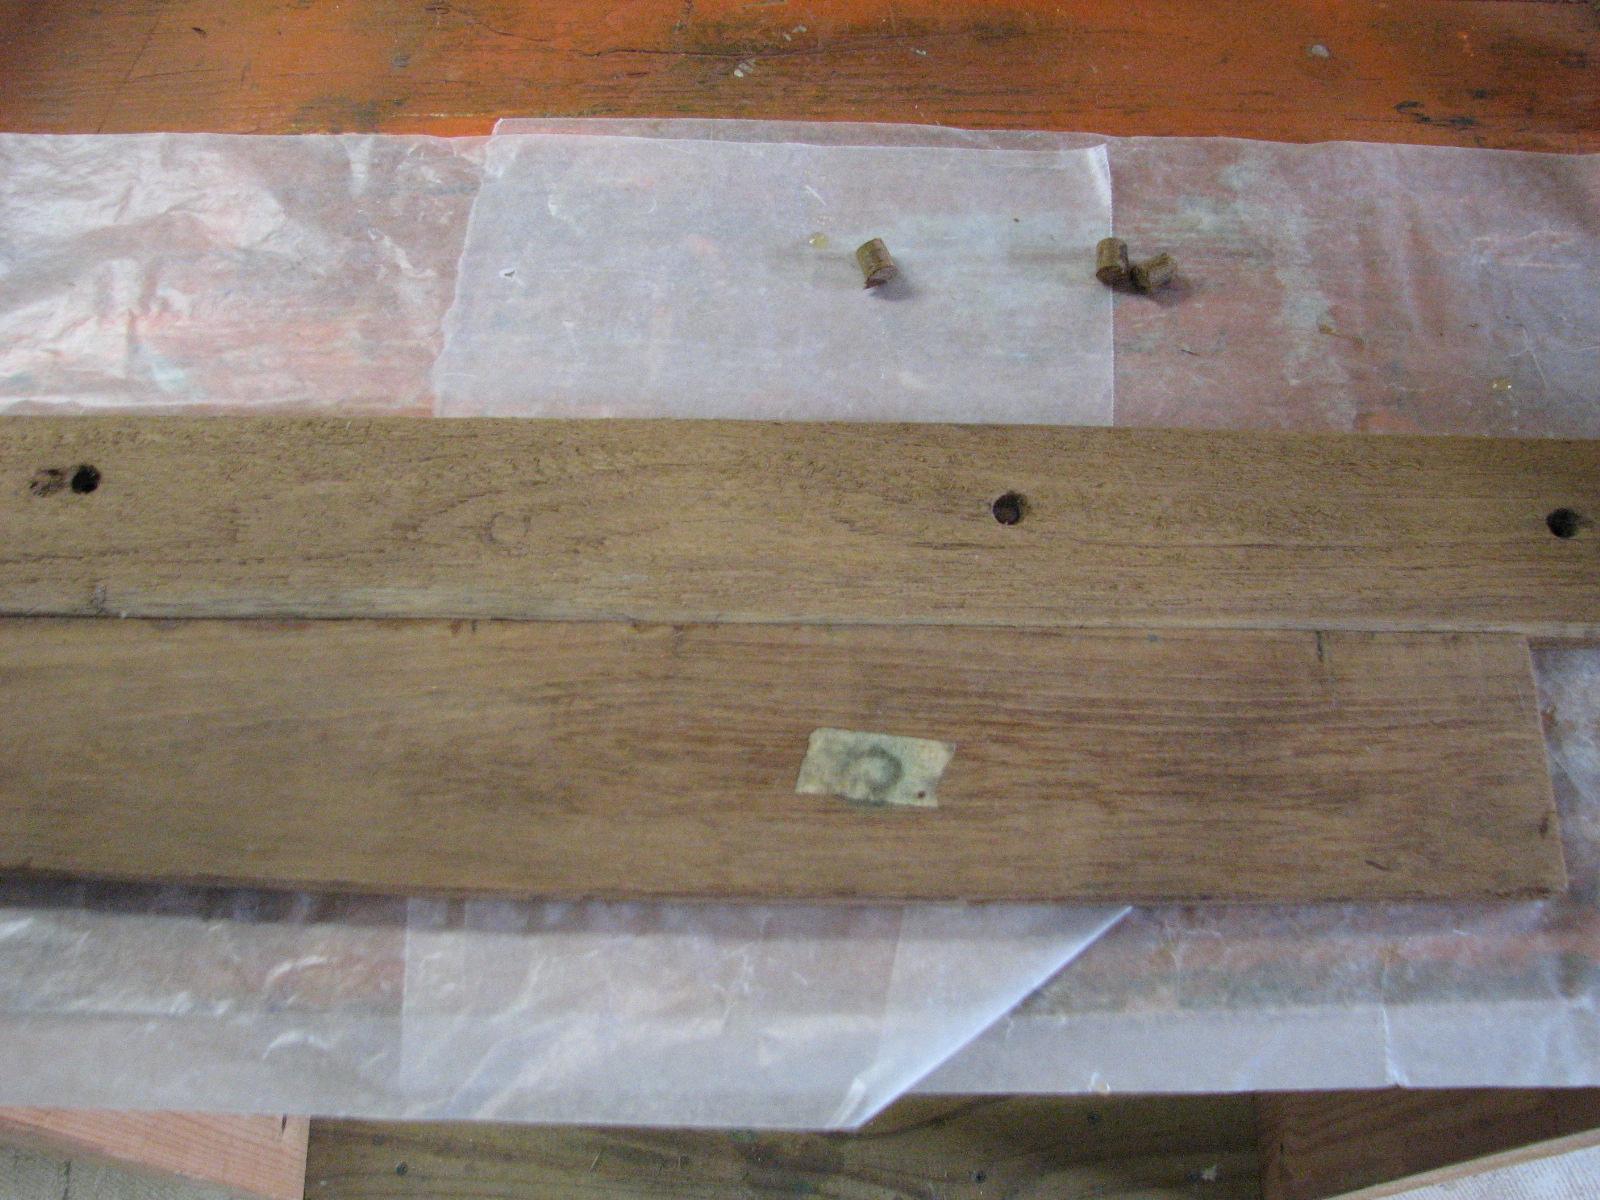
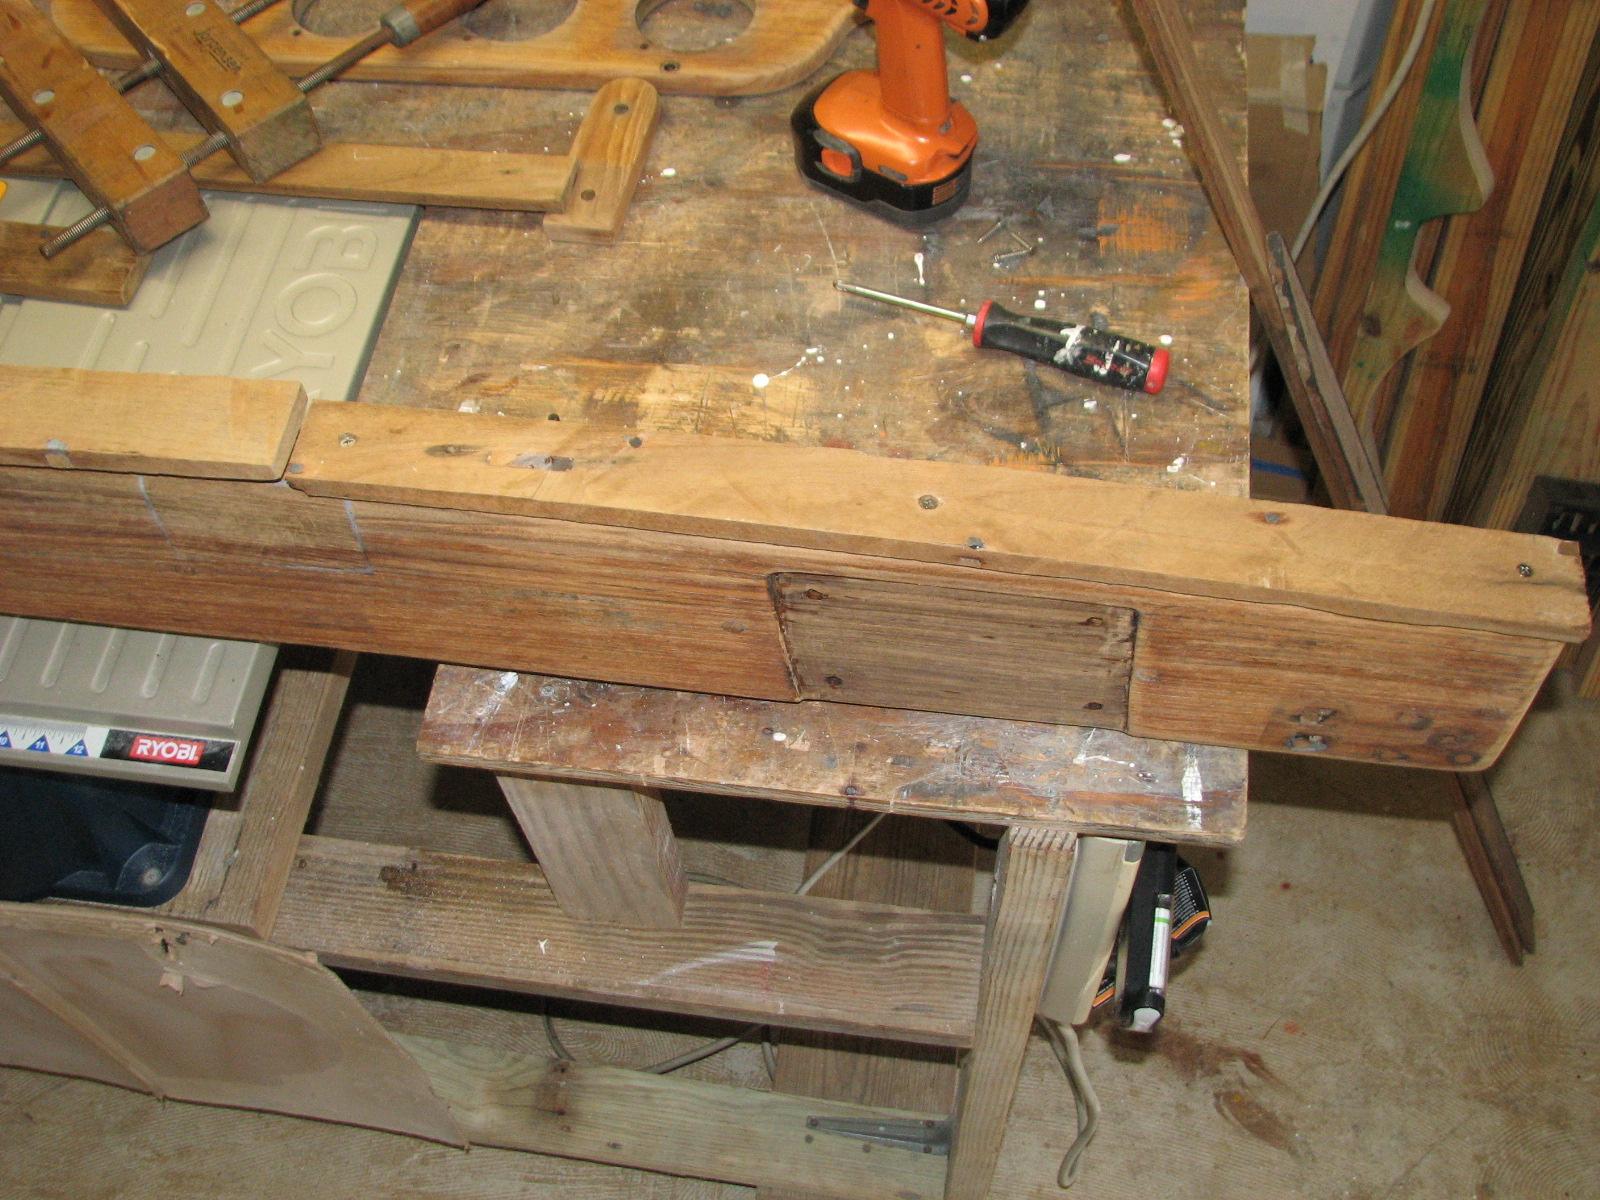
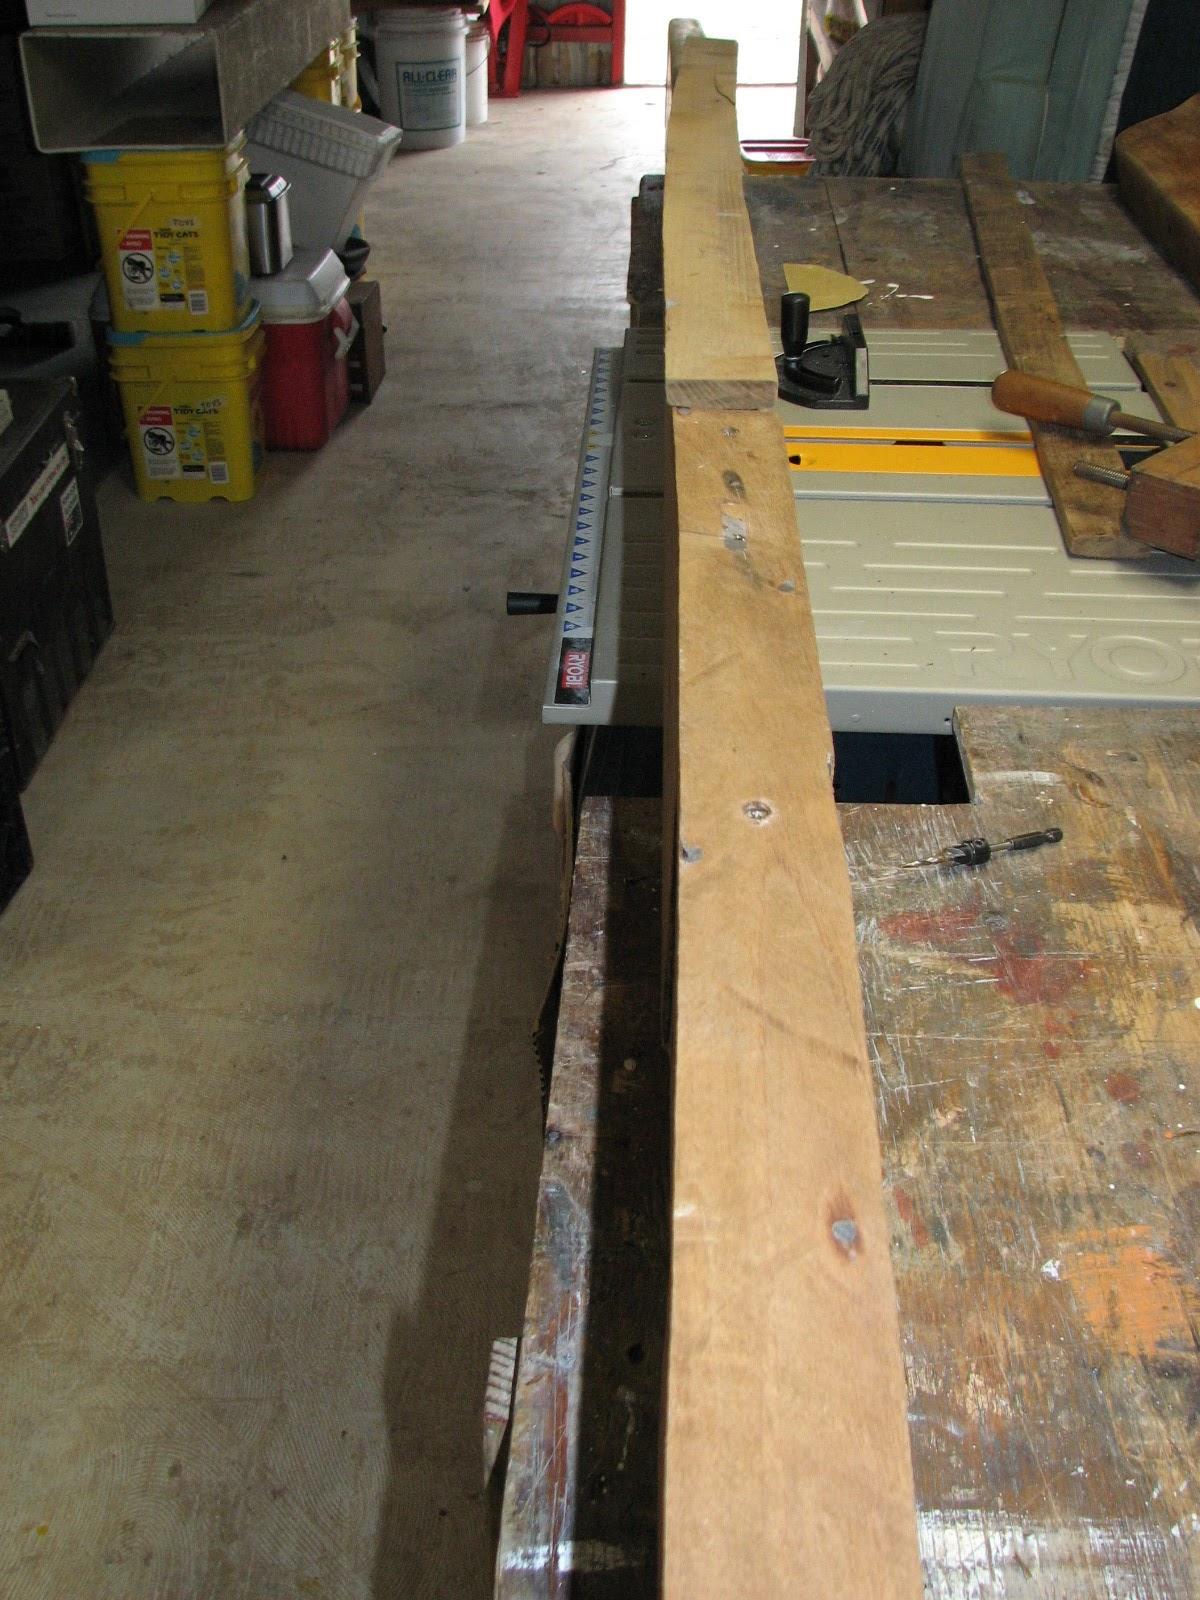
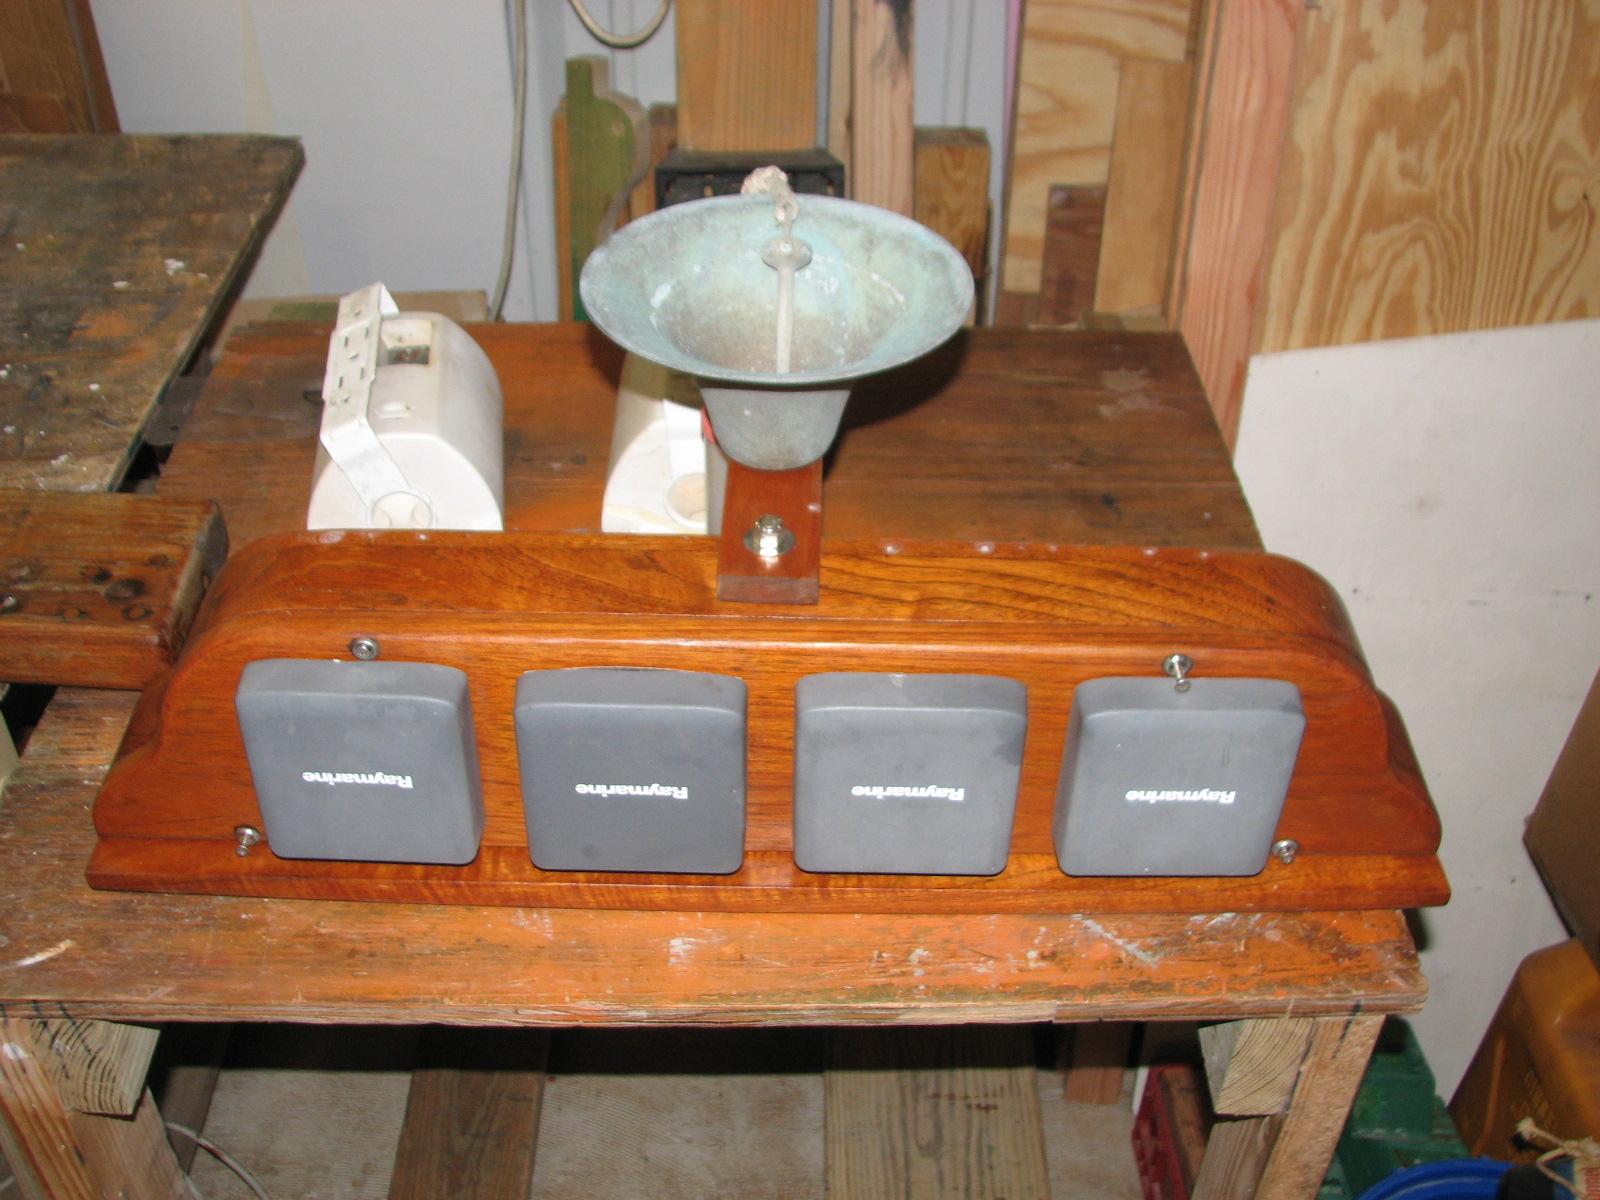
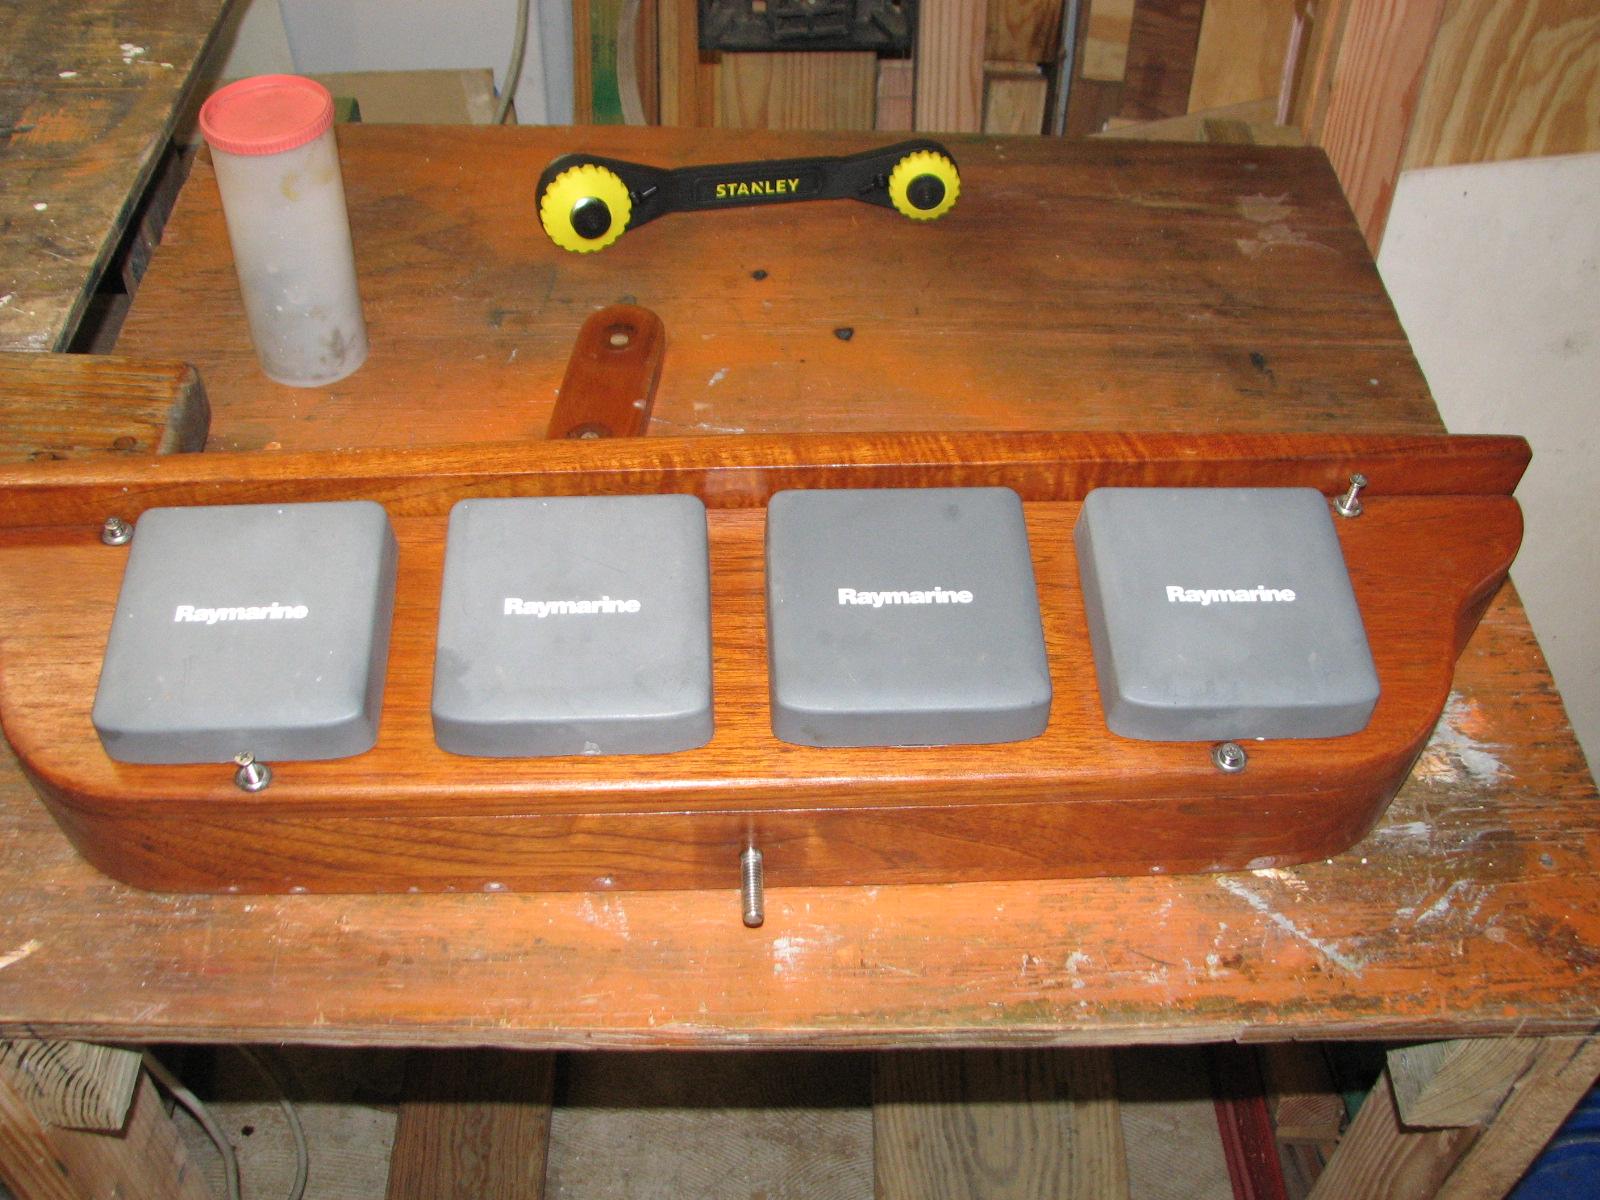
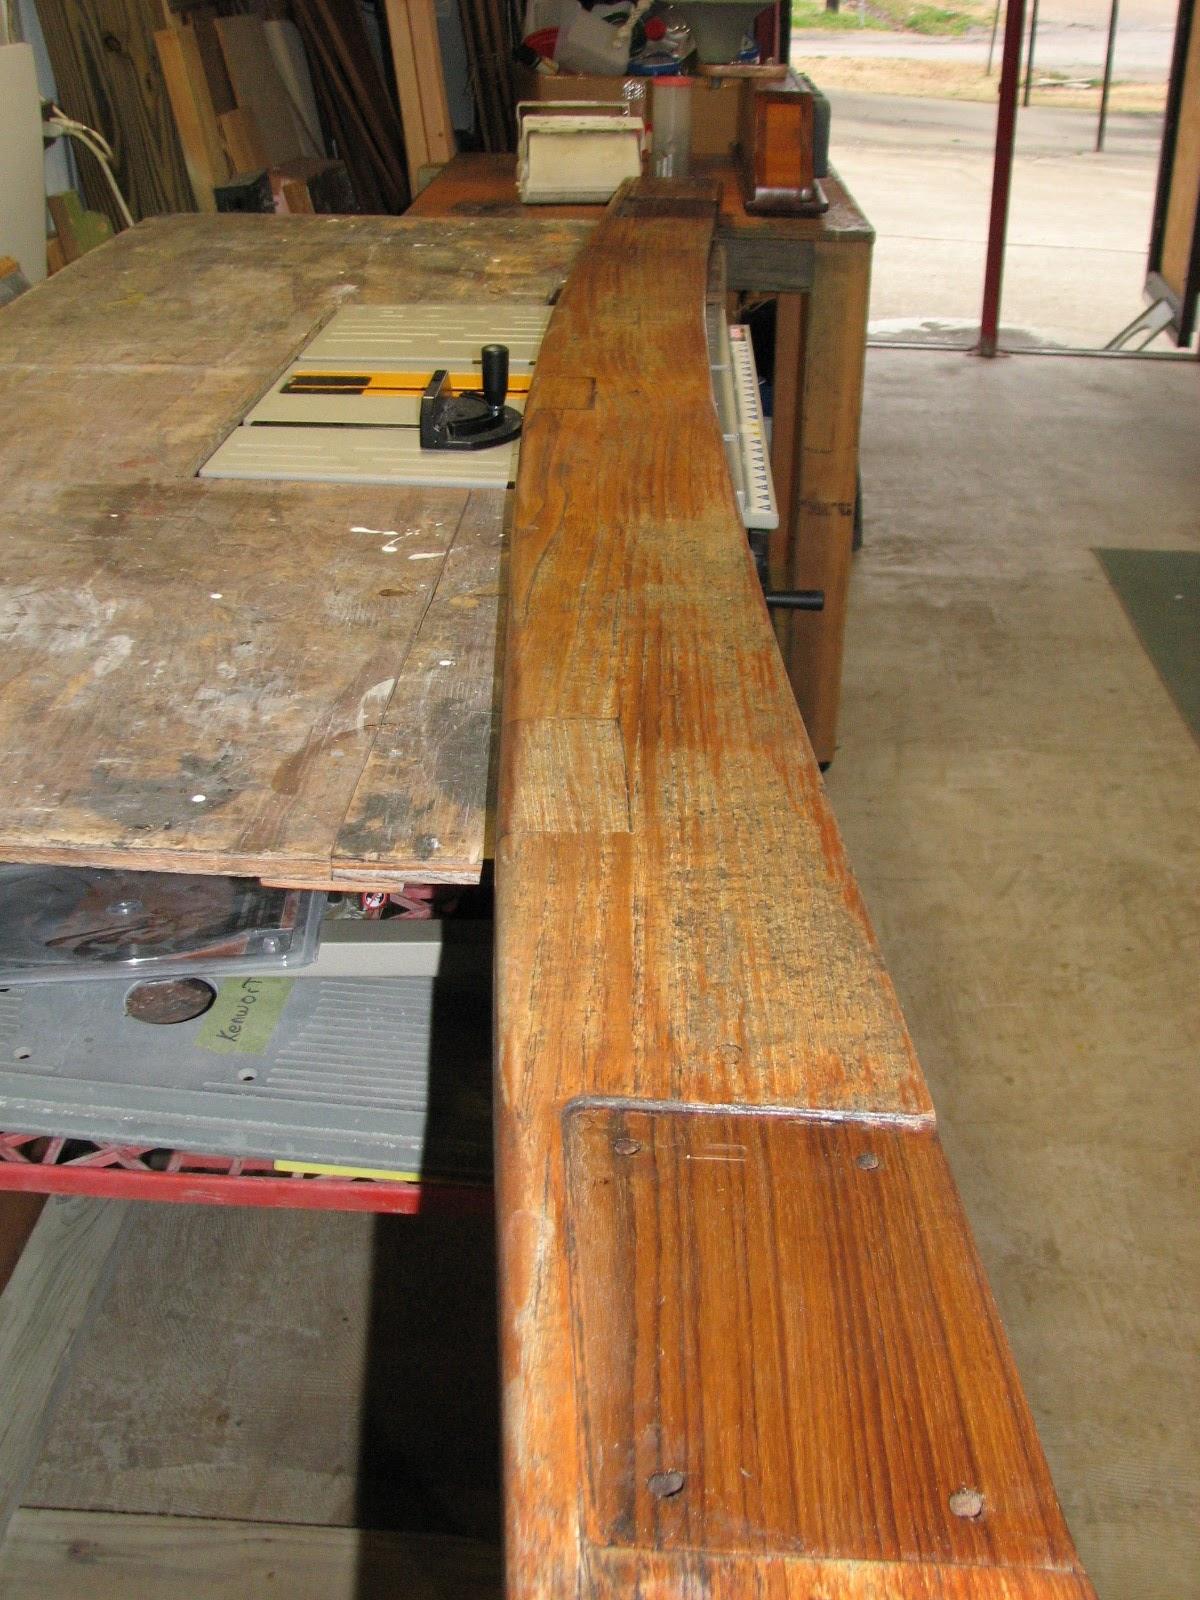
Cutting Circles Out Of Teak
Wood Piece
Yesterday while at LeBlanc Oil, I had
picked up a package for our friends
Nicola & Noel
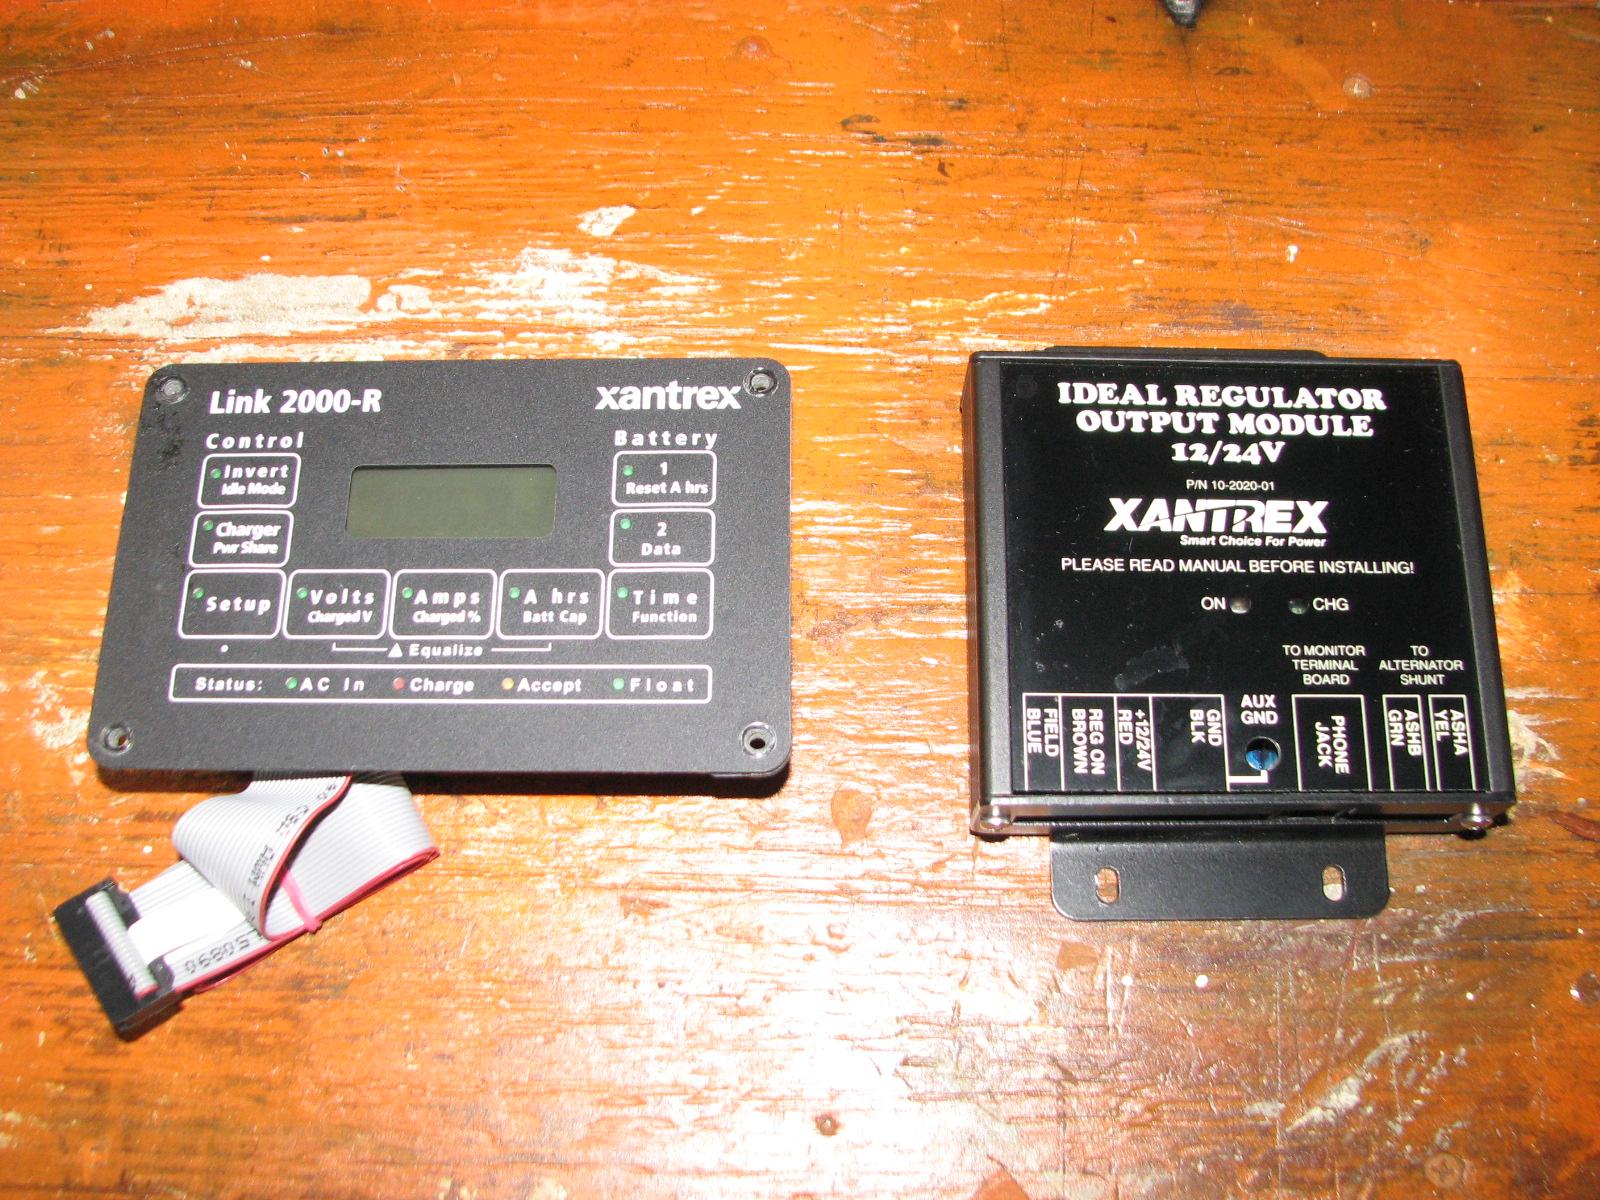
who are coming to visit from England. I
opened the package to check for physical damage, and took photos to
send to them. We will check out the electronics once they get here.
At that time
Johnal
called. RUTHIE was out of the water and he was able to look at the
damaged rudder. The good news is the rudder can be repaired while in
the boat. The bad news is there is a big chunk out of the rudder that
needs to be repaired. He asked if I could help, and I agreed.
I drove over to
GEO shipyard, and parked next to
Johnal & Cindy'sboat, RUTHIE.
Johnal
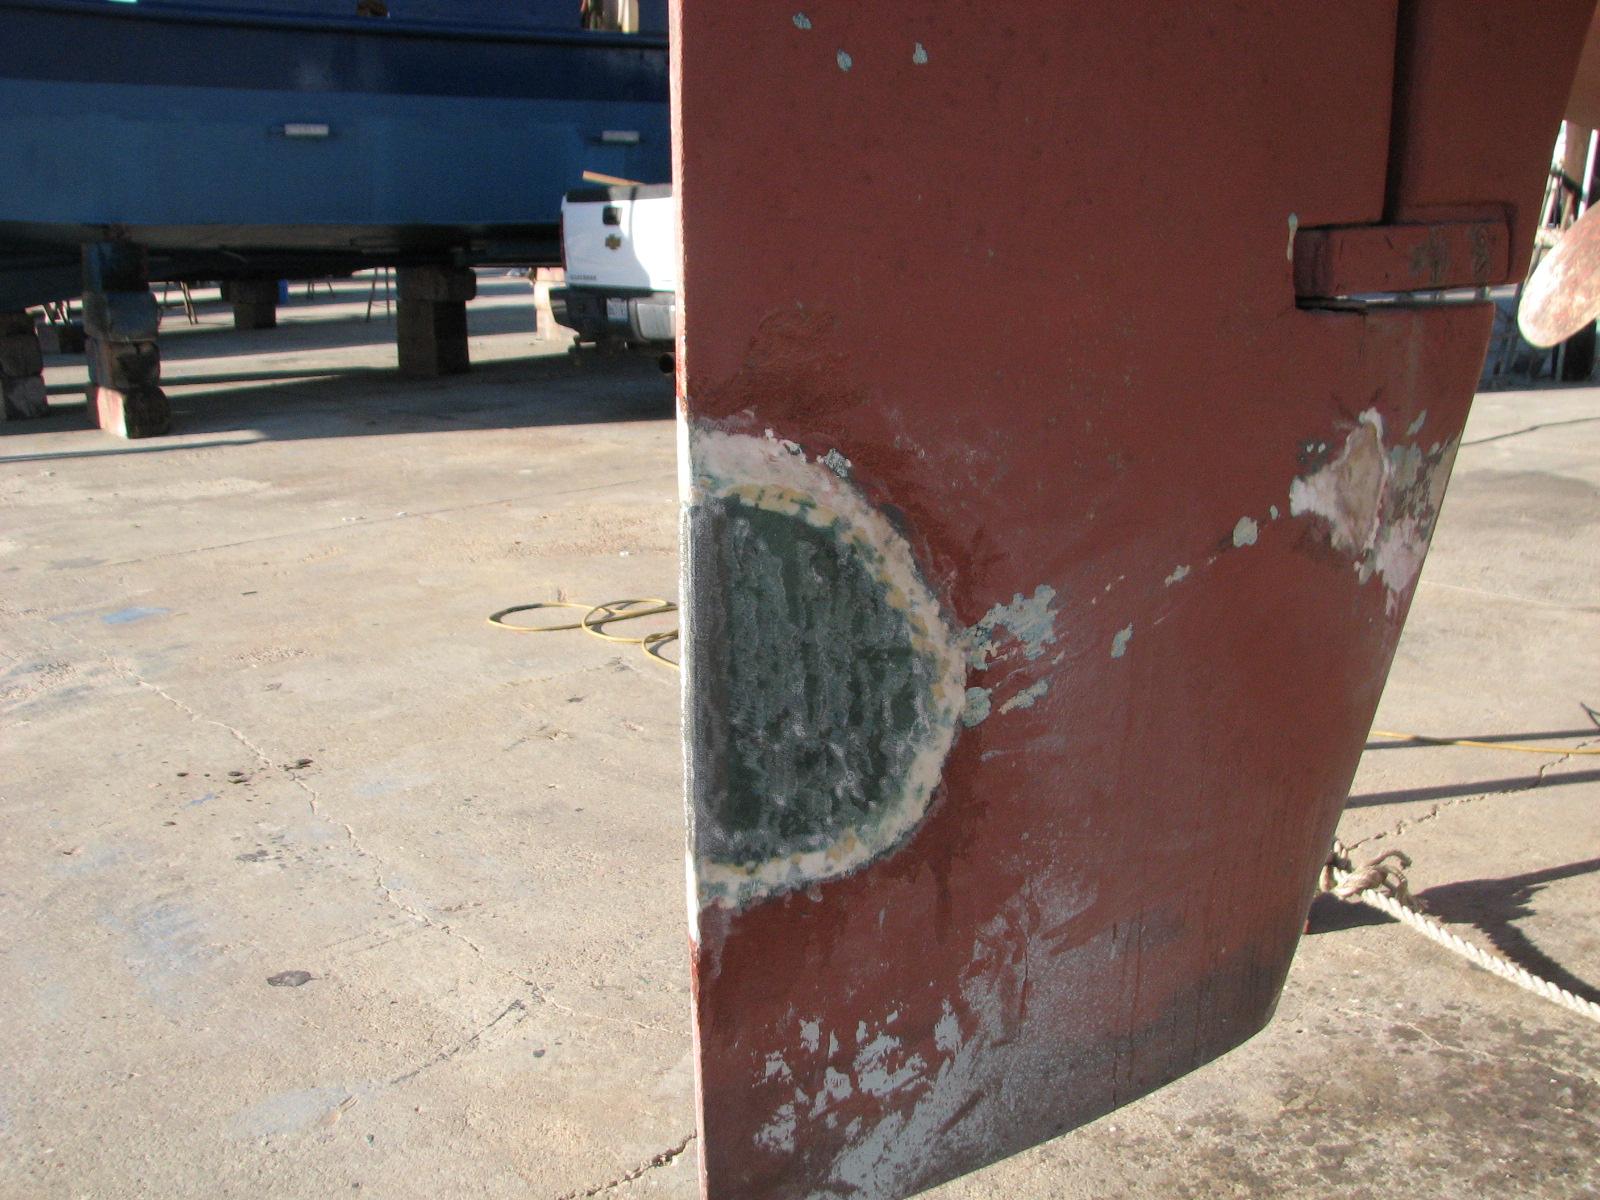
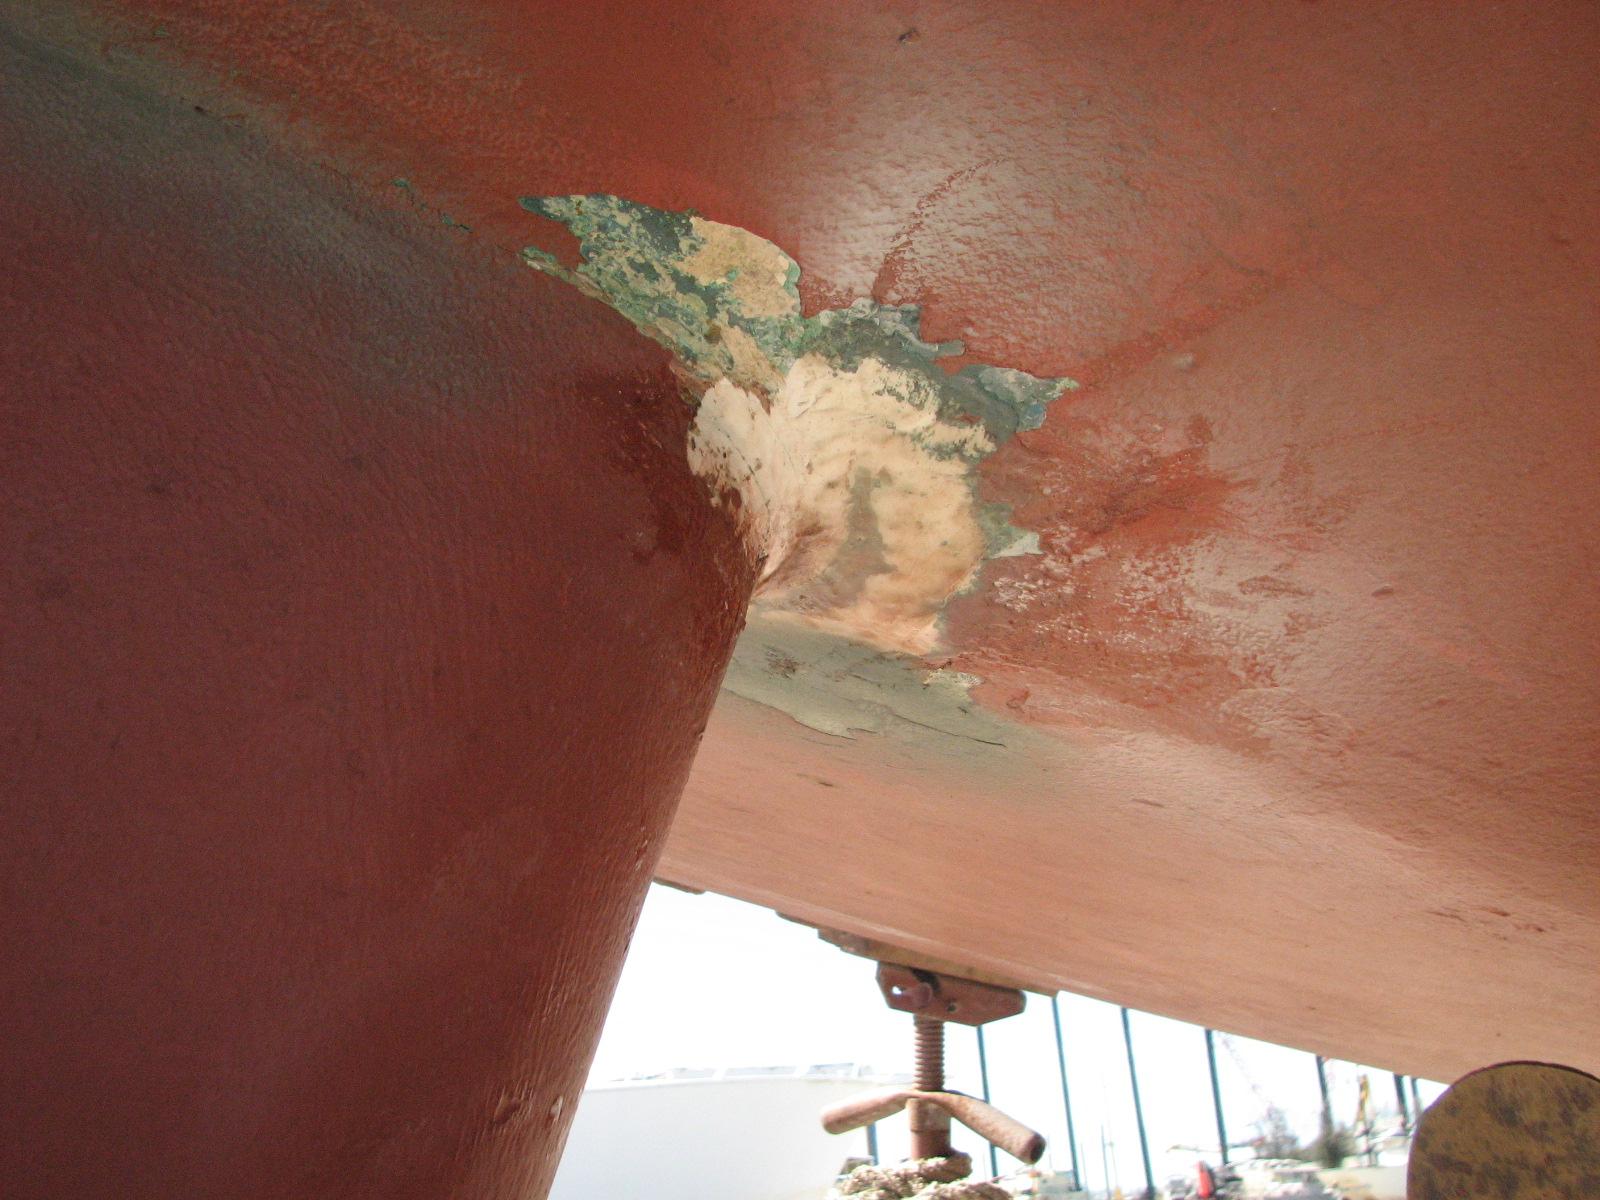
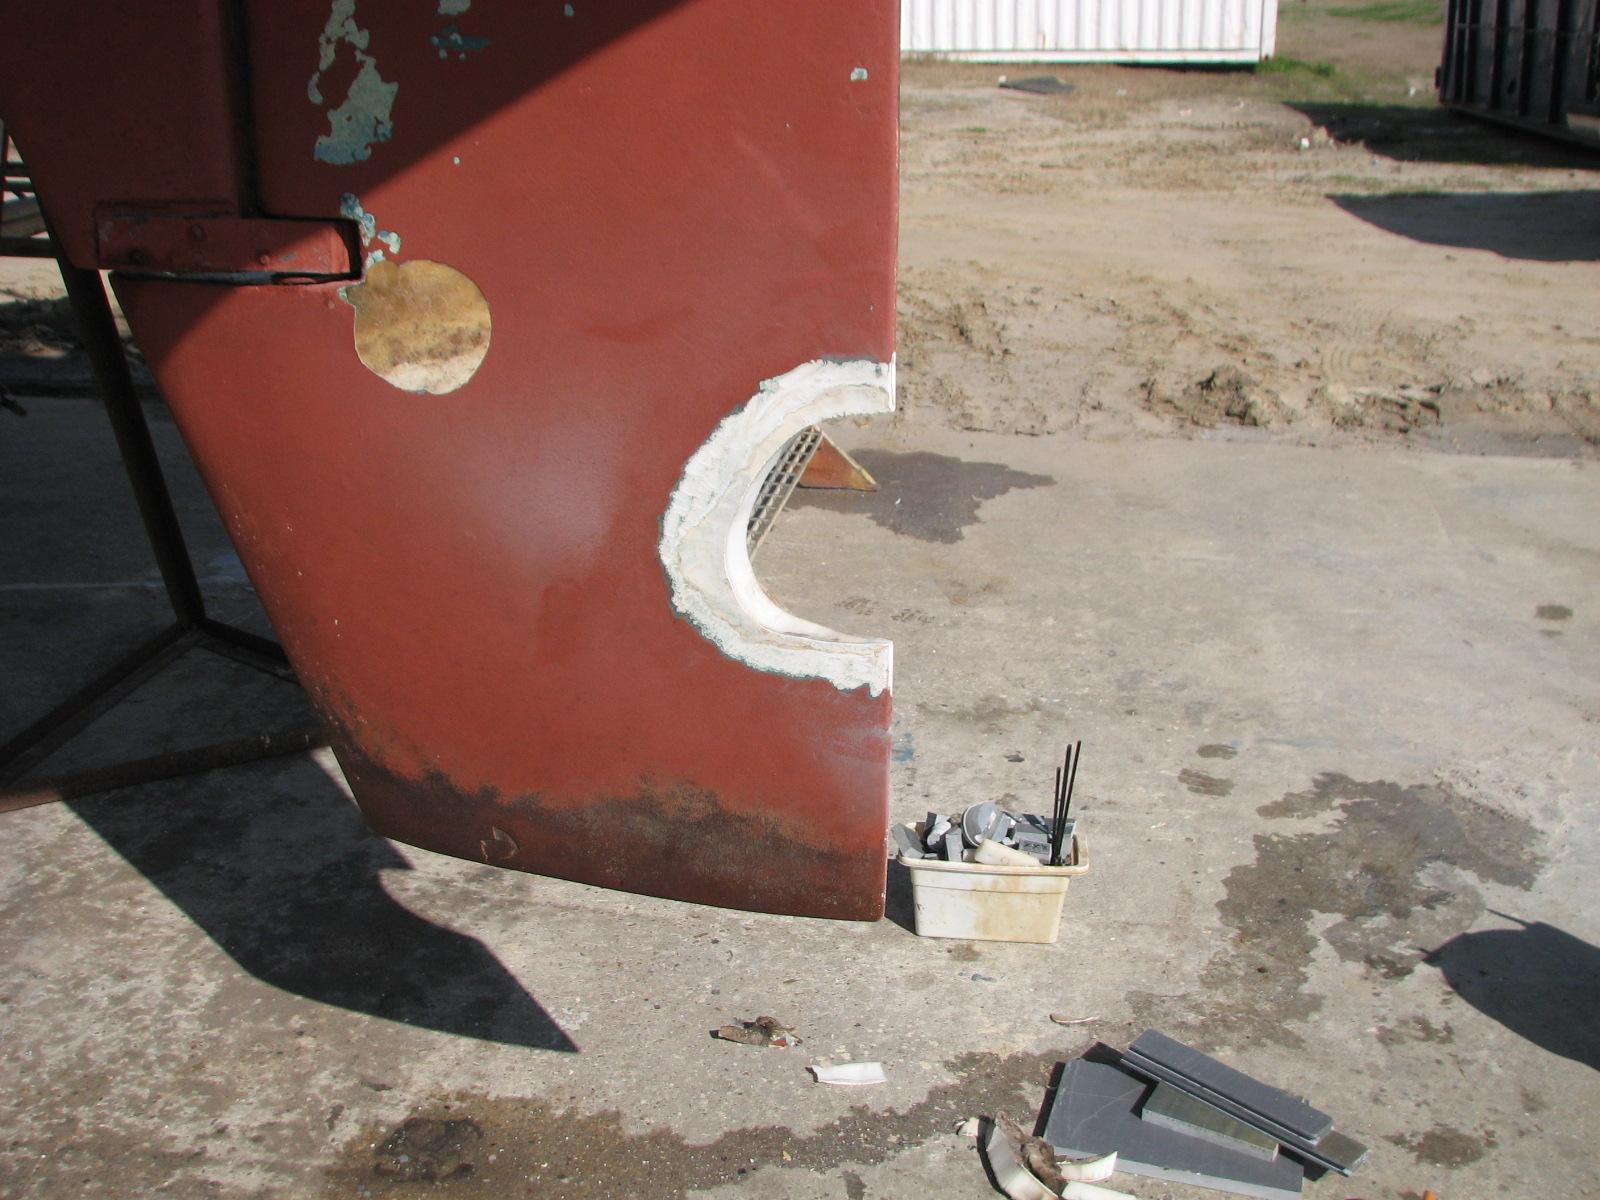
had already cut the bad place out of the rudder. It looked like an
alligator had taken a bite out of the rudder.
Rudder With Bad Spot Cut Out
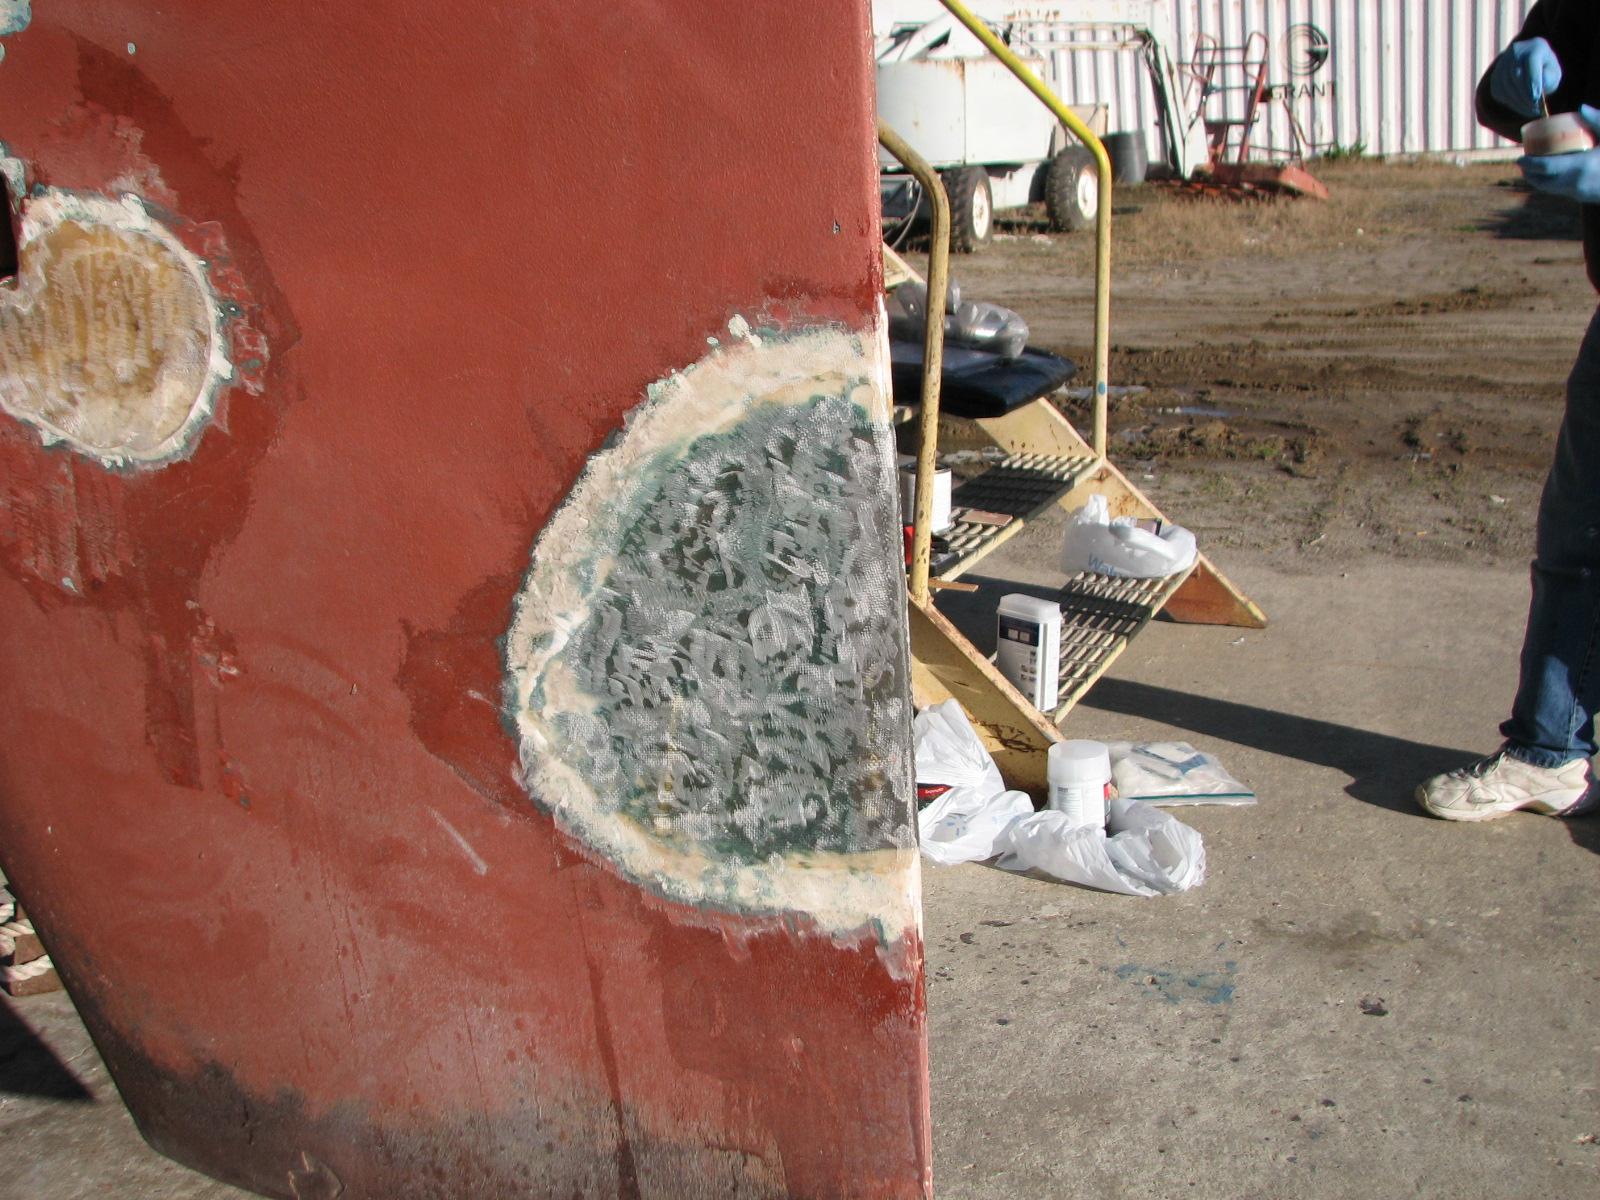
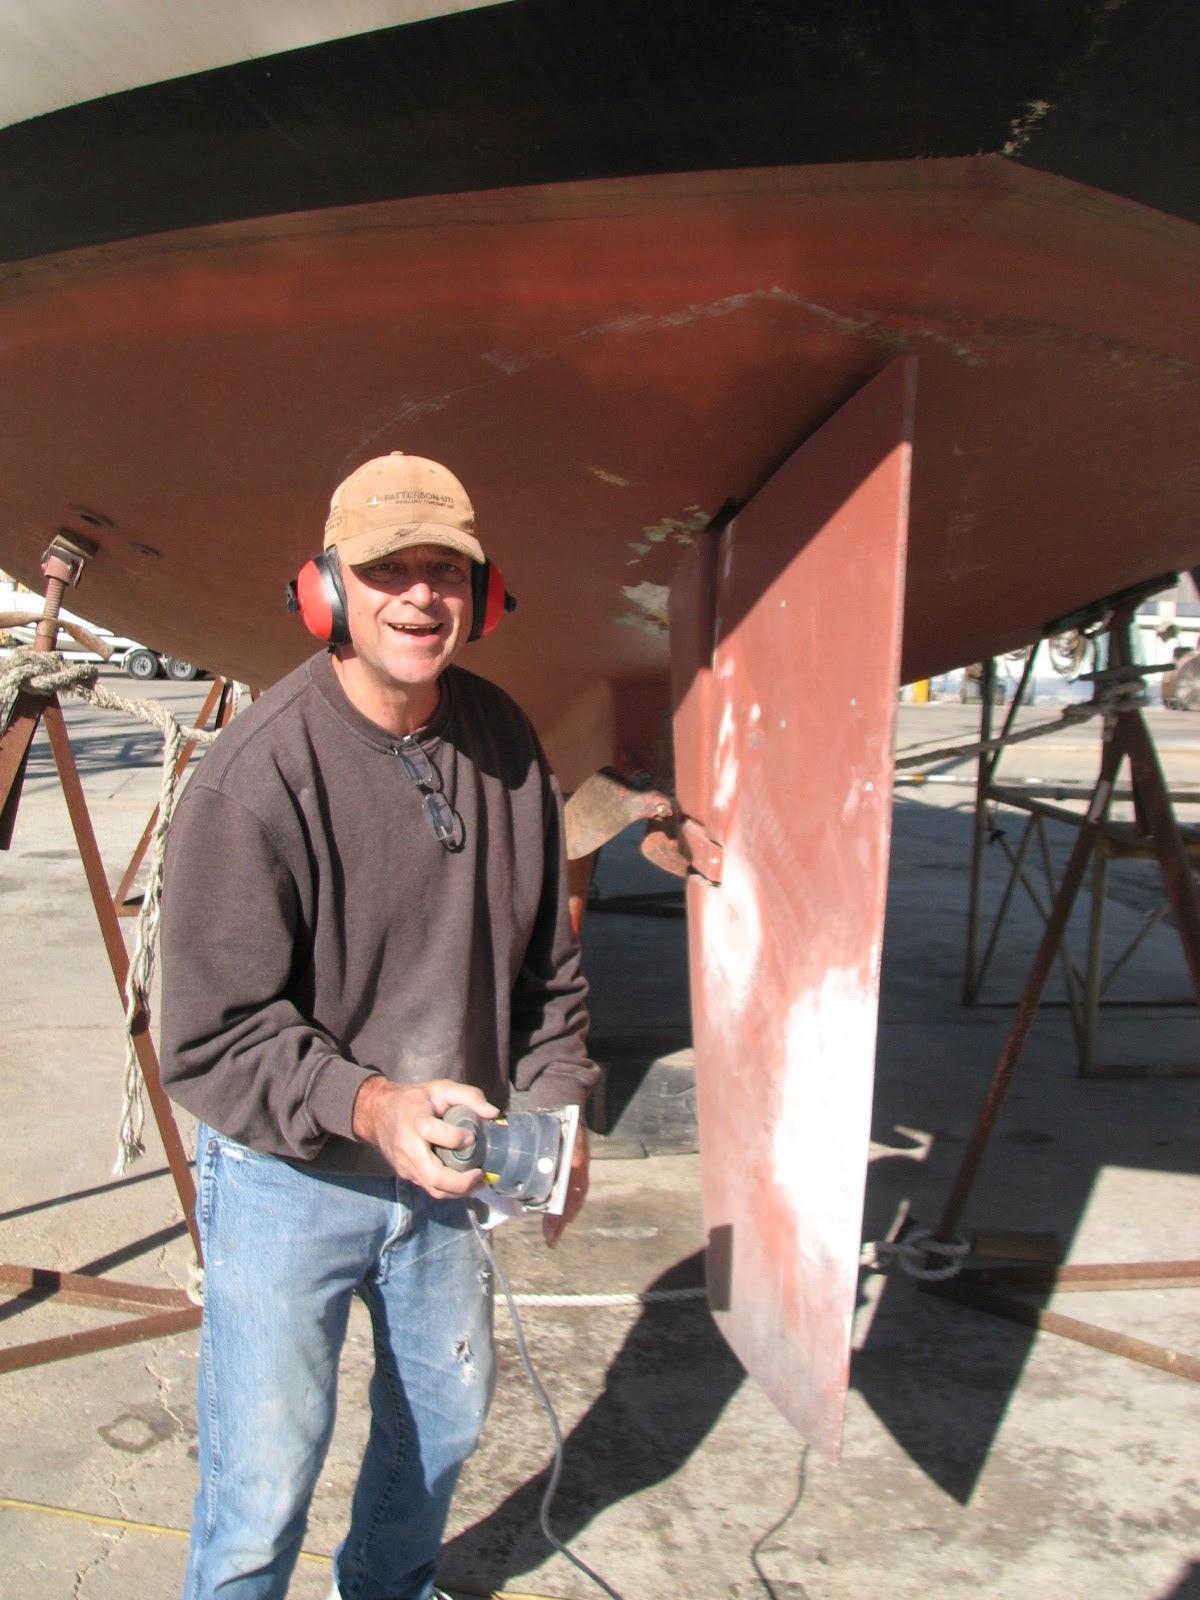
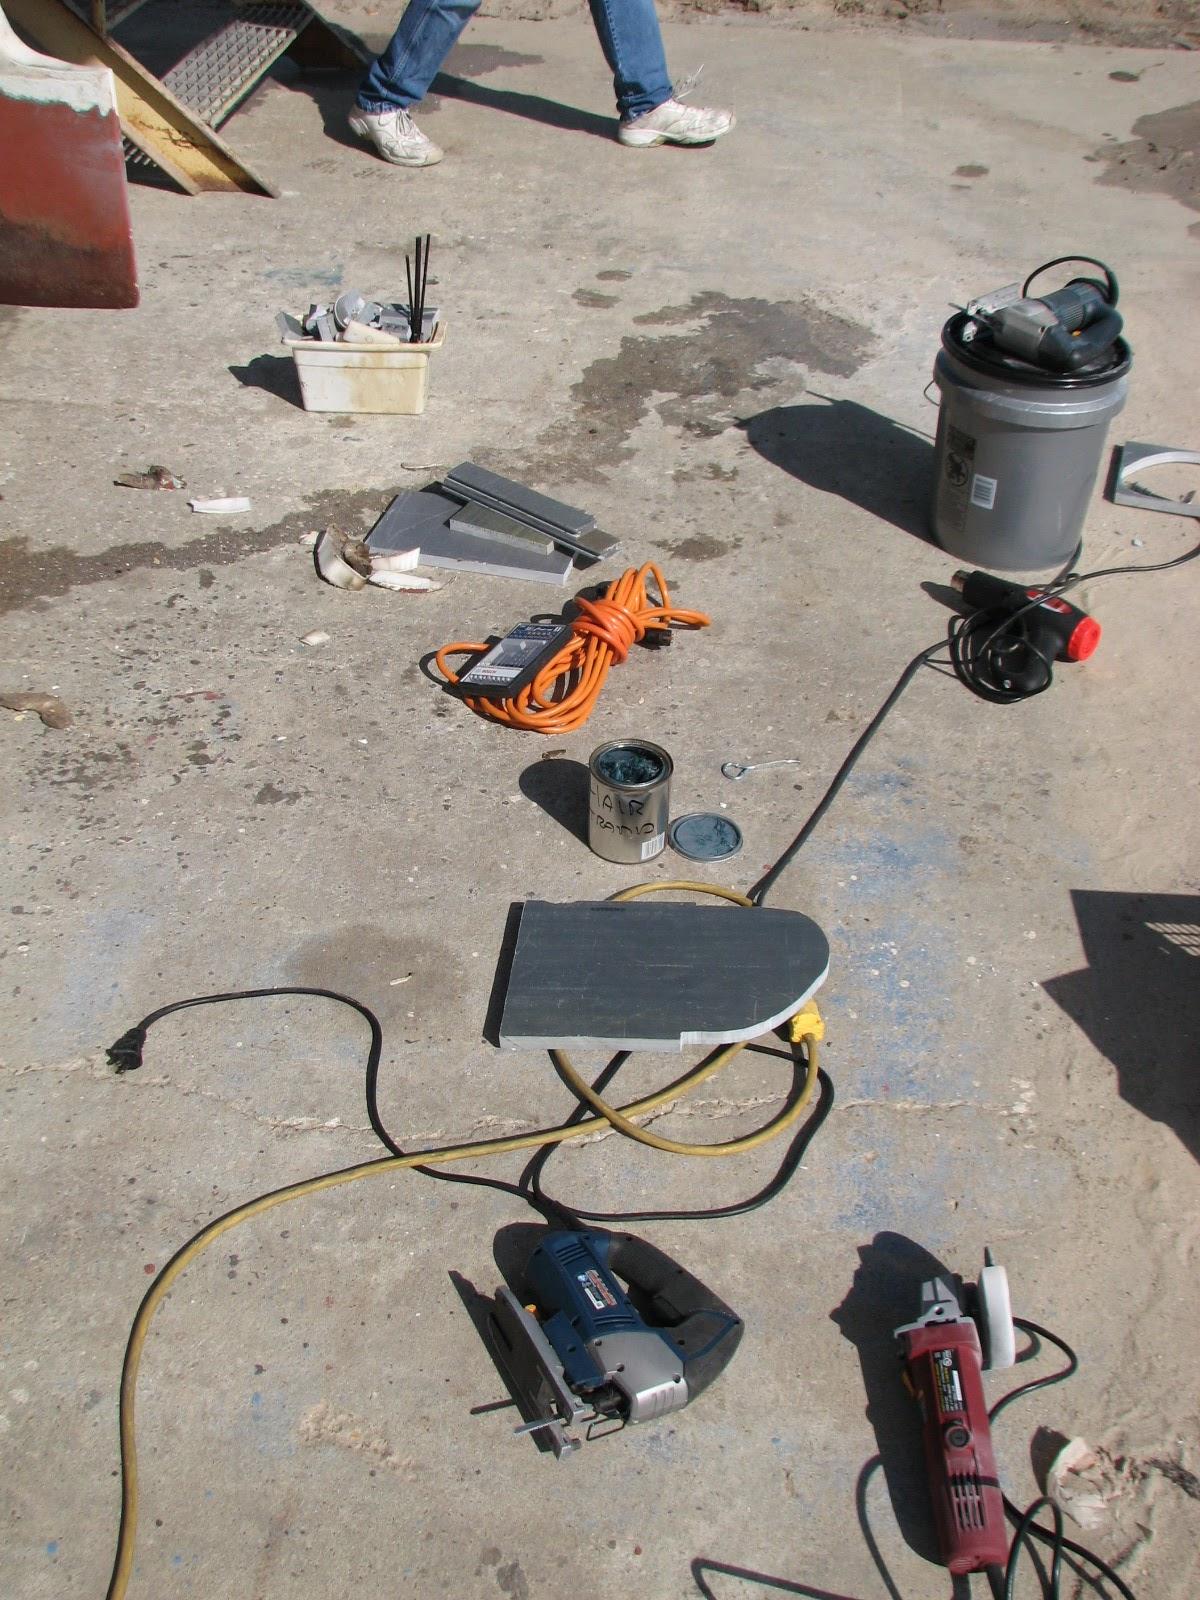
We cut out a piece of the
Extren
sheet fiberglass that matched the cutout in the
rudder. We left the remainder of the sheet attached to use as a
handle, and it would be cut off later.
We then mixed up a batch of the
Dyna-Hair
filler, and put some of it on the rudder. We then shoved in the cut
piece of Extren
sheet fiberglass mushing it into the Dyna-Hair
filler. Before the filler had a chance to kick off, we applied more
of the filler to each side of the sheet in the rudder. We also made
the filler as smooth as possible.
Kitty and I got to the meeting around
1245. We had a great meeting, and we are all very enthusiastic about
setting up a youth boating and safety program. We ended the meeting
with an early dinner at Shuck’s
in Abbeville.
After dinner we came back to DREAM
AWAY. Kitty worked on the boating course. I changed clothes and I
went over to the shop.
I finished wiping down the boom gallows and instrument pod parts with
the tack
rag, and applied the first coat of
Cetol
teak treatment.
I then went back to DREAM AWAY and did
some more catching up on email and the maintenance log.
February 19, Wednesday,
2014
Started off the morning with my normal
ritual of getting on the Internet, answering email, and checking the
weather, while making a pot of coffee. When the coffee is started, I
feed our two cats, Jillian
and Jordan,
and spend time with them brushing their beautiful coats.
Cruising yacht RUTHIE, left the dock at
0700 sharp. They are going to the GEO
shipyard in the
Port
of Iberia to get hauled out and
to get some work done on their rudder. They should be back by the
weekend.
I went over to the
shop,
and was surprised that the
Smith’s Penetrating Epoxy had not
set up. This was rather disappointing. I still have seven coats of
Cetol
teak
treatment to put on the boom gallows and instrument pod parts.
I decided to get out more stuff that I
am planning to auction on eBay
in the near future. I got out an old Sony Cybershot camera that works
very well, but sometimes the off/on switch does not cooperate.
Charging Batteries On The Sony Cybershot
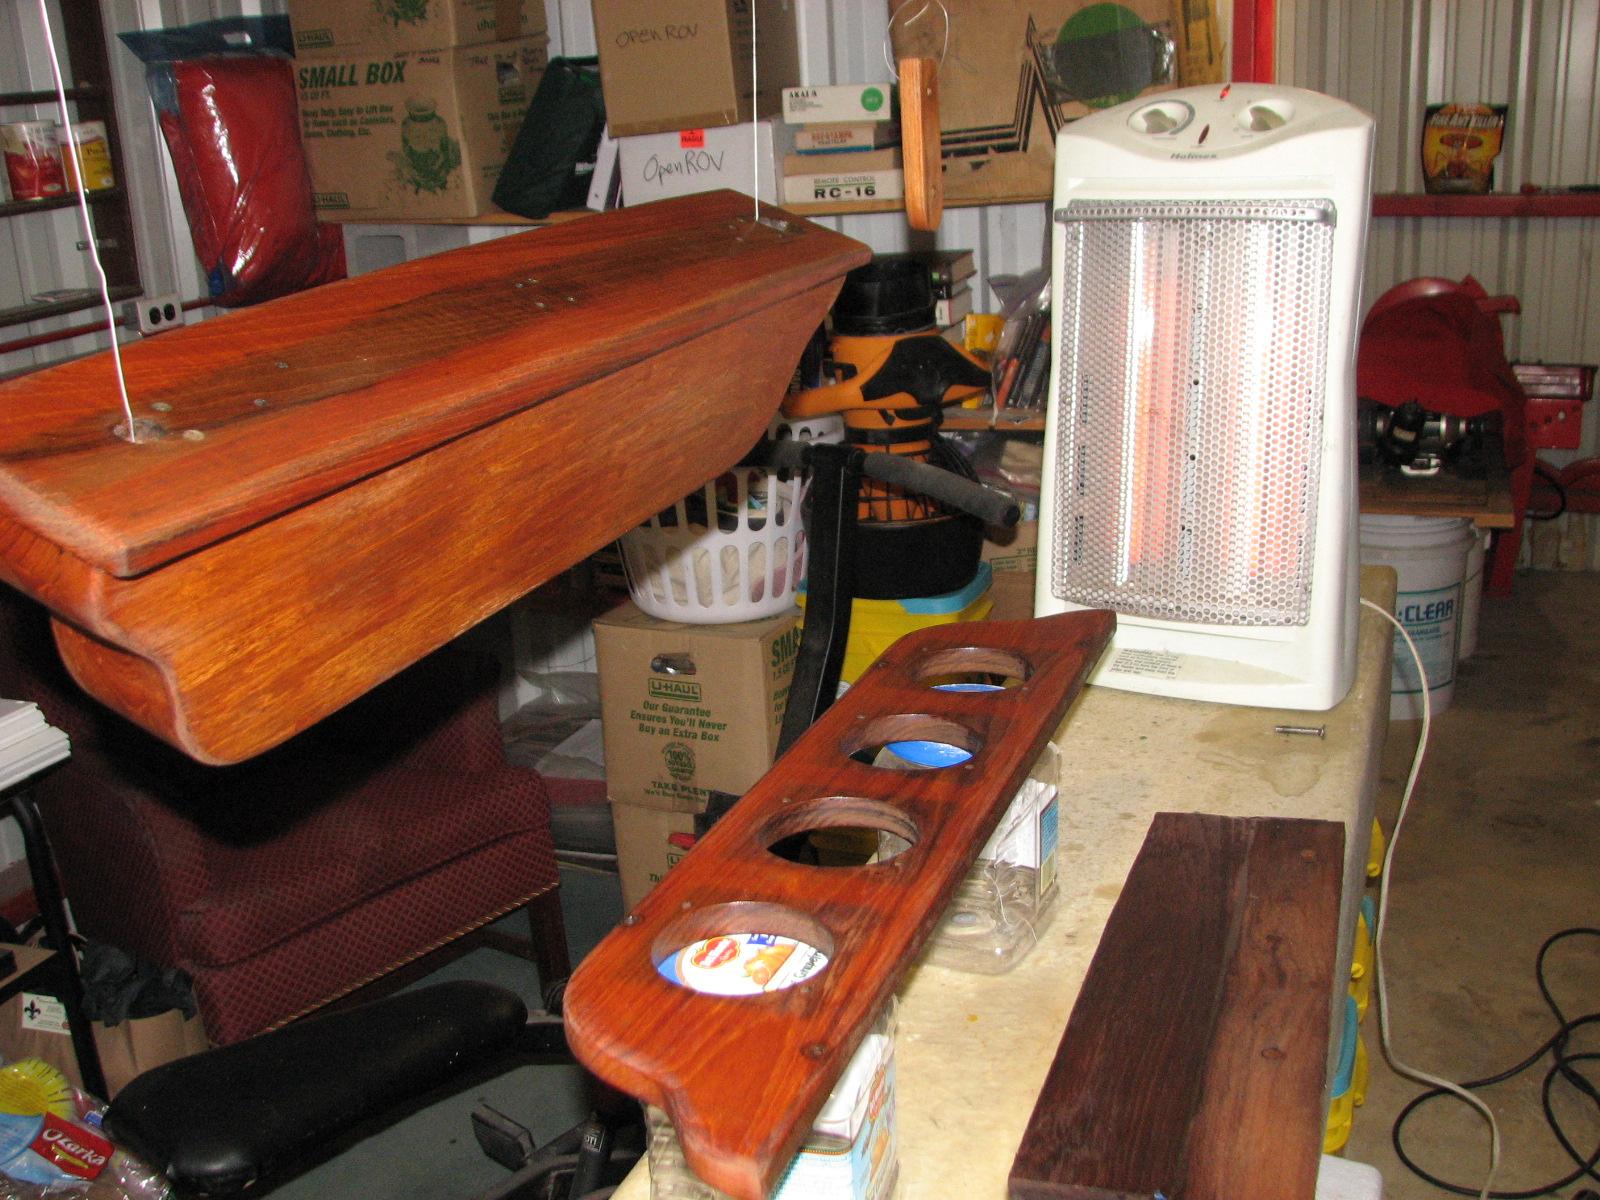
Heater On Instrument Pod Parts
Still Wet Boom Gallows Hanging In The
Shop
Went back to DREAM AWAY and had
breakfast. Yesterday I had purchased a ⅝” stainless steel
shackle
that I wanted to put on the storm anchor in conjunction with the
stainless steel chain gripper. If I ever have to use this anchor, I
do not want the attaching parts failing.
About this time
Cindy and Johnal
called and they had arrived at the GEO
shipyard, but there was not enough water in the
haulout slip to get RUTHIE out of the water at that time.
On the way to the GEO
shipyard we stopped at Harris Castile in
New
Iberia. I dropped off my three injectors and the
injector pump for them to check out, and to explain why one injector
was different from the other two.
We continued on to the GEO
shipyard and picked up Cindy.
She offered to take us to lunch, so we stopped at the Golden Wok in
New
Iberia. While we were eating lunch, the folks at
Harris Castille called and said the parts were ready, and they
checked out OK.
After lunch, we went to Harris Castille
to pick up the parts. I was told the three injectors were good and so
was the injector pump. The issue with one of the injectors was, when
I removed that injector, the spacer also came out with it. The spacers
did not come out with the other two! The issue with the two different
numbers was the casting numbers.
While there I also purchased a
temperature switch for the
generator,
as I had used my spare.
We drove back to North
Pier Marina, and on the way stopped at LeBlanc Oil to
pick up my filled argon
bottle. I am now back into the welding business. Cindy
got her car and went back to GEO
shipyard, and I went to DREAM AWAY to work on the
generator.
I removed the spare injector pump from
the generator,
and installed the pump that was just checked out. I also installed
the injectors and the fuel return lines.
February 18, Tuesday, 2014
Started off the morning with my normal
ritual of getting on the Internet, answering email, and checking the
weather, while making a pot of coffee. When the coffee is started, I
feed our two cats,
Jillian and Jordan,
and spend time with them brushing their beautiful coats.
Went over to the shop
and finished cutting out the pieces from the
Structoglas.
Sanded down the edges of the cut pieces of
Structoglas
to keep from getting cut. Set cut out pieces of
Structoglas,
and put the remaining pieces of
Structoglas
away. Cleaned up shop, and vacuumed shop to get all of the debris
from the cutting removed.
Next I hung the boom gallows from the
shop
overhead so I would be able to apply the
Smith’s Penetrating Epoxy and the
Cetol
teak
treatment to all four sides at one time. I also did this to the
instrument pod pieces also.
Boom Gallows Hanging From
Shop
Overhead
Instrument Pod Housing Hanging From
Shop
Overhead
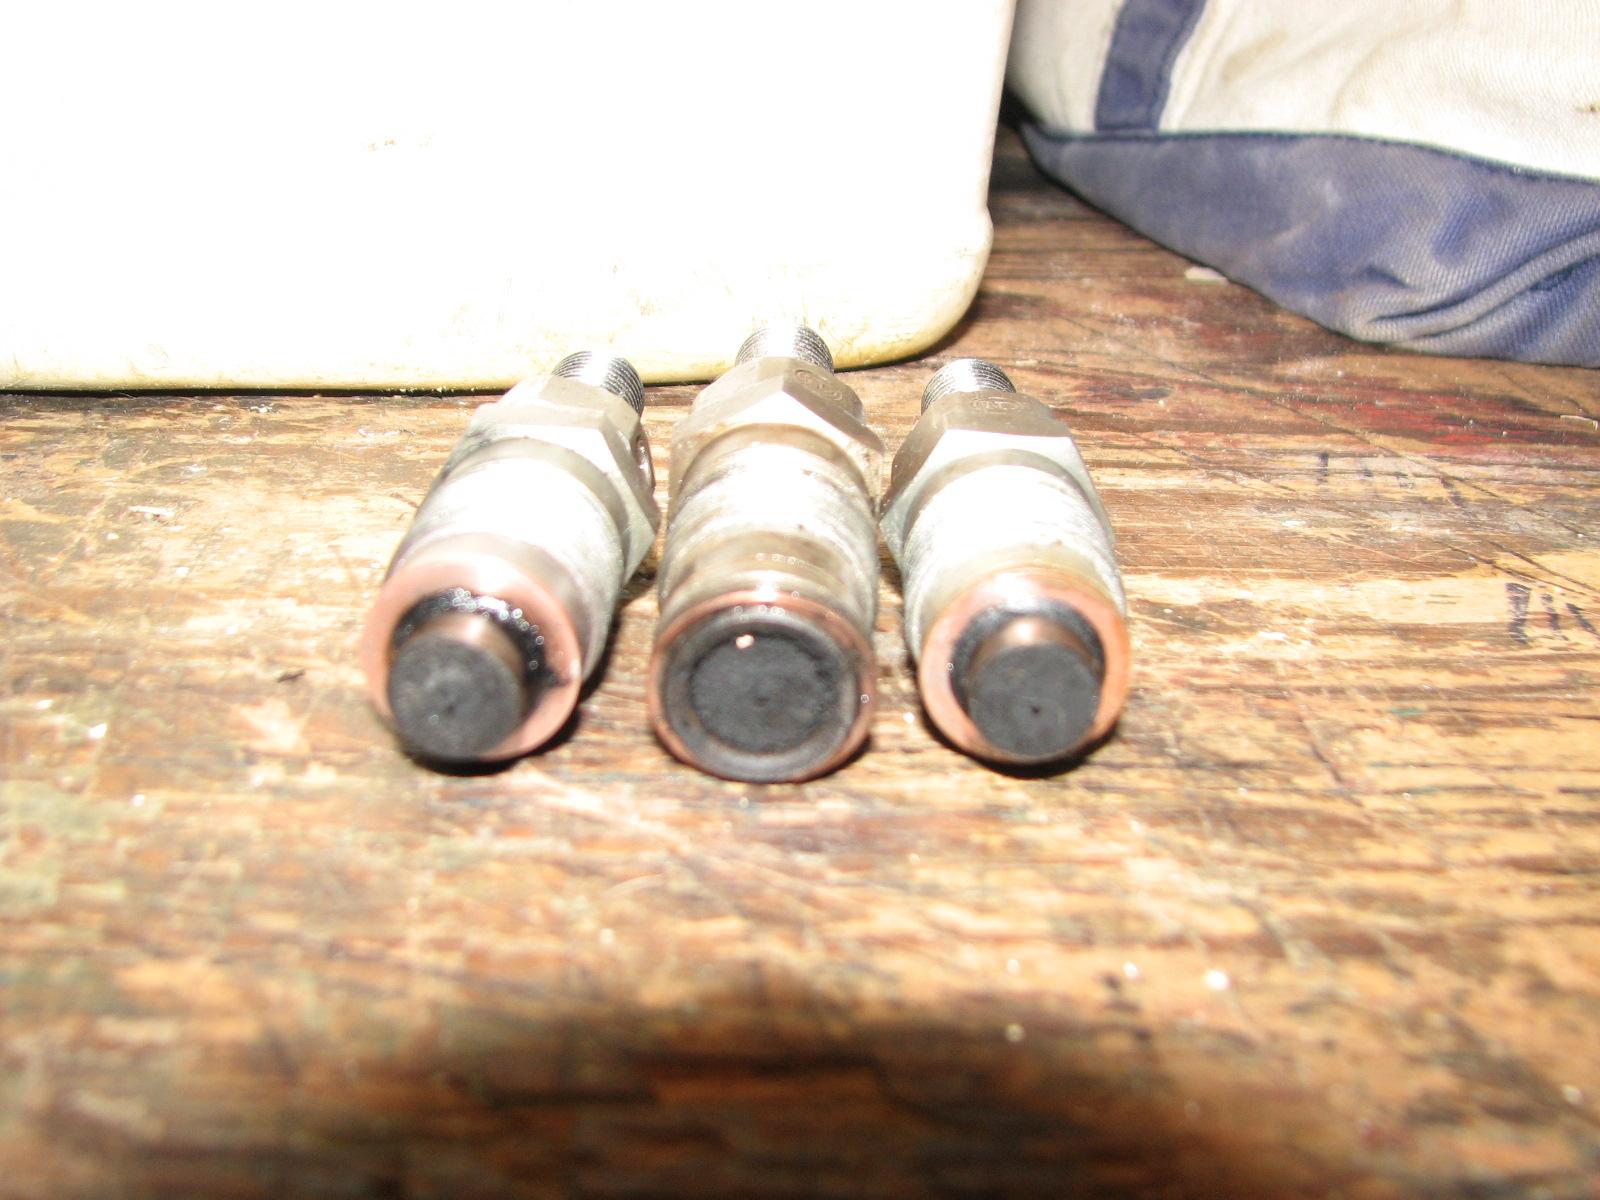
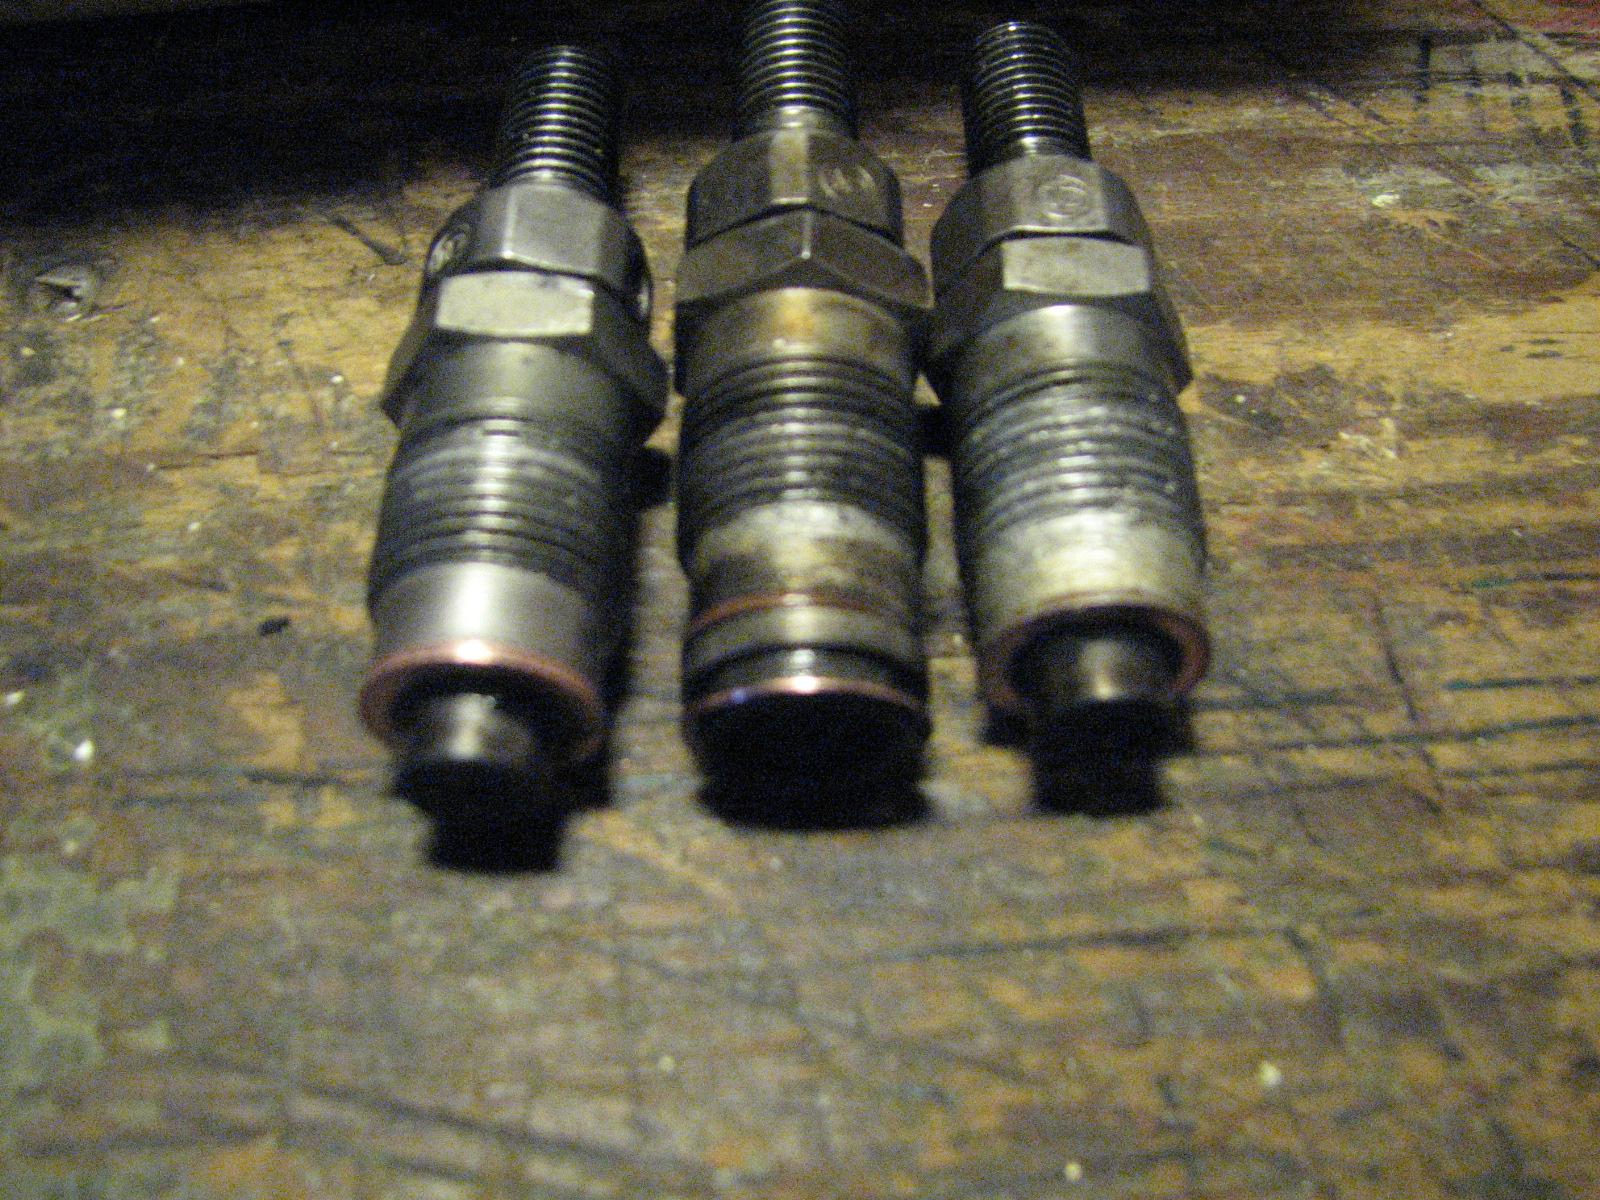
I removed the three injectors from the
engine. They all seemed to be in good shape, but one of the injectors
had a shim or spacer that the other two did not, and the part number
stamped on it was different. This could be my problem with the
generator
not starting.
Three Injectors - Different One In The
Middle
Three Injectors - Different One In The
Middle
Kitty had left DREAM AWAY while I was
working on the
generator
to run a couple of errands. One of which was to mail the second box
to our friends in New Zealand. She also stopped by the welding supply
store with our argon
bottle to get it filled with gas.
Now all we have to do is find someone
with a pickup truck to bring the argon
bottle back to the shop. The gas supply companies will not allow a
high pressure tank to be transported in a closed vehicle
When I finished the injector removal
project, I started the second electrical outlet in the galley
project. A couple of days ago when the single outlet in the galley
failed we both realized it would be great to have a second outlet. We
decided to put the second outlet on the other side of the
galley
stove.
Aft Side Of Galley Stove Area
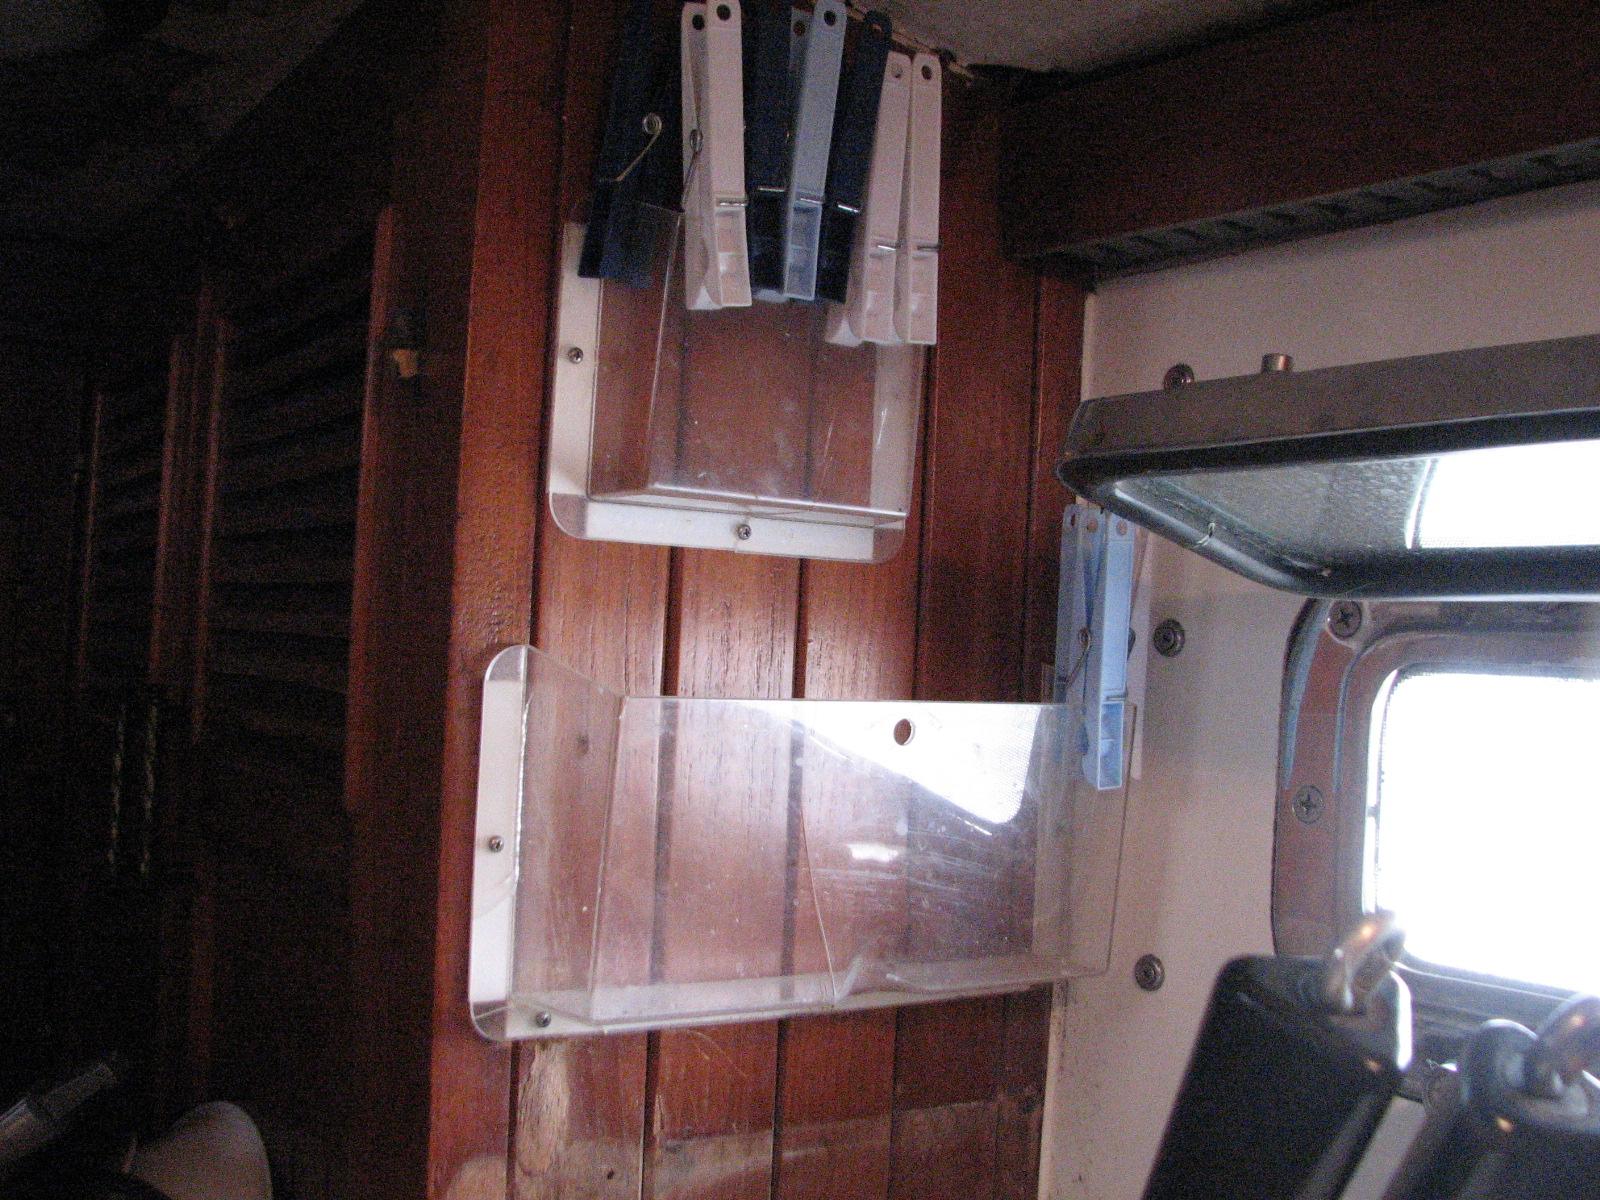
I removed one of the plastic bins from
the bulkhead and moved the second bin up. This second bin is a
storage area for clothes pins and coffee filters. I then installed
the teak
frame for the electrical outlet.
“All” that remains is to run the AC
electrical wire, and drill the holes in the bulkhead for the new wire
run.
New Bulkhead Layout
February 17, Monday, 2014
Started off the morning with my normal
ritual of getting on the Internet, answering email, and checking the
weather, while making a pot of coffee. When the coffee is started, I
feed our two cats,
Jillian
and Jordan,
and spend time with them brushing their beautiful coats.
Took the Black
Beast over to Ray’s
Auto Repair here in Delcambre,
to have the engine oil cooling lines replaced, and the upper ball
joints replaced. Ray brought me back to the North
Pier Marina, and I walked to the shop
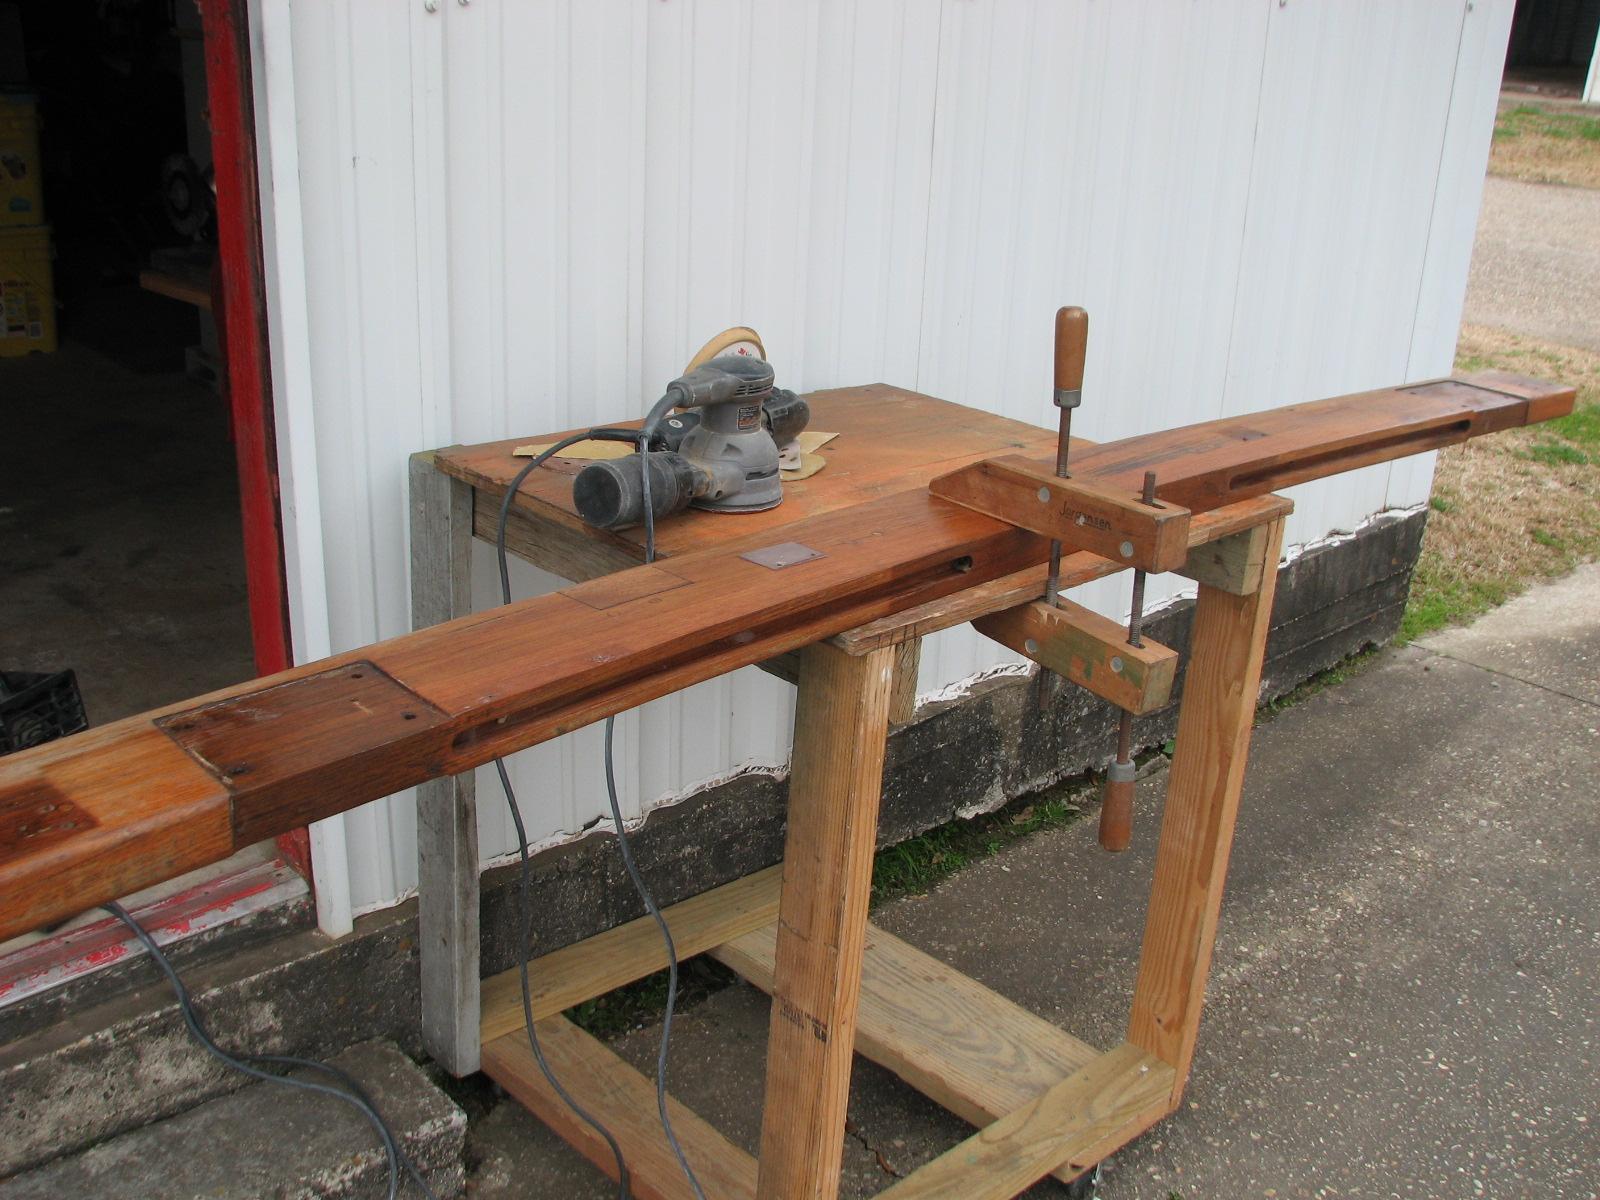
from there. I started in on sanding the boom gallows, and the teak
piece I epoxied
together. I finished sanding the boom gallows, but it was obvious I
would have to apply more thickened epoxy
to the teak
piece, and epoxy
to the top of the boom gallows.
Epoxy
Applied To Top Of Boom Gallows
I loaded up a bunch of template
material (cardboard) into the Black
Beast and drove over to DREAM AWAY to have breakfast.
After breakfast, I brought all of the template material down to DREAM
AWAY.
Kitty and I made a template for the
after bulkhead in the head, and the underside of the deck in the main
cabin. I will use these templates to cut out the pieces of
Structoglas.
When the pieces of
Structoglas
are all fitted I will then apply Liquid
Nails to put them in place.
The pieces in the main cabin are sorely
needed to cover up some not so nice looking places.
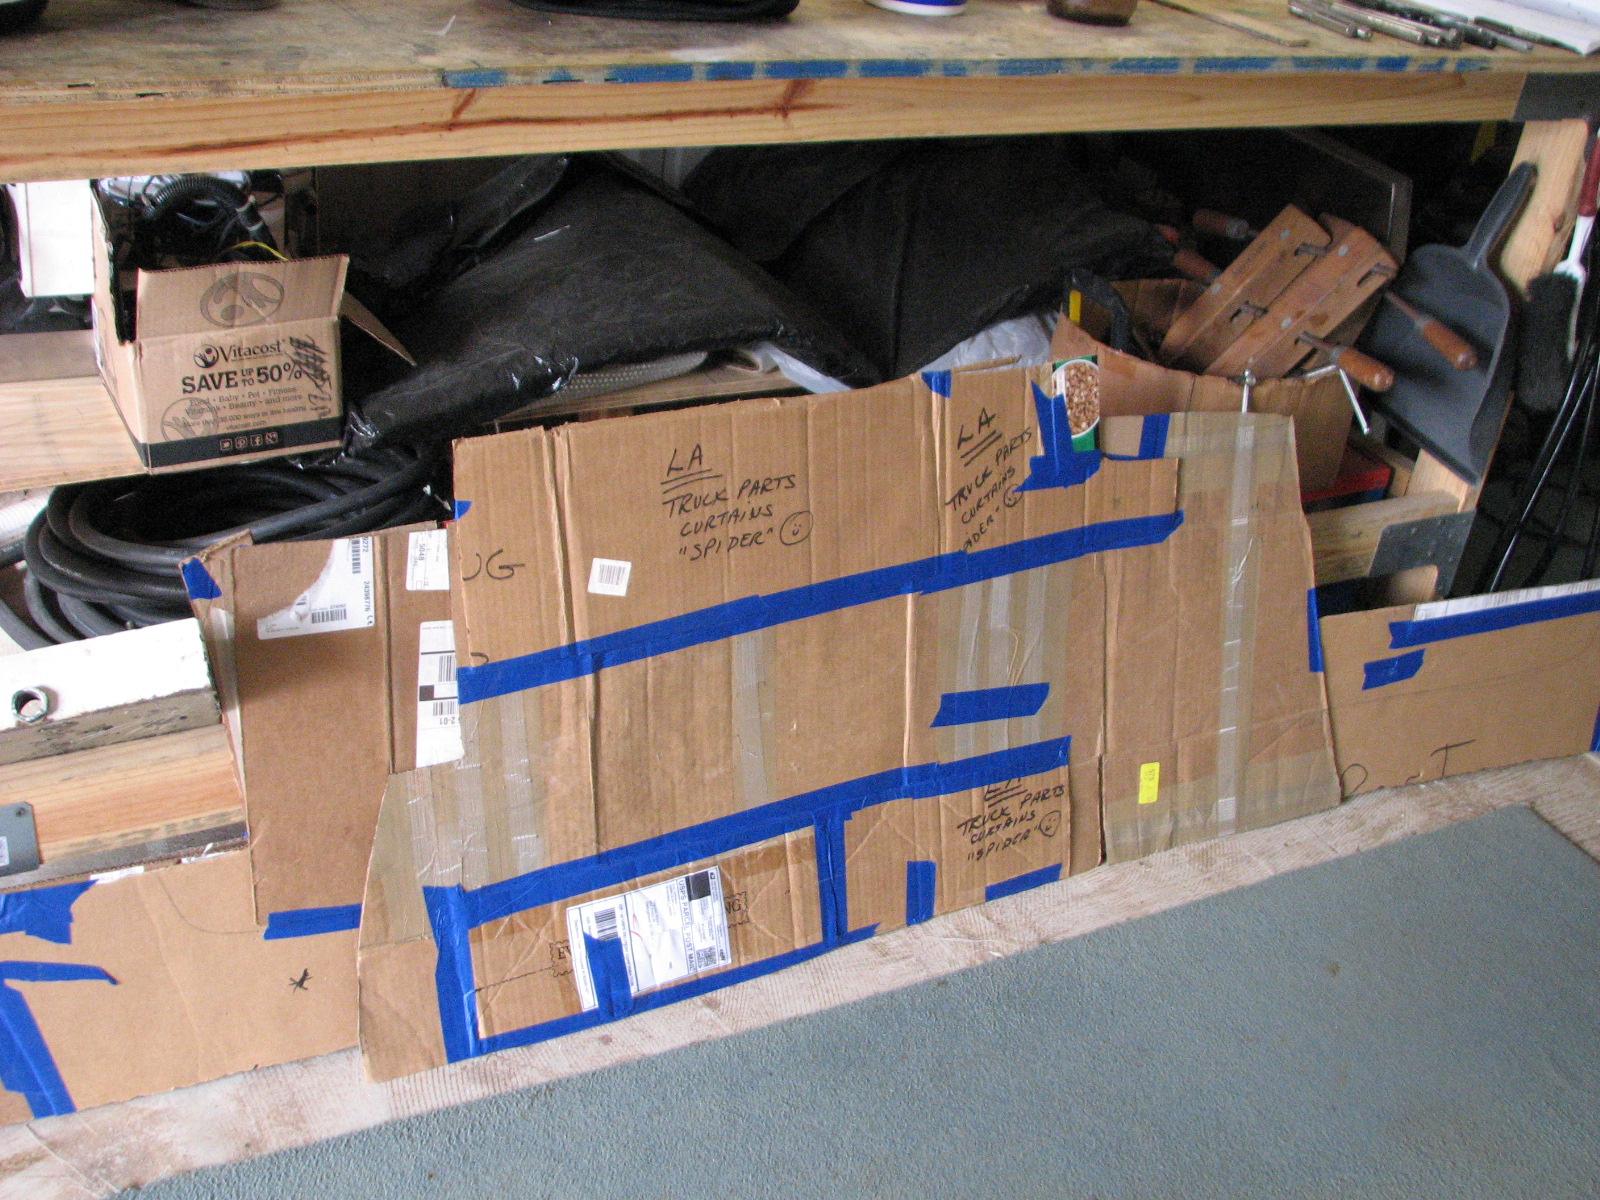
Took all of the templates just created,
plus one other template I had cut two or three months ago for the
underside of the deck in the head over to the
shop.
Templates Leaning Against Work Bench
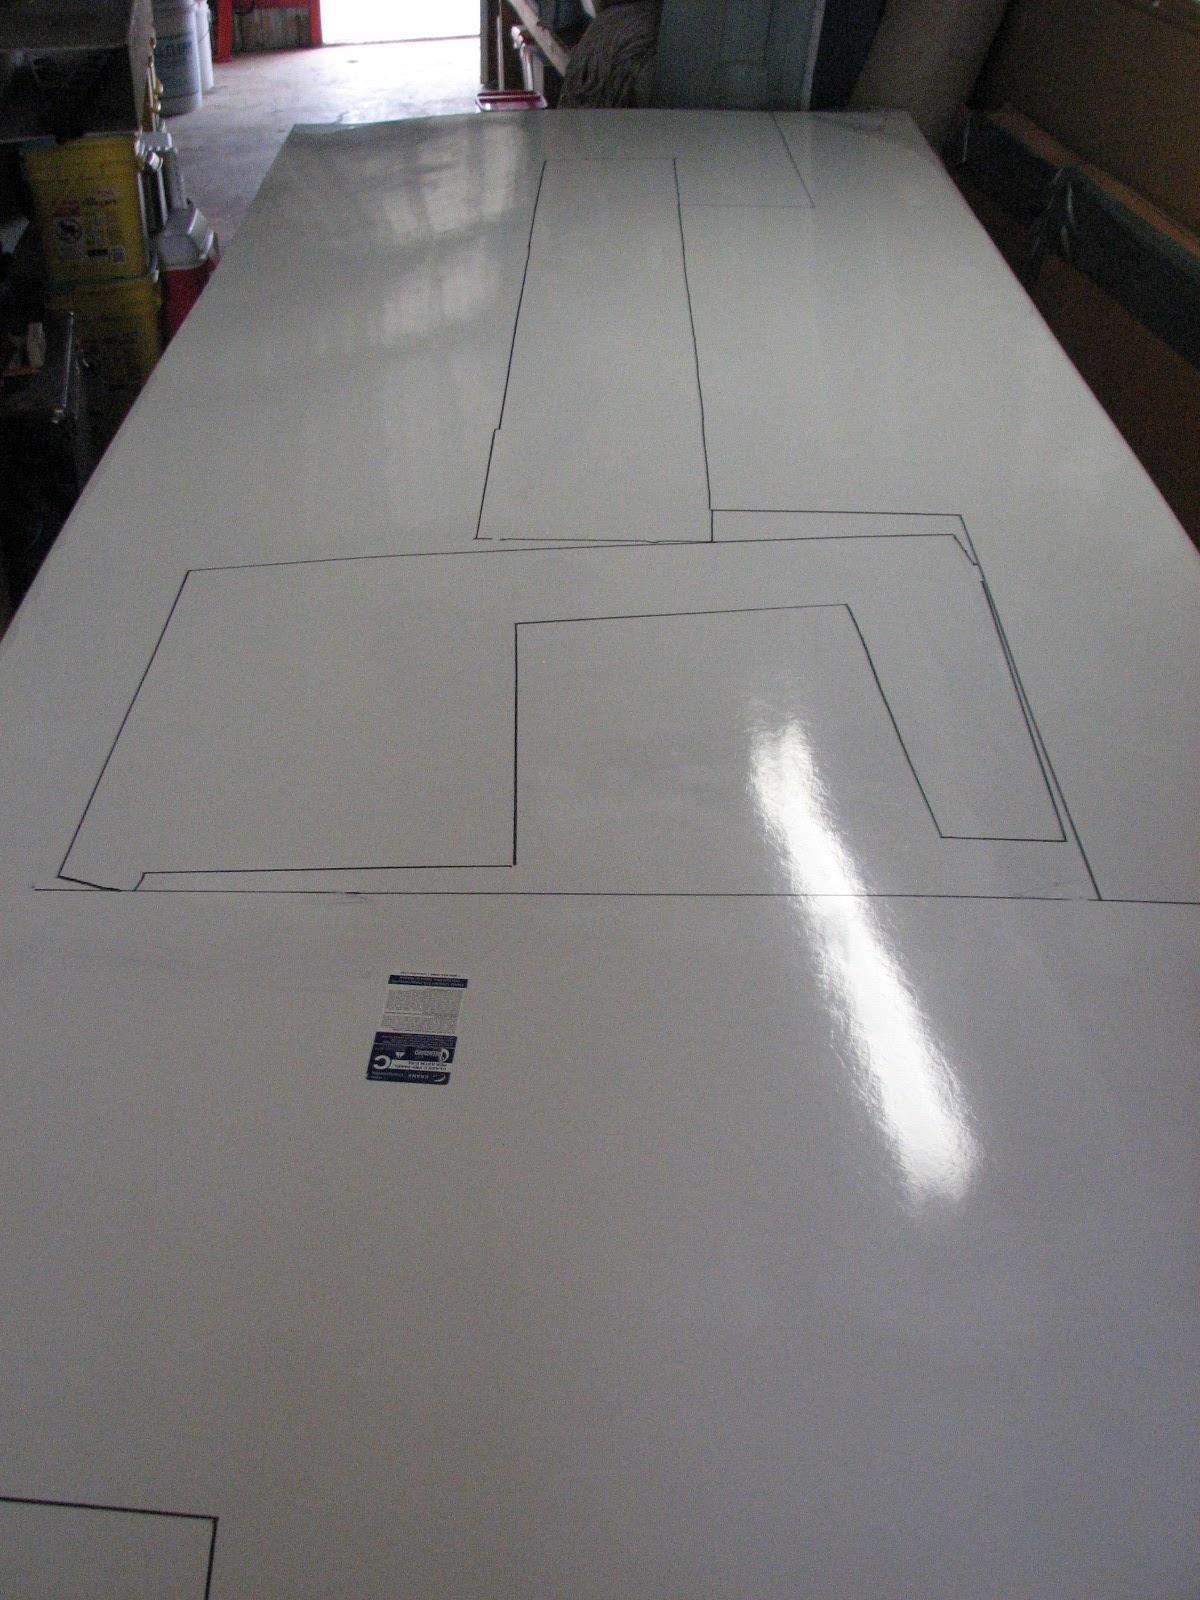
I got out a sheet of
Structoglas
panel from my stash of five, and laid it out on the floor. I then
worked with the templates to get the best usage of the sheet, and
have the most left over. When I came to a solution, I marked the
sheet with a black Sharpie
for all of the templates
I said great, come to the
marina
and pick me up. I left the shop
and went over to the marina
to meet Ray. He had called earlier in the day and told me he had
looked at the brakes, and found the problem with them.
He could not adjust the drum brakes on
the rear passenger side, because the adjuster was stuck. When he
pulled the wheel, he discovered the adjuster was stuck, and the brake
was adjusted all the way open. He also found the rear wheel cylinders
leaking.
When he unstuck the adjuster, he was
able to adjust the rear drum brakes perfectly, and he also replaced
the seals in the wheel cylinders. Now I can just barely tap the brake
pedal, and the truck stops. Also the emergency brake really holds the
truck still in both forward and reverse.
So now the front end in the
Black Beast is in good
shape with the replacement of the
upper ball joint on both sides. There is no leaking engine oil,
because the leaking cooling lines have been replaced, and the brakes
are working perfectly. I am a happy camper.
February 16, Sunday, 2014
Started off the morning with my normal
ritual of getting on the Internet, answering email, and checking the
weather, while making a pot of coffee. When the coffee is started, I
feed our two cats,
Jillian and Jordan,
and spend time with them brushing their beautiful coats.
Went over to the shop
and discovered that the epoxy
I had applied yesterday did not set up completely. That was a bit
disappointing.
There is always something to do, so I
set about cleaning and straightening up the area of the shop which is
the library/exercise room and sometimes paint room. I put away a lot
of items into the storage boxes on the shelves.
I got out some of the items I plan to
sell on eBay.
I cleaned them up and took several pictures of each item. I got down
boxes that I keep instead of throwing away, and measured them to use
for shipment of the items. Then I got the idea to use flat rate boxes
from the Post Office. That will be simpler for me if I use the Post
Office rather than another carrier which is in another city.
I decided to sand down the boom gallows
and scrape off the unset up epoxy.
I assumed I had mixed an incorrect batch, and will apply more
epoxy
this afternoon.
When I got to DREAM AWAY, I had
breakfast, and immediately following breakfast, I got to work on the
starboard cockpit hatch.
I had put off finishing the
installation of the hinges on that hatch for several months for
various reasons. I had scraped out the rotten wood under one hinge,
and treated the surrounding wood with Smith’s
Penetrating Epoxy. Now it was time to mix up a very
small batch of finishing
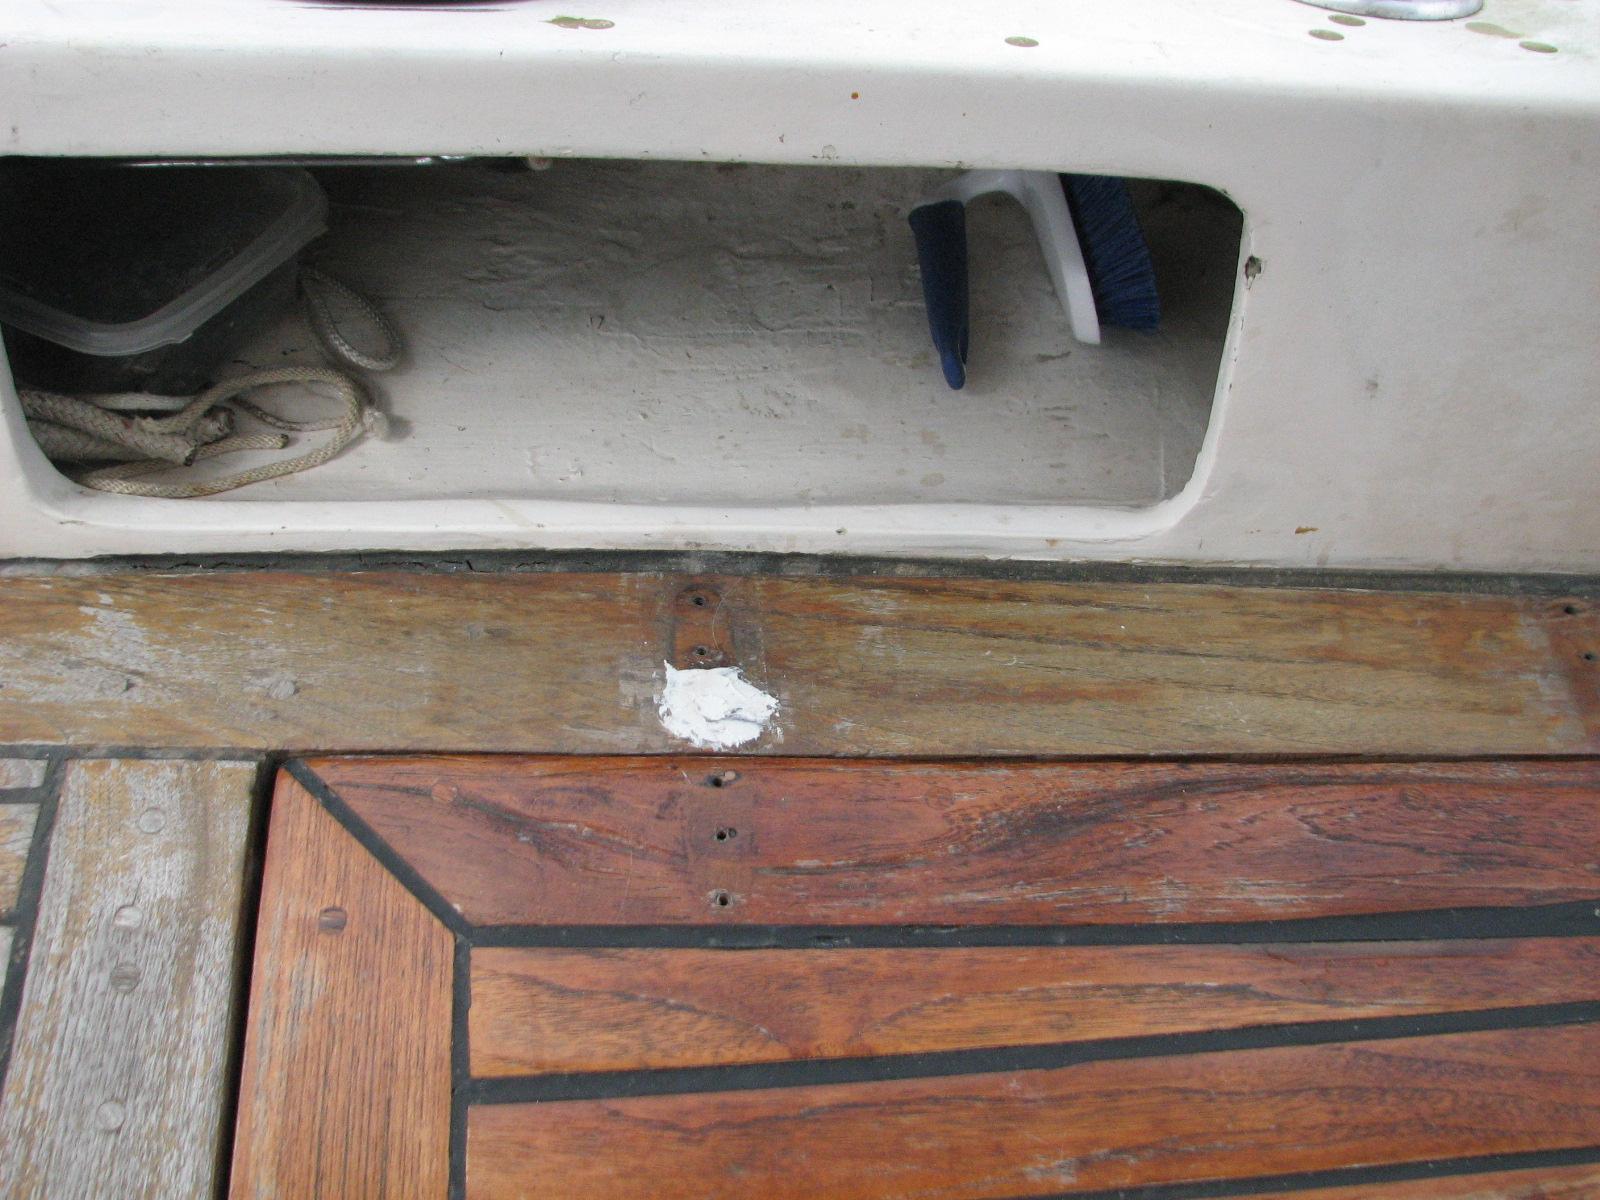
putty and fill the hole in the wood. I filled the
hole, and had a bit of the finishing
putty remaining, which I applied to some other areas
around the cockpit.
Finishing Putty Applied To Cockpit
Next on the list was to dry fit the
piece of Structoglas
to the overhead in the head. This is no small task. First of all the
piece of Structoglas
would not fit into the overhead. Too many edges, overhangs and
corners. Kitty and I decided to cut the piece of Structoglas
into two pieces and then cover the seam with the teak
wood tape I have. Once the tape is varnished, it will look very
professional.
The other fun part of the dry fit is to
be able to hold the piece of Structoglas
up to the overhead while the Liquid
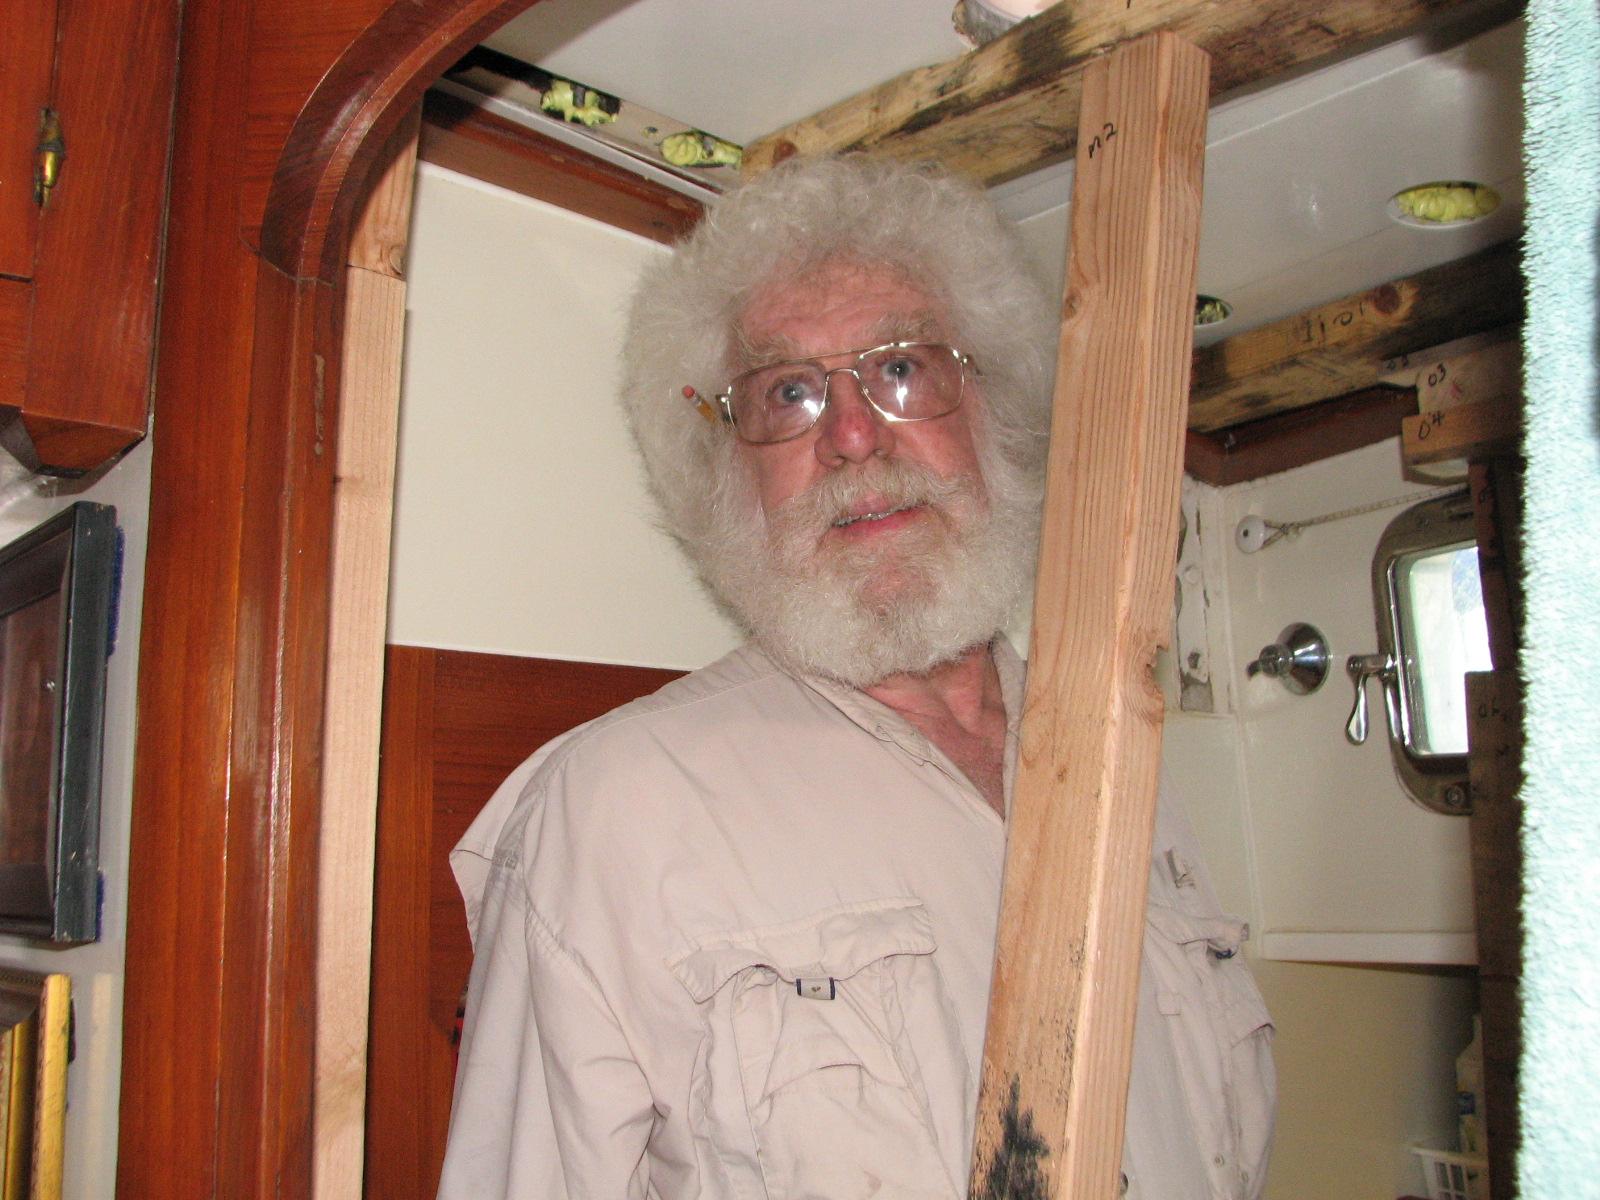
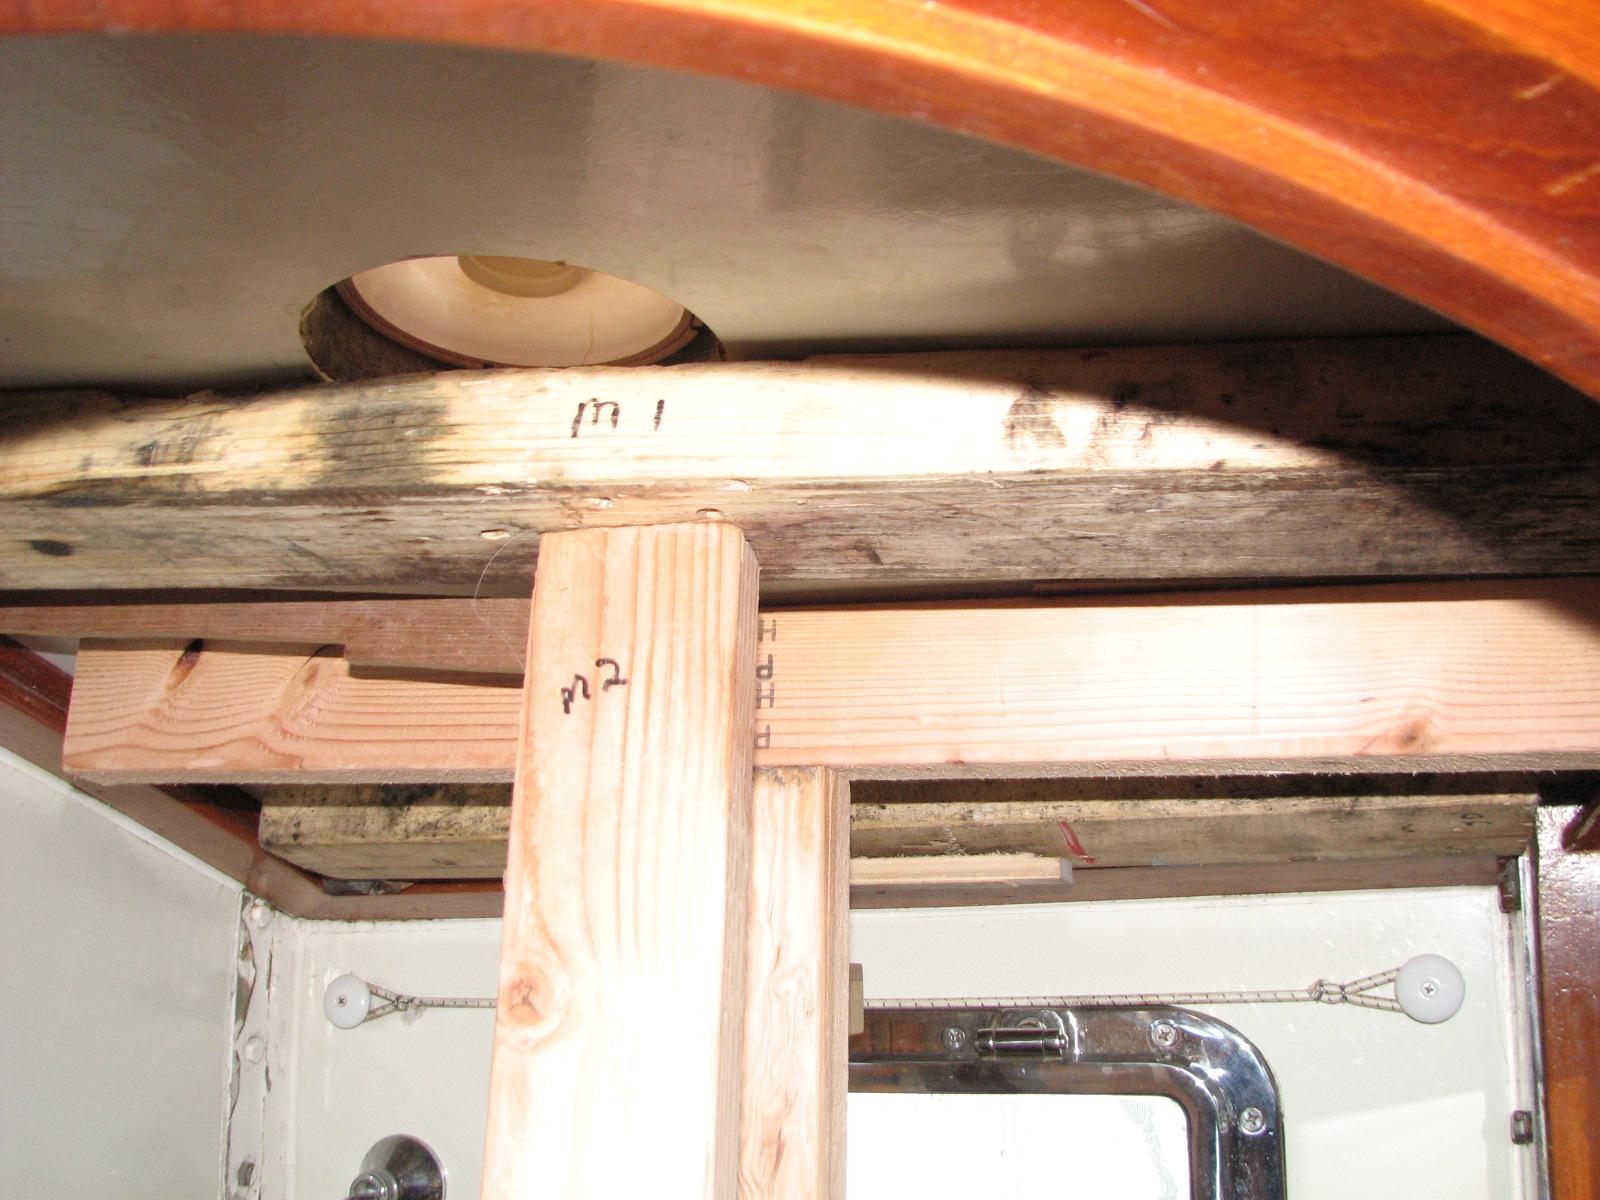
Nails is drying. Getting all of the boards, supports
and wedges to get this done, and then remember what you did so you
can take it all down, and put it back up again after the application
of the Liquid
Nails, is a real challenge.
With the dry fit complete, it was time
to spread the Liquid
Nails onto the back of the Structoglas
and put it up on the overhead, and put all of the boards and supports
back up until the Liquid
Nails drys.
I went out to the cockpit and the
finishing
putty had dried. I sanded down smooth the finishing
putty, and drilled a hole into the finishing
putty for the hinge screw. I then installed all three
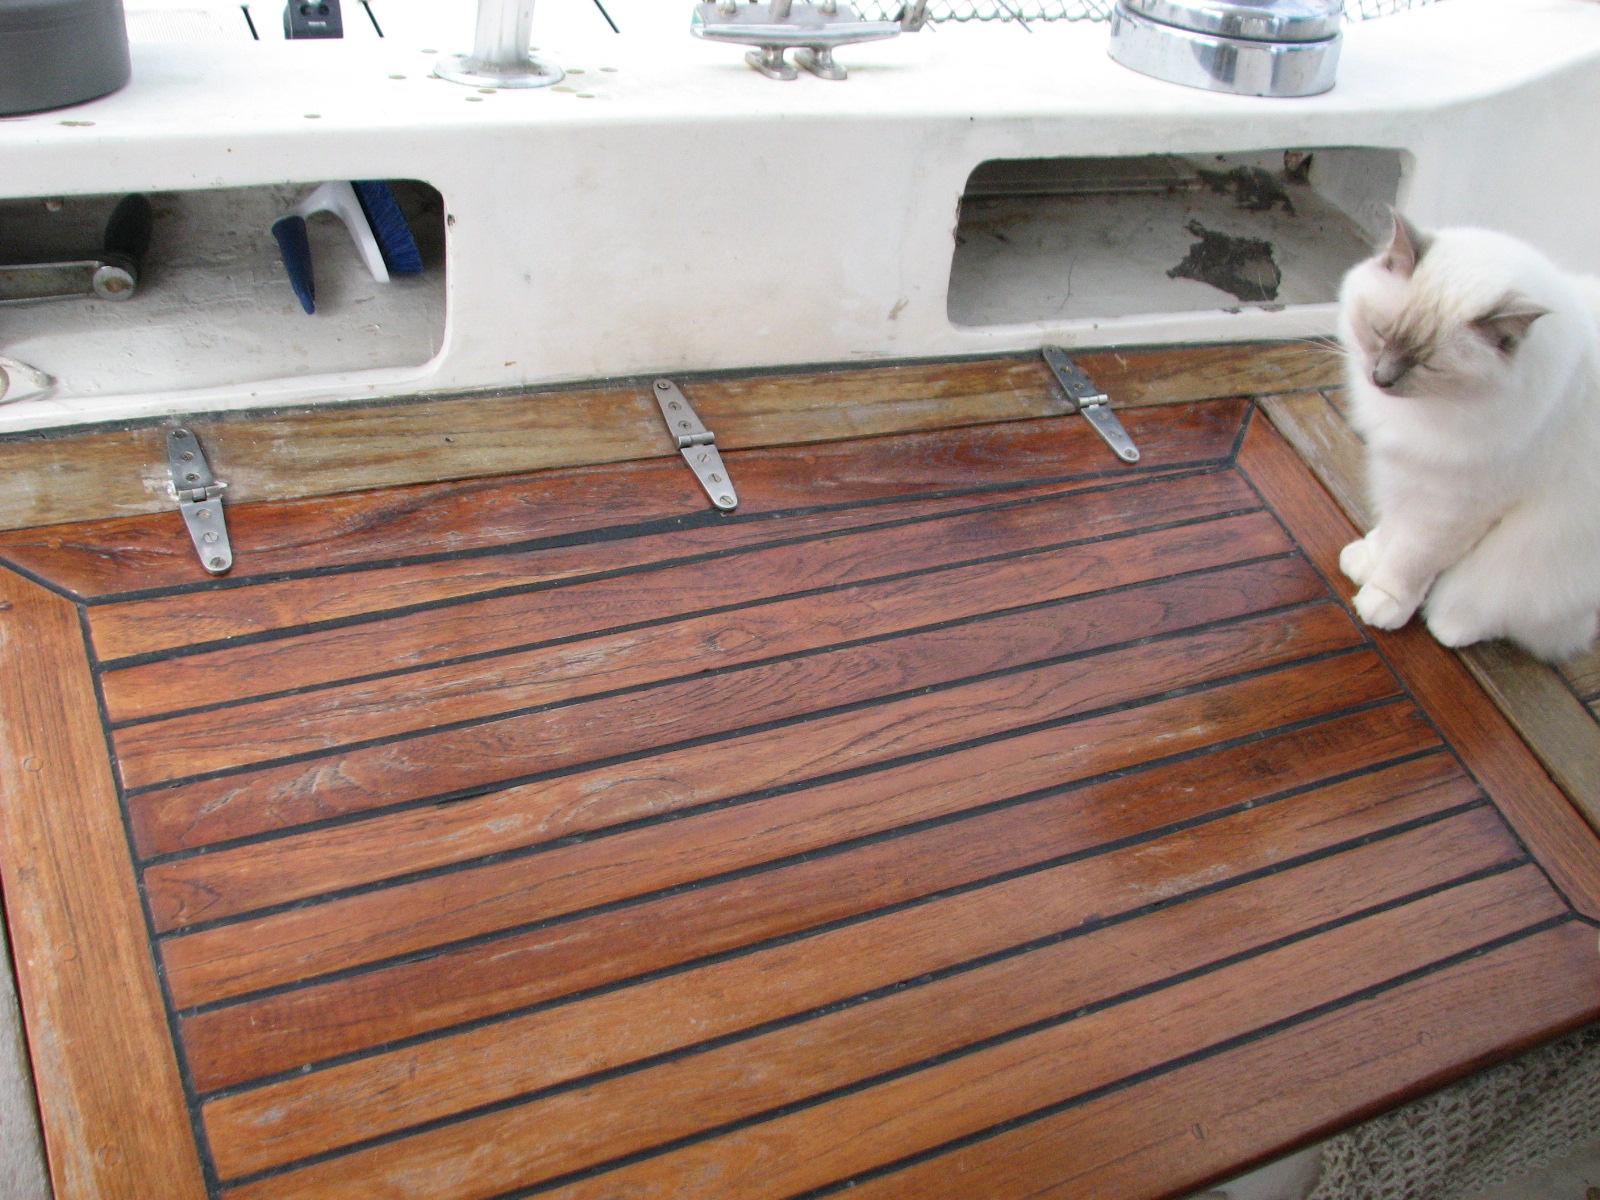
of the hinges into the cockpit hatch, and that project is finally
finished. I even got the approval of Jillian.
Jillian Inspecting Cockpit Hatch
Completion
Now it was time to see if the teak
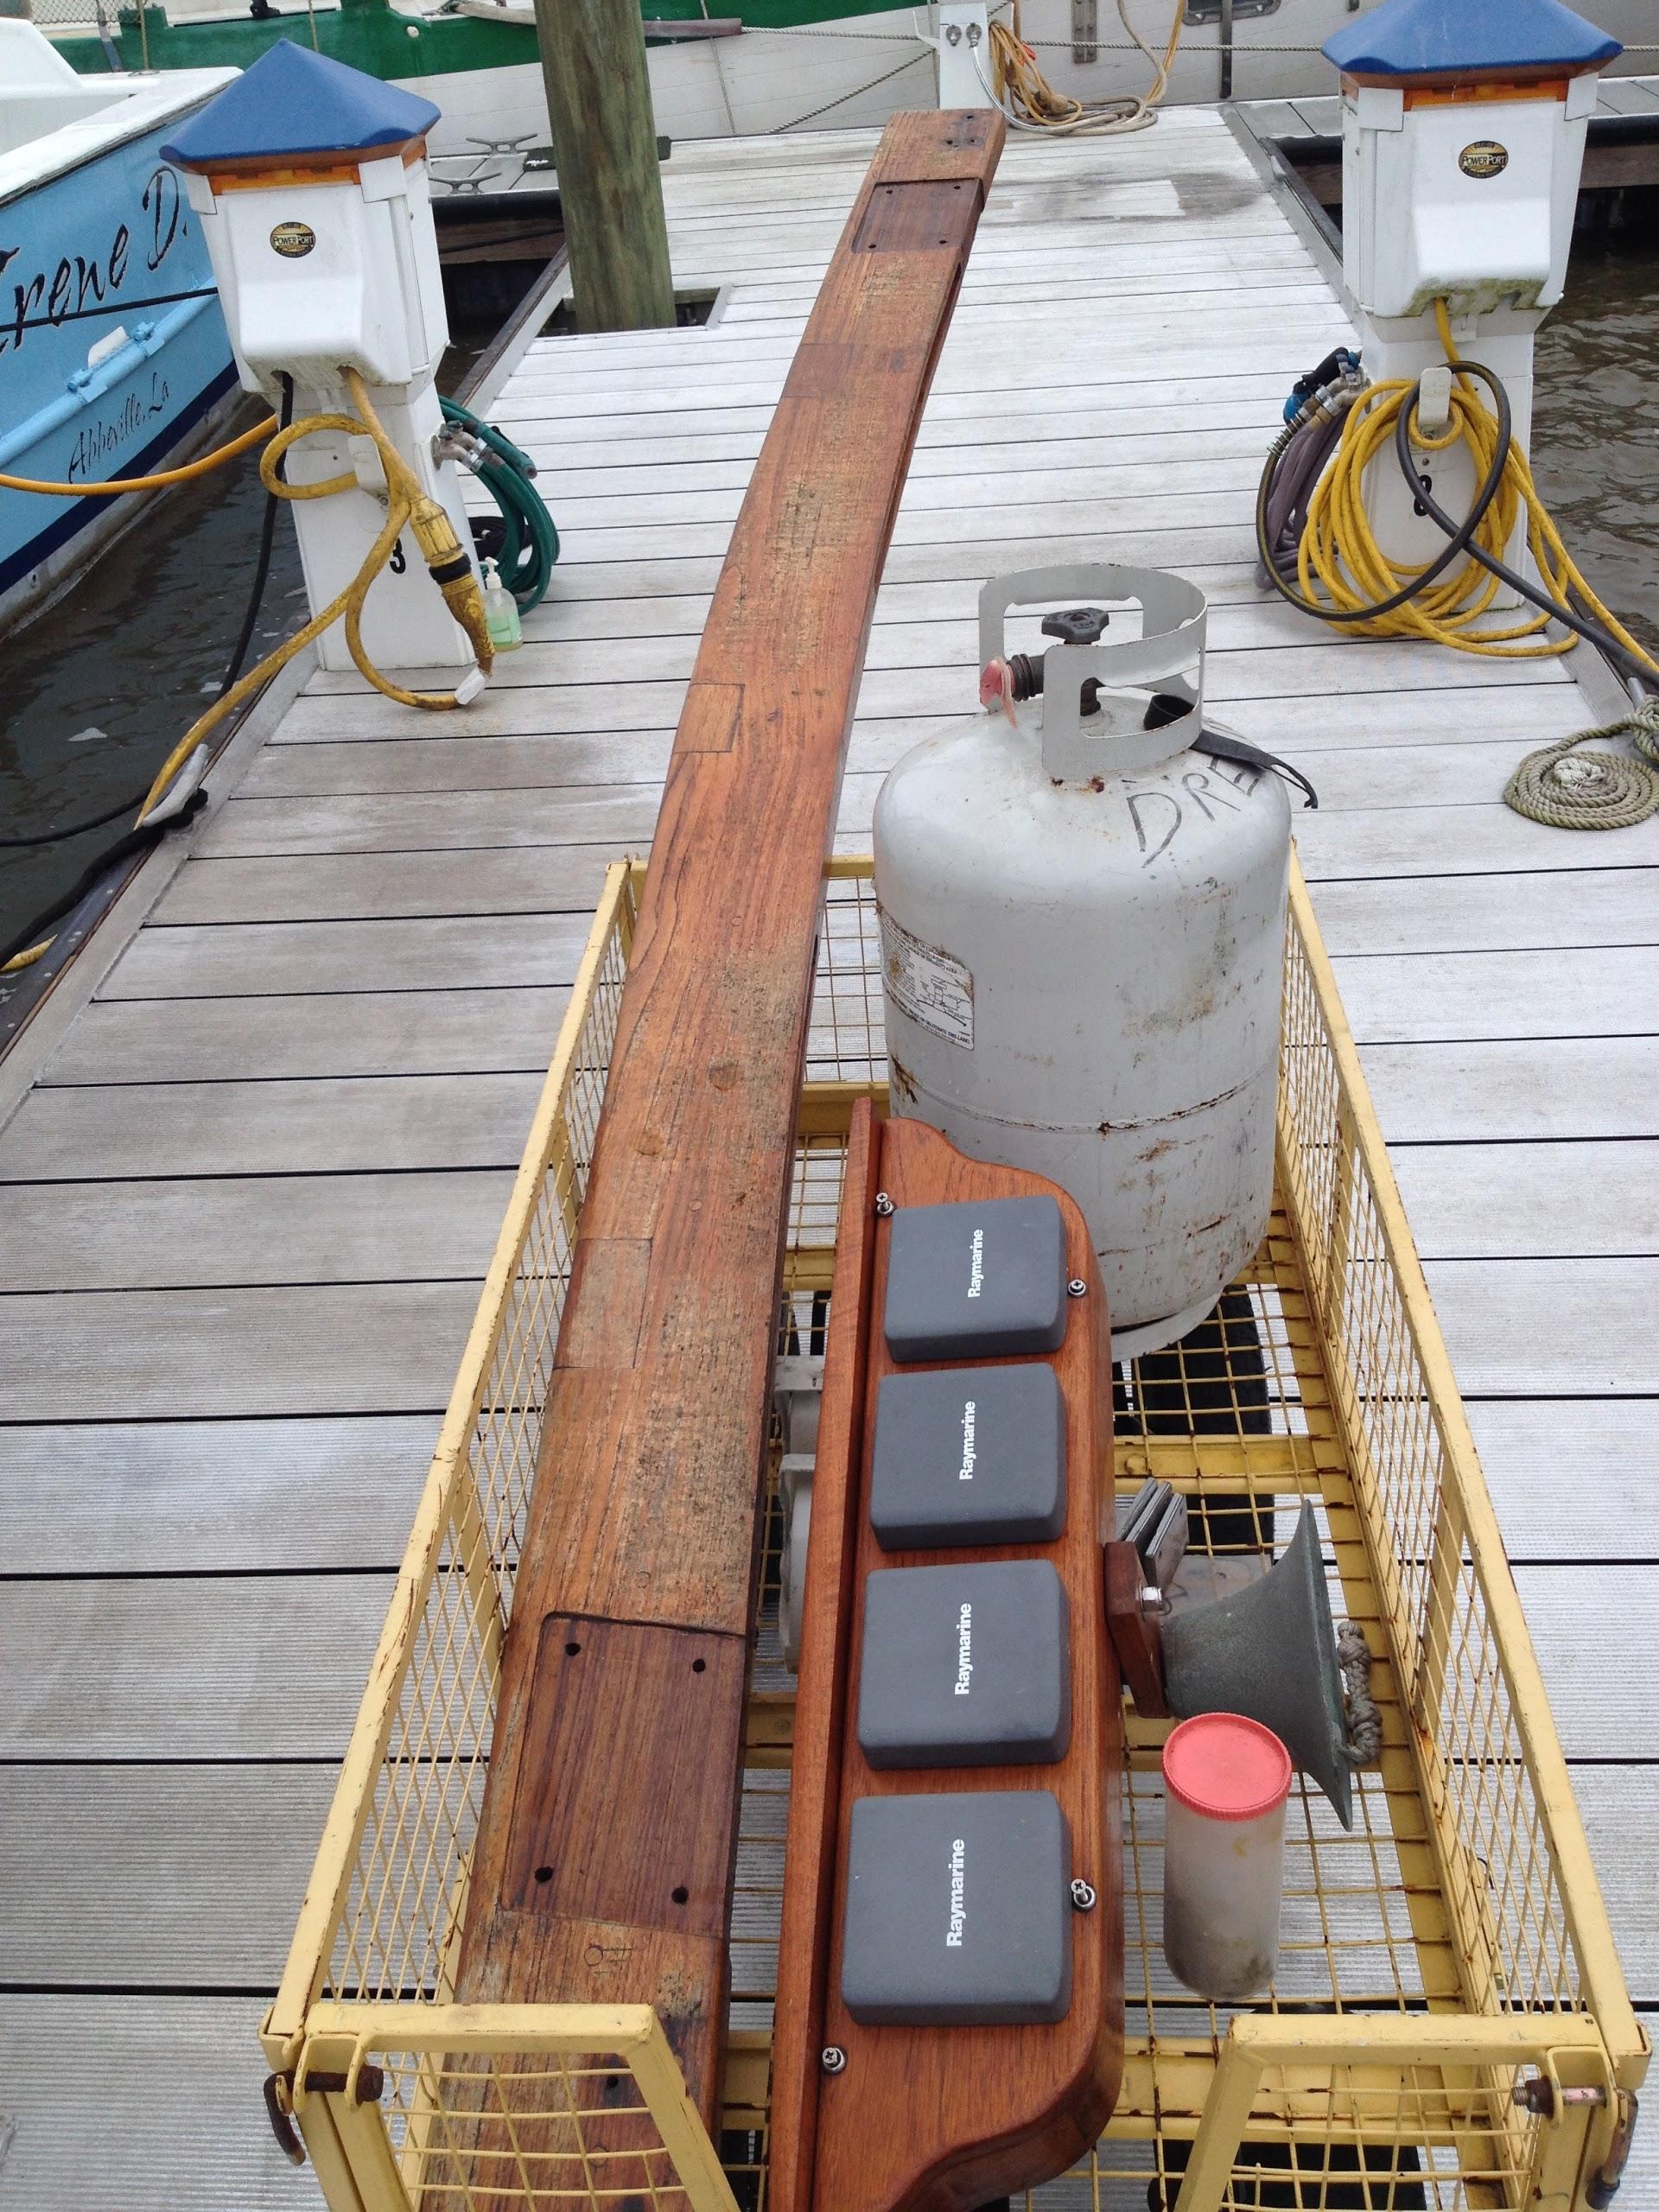
wood I had added to the top of the boom gallows, would
allow the boom to clear the future solar panel installation on top of
the hard
bimini. Kitty and I put the boom gallows in place, and
then put the boom on the boom gallows.
We would have plenty of room to install
the solar panels, and any mechanism I can come up with to raise and
lower the panels to face the sun more directly.
We took the boom gallows off of DREAM
AWAY, and I loaded it into the Black
Beast, along with the unused wood supports, small
pieces of wood, and the “Box
O’ Resins”.
It was back to the shop,
and I unloaded all of the wood, “Box
O’ Resins”, and the boom gallows.
I did some more sanding on the boom
gallows in preparation of another application of
epoxy.
Boom Gallows Ready For Epoxy
Application
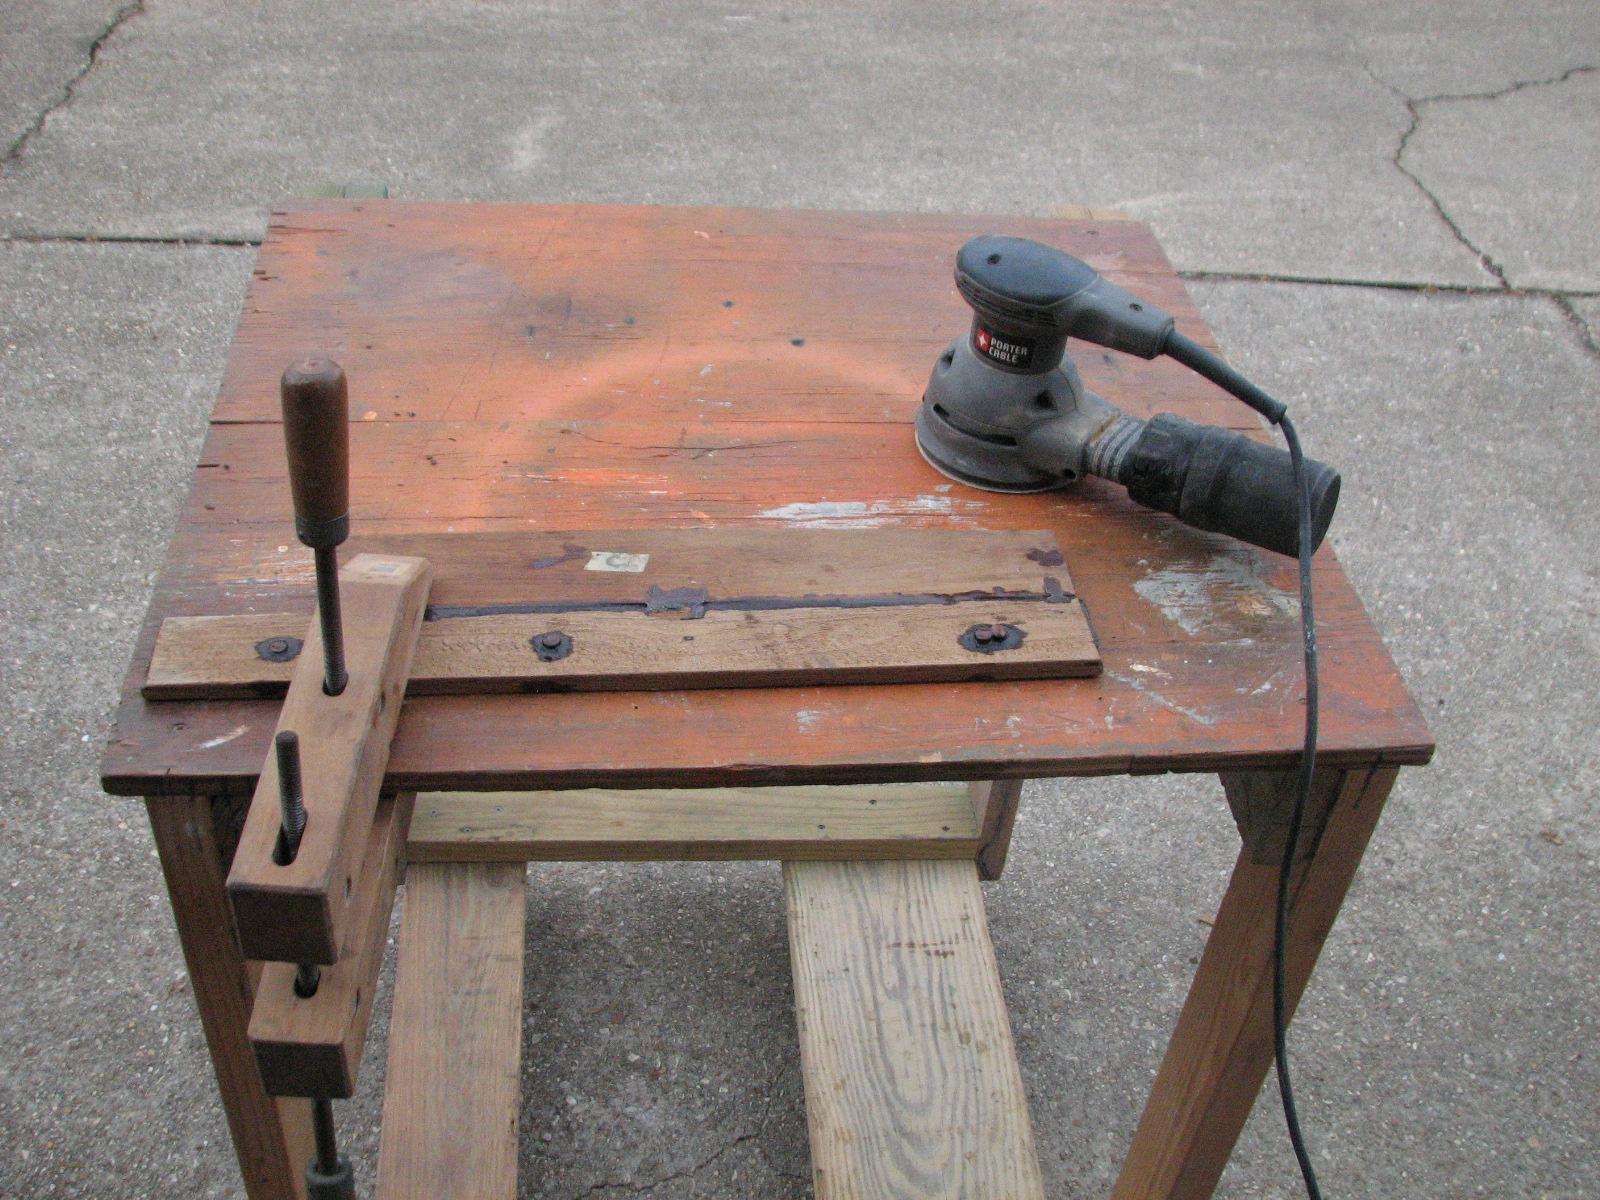
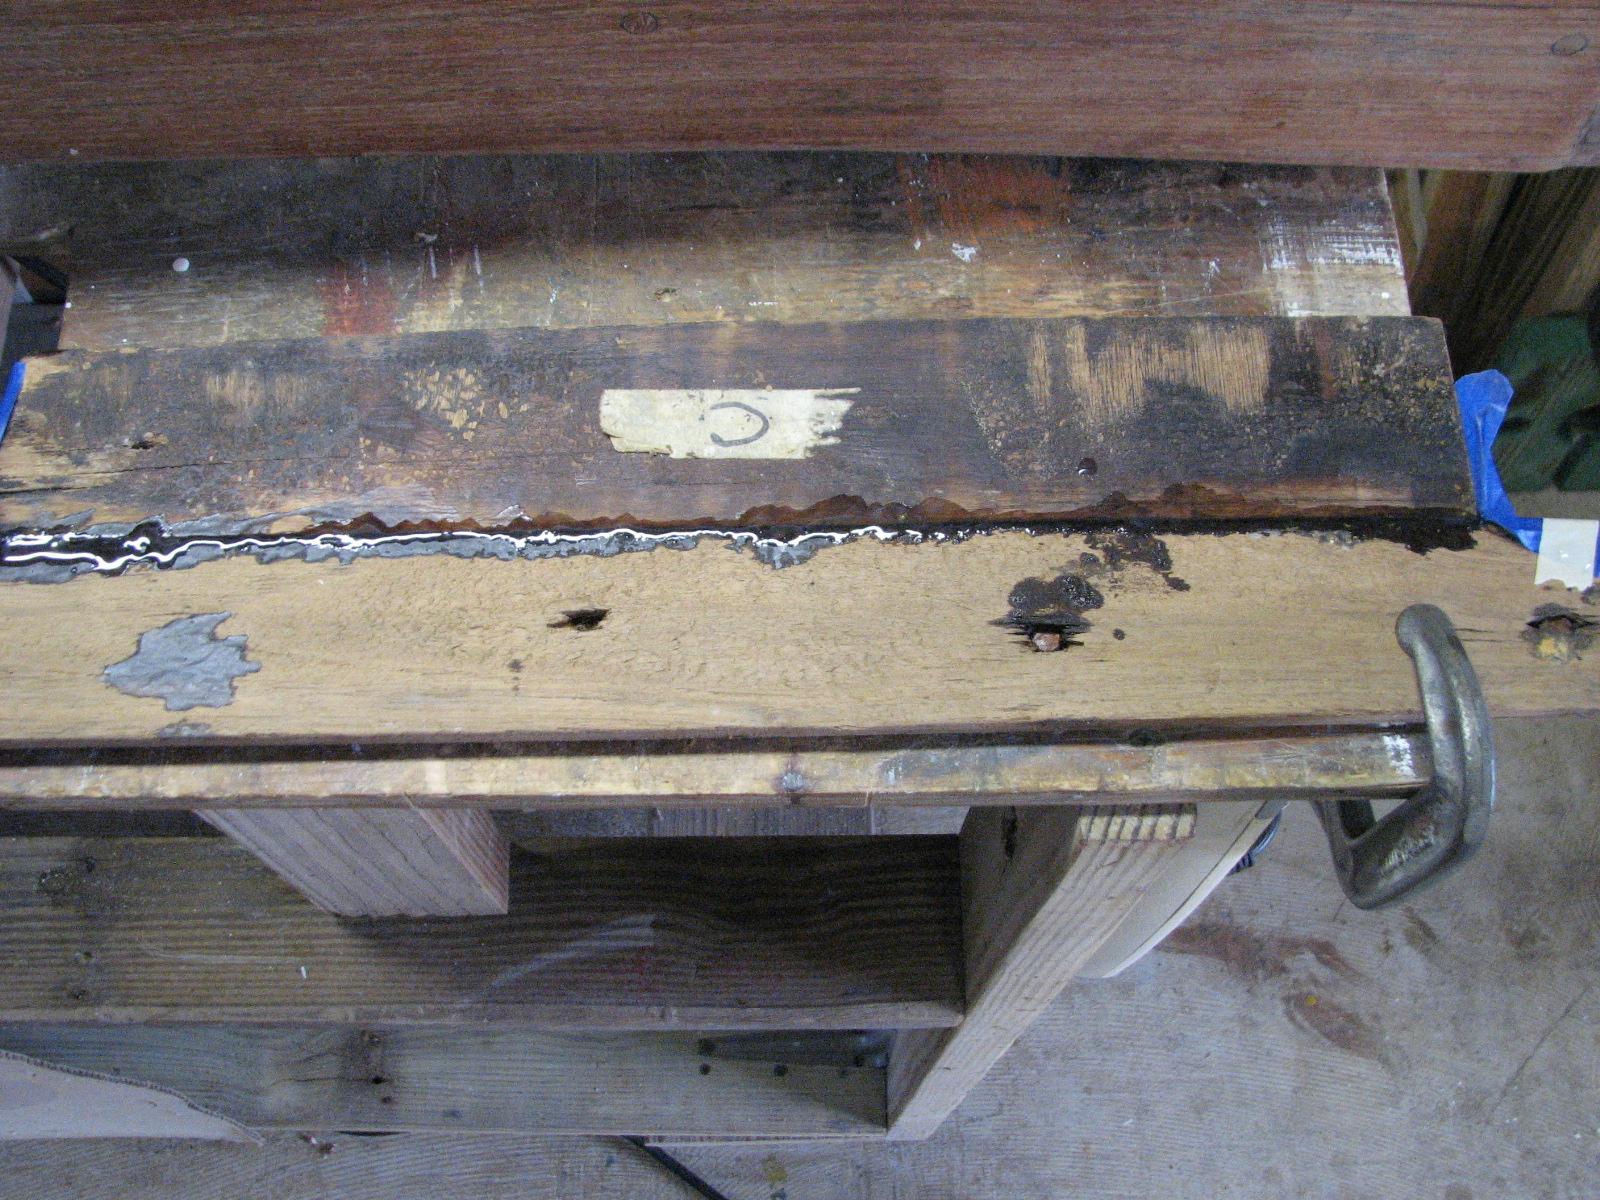
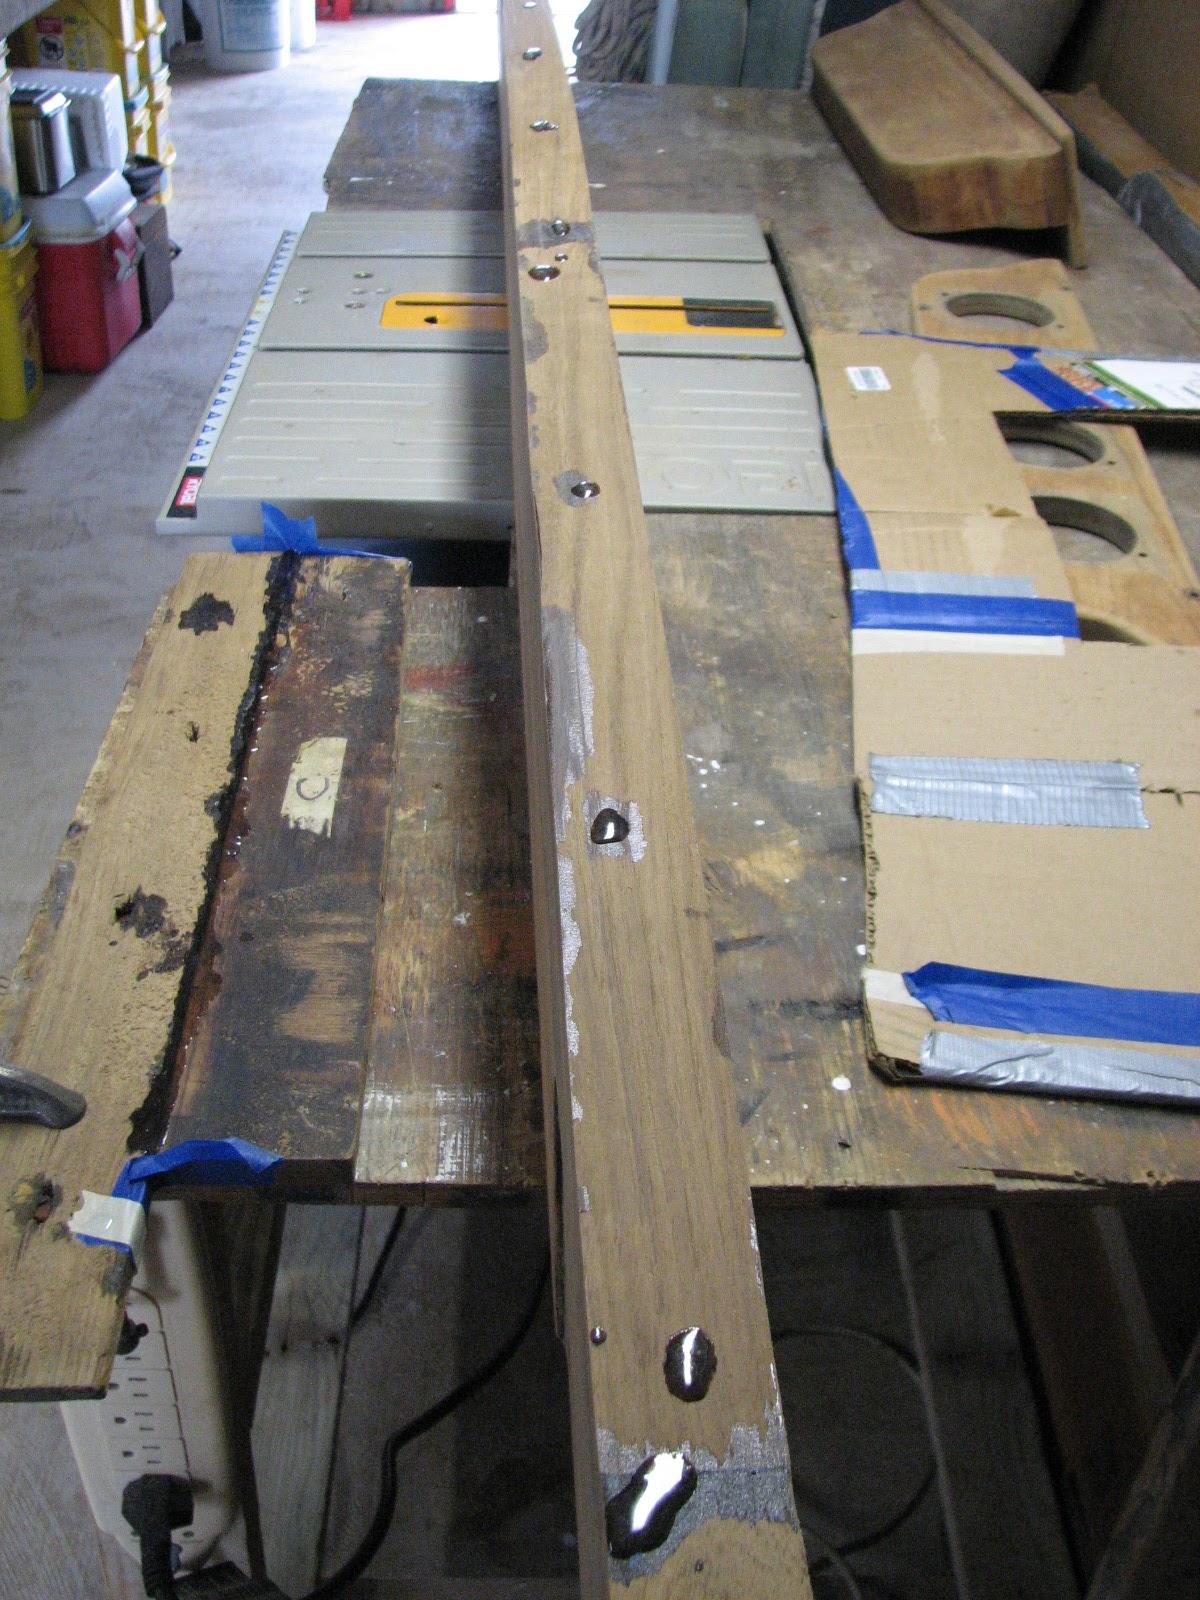
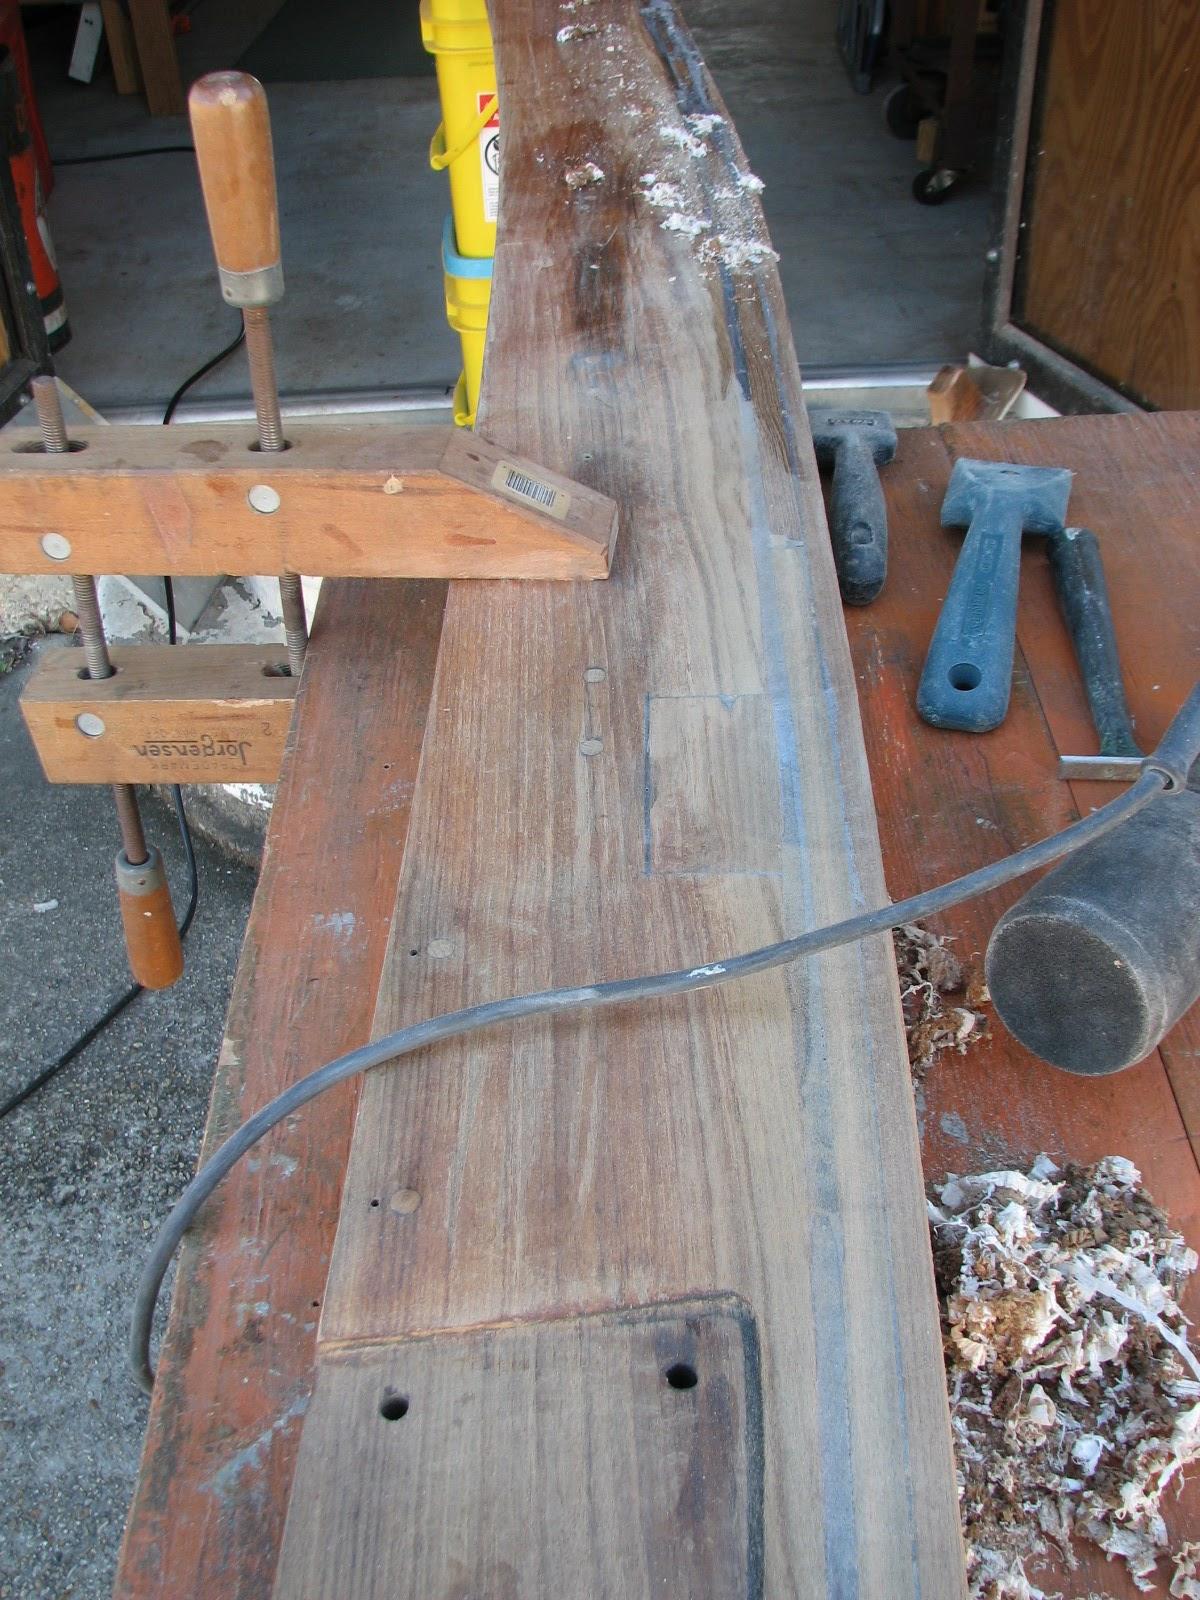
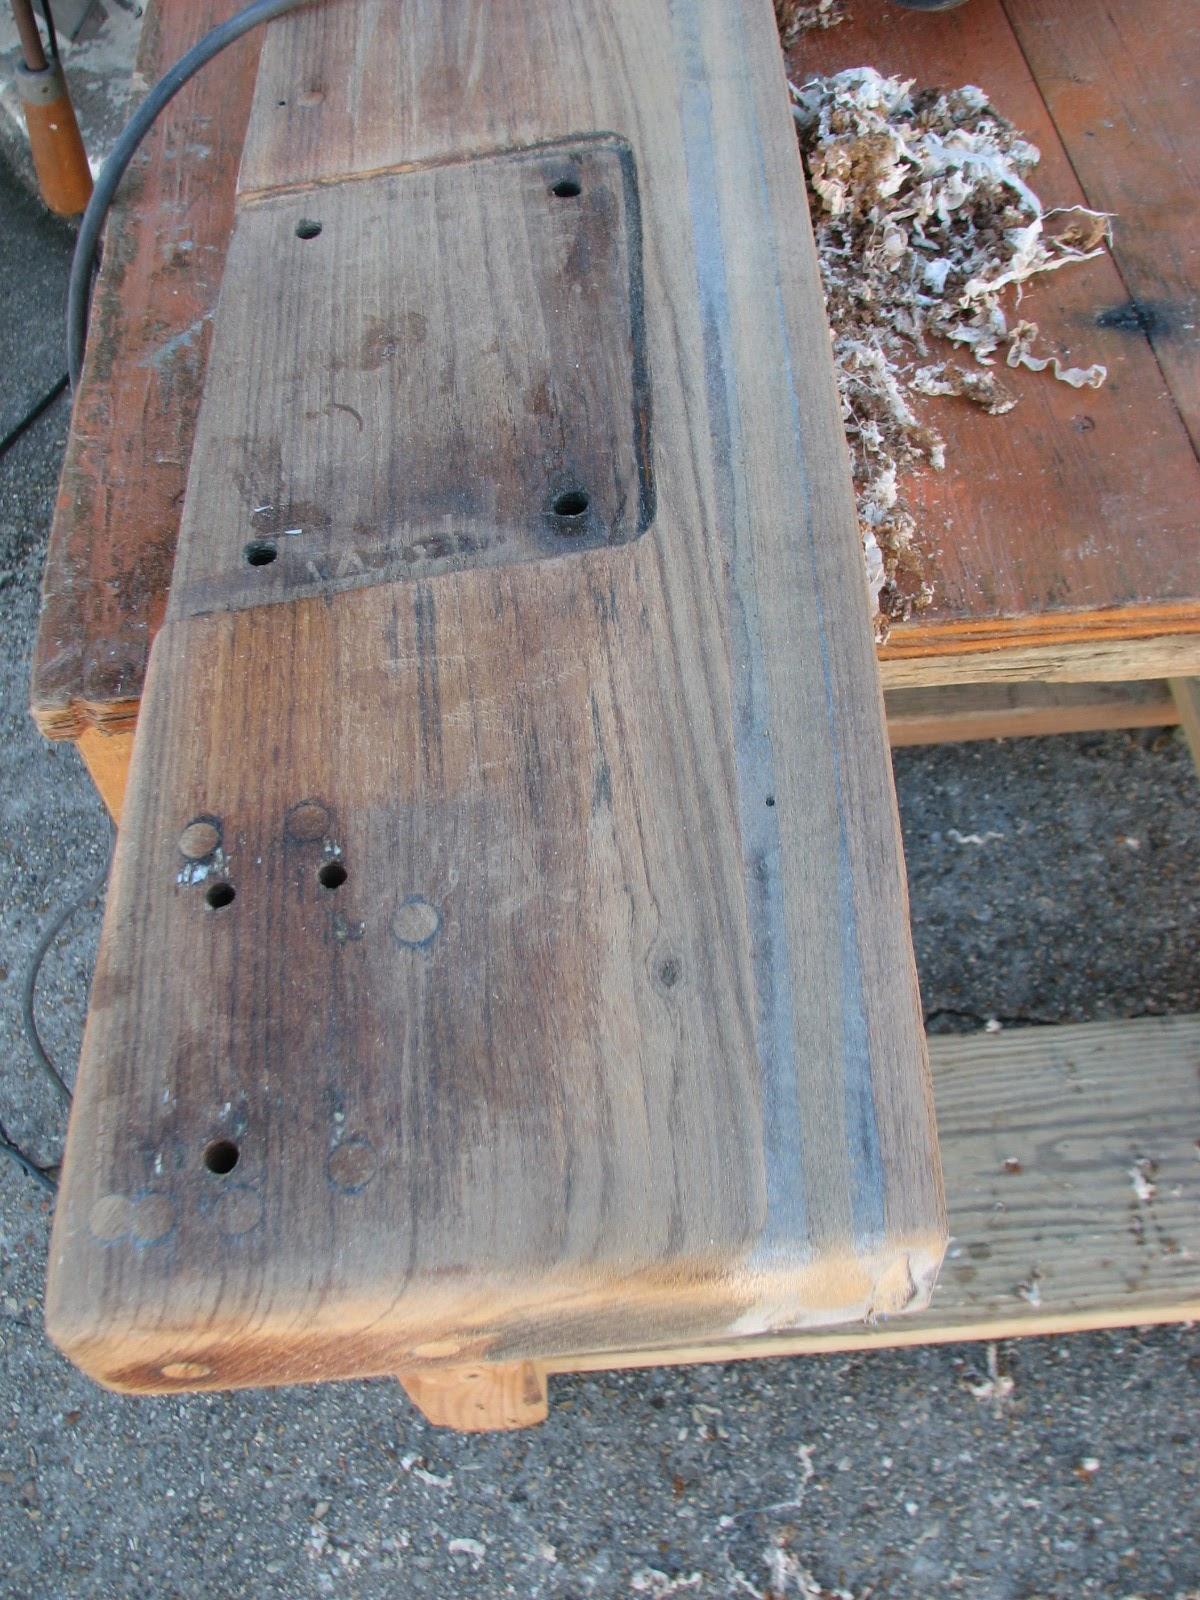
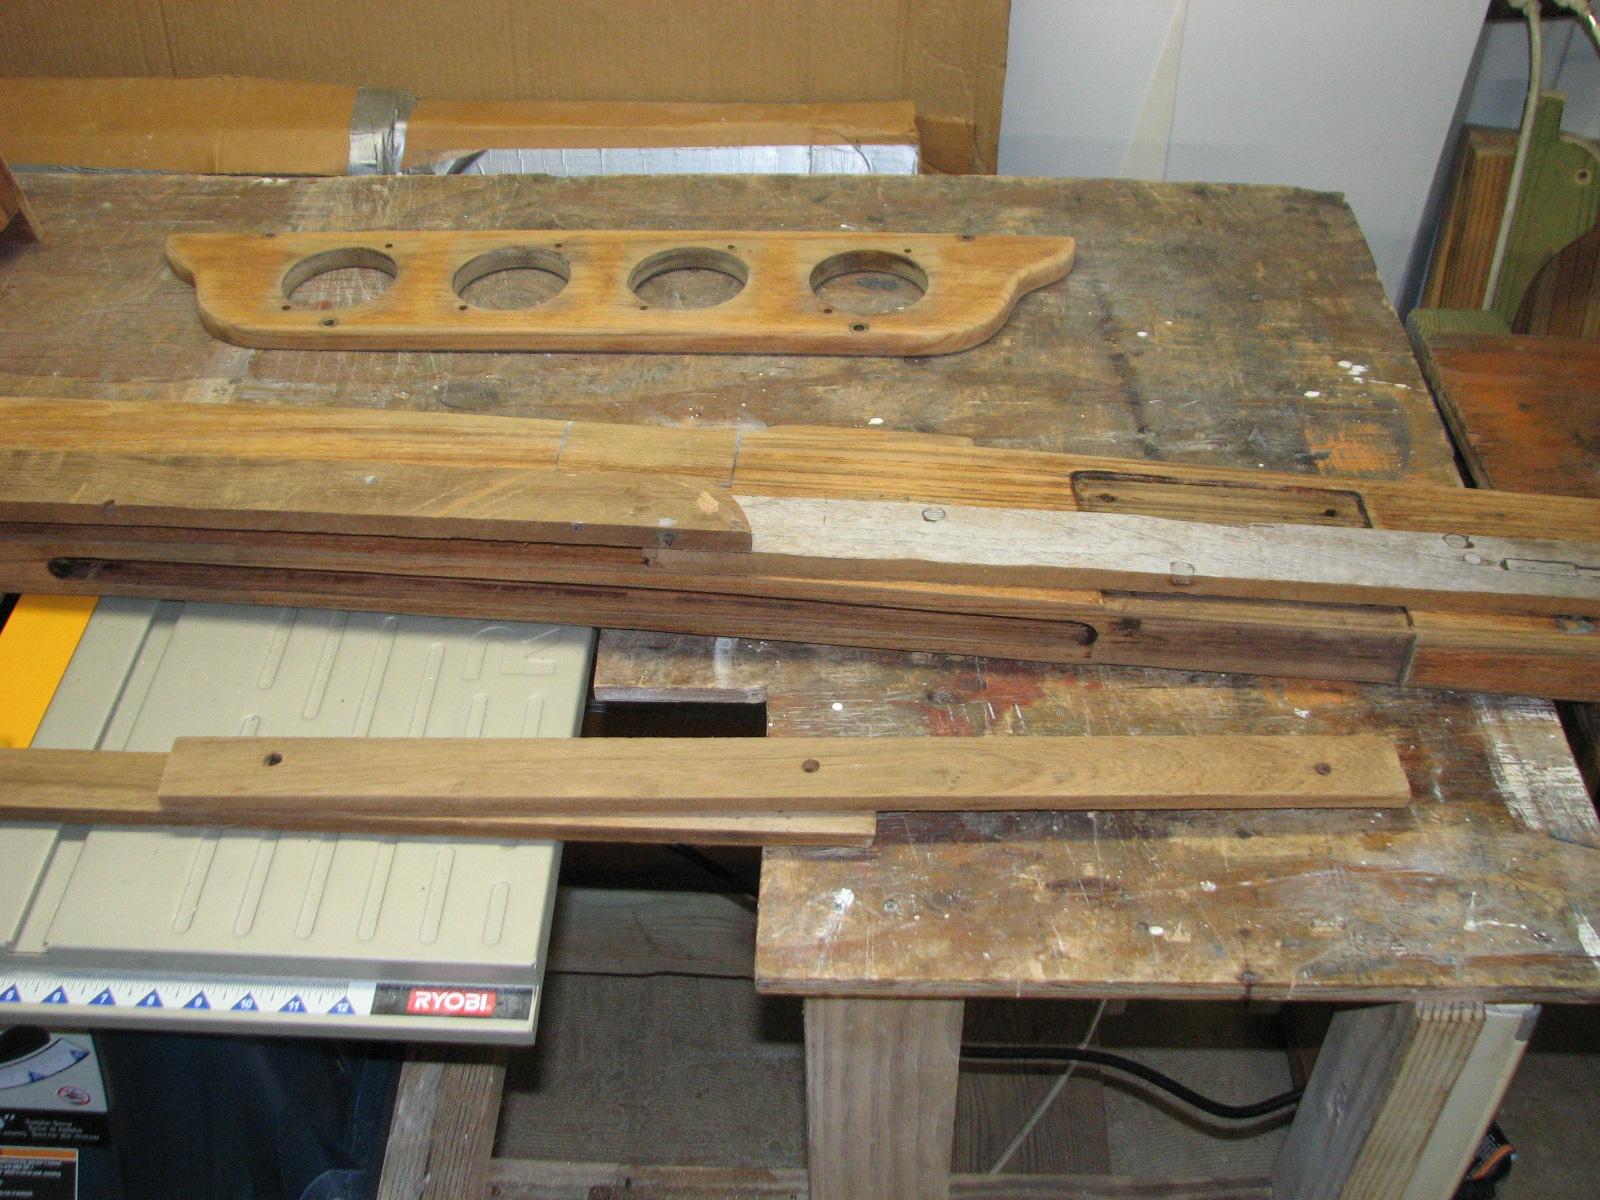
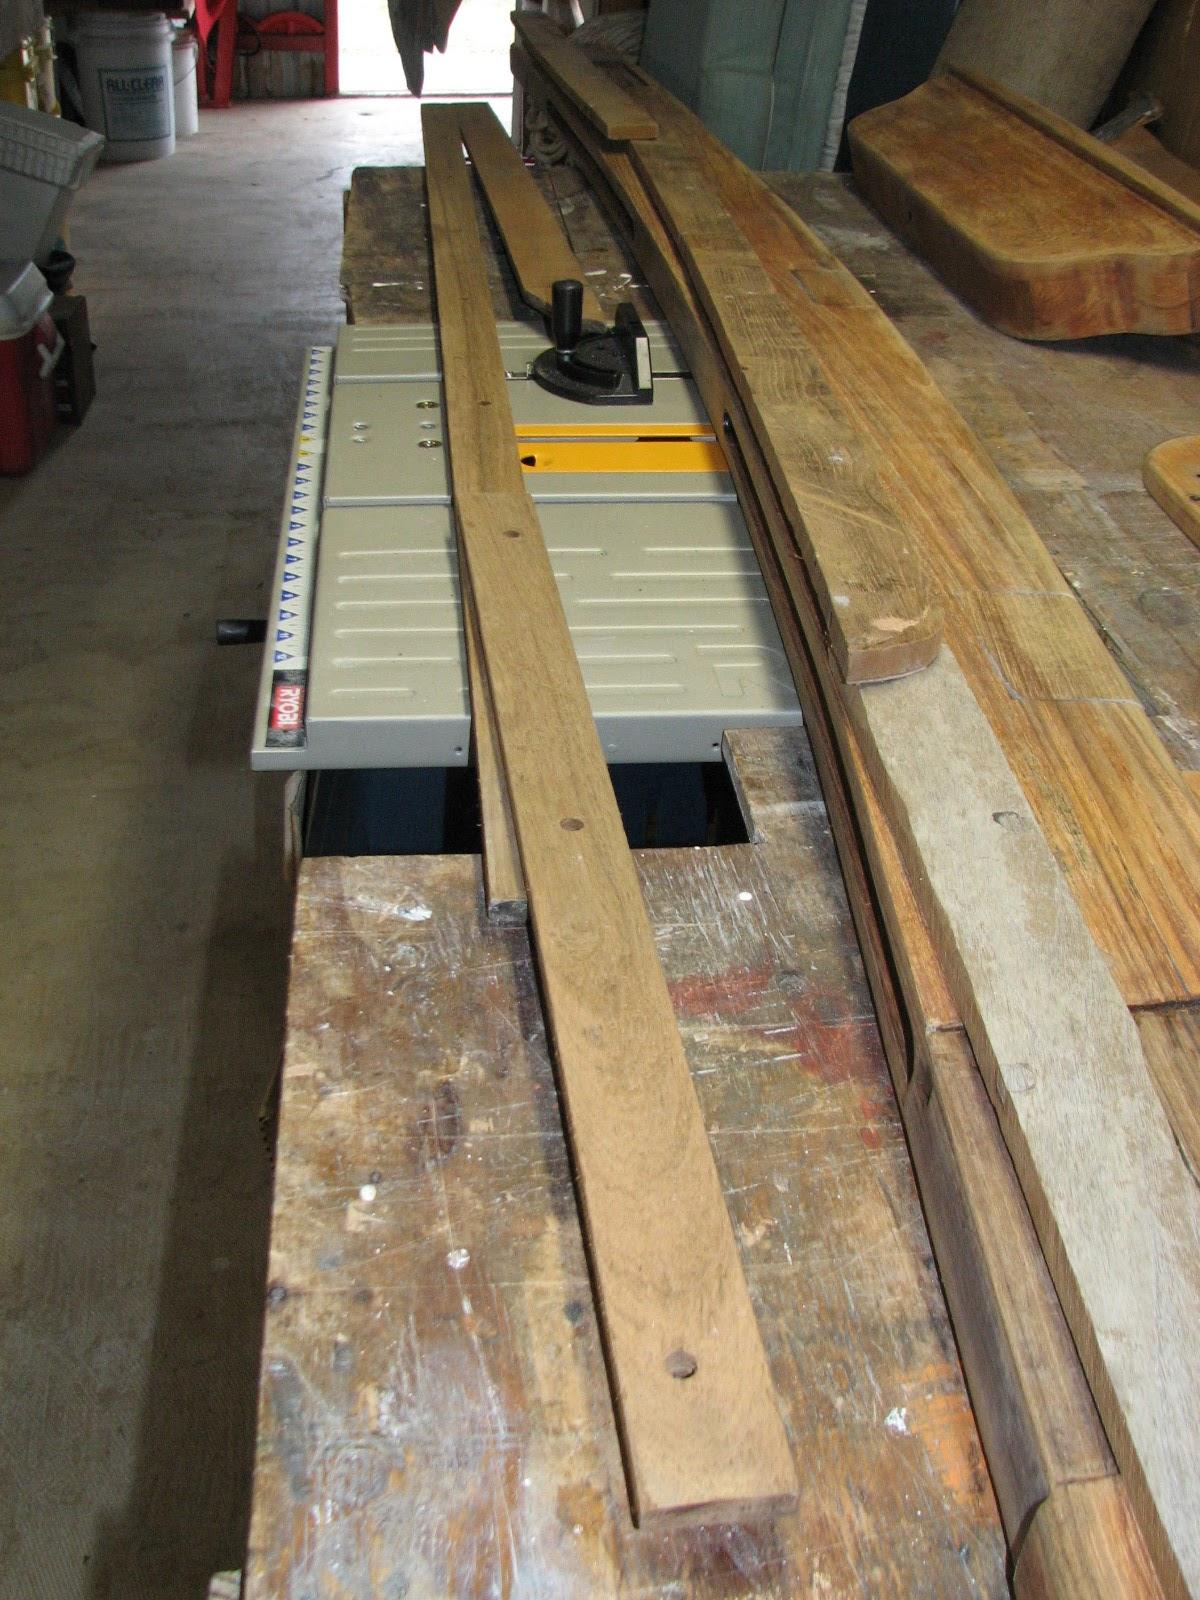
I did not have any teak
pieces big enough to cut out circles to cover the holes I cut in the
overhead of the head. I found some smaller pieces that I could
epoxy
together and then cut out the hole covers.
Dry Fitting Two Pieces Of Teak
To Make One
I mixed up a plain batch of epoxy
and applied it to the two pieces of teak,
and clamped them together, and added weights to keep both pieces
flat.
With the remaining mixed epoxy,
I added in some teak
dust as a thickener, and applied it to the boom gallows.
Epoxy
With Thickener Applied To The Boom Gallows
I cleaned up all of the material used
with the epoxy
application, and went back to DREAM AWAY.
It had been a good three to four hours
since the Liquid
Nails application on the overhead piece of Structoglas
in the head. I felt confident I could remove the wood supports. Then
I had to put back all the teak
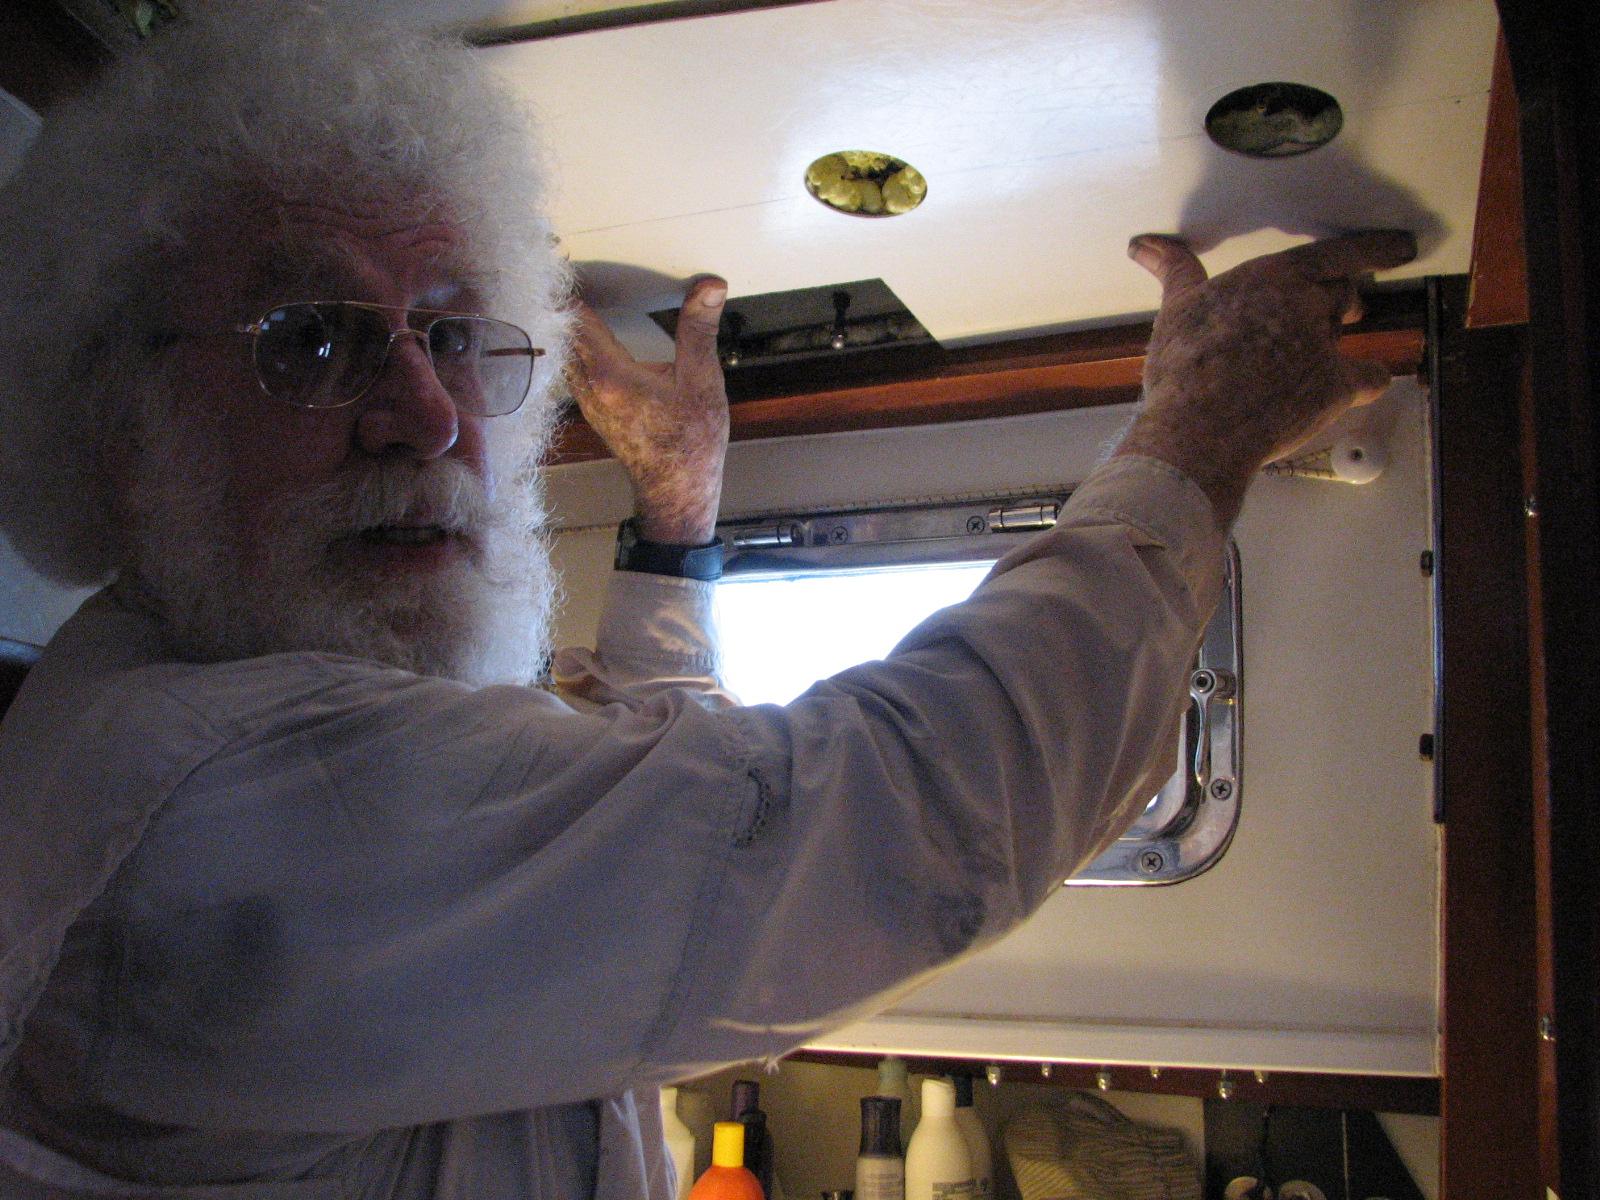
coverings for the light, and other pieces on the overhead. I also had
to put in new hooks to hang the shower curtain.
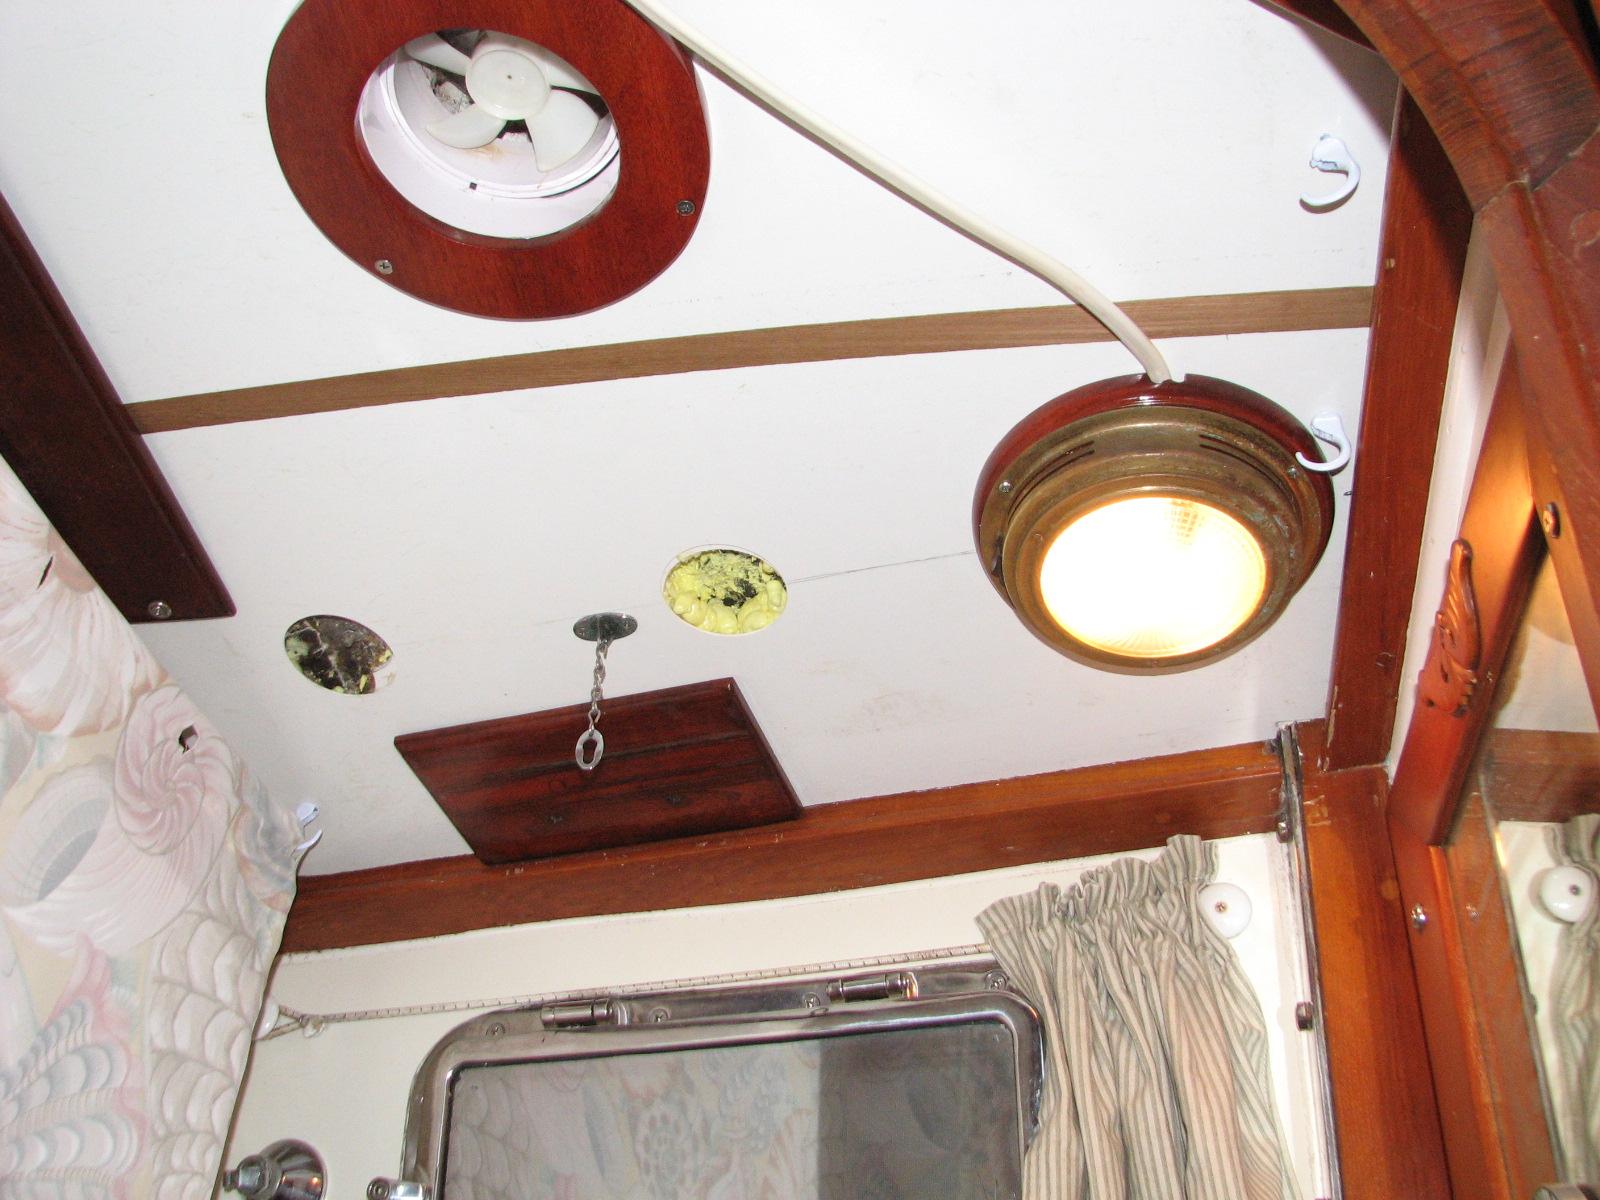
Overhead In Head Complete Except For
Hole Covers
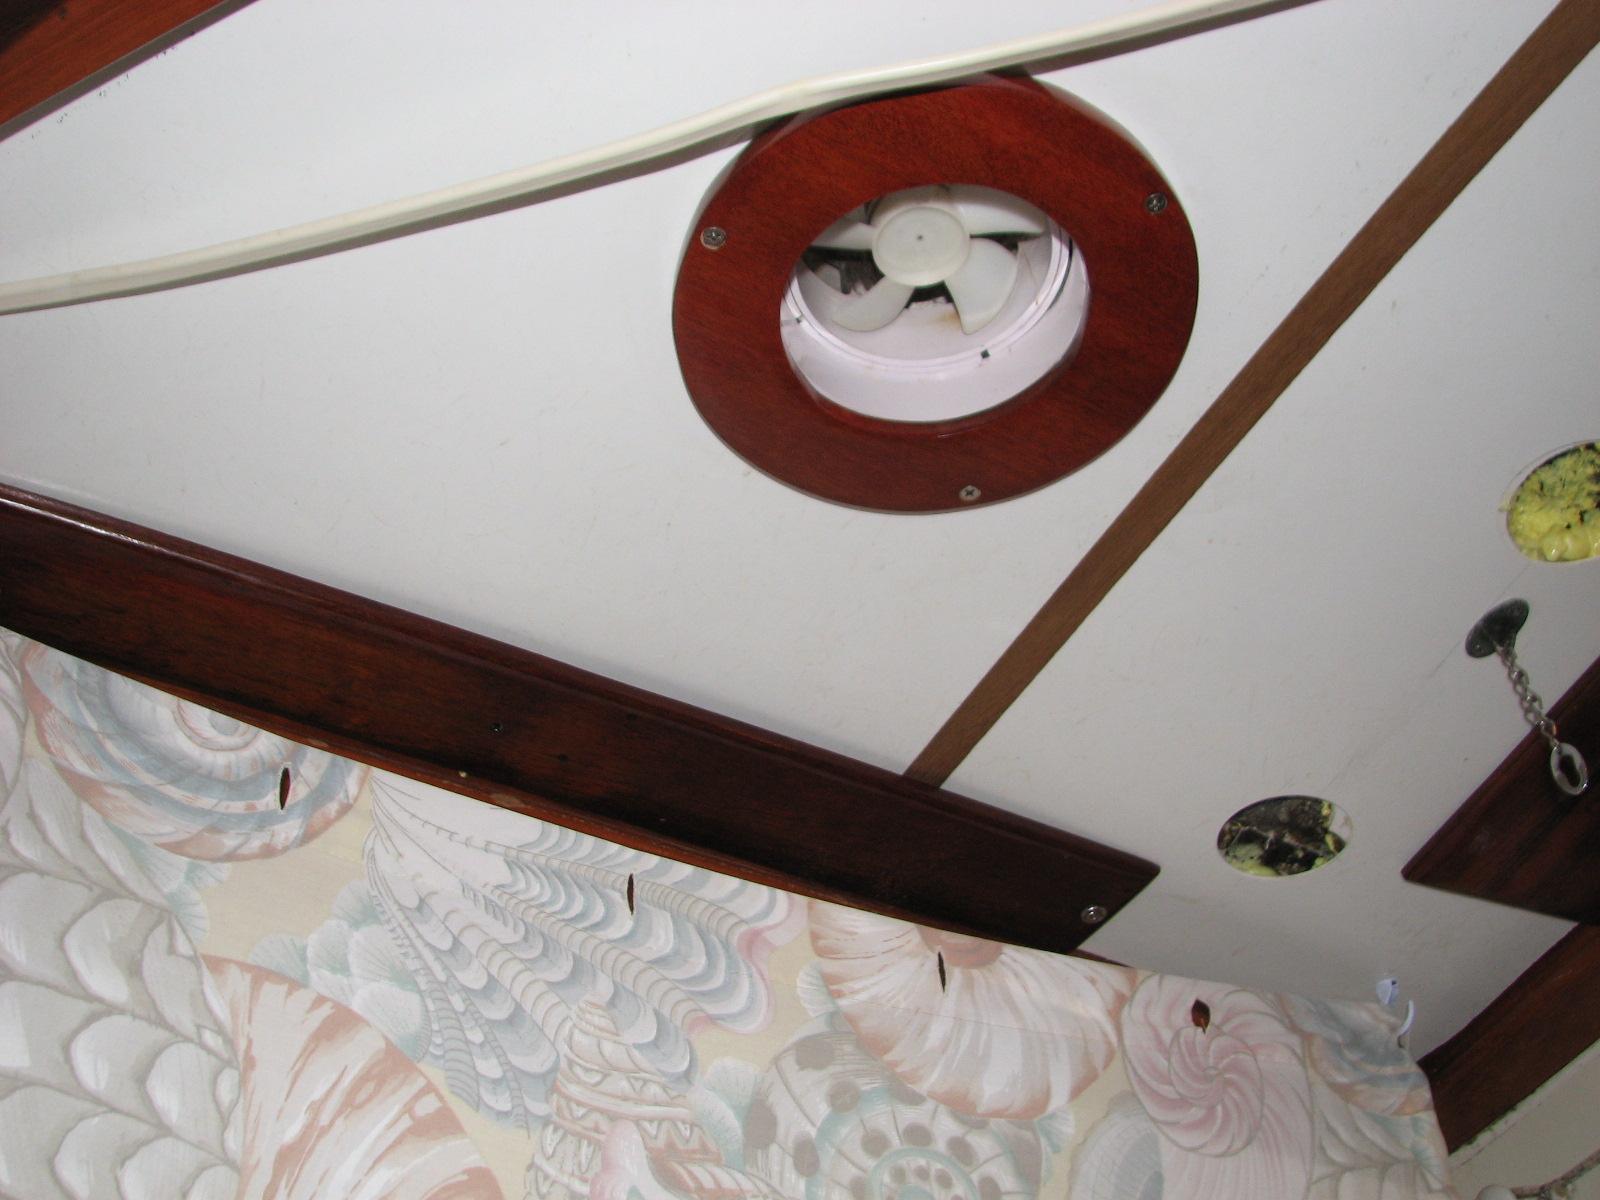
Overhead In Head Complete Except For
Hole Covers
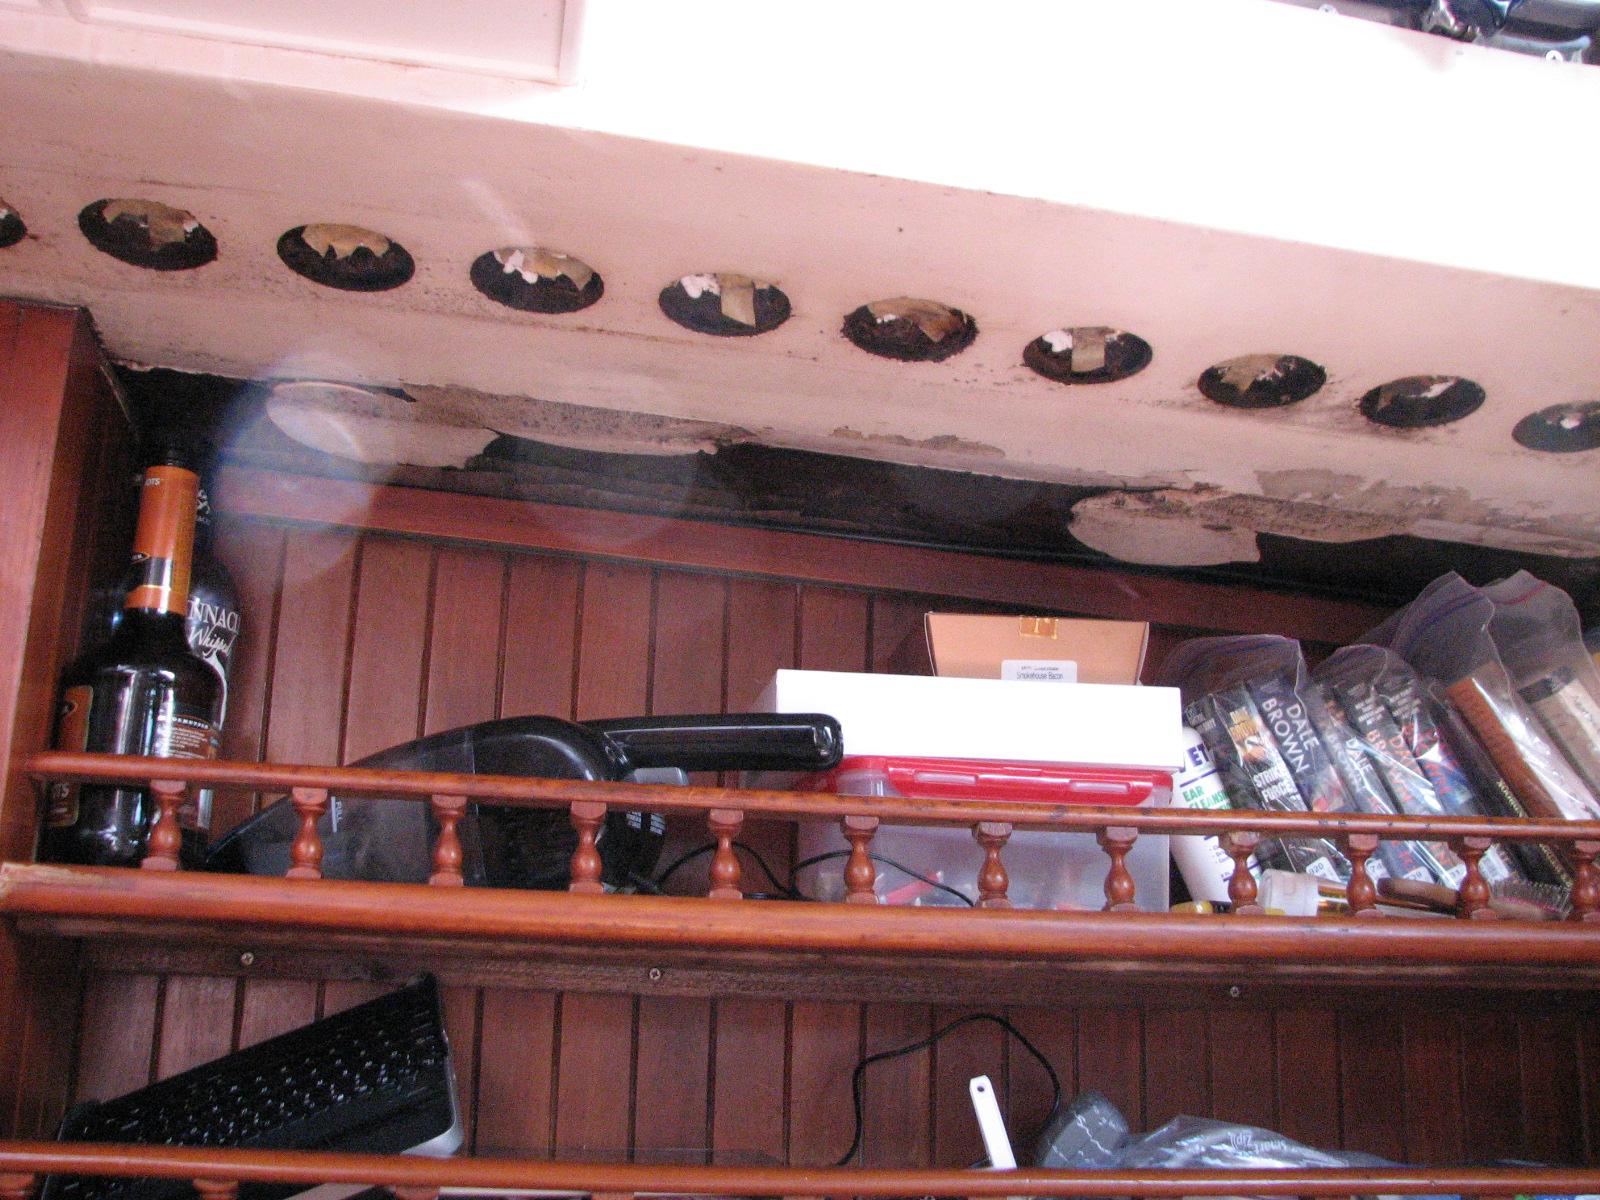
I still have to fabricate the hole
covers and fabricate the wire cover for the head overhead.
February 15, Saturday,
2014
Started off the morning with my normal
ritual of getting on the Internet, answering email, and checking the
weather, while making a pot of coffee. When the coffee is started, I
feed our two cats,
Jillian
and Jordan,
and spend time with them brushing their beautiful coats.
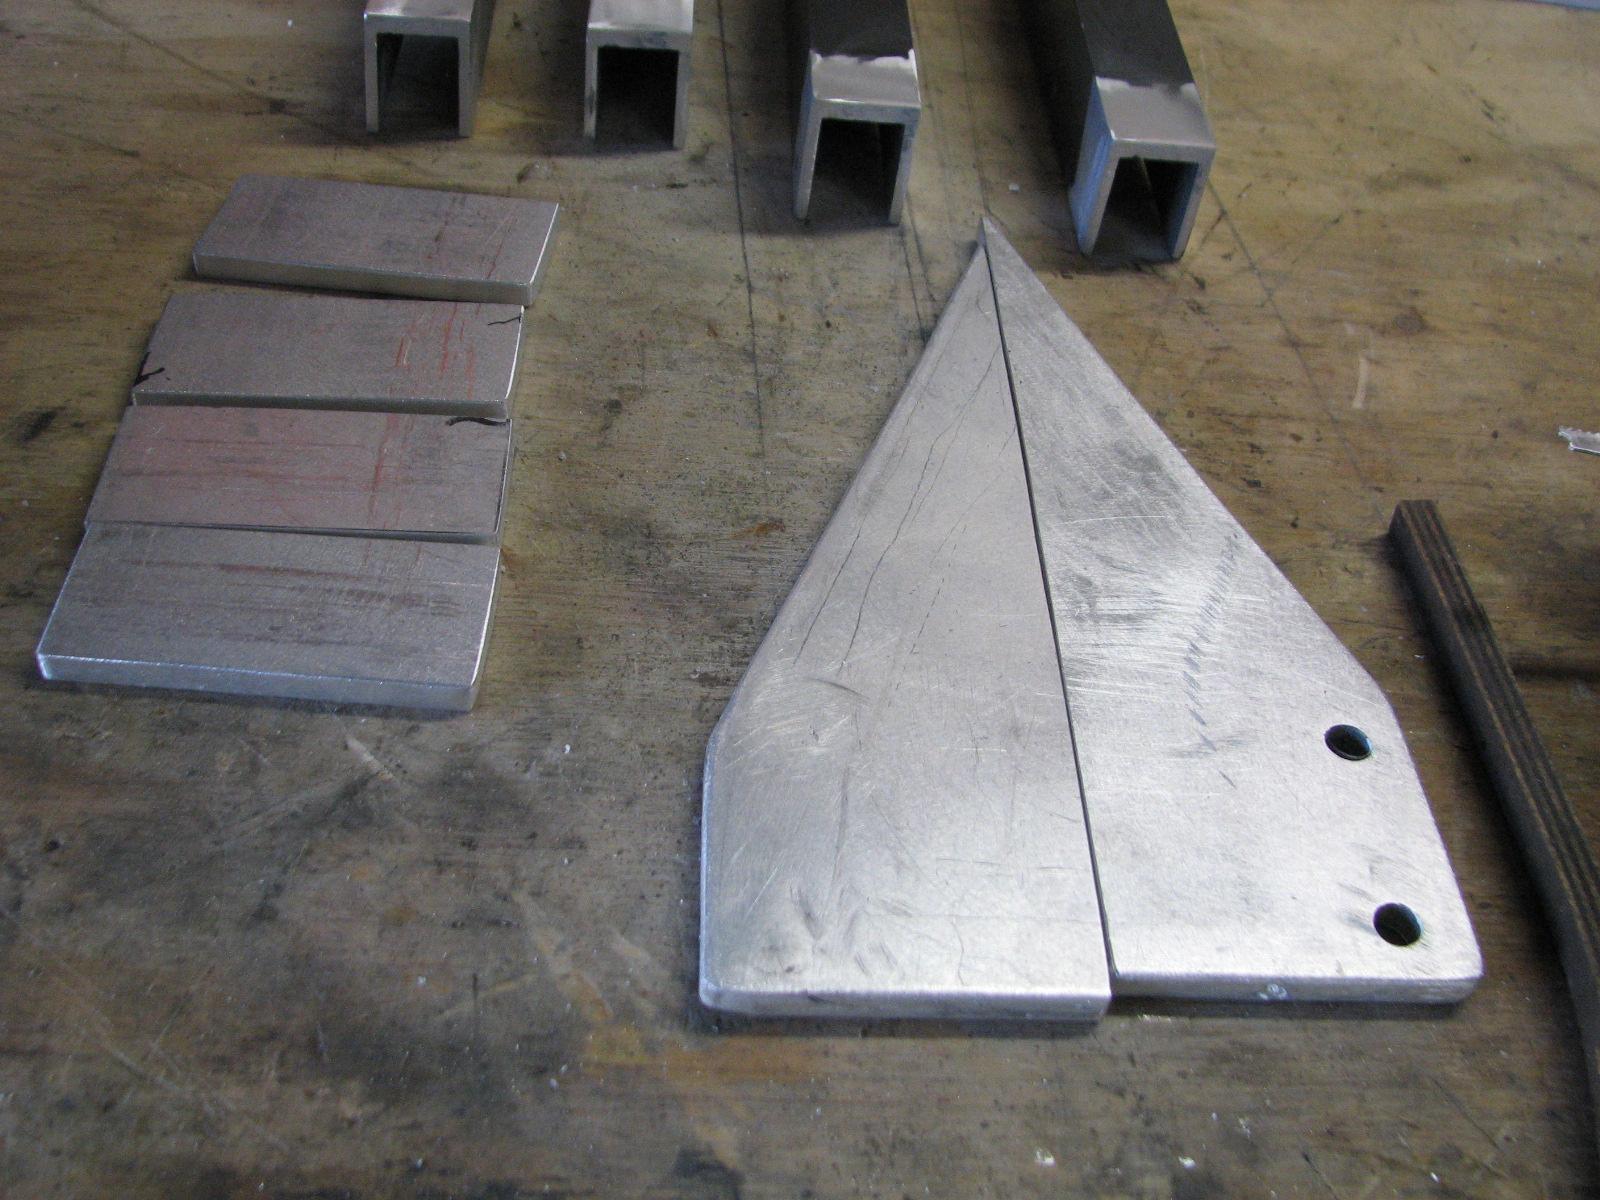
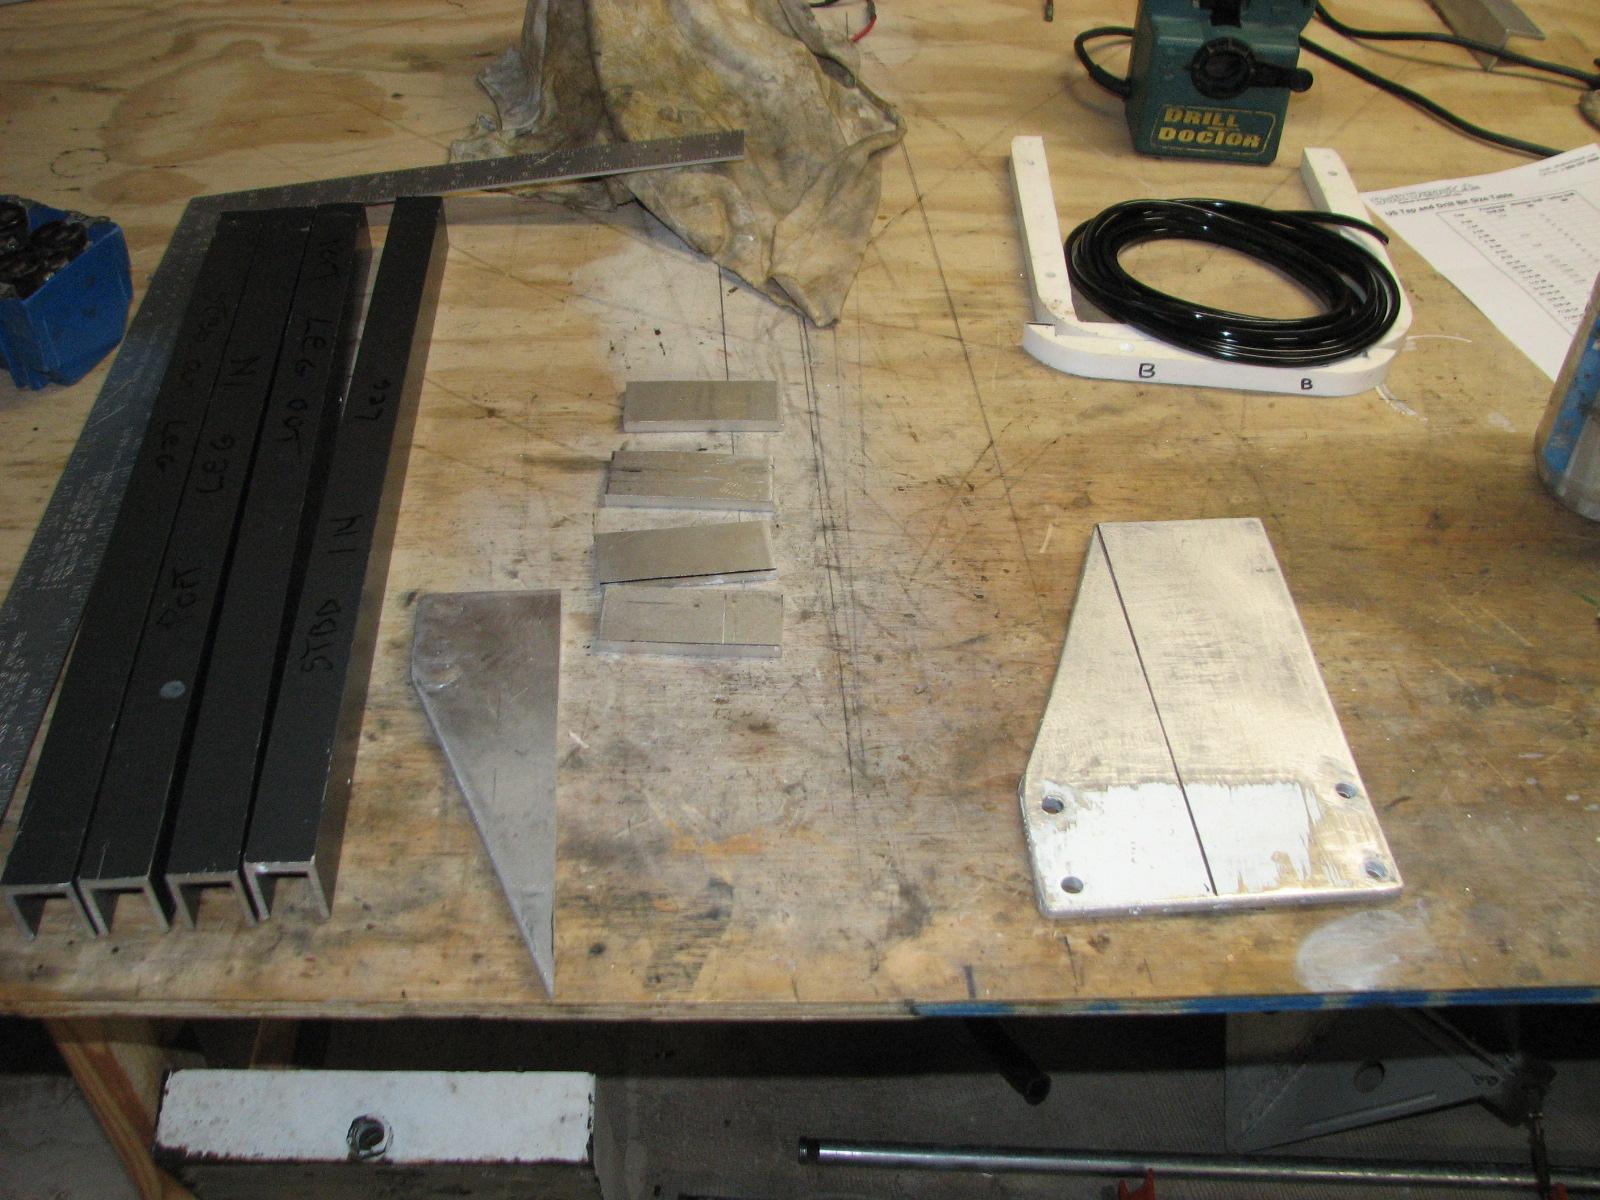
Went over to the shop
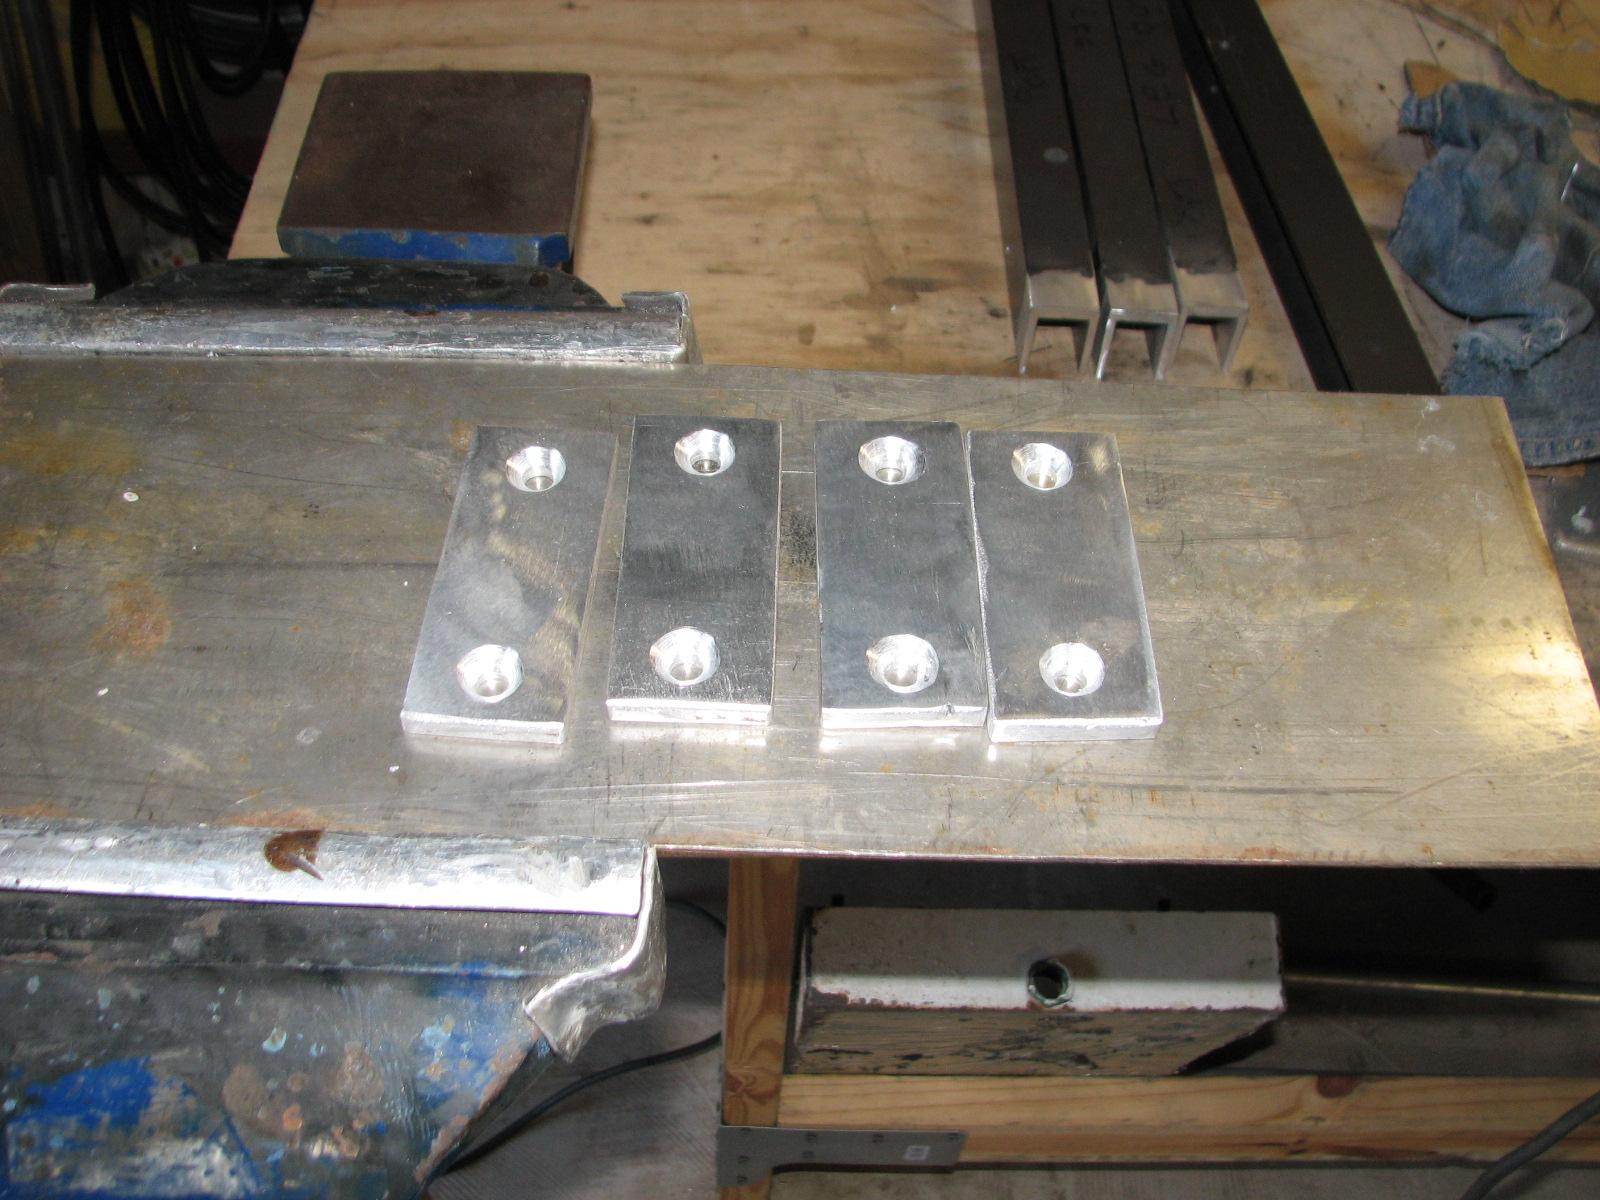
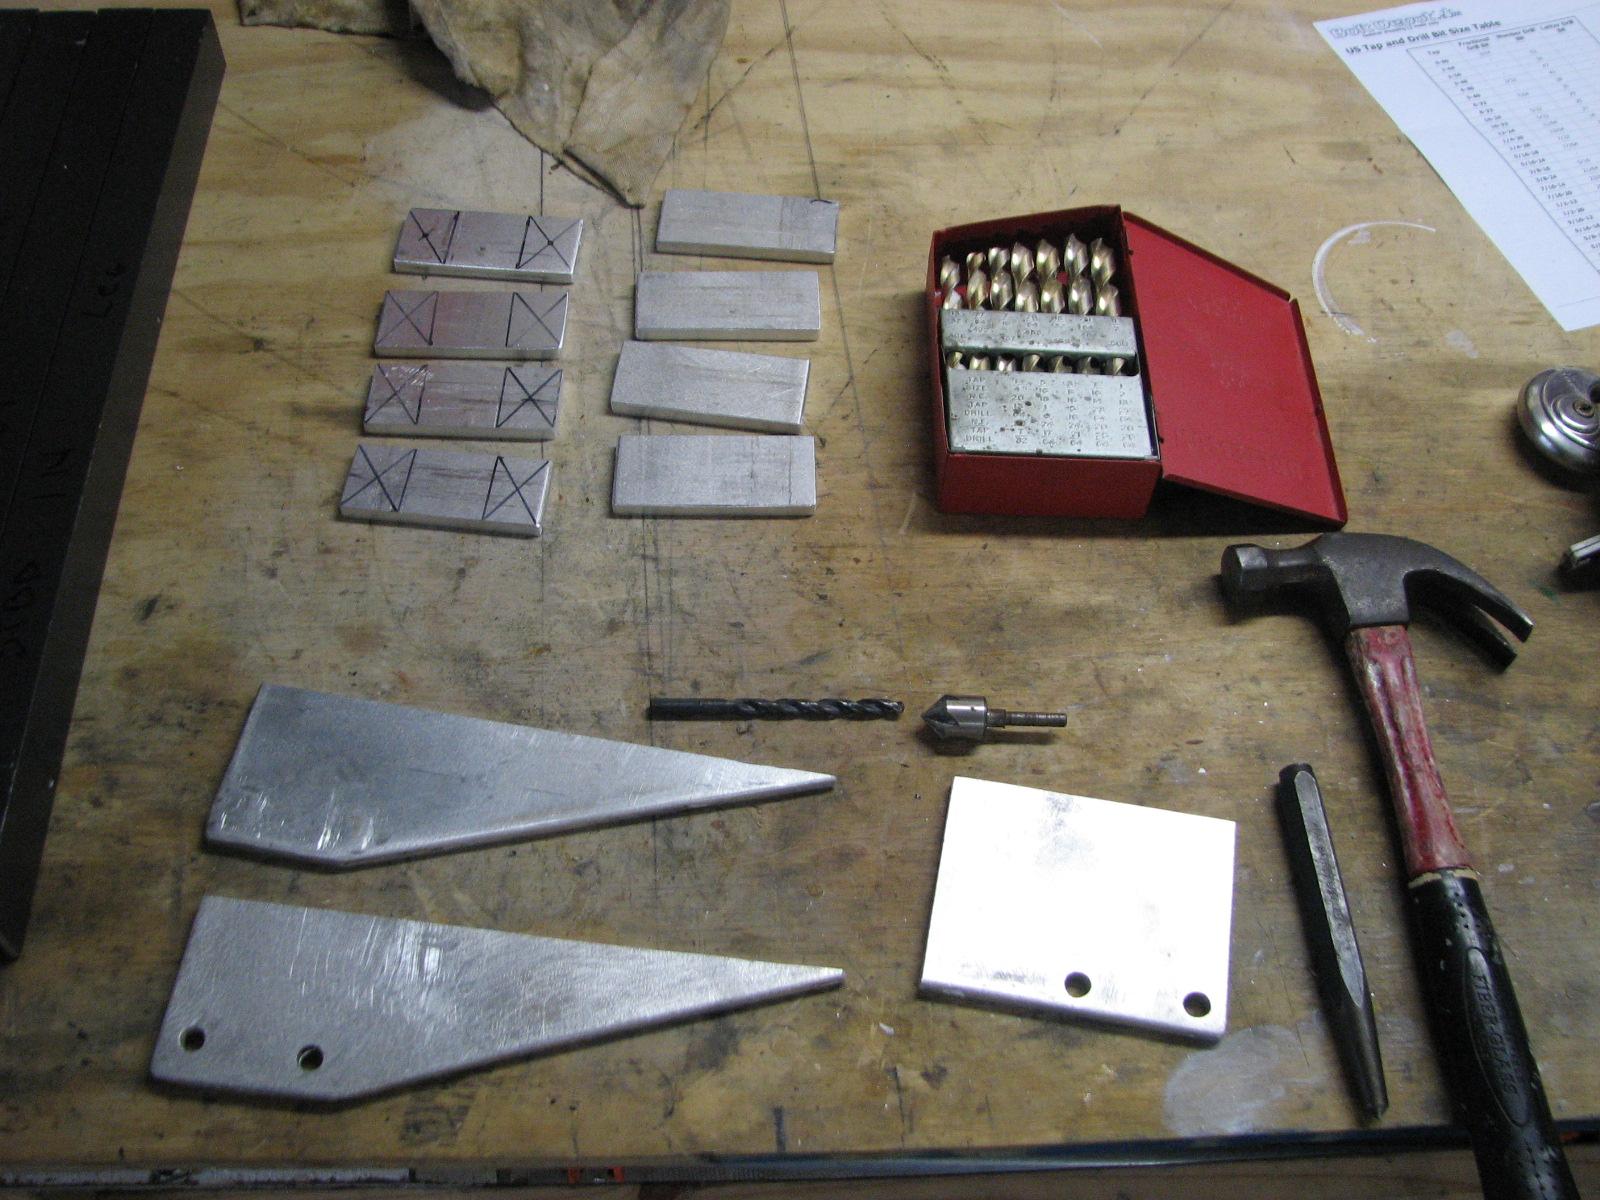
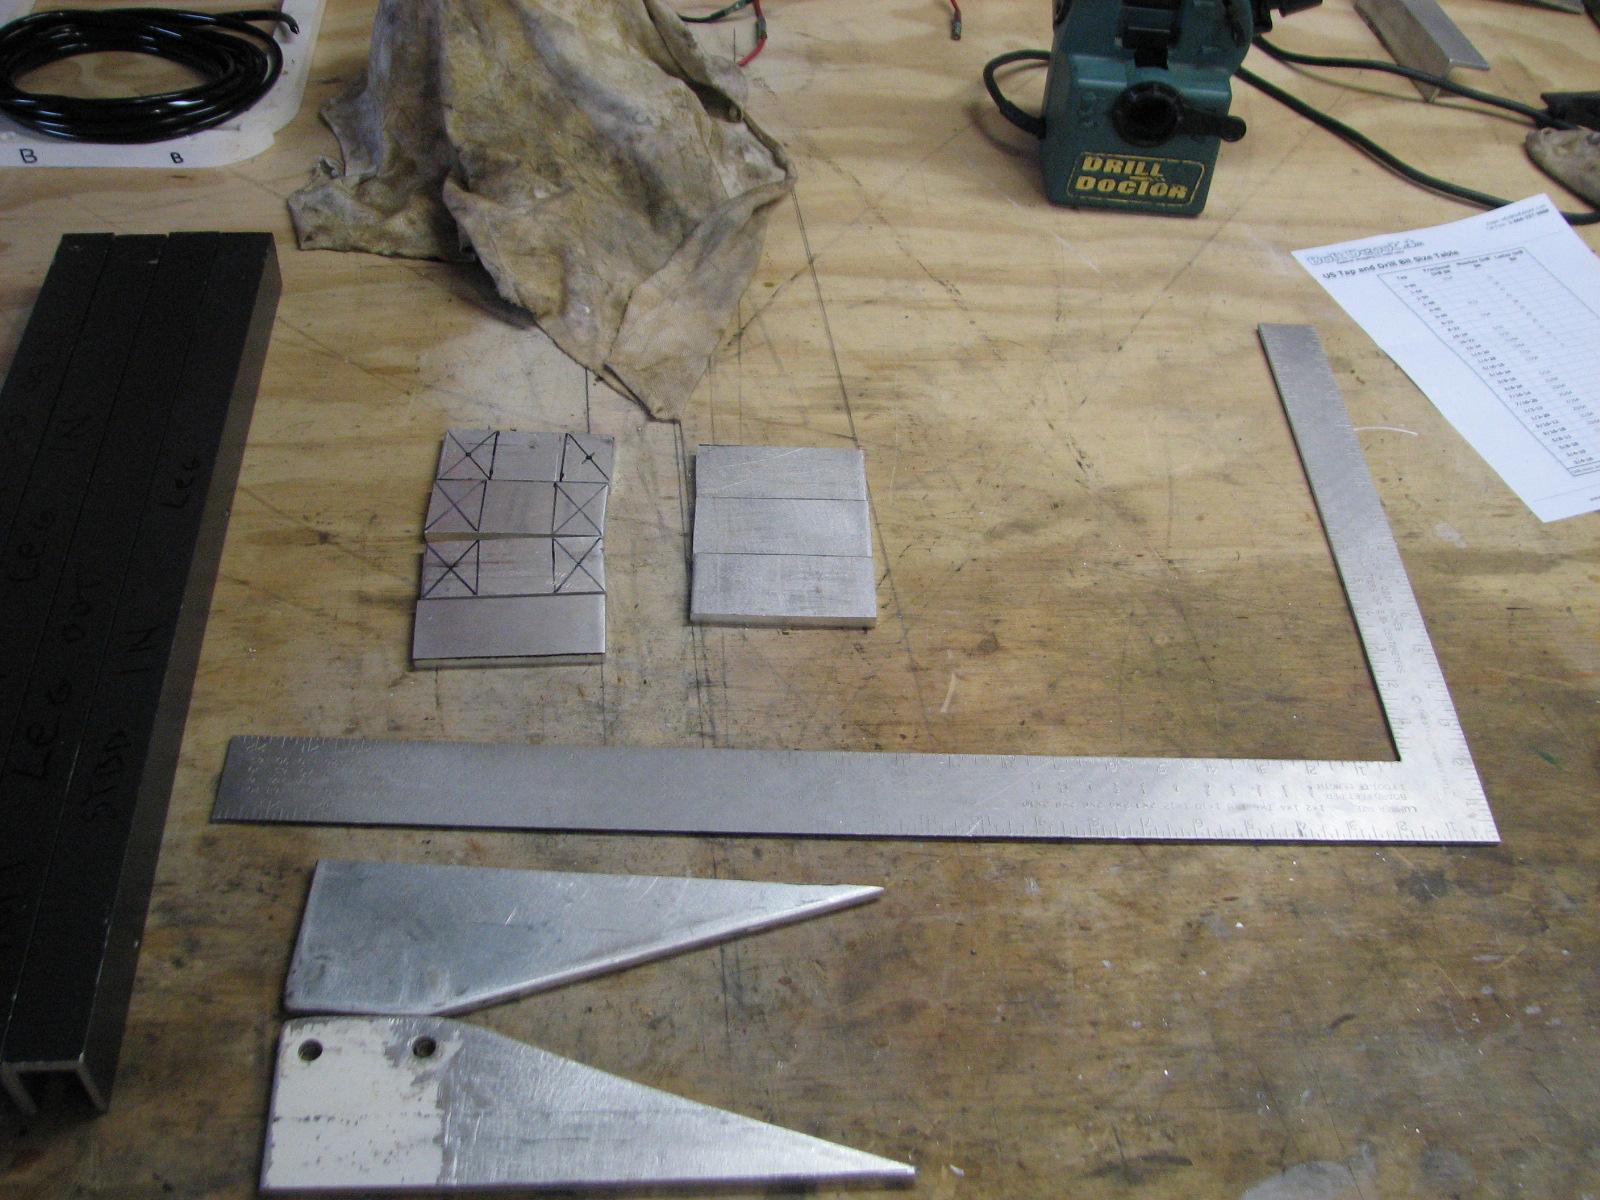
and inventoried all of the pieces I will be using on the top of the
legs for the sail handling platform (SHP).
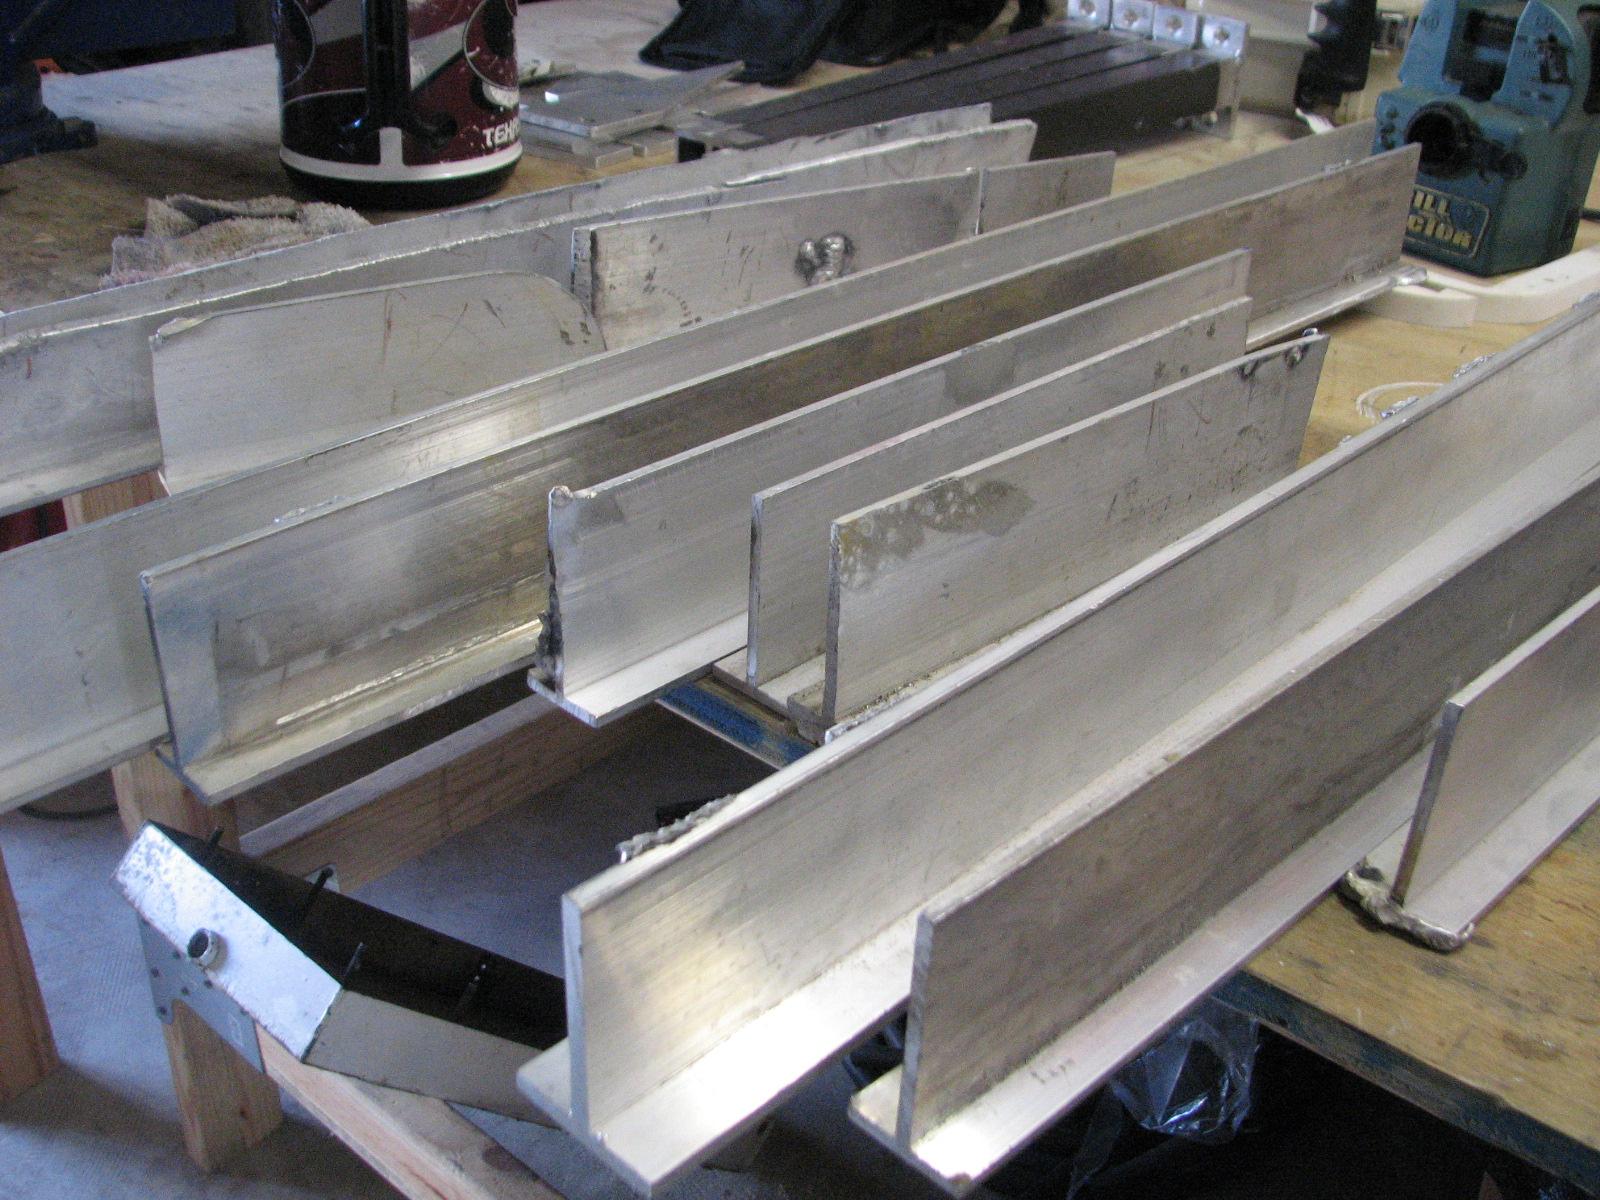
Aluminum Pieces Inventoried
Next was to get to sanding and scraping
on the boom gallows. I knew it would take some effort to get the boom
gallows smooth again, and hopefully the side I applied the
epoxy
mixed with the teak
dust did not have any voids. I was correct, that it did not. The
other side did need an application of epoxy
mixed with the teak
dust. It was still a little cool, so I would do the epoxy
application lated in the afternoon.
Sanding And Scraping The Boom Gallows
Smoothed Out Boom Gallows
Sanding And Scraping The Boom Gallows
Today is the day we were finally going
to get the Structoglas
panel put onto the overhead in the head. I loaded up the panel, and
all of the pieces of wood of varying lengths that would be required
to hold the panels in place after the Liquid
Nails adhesive was applied.
When I got to the marina,
I unloaded all of the wood supports, the necessary tools and the
Structoglas
panel, and brought them all down to DREAM AWAY.
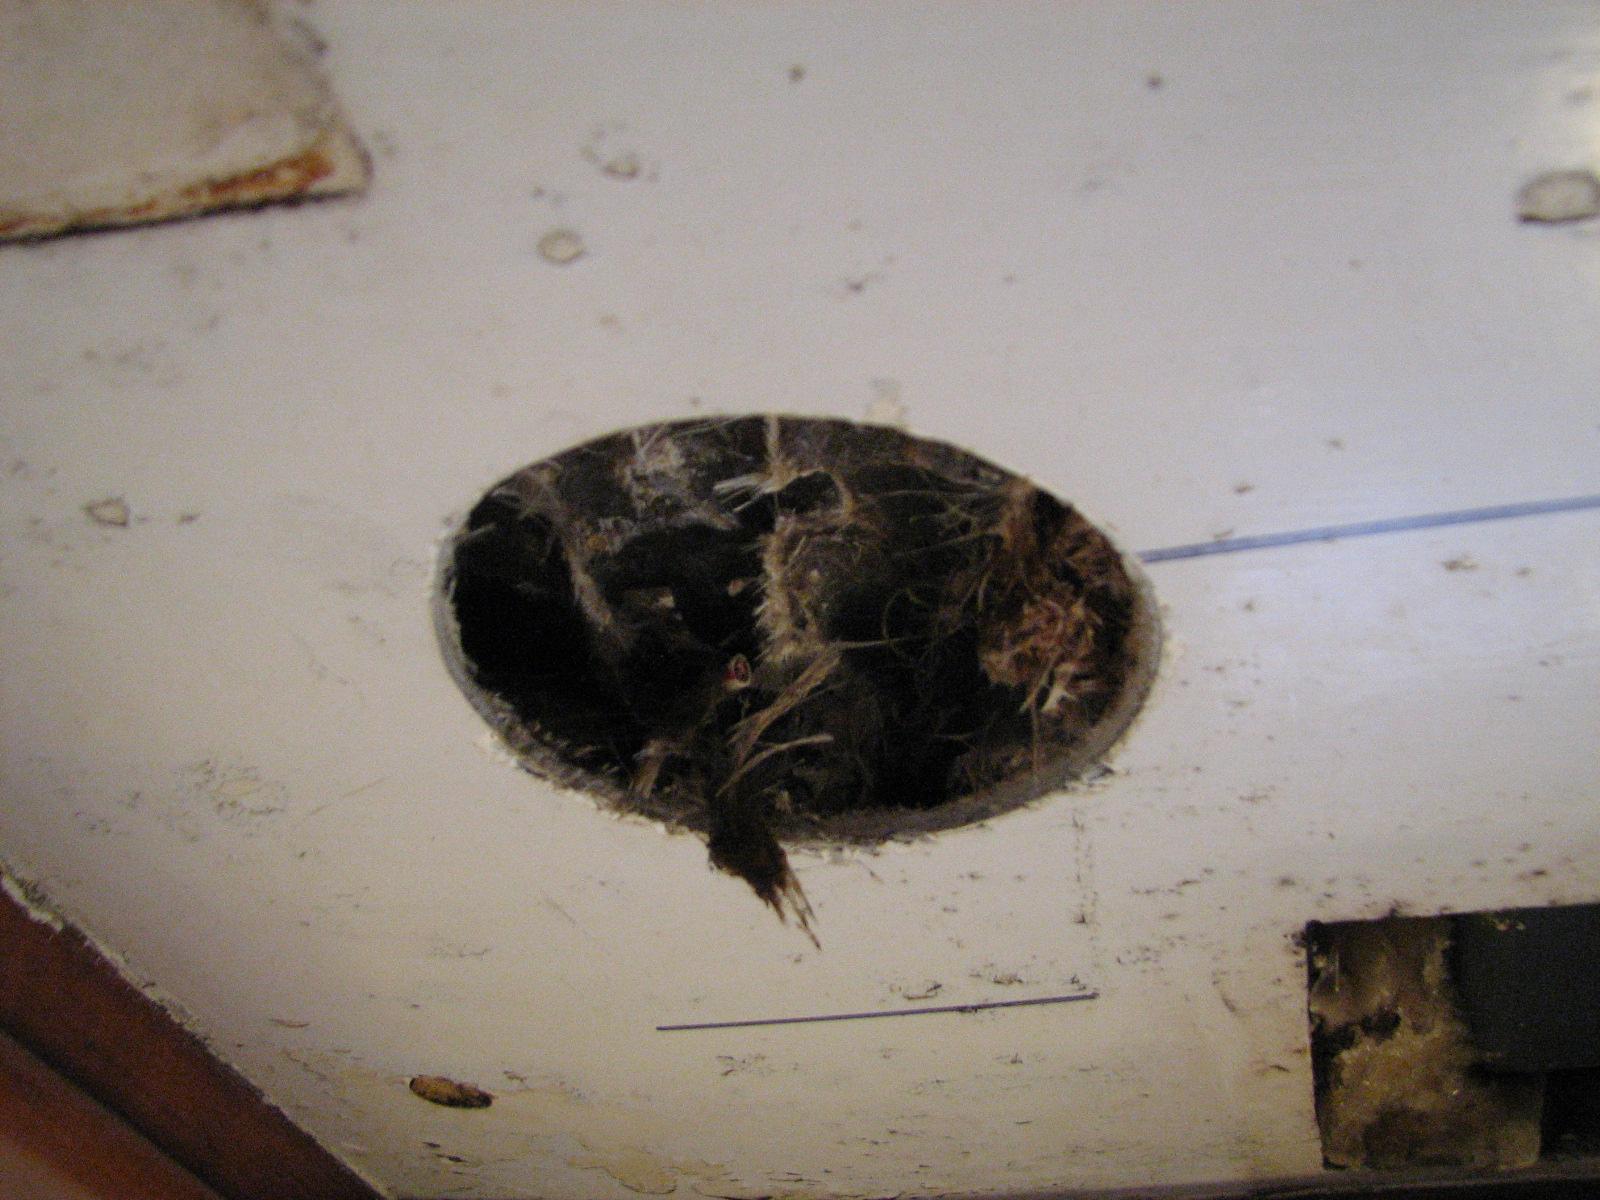
First thing to be done was to cut out
some holes in the overhead interior pan. There is a
teak
grab rail on the coach roof outside that is just over the head. We
are going to remove the teak
grab rail and replace it with a maintenance free stainless steel grab
rail.
The teak
grab rail has through bolts holding it to the deck, so we needed
access to the underside of the deck to get to the bolts for removal.
We will also need access to the underside of the deck to install the
new grab rail.
Three Holes Cut In Overhead
Now I had to clean out all of the
debris from inside the holes. This is another fun feature of this
Hardin.
Debris In One Of The Overhead Holes
Now that the holes were all cleaned out
of debris, I placed old newspapers over all of the exposed surfaces
under the overhead in the head. When this was done, I sprayed
insulation foam in all the areas I could reach between the
fiberglass
coach roof and the interior fiberglass
pan.
This foam will help deaden the noise,
but the main purpose is to stop the condensation that occurs between
the fiberglass
coach roof and the interior fiberglass
pan. The newspaper I put down was to capture any of the foam that
squeezed out while it was setting up.
It was obvious we were not going to get
the piece of
Structoglas
panel installed today. I closed off the head to prevent our cats from
getting in and playing with the wet foam. I loaded everything back
into the Black
Beast, and went back to the
shop.
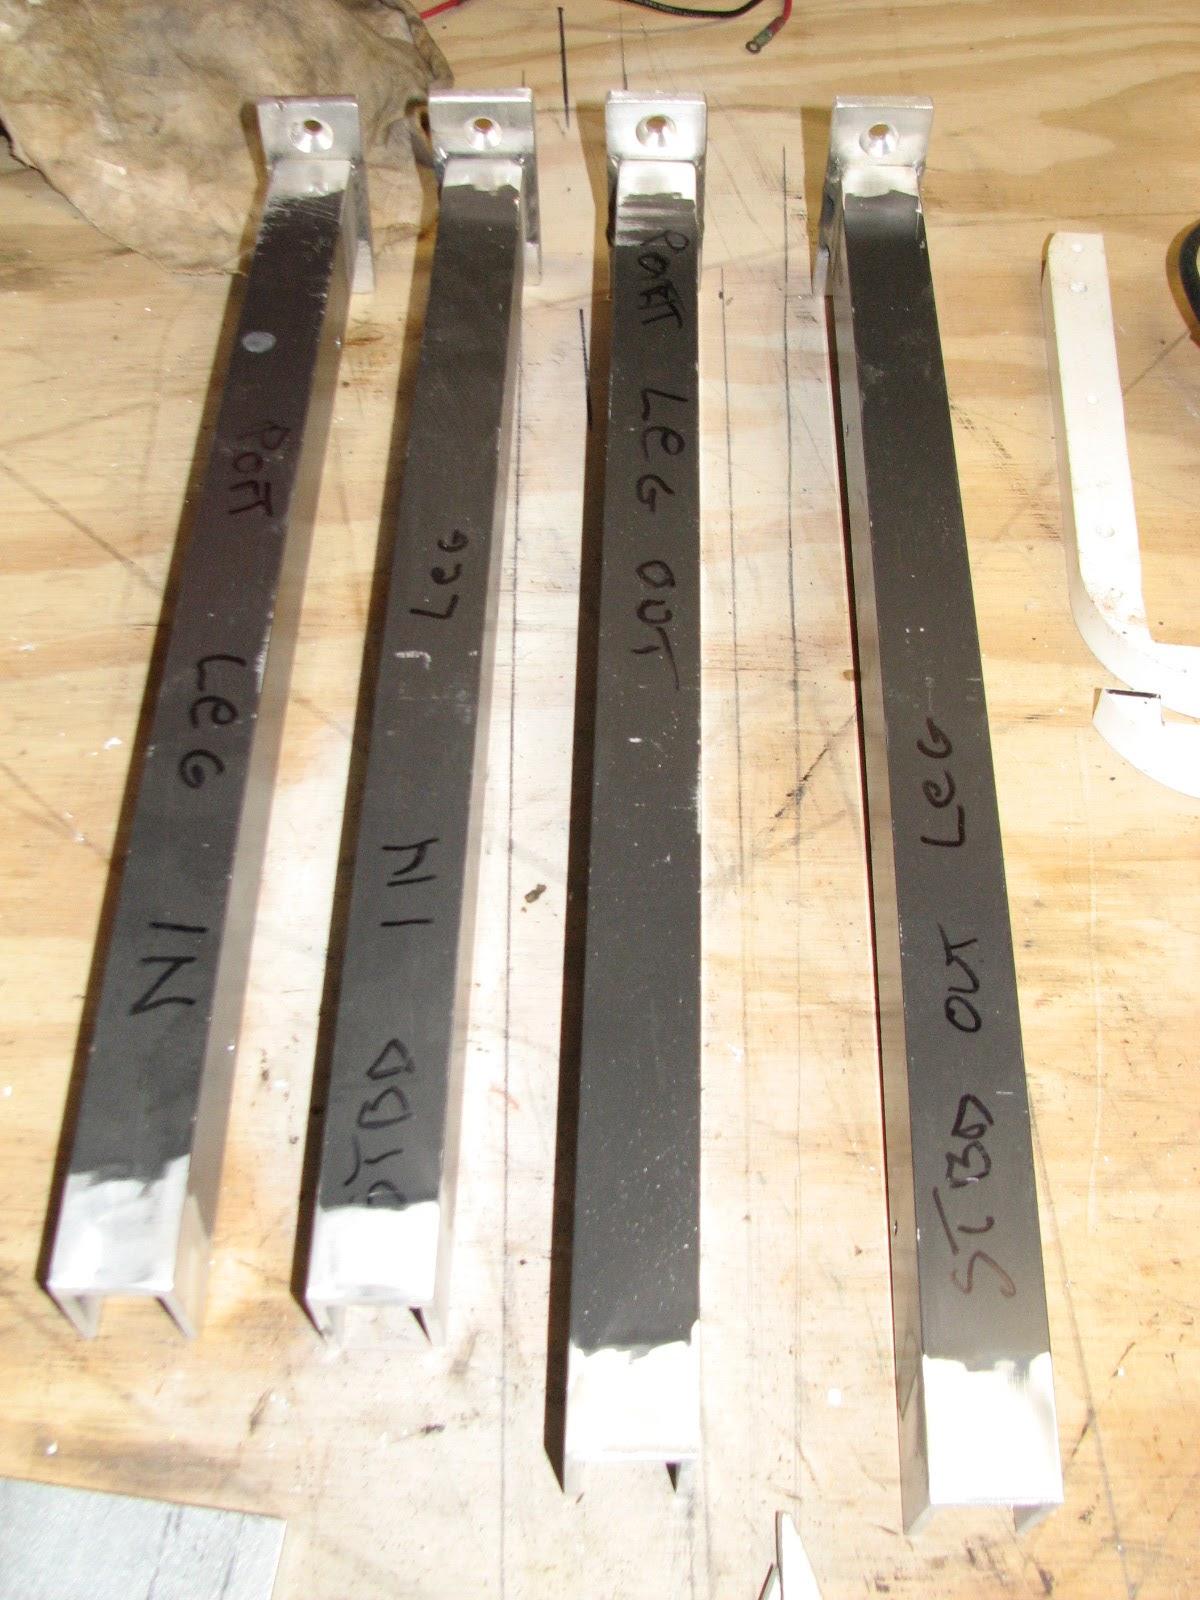
I got out the pink book, and checked
the length required for the legs of the sail handling platform (SHP).
I wanted to cut the legs that I have welded the base plates to. When
I get my new bottle of argon,
I want to weld the top support plates onto the legs. The leg length
includes the base plate and the upper support plate.
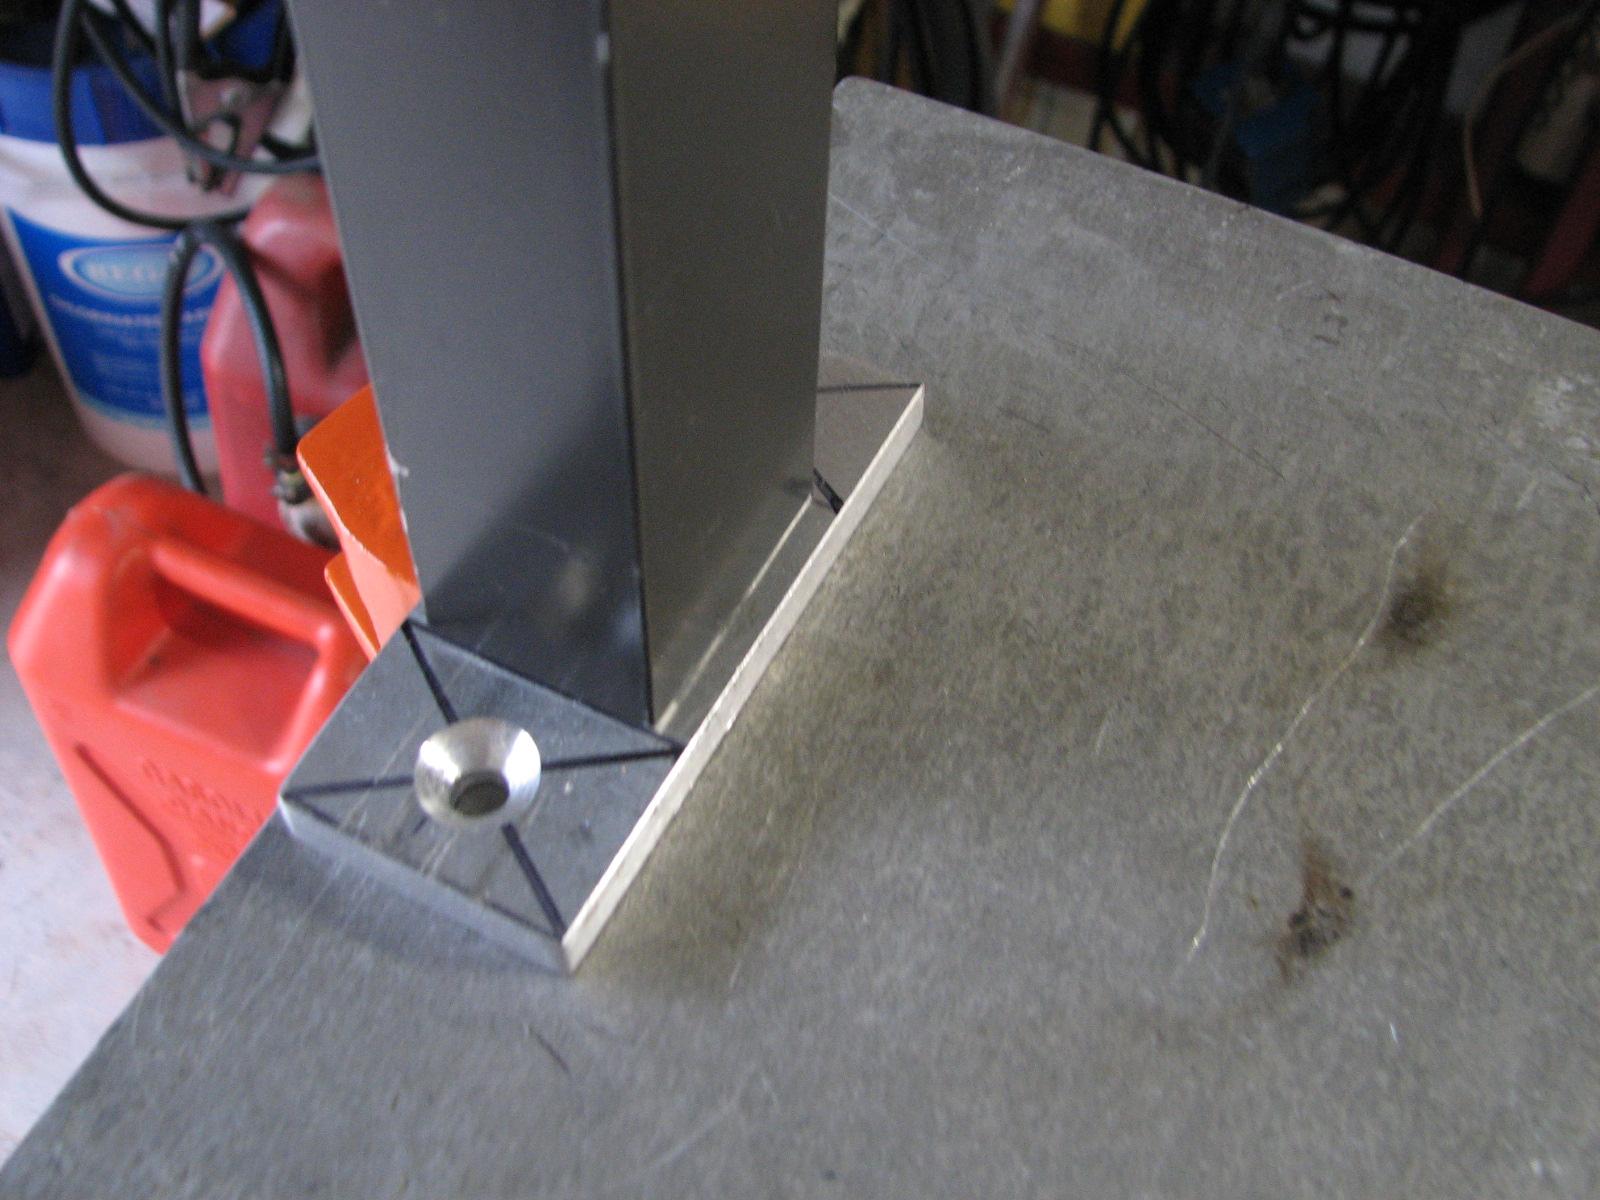
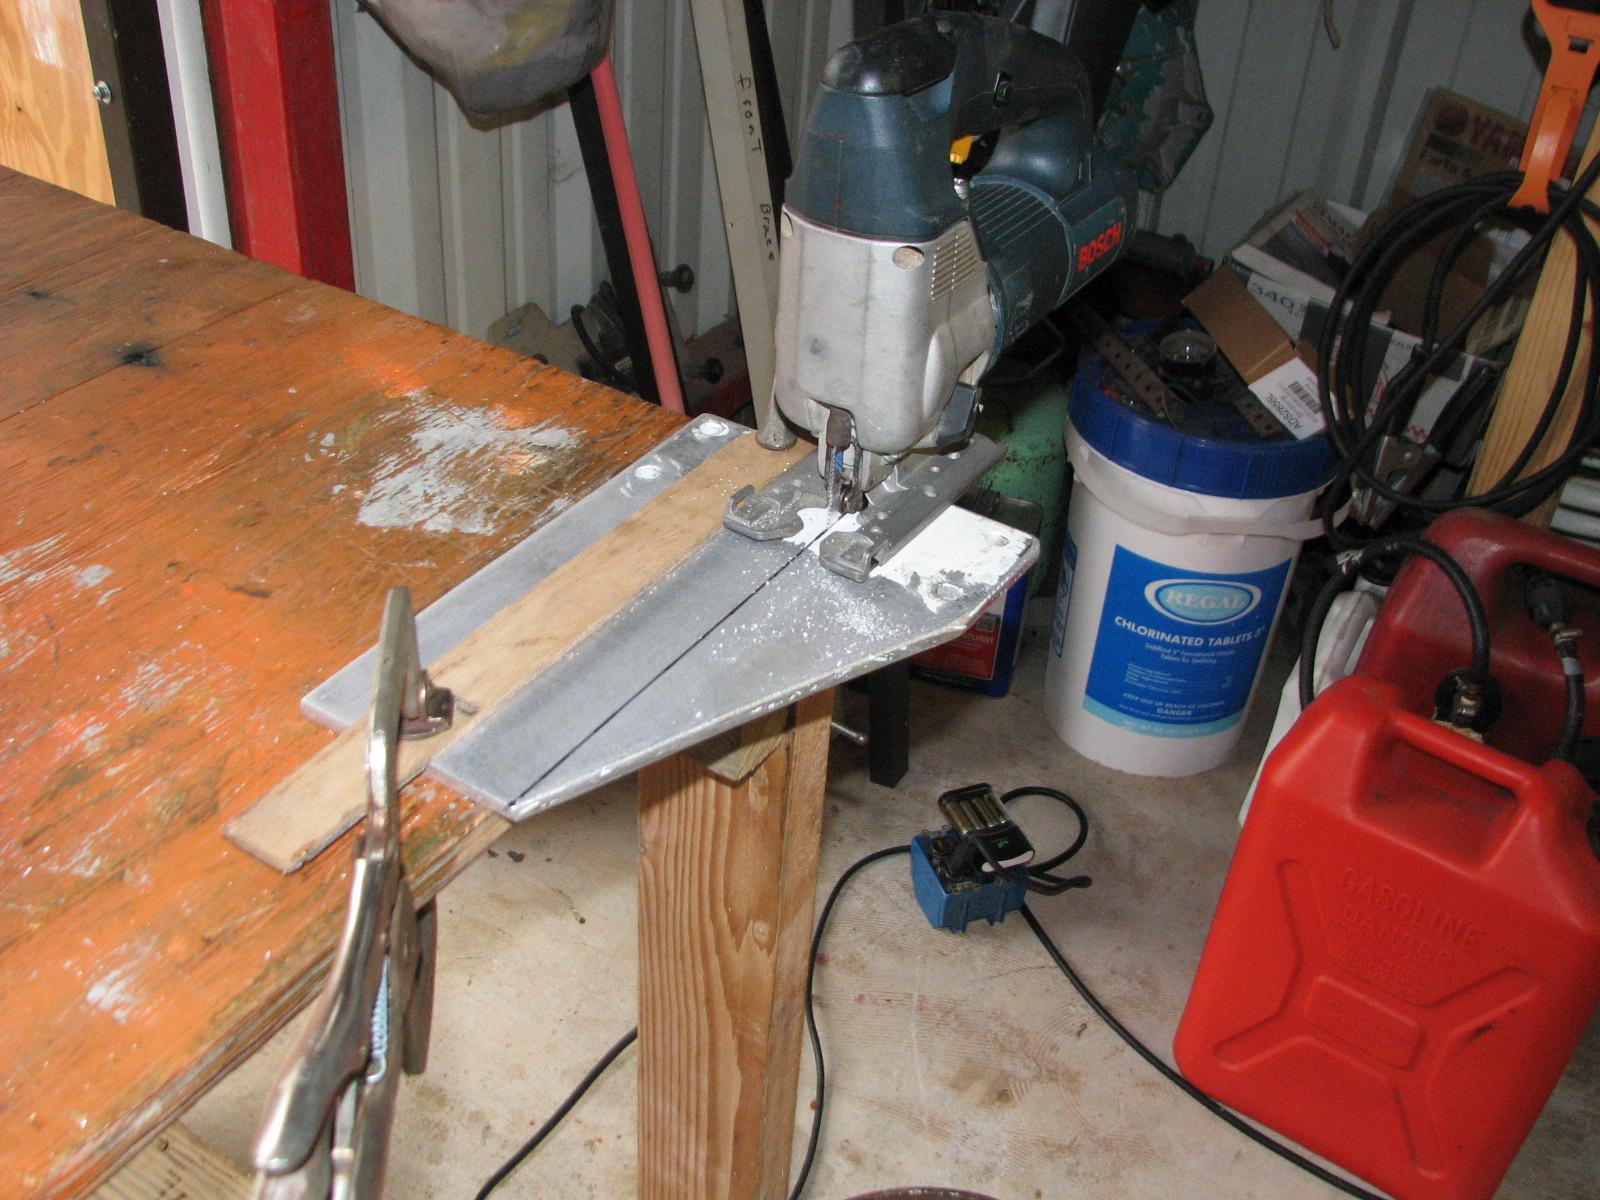
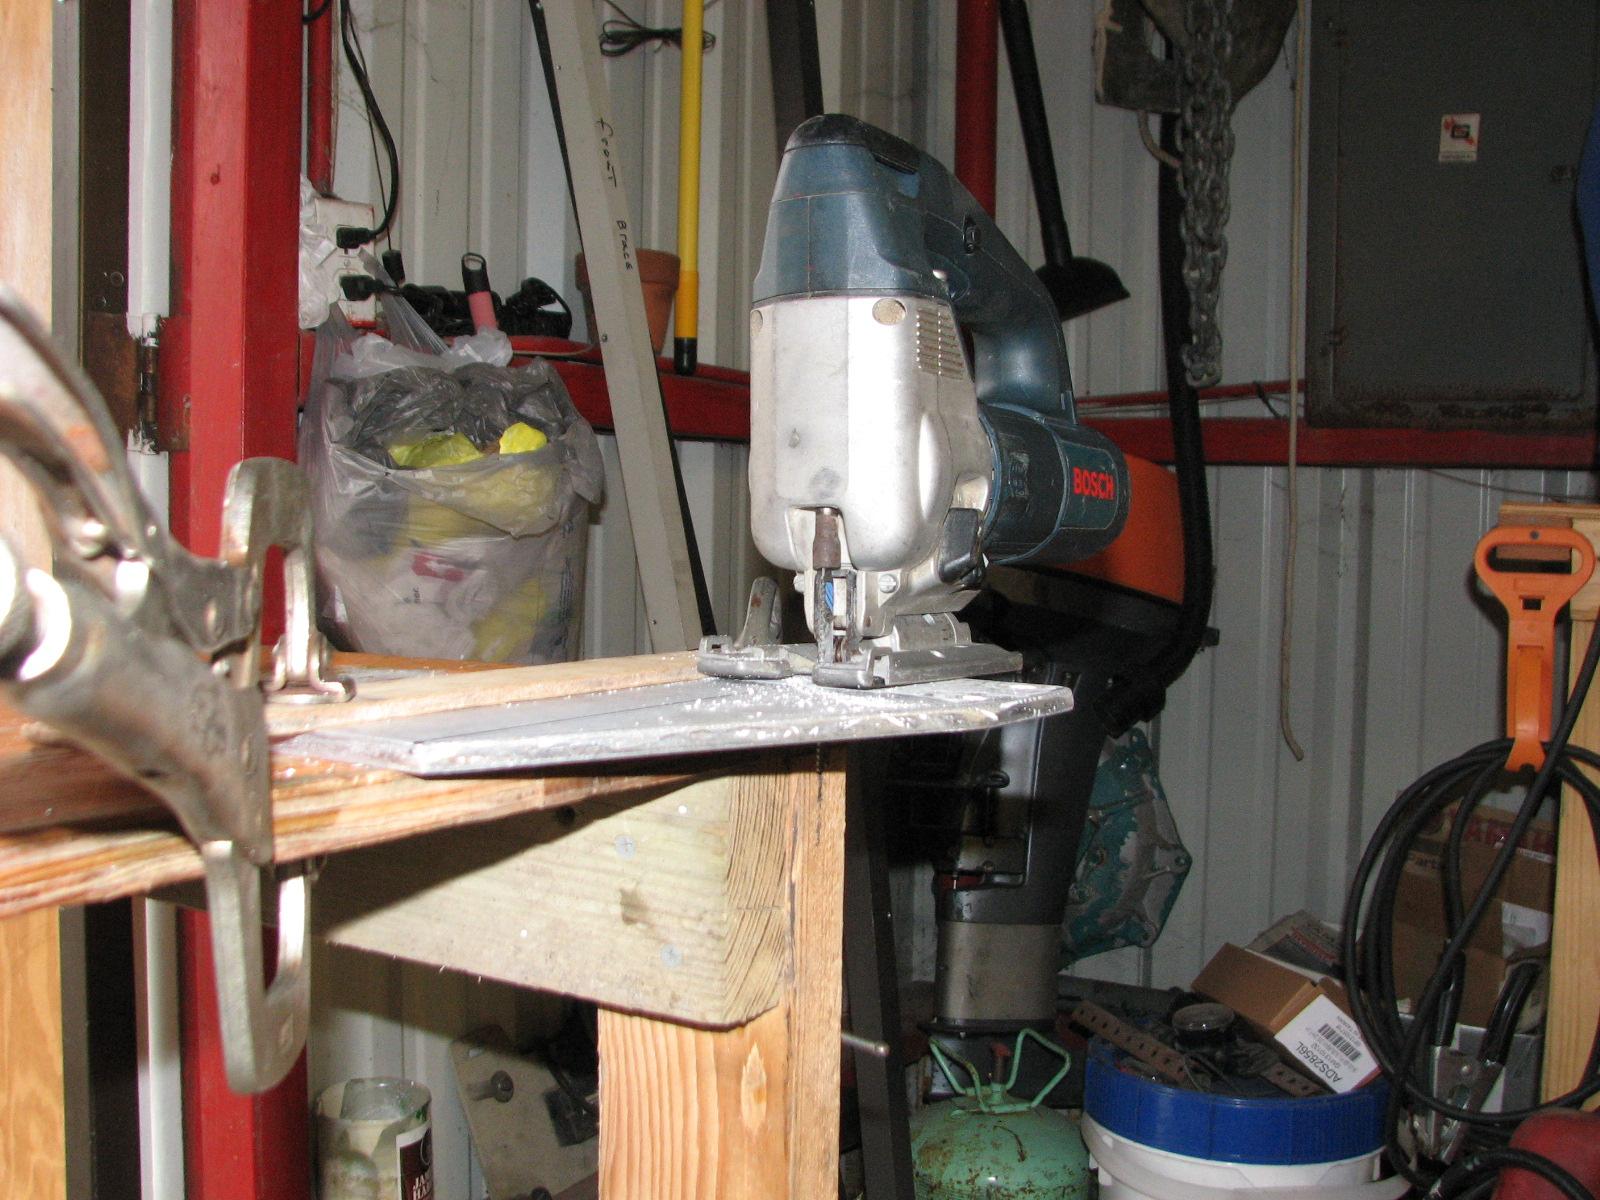
I put the metal cutting blade into my
Bosch
jig saw, and cut off all four of the SHP support legs.
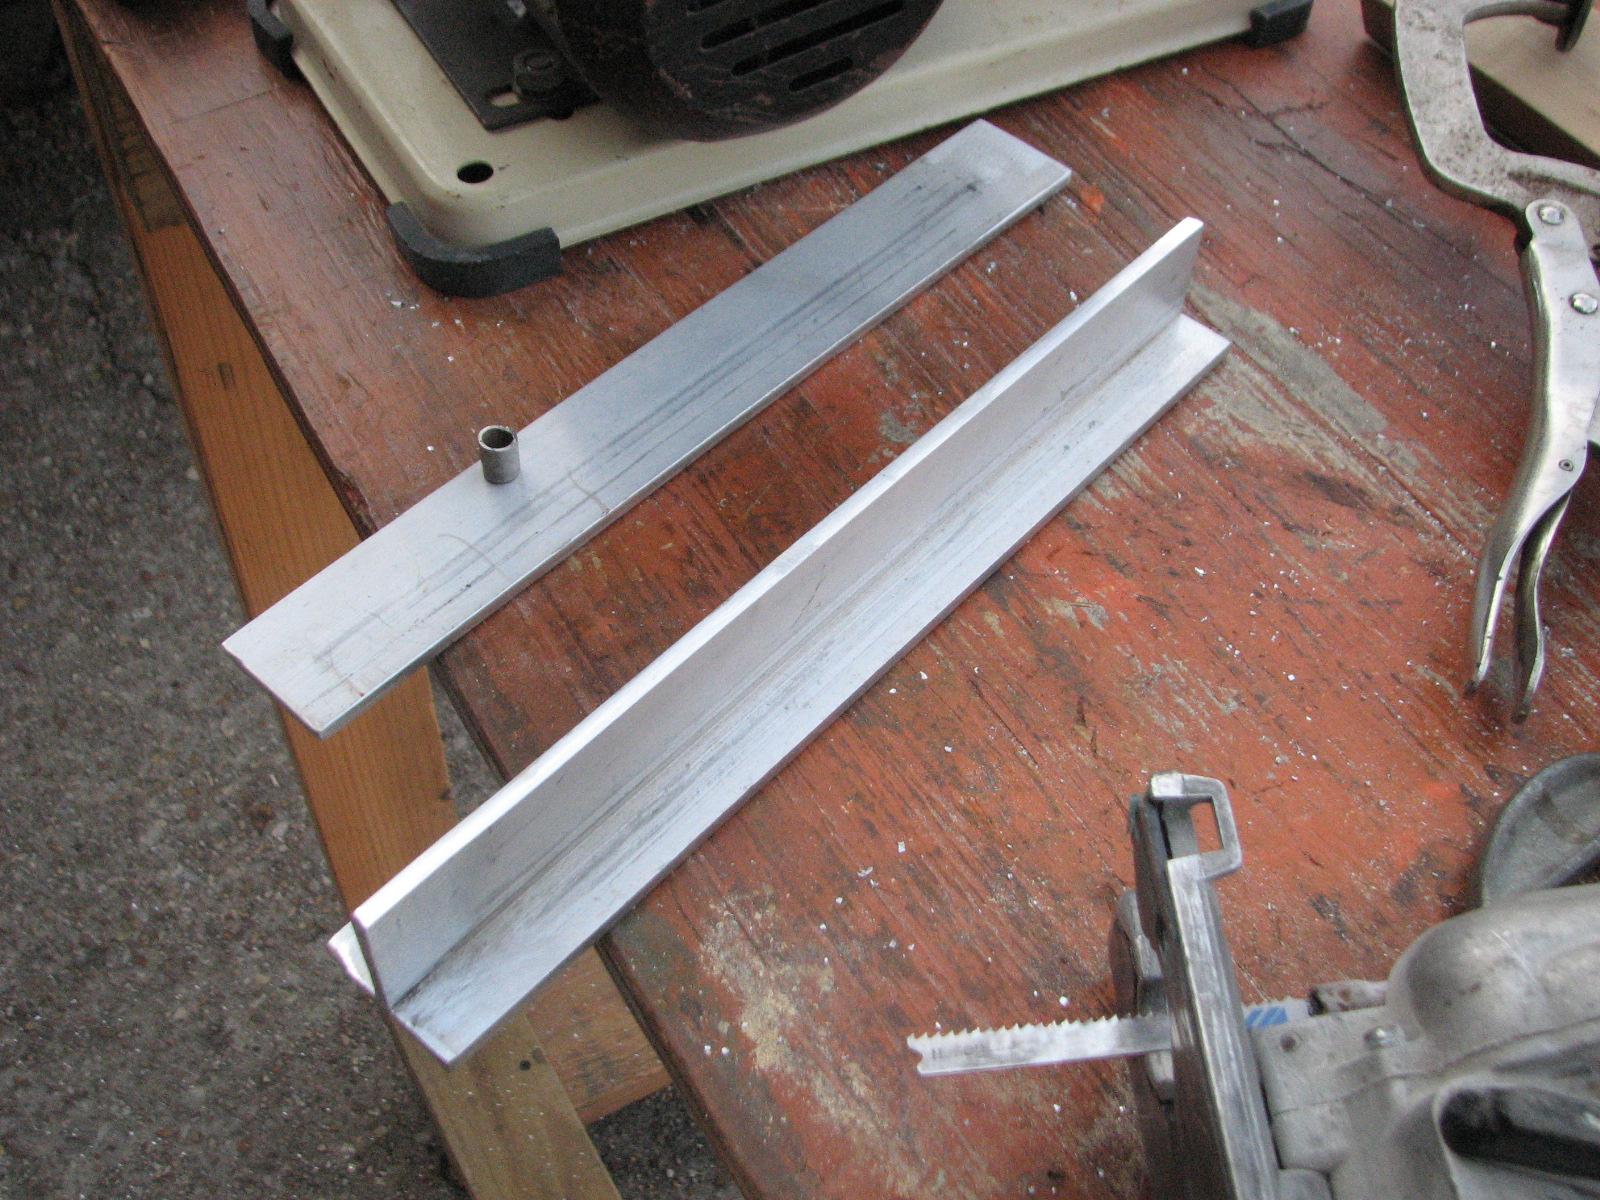
Four Cut Legs
Four Chopped Off Pieces
Now it was back to DREAM AWAY to clean
up the foam in the head. The foam had hardened, so it was easy to cut
off the excess, and clean up the newspaper. When I finished the
cleanup, I was done for the day.
February 14, Friday, 2014
Started off the morning with my normal
ritual of getting on the Internet, answering email, and checking the
weather, while making a pot of coffee. When the coffee is started, I
feed our two cats,
Jillian
and Jordan,
and spend time with them brushing their beautiful coats.
Went over to the shop
this morning, but stopped by Dollar
General and purchased wrapping paper and a Valentine’s
card. When I go to the shop I wrapped two gifts I had for Kitty, and
signed the card.
Before I left DREAM AWAY, I had printed
out the customs form for the second package to be sent to our friends
in New Zealand. I put a copy of the customs form into their box and
packed up the box. I will send out the second box on Monday, and get
it on it’s way.
Second Box Ready For Shipment To New
Zealand
I do not have much Argon
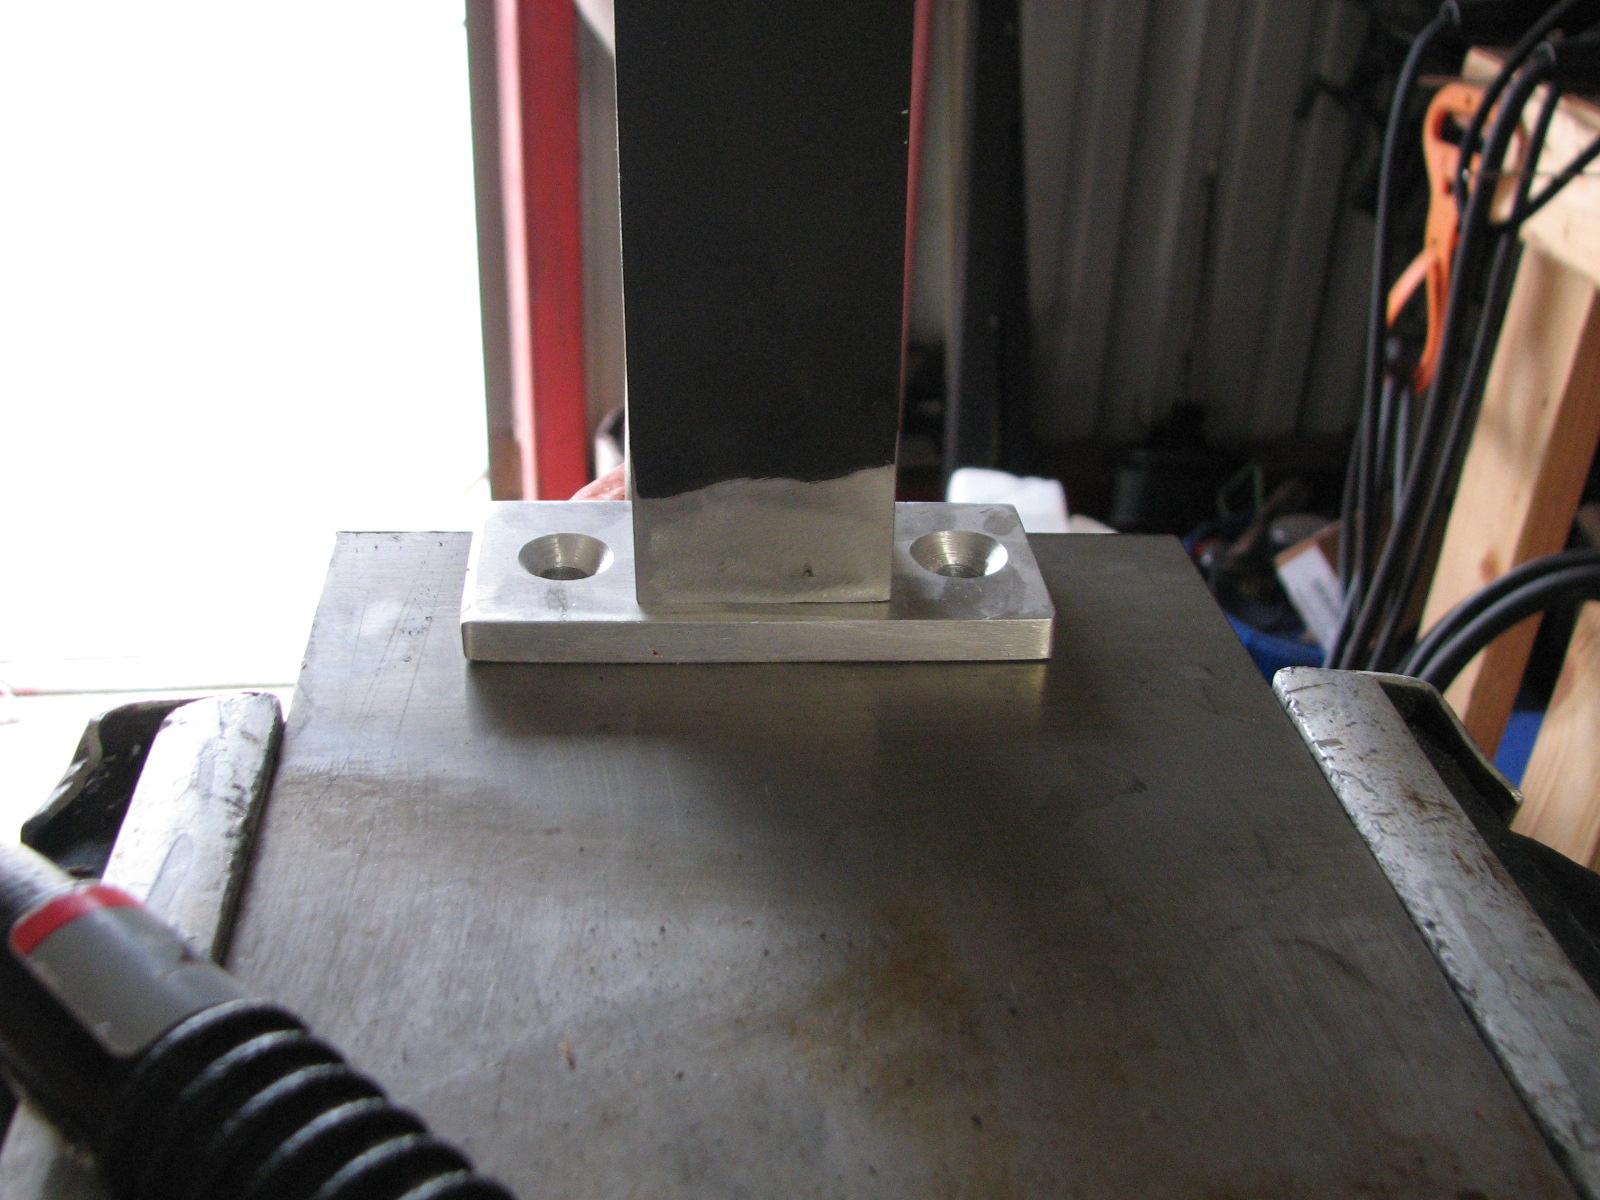
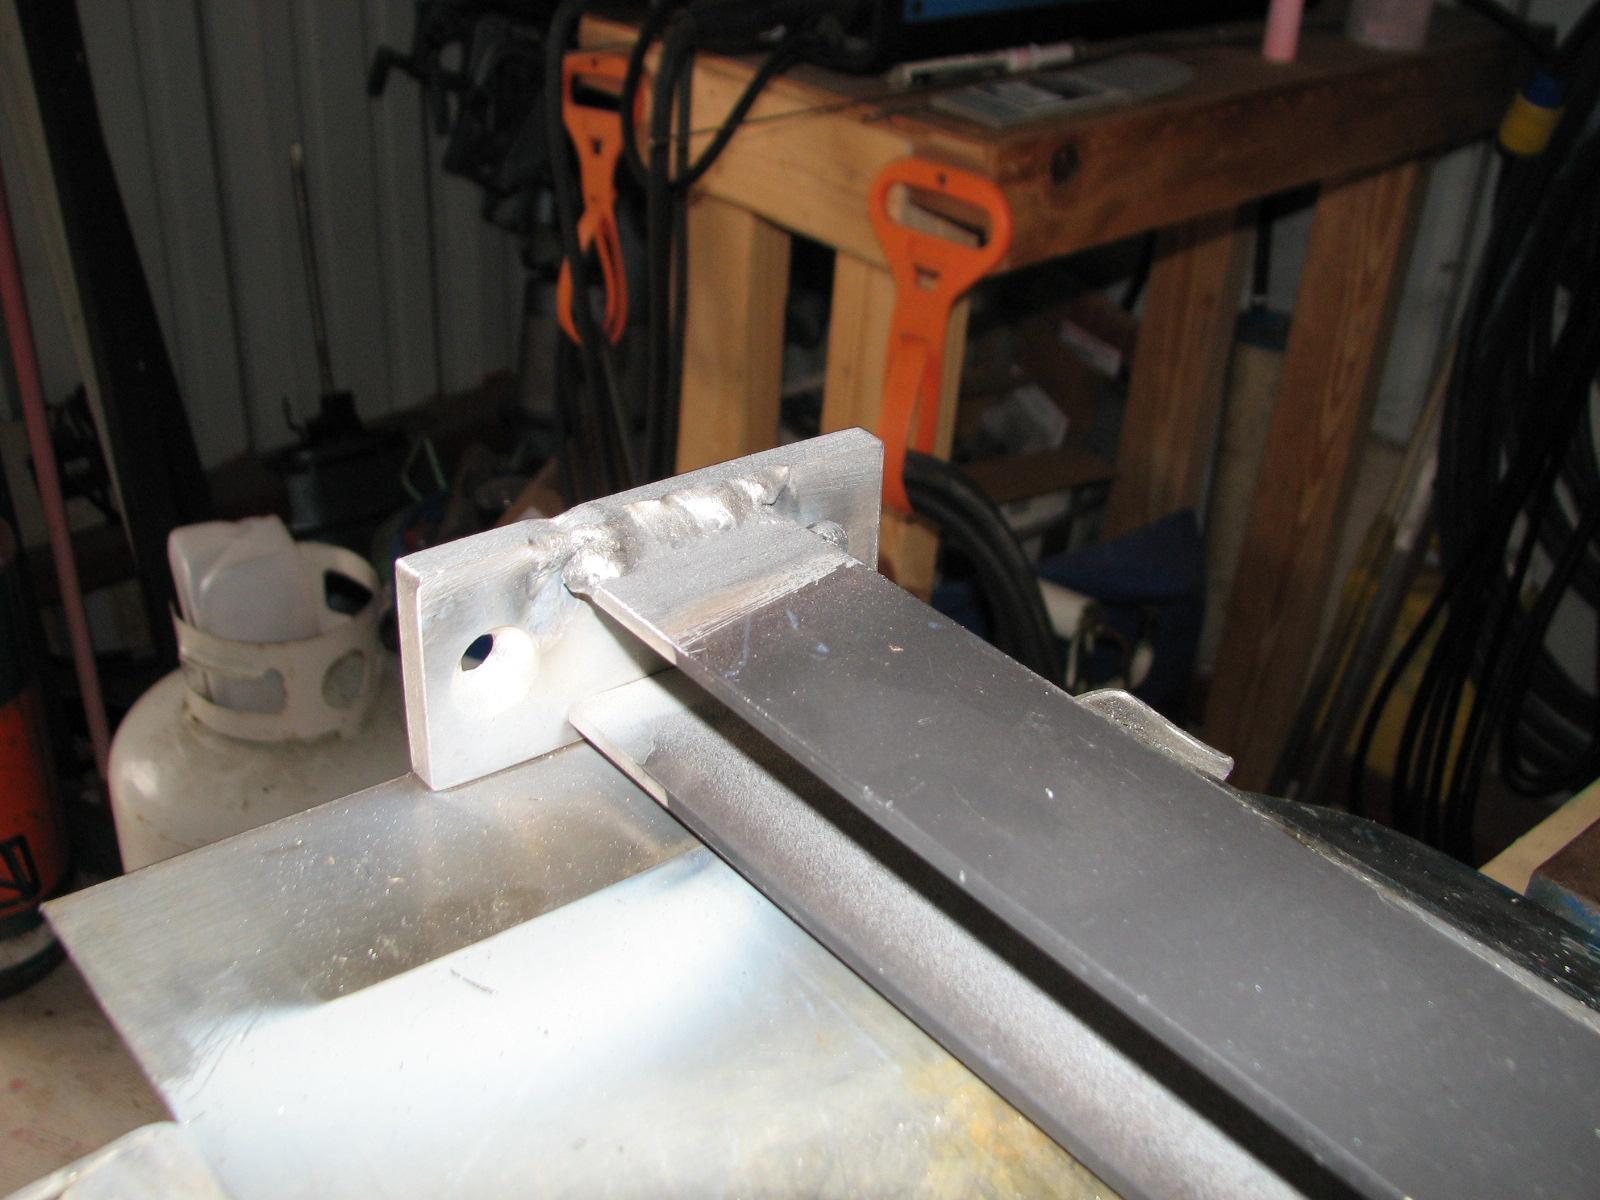
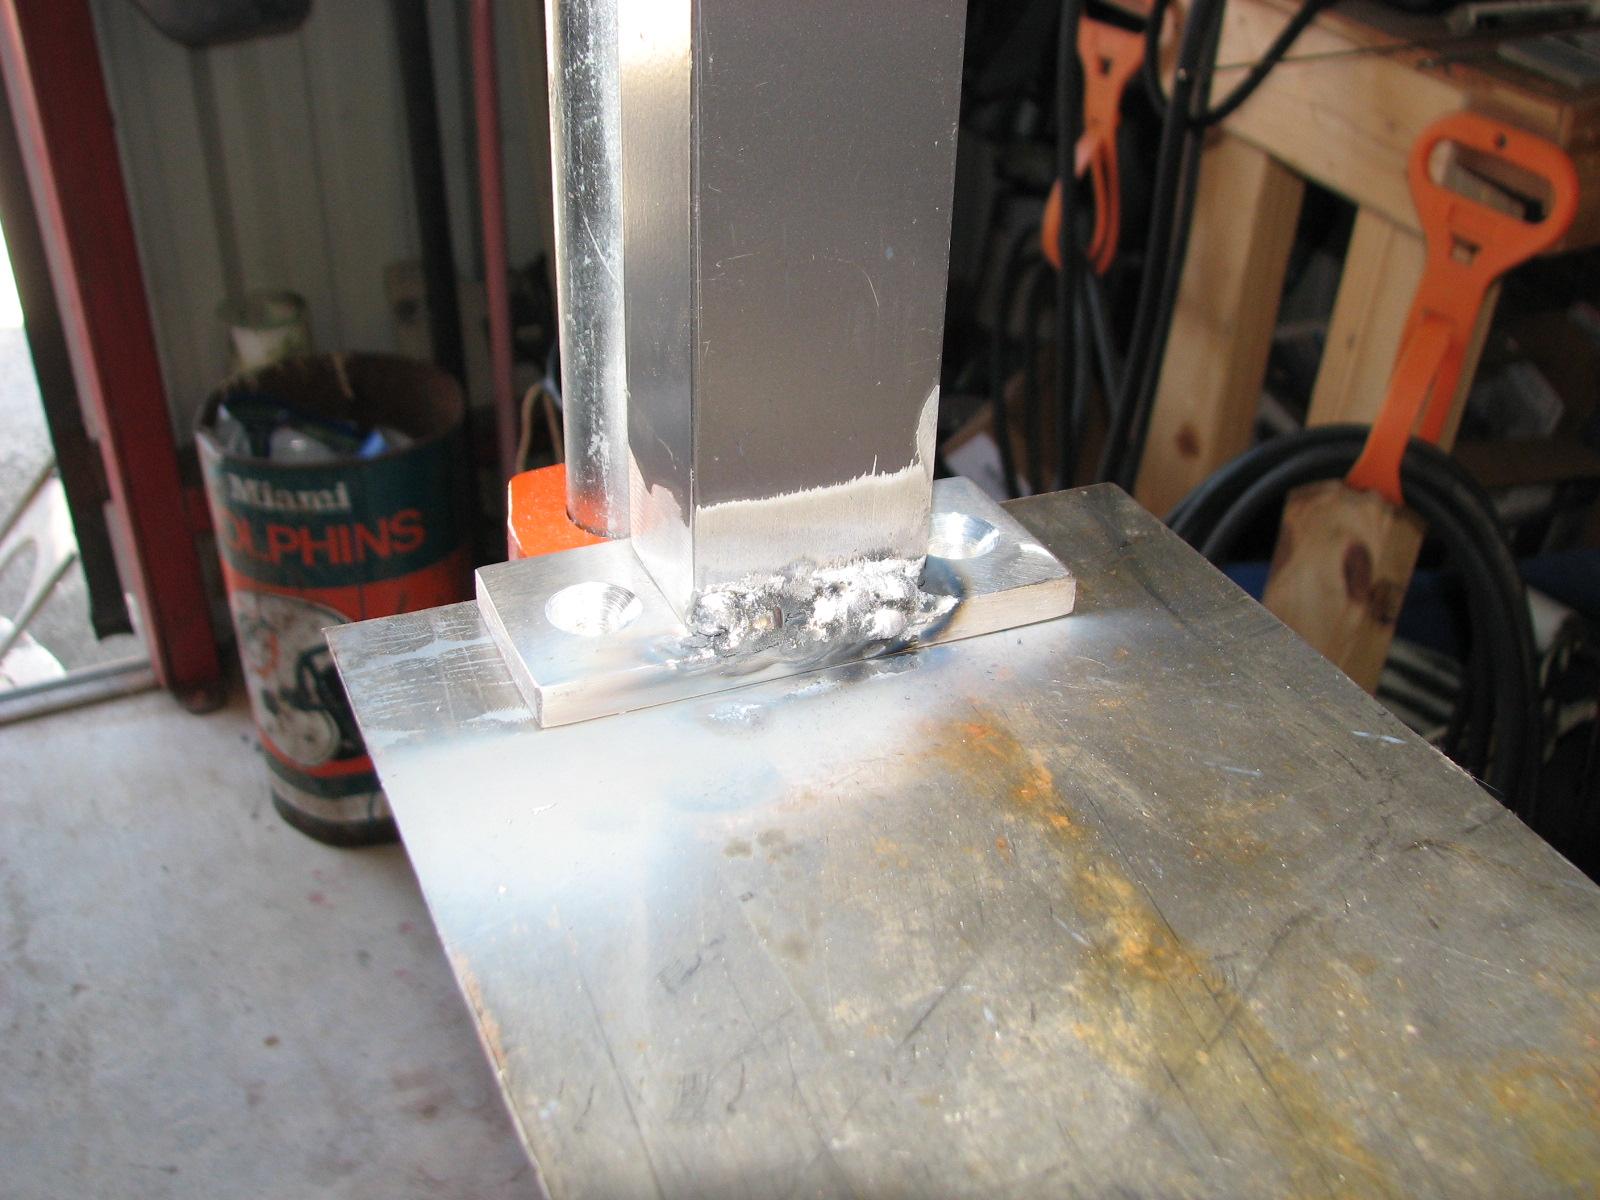
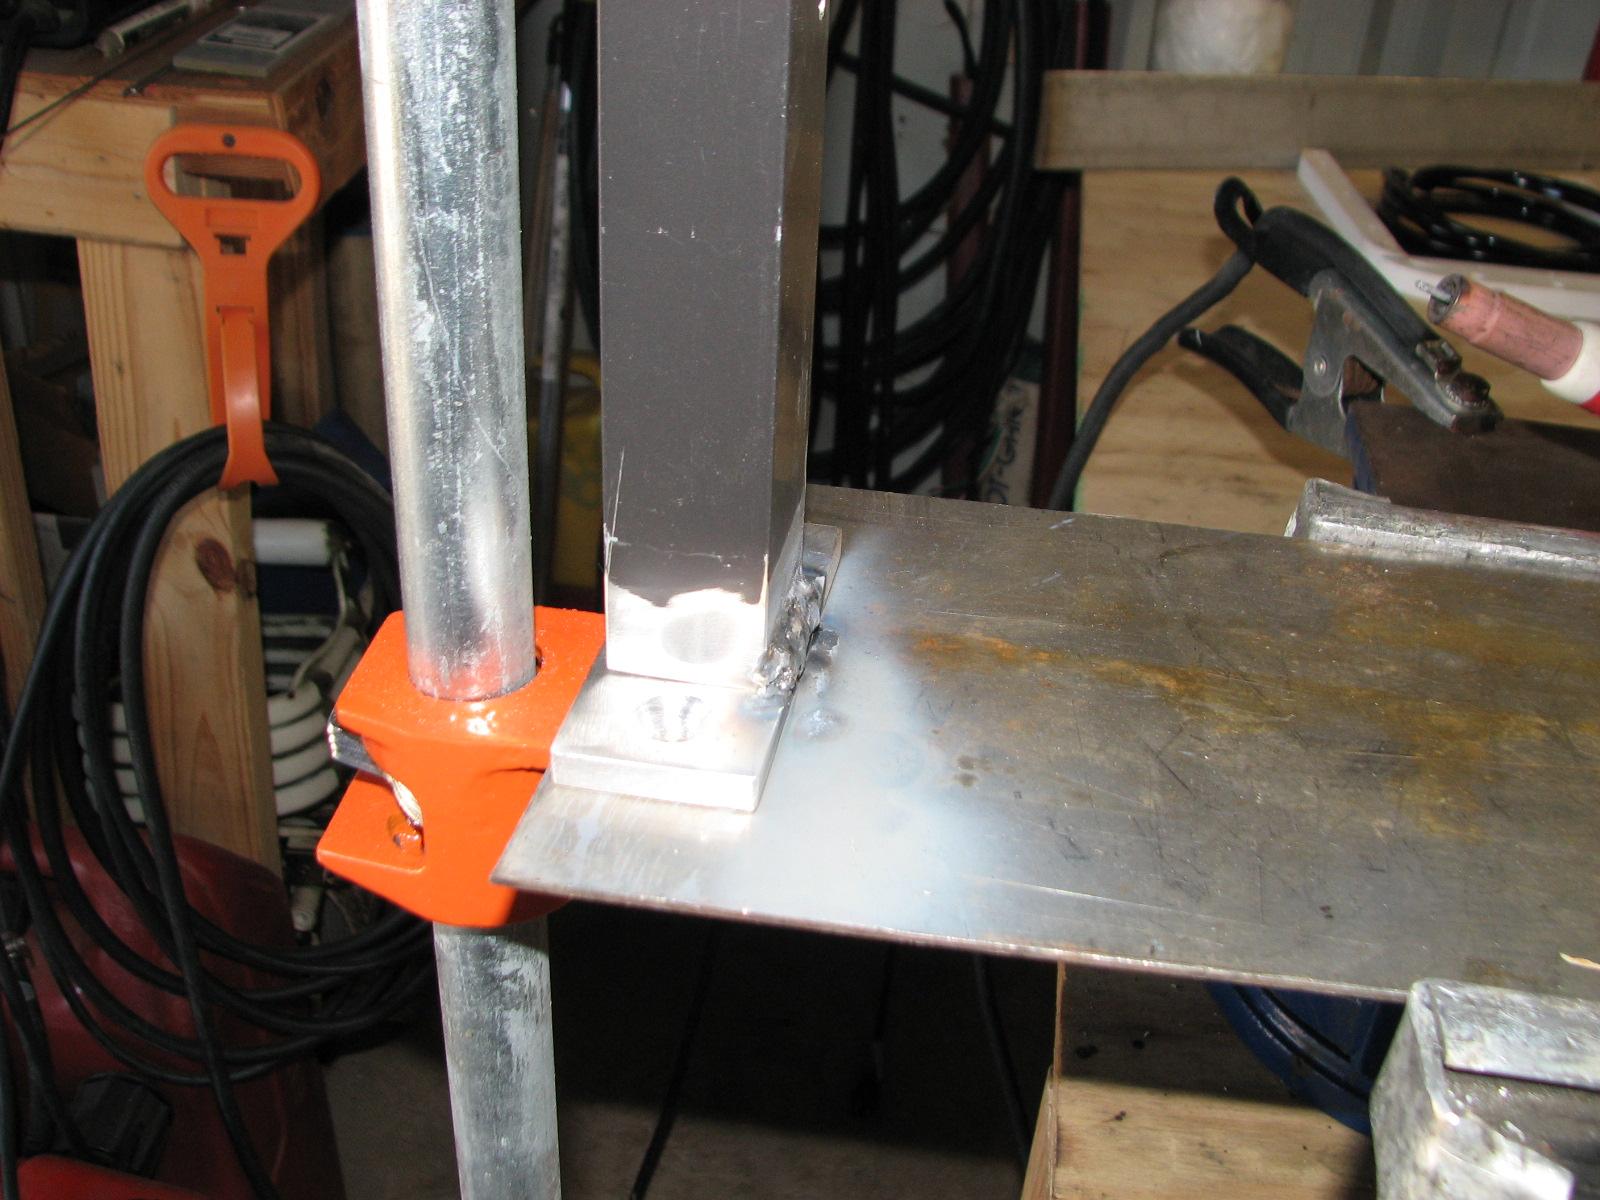
left, but I wanted to get the base plates welded onto the bottom of
the legs on the sail handling platform (SHP). I completed two legs
yesterday. I set up the welder and the, and the base plate and leg. I
would tack weld the two together, then lay down the leg to complete
the welding.
Setup To Weld Base Plate To Leg
I completed the remaining two legs, and
that ran me completely out of Argon.
I found out I can get my tank filled, because I have a receipt to
prove the tank is mine, but I have to have an open bed truck to transport the
filled tank. They will not put a full tank into an enclosed vehicle.
Base Plate And Leg Welding Complete
I have been working on a panel to install
in the aft cabin to place the
Aft
Security Panel (ASP) and the replacement aft
air conditioner controls into. The panel I am going to use is a white
piece of ¼” acrylic plastic. I am doing this to so I can move the
ASP
from a horizontal configuration to a vertical configuration. In this
new configuration, I can label all of the circuit breakers.
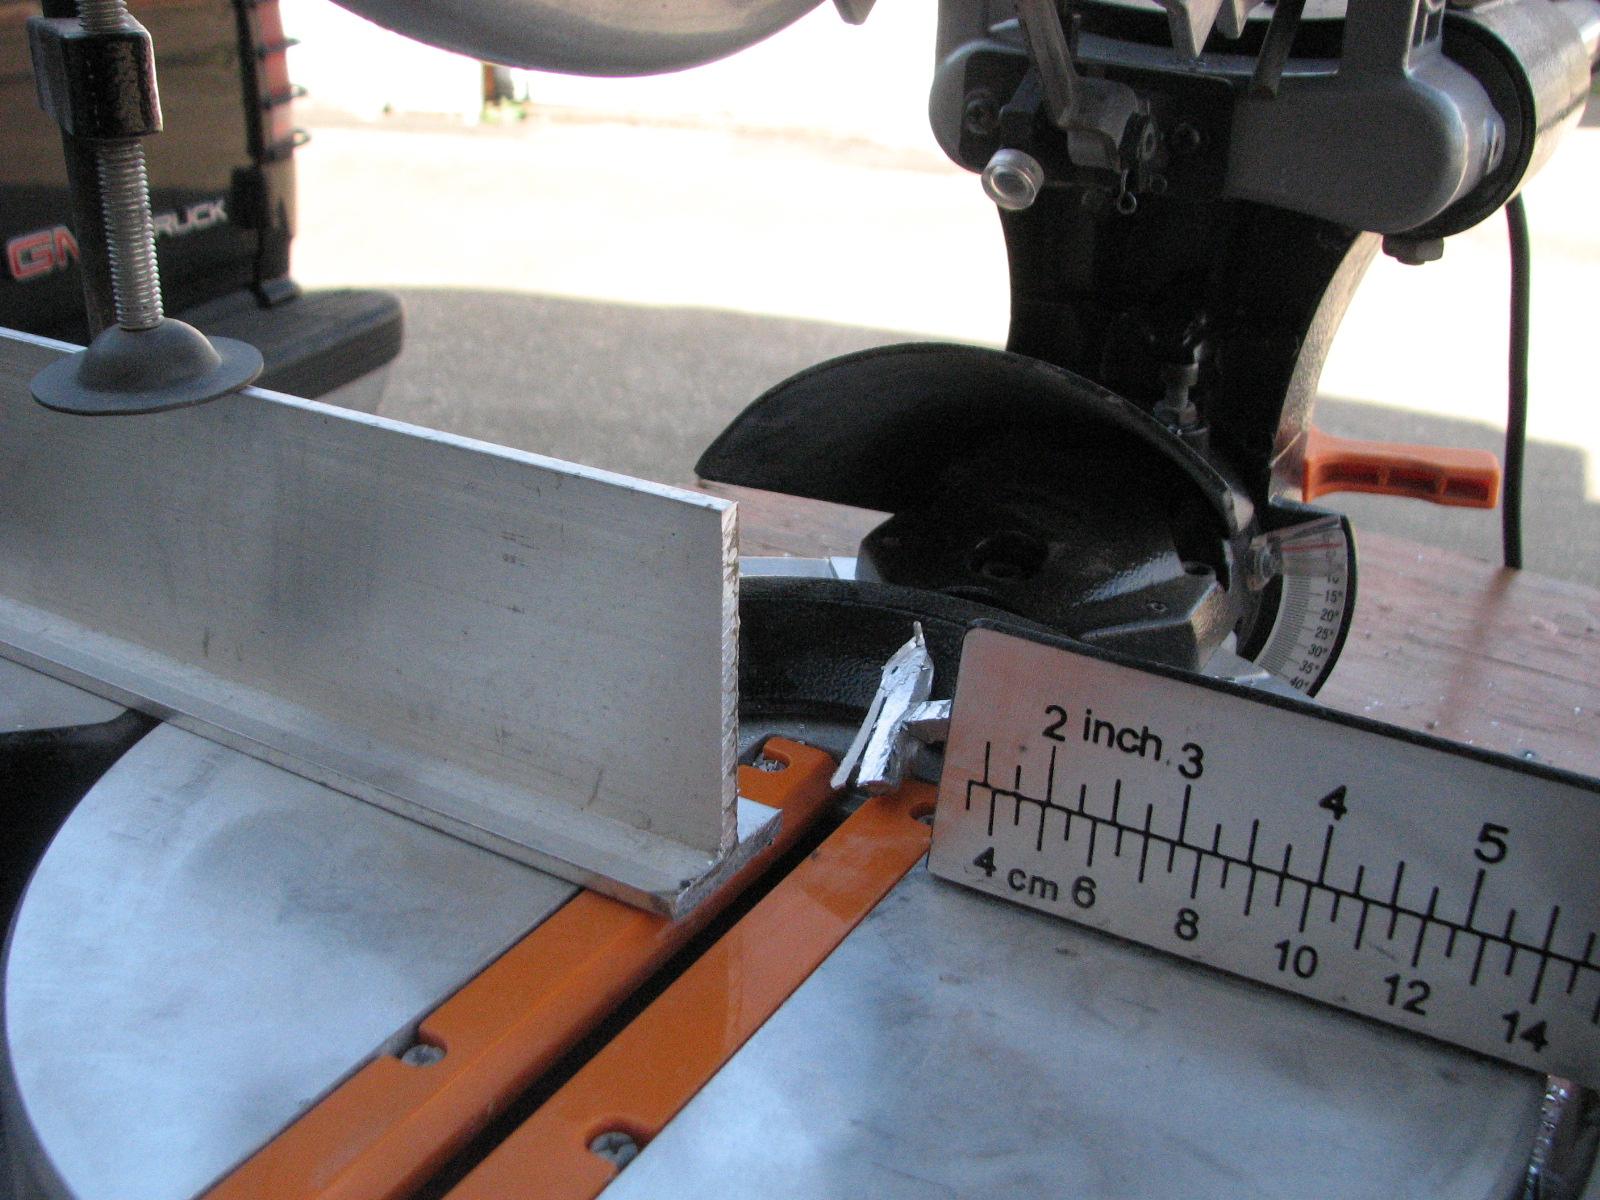
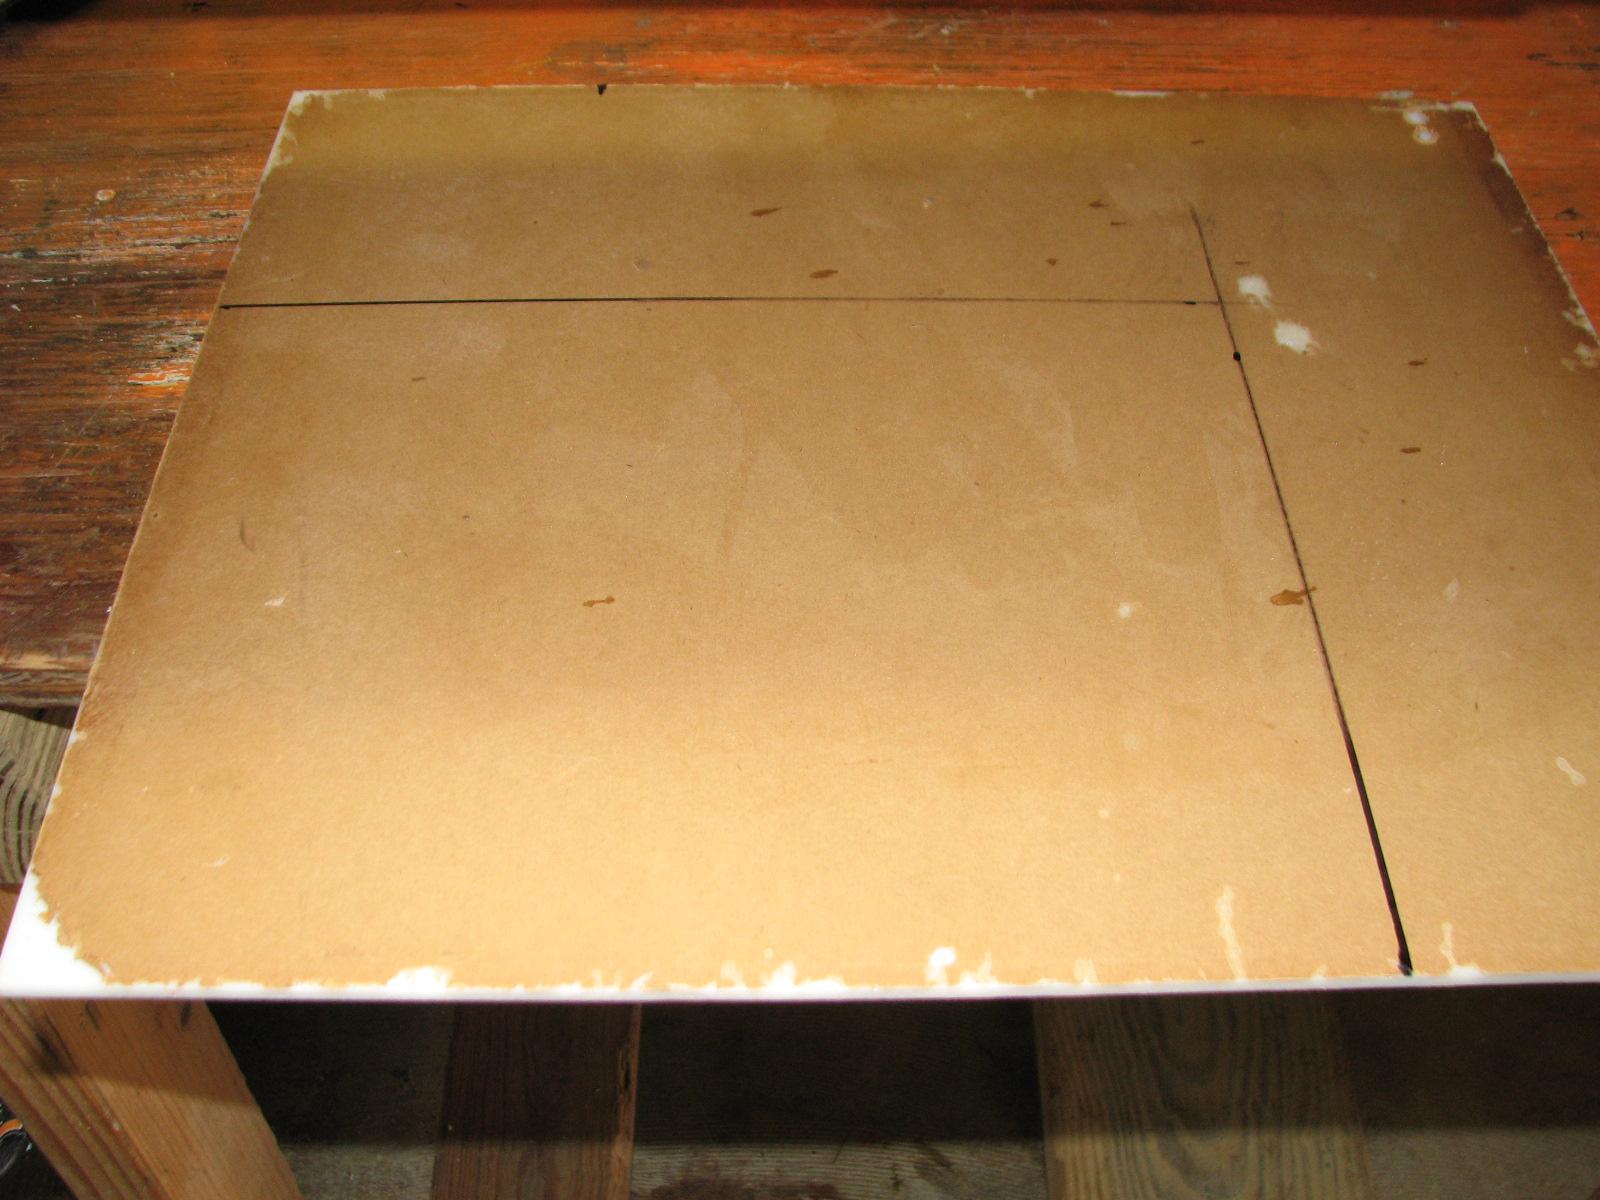
The ¼” acrylic plastic had to be cut
to the proper size, so I put the proper blade into the jig saw, and
cut the plate needed.
Plate Measured For Cutting
Kitty was awake, so I went over to
DREAM AWAY to have our valentine breakfast, and to exchange presents.
Kitty At Valentine Breakfast Table
Jim At Valentine Breakfast Table
After breakfast the plan was to work on
the aft cabin leak in the area of the aft port cleat. Earlier in the
morning while making coffee, and making my frothy milk, I discovered
the GFCI
receptacle in the galley was not functioning.
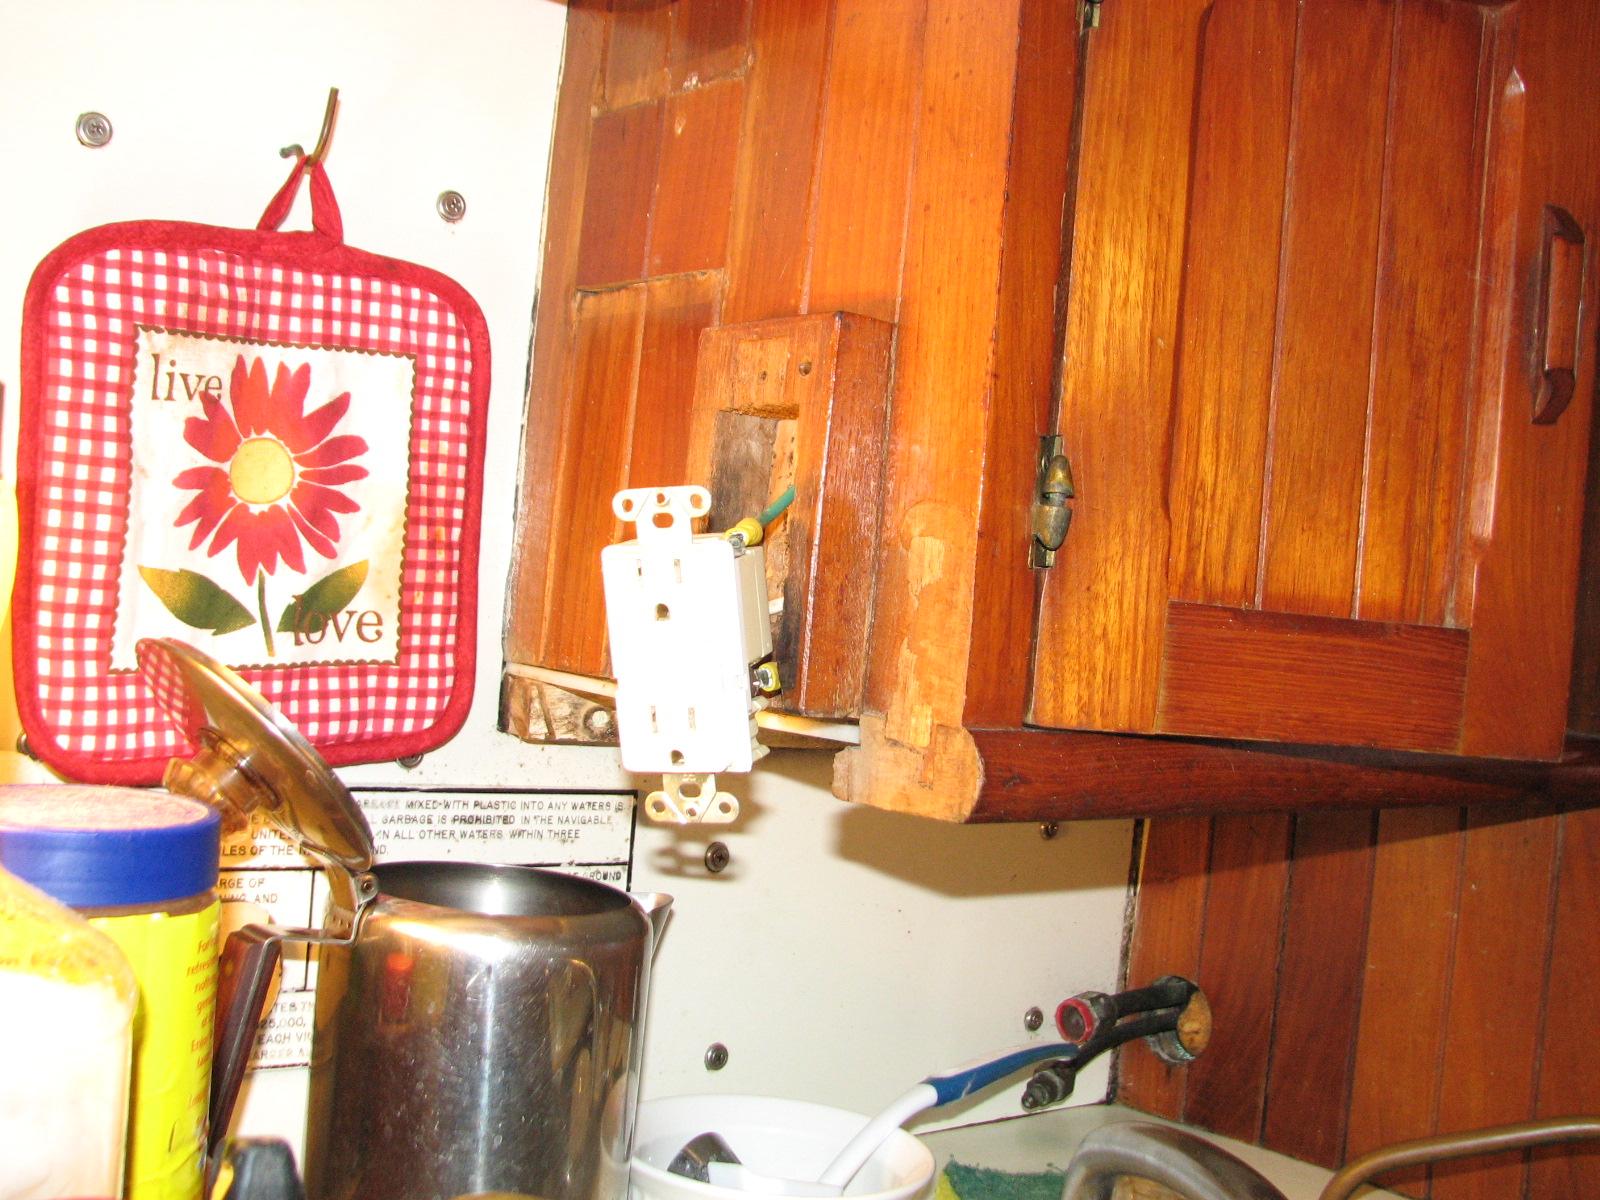
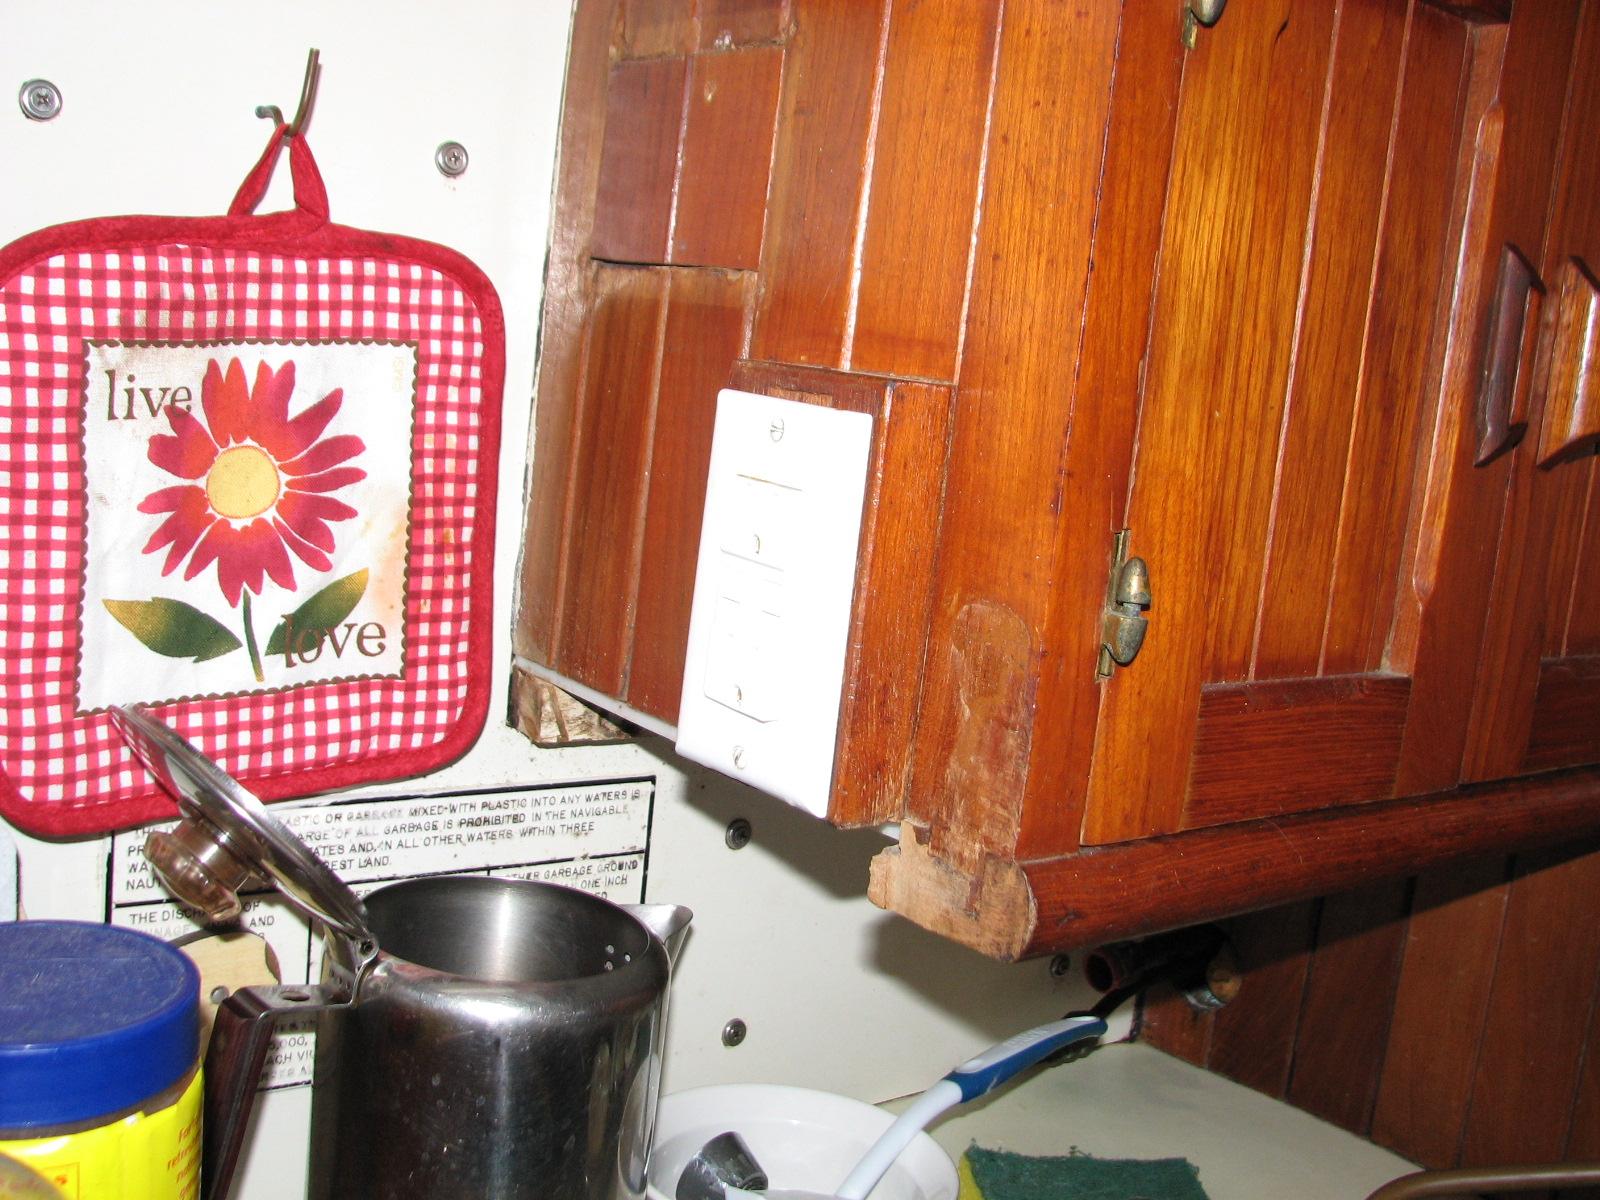
Having a 120 VAC outlet in the galley
was pretty important, so I got into the replacement of the outlet.
Fortunately I have a couple of spare
GFCI
receptacles.
Removing Defective
GFCI
Receptacle
New GFCI
Receptacle In Place
With the new GFCI
receptacle in place it was time to get to repairing the leaks in the
aft cabin. The first item on the list is to removing all of the
bedding and mattress from the aft cabin bed. I knew I was going to be
chopping into fiberglass,
I did not want any of the debris in our bedding.
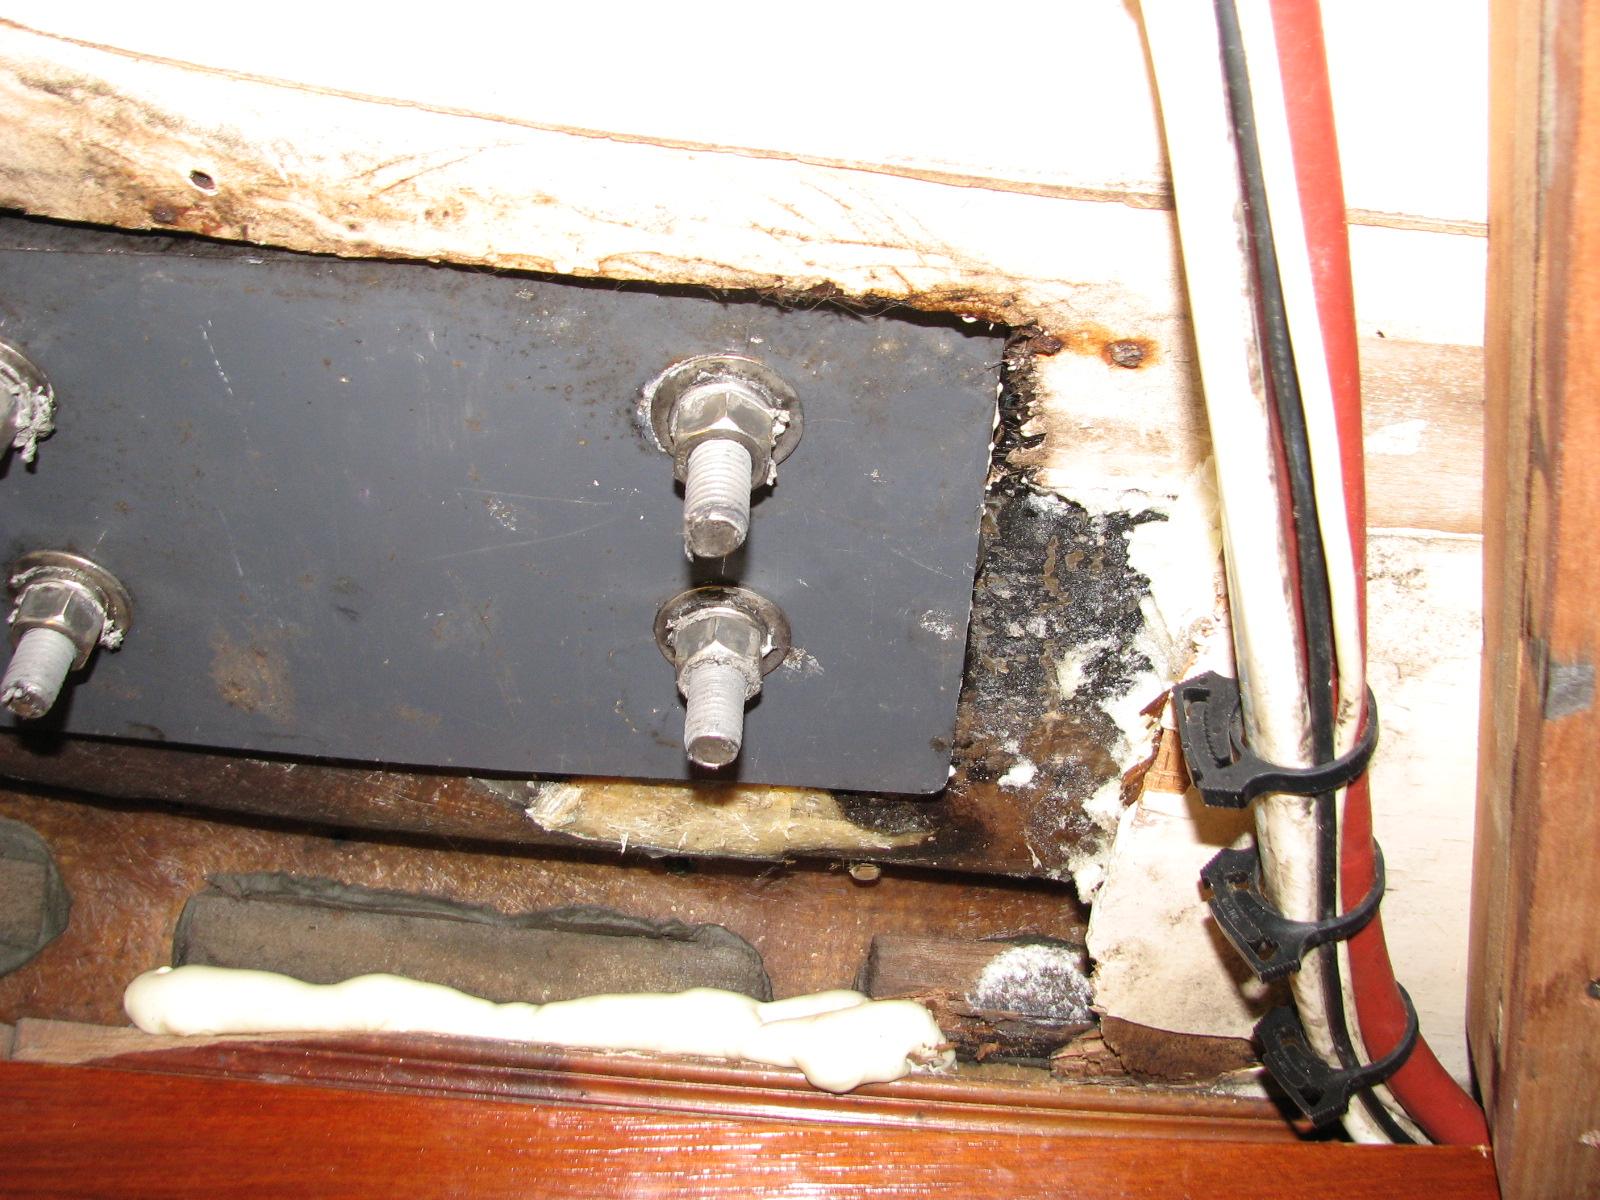
There was some foam and a patch of
fiberglass
putty around the backing plate for the port aft cleat, so I removed
all of that so I would have good physical and visual access to the
backing plate. The leak was coming from around the backing plate.
Backing Plate With Debris Removed
After the debris was discarded I removed
all of the nuts on the cleat bolts, and attempted to remove the
bolts. This was very difficult. When I initially installed this new
cleat I used rope
caulk weatherstrip. This is great stuff, and I have
been using it for many years to bed almost everything on DREAM AWAY.
Since the bolts were so difficult to
remove because of the rope
caulk weatherstriping, I deduced that the leak was not
around the bolts holding the cleat to the deck.
I attempted to remove the backing plate
for the cleat, but ran into the same problem. I could not get it
unstuck from the deck. I again deduced that the leak problem was not
there.
When I checked on deck at the cleat, I
noticed a couple of cracks between the fiberglass
riser I had glassed to the deck and the deck. I assumed this might be
the source of the leak.
When this was finished, I cleaned up
and vacuumed the aft cabin, and Kitty and I put the bed back
together.
I went back to the shop
and applied another coat of epoxy
resin mixed with teak
dust to the boom gallows.
Now it was back to DREAM AWAY to get
showered and cleaned up for our valentine’s dinner at the
Little River Inn.
February 13, Thursday,
2014
Started off the morning with my normal
ritual of getting on the Internet, answering email, and checking the
weather, while making a pot of coffee. When the coffee is started, I
feed our two cats, Jillian
and Jordan,
and spend time with them brushing their beautiful coats.
Did not go to the i
shop
first thing, again because of the temperature. It was 31° when I
woke up. Worked most of the morning on the computer trying to catch
up on email.
Kitty had to go off to a doctor’s
appointment here in Delcambre.
When she returned we had breakfast. When breakfast was finished it
was warm enough outside that I did go over to the
shop.
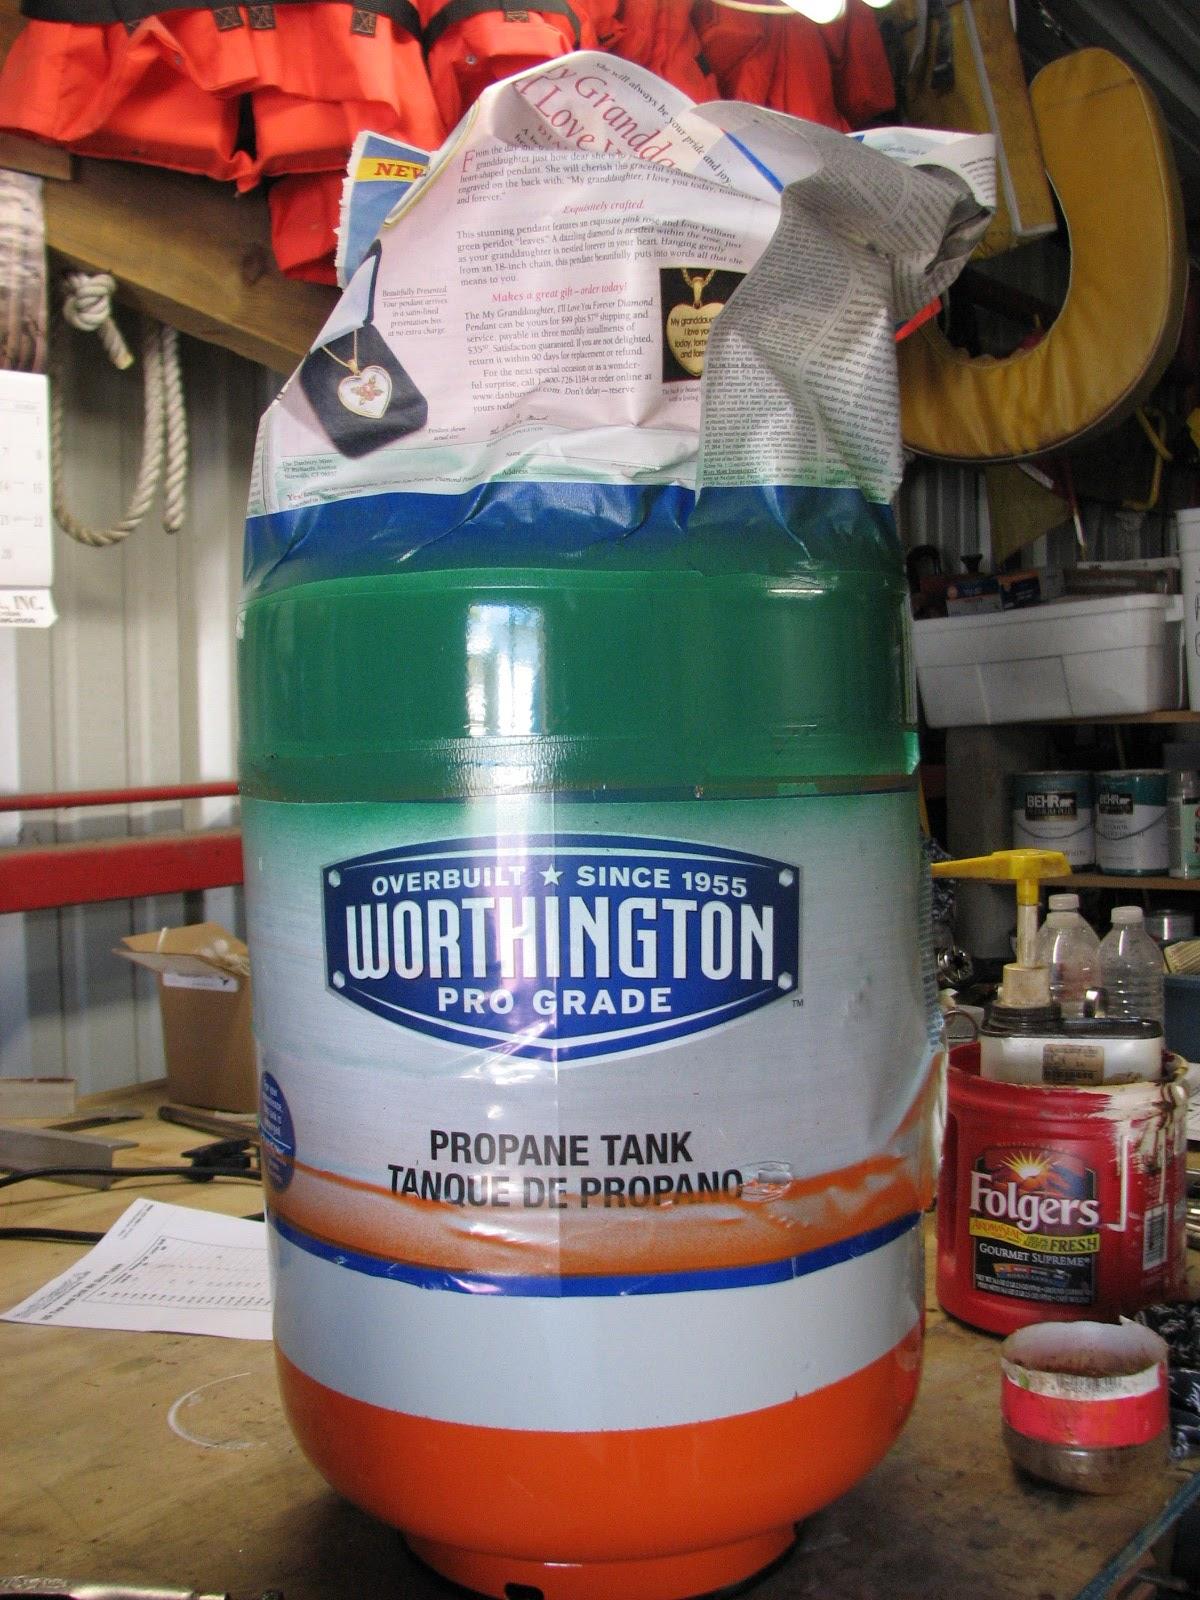
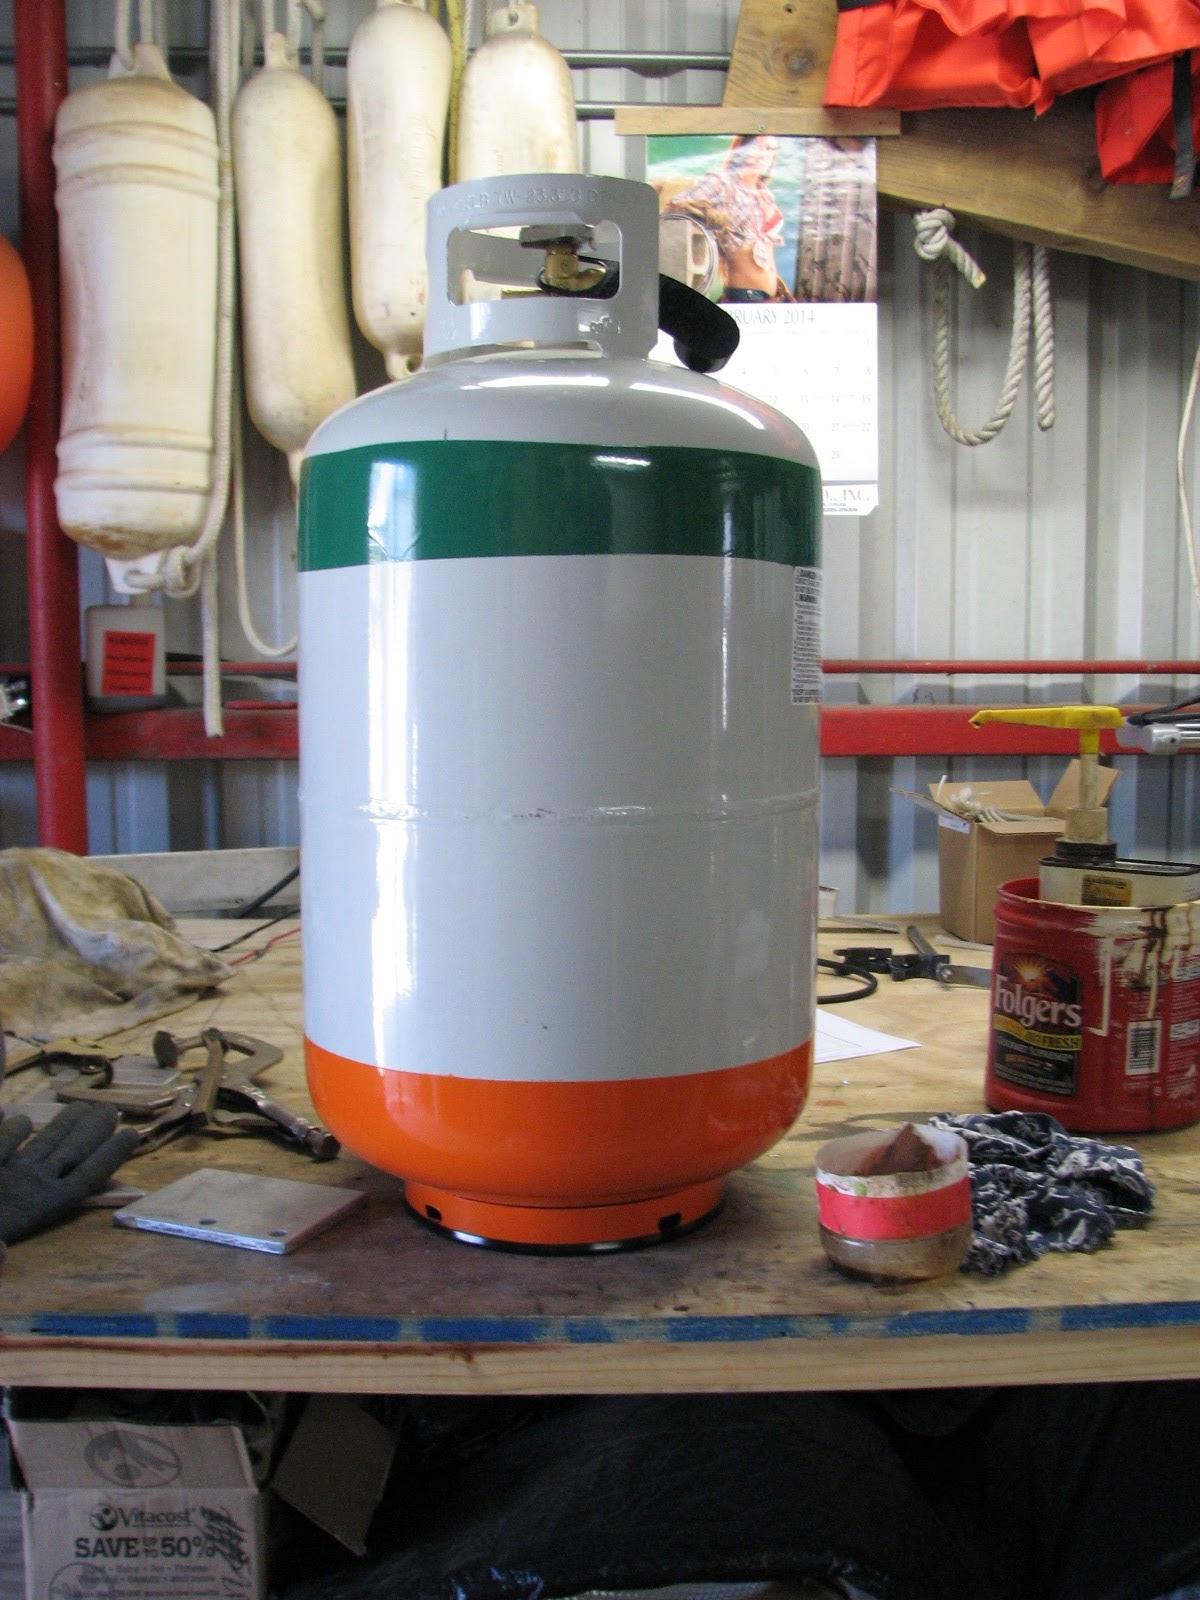
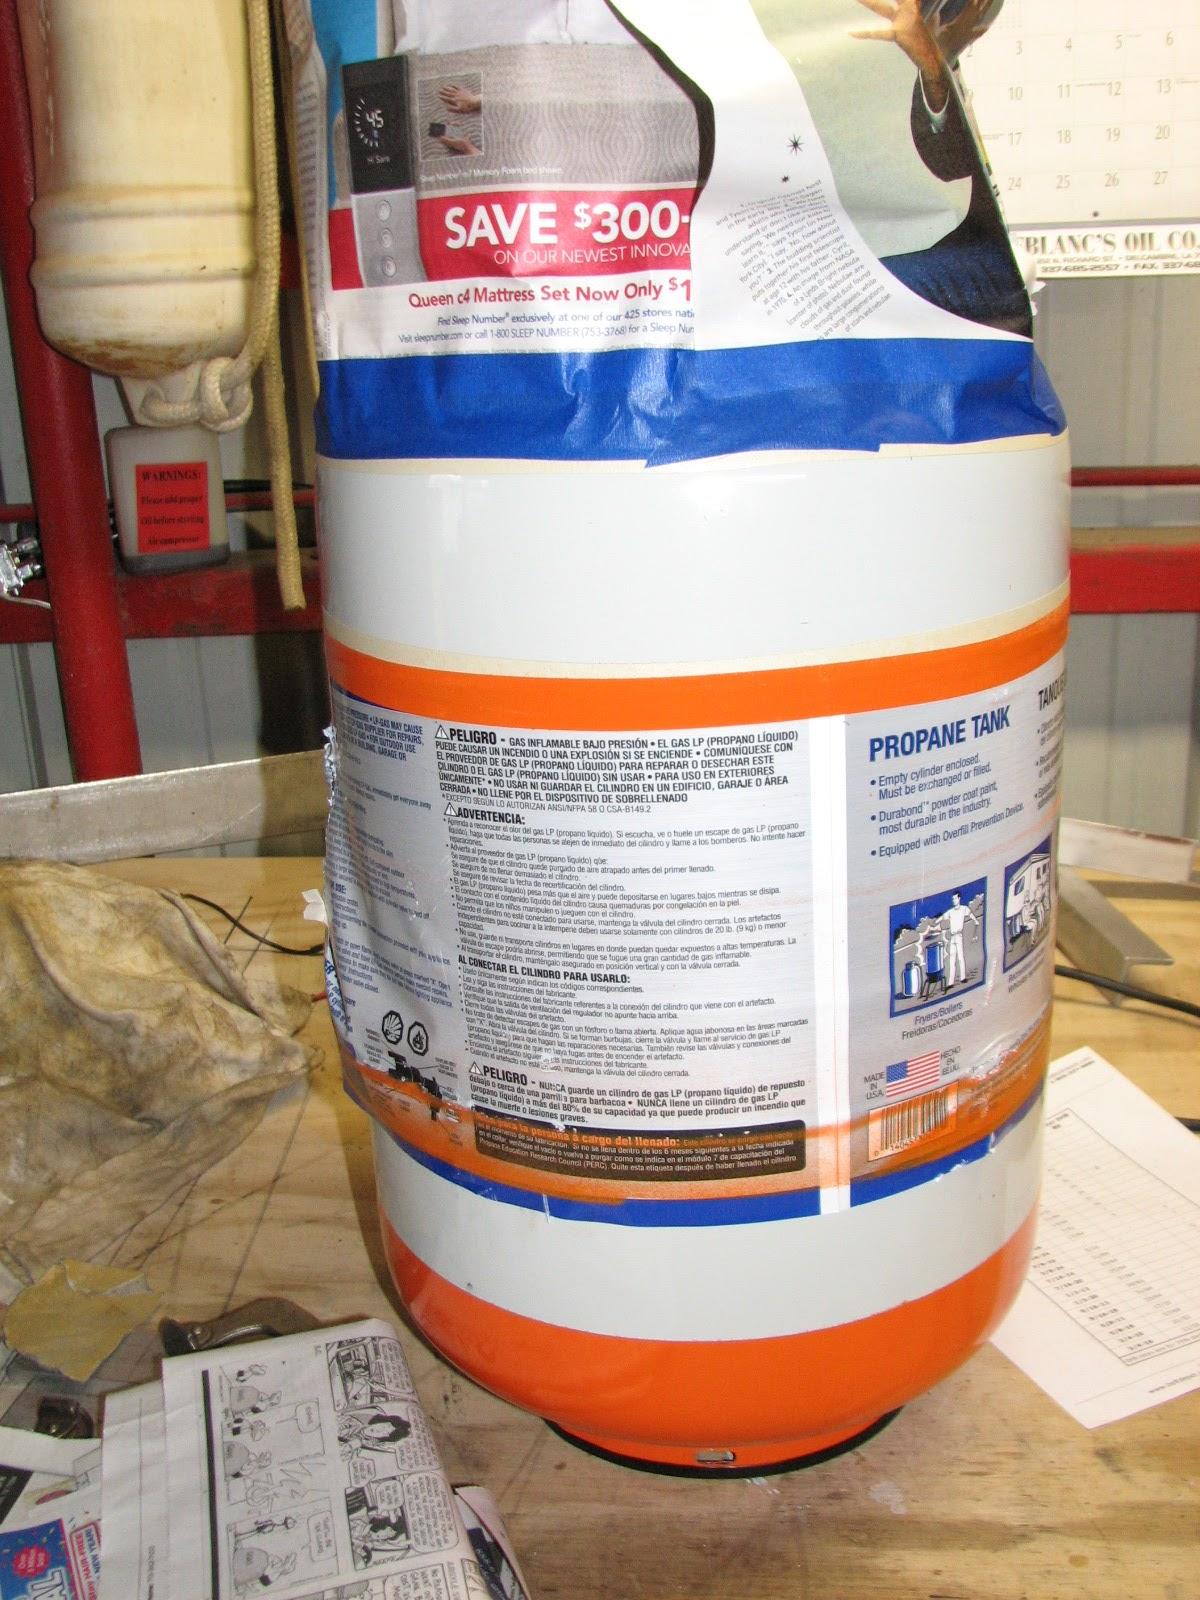
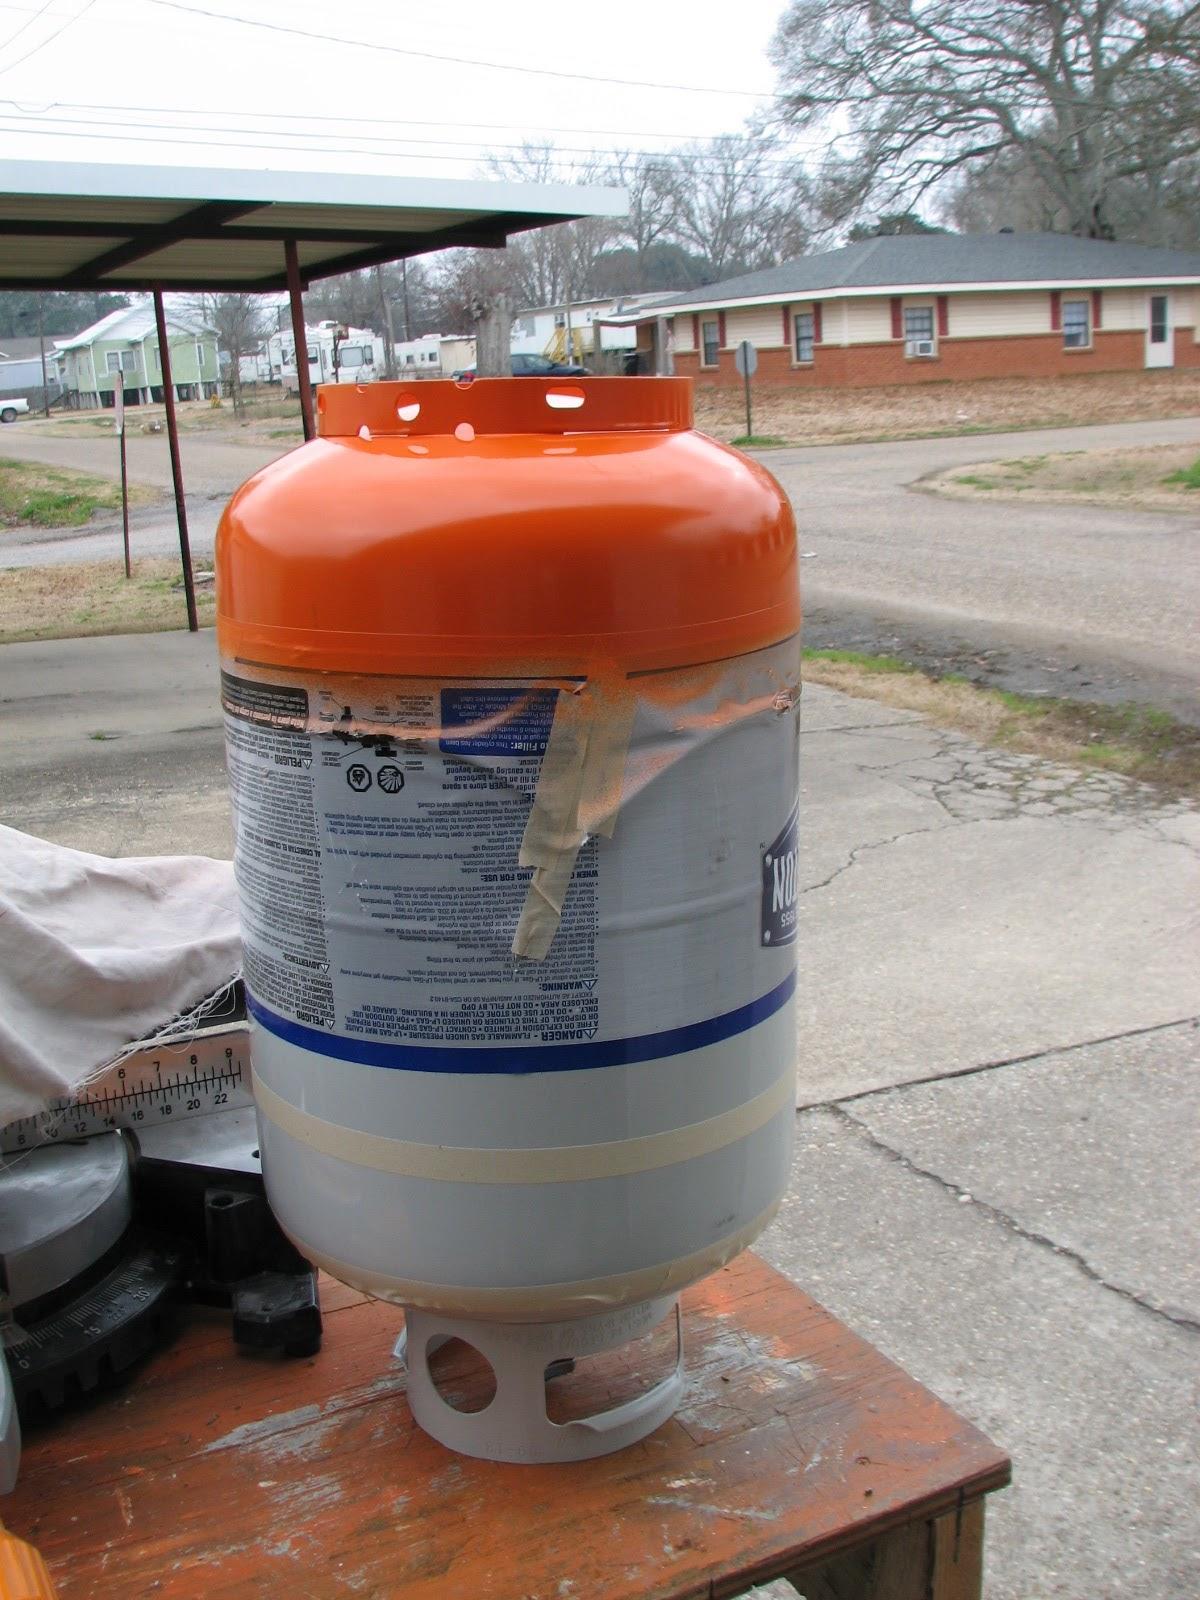
First thing I did was inspect the
painting of the new propane tank. It looked great, so I removed all
of the masking tape and paper, and then set the tank aside. It will
not go into use until we use all of the gas out of the second older
tank.
Propane Tank On Bench WIth Masking
Still Applied
Propane Tank Ready For Use
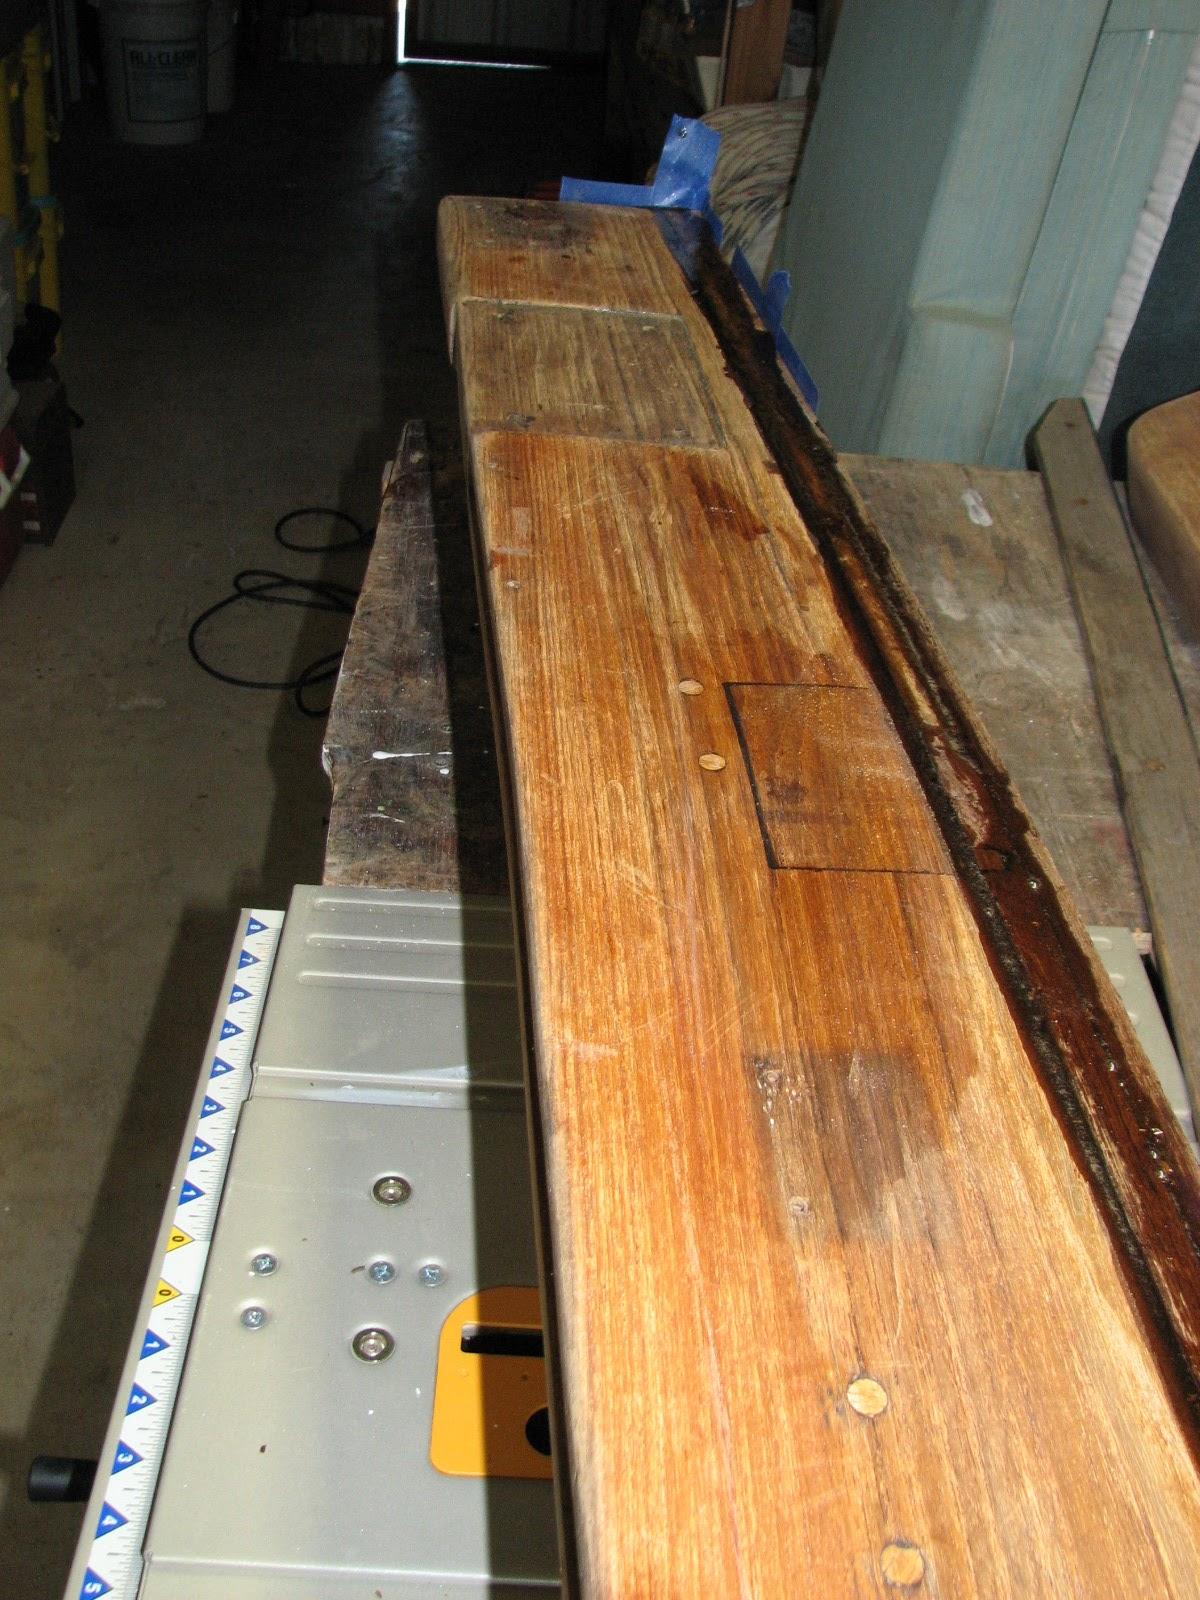
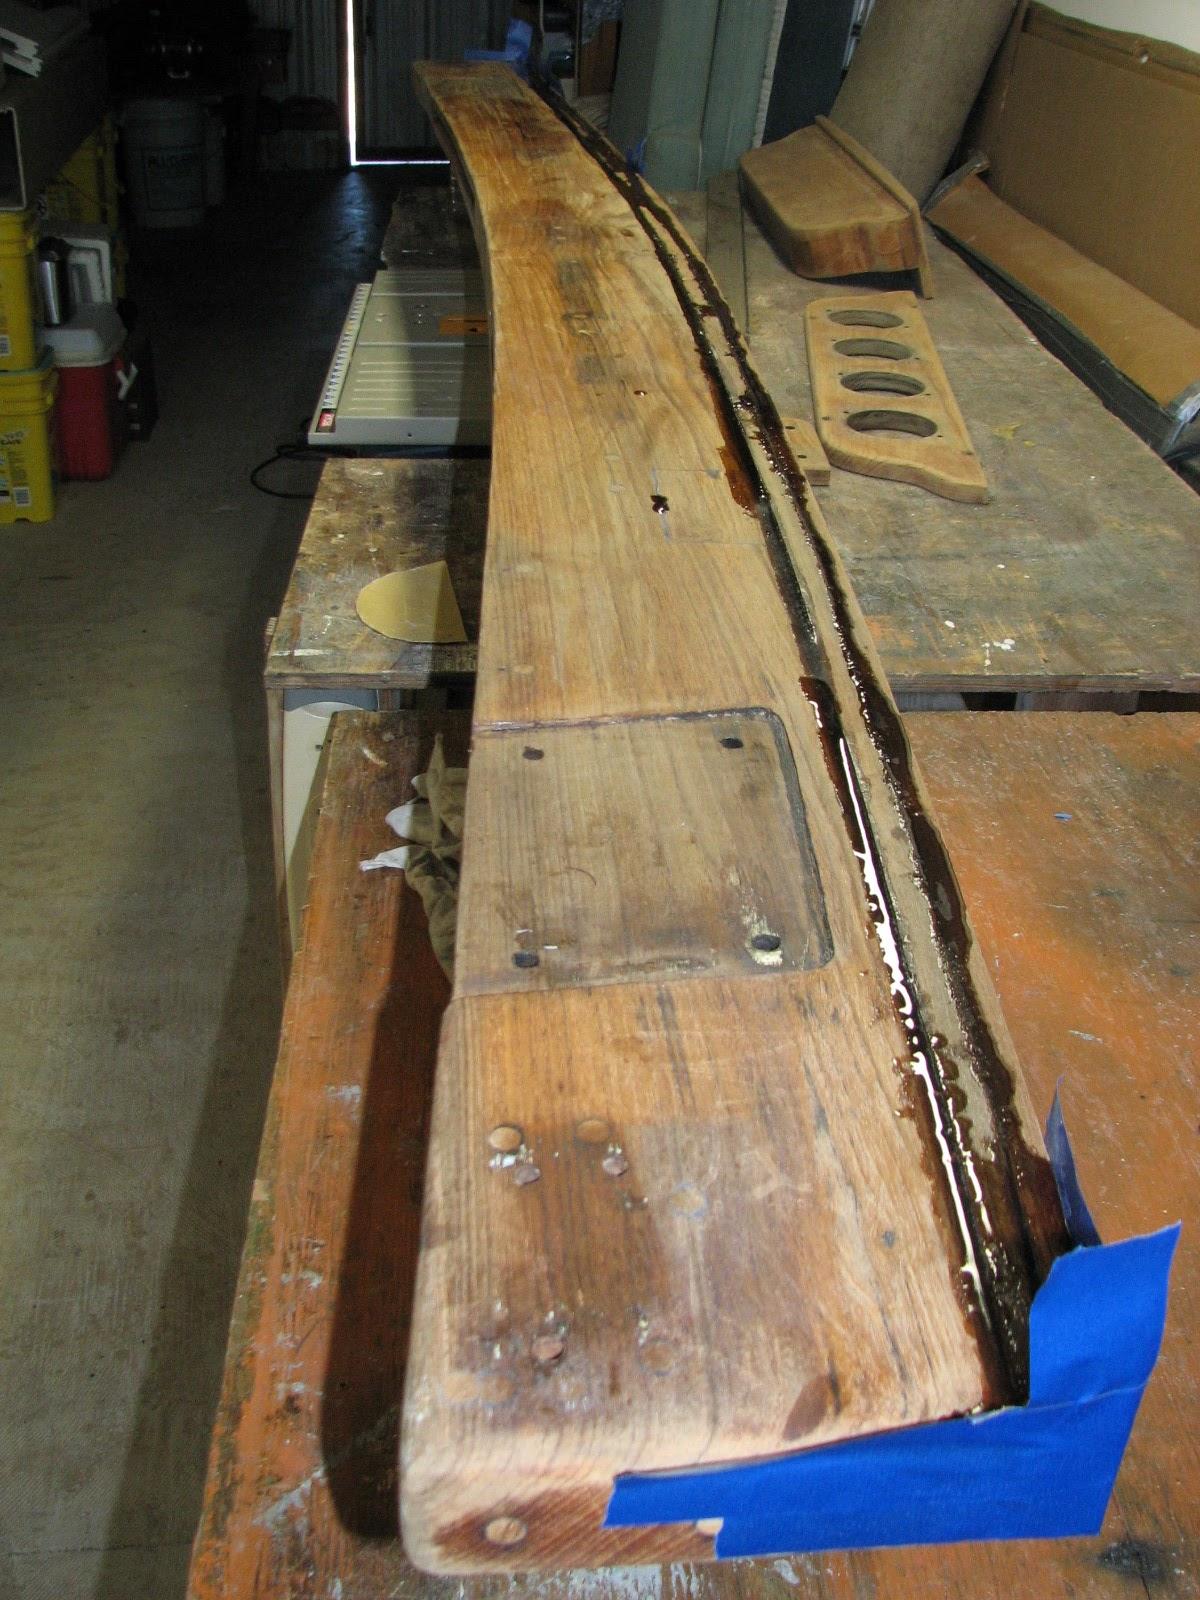
Next on the list is to inspect the
epoxy
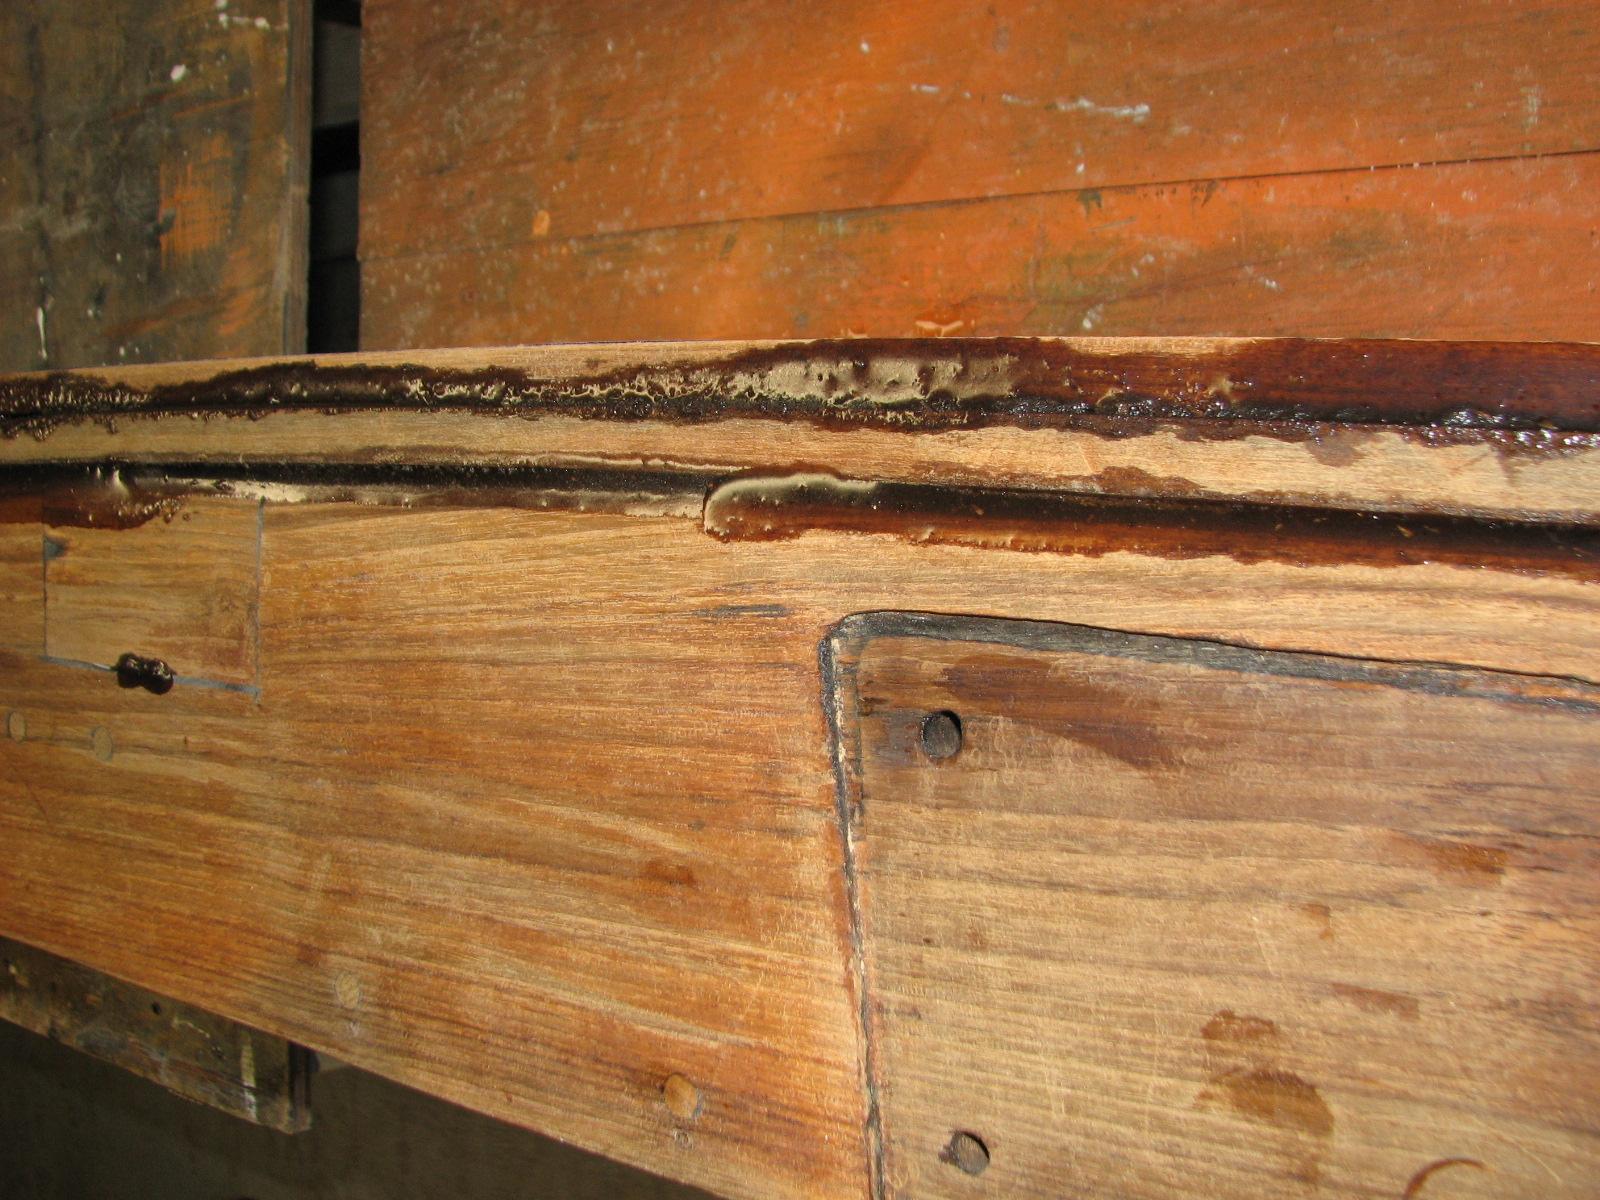
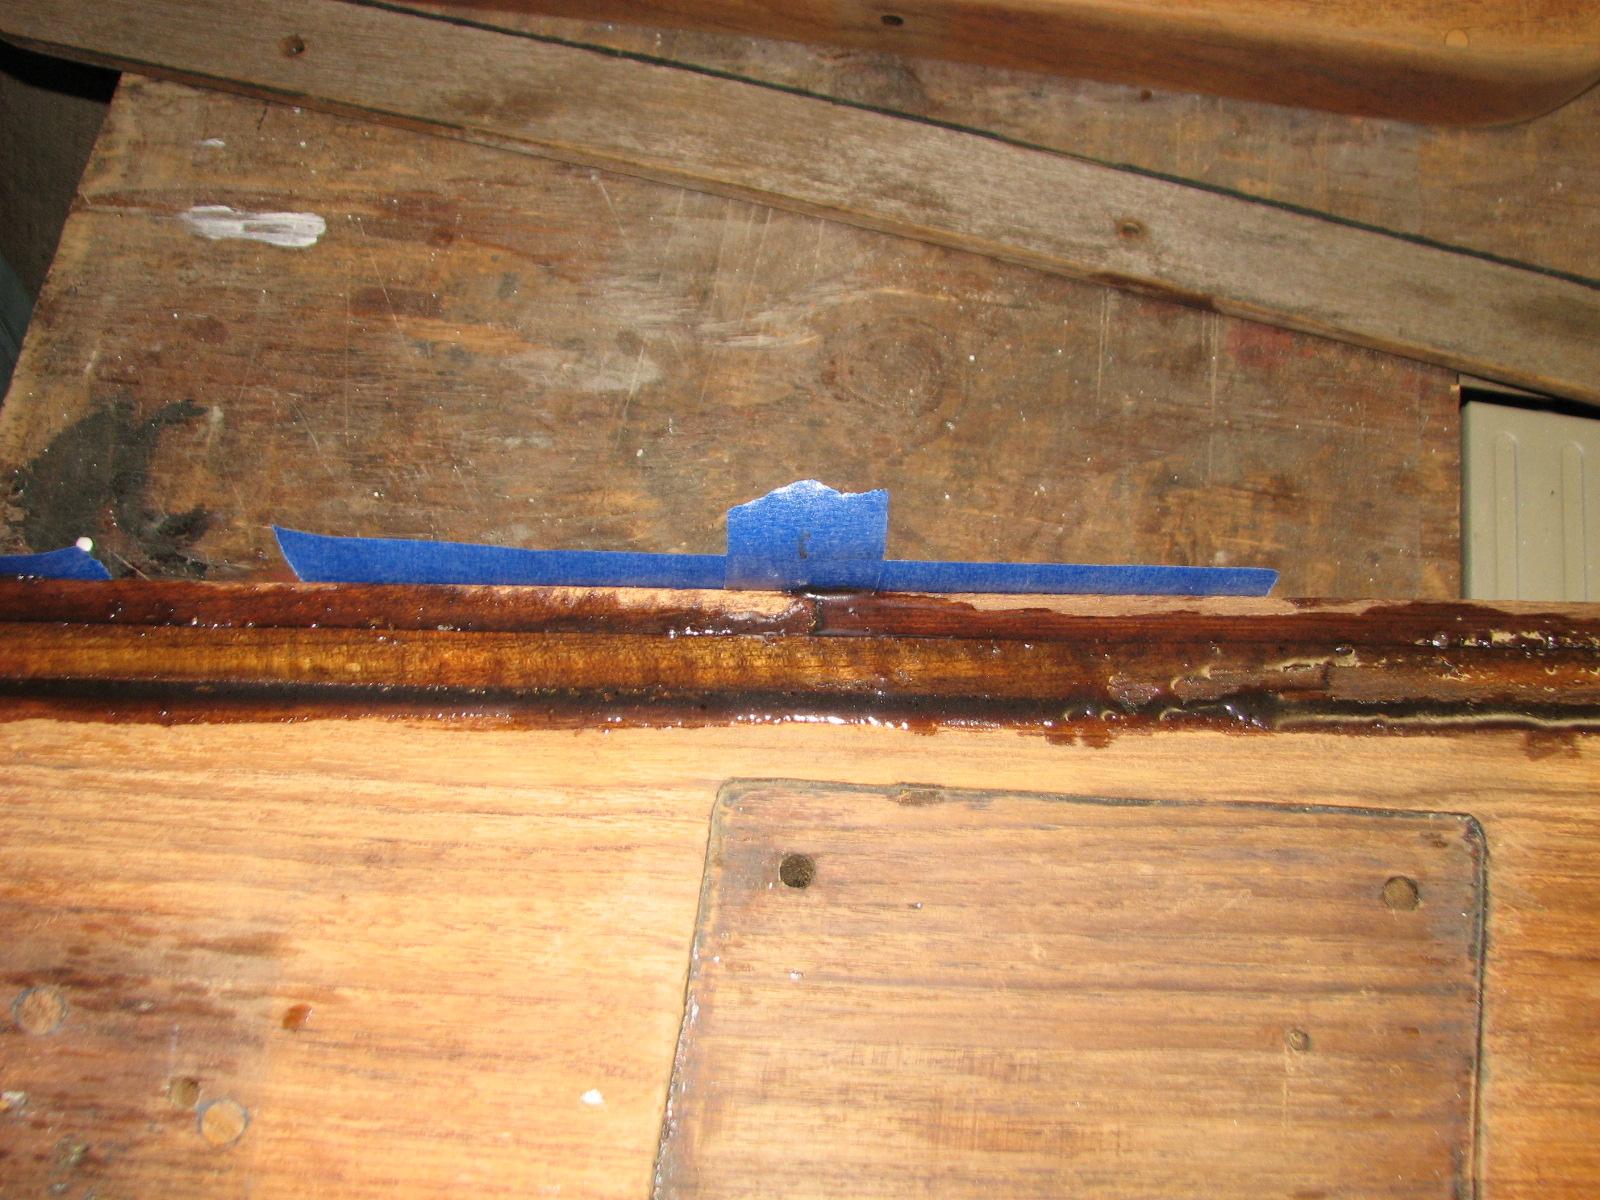
application on the boom gallows. As expected there are some places
where I will need to apply more epoxy.
It is still not real warm, so I will not chance the
epoxy
application today. Tomorrow it will be warm enough to apply more
epoxy.
Boom Gallows With Epoxy
Applied and Set
Boom Gallows With Epoxy
Applied and Set
Because I was not able to continue
working on the boom gallows, I got back to work on the aluminum
pieces for the sail handling platform (SHP).
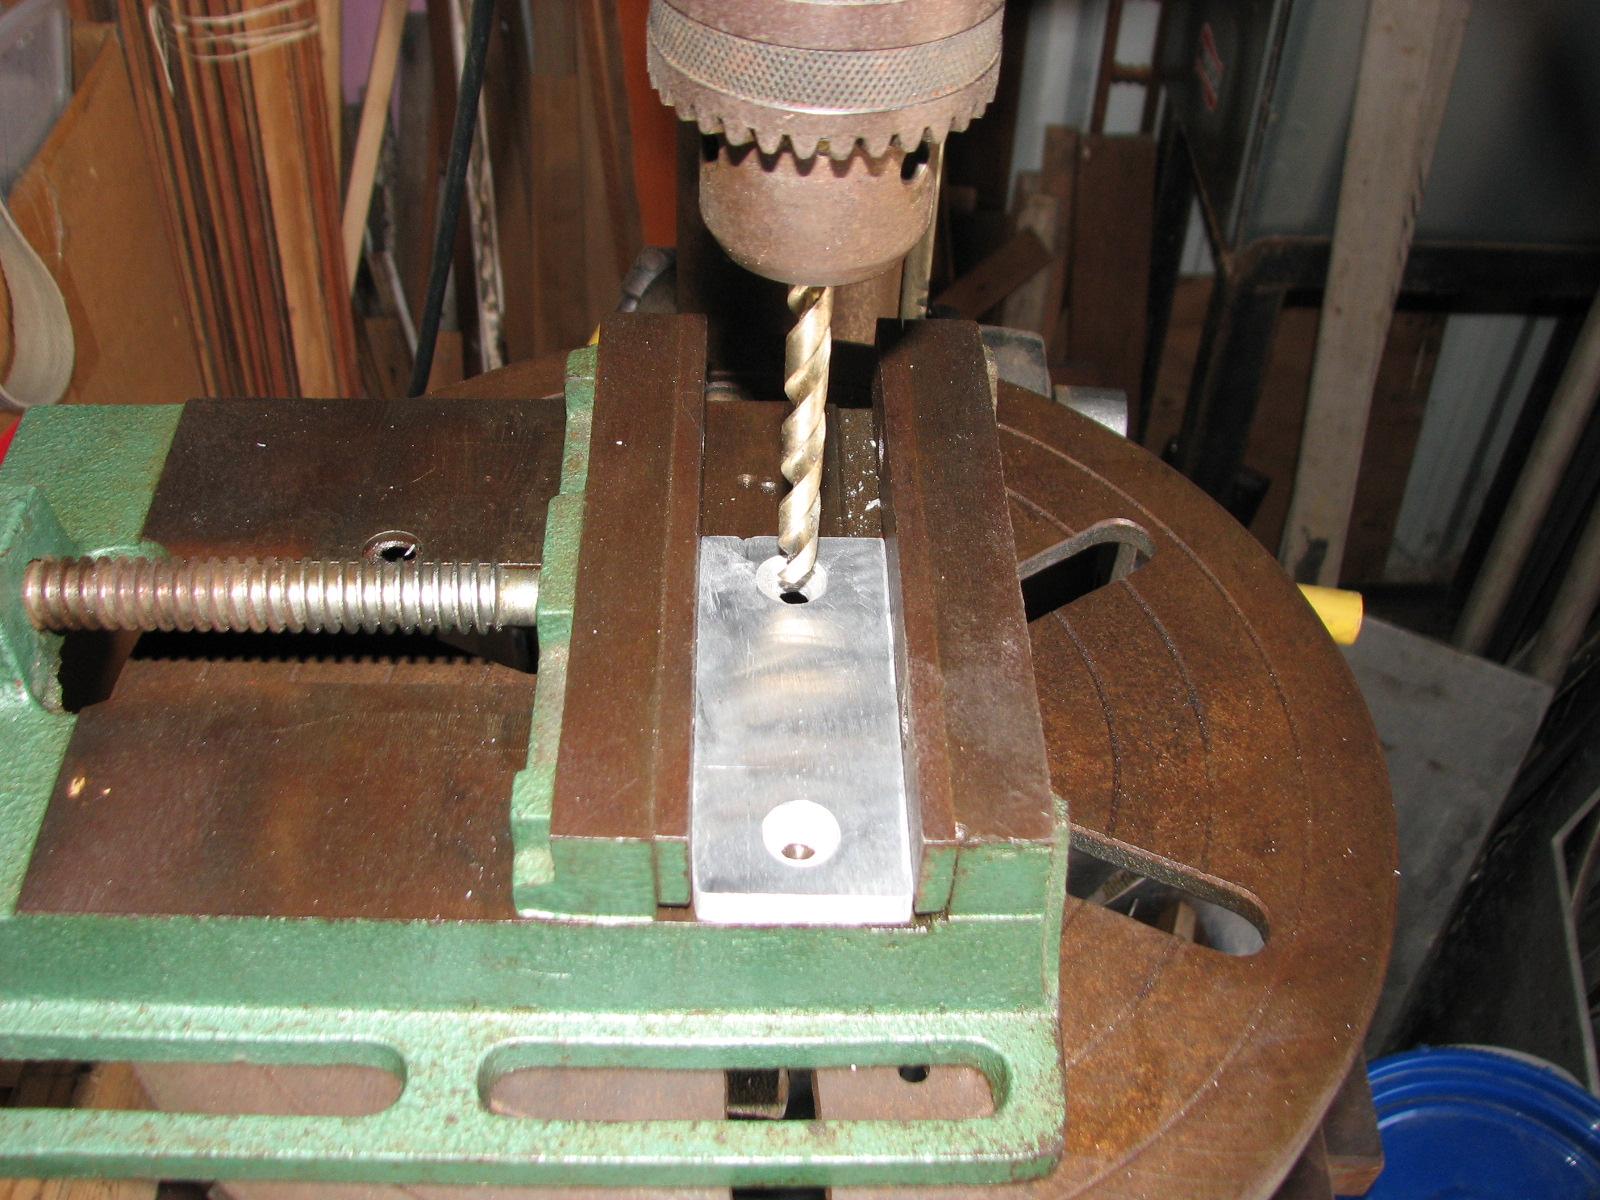
The base plates for the legs supports I
had drilled out for ¼” bolts, but I will be using 5/16” bolts.
The necessitated me drilling out the holes in each base plate to the
larger size, and again counter sinking the holes.
Drilling Out Holes In Aluminum Base
Plates
Four Base Plates Drilled And
Countersunk
When I completed the work on the bases,
I started welding the legs to the bases, and was able to complete two
base to leg welds. I am getting real low on Argon,
so I will have to start looking for a supplier.
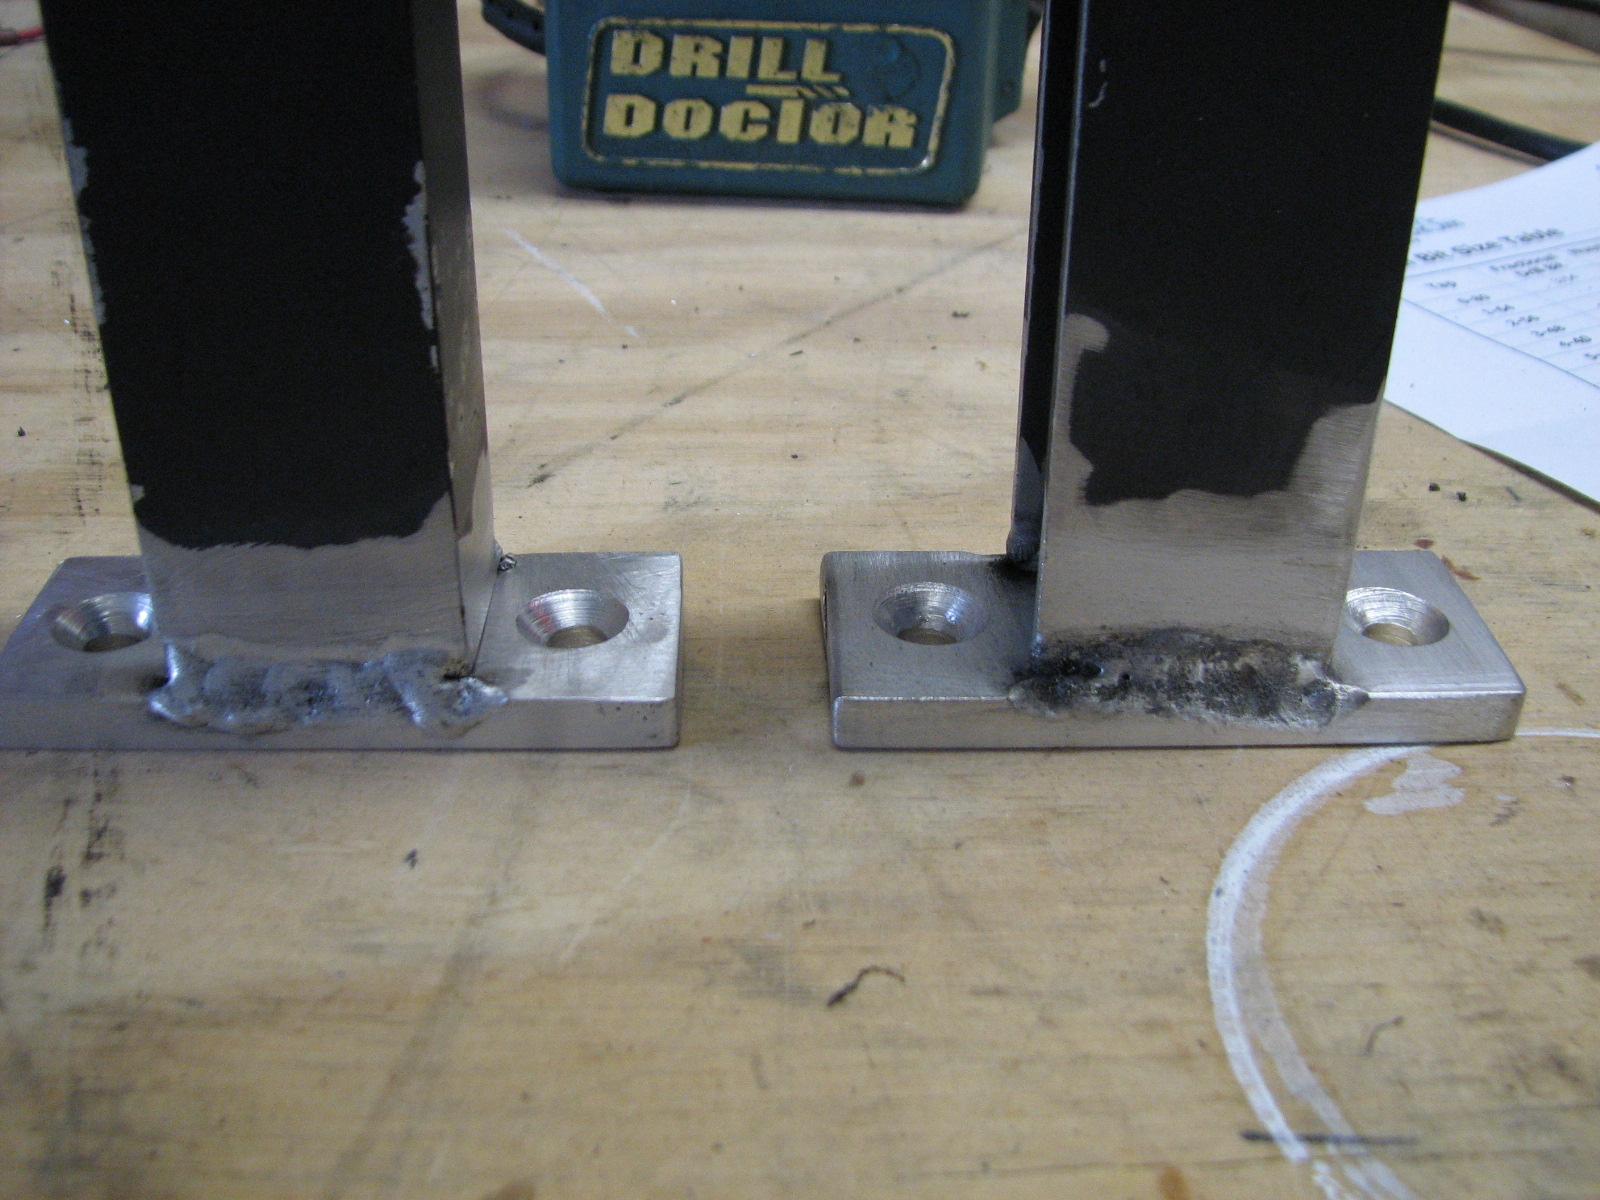
Welding The Leg To The Base
Welding The Leg To The Base
Maybe not the prettiest welds, but they
will not come apart, either.
Two Legs And Support Bases Completed
I left the shop
and went back to DREAM AWAY. I wanted to do a project that has been
bothering me for months, probably years.
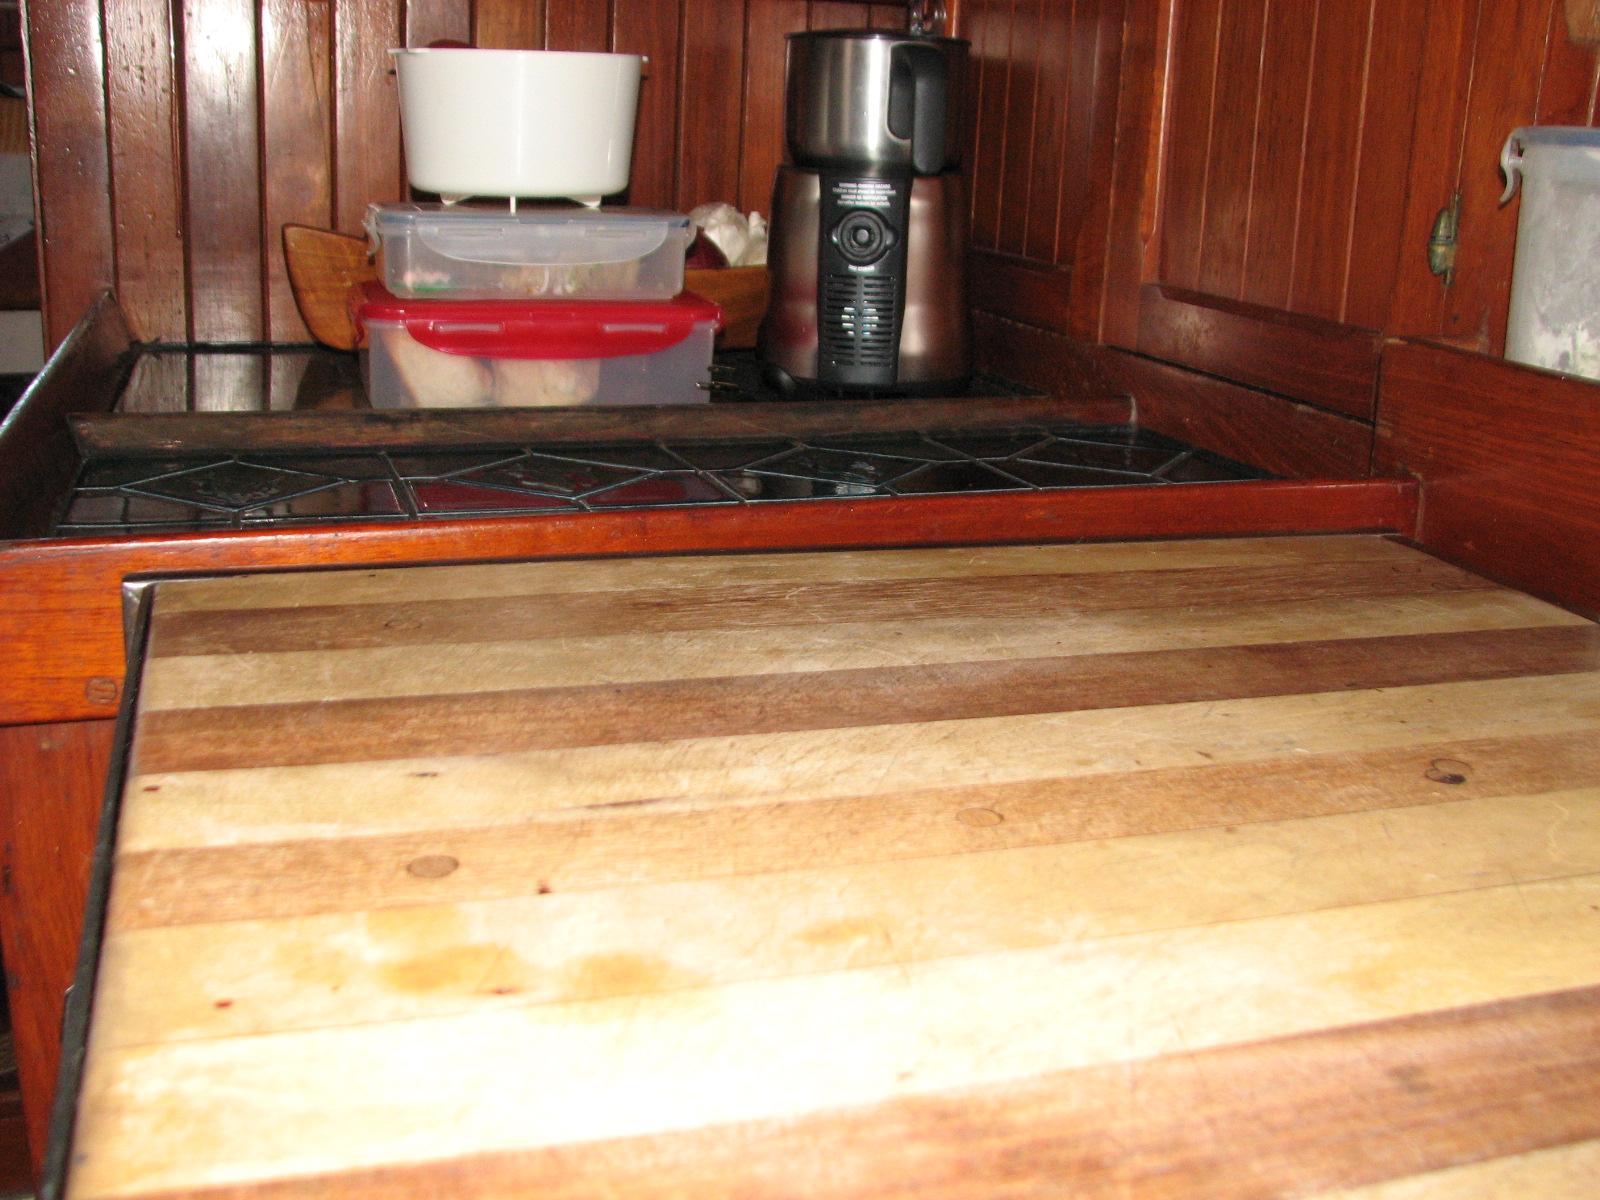
The stove in the galley is gimballed,
so when you are underway the top of the stove is always flat. When in
port or at anchor, there is a lockdown on the stove to keep it from
moving. When I installed the lockdown, the stove was not quite level.
It was not a level surface to cook on, and it was annoying.
Today I was fixing the problem. In the
following picture, you can see the stove is not level relative to the
counter beside the stove.
Stove Not Level
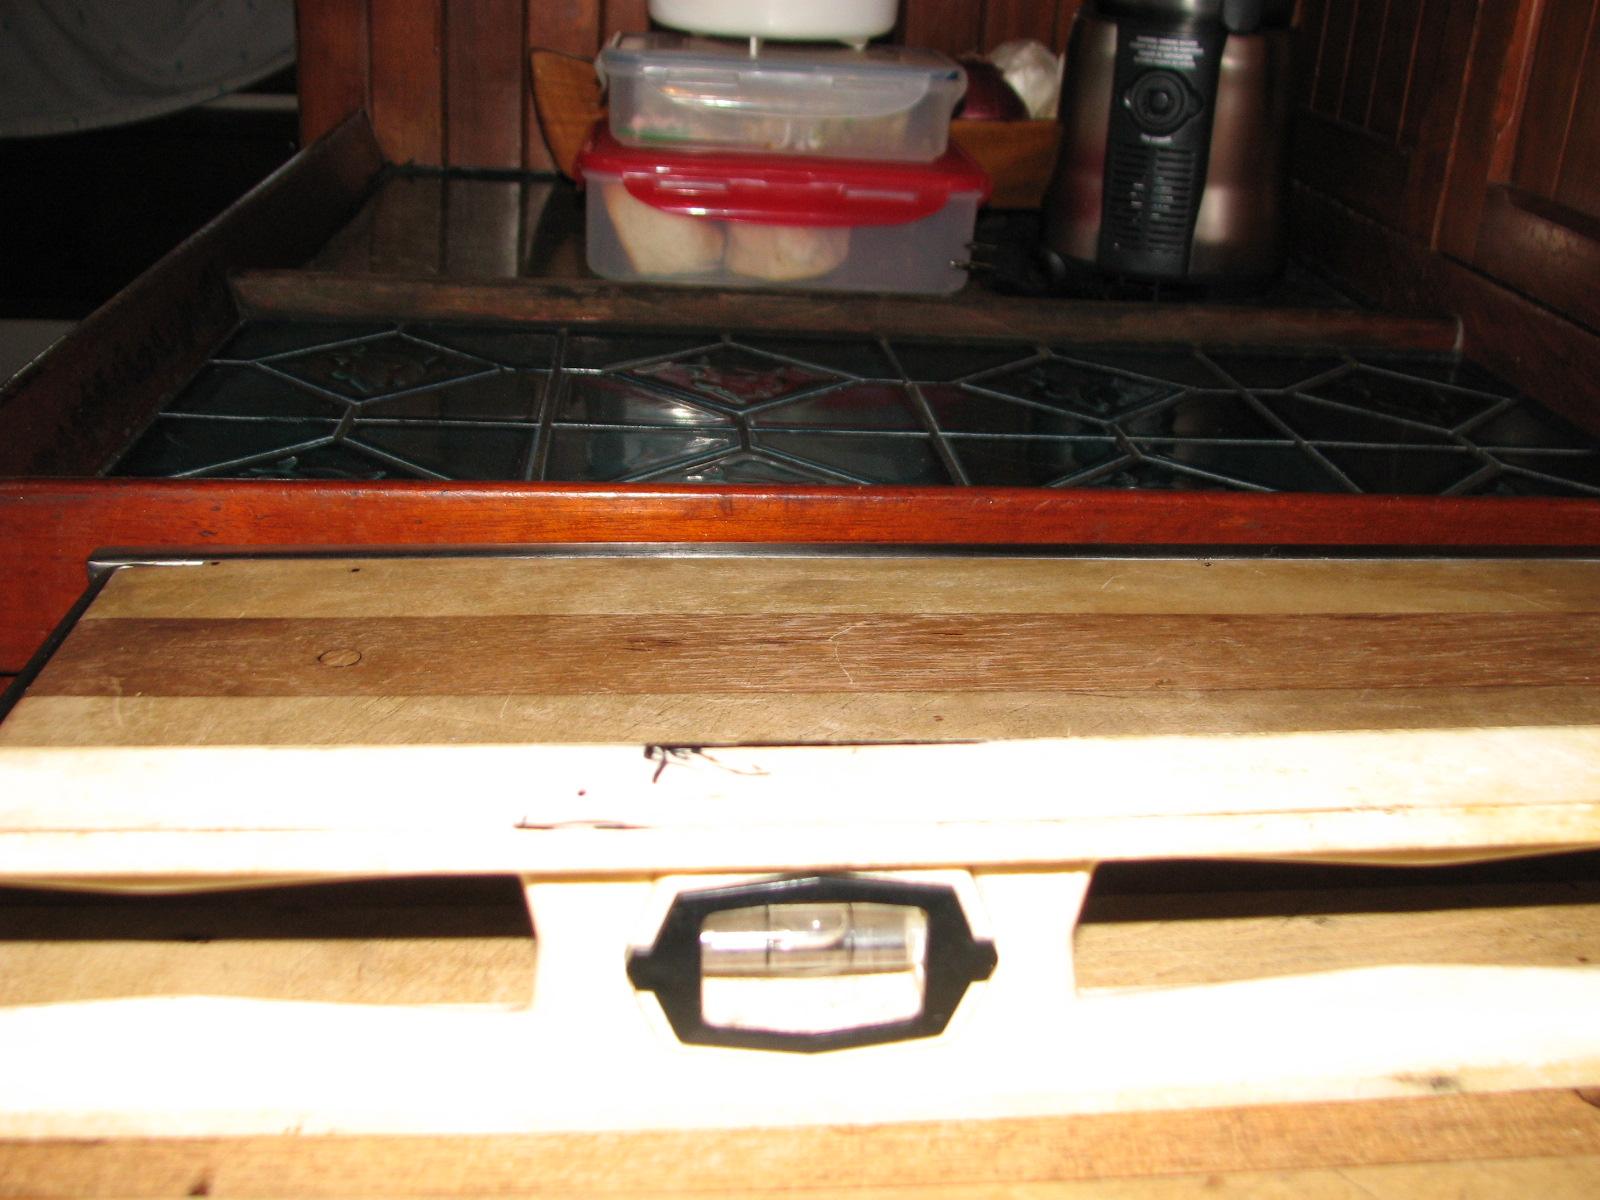
I moved the lockdown block, and using a
level got the stove level. Now all of the cooking surfaces will be
level. I am a happy camper.
Stove Is Now Level
The remainder of the day I spent
measuring the hard
bimini top for solar panels, and then talking to
Johnal,
from the yacht RUTHIE about his solar panel installation. We also
discussed tenders, outboards and electronics.
February 12, Wednesday,
2014
Started off the morning with my normal
ritual of getting on the Internet, answering email, and checking the
weather, while making a pot of coffee. When the coffee is started, I
feed our two cats,
Jillian
and Jordan,
and spend time with them brushing their beautiful coats.
Woke up to a temperature of 33°, so
did not go to the shop
this morning. Actually, did not go to the
shop
at all today. The high temperature was only 37°! The good news seems
to be, after tomorrow we will have at least five days of good working
weather.
We did welcome some new cruisers that
came into the marina
yesterday while we were at the workshop. We presented them with the
official North
Pier Marina welcome basket. They said they are only
staying two nights, so will be leaving tomorrow. The cruisers, Carol
and Eric lived in Morgan
City for eight years, so they are pretty familiar with
this area. Their niece Terry, is also sailing with them.
Eric, Carol, And Niece With Welcome
Basket Items.
I did get some progress made on inside
computer projects. I got our 2013 taxes finished and filed. I caught
up on all of my scanning, now I have to get caught up on emails.
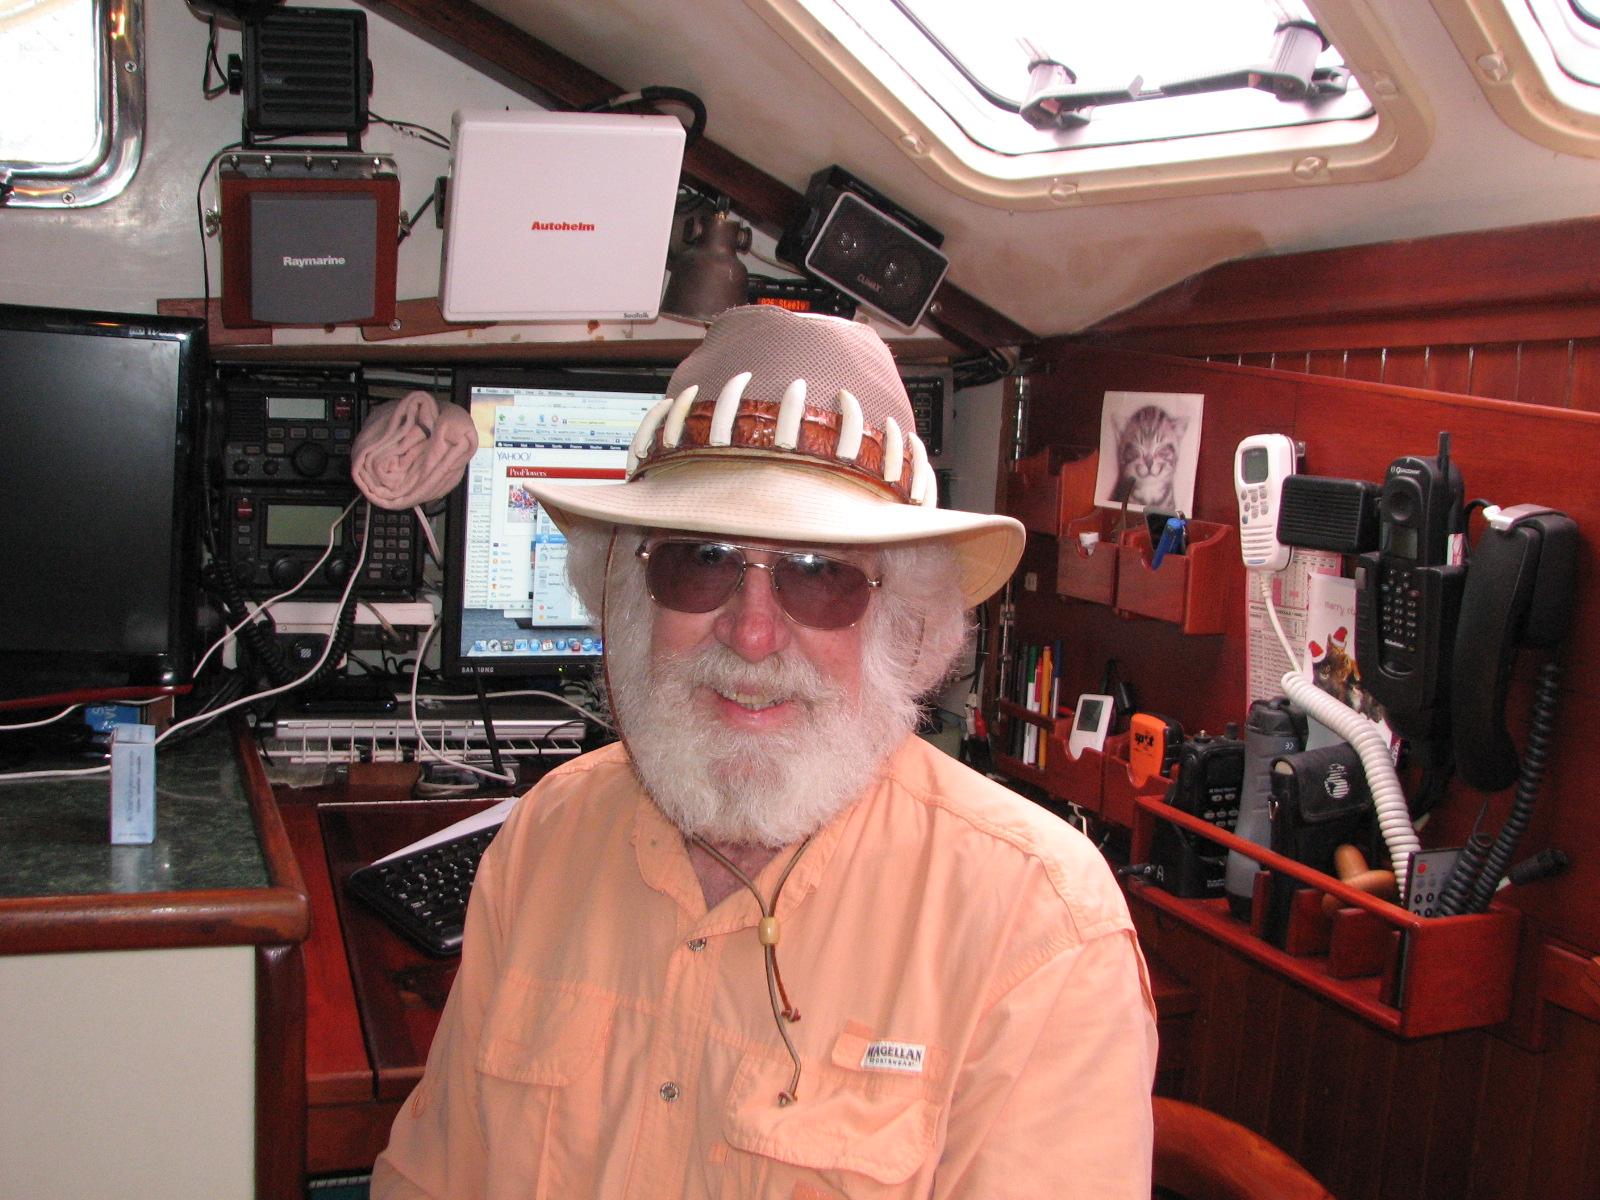
One of the neatest things that happened
was a new hatband for me. It actually happened yesterday, but I did
not get the hat band on my hat until today.
One of the presenters, Benny Welch,
from yesterdays workshop explained how he now has a whole business
from the waste of alligator harvesting. As it turns out the alligator
farms that harvest the meat and skins from the alligators do not use
everything.
The feet, the heads, and what they call
the backstrap are all thrown away. In fact the farms have to pay to
have all of the waste thrown away. The backstrap is the portion of
the skin that runs down the alligators back. The lumps on that part
of the skin are too big and hard to use commercially.
Benny takes all of these “waste”
products and makes alligator souvenirs from them. He uses the teeth
from the head to make hat bands, necklaces and so on. Most of the
bones in the head of the alligator are solid bone, no marrow, so the
bone can be used for scrimshaw and other types of carving.
He makes a knife and handle out of
bone, and the scabbard out of hide from the feet and backstrap.
When he showed the workshop all of
these products, I mentioned to Kitty that the headband would look
really cool on my hat. After the workshop was over, and Benny was
packing up his items, Kitty asked him if she could buy the headband.
He said no, because he does not sell directly, he sells all of his
souvenirs through brokers.
Kitty talked to him some more, and then
Benny just gave her the hatband, and would only accept a thank you as
payment! That hatband is a $300.00 item. The actual band is made from
the backstrap, and the teeth are glued to the hatband. Benny guessed
the gator the teeth came from was probably between eight to nine
feet.
Jim With New Hatband
February 11, Tuesday, 2014
We attended the workshop in
Lake Charles for
the Twin Parish Port District. We enjoyed
the workshop, and got
some great ideas for implementation in our area. We also got some
great contacts to help us put together some eco-tourism or
agri-tourism plans.
February 10, Monday, 2014
Started off the morning with my normal
ritual of getting on the Internet, answering email, and checking the
weather, while making a pot of coffee. When the coffee is started, I
feed our two cats, Jillian
and Jordan,
and spend time with them brushing their beautiful coats.
Went to the
shop
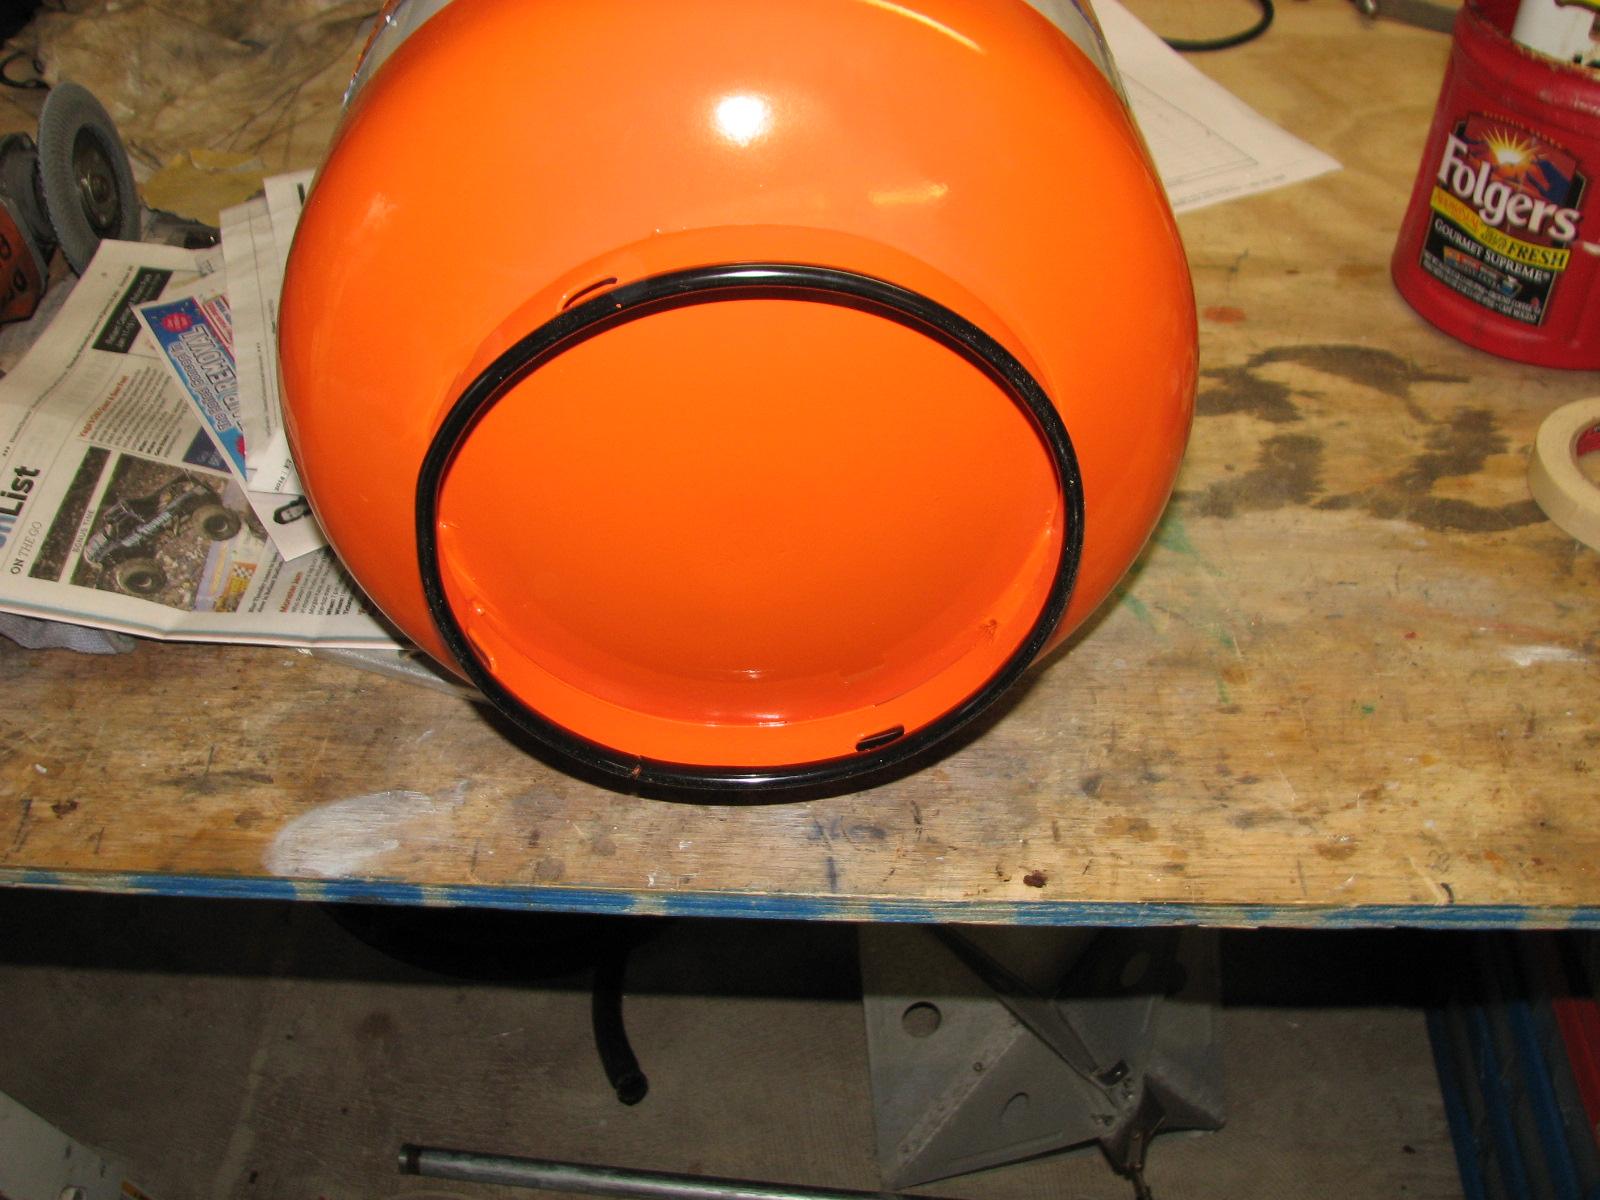
and got started in on the propane tank upgrade. Yesterday I had
painted the bottom of the tank with the DREAM AWAY orange paint. Now
I had to put on the plastic automotive door trim. Hopefully the door
trim will prevent rust from starting on the bottom of the tank. Only
time will tell, but I will have to keep a closer eye the bottom of
the new propane tanks.
Starting To Apply The Automotive Door
Trim
Automotive Door Trim Installed
Now that the door trim was installed, I
masked off the new propane tank to paint the green stripe around the
top of the tank. This green strip serves no practical function other
than to make the tank unique. I do not want someone to say this new
tank is theirs.
Propane Tank With Strip Masked Off
Picture Of Package Being Sent To New Zealand
Now that the small projects were out of
the way, I got back onto the boom gallows. Yesterday, I got a little
carried away with the epoxy
resin application. I had not masked off properly, so I had a lot more
epoxy
than I needed.
I did a lot of sanding and scraping to
get the boom gallows prepared for the next row of teak
pieces to be added to the boom gallows.
Sanding The Boom Gallows
Sanding The Boom Gallows
Once the boom gallows was all sanded, I
did a dry fit of the last row of teak
pieces, and made sure it was masked properly for the
epoxy
application.
I mixed up a pot of epoxy,
and applied it to the boom gallows and the teak
pieces, and then fitted them together. I then added more epoxy
to fill in all of the space and imperfections in the teak
pieces I added.
I applied the green paint to the
propane tank, as it was still warm enough to use the spray paint, but
the temperature was falling.
I did not take any pictures of the
above actions.
I went back to DREAM AWAY and we packed
our stuff, loaded it into the
Black Beast, and drove to
Lake Charles so we
could attend a workshop for the
Twin Parish Port District.
This workshop was to familiarize us with eco-tourism and agri-tourism.
February 09, Sunday, 2014
Started off the morning with my normal
ritual of getting on the Internet, answering email, and checking the
weather, while making a pot of coffee. When the coffee is started, I
feed our two cats,
Jillian and Jordan,
and spend time with them brushing their beautiful coats.
Went to the
shop
and got started in on the propane tank upgrade. As mentioned before I
had purchased a second new propane tank. I wanted to get the bottom
of the tank painted to keep rust from forming. Additionally I planned
to put some plastic door trim on the bottom of the tank. This will
protect the paint from chipping.
I had done the same thing to the
previous new propane tank.
Propane Tank Masked And First Coat
Applied
Now it was back to the boom gallows and
getting the wood that is being added to the top of the boom gallows
fitted. The wood needs to be cut, and then a dry fit done before
actually epoxying the wood to the boom gallows.
The teak
pieces I am using are left over pieces of deck boards. These pieces
were removed from DREAM AWAY almost 15 years ago.
Teak
is so expensive, I keep all I can carry. It comes in very handy in
times like these.
Dry Fitting Teak
Pieces To The Boom Gallows
Dry Fitting Teak
Pieces To The Boom Gallows
Dry Fitting Teak
Pieces To The Boom Gallows
I loaded up the
Black Beast and went over
to DREAM AWAY to have breakfast,
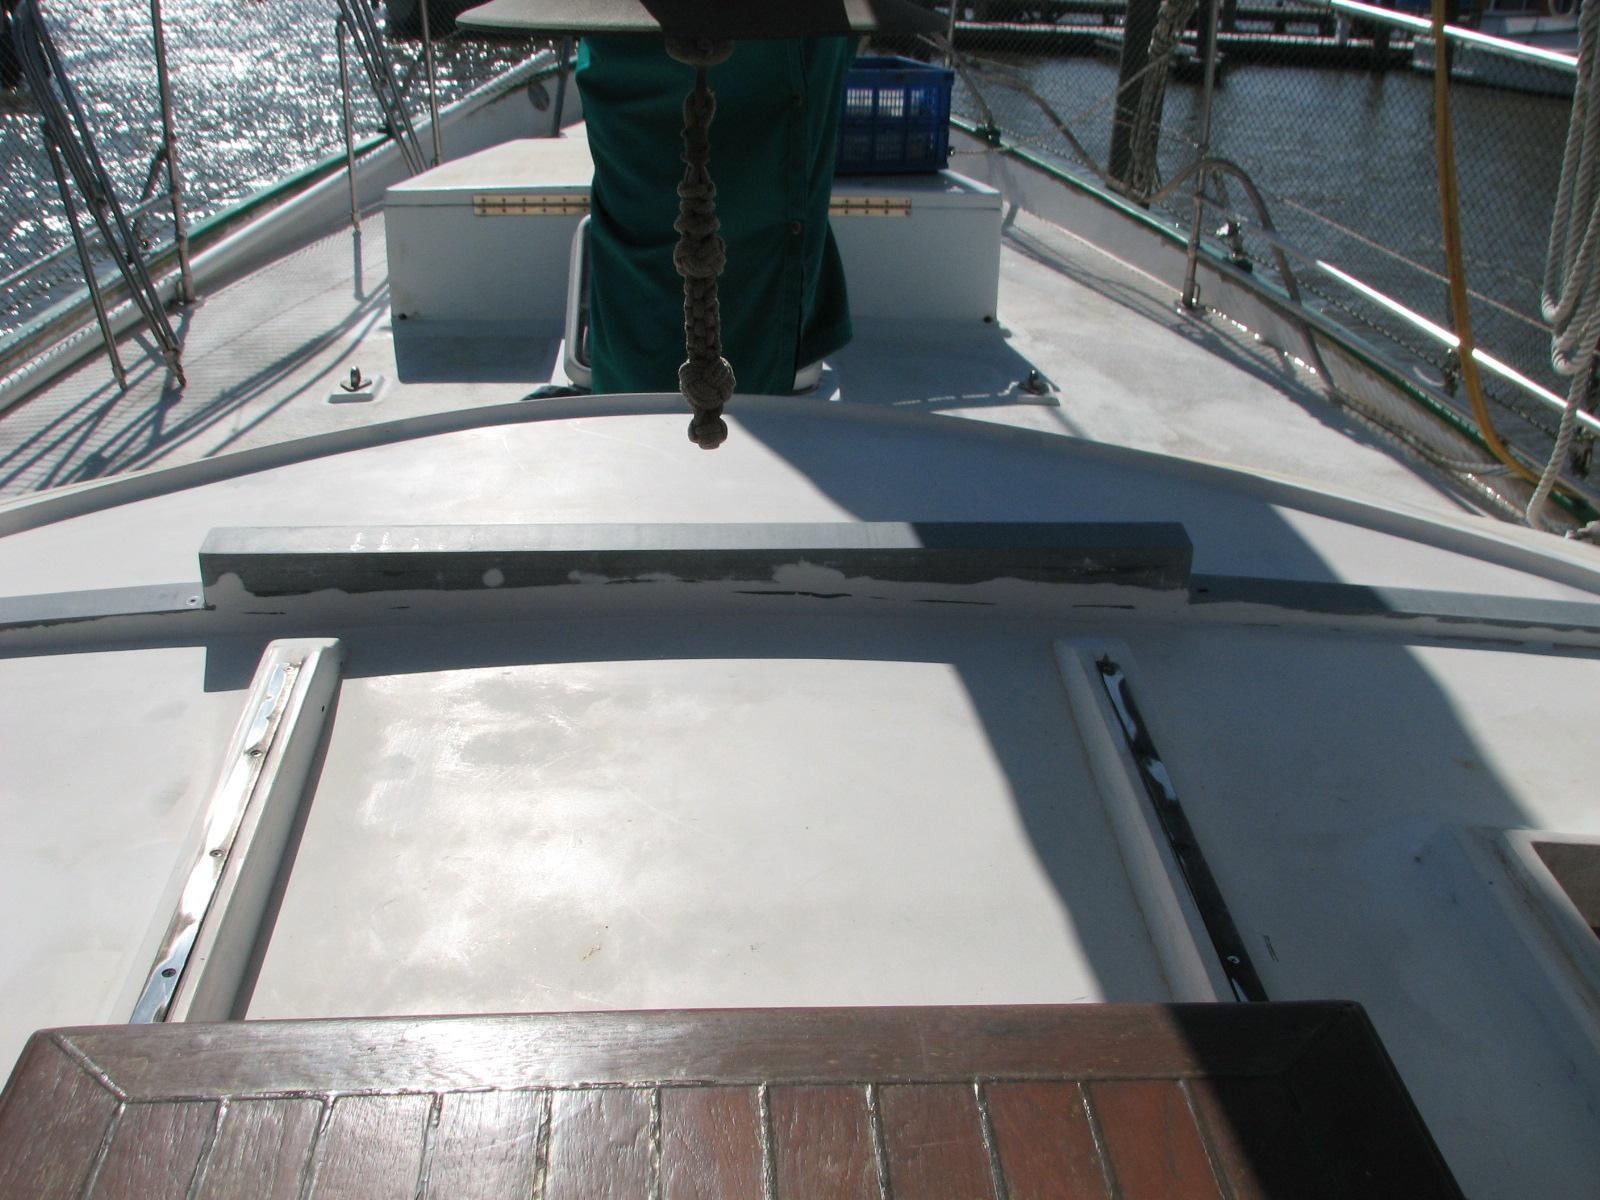
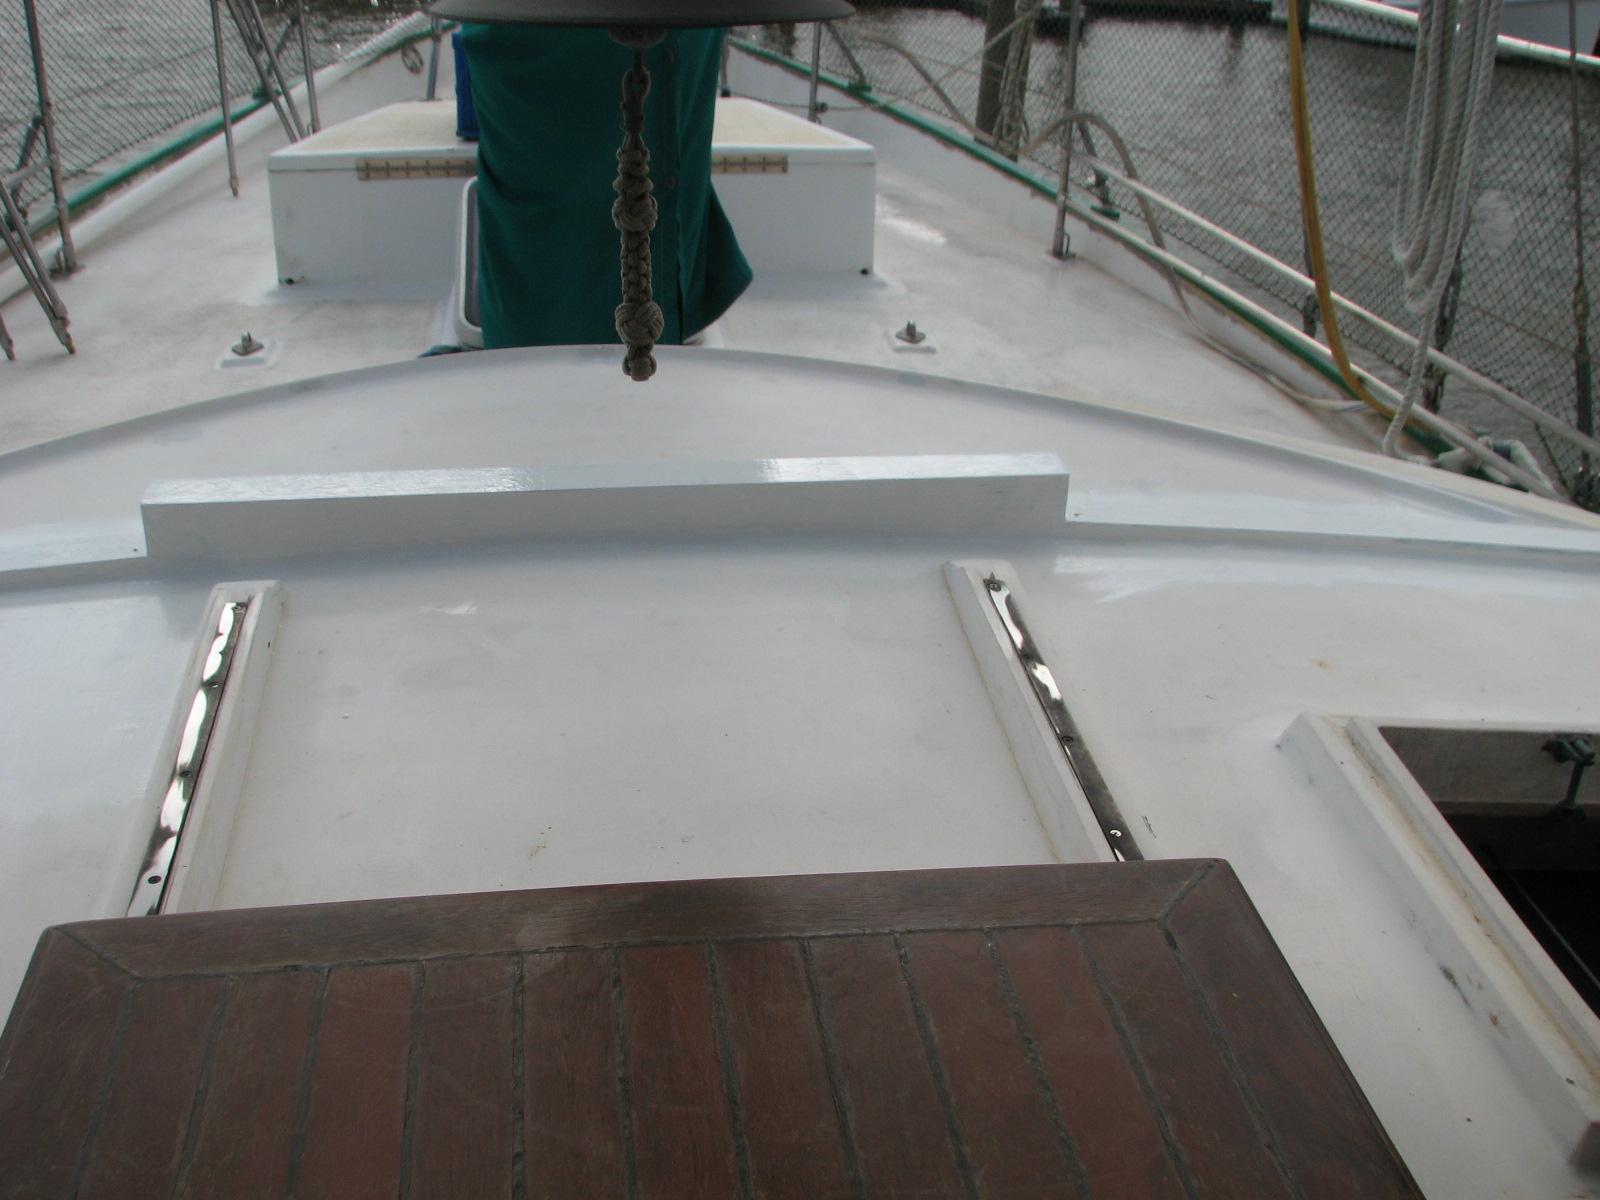
and to get the second coat of gelcoat
applied to the hard dodger base area. We finally have a day where the
temperature and humidity are cooperating.
I sanded down the base of the hard
dodger where it was required, which was not much. I then used a
tack rag to wipe down the whole
area. I then mixed up a batch of
gelcoat
and applied the second coat to the hard dodger base.
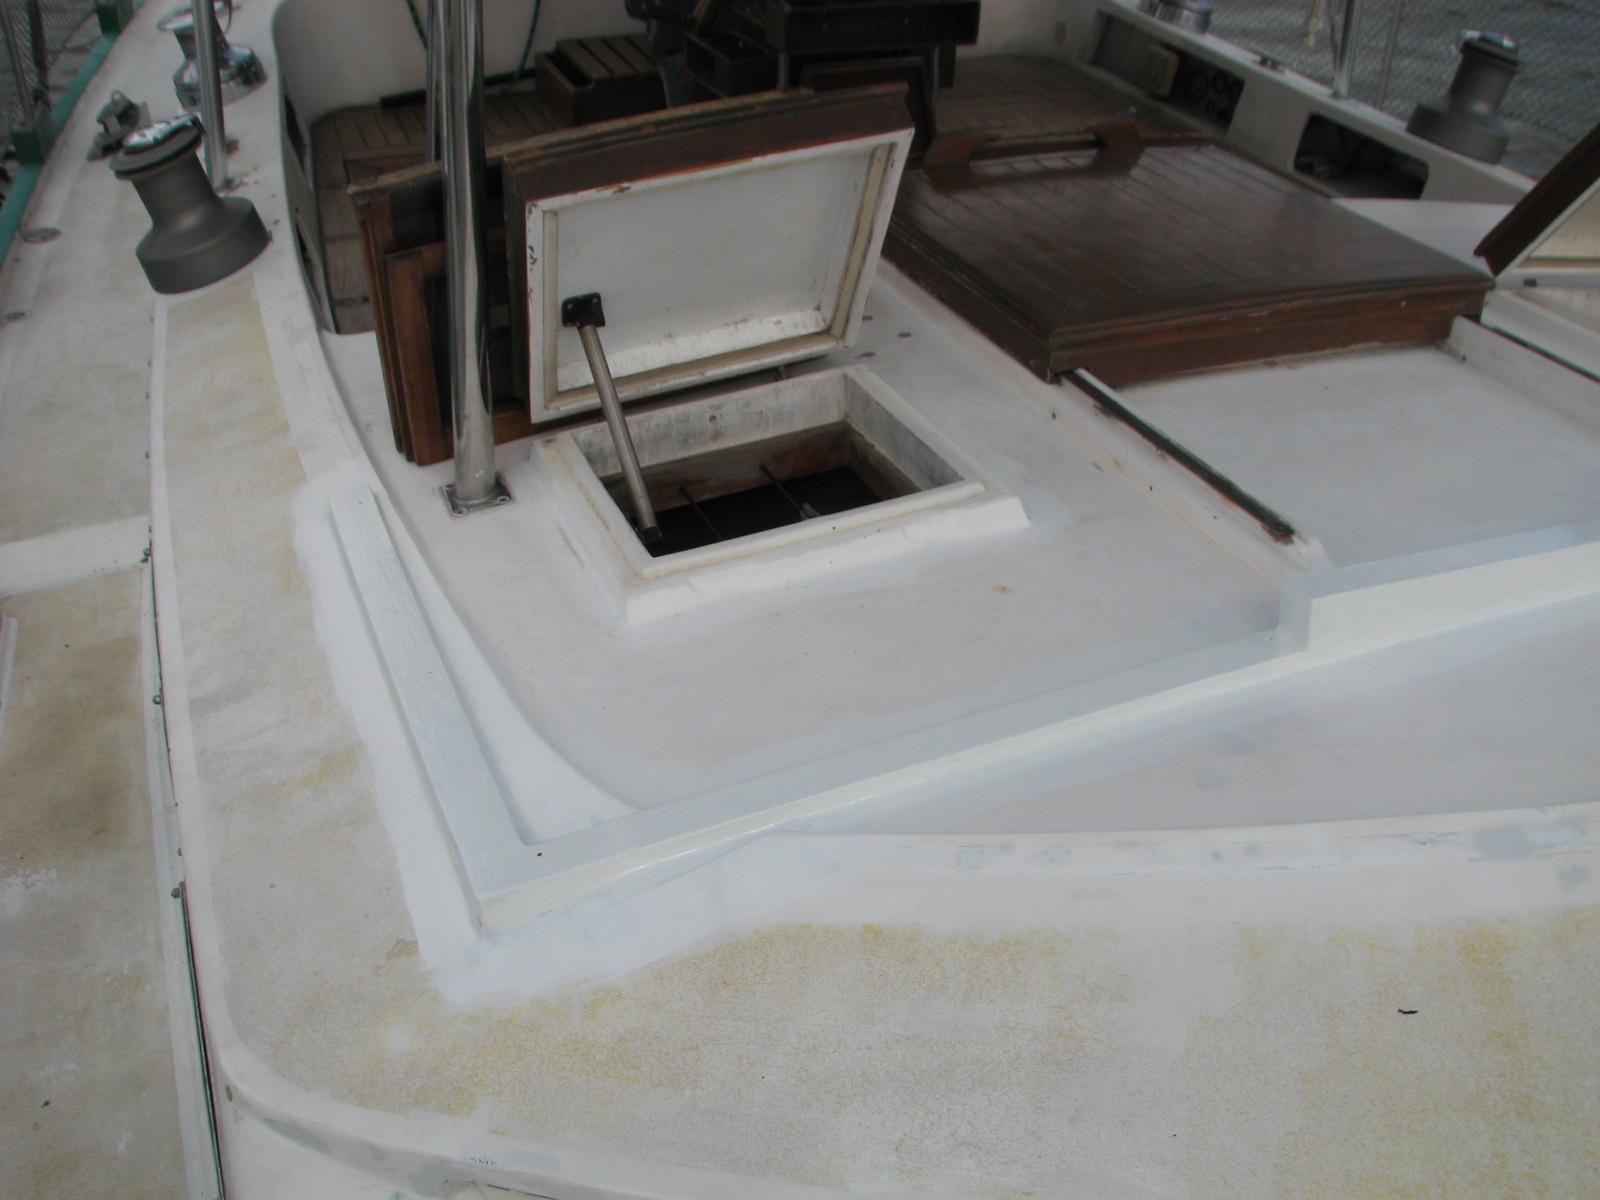
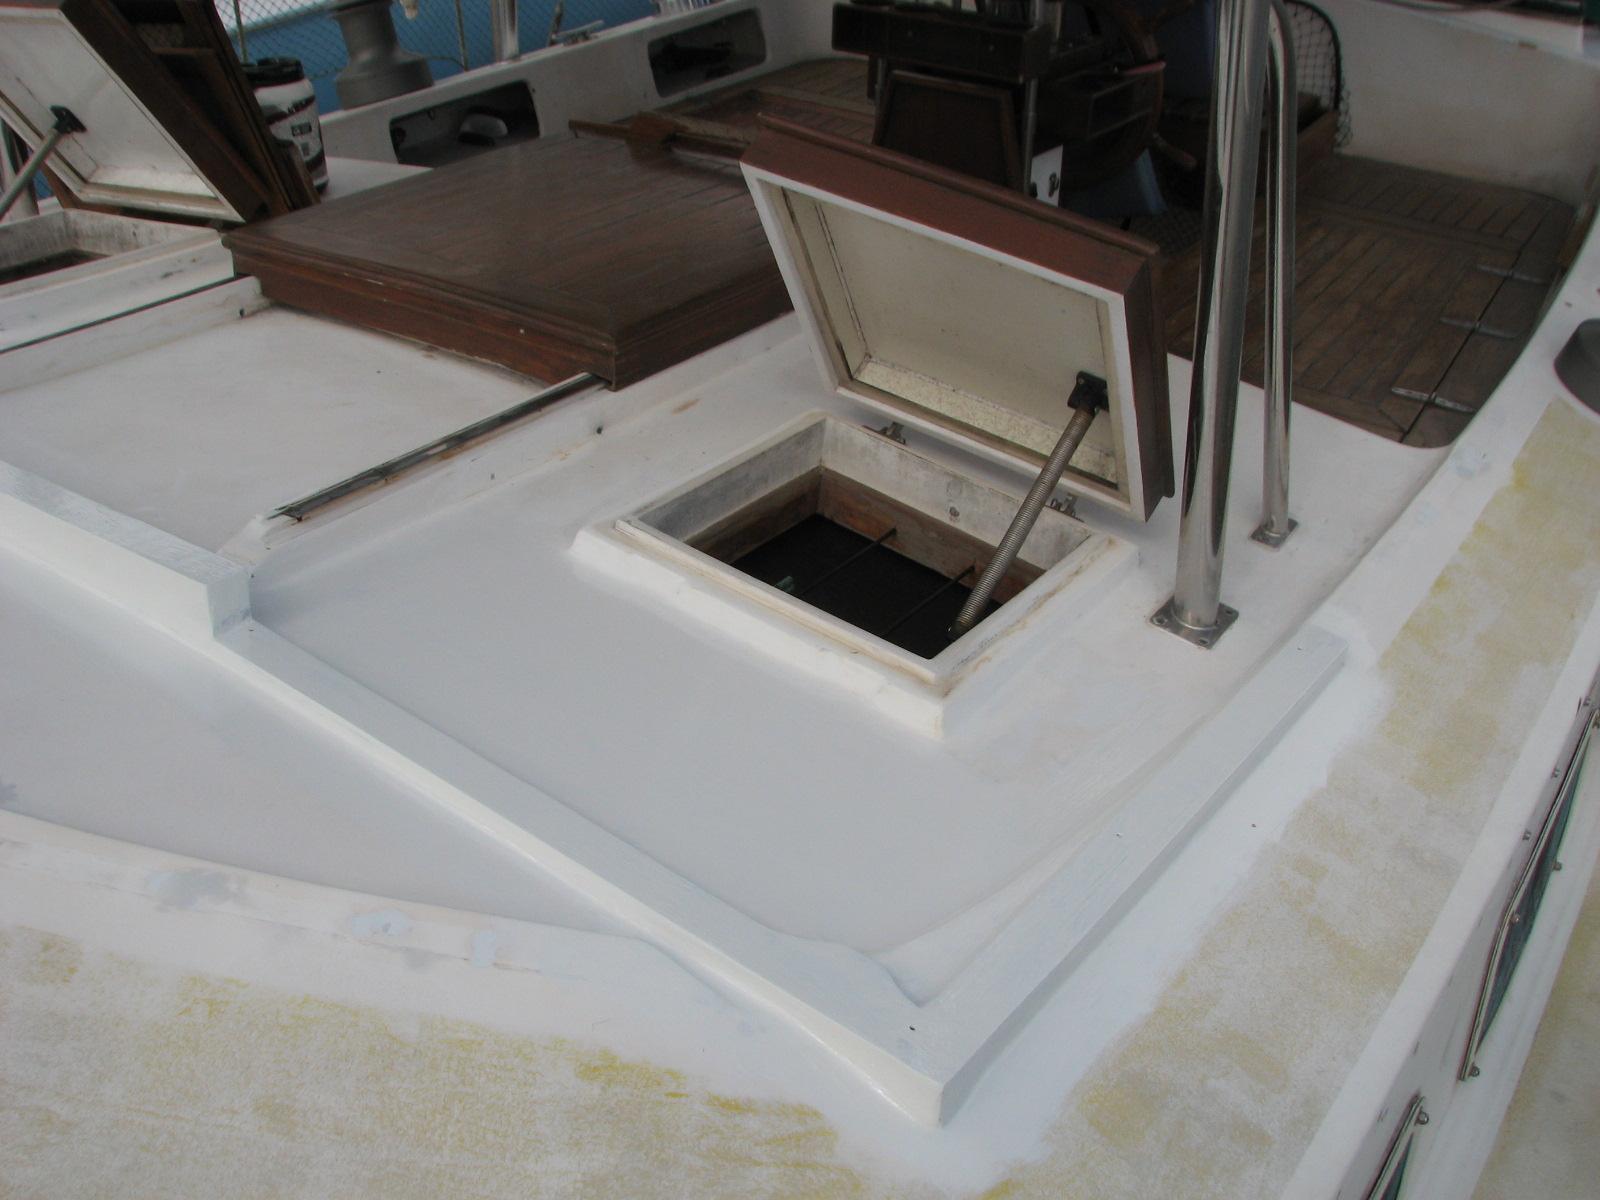
It is hard to tell the difference
between the before and after pictures of the
gelcoat
application, but I really did apply a second coat.
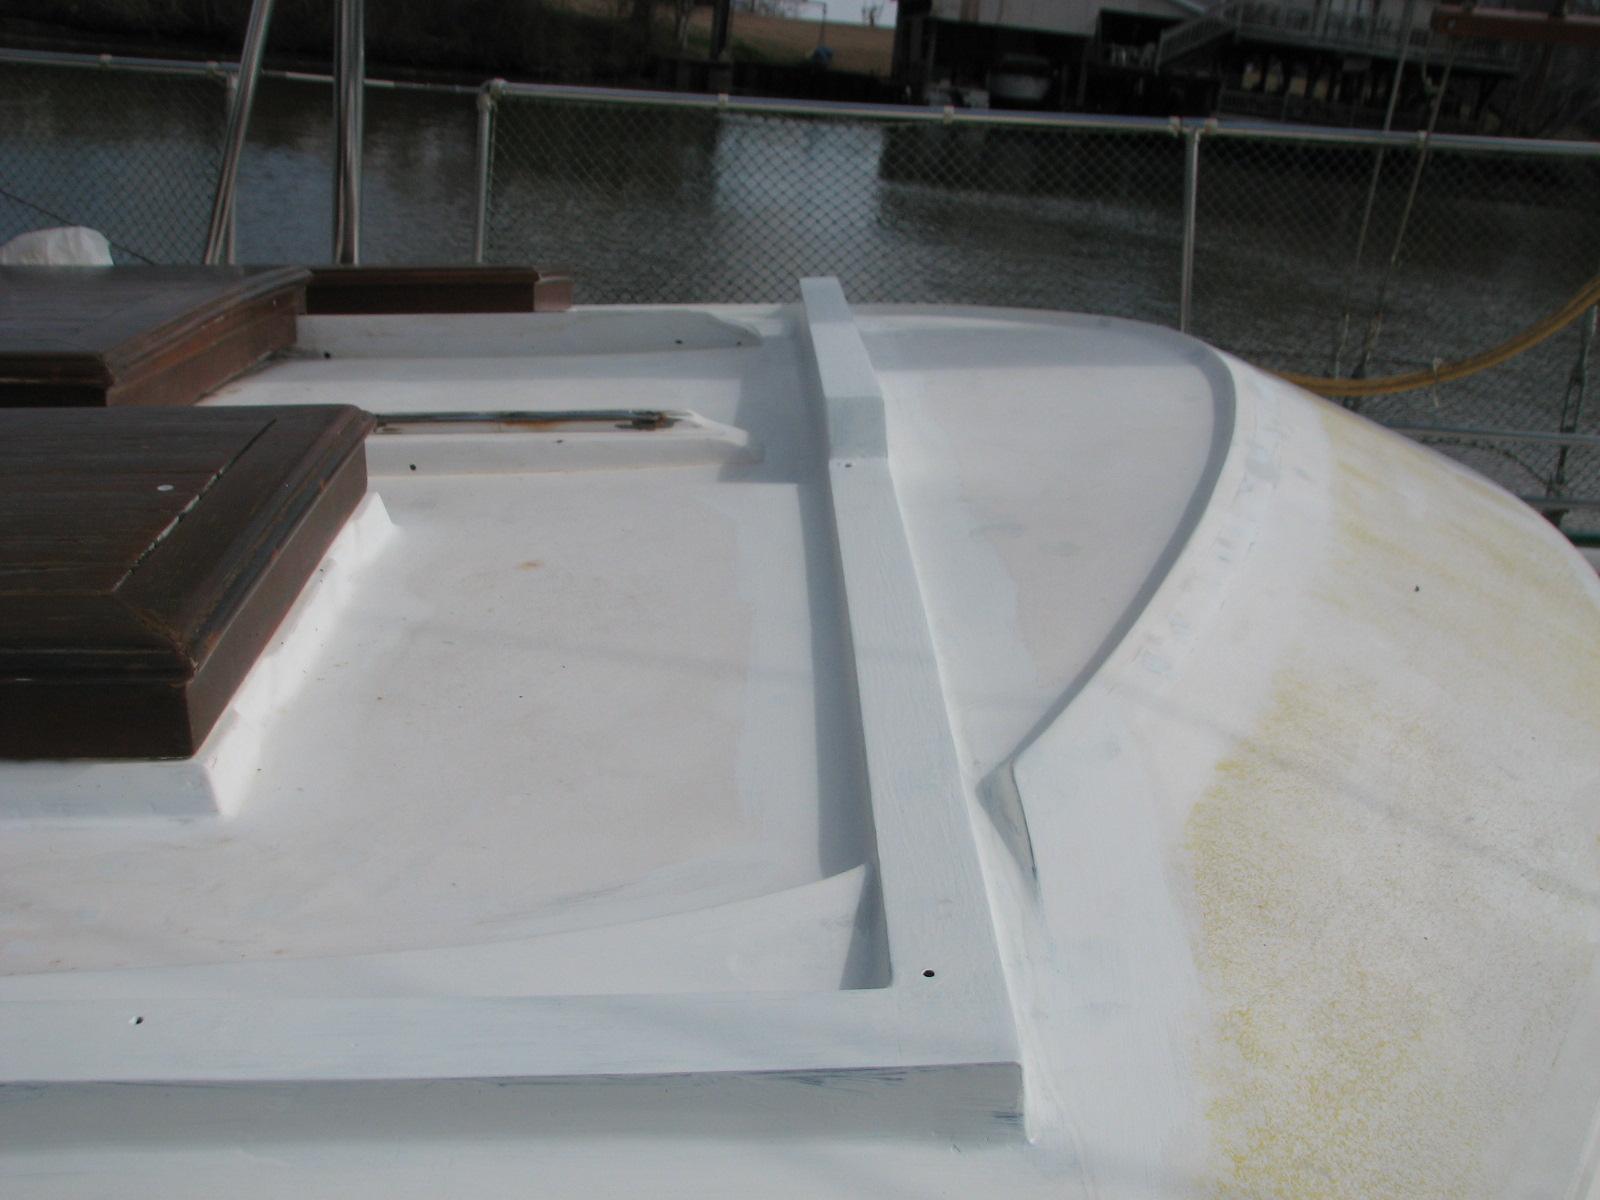
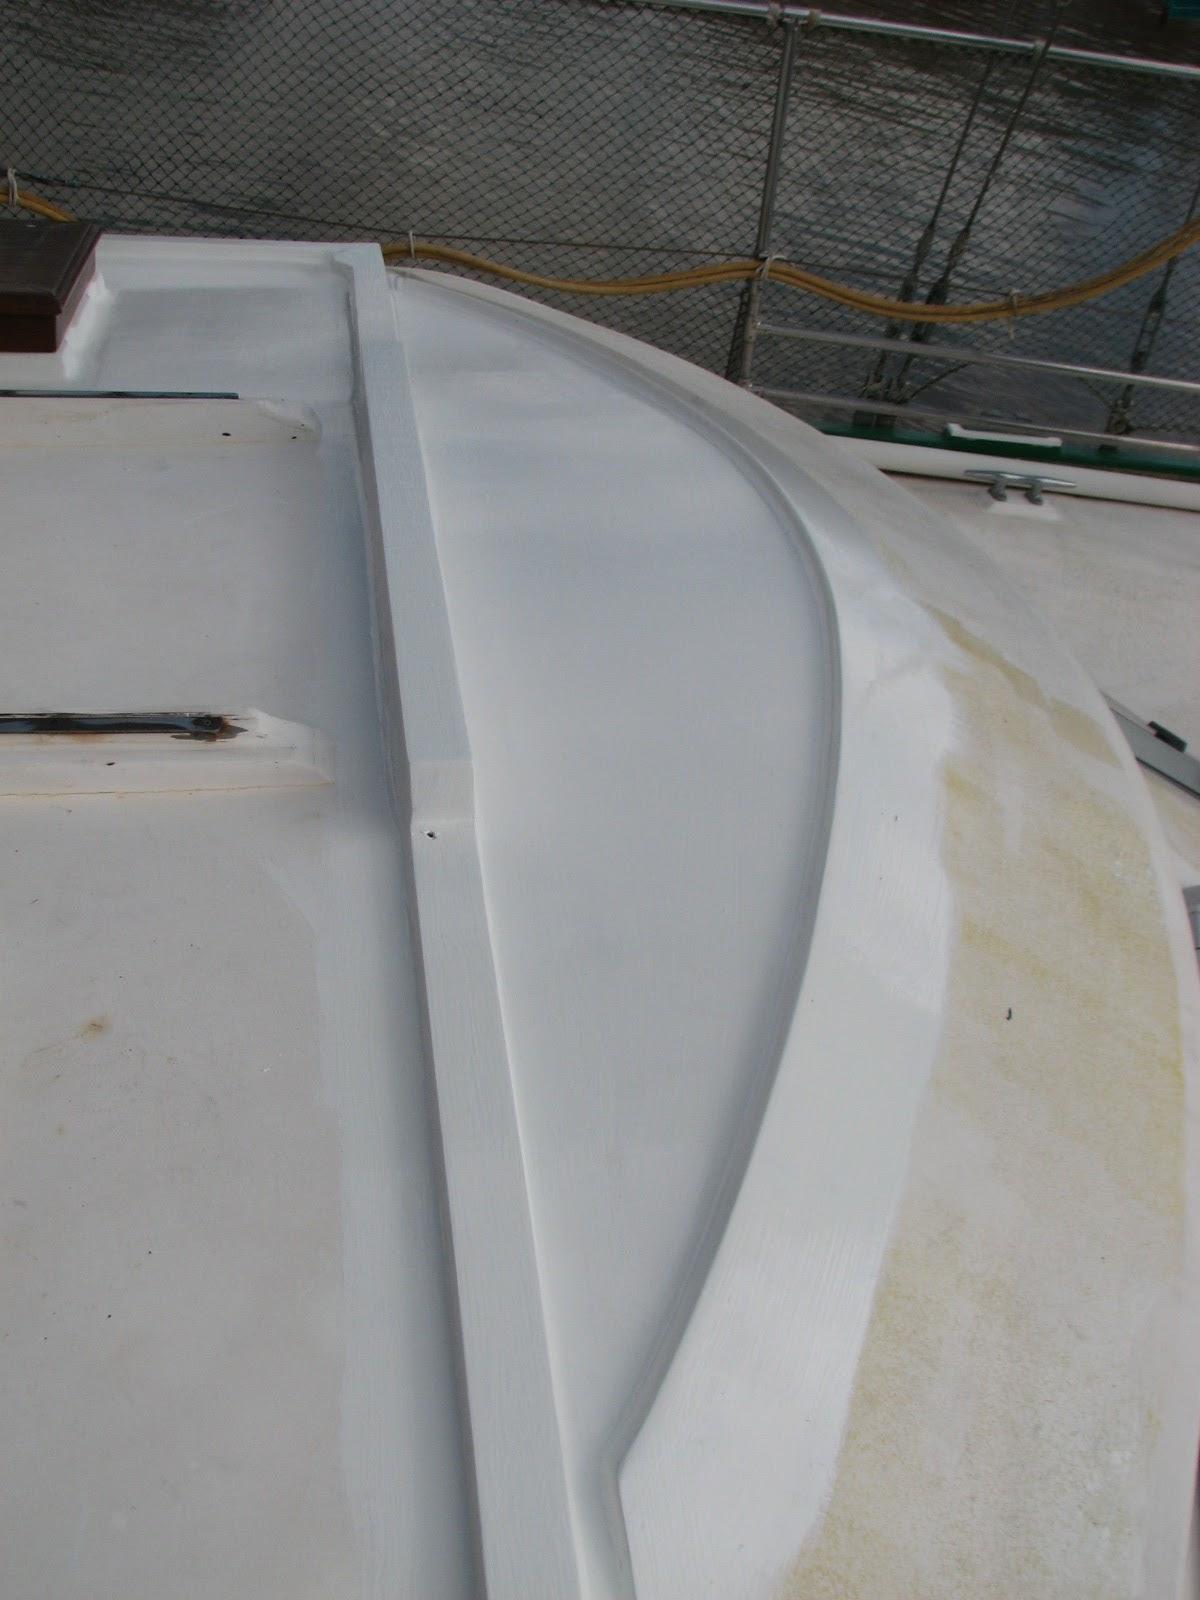
Hard Dodger Base Before Second Coat
Application
Hard Dodger Base After Second Coat
Application
I cleaned up everything I was using for
the hard dodger base gelcoat application, loaded it all into the
Black Beast, and went
back to the shop.
Once there I unloaded the
“Box O’ Resins”, and got back
into working on the boom gallows.
I had done the dry fit of the teak
pieces I was adding to the boom gallows, so I mixed a batch of
epoxy.
I applied it to the boom gallows and the new pieces of
teak
and then screwed and glued the pieces of
teak
to the boom gallows.
I filled in the spaces with additional
epoxy.
Now we just wait for the chemical reaction to take place, and I apply
the second layer of teak
pieces.
Installing The Teak
Pieces To The Boom Gallows With Epoxy
Installing The Teak
Pieces To The Boom Gallows With Epoxy
February 08, Saturday,
2014
Started off the morning with my normal
ritual of getting on the Internet, answering email, and checking the
weather, while making a pot of coffee. When the coffee is started, I
feed our two cats, Jillian
and Jordan,
and spend time with them brushing their beautiful coats.
Went to the shop
and got started straightening up the area, and getting projects
organized to make some progress. First on the list was to get the
boom gallows organized, and the instrument cluster taken apart.
As mentioned previously, the Watco
teak oil finish experiment was a bust. It seems to
hold up well indoors, but it does not hold up well outdoors. I will be
sanding down the gallows and the instrument cluster housing and going
back to Cetol
teak
treatment. I also have to add some wood to the boom gallows to accomodate the
solar panel installation.
Instrument Cluster Housing Before
Taking Apart
Taking Instrument Cluster Housing Apart
Boom Gallows Ready For Sanding
Next on the list was to repack some
caulking to be shipped to New Zealand. We have some friends who live
in New Zealand who needed some caulking for their wood boat that was
only available here in the USA. They asked me if they had the
caulking sent to me, would I repack the product into USPS
international flat rate boxes and send it to them. Of
course I agreed.
We received the caulking last Wednesday
afternoon, but it was too cold to go to the shop and do the
repacking. I got the repacking done today. The USPS
international flat rate boxes have a limit of 20
pounds, so each box is under that limit. All that is remaining is to
fill out the customs forms and get them sent.
Inside Of One Packed Box
Outside Of Packed Box
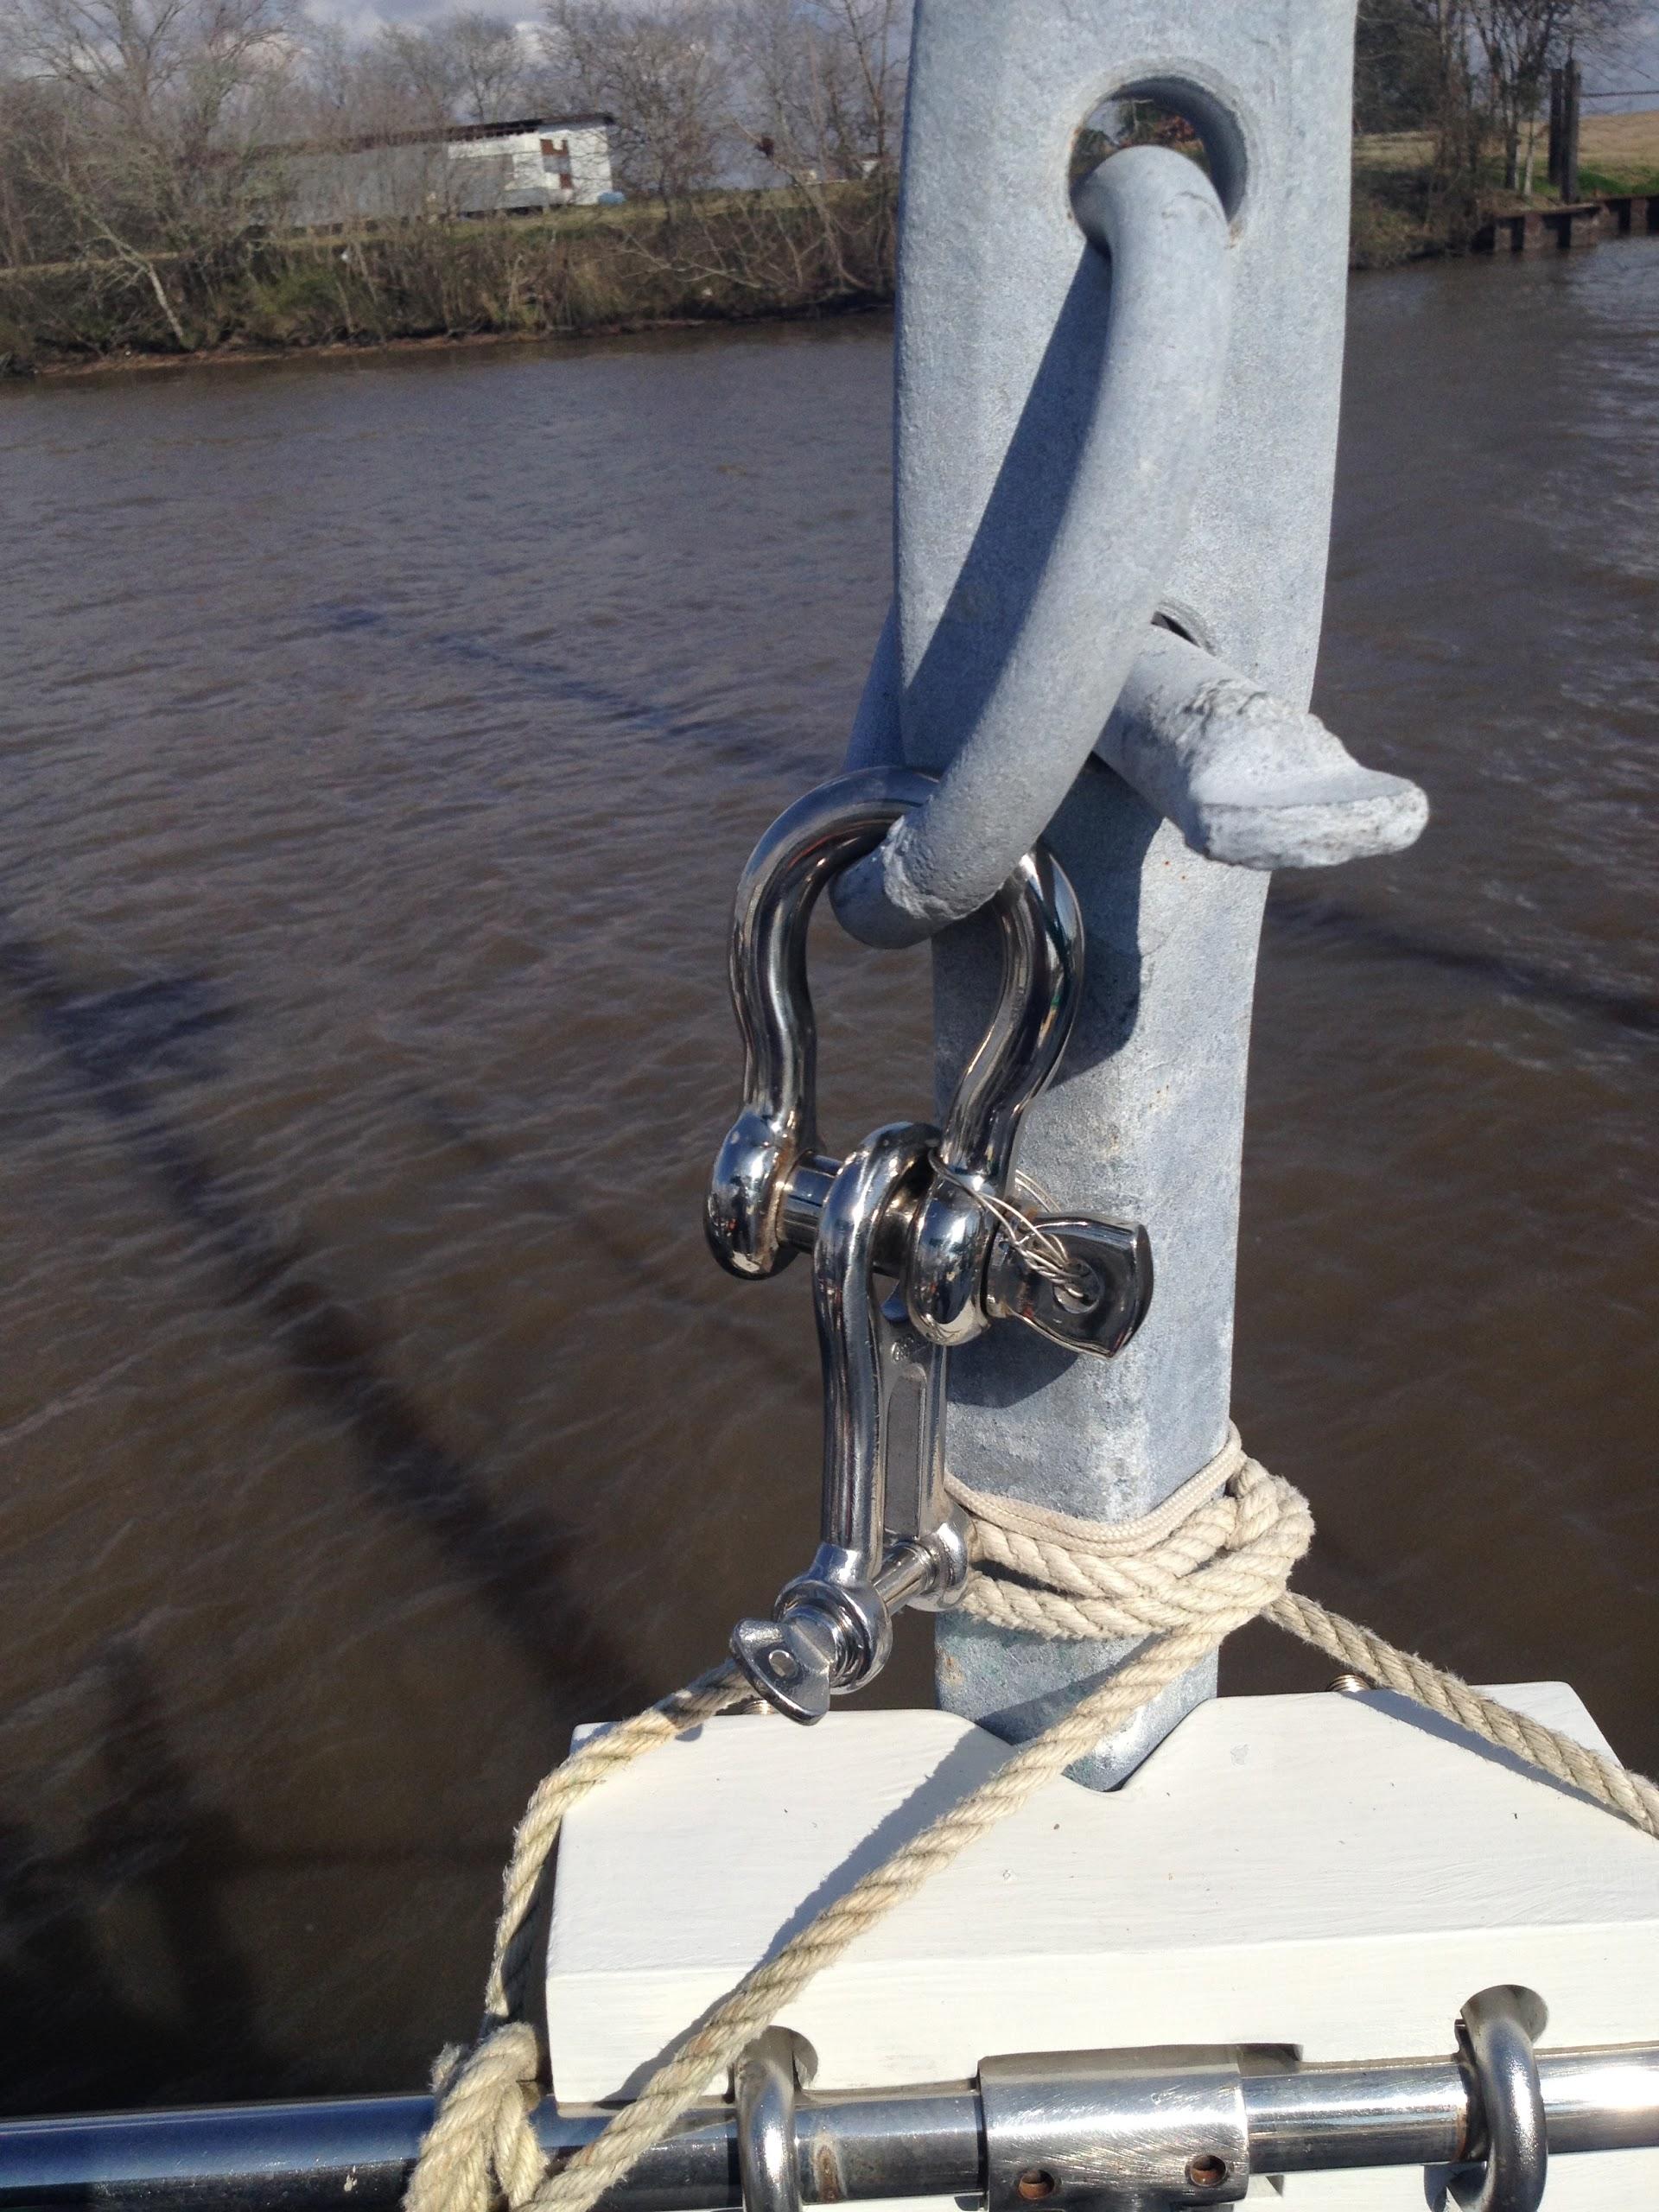
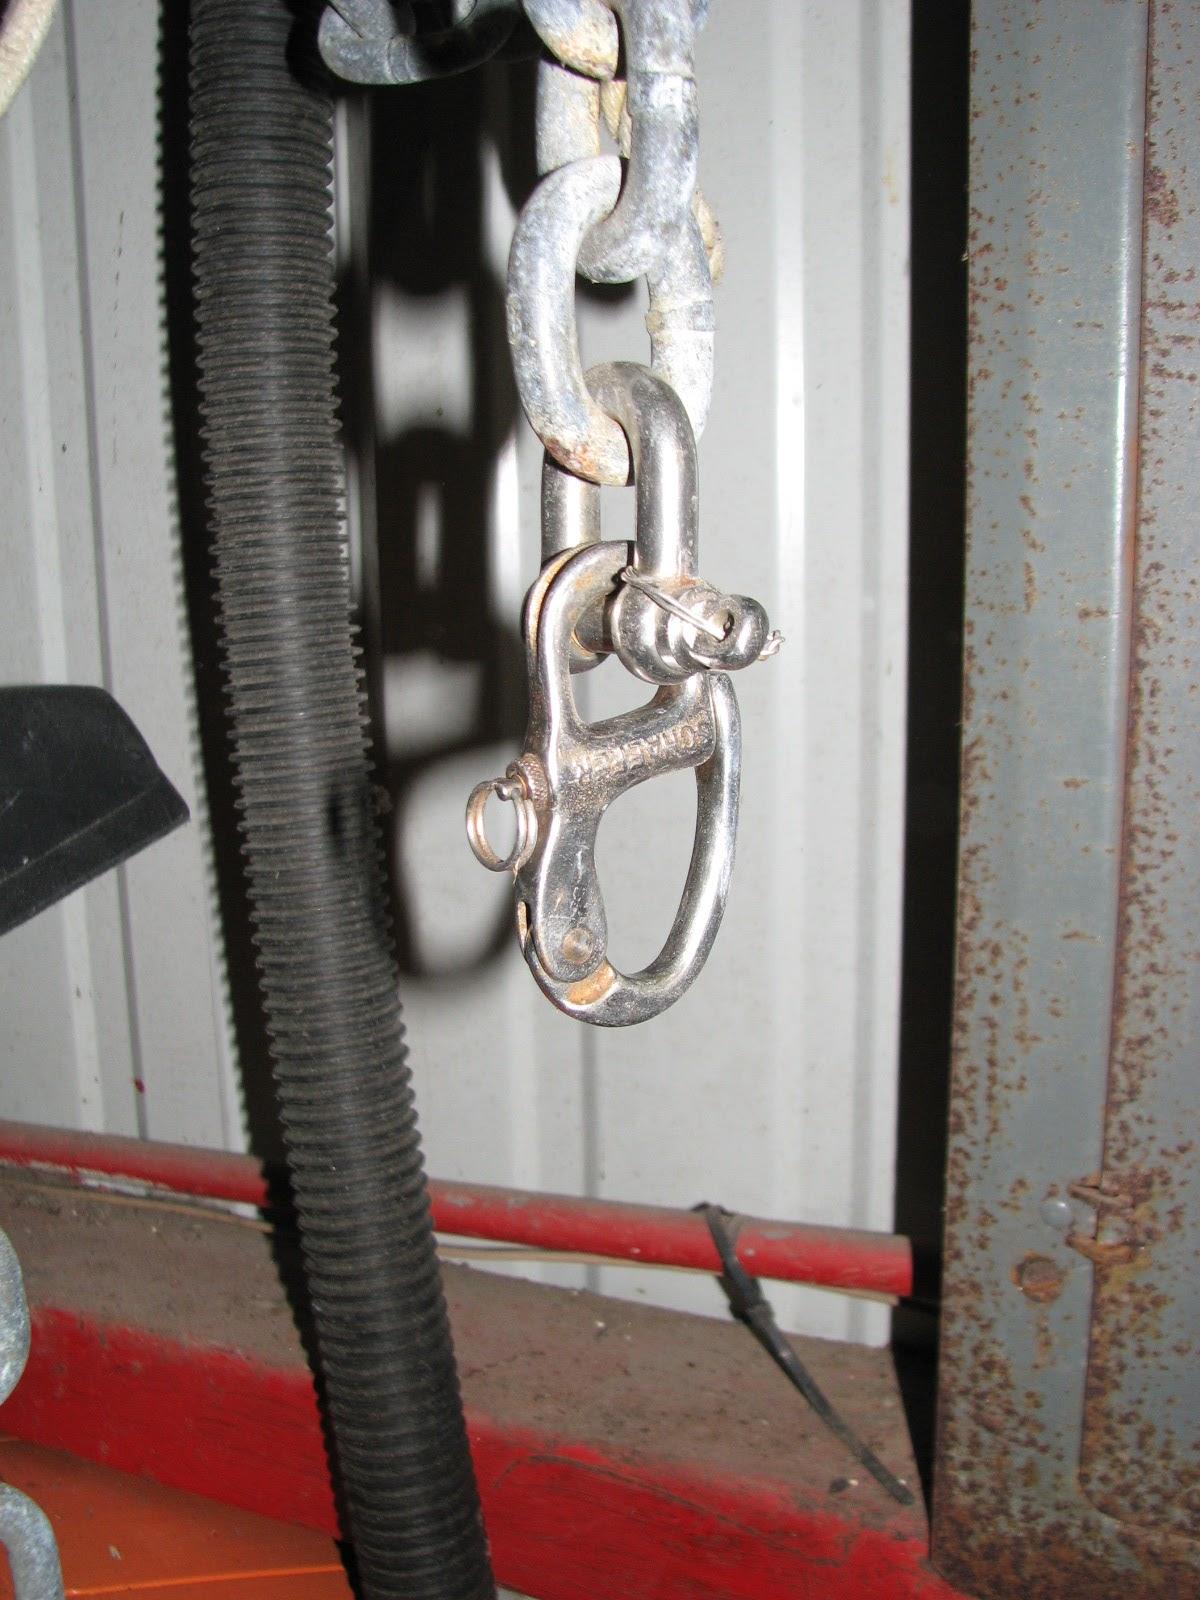
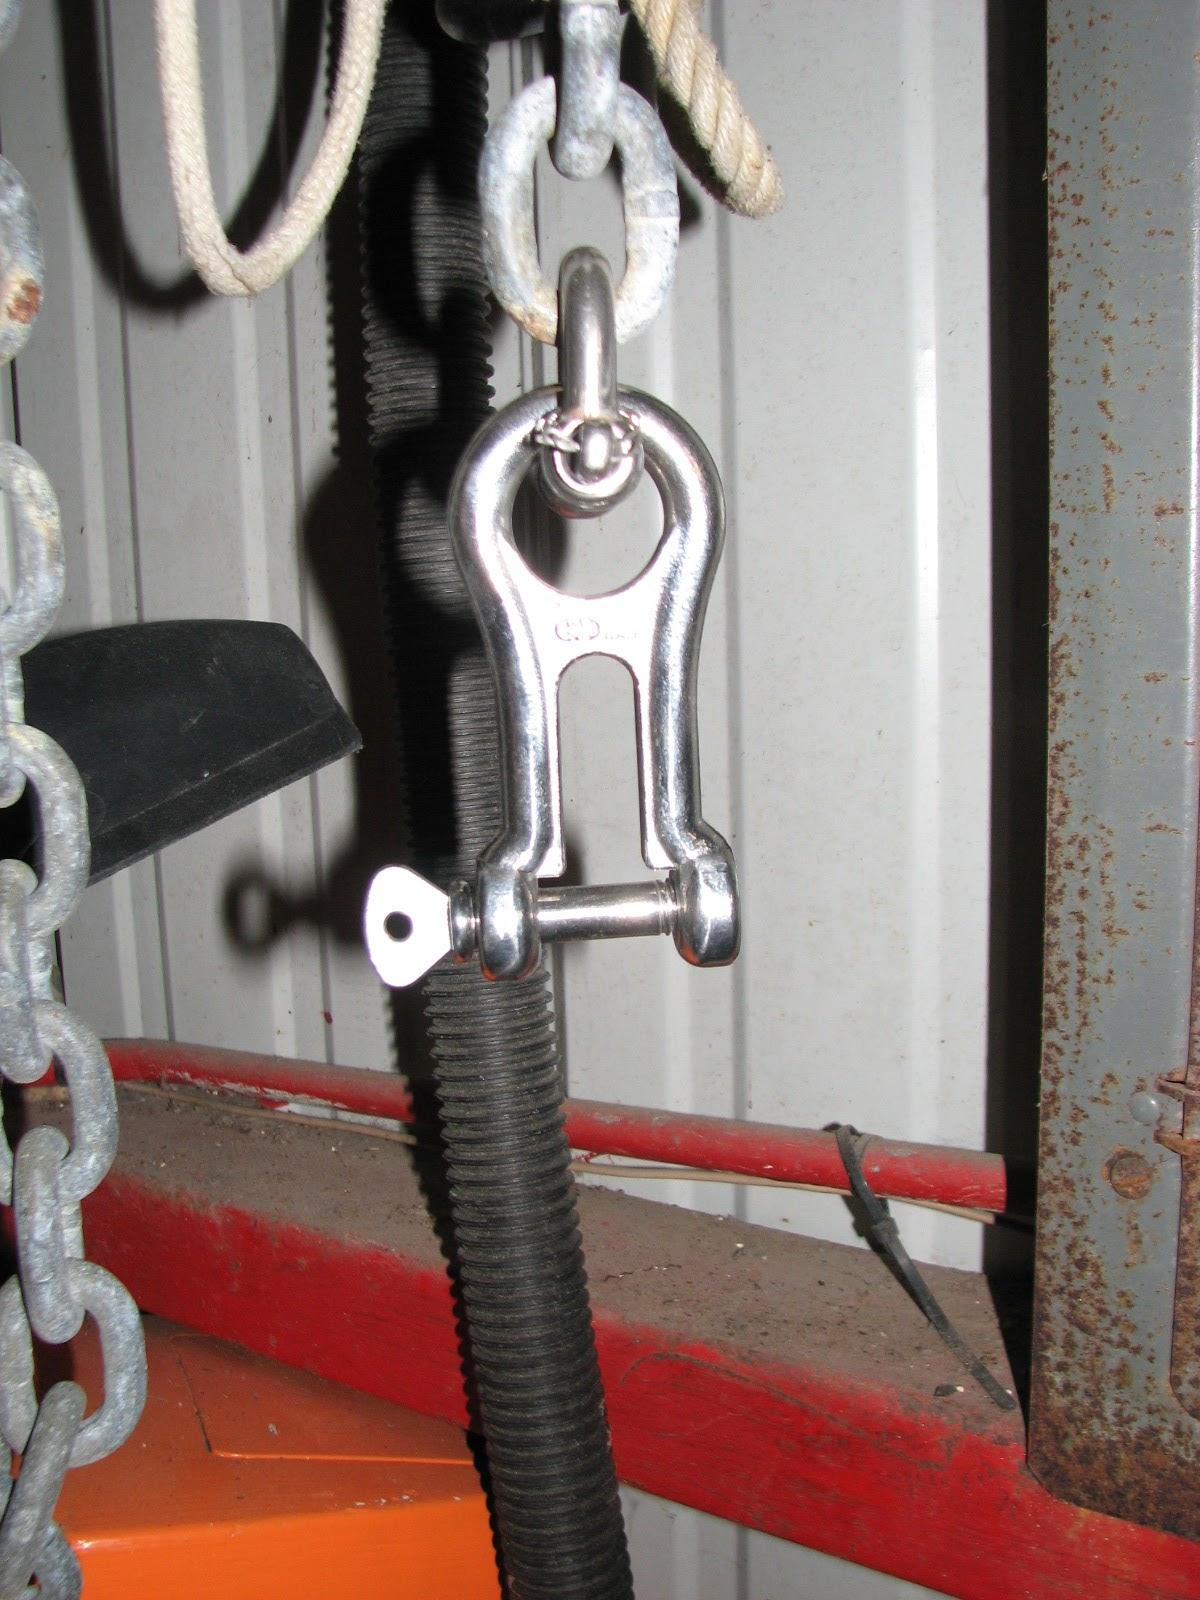
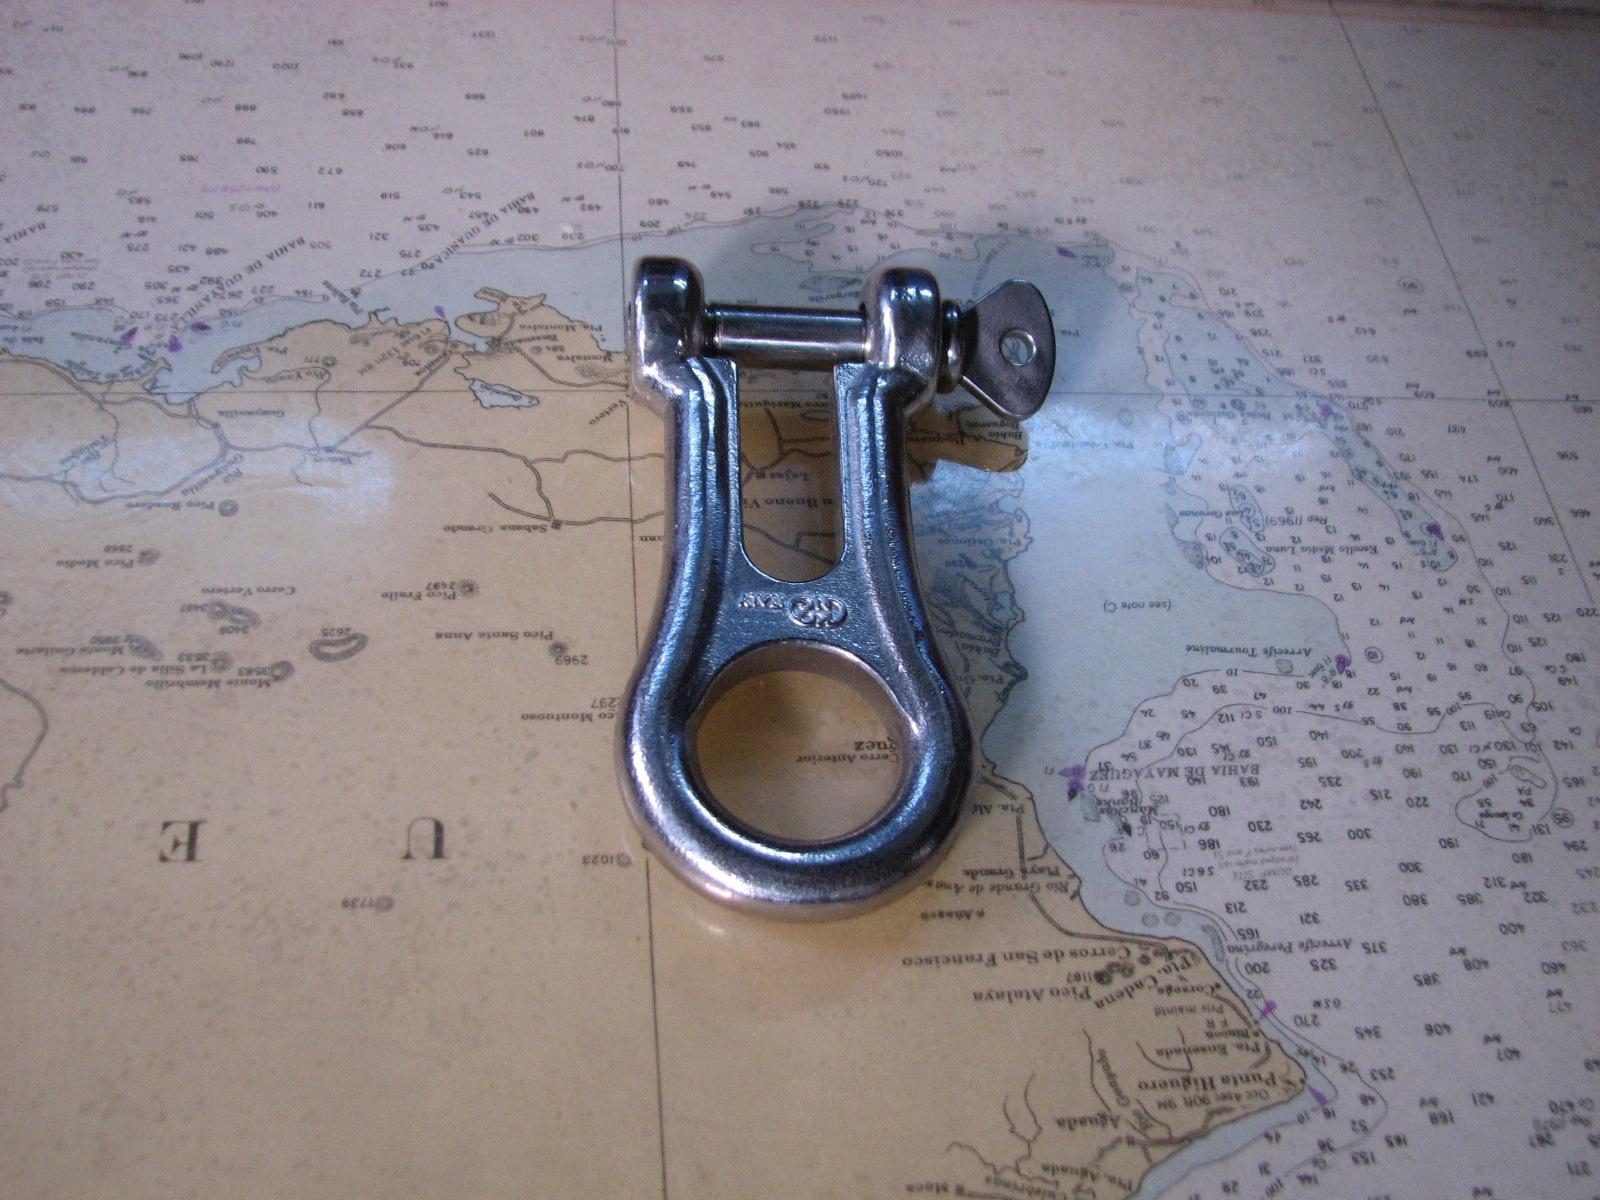
I got the old shackle off of my Bruce
anchor that I use as my pony anchor and put on the new cast stainless
chain gripper. This item is so cool, I just had to have two.
Old Attachment Shackle
New Chain Gripper On The End Of The
Chain
Close-up Of New Chain Gripper On The
End Of The Chain
Sorry about that, I just had to do the
closeup, because this chain gripper is just the coolest thing.
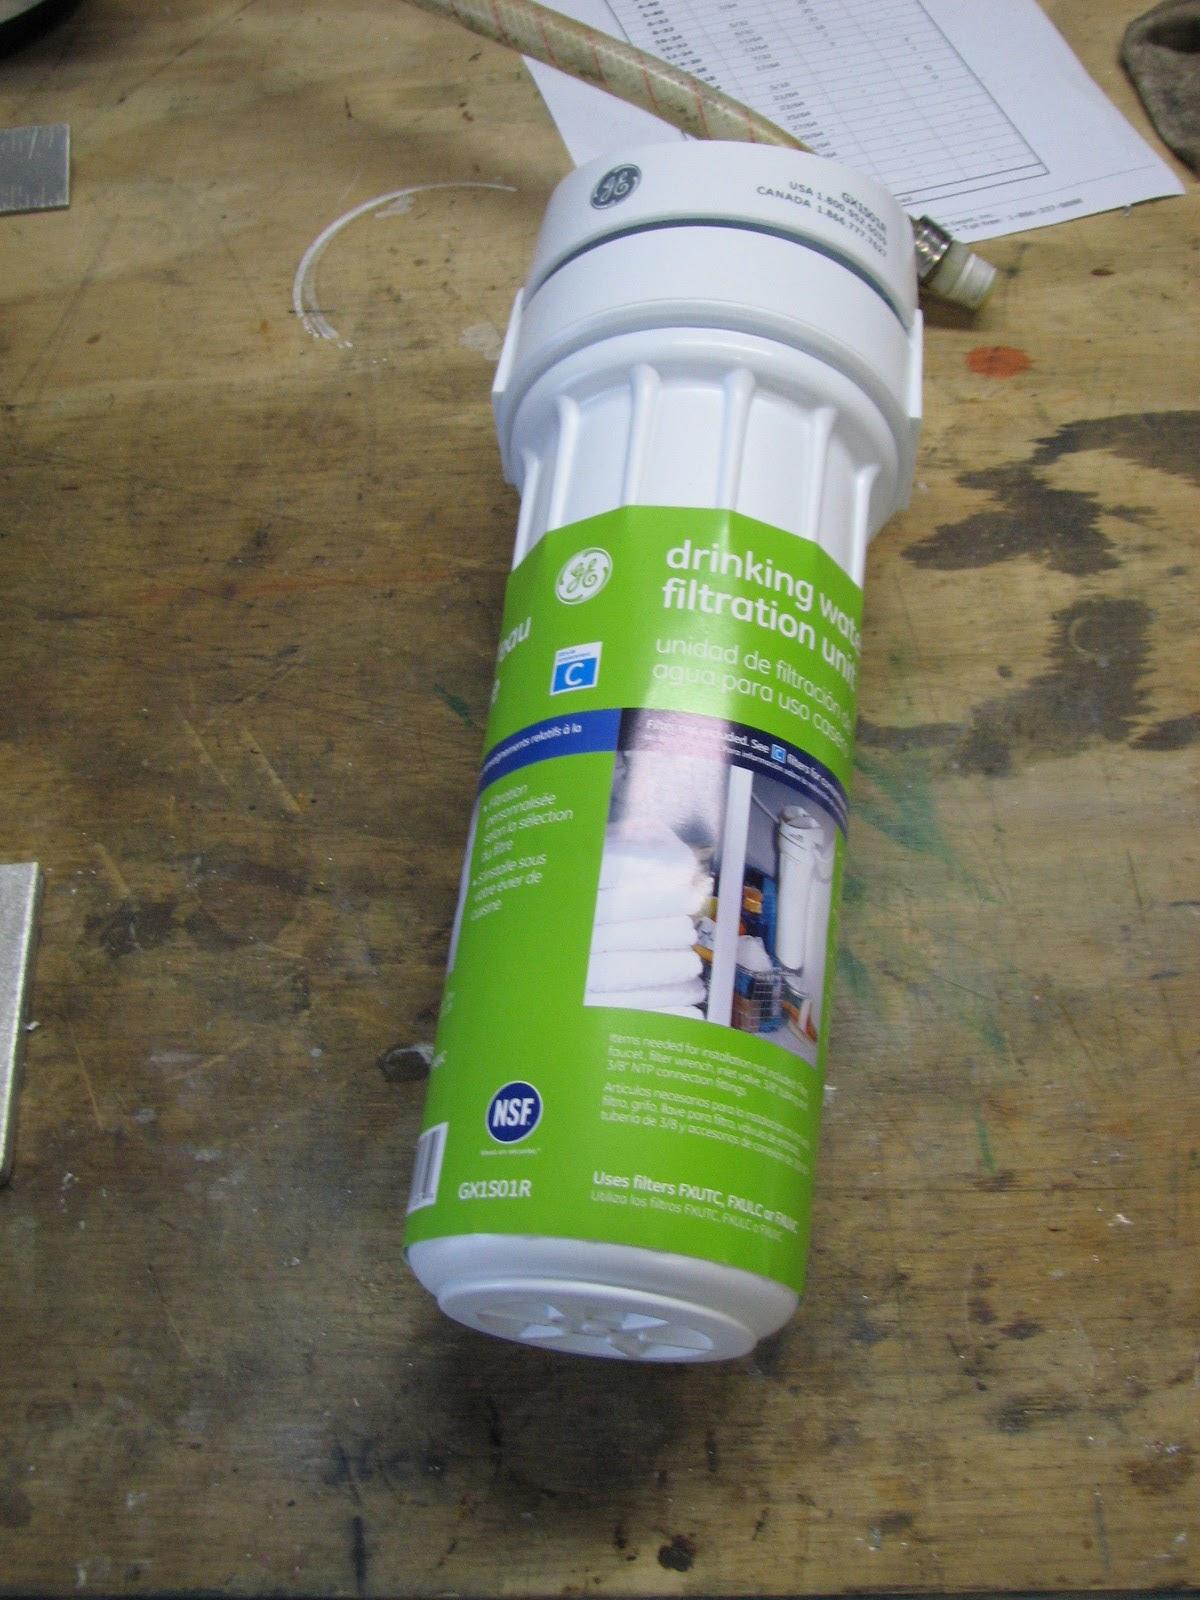
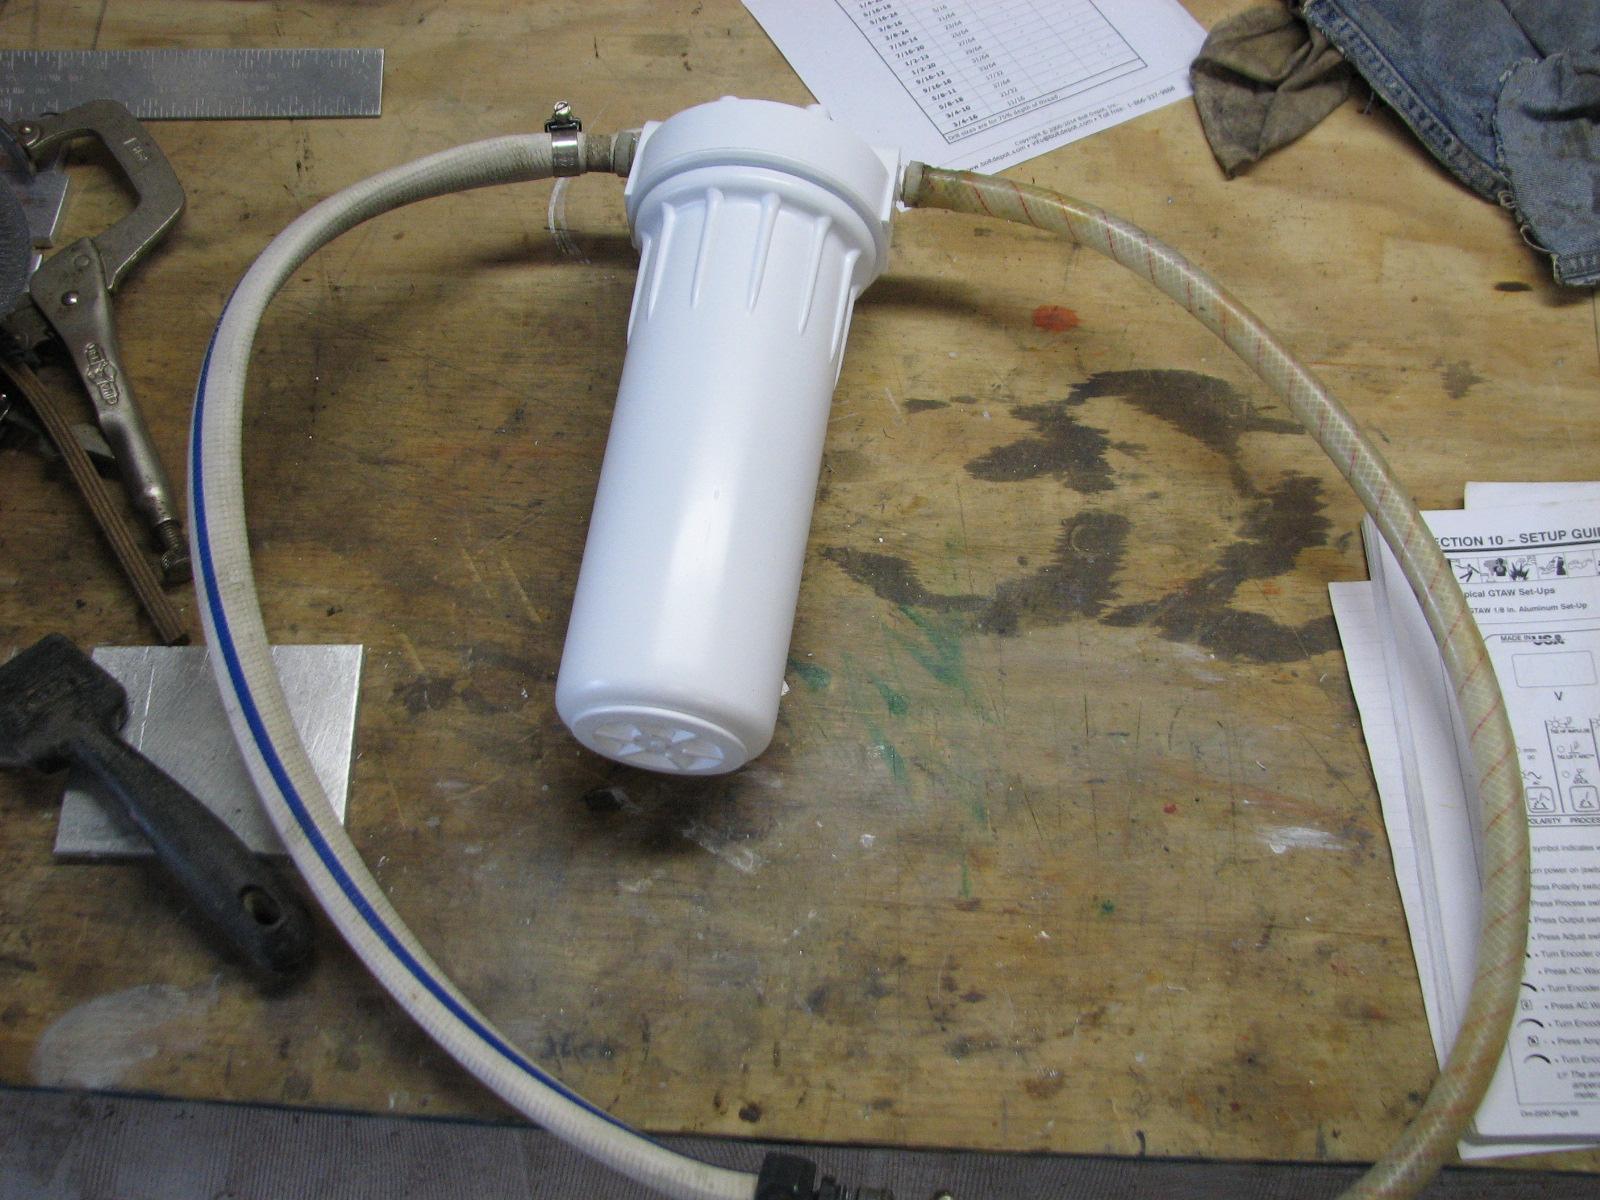
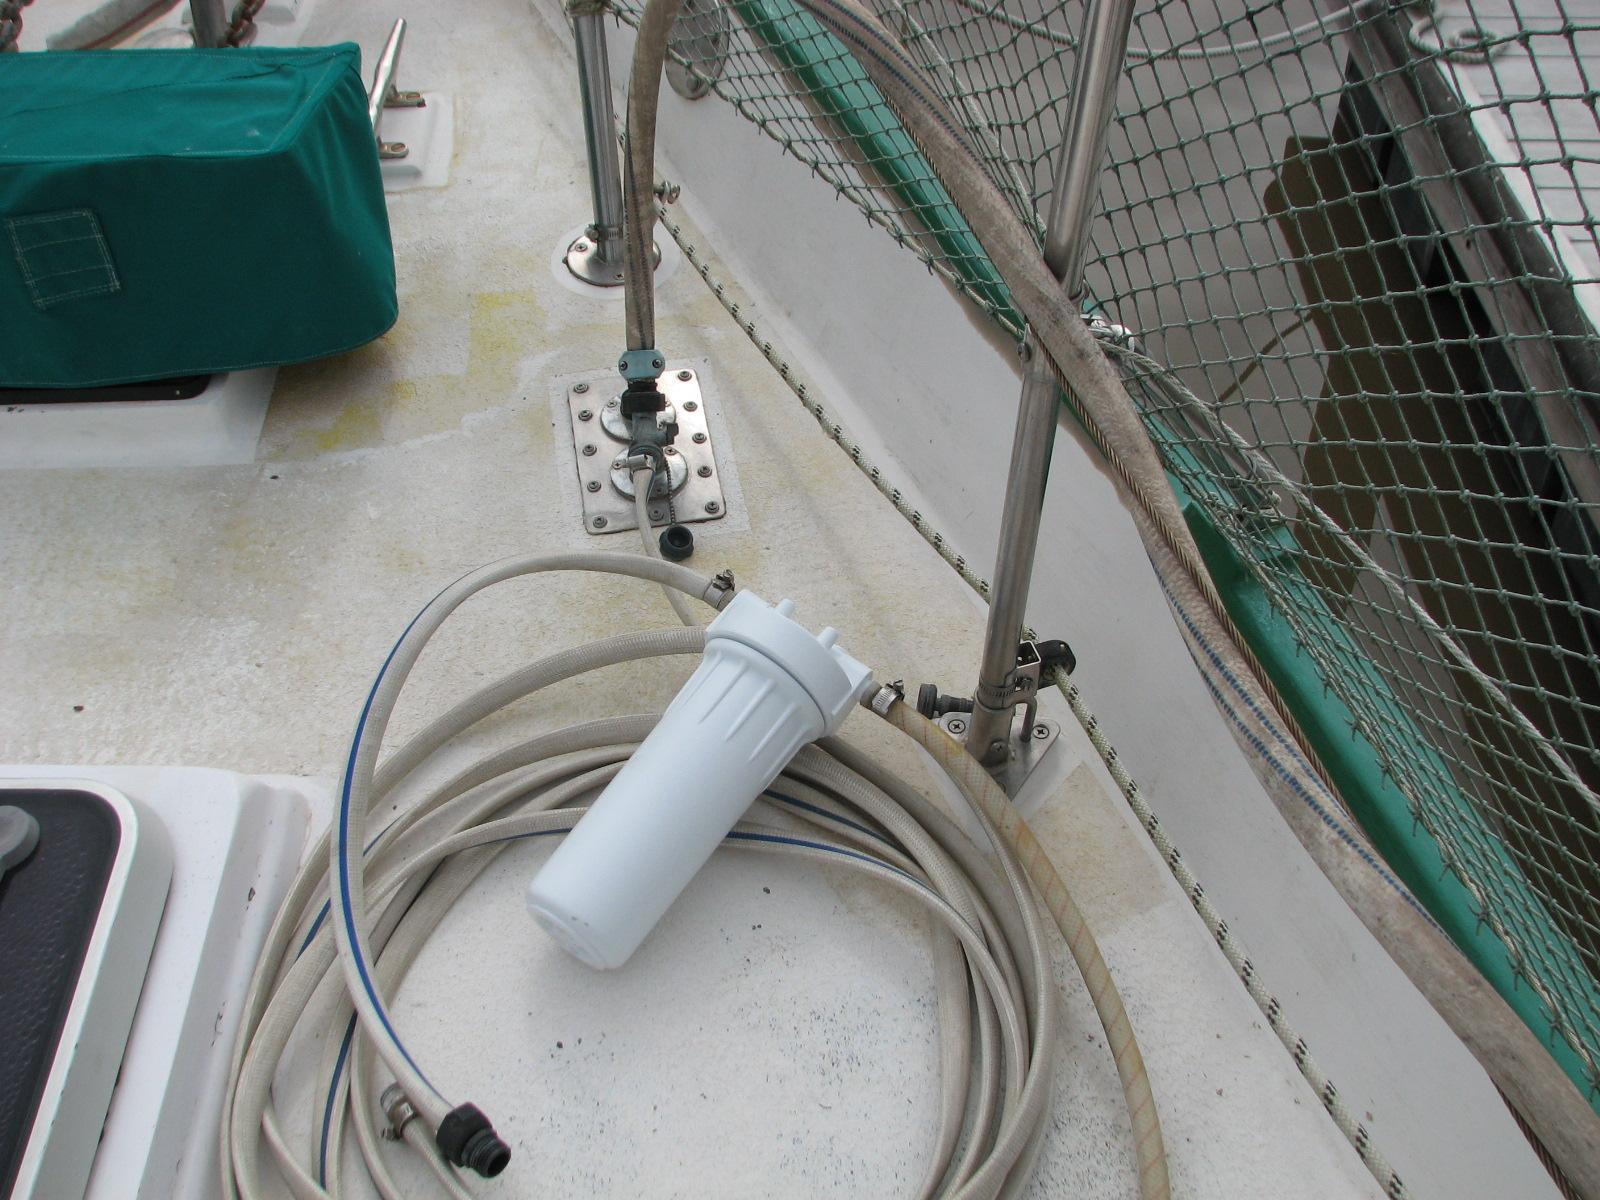
Earlier in the week I had purchased a
new water filter housing to replace the one that Winter
Storm Kronos took from me. I connected the hose barbs
to the new housing with new teflon tape. When I go back to DREAM
AWAY, I will put the new housing into the fresh water system. This
filter allows me to filter the fresh water coming onto DREAM AWAY
before it even gets into the onboard tanks.
New Filter Housing
Hose Barbs And Hoses Attached To Filter
Housing
Was a month behind on one of the
shop
calendars, so made the adjustment to February on the construction
babes calendar.
Now We Have February
I had brought over to the
shop
my fuel filter to filter some diesel fuel a cruiser had given me. He
had pumped some diesel into his water tank, and when we pumped out
the diesel he gave it to me. All I had to do was filter out the
water, and I should have some good diesel.
Using Filter To Clean Diesel Fuel
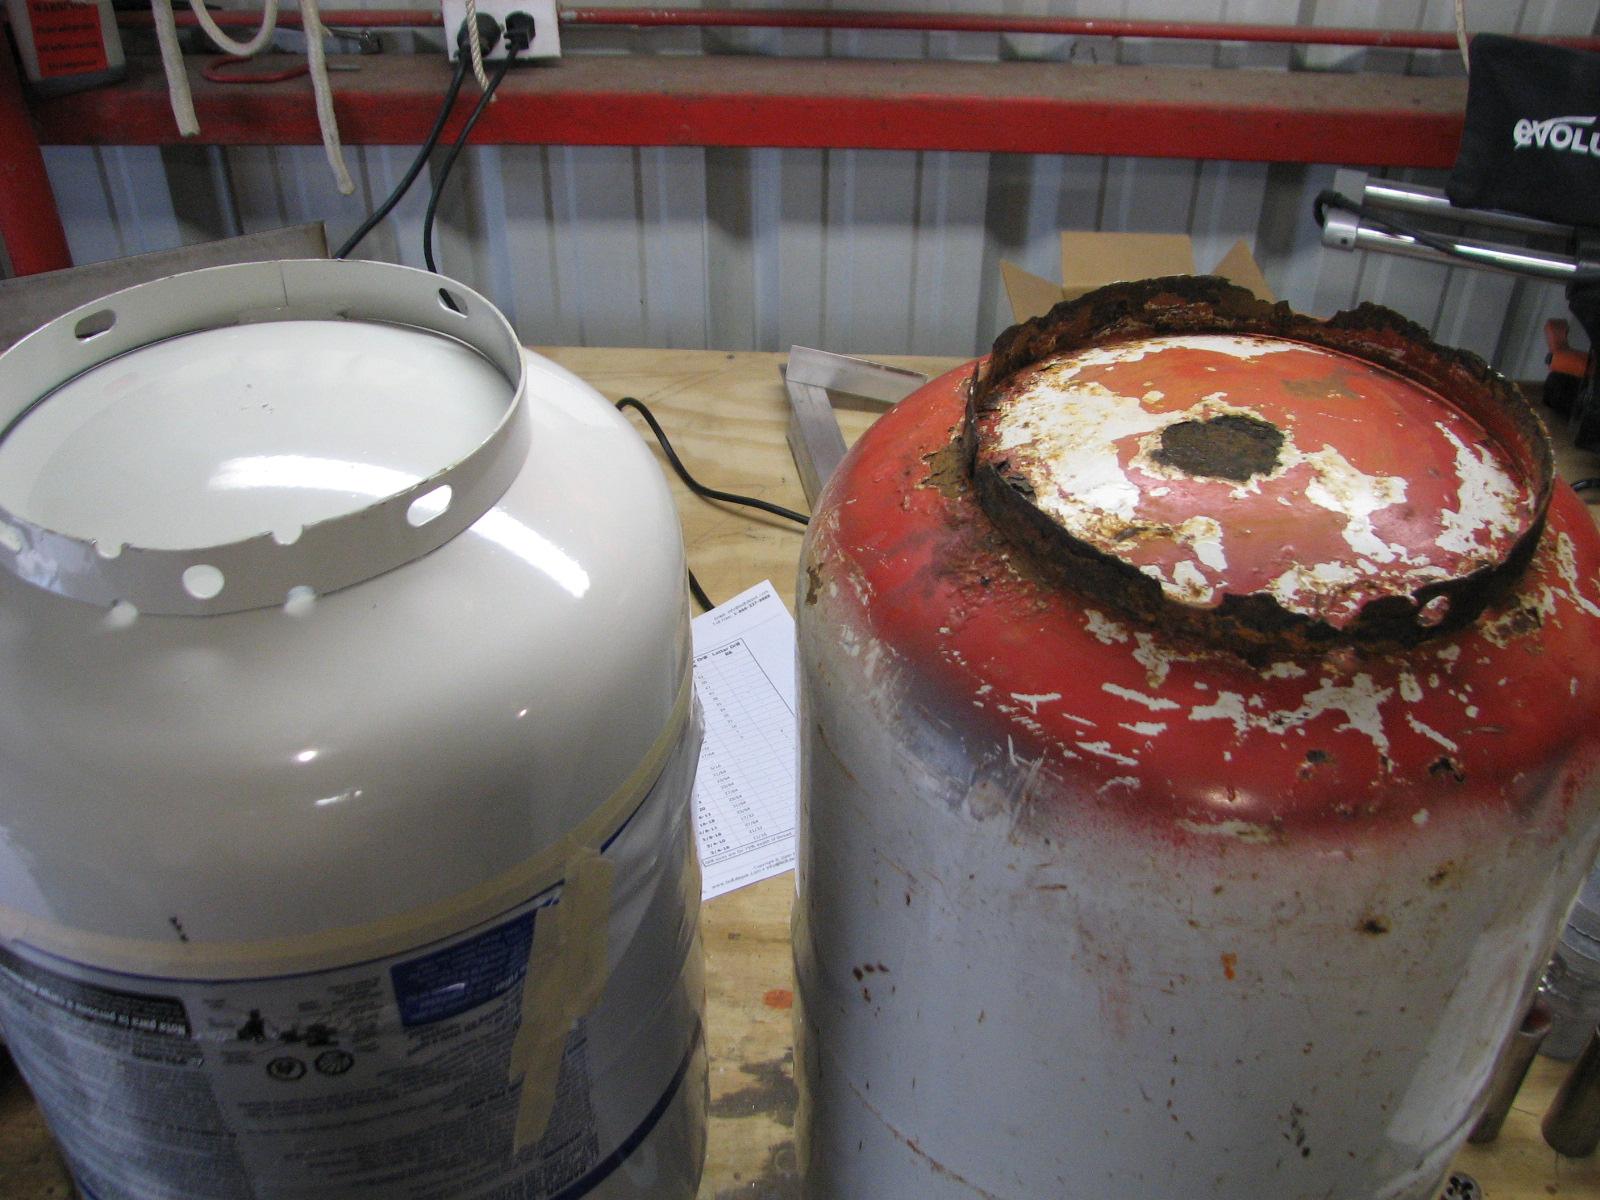
I had purchased another new propane
tank to replace the present tank, because of rust issues. Really
concerned that I could have some problems with my present tank. They
have lasted a good 15 years, so there is no saying I have not got
good use out of them. I plan to paint the bottom of the new tank and
put the door trim on the rim to keep the rust from getting to the
tank.
New Propane Tank And Old Propane Tank
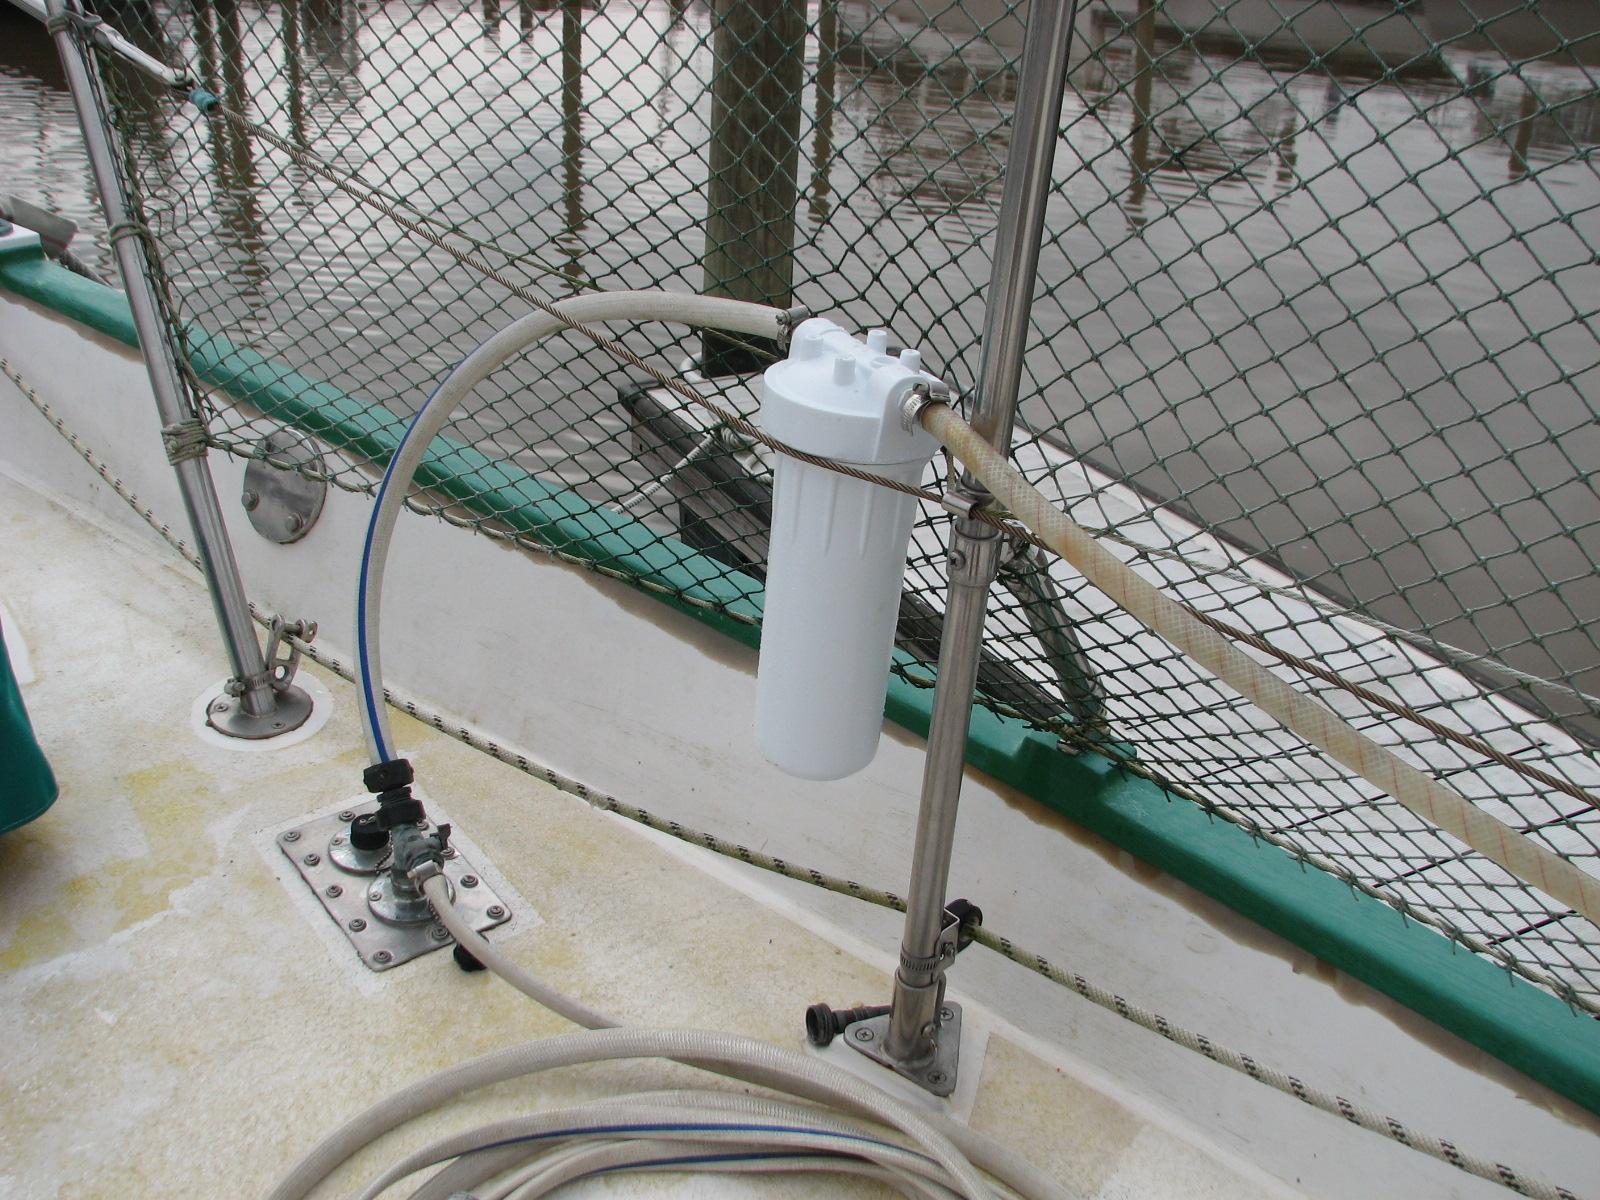
Kitty called and she was up, so I went
over to DREAM AWAY and had breakfast. After breakfast, I got to work
on installing the new water filter housing into our fresh water
system.
New Water Filter Housing And Hoses Ready For Installation
New Water Filter Housing And Hoses Installaled
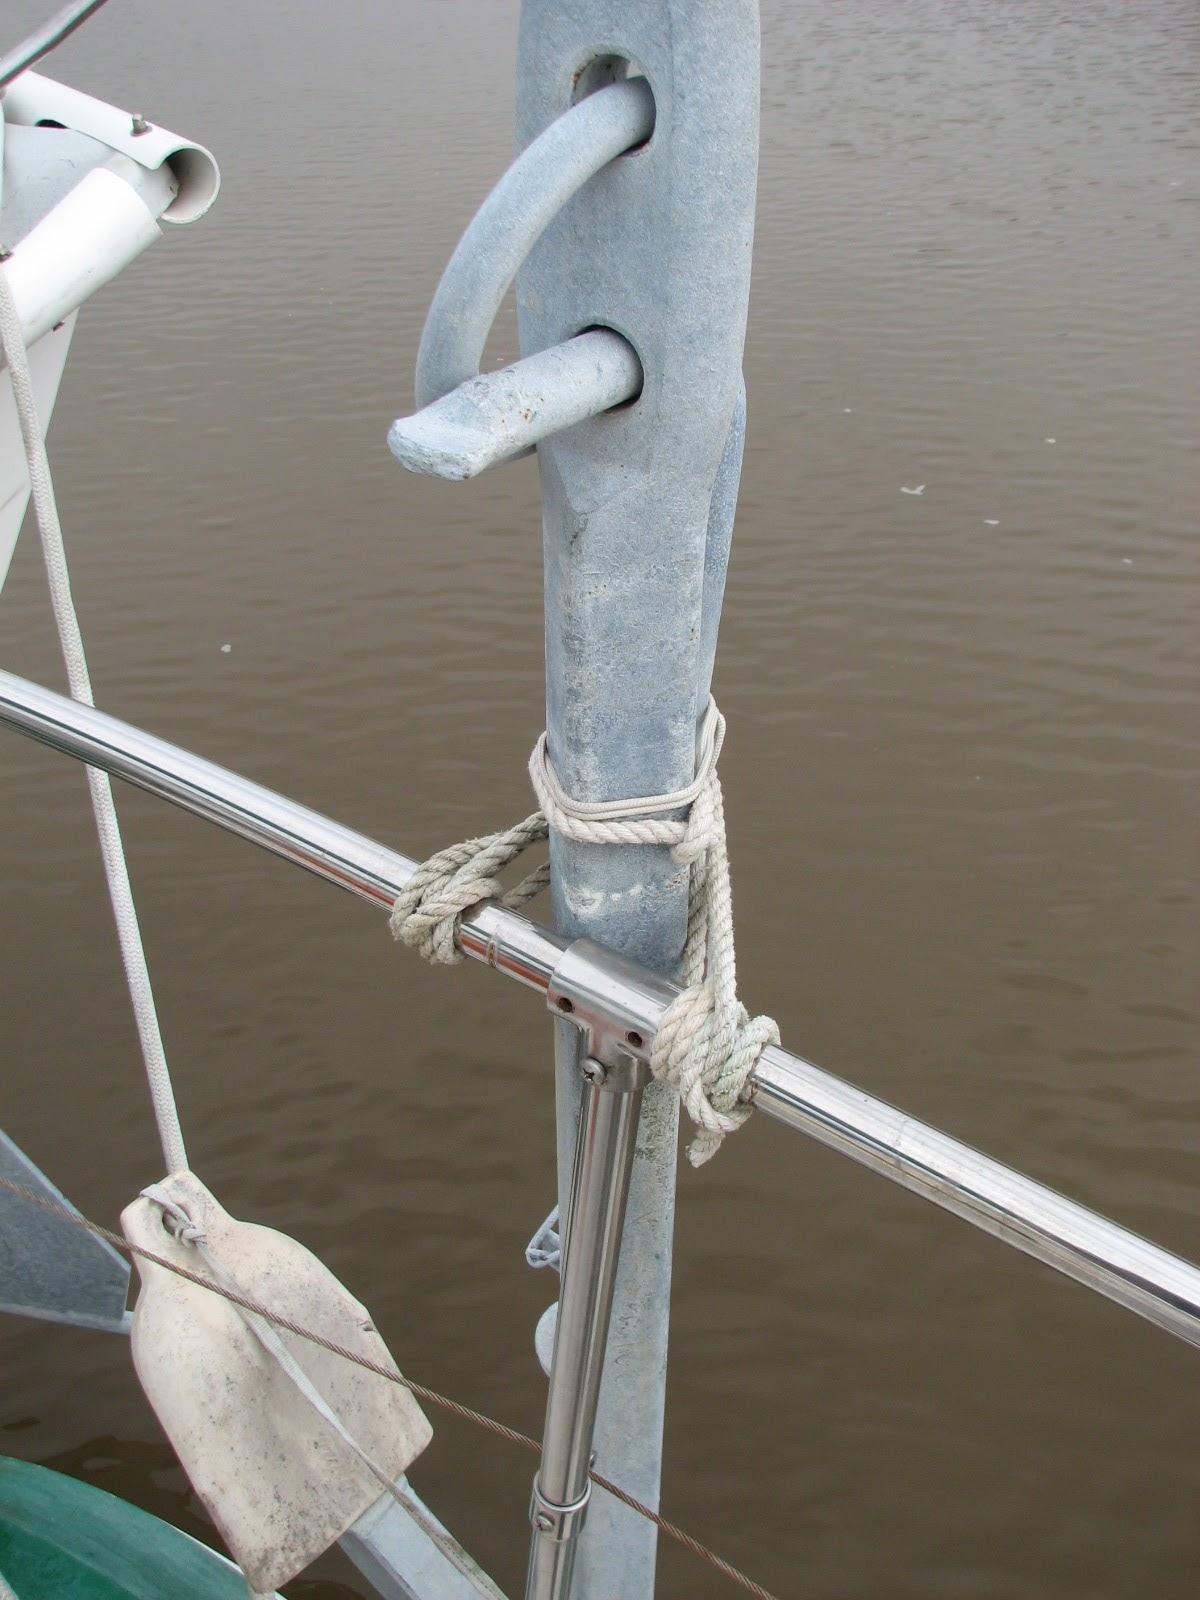
Now it was FINALLY time to finish off
the storm
anchor support project. The storm
anchor on the stern of DREAM AWAY used to have
supports made from wood, which equaled maintenance. I had fabricated
the replacement anchor supports out of fiberglass a couple of months ago, and
applied the gelcoat.
It just seemed like I could not get the
parts over to DREAM AWAY and get them installed. Today it happened.
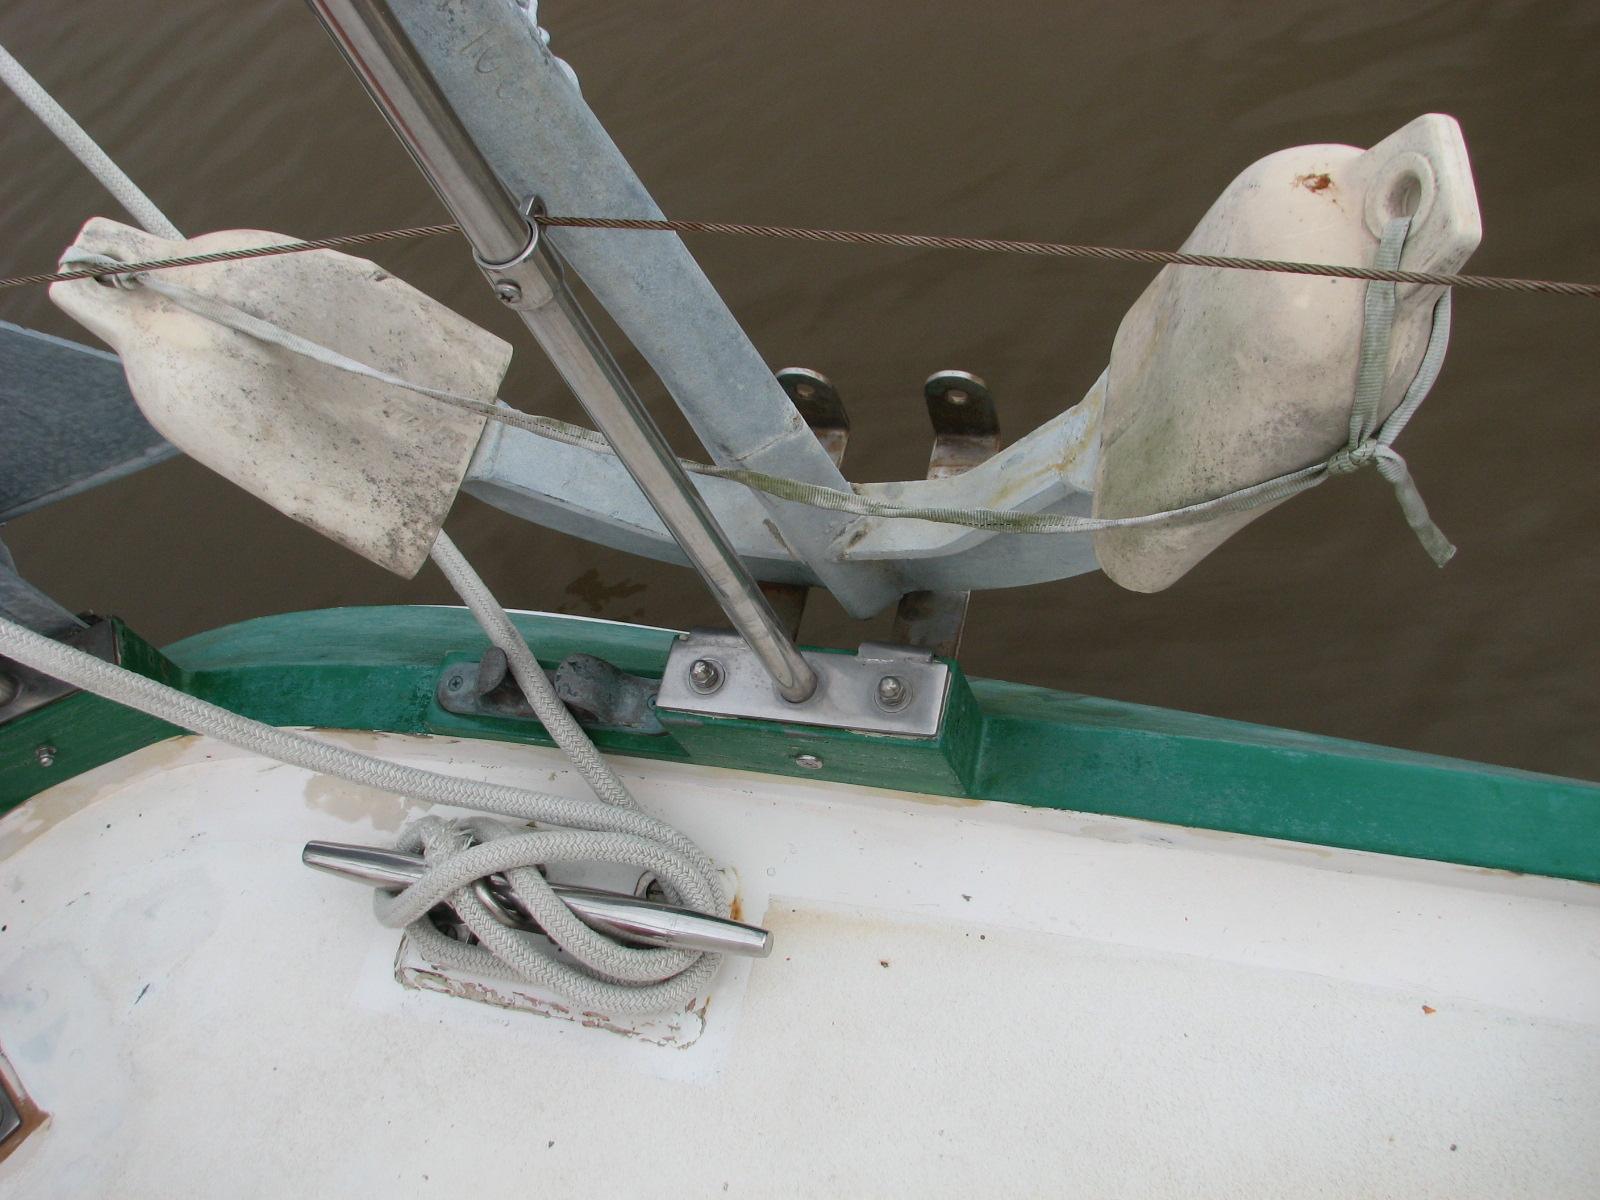
Storm Anchor Tied To Life Rail
Bottom Of Storm Anchor Sitting On Stanchion Base
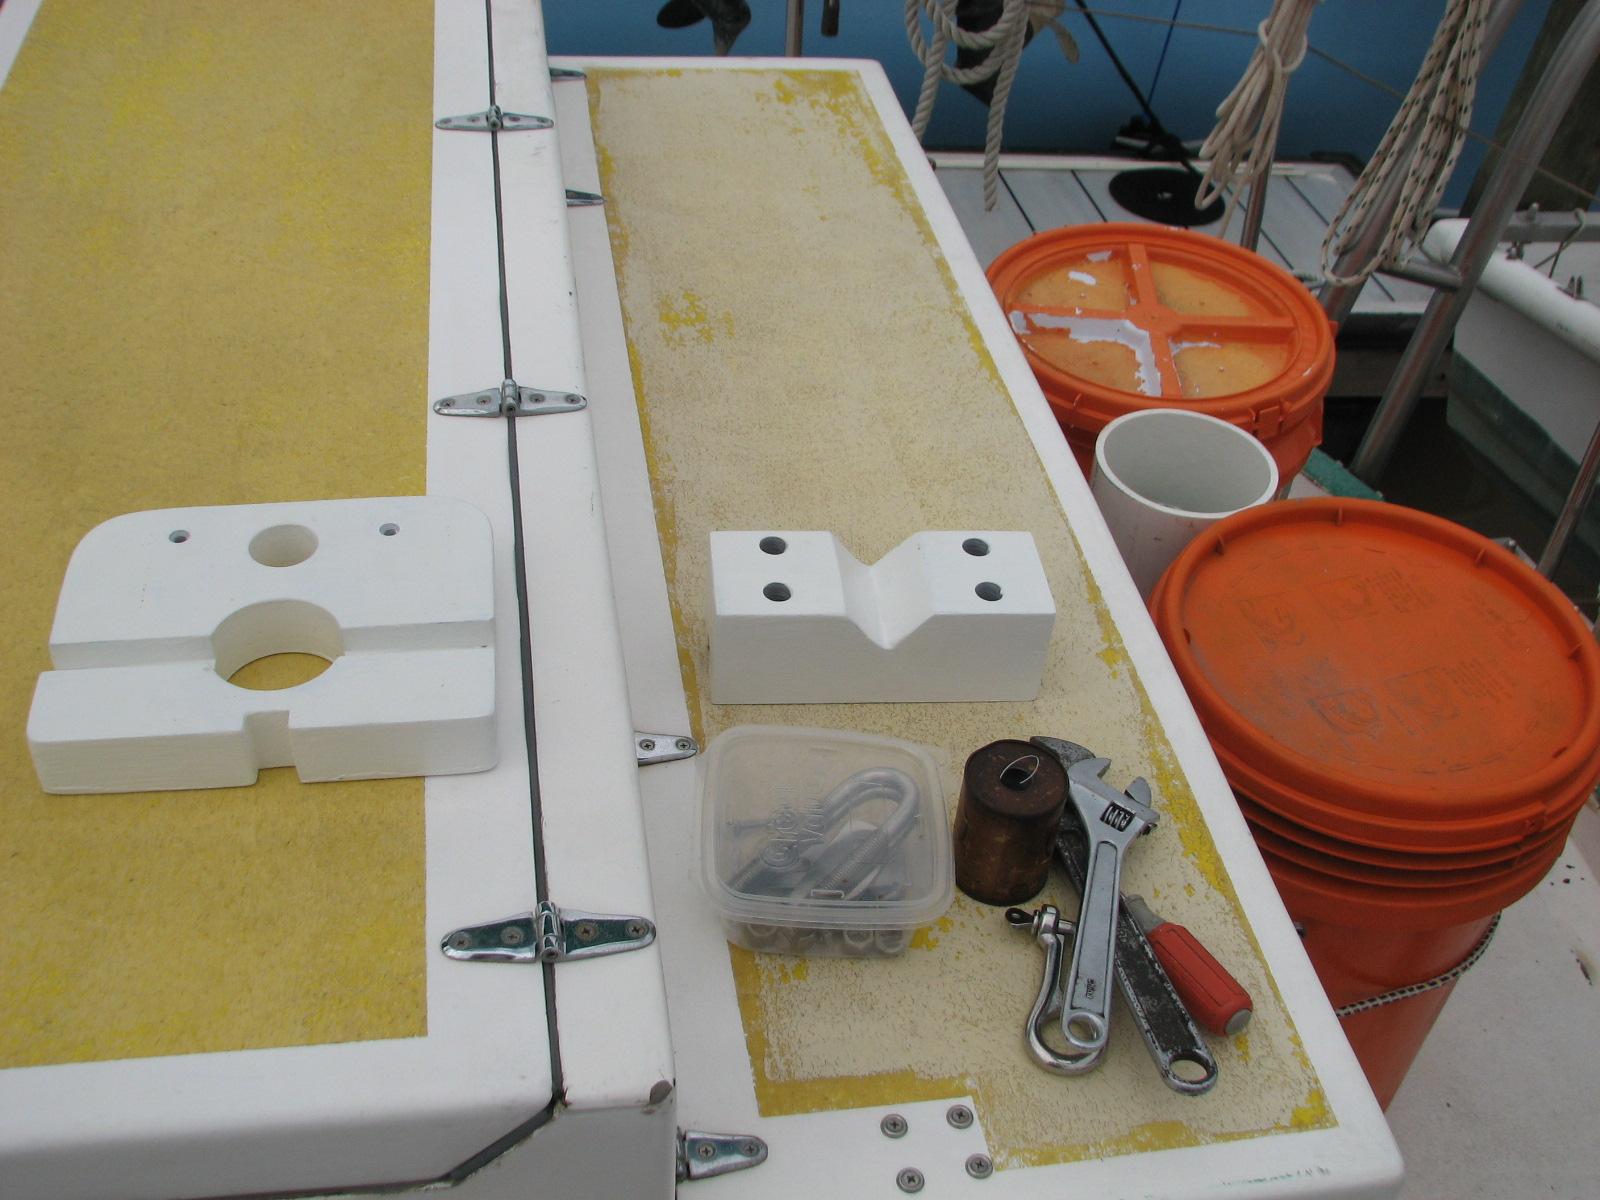
New Storm Anchor Supports Ready For Installation
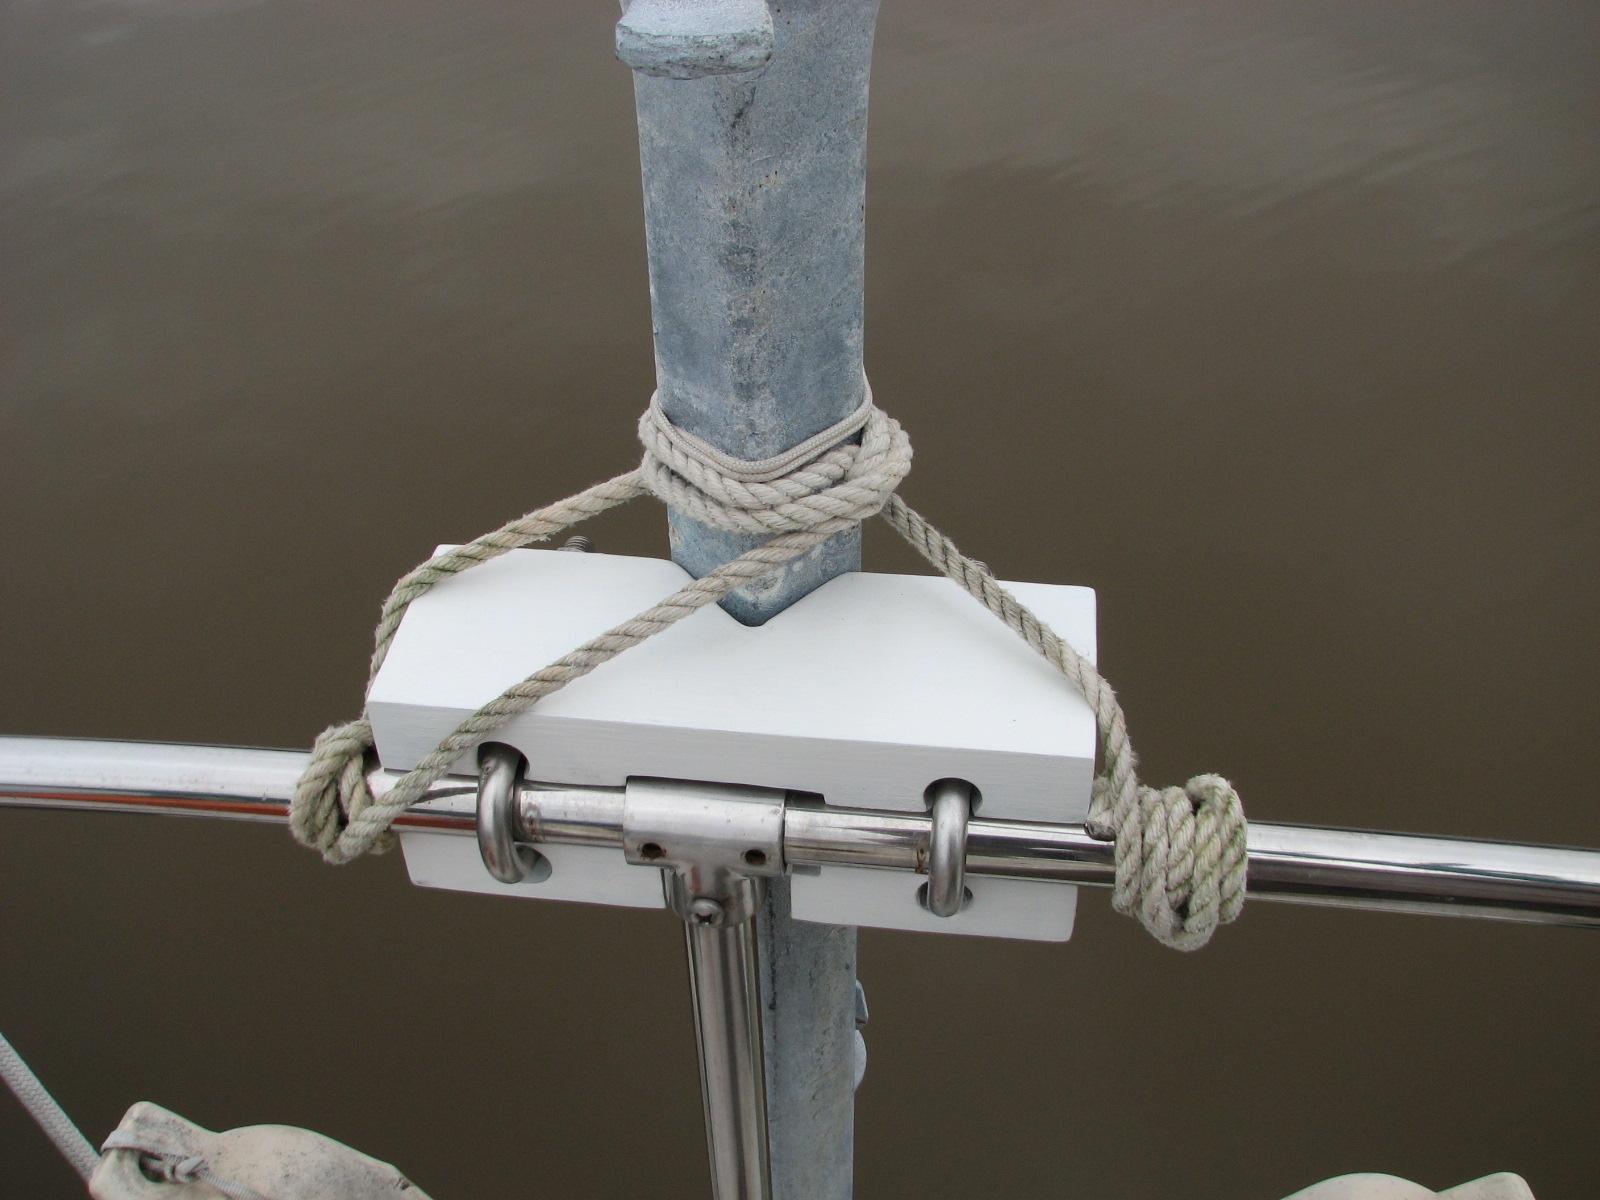
New Upper Storm Anchor Support Installed
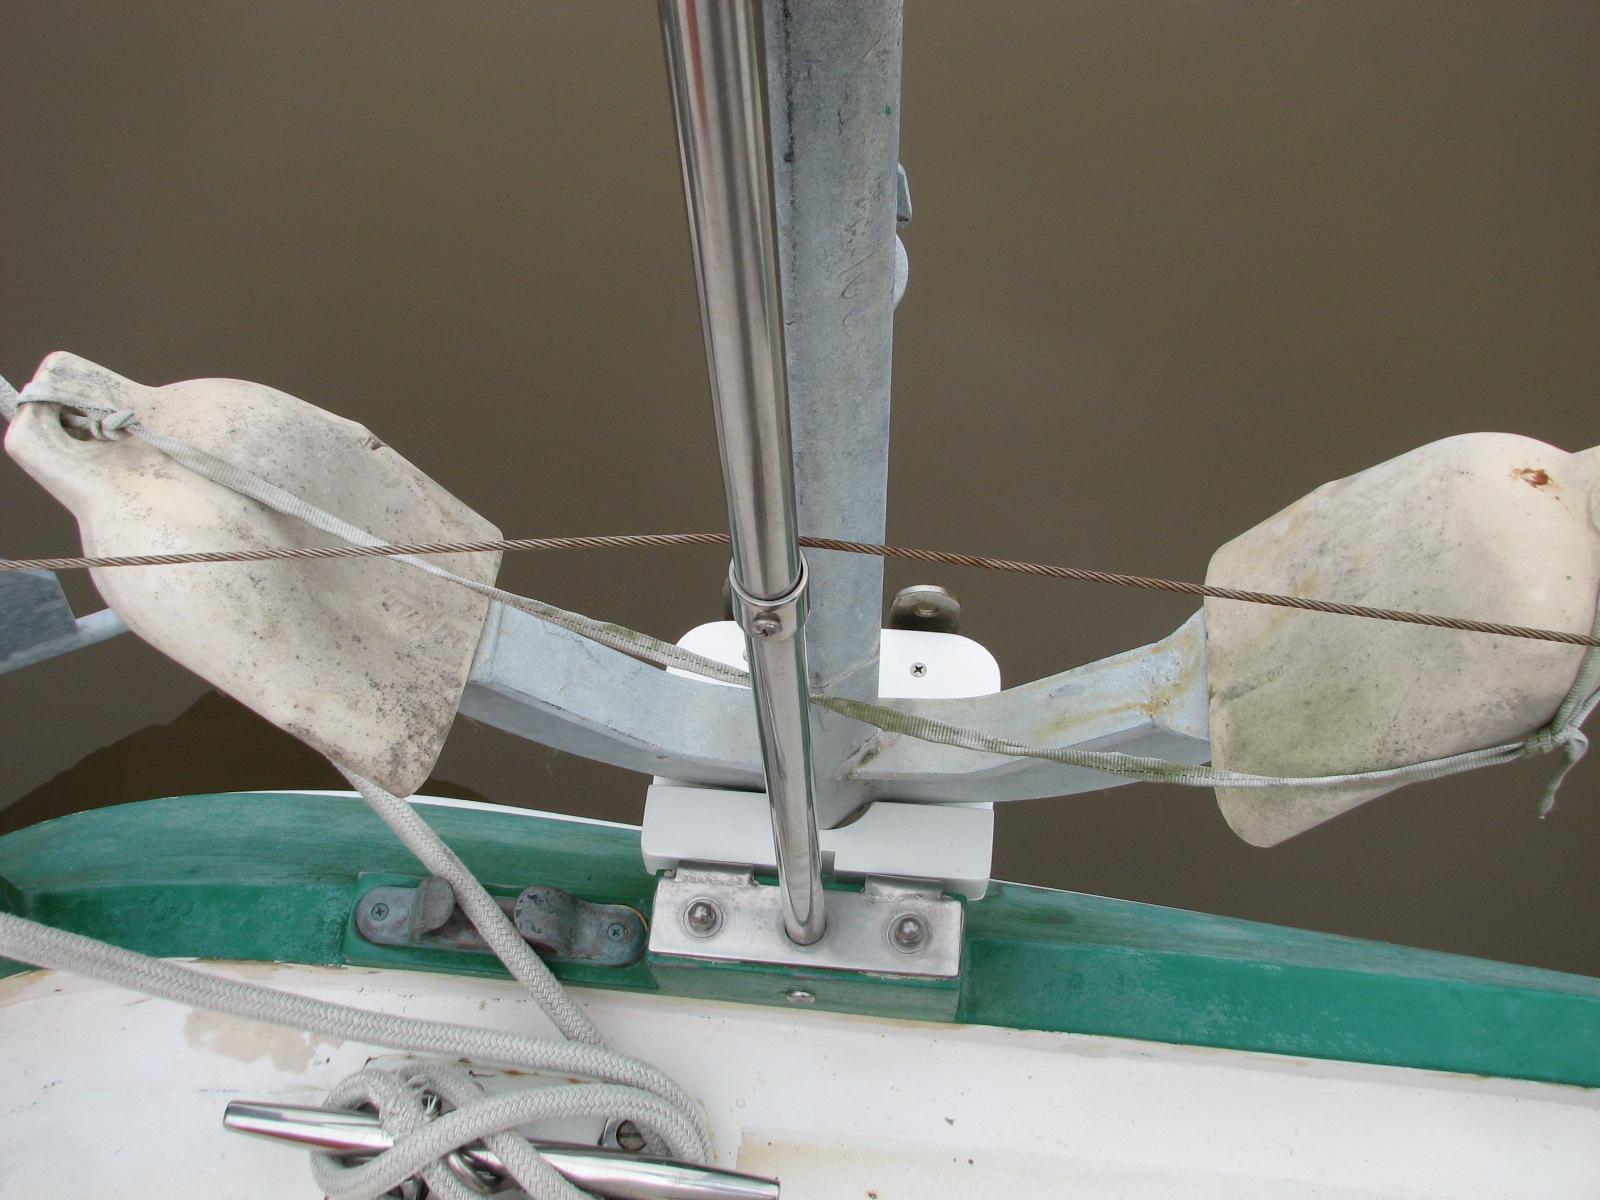
New Lower Storm Anchor Support Installed
I cleaned up from the storm anchor
support project, then back to the
shop
to continue work on the boom gallows and the instrument cluster
housing.
I had to sand down the boom gallows and
the instrument cluster housing to remove all of the Watco
teak oil finish before I will be able to apply the
Cetol
teak
treatment.
I am also fitting some teak
pieces to the top of the boom gallows, that will raise the boom. This
is in preparation of the installation of the solar panels on the top
of the hard hard
bimini.
Sanding The Boom Gallows
Fitting The Teak
Pieces To The Boom Gallows.
Fitting The Teak
Pieces To The Boom Gallows
February 07, Friday, 2014
Started off the morning with my normal
ritual of getting on the Internet, answering email, and checking the
weather, while making a pot of coffee. When the coffee is started, I
feed our two cats,
Jillian
and Jordan,
and spend time with them brushing their beautiful coats.
Did not go to the
shop
because of the weather, another cold day! Same reasons as yesterday.
We did go out to our dental
appointments, then back to DREAM AWAY. Worked at computer most of the
day, and did some domestic chores.
We did enjoy a bit of a milestone as it
was the 22nd anniversary of Kitty and I purchasing DREAM AWAY. We had
friends over for an indoor picnic dinner, and watched the movie “All
is Lost”, about boating.
February 06, Thursday,
2014
Started off the morning with my normal
ritual of getting on the Internet, answering email, and checking the
weather, while making a pot of coffee. When the coffee is started, I
feed our two cats,
Jillian
and Jordan,
and spend time with them brushing their beautiful coats.
Did not go to the
shop
because of the weather! The high today was 36°, and it was sleeting
by 0800. Not the kind of weather in which to be working outside or to
be working at the shop
with no heat.
I spent most of the day on the computer
finishing off the January update and also working on my 2013 taxes.
I did go outside to check the fuses on
the Black
Beast. I checked them and could not determine the
problem, but I still had some kind of problem.
I went back to DREAM AWAY and finished
the inventory of the generator
spare parts. When I had finished that project, I called Ray at Rays
Auto Repair to see if he could help with my electrical problem on the
truck.
I drove over to his shop, and he was
able to find and fix the problem, which turned out to be the main
headlight switch. He replaced the switch and now all is well.
It is supposed to get into the high 20s
tonight, so I went to the end of all three piers and started the
water trickling to prevent pipes from freezing.
February 05, Wednesday,
2014
Started off the morning with my normal
ritual of getting on the Internet, answering email, and checking the
weather, while making a pot of coffee. When the coffee is started, I
feed our two cats,
Jillian
and Jordan,
and spend time with them brushing their beautiful coats.
Did not go to the shop
because I had an appointment at 1100 with my dermatologist. I stayed
on DREAM AWAY and, you guessed it, worked on my computer. I did some
catching up on emails and started filling out my 2013 taxes.
We went to the dermatologist in
Lafayette
and ran a bunch of errands afterwards. We got home in time to unload
the Black
Beast and have a bite of dinner, and then I went off
to the Marine
Corps League meeting in
Abbeville.
Before the meeting I stopped at Stine’s
as I am still trying to find 10 X 32 threaded rod. Still no luck.
On the way home from the meeting, the
dash lights in the Black
Beast went out. Then a Delcambre
cop pulled me over and told me the back lights were out. They let me
off with a warning, and I only had about ½ mile to go to get home.
Now I have an electrical problem to look into on the Black Beast.
February 04, Tuesday, 2014
Started off the morning with my normal
ritual of getting on the Internet, answering email, and checking the
weather, while making a pot of coffee. When the coffee is started, I
feed our two cats,
Jillian
and Jordan,
and spend time with them brushing their beautiful coats.
I went to the shop
after coffee and spending time on the computer. I started working on
the legs and pads for the sail handling platform (SHP).
I realized I needed to drill holes in
the pieces of aluminum I am using for the pads to which the legs are
going to be welded. Once the legs and pads are welded together, there
was not room to drill and countersink the holes. I drilled ¼”
holes in all four pads, and then countersunk the holes.
Set Up For Drilling The Holes
When that was finished, I set up to
start welding the legs to the pads. I know this will be interesting
because the pad is ⅜” thick, and the legs are only ⅛” thick.
I will have to be careful.
I did the setup for the welding, and
started to weld. It was then I realized the legs all have paint on
them. The welding process was not going well. So, I sanded off the
paint at the ends of the legs to which I will be welding.
Setup To Weld Pads And Legs
I then had another realization that I
was not sure whether the bolts I will be using are 1/4” or 5/16”,
so I decided to not do any welding until I know what size holes I
need in the pads.
I went back to DREAM AWAY and had
breakfast, and just after that the heavens opened up. I knew then it
was time to get back on the computer and do more email, and research.
I also checked the two leaks we had.
One was in the head where there is a backing plate for the turning
block on deck. I was sure it was fixed as I had rebedded the turning block
about two months ago. We have not had a real hard rain since
then, so it hadn’t had a true test. There was no leak, so the fix has been a success.
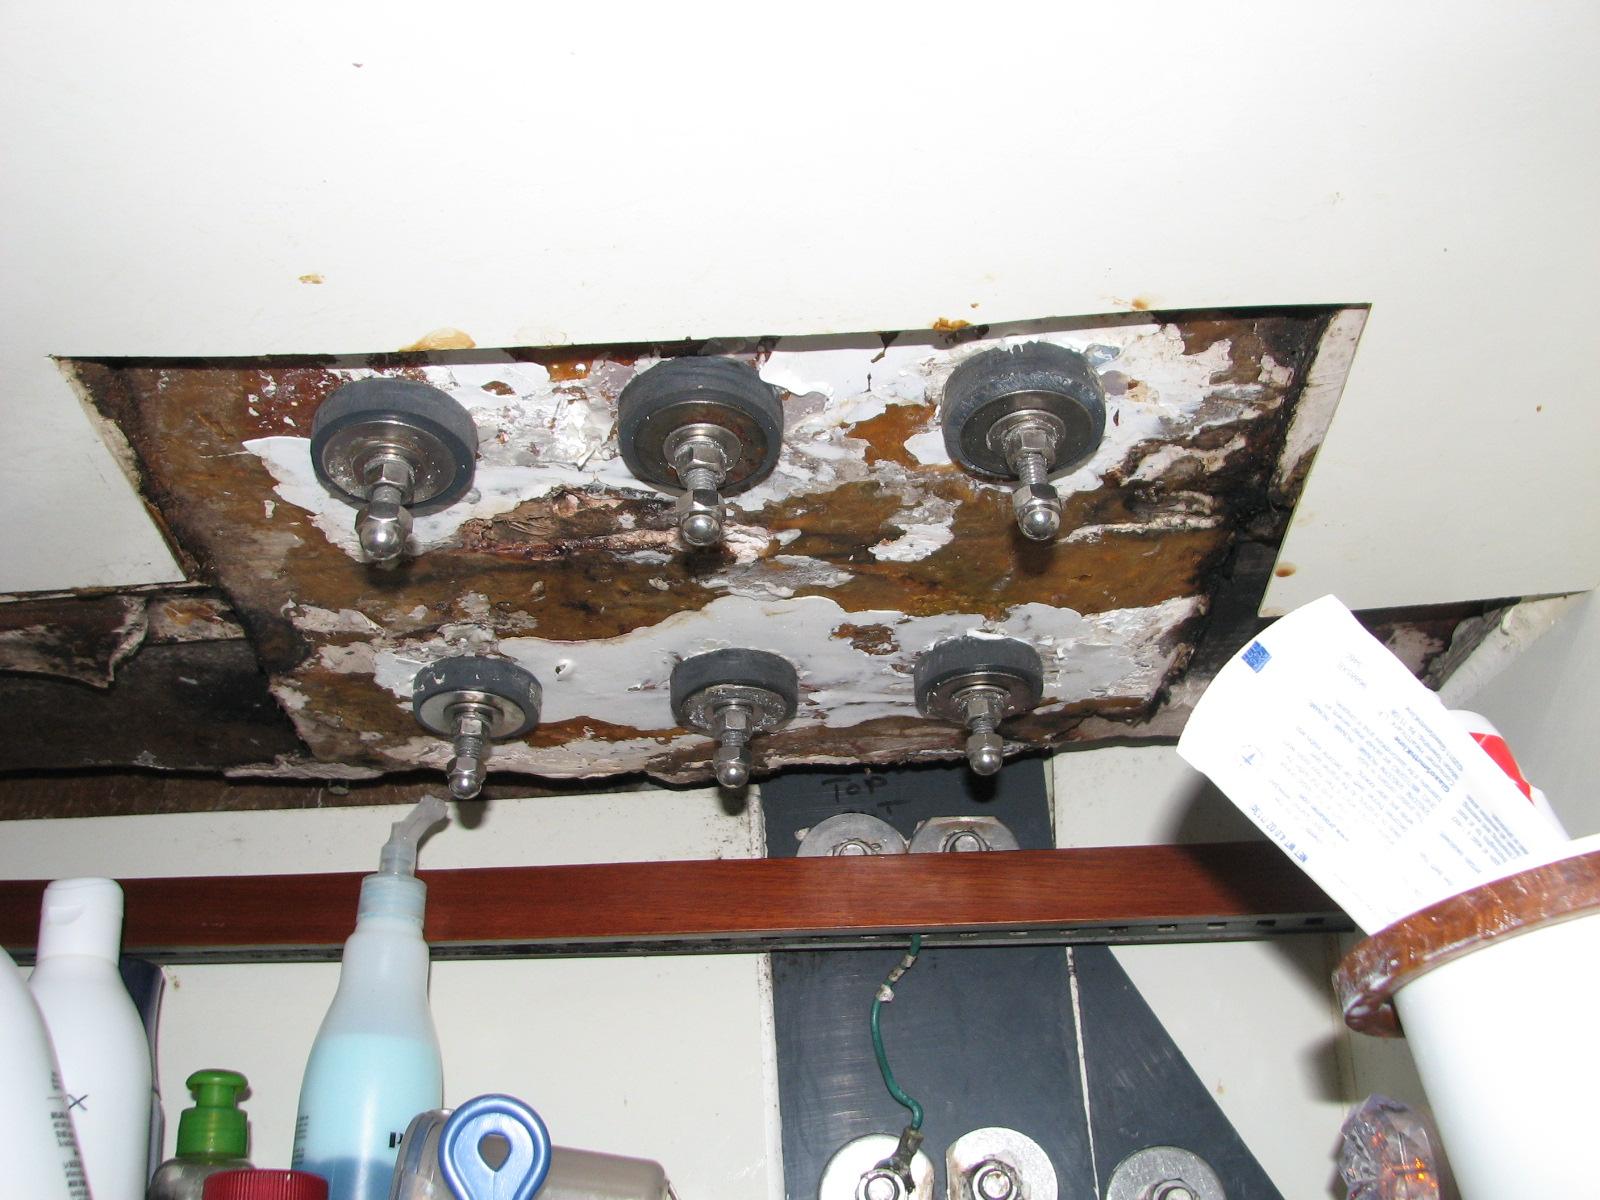
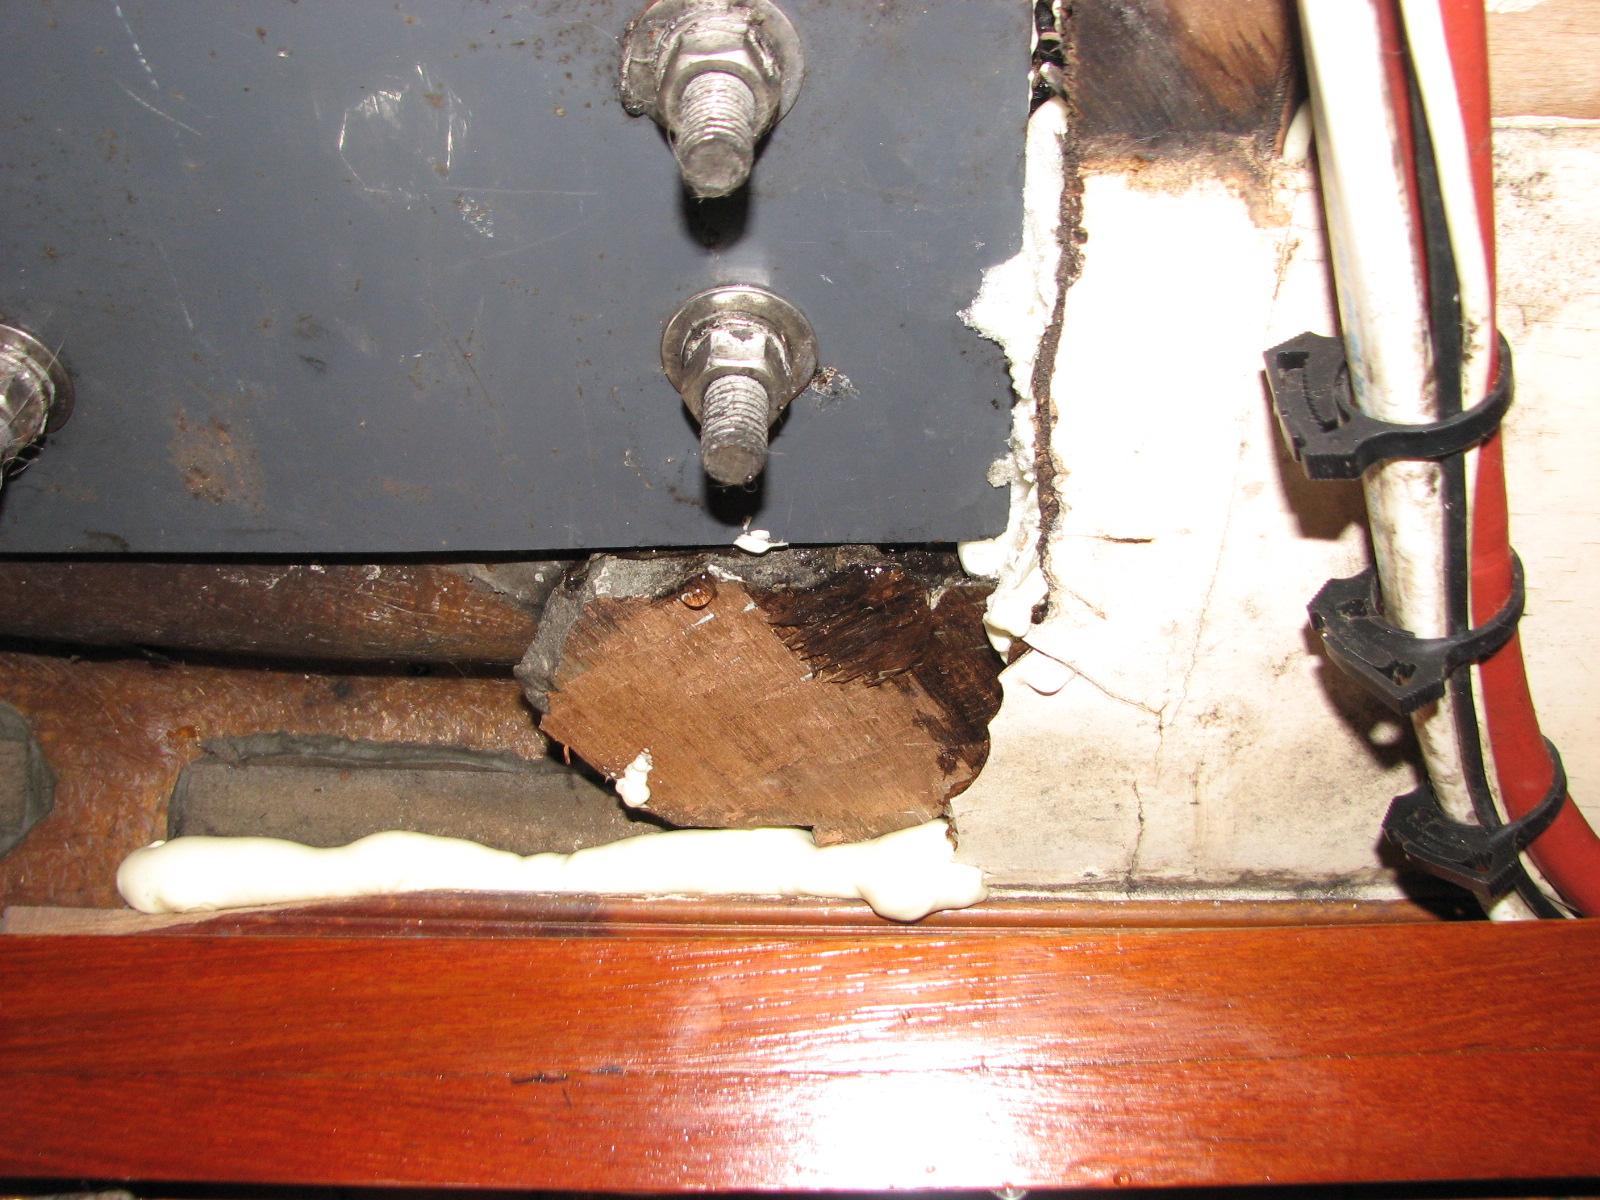
Backing Plate On Underside Of Deck In
The Head
The second leak is in the after cabin
around the backing plate for the aft port side cleat. Water was
running out at a good clip, so I will have to rebed the two after
cleats. They were both installed at the same time, so there is a good
chance the starboard cleat will start leaking, to.
Aft Cabin Cleat Backing Plate Leaking
The rain finally stopped. Although it
was very wet outside, I went to work on removing the boom gallows. It
is being removed for two reasons. First reason is that the Watco
teak oil finish I used on the boom did not hold up, so
I am going back to Cetol
teak
treatment. The second reason is to prepare for the installation of
solar panels.
I am going to be installing solar
panels on top of the hard
bimini, so must add about 1 1/2” of teak
wood on top of the boom gallows to make sure I have plenty of
clearance between the boom and the solar panels.
I got everything removed from the
gallows, and all of the bolts removed or disconnected. When Kitty
came home from her errands, we removed the boom gallows.
Boom Gallows And Accessories On The Way
To The Black Beast
I took the newly painted propane tank
to LeBlanc Oil and had it filled. I purchased another 30 pound
propane tank to replace the second one that was rusting out! I also
picked up two chain grippers that I had ordered. These will be used
to attach my poney anchor or storm anchor to the primary anchor, when
it is deployed.
New Chain Gripper
I ended the day by getting all of my
scanning done. This included all of my tax documents. Now I can get
started on filing my 2013 taxes.
February 03, Monday, 2014
Started off the morning with my normal
ritual of getting on the Internet, answering email, and checking the
weather, while making a pot of coffee. When the coffee is started, I
feed our two cats,
Jillian & Jordon,
and spend time with them brushing their beautiful coats.
Did not go to the shop
today. I had an 0815 doctor’s appointment to draw blood, and to be
honest, it was very cold again this morning. It was 36°, and the
wind was blowing 15-18 knots.
When I got back from the doctor’s, I
spent the remainder of the day on the computer catching up, and not
getting any other projects done. I also cooked up some of food for
our two cats, Jillian
and Jordan.
I had an appointment with the eye
doctor at 1530, so the day was pretty much gone. Tomorrow should be
warmer, but rainy.
February 02, Sunday, 2014
Started off the morning with my normal
ritual of getting on the Internet, answering email, and checking the
weather, while making a pot of coffee. When the coffee is started, I
feed our two cats,
Jillian
and Jordan,
and spend time with them brushing their beautiful coats.
I went over to the
shop
first thing and continued cutting out the base pieces for the legs of
the sail handling platform (SHP). Yesterday, I cut out five of the
base pieces for the legs of the sail handling platform (SHP).
Today, I continued with the project. I
cut out three more base pieces so I had for pieces for the bottom of
the legs, and pieces for the tops of the legs. I also measured out
the bottom base pieces in which I must drill holes so that I can
attach them to the deck after the leg is welded to them.
Four Base Pieces Cut Out, Measured
Plate For More Pieces
Cutting Plate Using Fence For
Jig Saw
Cut Base Plates On Work Bench
I sanded down all of the base pieces,
and went back to DREAM AWAY. I have/had still more computer work to do.
I made a dip for the Super Bowl party
to which we were going, and started cooking the next batch of food
for our two cats, Jillian
and Jordan.
February 01, Saturday,
2014
Started off the morning with my normal
ritual of getting on the Internet, answering email, and checking the
weather, while making a pot of coffee. When the coffee is started, I
feed our two cats, Jillian
and Jordan,
and spend time with them brushing their beautiful coats.
Did not go over to the
shop
first thing this morning. Kitty had plans with Cindy, of the cruising
yacht RUTHIE. They were going to the Teche
Farmers Market in New
Iberia, then attending a presentation at the Library
in Jeanerette.
I decided to wait until she got up, then we had breakfast together.
I unloaded the Black
BeastI
cleaned the sanders I had used yesterday and put them all back. I
also cleaned up the spatulas and other items I had used yesterday to
apply the finishing
putty.
I searched out some aluminum pieces I will be needing for the main mast
sail handling platform. The sun had finally come out and was warming
things up. I left the shop
and went over to DREAM AWAY to start the preparation to apply the
first coat of gelcoat
to the hard dodger base.
When I went to wipe down the area with the tack
rag, I realized I had left the rag at the shop.
I checked in the garage on DREAM AWAY, but I had none there. I walked
back to the shop,
got the tack
rag, and walked back to DREAM AWAY.
I wiped down the area of the hard dodger base, then mixed up a batch
of gelcoat.
I applied the first coat of gelcoat to the hard dodger base and to a
bit of the surrounding area. The coat looked good. Now I was hoping I
had added enough MEKP
hardener to the mix so it would kick off before night fall.
Hard Dodger Base Before
Gelcoat Application
Hard Dodger Base Before
Gelcoat Application
Hard Dodger Base Before Gelcoat
Application
Hard Dodger Base After Gelcoat
Application
Hard Dodger Base After Gelcoat
Application
Hard Dodger Base After Gelcoat
Application
I put the
“Box O’ Resins”
away, and started in again on cutting
out the zippers from the old soft dodger. Hopefully, these zippers
will come in handy in the future.
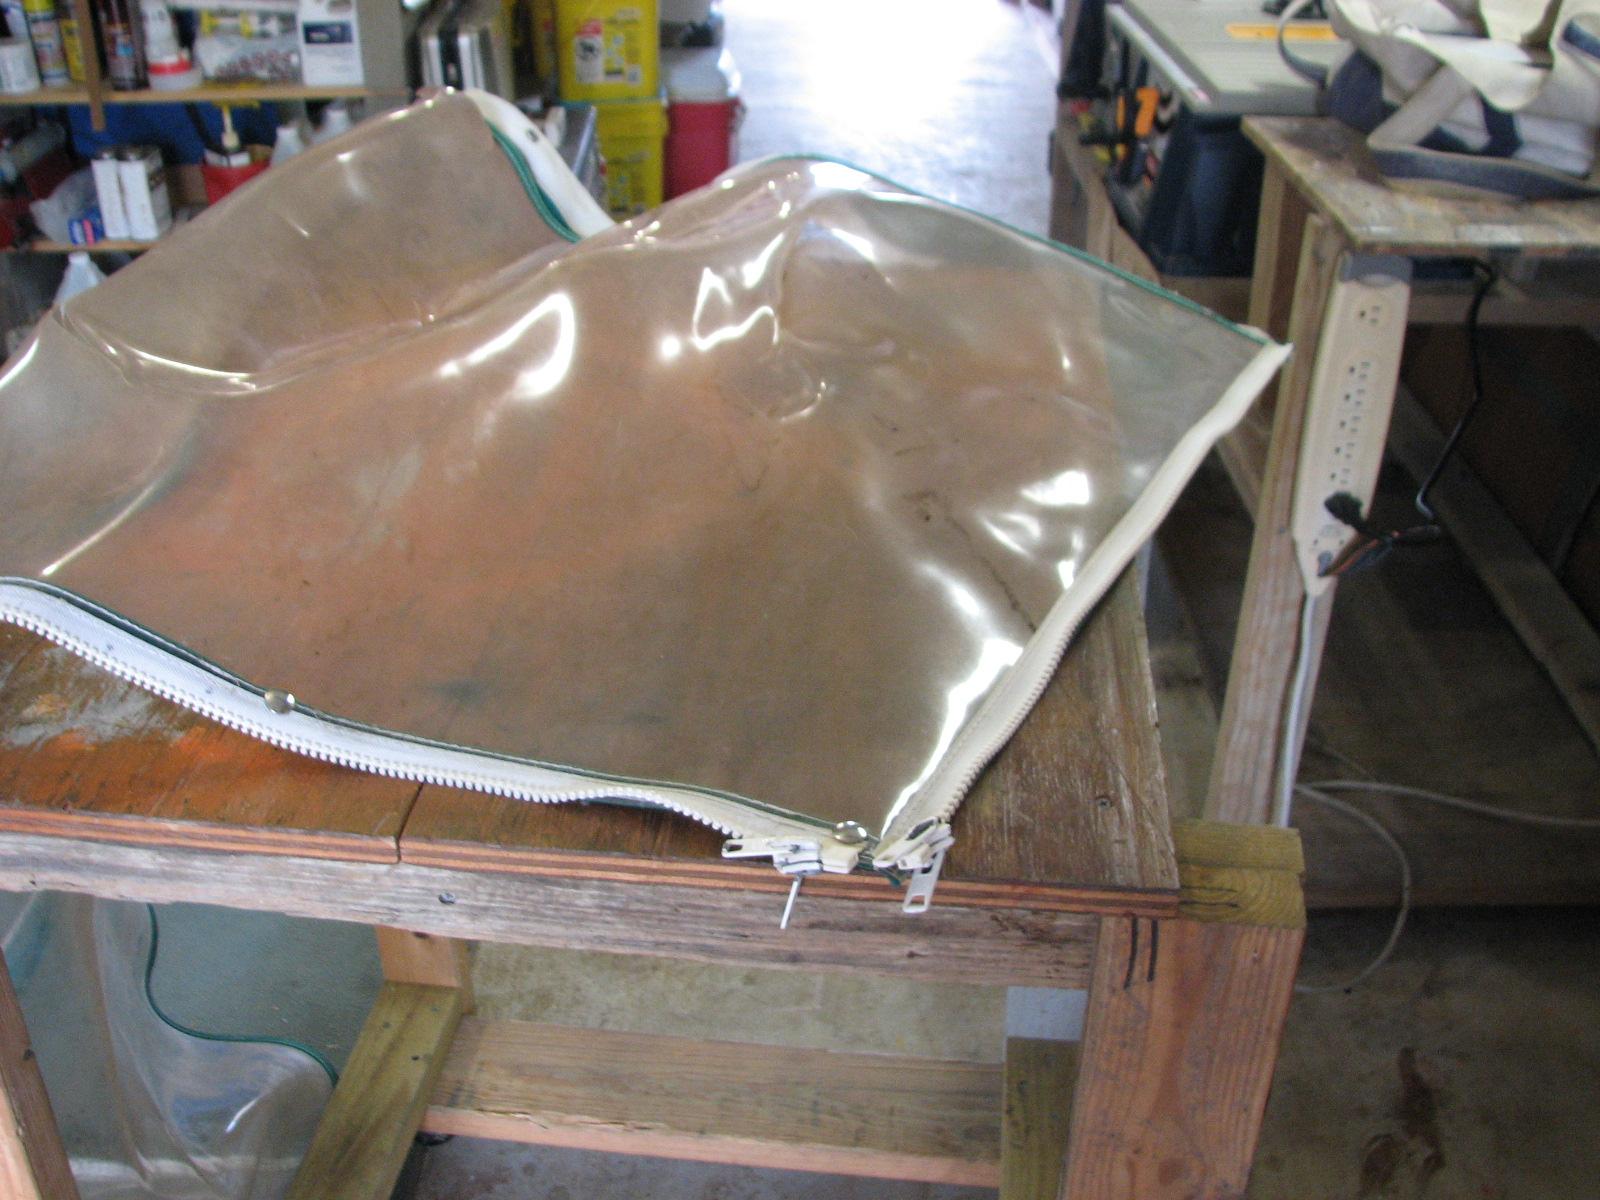
Cutting Old Zippers Out Of Soft Dodger
