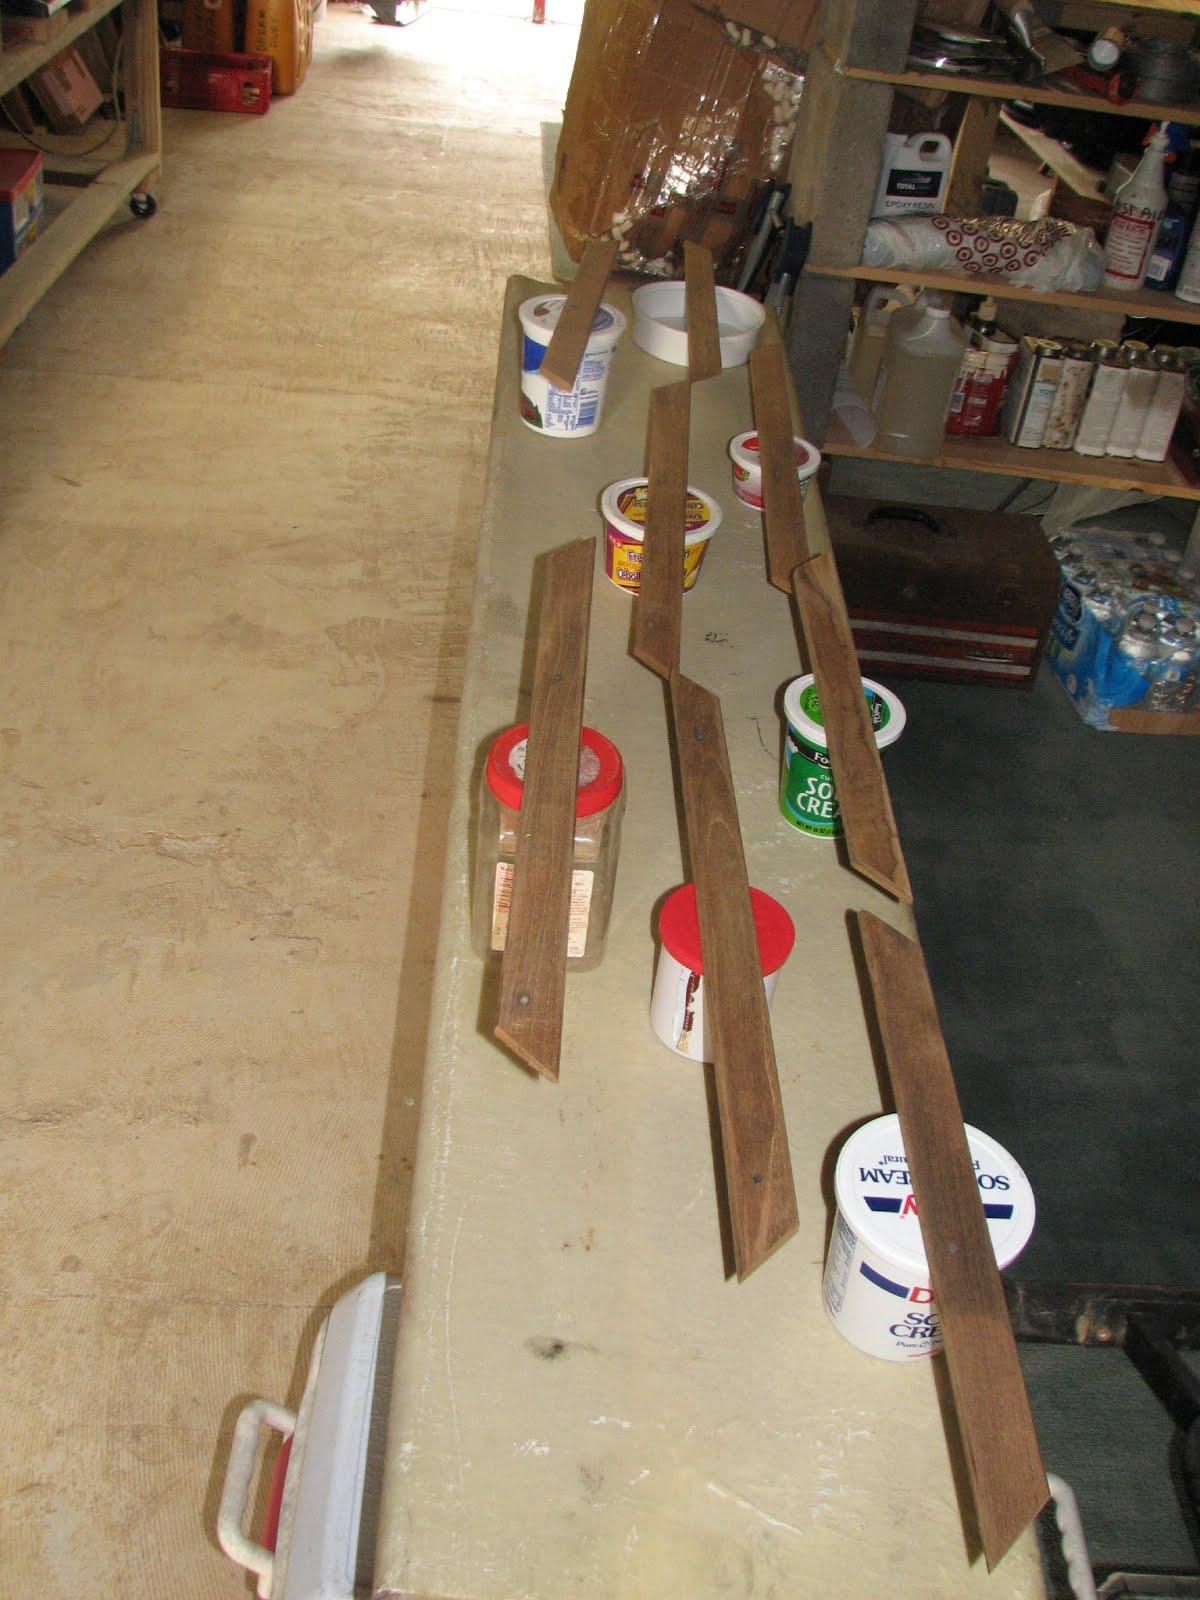
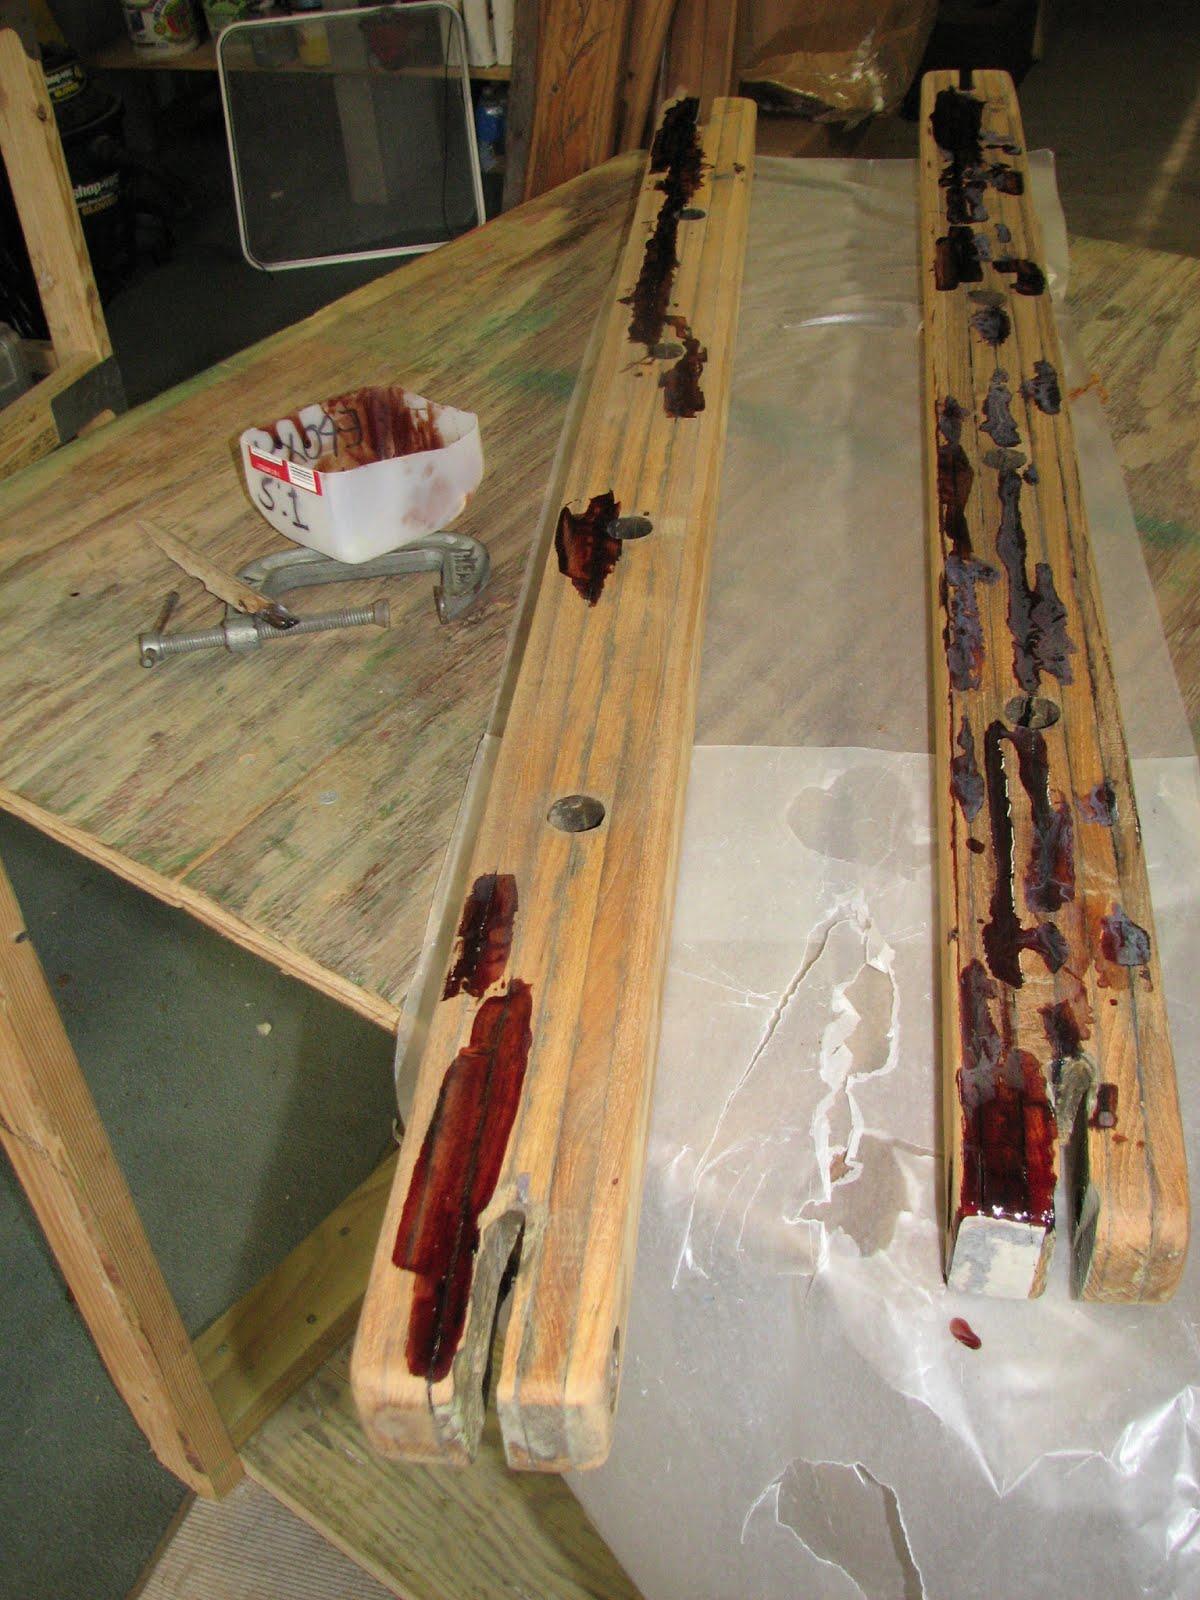
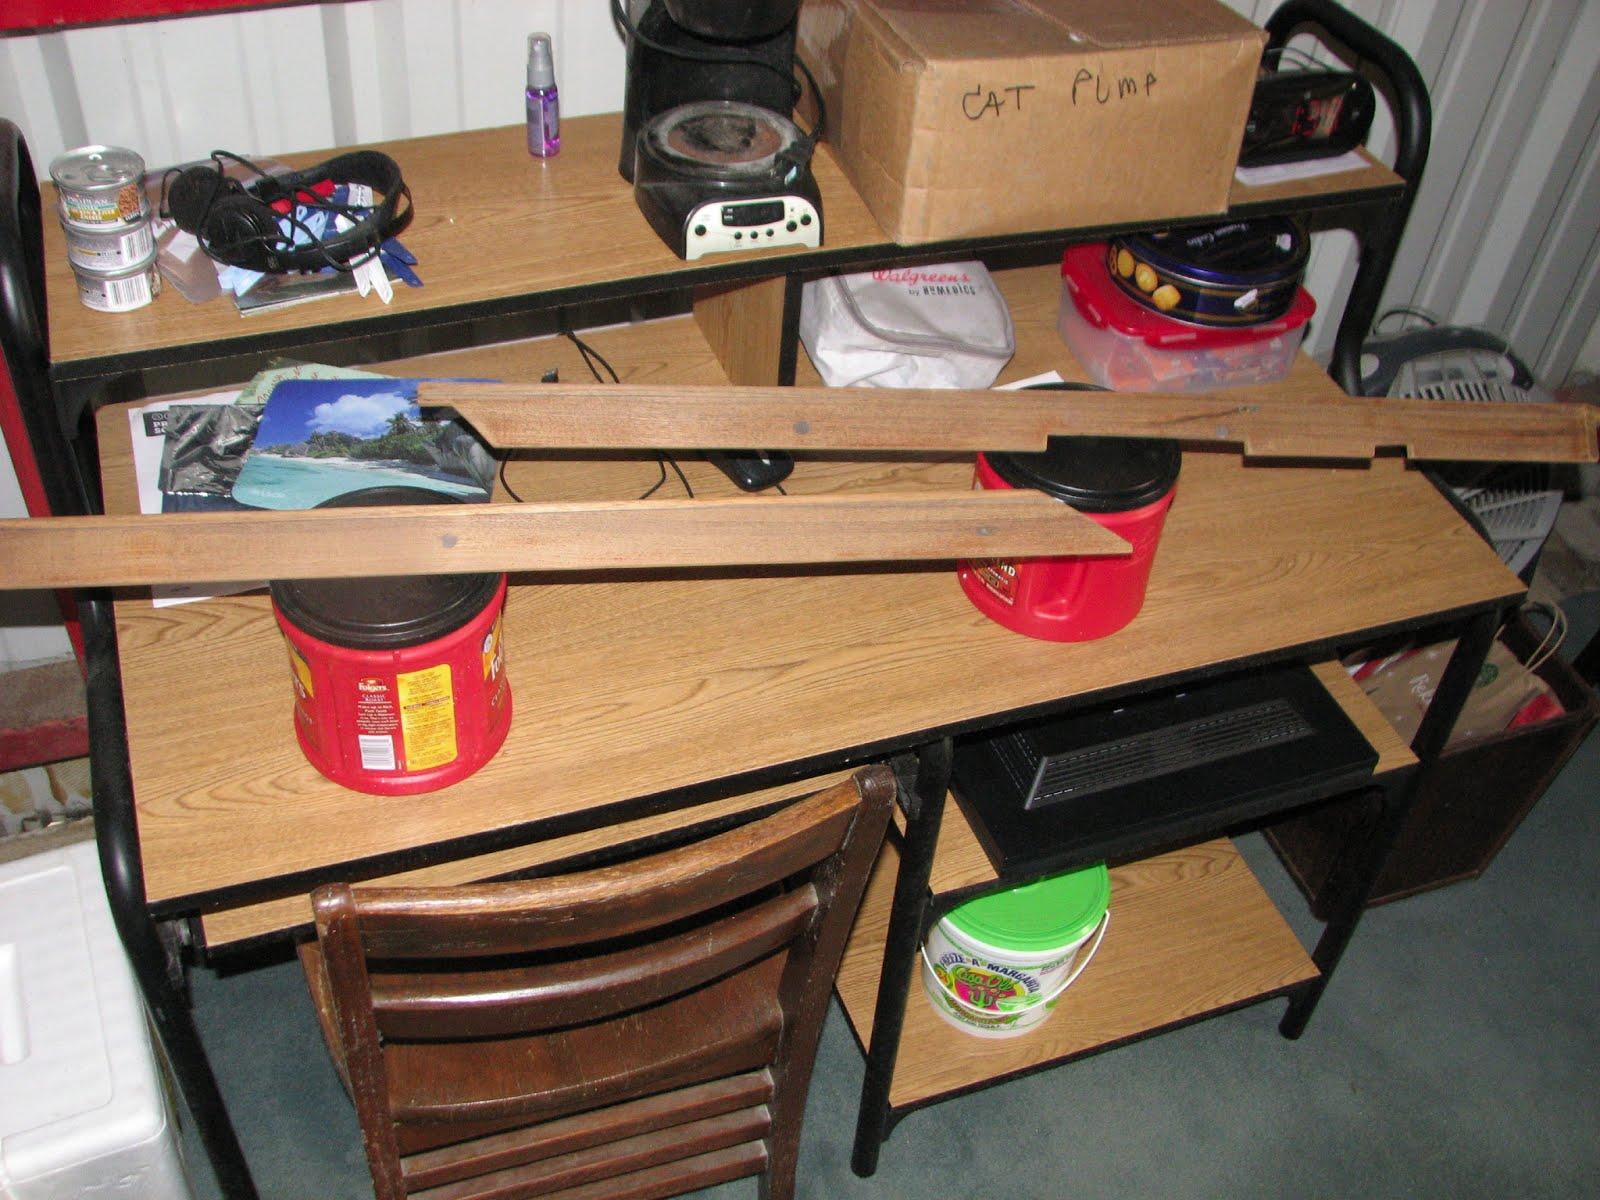
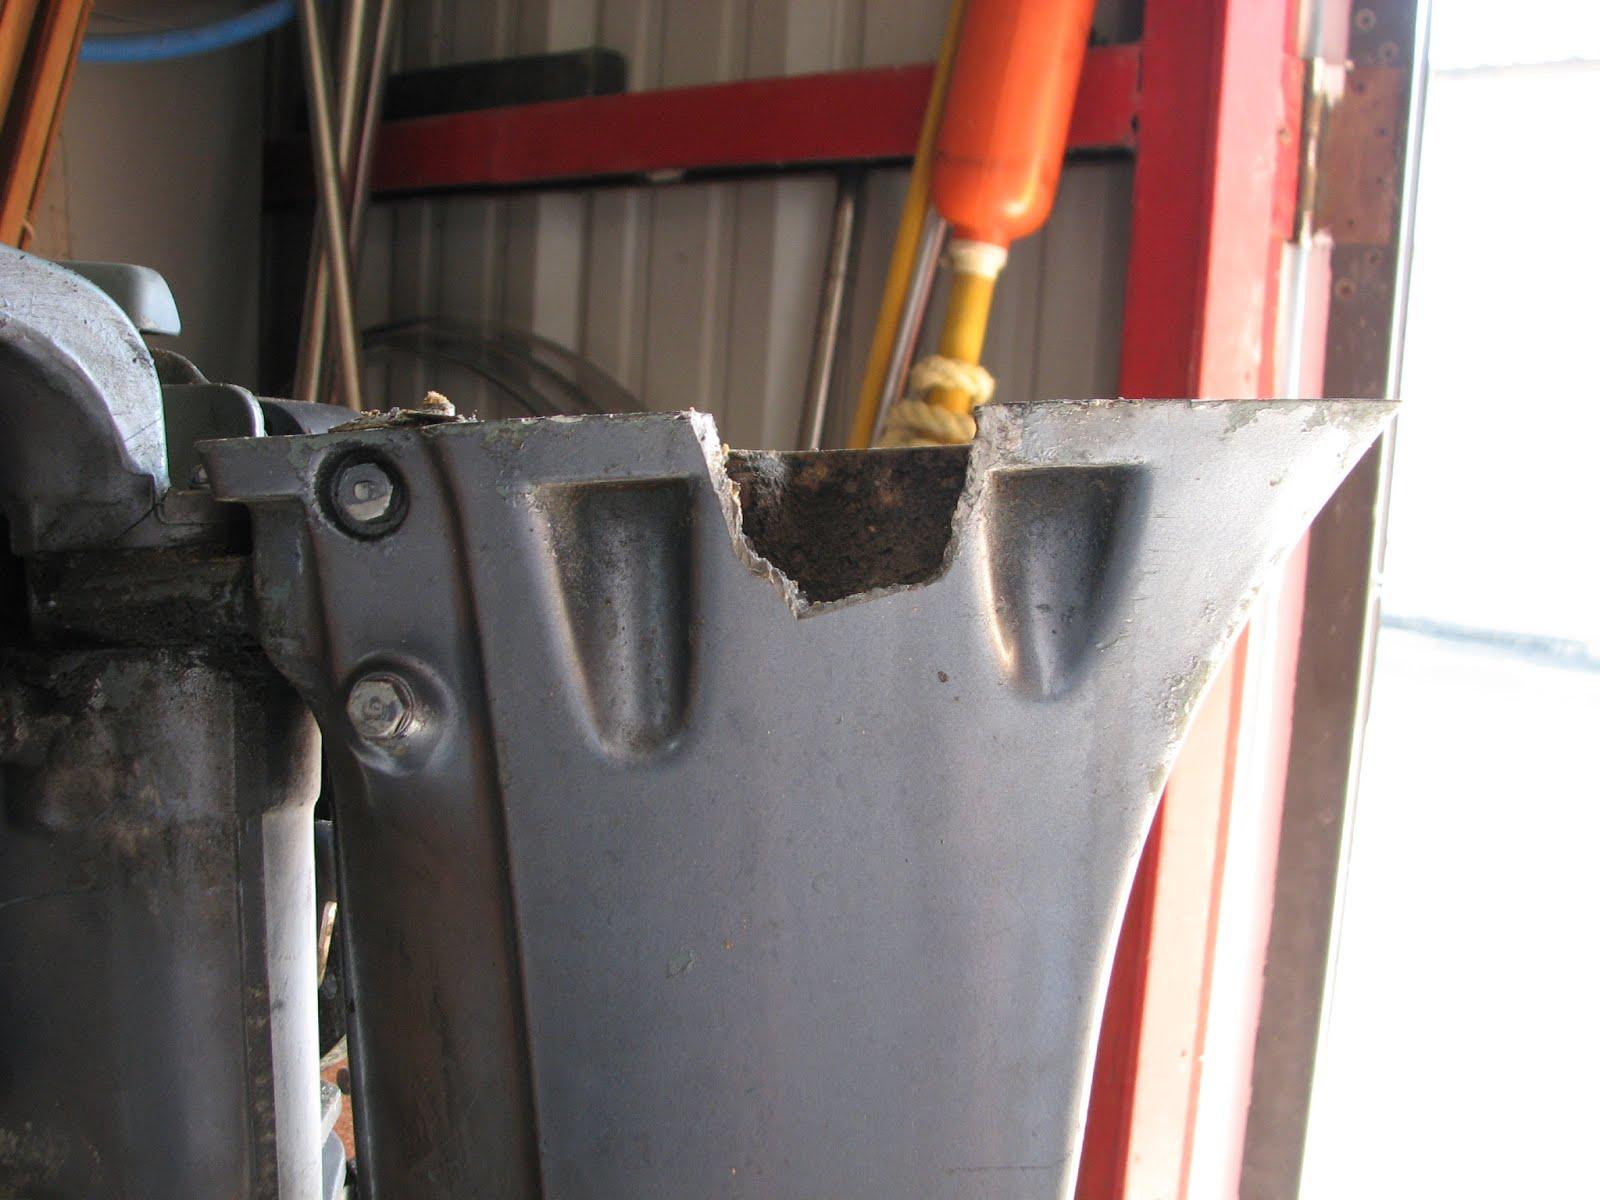
Now
it was time to start with getting the Formica
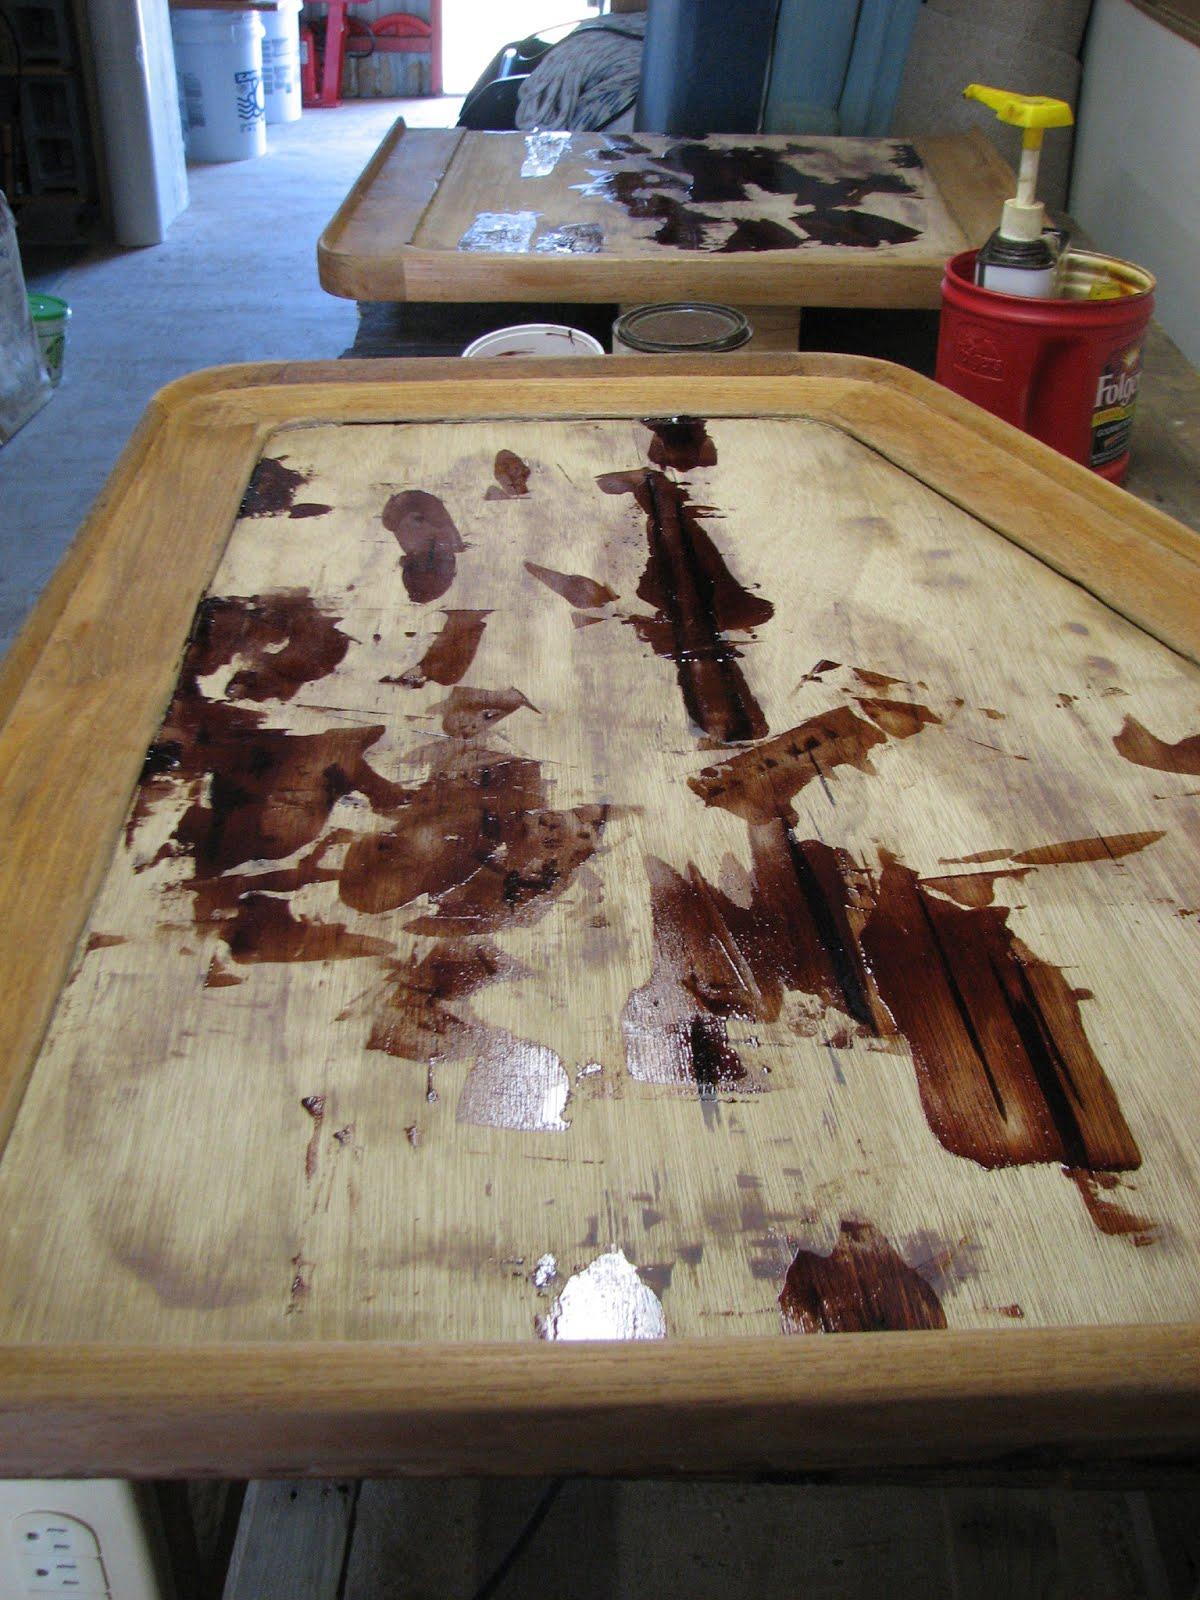
off of the first piece of the main salon table. With patience and
time, I got all of the Formica
off f the first piece of the main salon table.
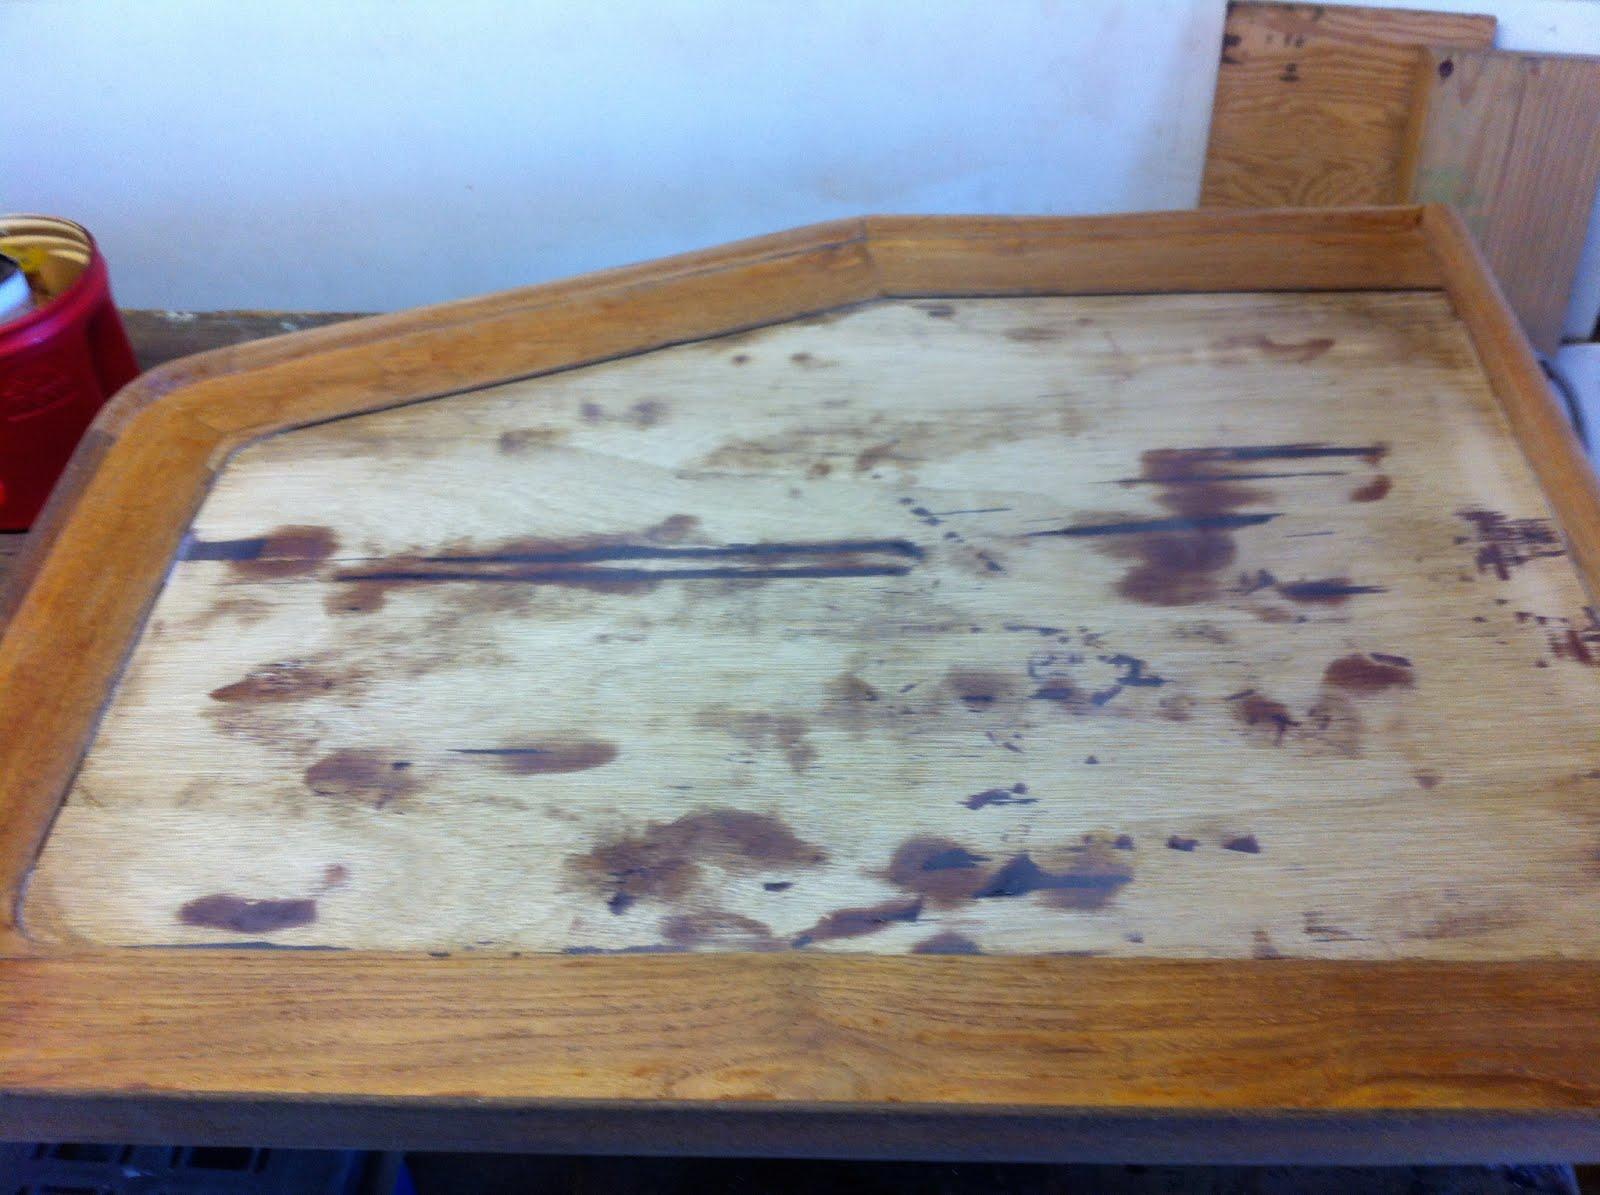
First
Main Salon Table Piece With Varnish And Formica
Removed
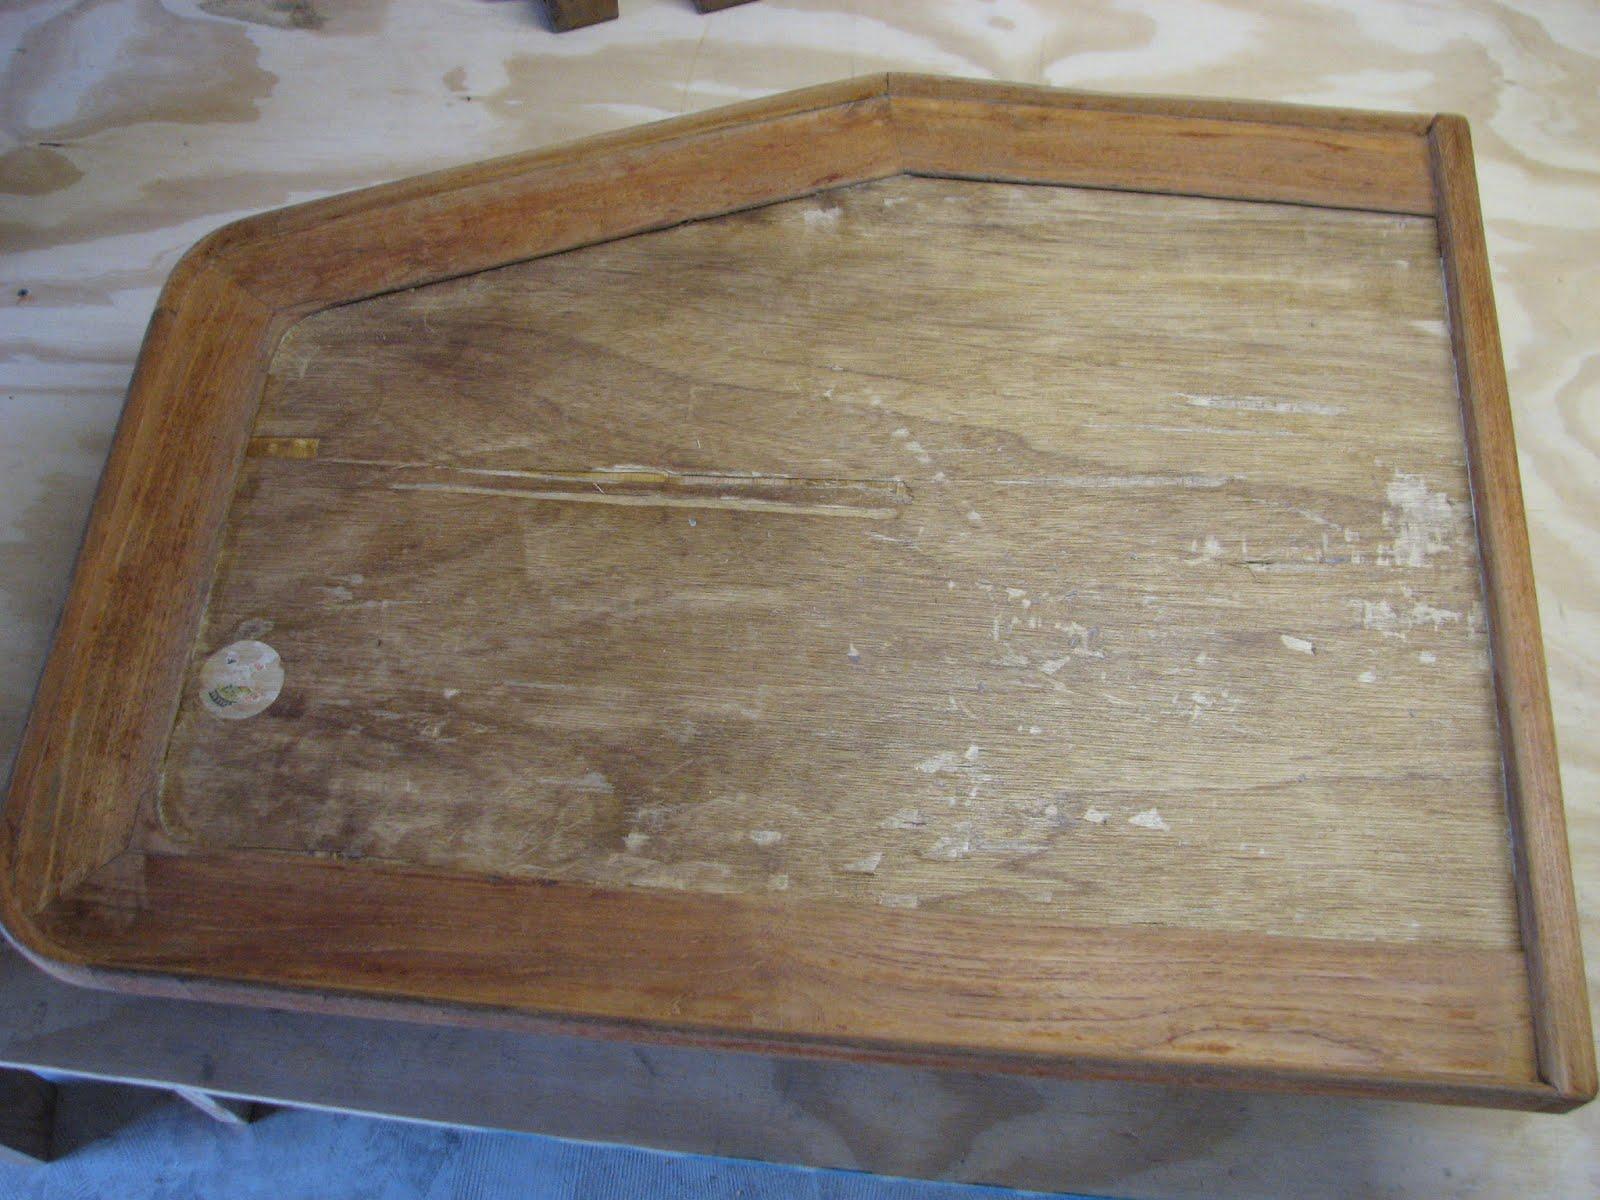
As
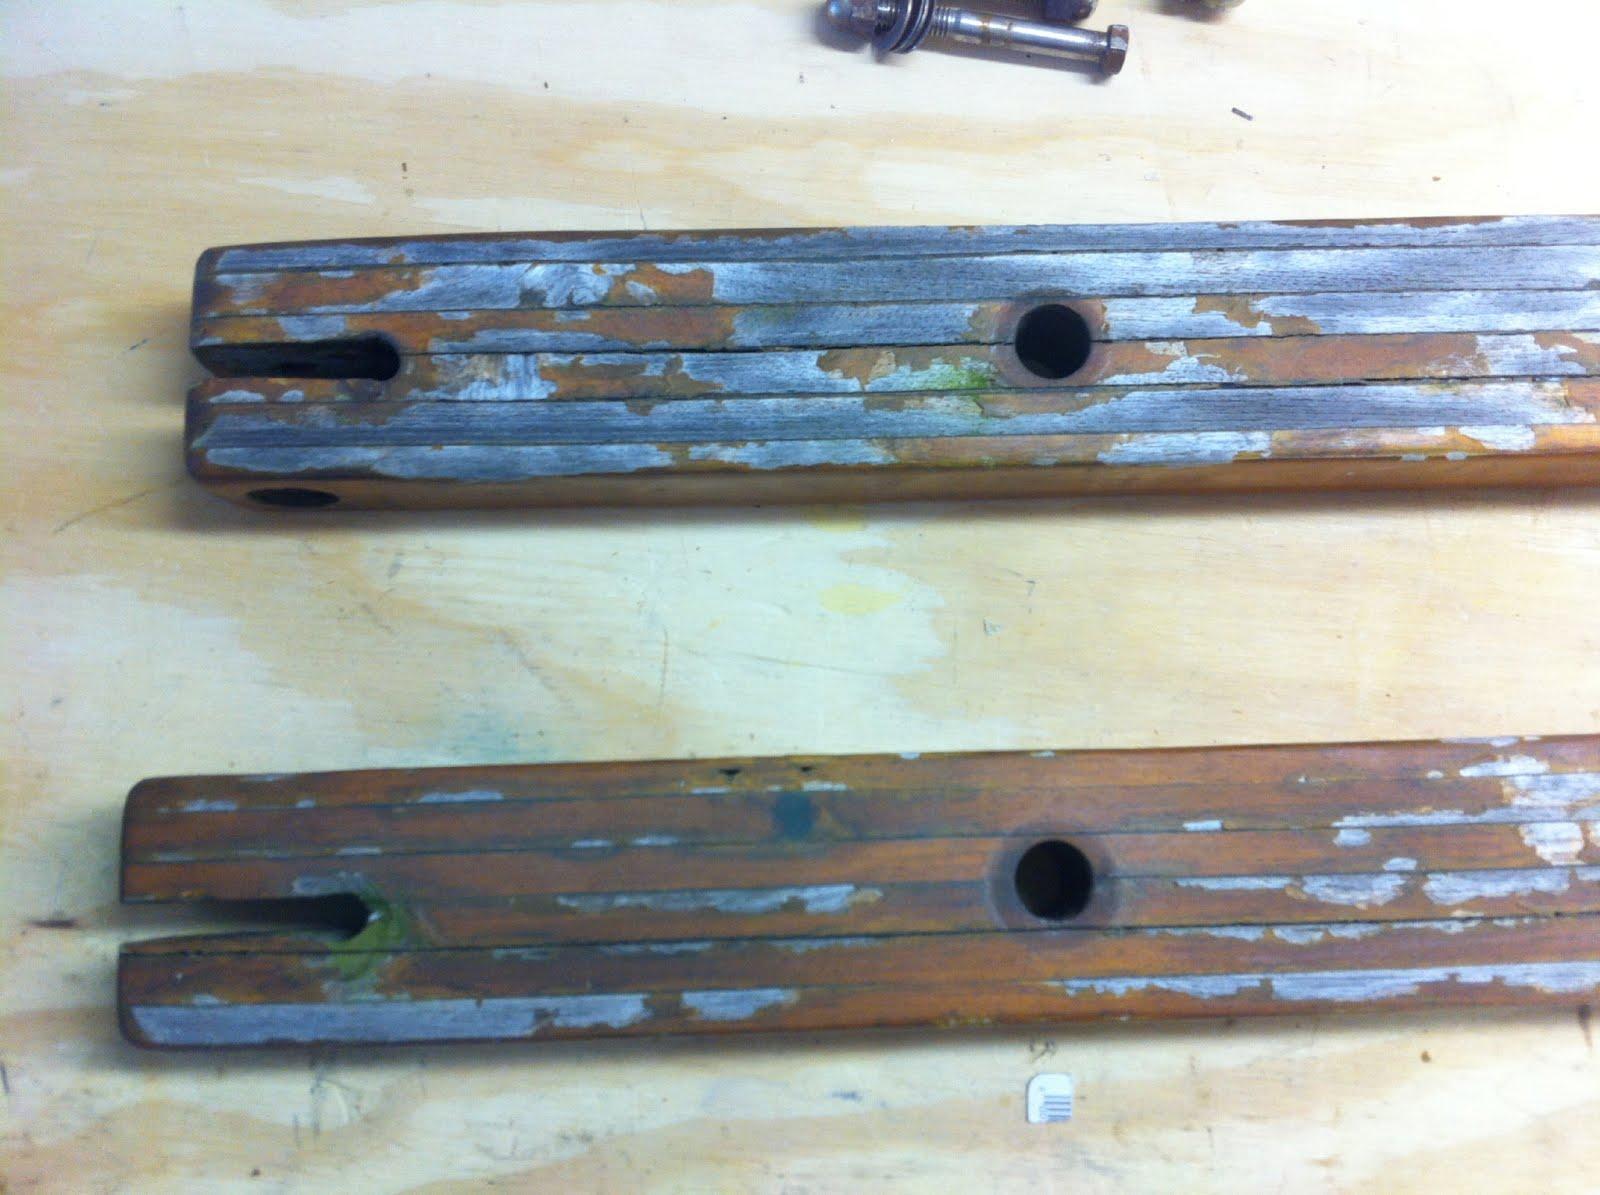
with the other piece, some of the plywood came off with the Formica.
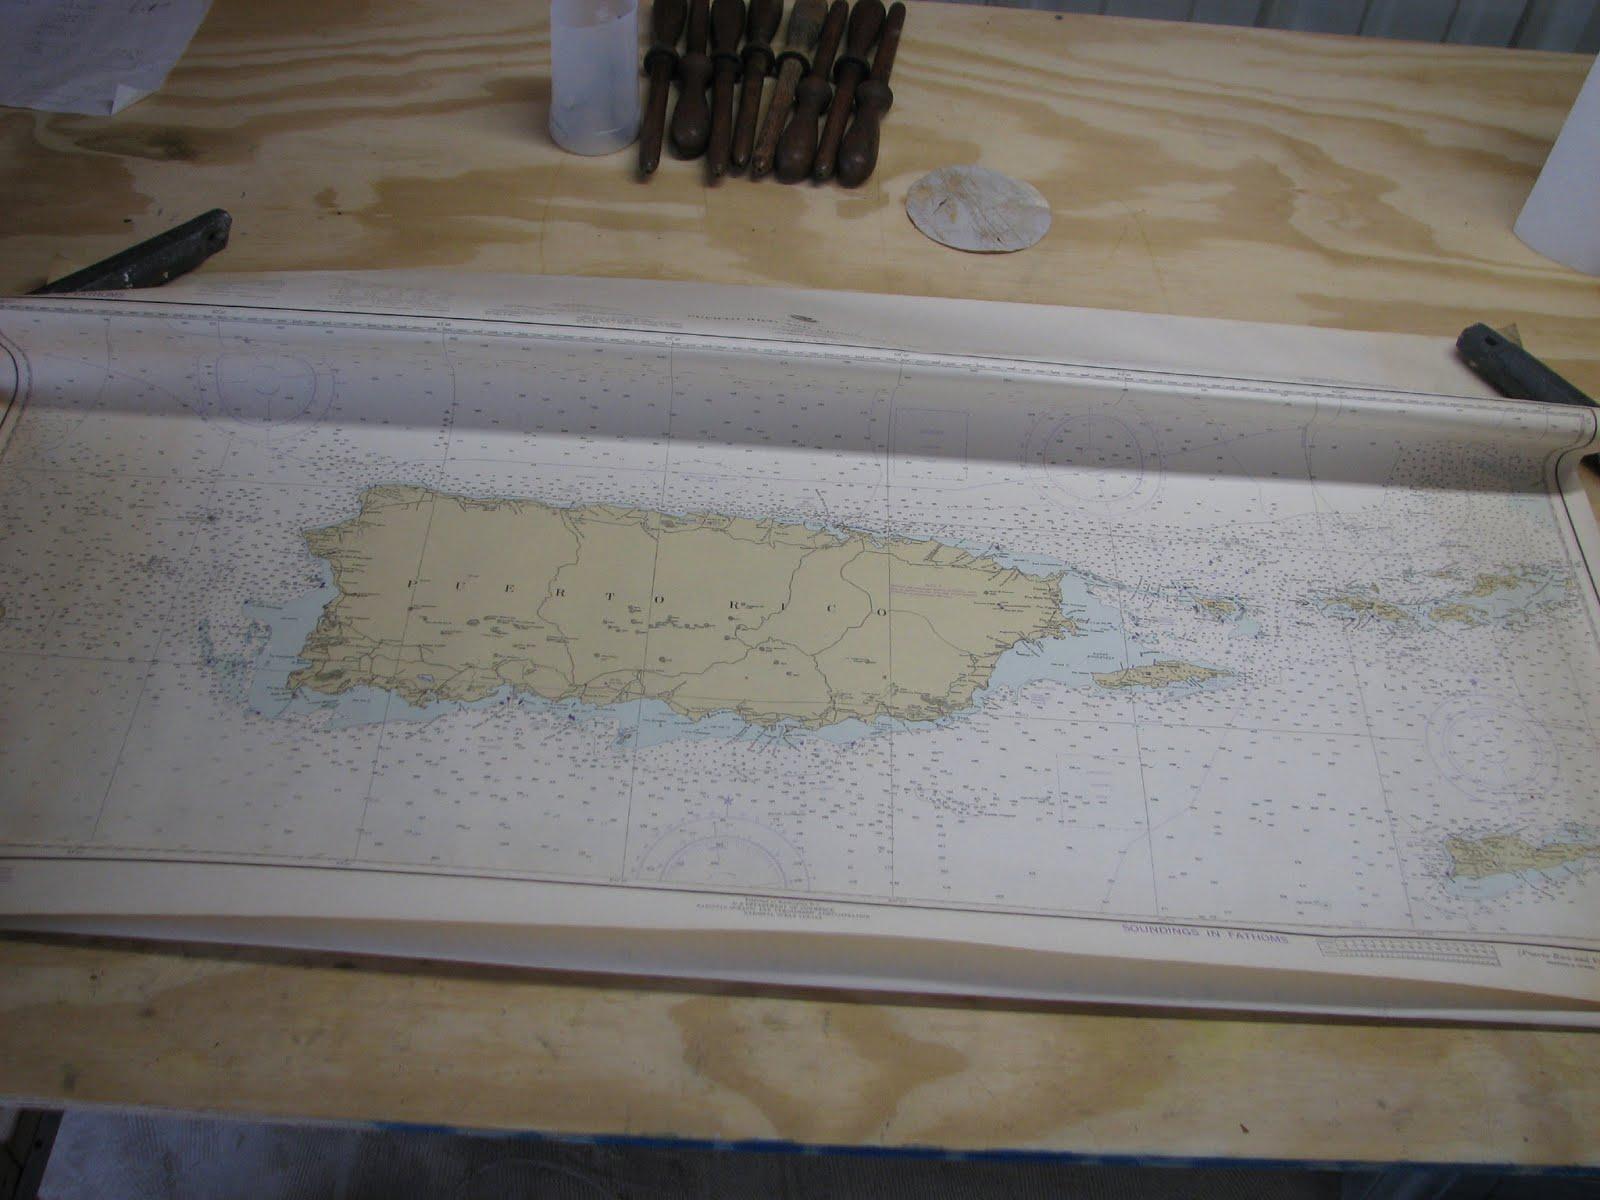
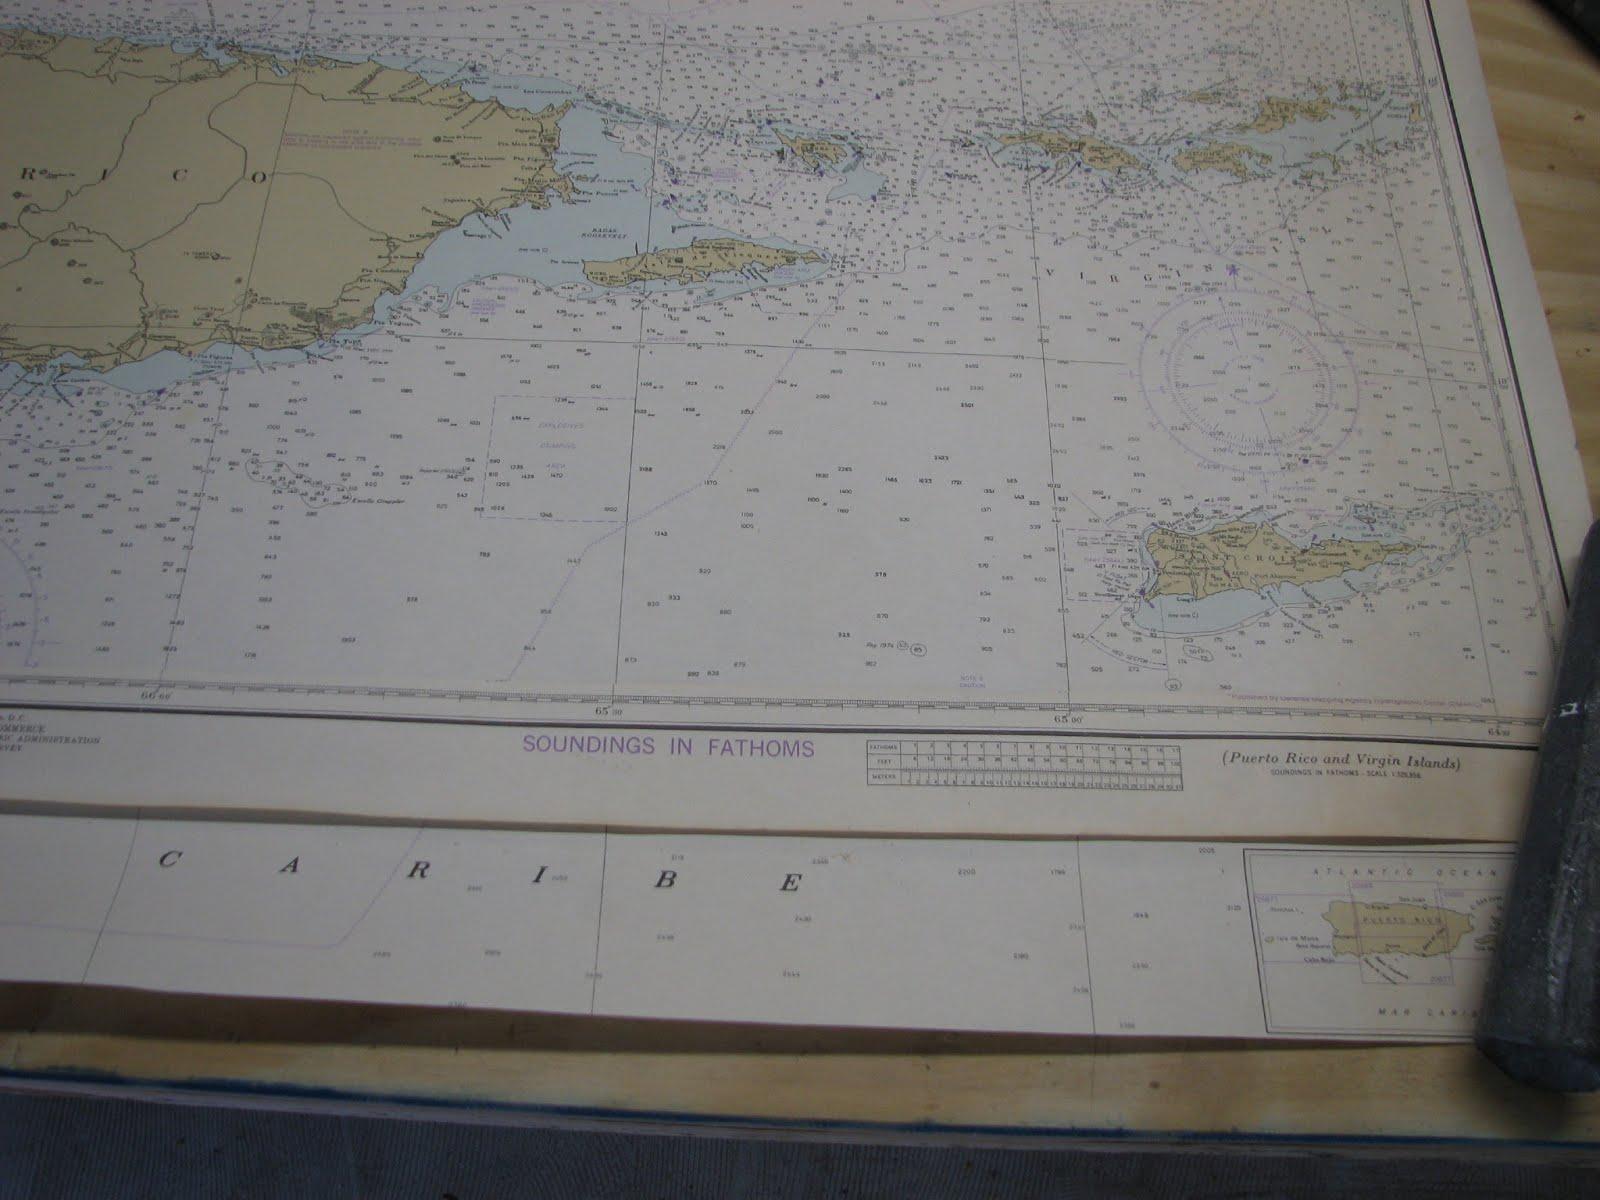
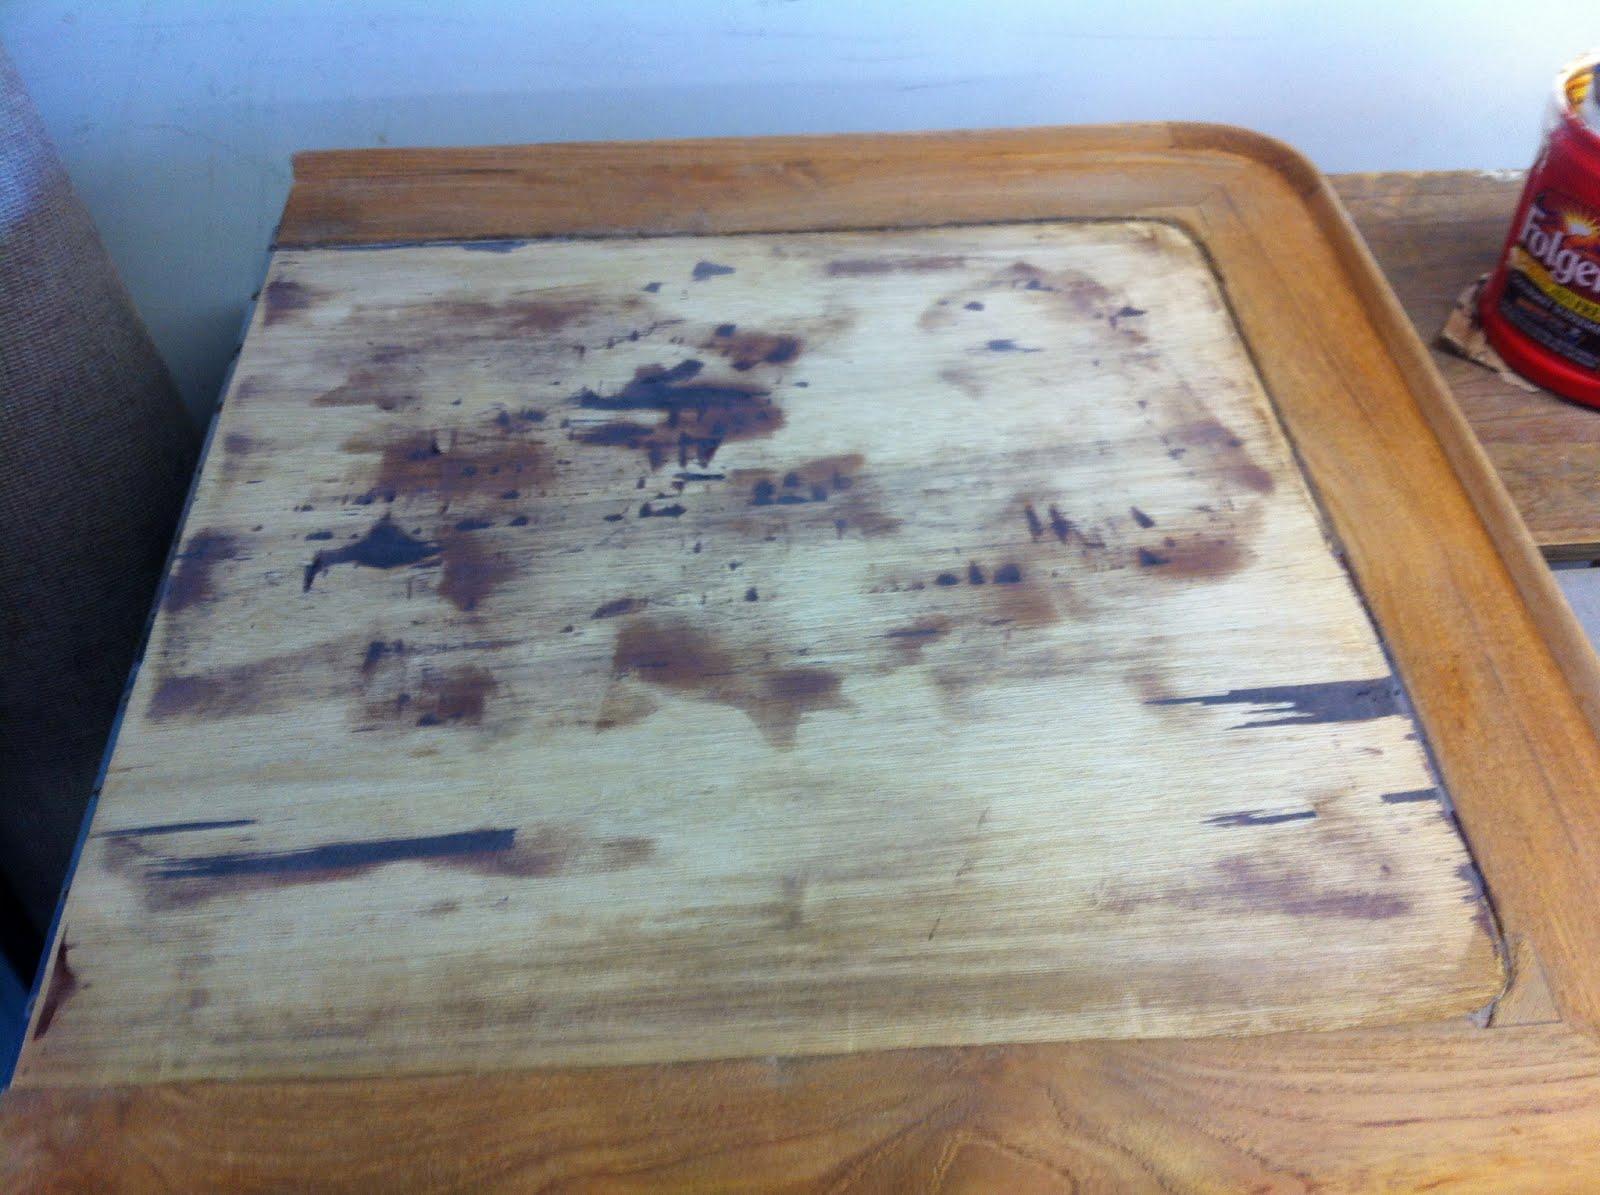
So I will have to repair the two pieces before I can put the Puerto
Rico chart on the table.
Main
Salon Table Pieces Ready For Epoxy Repair
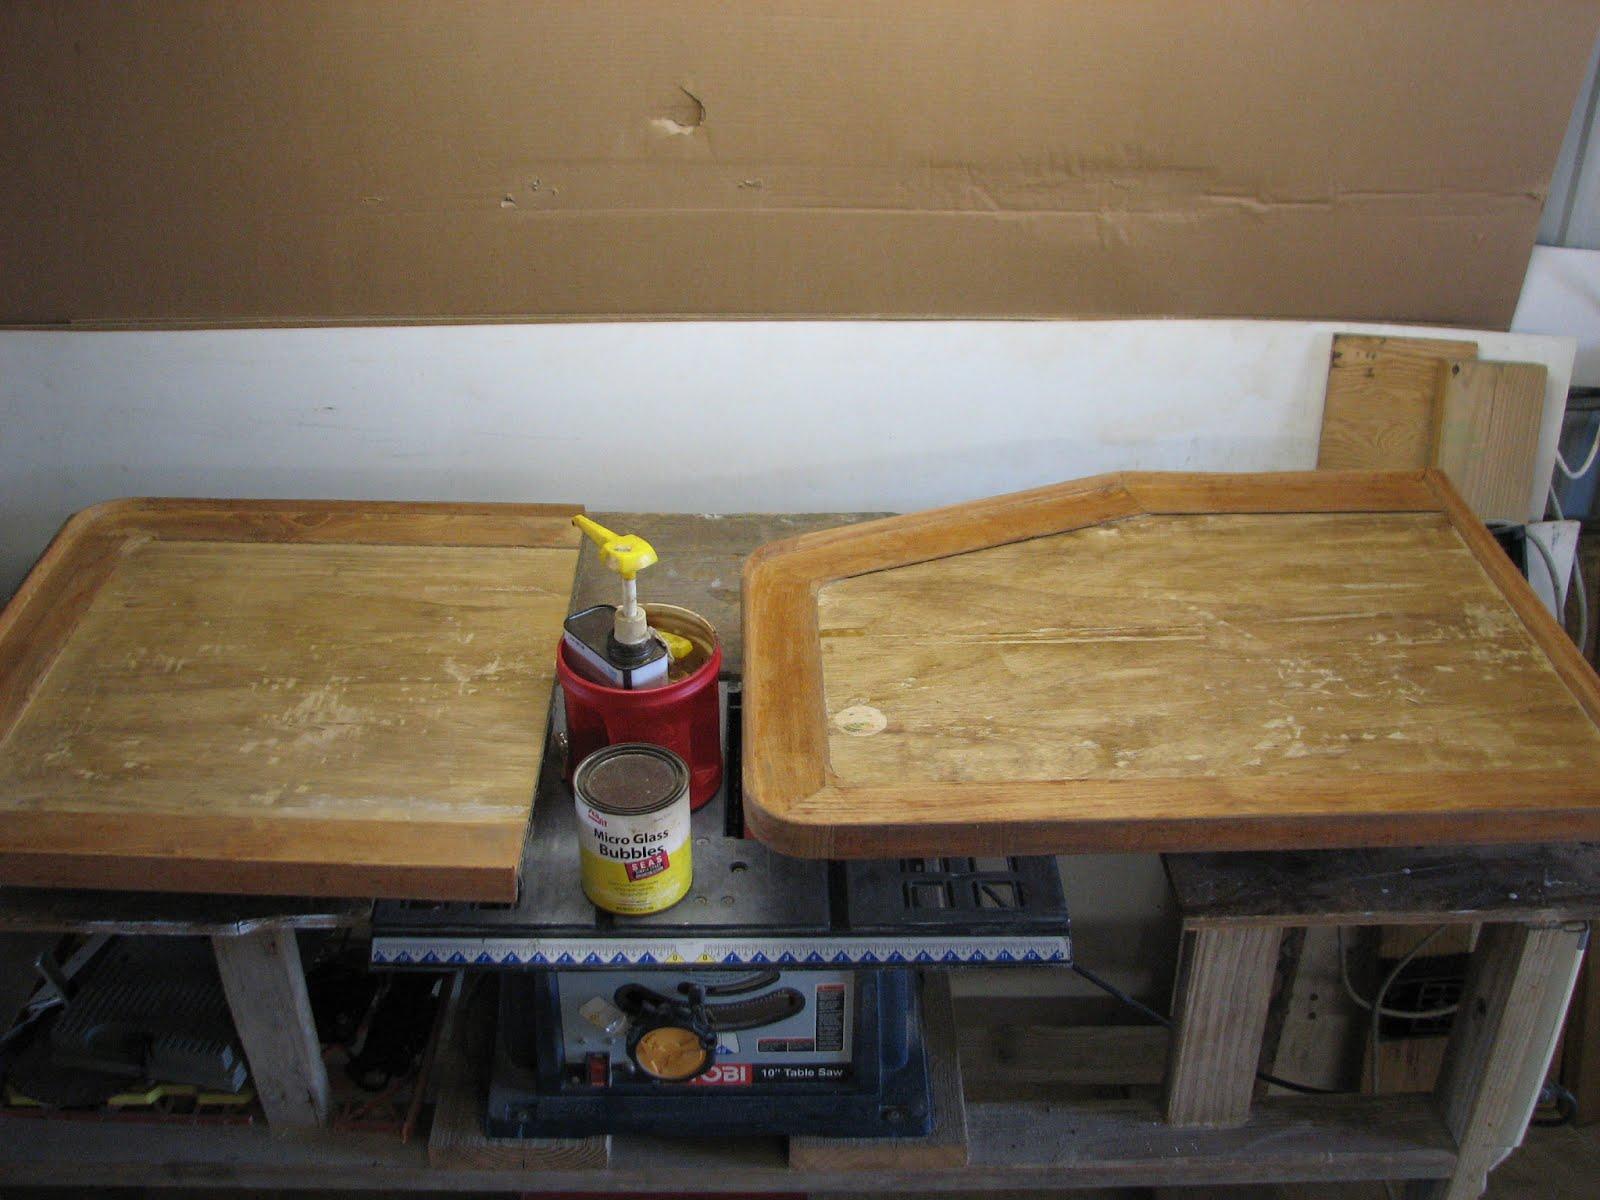
I
got the two table pieces set up, and ready to go. I mixed up a batch
of epoxy, and added some Cabosil
as a thickener. I then applied the mix to the table tops, and filled
in the imperfections as good as possible. Based on past experience, I
will probably have to apply the epoxy filler two or three times to
get the tops really smooth.
Next
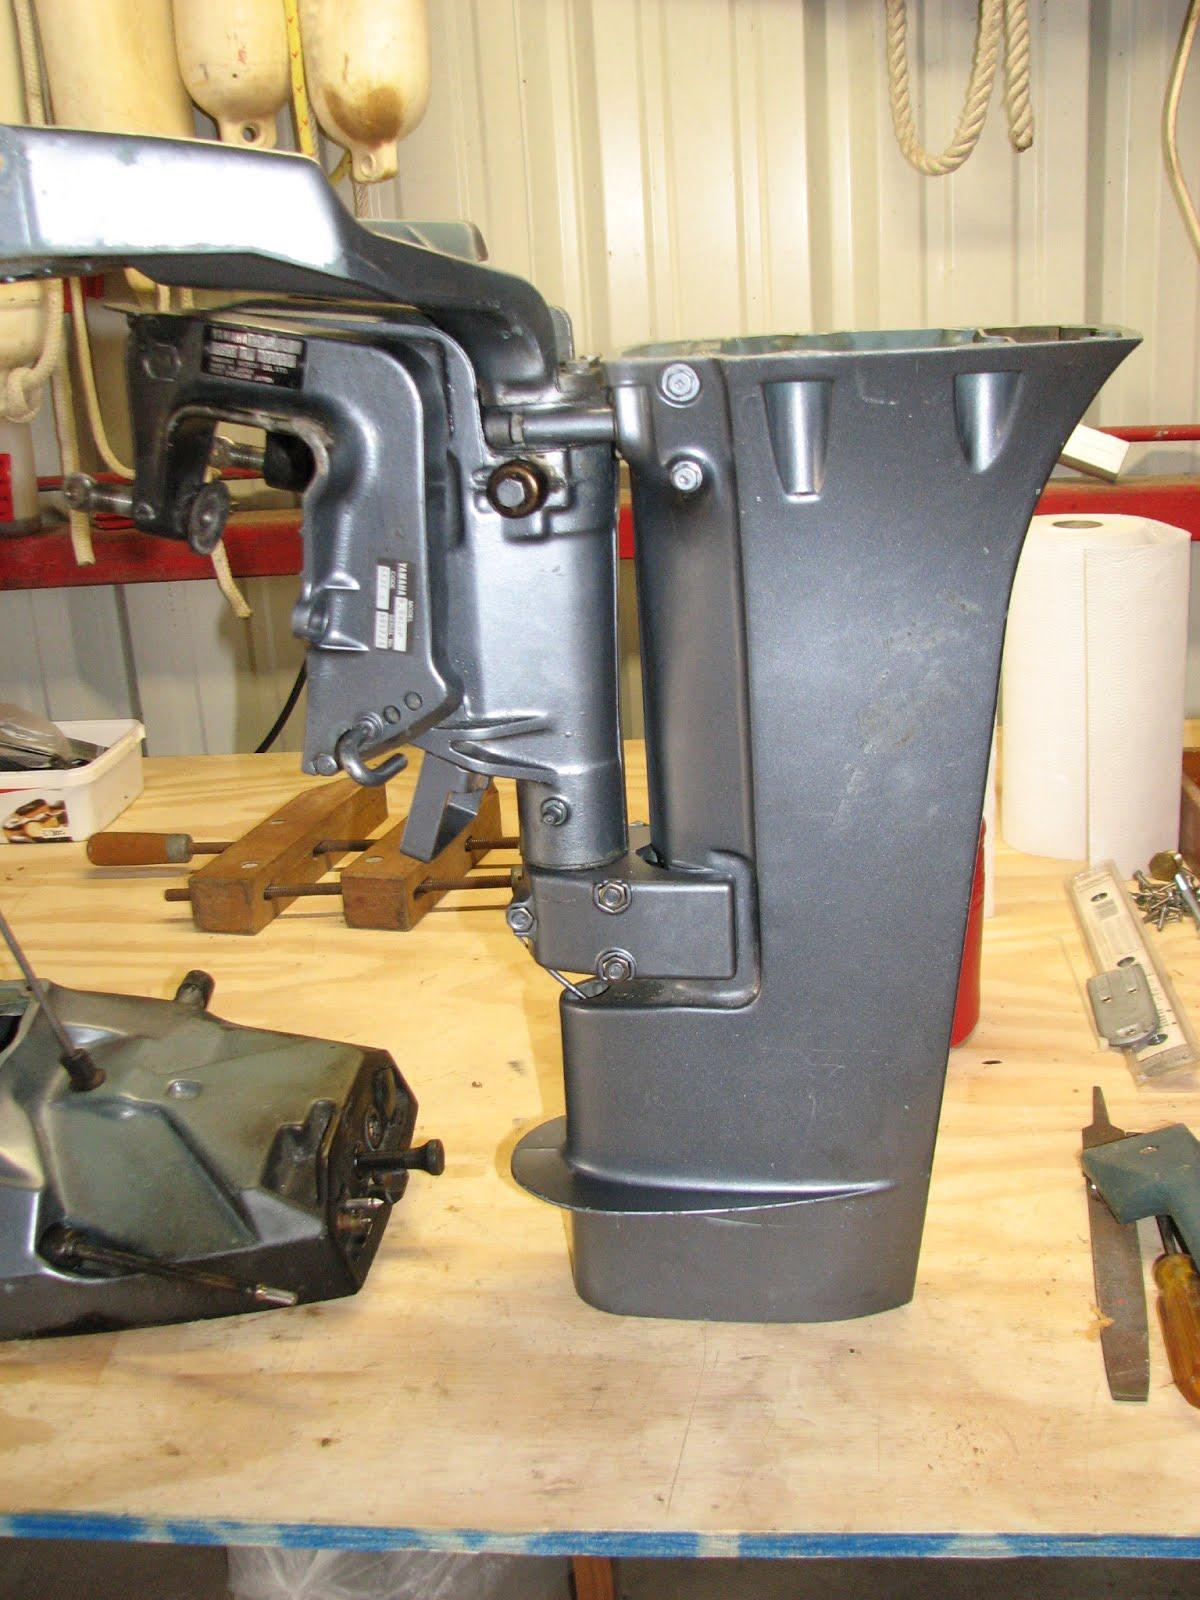
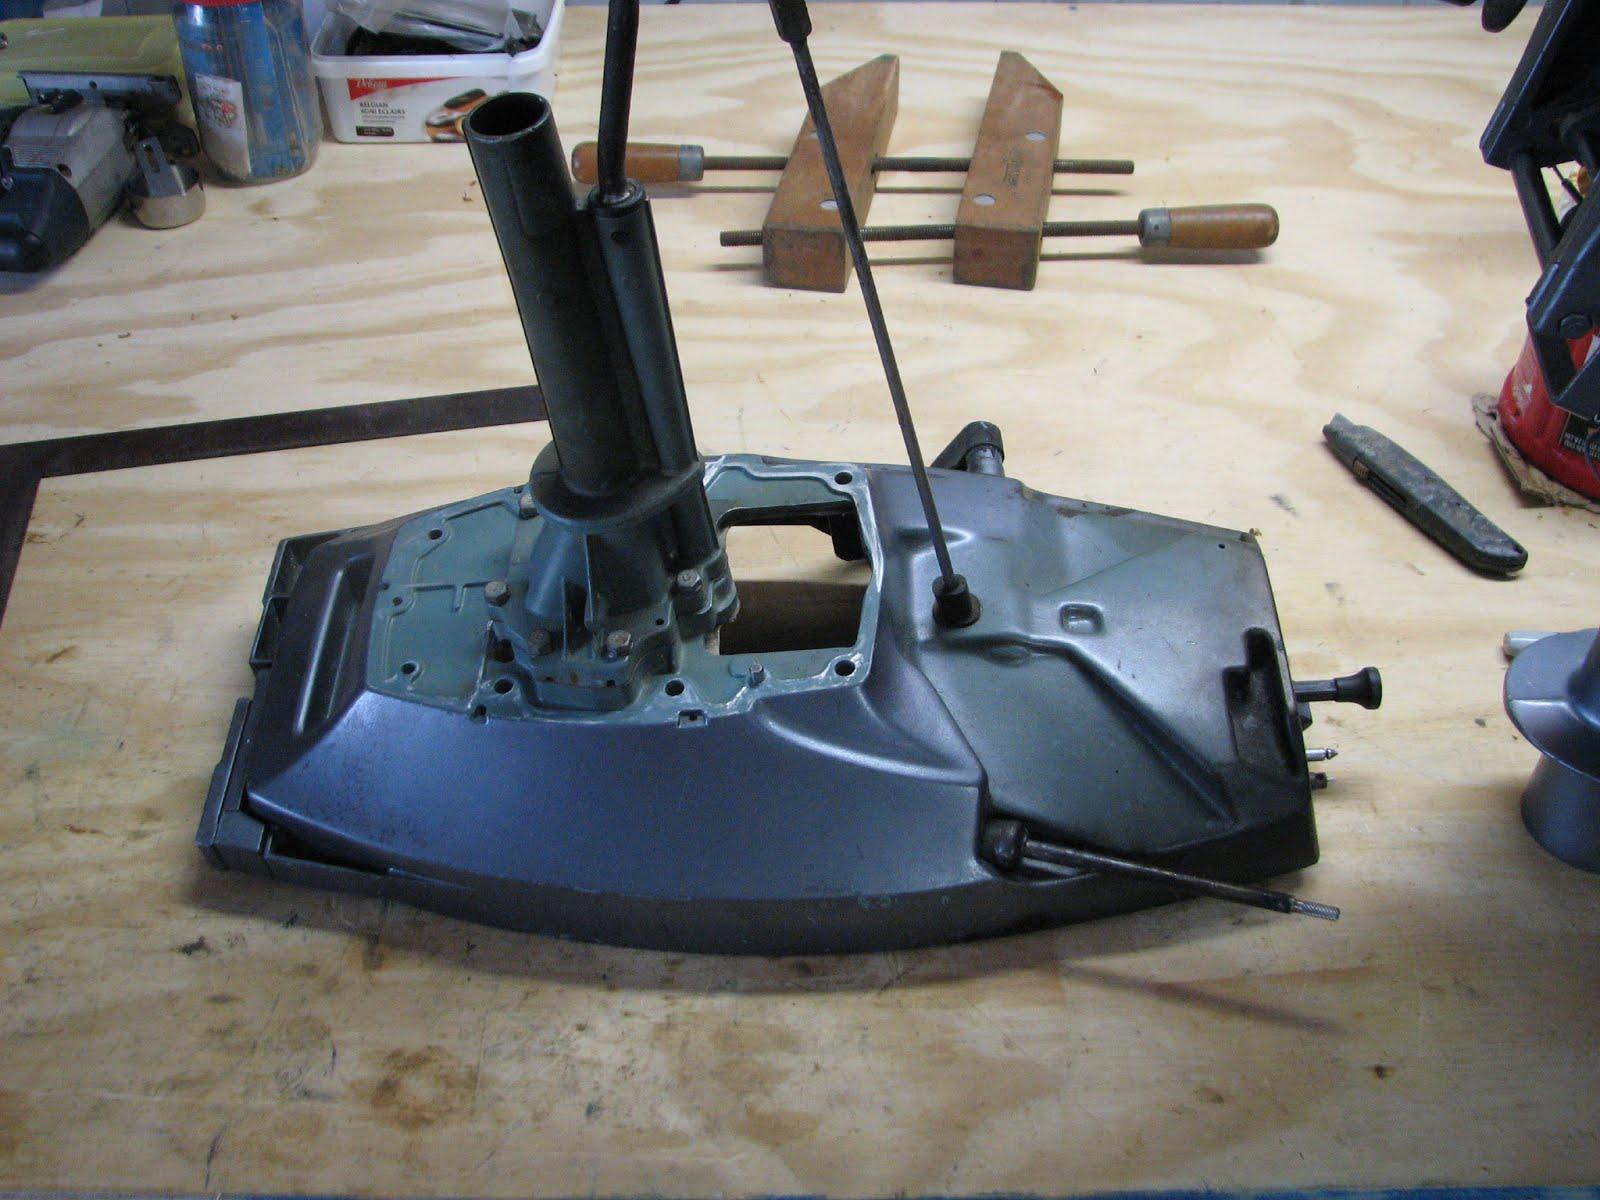
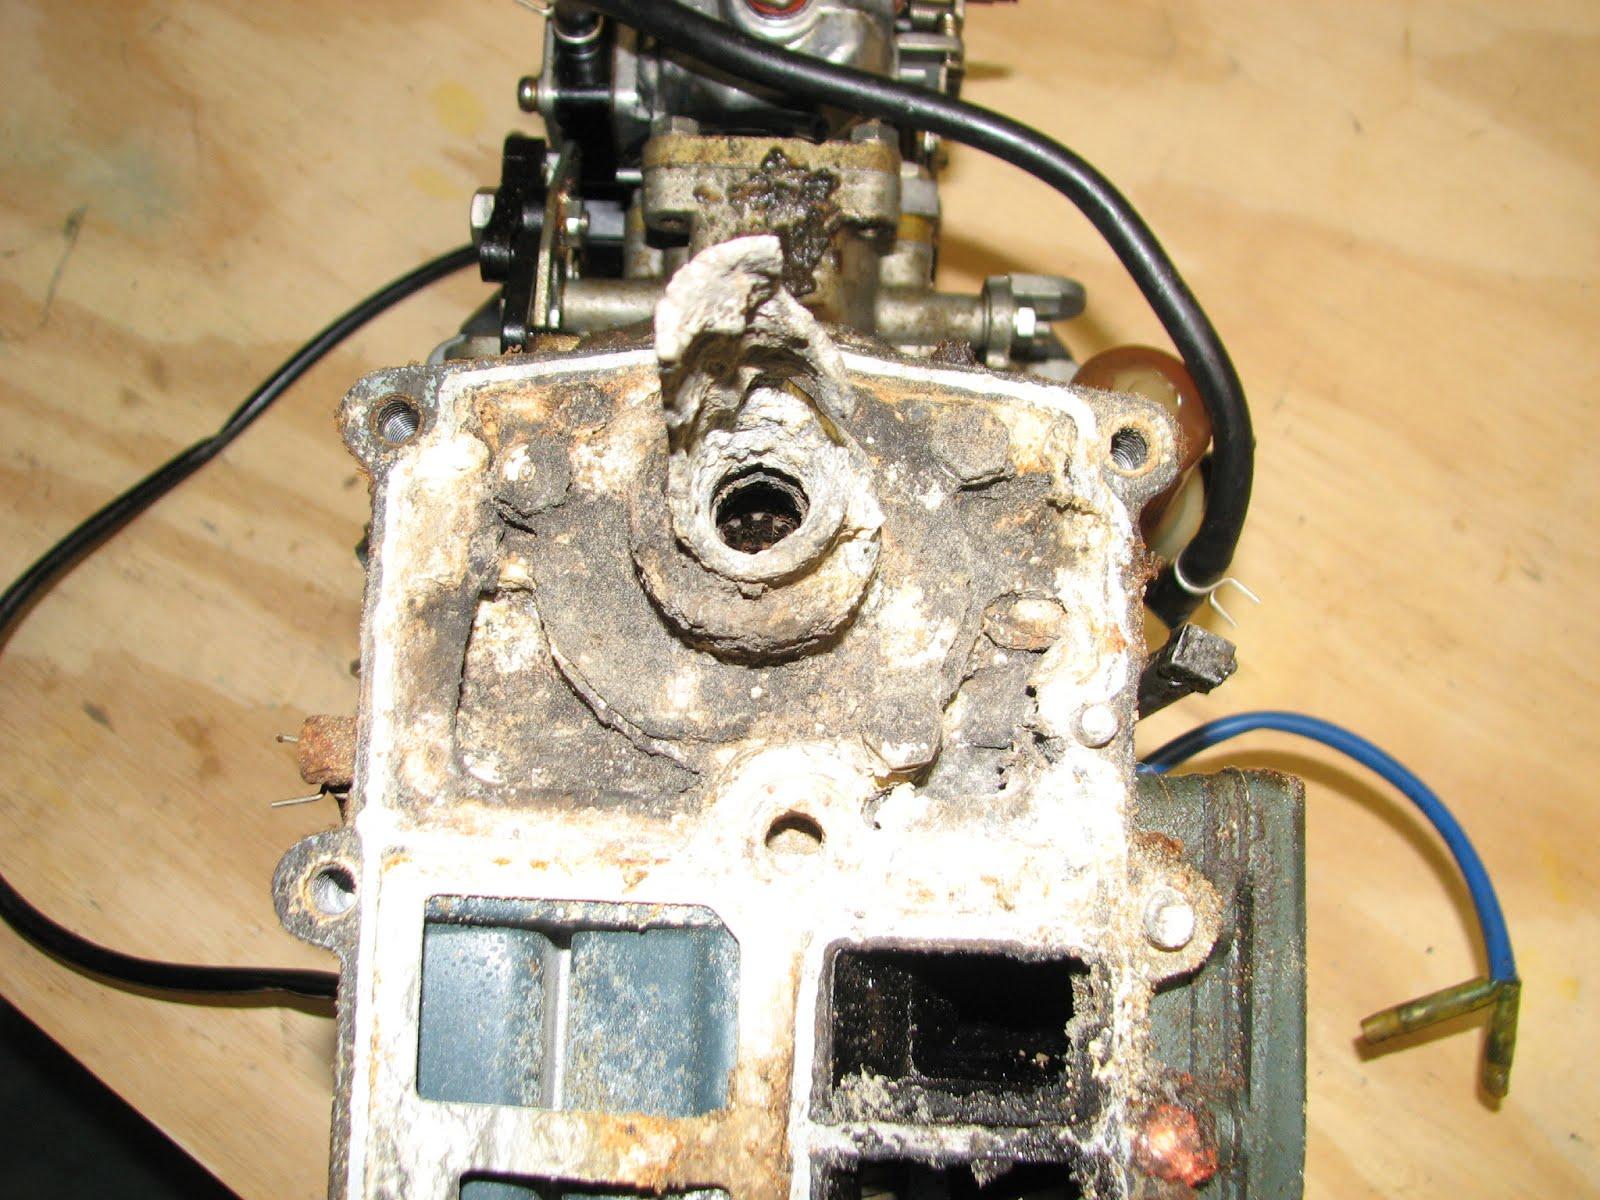
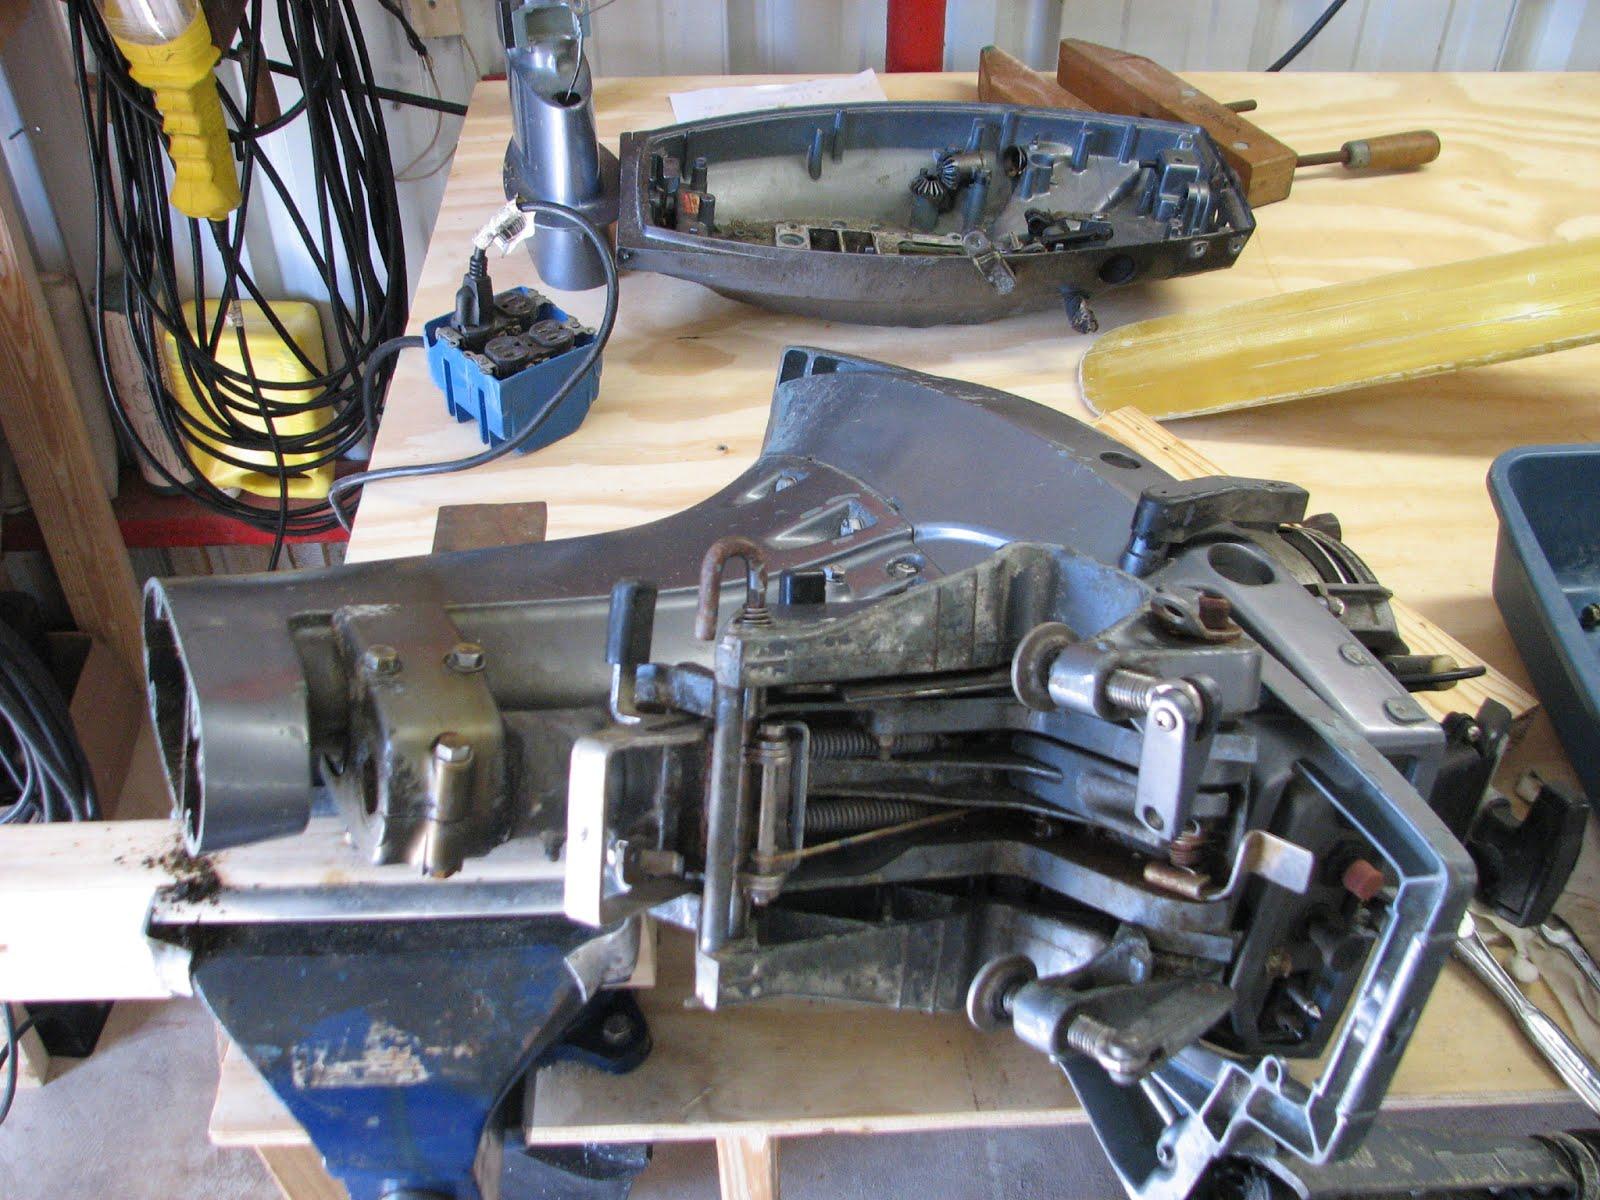
I started back working on the spare outboard motor. I have discovered
that the repair manual I have for the motor, does not cover replacing
the parts I wish to replace. So I will have to go it alone, but I am
pretty sure I will be able to get the job done. I have to remove and
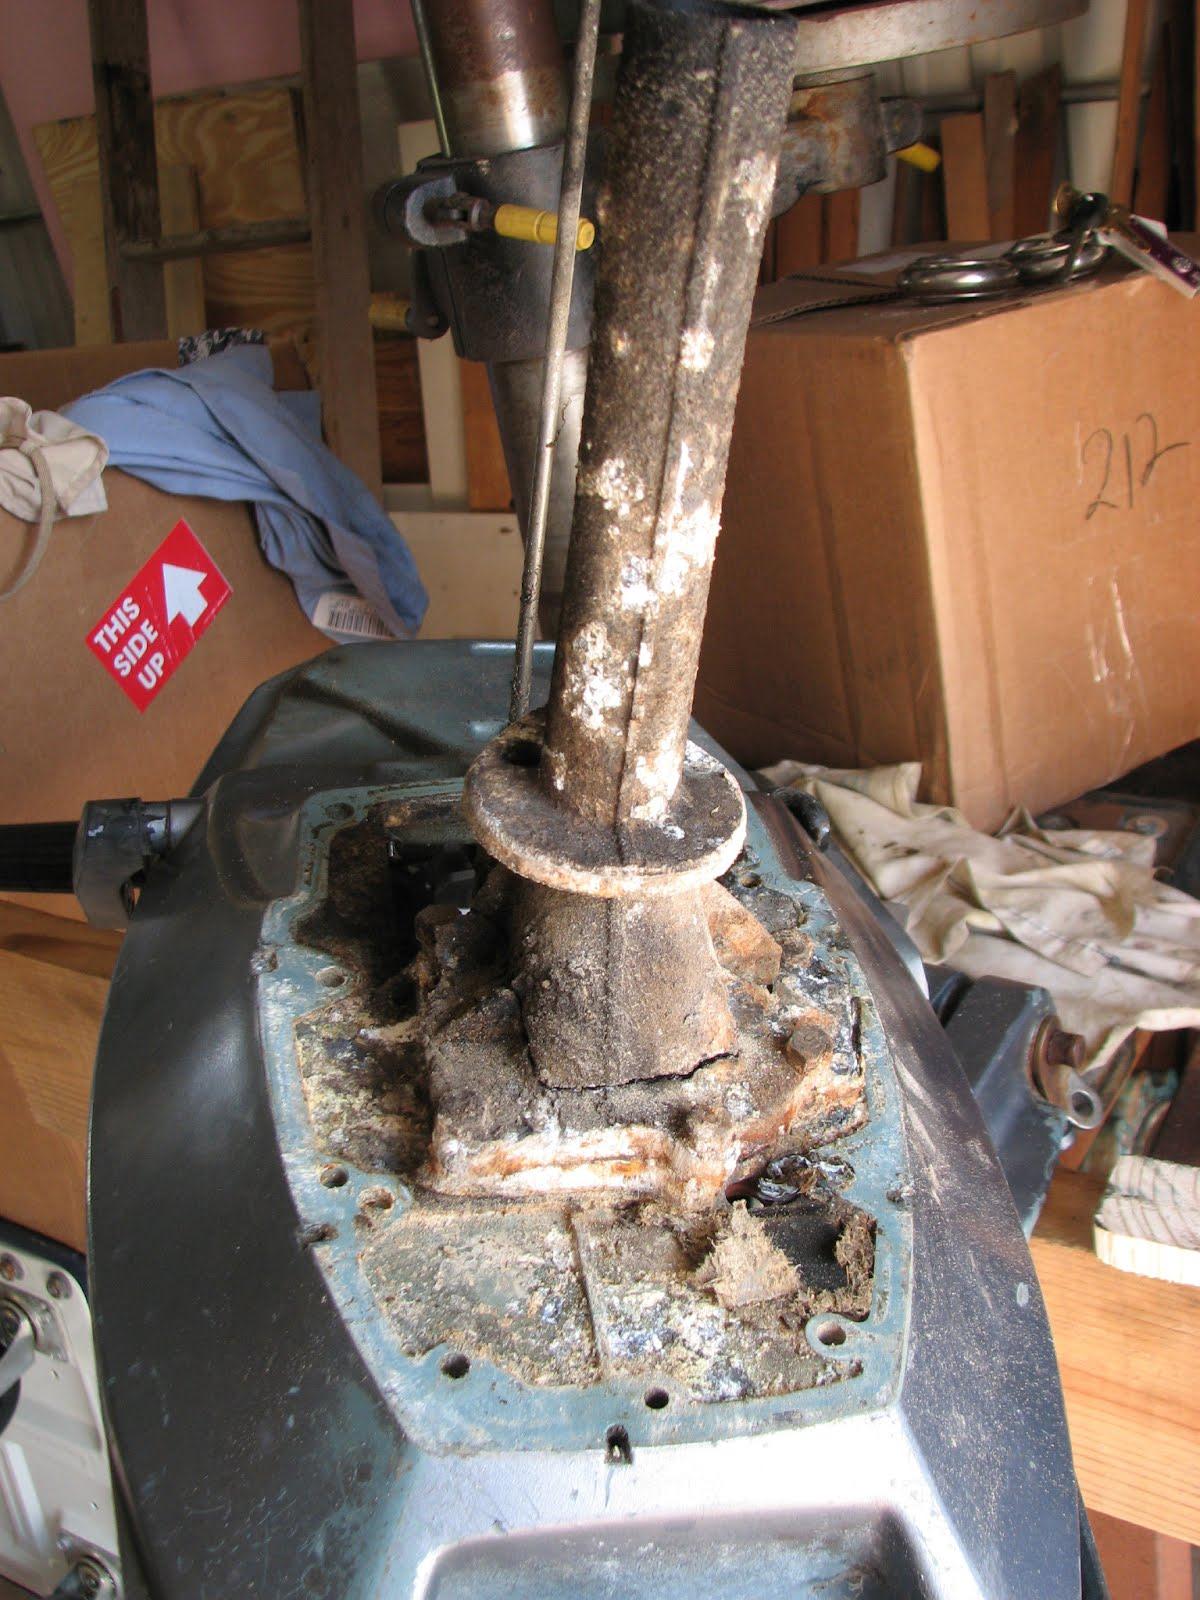
replace the upper casing, and also remove the bracket. Today I
started the disassembly, but some of the stainless steel bolts were
very tight in the Aluminum casting. I stopped and sprayed all of the
bolts down with Screwloose.
Outboard
Engine And Parts On Work Bench
March
11, 2013, Monday
Started
off the morning with my normal ritual of getting on the Internet,
answering email and checking the weather.
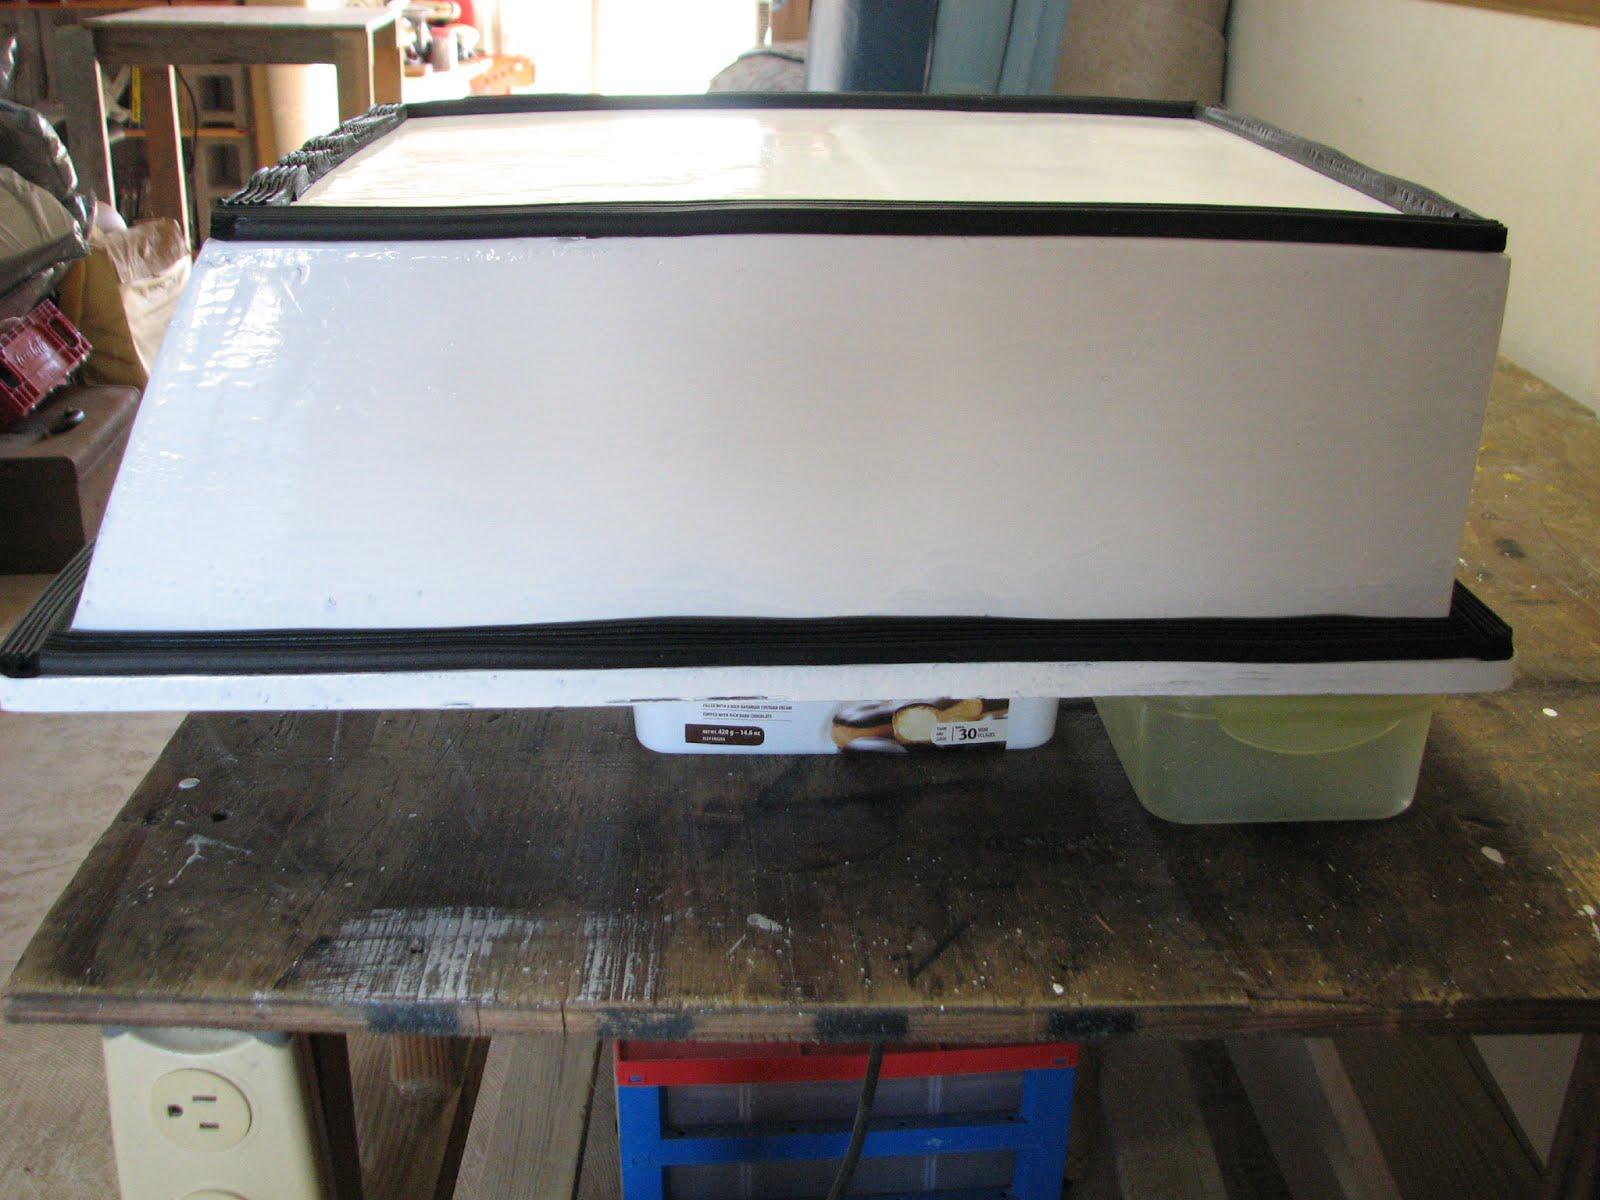
Went
over to the shop and first looked at the freezer top. It had reached
room temperature, so it was ready to paint. The problem is it was too
cold in the morning, so waited till noon when the temperature was
warmer. I used the same two part epoxy paint I had used on the
refrigerator top. I added more thinner to this batch, and it went on
very nice. Tomorrow when the paint is dried, all I have to do will be
to add the weather stripping.
Started
in again on the second main salon table piece, and finally got all of
the Formica
removed from the table top. By the end of the day, I had removed all
of the Formica
from the table top, and all of the varnish. I will have to do a
couple of repairs to the wood on the table piece because of some
gouges made while removing the Formica.
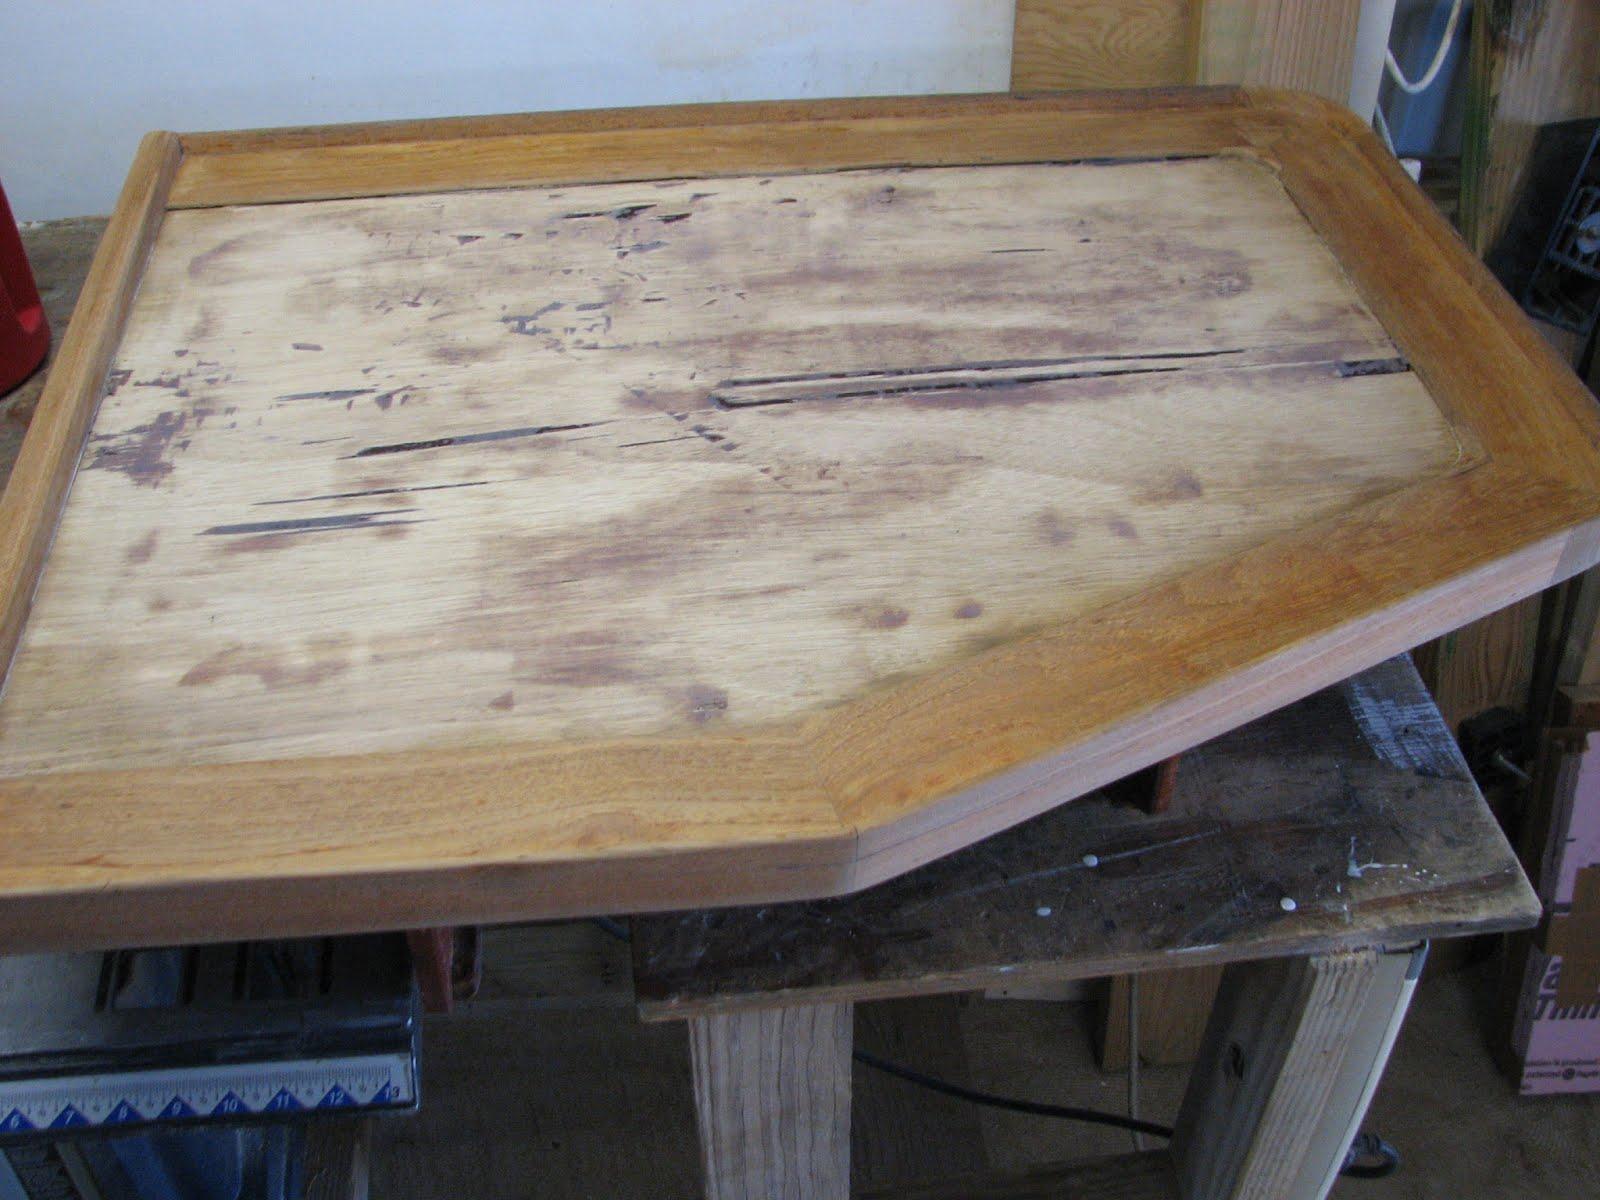
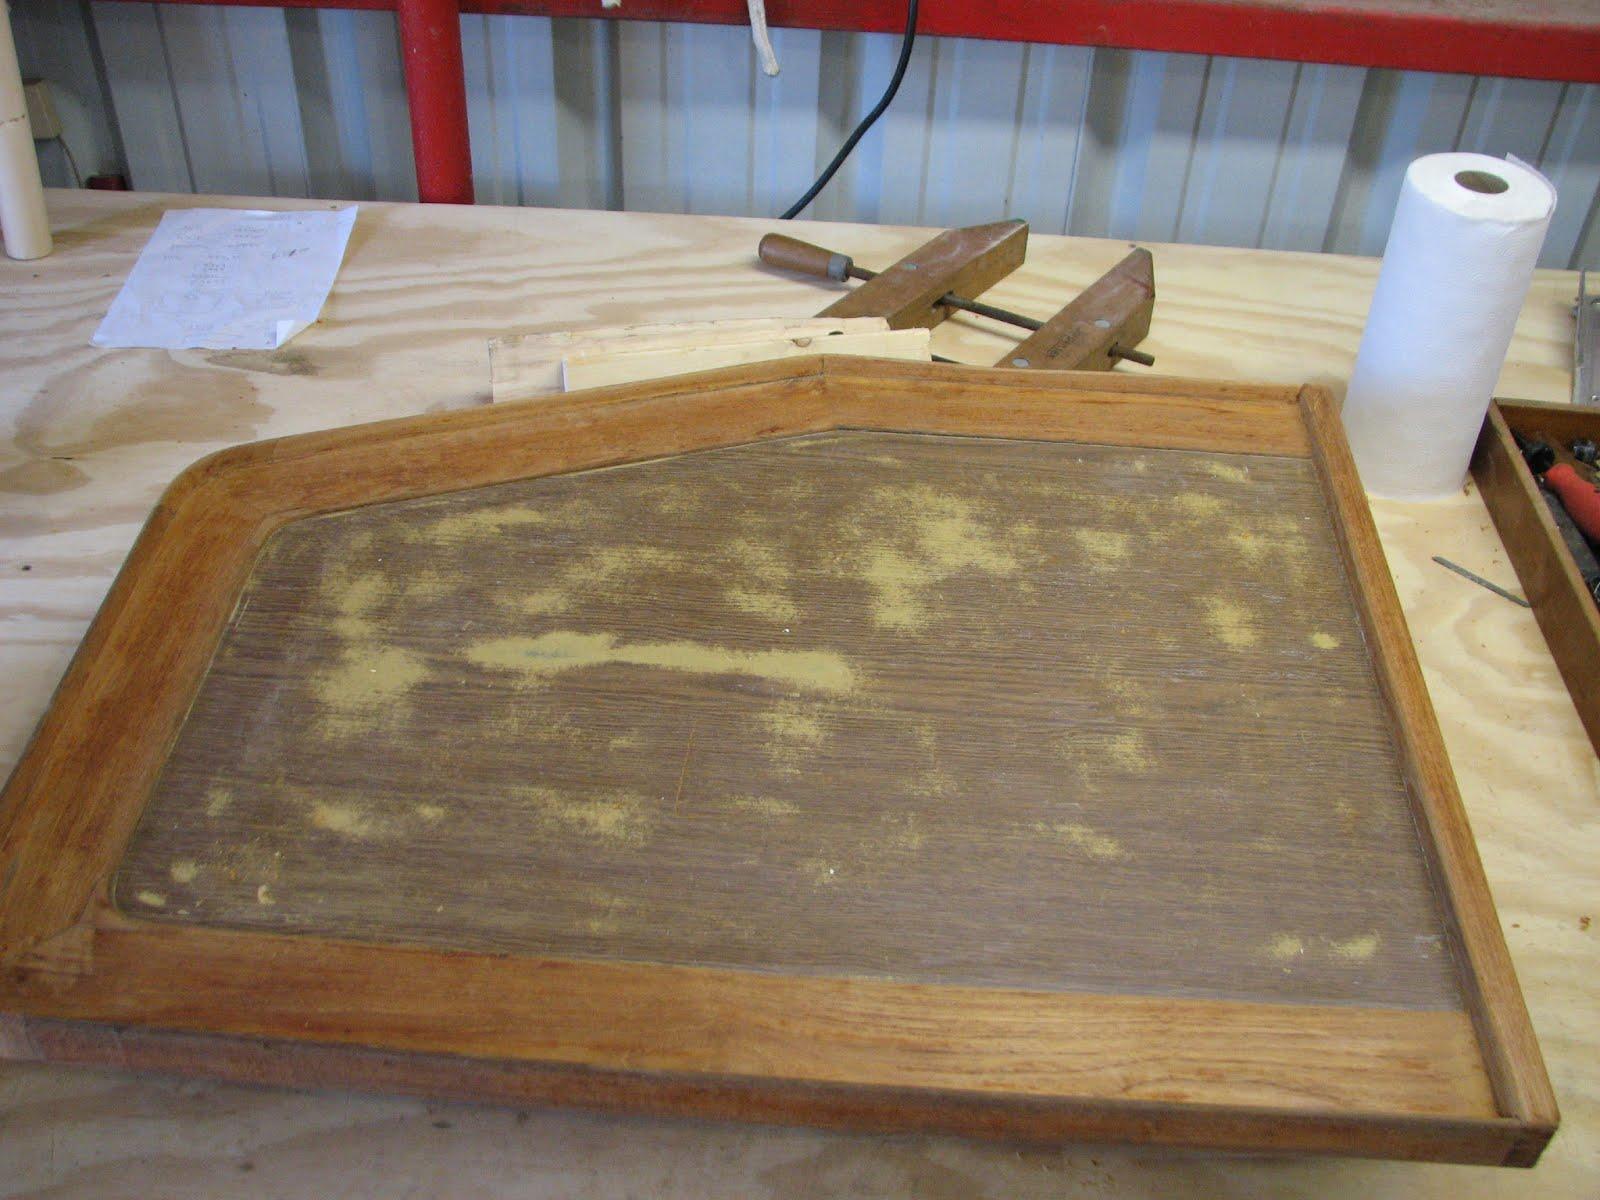
The first main salon table piece is now ready for the Formica
removal.
Second
Main Salon Table Piece With Varnish And Formica
Removed
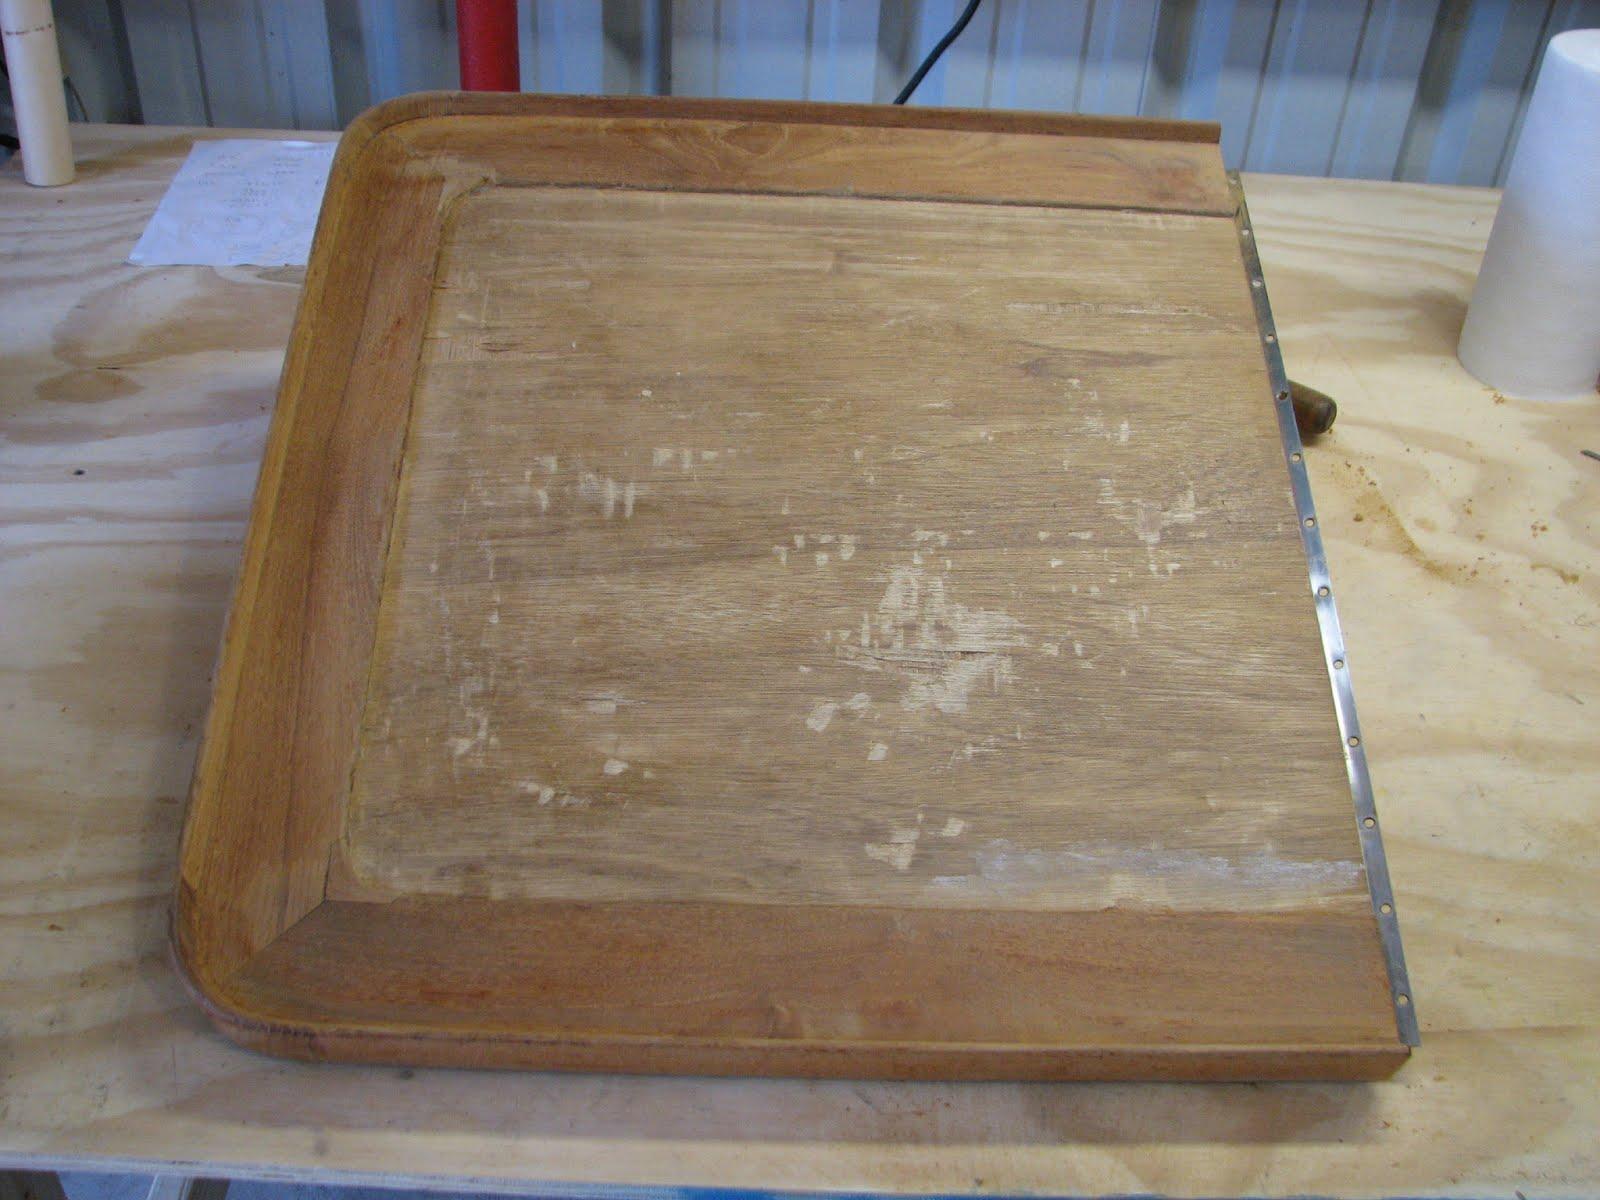
First
Main Salon Table Piece Ready For Formica
Removal
March
10, 2013, Sunday
Started
off the morning with my normal ritual of getting on the Internet,
answering email and checking the weather.
Went
over to the shop and checked on the painted drawer and the painted
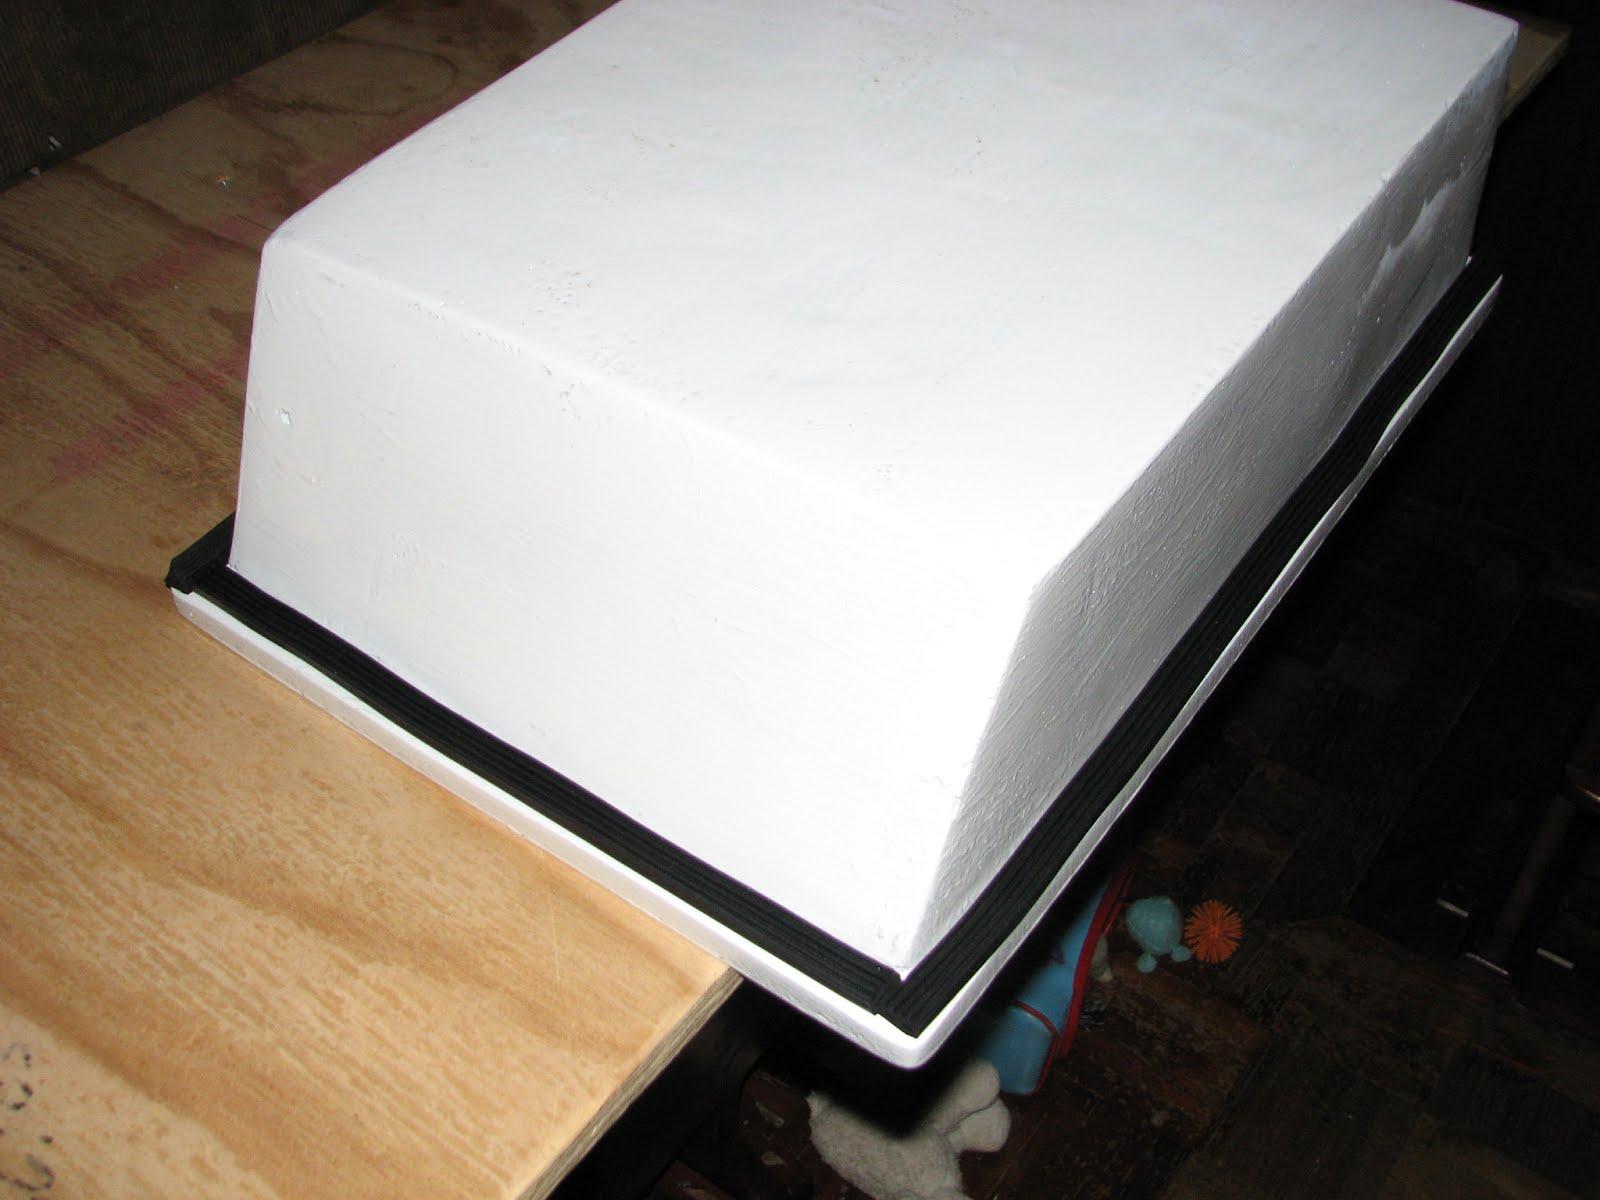
refrigerator top. Both looked good, and dry. I then cut the
weather stripping and applied it to the underside of the refrigerator
top.
Refrigerator
Top With Weather Stripping Applied
Started
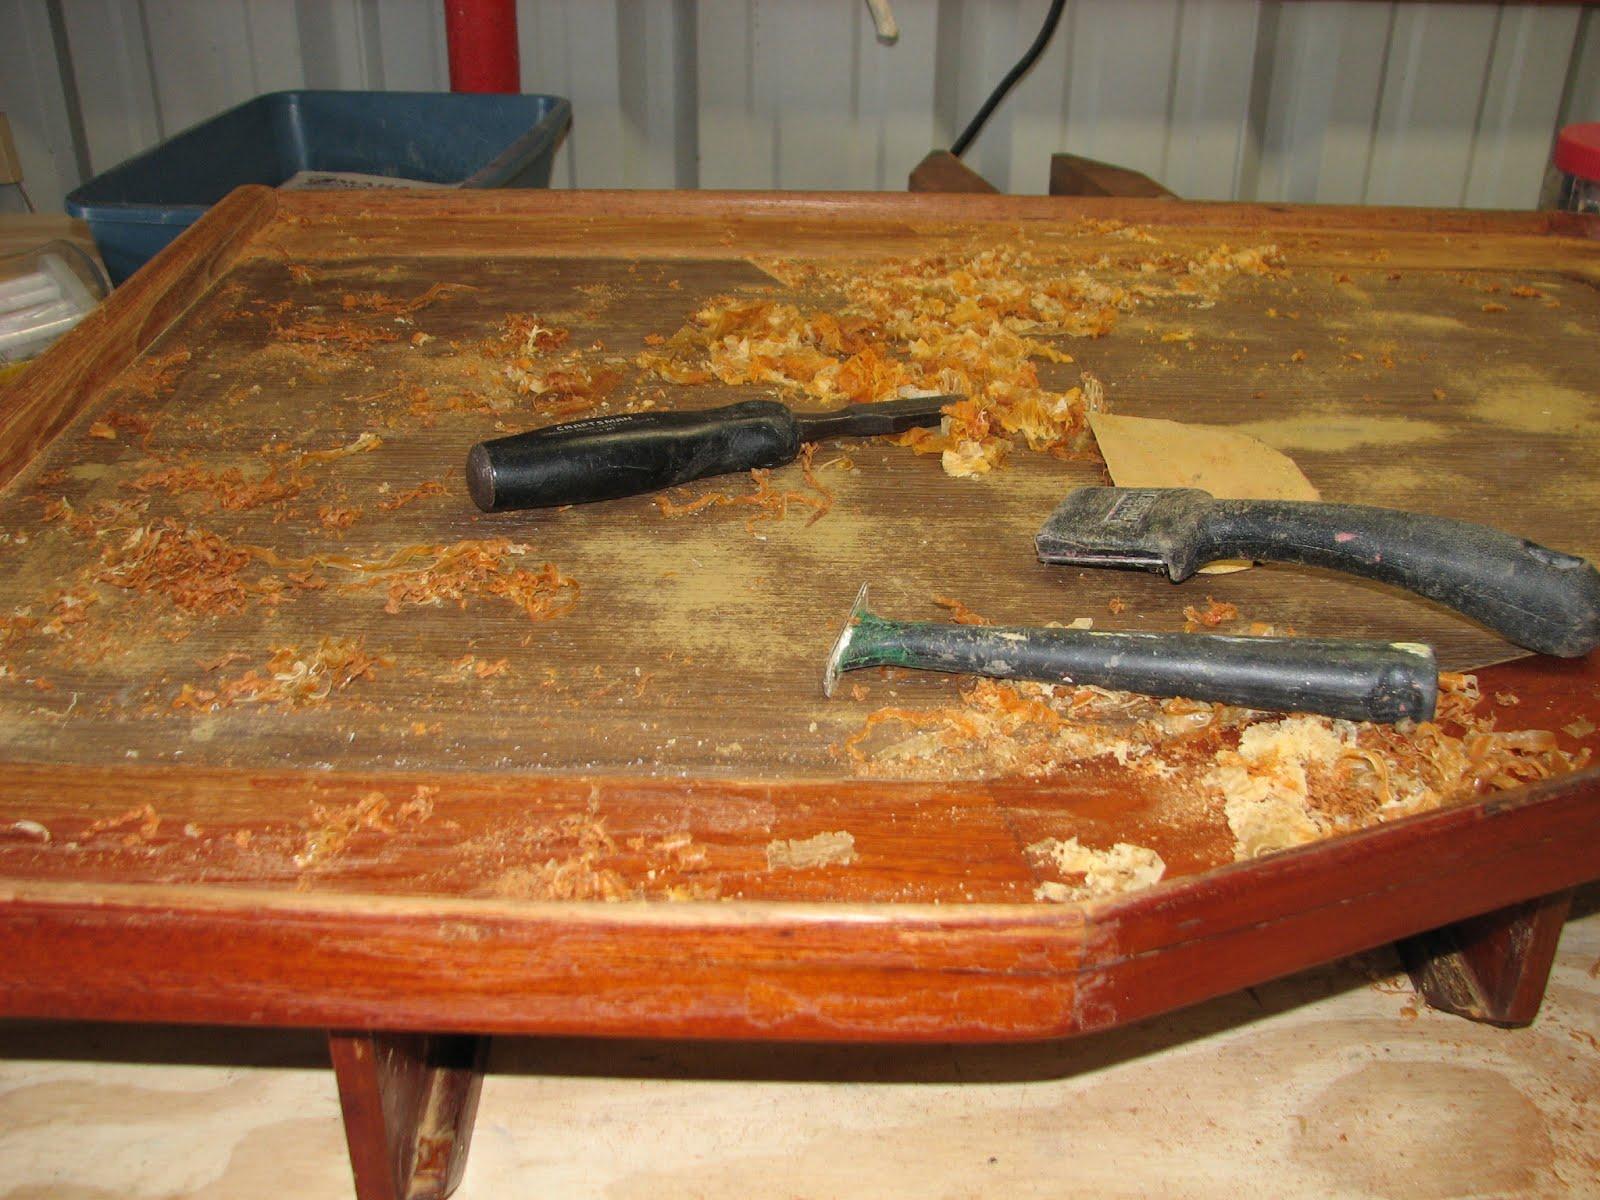
in on removing varnish from the first piece of the main salon table.
I used scrapers rather than a heat gun, but I may give the heat gun a
try, and see if it is any easier.
Removing
Varnish From First Main Salon Table Piece
Went
back to DREAM AWAY for lunch, and took the painted drawer and the
finished refrigerator top. I put the refrigerator top back into its
place after removing the temporary top. I also put the newly painted
drawer back into it’s place, and all of my T-Shirts back into the
drawer. Before leaving DREAM AWAY to go back to the shop, I put the
temporary top in the freezer, and took the freezer top back to the
shop.
I
finished the varnish removal on the first piece of the main salon
table. I started in on the second piece of the main salon table. I
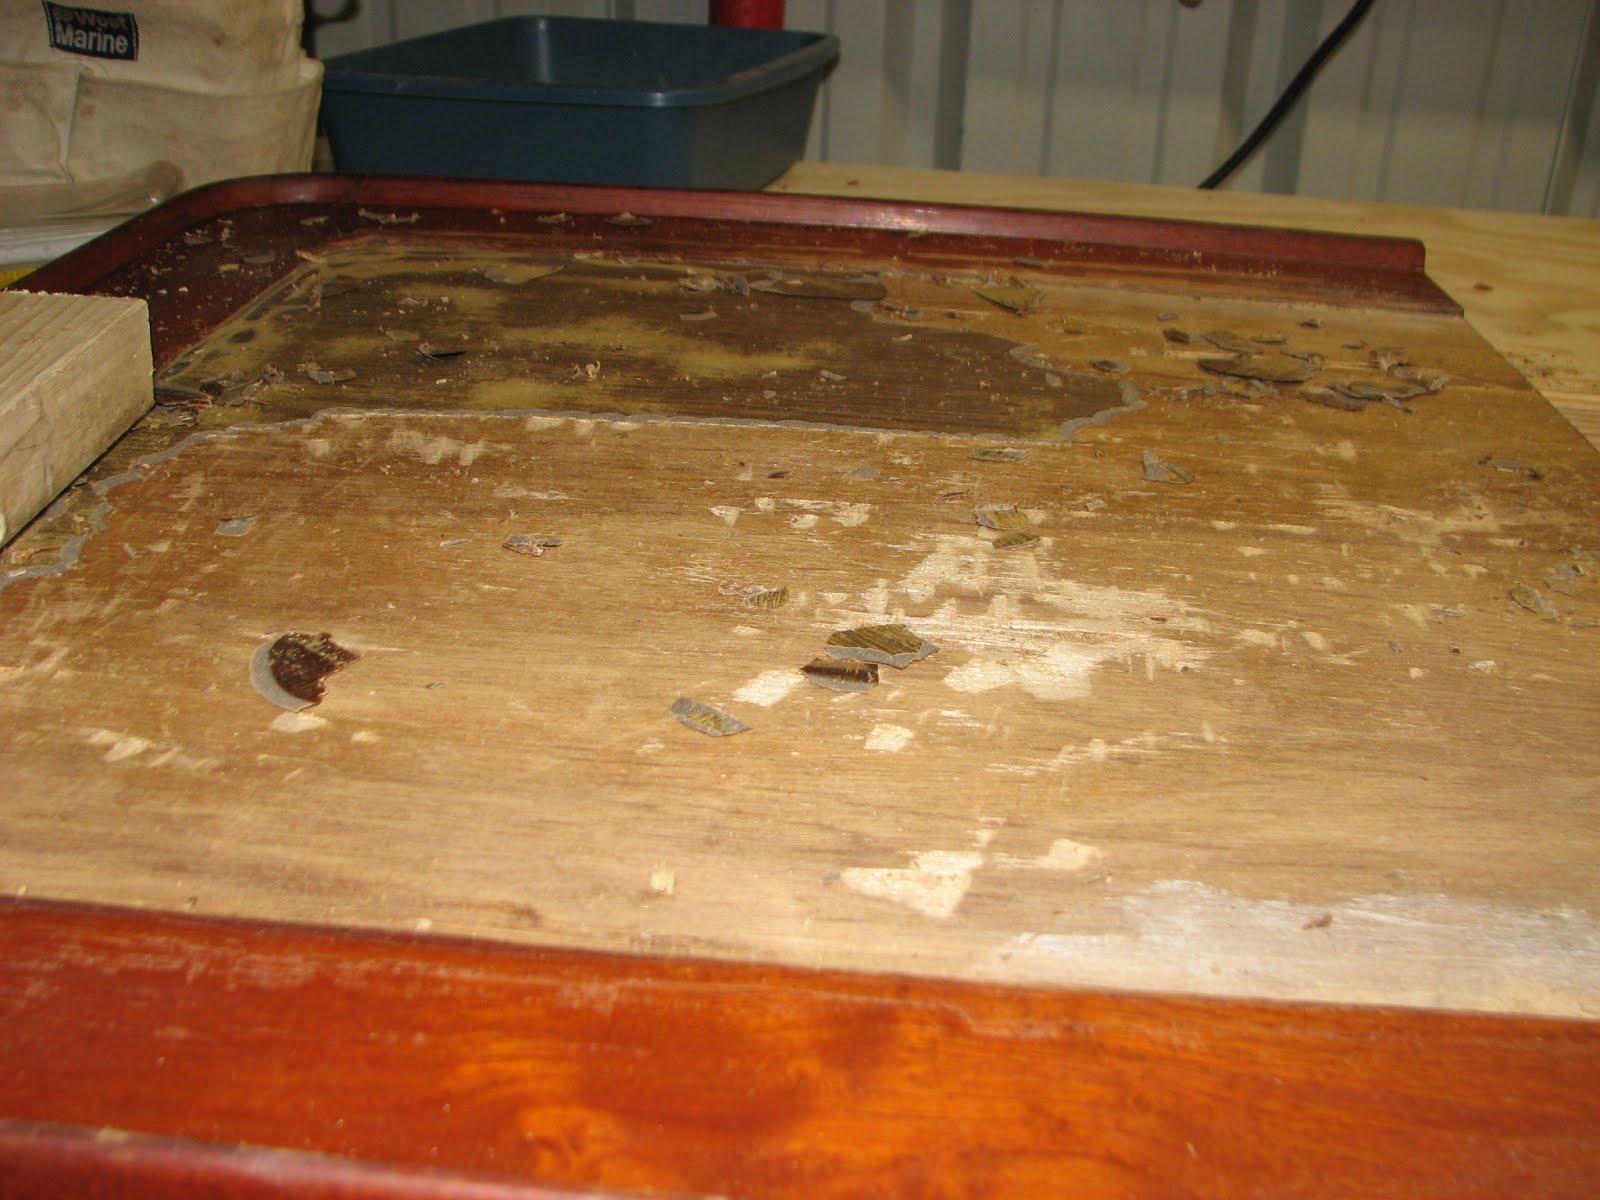
removed all of the epoxy and the chart from the table. While doing
this, I discovered the table top was actually covered with Formica.
This was probably why the epoxy did not stick to the table. I started
in removing the Formica
from the table top. This was much harder than removing the epoxy.
Removing
Formica From Second Main Salon Table Piece
It
is more effort, but I believe the epoxy will stick much better to the
wood than the Formica.
I
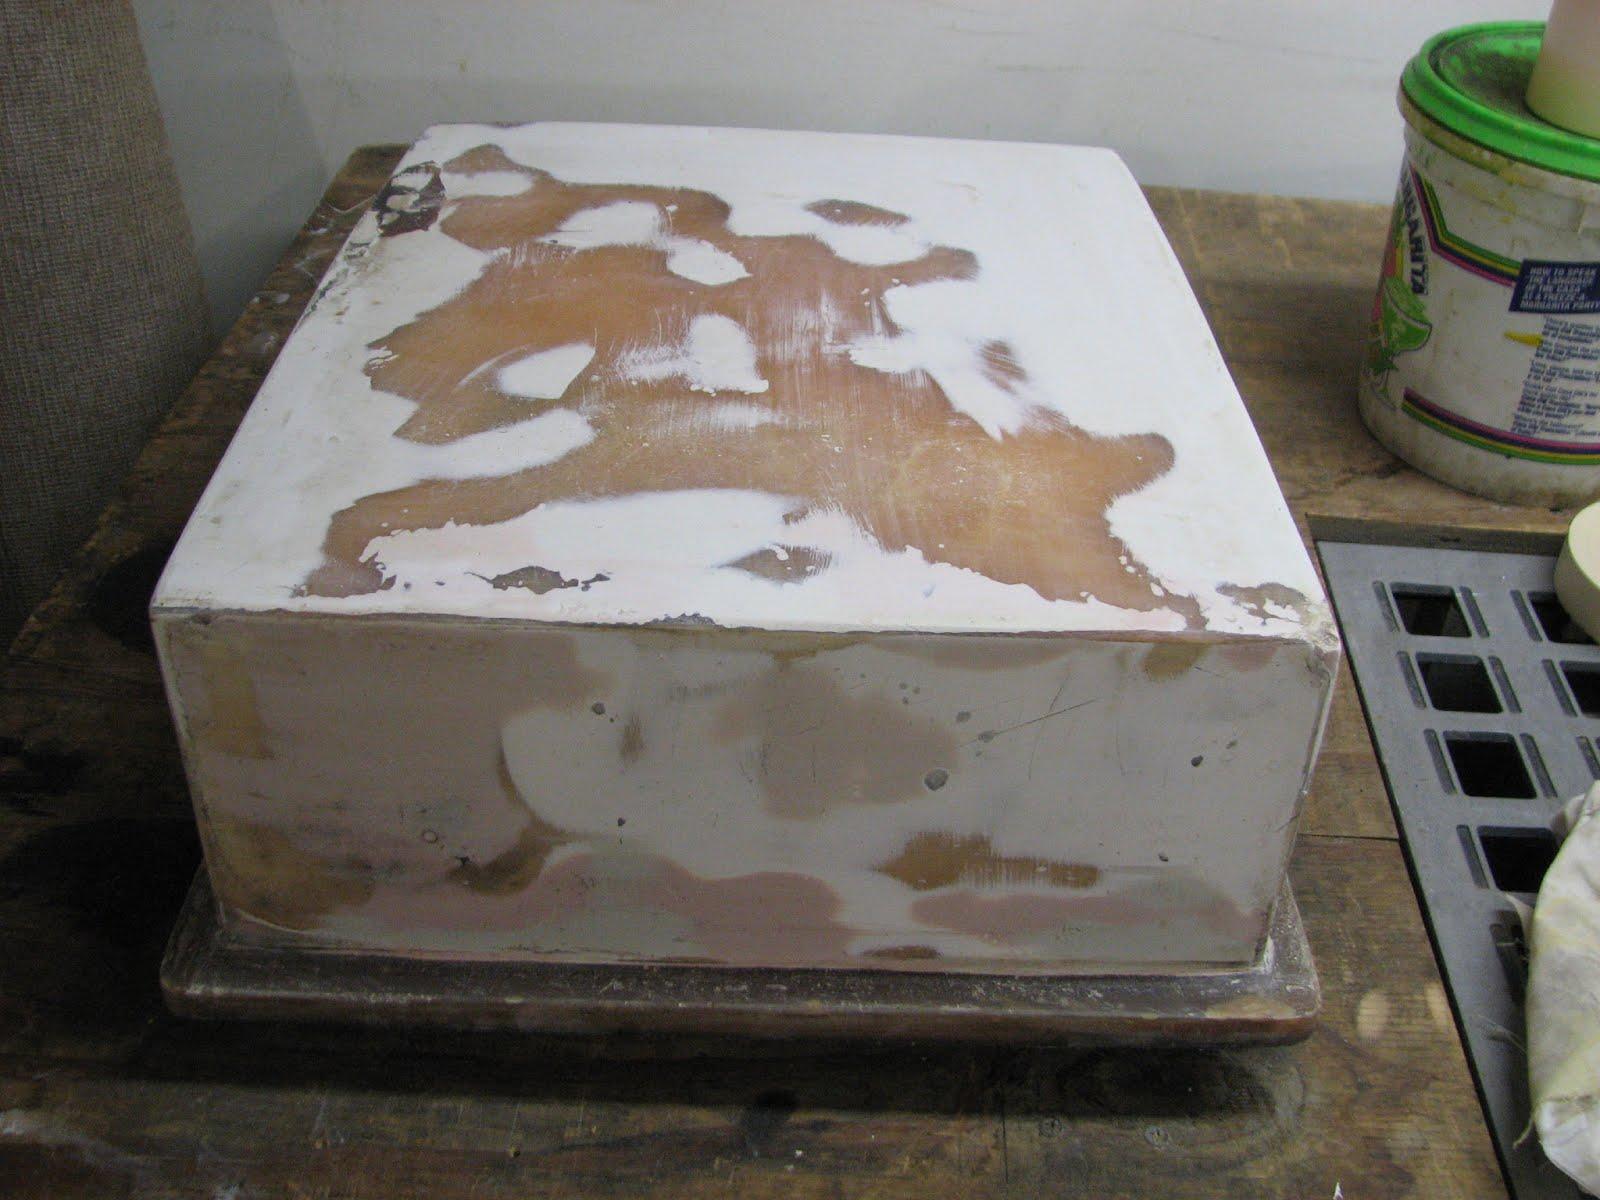
was not able to paint the freezer top because it never reached room
temperature. With any luck, I will be able to paint the top tomorrow.
Freezer
Top Coming To Room Temperature
March
9, 2013, Saturday
Started
off the morning with my normal ritual of getting on the Internet,
answering email and checking the weather. I also had a bunch of
scanning to do and updating spreadsheets.
I
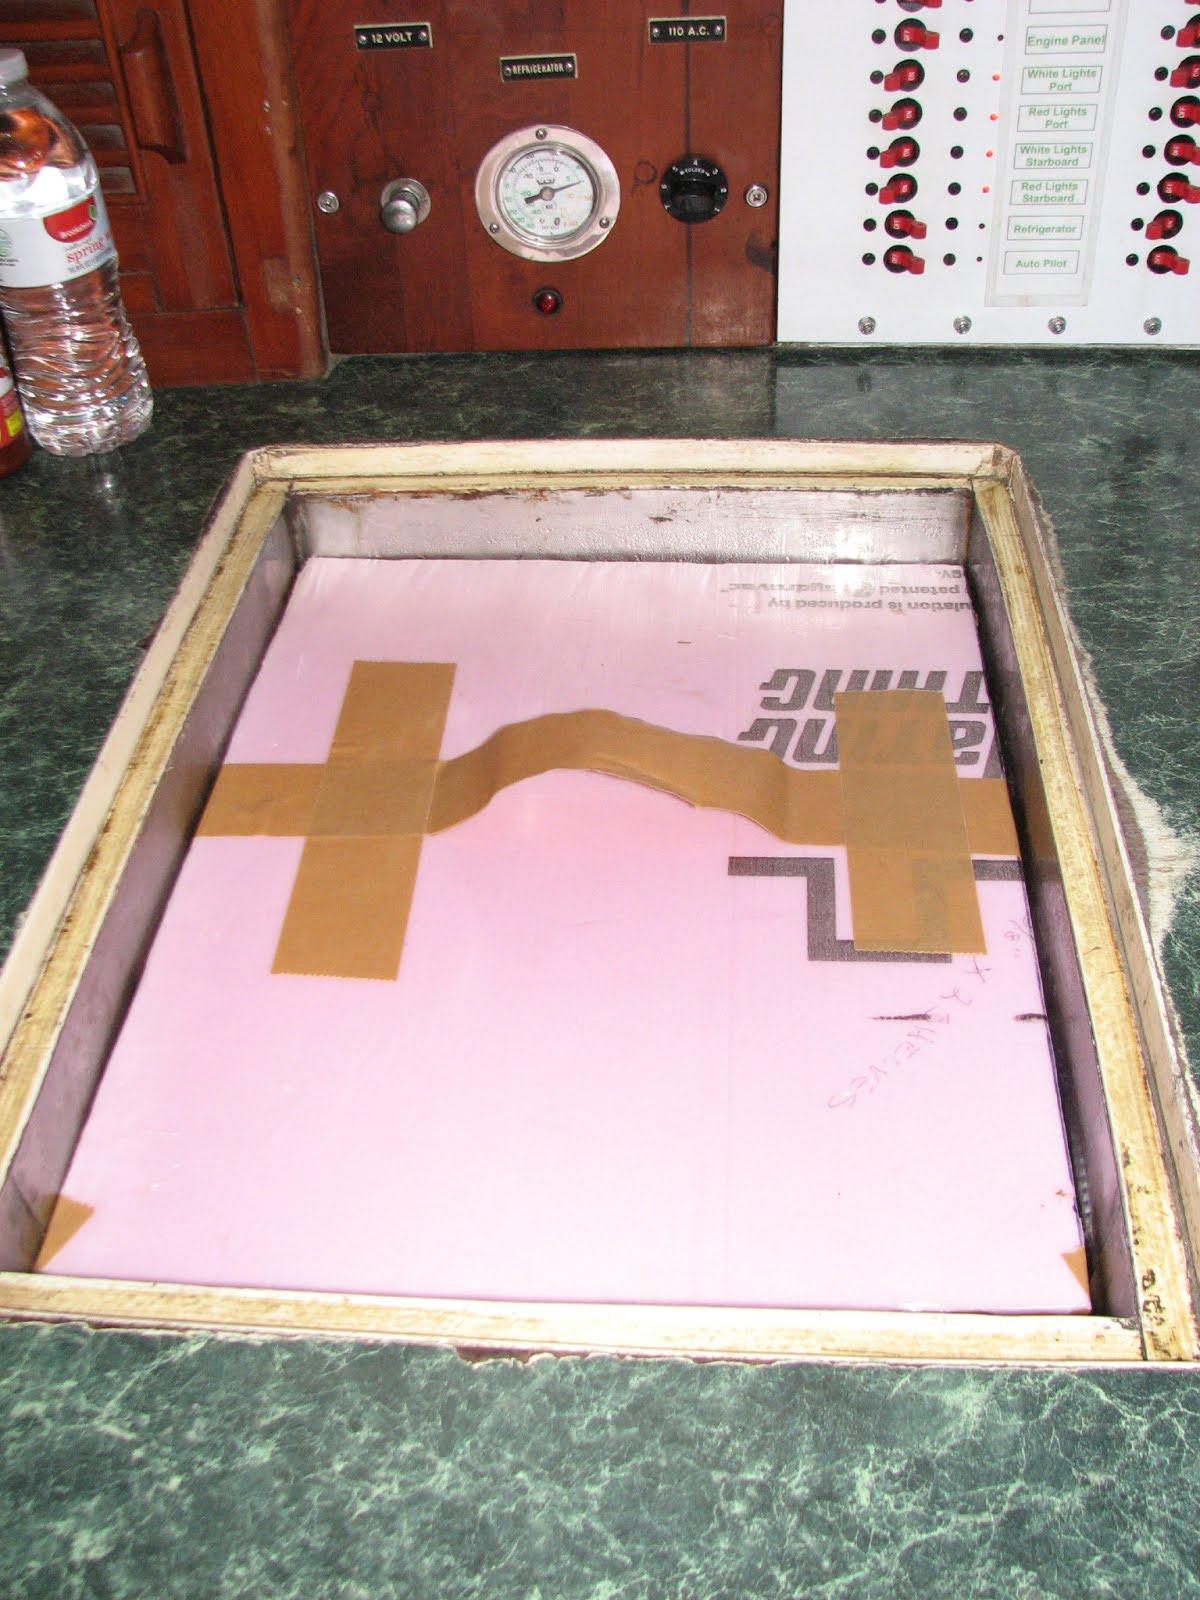
had brought over to DREAM AWAY the new temporary reefer top, and the
new temporary table. After breakfast, I installed the new temporary
top in the reefer. Easy to do, pull out the original, and insert the
temporary.
Temporary
Top Installed
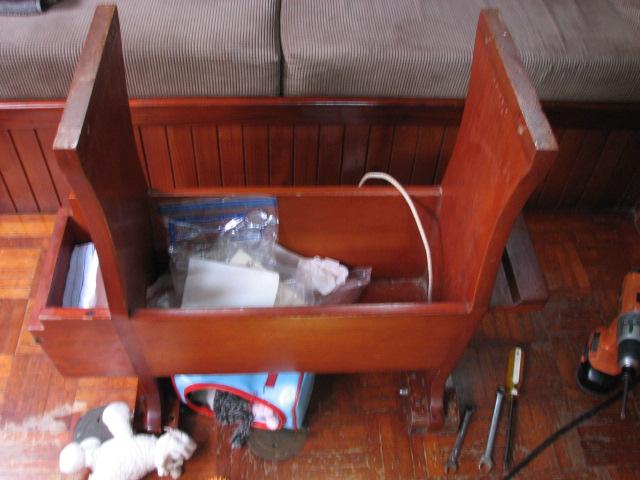
Next
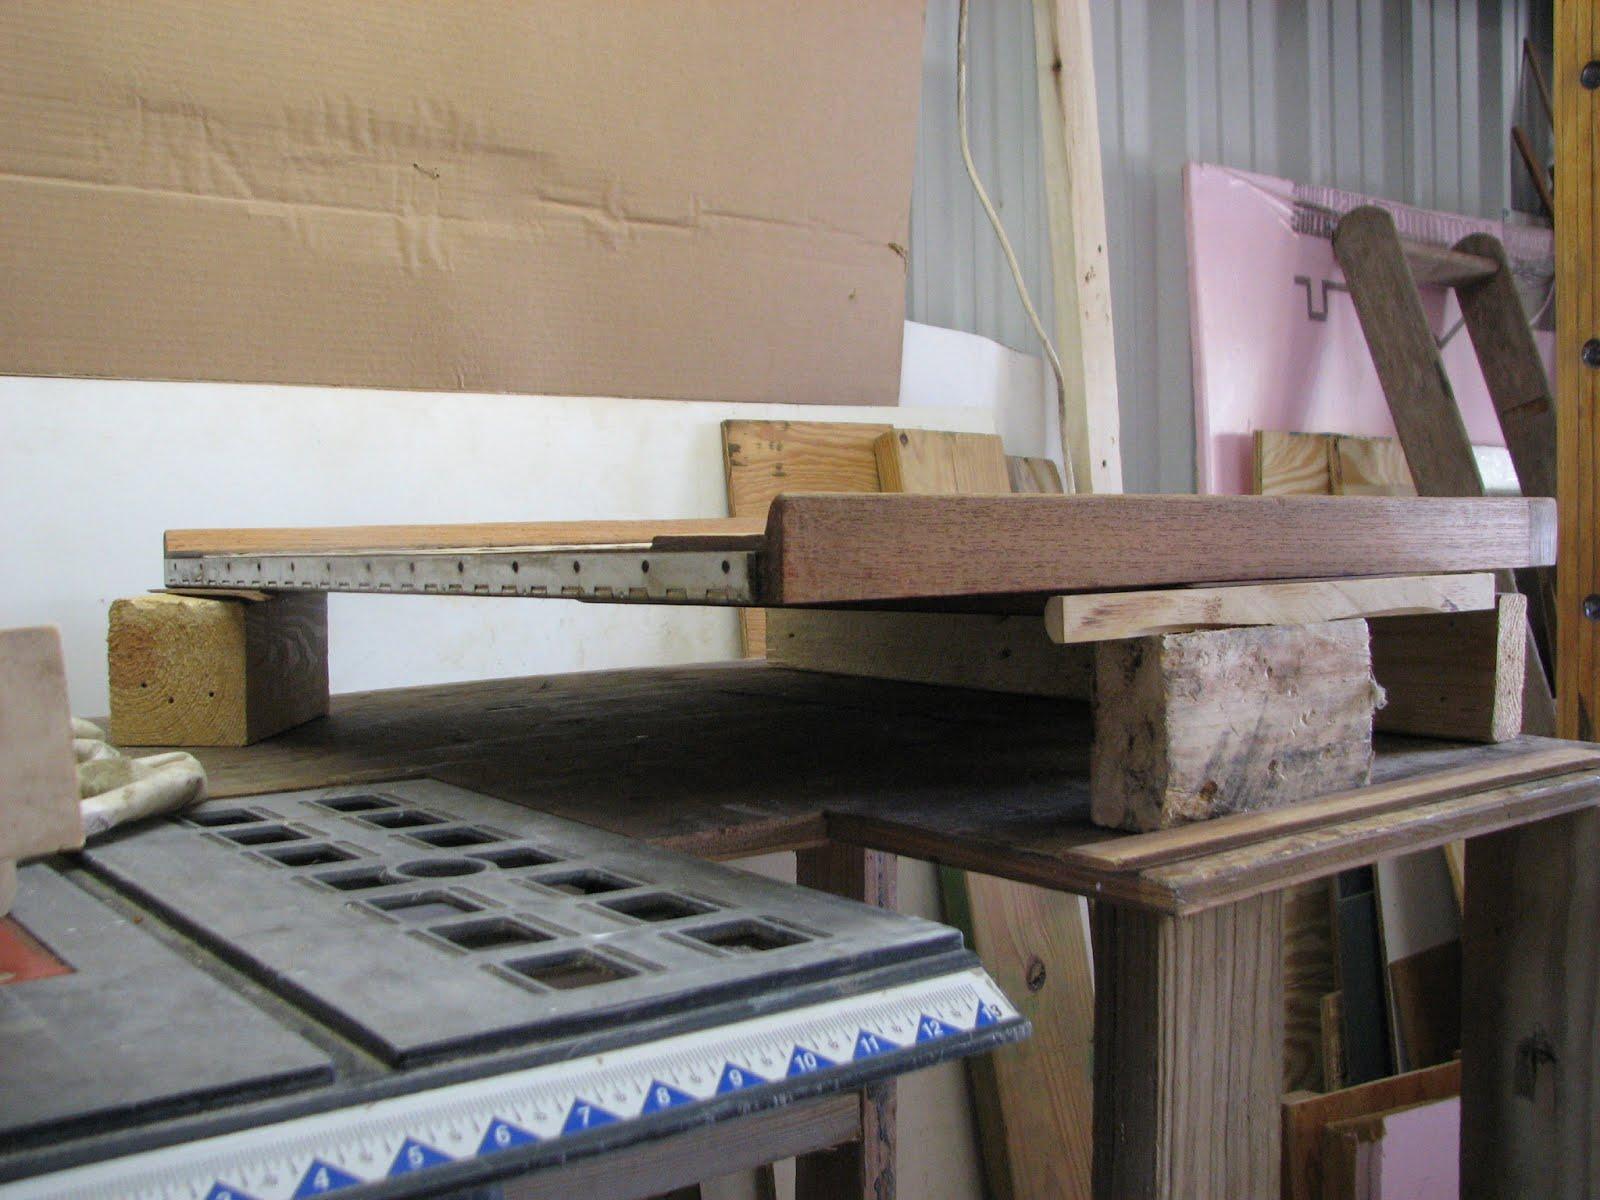
was to remove the original main salon table and install the temporary
main salon table. This was a more time consuming, as the table is
bolted down to the table base. I got the job done and we now have a
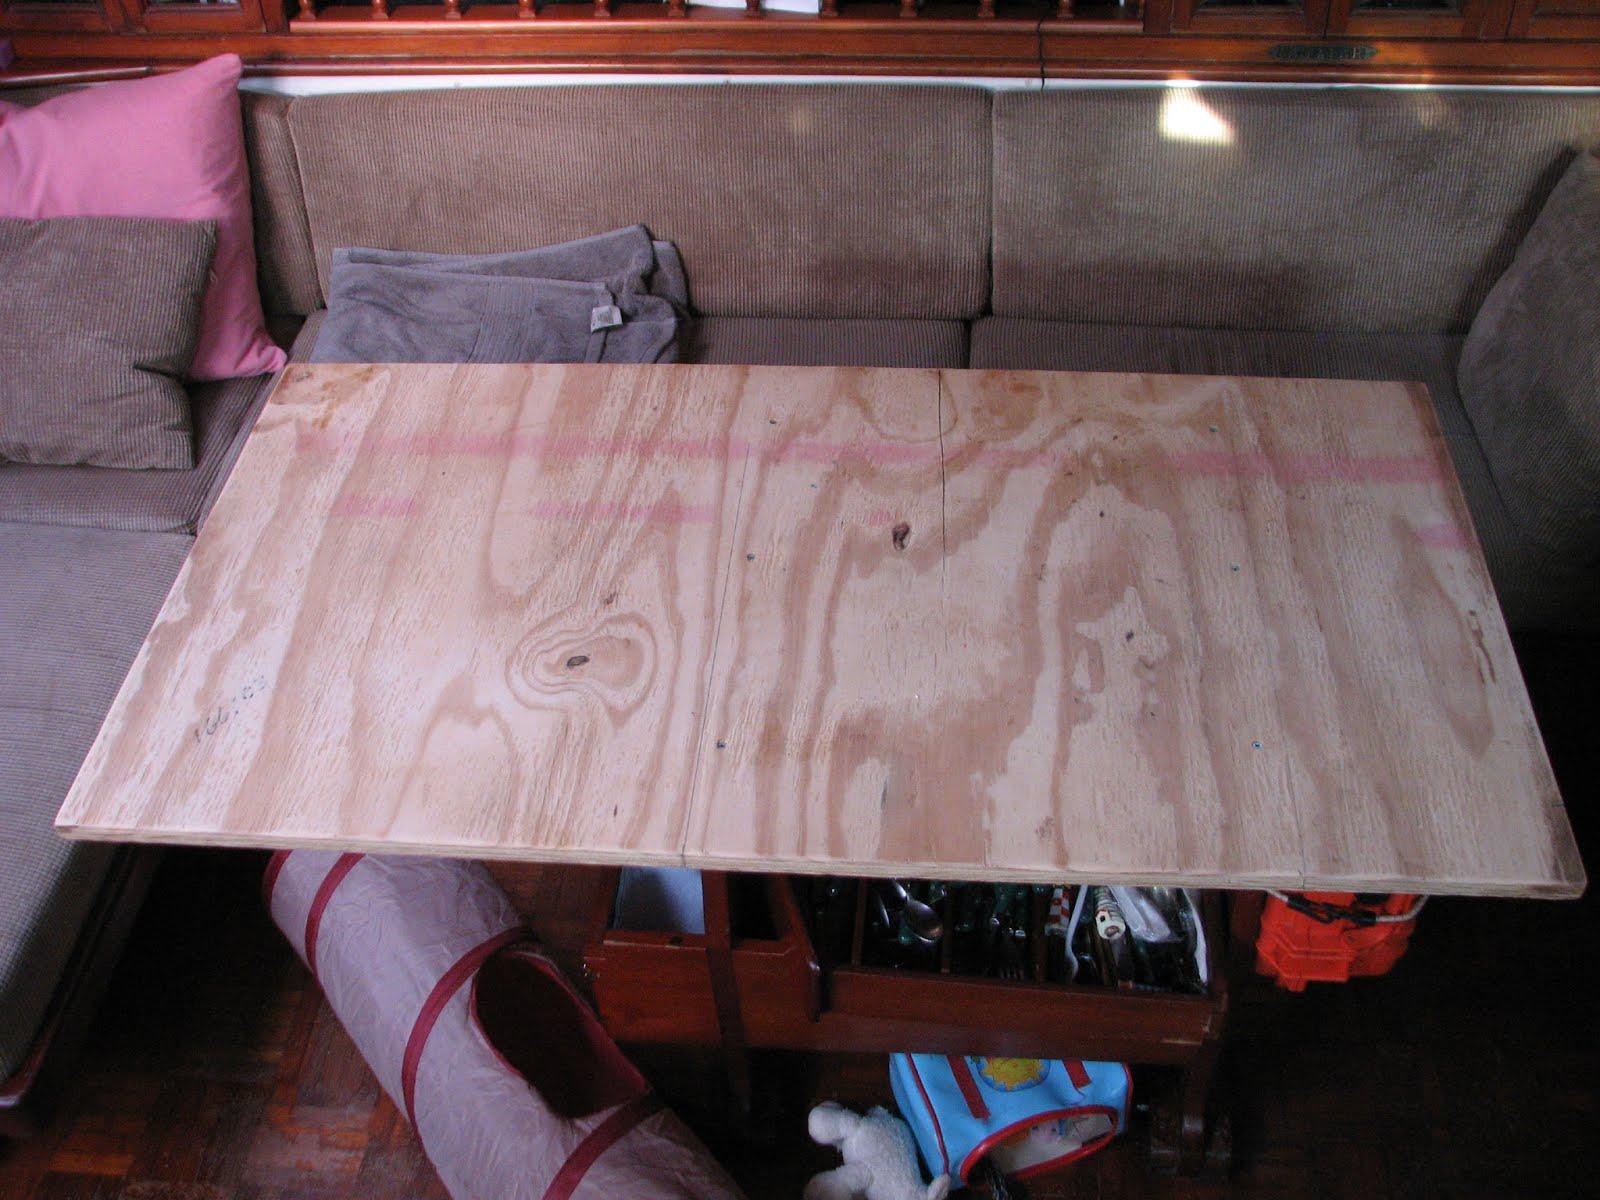
fine new unfinished plywood table in the main salon.
Table
Base With Table Removed
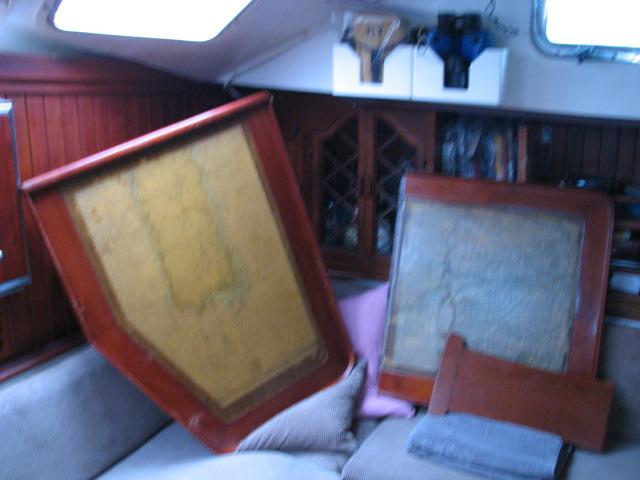
Table
Top Pieces Removed From Table
New
Table Top In Main Salon
Now
I loaded the main salon table parts and the old reefer top into the
Black Beast, and took them over to the shop. When I got to the shop,
I had to change priorities. I was last working on the spare outboard,
but that will have to be put on the back burner until I get the
reefer/freezer tops and the main salon table finished.
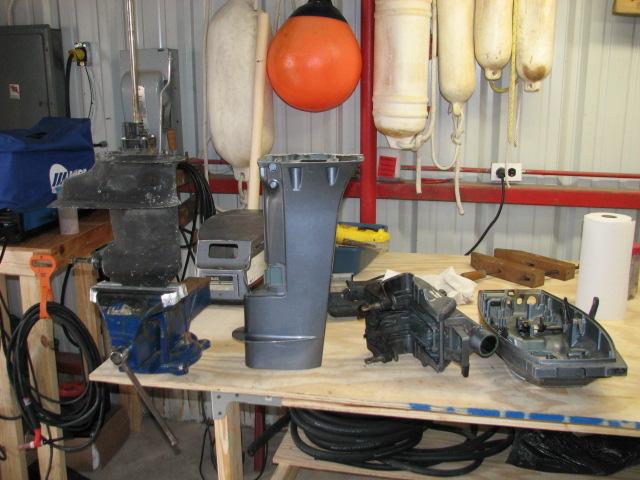
Outboard
Parts On Work Bench
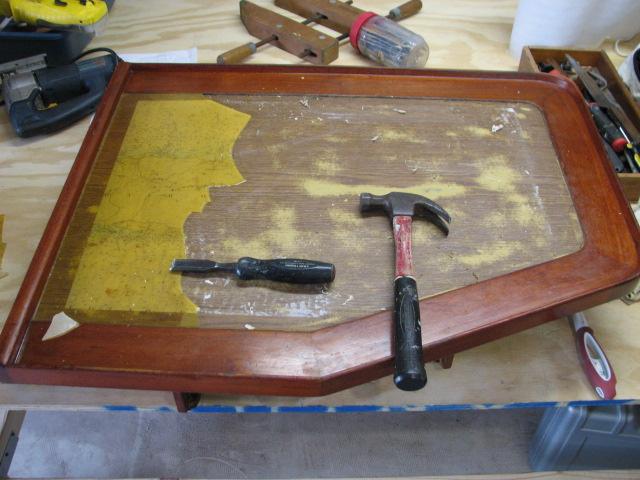
First
on the agenda was to get the reefer top cleaned up and ready for
painting. This was pretty easy to do. Scrape the old weather striping
off of the top, then wipe the top down with acetone. Then I sanded
down the top so it was nice and smooth, and again wiped it down with
acetone.
Reefer
Top Ready For Paint
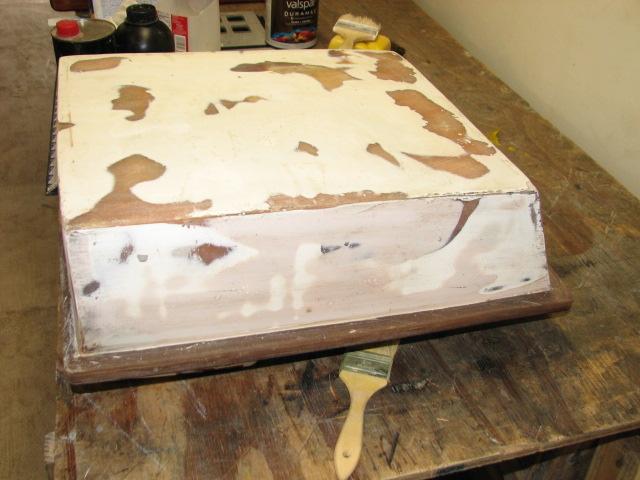
Now
it was time to work on the main salon table top. First was to remove
all of the old epoxy and chart that was on one half of the table. If
you remember the main salon table is a drop
down table, so the top is
actually in two pieces. This was not too bad, as the epoxy came off
pretty easy. I finished the first piece of the table, and cleaned up
from that. Pieces of broken epoxy went all over.
Removing
Epoxy From Table Top
Now
it was time to prepare for the painting. Because I do all type of
work in the shop, I do the painting last, so I get get the shop
cleaned up and allow the dust to settle. So far it seems to be a good
plan.
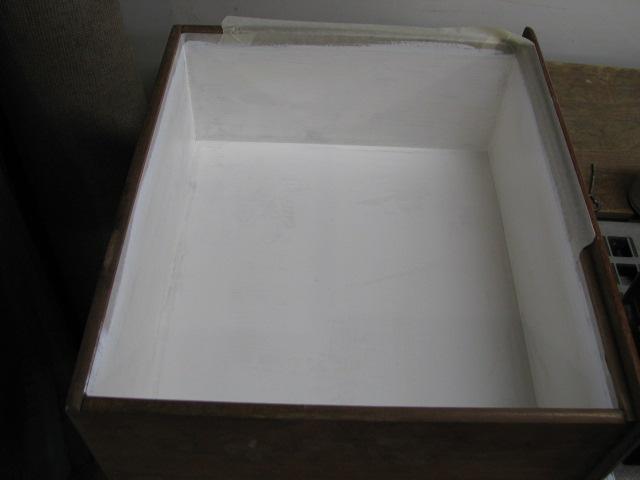
I
decided to try painting the reefer top. I have had good luck with a
two part epoxy paint I had purchased in Guatemala, so I decided to
use it on the reefer top. I checked the drawer that I had painted
yesterday with a water base latex paint. It looked real good, so I
used a tack rag and wiped down the inside of the drawer, and the
reefer top. I then mixed up the two part paint, and was ready for the
application phase.
Reefer
Top Ready For Painting

Drawer
Ready For Second Coat
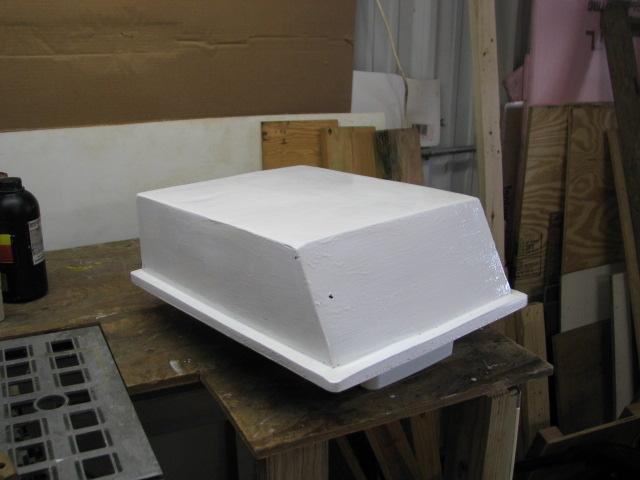
I
the applied the two part epoxy paint to the reefer lid. The paint
went on very well, but I think I could have used more thinner. When I
do the freezer lid, I will add more thinner.
Painted
Reefer Top
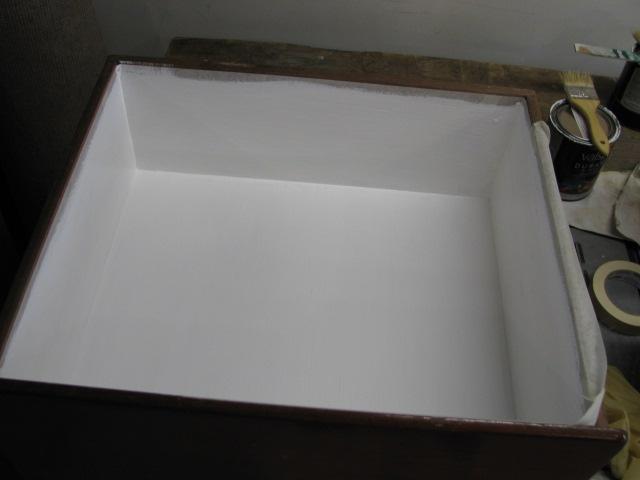
Cleaned
up the area and the brushes from the reefer top application, and the
applied the second coat of paint to the drawer.
Drawer
With Second Coat Of Paint
Cleaned
up the area and the brushes from that project, closed up the shop and
went back to DREAM AWAY. When I got back to DREAM AWAY, I mixed up a
batch of soap and water, and scrubbed out the tender. It was in
pretty bad shape, very dirty, so it needed attention. I wanted it
cleaned out so I can get the upgraded Yamaha outboard on it and
tested.
I
also scrubbed down the back ¼ of DREAM AWAY. The whole boat is in
need of a cleaning. I will finish that job tomorrow or the coming
Monday.
March
8, 2013, Friday
Started
off the morning with my normal ritual of getting on the Internet,
answering email and checking the weather.
Spent
the whole day in the shop except for a breakfast break.
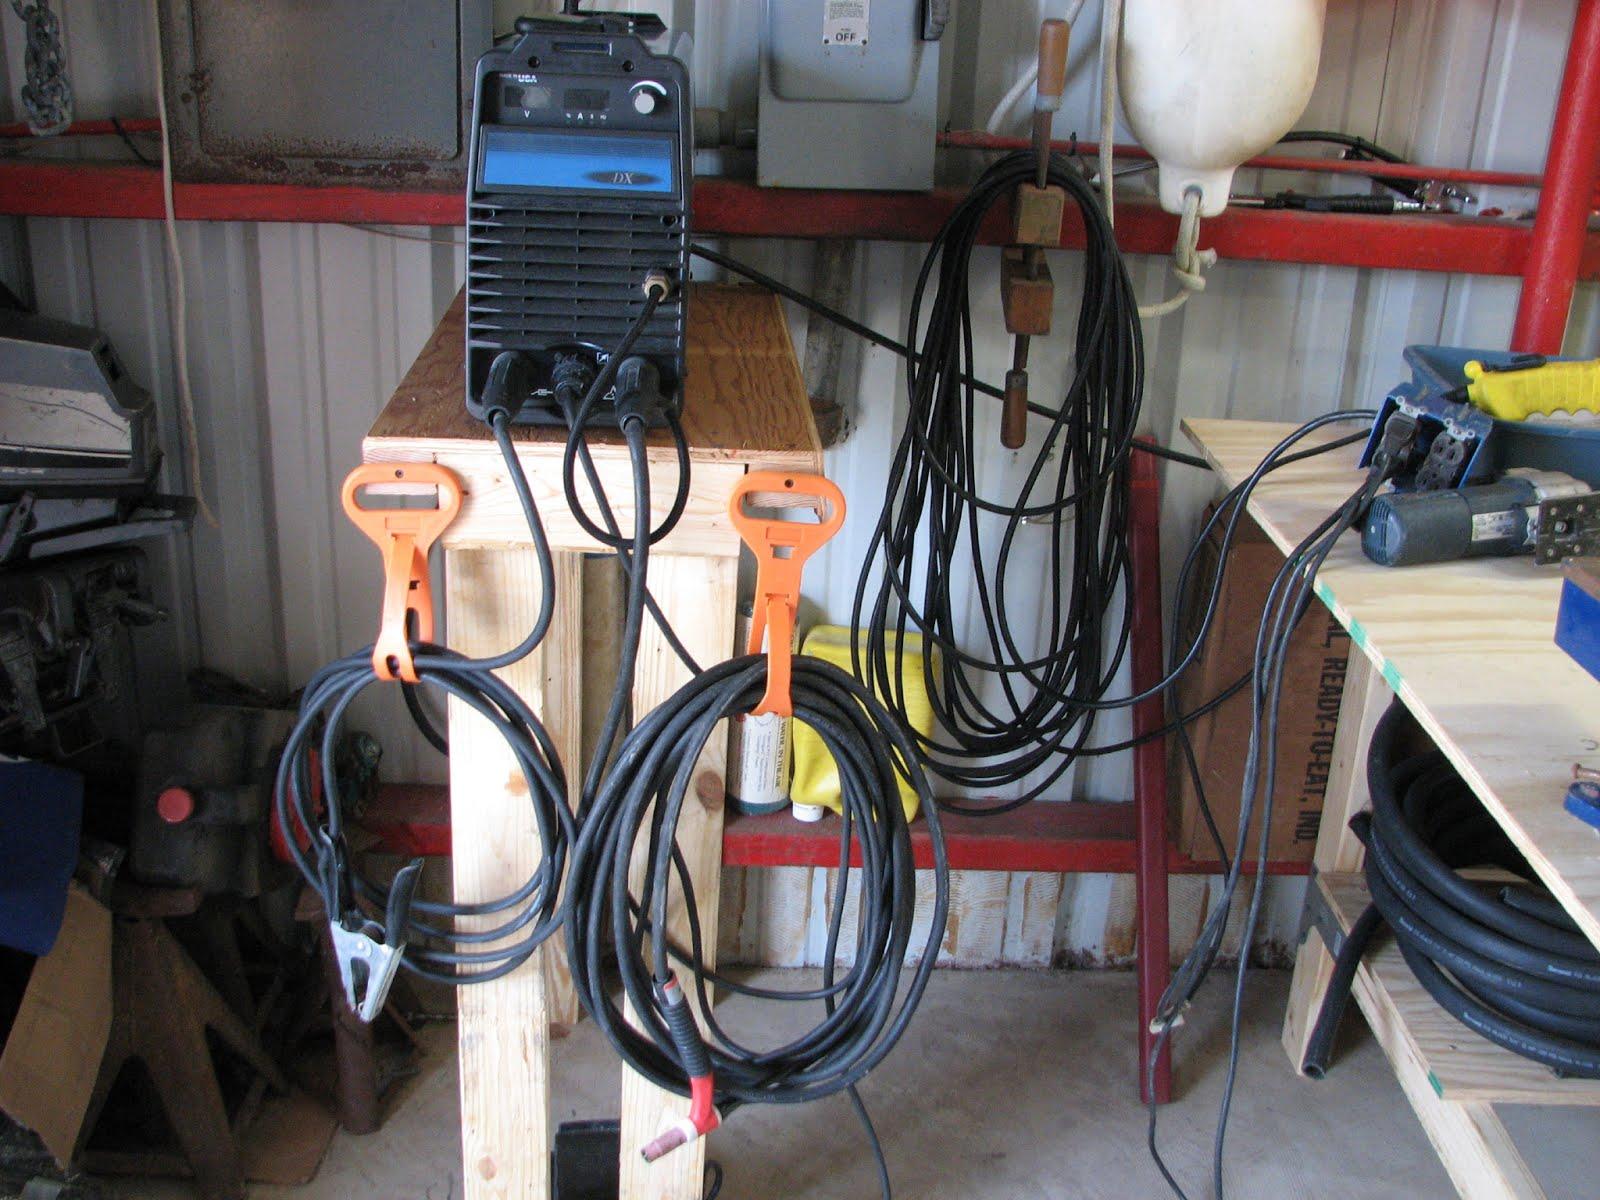
First
item on the agenda was to finish the welder table, and get the welder
set up. I completed this task and also checked out the welder to make
sure it functioned. I was able to draw an arc on stainless steel. The
welder and the auto darkening helmet functioned perfectly.
Table
With Welder Set Up.
The
next project was to get the small table for the hand power tools to
set on. I have a roll around table, but when I want to do some dirty
work, I take the roll around table outside to do the work on, but I
have to set all of the hand power tools on the floor. Not a good
solution. I built a small table and used empty plastic containers as
the legs.
Small
Tool Table

The
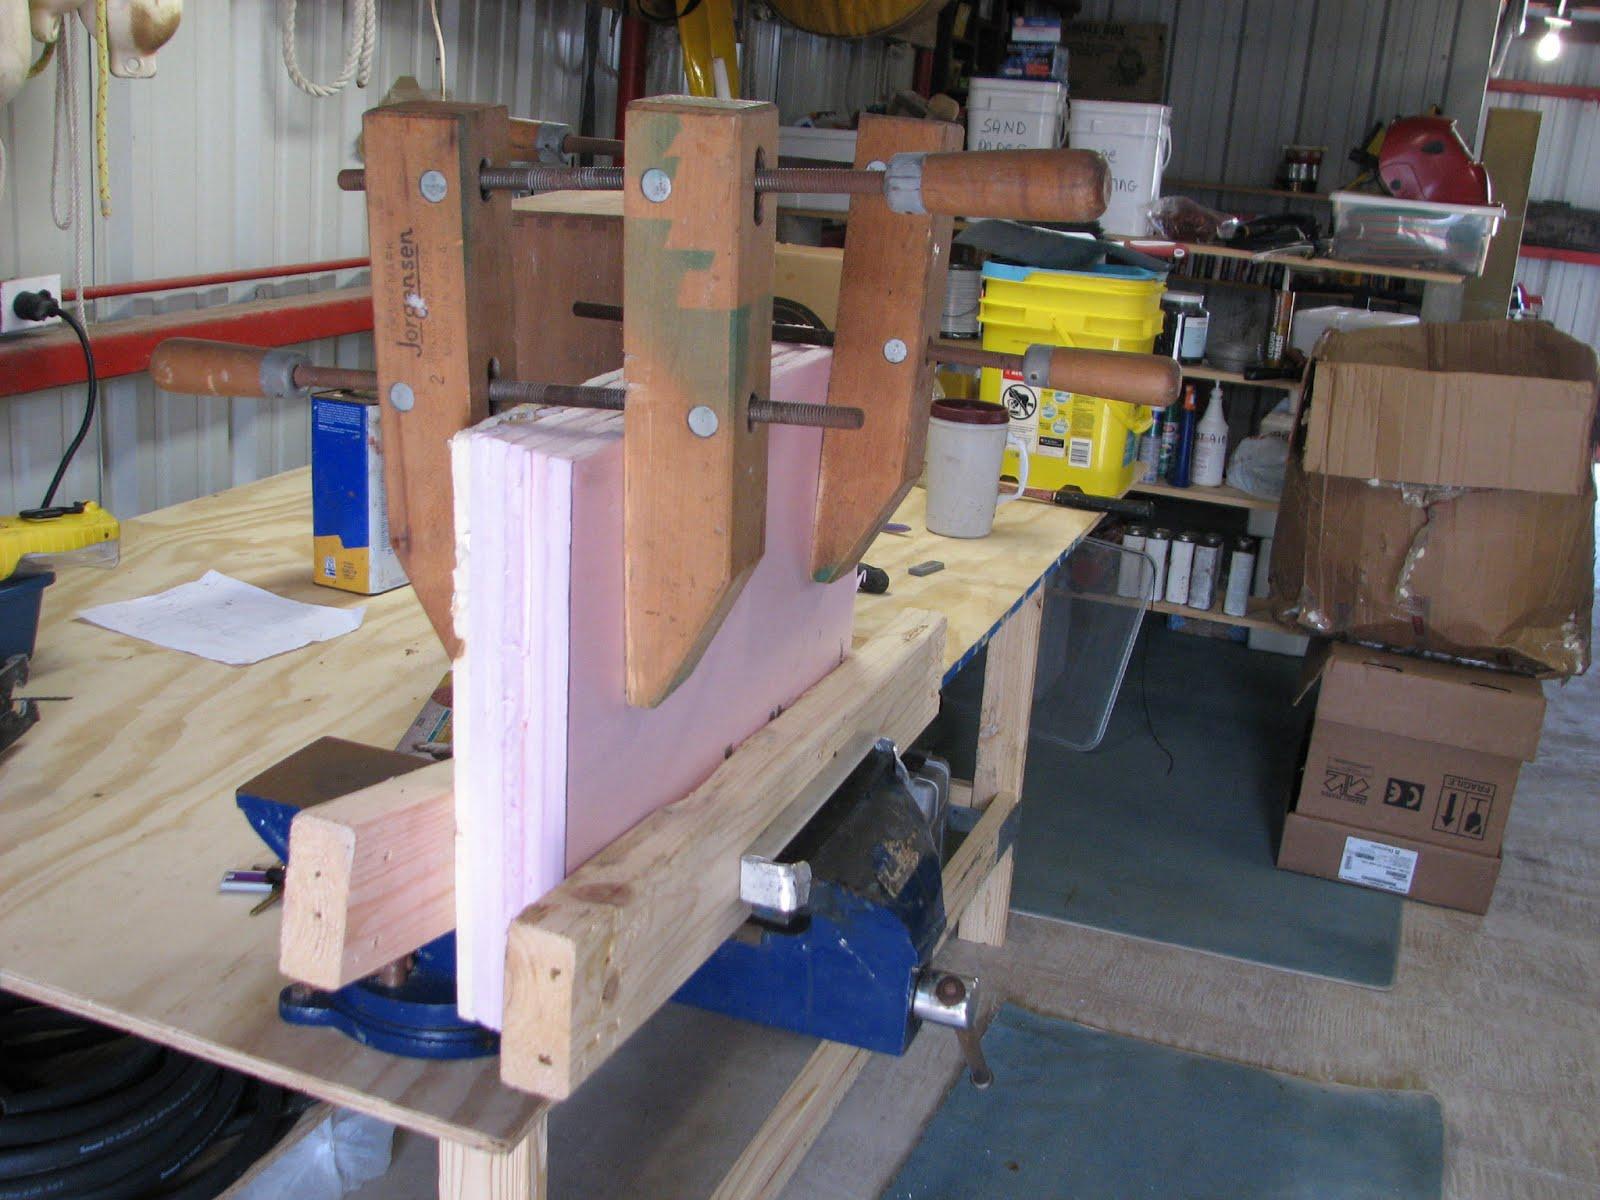
next project was to complete my “temporary” tops for the
refrigerator/freezer. I have to replace the sealing strips around the
tops, but to do that the tops have to be dry and reach room
temperature. I need “temporary” tops to fill the space while I am
working on the real tops. I calculate I will need a day or two to
complete the sealing upgrade to the tops. I decided to use ½”
pieces of insulation glued together with Liquid
Nails. I finished
fabrication of the “temporary” top, and I am ready to get the
real tops over to the shop and finished as quickly as possible.
Fabricated
“Temporary” Top
Next
on the list for today was to get a T-Shirt drawer off of DREAM AWAY,
so the interior of the drawer could be painted. We have discovered
over the years, that if you leave the teak inside of drawers
unpainted the oils in the teak will leach into the clothing, and ruin
it. I have been slowly taking drawers off of DREAM AWAY, and getting
the drawer interior painted.
This
picture is of scraping the old paint out of a drawer.

Another
project have been wanting to get under way is to repair the table in
the main salon. As you may remember I refinished the main salon table
several years ago.
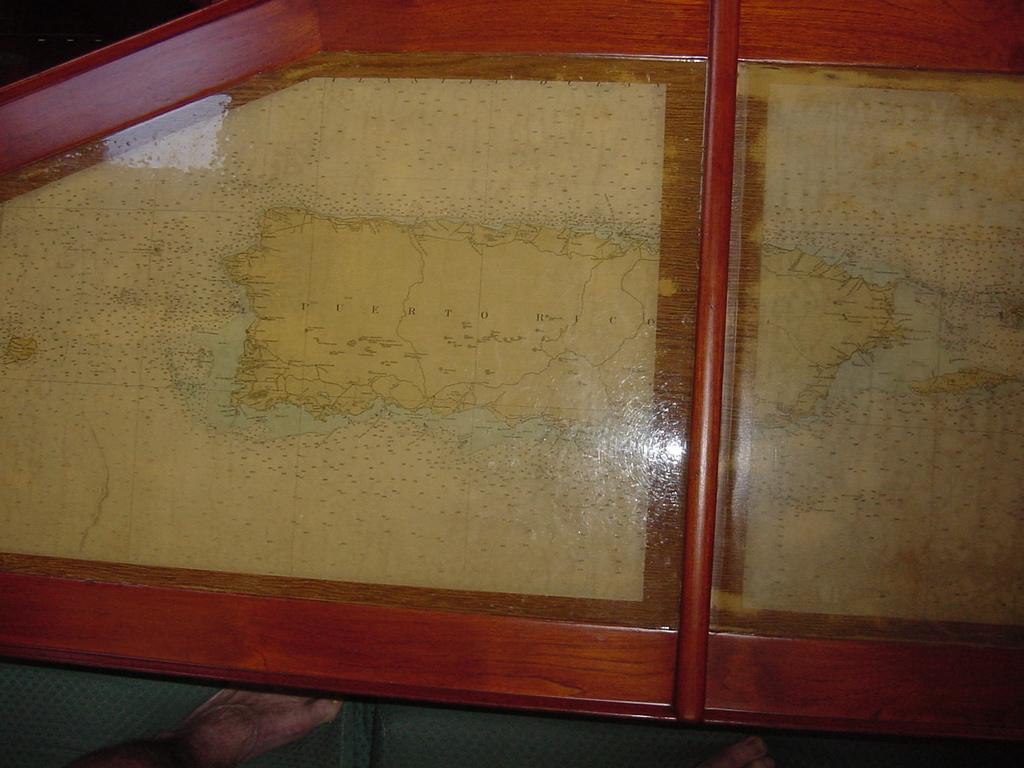
Main
Salon Table
I
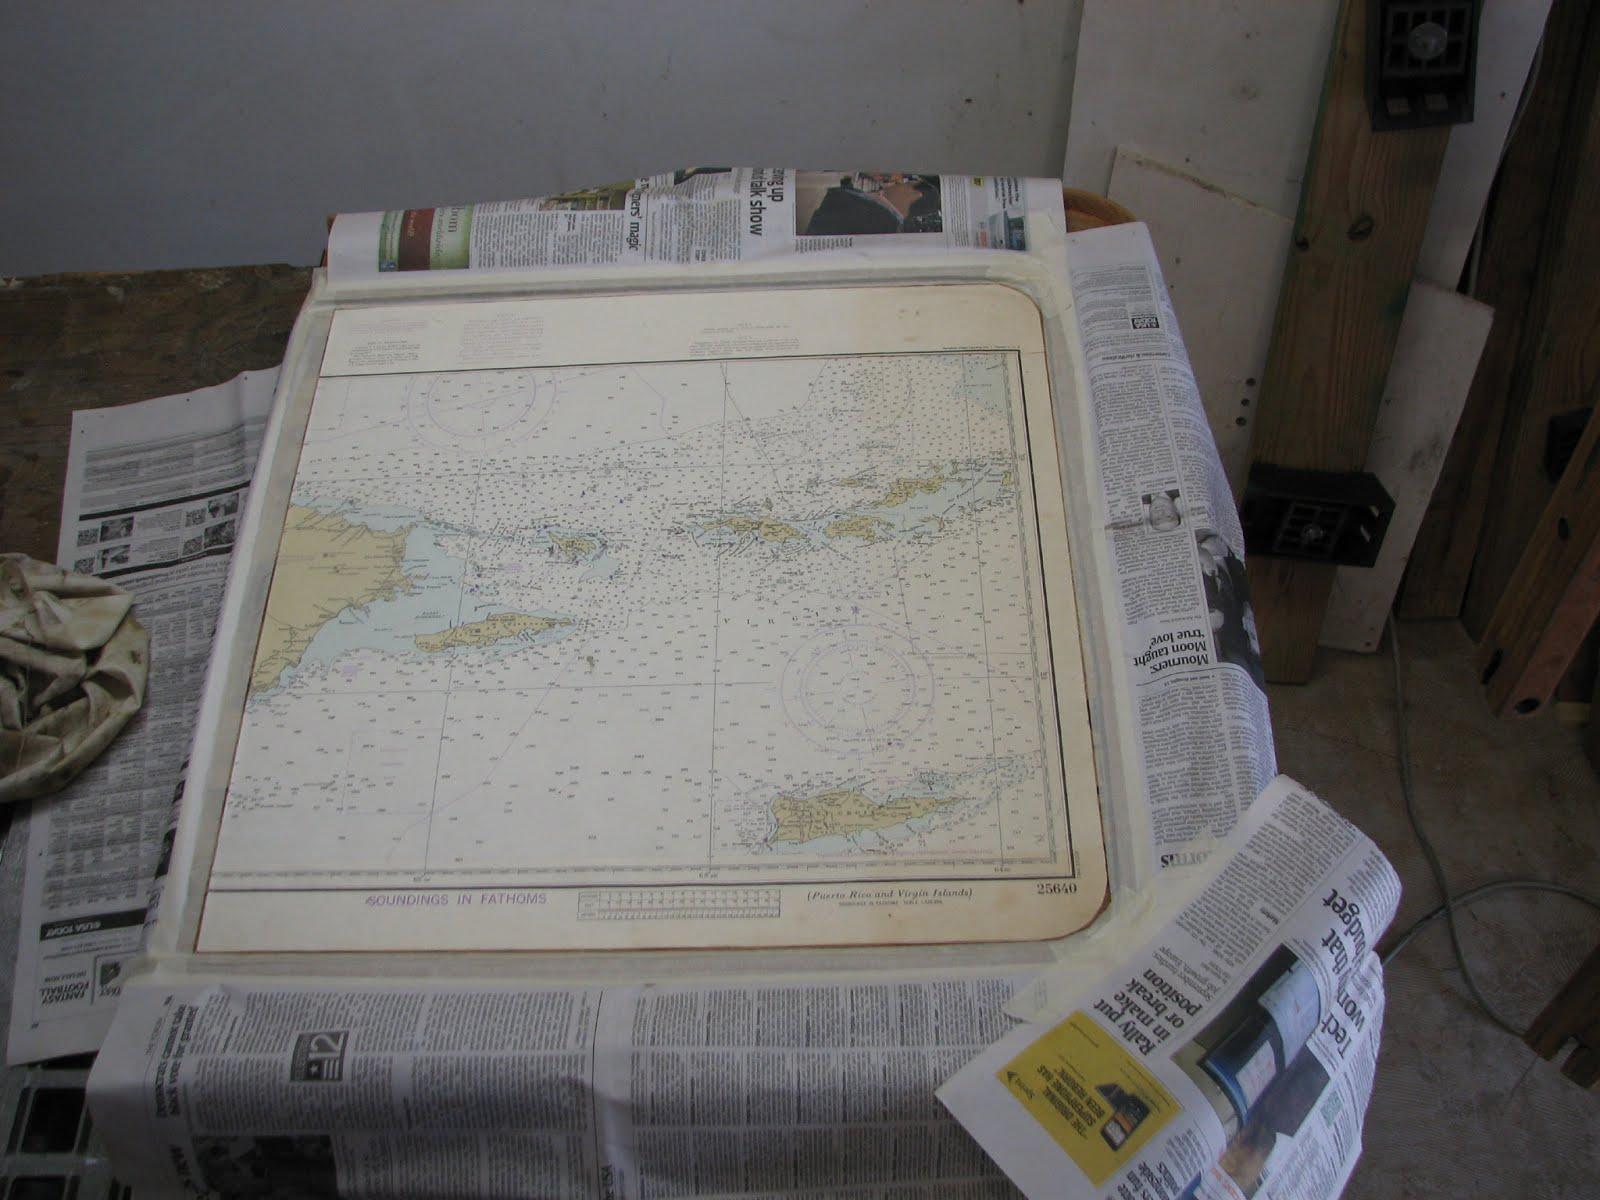
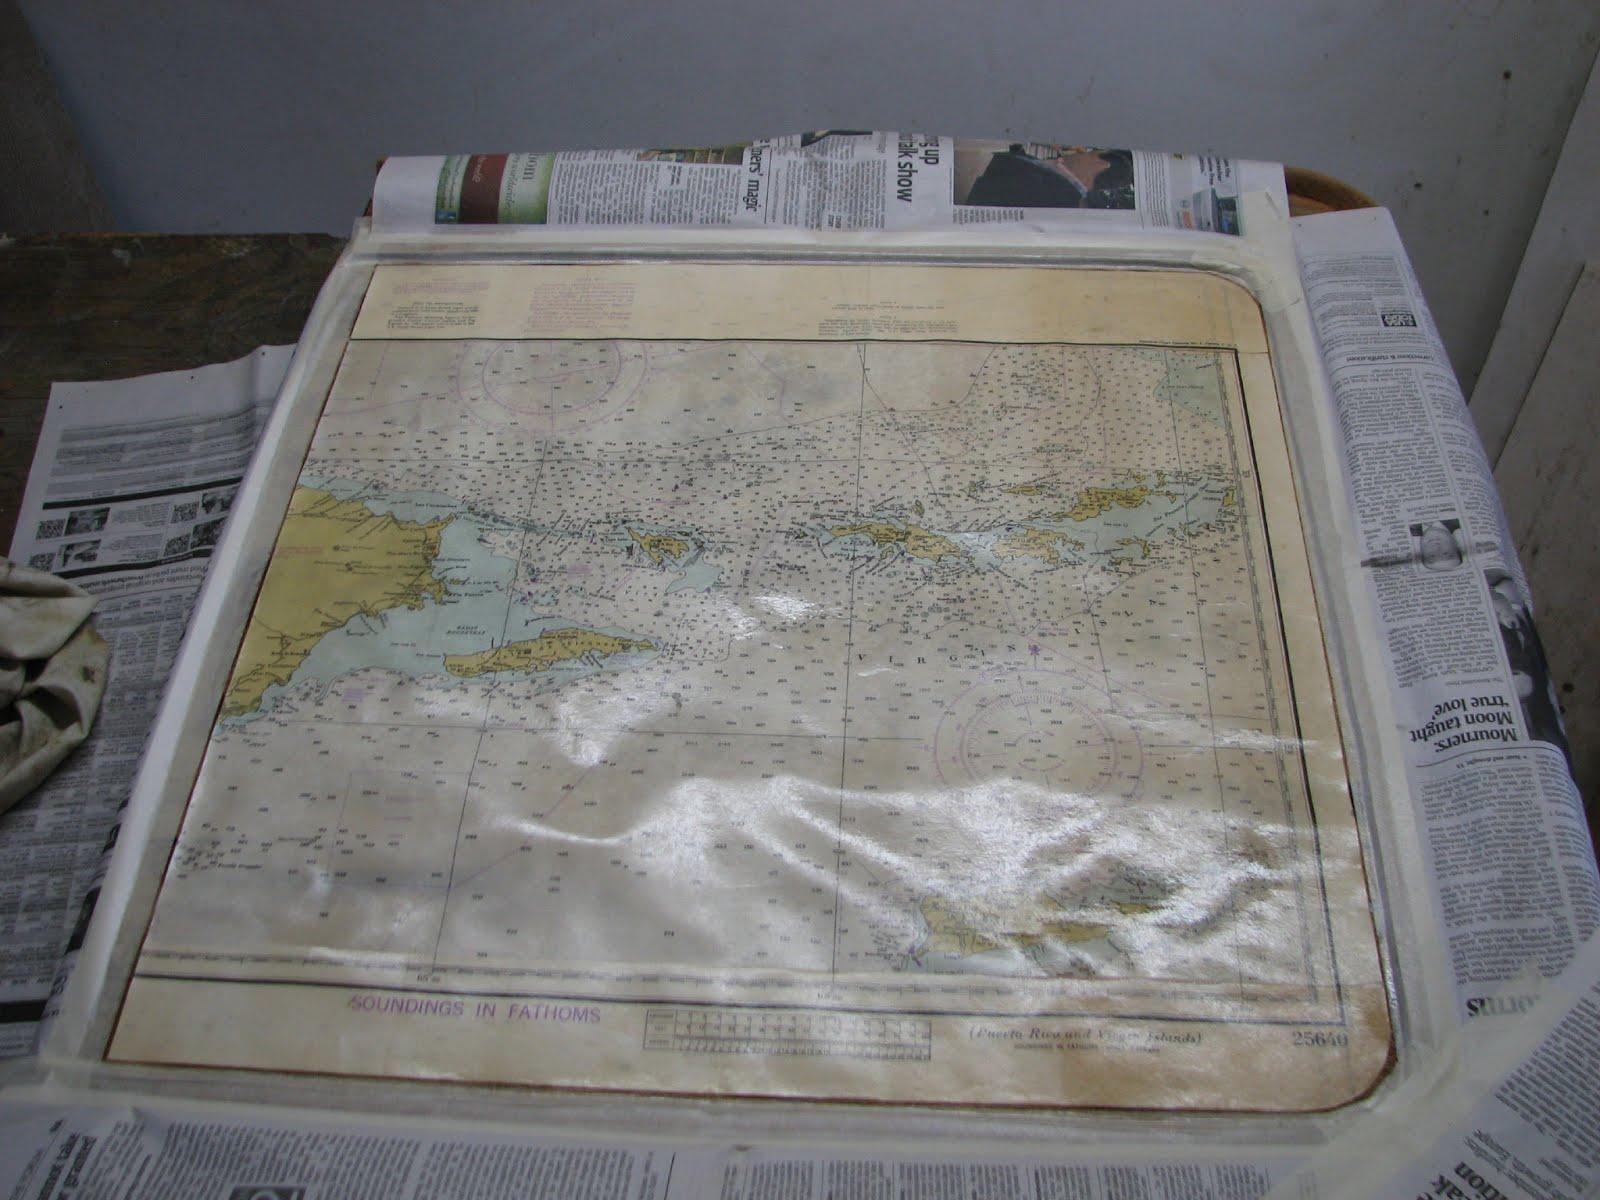
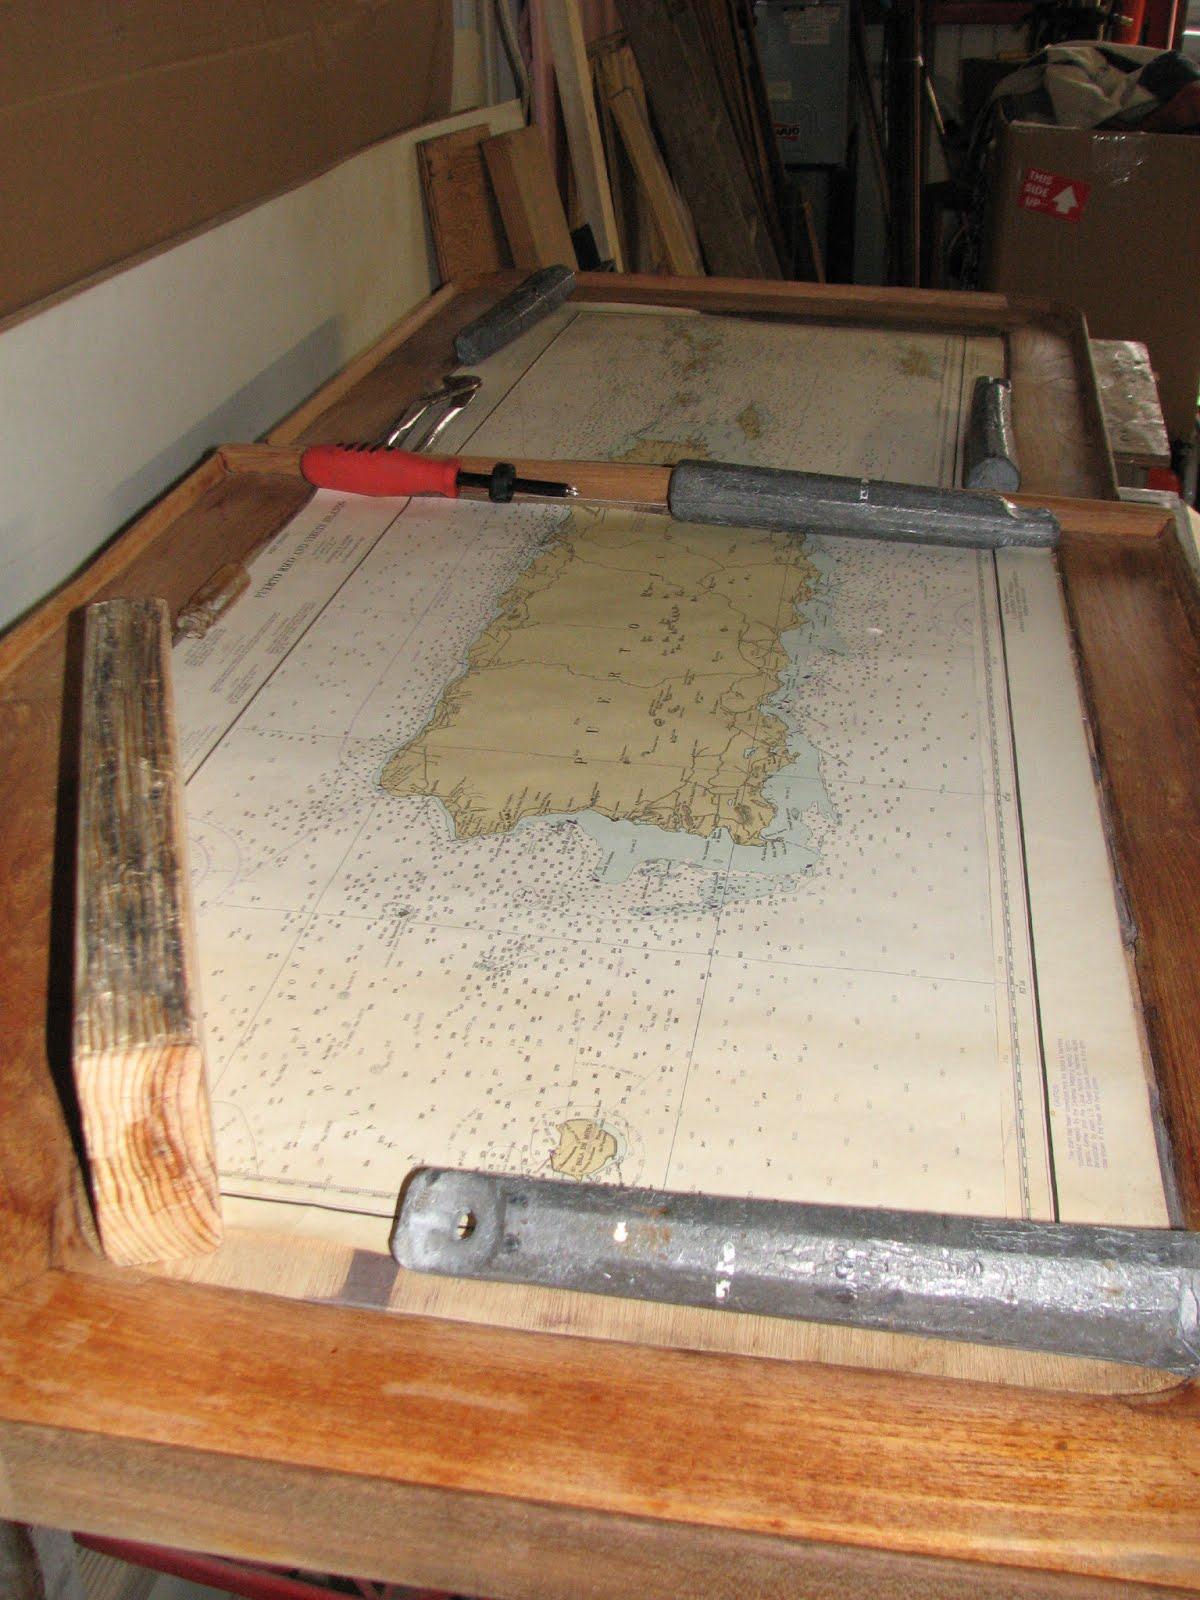
put a chart of Puerto Rico on the table, and covered the table with
an epoxy resin. I did not use the proper resin, and the layer of
epoxy has lifted off of the table. Now I have to redo the chart on
the table, and also varnish the table.
The
bar top epoxy I ordered from AeroMarine
Products arrived today.
This is the resin I will use on the table to cover the chart of
Puerto Rico.
Because
I am taking the table out of the main salon, I constructed a
“temporary” table to use while I am working on the refit of the
original table. It will probably take two to three weeks to get the
table done. It will take five or six days just for the varnish!
The
last project I worked on today was starting on the upgrade of my
spare Yamaha 15 HP outboard. I will not bore you with the whole
story of how I ended up with the extra outboard, I just did.
The
spare outboard had some damage in shipment, and needed the upper
casing replaced. Because of
my experience with the original outboard, I knew I needed to make a
long shaft out of the outboard, so it could be used with our
Livingston
tender.
Being
the patient sort, I have been obtaining all of the necessary parts I
would need for the repair and the upgrade from eBay. It has taken a
couple of years, but I have them all together.
I
sorted through all of the parts, and I have been spraying down all of
the bolts on the motor with Screwloose
so I would not have any problems with backing out all of the bolts.
I
checked out the new lower
drive unit, and verified
the water pump impeller is good. Everything else in the lower
unit seems to be good. I
have not checked the oil in the lower
unit, but will get on that
tomorrow.
Before
leaving for the day, I applied the first coat of paint to the drawer
I cleaned out, and sanded in preparation for the painting process.
March
7, 2013, Thursday
Started
off the morning with my normal ritual of getting on the Internet,
answering email and checking the weather.
I
then went over to the shop and got the damaged air conditioner ready
for pickup. The unit was damaged in shipment from Tampa to Delcambre.
It really was not packed very well, and resulted in damage. This is a
Cruisair
air conditioner I purchased off of eBay as a spare in case the new
one I purchased fails. The original Cruisair
unit lasted 18 years, so I have confidence in their systems.
I
had a store room mate give me some seats he was throwing away. I
wanted to salvage the foam and the wood. Not sure what I would use
them for, but did not want to throw them away.
I
decided I needed to use the wood to build a table to put my welder
on. I wanted the welder up, and out of the way, but also easy to
access when I start the welding projects. I spent the time stripping
the seats getting the foam and wood separated.
We
had to drive to New Iberia, and on the way I went by Xtreme Marine,
and saw they had a pallet out by their dumpster. I told Kitty when we
come back, and the pallet is still there I want to get it. We came
back, it was there, I got it. We took it to the shop, and I went to
work on taking the pallet apart. Bottom line is I have enough wood to
build the welder table and another table to put my small electric
tools on. This will get them up and out of the way. Tomorrow I hope
to finish the tables, and work on temporary lids for the
reefer/freezer.
March
6, 2013, Wednesday
Attended
a Seafood
Academy session in the
morning. It was a worthwhile effort, and I learned a lot of
information about the seafood industry in general, and the shrimping
industry in Louisiana. We also met a couple of new friends that came
over to DREAM AWAY and visited.
Worked
in the forward cabin, and got out the bottle of argon, and all of the
other welding parts. I have to run the wiring, and build a small
table, but hope to get the welder operational very soon.
March
5, 2013, Tuesday
Attended
a Seafood
Academy session in the
morning, and then helped Kitty with errands and chores getting ready
for the Southwest International In The Water Boat Show.
March
4, 2013, Monday
Nice
warm day when I went over to the shop. Messed around with the Yamaha
outboard, but still could not figure out why the outboard is
difficult to shift. Played around with electric start kit, but first
have to remove the flywheel. Will need some way to hold the flywheel,
and loosen the bolt, and then will need a puller.
Messed
around with the wood I will need to fix up and cover the area in the
aft cabin where the backing plates are for the aft cleats and the
dinghy davits.
I
sanded down all of the pieces of teak wood on which I had put the
fourth coat of varnish. I wiped down all of the parts with a tack
rag. I then filtered the varnish, and applied the fifth coat to the
teak wood pieces. I will probably put on a sixth coat of varnish and
call it quits. After all this is inside wood, so six coats applied
with a brush should be adequate. If the wood was exterior, it would
require at least 12 coats, and a tape change every four to five
coats.
March
3, 2013, Sunday
Another
cold day but very sunny, and warmed up as the day went on. I went
over to the shop, and continued with the Yamaha long shaft extension
kit installation. I installed the studs and all of the extension
pieces. Before I put the gear housing back on the engine I took the
water pump apart and made sure the impeller was in good shape. It was
so it all went back together. The gear housing went back on the
engine with no problems. I am anxious to get the engine on the dinghy
and test out the long shaft.
I
still have to install the electric start option, but that will come
as soon as I can get some drawings to show exactly how all the parts
go into and attach to the engine. I also spent some time trying to
figure out why the shift mechanism is so hard to shift. I was not
able to come to a resolution. The shift mechanism is not mentioned at
all in my Yamaha manual, so I will have to see if I can find another
manual that cover this issue.
Next
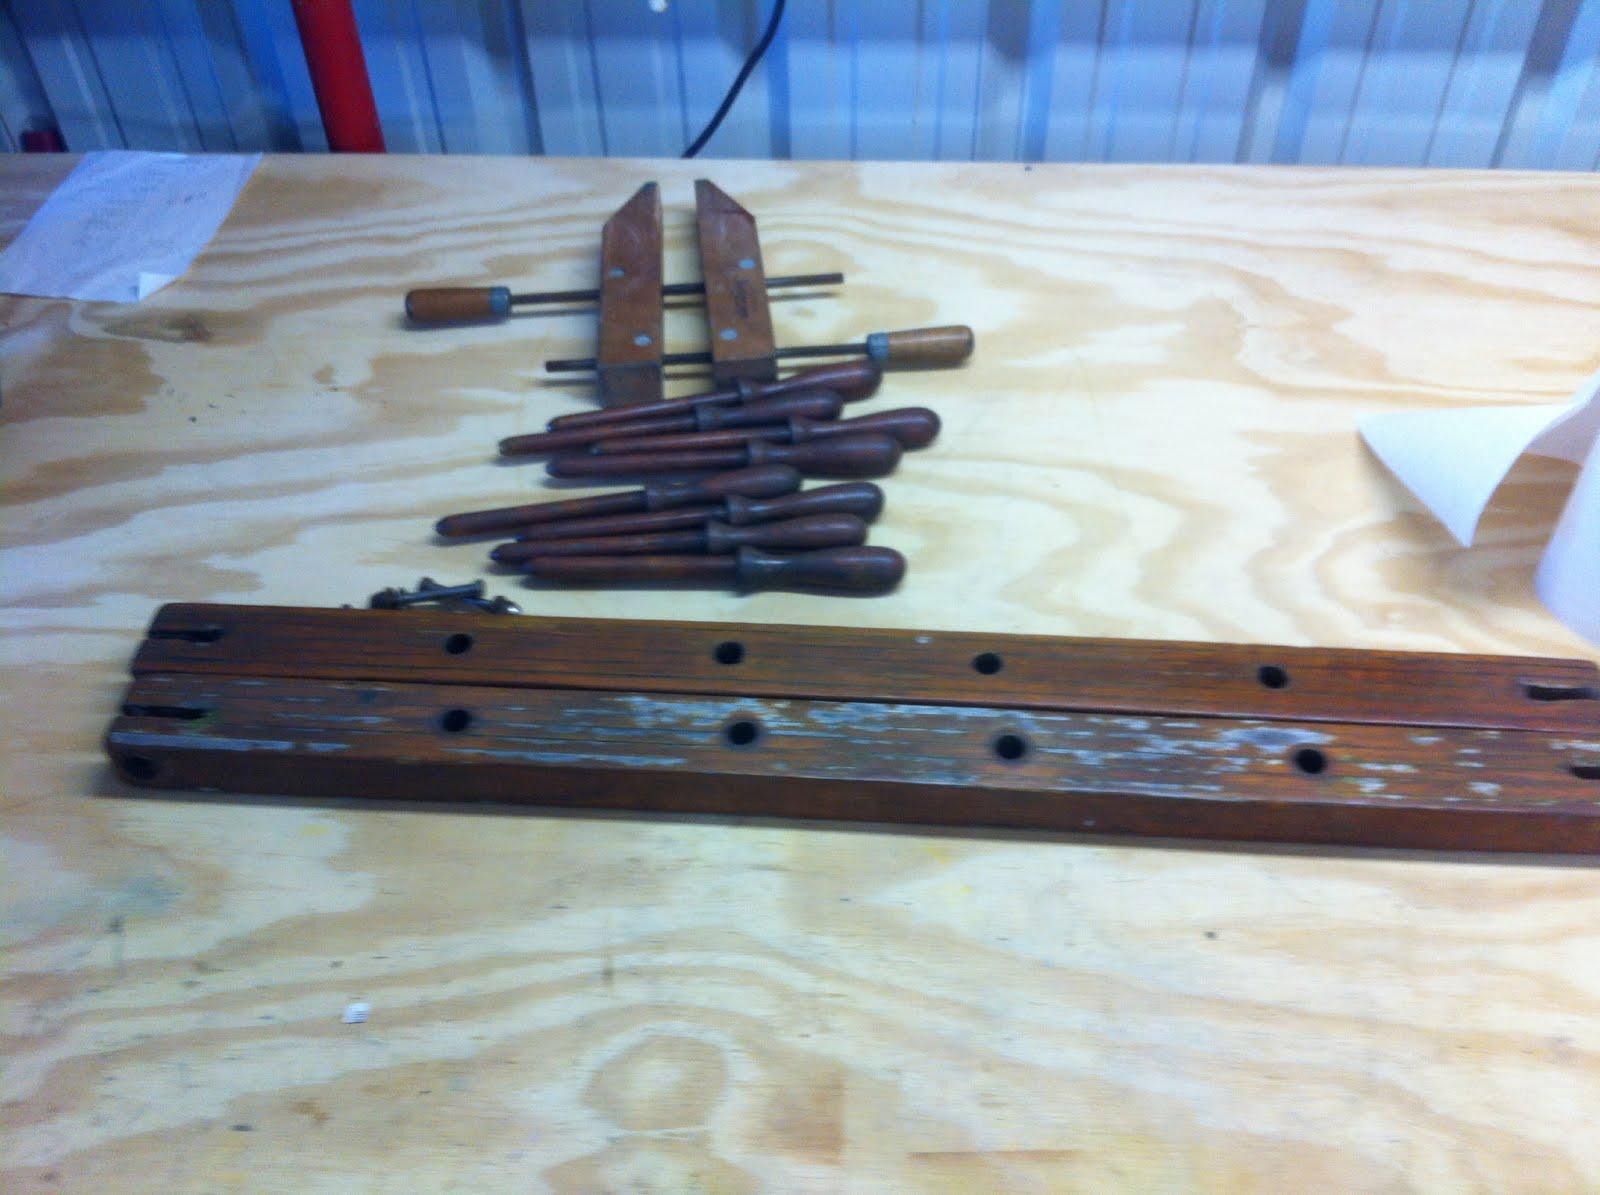
I worked on the vice. The vice jaws are steel, and very hard. I had
some pieces of angle aluminum which I cut to the size of the jaws and
hammered them onto the jaws. Now I can put wood and soft metals into
the vice without having to worry about damaging it.
I
had sanded all of the teak wood pieces yesterday, so I wiped down all
of the parts with a tack rag. I then filtered the varnish, and
applied the fourth coat to the teak wood pieces.
March
2, 2013, Saturday
Today
was a cold day here in Delcambre, so did not go over to the shop
until around noon. In the morning I spent my time on the computer
checking weather, and scanning in paperwork by the pound! Eventually,
I will get most of the paper off of the boat and onto electronic
media.
When
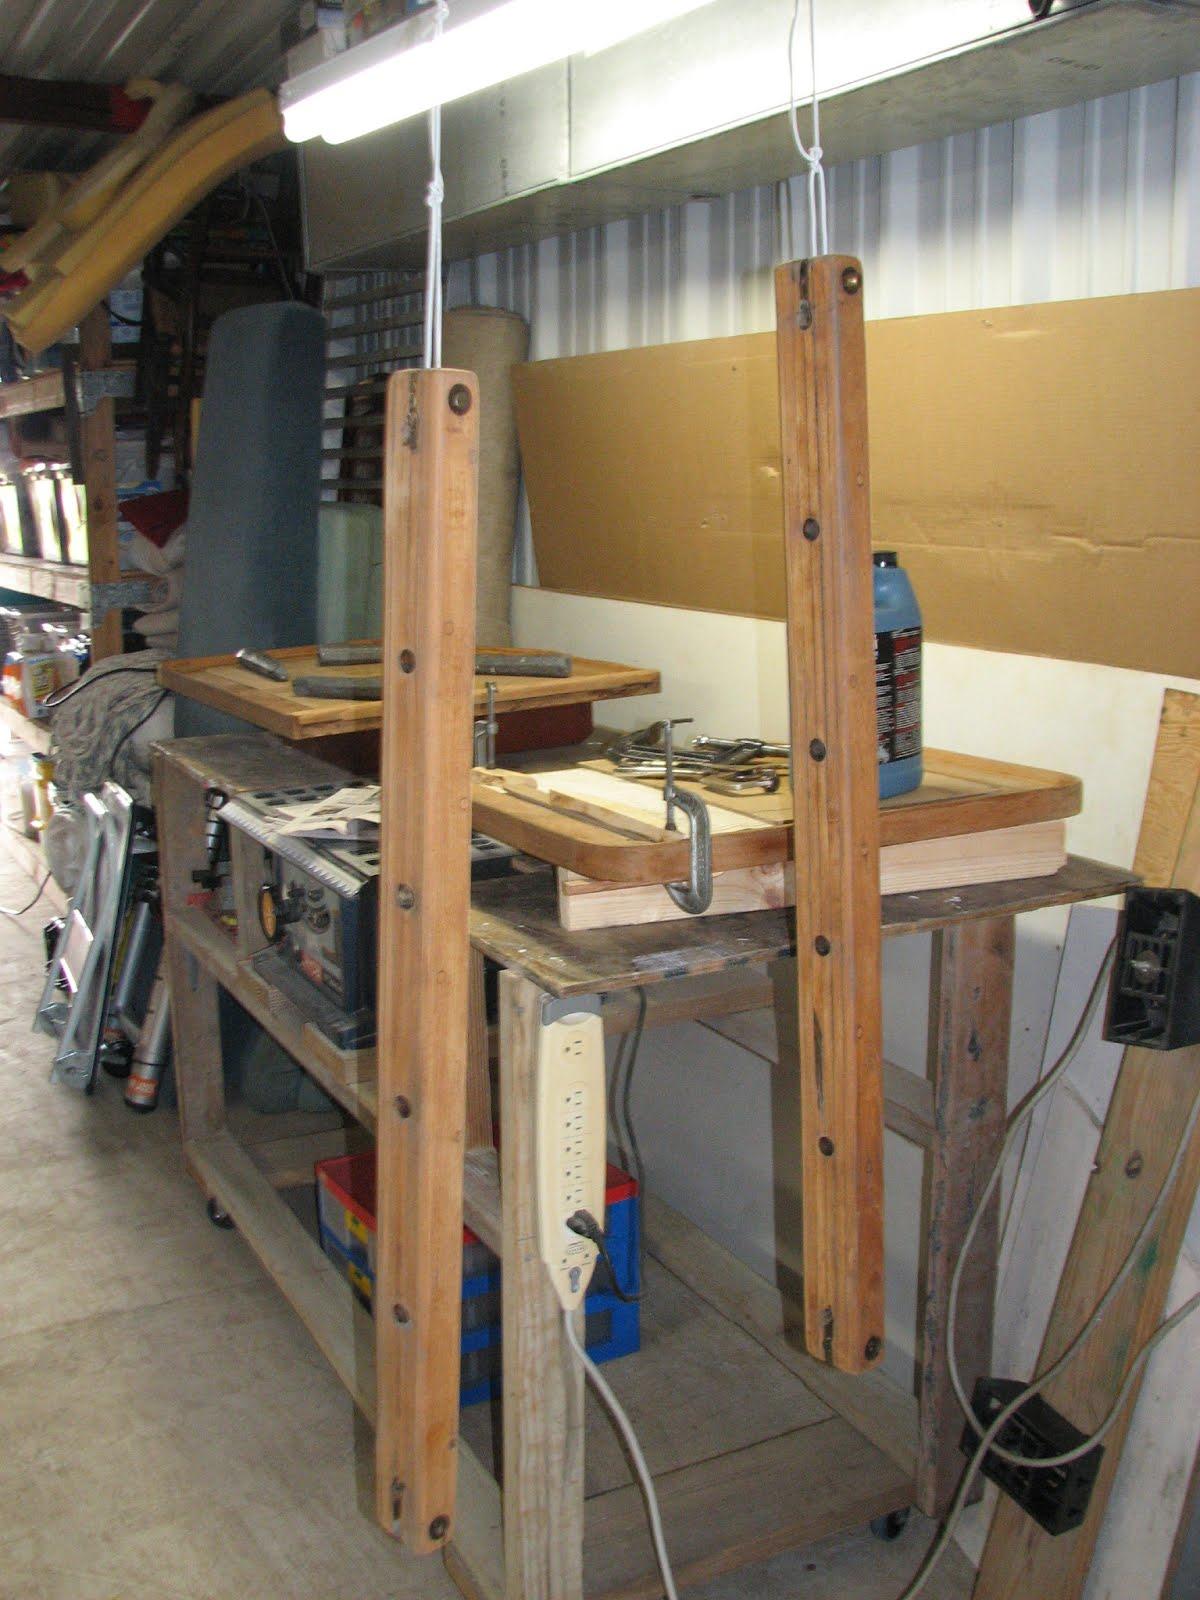
I did get over to the shop, I was able to install the second shop
light I had purchased this past Thursday. I had to go to the hardware
store and purchase a plug, but got the light up and working over the
workbench. I must remember to bring my camera with me to take photos
of the progress.
I
had sanded the teak wood pieces yesterday, so all I had to do was
apply the fourth coat of varnish to all of the teak wood pieces.
I
then started into working on my primary 15 HP Yamaha outboard. On
this motor I am installing an extension kit from Bay
Manufacturing who makes a
specific extension kit to make the engine a long shaft. I had been
applying PB
Blaster to all of the bolts
on the engine, so they would be easy to remove. As I thought the
bolts came right out, so I was able to remove the gear housing from
the motor. Hopefully installing the extension kit will be pretty
easy going. Once that project is complete, I have to install the
electric start kit on this engine.
By
1500 in the afternoon, I was getting cold, so I headed back to DREAM
AWAY, and continued with paperwork scanning project.
March
1, 2013, Friday
We
got some domestic chores taken care of, and then I went over to the
shop. I finished getting all of the stuff from Alan’s storeroom put
away, and generally straightened up the area to make the shop more
productive, and easier to use.
I
was able to get one of the shop lights installed over the saw table.
The second light I was not able to install, because I did not have a
power plug for it. The good news is when I left the shop, the first
light was still working.
I
sanded down all of the pieces of teak wood on which I had put the
third coat of varnish. The sandpaper I used was 320 grit, so I was
just preparing the surface for the next coat. It was late in the
afternoon, and getting cold, so I did not apply the fourth coat of
varnish.
