Maintenance Log April 2013
April
1, 2013, Monday
Started
off the morning with my normal ritual of getting on the Internet,
answering email, checking the weather, while making a pot of coffee.
I also worked on the March Maintenance Log.
Started
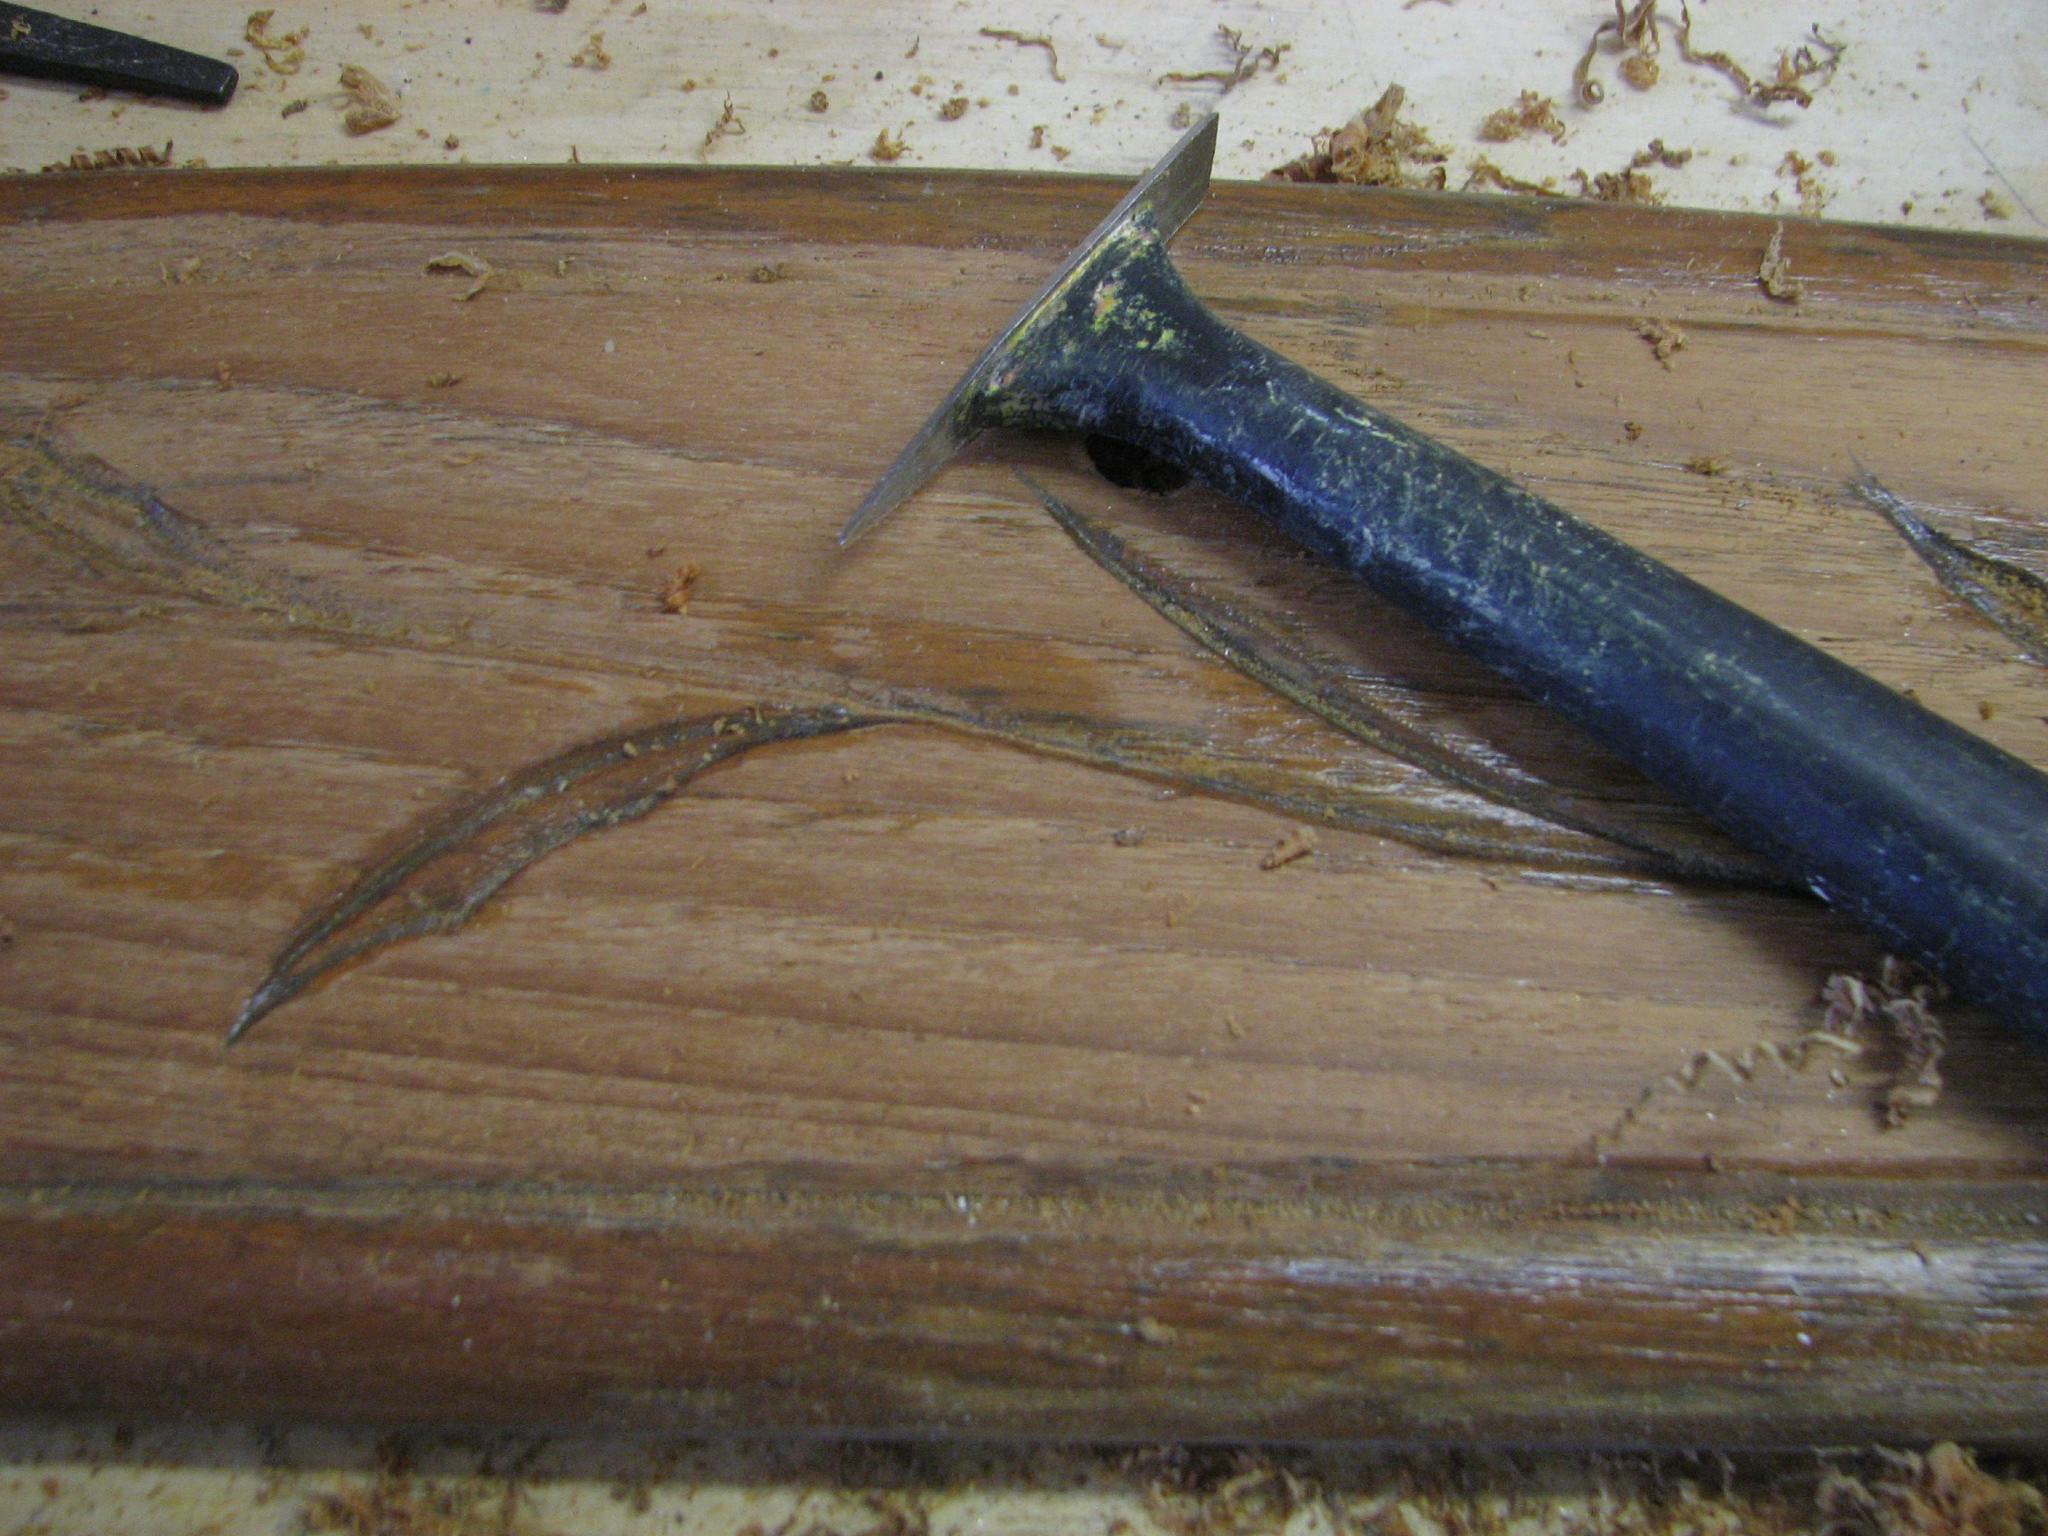
off the day working on the sanding and cleaning up of the name
boards. Very time consuming work. Finally finished all scraping off
all of the old varnish and Cetol.
I still have sanding to do, and fill the old bolt holes with teak
bungs.
Name
Board During Scraping Process
In
my Maintenance Log entry for March
30,
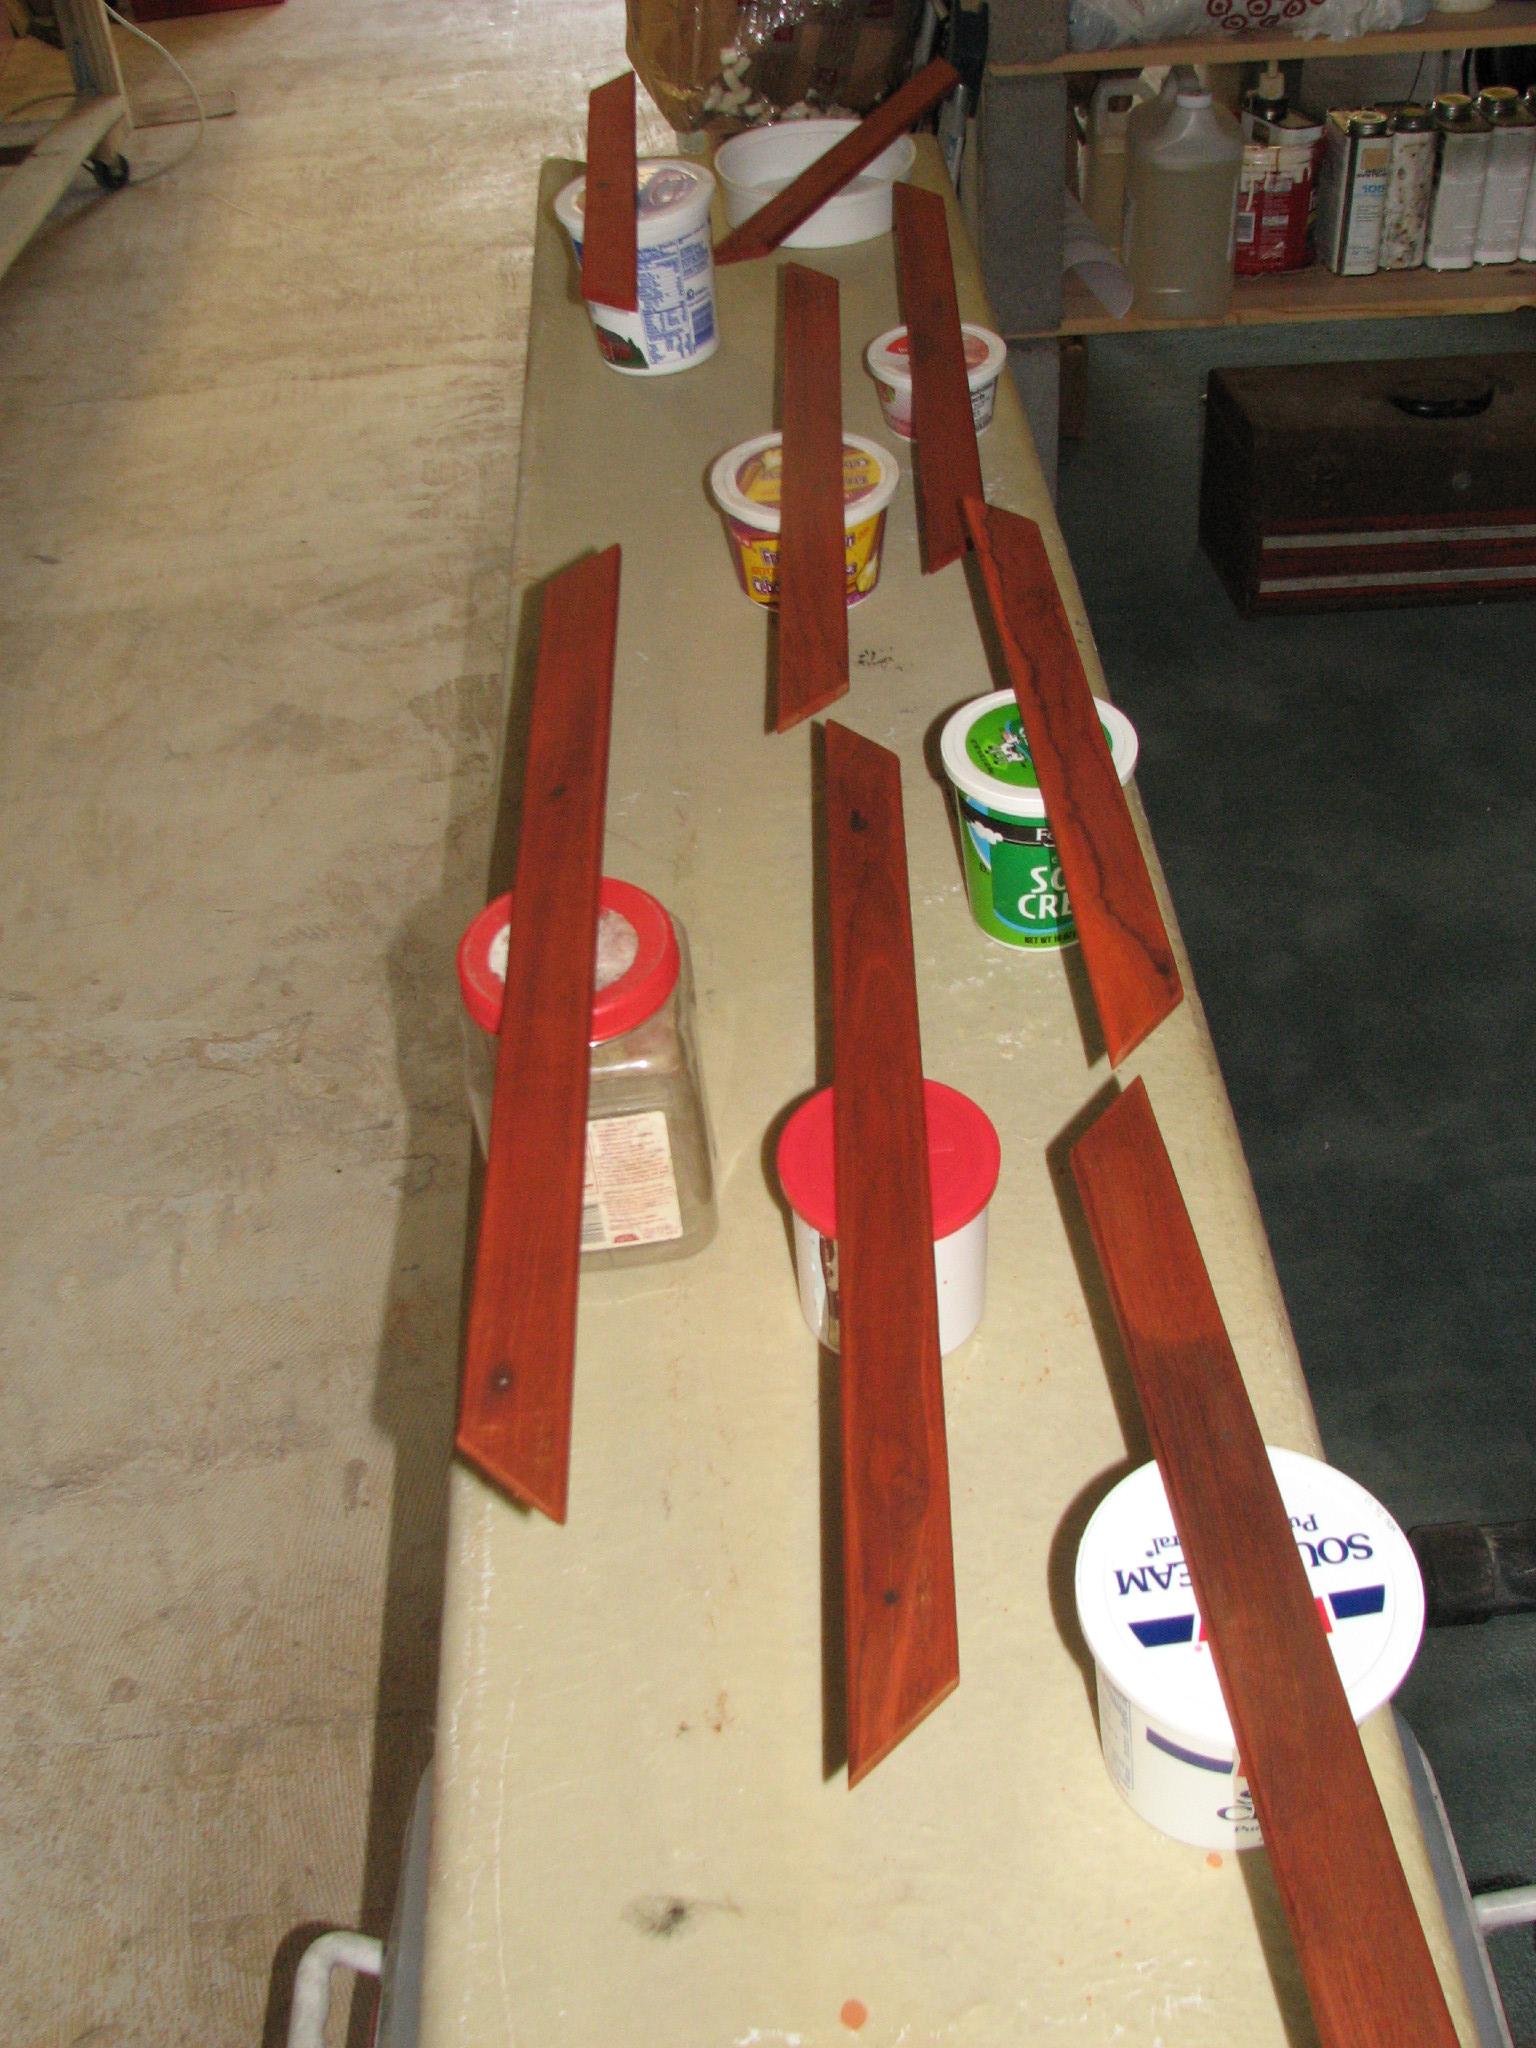
I mentioned I had brushed down all of the teak trim pieces for the
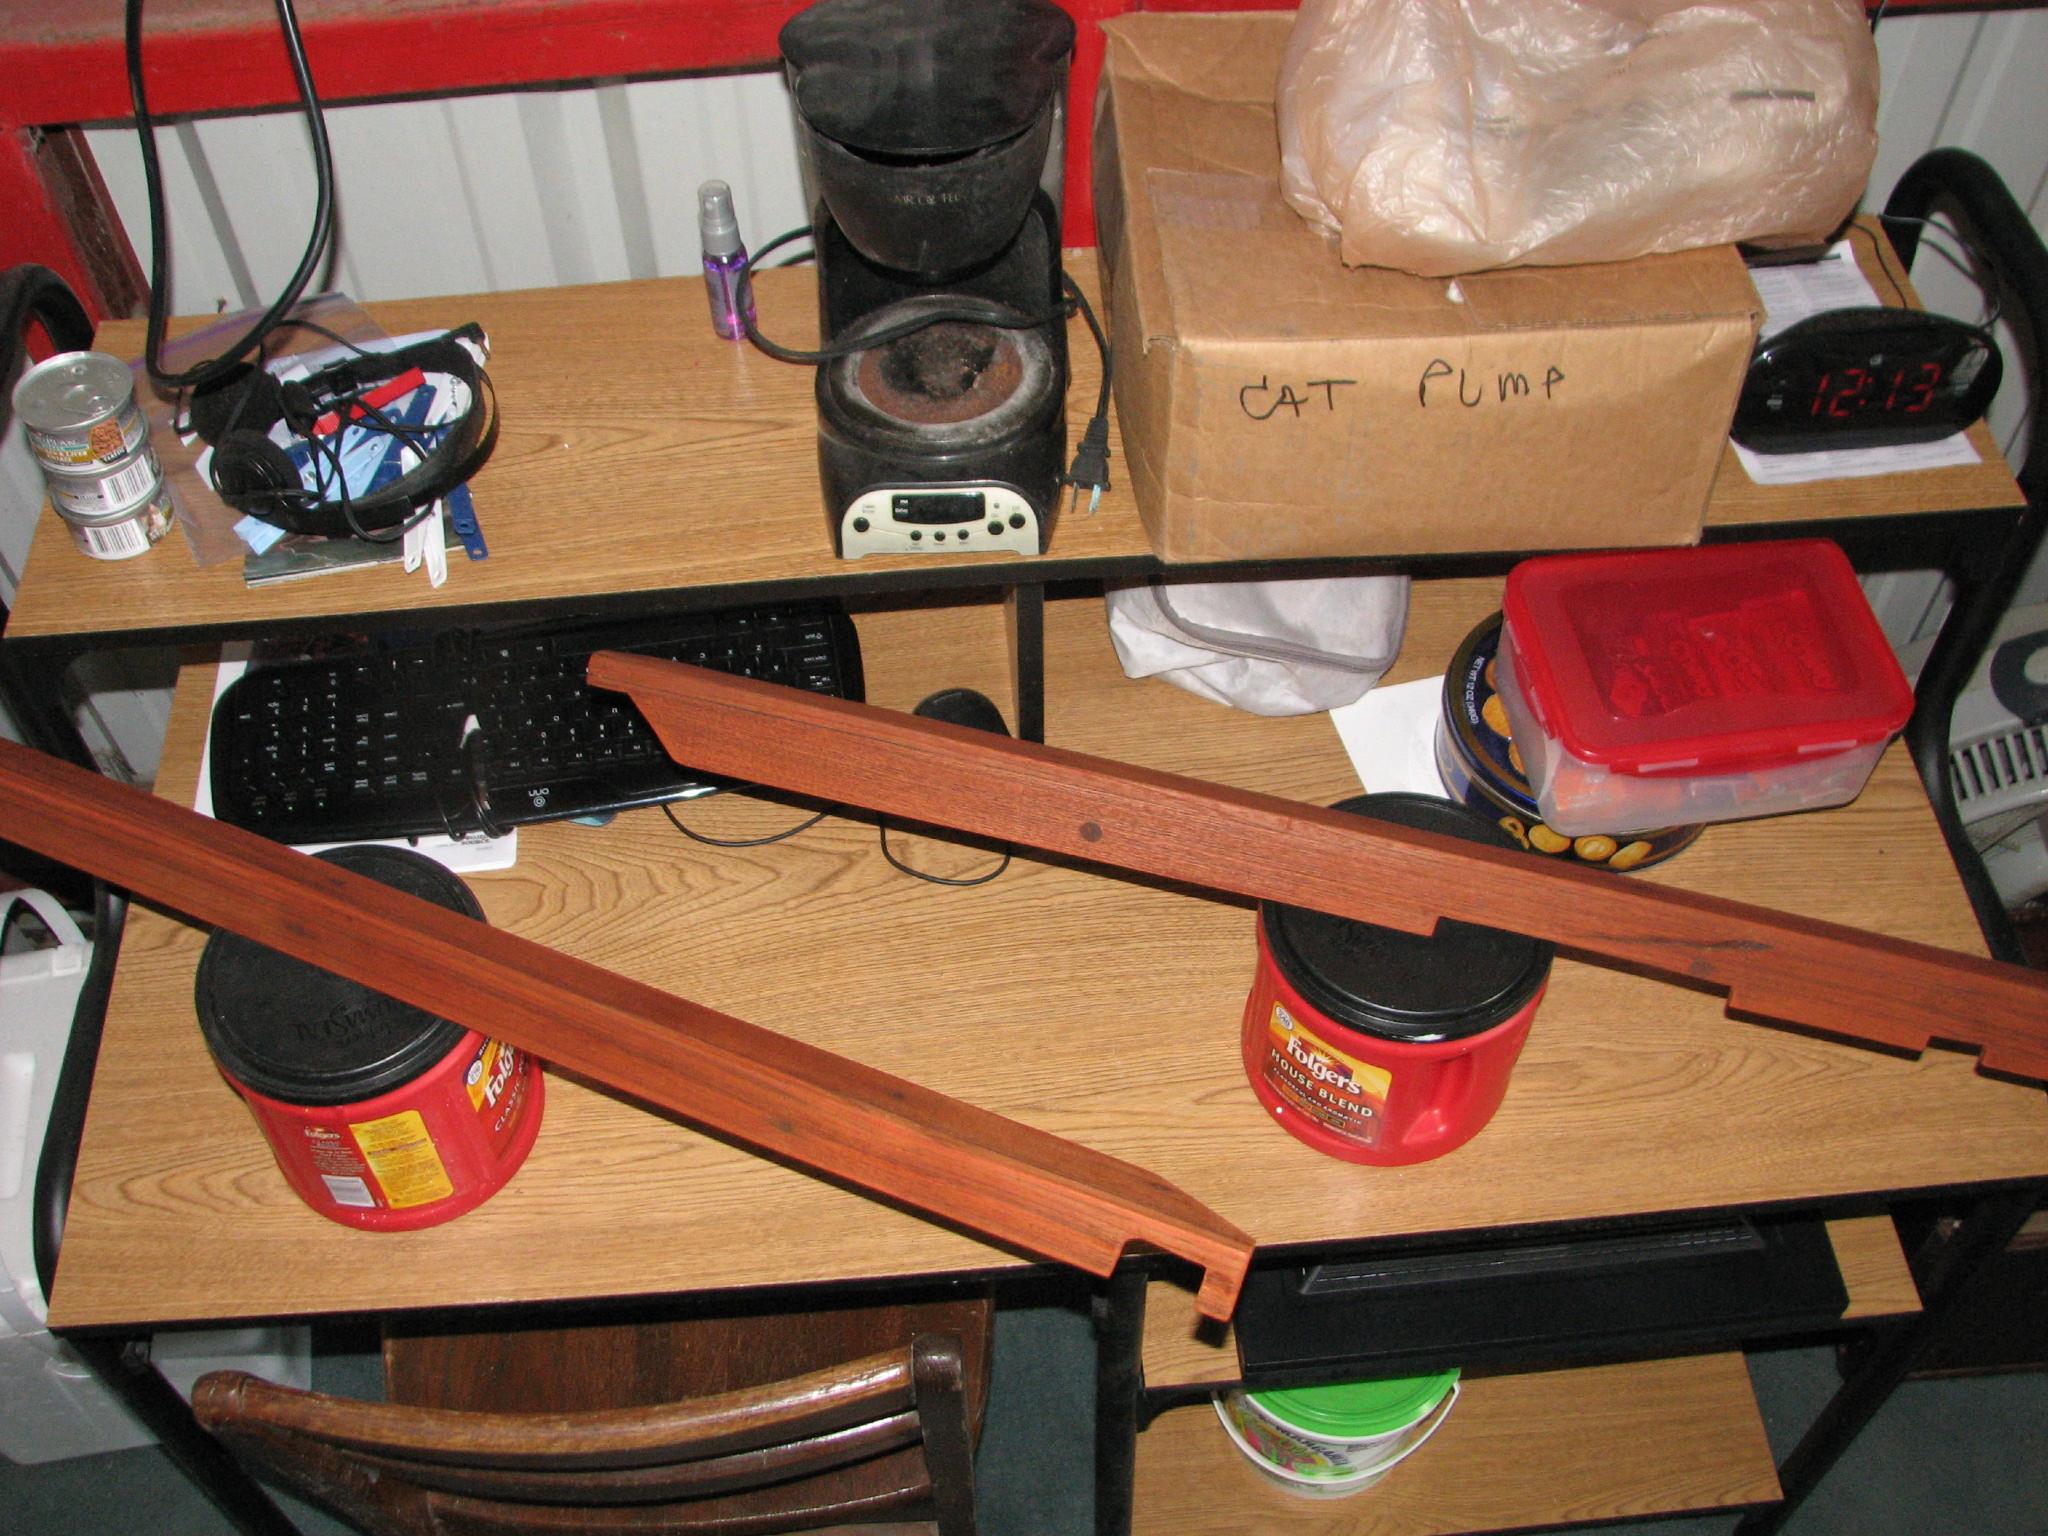
refrigerator/freezer, and the two teak wire covers with the dye
(Agent Orange).
Two
Teak Wire Covers With Dye Applied
Teak
Refrigerator/freezer Trim Pieces With Dye Applied
The
dye had dried so now it was time to apply the Smith’s
penetrating epoxy.
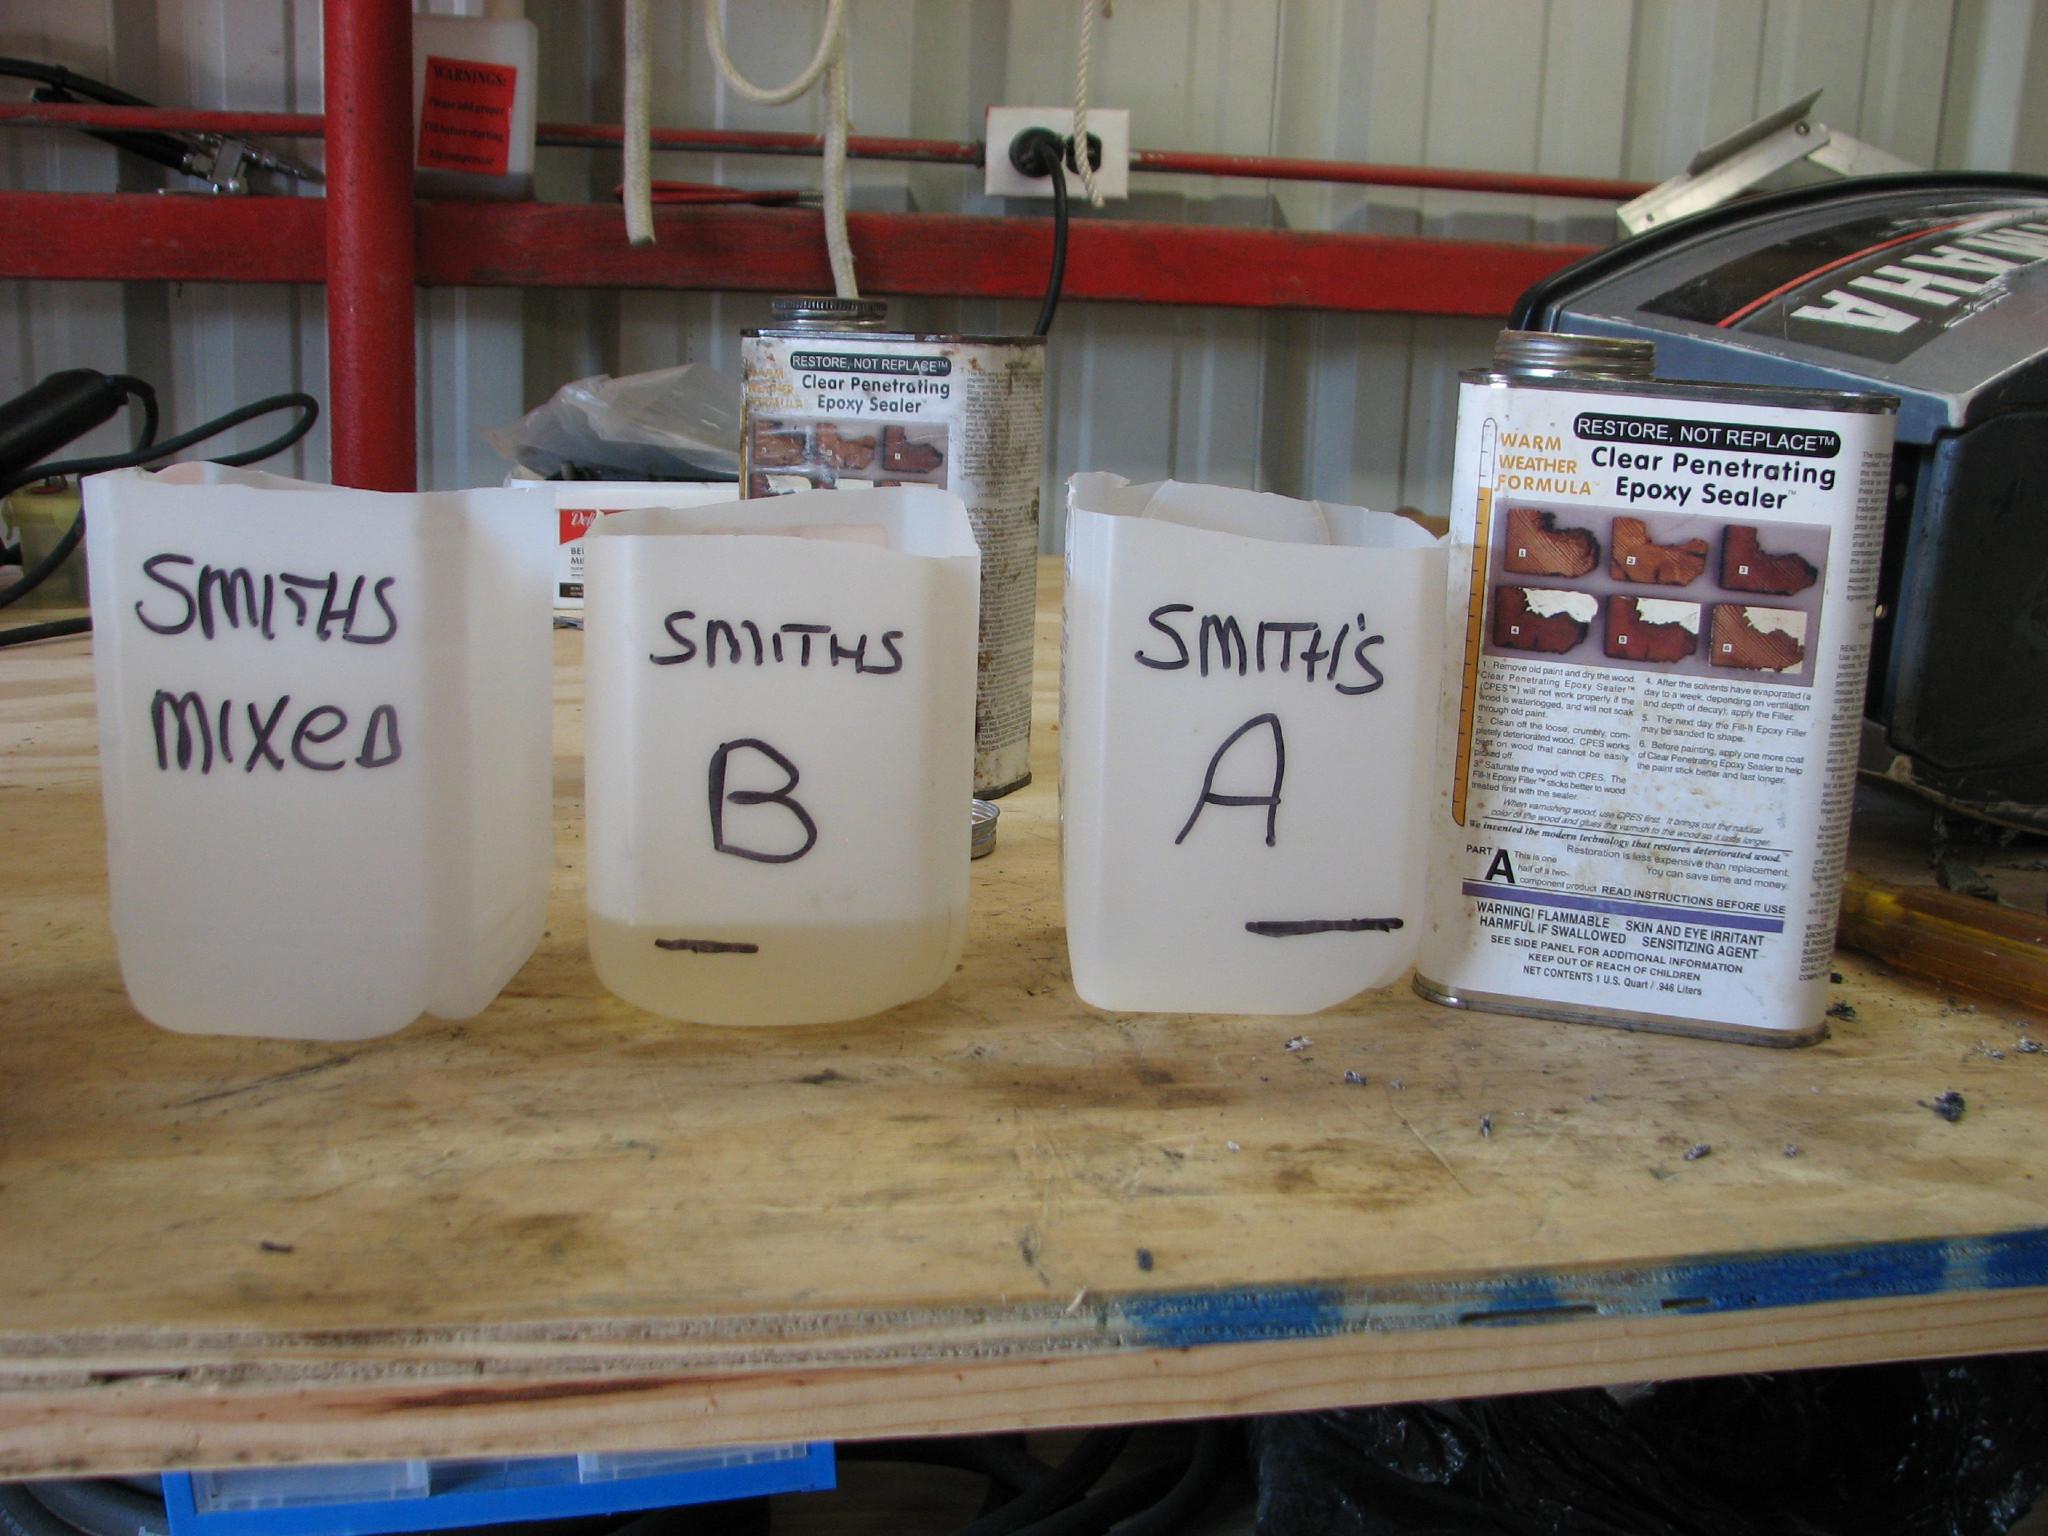
For many years now, I have had a policy of applying Smith’s
penetrating epoxy
to any wood put on DREAM AWAY. The mix is a one to one for the resin
and catalyst. You can see from the picture, I mark all of the
containers, so there is no mistakes made during the mixing process
Mixing
Containers On Work Bench
I
then applied the mixed Smith’s
penetrating epoxy
to the sanded pin rails, the teak trim pieces for the
refrigerator/freezer, and the two teak wire covers. I actually
applied three coats to all of the wood.
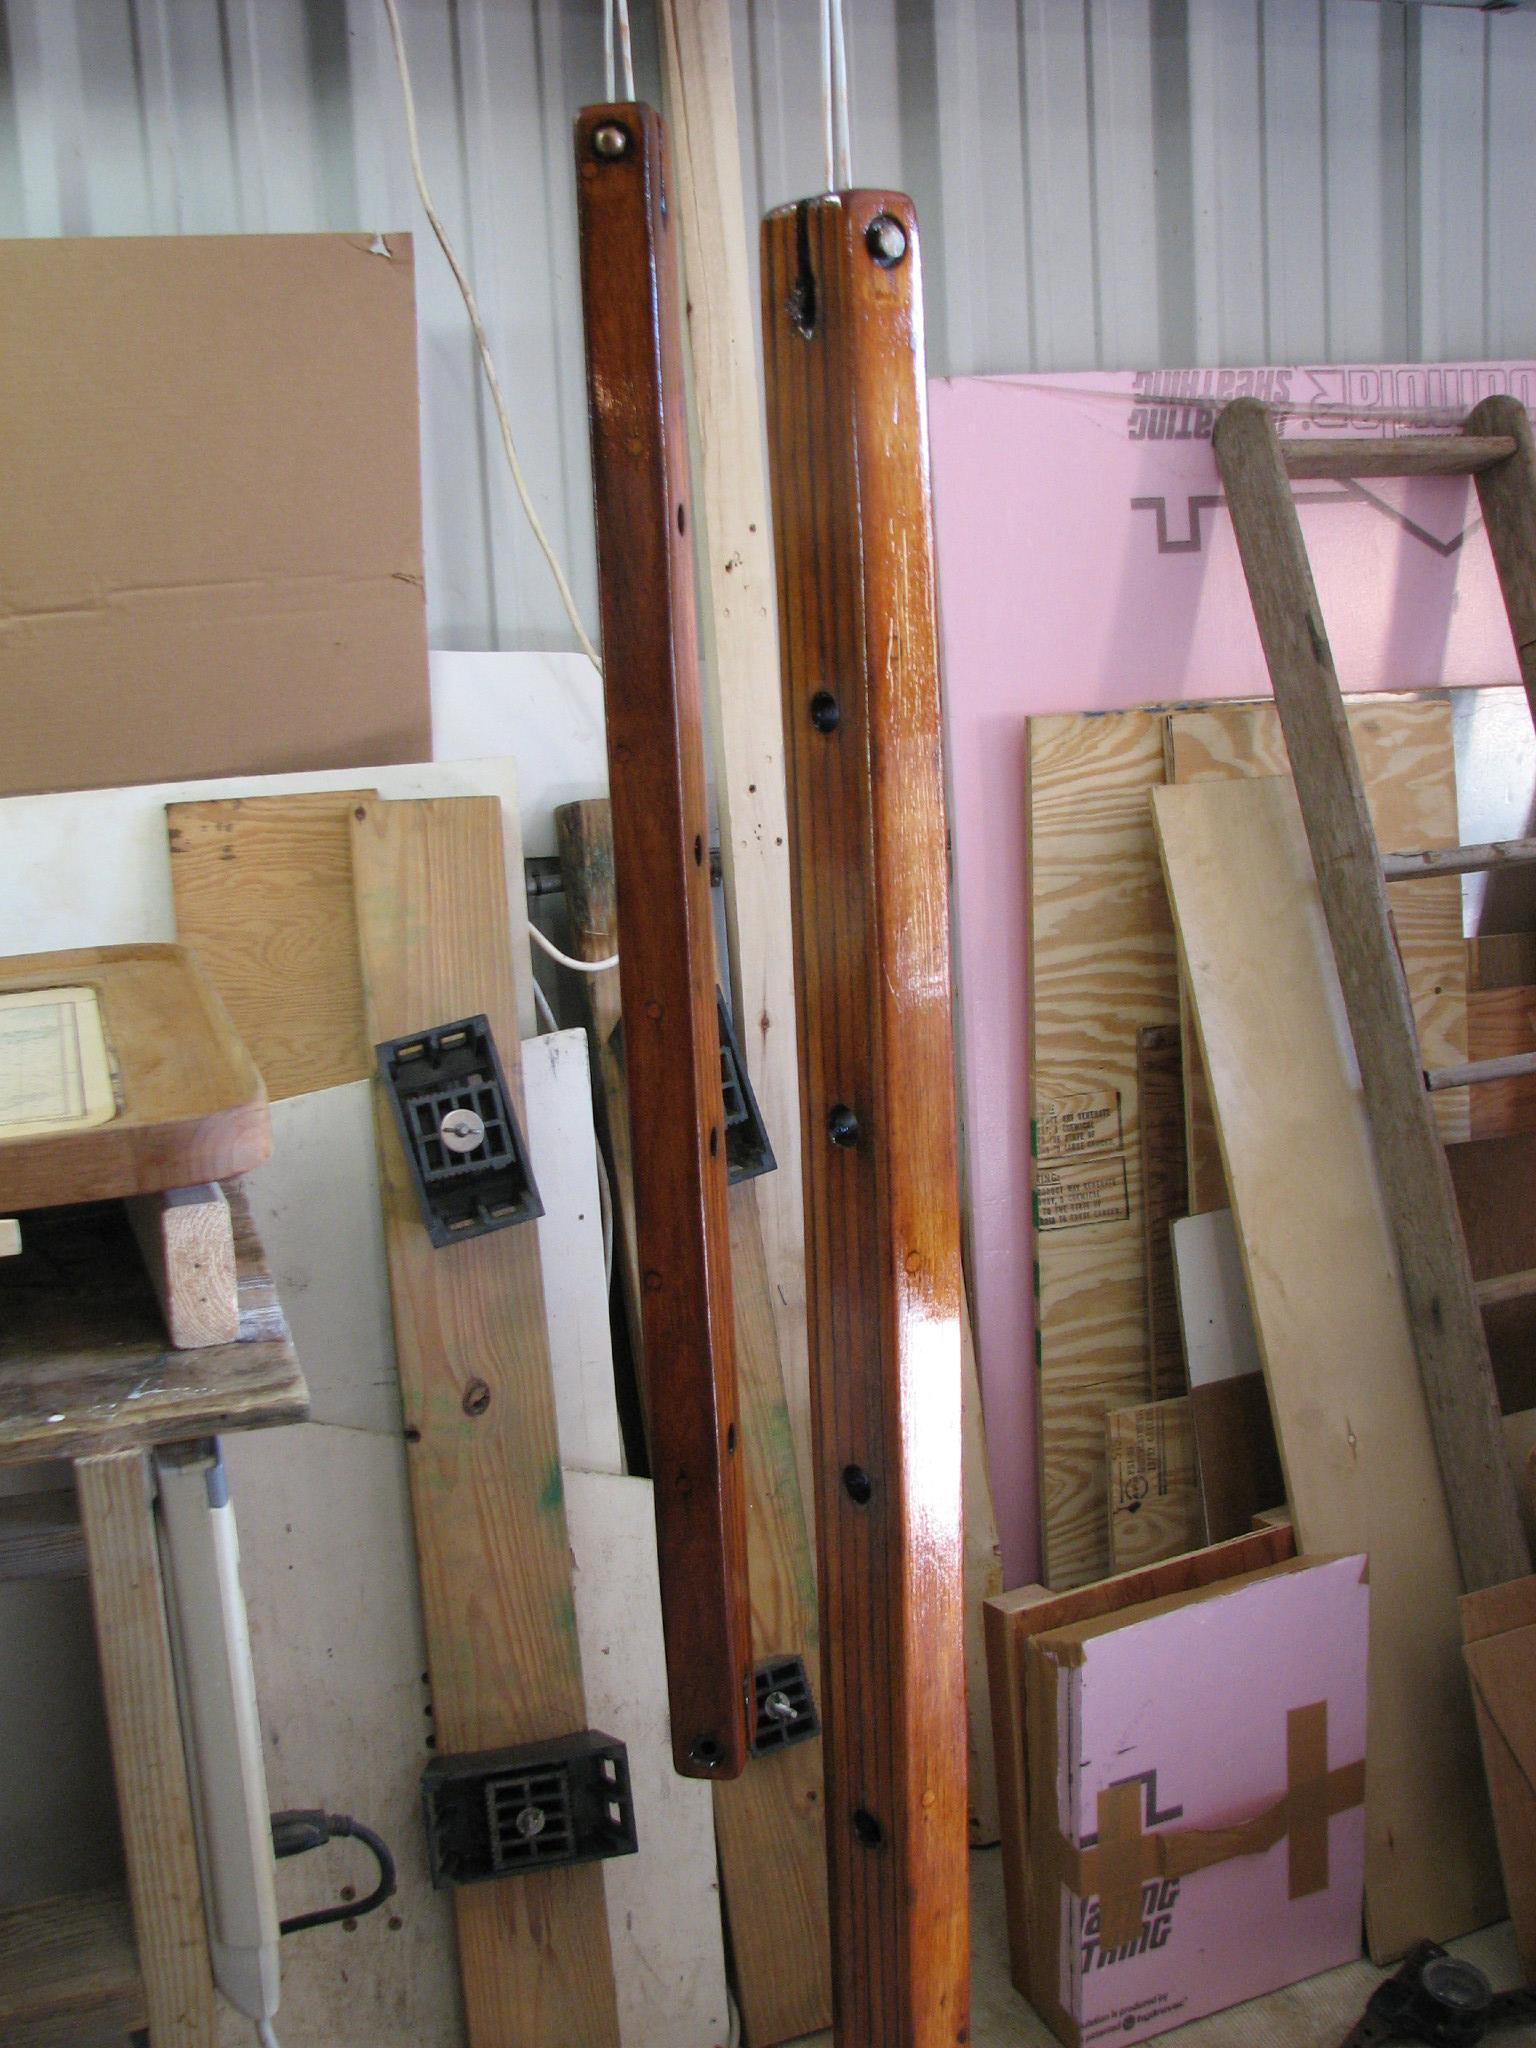
Epoxy
Applied To The Pin Rails
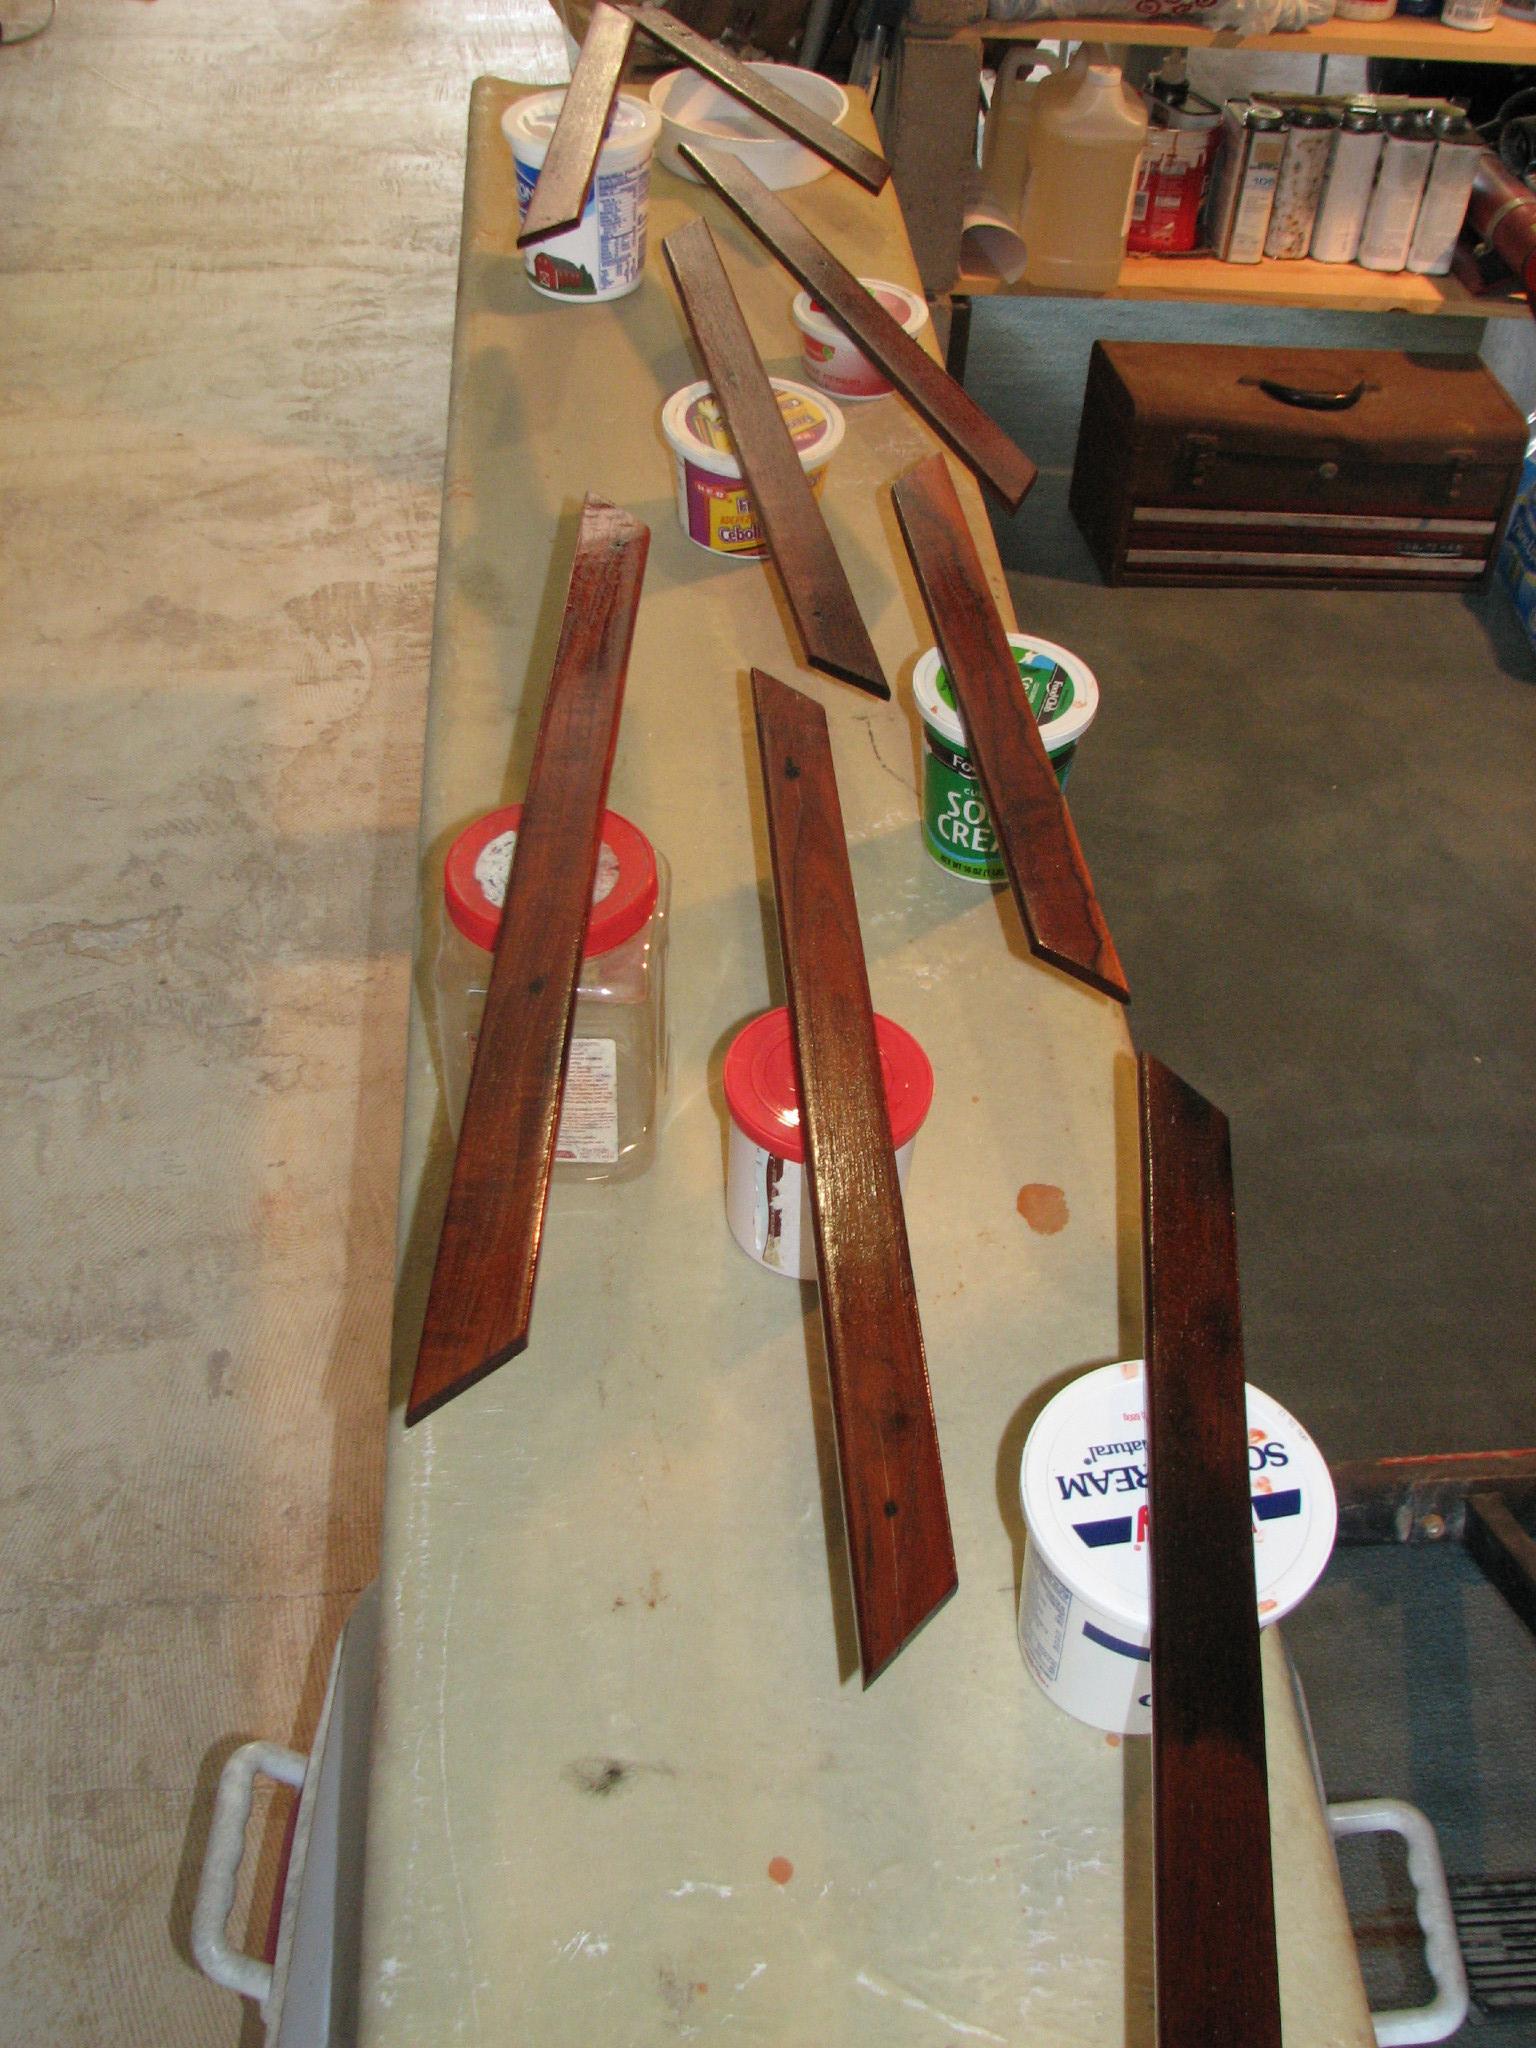
Epoxy
Applied To The Teak Trim Pieces For The Refrigerator/freezer
Epoxy
Applied To The Two Teak Wire Covers

April
2, 2013, Tuesday
Started
off the morning with my normal ritual of getting on the Internet,
answering email, checking the weather, while making a pot of coffee.
Had
to go to Lafayette for a doctors appointment, and pet food shopping.
Returned from the trip, and then helped a fellow boater in the marina
move his vessel from one slip to another.
Got
under the aft cabin bunk and removed my bottle of oxygen that goes
with my oxy-propane torch.
Kitty
Holding Down Folded Up Mattress On Aft Bunk
Oxygen
& SCUBA Tank Under Aft Cabin Bunk
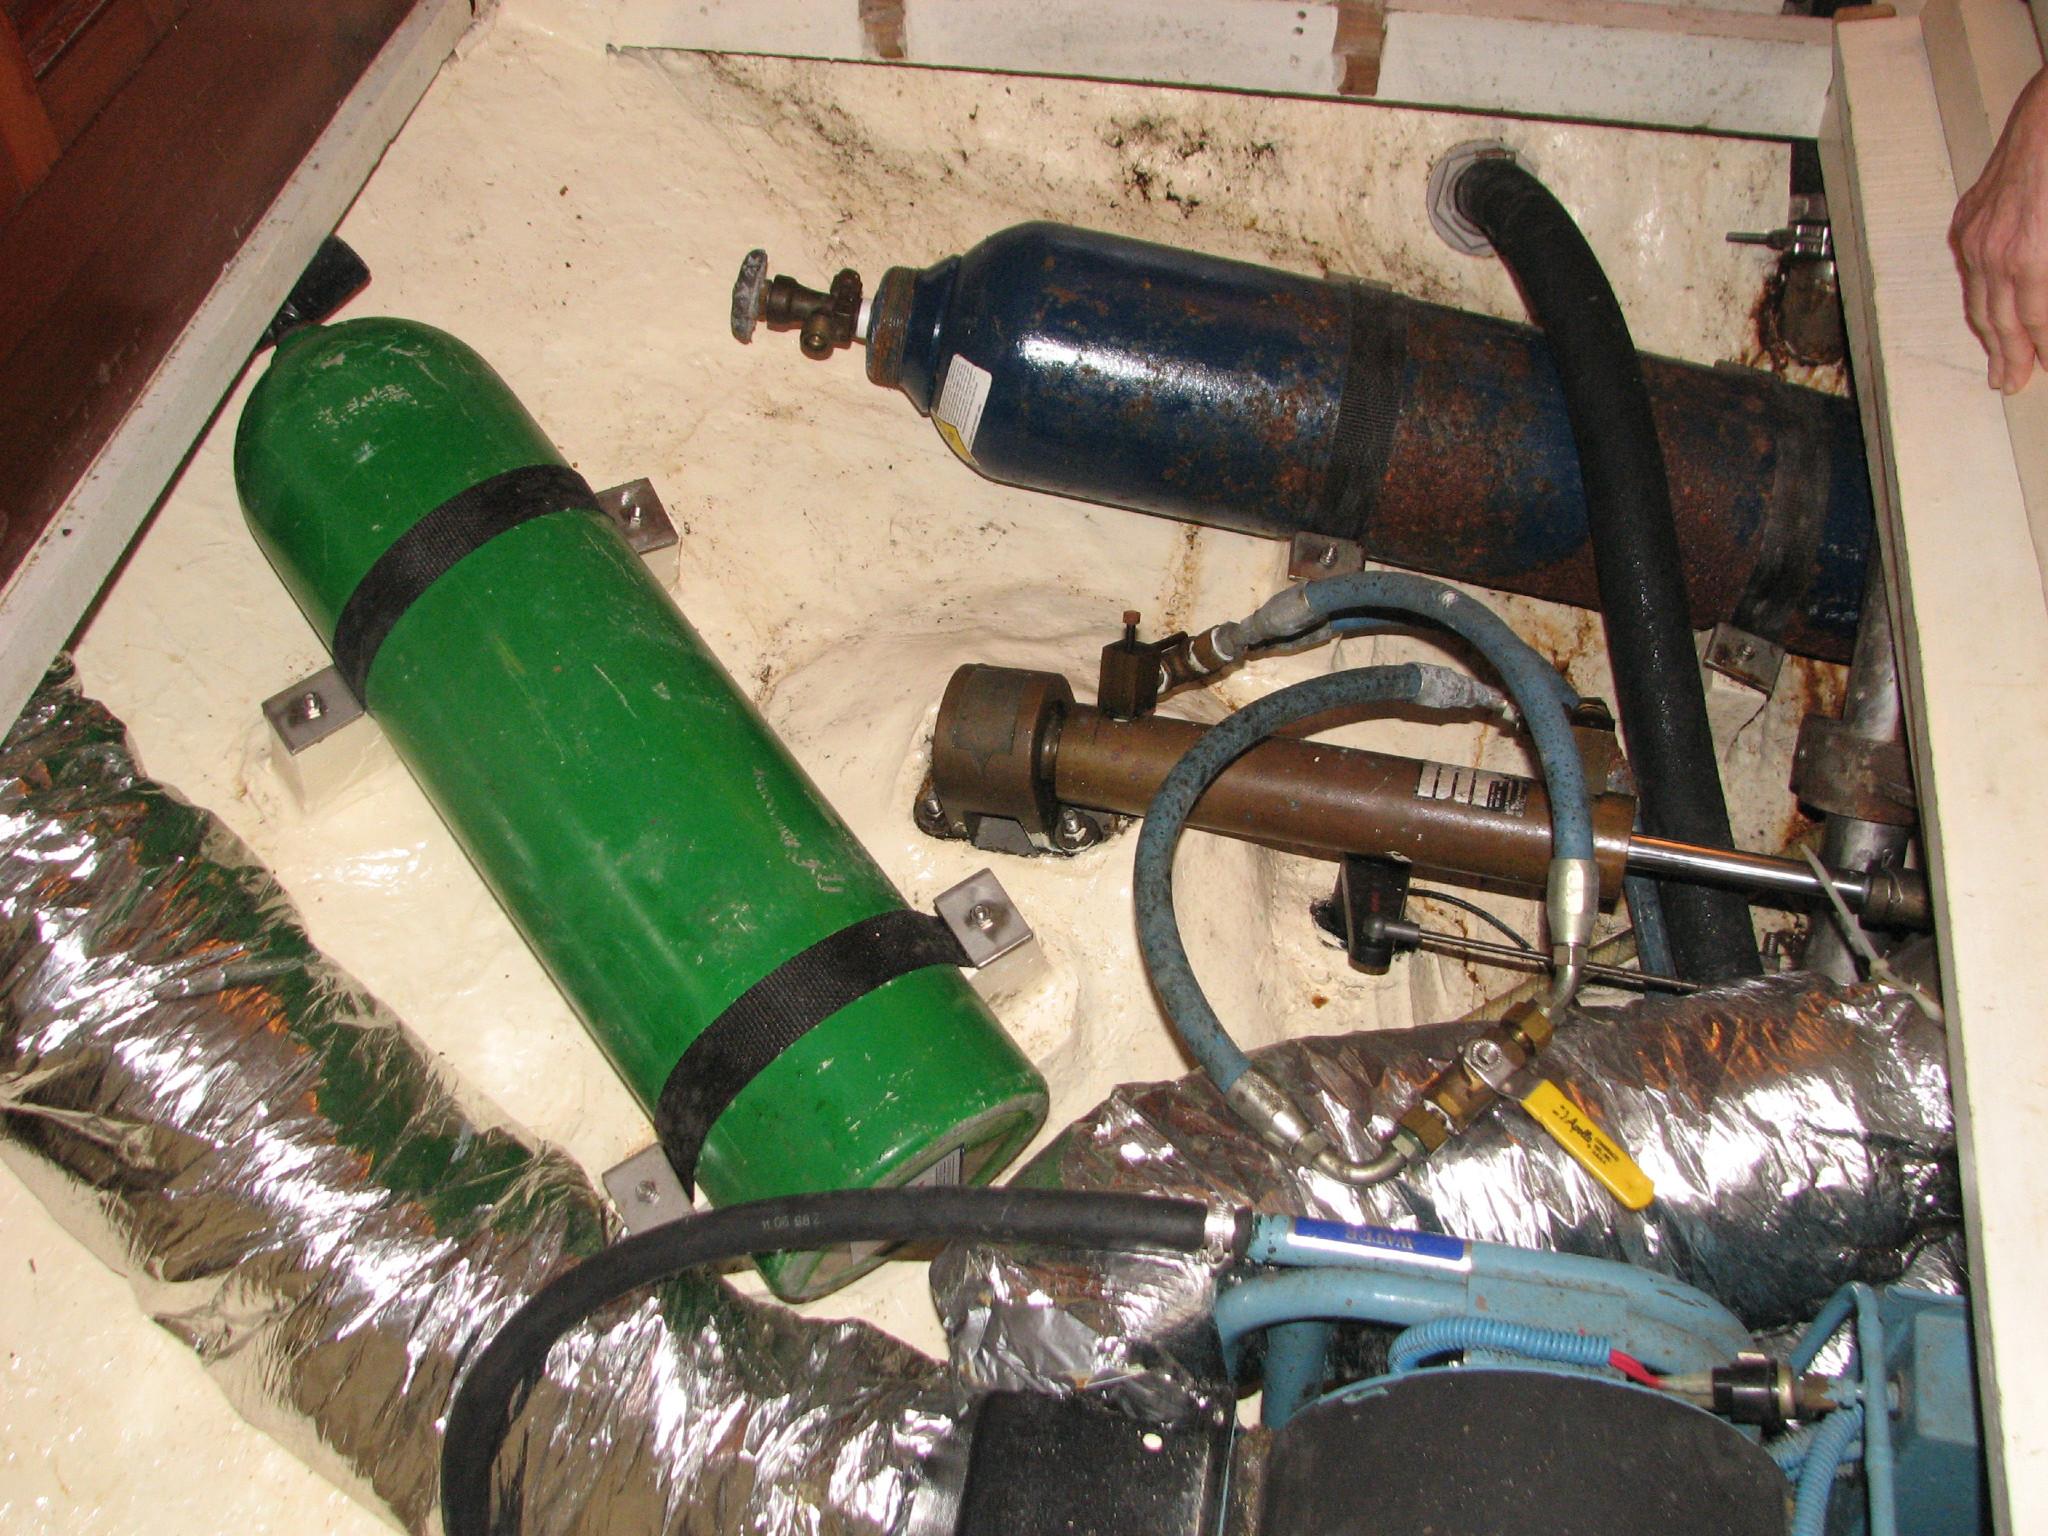
April
3, 2013, Wednesday
Started
off the morning with my normal ritual of getting on the Internet,
answering email, checking the weather, while making a pot of coffee.
Also worked on updating the maintenance log.
Today
I did a lot of work on the March
Maintenance Log.
Perfecting a method to get the downloaded file from Google a
viewable file on my web page. I seem to have it going now, just very
time consuming.
Move
some small pieces of stainless steel and aluminum out from under my
storage area under the deck in the galley. I want to have this metal
at the shop when I work on projects in case it is needed.
Washed
down the boat today, all except the cockpit. It is nice to see DREAM
AWAY looking much better. She will sparkle when the sun comes out!
April
4, 2013, Thursday
Started
off the morning with my normal ritual of getting on the Internet,
answering email, checking the weather, while making a pot of coffee.
Also worked on updating the maintenance log.
Went
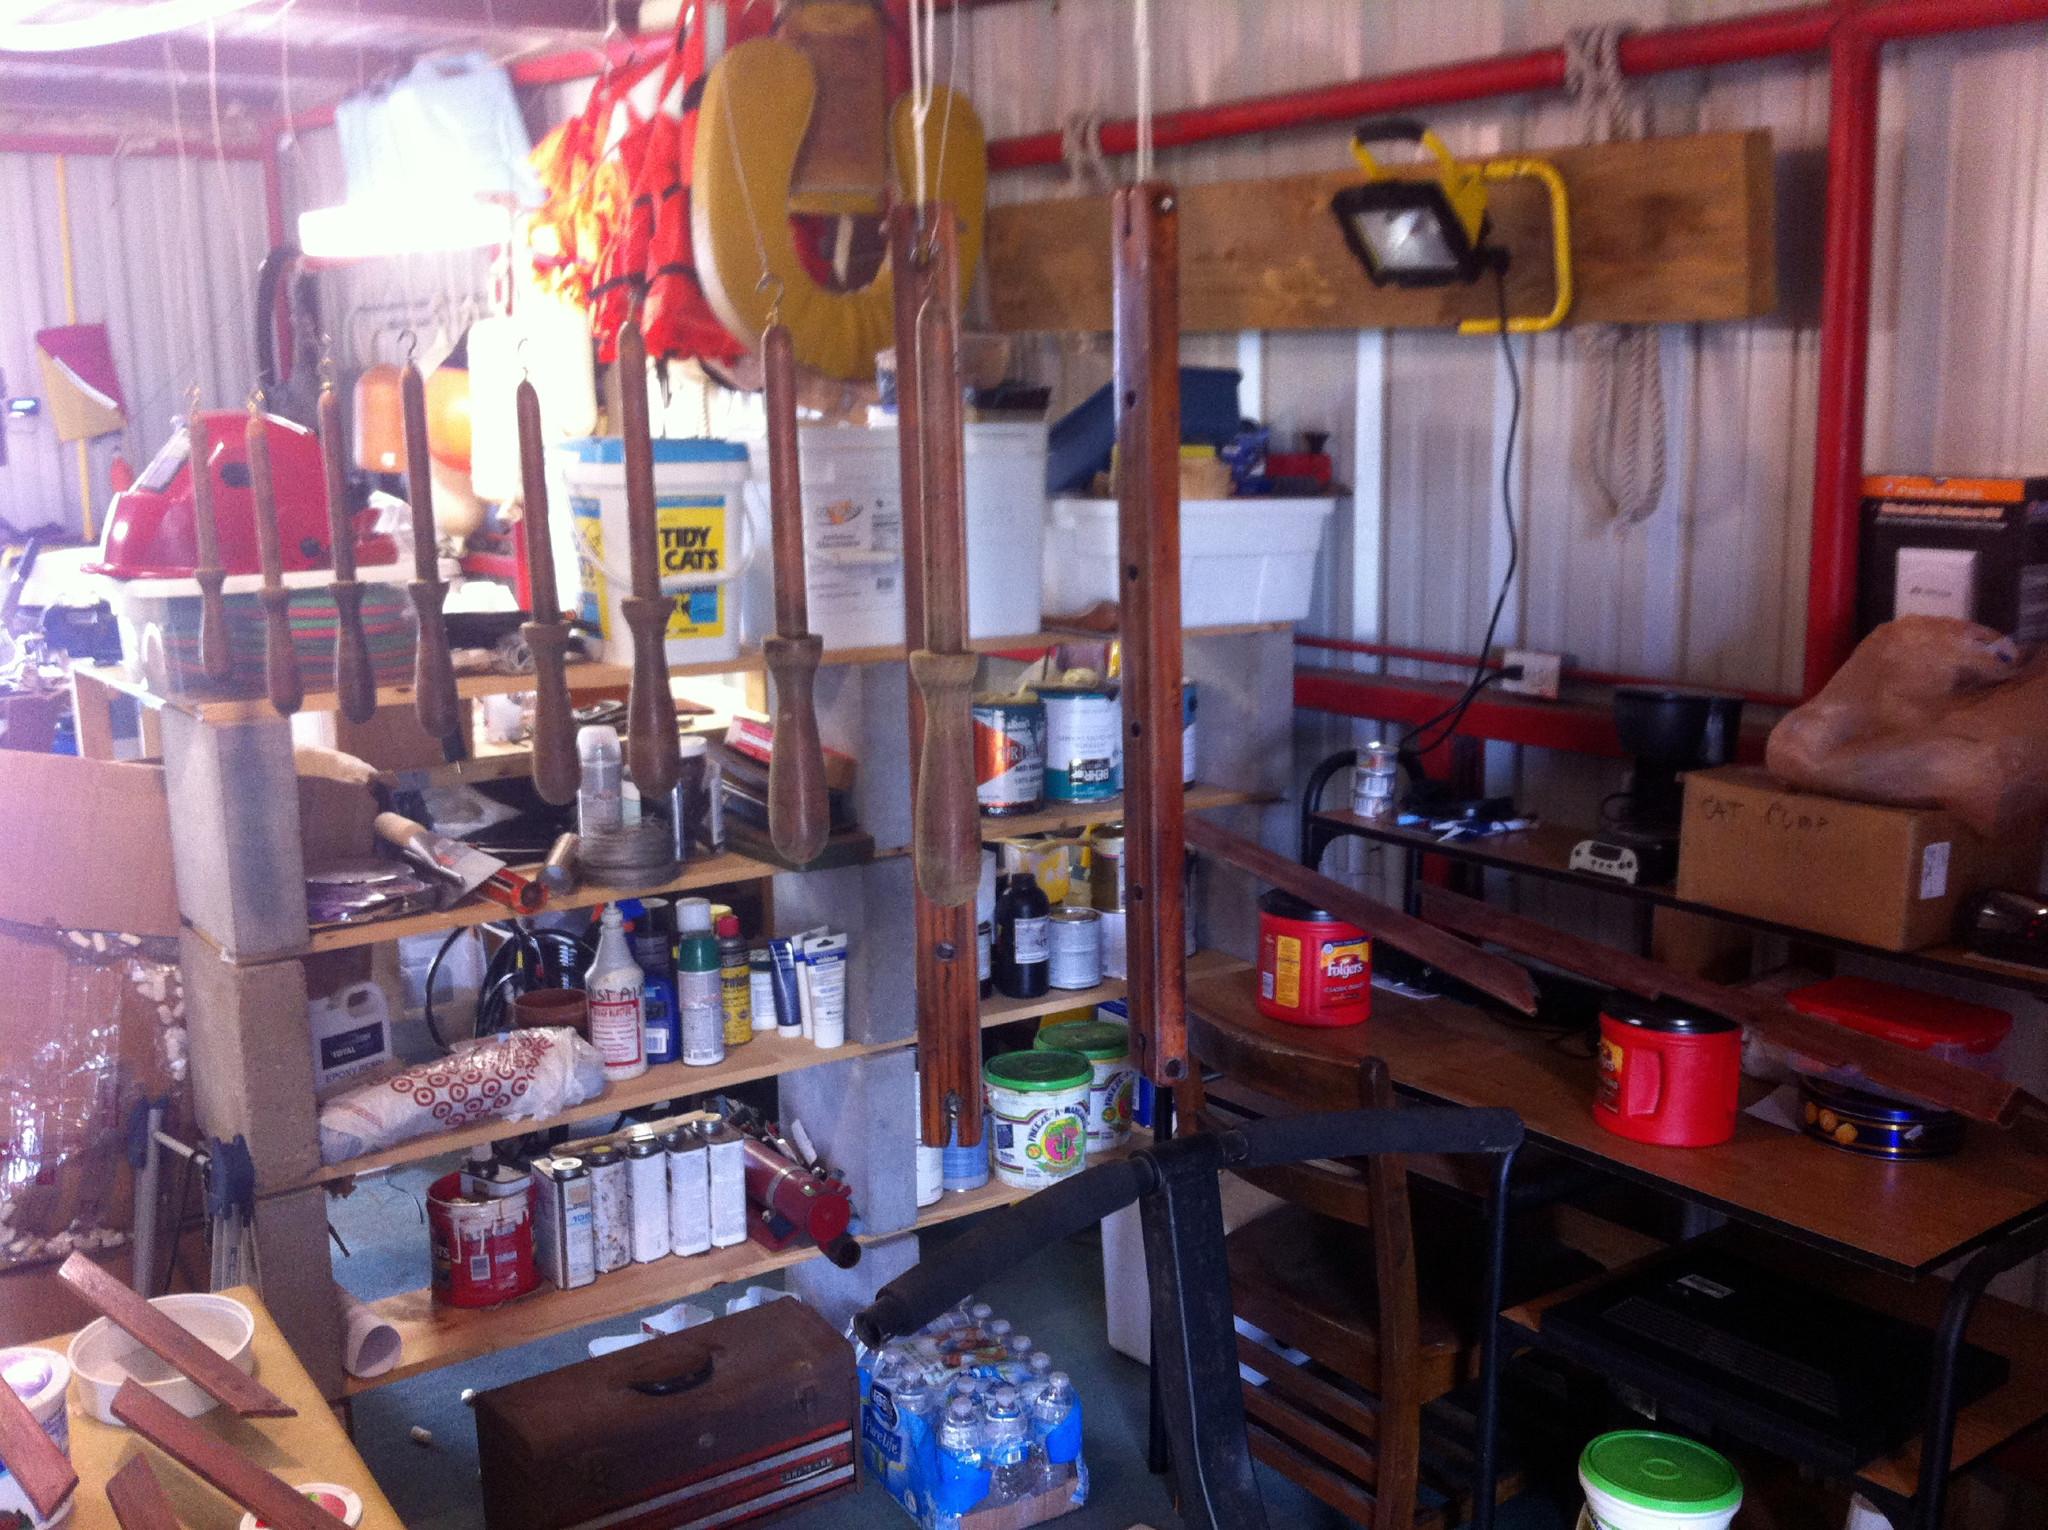
over to the shop and checked that the epoxy on all of the teak pieces
had hardened. I then moved all of the pieces out of the “work”
area and into Kitty’s Library to get ready for the application of
varnish on interior pieces and Cetol
on the exterior pieces. The picture looks busy, but you can see the
belaying pins and pin rail hanging from various places. Also the teak
reefer trim pieces on a makeshift table, and the wire cover pieces on
Kitty’s computer table.
Teak
Pieces Ready For Varnish And Cetol
Application
I
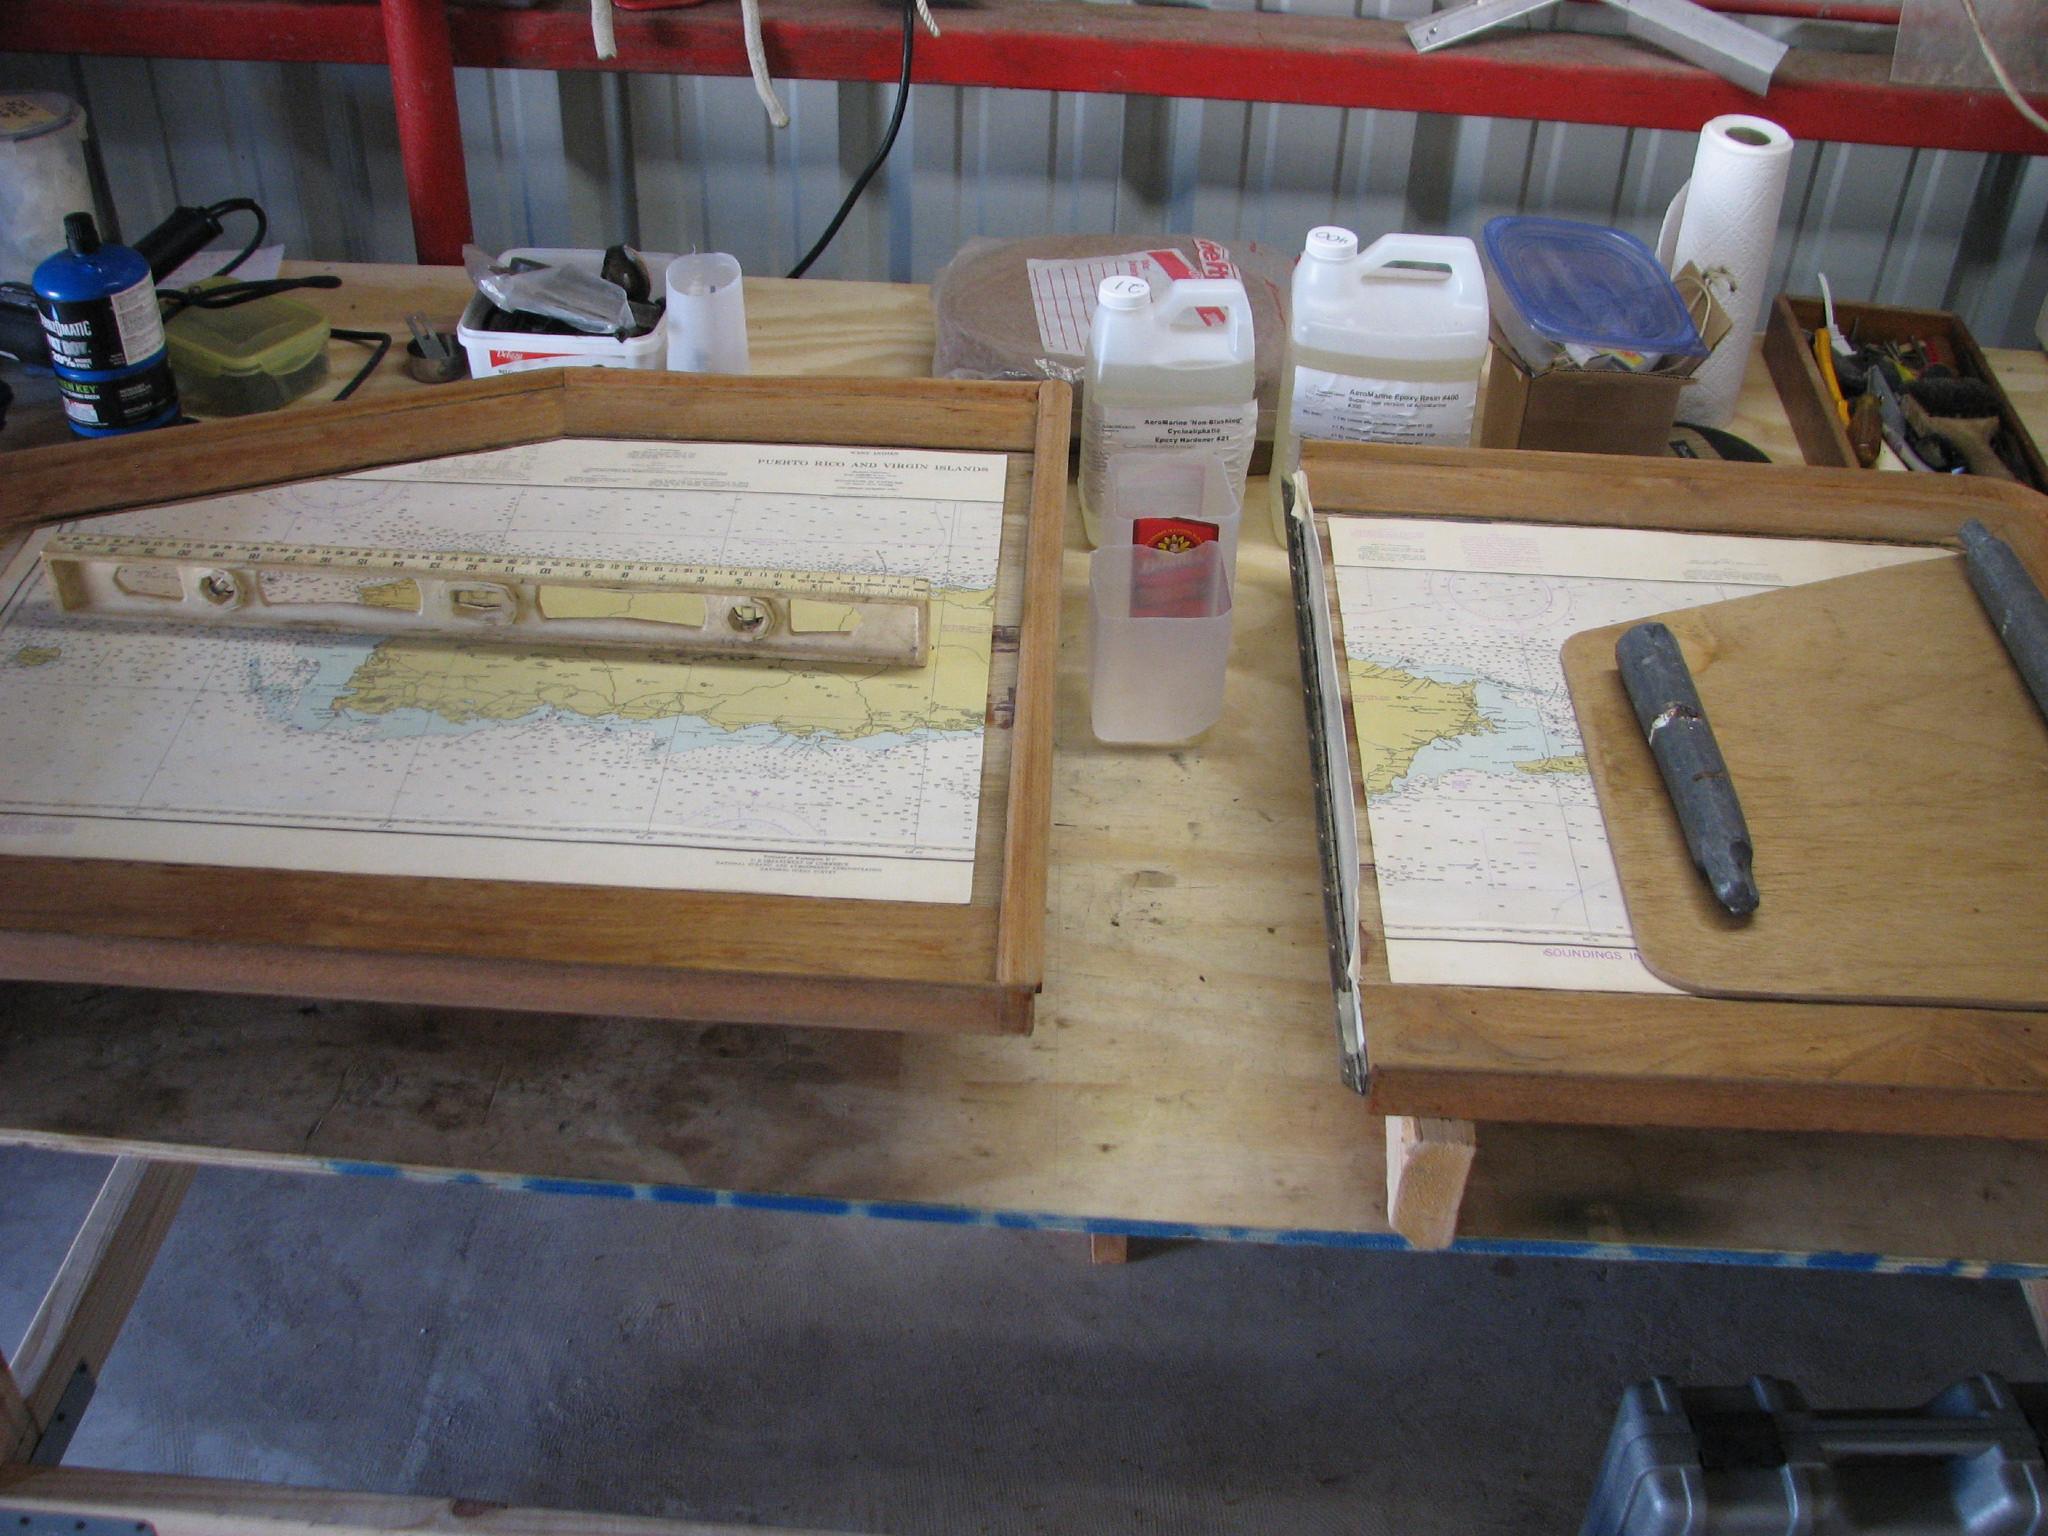
knew I was going to be needing the saw table so I moved the main
salon table pieces over to the workbench and leveled them in
preparation for the application of the table resin.
Main
Salon Table Pieces Leveled On Workbench
I
then went over to DREAM AWAY and had breakfast. Before returning to
the shop, I got some help from Kitty, and we emptied out under the
port forward cabin bunk. I had many pieces of teak, stainless steel
and aluminum that might be needed in future projects. I wanted to get
all of the metal and wood I had on hand in one location.
When
I went back to the shop with all of this material, I had to do some
straightening up of the area where I had the metal and wood stored in
the shop. I got this done and all of the new material stored in some
sort of neatness where I can see what is going on.
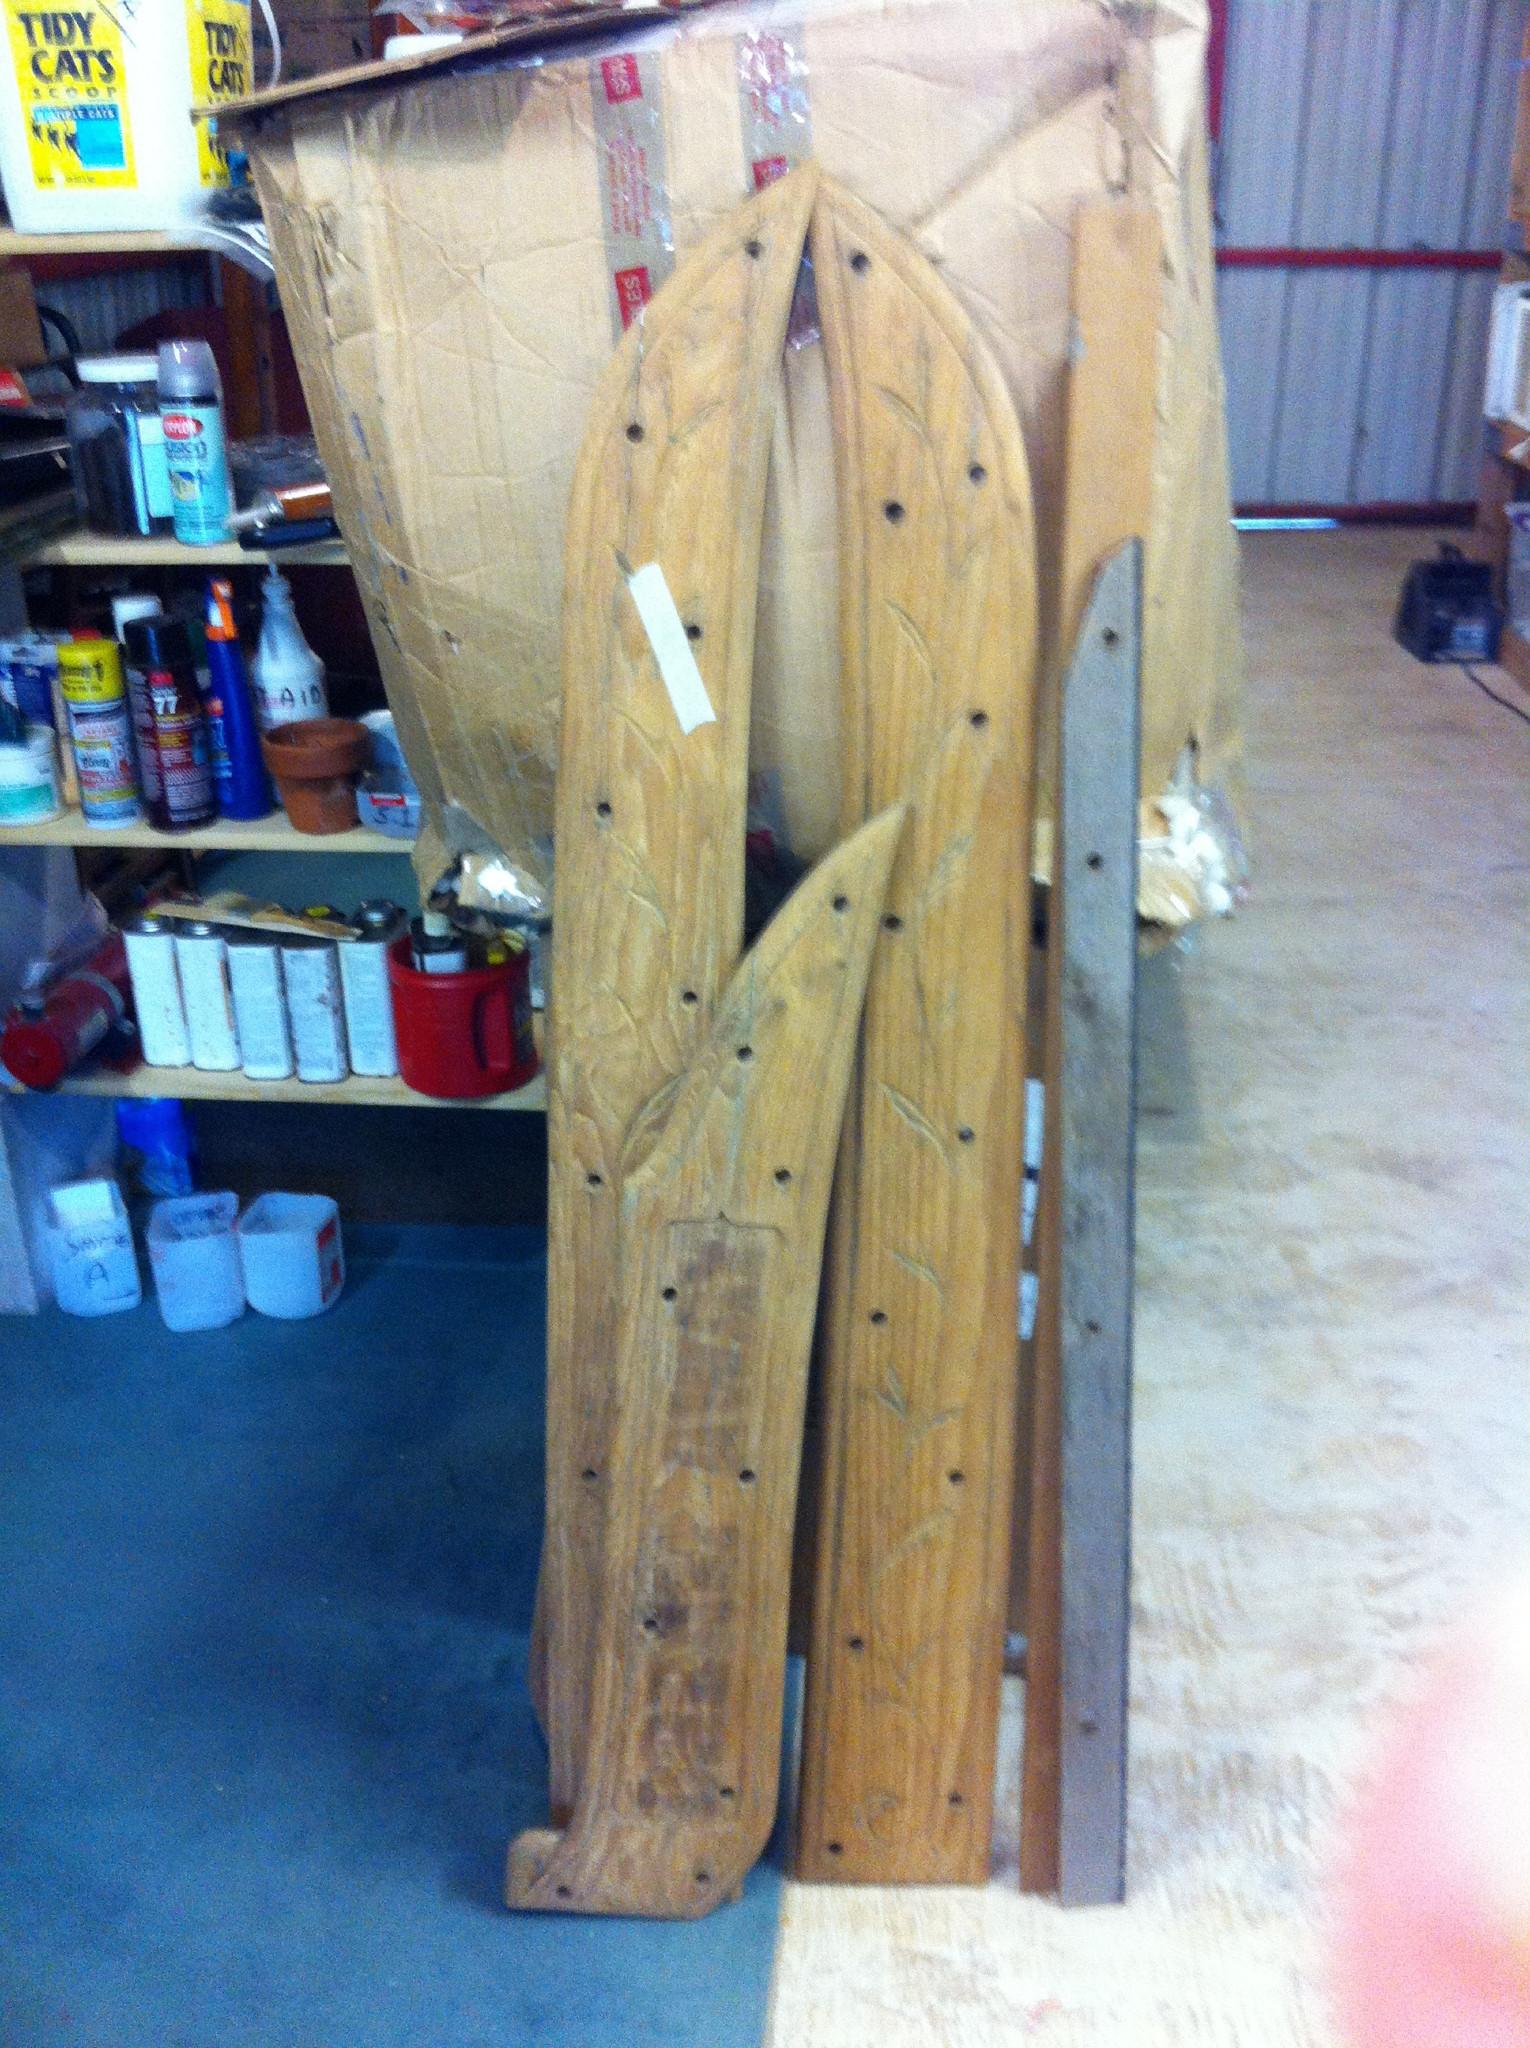
I
still have some final sanding to do on the name boards, but what is
needed right now are some teak bungs to fill the holes in the name
boards left by the bolts that were used to attach them to the hull.
For that story you can check out the Cap
Rail Project.
Name
Boards Ready For Sanding
I
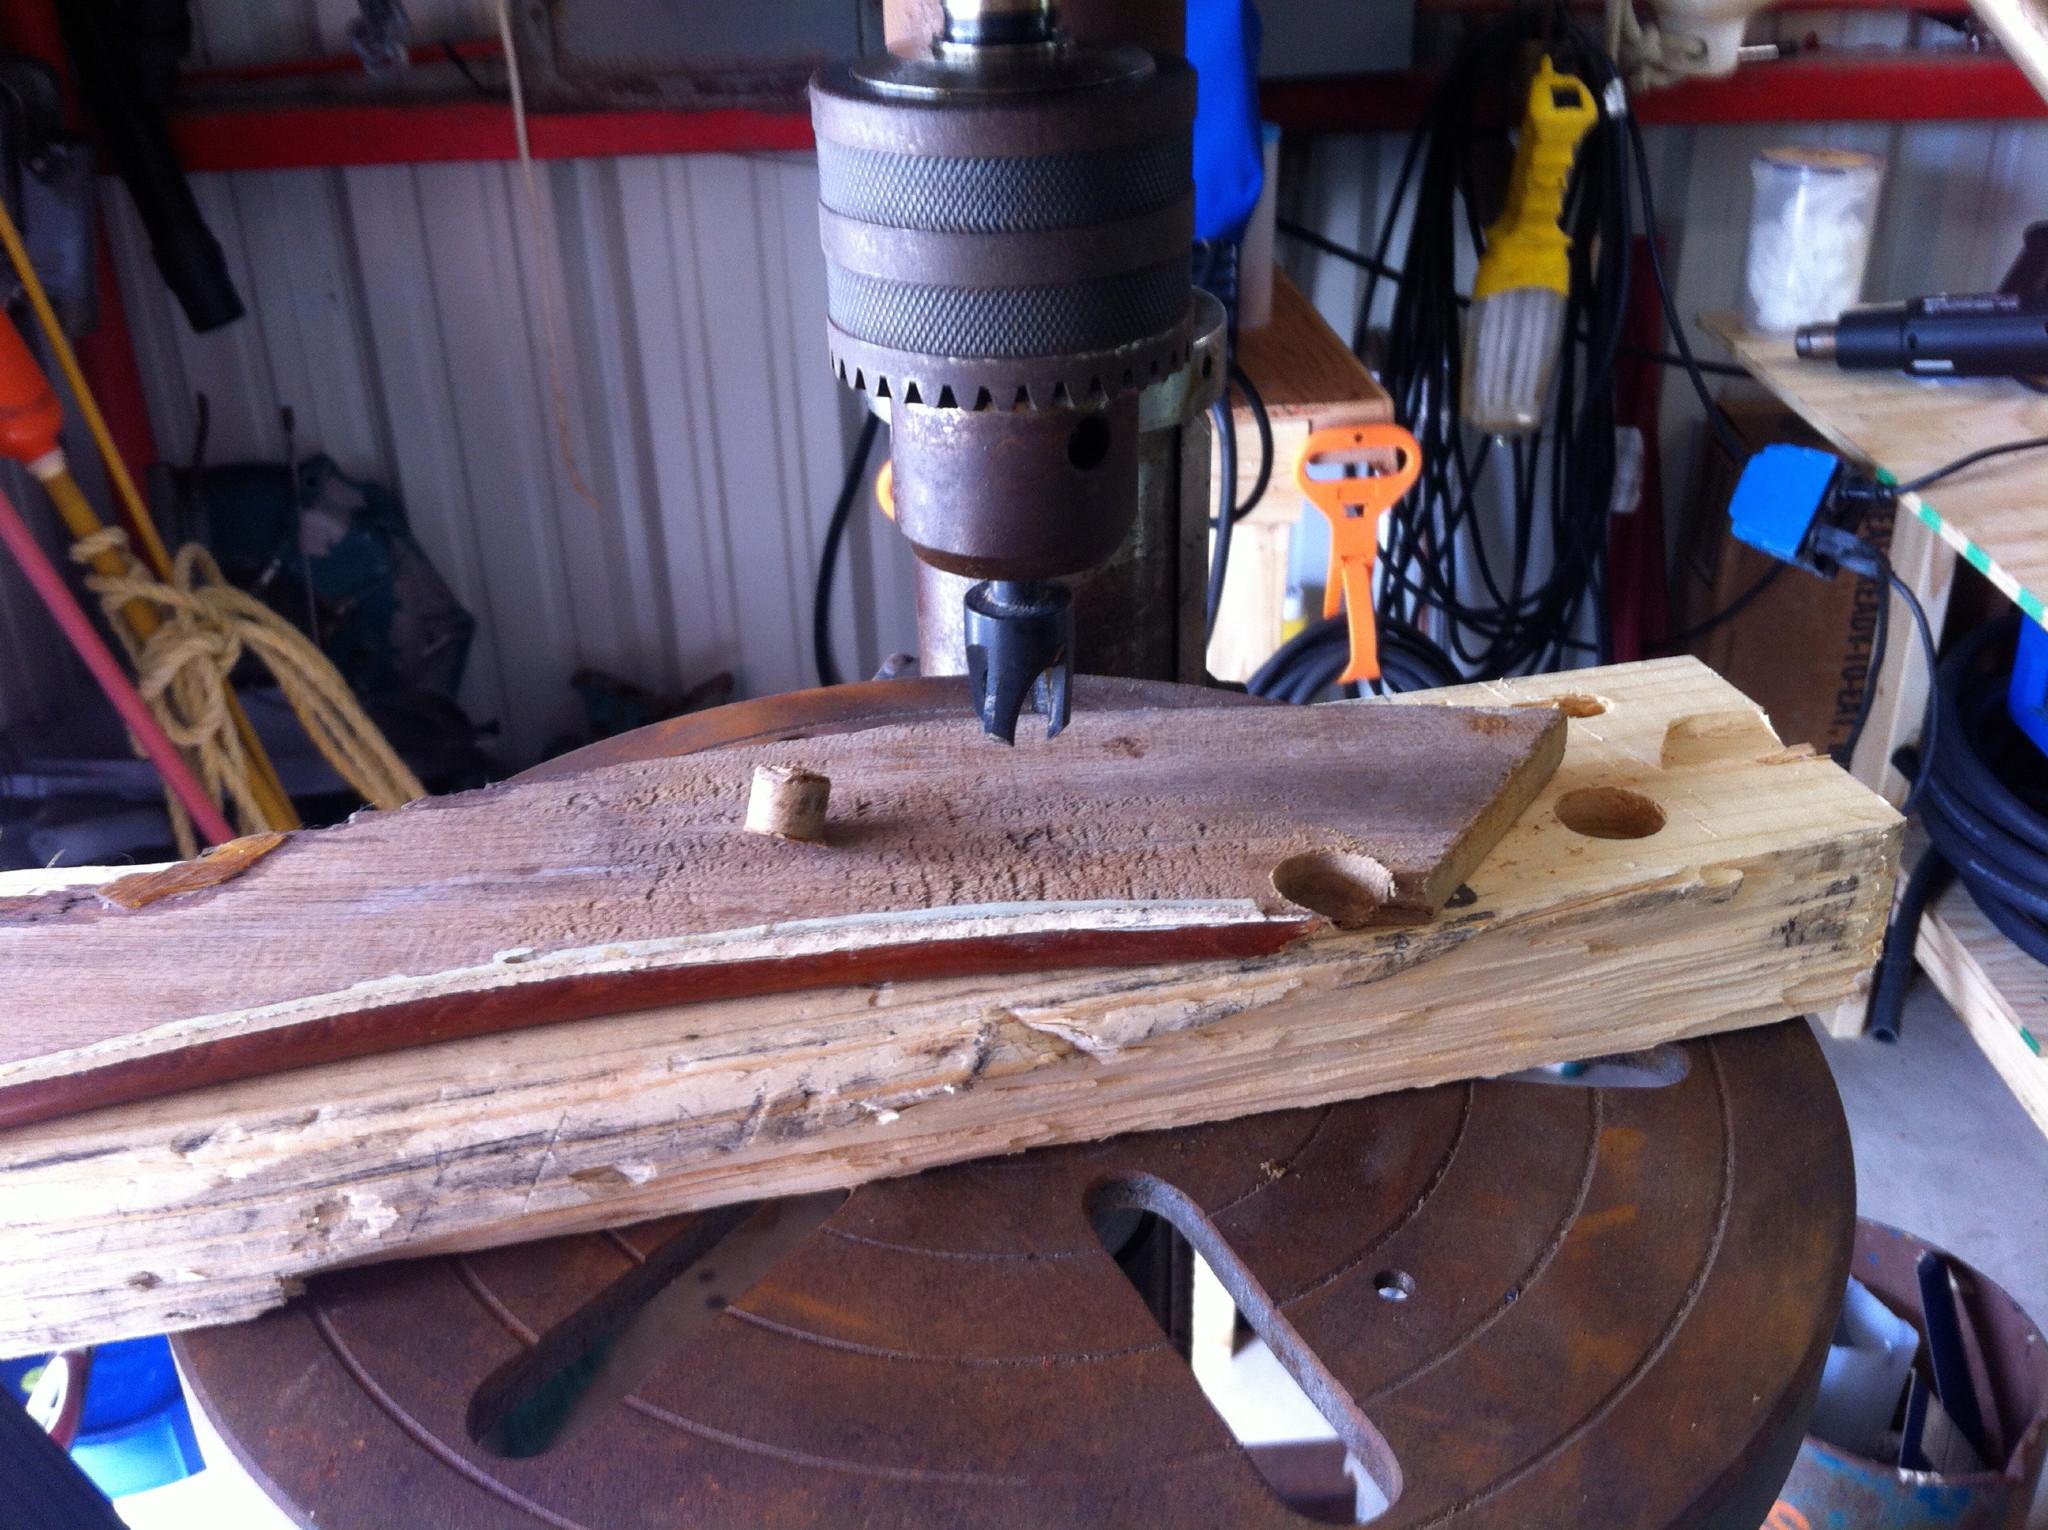
have the bit to cut bungs, so I chucked up the 1/2” bit into the
drill press, found a small piece of scrap teak, and went to work. I
was able to cut out about 50 bungs for use in the name boards, and
have some for other projects.
Cutting
Bungs On The Drill Press
I
then went back to my fun time project. Trying to get the broken bolts
out of the power head in my spare Yamaha outboard. Every day I apply
either Screwloose
or PB
Blaster
to the broken bolts. Today as every other day, I made no progress on
getting out the bolts. I have about decided to take the power head to
a machine shop to remove the broken bolts. I am afraid if I keep
messing around, I will ruin something, that will make the engine a
pile of junk!
Next
project is building a piece of teak that I can use as a base to cover
up the holes
in the overhead
in the aft cabin. These holes were cut so I could put in backing
plates
for the dinghy davits and the aft cleats. The holes look nasty, and
need to be cleaned up. I need a piece of teak about nine feet long,
by two inches high, and two inches deep. I do not have a piece that
big so I am building one.
I
have had a mahogany wooden ladder that came with DREAM AWAY in the
original purchase. I know I will not use it for its intended purpose,
so I decided to use it to build my hole hiding piece of wood. I did
not take a picture of the ladder before I started cutting. I took the
ladder apart, and cut off the rounded edges on the two ladder
uprights. I then cut the two ladder uprights in half. These four
pieces, plus the addition of four pieces of teak deck boards will be
the hole hiding piece when I am finished.
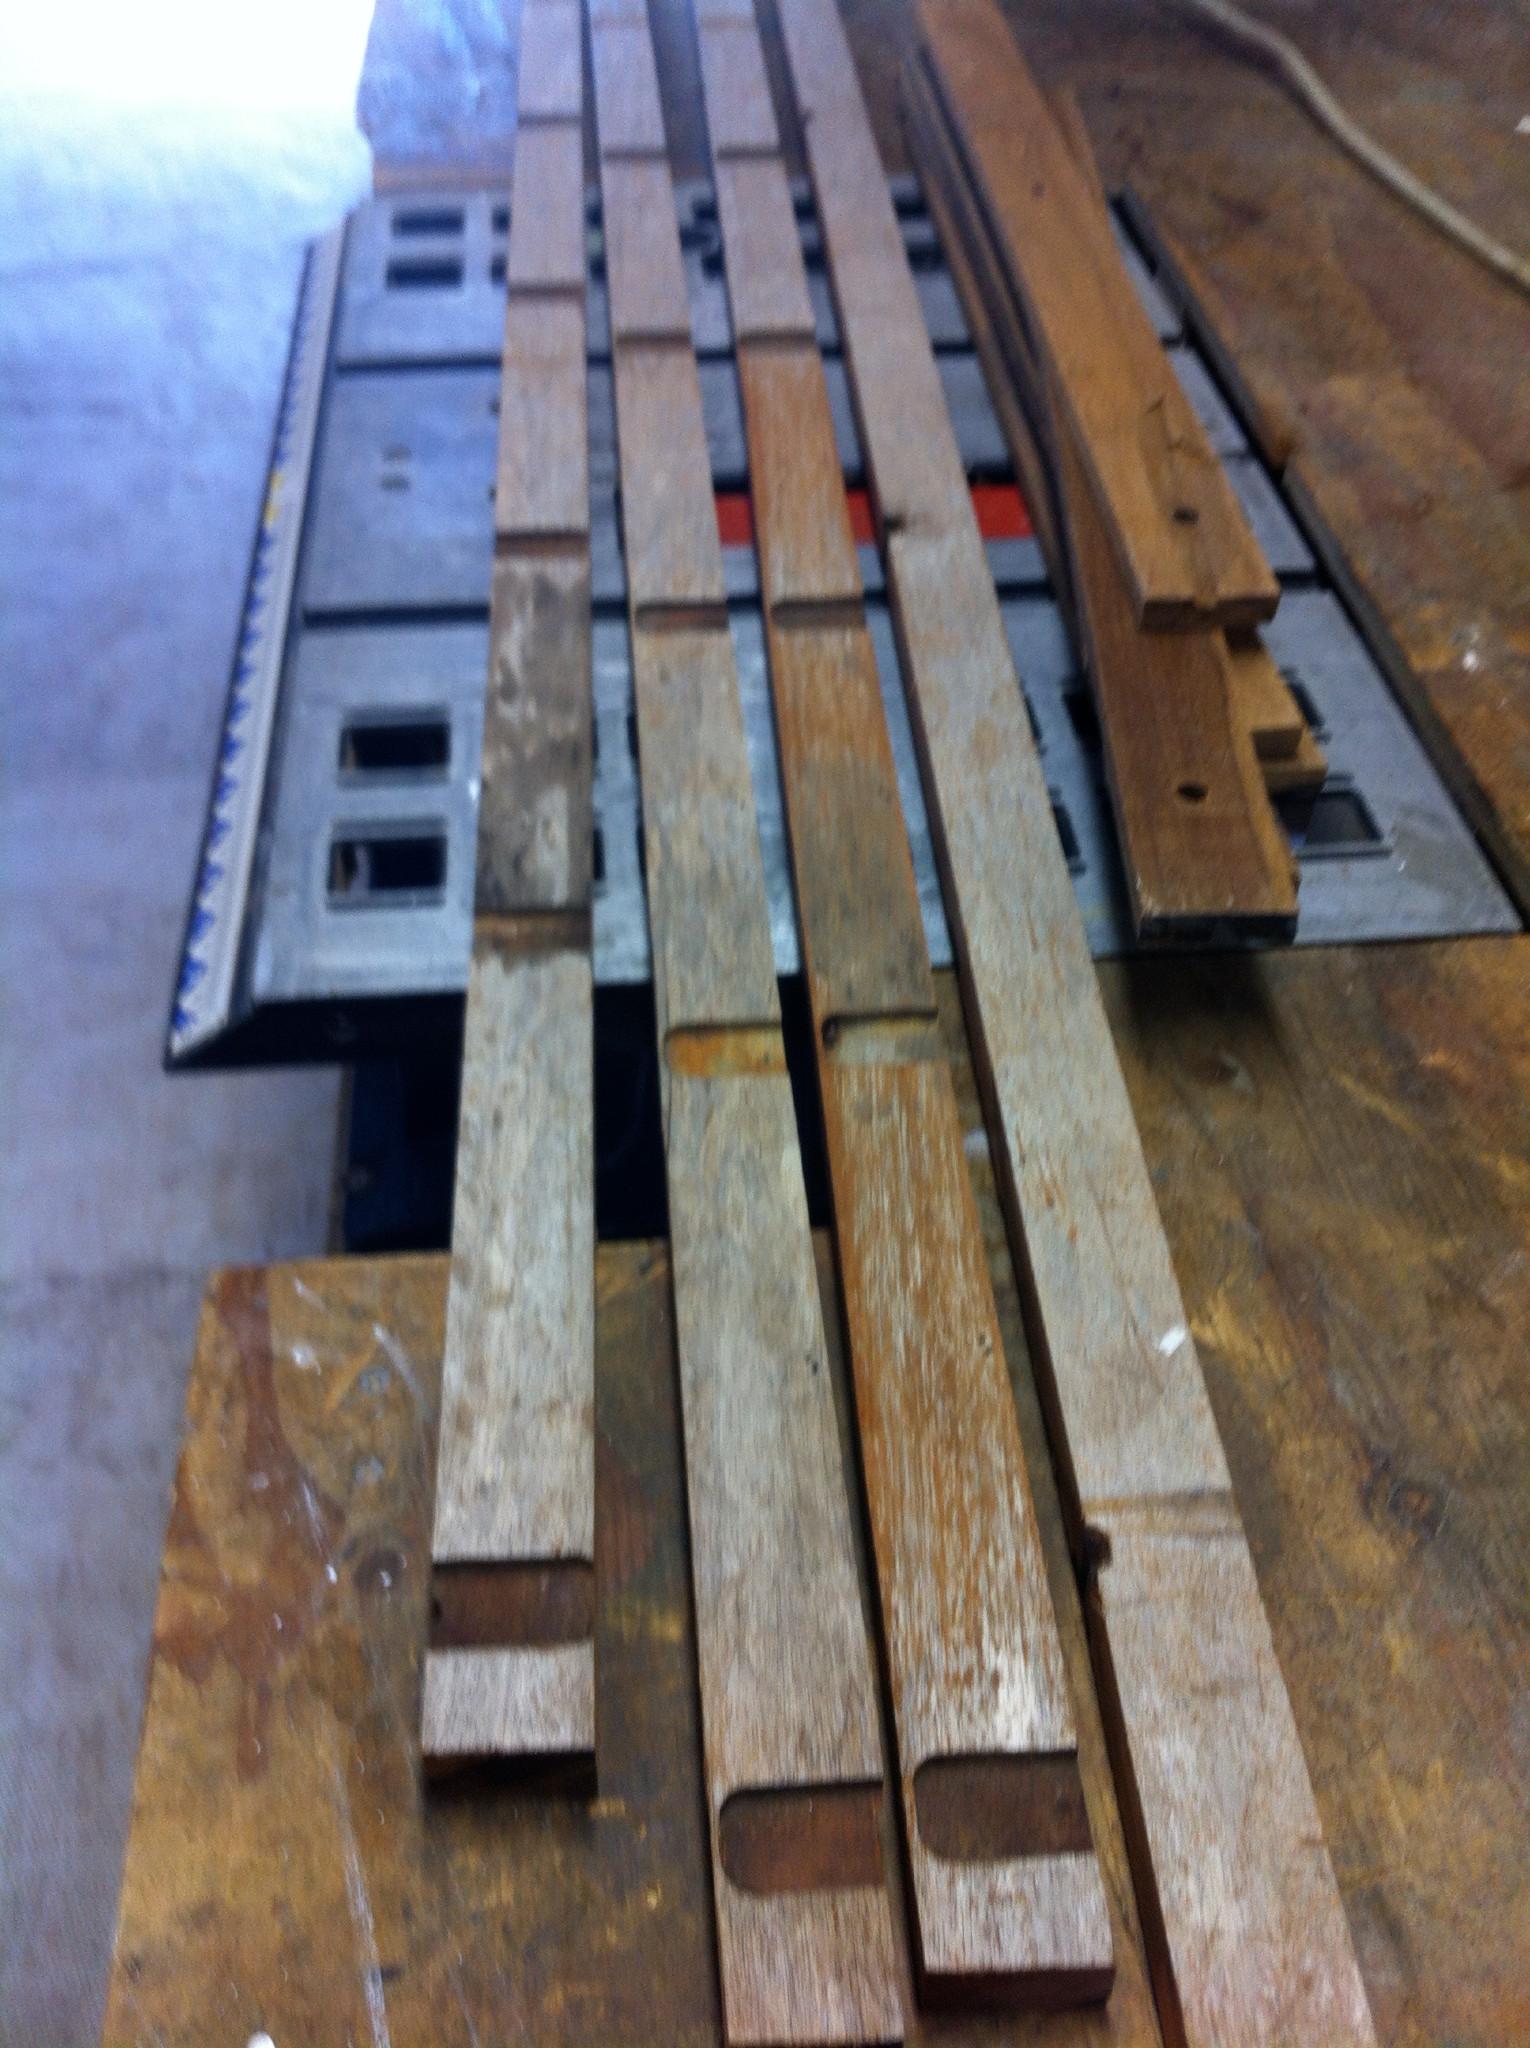
Teak
Pieces To Fabricate Hole Hiding Piece
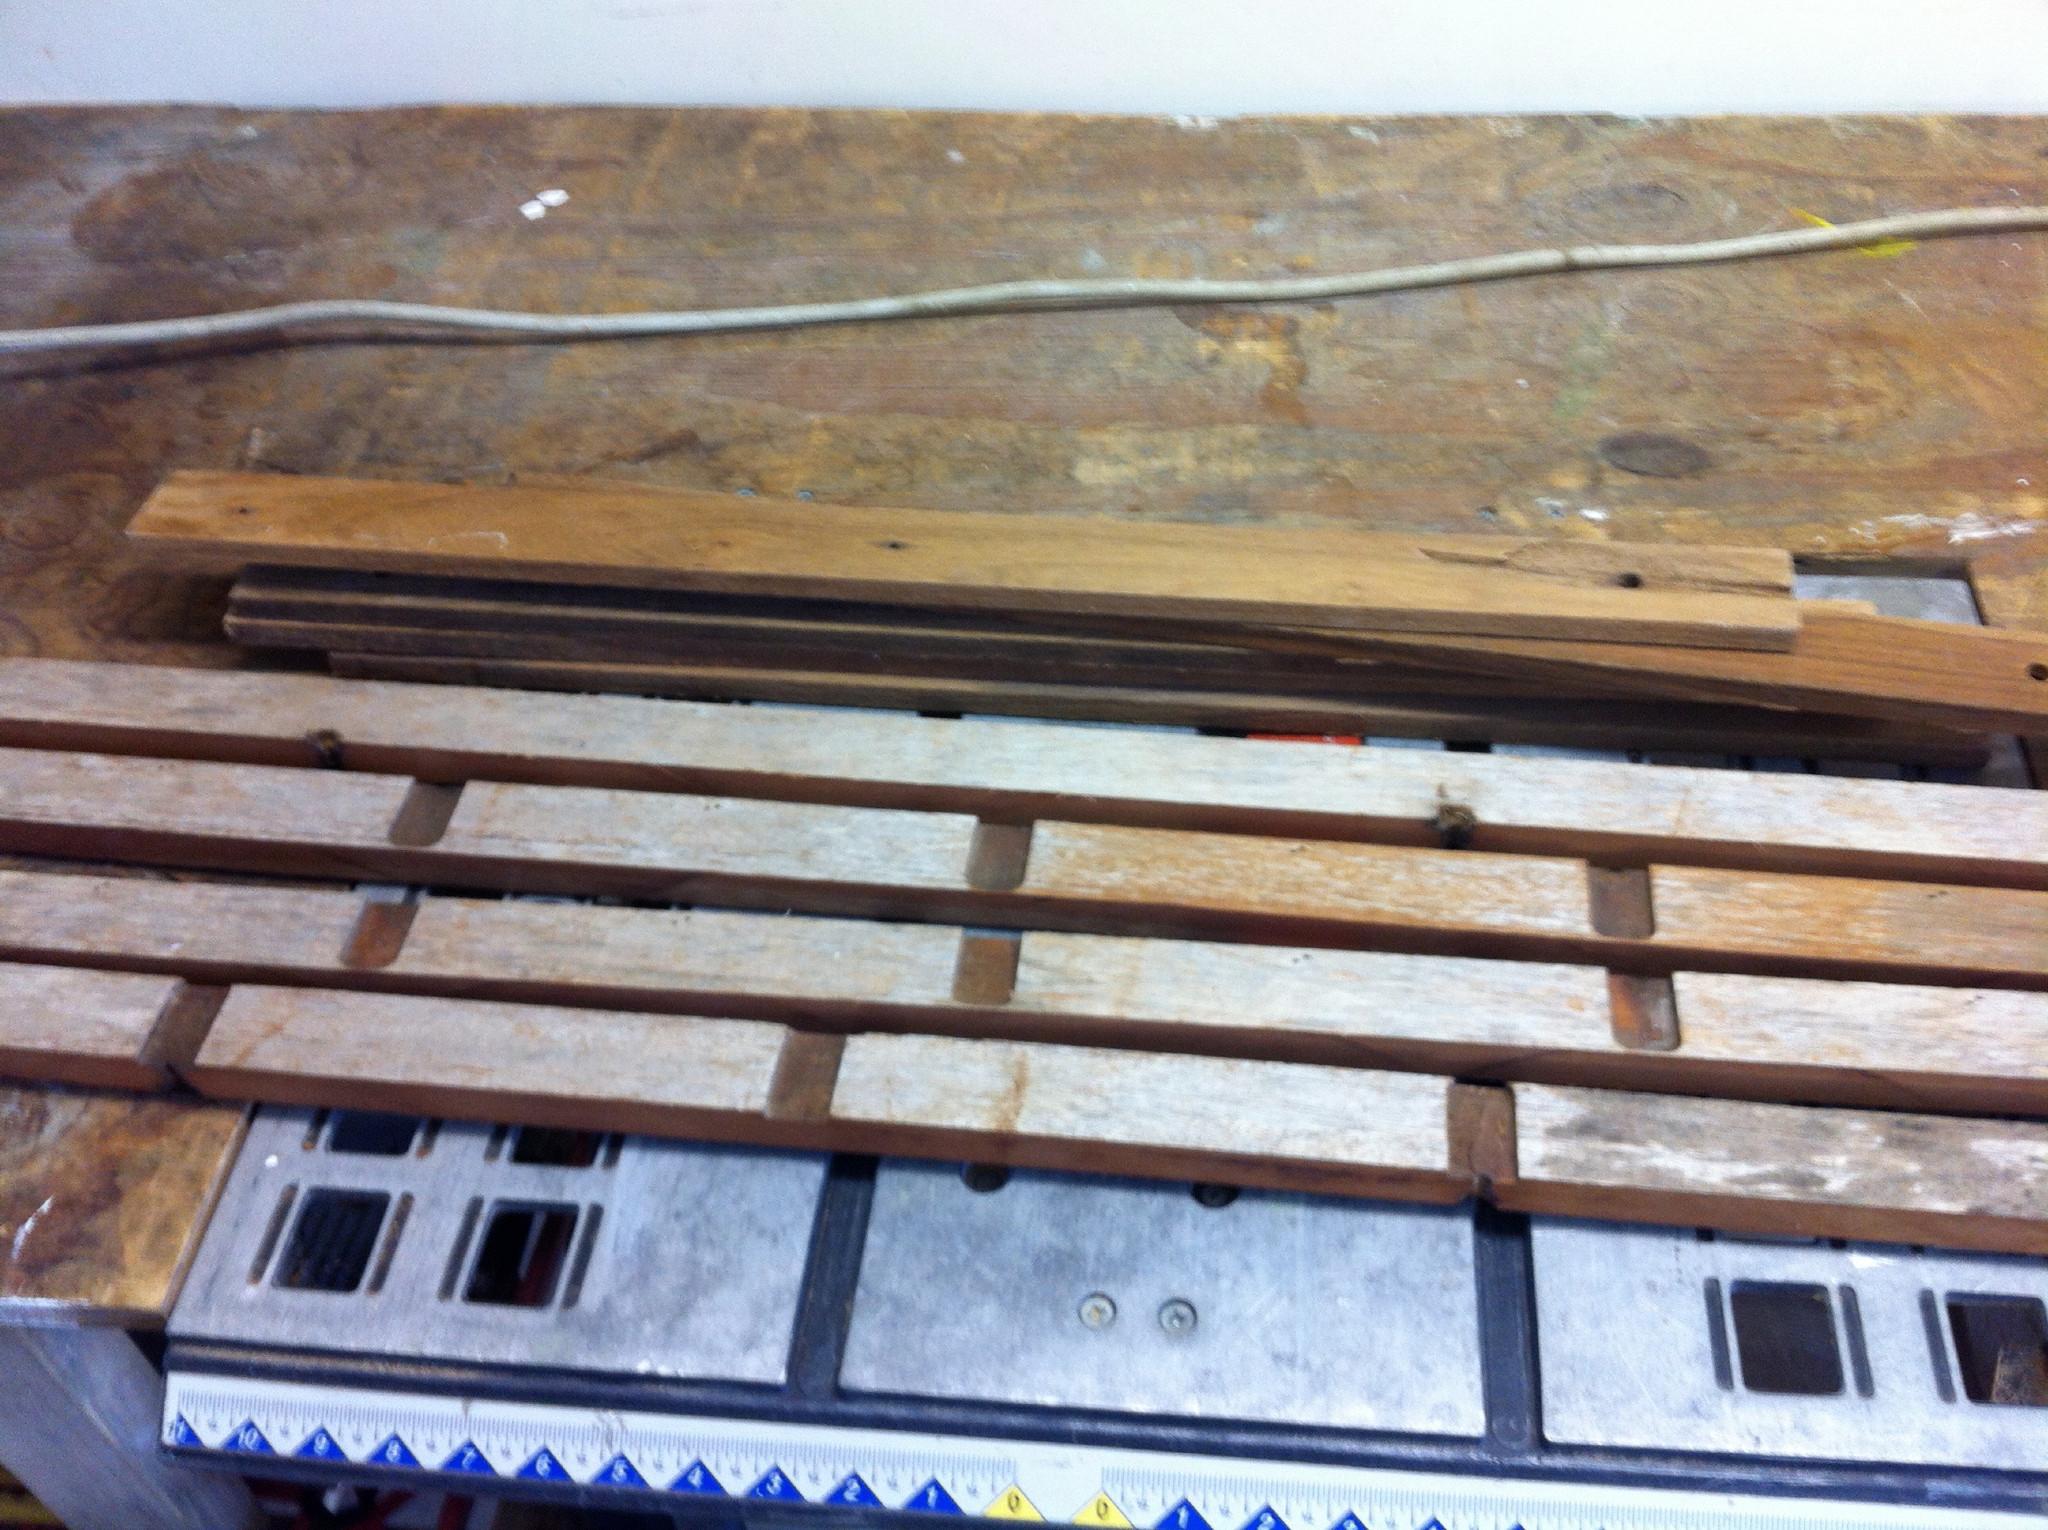
Teak
Pieces To Fabricate Hole Hiding Piece
Last
item for the day at the shop is applying the Cetol
and the varnish. I do this as the last item of the day, so at least I
will not be raising any dust to land on the wet surfaces.
I
will go into the gory detail of application, then when I add another
coat I will reference this day for the details. First thing,
especially with the varnish is to sand between each coat with 220
grit sandpaper. For the Cetol
applications, I sand every three coats. The Cetol
goes on the exterior pieces, and I typically apply seven coats if
using a bristle brush. If using a foam brush nine coats. For the
interior varnish, I apply only five coats.
I
use separate containers to apply the material from. I use a cone
filter as I pour the liquid ( varnish or Cetol
) from the can into the plastic container. While the liquid is
draining out of the filter, I wash the brush I am using in acetone to
make sure the brush is clean. I then apply the liquid to the pieces,
hopefully checking under strong light, that there are no runs, and
the liquid is applied evenly. After the application, I pour the
liquid out of the plastic application container, and into its
original container. I then wash out the brush in acetone, until
clean. When I have finished the application of both the varnish and
Cetol,
I lock up the shop and leave for the day.
First
Coat On The Teak Pieces
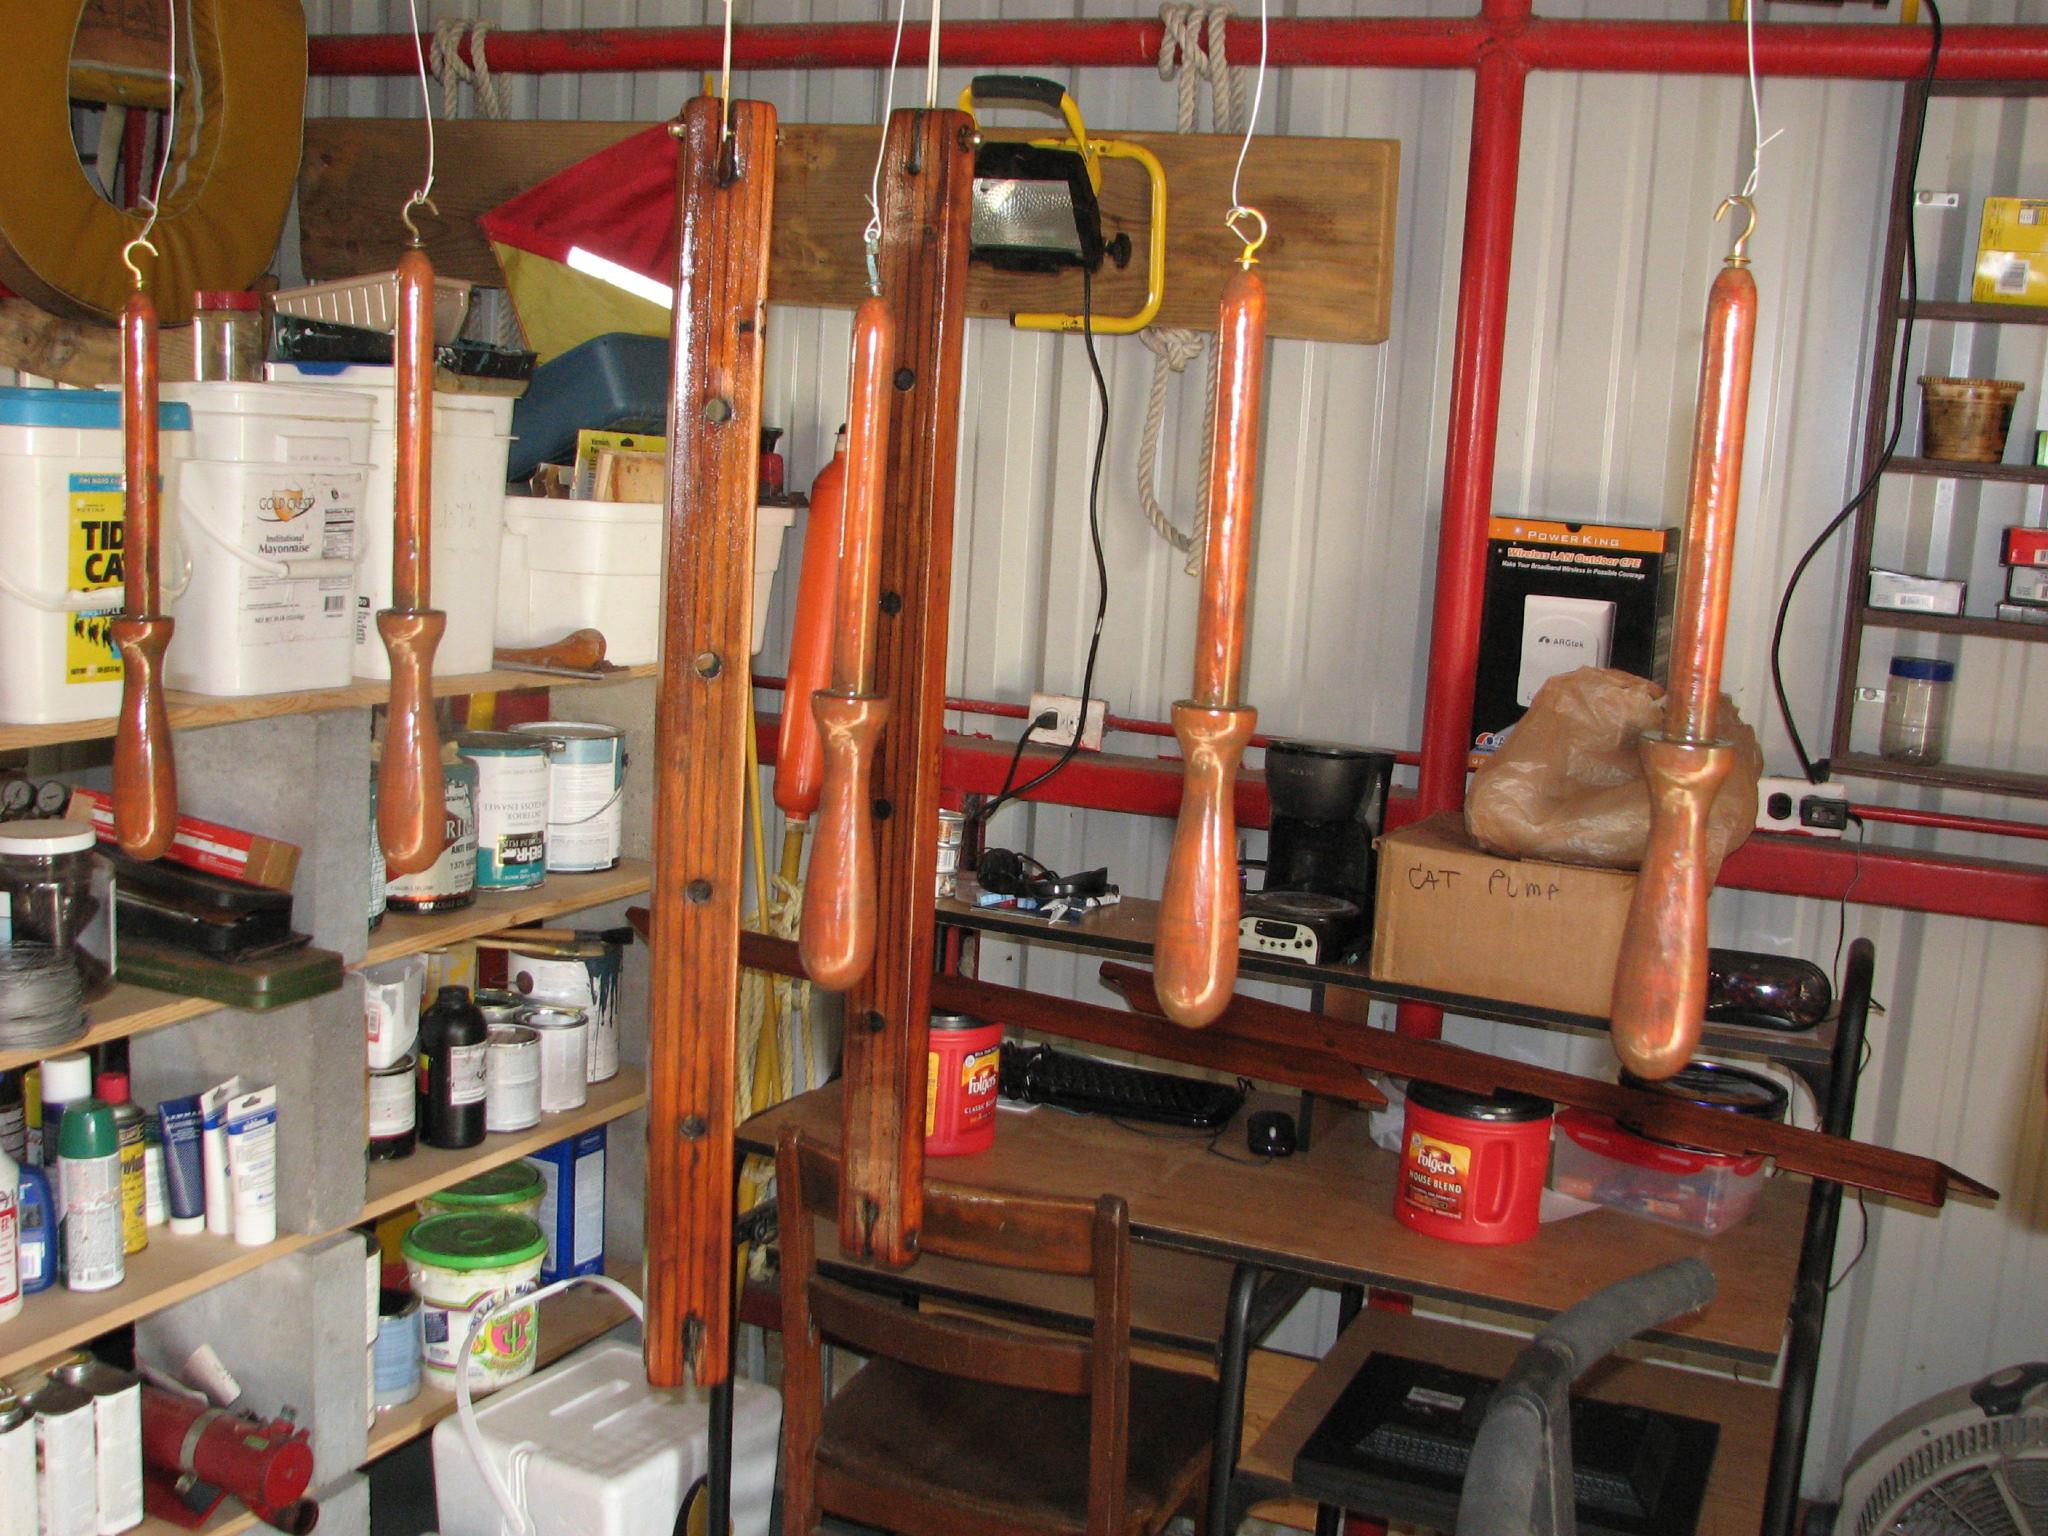
April
5, 2013, Friday
Started
off the morning with my normal ritual of getting on the Internet,
answering email, checking the weather, while making a pot of coffee.
I also worked on the March Maintenance Log.
After
I had cut up the ladder pieces for the hole hiding piece, there was
still some indentations in the wood, where the step used to fit, that
needed to be filled. Here again I had some scrap wood that I was able
to cut and fit into the indentations. Once I got all of the pieces
cut and fitted, all that remained was to epoxy the pieces together. I
was going to wait and do the epoxy on the morrow.
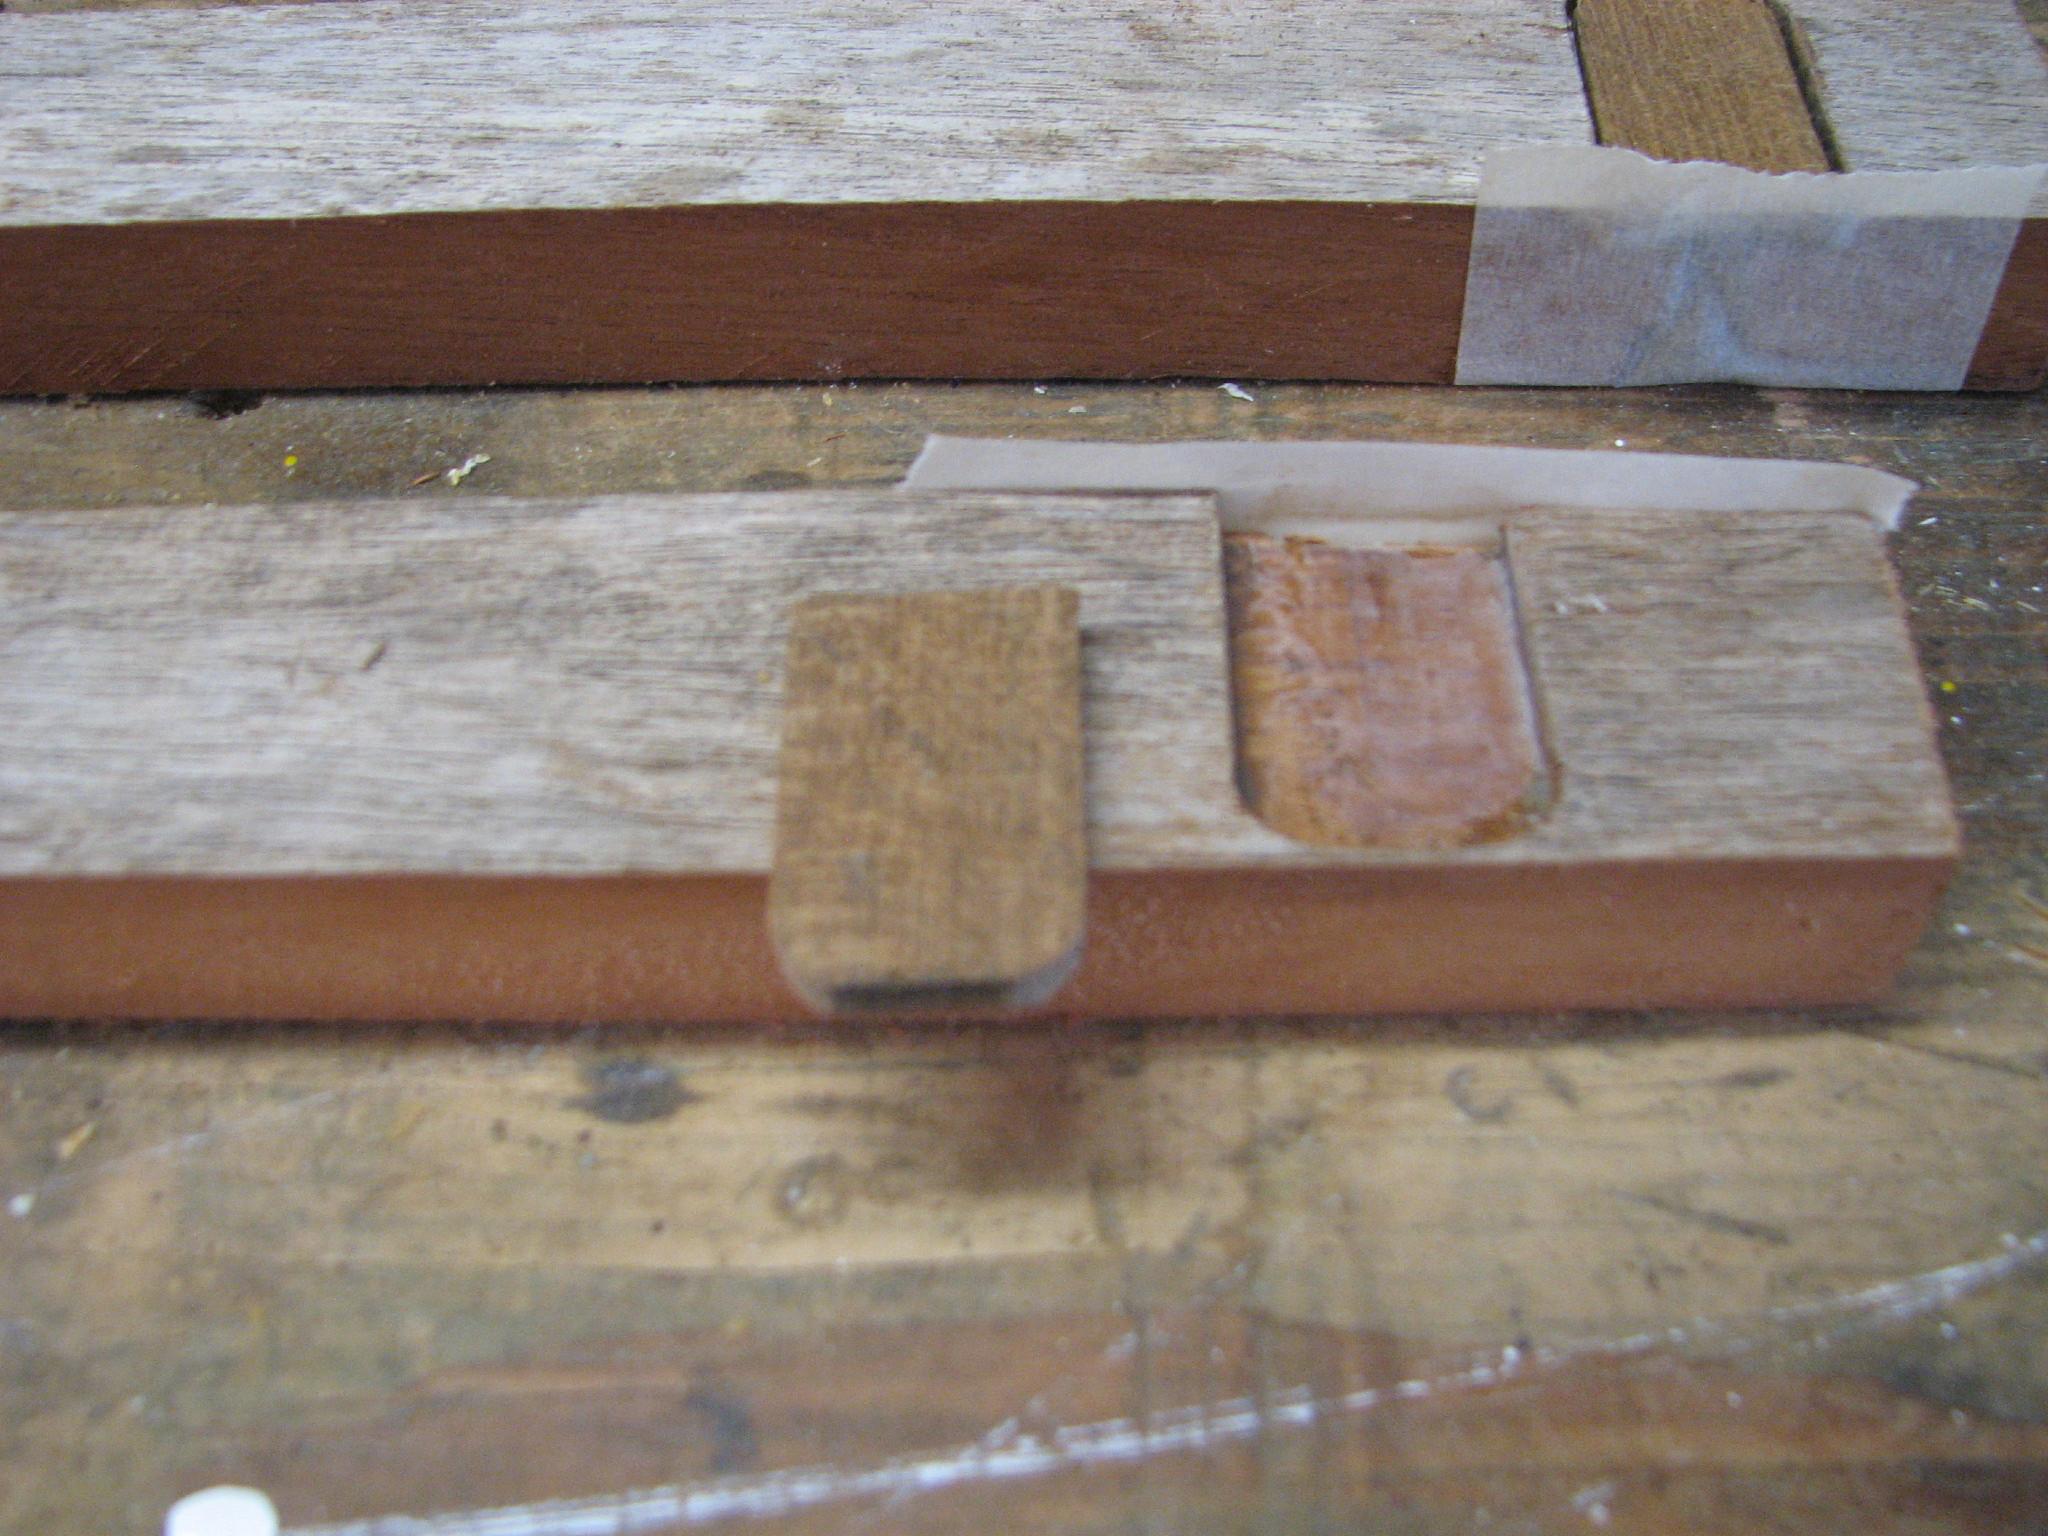
Hole
Hiding Piece With Cut Fill Pieces
With
the help of another boater here in the marina, we looked at the rear
brakes on the Black Beast.
The passenger side we got to and adjusted
with no problem. The drivers side however, has a problem with the
brake adjuster. It is corroded so it will not adjust. Something I
will have to look into in the near future.
While
I was on DREAM AWAY, I started to sand and scrape the teak piece
under the main mast step. All of my sanding and scraping tools were
over at the shop, so did not get very far.
Went
back to the shop, and got to work on adding some pieces of mahogany
to one of the companion way inserts. We have doors for our companion
way, but we also have two other options. We can remove the doors, and
put in an acrylic insert in some tracks installed for that purpose.
If
the weather is cold or wet, we can put another acrylic insert on top
of the initial insert. If the weather is fine, we can install a
screen on top of the initial insert.
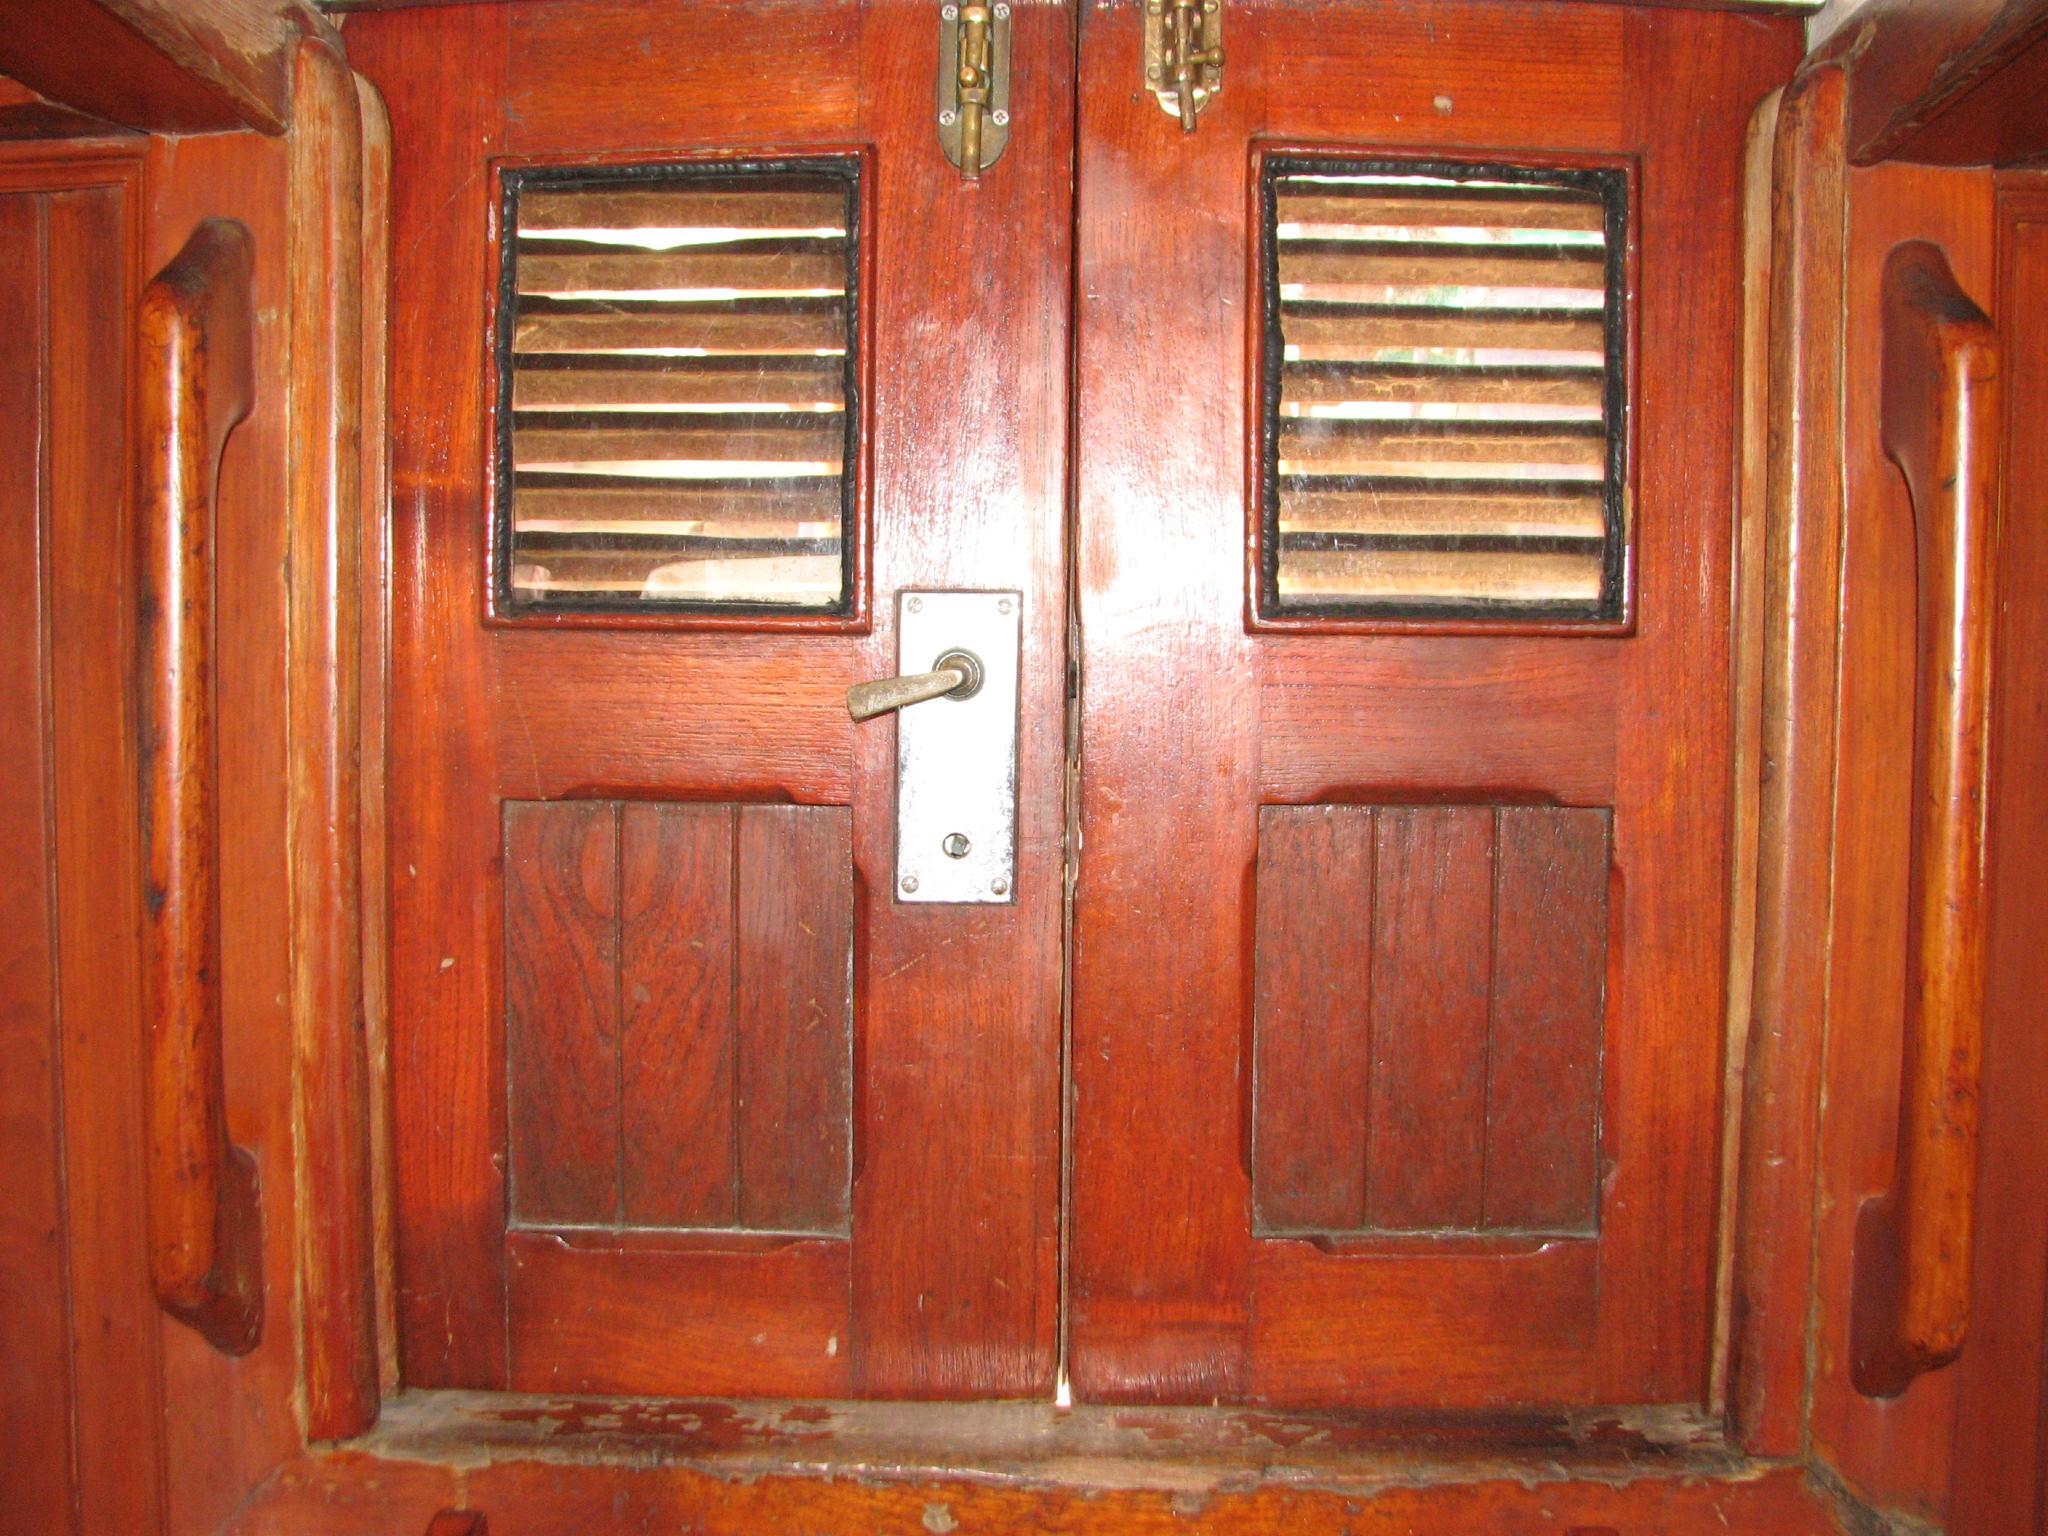
Companionway
Doors From Interior
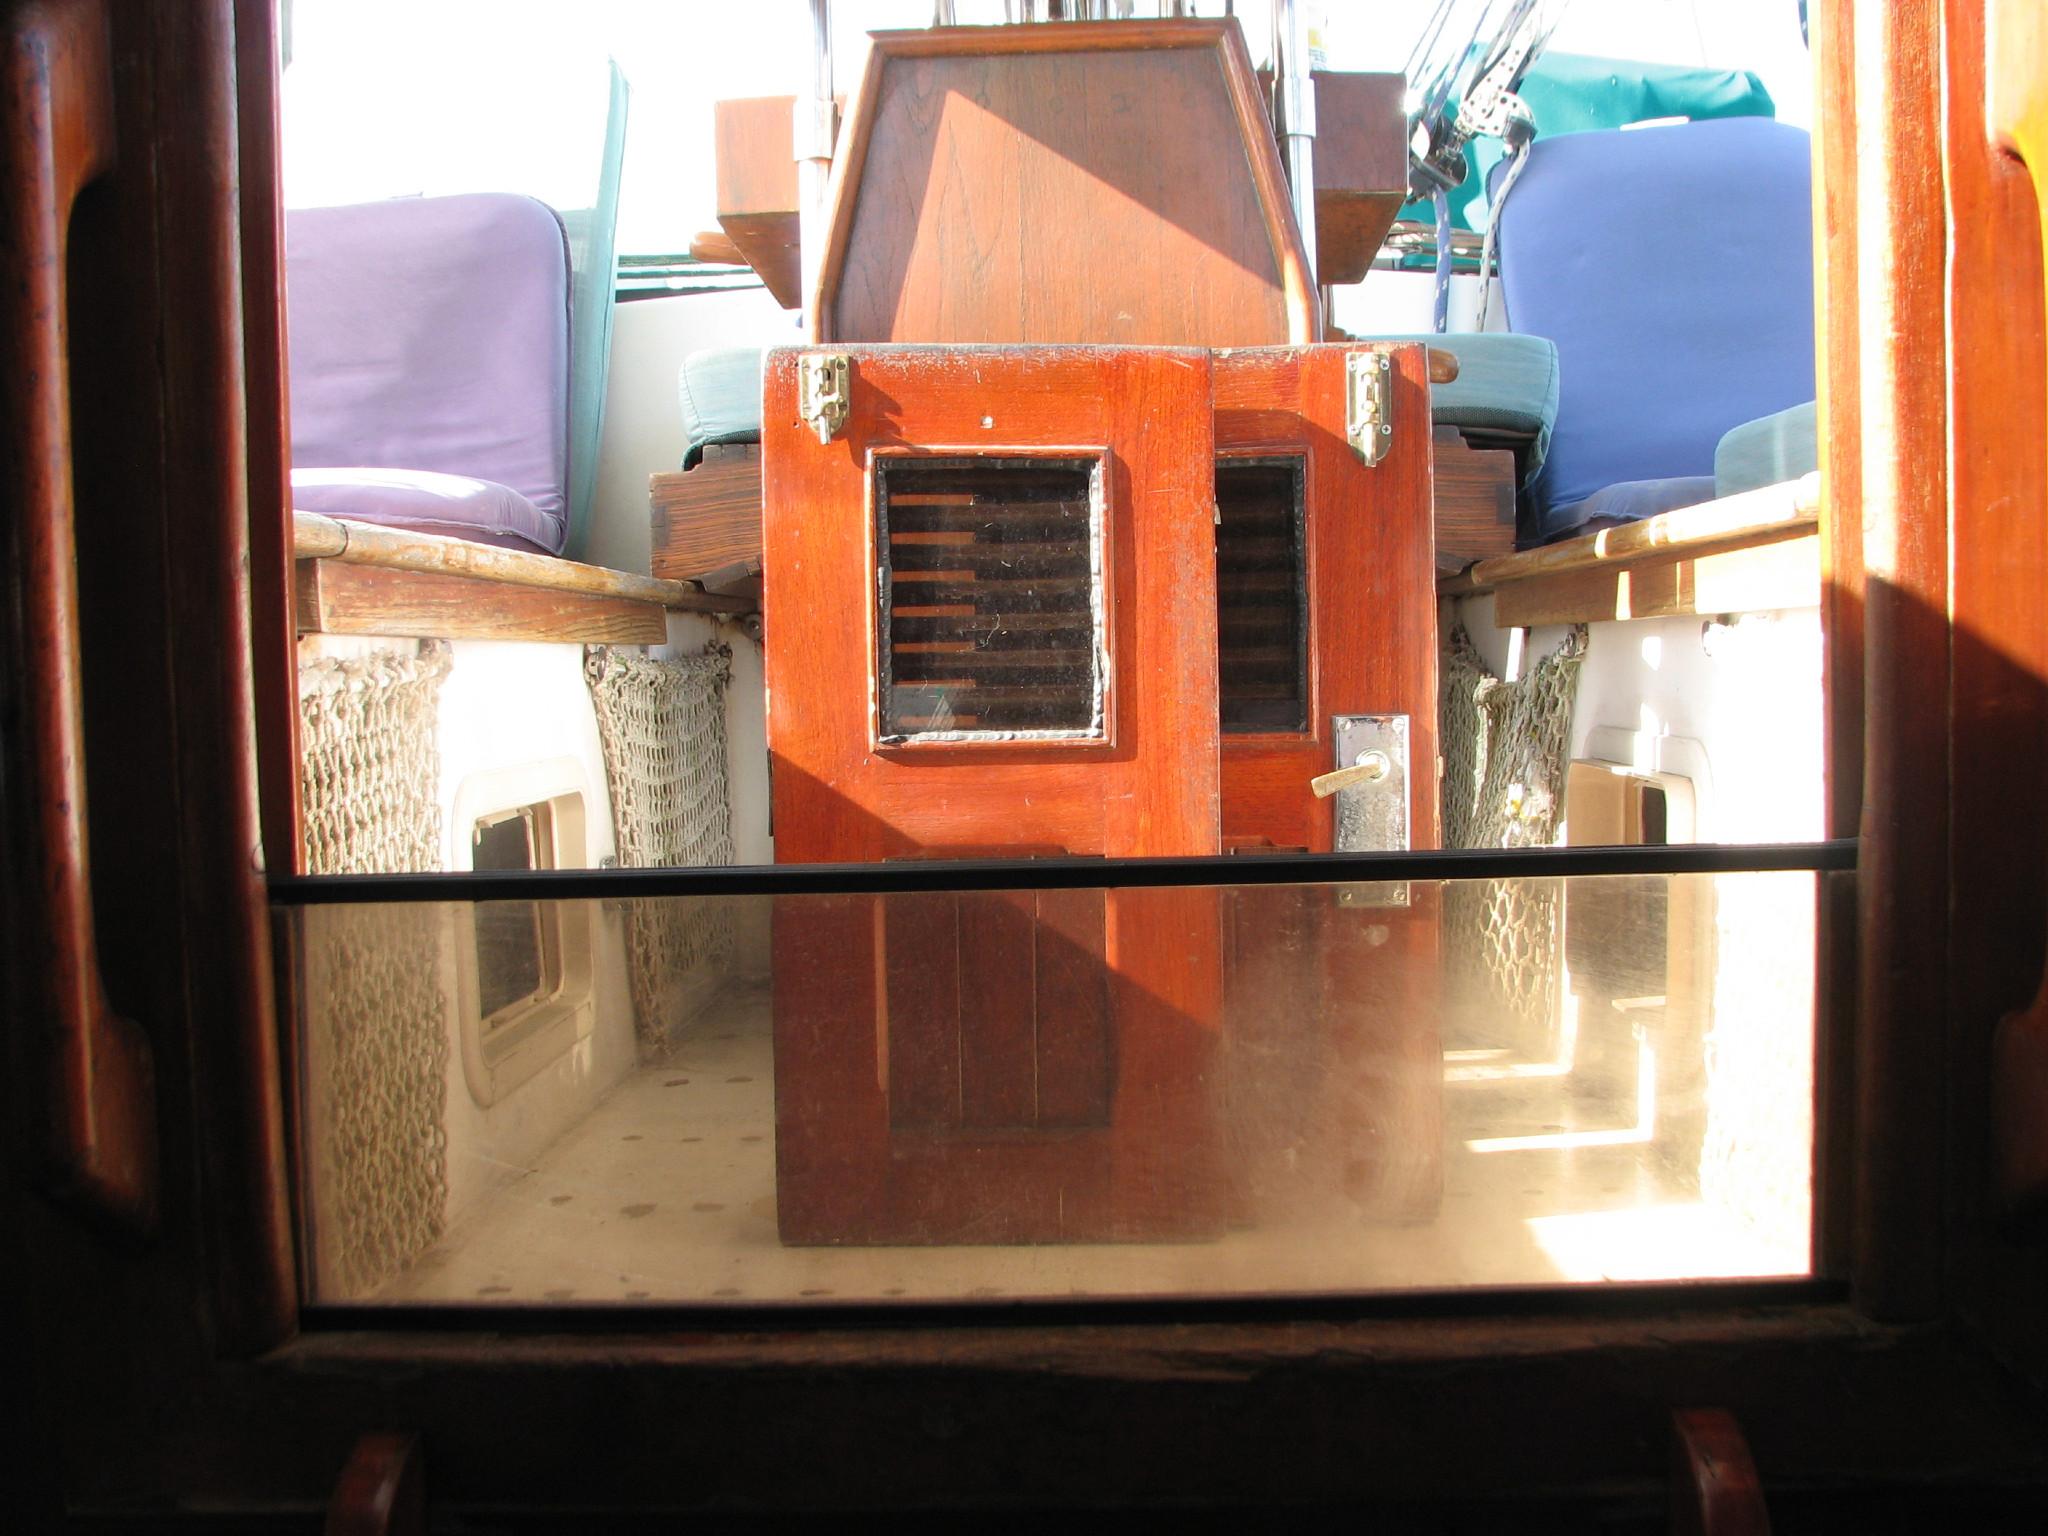
First
Acrylic Insert
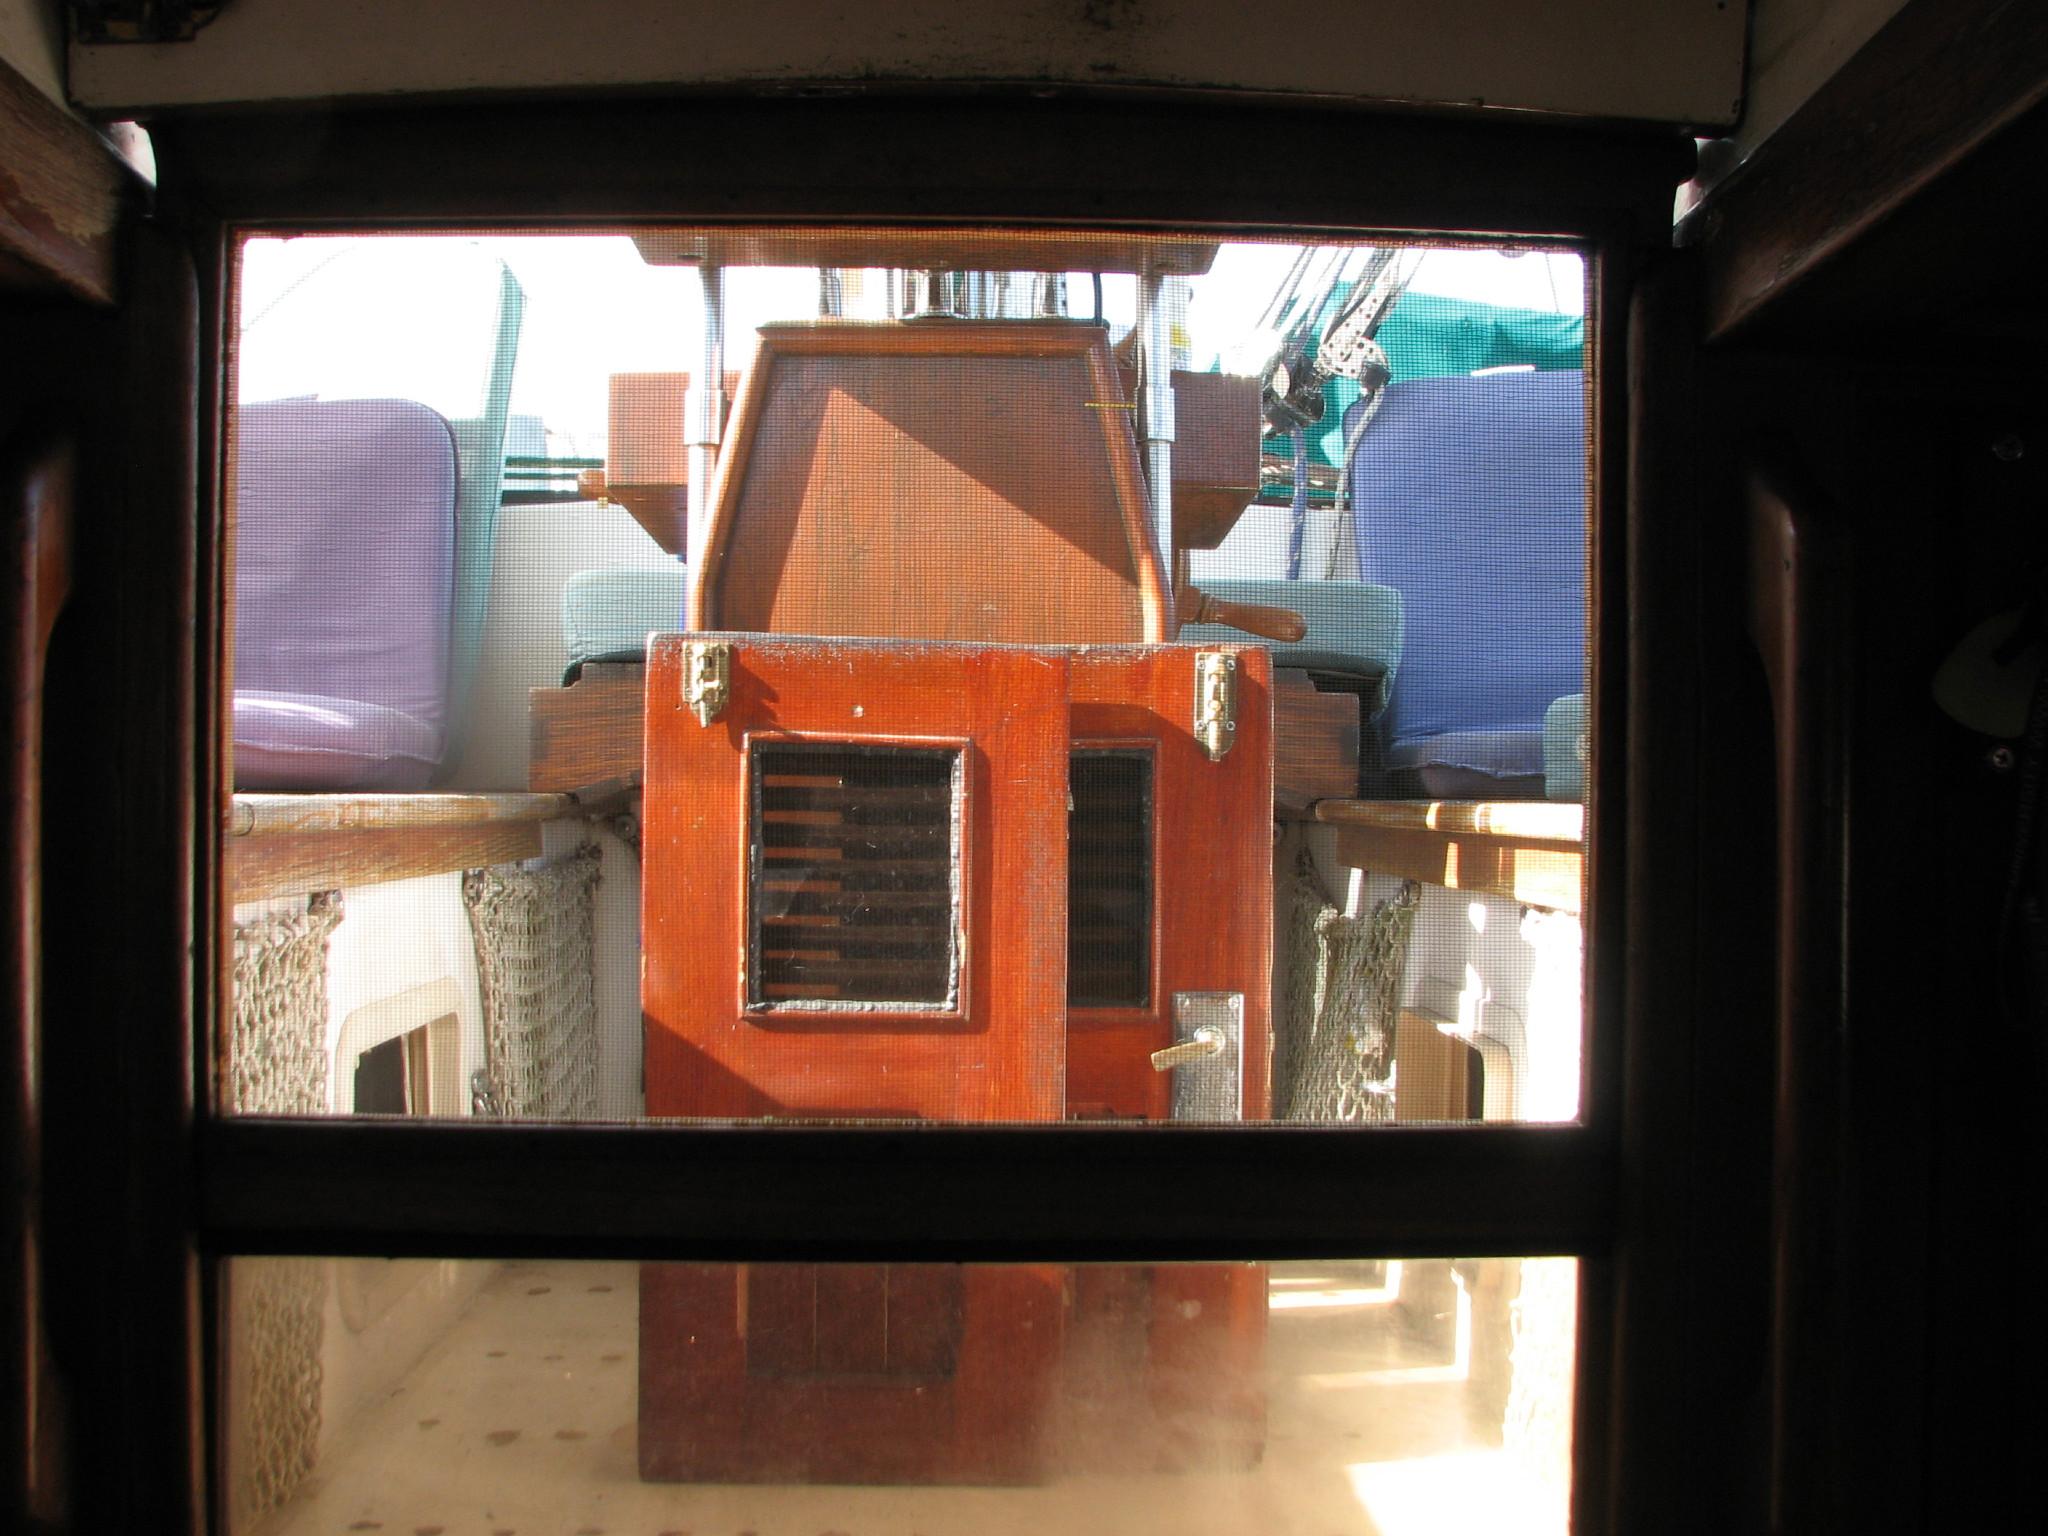
First
Acrylic Insert And Screen
First
Acrylic Insert And Second Acrylic Insert
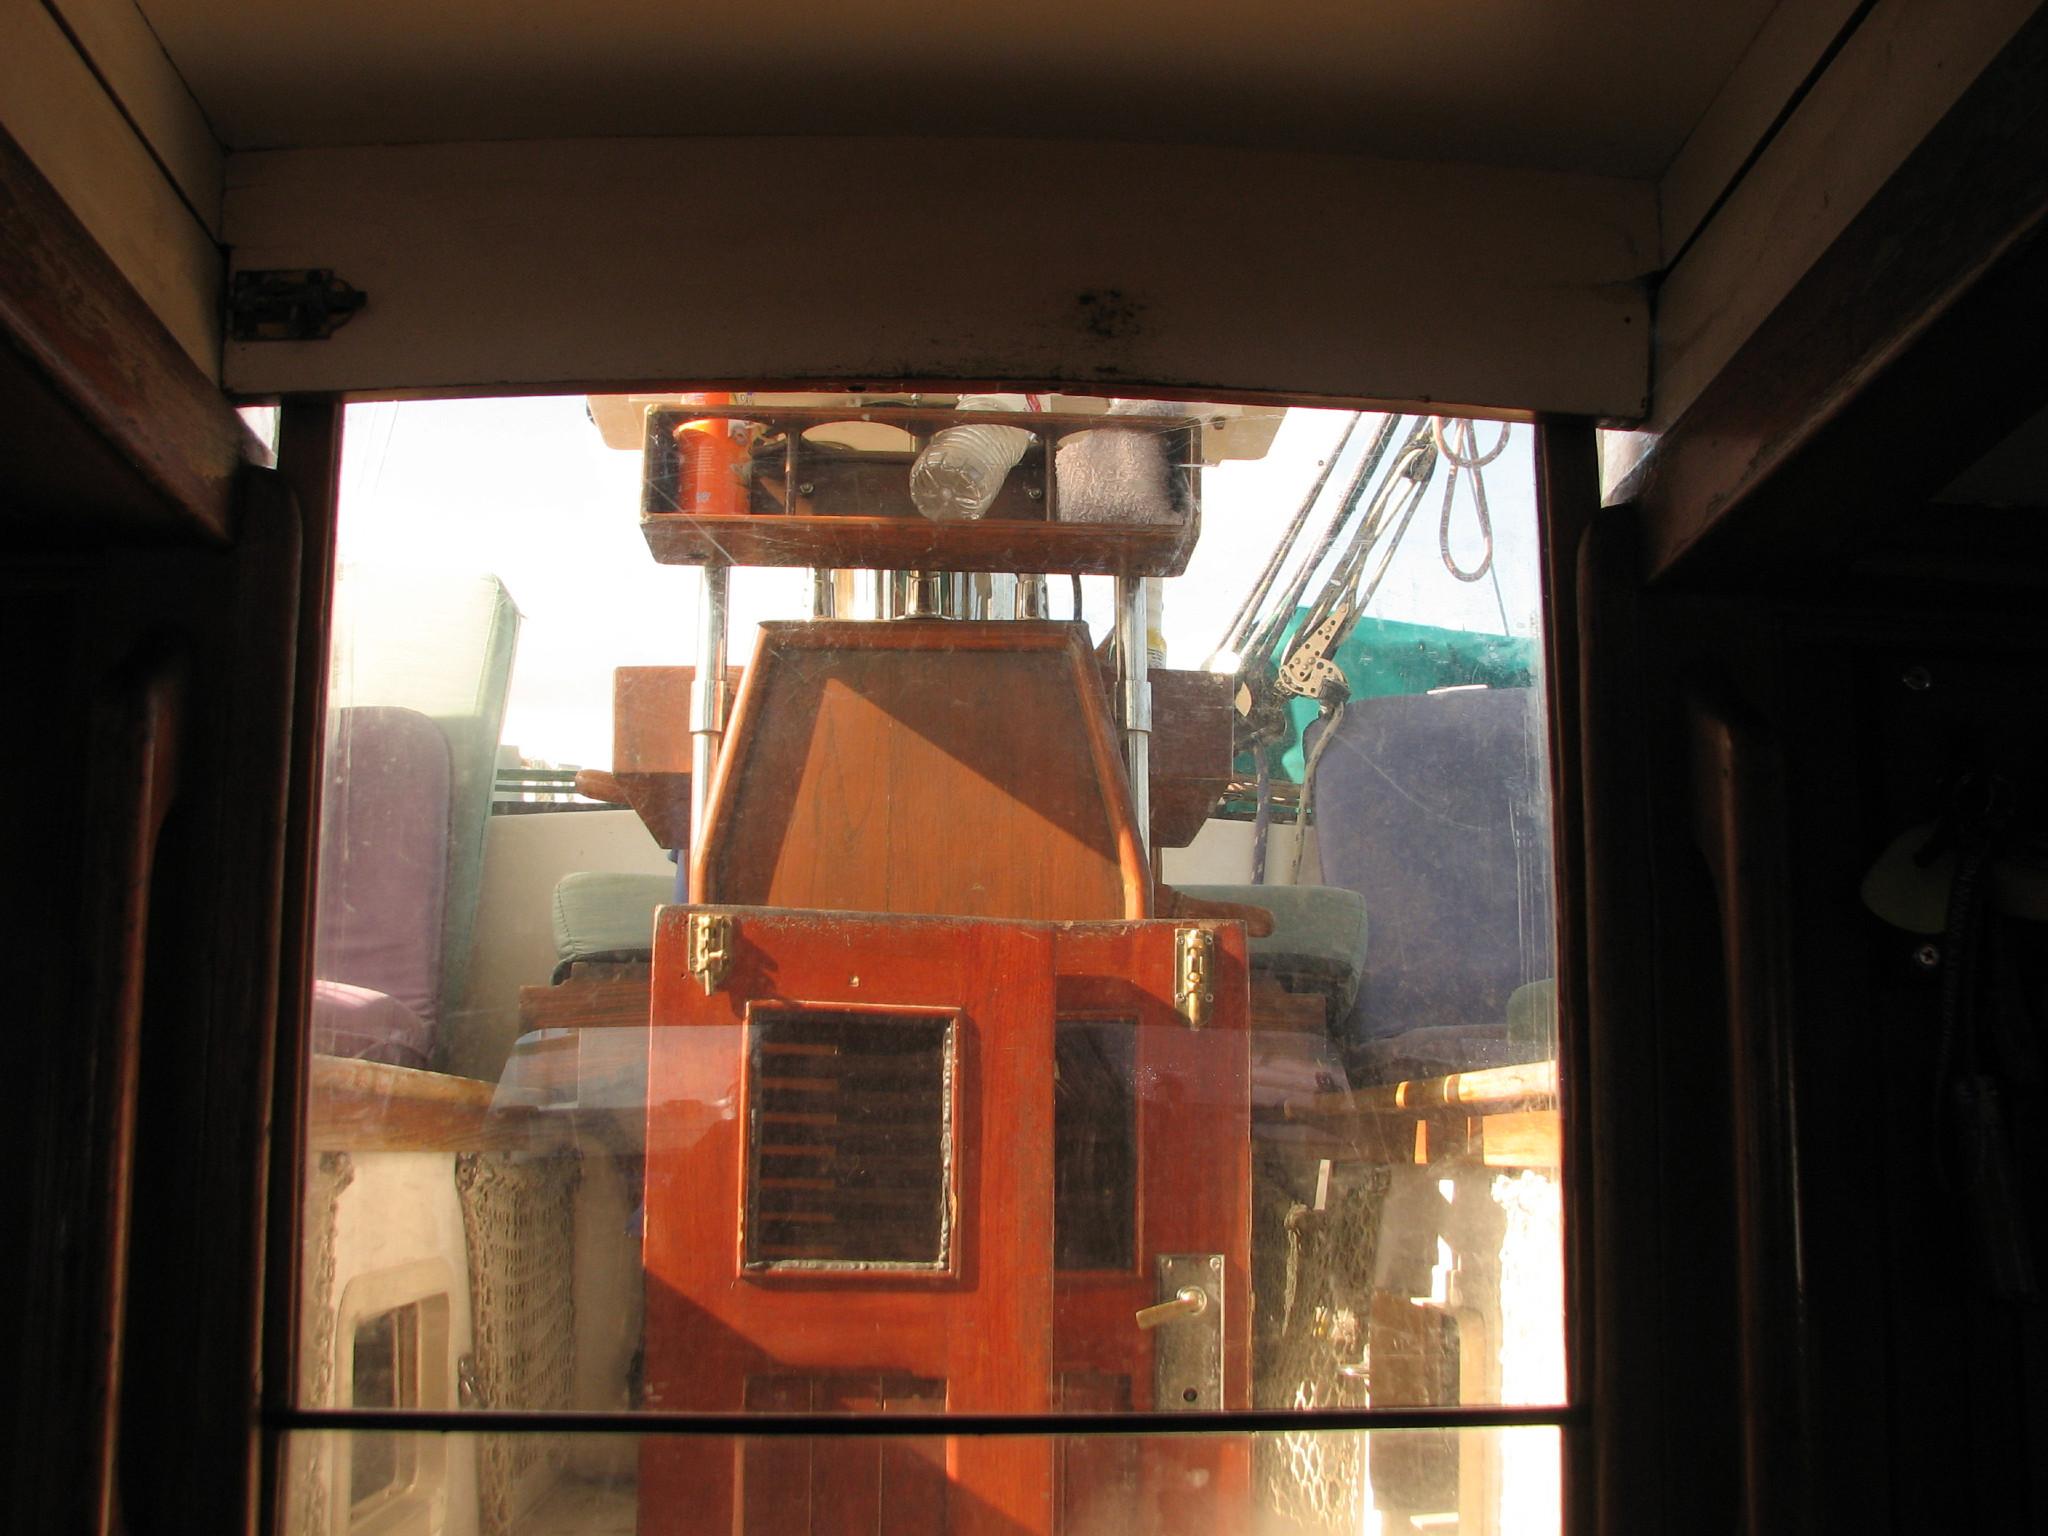
As
you can see from the following picture, there is a huge gap at the
top of the acrylic insert, that allows in various bugs.
Top
Corner Of Second Acrylic Insert
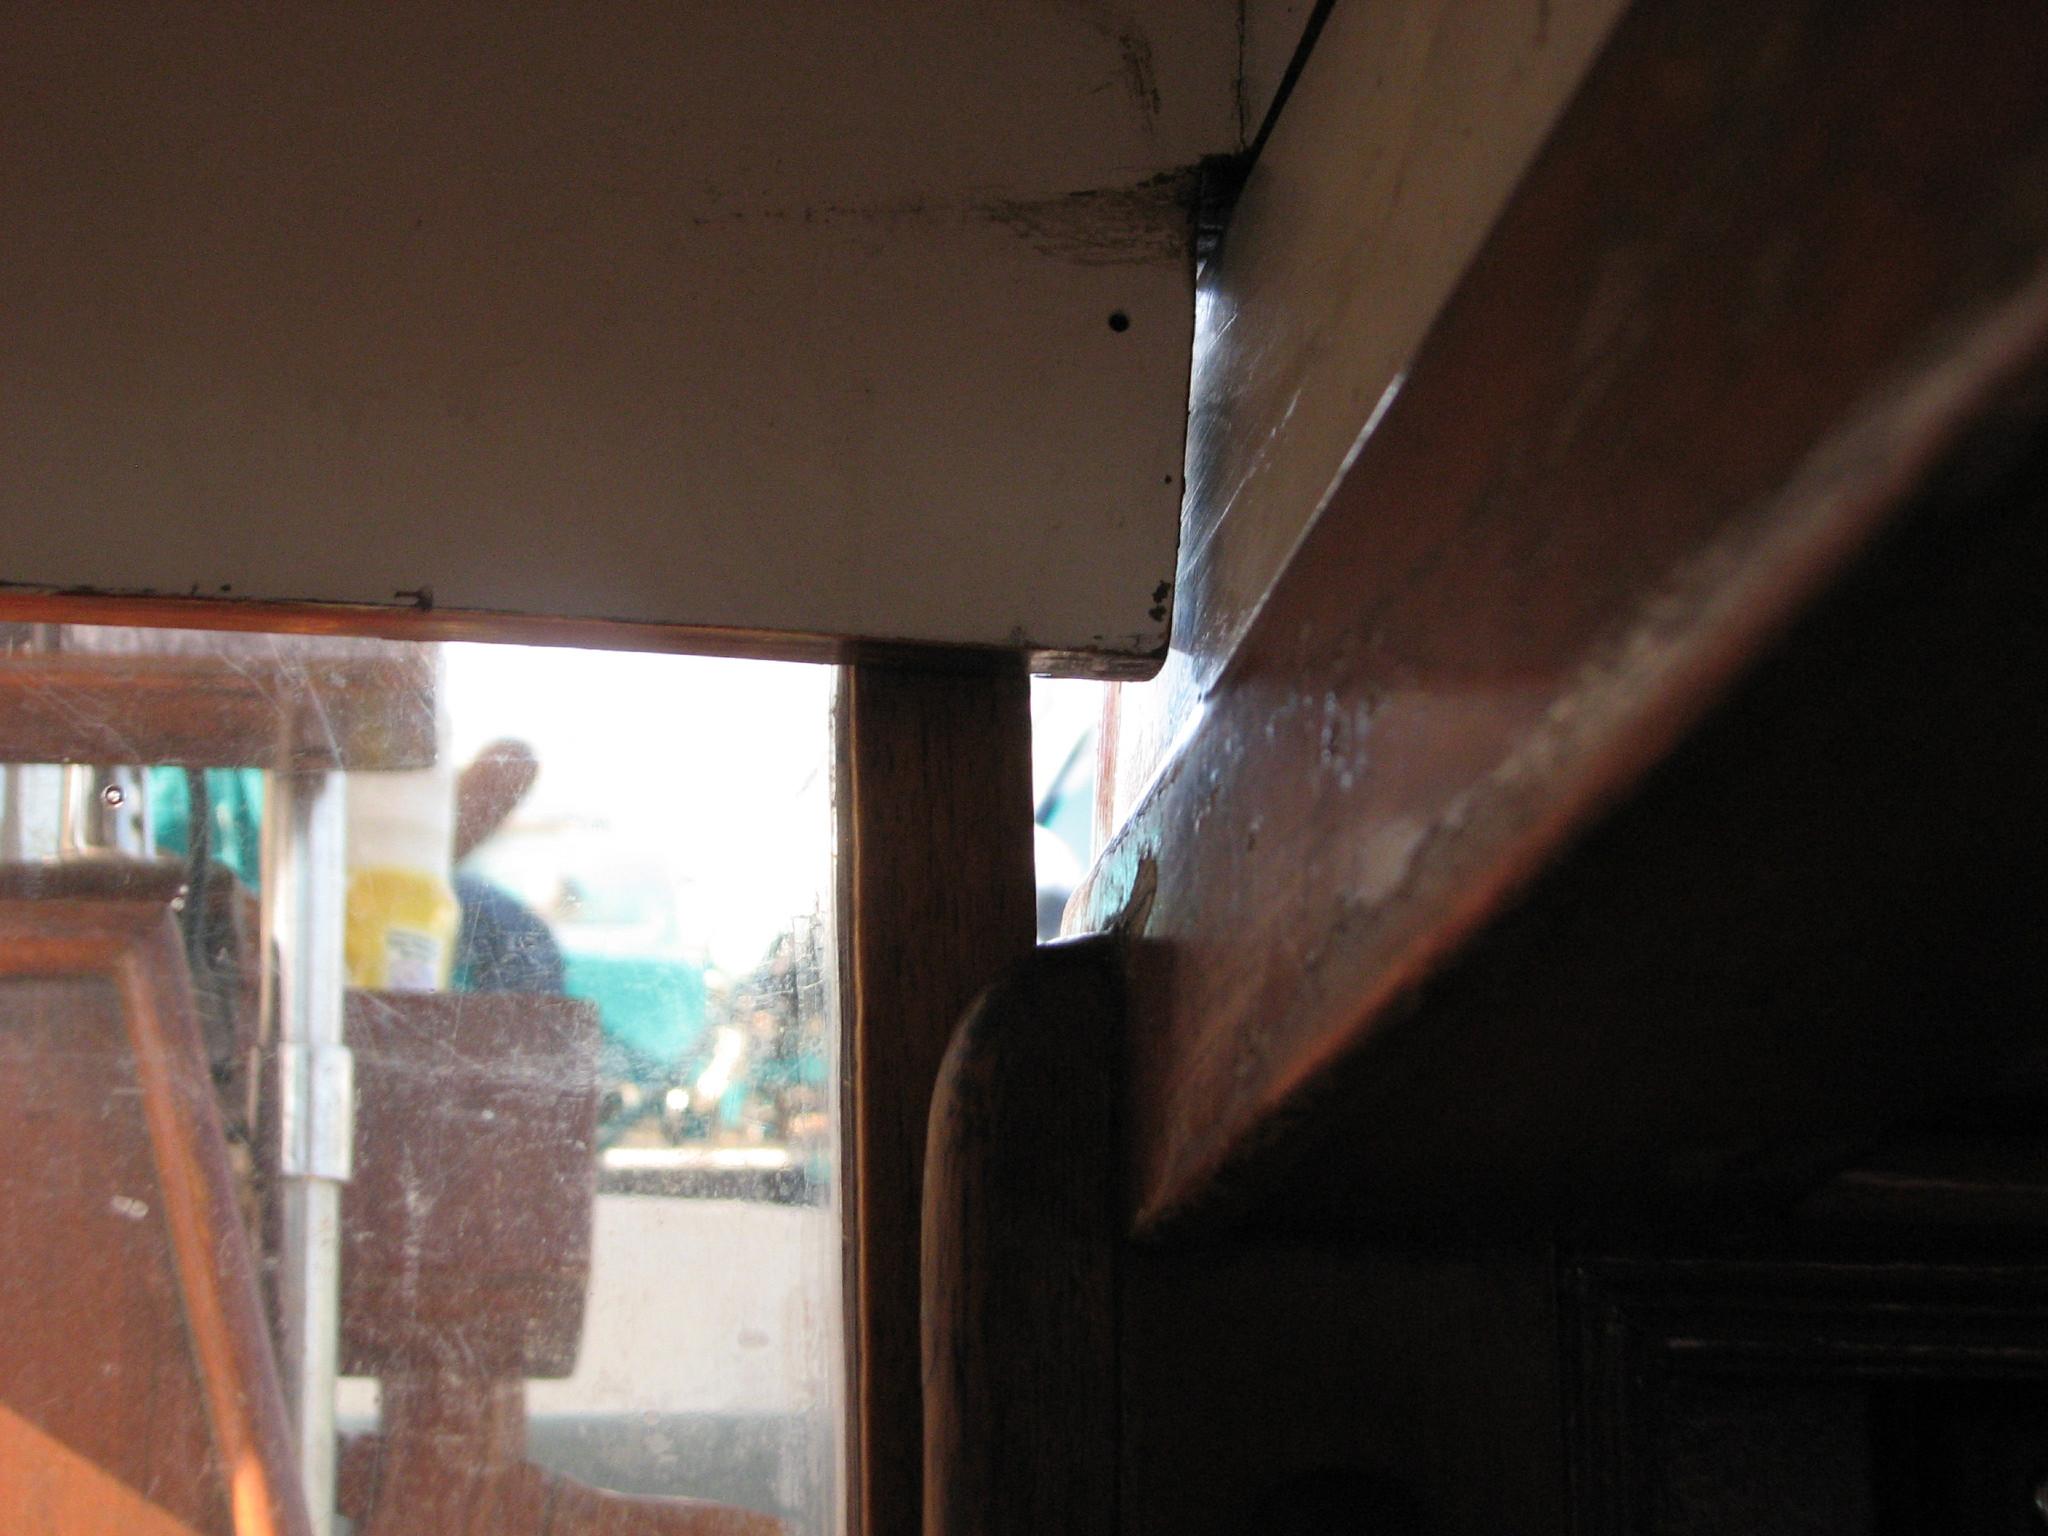
This
gap needed to be repaired, so I cut some pieces of mahogany that I
will be able to epoxy to the second acrylic insert to fill the huge
gap. I have one side cut, now I have to get the second piece cut.
When
I rewired DREAM AWAY many years ago, I put all of the electrical
wiring easy to access. To accomplish this task I used Panduit
wire duct
throughout the boat. This is a great product, and really keeps all of
the wires organized. The problem with the Panduit
wire duct
is the front cover is gray, great on a battleship, but not too cool
on a yacht.
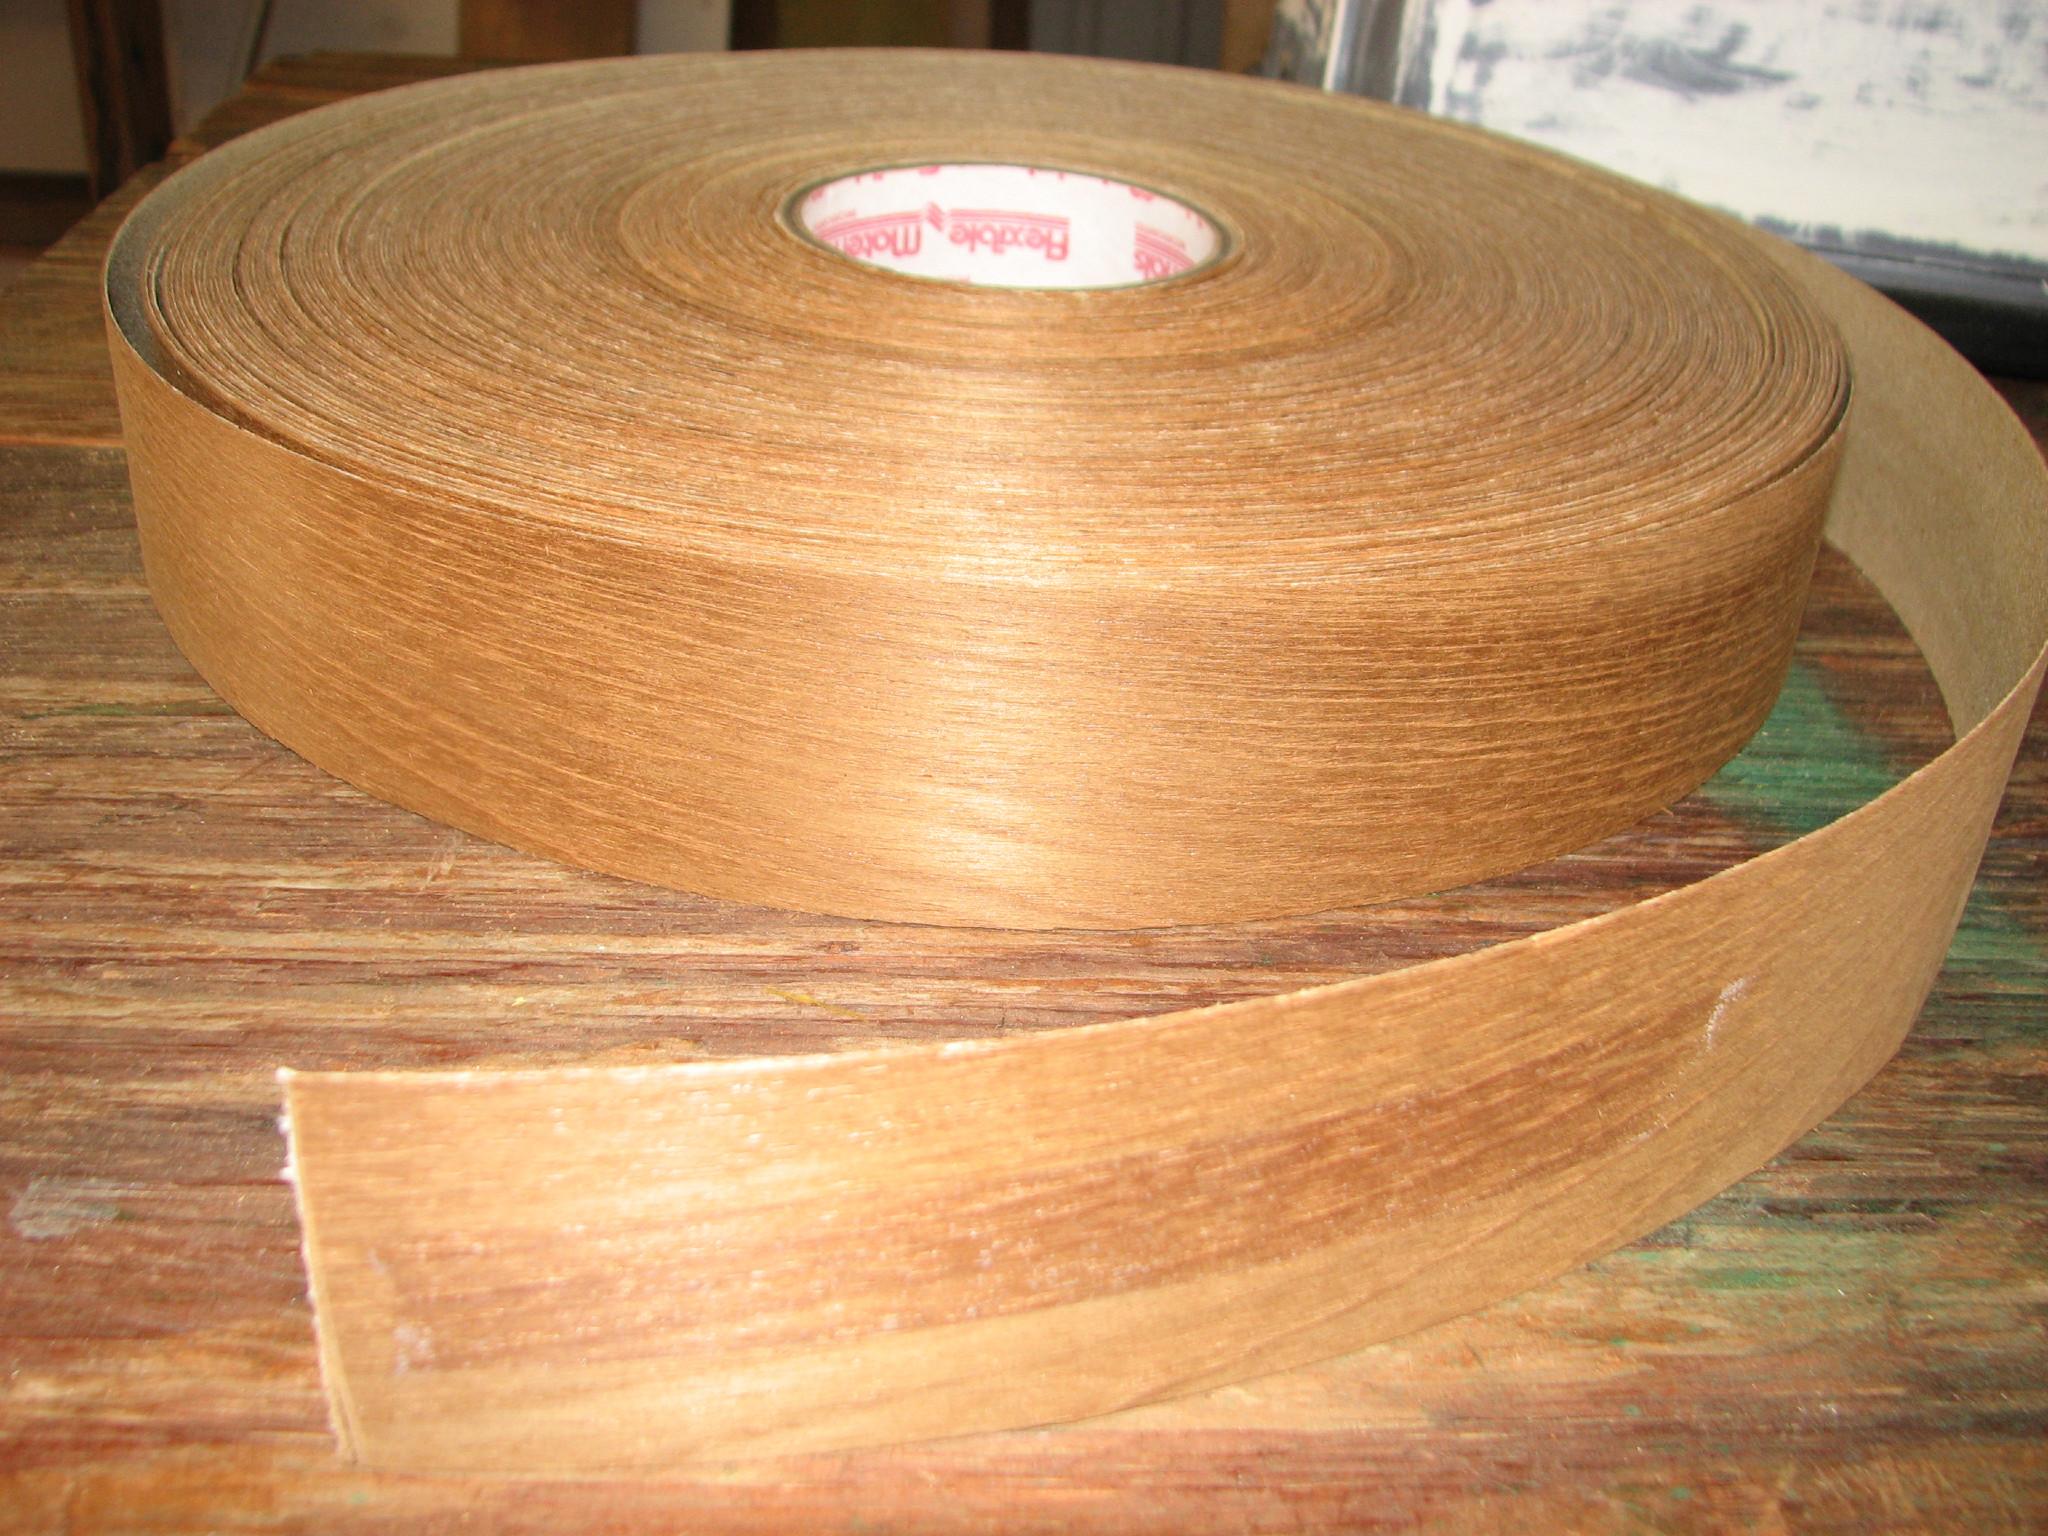
Many
years ago I purchased a roll of 2” teak tape with an adhesive
backing. The teak tape is neat. You cut the size you need and put it
where you want it, and then run a standard iron on the teak side, and
the iron melts the adhesive, and attaches the tape to the surface you
had chosen.
Roll
Of Teak Tape
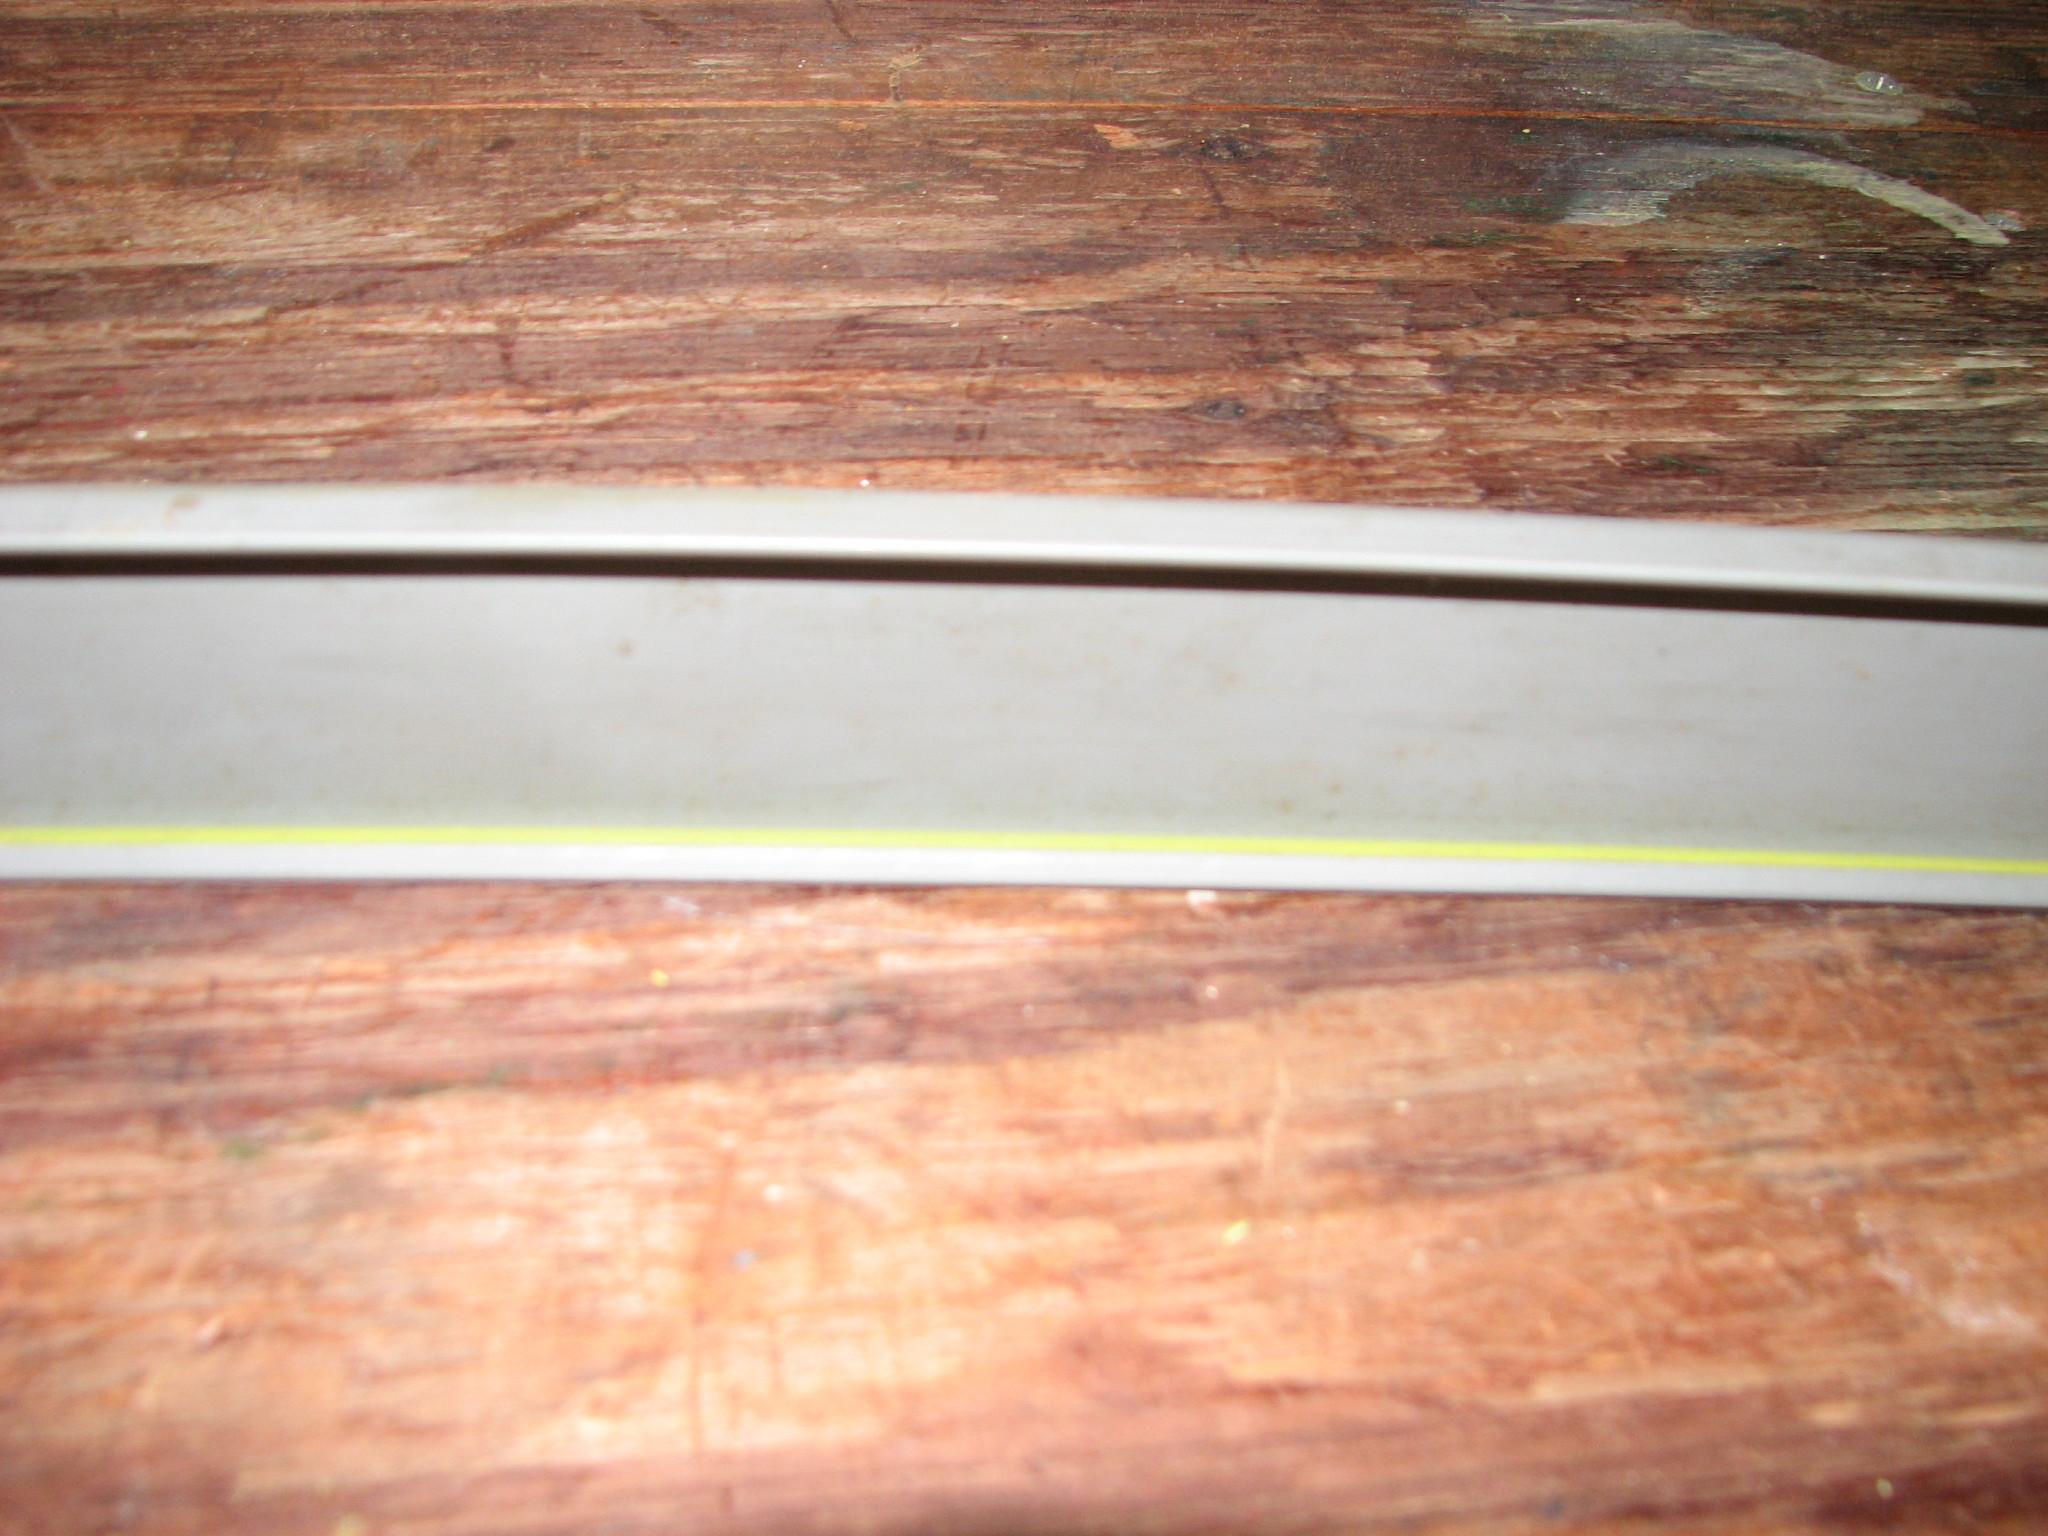
The
intended use of the teak tape was to cover the Panduit
wire duct
covers. I started the process of covering the Panduit
wire duct
covers with the teak tape and then varnish the teak tape.
Panduit
Wire Duct
Cover
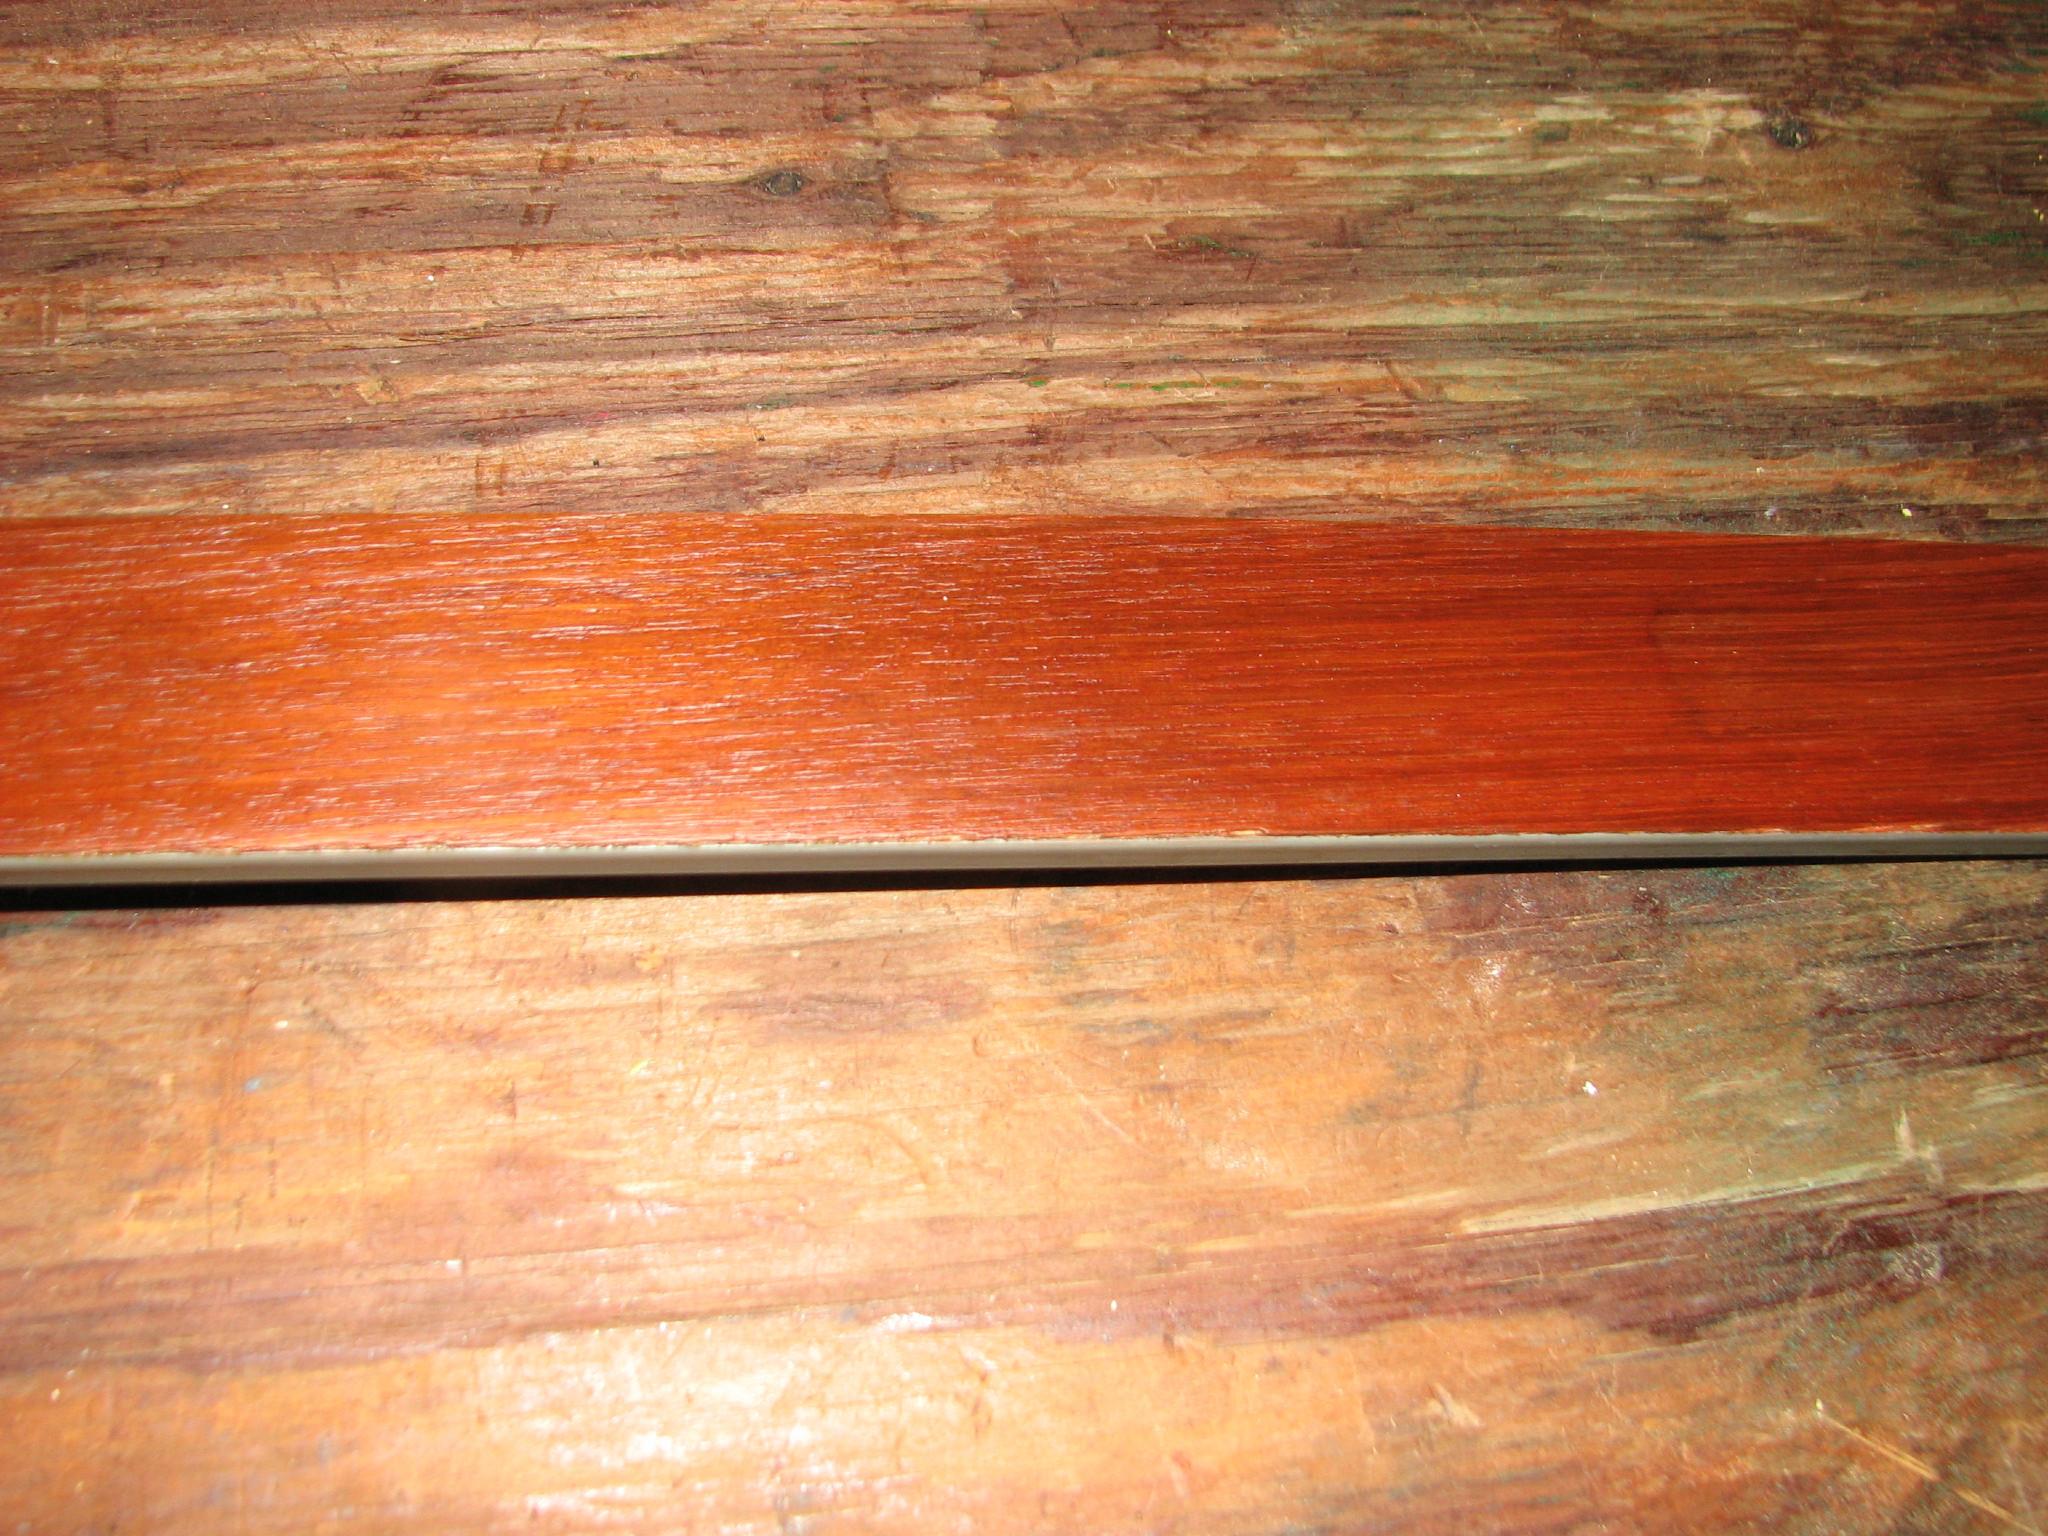
At
the end of the day, I put the second coat of varnish and Cetol
on the appropriate parts, and the first coat of varnish on the
Panduit
wire duct
cover.
April
6, 2013, Saturday
Started
off the morning with my normal ritual of getting on the Internet,
answering email, checking the weather, while making a pot of coffee.
When
I went to the shop I prepared the hole hiding pieces and the name
boards for the epoxy application. This preparation involves making
masking tape dams to keep the excess epoxy from running all over. On
the name boards I use masking tape on the back of the name boards to
keep the excess epoxy from running.
Hole
Hiding Pieces With Insert And Masking Tape Dams
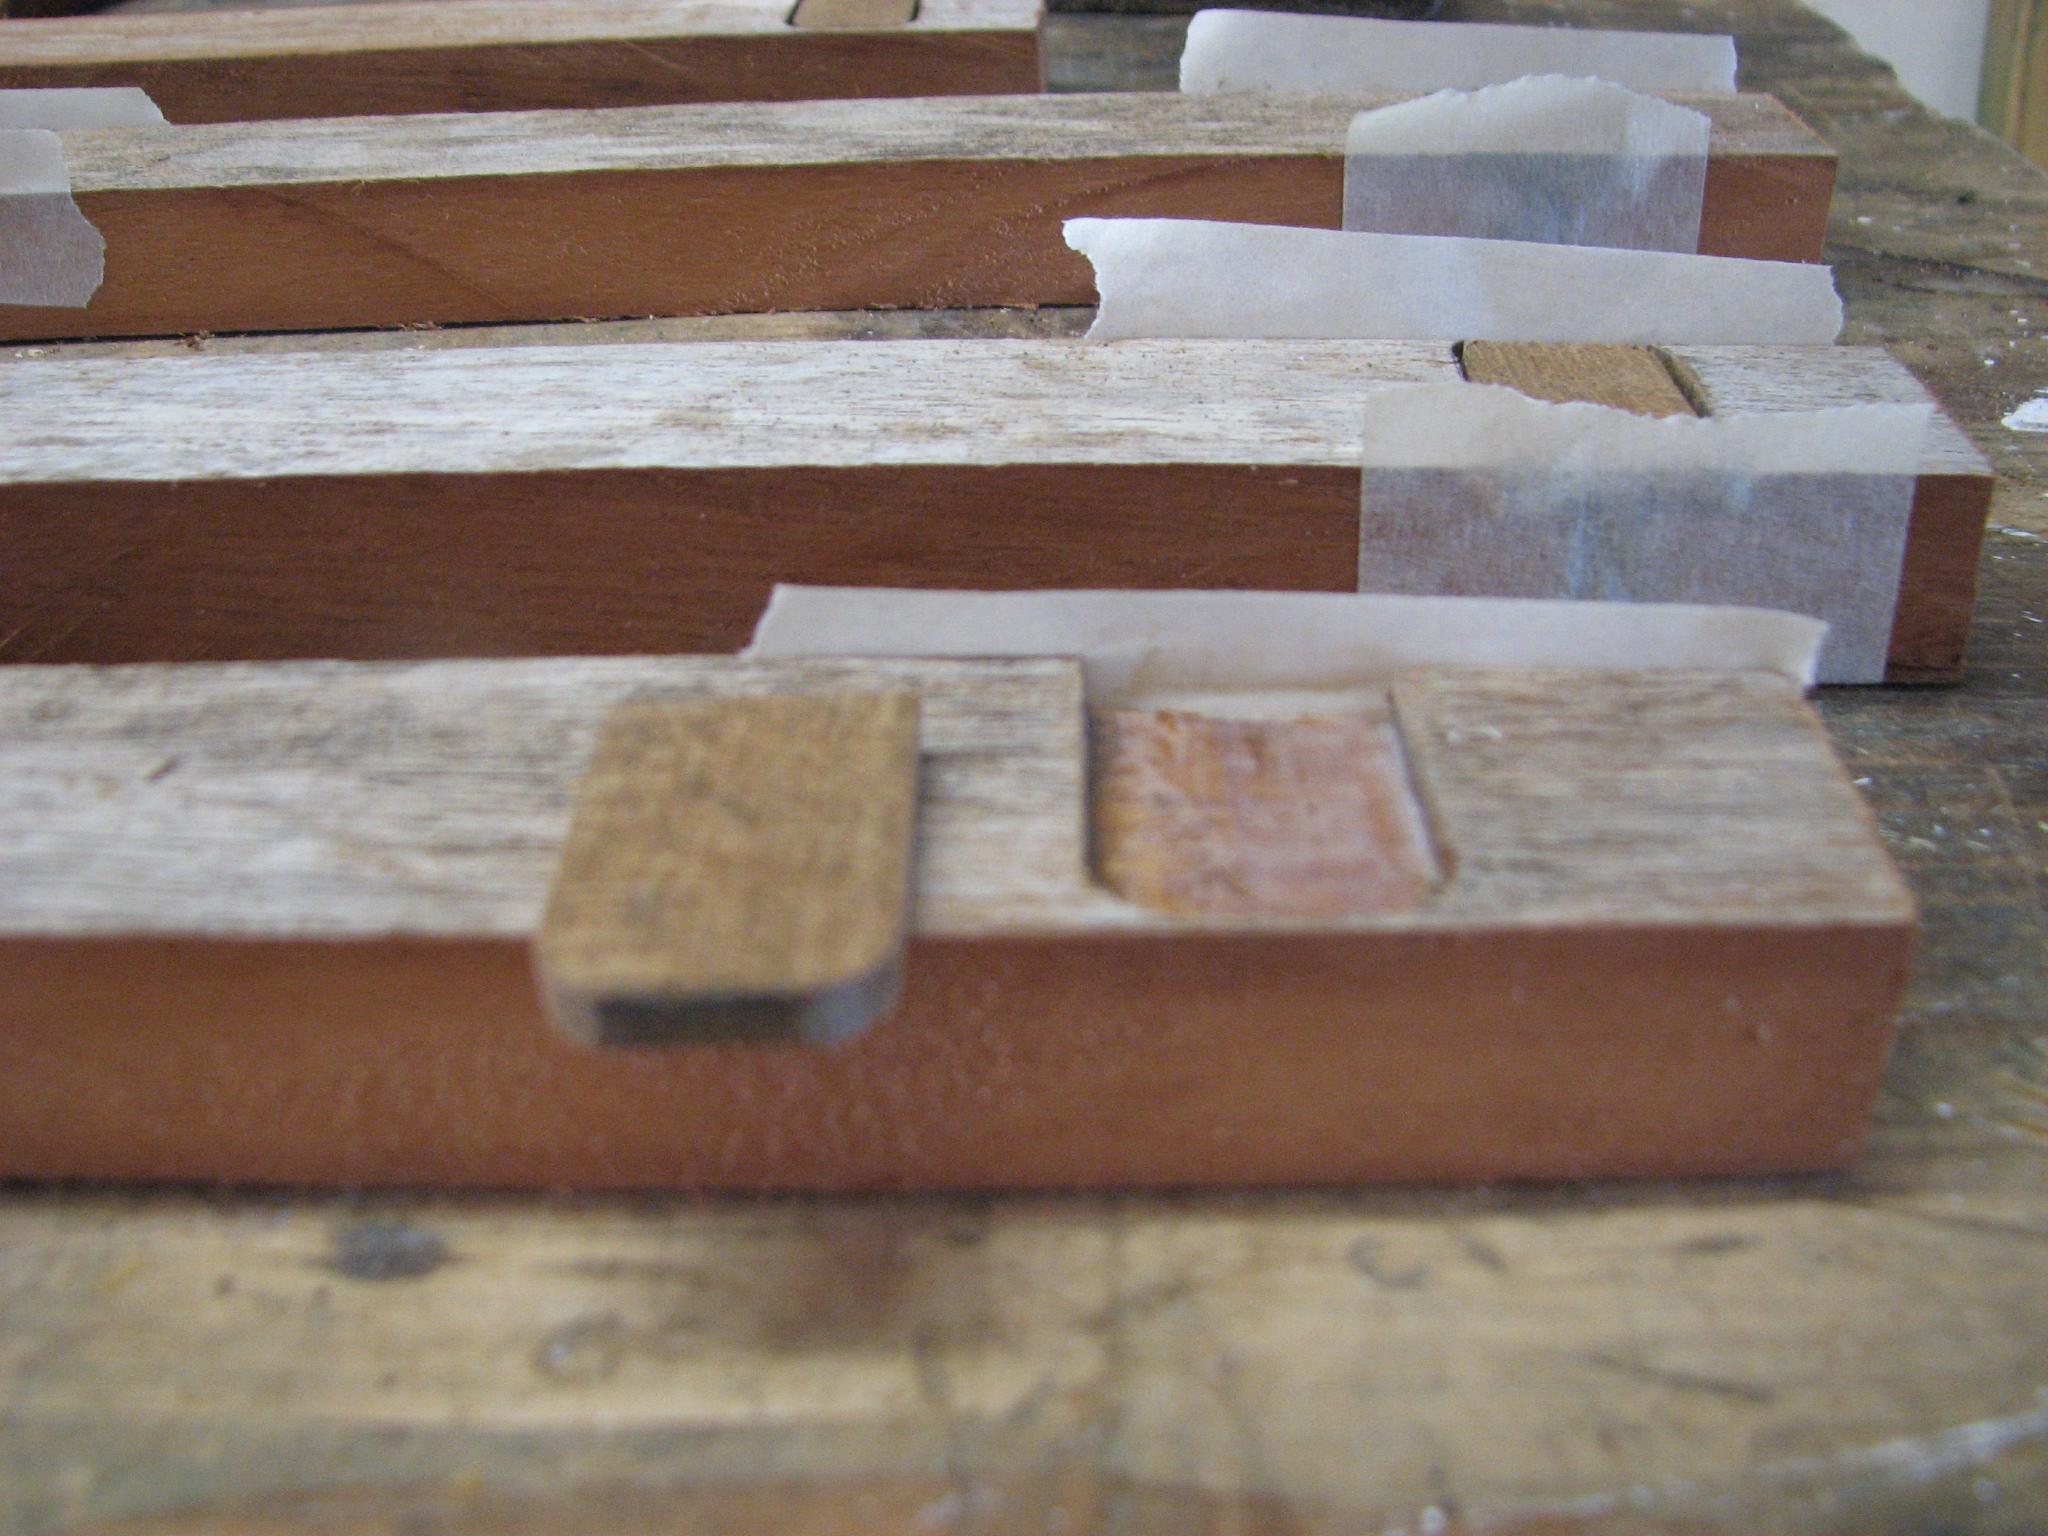
Back
Of Name Boards Before Masking Tape Application
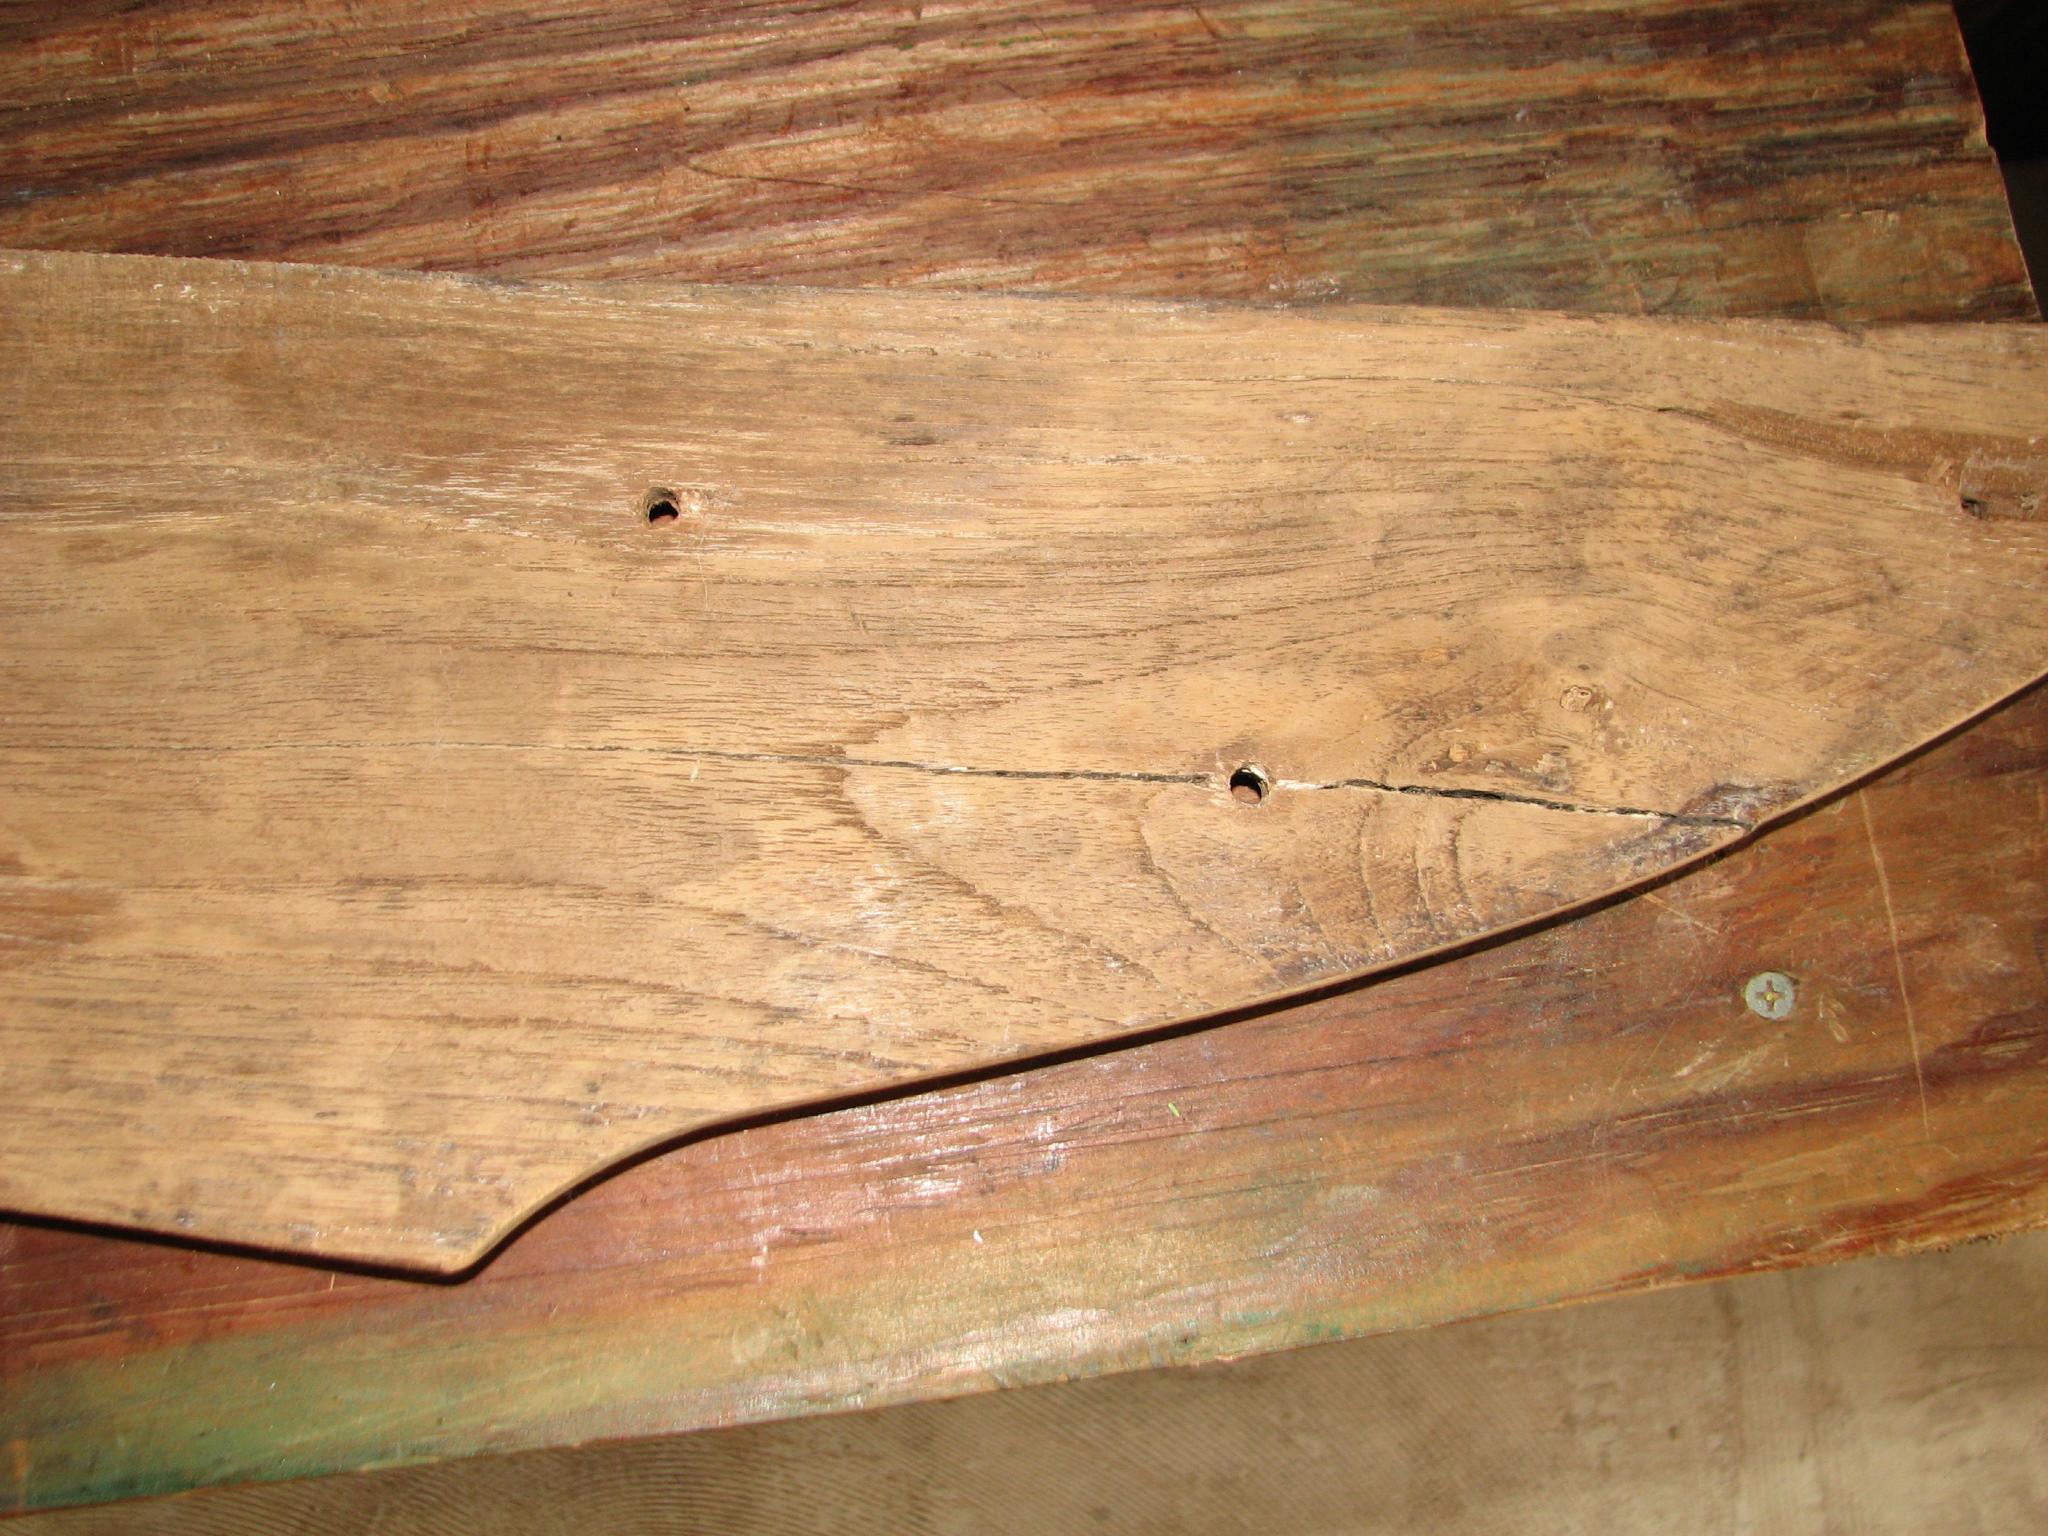
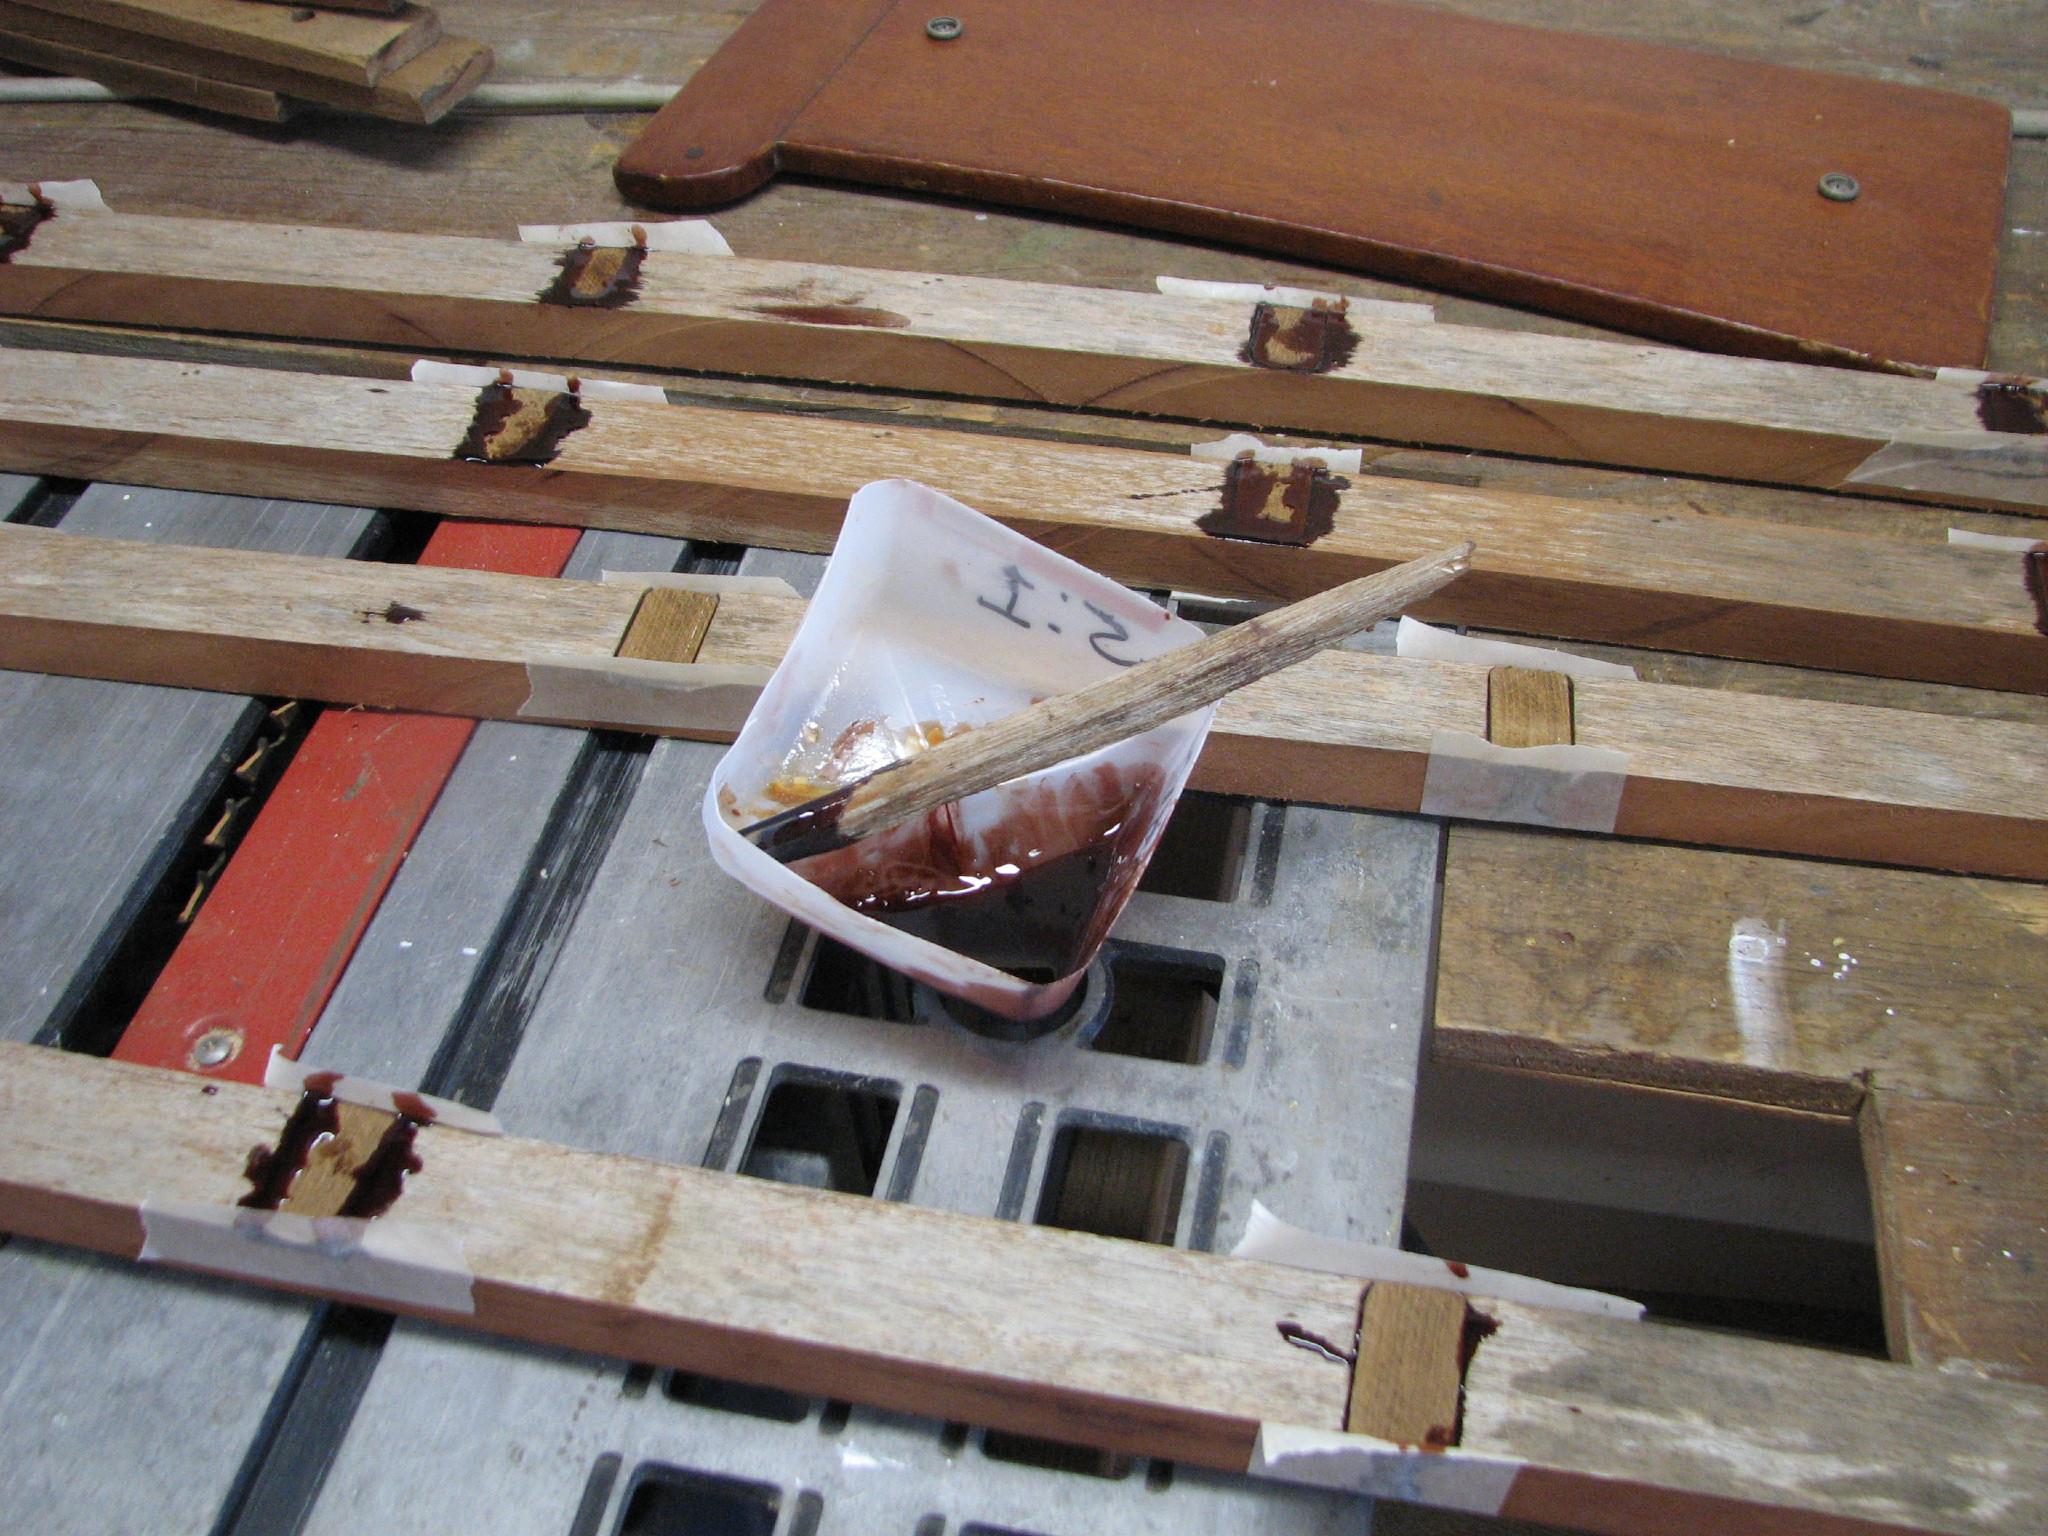
I
then mixed up a batch of epoxy and epoxied in the teak inserts on the
hole hiding pieces.
Applying
Epoxy And Inserts To Hole Hiding Pieces
Completed
Hole Hiding Pieces
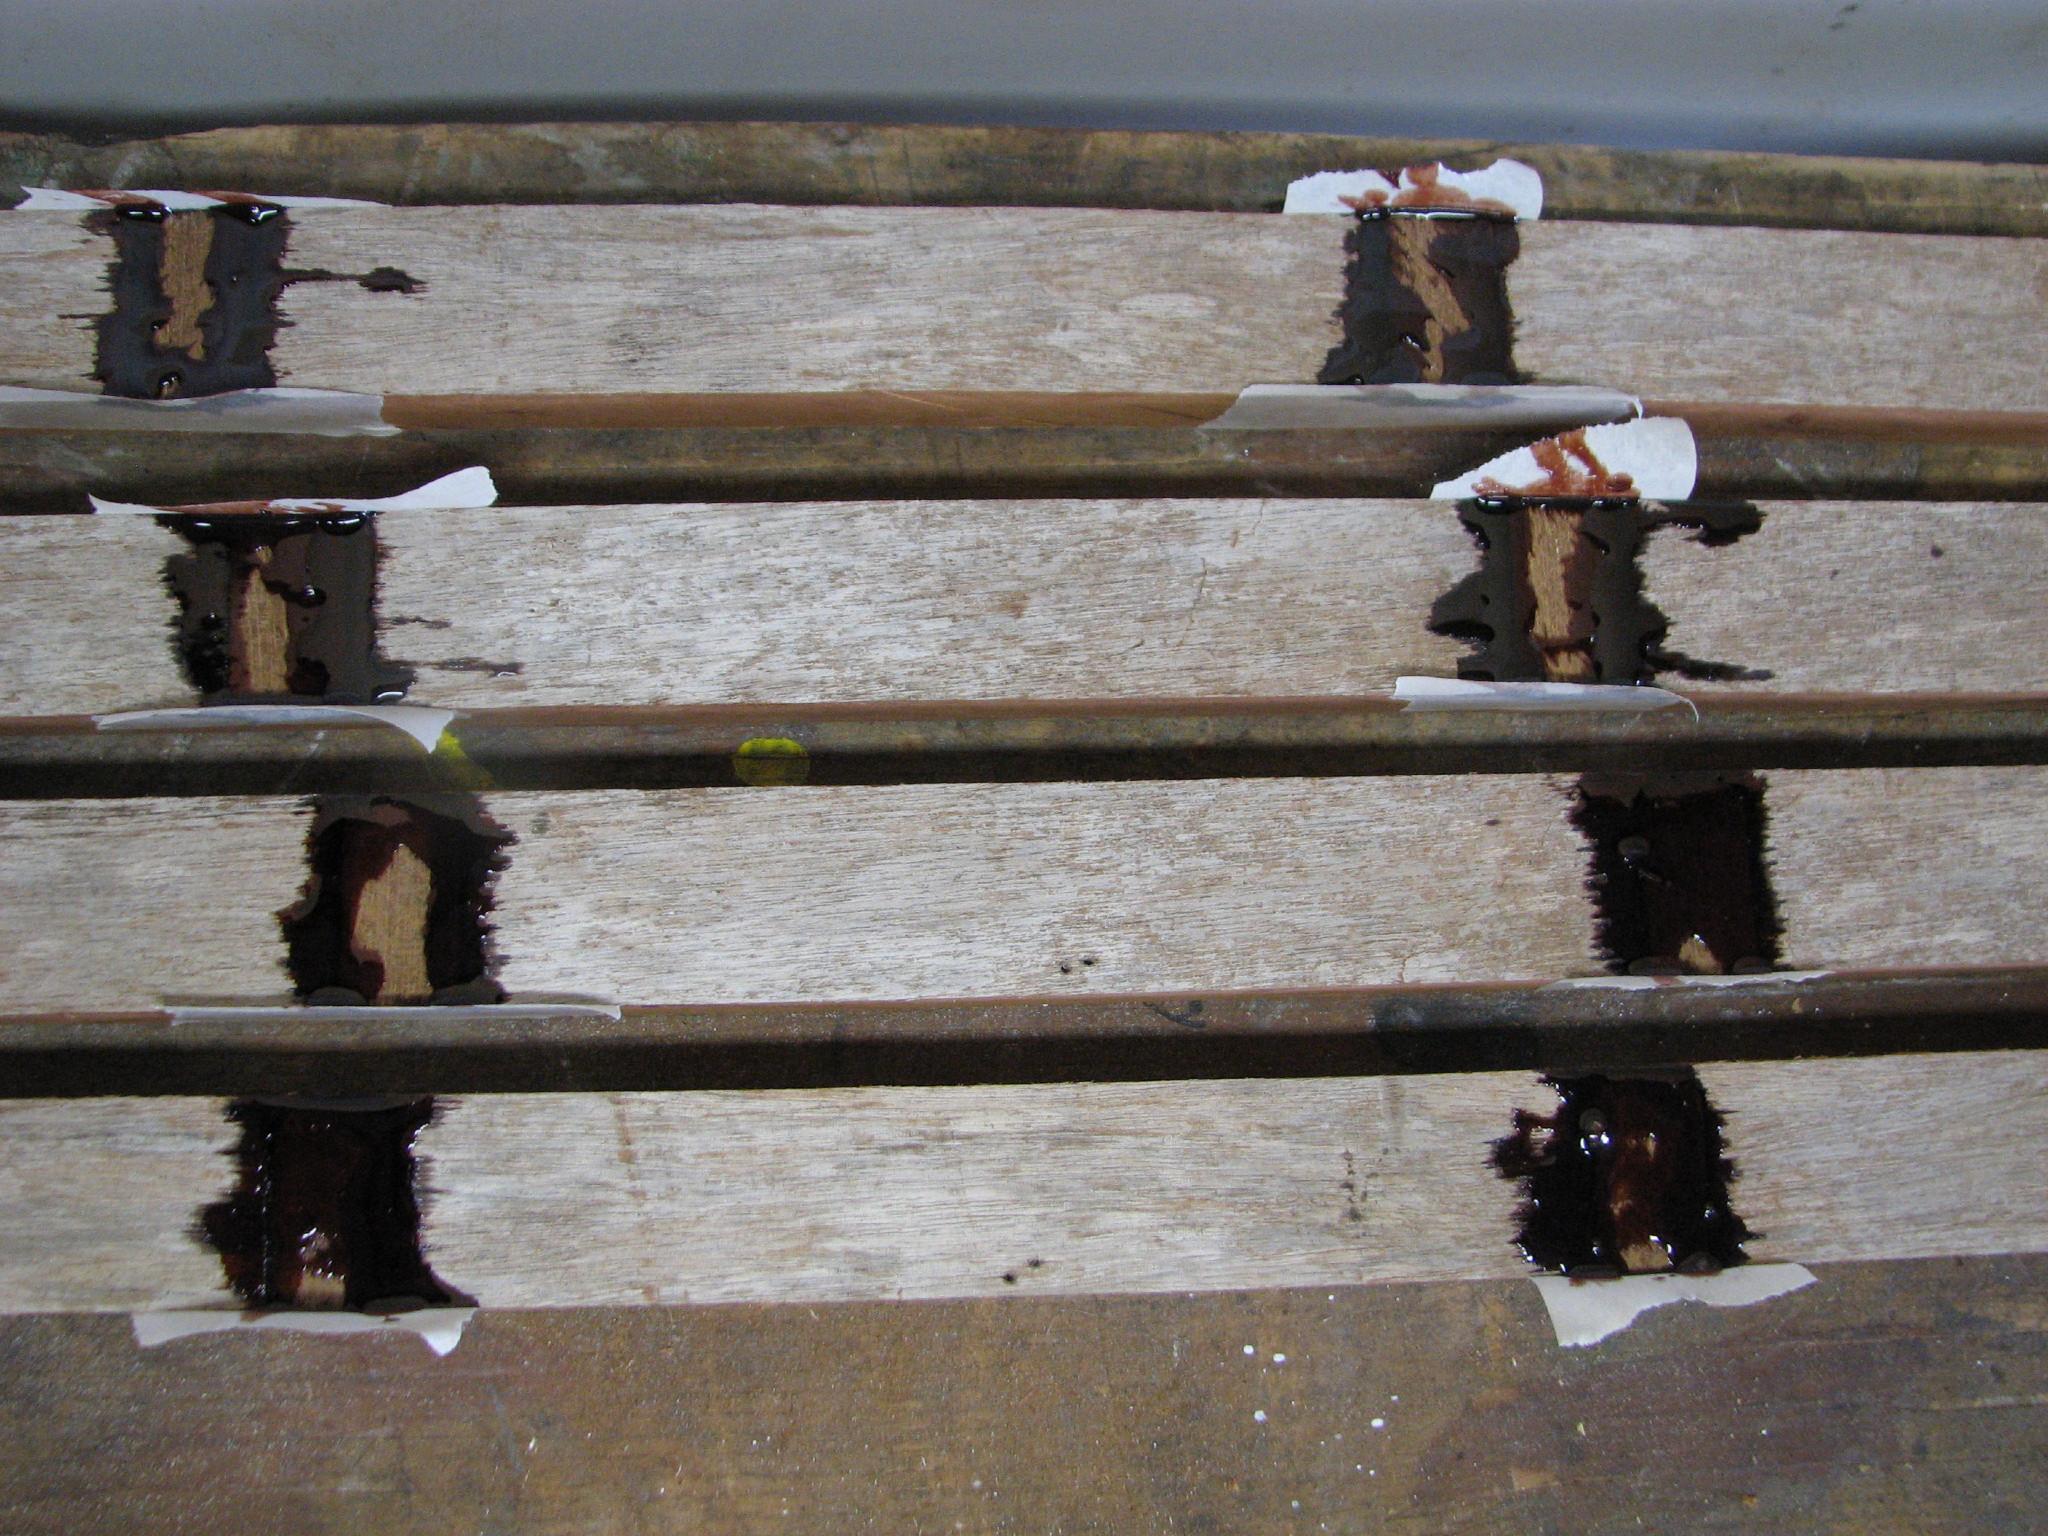
When
the hole hiding pieces were finished, I then started on the name
boards. Apply epoxy in the hole in the name board, apply epoxy to the
bung, then insert the bung into the hole in the name board. Repeat 19
times for each name board!
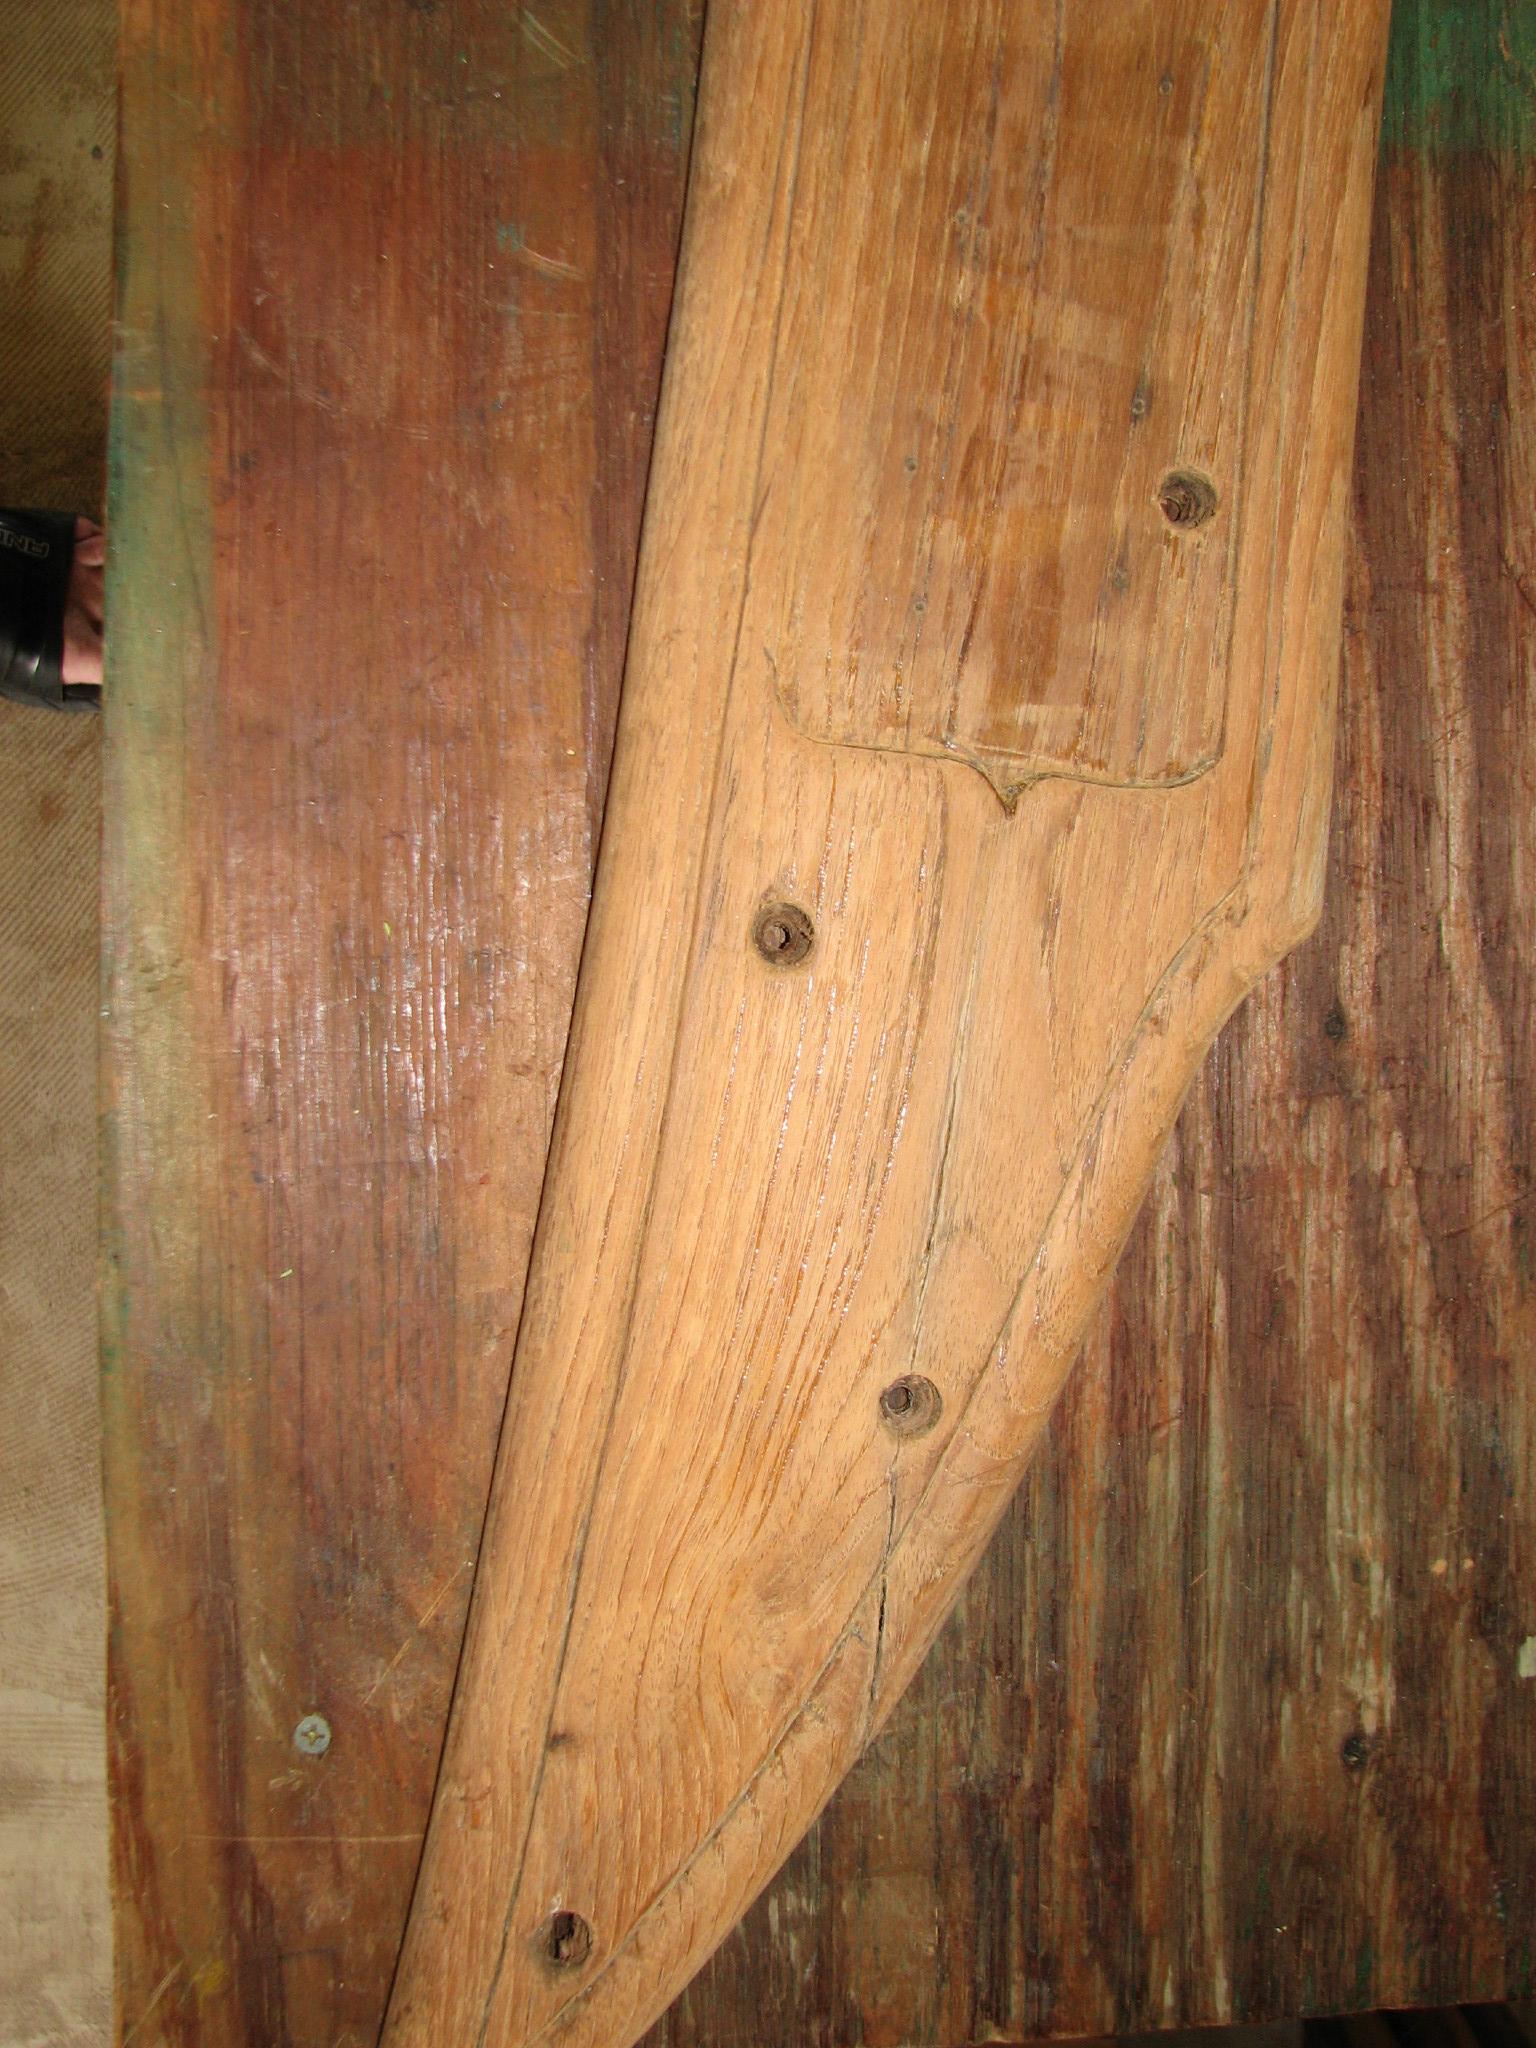
Name
Board Before Inserting Bungs
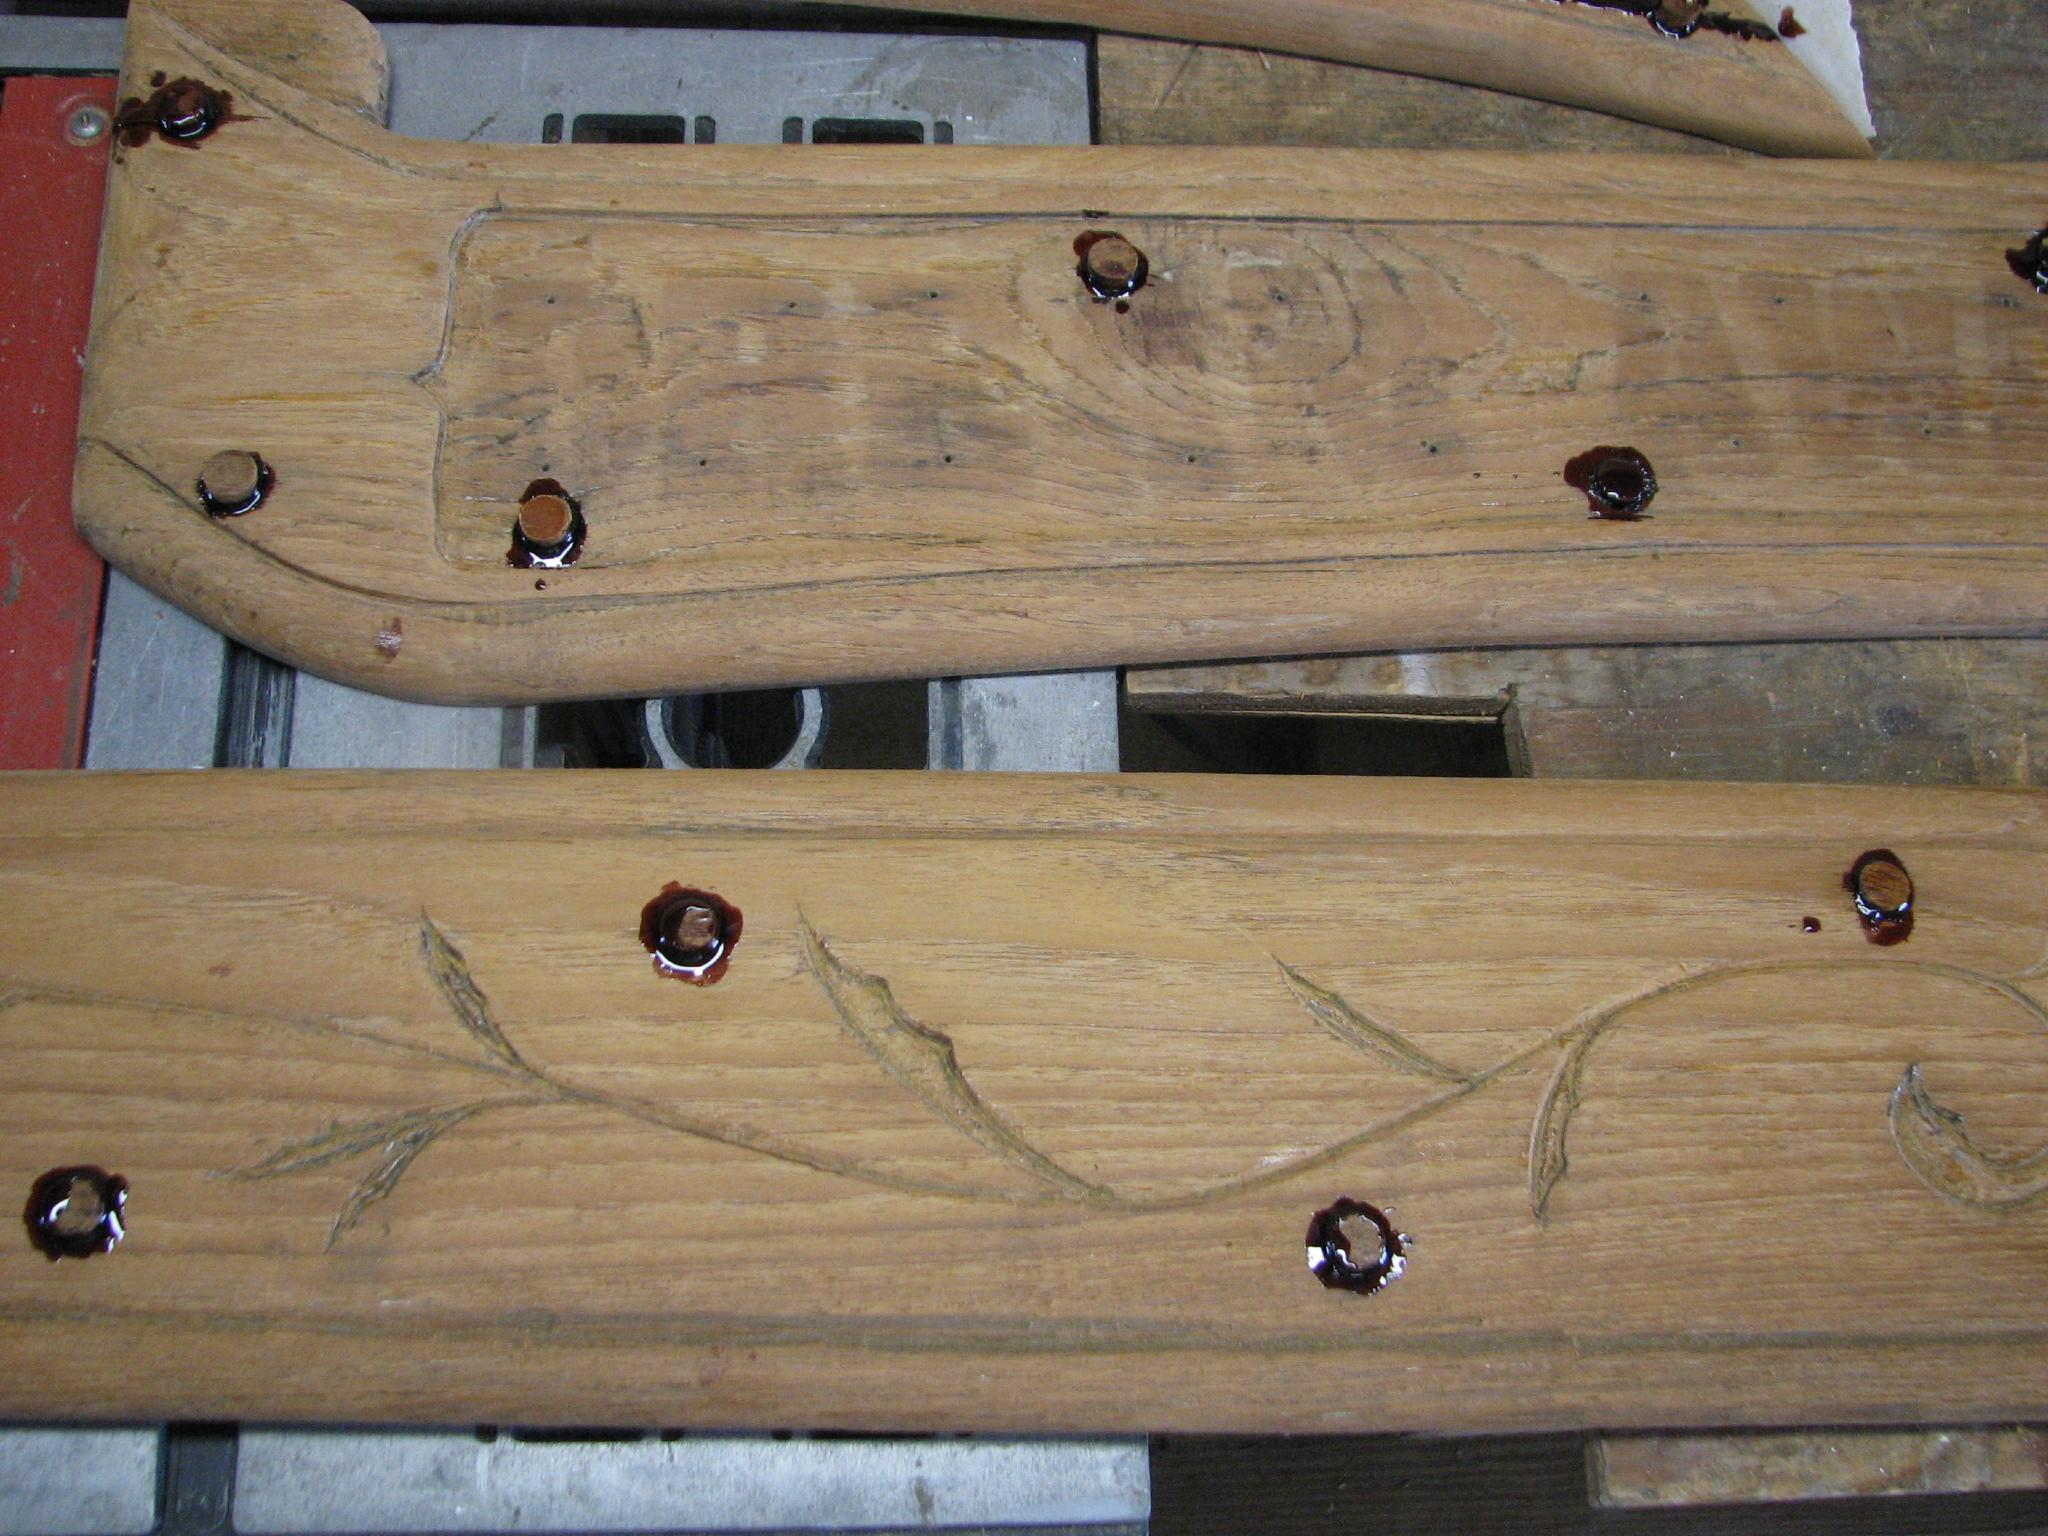
Name
Boards After Epoxy Application And Bung Insertion
I
had talked to one of my storeroom neighbors, Huey, earlier in the day
asking if he knew of a welder or machine shop that could help me
extract the broken bolts out of the power head of my spare Yamaha
outboard. Huey called me during the epoxy process, and told me he had
a friend who was an aircraft welder, and was in his shop right now,
and was expecting me.
I
got the power head, put it into the
Black Beast, and headed to the
welders house. It turns out the mans name is Arthur Leblanc. Leblanc
is one of the most common names around Delcambre. Arthur got right to
work and was able to weld a nut on the top of each broken bolt. We
then tried to extract each bolt, but each one broke off again pretty
even with the power head. Arthur apologized for not being able to
extract the bolts. It looks like I am going to have to purchase some
left hand bits, and drill out the bolts and use an easy out to get
the bolts out. This is turning out to be a lot of trouble just to get
a good spare outboard engine.
I
know I will change my tune when I eventually get the job done. When
you are out cruising, your tender and outboard are the only way to
get from your anchored boat to the beach or to town.
I
started another project today. In the middle cabin, I built an
electronics shelf to house my printer, the DREAM AWAY WiFi network
router, a print server, and my 1 TByte back up drive. It worked great
until the HP
printer I had died, and I replaced it with an Epson
printer. Naturally the Epson
printer was a different size than the HP
printer. So the Epson
printer did not fit on the shelf properly, and could fall off of the
shelf
Electronics
Shelf Before Modification

I
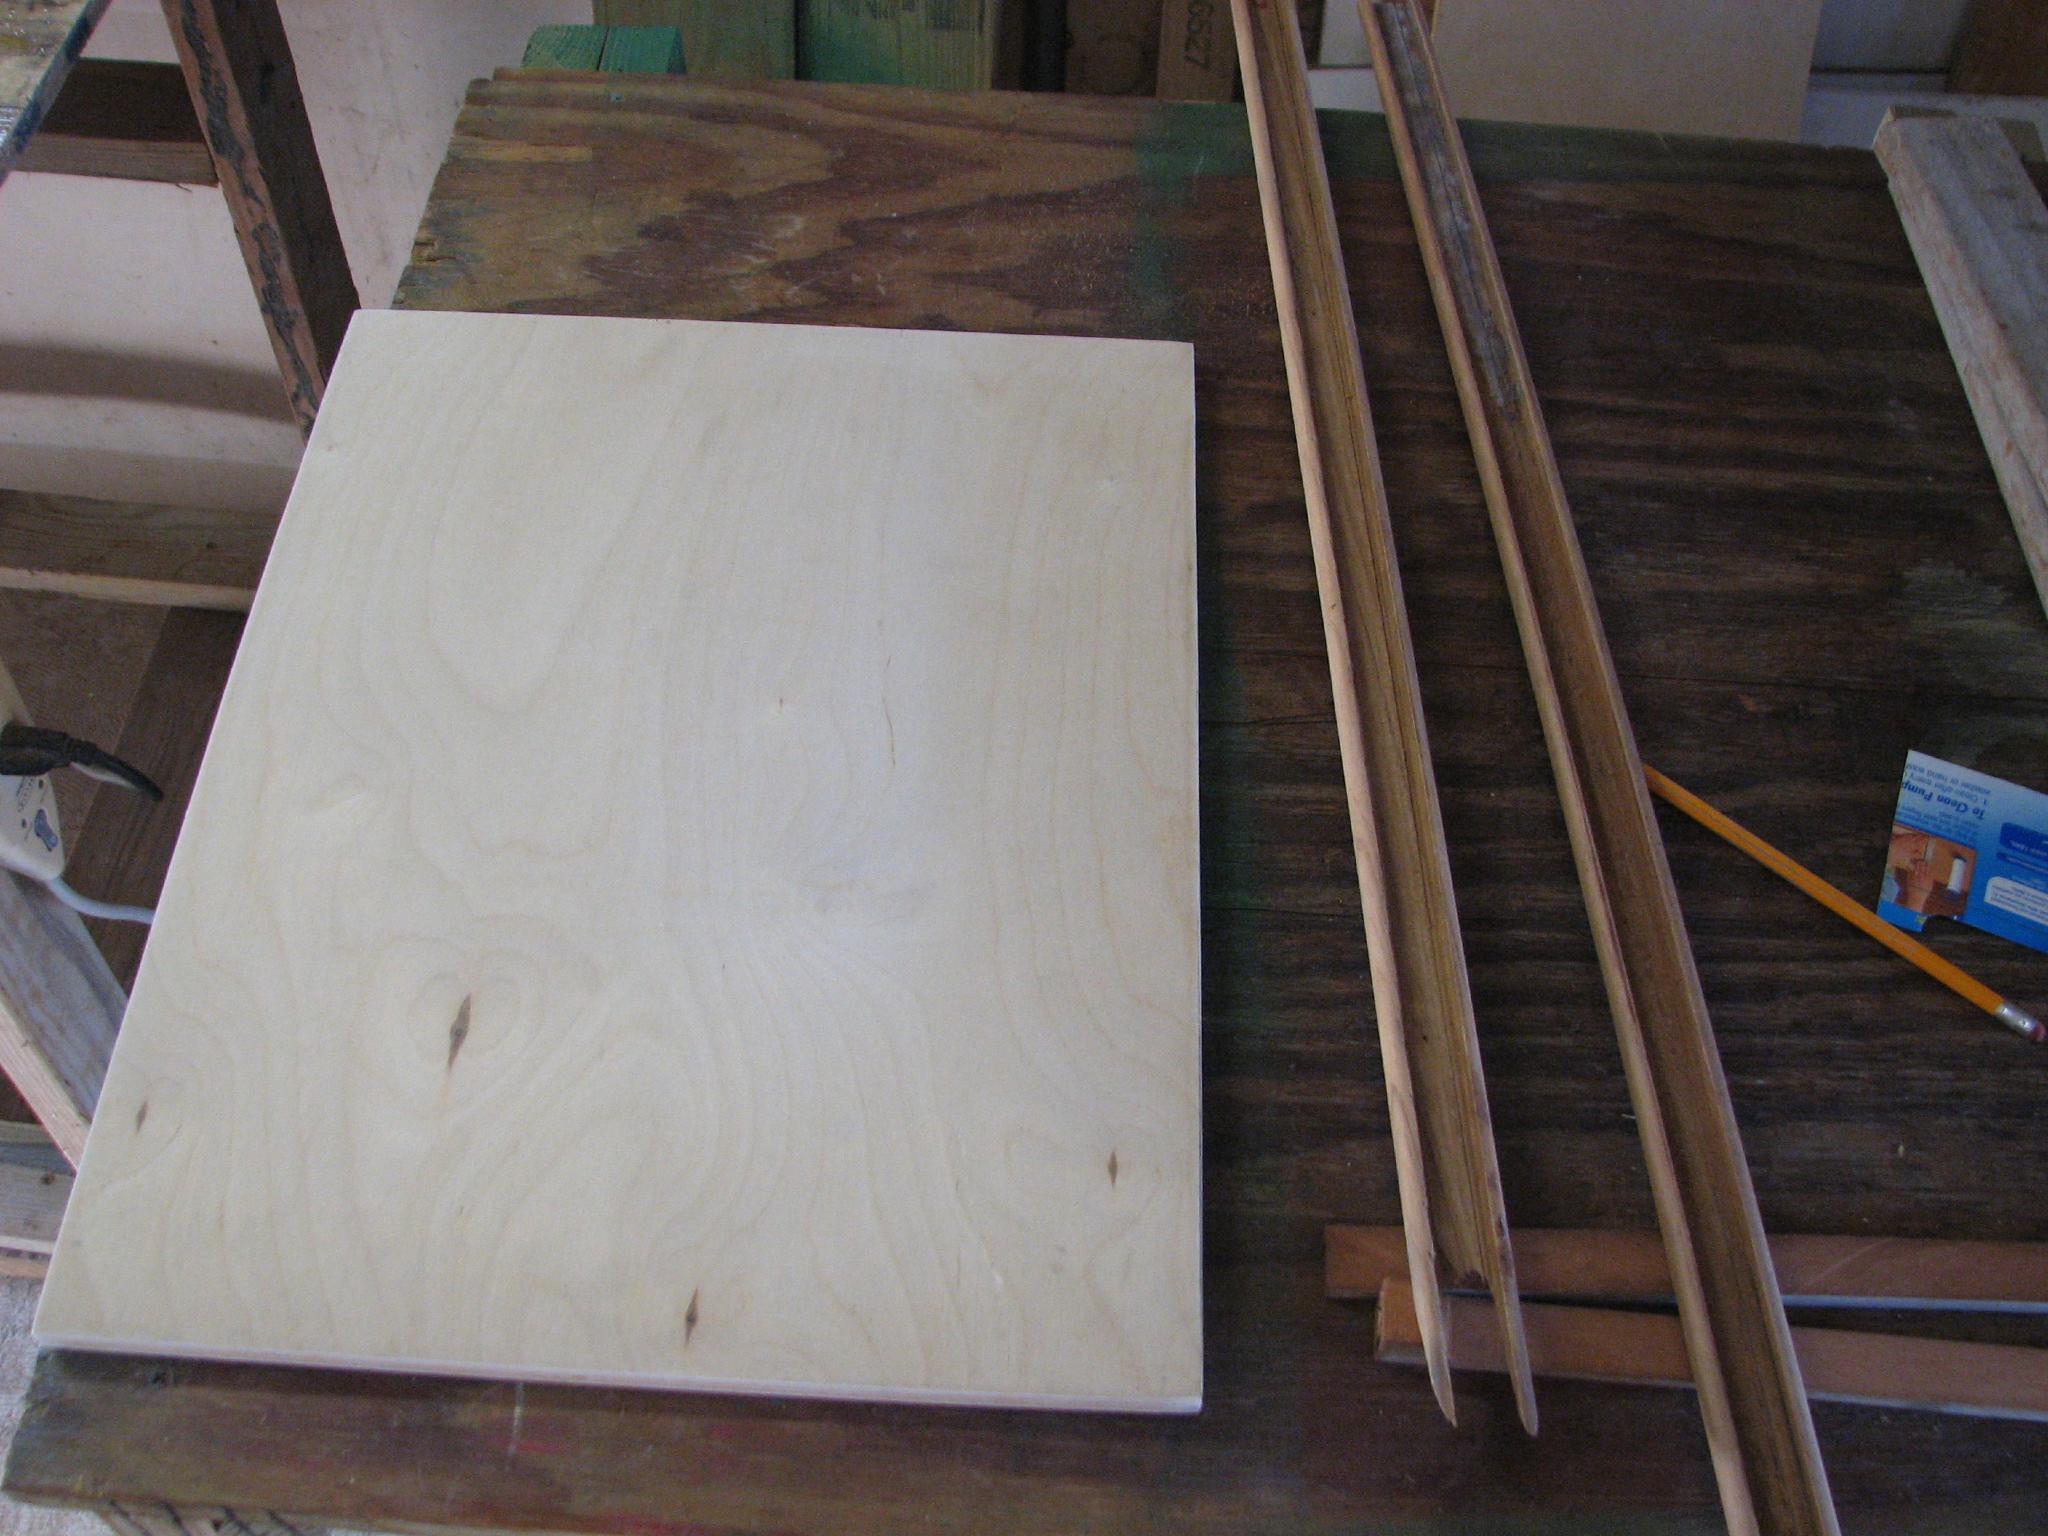
took the measurements of the present shelf, and then what was
necessary to accommodate the Epson
printer, and took them to the shop. I found a piece of plywood, and
some teak trim that will fit the bill nicely. I cut out the plywood,
and prepared the teak trim.
New
Shelf Piece And Teak Trim
Tomorrow,
I will remove the old electronics shelf from the mid cabin, and bring
it over to the shop. I have to get the exact measurements, fabricate
the new shelf, and then paint the shelf, and varnish the teak trim.
At
the end of the day, I put the third coat of varnish and Cetol
on the appropriate parts, and the second coat of varnish on the
Panduit
wire duct
cover.
April
7, 2013, Sunday
Started
off the morning with my normal ritual of getting on the Internet,
answering email, checking the weather, while making a pot of coffee.
Went
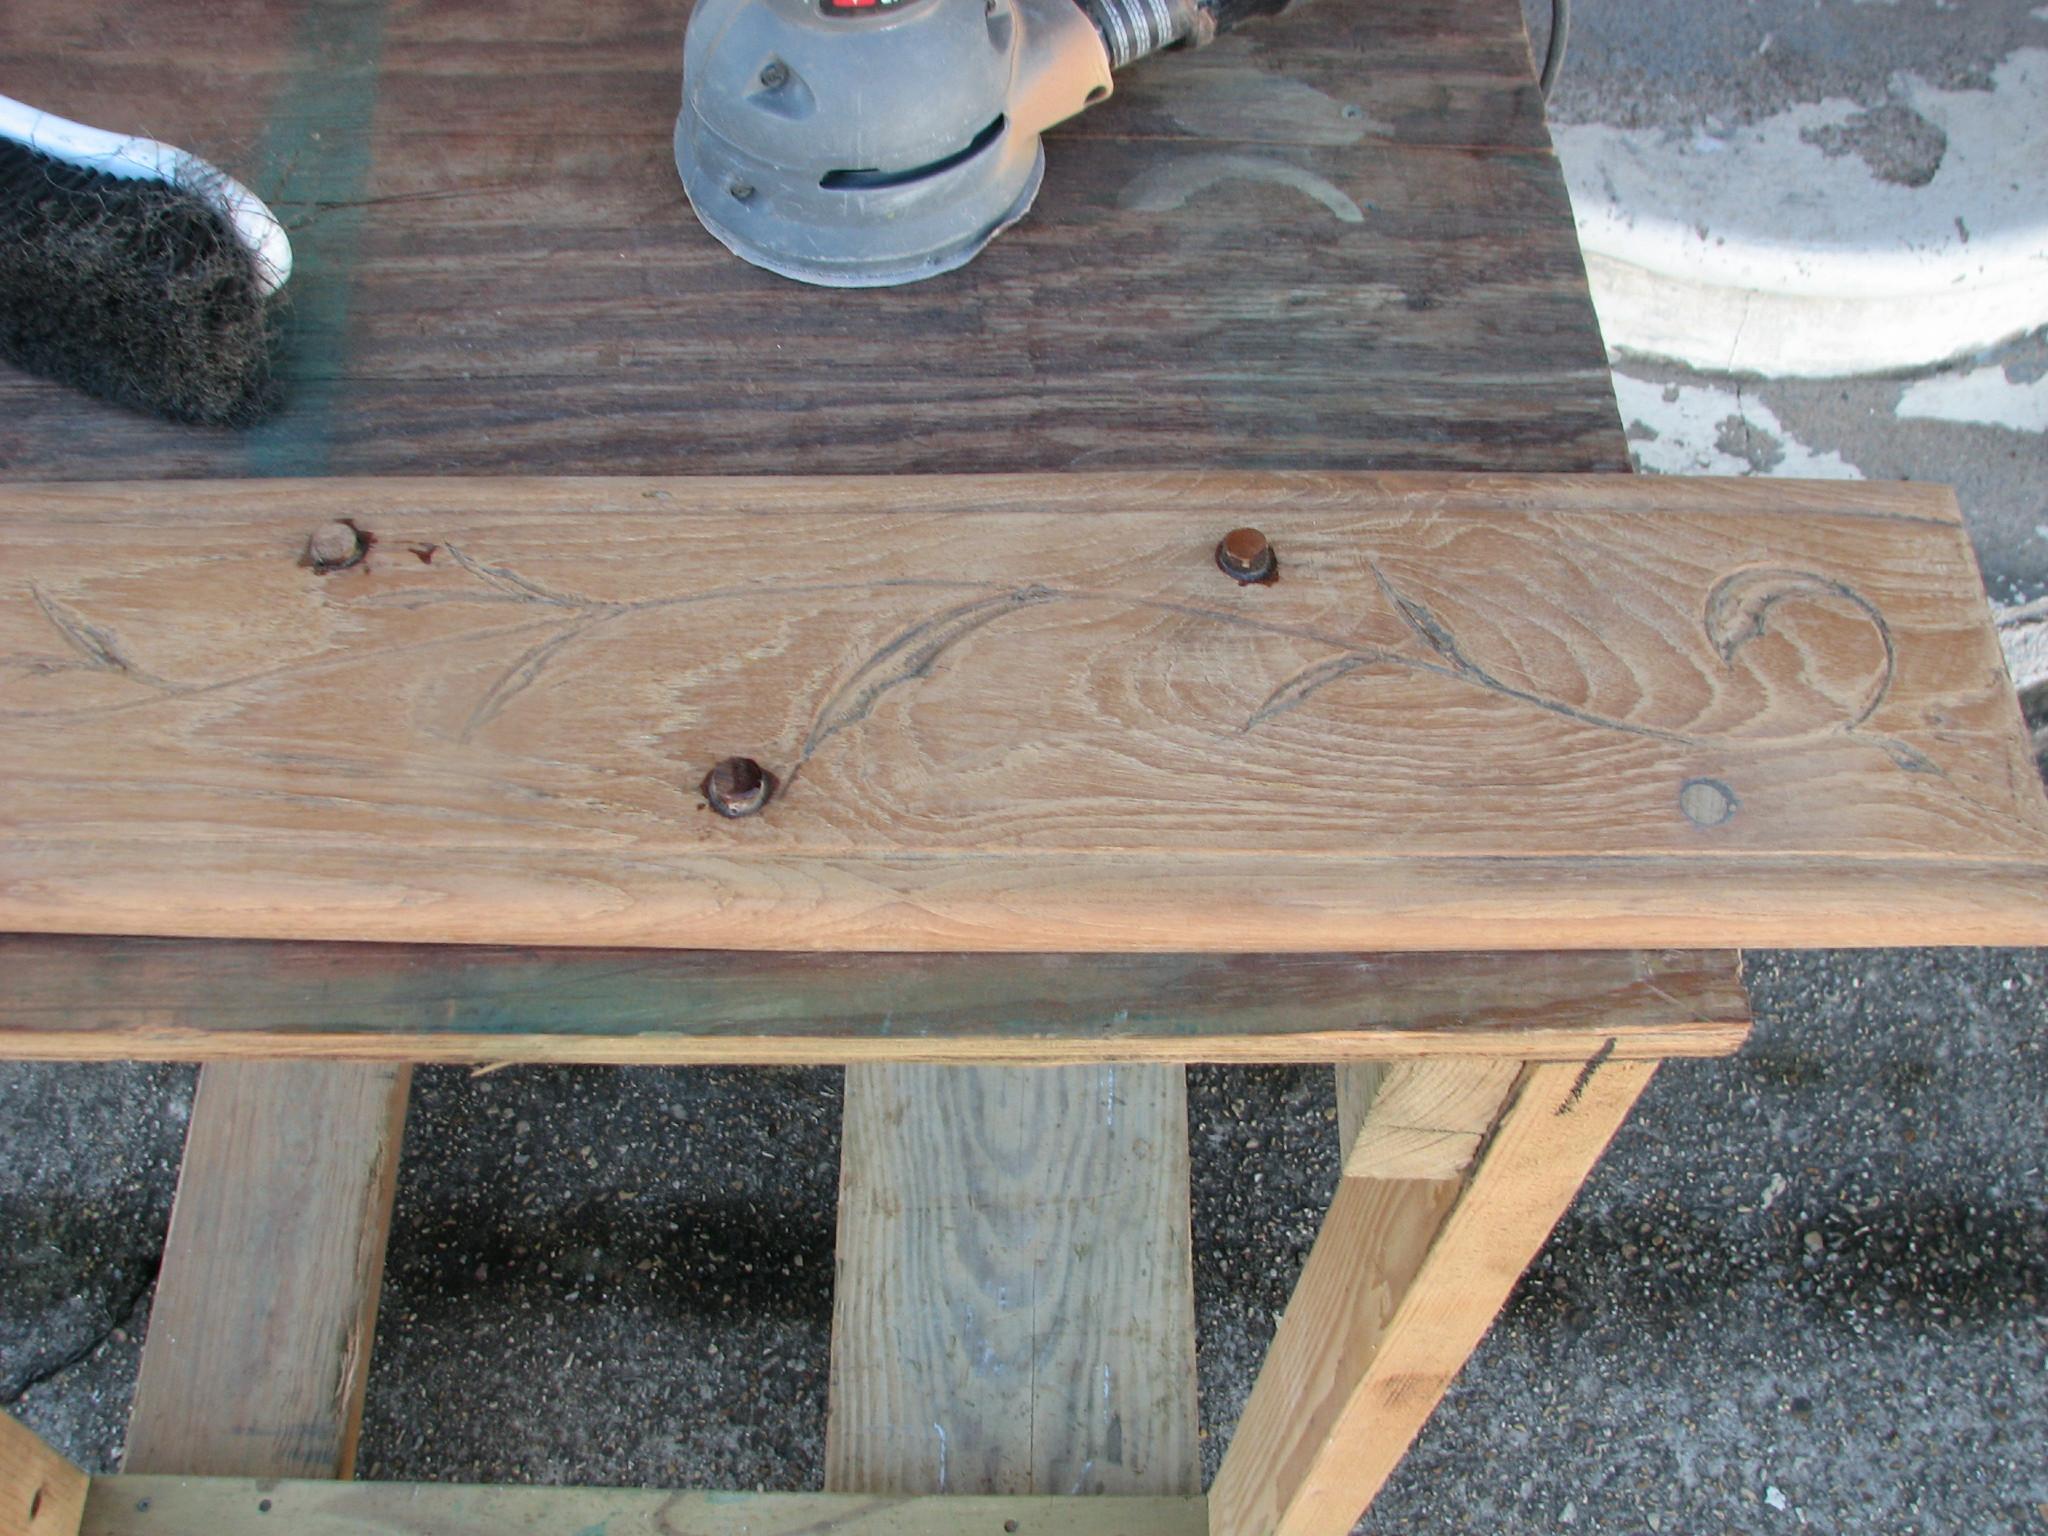
over to the shop first thing and sanded down the epoxied hole hiding
pieces, and the name boards. Once all of the sanding is done, I can
fabricate the final hole hiding piece, and put back together the name
boards.
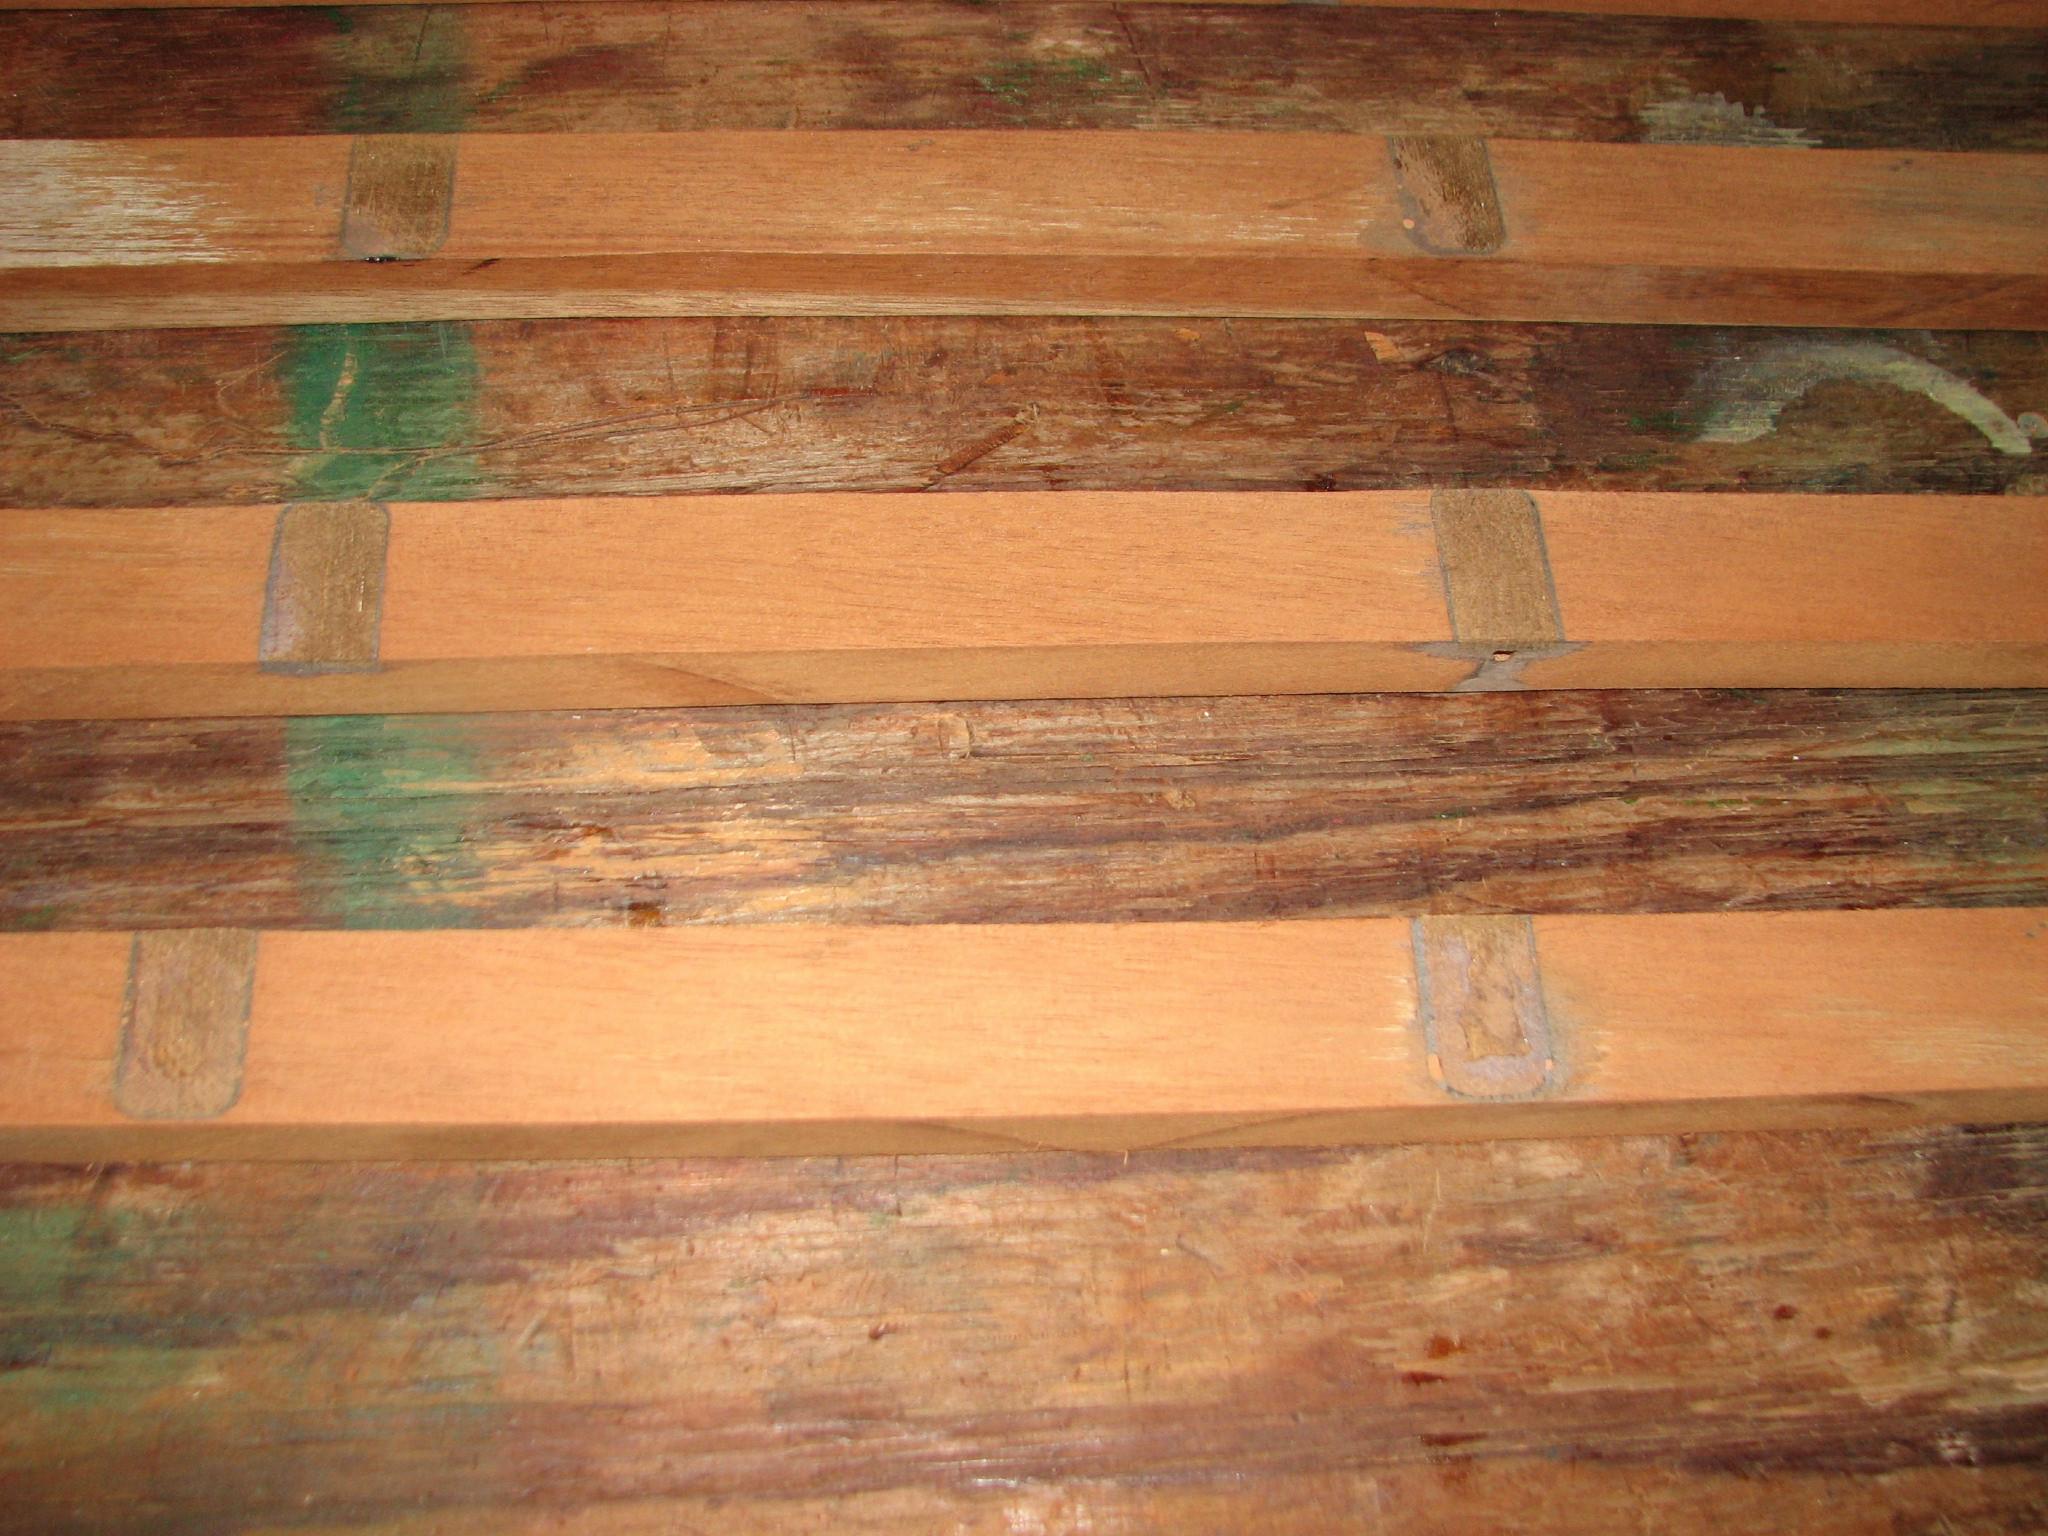
Sanded
Hole Hiding Pieces
Name
Boards Undergoing Sanding Process
I
then went back to DREAM AWAY for breakfast. While Kitty was preparing
breakfast, I got out the mitre saw that will be needed to angle cut
the electronics shelf new teak trim. I also took the current
electronics shelf off of the bulkhead in the mid cabin, and got it
ready to take to the shop.
After
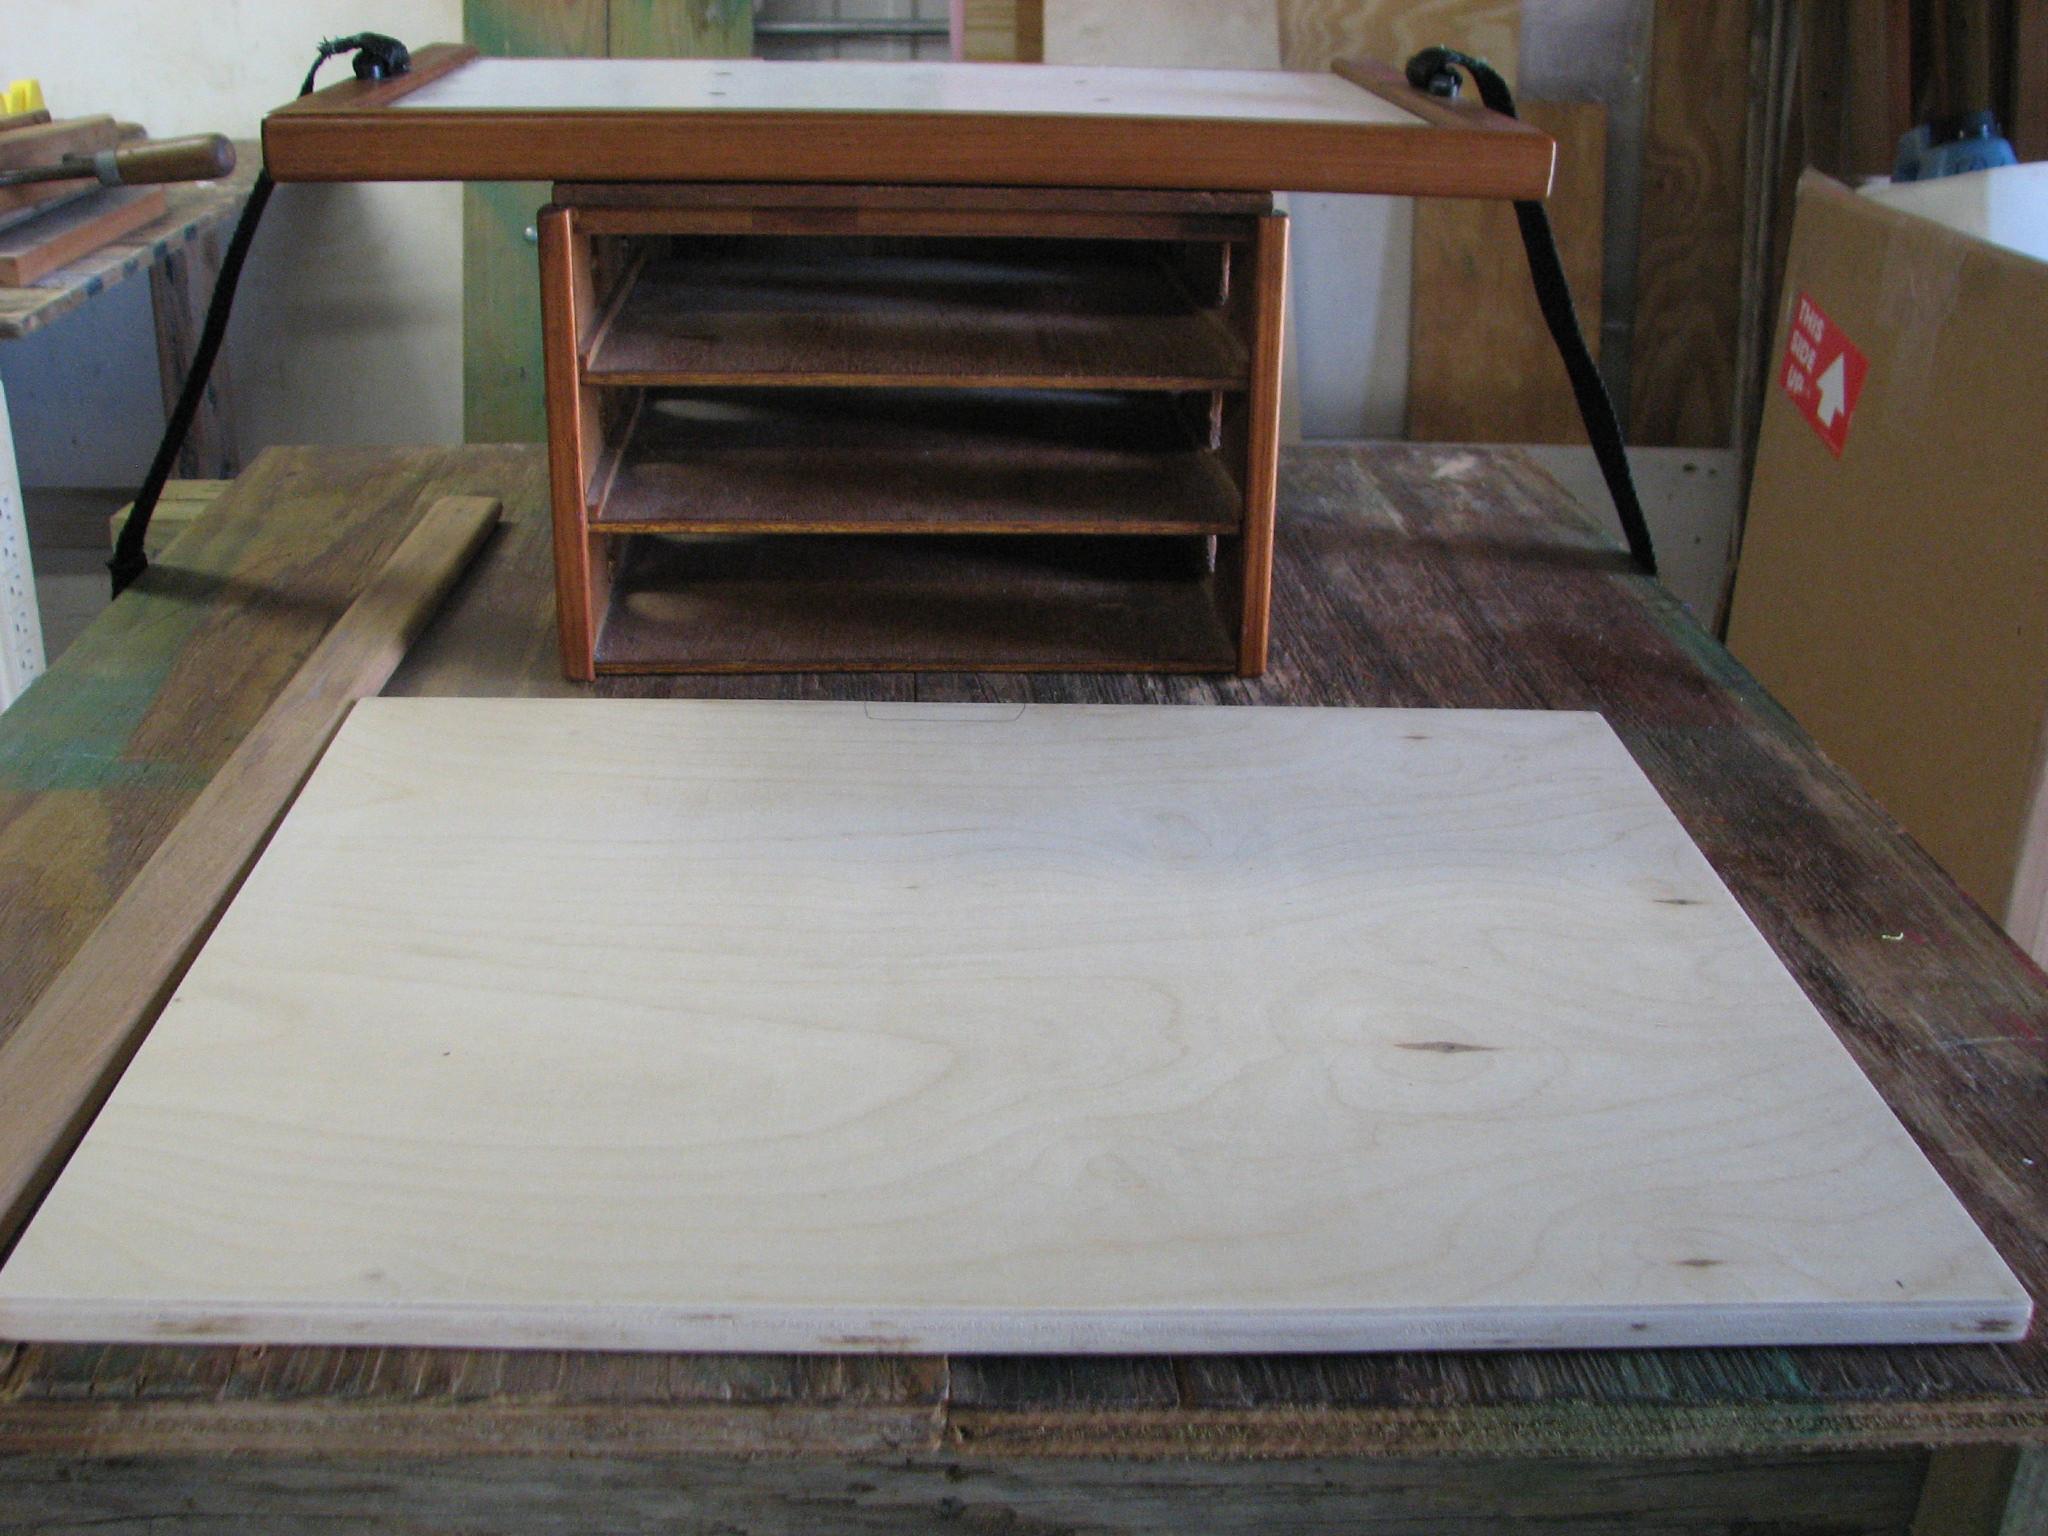
breakfast Kitty and I went over to the shop. We had the old
electronics shelf with us and I put it beside the new cut shelf and
new teak trim. Notice the straps on the old shelf. These are used to
hold the printer on the shelf while we are underway!
Old
Electronics Shelf And New Cut Shelf With Teak Trim
Now
we can finally get the AeroMarine
Products
table top epoxy poured on the main cabin table. From previous entries
you know I have already glued down and sealed the chart of Puerto
Rico onto the table top. We have been delayed from doing the epoxy
application because of schedules and cold weather. I really needed
some help with this process. I could do the mixing and pouring alone,
but if anything went wrong, it is nice to have an extra set of hands.
Once the epoxy is mixed, you can not stop the chemical process.
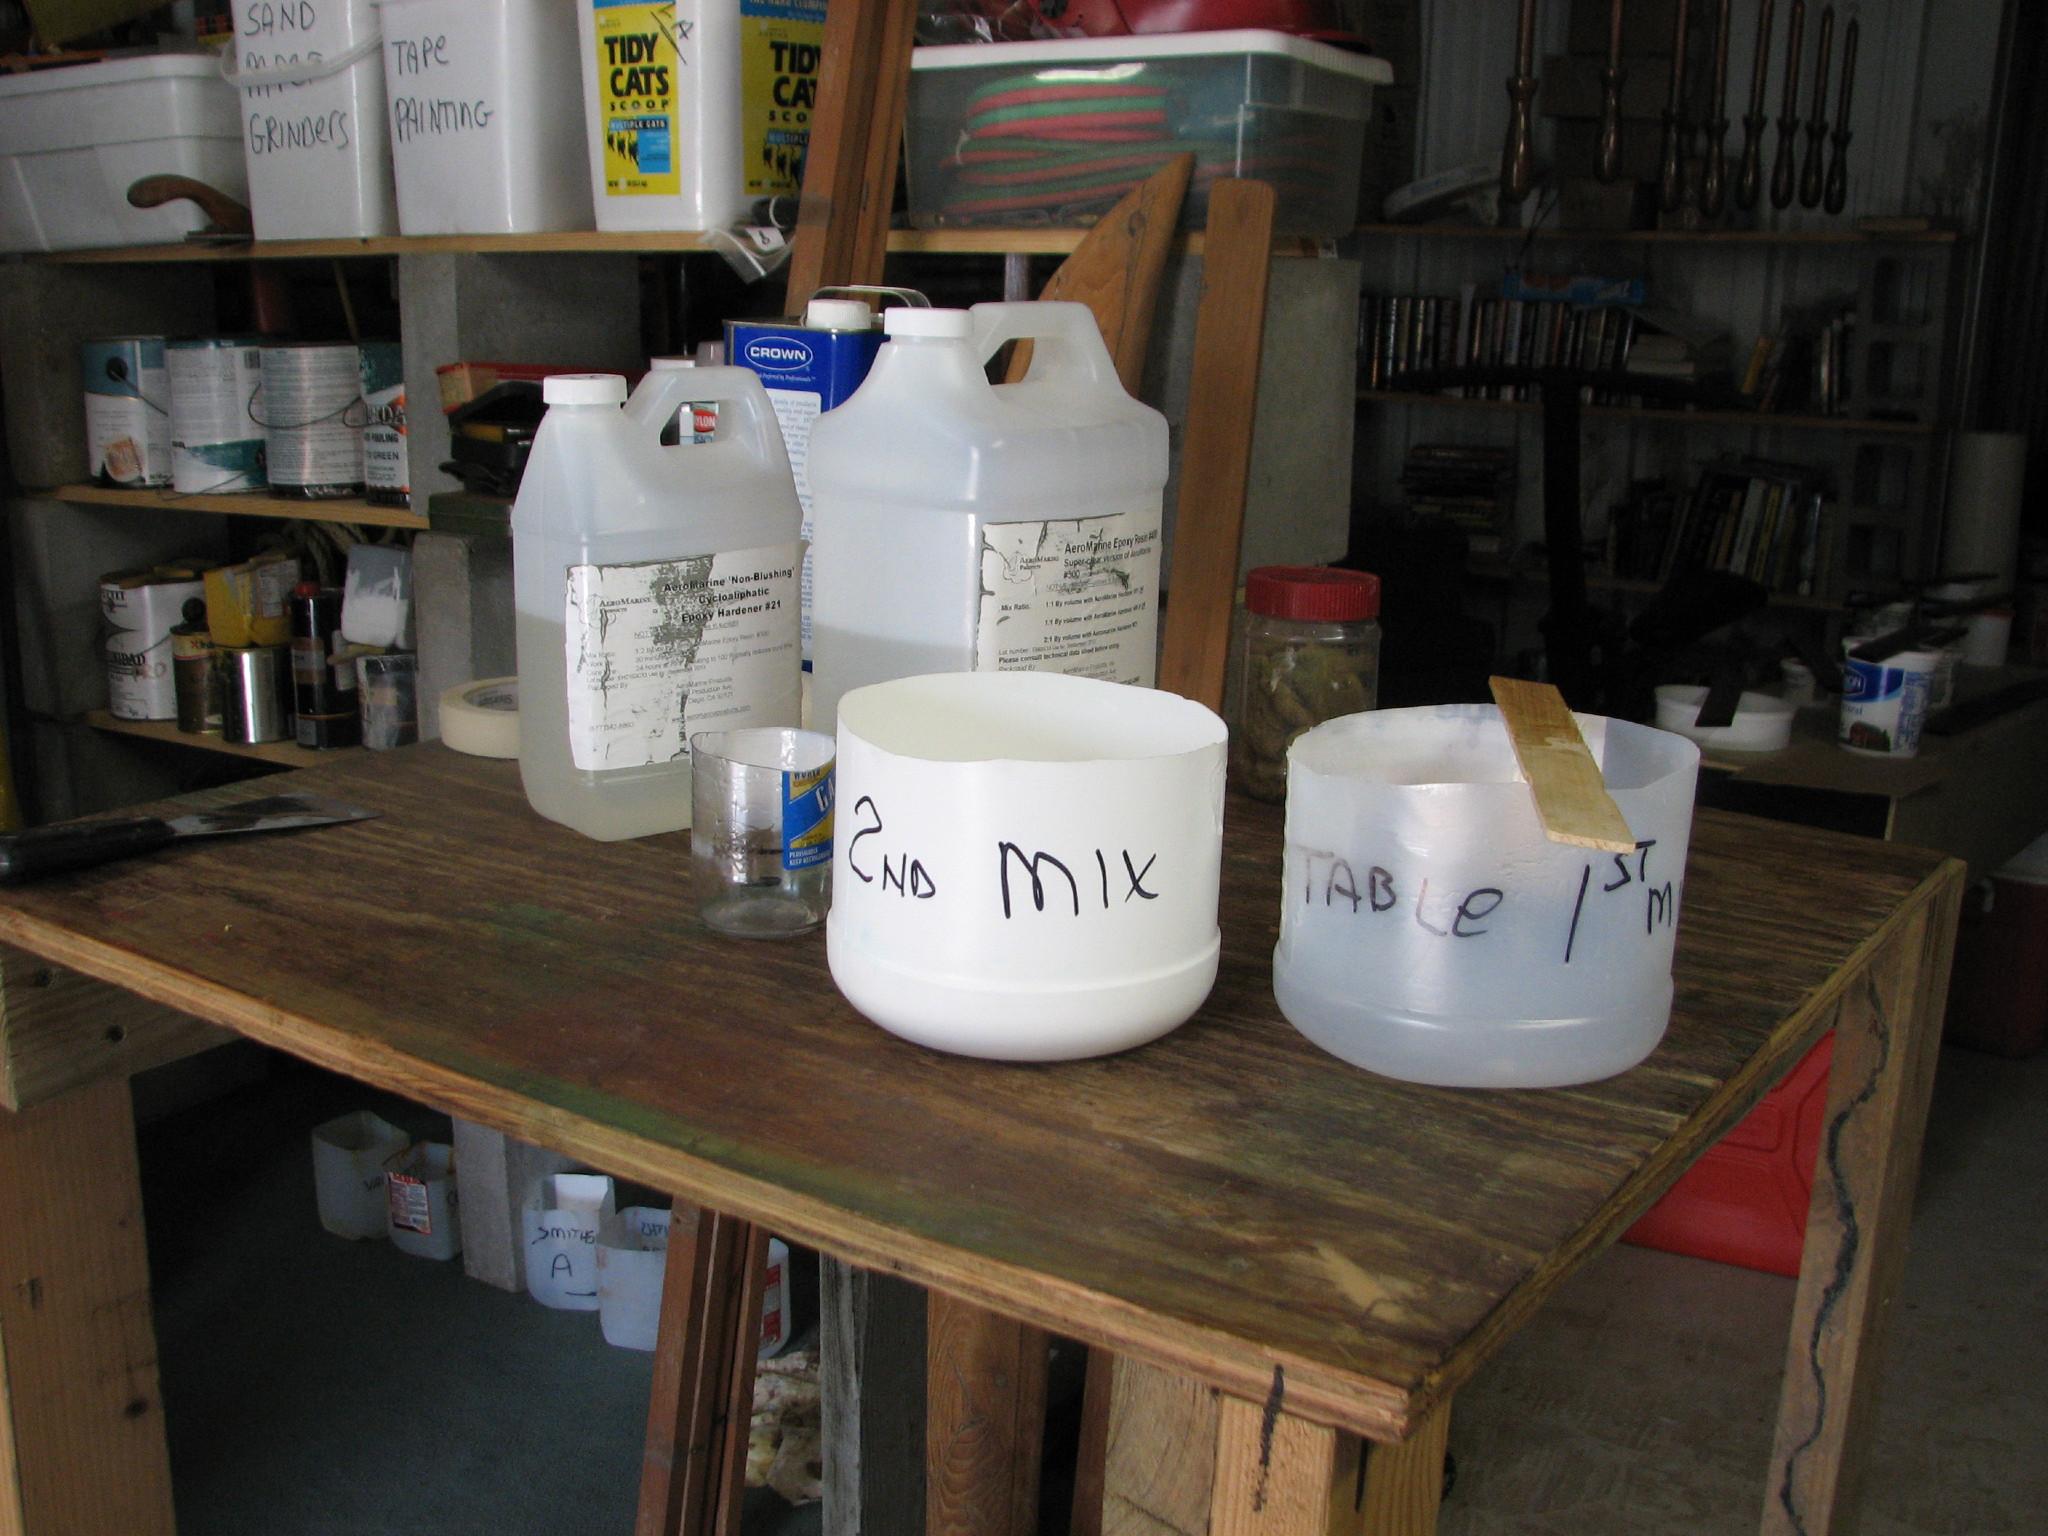
When
we arrived at the shop we got the application instruction out, and we
both read over them so we had the process straight. We then verified
that the table pieces were level. We then verified we had the proper
mixing containers, heat gun, resin and catalyst all ready to go.
Mixing
Containers, Resin And Catalyst Ready To Go
We
then started the mixing and pouring process. Since Kitty and I were
both involved in the process, and we had protective gloves on we did
not get any pictures taken during the process. After the first batch
was poured, Kitty used the heat gun on the poured epoxy to make the
bubbles disappear. While she was doing that, I was measuring out the
next batch of resin. They recommended a first mixing container, then
pouring that mix into a second mixing container, so that is what we
did. We continued this until both pieces of the main cabin table were
covered.
Main
Cabin Table First Piece With Epoxy Applied

Main
Cabin Table Second Piece With Epoxy Applied
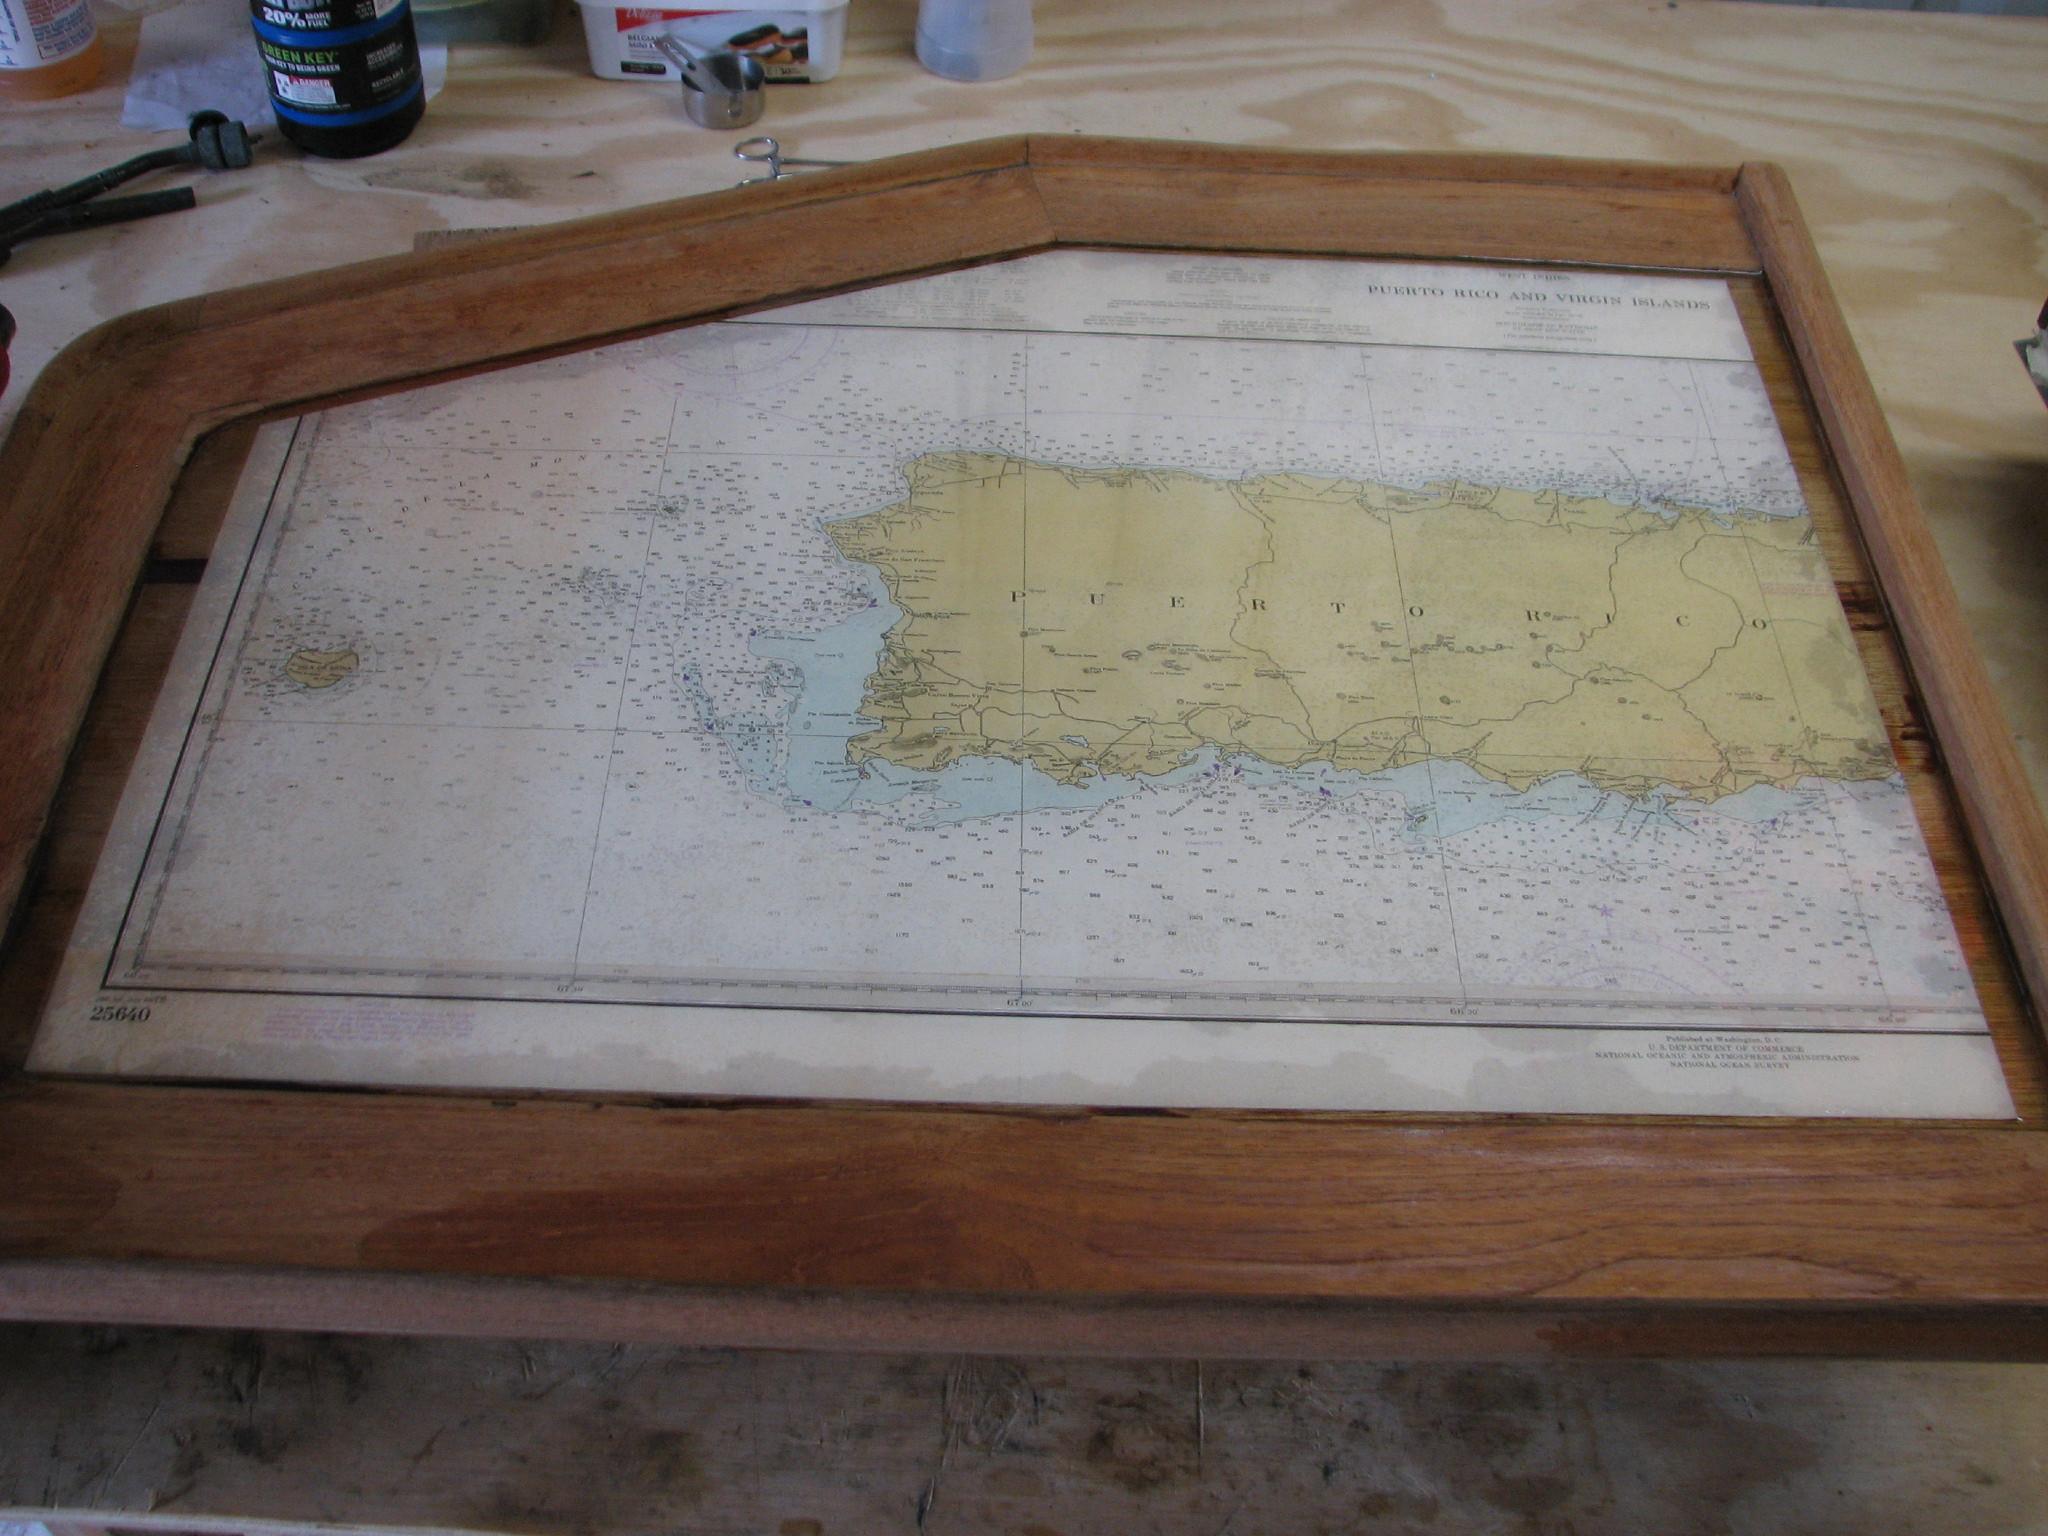
Finished
Main Cabin Table
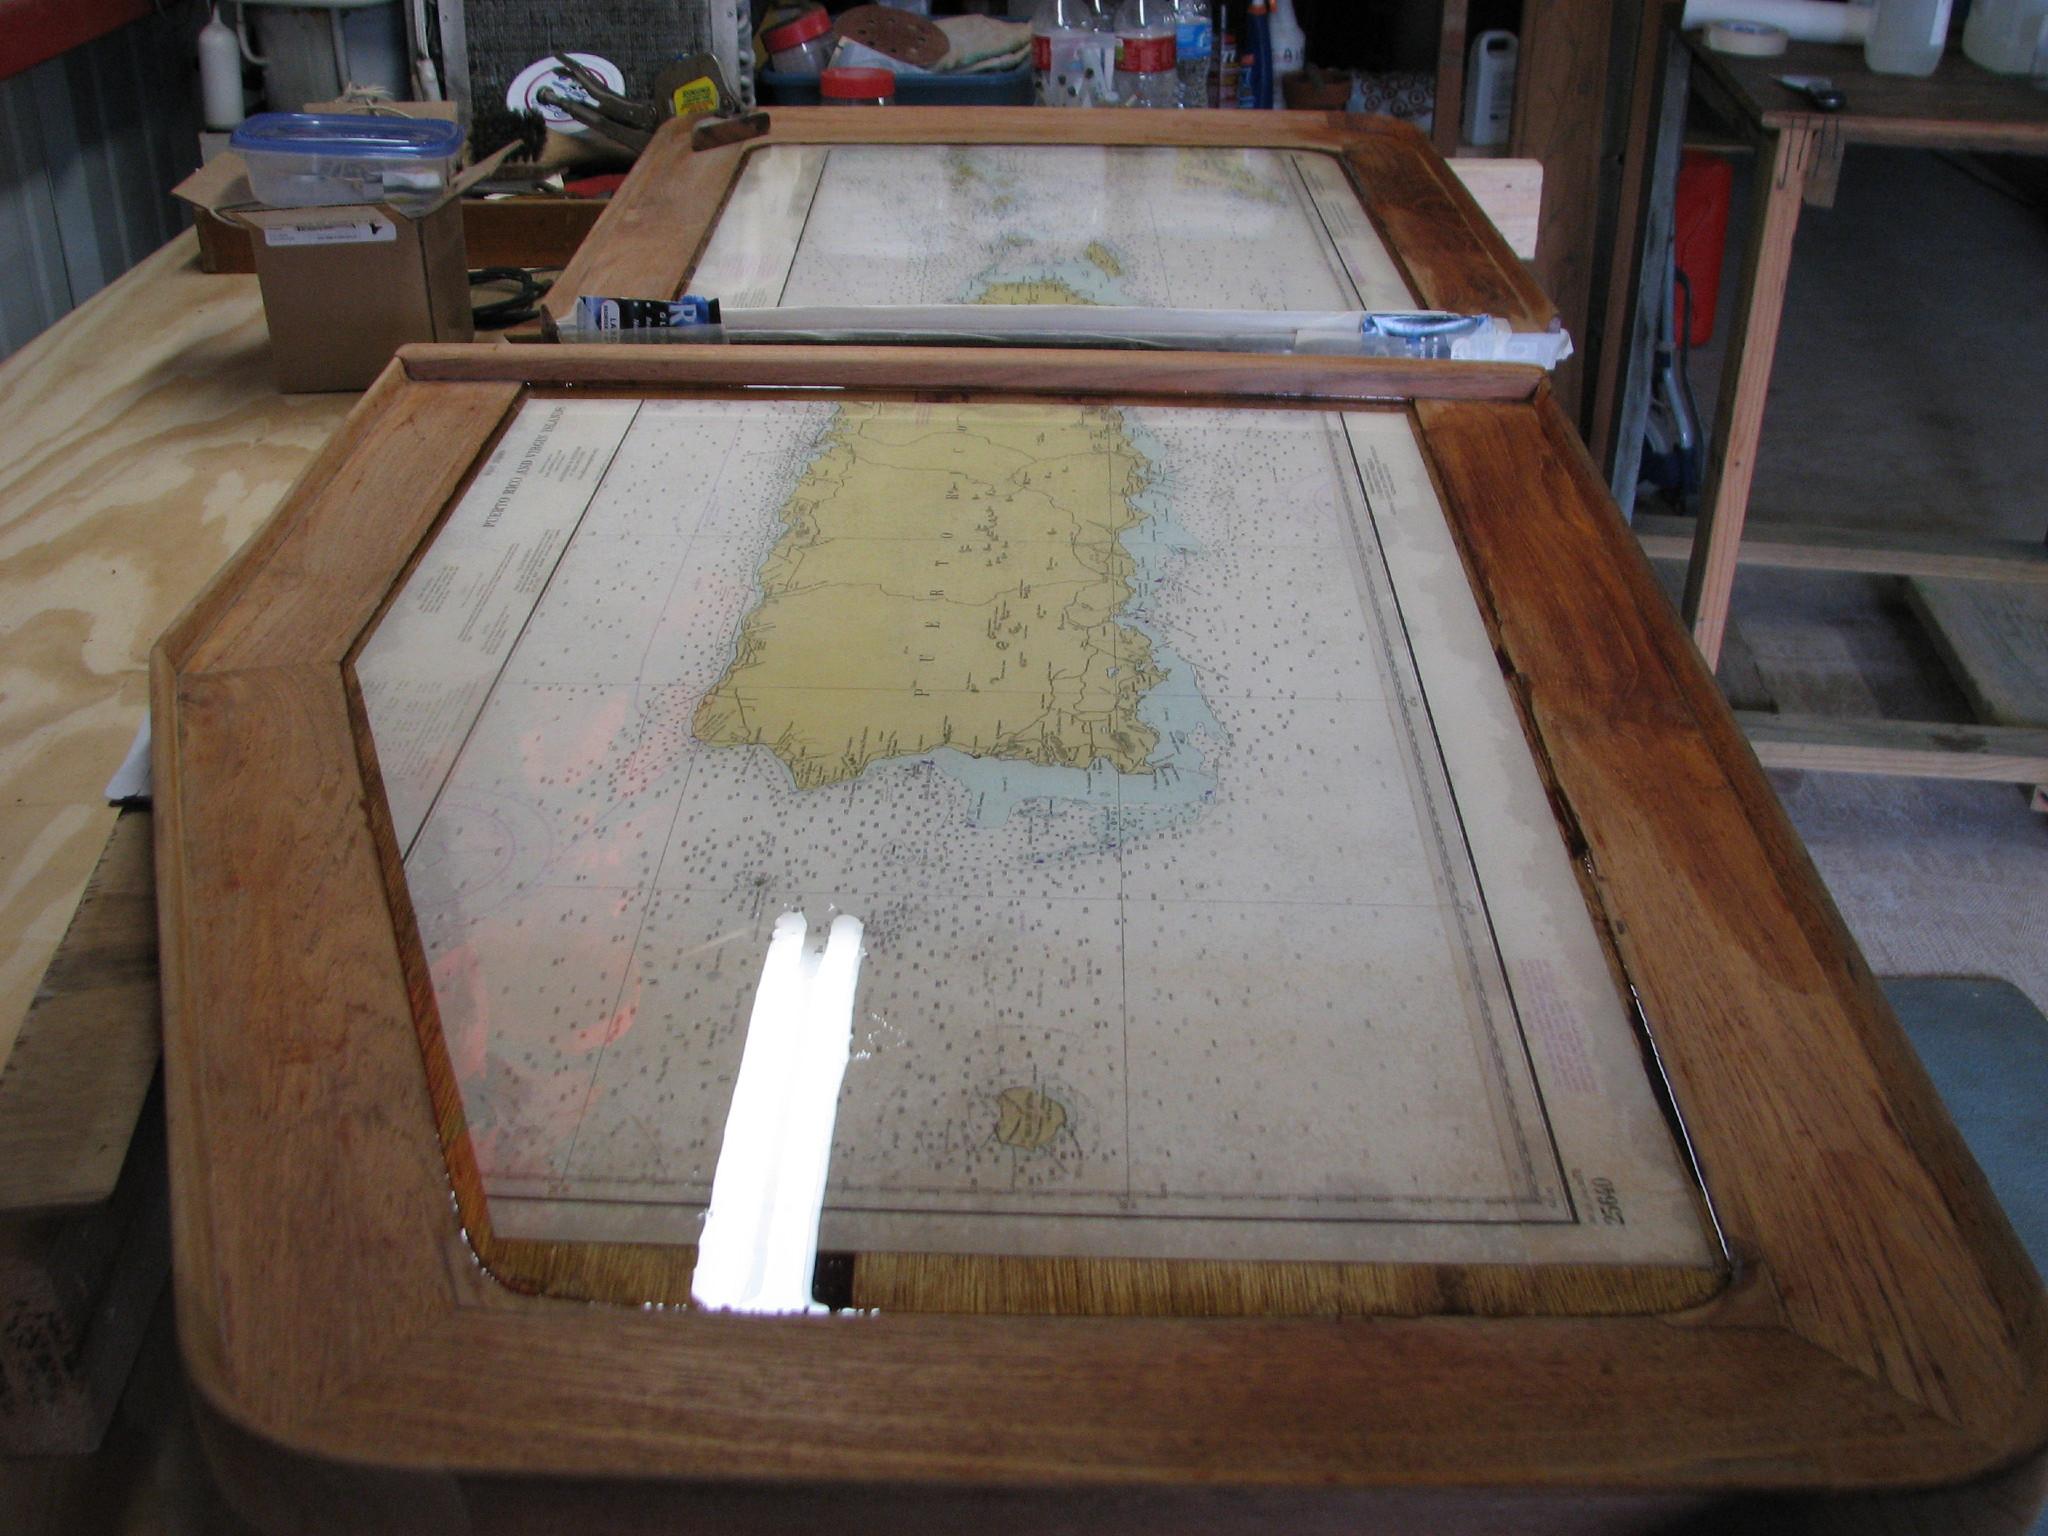
We
then cleaned up the area, and left the shop. I did not want us to
cause any dust to get into the air that would land and then adhere to
the wet epoxy. I am sure there will be some anyway.
Last
project for the day was not for DREAM AWAY, but for the marina. The
port director had asked me to install two address signs on the marina
mailbox, which I agreed to do after the boat show. Today was the
first really nice day in which I had time, so Kitty and I did the
deed!
New
Address Sign On Marina Mailbox
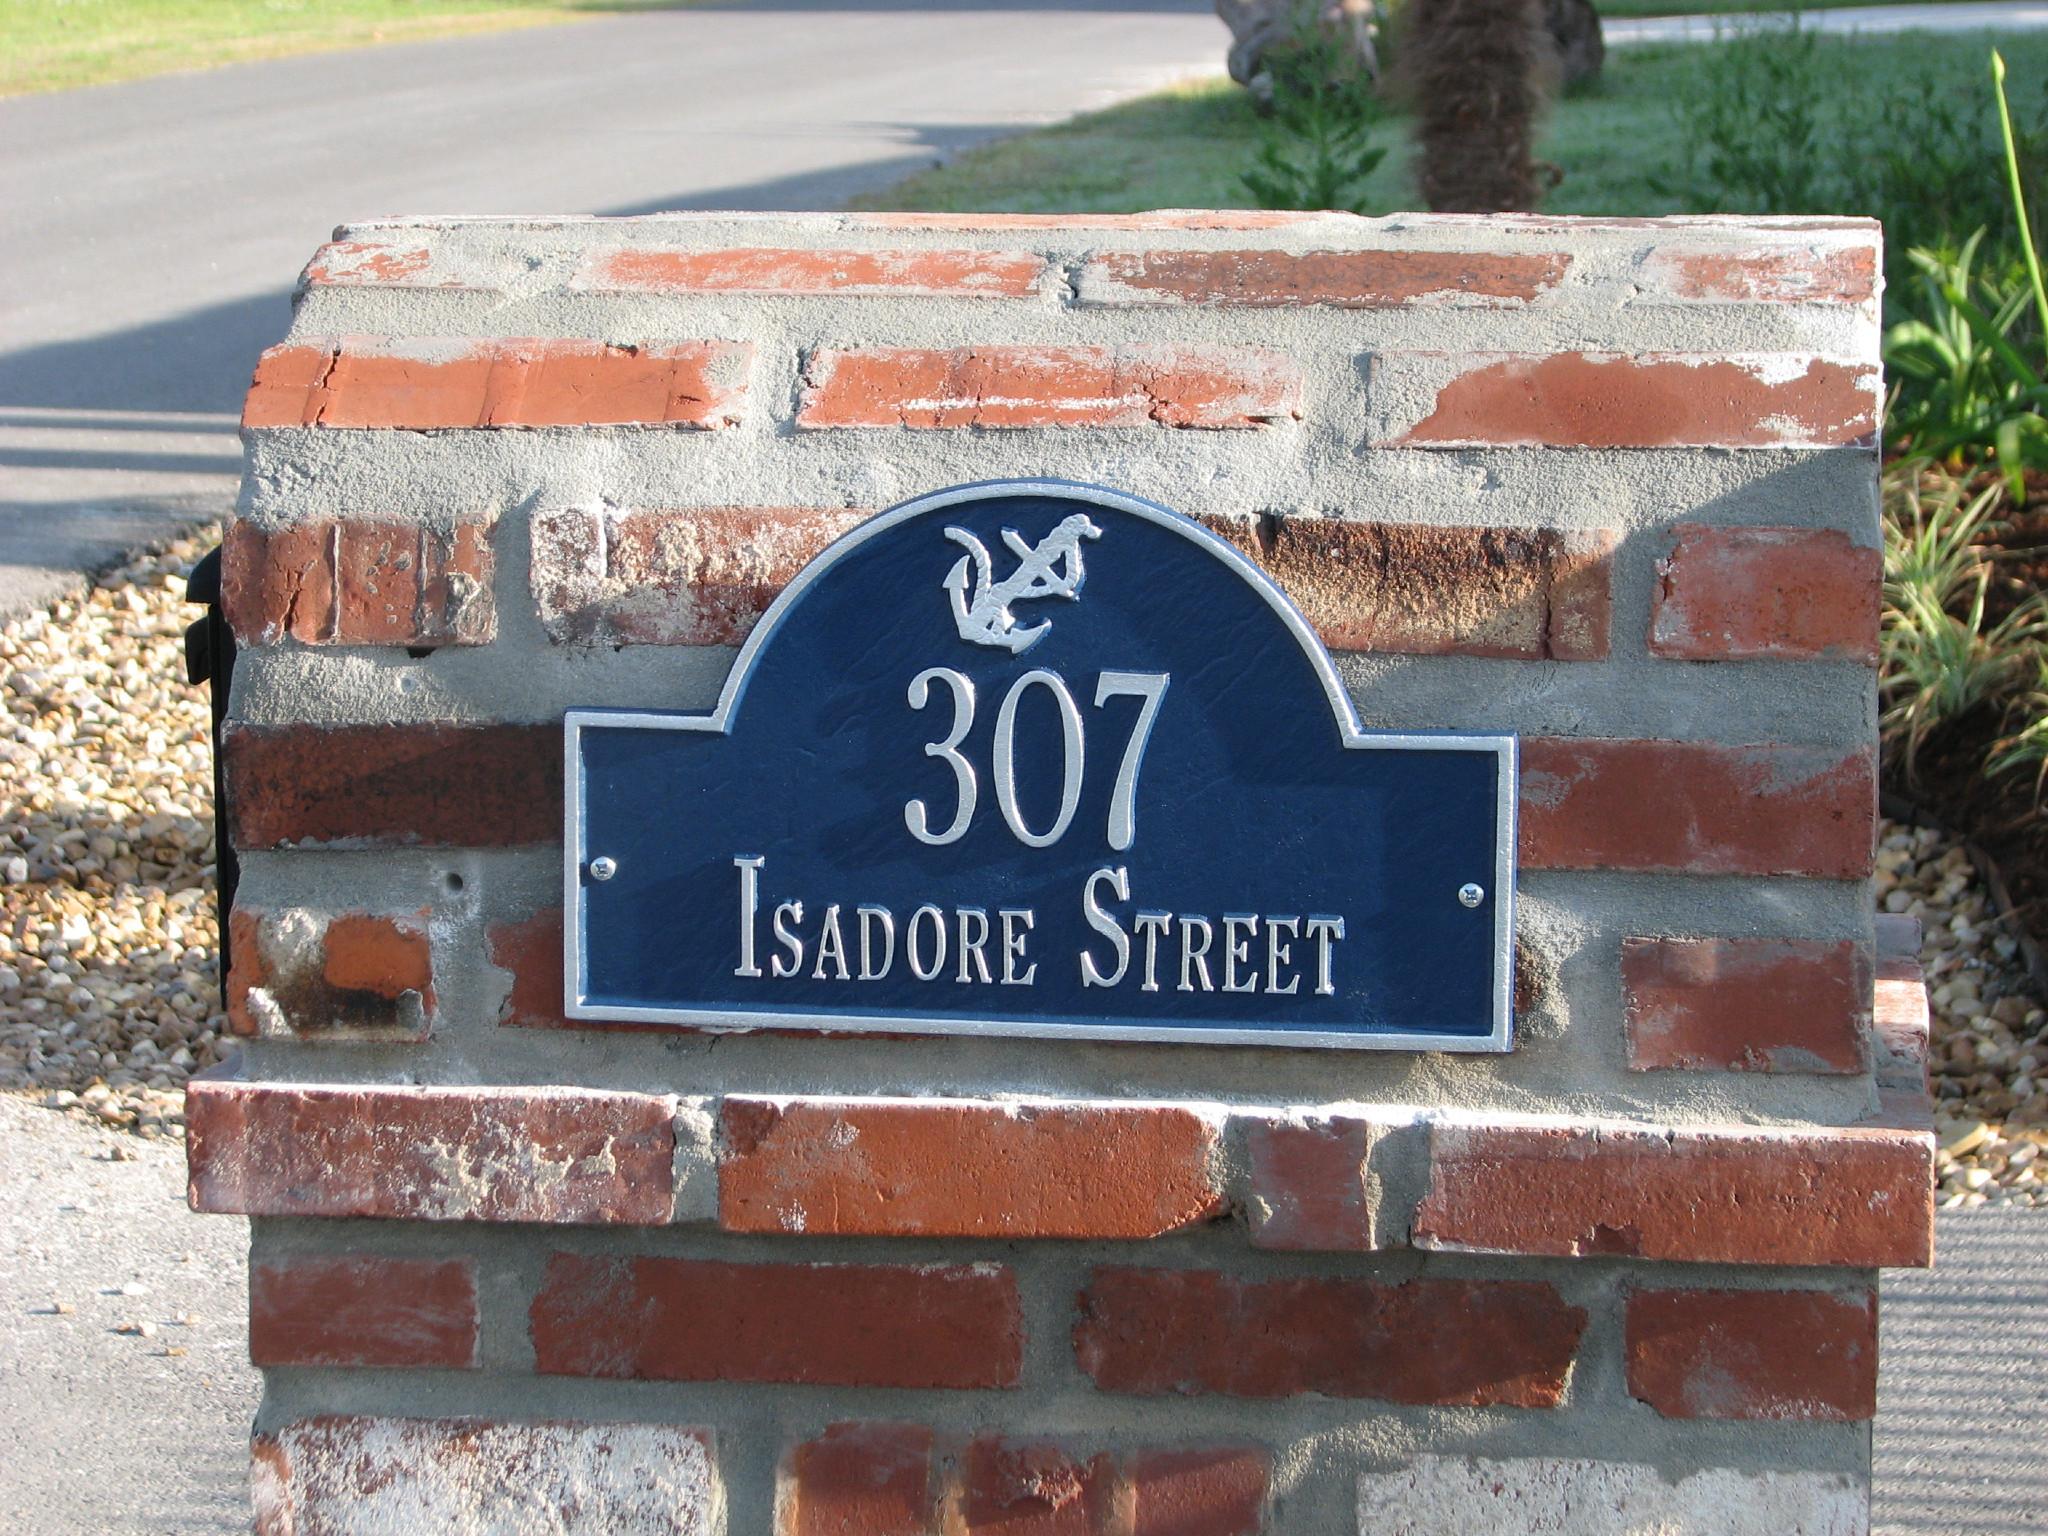
April
8, 2013, Monday
Started
off the morning with my normal ritual of getting on the Internet,
answering email, checking the weather, while making a pot of coffee.
Also updated the maintenance log.
I
have a doctor’s appointment this morning, but could not stand it. I
walked over to the shop to check on the main cabin table tops. They
look really great. I will let them sit for another 24 hours, then
will apply the dye to the remaining wood, and start the varnishing.
Since the table is so heavily used, I will be putting on nine or ten
coats of varnish.
Got
back from the doctor and errands, that I did not make it back to the
shop. Remainder of day and night catching up on email.
April
9, 2013, Tuesday
Started
off the morning with my normal ritual of getting on the Internet,
answering email, checking the weather, while making a pot of coffee.
Also updated the maintenance log.
Went
over to the shop and started in on the spare Yamaha outboard. I had
purchased a used bracket
assembly
off of Ebay, and it had arrived yesterday. The bracket
assembly
minus the steering bracket I plan on installing on my outboard. The
steering bracket on the spare outboard is broken, and needed
replaced.
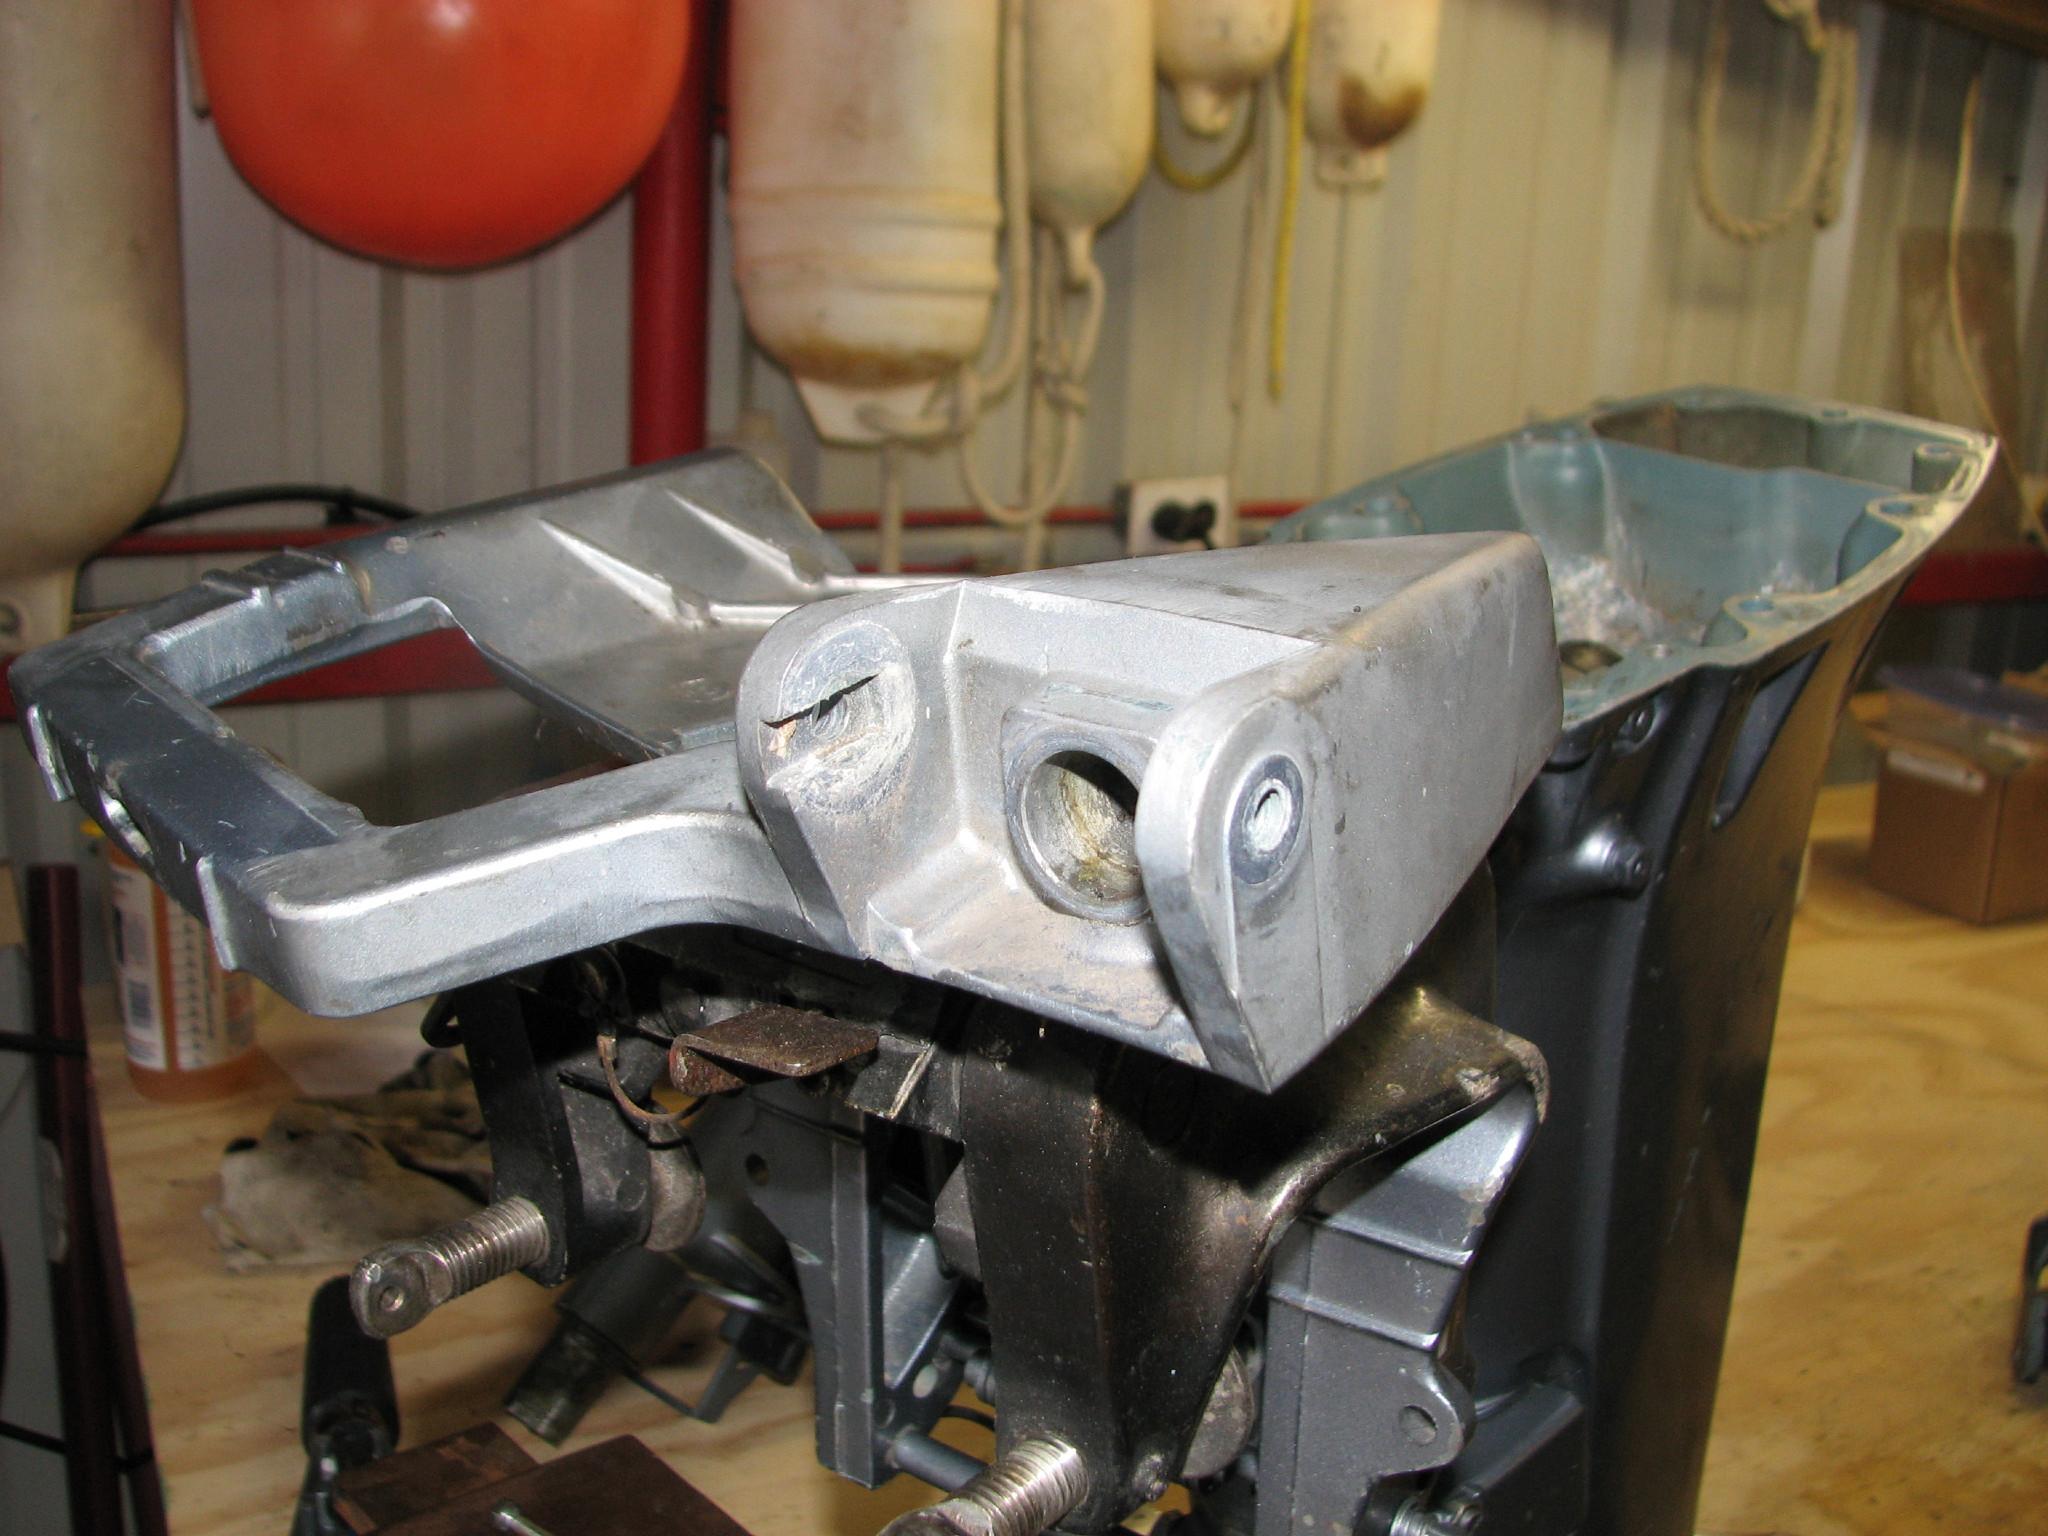
Broken
Steering Bracket On Spare Outboard Bracket
Assembly
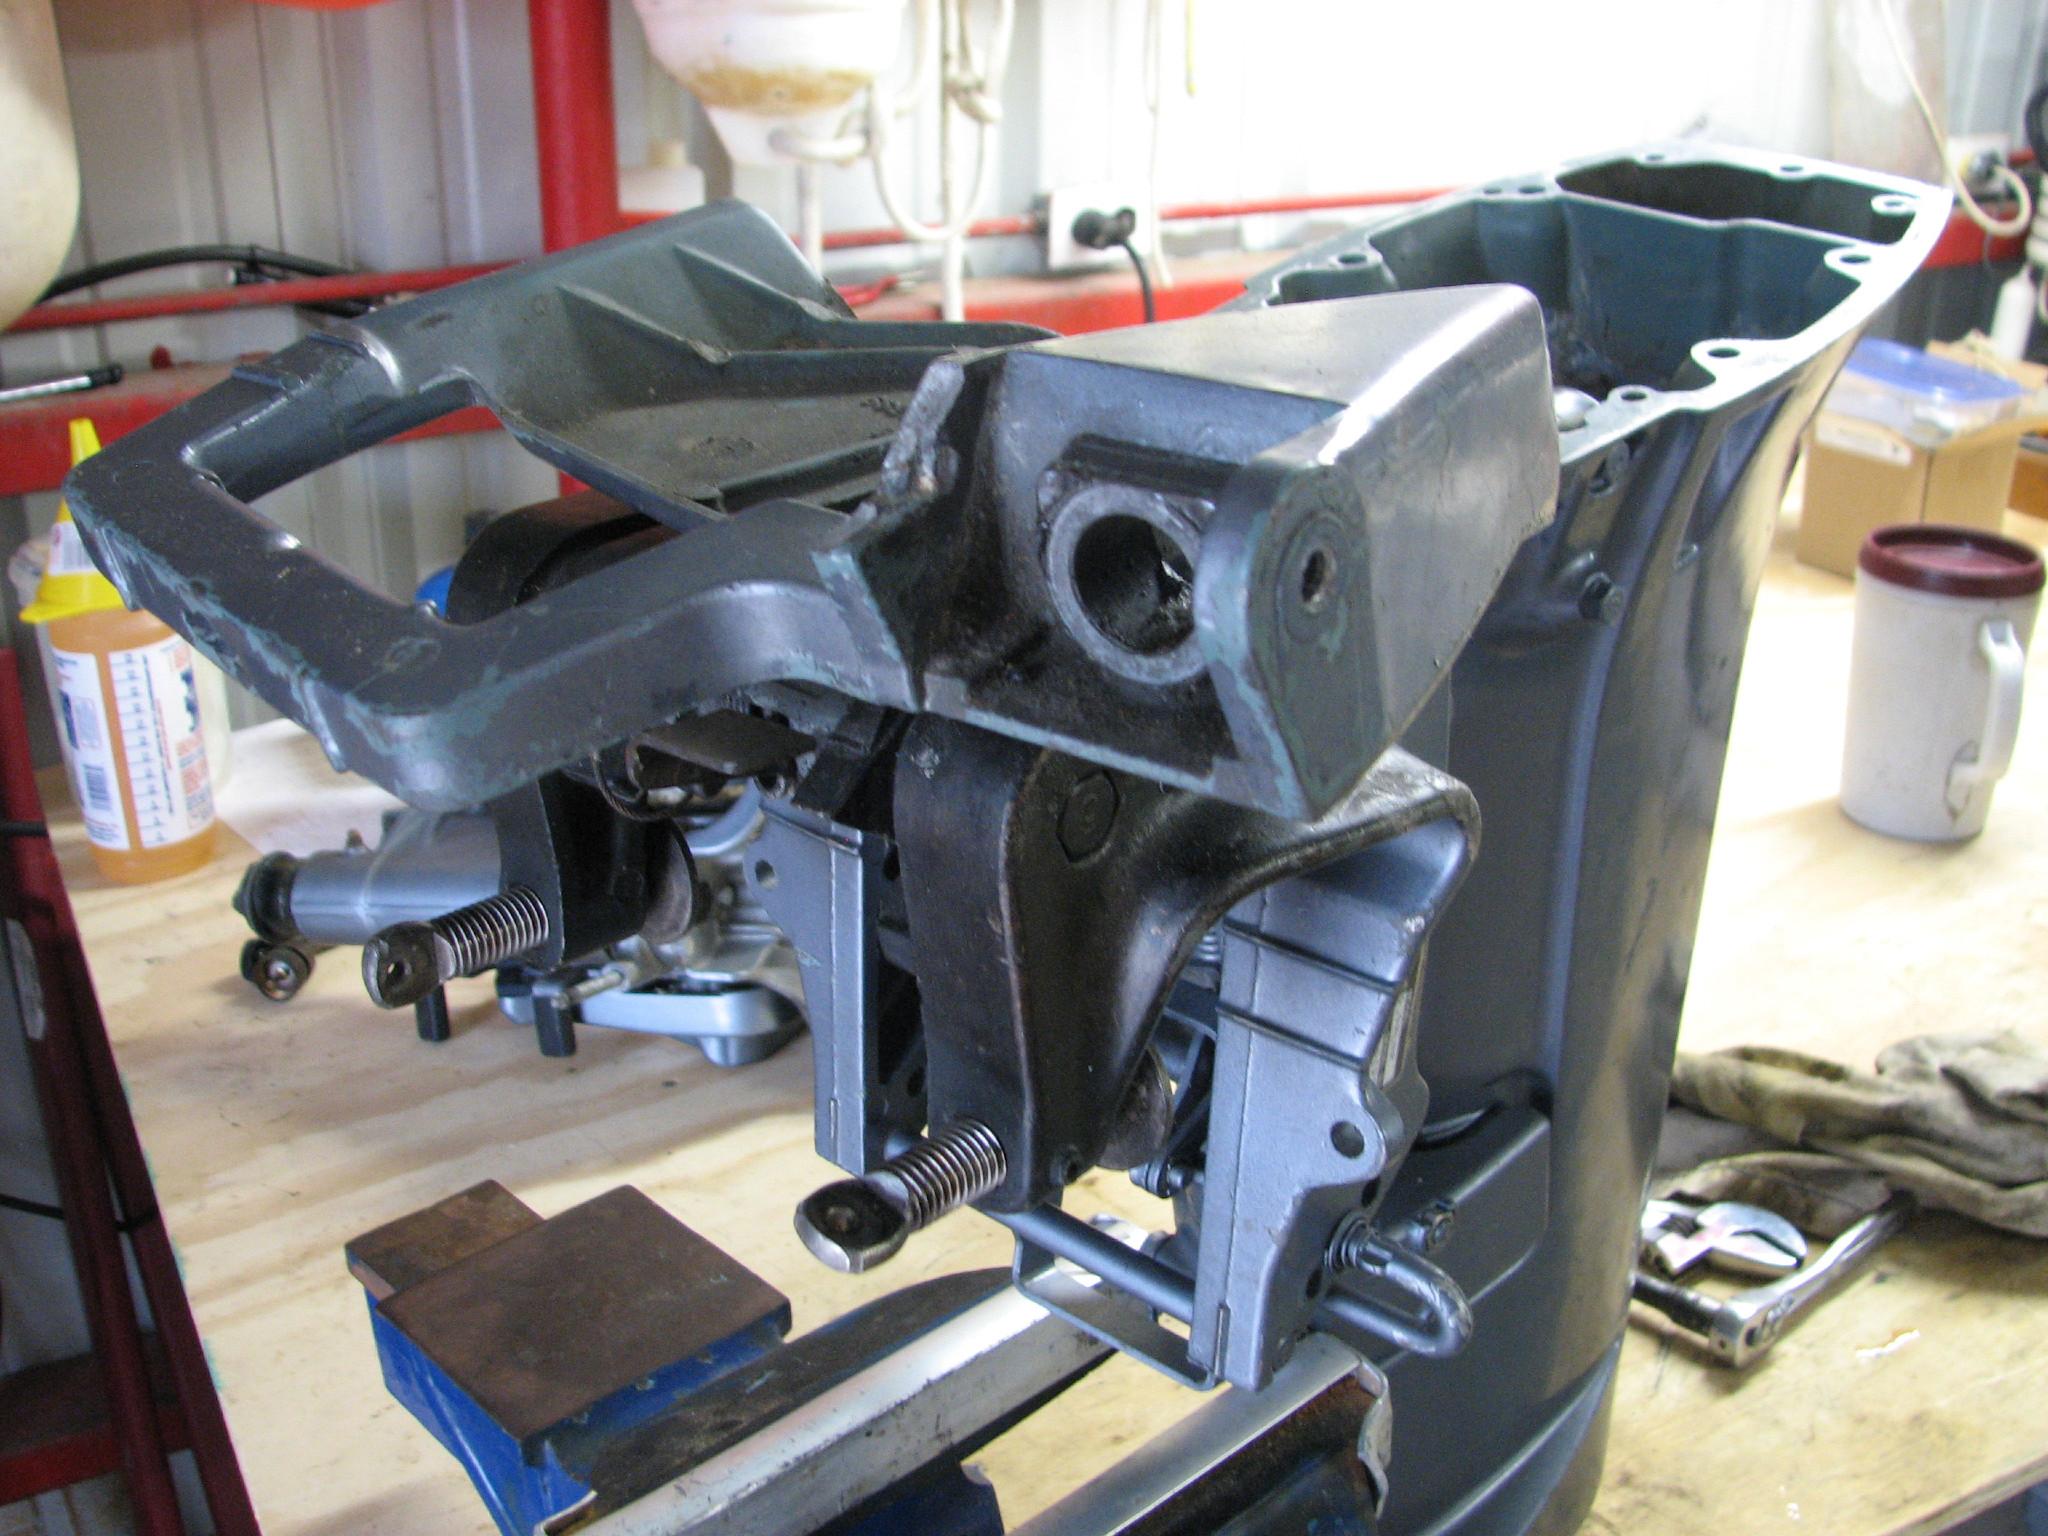
I
am still working on the power head for the spare, but have not
purchased the left hand drill bits as yet.
New
Steering Bracket On Spare Outboard
I
went back to DREAM AWAY, and had breakfast. I also picked up the
mitre saw, and the tool used to put screens into frames. When I went
back to the shop, I started in on the aft cabin screen.
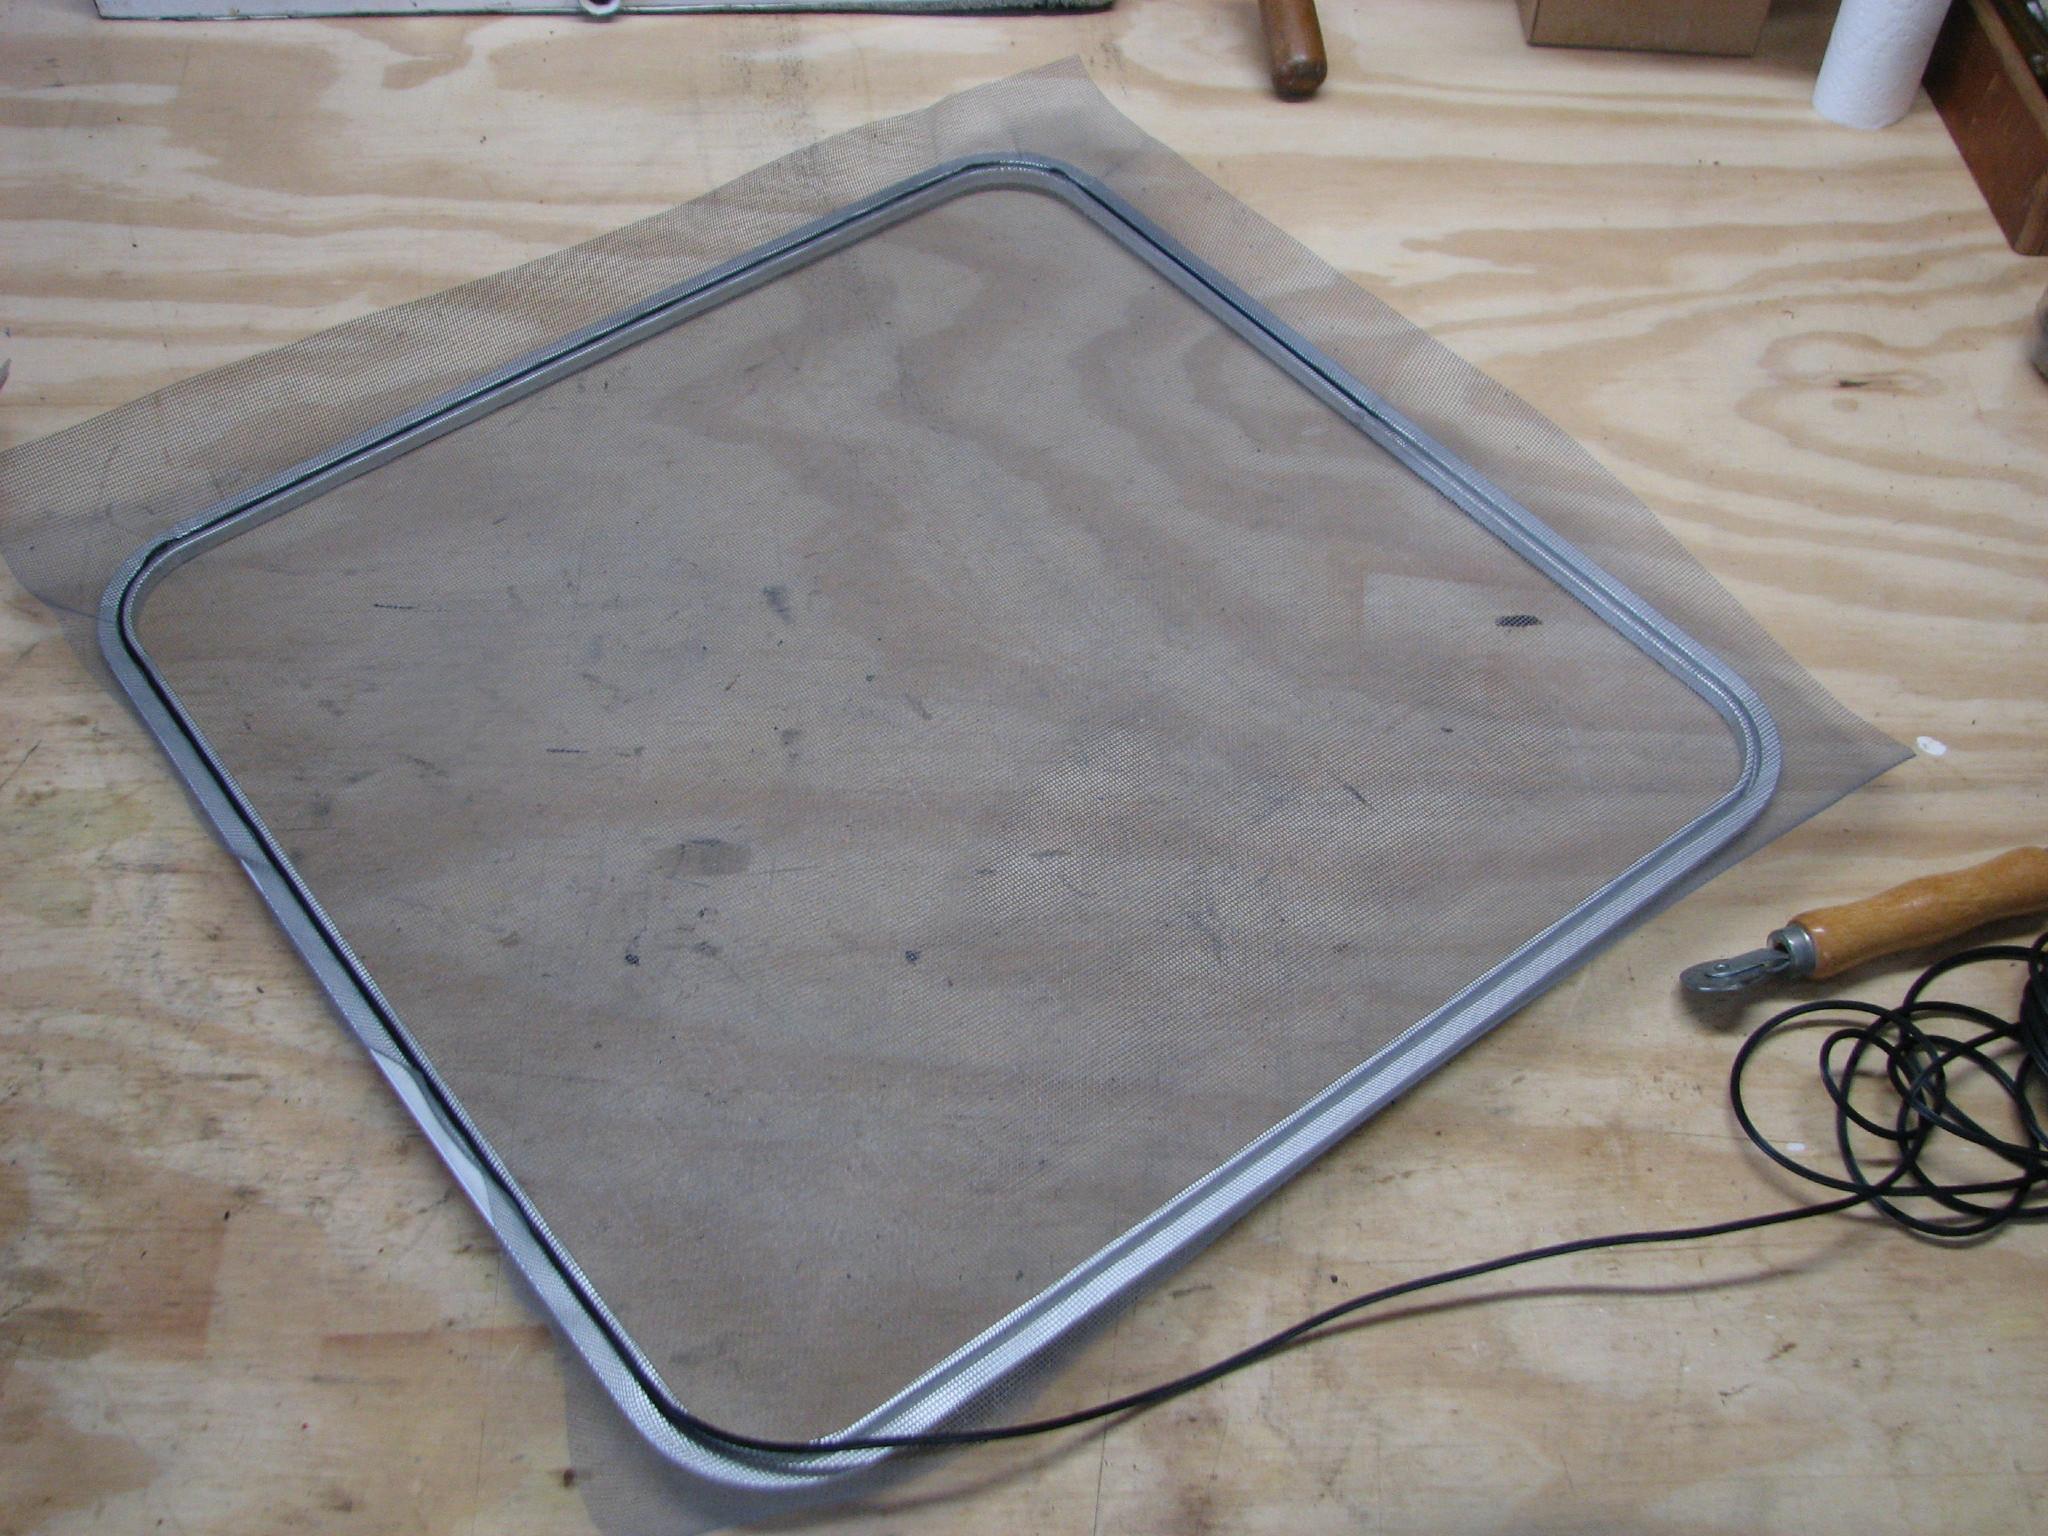
The
screen had been damaged, and the screen and the rubber holding in the
screen needed replaced. I had purchased both yesterday while we were
in Lafayette running errands.
I
cut the screen to the approximate size, and then using the proper
tool, put the screen back together. Having the screen repaired will
be important very soon as it gets warmer here in Louisiana, and all
nature of bugs are out!
Screen
Under Construction
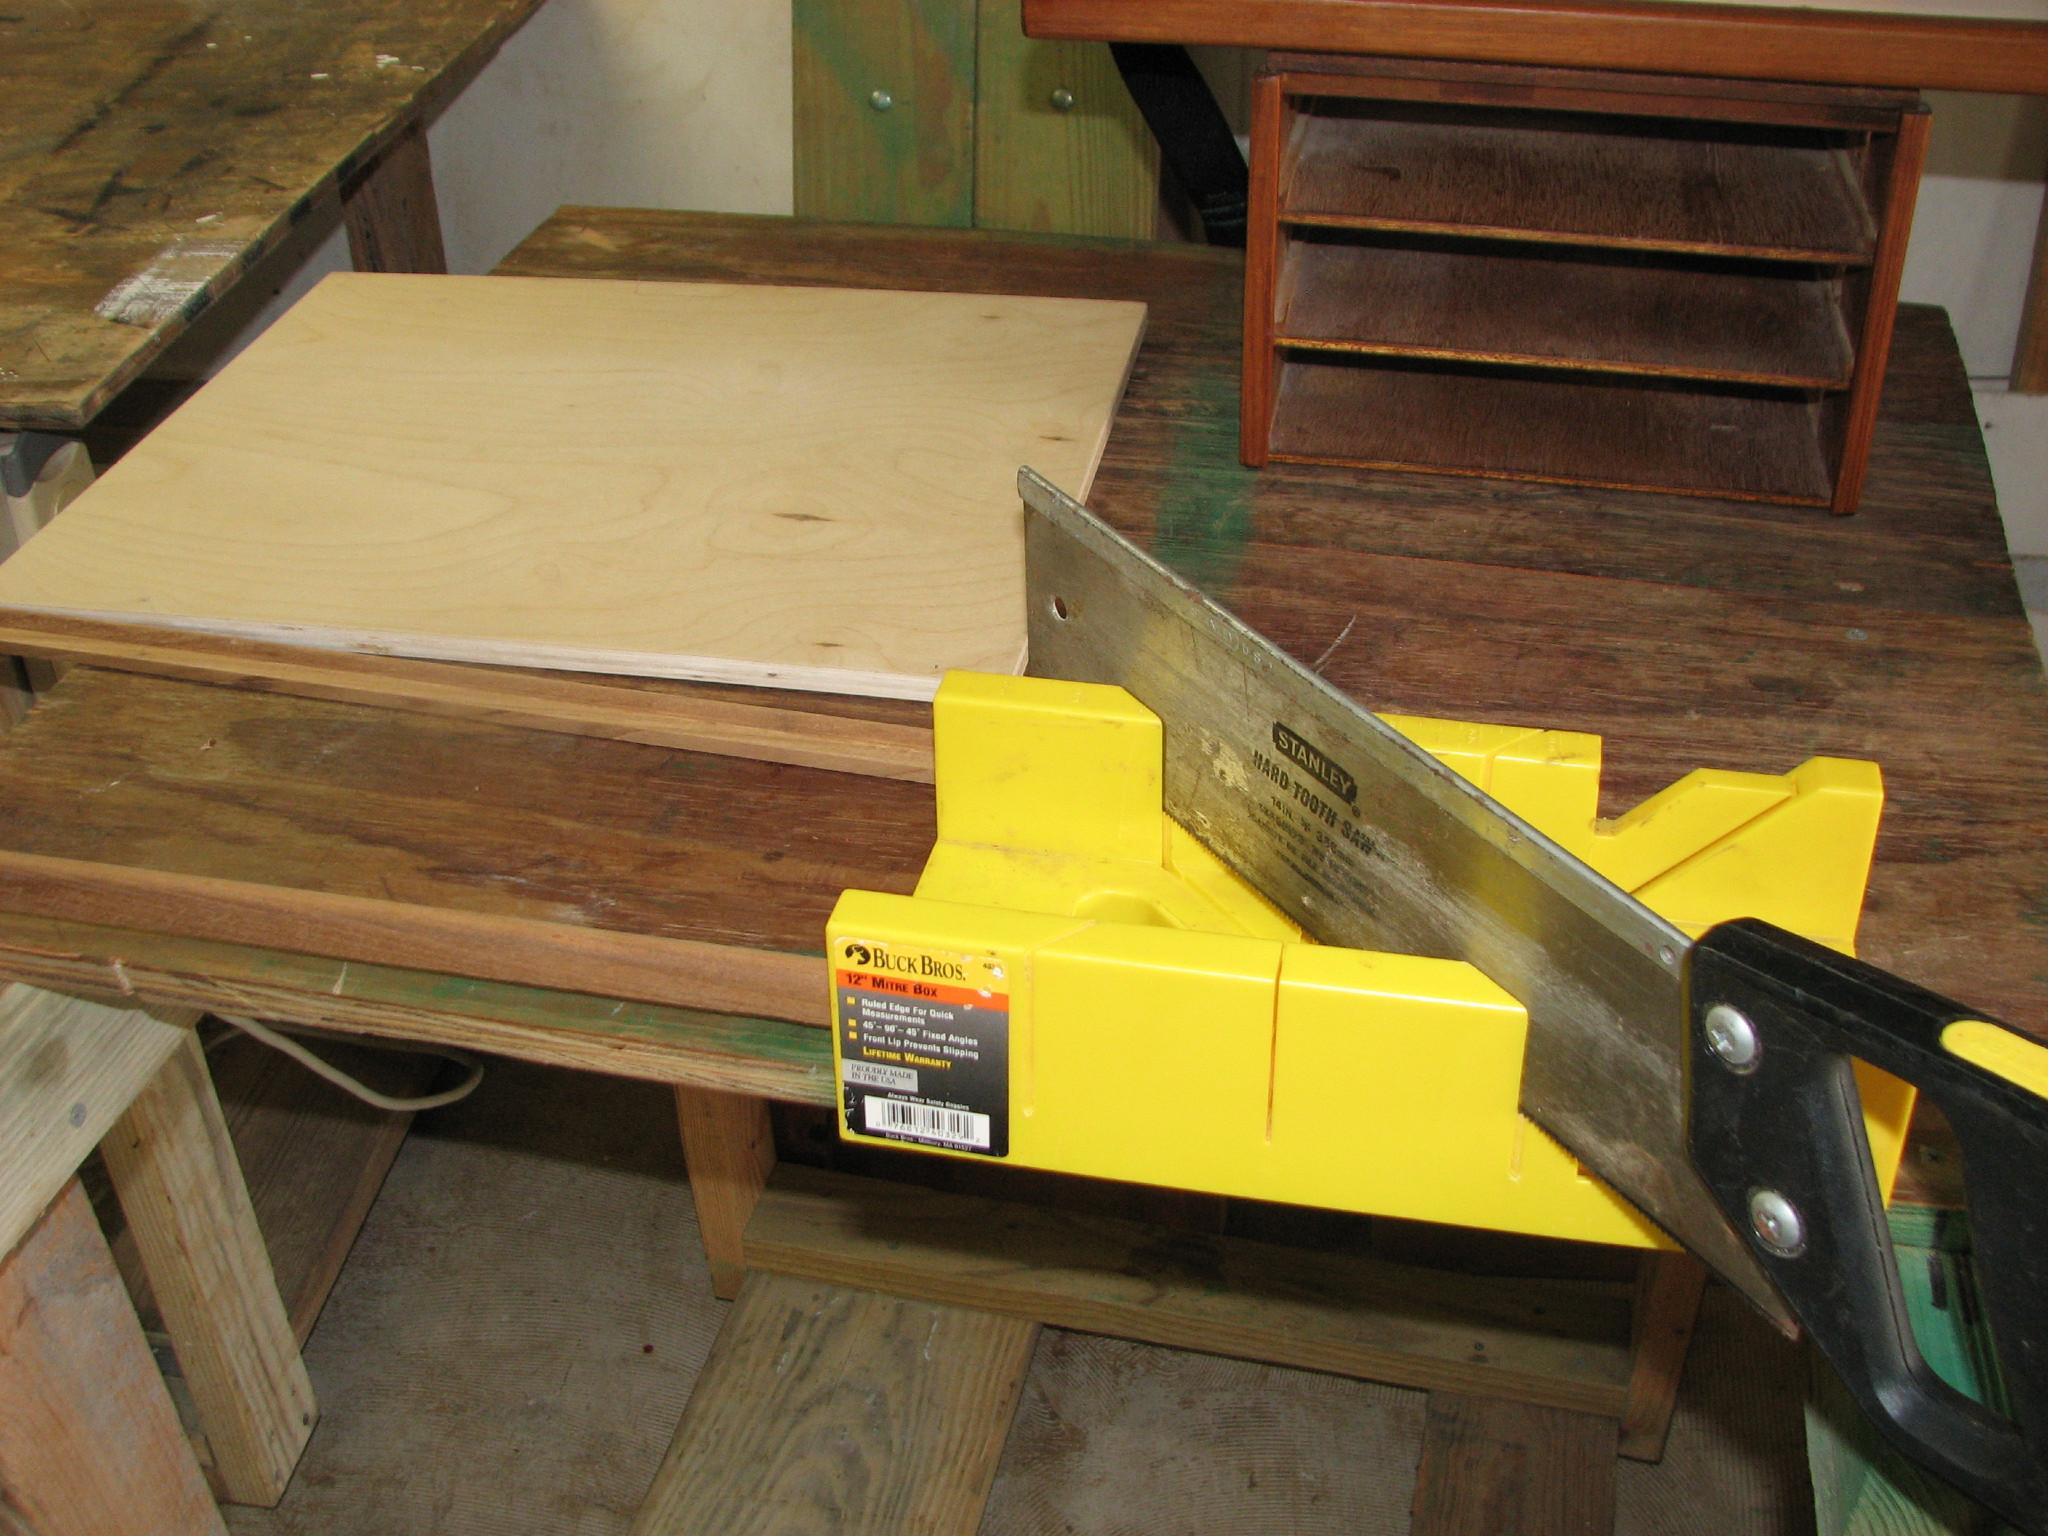
Next
on the project list was to cut the teak trim pieces for the new
electronic shelf. I used the mitre box and saw to get the exact 45
degree angles. Once I cut the trim pieces, and dry fit them to the
piece of plywood, I cut a notch at the back of the plywood piece for
cables. This will be for the power cable for the printer, once the
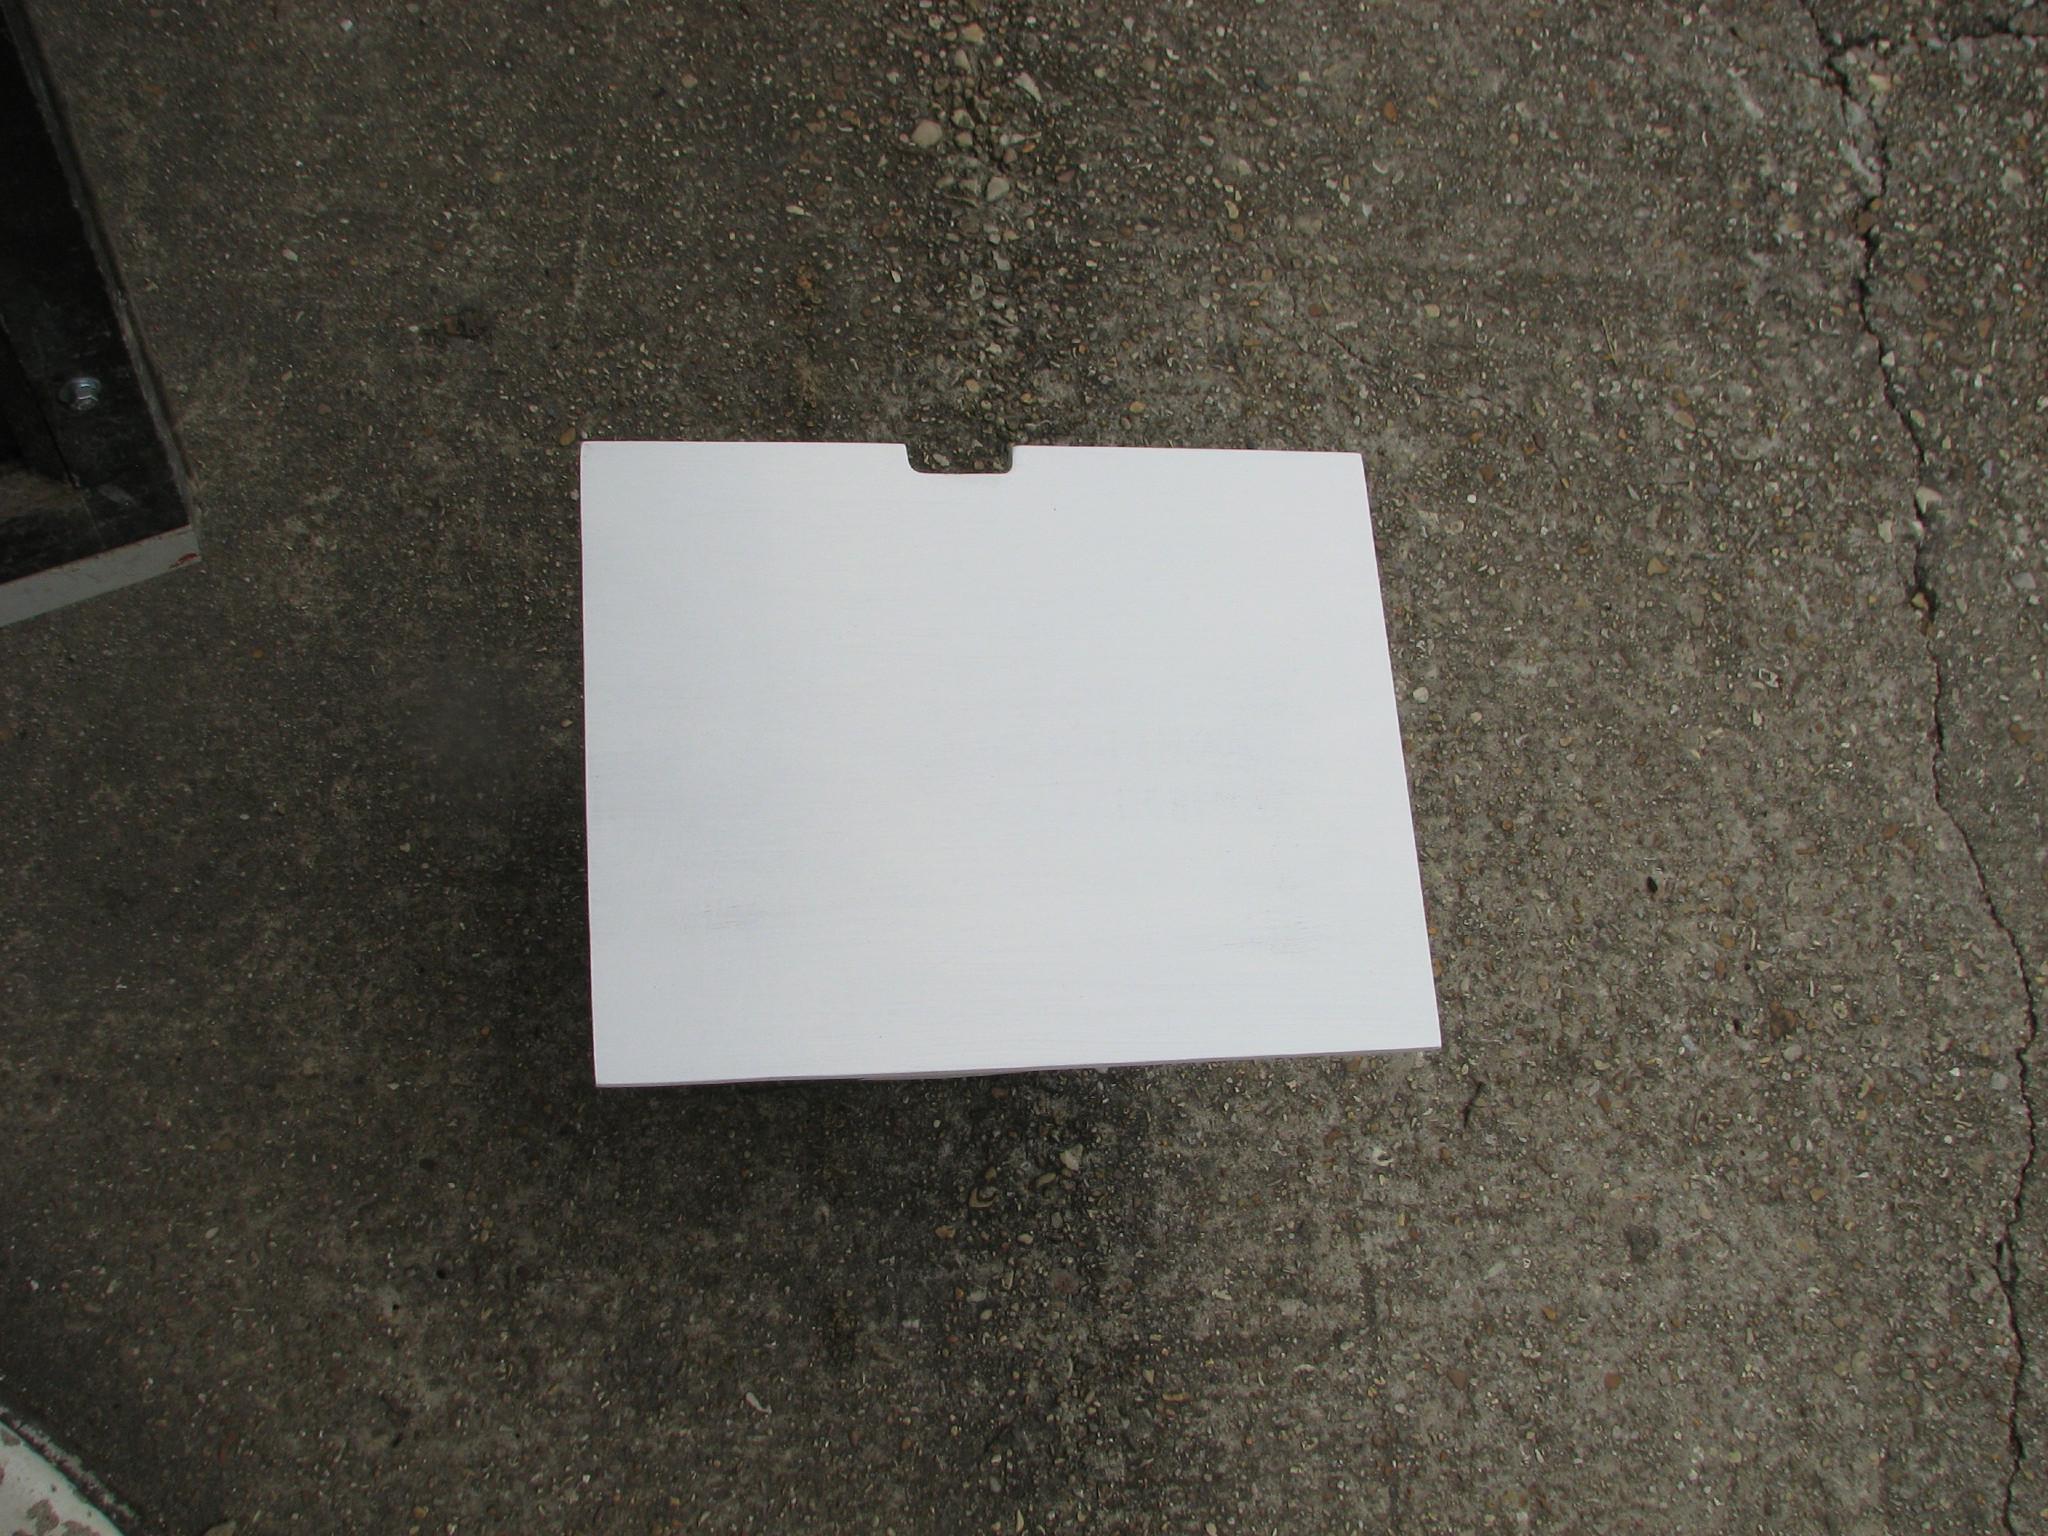
shelf is back in the mid cabin. I then sanded down the shelf and
applied paint, one coat at a time on both sides of the shelf. I am
using a latex paint on this shelf, so the paint dries very quick.
Mitre
Box, Saw, And Trim For Shelf
Painted
Shelf Drying
When
I came back from breakfast on DREAM AWAY, I also brought back another
piece of Panduit
wire duct
cover from the galley, and the iron. I ironed on another piece of the
teak tape to the Panduit
wire duct
cover.
Panduit
Wire Duct
Cover With Teak Tape
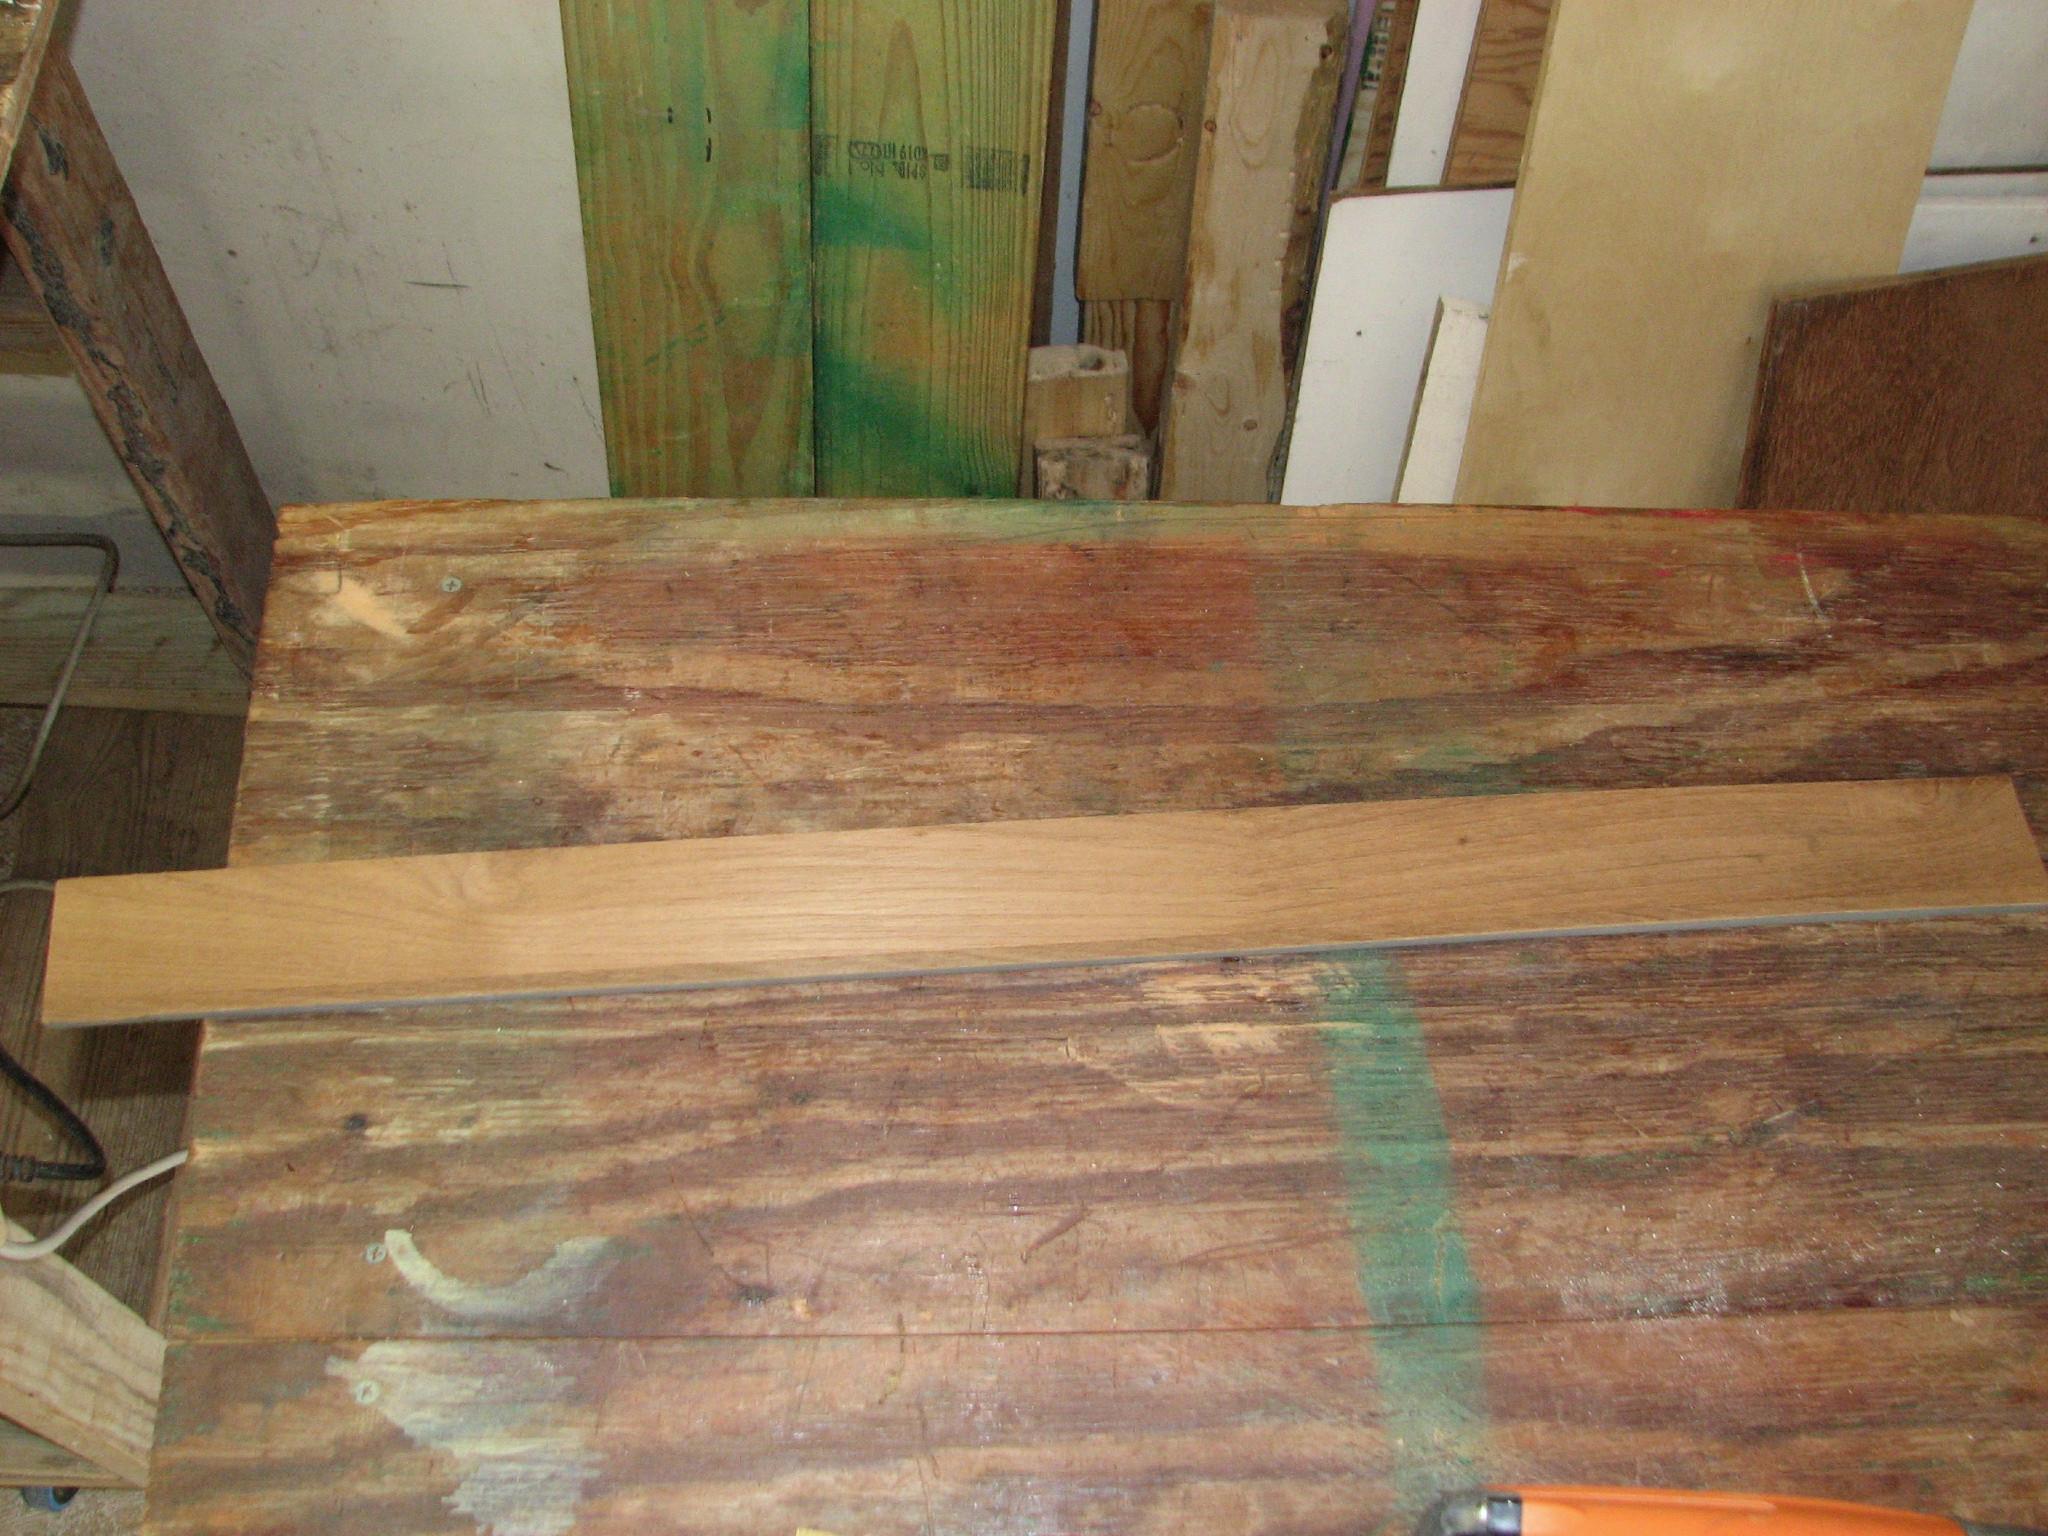
The
hole hiding pieces had been sanded down, so I spent some time working
with the pieces to figure out how they would go together, and make a
strong piece to use to hide the holes. I have a plan, but the real
problem is getting the room to put a 9’ piece of wood together.
Hole
Hiding Pieces On Workbench
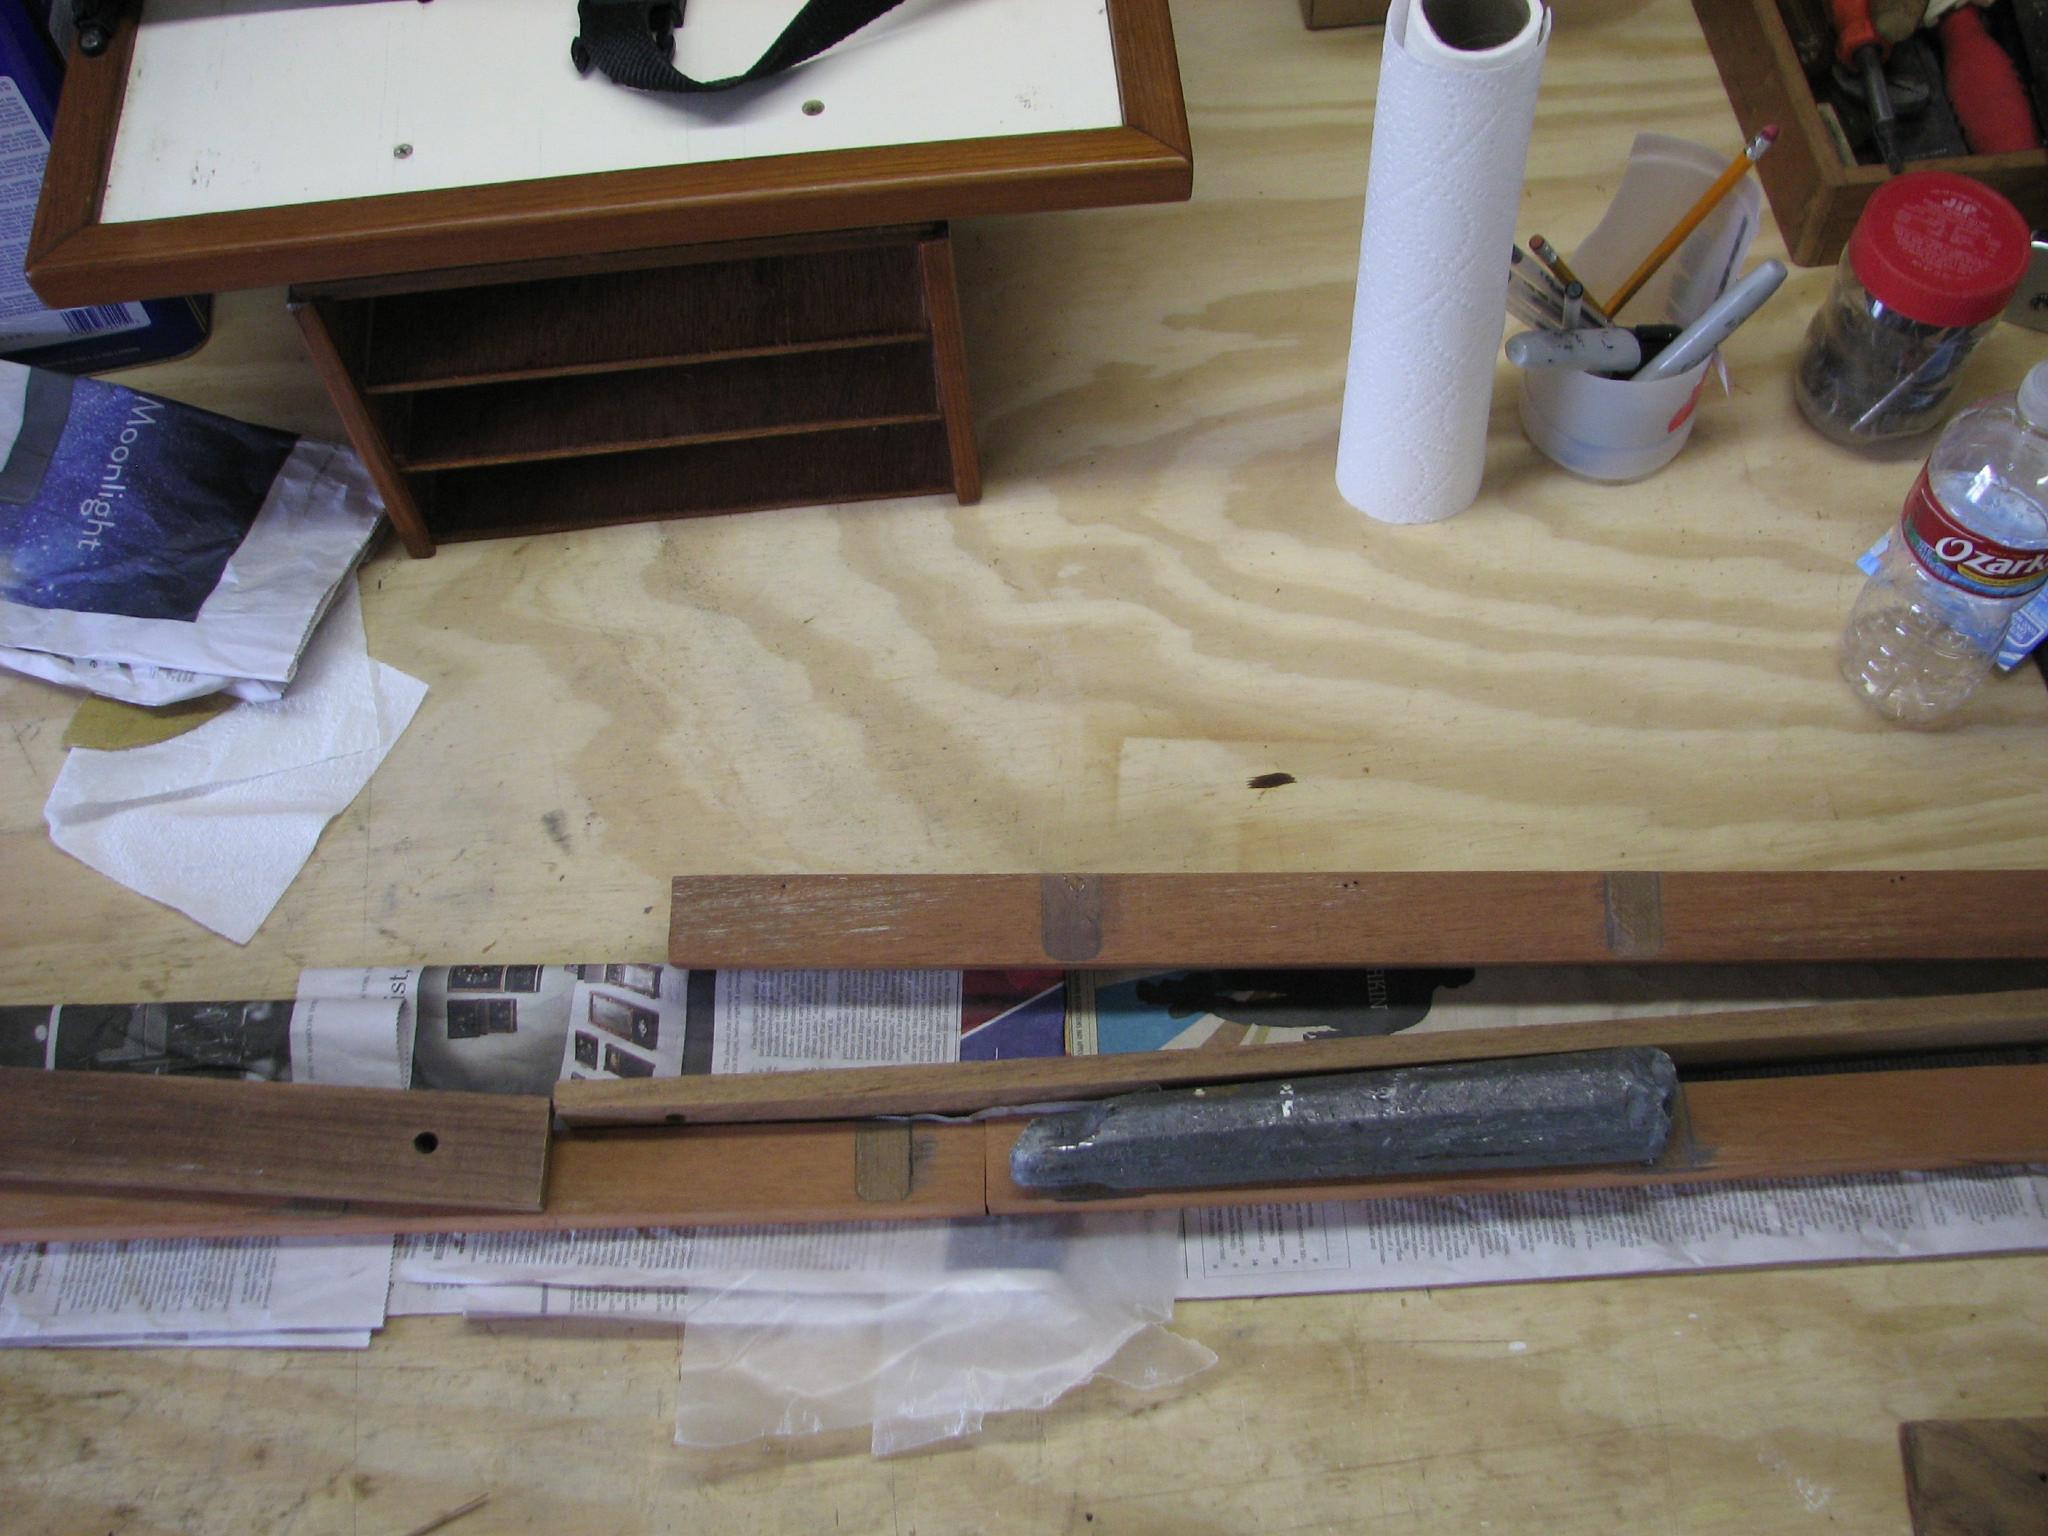
The
epoxy on the main cabin had set up enough, the I was able to trim up
imperfections, and sand down the exposed wooden surfaces. I also
sanded down the electronics shelf trim pieces, and the latest piece
of teak tape covered Panduit
wire duct
cover. After completing the sanding, I dusted off all of the pieces
with air, then went over everything with a tack
rag.
Now it was time to apply the dye to all of the teak. This included
the two main cabin pieces, the Panduit
wire duct
cover, and the trim pieces for the electronic shelf. After the
application of the dye, I only had to wait 30 minutes, before
applying the varnish. I wiped down all of the parts with a tack
rag.
I put the fourth coat of varnish on the reefer teak trim, and the
teak wire covers. I put the second coat of varnish on the first
Panduit
wire duct
cover. I then applied the first coat of varnish to the two main cabin
pieces and the second two Panduit
wire duct
covers.
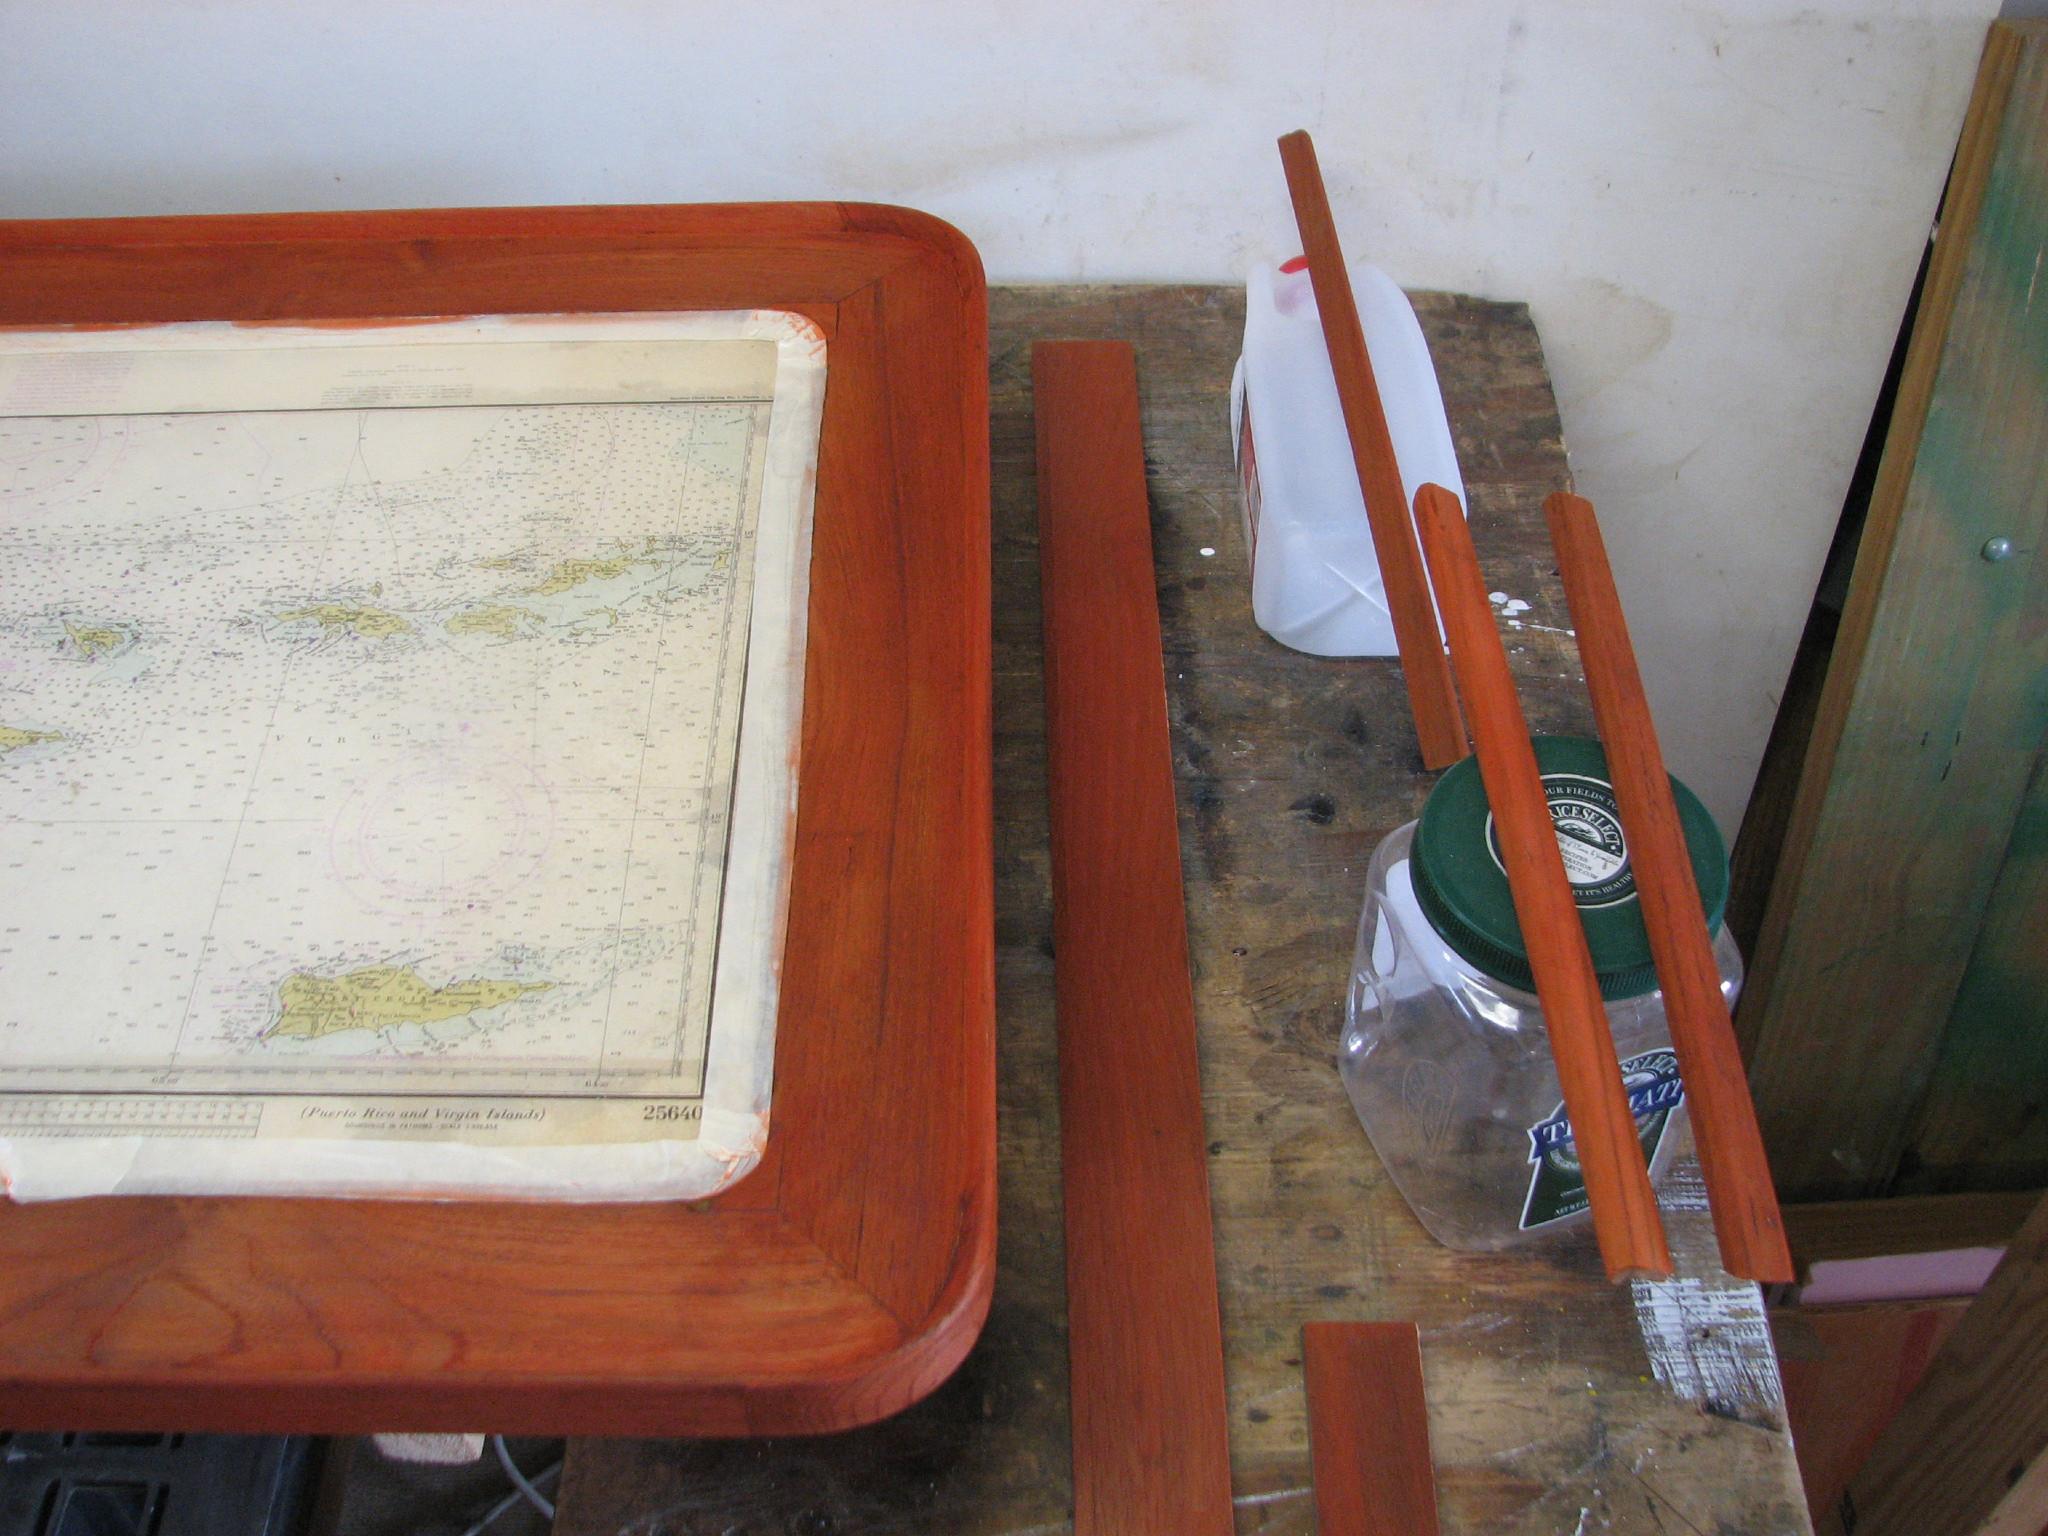
Dye
Applied To The Two Main Cabin Table Pieces
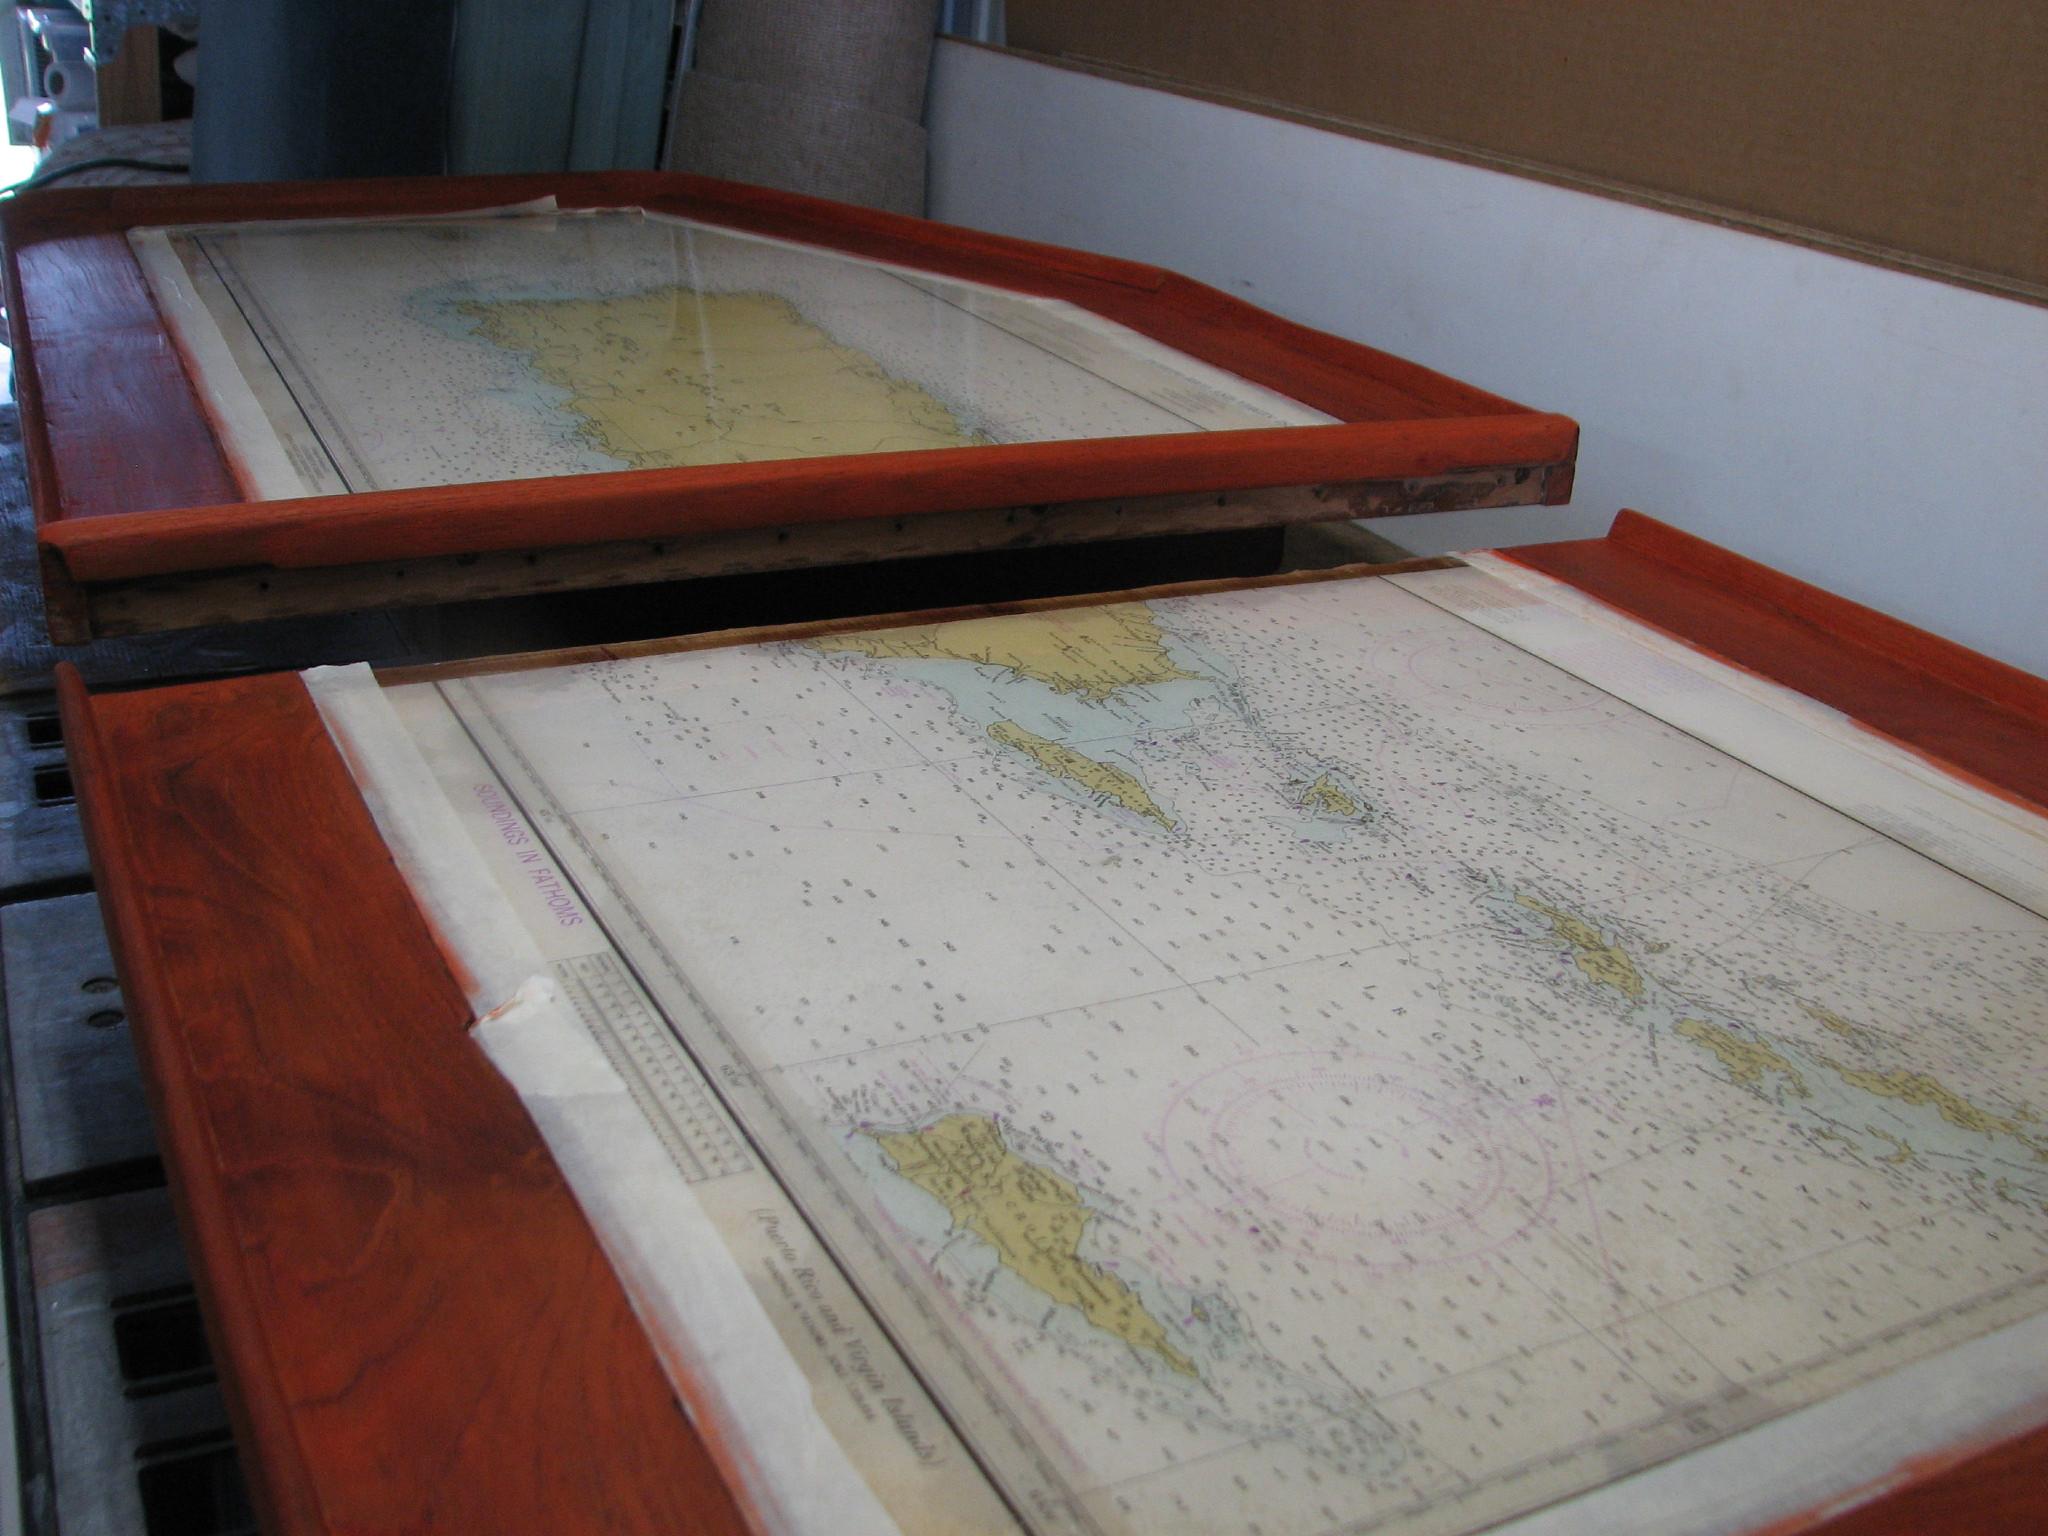
April
10, 2013, Wednesday
Started
off the morning with my normal ritual of getting on the Internet,
answering email, checking the weather, while making a pot of coffee.
Also updated the maintenance log.
After
the ritual, I went over to the shop and started working attaching the
teak trim to the new electronics shelf. I came up with a method to
attach the pieces with epoxy, and then using clamp and boards and
other pieces of wood.
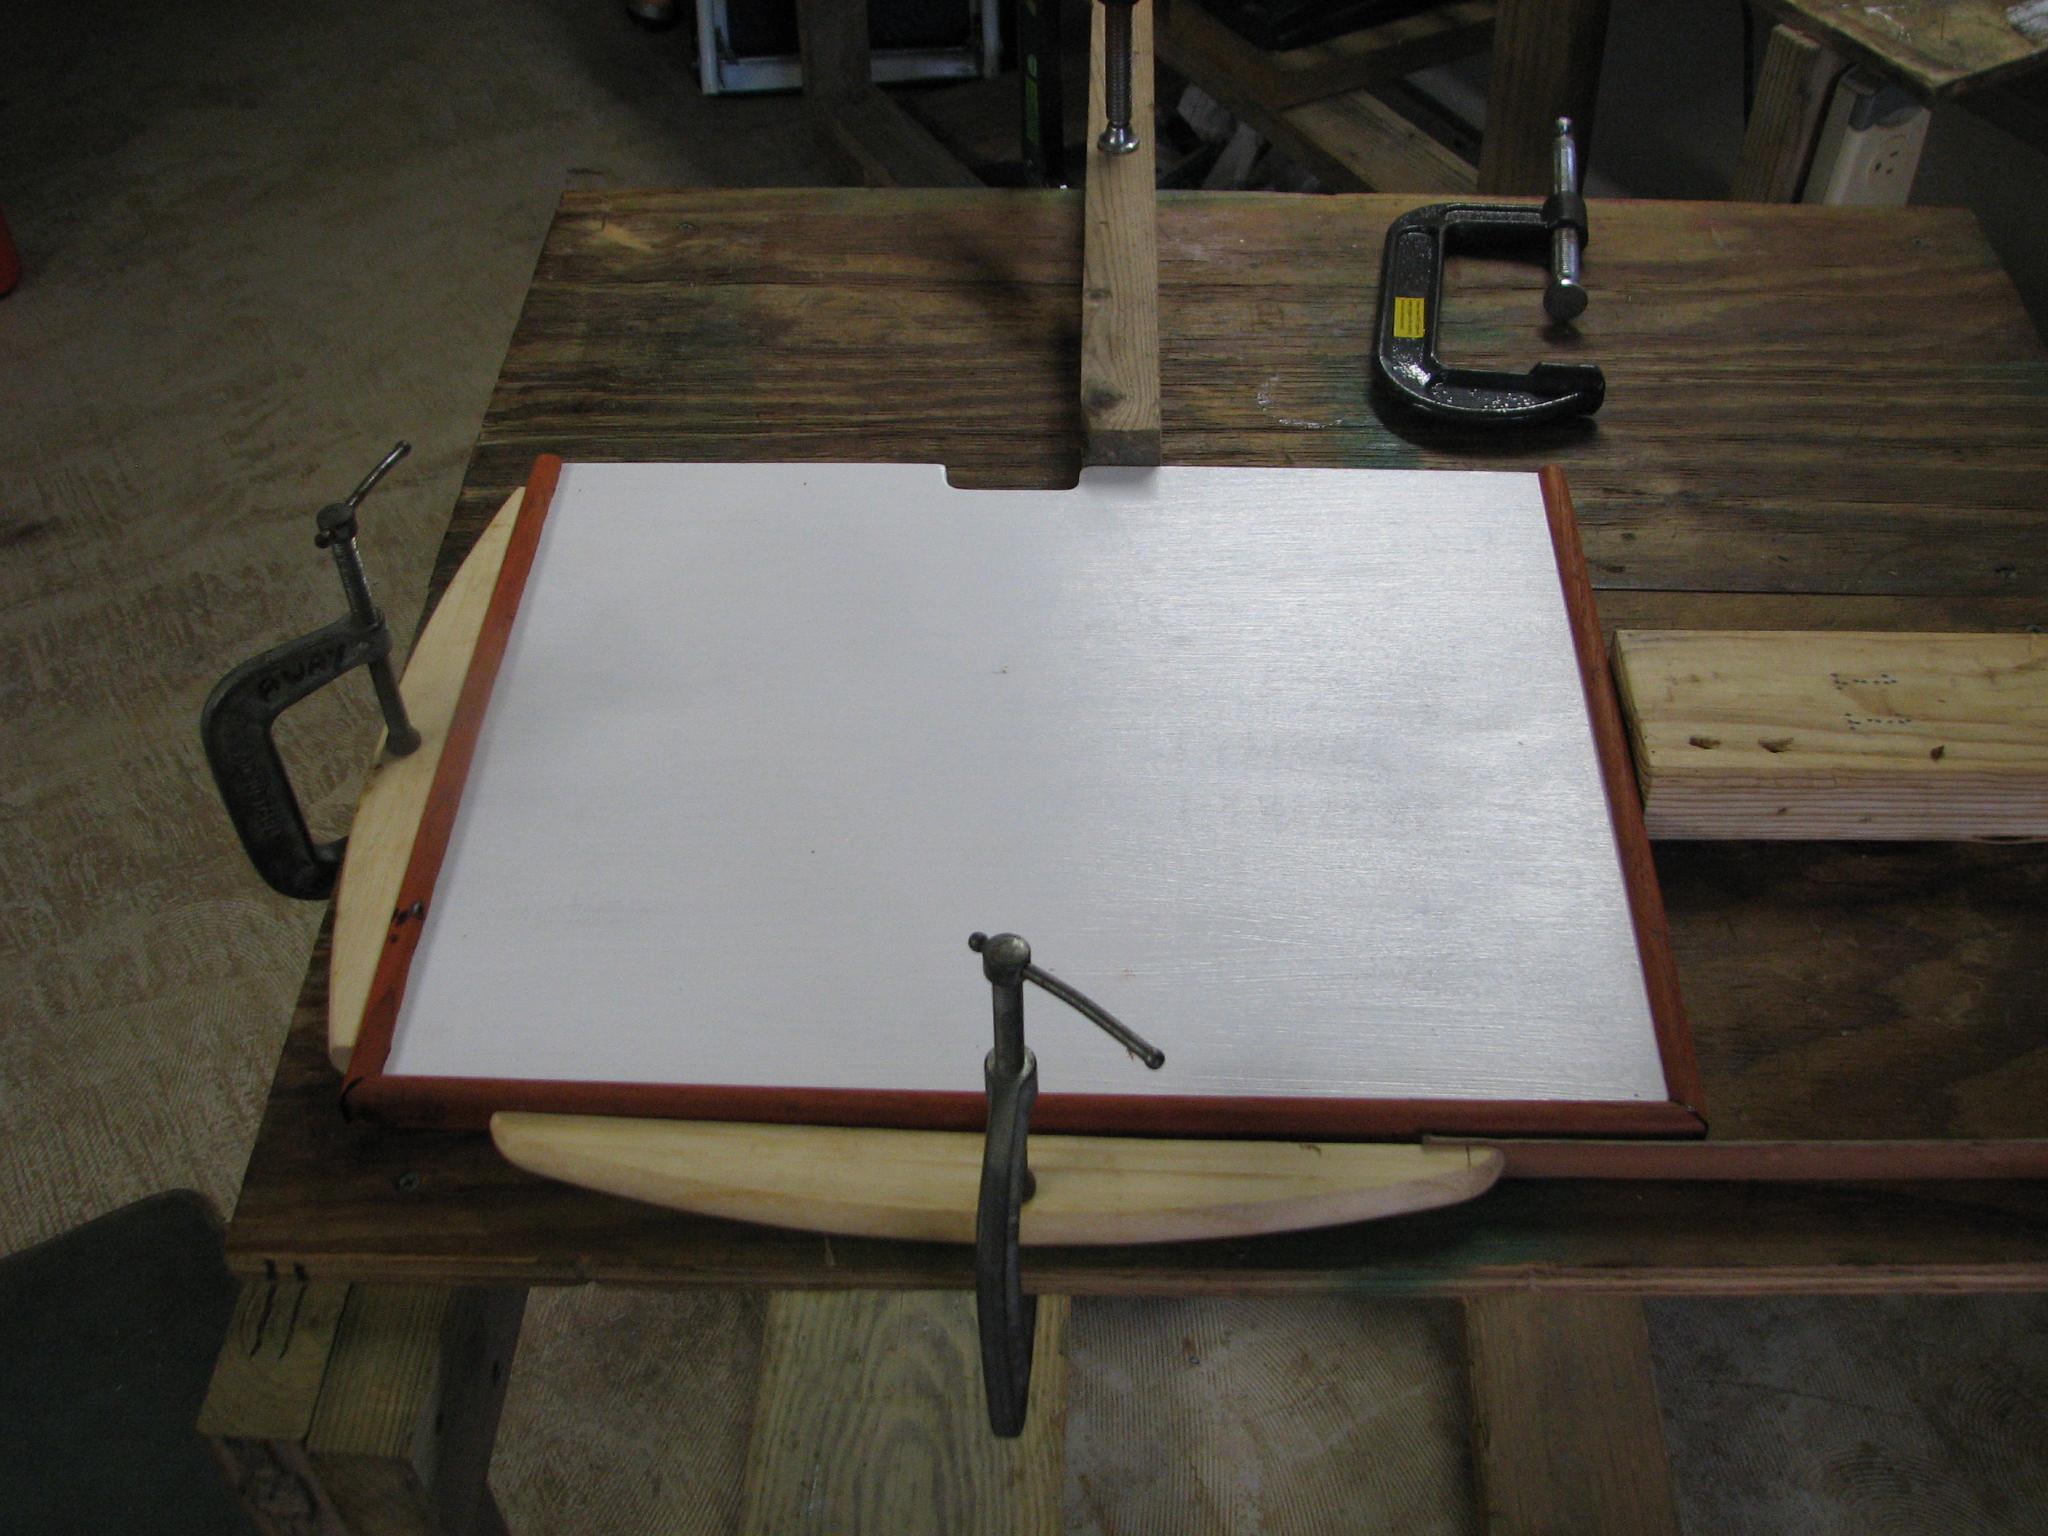
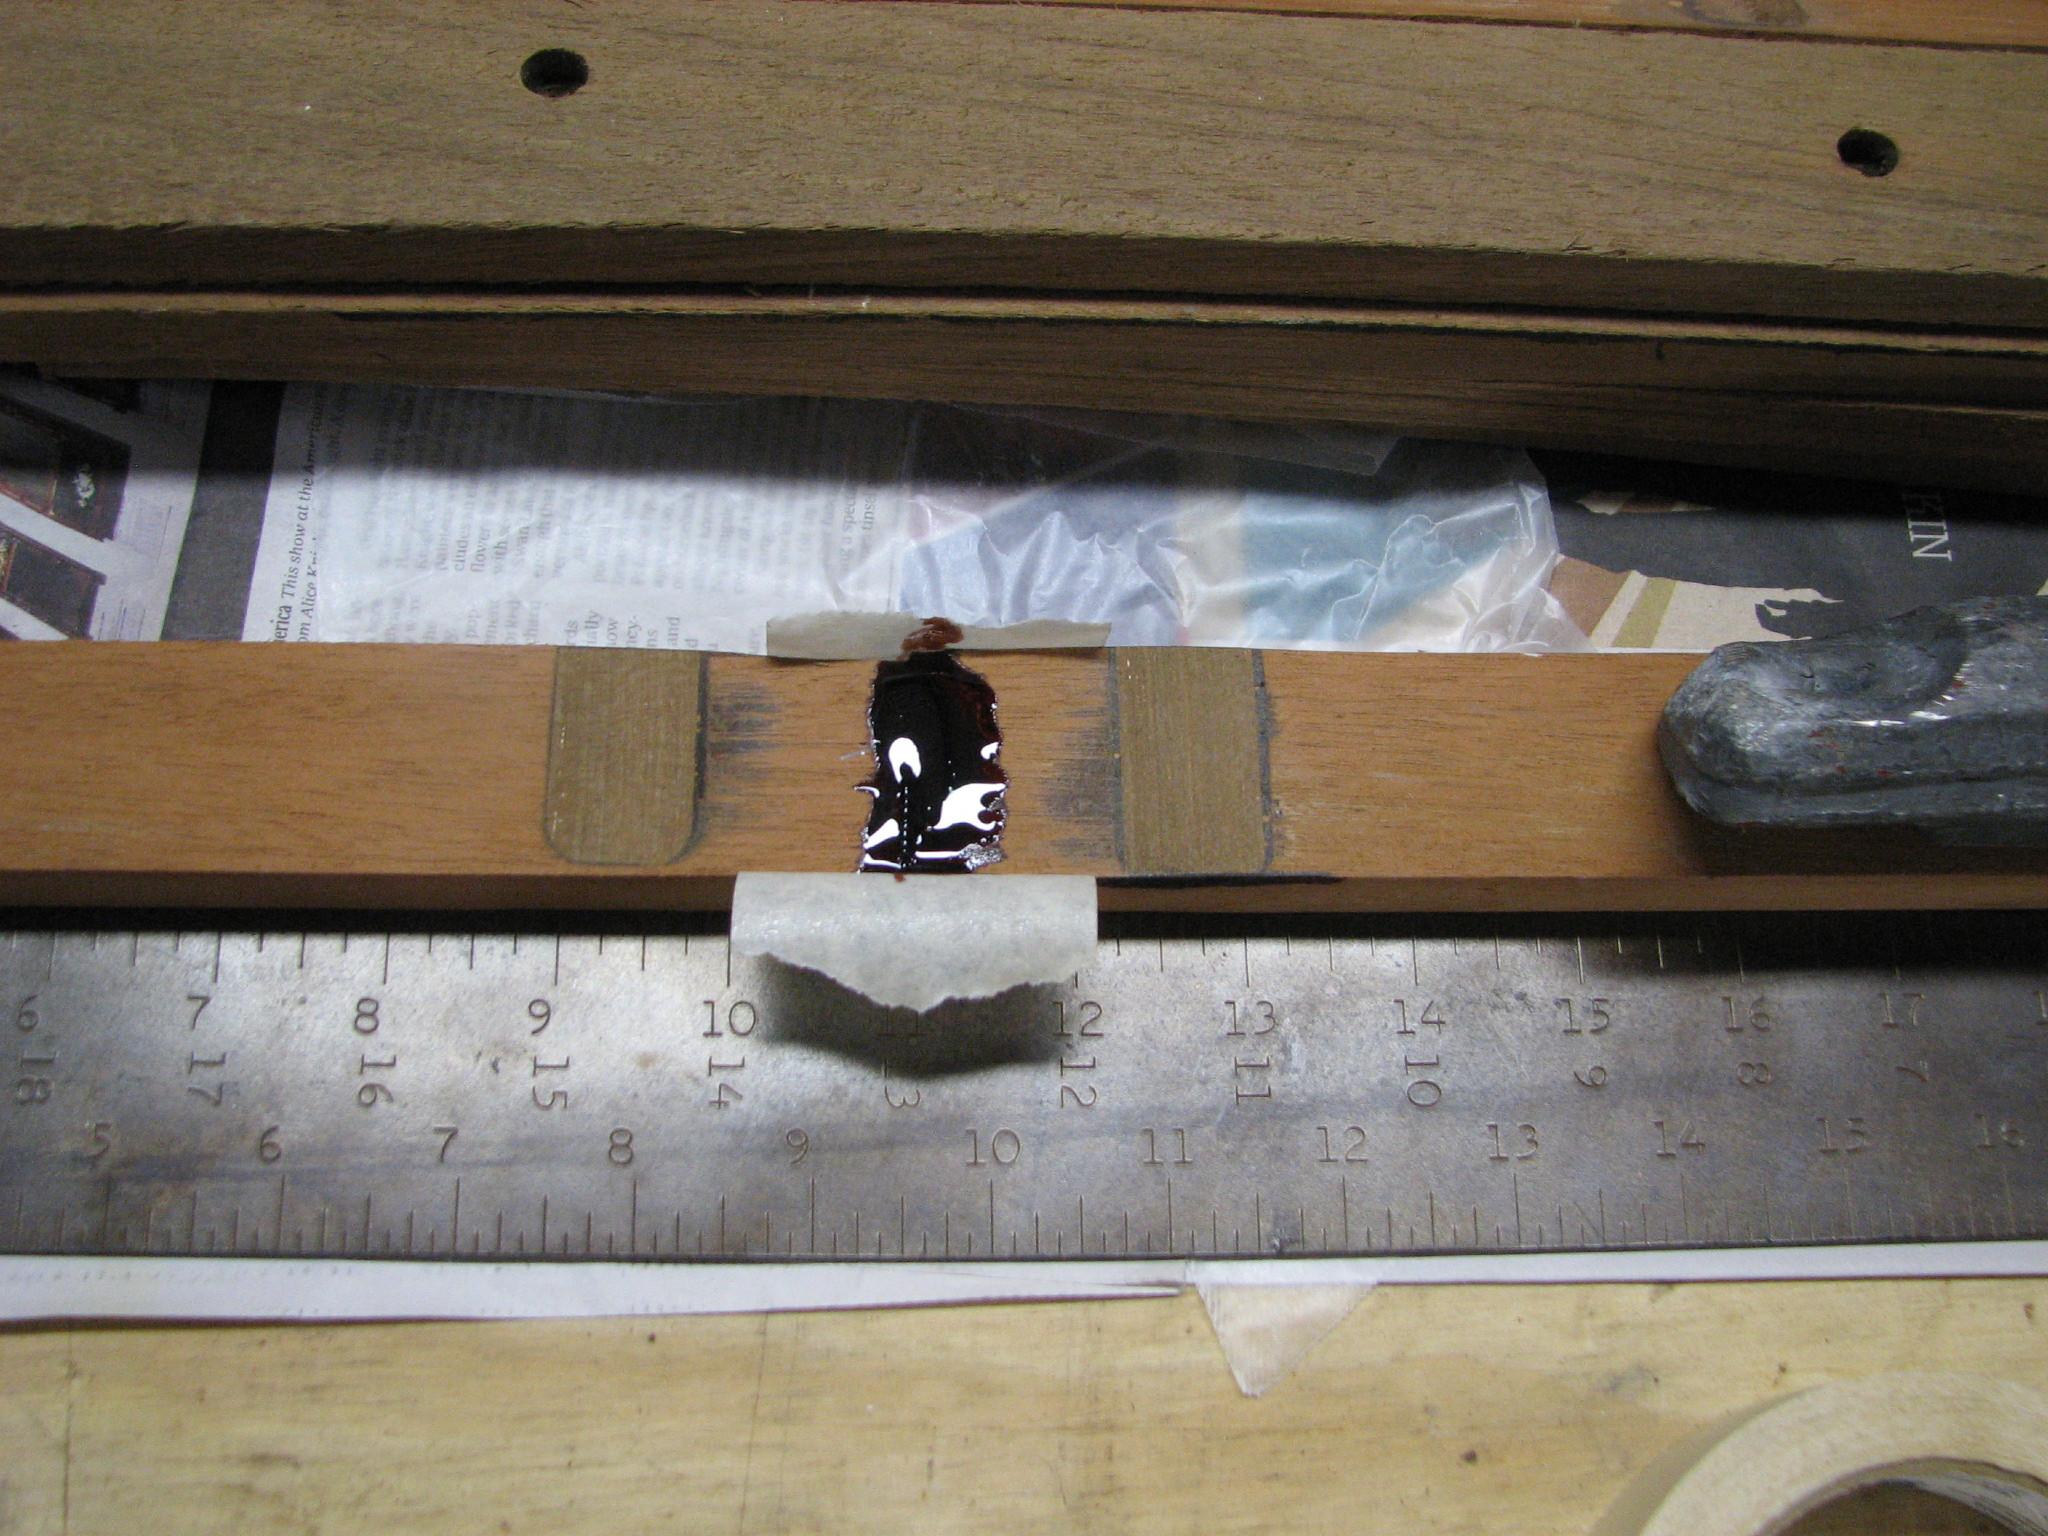
I
did a dry fit for the electronic shelf, and I also set up the first
two pieces of wood in the hide hole piece I am fabricating. I got it
all tested out, and then mixed up a pot of epoxy. I got the epoxy
applied to the electronics shelf, and it all clamped down, and
applied the epoxy to the hide hole piece.
Applying
Epoxy To The Electronics Shelf
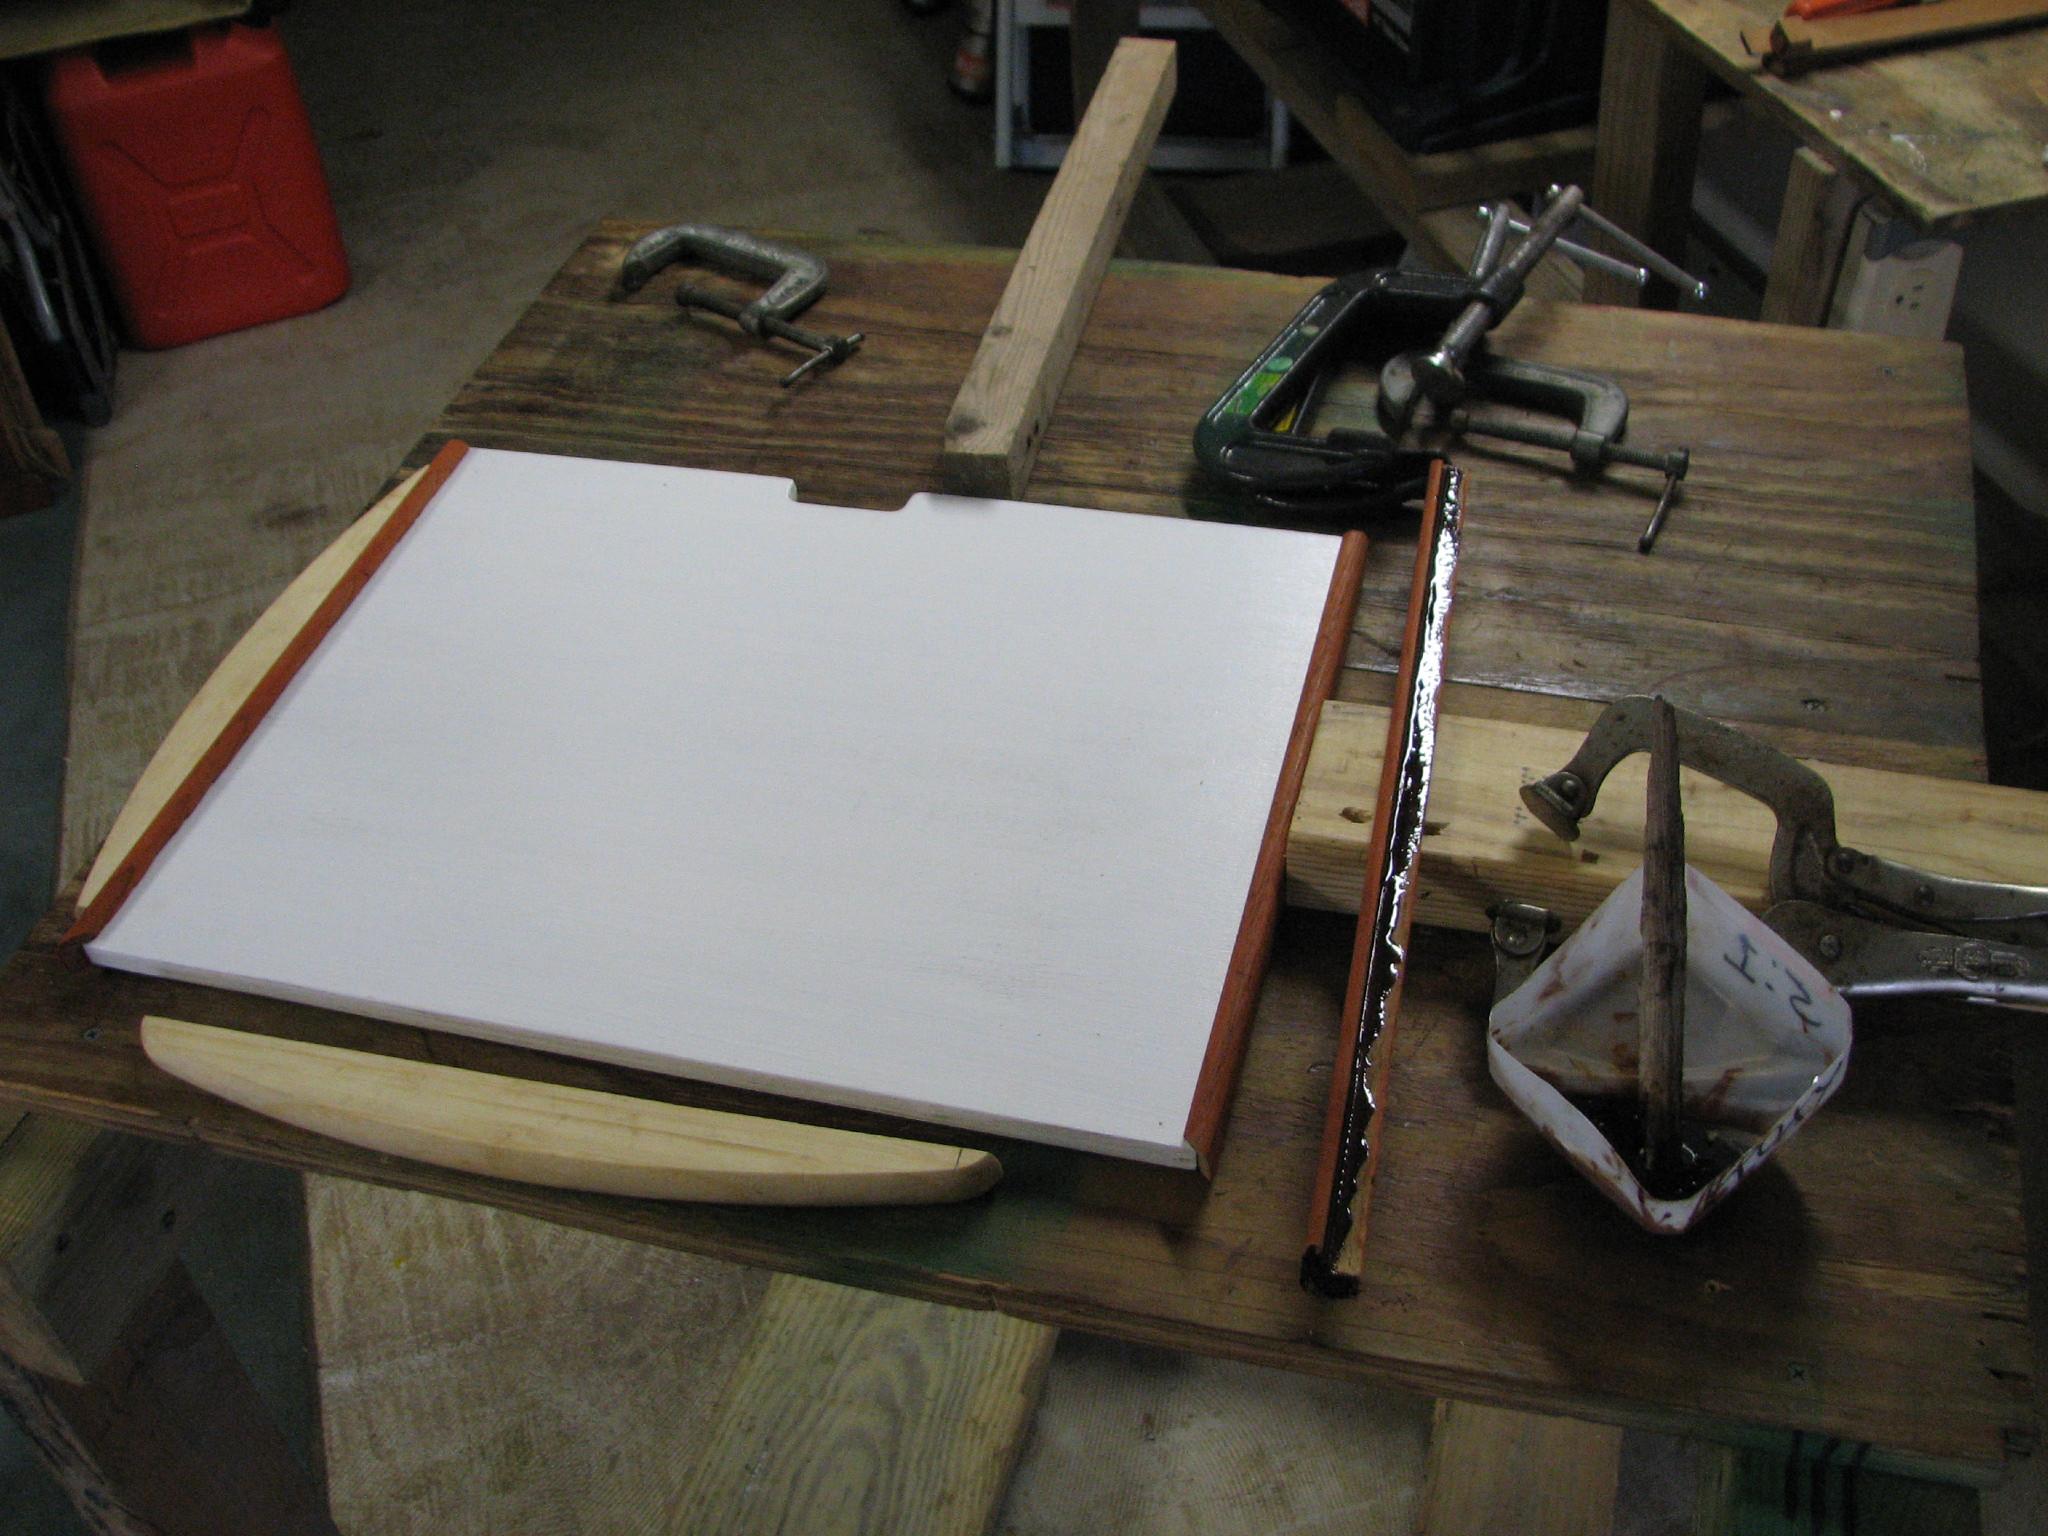
Electronics
Shelf Clamped Up With Epoxy Applied
Epoxy
Applied To Hide Hole Piece
When
I had completed this task, I realized I had used up all of my table
space, and could not do any more with other projects. I needed to do
some more sanding, but I like to do the sanding outside on one of the
rolling tables, and they were all in use.
Oh
well, another project had come to mind yesterday while I was putting
the aft cabin screen together. I had replaced the rubber O-Ring like
material they use in the screens, so I had the old O-Ring material.
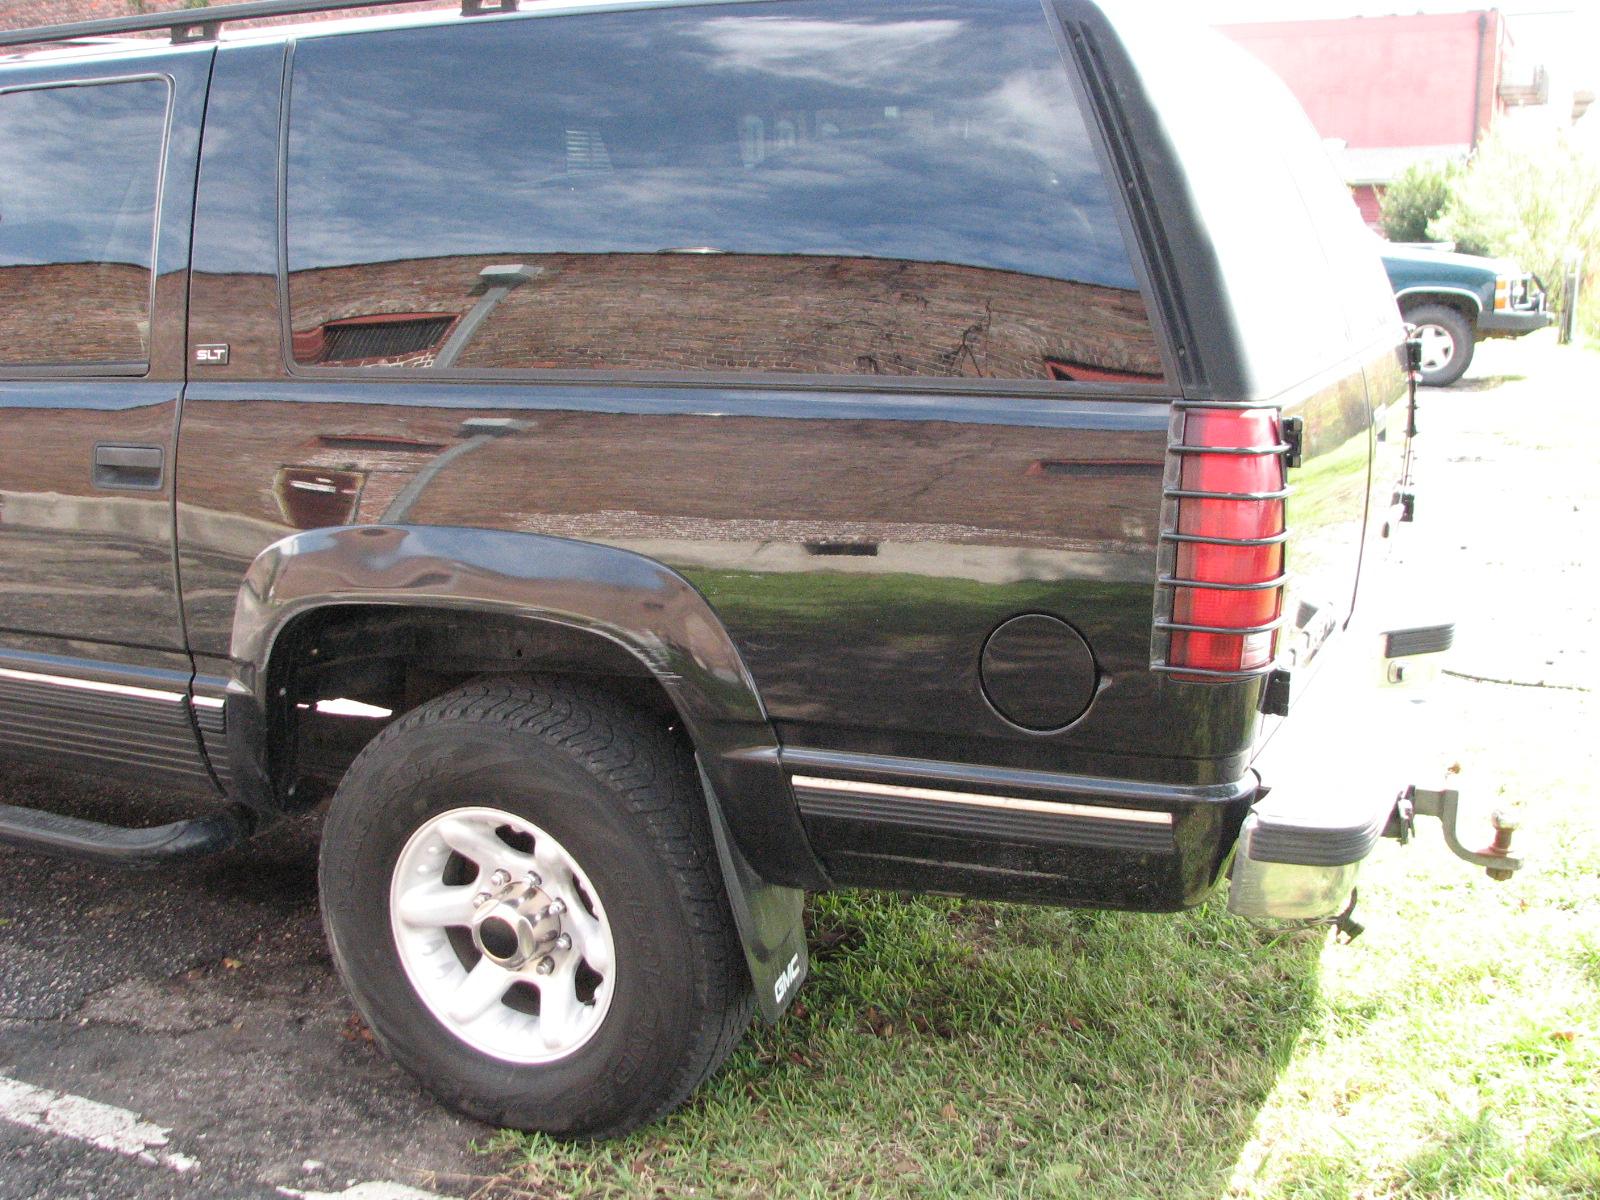
The center hubs on all of the wheels of the
Black Beast were loose,
and at slow speeds, they all rattled, and that drove me crazy. So I
jacked up one wheel at a time, removed the tire and wheel, and took
off the hub. I cleaned the hub, then put grease on the O-Ring
material to hold it in place, put the hub back into the wheel, and
then the wheel back on the truck. I only did this one one side so
far, but it solved the problem! Will probably do the passenger side
tomorrow. The Beast is a 3/4 ton four wheel drive Suburban, so moving
the wheels around is no small matter. These are the times I need a 30
year old helper!!
I
completed the hub project on the drivers side, and went back to DREAM
AWAY for breakfast. After breakfast Kitty went off to do the laundry,
and I went to work on the sea
chest.
During the winter months the sea
chest,
strainers and all of the attaching hoses are cleaned about every five
weeks. During the summer months, the cleaning is necessary every
three weeks. Marine growth is extensive.
What
I have on DREAM AWAY is not really a sea
chest,
but a manifold. I have a 1 1/2” input from outside the boat through
a seacock,
then through a strainer, and then to a piece of 4” PVC pipe. Out of
this PVC pipe, I have hoses running to the raw water foot pump at the
galley, the aft air conditioner cooling pump, the ice maker cooling
pump, the raw water washdown pump, the forward air conditioner
cooling pump, and the refrigeration cooling pump. With this
arrangement I have only one hole in the boat instead of six.
What
I do is remove the 1 1/2 strainer and the manifold from DREAM AWAY
and take the parts out on the dock and clean them out thoroughly. Not
too much of a problem now, but in the summer there are a lot of
mussels and other growth that must be cleaned out. When the strainer
and manifold are all cleaned, I reinstall them back into position.
Now on each individual hose I have a second strainer to further
prevent debris from getting into the pumps.
I
bring the fresh water hose down from the dock into the boat, and
after cleaning each individual strainer, I connect the dock hose to
the hose that was connected to the manifold. I then run the fresh
water through the system to clean out the complete hose run and the
pump to the overboard drain. I do this for each hose except the one
for the raw water foot pump at the galley. When I am all done
cleaning out the hoses, I re-connect them back up to the manifold,
and actuate the seacock
to allow raw water back into the system. I verify that all of the
pumps have been primed, and we are back to normal.
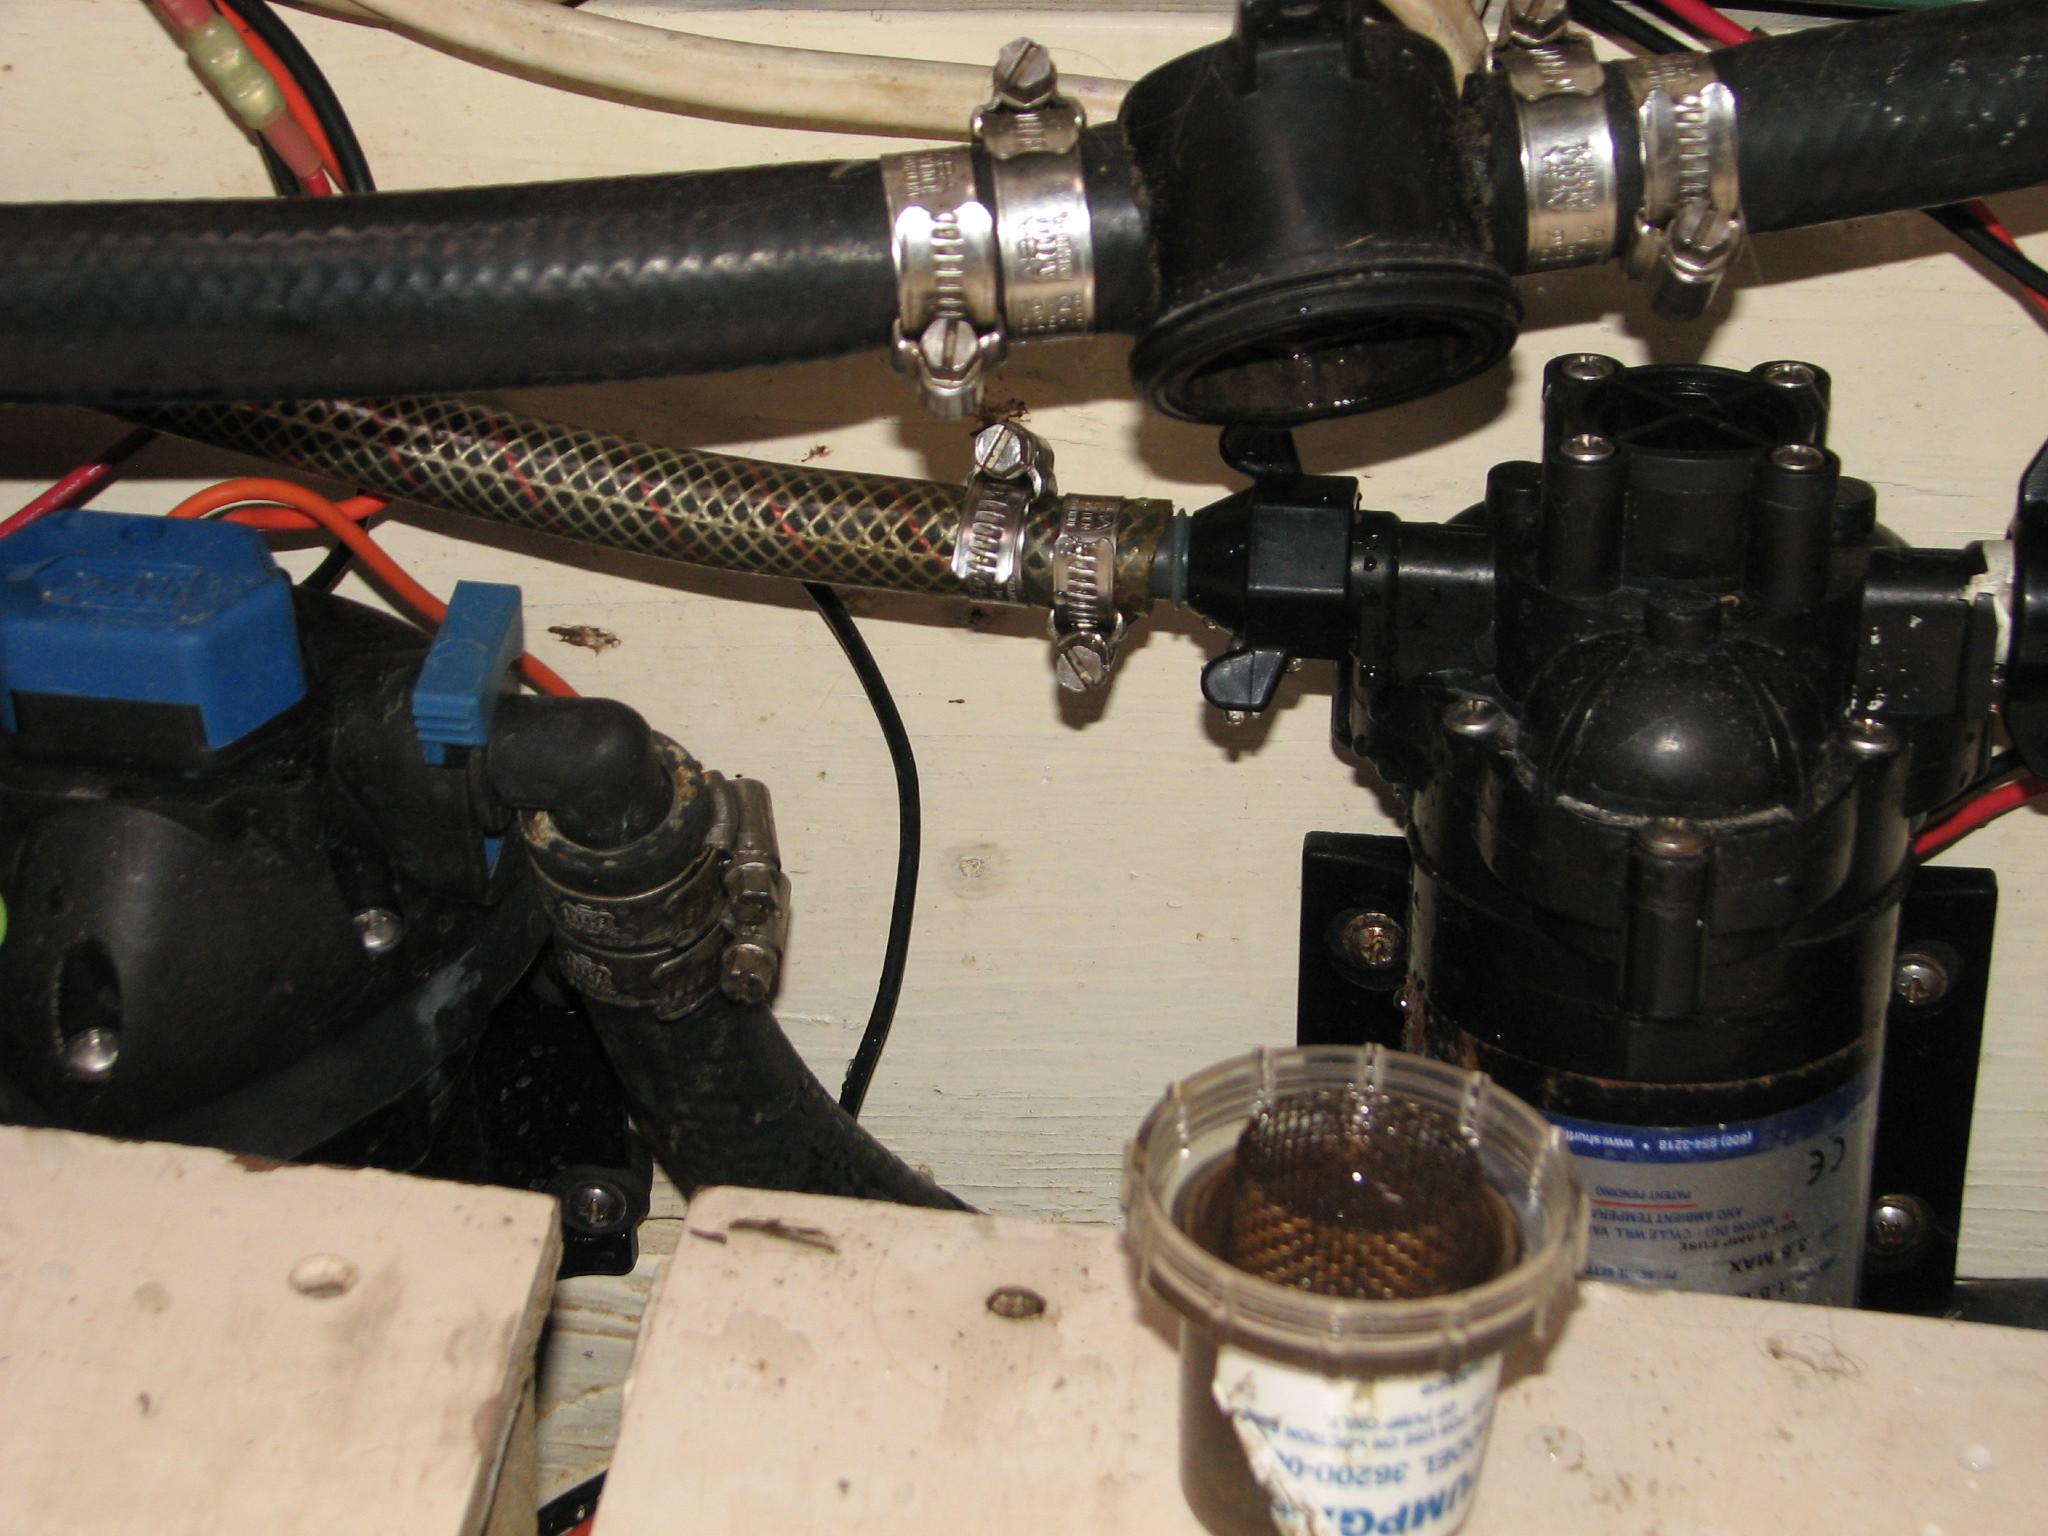
Strainer
Housing With Strainer Removed, Pumps In The Background
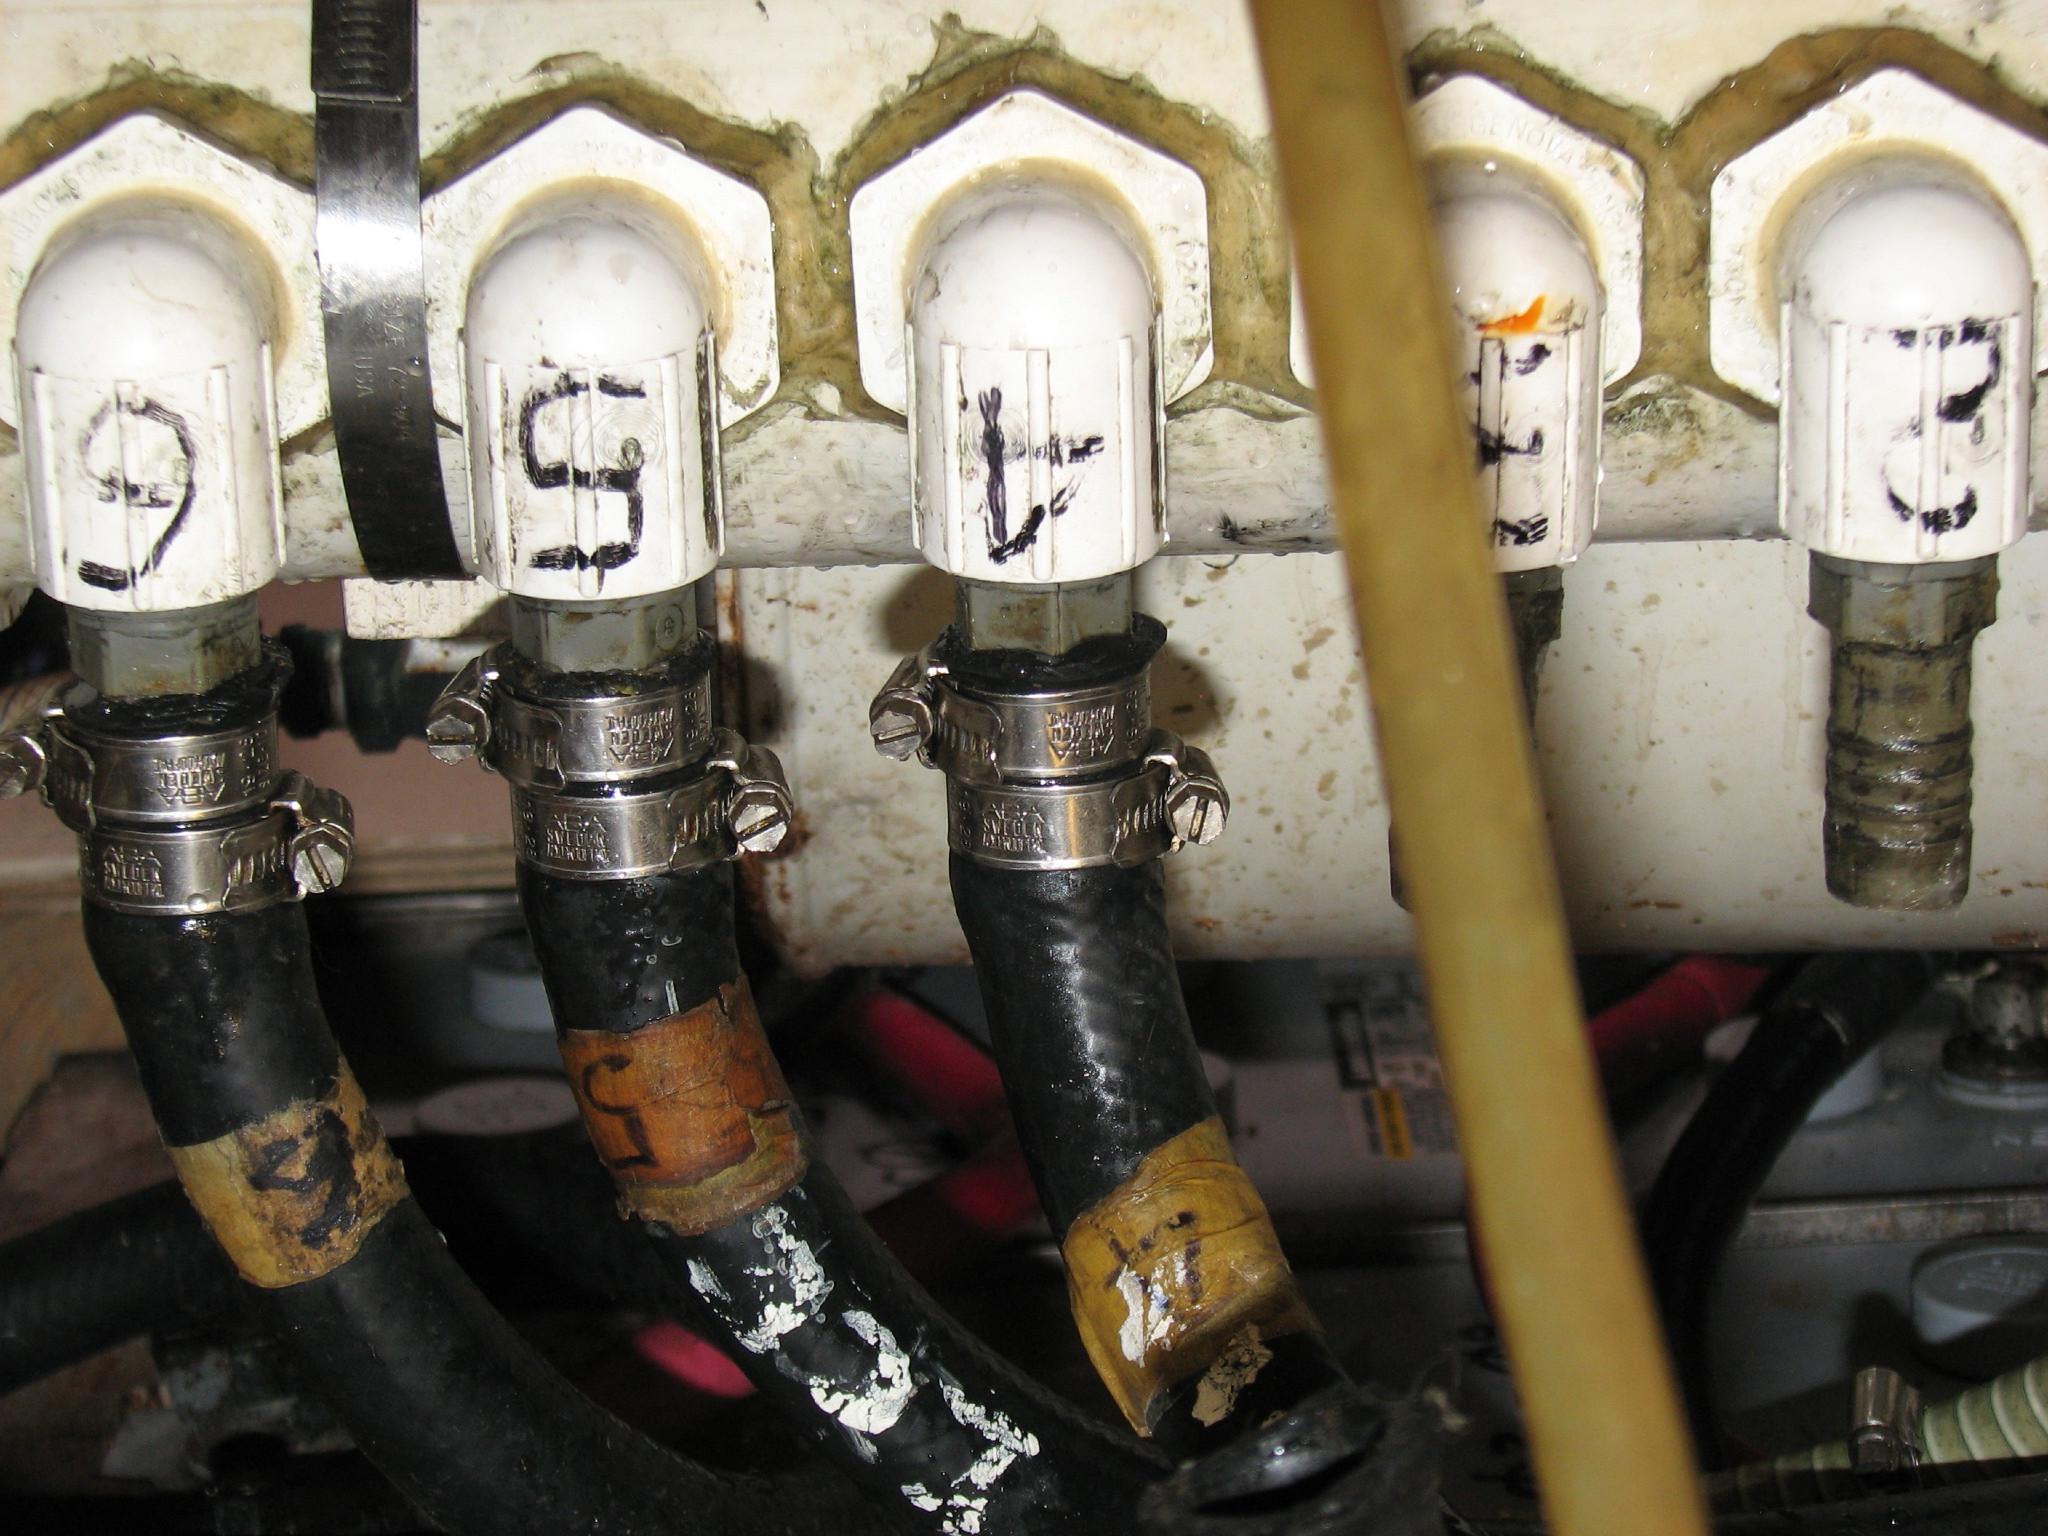
Hoses
And Connections On Manifold
Went
back over to the shop and started working on the electronics shelf. I
tried to take apart the old electronics shelf, and realized the shelf
had been screwed and epoxied to the base. There was no way it was
going to come apart.
What
I decided to do was to cut off some of the teak trim on the old
shelf, and just add the new shelf on top of the old shelf. With my
trusty saw, I cut off the excess trim, and then sanded it down flat.
I tested the new shelf on top of the old shelf and it was going to
work. Not beautiful, but accomplished the task.
Old
Electronics Shelf With Trim Removed

New
Shelf On Top Of Old Shelf

The
corners of the teak trim on the new electronics shelf, had some
spaces that needed to filled with epoxy. I used masking tape, and
built dams around the area so the epoxy would not leak out all over.
New
Electronic Shelf WIth Dams And Epoxy Applied
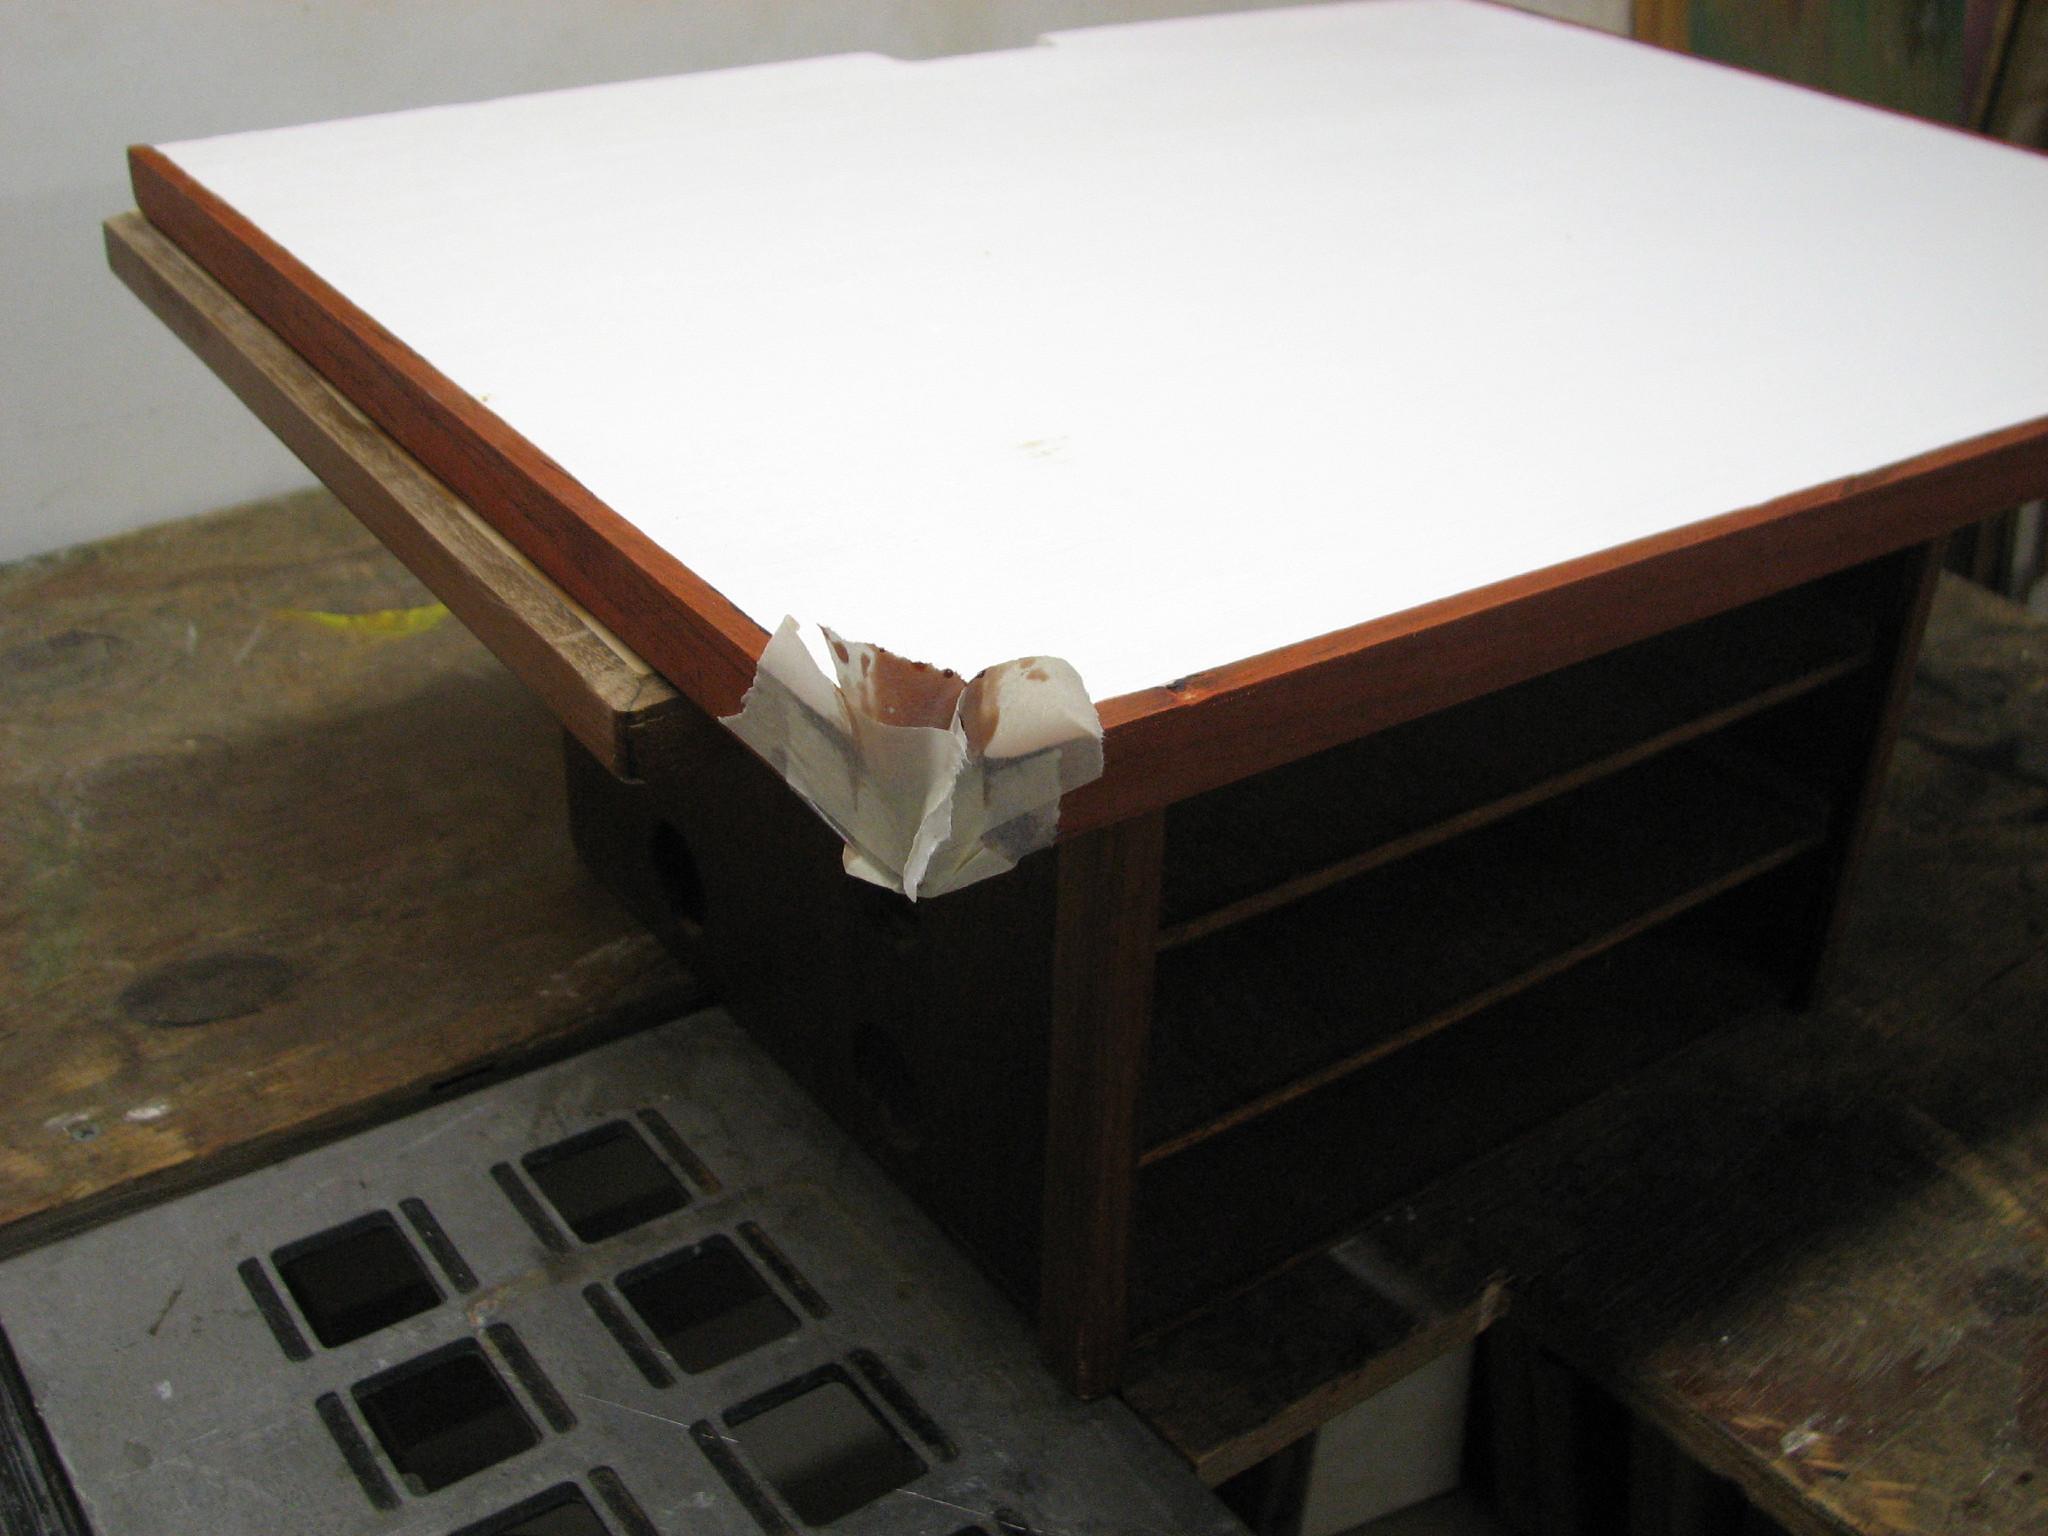
The
epoxy that I had applied in the morning to the two hole hiding pieces
had set up. I now moved the single piece to the largest flat surface
I had, the floor, so I could add the middle teak pieces. These pieces
were short pieces, so I am laminating this eventual single piece
together into one piece. I mixed up some epoxy and put the pieces
together, and put weights on top so it would all stick together.
Bottom
Mahogany Piece With Teak Pieces On Top And Weights
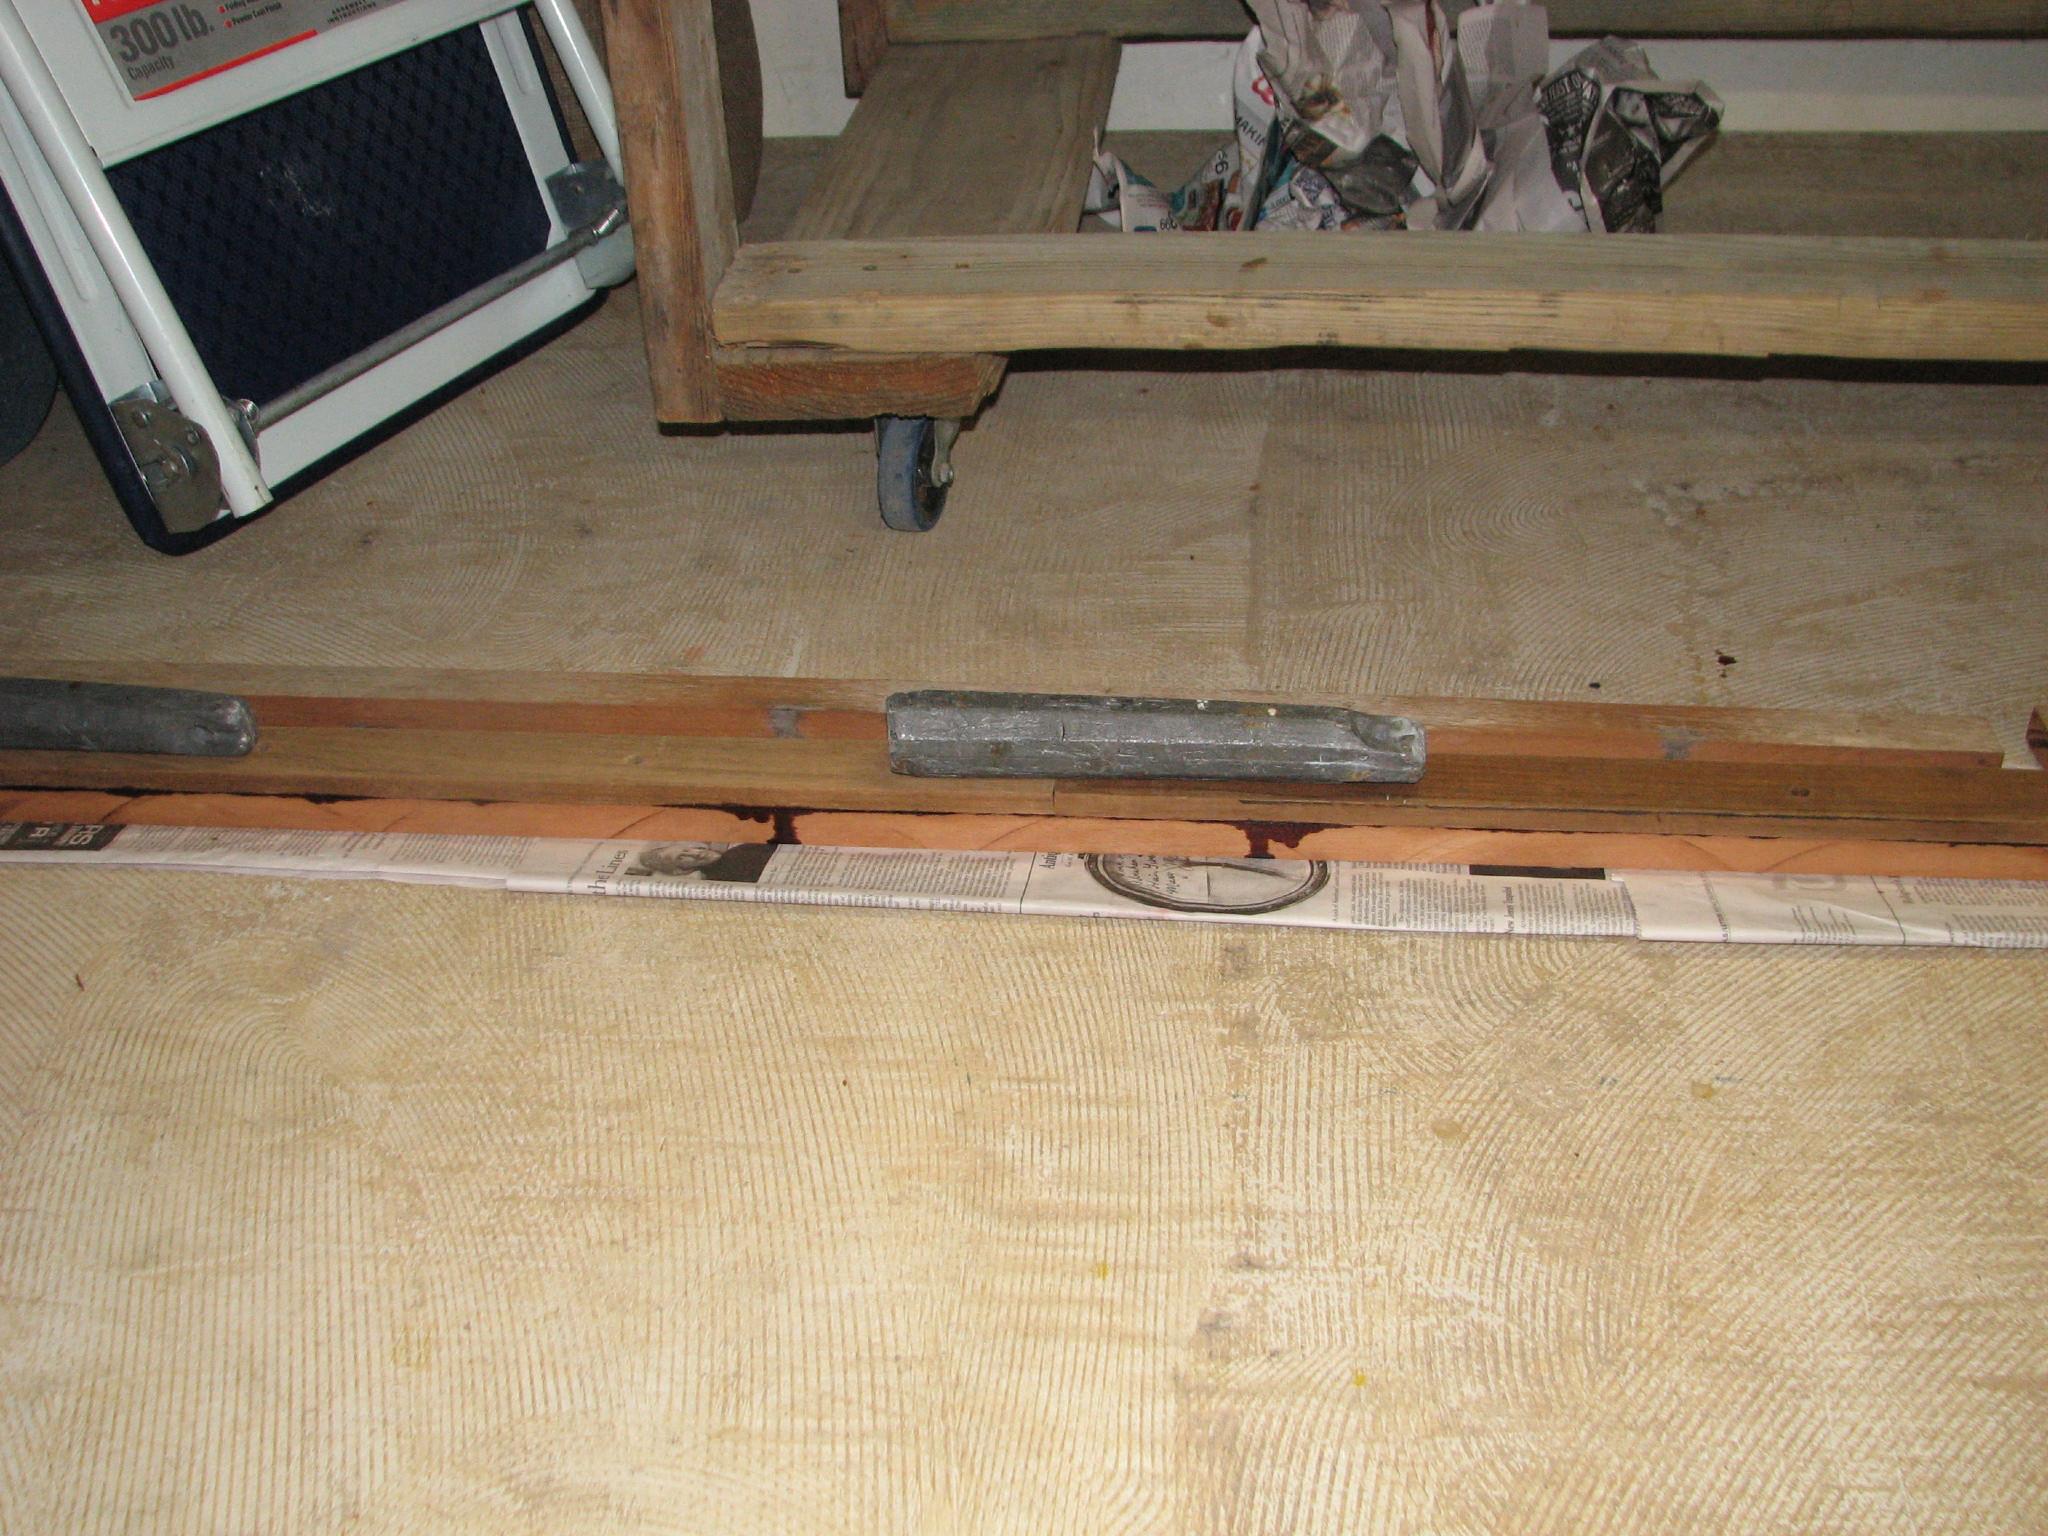
Bottom
Mahogany Piece With Teak Pieces On Top And Weights
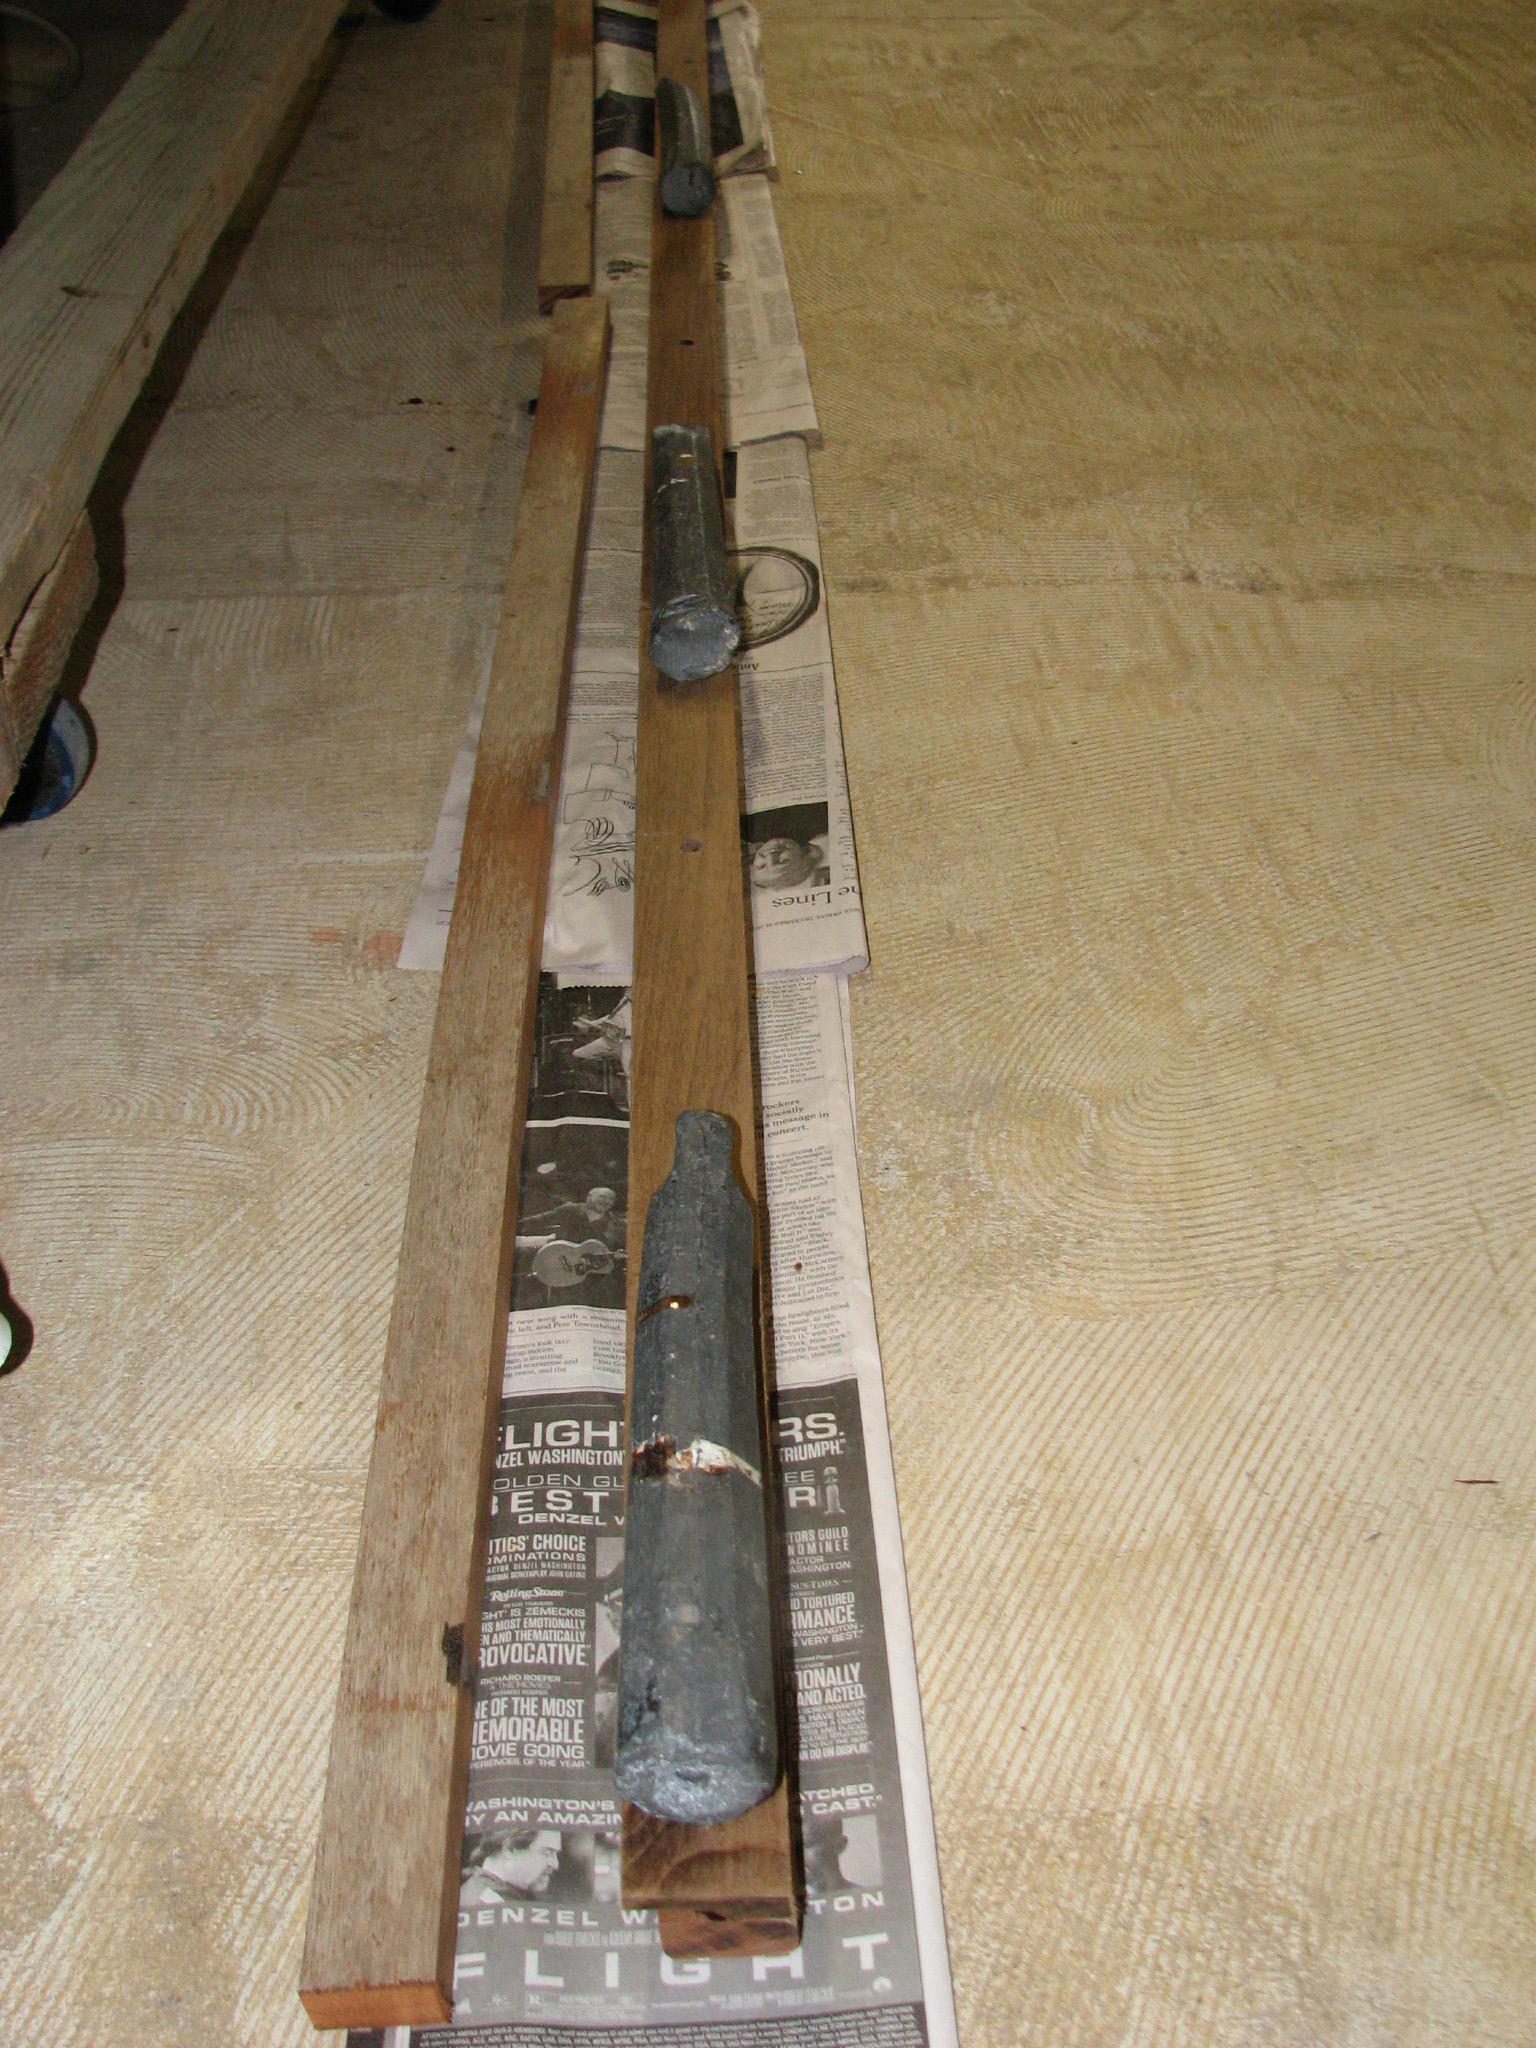
I
put the fifth and last coat of varnish on the reefer teak trim, and
the teak wire covers. I put the fourth coat of varnish on the first
Panduit
wire duct
cover. I then applied the second coat of varnish to the two main
cabin table pieces and the third coat on the two Panduit
wire duct
covers. Last I applied the fourth coat of Cetol
to the pin rails and belaying pins.
April
11, 2013, Thursday
Started
off the morning with my normal ritual of getting on the Internet,
answering email, checking the weather, while making a pot of coffee.
Also updated the maintenance log.
Went
over to the shop and started off with the new electronics shelf. I
removed the masking tape dams, and the sanded down the hardened
epoxy. I sanded down the shelf again to remove any imperfections. I
then masked off the teak wood trim, so I could put another coat of
white paint on the top of the shelf. I applied the coat of white
paint, and went back to DREAM AWAY for breakfast.
When
I returned to the shop, I removed the masking tape from the teak trim
and attached the new electronics shelf on top of the old electronics
shelf. I masked off the new shelf so I could re-apply the dye to the
teak trim, and so it would be ready to apply varnish. Once the
masking tape was applied the shelf was ready for varnish.
New
Shelf With Dye Applied
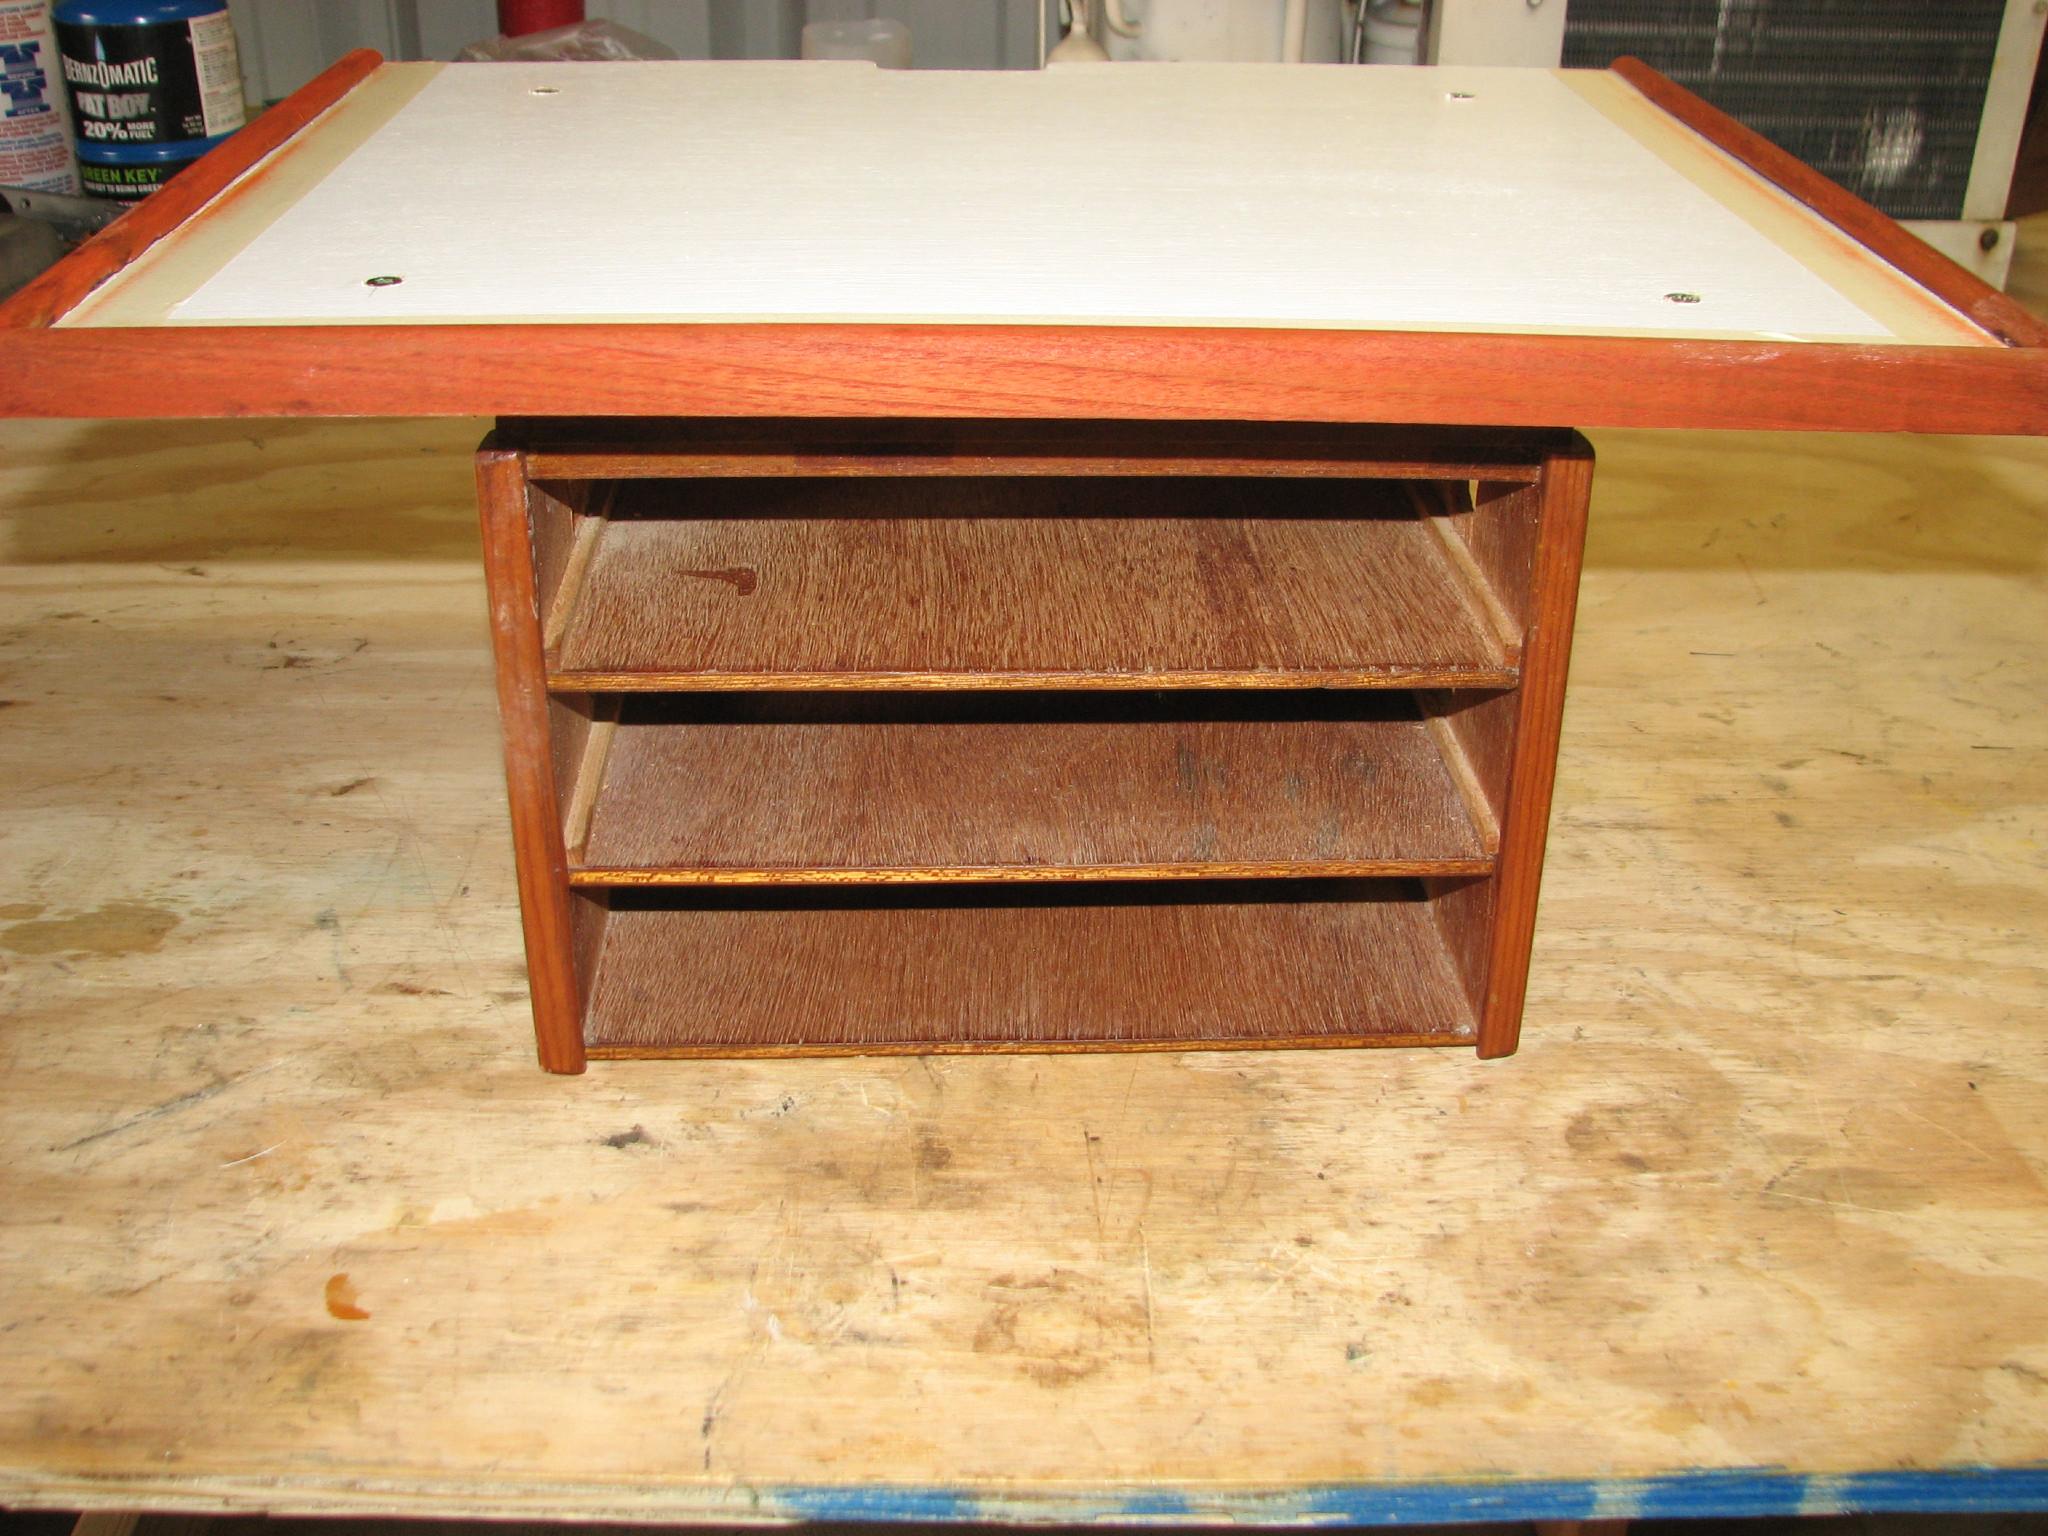
New
Shelf On Top Of Old Shelf
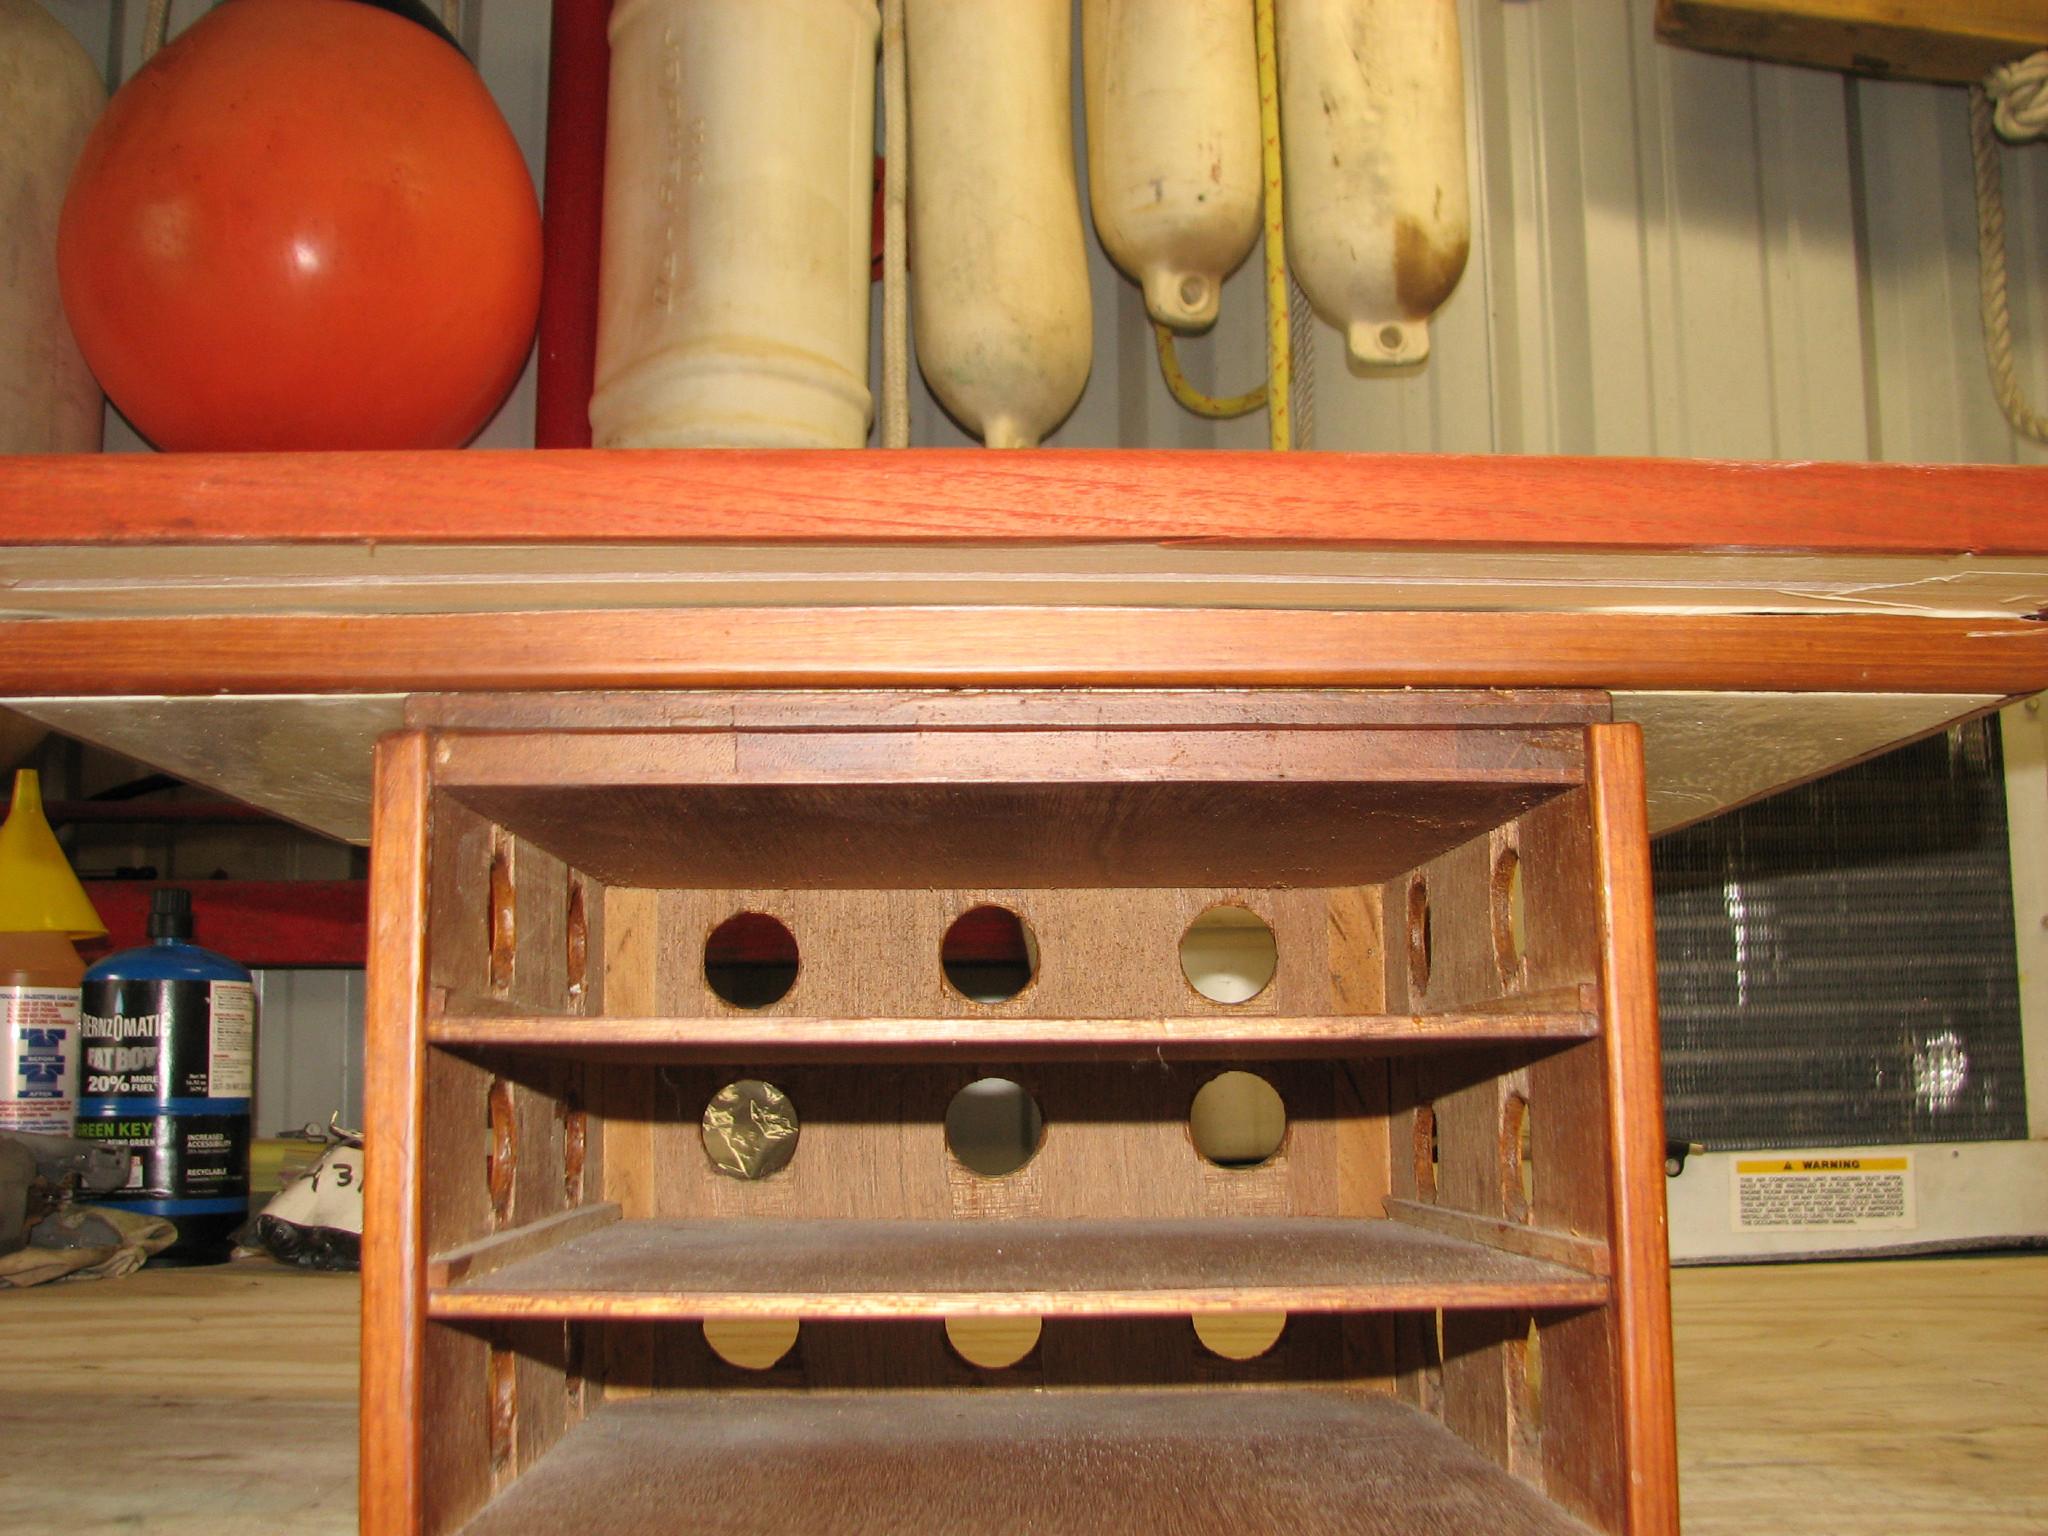
Now
I started in on the hole hiding piece. I had two layers epoxied
together, so now it was time to add the third and last layer to the
piece. I did a dry fit, and made sure I had all of the necessary
clamps available. I mixed two batches of epoxy and applied it on top
of the two layer piece, and added the pieces for the third layer. I
alligned all the pieces, and clamped it all together.
Hole
Hiding Piece Clamped Together
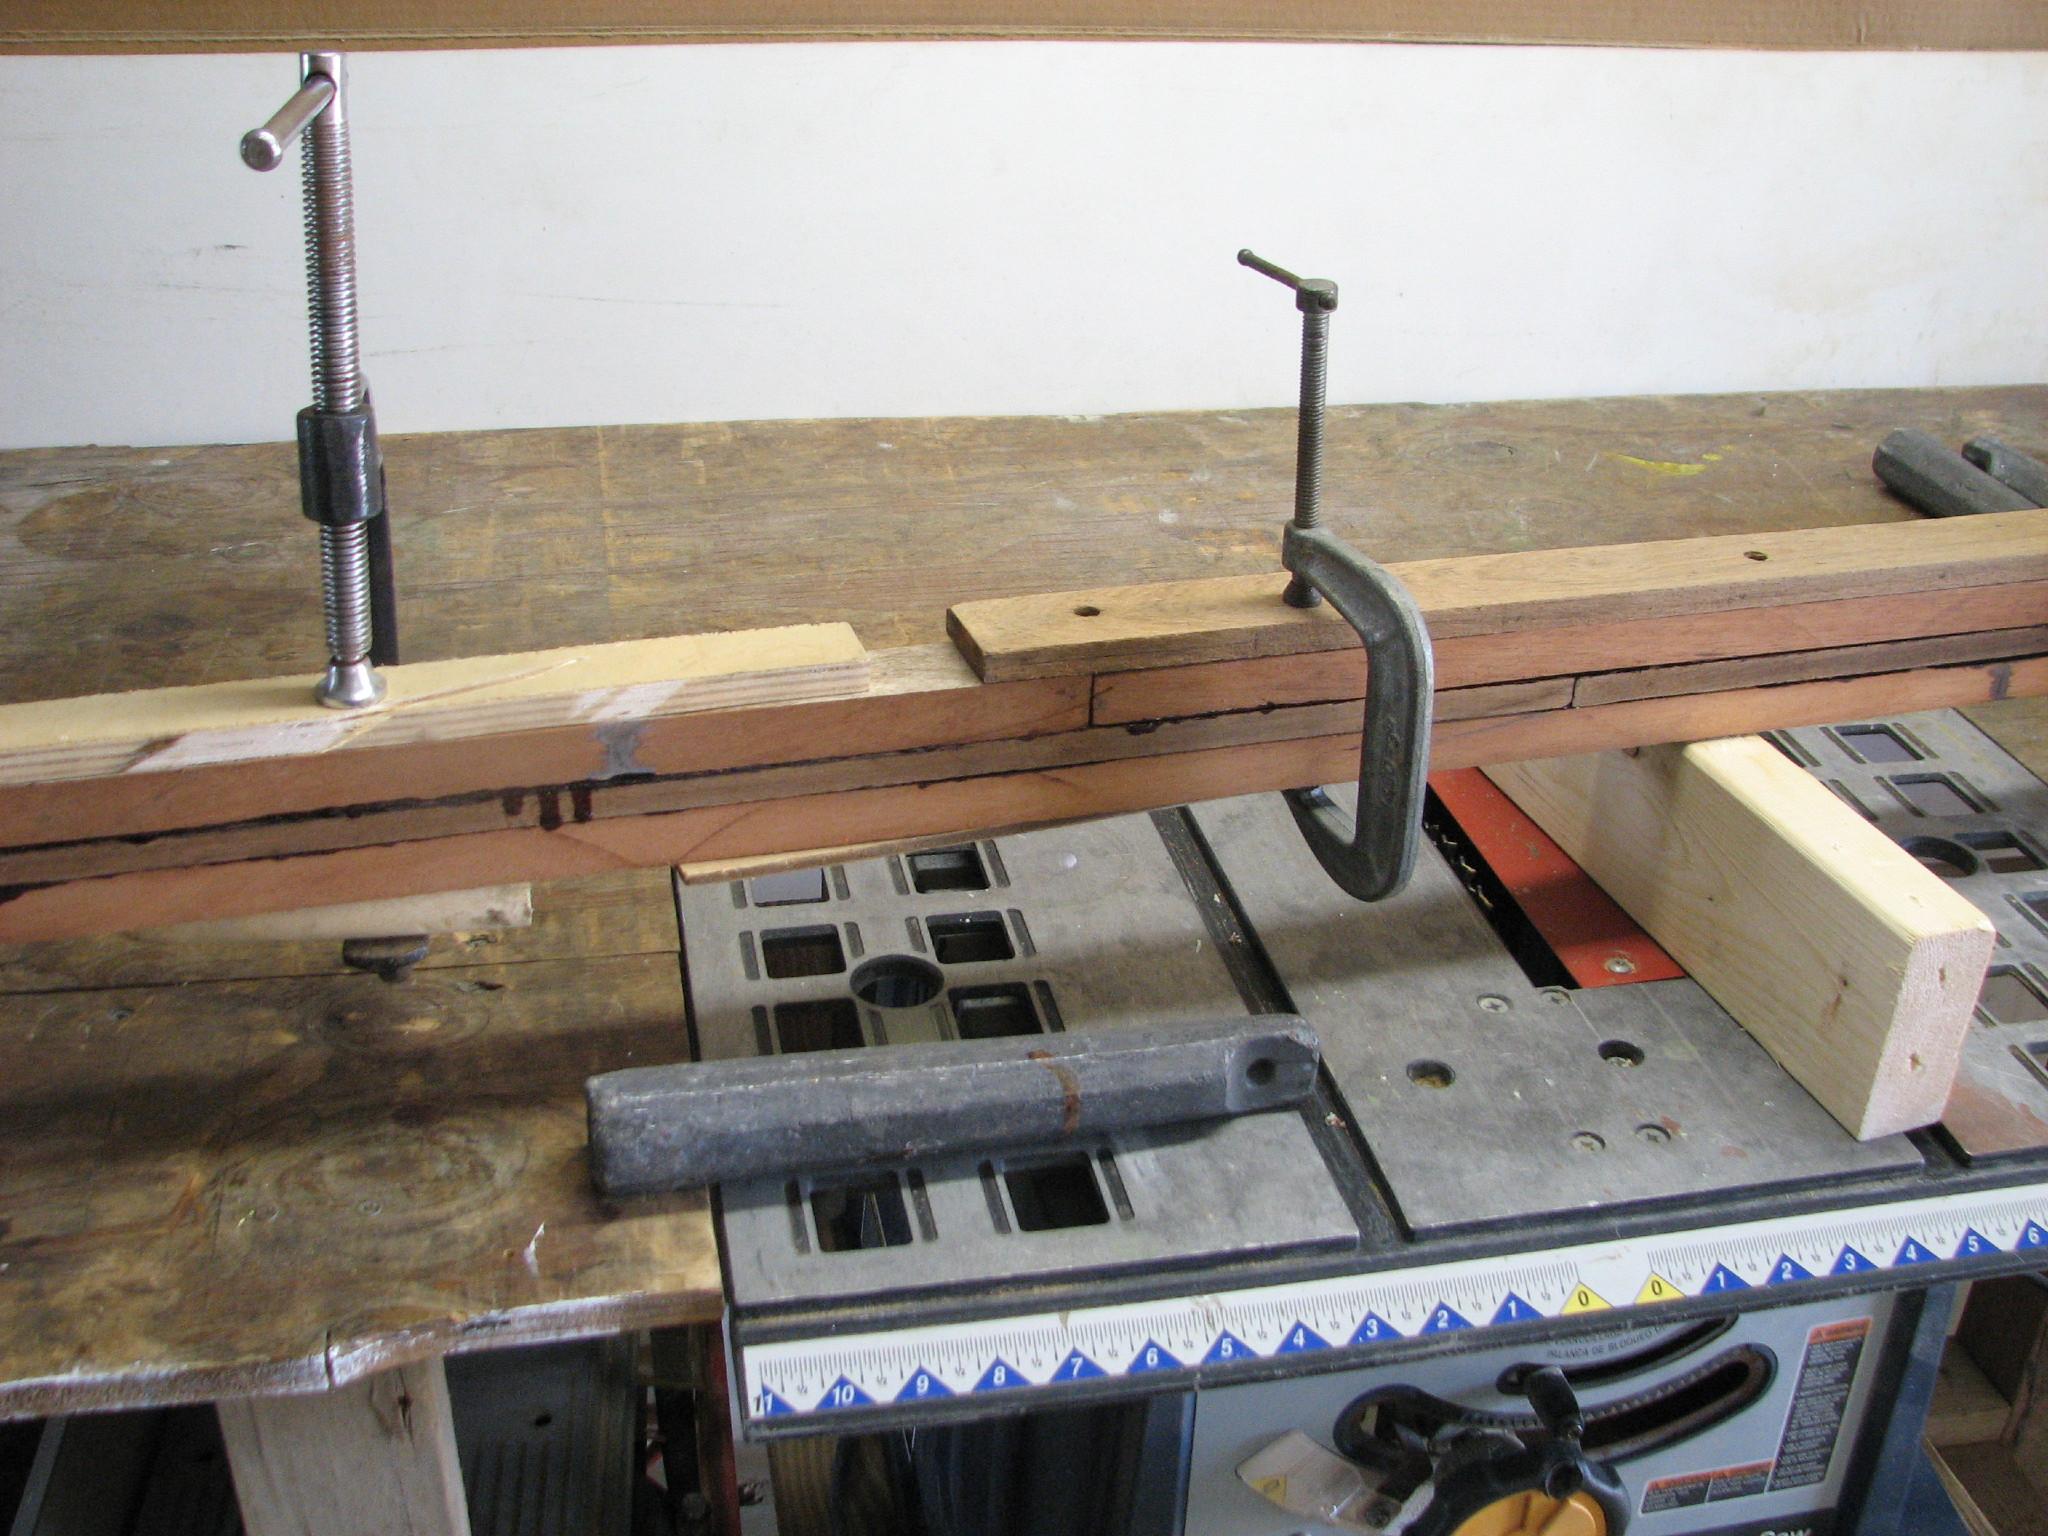
The
last item for the day before varnish and Cetol
application, was to finish up the sanding of the nameboards. I have
finally got them all sanded down. When I took the nameboards off of
DREAM AWAY, they were too long to store any where on board, so I cut
them into two pieces. Now I will have to get them back together. That
will be done in the next couple of days.
Nameboard
In Two Pieces
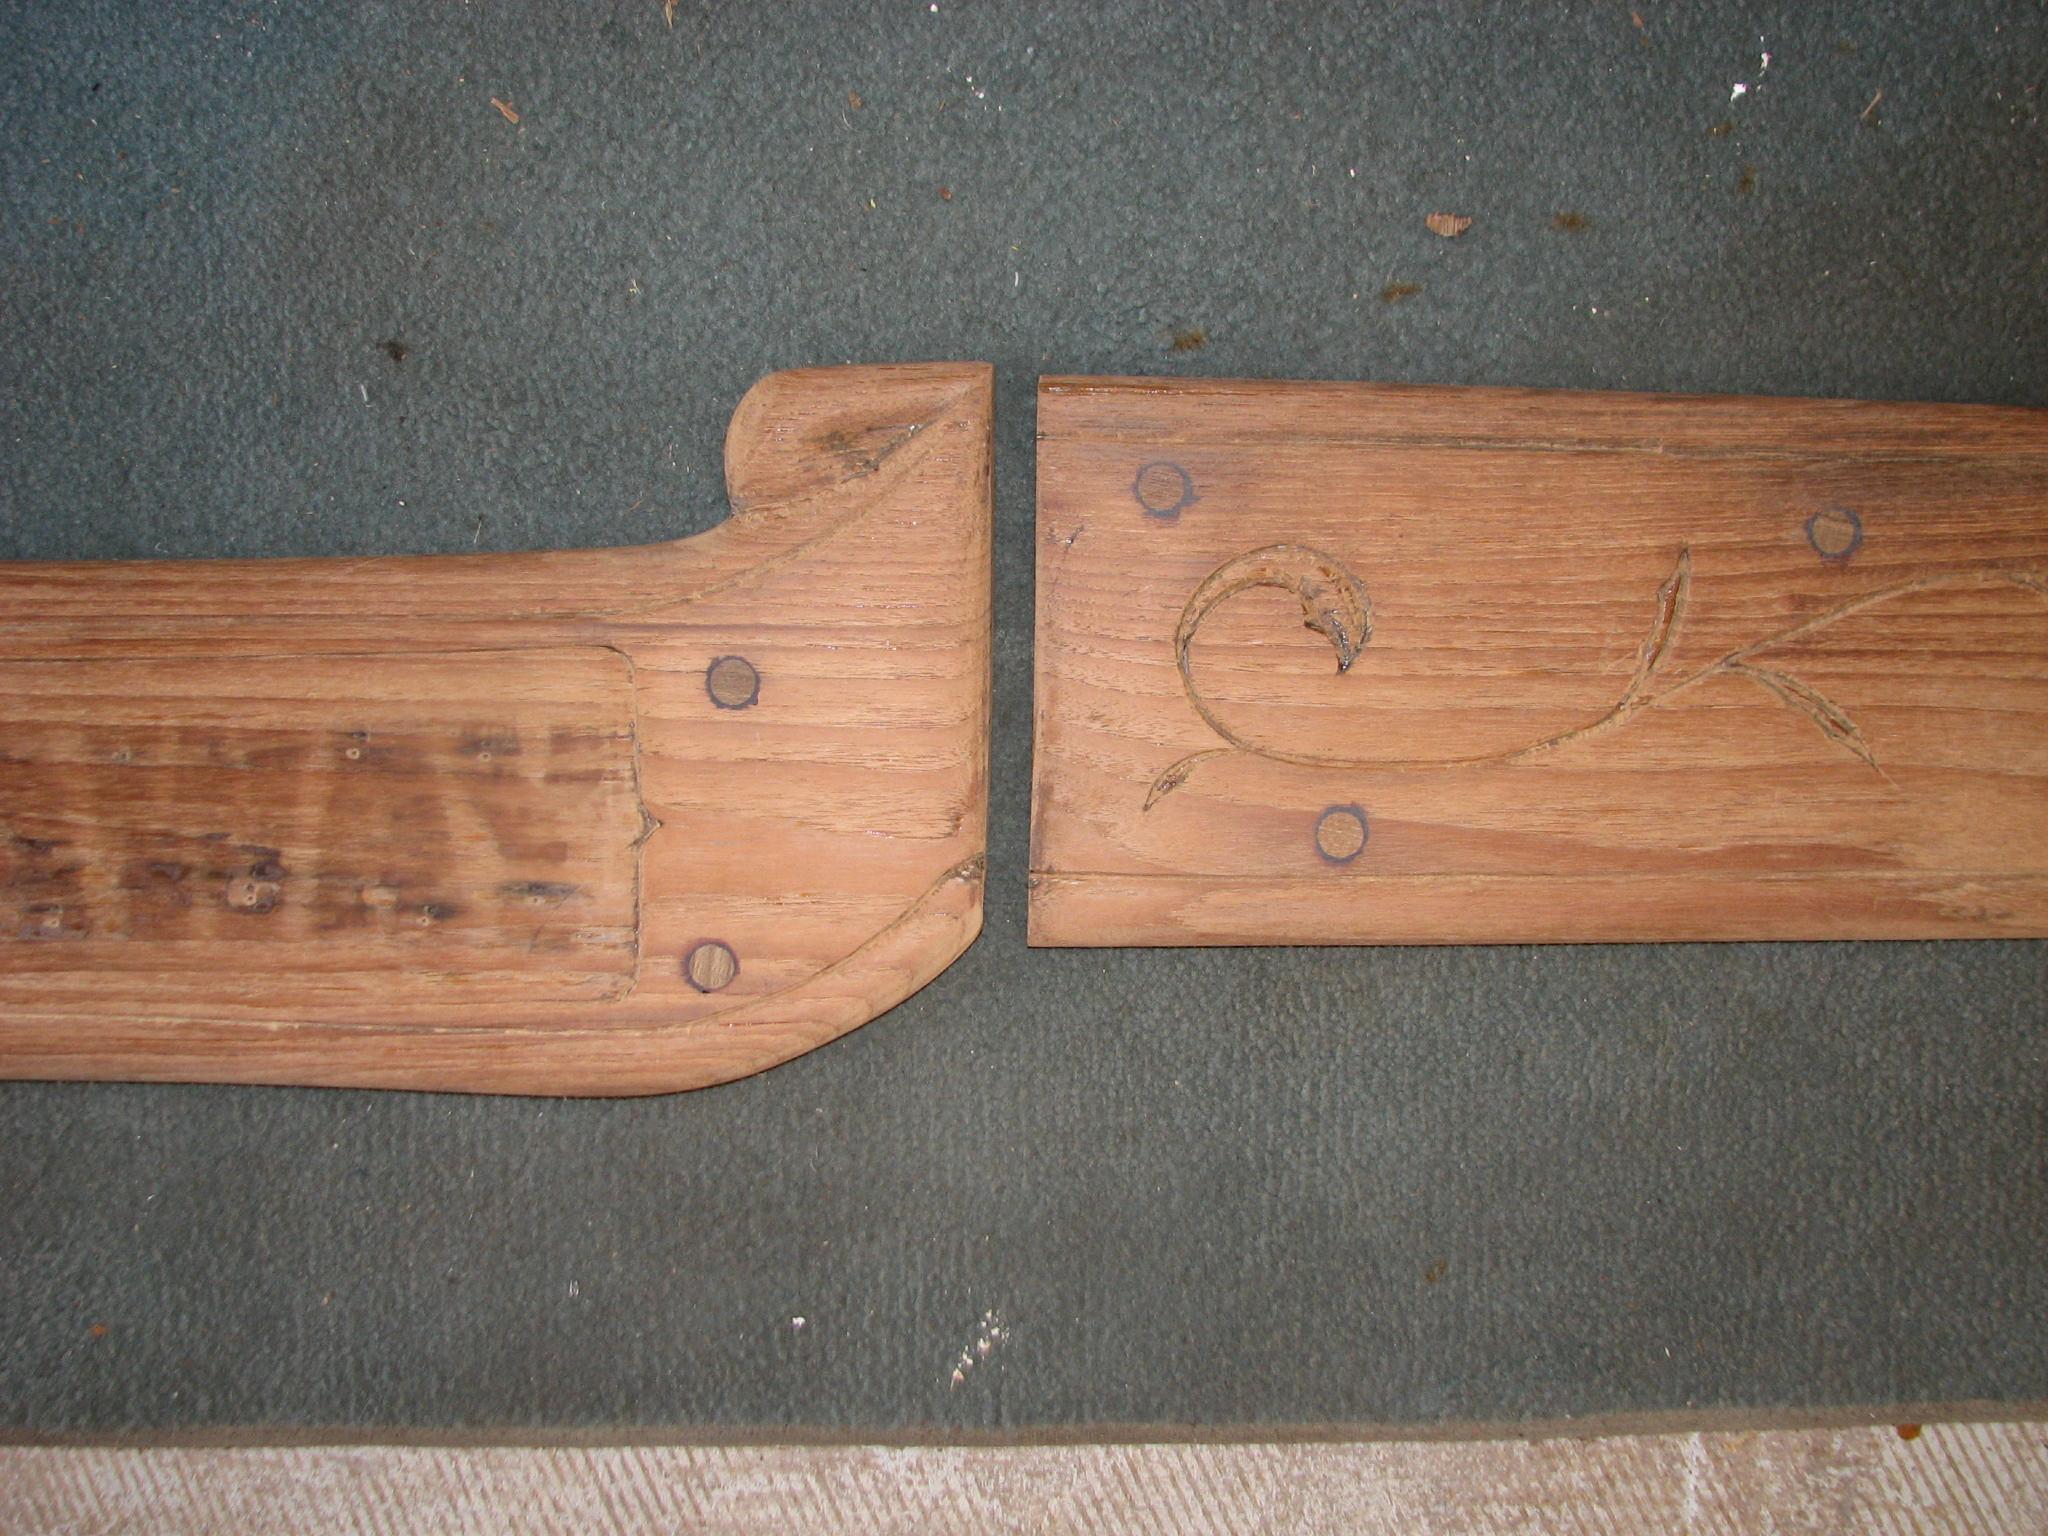
I
put the fifth coat of varnish on the first Panduit
wire duct
cover, the first coat of varnish on the electronics shelf, the third
coat of varnish to the two main cabin table pieces and the third coat
of varnish on the two Panduit
wire duct
covers. Last I applied the fifth coat of Cetol
to the pin rails and belaying pins.
April
12, 2013, Friday
Started
off the morning with my normal ritual of getting on the Internet,
answering email, checking the weather, while making a pot of coffee.
Also updated the maintenance log.
I
have been frustrated by air bubbles appearing on the first Panduit
wire duct
cover to which I applied the teak tape. These bubbles did not appear
on the two subsequent Panduit
wire duct
cover to which I applied the teak tape.
Bubbles
Appearing Under The Teak Tape
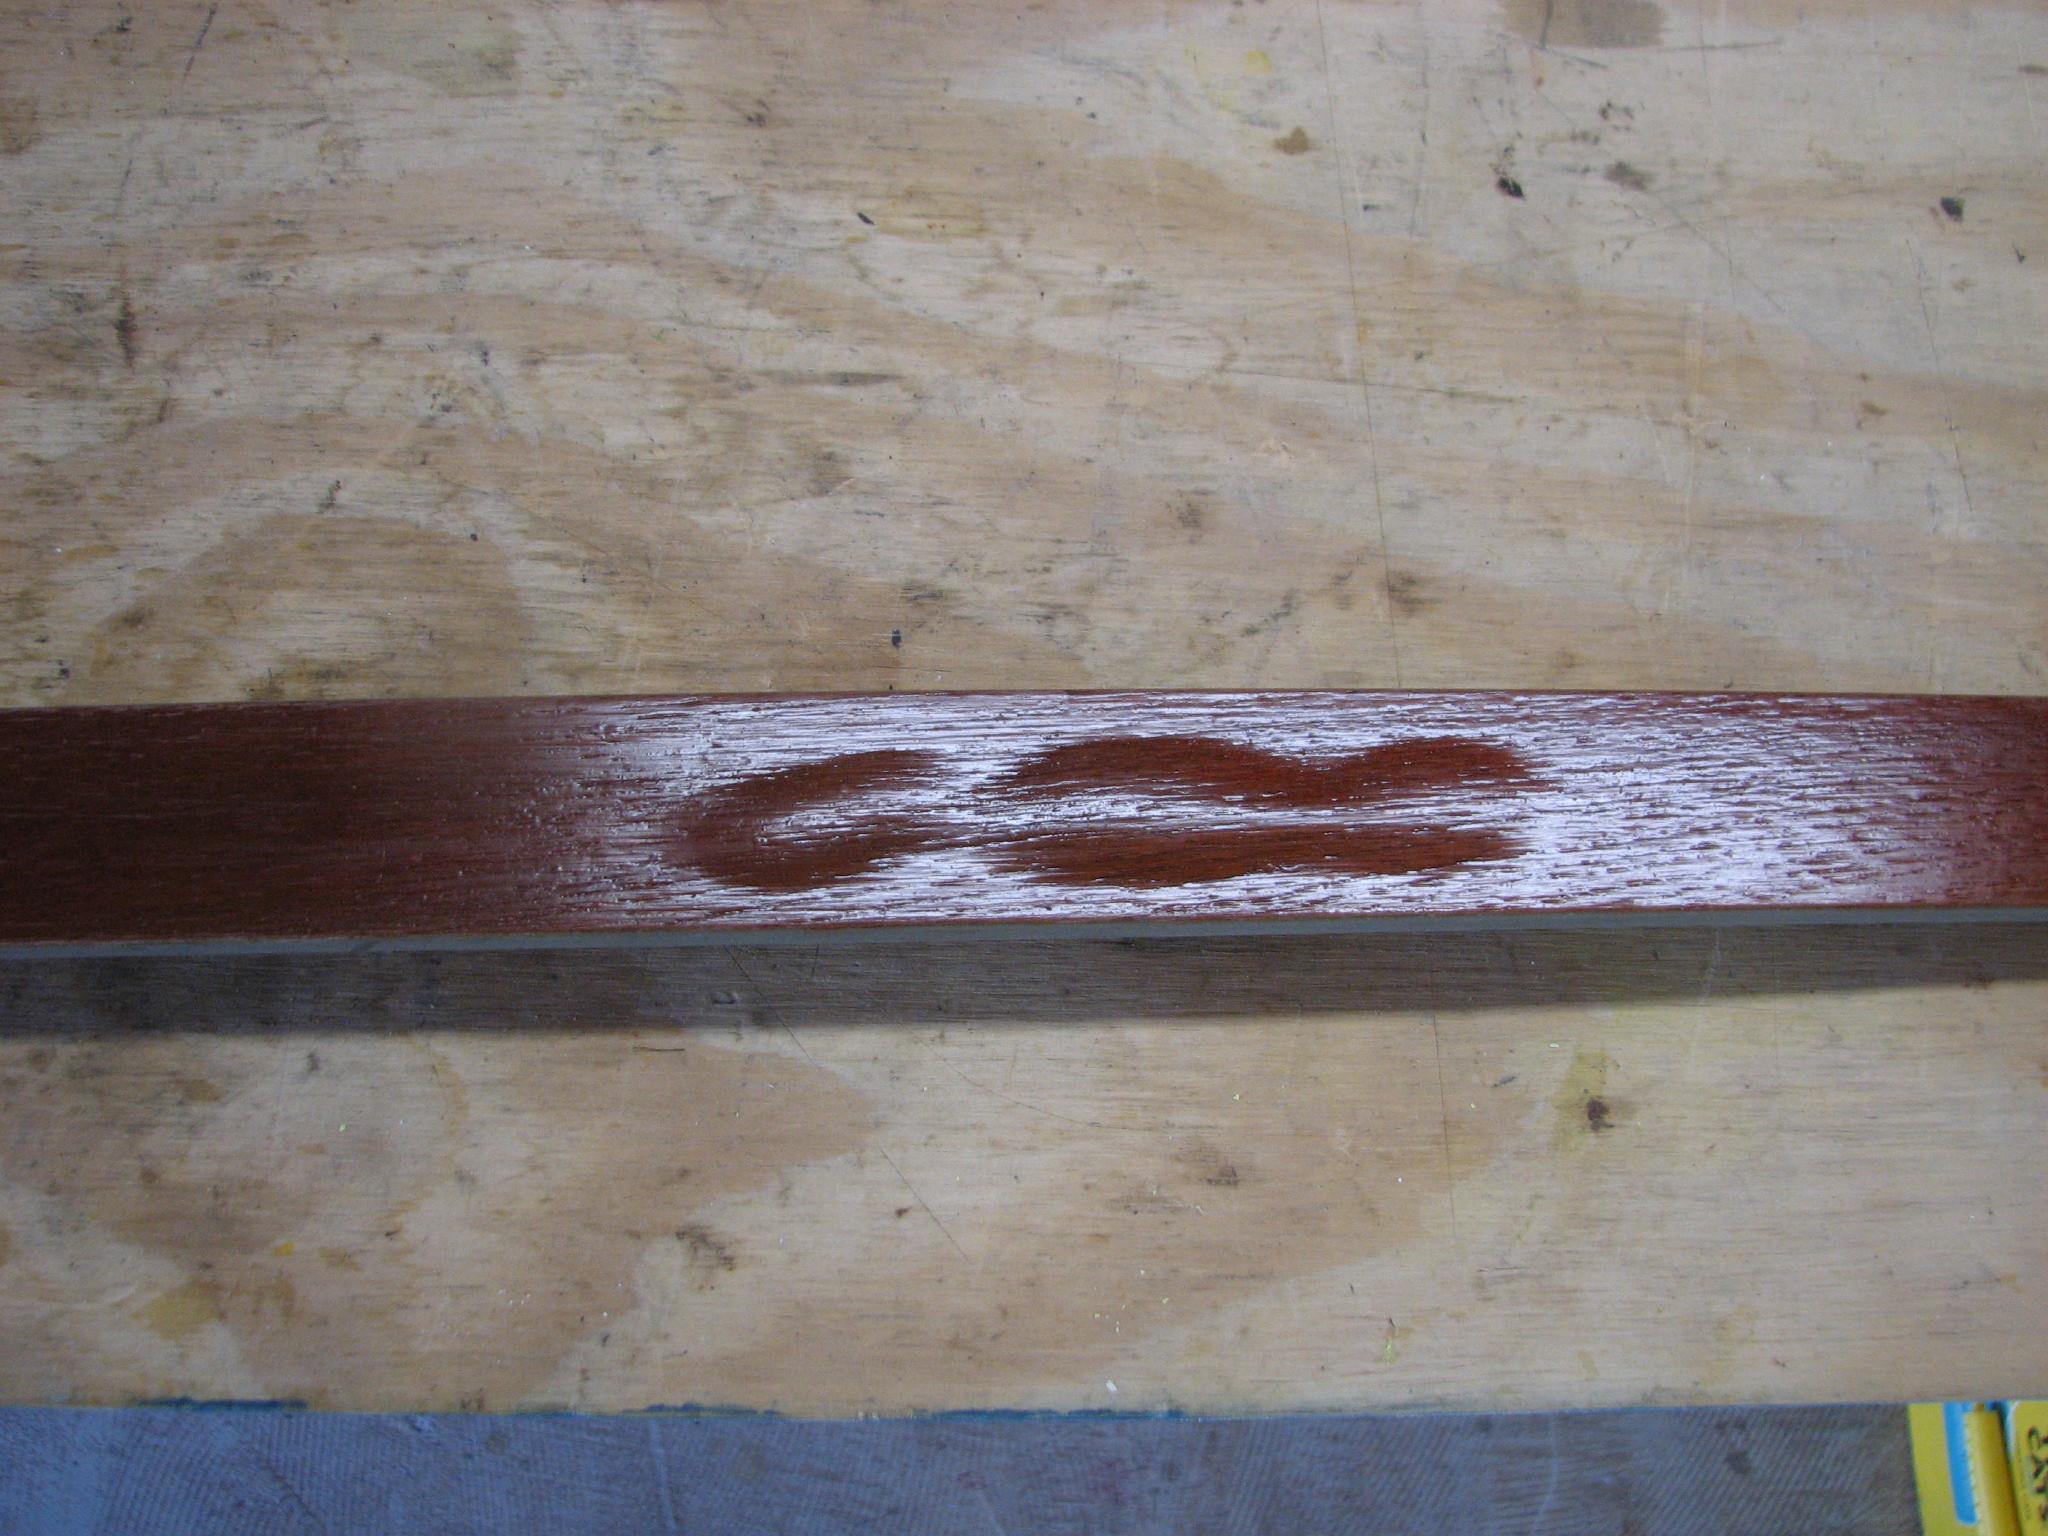
Teak
Tape Removed
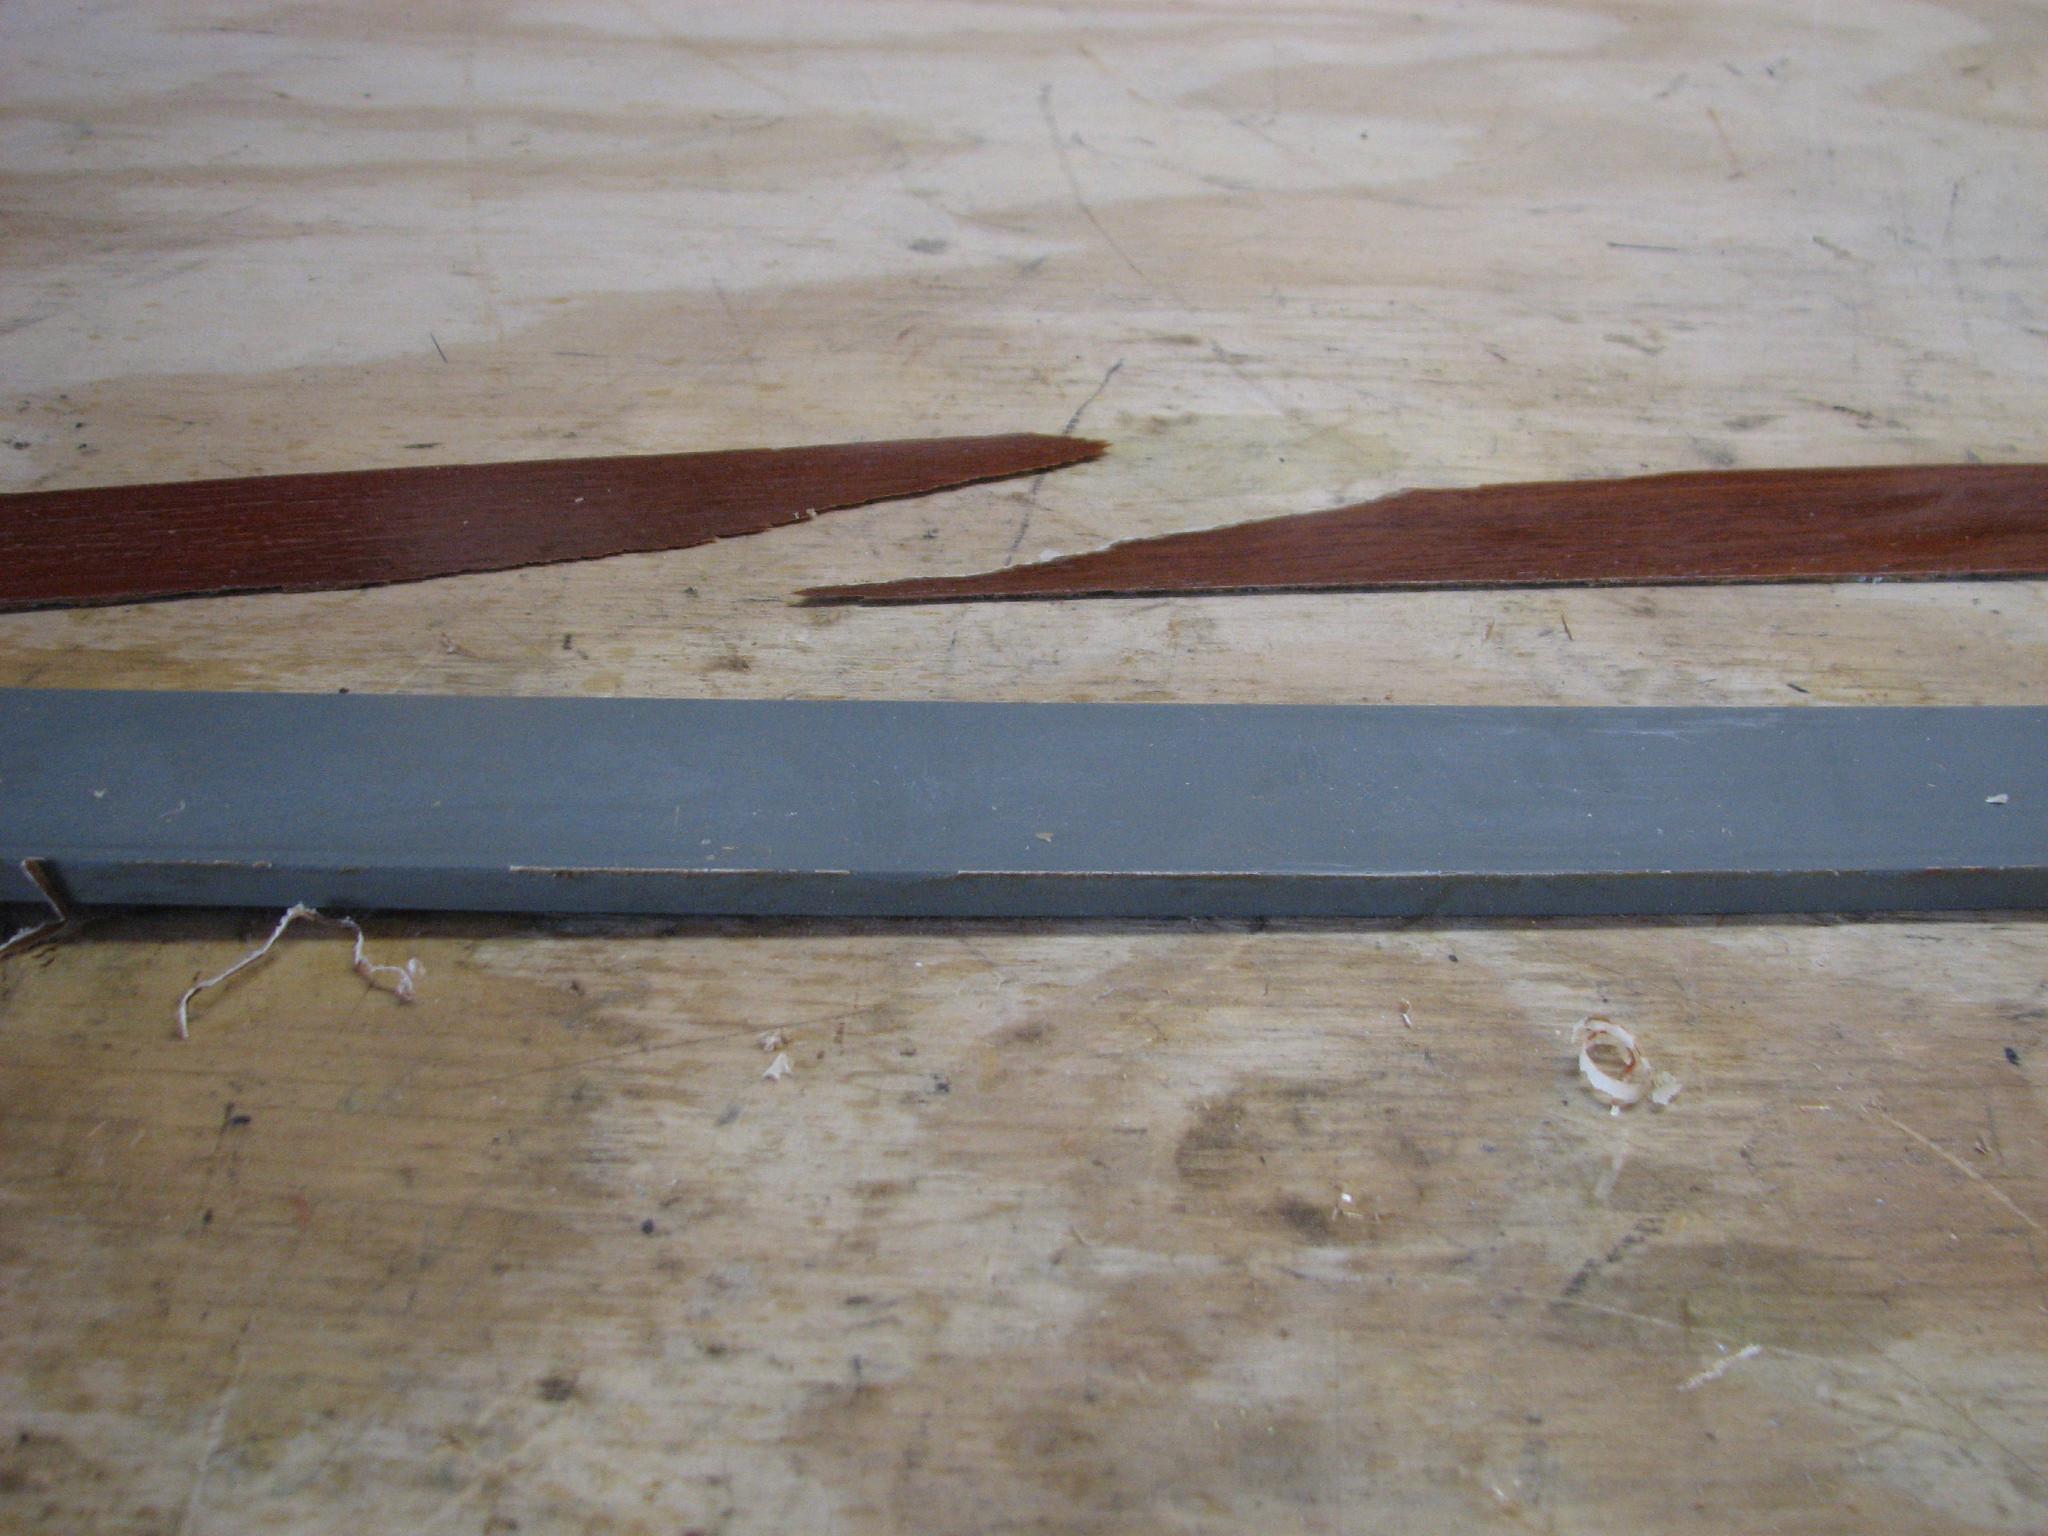
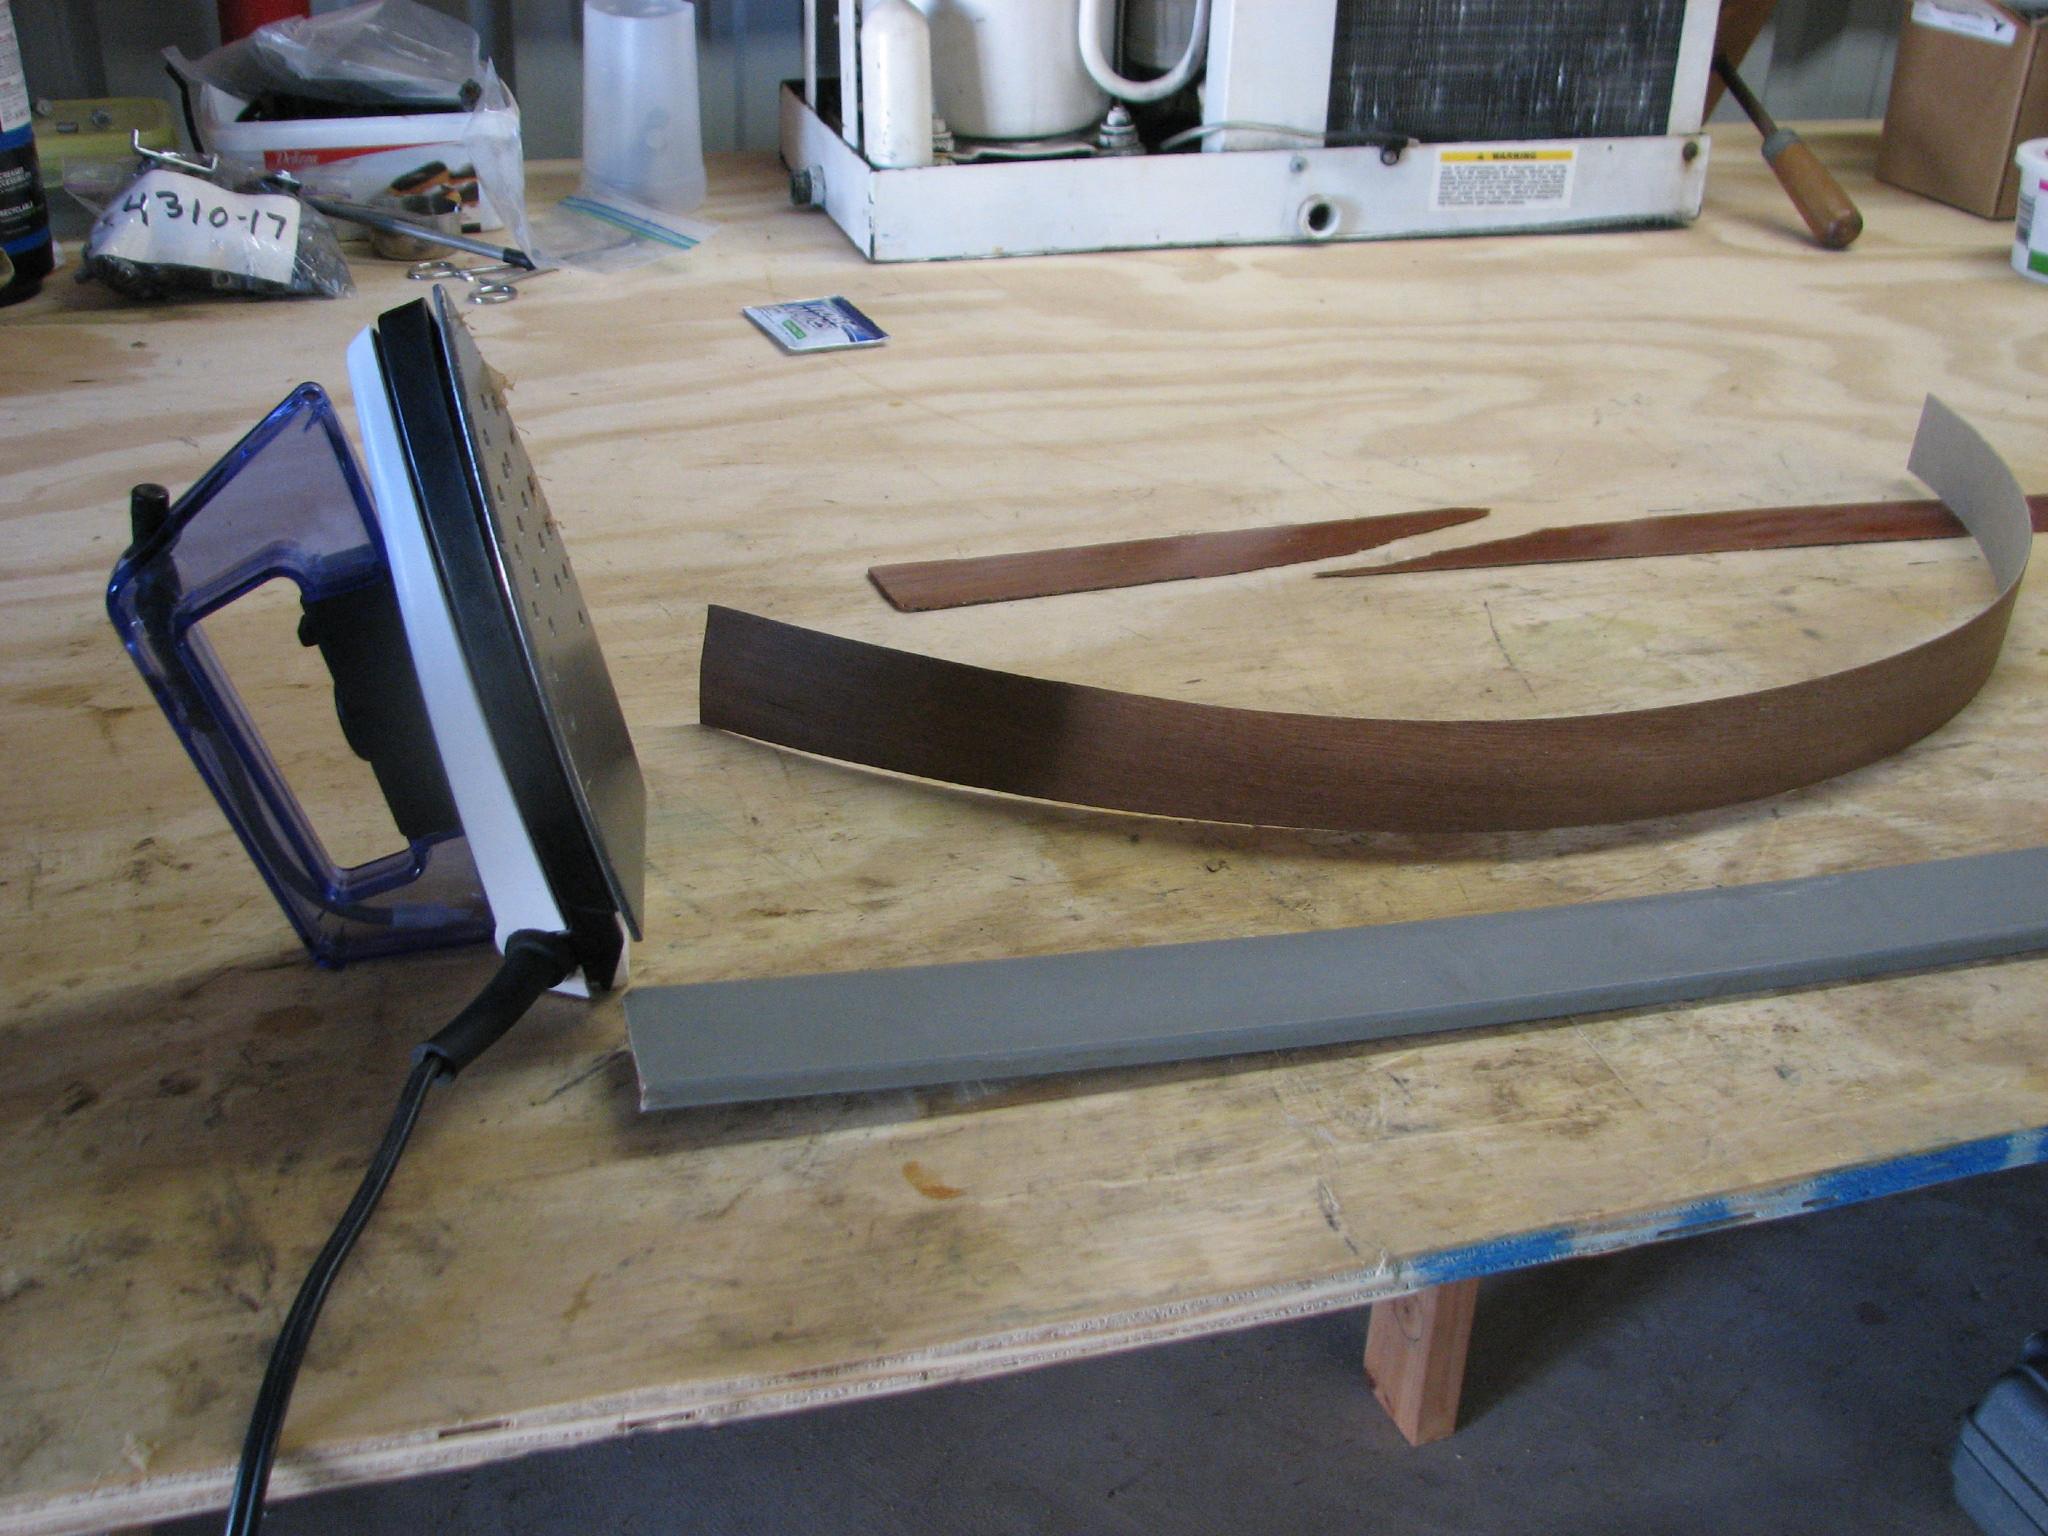
I
then cut a new piece of teak tape, heated up the iron, and prepared
to apply the teak tape to the Panduit
wire duct
cover.
Ready
To Apply The Teak Tape
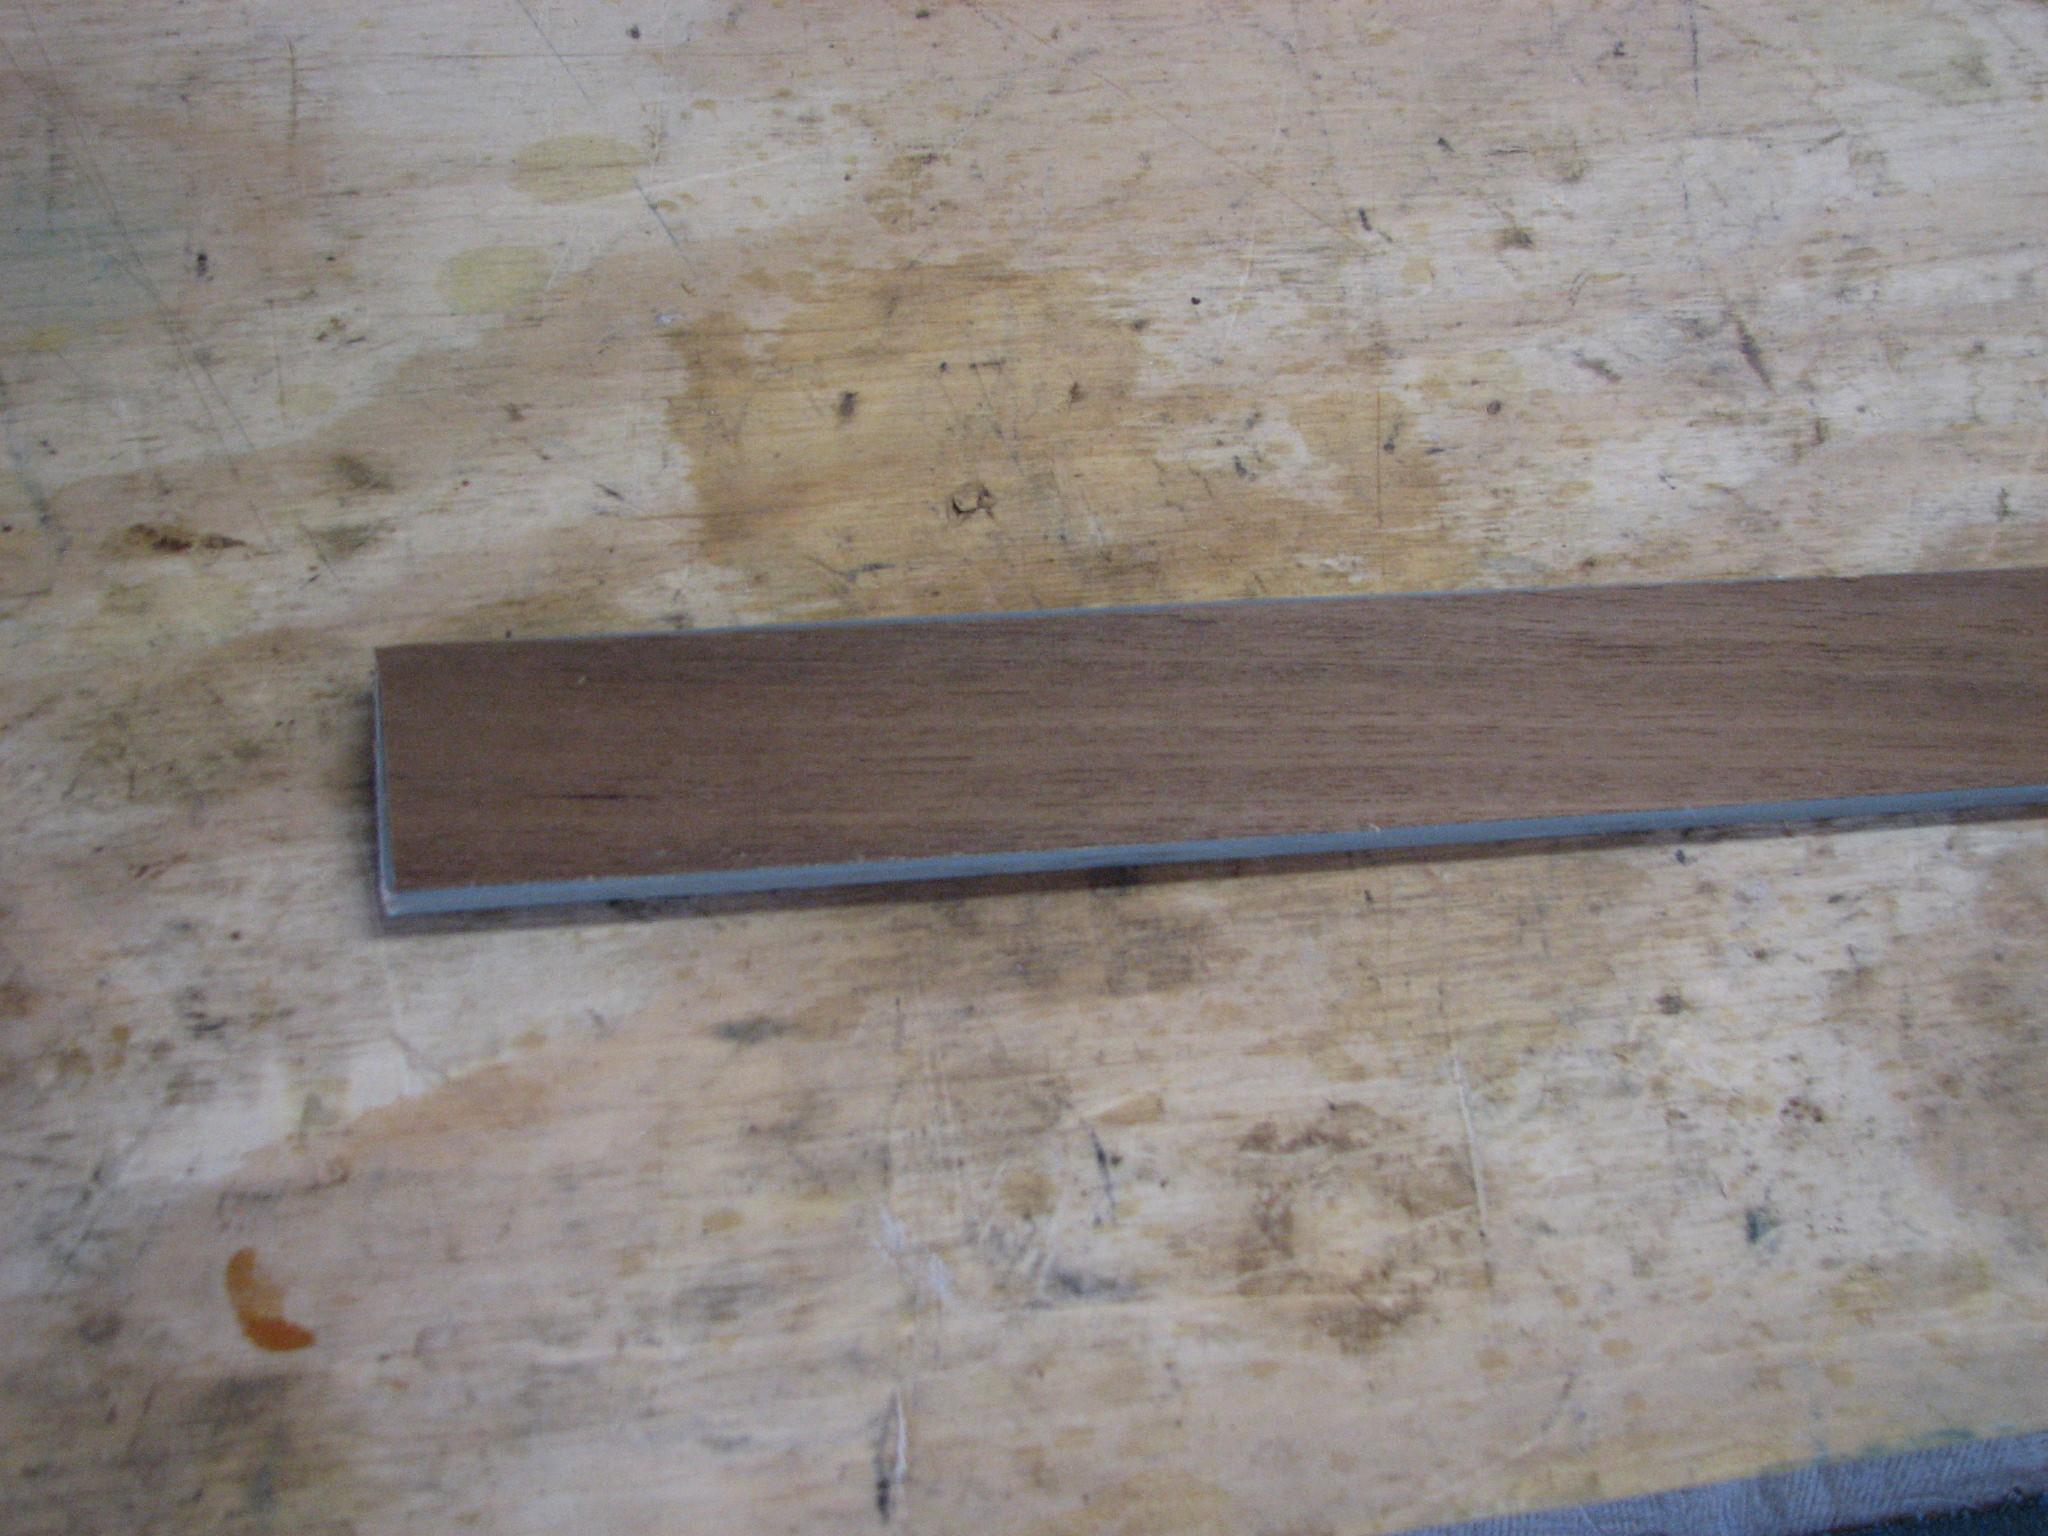
I
then applied the teak tape to the Panduit
wire duct
cover using the iron. I went back and forth several times to make
sure all of the glue on the tape was melted, and no air bubble would
appear. When the piece had cooled down, it appeared there would not
be any bubbles.
I
decided to wait until tomorrow before I applied the dye. I wanted to
see if any air bubbles appeared.
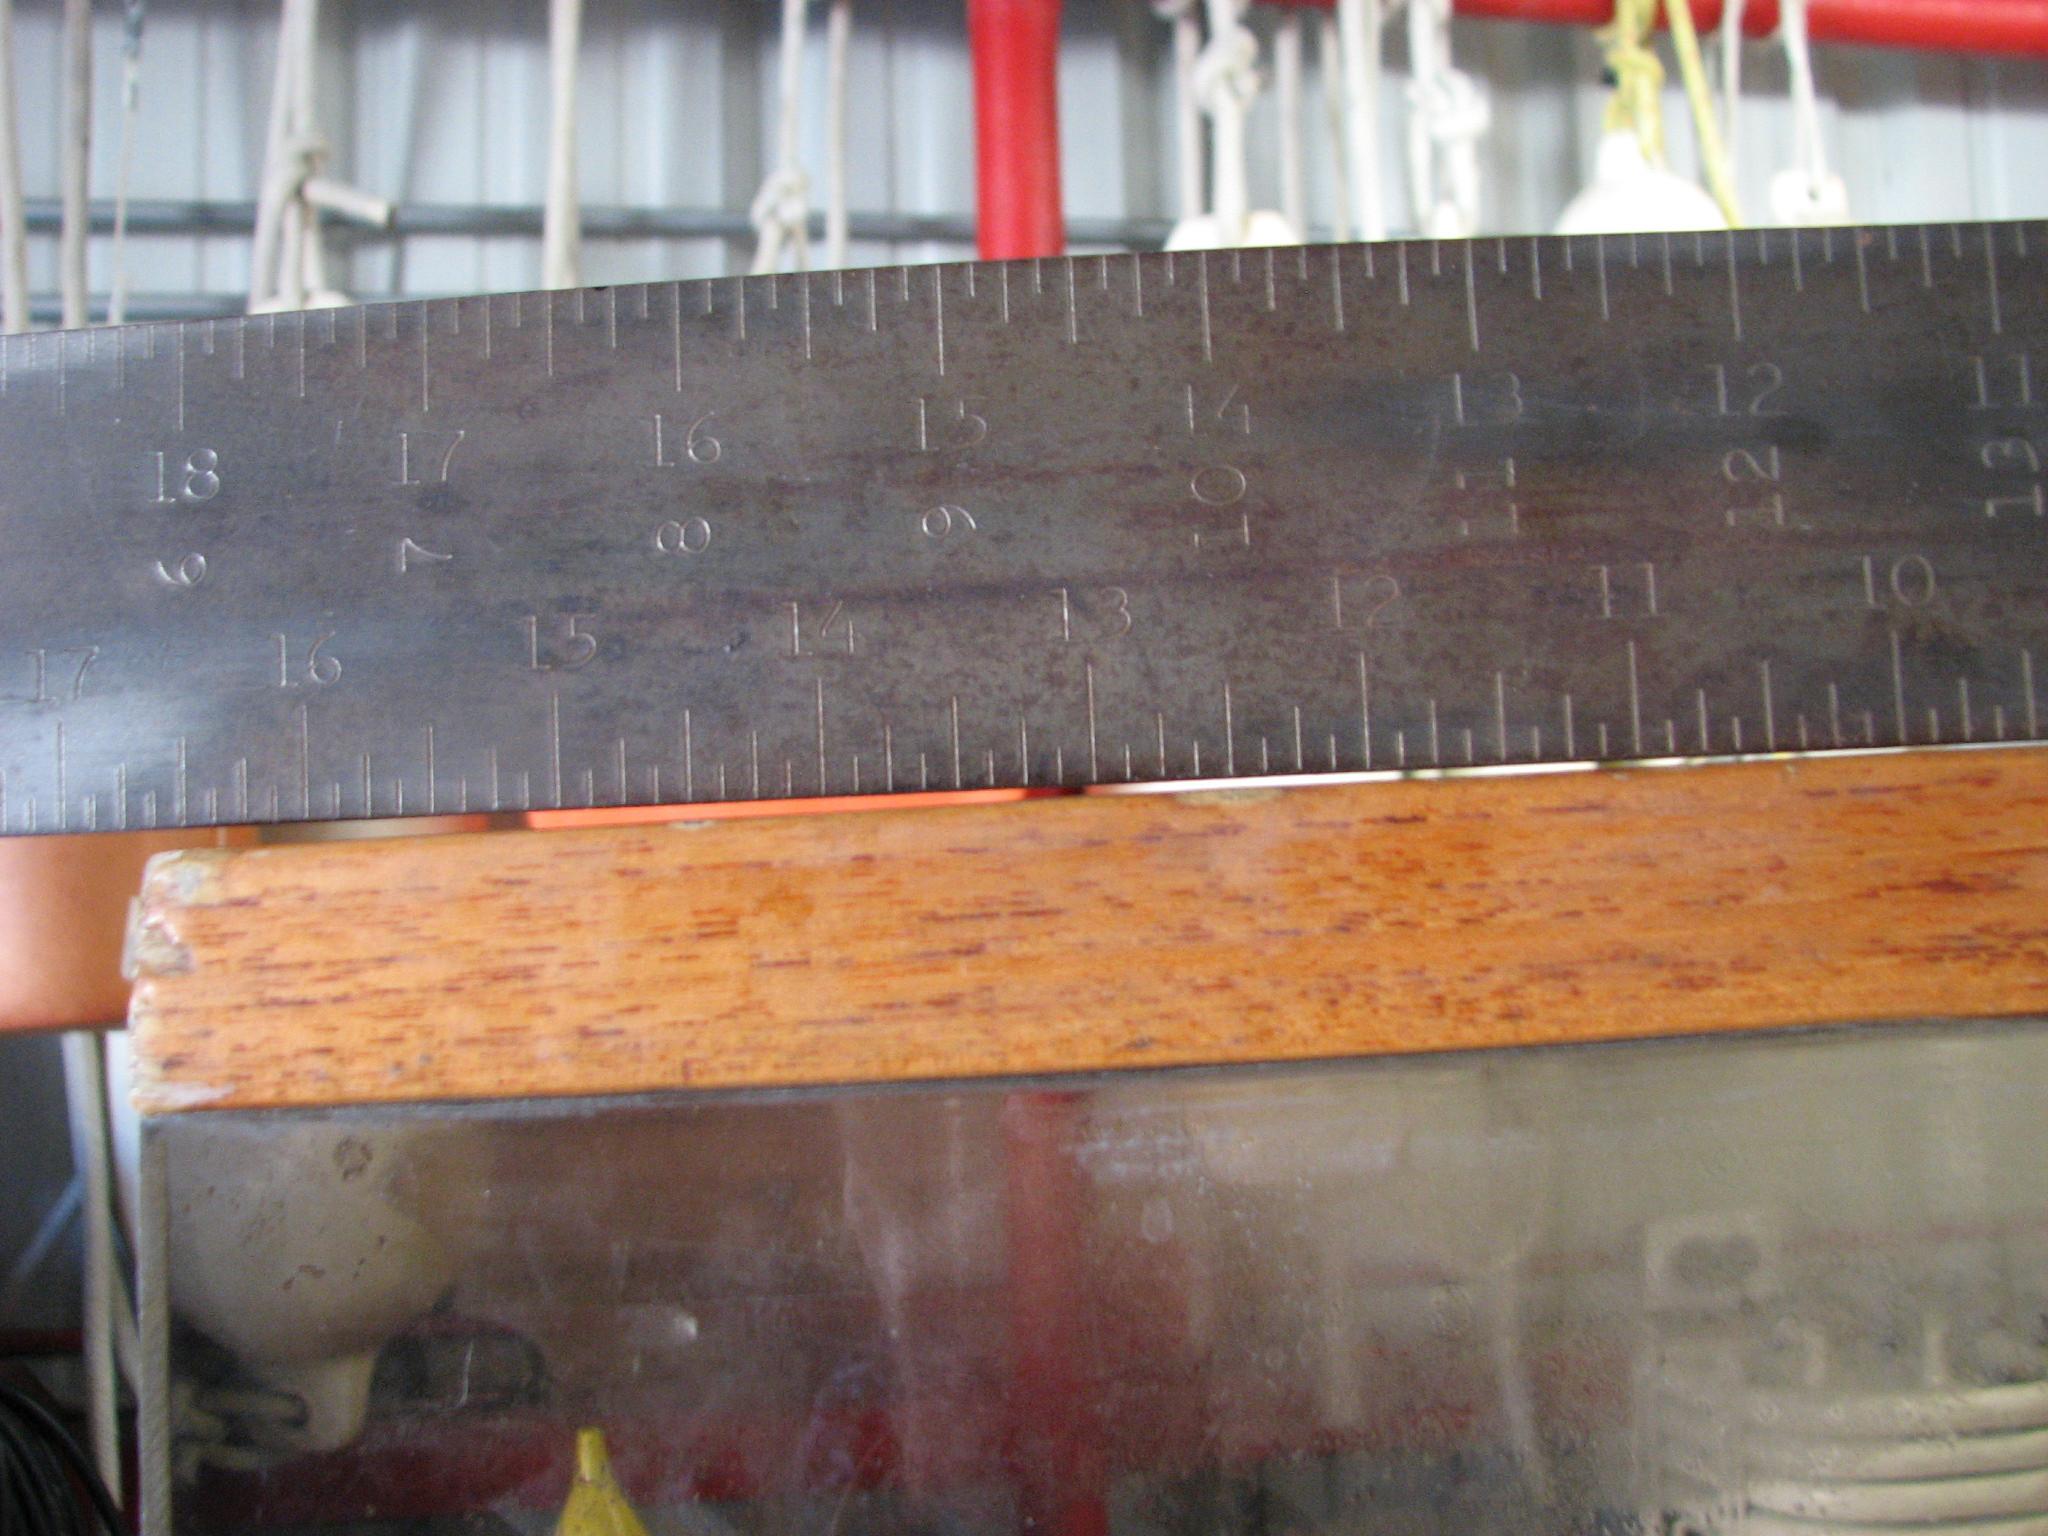
The
mahogany pieces I have been trying to fit for the large acrylic
insert has not been going well. I have been sanding down the pieces
to fit, but they were getting very thin, and I was getting
frustrated. Just to be sure, I took the large acrylic insert over to
the shop, and put the carpenter’s
square
on it. Just as I thought, one side was flat, but the other side was
not.
I
got out a sander, and sanded down the side until it was flat. Now
both side of the acrylic insert are flat.
I
trimmed up the hide hole piece to try and do a dry fit on DREAM AWAY.
I loaded up the hide hole piece, the acrylic insert, and the mahogany
pieces that go with it, some other small pieces of teak I am going to
use to repair the louvers on a door, and a piece of teak to add to
the Cutco
knife holder in the Black Beast,
and went over to DREAM AWAY with all
of the parts.
Kitty
and I measured the hide hole piece, and it was too big to try a dry
fit. We took a measurement, so I could cut the piece when I took it
over to the shop.
Next
Kitty and I did a dry fit of the large acrylic insert, and the
mahogany pieces I am using to fill the huge gaps. Making both sides
of the insert flat made the difference! What we discovered was the
area that needed to be filled was different from one side of the
insert to the other. I cut a second template, and will use the
template to add a piece to the port side piece. At least now I know
what size pieces I need, and can get them ready for a final dry fit.
The
small pieces of teak I for the louver repair, will work. I just have
to sand them down to a close 1/2 round, just very small!
The
piece I brought over to modify the Cutco
knife holder was not large enough. Will have to find a larger piece
in my stash of spare teak wood.
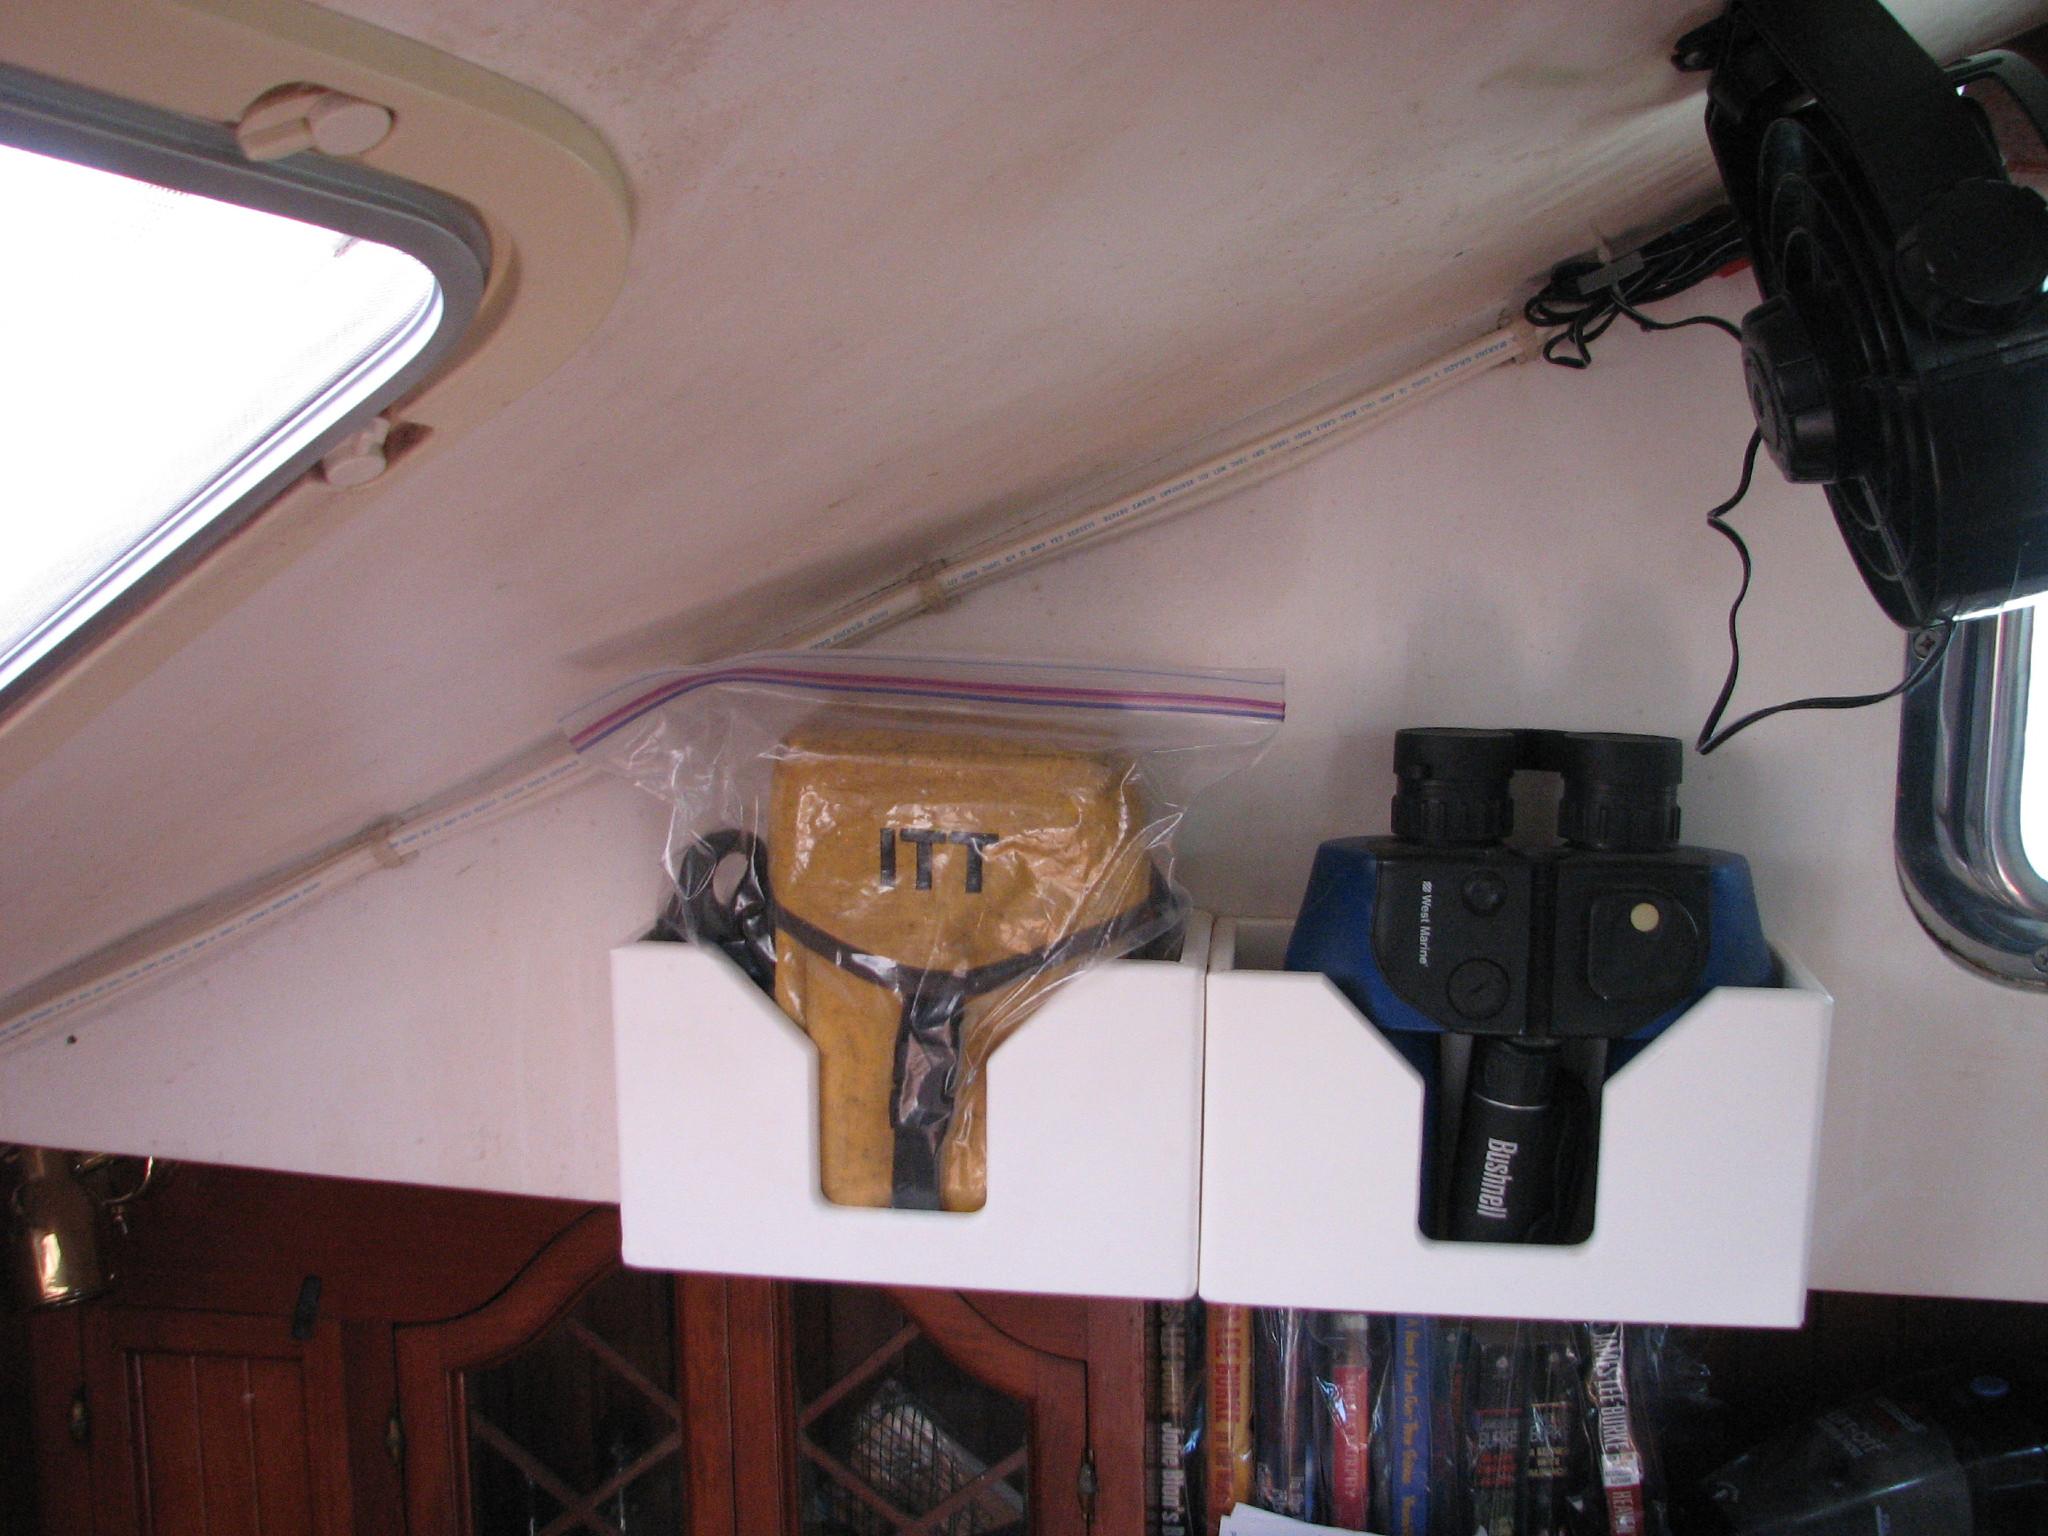
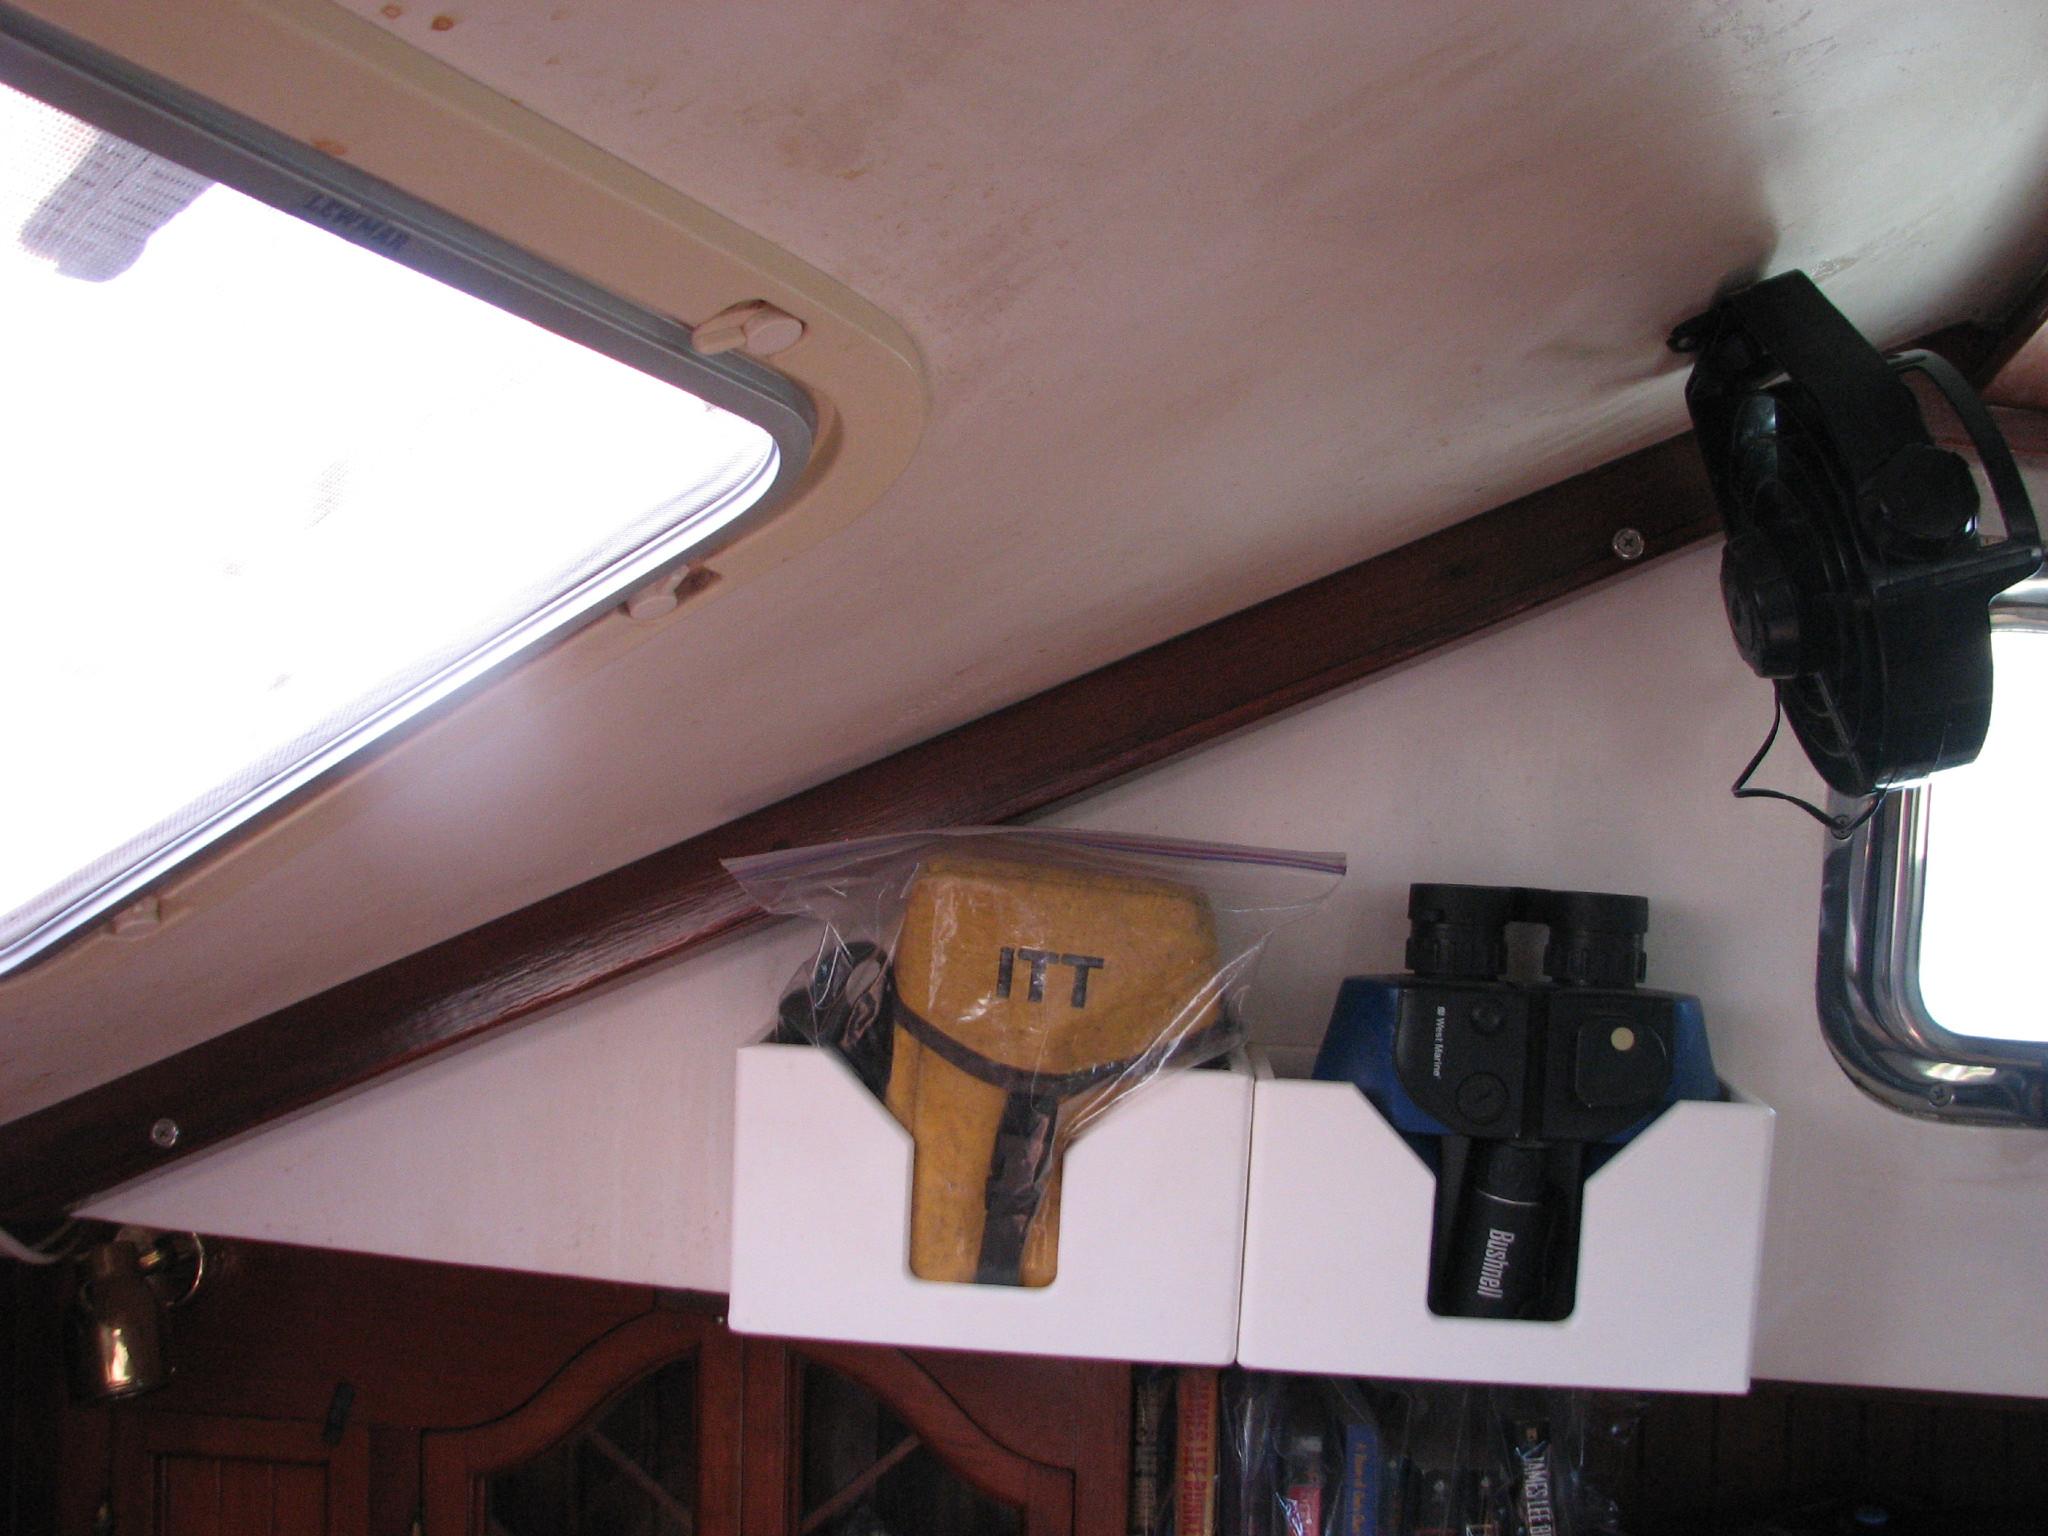
After
breakfast, I worked on the electrical wire covers I had varnished. I
did a dry fit of the cover, then drilled the necessary holes in the
cover, and the fiberglass, and installed the starboard side cover.
Starboard
Side Wires Exposed
Starboard
Side Wire Cover Installed
Port
Side Wires Exposed
Port
Side Wire Cover Installed
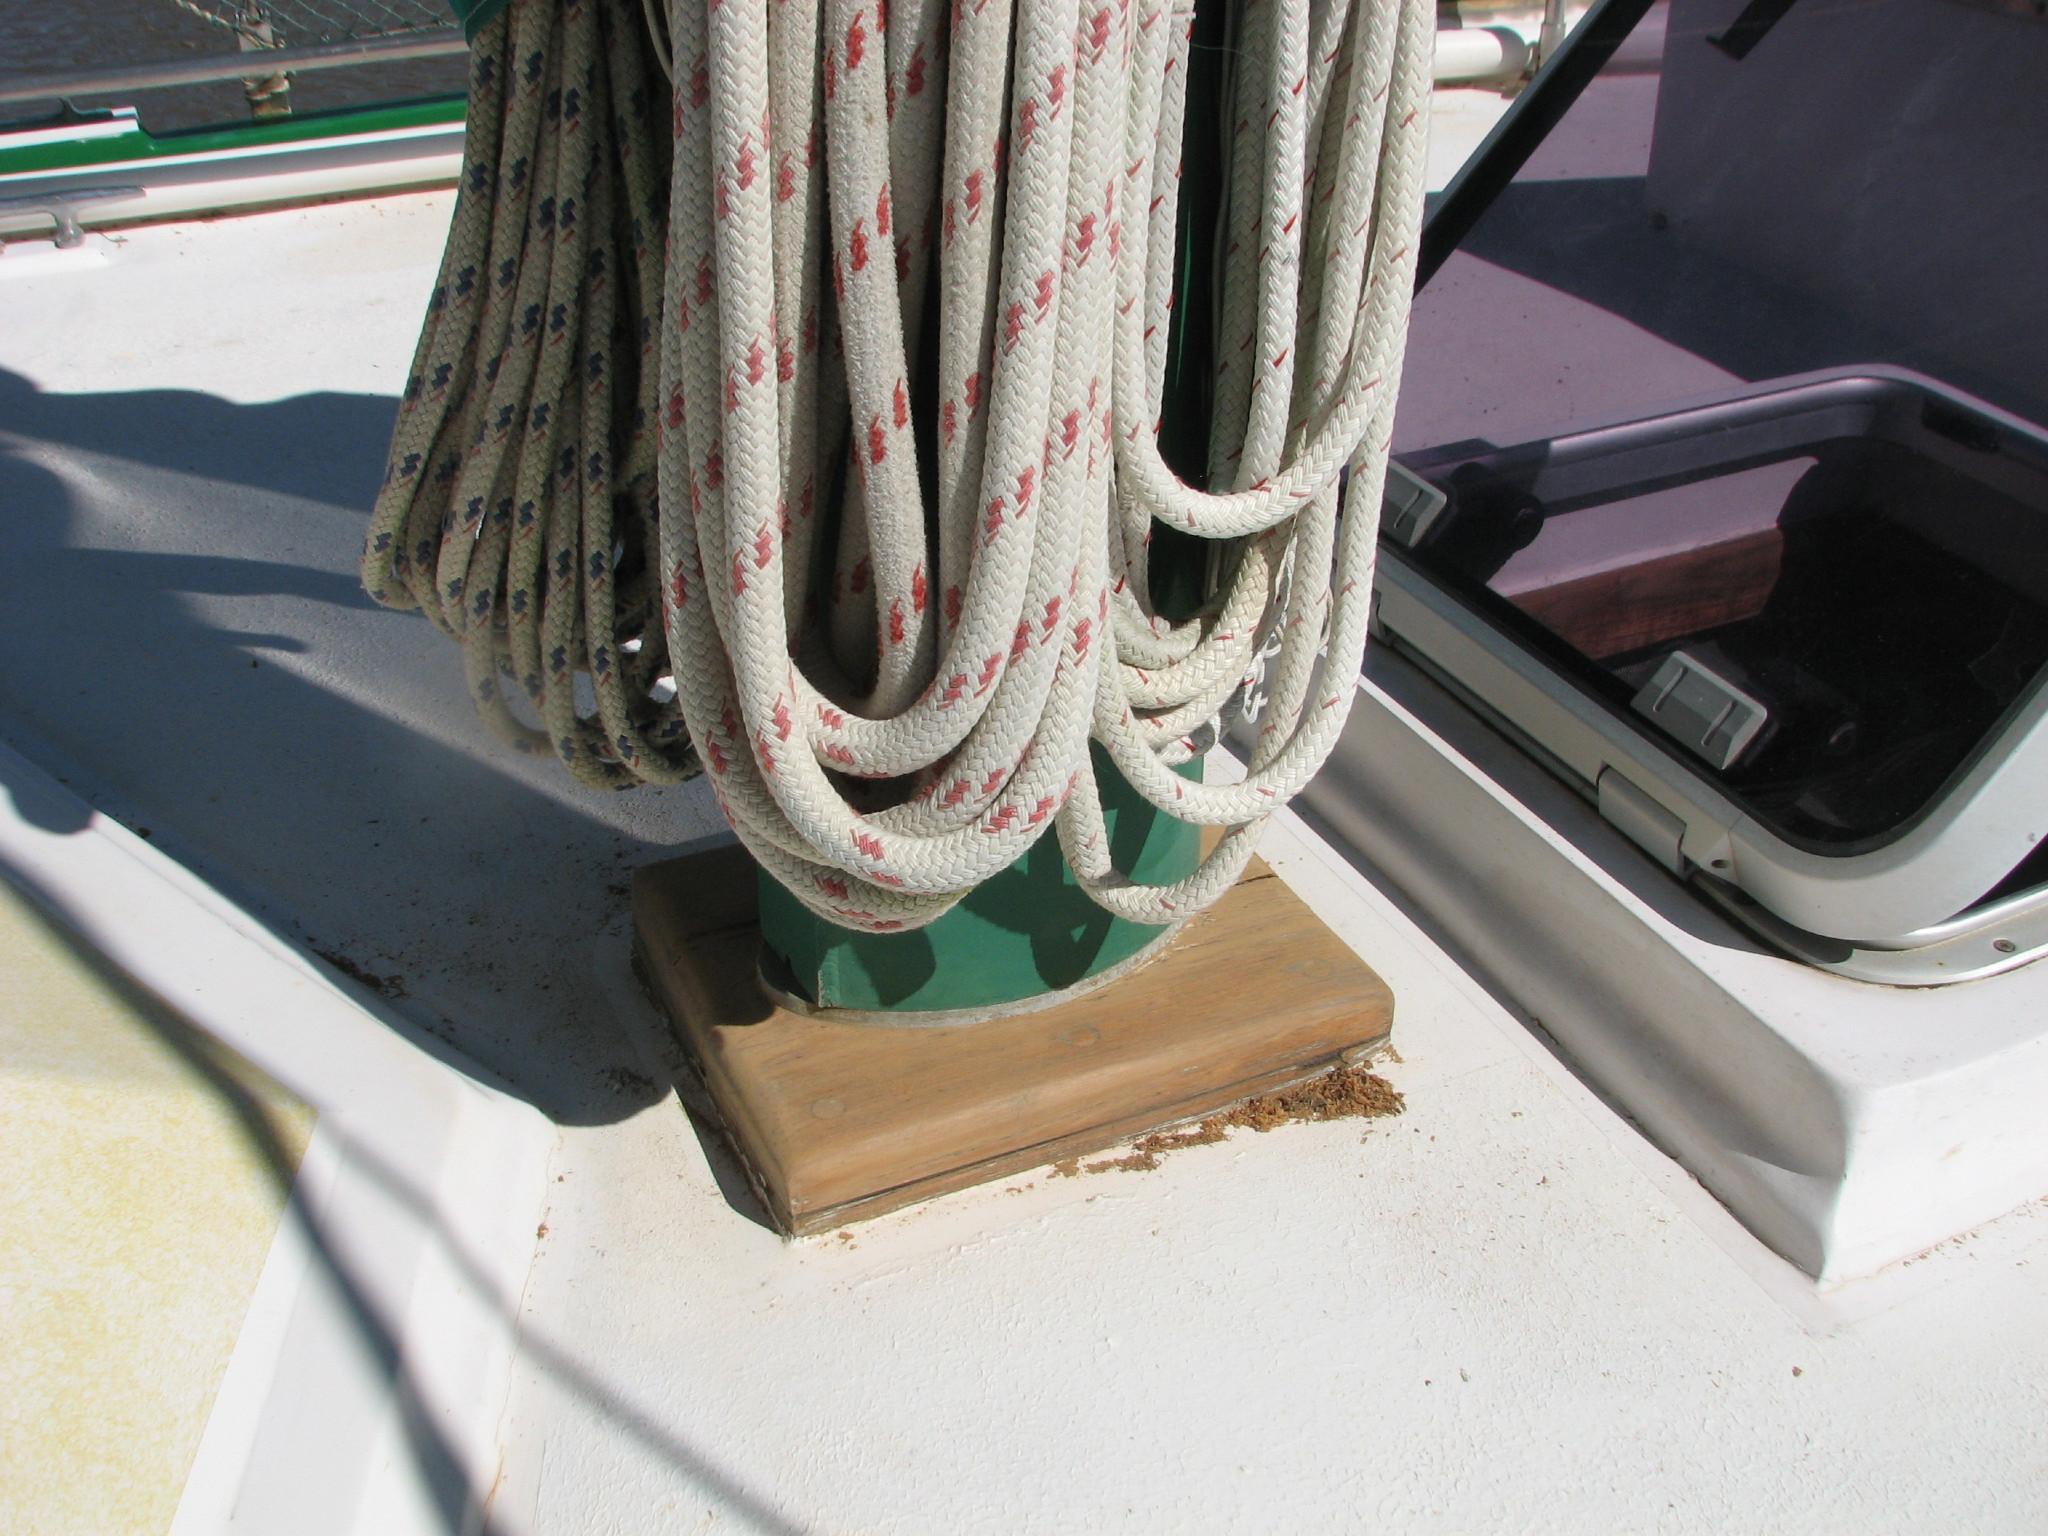
Main
Mast Step Before Sanding
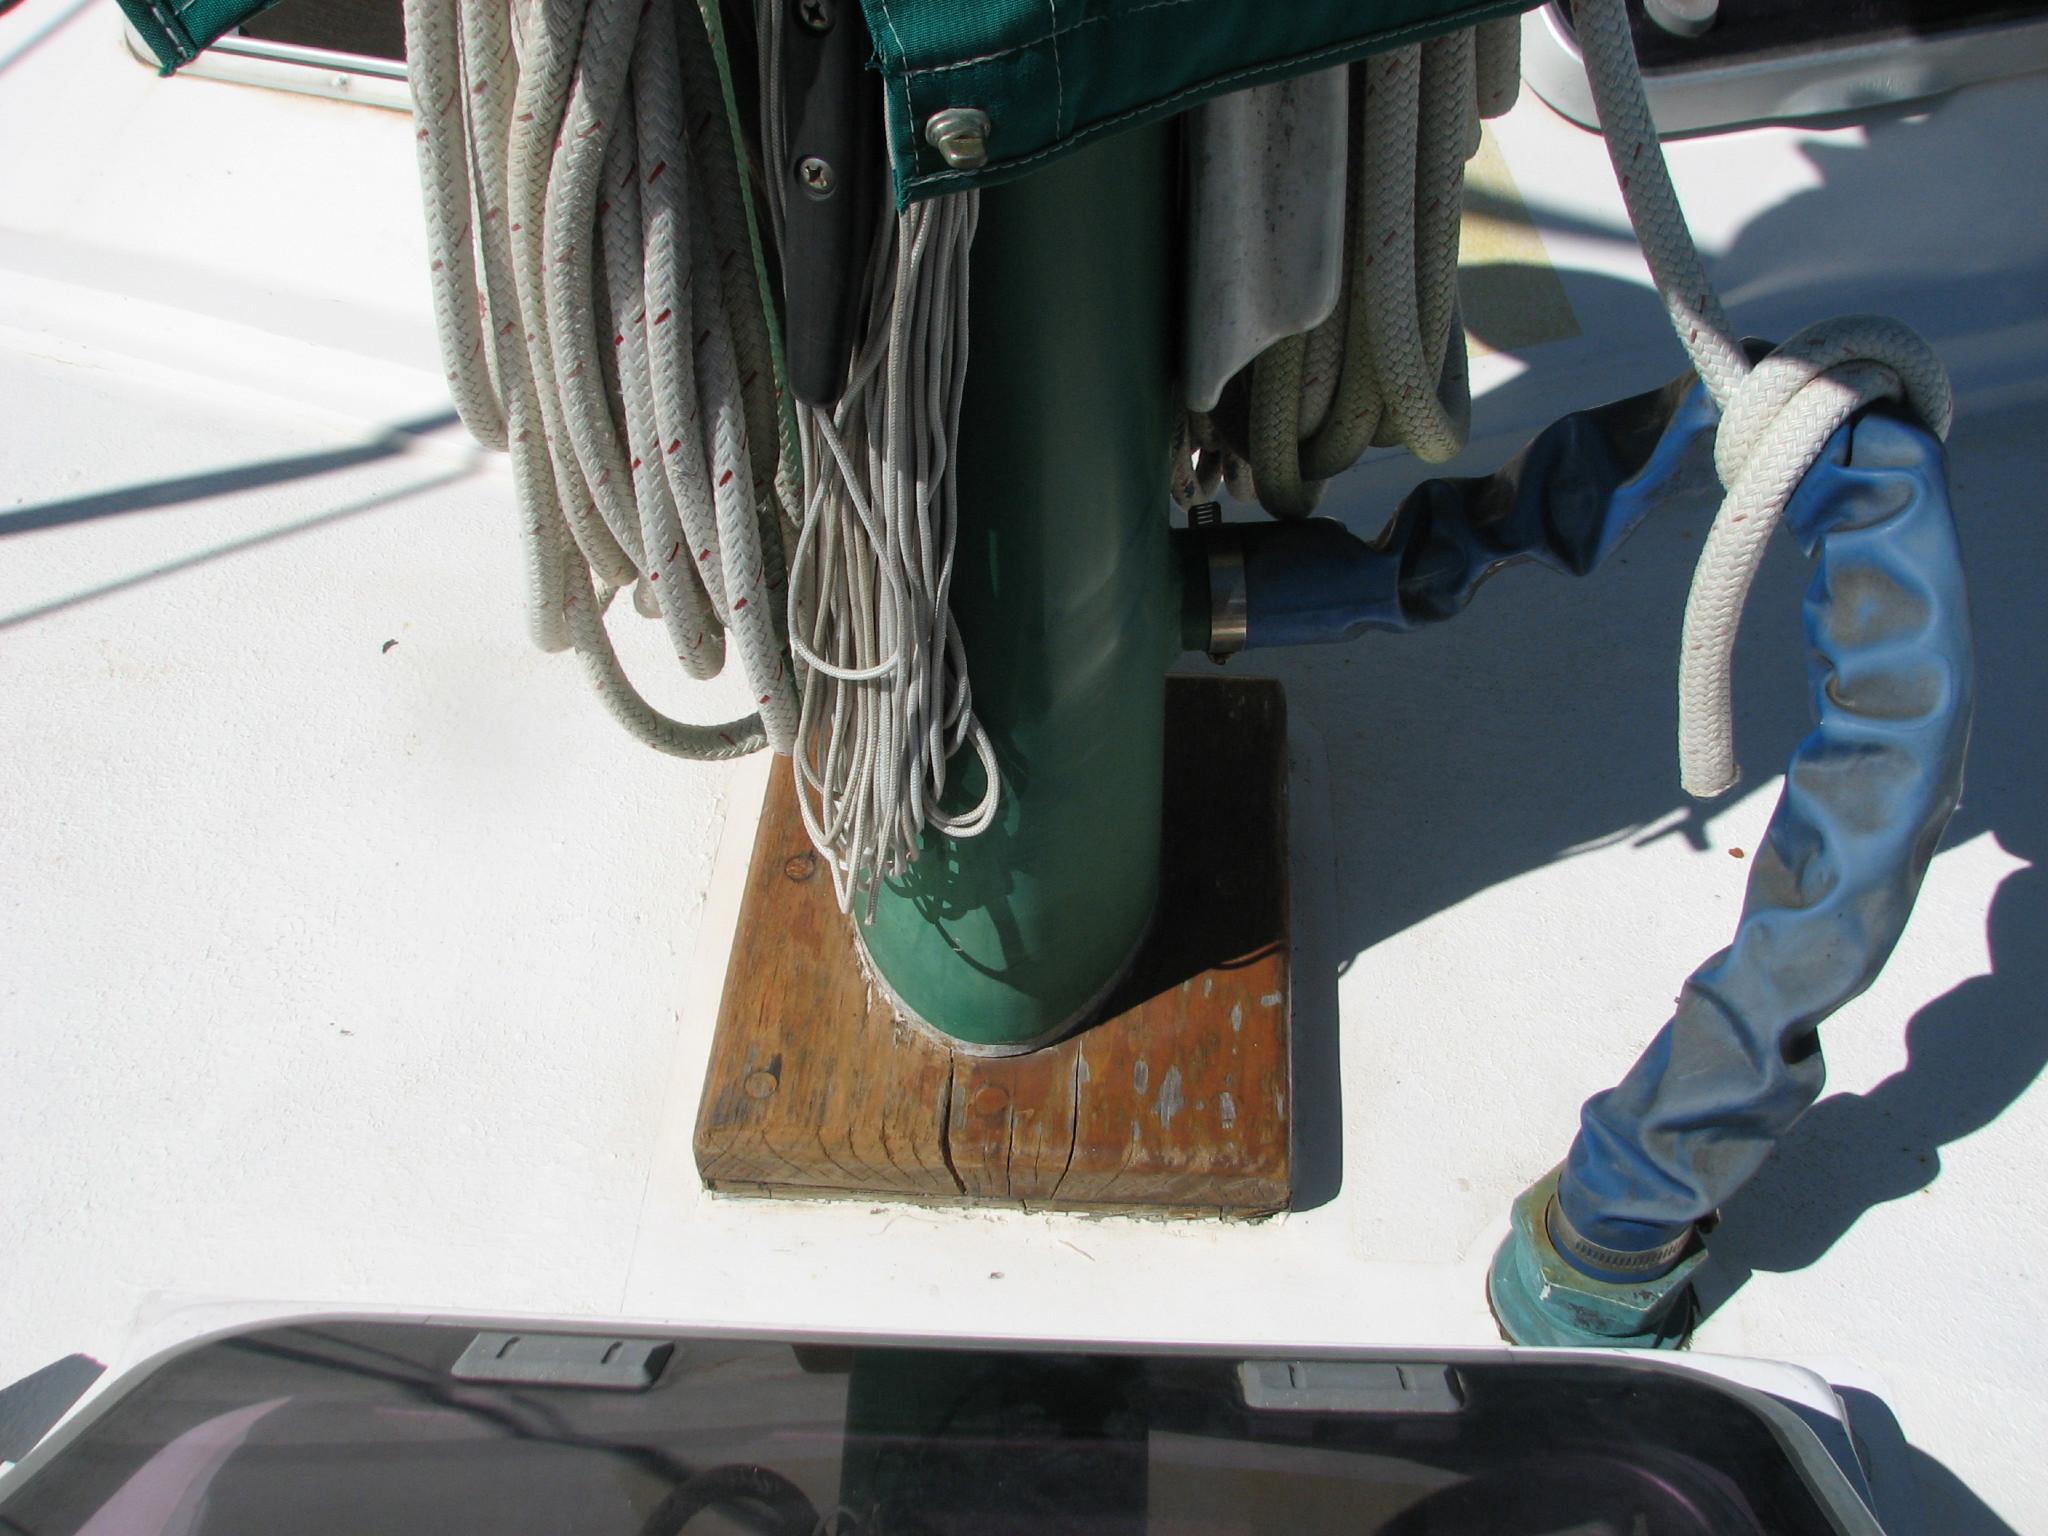
Main
Mast Step After Sanding
I
then went over to the shop to do the varnish and Cetol
application.
I
put the the second coat of varnish on the electronics shelf, the
fourth coat of varnish on the two main cabin table pieces and on the
two Panduit
wire duct
covers. Last I applied the sixth coat of Cetol
to the pin rails and belaying pins.
April
13, 2013, Saturday
Started
off the morning with my normal ritual of getting on the Internet,
answering email, checking the weather, while making a pot of coffee.
Also updated the maintenance log.
Went
over to the shop and got out the sanders to work on the mahogany
pieces to fit the large acrylic insert, and the pieces to repair the
louvers in the door.
Mahogany
Pieces For Large Acrylic Insert

Teak
Pieces For Louver Repair
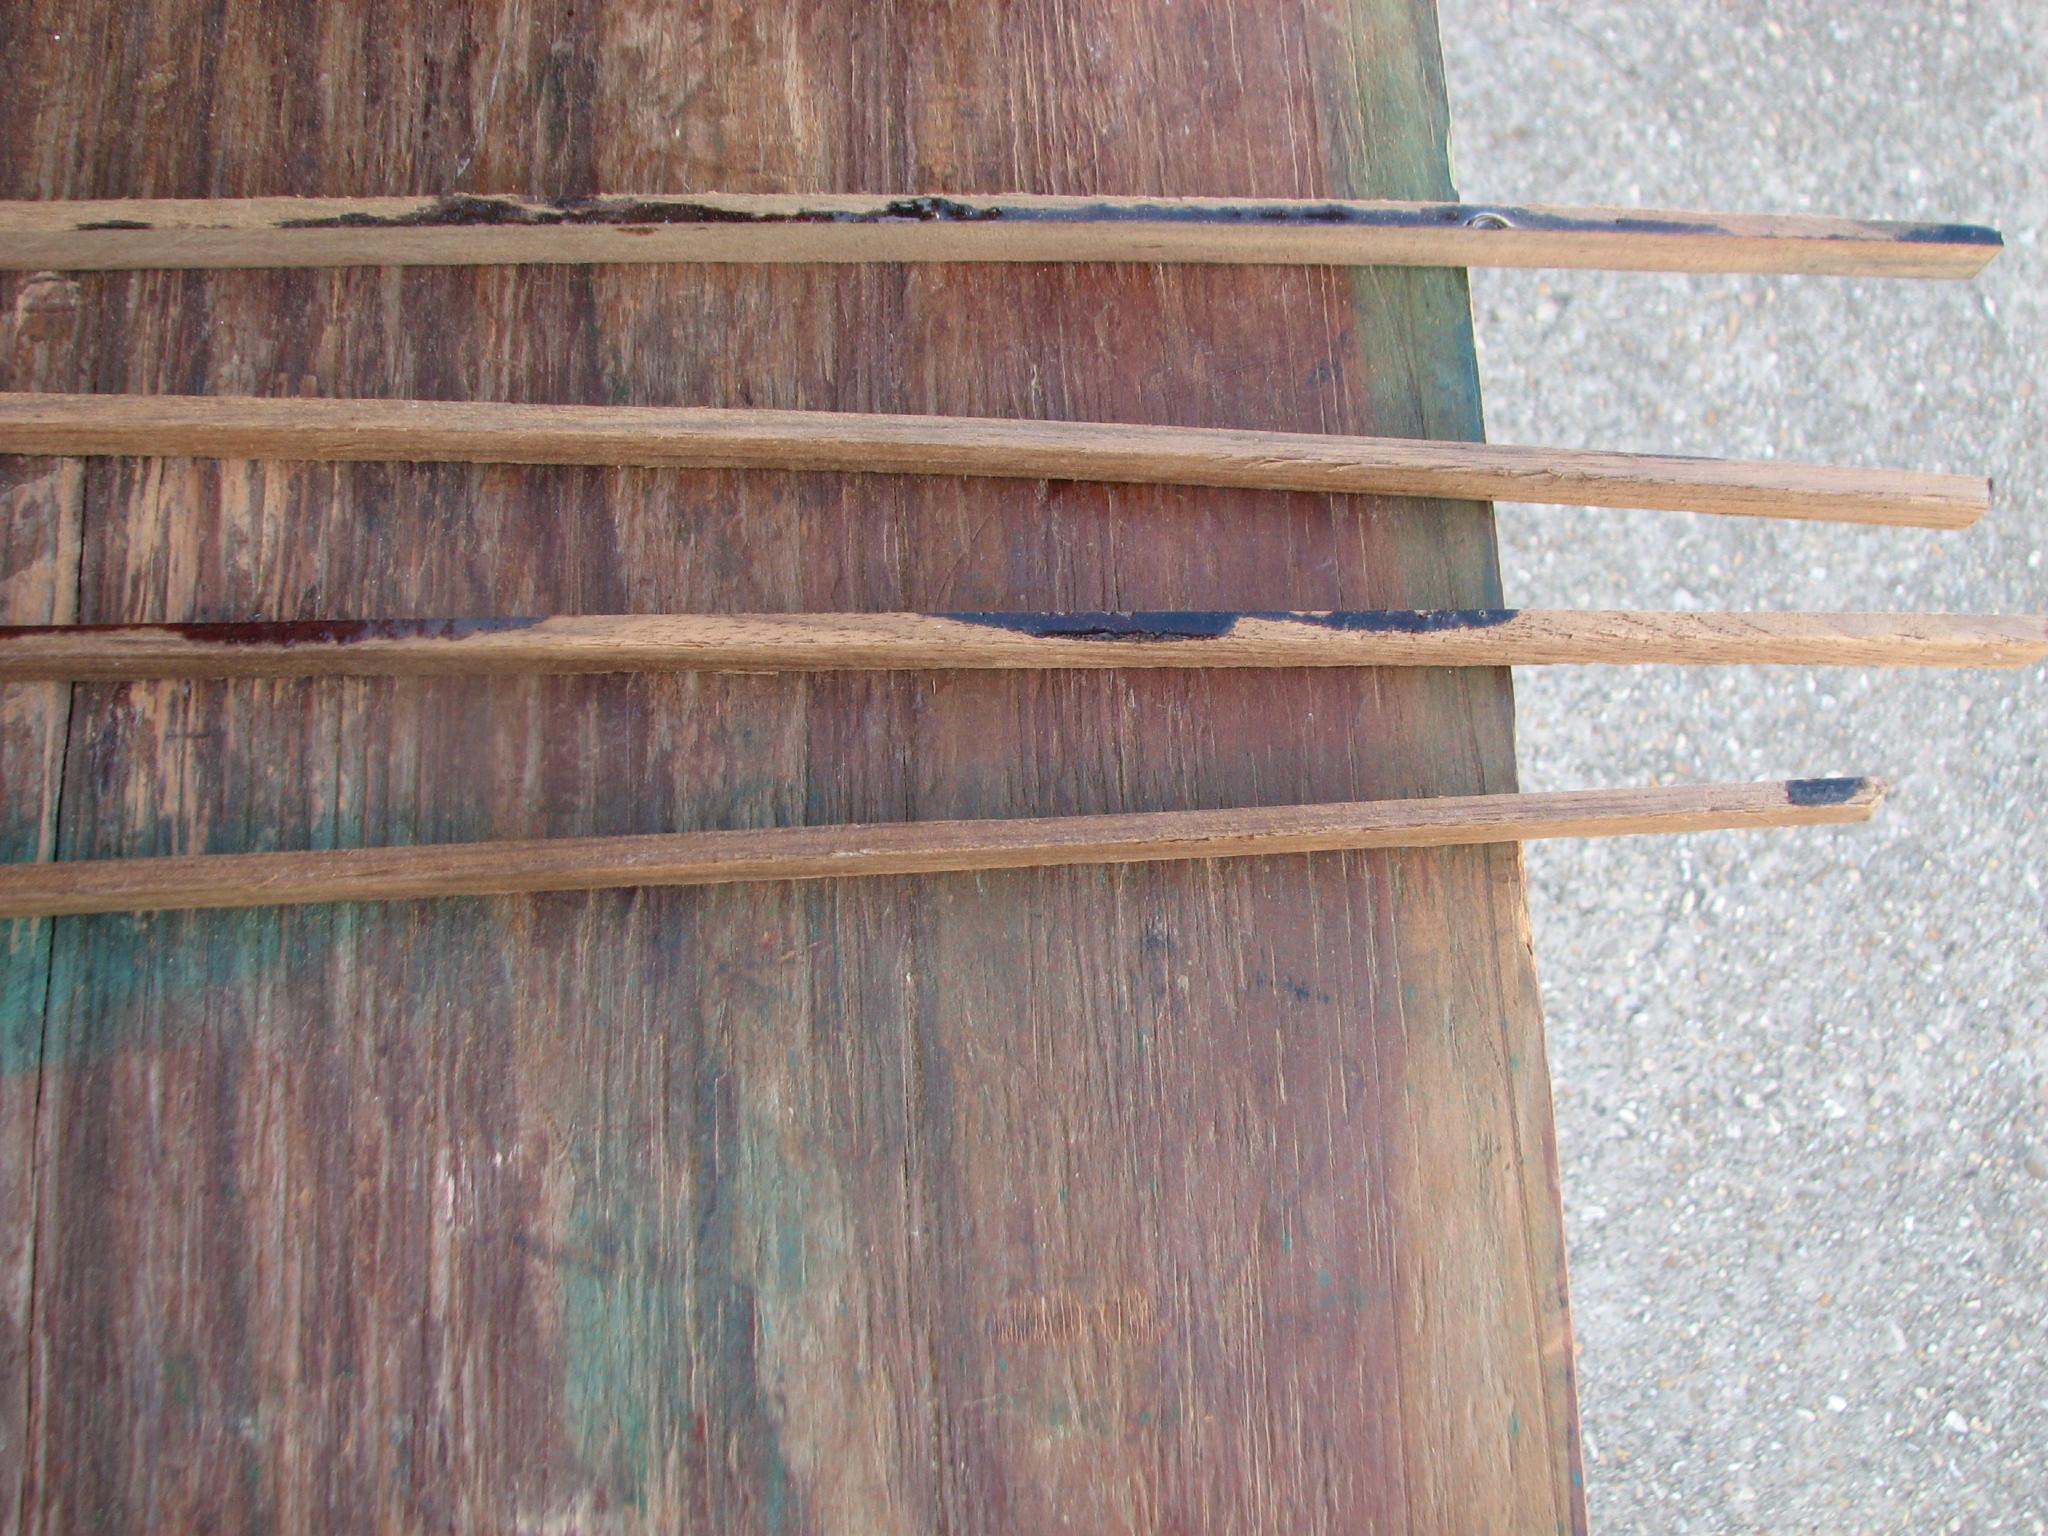
The
new application of the teak tape to the Panduit
wire duct
cover has been successful. I applied the dye to the cover, and made
it ready to apply a coat of varnish late this afternoon.
I
loaded all of the mahogany pieces for the insert, the louver repair
pieces, the piece of teak wood to use to modify the Cutco
knife holder, and the Smith’s
penetrating epoxy,
and the mixing buckets in the Black Beast
and went to DREAM AWAY for breakfast.
The
newly sanded pieces for the acrylic insert fit perfectly. Now all I
had to do was add a small piece of wood to the top of the piece for
the port side. I am now ready to epoxy the extra pieces to the
acrylic insert, and fill the gap.
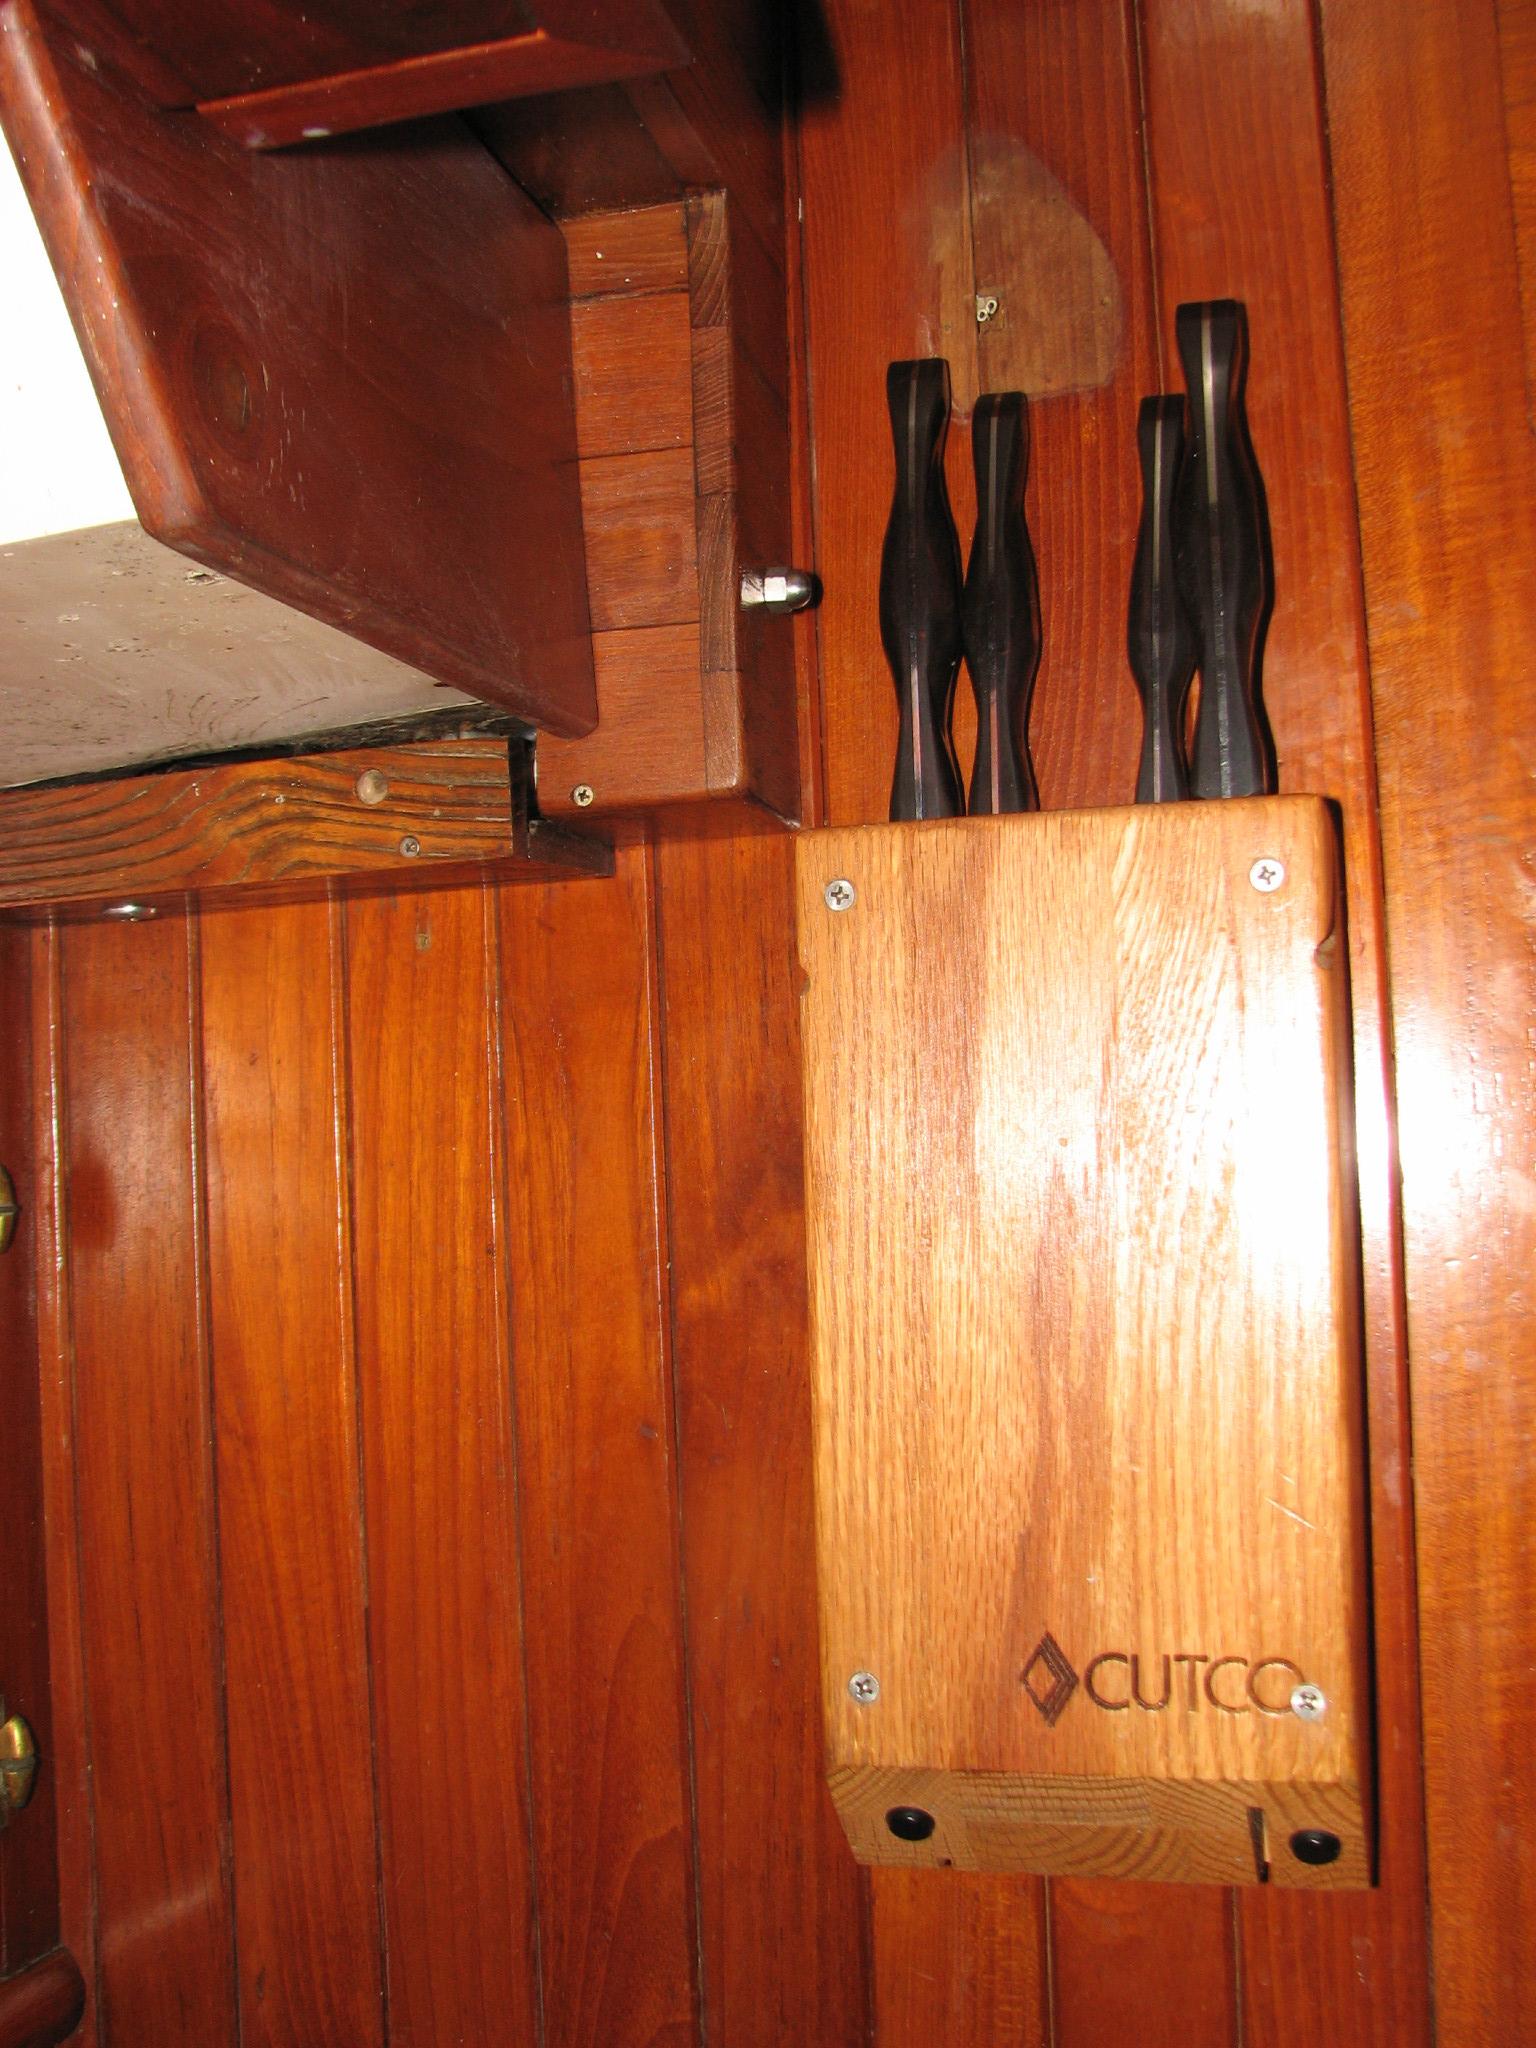
I
tried the piece of wood I brought over to expand the Cutco
knife holder. It looks like it will work. I made a template so I can
cut out the size pieces I need. We have purchased two new knives to
add to our Cutco
knife collection. We have a five knife holder, but can not find a
seven knife holder. Of course I have some pretty narrow space
requirements, so it seemed easier to modify the holder we already
have.
Cutco
Knife Holder In Galley
When
we had completed breakfast I got to work on applying the Smith’s
penetrating epoxy
to the main mast step. I mixed a small batch of the epoxy and applied
it to the step.
I
then started in on the main cabin table base. Way back in 2009 when
we made the Gulf crossing from Houston to Isla Mujeres, Mexico, my
good friend Jim, did a stress test on the main salon table. The table
failed the test, and Jim did not come out very well. Jim hit his
head, and shoulder, and broke the table loose from the floor.
The
weather was not great, I did not have another place to store the
table, so we decided to just do a fix and put the table back where it
came from. We made sure Jim was not permanently hurt, but was able to
help with the repair. Kitty was at the helm, while Diane and I got
the table mount back together, and we got the table put back in
place. In fact the new mount was much stronger than the original. The
issue with the fix was all of the screws were not countersunk, and
the teak bungs inserted.
Since
I am refurbishing the top of the main salon table, I decided to
finally repair the table mount.
Main
Salon Table Mount With Screws Exposed
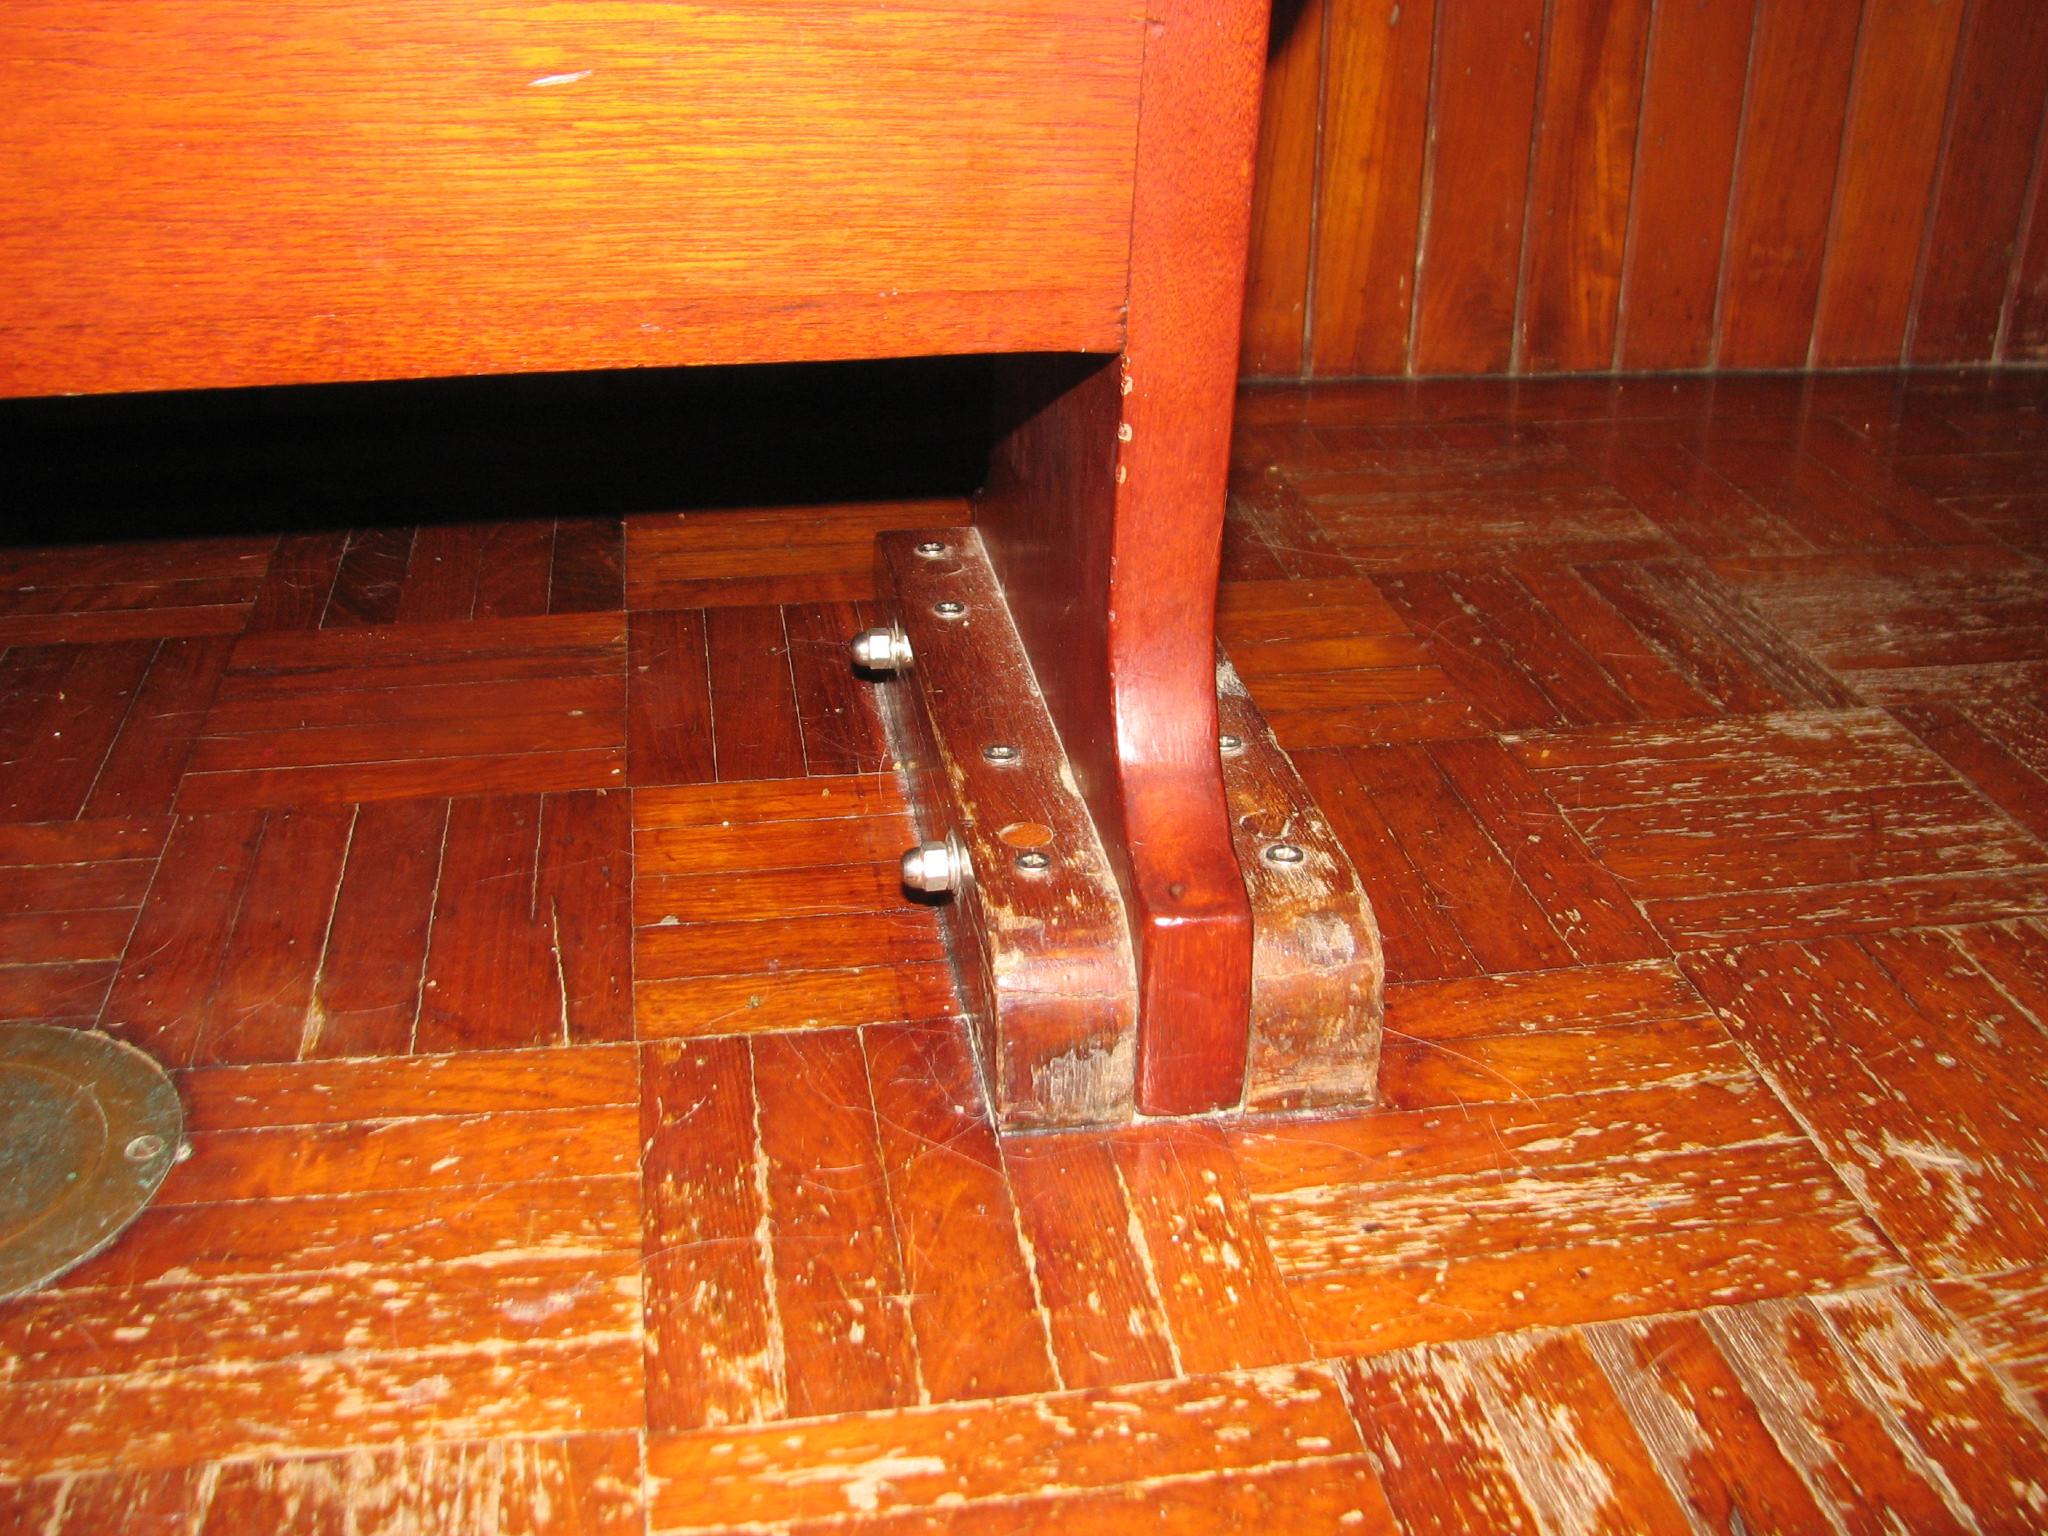
Kitty
and I removed the table from its mount. this made the project very
easy. I then removed all of the screws from the table base, and
drilled out the holes for the screws about 3/8” deep, and 3/8”
wide. This was the size of the teak bungs I am using. I then put all
of the screws back into the mount. I mixed up a batch of epoxy, and
used that to insert all of the teak bungs on top of the countersunk
screws.
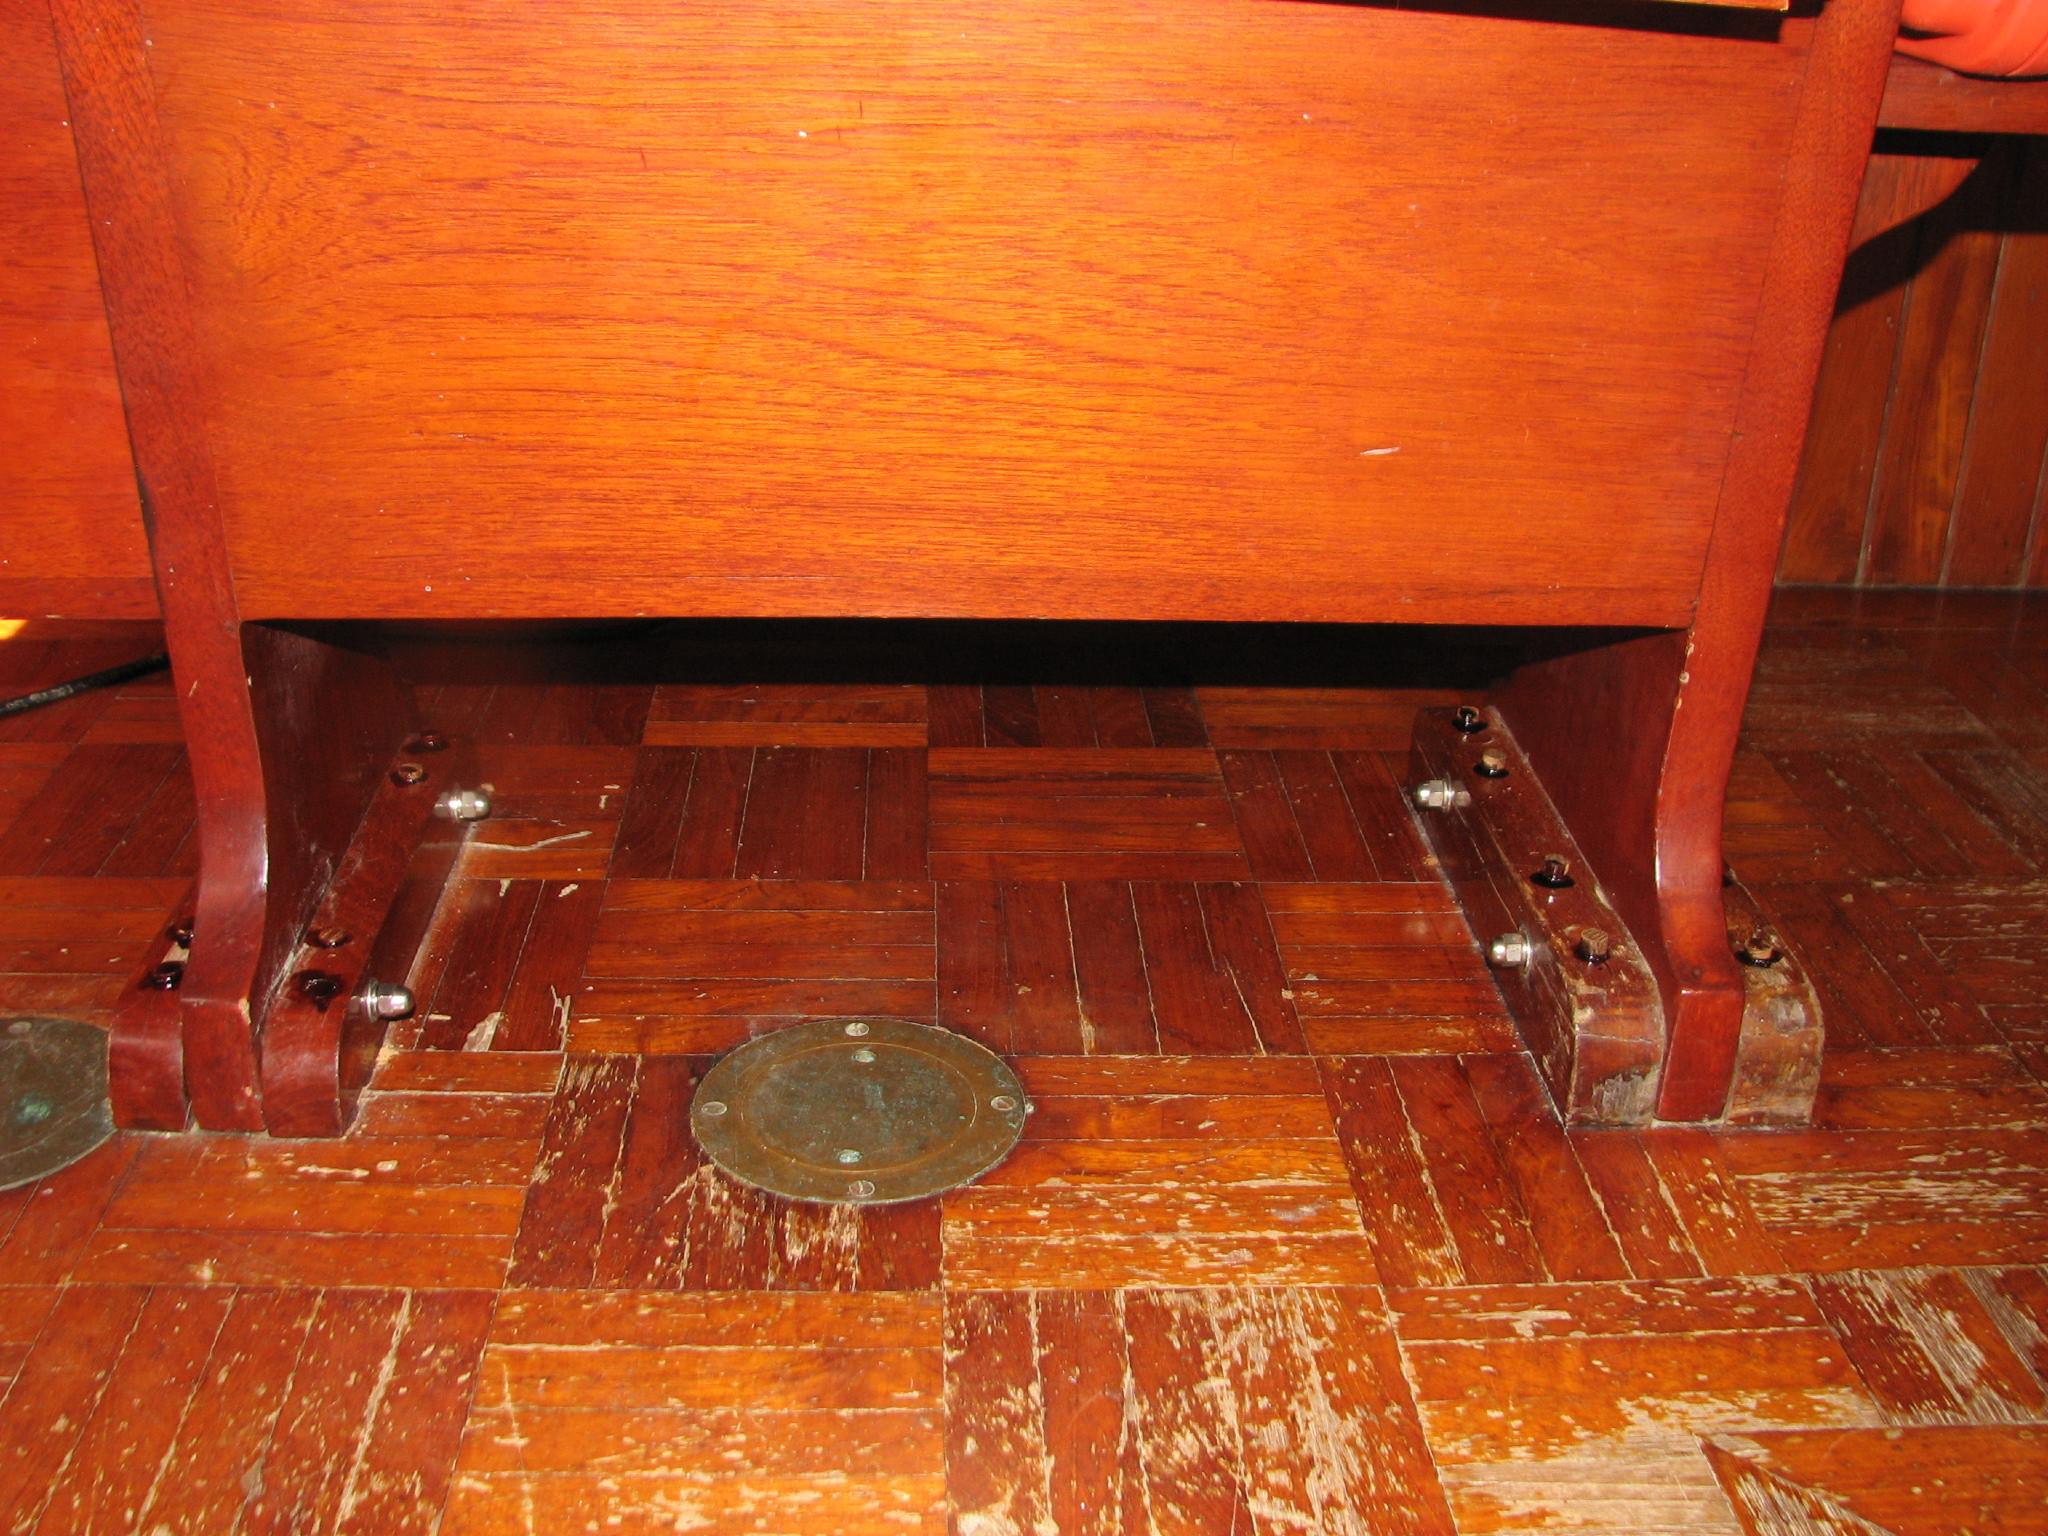
Main
Cabin Table Base With Bungs Installed

After
the bungs were installed, Kitty and I put the table back in place. In
a day or so when the epoxy has hardened, We will take the table off
of the mount again, and I will sand down the base so it is ready for
varnish when we do the floor.
Main
Salon Table Back On Base
I
went back over to the shop to epoxy the hole hide piece, and to epoxy
the nameboards back together. I cut the hole hide piece to the 8 1/2’
size needed to fit in the aft cabin.
I
taped up the hole hide piece and the nameboards so the epoxy would
not leak out all over the place. I mixed up four batches of the epoxy
and applied it to the hole hide piece and the nameboards.
Nameboards
With Epoxy Applied
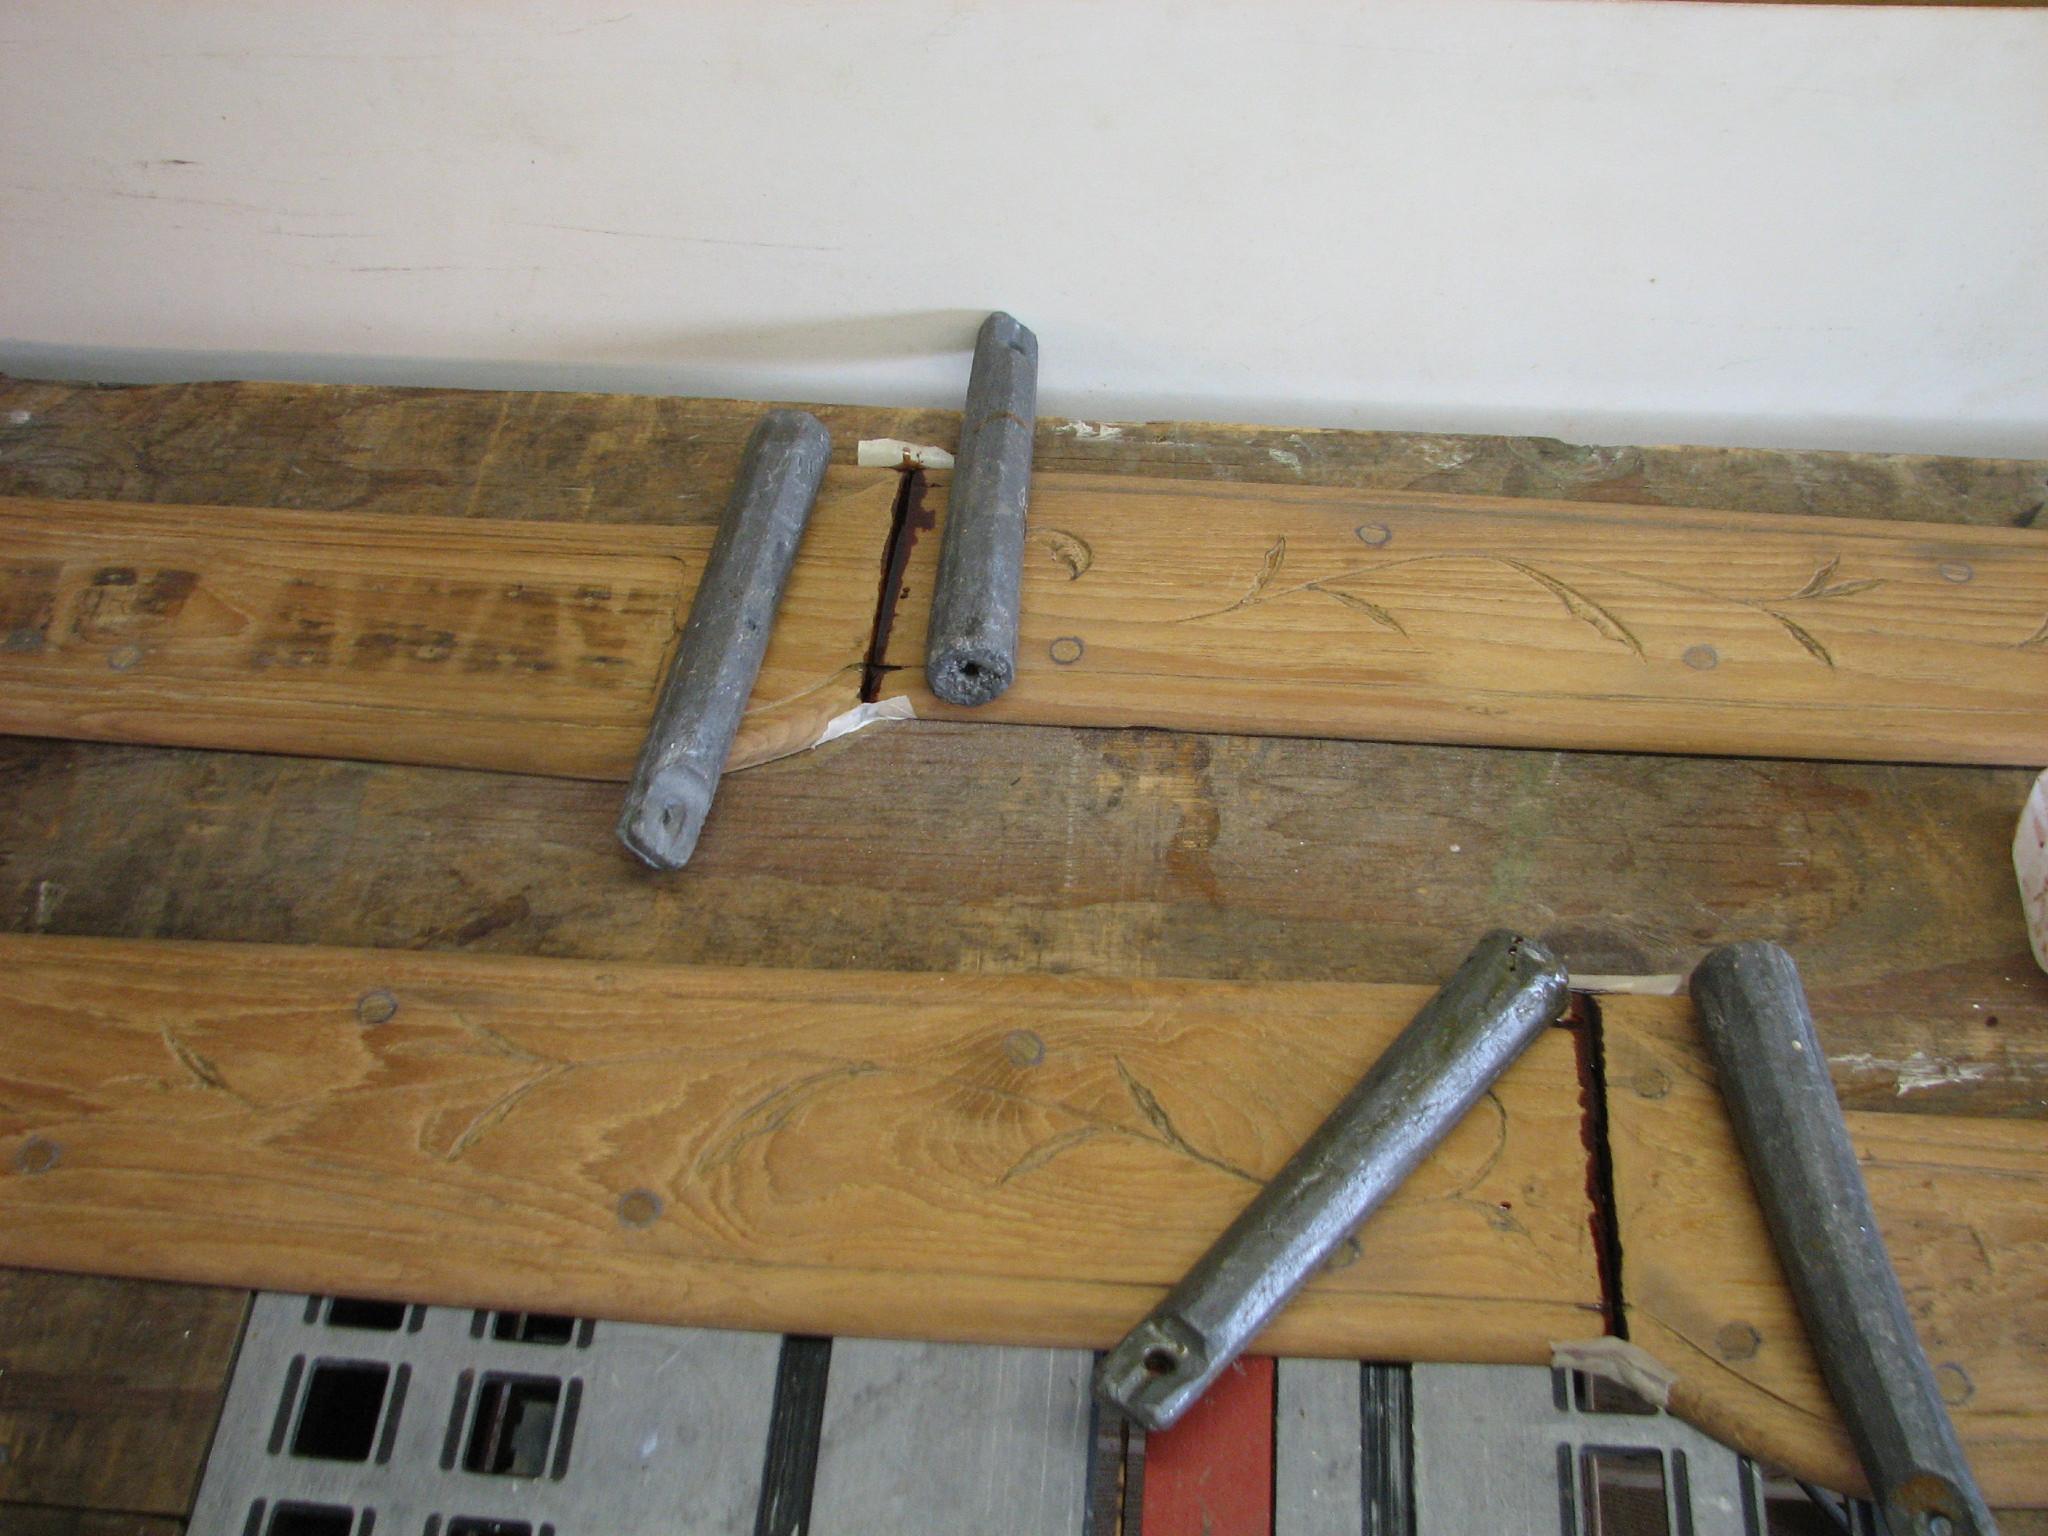
Hole
Hide Piece With Epoxy Applied

I
put the third coat of varnish on the electronics shelf, the fifth
coat of varnish to the two main cabin table pieces and on the two
Panduit
wire duct
covers, and the first coat on the repaired Panduit
wire duct
cover. Last I applied the seventh coat of Cetol
to the pin rails and belaying pins.
April
14, 2013, Sunday
Started
off the morning with my normal ritual of getting on the Internet,
answering email, checking the weather, while making a pot of coffee.
Also updated the maintenance log.
Worked
all day doing computer work, maintenance log. email and financial
issues.
I
did however go over to the shop late in the afternoon and I put the
fourth coat of varnish on the electronics shelf, the sixth coat of
varnish on the two main cabin table pieces and the second coat on the
repaired Panduit
wire duct
cover. Last I applied the eighth coat of Cetol
to the pin rails and belaying pins.
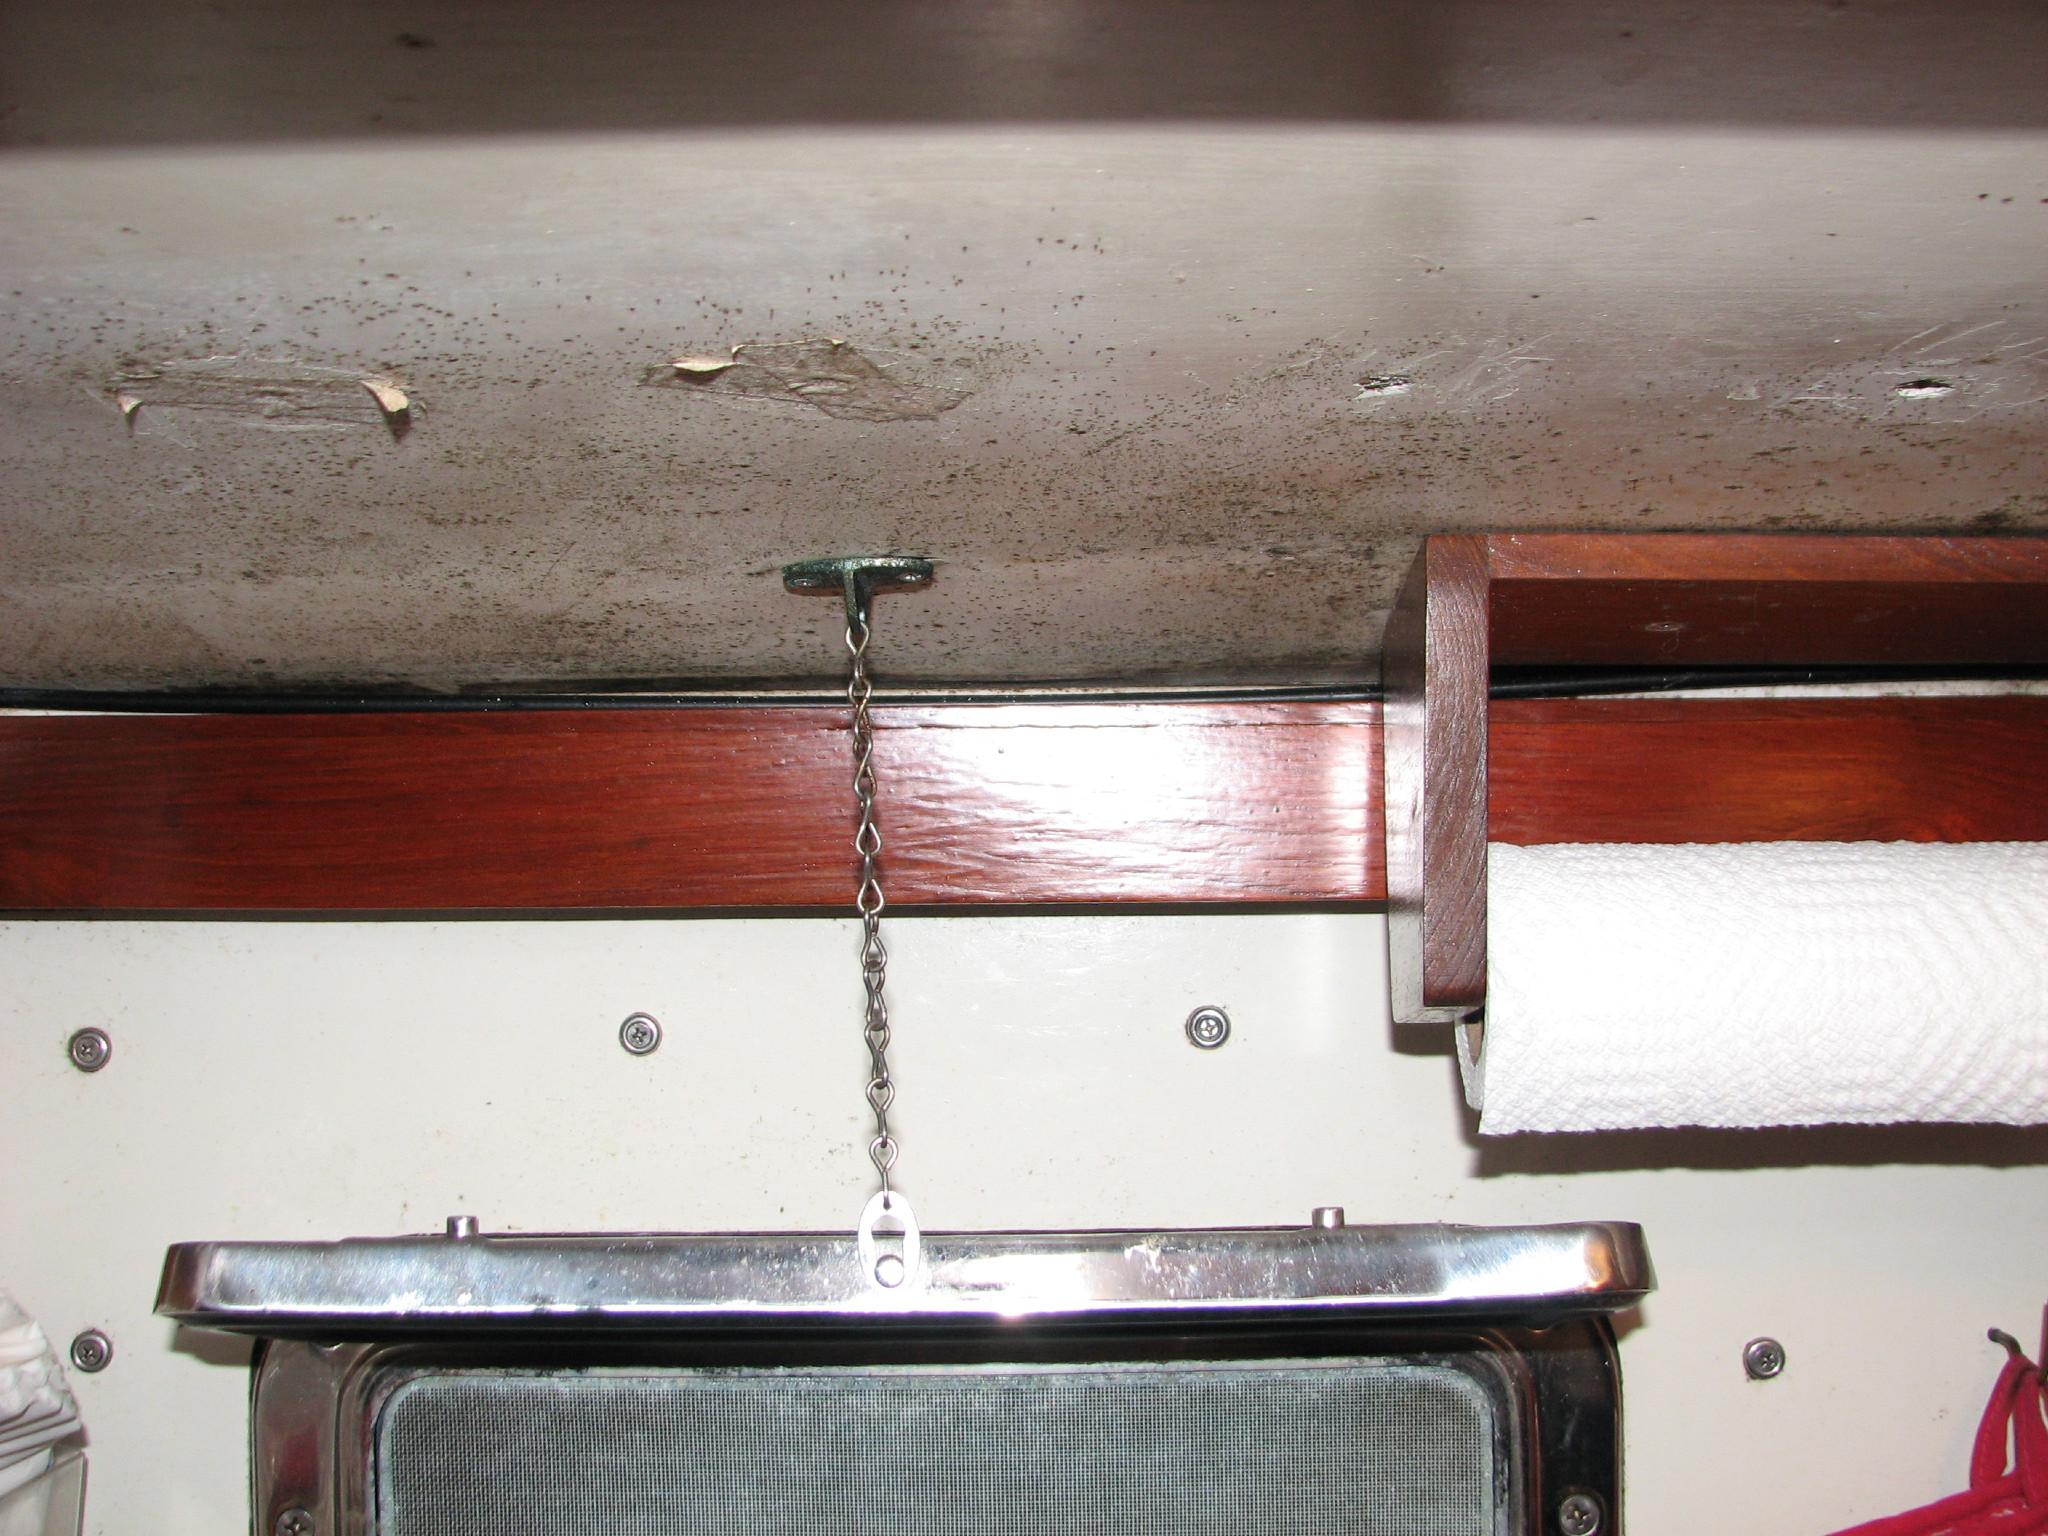
The
two Panduit
wire duct
covers that had their fifth of varnish applied yesterday, I took them
over to DREAM AWAY and installed them in the galley.
April
15, 2013, Monday
Started
off the morning with my normal ritual of getting on the Internet,
answering email, checking the weather, while making a pot of coffee.
Also updated the maintenance log.
Went
over to the shop and started in on the hide hole piece. I had done
the last epoxy application on Saturday, and it has set up great. I
ran the hide hole piece down the table saw to get the edge I had
epoxied smooth. When finished cutting, I still needed to add some
more epoxy to fill in the holes that were remaining in the piece.
I
had purchased a small piece of oak when I was at Lowe’s
on Sunday to use on the Cutco
knife holder. I had decided that using teak wood to make the
extension to the knife holder would not match that well. I used the
template I had made and measured and marked the new piece of oak I
had purchased. I used the table saw to cut out the pieces. Now I have
to figure a way to cut out the place for the knife, since I do not
have a router.
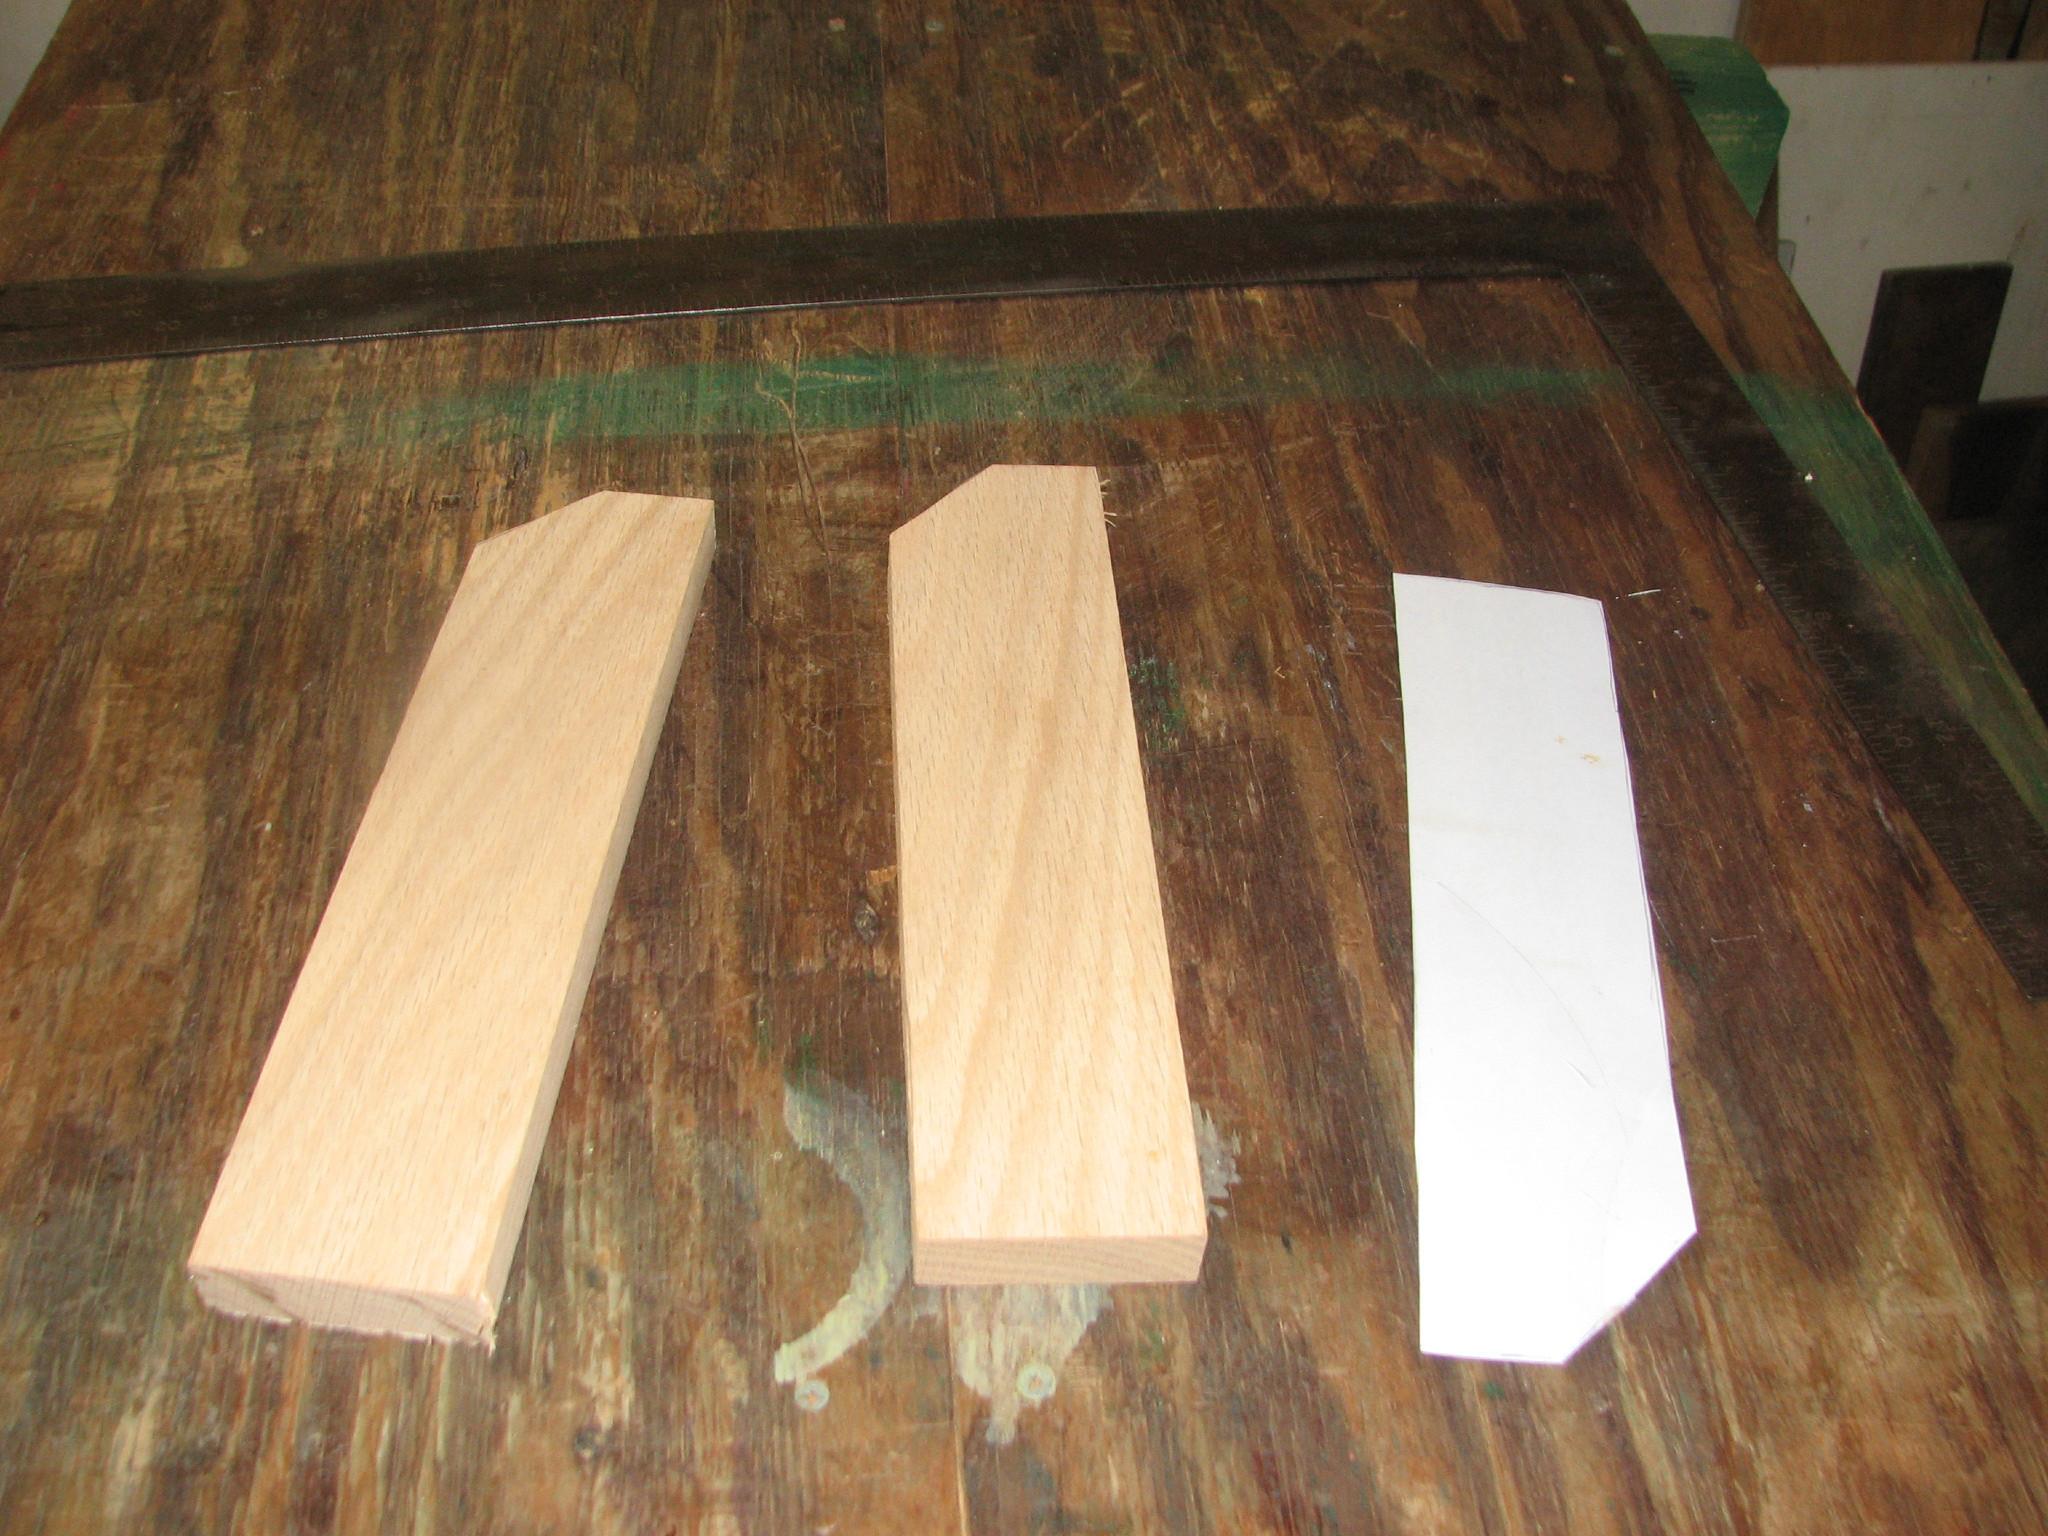
Cut
Pieces For Cutco
Knife Holder
I
cleaned up the table saw area, and put the saw back into the shop.
Cutting on the table saw makes so much dust, I roll the table saw
outside to make all of my cuts, weather permitting.
Now
I dry fitted the two pieces I am adding to one side of the large
acrylic insert. When I was satisfied with the dry fit, I mixed up
some epoxy and epoxied the two pieces to the large acrylic insert.
Dry
Fit Of Two Additional Pieces On Large Acrylic Insert
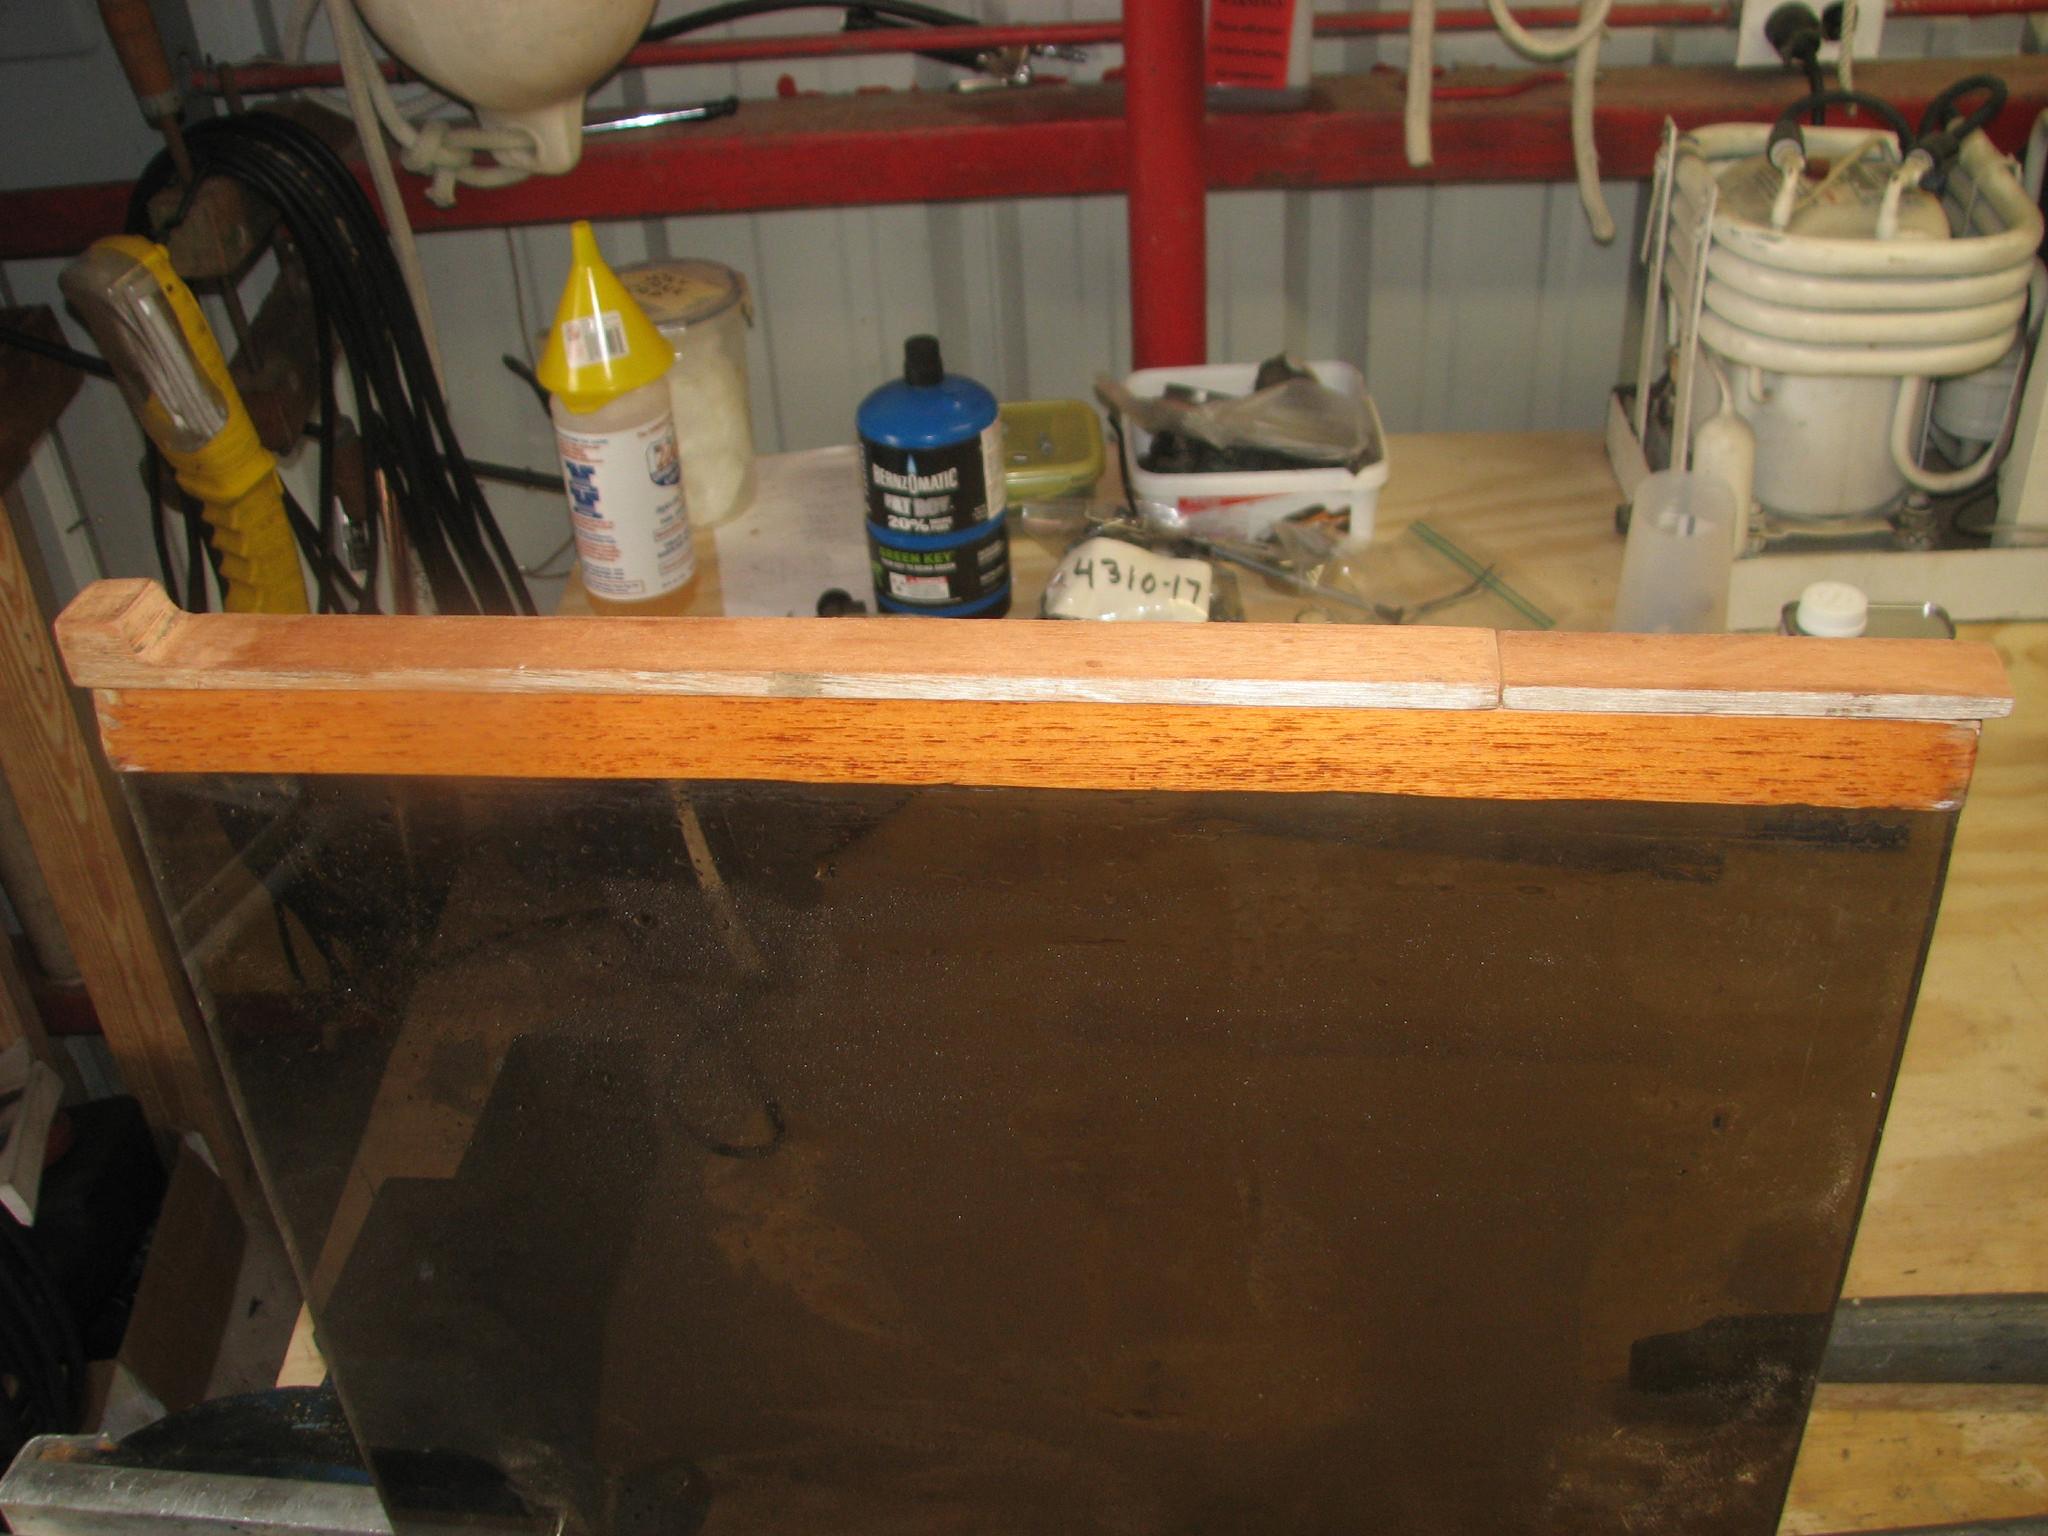
Two
Additional Pieces Epoxied On Large Acrylic Insert
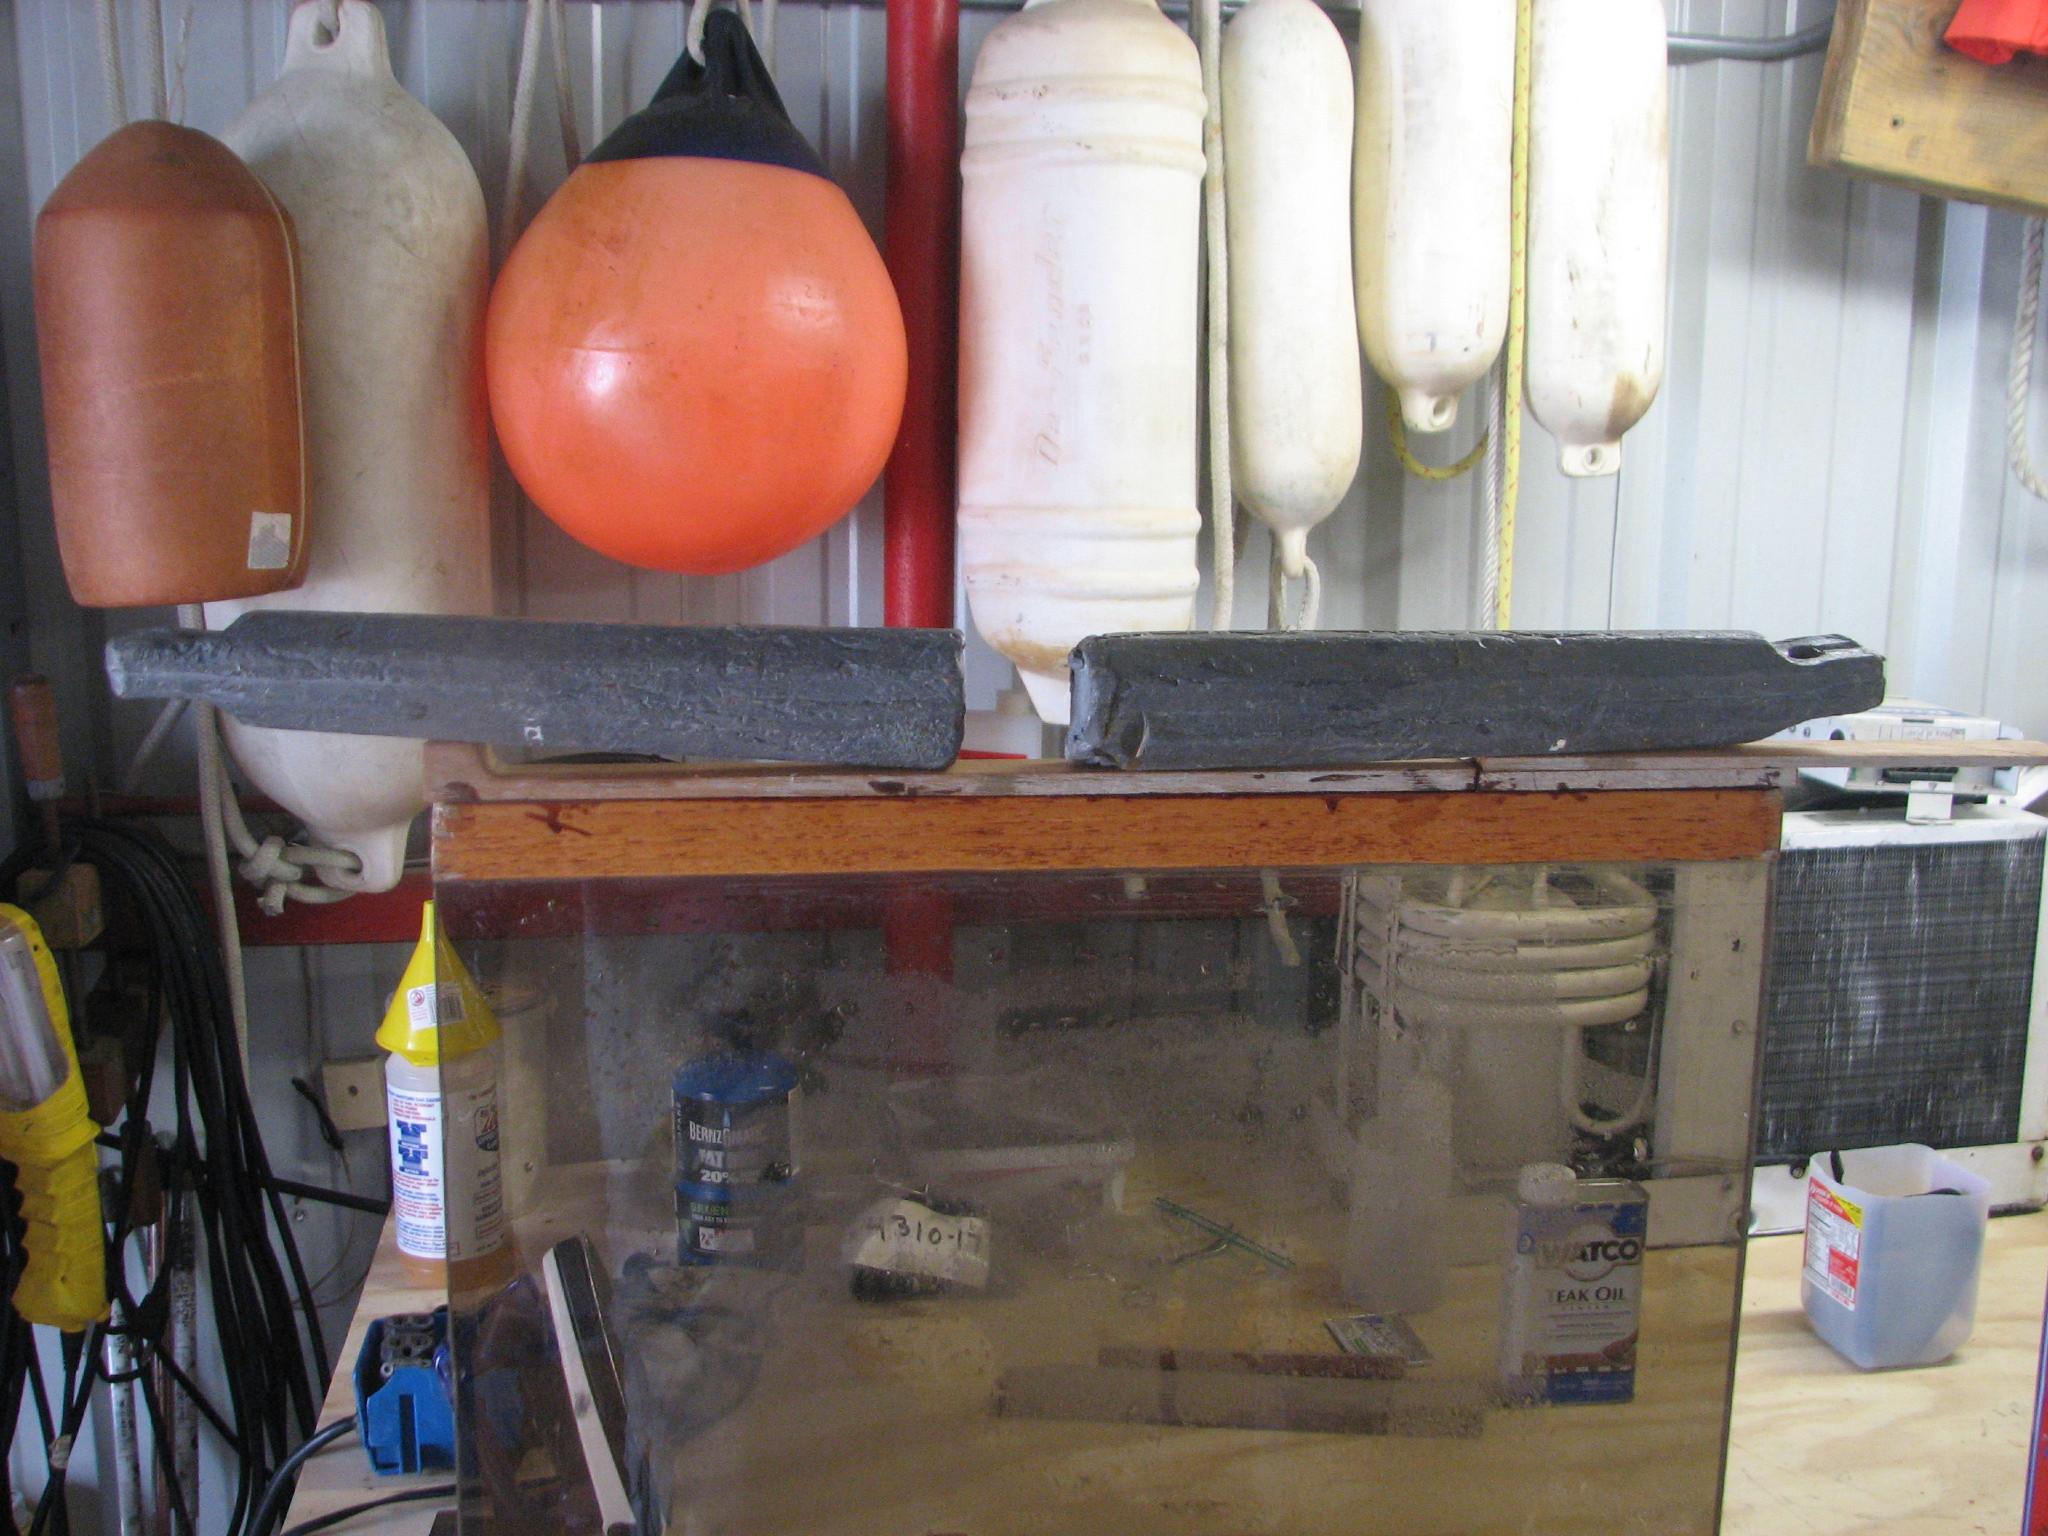
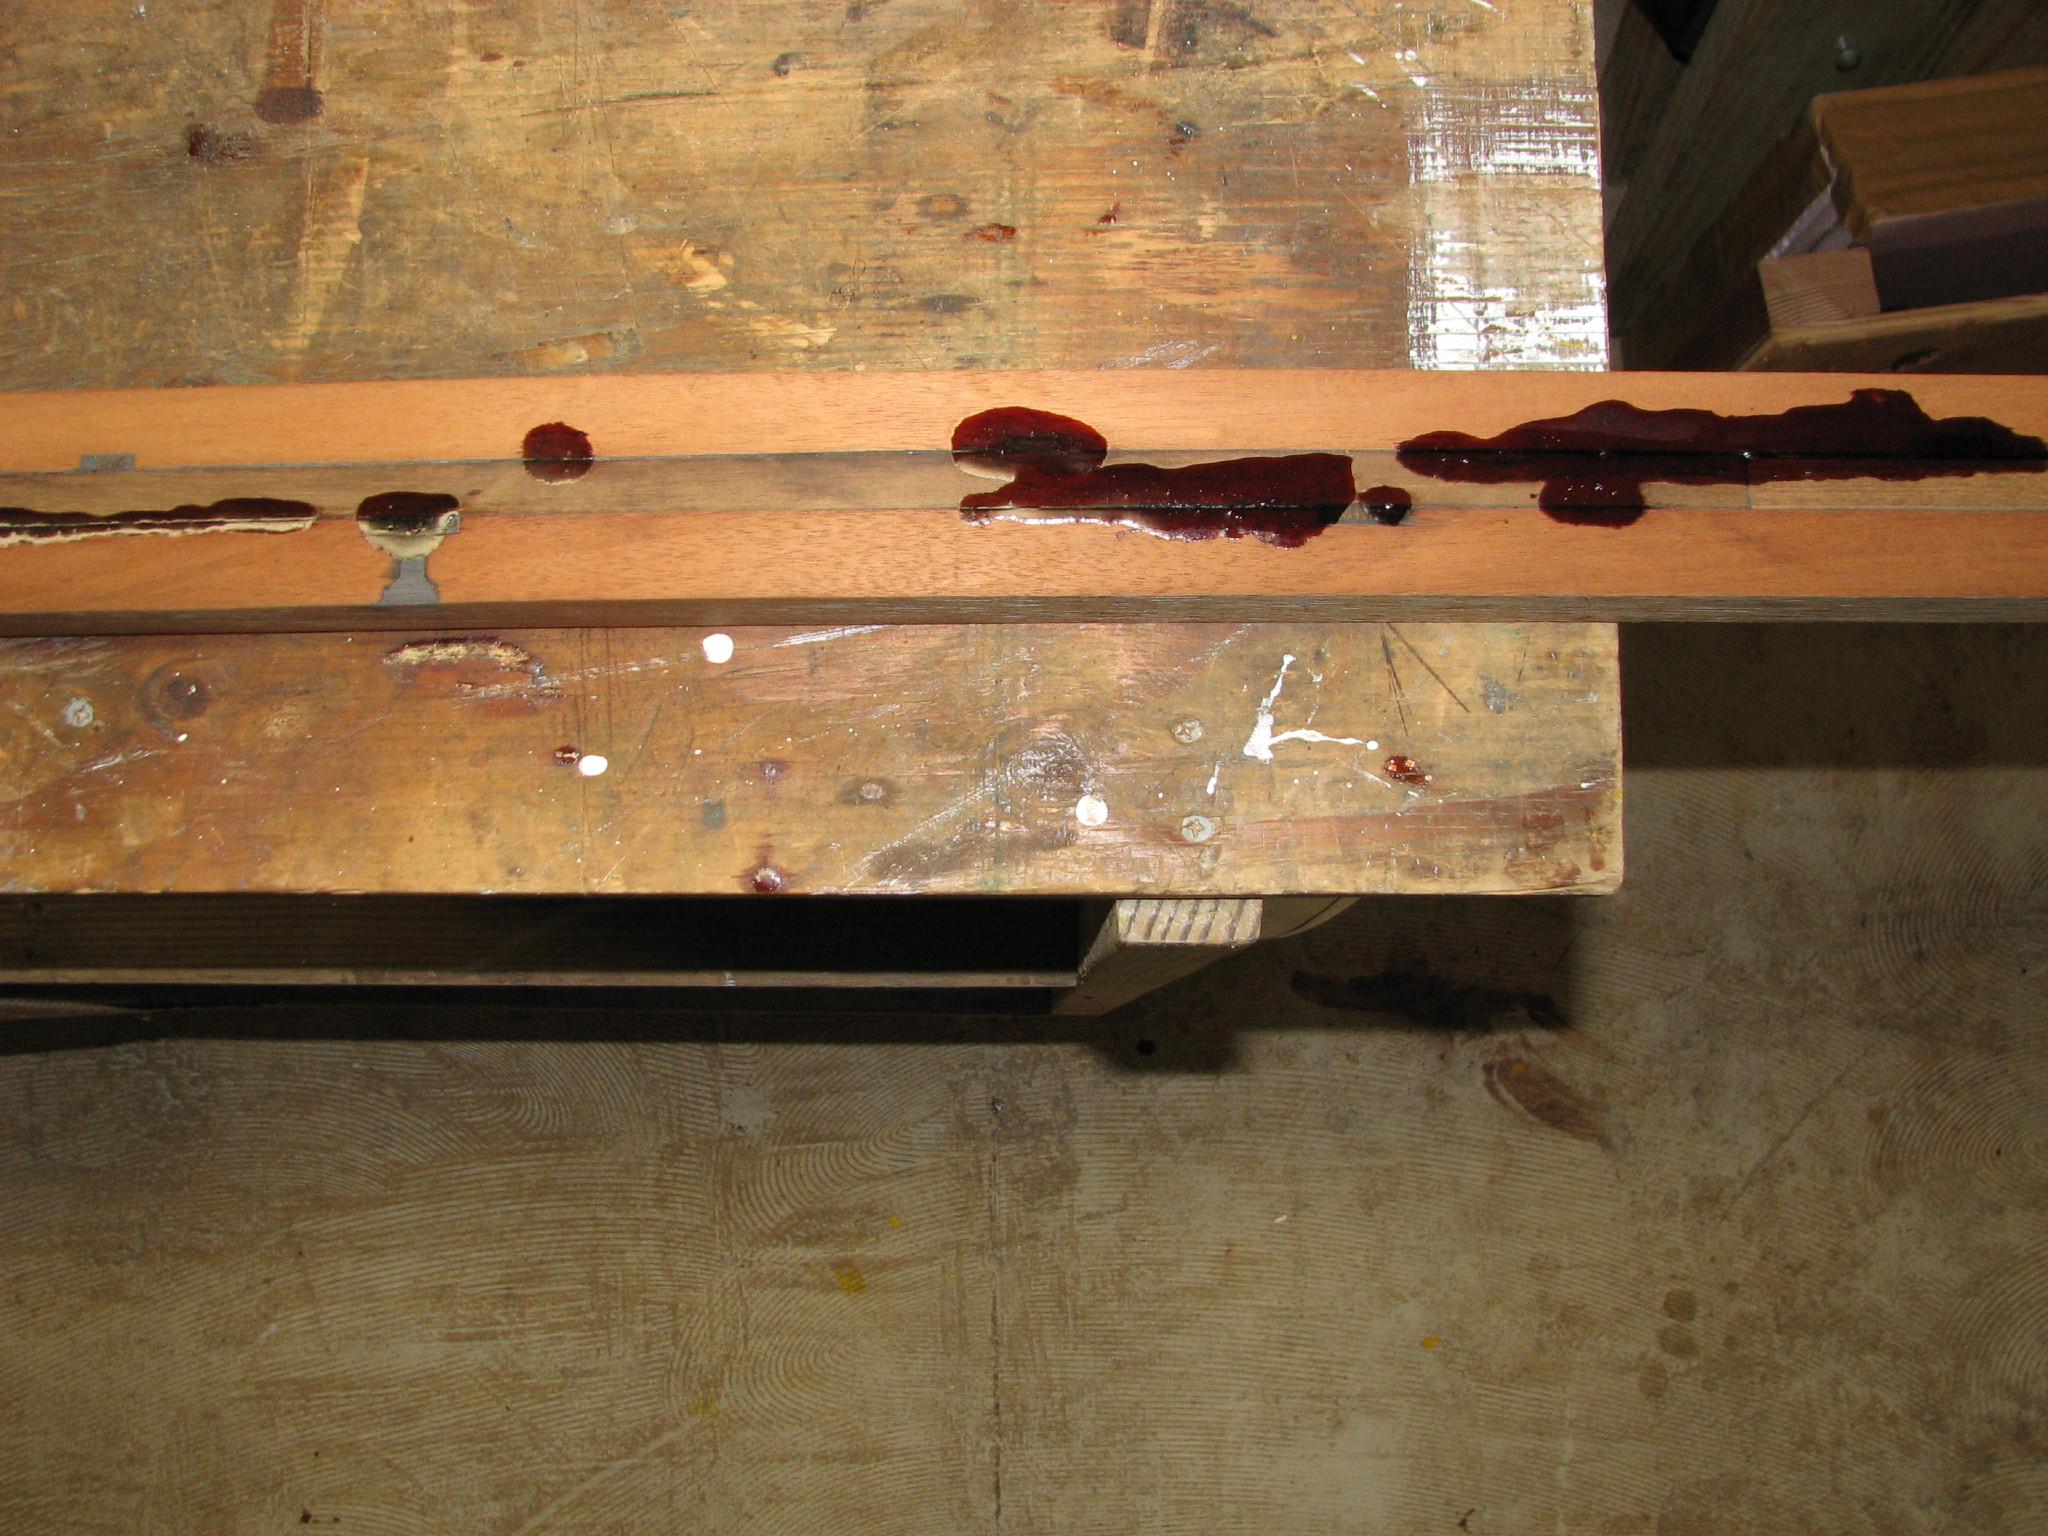
After
sanding and trimming down the hide hole piece, there were still some
holes to be filled. With the epoxy that was mixed for the large
acrylic insert, I filled these holes on the hide hole piece.
Second
Application Of Epoxy
I
now completed the sanding of the front of the name boards. They are
getting close to getting varnish applied
Sanded
Name Boards

I
had put on the sixth coat of varnish on the two main cabin table
pieces, and I plan to have at least nine coats. Because of this it
was time to remask the pieces. This is to prevent excessive build up
on the masking tape. I removed the old masking tape, and applied the
new masking tape. The two pieces were now ready for the next coat of
varnish.
Table
Piece With Tape Removed
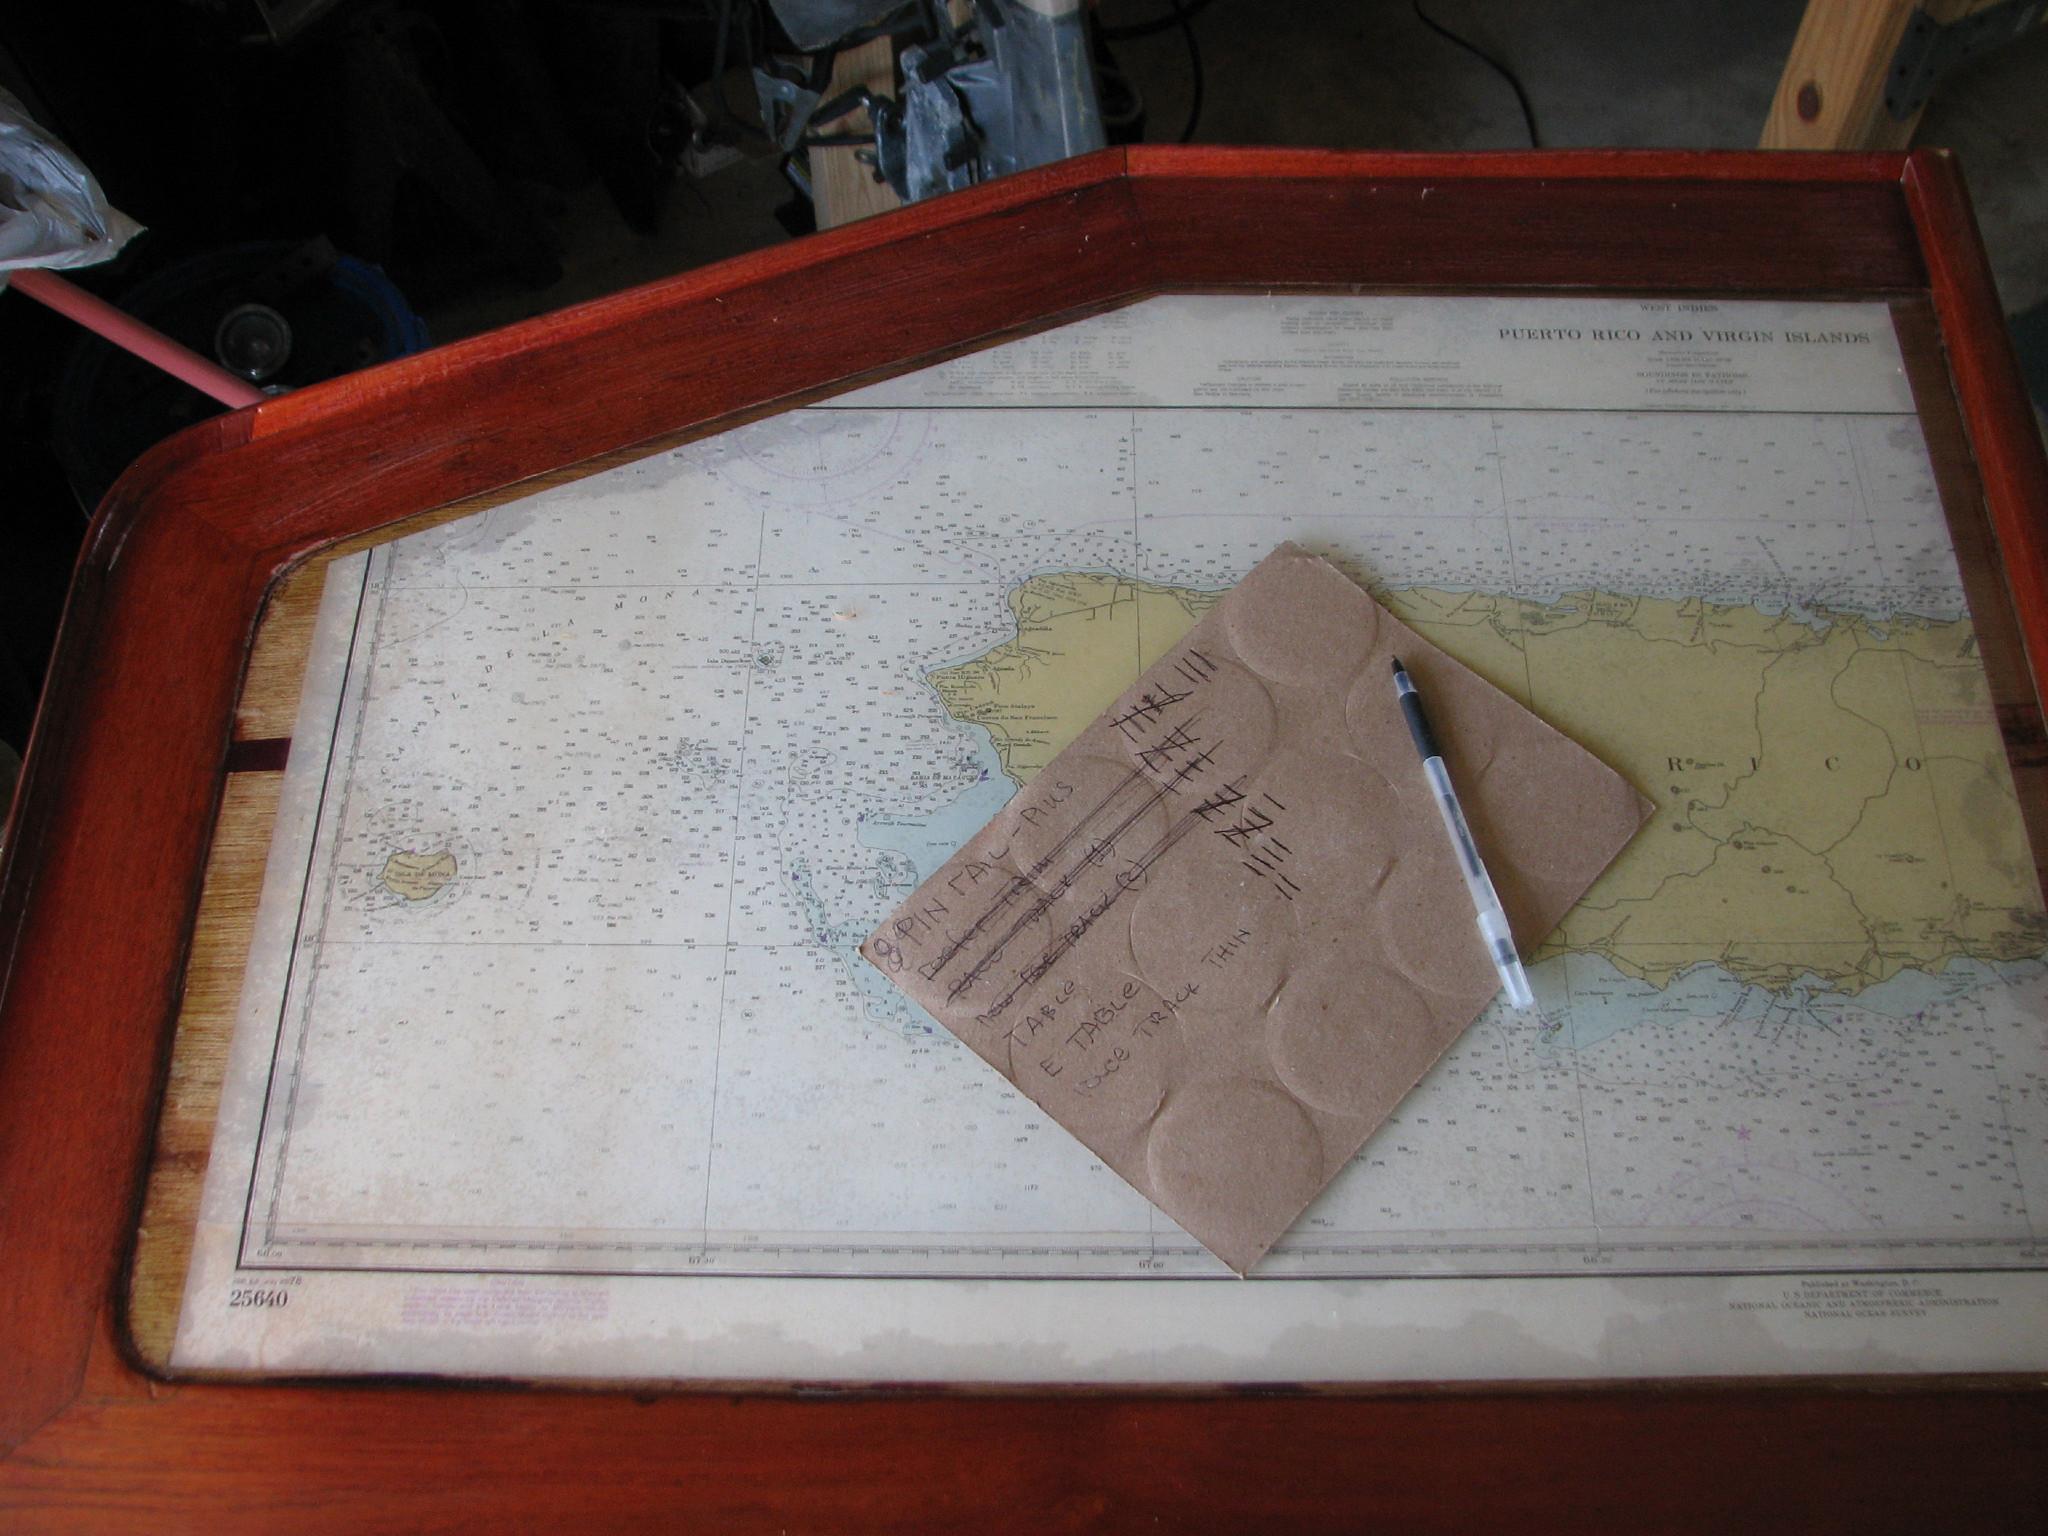
Pieces
Drying Or Epoxy Kicking Off In The Sun
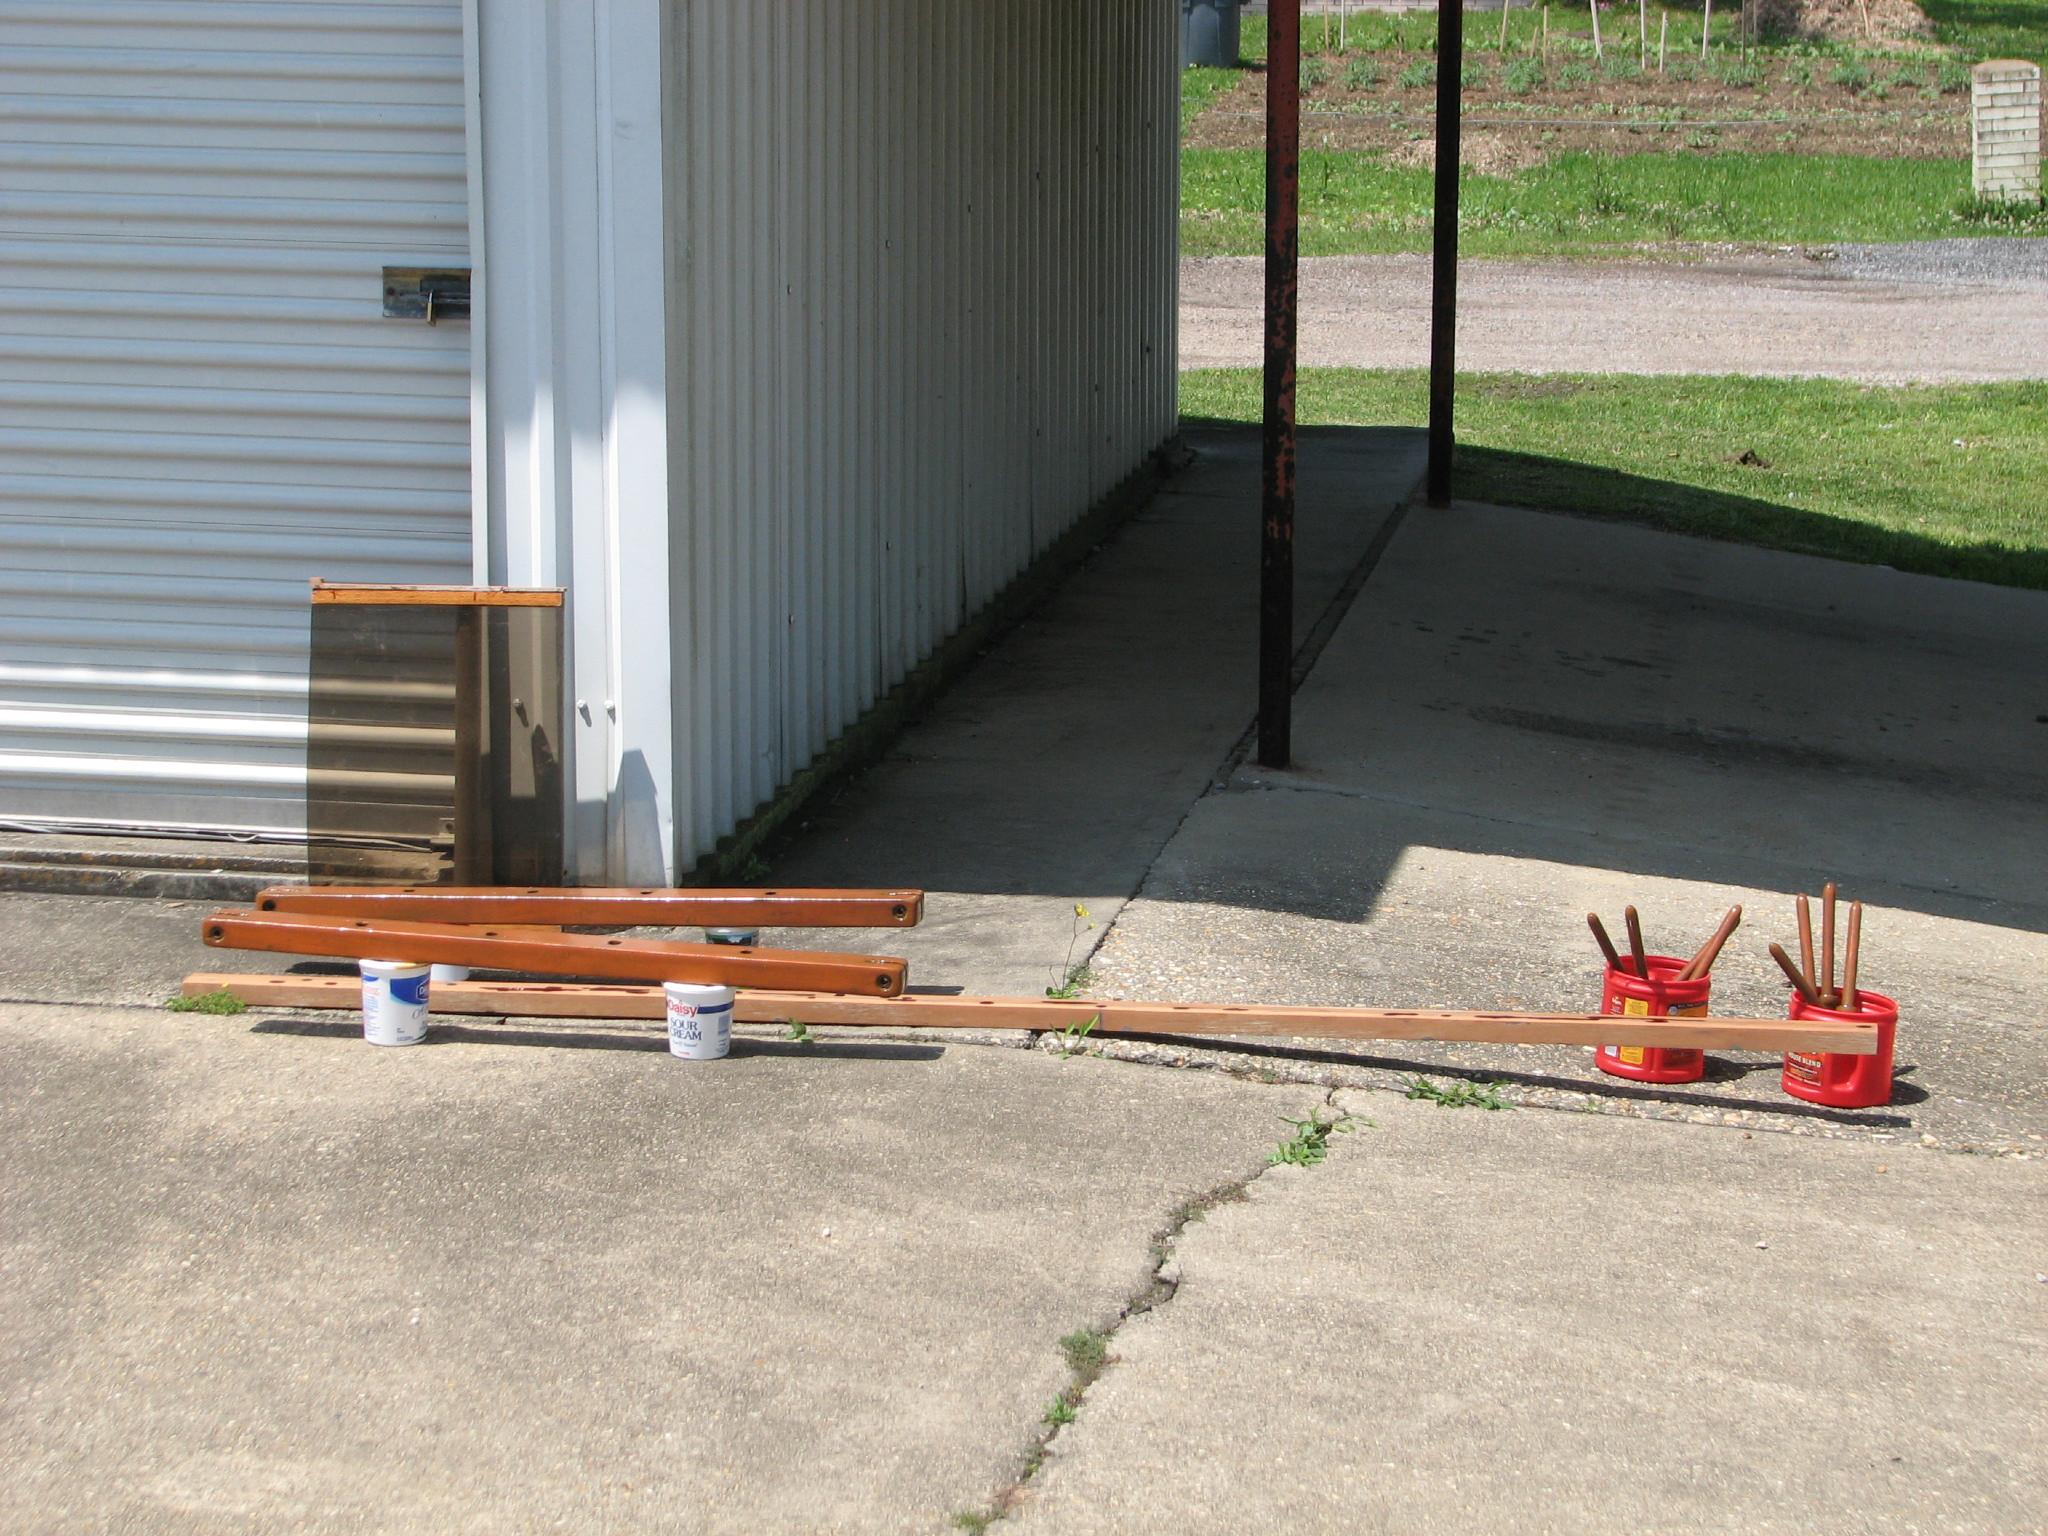
Next
I got out some plywood to build a temporary hatch. Some folks off
another boat here in the marina had recommended to us a product for
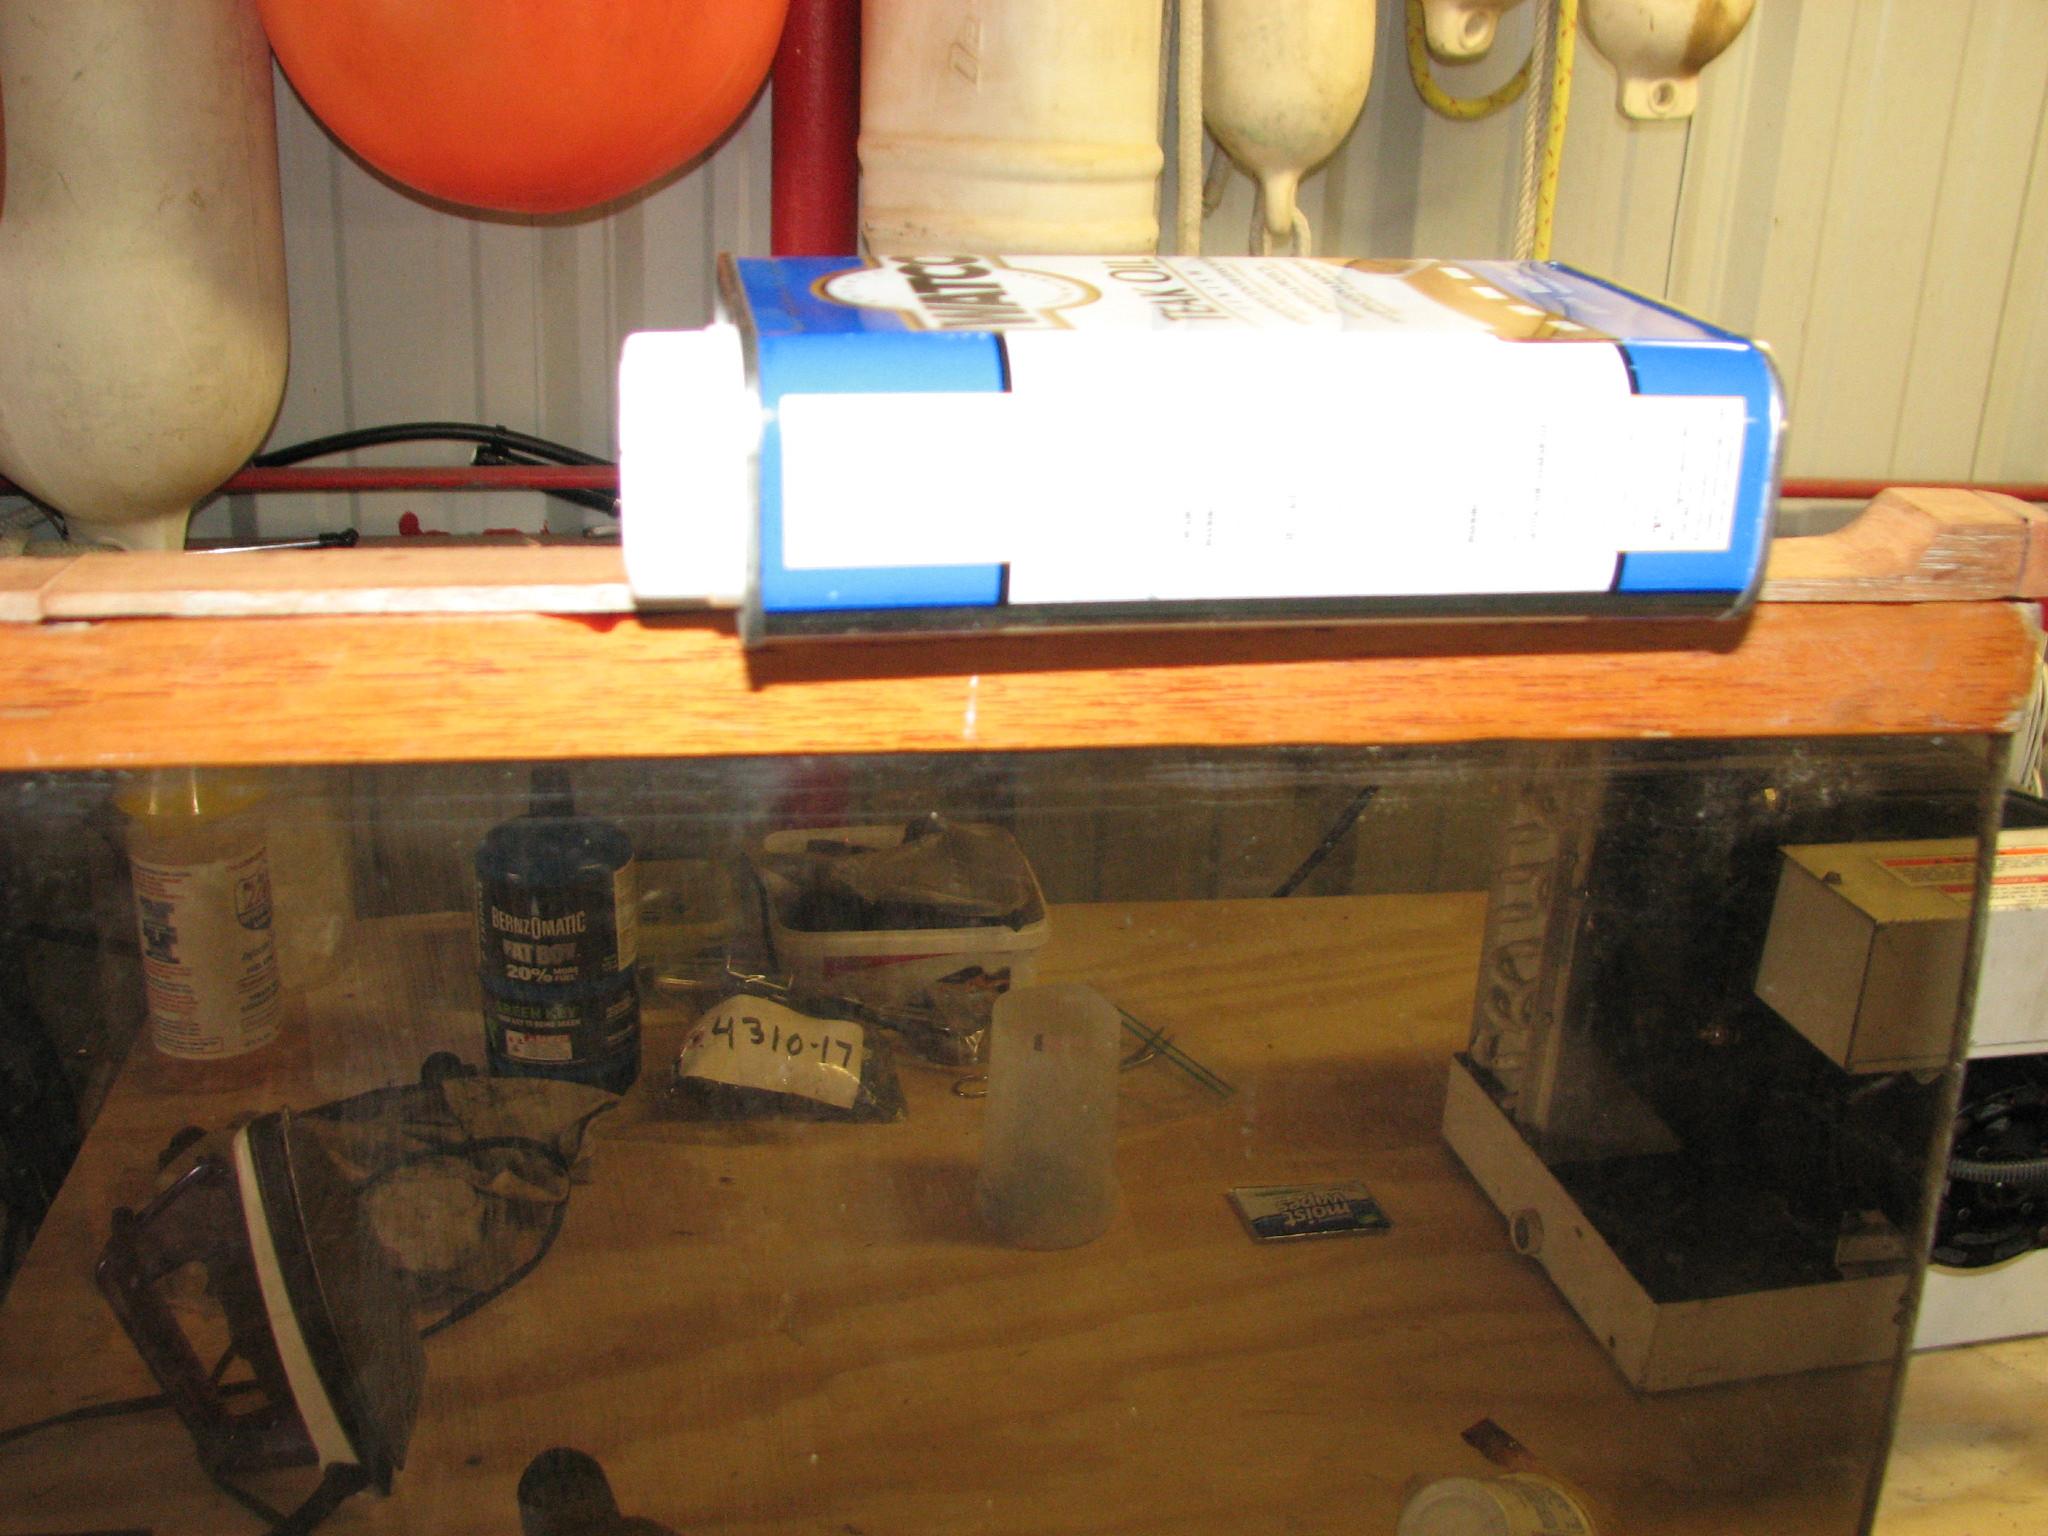
the teak deck called Watco
Teak Oil Finish.
We had purchased a pint on our last visit to Lowe’s.
We decided to give it a try.
Plywood
Pieces For Temporary Main Cabin Hatch
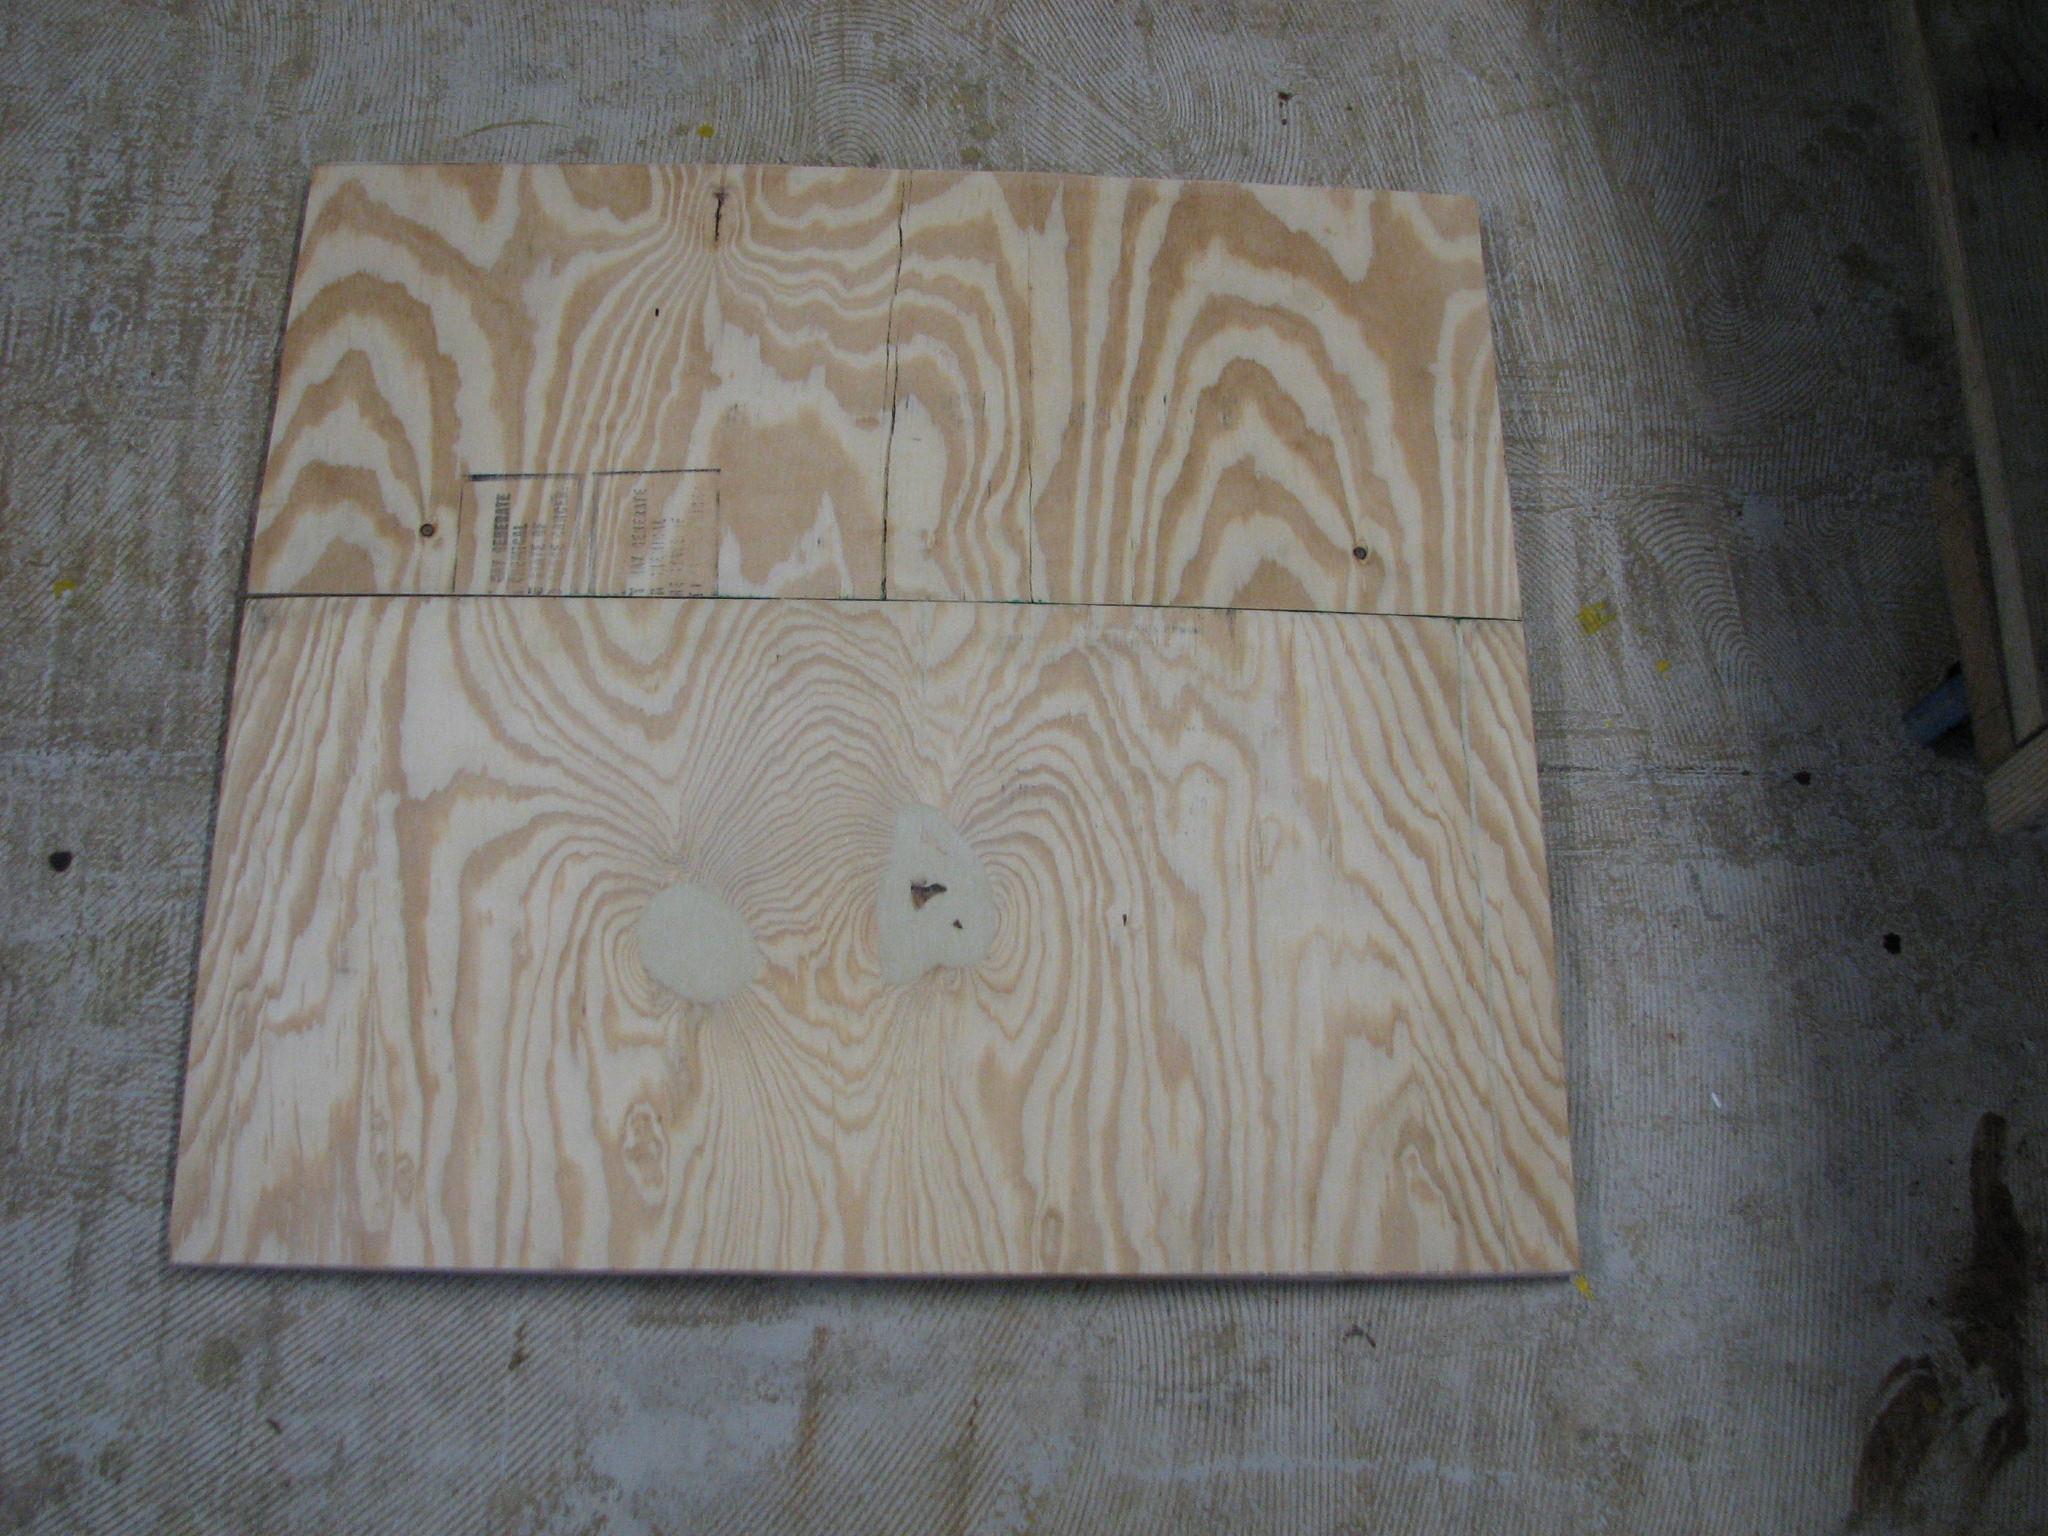
We
have a hatch in the main salon that gets a lot of traffic, so we
decided to do the Watco
Teak Oil Finish
test on this hatch. To enable me to take the hatch over to the shop,
I had to build a temporary hatch.
When
I took the hatch over to DREAM AWAY, and did a dry fit, it did not
fit properly, so a couple of adjustments would be necessary. I also
discovered I had left no way to get the hatch out of the floor, once
it was installed, so I would also need to cut a notch in the hatch
for a finger hold.
We
then drove over to the Rip
Van Winkle Gardens
at Jefferson Island with two transient cruisers, Larry and Linda.
They saw the gardens, and enjoyed the tour of the Joseph Jefferson
House.
When
we returned from Rip
Van Winkle Gardens,
I went over to the shop. I put the fifth coat and last coat of
varnish on the electronics shelf, the seventh coat of varnish on the
two main cabin table pieces and the third coat on the repaired
Panduit
wire duct
cover. Last I applied the ninth coat of Cetol
to the pin rails and belaying pins.
April
16, 2013, Tuesday
Started
off the morning with my normal ritual of getting on the Internet,
answering email, checking the weather, while making a pot of coffee.
Also updated the maintenance log.
Went
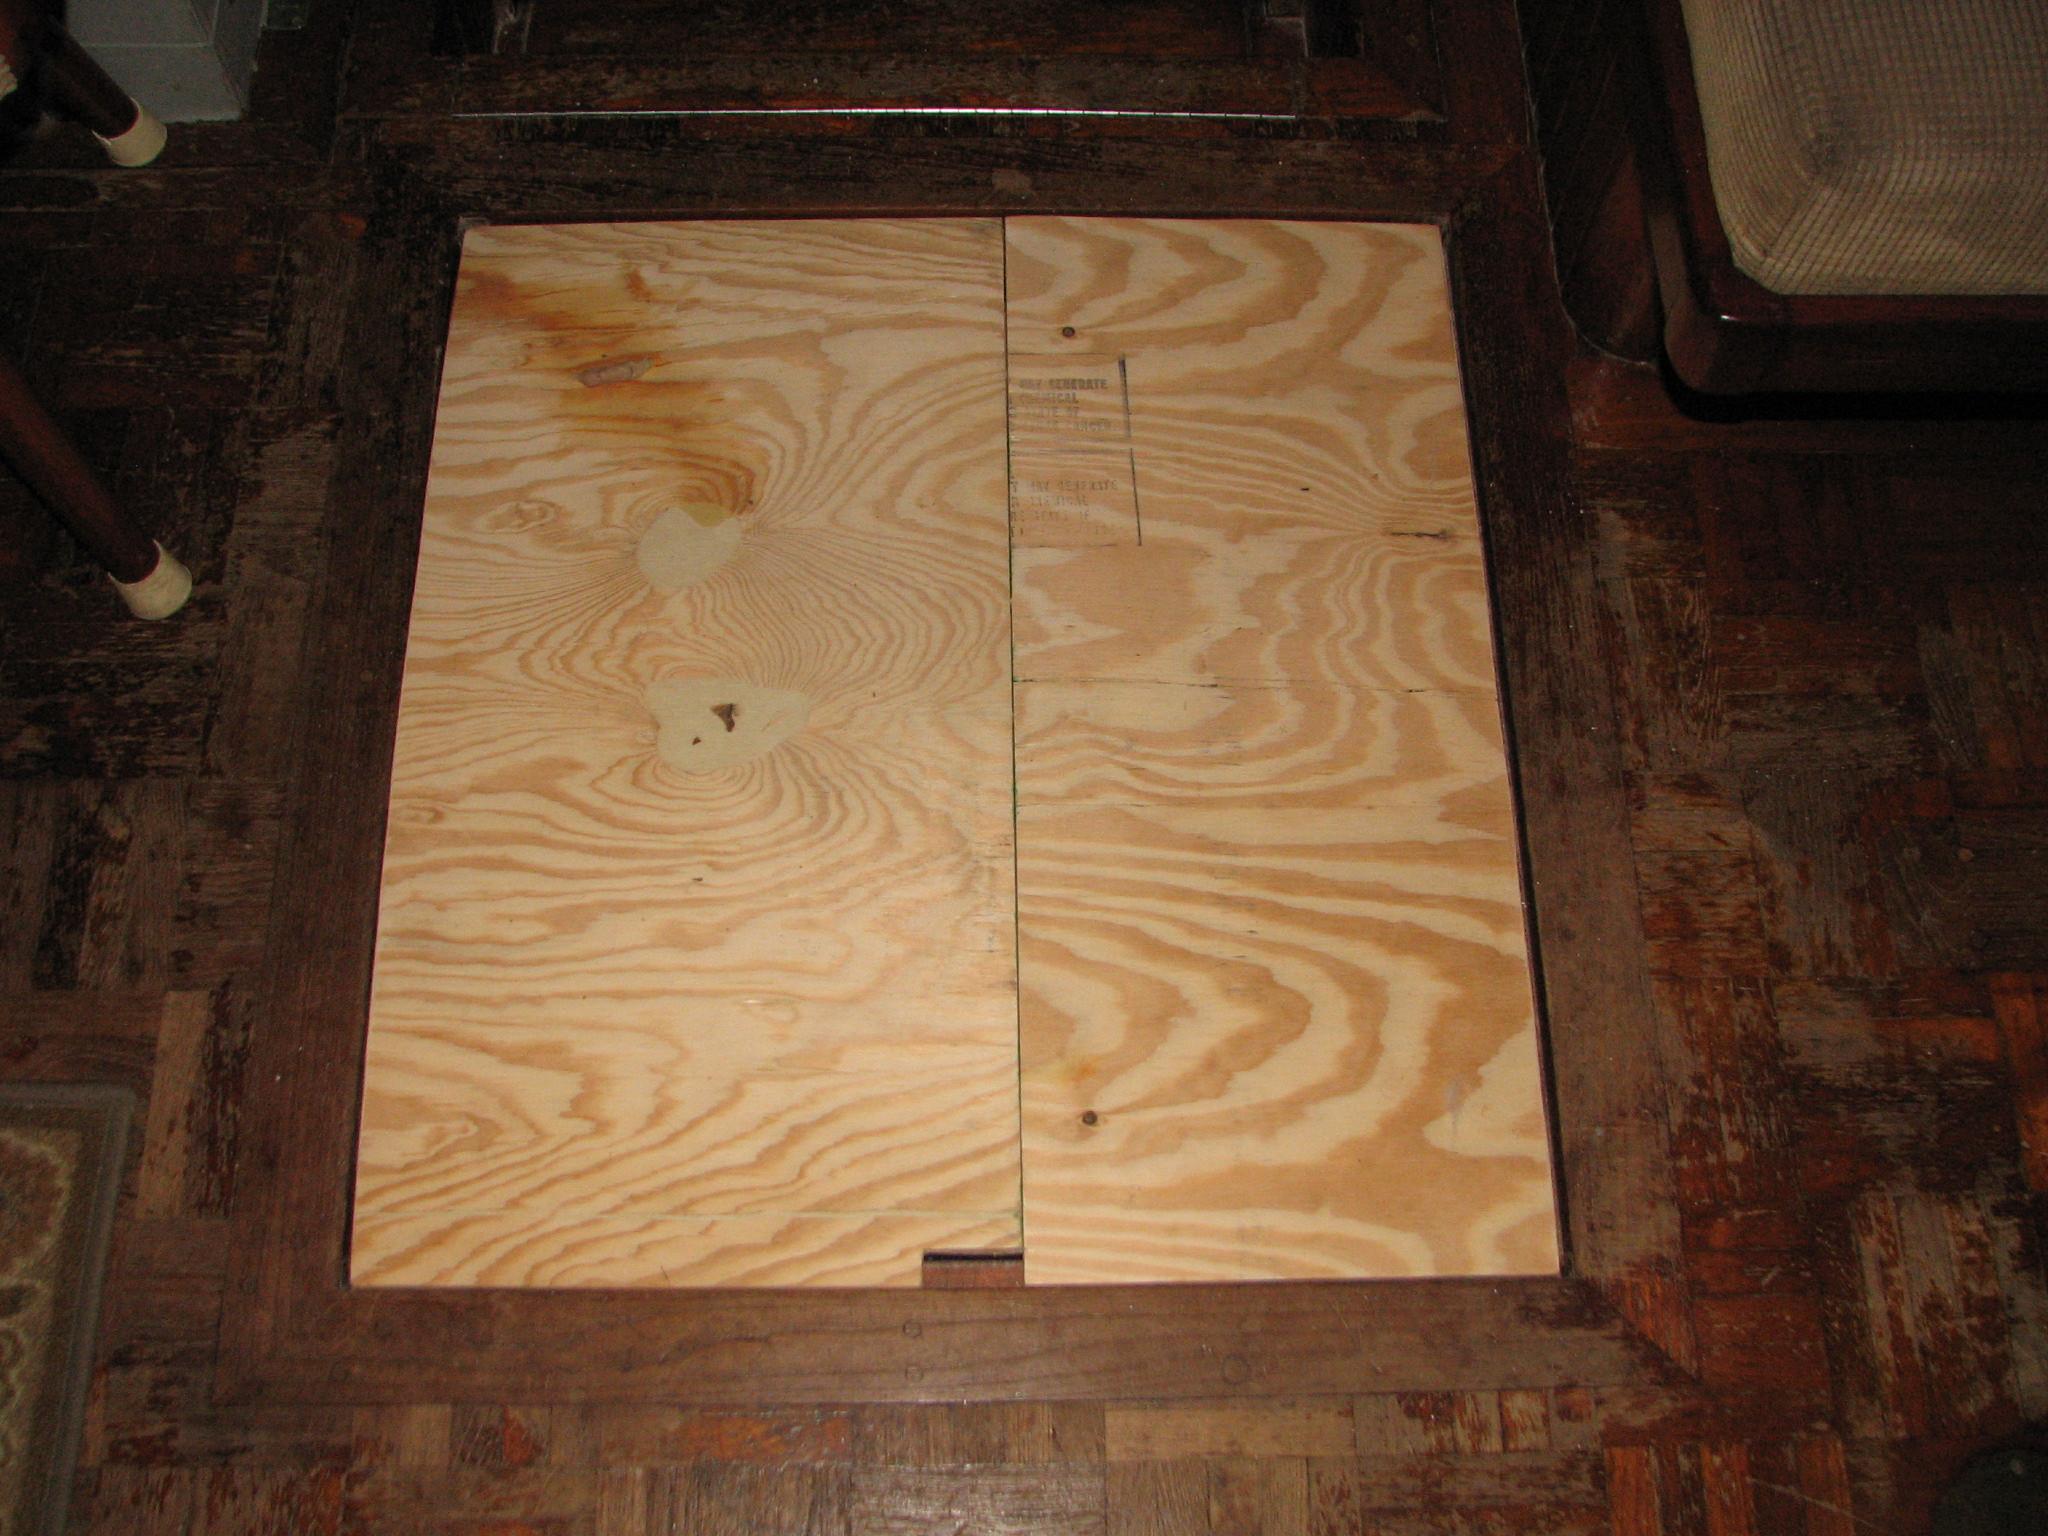
over to the shop and “adjusted” the temporary hatch for the main
cabin. This means I cut it to actually fit the hole. I also cut a
finger hole so you could remove the hatch without tools. Later, I
took the temporary hatch over to DREAM AWAY and it fit perfectly.
Temporary
Hatch In Floor On DREAM AWAY
I
sanded down the hide hole piece and the large acrylic insert. I had
to get them ready for another epoxy application. When I finished the
sanding, I did a dry fit of the pieces to add to the large acrylic
insert. I then mixed up a batch of epoxy and filled the remaining
holes in the hide hole piece, and added the new pieces to the large
acrylic insert.
Third
Application of Epoxy To The Hide Hole Piece
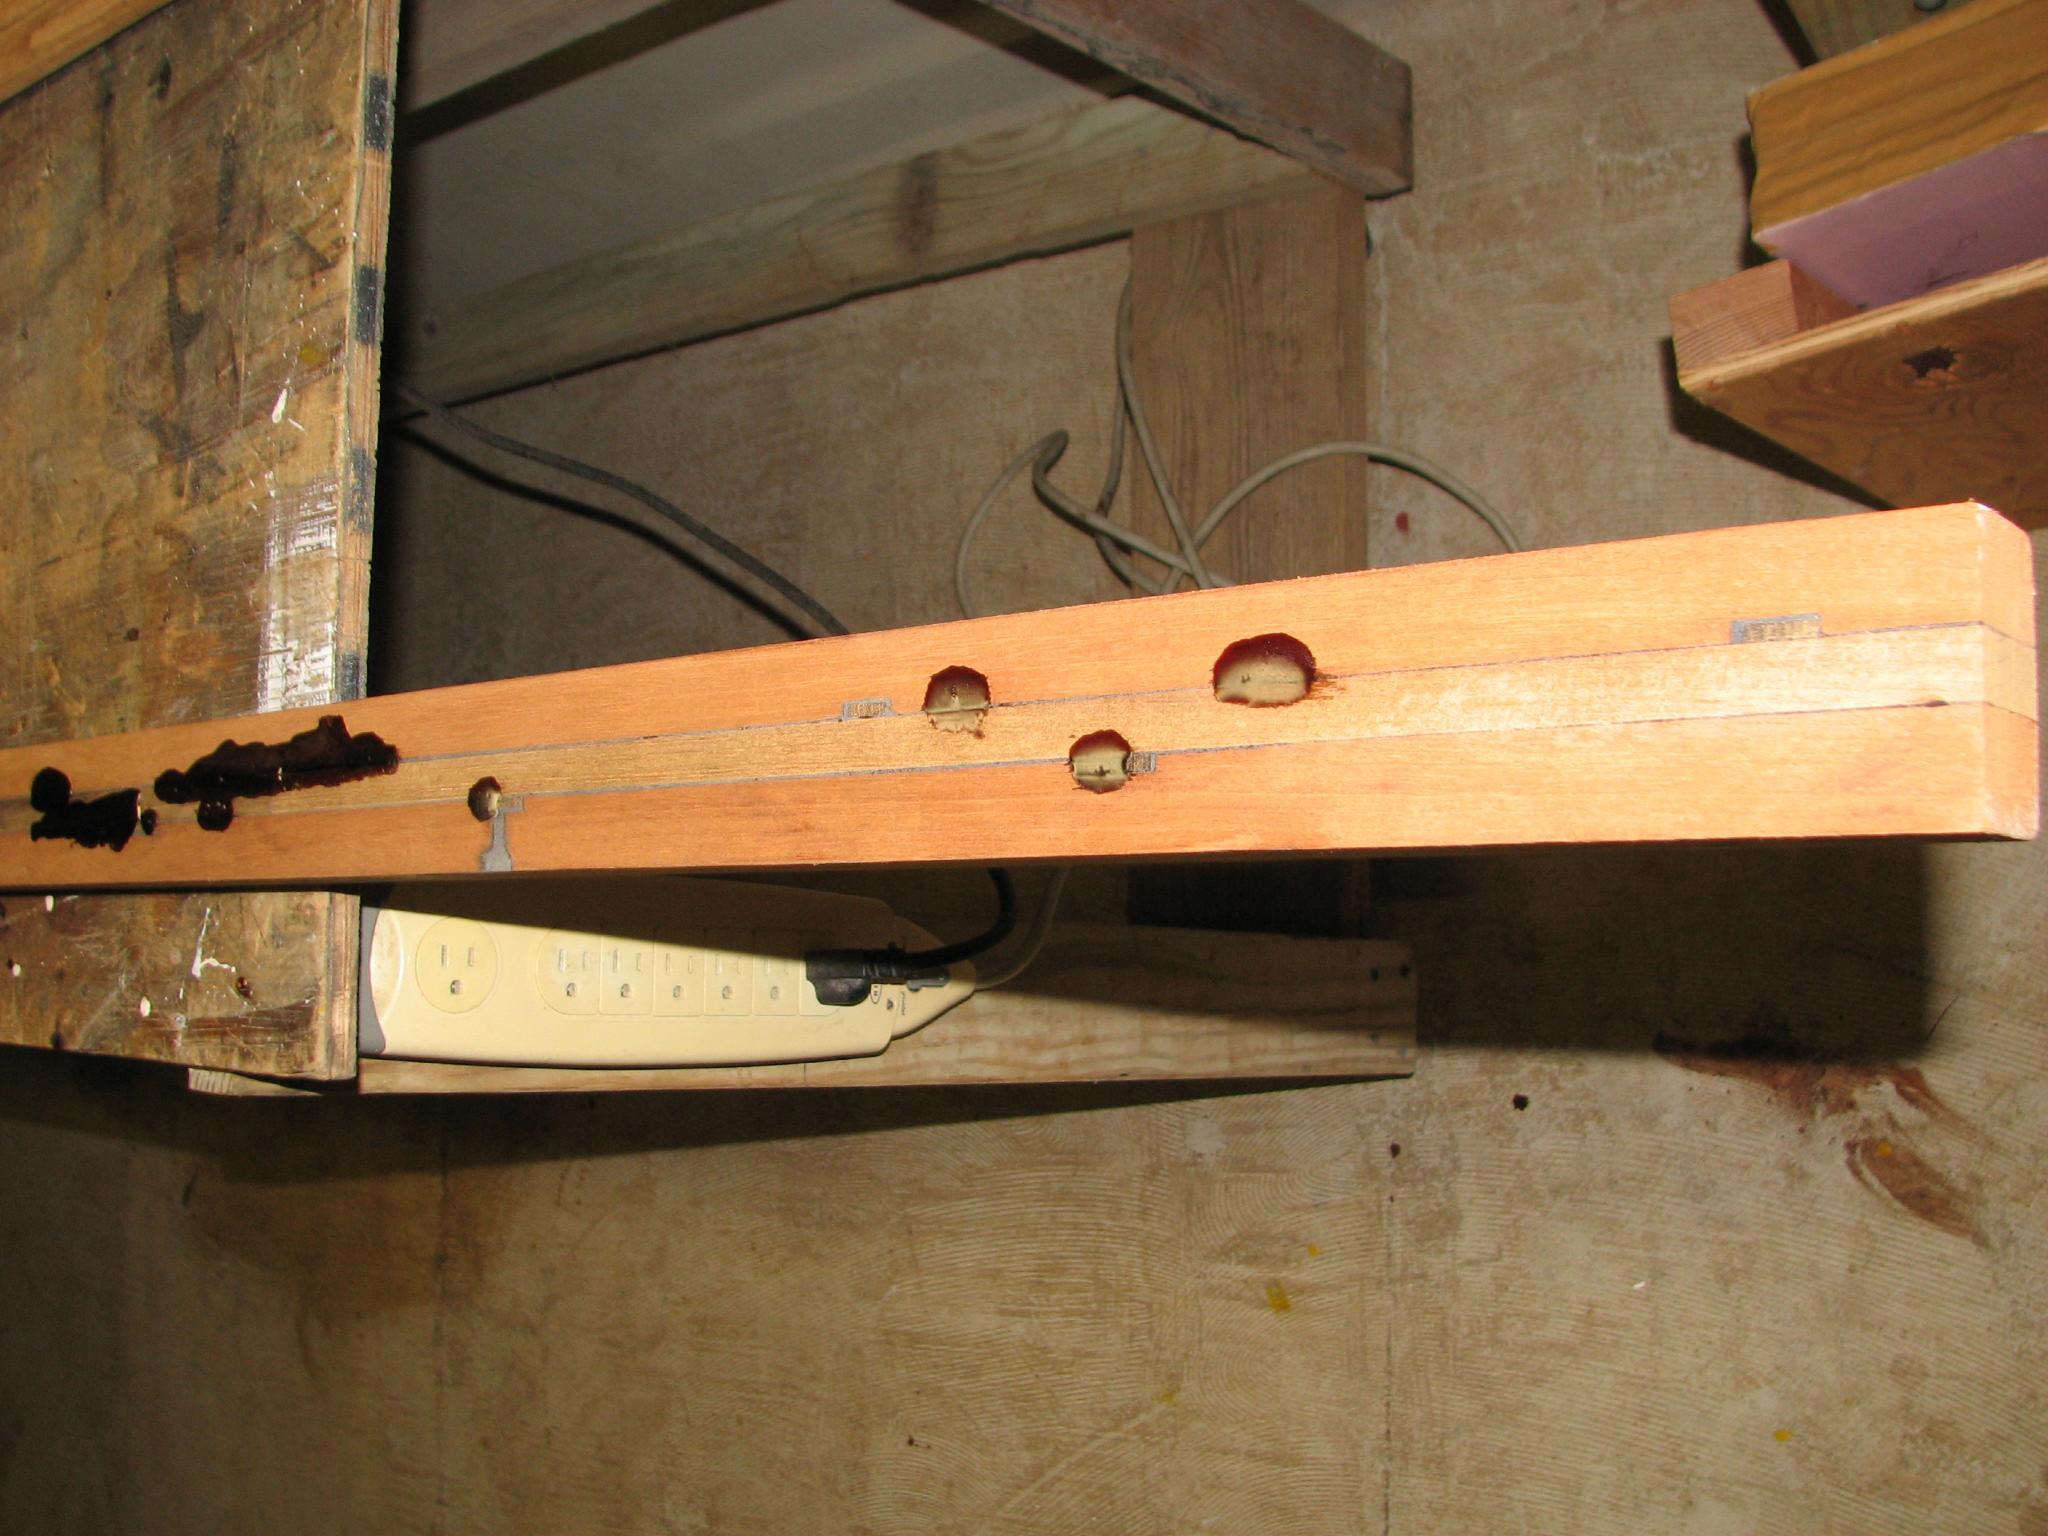
Epoxy
On Large Acrylic Insert
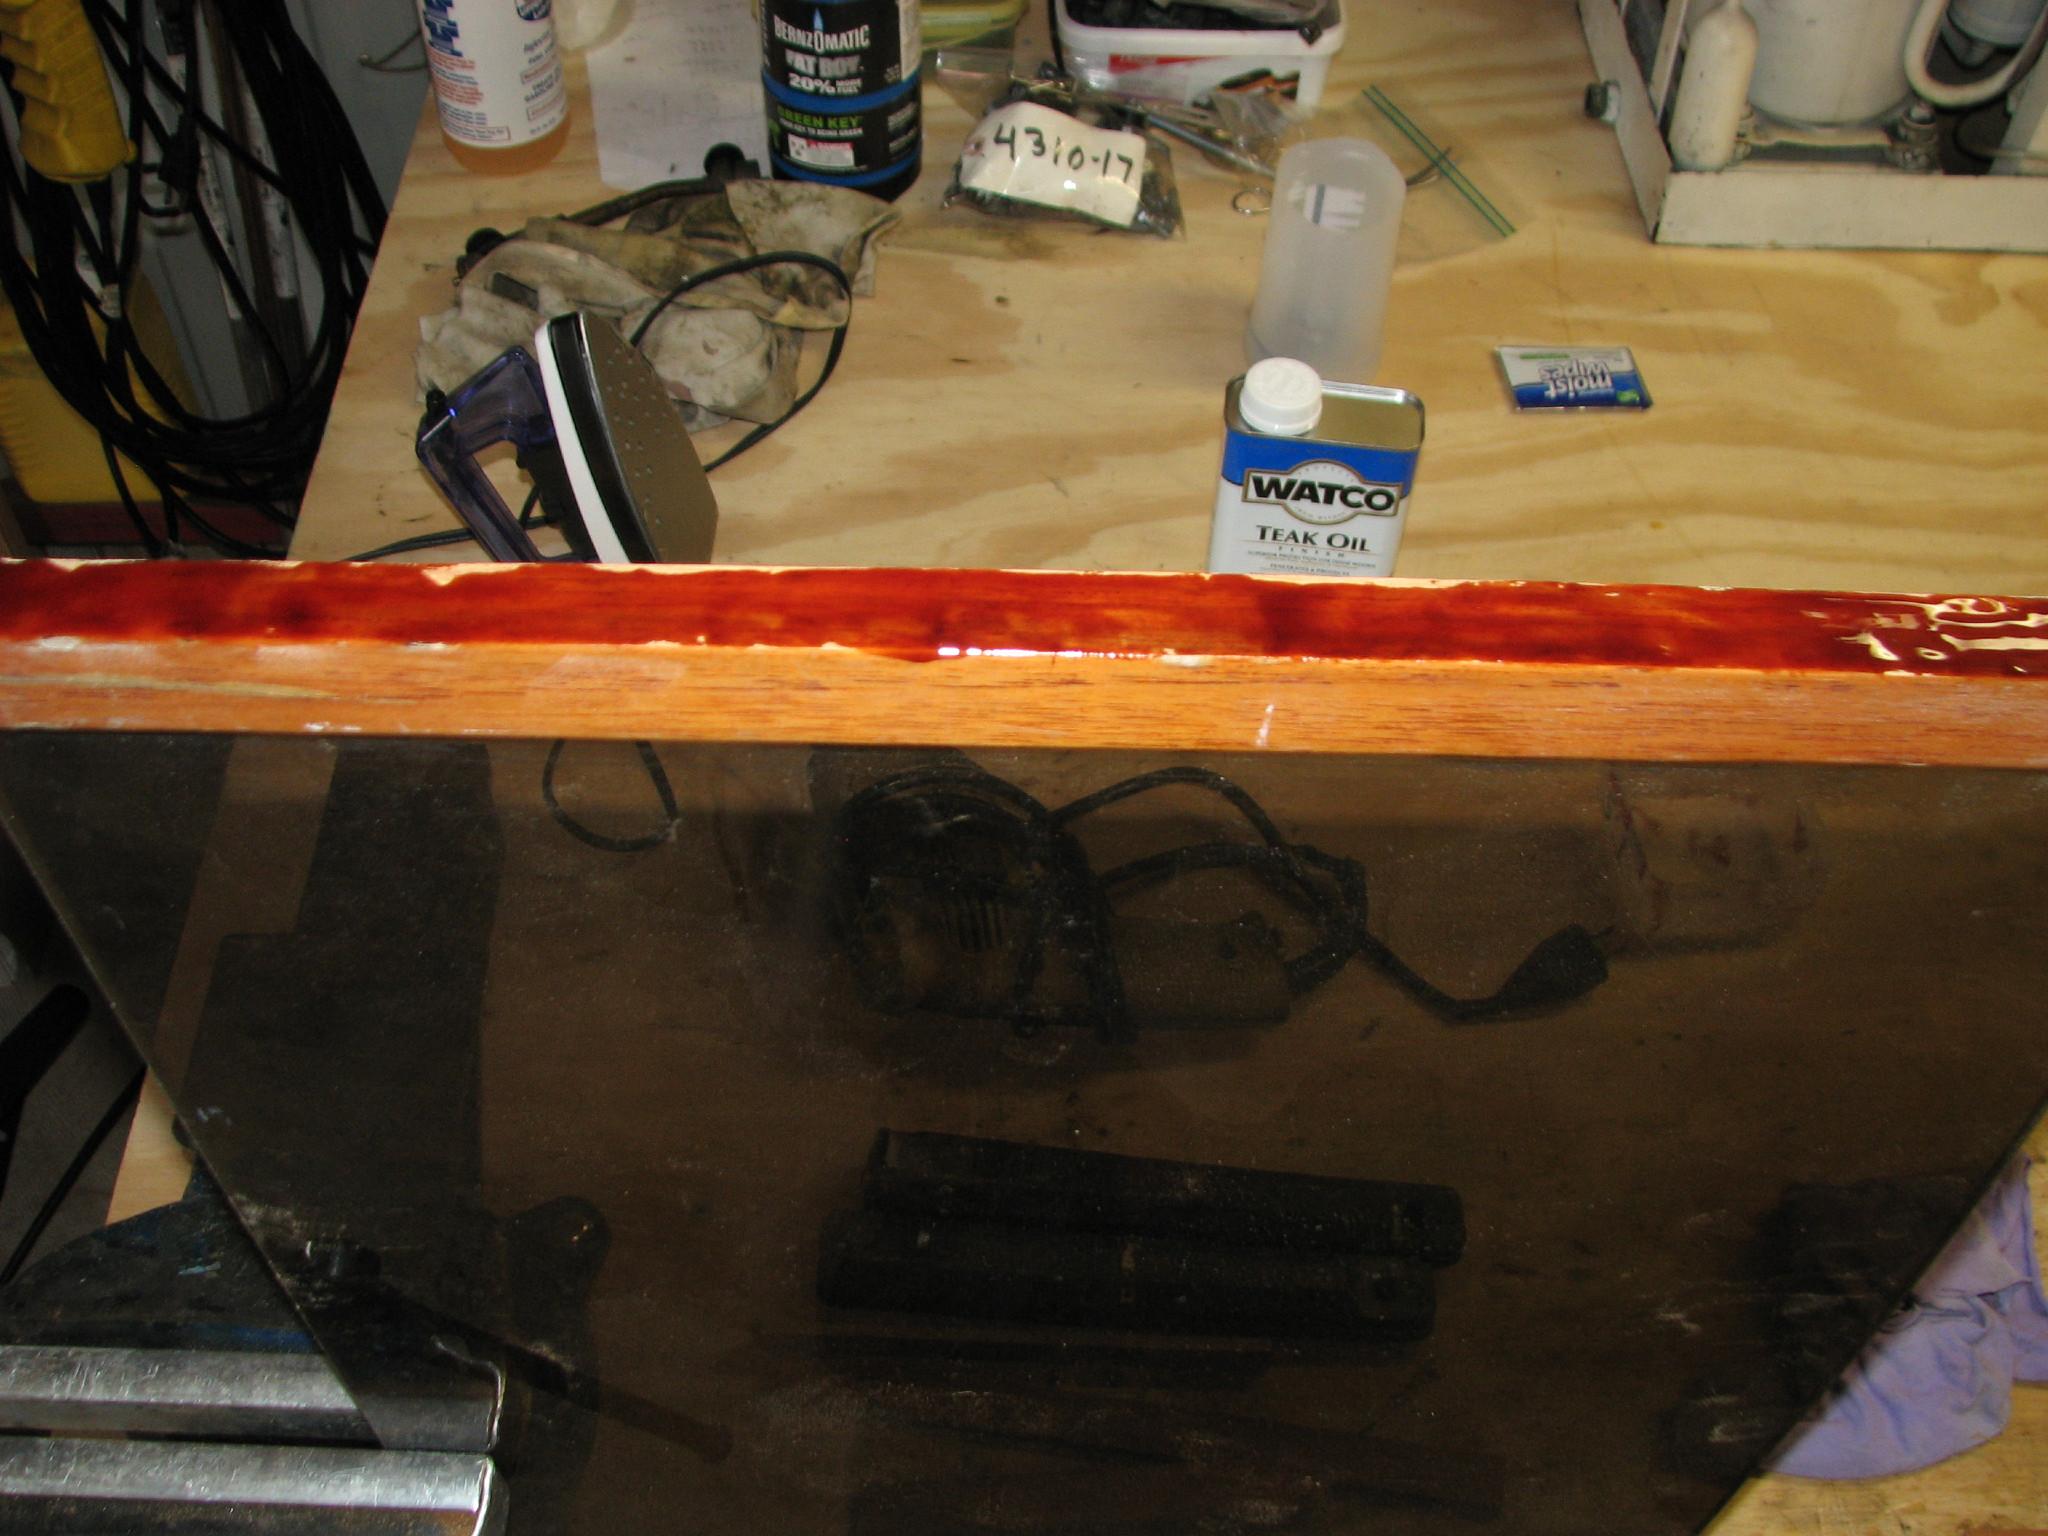
Two
Pieces Epoxied To Large Acrylic Piece
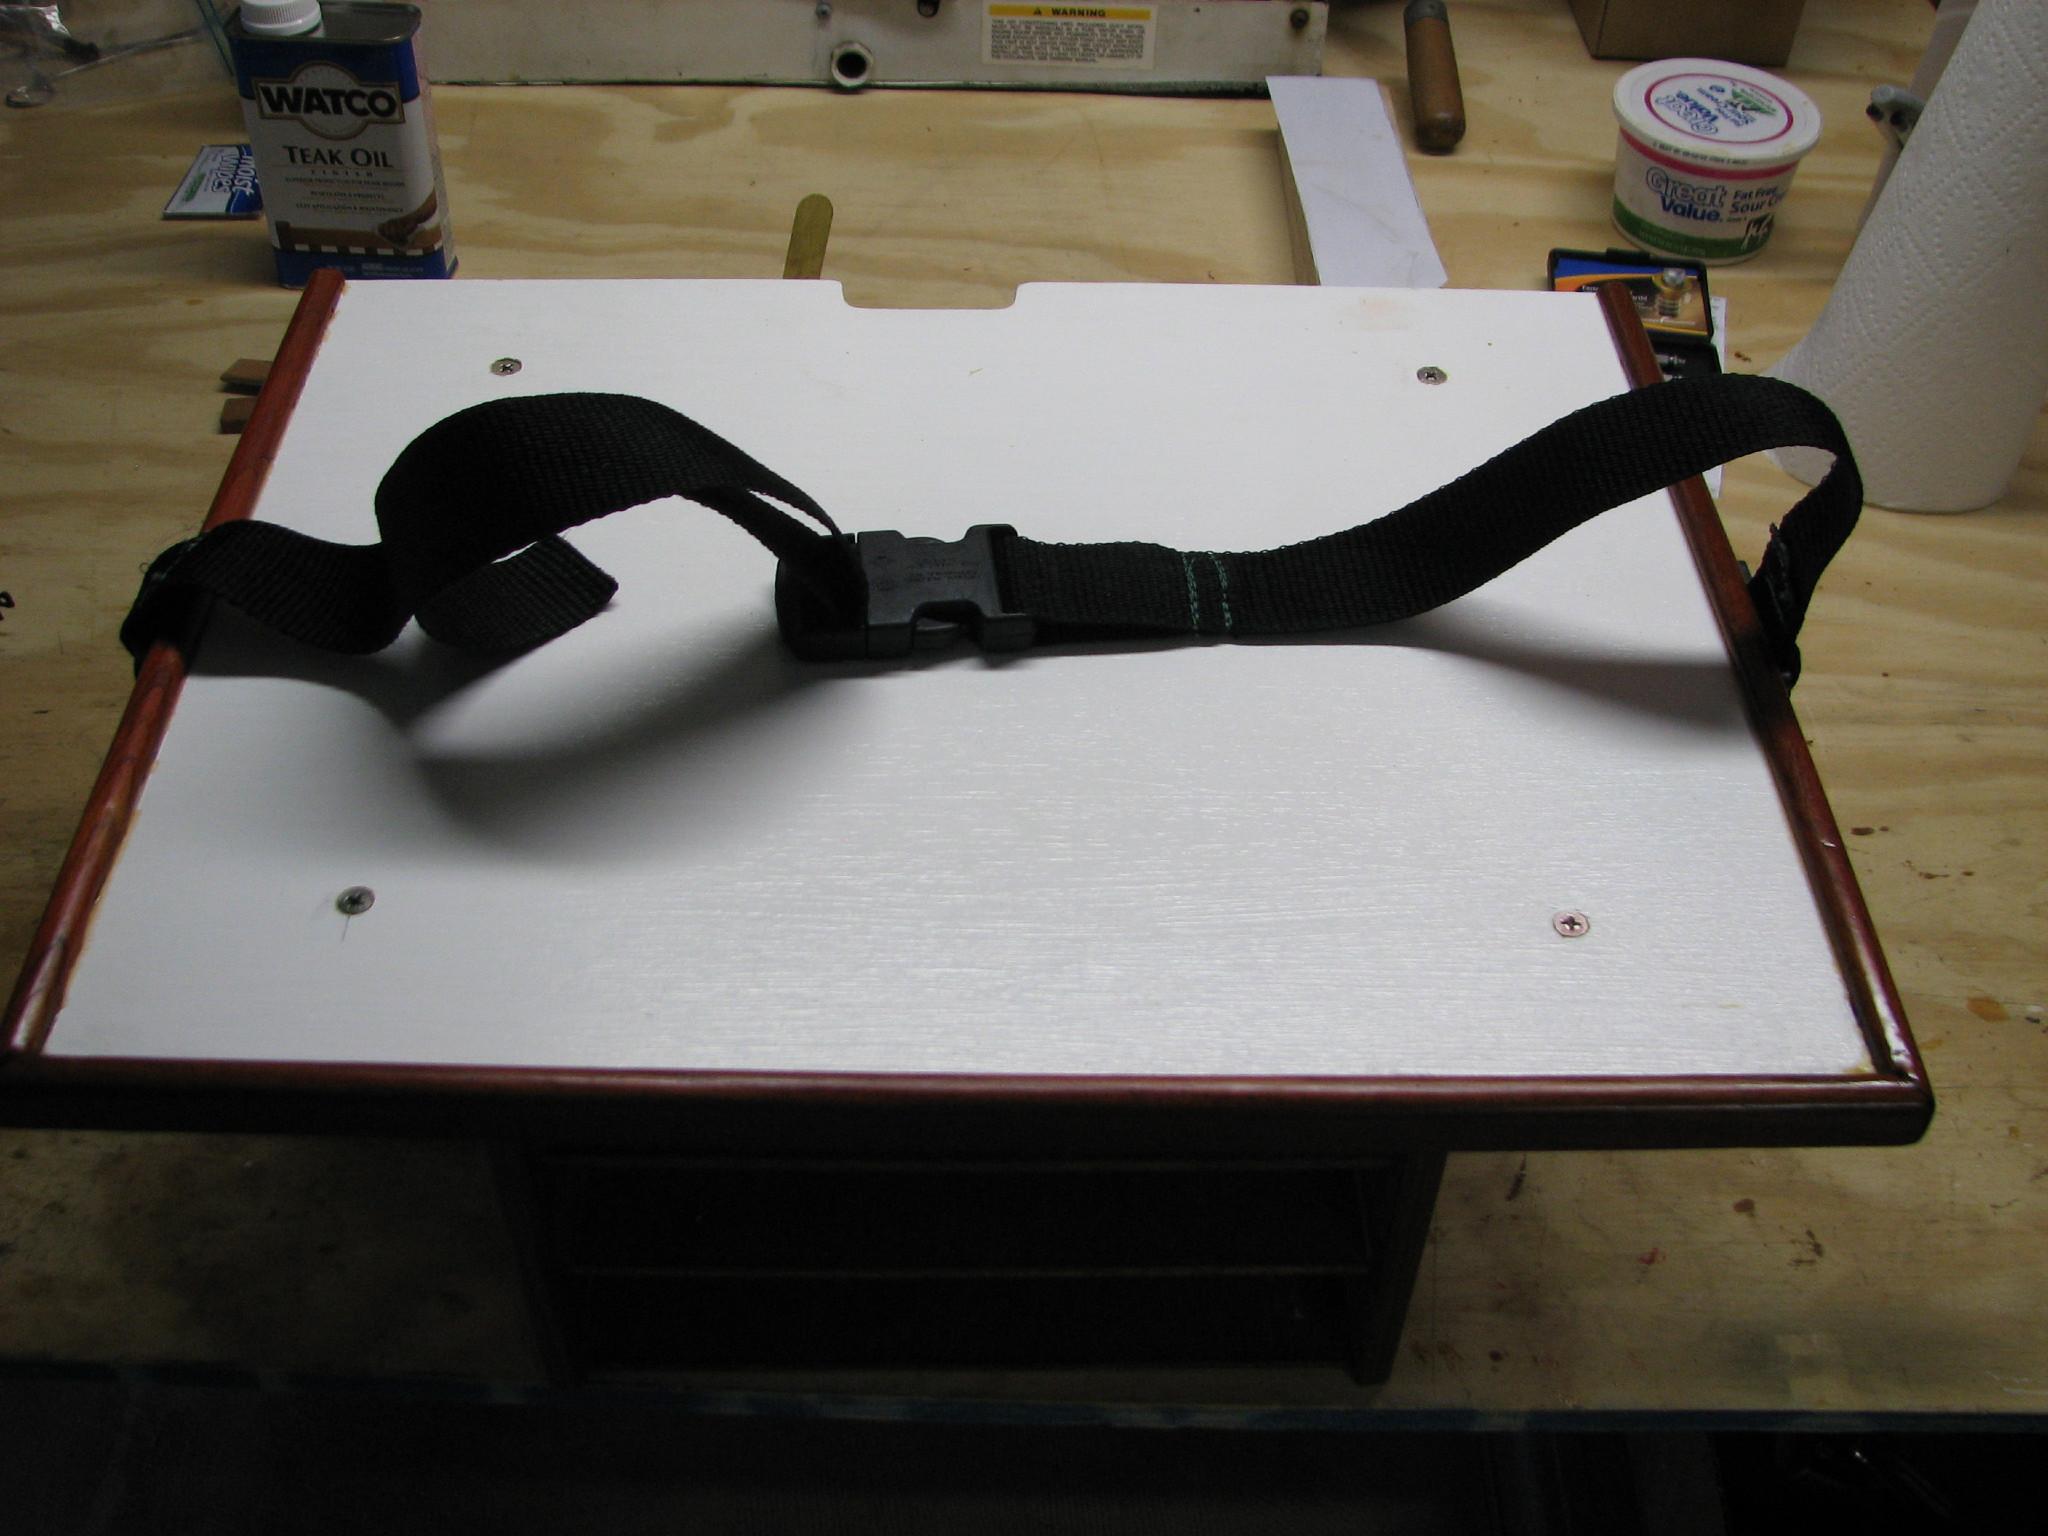
I
installed the printer tie-downs to the completed electronics shelf,
so the electronics shelf was now ready for installation.
Electronics
Shelf With Tie-downs Installed
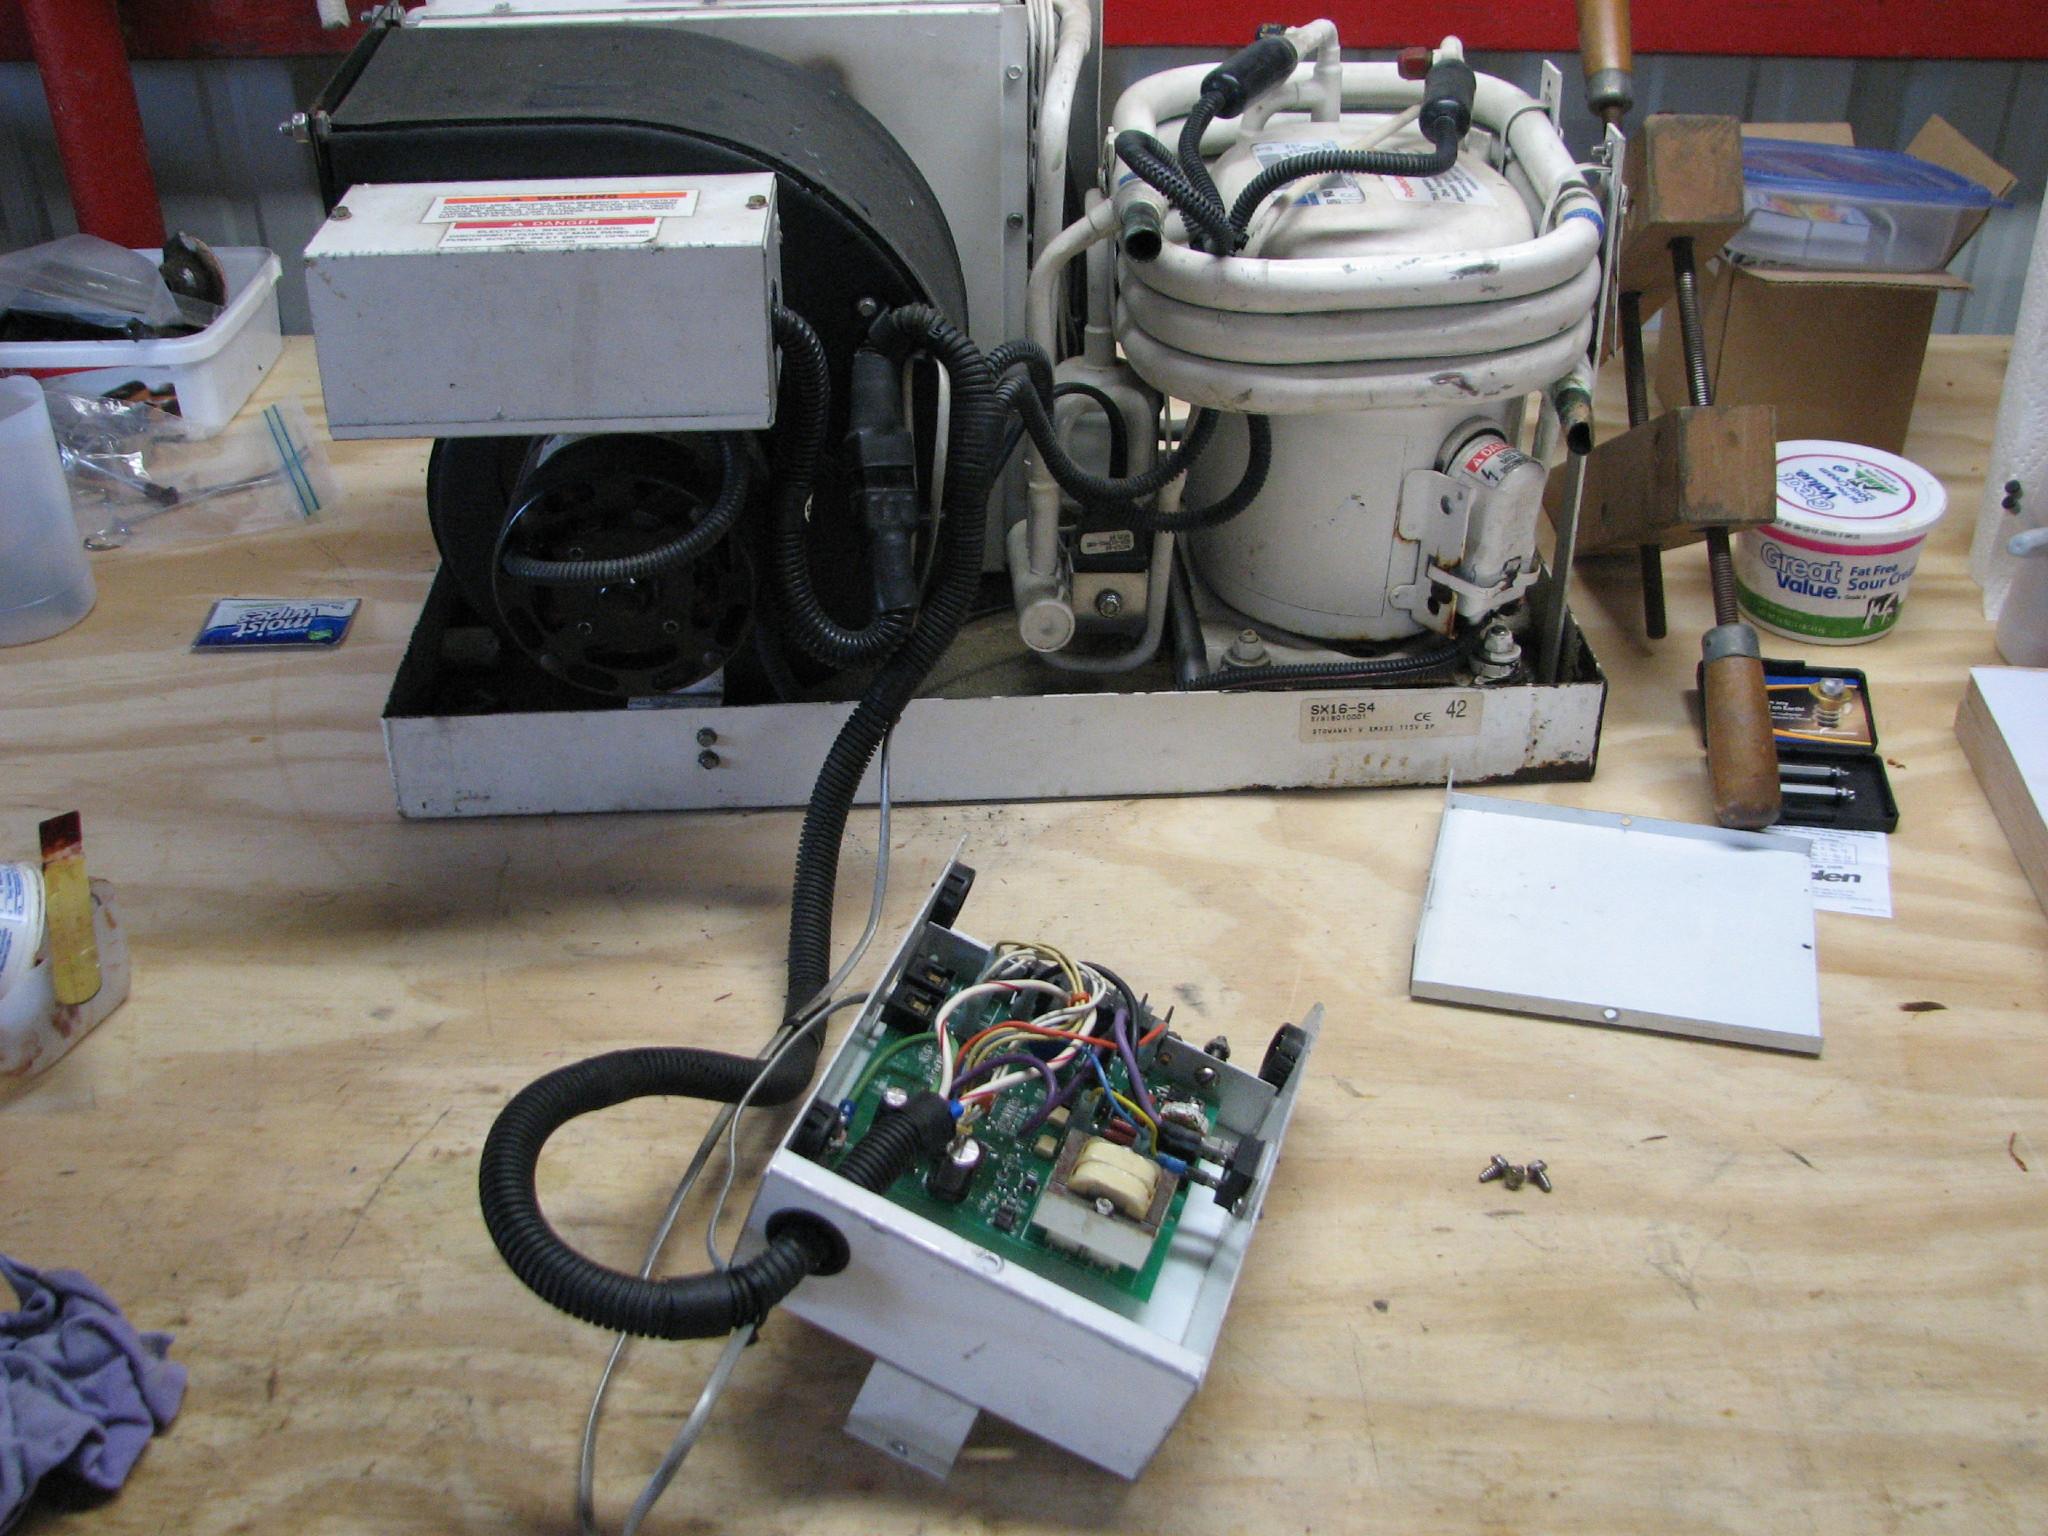
I
started investigation of how I was going to repair the used air
conditioner I had purchased and shipped to Delcambre. When it arrived
in Delcambre the unit was damaged. I have parts from the failed air
conditioner on hand, that I will use to repair the damaged unit.
The
problem I am having is with the control unit. Two different
connection types, so it will take some investigation.
Used
Air Conditioner With Control Box Apart
I
went back over to DREAM AWAY to have breakfast. After breakfast,
Kitty assisted me with the remove the radar reflector from the mizzen
mast project.
This
project was very necessary as a pair of mourning
doves
had built a nest in the radar reflector. The mess they were making
on deck was just too much. The good news was by the time I got up the
mast to the radar reflector, the nest had been abandoned. We decided
to remove the radar reflector until we go on our next offshore trip,
that way we will have no more problems with birds nests.
April
17, 2013, Wednesday
Started
off the morning with my normal ritual of getting on the Internet,
answering email, checking the weather, while making a pot of coffee.
Also updated the maintenance log.
I
went over to the shop and did a major bunch of sanding. I sanded off
the final application of epoxy on the hide hole piece. I then sanded
down the epoxy applications on the large acrylic insert. I also
sanded down the new pieces added to the large acrylic insert to make
the insert sides as smooth as possible.
Large
Acrylic Insert After Sanding
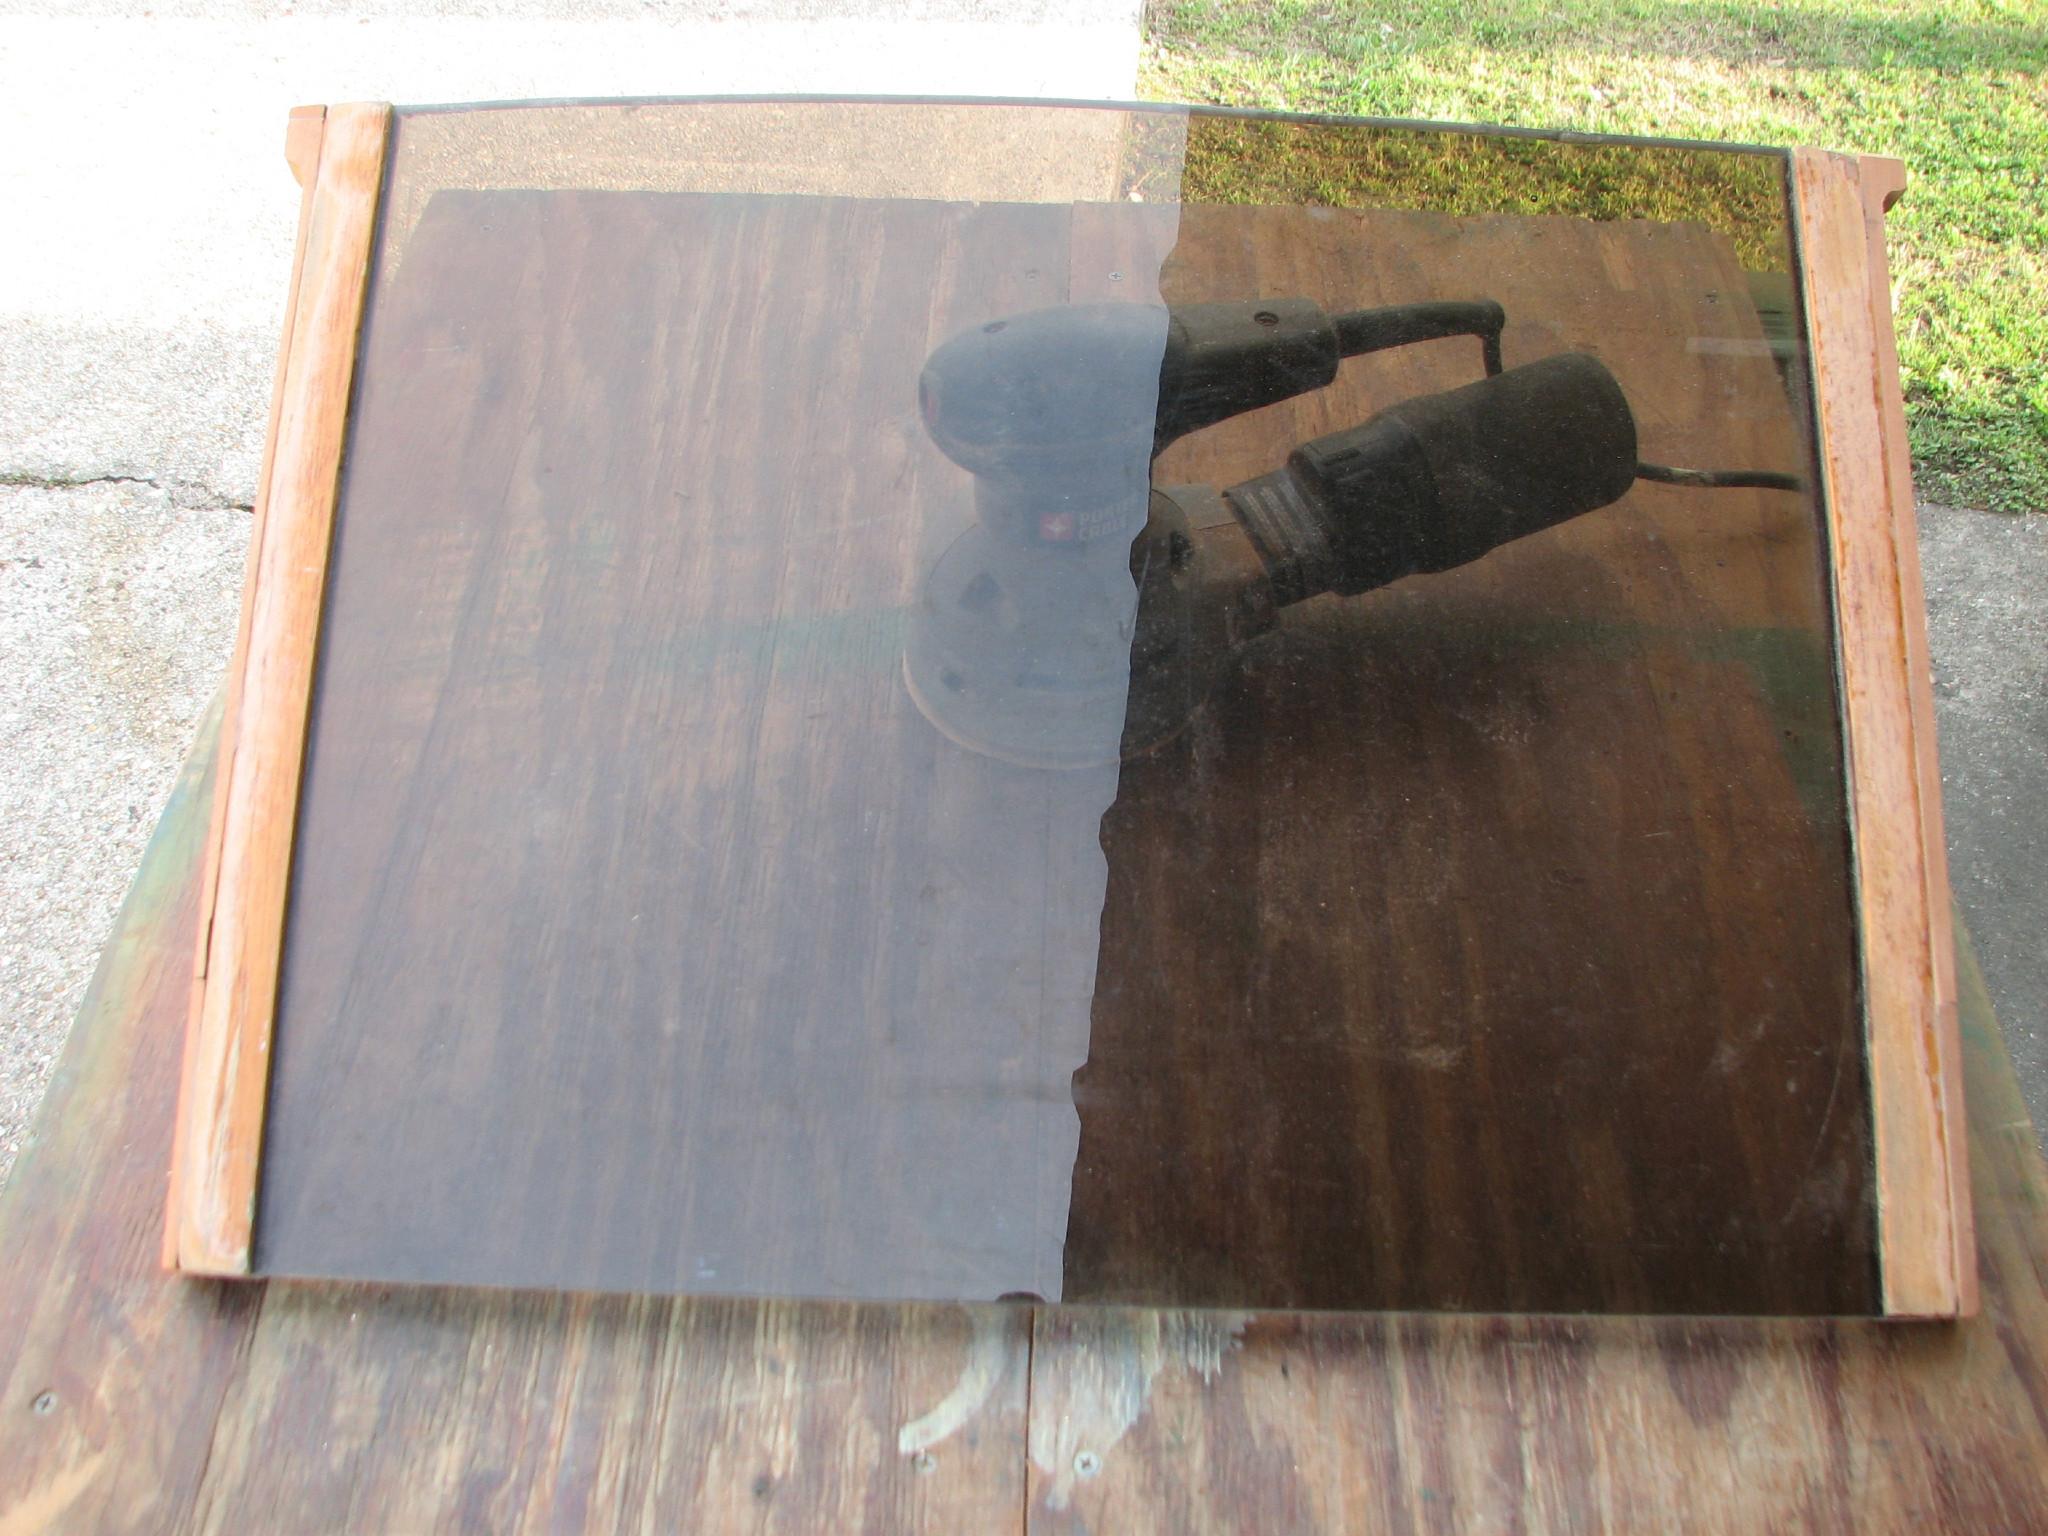
Next
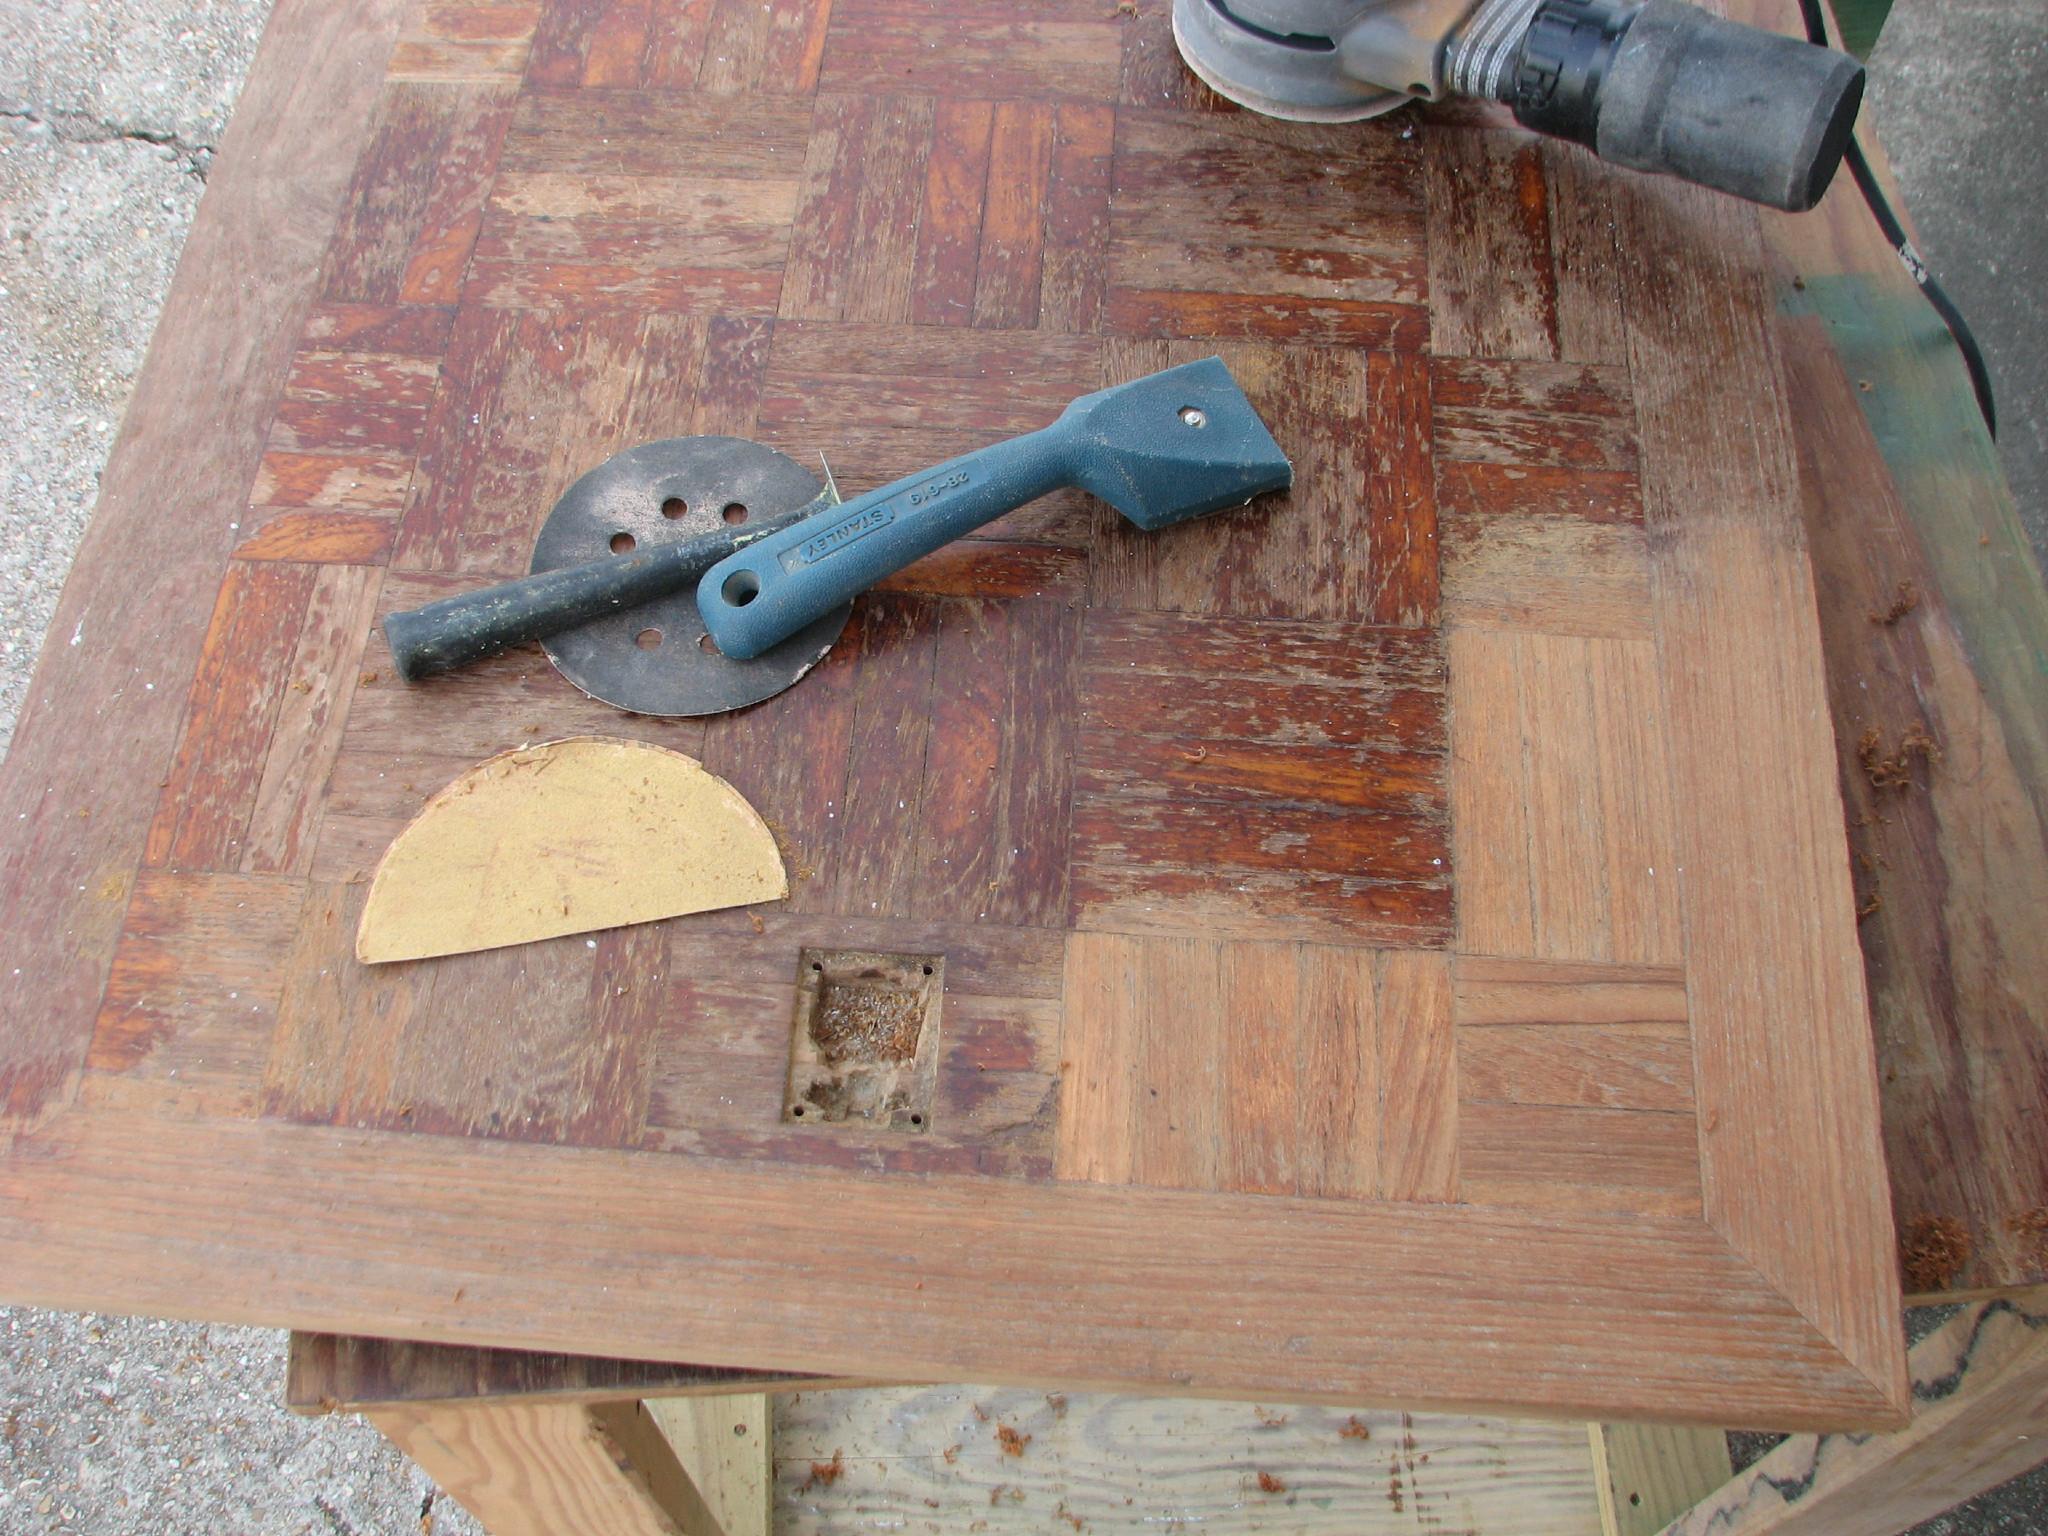
on the sanding list is the hatch from the main cabin. I used
scrappers to get most of the old varnish off, and then finished off
the hatch with a sander.
Main
Cabin Hatch With Sanding Underway
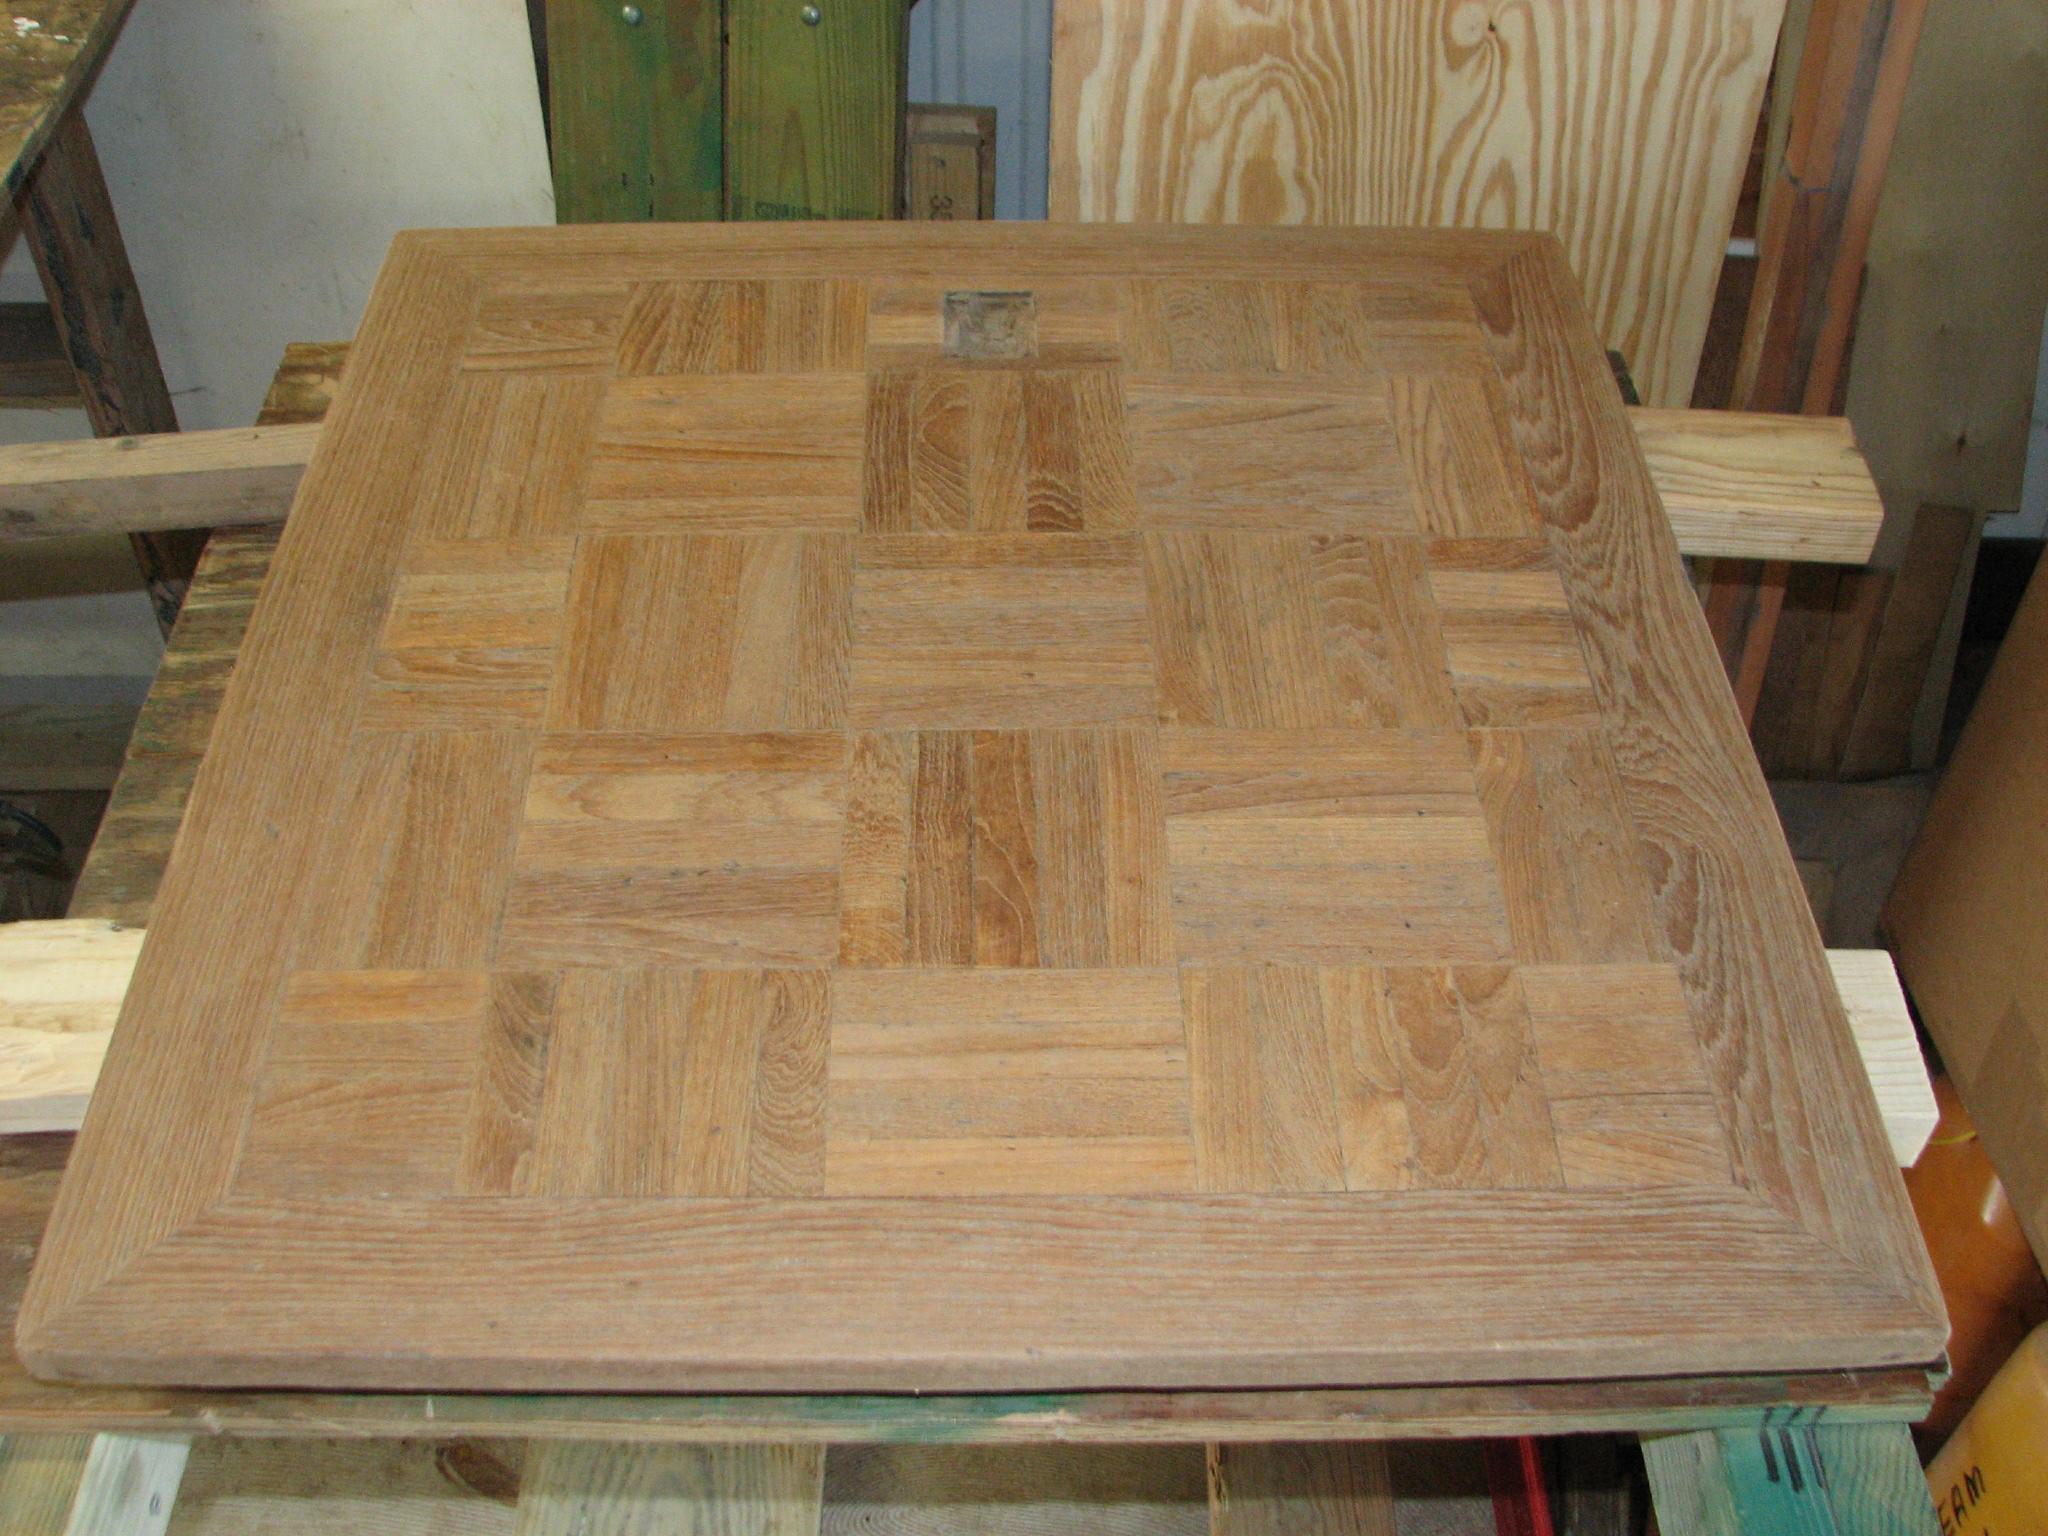
Finished
Main Cabin Hatch
Went
back to DREAM AWAY, and tested the large acrylic insert. It needs
more sanding to make it thinner, but during the process I broke off
one of the new pieces, so it will have be epoxied back on.
After
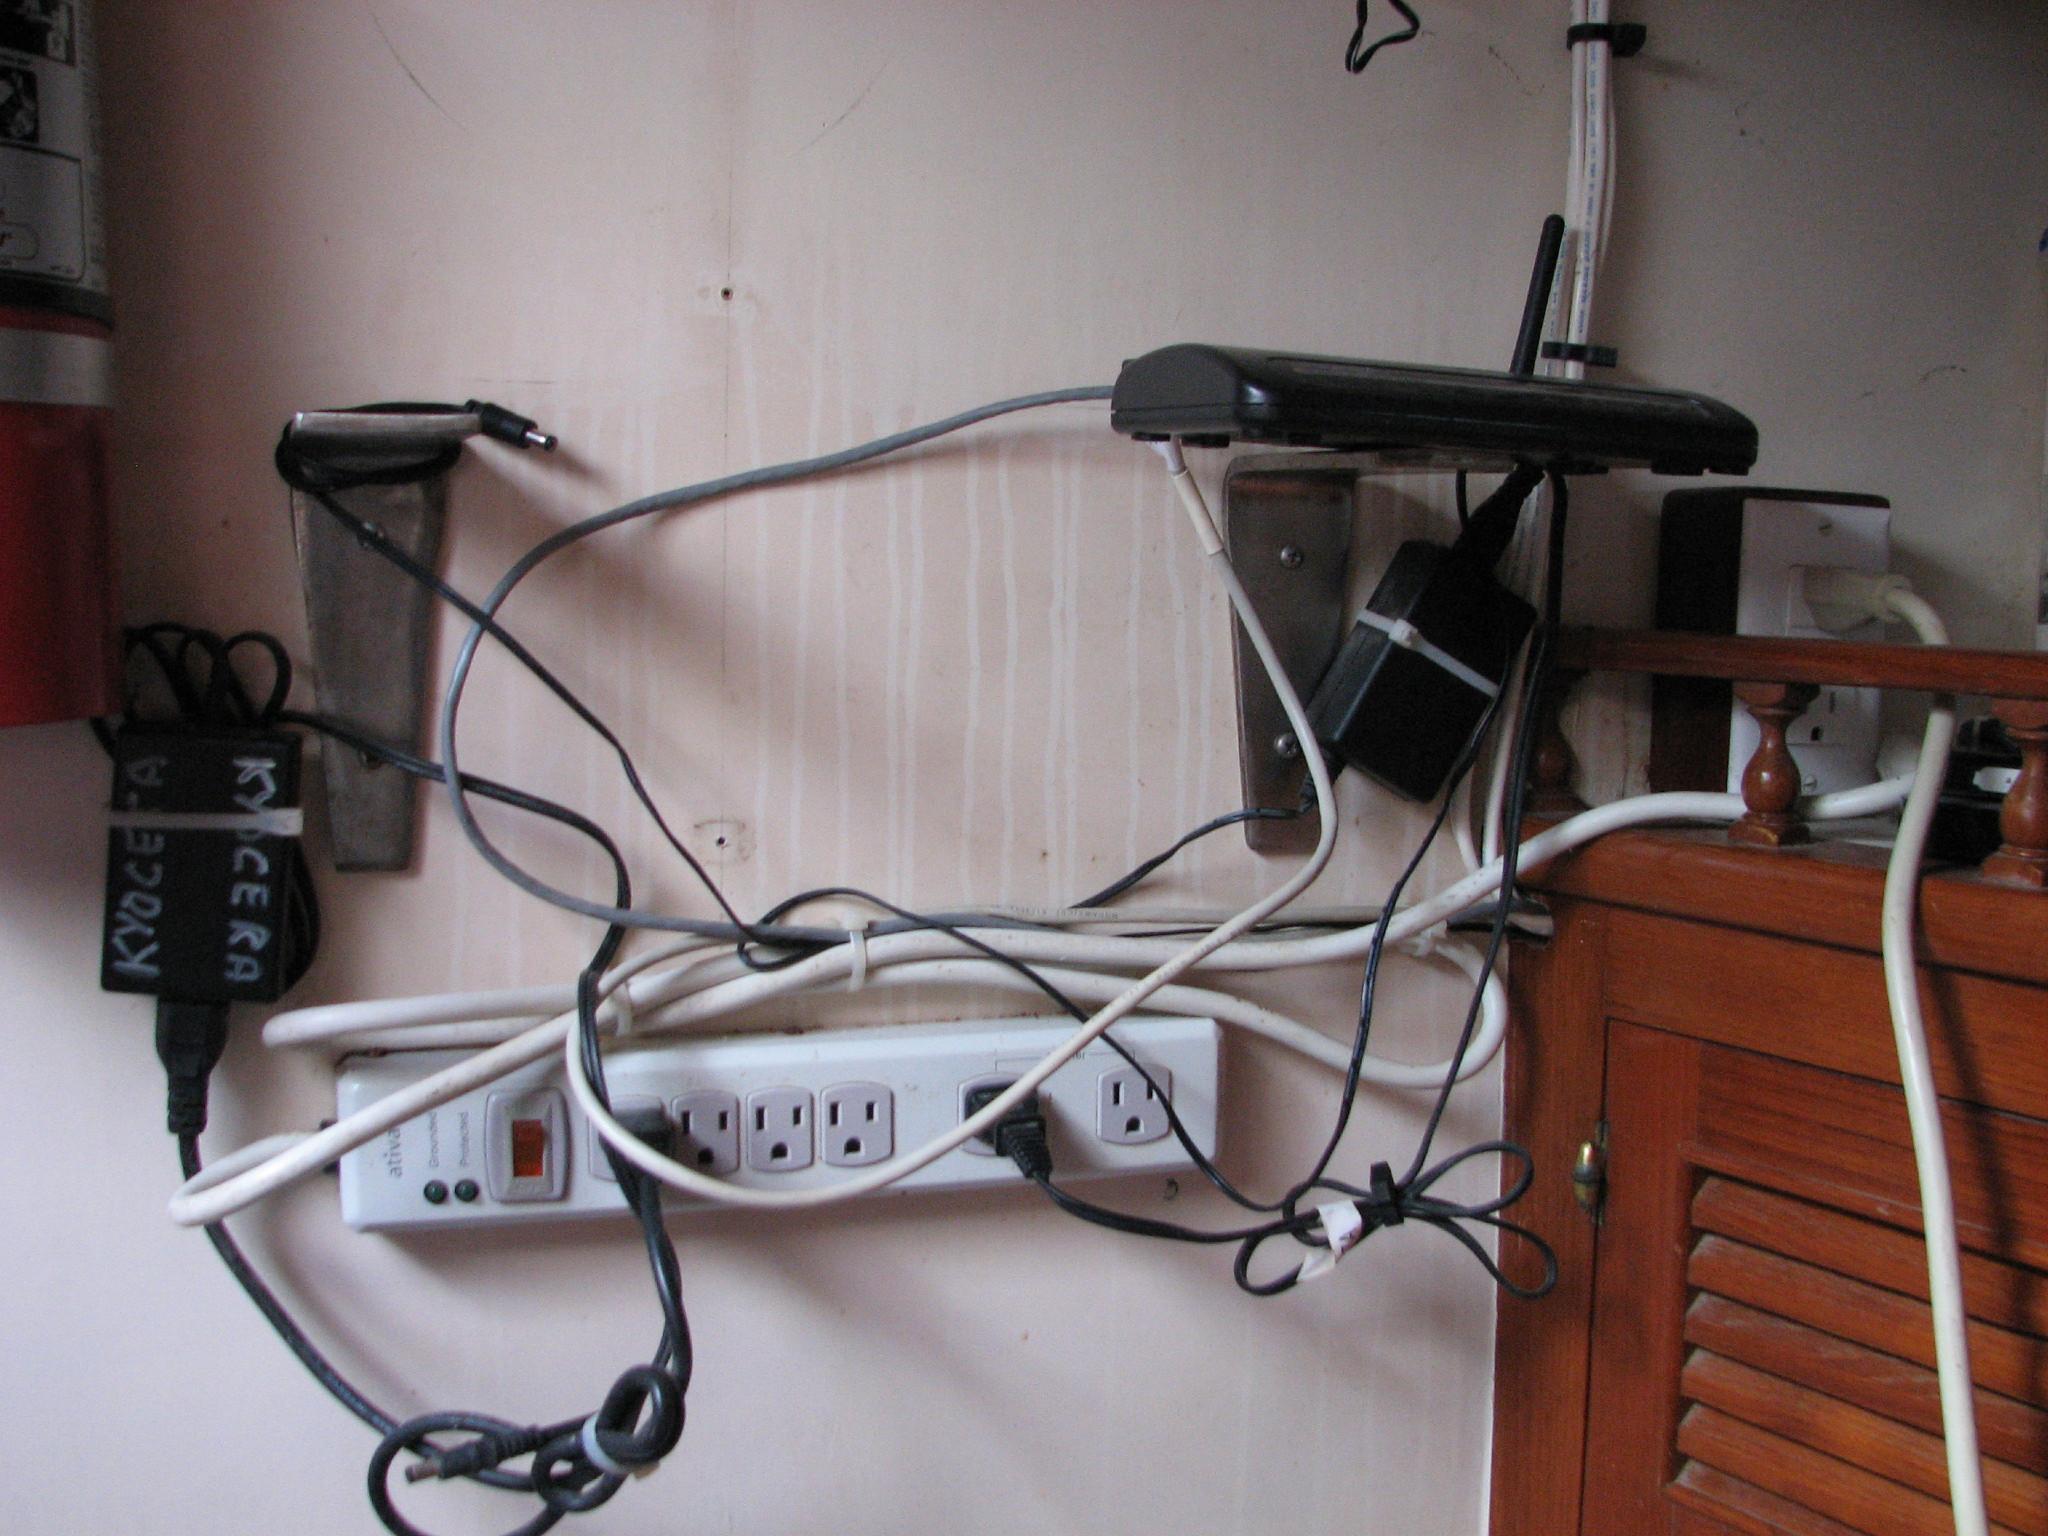
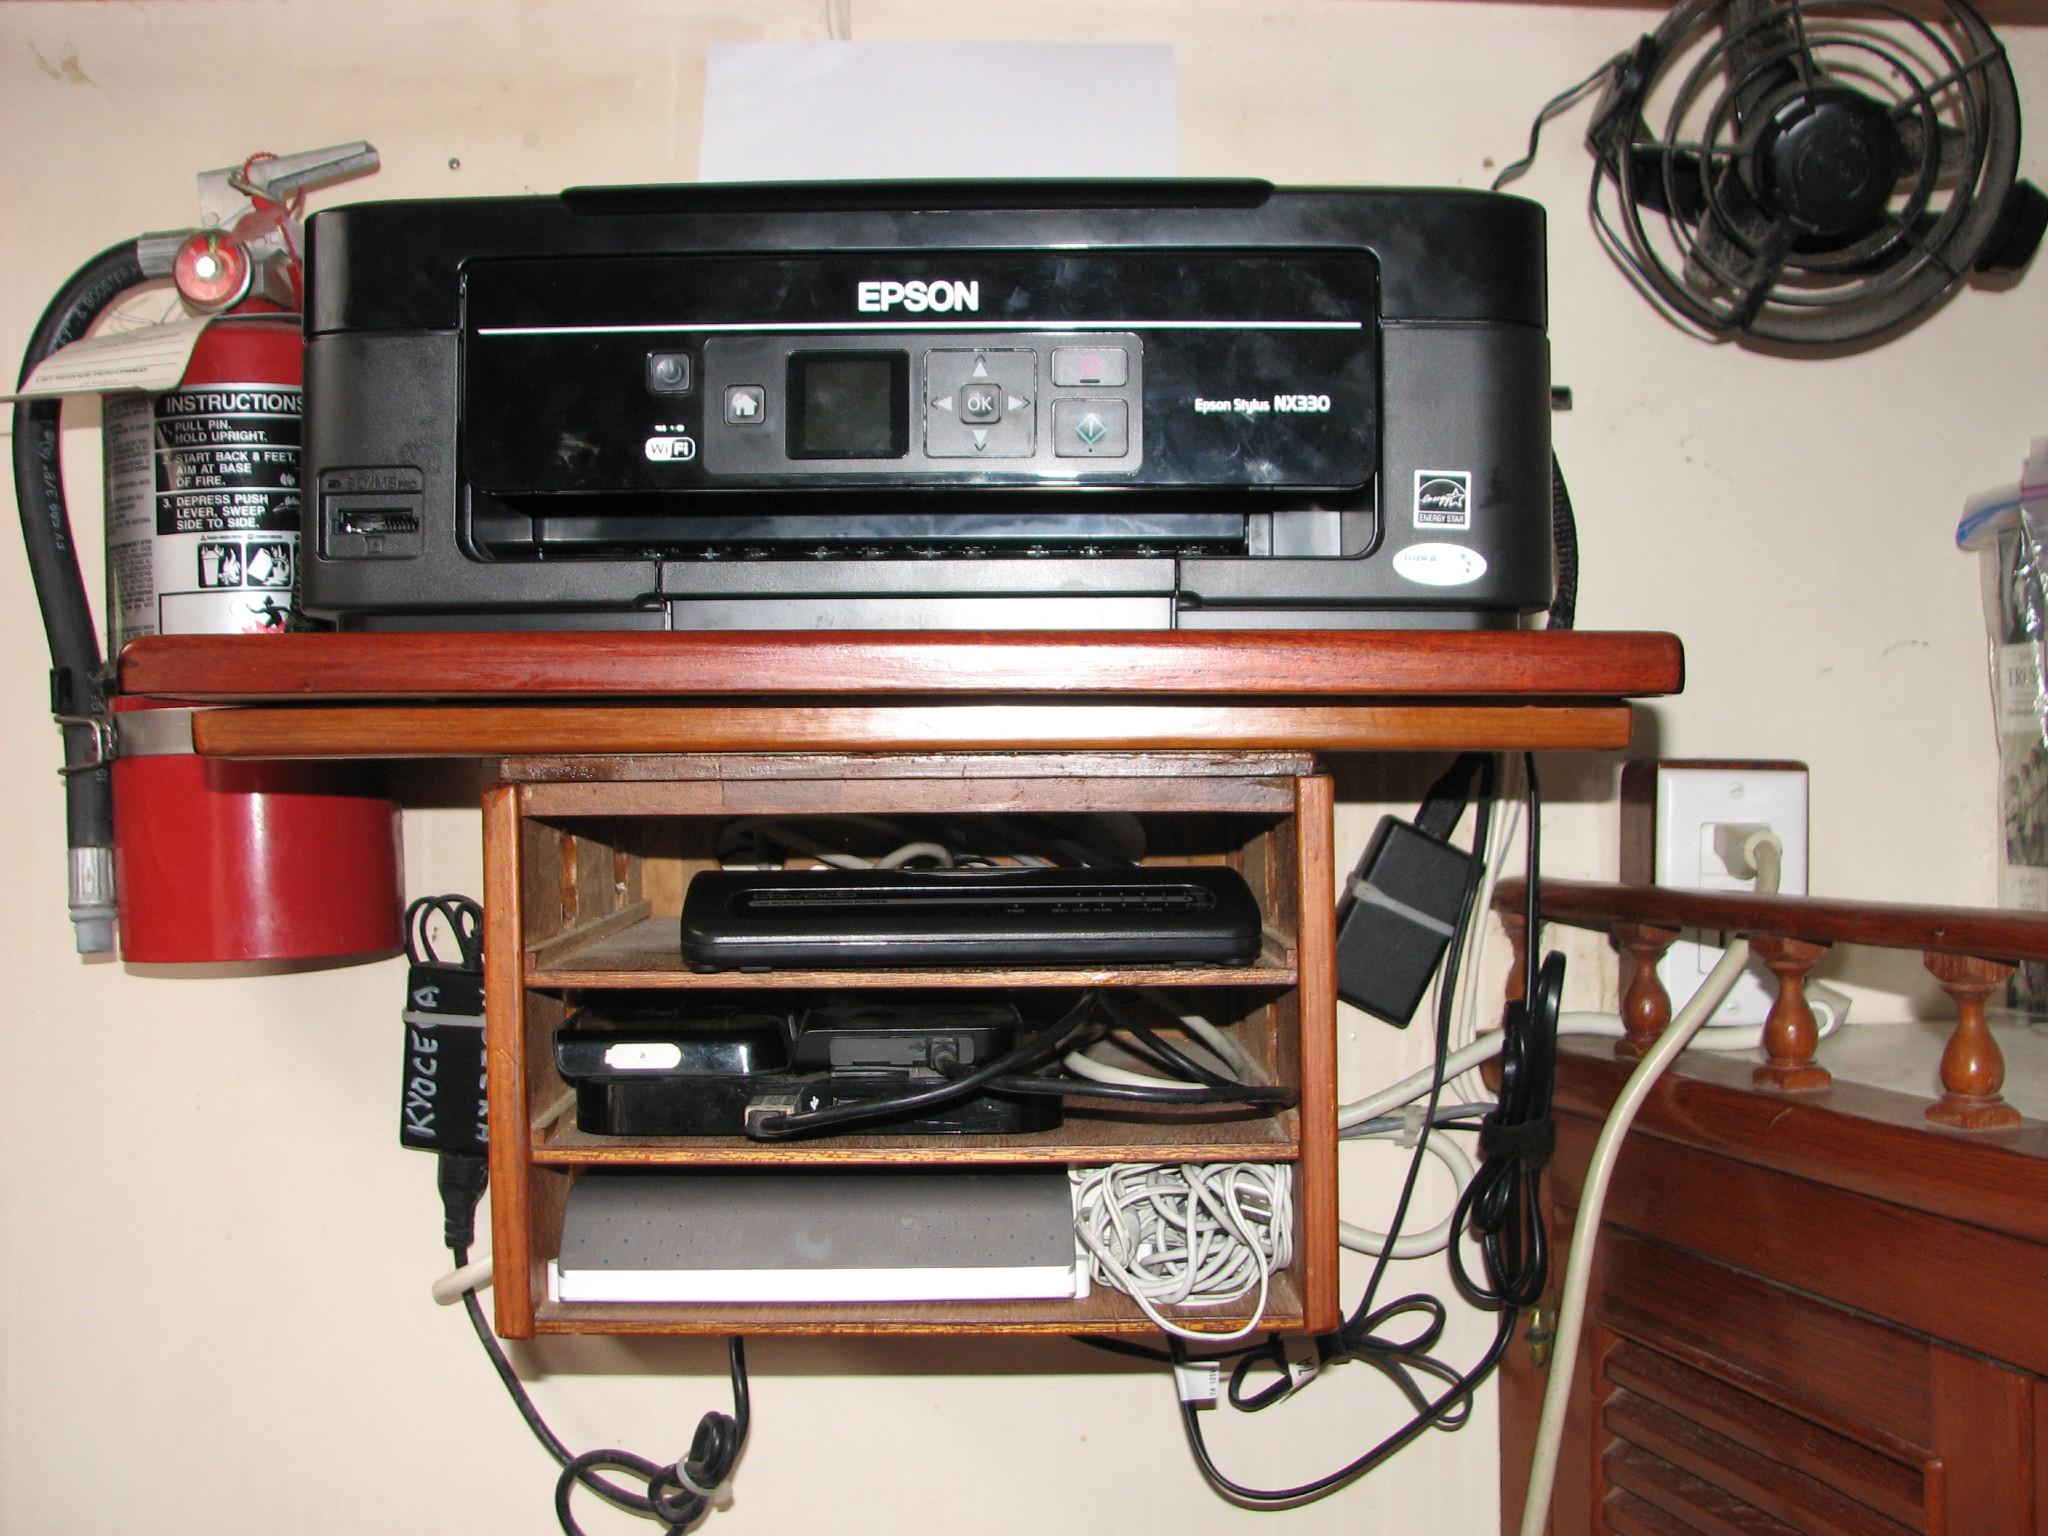
breakfast I installed the rebuilt electronics shelf into the
mid-cabin.
Mid-Cabin
Before Electronics Shelf Installation
Rebuilt
Electronics Shelf Installed
Helped
a new transient sailboat into the marina, and did the welcome basket,
and took several pictures.
Went
back over to the shop and got started on a new teak wire cover for
the wires behind the new electronics shelf. I cut the pieces from
already fabricated wire covers. I used the mitre saw to cut the
pieces, and then used masking tape to hold the pieces together for
the application of epoxy.
I
masked up the large acrylic insert for the application of epoxy. I
then applied the epoxy to the teak wire cover and the large acrylic
insert.
Epoxy
Applied To Large Acrylic Insert

Epoxy
Applied To Teak Wire Cover
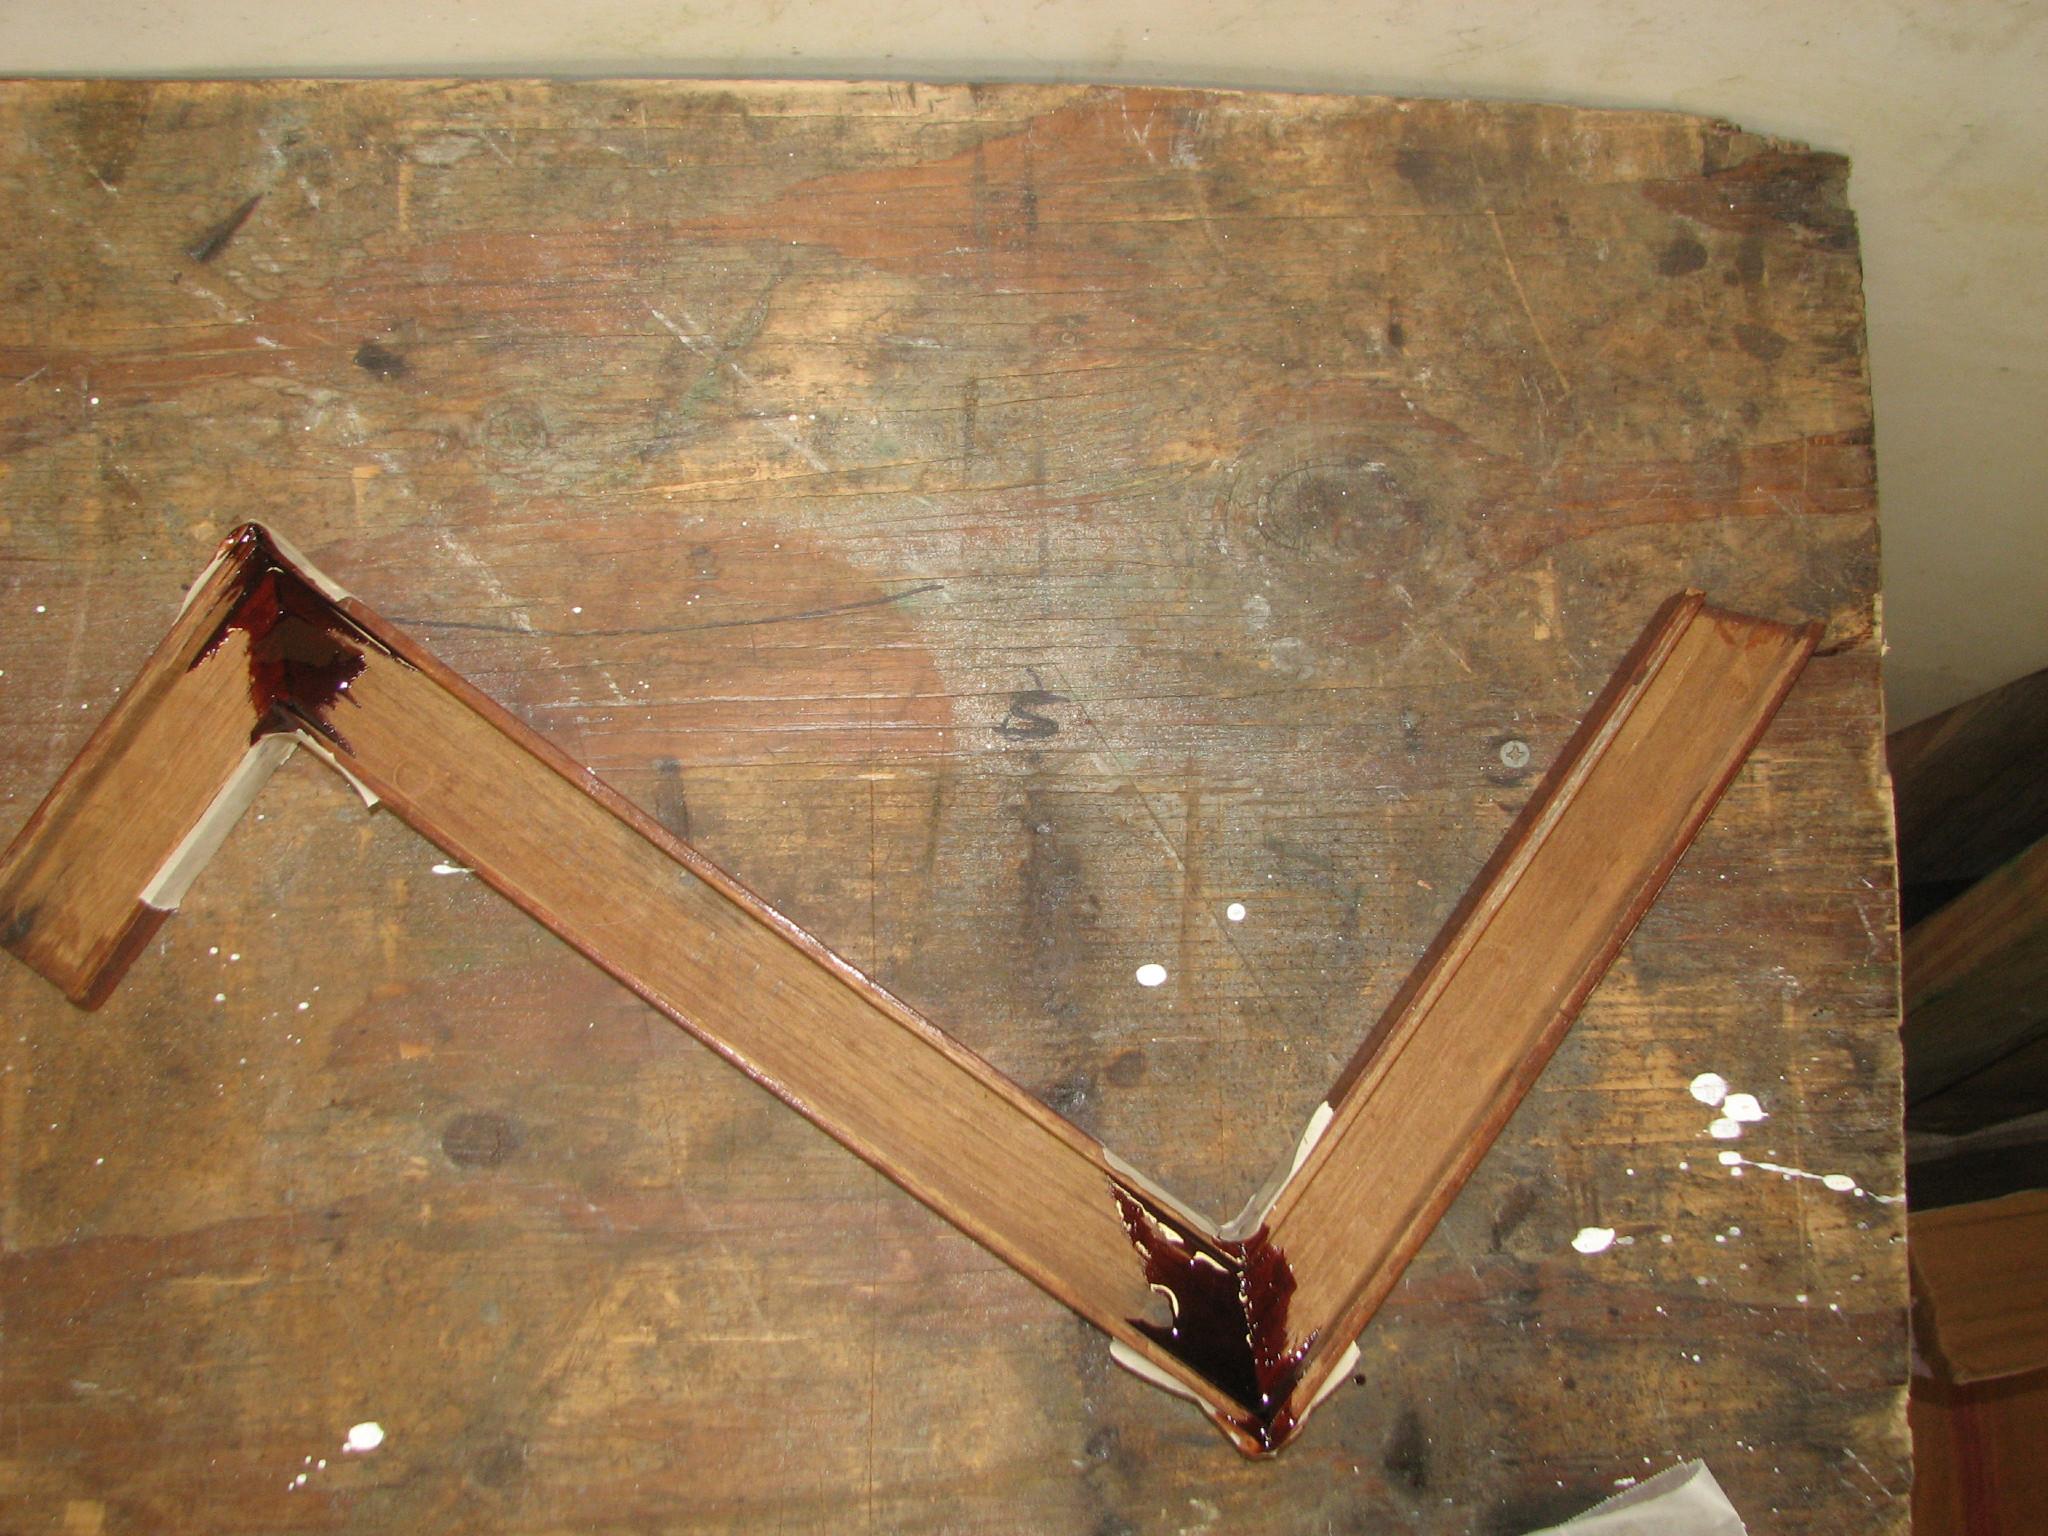
Now
it was time to try the the new Grabit
screw extractor.
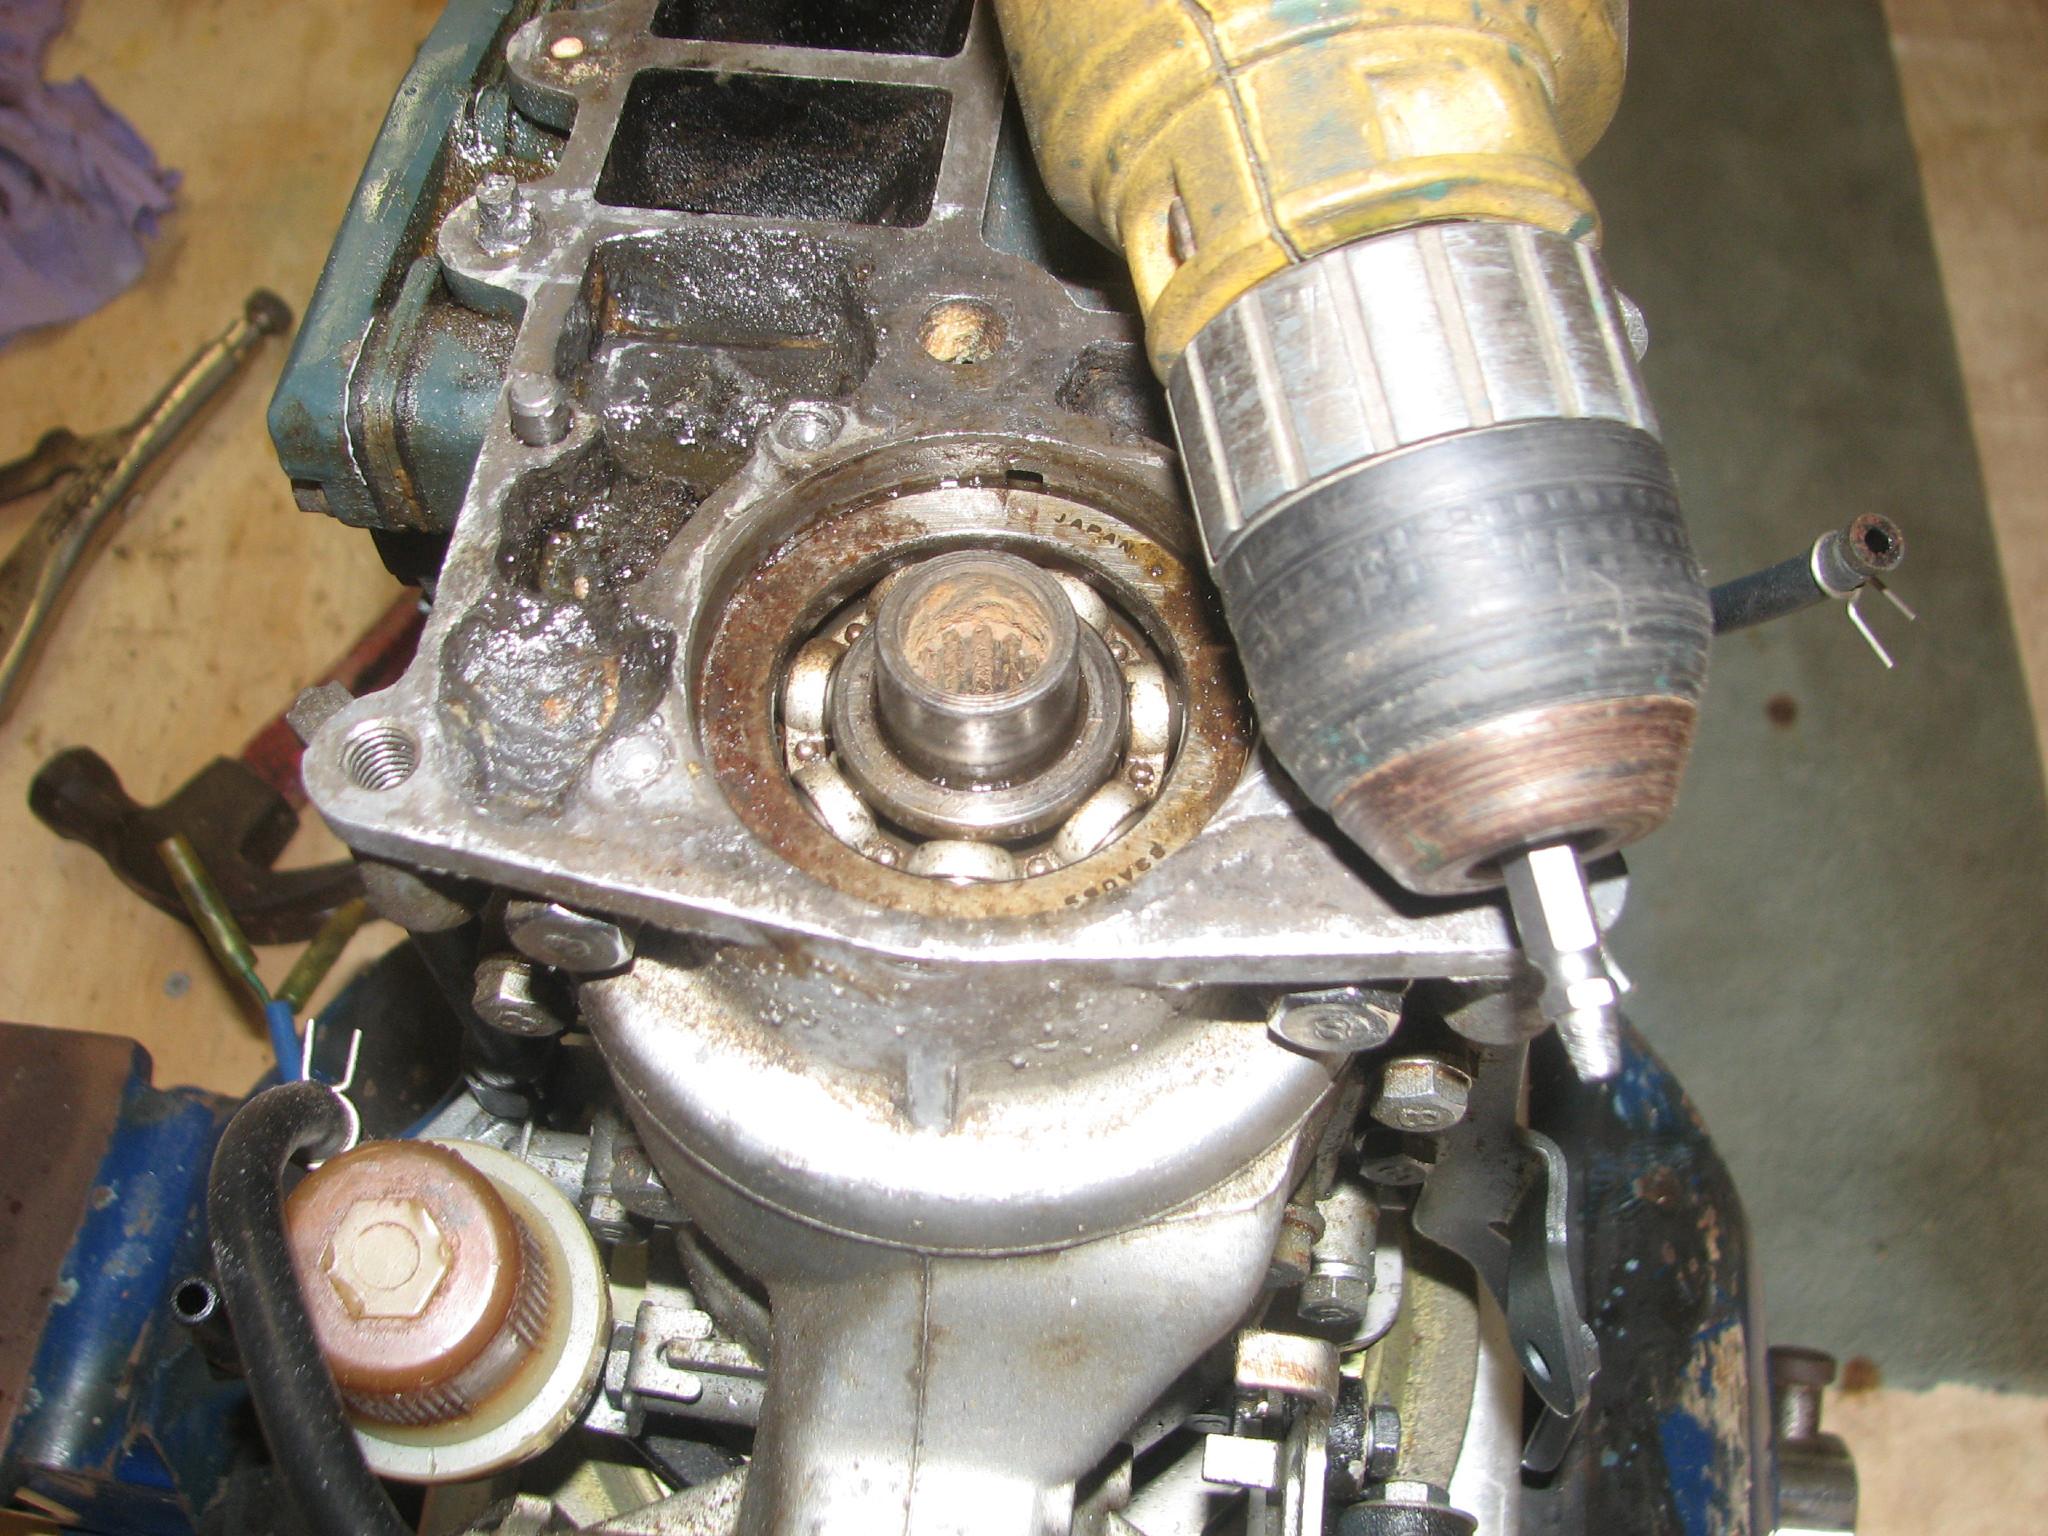
I followed the instructions by first drilling the hole in the top the
broken bolt on the spare Yamaha power head. This part seemed to work
pretty well, so I continued on with the second part which uses the
actual screw extractor. This part did not work. It did not remove the
bolt, and stripped the Grabit
screw extractor.
After
this failure, I did some research on the tool, and nowhere does it
mention removing bolts. So it looks like I am back to getting a left
hand drill bit and using an Easy
Out.
If that does not work, then I will have to drill out the holes
oversize and use Helicoils.
Top
Of Power Head With Broken Off Bolts
Before
doing the varnish application, I applied a coat of the dye to the
main cabin hatch.
Main
Cabin Hatch With Dye Applied
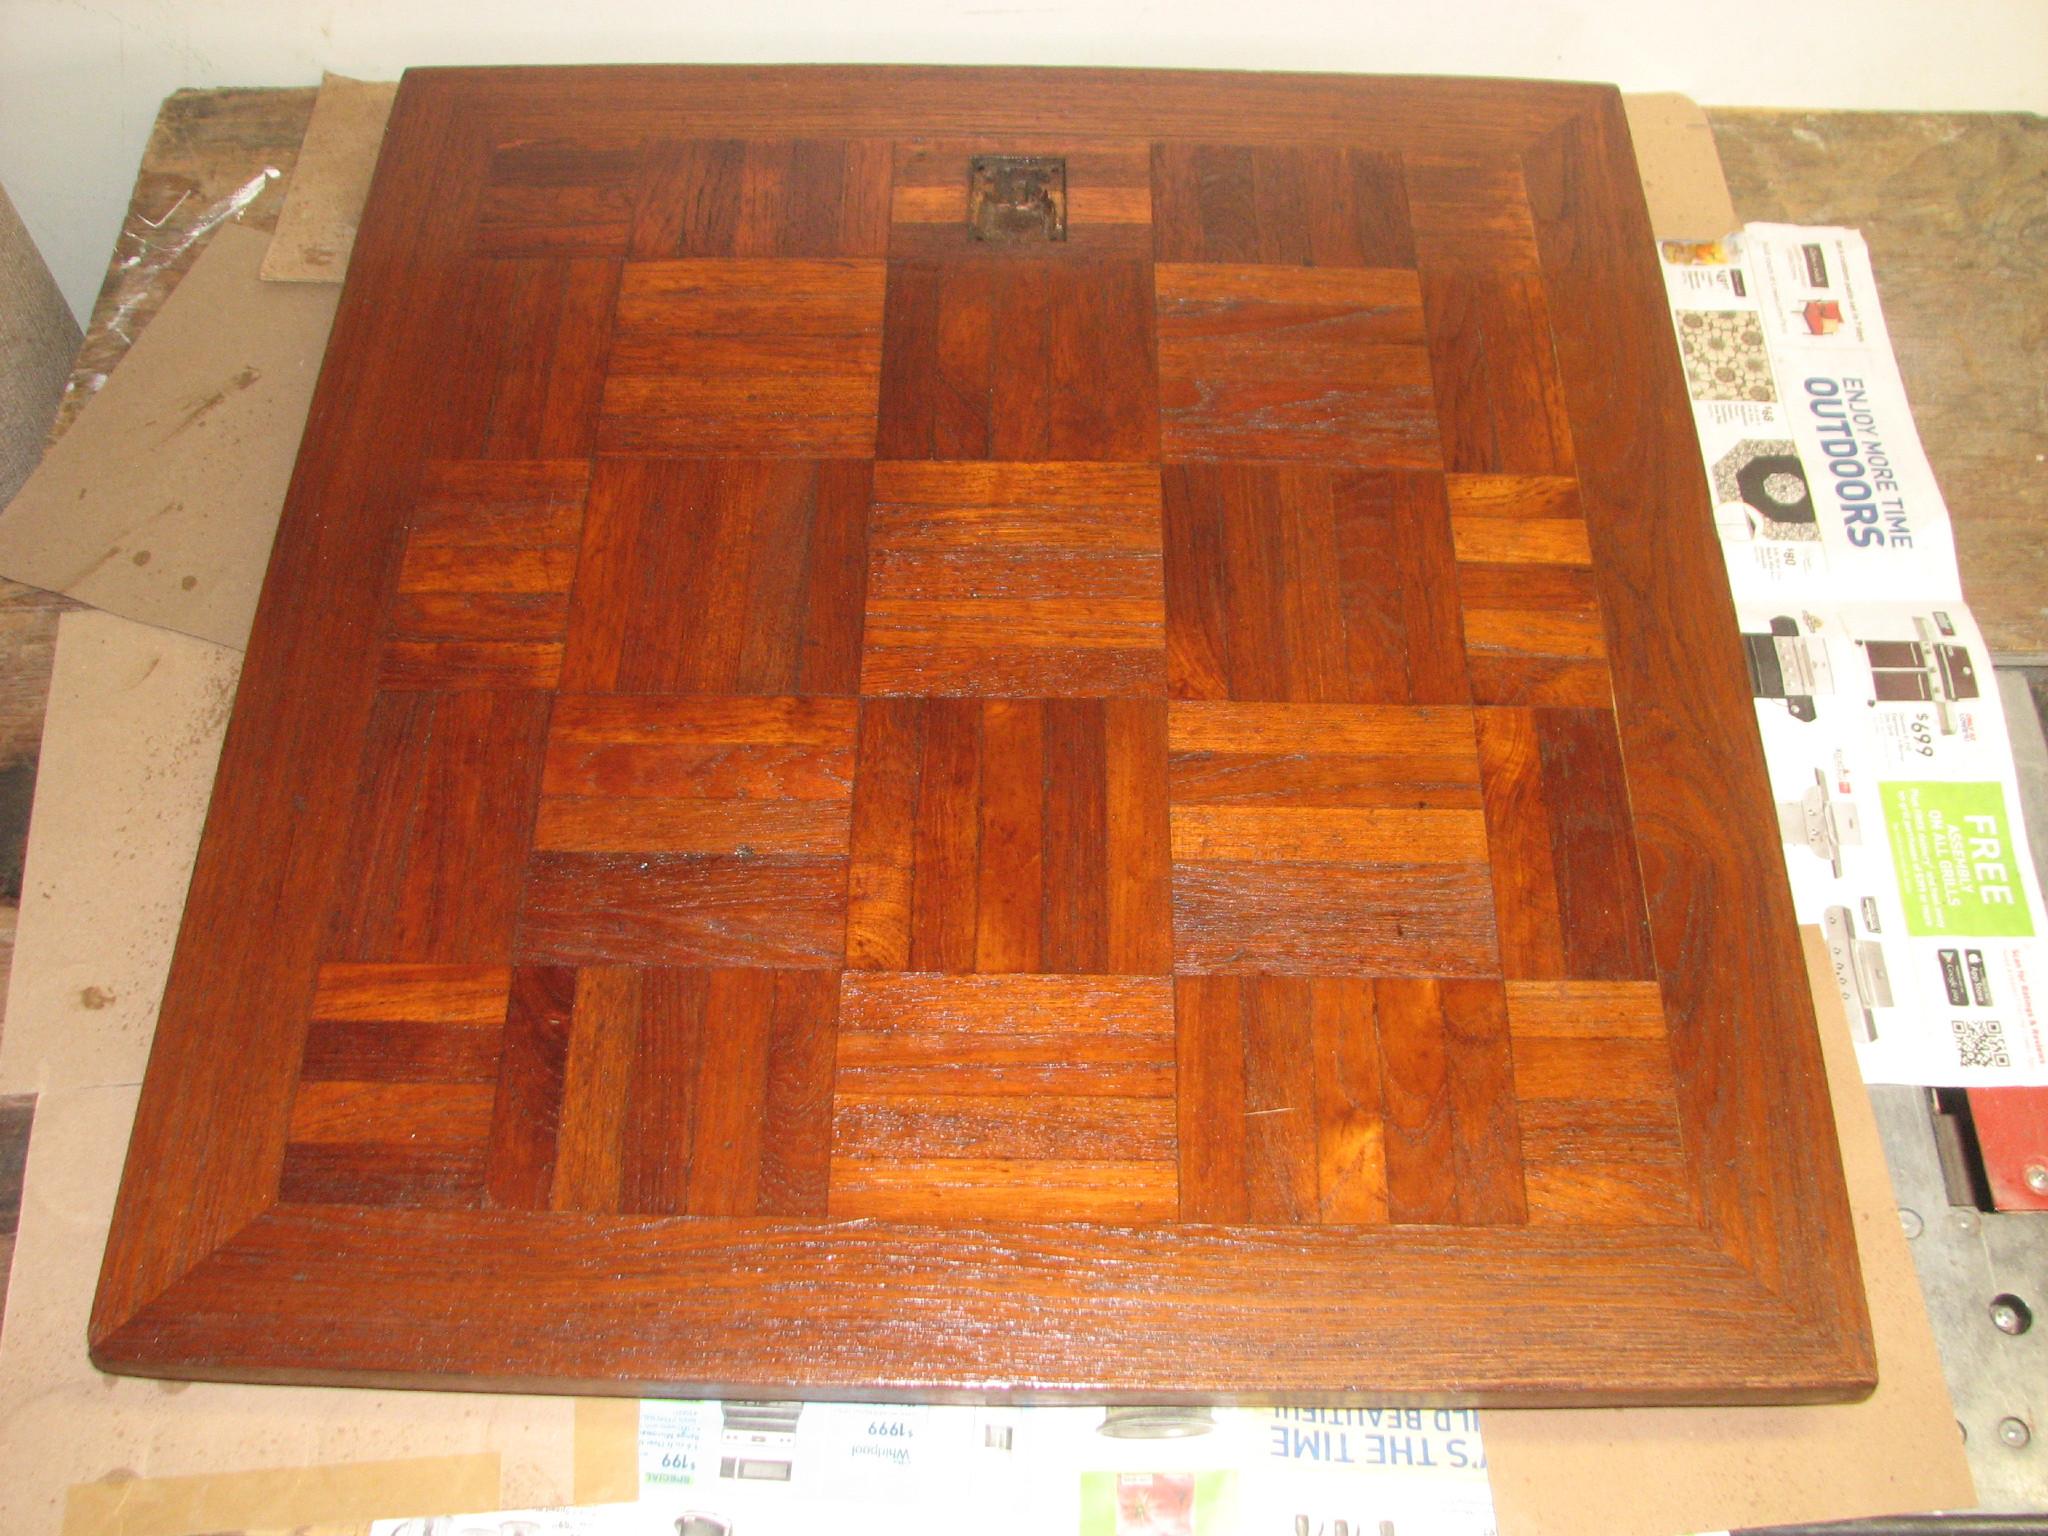
I
put the ninth coat of varnish on the two main cabin table pieces and
the fifth coat and final coat on the repaired Panduit
wire duct
cover.
April
18, 2013, Thursday
Started
off the morning with my normal ritual of getting on the Internet,
answering email, checking the weather, while making a pot of coffee.
Also updated the maintenance log.
Went
over to shop and sanded down the large acrylic insert to make the
insert fit in the companionway. I then sanded the last epoxy
application on the hide hole piece. I also sanded the teak wire
cover, and got it ready for the dye application.
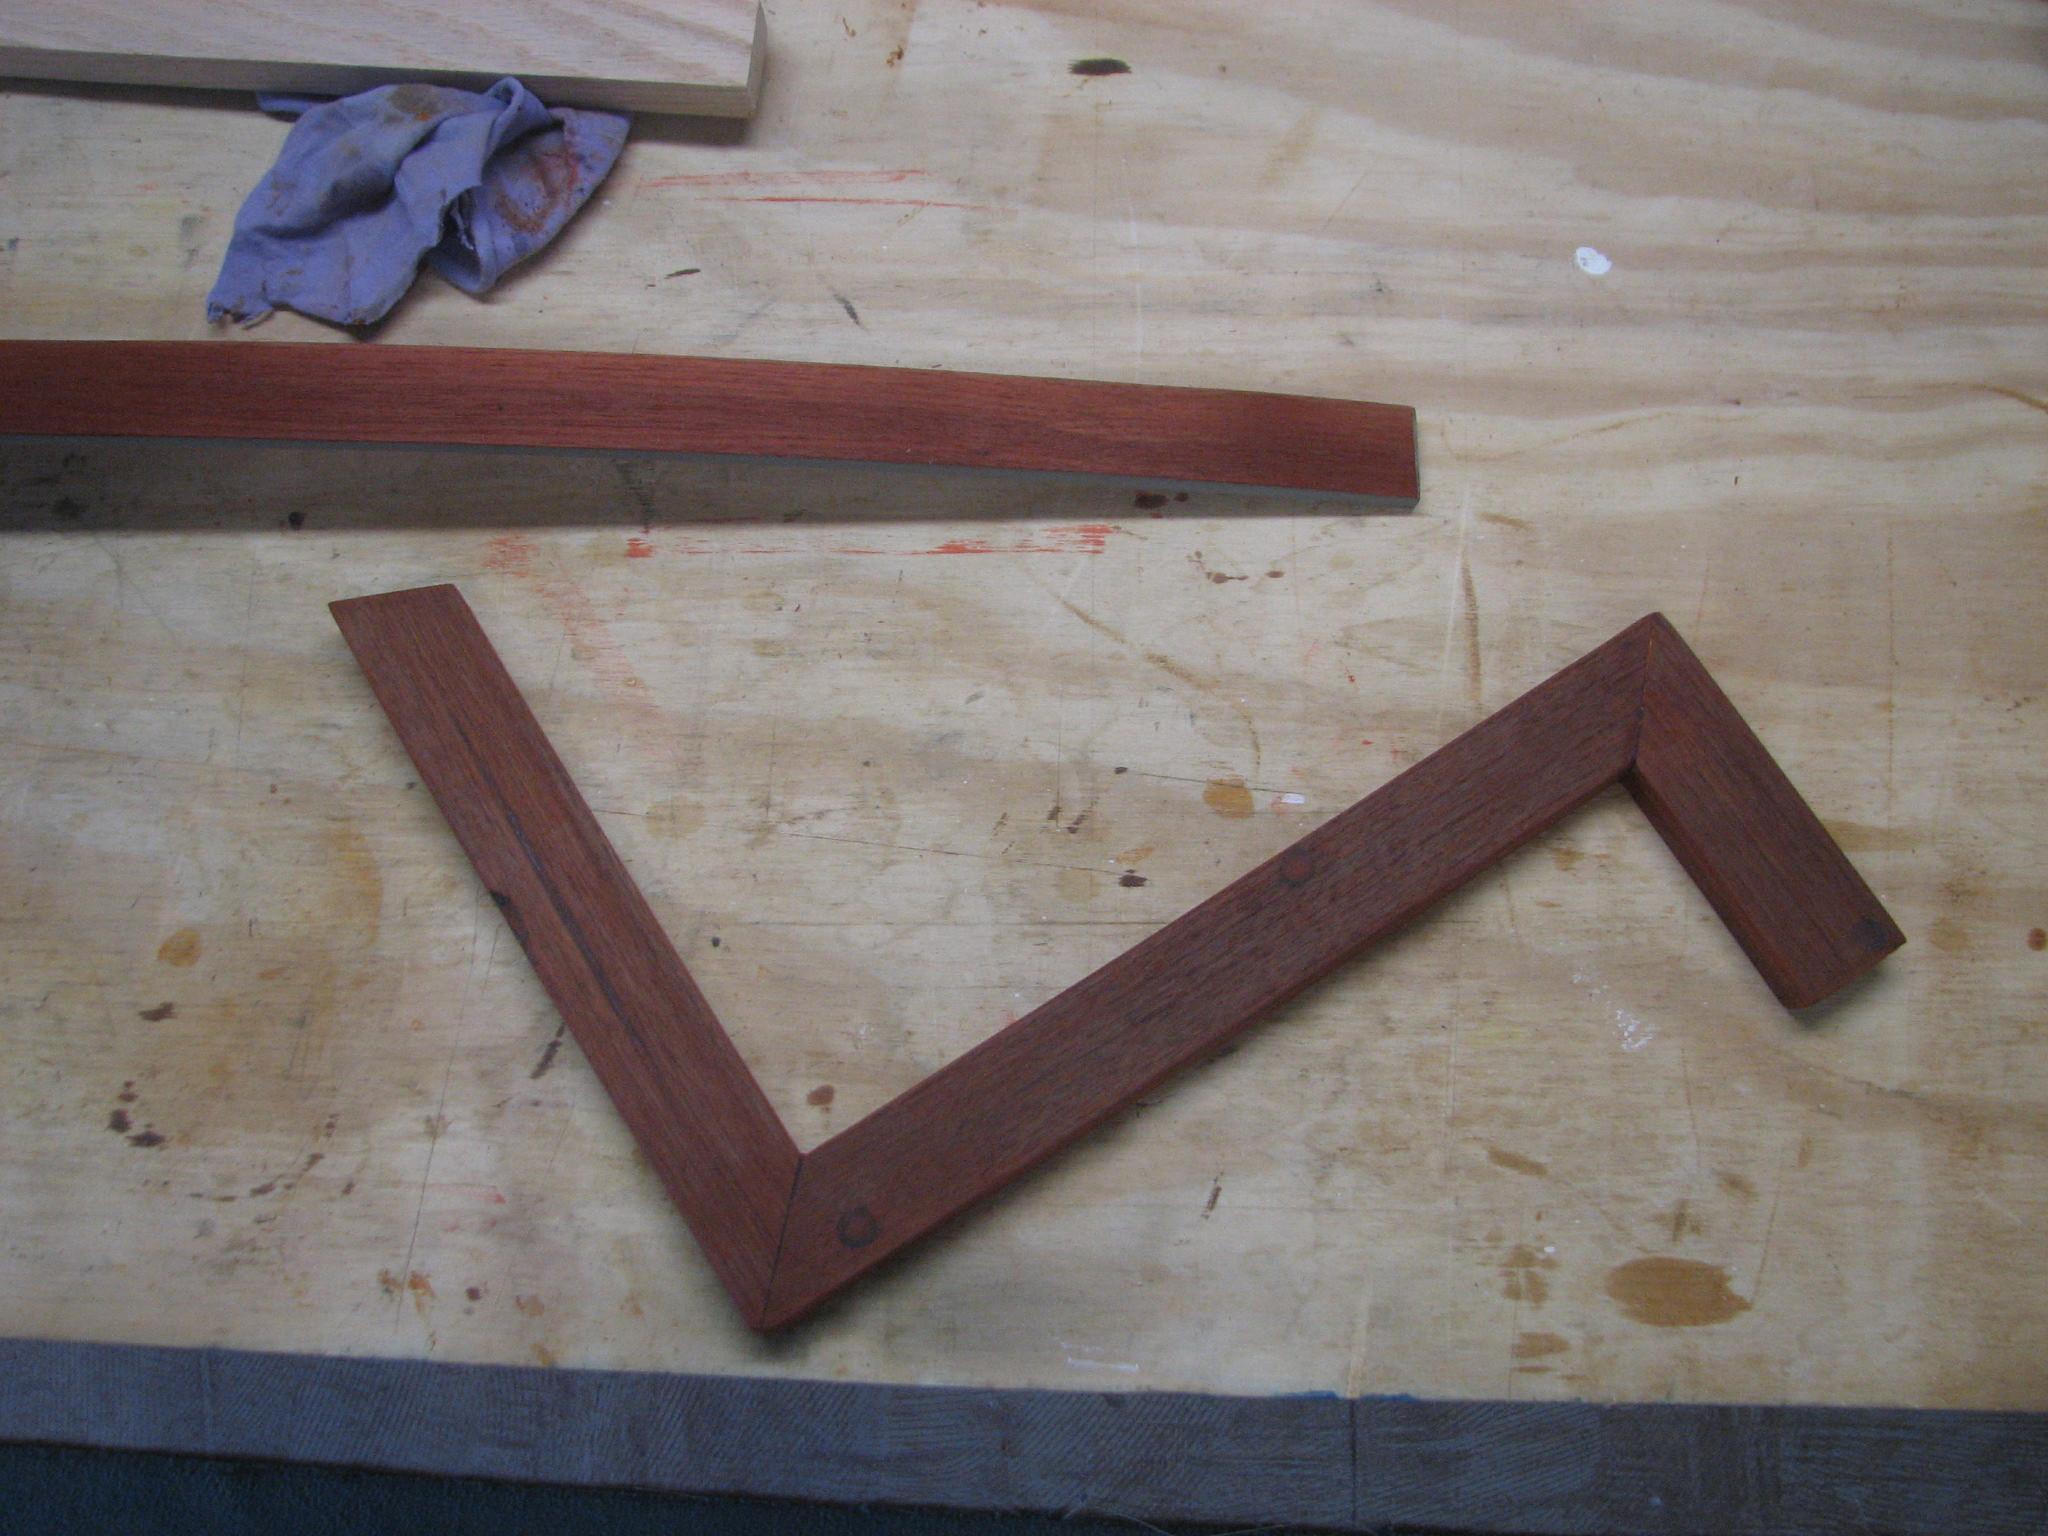
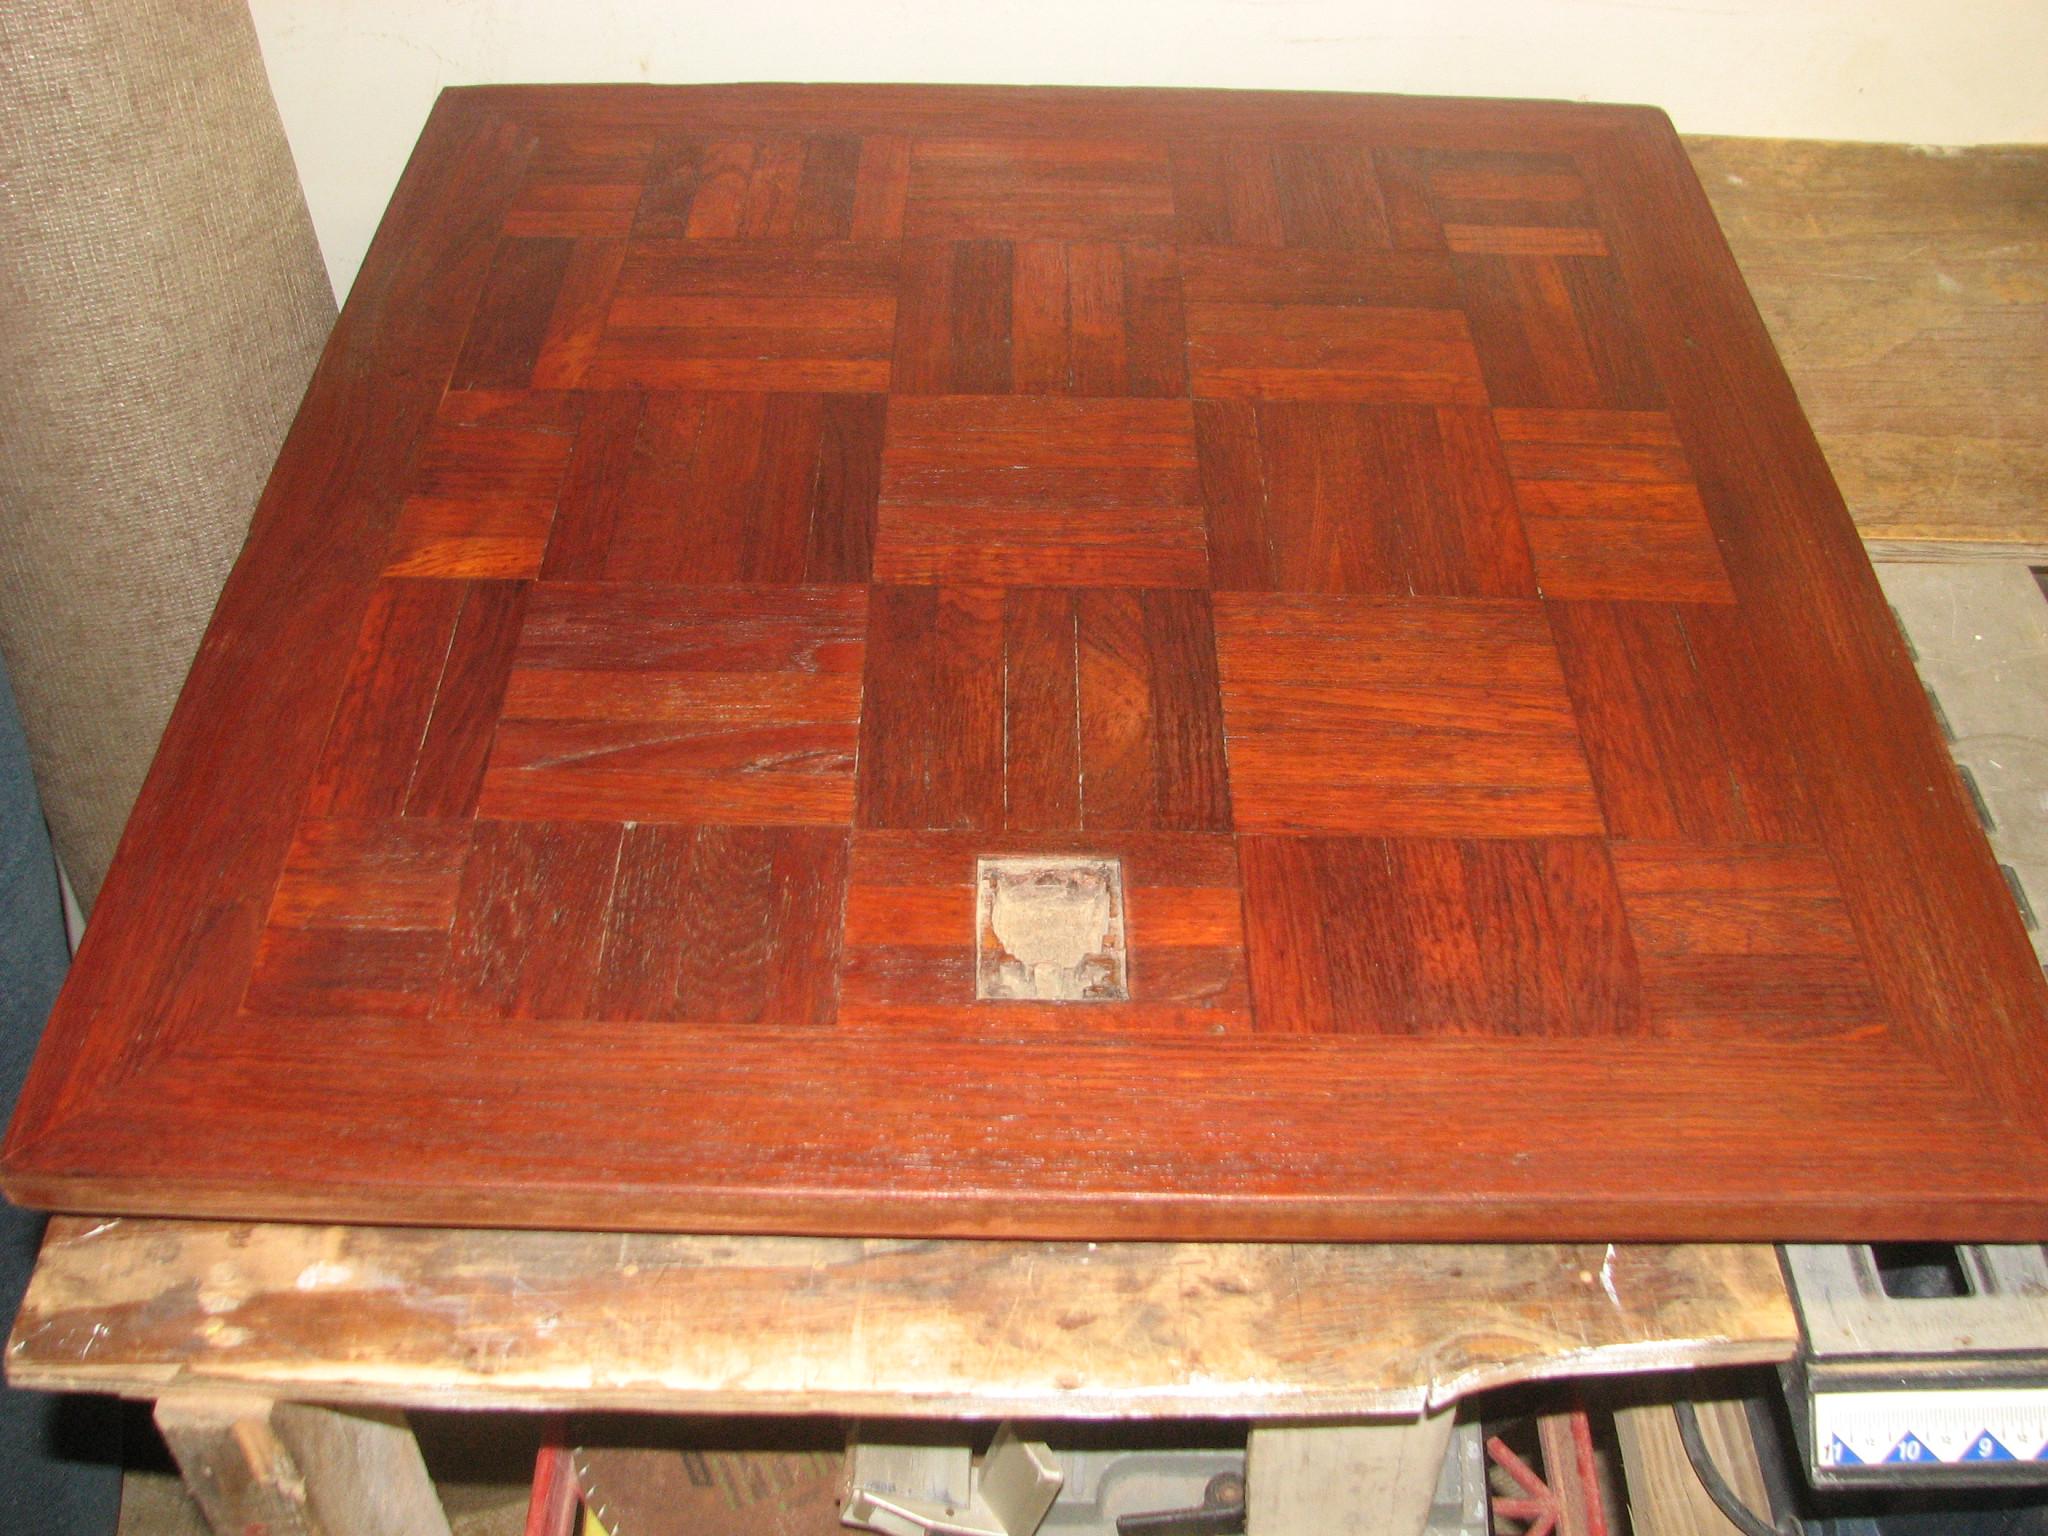
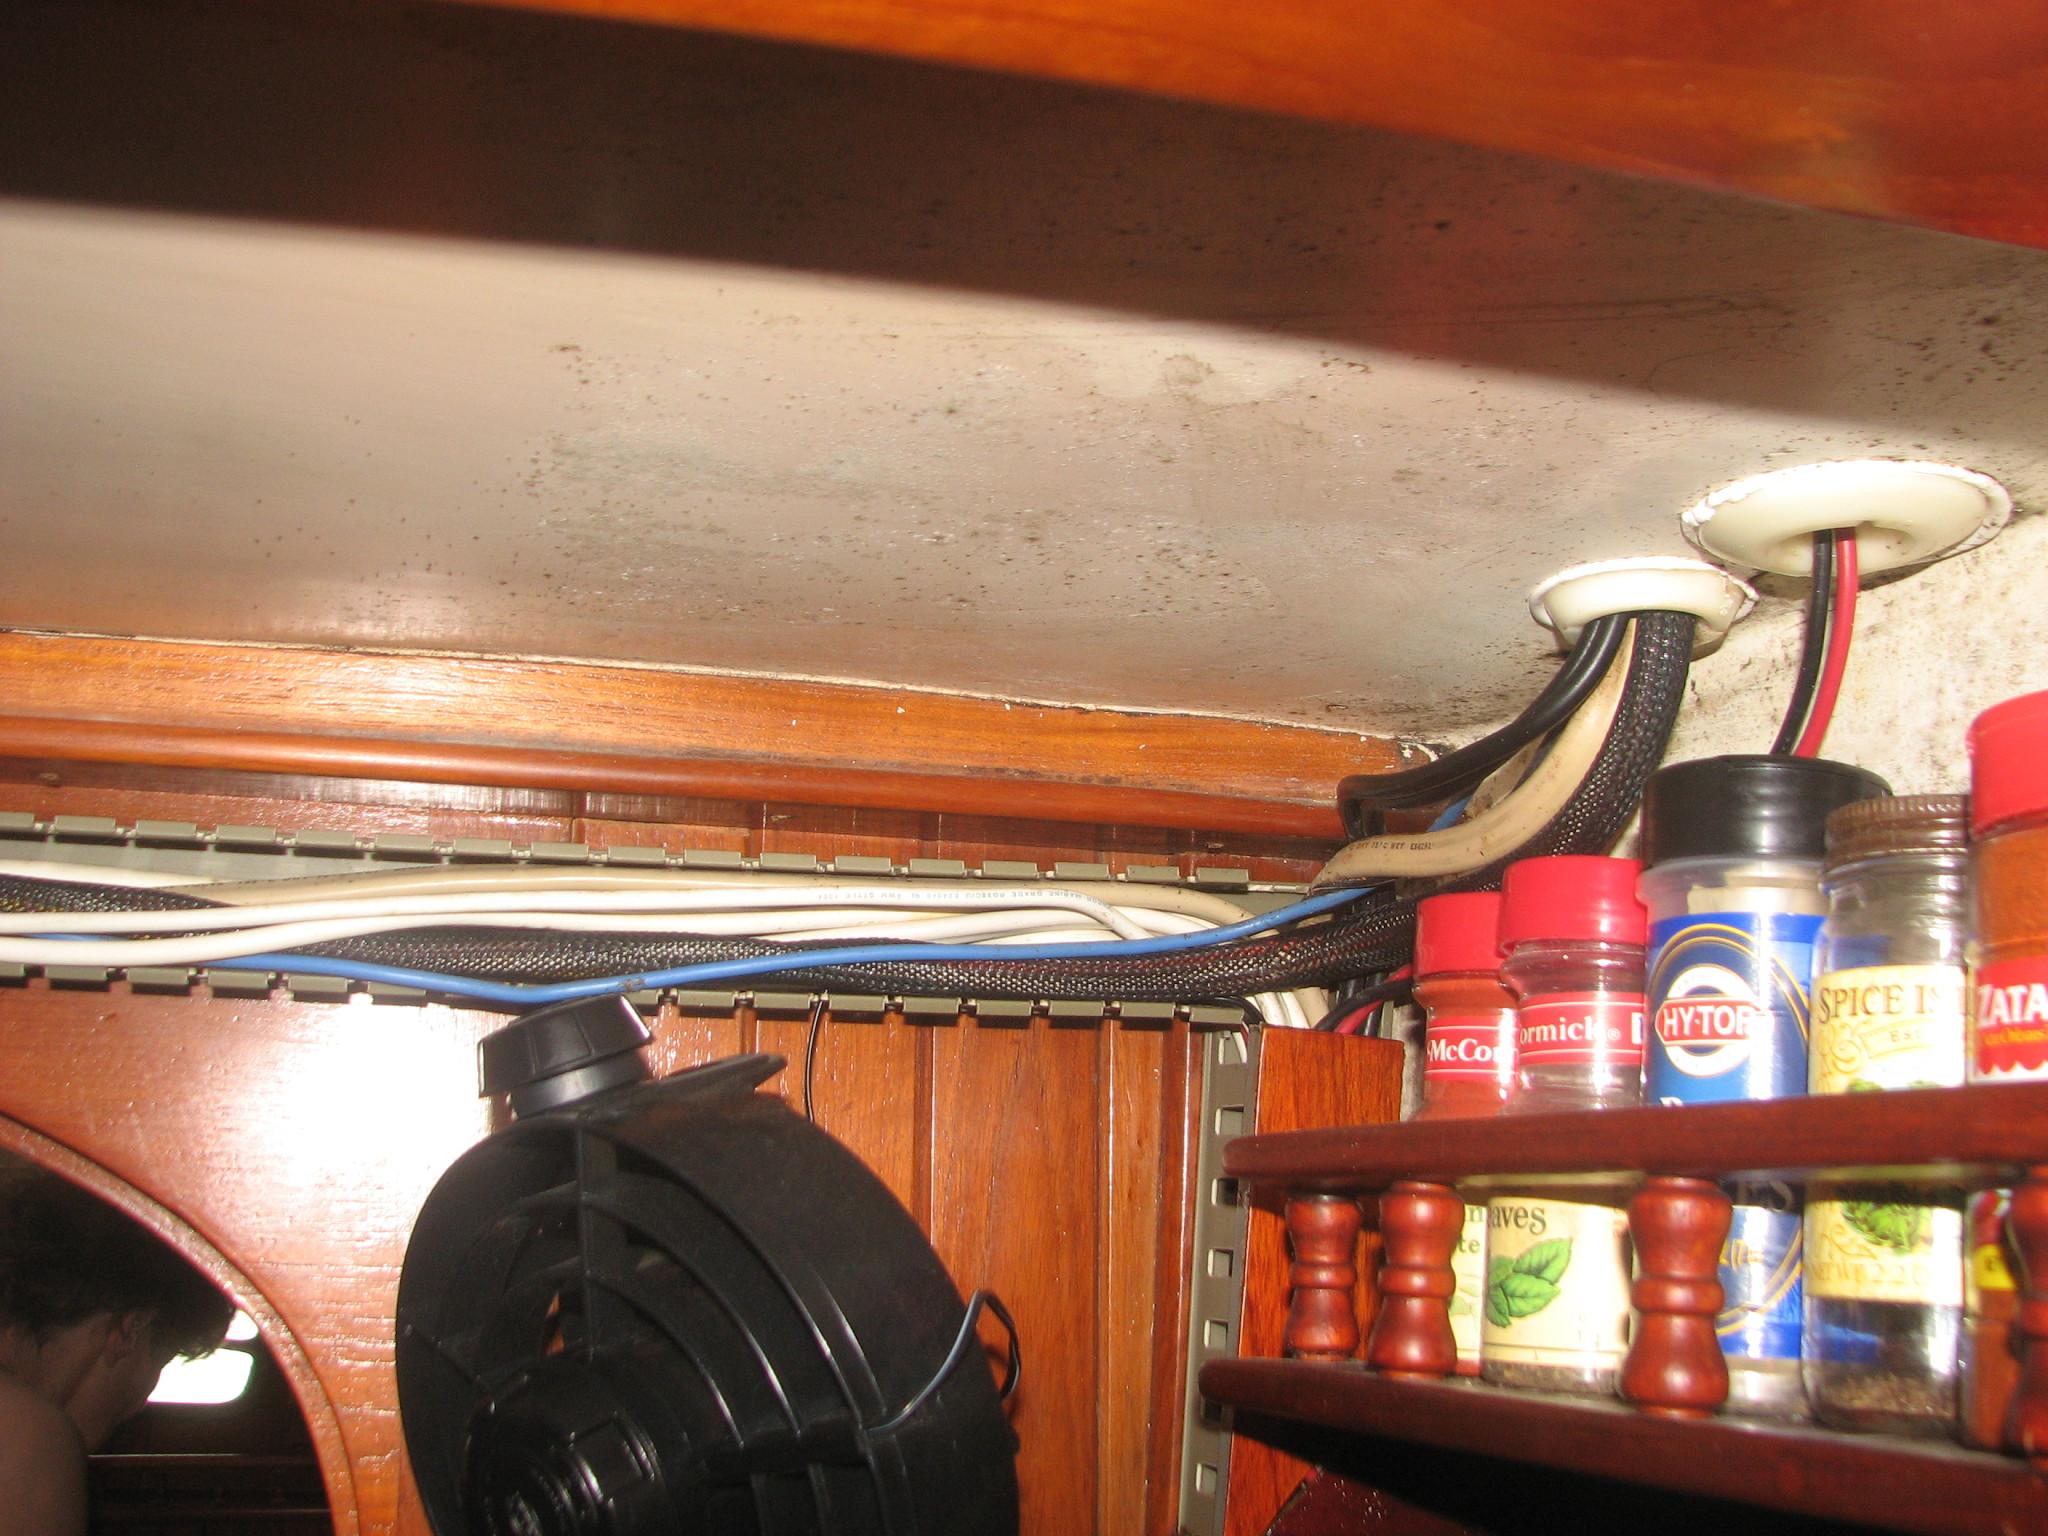
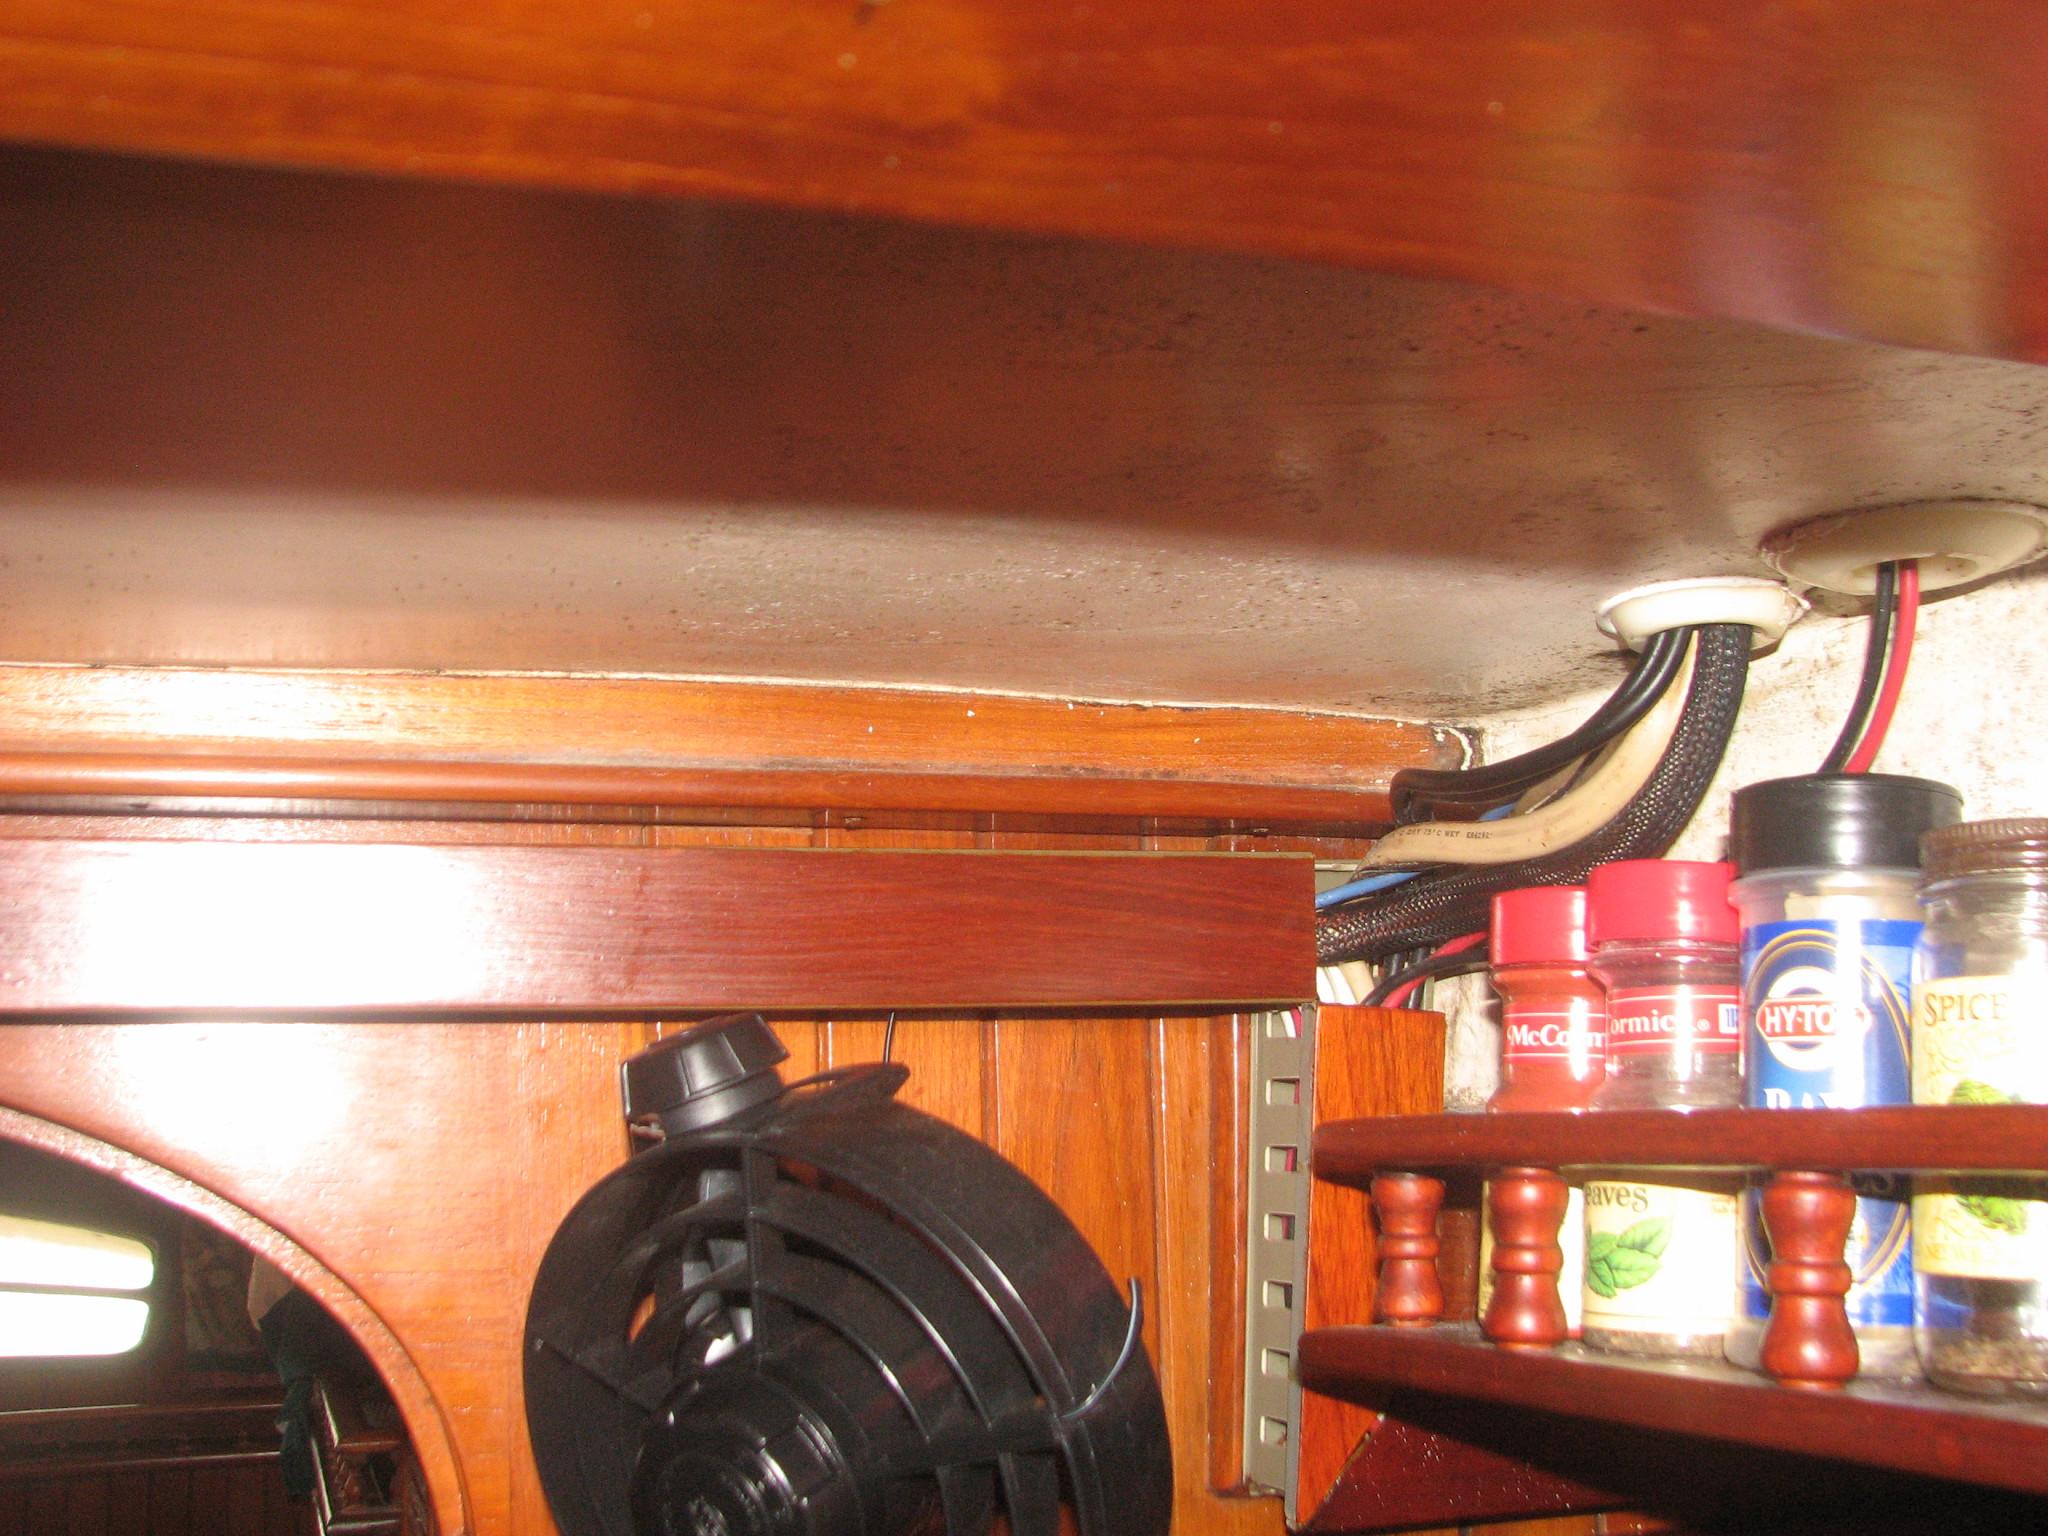
Panduit
Wire Duct
And Teak Wire Cover Ready For Dye
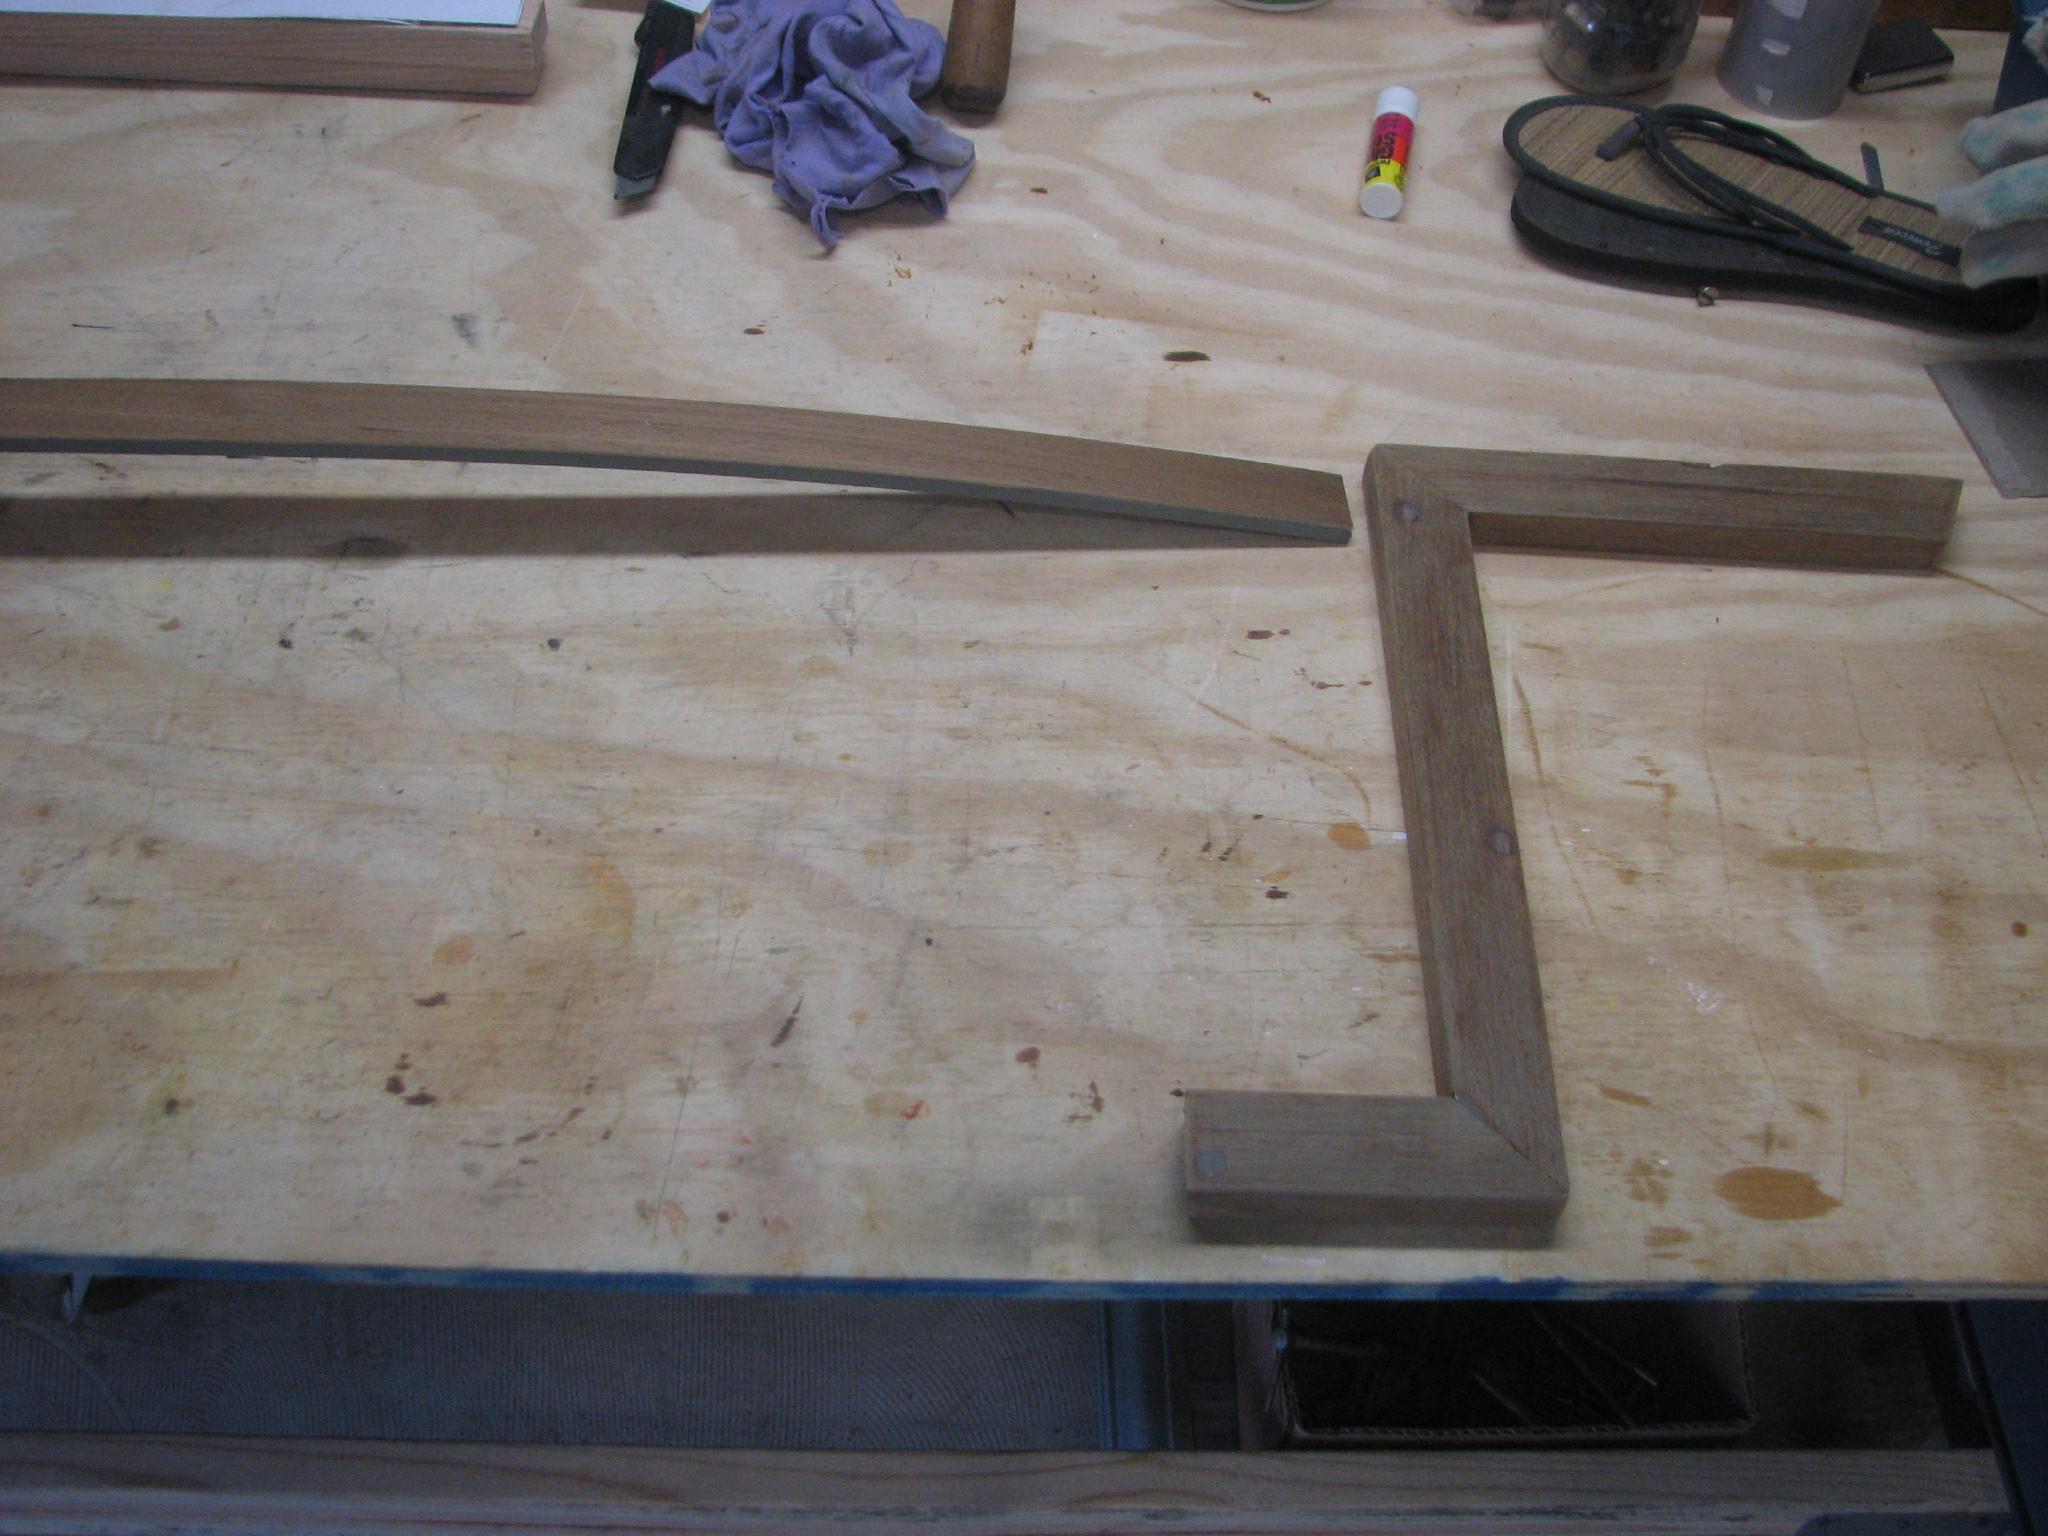
Panduit
Wire Duct
And Teak Wire Cover With Dye Applied
I
brought an empty cat litter container over from the shop. I filled it
with water, and heavy bleach. I then dropped in all of our plastic
cutting boards for cleaning. By the time I returned from the shop
after applying the varnish, the cutting boards were VERY clean.
I
went over to the shop and applied the tenth and final coat of
varnish on the two main cabin table pieces.
April
19, 2013, Friday
Started
off the morning with my normal ritual of getting on the Internet,
answering email, checking the weather, while making a pot of coffee.
Also updated the maintenance log.
Went
over to the shop, and did an additional wipe down of the Watco
teak oil finish
that had still not soaked into the main cabin hatch.
I
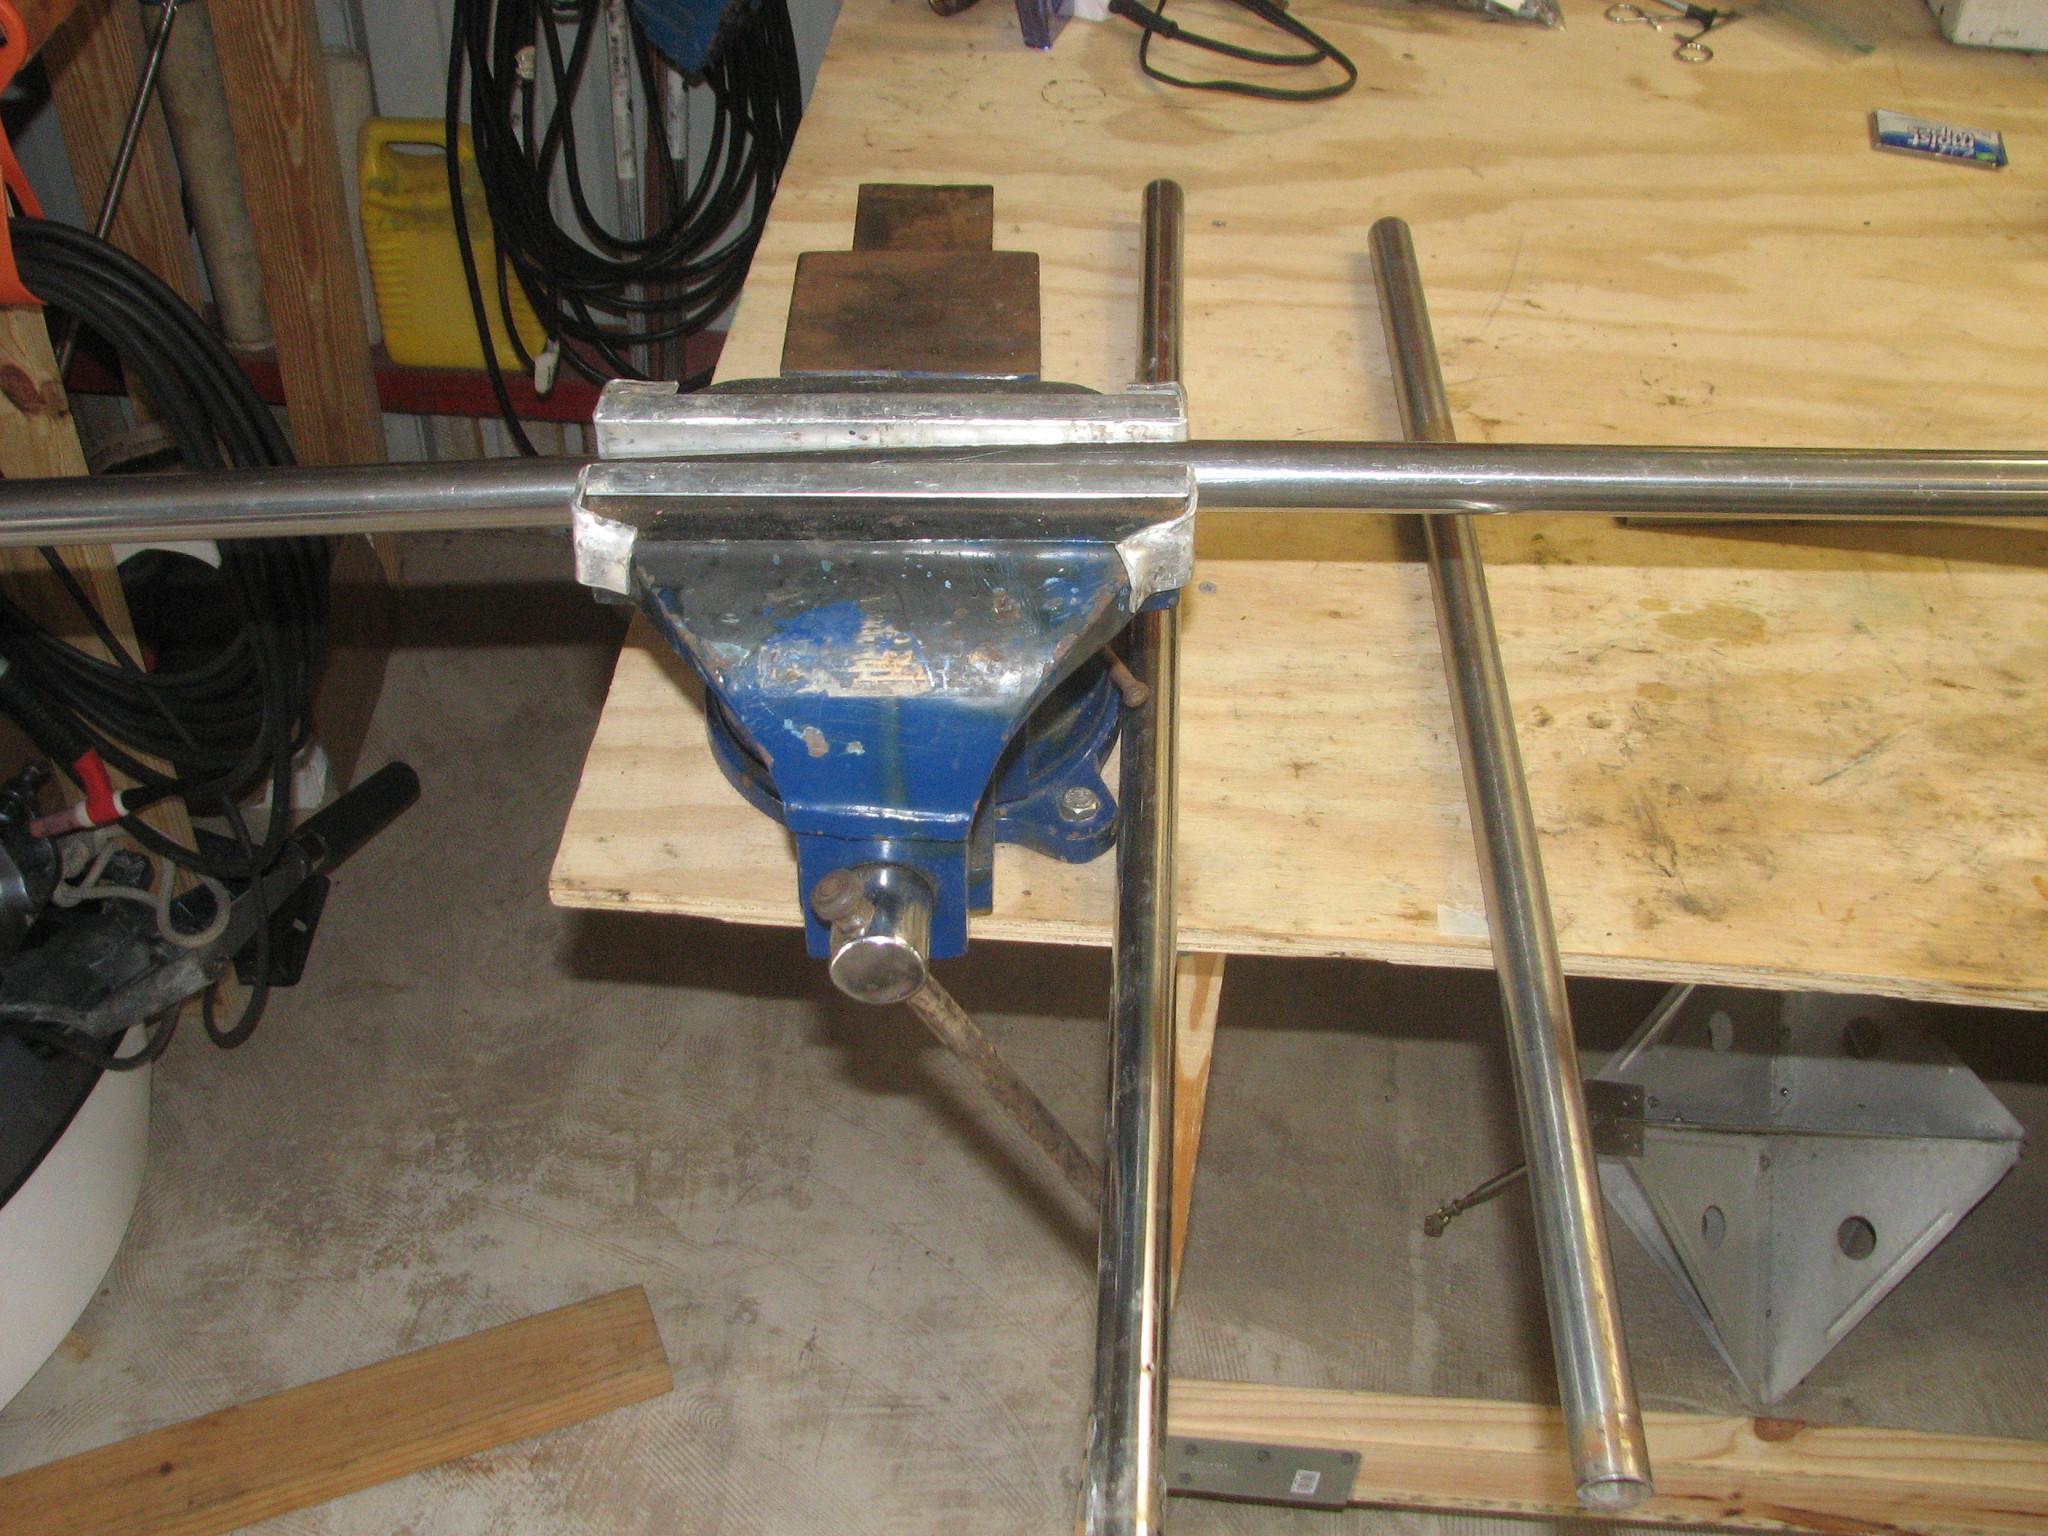
started in on a project that needs to be done before we go offshore
again. That is fabricating and installing handrails in the main
cabin. These will be fabricated from 1” stainless steel tubing, and
bolted to the overhead in the main cabin.
Stainless
Steel Tubing To Be Used On Main Cabin Handrail
April
20, 2013, Saturday
I
arrived at the Shrimp
Festival Grounds
to direct traffic for the Delcambre
Seafood & Farmers Market
at 0600. Venders were arriving when I arrived. We closed the gates at
0745, then I spent the remaining time the market was open, 1300,
working at the registration booth. Kitty arrived at the market around
0800 and also worked the registration booth until closing. When the
market closed down, I helped with the breakdown of all of the tents,
tables and chairs. We then loaded all of the tents, tables and chairs
onto a trailer, then took them over to the Port
Of Delcambre’s
storage facility and unloaded them.
I
got back to DREAM AWAY around 1600. A really long day.
April
21, 2013, Sunday
Started
off the morning with my normal ritual of getting on the Internet,
answering email, checking the weather, while making a pot of coffee.
I continued working on the computer all morning. I got caught up on
email, and got most of the financial stuff completed.
We
were having a potluck marina party in the afternoon, so I made a
pasta salad for the potluck. The party in the afternoon was a great
success, way too much to eat!
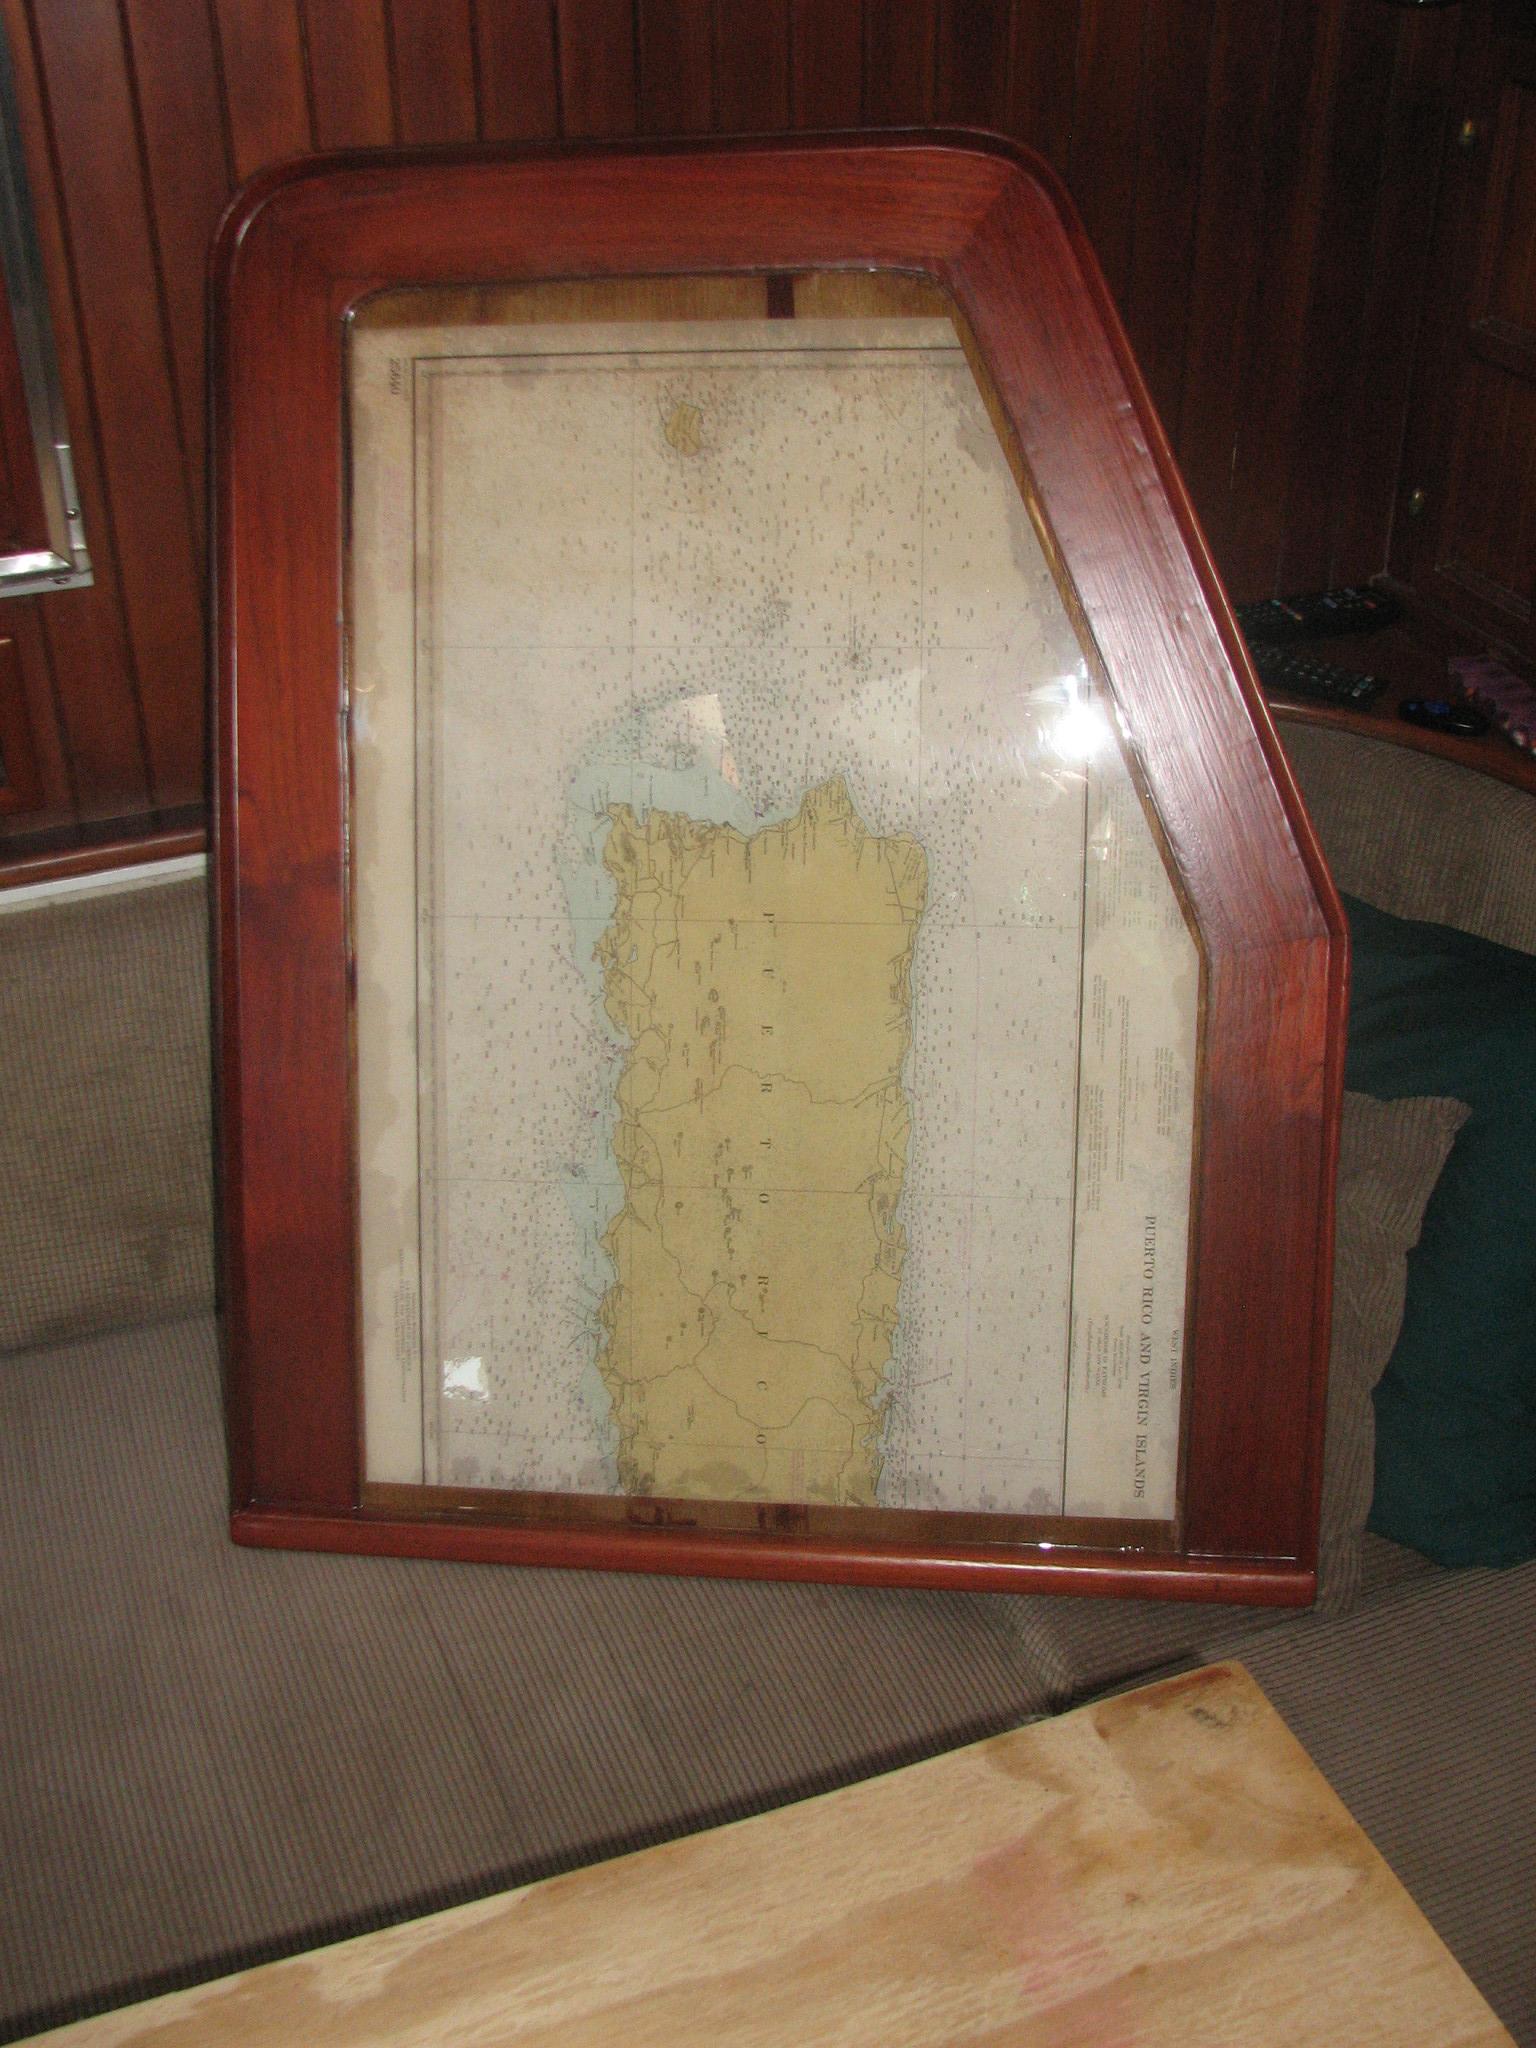
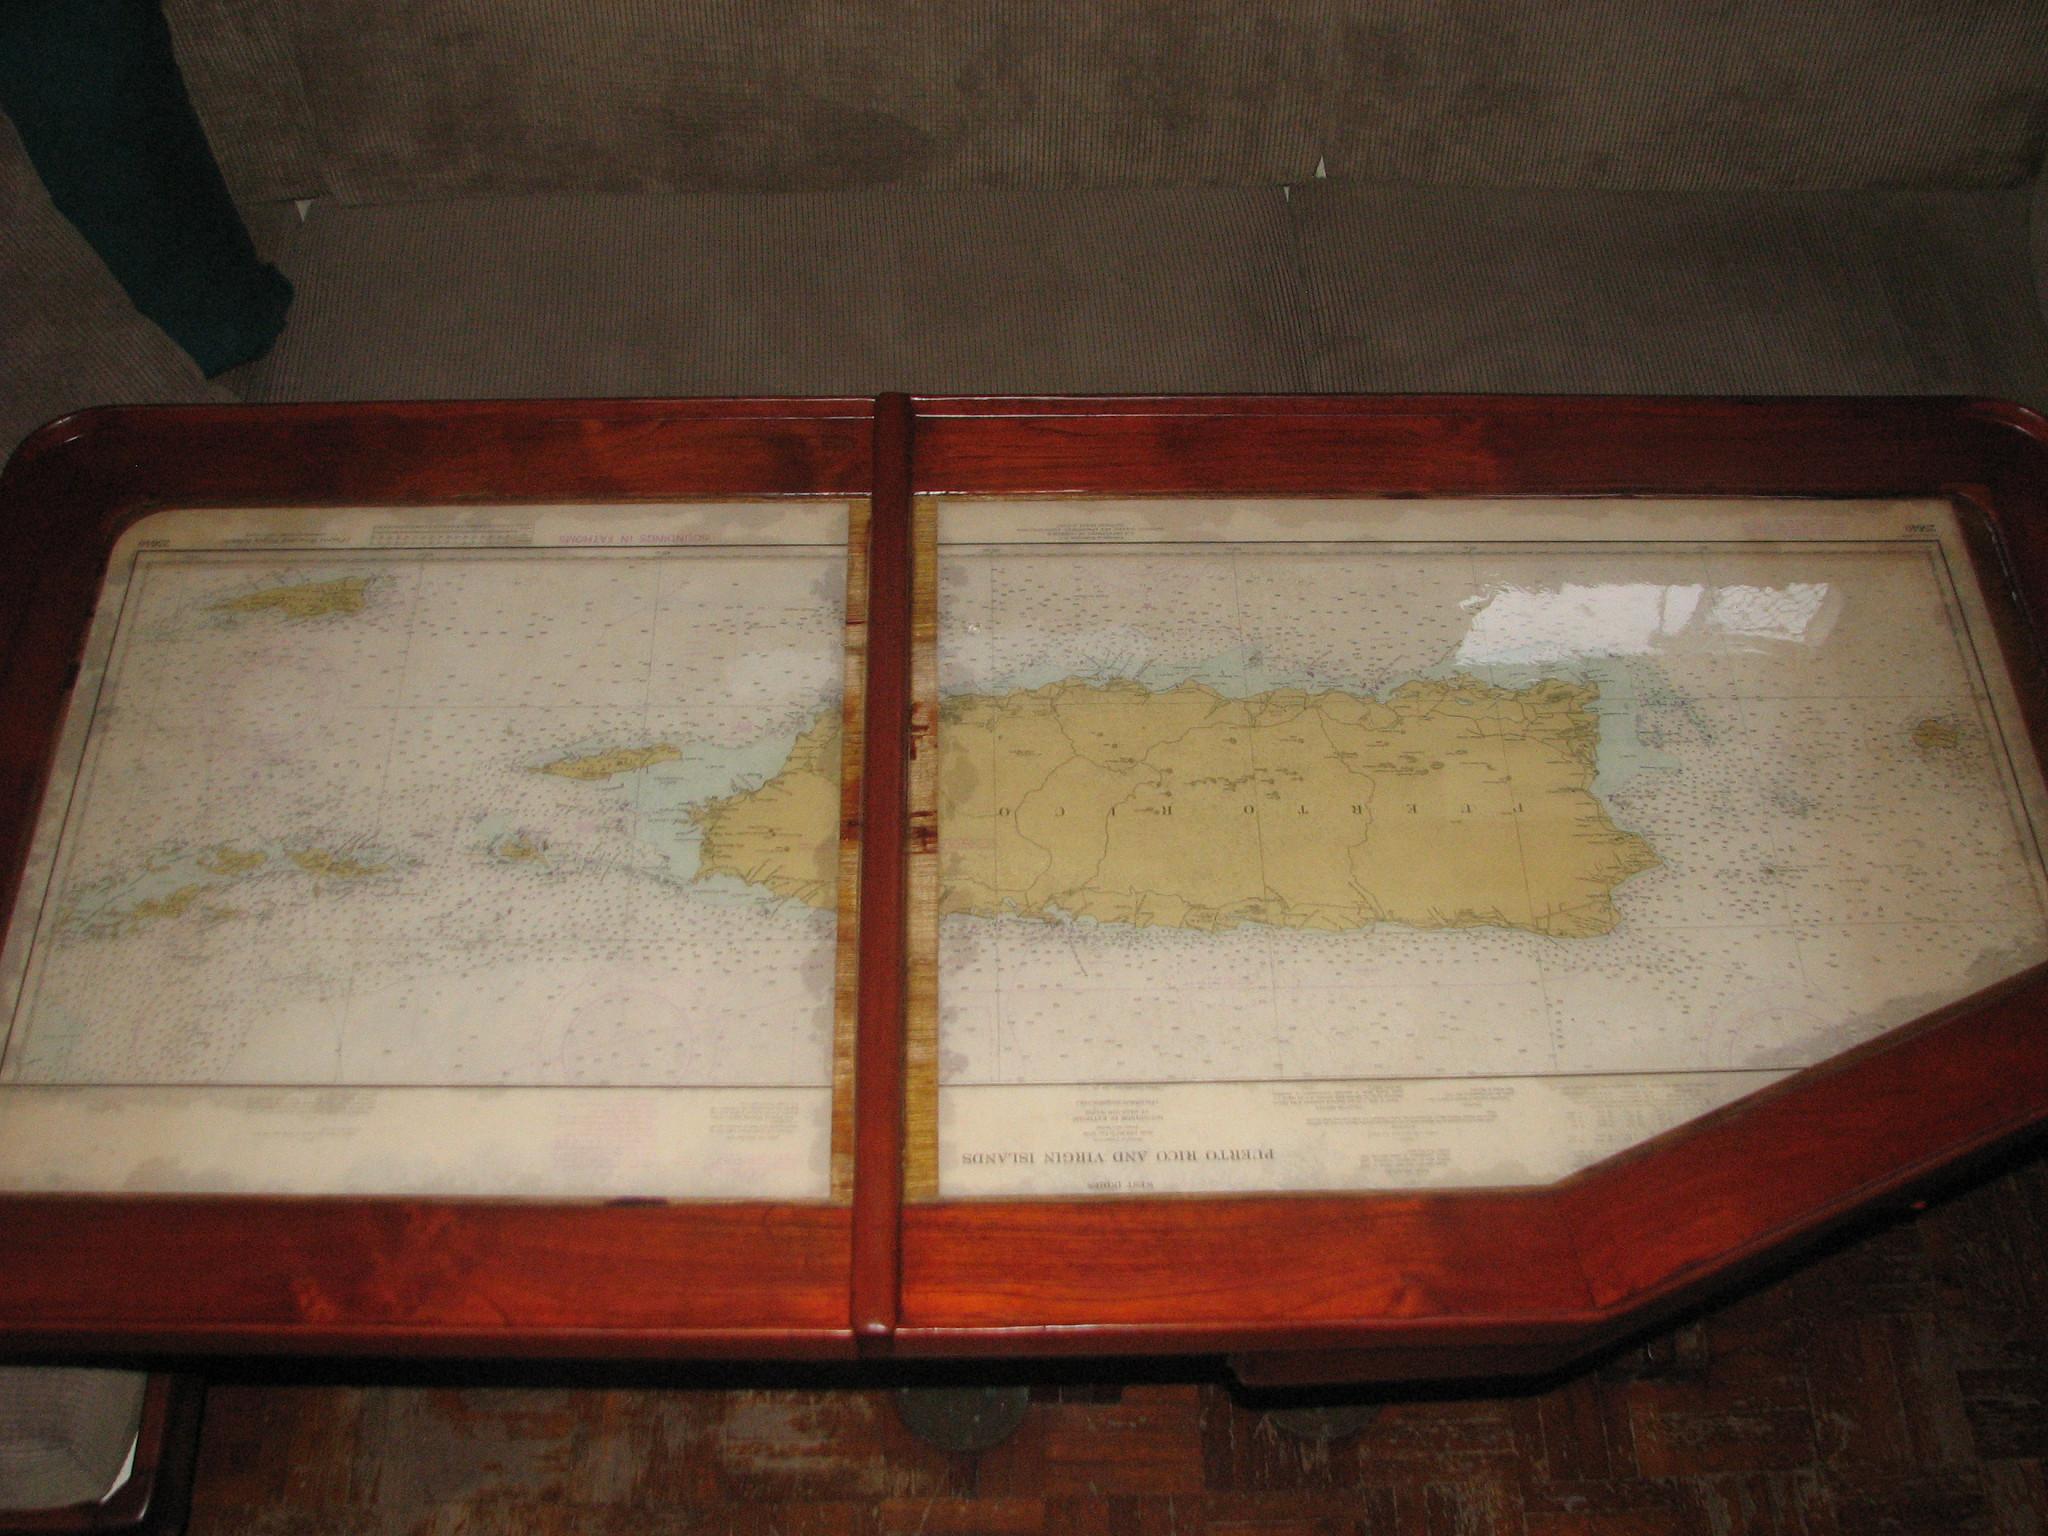
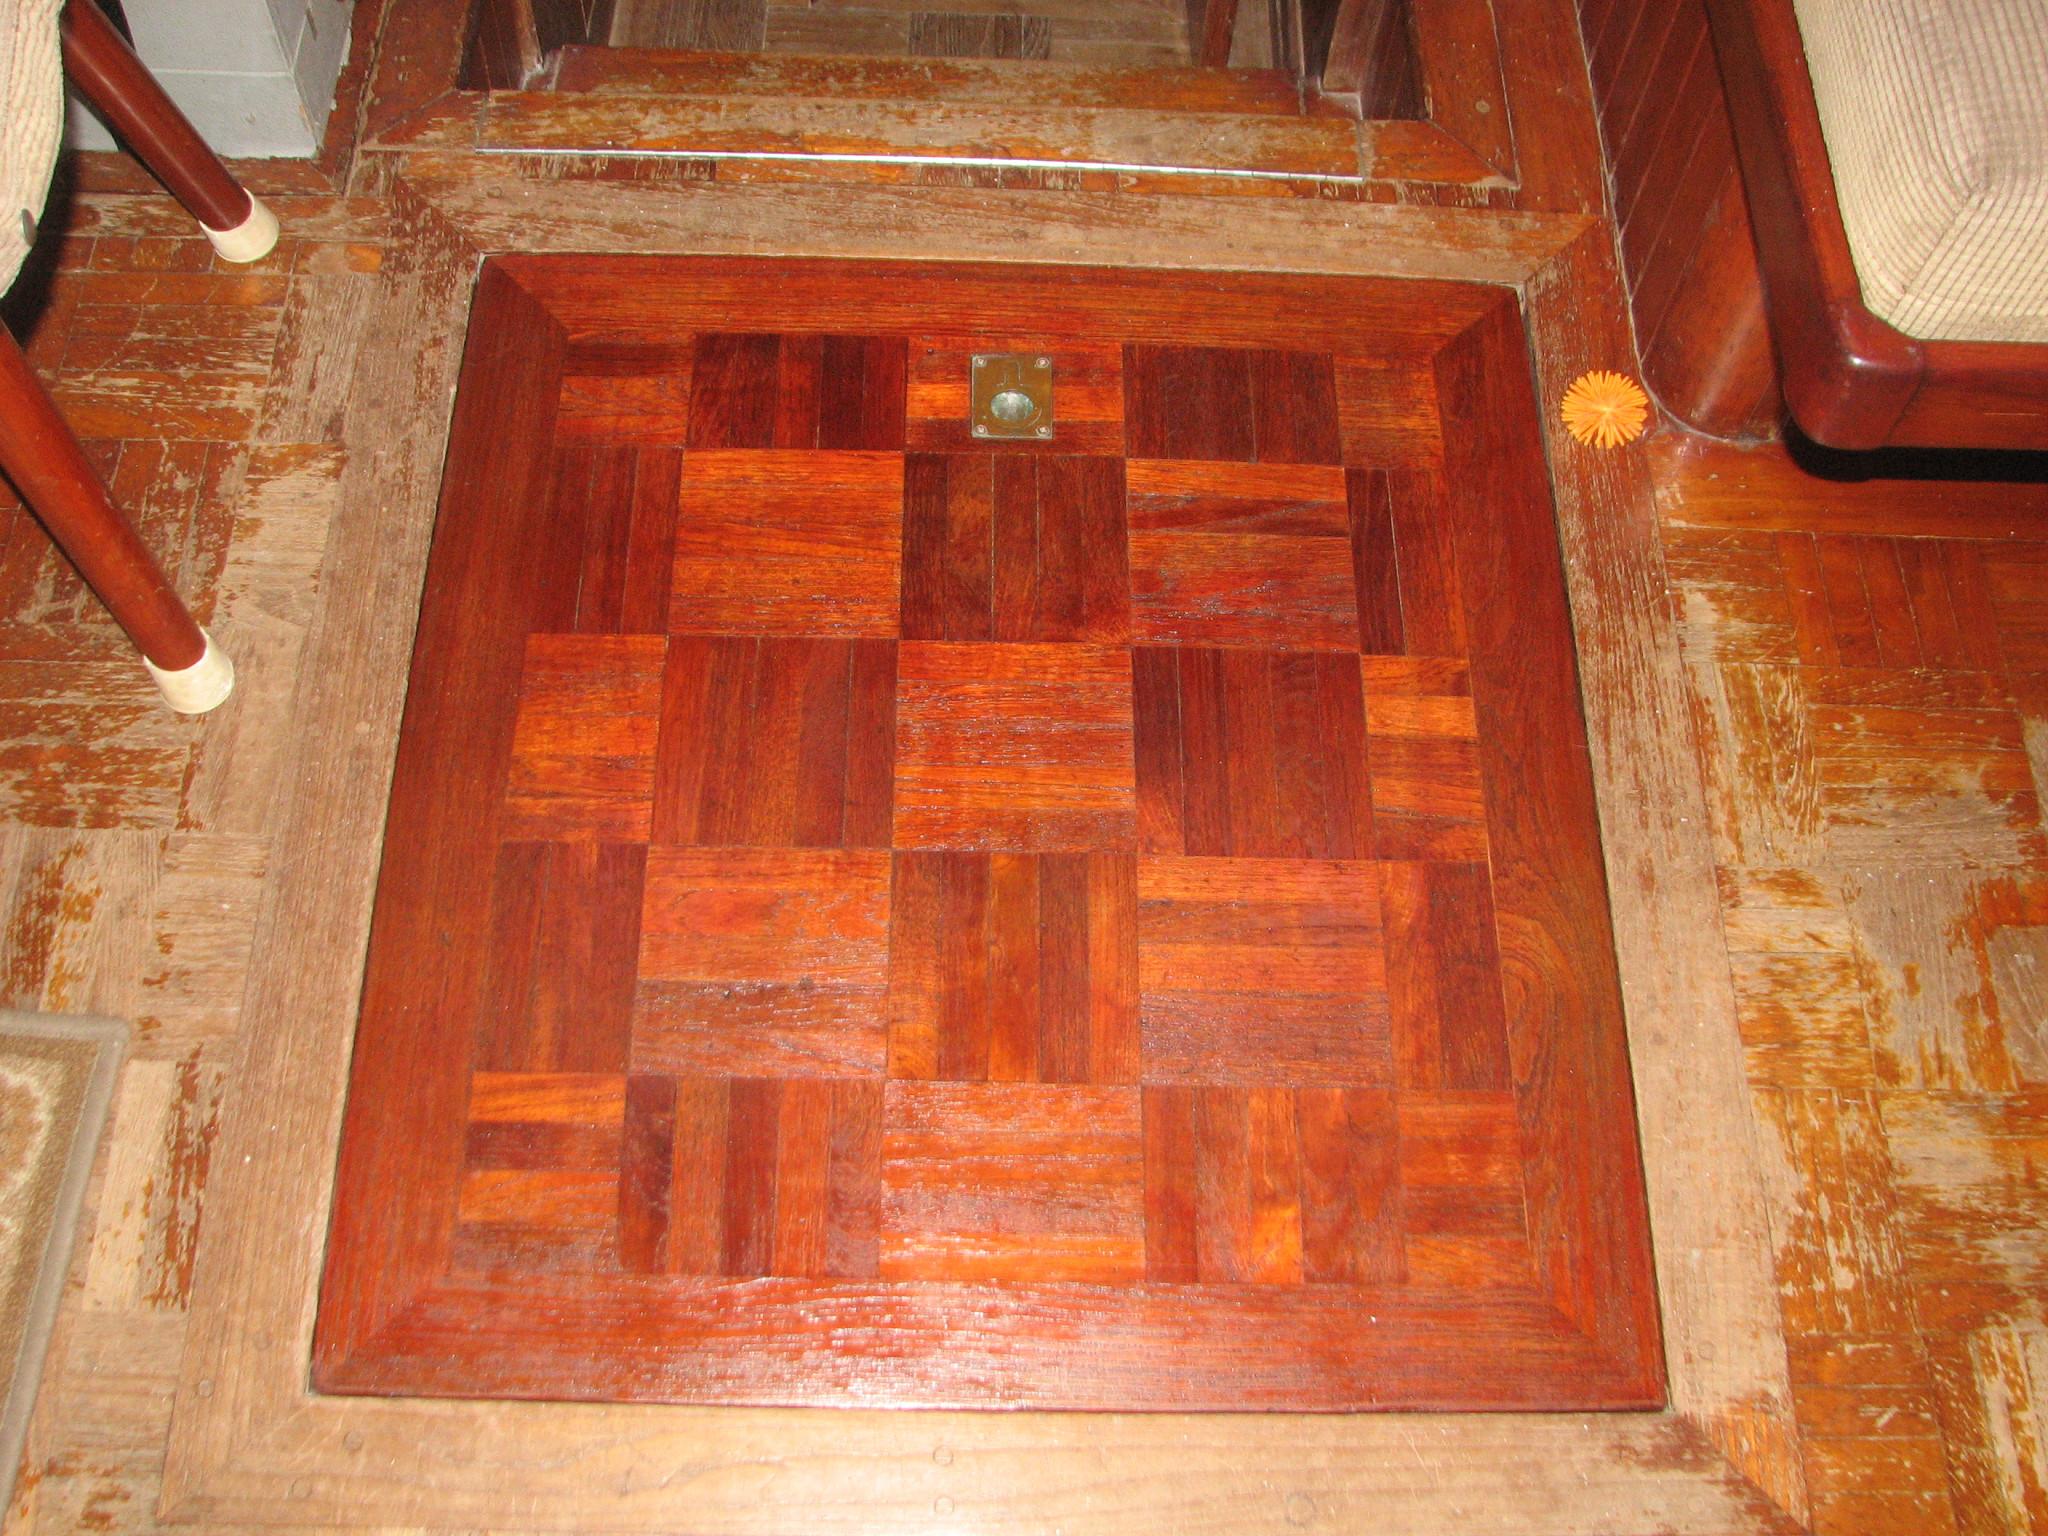
Our
English friends were arriving from Guatemala late this evening, so I
had to install the refurbished table in the main salon, and the
“test” hatch also in the main salon.
New
Table Ready For Installation
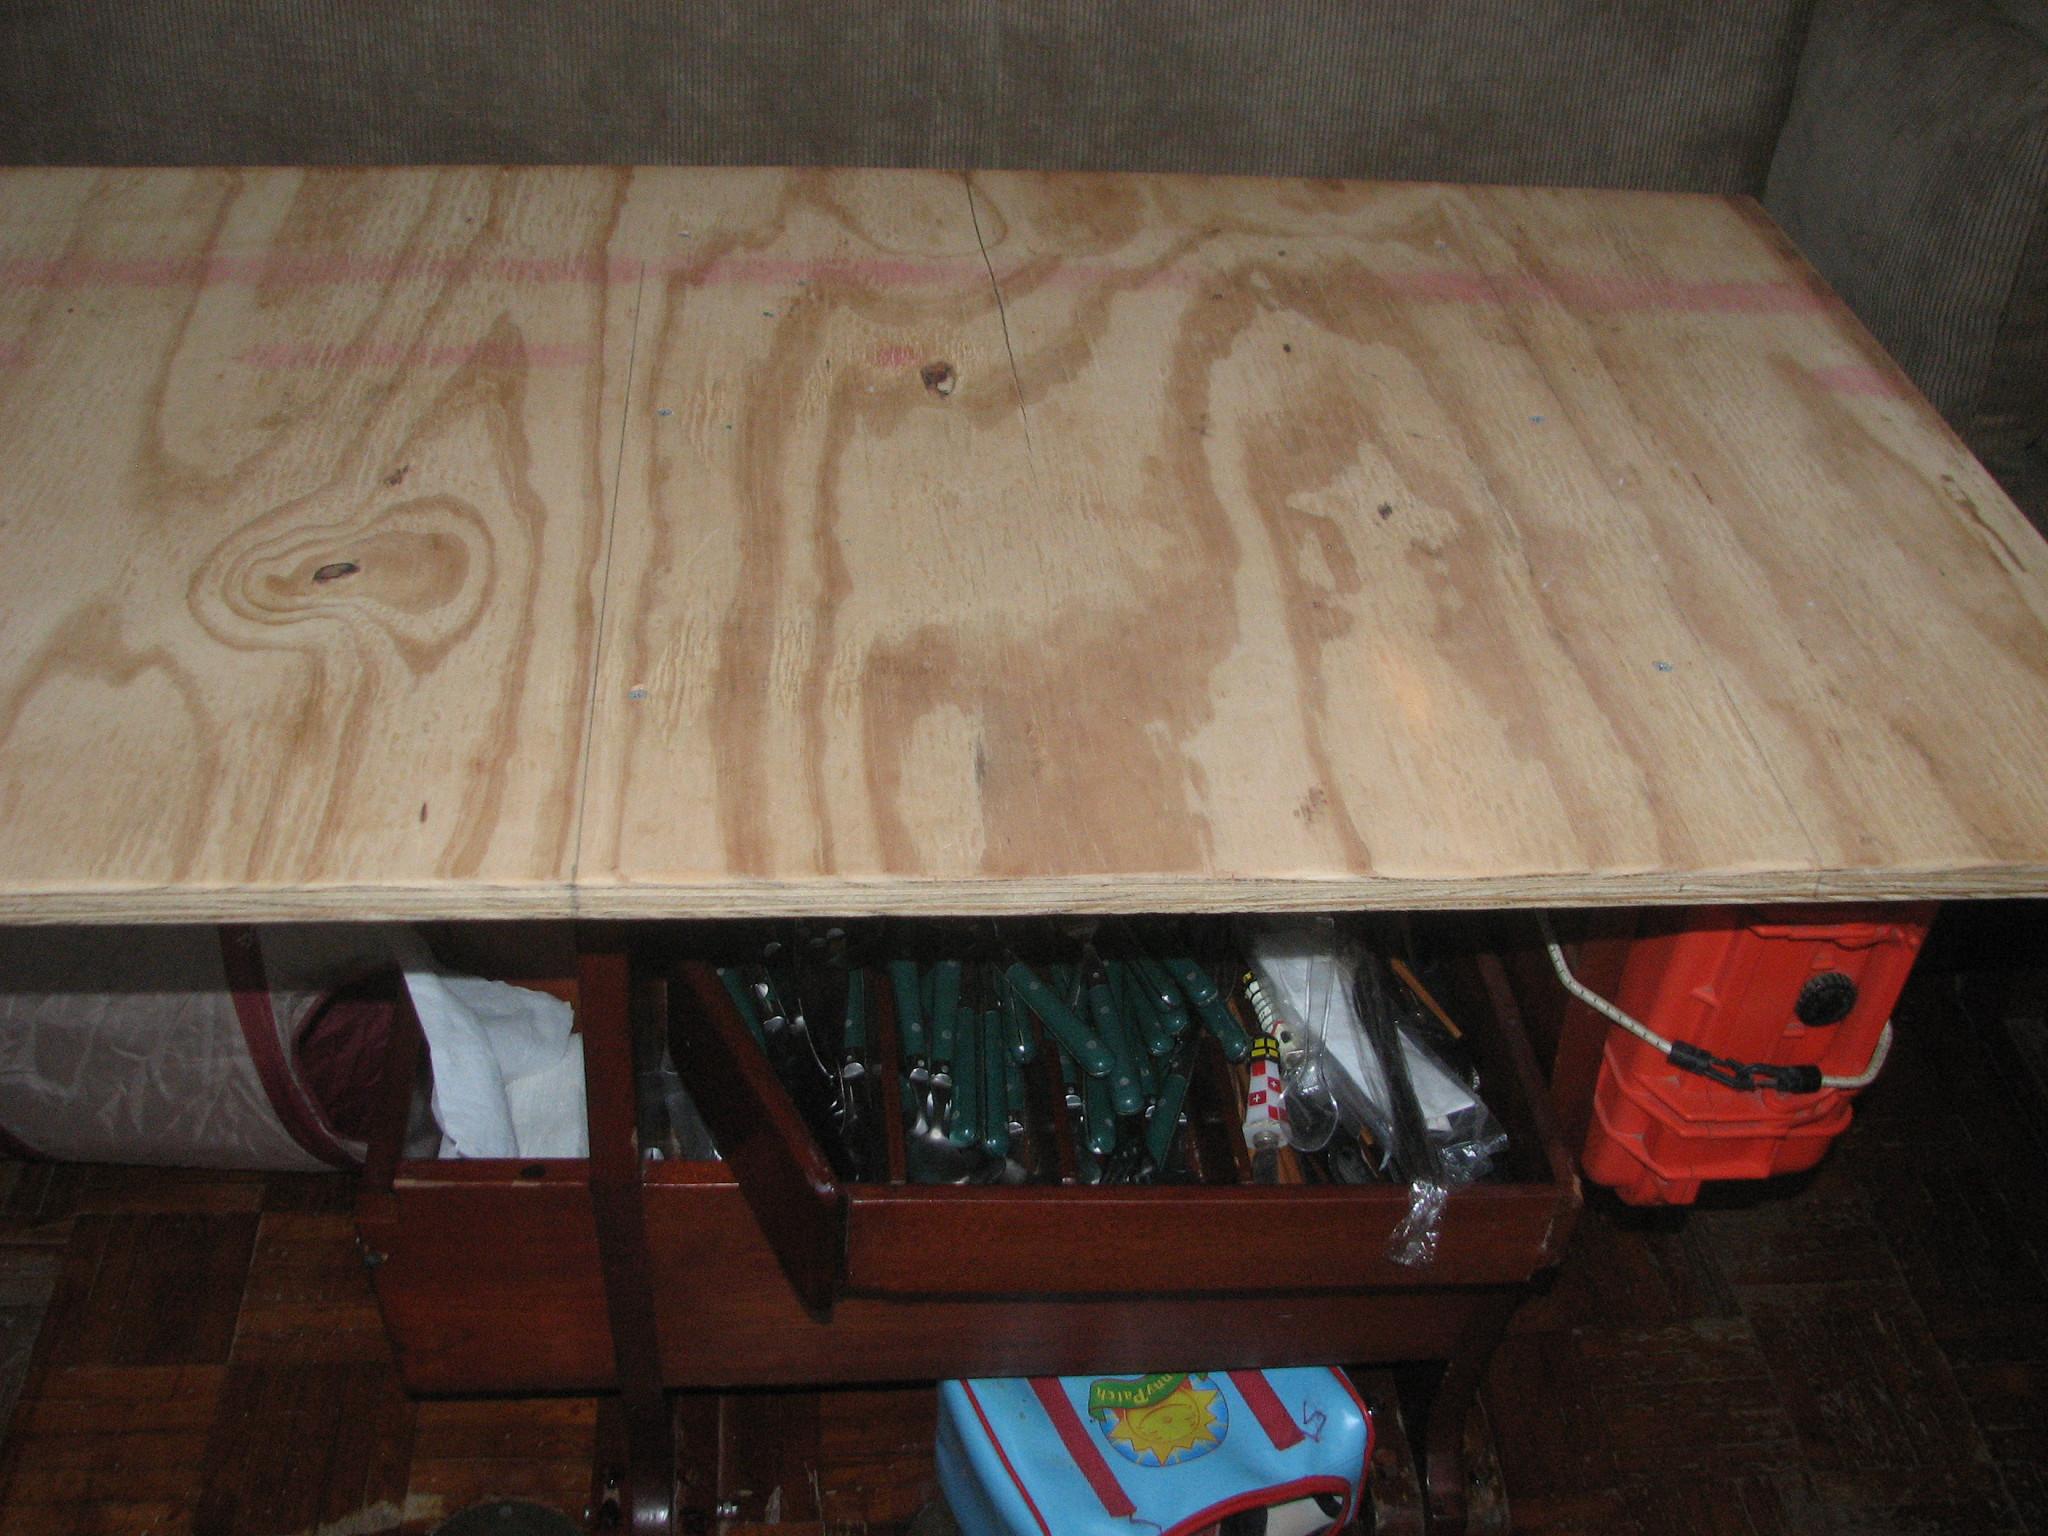
Temporary
Table Ready For Removal
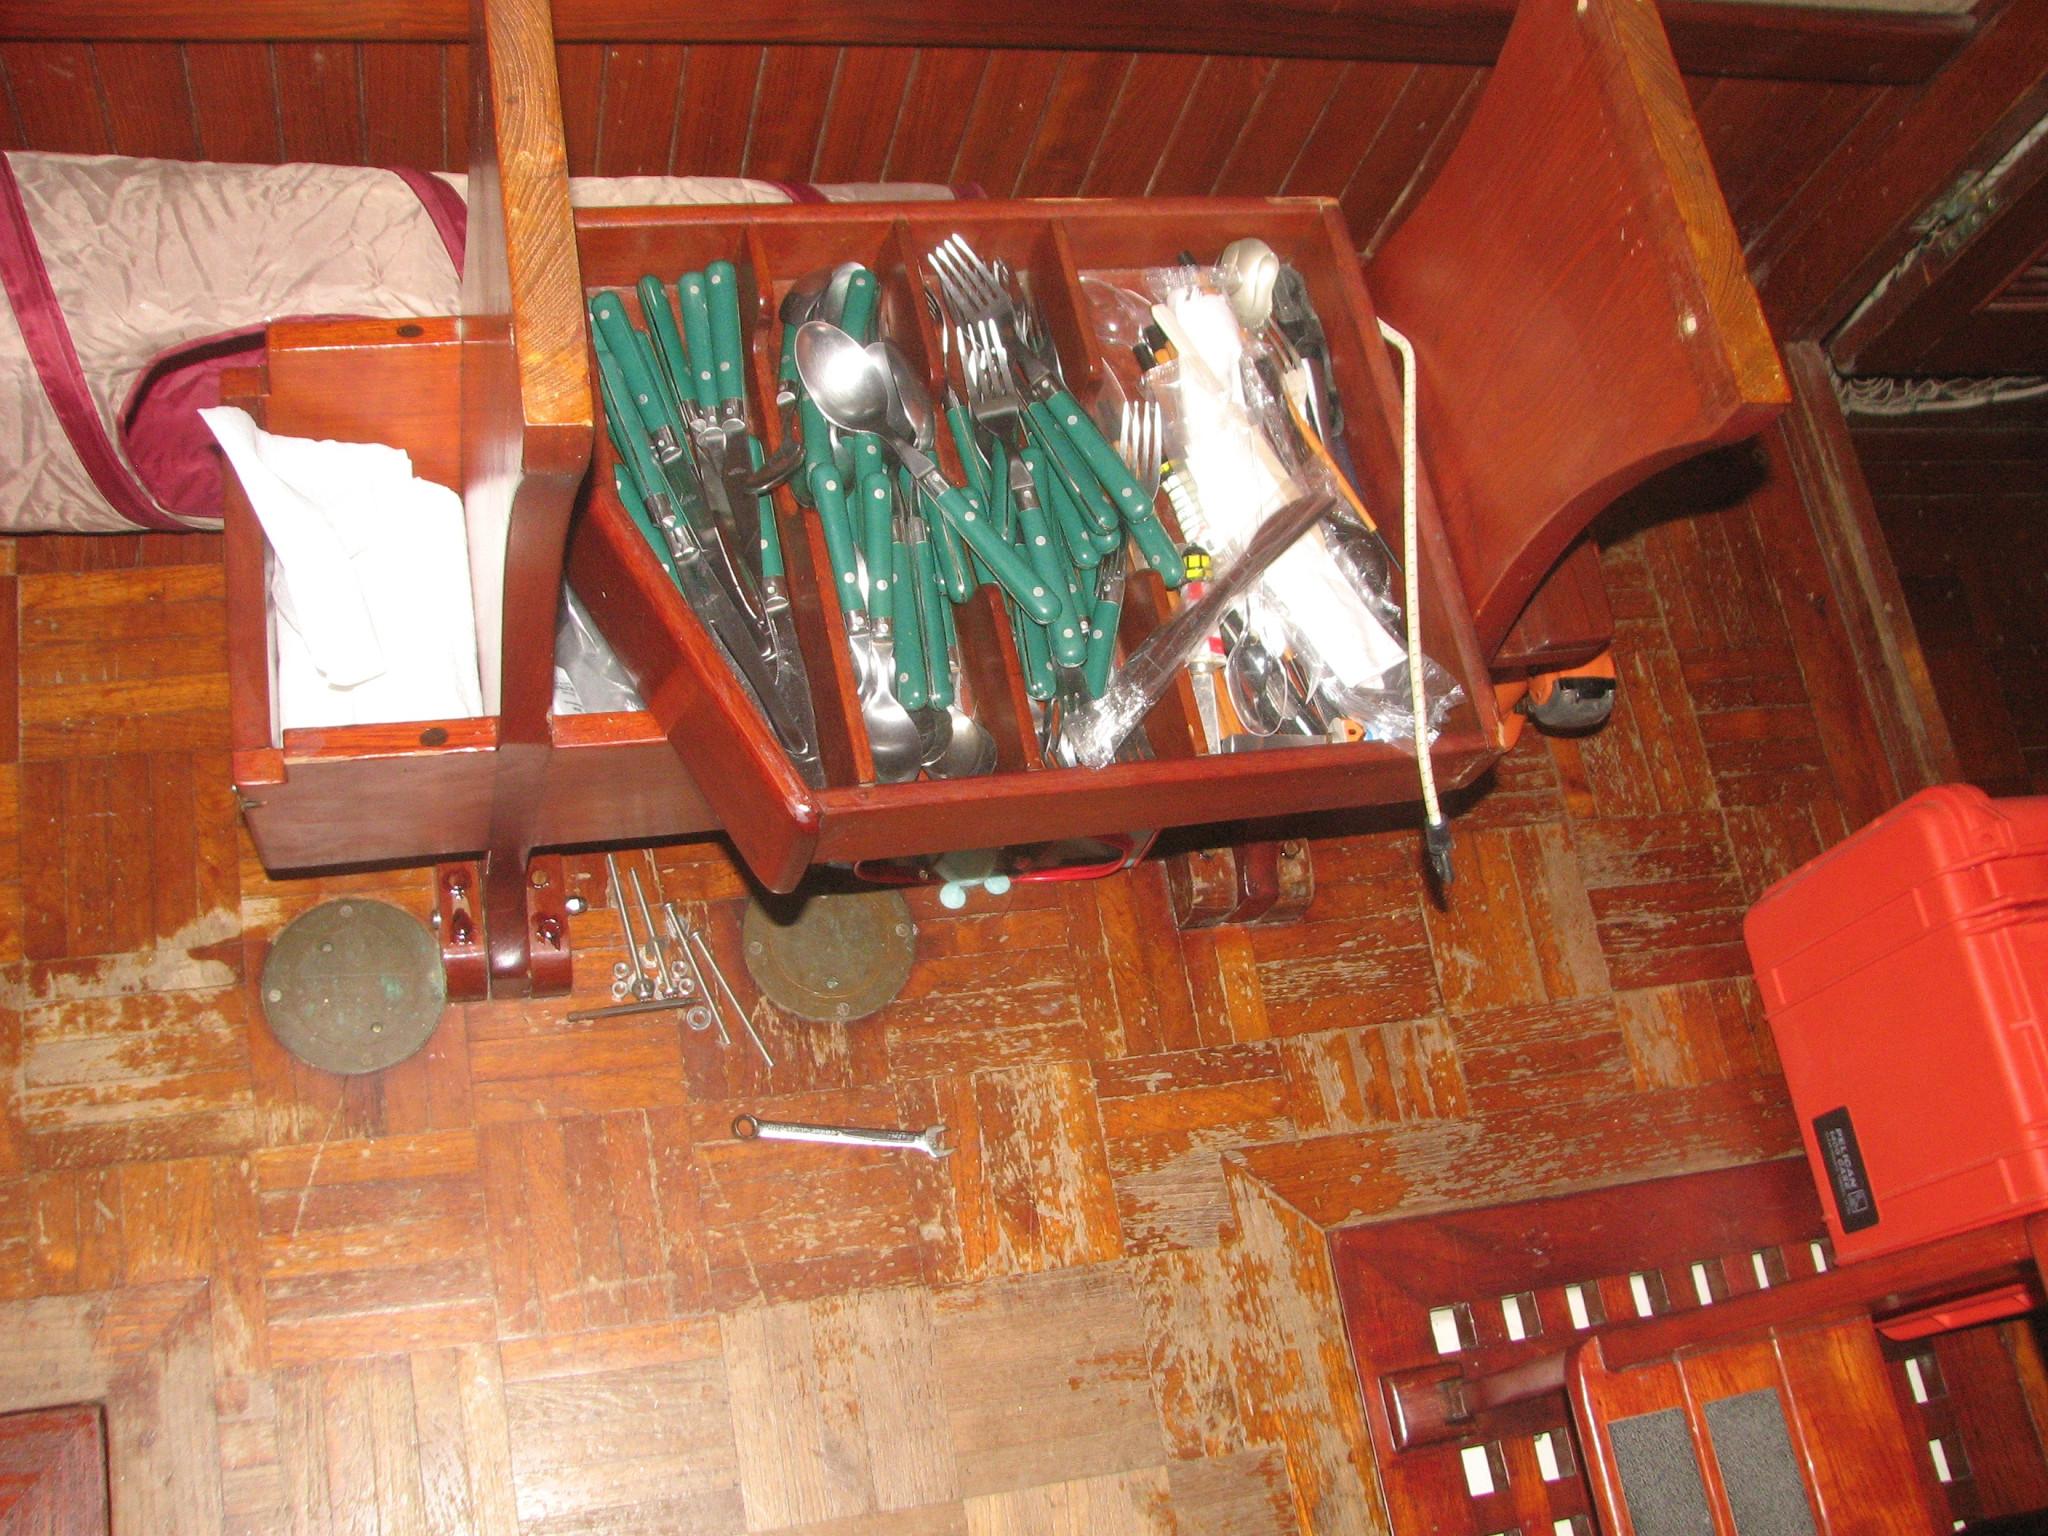
Table
Base Ready For New Table
Temporary
Table Removed

New
Table Installed With Drop Leaf Down
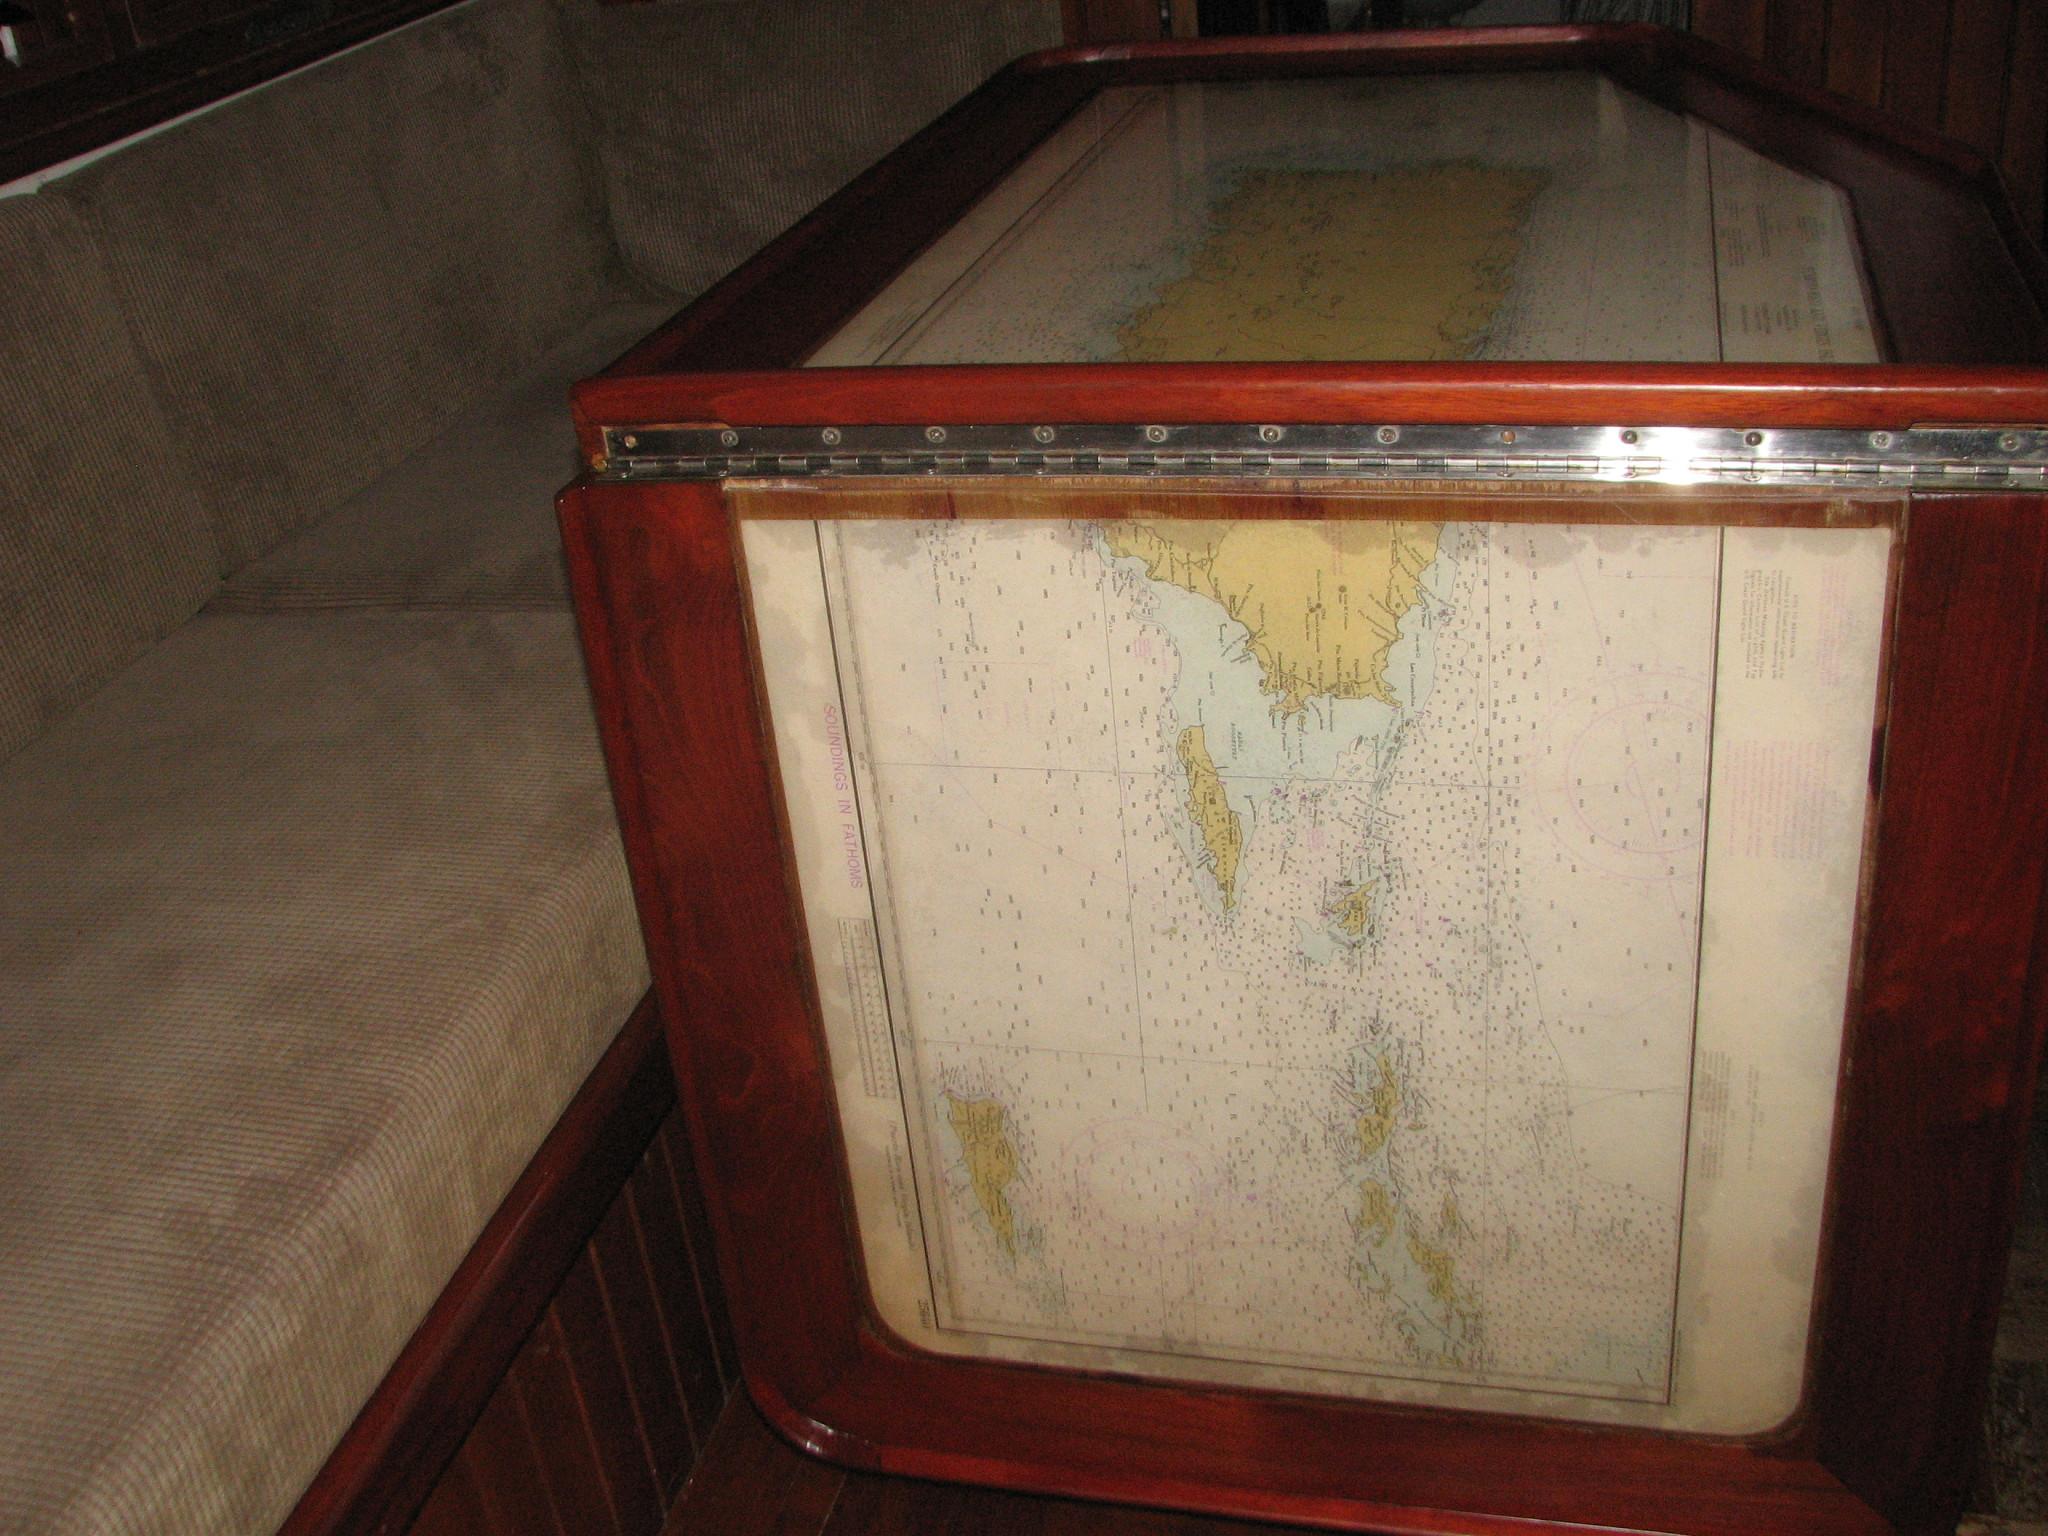
New
Table Installed With Drop Leaf Up
Hatch
Installed In Main Cabin
April
22, 2013, Monday
Started
off the morning with my normal ritual of getting on the Internet,
answering email, checking the weather, while making a pot of coffee.
After
breakfast, we all headed to Lafayette for my appointment with the
dermatologist. We had lunch at the Hai-Nam
Chinese Buffet,
and then returned back to DREAM AWAY.
Noel
and I went to work to change out the Heart
Freedom 25
inverter/charger due to a perceived problem. We installed the spare
inverter/charger, and the problem did not change. I was able to get
the batteries charged, but I am still not comfortable. I think there
is some problem in either the DC system or the AC system that is
causing the inverter/charger to draw too much current.
We
decided to leave the spare inverter/charger installed. The really
good news is that I now know I have a completely operational spare
Heart
Freedom 25
inverter/charger
April
23, 2013, Tuesday
Started
off the morning with my normal ritual of getting on the Internet,
answering email, checking the weather, while making a pot of coffee.
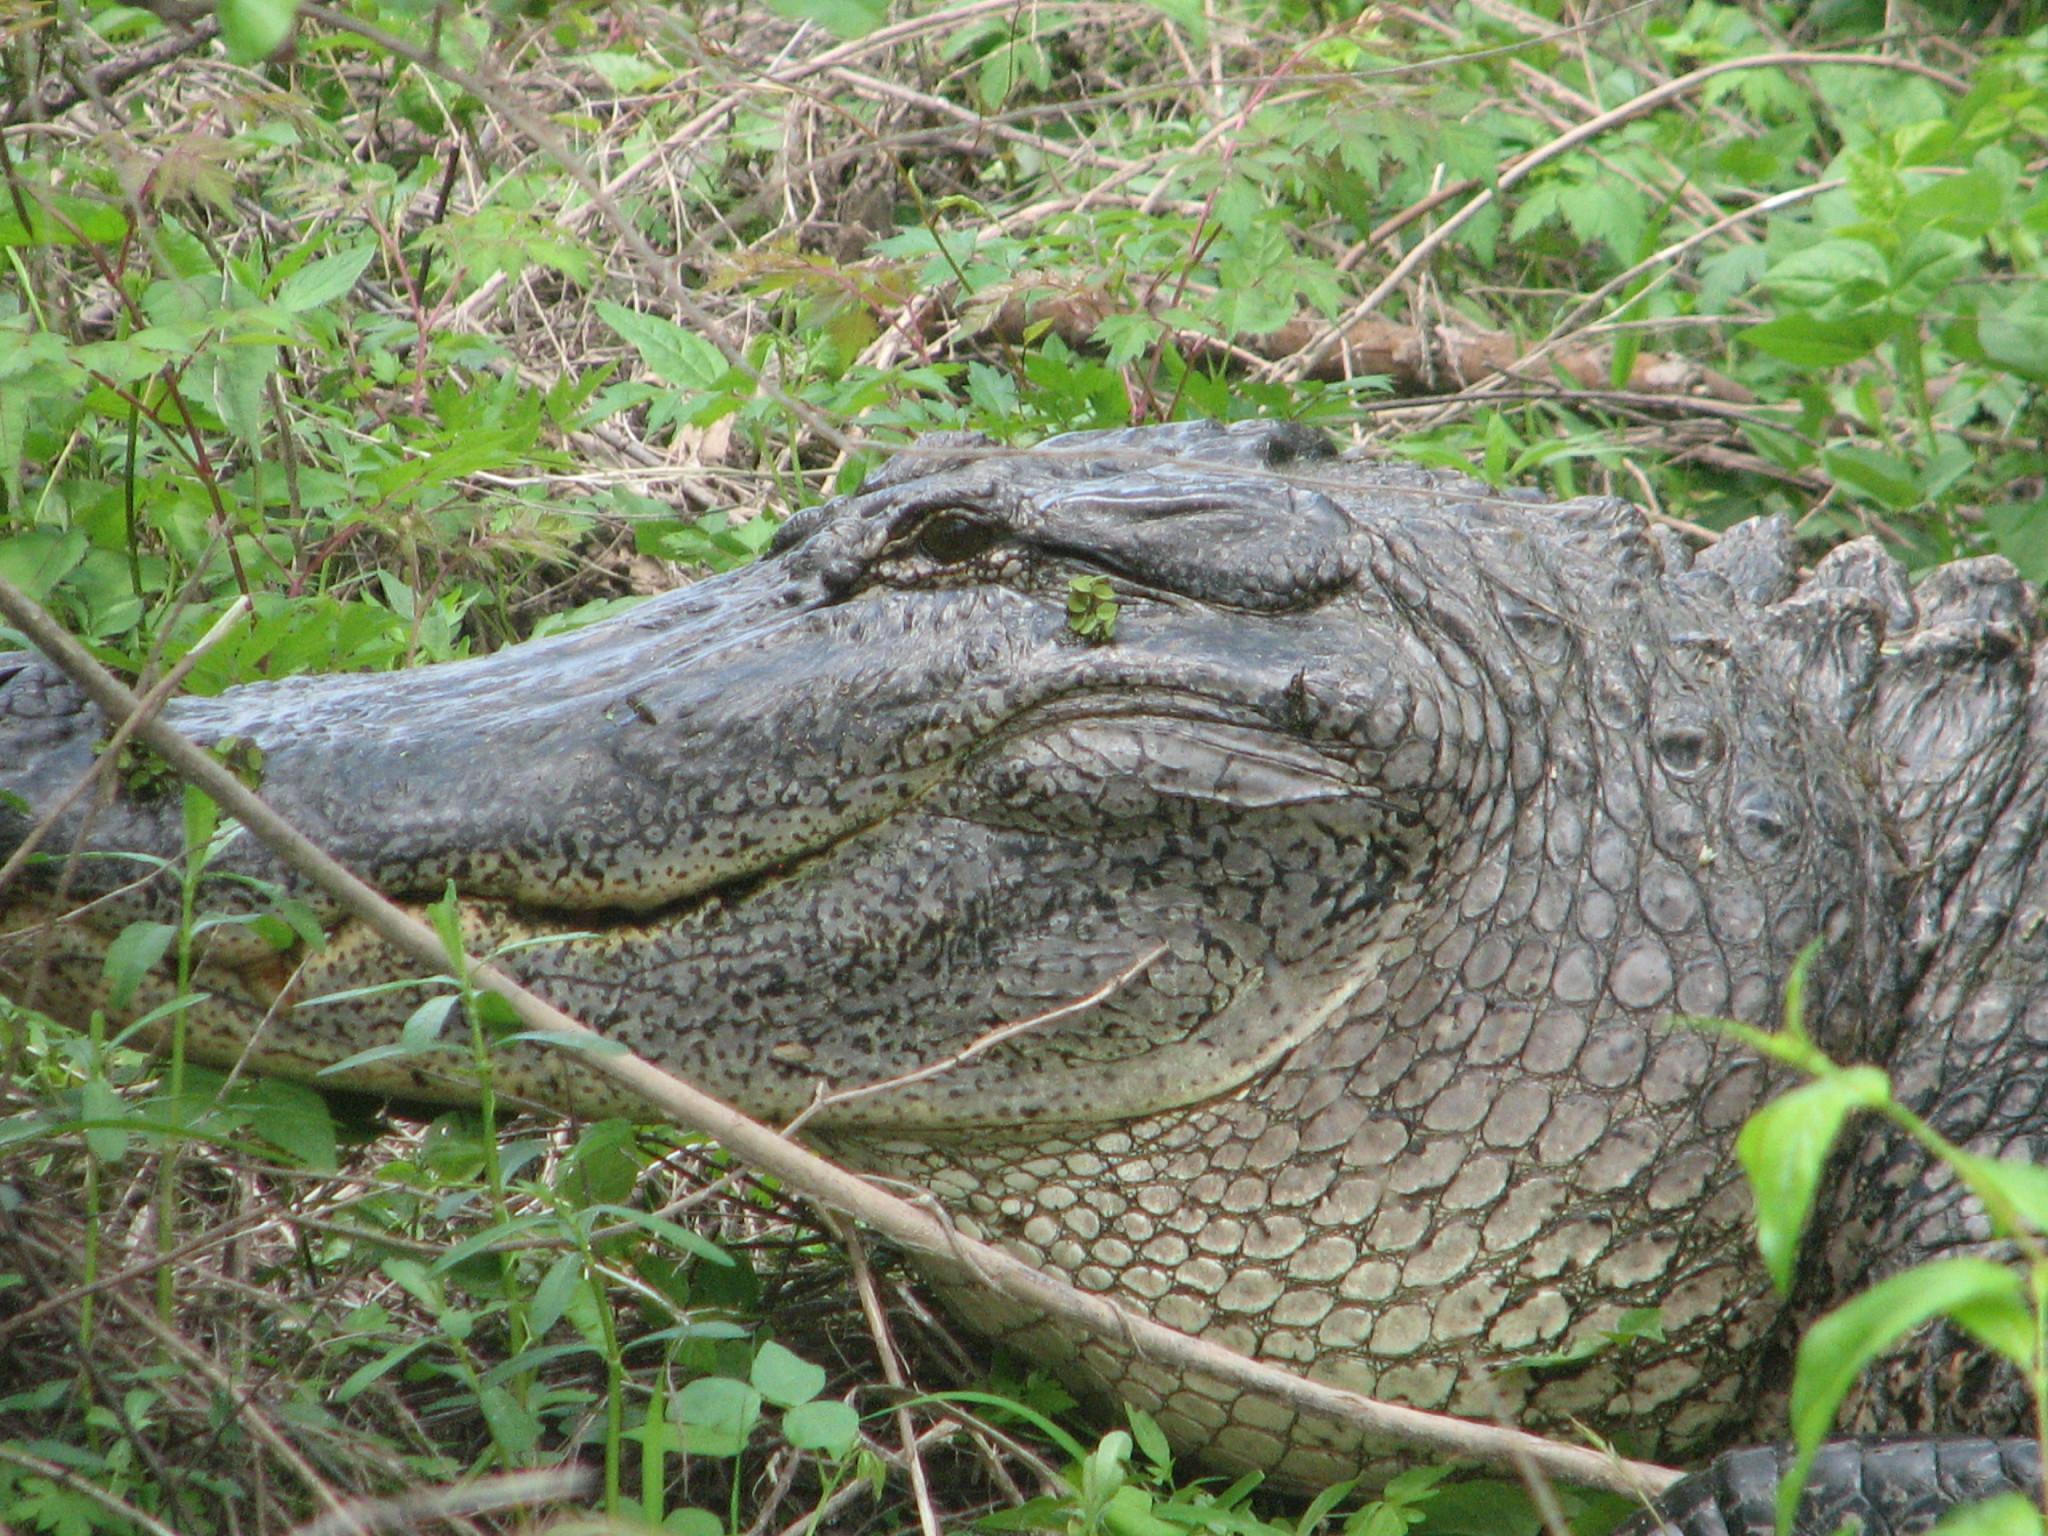
Today
we decided to do a swamp tour at McKee’s
Landing
in Henderson, Louisiana. It was a tour of the Atchafalaya
basin
and was pretty interesting. We did get to see a couple of big
alligators.
Alligator
In The Basin
On
the way back to DREAM AWAY, we stopped at the
Acadian
Museum and Memorial
in St. Martinsville, Louisiana. We found the museum interesting and
informative.
April
24, 2013, Wednesday
Started
off the morning with my normal ritual of getting on the Internet,
answering email, checking the weather, while making a pot of coffee.
Today,
after breakfast and the storms from the passing cold front we went to
Avery Island to visit the Tabasco
Factory
and take the tour. While on Avery Island we also took the driving
tour of the Jungle
Gardens and Bird City.
April
25, 2013, Thursday
Started
off the morning with my normal ritual of getting on the Internet,
answering email, checking the weather, while making a pot of coffee.
As
we were going back to DREAM AWAY, we met up with Nicola’s niece,
Anna, who had arrived to visit and spend the night.
April
26, 2013, Friday
Started
off the morning by making a pot of coffee for Nicola and Noel, and
getting them under way by 0600. They had to drive back to Houston to
catch their plane to Manchester, England.
When
Nicola and Noel departed, the Admiral (Kitty), went back to bed, and
I got to work catching up on email and the maintenance log. Anna is
still sacked out!
Spent
the entire day getting the boat put back together after Anna had
left. We then went out and did the laundry.
April
27, 2013, Saturday
Started
off the morning with my normal ritual of getting on the Internet,
answering email, checking the weather, while making a pot of coffee.
Today
was spent just catching up. I did put a second coat of Cetol
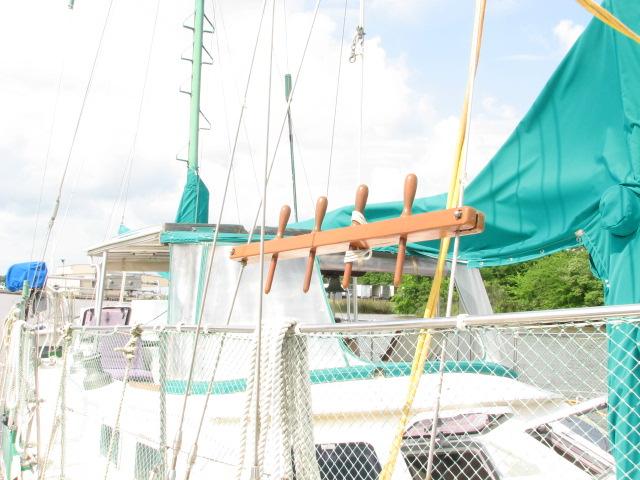
on the main mast step. The pin rails that were completed, I installed
on DREAM AWAY. Now that project is finally completed.
Pin
Rail & Belaying Pins Installed
April
28, 2013, Sunday
Started
off the morning with my normal ritual of getting on the Internet,
answering email, checking the weather, while making a pot of coffee.
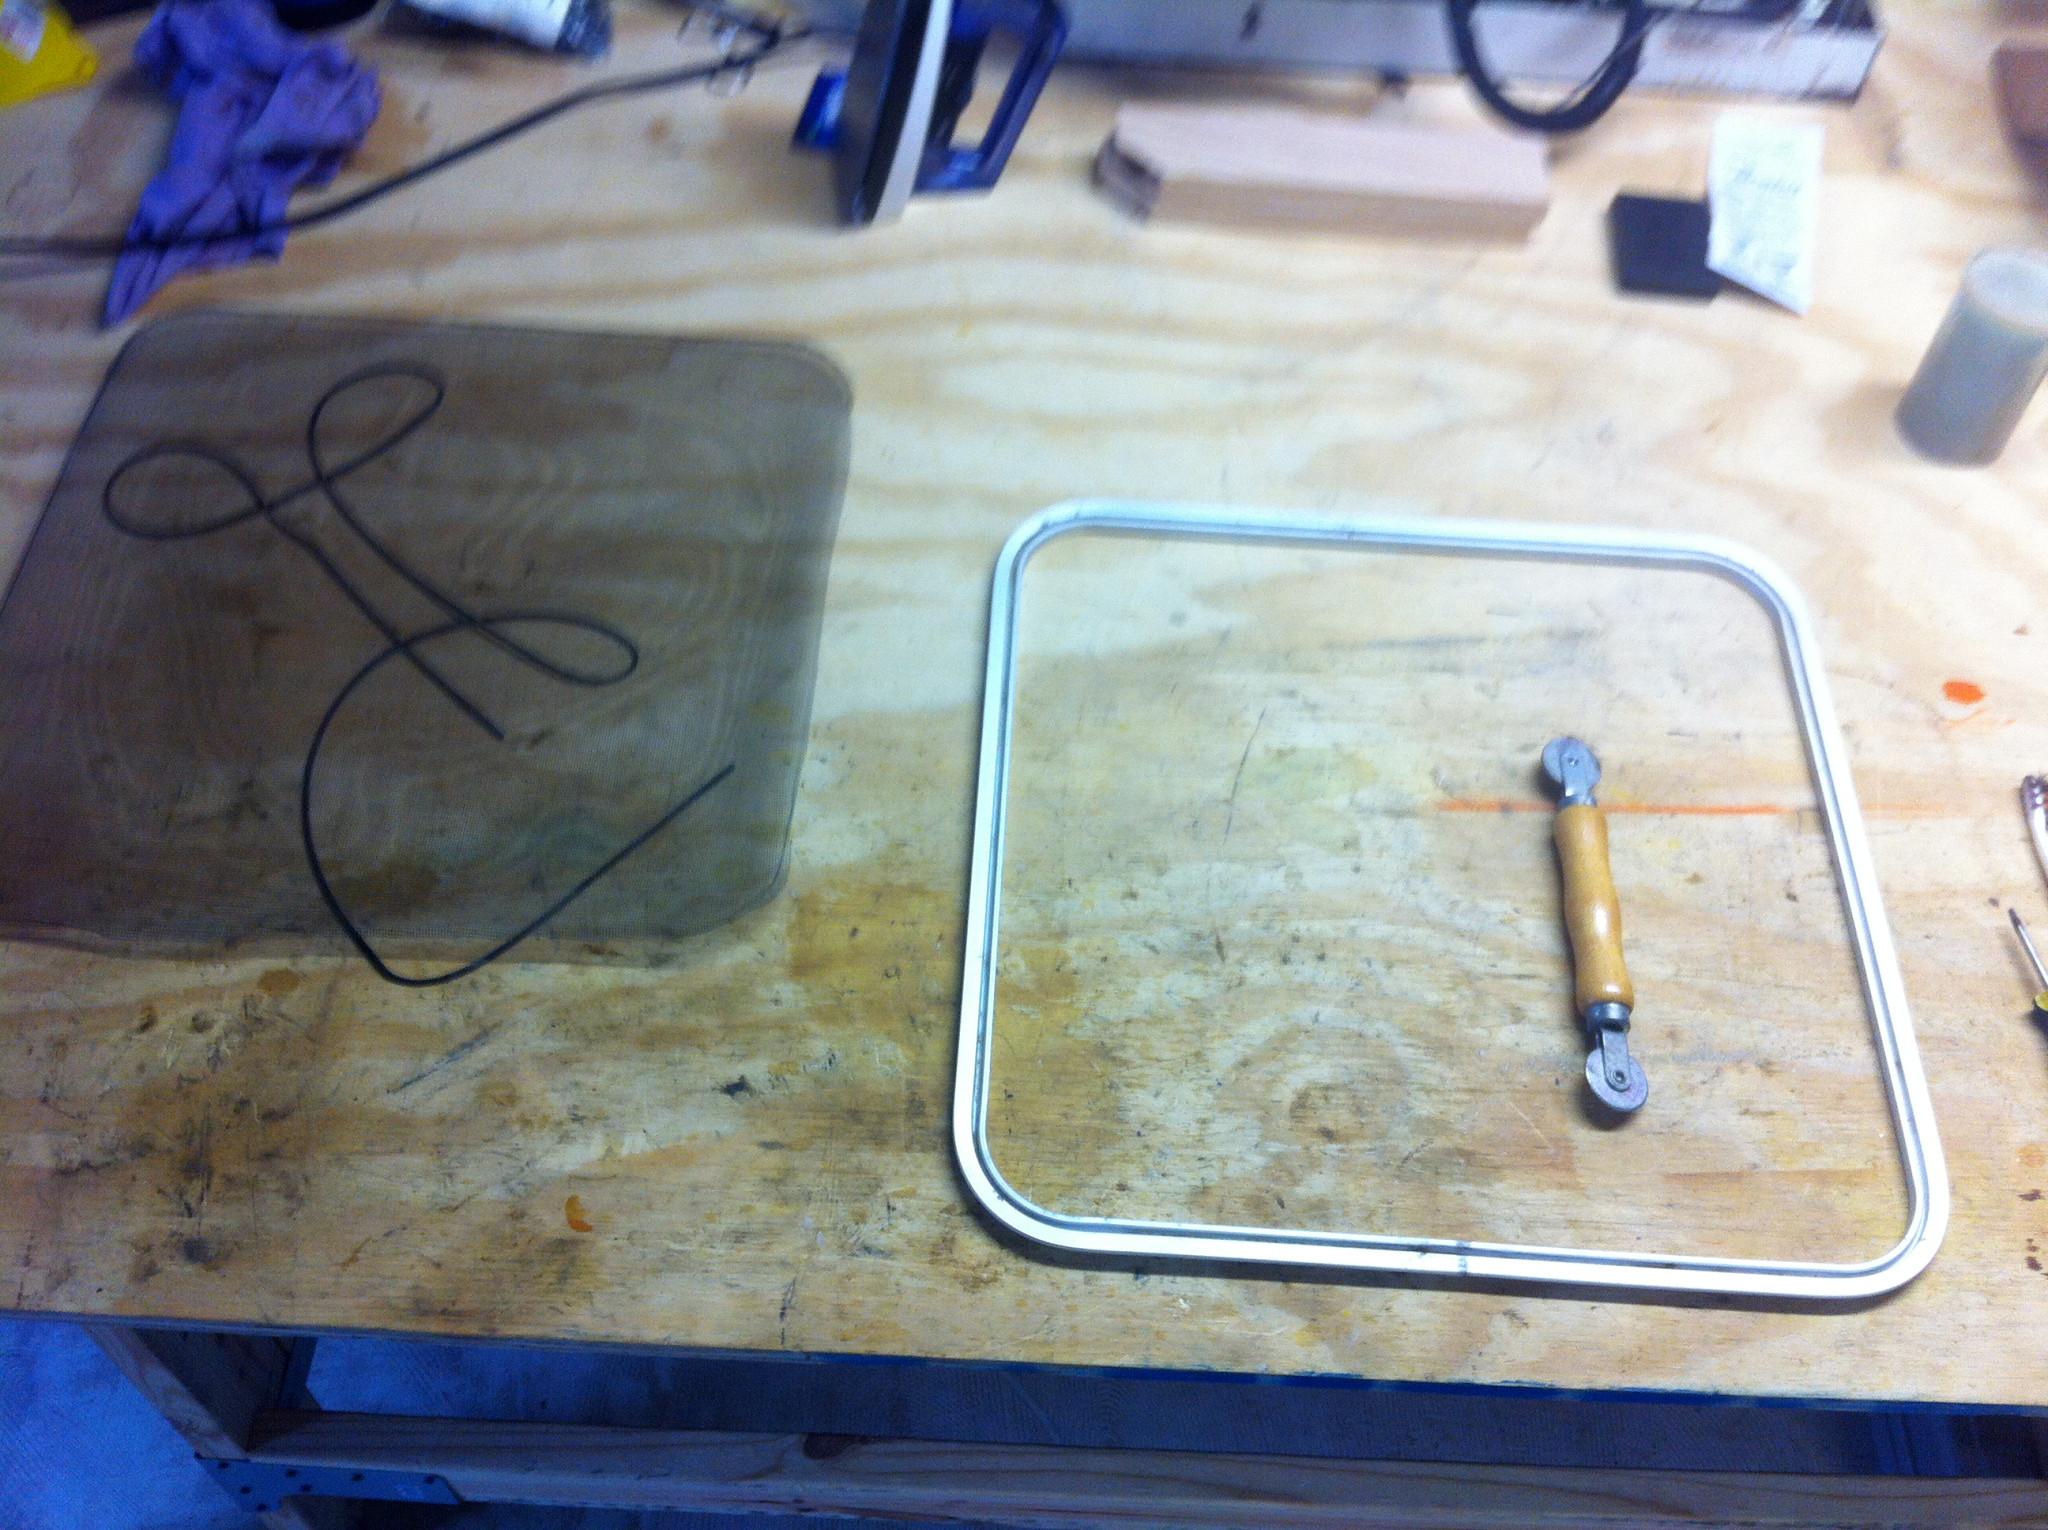
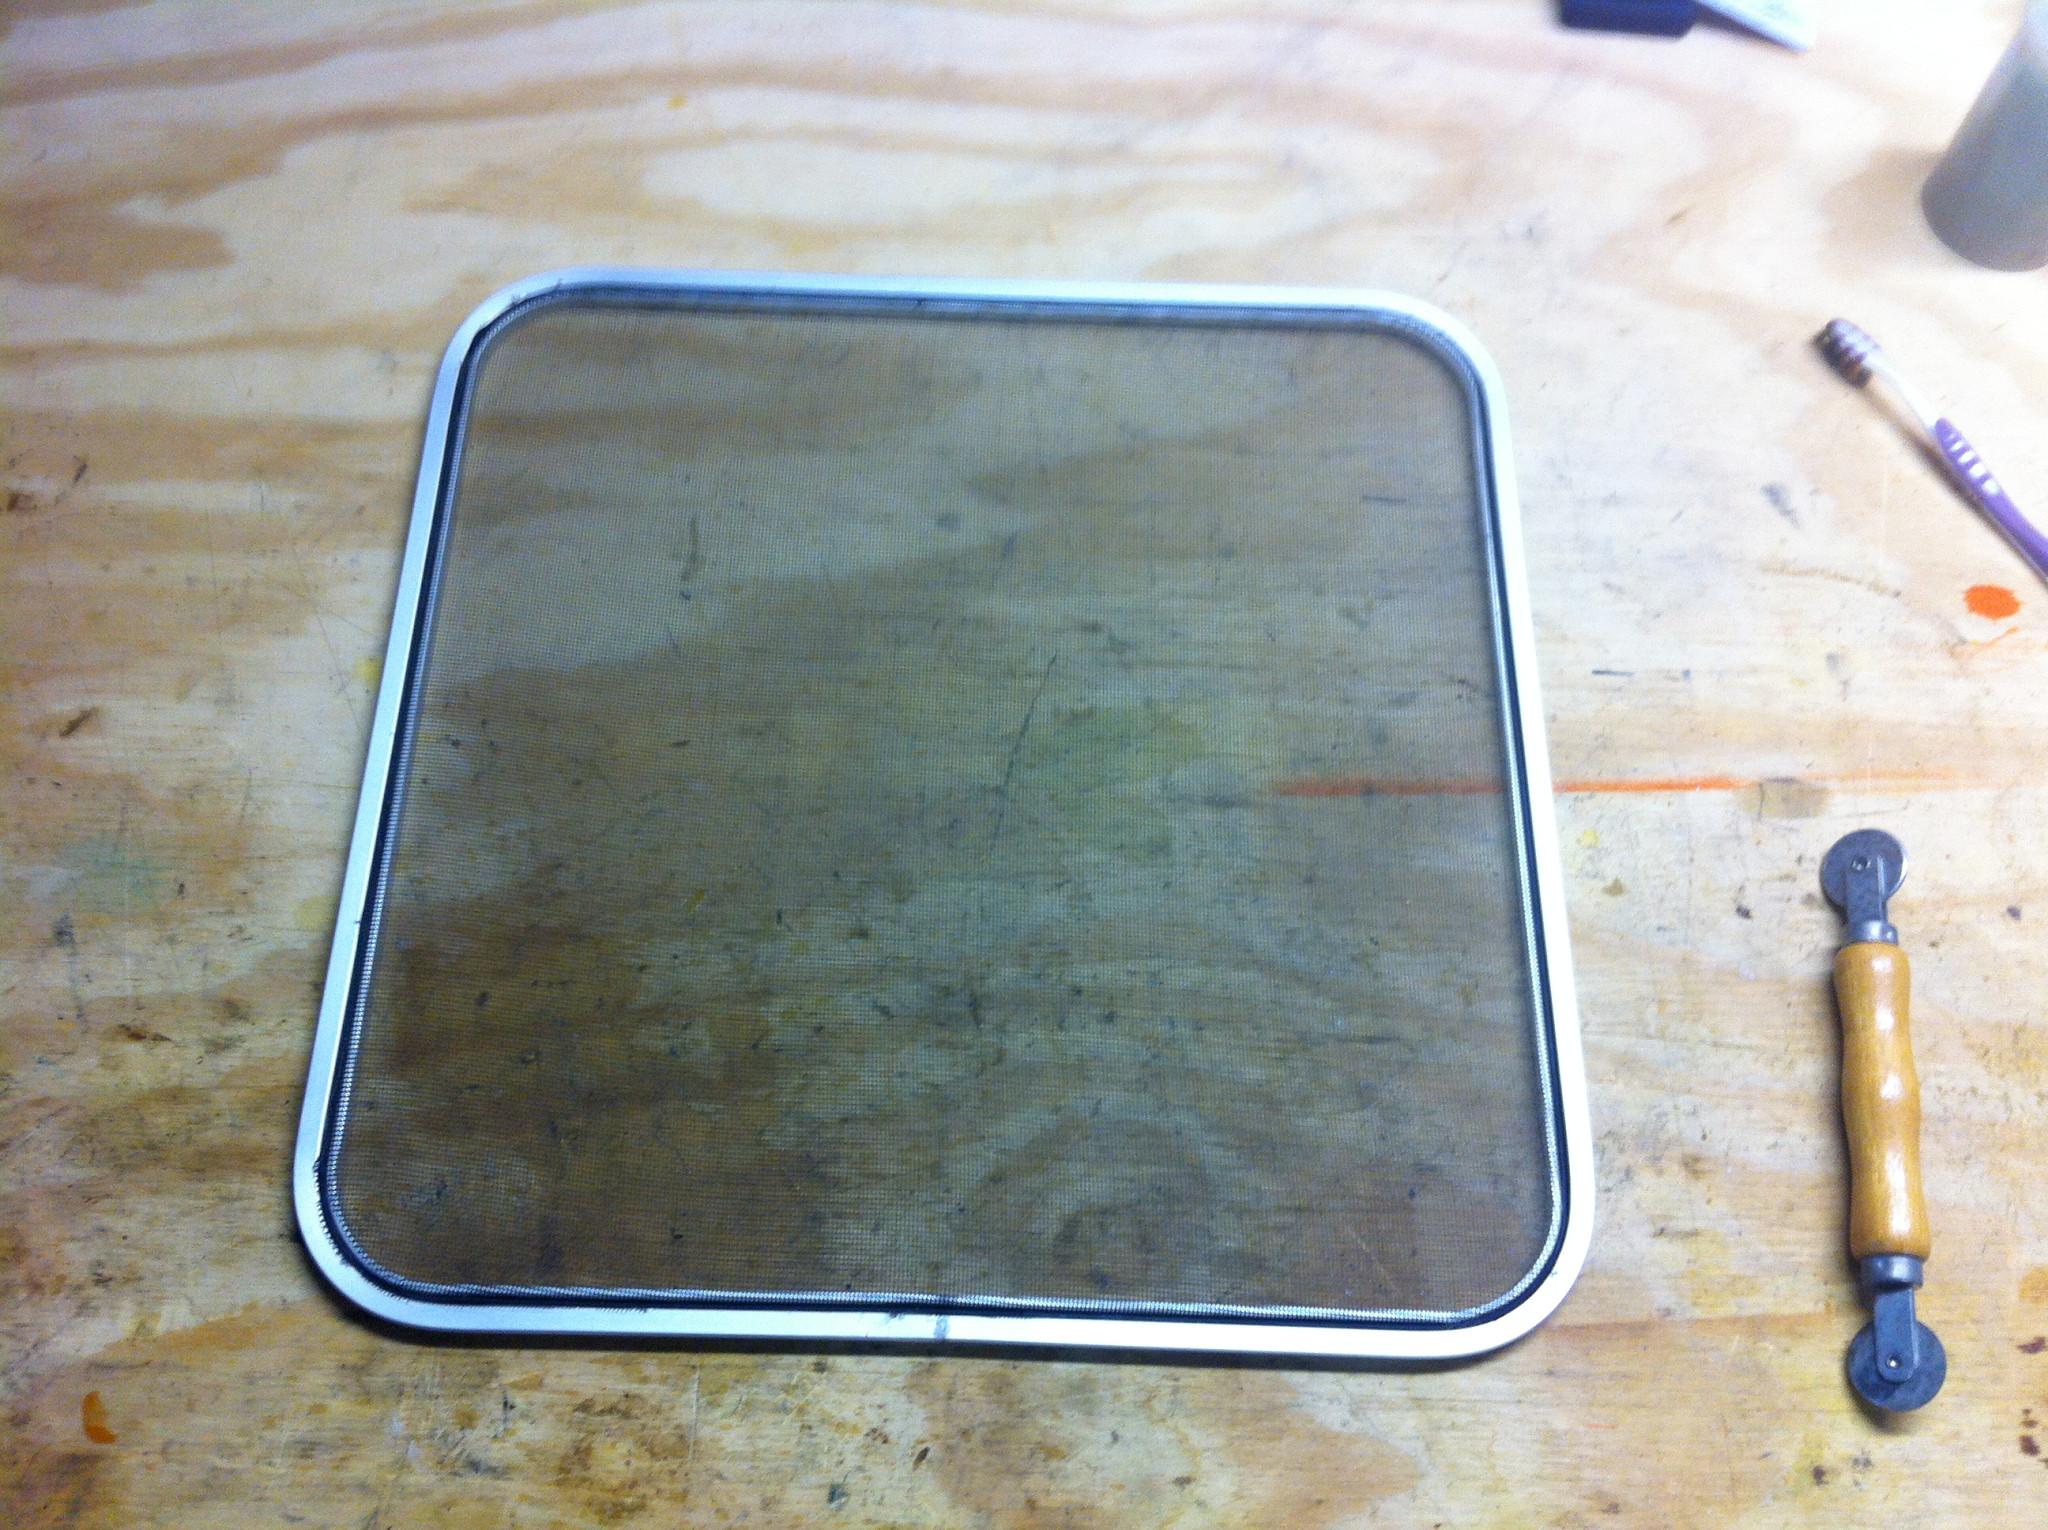
Went
over to the shop, and unloaded several projects to work on. The first
was a screen on one of the forward main cabin hatches. One of our
Kittens, Jordie,
tried to lie in the screen when he was outside, and pulled the screen
loose. The screen did not tear, so all I had to do was put the screen
back in the frame.
Screen
Frame And Screen On Work Bench
Screen
And Frame Back Together
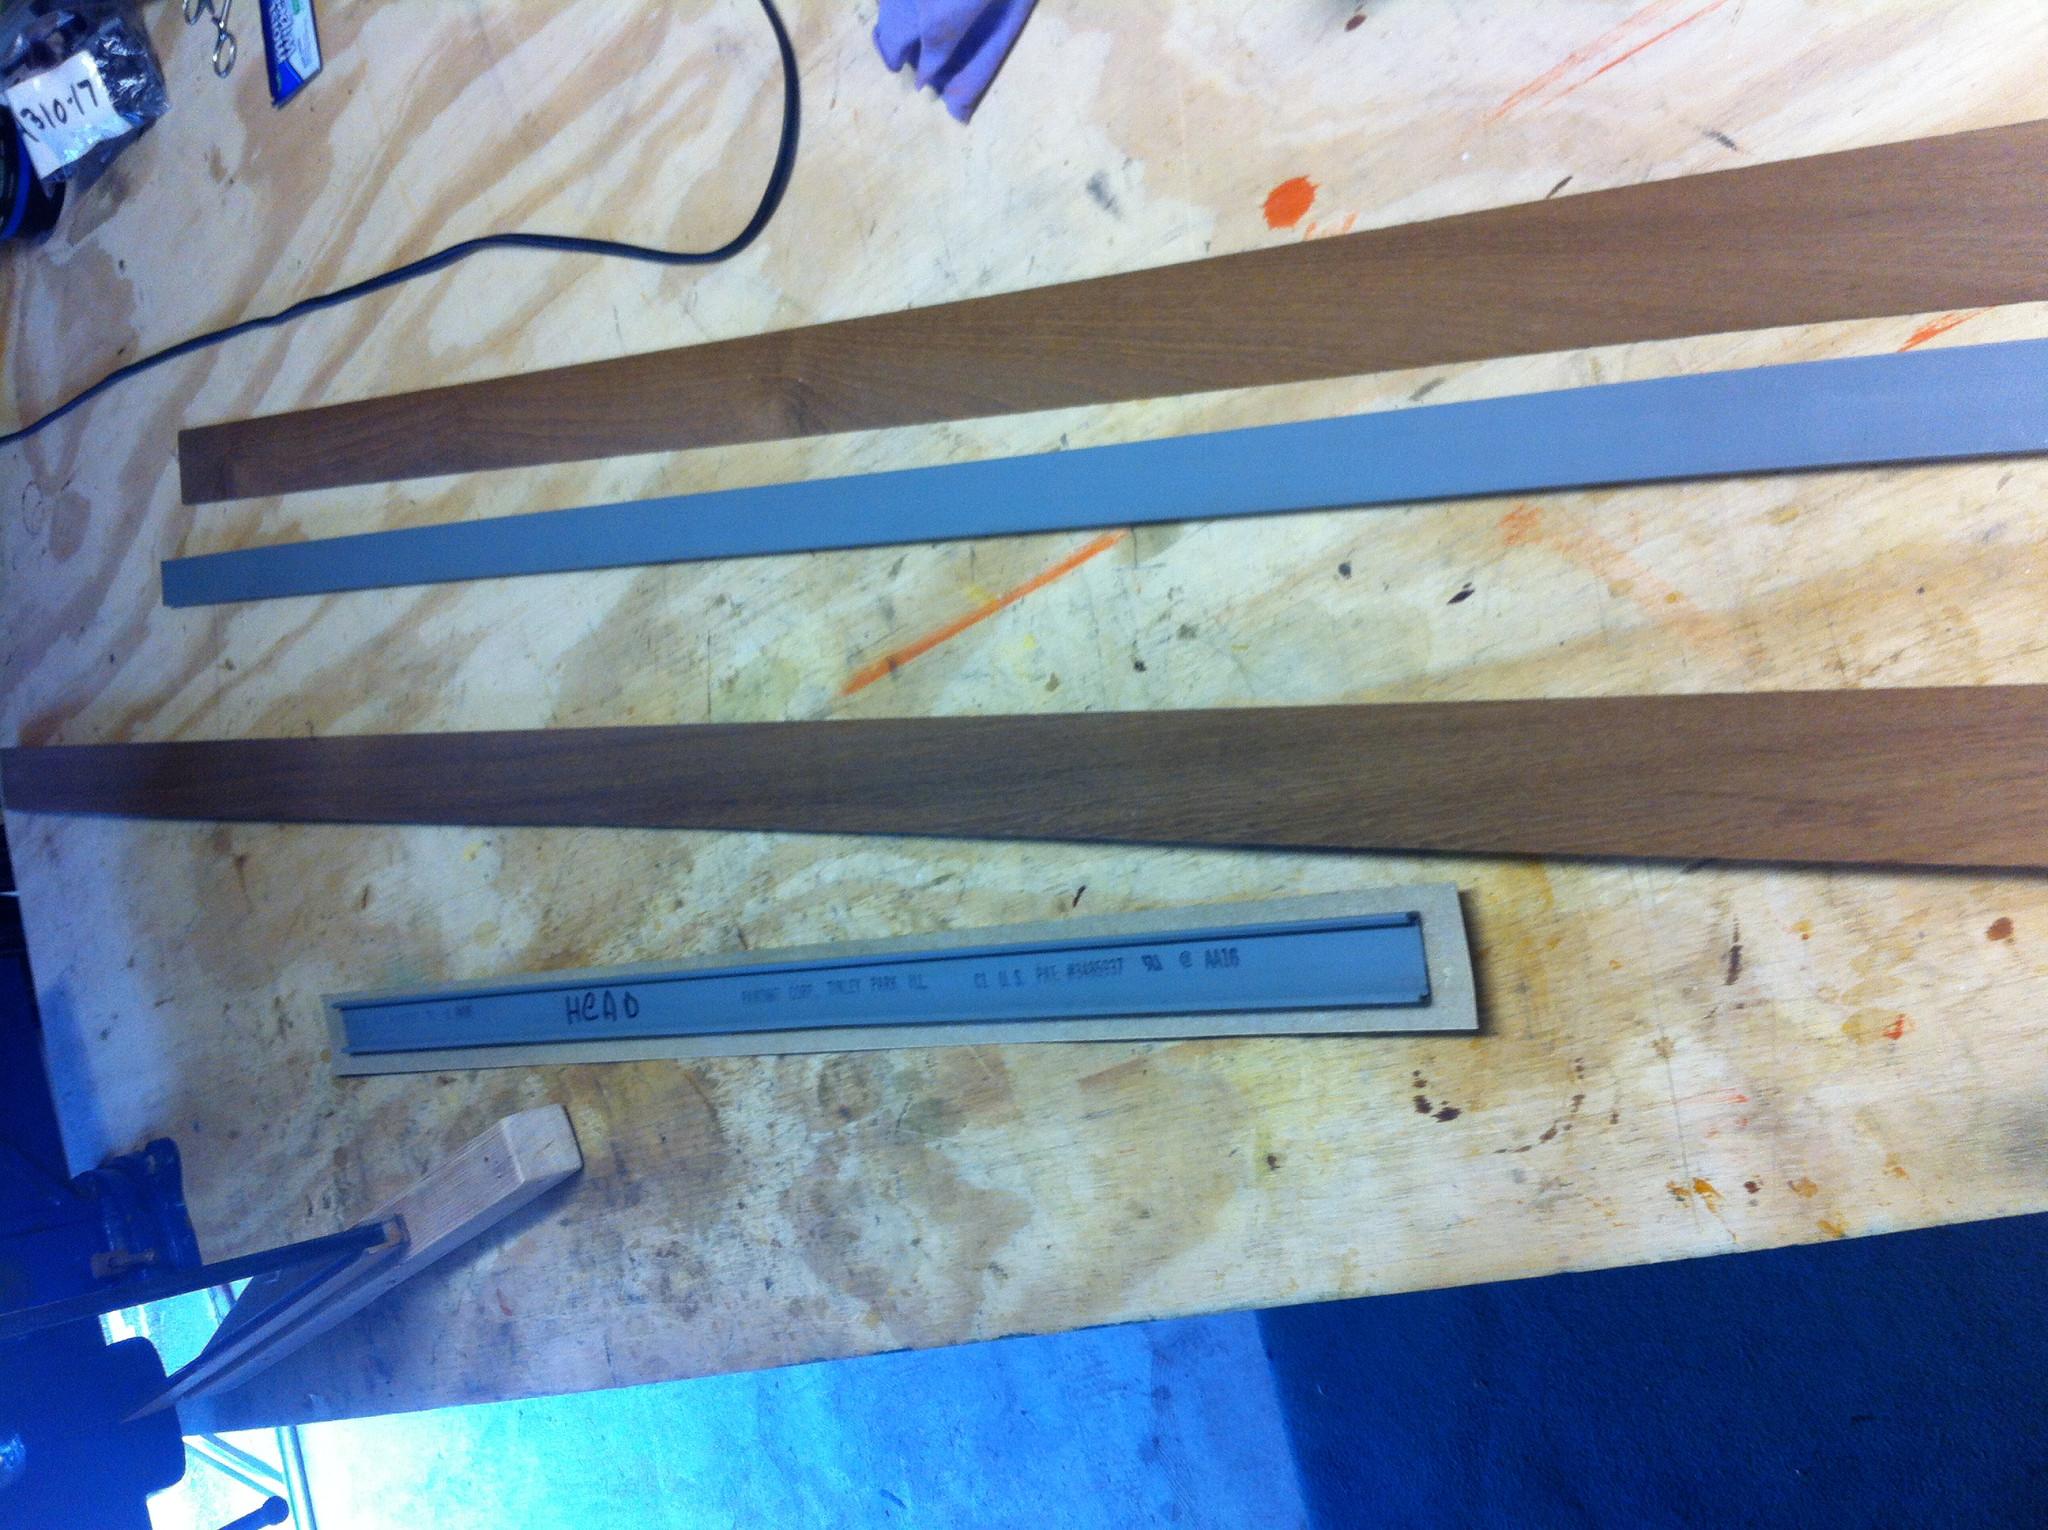
I
brought over to the shop three more of the Panduit
wire duct
covers. I cut the teak tape for the covers and then applied the tape
to the Panduit
wire duct
covers. When that was complete, I applied the dye to get all of the
covers ready for the application of varnish.
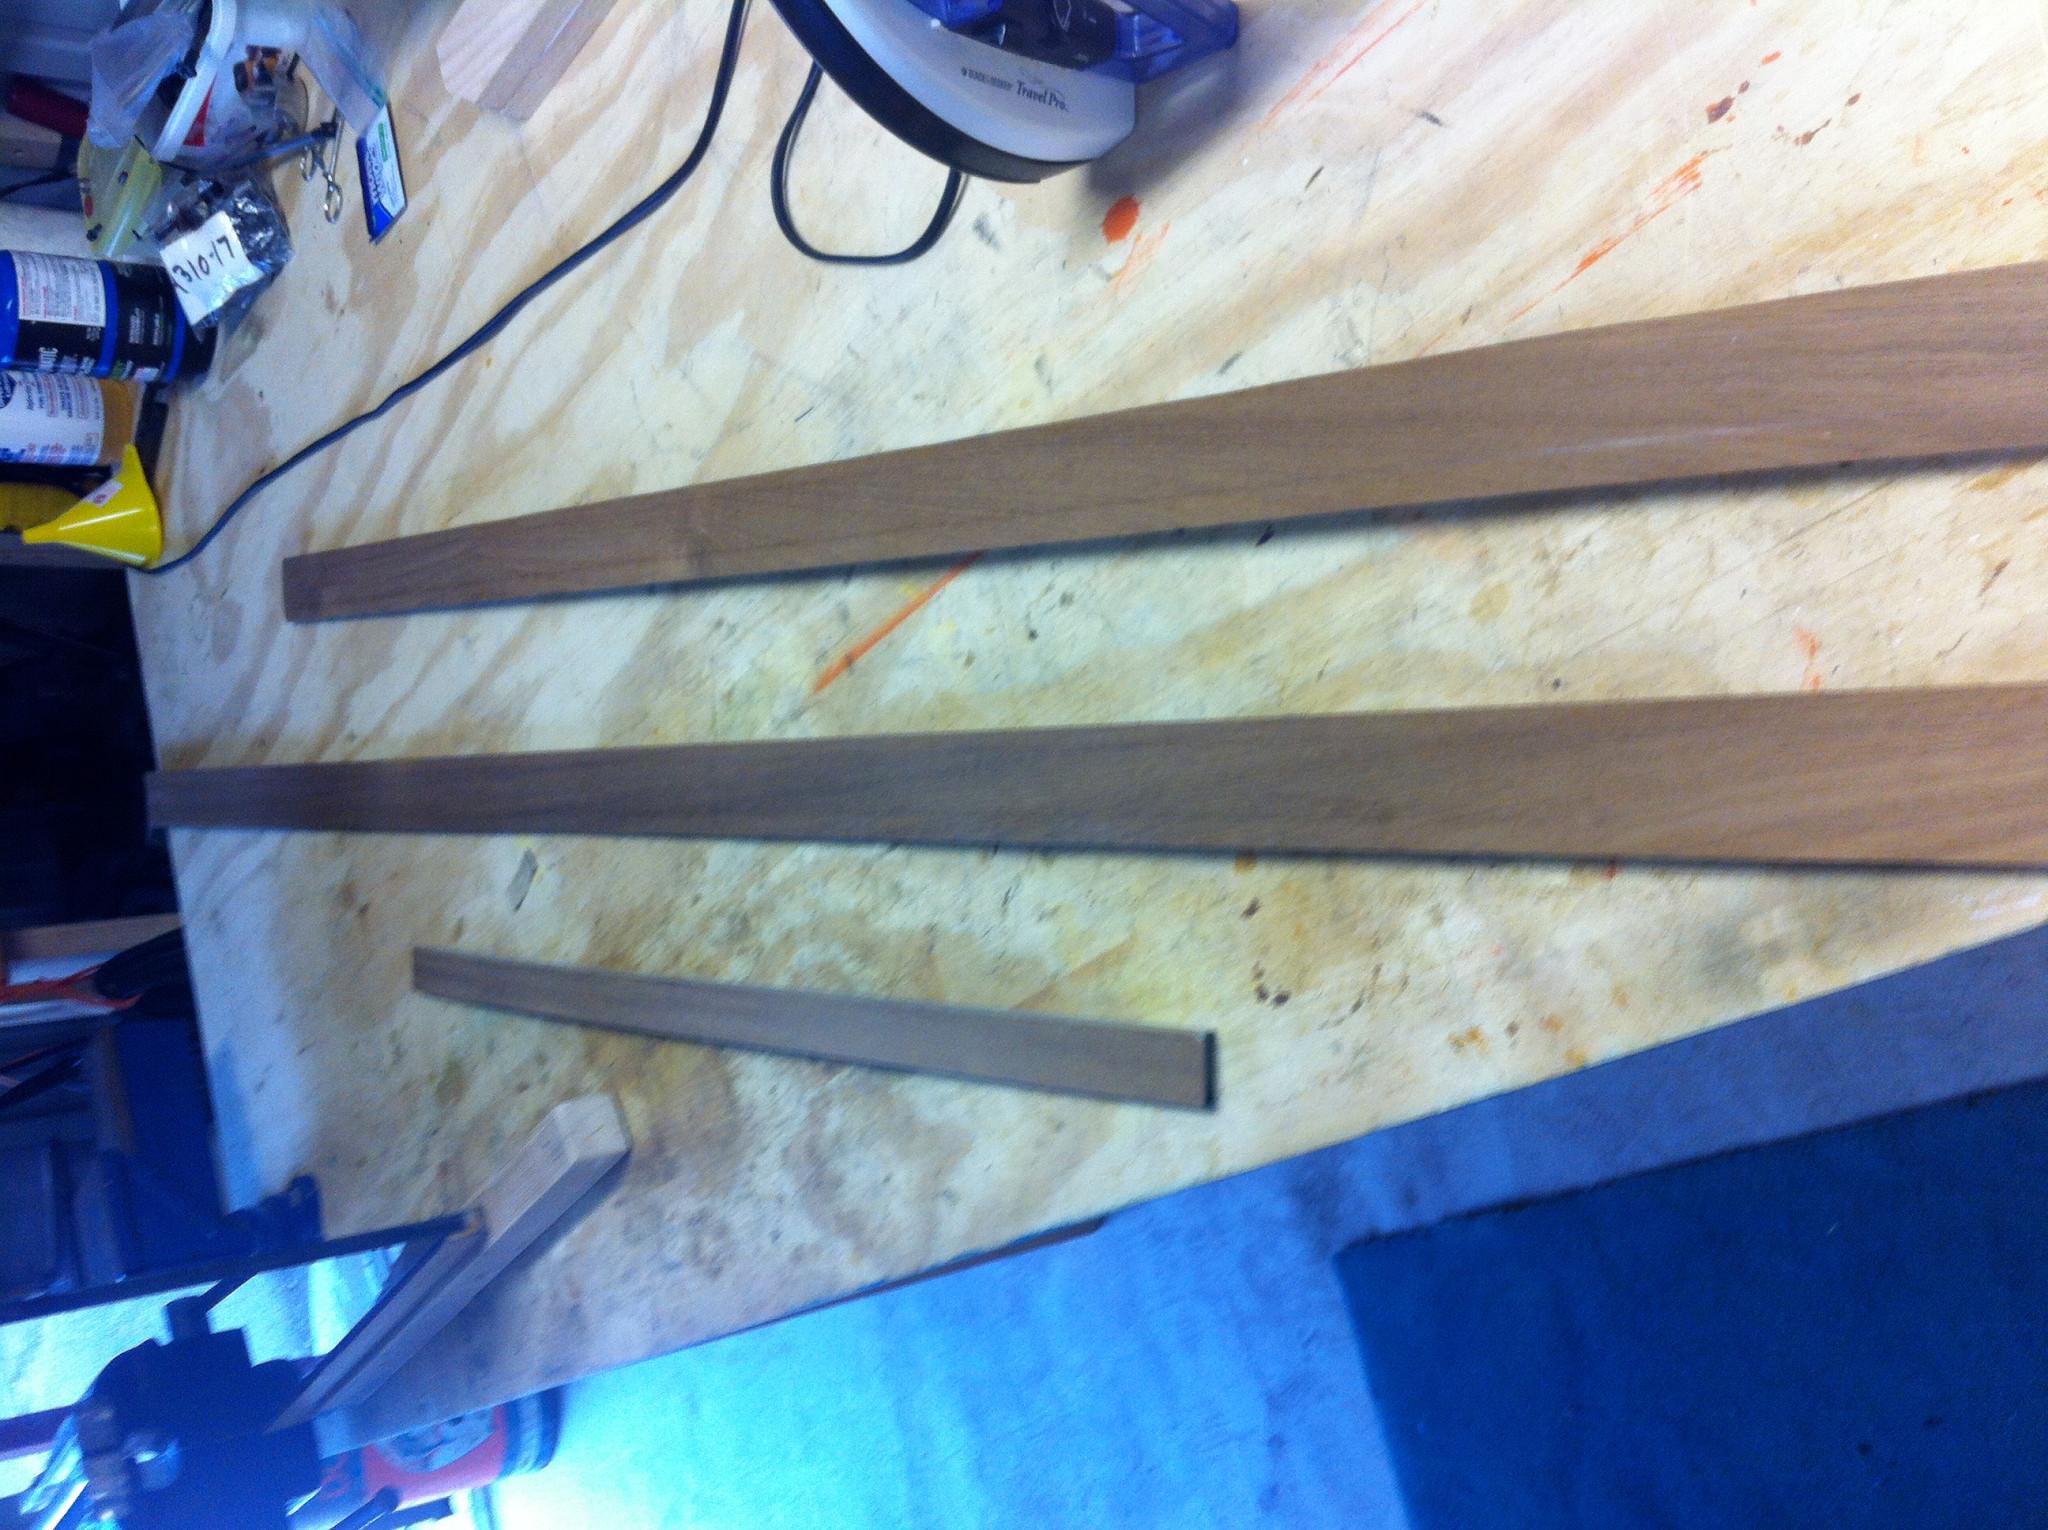
Next
on the list was the repair of the large acrylic insert with epoxy.
One of the newly installed tabs had broken off and needed to be put
back on with epoxy.
Large
Acrylic Insert With Broken Tab
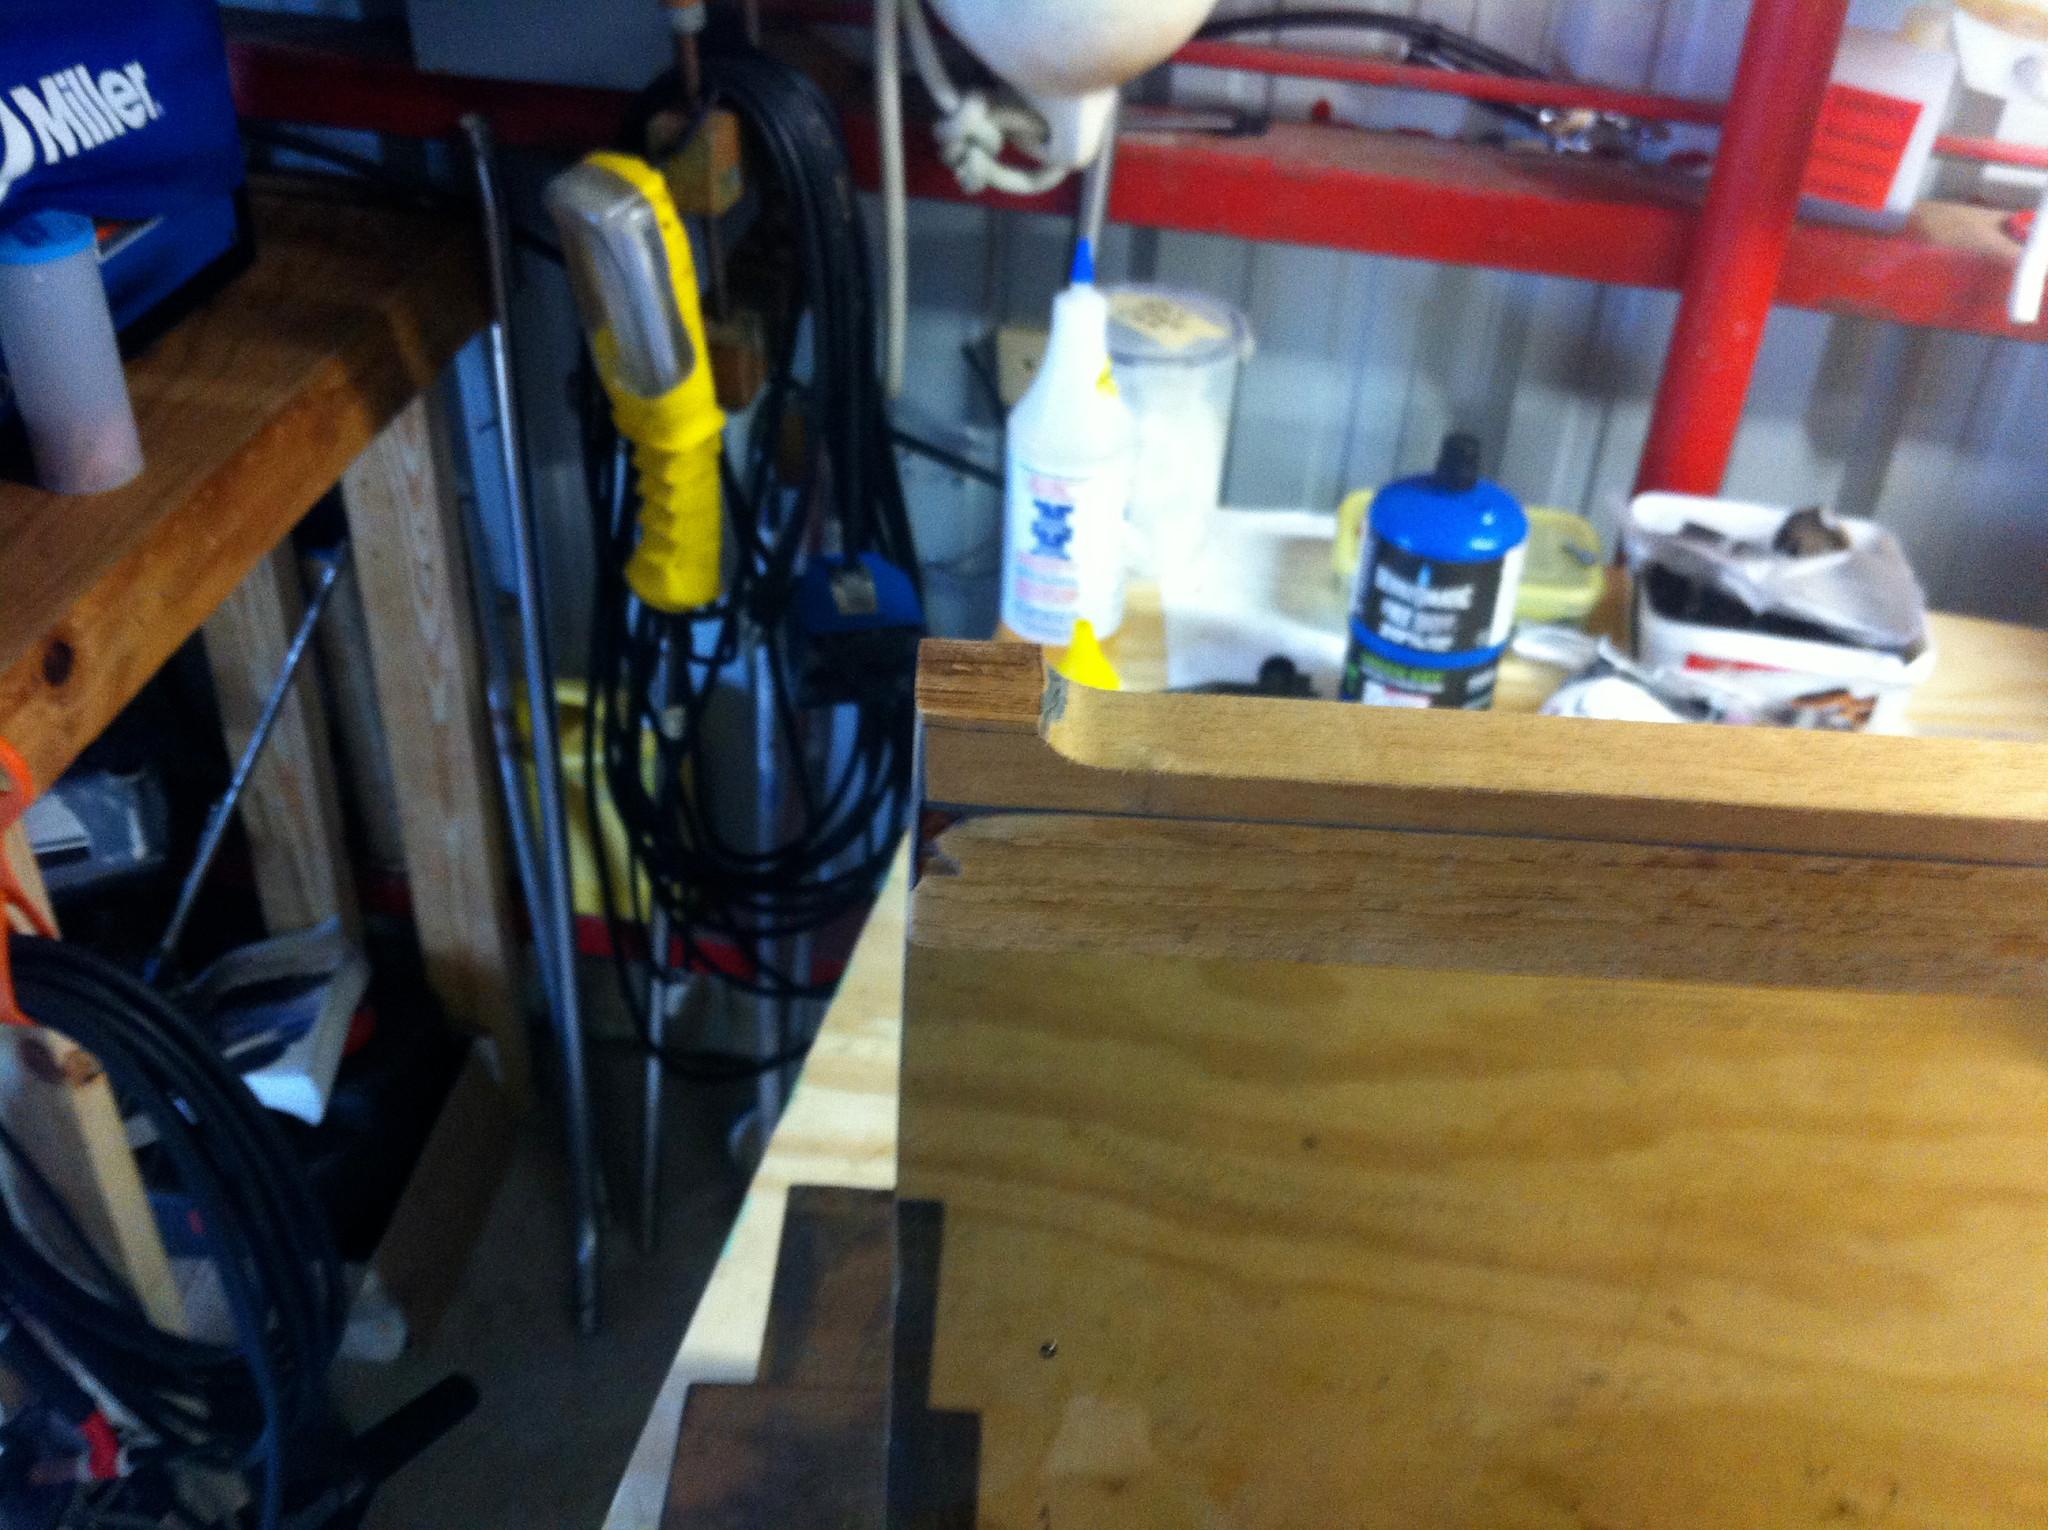
Large
Acrylic Insert Epoxy Repair

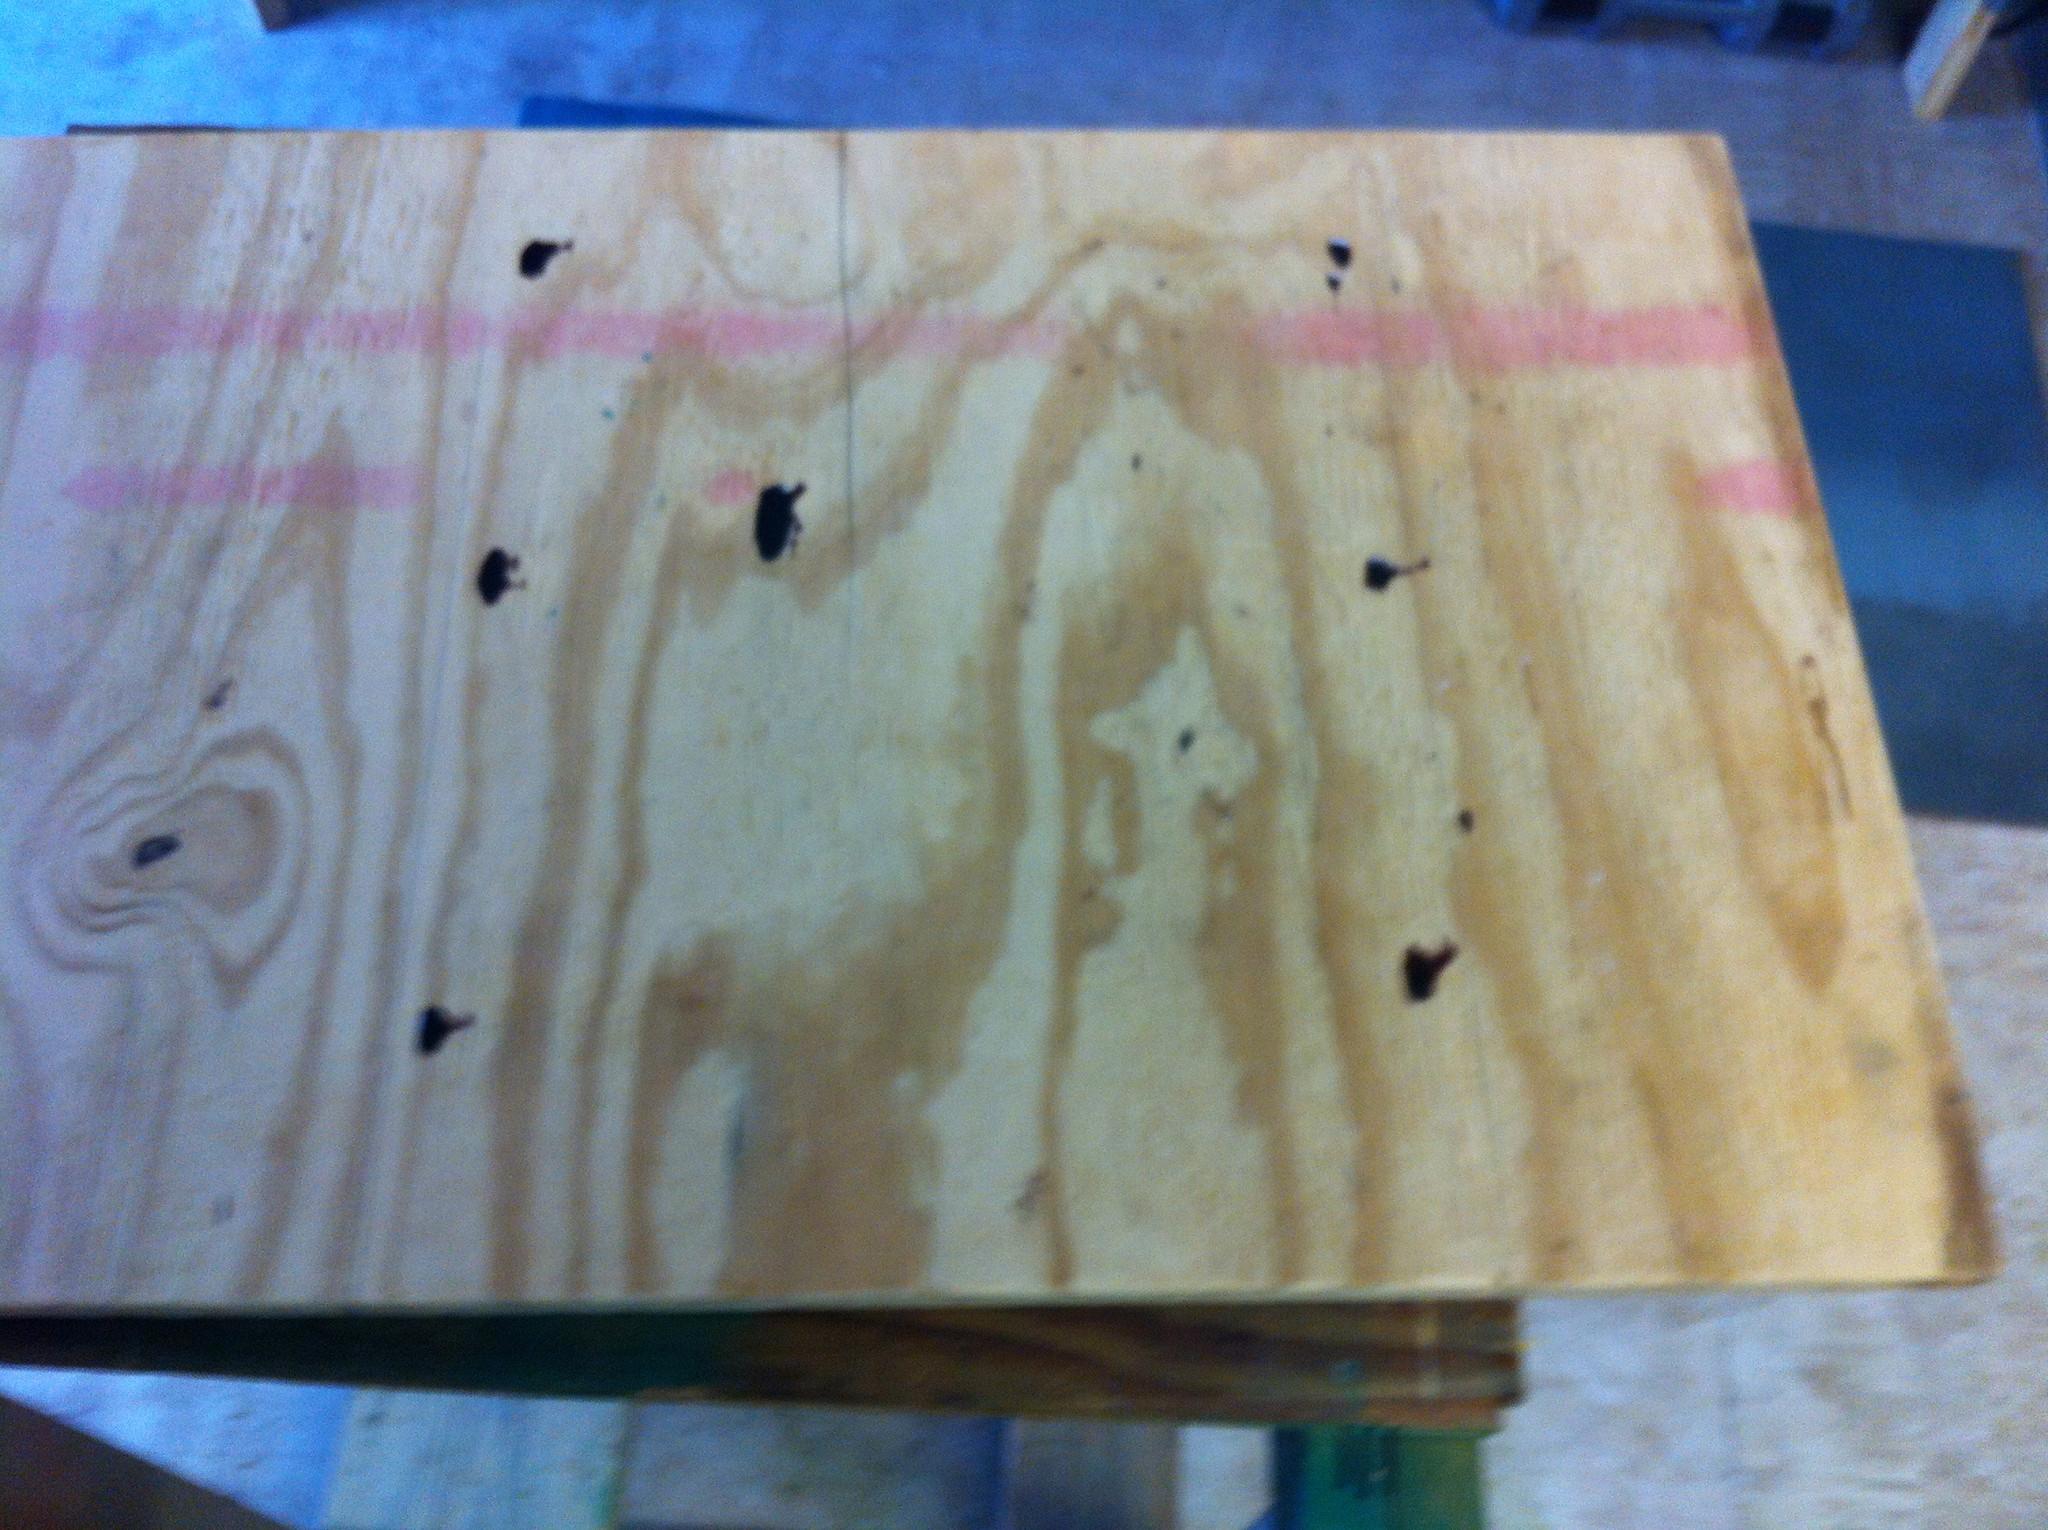
Since
I had a pot of epoxy mixed, I had also planned to fill in the holes
that I had made in the temporary table in the main cabin. The
starboard hatch in the cockpit has some rot in it, and needs repair.
My plan is to use the piece of plywood I had used for the temporary
table in the main cabin, as the temporary cockpit hatch. Because I
had drilled some holes in the piece, I needed to fill the holes so
there would be no leak issues. I masked the back of the piece with
masking tape, and then applied the epoxy.
Plywood
Before Epoxy Application

Plywood
After Epoxy Application
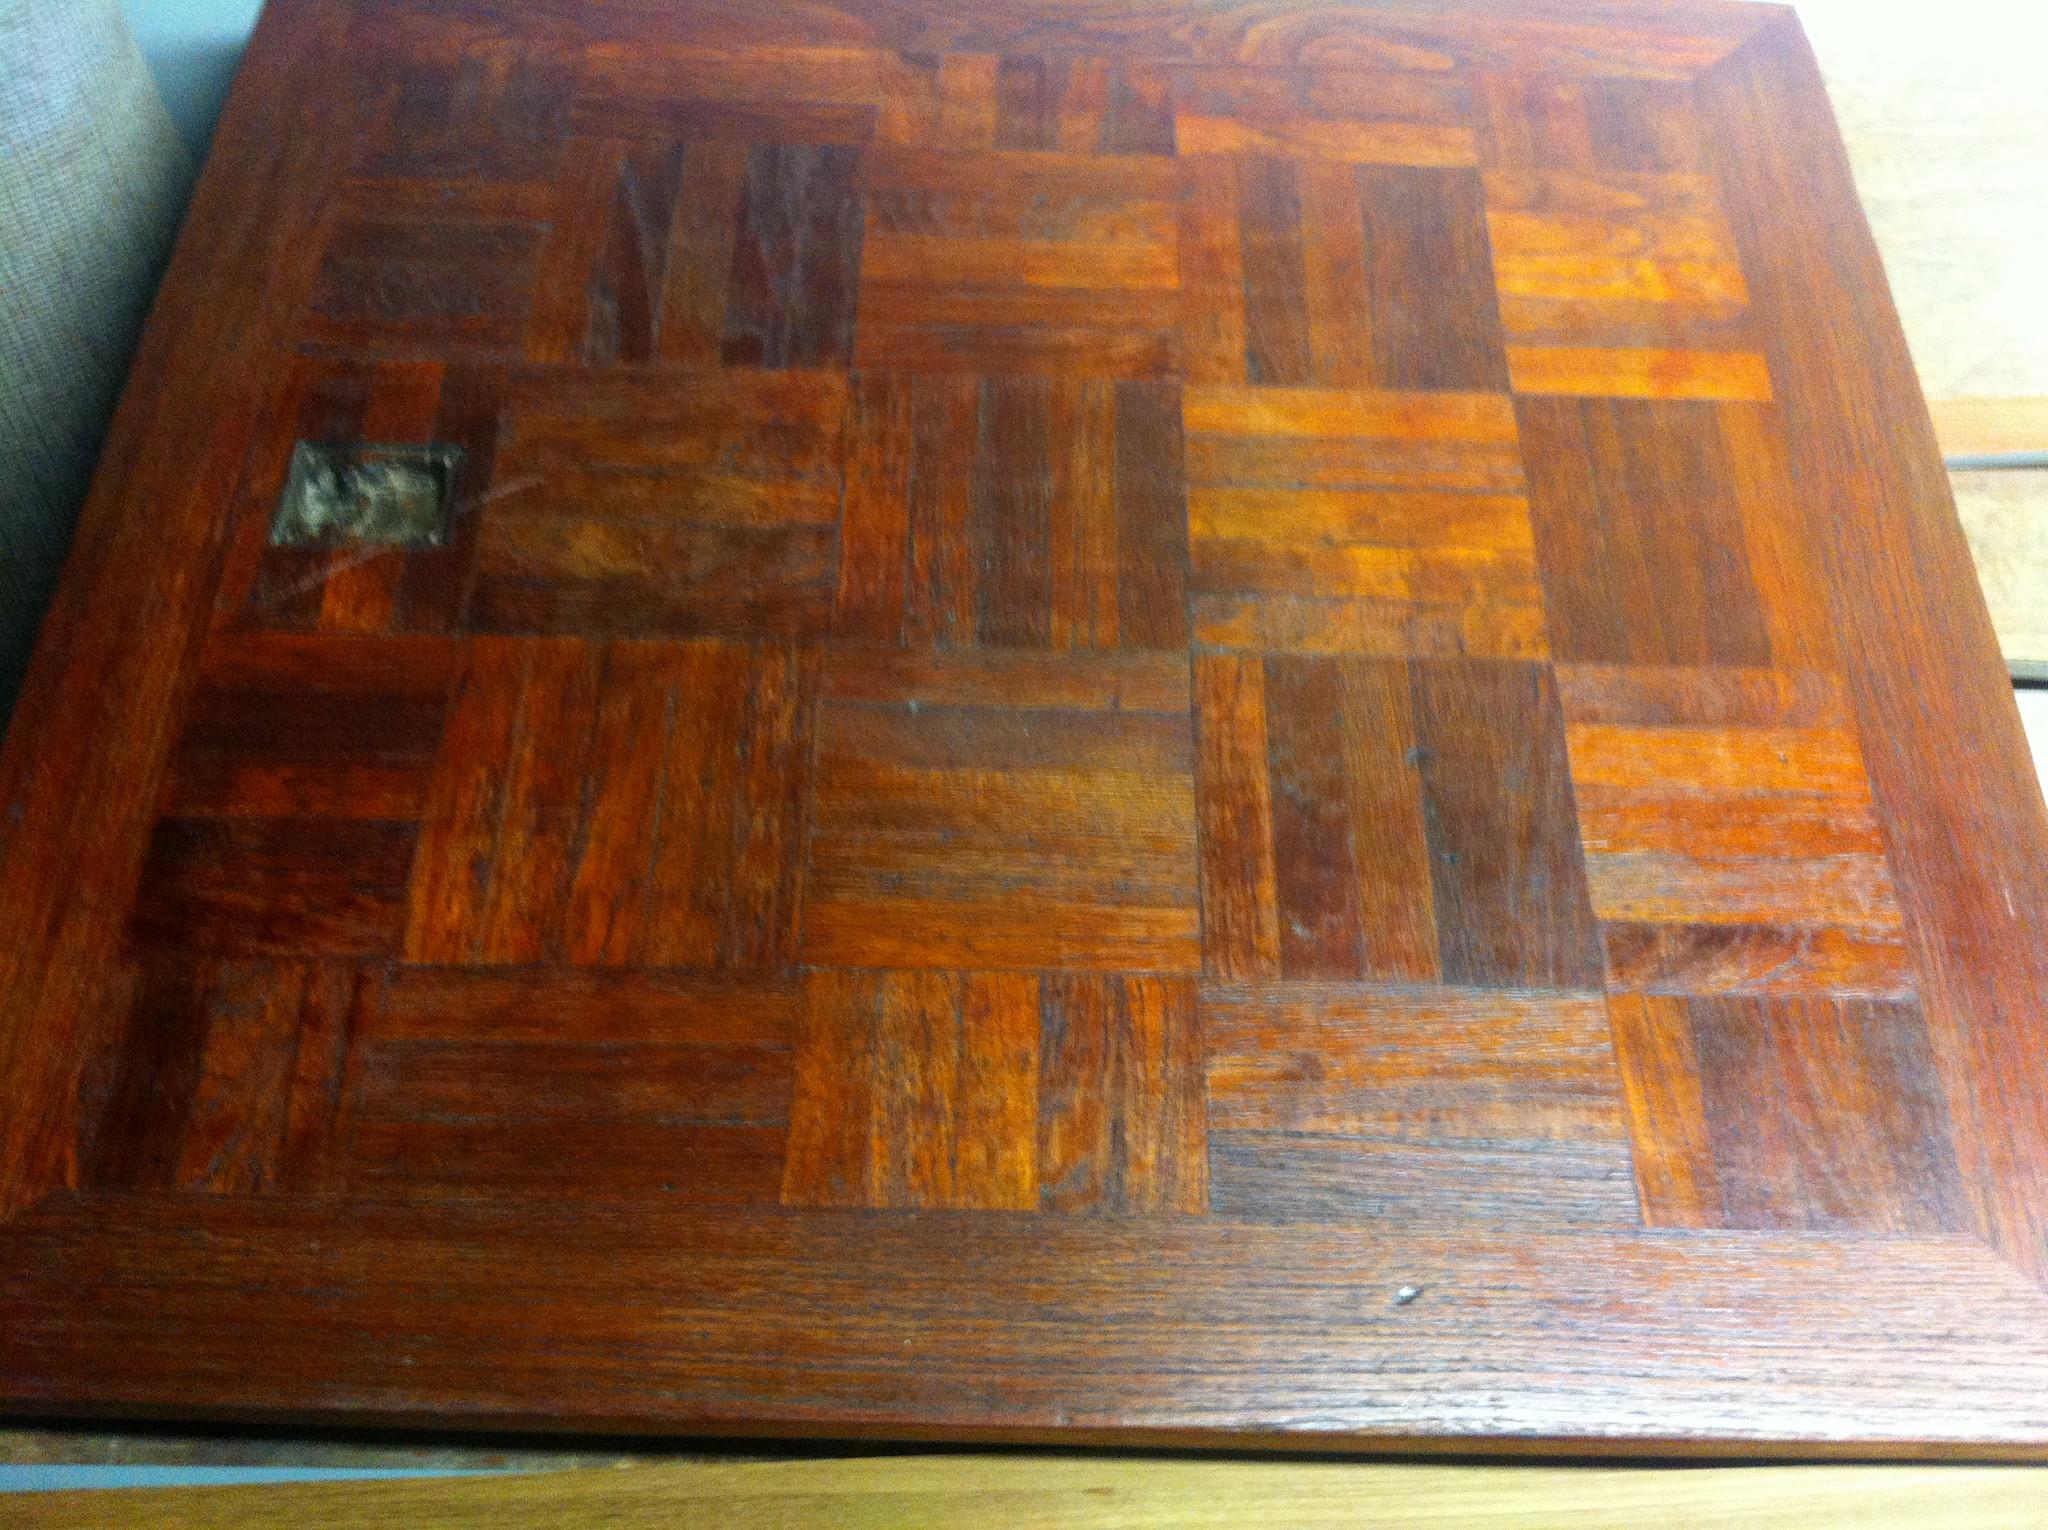
I
had again brought the hatch from the main cabin deck over to the
shop. Of course I inserted the temporary hatch in the deck. I needed
to apply an additional coat of Watco
Teak Oil Finish
to the hatch in the main cabin floor. I sanded the hatch with 320
grit sandpaper, then wiped it down with a tack rag. I then applied a
coat of the Watco
Teak Oil Finish.
Main
Cabin Hatch Before Sanding

Headed
back to DREAM AWAY to have breakfast. After breakfast I started in on
the check DC wiring project. On April 22nd when Noel and I swapped
out the Heart
Freedom 25
inverter/charger and starting using the spare, there still seems to
be some problems. For one, when the battery charger is in max charge
mode, 130 amps DC, it seems like the unit is pulling too many AC
amps, almost 30. Checking with the Heart
Freedom 25
inverter/charger manual, it states when in max charge mode the unit
draws 26 amps, AC. I was having trouble with the main panel circuit
breaker, 30 amps, popping. That would make sense if anything else was
on the AC power system.
Any
way to make sure there was not any other problems, I decided to
completely check out all of the DC battery connections. I knew this
needed to be done, as I mentioned previously that the bolts on the
battery clamps had a steel bolt in them and they were rusting.
I
am sure I have said it before. but I get so upset with “Marine”
parts suppliers selling parts that do not work in a marine
environment. Case in point, West Marine selling marine battery
terminals that uses a steel bolt to clamp the terminal to the battery
post.
Off
my pedestal, and back to real life. I took off all of the ground
connections on the ground buss, located in the engine room, and
cleaned all of the connections. I also took the battery switches off
of the bulkhead in the engine room and checked and cleaned all of
those connections.
When
that was completed, I started in on the seven 8D batteries in my
system. Six are in the house battery, and the seventh is the main
engine and generator start battery. I took off all of the connections
and cleaned them. I also removed all of the battery terminals, and
replaced the clamp bolts with silicon bronze bolts and nuts. I also
measured the voltage in all of the batteries. The voltage ranged from
13.48 to 13.42 volts. Not bad for four year old batteries. Bottom
line all of the connections looked good. The work was more
preventative maintenance than fixing or finding a problem.
I
also checked the AC connections at the inverter/charger end, and
found no problems there. I am still having an issue with the spare
inverter/charger. It is working fine, and charging the batteries, but
it’s function is not displaying on the LINK 2000R battery monitor.
Also the inverter/charger seems to switch from float mode to accept
mode at random. I will probably swap in the other inverter/charger
and see if it reacts the same way.
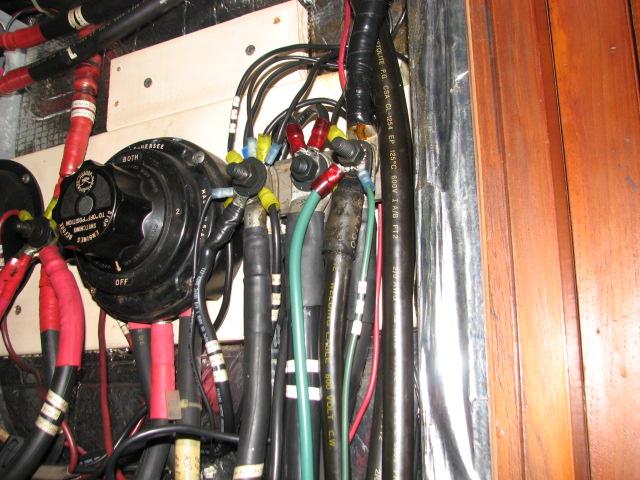
Ground
Buss In Engine Room
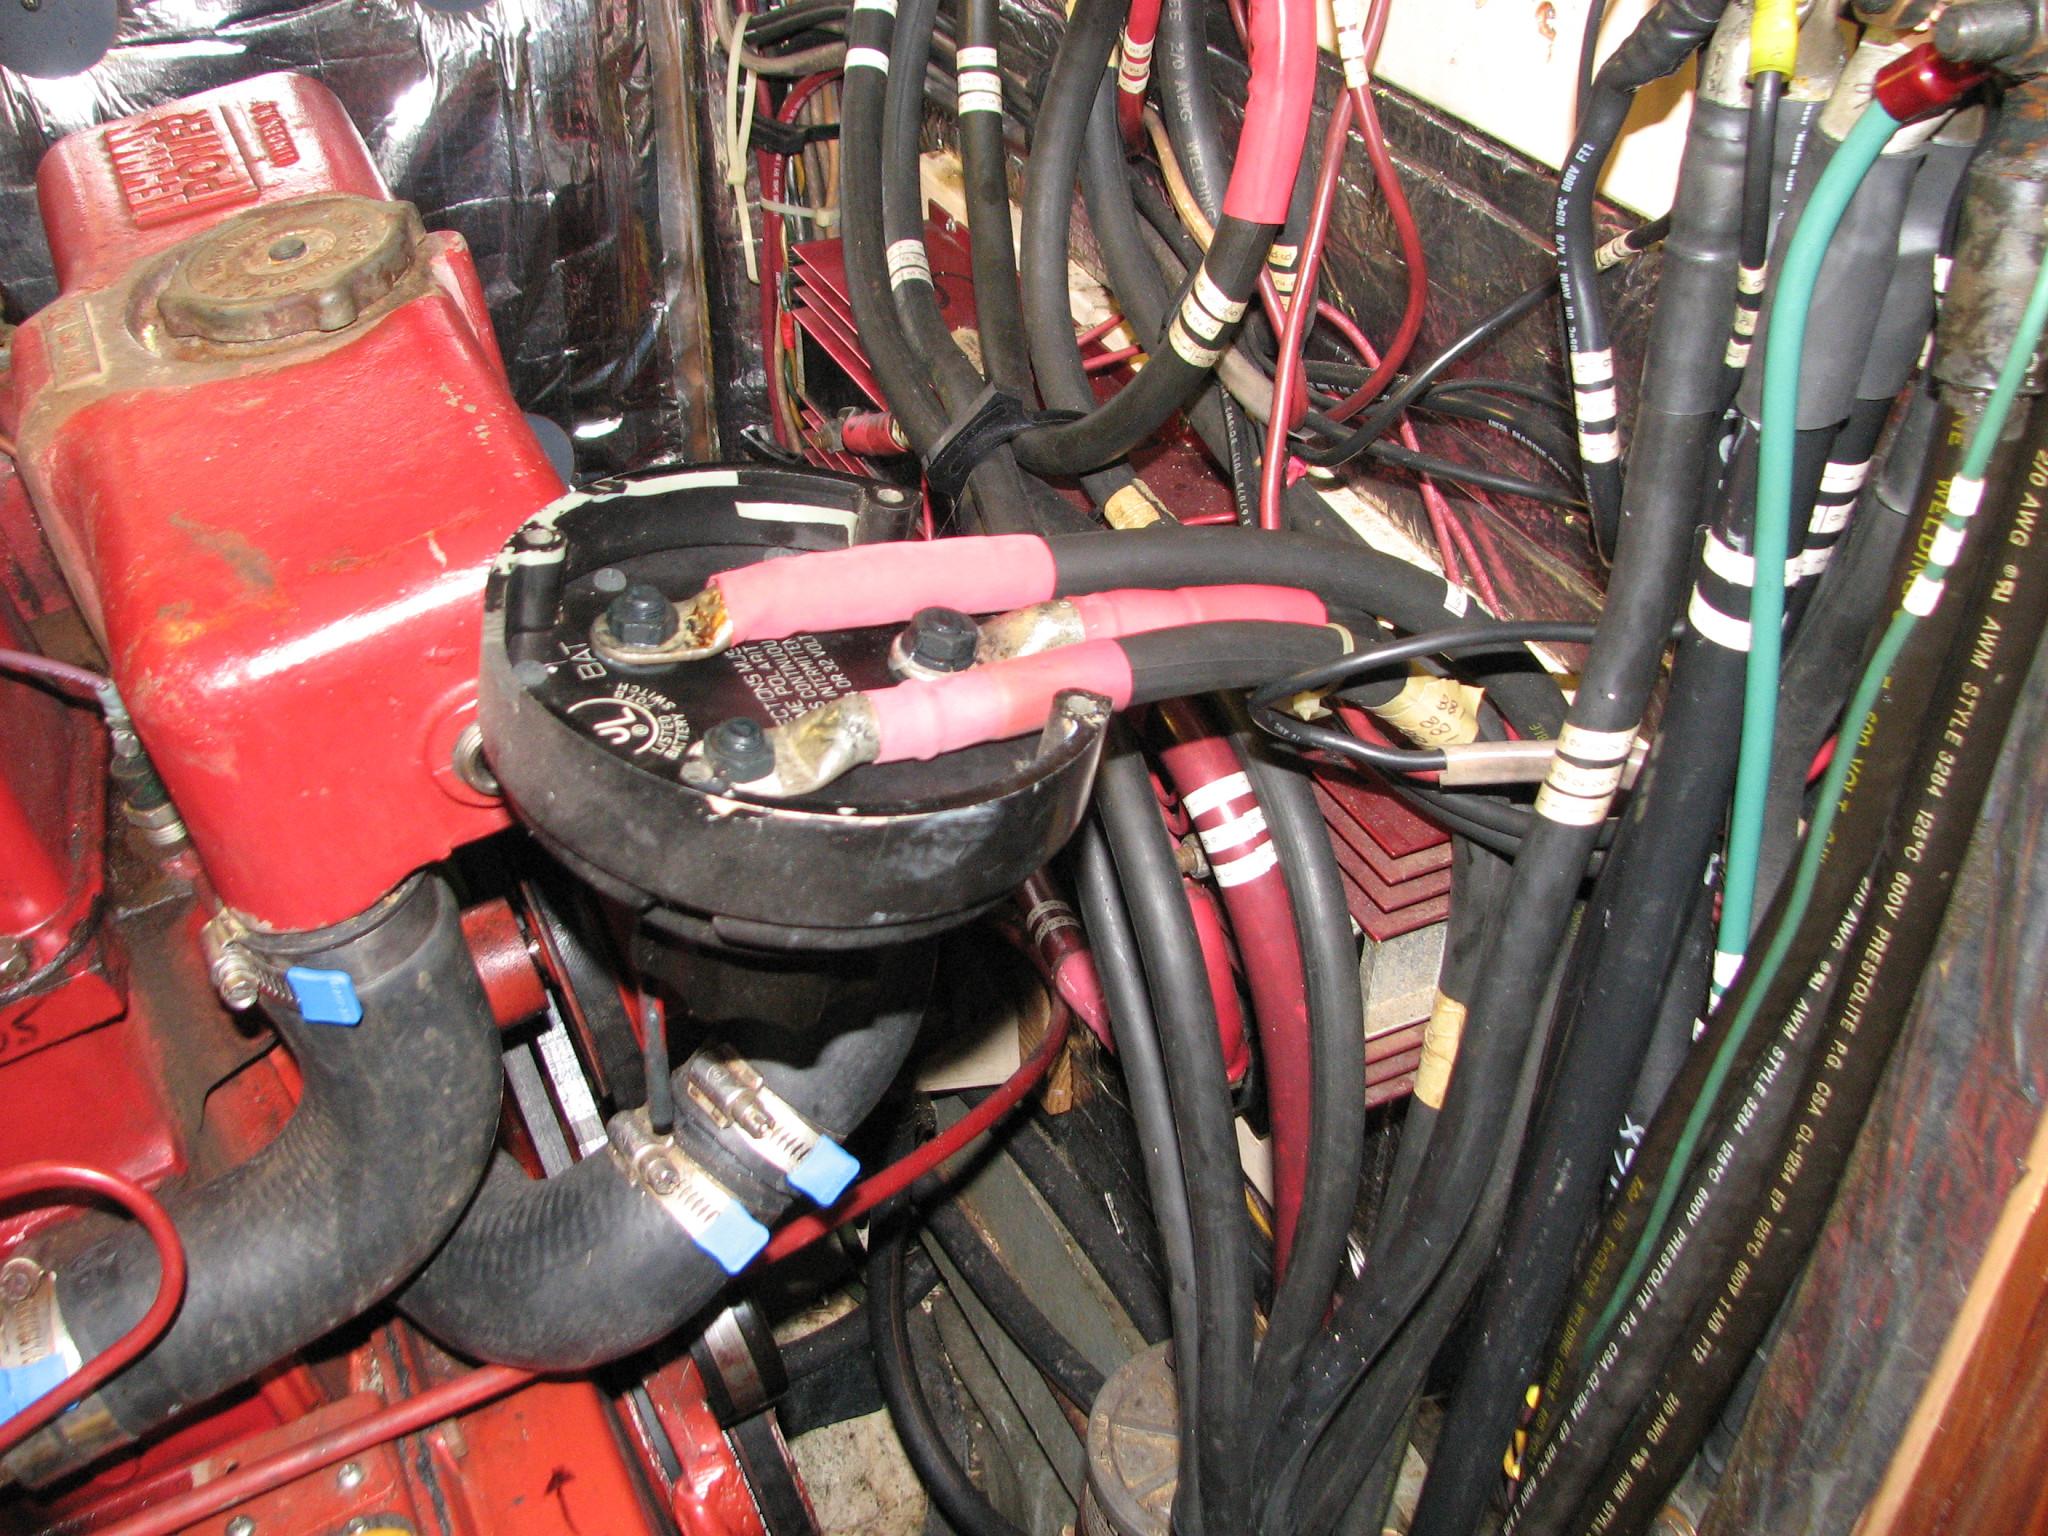
Battery
Switch Off Of Bulkhead
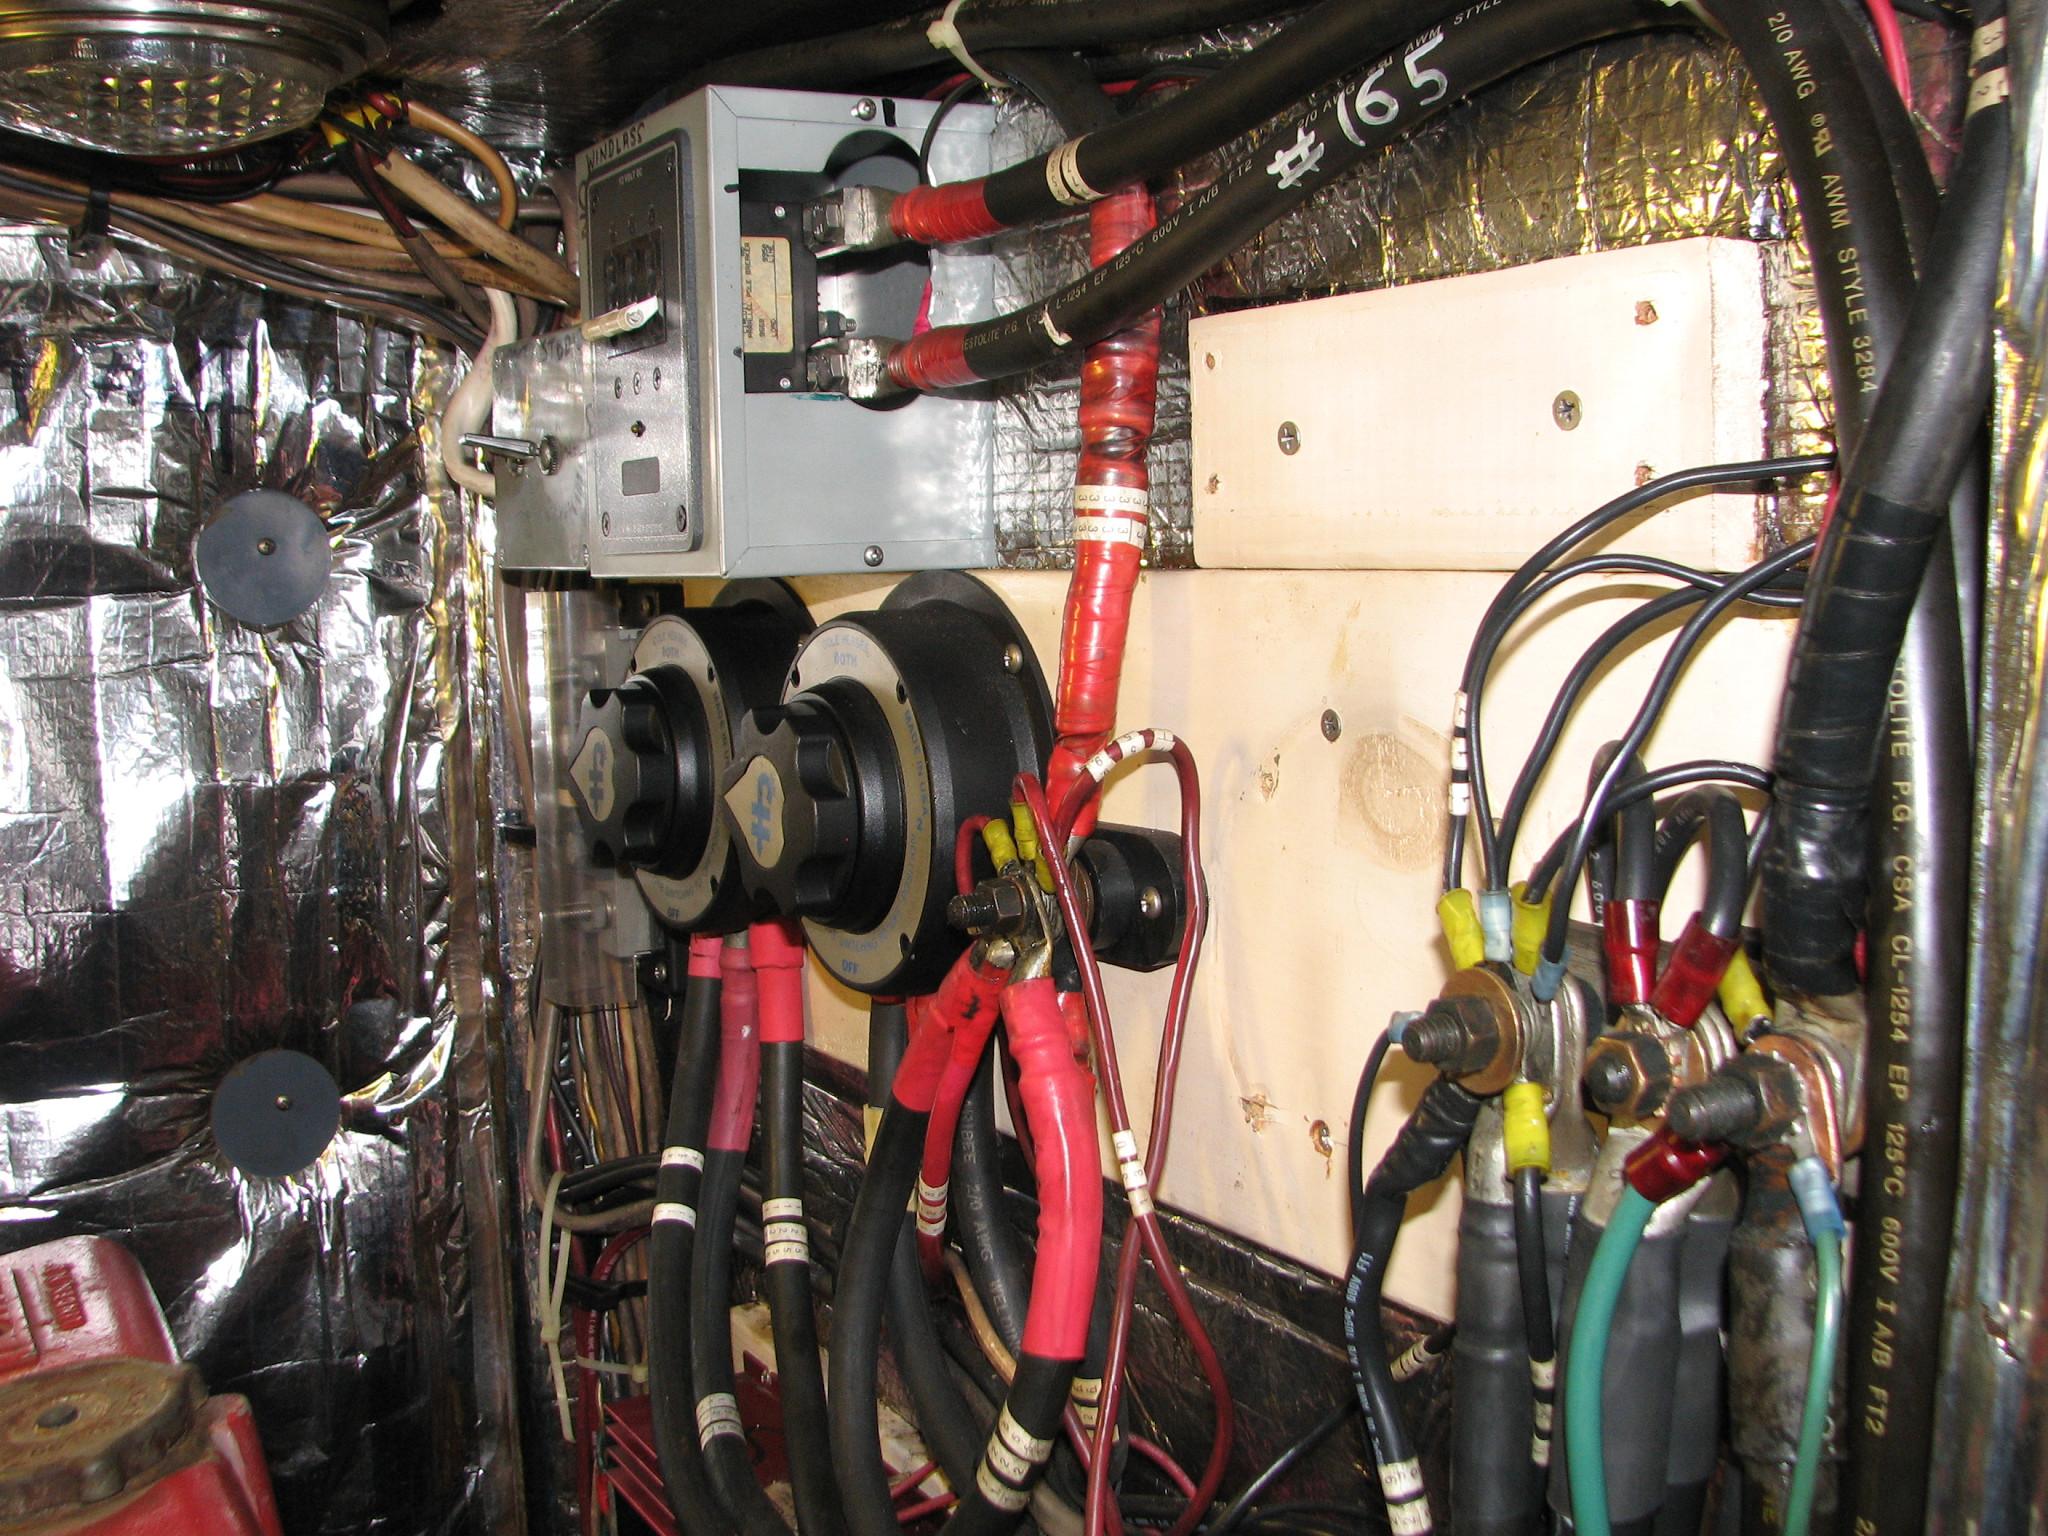
Battery
Switches, Anchor Windlass Switch, And Ground Buss
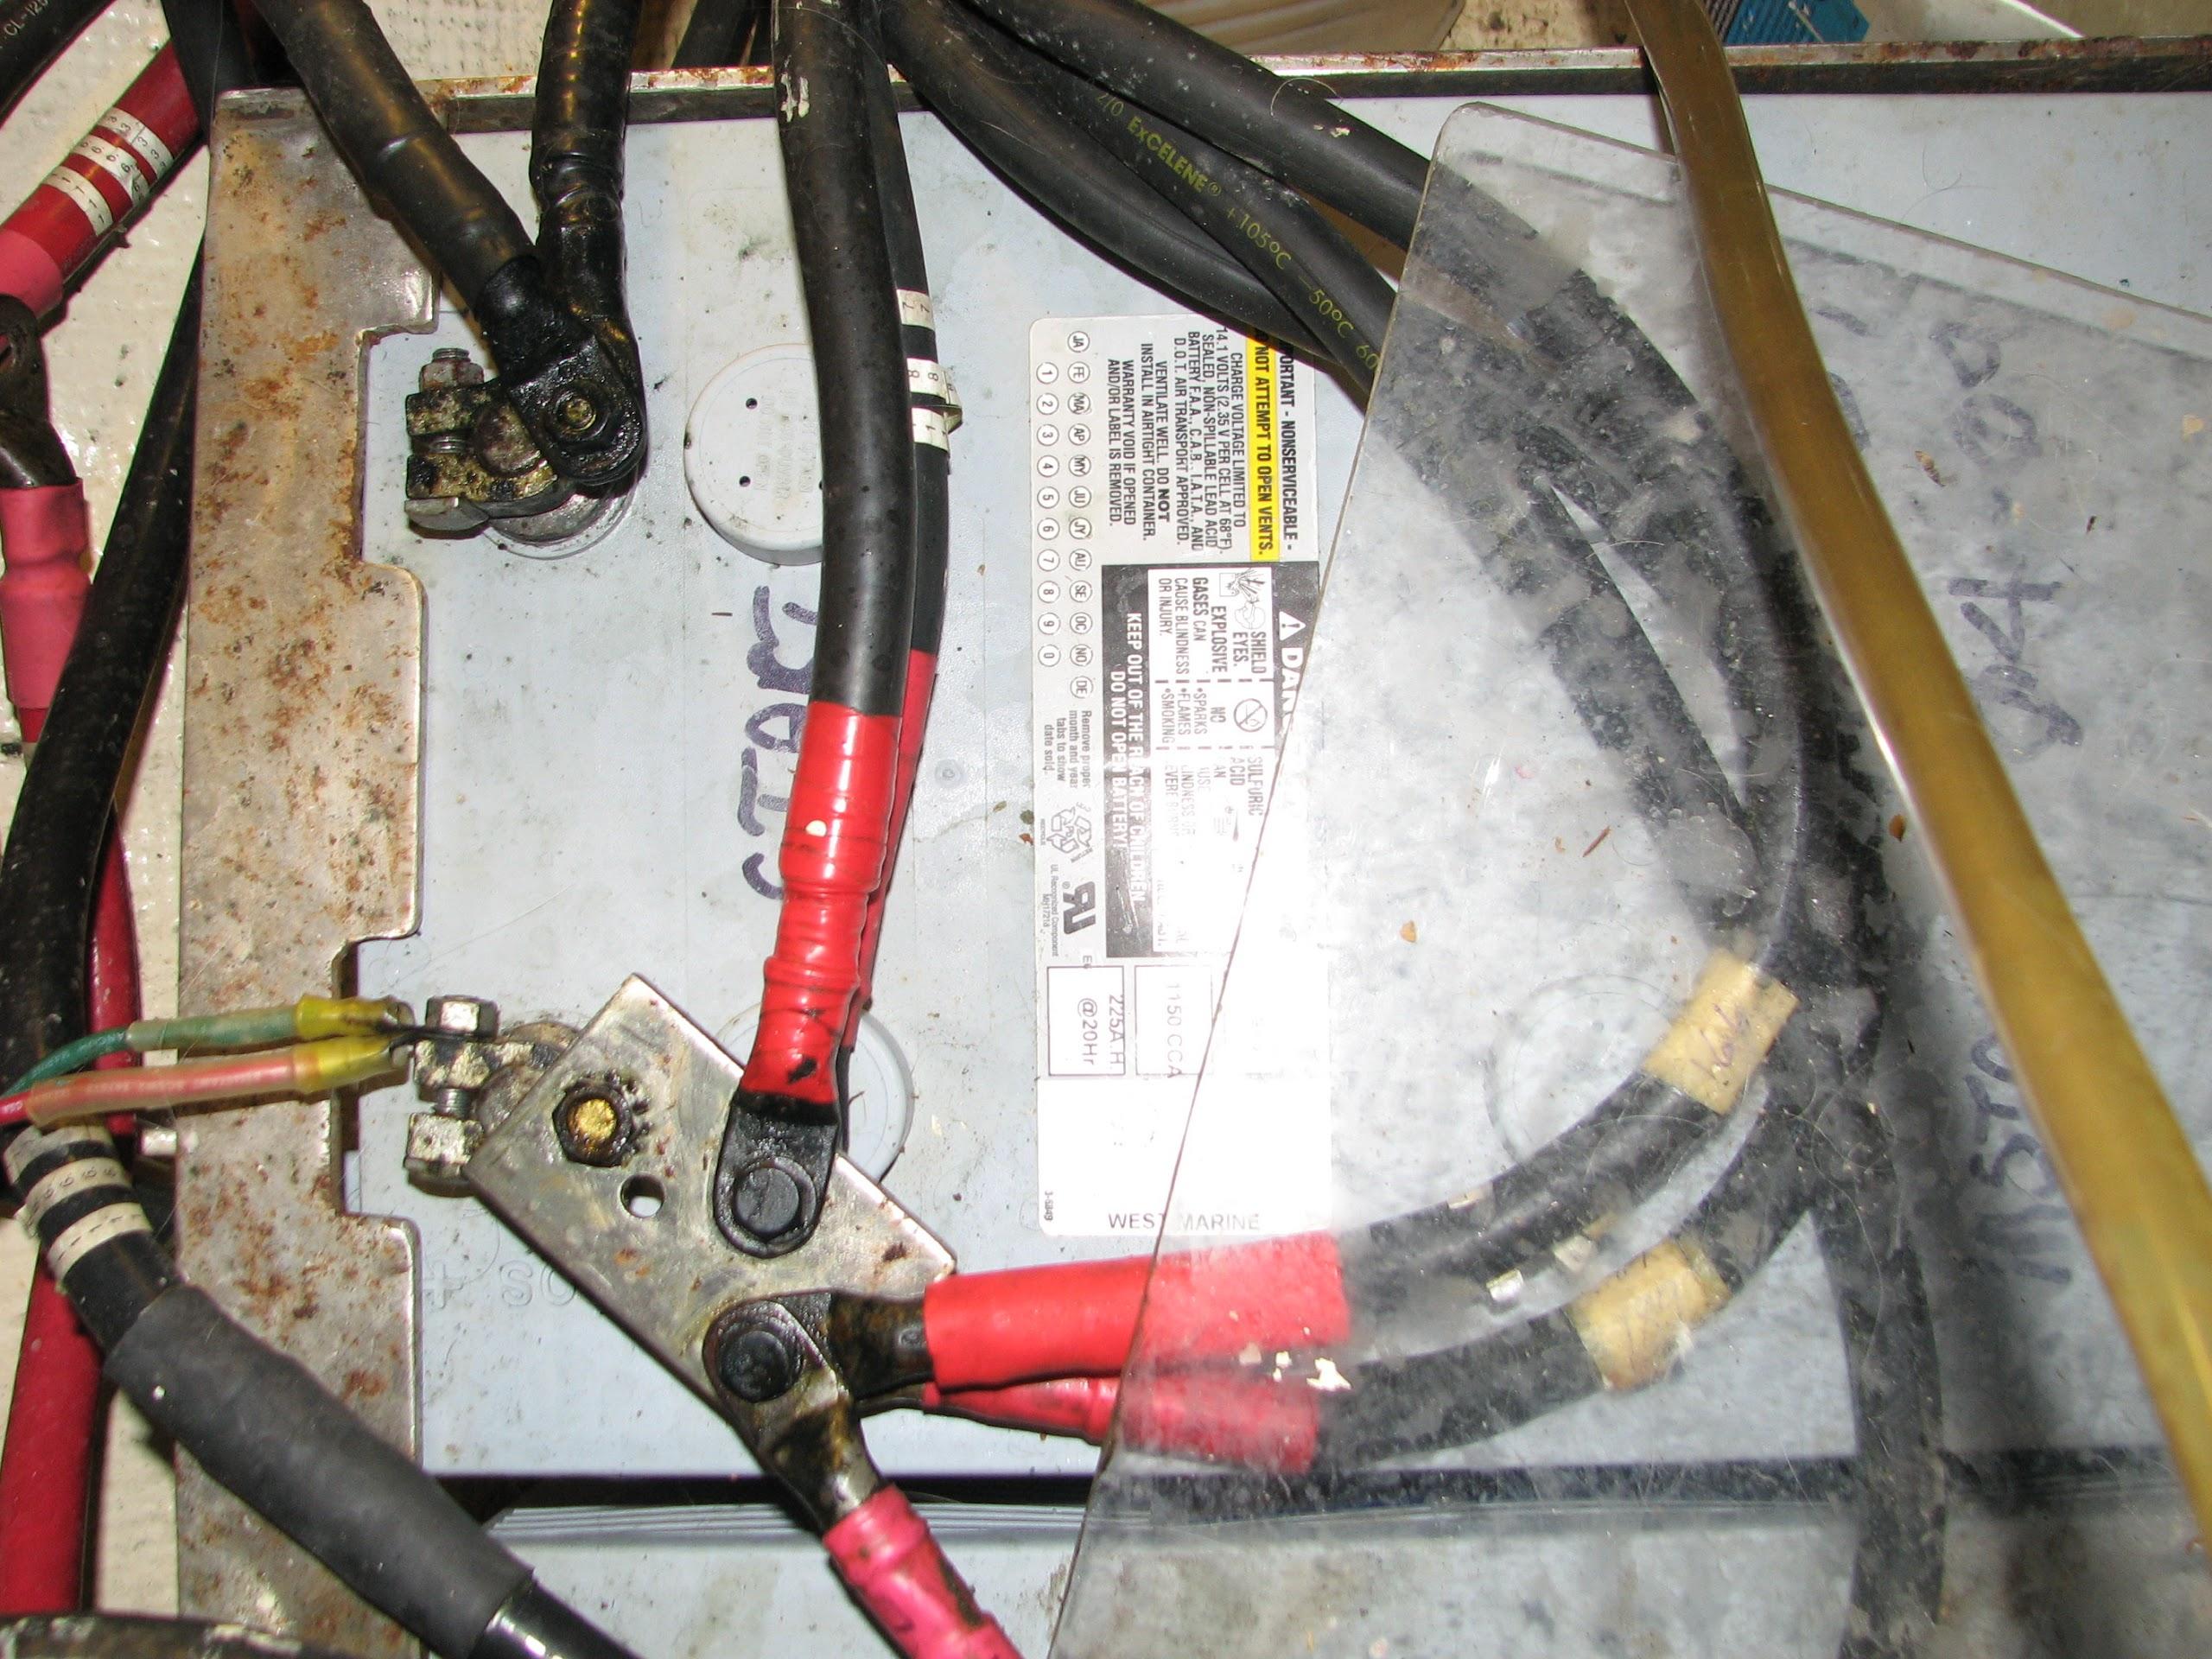
Start
Battery Connections, Notice Steel Bolts On Terminal
So,
after four of work, it seems I have very good connections in all of
my DC system, and good connections in the AC system that powers the
inverter/charger.
What
I do have is a problem with one inverter/charger not reading
correctly, and going from accept to float for no apparent reason. The
second and the original inverter/charger has a problem with it
popping the 30 amp breaker on the unit itself.
April
29, 2013, Monday
Started
off the morning with my normal ritual of getting on the Internet,
answering email, checking the weather, while making a pot of coffee.
Sanded
off the epoxied area on the large acrylic insert. Also sanded down
the new temporary hatch and loaded the large acrylic insert and the
hatch into the Black Beast.
I
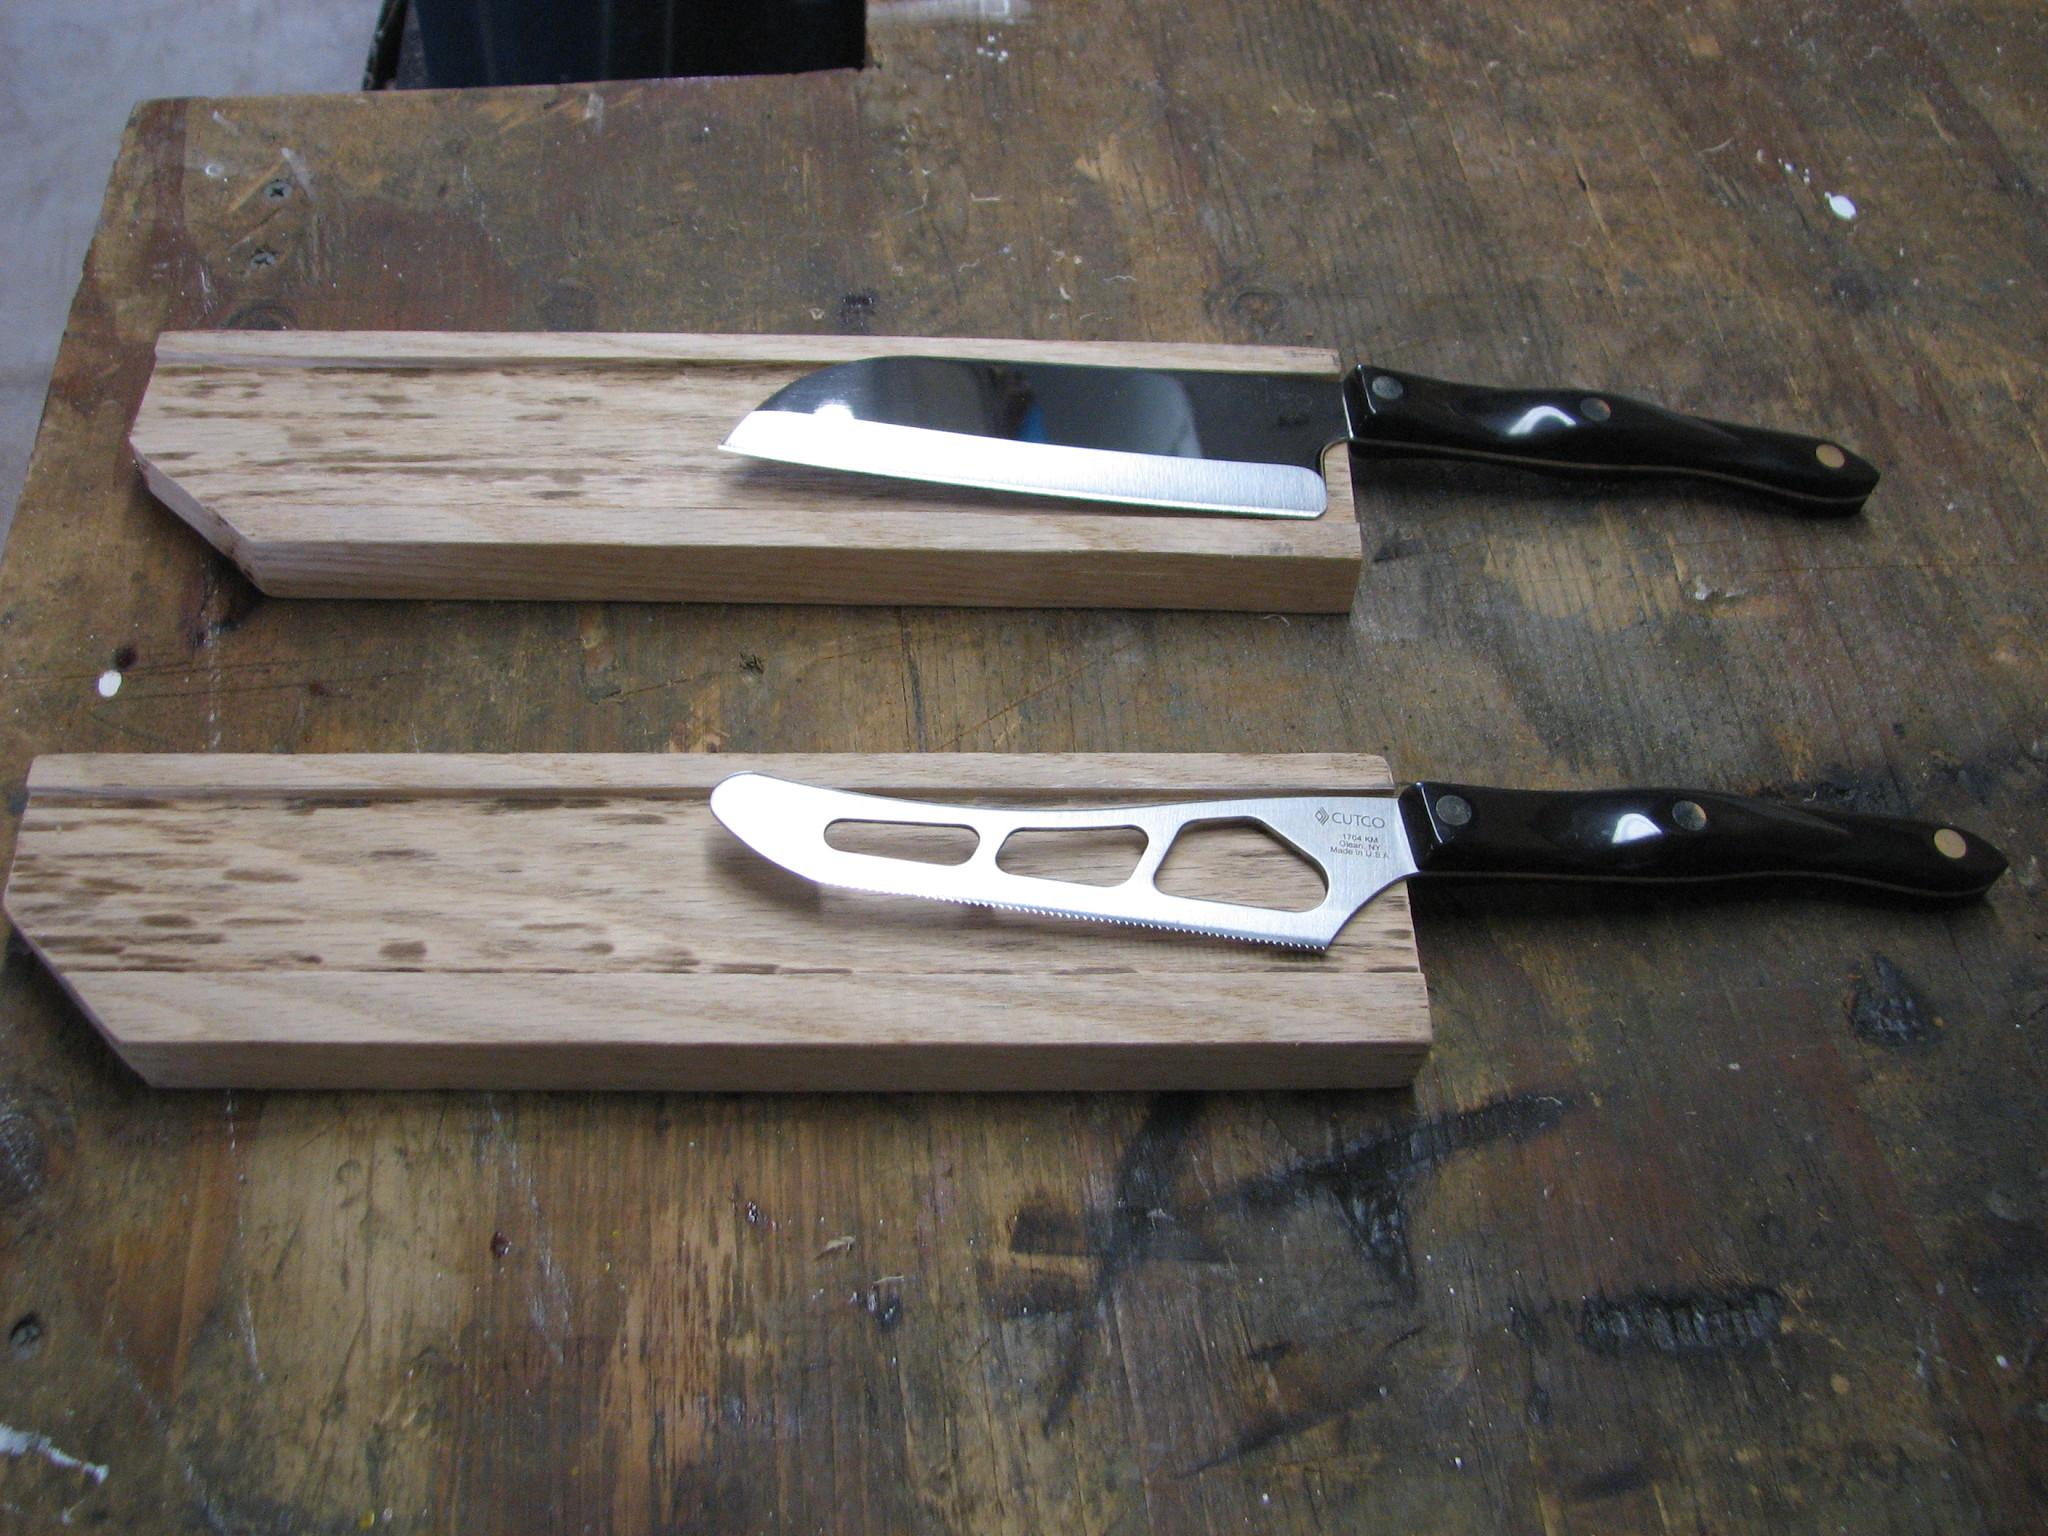
had the two pieces of oak already cut out for the Cutco
knife holder. Now I had to cut out each piece, such that, when the
pieces were attached to the Cutco
knife holder, there would be a slot for the additional knives to drop
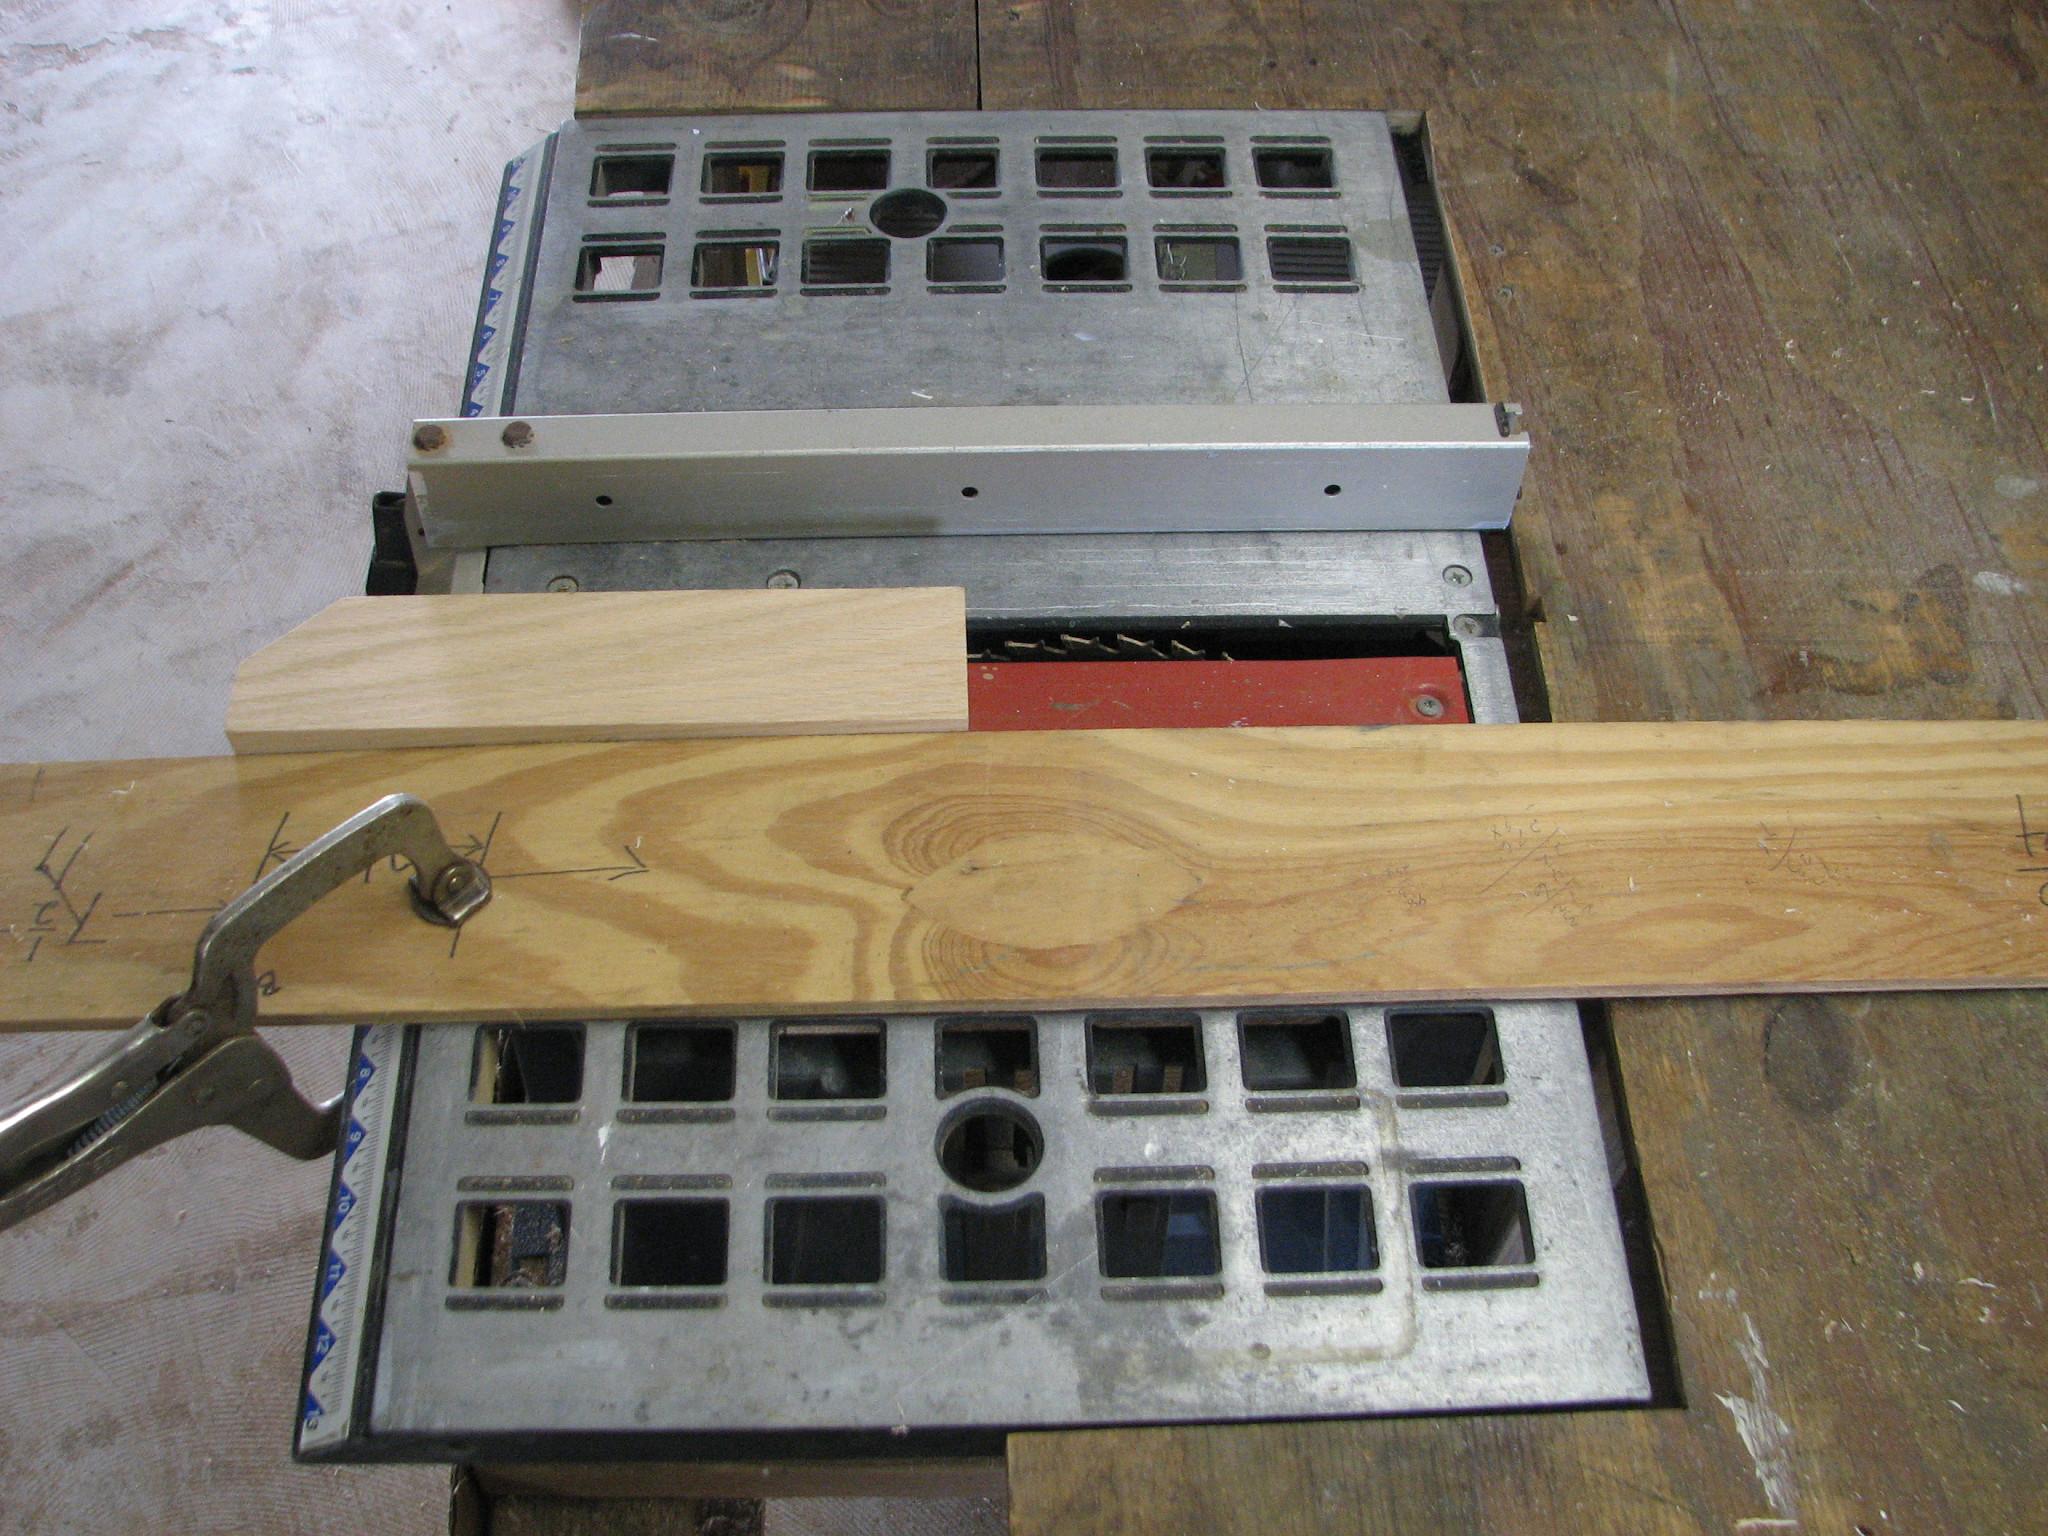
into. I do not have a router, so I had to setup the table saw to cut
the slots. Not a difficult task, just had to be careful during the
process.
Table
Saw Setup To Cut Slots
Knives
In The Newly Cut Slots
I
finally got all of the Panduit
wire duct
covers completed and dyed, so they are ready for varnish. The Teak
wire cover is also ready for varnish. I moved all of the parts to the
paint area of the shop. This happens to be mostly in the Admiral’s
library, but it is the only area available.
Panduit
Wire Duct
Covers On Computer Table
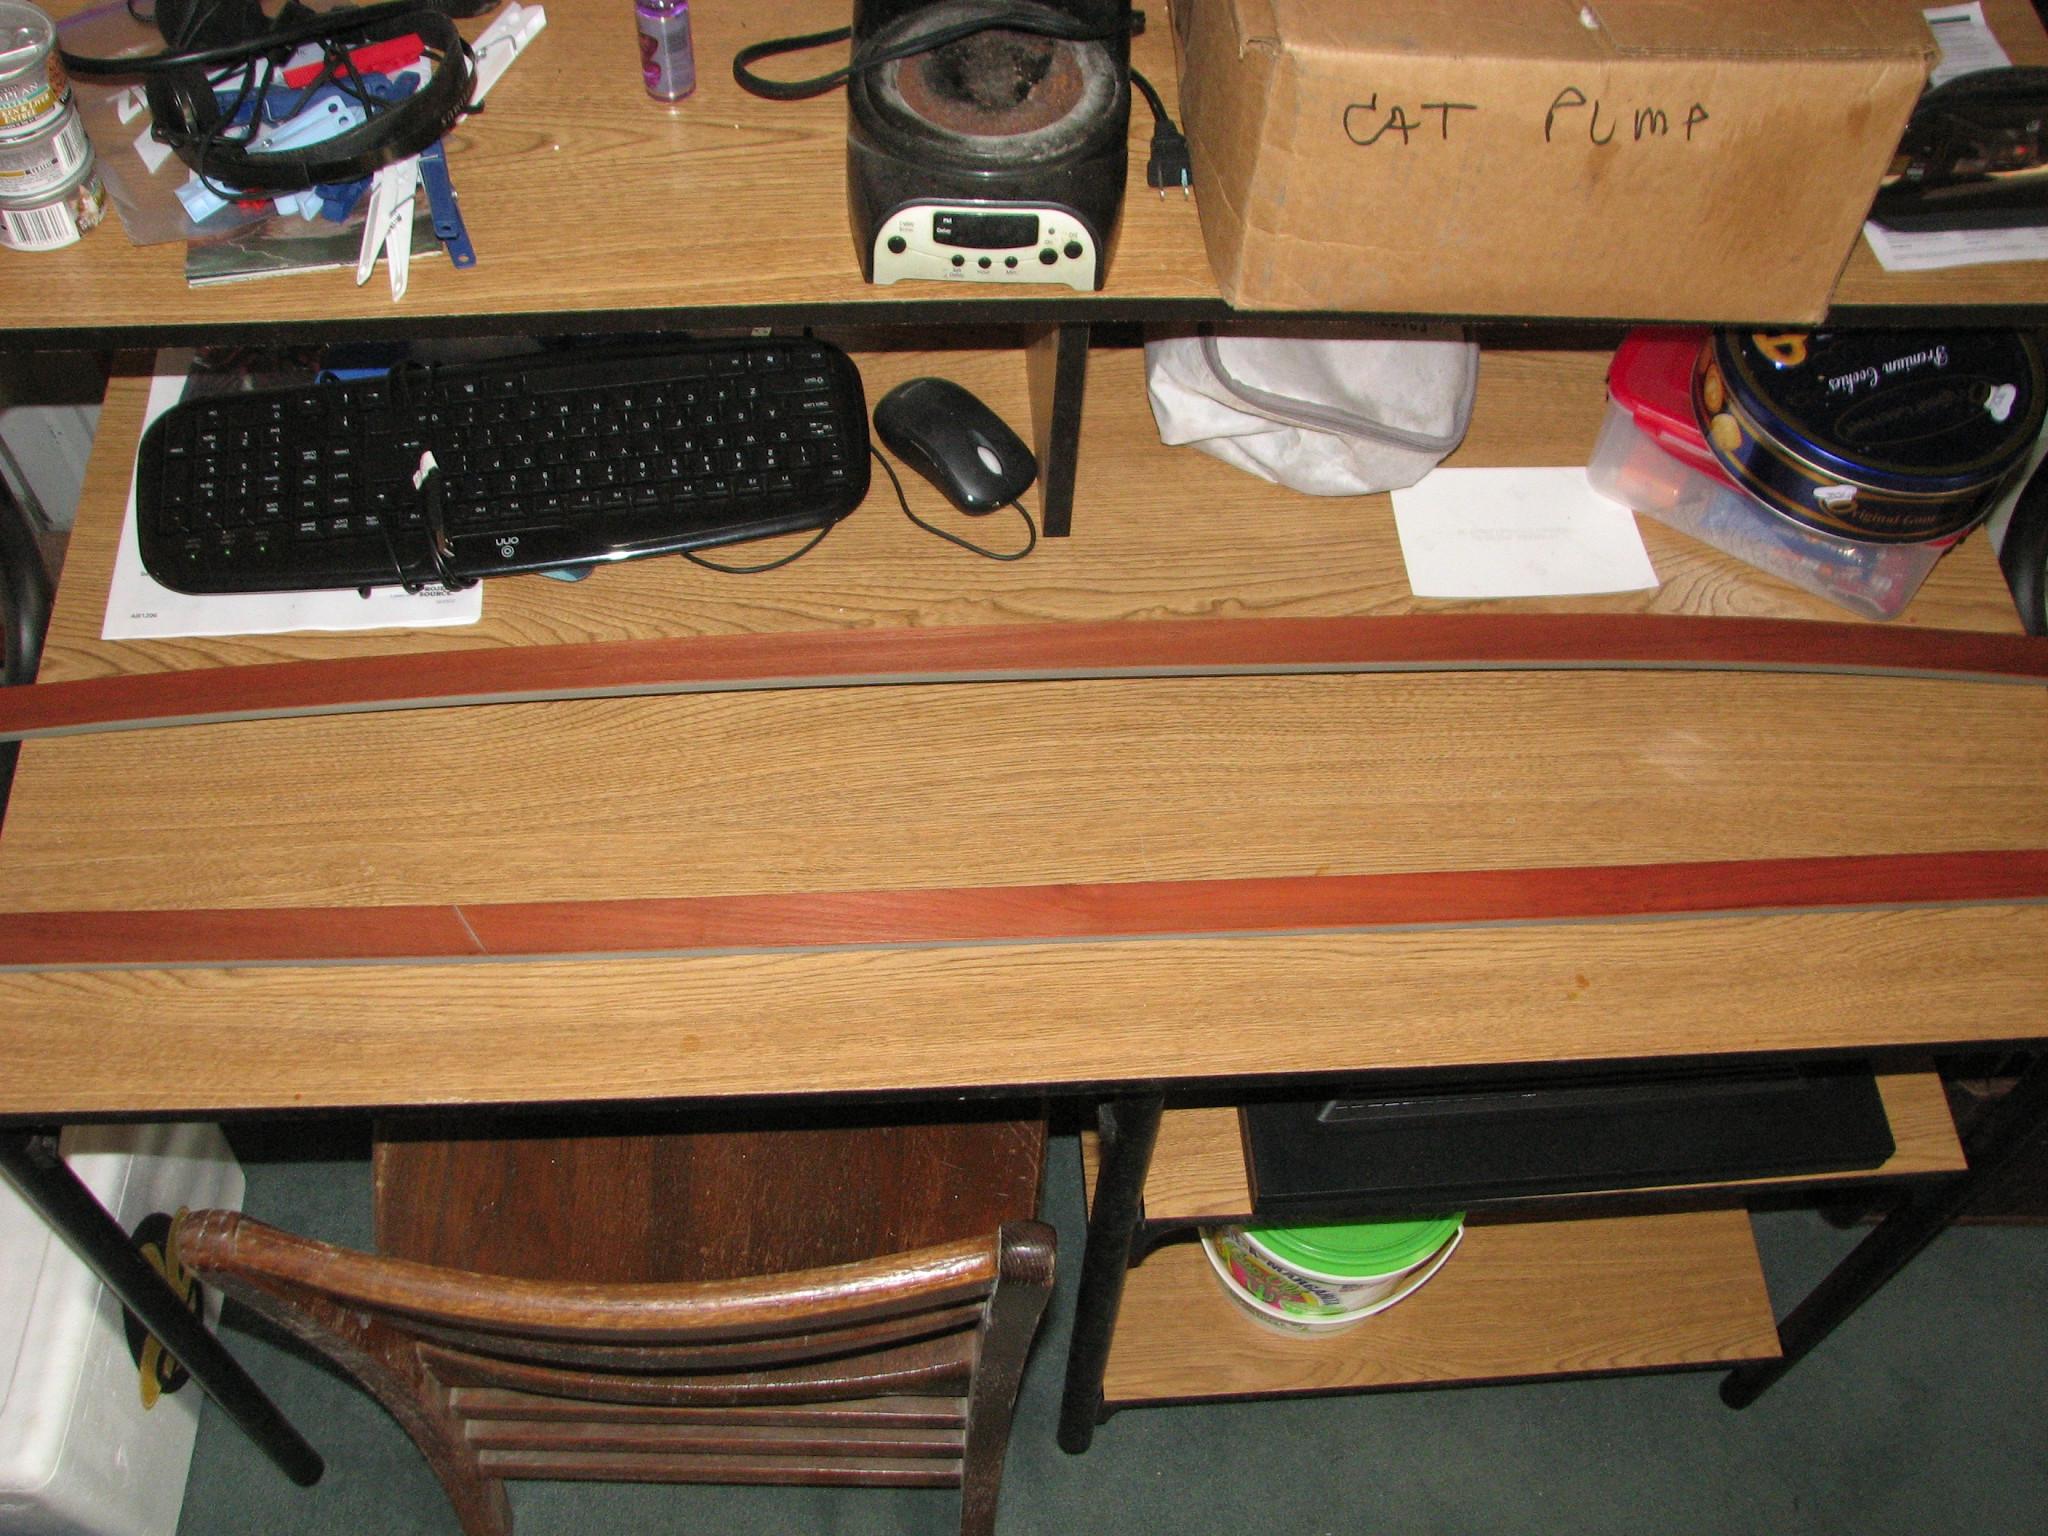
Panduit
Wire Duct
And Teak Wire Cover On Book Shelves

Nameboards
Ready For Varnish
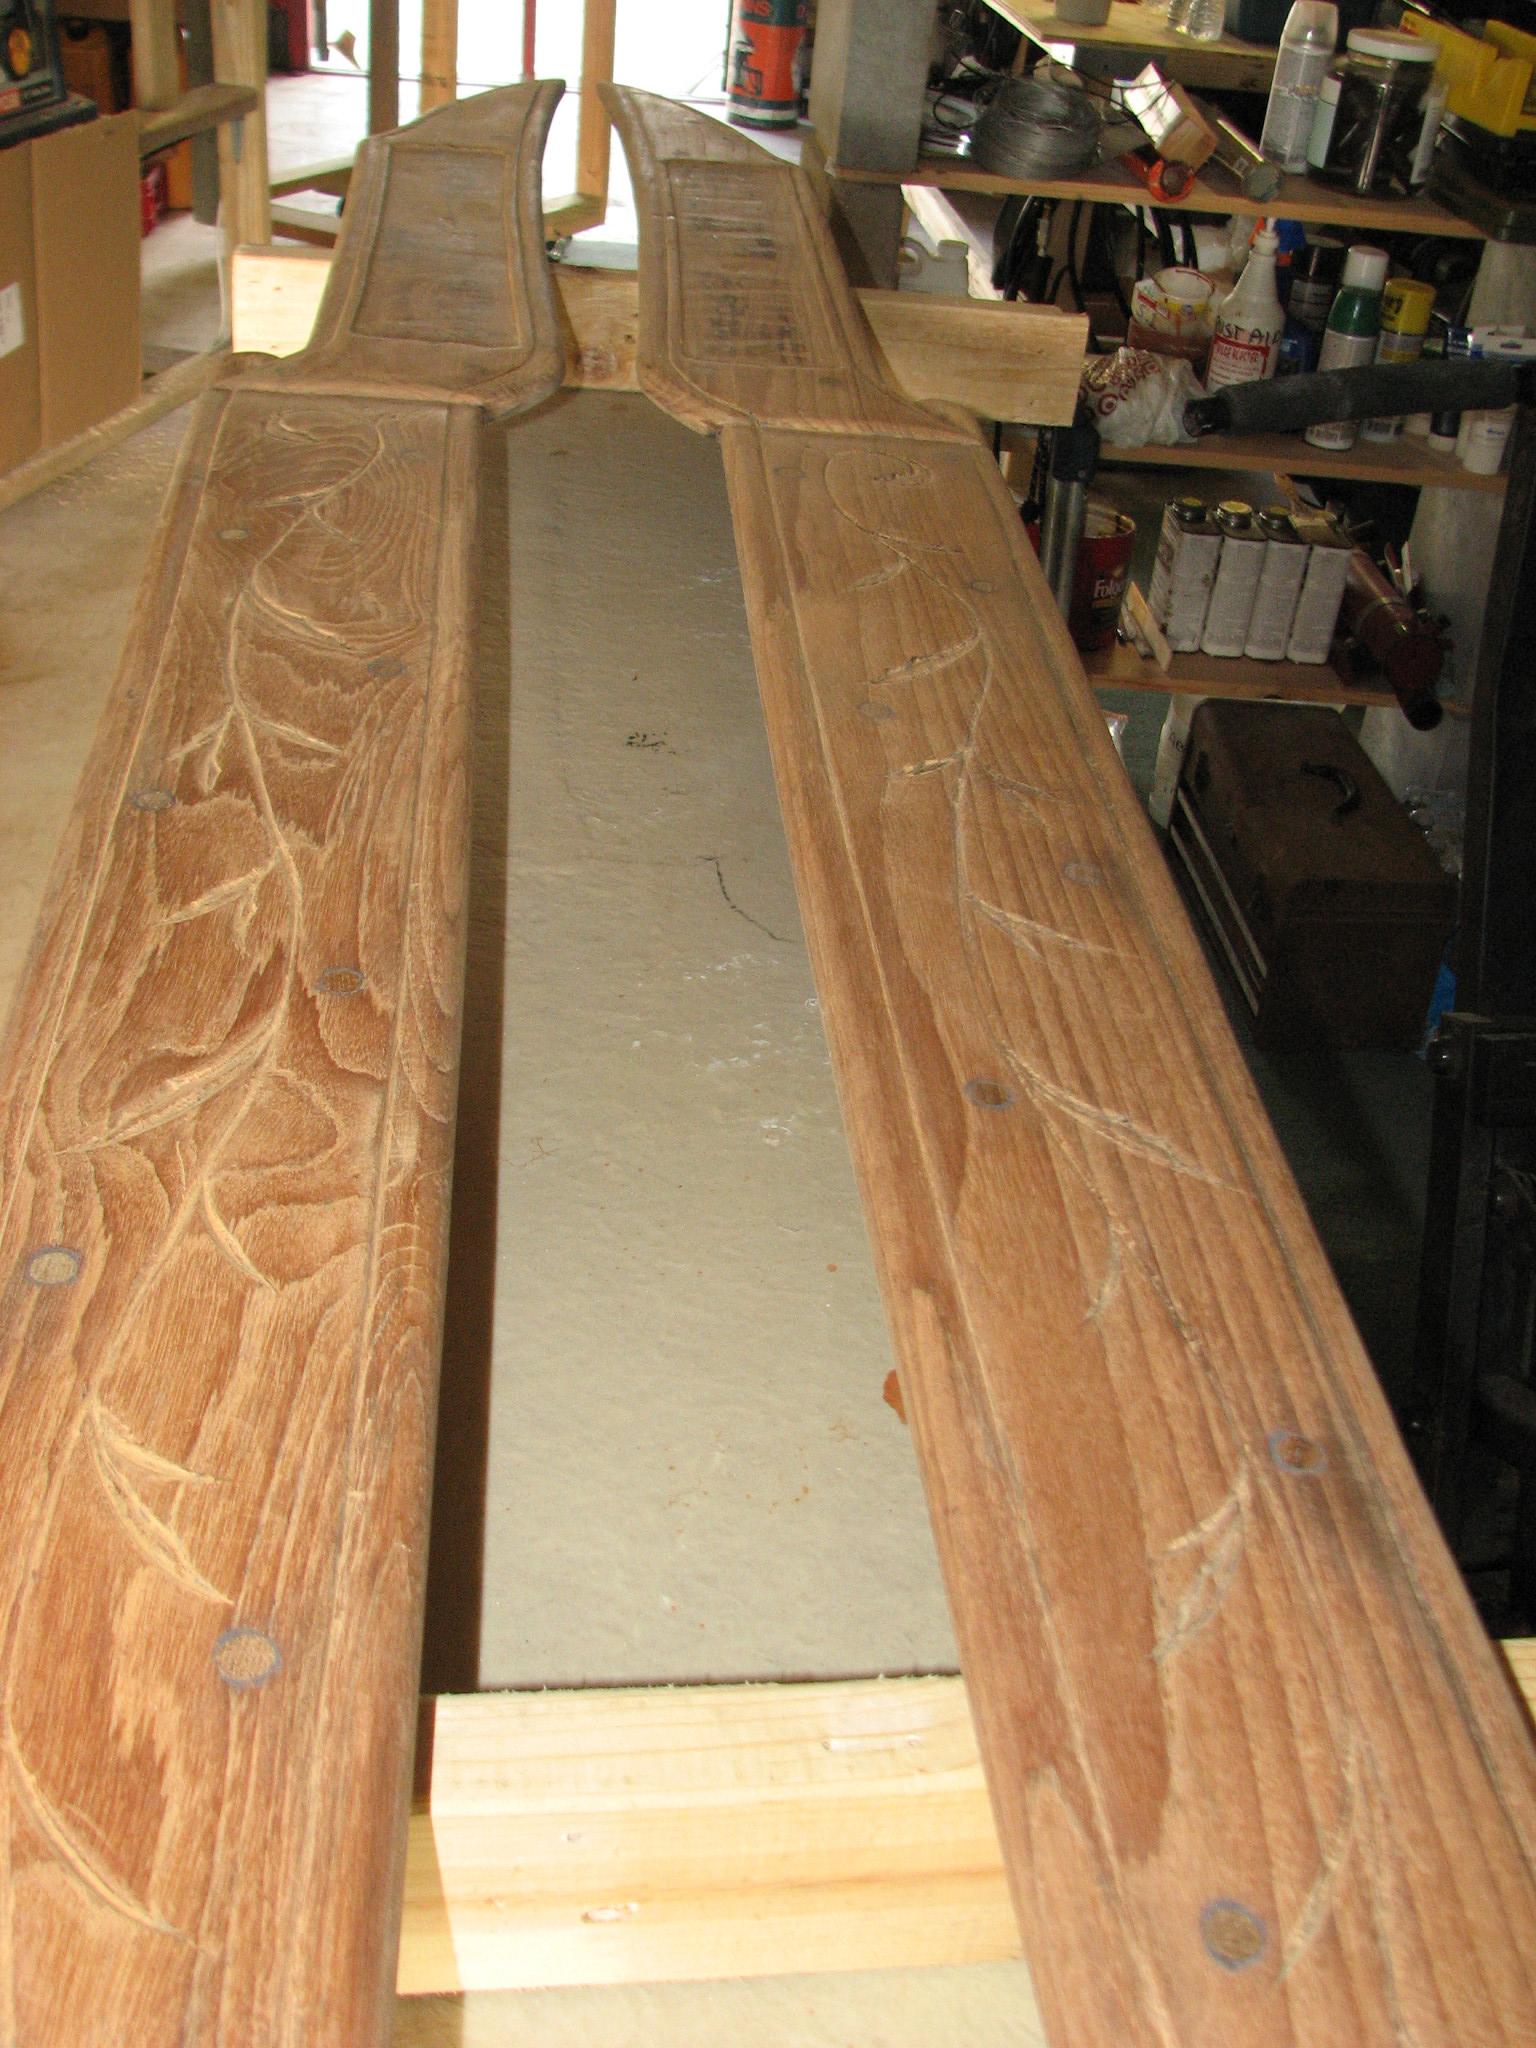
I
left the shop and went back to DREAM AWAY for breakfast. After
breakfast, I had to check one last set of connections in my DC
battery system.
I
had forgotten there is a large fuse in the positive DC line between
the inverter/charger and the battery. I had neglected to check those
connections yesterday, so I completed that task today. Like
yesterday, the connections looked great, but I disassembled the
connections, cleaned them up, and then put them back together.
Fuse
Holder With One Wire Disconnected

I
checked the fit of the large acrylic insert, and it fits nicely. I
put one screen, and the insert in the Black Beast
to go back to the
shop for varnish. I also removed the starboard cockpit hatch, and put
it into the Black Beast.
I put the temporary plywood hatch in the
cockpit to cover the hole left by the removal of the starboard
cockpit hatch. Then I went back to the shop.
First
item was to put a third coat of Watco
Teak Oil Finish
on the main cabin hatch. The key now is to get the Watco
Teak Oil Finish
to dry. I wiped off all of the excess with a rag, following the
instructions, so we shall see.
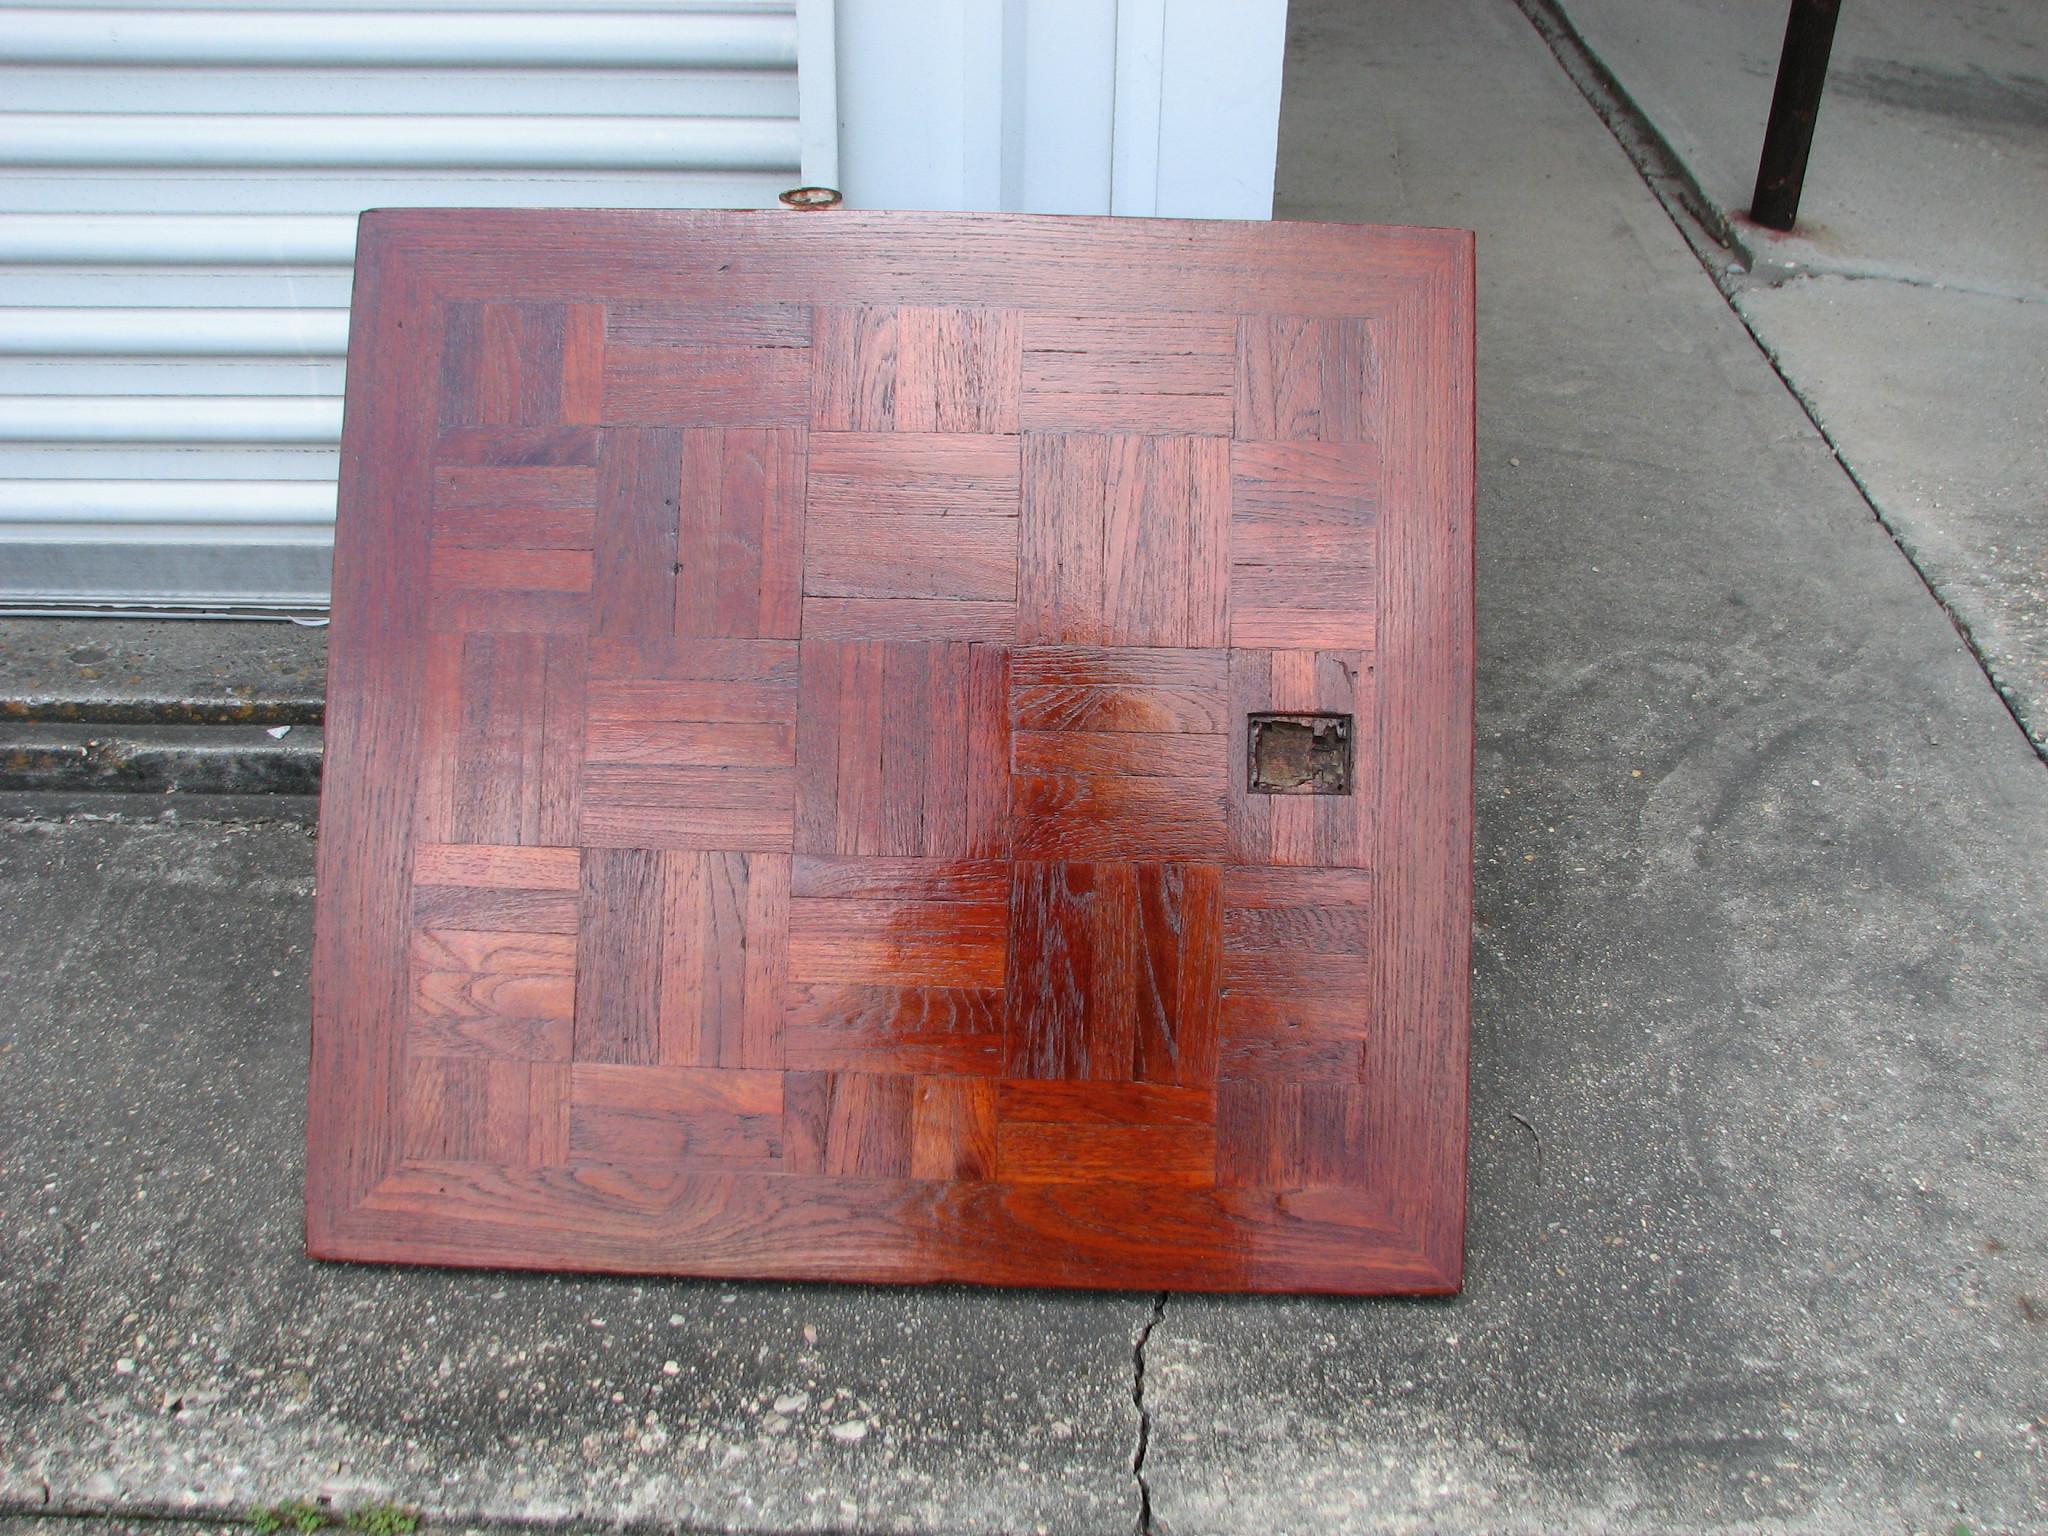
Next
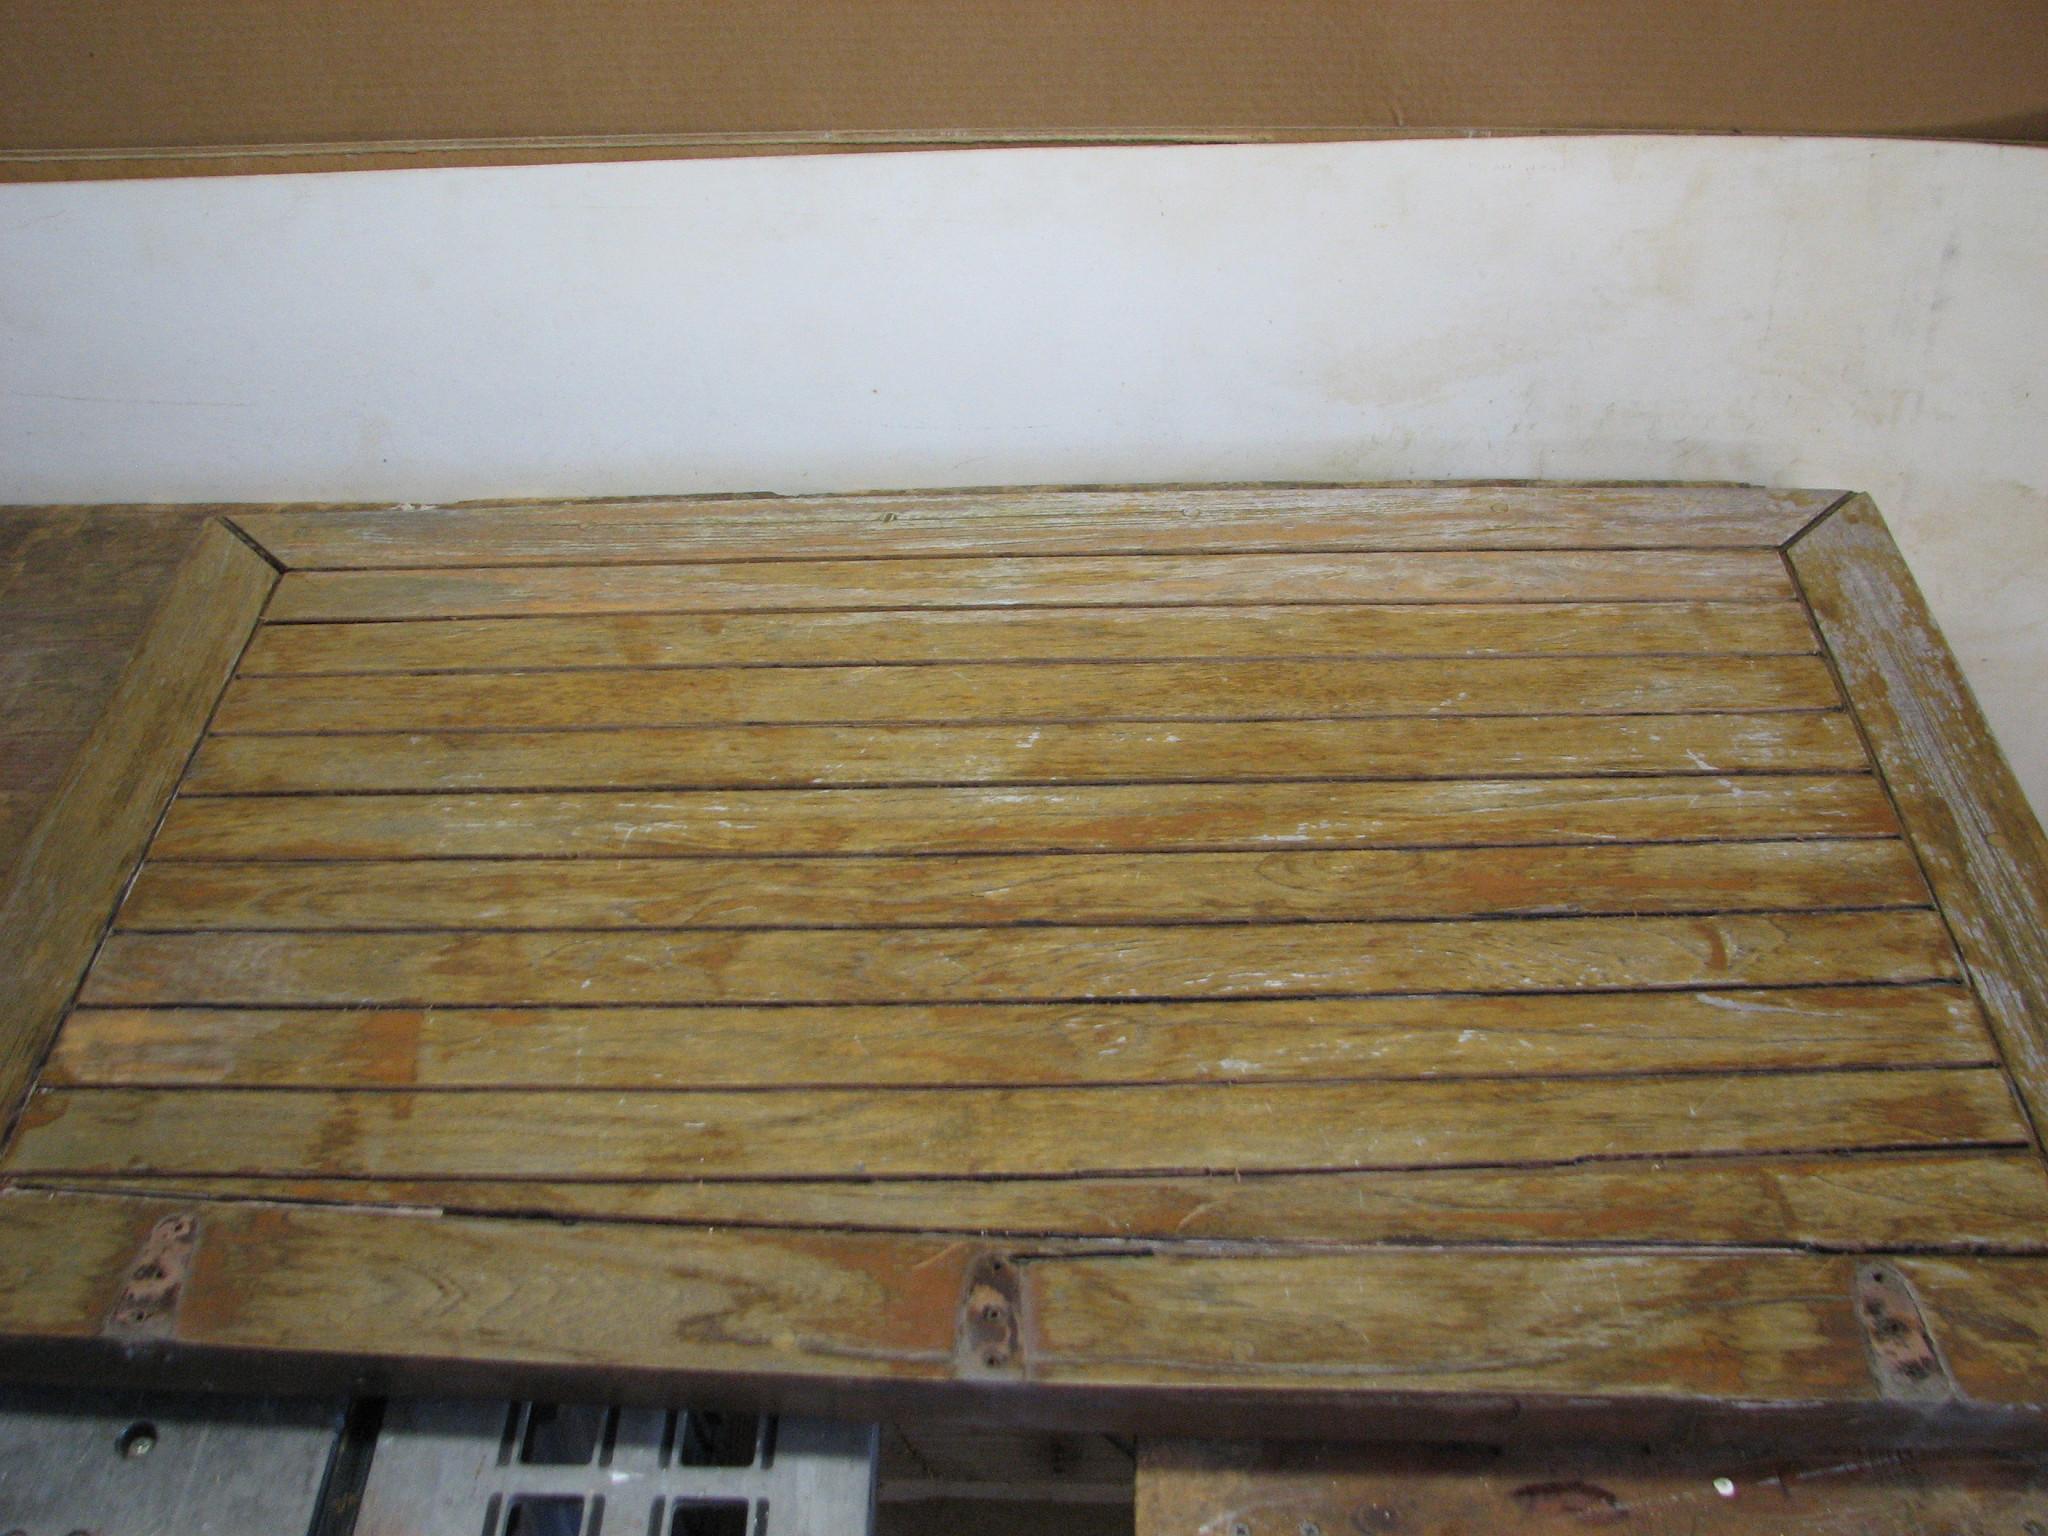
project was working on the cockpit hatch. This took up the remainder
of the afternoon, except for the varnishing. The filler material has
to be removed from between the teak pieces on the top of the hatch,
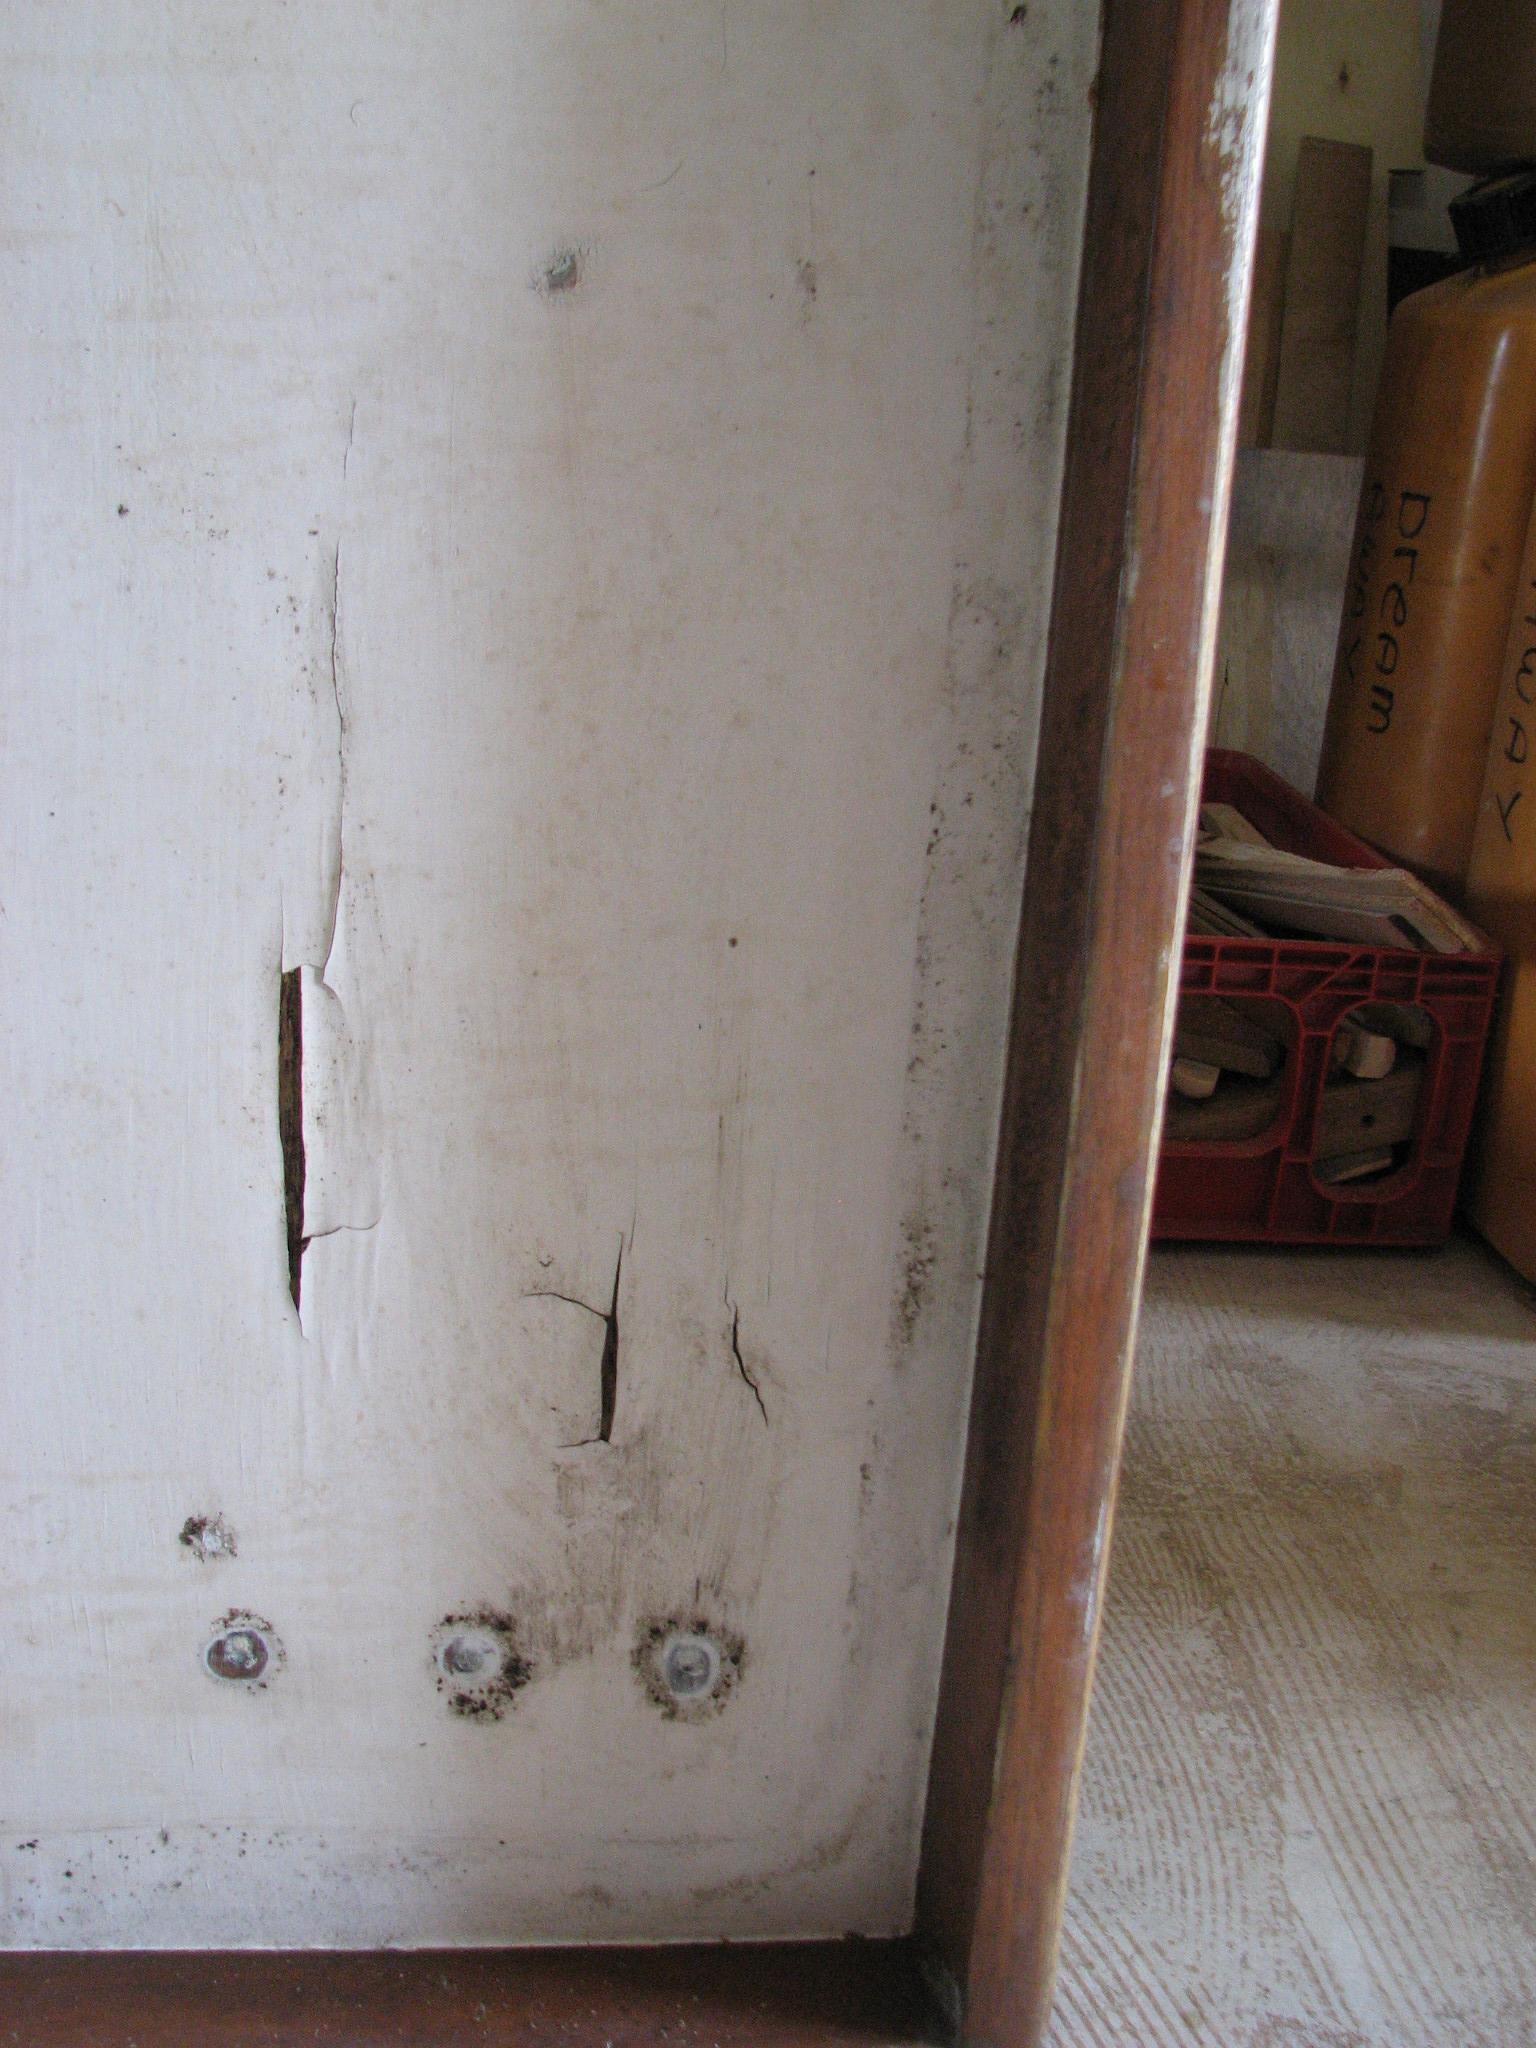
and then all cleaned out. I also have to dig and cut out the rotten
wood on the underside of the hatch. This will be an on-going project
for a few days.
Top
Of Hatch
Underside
Rotten Area Of Hatch
Last
Item for the day was the varnish. I applied the first coat on the
nameboards, the teak wire cover, and all of the Panduit
wire duct
covers.
April
30, 2013, Tuesday
Started
off the morning with my normal ritual of getting on the Internet,
answering email, checking the weather, while making a pot of coffee.
worked
some more on cockpit hatch; checked shakepeare antenna
Went
over to the shop with the Cutco
knife holder. I measured where I wanted to put in the screws to
attach the new pieces to add to the Cutco
knife holder. I am going to screw and glue (epoxy) the cut pieces to
the Cutco
knife holder. I used screw starter bits to make sure I did not split
the wood in any of the pieces. I was working with some thin areas.
Drilling
And Fitting the New Pieces To The Cutco
Knife Holder
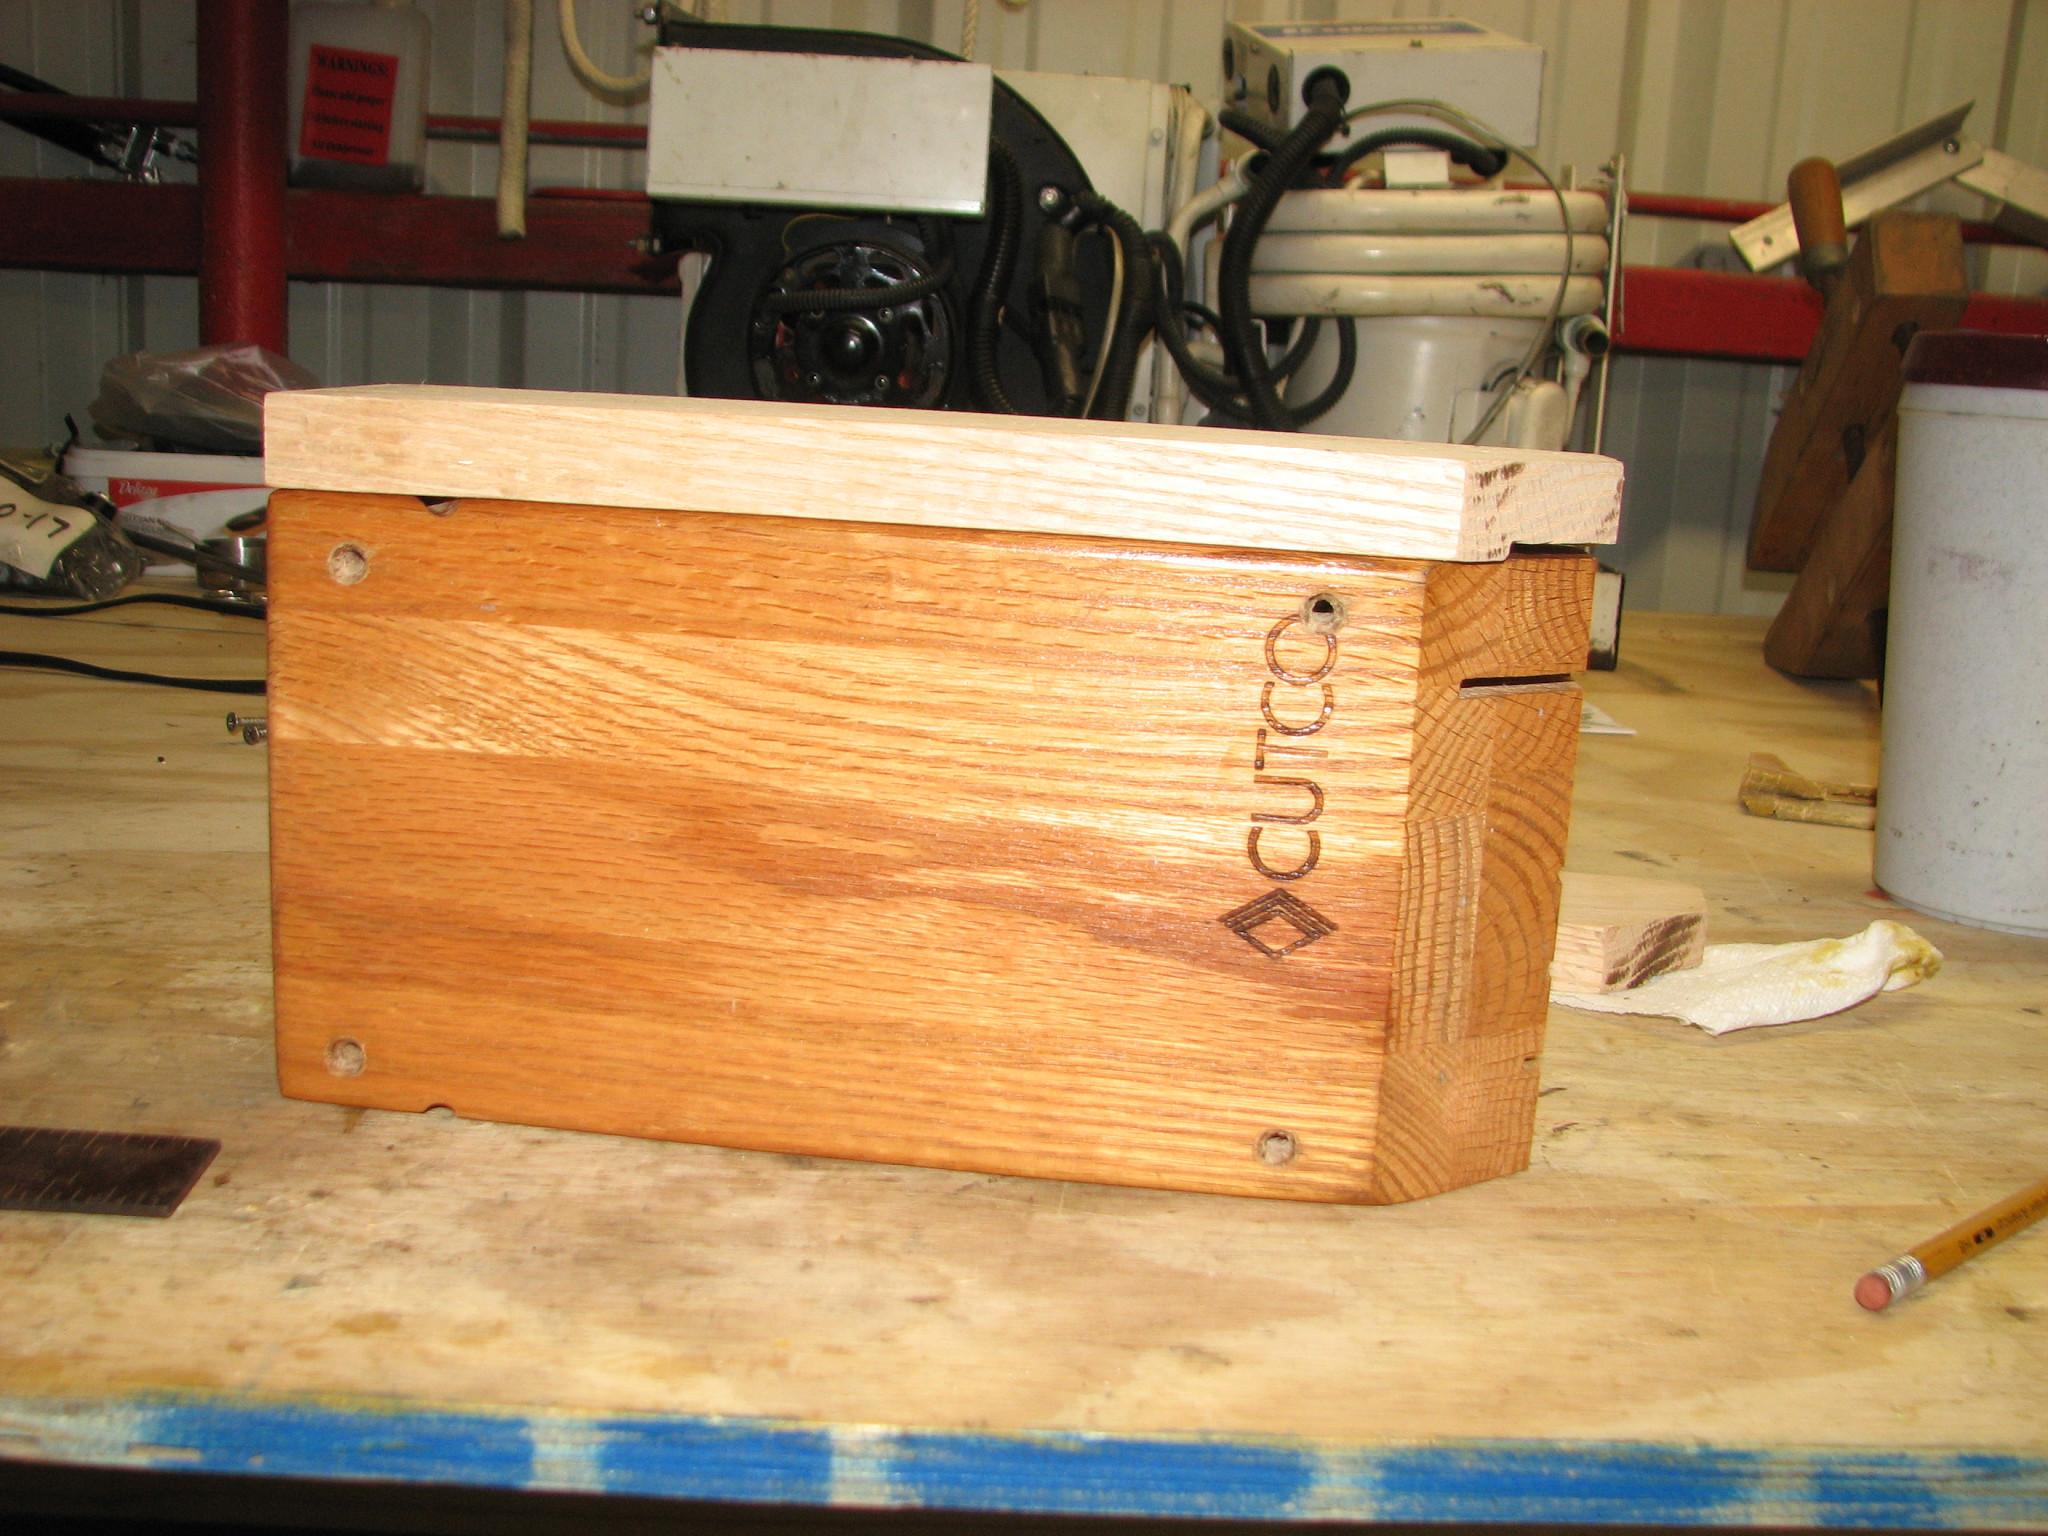
When
I got all of the hole drilled in both pieces, I did a dry fit before
applying the epoxy.
Dry
Fit Of Additional Pieces To The Cutco
Knife Holder
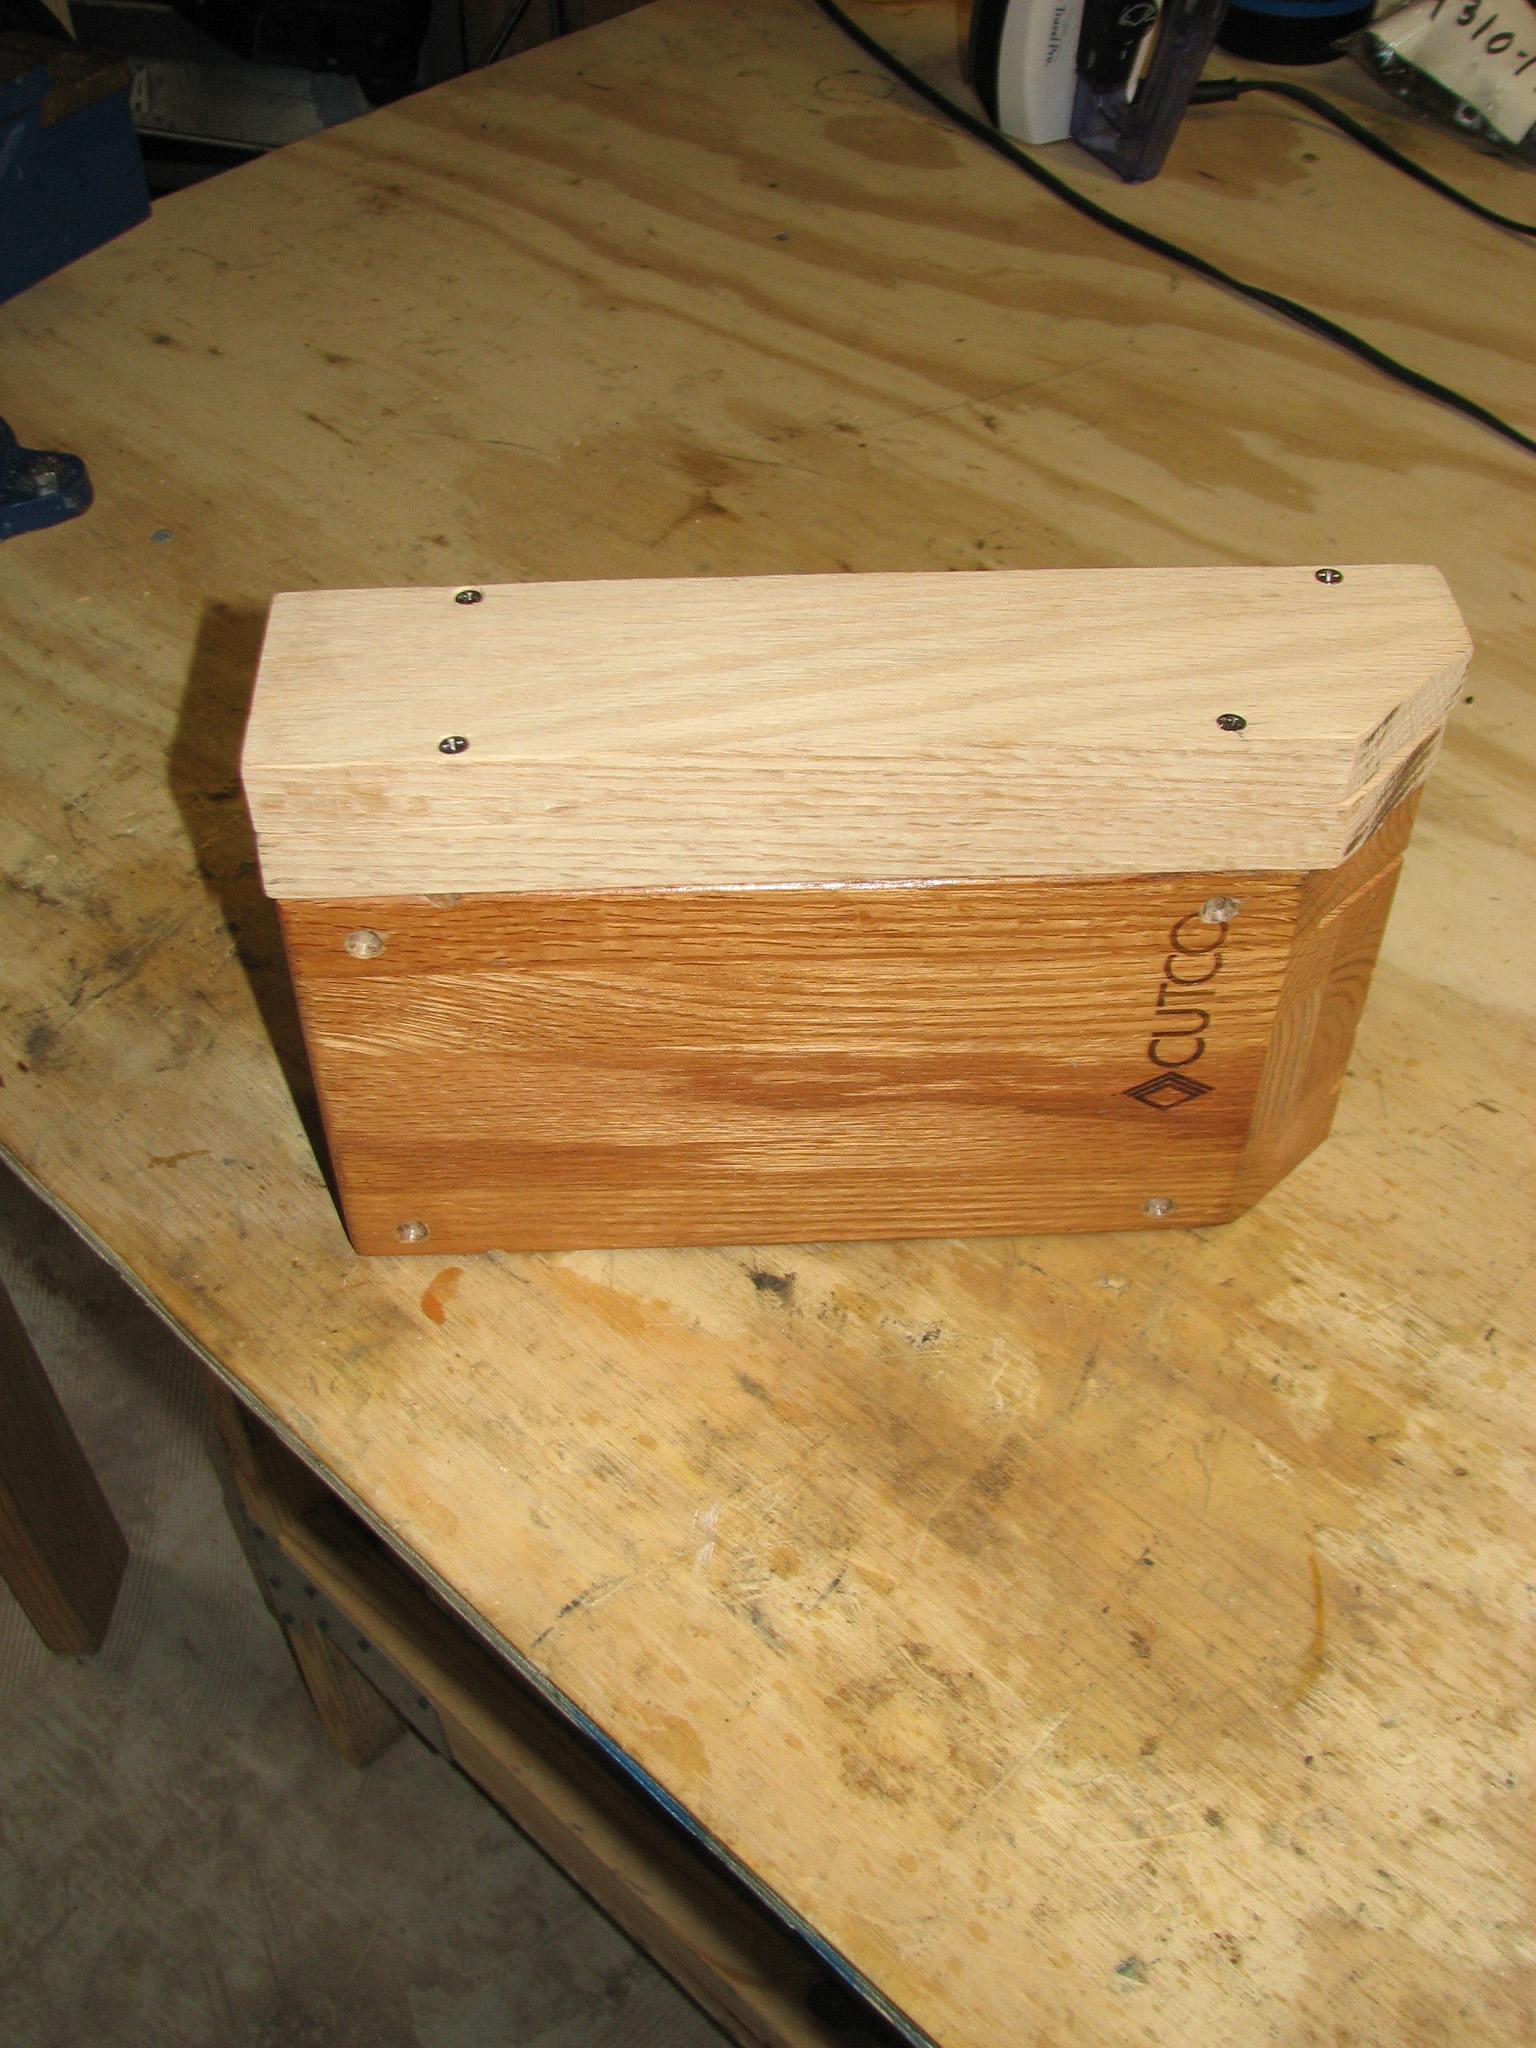
The
dry fit went well, so I took off the pieces, mixed a pot of epoxy,
getting ready to put the pieces and Cutco
knife holder back together.
Pieces
And Mixed Epoxy
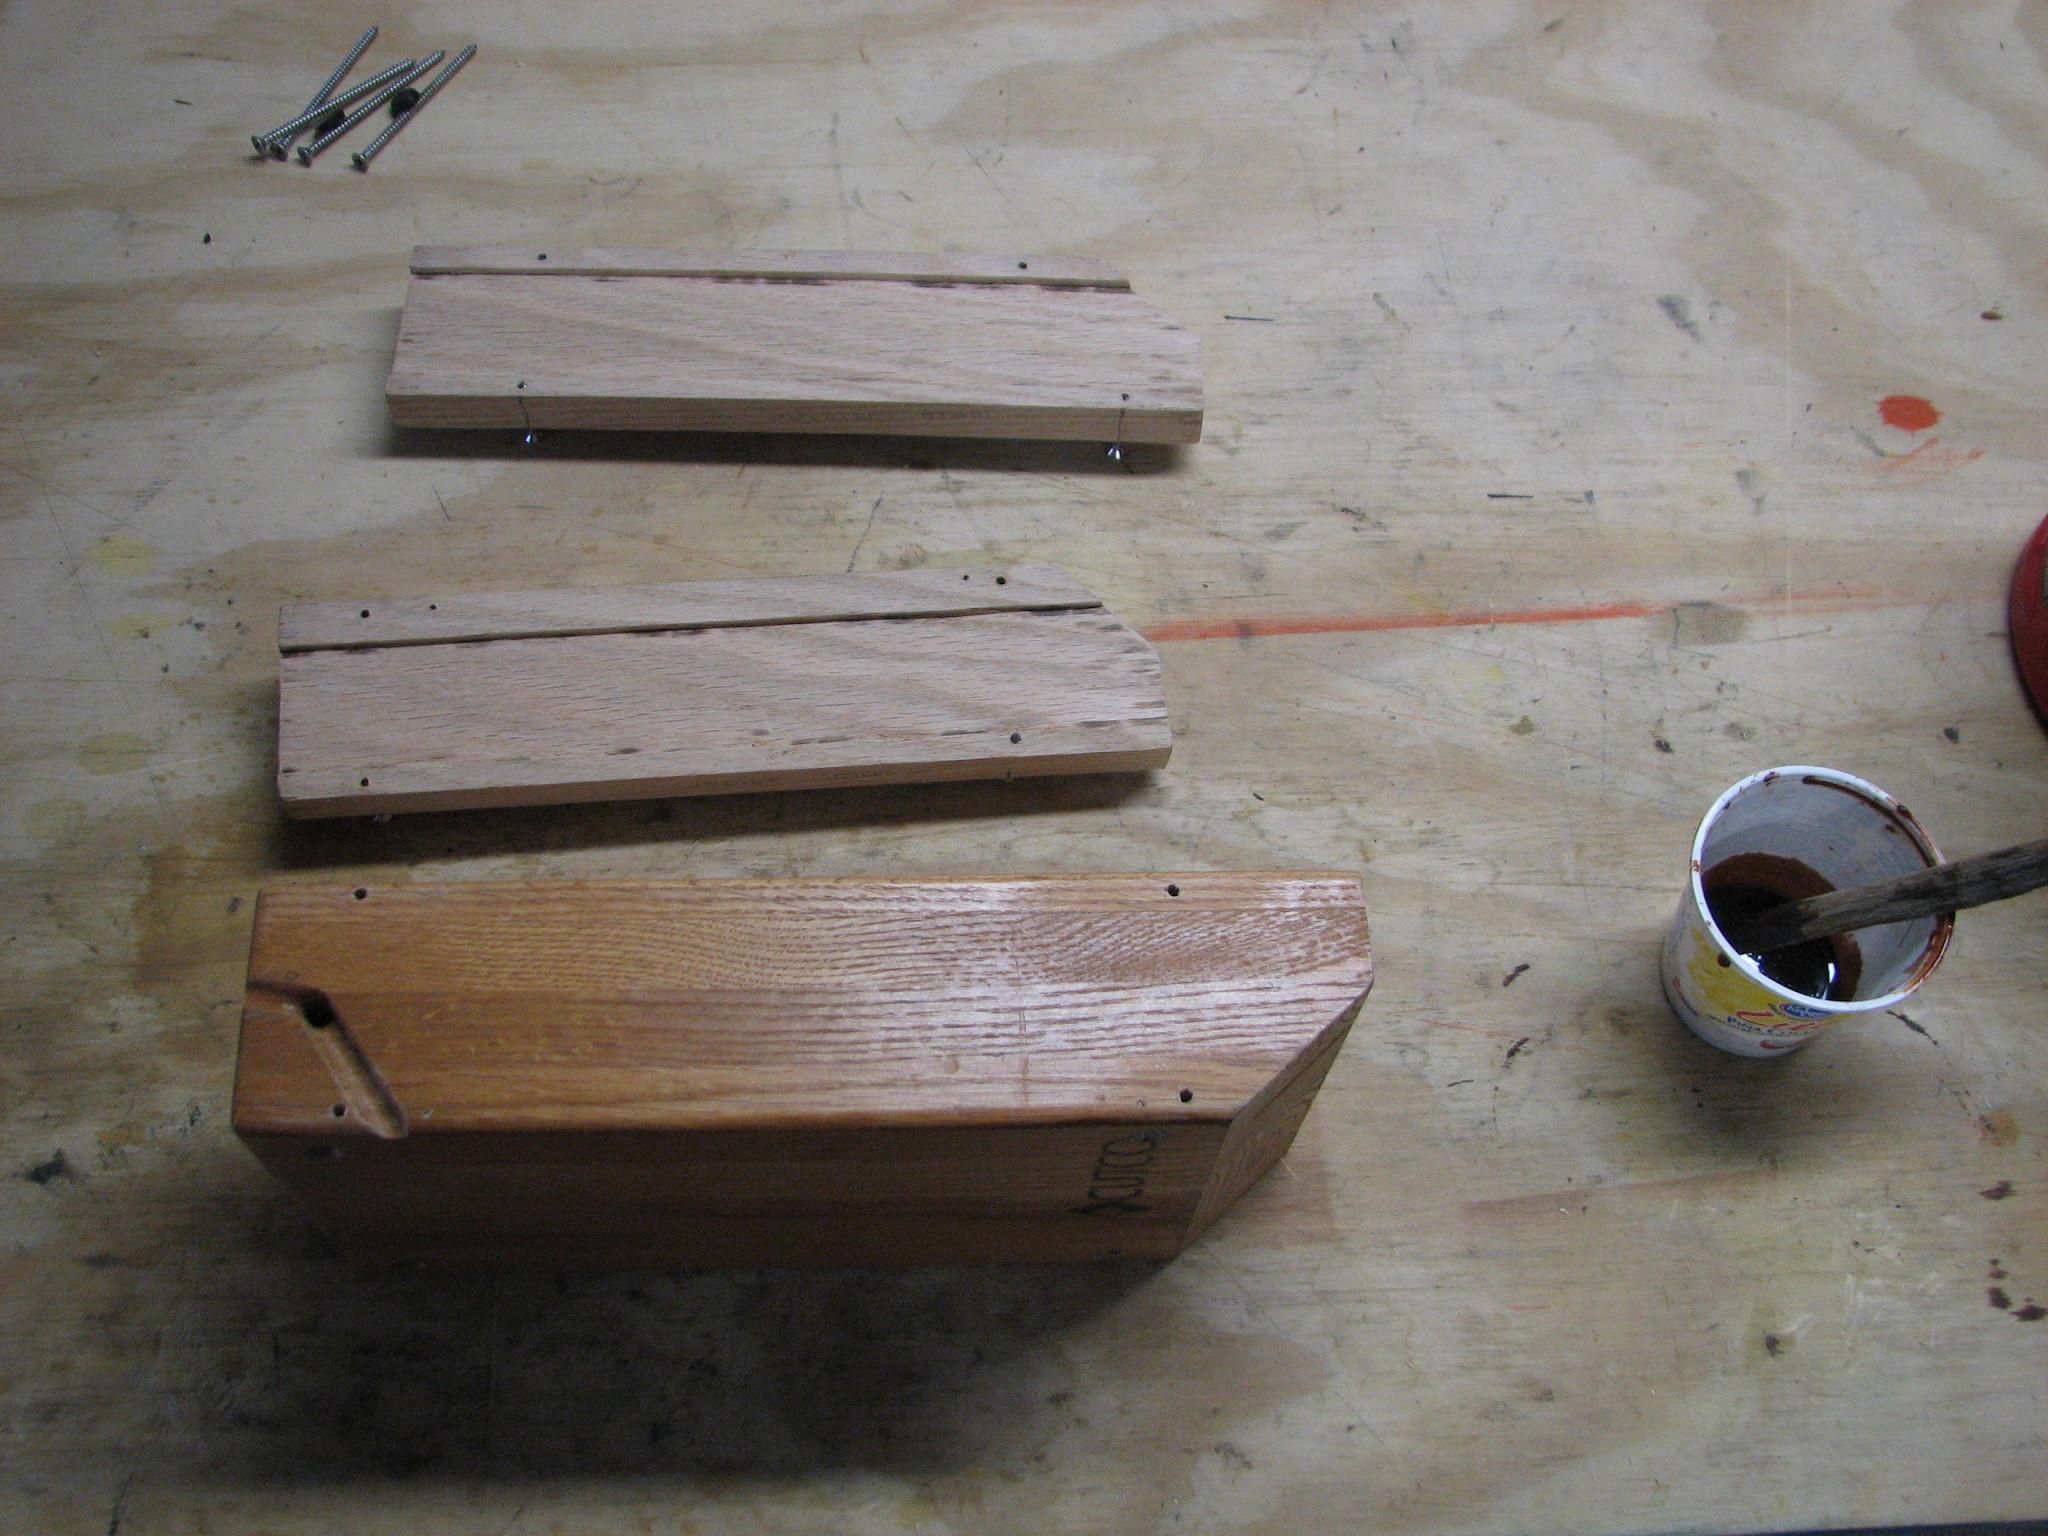
I
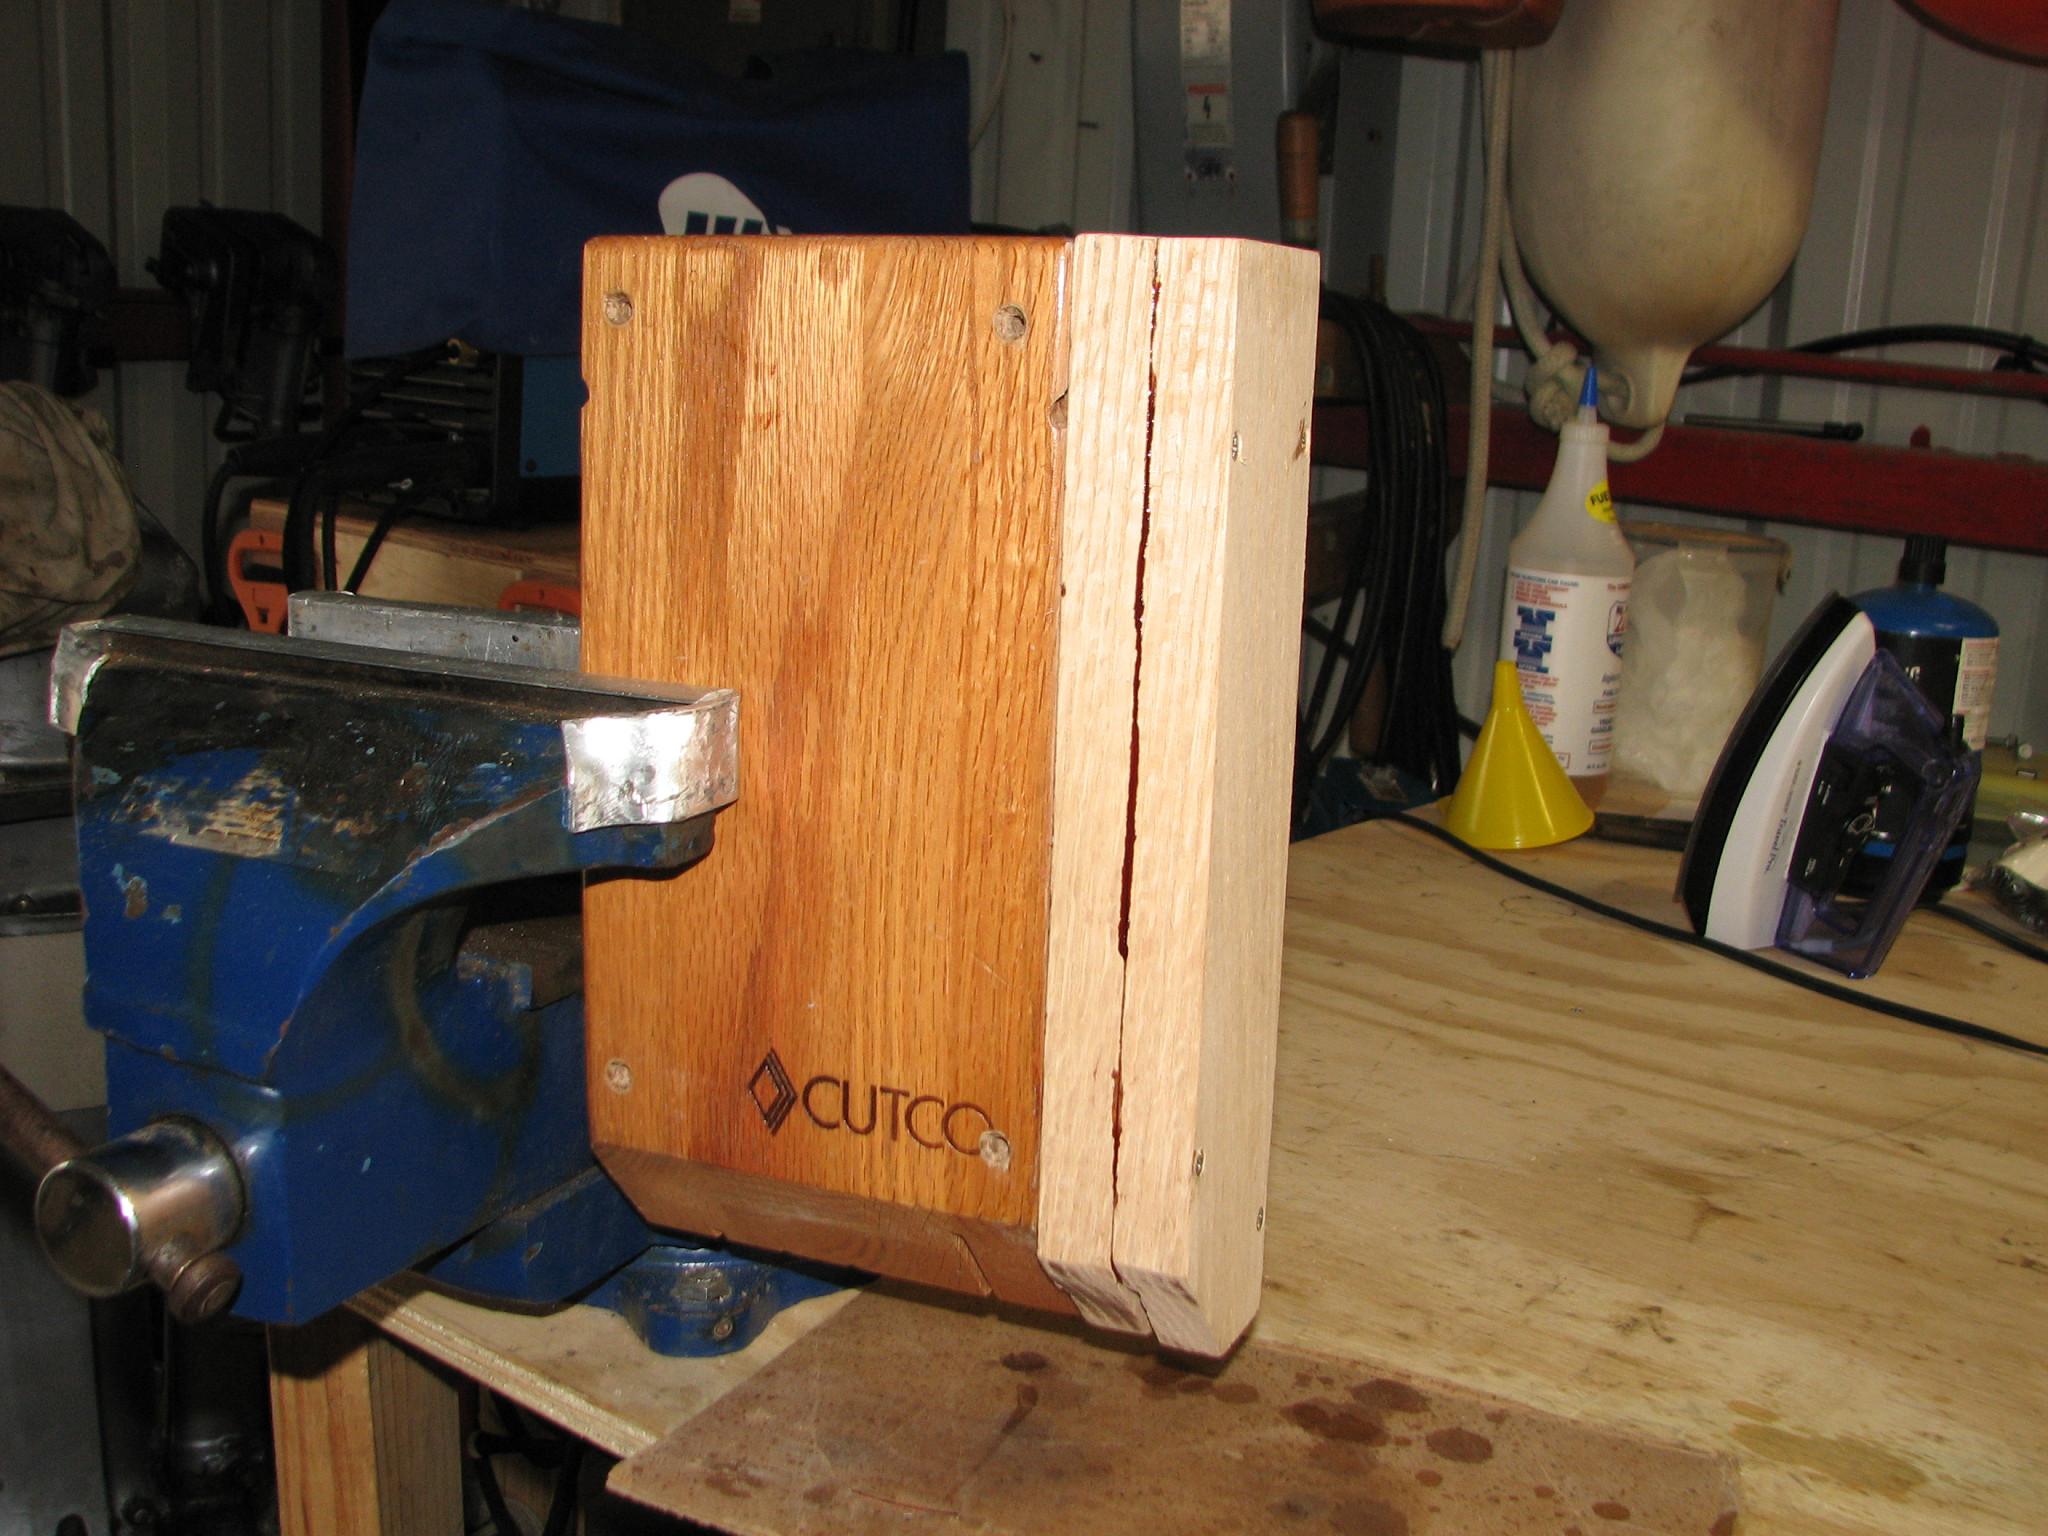
then applied the epoxy to one piece, screwed it to the Cutco
knife holder, then epoxied the second piece and screwed it to the
first piece. When it was all together I put the Cutco
knife holder in the vice, so if there was any epoxy drips, it would
not harden in the hole cutouts for the knives.
Completed
Cutco
Knife Holder
I
then spent some time working on the cockpit hatch, scraping out the
area between the teak boards.
Last
item before going to DREAM AWAY for breakfast was to work on two
Shakespeare
SeaWatch 2025
Marine TV antennas. I have acquired two of the units, and the
previous owners said they do not work. I thought perhaps I could get
at least one to work. I have two antennas, but only one control box.
I
took both antennas apart, and made sure that all of the parts were
inside, and all of the solder joints were still good. I put the
antennas back together, and put them in the Black Beast.
Shakespeare
Antenna And Controller

I
went back to DREAM AWAY, and did not do much the remainder of the day
as far as project go. It was our 44th anniversary. We had planned to
go out to eat in New Iberia, but Kitty found two 1 ½” thick
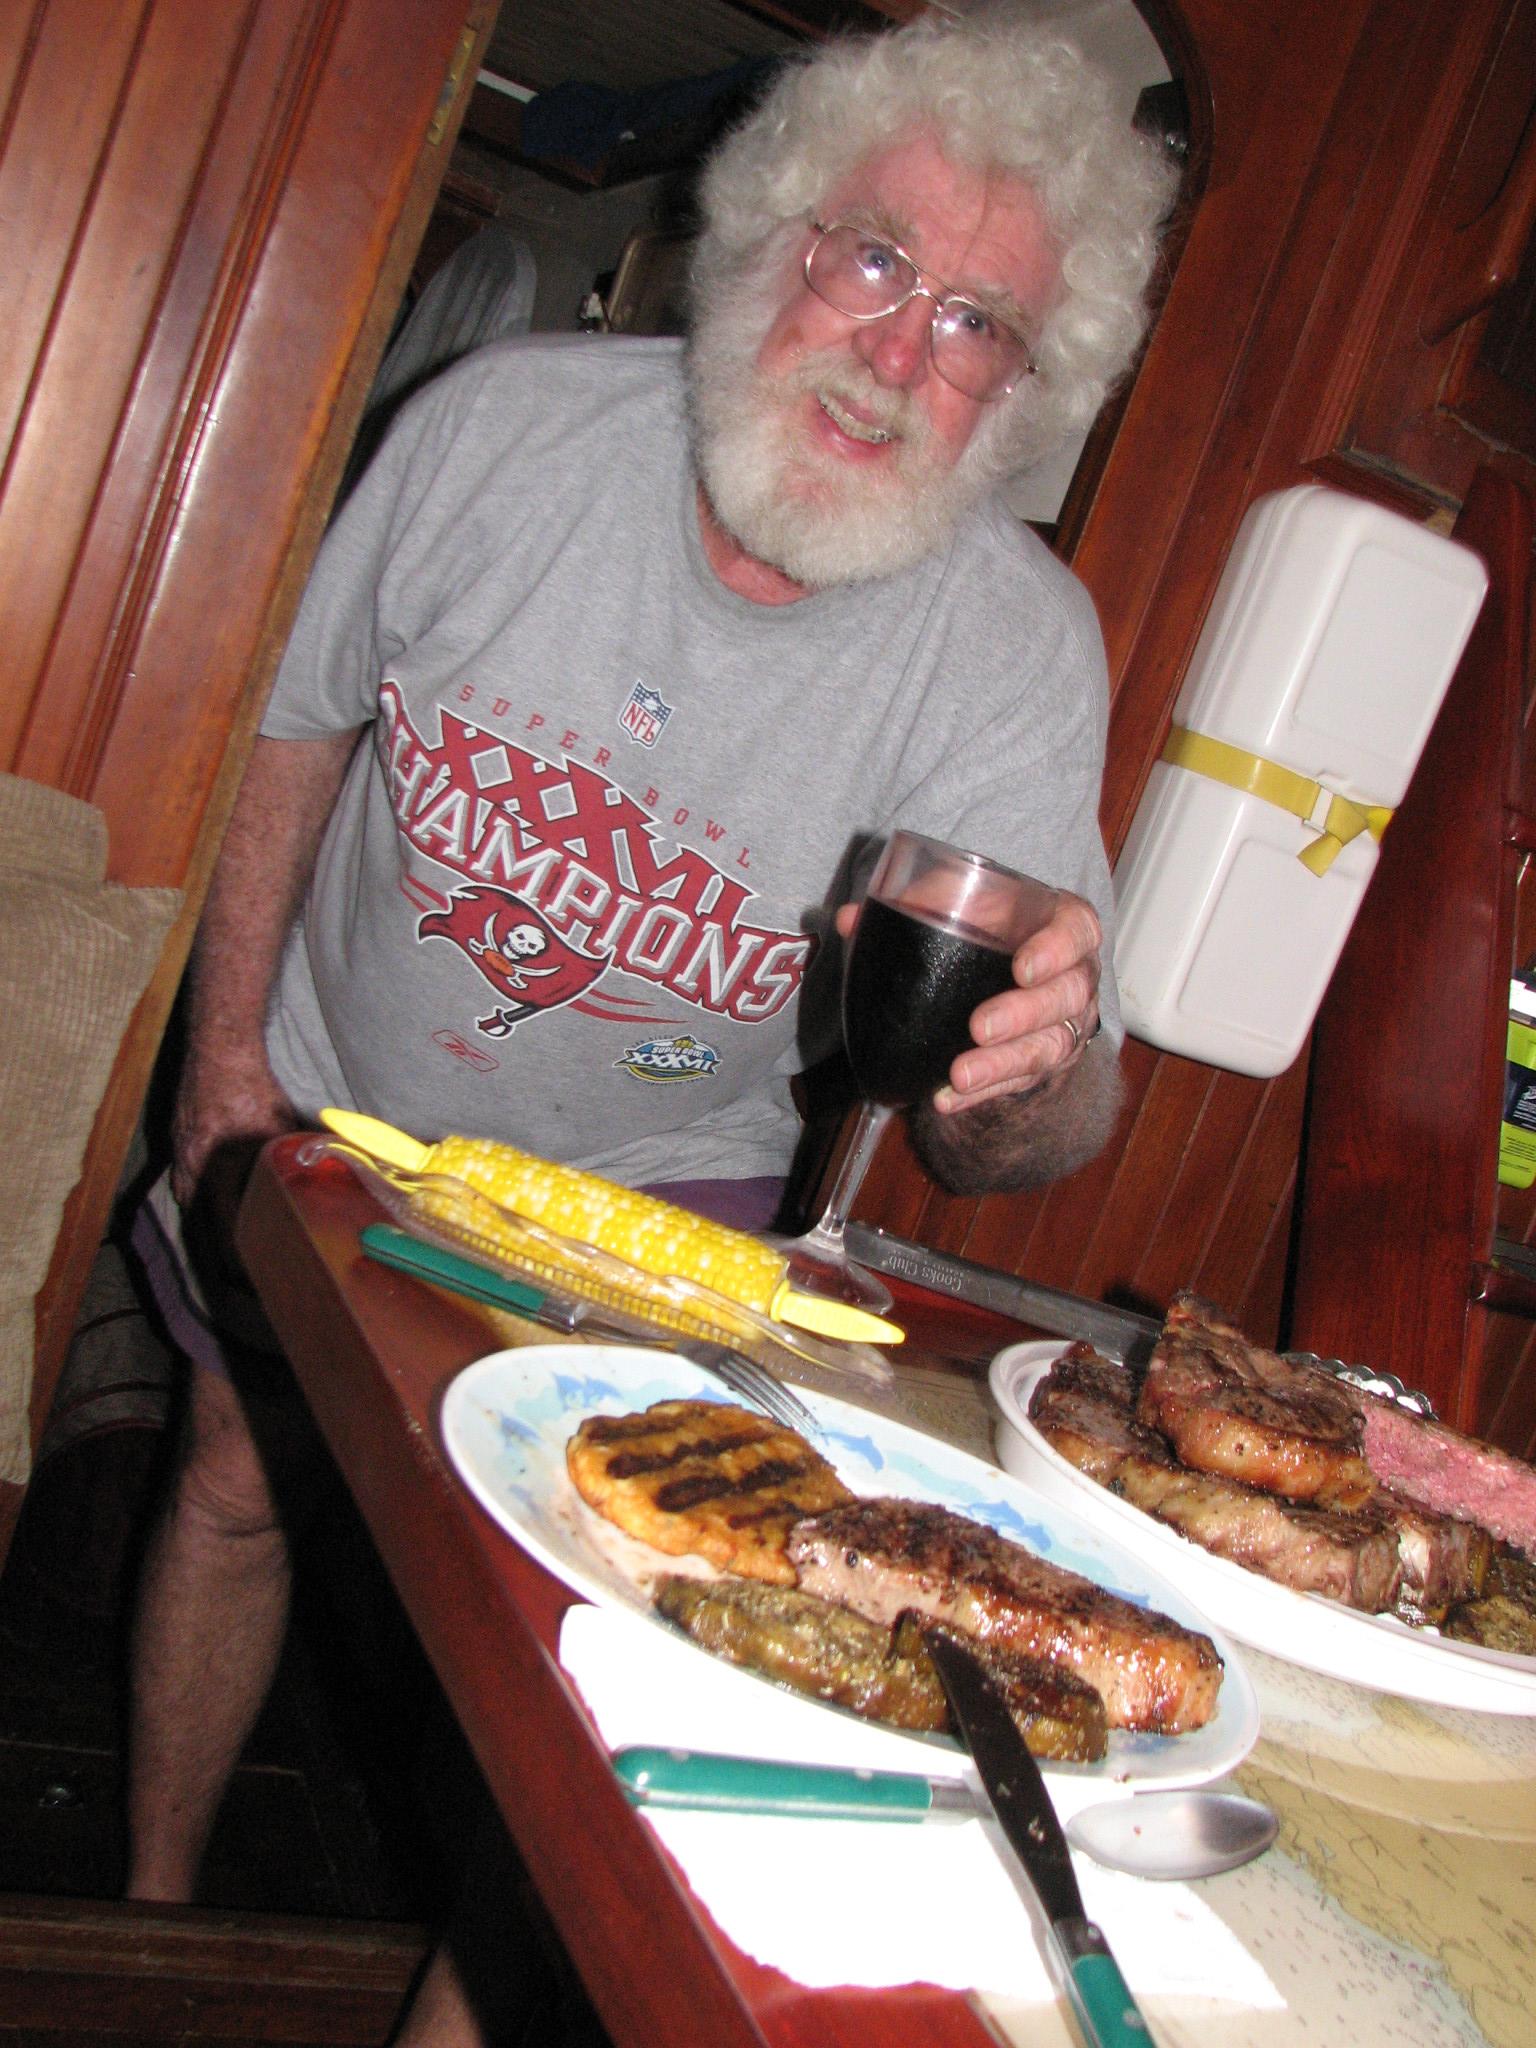
Porterhouse steaks on sale, and bought two we were having dinner in
tonight. What a wonderful meal it was! It consisted of cajun surf and
turf!! Porterhouse steak, seafood patti (shrimp, crab meat &
tilapia), grilled eggplant, and corn on the cob. Dessert was Kitty’s
rum cake!
The
Meal
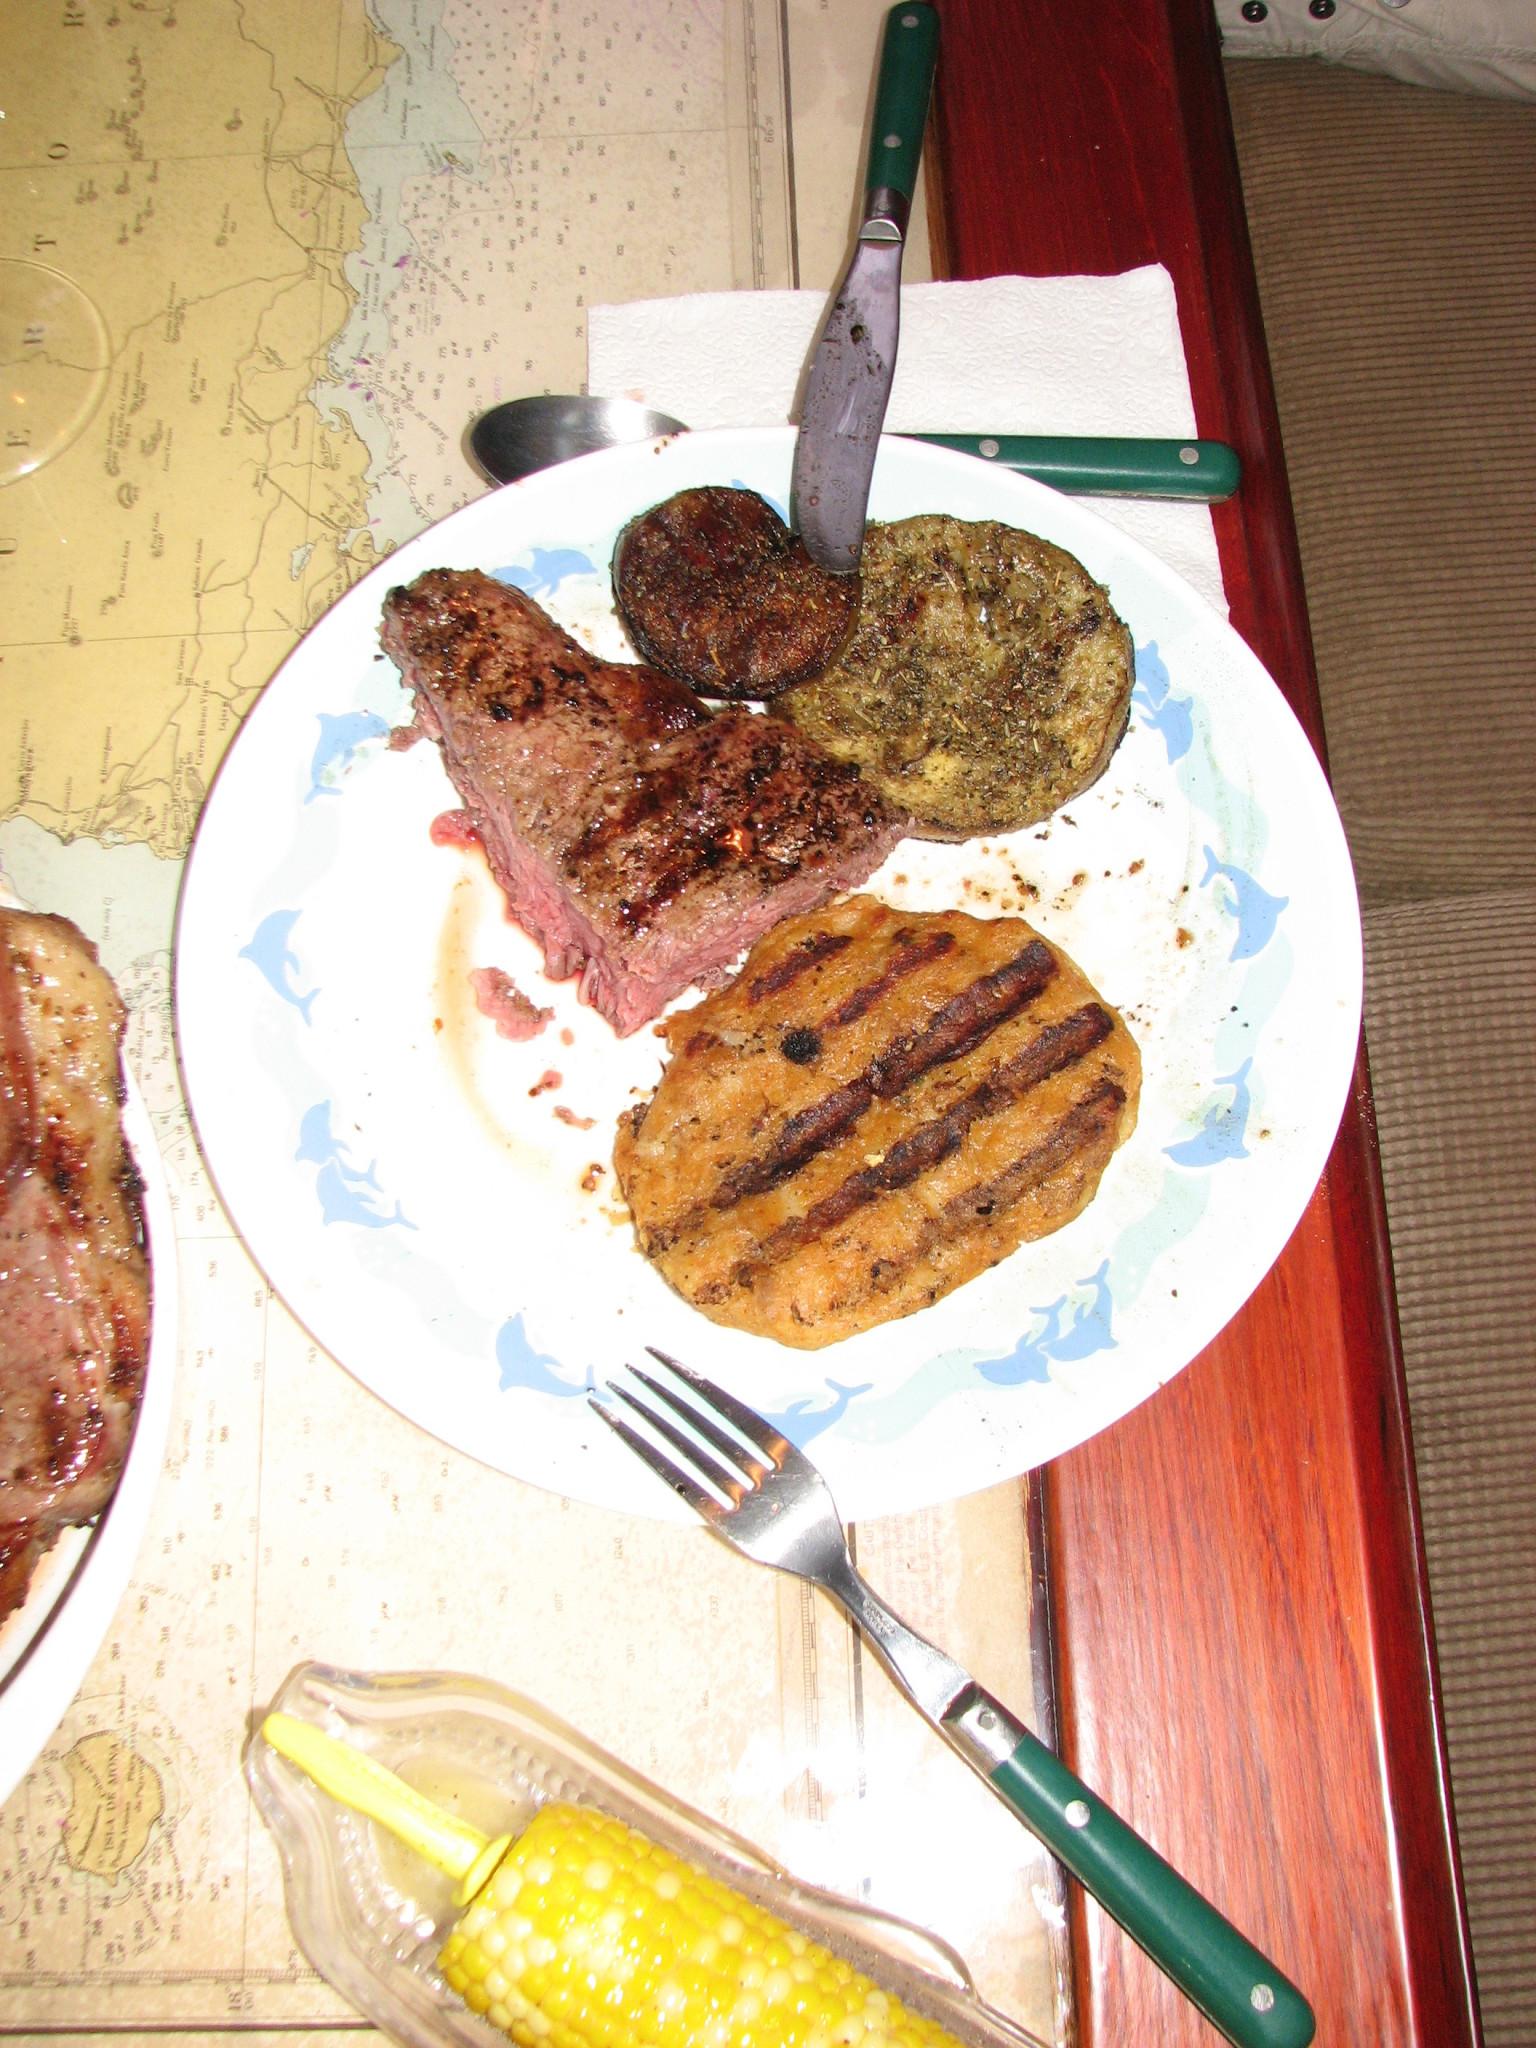
Happy
Participant
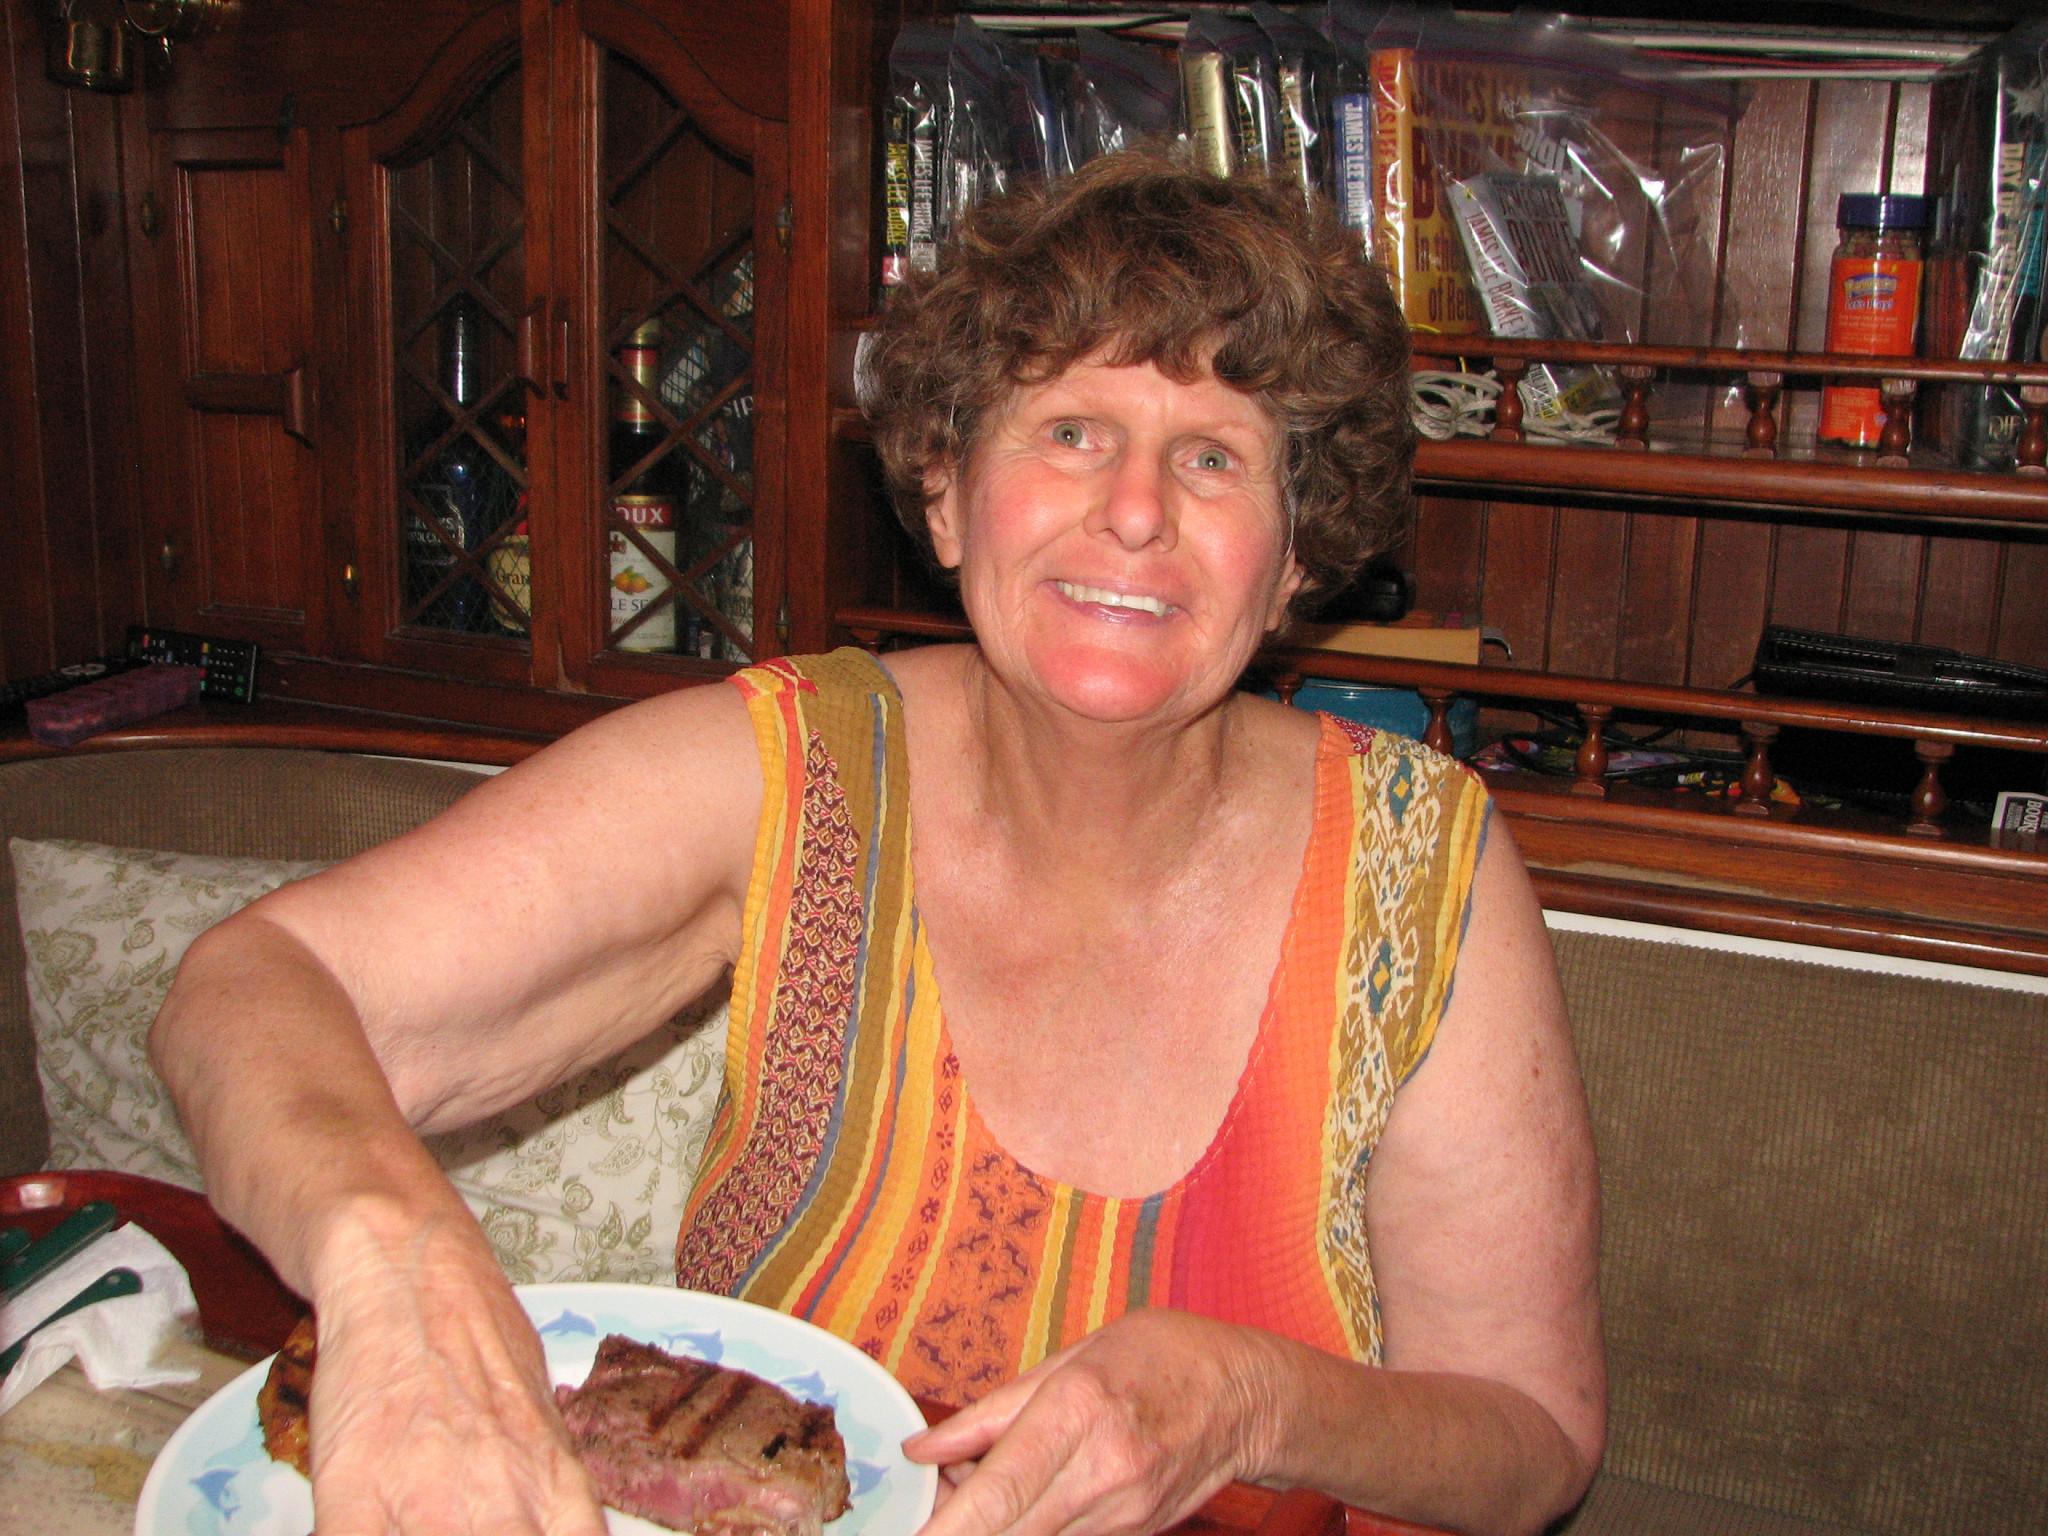
Happy
Participant
