Maintenance Log April 2014
April 24 - April 30,
Thursday - Wednesday, 2014
The dates of our trip to Puerto Rico,
which will be covered in a DREAM AWAY update.
April 23, Wednesday, 2014
Started off the morning with my normal
ritual of getting on the Internet, answering email, and checking the
weather, while making a pot of coffee. When the coffee is started, I
feed our two cats, Jillian
and Jordan, and spend time with them brushing their
beautiful coats.
Today is going to be a busy day, so I
got started early. I went over to the
Port of Delcambre's
storage room and pick up the lawn mower and fuel tank. Then back to
the marina
to weed all of the gardens. When I had weeded all of the gardens, and
trimmed the grass at the edges of the parking lot and gardens, I
mowed the lawns in the marina.
When T-Boy had left, it was time for me
to get busy cleaning out all of the raw water strainers and manifold.
Since we will be gone for ten days to Puerto Rico, I did not want to
have any issues with these systems.
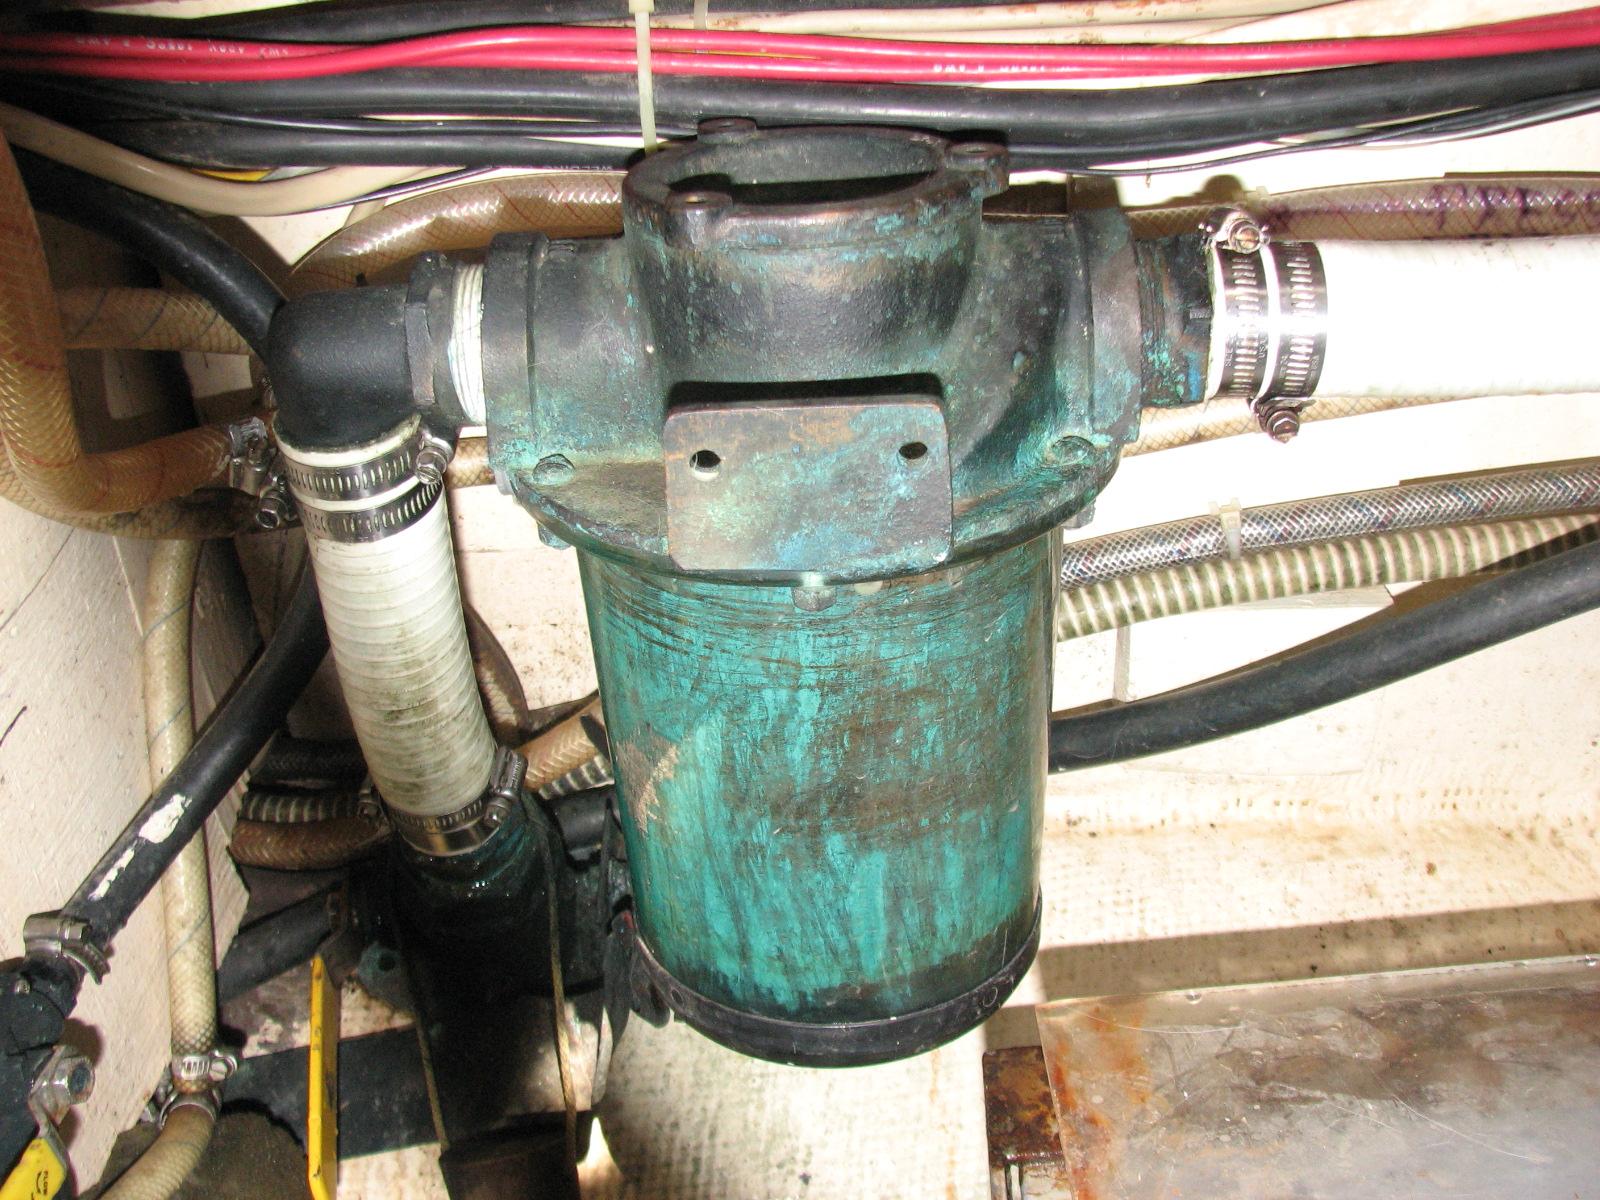
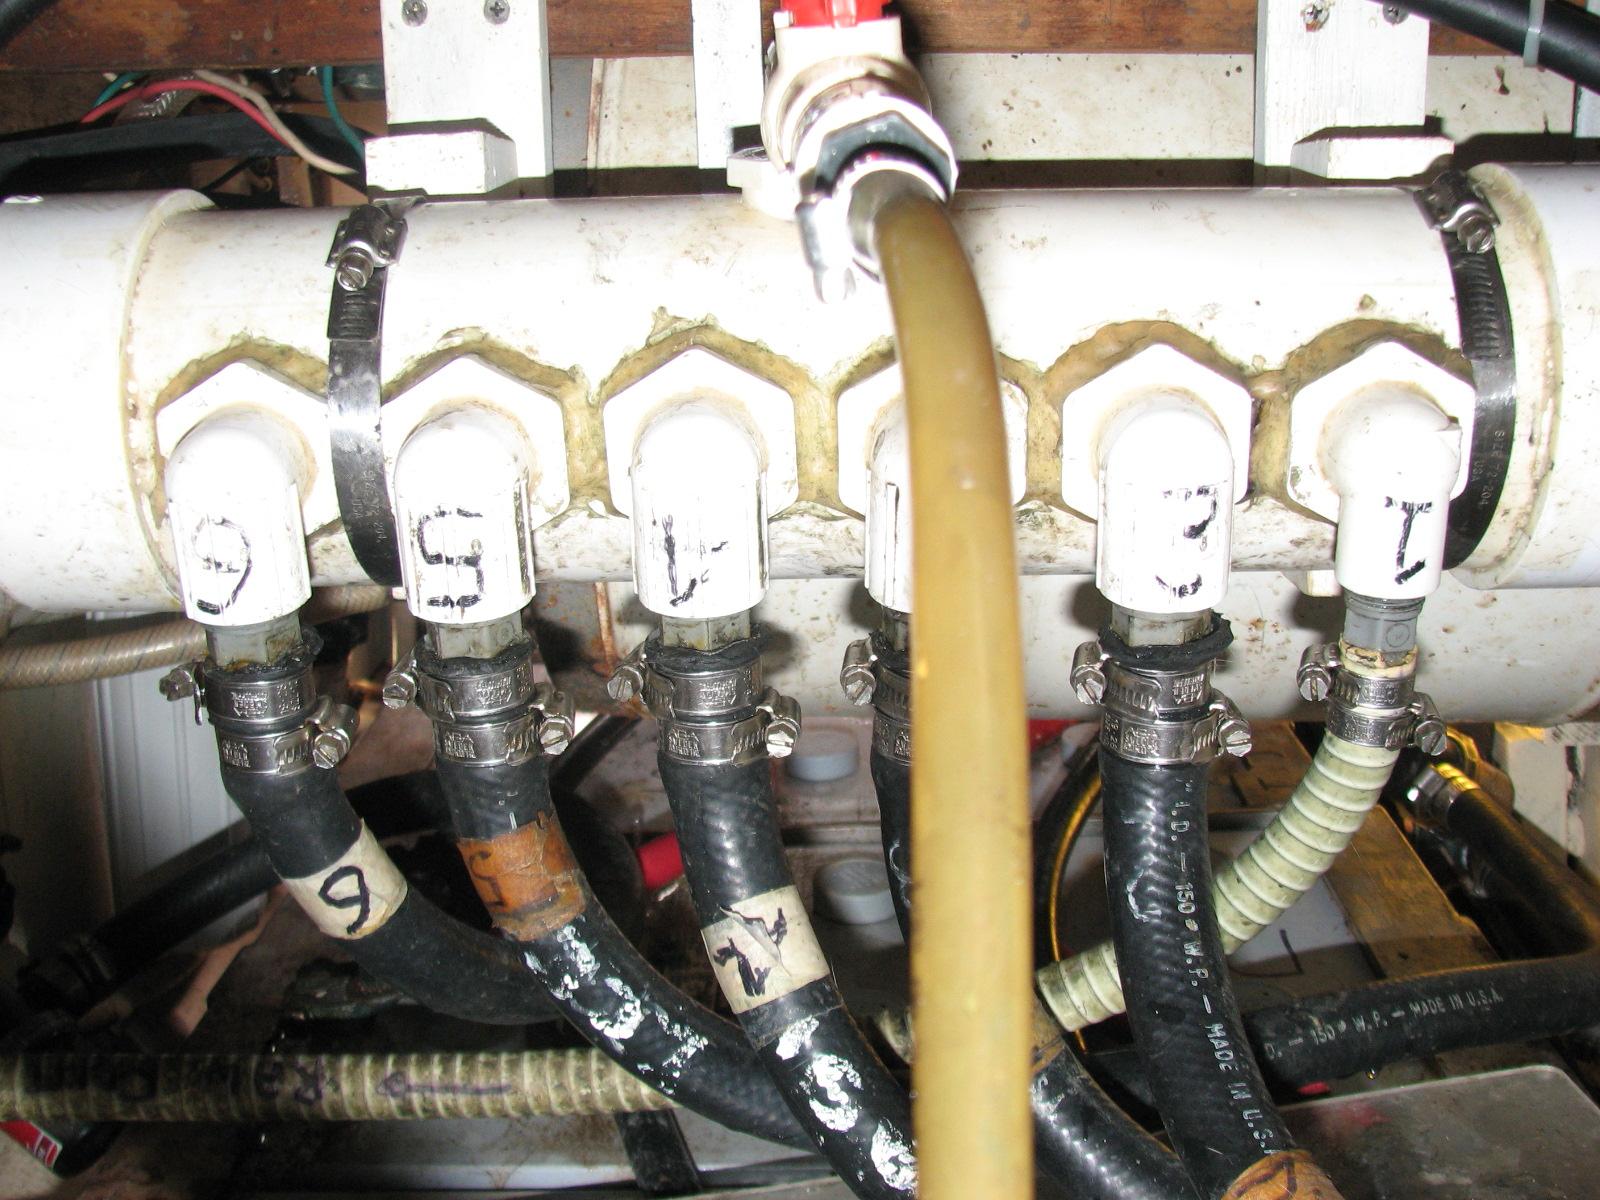
I cleaned out the main strainer for the
manifold (Sea Chest), and the manifold (Sea Chest). Also cleaned out
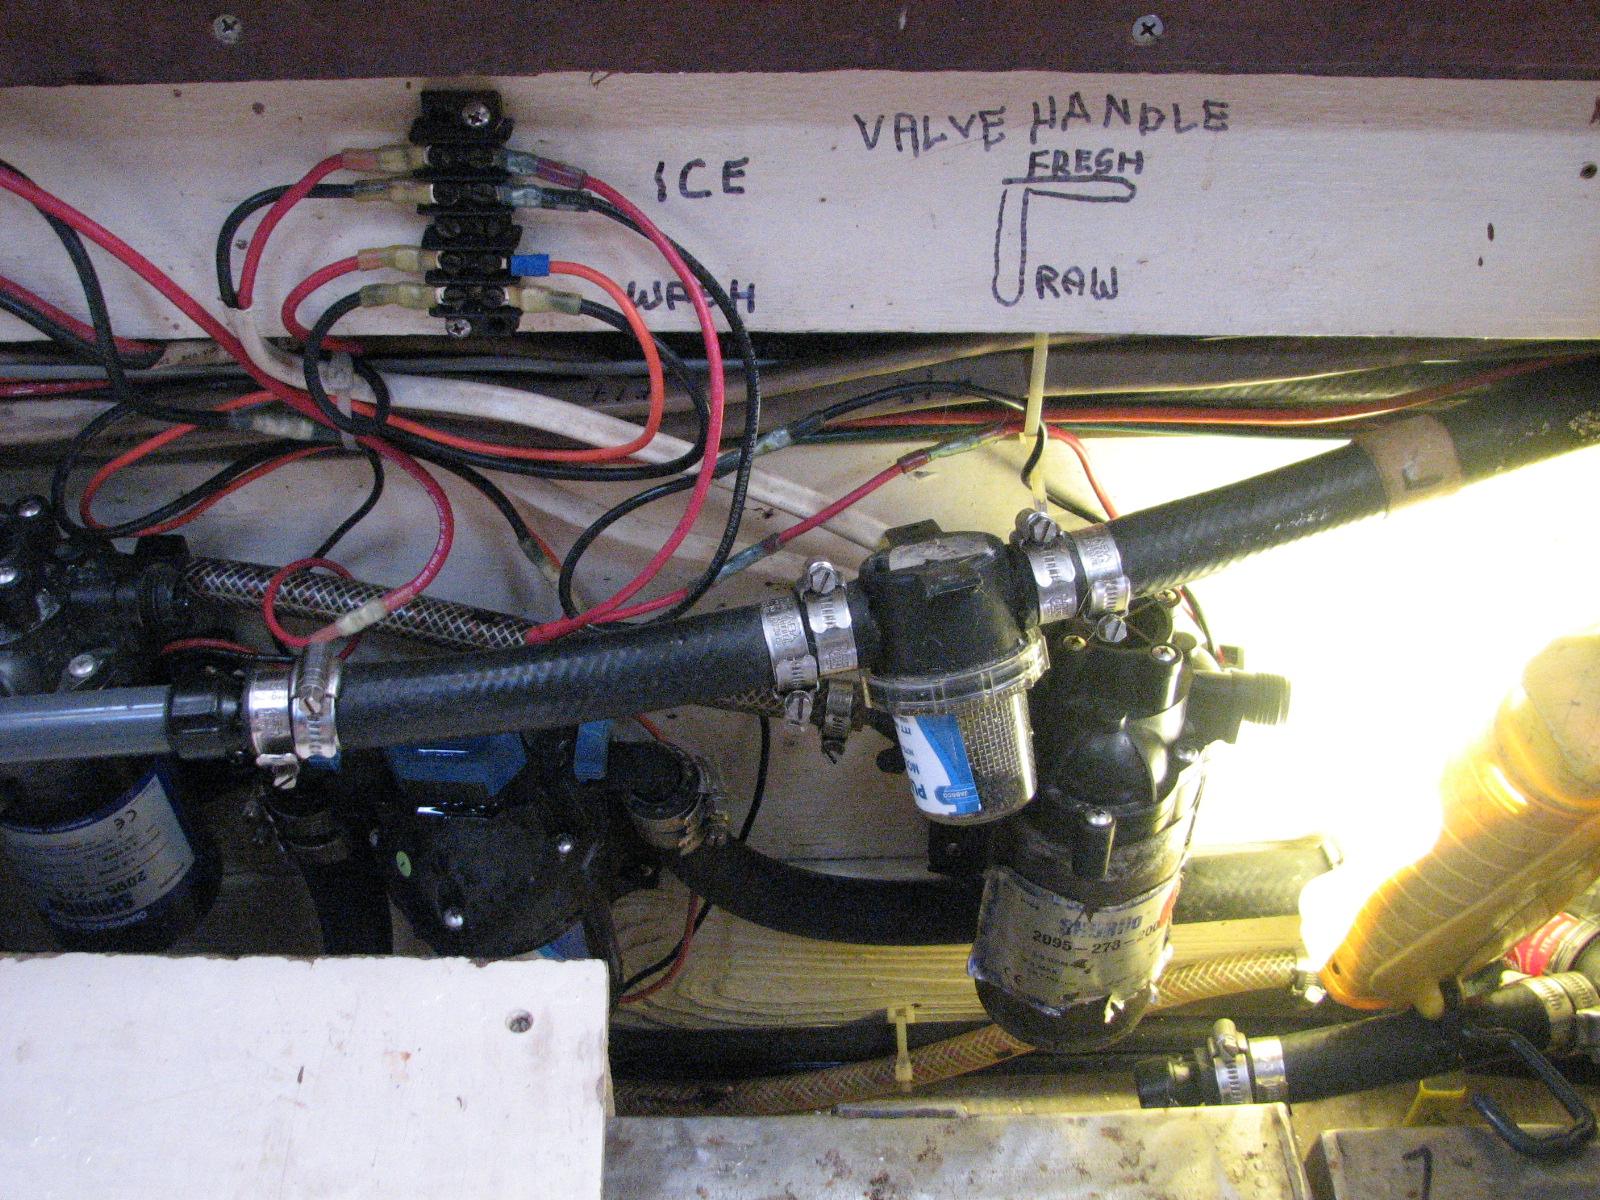
the strainers for the ice maker cooling pump, the refrigeration
cooling pump and the forward air conditioner cooling pumps. During
this cleaning process, I also cleaned out the hoses for all of the
cooling pumps using high pressure water from the dock.
Main Strainer For The Manifold (Sea
Chest)
The Manifold (Sea Chest)
I took apart the the refrigeration
cooling pump head and made sure it was clean, then put it back into
service. I also moved the original ice maker cooling pump back into
the system and removed the spare cooling pump.
Ice Maker Cooling Pump
Refrigeration Cooling Pump With Hoses
Being Cleaned
By the time this project was finished
it was time to prepare dinner and get packed for the trip to Puerto
Rico. We have to drive to
New Orleans tomorrow leaving
Delcambre
at 0600!
April 22, Tuesday, 2014
Started off the morning with my normal
ritual of getting on the Internet, answering email, and checking the
weather, while making a pot of coffee. When the coffee is started, I
feed our two cats, Jillian
and Jordan, and spend time with them brushing their
beautiful coats.
Did not go to the
shop,
but stayed on DREAM AWAY and worked on the computer and
scanning in papers.
Drove into New
Iberia to the hospital so Kitty could get her annual
reclast IV. To make a long story short it did not happen. It will
have to be looked into to see what the issue is with her kidneys.
On the way back home, the
Black Beast
died on us! It was touch and go, and then we
decided to call the
GM Motor club.
They could not help us, so after waiting an hour, the
Black Beast
had cooled down a bit. I started the
Black Beast and it
ran fine. We drove it to the mechanic and left it with him. I am sure
it will not fail for him, so he will not be able to find the problem!
When we finally got back to DREAM AWAY,
we unpacked some of our stuff, and then went off to Abbeville
with our good friend Bonnie to a concert at the Vermillion Parish
Public library. It was a wonderful treat!
Back home after a dinner at Shuck’s,
I then prepared the food for the cats while we are on our trip to Puerto Rico. Bonnie
will be feeding Jillian
and Jordan while we are away.
April 21, Monday, 2014
Started off the morning with my normal
ritual of getting on the Internet, answering email, and checking the
weather, while making a pot of coffee. When the coffee is started, I
feed our two cats,Jillian
and Jordan, and spend time with them brushing their
beautiful coats.
Did not go to the
shop
first thing, but stayed on DREAM AWAY and continued working on
email and the Maintenance Logs. I am making progress, emails are at
an acceptable level, and I am working on finishing up the March
Maintenance Log.
After breakfast, I started work on an
experiment. Yesterday, I had loaded several empty buckets and kitty
litter containers into Ruby,
which I brought down to DREAM AWAY. I also brought down two tubs that
we keep at the marina
in which to wash lines.
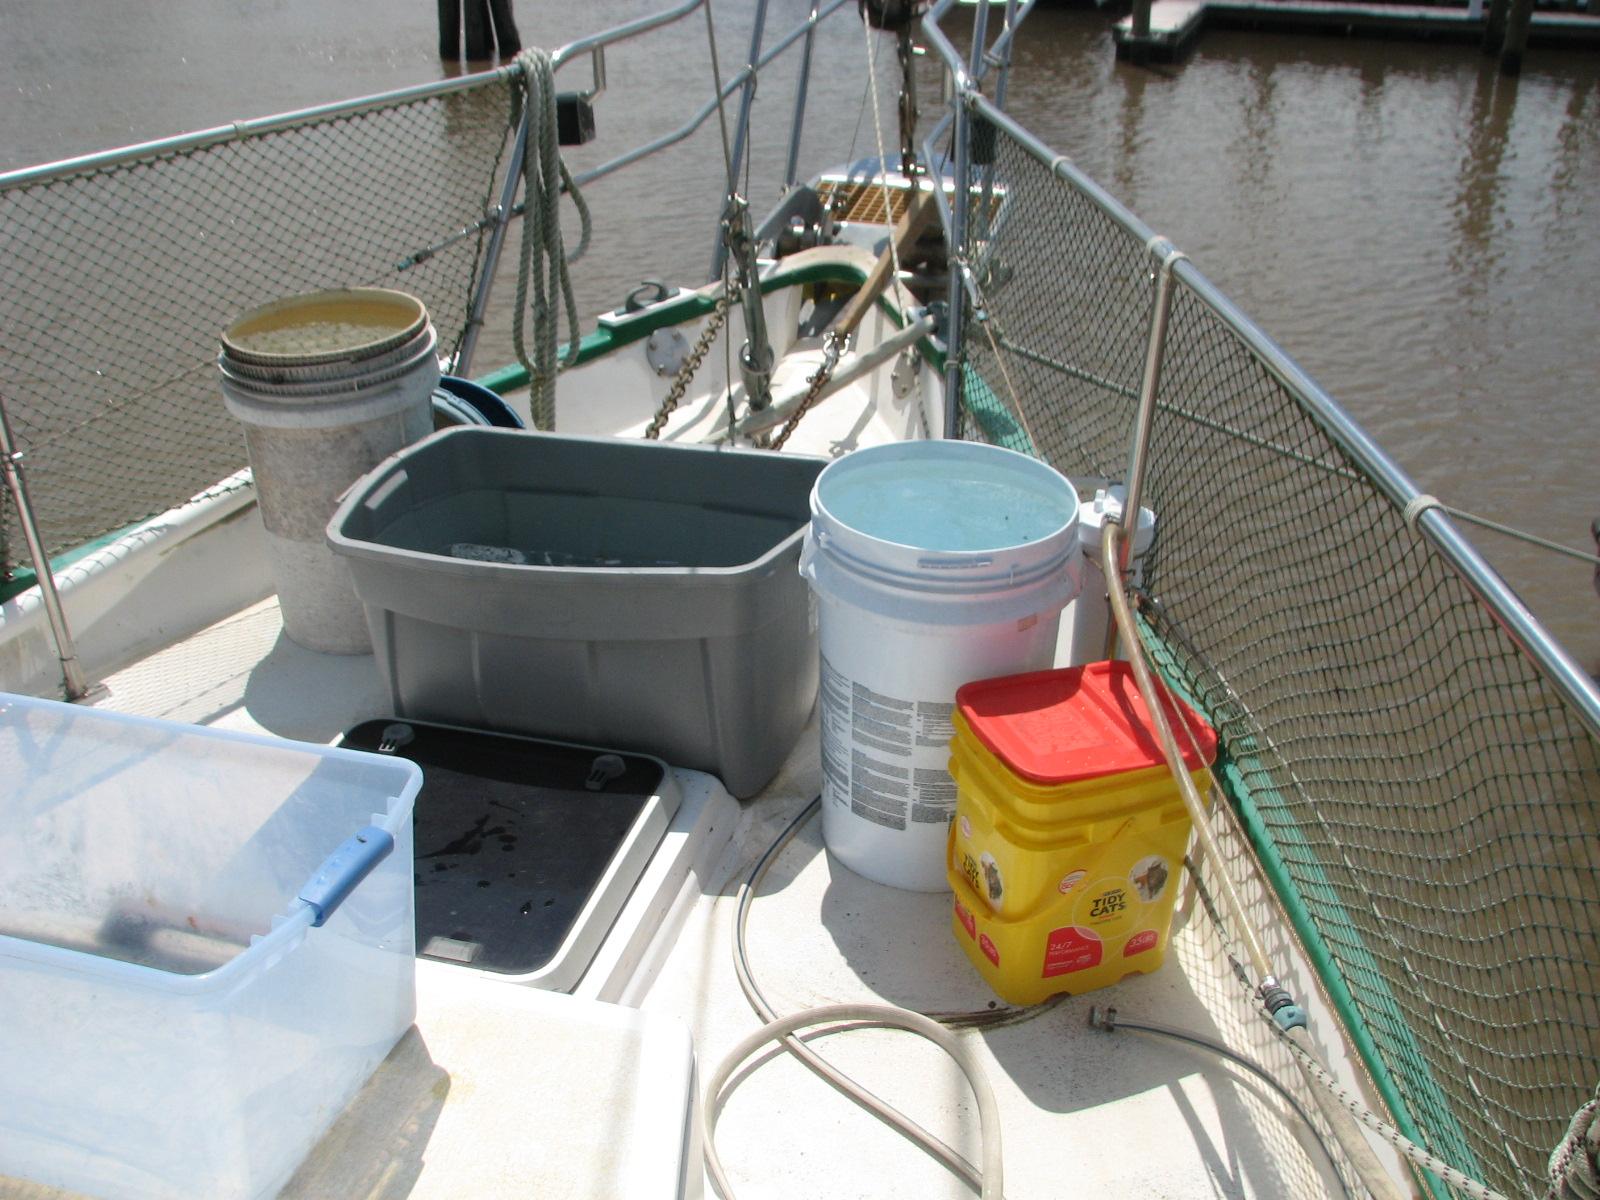
The experiment is to put all of these
containers on the bow of DREAM AWAY and see if the generator
exhaust is out of the water enough that I could move the exhaust. I
also lowered the tender into the water to take that weight off of the
stern of DREAM AWAY.
The experiment was successful in that
the exhaust for the generator
is completely out of the water, but not enough to do a replacement
while DREAM AWAY is still in the water. Exhaust outlet work will have
to wait until I have DREAM AWAY out for a bottom job.
Tubs And Buckets On Bow Of DREAM AWAY
I emptied all of the bucket and tubs,
and returned them to their proper location. I left the tender in the
water, as I needed it to work on the leak in the aft cabin.
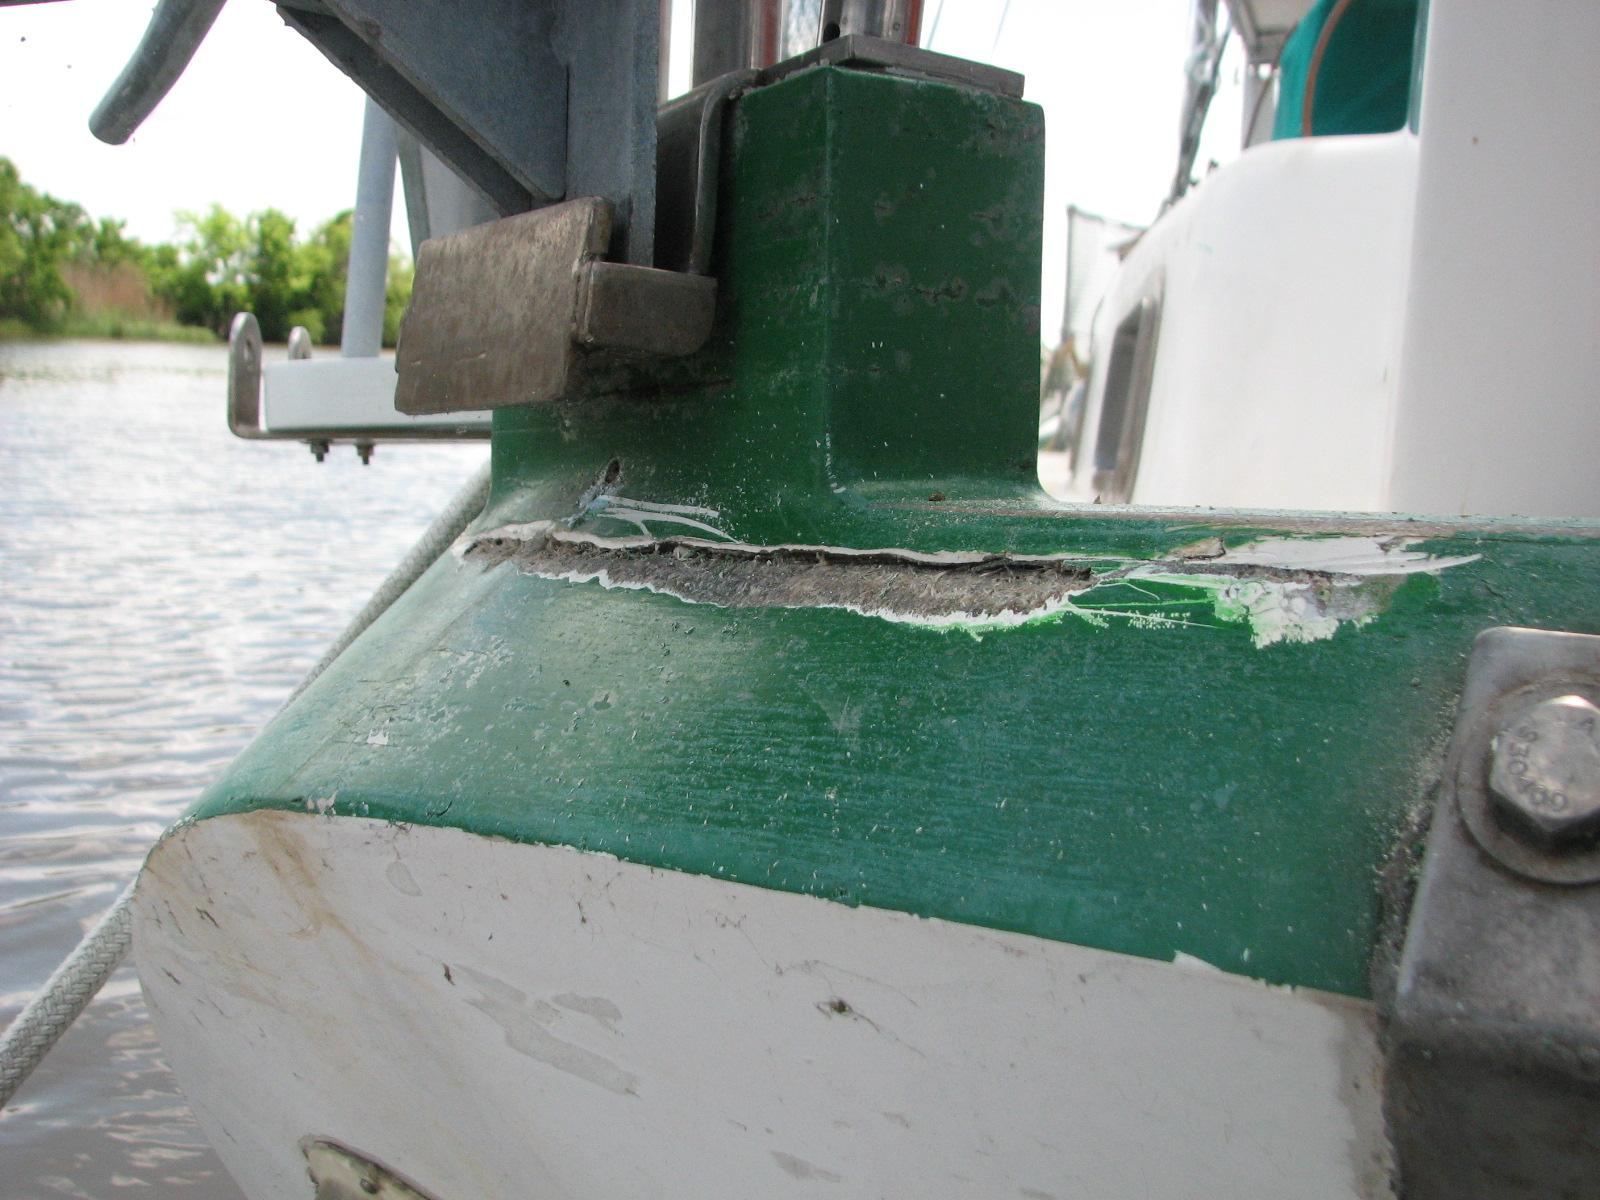
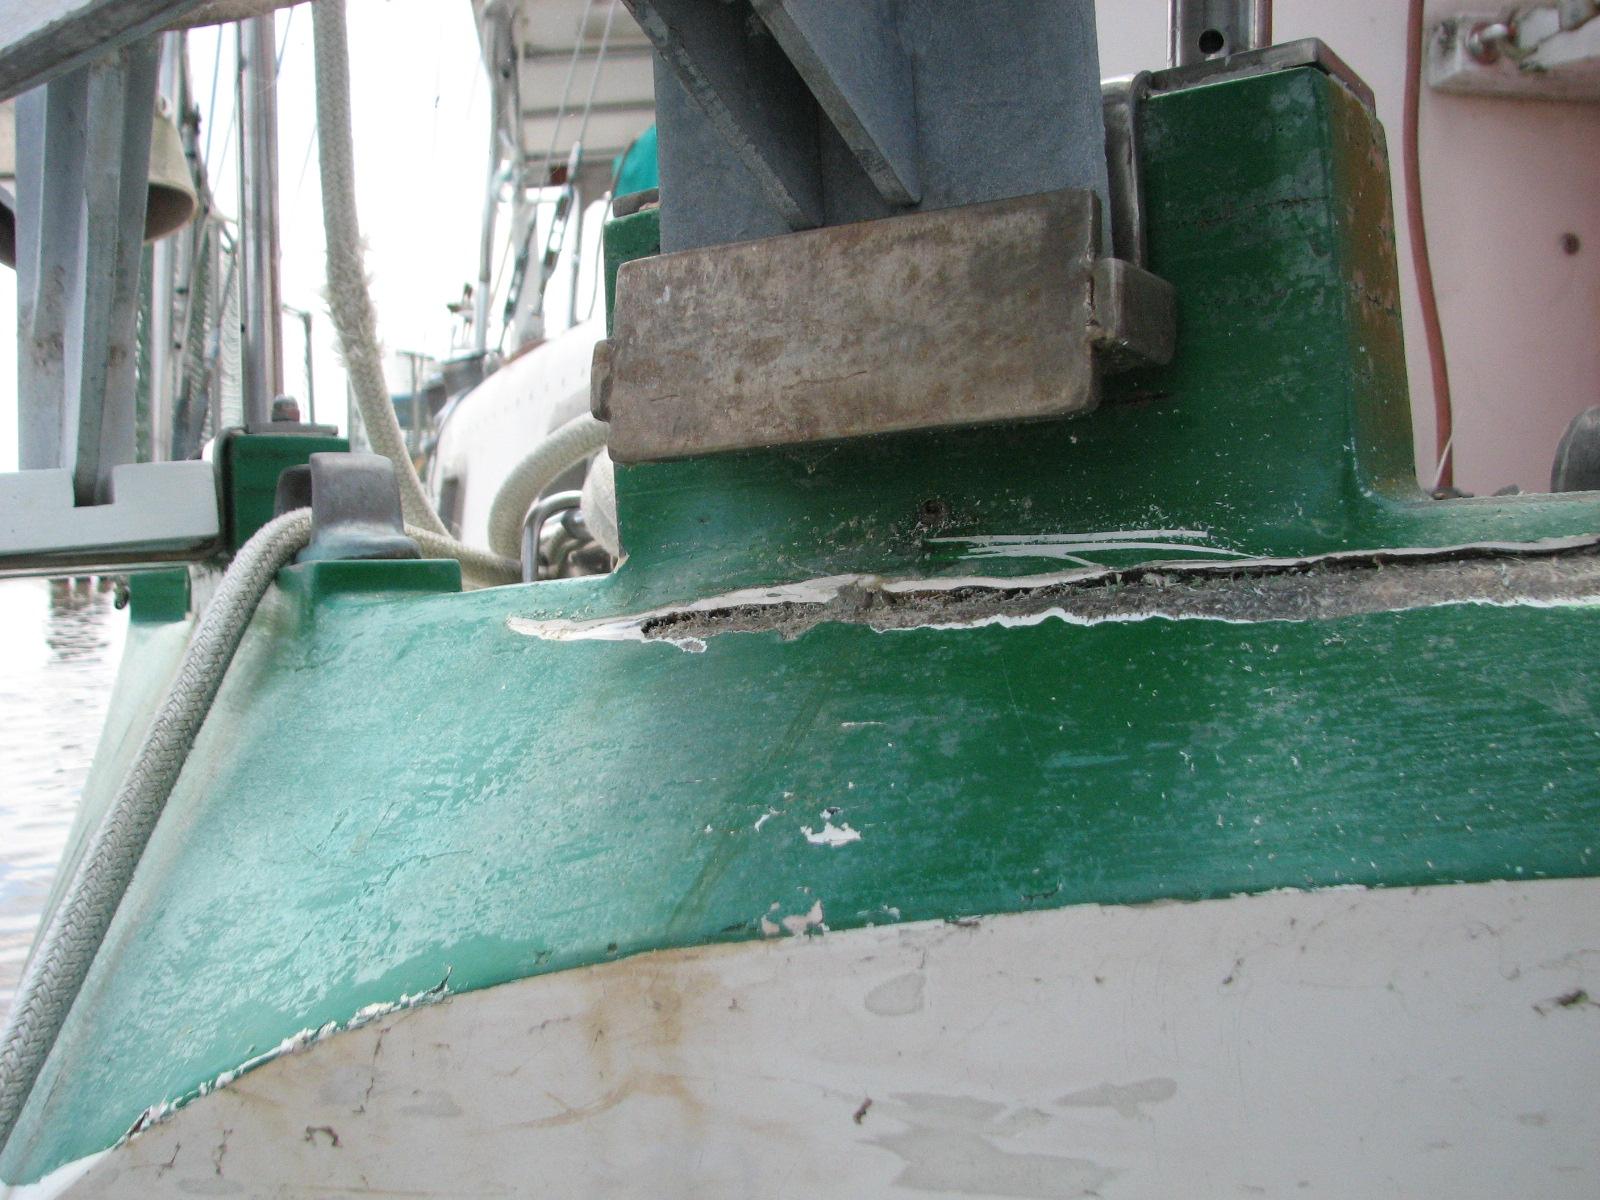
We had located the source of the aft
cabin leak a couple of days ago, so now I was going to fix it. Along
the stern of DREAM AWAY, where the hull to deck joint is, is a crack
in the fiberglass.
This is the source of the leak.
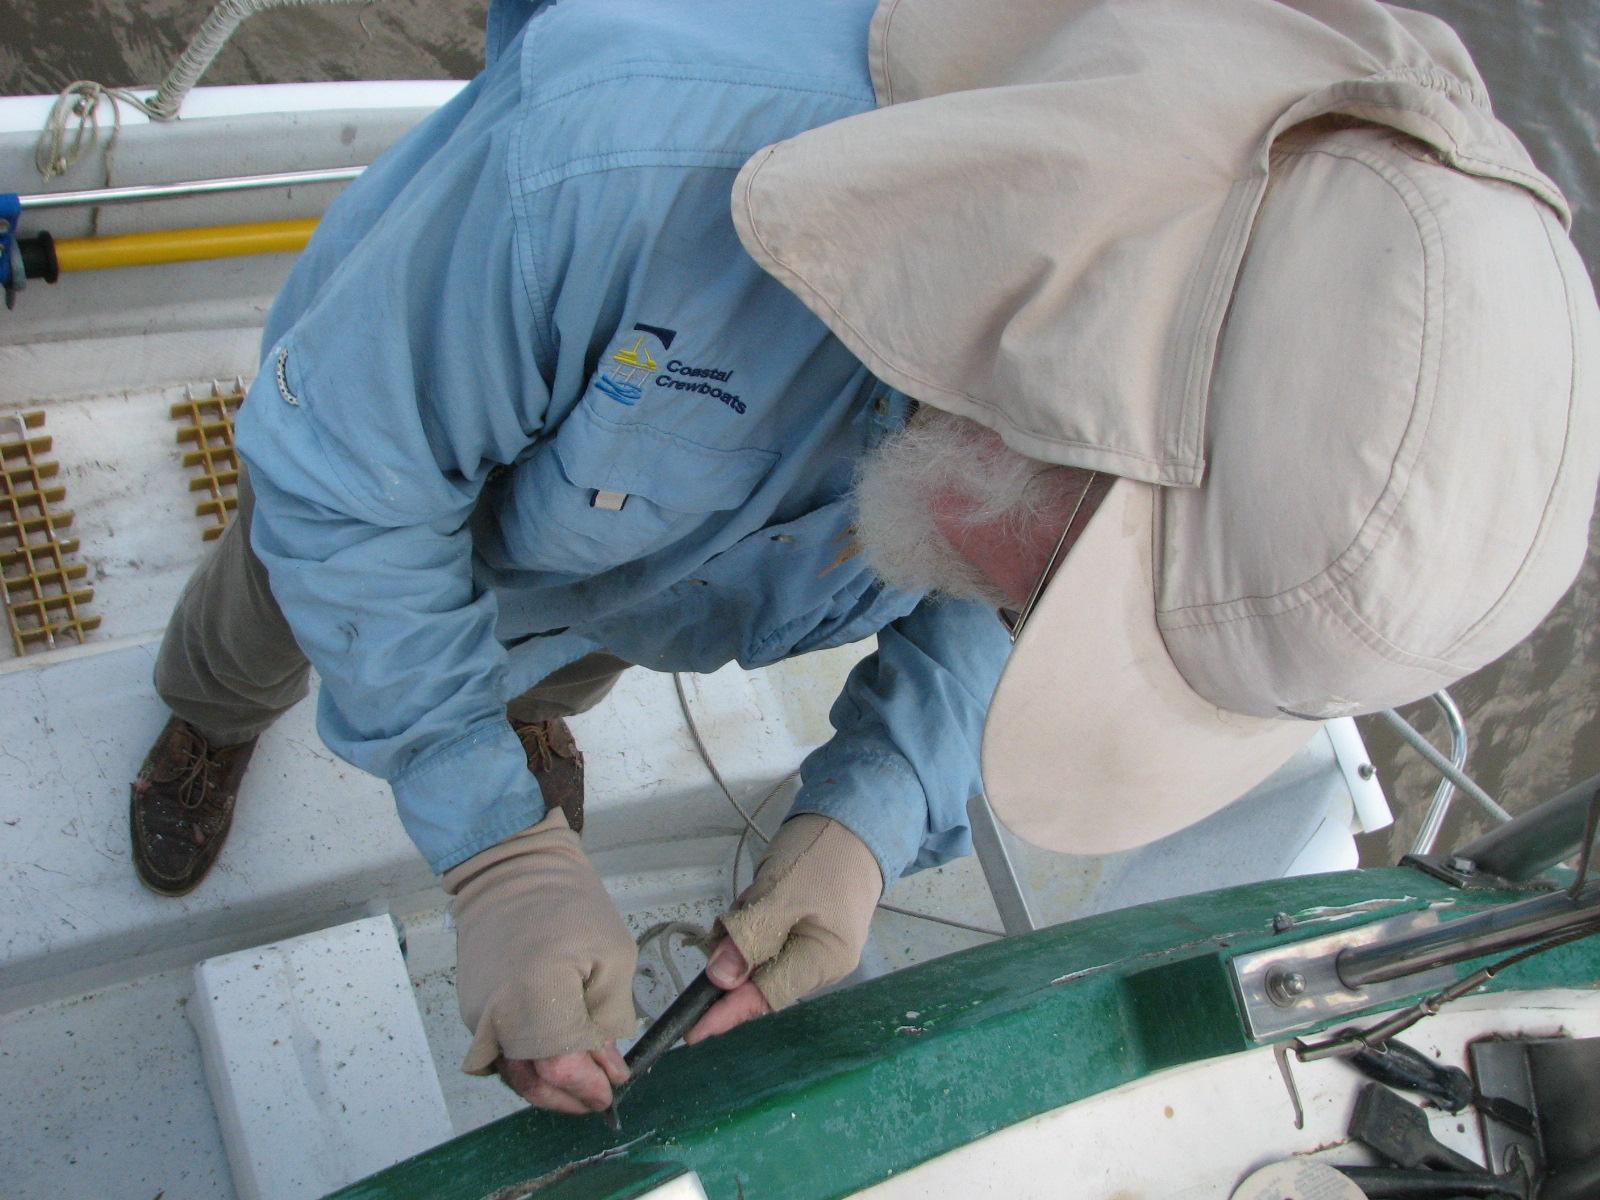
I had to scrape out the crack to get to
good solid fiberglass
on either side of the crack. My goal was to clean out all of the
area, even though some of the crack was not leaking at the time. Sort
of some preventive maintenance.
Captain In The Tender Working On The
Crack
Source Of The Aft Cabin Leak
Source Of The Aft Cabin Leak
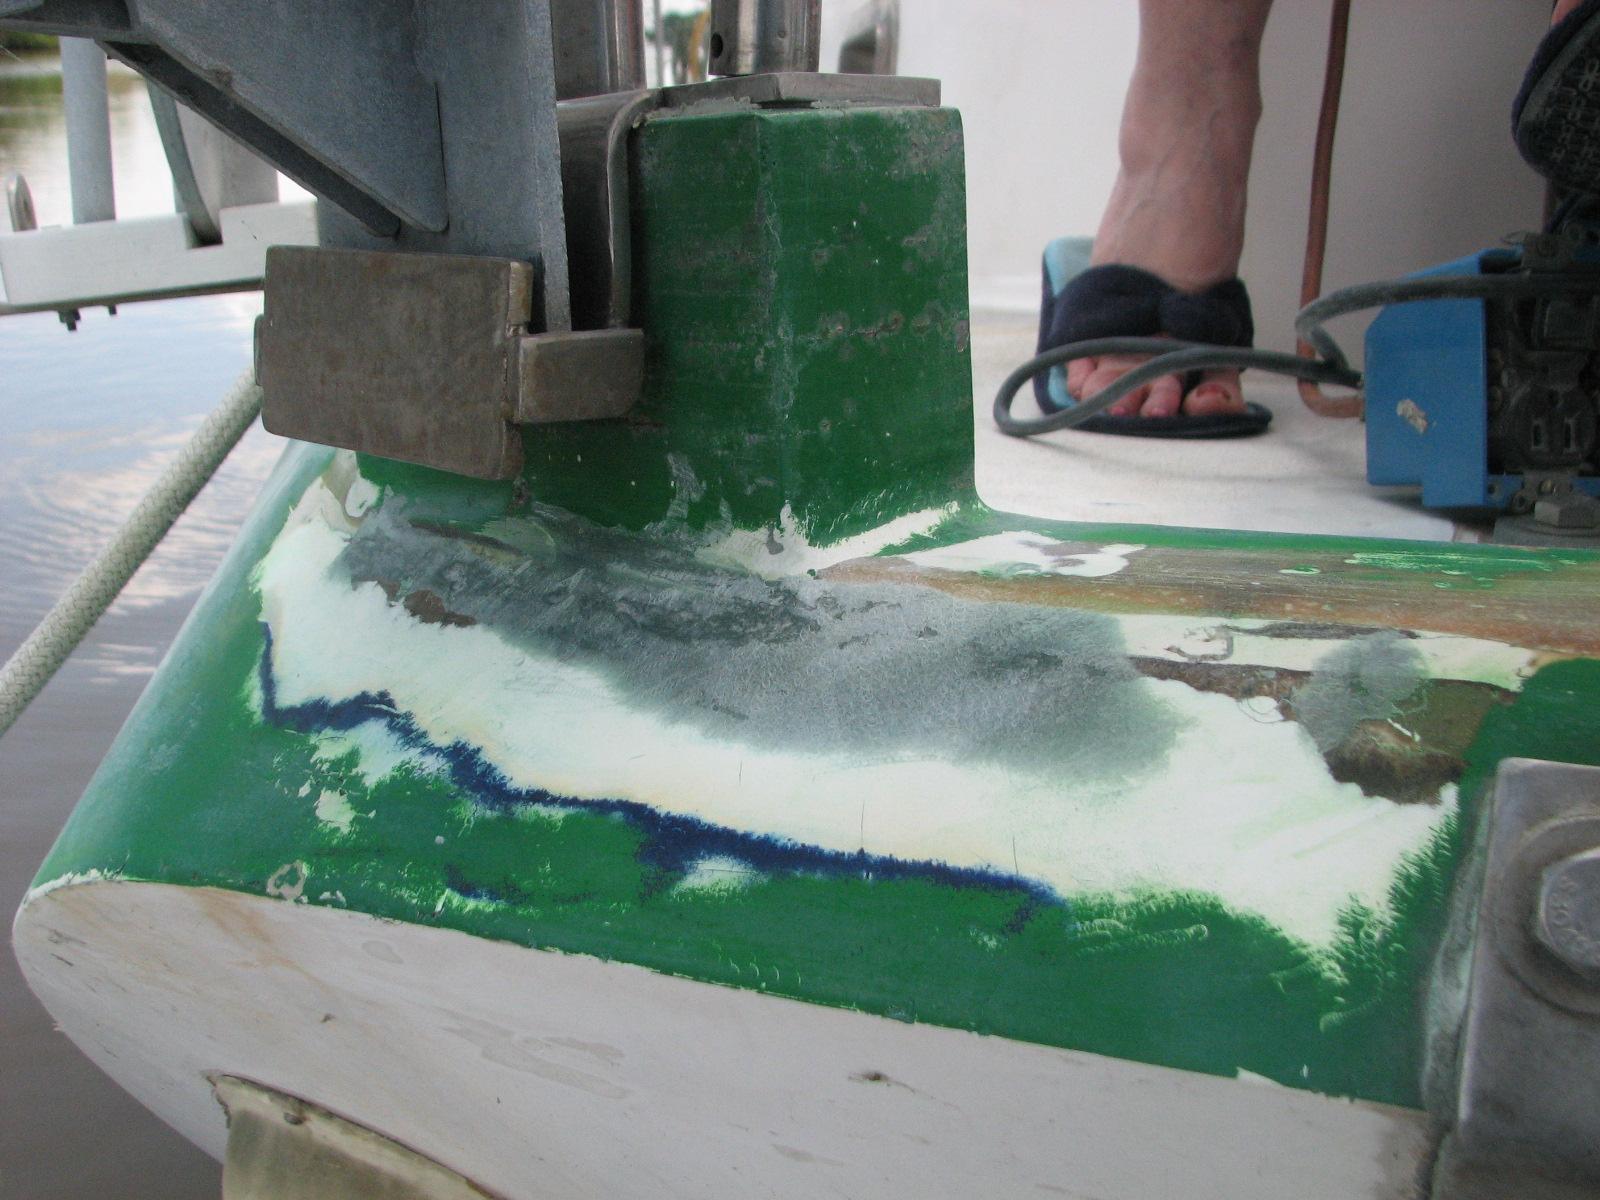
Other Areas Of The Stern That Were
Cleaned Out
Once I got all of the crack cleaned
out, I wiped down the area with acetone,
and then applied
Bondo
Glass short hair filler putty. This is a filler putty with short
fiberglass
strands in it, so it is a structural filler putty rather than a
finishing putty.
Structural
Bondo
Glass Filler Putty Applied To Repair Area
Structural
Bondo
Glass Filler Putty Applied To Repair Area
Since the point of this exercise was to
repair a leak, I had Kitty get in the aft cabin where the leak is
(hopefully was) and keep an eye on the area while I ran water from
the hose over the area. Previously, when I ran water over the area,
the water appeared in the aft cabin within 15 seconds. This time I
ran water over the area for three full minutes, and no leak!! This is
great news.
I put the tender back onto the davits,
cleaned up the area, put all of the tools and stuff away, and hit the
shower!
April 20, Sunday, 2014
I slept in this morning until 0700.
Must be the effects of the cold and medicine. Started off the morning
with my normal ritual of getting on the Internet, answering email,
and checking the weather, while making a pot of coffee. When the
coffee is started, I feed our two cats,
Jillian and Jordan,
and spend time with them brushing their beautiful coats.
Did not go to the
shop first thing, but
stayed on DREAM AWAY and continued working on
email and the Maintenance Logs. We had a very late breakfast, as
Kitty slept in until 1030. She is recovering from her cold also.
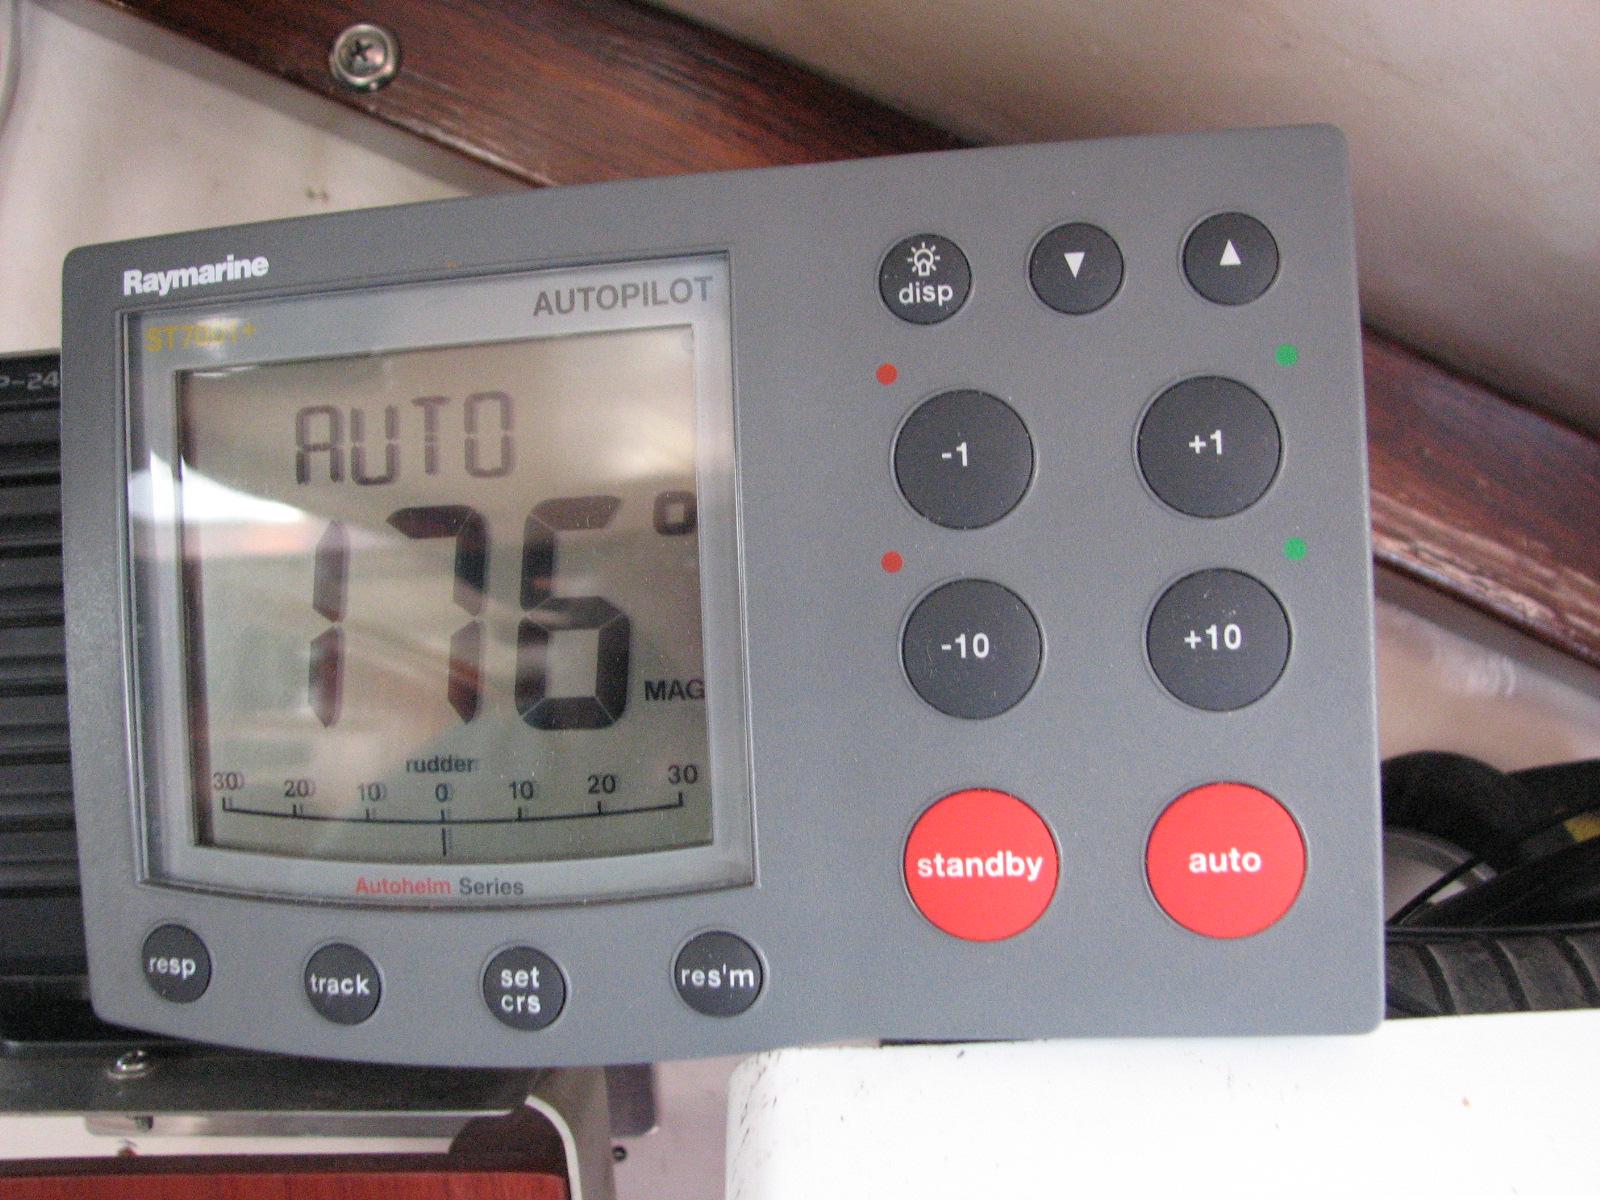
After breakfast, I tested the new
Autopilot control head friends Nicola and Noel ordered, and had sent
to us. It worked perfectly here in the slip. When we get to some open
water, will have to check it again to make sure it actually steers
the boat!
Raymarine ST7000+ Control Head Powered
Up
I went over to the shop
got to work on the console for Ruby.
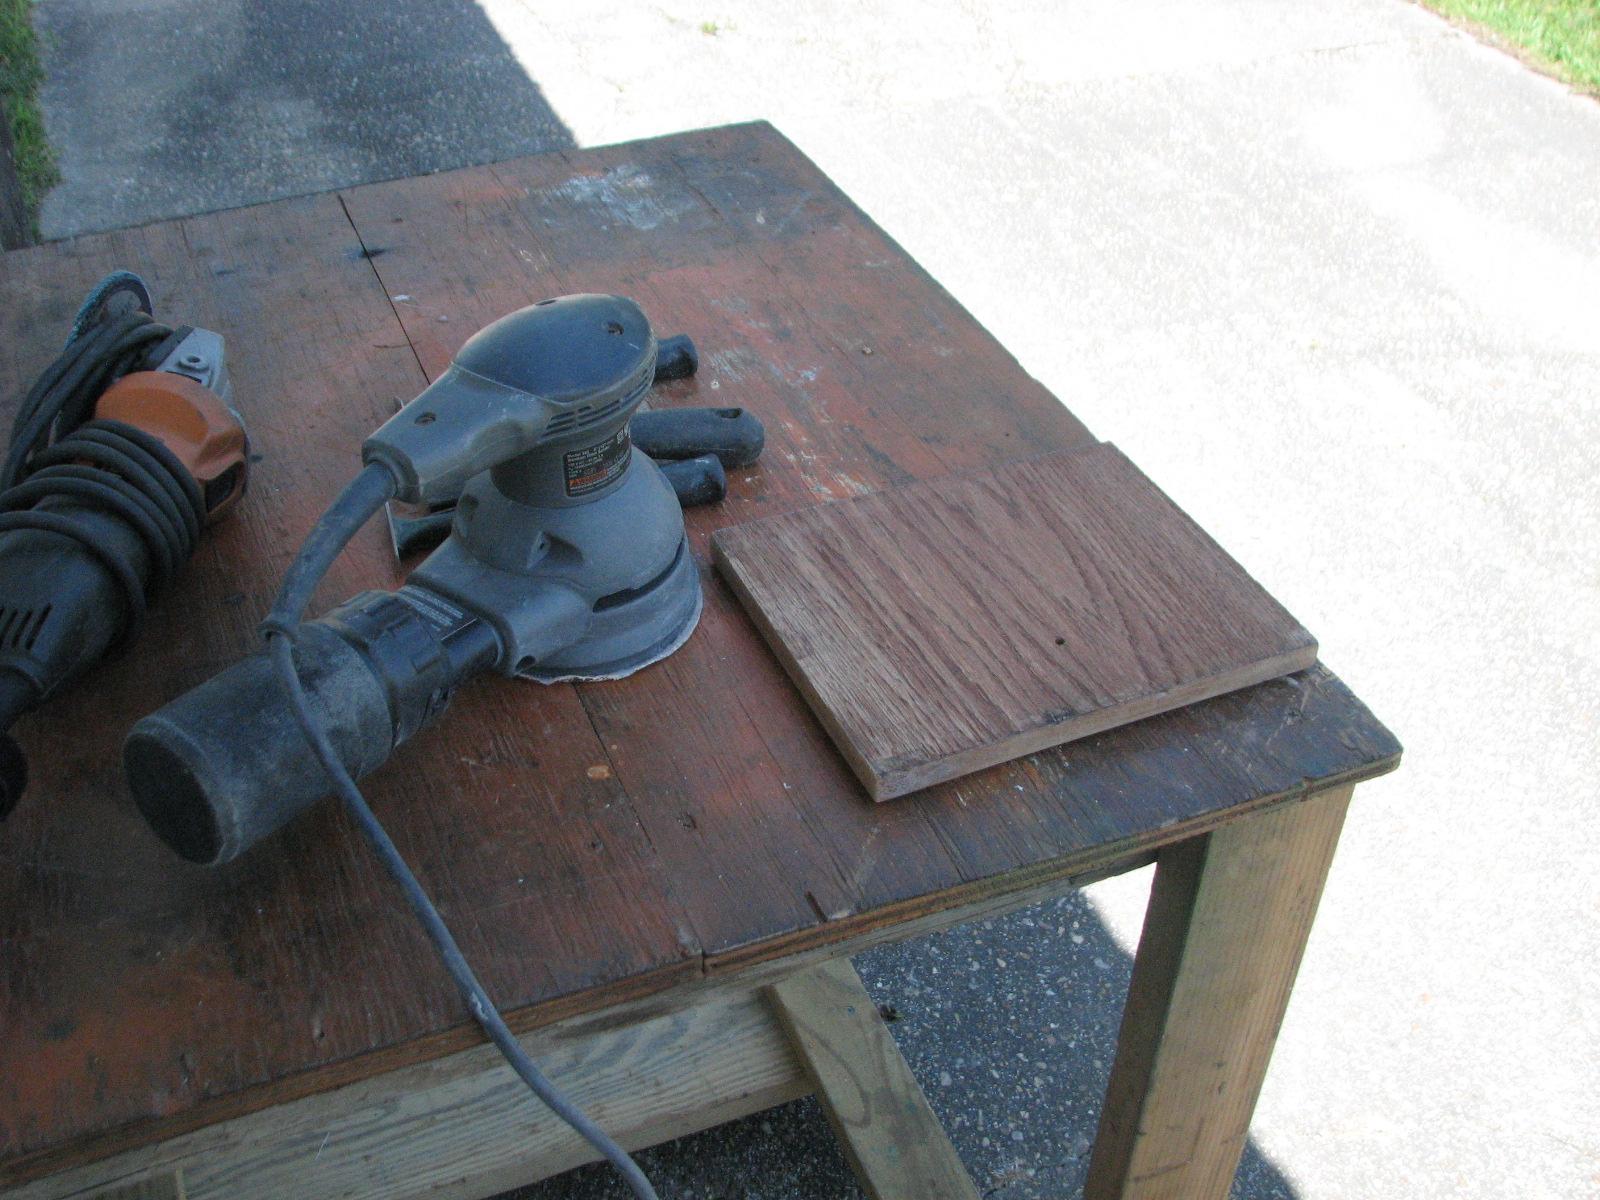
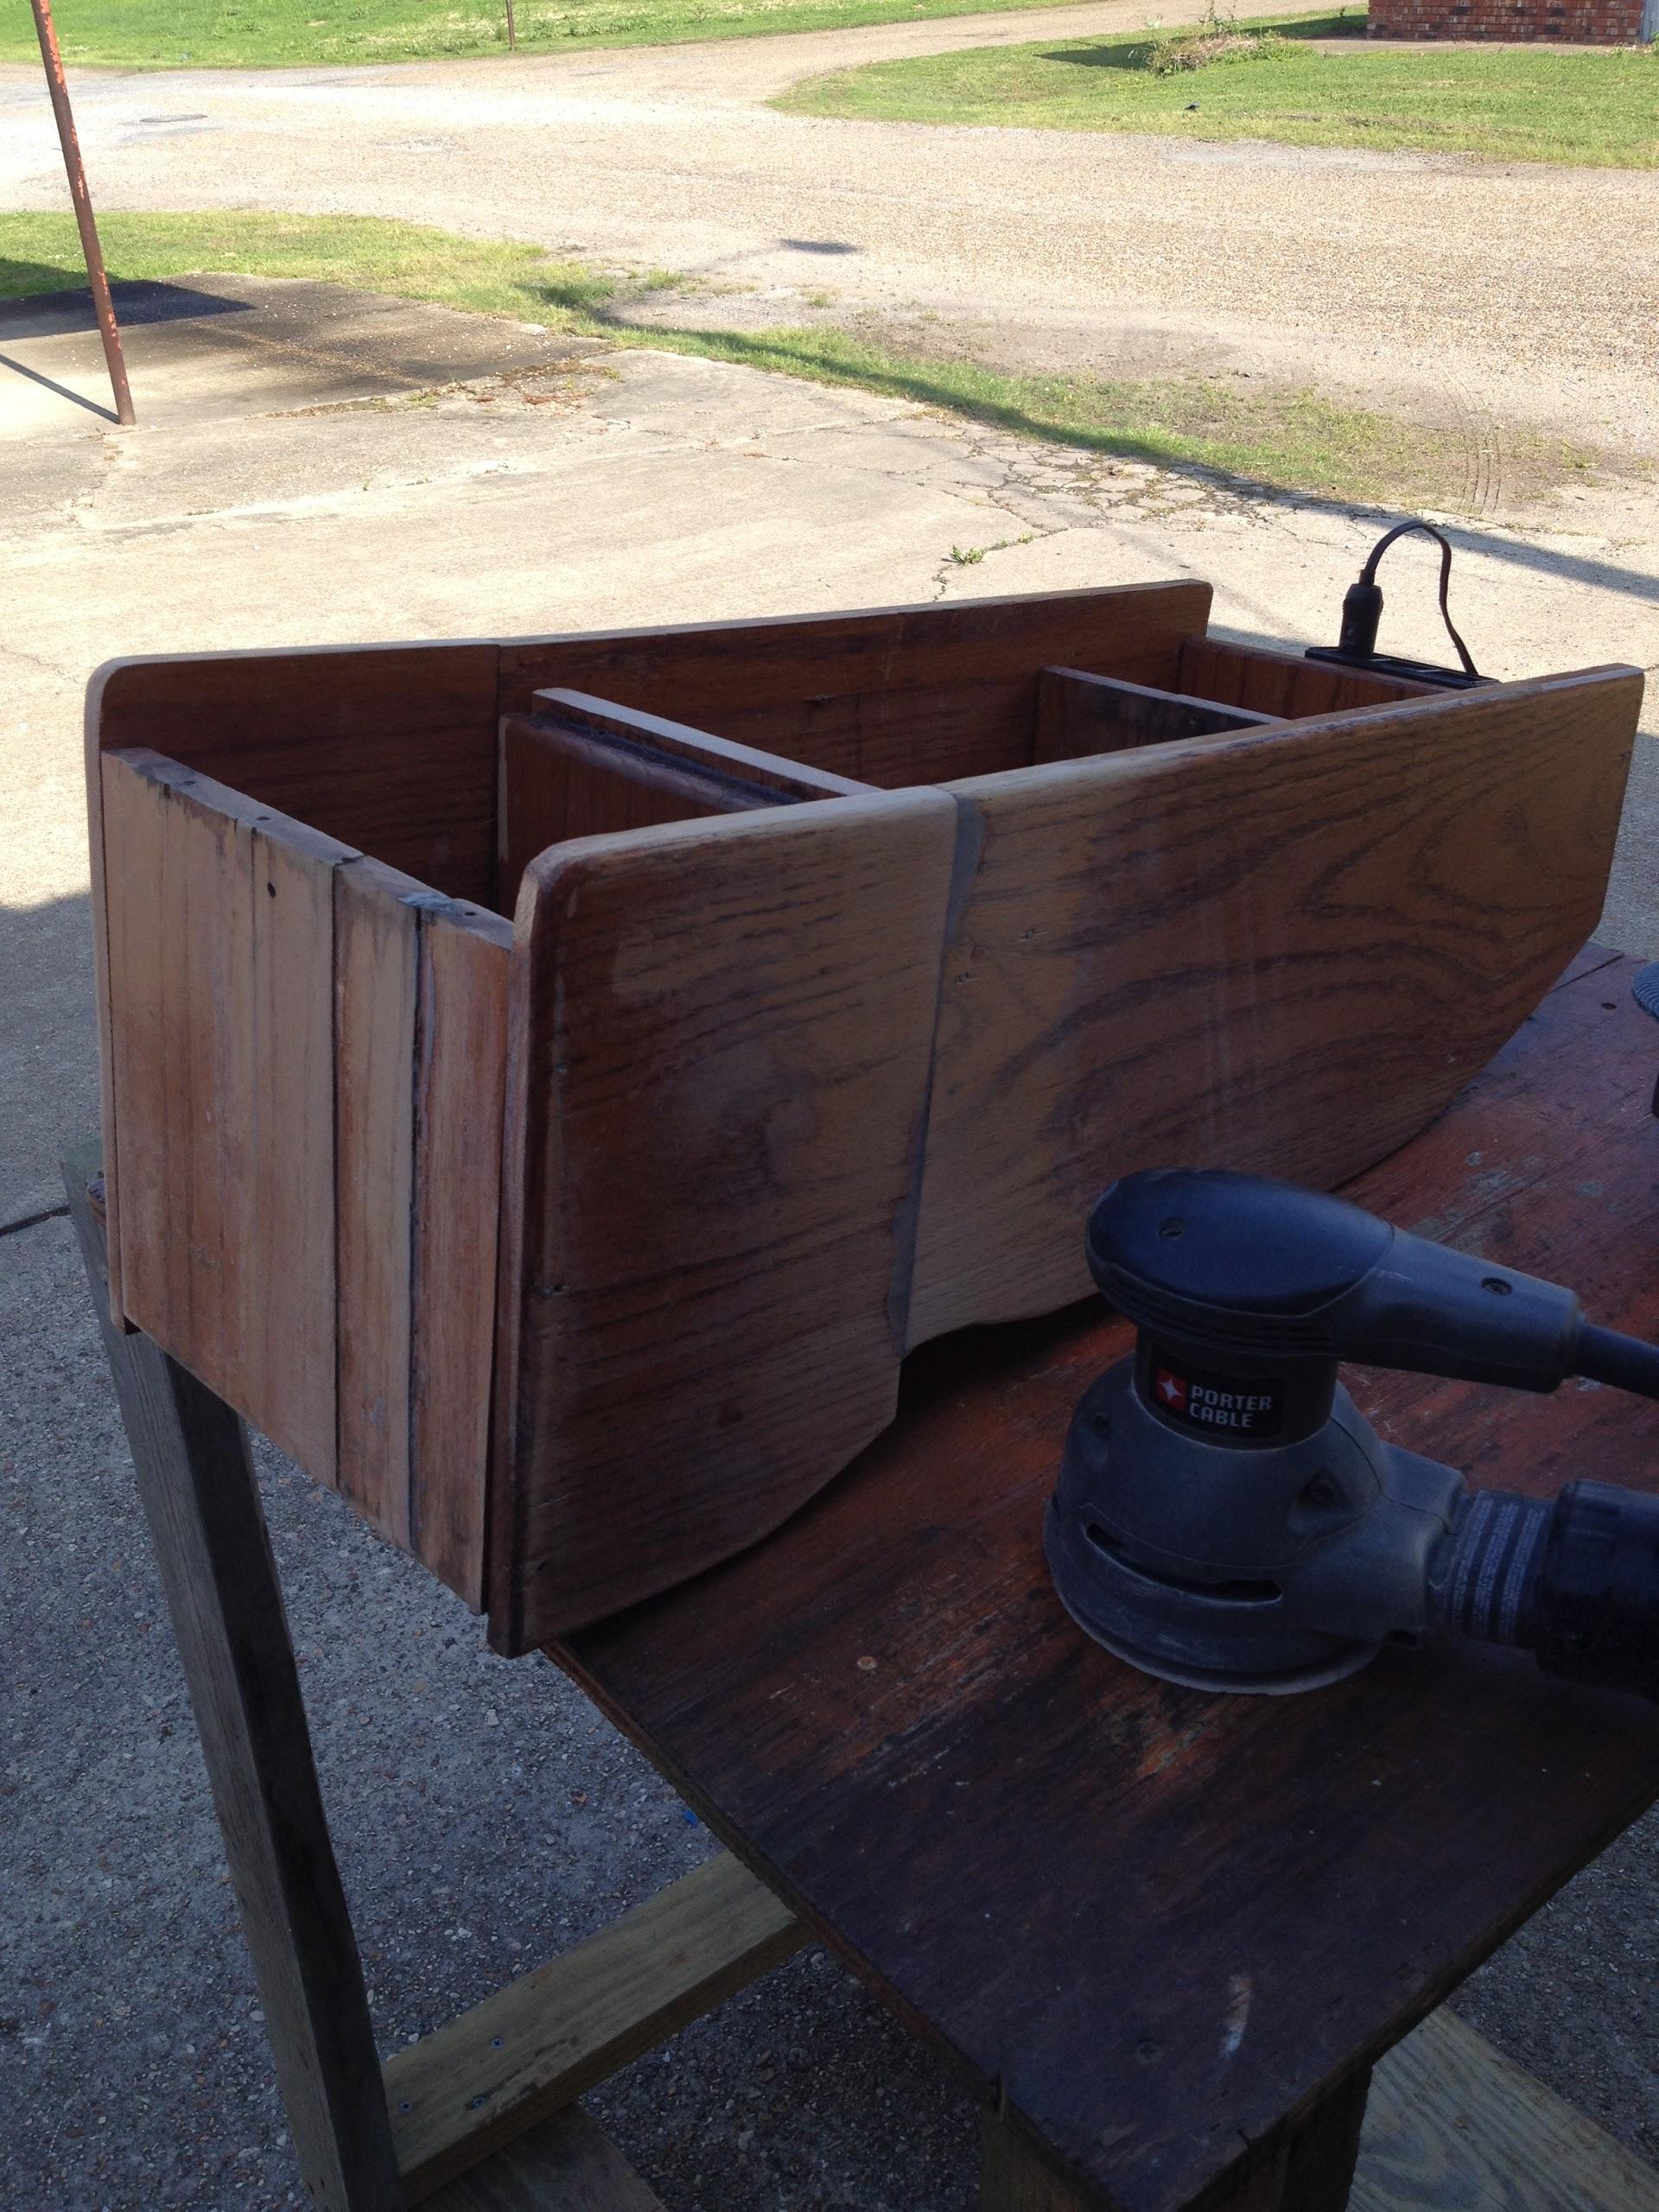
I sanded down the bottom of one of the lids on the console.
Theoretically, I am ready to put on the first coat of varnish when I
leave the shop
today.
Sanded Cover Bottom From Console
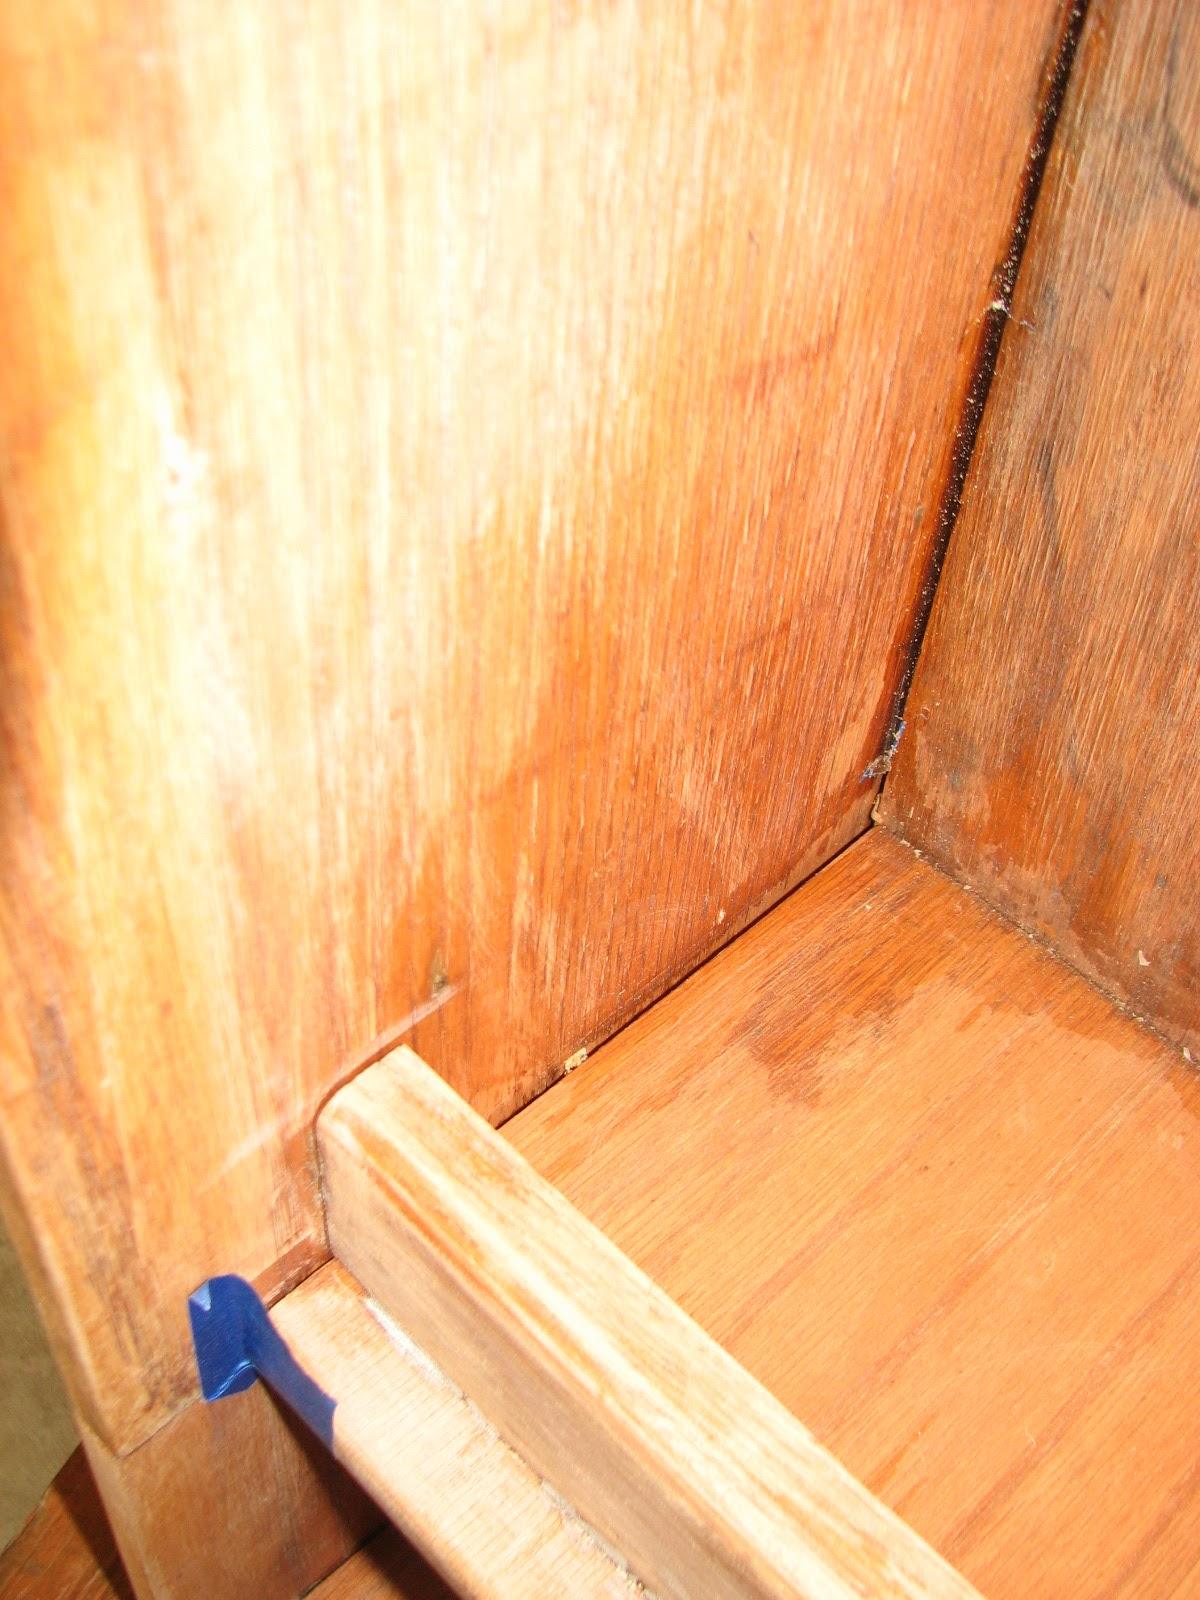
Seam In Console Before Epoxy
Application
Seam In Console After Epoxy Application
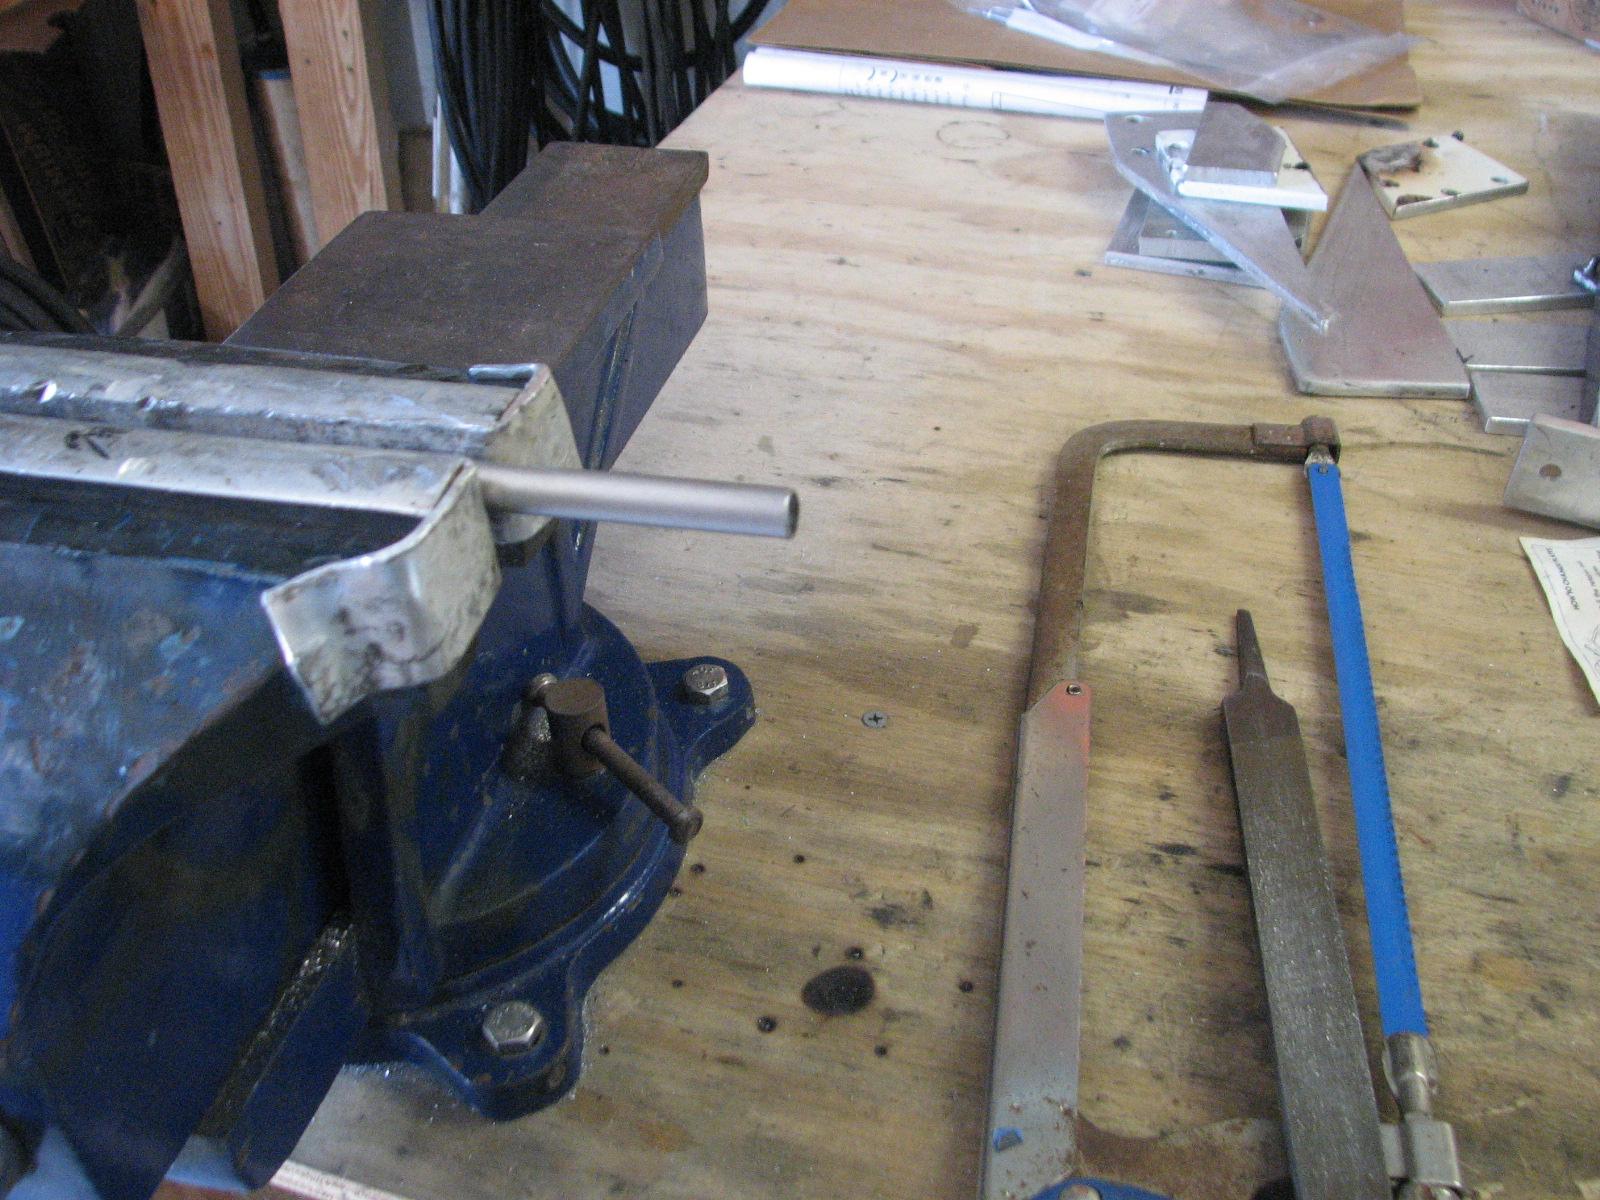
Next, I got started cutting the spacers
required for the solar panel risers. I have to cut 36 ¼” spacers
from a piece of stainless steel tubing. Once I cut them off with a
hacksaw, they have to be filed down to make all of the edges smooth.
Cutting Spacers From Stainless Steel
Tubing
I did not finish cutting all of the
spacers, but I did finish trimming and polishing all 16 of the risers
for the solar panels. I still must get some more bolts and wing nuts
to finish that part of the project. The next part will be to drill
four holes in each riser, so I can attach the risers to the hard
Bimini.
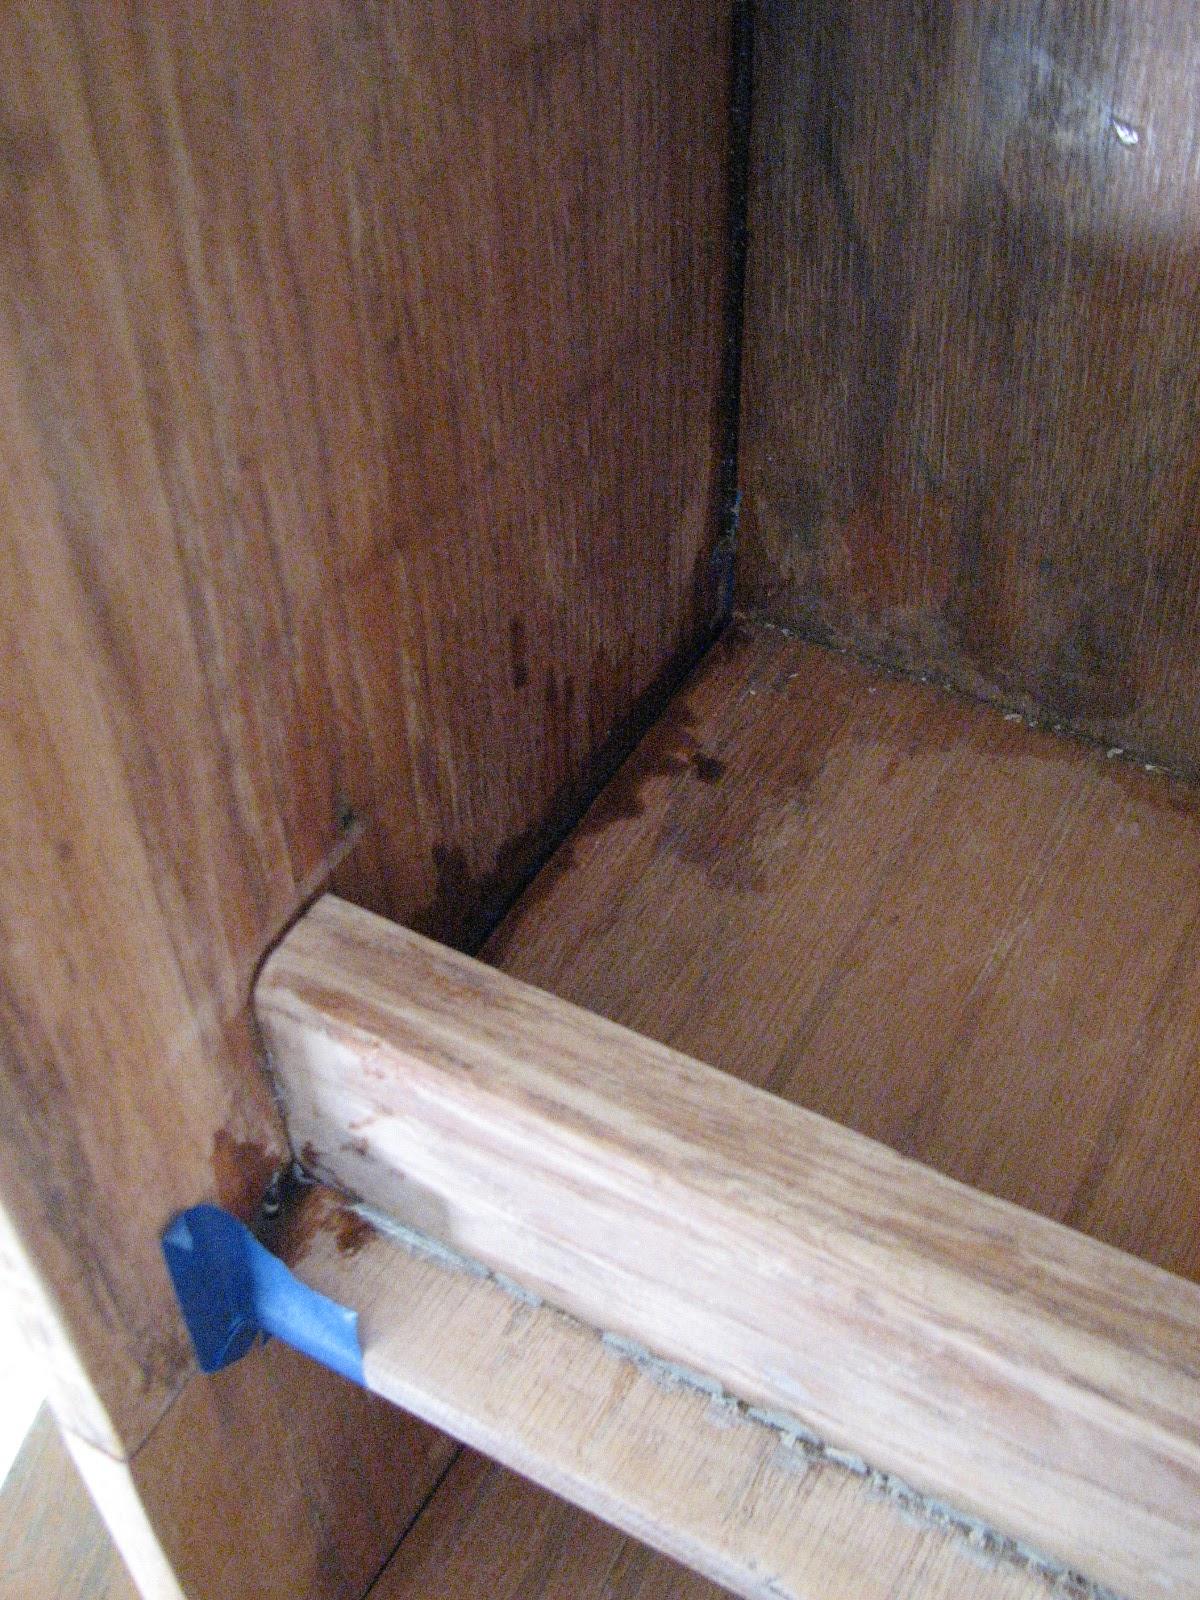
I went to get the console pieces ready
for the varnish application. When I looked at the console, I decided
I needed to fill more of the gaps in the bottom with the thickened
epoxy.
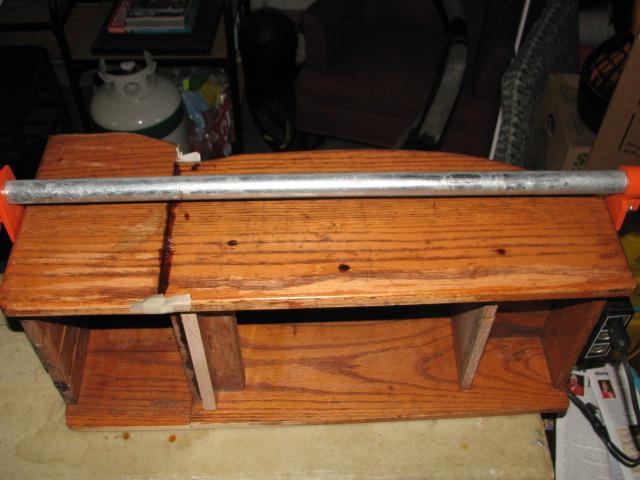
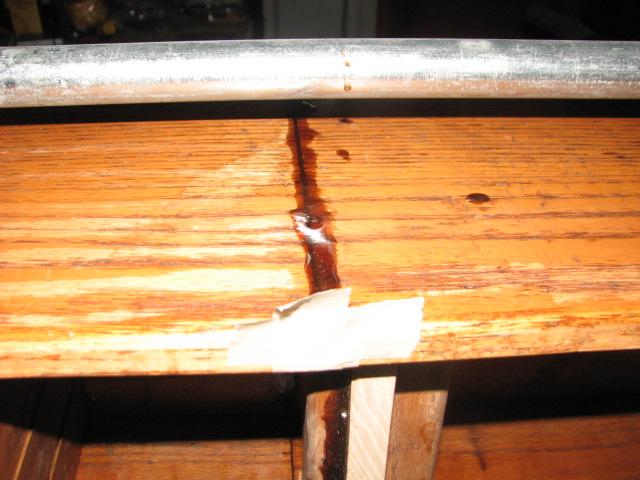
I taped up the seams in the console, and then mixed up a pot of
thickened epoxy.
I applied the epoxy
to the seams, so it will have to wait until tomorrow for the varnish.
April 19, Saturday, 2014
Started off the morning with my normal
ritual of getting on the Internet, answering email, and checking the
weather, while making a pot of coffee. When the coffee is started, I
feed our two cats,
Jillian and Jordan,
and spend time with them brushing their beautiful coats.
Did not go to the
shop first thing, but
stayed on DREAM AWAY and worked on email and
the Maintenance Logs. The email situation is getting to a manageable
level, and I am caught up on the April Maintenance log.
I decided not to work on the leak in
the after cabin today, because of wind and tide conditions. Tomorrow
the wind will be out of the south, which will blow the dust away from
the boat. Also, late in the morning, and all afternoon, the tide will
be incoming, so that will tend to keep the tender from banging into
DREAM AWAY.
After breakfast, I went over to the
shop
and started in on the console for Ruby.
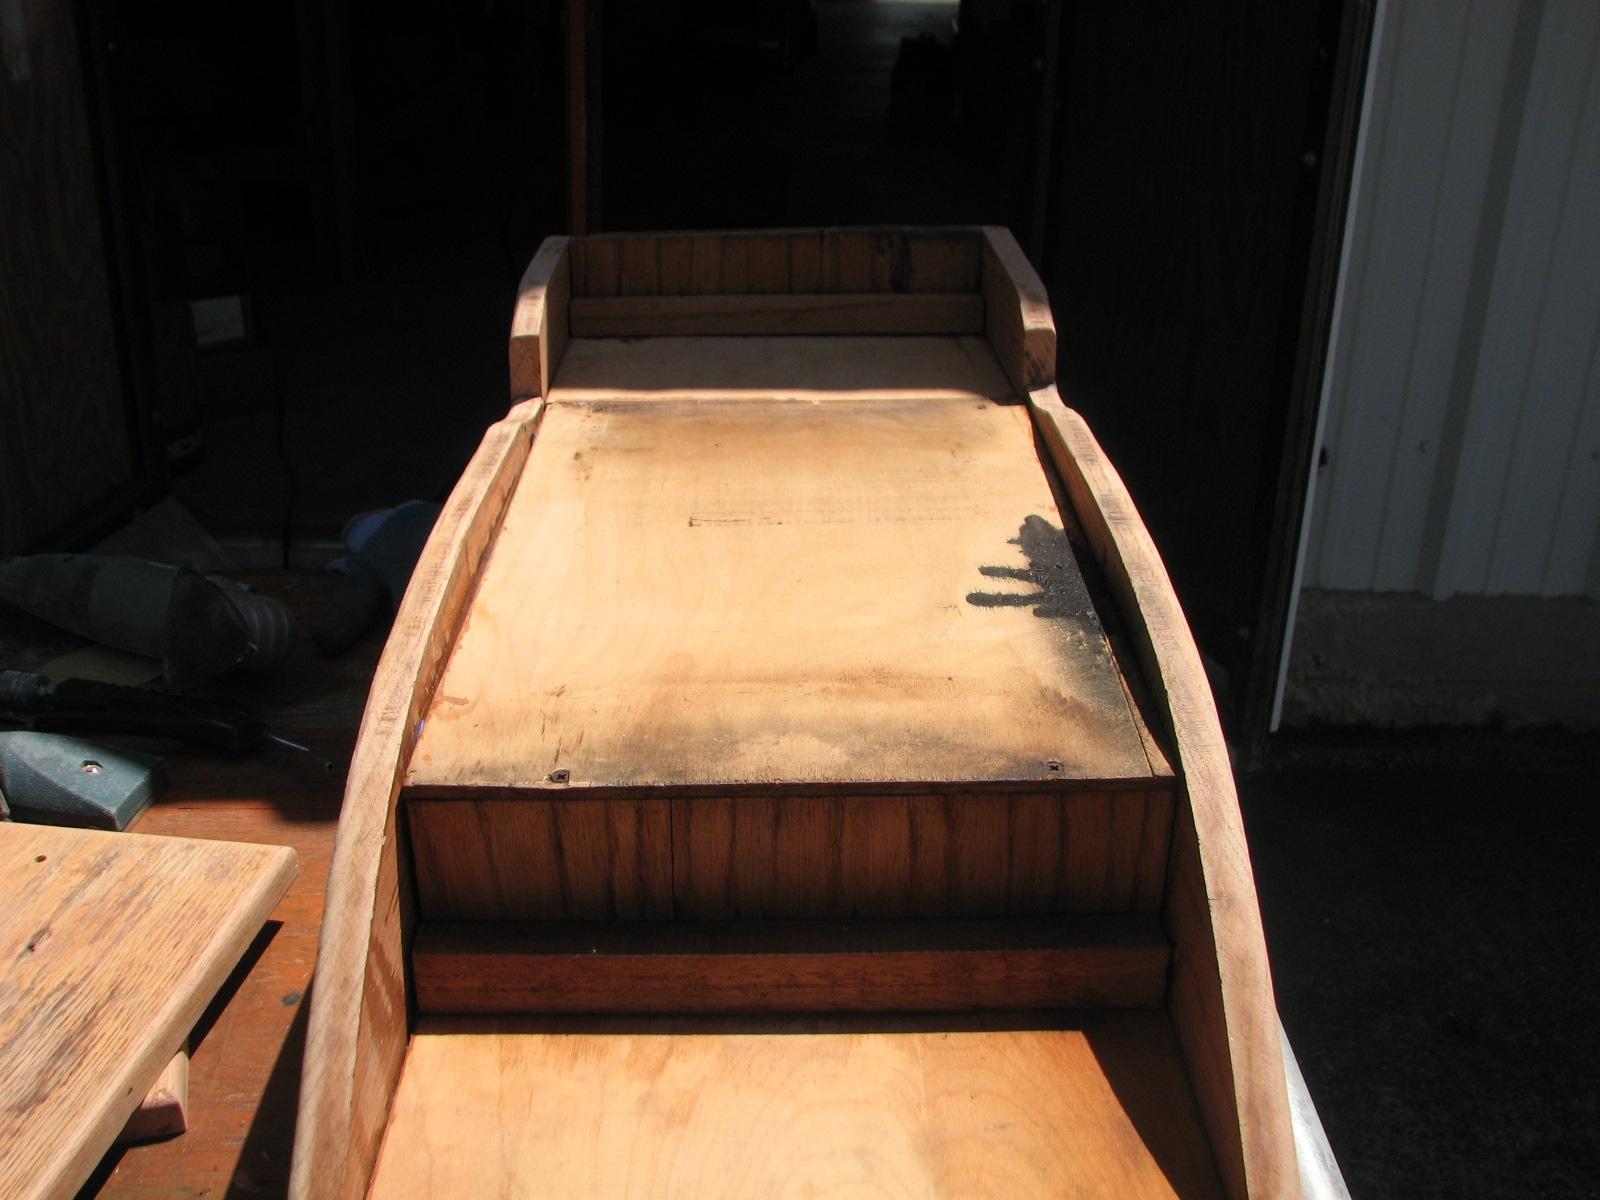
I got all of the sanding done, but decided to add more of the
thickened epoxy
to the console.
Bottom Of Sanded Console
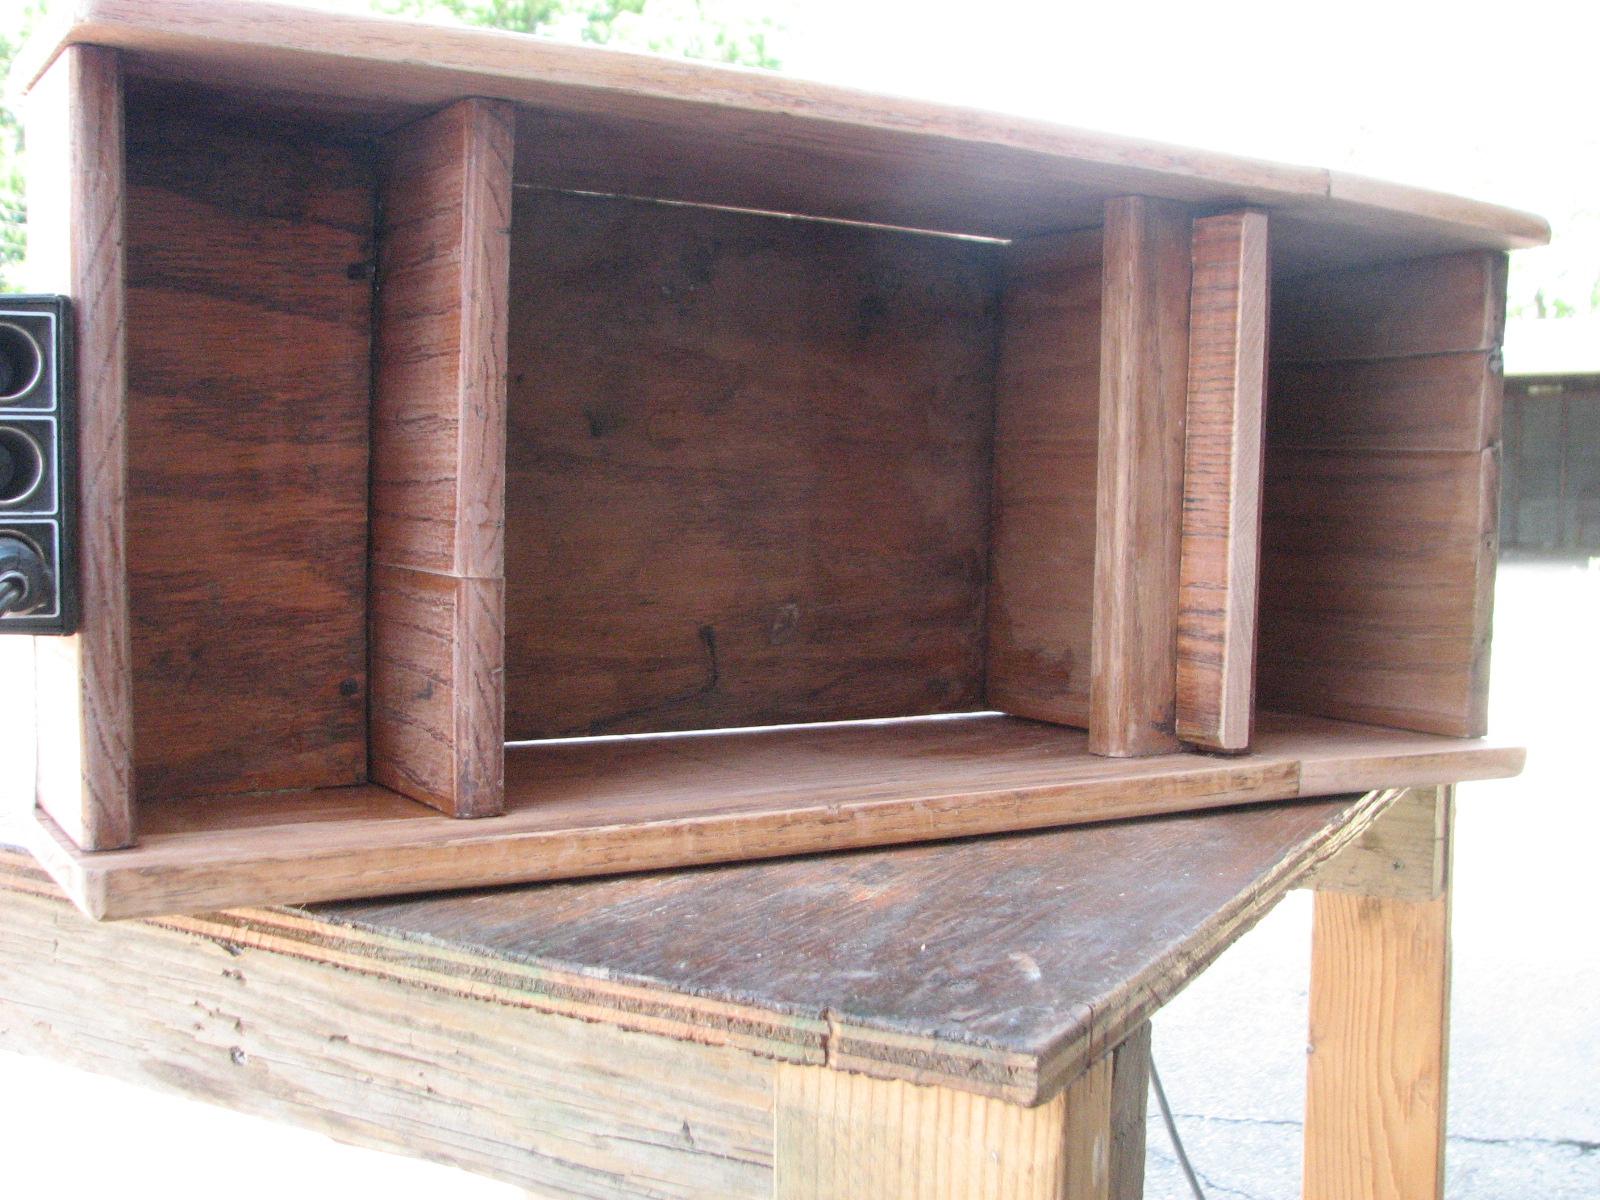
I decided to add the thickened epoxy
mixture to the seams in the bottom of the console. This would keep
small objects from falling out , and also make the total unit
stronger. I also added some battens to increase support.
Spaces Can Be Seen In The Bottom Of The
Console
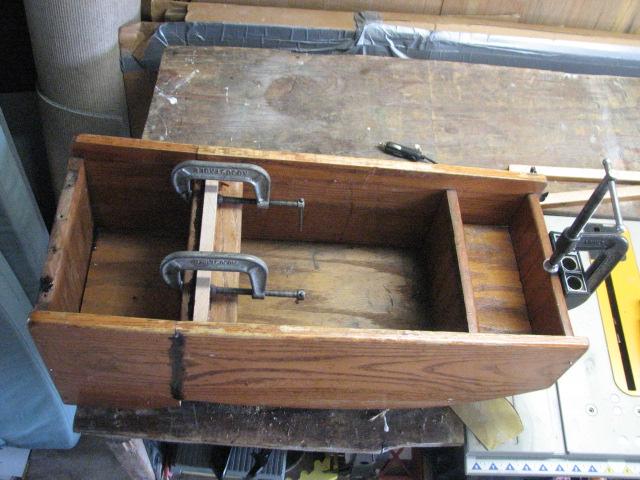
I then taped up the seams, mixed up two
pots of the epoxy,
thickened, and applied it to the console.
Console With Epoxy Added And All
Clamped Together
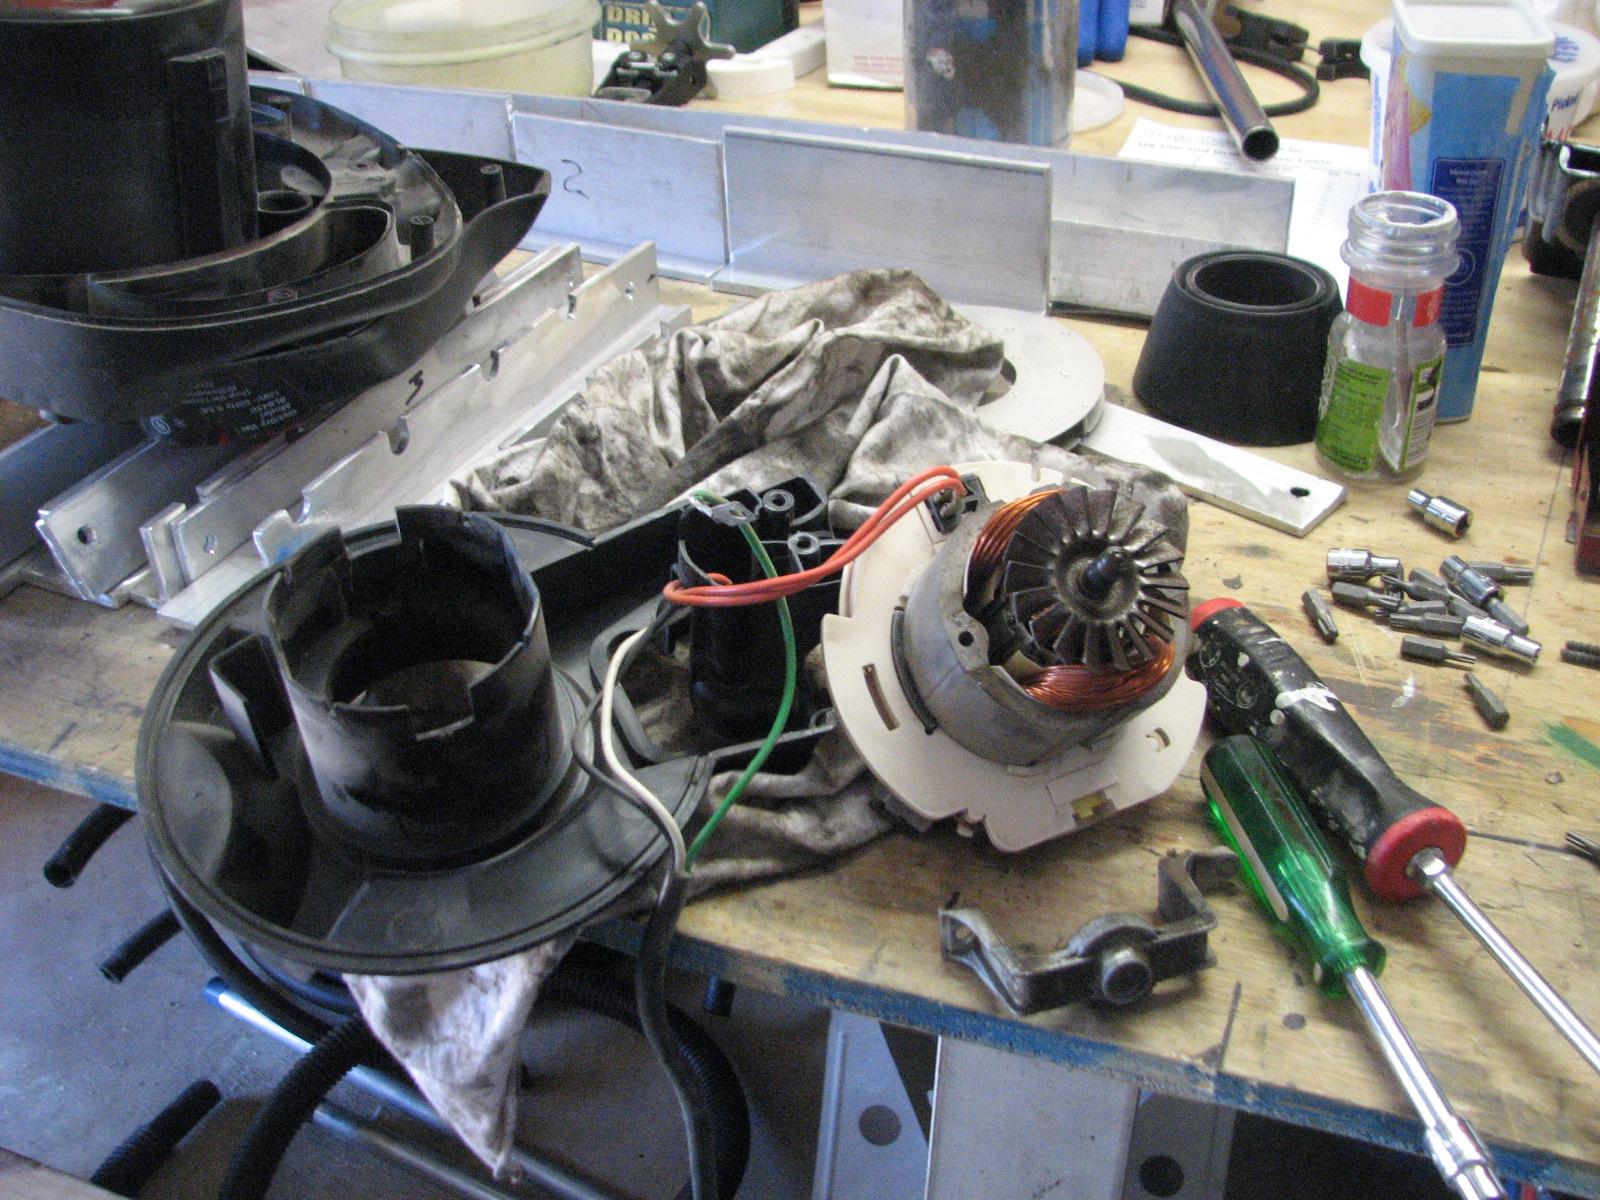
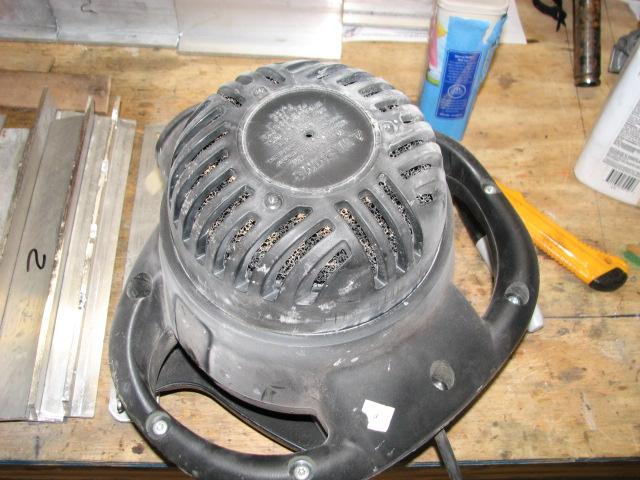
Next, I worked on the vacuum cleaner. I
really miss having it, as I like to keep the shop
clean. I took the motor assembly apart, and verified that I was
getting power past the Off/On switch. The problem must be somewhere
in the brushes. I took the motor apart and cleaned the brushes and
the armature. When I put it all back together, it still would not
run. It looks as if I will have to purchase a new one.
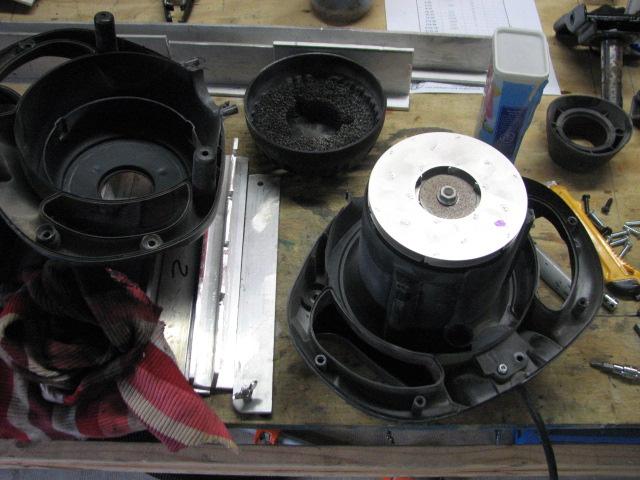
Vacuum Cleaner Motor All Apart
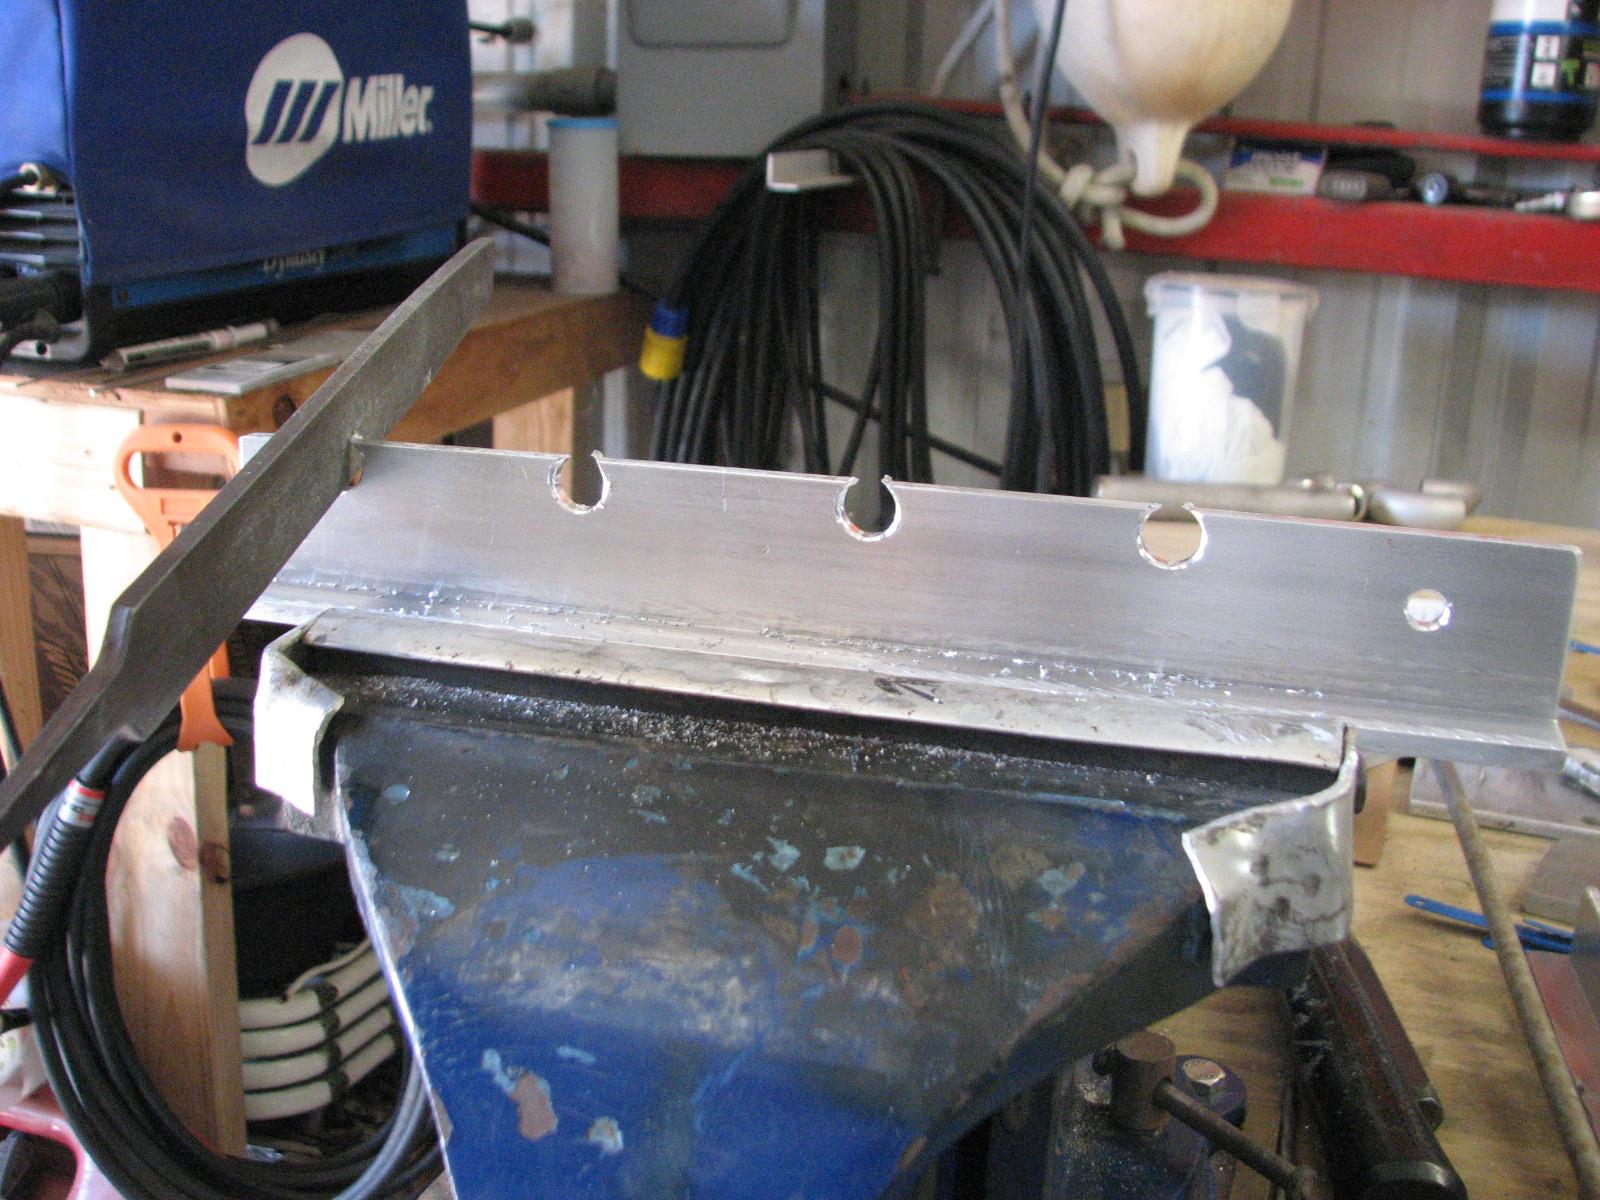
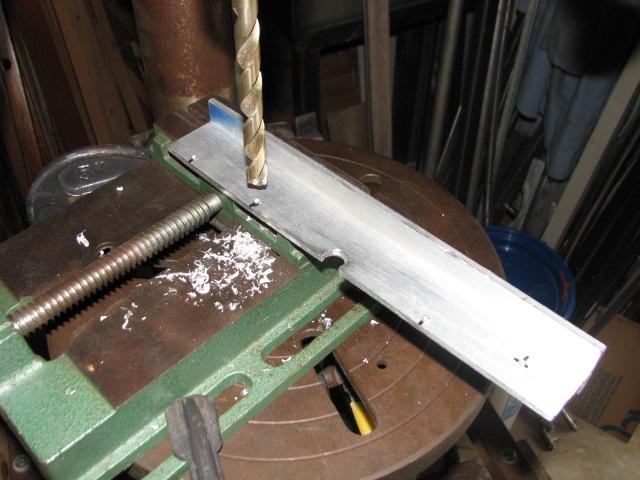
Next, I started working on the risers
for the solar panels. I had come up with a method to duplicate the
notches needed in the riser bases using the drill press and the drill
press vice. I continued with this method, and finished all 16 riser
bases and the adjusters. I finish the notches in the riser with a
file, so that is all done.
Filing Out Notches On Solar Panel
Risers
I still have to drill the mounting
holes in all of the riser bases, and do some minor finish work on all
of the pieces, but I should be able to get that all completed this
week.
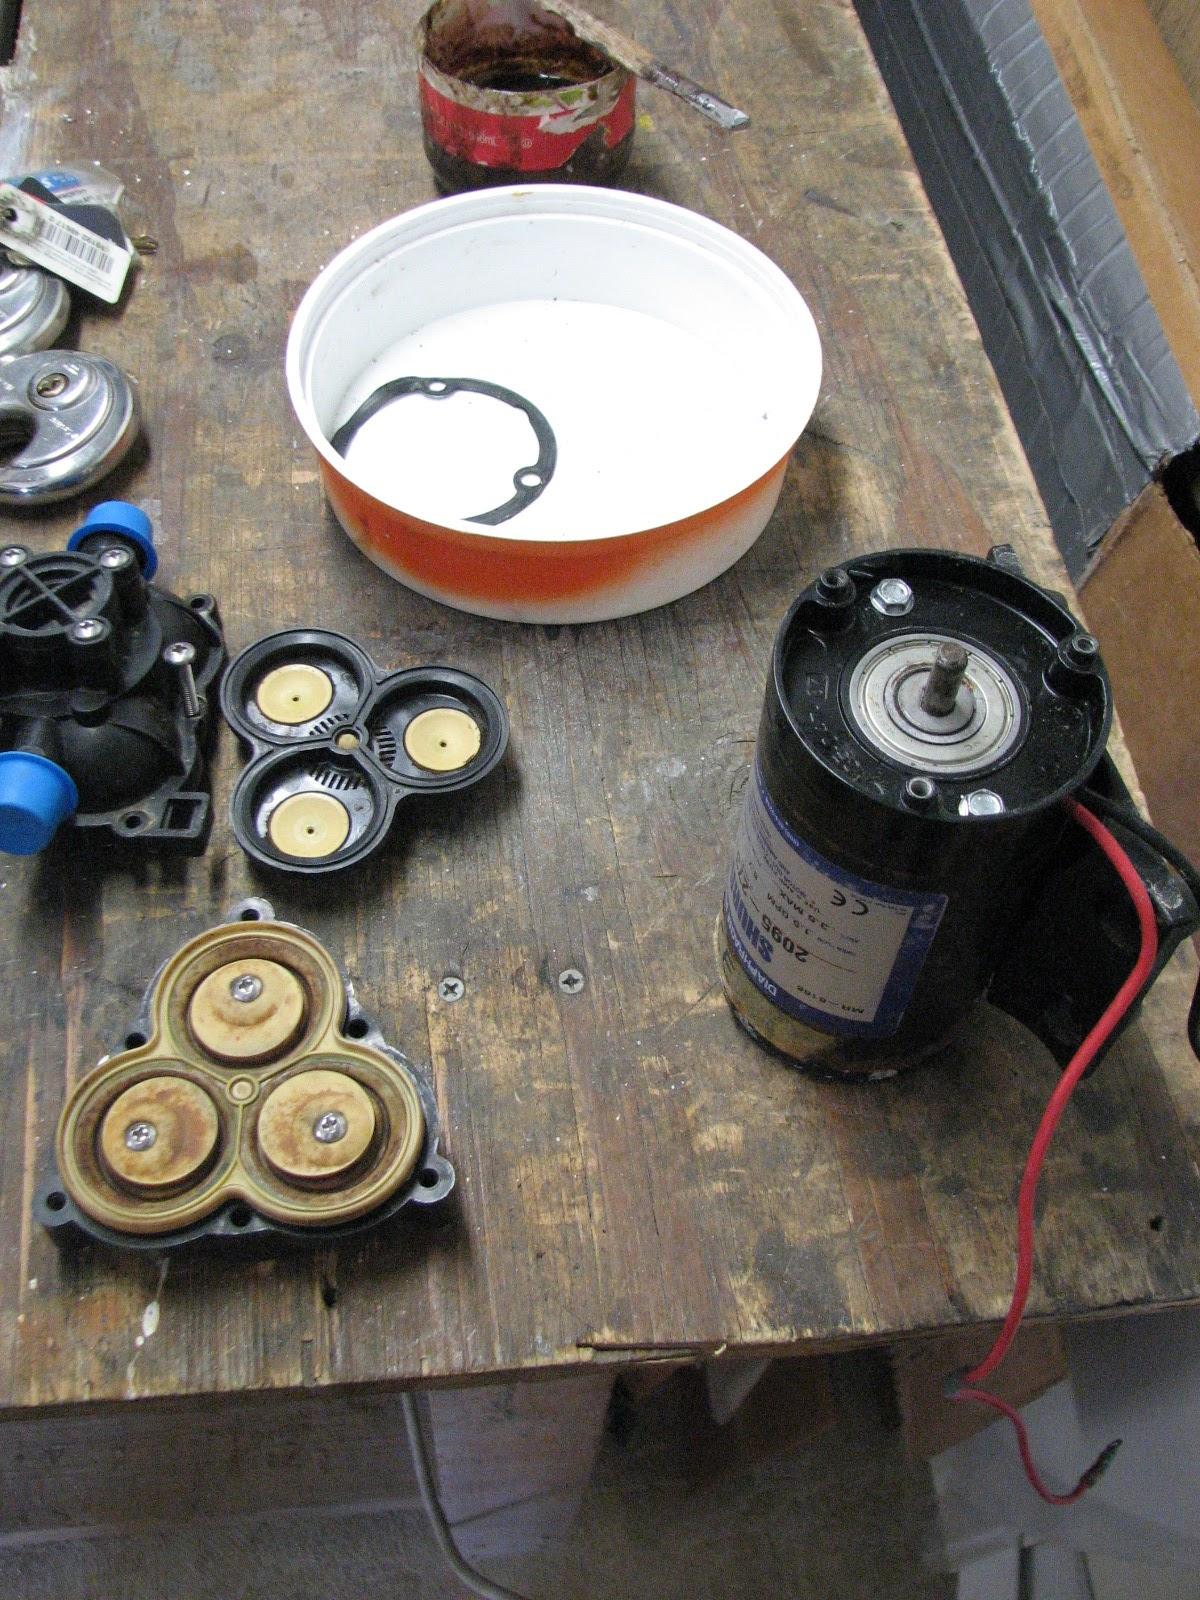
The last item for the day was to put
the JB Weld
repaired raw water cooling pump back together.
Raw Water Cooling Pump In Pieces
I put the pump back together and tested
it using the battery installed in Ruby.
The pump worked, so now I will have to install it back into the
system to see if will continue to work.
April 18, Friday, 2014
Started off the morning with my normal
ritual of getting on the Internet, answering email, and checking the
weather, while making a pot of coffee. When the coffee is started, I
feed our two cats,
Jillian
and Jordan, and spend time with them brushing their
beautiful coats.
I went to the shop
first thing and worked on sanding down the console for
Ruby.
I made significant progress, but did not finish completely sanding
the console.
Back Of Console
Side Of Console
Next I worked on the drilling out the
notches on the base for the solar panel risers. Yesterday I had
successfully drilled out a notch in the riser, so I continued with
that same set up. The three remaining notches did not go as well. I
still have to work on a method that is repeatable. As you can see
from the photo, not one notch is the same as the other.
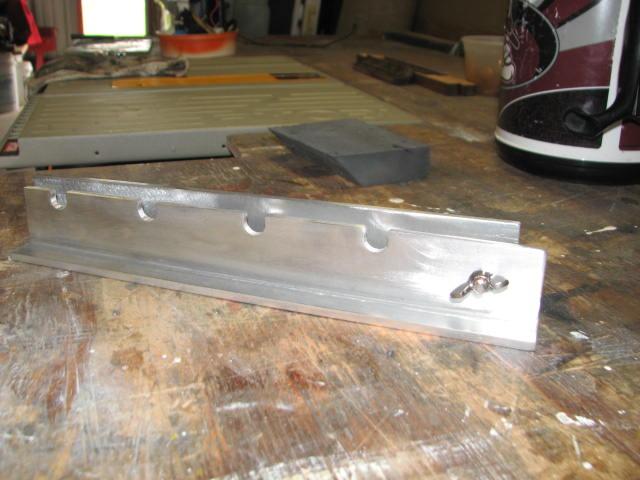
The Four Notches Drilled Into The Solar
Panel Riser Base
I went back to DREAM AWAY for
breakfast, and after breakfast I started to work on the raw water
cooling pump for the ice maker. I had noticed this morning that the
ice maker was working fine, but the raw water cooling pump was not
coming on. This needed to be looked into and repaired, or it could
burn out the ice maker compressor.
I turned off the ice maker and then
started it again to be sure the pump was being turned on by the ice
make electronics. This was not happening. I verified that I was
getting the 12 VDC to the ice maker, but it was not switching the
12VDC to the raw water cooling pump.
I disconnected the raw water cooling
pump from the ice make circuit and connected it directly to the
battery, the pump still did not work. The good news is I had repaired
the spare raw water cooling pump, so I verified its operation by
connecting it to the battery.
I removed the old pump and installed
the spare replacement pump. I started up the ice maker again, and
still it did not switch the 12 VDC from the ice maker to the raw
water cooling pump. I had two problems, and now I have one problem.
The solid state relay in the ice maker is not working, so I will have
to troubleshoot that problem. I will take the removed raw water
cooling pump over to the shop
and see what the problem is with it.
While I was working on the ice maker
problems, Kitty took our laundry into New
Iberia, and she had now returned. We were now going to
see if we could track down the source of the leak near the port cleat
in the aft cabin. I used a hose, and we were able to pinpoint the
source of the leak.
The leak is a crack in the fiberglass
on the very stern of DREAM AWAY just under the stern anchor. Now that
I have located the leak, all I have to do is fix it! It would not be
today, so we cleaned up the area, and I went back to the shop.
When I got over to the
shop,
I decided to inventory the fasteners Kitty had picked up from LeBlanc
Oil. These fasteners are going to be used on the
Tantalus
mast step project early next year.
Bolts, Washers, And Nuts For The Mast
Step
I then started work on the raw water
cooling pump for the ice maker. This pump can also be used for the
refrigeration system cooling pump. I took off the pump head , and of
course it was very dirty. The water here in the
Delcambre Canal is not
very clean, so it does tend to clog up diaphragm pumps.
I took the motor out to
Ruby,
and connected it to the battery, and the motor worked just fine. I
then went in and took apart the pump head, and that is when I
discovered the pressed fitting in the bearing was just turning inside
the bearing race, and not turning the pump.
I concluded that my only attempt to
repair the problem was to use JB
Weld. I cleaned up the fitting and the bearing race. I
then mixed up a very small batch of JB
Weld, and applied it to the parts. I hope it will fix
the problem, but I must check to see if I have a spare pump head.
Raw Water Cooling Pump With JB
Weld Applied
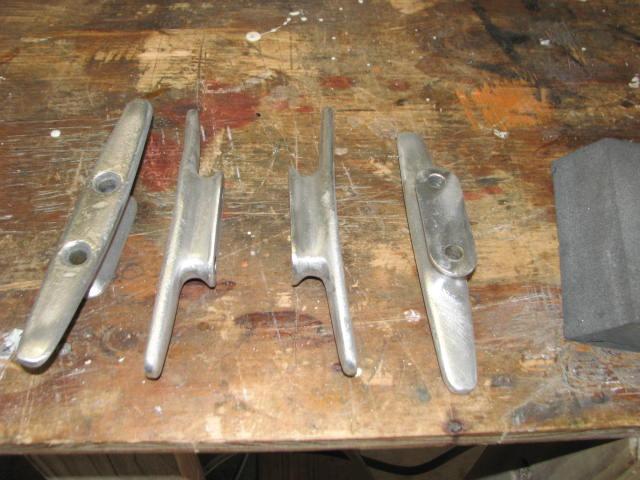
I next got the four aluminum cleats I
will be using on the hard dodger sliding windows, and cleaned them up
with the stainless steel wire wheel.
Four Cleats Polished Up For Use
Now it was time to get back to the
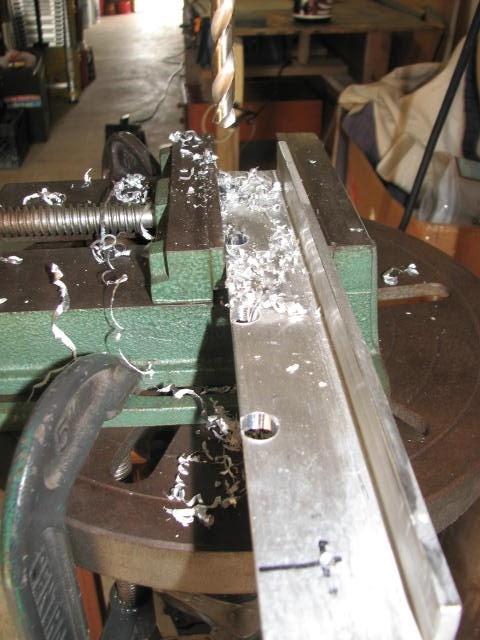
issue of drilling out the notches in the risers for the solar panels.
I had come up with a plan to use the drill press vice to hold the
riser, and prevent the drill bit from moving away from the riser.
I did the deed on one riser, and it was
successful. After drilling out the notches, I used a file to finish
the notch, and then cleaned up the riser with 120 grit flap disk on
my high speed grinder.
Drilling The Notches In The Riser
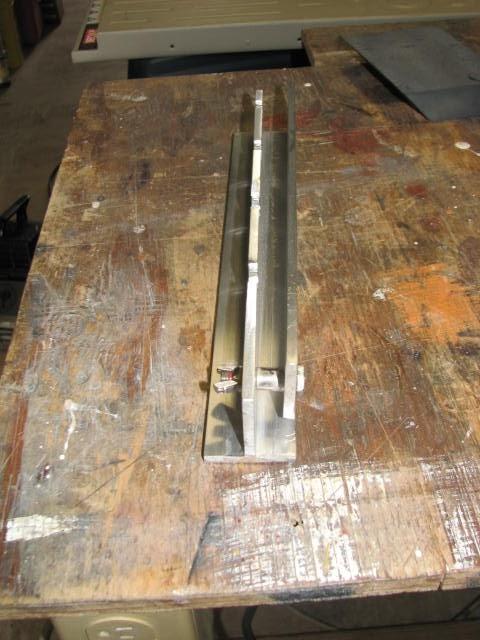
Finished Riser With Adjuster, Side View
Finished Riser With Adjuster, Top View
This method proved itself, and I was
able to do four more risers before the afternoon was gone. I will
finish off the risers tomorrow.
April 17, Thursday, 2014
Started off the morning with my normal
ritual of getting on the Internet, answering email, and checking the
weather, while making a pot of coffee. When the coffee is started, I
feed our two cats,
Jillian and Jordan,
and spend time with them brushing their beautiful coats.
Did not go to the shop
first thing this morning. I stayed on DREAM AWAY and worked on
getting caught up on emails and the Maintenance Logs. Getting really
close on the emails. I have the April Maintenance Log caught up, now
I have to get the March Maintenance Log finished.
After breakfast, I went over to the
shop
and started in on the console for Ruby.
The work I had done yesterday looked great. I sorted through the
console parts and selected the ones I would need to complete the
fabrication of the console. I sat them aside, to be sanded and
prepared for varnishing.
Console Parts Set Aside For Varnishing
I had one more seam I had to fill with
epoxy
so I got that prepared. I mixed up a pot of epoxy
thickened with teak dust and applied it to the seam, and then clamped
the console together.
Console Clamped Together
The Actual Seam Filled With Thickened
Epoxy
I took the selected console pieces,
and took them outside and scraped and sanded them down. As soon as
the main console box is sanded, we are ready to apply varnish.
When I was vacuuming the tablesaw area,
to clean up after working on the console parts, I realized I needed
to lubricate the vacuum cleaner motor. It was making some strange
sounds due to the fact that some of the dust ends up inside the
motor.
I took the motor housing apart,
lubricated the motor bushings, and then put it all back together. Now
the vacuum runs perfectly again.
Vacuum Motor Assembly
Vacuum Motor Assembly All Apart
Now it was back to working on the solar
panel risers. I cut the last two aluminum pieces lengthwise. Now I
had to weld some pieces together to create a riser. Originally I did
not have enough scrap pieces to make all 16 risers. I was able to
weld two pieces together to create a riser . I did this twice.
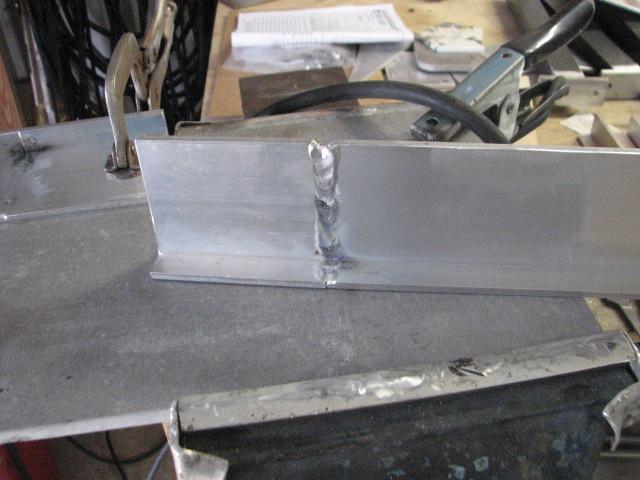
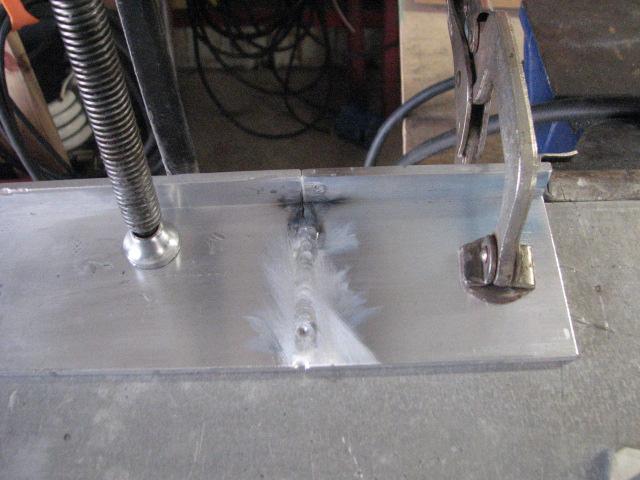
First Welded Riser
Second Welded Riser
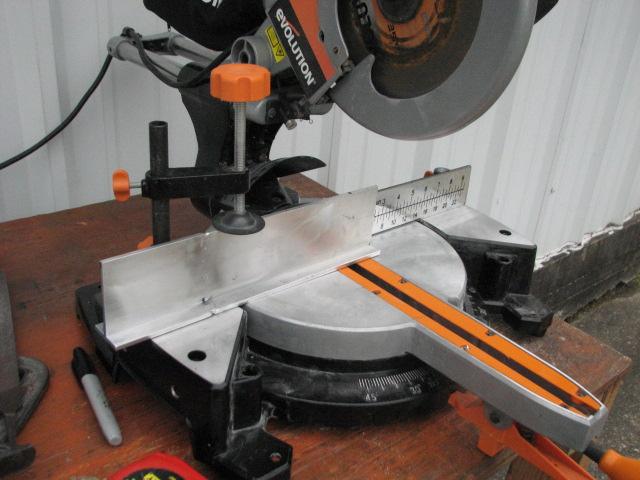
When I completed the welding task, it
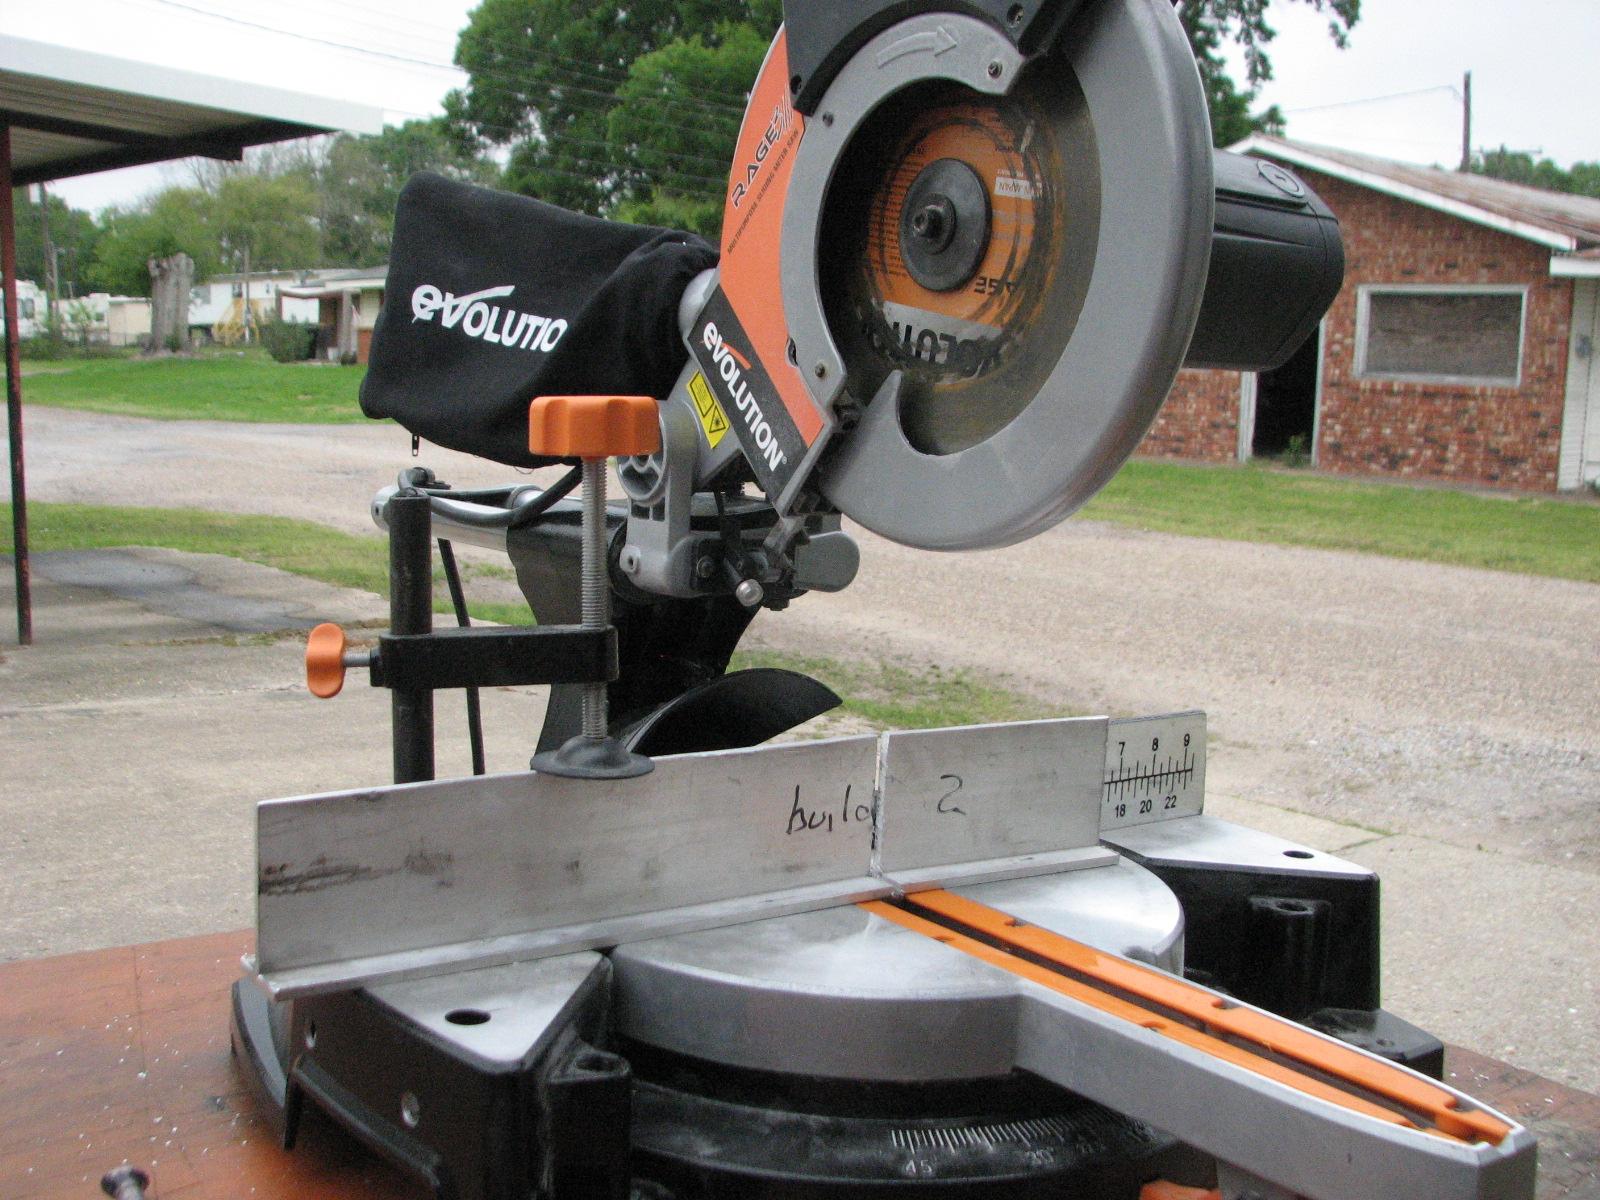
was necessary to cut the two risers to their required 11” length. I
did this with the Evolution
Rage III miter saw.
When the tow fabricated risers had been
cut to their proper length I got out the
Bosch Jig Saw
and cut the risers lengthwise.
Now I had all 16 risers fabricated and
cut lengthwise. I now had to try and see if I would be able to drill
out notches in the riser base for the actual riser to set in. I set
up the drill press, and did a test drill. A couple of very small
problems, but I was able to drill out a very nice notch in one of the
riser bases.
It was time to head back to DREAM AWAY,
but now I only have 63 more notches to drill out.
April 16, Wednesday, 2014
Started off the morning with my normal
ritual of getting on the Internet, answering email, and checking the
weather, while making a pot of coffee. When the coffee is started, I
feed our two cats,
Jillian
and Jordan, and spend time with them brushing their
beautiful coats.
Did not go to the shop
first thing this morning. I stayed on DREAM AWAY and worked on
getting caught up on emails and the Maintenance Logs. It was a bit
cold to do any outside work, but it was supposed to warm up in the
afternoon.
I did go over to the shop
after Kitty got up and we had breakfast. Kitty went off to get her
hair done, and I went to the shop.
First item to work on is the console
out of Ruby. I sorted
through all of the parts that I needed to put back
on the console, and did a dry fit of those parts.
Console Ready For Epoxy
Application
I mixed up a pot of epoxy
thickened with some teak dust, and applied it to all of the places I
had dry fit console parts. After I applied the epoxy
mixture, I clamped the parts together.
Console With Epoxy
And Clamps Applied
I started in again on cutting up the
risers I am fabricating for the solar
panels that I will be purchasing. We have decided to
order the panels while we are in Puerto Rico, that way they will be
delivered just when we return from the trip.
I have cut the the risers to their 11”
length, but now I am cutting all of the risers lengthwise to give me
the base and the riser. I did manage to get half of them cut.
I left the shop around 1530 and went by
LeBlanc Oil to see if the bolts had arrived that I am ordering for
the Tantalus
mast step project. They had not arrived, so I went back to the
marina,
and worked in the gardens.
April 15, Tuesday, 2014
Started off the morning with my normal
ritual of getting on the Internet, answering email, and checking the
weather, while making a pot of coffee. When the coffee is started, I
feed our two cats,
Jillian and Jordan,
and spend time with them brushing their beautiful coats.
Did not go to the shop
this morning. I stayed on DREAM AWAY and worked on getting caught up
on emails and scanning in documents. Still not caught up, but making
progress.
The day did clear up , and I went into
New
Iberia for a doctor’s appointment. When I returned,
it was back to computer work. I left again around 1700 to pick Kitty
up at the Amtrak
station in New
Iberia.
April 14, Monday, 2014
Started off the morning with my normal
ritual of getting on the Internet, answering email, and checking the
weather, while making a pot of coffee. When the coffee is started, I
feed our two cats,
Jillian
and Jordan, and spend time with them brushing their
beautiful coats.
Alan had not been feeling very good
yesterday, and the cold was getting to him. He decided he wanted to
go home, so we made reservations on the Amtrak
train for this morning. Kitty is accompanying Alan to make sure he
gets home with no problems.
Cheryl, his caregiver, has made a
doctor’s appointment for Alan tomorrow.
Did not go to the shop
this morning, but stayed on DREAM AWAY and worked on getting caught
up on email and other computer work.
Around 1100 we went to the train
station in New
Iberia, and Kitty and Alan headed to Houston.
I went back to DREAM AWAY and worked on more emails, scanning and the
Maintenance Logs.
No projects done today, as the weather
turned bad, rainy and cold - again!
April 13, Sunday, 2014
Started off the morning with my normal
ritual of getting on the Internet, answering email, and checking the
weather, while making a pot of coffee. When the coffee is started, I
feed our two cats, Jillian
and Jordan, and spend time with them brushing their
beautiful coats.
Alan and I went over to the shop
we started in on the console fabrication for Ruby.
I have already done all of the cutting, now it is time to get it back
together.
I mixed up a pot of thickened epoxy,
and applied it to the console where I am putting the side of the
console back together. I also applied some of the epoxy
between two pieces of wood on the back of the console.
Thickened Epoxy
Applied To Console
Next on the project list is continue
work on fabricating the risers for the solar panels to be installed
on top of the hard Bimini.
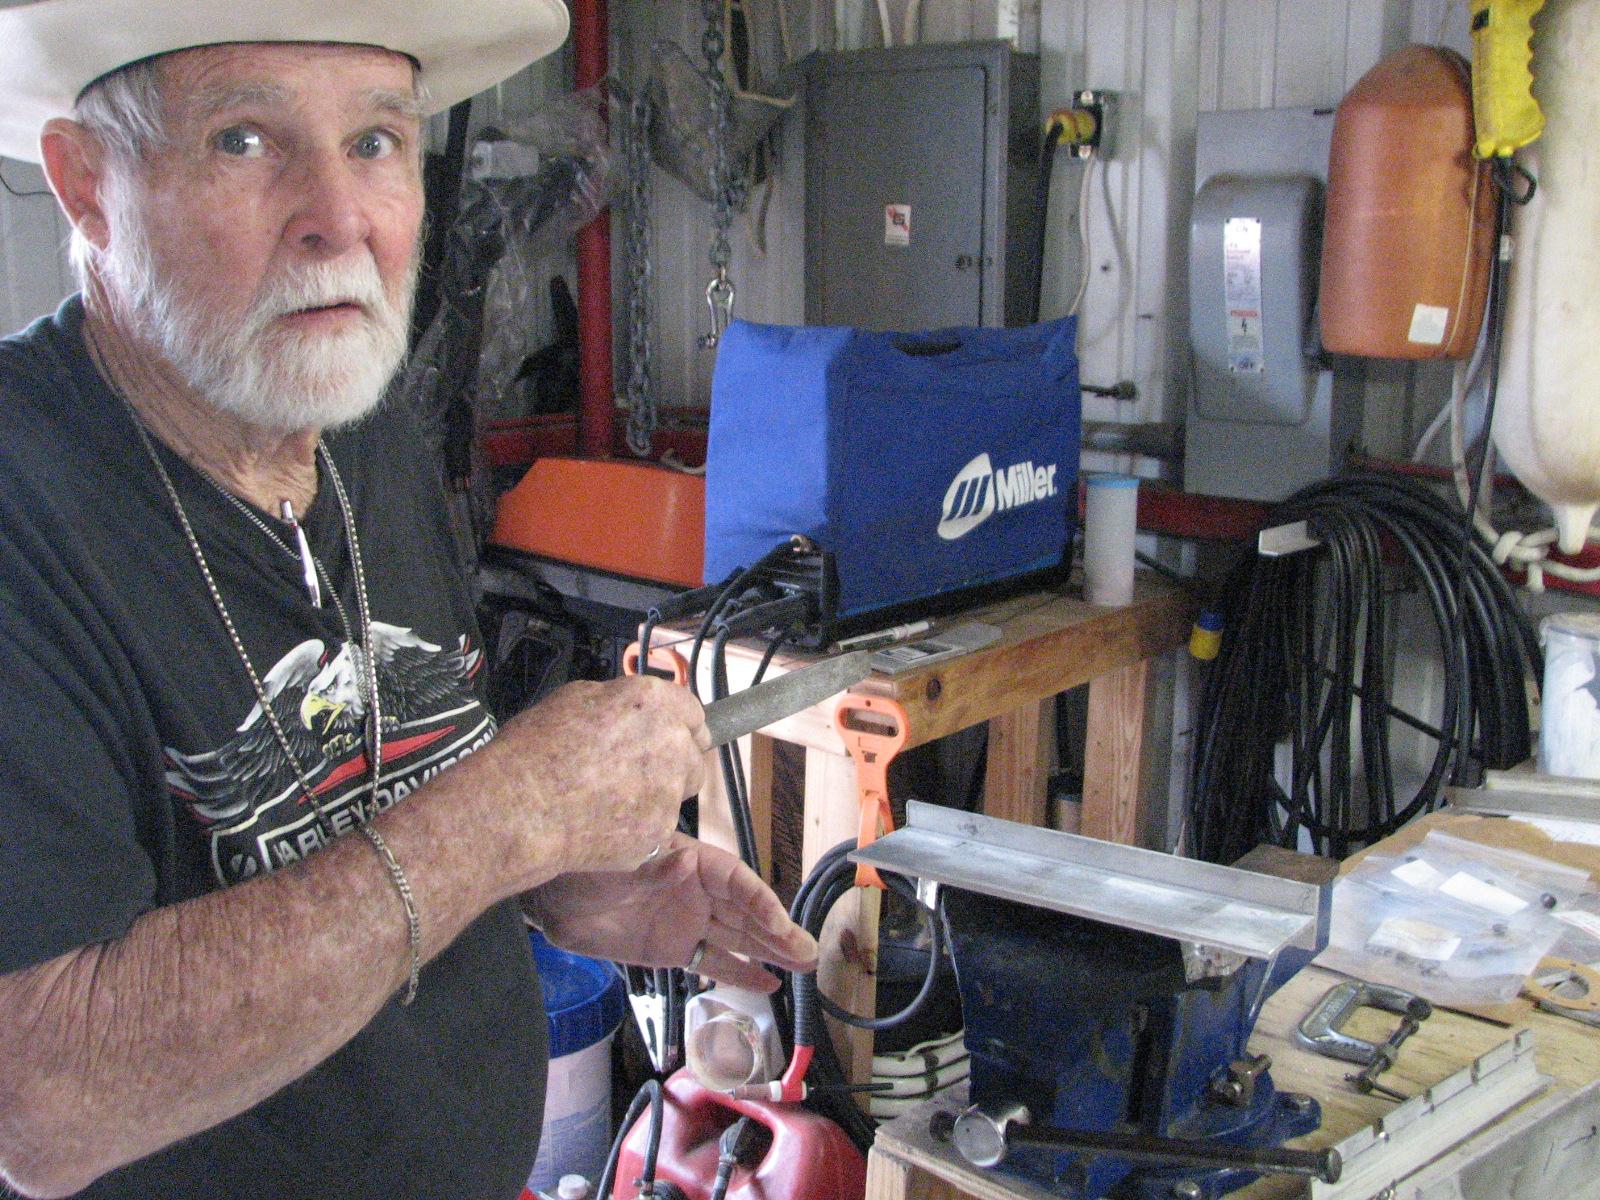
I did the major cutting with the power tools, while Alan did the fine
work with a file. I am having issues cutting a straight line with the
Bosch
jig saw. I will get that worked out.
Alan Filing Aluminum Pieces
Kitty called and said she was awake, so
we cleaned up the area, put the tools and tables away, and went over
to DREAM AWAY for breakfast.
After breakfast we got to work on
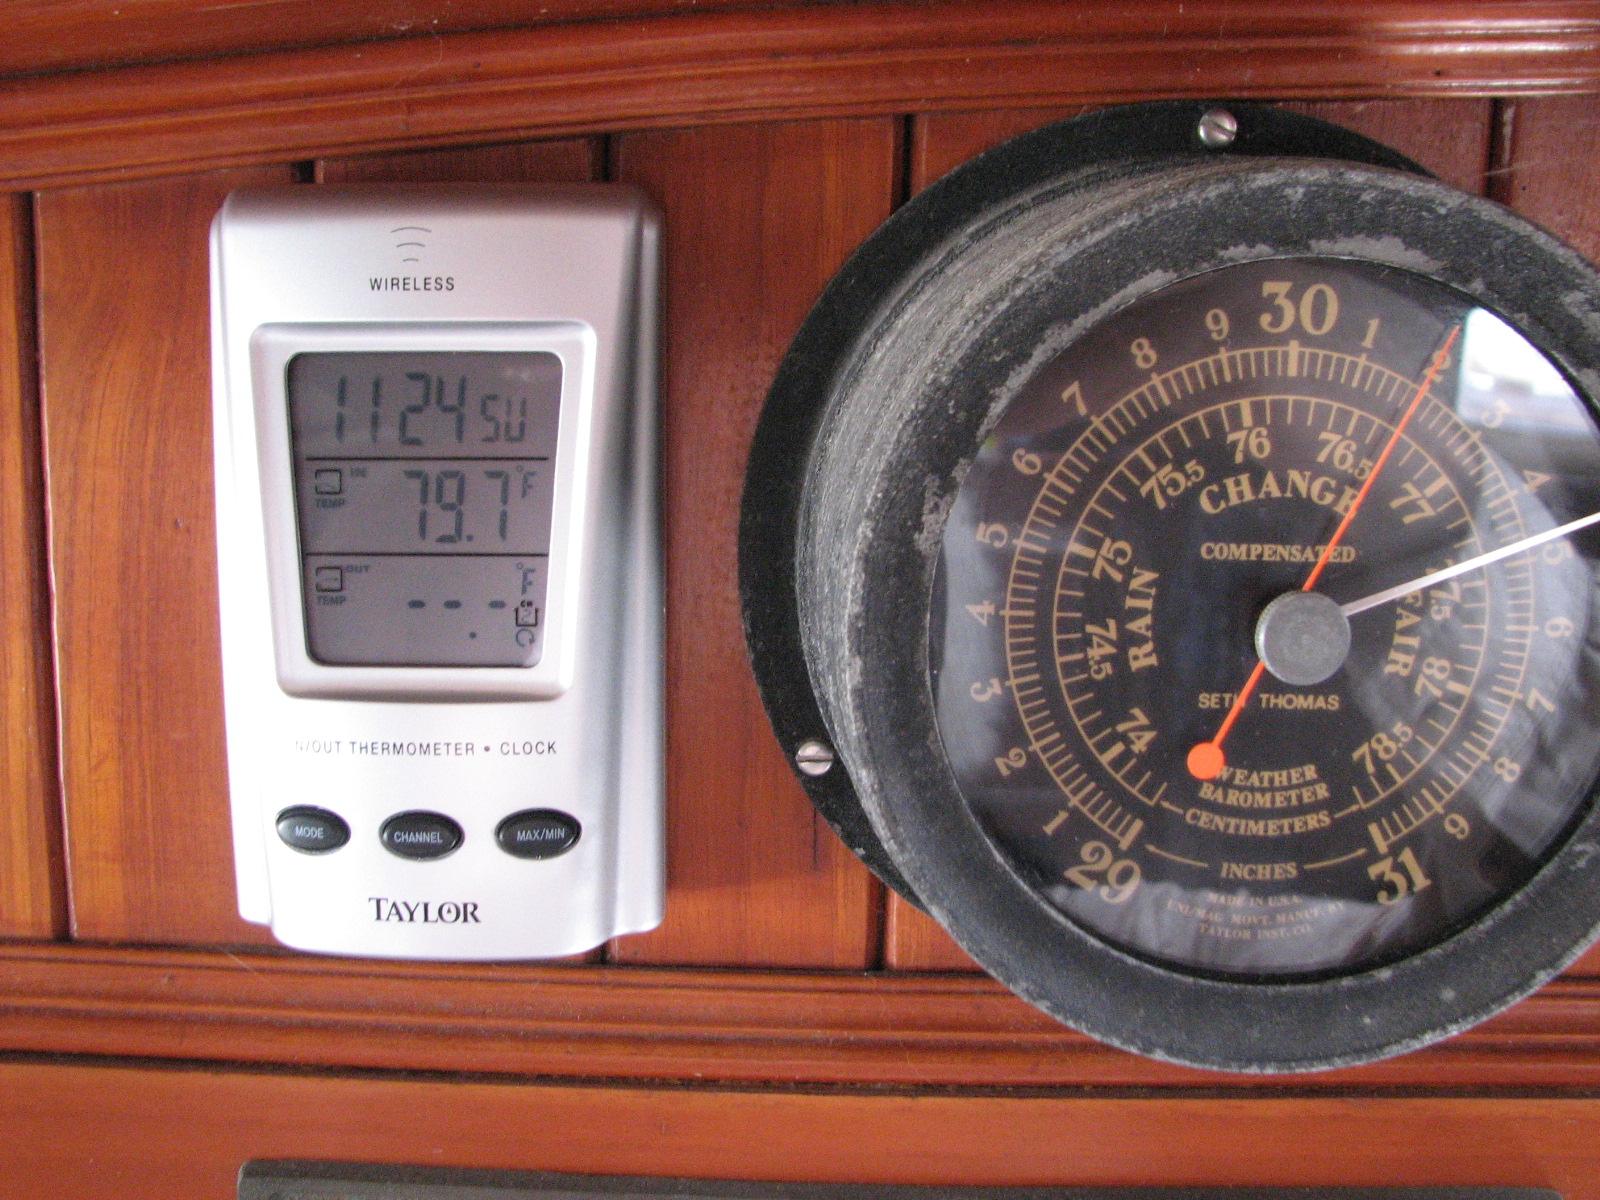
several small projects. The first on the list was to install a new
Taylor
weather station. this is an indoor/outdoor wireless
unit. The base station is indoors, and it will support up to three
remote sensors. The system comes with just one remote sensor, but I
will be ordering at least one more for the engine room, and probably
one for the refrigerator. I installed the base unit beside the
barometer and the analog clock.
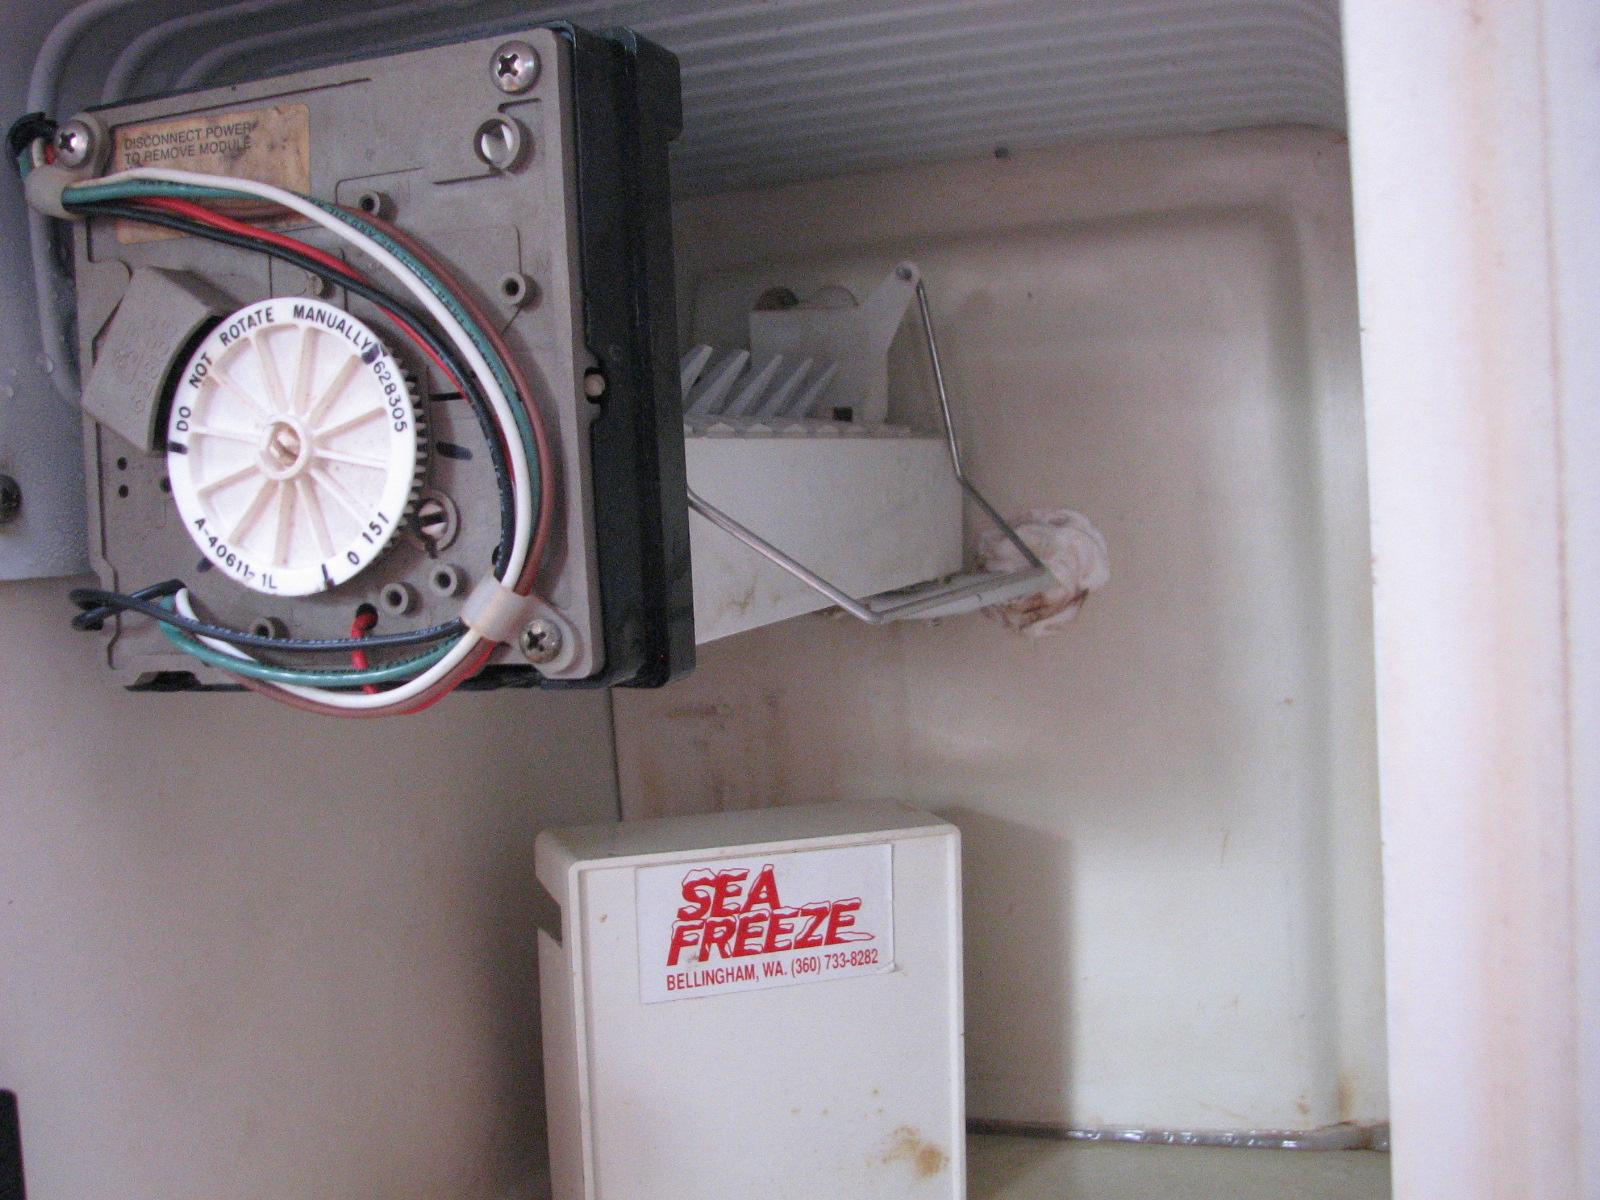
Now it was time to get to work on the
ice maker. It was giving me a few problems lately. It would not pop
the ice out of the tray, and I know what the problem is. The
electrical connections in the unit are just a press connection,
nothing very positive. These connections tend to be a problem in the
wet environment they live in.
I took the front of the ice head off,
and cleaned all of the connections, then put it back together. That
fixed the problem, so now it is happily making lots of ice!
Ice Maker After Repair
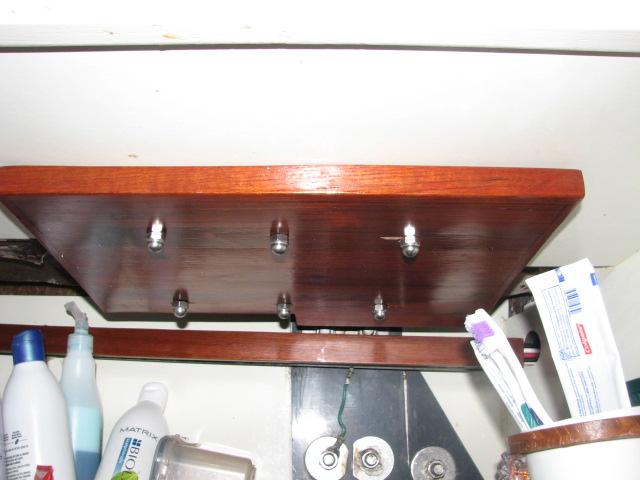
Next project on the list was to install
the backing plate and cover for the turning block on deck that had
the bolts coming through in the head. I finally got the leak fixed,
so I felt good about putting it all back together.
It is a two man job as we need one
person on the outside deck holding the head of the bolt, and a second
person inside putting on the nuts and tightening the nuts.
Backing Plate Installed And Decorative
Cover Installed
I had finished varnishing the teak
wire cover for the head, but had not got it installed. This again is
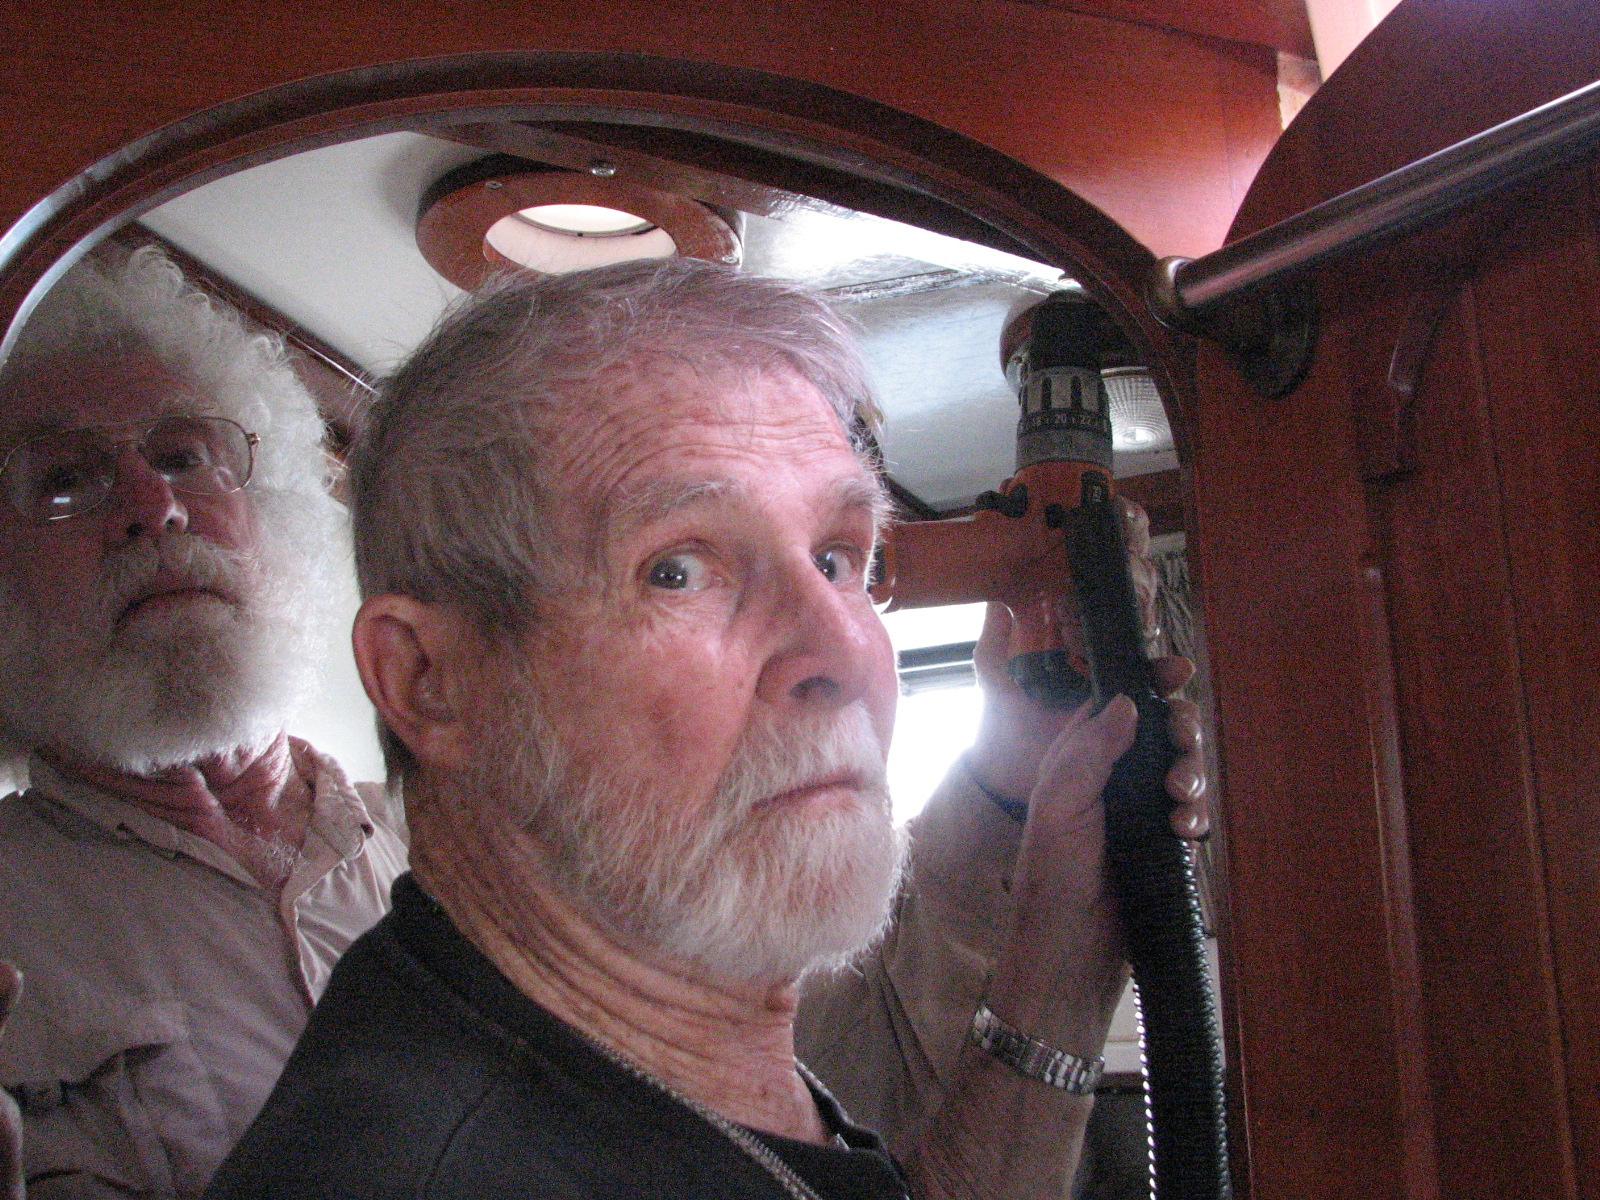
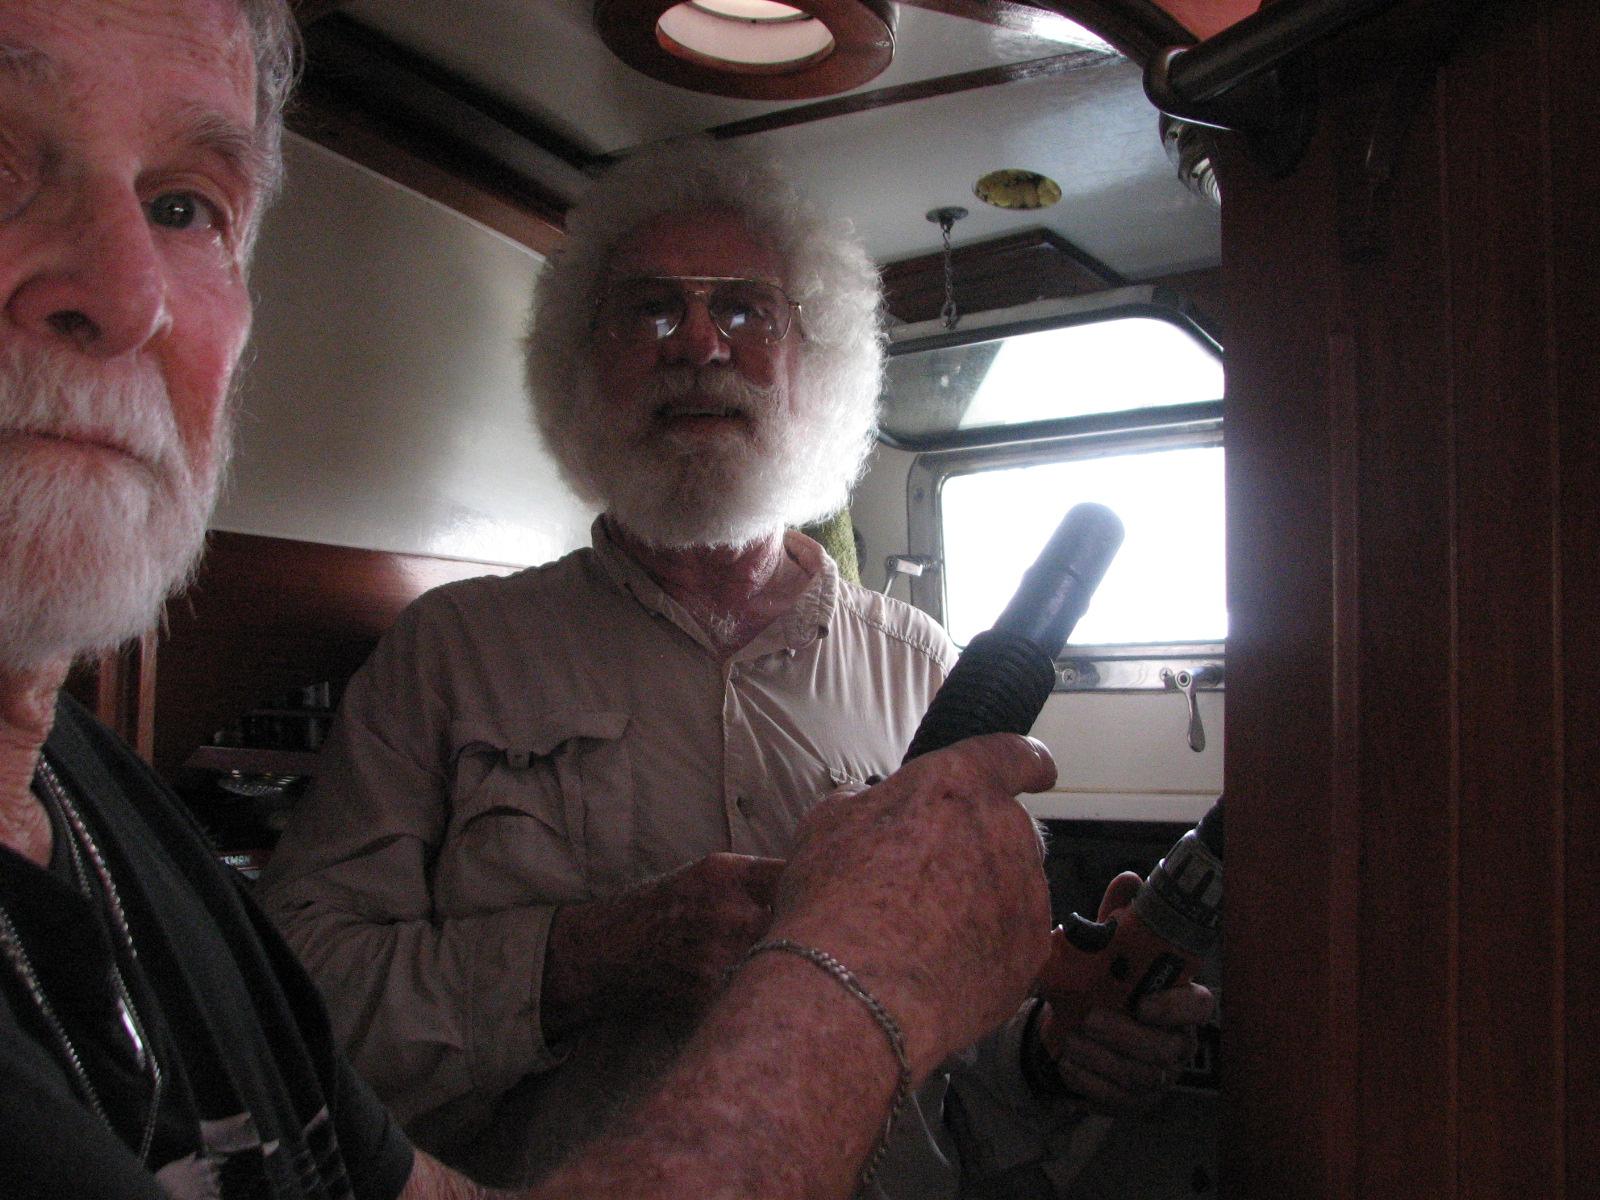
pretty much a two person job. One person to do the drilling, and the
second person to hold the vacuum cleaner to keep the mess to a
minimum.
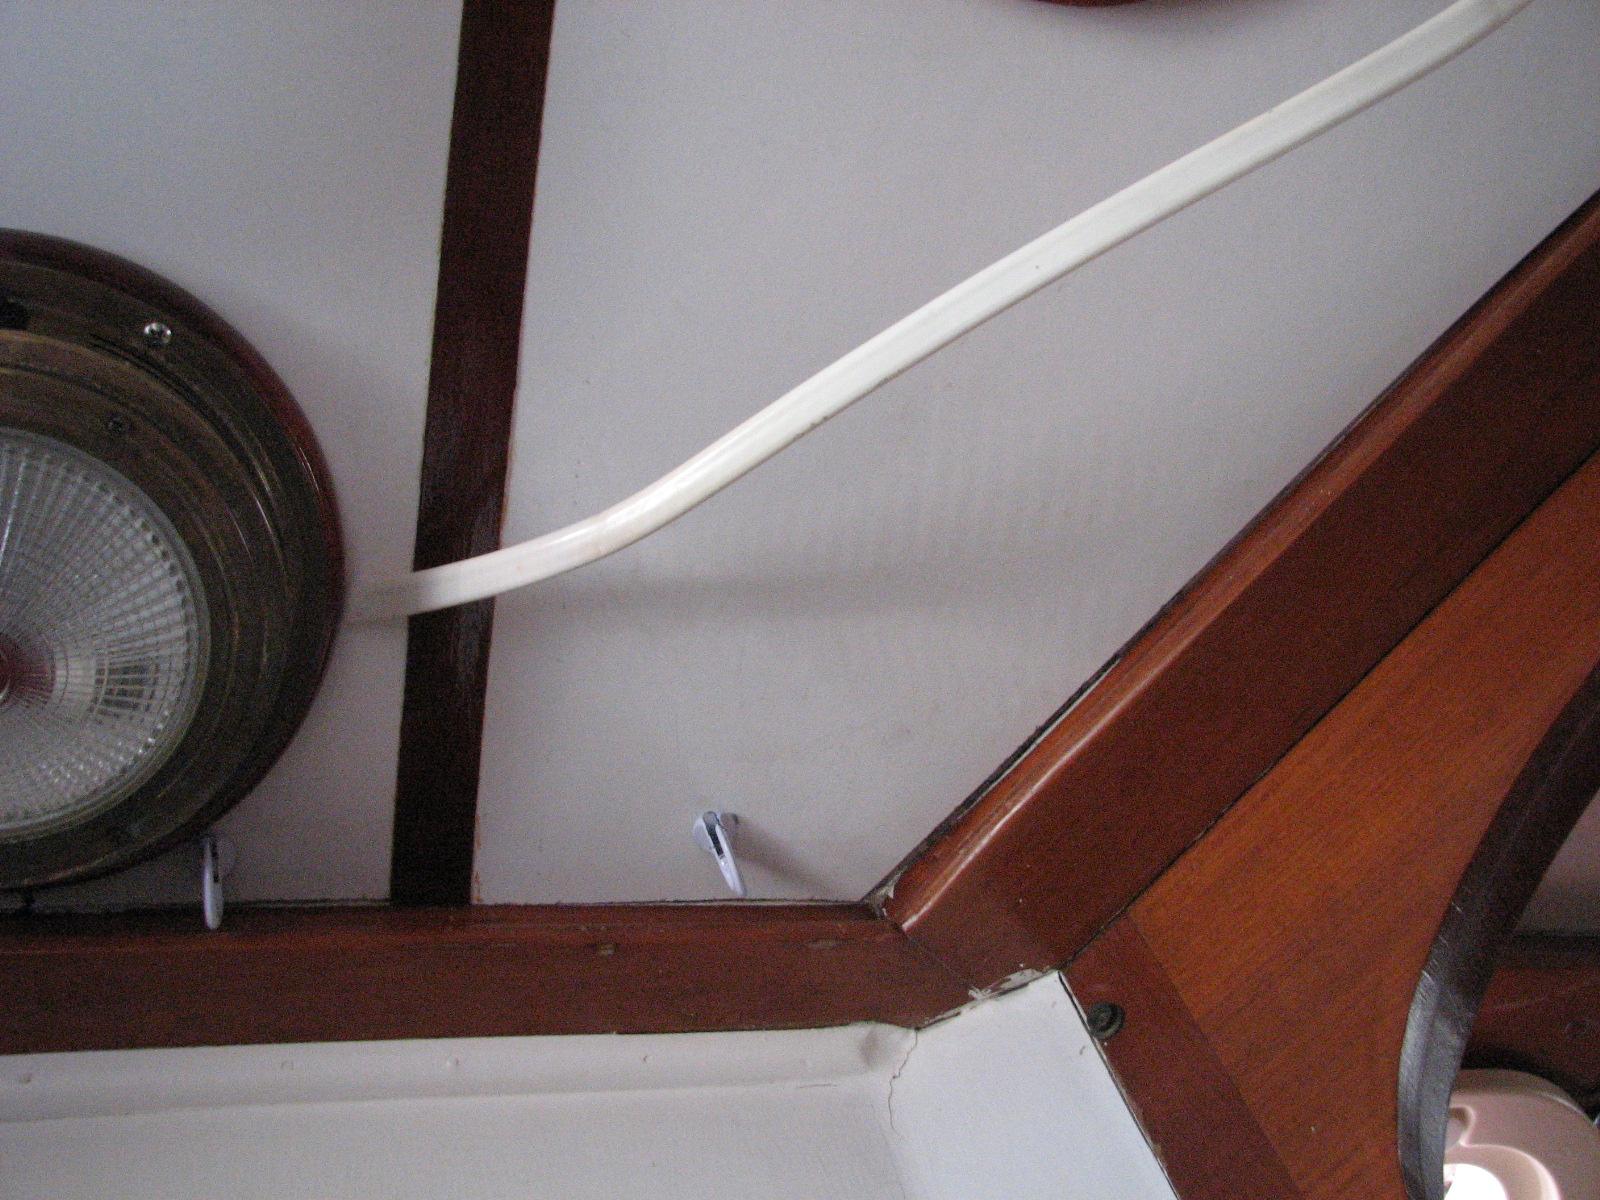
Electrical Wire Hanging In The Head
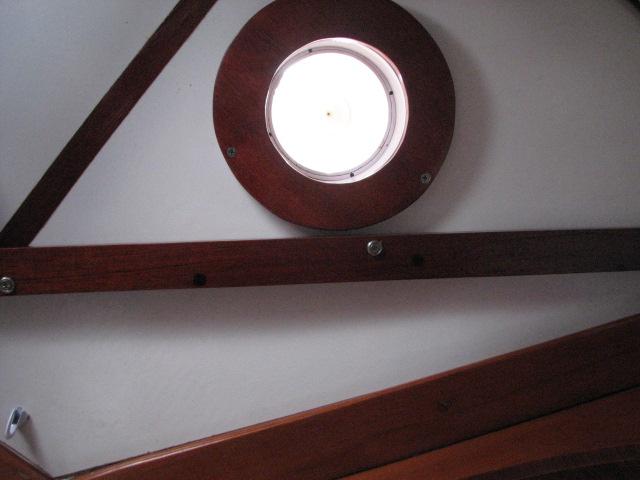
Teak Wire Cover Installed Over Overhead
Wire
Jim And Alan Working On Wire Cover
Installation
Jim And Alan Working On Wire Cover
Installation
The remainder of the day was spent on
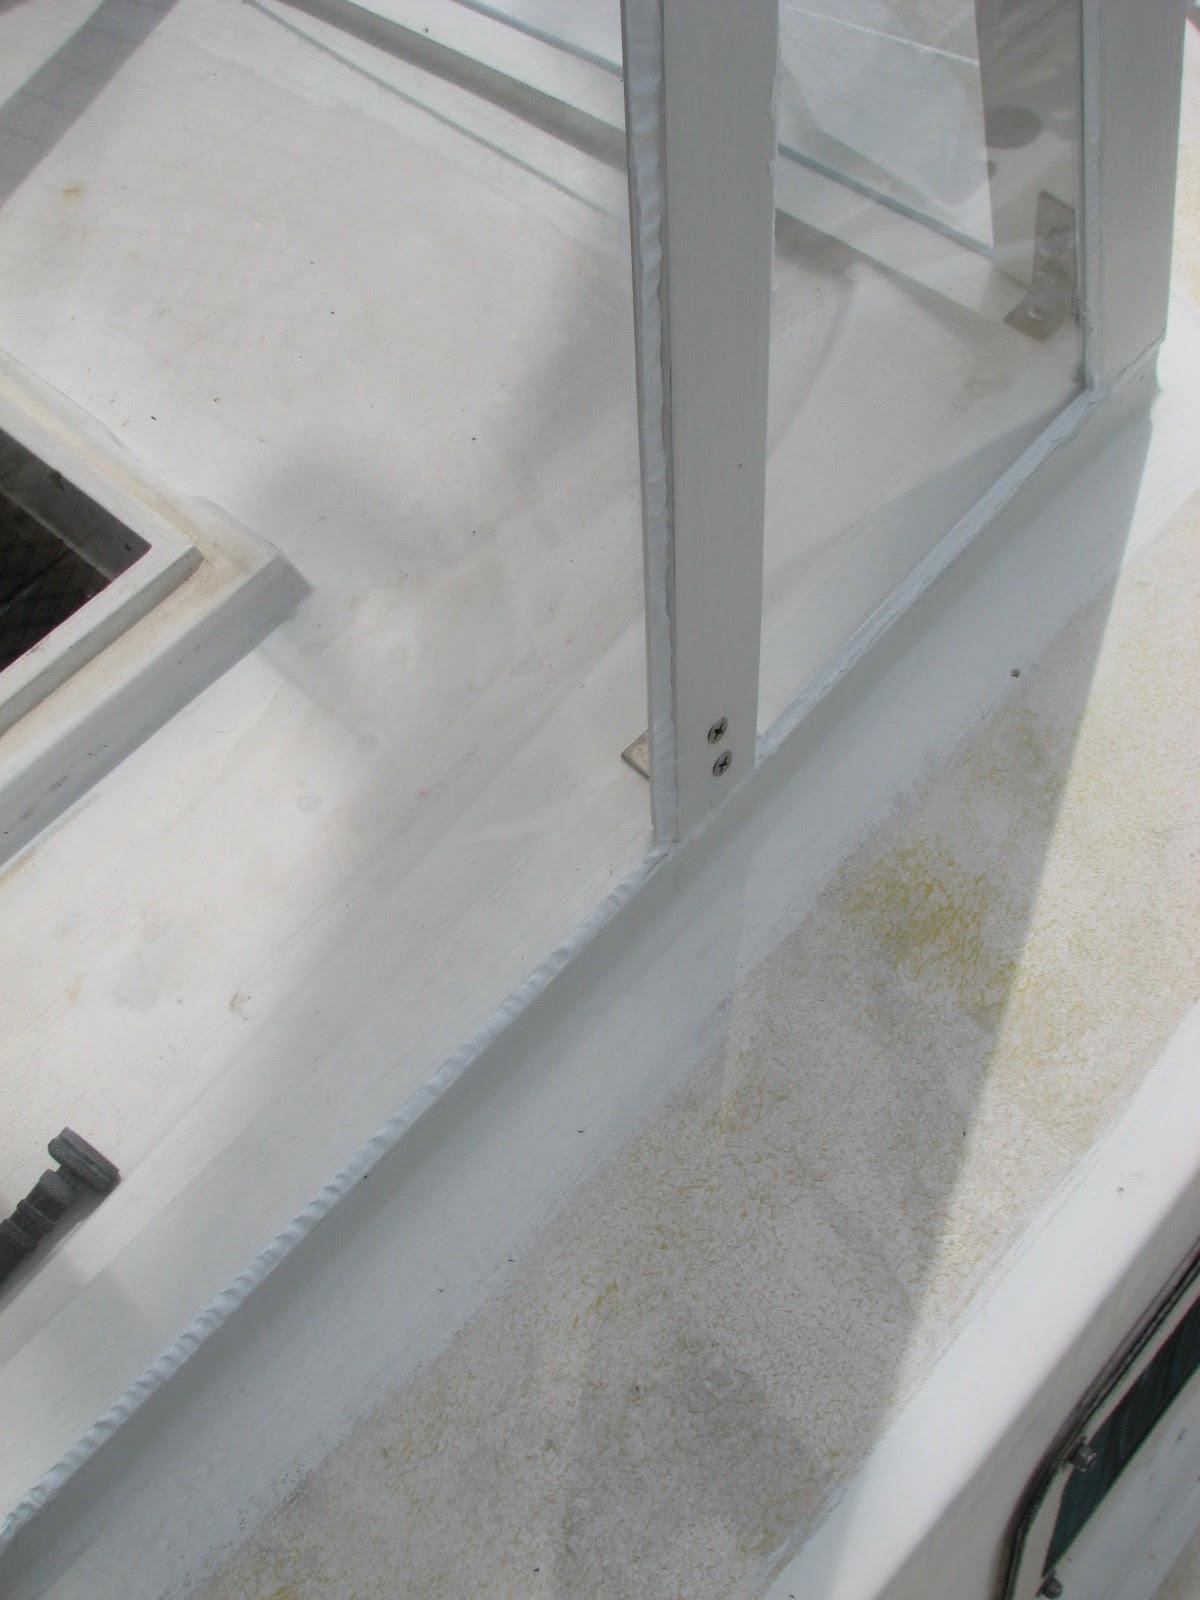
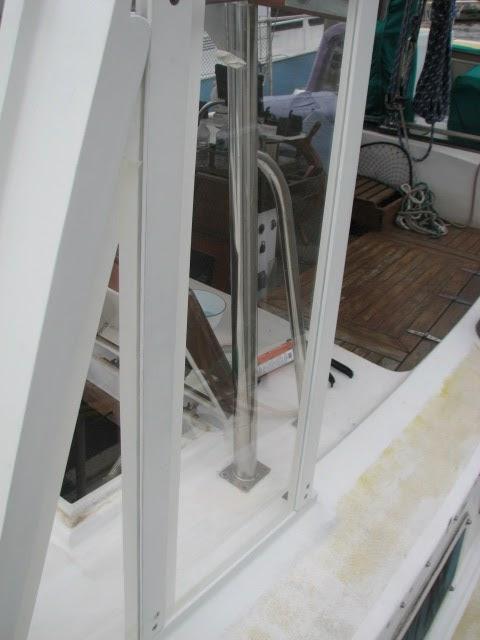
applying the sealant around the outside and inside of the windows in
the hard dodger. When I got to applying the sealant on the inside of
the windows, I did not use masking tape, and the application went
very well.
Sealant Applied To Outside Windows,
Starboard Side
Masked Windows Port Side
Masked Windows Port Side
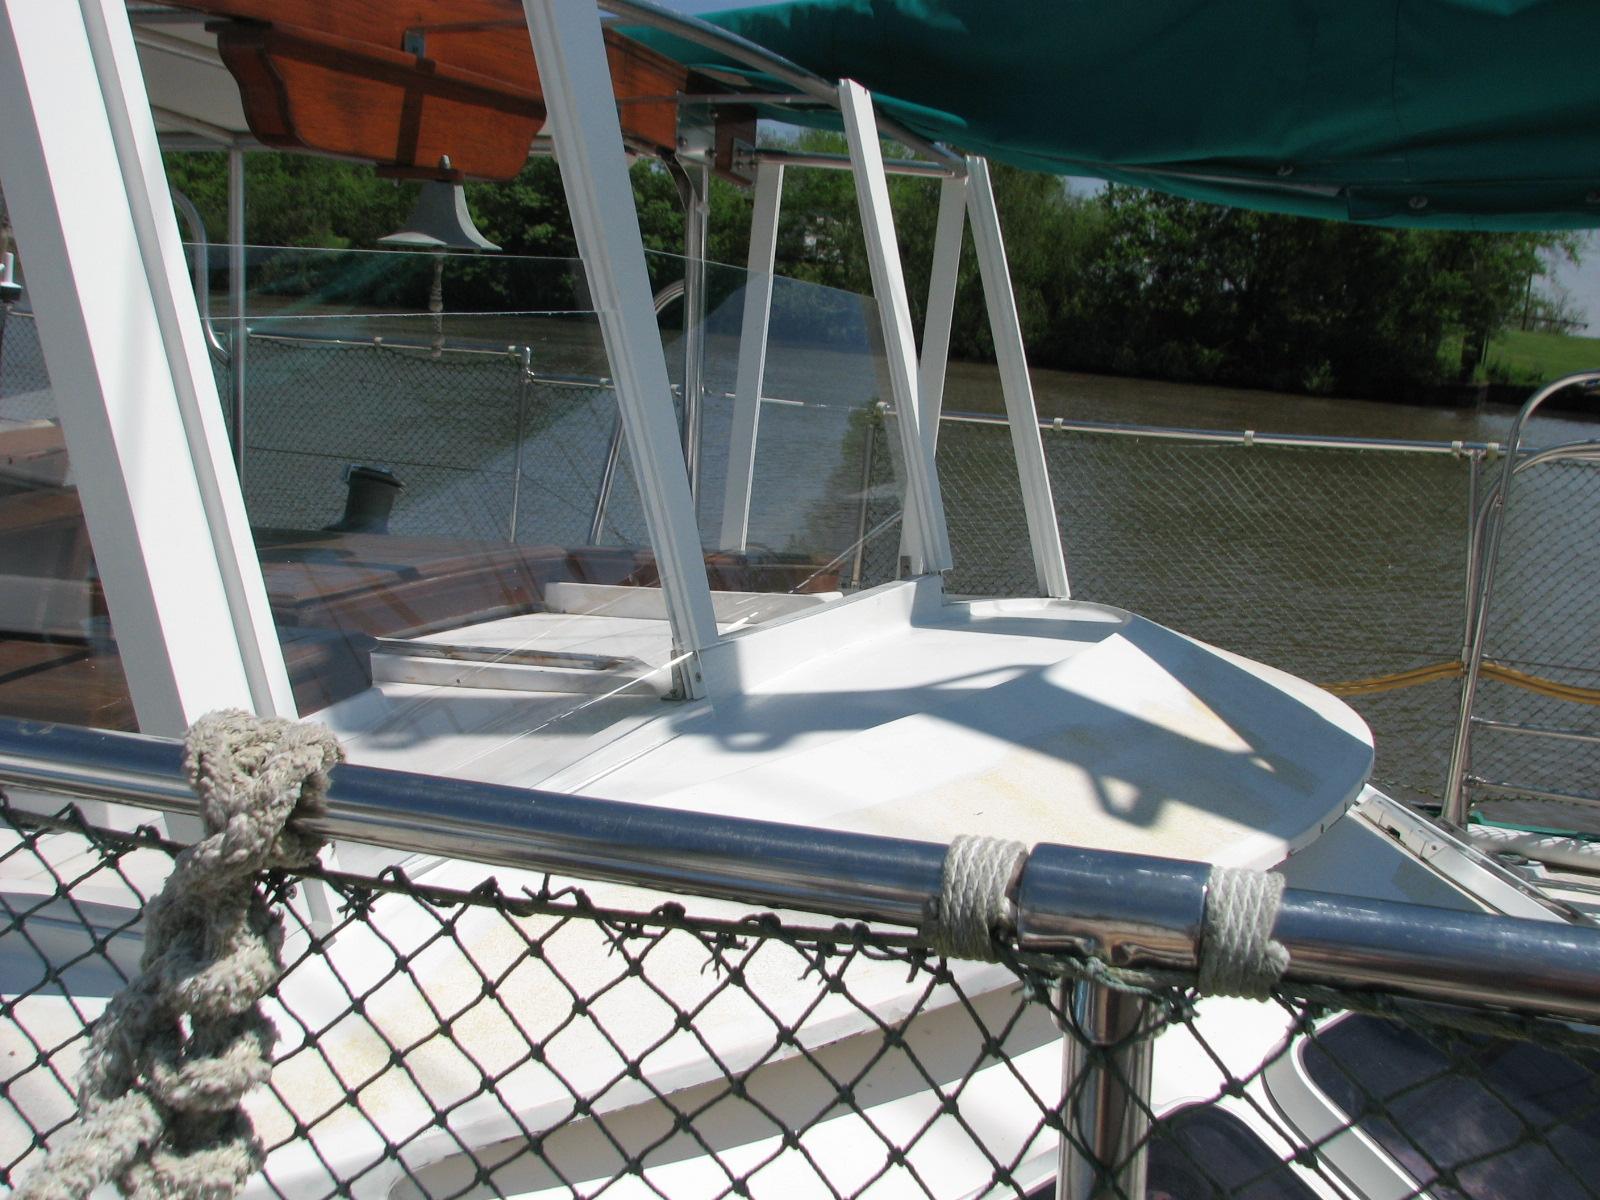
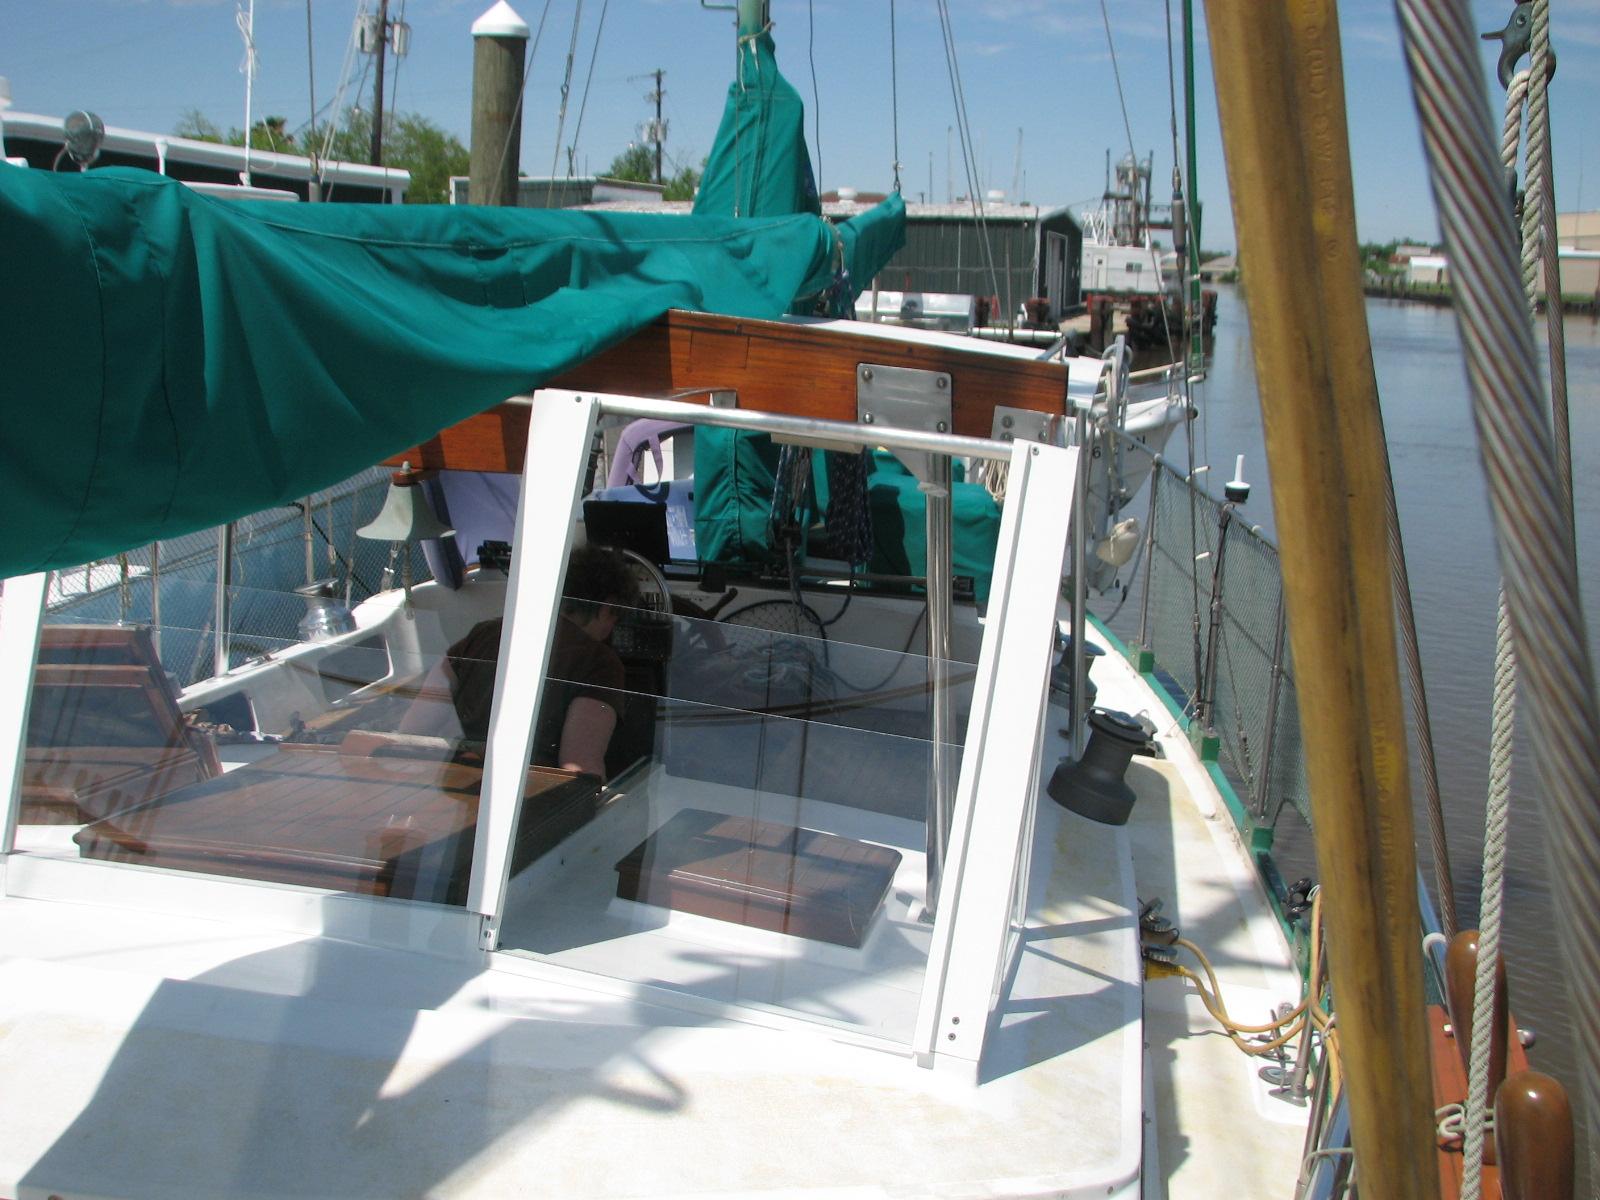
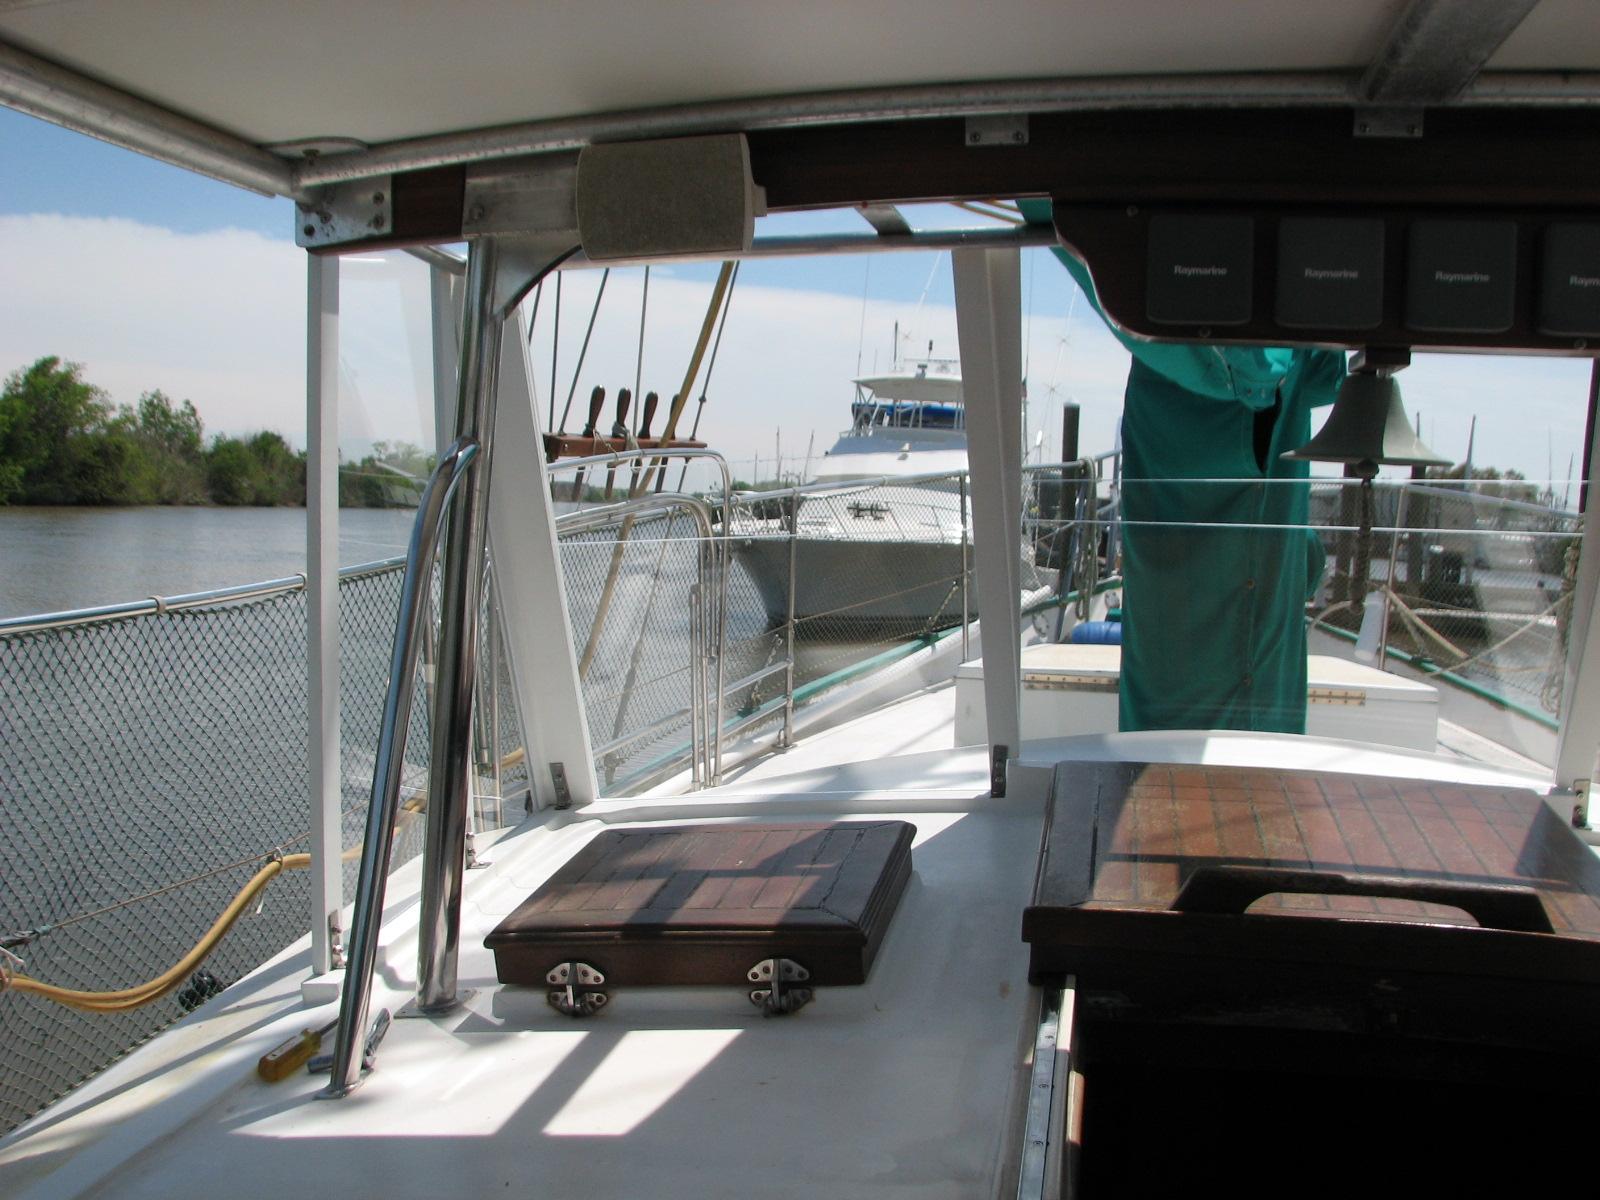
The non sliding windows on the hard
dodger are all sealed in. Now we have to decide on the handles for
the moving windows, and all of the windows will be complete.
Next big project will be to get the top
put on the hard dodger.
April 12, Saturday, 2014
Started off the morning with my normal
ritual of getting on the Internet, answering email, and checking the
weather, while making a pot of coffee. When the coffee is started, I
feed our two cats, Jillian
and Jordan, and spend time with them brushing their
beautiful coats.
Alan and I went over to the
shop
and unloaded
Ruby.
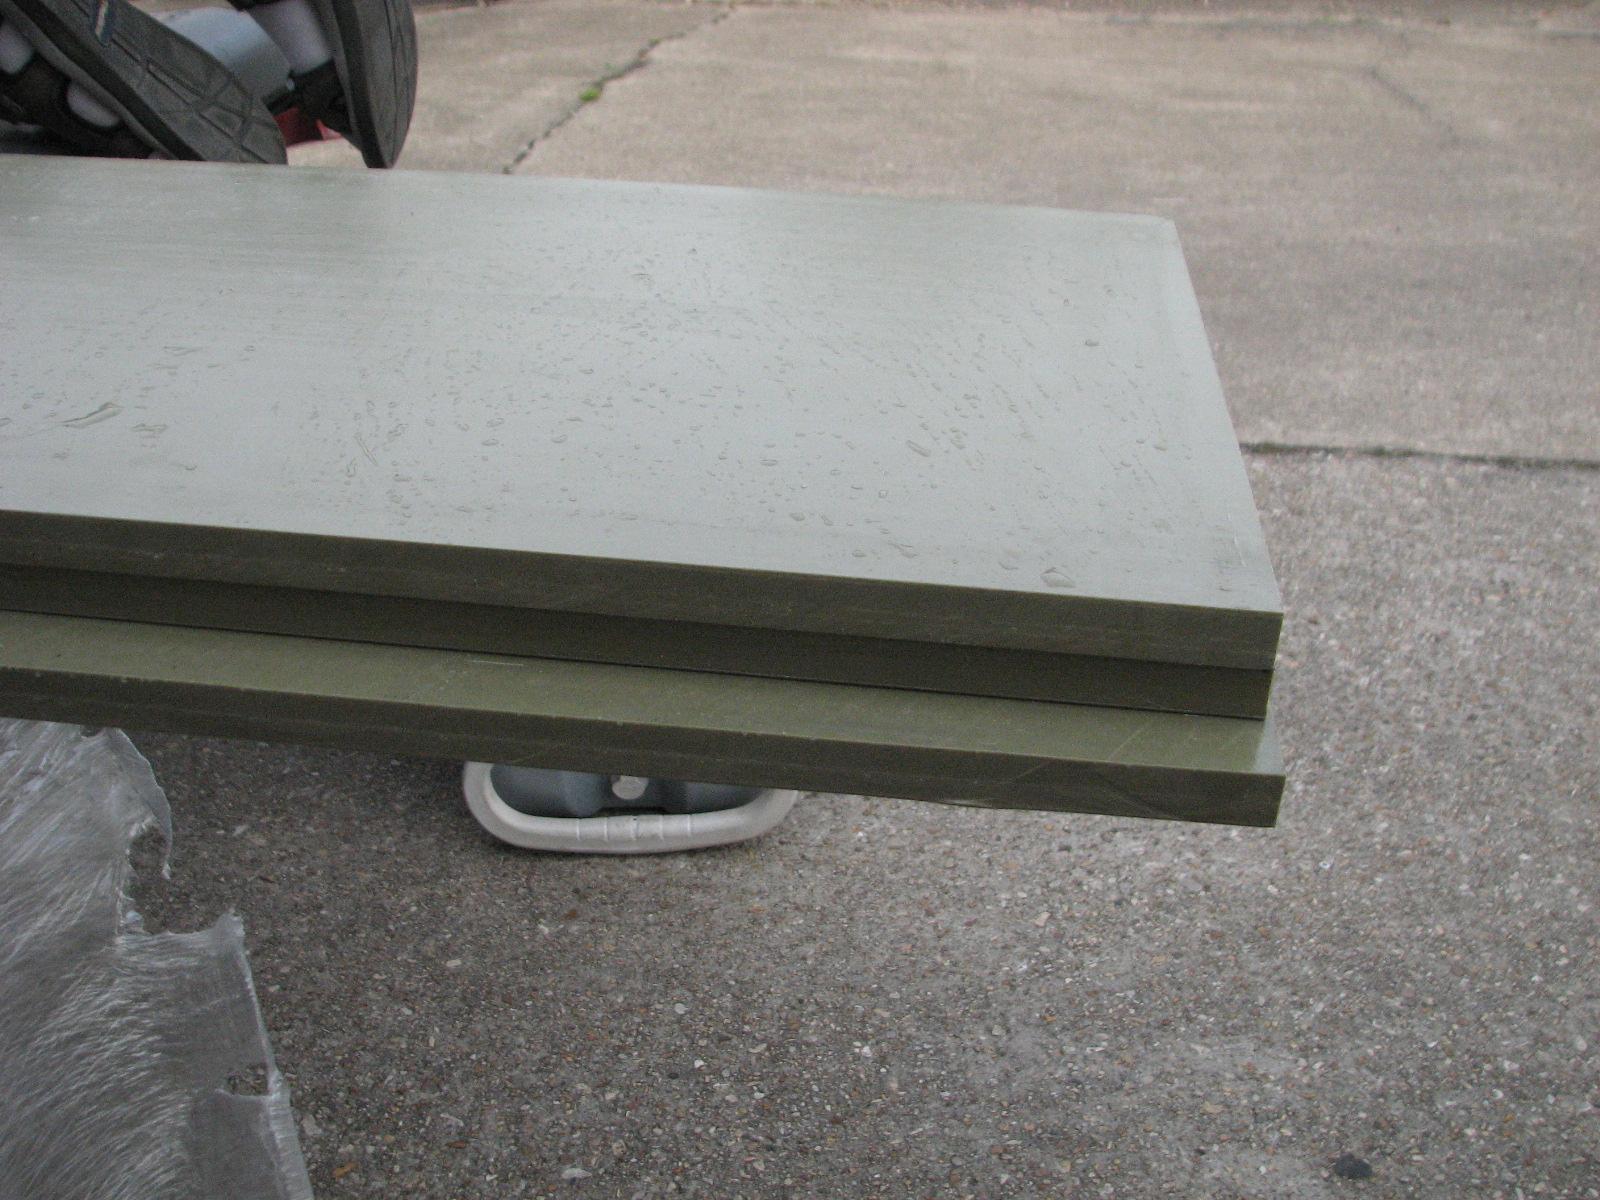
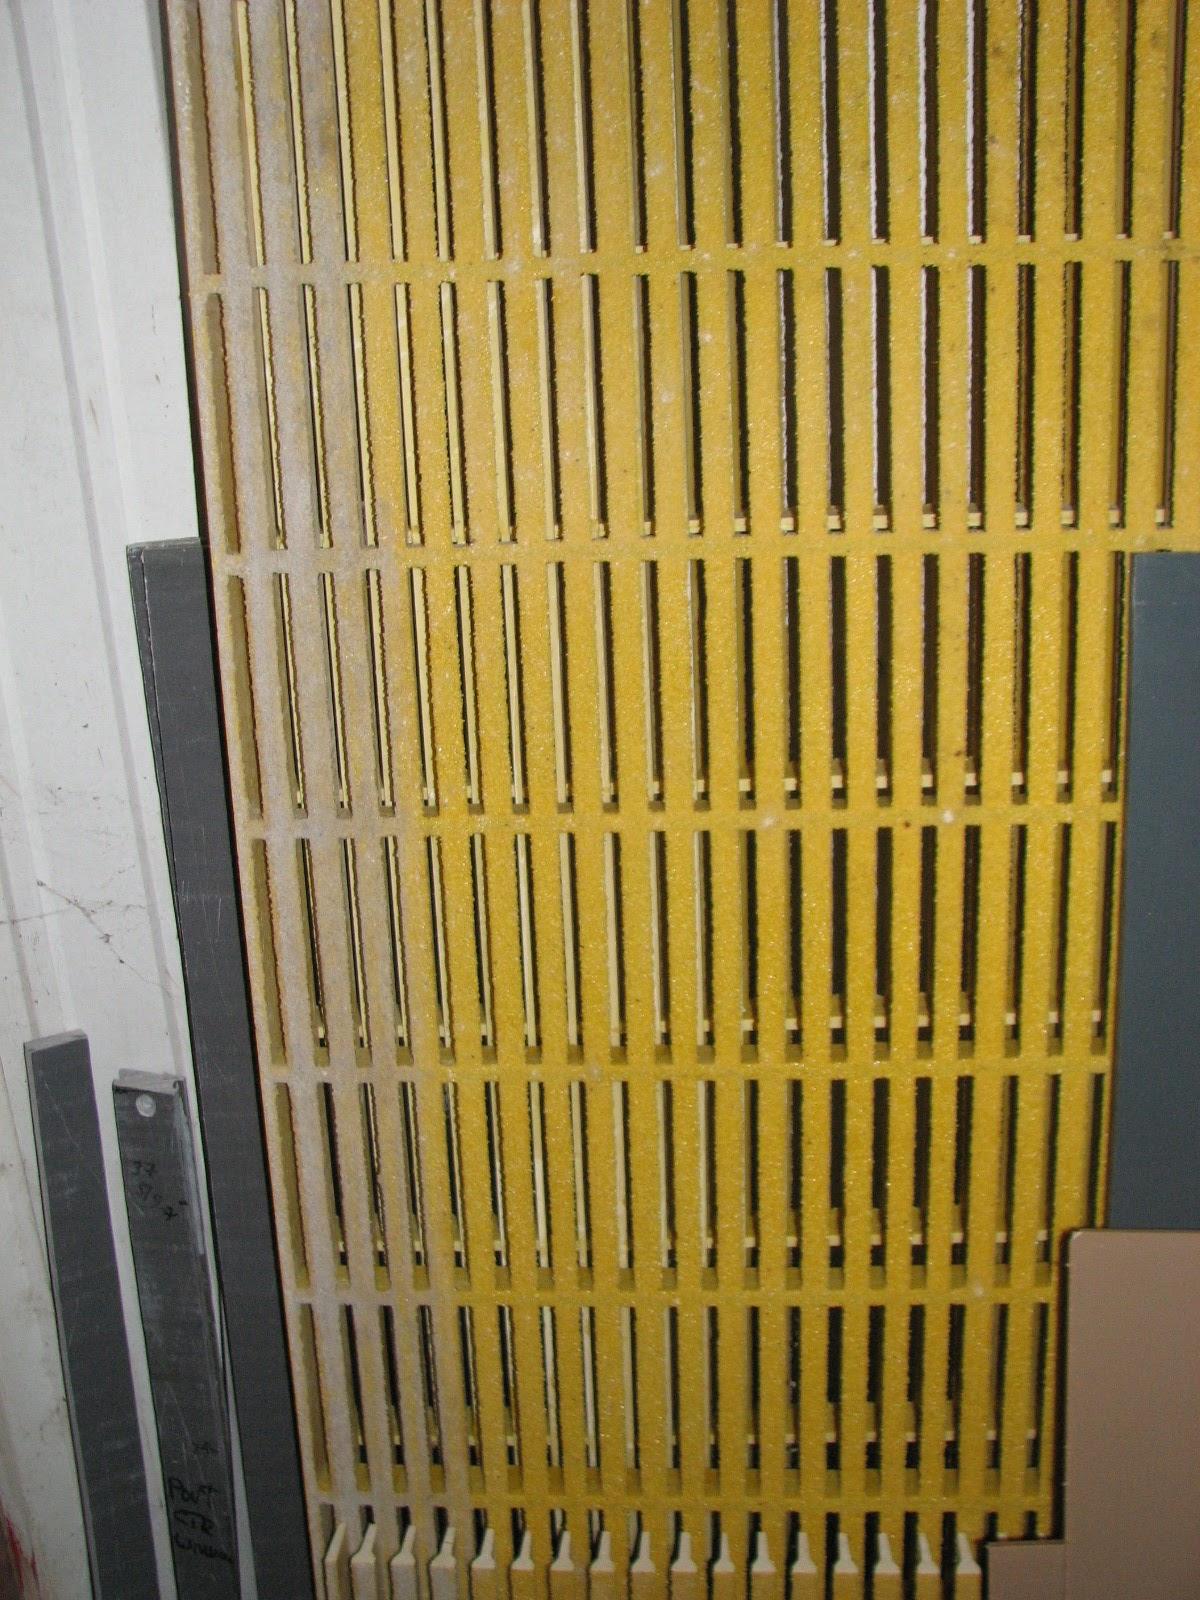
We had to make room in the
shop
to store the
grating
and the
Extren
fiberglass plate. After we got the
grating
and the
Extren
fiberglass plate moved into the
shop,
we had to put back all of the material we had moved to make room in
the first place.
Unloading The Extren
Fiberglass Plate
Unloading The Extren
Fiberglass Plate
Grating Unloaded And In The Shop
We worked on Ruby
a bit. I adjusted one of the hood studs so the hood looked liked it
closed. I also put water into the windshield washer reservoir, and it
did not leak. That was the good news, the bad news is the windshield
washer outlets do not squirt any water on the windshield, so that
will have to be worked on.
The lock button on the back passenger
door had come out so we took that door apart to fix that problem,
which we did.
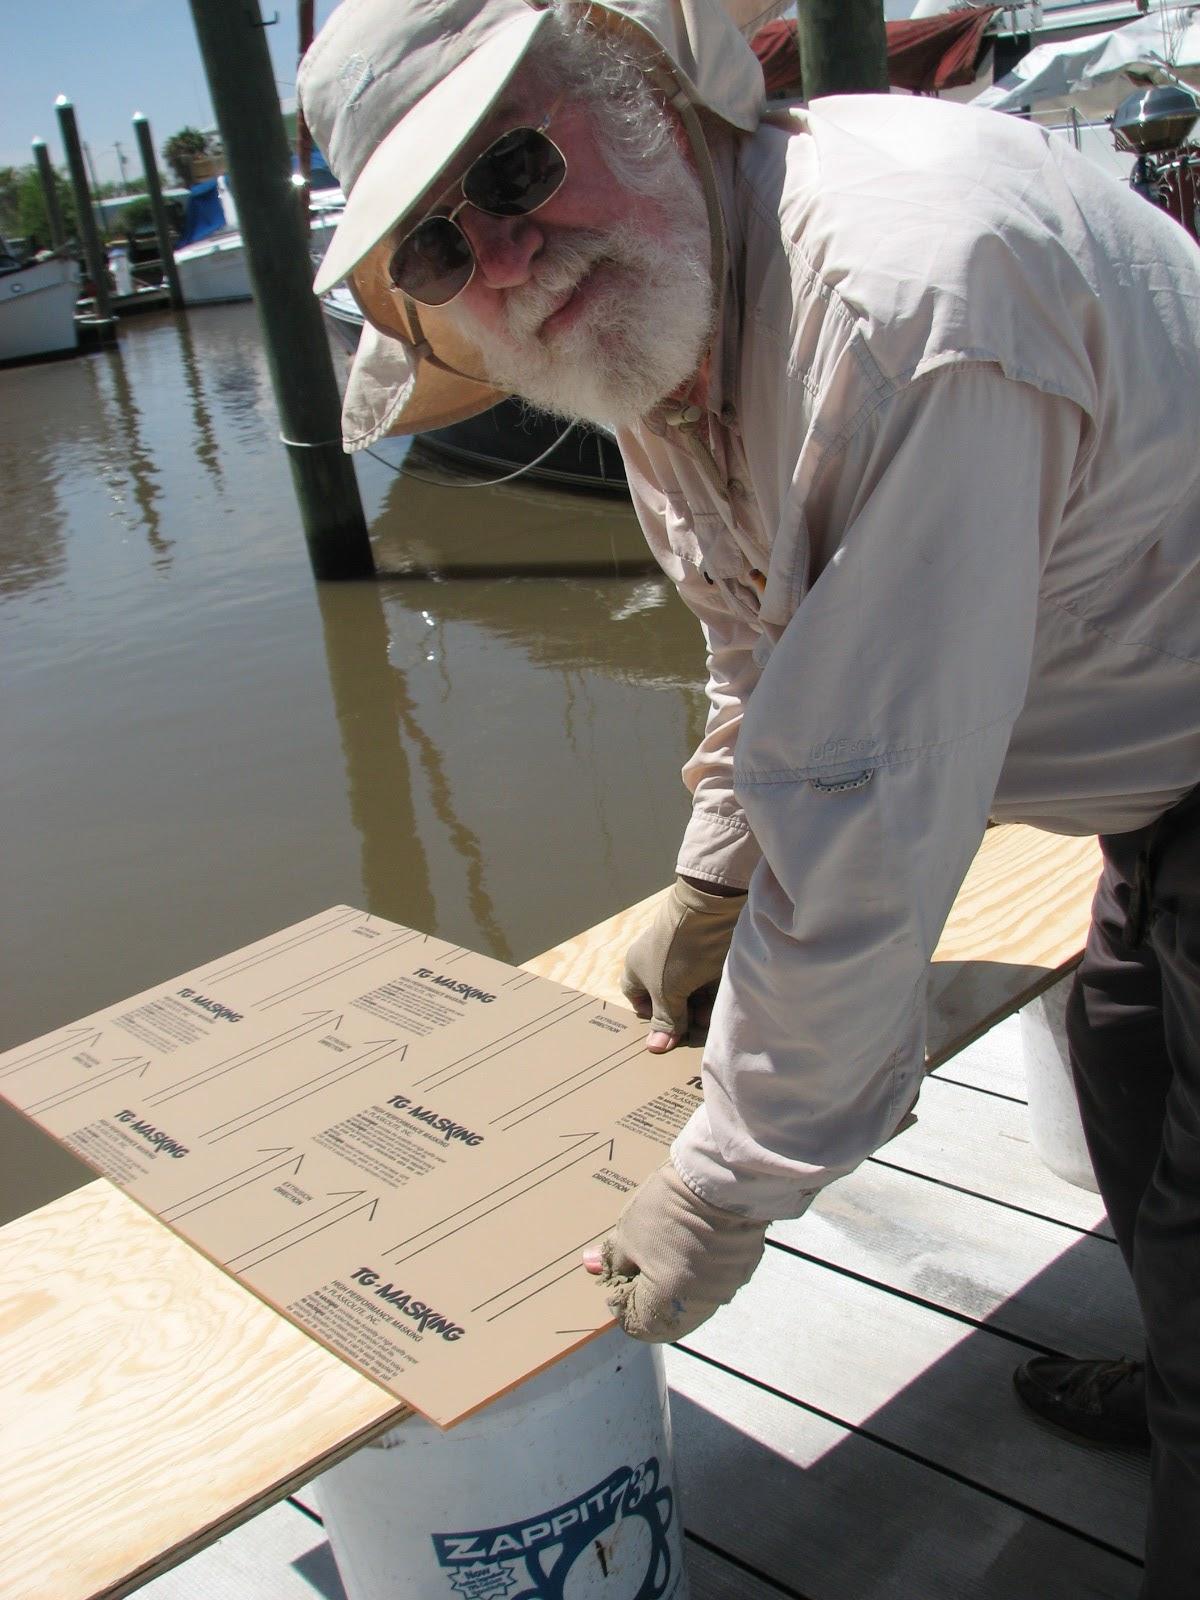
We then got out the Optix
acrylic sheet, as we had to cut a new window. I had
trimmed one of the stationary windows too small so I had to have it
redone. I also had to trim the center stationary window for the hard
dodger as it was not even across the top.
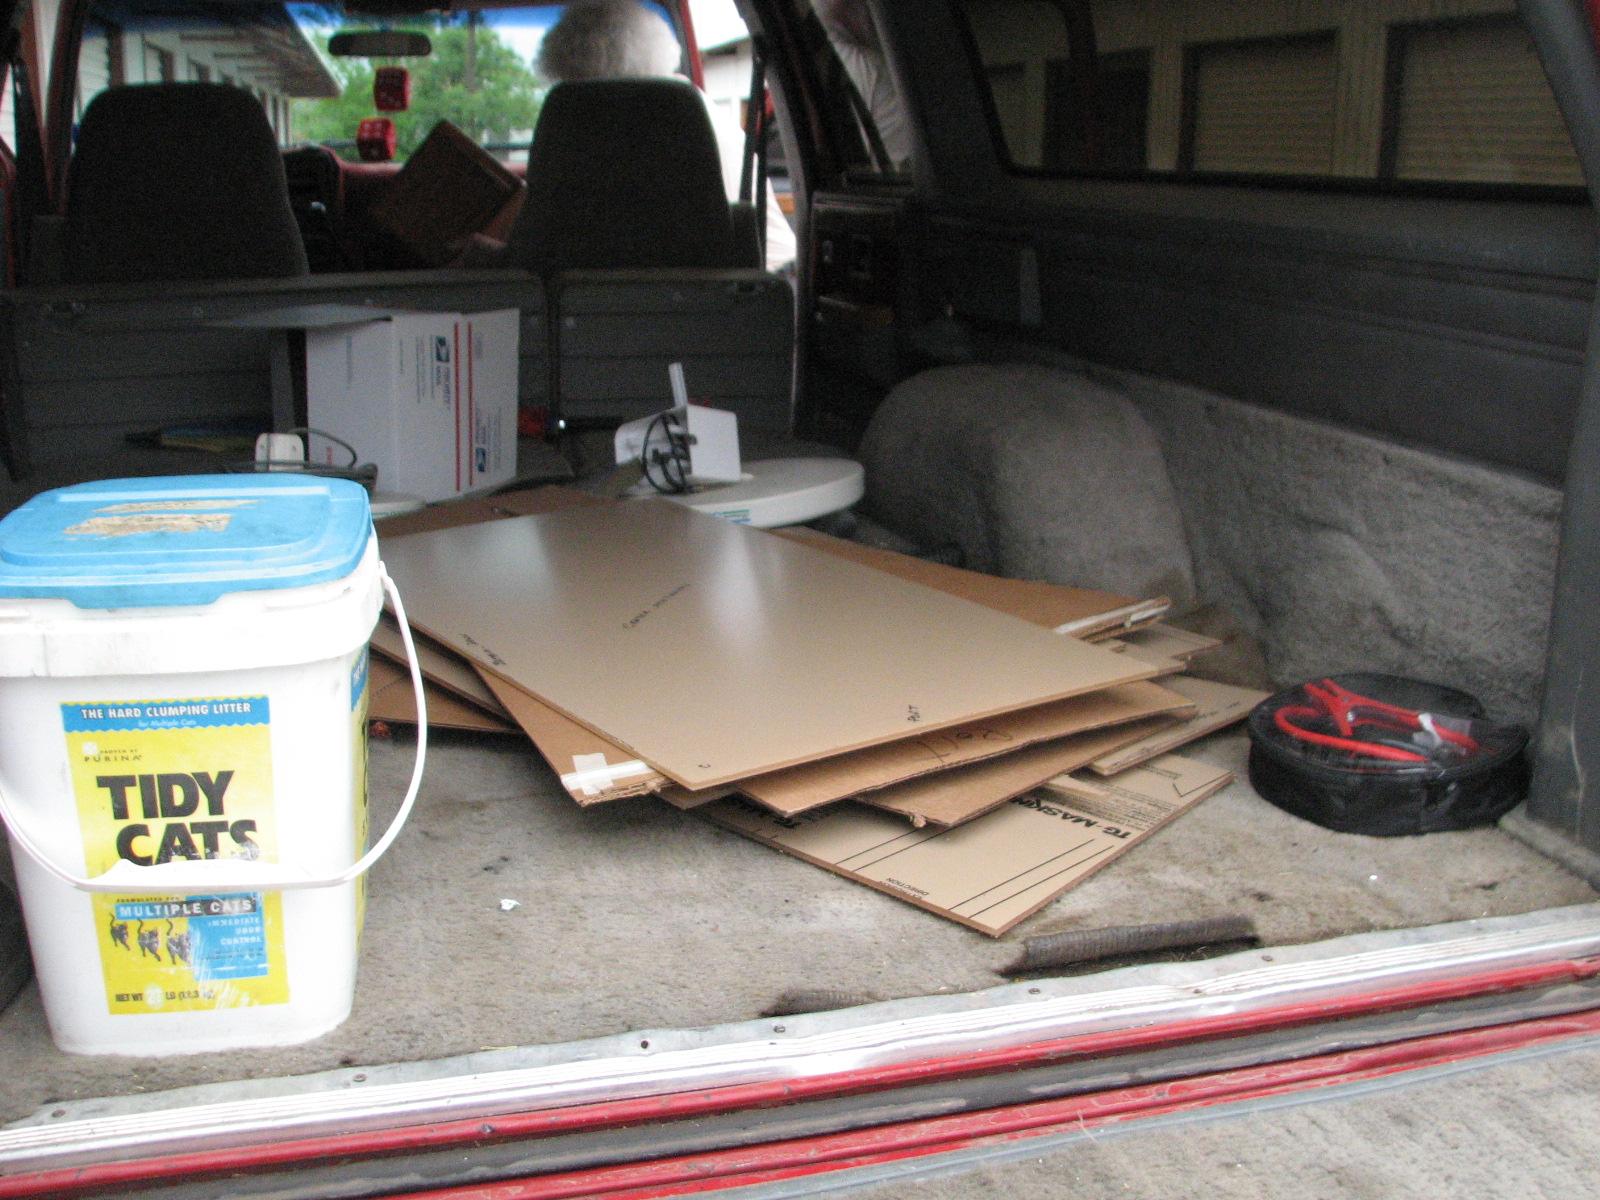
When we finished the cutting, we loaded
the two new windows into Ruby,
and went over to DREAM AWAY for lunch. After lunch, Alan took a nap,
and I worked in the marina
gardens.
We then started with applying the
BoatLife
LifeSeal sealant to the fixed windows on the hard
dodger. First item is to mask off the area where the sealant is being
applied with masking tape. When the tape is applied, then you apply
the sealant, smooth it out with a wet, soapy finger, then remove the
masking tape. Of course the idea is to keep the sealant only where it
is applied. Keep a good supply of paper towels handy!
I got the BoatLife LifeSeal sealant applied to the outside of the
starboard and forward windows. I ran out of time before I got the
sealant applied to the port windows.
April 09 - 11, Wednesday -
Friday, 2014
We had no trouble or any problems with
Ruby,
except I must have the transmission looked into. It jumps out of
reverse gear, and that is a real problem.
We picked up our good friend Alan while
in Clear
Lake Shores and brought him with us to
Delcambre.
He will be helping me with some projects on DREAM AWAY for the next
week or so.
On the way into
Delcambre
we stopped by Rays Auto Repair and picked up the
Black Beast. Ray
had repaired the broken oil cooling line that had ruptured. When he
replaced both lines last month, one of the lines had rubbed against
some metal and wore a hole in the line. Ray fixed it all for no
charge, so we are good to go there.
One event that happened while we were
in Clear Lake Shores, our cruisers
Cindy
and Johnal left
North
Pier Marina to continue east. They arrived at the
marina
in December of 2013, and we really have enjoyed having them around.
They are good company with social activities and good help with
various projects. They will be missed.
April 08, Tuesday, 2014
Attended business plan workshop in
Chalmette,
Louisiana. After the workshop drove home to
Delcambre.
We made the trip in the
Black Beast.
When we arrived at the marina,
there was a large amount of oil leaking out from under the engine.
We moved all of the tools and supplies
from the
Black Beast to
Ruby,
and took the
Black Beast
over to Ray’s automotive. He is going to look
at the problem while we make the trip to Houston to pick up the
Strongwell
Extren fiberglass plate, and some grating.
April 07, Monday, 2014
Started off the morning with my normal
ritual of getting on the Internet, answering email, and checking the
weather, while making a pot of coffee. When the coffee is started, I
feed our two cats, Jillian
and Jordan, and spend time with them brushing their
beautiful coats.
Worked on the computer most of the
morning trying to get caught up on email and getting the Epson
NX330 flatbed scanner to work on Linux. I downloaded
the VueScan
software for Linux, and was able to perform a scan using the Epson
NX330 scanner.
Kitty got up early, so we had
breakfast, and then went over to the
shop.
We had two more pieces of
Optix
acrylic sheet to cut out for the hard dodger windows.
We finished cutting out the pieces, and cleaned up the
shop.
We loaded all of the window pieces we had cut out into
Ruby,
and drove back to the marina.
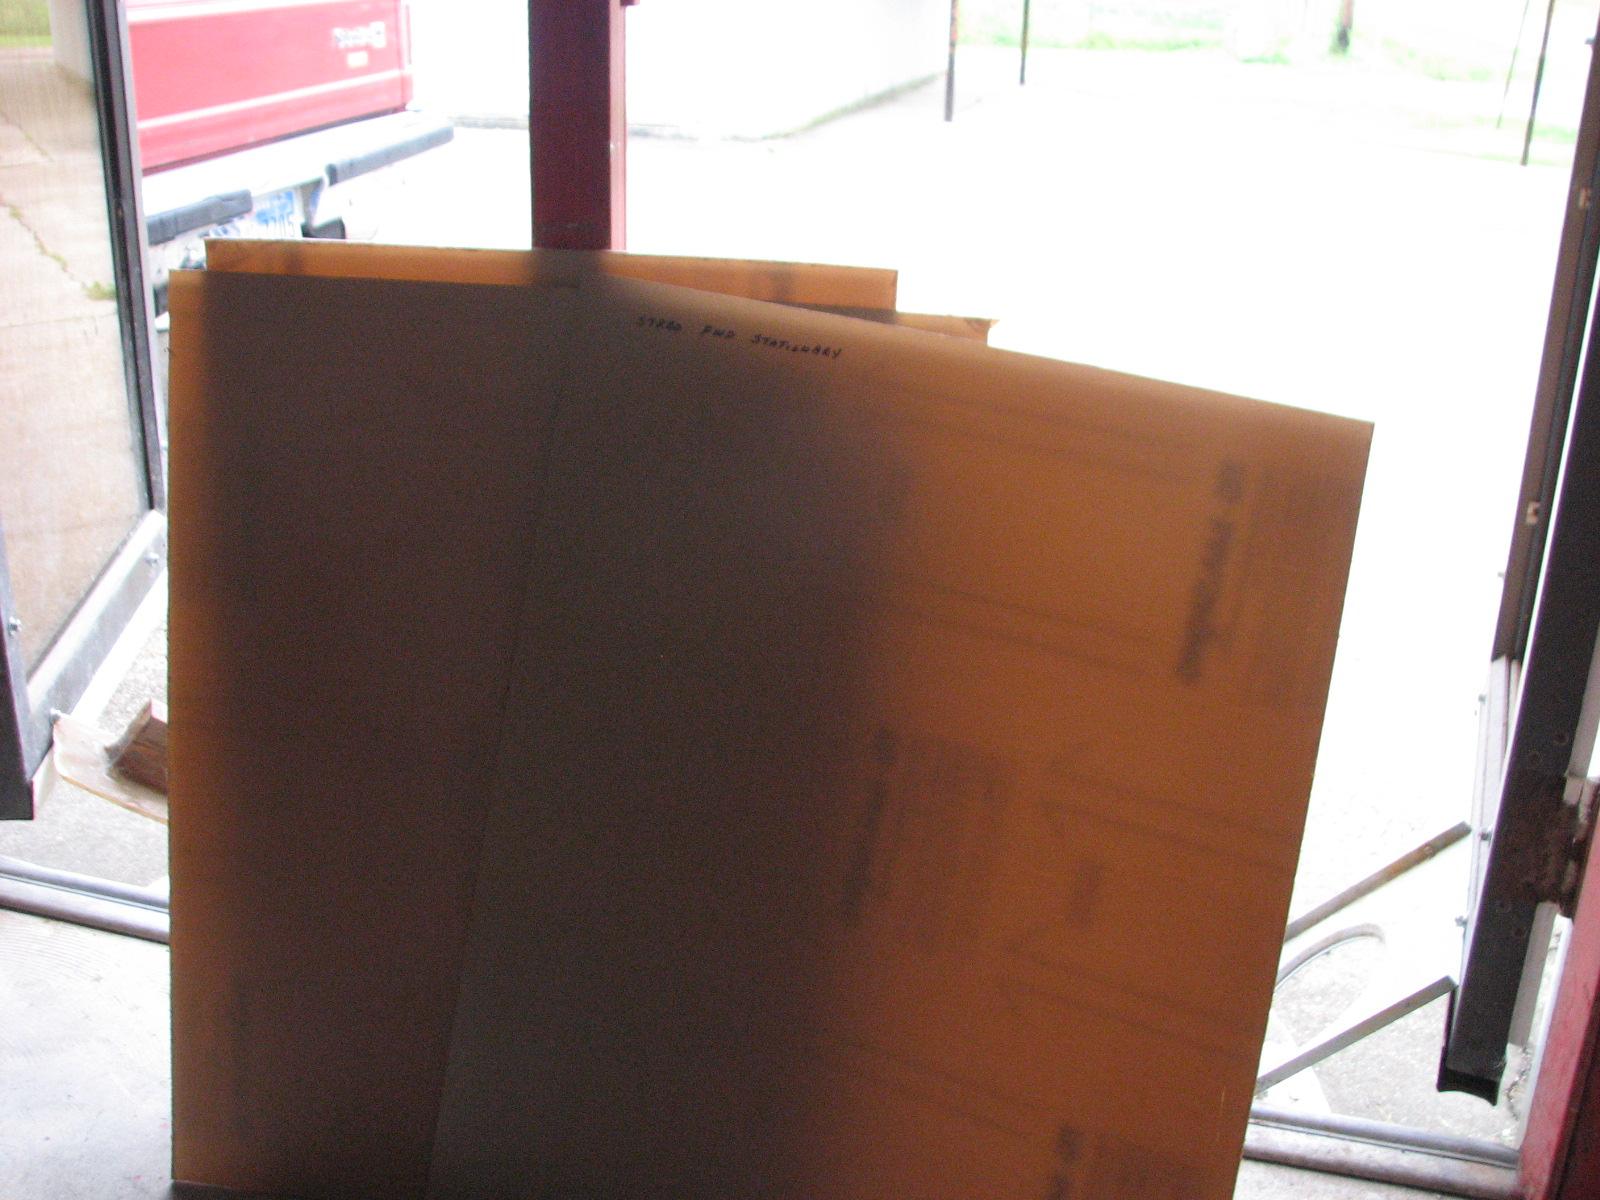
Cut Acrylic Ready To Be Put Into Truck
Set Up For A Cut Of Acrylic
Acrylic Pieces Loaded Into Ruby
Before we left the shop,
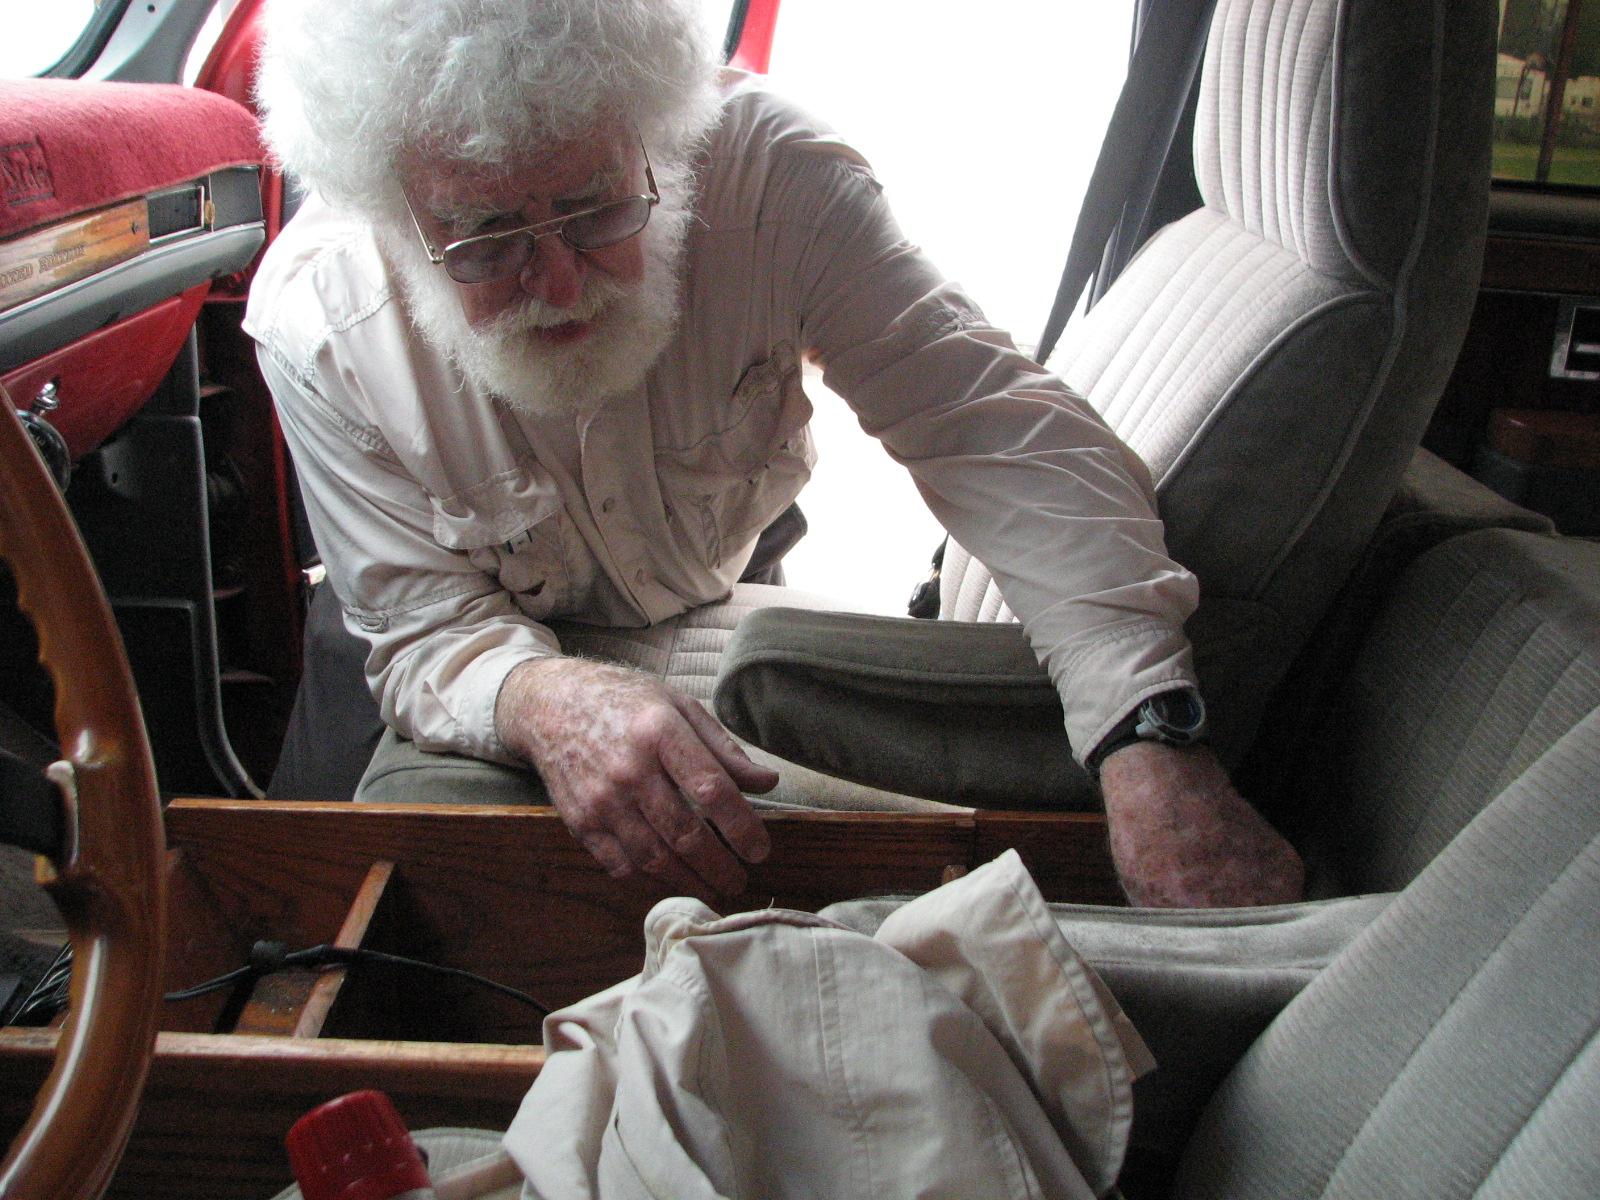
I checked to see if the “new” console would fit in the area of
Ruby
between the two front seats with the back seat down. The console fit
great, now all I have to do is put it completely back together.
Captain Testing Console Fit
We brought all of the cut window pieces
down to DREAM AWAY, and started to fit the windows into the hard
dodger uprights. It was obvious, I had been generous in cutting out
the windows for the hard dodger, and I would need to “adjust” the
windows. It was also obvious I would need to get some tools and
equipment from the shop
to be able to continue.
I drove back to the shop
and loaded into Ruby,
my Bosch
jig saw, some clamps, a long piece of aluminum flat
bar, a piece of plywood for a table, and two large plastic buckets. I
went back to the marina,
and hauled all of this stuff down to the dock next to DREAM AWAY.
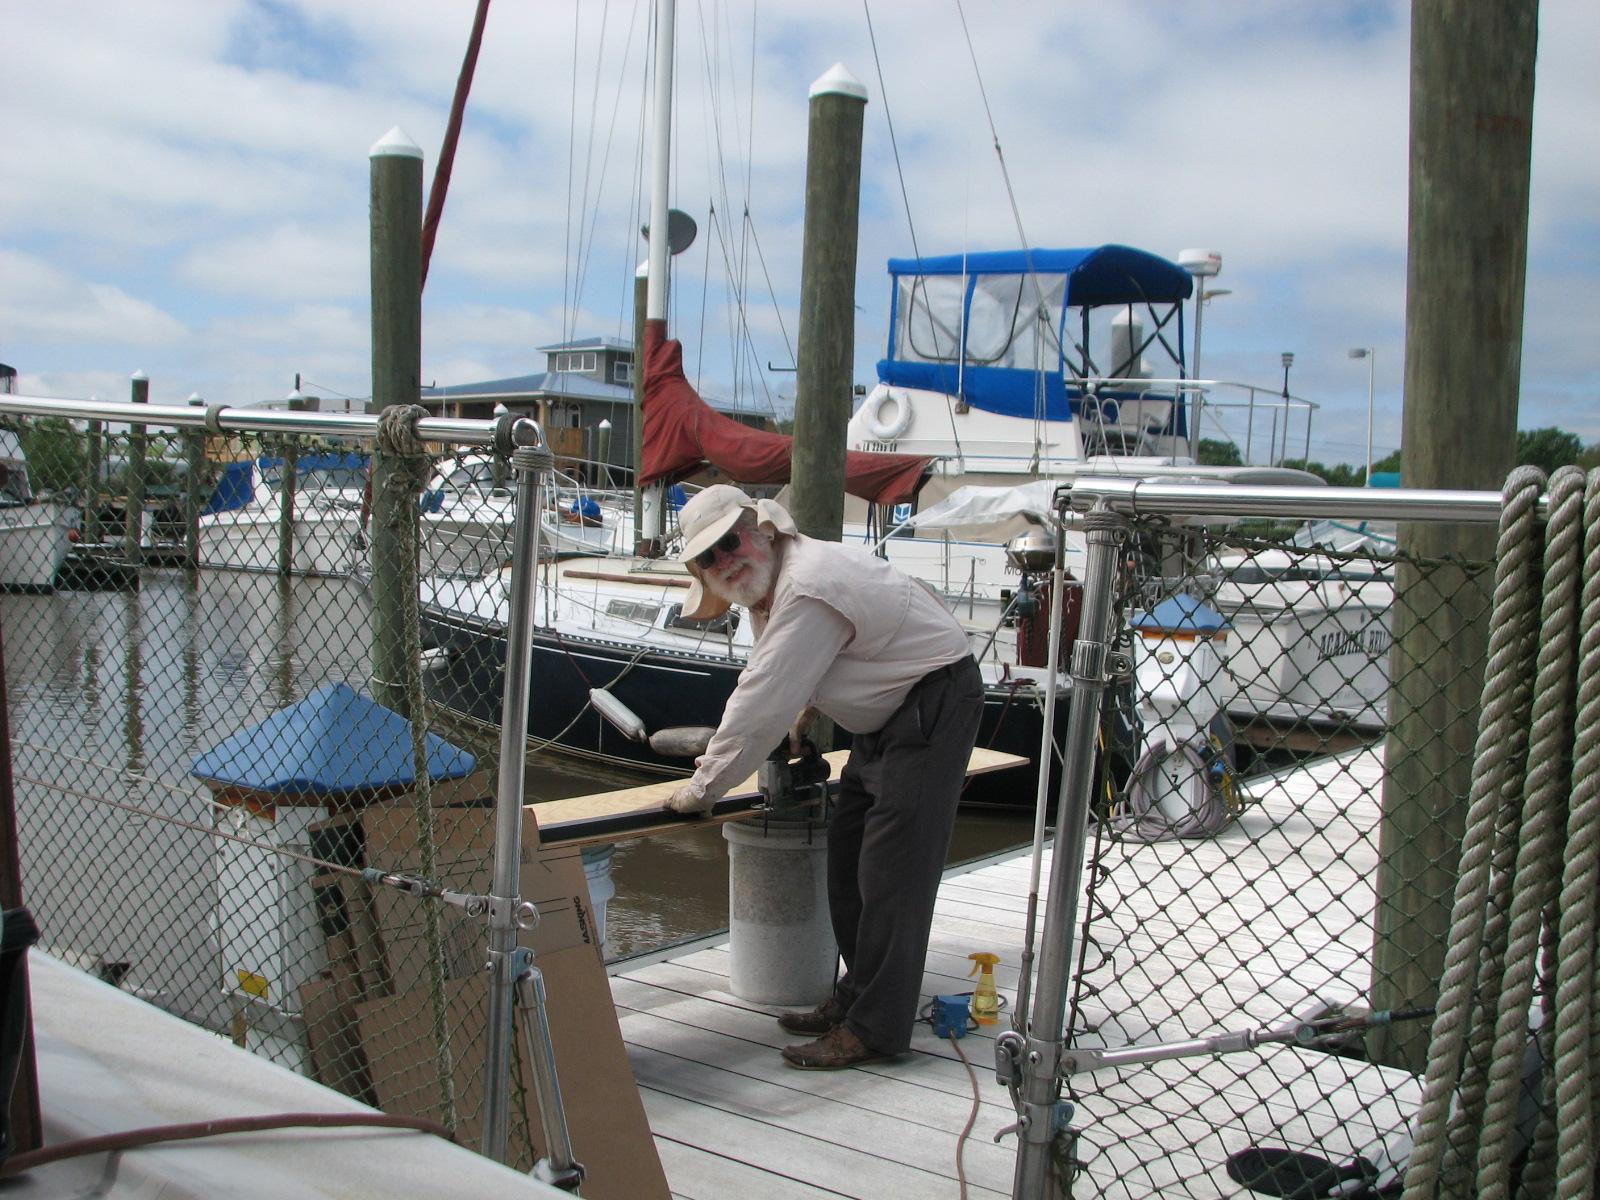
Kitty and I then set up on the dock and
started “adjusting” the windows to fit into the channels of the
hard dodger up rights. When we were finished I had “adjusted “
nine of the ten just right, but I had cut one window too small. I
would have to cut another piece of the Optix acrylic sheet to fit the last window.
Captain Adjusting A Window To Fit
Captain Sitting By Fitted Windows
Captain Preparing Another Cut
Windows Installed In Hard Dodger Frame
Windows Installed In Hard Dodger Frame
Windows Installed In Hard Dodger Frame
Windows Installed In Hard Dodger Frame
Windows Installed In Hard Dodger Frame
Windows Installed In Hard Dodger Frame
Windows Installed In Hard Dodger Frame
When we return from our various travels
this week, I will finish the job. I also have to fabricate the
handles for the sliding windows in the hard dodger.
We cleaned up around the dock, and I
hauled all of the stuff back to
Ruby,
and then back to the
shop.
When I got back to the
marina,
I then had to empty holding tank in
shower trailer.
When that task was completed, I took a
shower, Kitty and I packed up, and we drove over to Chalmette,
Louisiana, so we could attend a workshop tomorrow morning.
April 06, Sunday, 2014
Started off the morning with my normal
ritual of getting on the Internet, answering email, and checking the
weather, while making a pot of coffee. When the coffee is started, I
feed our two cats, Jillian
and Jordan, and spend time with them brushing their
beautiful coats.
Worked on the computer most of the
morning trying to get caught up on email and getting the printer and
scanners to work on Linux. I was successful with our Epson
NX330 network printer.
I was actually under a hundred emails
in my inbox when we left for the shop
after breakfast. Kitty and I went over to the shop,
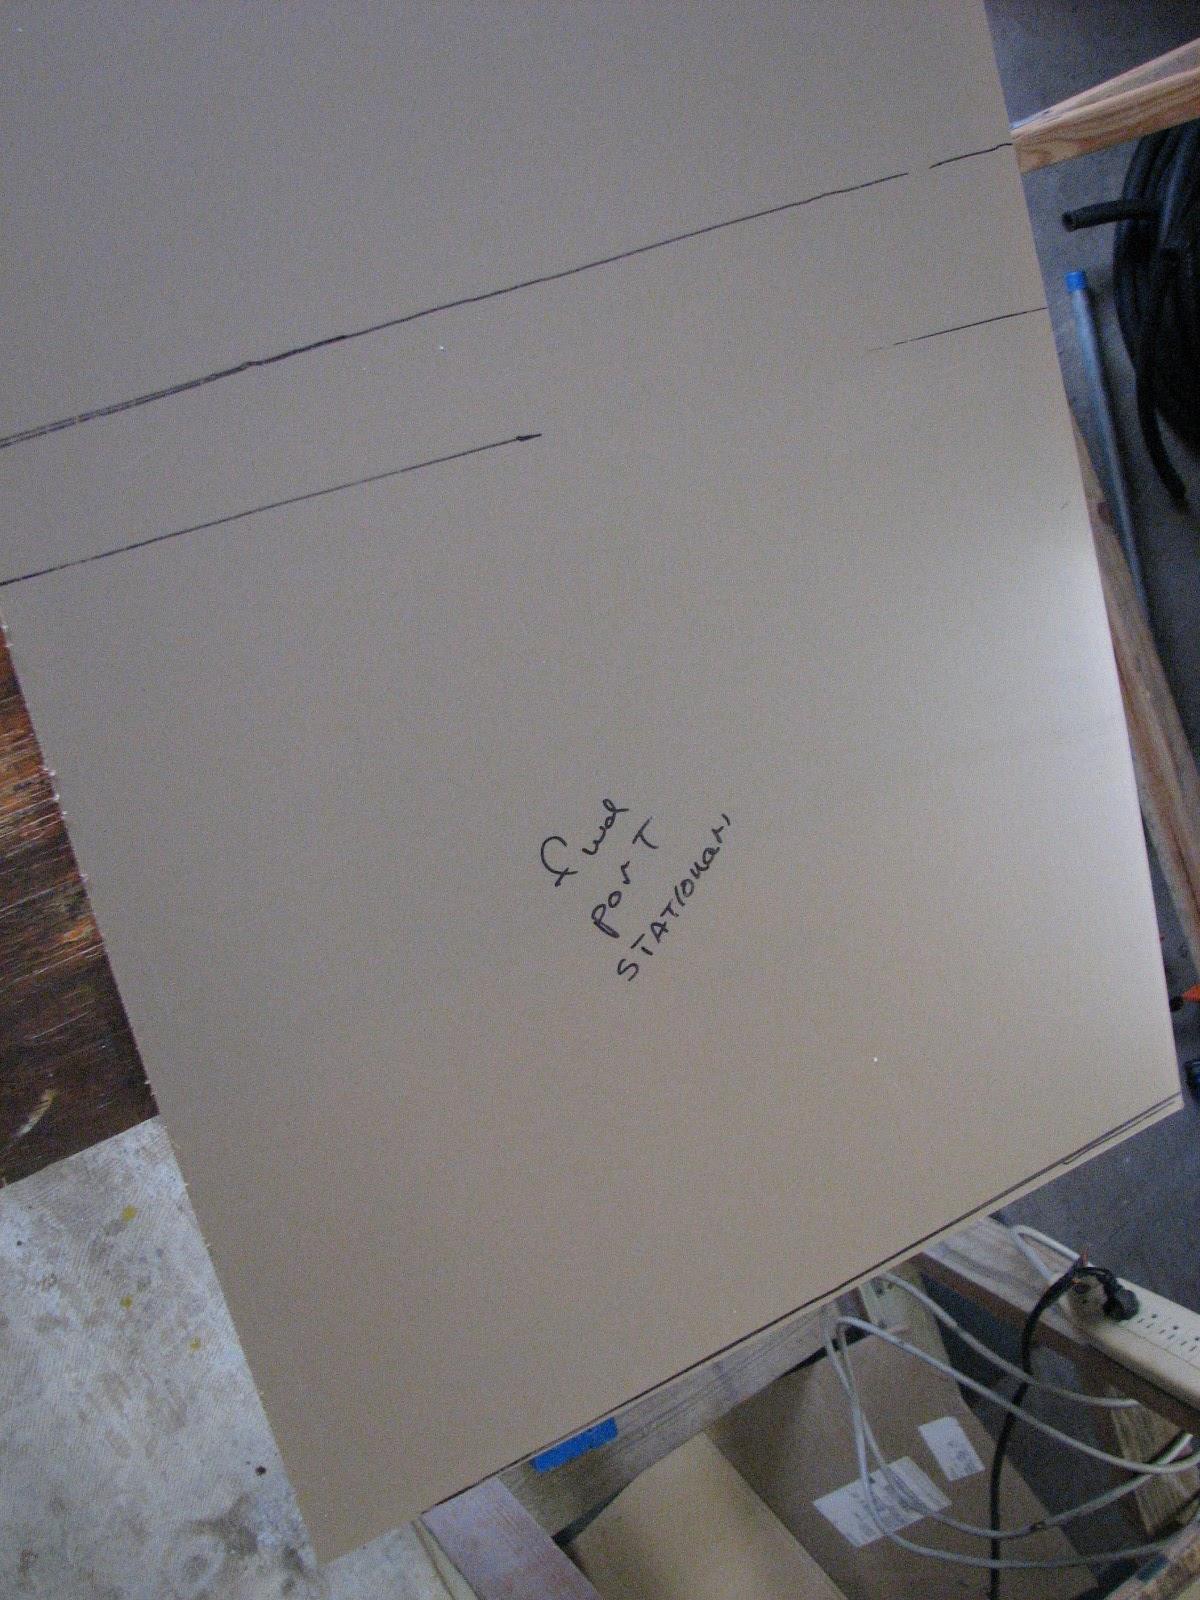
as we were going to be using the templates to cut the pieces for the
hard dodger out of a 4’ X 8’ sheet of Optix
acrylic sheet.
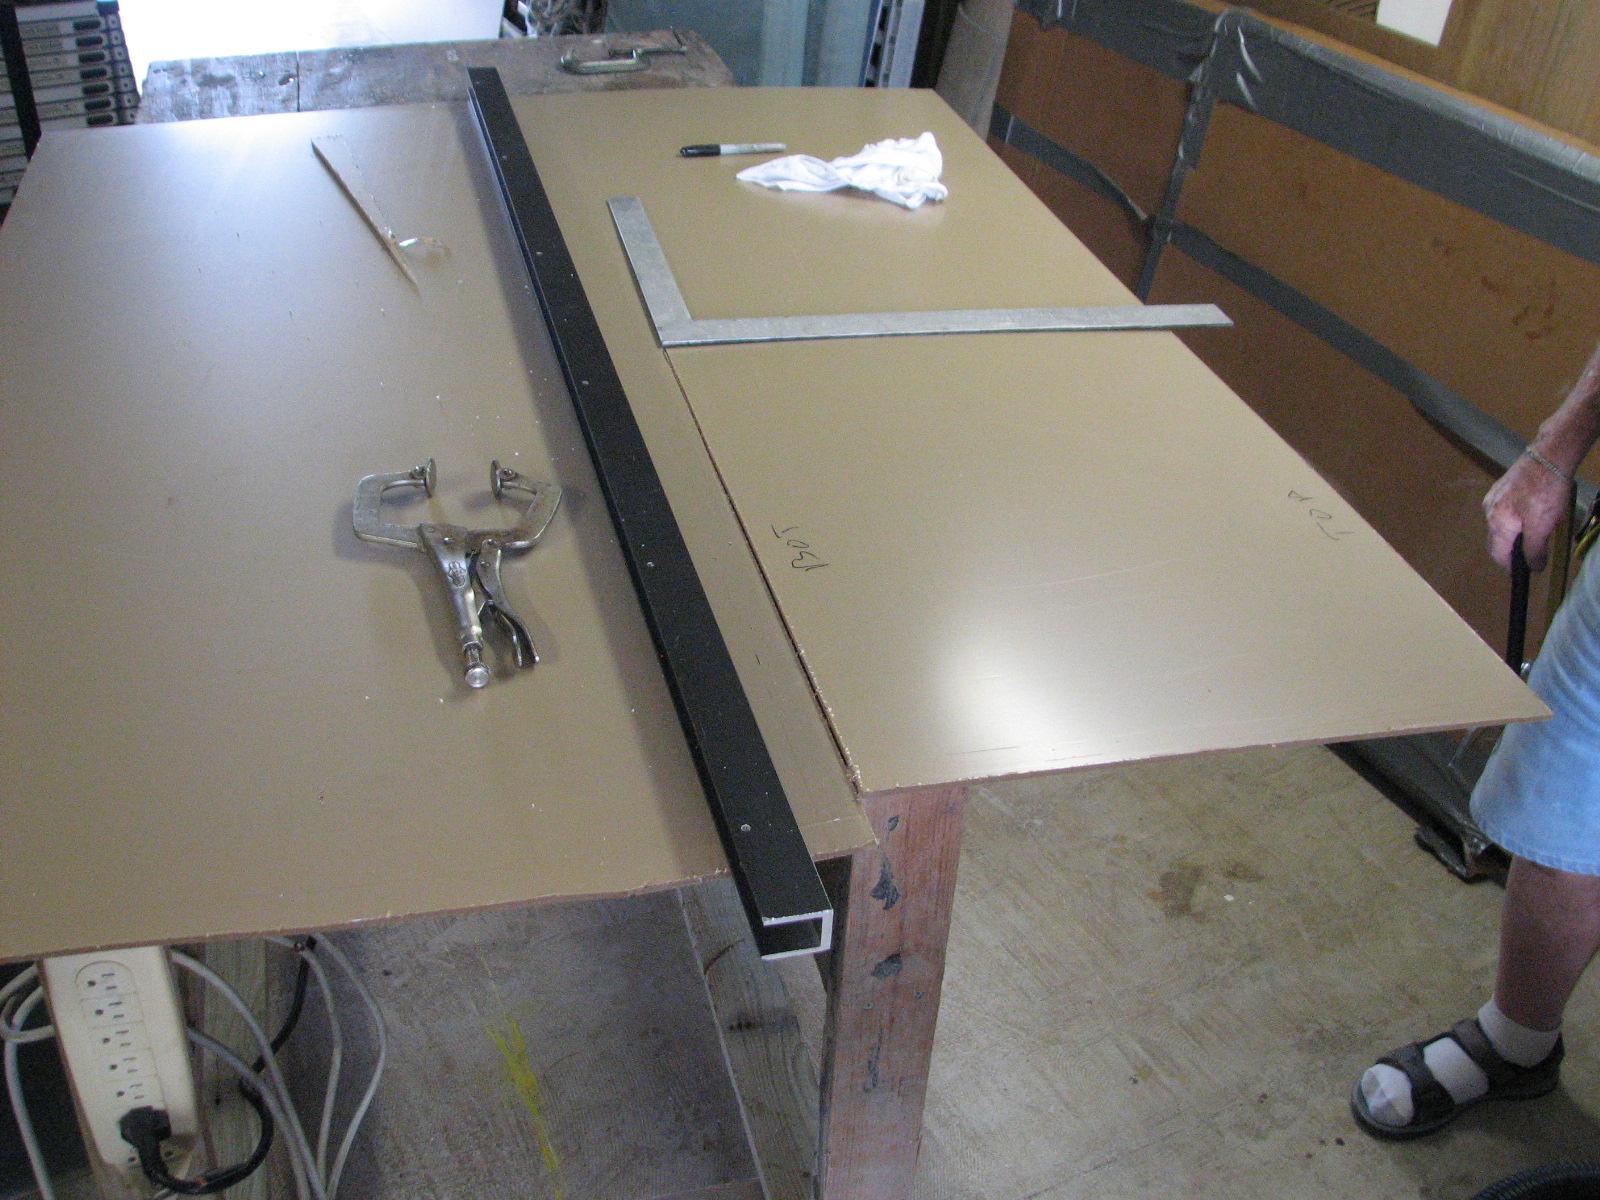
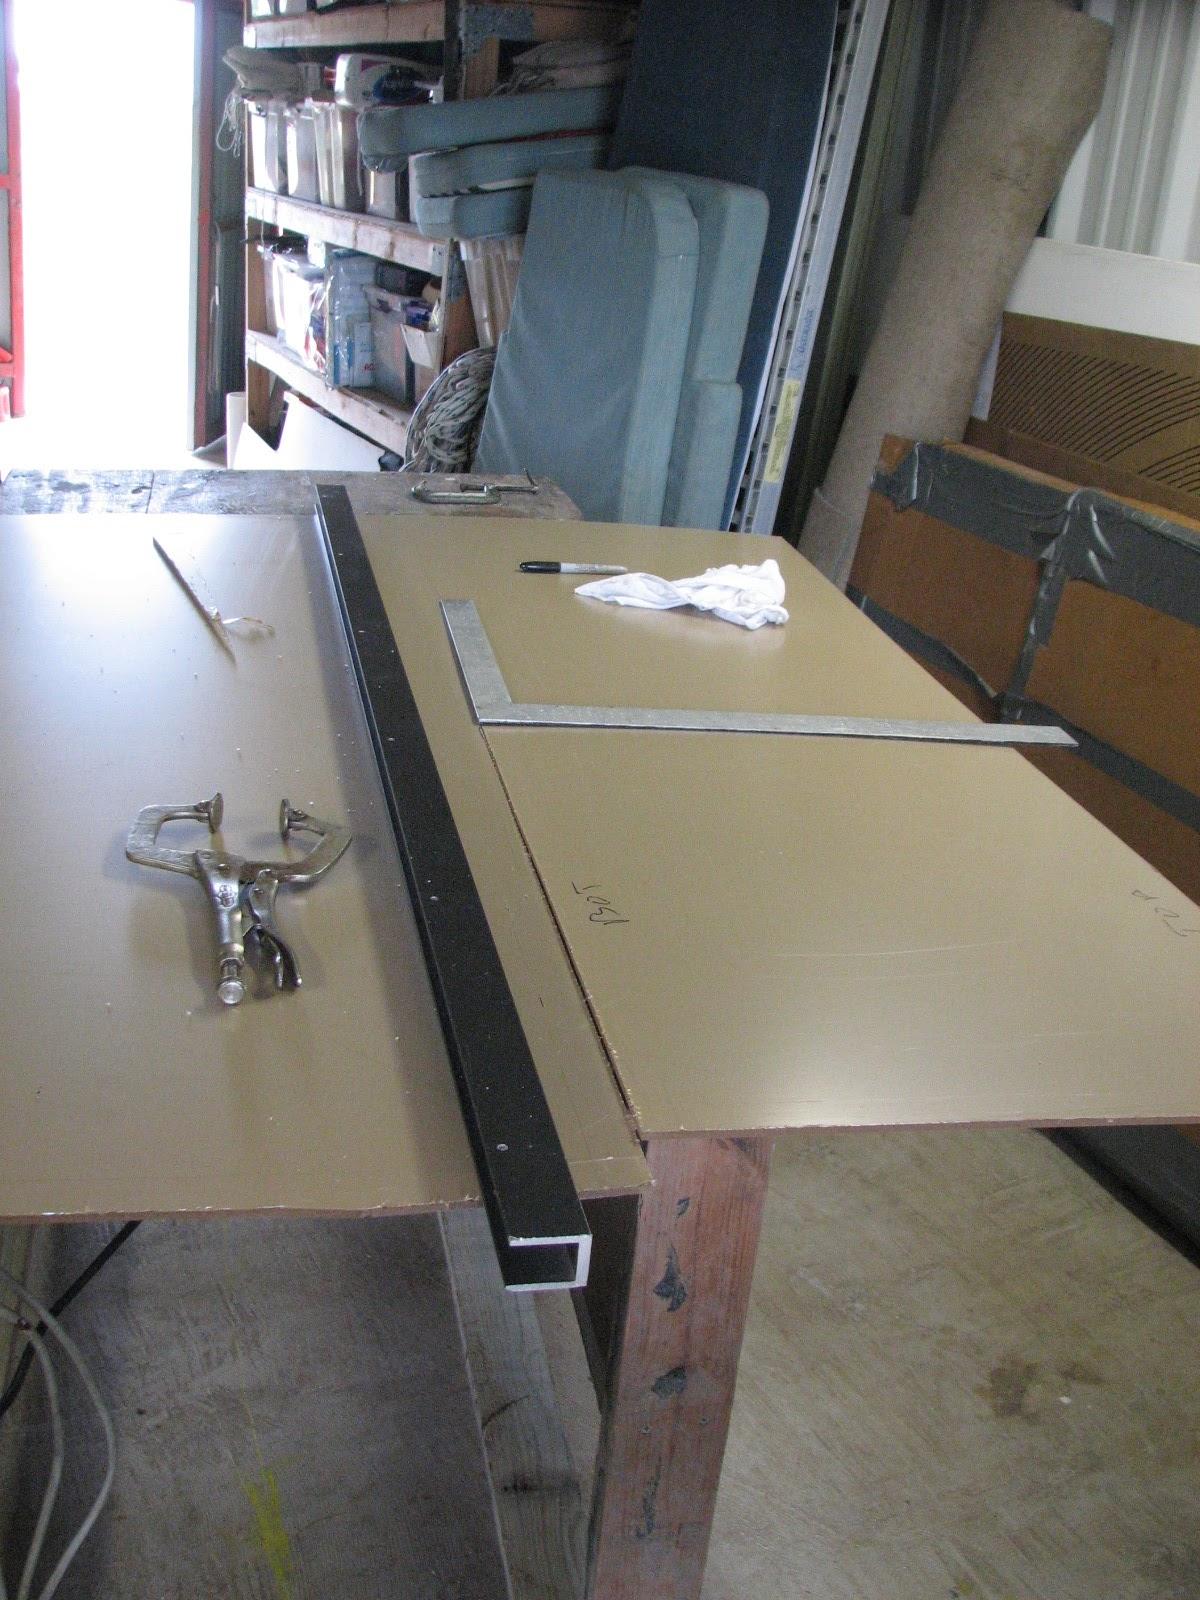
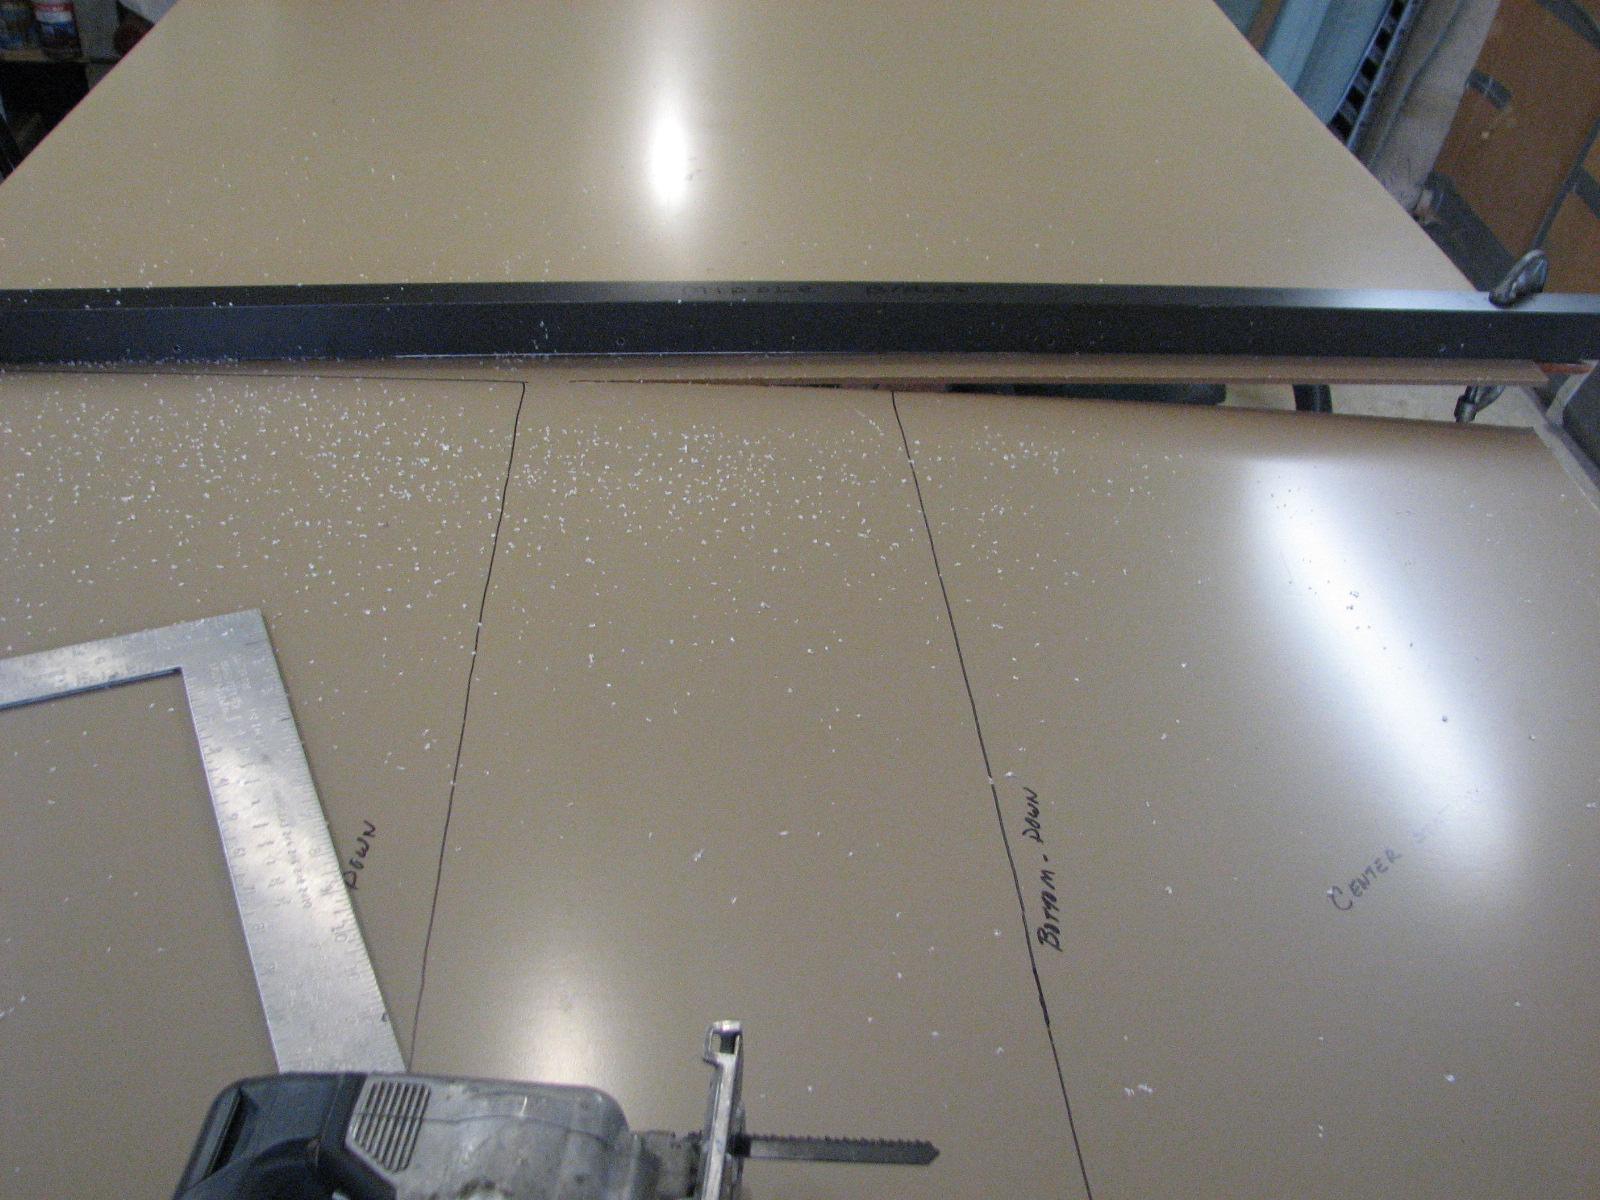
Handling a 4’ X 8’ sheet of
anything is difficult for one person, so having some help makes it
much easier. Using the templates we marked and measured until we got
the best usage of the first sheet of Optix
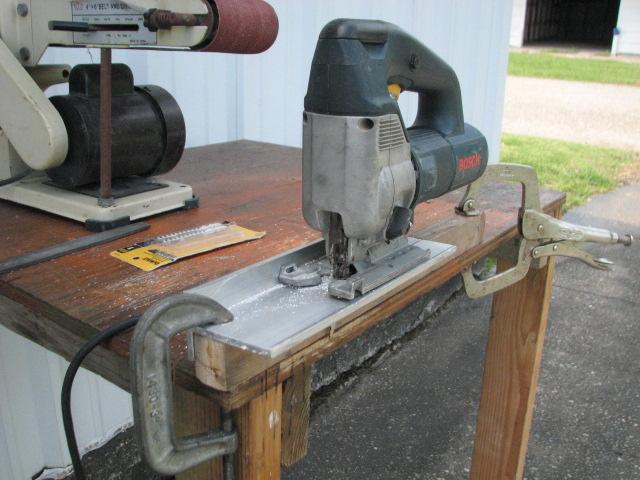
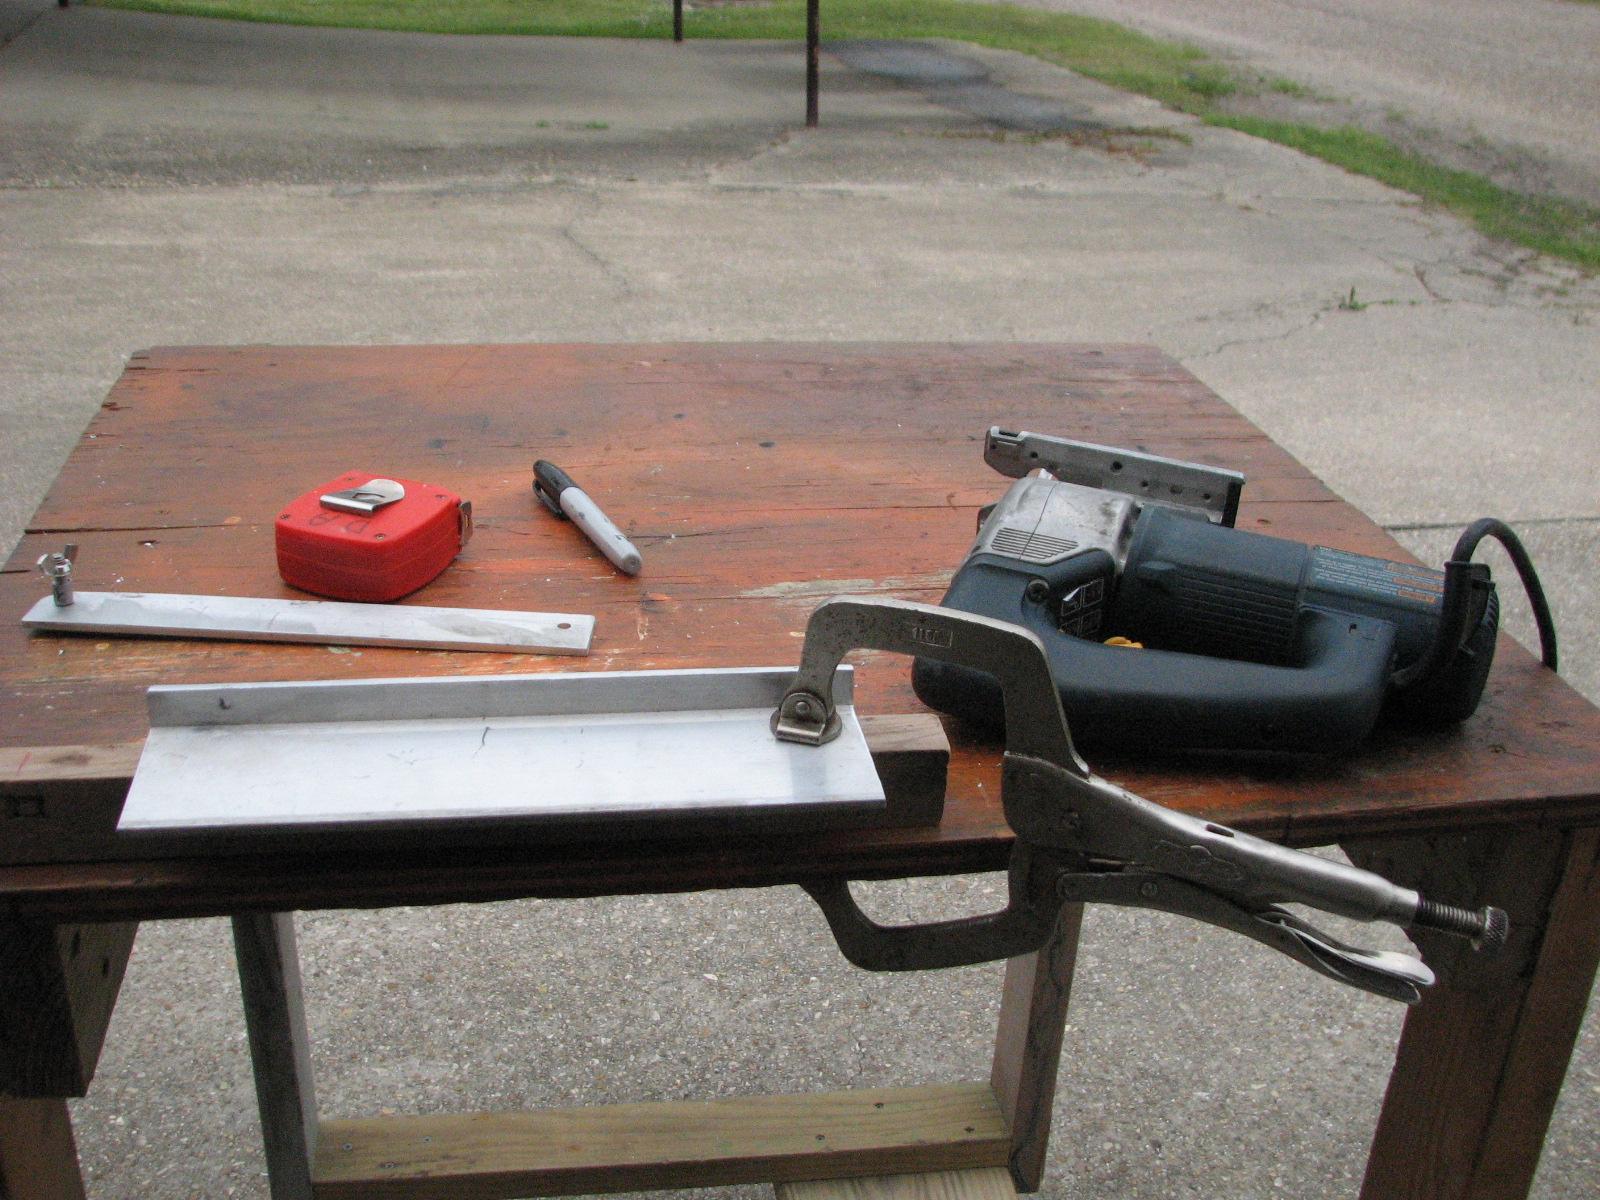
acrylic sheet. We then set up a fence on all of the
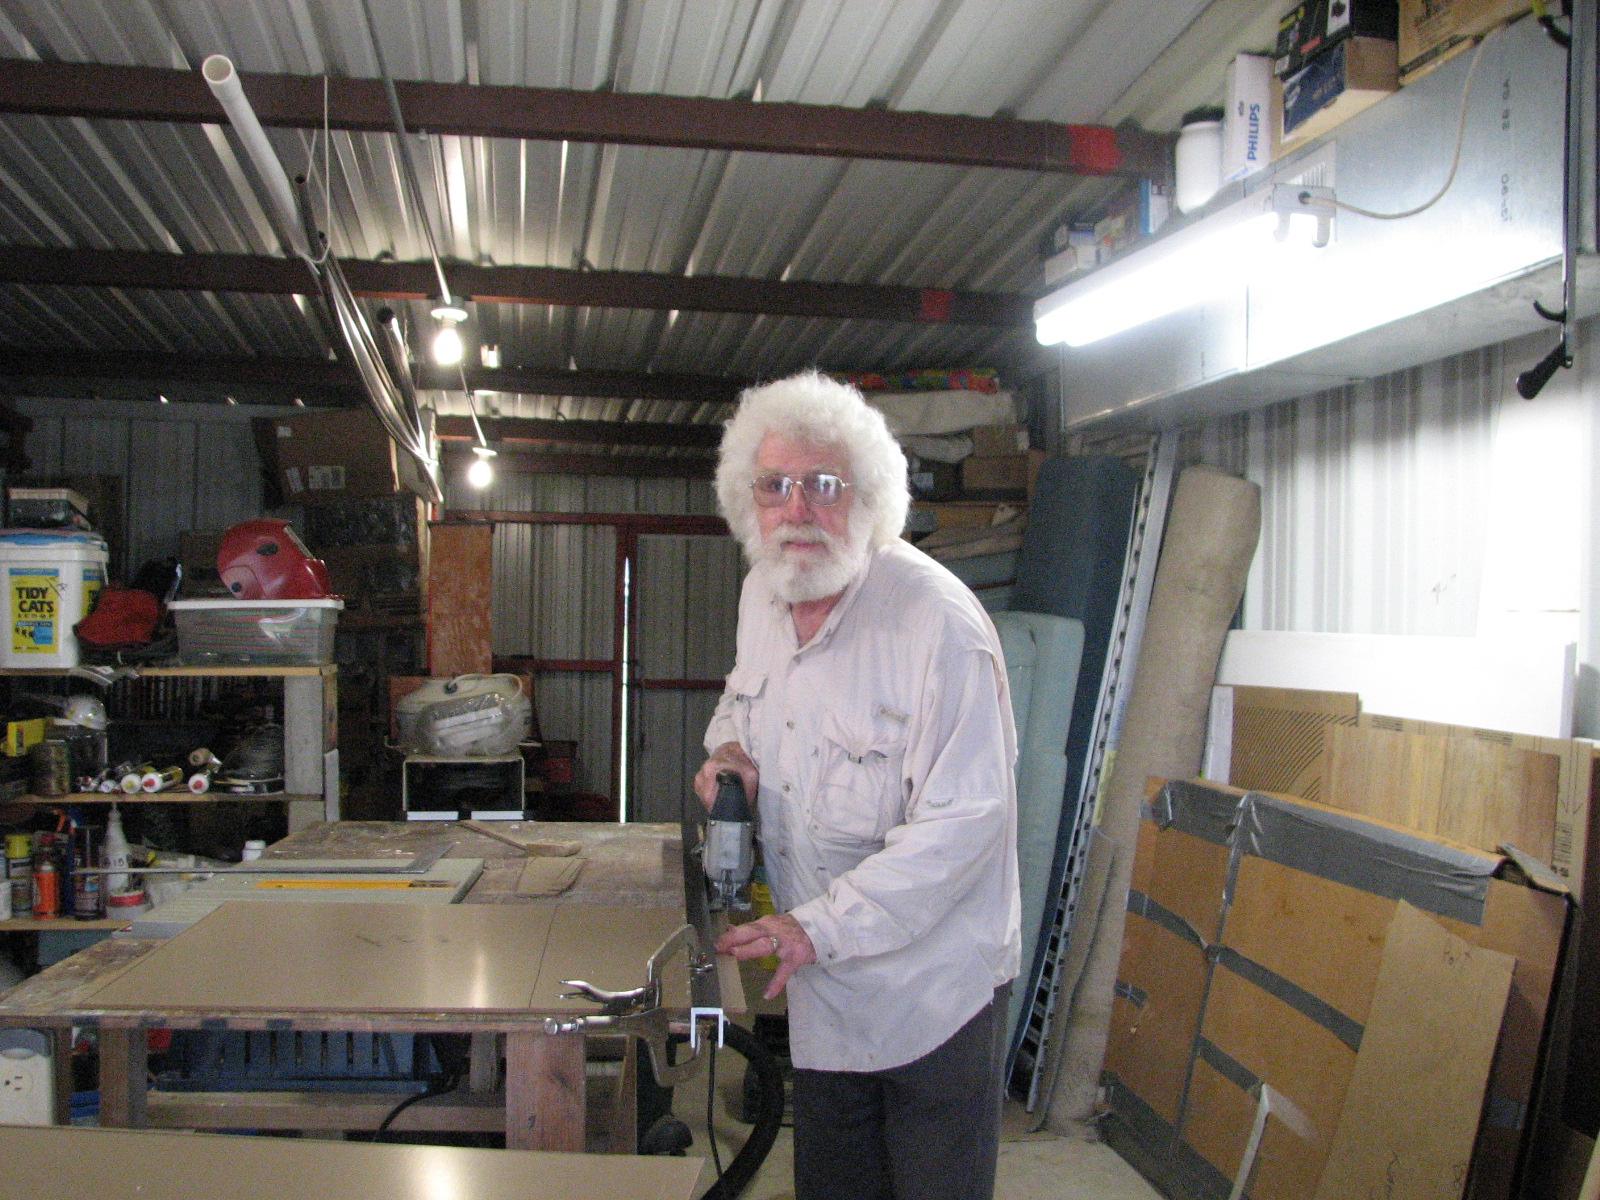
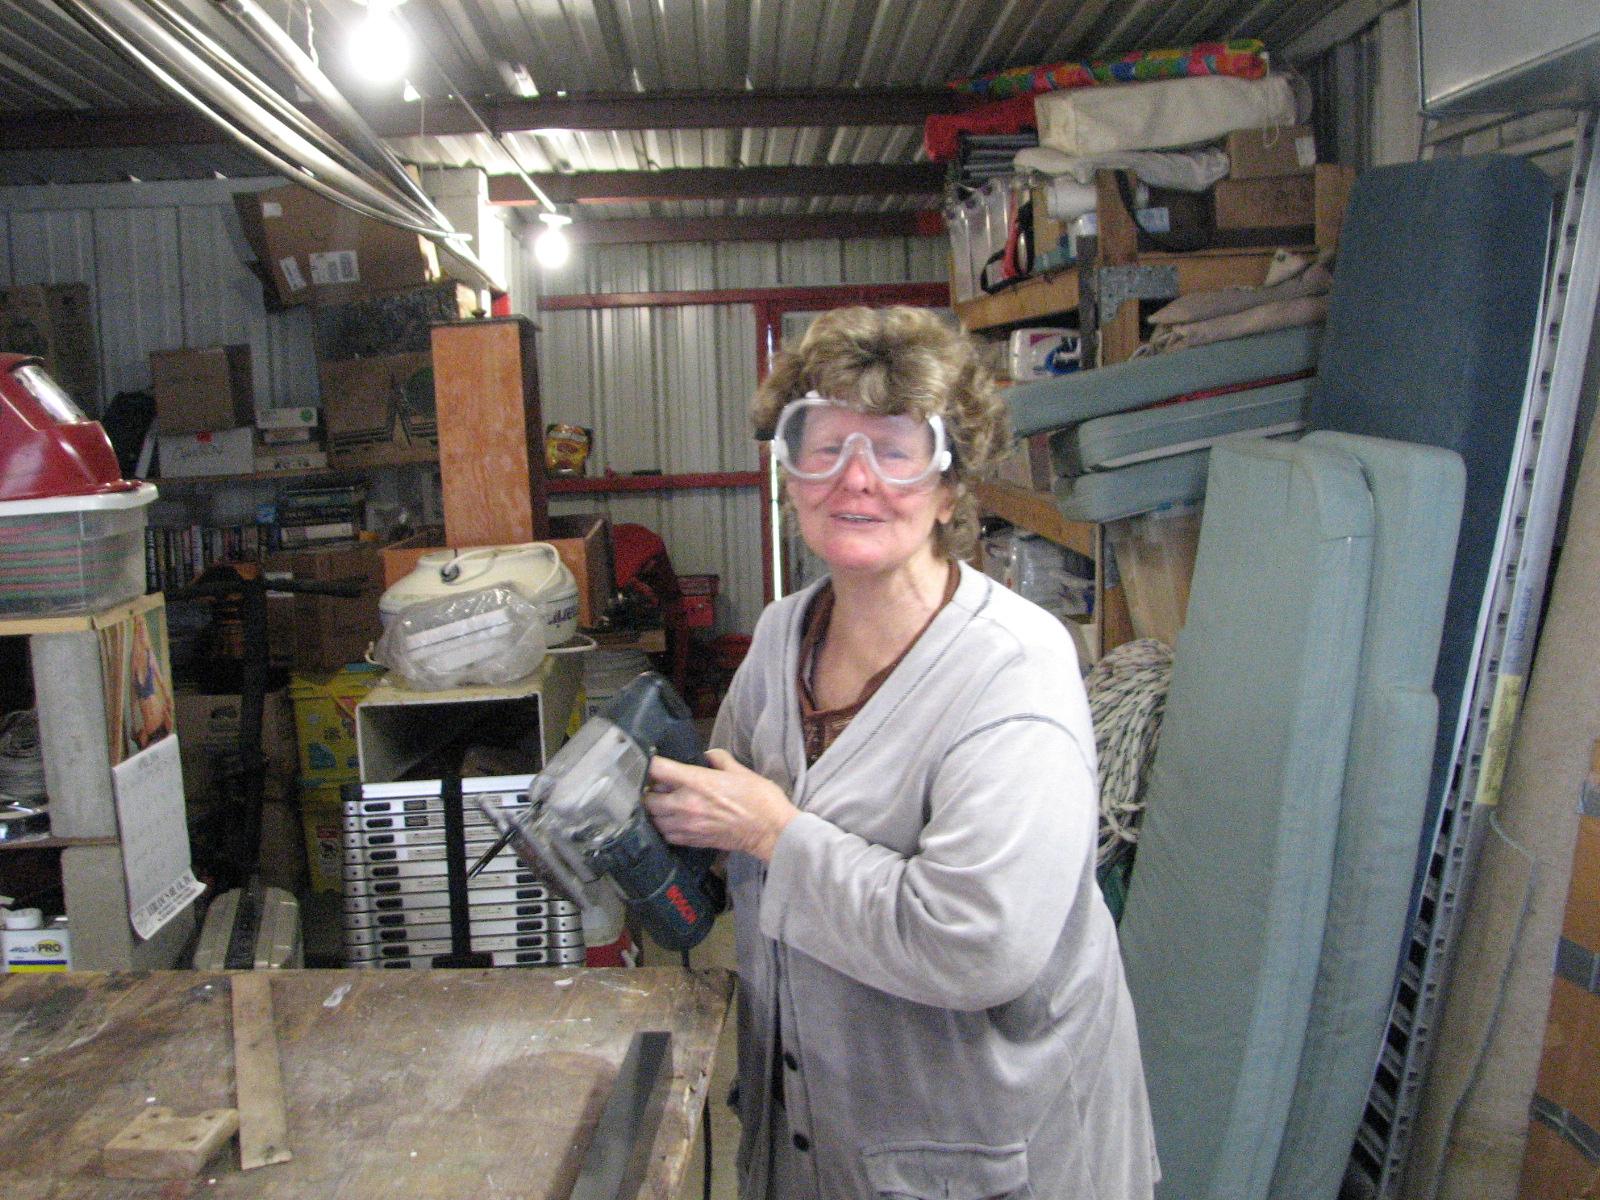
cuts so we would be cutting a straight line using my Bosch
jig saw. We made significant progress, but had to
leave the shop
at 1330.
Pieces During Cutting Operations
Captain Doing The Cuts
Admiral Getting Ready To Cut
Went back to DREAM AWAY and got ready
to go to New
Iberia to see a locally performed play, Tuesdays with
Morrie. It was a great play, sad most of the time, happy at times and
insightful most often. We went to the play with Cindy
and Johnal, and after the play, we stopped and had
dinner.
April 05, Saturday, 2014
Kitty and I did take a break and
strolled through the market and of course purchased some goodies to
eat.
After the market shut down, we got the
shower
trailer ready for transportation. This means draining
the fresh water tank, removing the railings for the steps, and then
folding the steps up to transport mode. We moved the shower
trailer back to the marina, and got it set up there.
We got the water turned on, the
electricity connected, and then changed out the trash bins in each
room. Kitty cleaned up each room, and then I mopped out each room.
We then drove over to the Port
of Delcambre
store room and unloaded all of the accessories that I had removed
from the folding tent storage bags.
It was back to the marina
and down to DREAM AWAY with the final template for the hard dodger.
We measured and cut and got the fitting of the template perfect. Now
we have all of the templates cut for all of the hard dodger windows.
Hopefully we can get them cut out tomorrow.
April 04, Friday, 2014
Started off the morning with my normal
ritual of getting on the Internet, answering email, and checking the
weather, while making a pot of coffee. When the coffee is started, I
feed our two cats, Jillian
and Jordan, and spend time with them brushing their
beautiful coats.
Did not go to the shop
first thing this morning, but stayed on DREAM AWAY working to catch
up on email, scanning and the Maintenance Logs.
We set up the shower
trailer, filled the fresh water tank, but did not put
down the steps. I will do that tomorrow morning when I arrive at
the Shrimp
Festival grounds at 0515.
I then went over to the shop
and cut the last template needed for the hard dodger windows.
Cardboard Ready To Cut Out Template
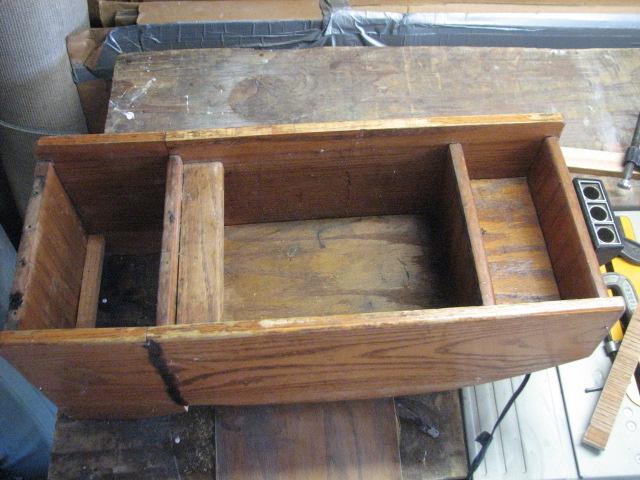
I then got to work on the wooden
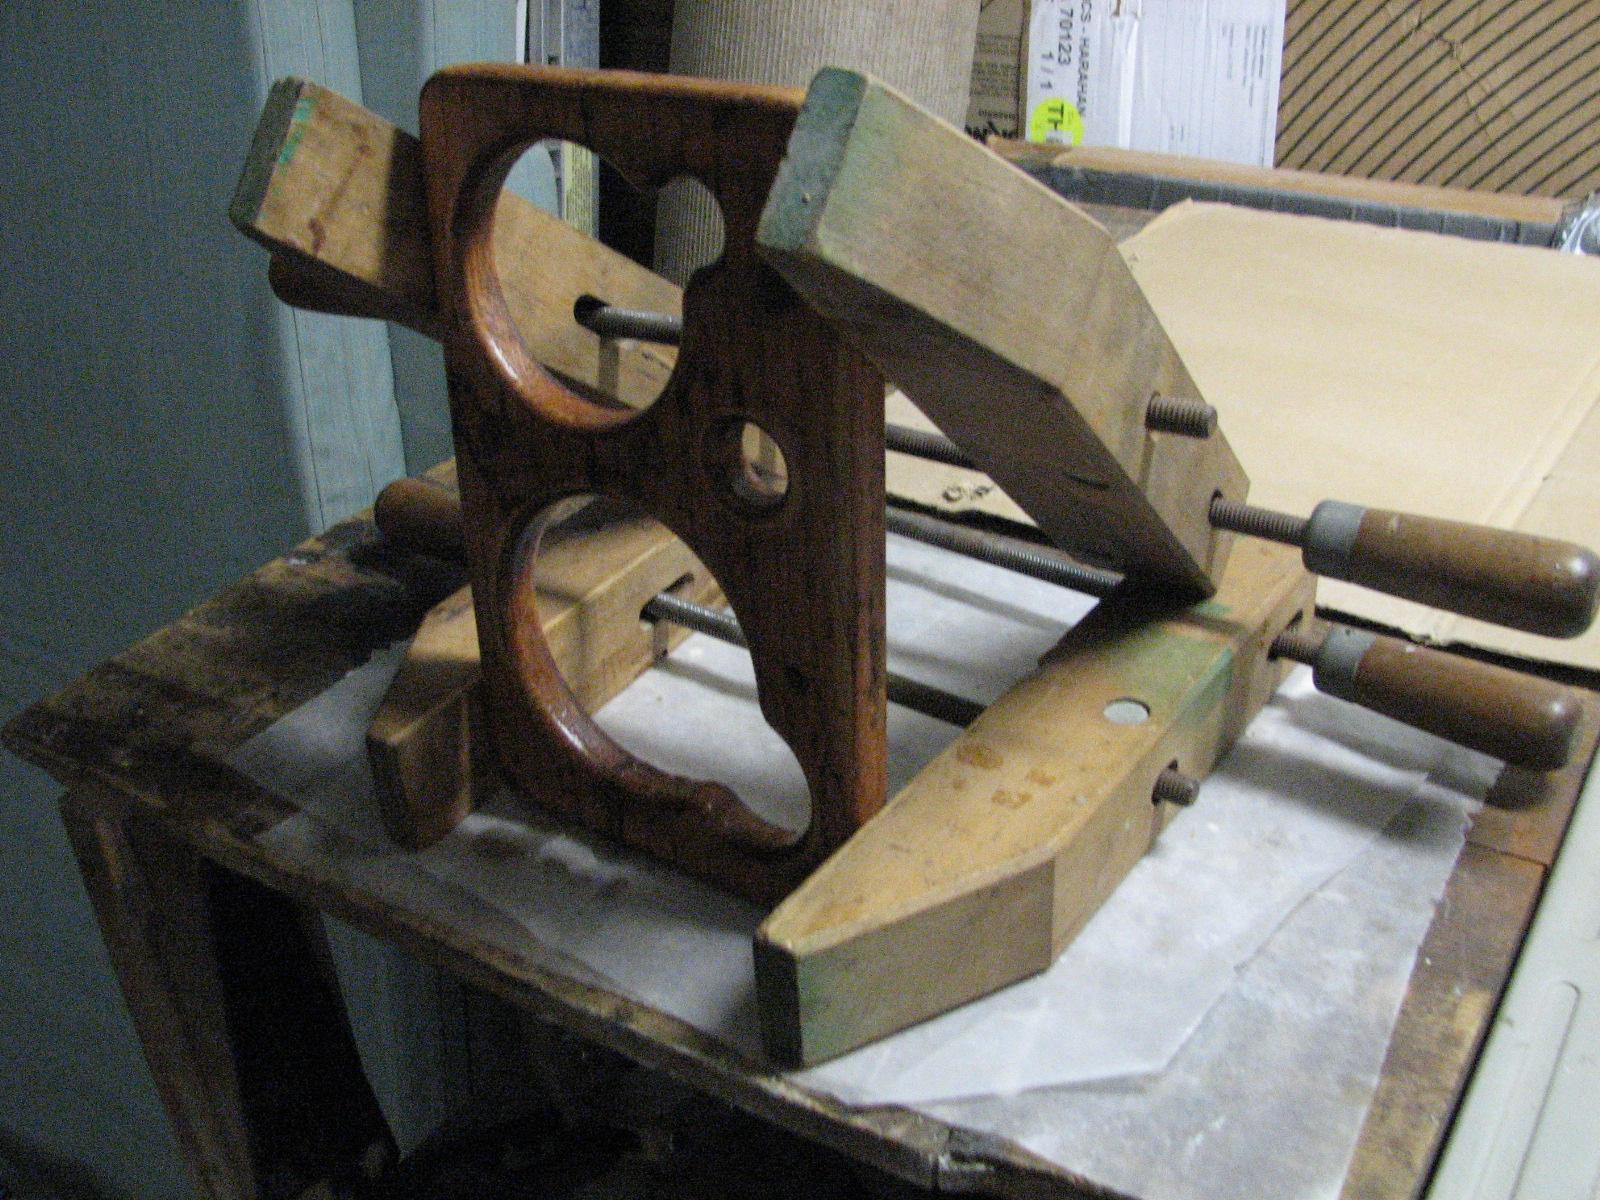
console for Ruby.
I had already cut it apart, now it was time to start putting it back
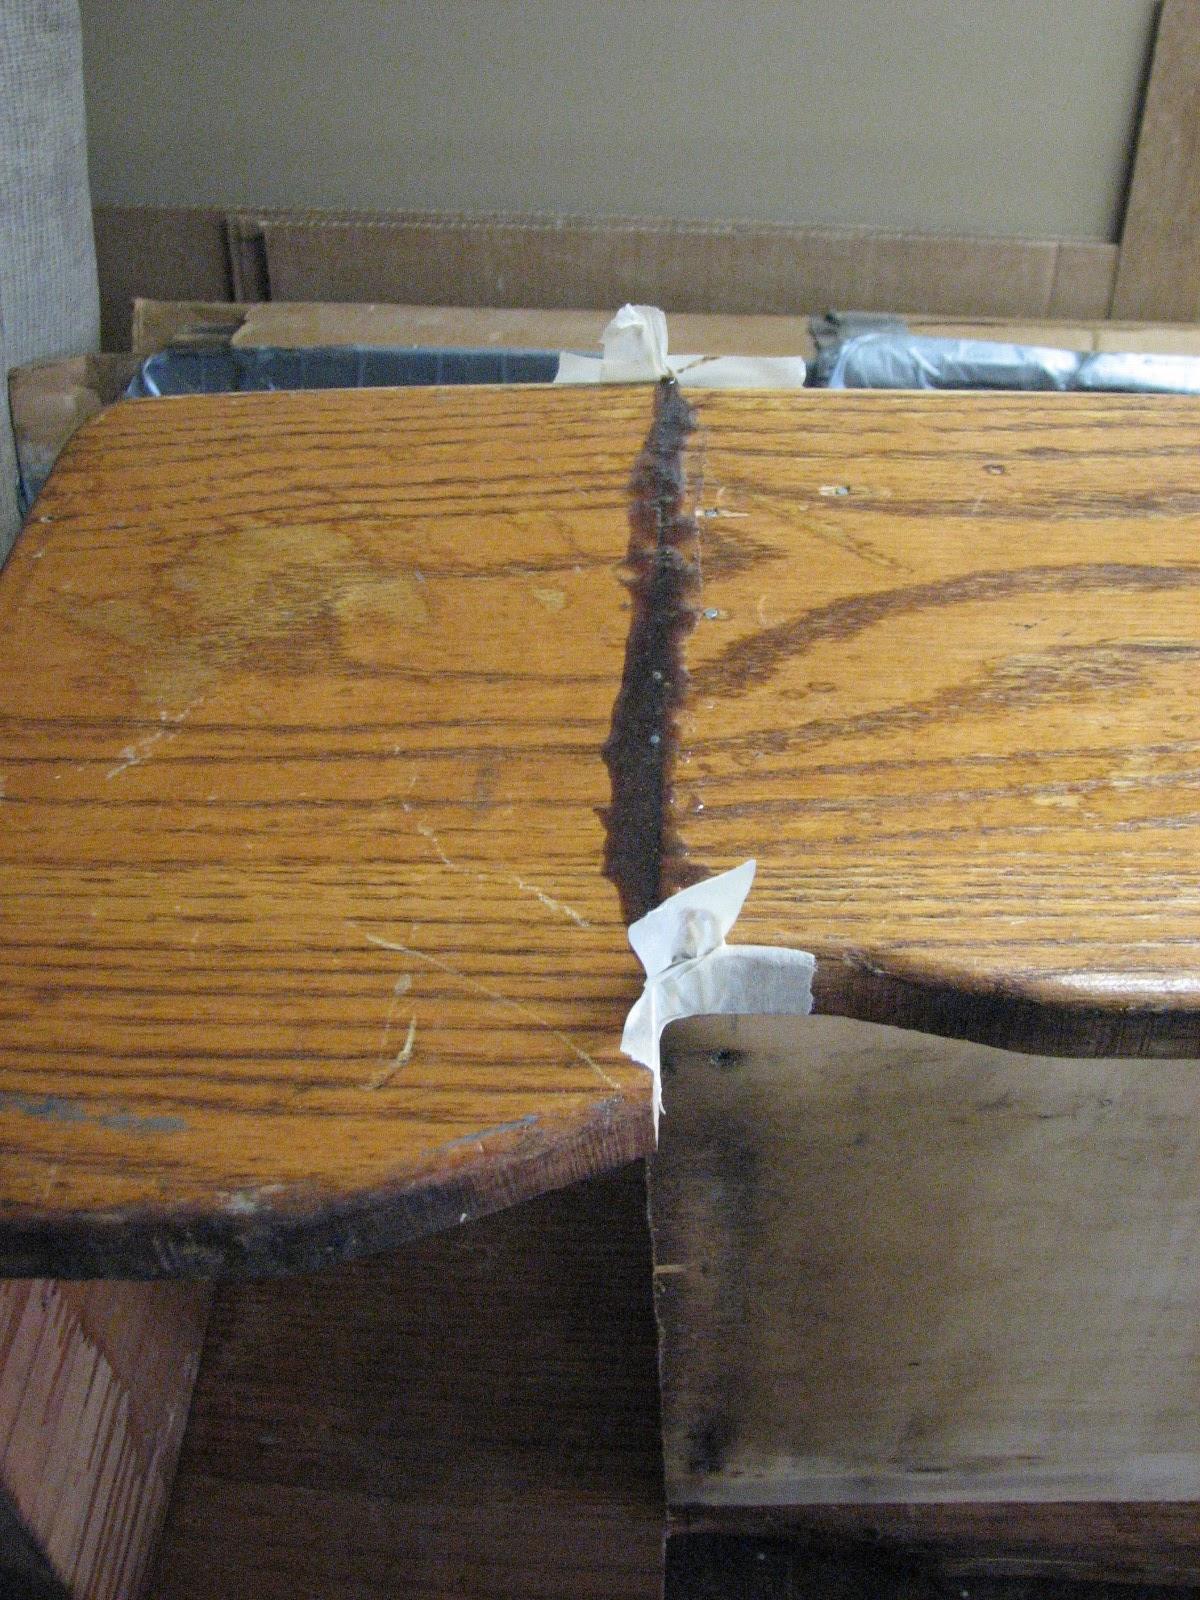
together. The very back of the console had previously been broken, so
I started with repairing that not very good repair. I mixed up a pot
of epoxy
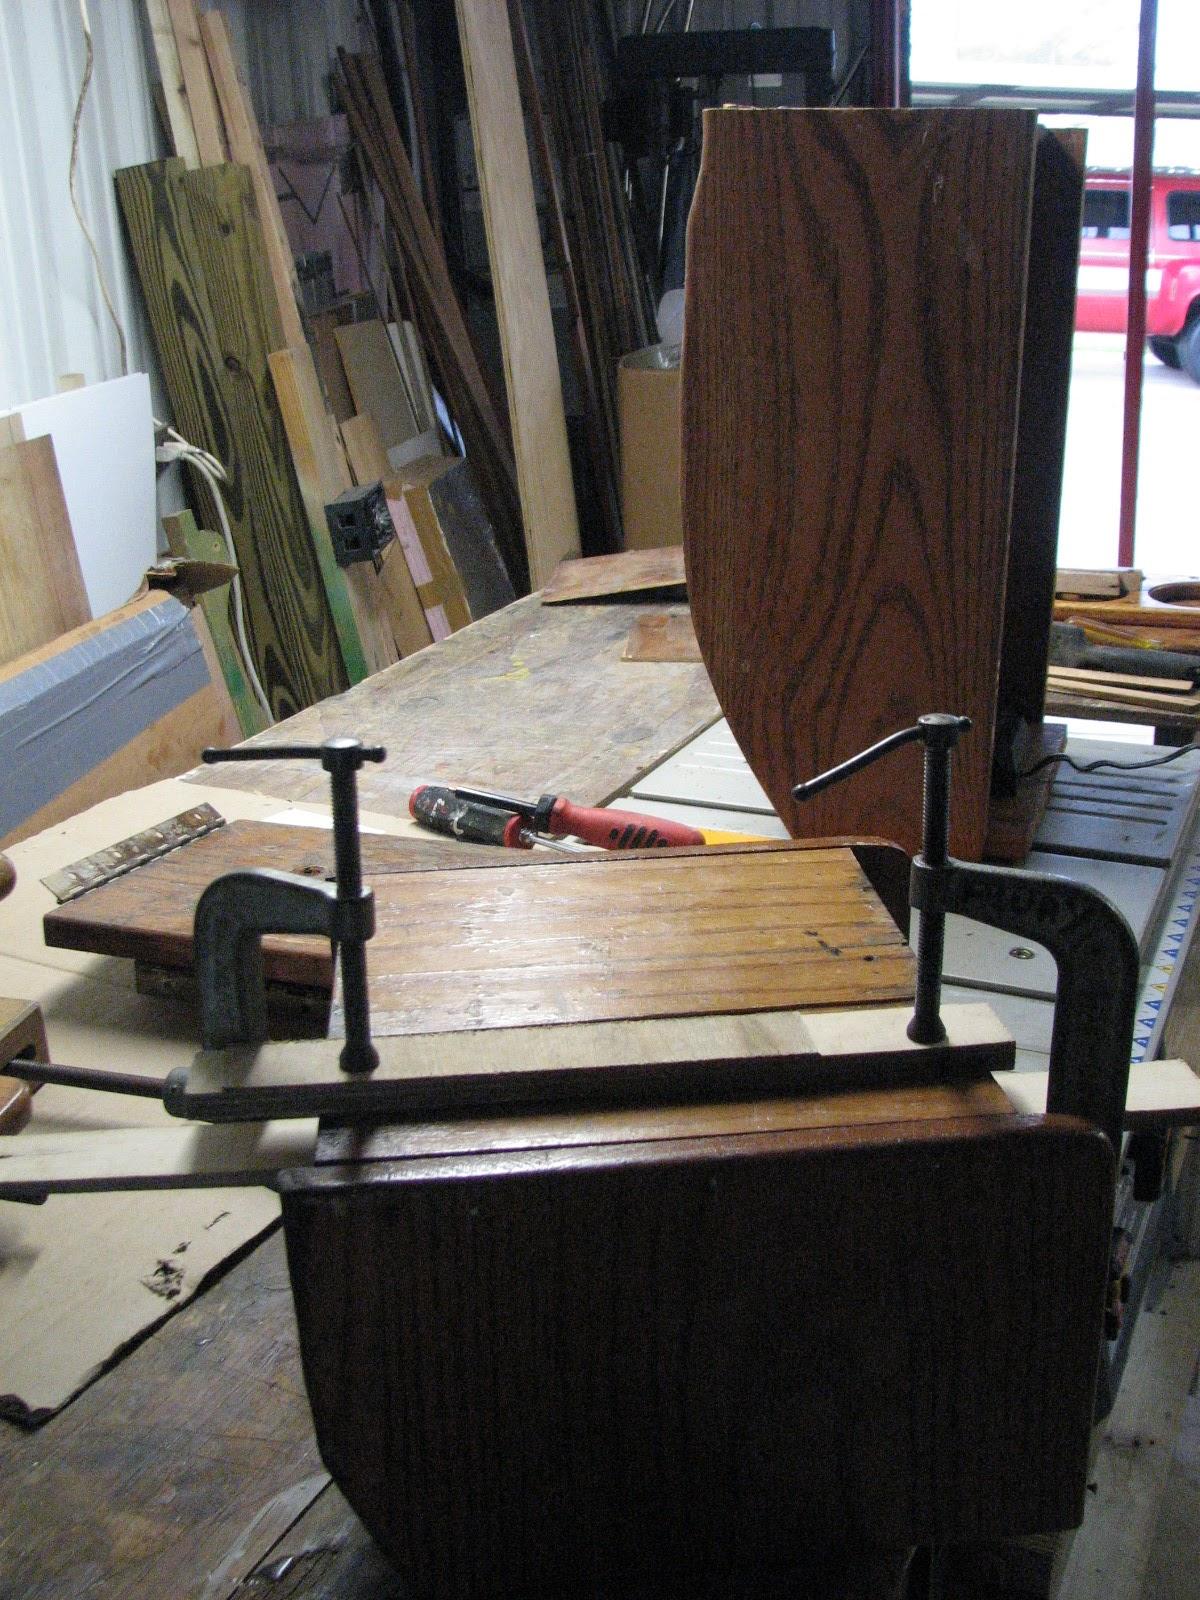
and applied it to the two pieces and clamped it together.
Back Of Console Epoxied And Clamped
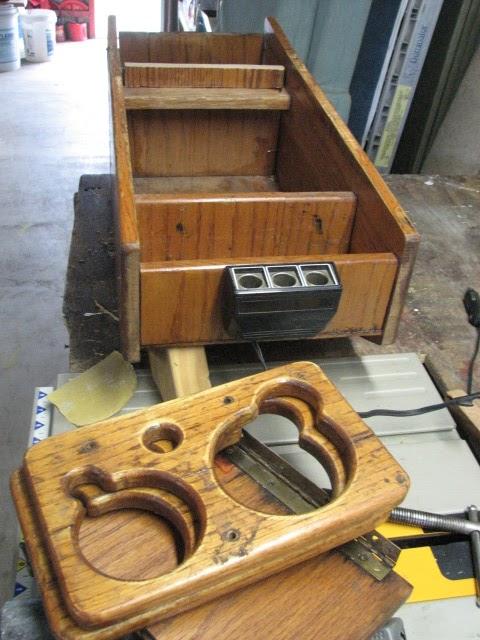
When I was taking the console apart, I
discovered one of the cup holders was split into two pieces, so I
applied epoxy
to each half and clamped them together.
Cup Holder Epoxied And Clamped
April 03, Thursday, 2014
Started off the morning with my normal
ritual of getting on the Internet, answering email, and checking the
weather, while making a pot of coffee. When the coffee is started, I
feed our two cats, Jillian
and Jordan, and spend time with them brushing their
beautiful coats.
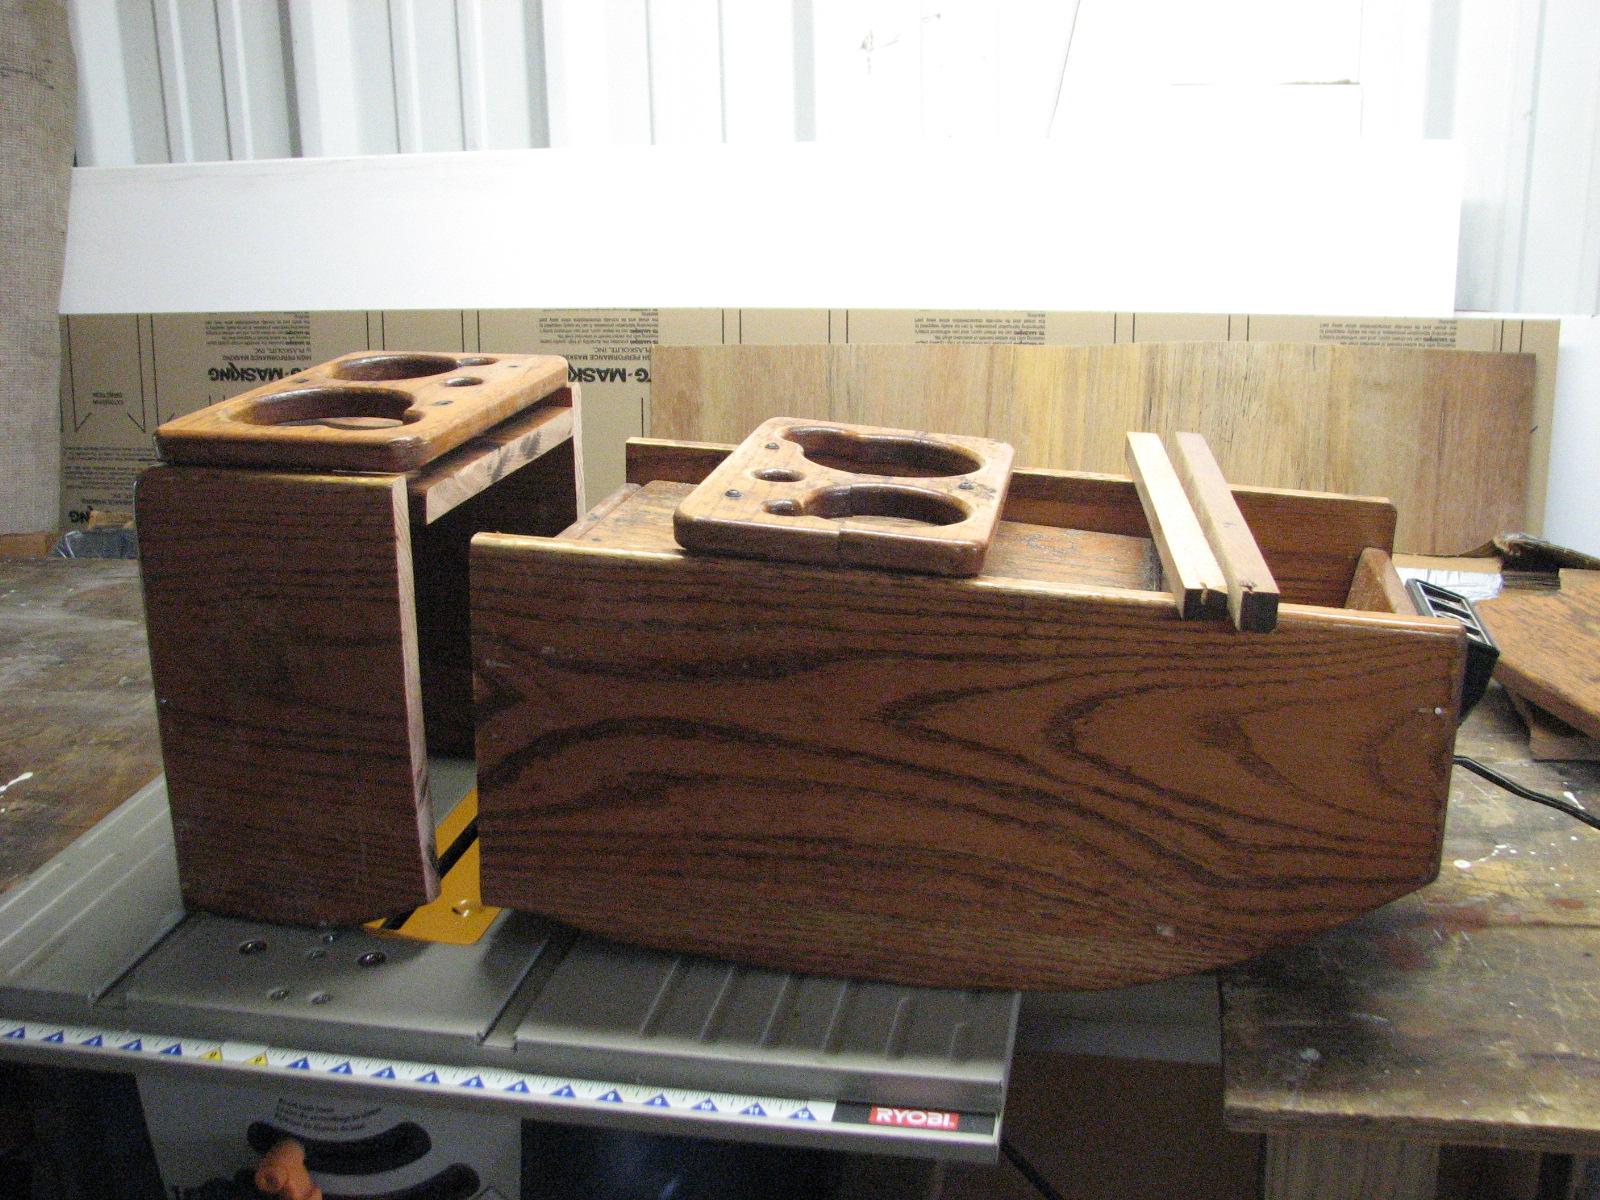
Went over to the shop
and removed the console from Ruby.
I had measured the allowed length of the console by putting the rear
seat down. I then cut out a length of the console and pretty much
took the console apart. Now it will just be a matter of getting the
console all back together, taking maximum advantage of the space
allowed.
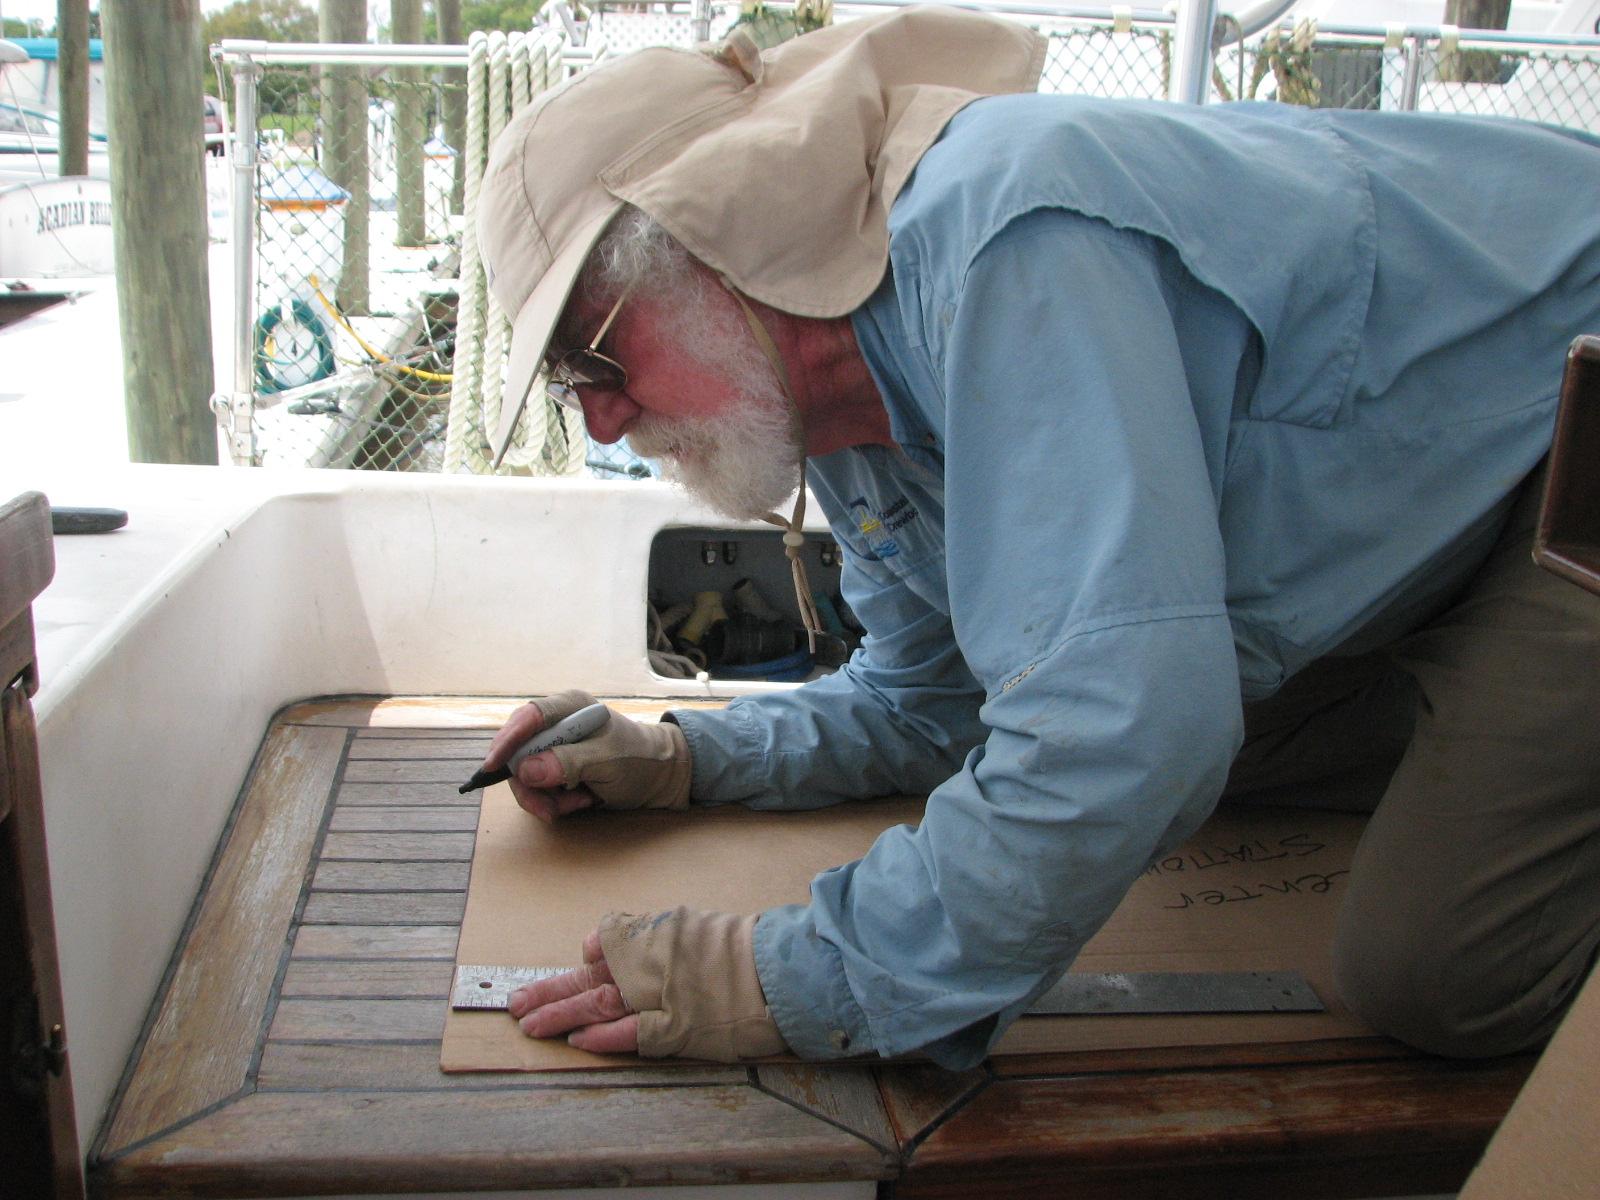
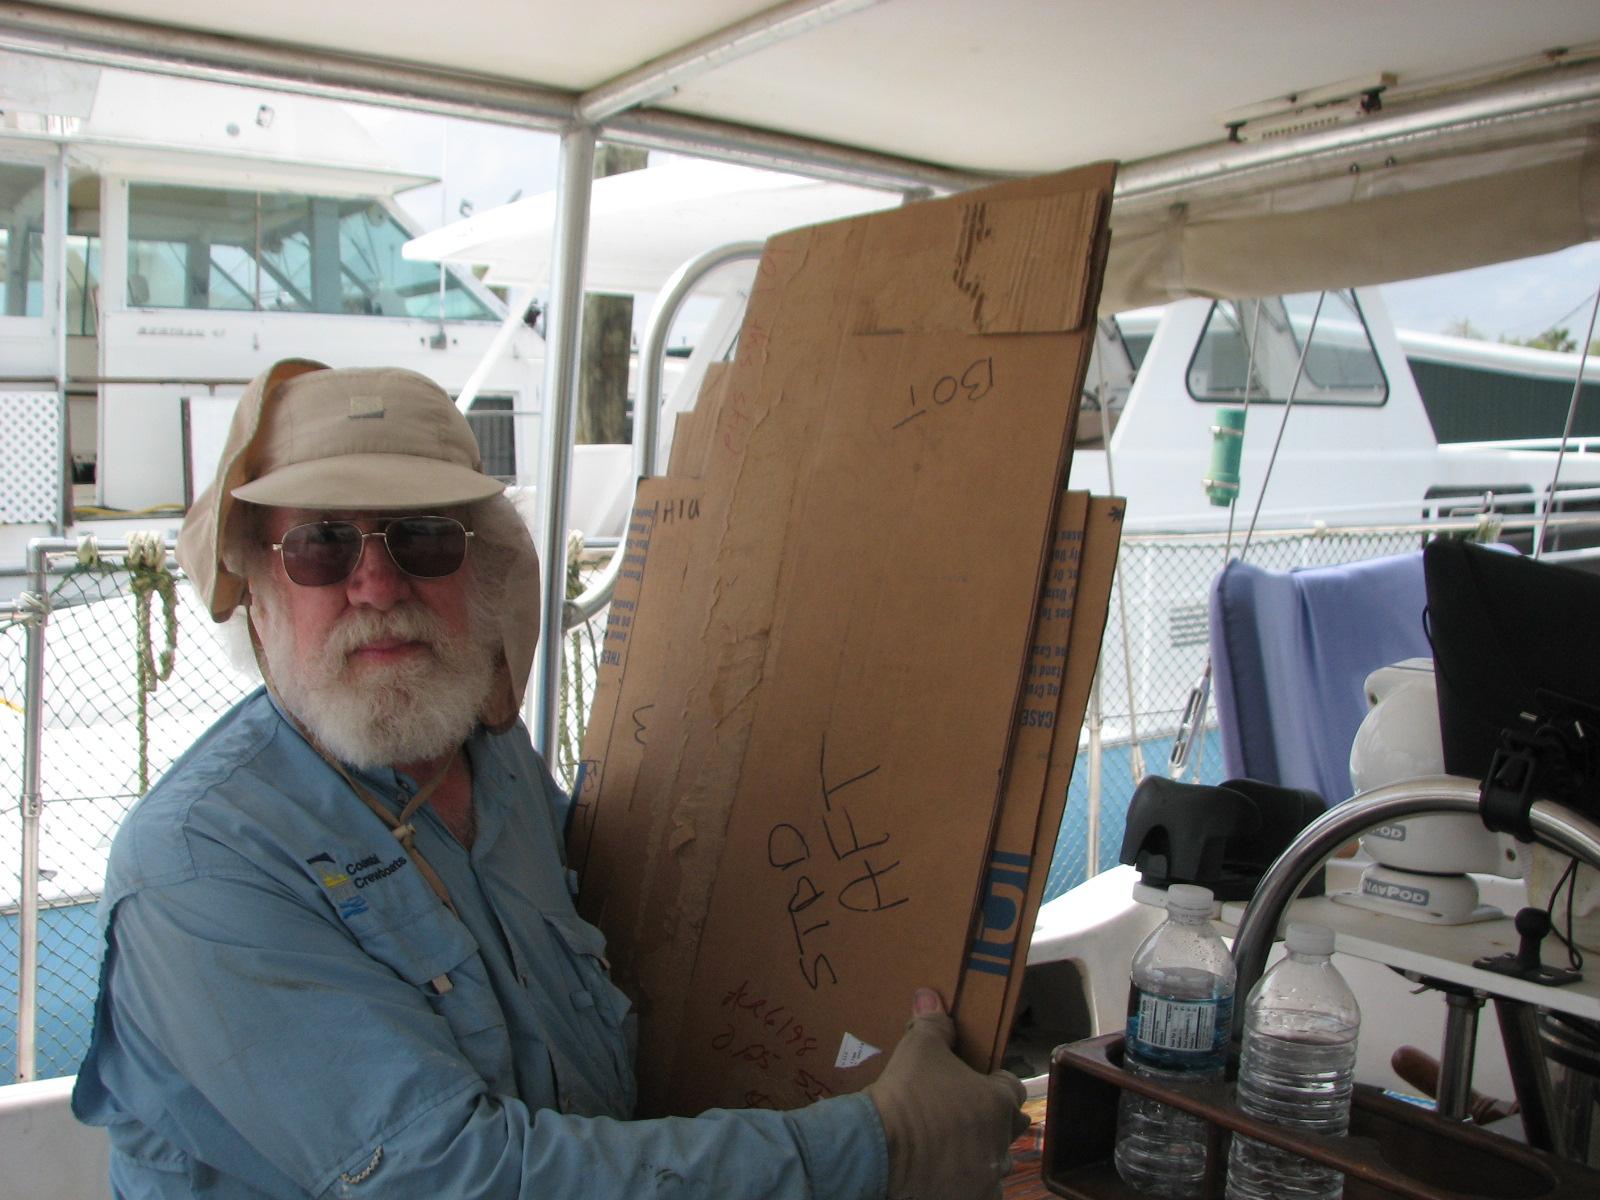
Now I got out all of the big pieces of
cardboard that we will be using for the hard dodger window templates.
I cut out all of the templates, and added a little bit on each side
so that I would have plenty of material. I did not want to come up
short.
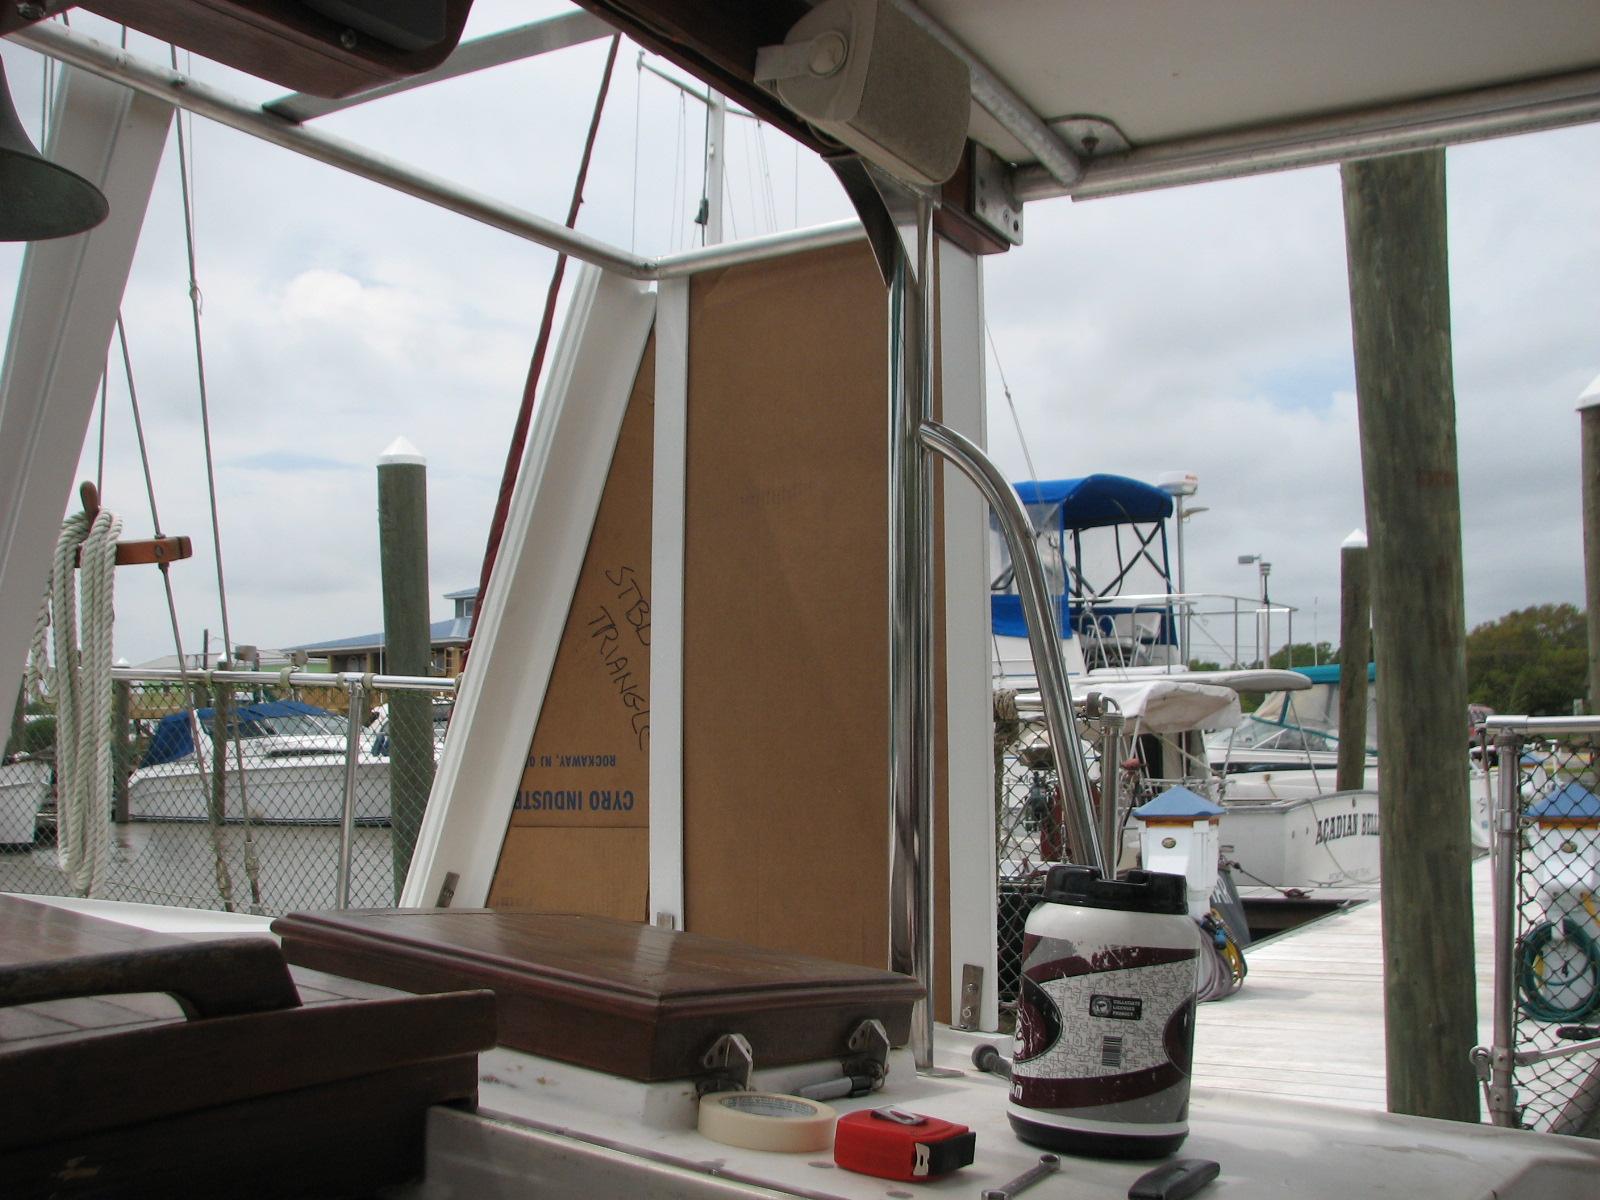
Went back to DREAM AWAY, and after
breakfast, Kitty and I did the final fitting of all of the templates.
It was a lot of fun doing the work, as the wind was really blowing.
It made it difficult to try and fit a piece of cardboard into a small
space with the wind trying to blow the cardboard away.
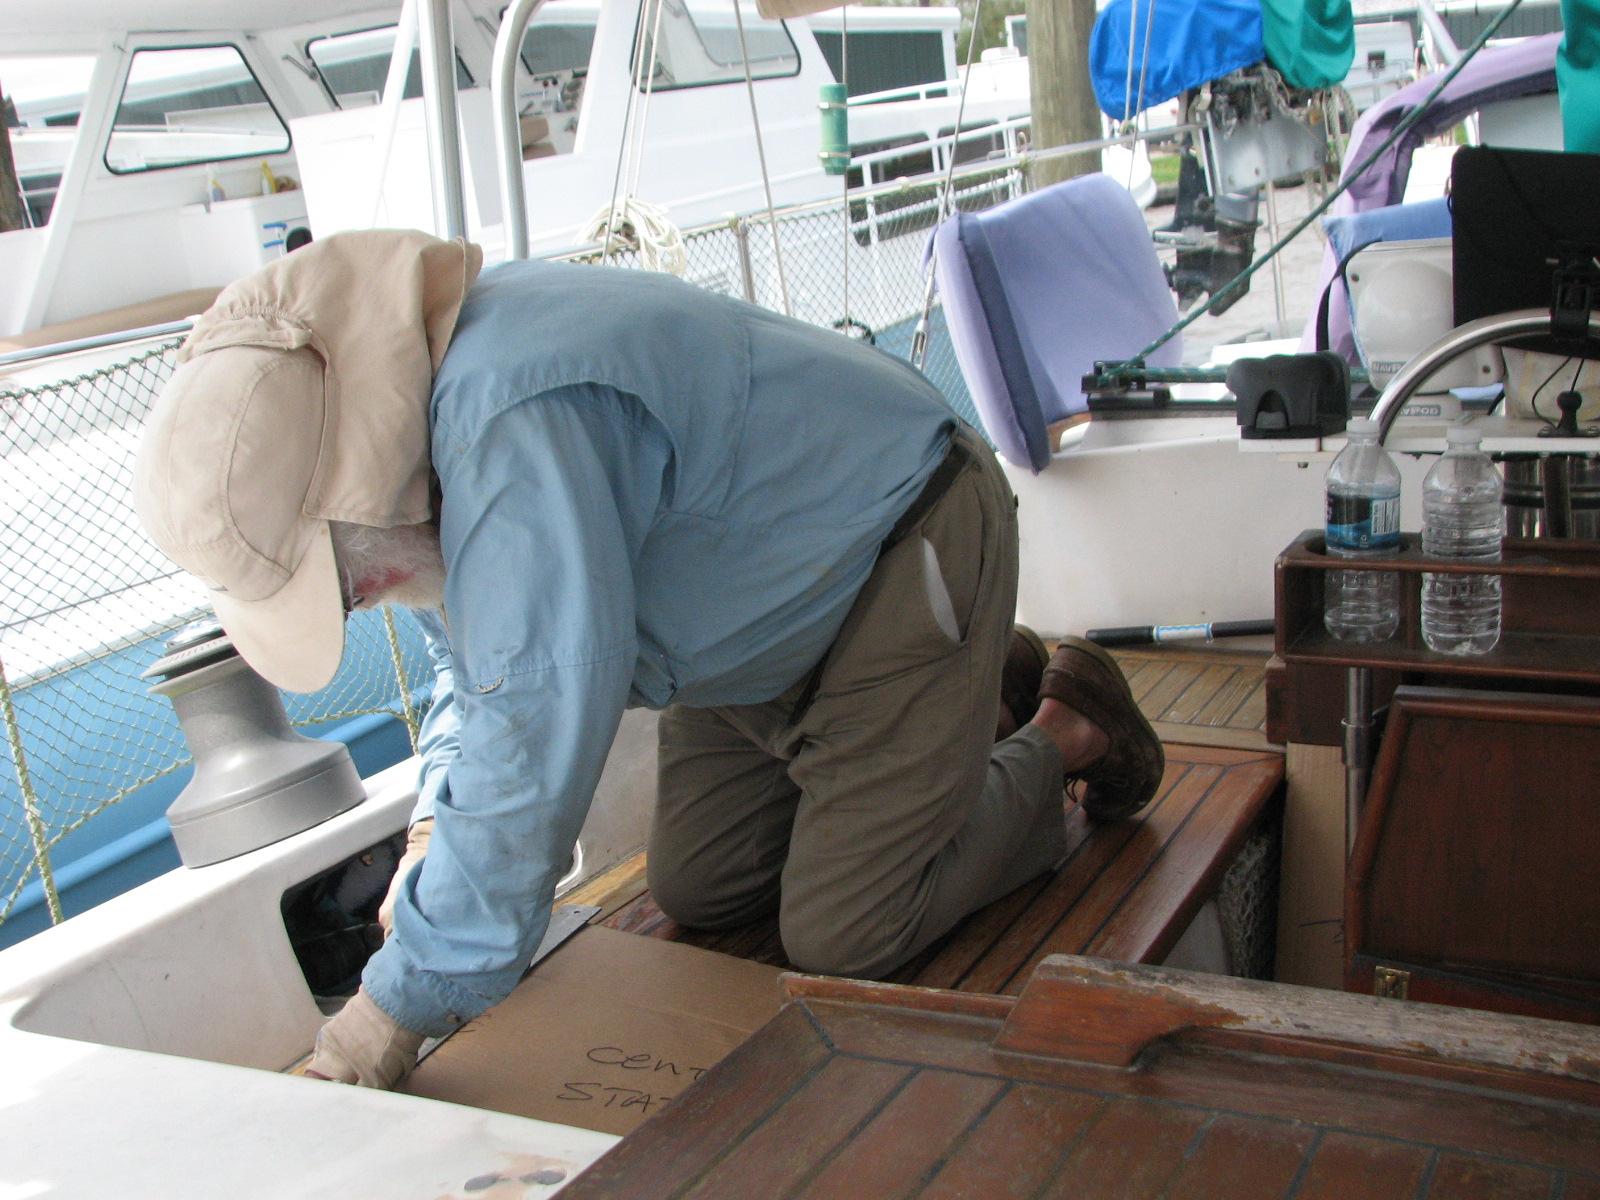
Cardboard Templates In Hard Dodger
Frame
Captain Cutting Templates For Fit
Captain Cutting Templates For Fit
We finished all of the cutting and
fitting, I took the templates up to
Ruby.
Taking Templates Up To Ruby
I then took a shower, got cleaned up
and we went to New Iberia to see a movie and have dinner with Cindy
and Johnal.
April 02, Wednesday, 2014
Started off the morning with my normal
ritual of getting on the Internet, answering email, and checking the
weather, while making a pot of coffee. When the coffee is started, I
feed our two cats,Jillian
and Jordan, and spend time with them brushing their
beautiful coats.
Spent most of the day working on Ruby.
I did not take any new photos of her, but I promise to do so soon.
The truck was very dirty inside, so I did a pretty thorough cleaning.
I cleaned as many surfaces as I could get to, and vacuumed most of
the truck also. It still needs more cleaning up, but that will come
as time goes on.
I removed the third seat and hung it up
in the shop
out of the way. I also removed the front console, as it was too long.
I could not put down the back seat to get my space needed to haul
boat parts. I will have to cut up the console, epoxy it back
together, and then varnish it up properly before it goes back into
Ruby.
Dashboard And Steering Wheel Of Ruby
I checked the oil and water in Ruby,
and applied a good coat of Rain-X
to all of the windows.
I then went over to the marina
so I could get Kitty’s help fixing the window and tailgate in Ruby.
The window in the tailgate would hang when you put it down or up, and
the tailgate was very difficult to open.
I removed all of the panels from the
tailgate so I could see and watch the window mechanism work. The
problem is once the tailgate is closed, I can not operate the window.
That was Kitty’s job. Working together, I was able to find the
problem and fix it for now. It still needs some work.
The window had bent the opening
mechanism for the tailgate. Once I bent the correct piece back to
where it was supposed to be, the tailgate opened properly, and the
window did not hang up any more. Another problem fixed.
Kitty and I then went down to DREAM
AWAY and made the final measurements for the templates for the hard
dodger windows.
When that was complete, I got a much
needed shower, and we both got dressed and went to the monthly
meeting of our detachment of the Marine
Corps League.
April 01, Tuesday, 2014
Started off the morning with my normal
ritual of getting on the Internet, answering email, and checking the
weather, while making a pot of coffee. When the coffee is started, I
feed our two cats, Jillian
and Jordan, and spend time with them brushing their
beautiful coats.
Went over to the shop
and looked into the repair of the spare generator
fresh water pump. As mentioned yesterday, there is a hole in the
pump. I mixed up a batch of JB
Weld and applied it to the hole and some other bad
areas of the pump.
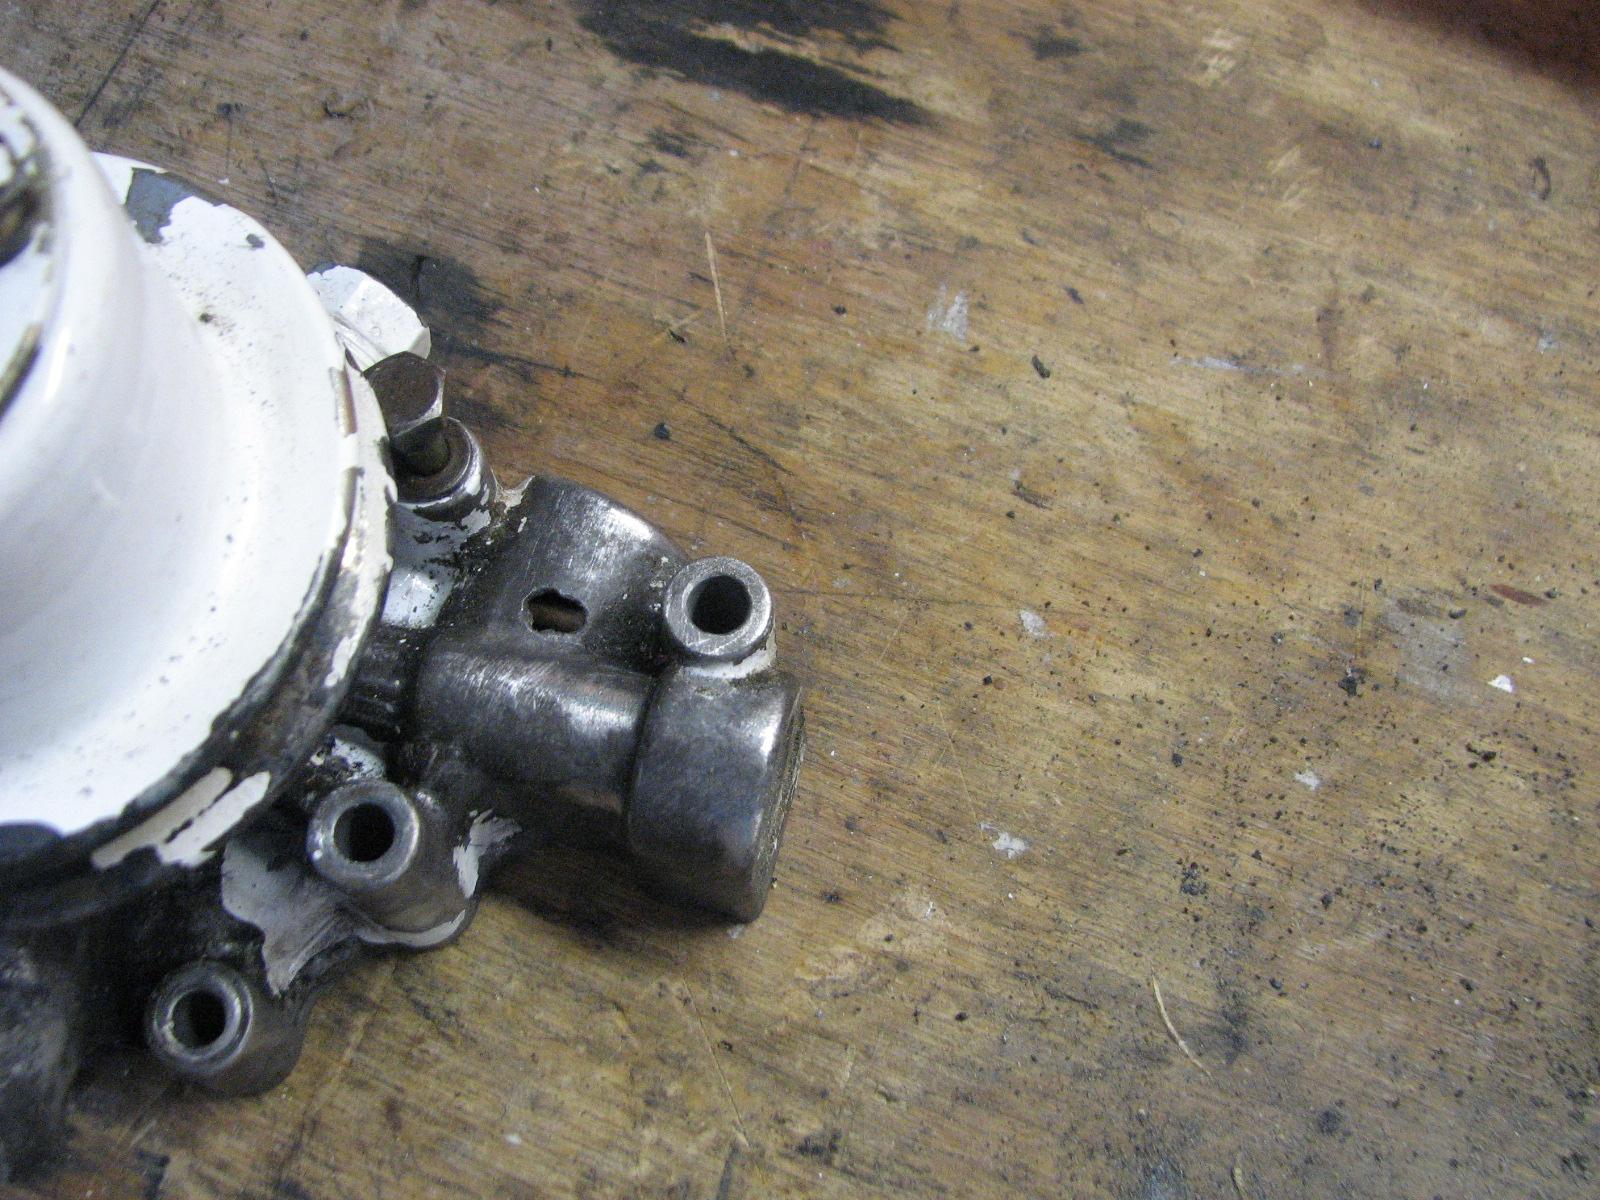
Water Pump With Hole Showing
I need to mow the grass at the marina,
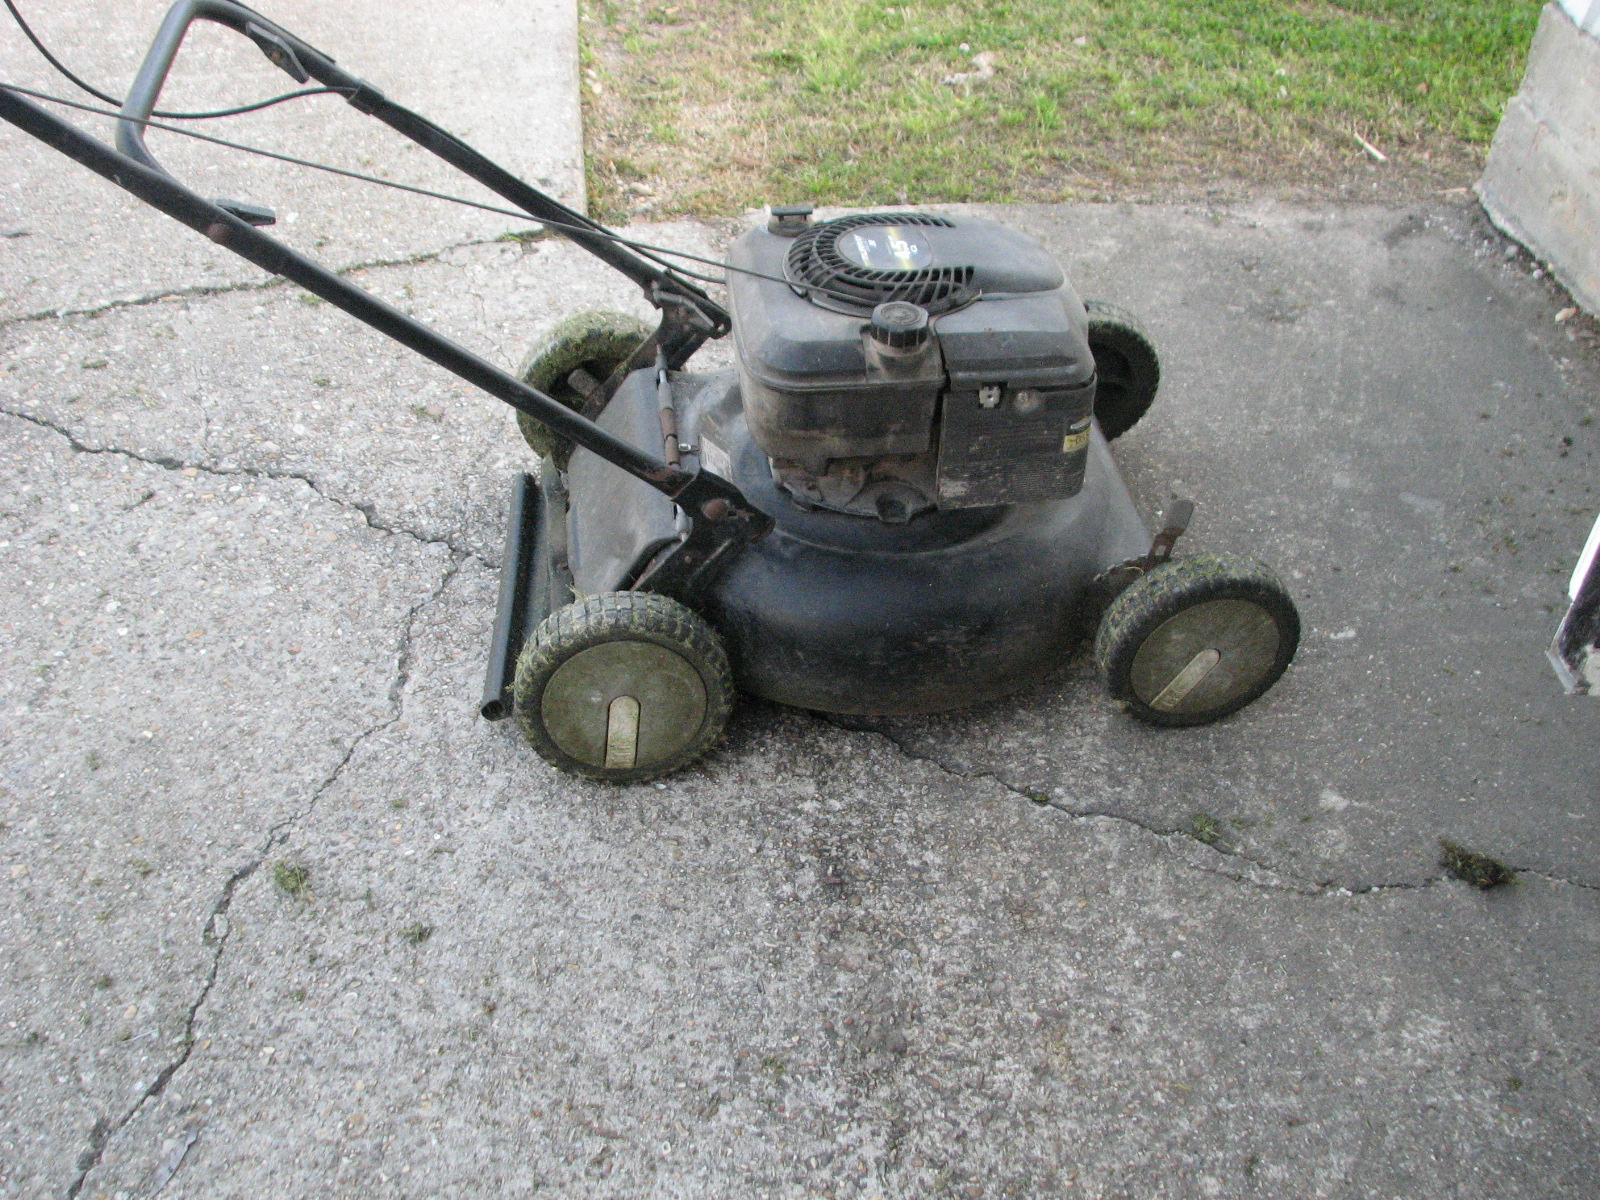
so I got the lawn mower from the Port
of Delcambre’s storage room. I removed the blade
from the mower, and sharpened the blade. Hopefully this will make the
grass cutting go much easier.
Johnal
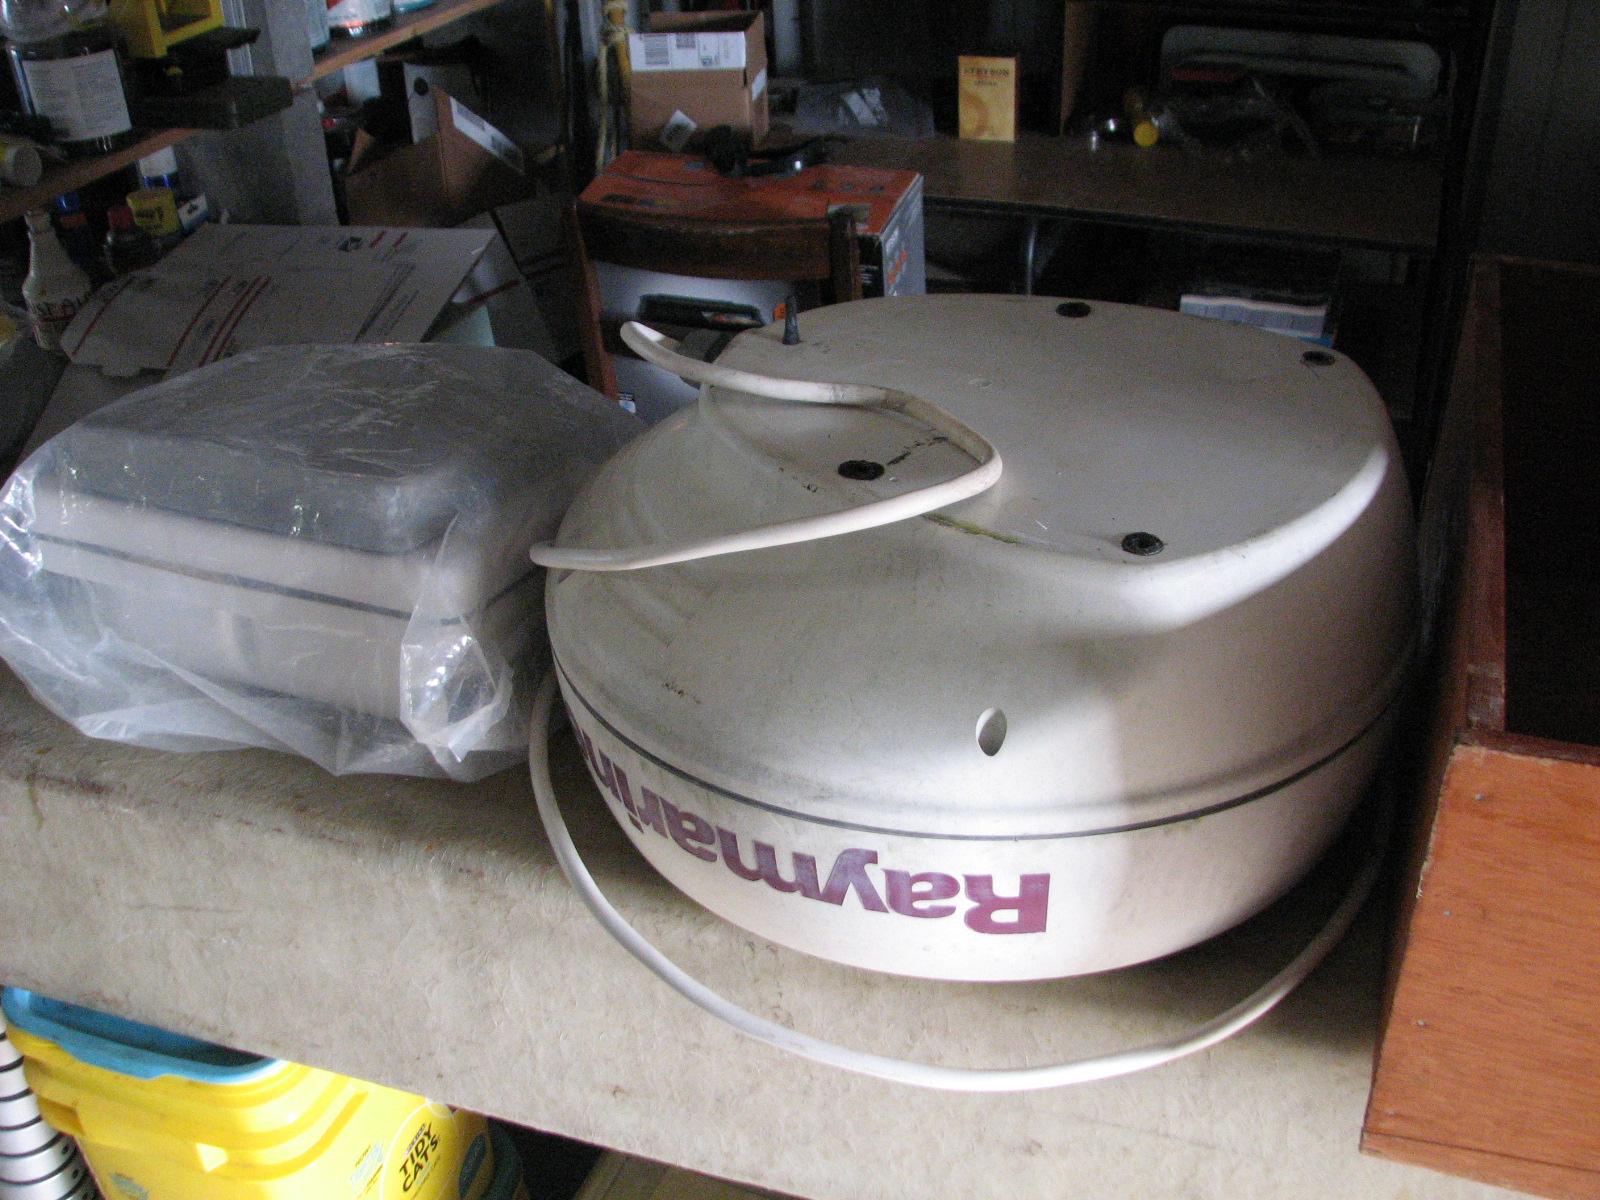
had replaced his Raymarine
radar system on his boat, and gave me the old unit. I am going to see
if I can get it working, or salvage some parts from it to use on my
Autohelm
Radar.
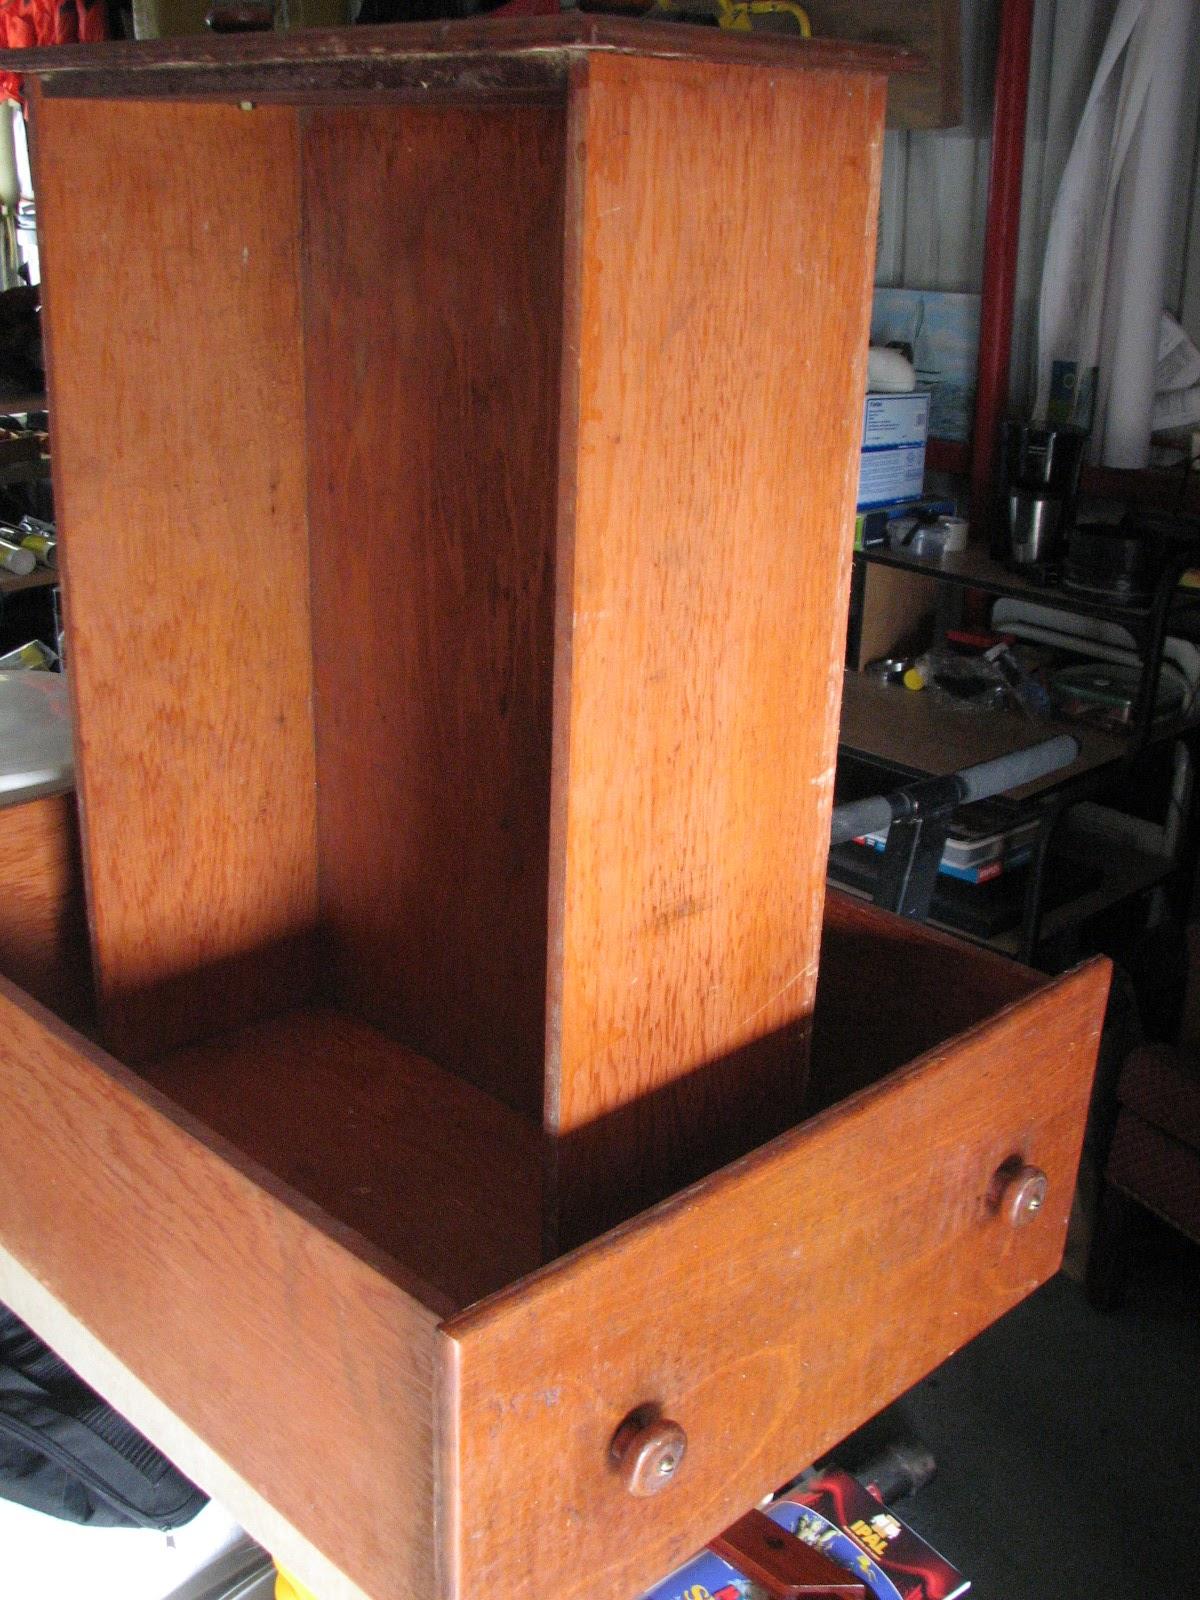
My next door neighbor on the dock had
got rid of some drawers from his boat, so I also took them over to
the shop.
I just might find a use for them!
I then loaded all of the fiberglass
uprights for the hard dodger into Ruby,
and the lawn mower and gas can, and drove over to the marina.
I weeded the gardens and mowed the
grass at the marina.
It looks very good for the residents. The weeds seem like they are
taking over the area.
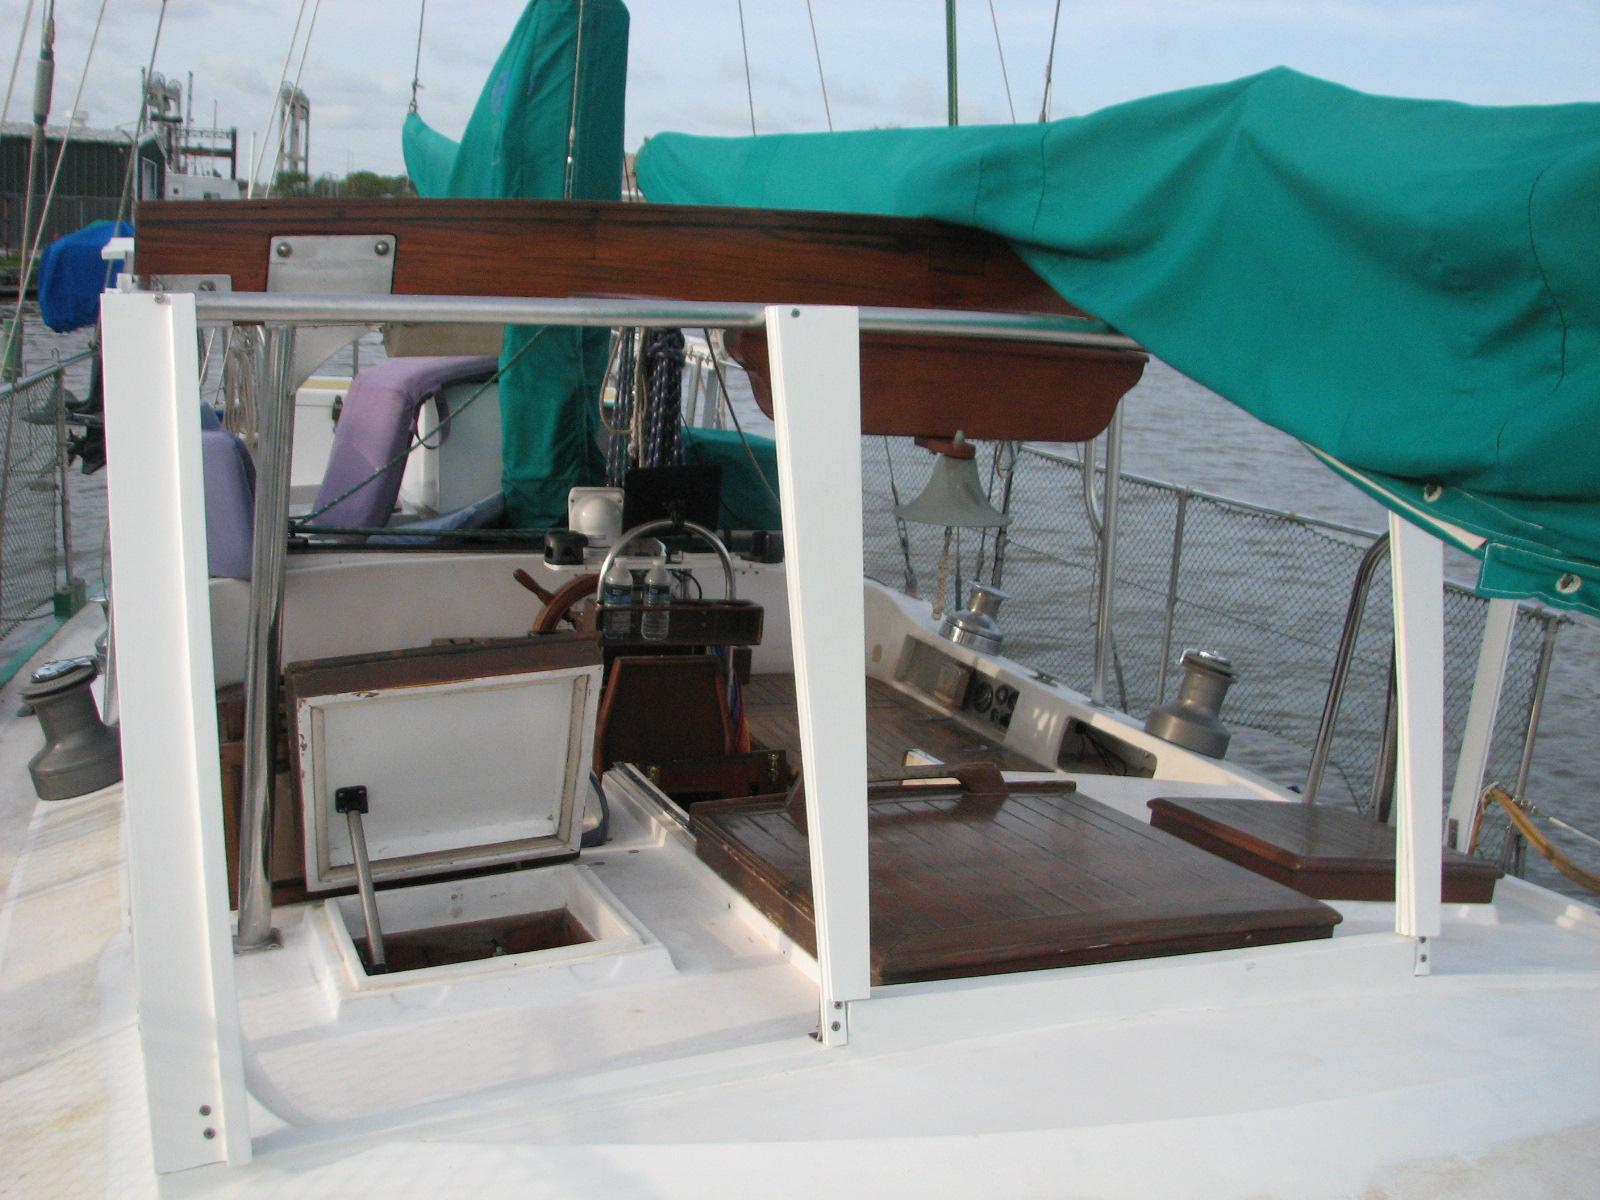
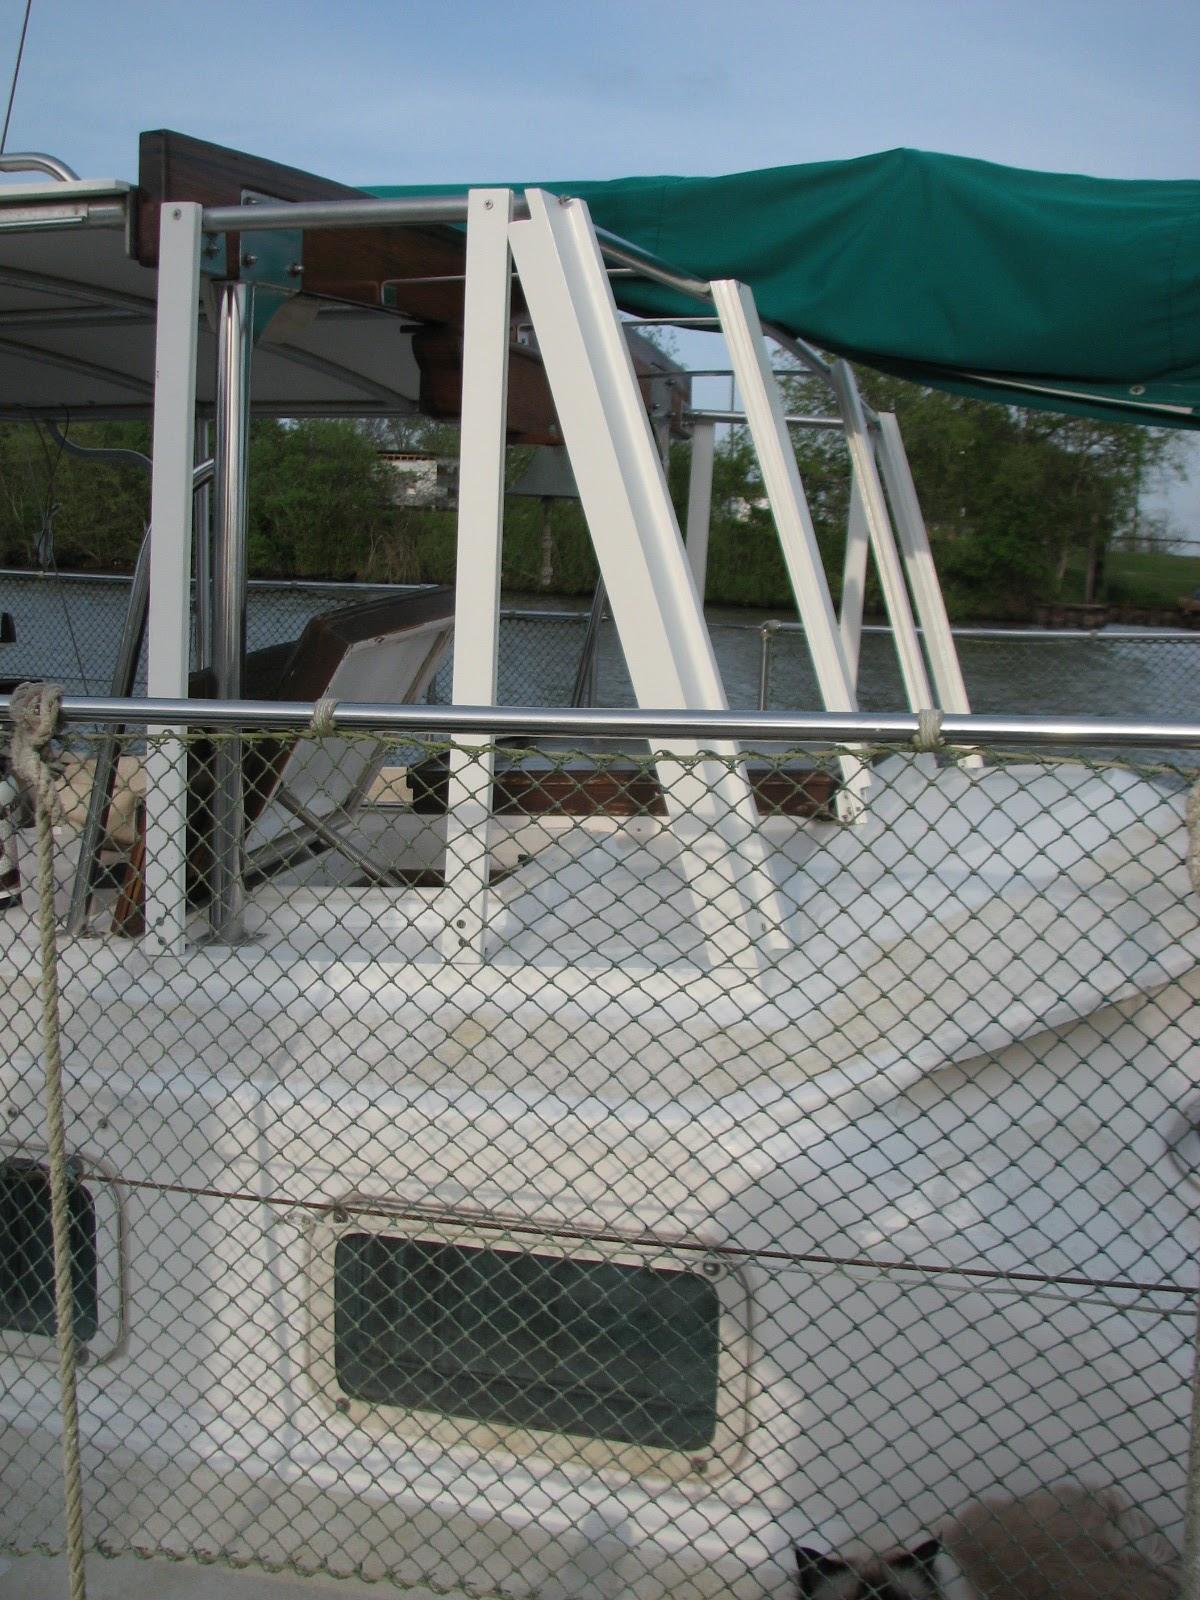
I then hauled all of the hard dodger
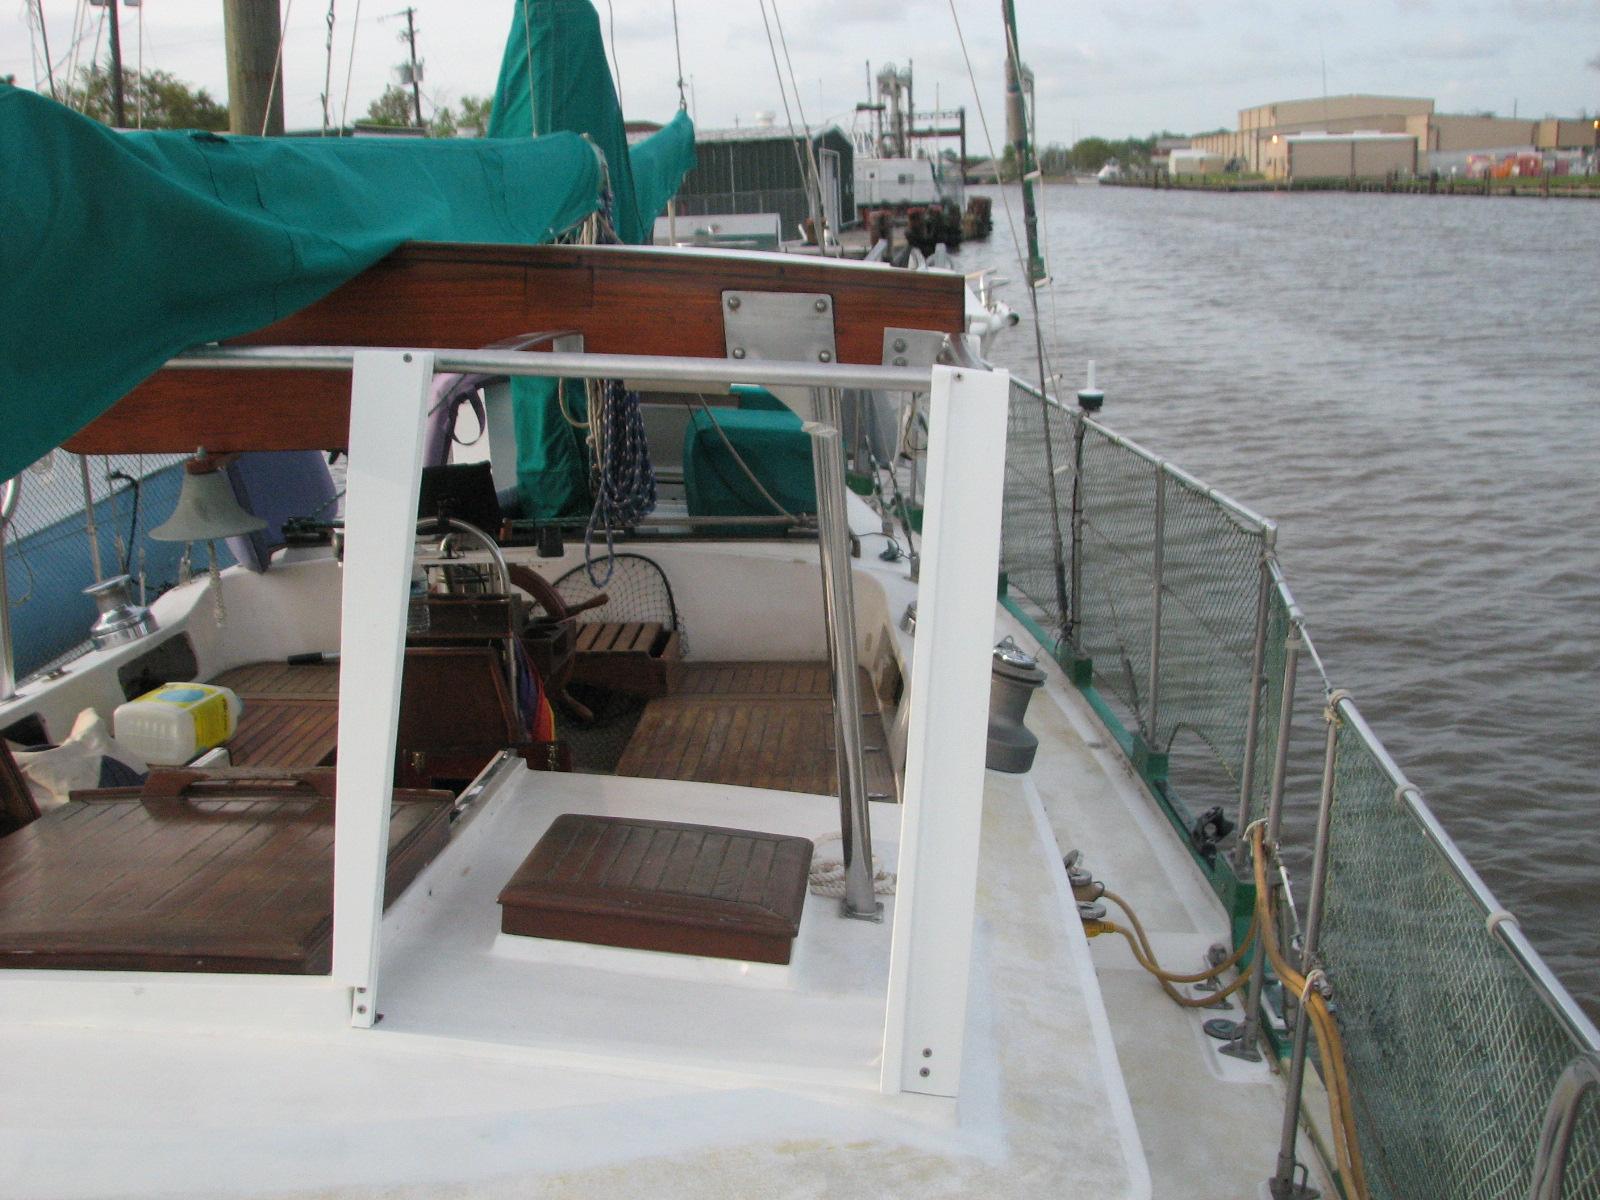
uprights down to DREAM AWAY, and installed all of them. The good news
is they all fit, even after so long. Now we have to make the
templates out of cardboard so I can finally get the windows in place,
and hopefully finish the job.
Hard Dodger Uprights Starboard Front
Hard Dodger Uprights Starboard Side
Hard Dodger Uprights Port Side Front
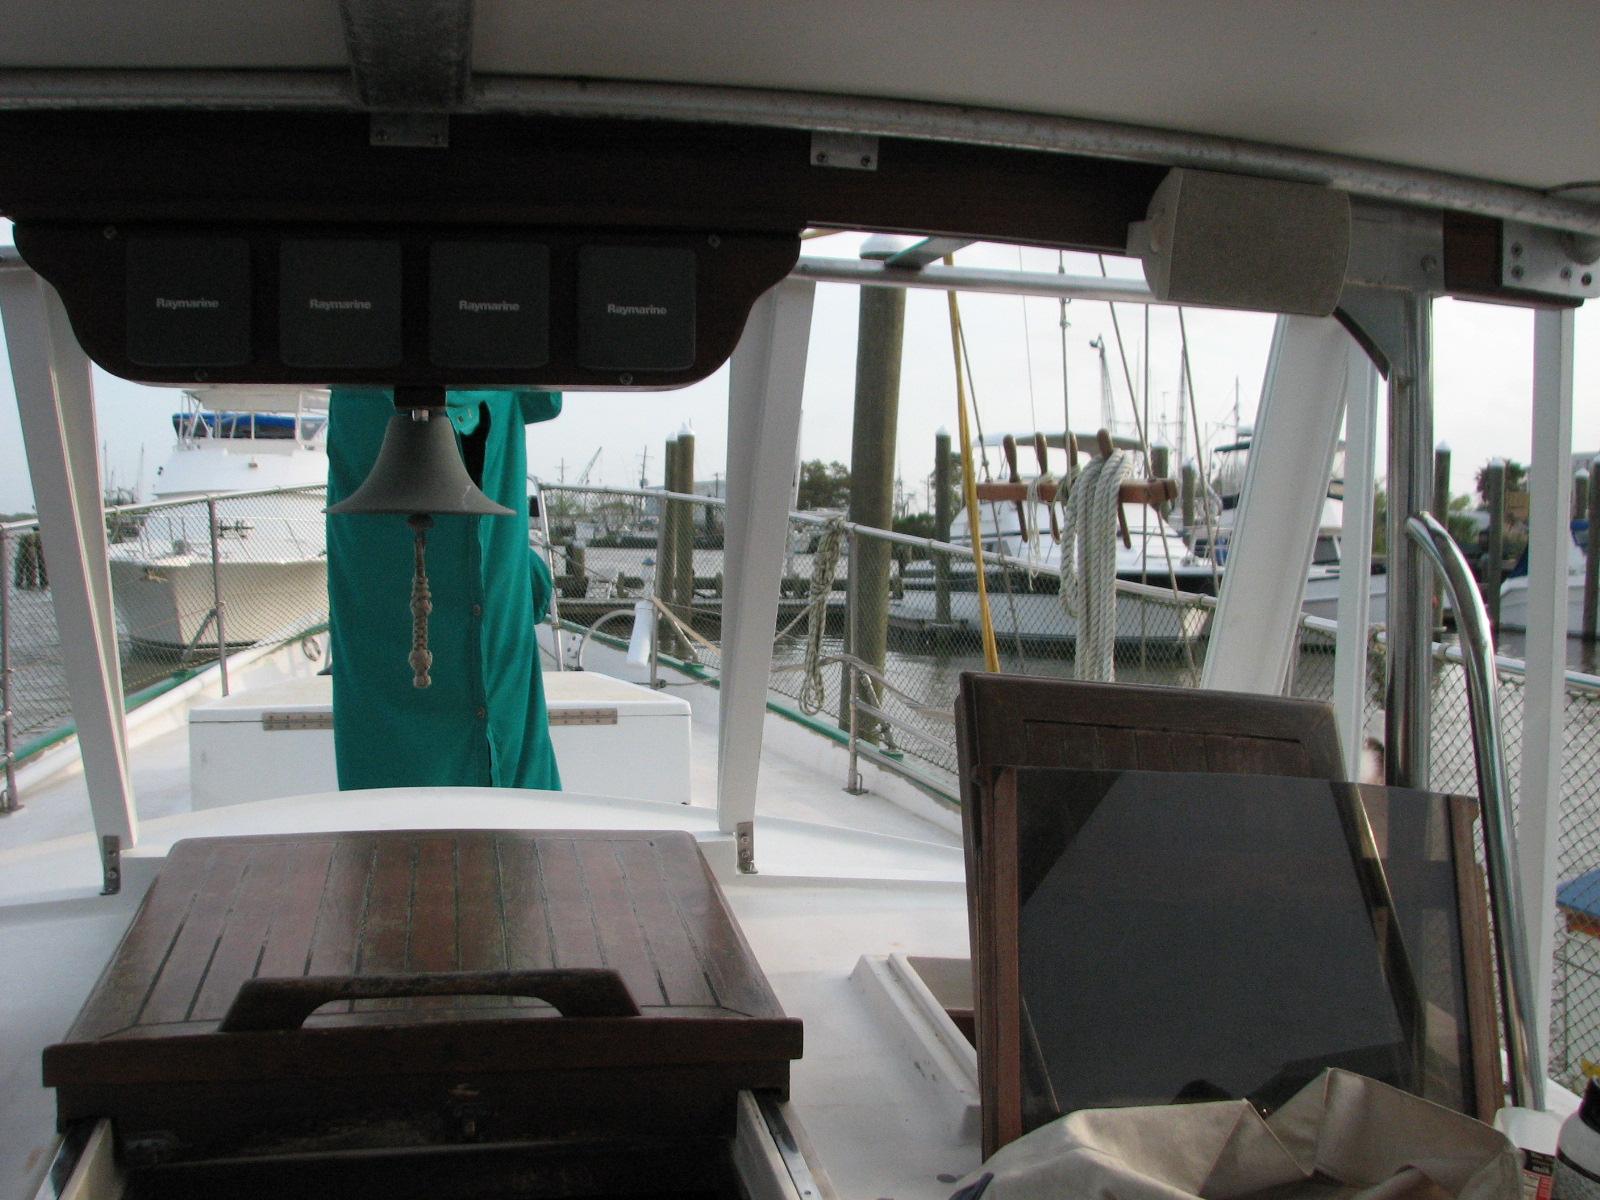
Hard Dodger Uprights From Cockpit
Starboard Side
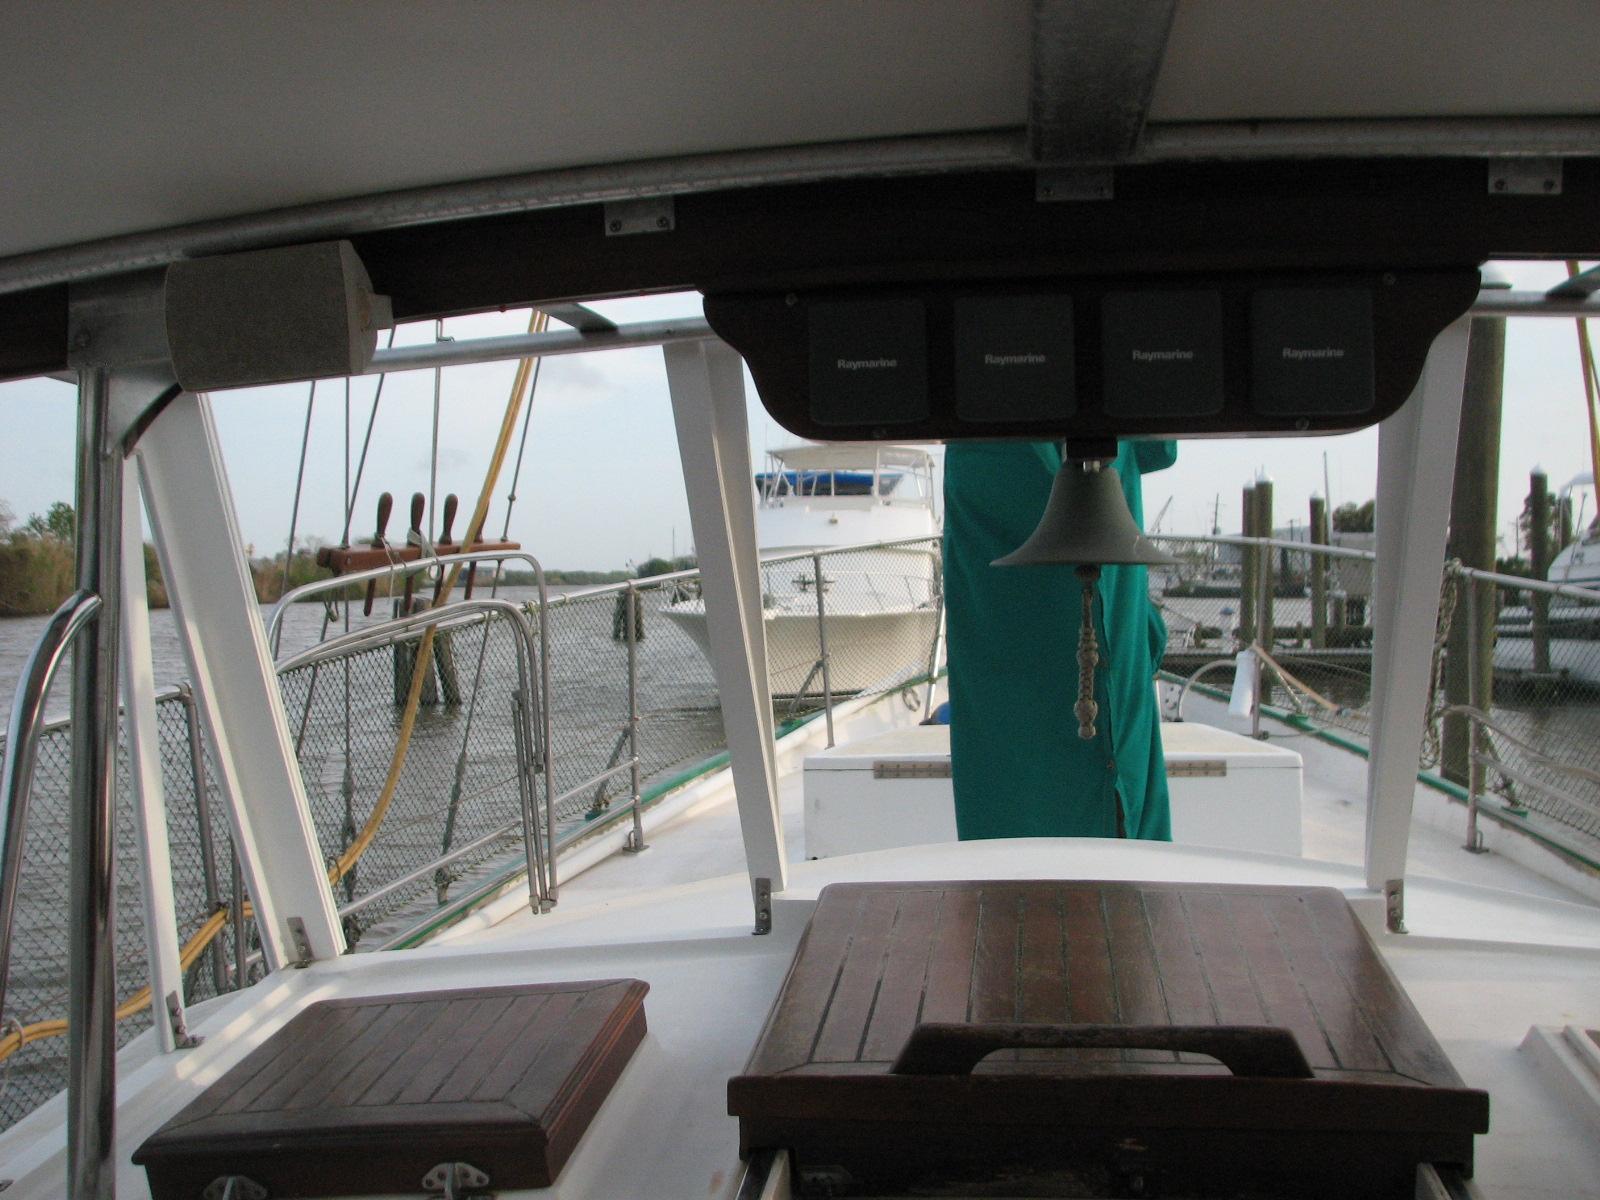
Hard Dodger Uprights From Cockpit Port
Side
When that was complete, I loaded the
lawn mower back into Ruby
and went back to the shop.
I put the lawn mower back into the Port
of Delcambre’s storage room, and I did some more
work on cutting and trimming the adjuster’s for the solar panels.
