Went
back to DREAM AWAY, and verified the propane connection for the
Hummer
Grill at the propane tank.
It seems if I do not really tighten the connection, the propane leaks
out. I will have to replace the original POL
valve with the newer QCC
valve.
I
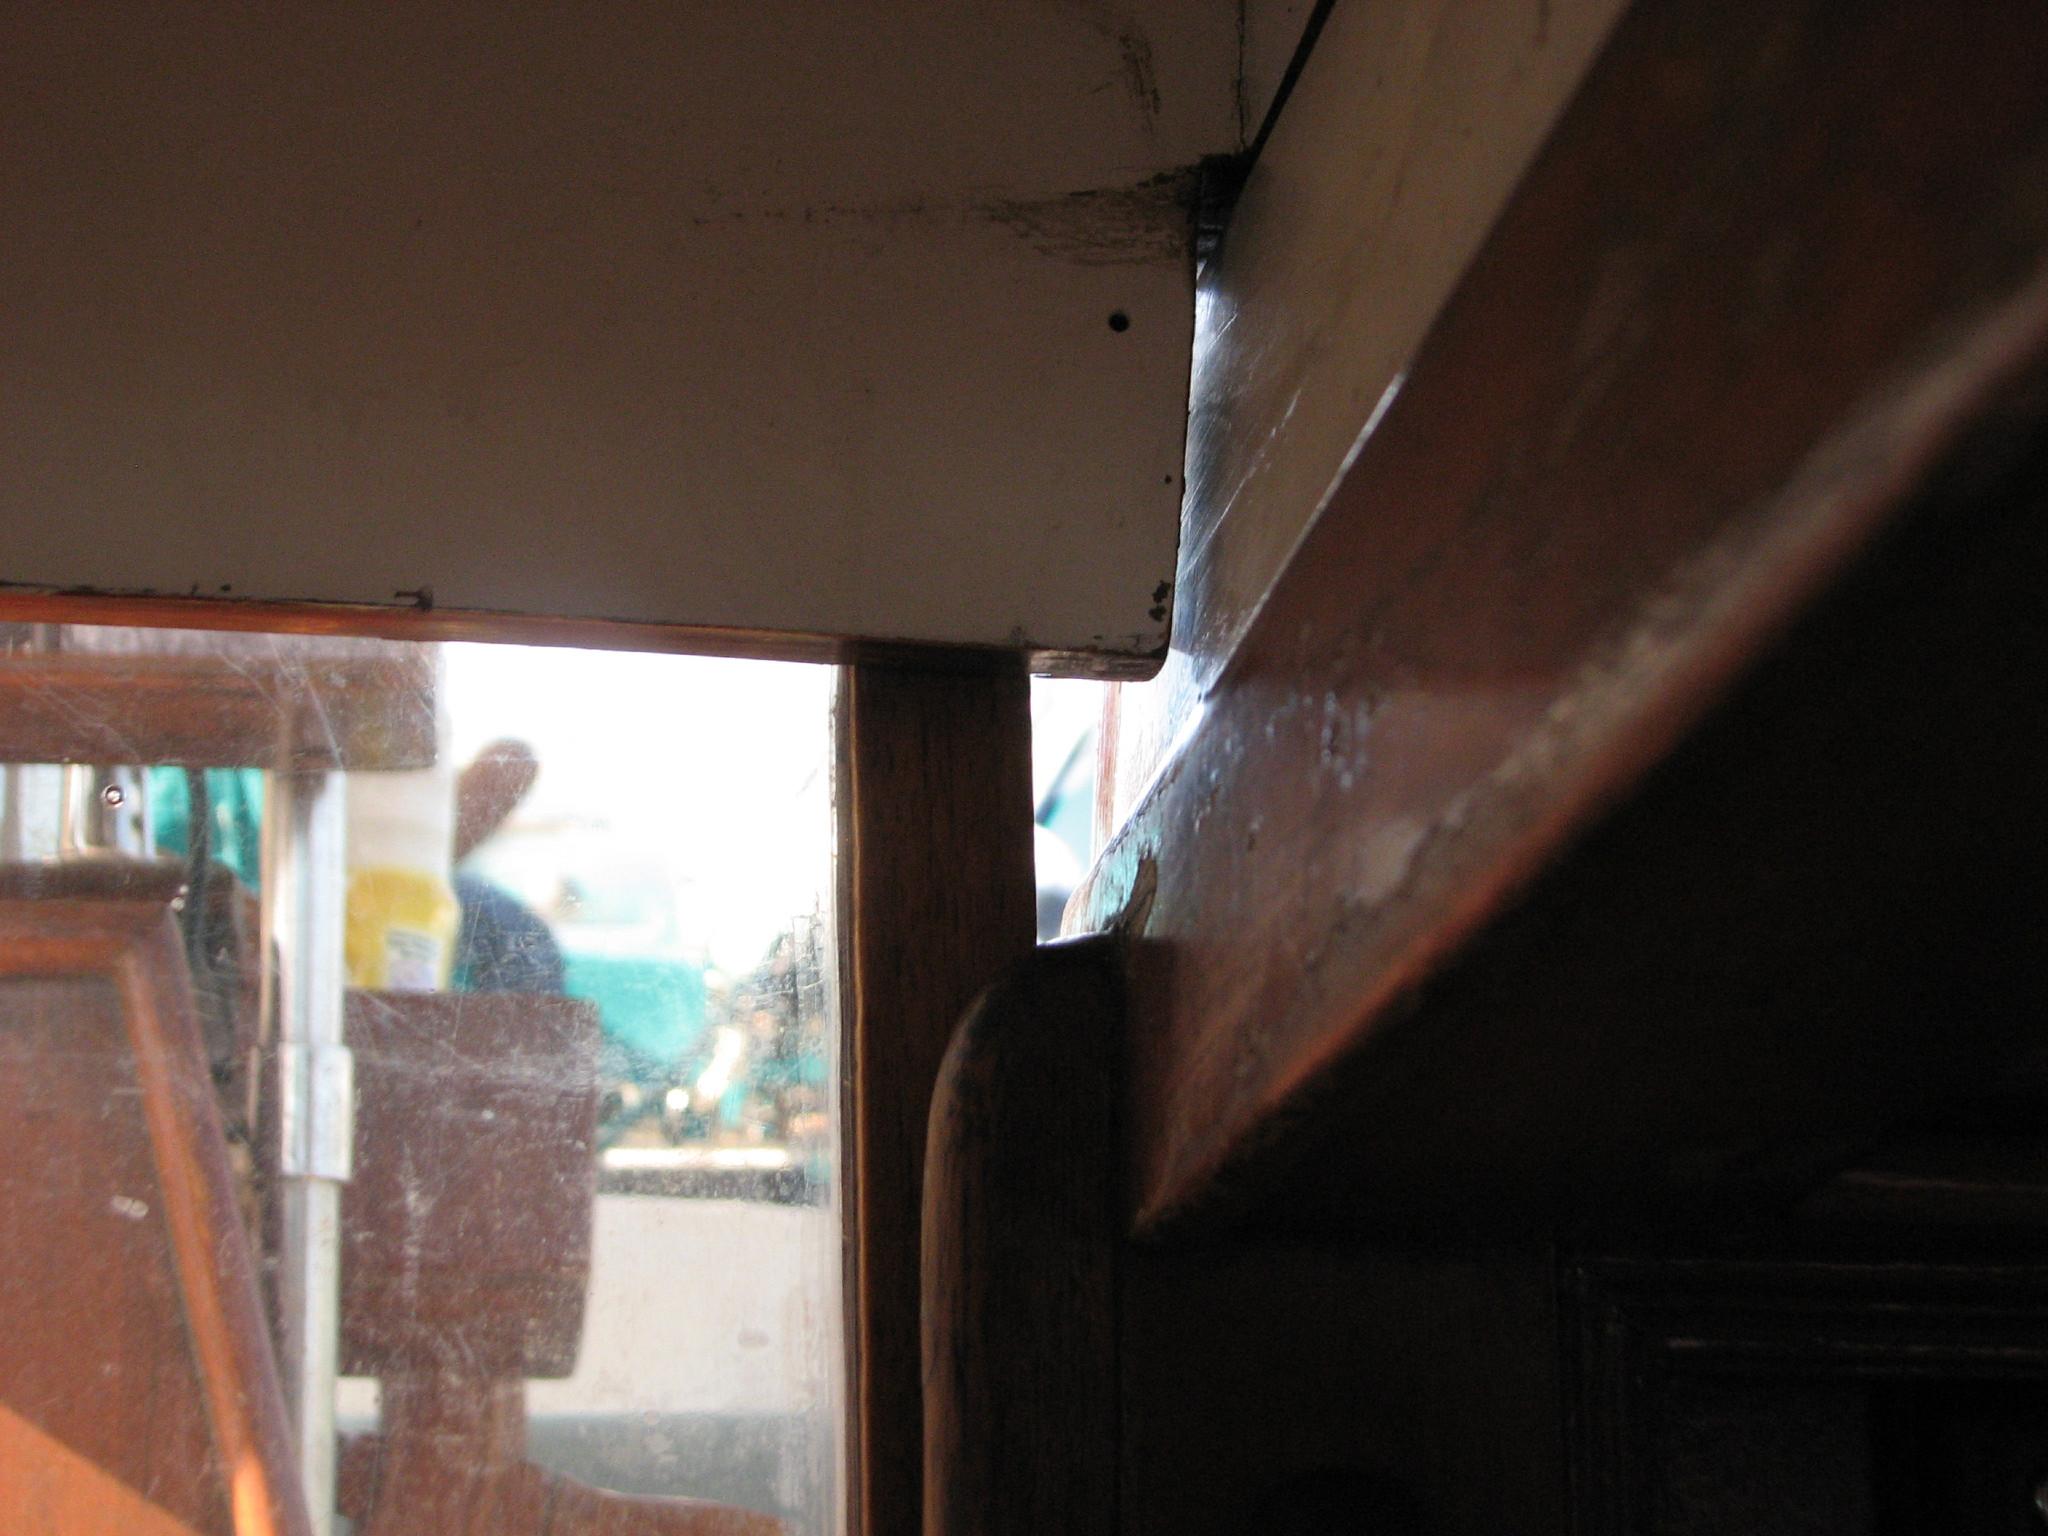
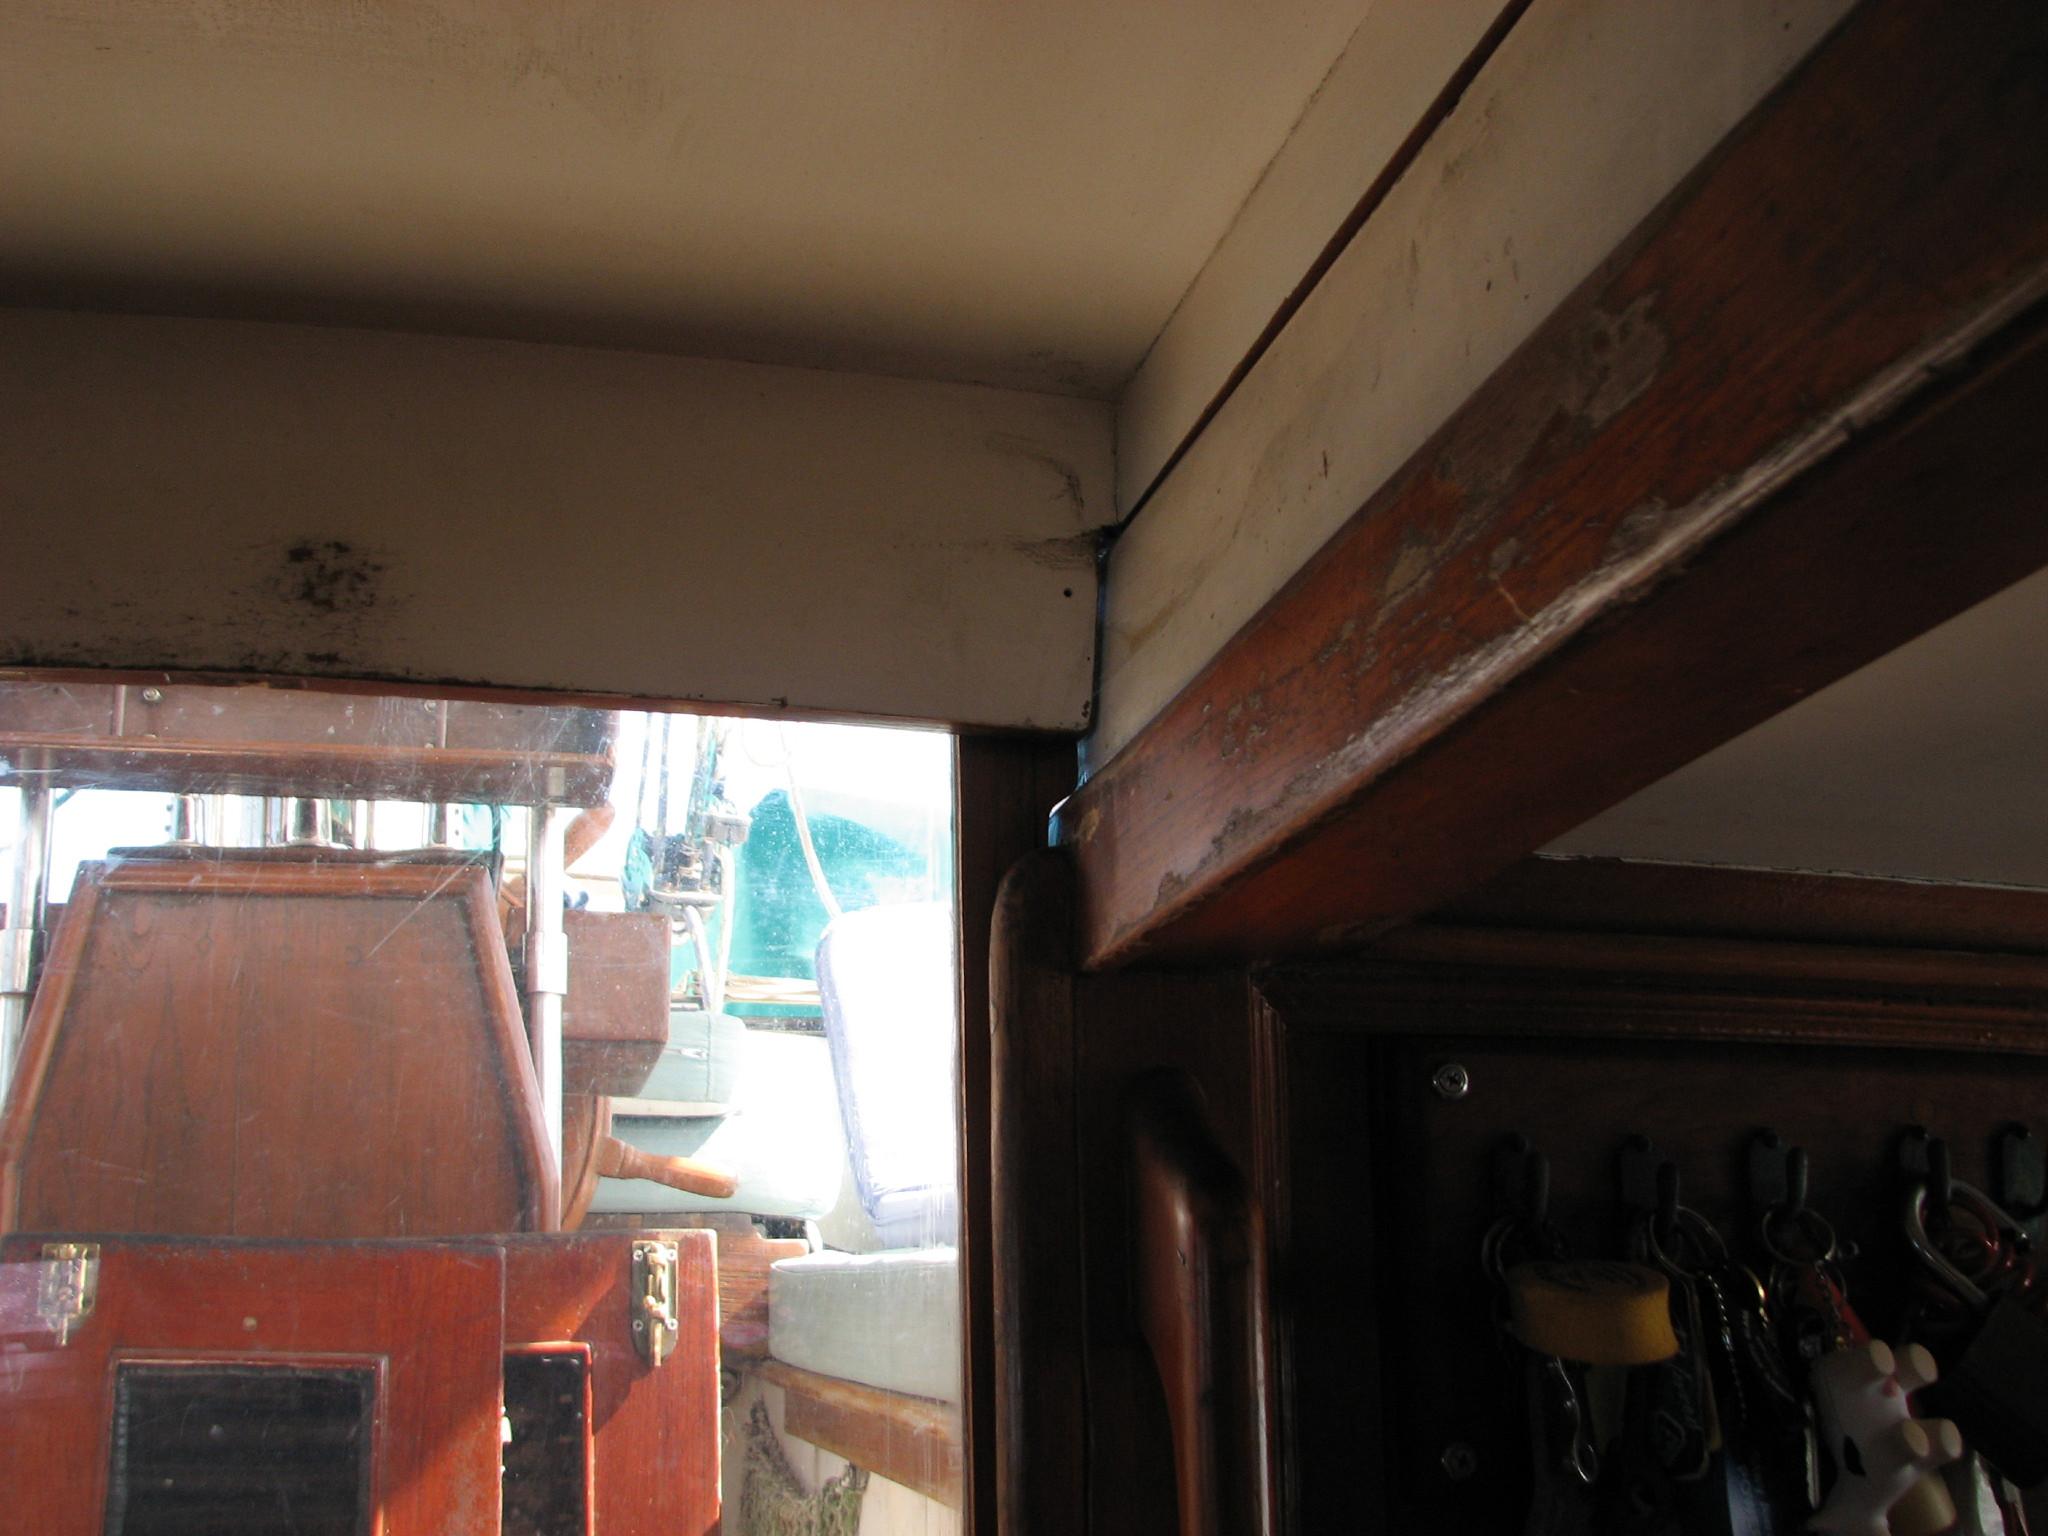
had finished off the large acrylic insert for the companion way
several days ago, but did not put in the before and after photos of
the improvement.
Large
Acrylic Insert, Before Modification
Large
Acrylic Insert, After Modification
May
12, 2013, Sunday
Started
off the morning with my normal ritual of getting on the Internet,
answering email, checking the weather, while making a pot of coffee.
Worked on web page and maintenance log until Kitty awoke.
Spent
Mother’s Day with Kitty, and did not work on DREAM AWAY.
May
11, 2013, Saturday
Started
off the morning with my normal ritual of getting on the Internet,
answering email, checking the weather, while making a pot of coffee.
Went over to the shop
and mixed up a batch of Smith’s
penetrating epoxy and
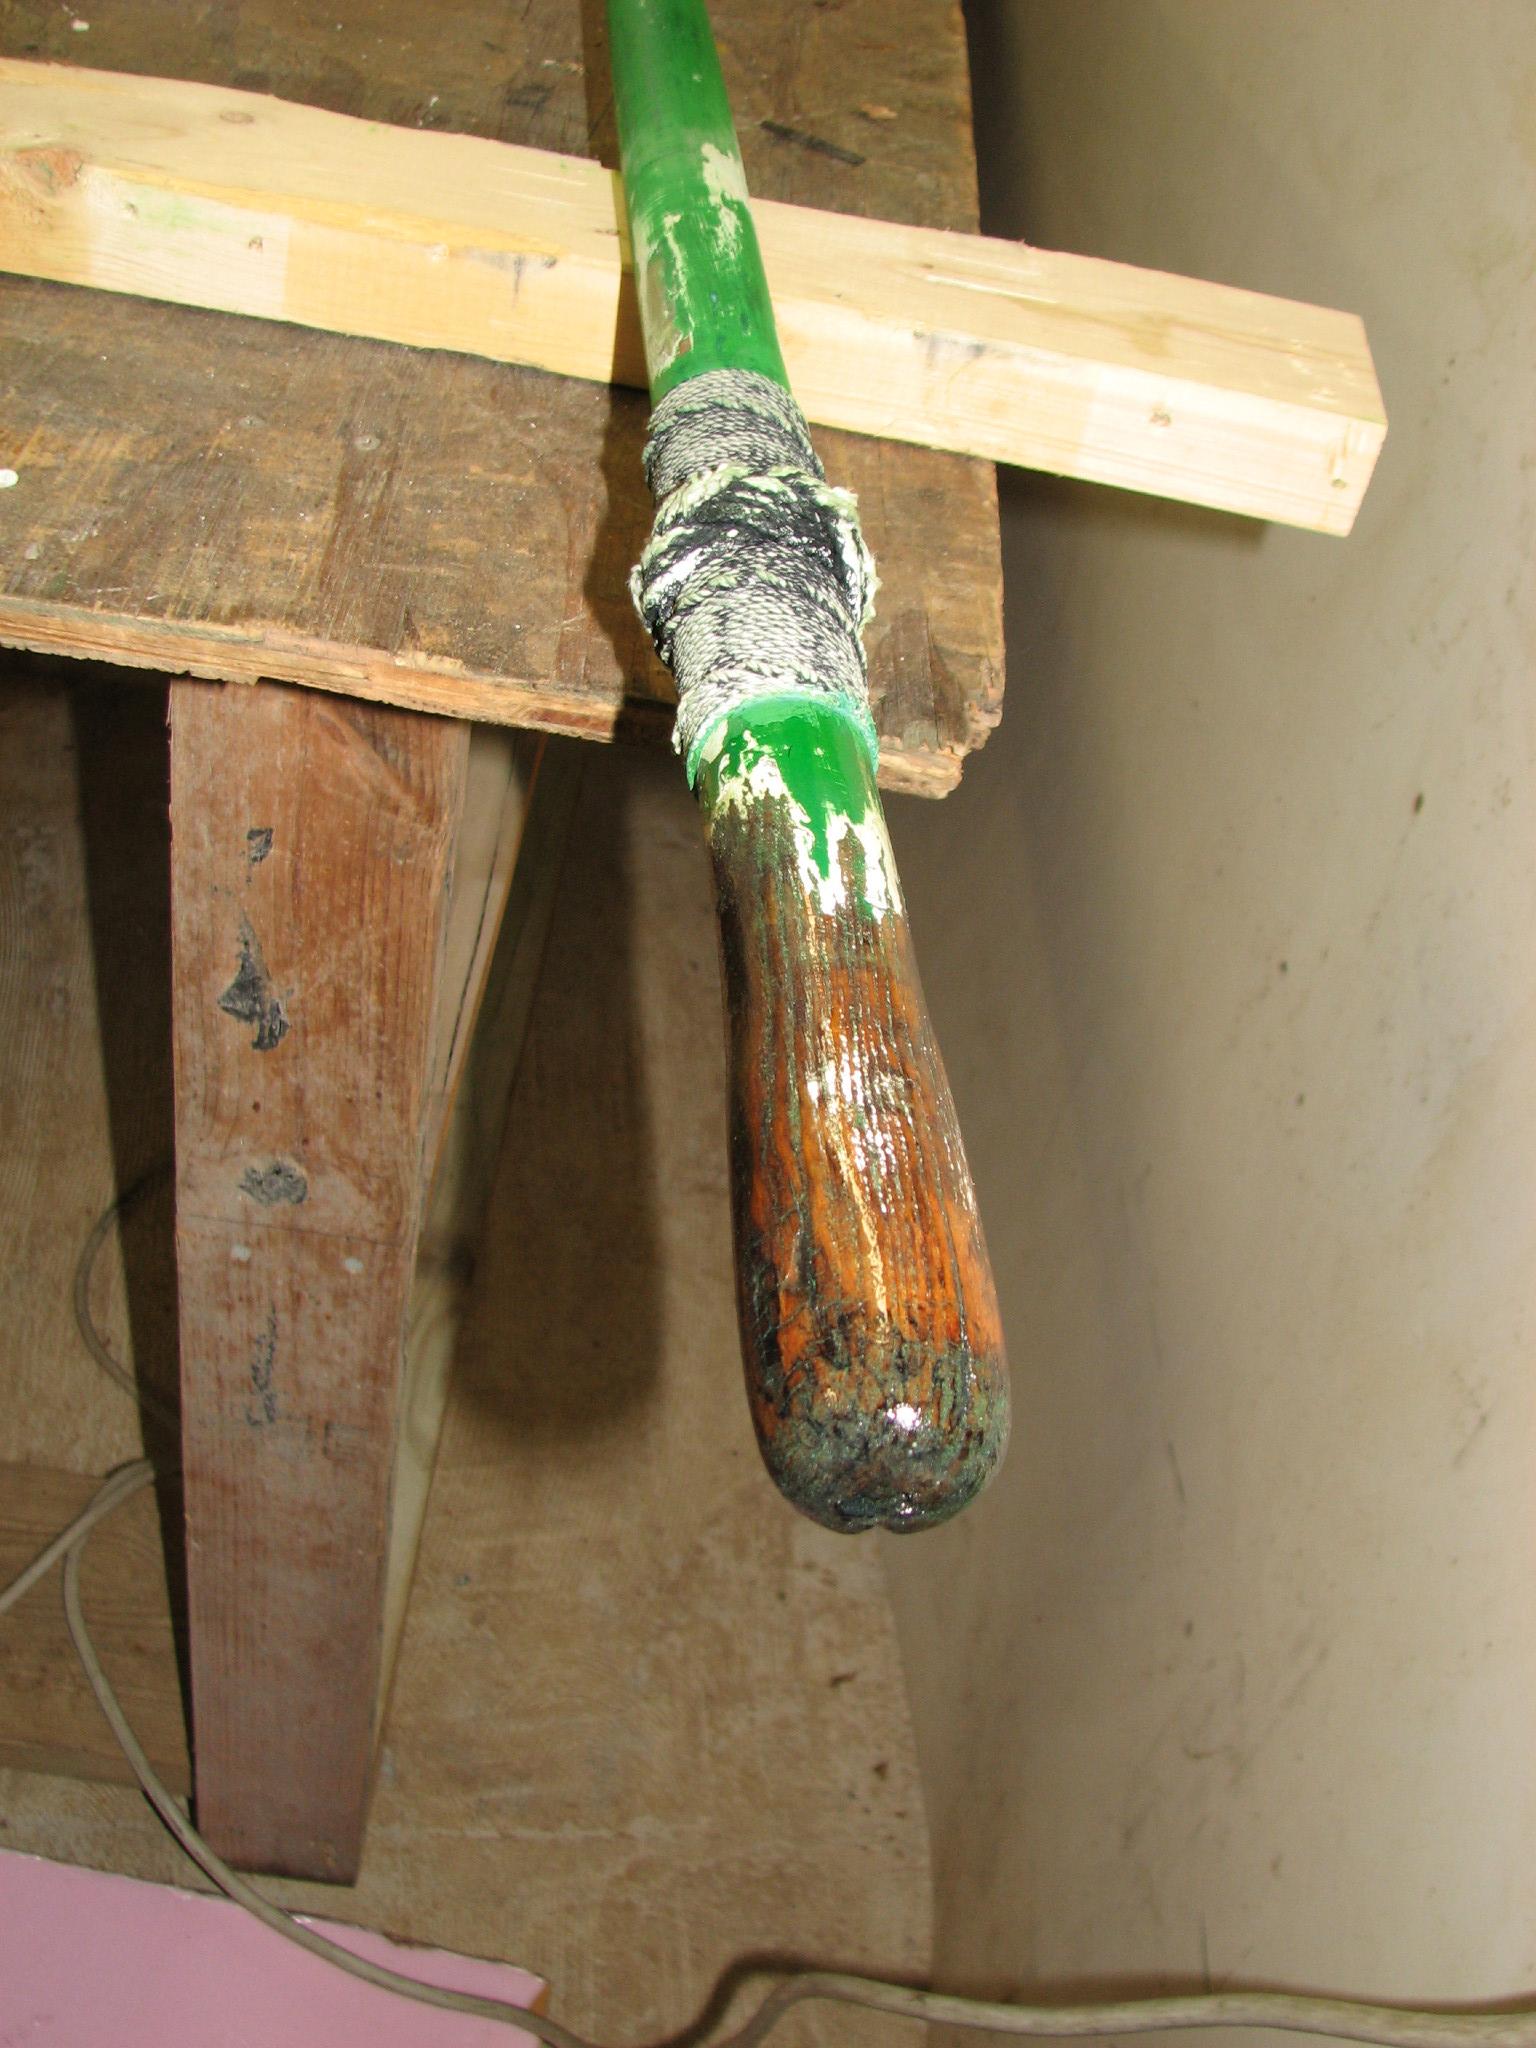
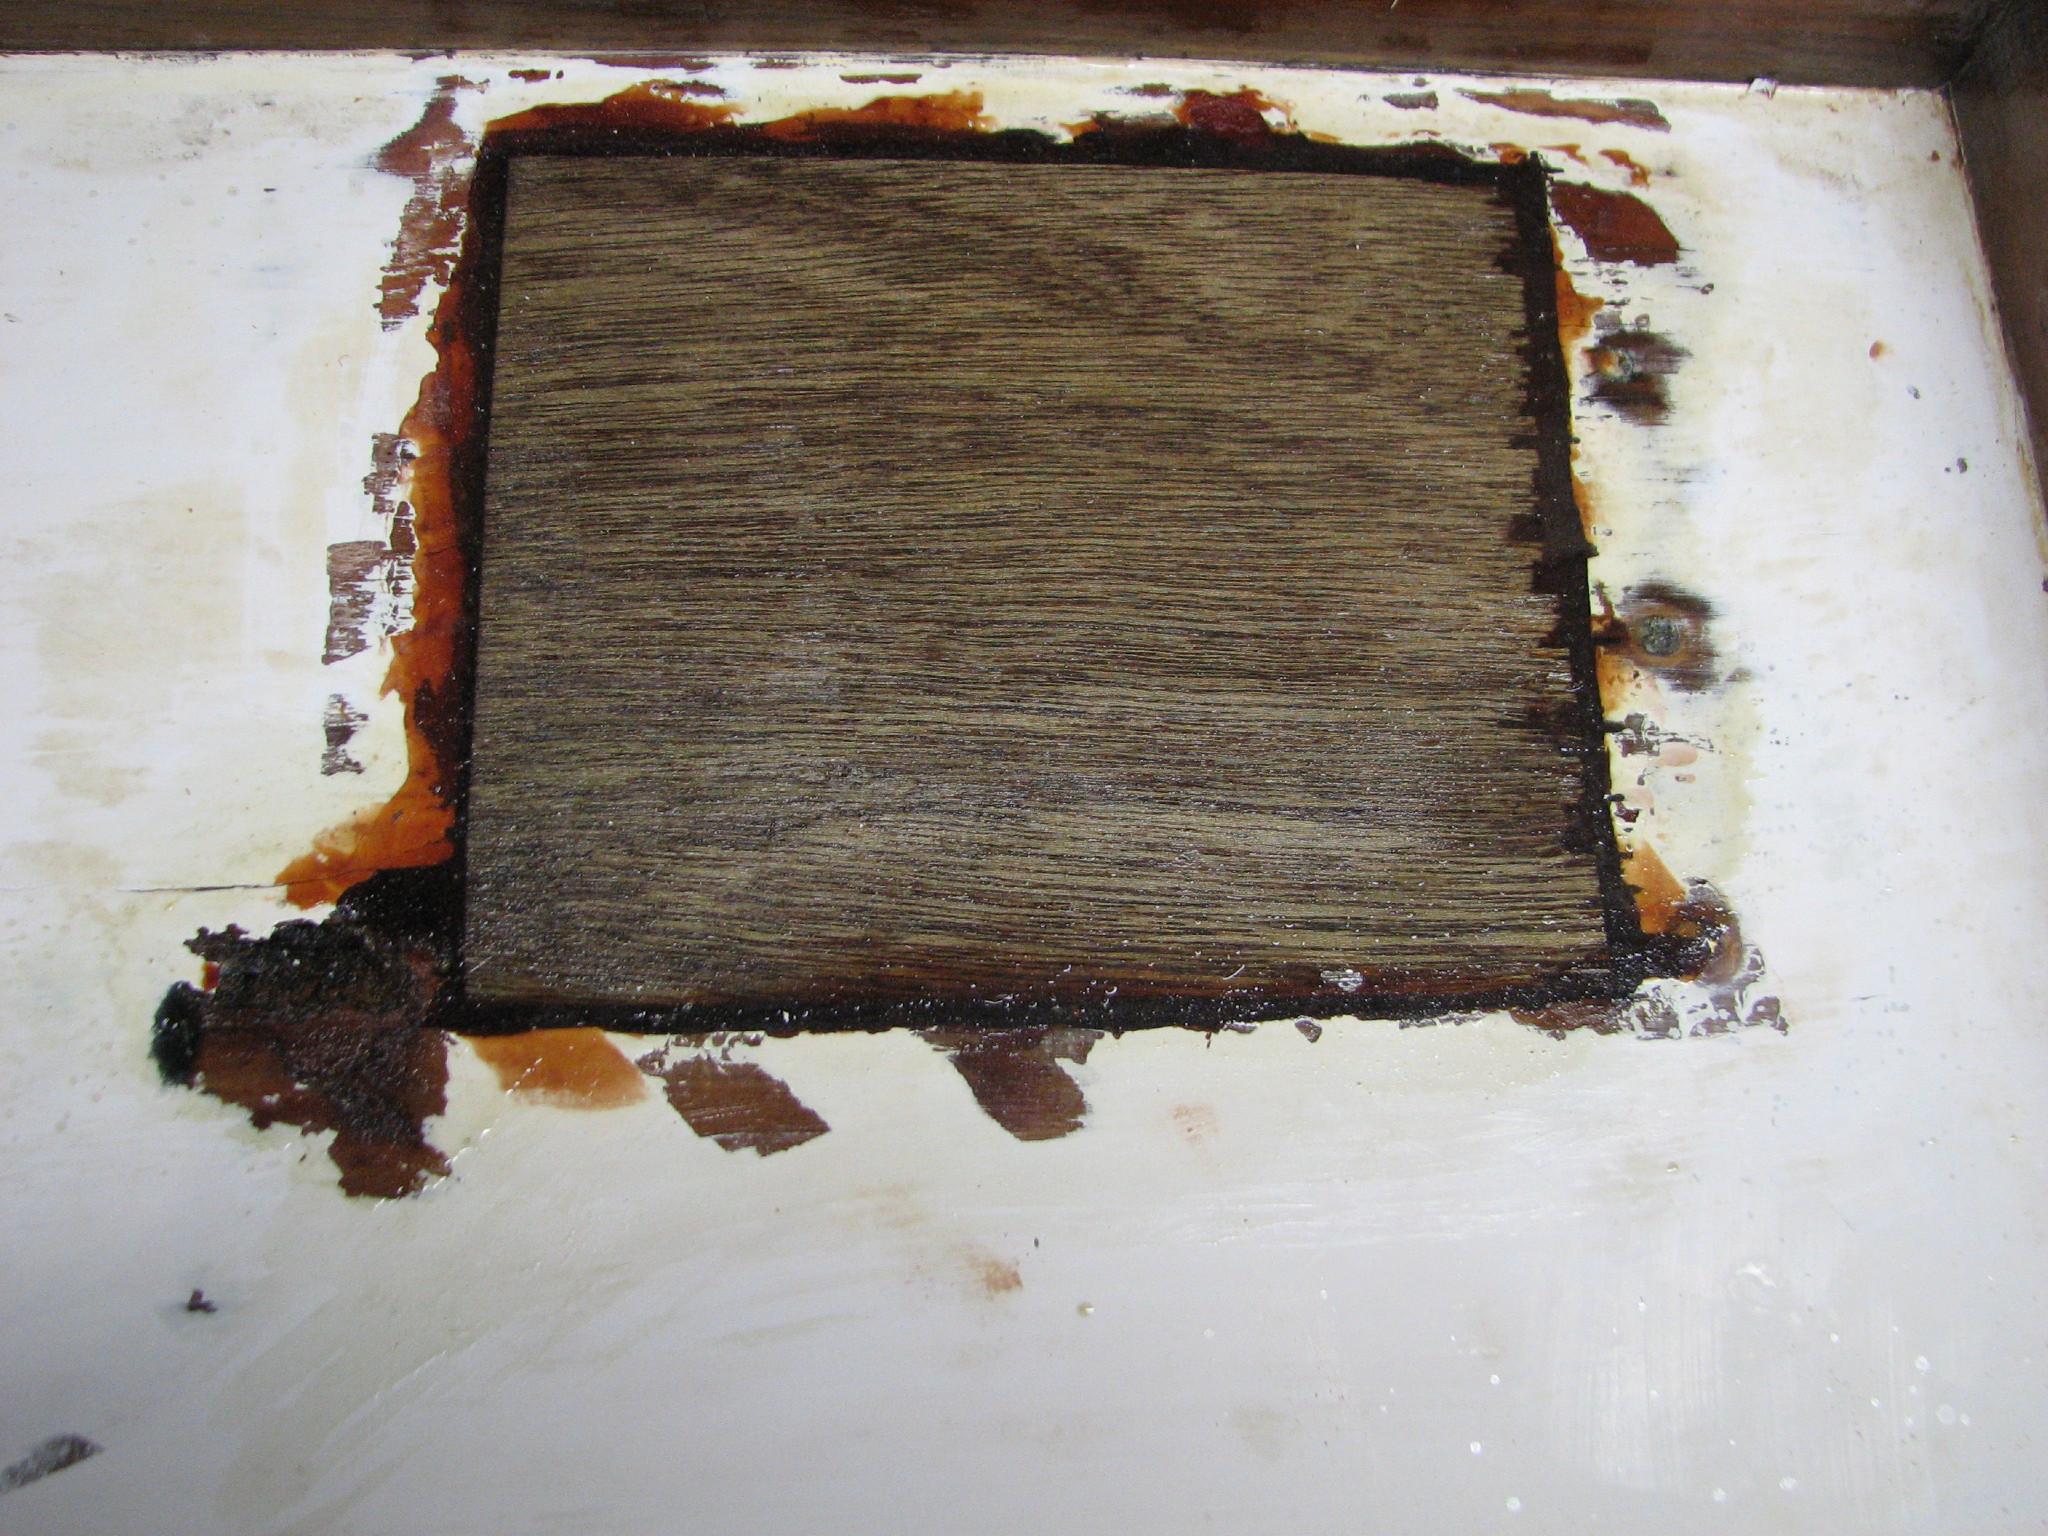
applied it to the bottom of the cockpit hatch. I also applied a good
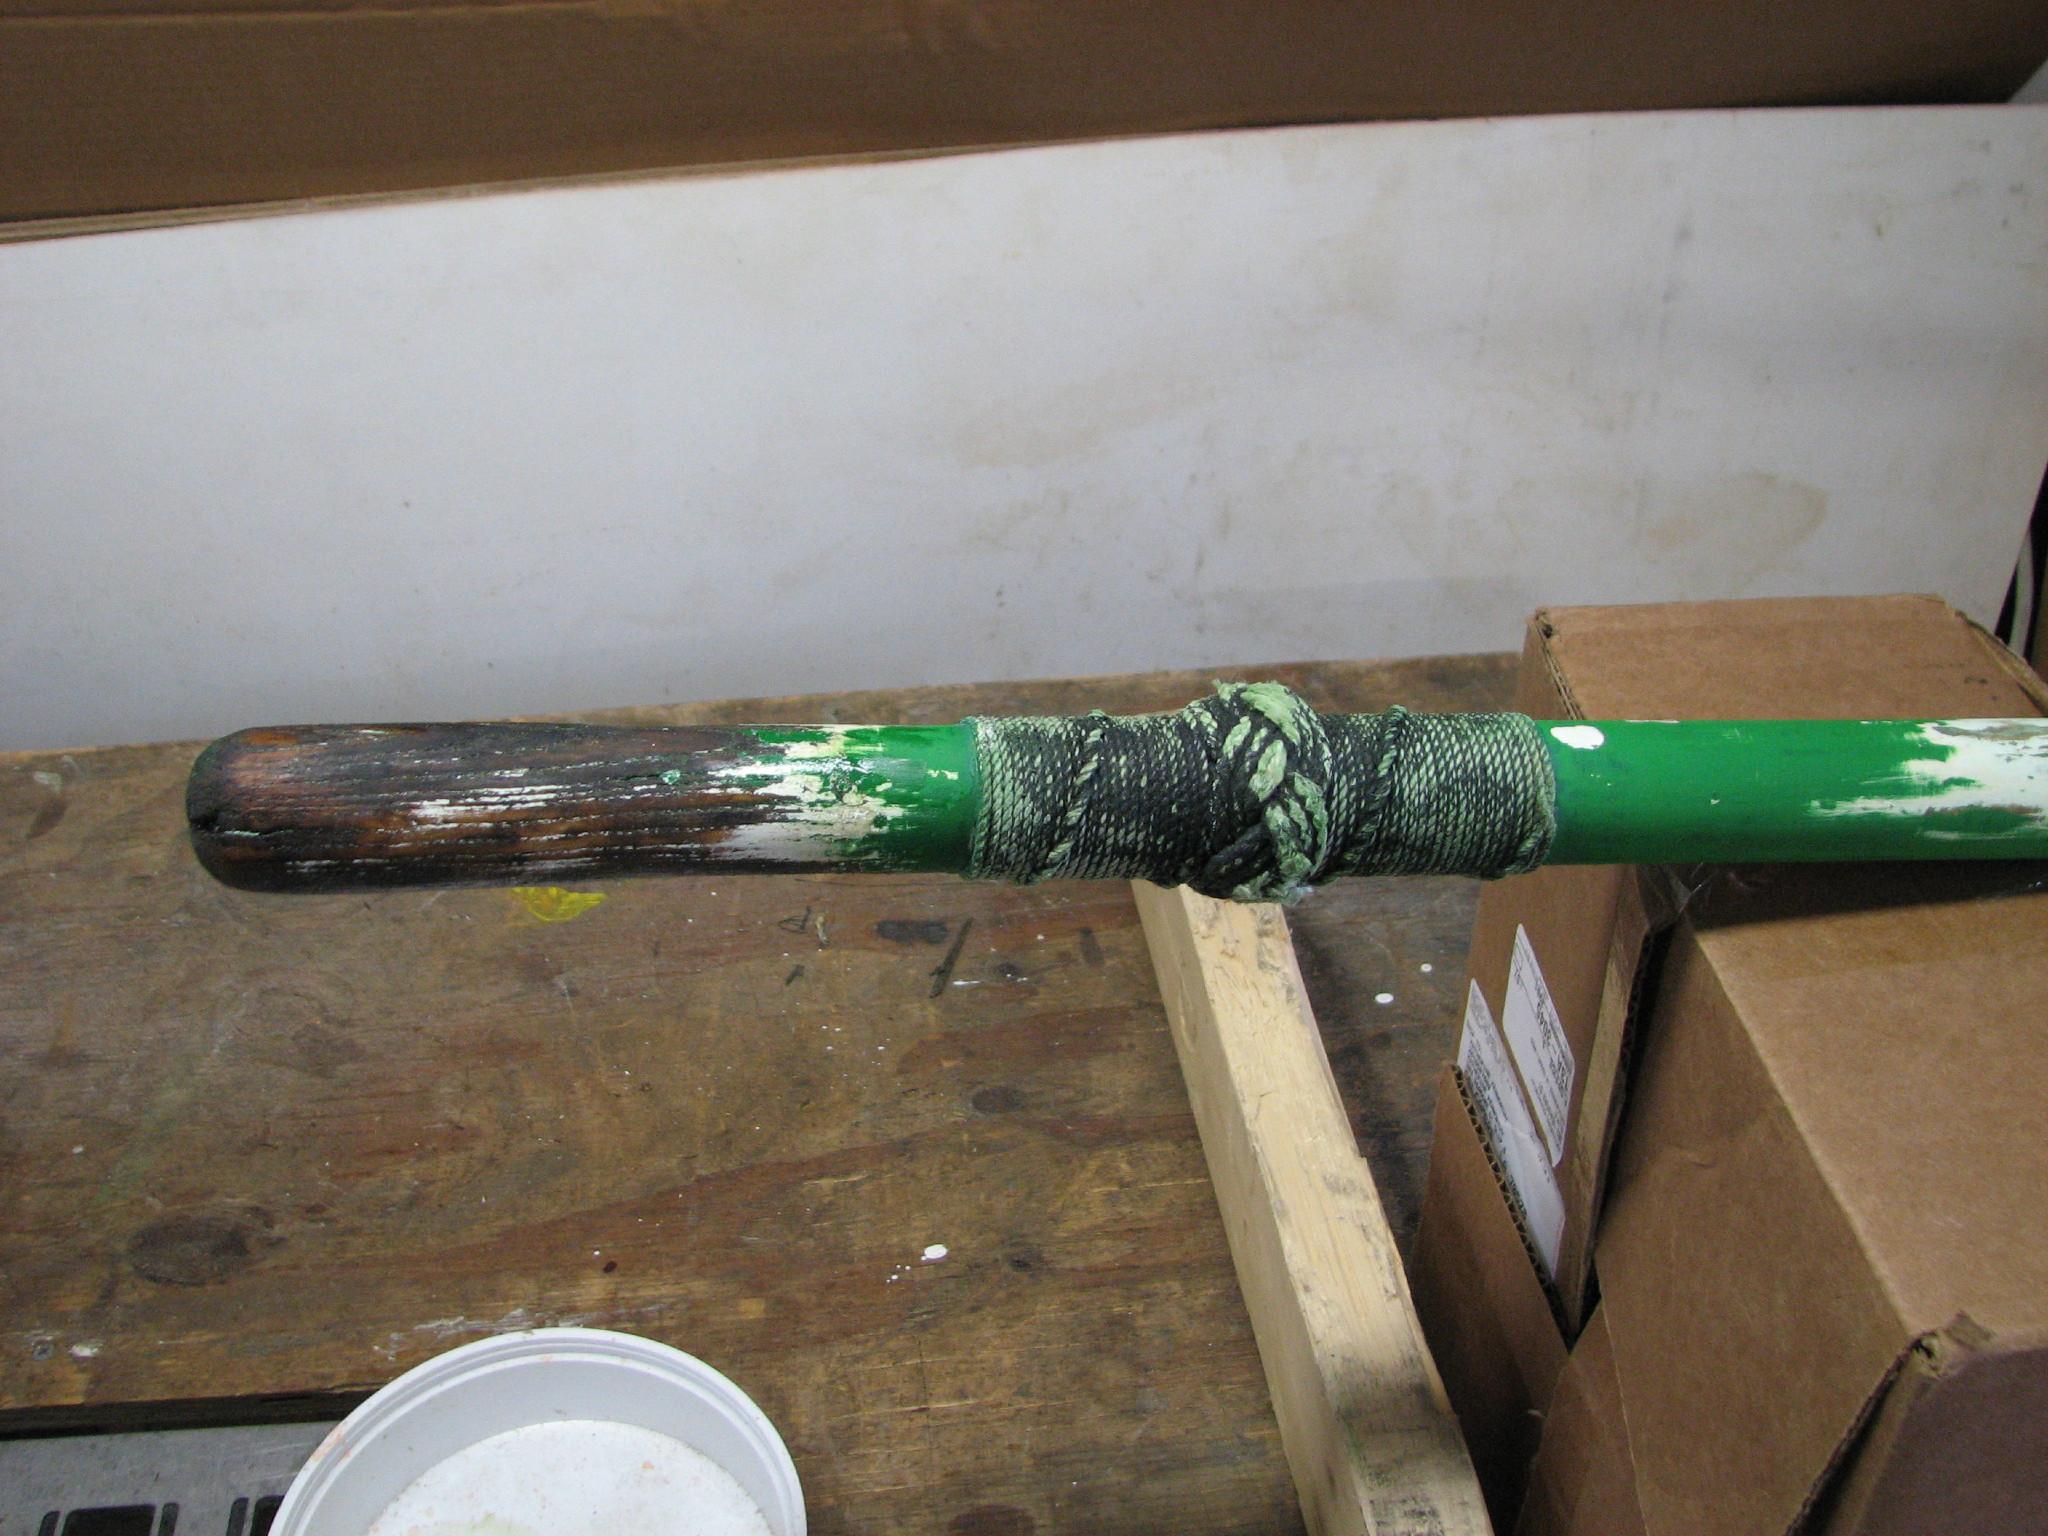
soaking to the bottom of the wooden boat hook.
Cockpit Hatch With
Epoxy Applied
Wooden Boat Hook End
Soaked In Epoxy
Continued working on
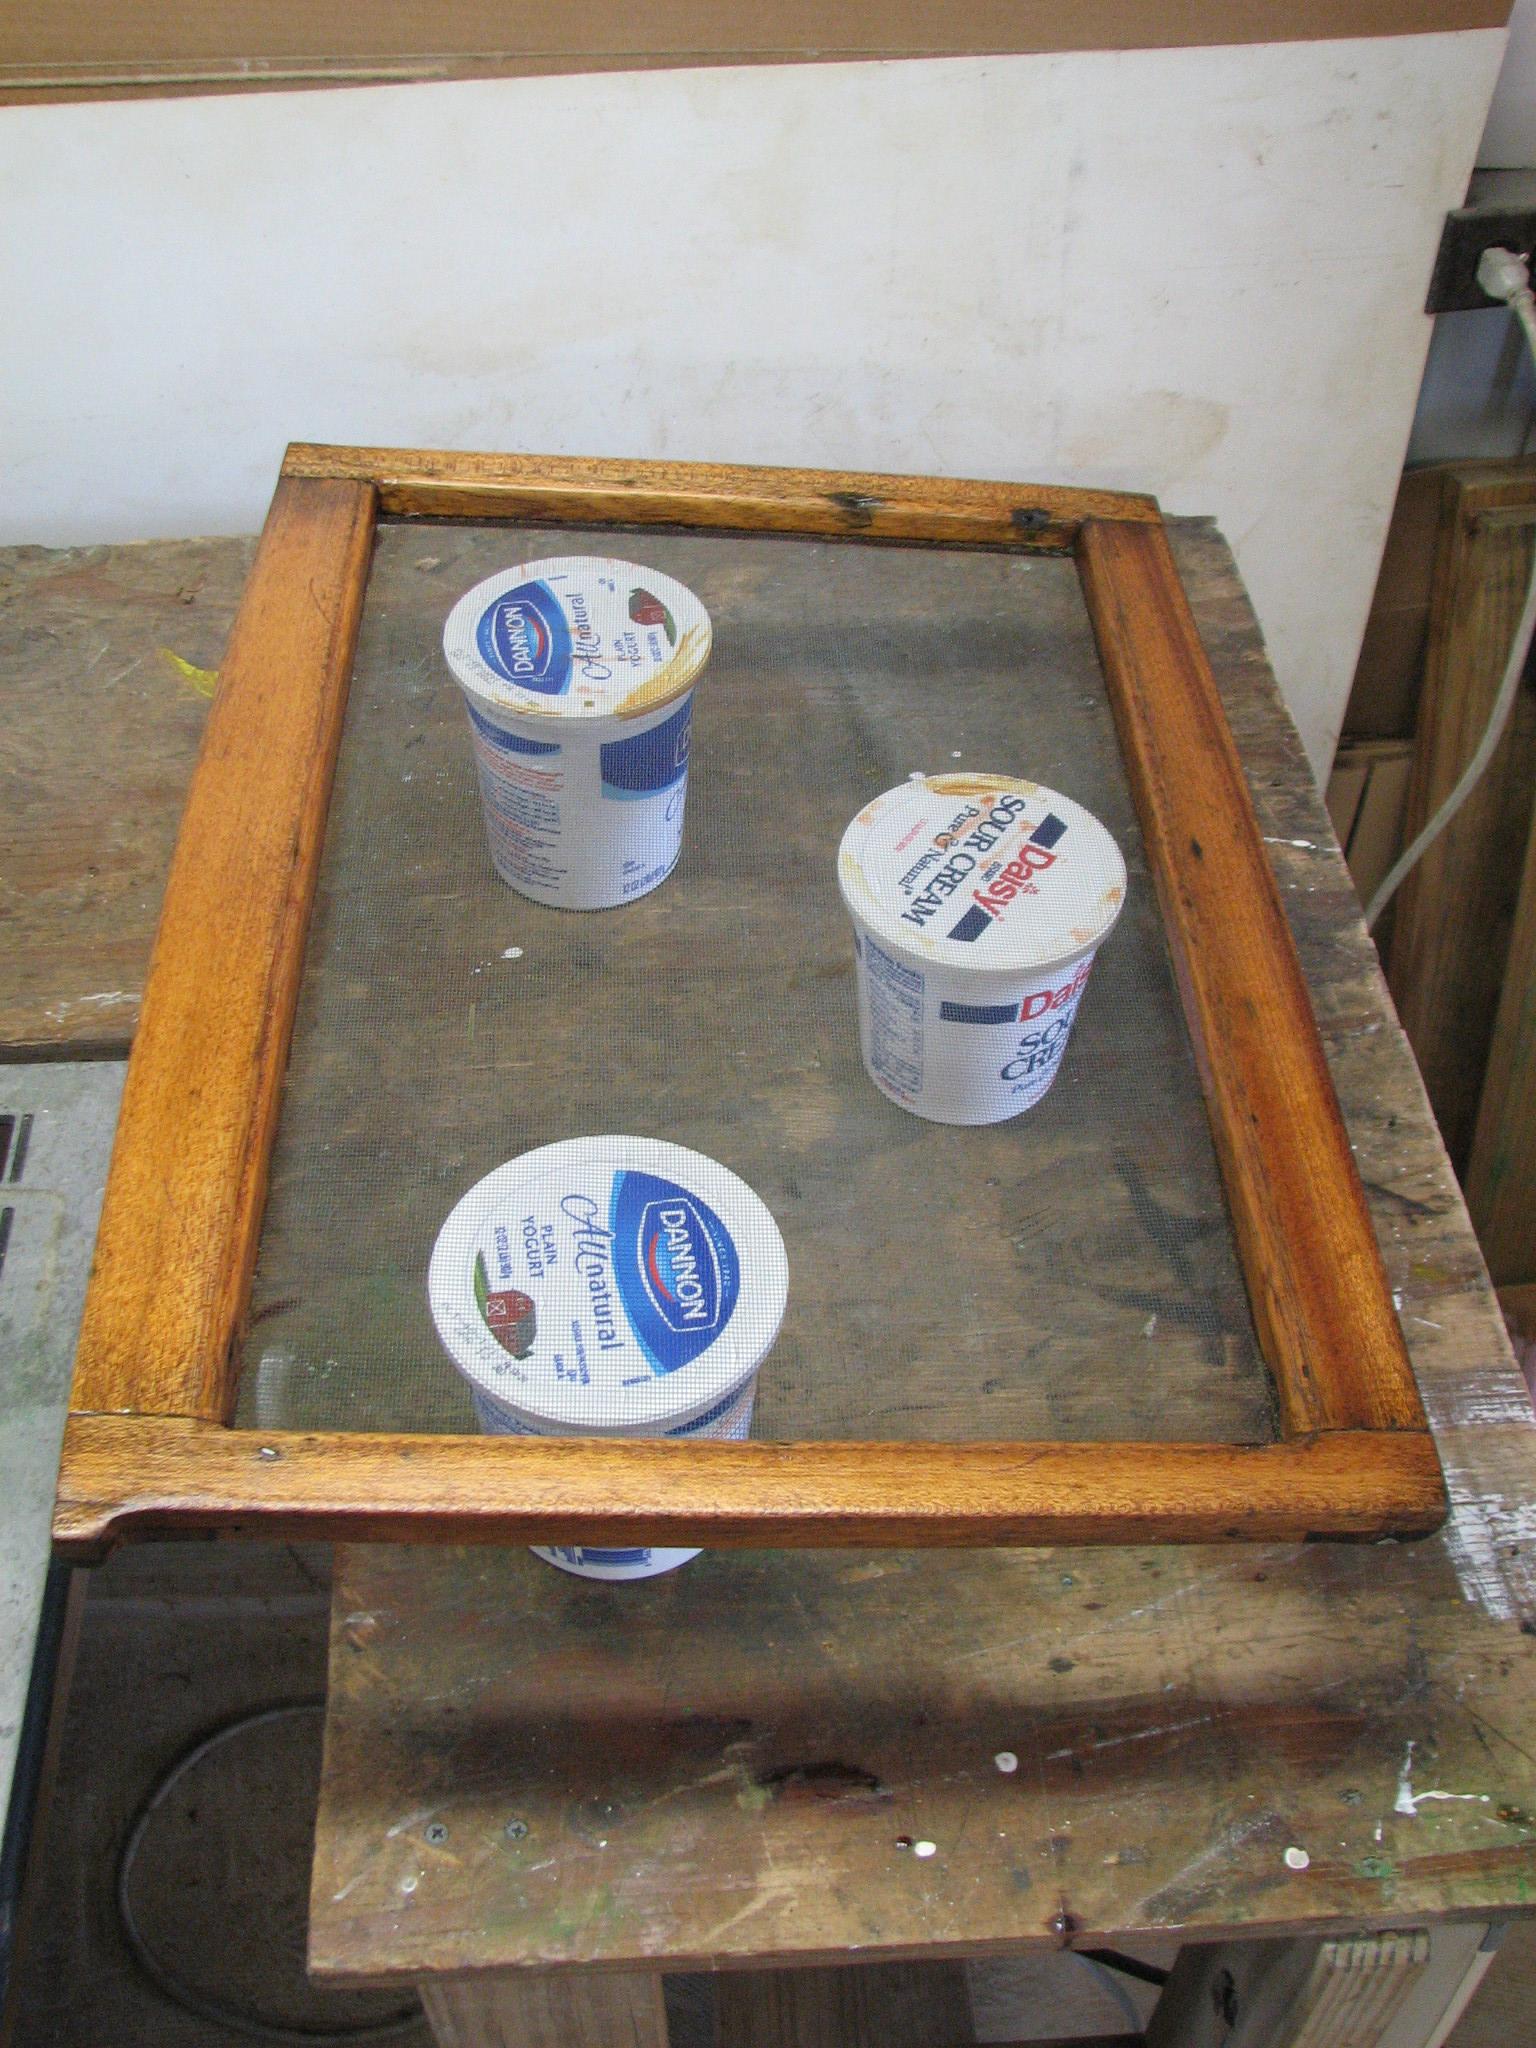
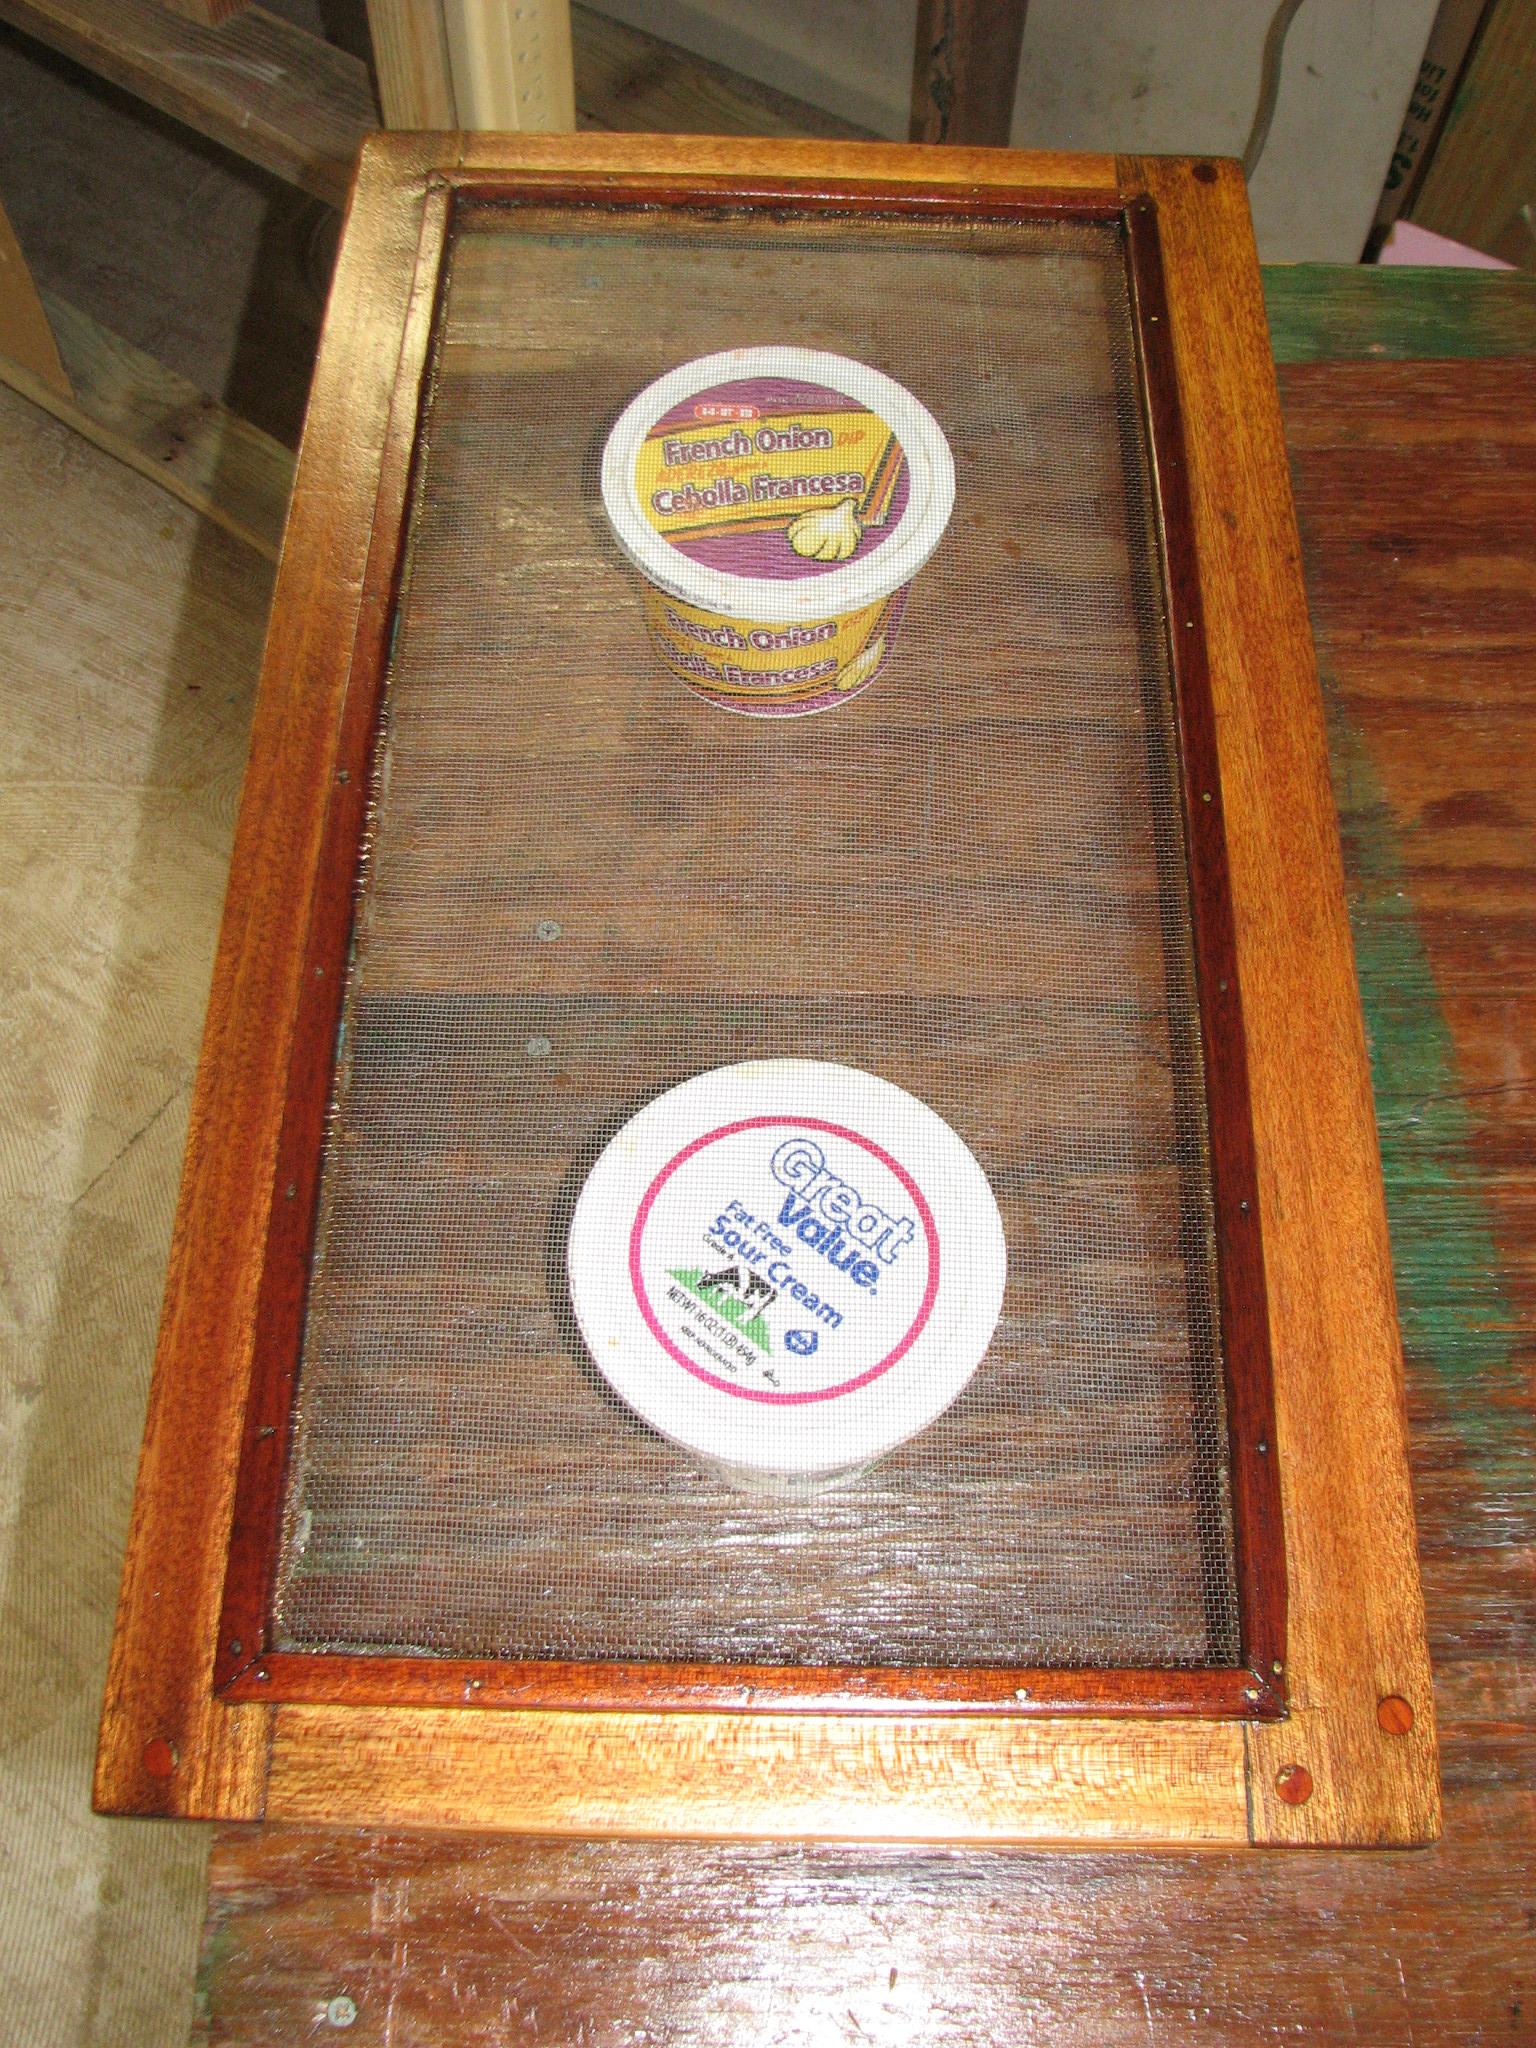
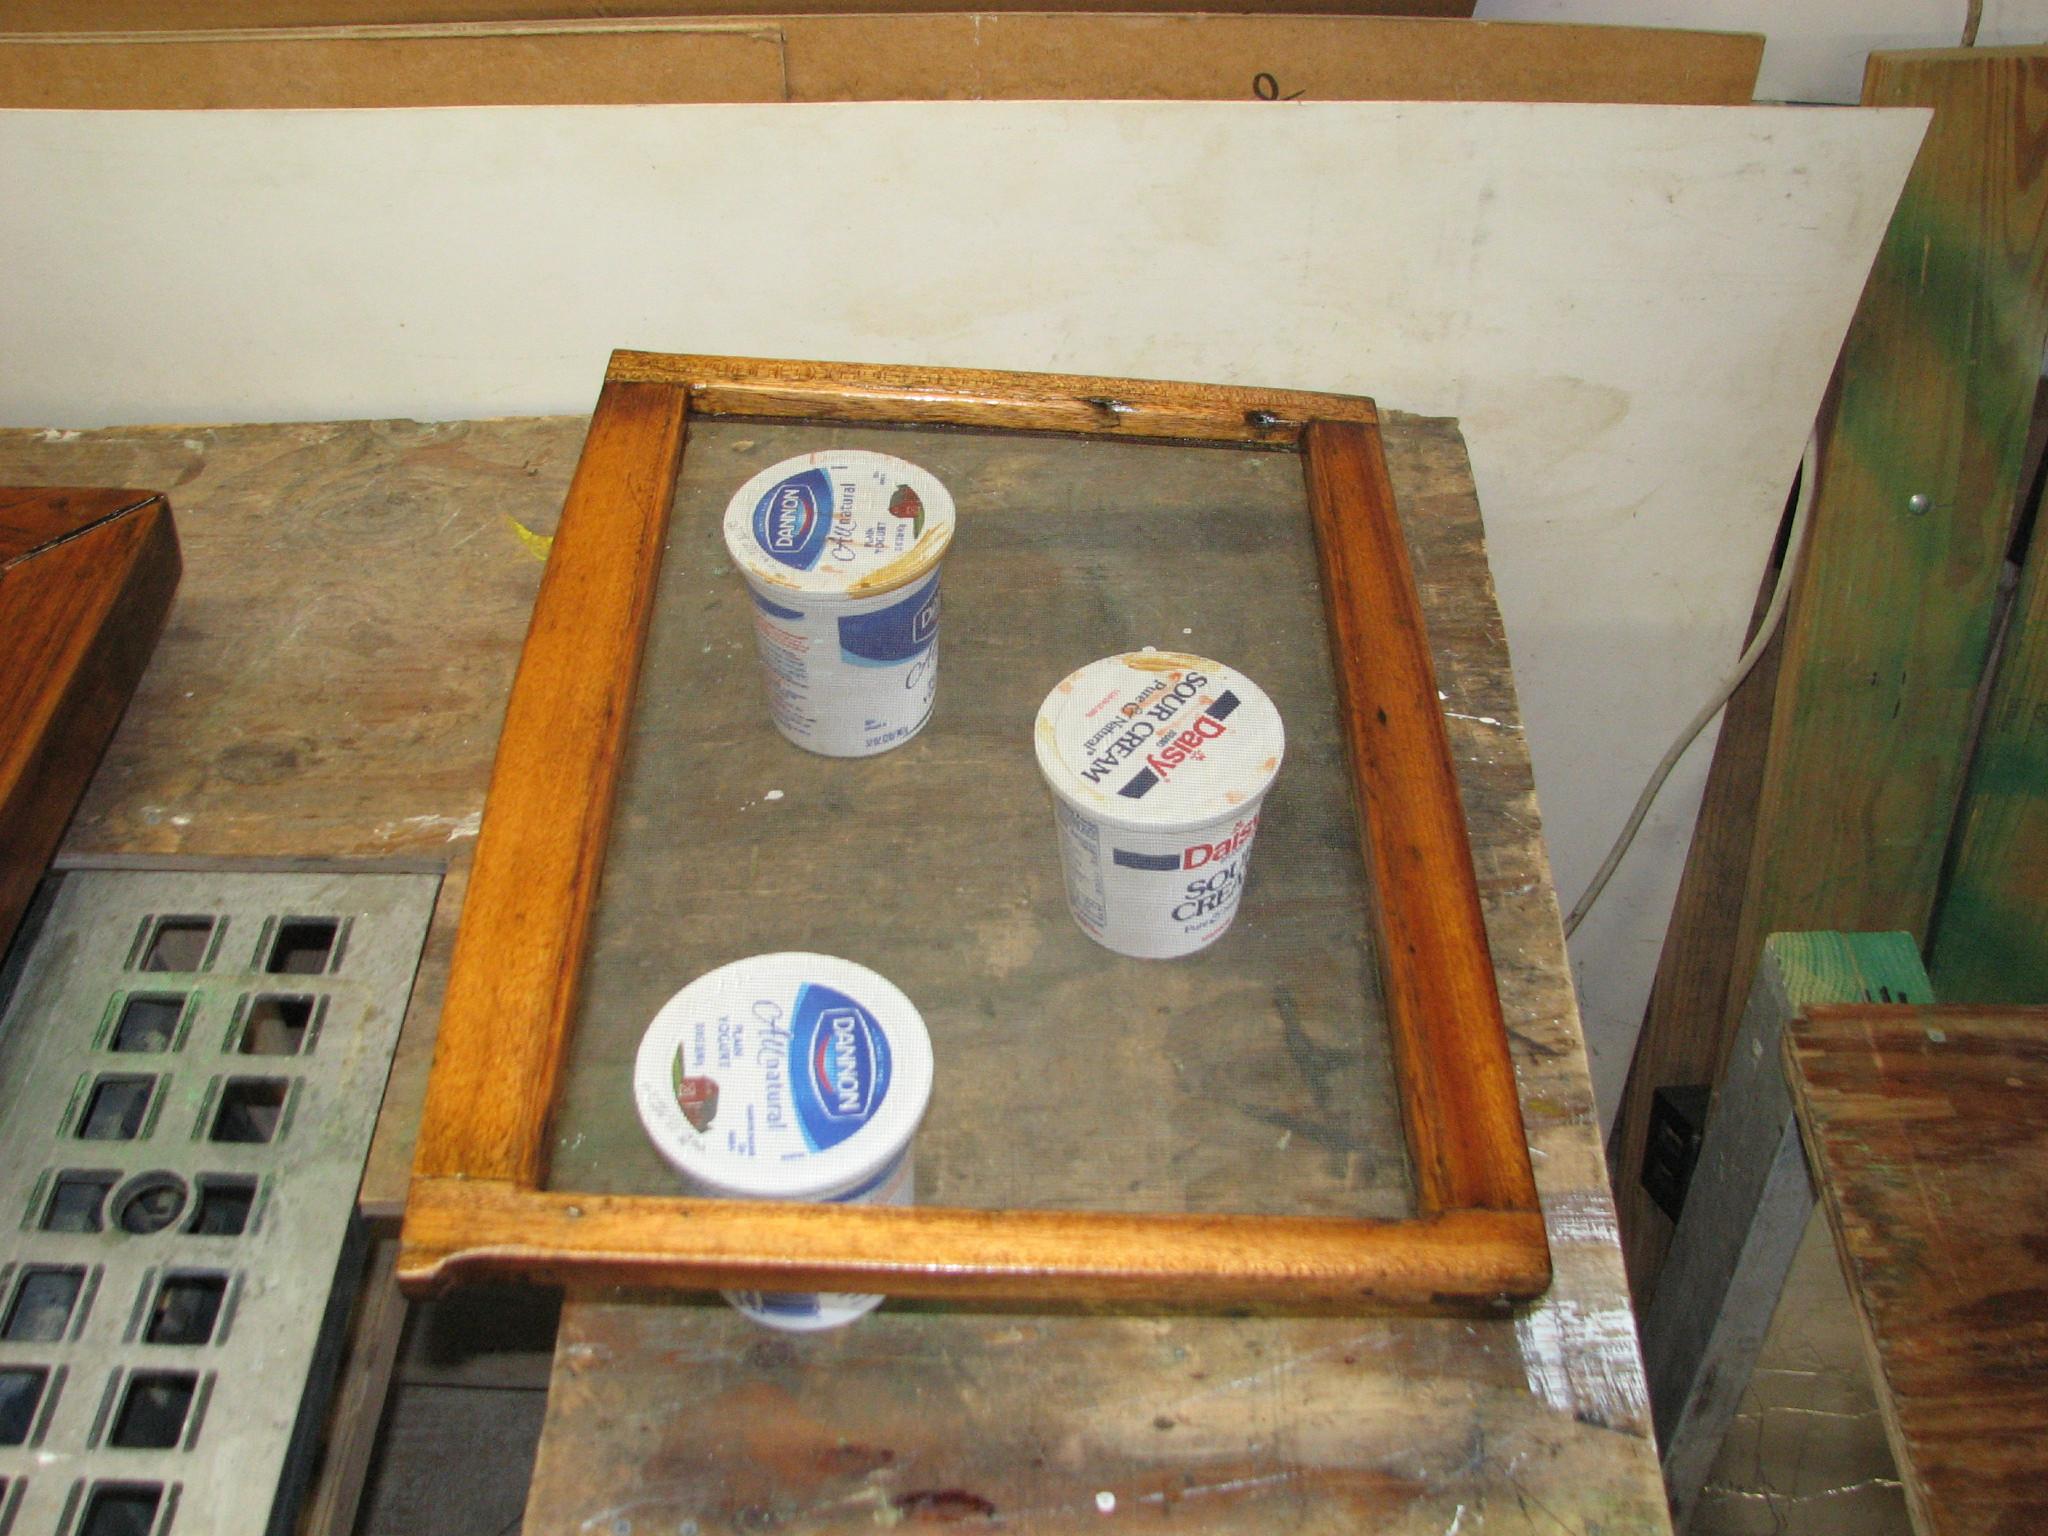
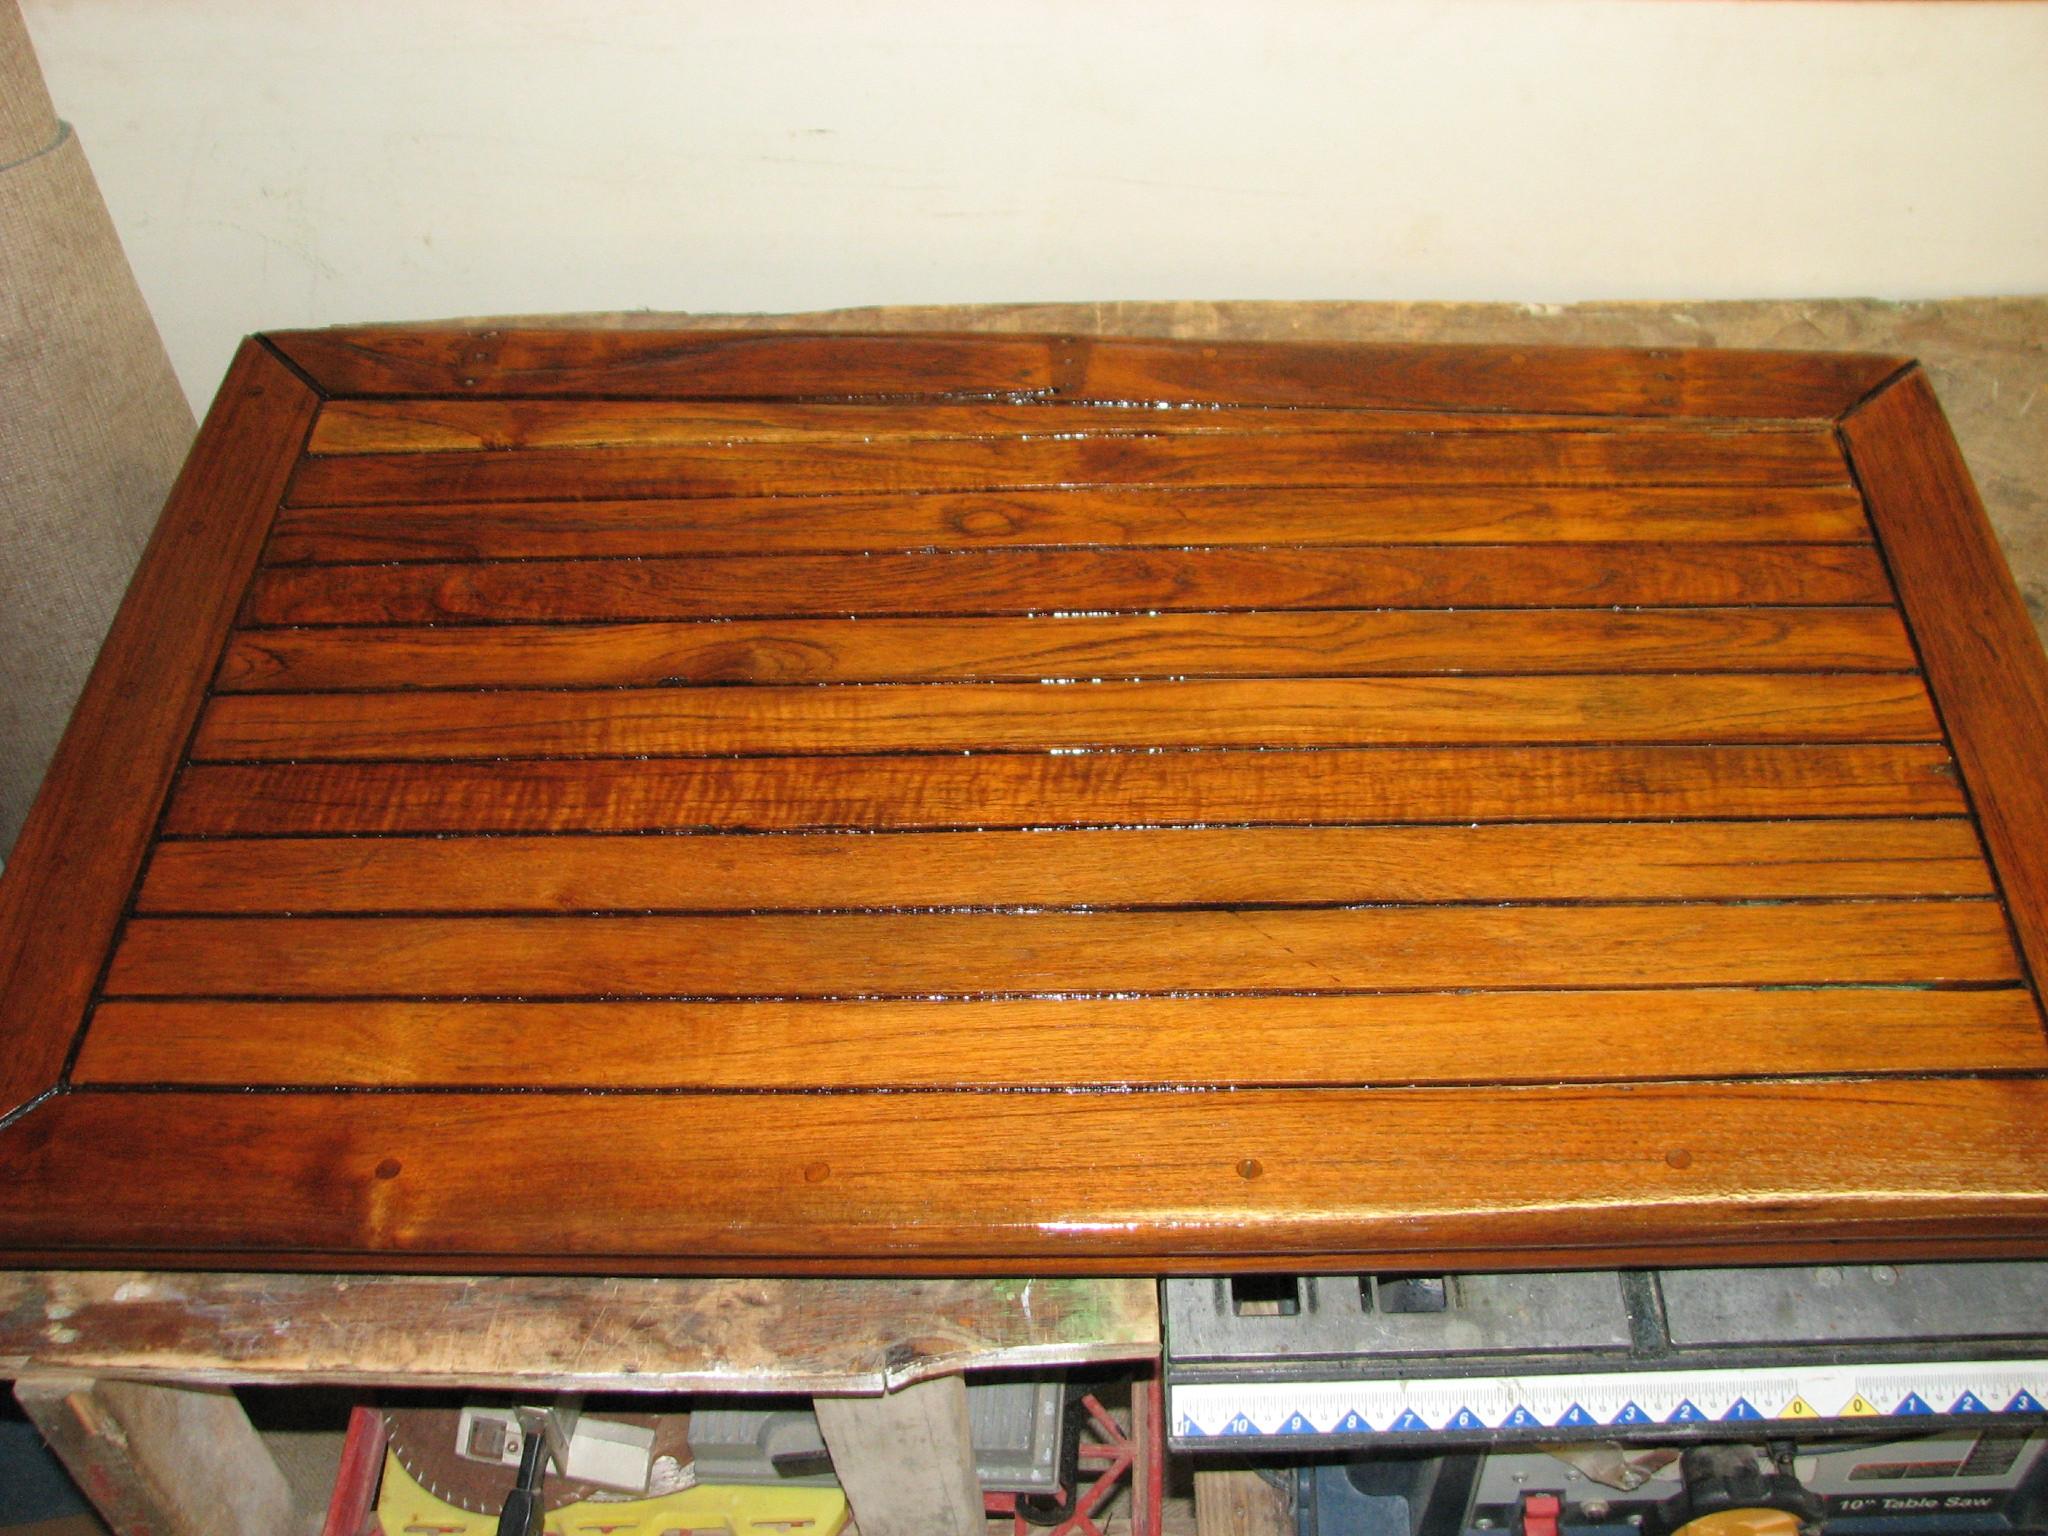
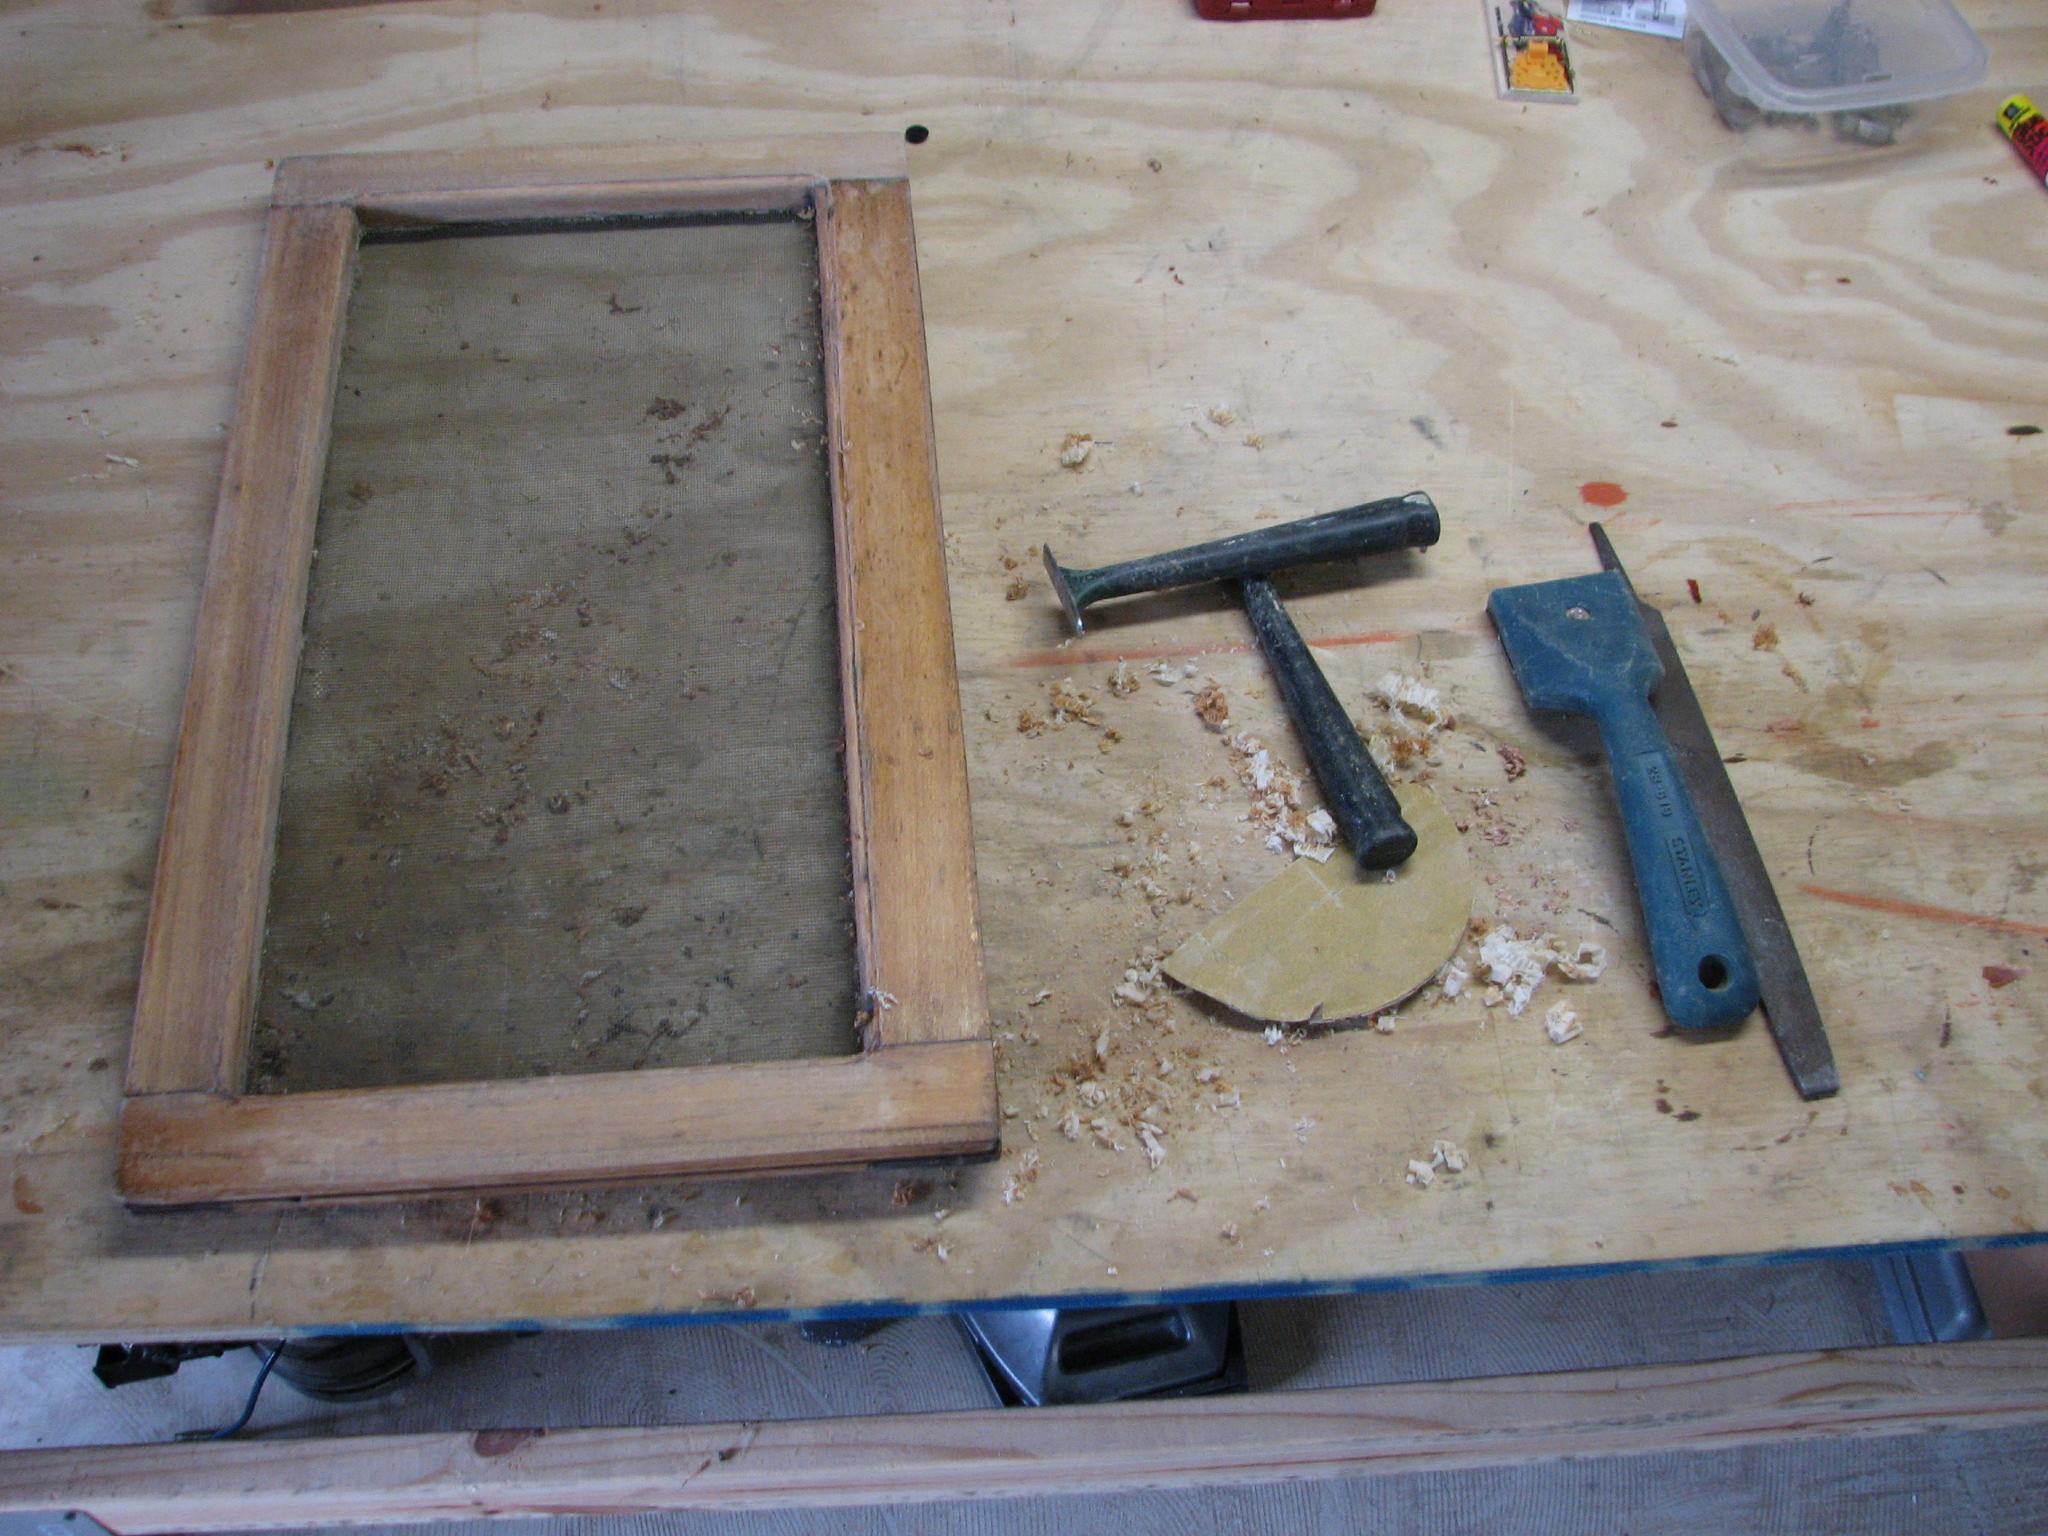
the companionway screens. I had decided to scrape all of the varnish
off of the screens, rather than do a couple of maintenance coats.
When the screens were down to bare wood, I planned to apply the
Smith’s
penetrating epoxy to them,
and then apply the Watco
teak oil finish. Hopefully
this combination will be easier to maintain.
Sanding Screens
Continued to get the
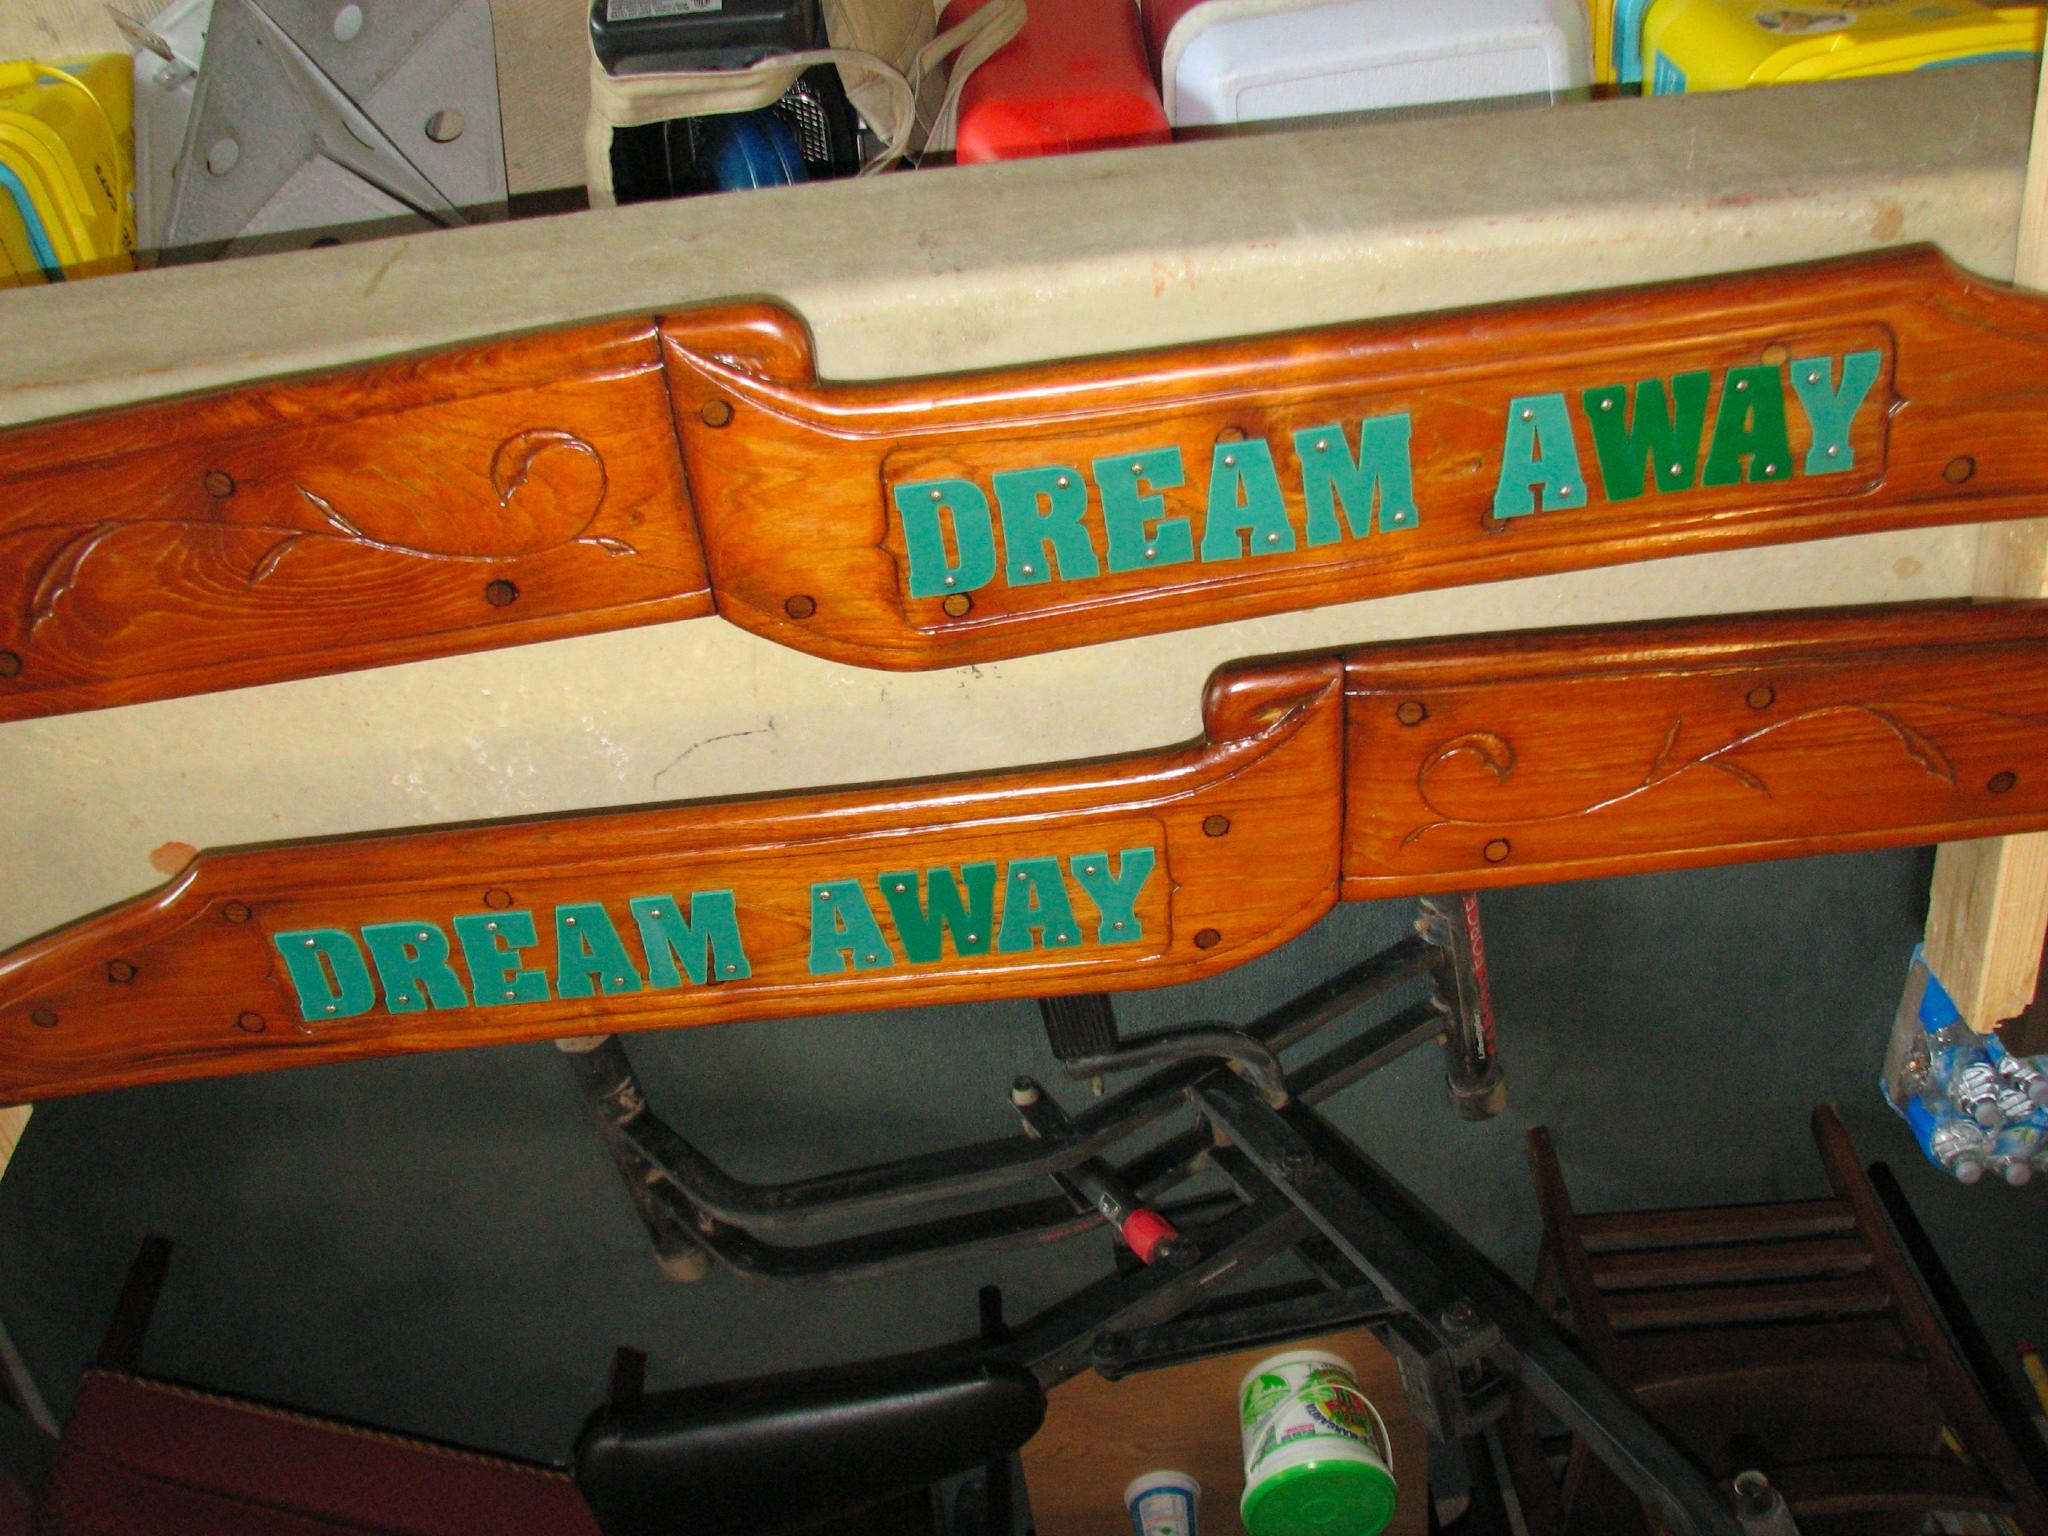
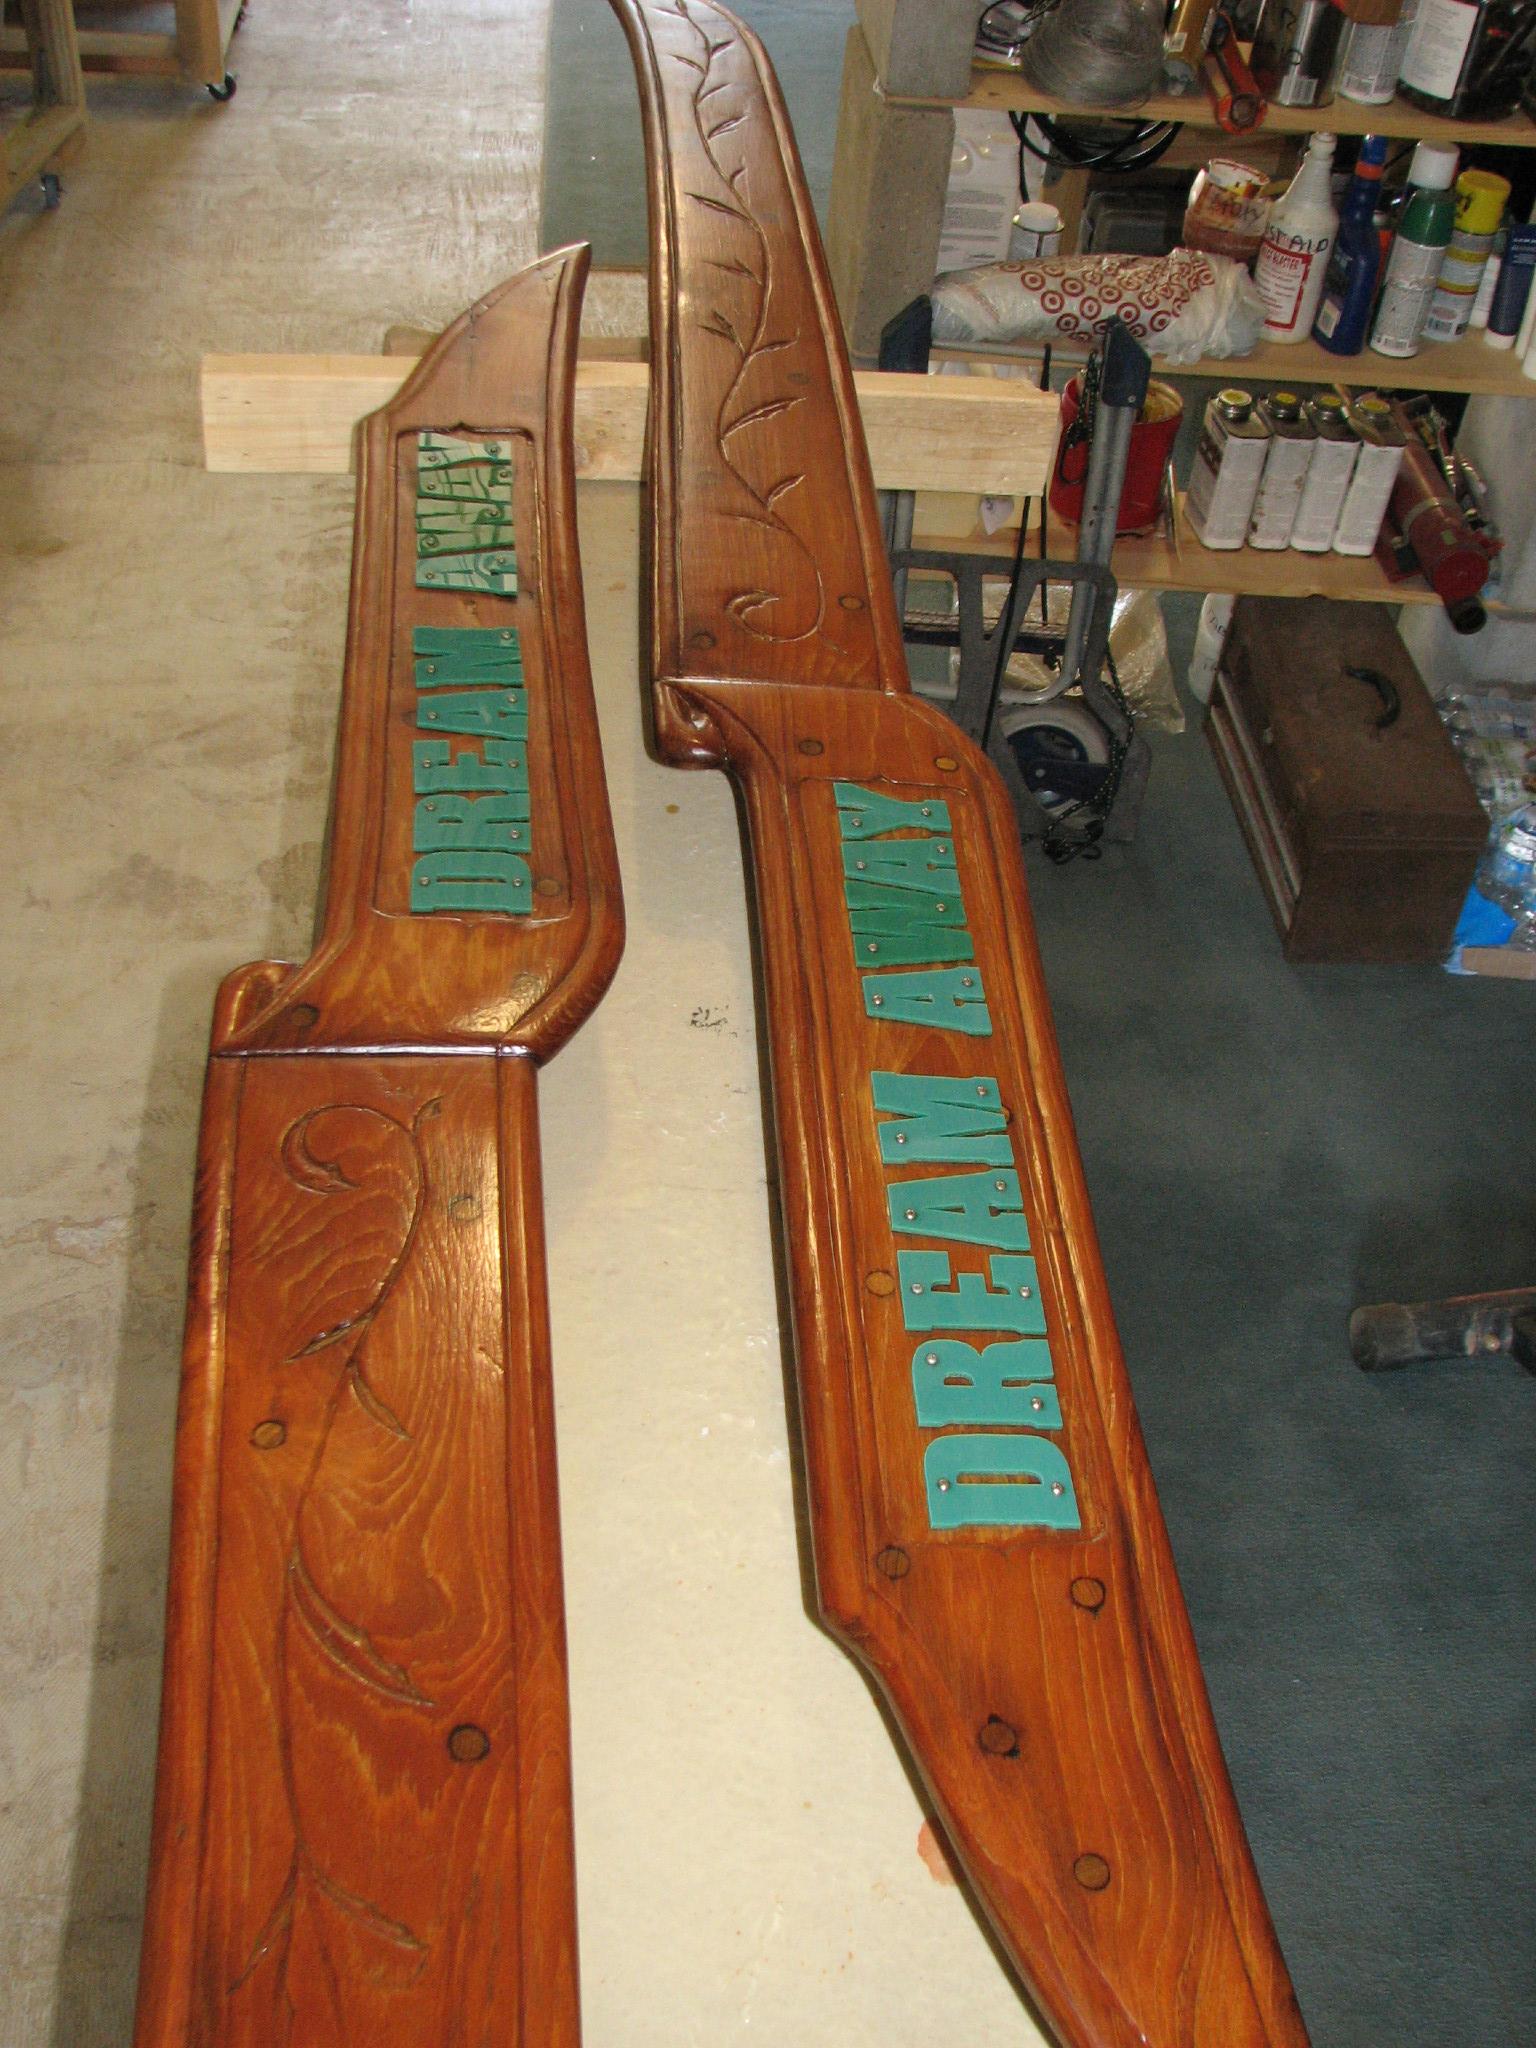
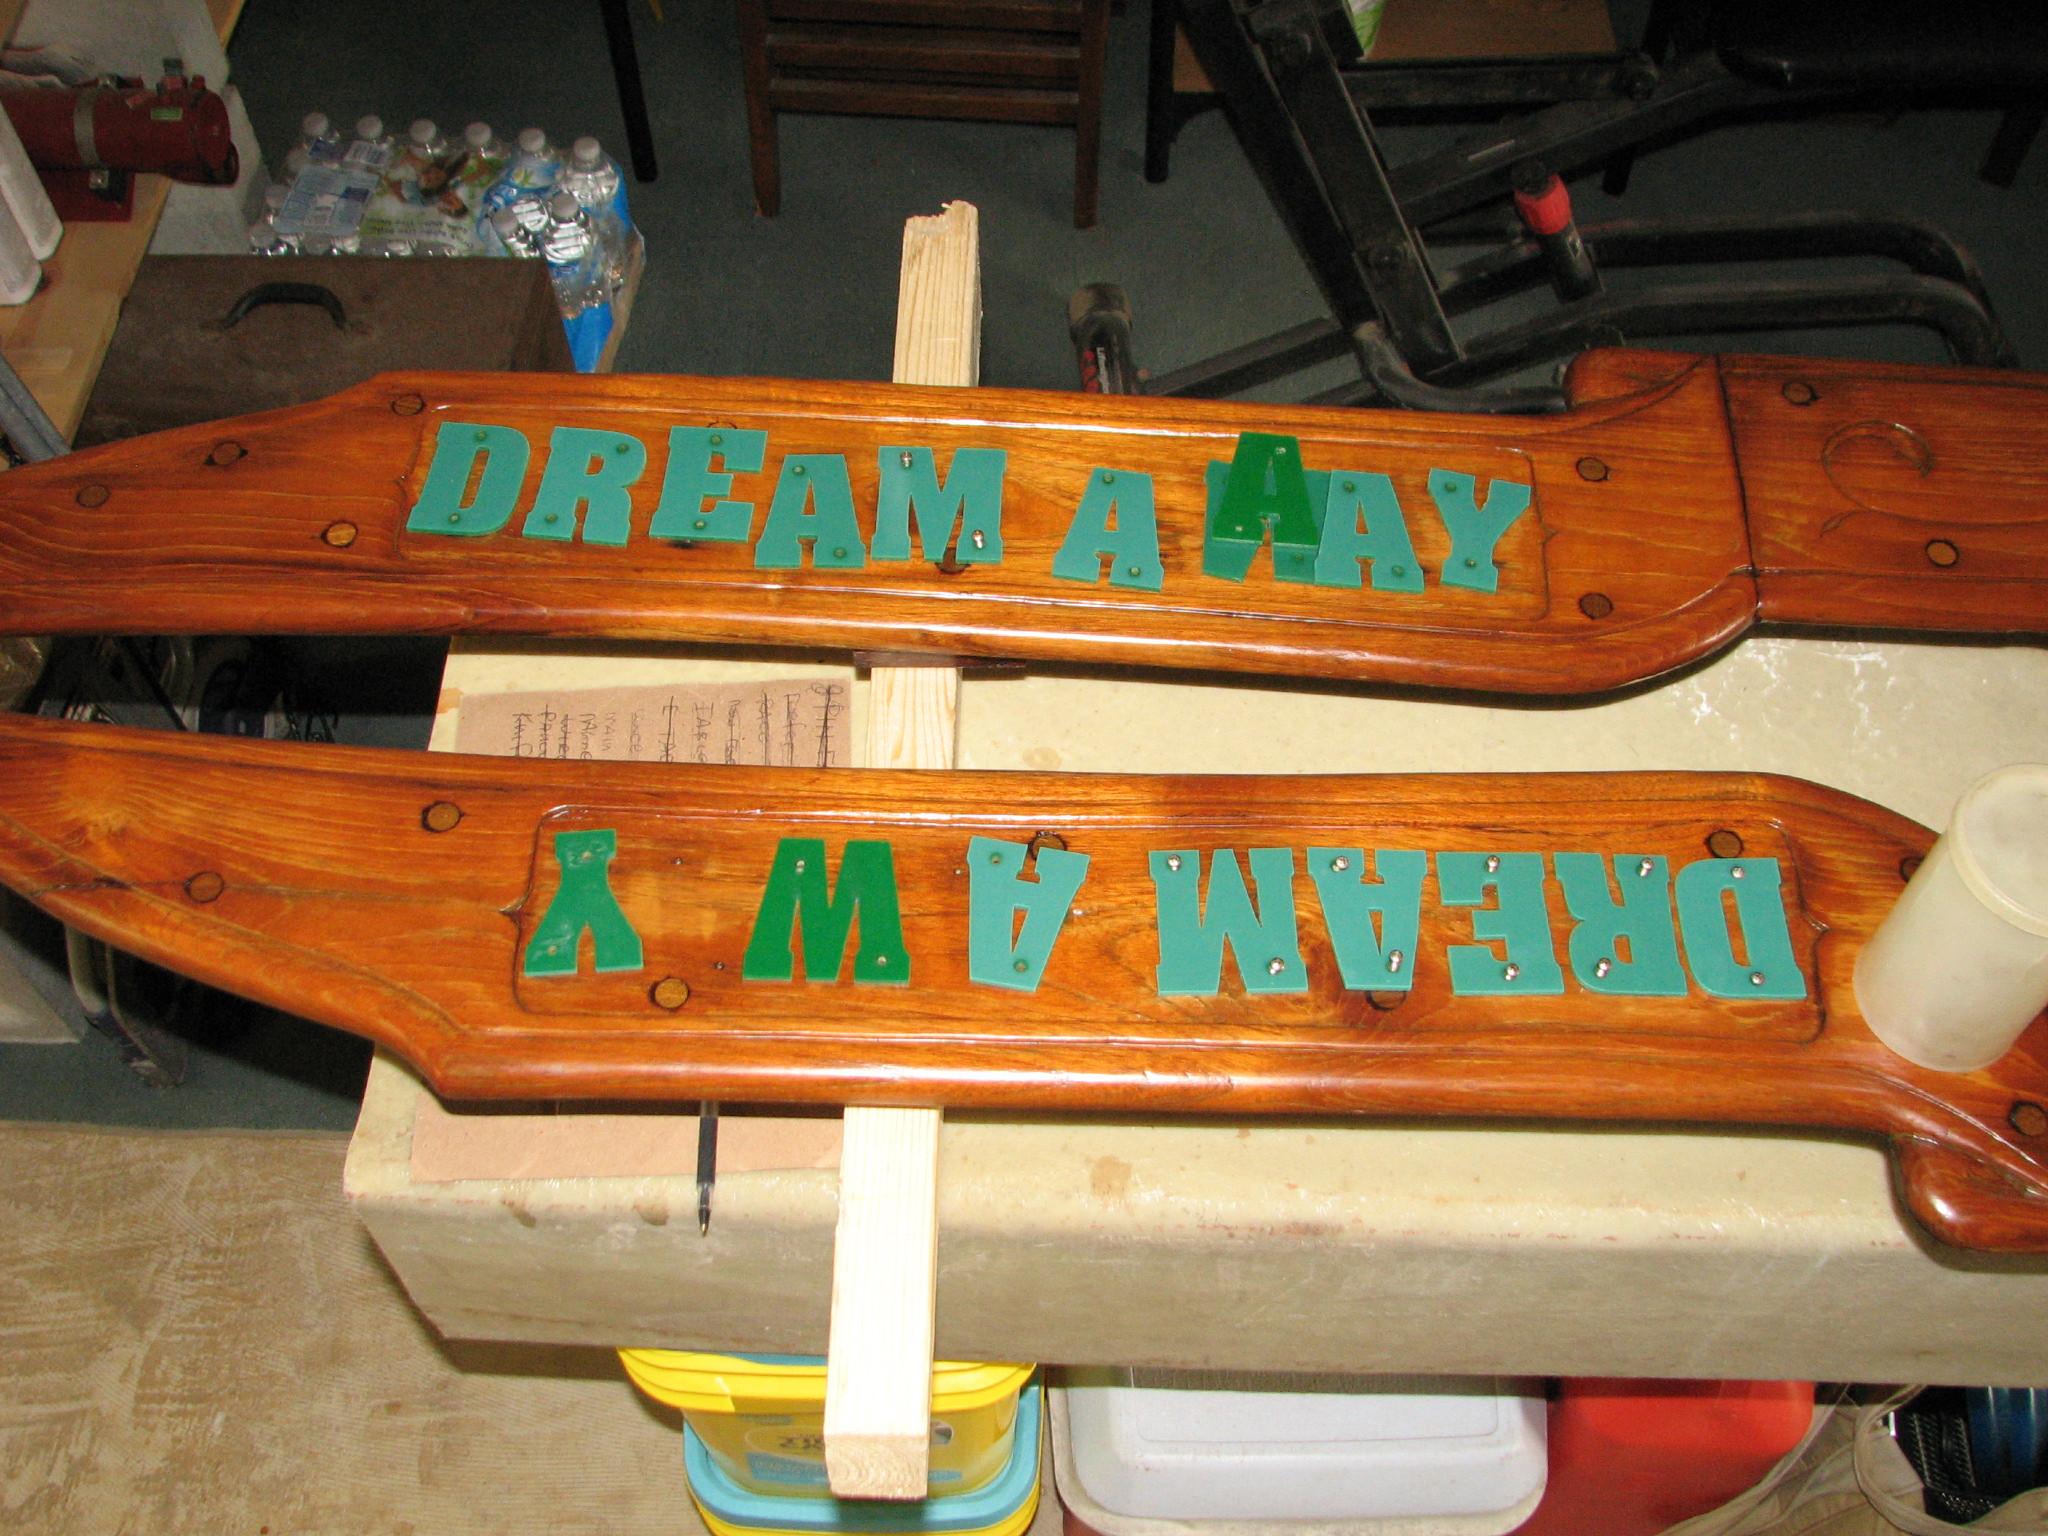
letters on the name boards. Not as easy as it might seem. The letters
were all individually drilled to put the screws in them, so trying to
get the correct letter lined up in the correct position was proving
more difficult than expected! Most letters I only had two choices,
but the “A” I had six to choose from!
Letters On Name Boards
Went back to DREAM AWAY
and had breakfast. After breakfast, I re-installed the instruments
back into the cluster under the main boom gallows.
Before putting putting
the instruments in their proper position, I made sure all of the
connecting wires had the proper connectors on them. I had previously
purchased connectors for just that purpose, as I did have to replace
several connectors.
I also wanted to check
out my wind instrument. It had not been working correctly. I wanted
to see if the actual instrument was bad, or the wiring on the
anemometer at the top of the main mast. I had a spare masthead
anemometer and the wiring, so I could connect the spare directly to
the instrument while the instruments were not in the pod.
The wind Instrument
functioned normally connected to the spare masthead anemometer, so
the actual instrument was not the problem. I would have to do some
more troubleshooting. In the meantime, I put all of the instruments
back into the pod.
Instrument Pod And
Wiring
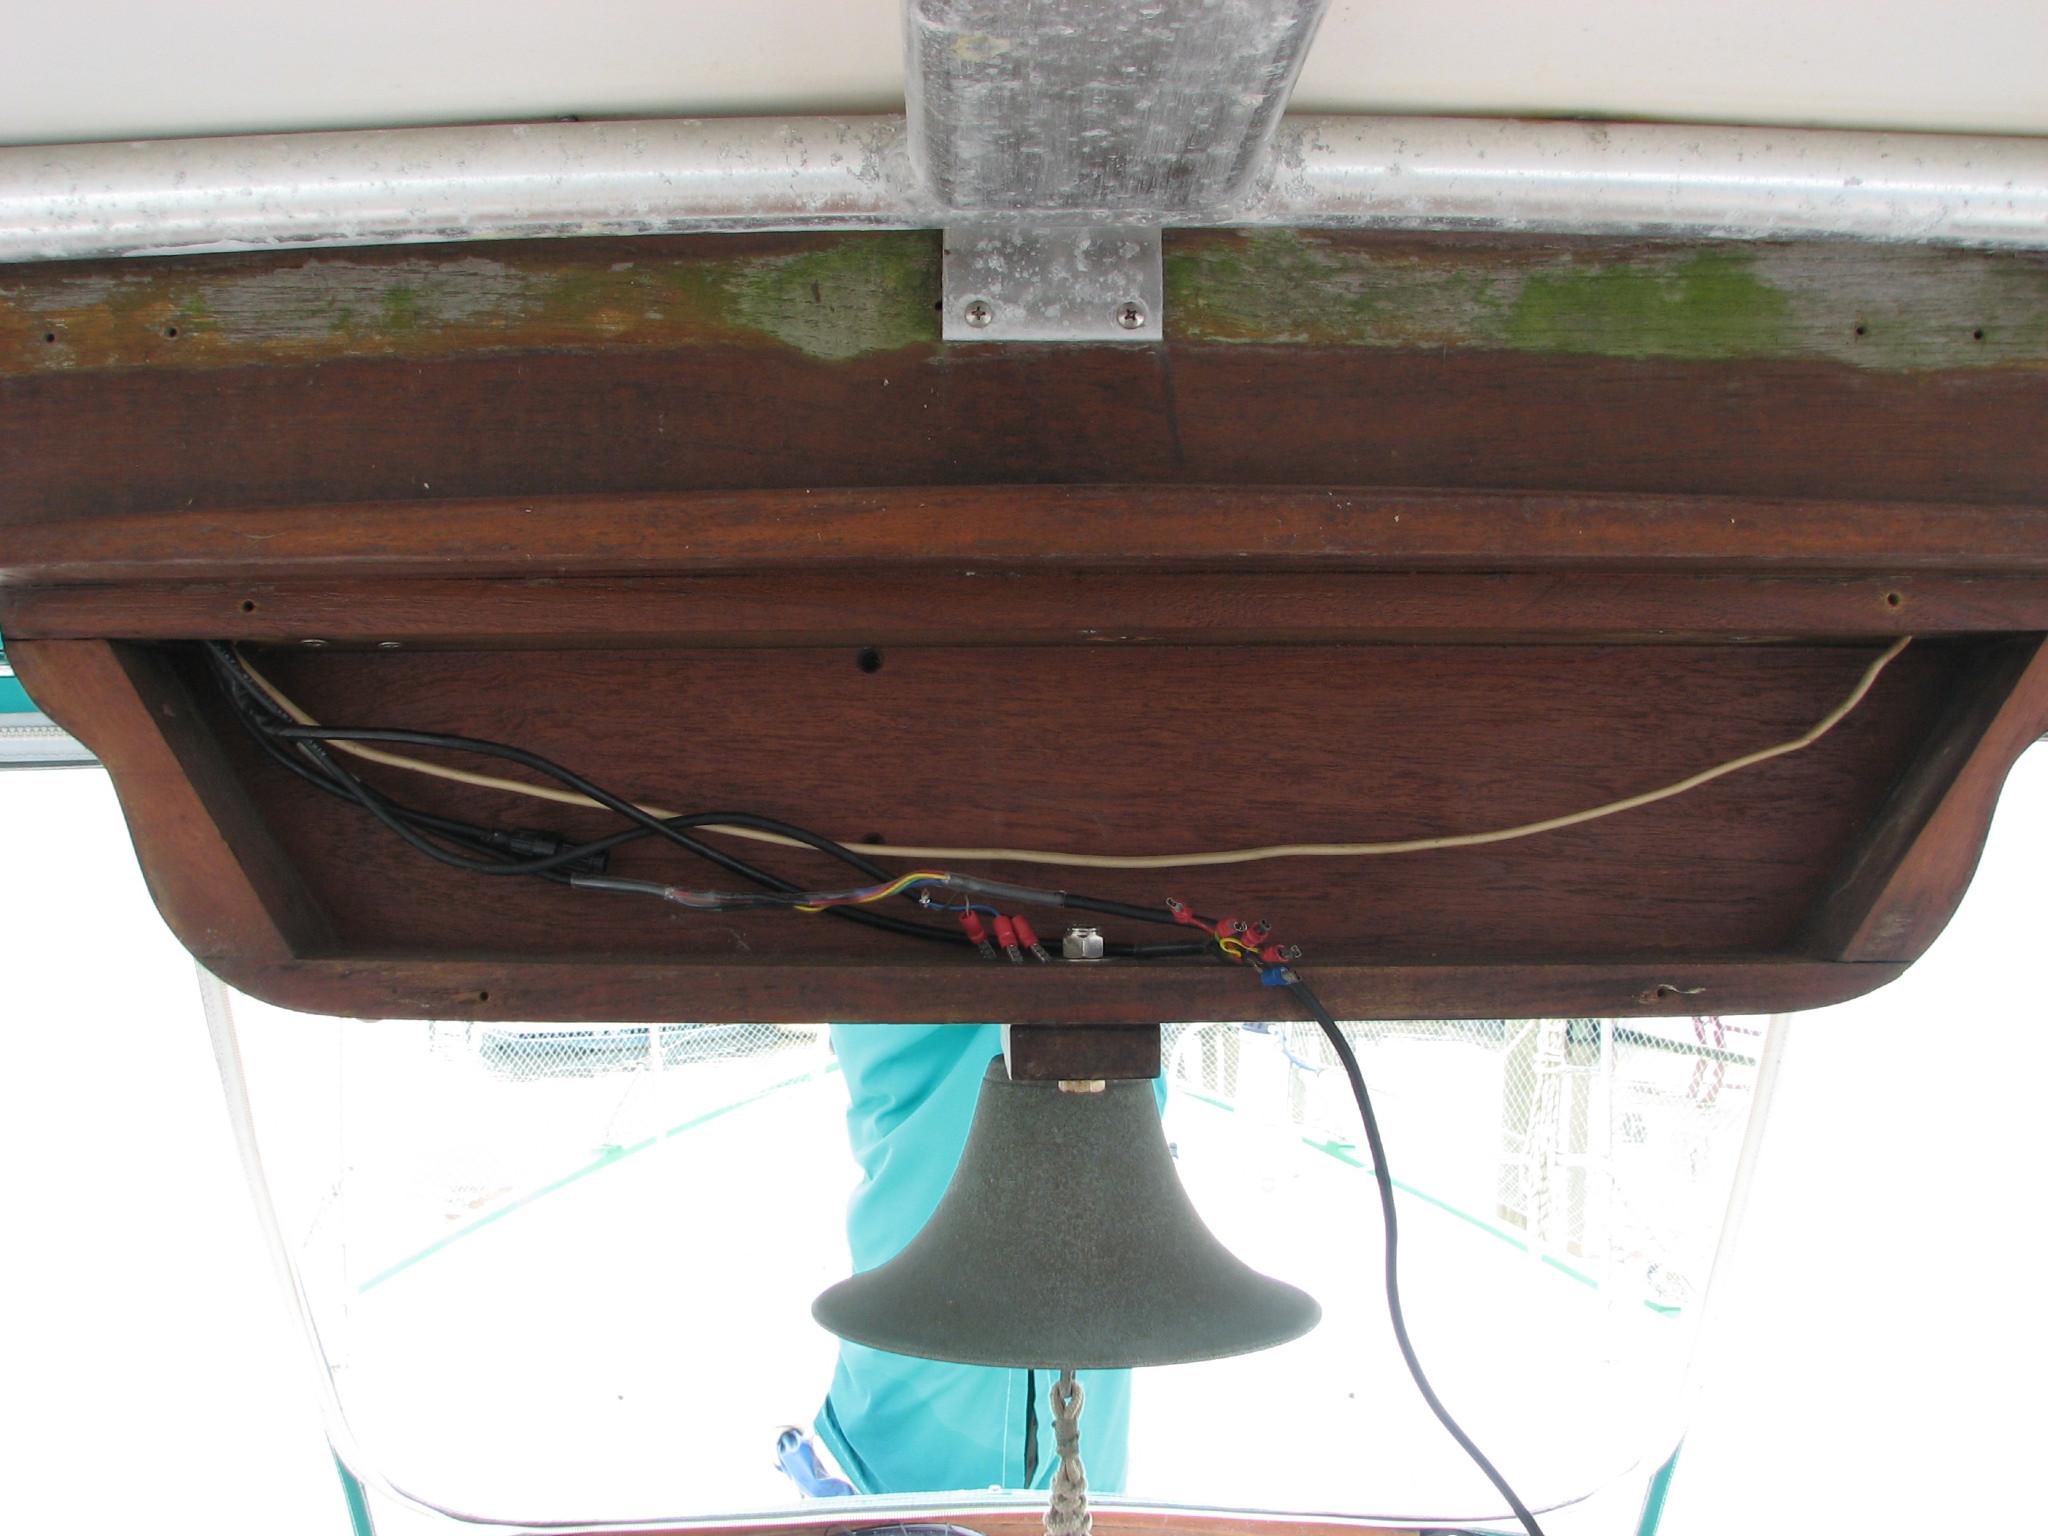
Checking Instrument
Connections

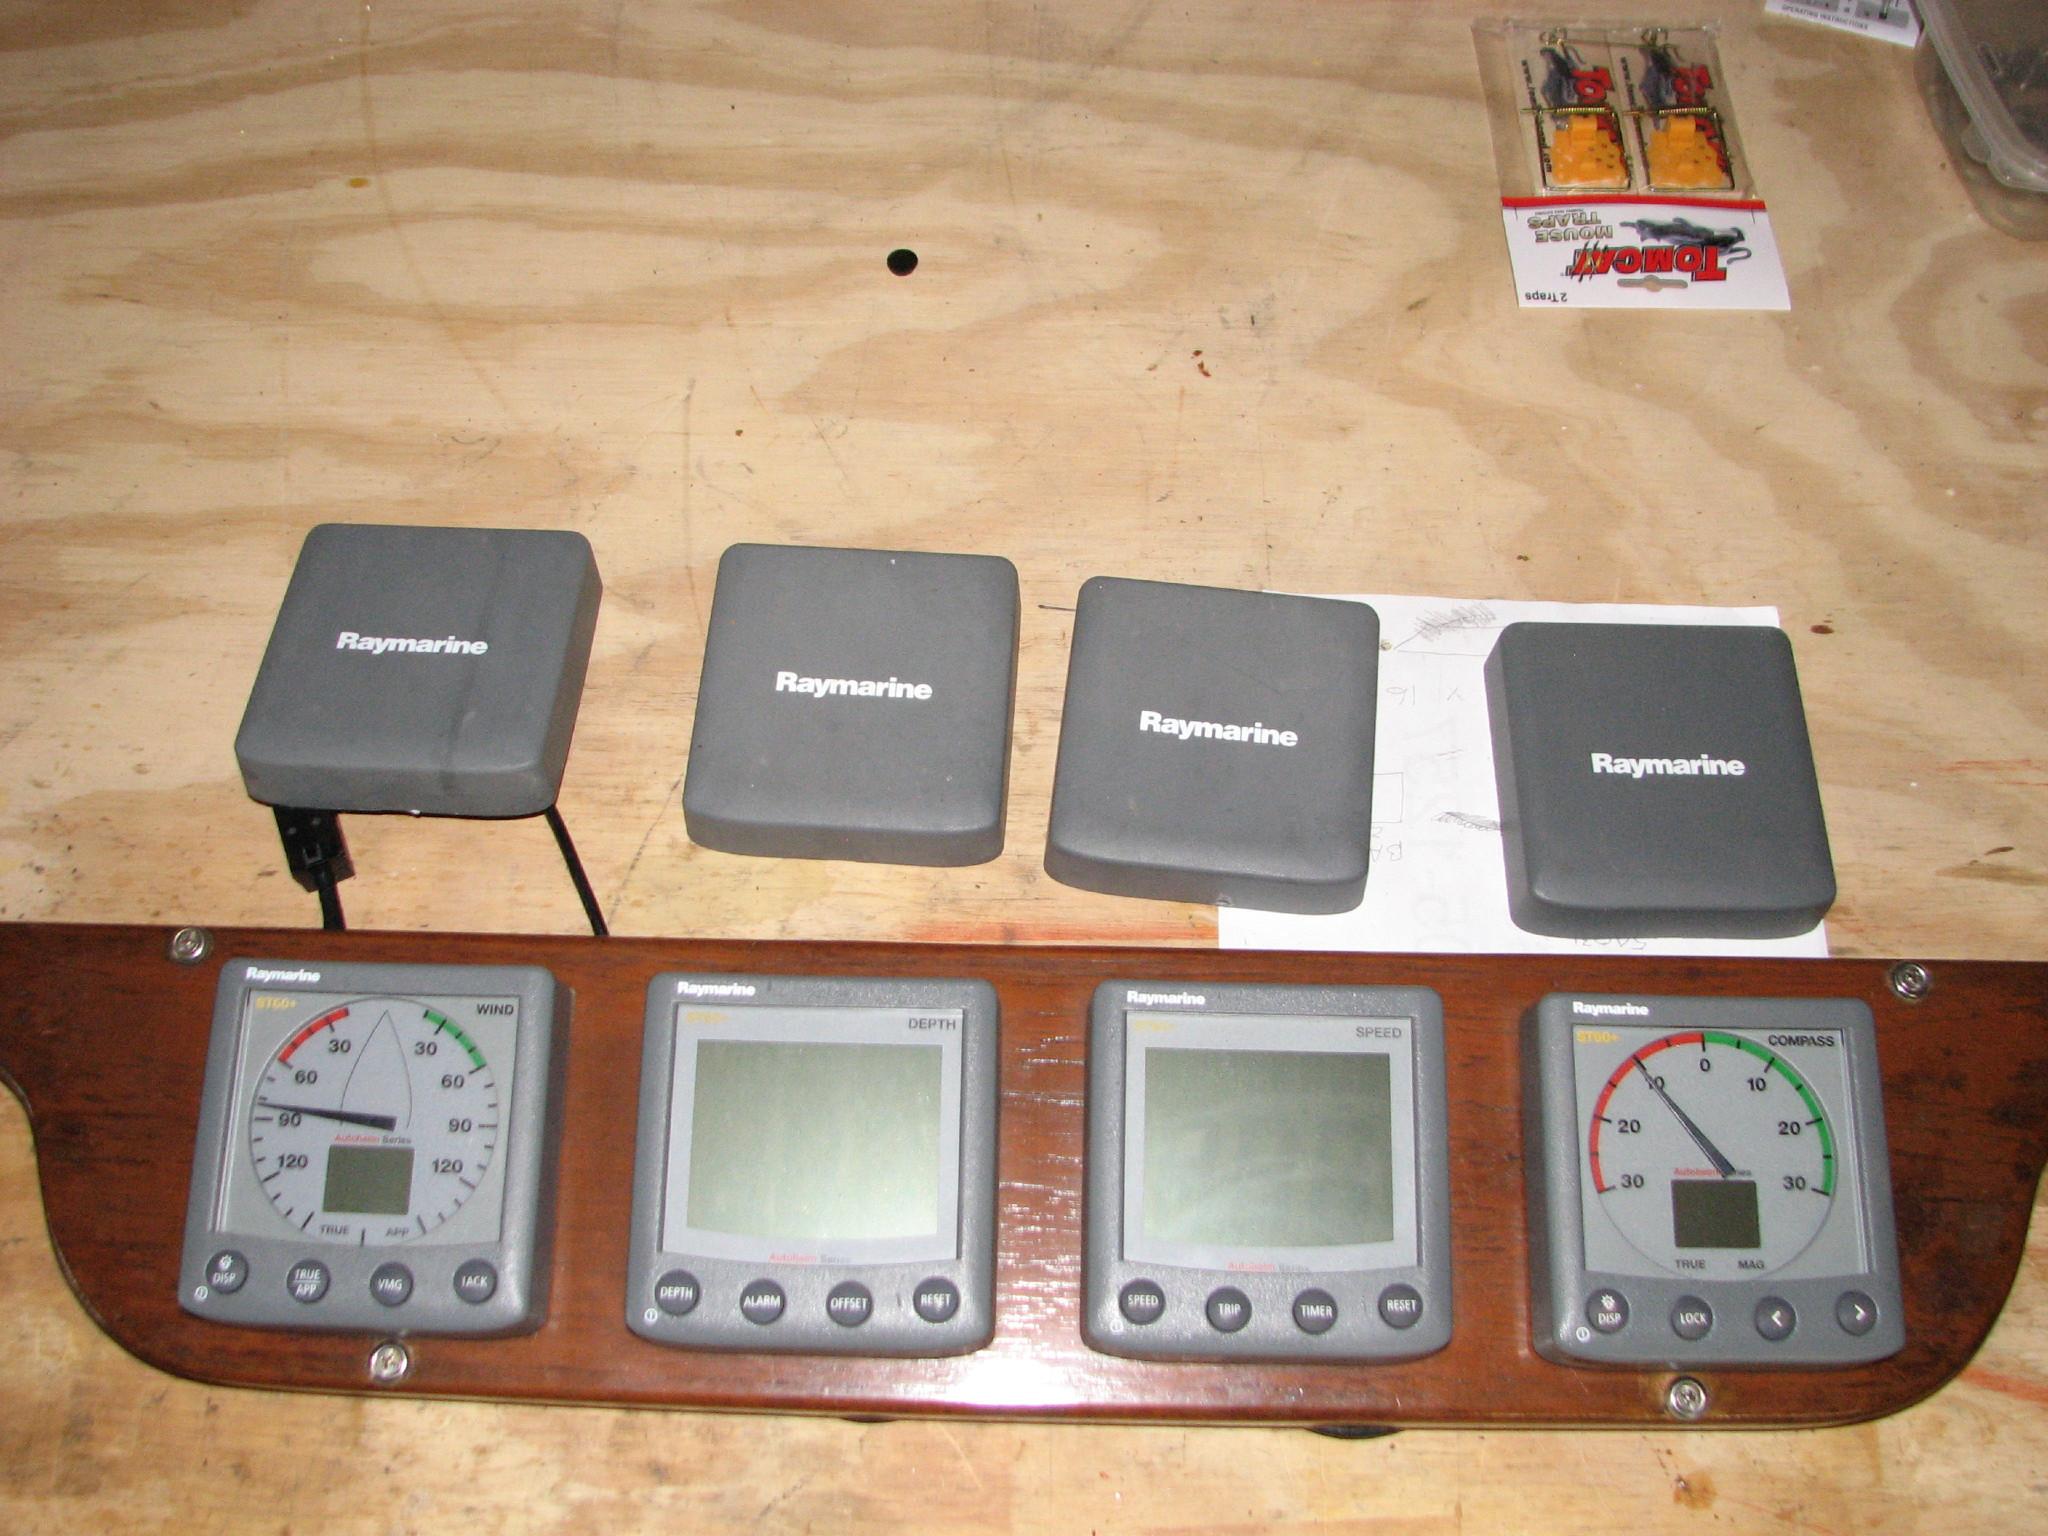
Instruments Back Into
The Pod

May
10, 2013, Friday
Started
off the morning with my normal ritual of getting on the Internet,
answering email, checking the weather, while making a pot of coffee.
The rain was amazing, so stayed on DREAM AWAY and worked on the web
page.
Went over to the shop
in the late afternoon, after the rain had stopped, and the floods had
receded. Did some more welding on the tubing I will be using for the
main cabin grab rail. Trying to do some fill on some of the bad
welds. Trying to get back into the swing of welding, and it is a slow
process.
Did some more work on
the nameboards. I am putting all of the original green letters back
on the nameboards. They will look really good when I am finally
finished.
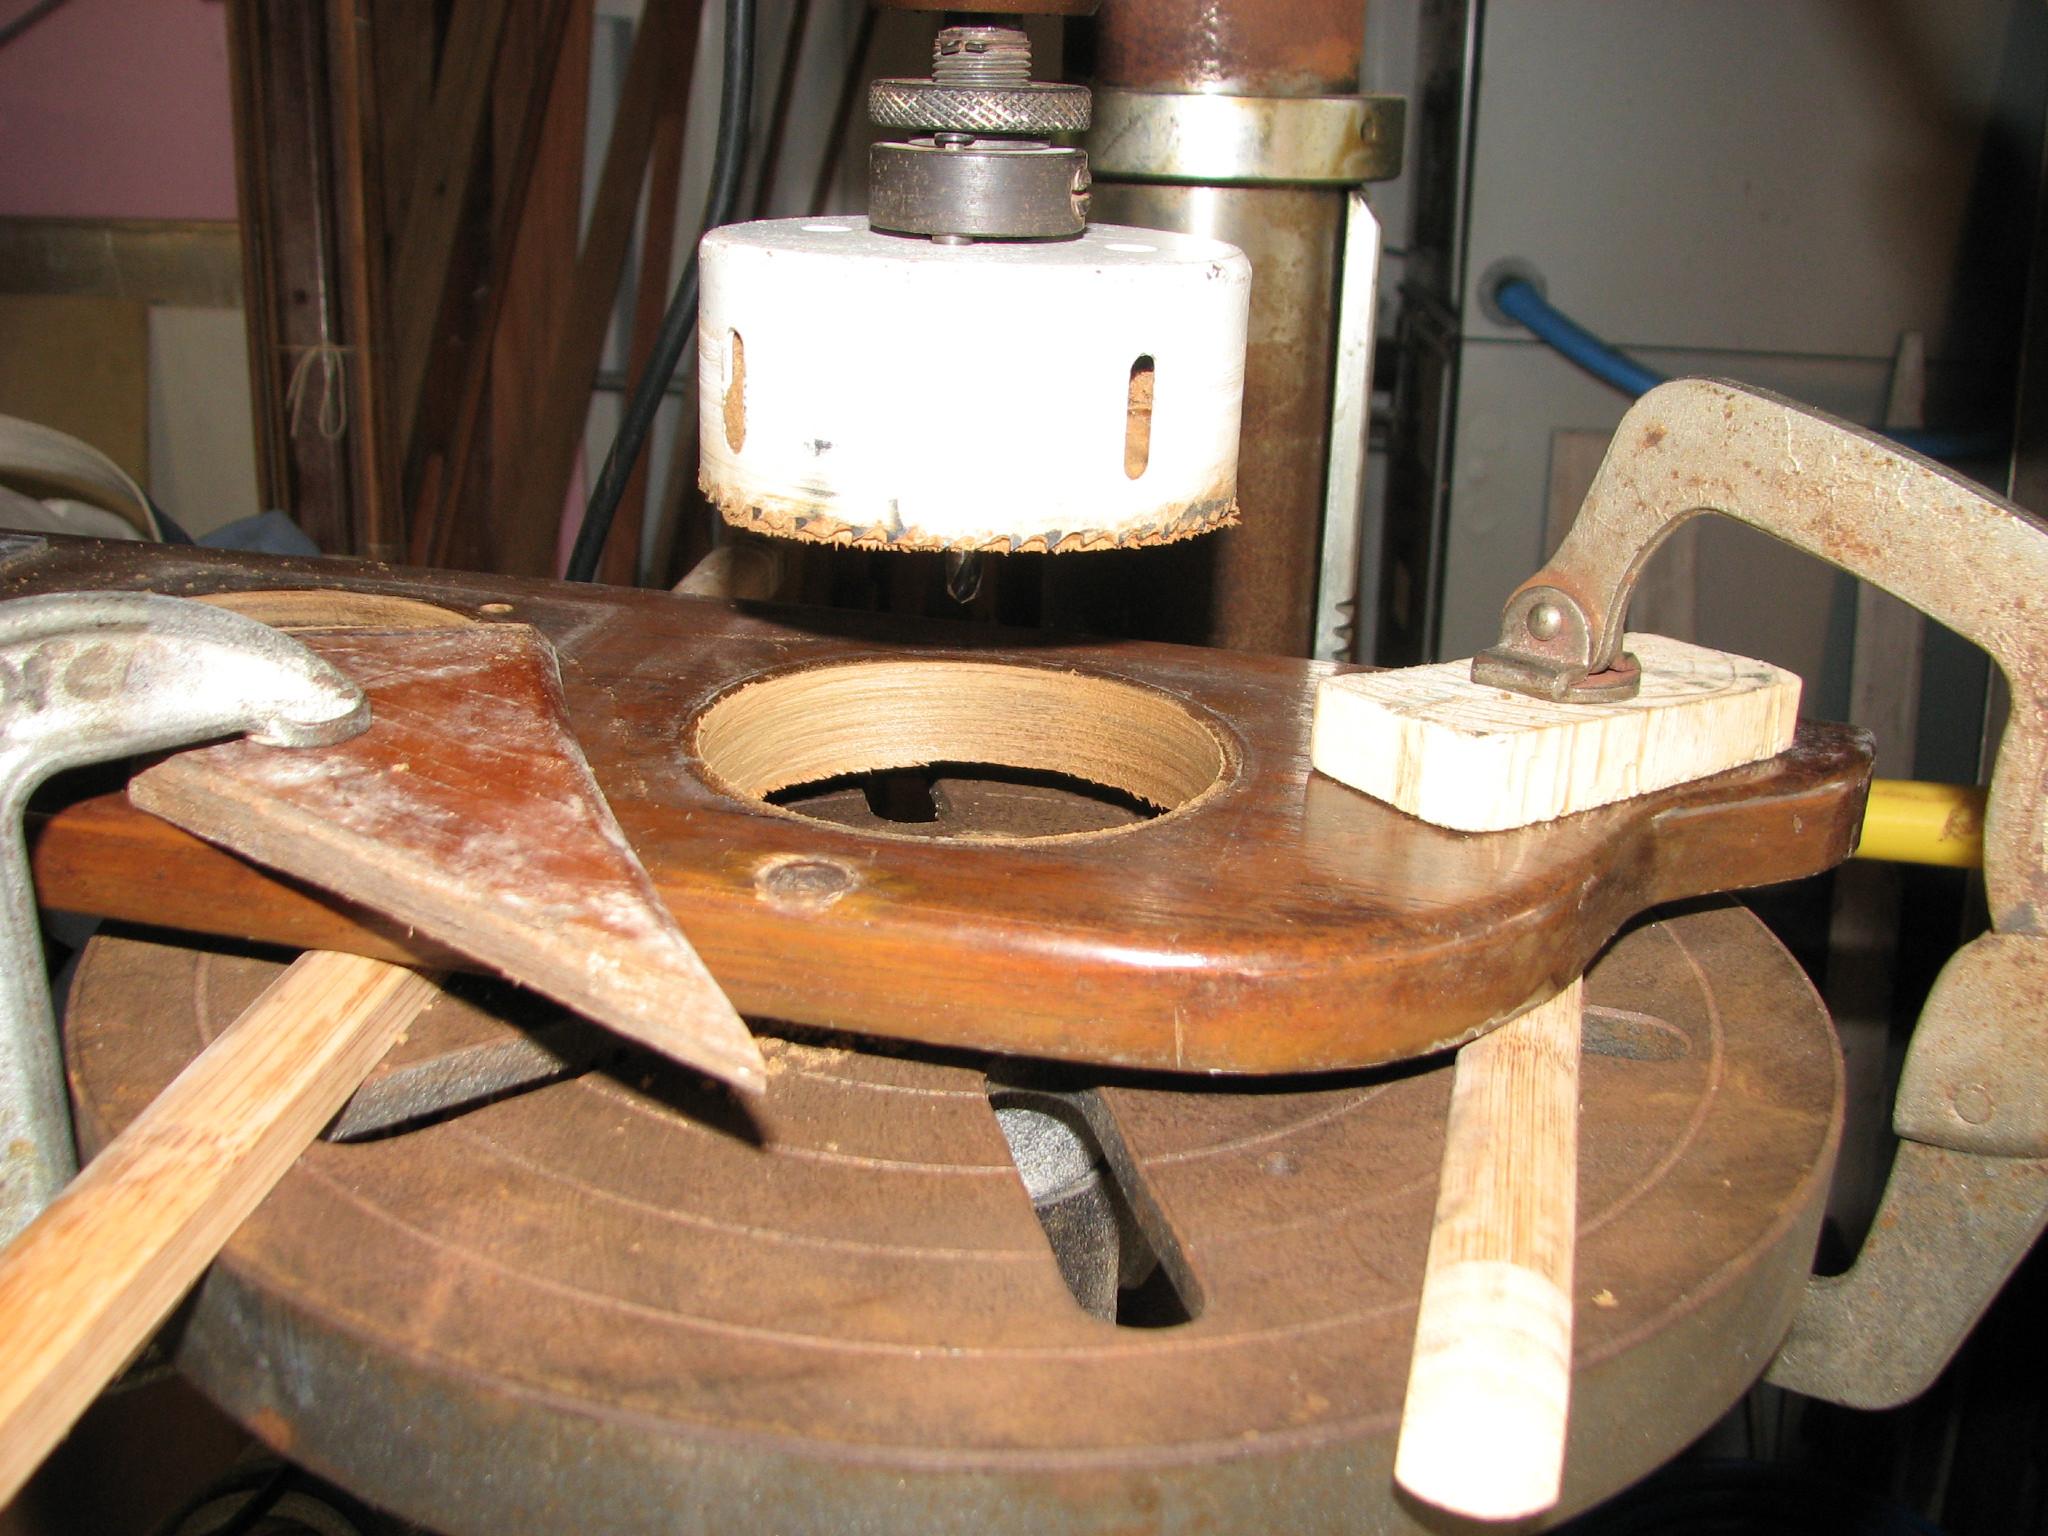
Got the hole cut in the
panel the cockpit instruments are in. Like everything else, cutting
the hole was easy, getting everything set up on the drill press and
clamped down, took all of the time.
Drill Press Setup To
Cut Hole

Hole Cut In The Panel
All Instruments Back
Into Panel
May
9, 2013, Thursday
Started
off the morning with my normal ritual of getting on the Internet,
answering email, checking the weather, while making a pot of coffee.
Today was not a DREAM
AWAY maintenance day. We went to our Doctor in Delcambre to start the
examinations for our annual physical.
We then drove to
Abbeville to do our laundry, and also stoped by Lowe’s,
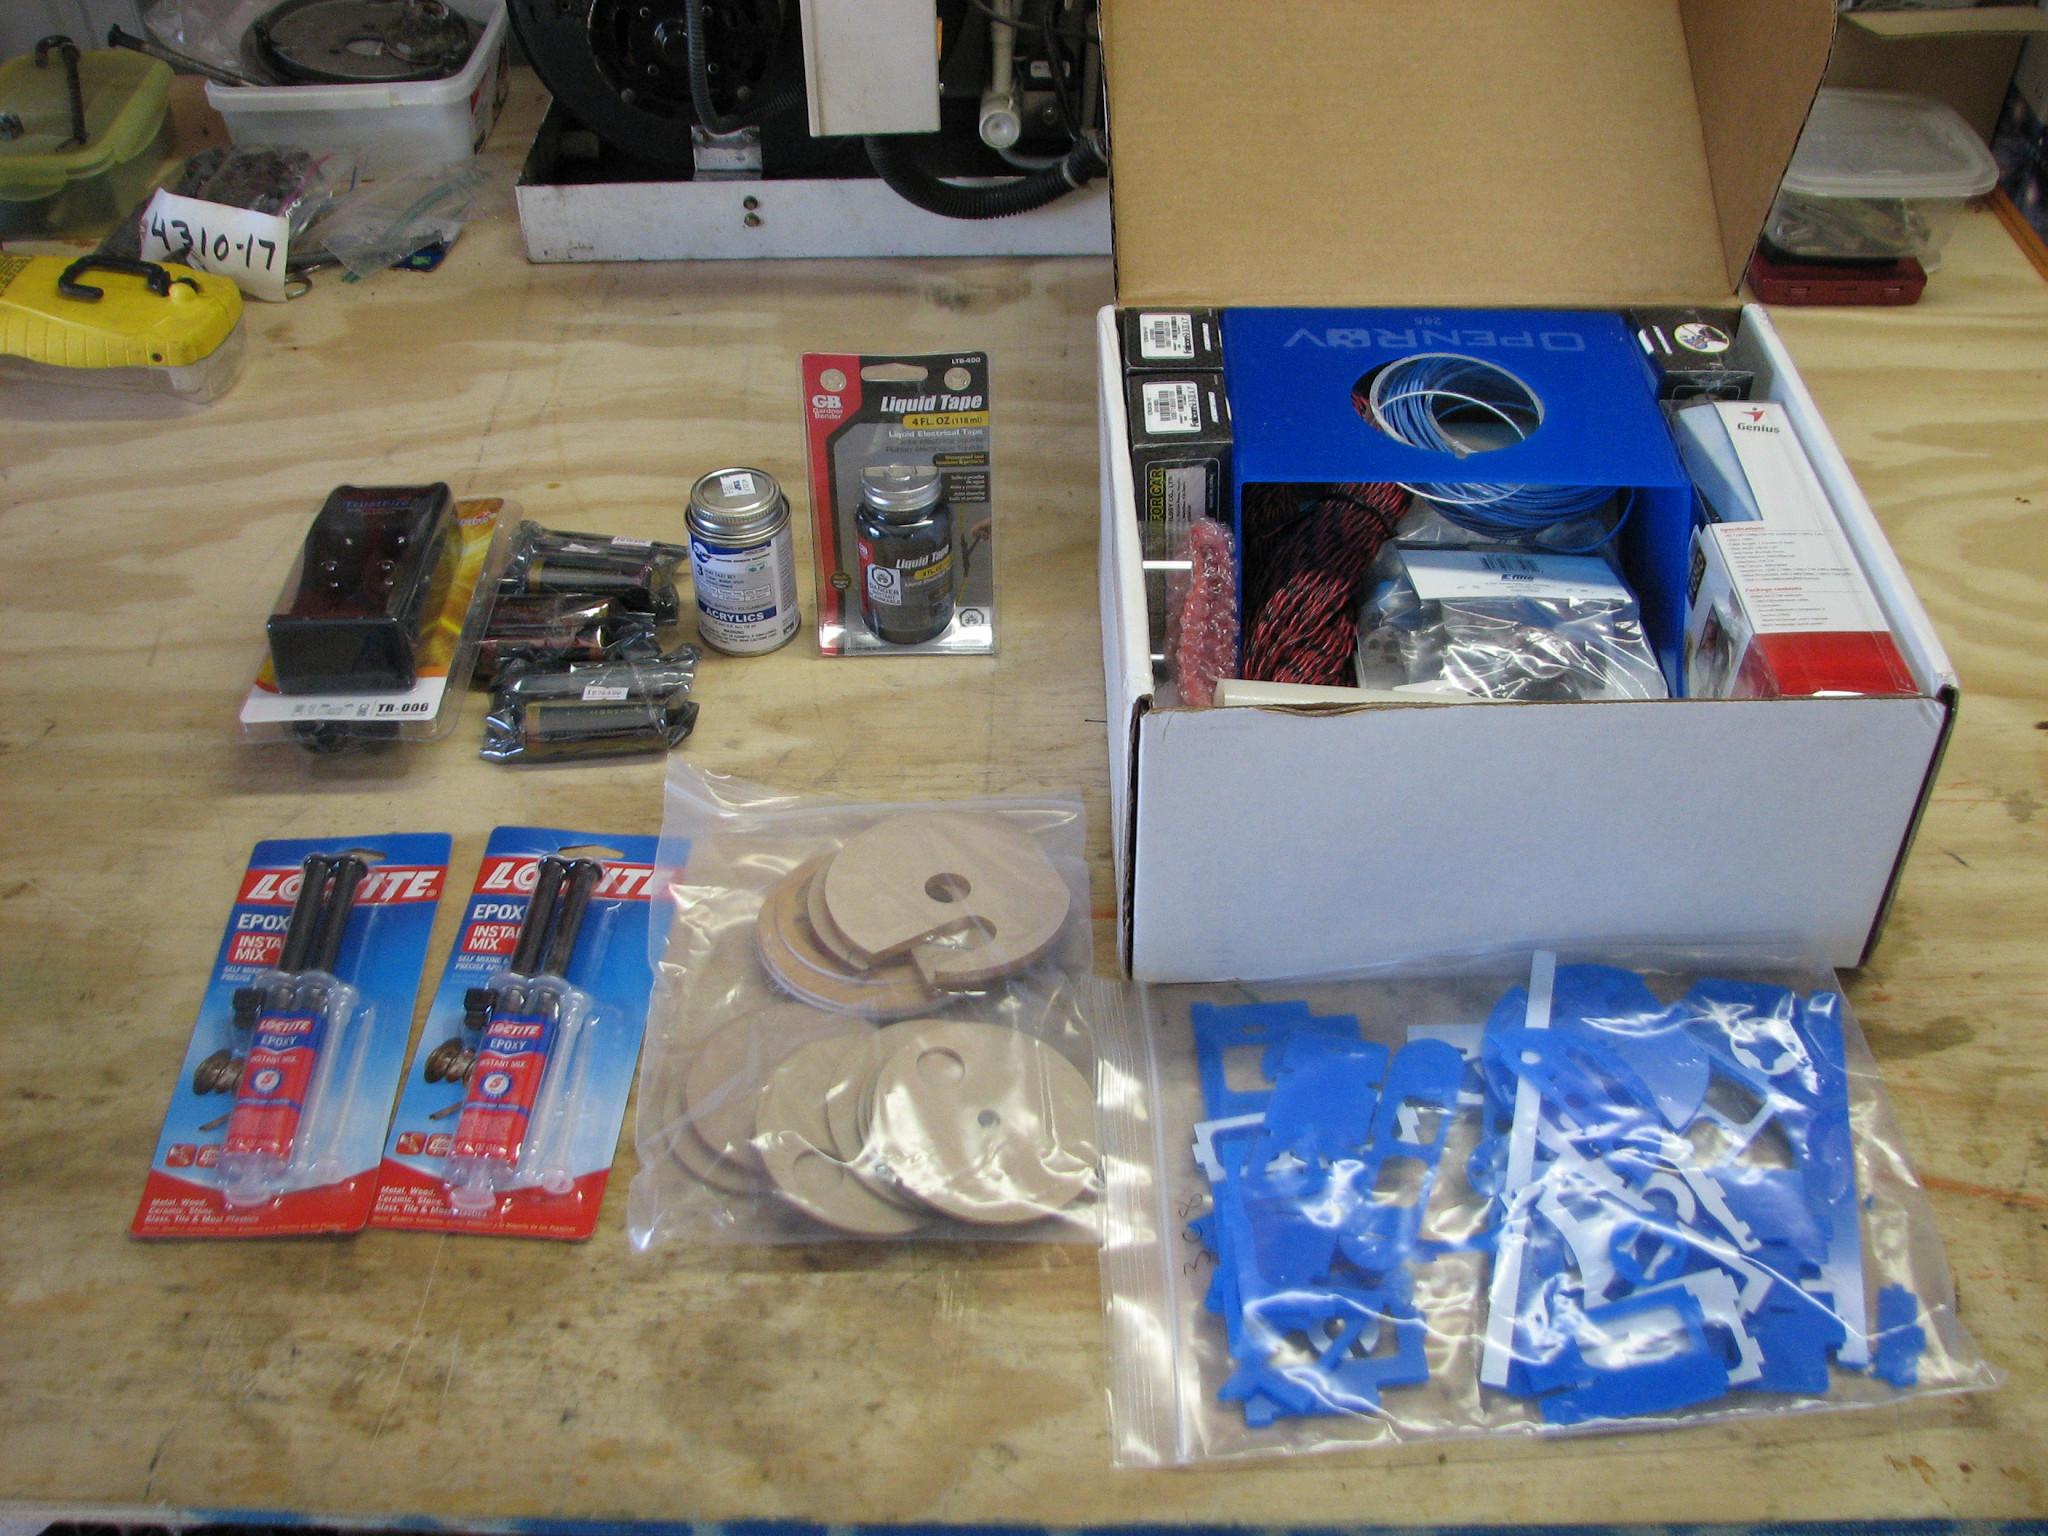
and purchased some of the required items for the OpenROV
project coming up at the end of the month.
While at Lowe’s
I also purchased at extension cord, so I can continue with the
installation of the second WiFi router at the North Pier Marina. The
installation did not go well, as the second router seems to be DOA.
May
8, 2013, Wednesday
Started
off the morning with my normal ritual of getting on the Internet,
answering email, checking the weather, while making a pot of coffee.
Worked on web page and email, until it was time to leave for
Dermatologist appointment.
When we returned from
the appointment at the dermatologist, I changed into my work clothes,
and went to work on deck.
The area under the
jerry jugs on the deck of DREAM AWAY, had never been cleaned up
properly, so I got out the brushes, toilet bowl cleaner and elbow
grease. I got the area on both the port and starboard sides all
cleaned up, and looking good.
Had a bit of excitement
at the marina before I went back to the shop.
Kittie,
off of one of the cruising boats at the marina had been stung by a
wasp, and she is highly allergic. Lots of emergency medical folks
came, but the bottom line was, she was taken by helicopter to Iberia
Medical center because of
the wasp sting bite. The good news is she was released after only
being at the Iberia
Medical center for about
three hours.
I
had finally decided to install a new Raymarine
ST-60+ compass in my
instrument
cluster in the cockpit. I
had purchased the compass in April of 2012 to replace the Autohelm
ST-50 compass. It was the last of the original ST-50 system which I
had purchased in 1995. The compass still worked, but I wanted to get
the newer one installed.
When
I got over to the shop I removed all of the instruments from the teak
wood panel. I was preparing the panel to have the hole enlarged for
the new Raymarine
ST-60+ compass.
Instruments
And Panel On Work Bench

I mixed up a batch of
the epoxy mash mix, and used it to install the filler piece of
plywood on the underside of the cockpit hatch. This is being used to
fill in where the rotten wood was cut out of the hatch
Plywood Installed In
Cockpit Hatch

May
7, 2013, Tuesday
Started
off the morning with my normal ritual of getting on the Internet,
answering email, checking the weather, while making a pot of coffee.
Went
over to the shop, and mixed up another batch of the Smith’s
penetrating epoxy and
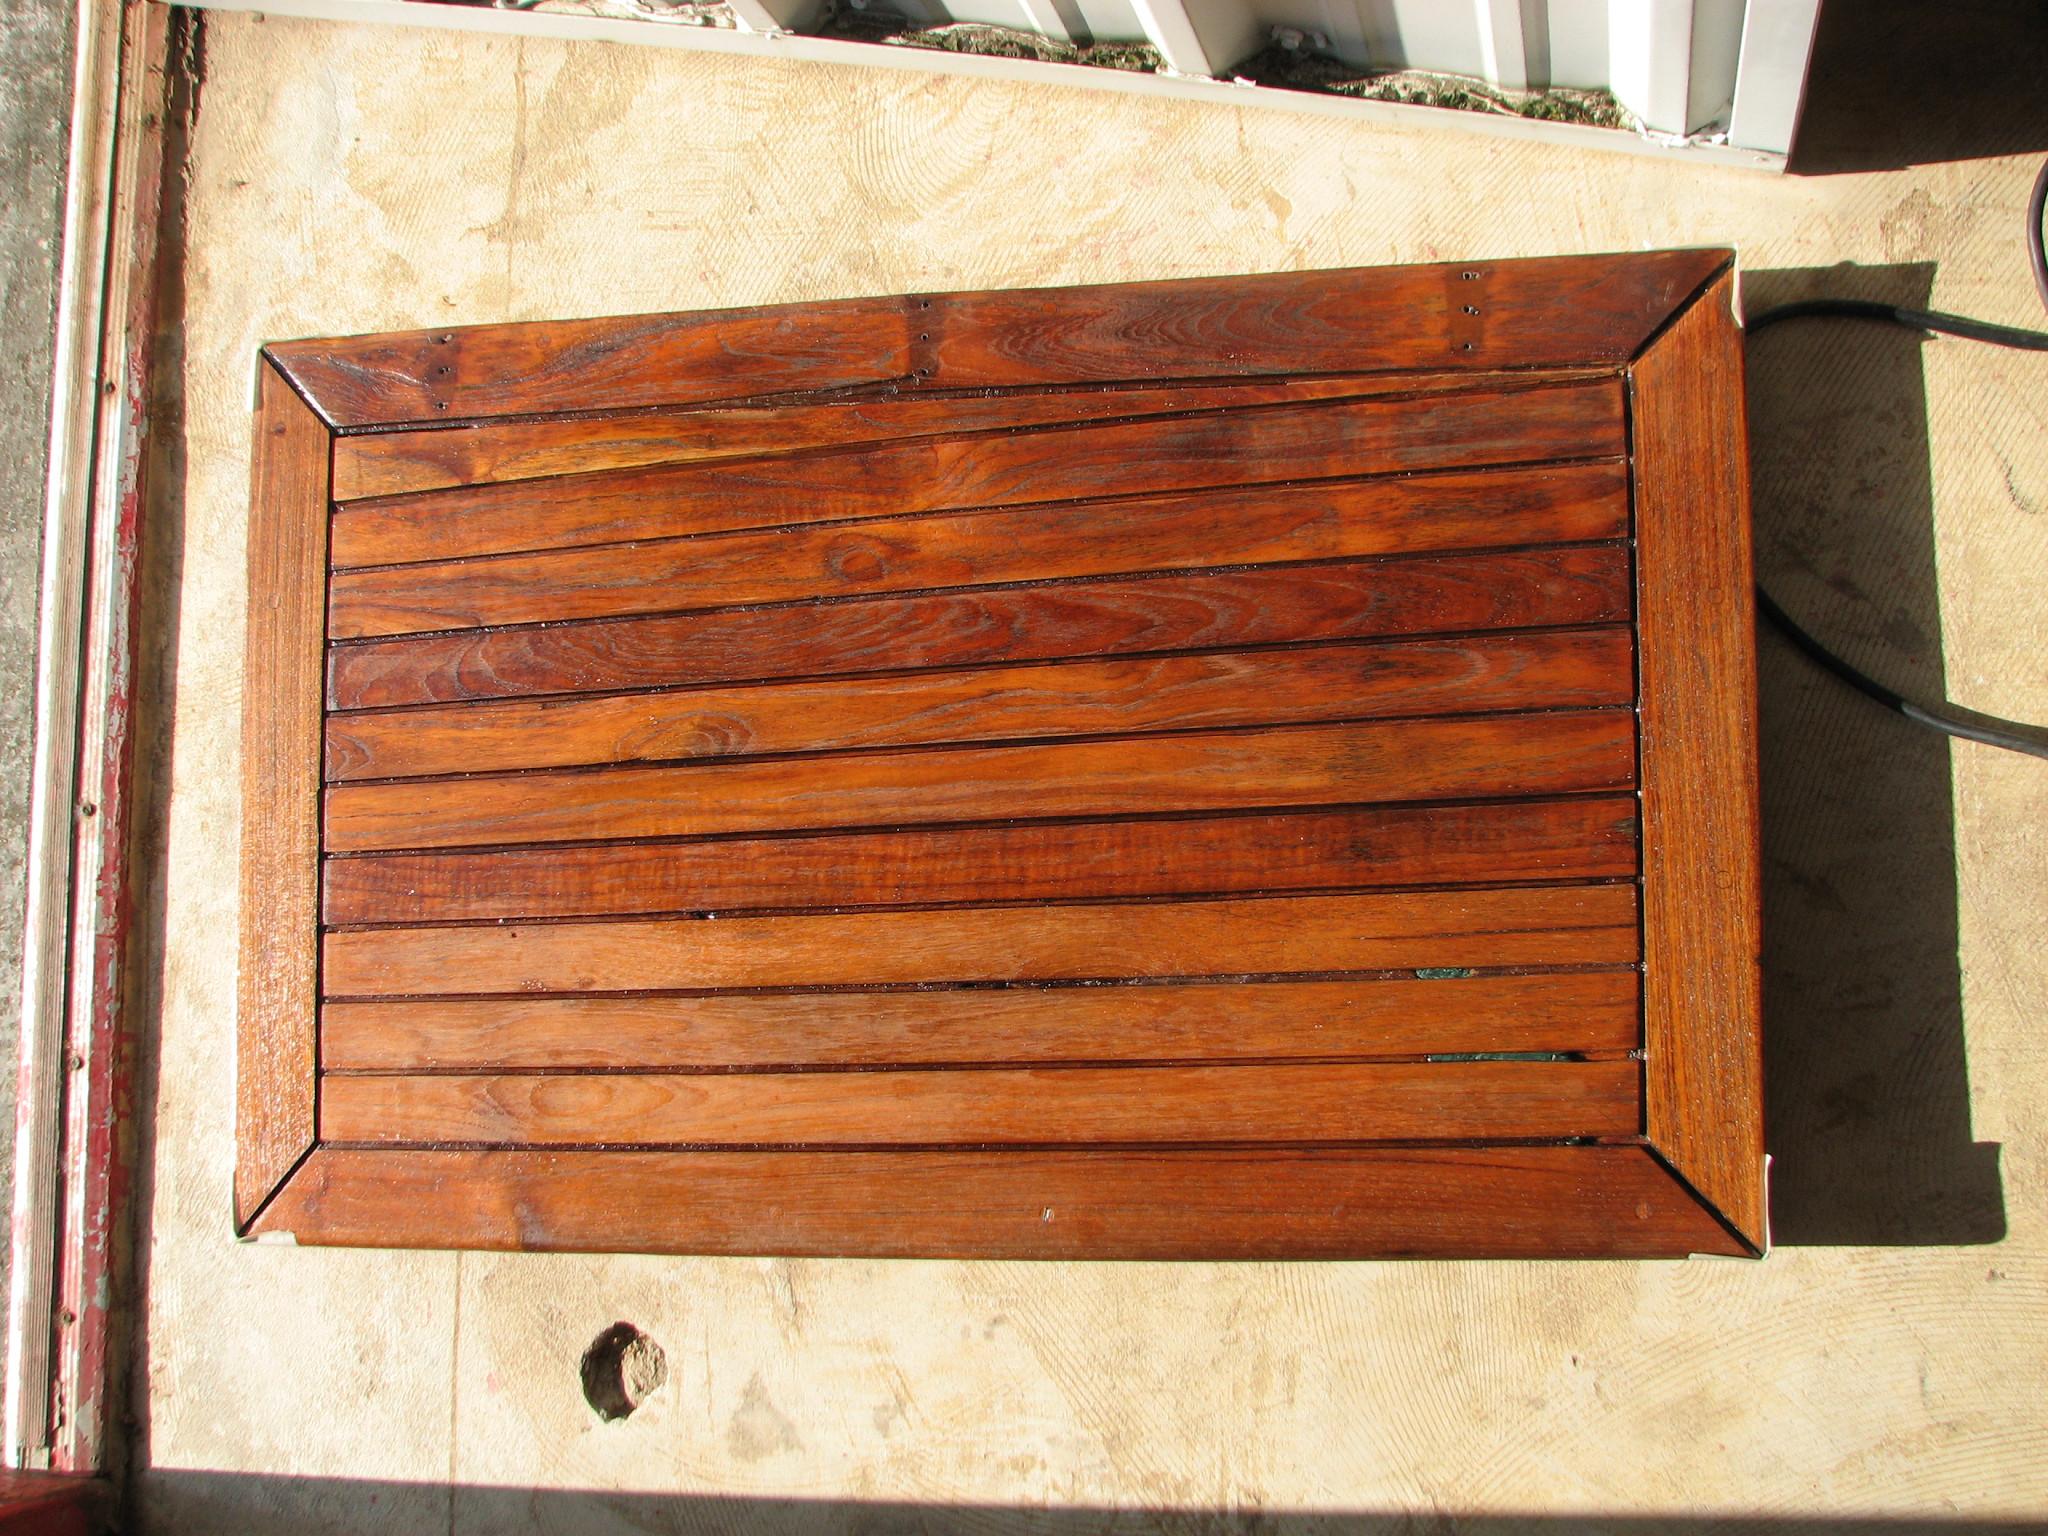
applied it to the cockpit hatch. I then put the cockpit hatch out in
the sun to get the epoxy to “kick off”
Epoxy
On Cockpit Hatch
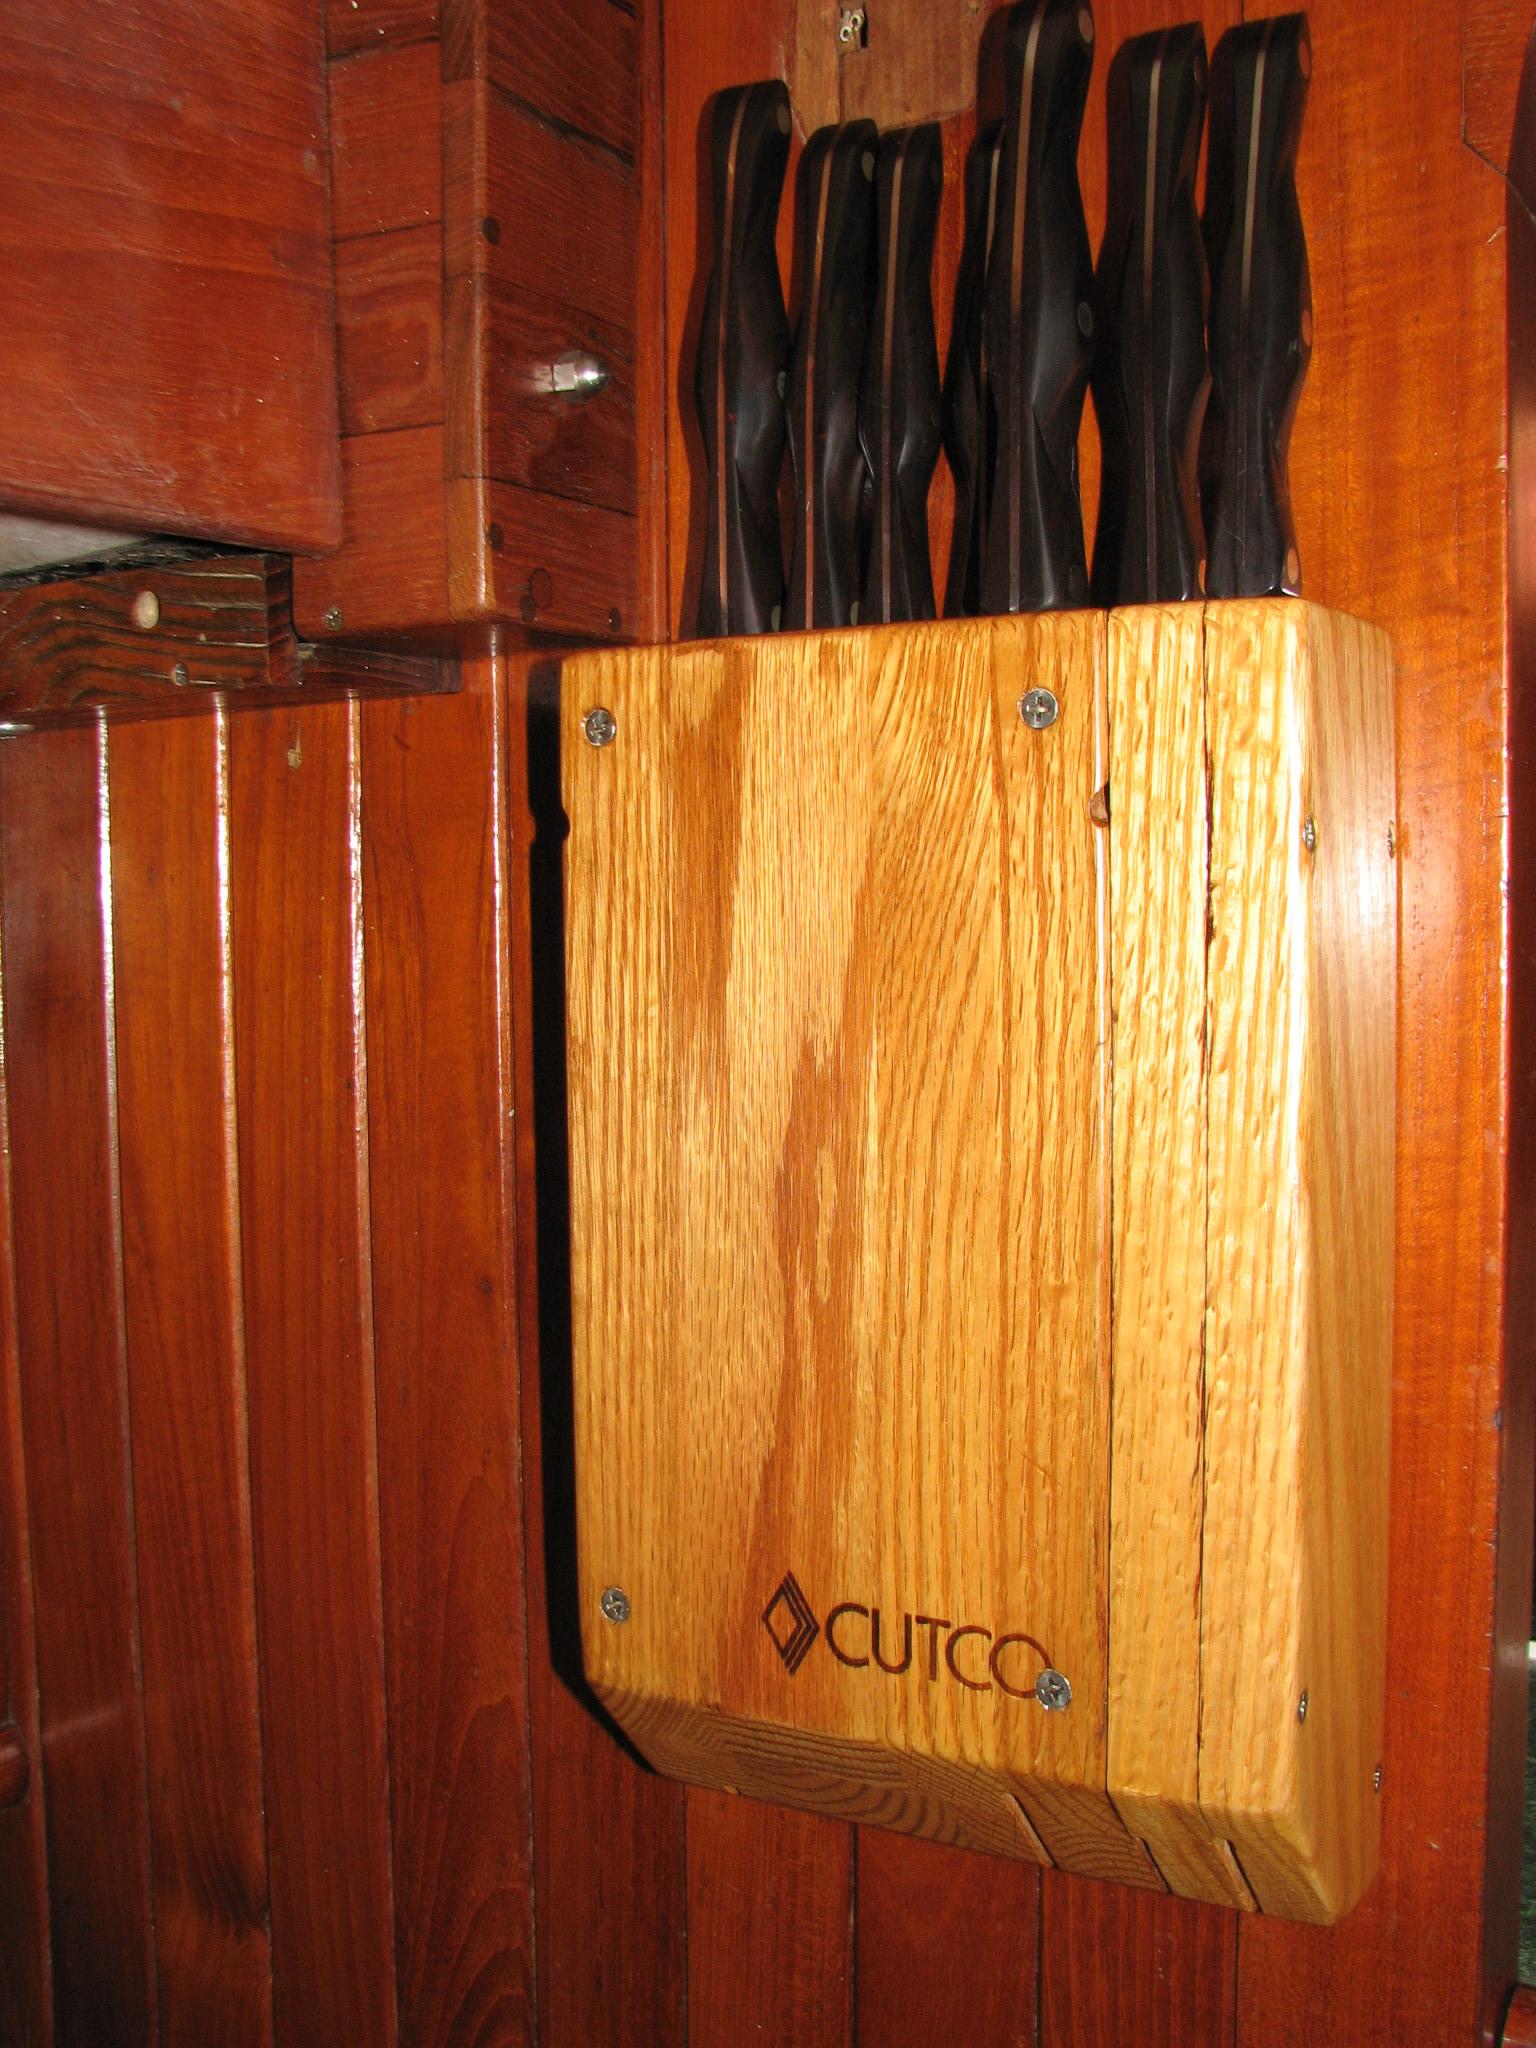
I did the install of
the Cutco
knife holder in the galley, and we were able to install the two new
knives we purchased at the boat show in March. We had ordered the
Traditional
Cheese Knife and the Petite
Santoku
knife to add to our
collection. That is why the Cutco
knife holder had to be modified.
Cutco
Knife Holder Installed In The Galley
When I finished the
laying out of the grid, I went back to the shop and mixed up a third
batch of the Smith’s
penetrating epoxy and
applied it to the cockpit hatch.
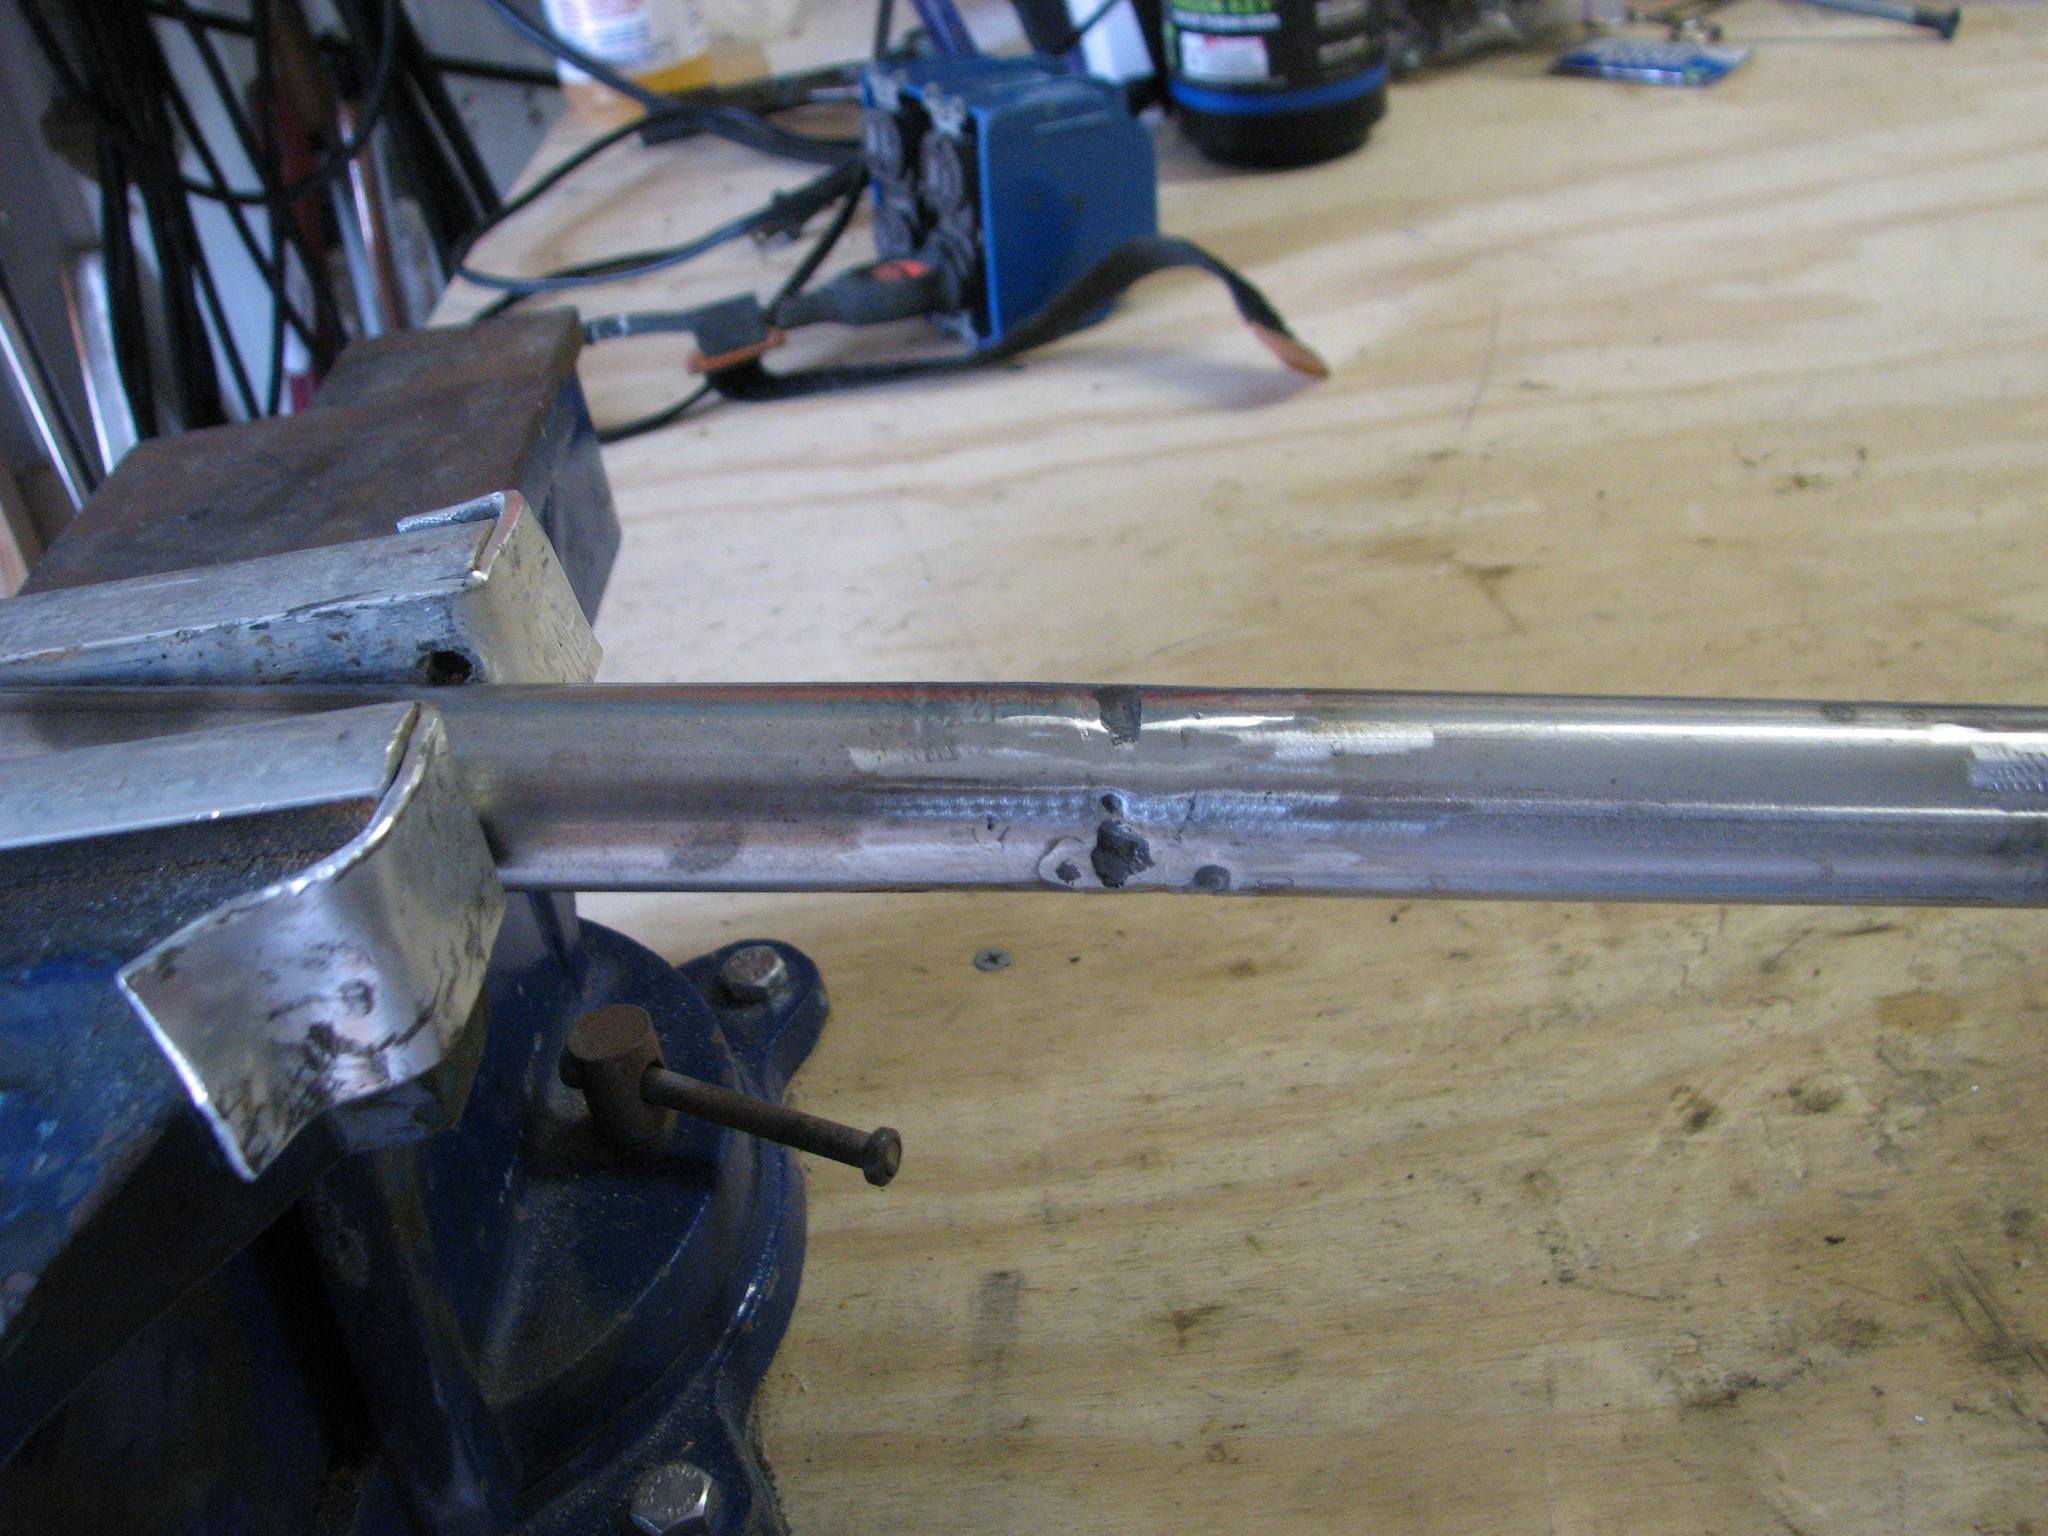
I took my high speed
grinder over to the shop and worked on the stainless steel tubing I
am going to use for the main cabin hand hold.
Sanding On Stainless
Steel Tubing
Last Item for the day
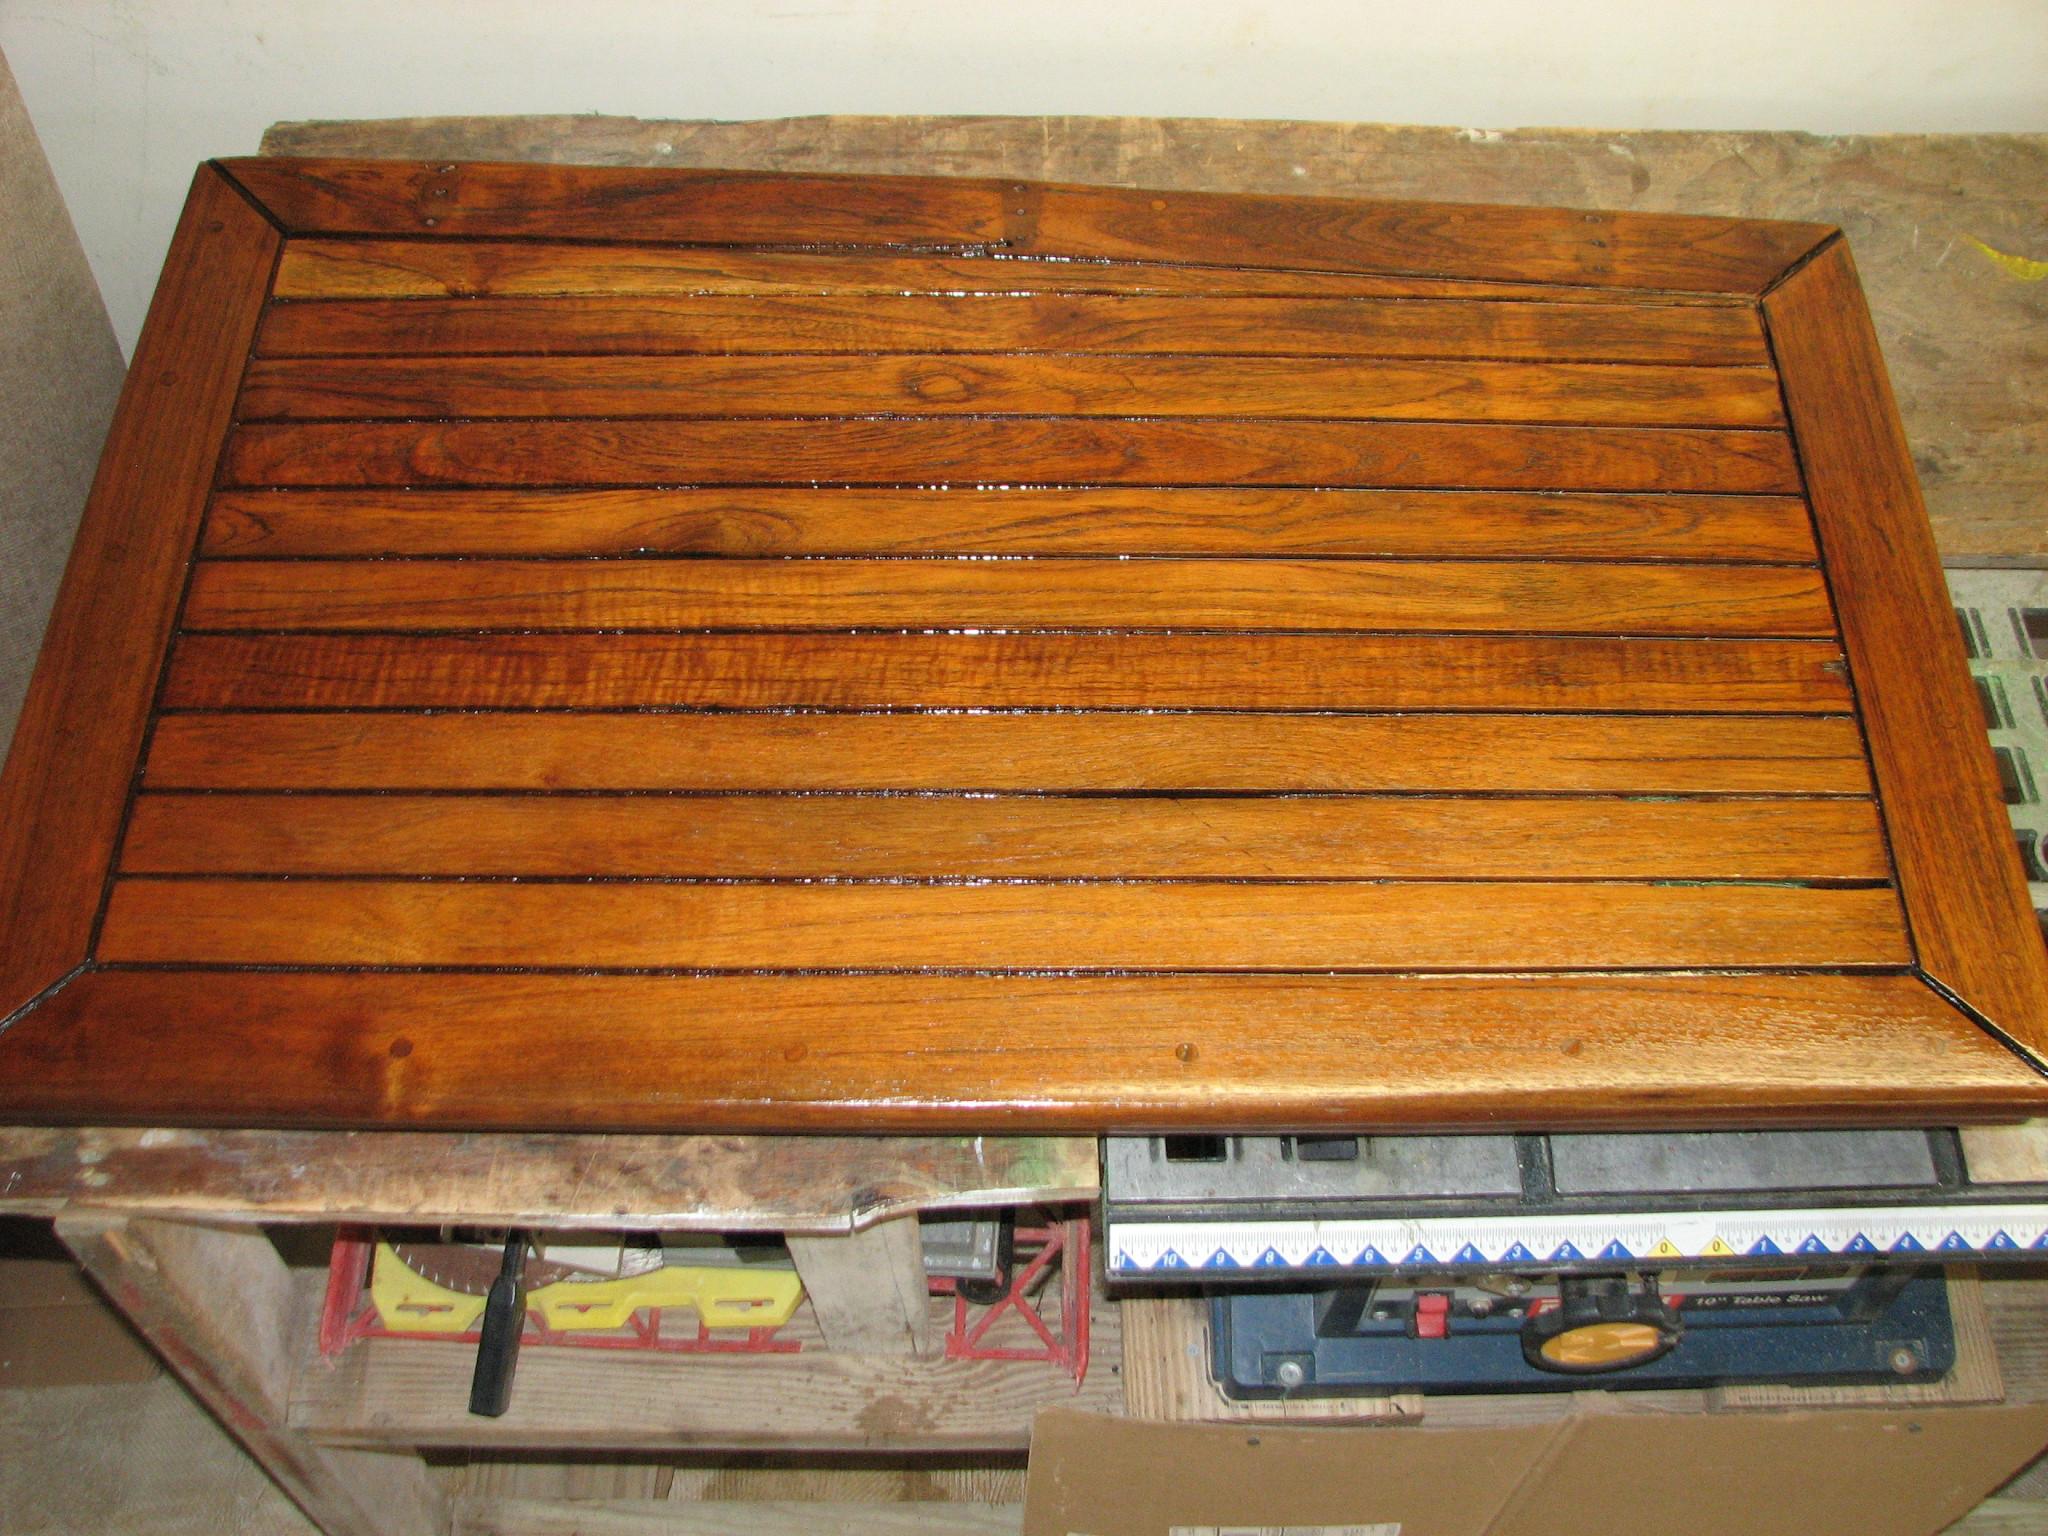
was the varnish. I applied the seventh coat on the nameboards. I
applied the second coat of
Watco
Teak Oil Finish to large
acrylic insert.
May
6, 2013, Monday
Started
off the morning with my normal ritual of getting on the Internet,
answering email, checking the weather, while making a pot of coffee.
Worked on computer getting caught up with email and working on the
Maintenance Log
brought over finished
the teak wire cover, and all of the Panduit
wire duct covers, and
installed on DREAM AWAY.; applied expoxy to top of cockpit hatch;
welded on tubing; Helped get transients, Connie and Wayne off the
dock and on their way.
Went over to the shop,
and on the way I picked up a 12 VDC battery that was still good, but
Kittie was getting rid of. They had upgraded all of the batteries on
their boat, and some of the old batteries were still good. I needed a
battery for the starter I was installing on the Yamaha outboard for
the dinghy.
When I got to the shop,
I pulled out the electric start kit I had purchased for Kitty, so she
would be able to start the Yamaha. I used the newly acquired
battery, and tested the the starter. It worked perfectly! Now all I
have to do is get the electric start kit installed on the outboard,
and get a battery box installed in the dinghy.
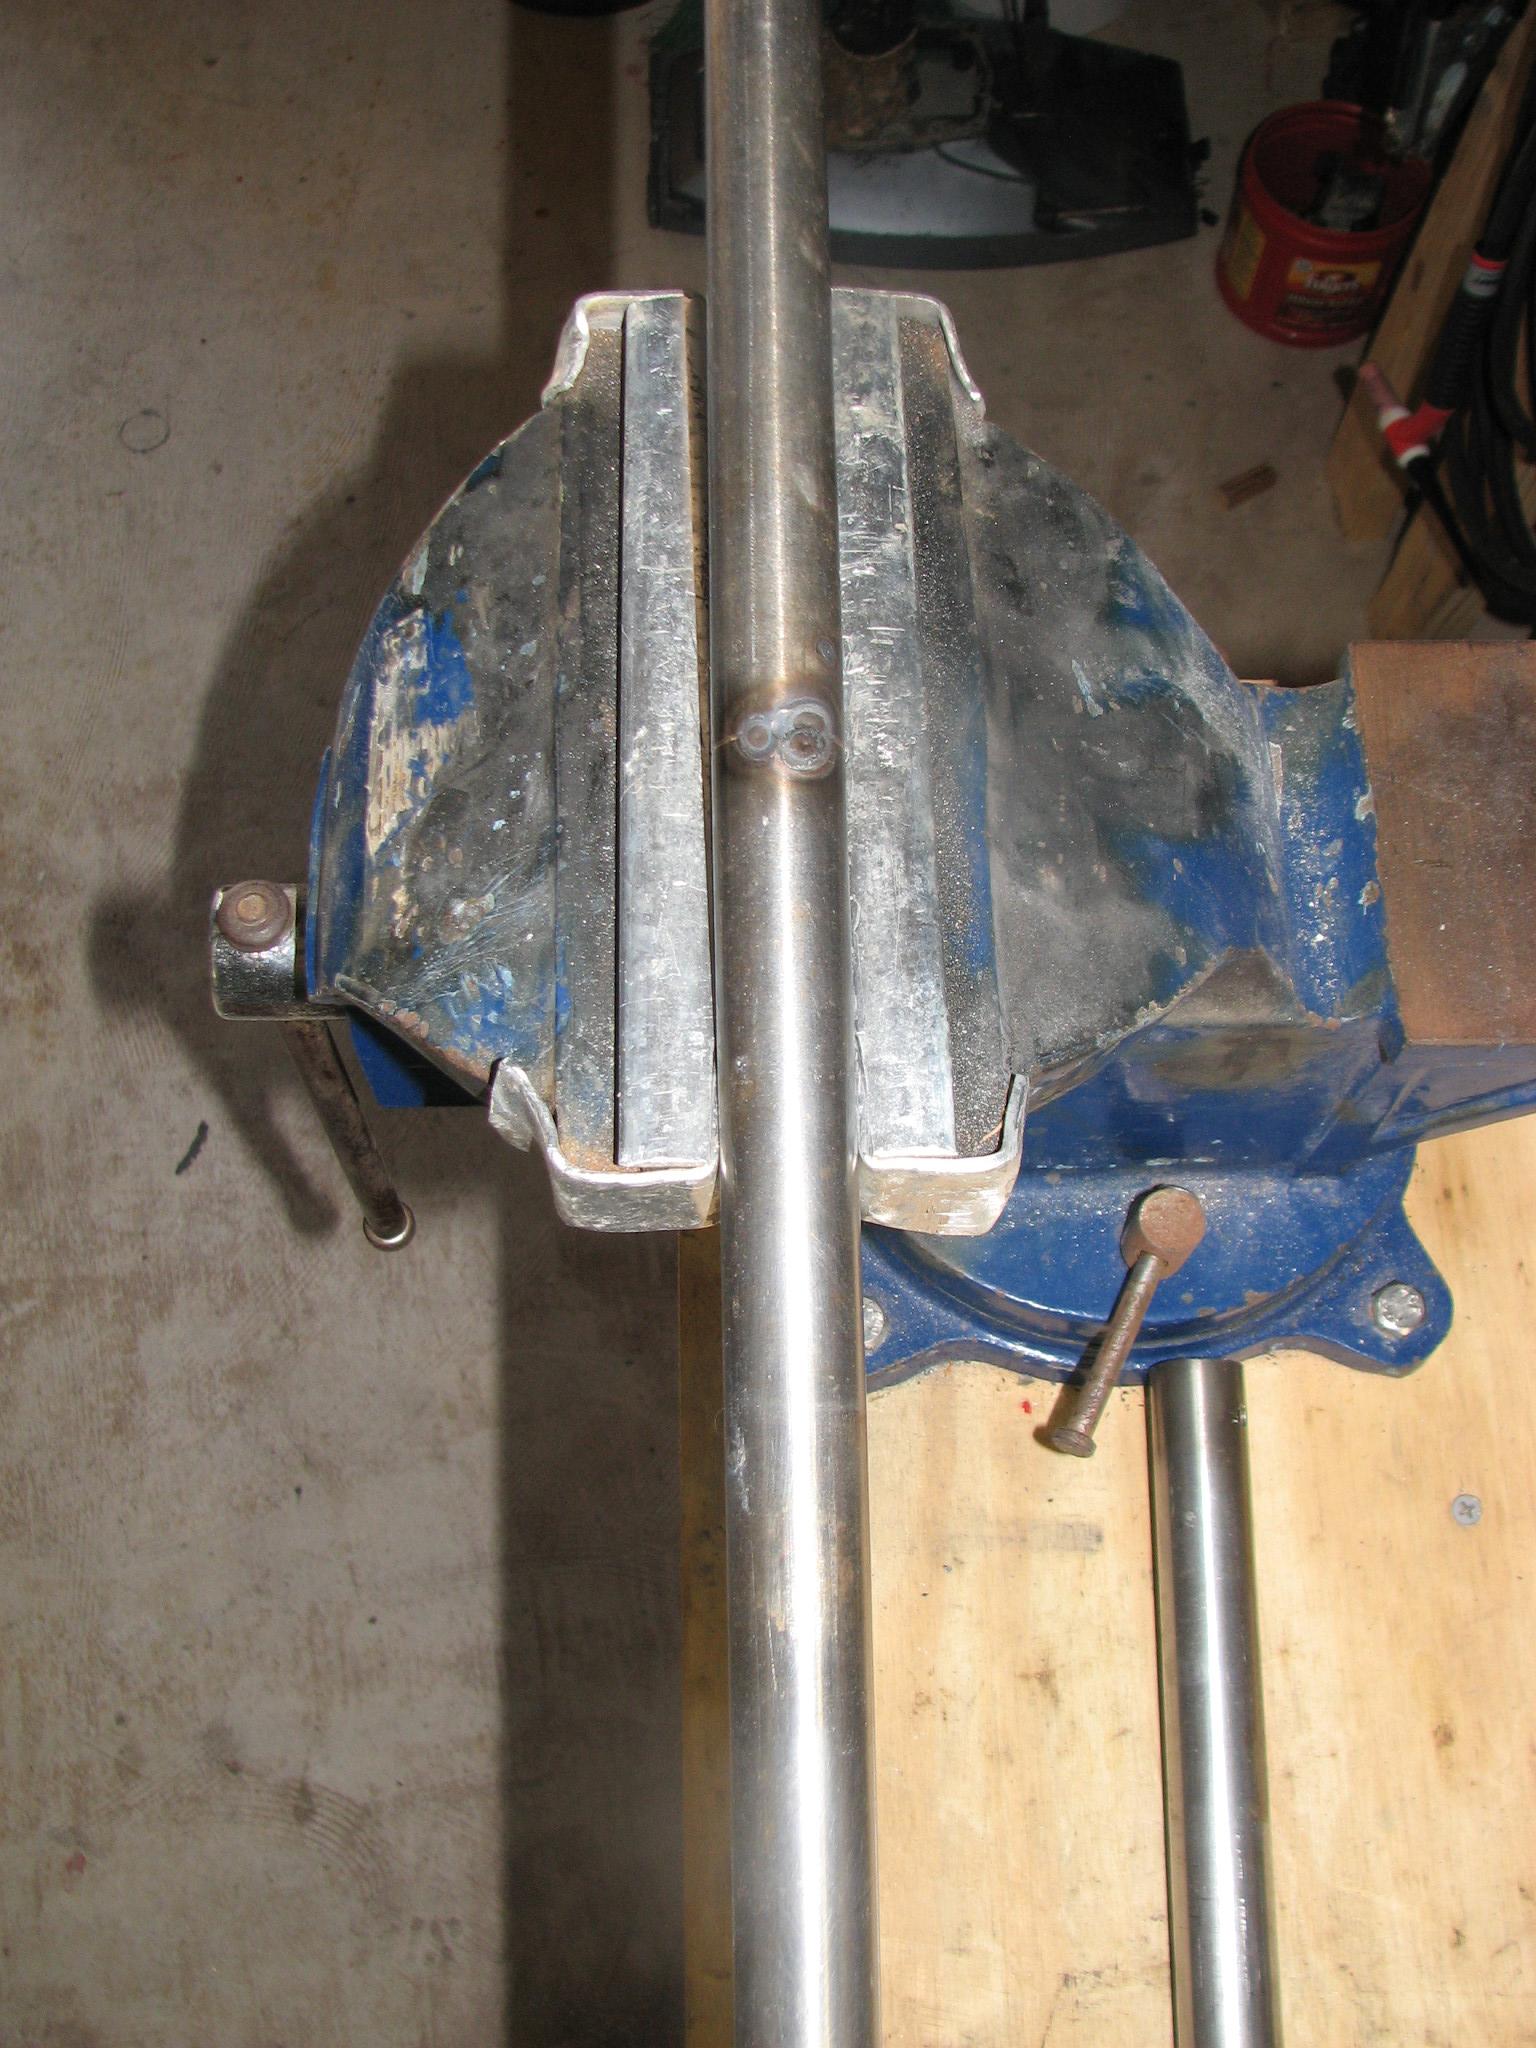
Did a bit more welding
on the tubing for the main cabin hand hold. Working on getting my
steady hand back, and the setup for the welder.
Welded Tubing
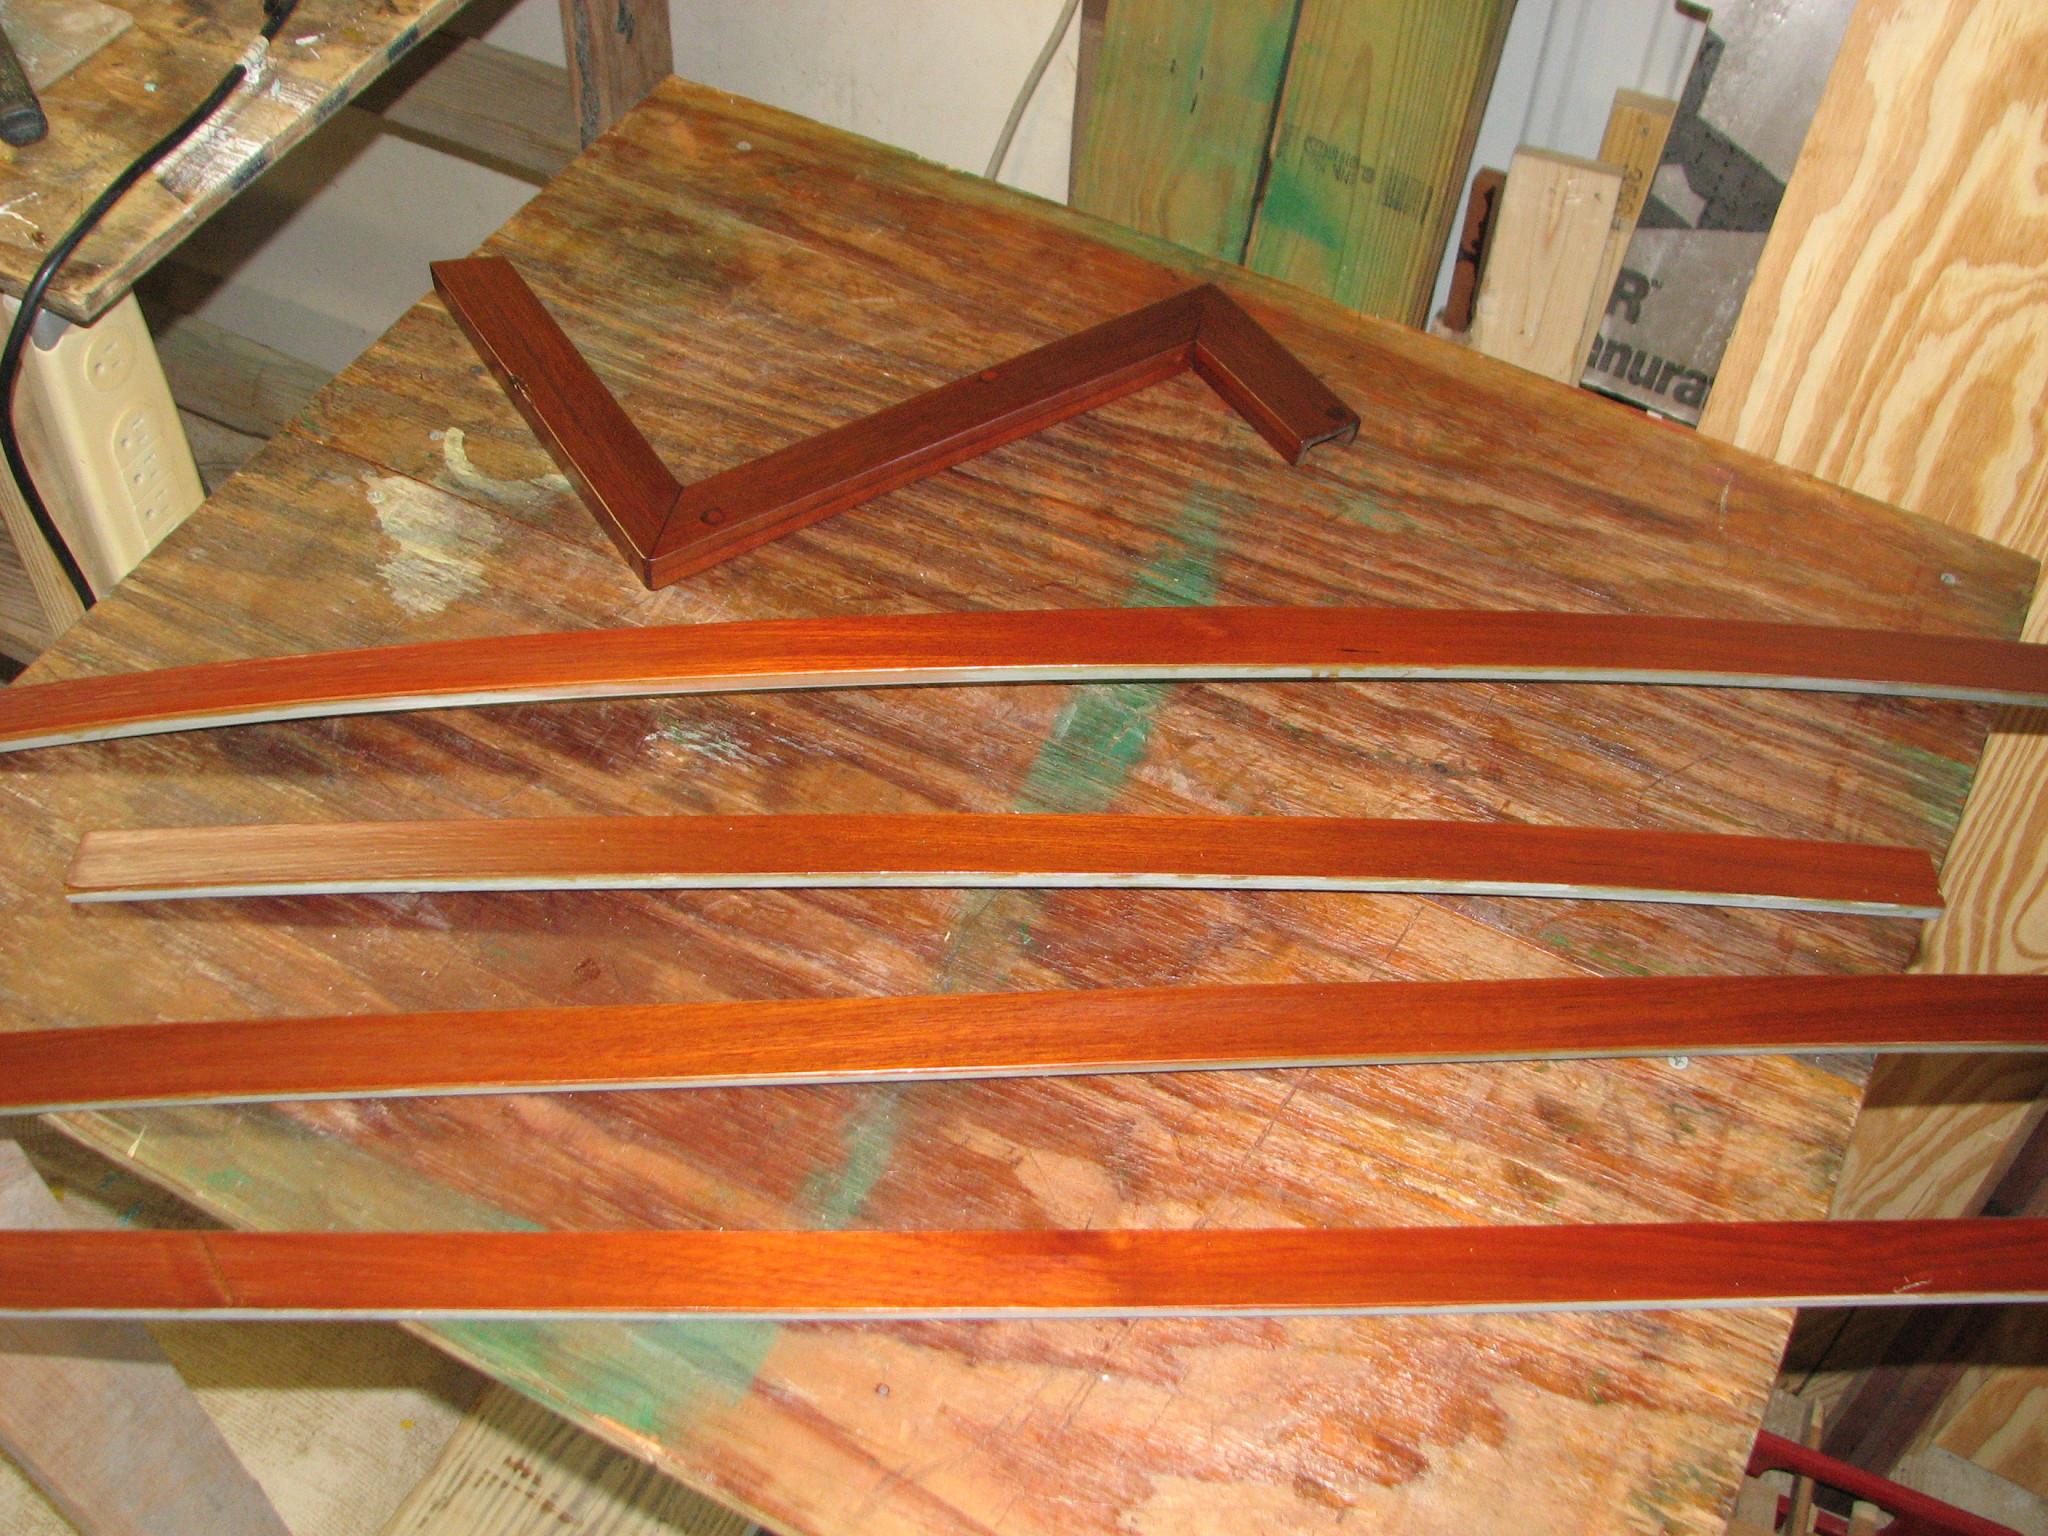
Went over to DREAM AWAY
for breakfast. Took over the teak wire cover, and all of the
Panduit wire duct covers.
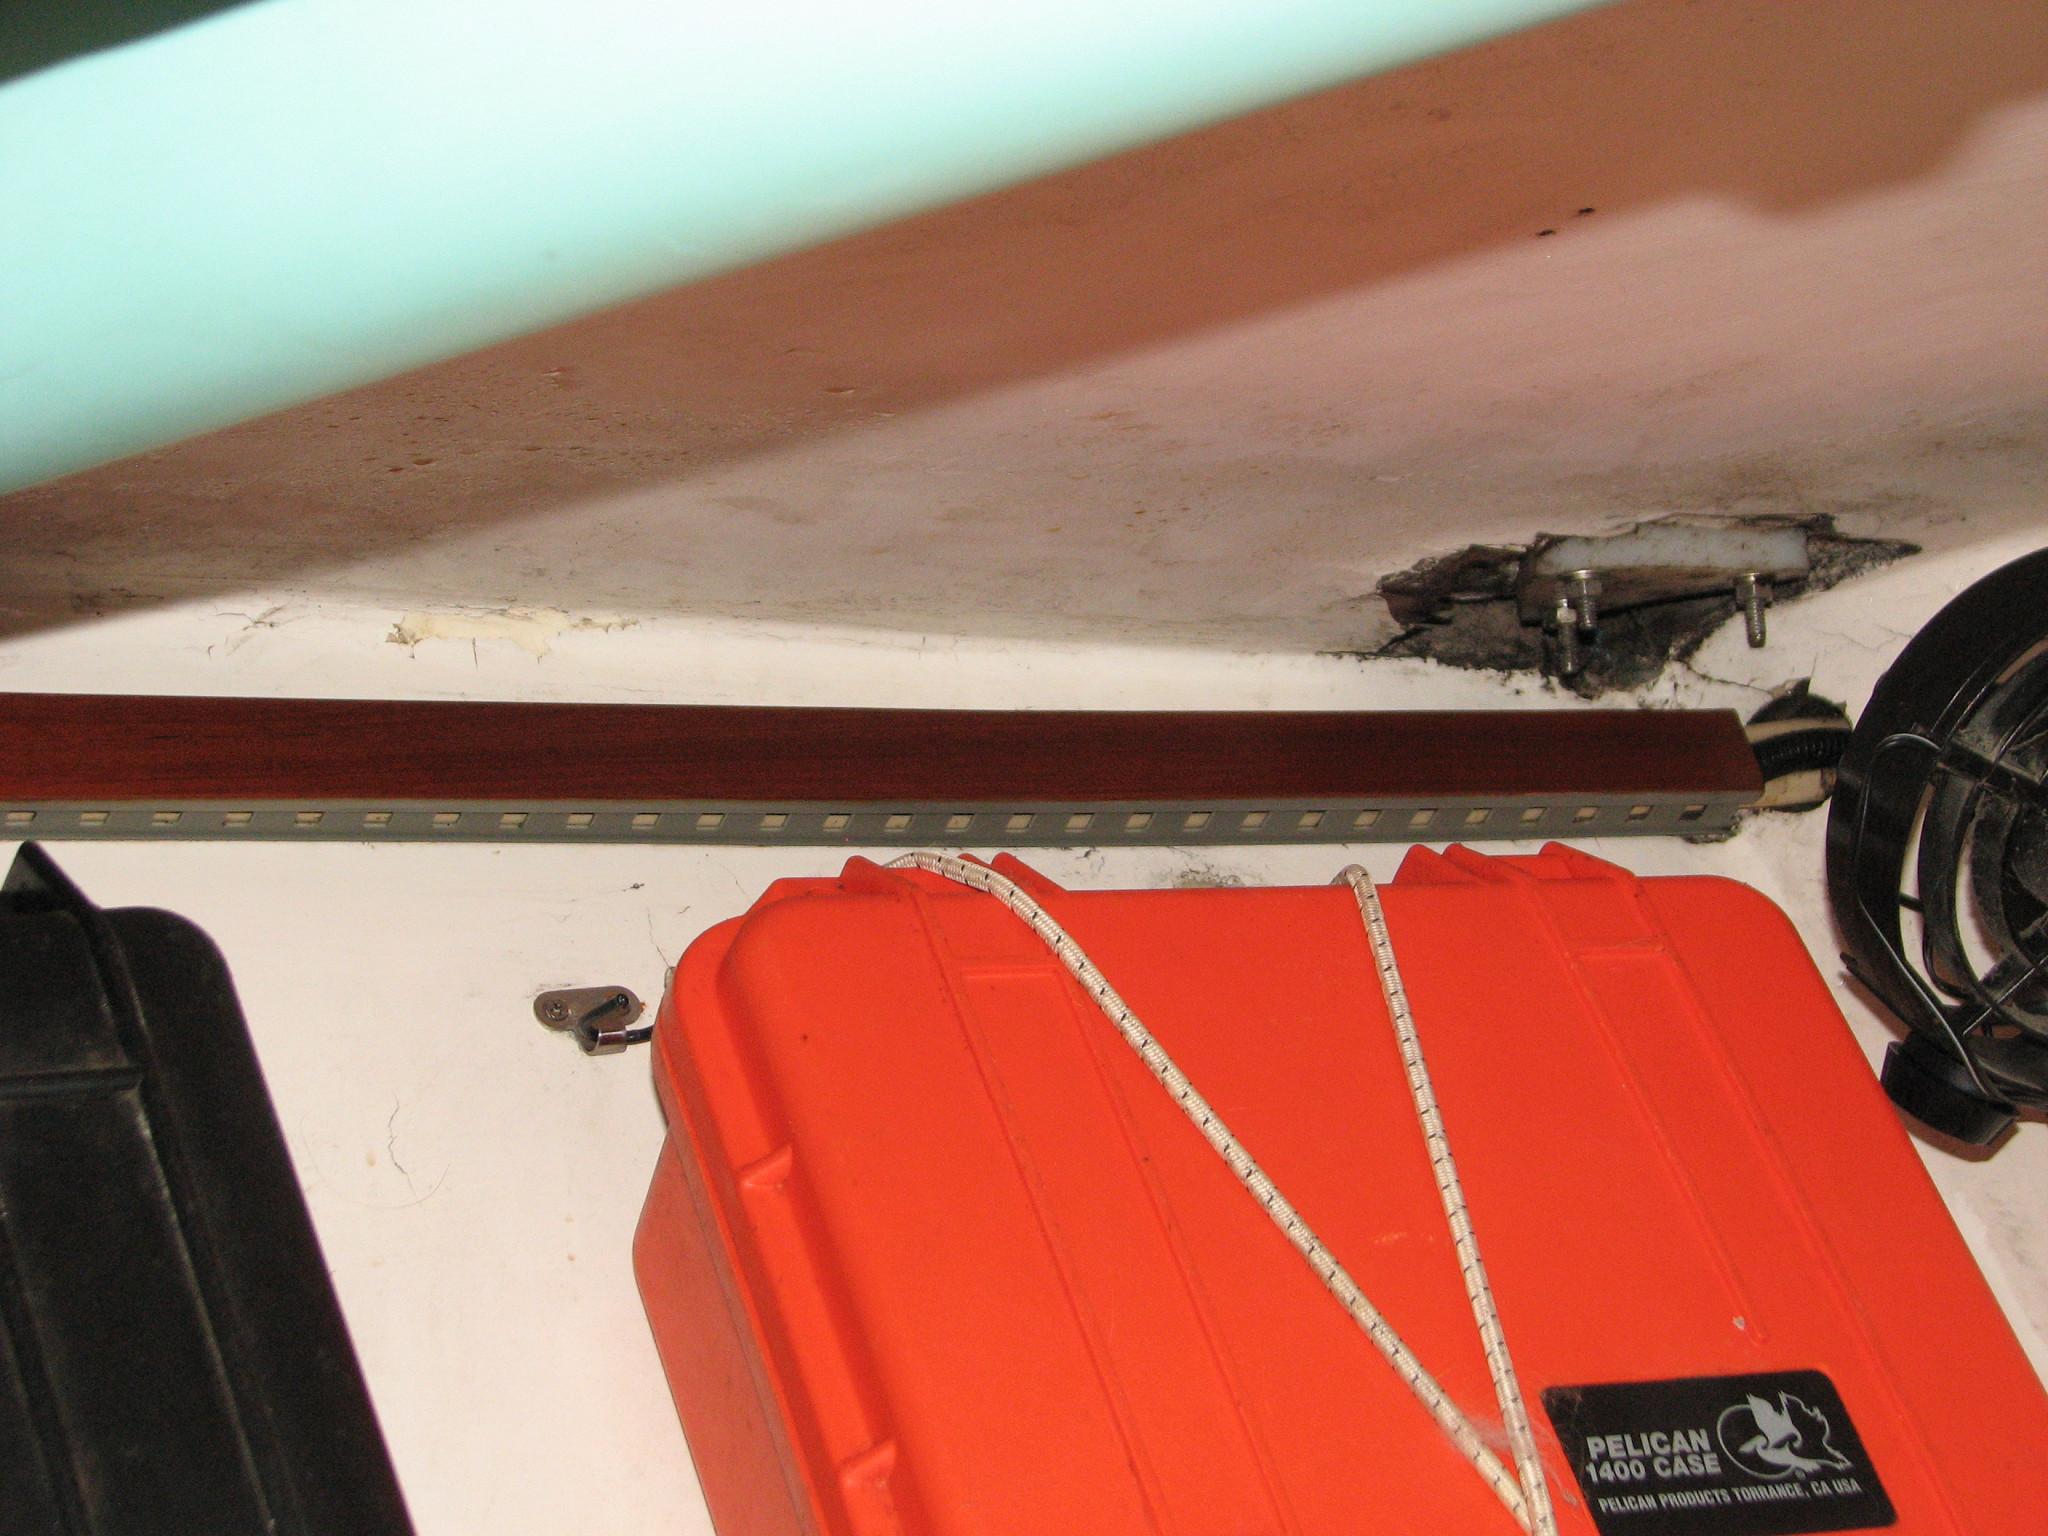
Now I had to install
the teak wire cover in the mid-cabin. This cover was covering all of
the wires going to the electronic shelf, mid-cabin fan and forward
cabin reading lamp. Before installation could be completed, I had to
remove the printer from the top of the electronic shelf.
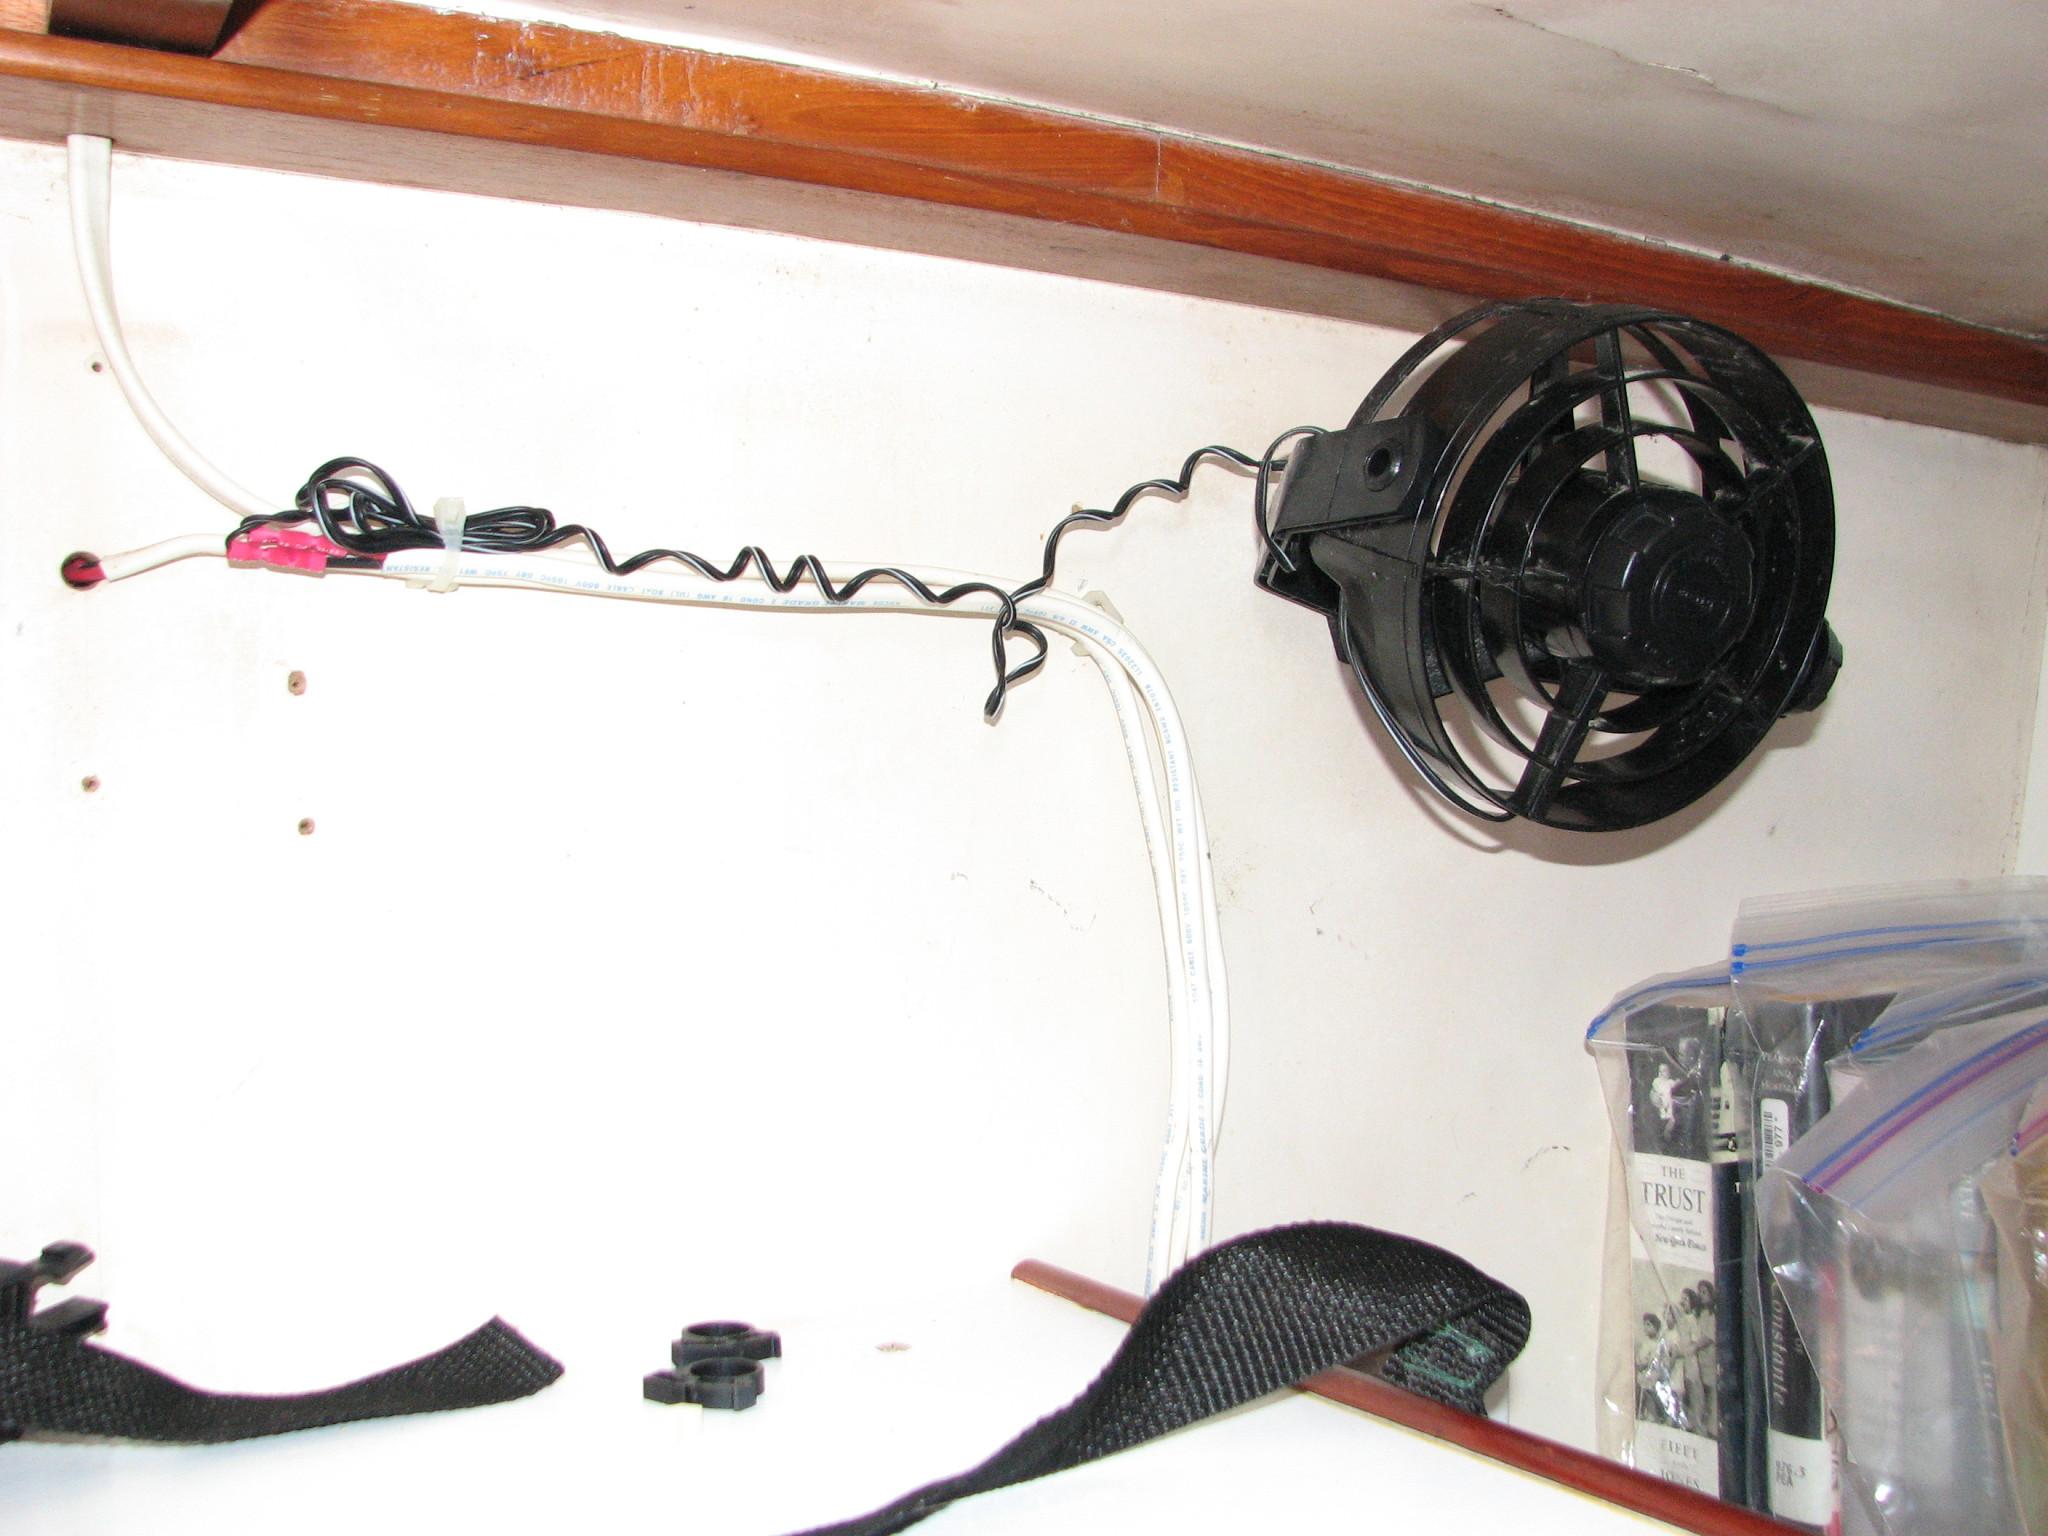
When the printer was
removed, I had to move some wires around to make sure I had enough
slack wire to make the angles in the teak wire cover.
Mid-cabin Wires
Exposed
Last Item for the day
was the varnish. I applied the sixth coat on the nameboards. I
applied the fifth coat of varnish on the
Cutco
knife holder. I applied the first coat of
Watco
Teak Oil Finish to large
acrylic insert.
May
5, 2013, Sunday
Started
off the morning with my normal ritual of getting on the Internet,
answering email, checking the weather, while making a pot of coffee.
Worked on computer getting caught up with email and working on the
Maintenance Log
Chris at
Tekris
Power Electronics asked me
to put a paper inside the box with the
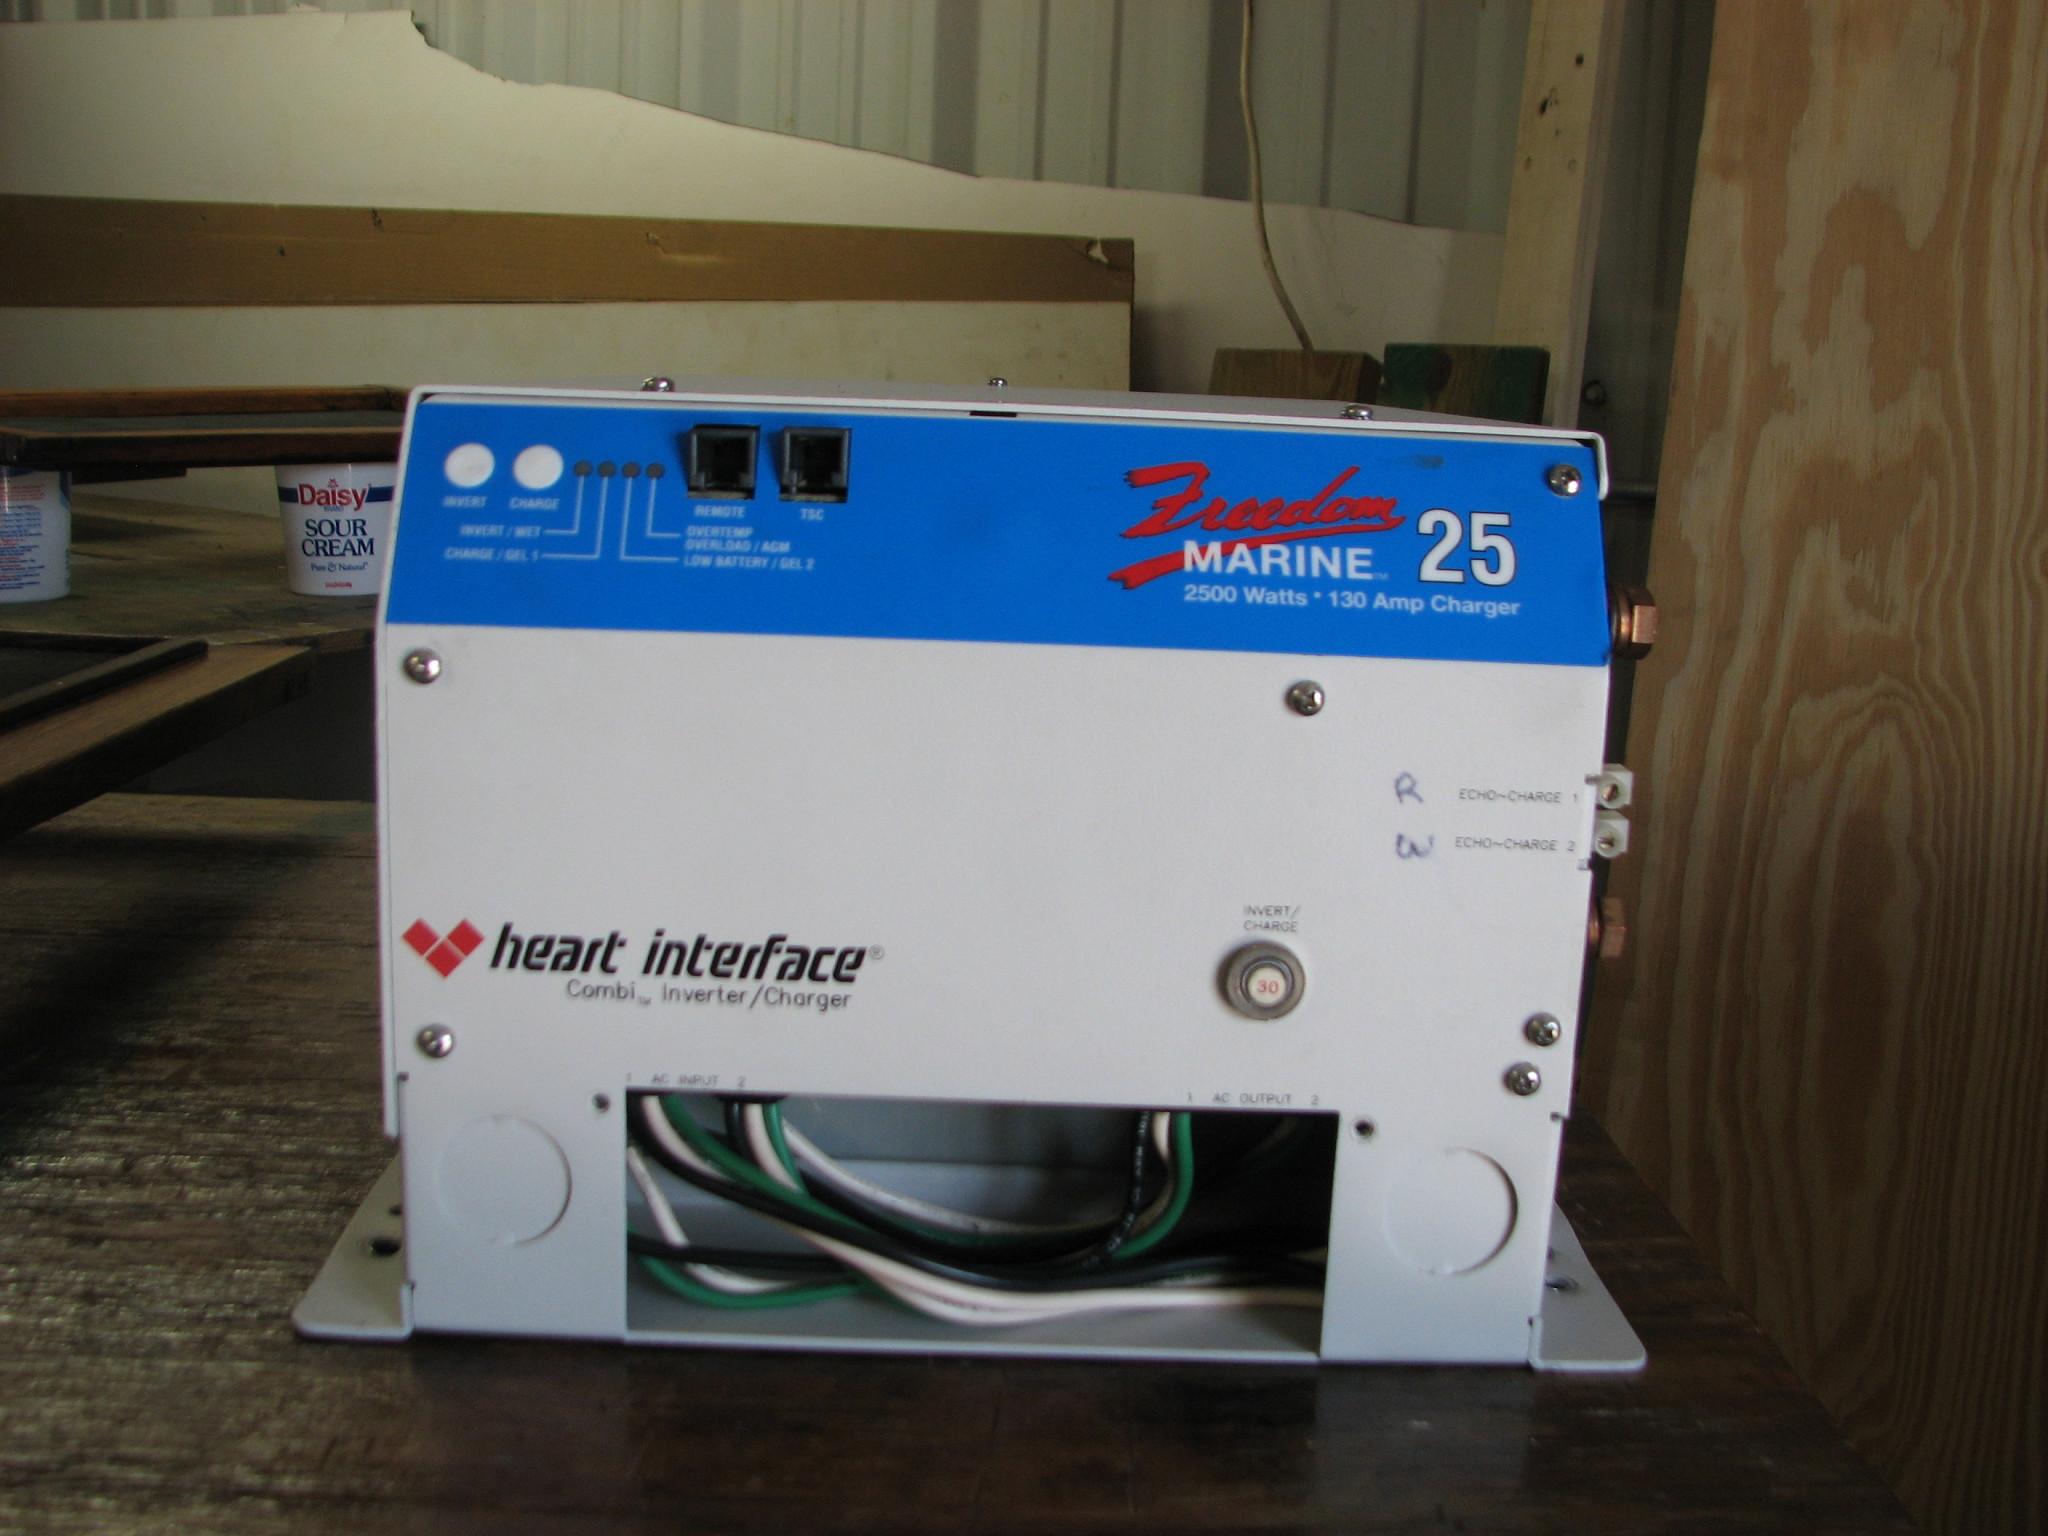
Heart
Freedom 25 Inverter/Charger
that had the return shipping information, and an explanation of the
problems with the unit. I printed out this information, and an
address label. I then went over to the shop.
When I got to the shop,
I got out several pieces of scrap foam. I cut and fit the pieces of
foam to completely wrap the Heart
Freedom 25 Inverter/Charger in.

Once I got the foam all
around the Inverter/Charger, I put the information sheet inside, then
closed up and the taped the box. I put the address label on and it
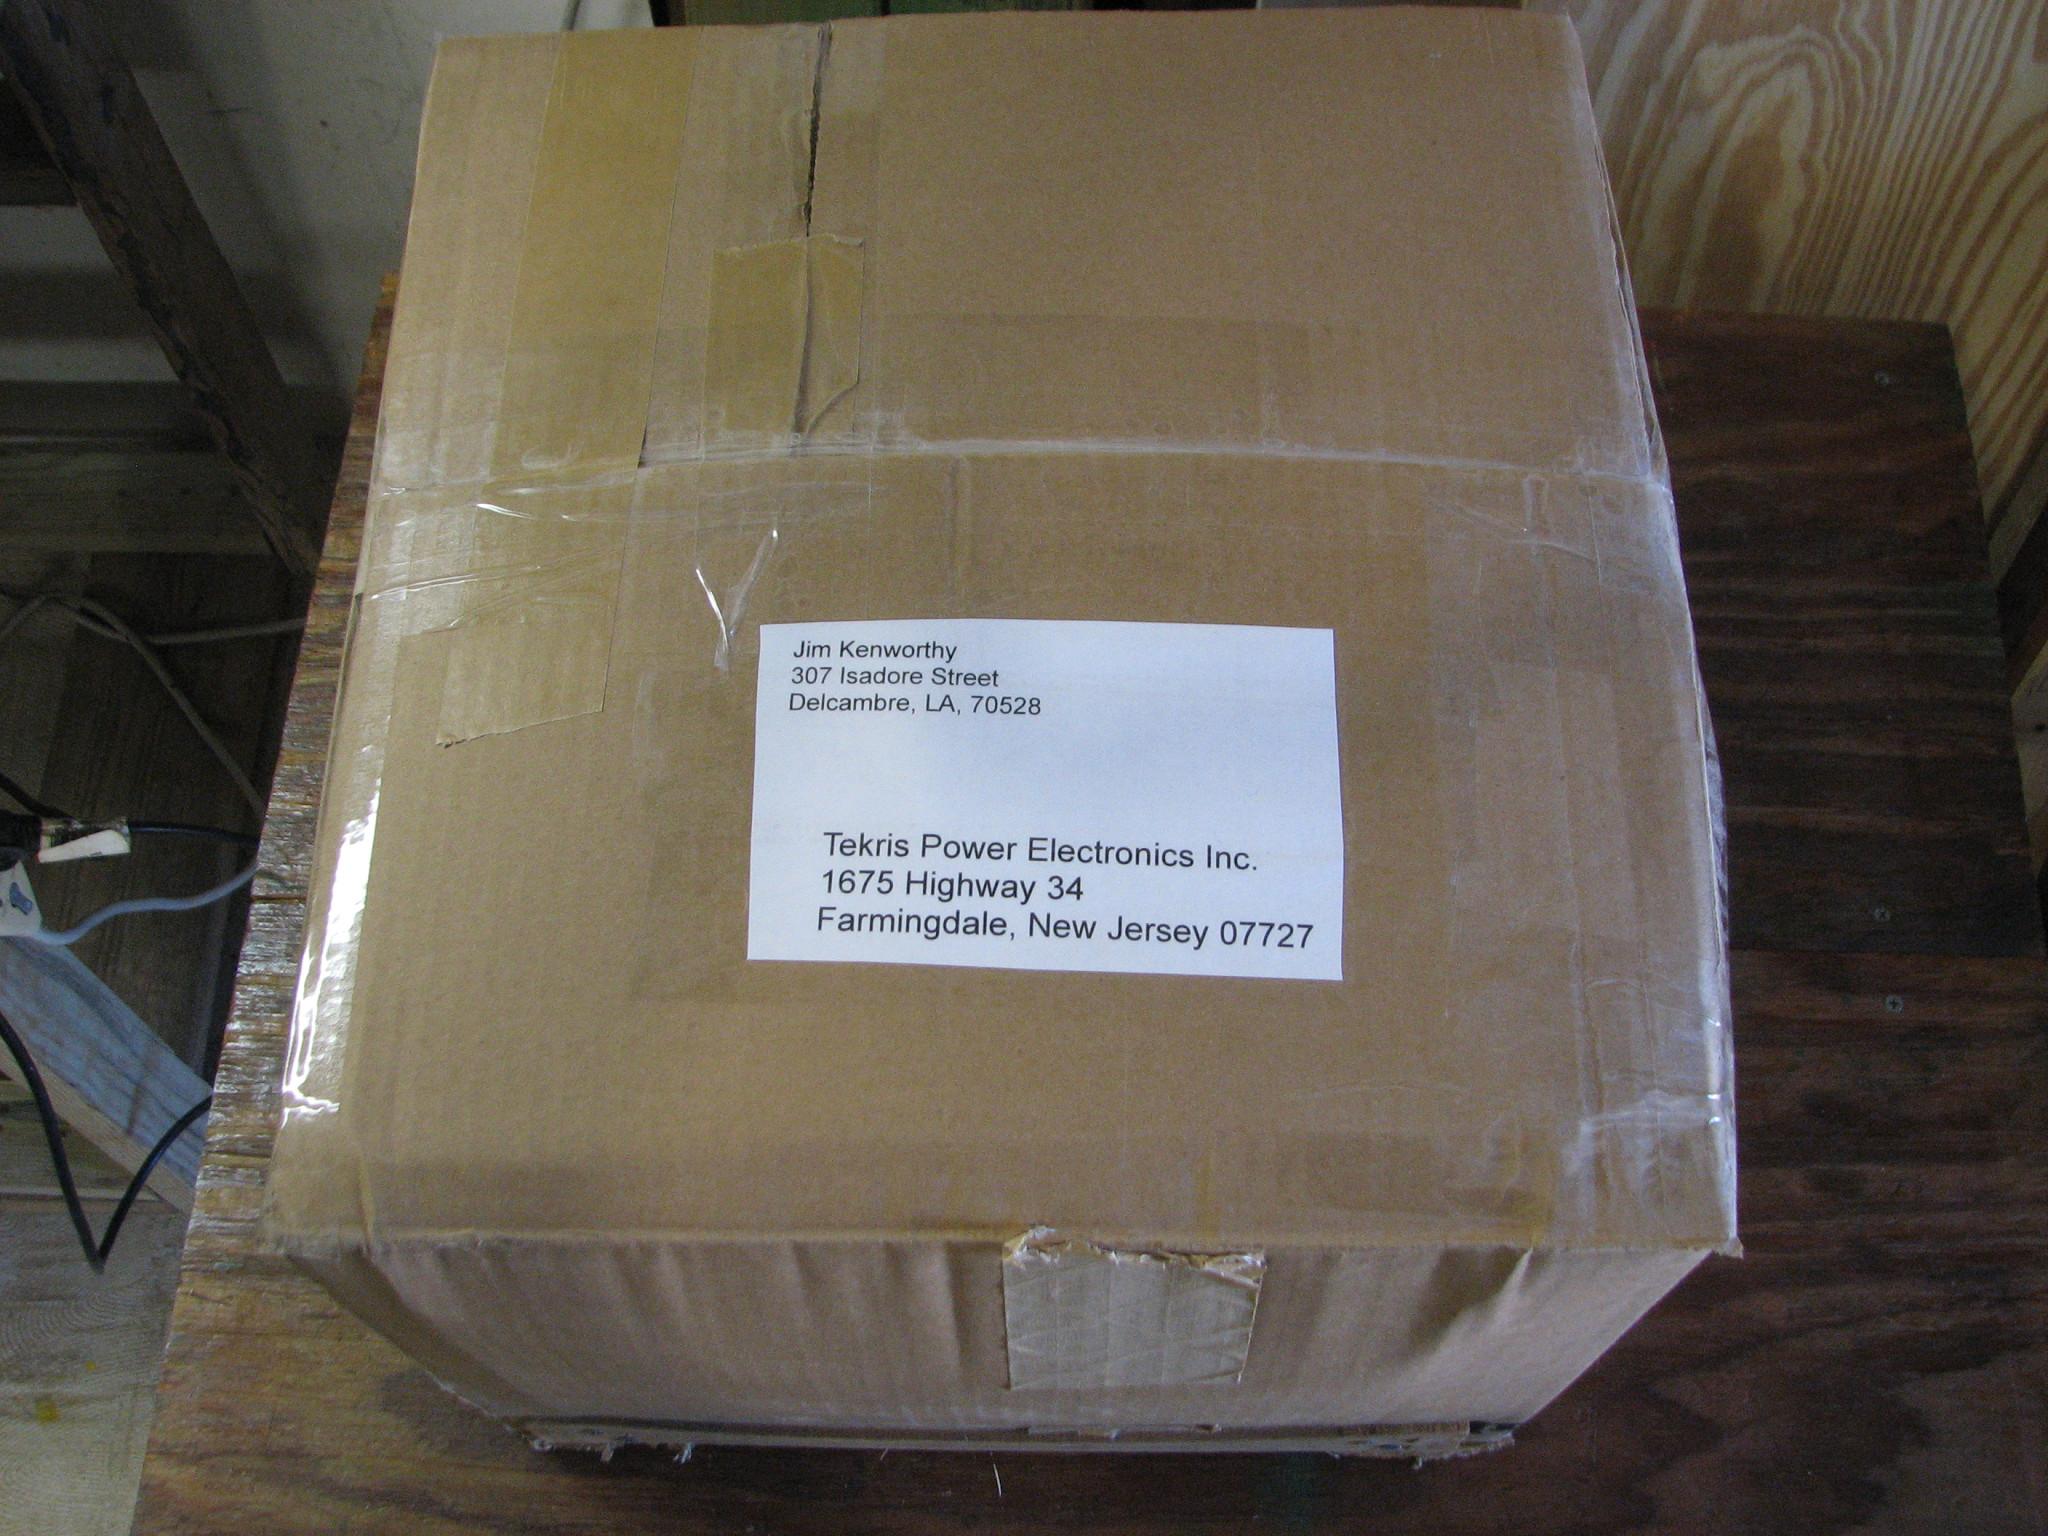
was ready to go. I shipped it out in the afternoon via the
USPS.
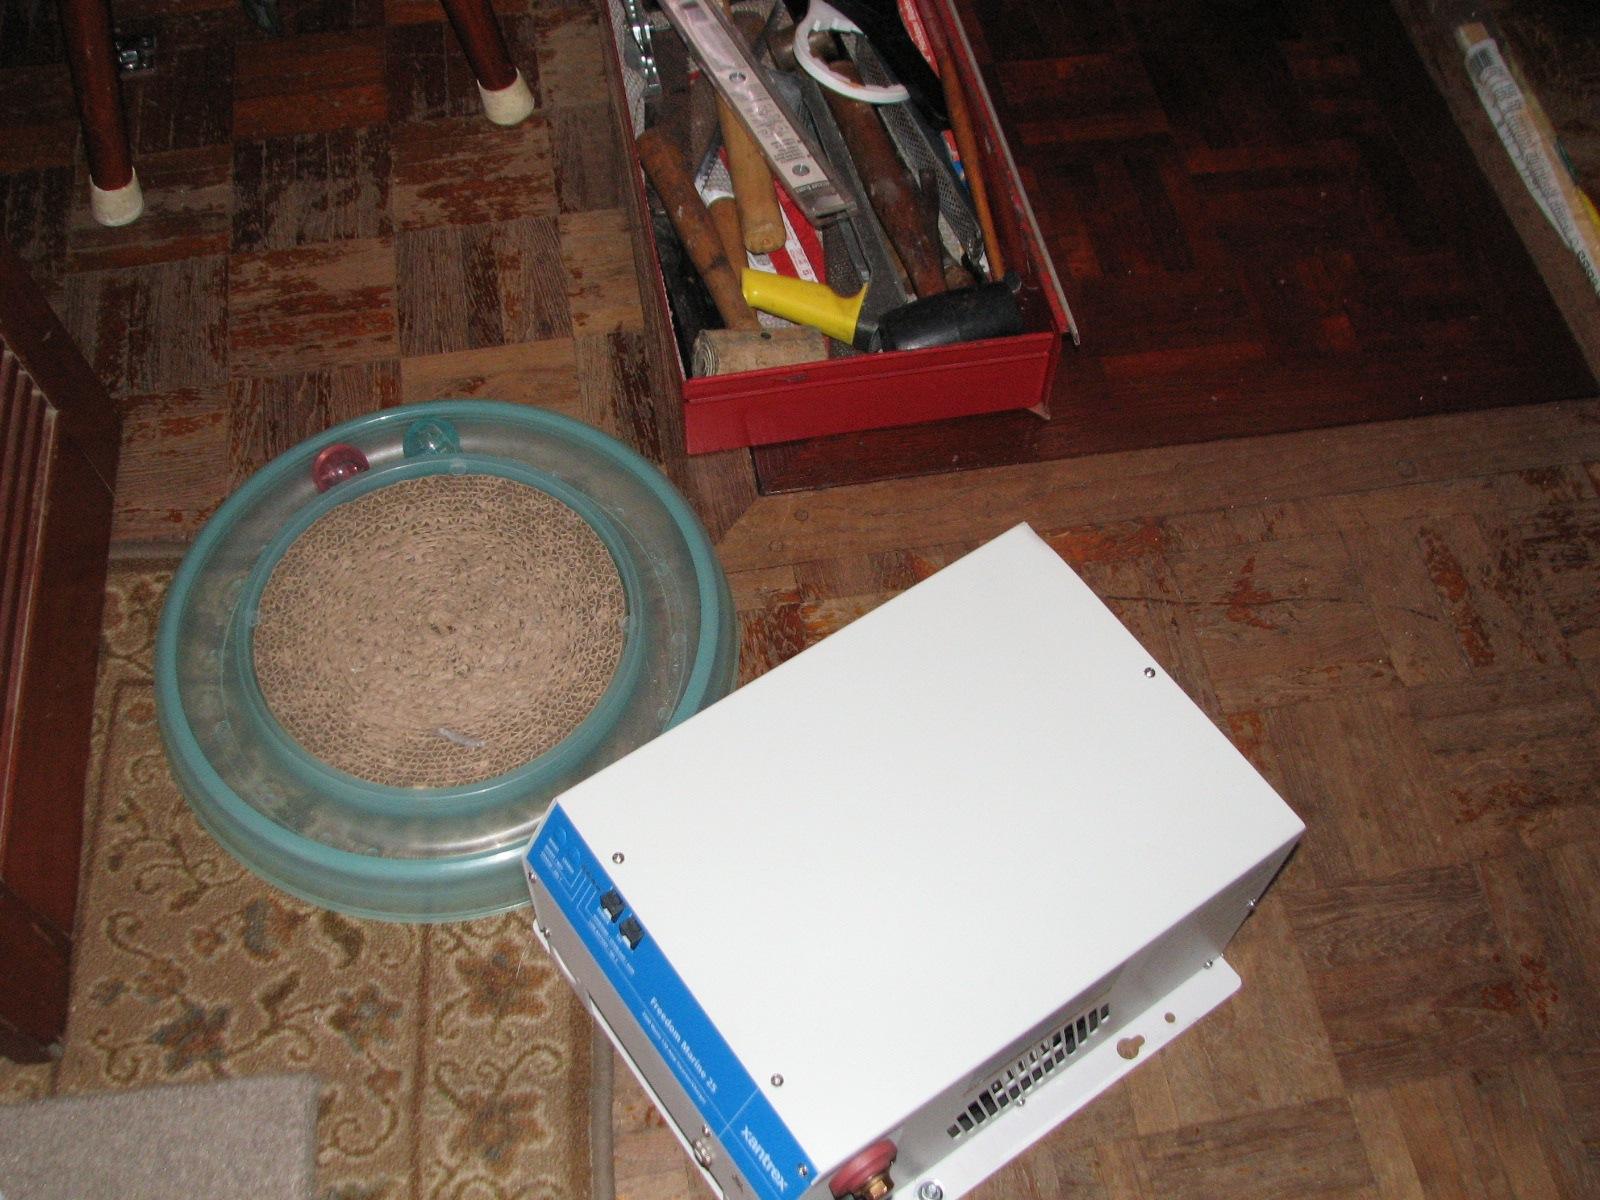
Heart
Freedom 25 Inverter/Charger
Ready To Go
Next was the cockpit
hatch. The Smith’s
penetrating epoxy I applied
yesterday had set up very hard, so it was time to epoxy the piece of
plywood into the hole in the hatch.
Hole In The Hatch
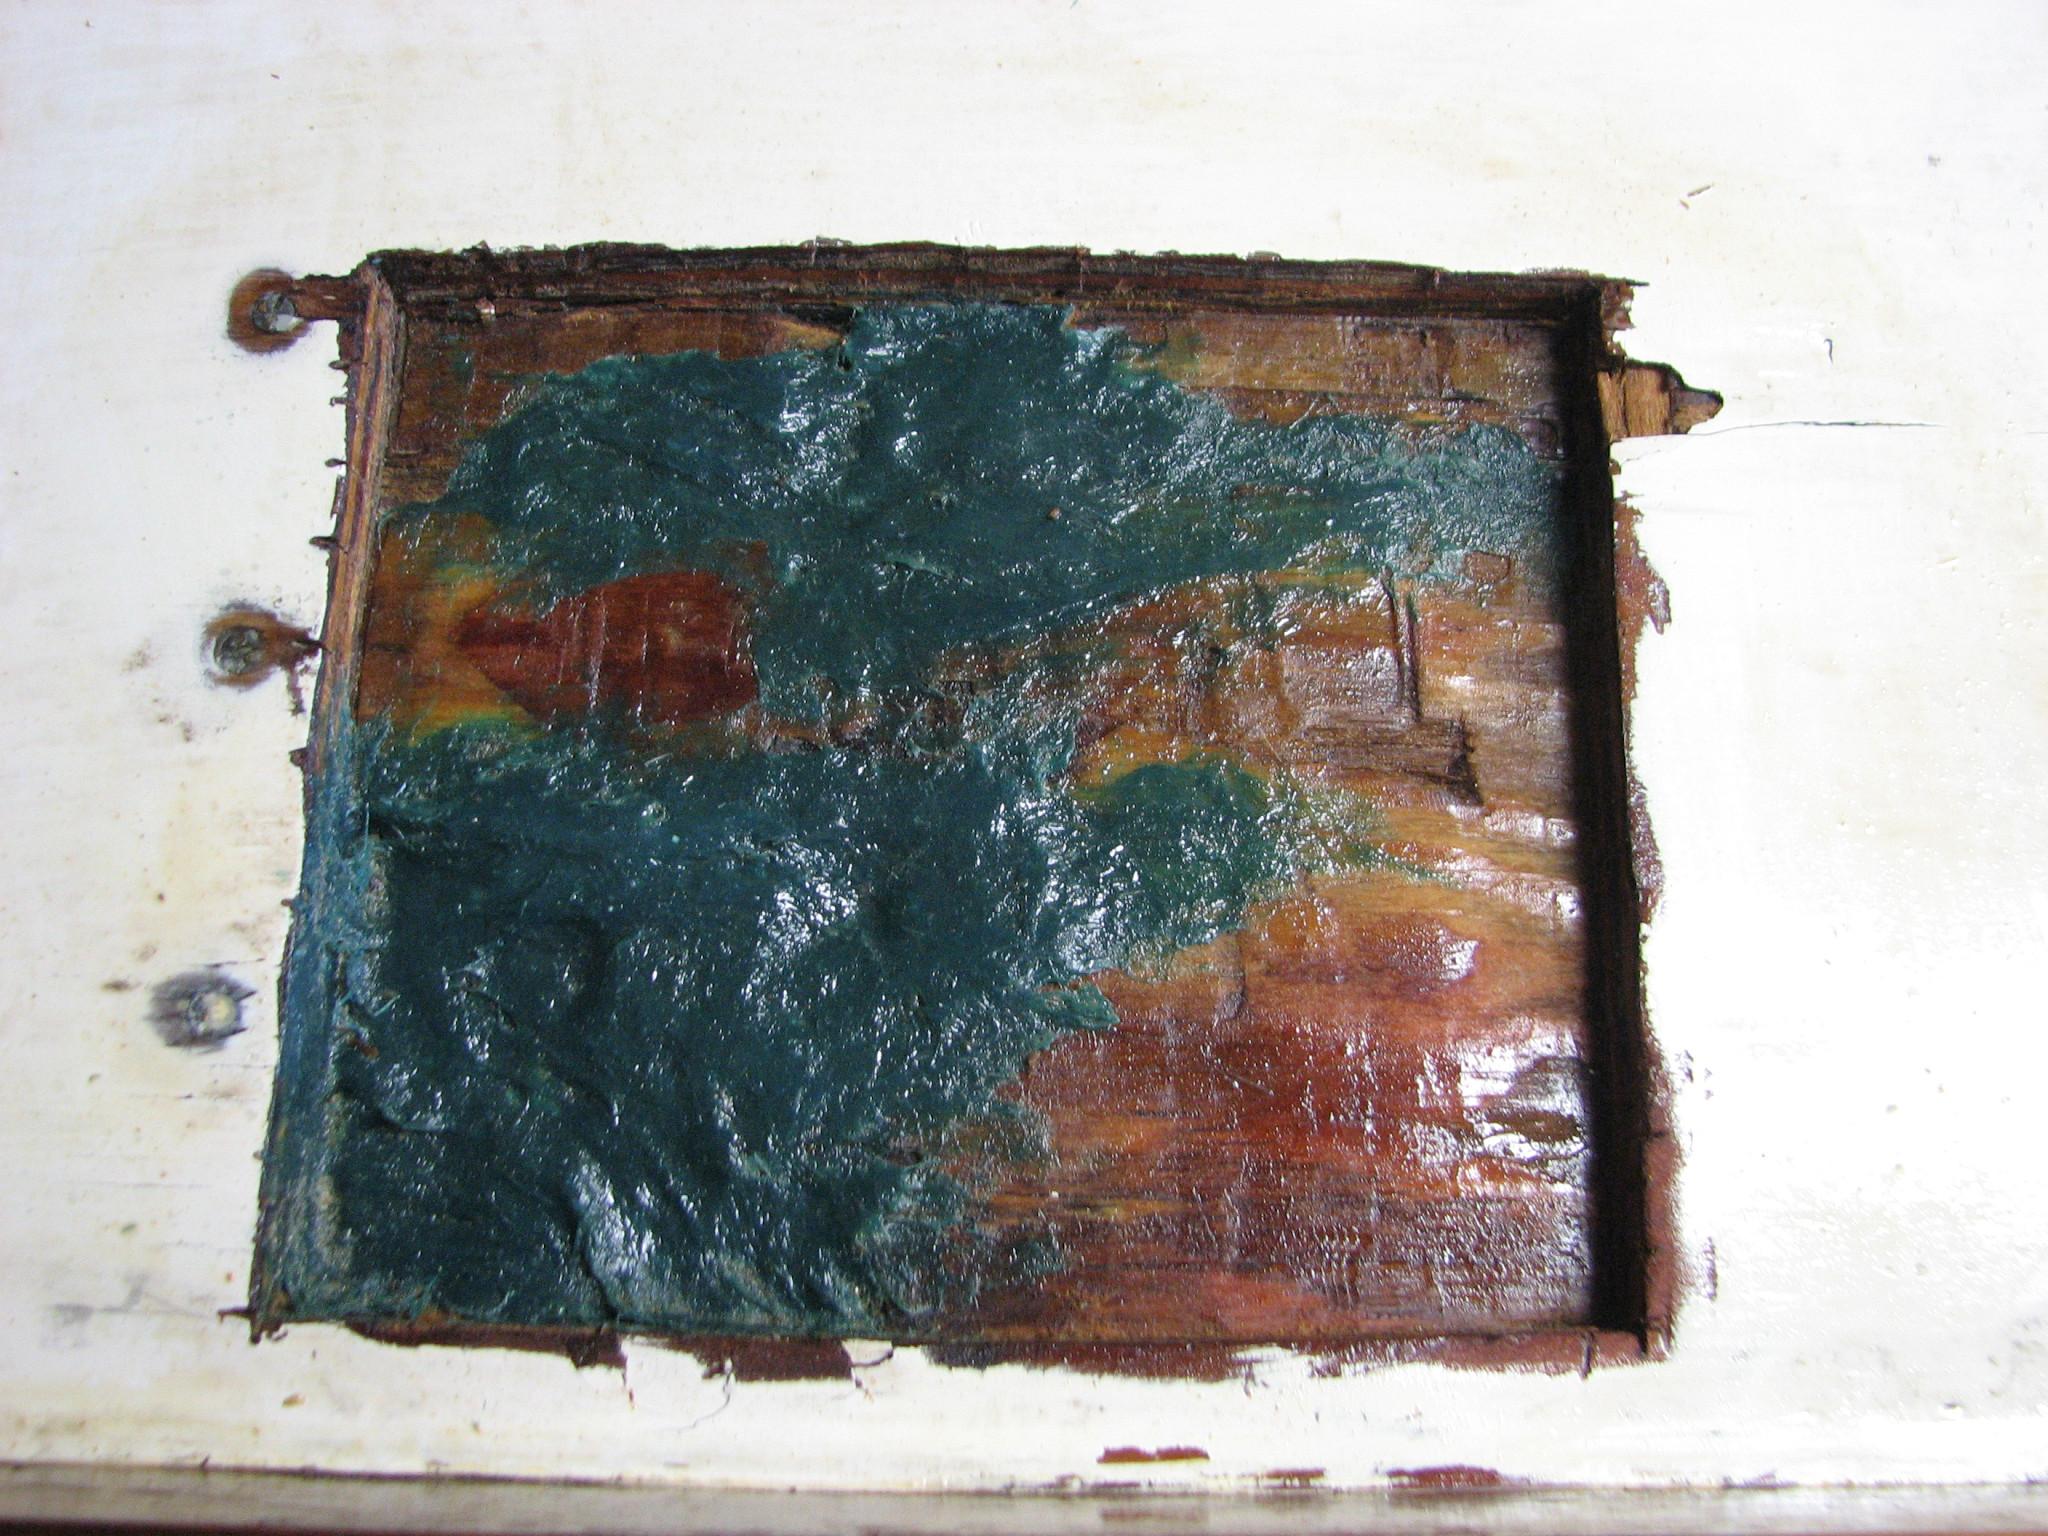
I sanded and scraped
out the hole, so that it was smooth and the piece of plywood fit
perfectly. I did a dry fit of the piece of plywood, then I mixed up a
batch of mash mix. The mash mix is a mixture of the epoxy and the
Cabosil
ormicroballoons.
It is about the consistency of peanut butter. I used the mash mix to
put the plywood into the hole in the cockpit hatch.
Ready For Hatch Repair
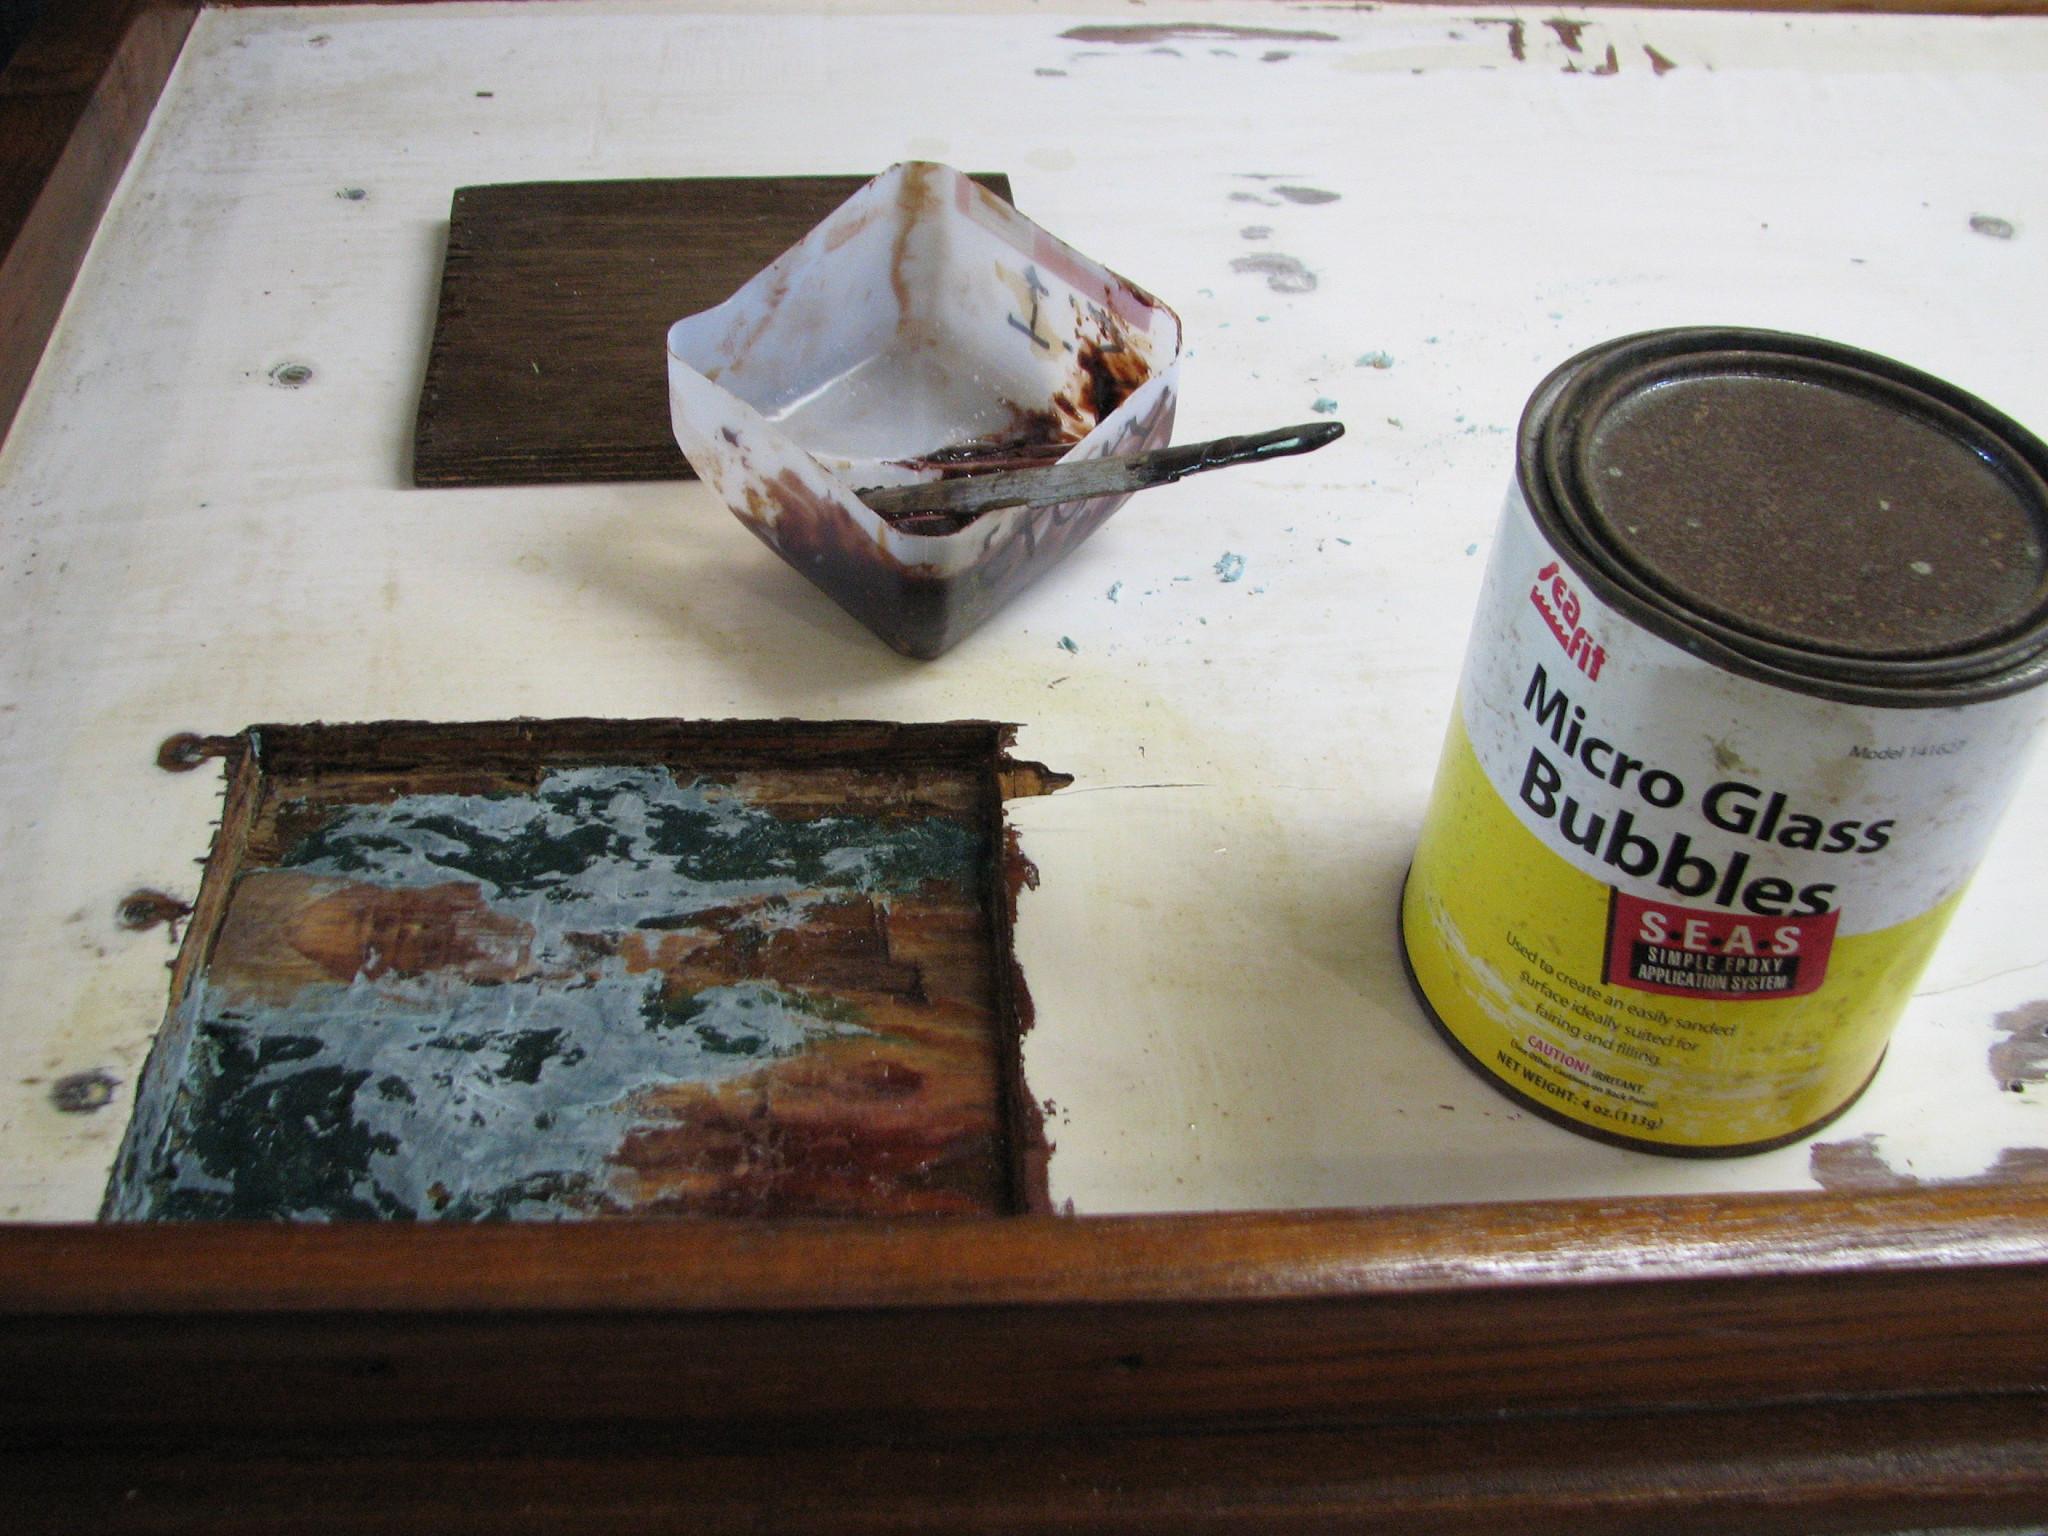
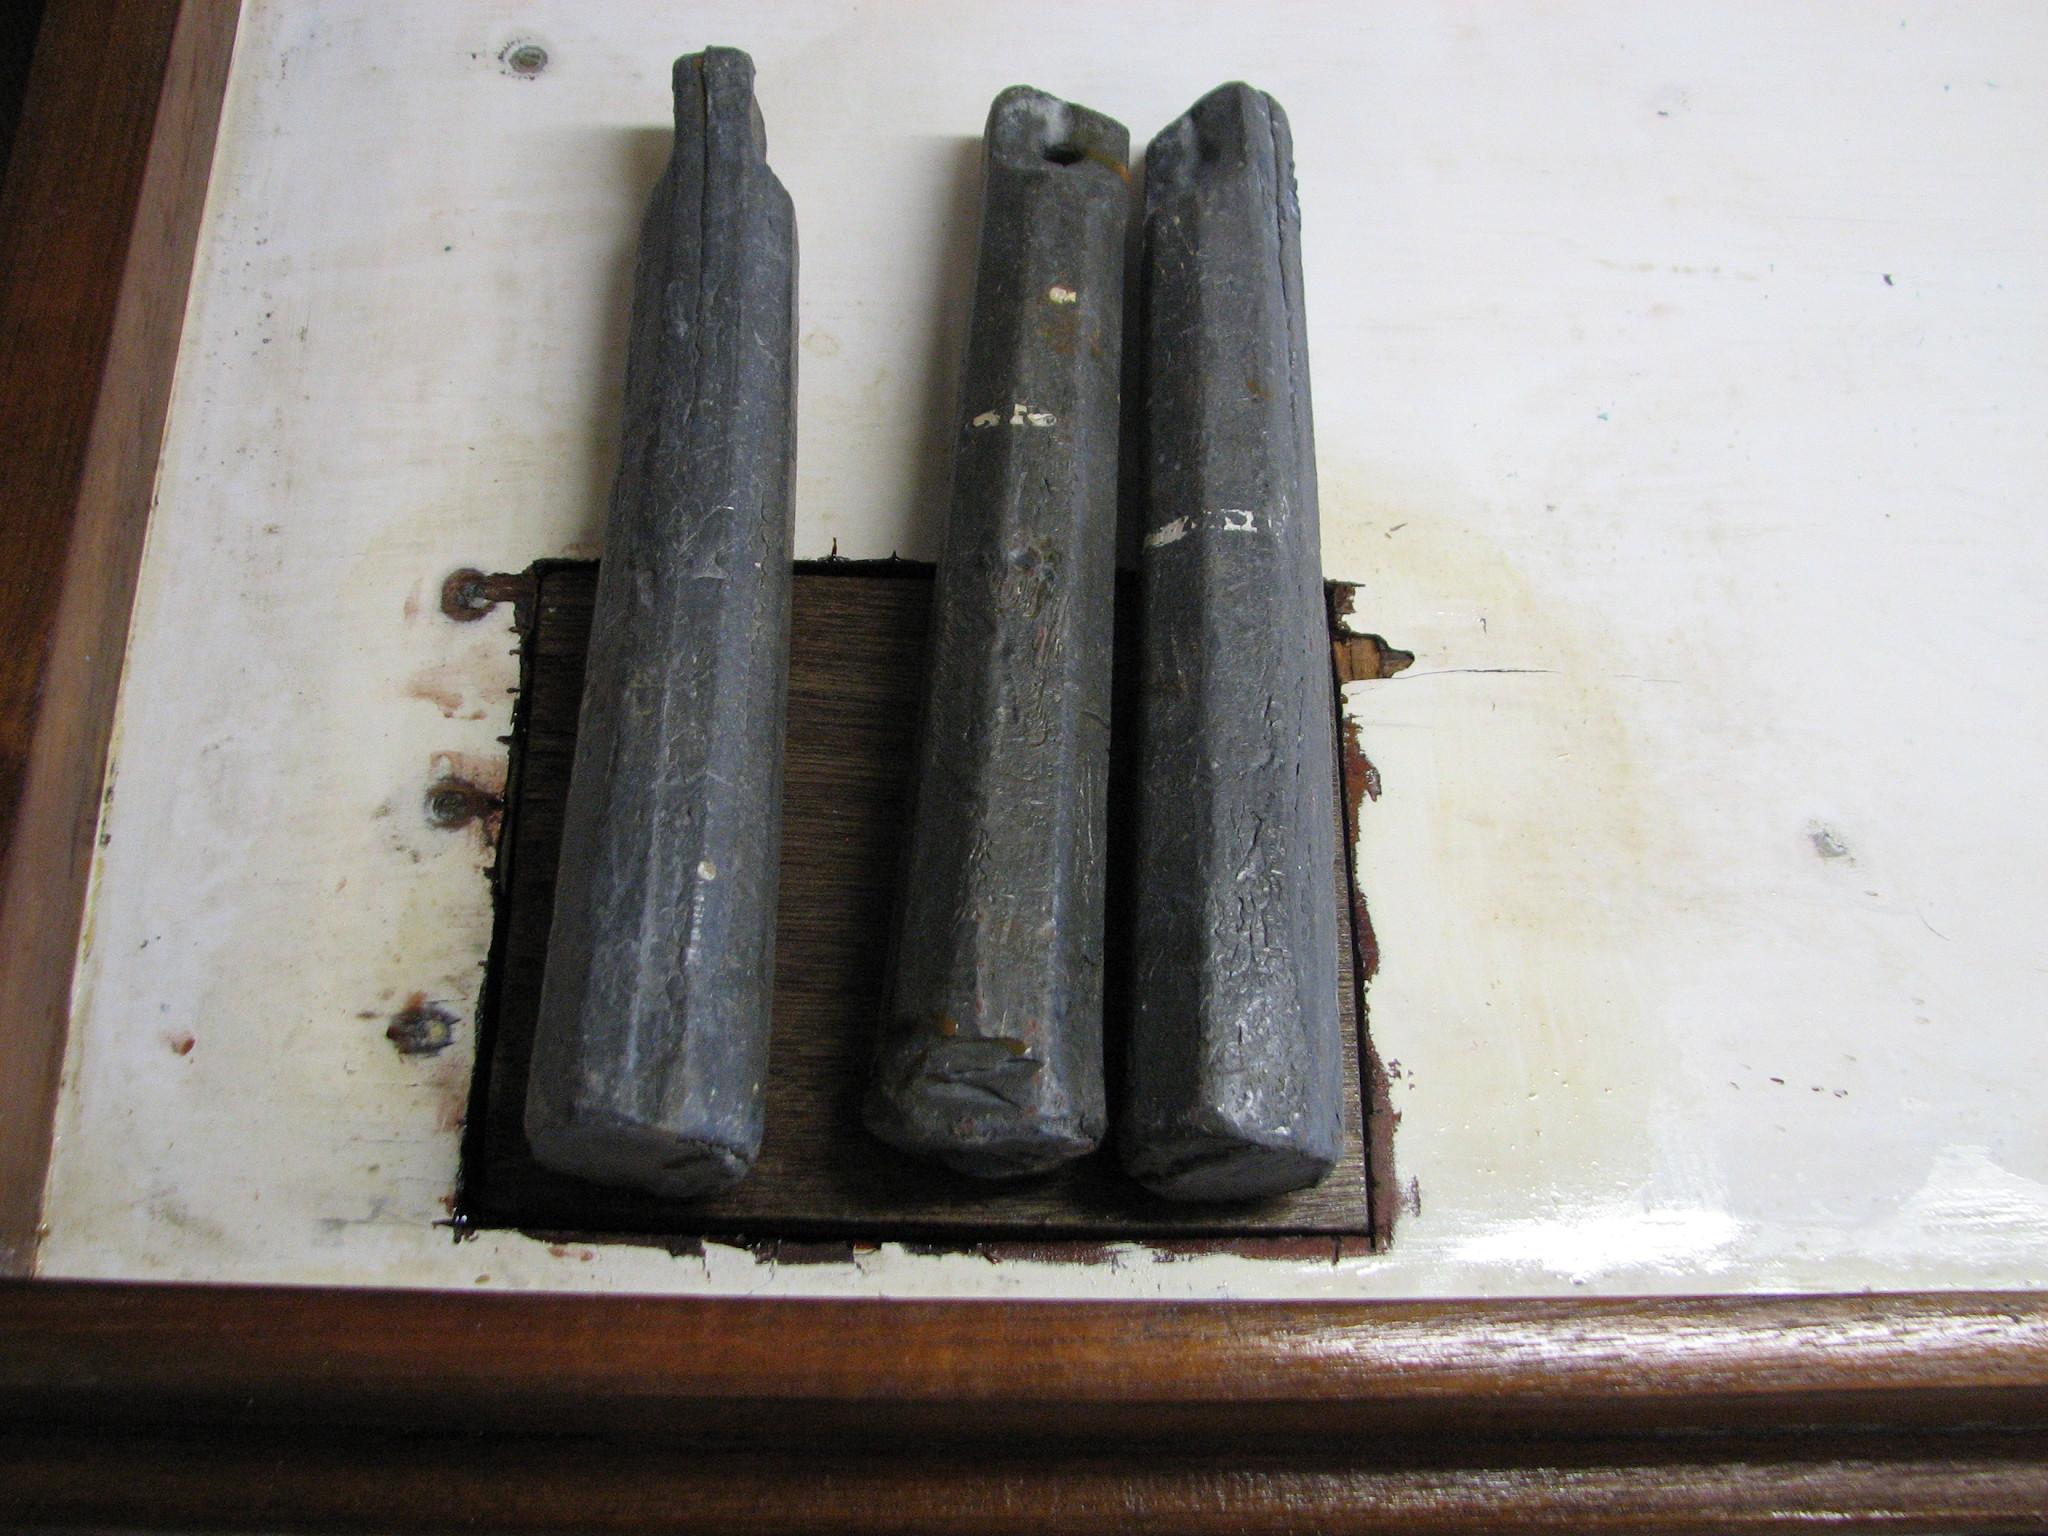
After the repair was
made I placed three weights on the piece of plywood to insure it
would set up properly.
Weights On Cockpit
Hatch
Last
Item for the day was the varnish. I applied the fifth coat on the
nameboards, the teak wire cover, and all of the
Panduit wire duct covers. I applied
the fourth coat of varnish on theCutco
knife holder.
May
4, 2013, Saturday
Started
off the morning with my normal ritual of getting on the Internet,
answering email, checking the weather, while making a pot of coffee.
Alan and I filled our go cups with coffee, and headed to the shop.
When we got to the shop
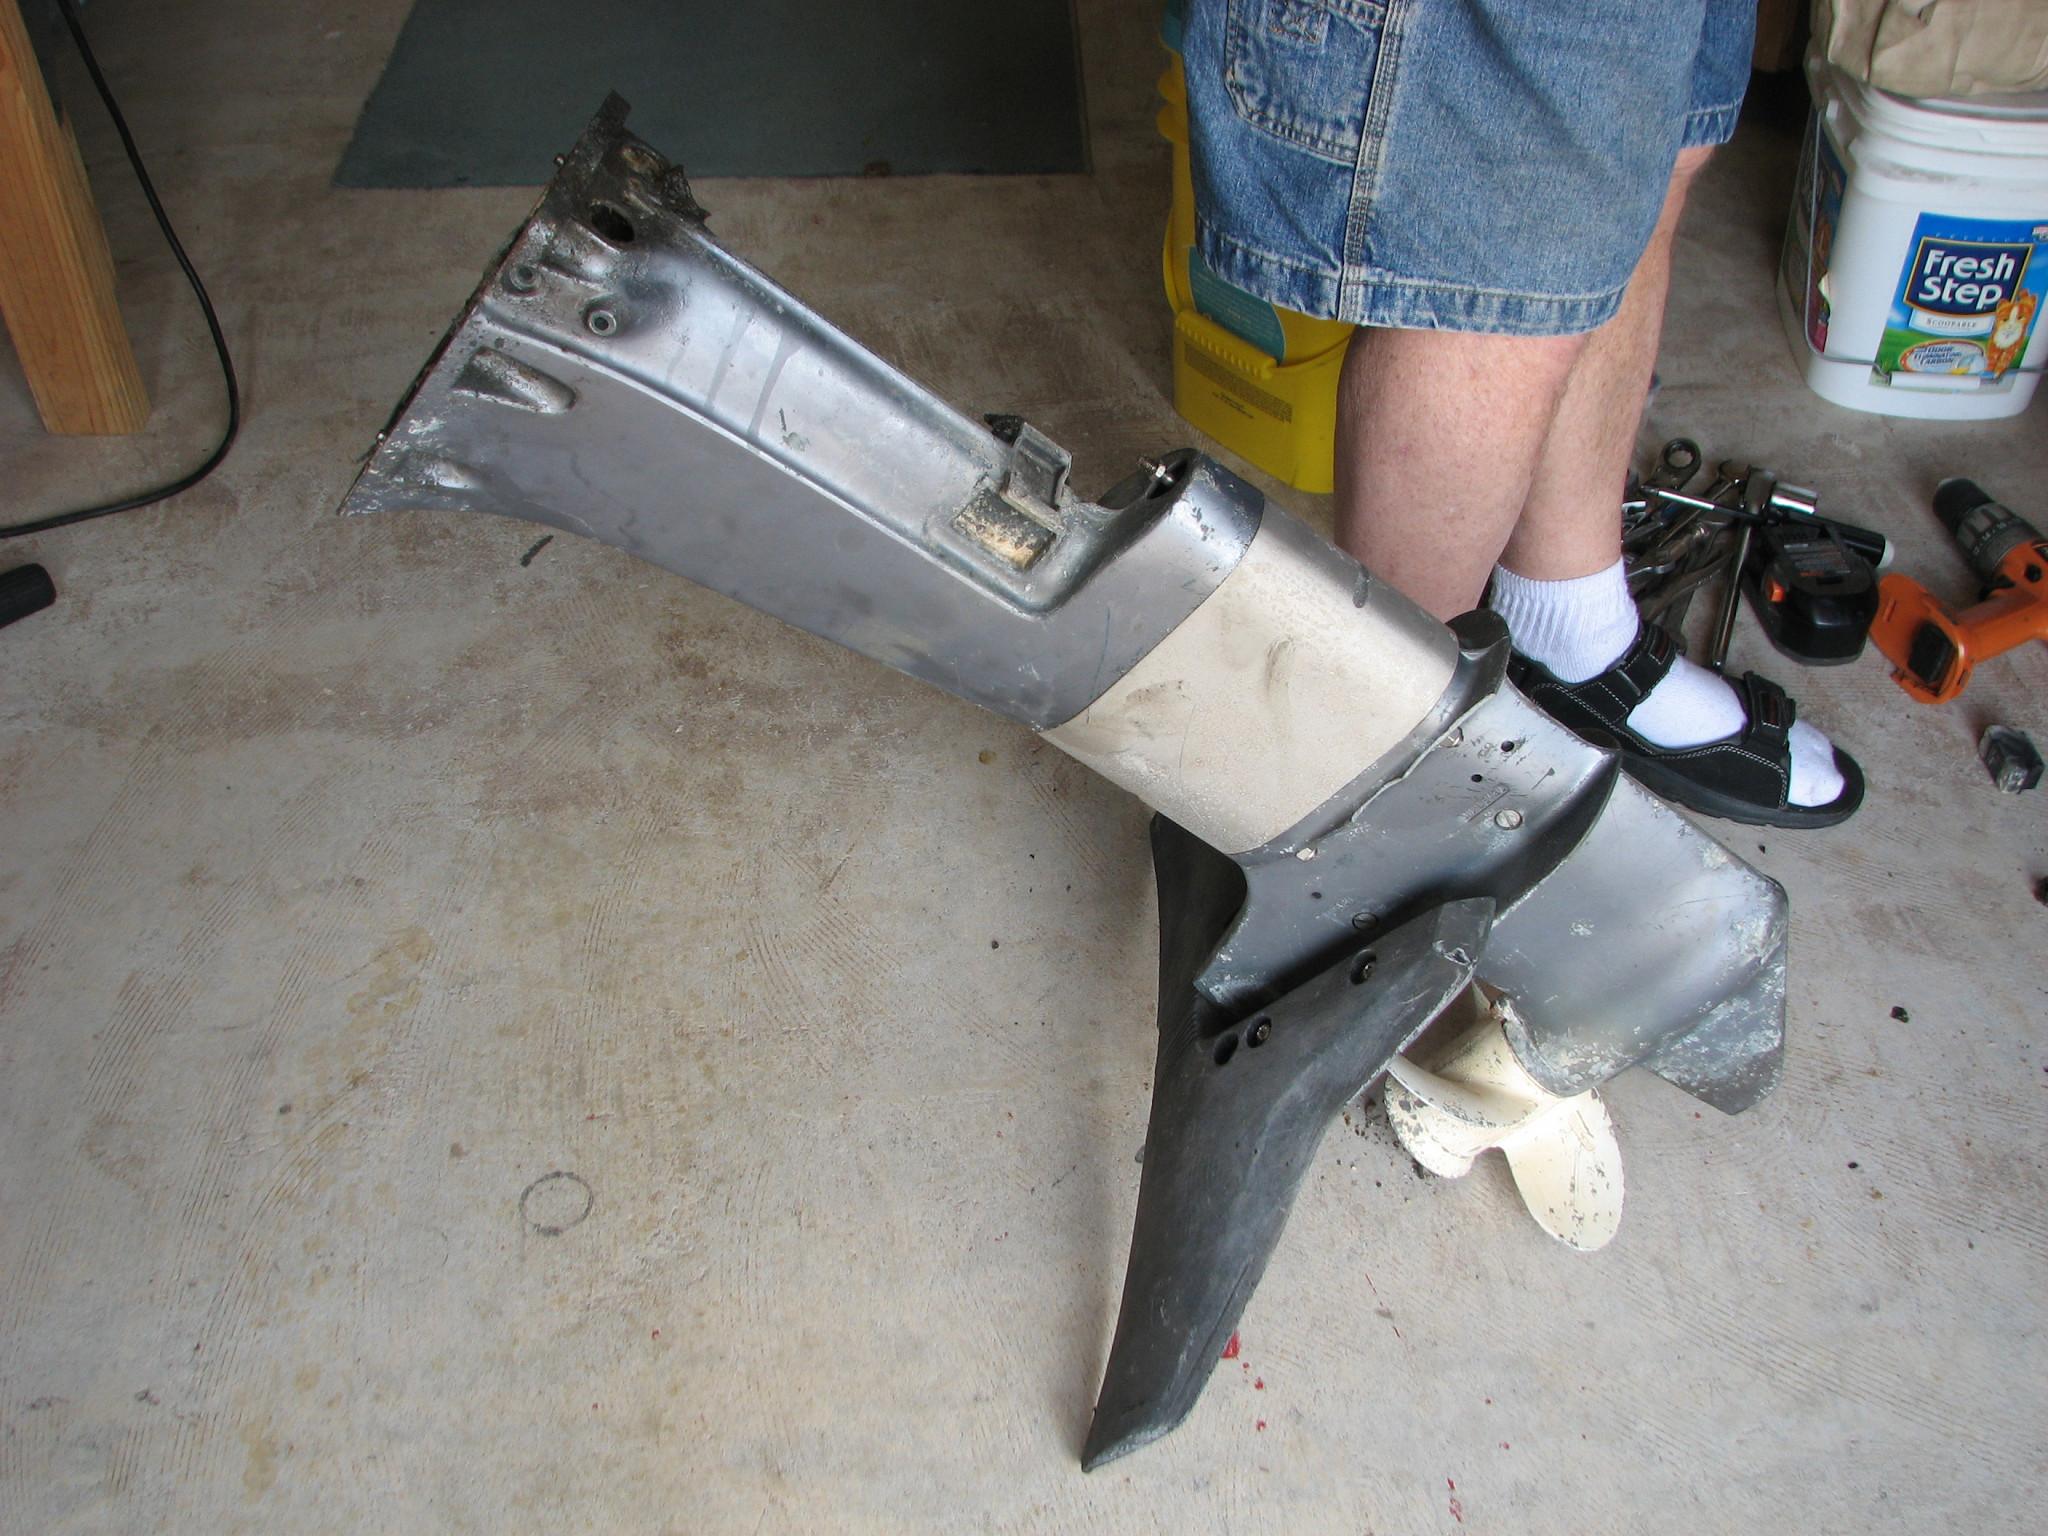
we started in. Yesterday I decided to use the newest parts to build
my main engine. That meant I would use the new long shaft lower
housing I had purchased off of eBay on the main engine. This meant I
had to move the whale tail from the old lower
drive to the new lower drive.
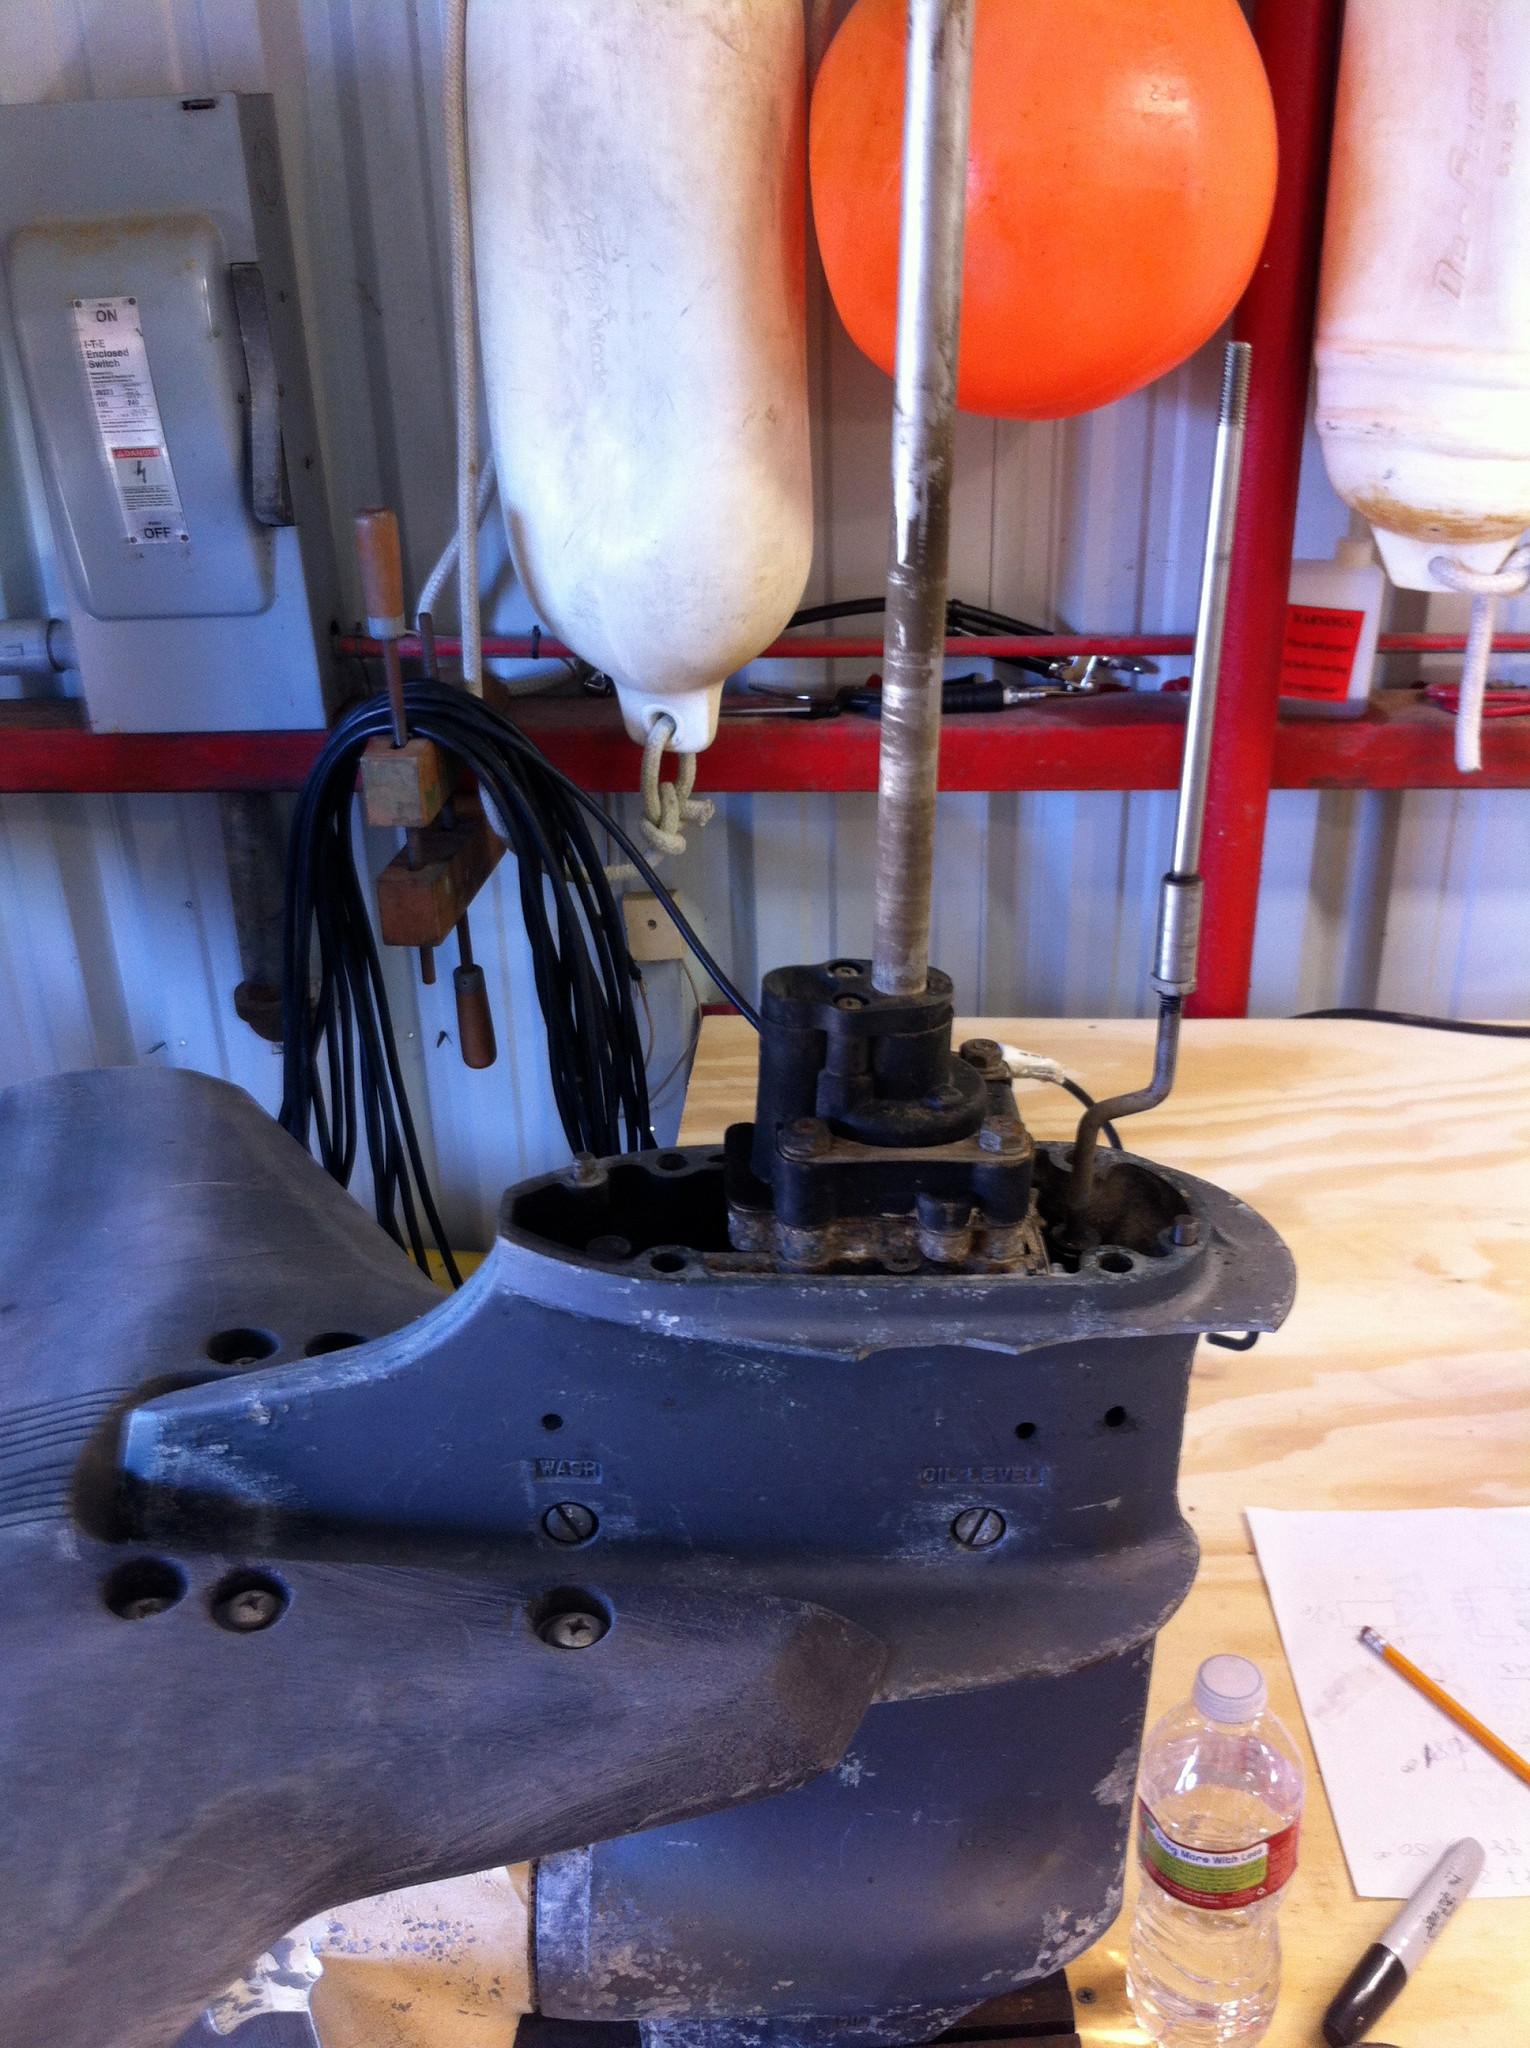
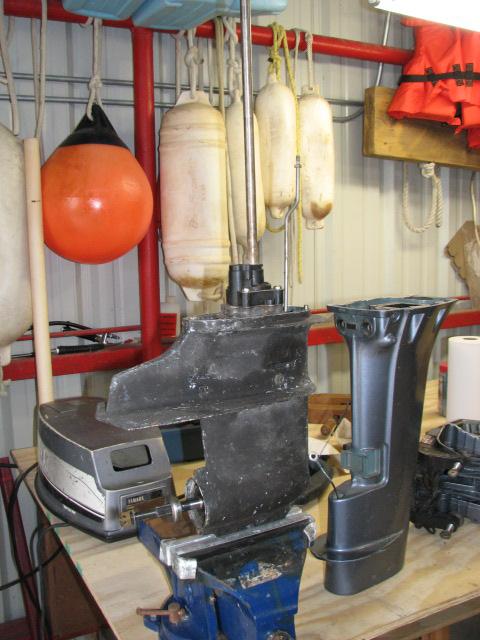
While Alan started on
the whale tail project, I looked around the shop for a suitable
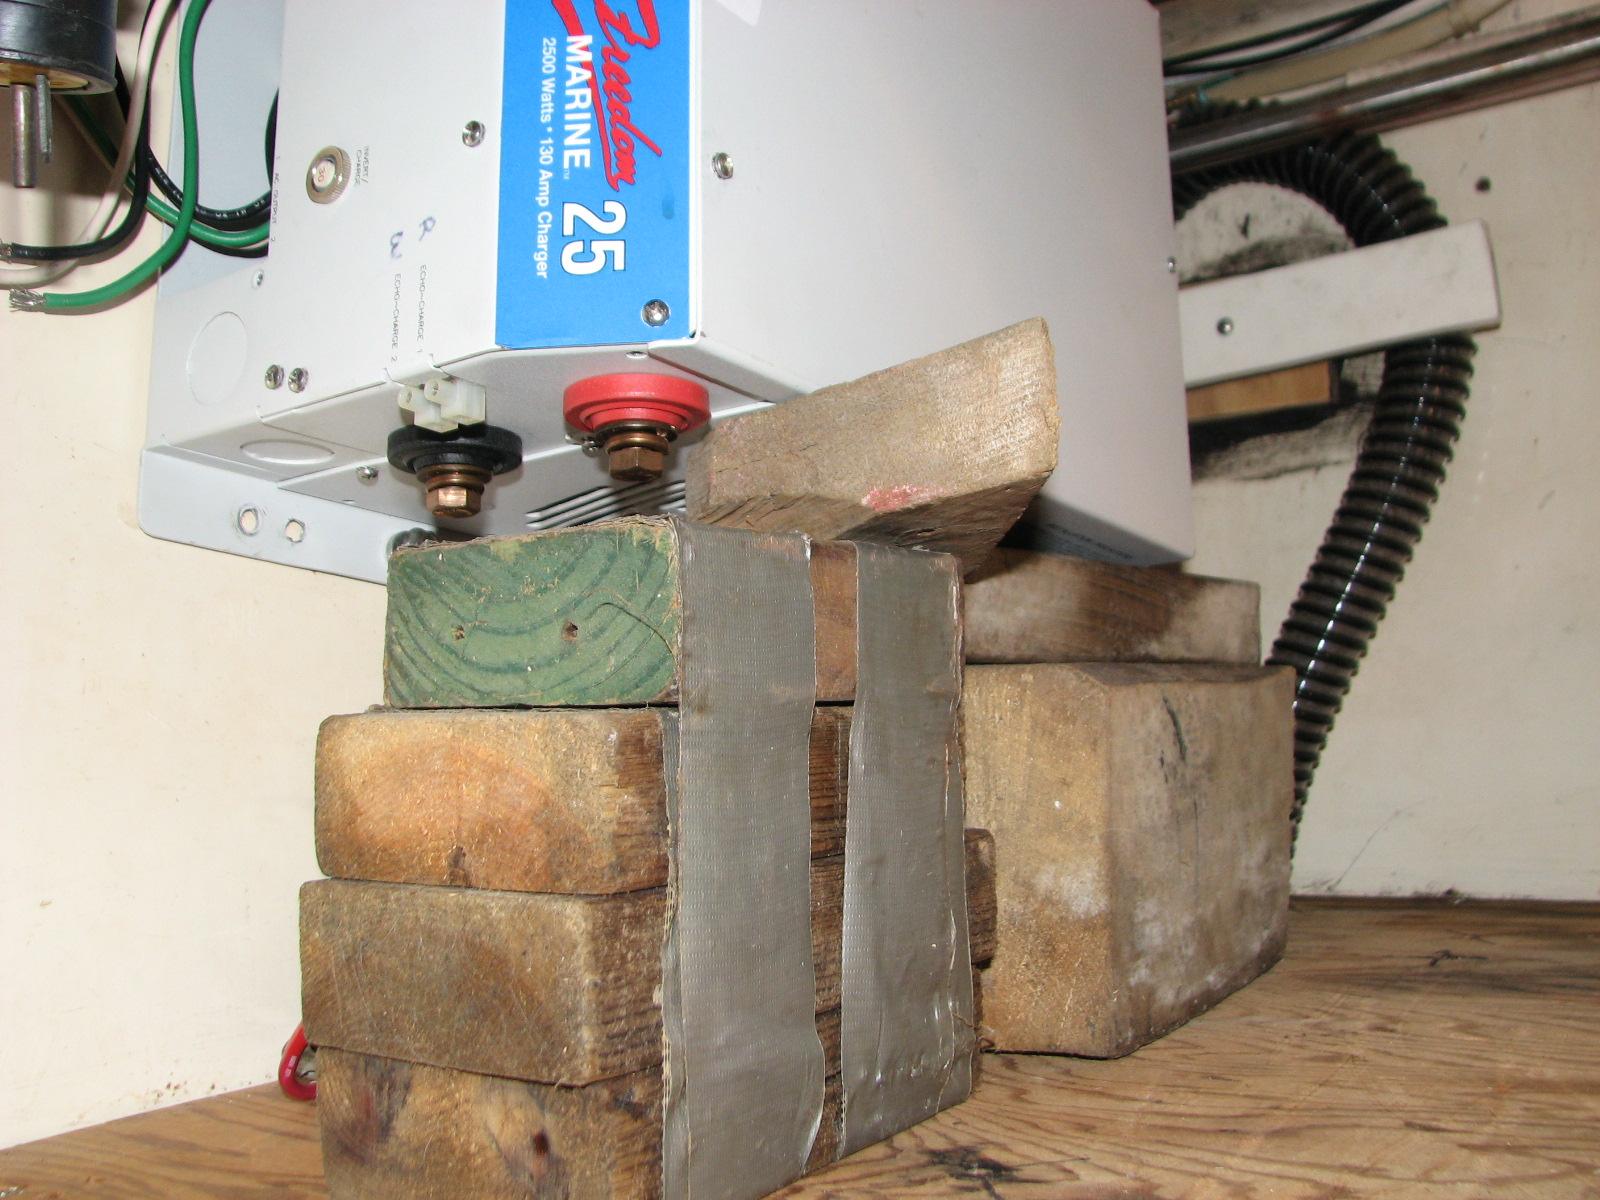
platform to attach the Heart
Freedom 25 Inverter/Charger, and make it ready for shipment. I was able to find
a piece of plywood already attached to some 2 X 4’s, that is
perfect to mount the Heart
Freedom 25
Inverter/Charger. I also put two pieces of foam insulation between
the Inverter/Charger and the plywood to act as a cushion.
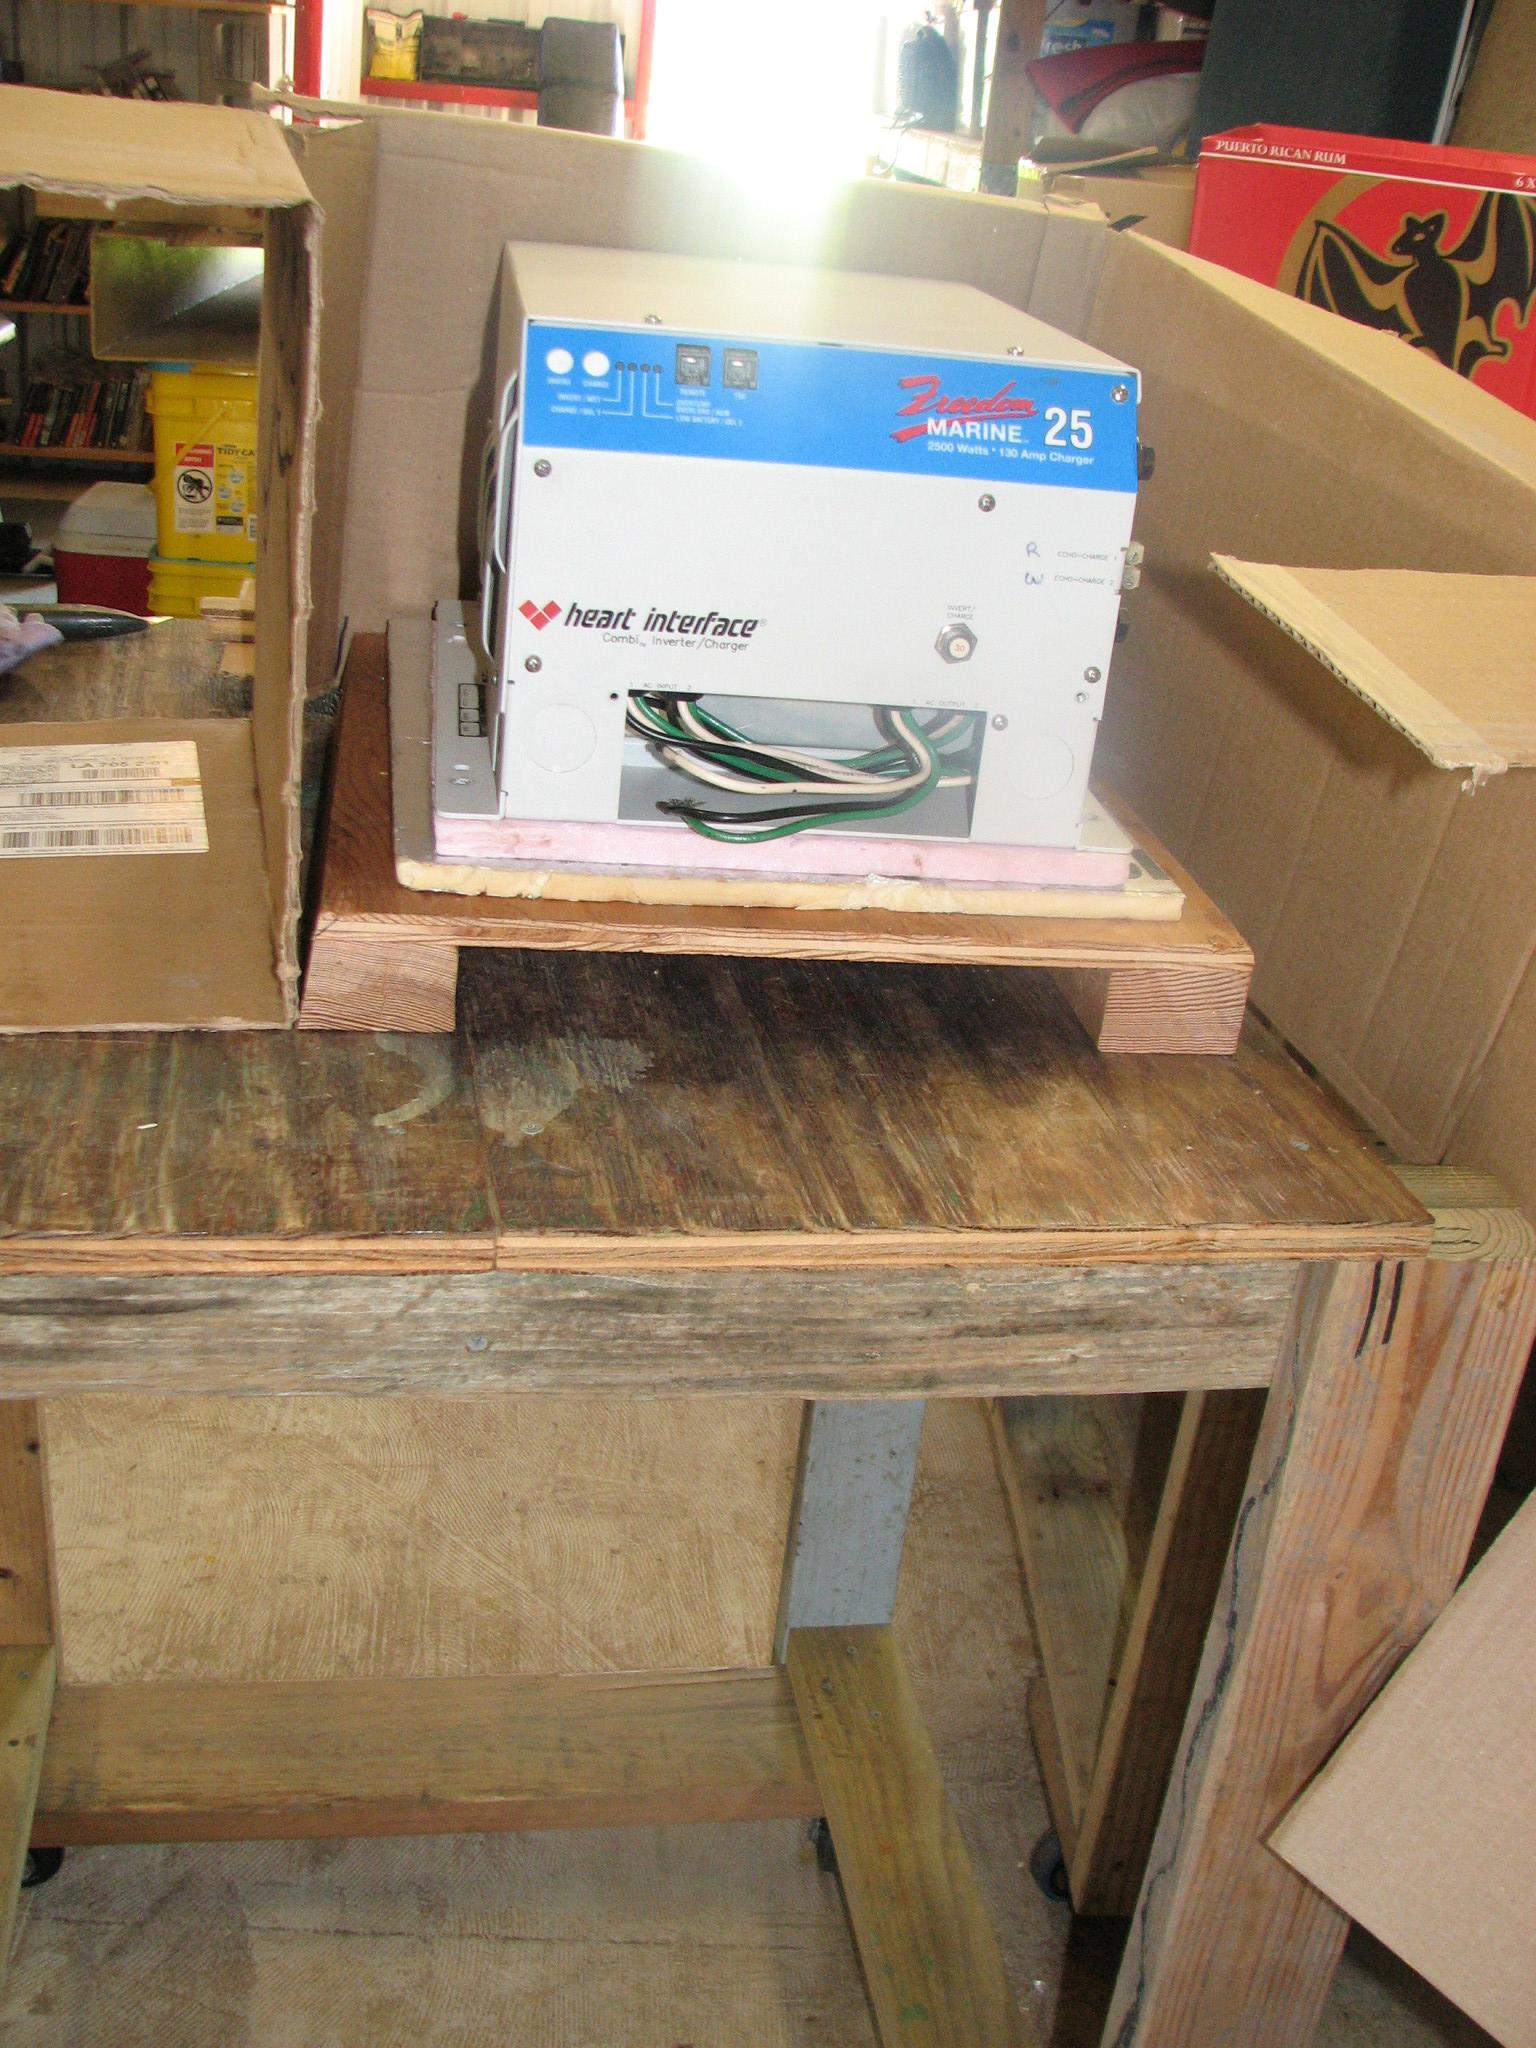
I got some help from
Alan, and we cut up a cardboard box, and stapled it to the pallet to
form a box around the Heart
Freedom 25 Inverter/Charger. When that was finished, Alan and I got back
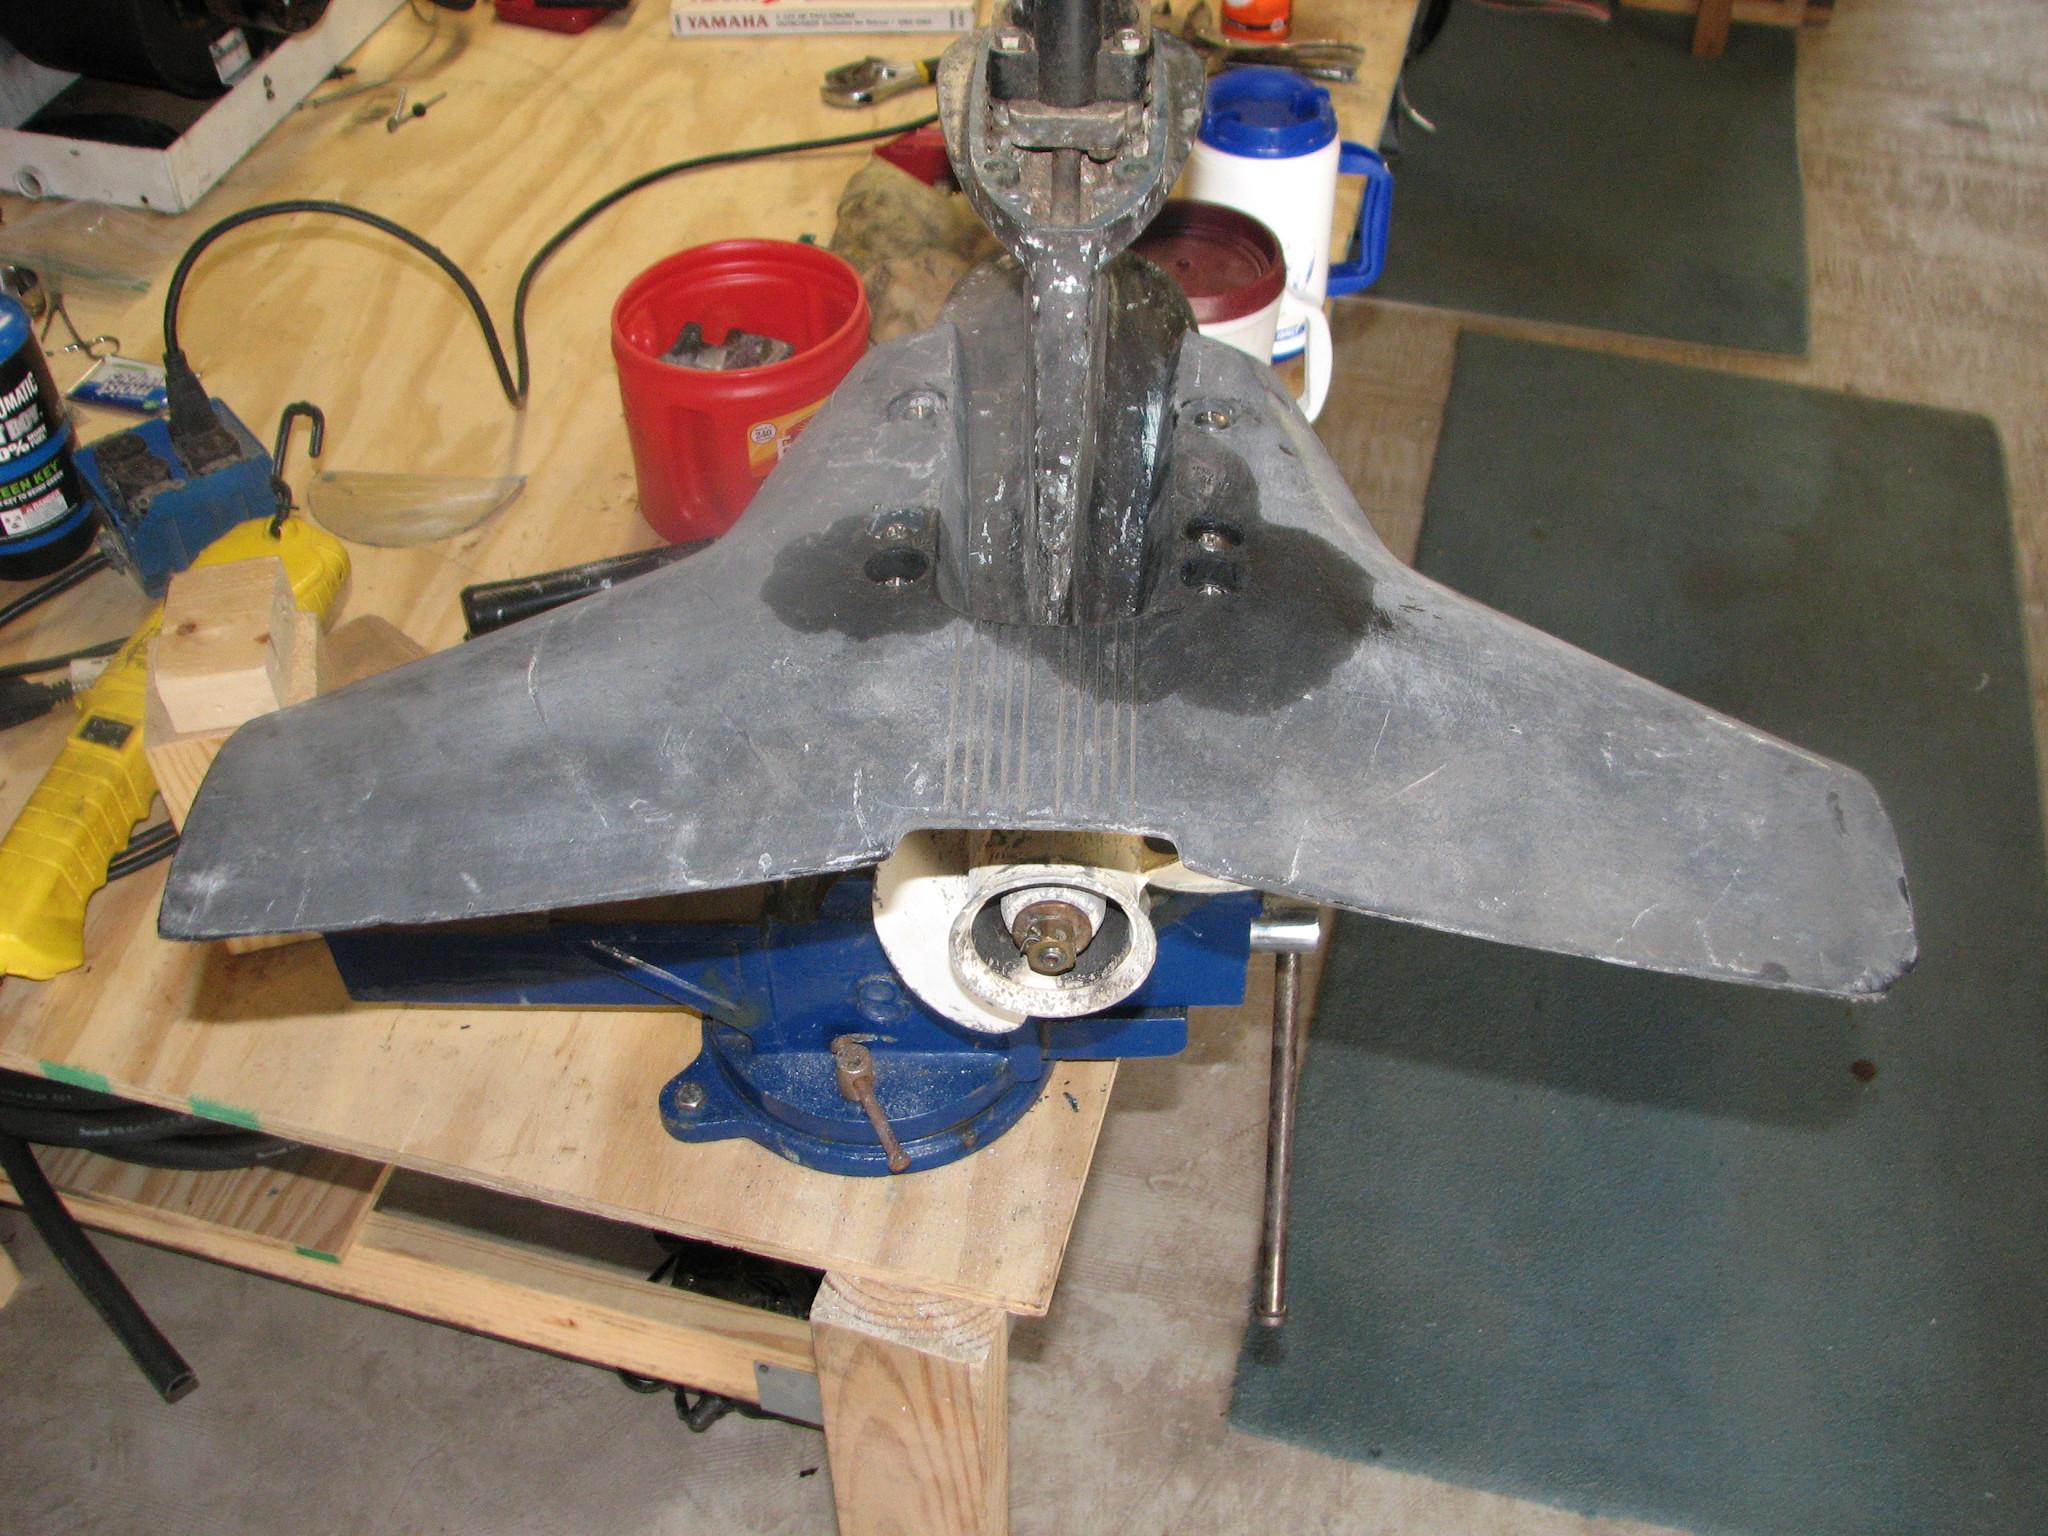
changing the whales tail to the new
lower drive.
We measured and looked,
and then measured again. While I was drilling holes in the lower
drive for the whales tail,
Alan was cleaning out the threads in the zincs. There are six bolts
total holding the whales tail to the lower
drive. Two of the bolts
have nuts on the end. The other four bolts are bolted into the zincs.
We scraped the paint off of the area on the lower
drive where the zincs are
bolted to make sure we have good contact. While we were working on
thelower drive, we also took the
water pump apart and checked the impeller, which was good.
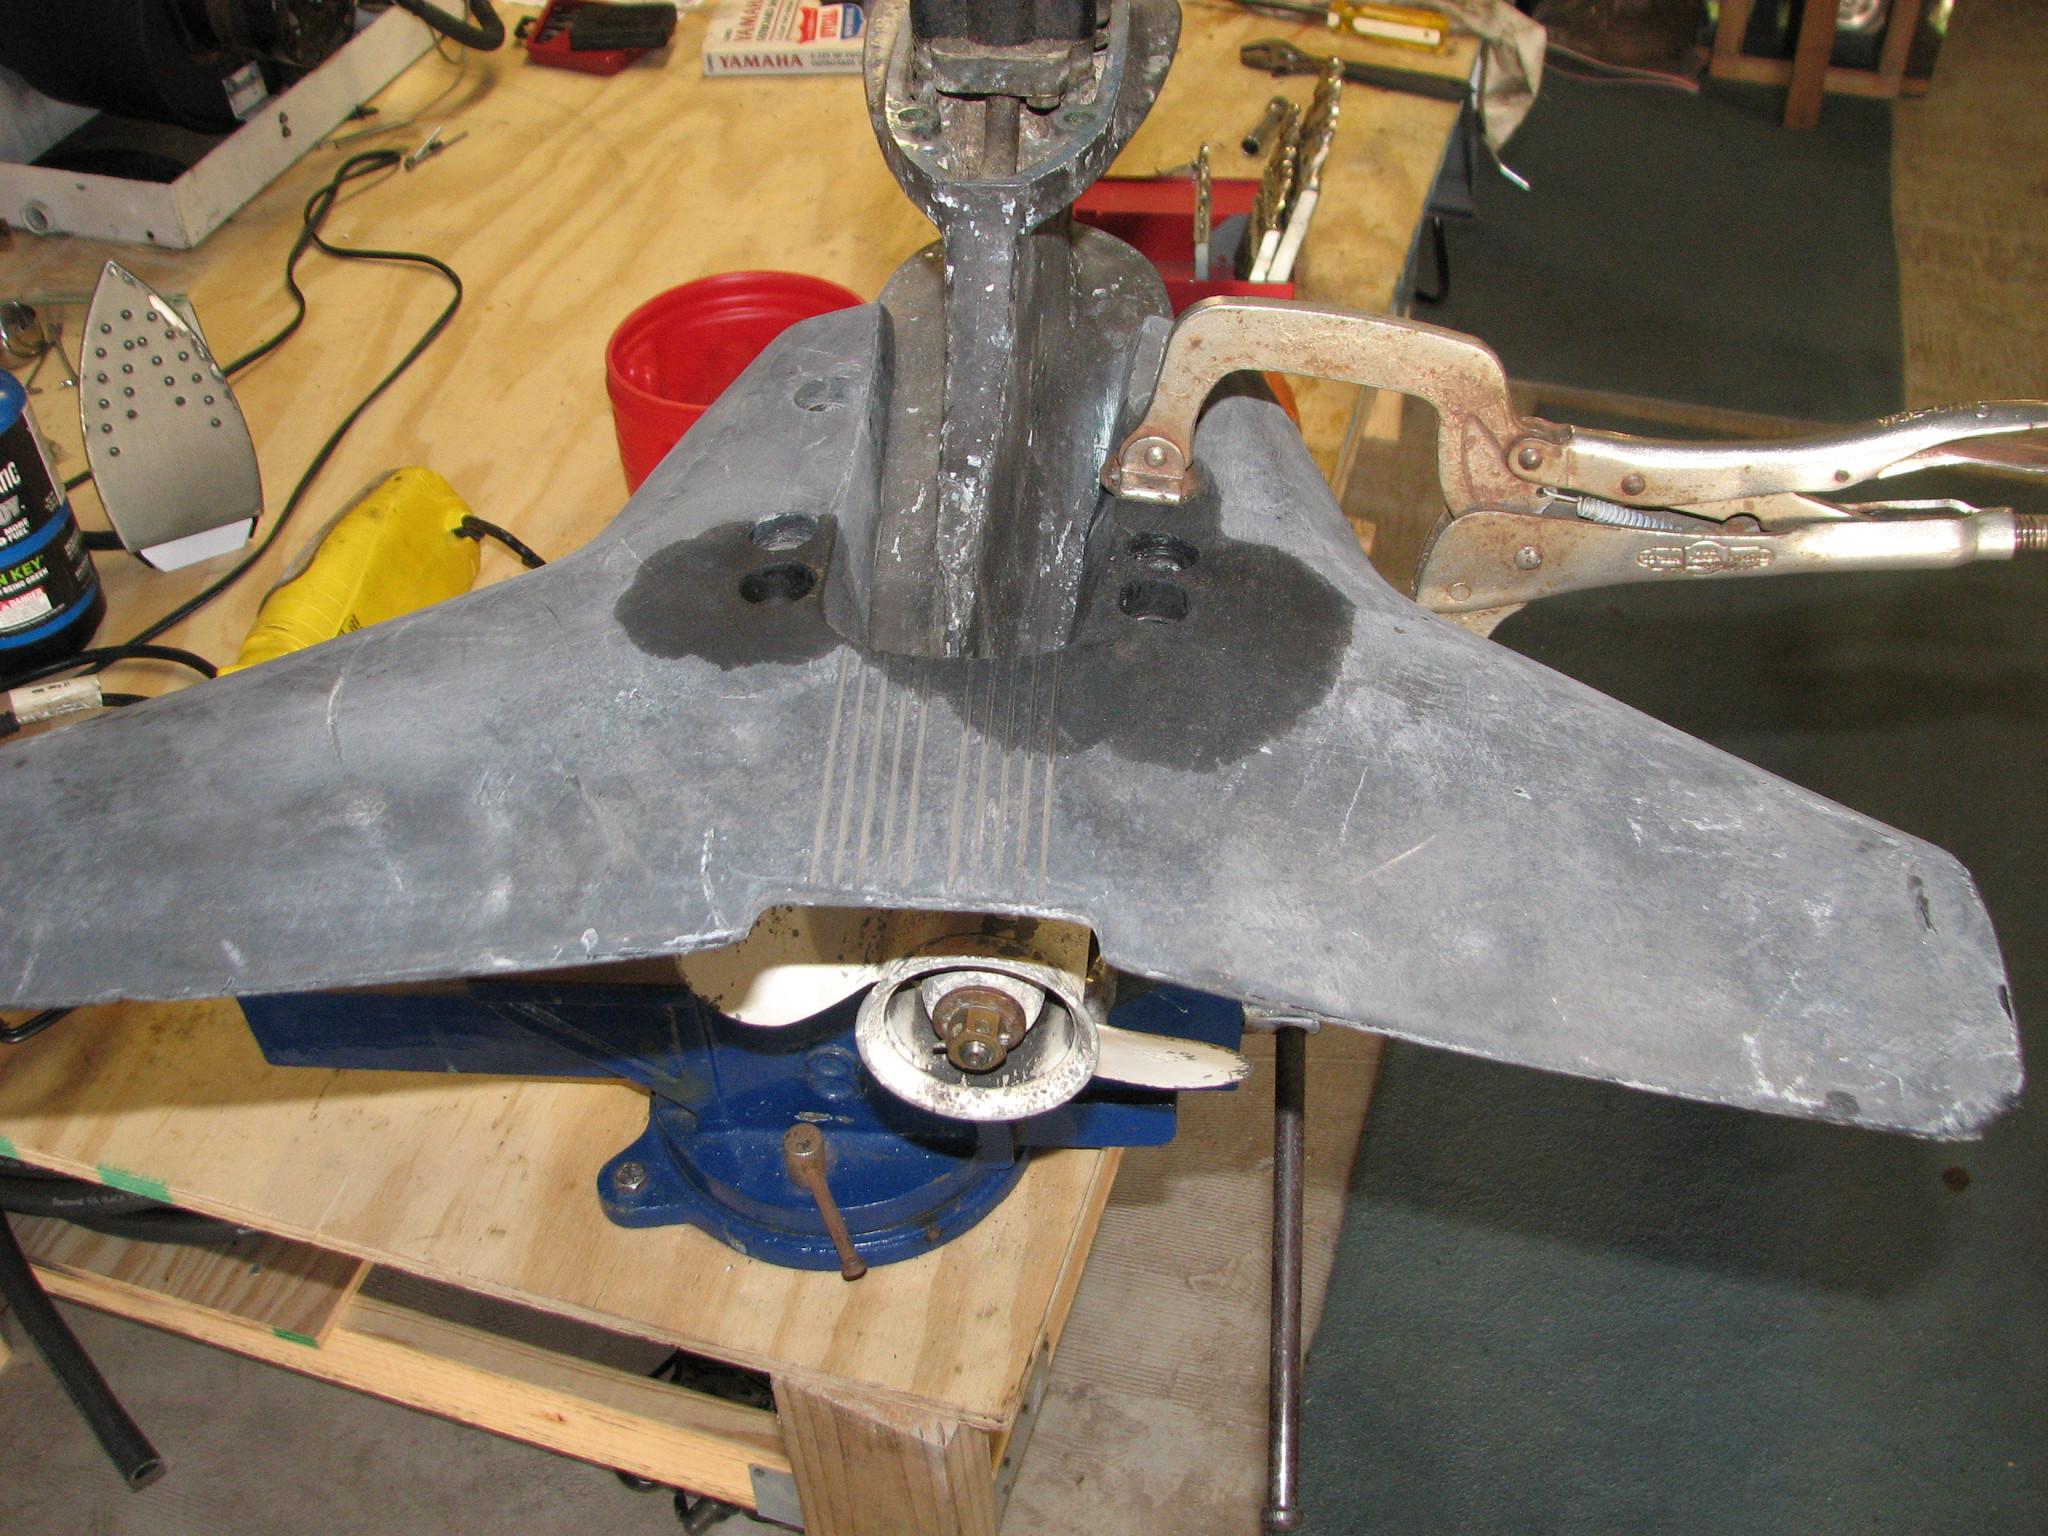
Whales Tail Bolted On
We then sanded down the
all of the exposed teak wood on the cockpit hatch, and sanded down
and smoothed the filler that was applied yesterday.
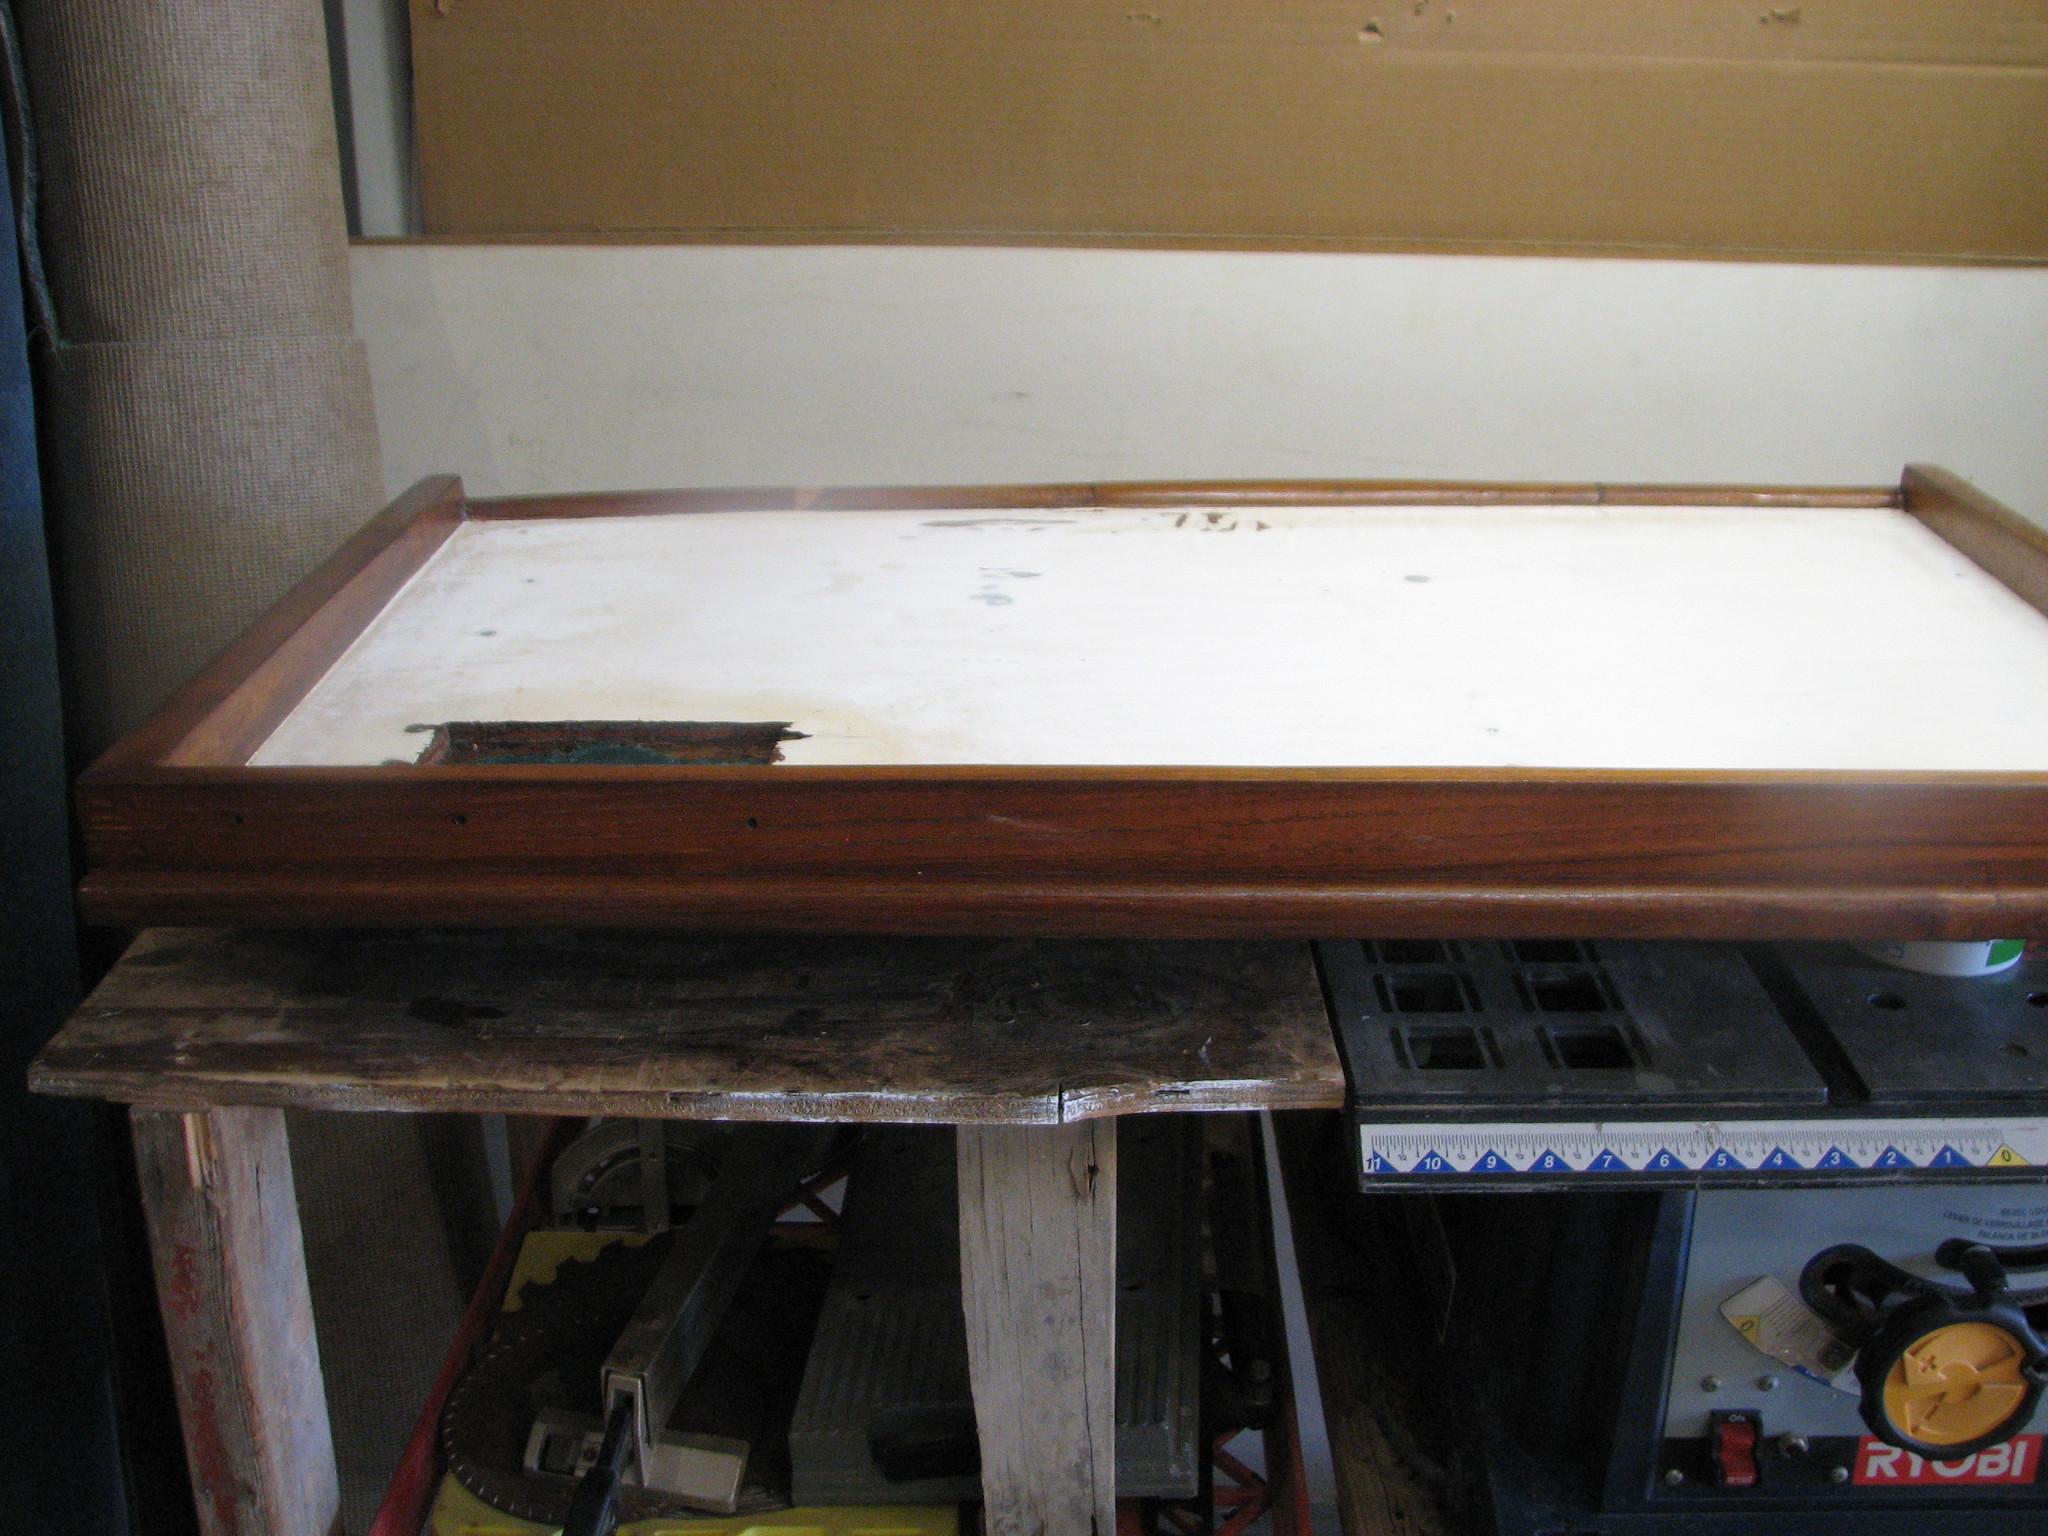
I mixed up a batch of
the Smith’s
penetrating epoxy and
applied it to the hatch and really soaked in the wood around the cut
out. This took some time, as I would pour the epoxy in the hole, let
it soak through, and kept it up until no more epoxy would soak in.
Cockpit Hatch Showing
Epoxy Soaked In
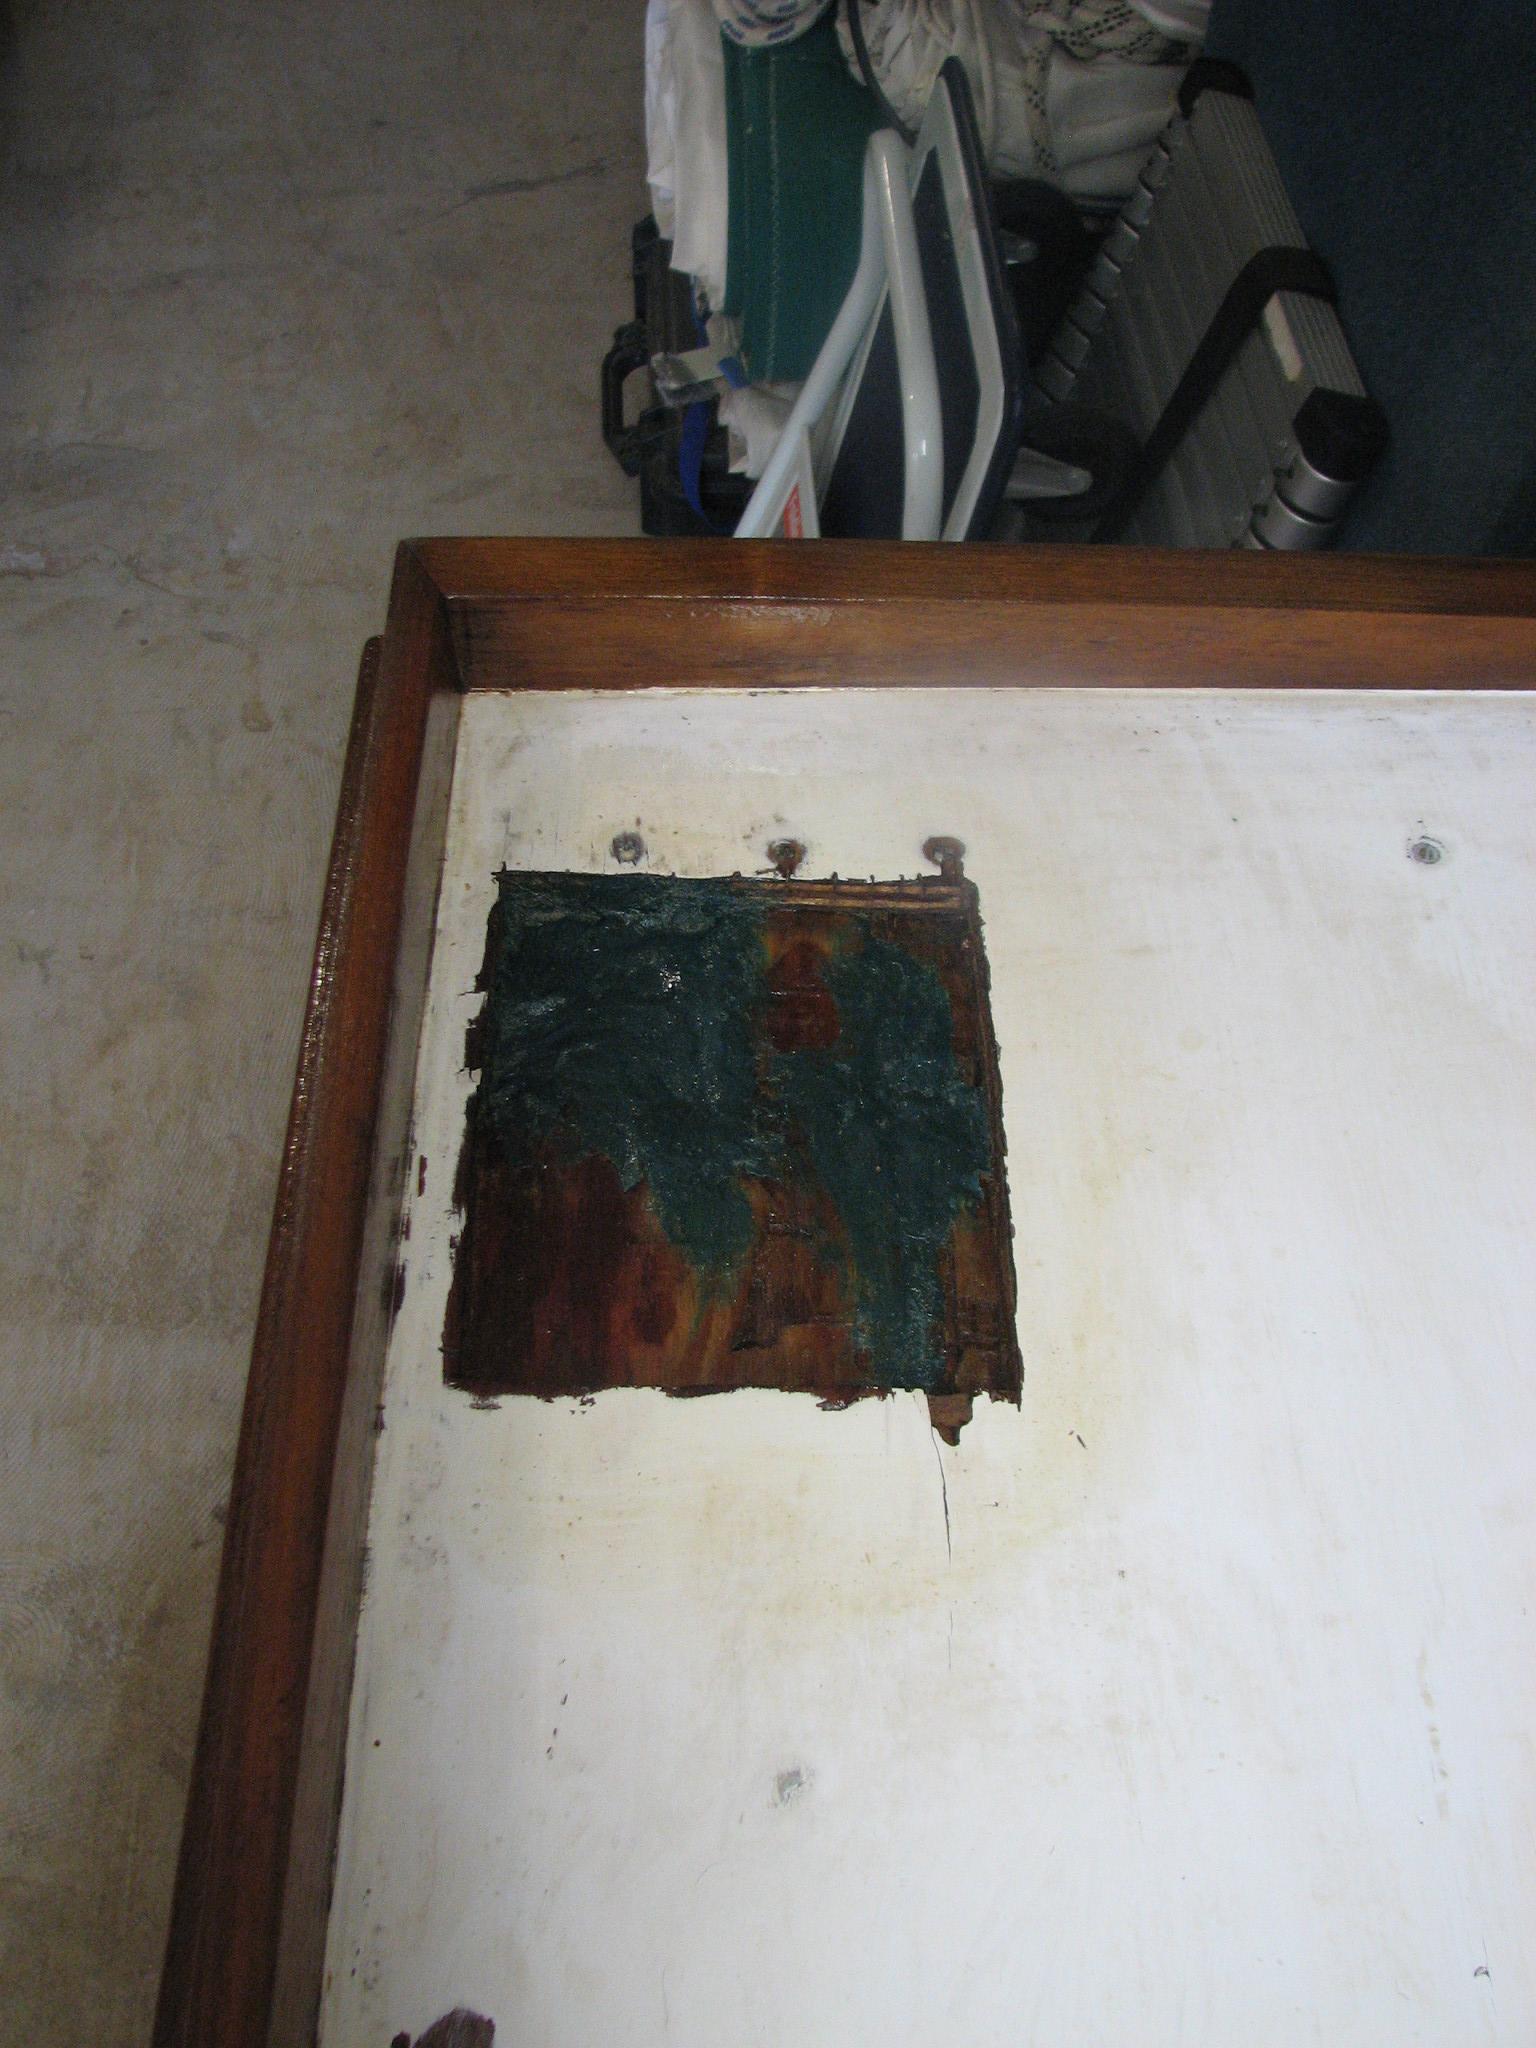
Cockpit Hatch With
Epoxy Applied
May
3, 2013, Friday
Started
off the morning with my normal ritual of getting on the Internet,
answering email, checking the weather, while making a pot of coffee.
Alan and I filled our go cups with coffee and headed over to the
shop.
We started in on the
main outboard engine, to replace the
bracket
assembly. As with most
projects of this type, there is a lot of parts that have to be
removed from the engine before you can actually change the
bracket
assembly.
Preparing To Remove
Power Head Bolts From Bottom
Cowling
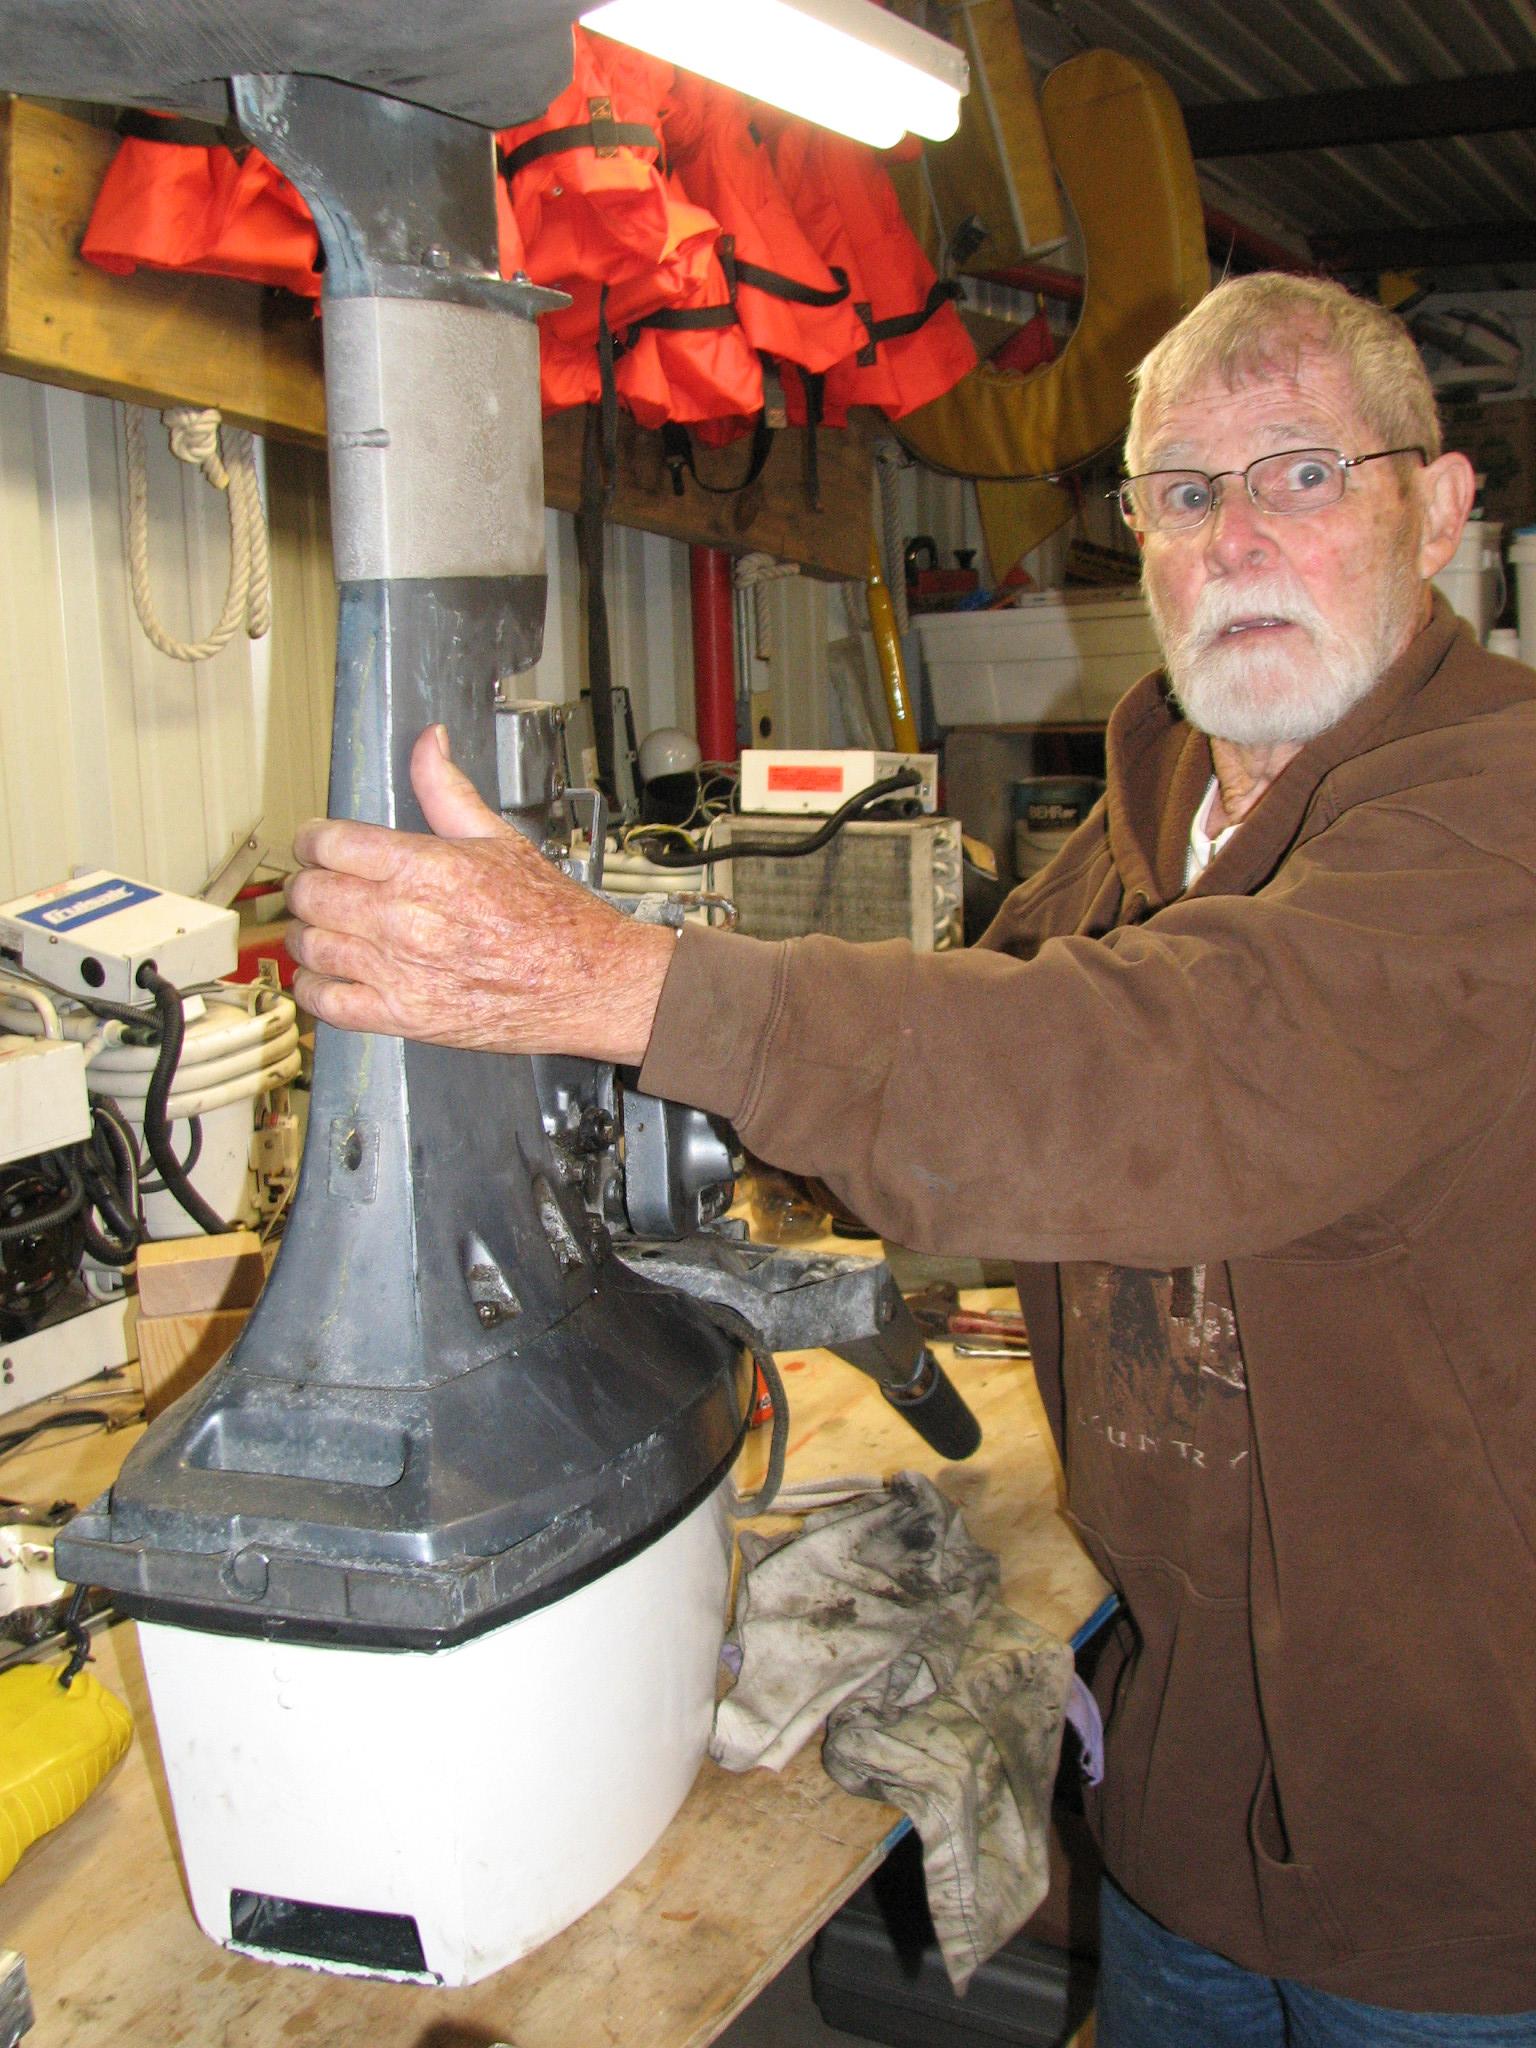
Basically the engine
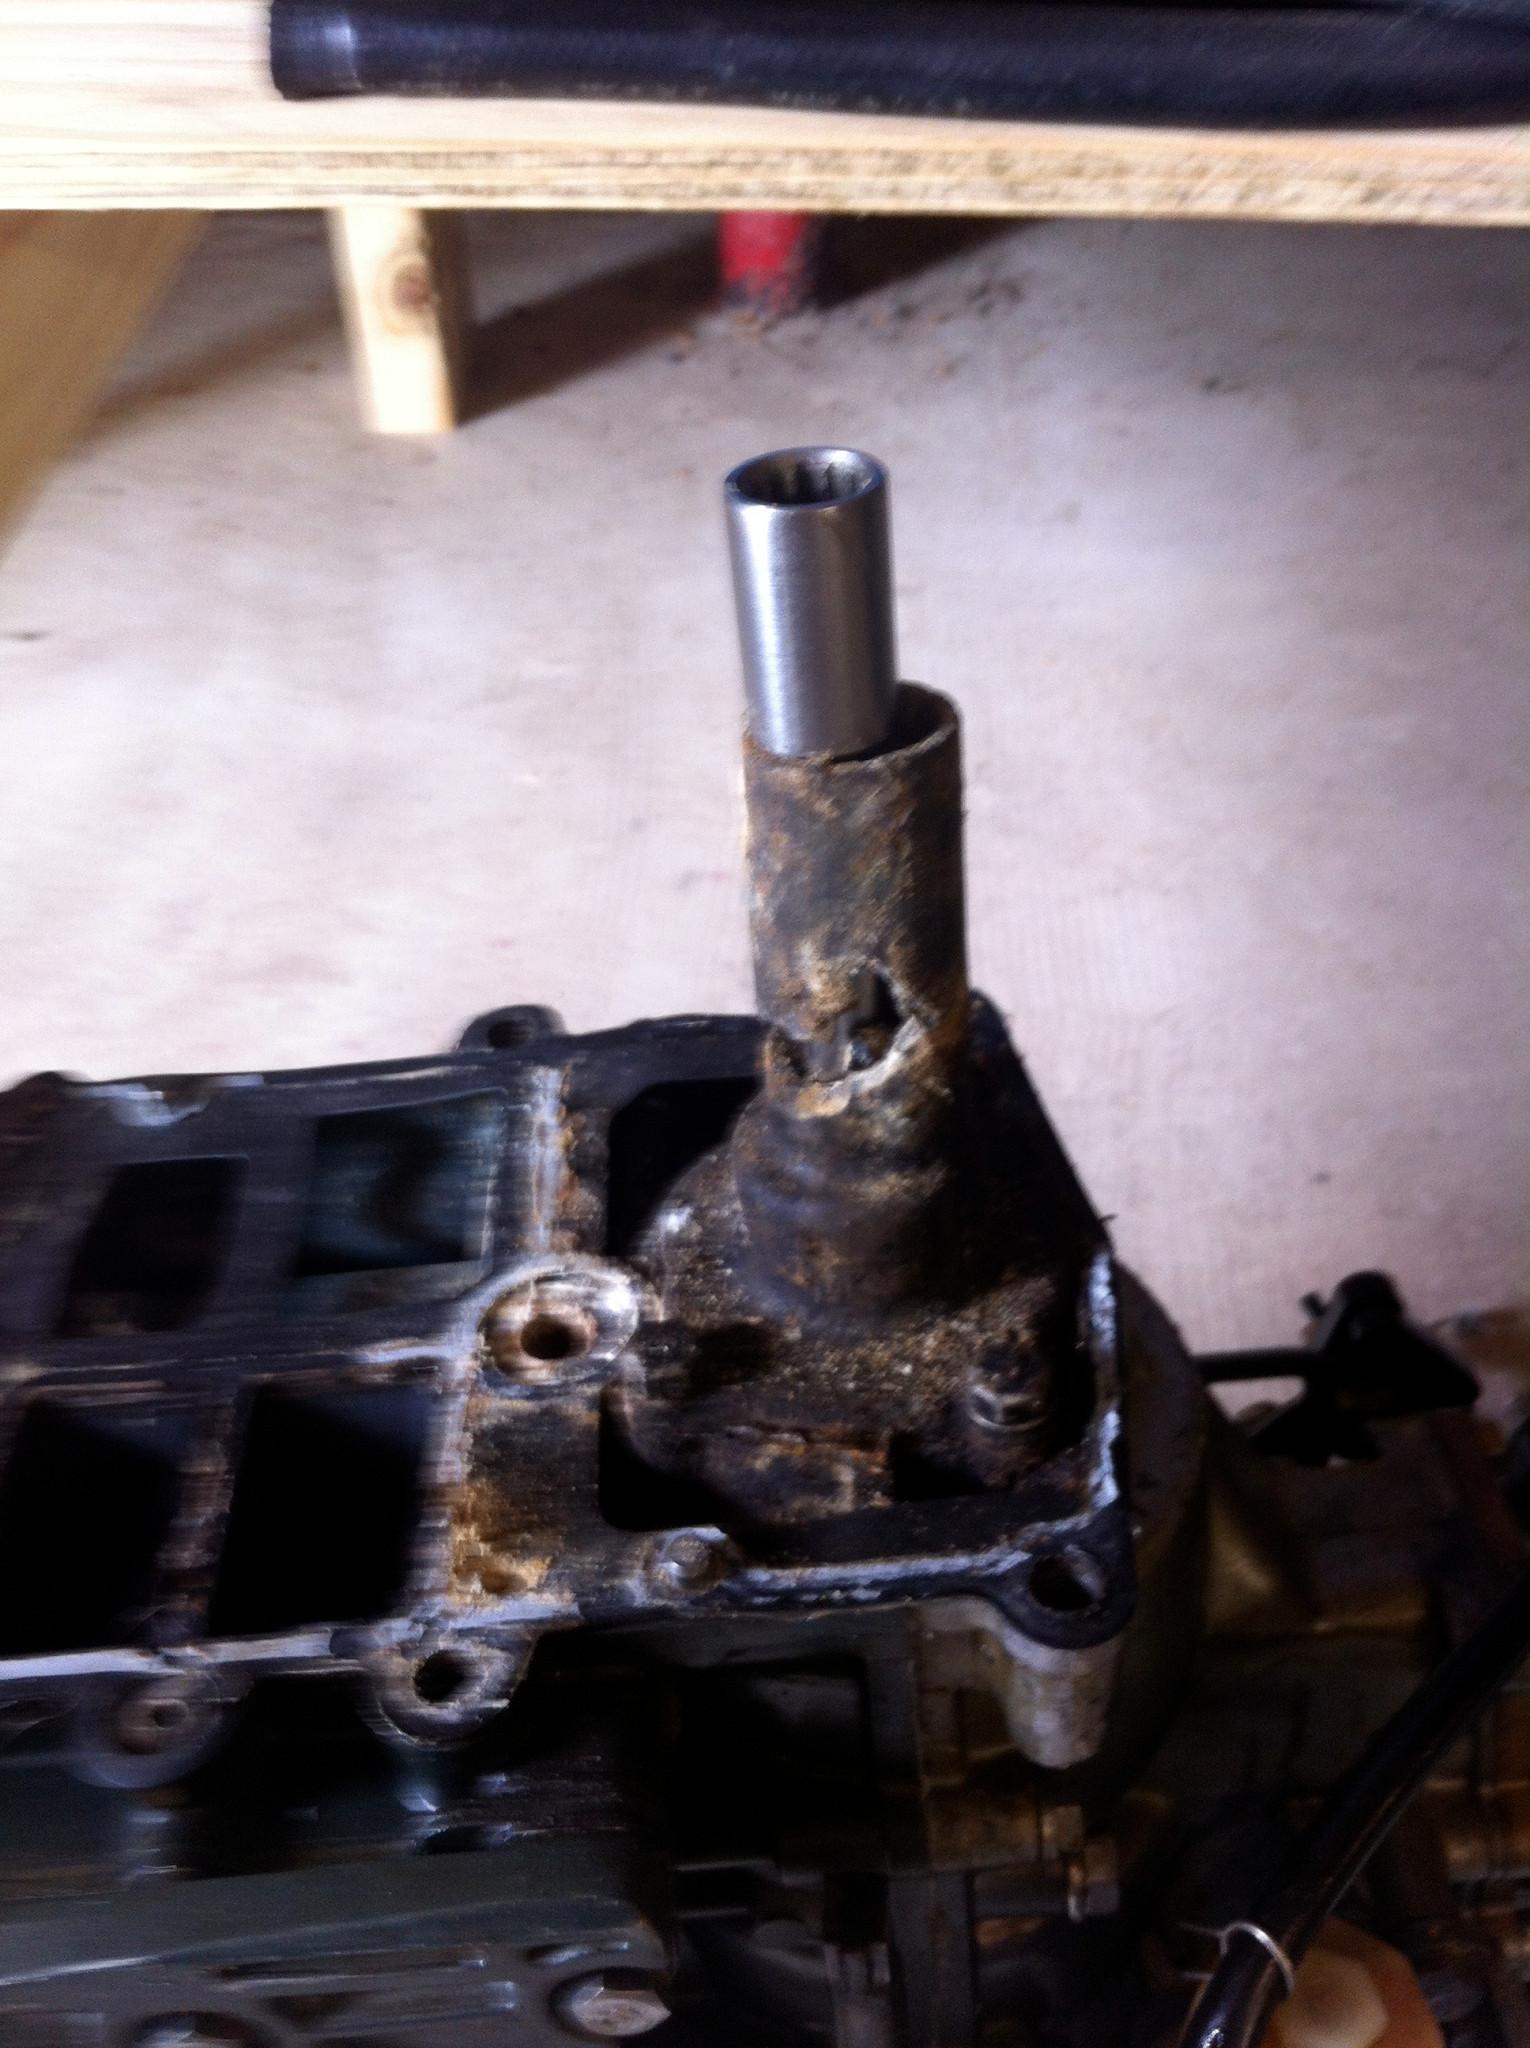
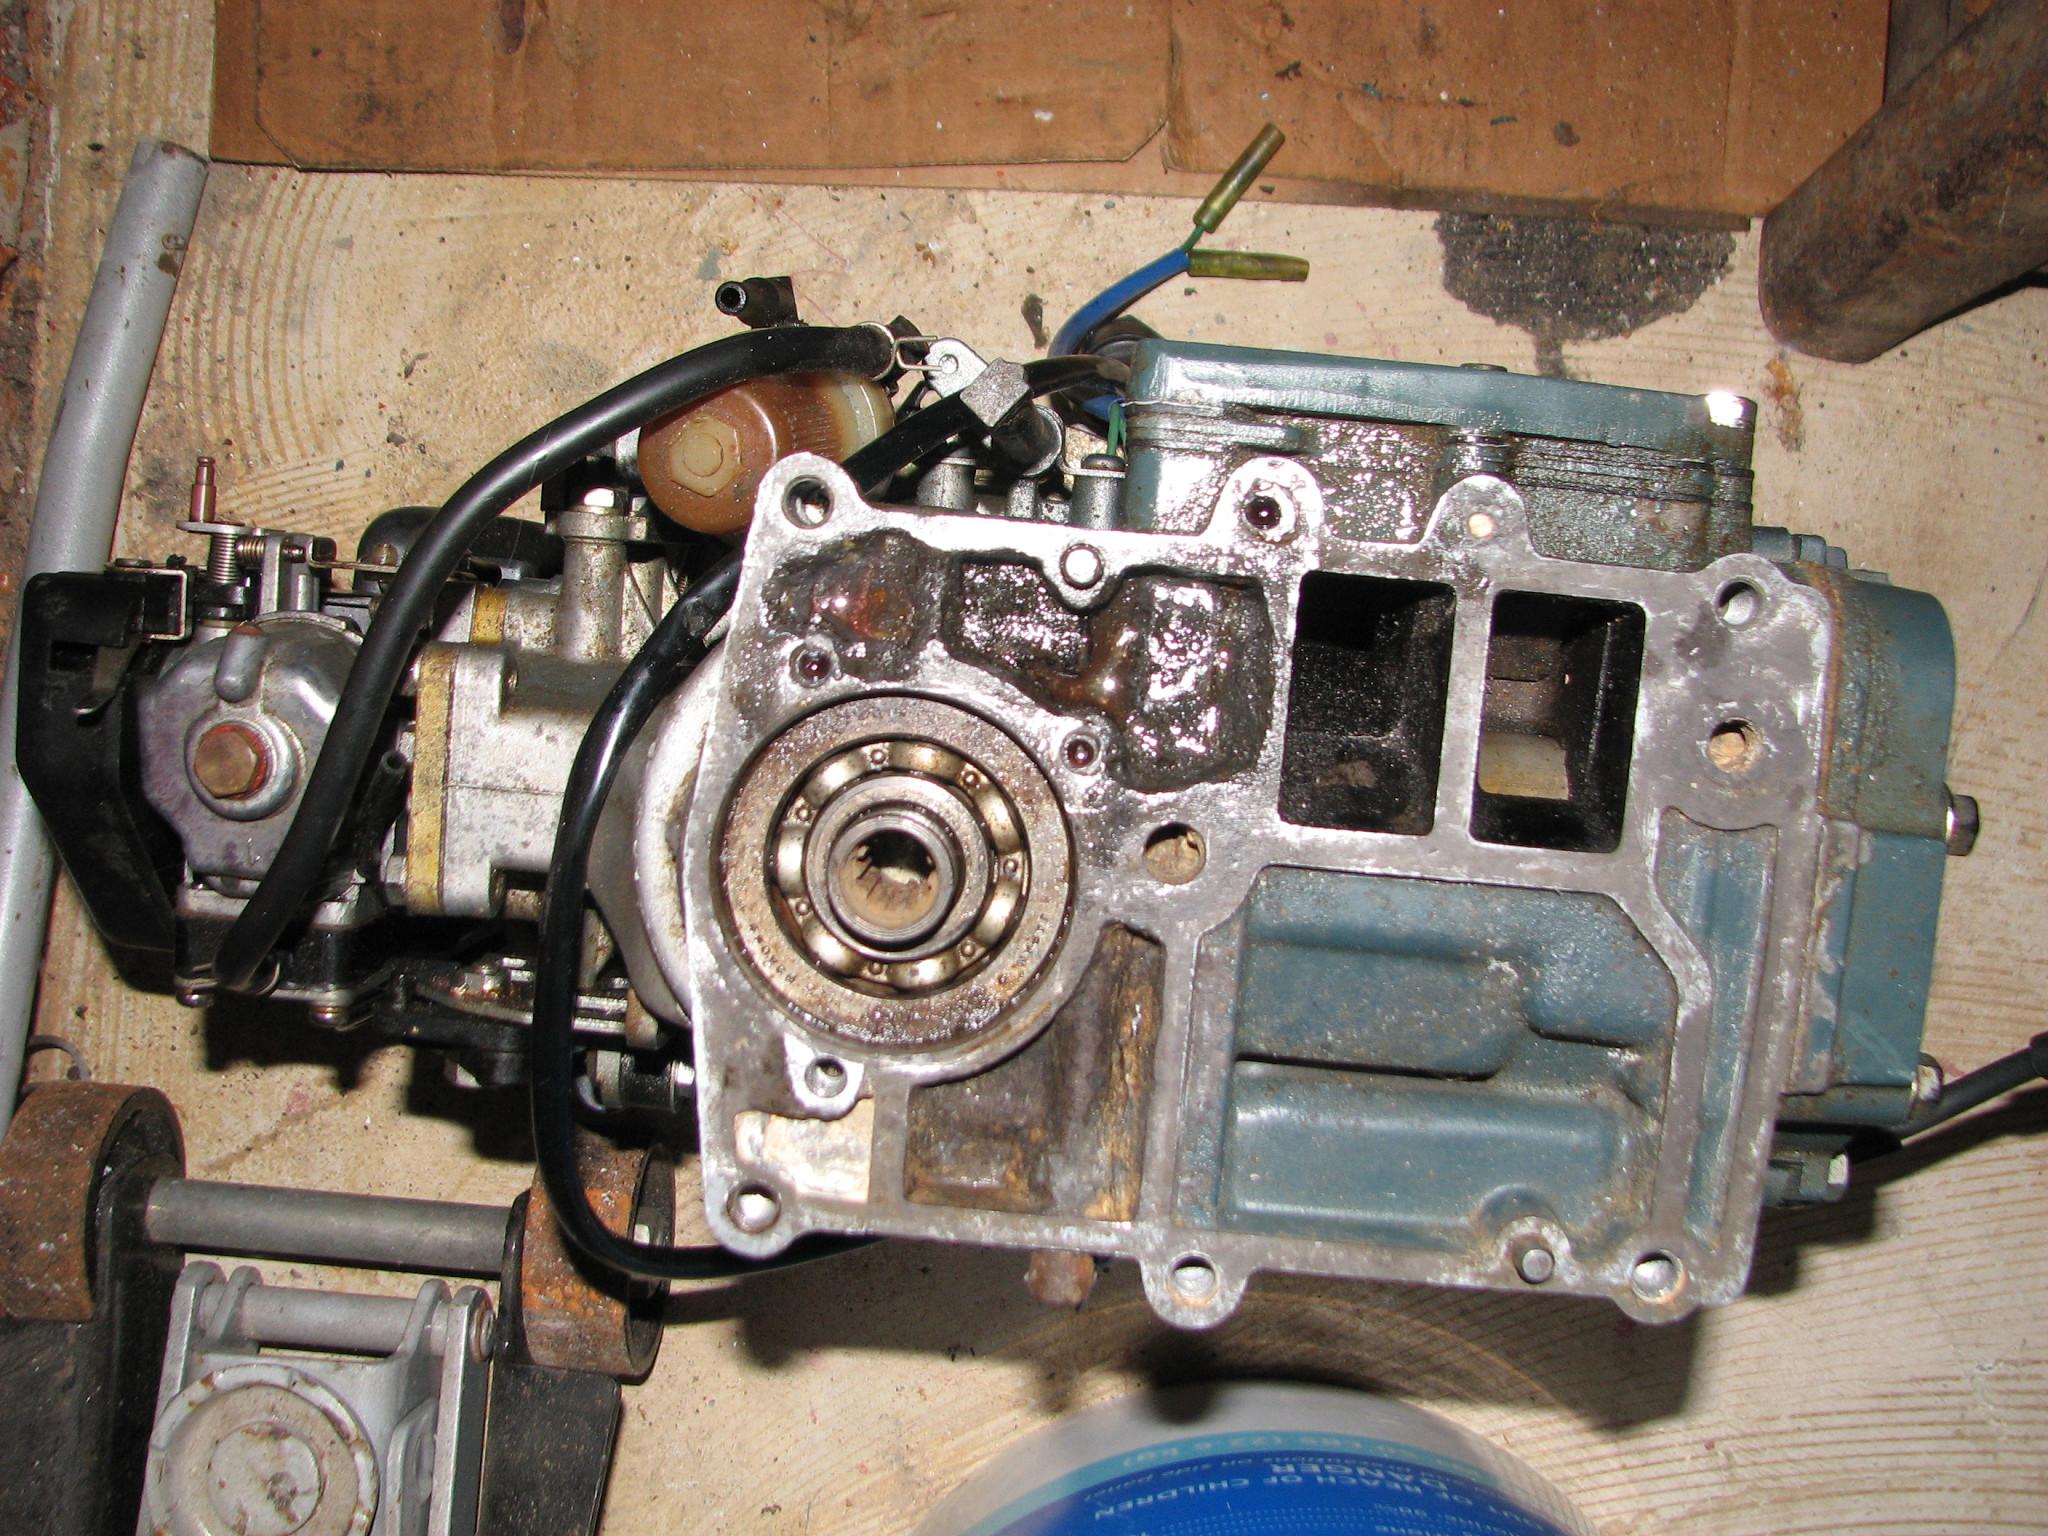
has to come completely apart. When we separated the power head from
the bottom cowling, we discovered the oil
seal housing for the drive
shaft, was eaten away, and would need to be replaced.
My storage room
neighbor, Huey, came to his storage area, and I asked him about
getting the cream hardener. He said I should try V & V Auto Parts
in Delcambre. I called them and they did sell the needed cream
hardener.
We then went back to
DREAM AWAY to have our breakfast. We left DREAM AWAY, and stopped by
V & V Auto Parts. I purchased the cream hardener, and went back
to the shop.
Alan continued on with
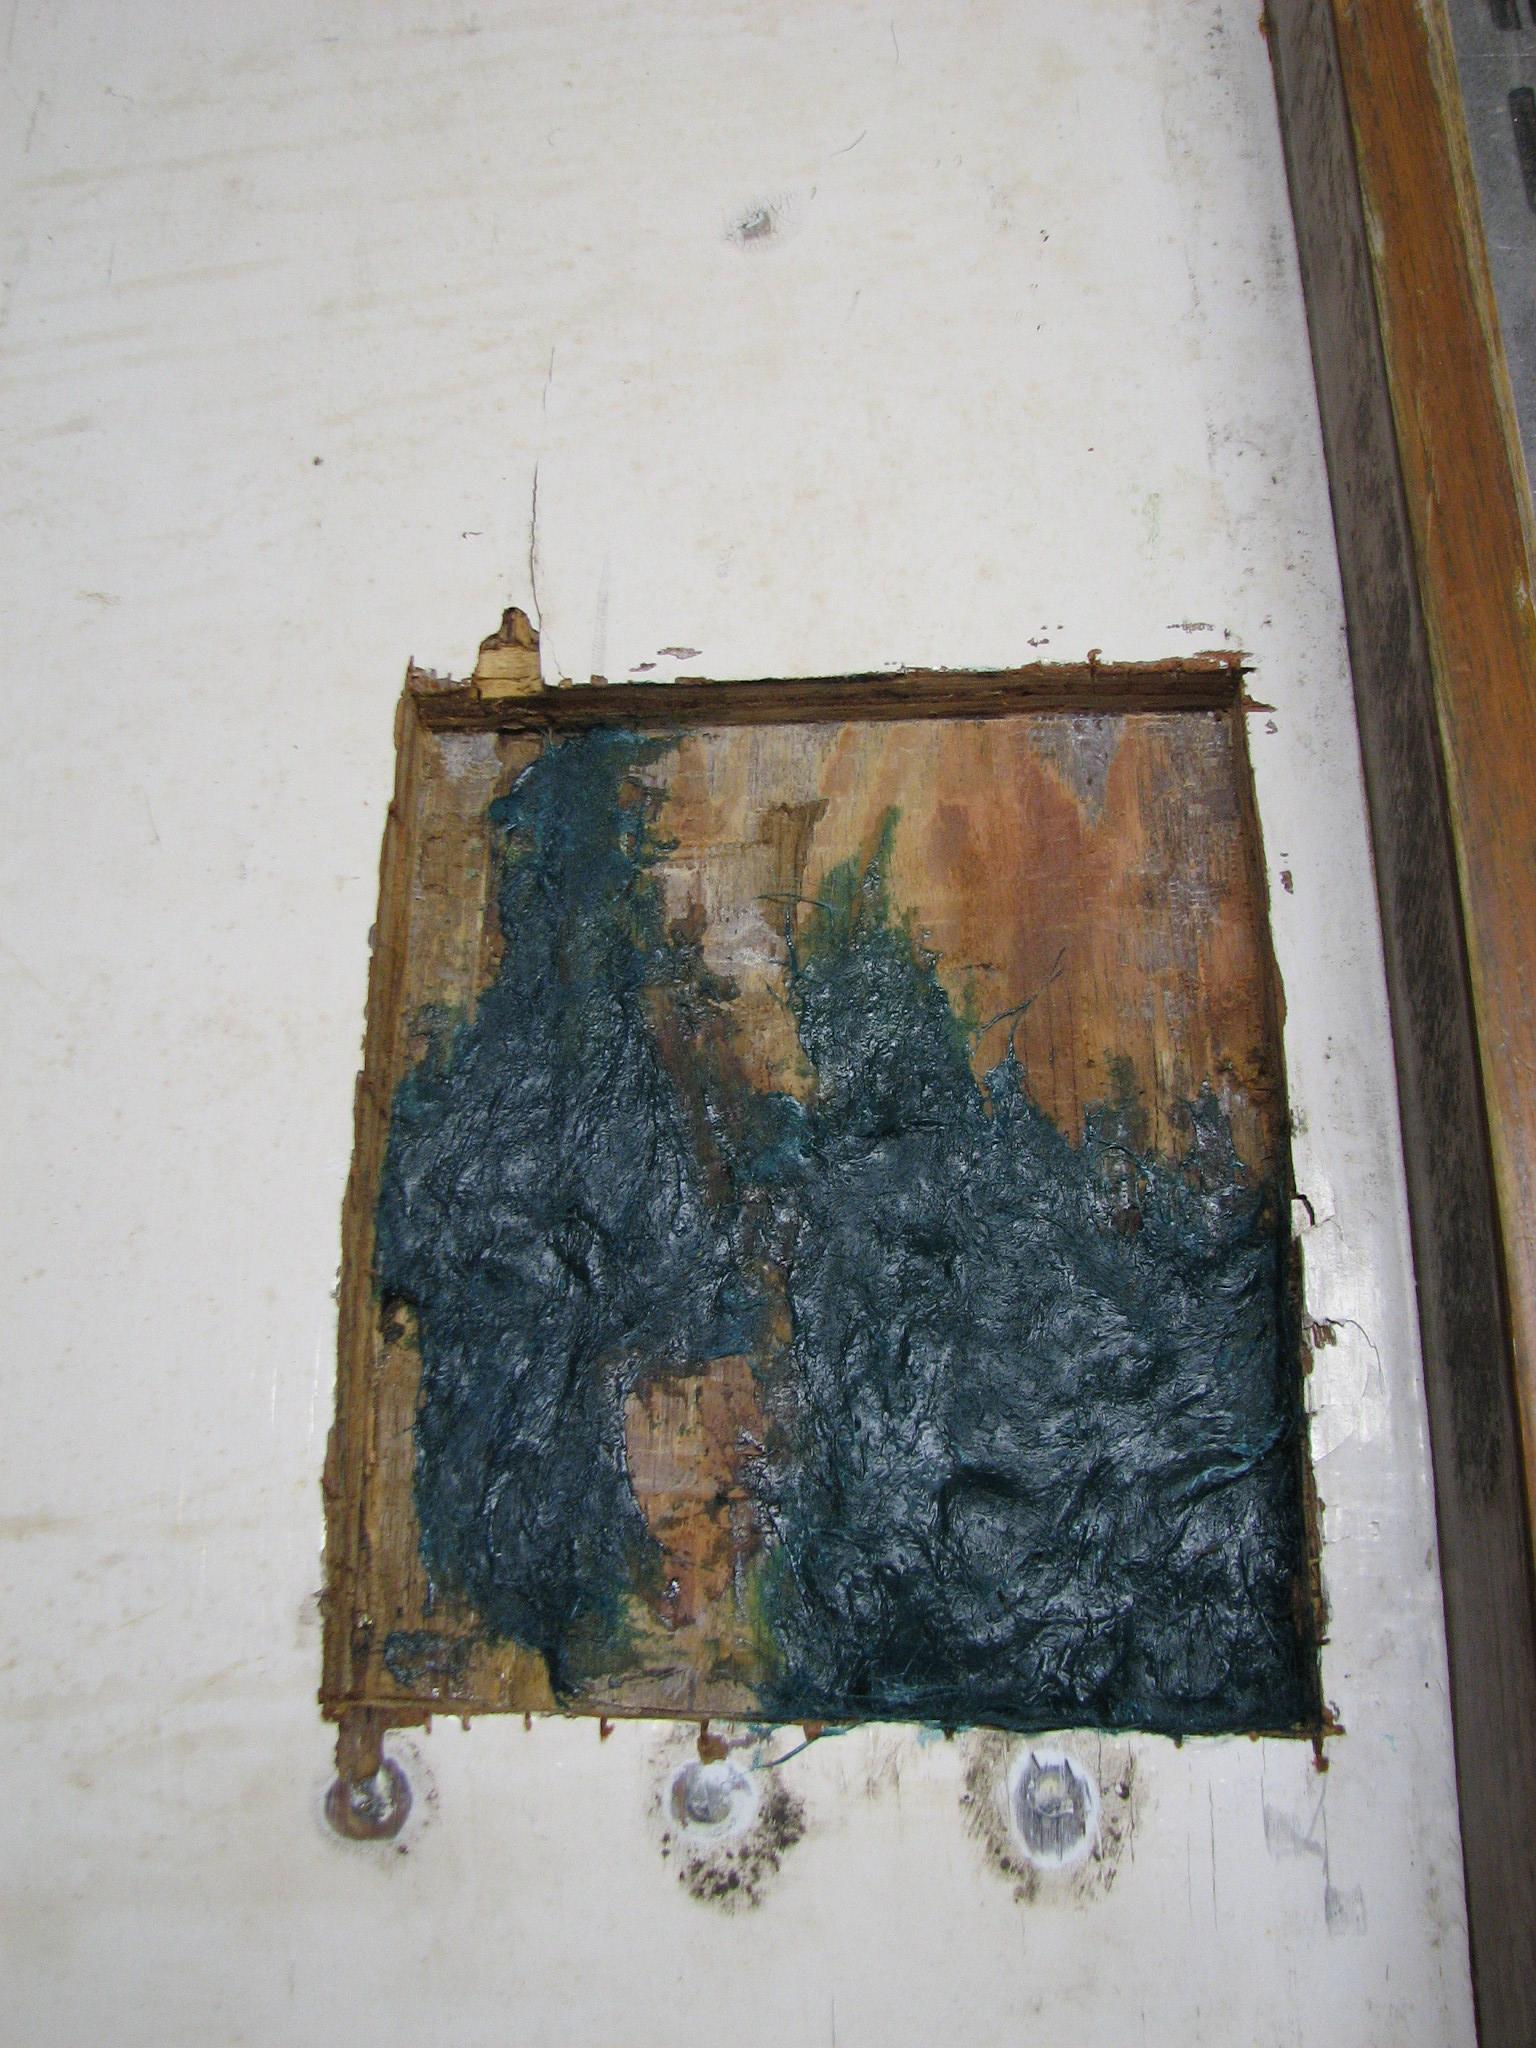
the disassembly process of the outboard engine. I mixed up a batch
of the Dyna-Glass
filler with the cream hardener, and applied it to the cut out rotten
area in the cockpit hatch.
Cockpit Hatch With
Filler Applied
As we waited for the
filler to harden, I joined Alan in the continuing disassembly
process. I wanted to get the old bracket
assembly off of the engine,
so I could figure out how many new parts I would need to put the main
engine and spare engine back together. The spare engine was already
apart, and I knew what I needed there.
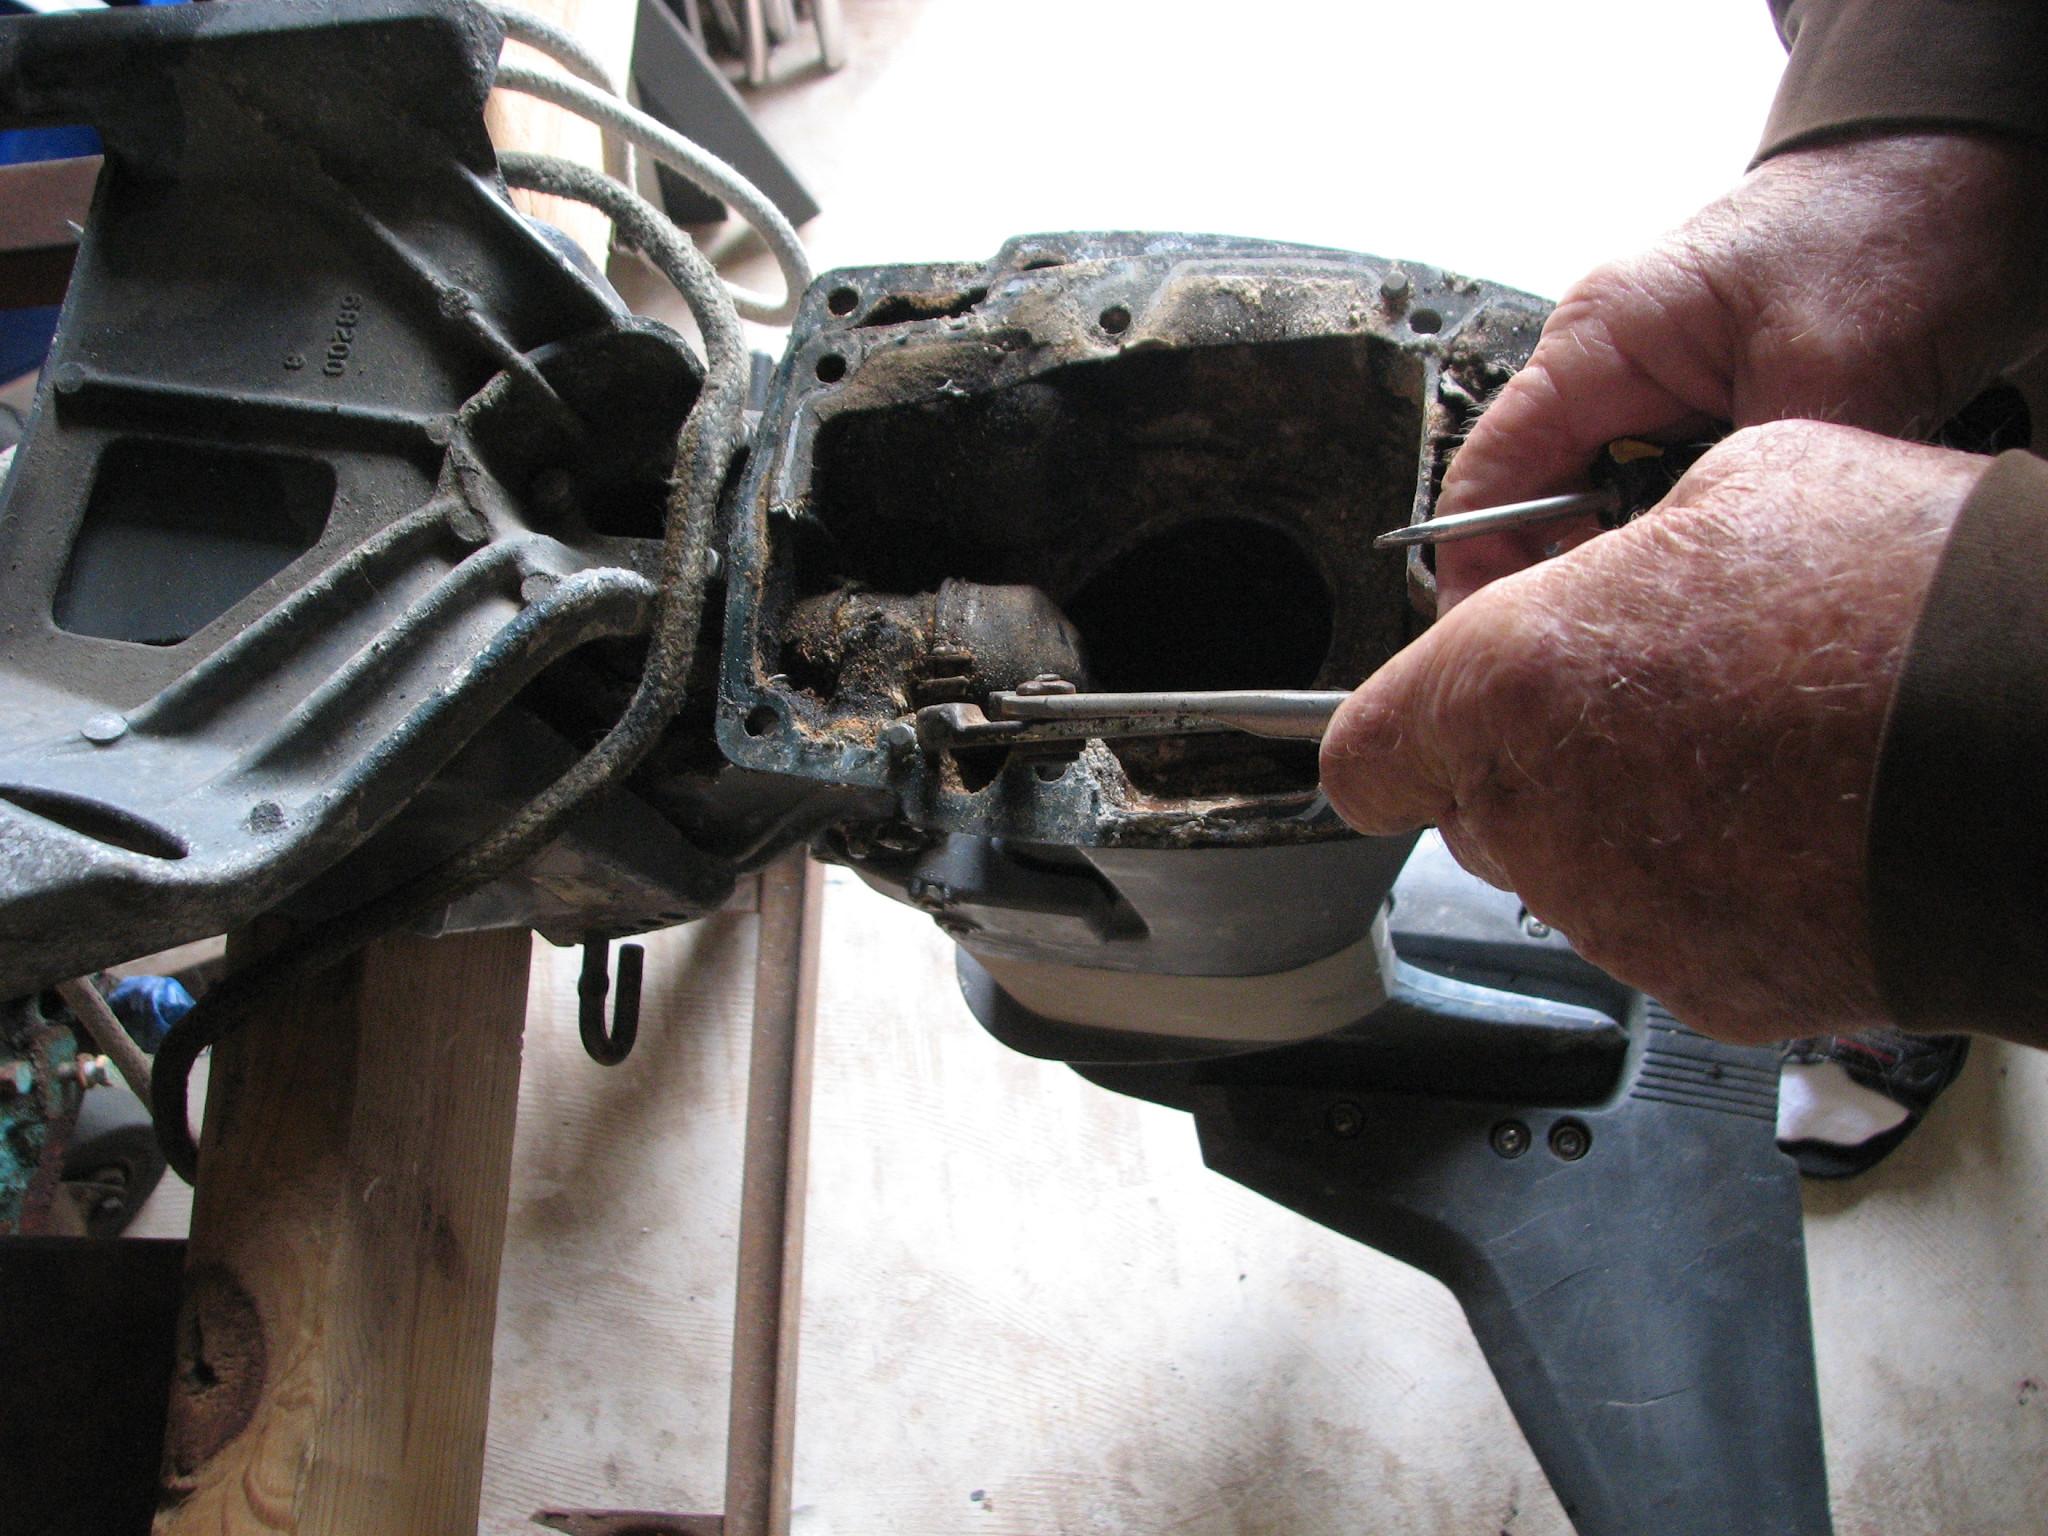
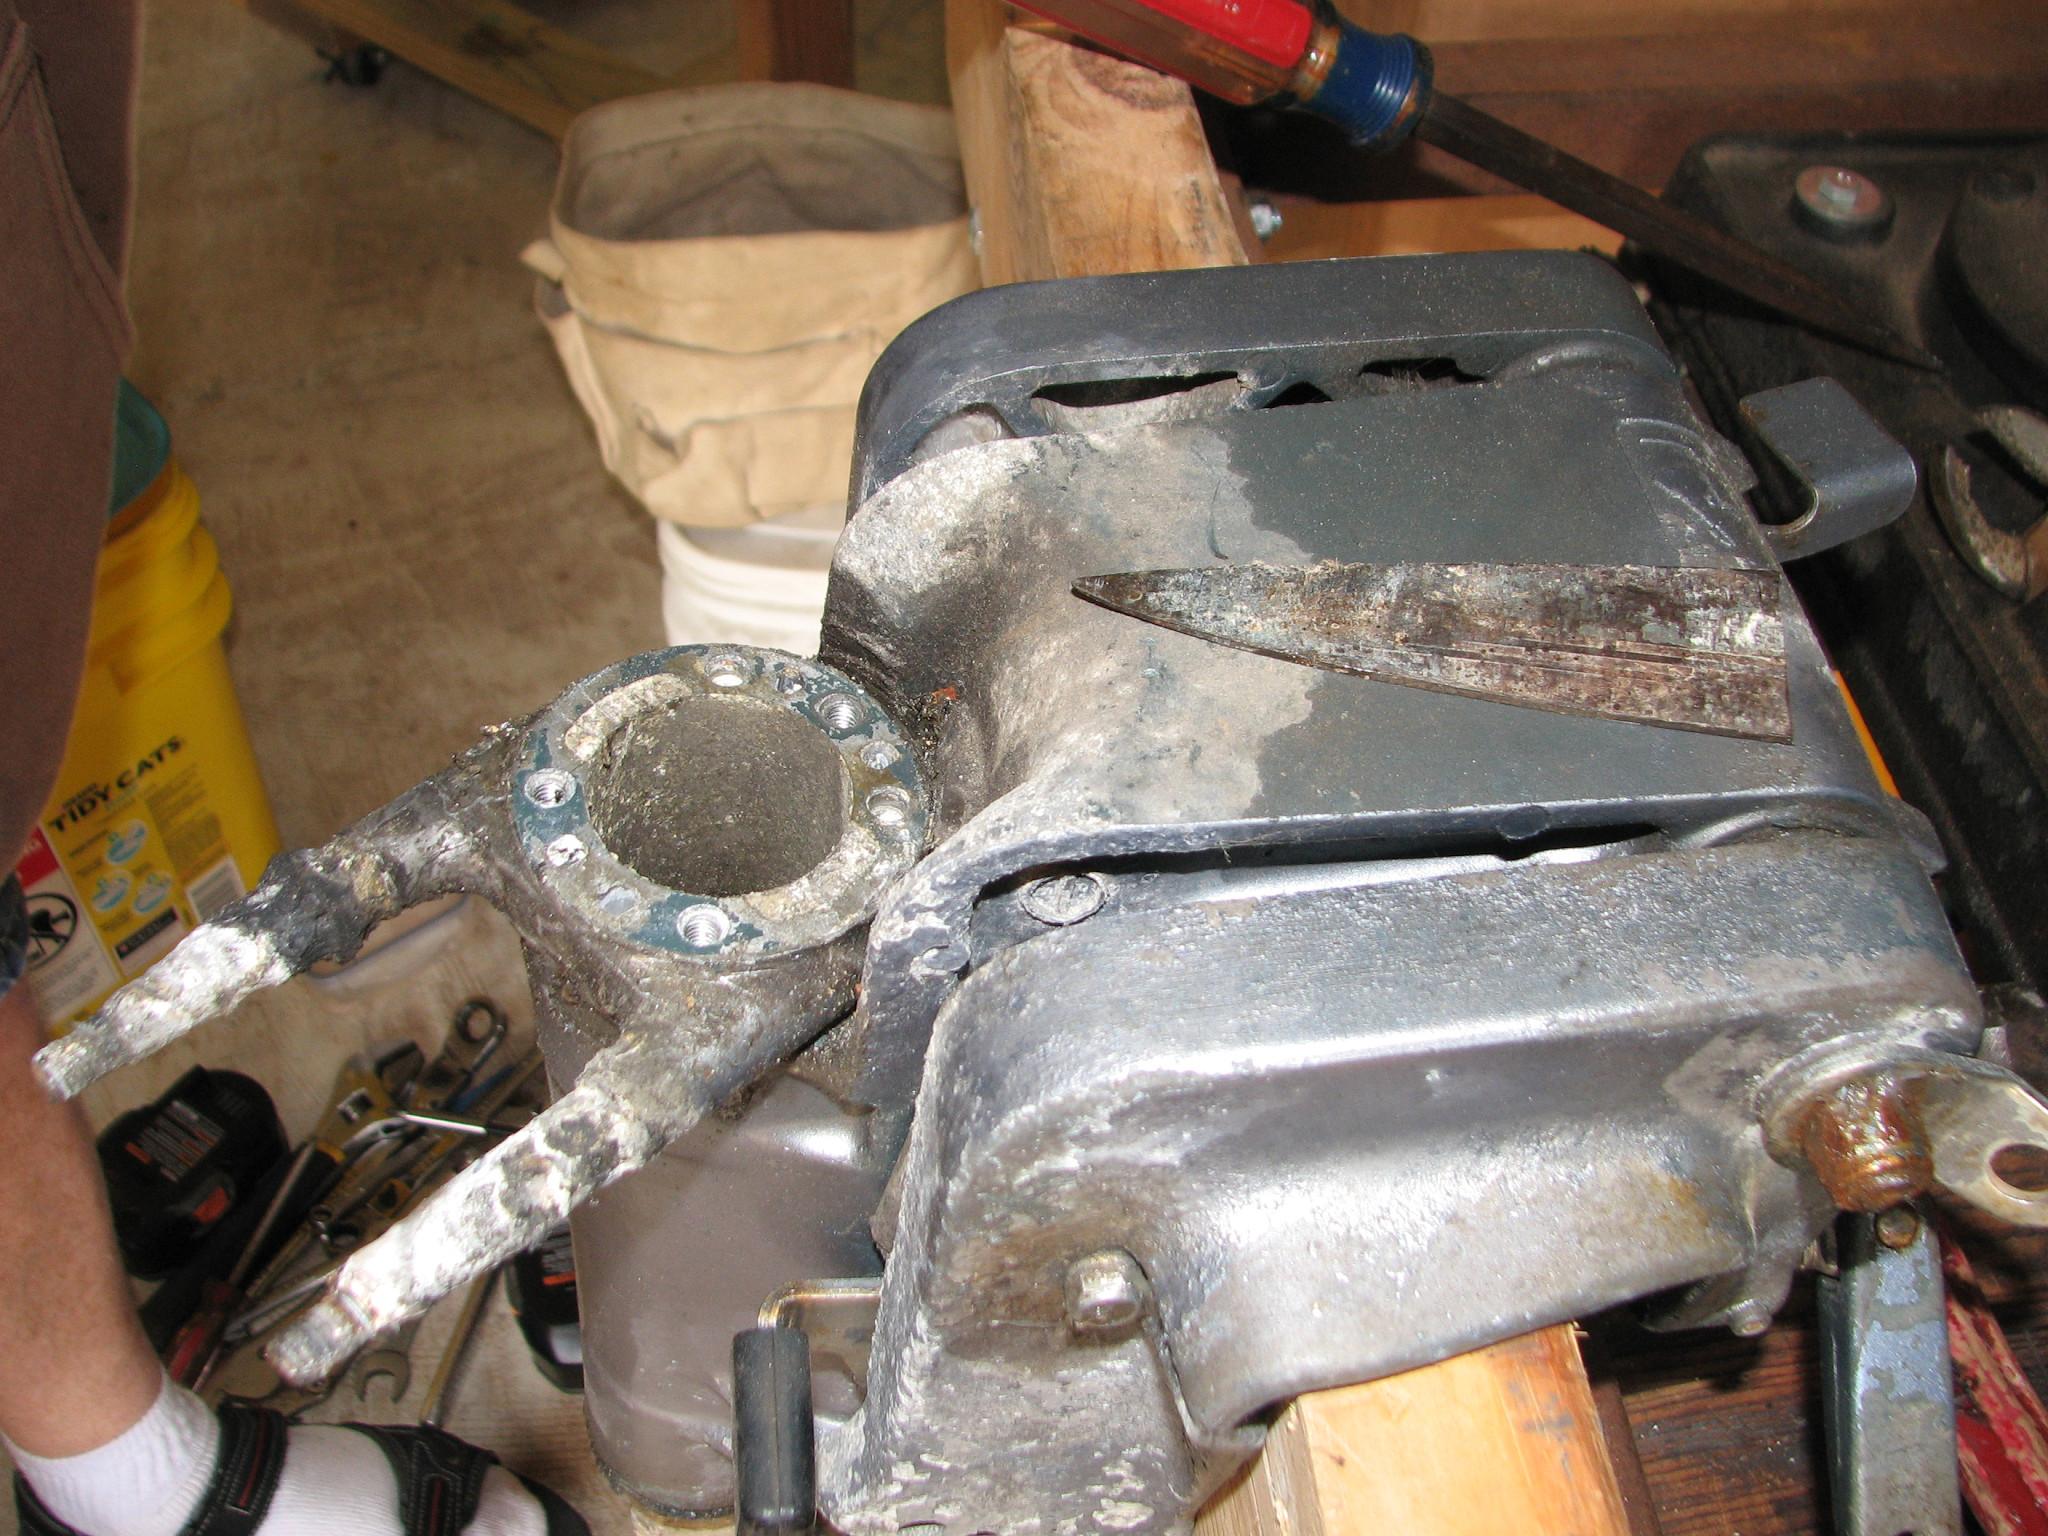
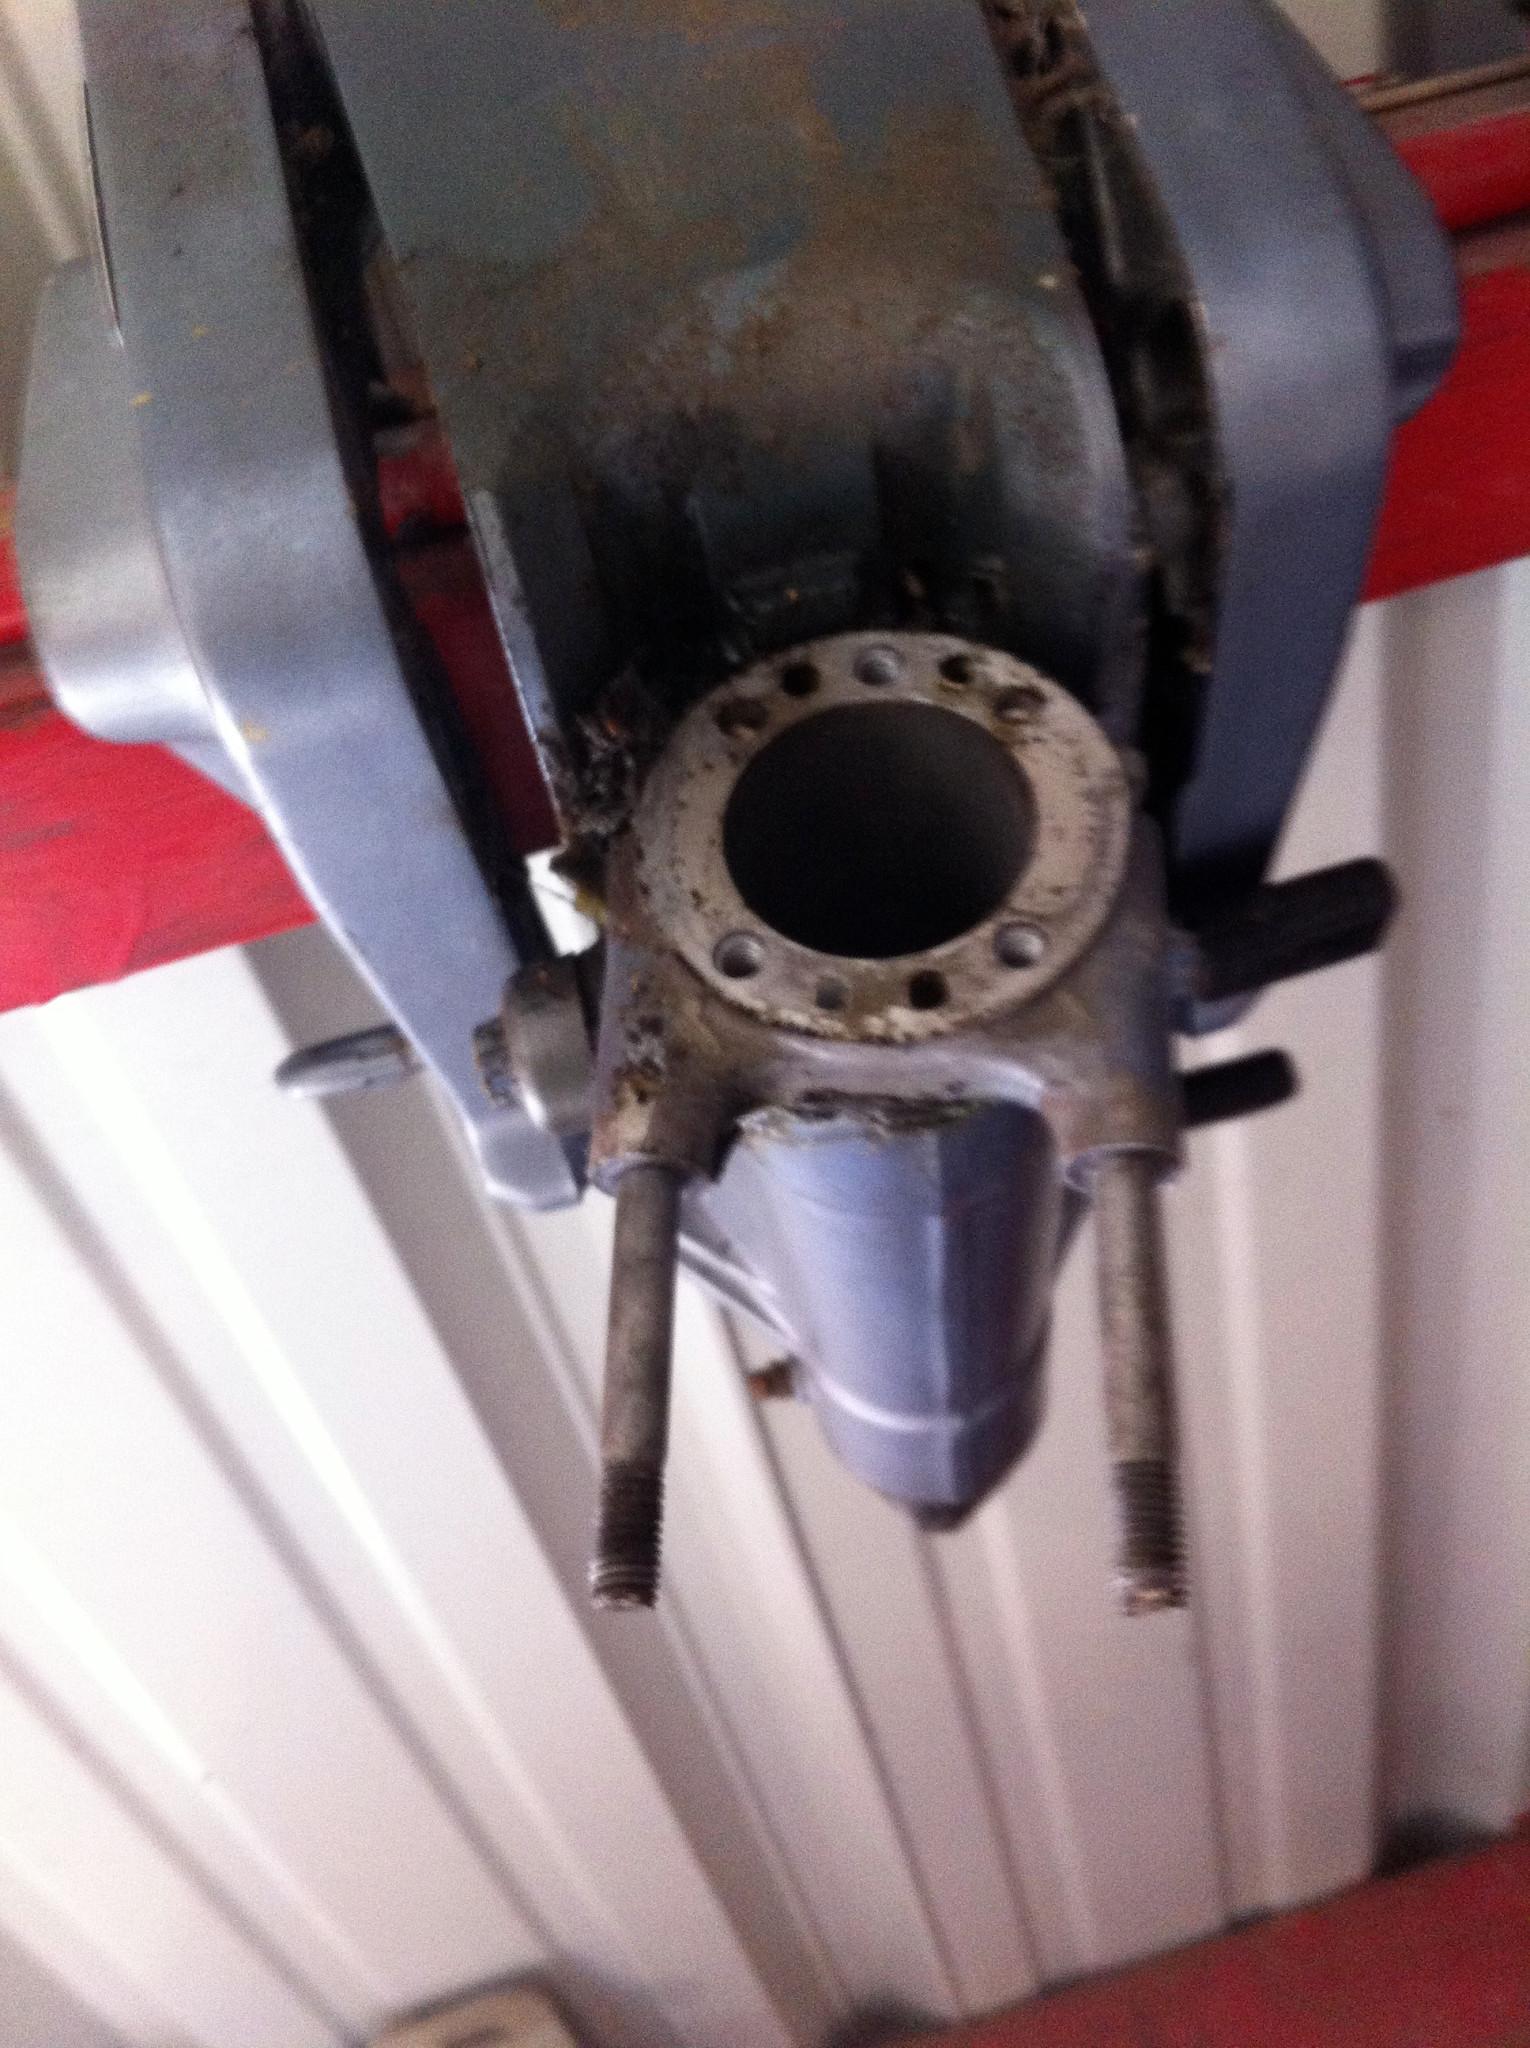
Engine Parts Removed
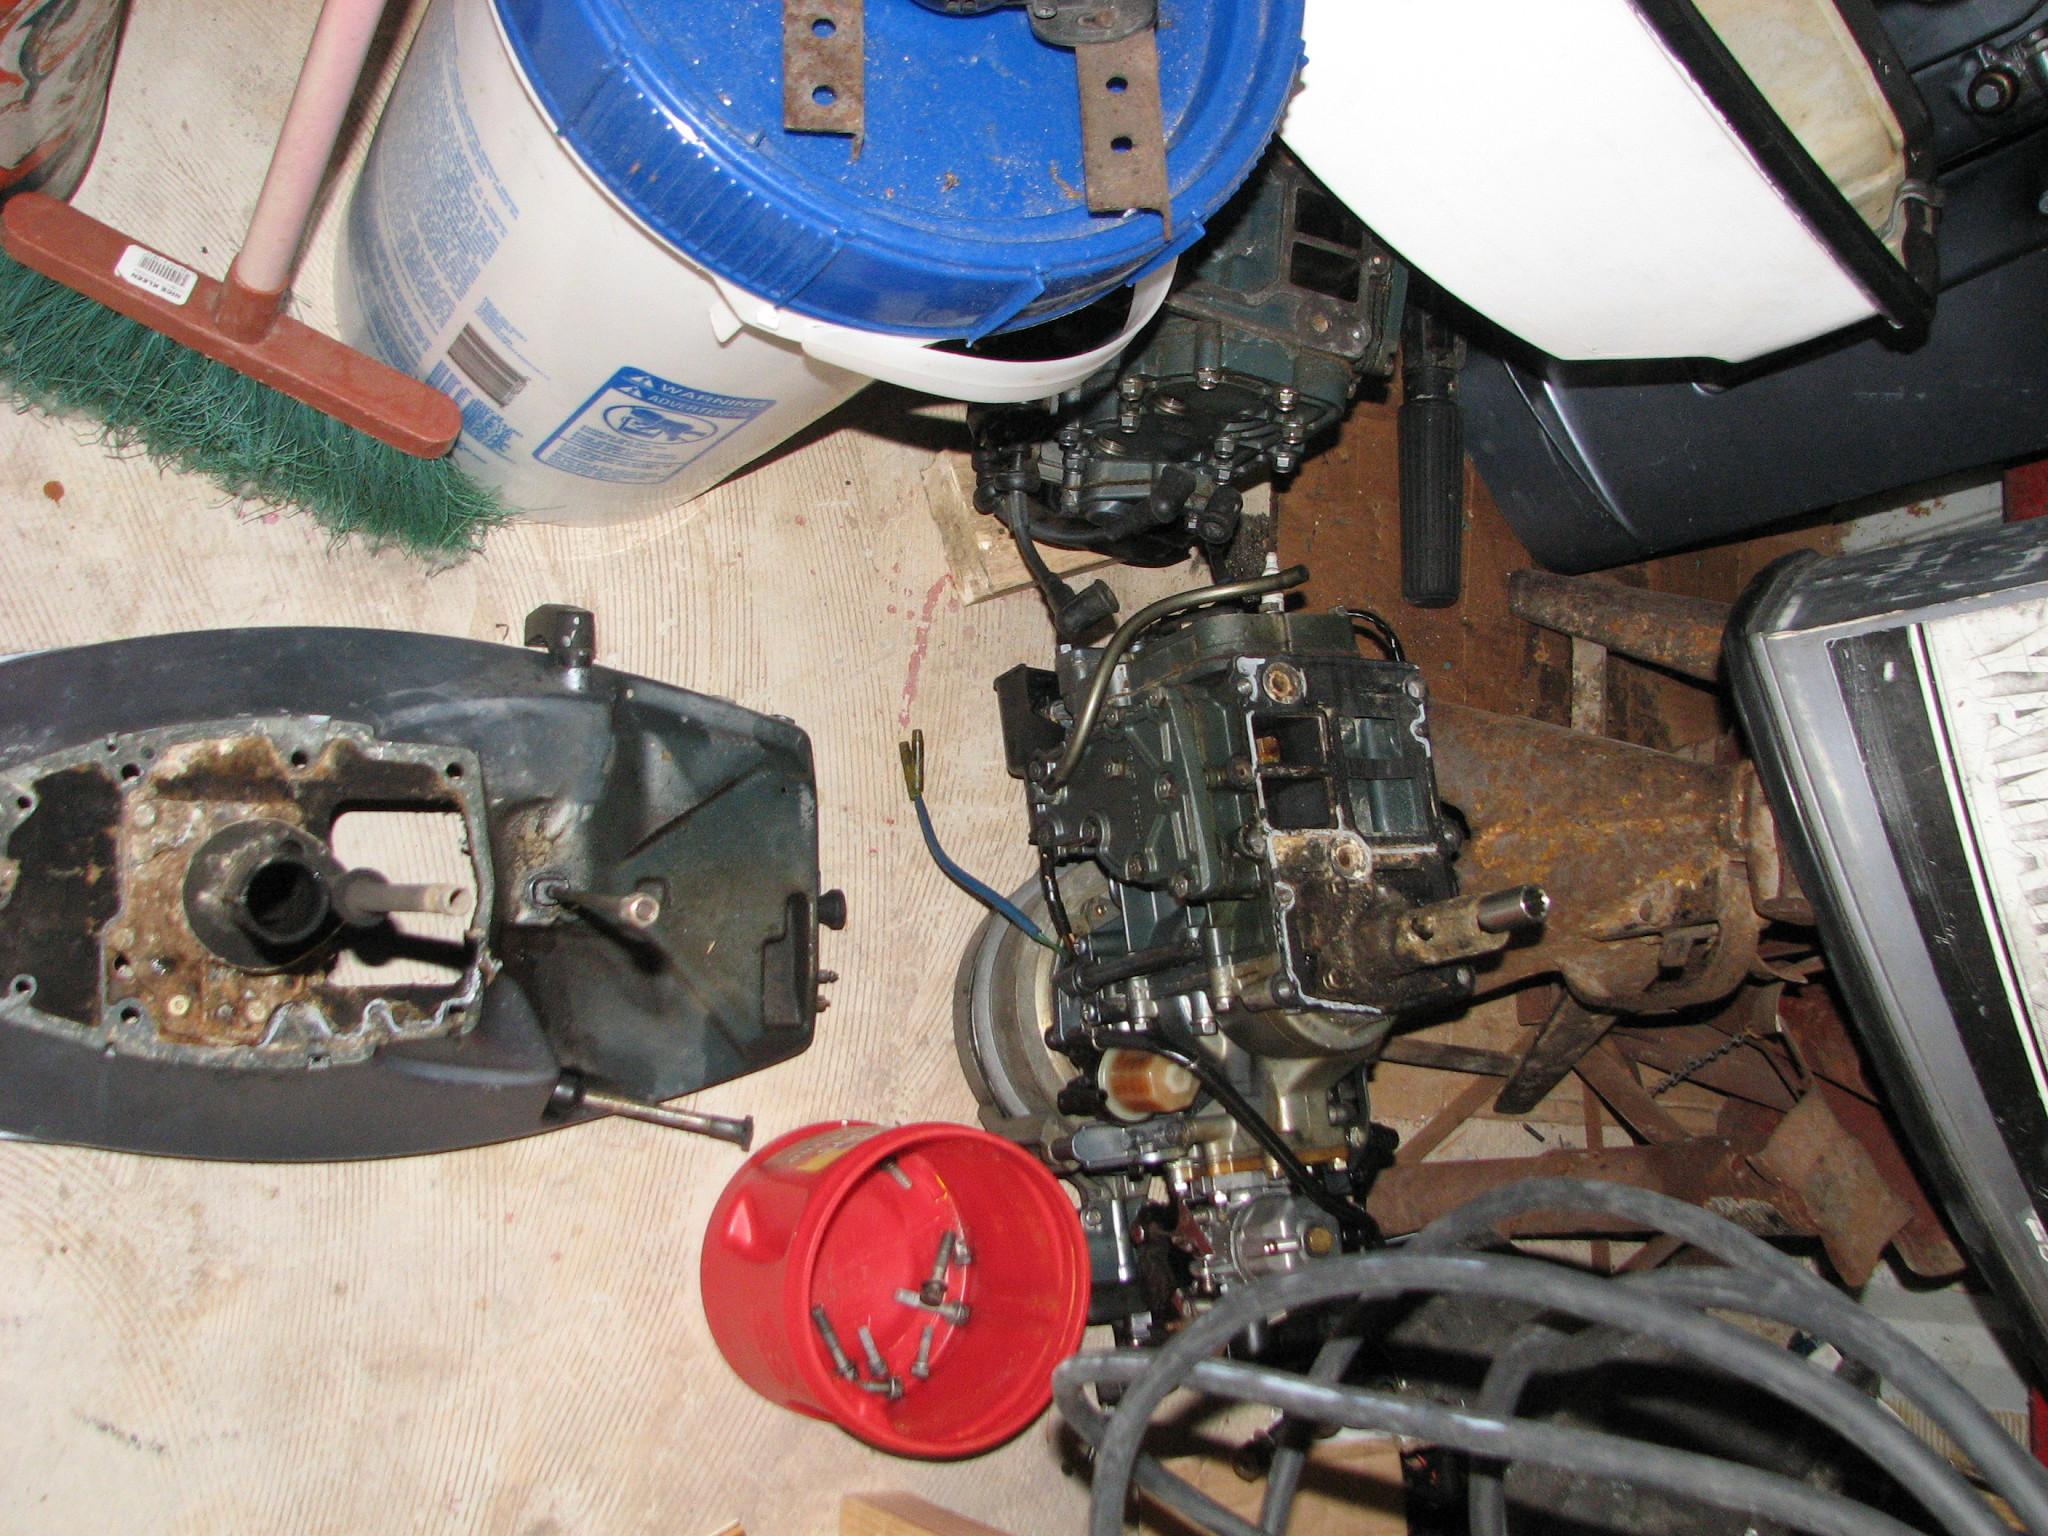
We were able to make a
list of the items necessary for the reassembly of both engines.
Looking at all of the parts I had acquired for both engines, I
decided I would take all of the newest and best parts, and marry them
with my main power head, and build the main engine. I had the power
head rebuilt in 2010 in Guatemala. I would use all of the older parts
to build the spare engine.
Parts Ordered For Both
Outboard Engines

Last Item for the day
at the shop was the varnish. I applied the fourth coat on the
nameboards, the teak wire cover, and all of the Panduit
wire duct covers. I applied
the third coat of varnish on the
Cutco
knife holder.
I had talked earlier in
the week to Chris at Tekris Power Electronics
discussing the issues I was having with my two
Heart Freedom 25
Inverter/Chargers. When Alan and I went back to DREAM AWAY, I got out
my spareLINK
2000-R voltage monitor, and
connecting wire. We used the wire to attach the
LINK 2000-R
voltage monitor to the currently installed
Heart Freedom 25
Inverter/Charger. I got the same indications, or lack thereof, so I
decided I do have some kind of signal problem with the
Heart Freedom 25
Inverter/Charger.
The otherHeart
Freedom 25 Inverter/Charger
was popping its internal circuit breaker, so I decided to send that
unit to Tekris
Power Electronics for
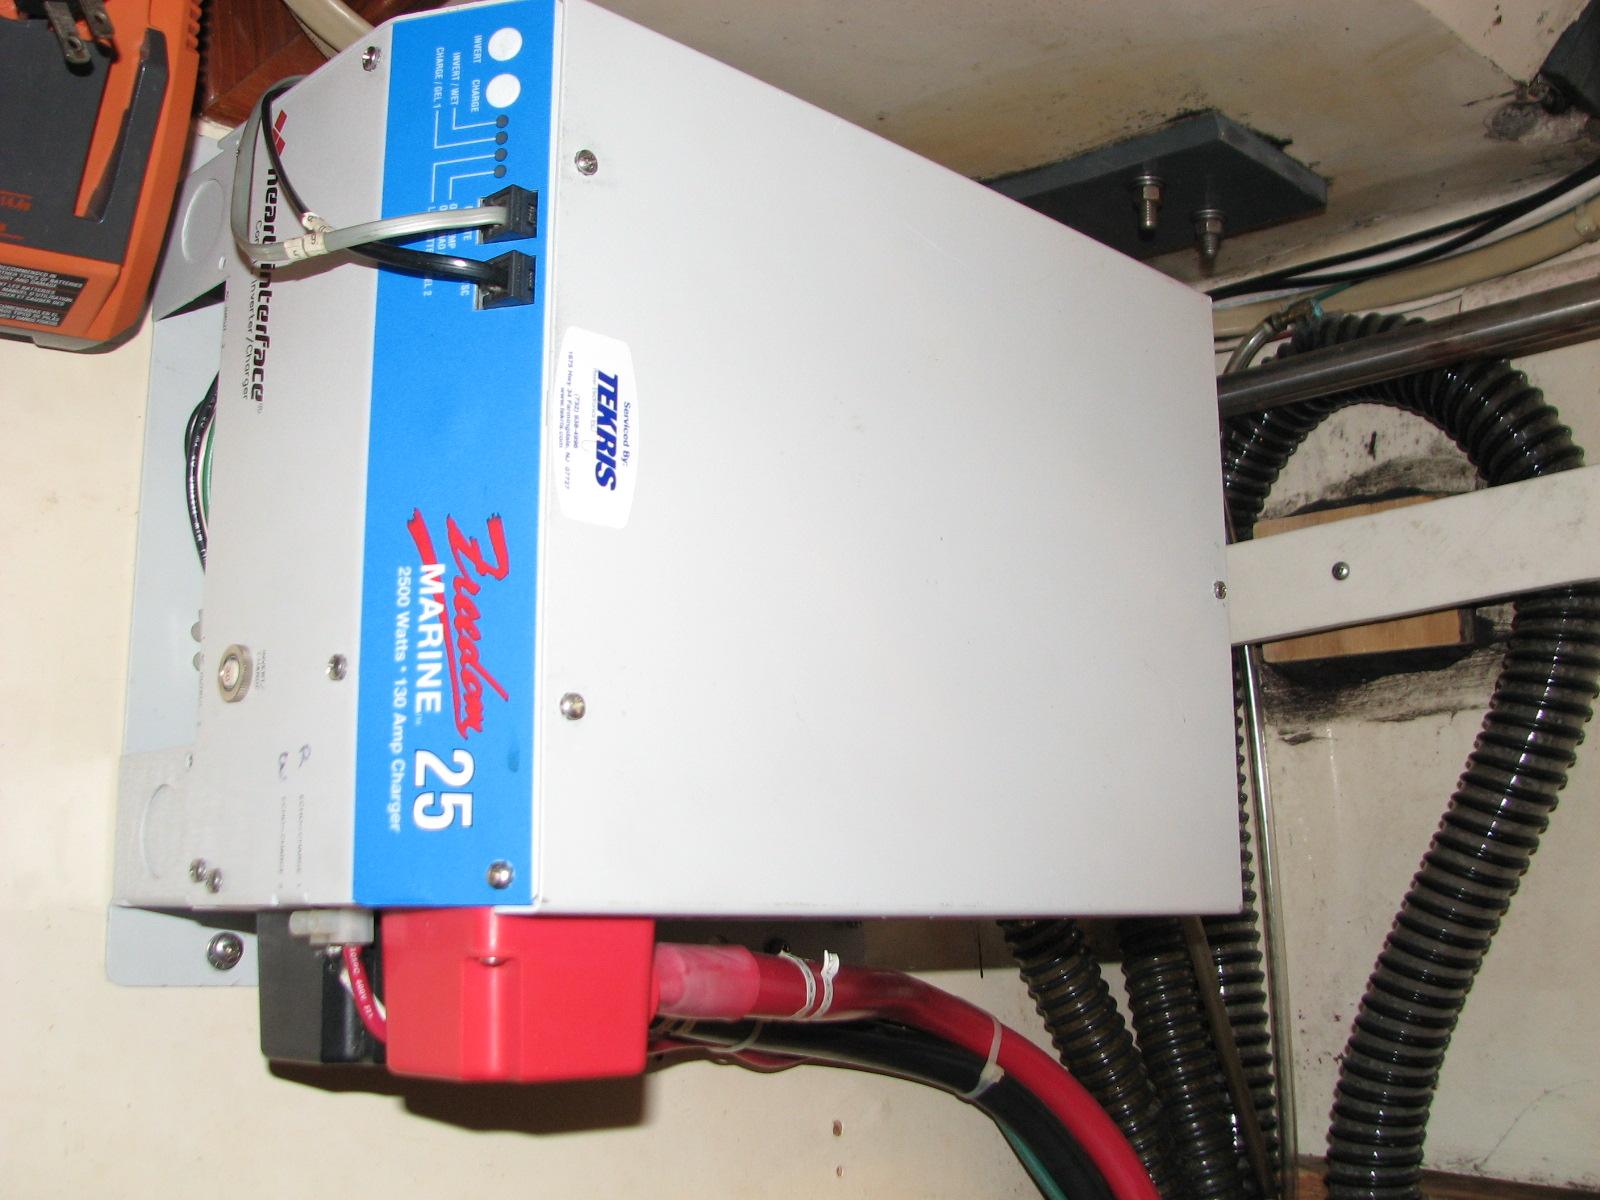
repair first. I dug the Inverter/Charger from under the forward cabin
birth, and hauled it out to the Black Beast.
Tomorrow, Alan and I
would build a shipping crate for the Heart
Freedom 25
Inverter/Charger.
May
2, 2013, Thursday
Started
off the morning with my normal ritual of getting on the Internet,
answering email, checking the weather, while making a pot of coffee.
Alan and I got a cup of coffee in our go cups and went over to the
shop
Worked more on the
cockpit hatch, sanding and scraping. I need to get all of the old
Cetol
off of the hatch, as I plan to apply the
Watco Teak Oil Finish to the
hatch. This will be done after the rotten area is repaired, and the
whole hatch is soaked in the Smith’s
penetrating epoxy.
I have the polyester
filler I need for the hatch, but all of my cream hardener is very old
and not useable. We drove over to Leblanc Oil, and
Touchard’s Marine looking for the
cream hardener, but were not successful. Will probably have to drive
into Abbeville to find it.
We then went to work on
the spare Yamaha outboard power head. I still do not have the broken
off bolts removed. I had ordered and received a Neiko screw extractor
set. It contained five sizes of left hand drill bits, and five
easy
outs. We drilled the holes
and used the easy
out, but we still did not
get the broken off bolts out of the power head. It looks like to save
this power head, I am going to have to take it to a shop that
specializes in removing broken bolts. I am sure I am going to end up
using a Helicoil.
Bottom Of Power Head
With Broken Bolts
Since we were making no
progress with the spare engine, Alan and I decided to go to work on
the main Yamaha outboard. I had purchased a used bracket
assembly off of Ebay, to replace the
bracket
assembly presently on the
engine. The bracket assembly was in pretty bad
shape, but needed replacement.
We started in on the
project, but a new cruising boat was coming into the marina. I
applied the third coat of varnish on the nameboards, the teak wire
cover, and all of the Panduit
wire duct covers. I applied
the second coat of varnish on the
Cutco
knife holder.
Alan and I closed up
the shop and headed over to the marina, to help the newcomers dock.
When we finished with the docking process, and had some social time,
it was time to quit for the day.
May
1, 2013, Wednesday
Started
off the morning with my normal ritual of getting on the Internet,
answering email, checking the weather, while making a pot of coffee.
Went over to the shop
and started in on doing an inventory of all of the items that arrived
in the
OpenROV kit. I still did
not have the printed inventory with me, but I wanted to make sure all
of the parts in the kit arrived in excellent physical shape.
Everything seemed to be in order, and I even got all of the parts
back into the original box! You can keep up with the kit assembly and
testing on the DREAM AWAY web page with this
link.
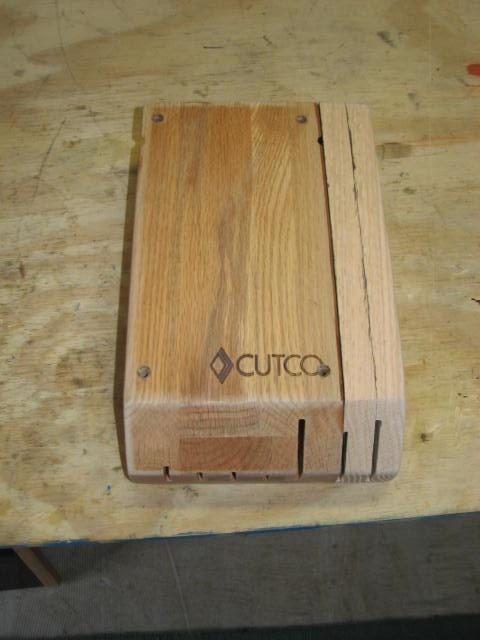
The epoxy had set up on
the Cutco
knife holder, so I sanded it all down it preparation to apply thr
first coat of varnish this afternoon.
Sanded Cutco
knife holder
Next I started on the
cockpit hatch. The timing on this project, turned out to be great.
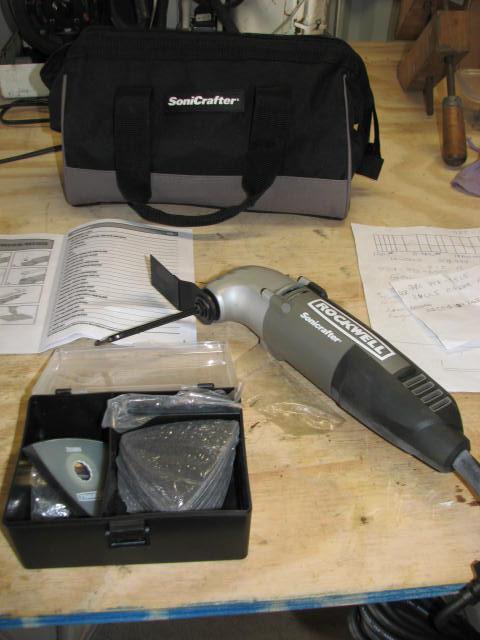
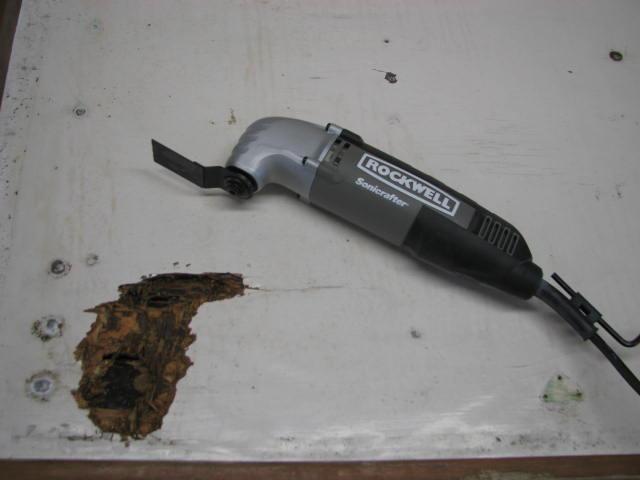
Yesterday on our anniversary, Kitty gave me a new tool. It is a
Rockwell
Sonicrafter Oscillating Tool,
and it is the perfect tool to cut out the rotten wood in the cockpit
hatch.
Installing Blade On New
Tool
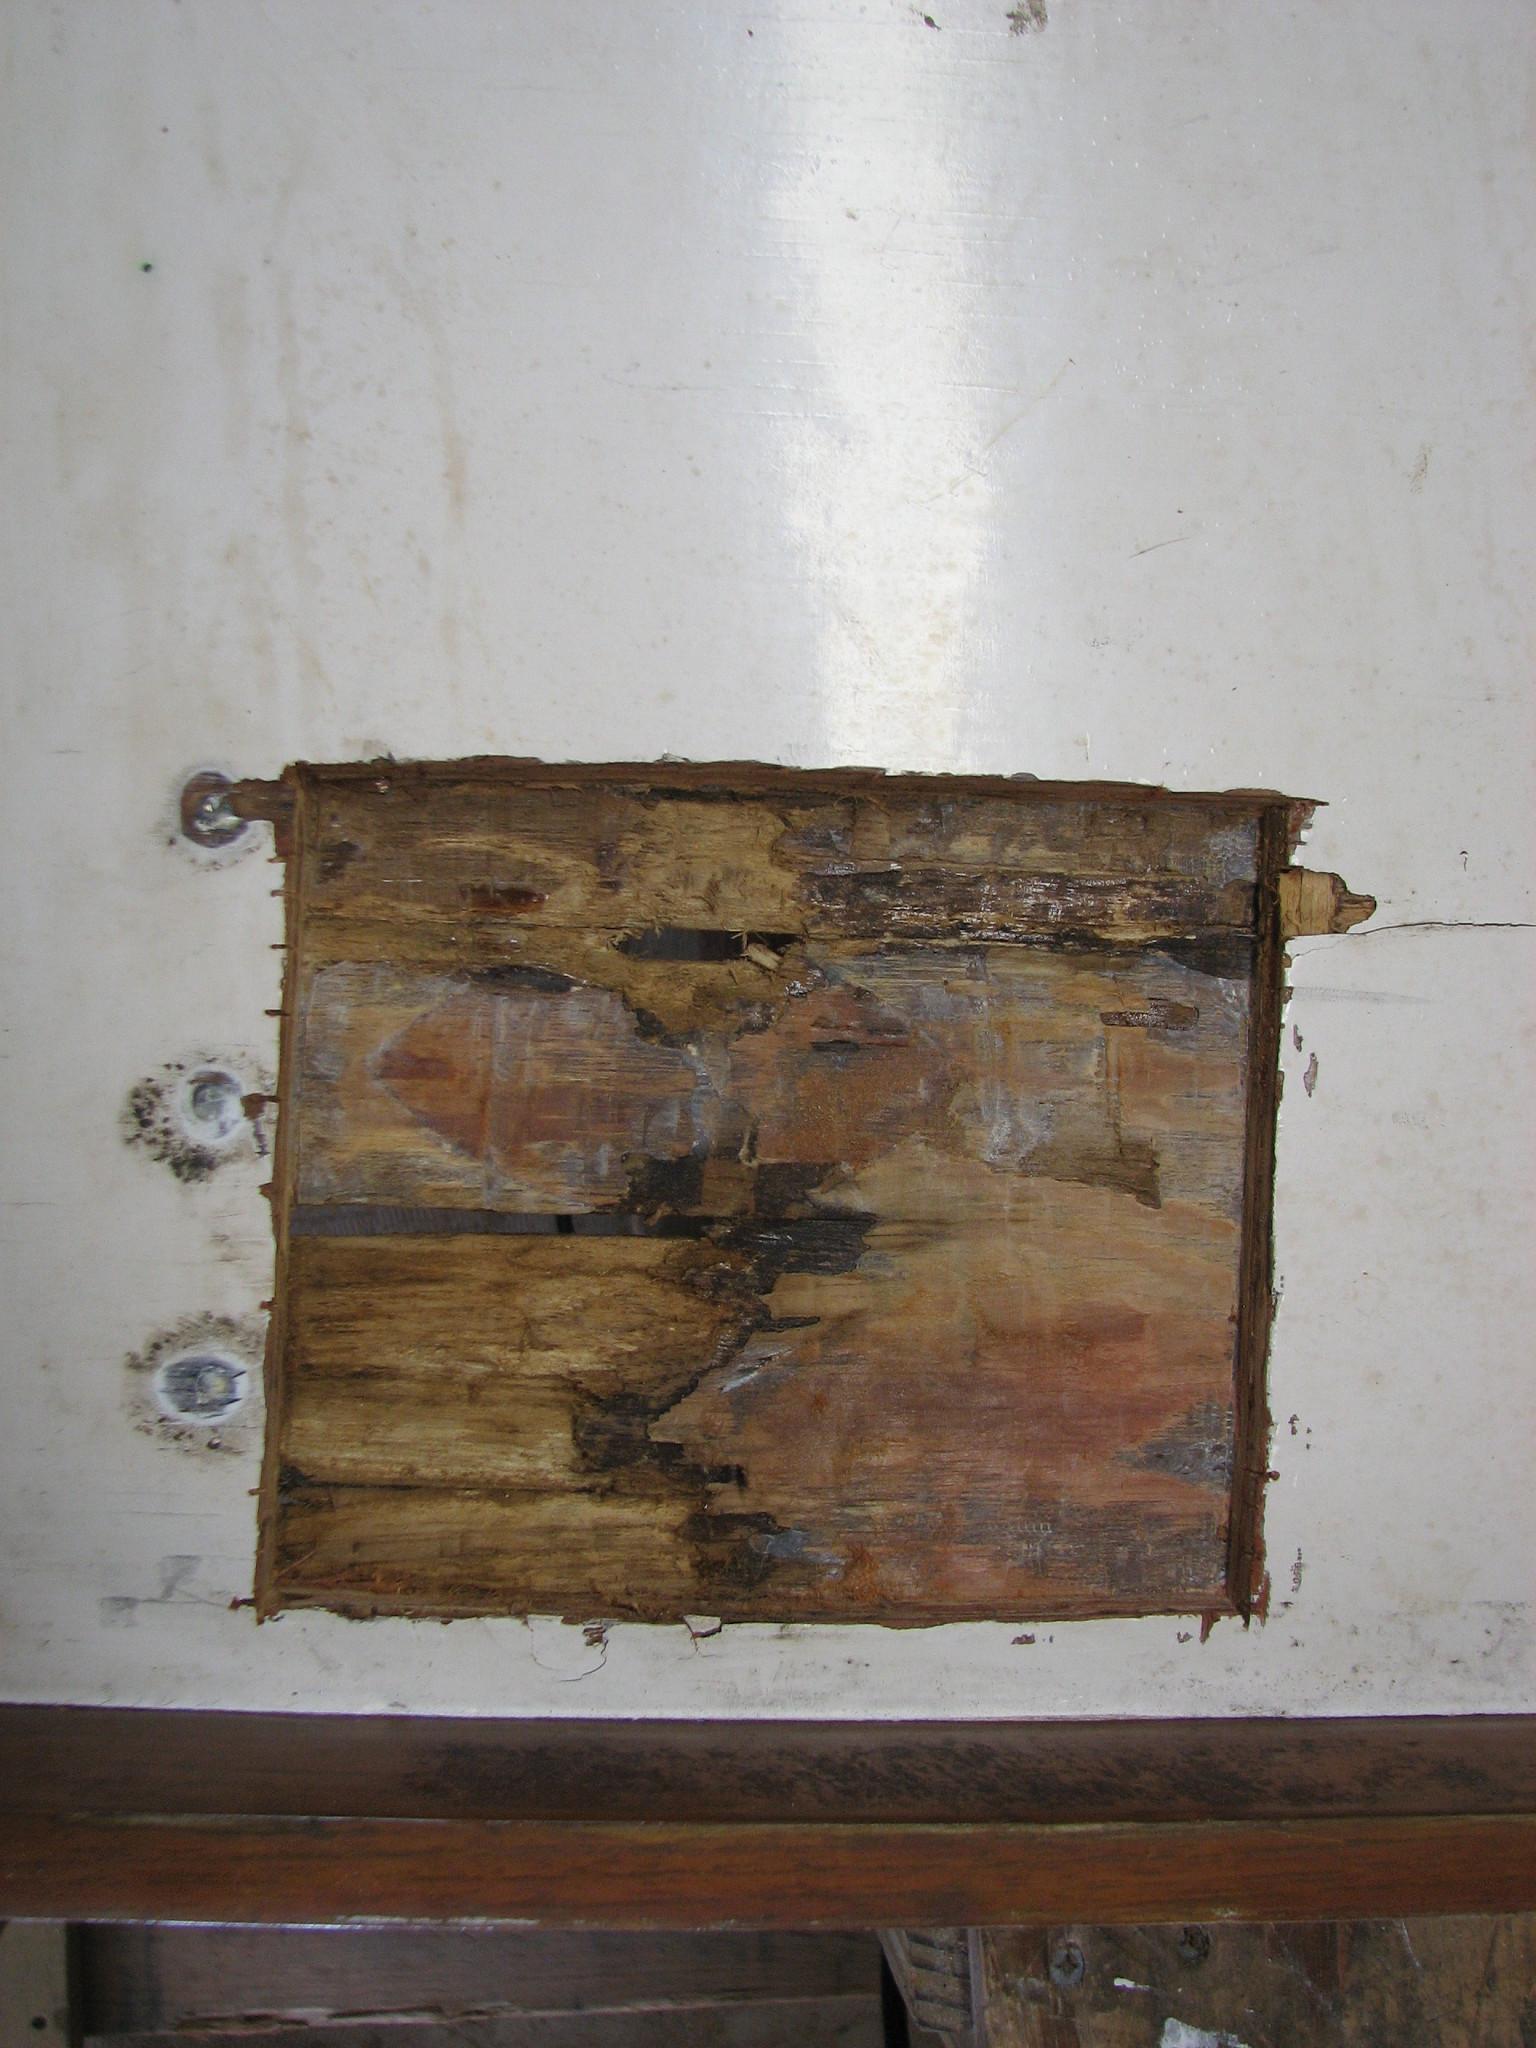
I measured off a square
section around the rotten wood on the underside of the hatch, then
used the new tool to make the cuts. It worked perfectly. This is
going to be a nice tool to use in situations just like this.
Tool Laying Near Rotten
Area In Hatch
Cut Out Area In Bottom
Of Hatch
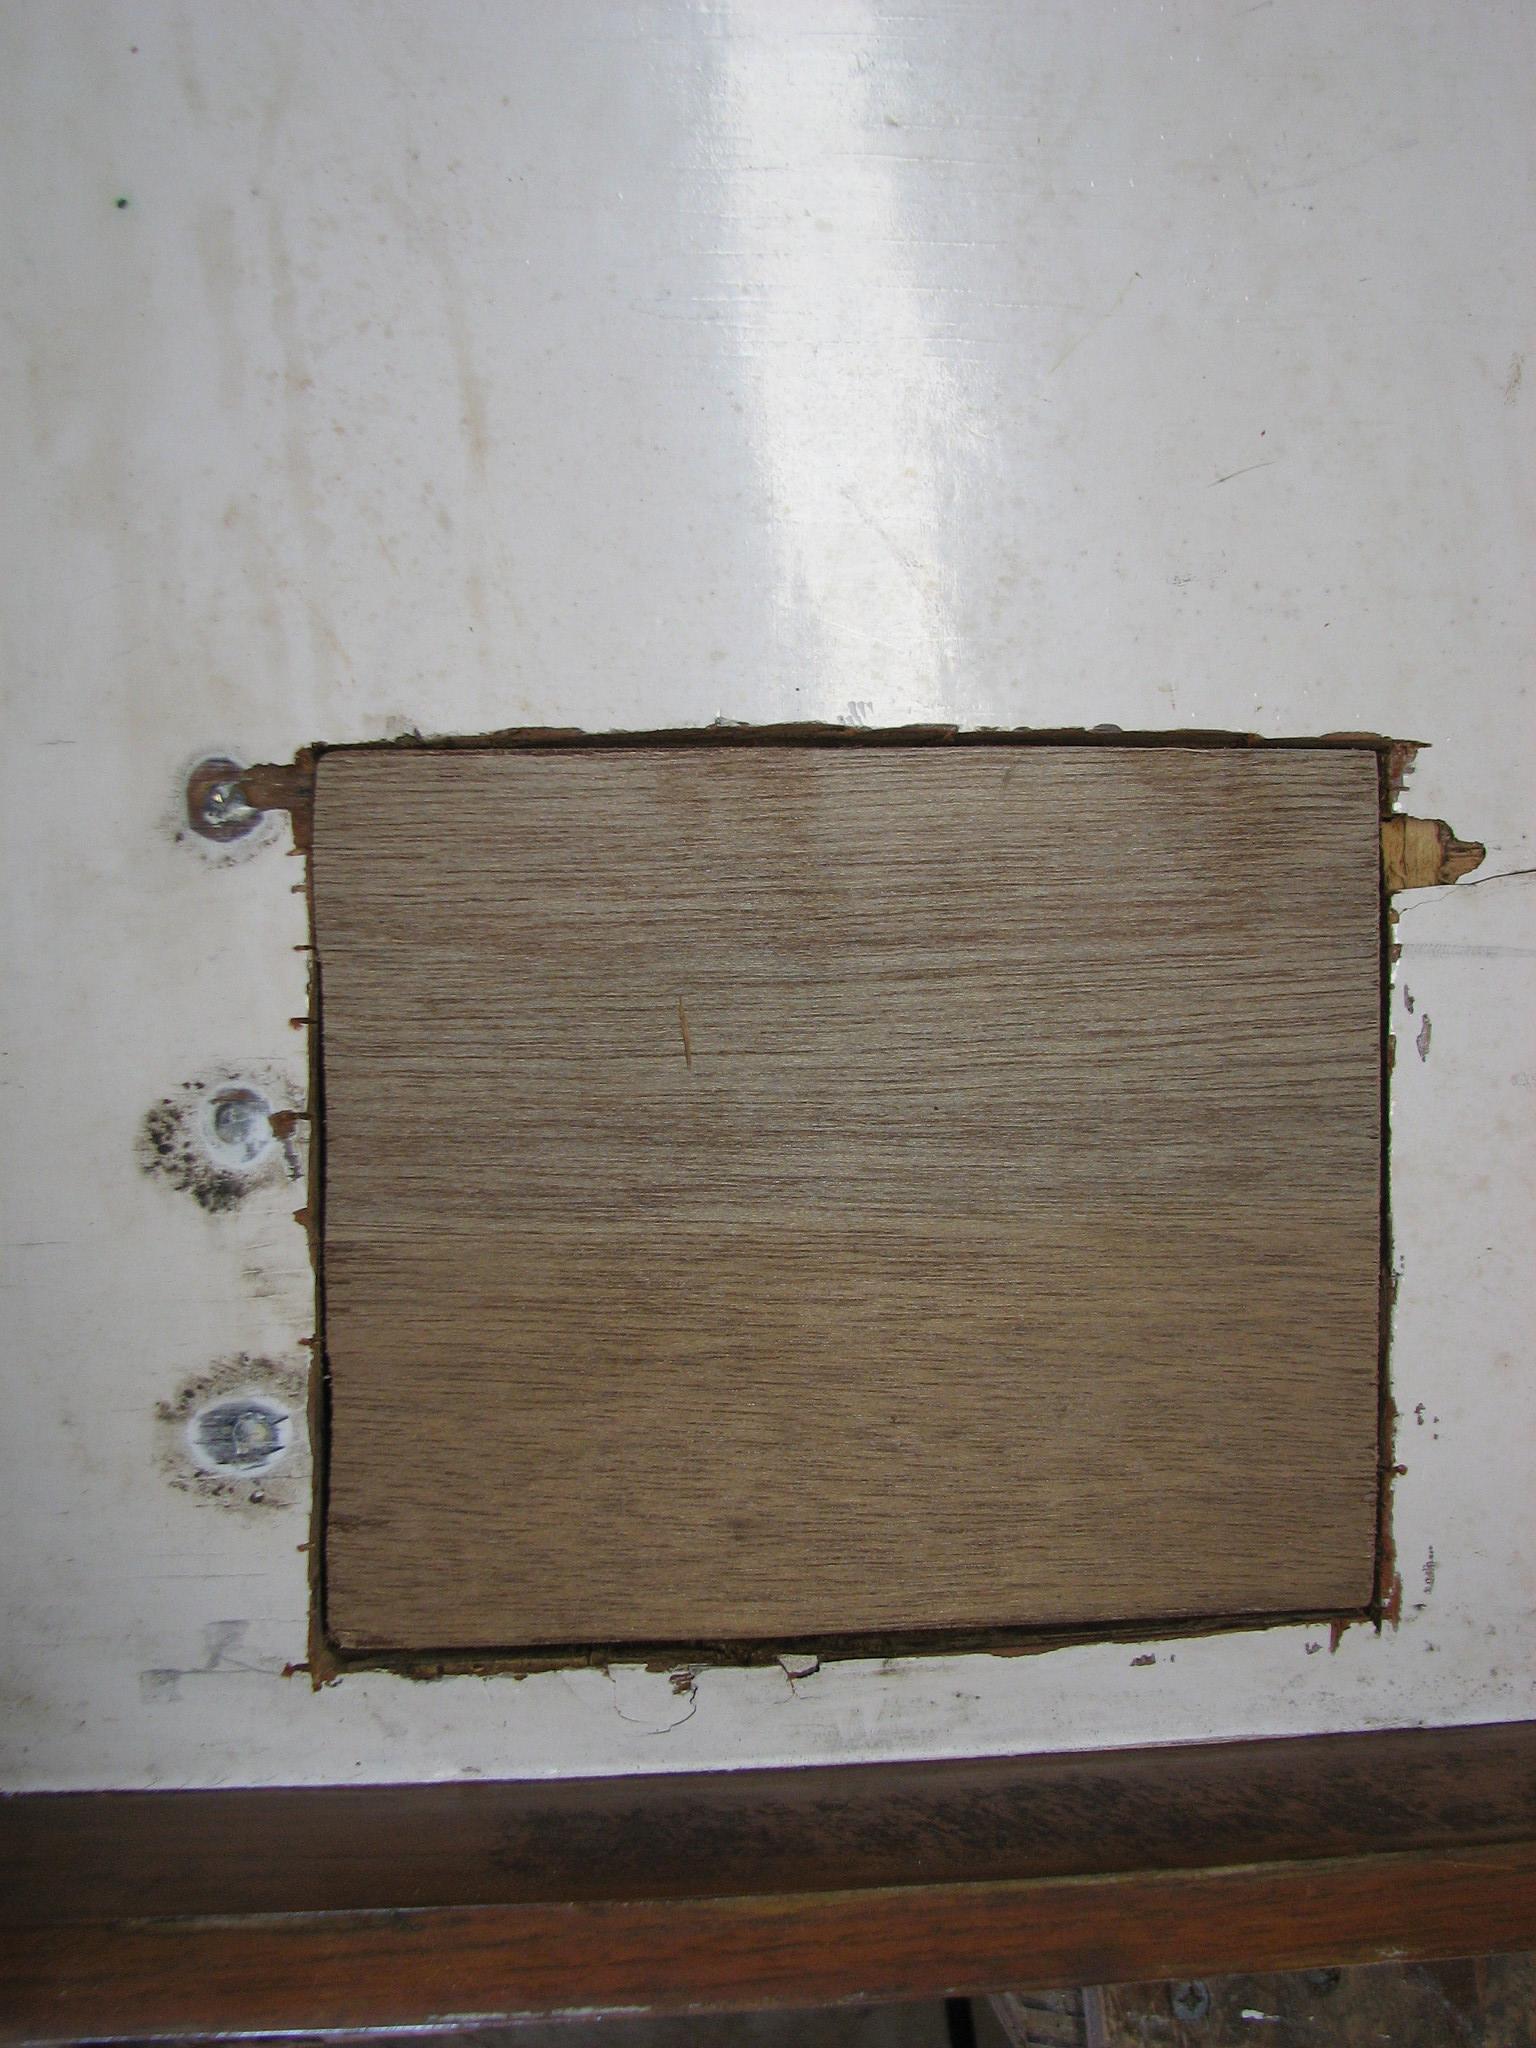
I then cut out a square
of ⅜” mahogany plywood to fit into the cutout of the hatch. I
trimmed and sanded the plywood piece until it fit into square. Now it
was ready to be epoxied into place.
Cut Piece Of Plywood
Fit Into Cut Out Squart
I took the
Shakespeare
SeaWatch 2025 TV antennas
apart, and checked all of the connections. I also took the small
printed circuit boards out of each antenna, and the control box
looking for broken or damaged wires or electronic parts. Needless to
say I could find nothing amiss, so I am afraid we are out of luck
with the attempts to get the
Shakespeare
SeaWatch 2025 functioning.
I started on another
project today, that will not need to be completed until we do a long
passage again. I have been requested by several of our crew to put
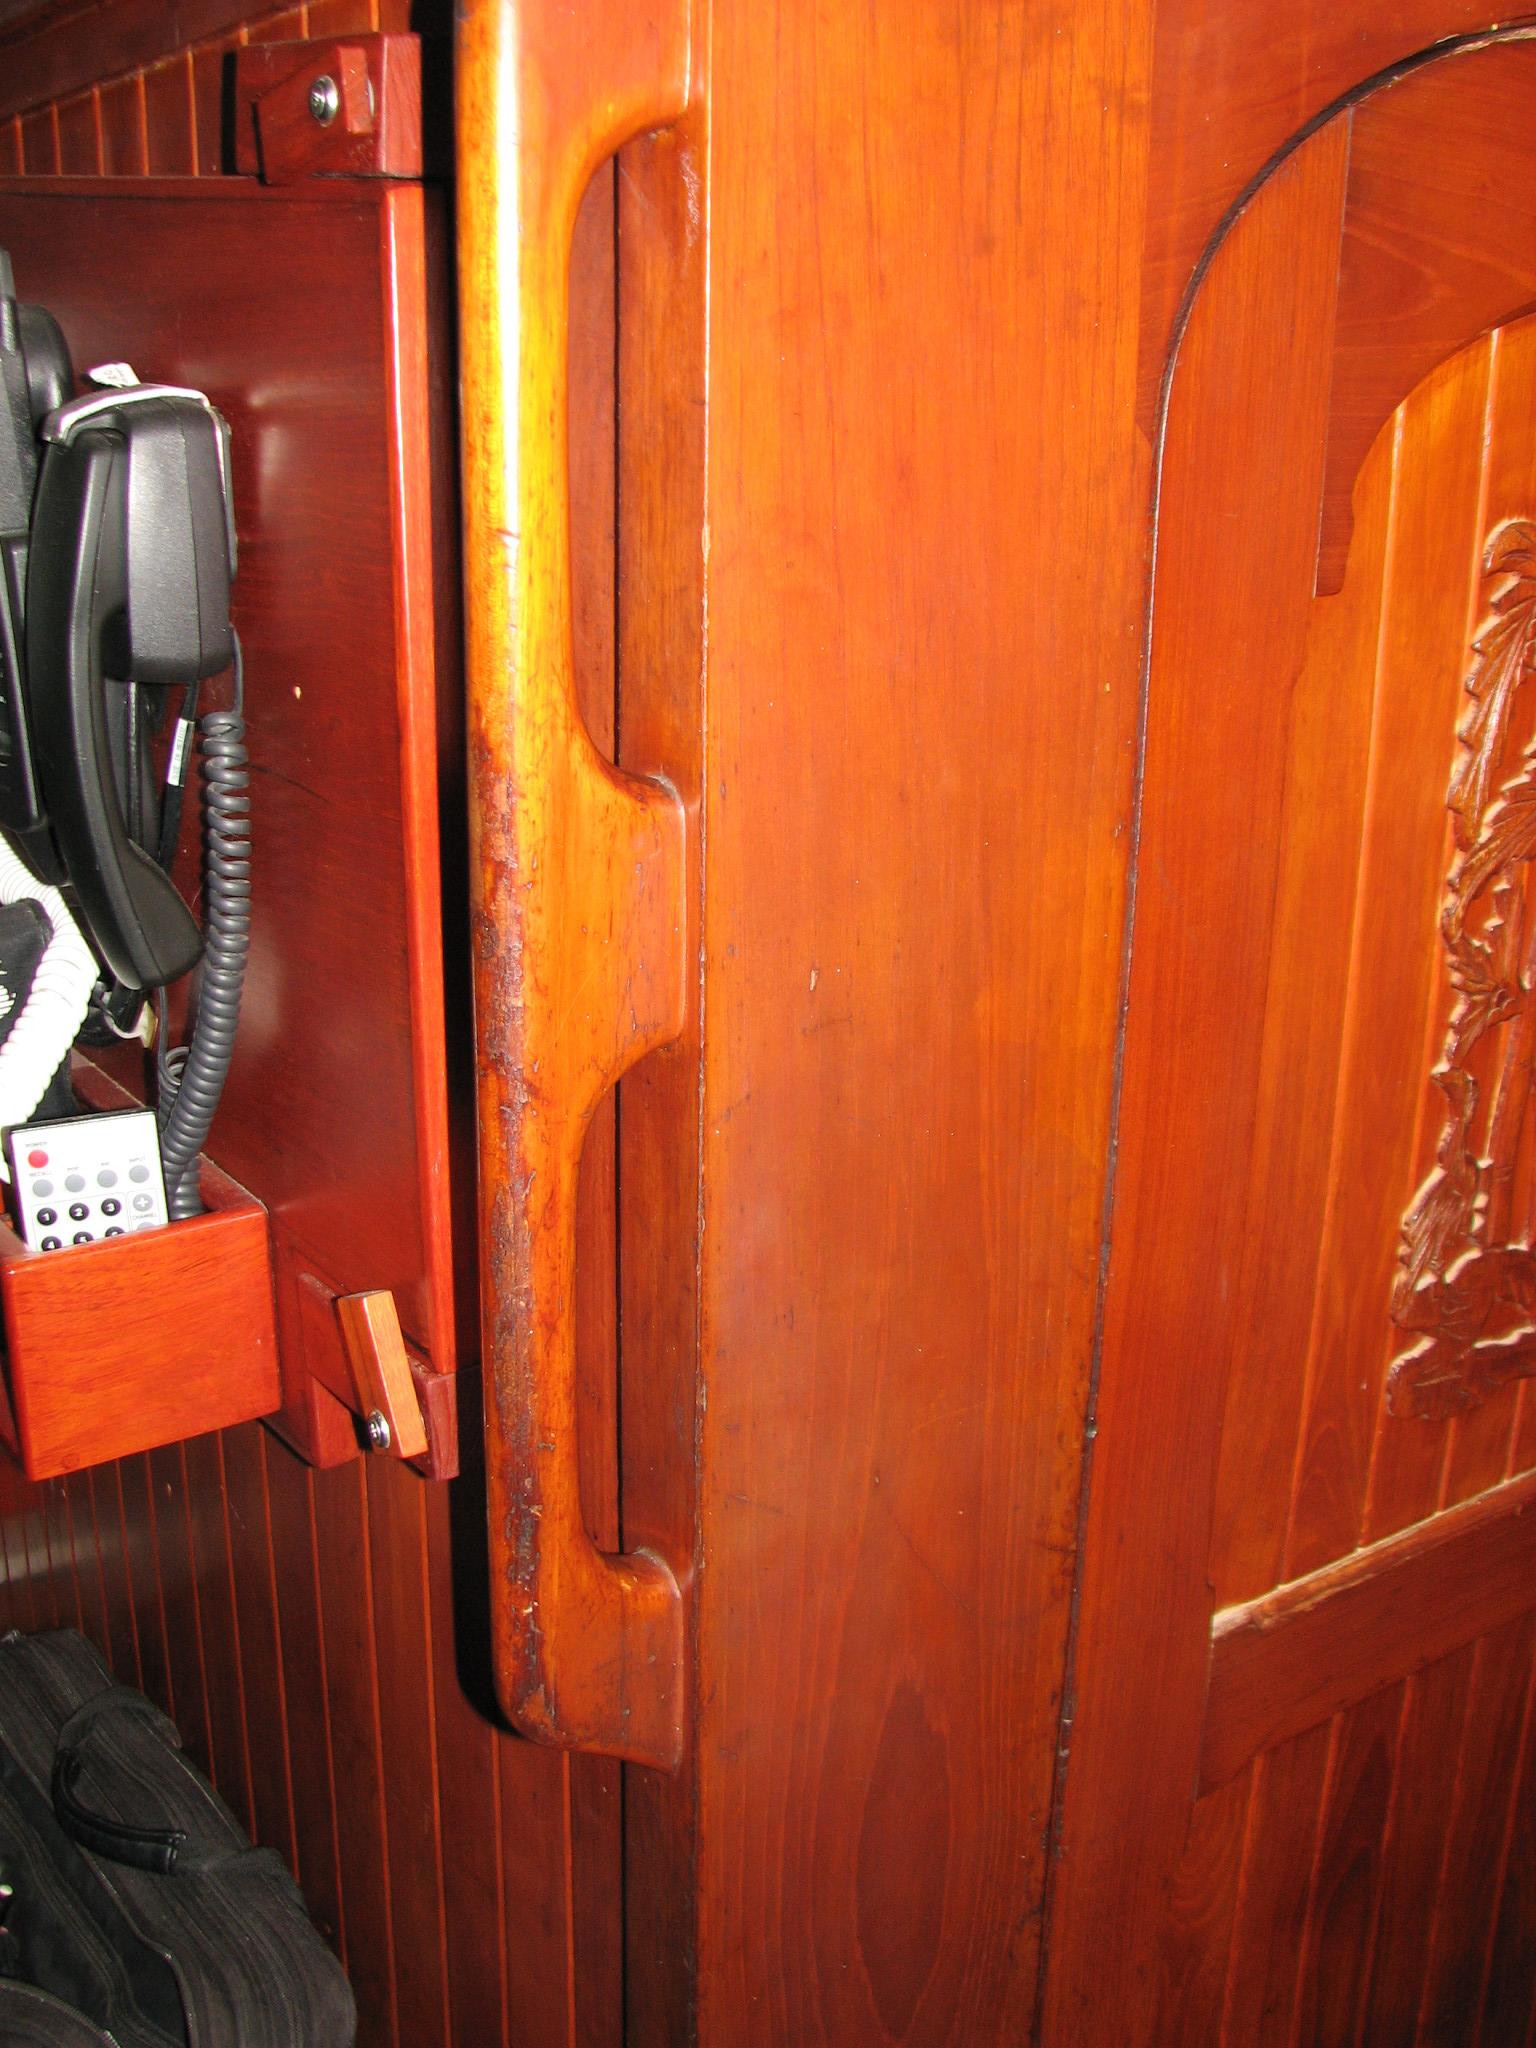
some handrails near the center of the main cabin. This is an
excellent idea as there really is nothing to grab onto between the
companion way handholds, and the handholds at the forward end of the
main cabin. Just a lot of empty space.
Grab Rails At
Companionway
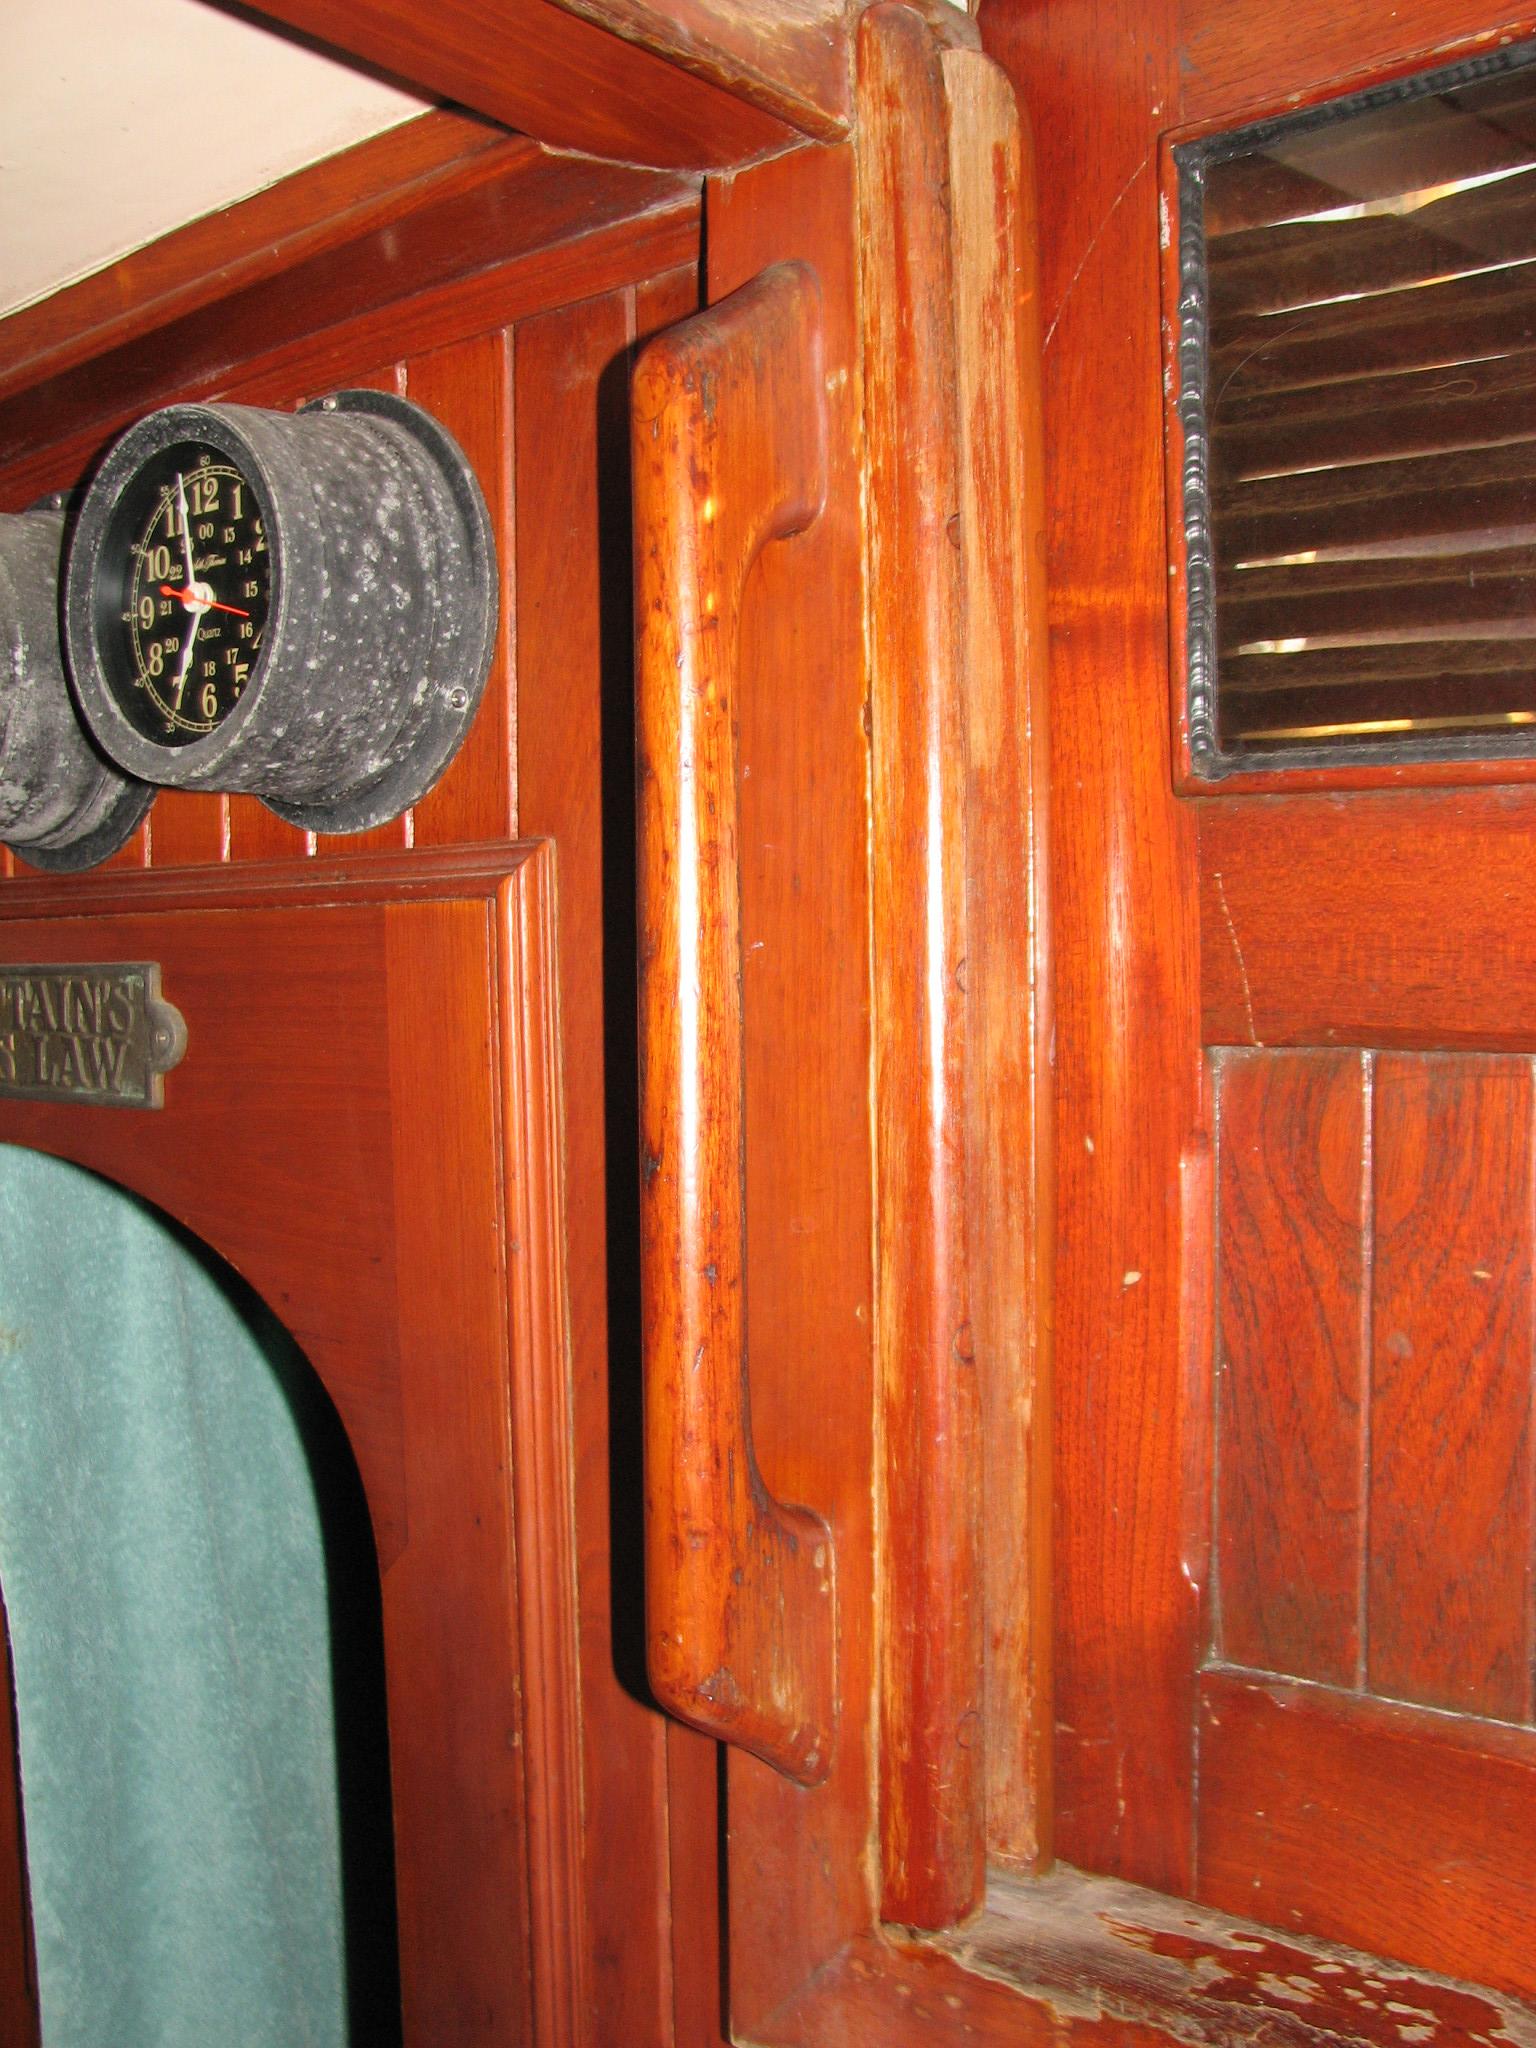
Grab Rails At Forward
End Of Main Cabin
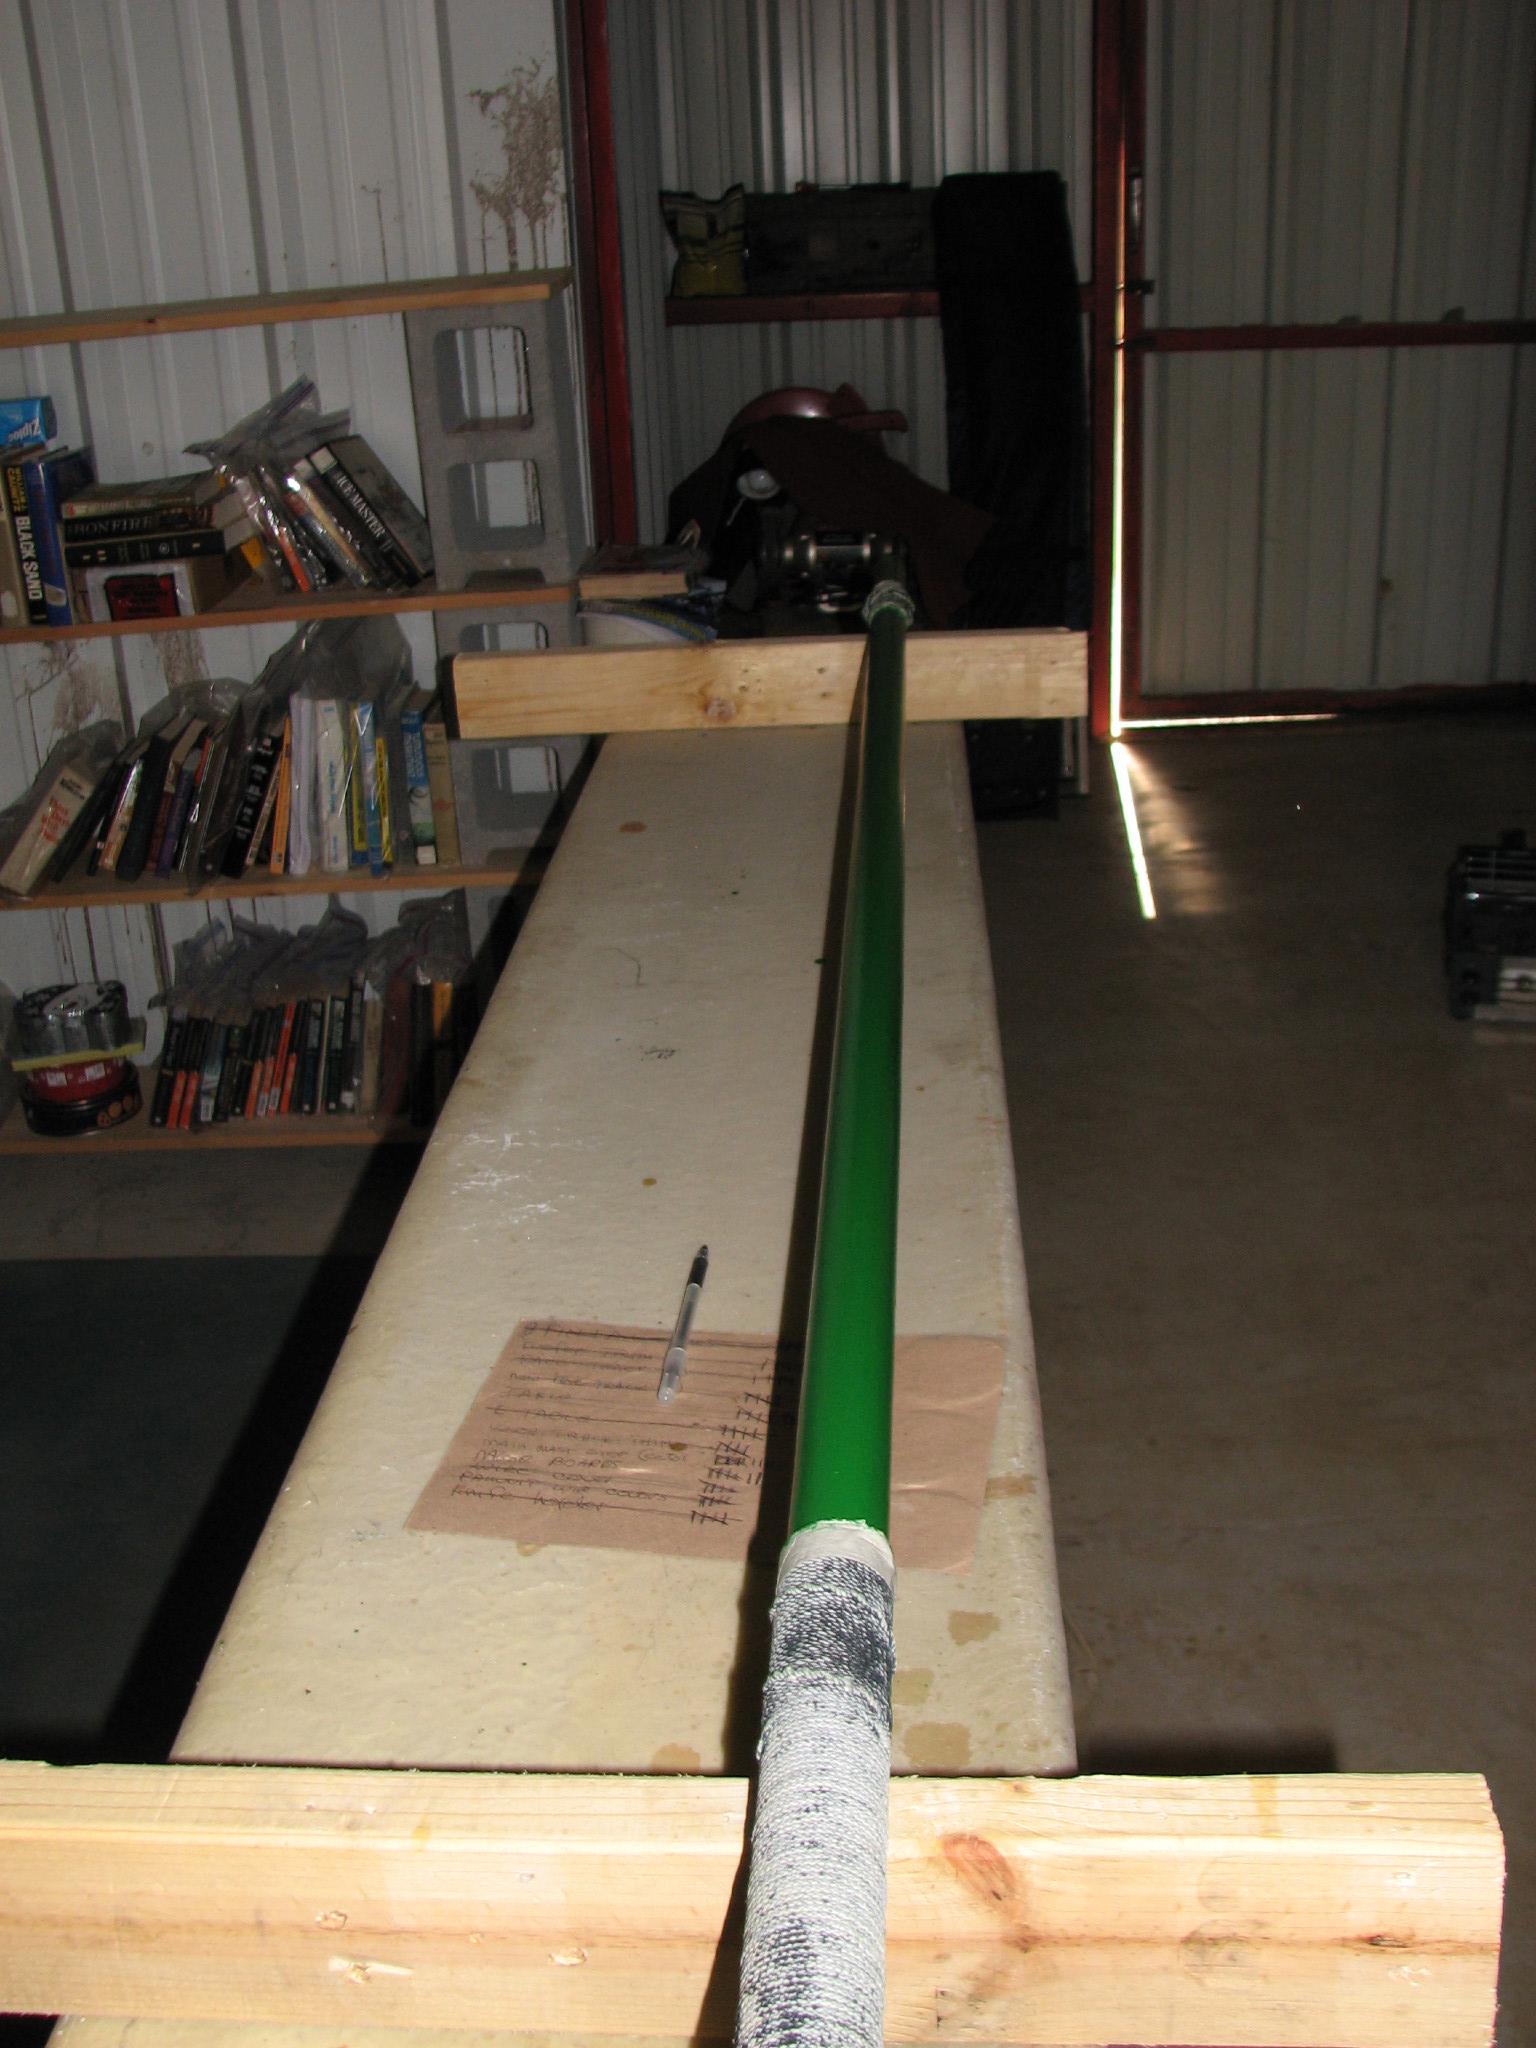
I am welding some
pieces of 1” stainless steel tubing together to make part of the
new handrails. When they are complete, they will have mounting plates
at each end, and will be thru-bolted to the deck.
Welded Tubing

Last Item for the day
was the varnish. I applied the second coat on the nameboards, the
teak wire cover, and all of the Panduit
wire duct covers. I applied
the first coat of varnish on the
Cutco
knife holder.
