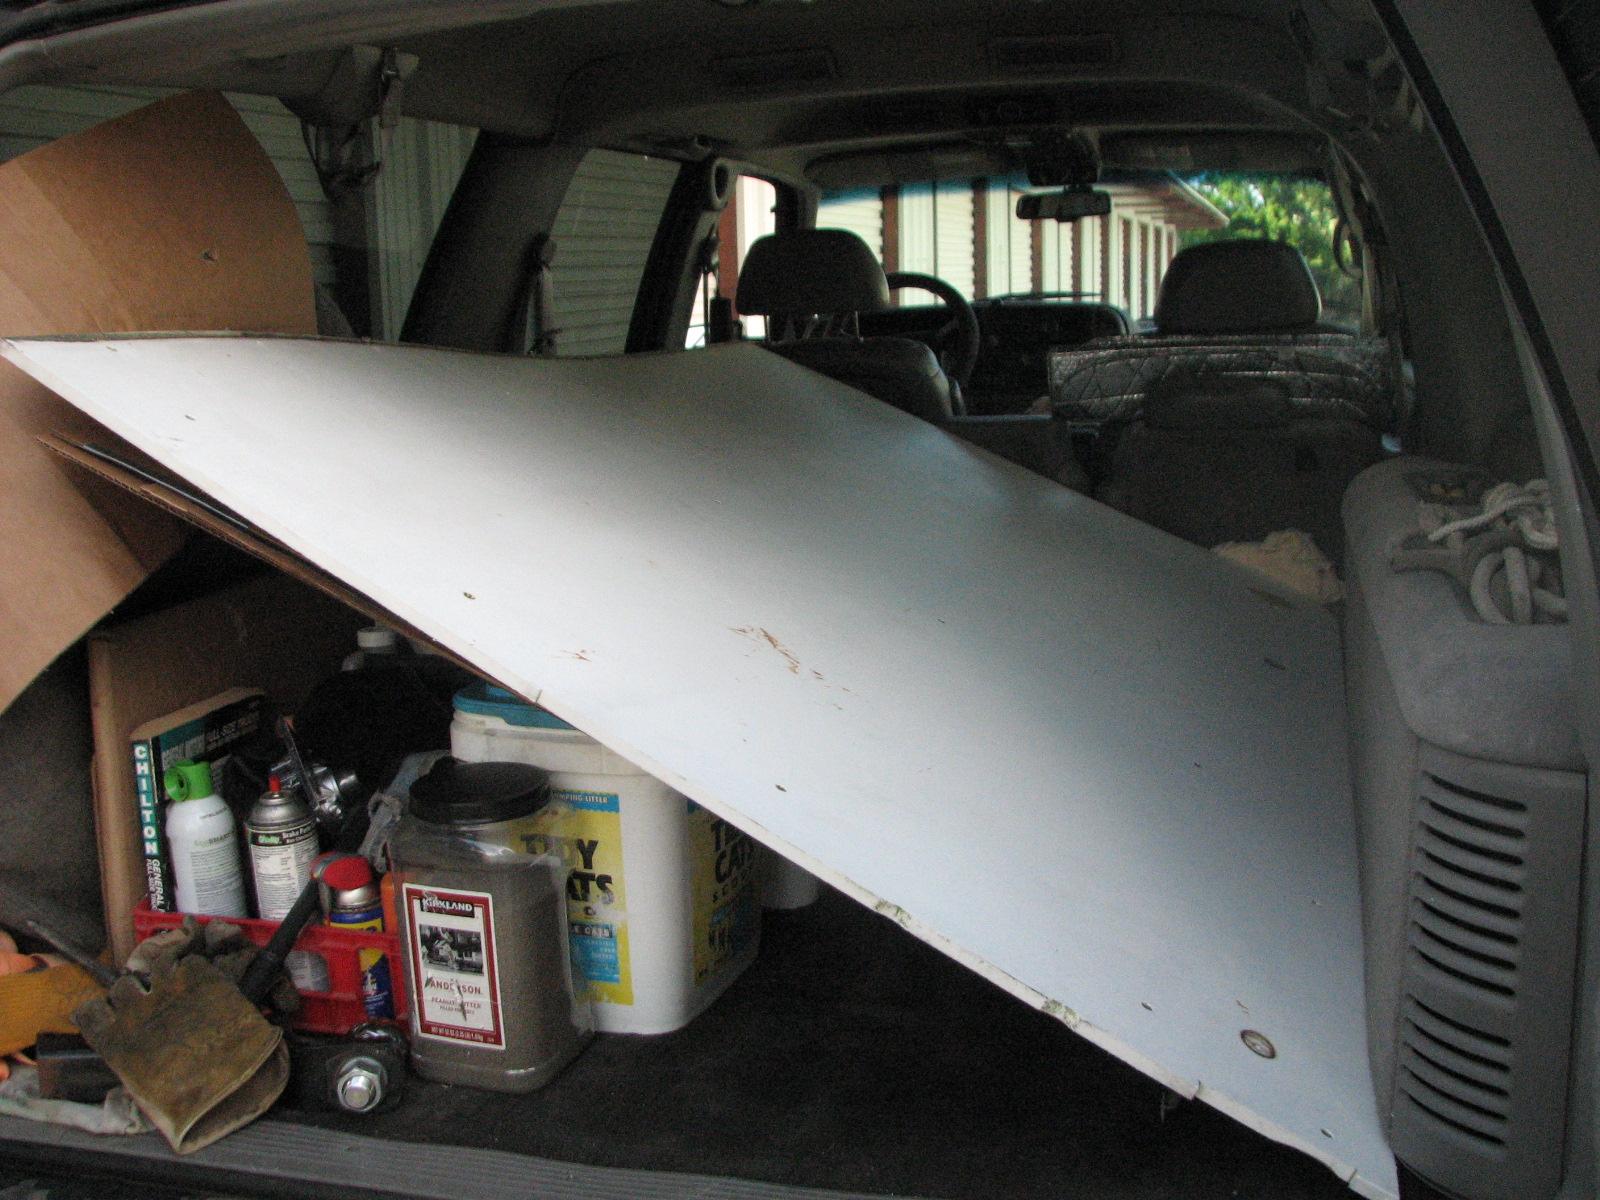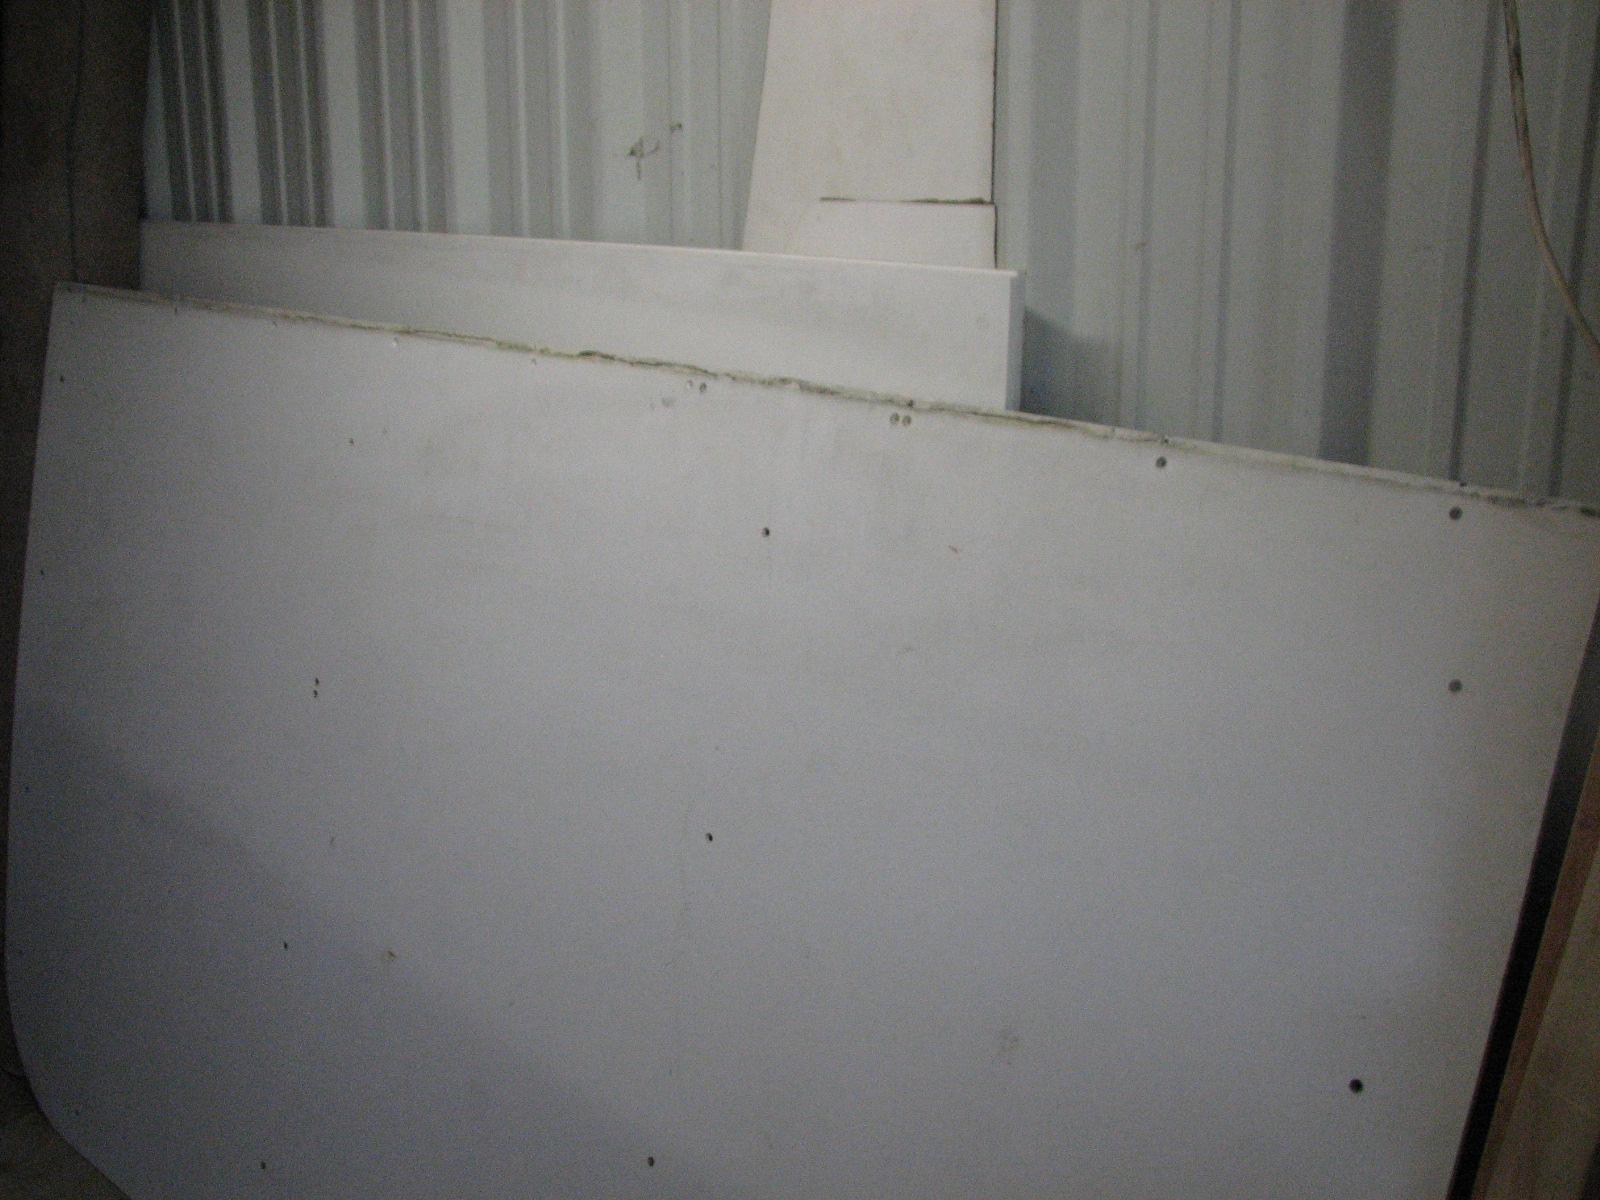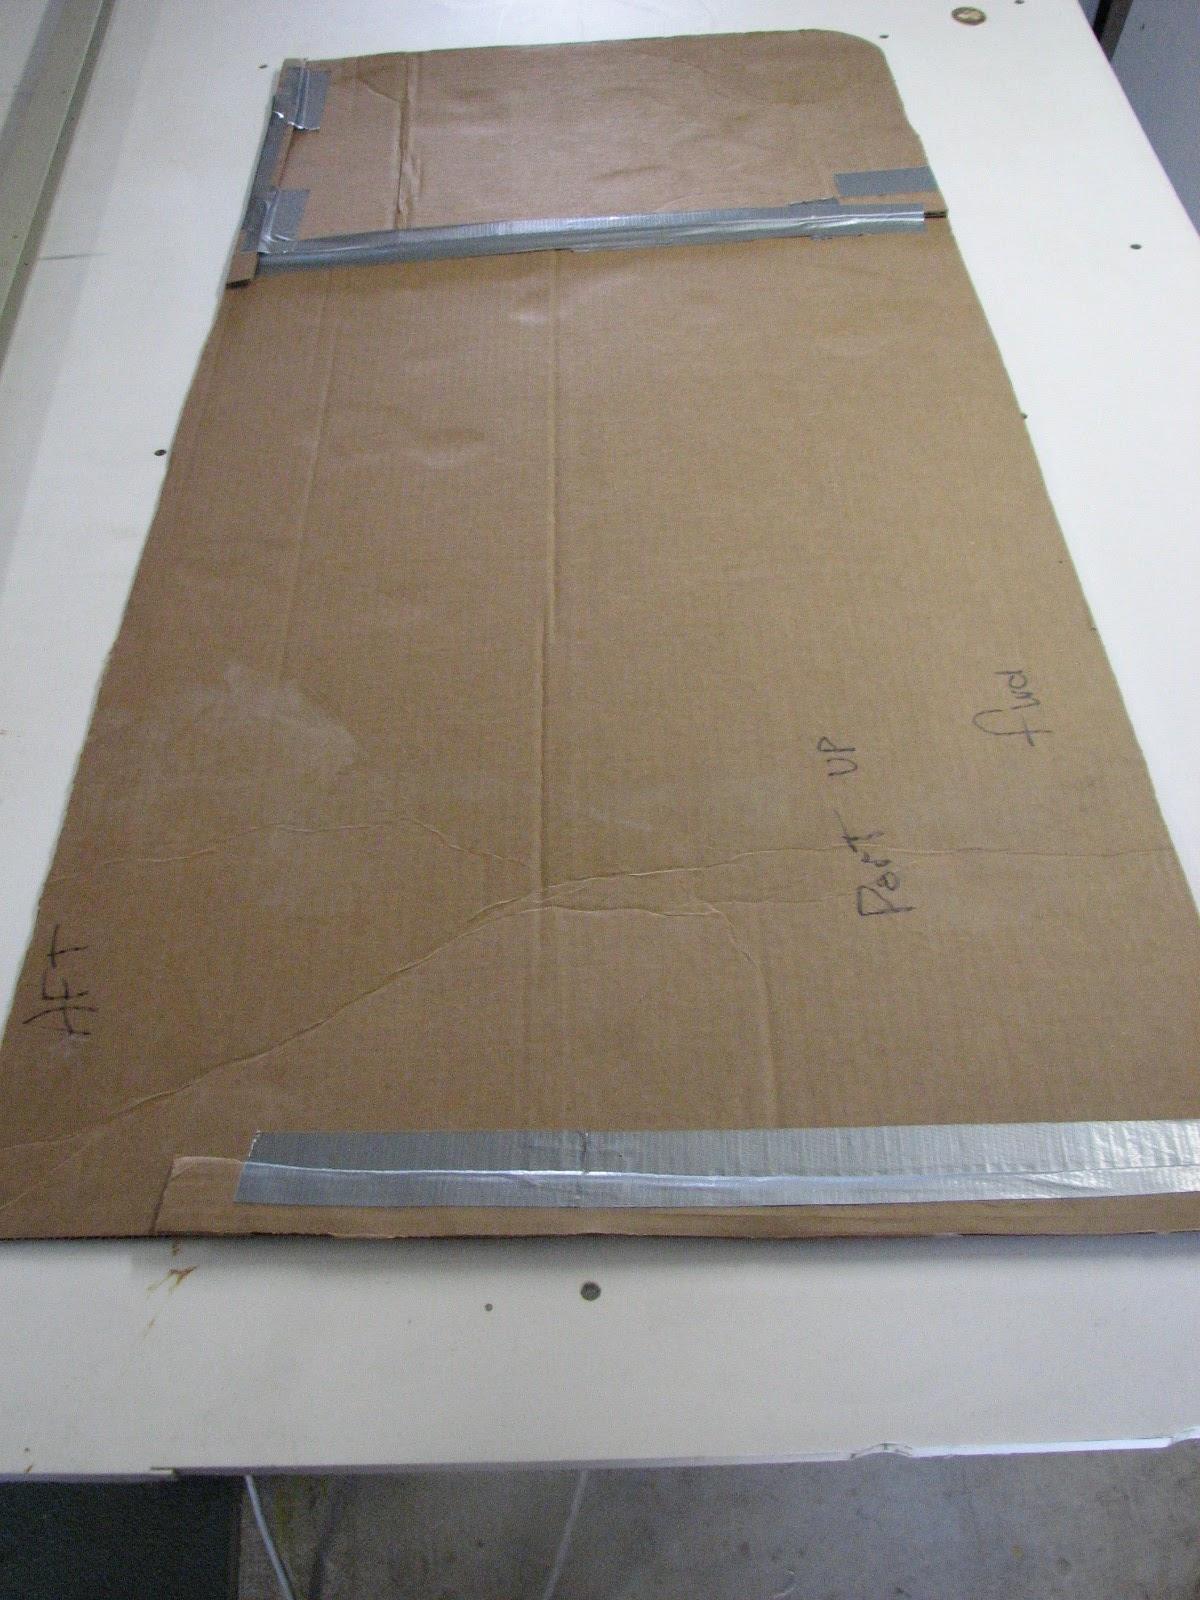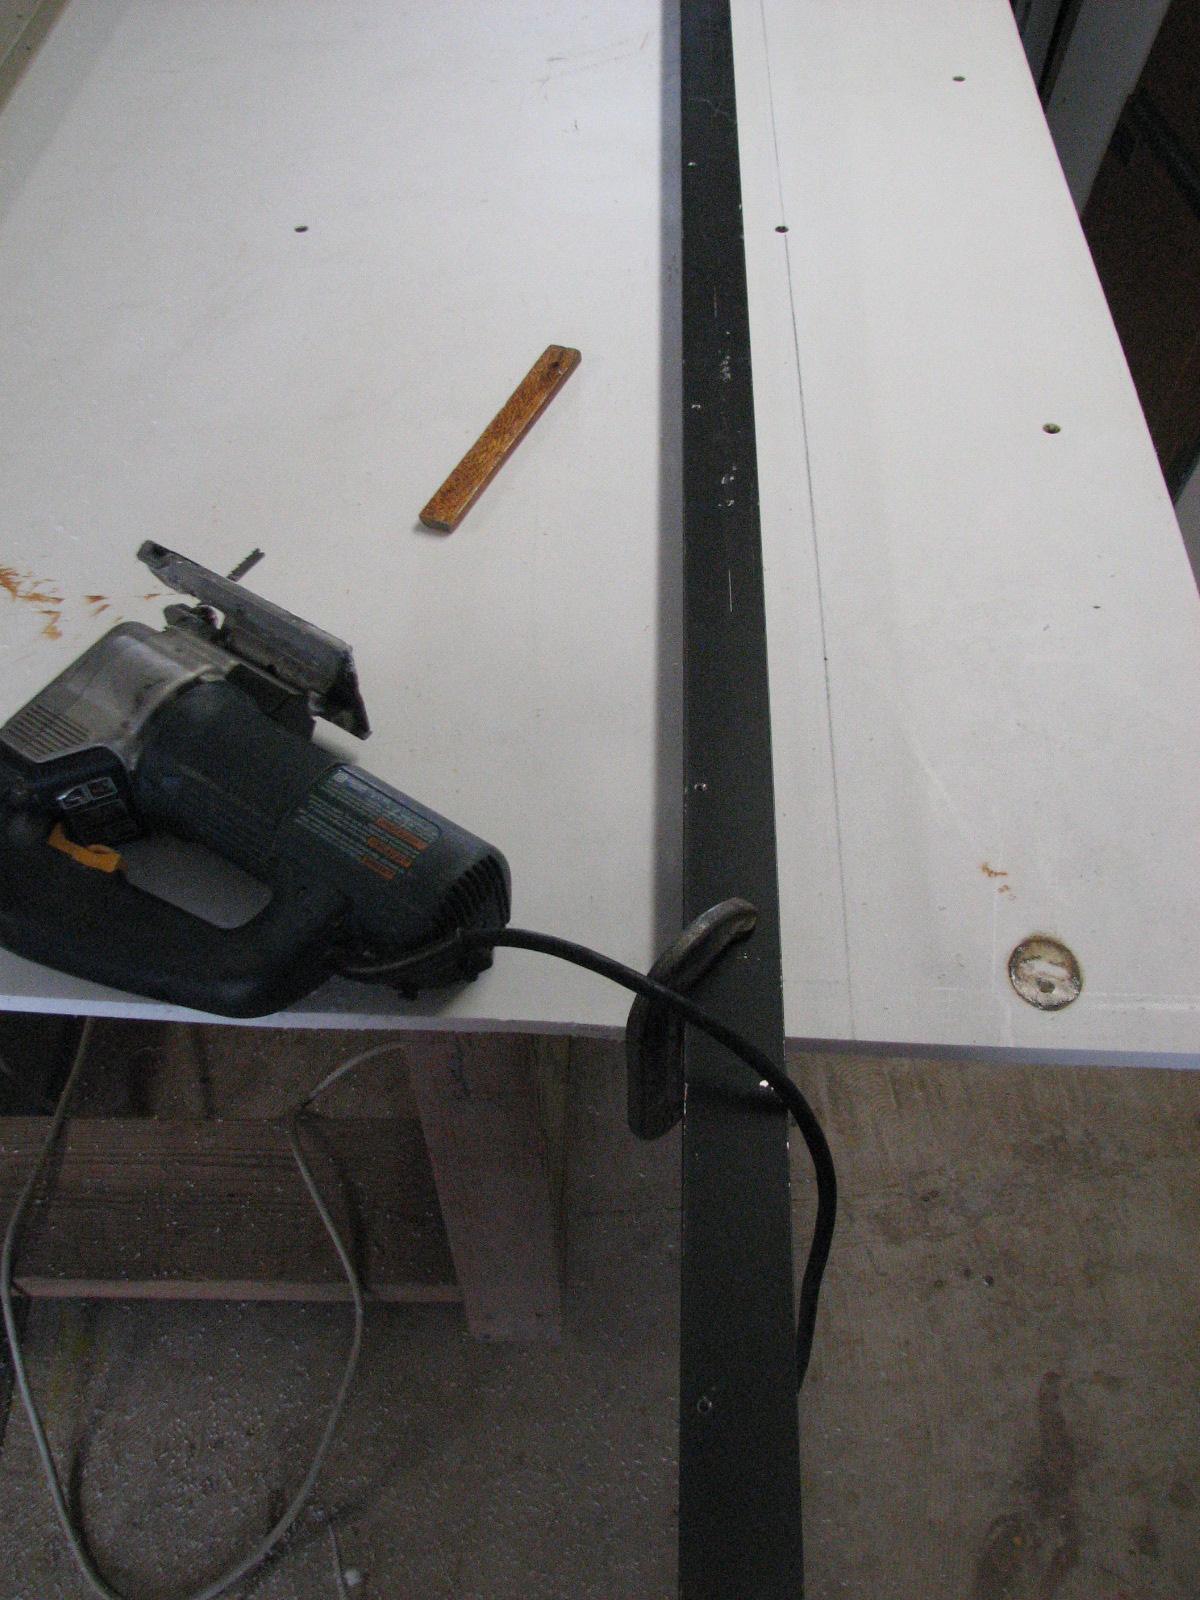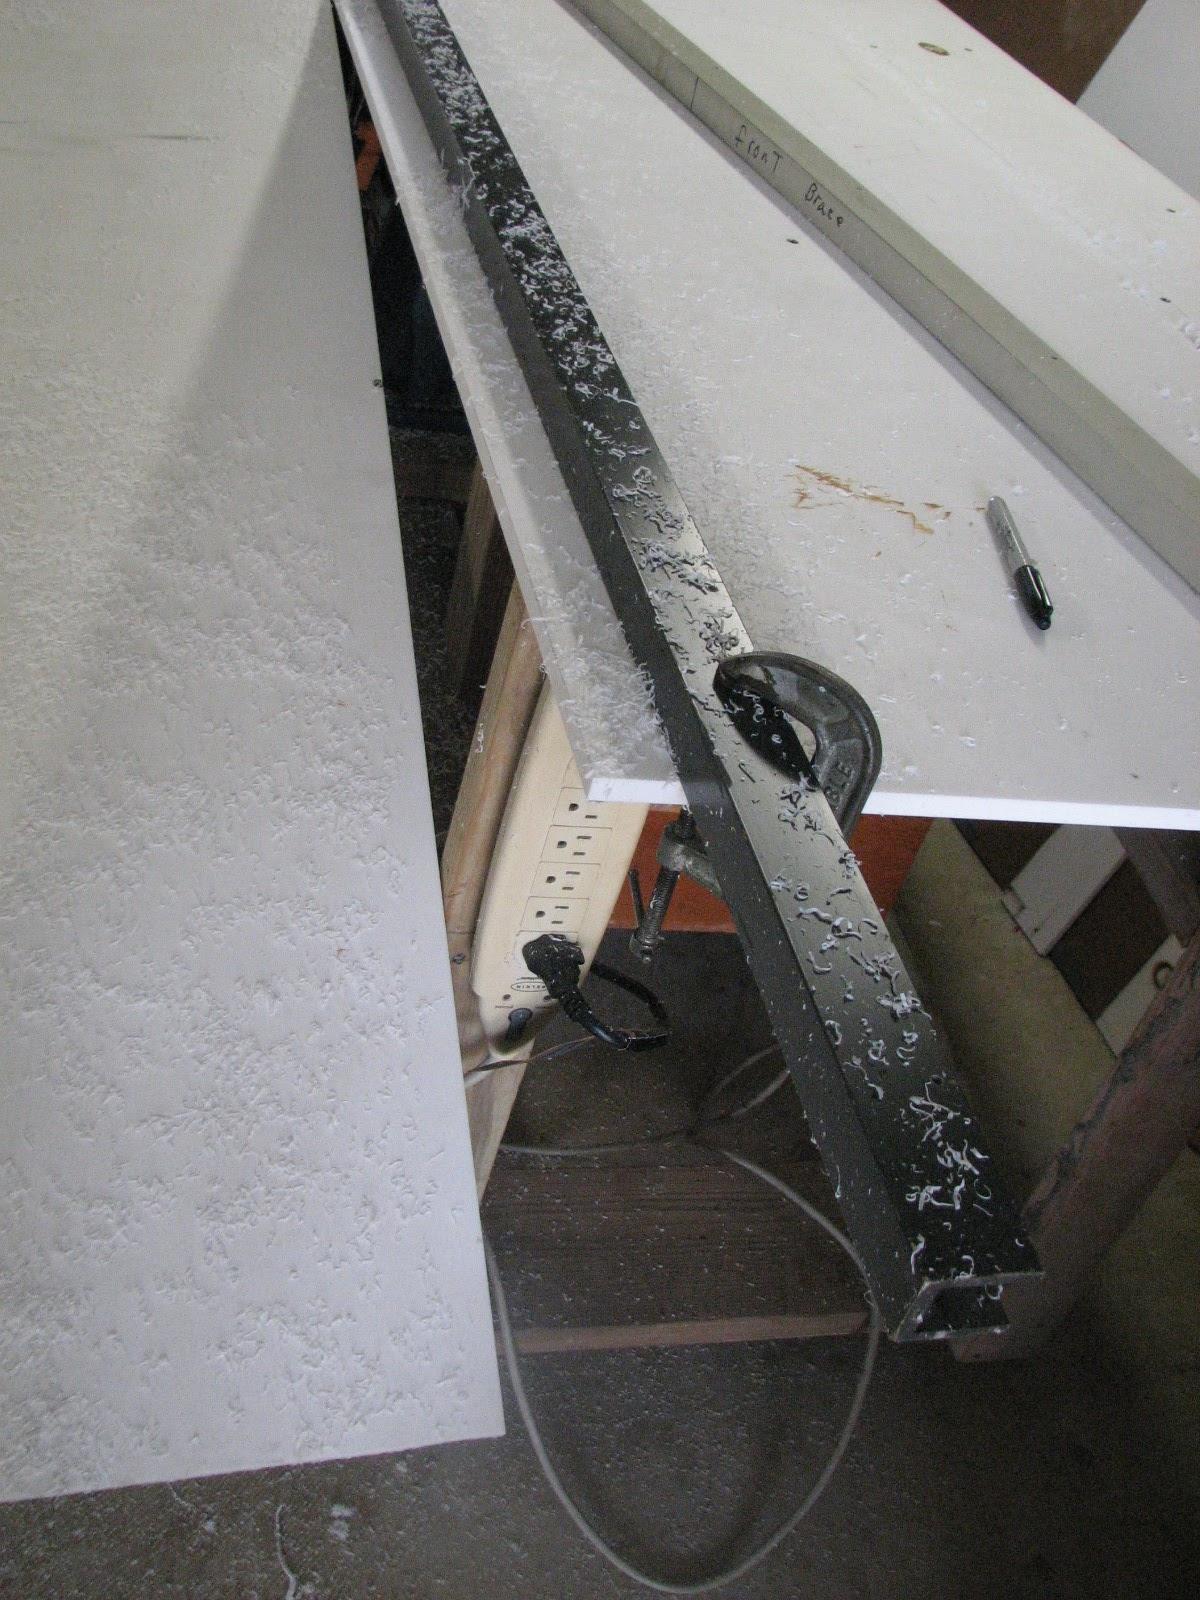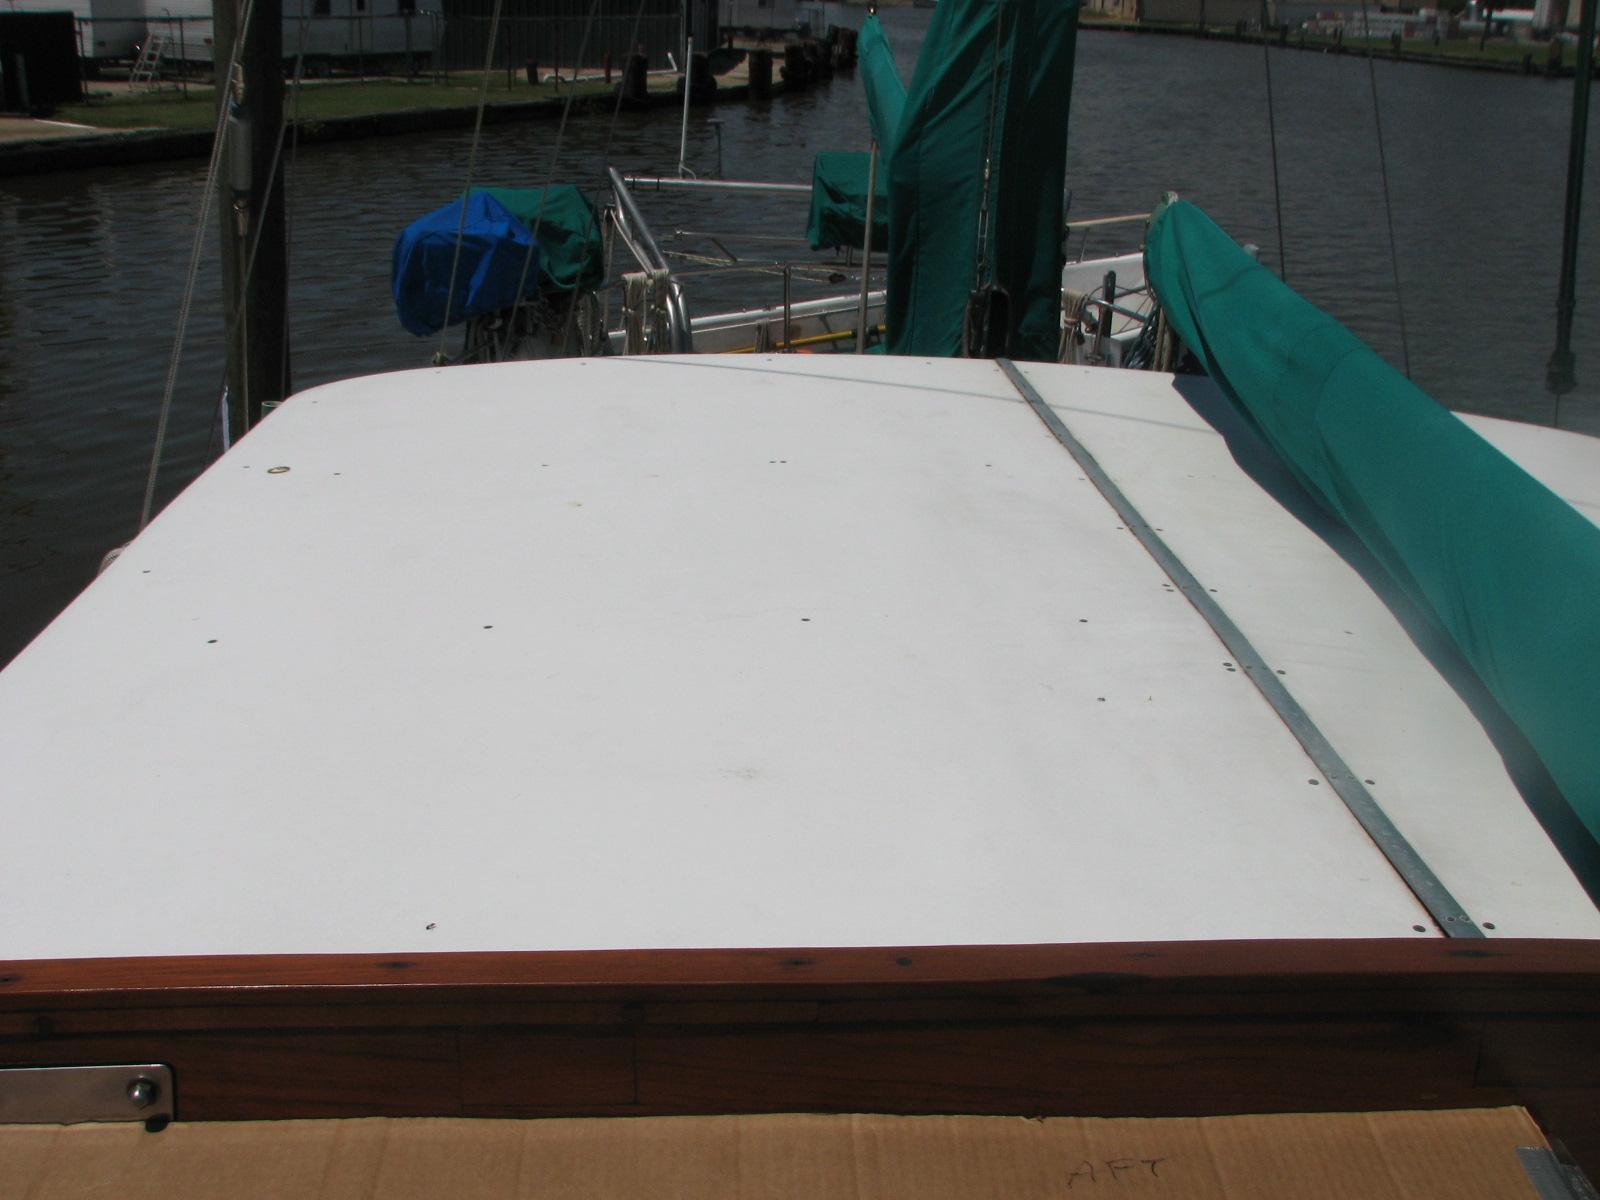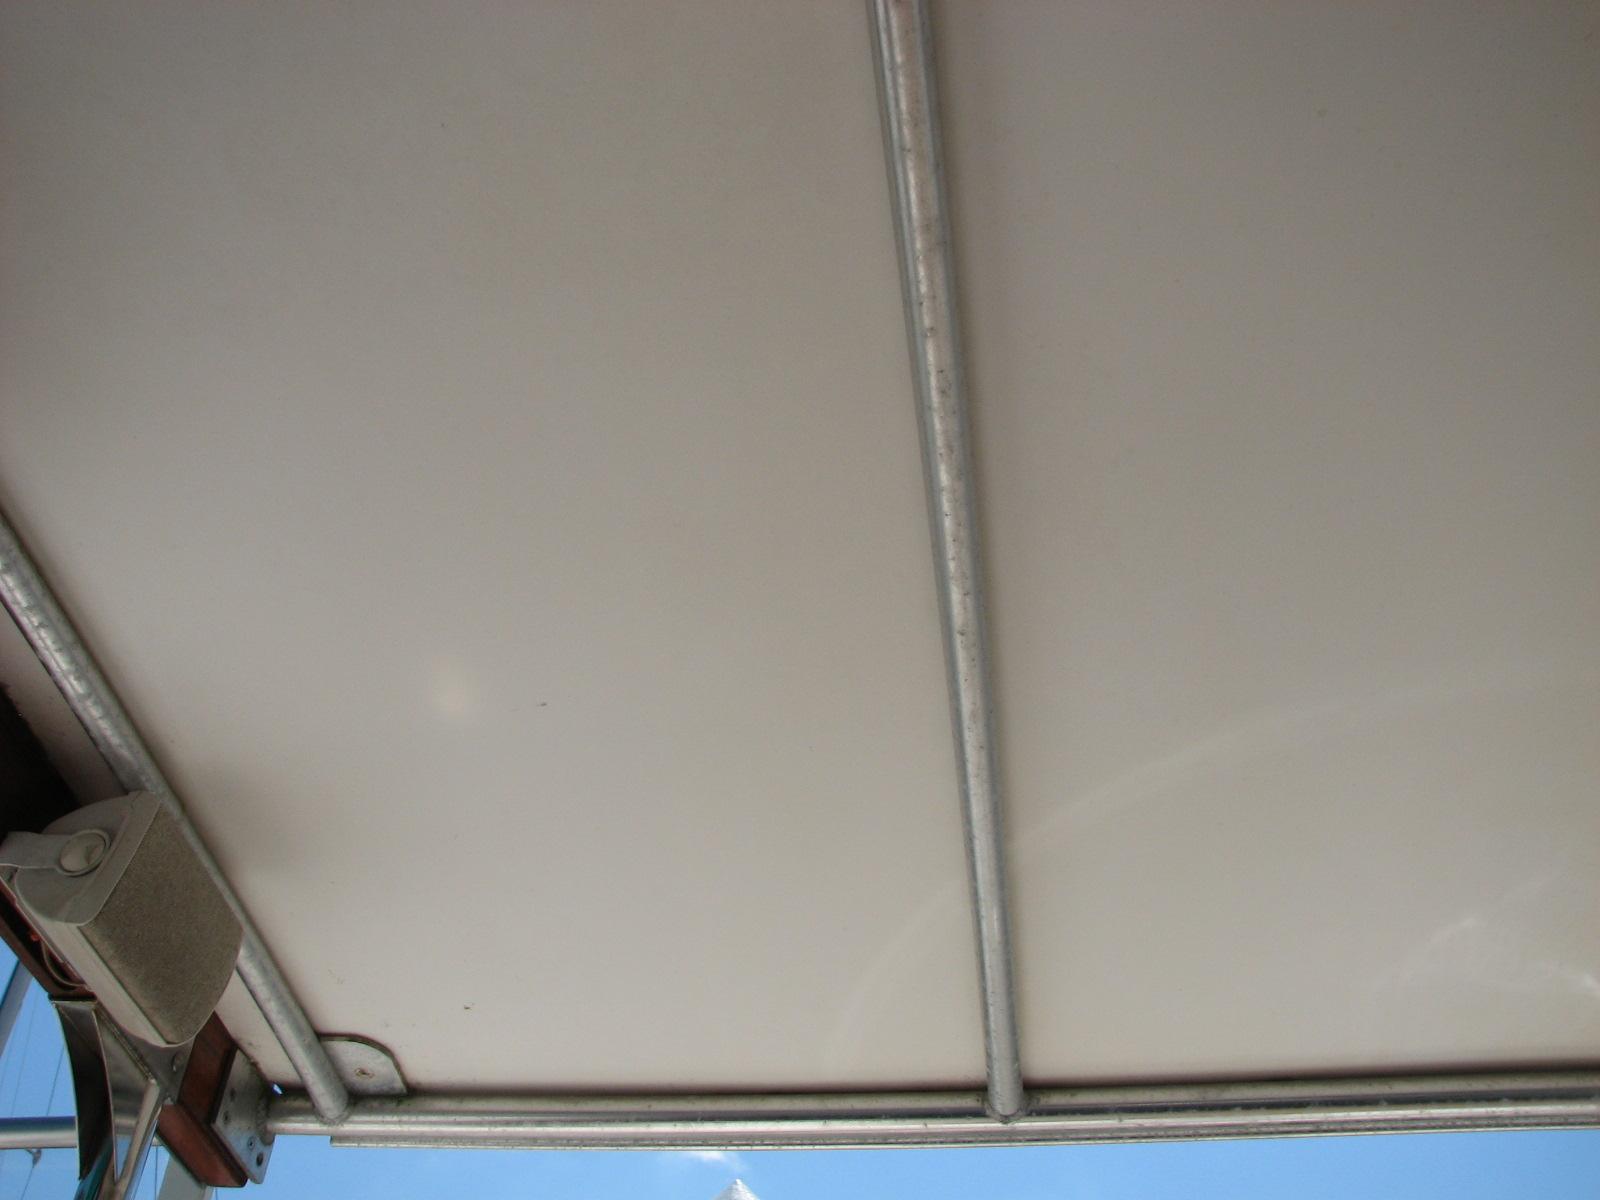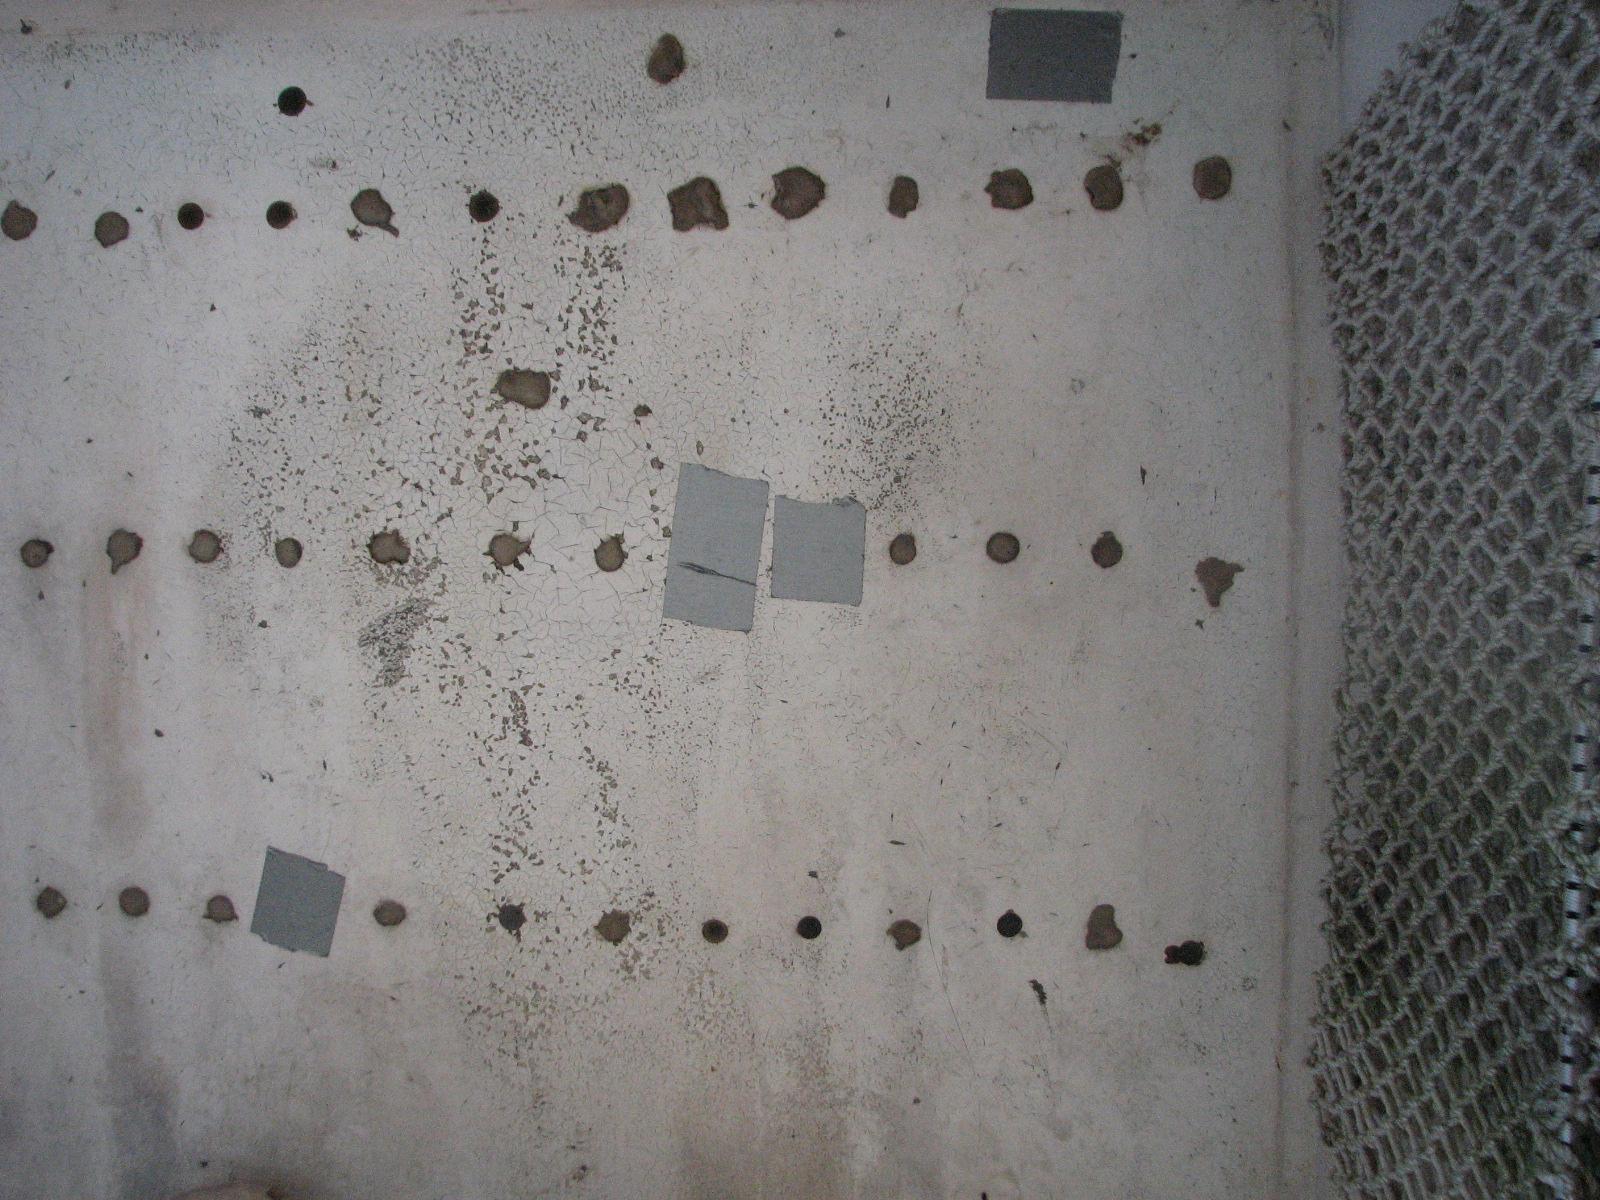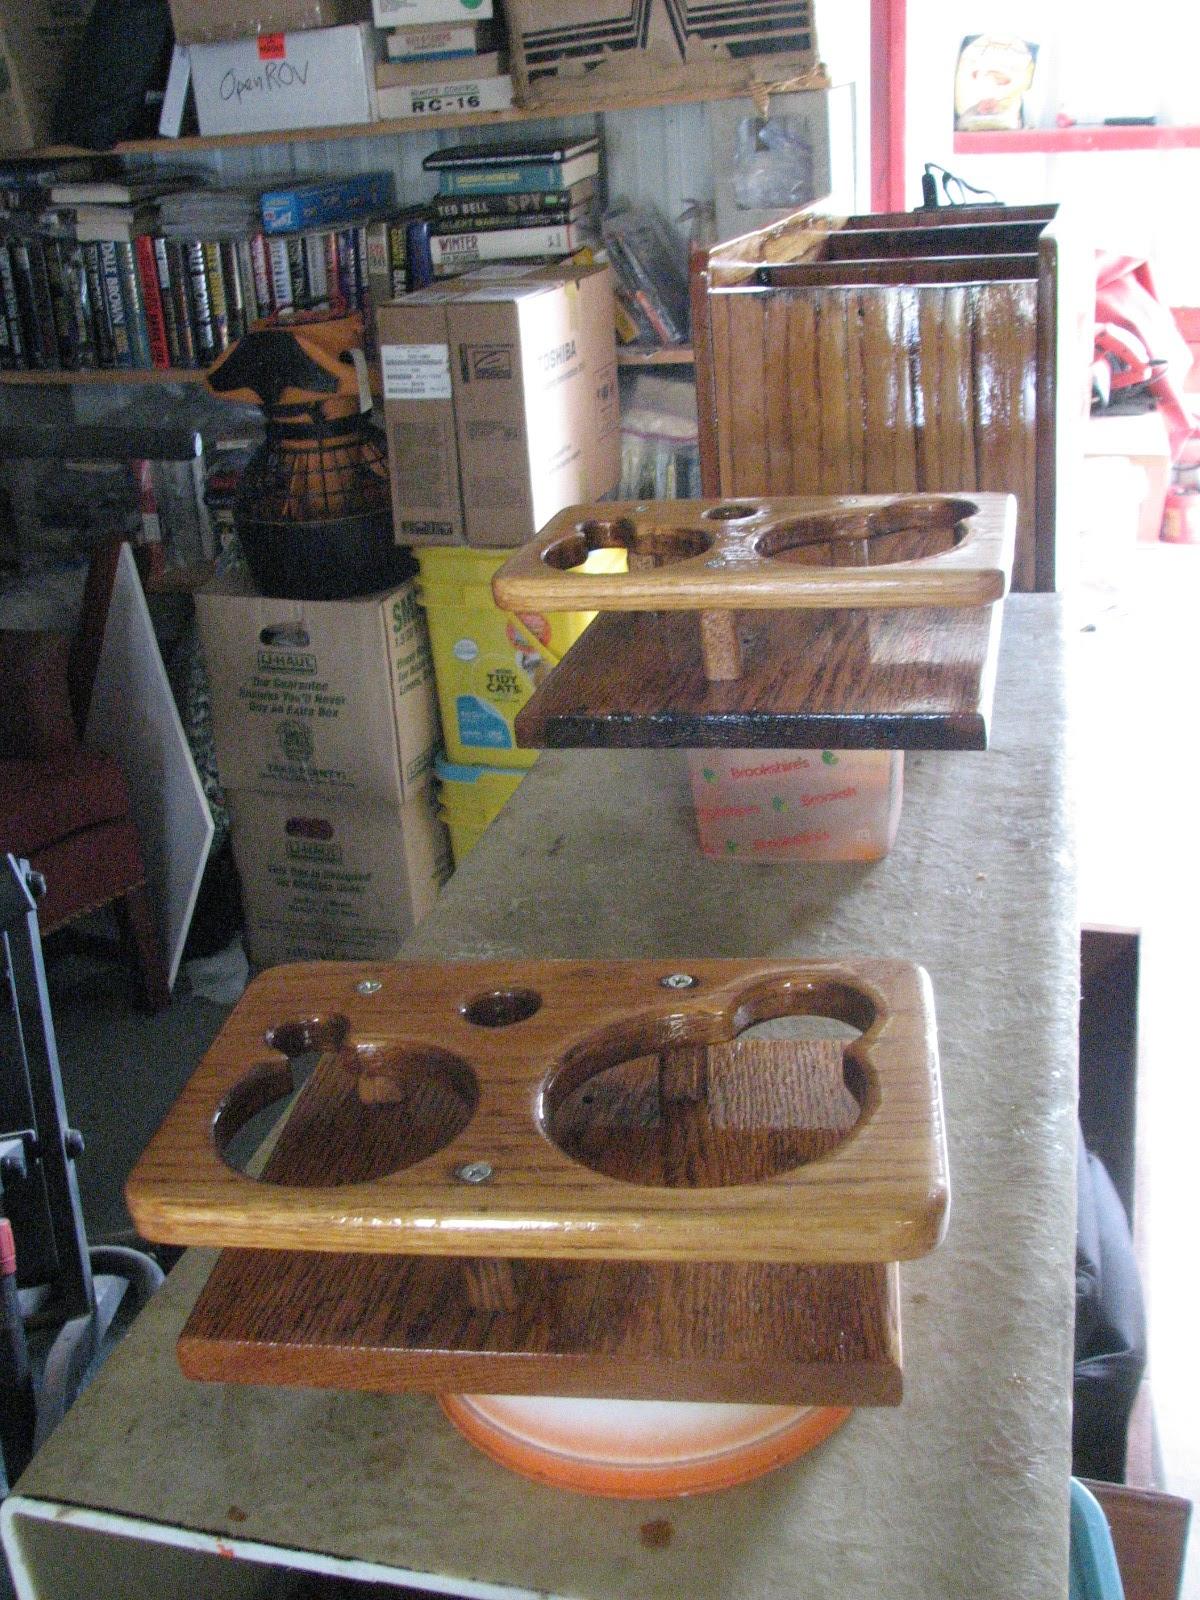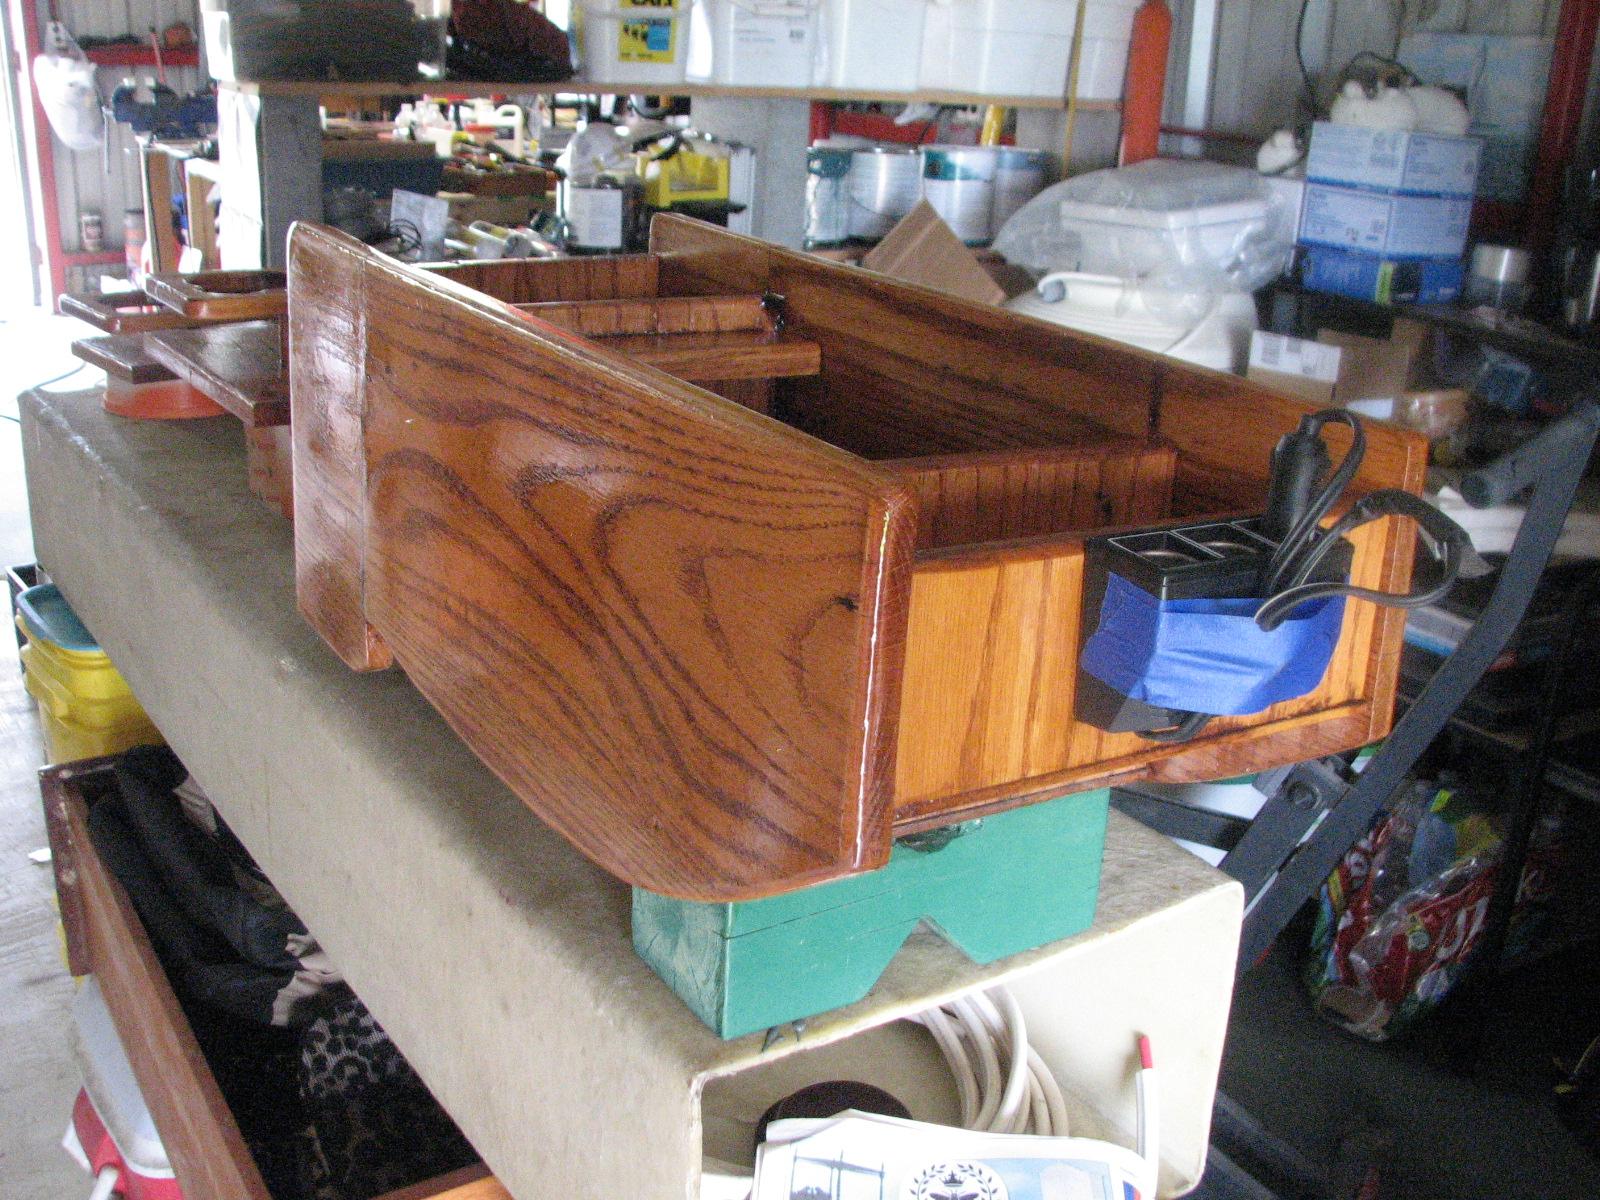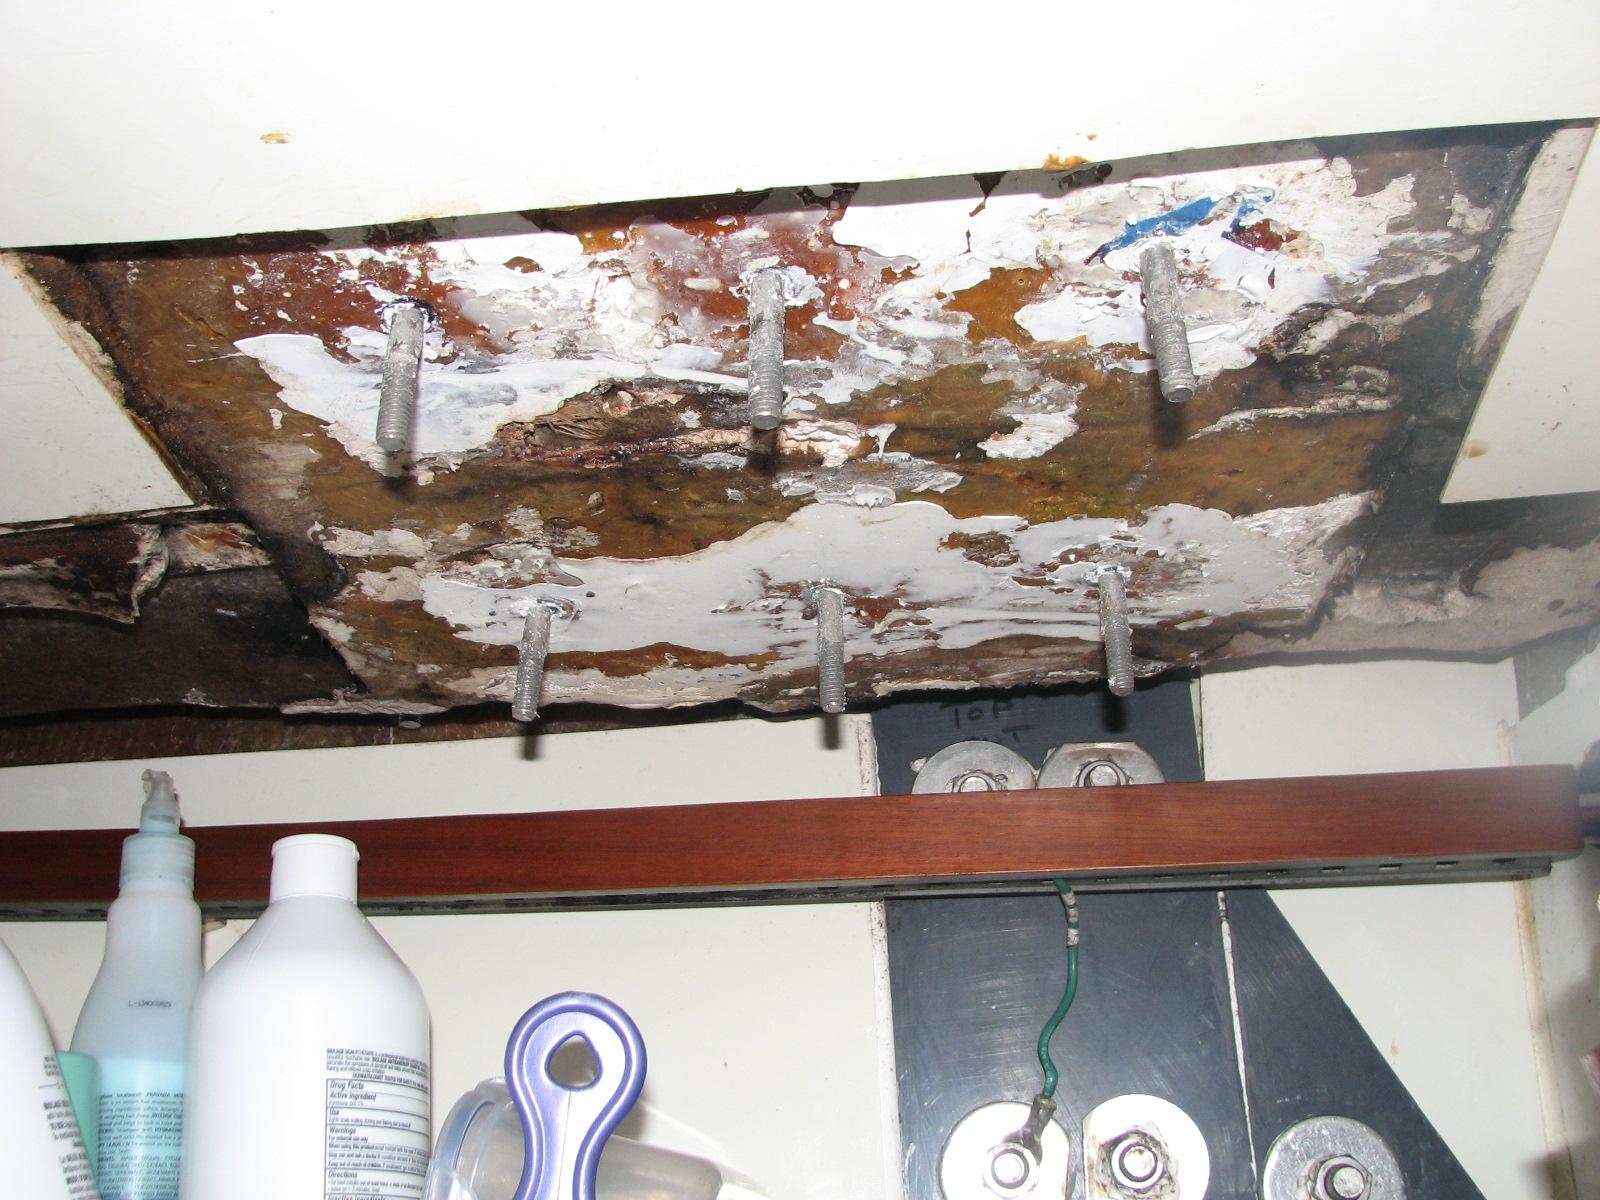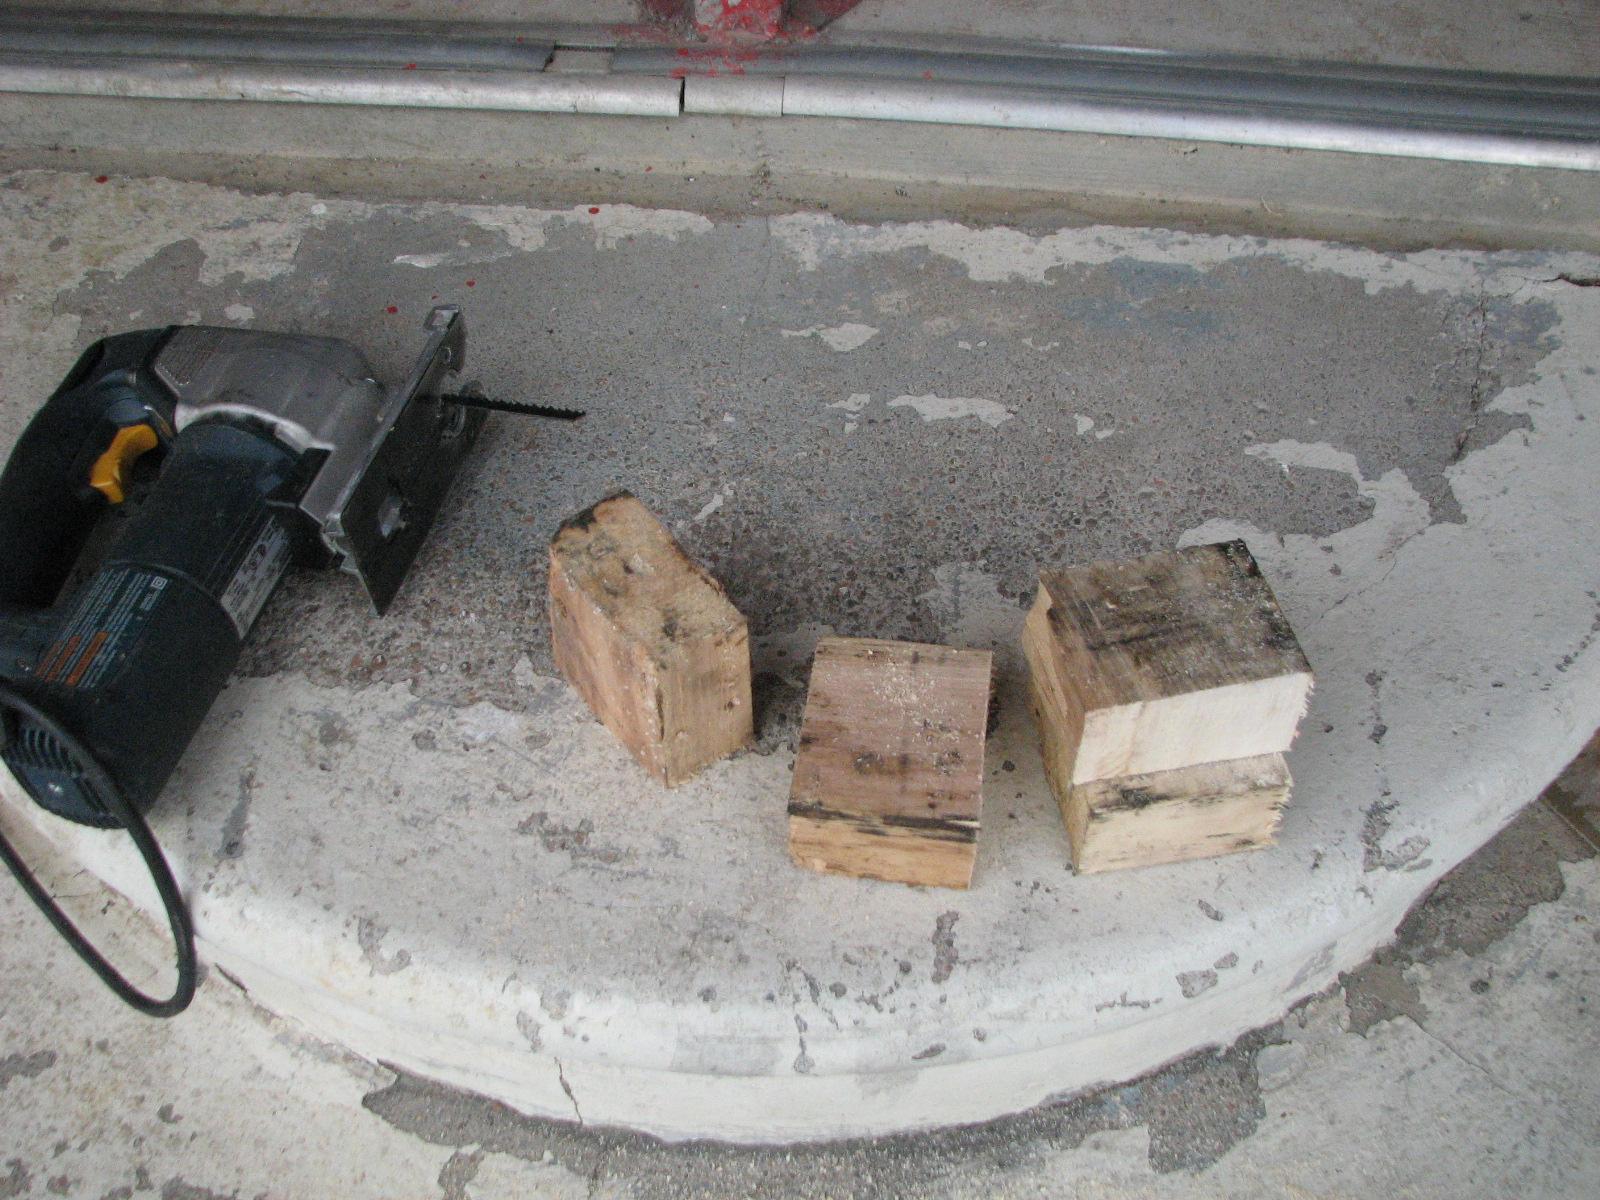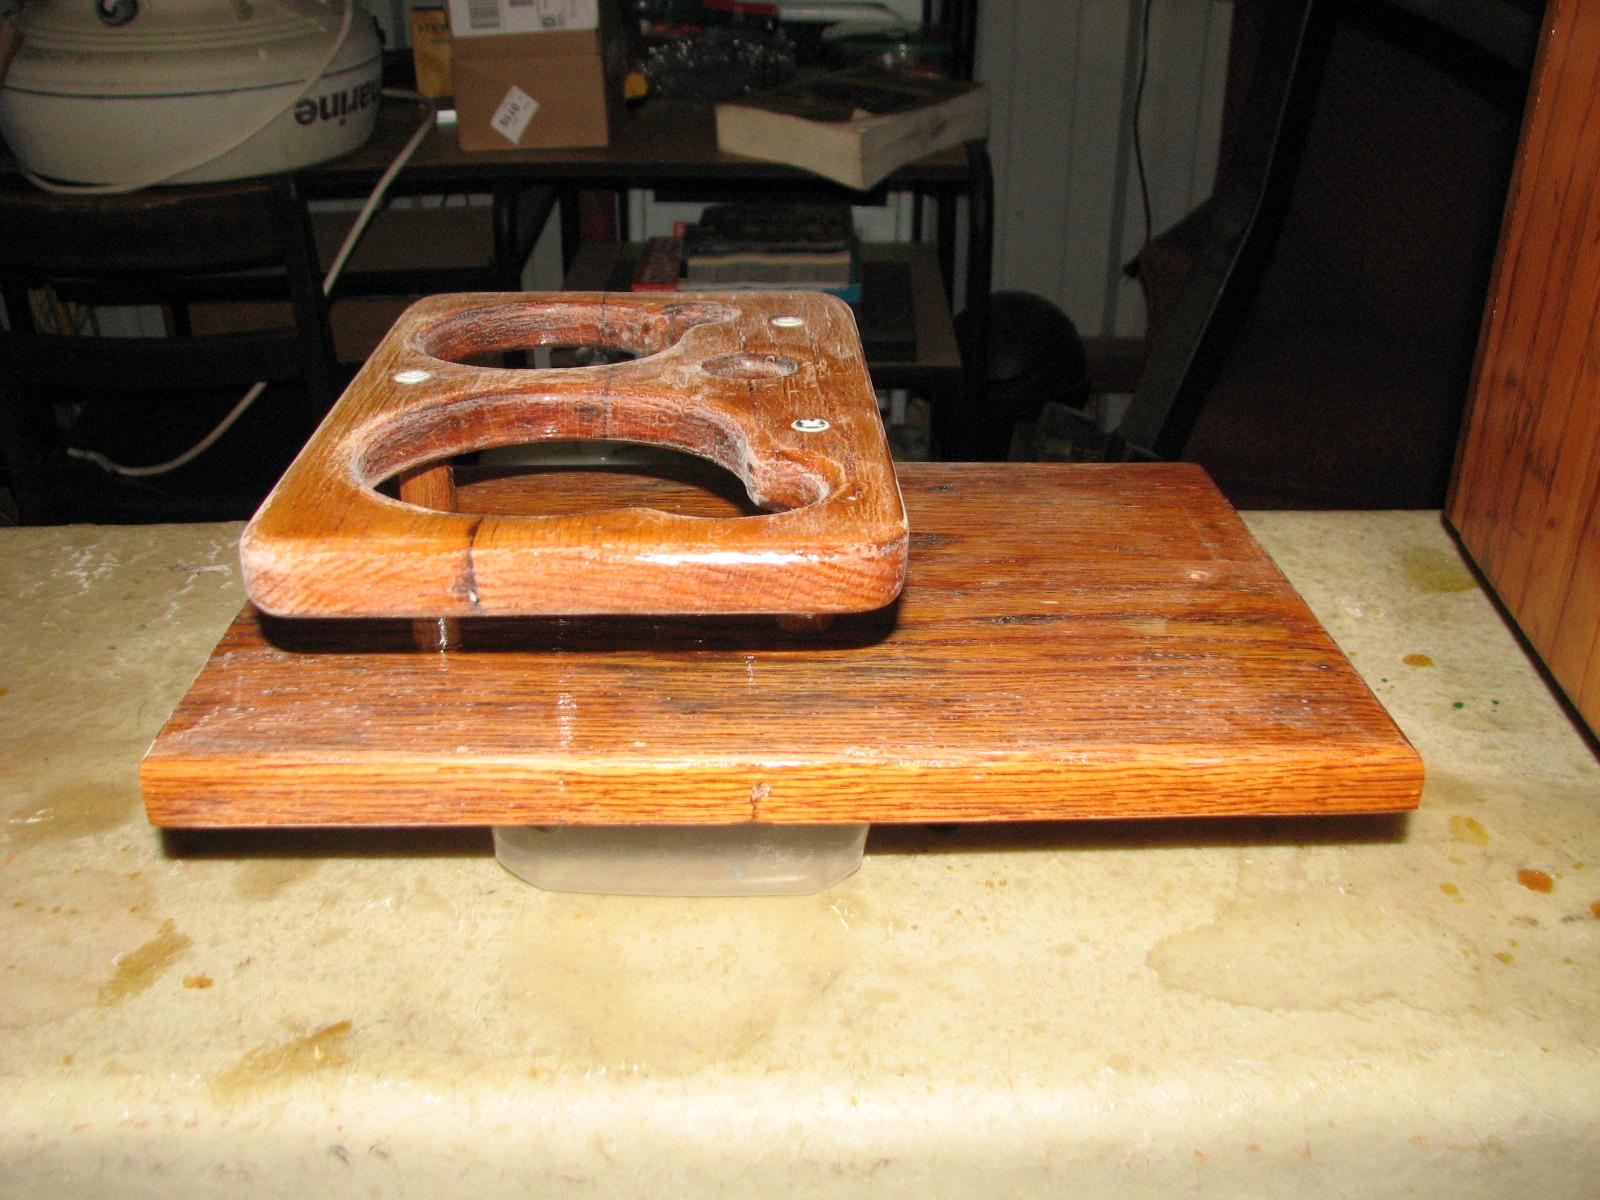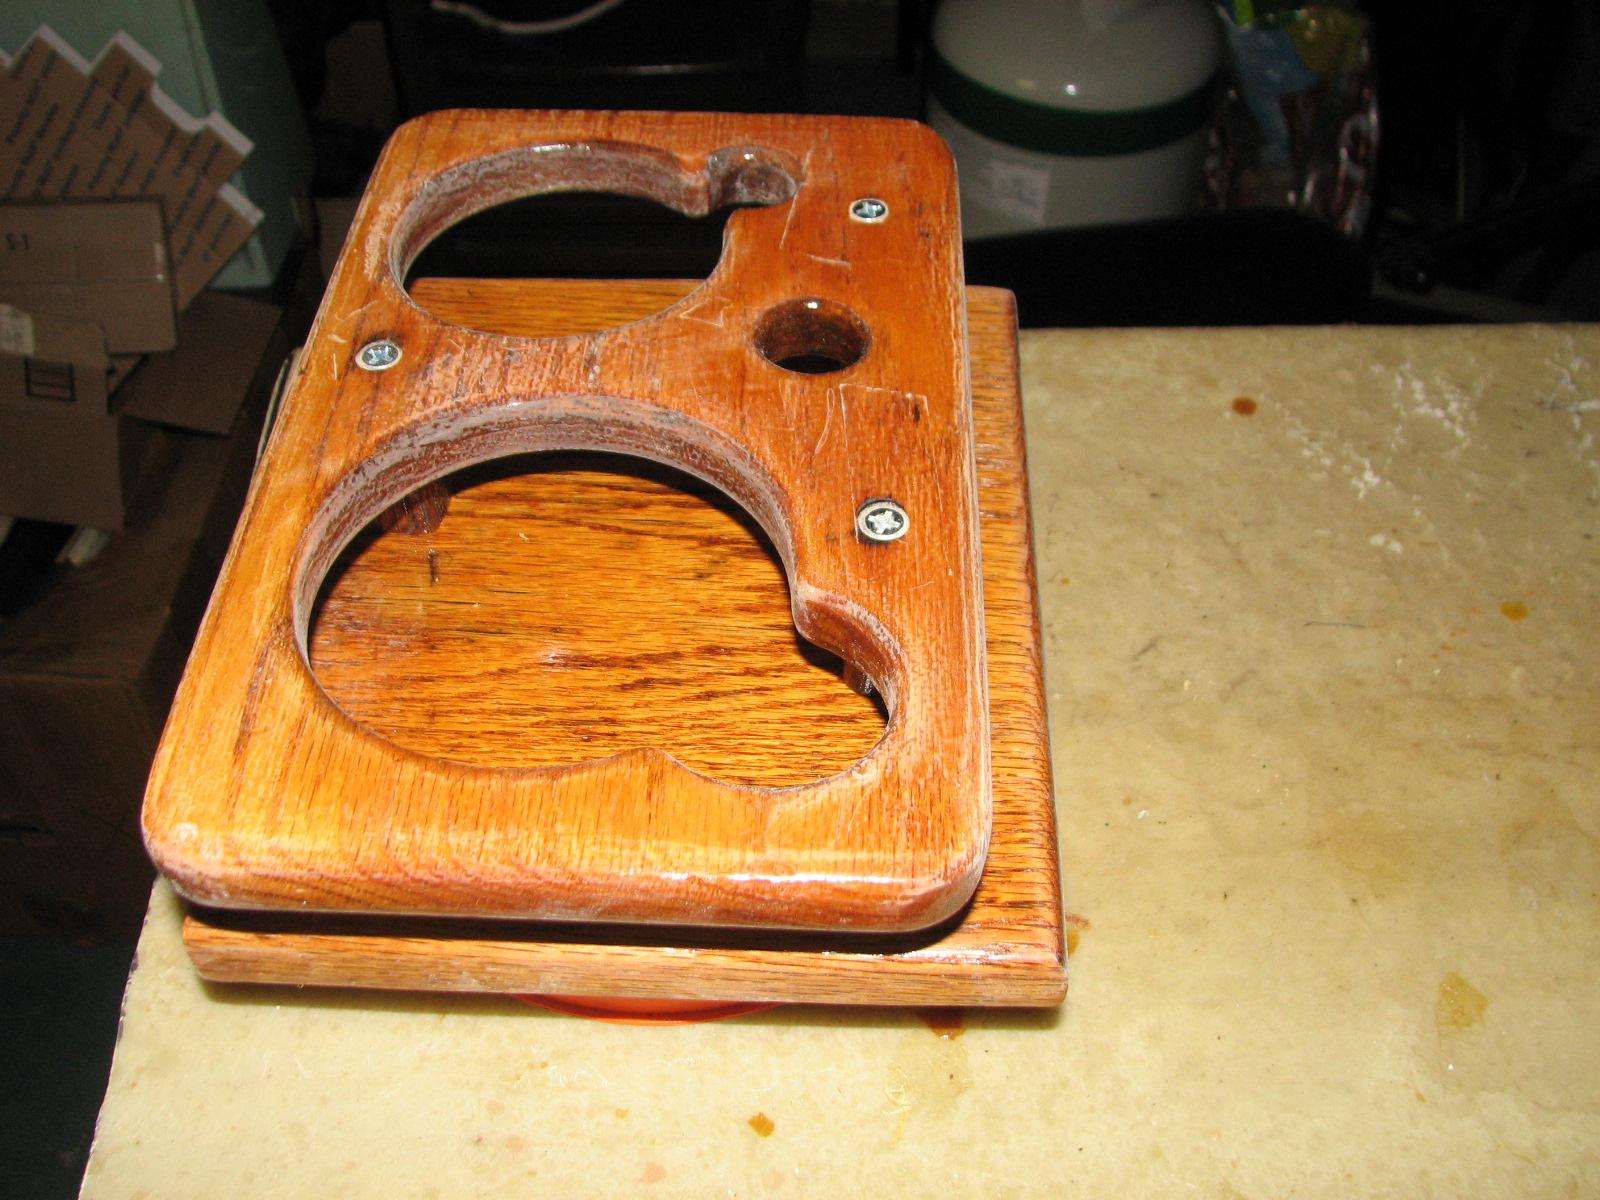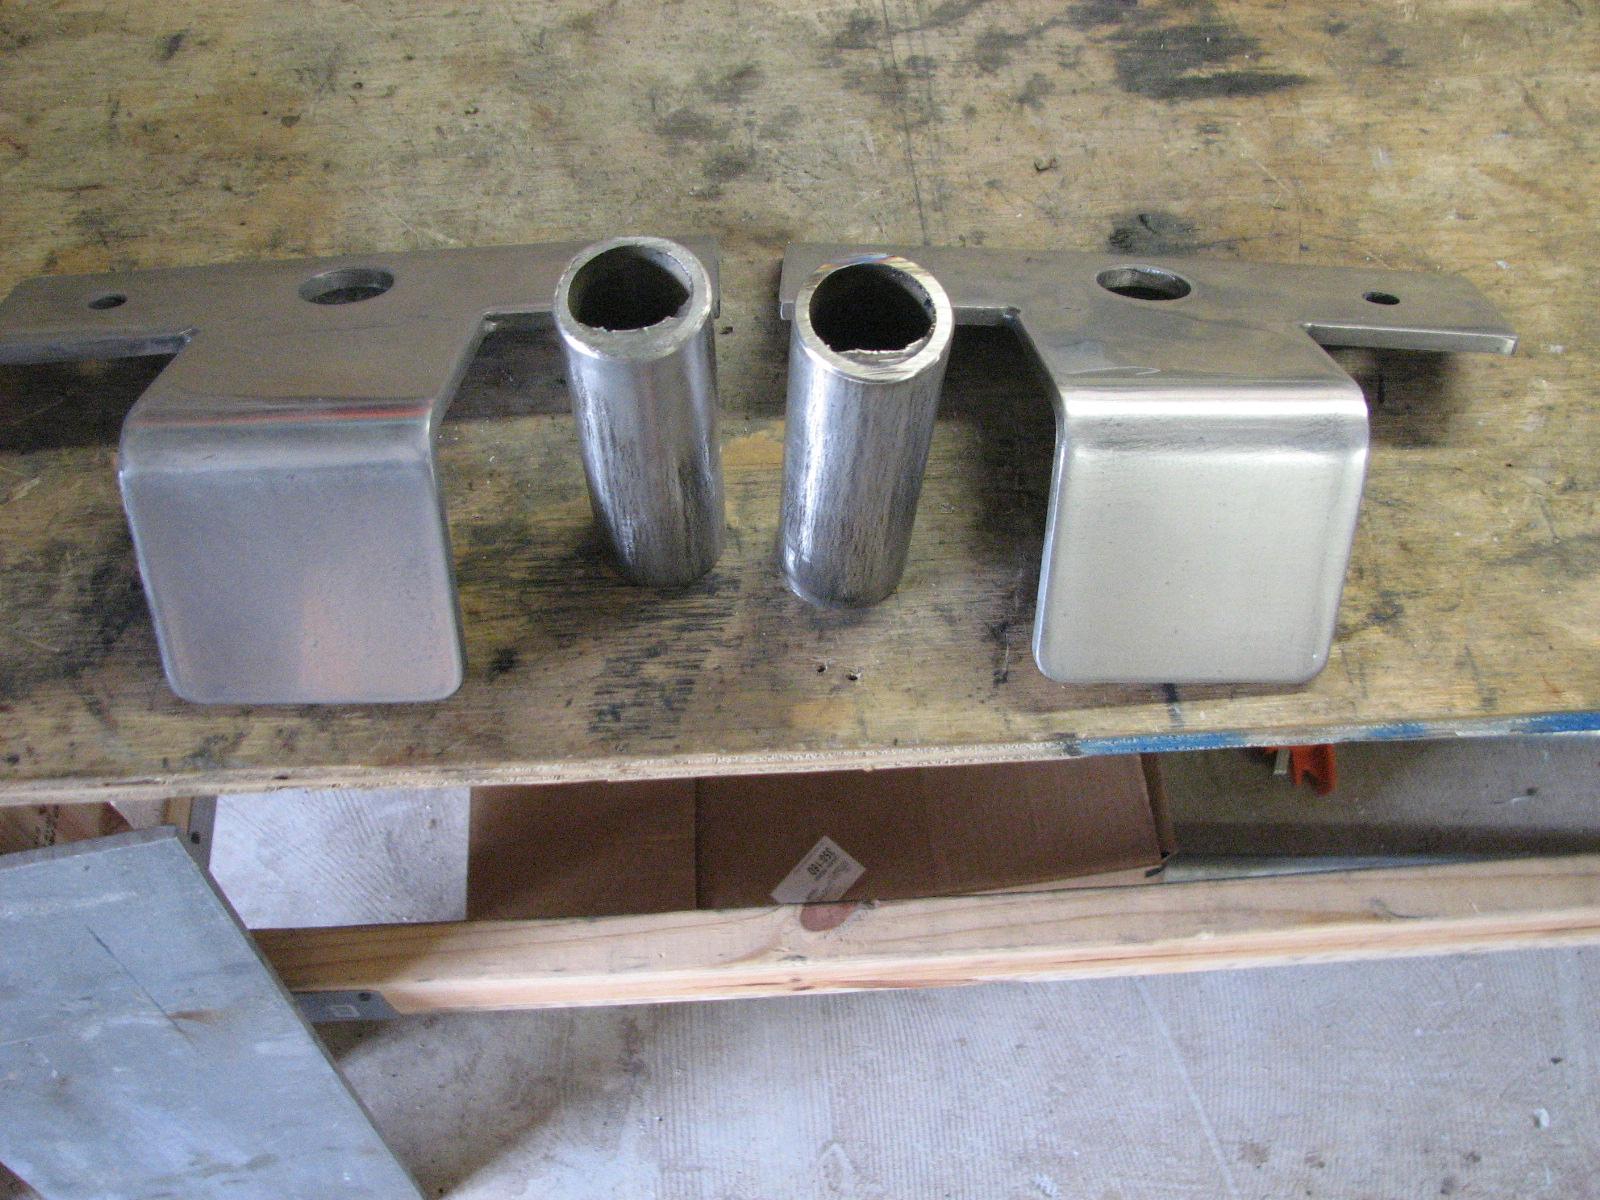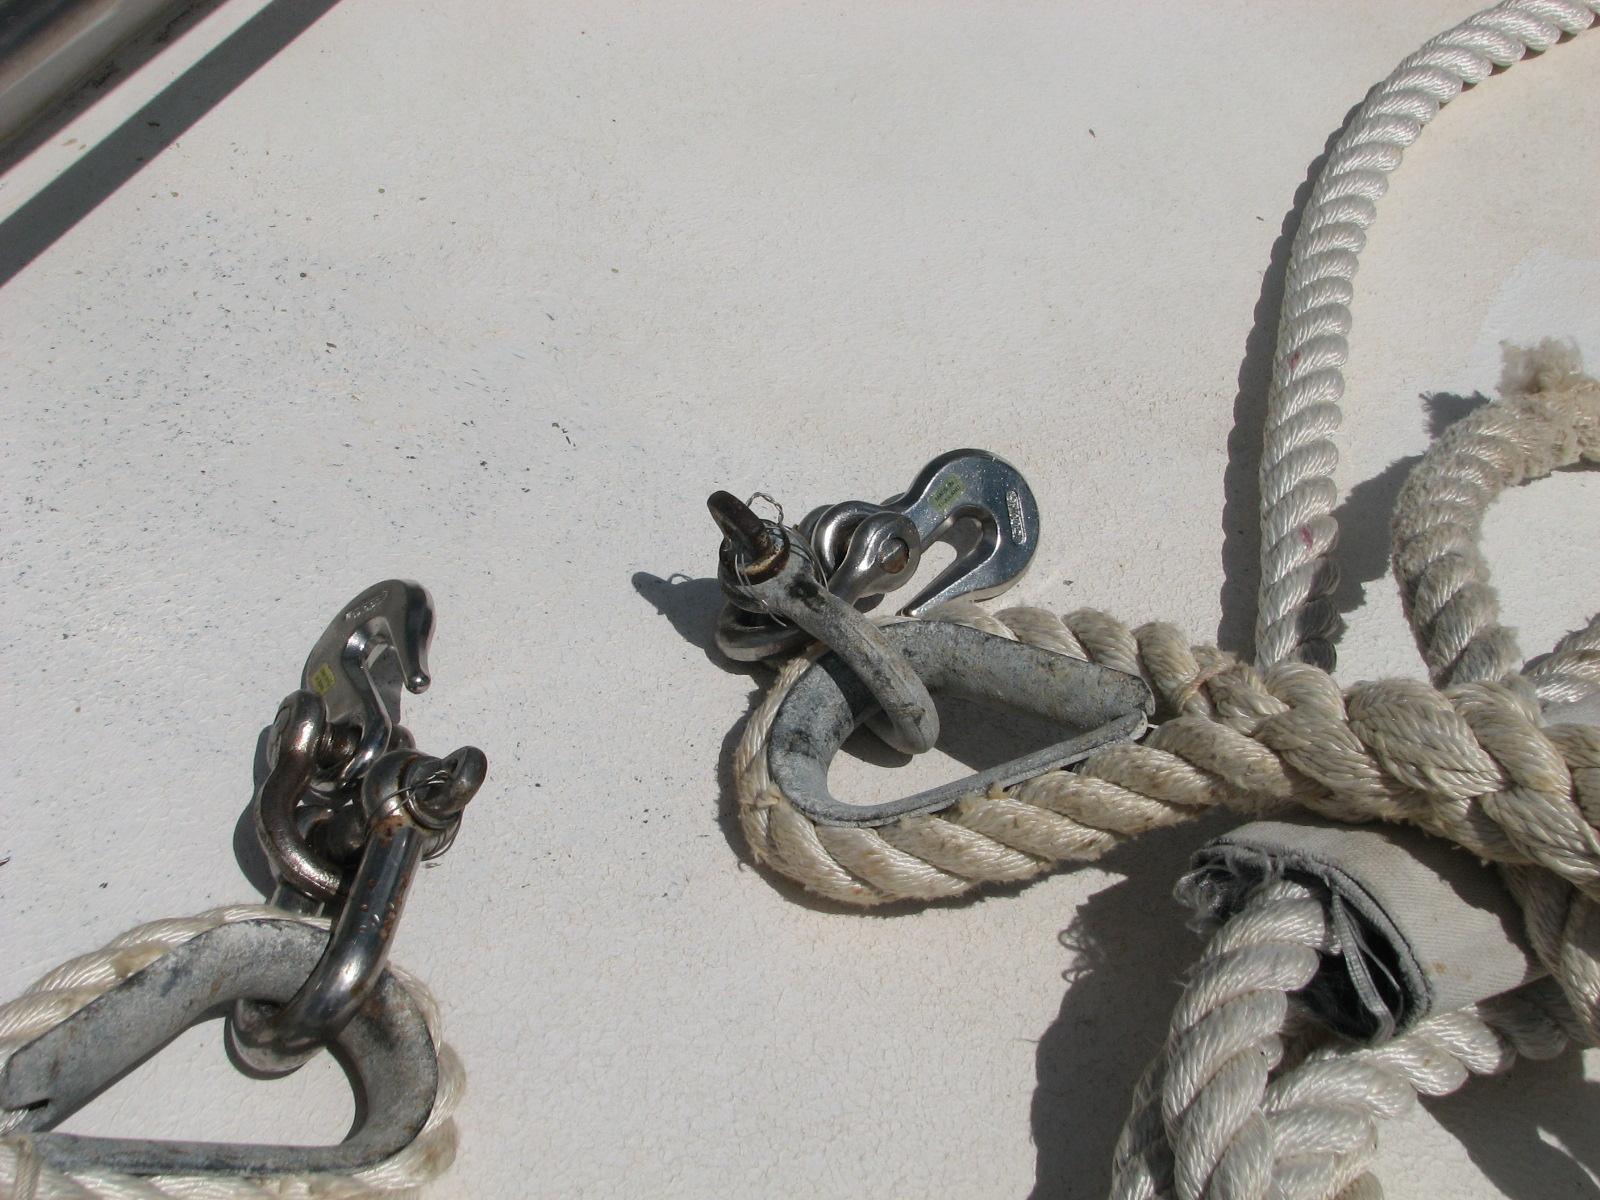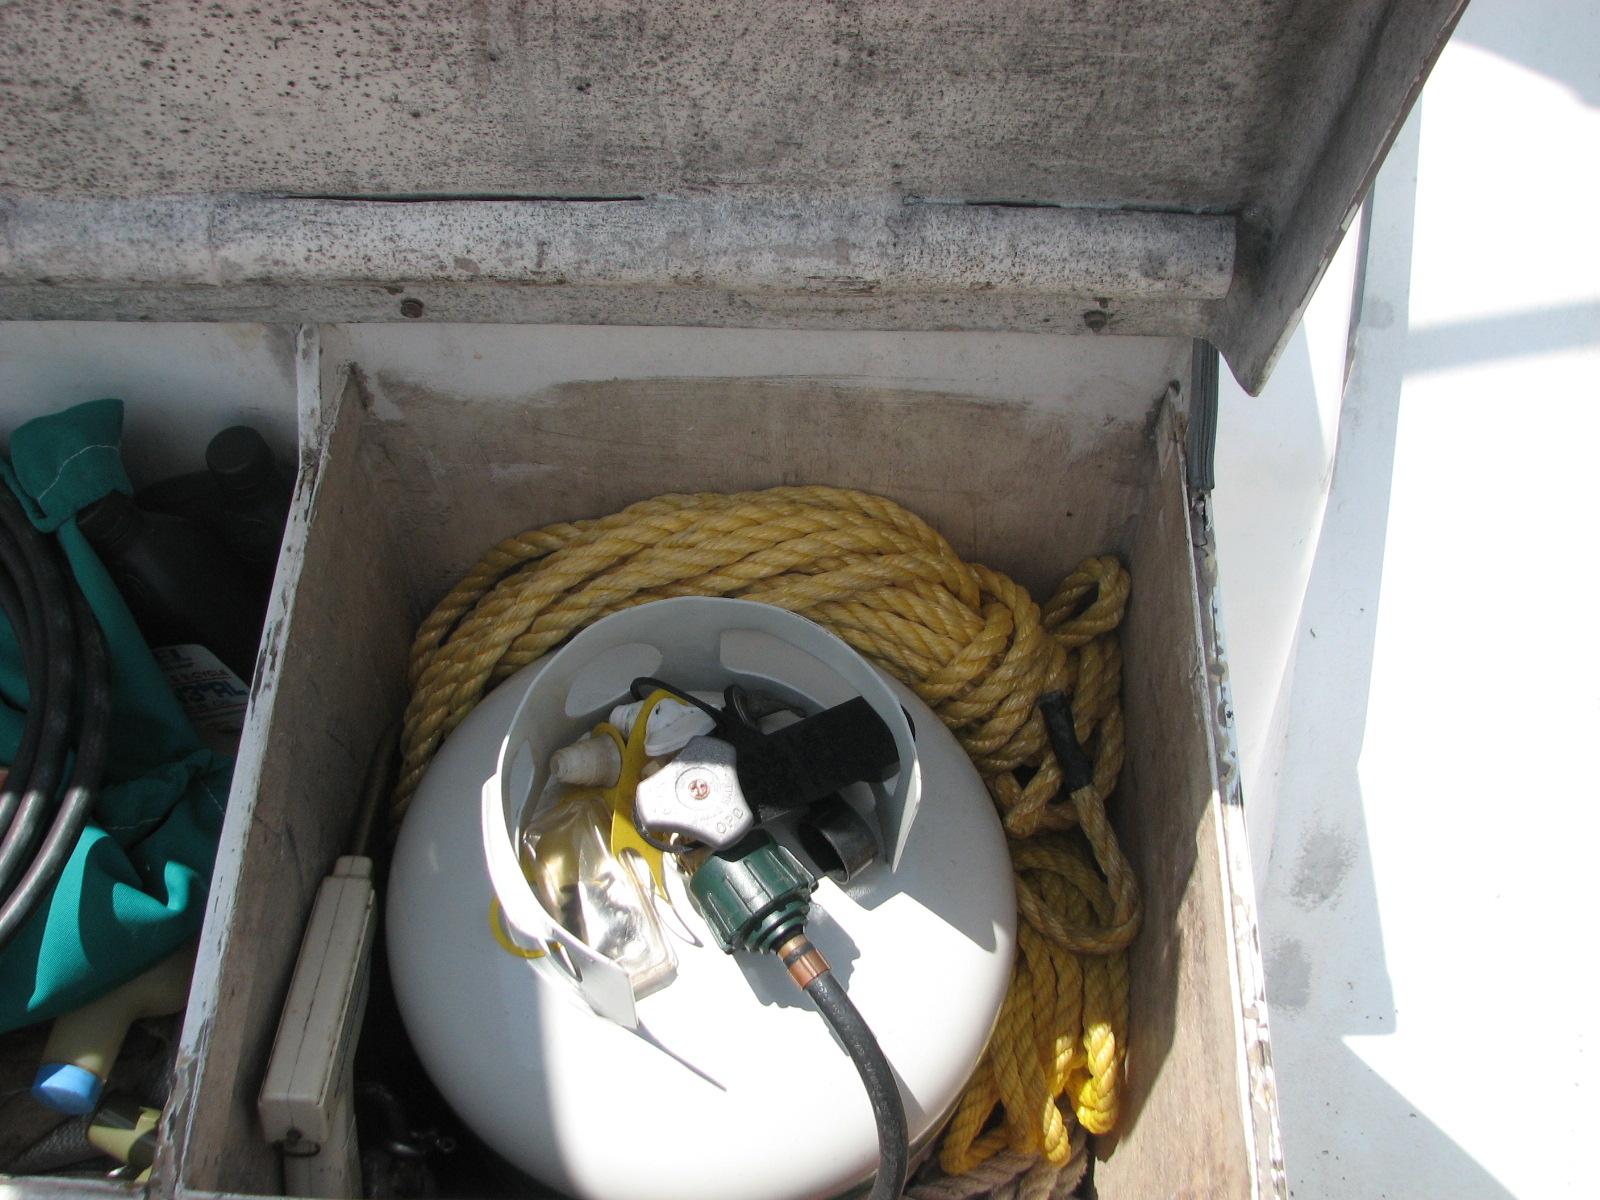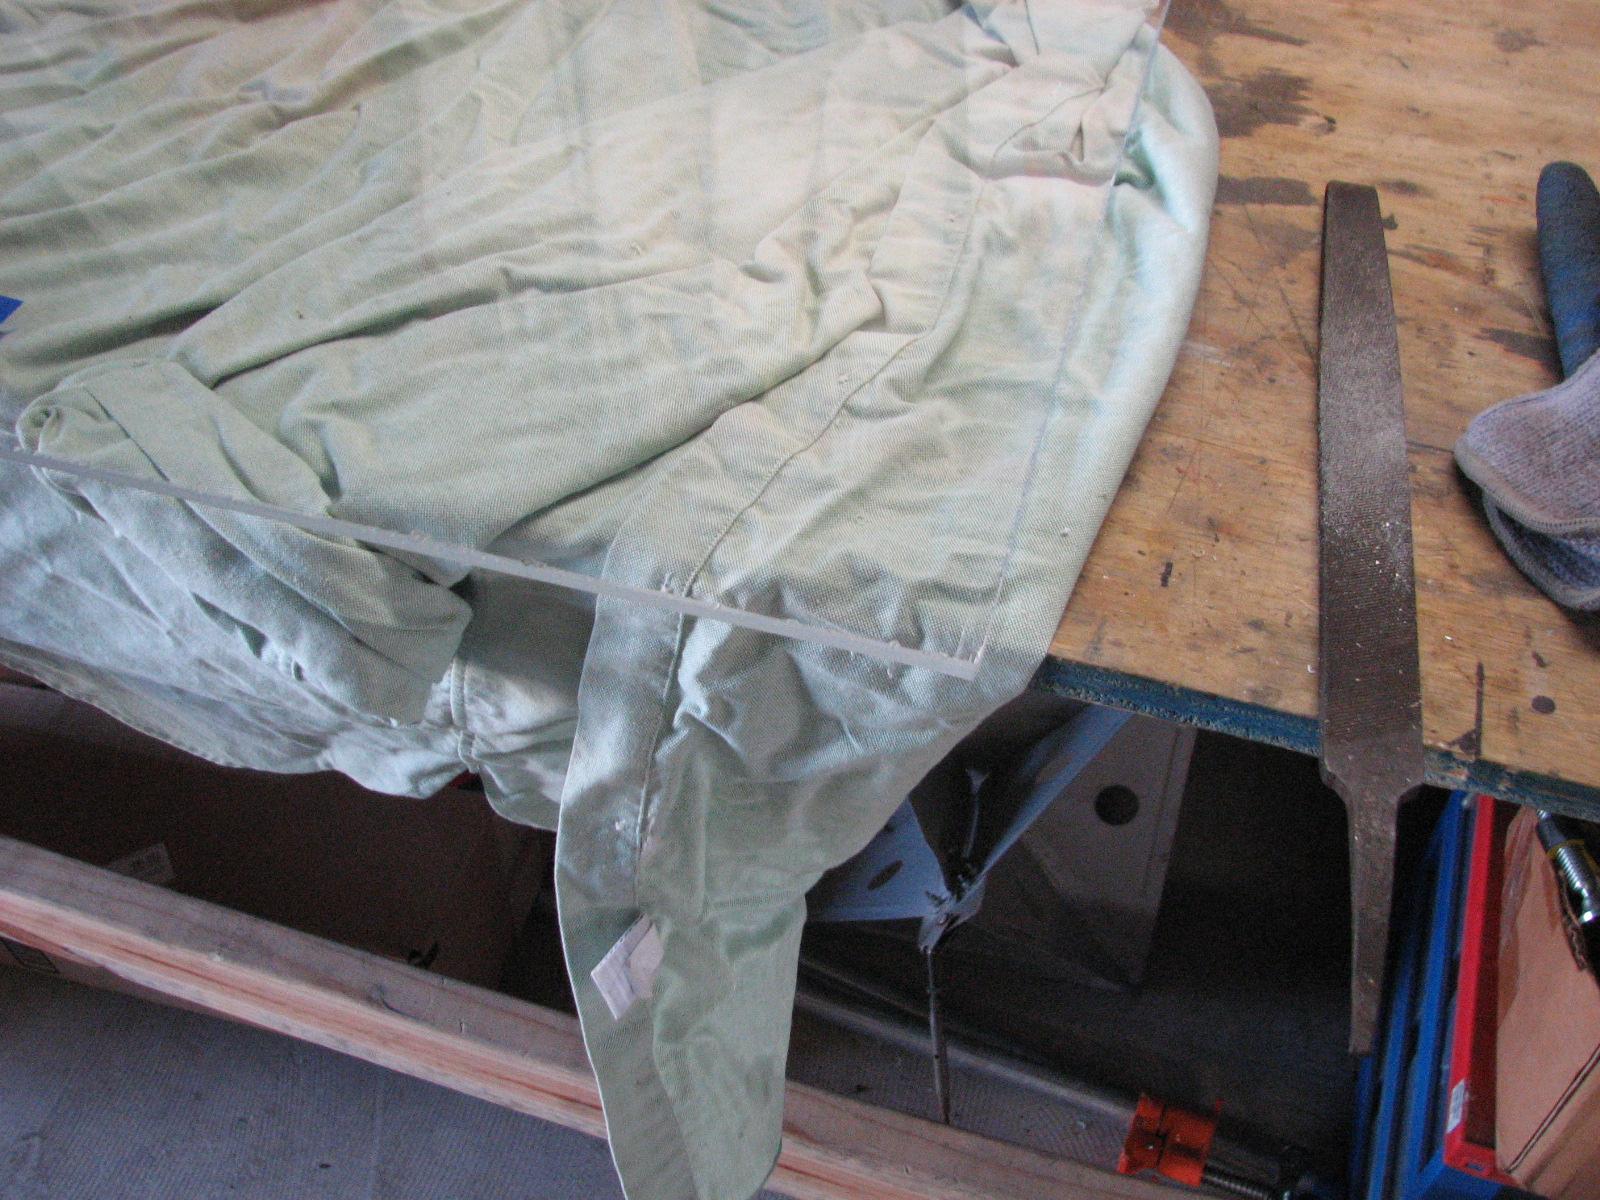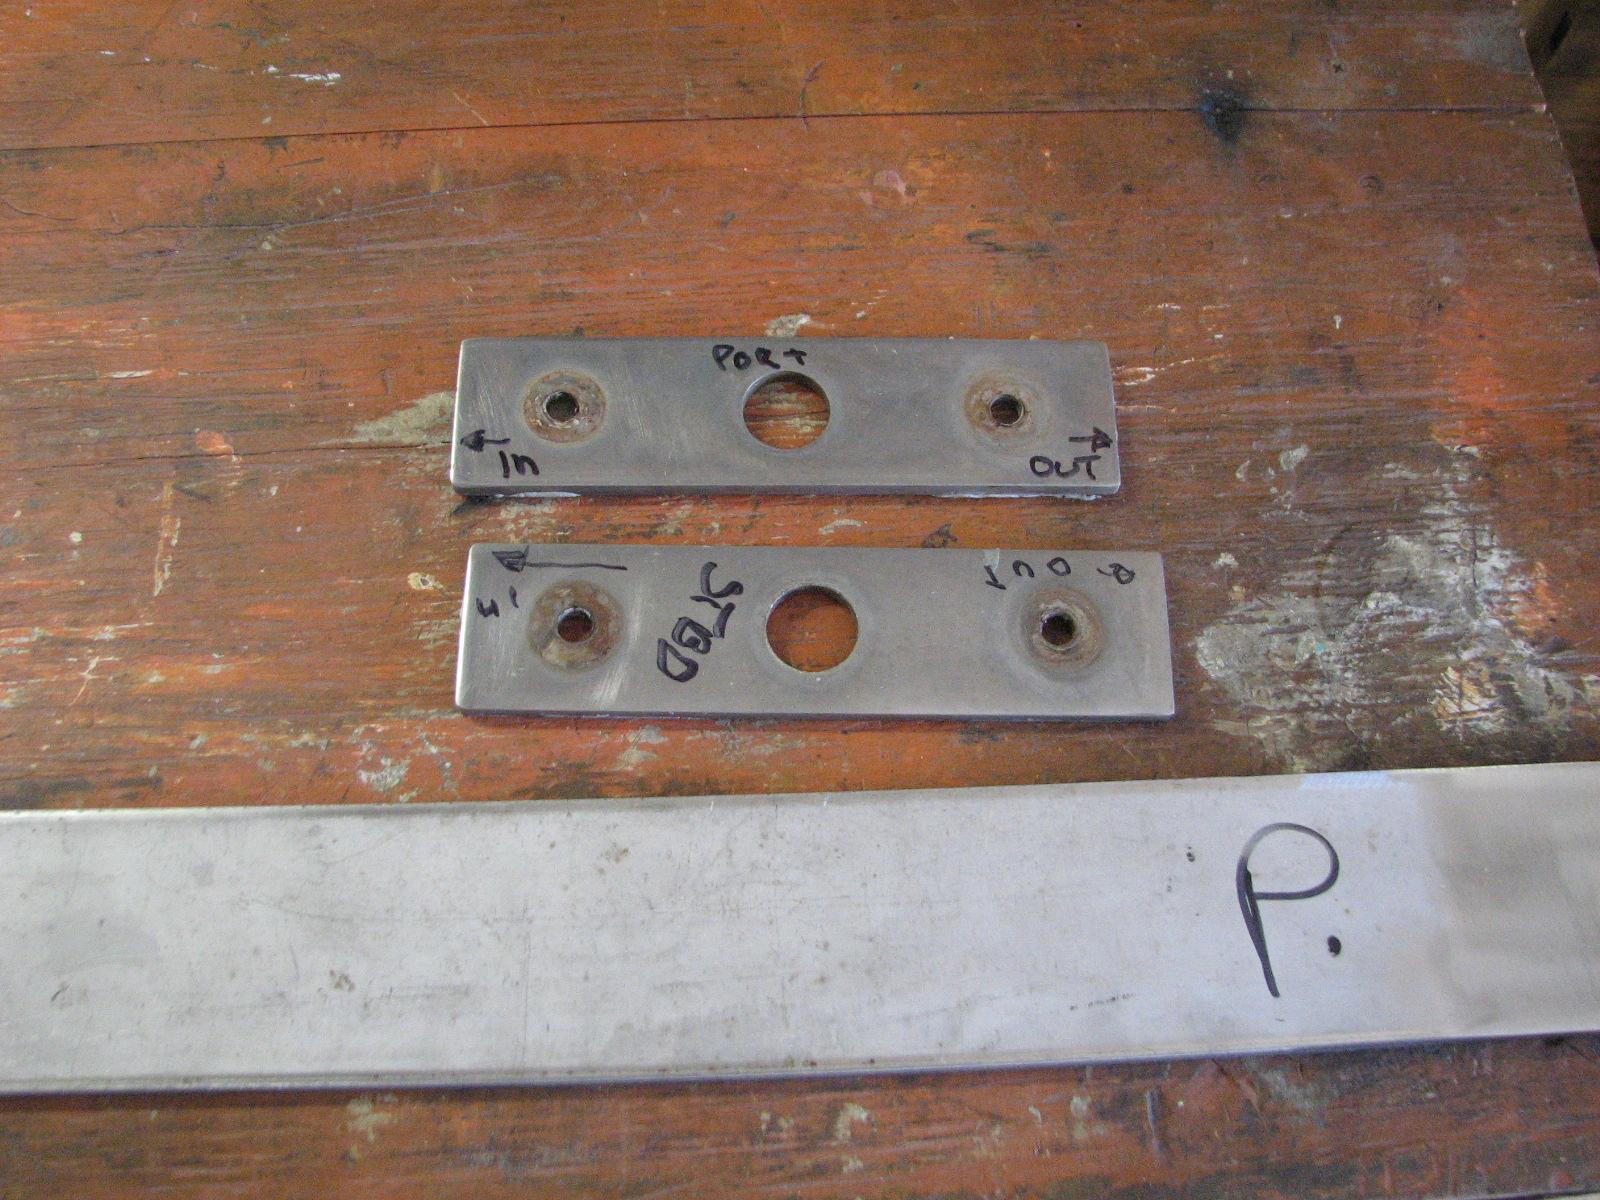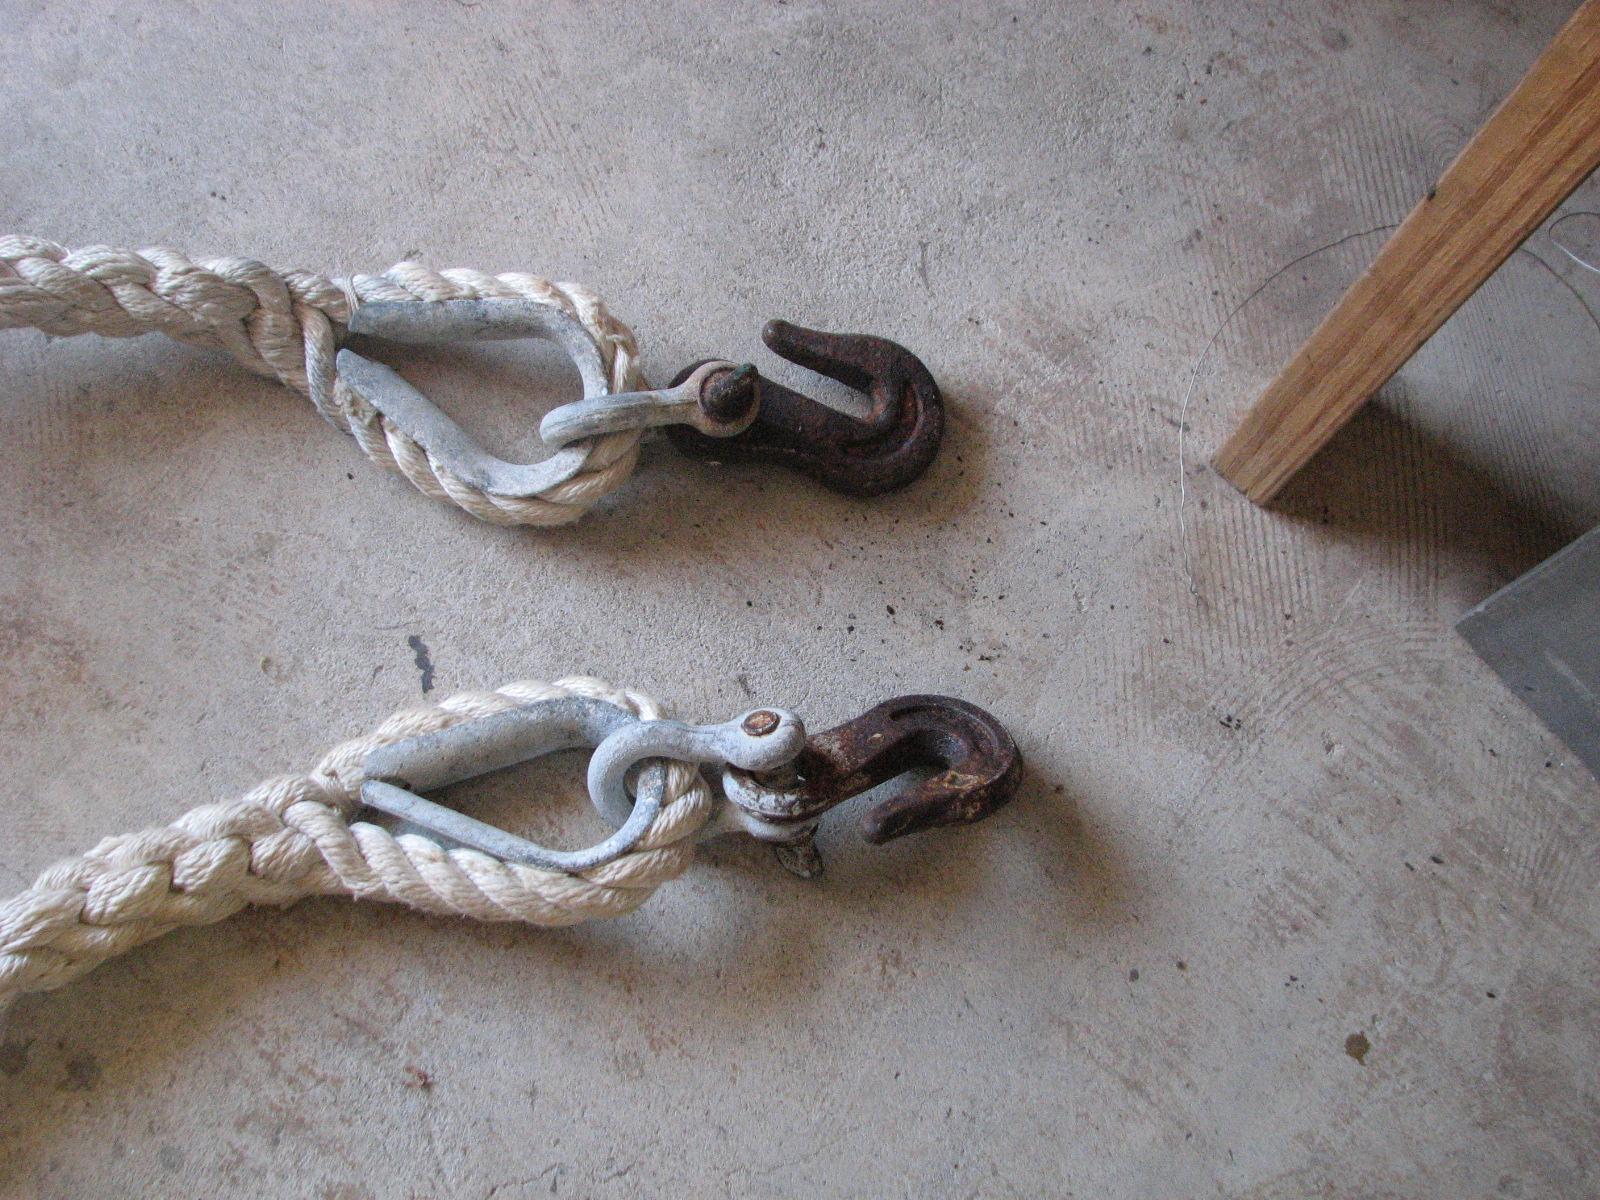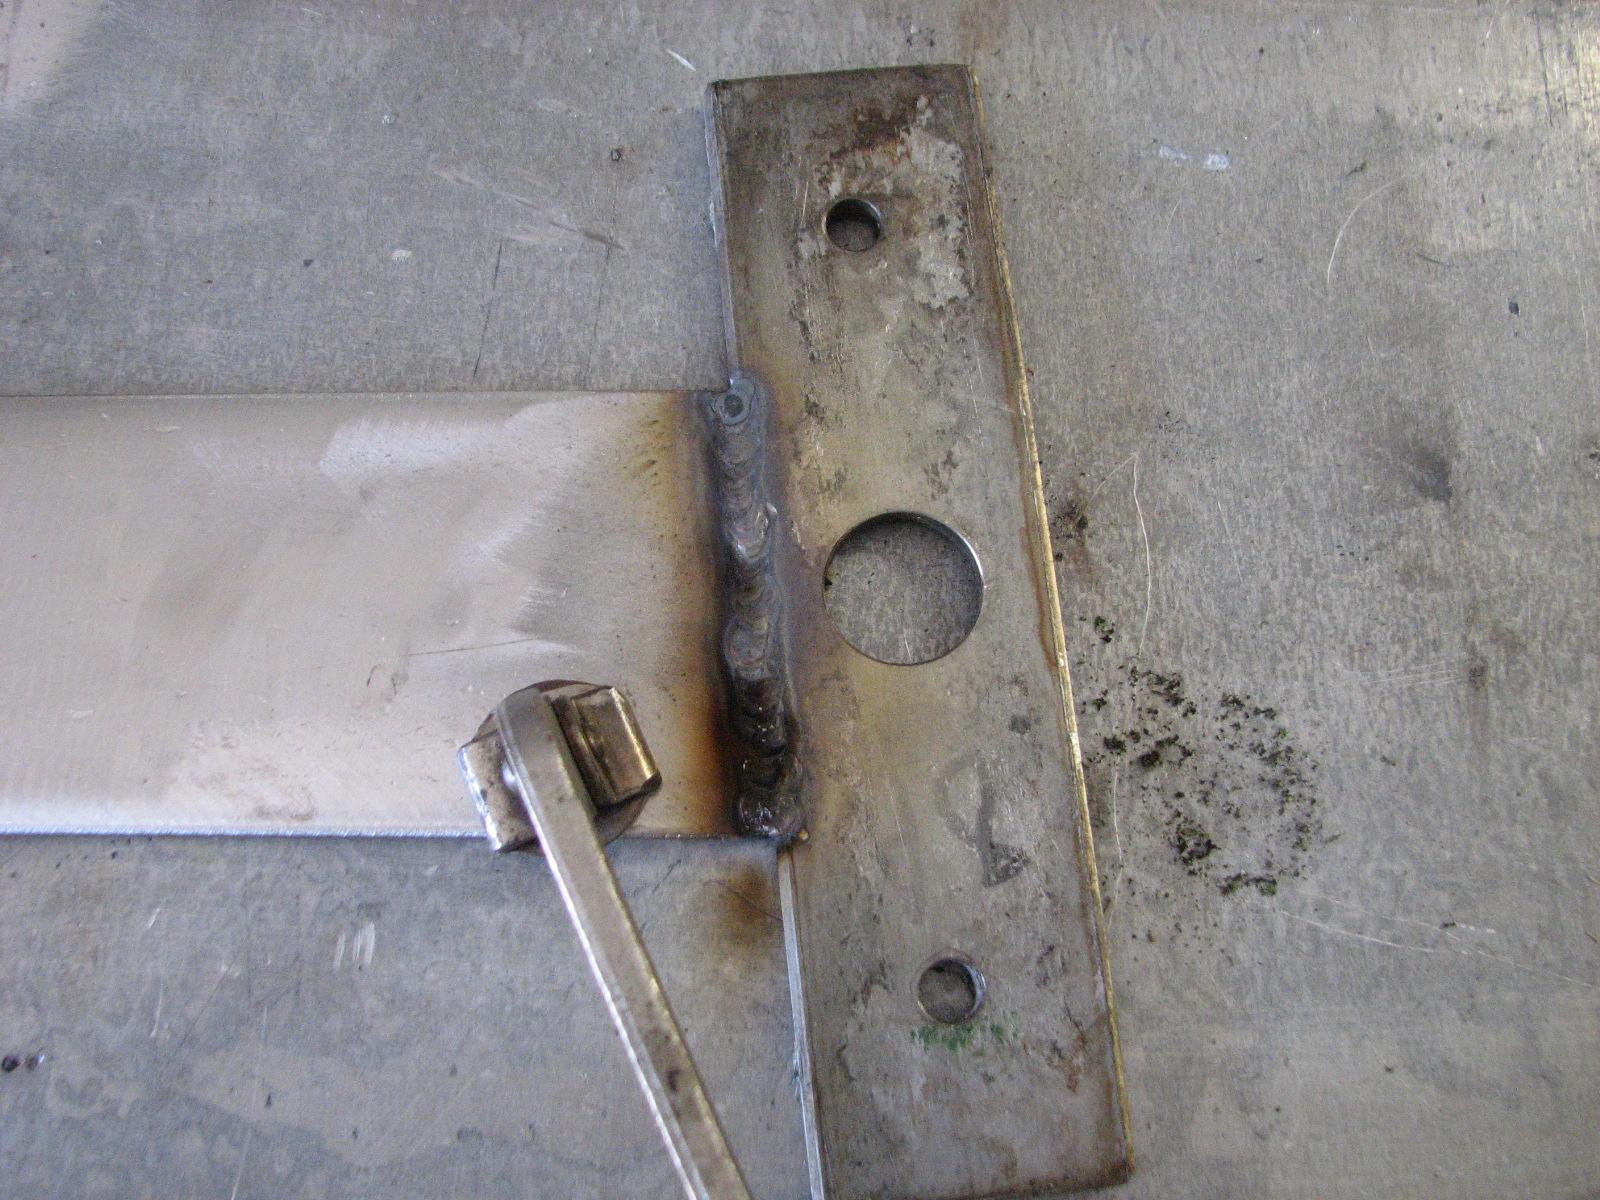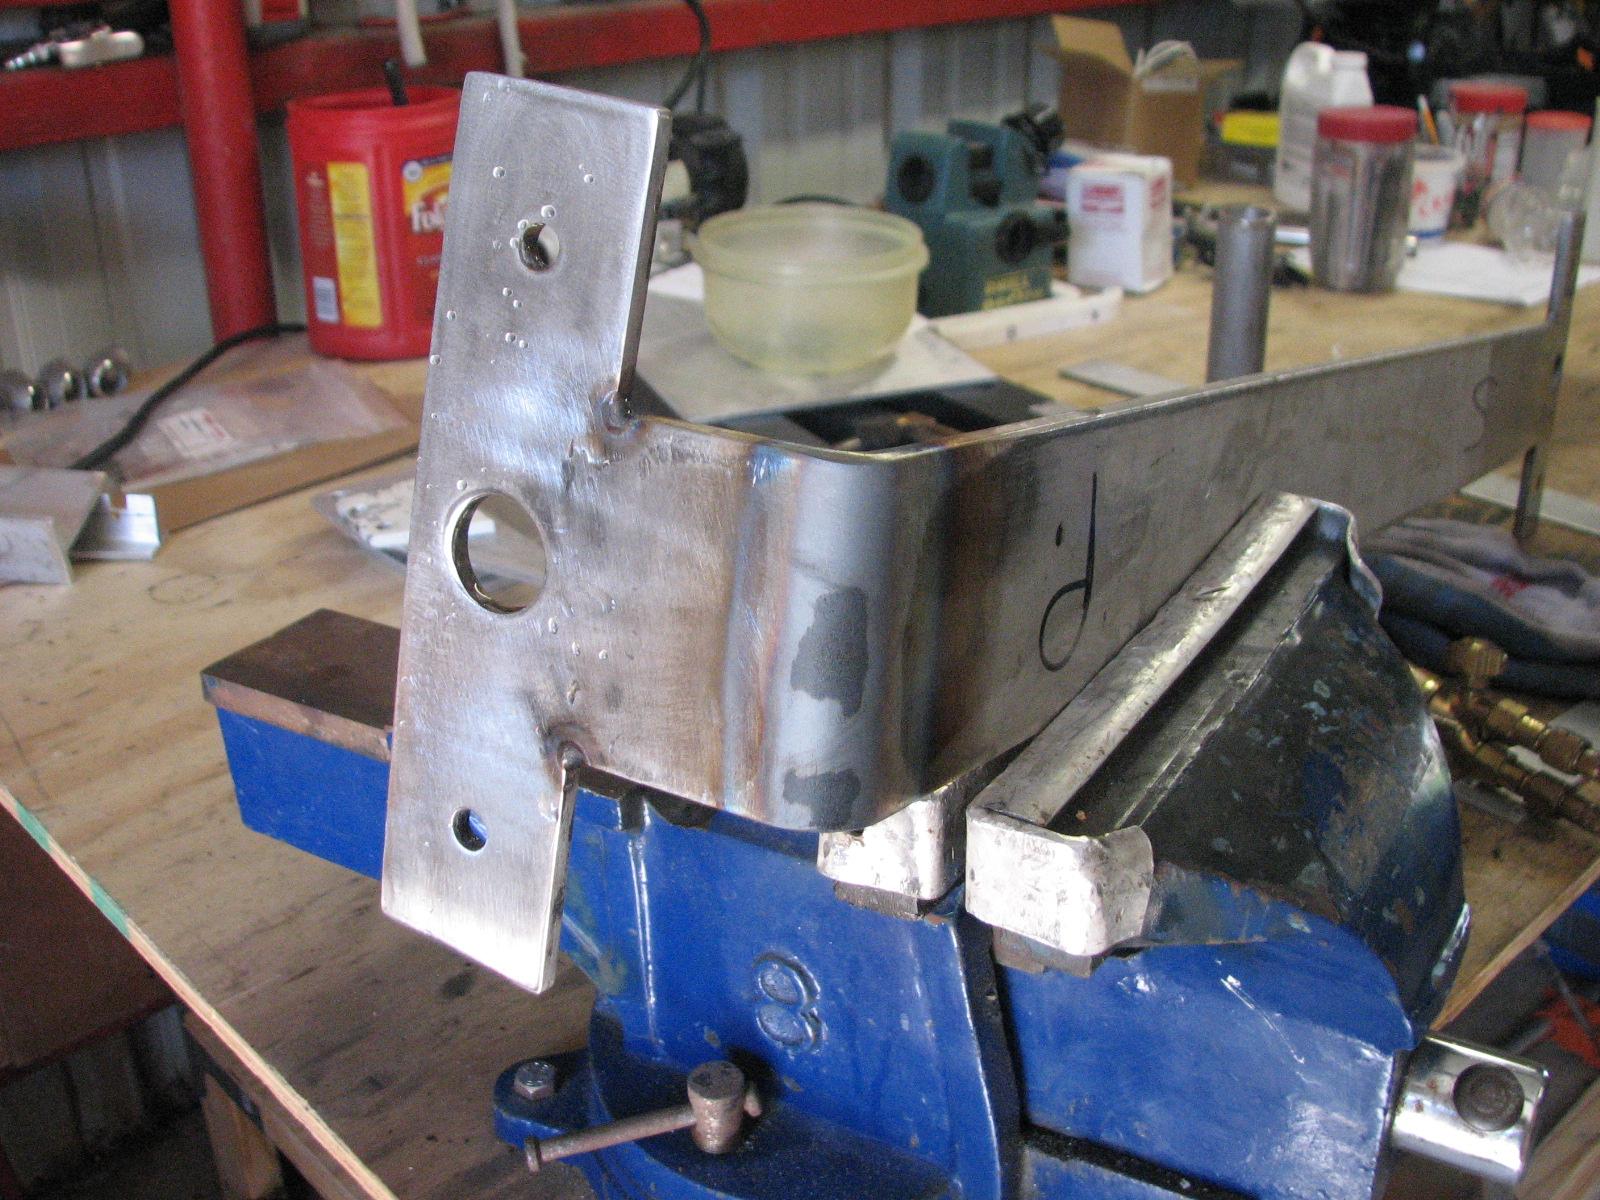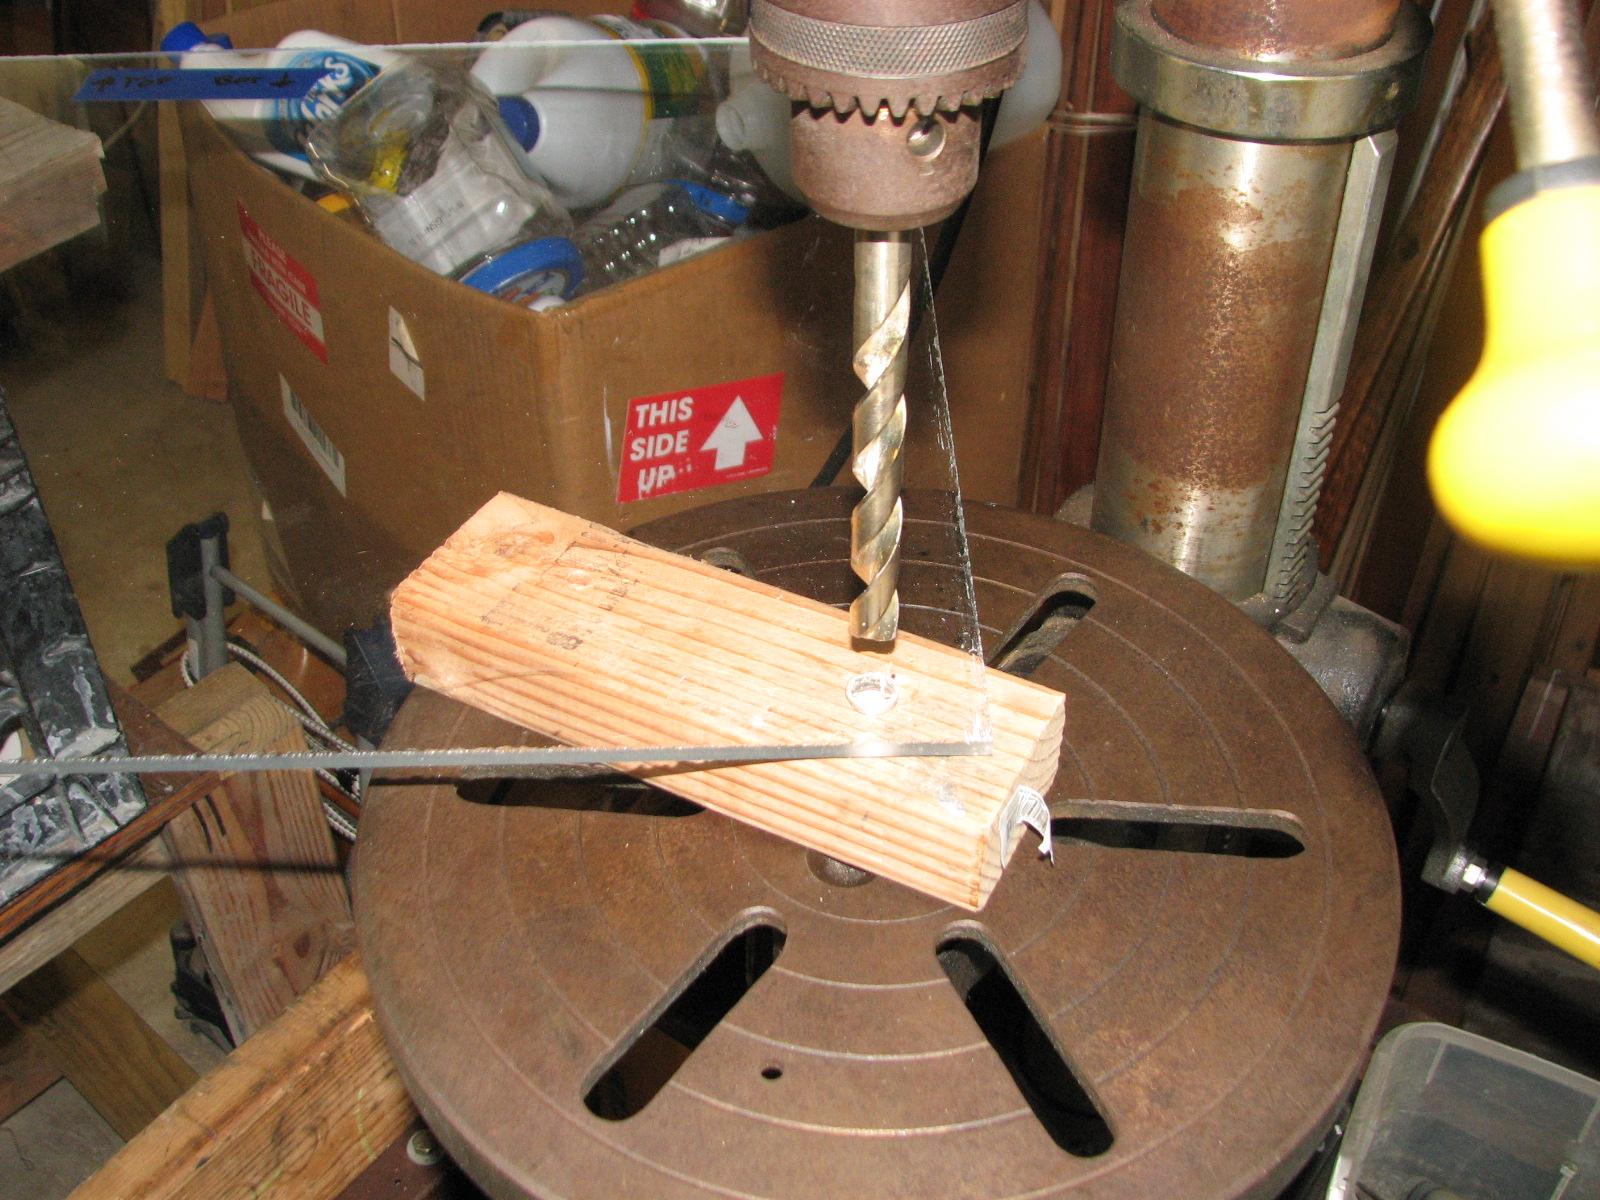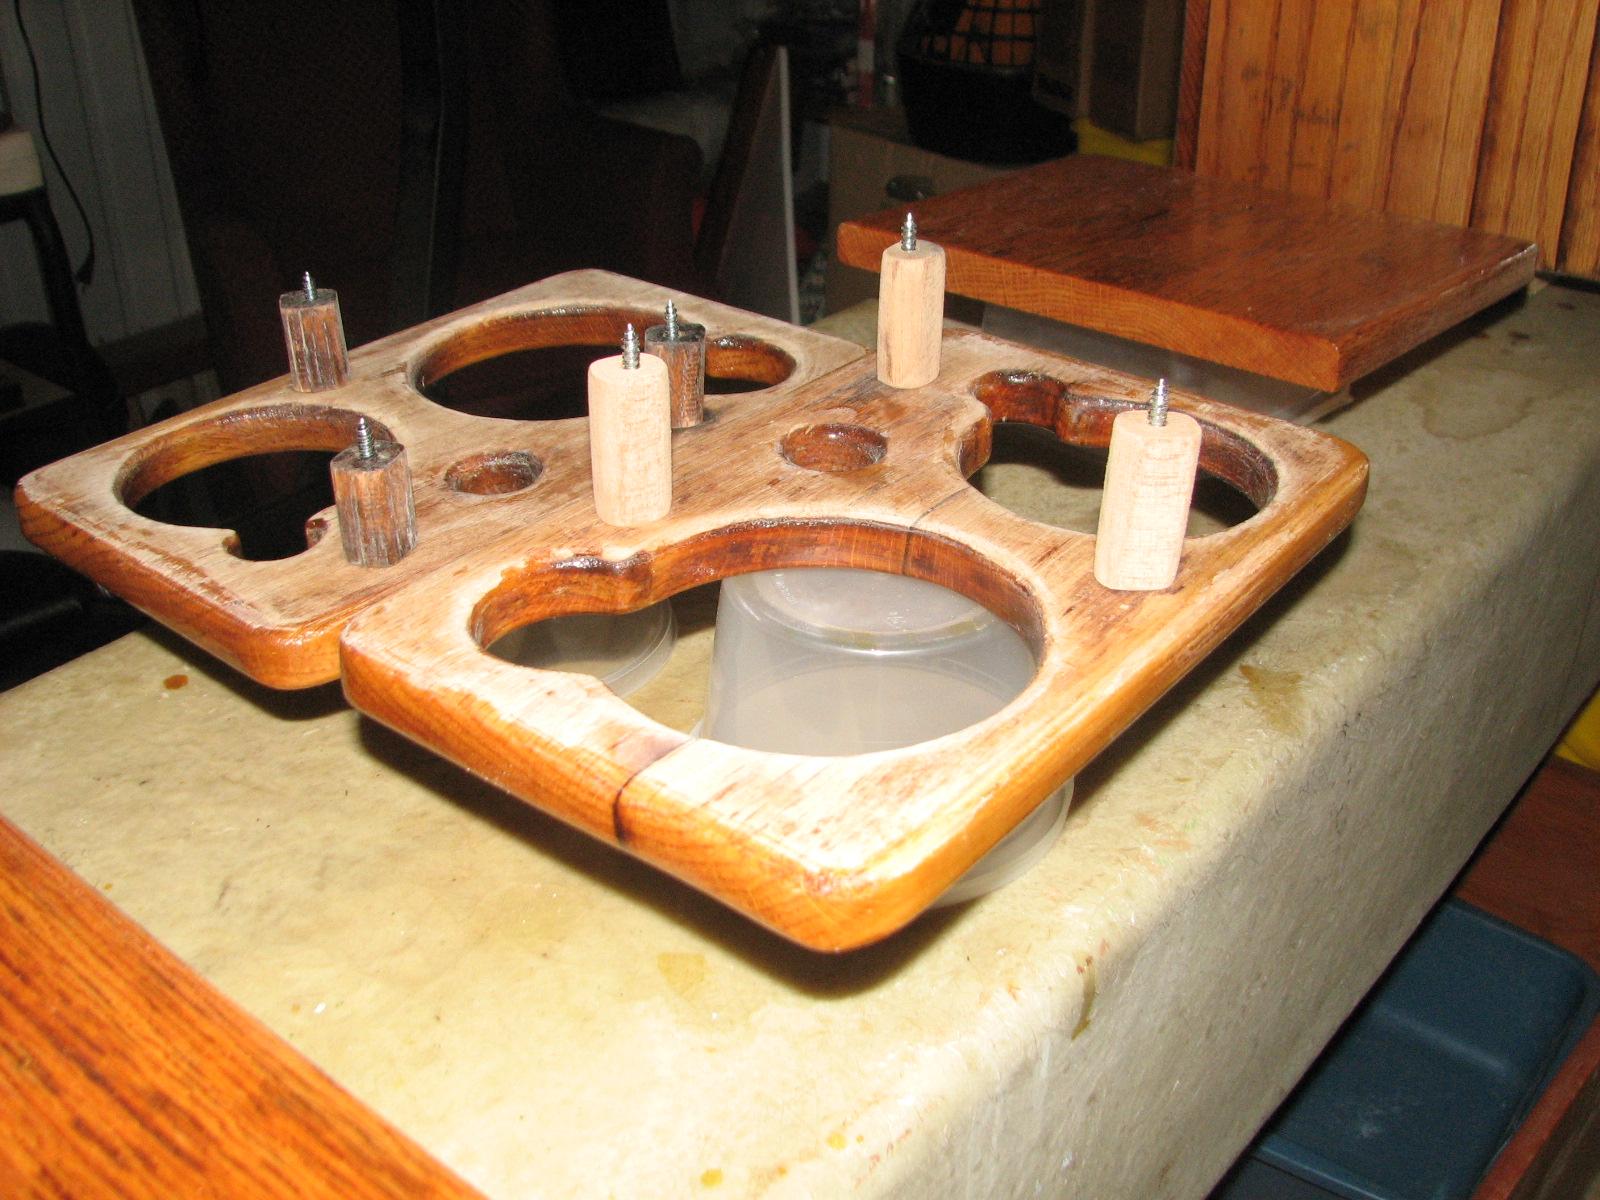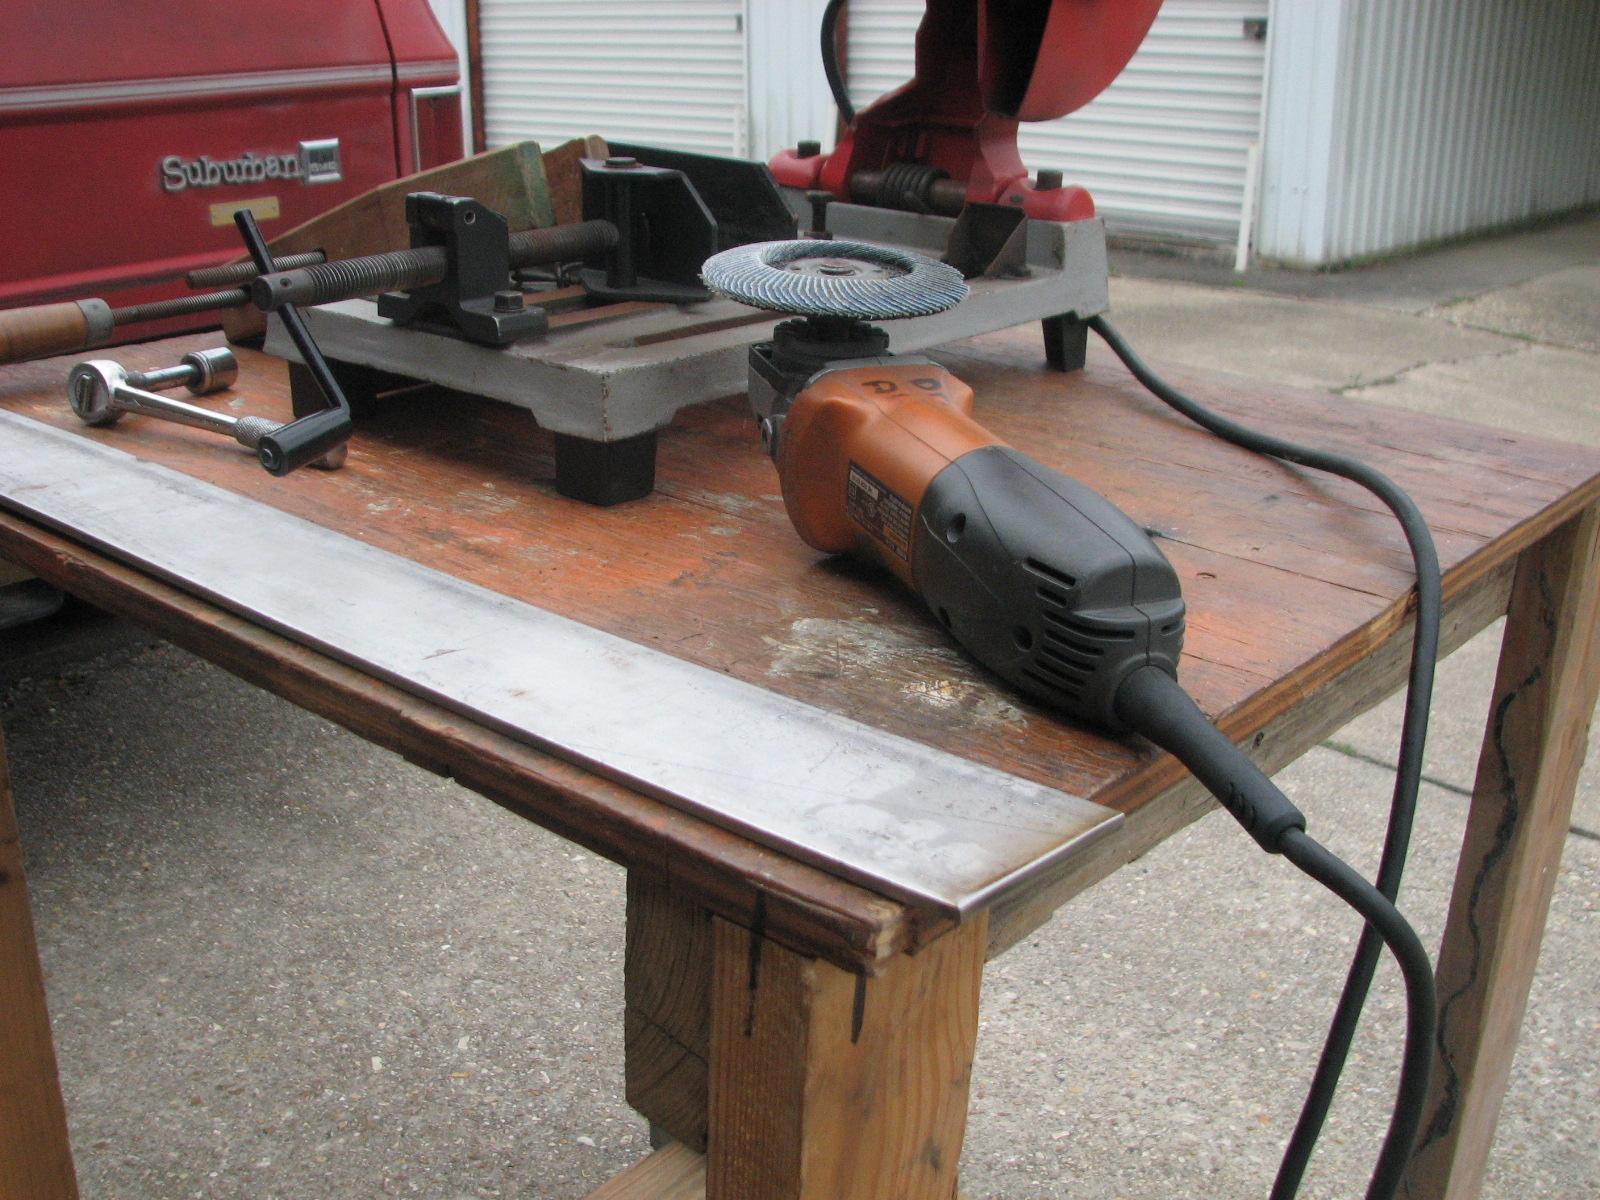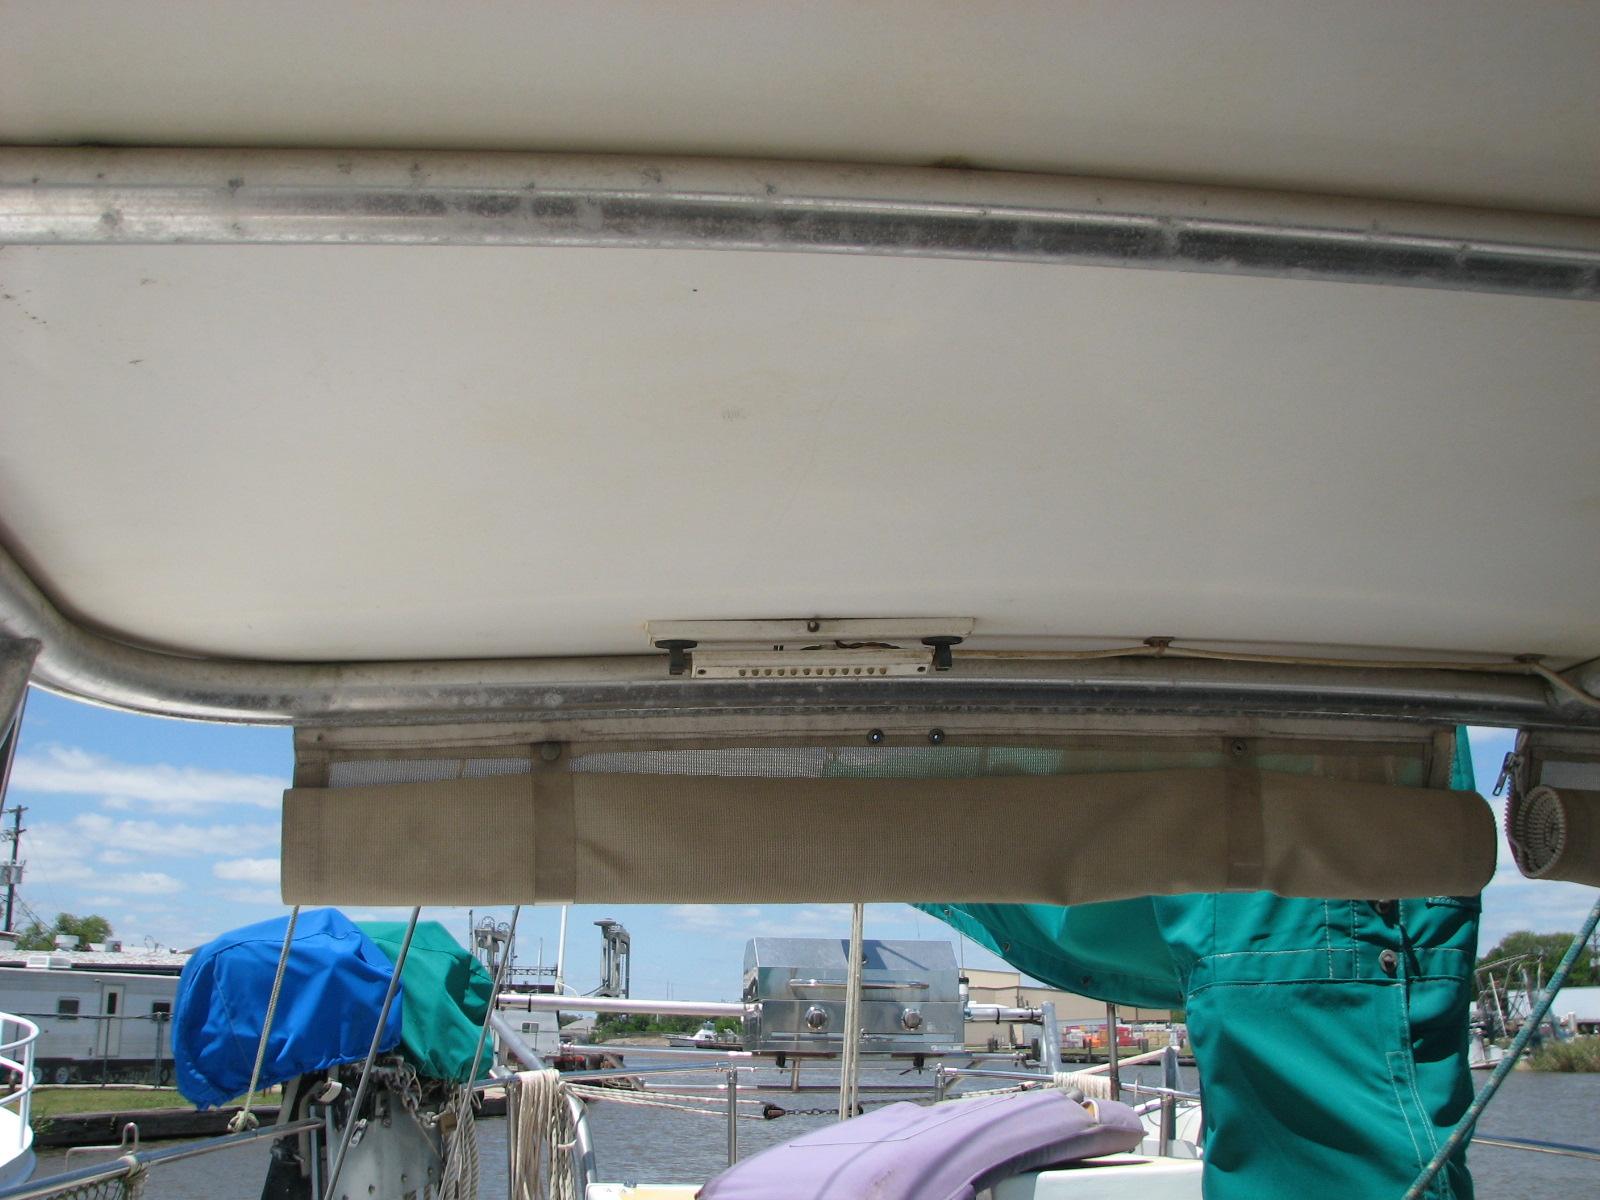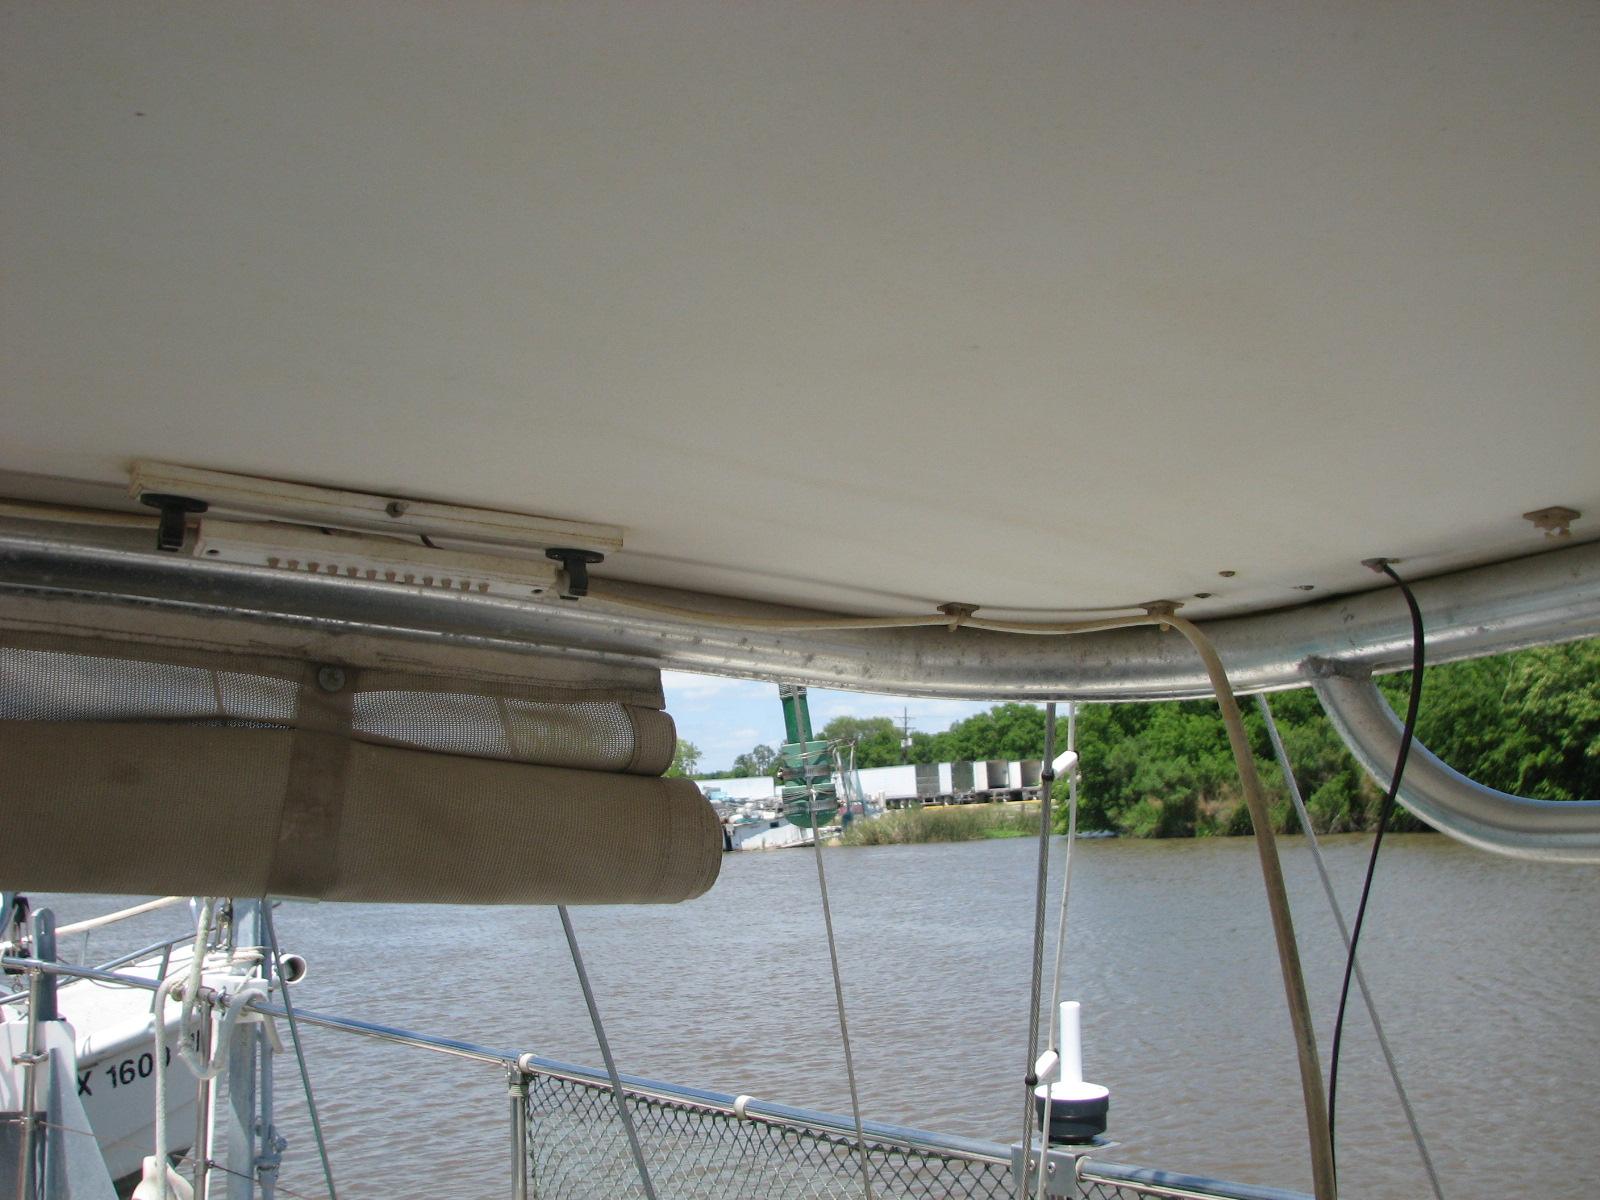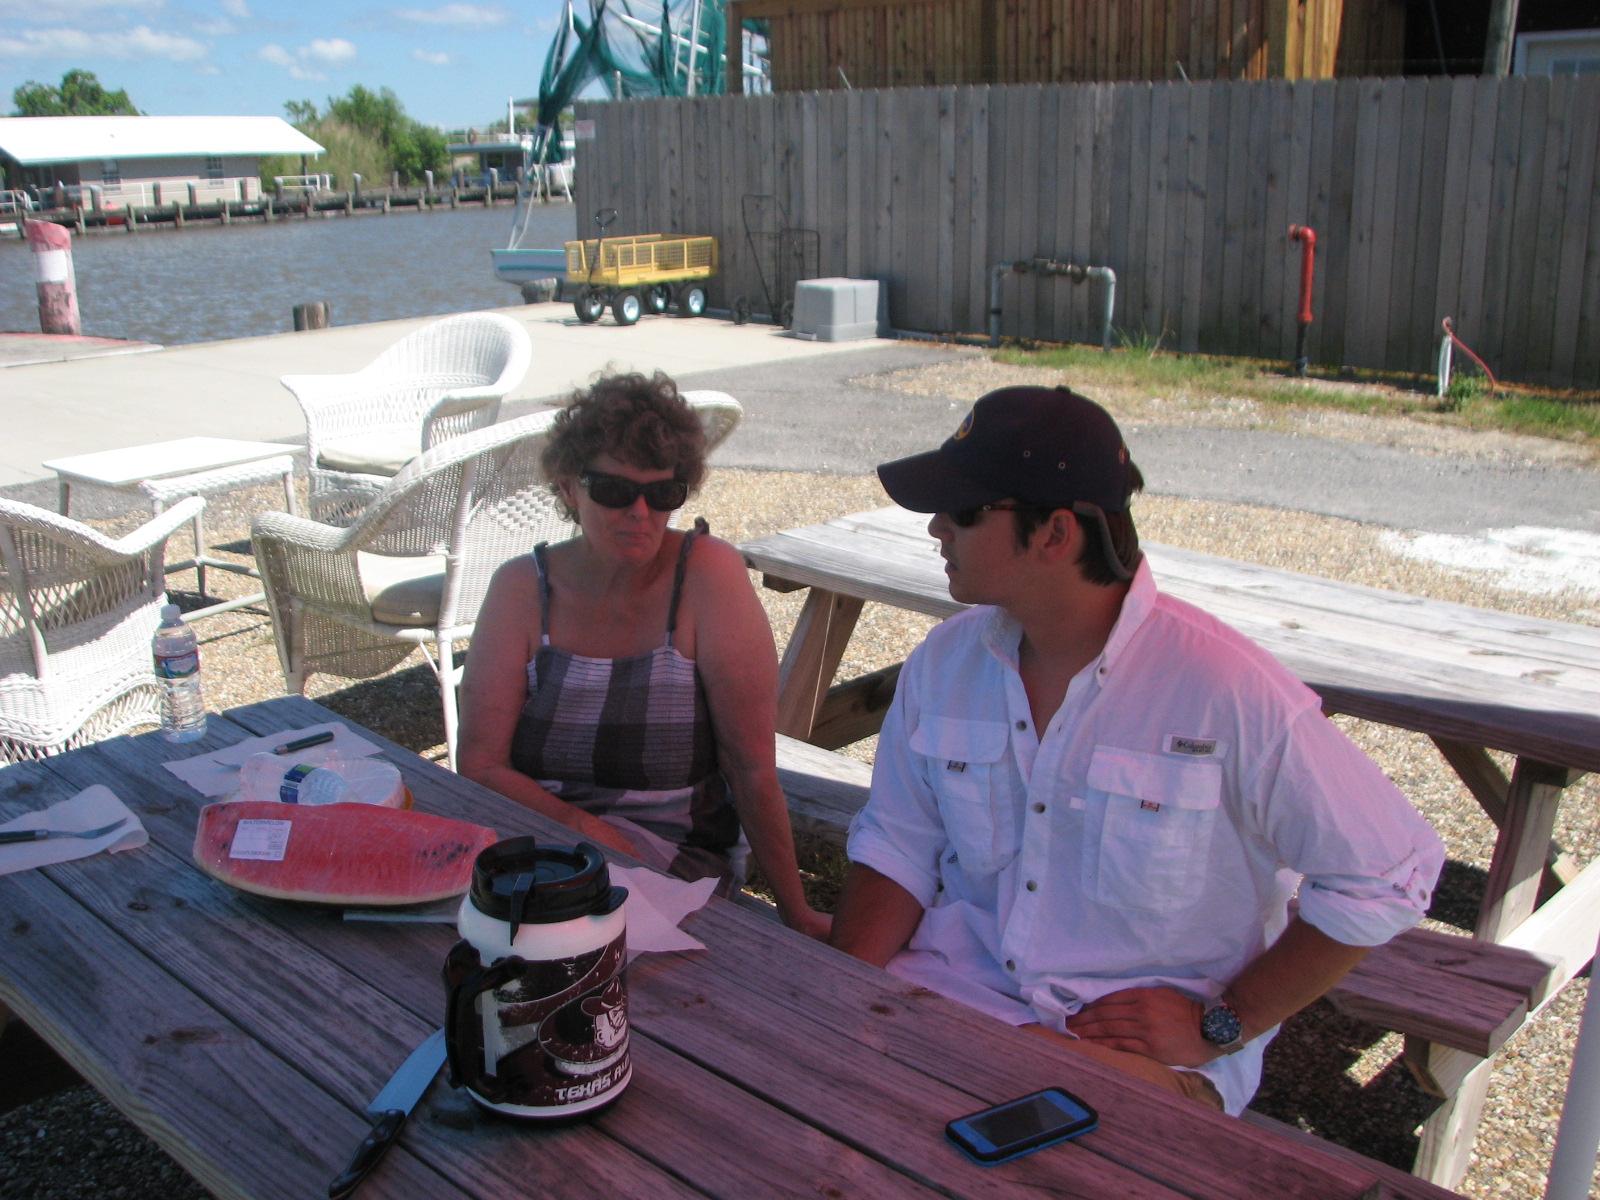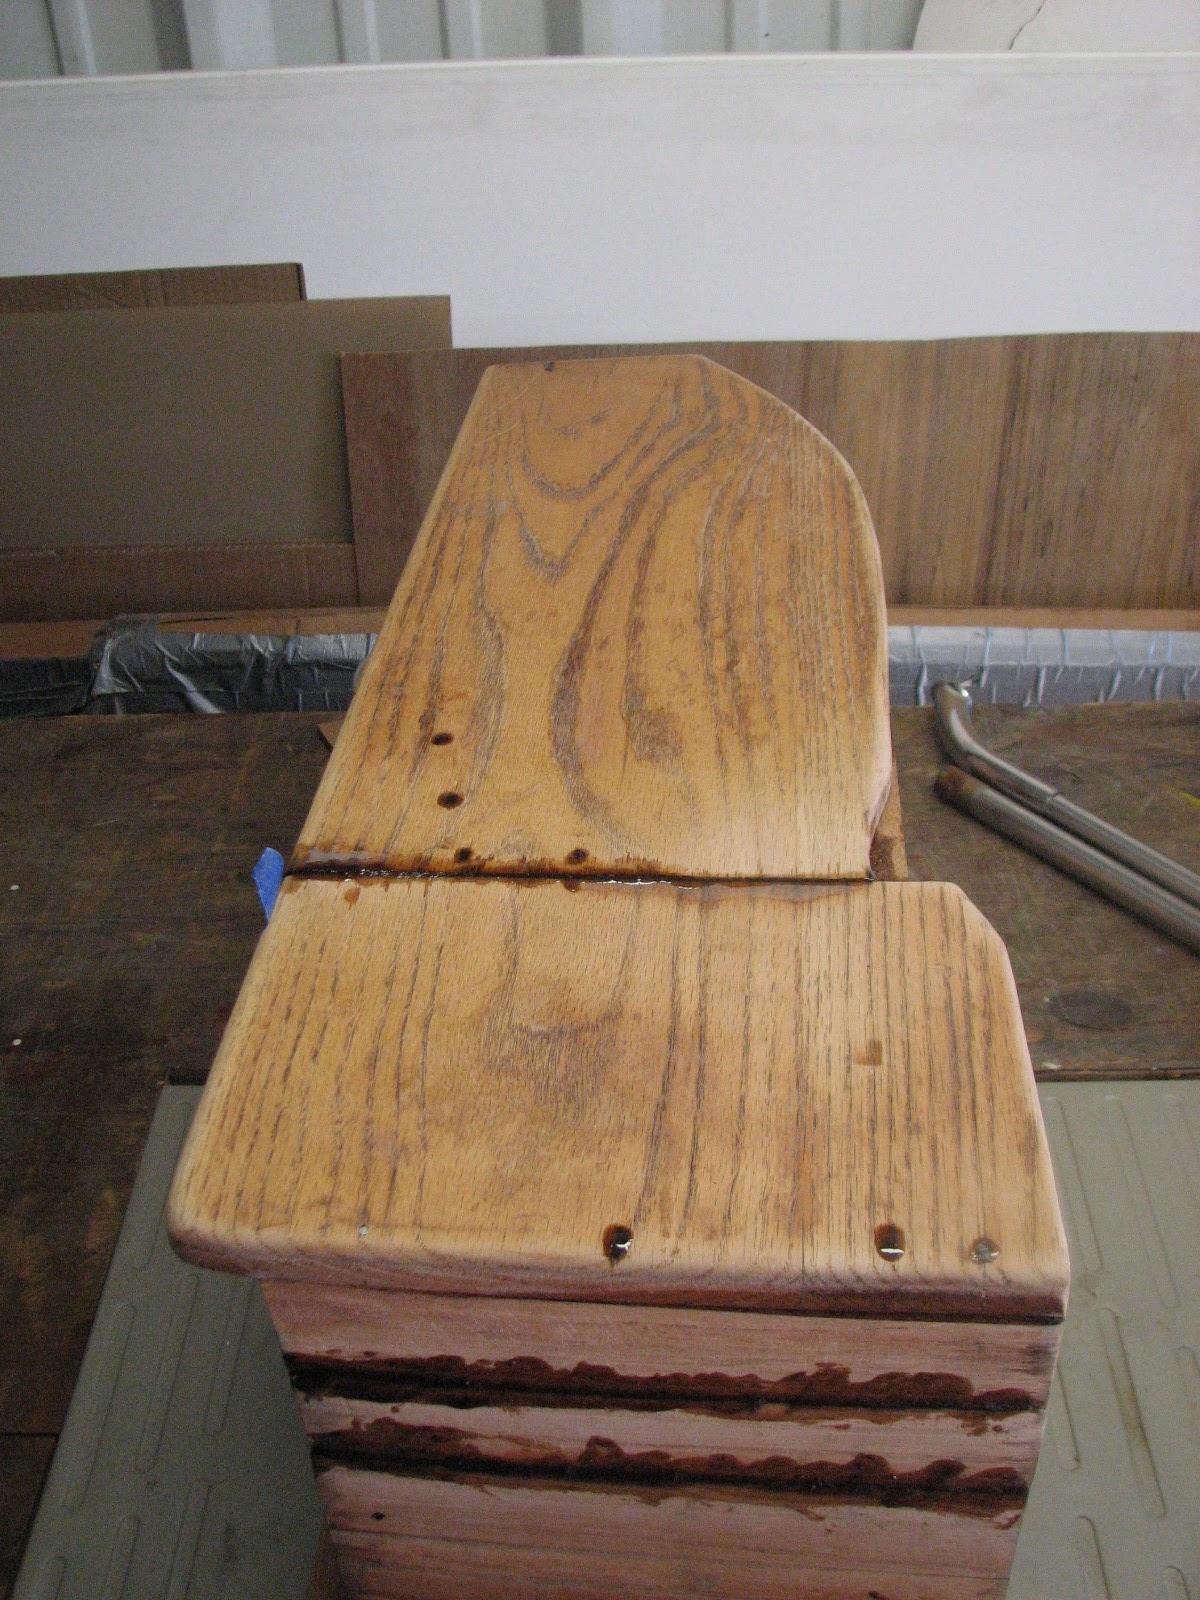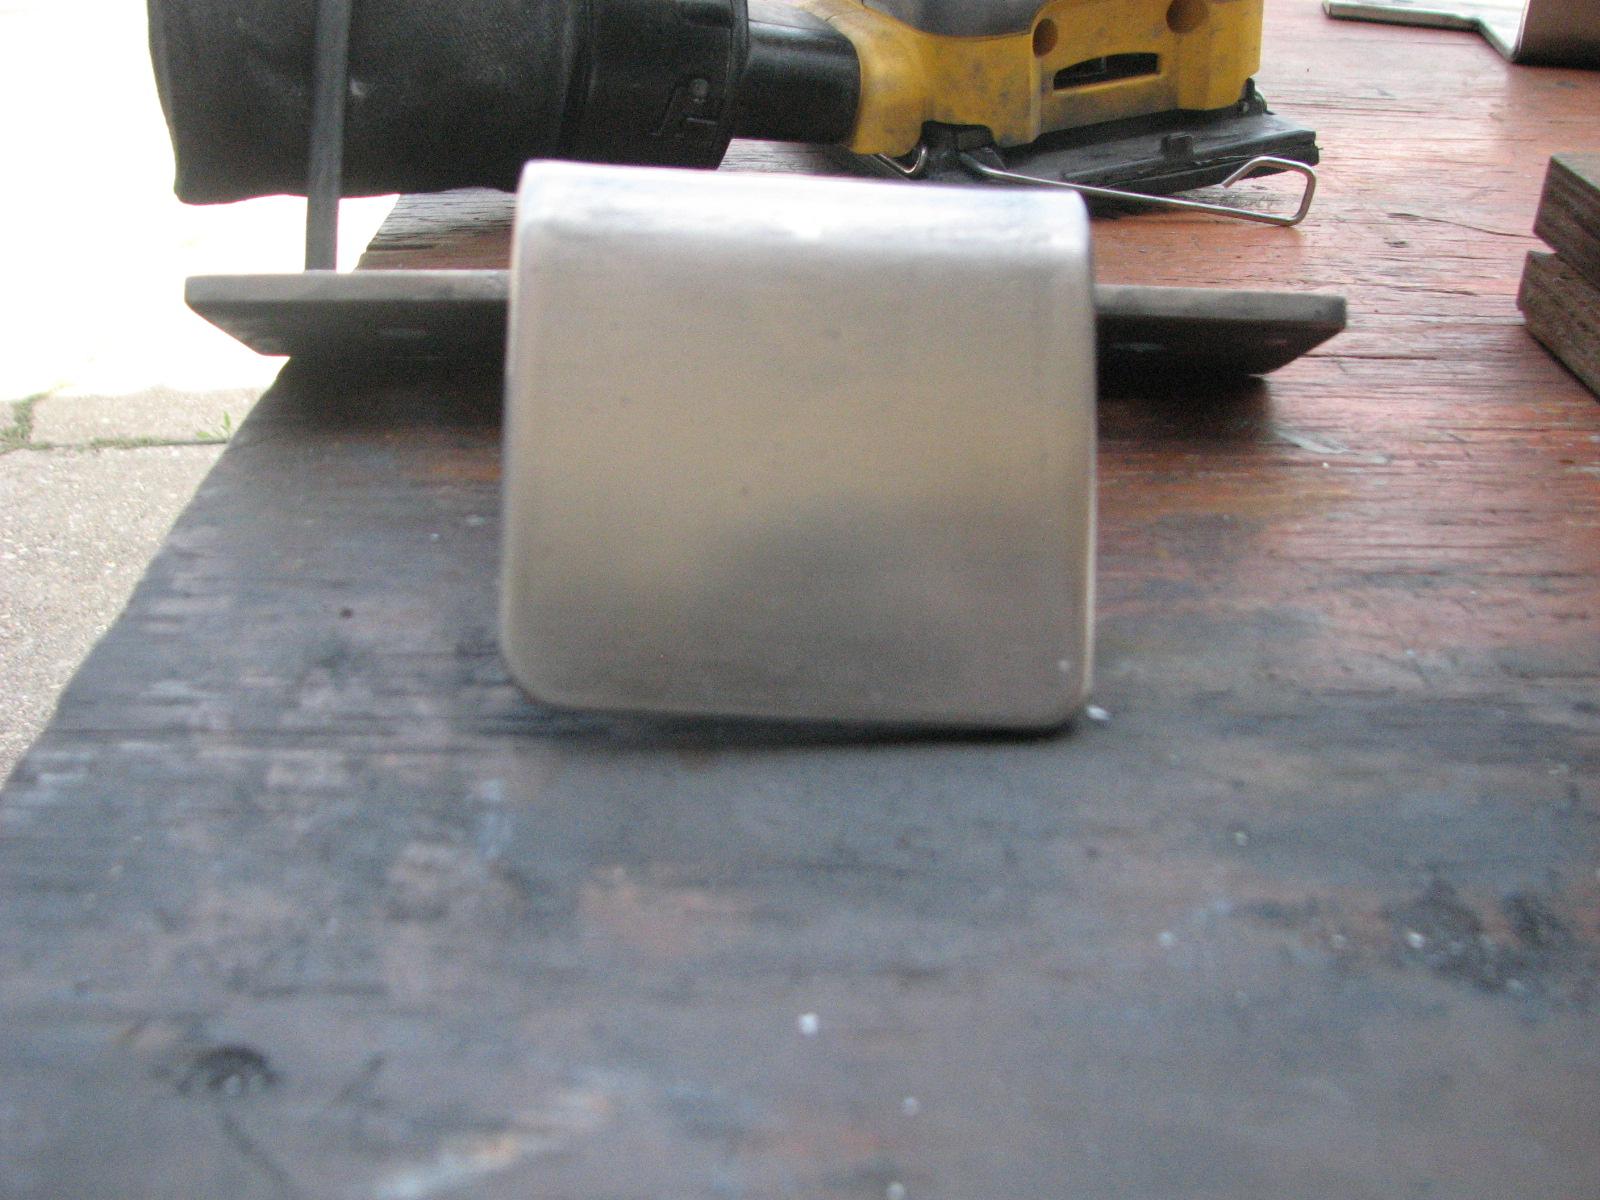
After I got the corners rounded, I
continued with the polishing process. I used my DeWalt
sheet sander starting off with 120 grit paper, then
220 grit paper, and finishing off with 320 grit. It polishes the
surface pretty well, but it is not absolutely smooth.
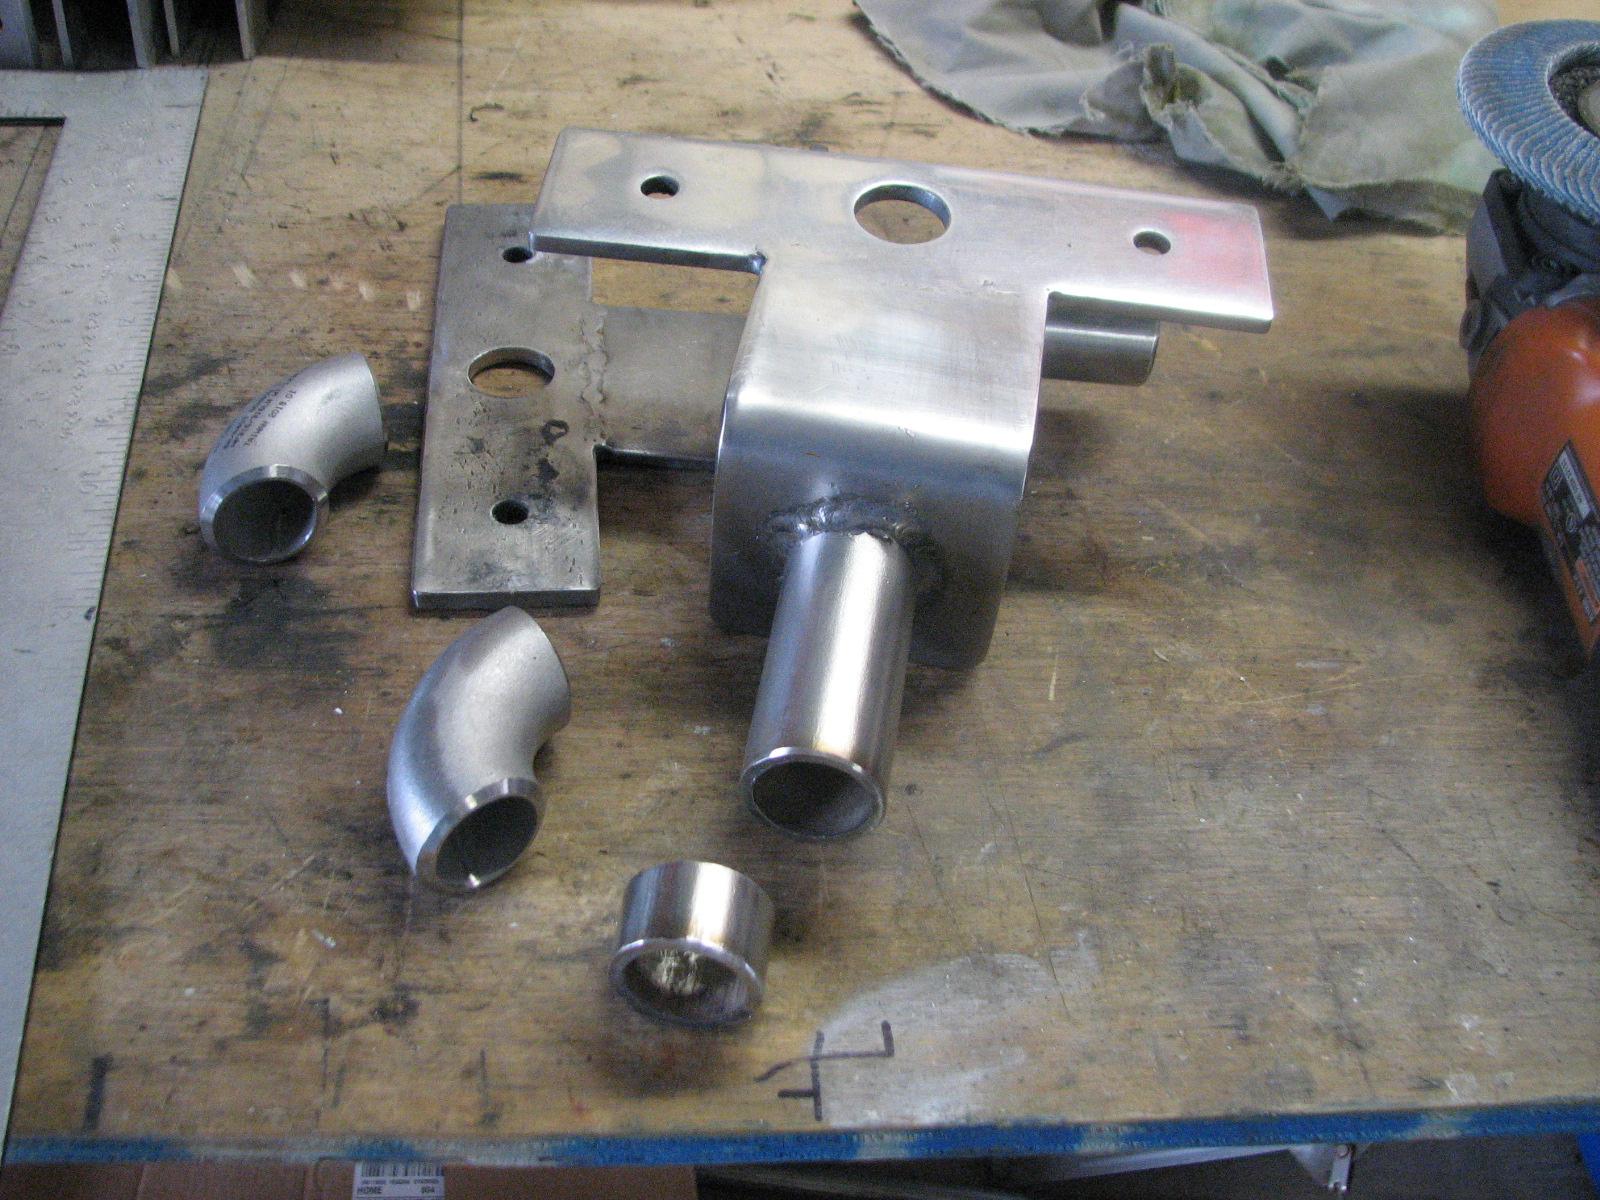
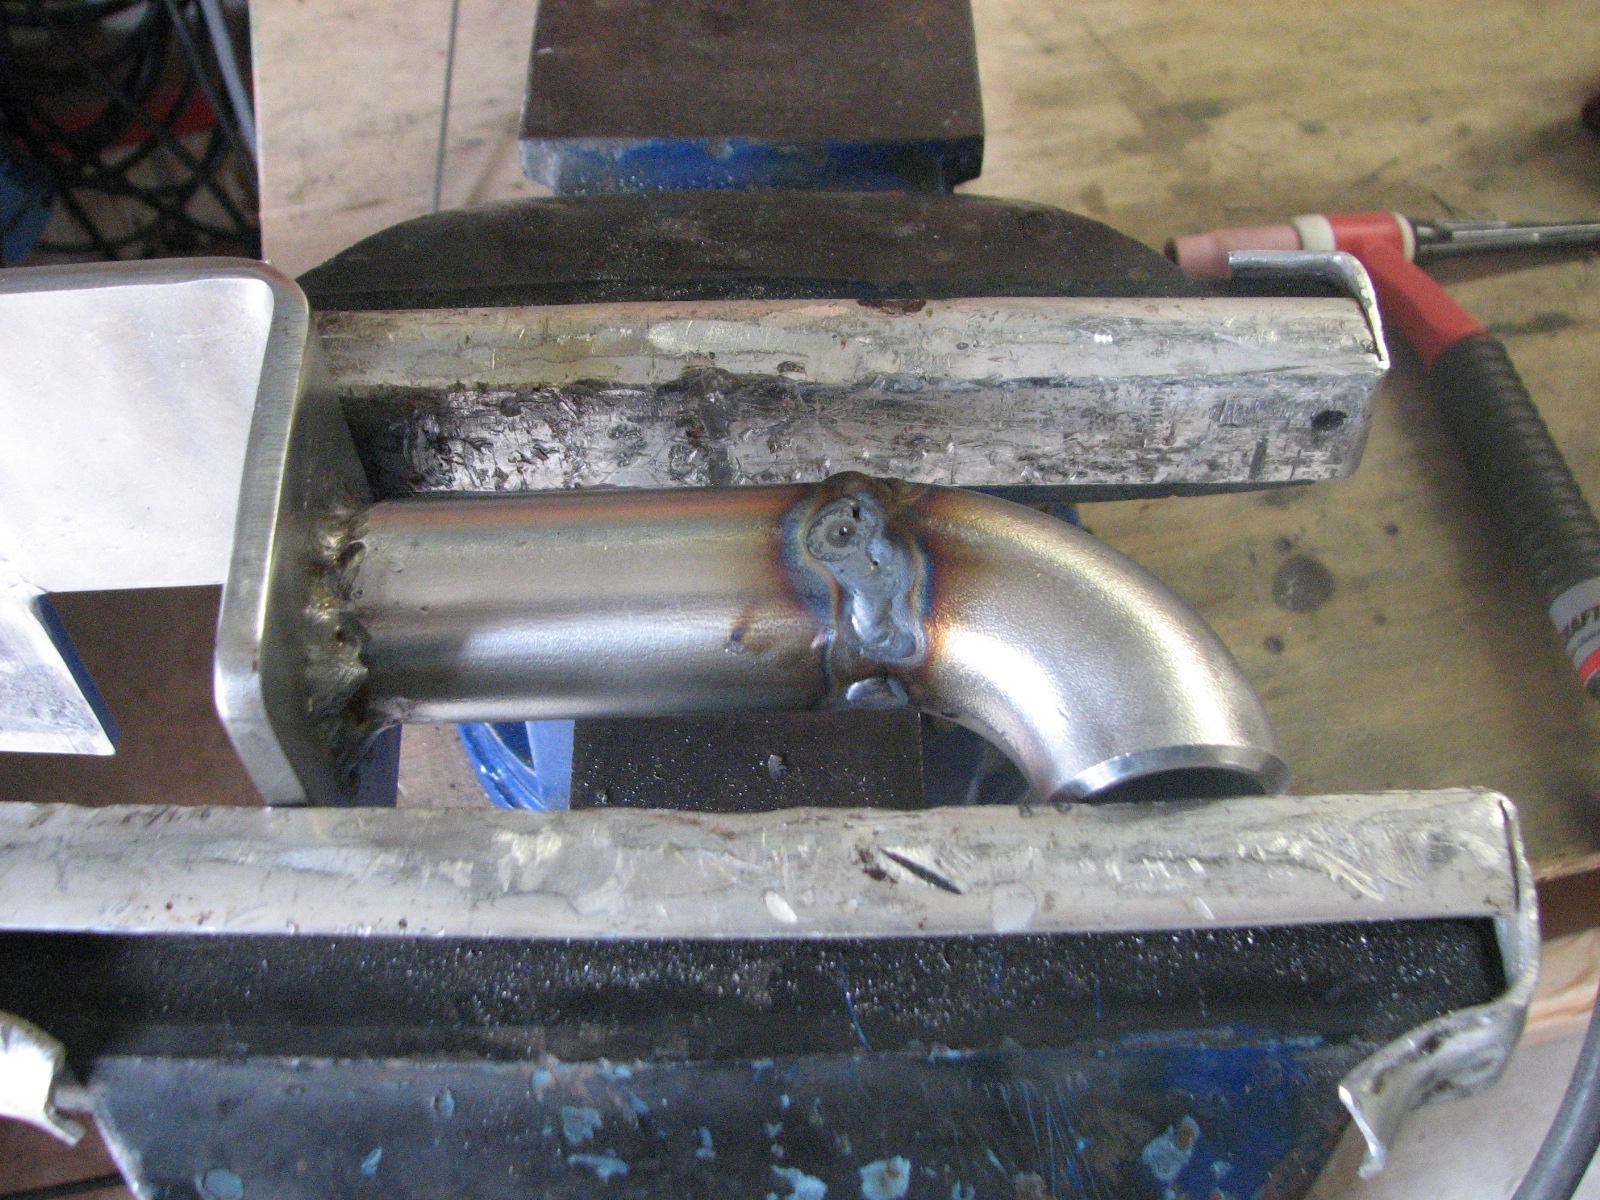
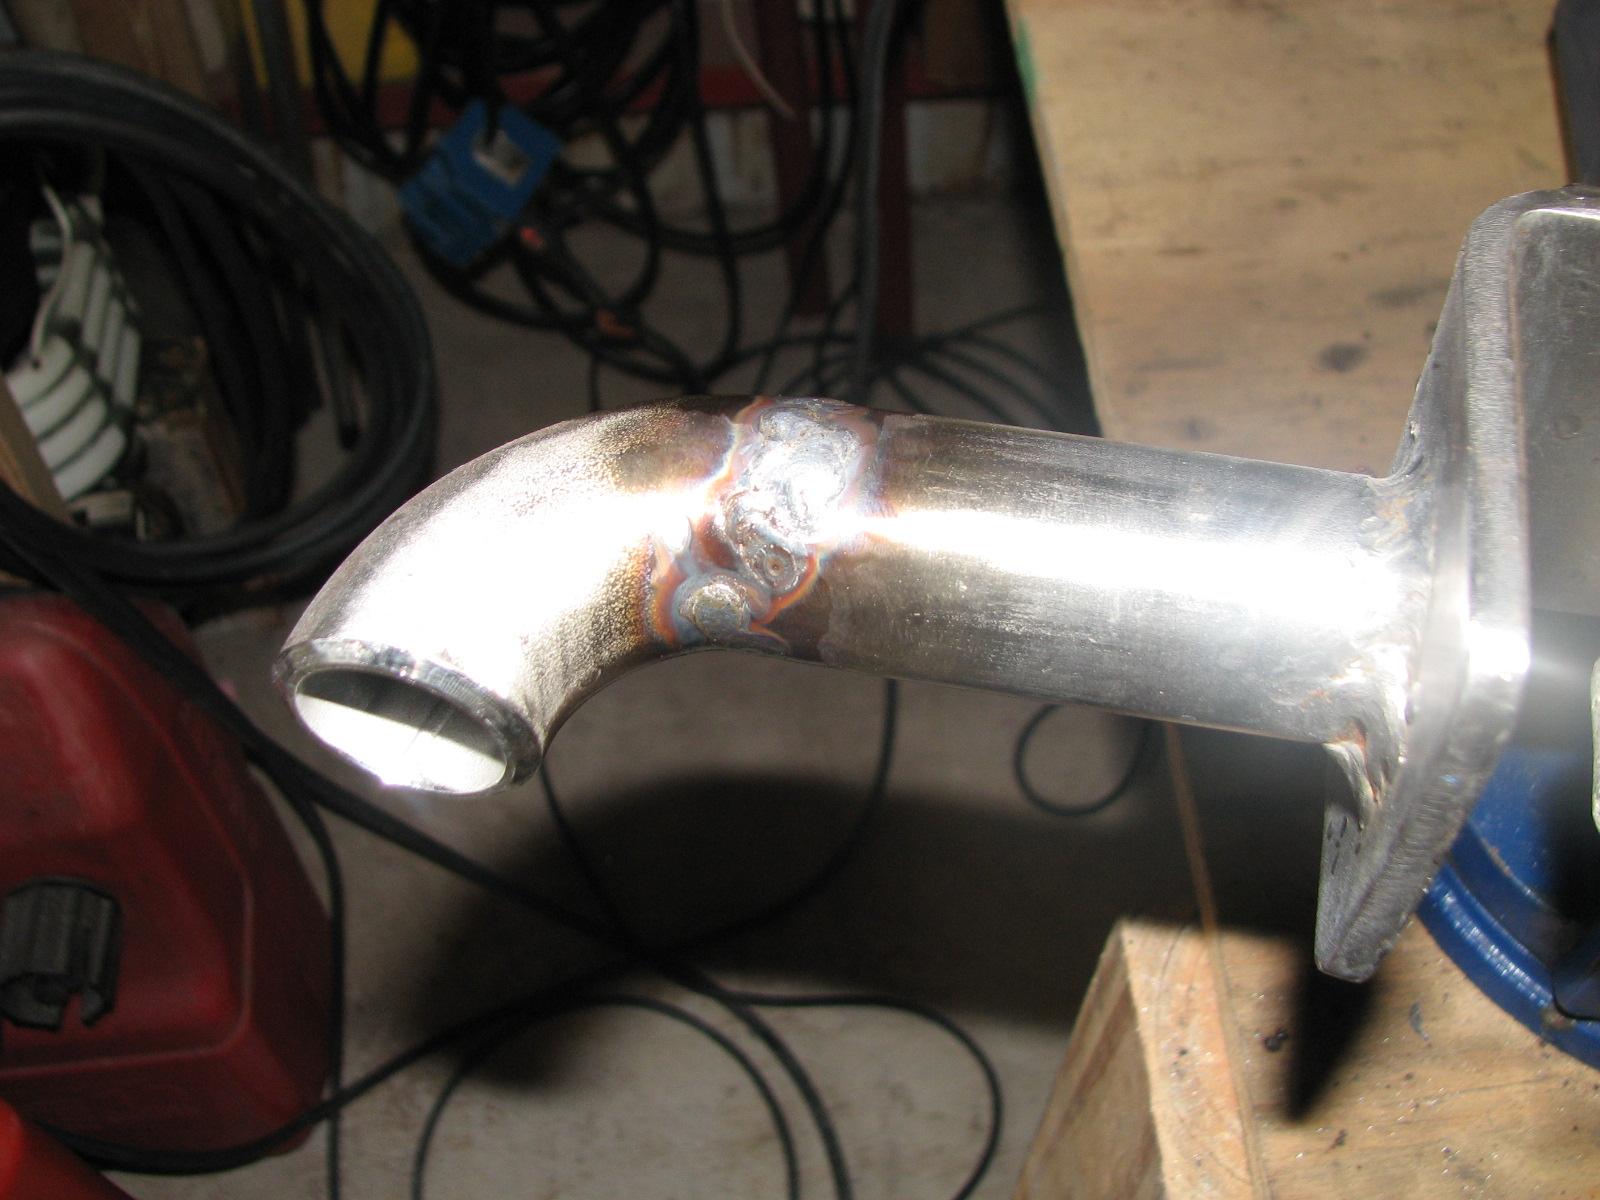
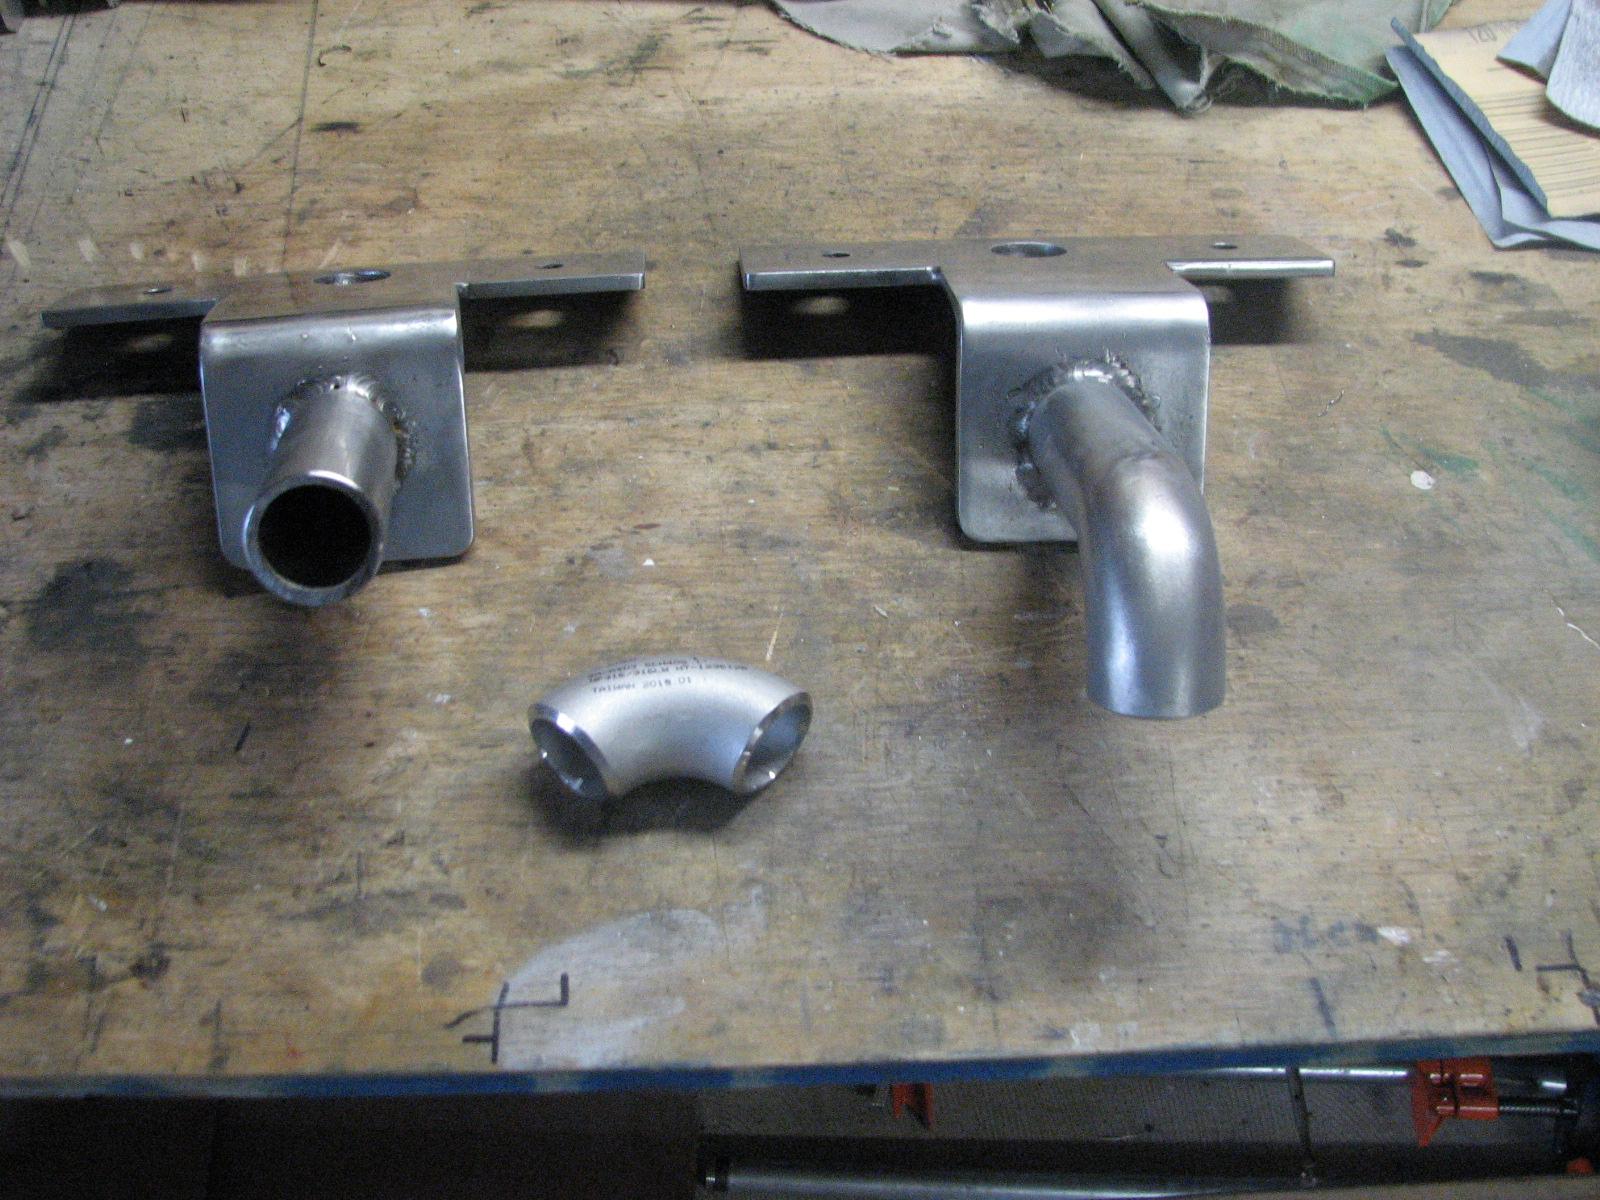
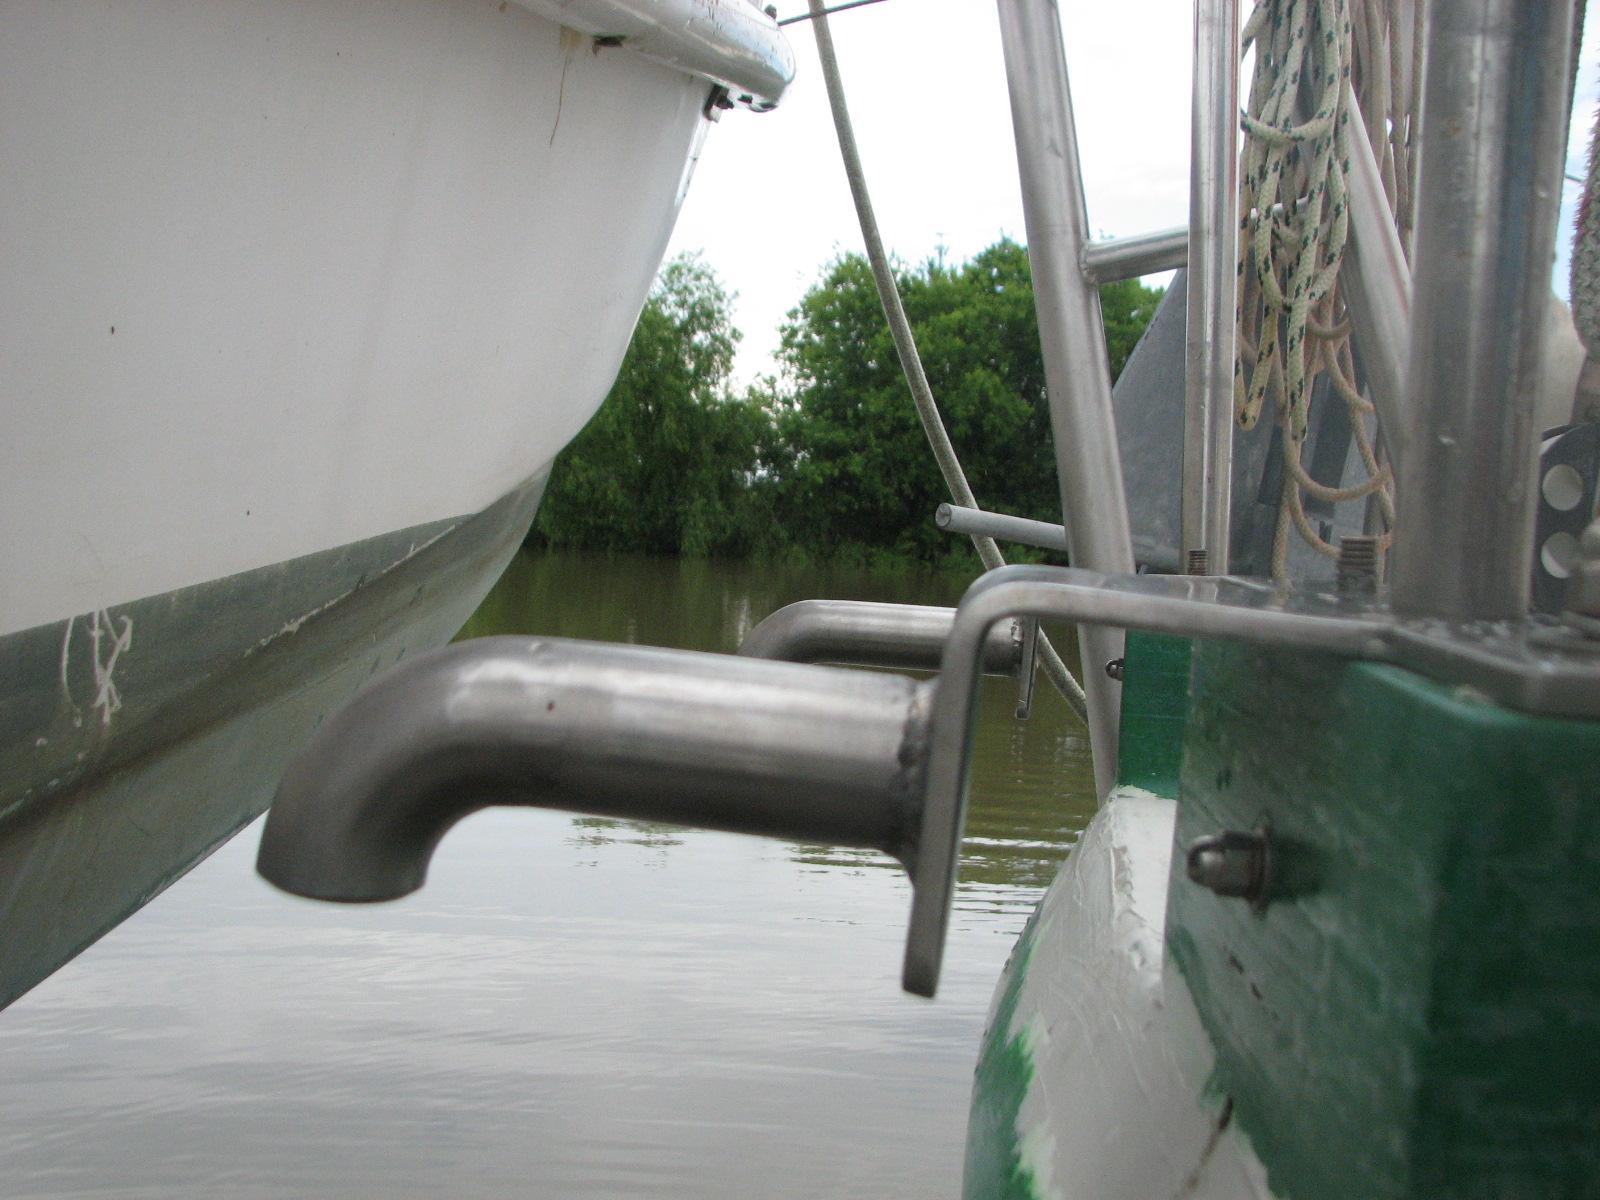
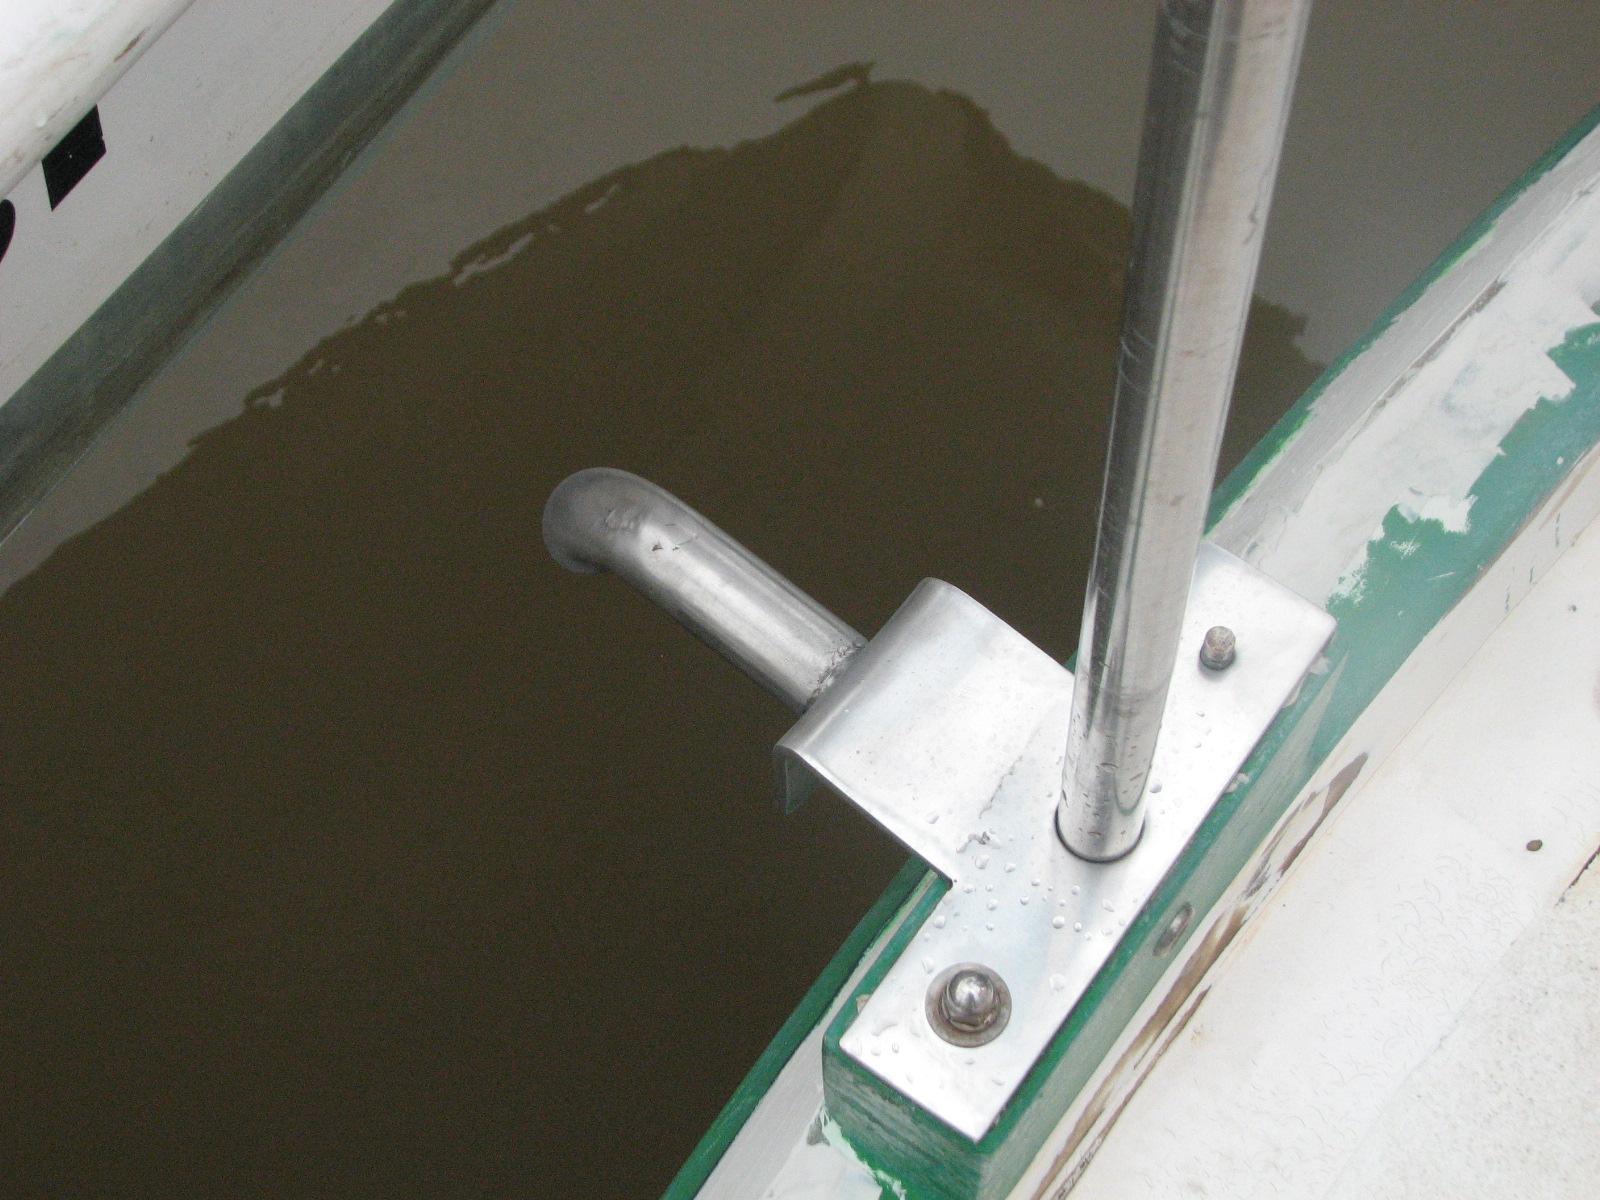
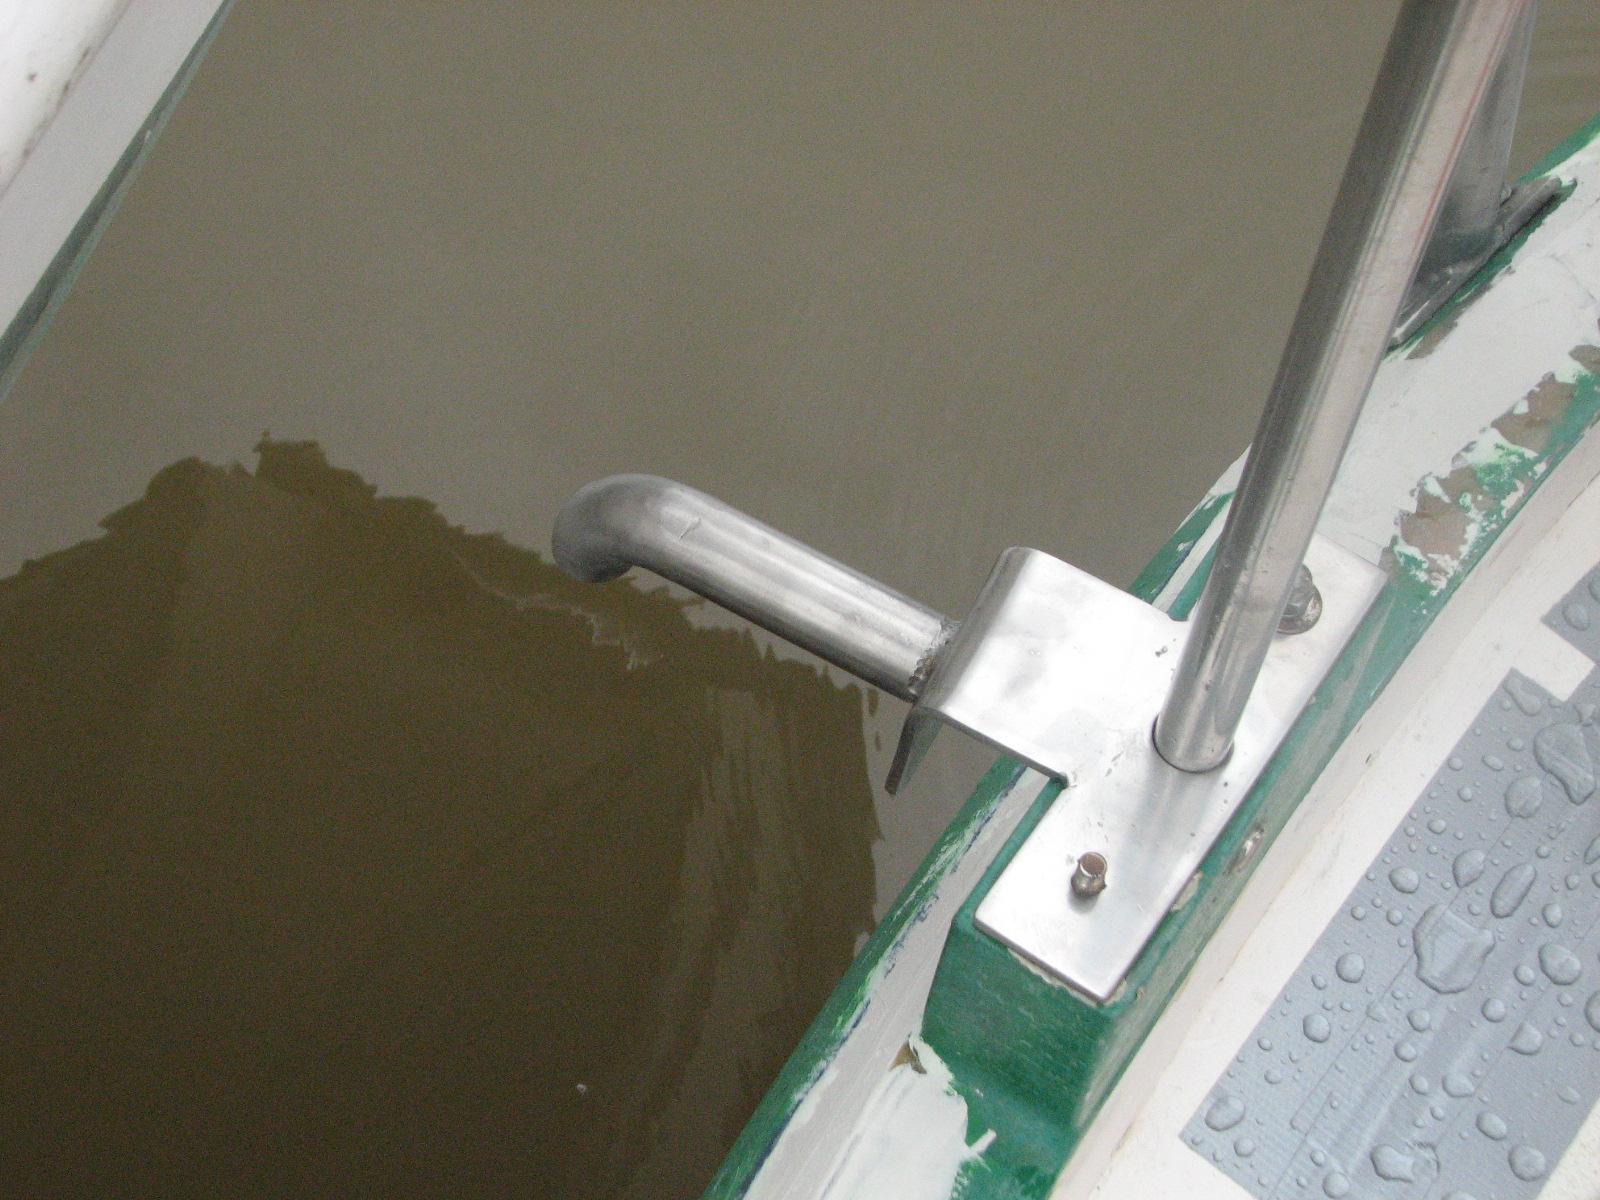
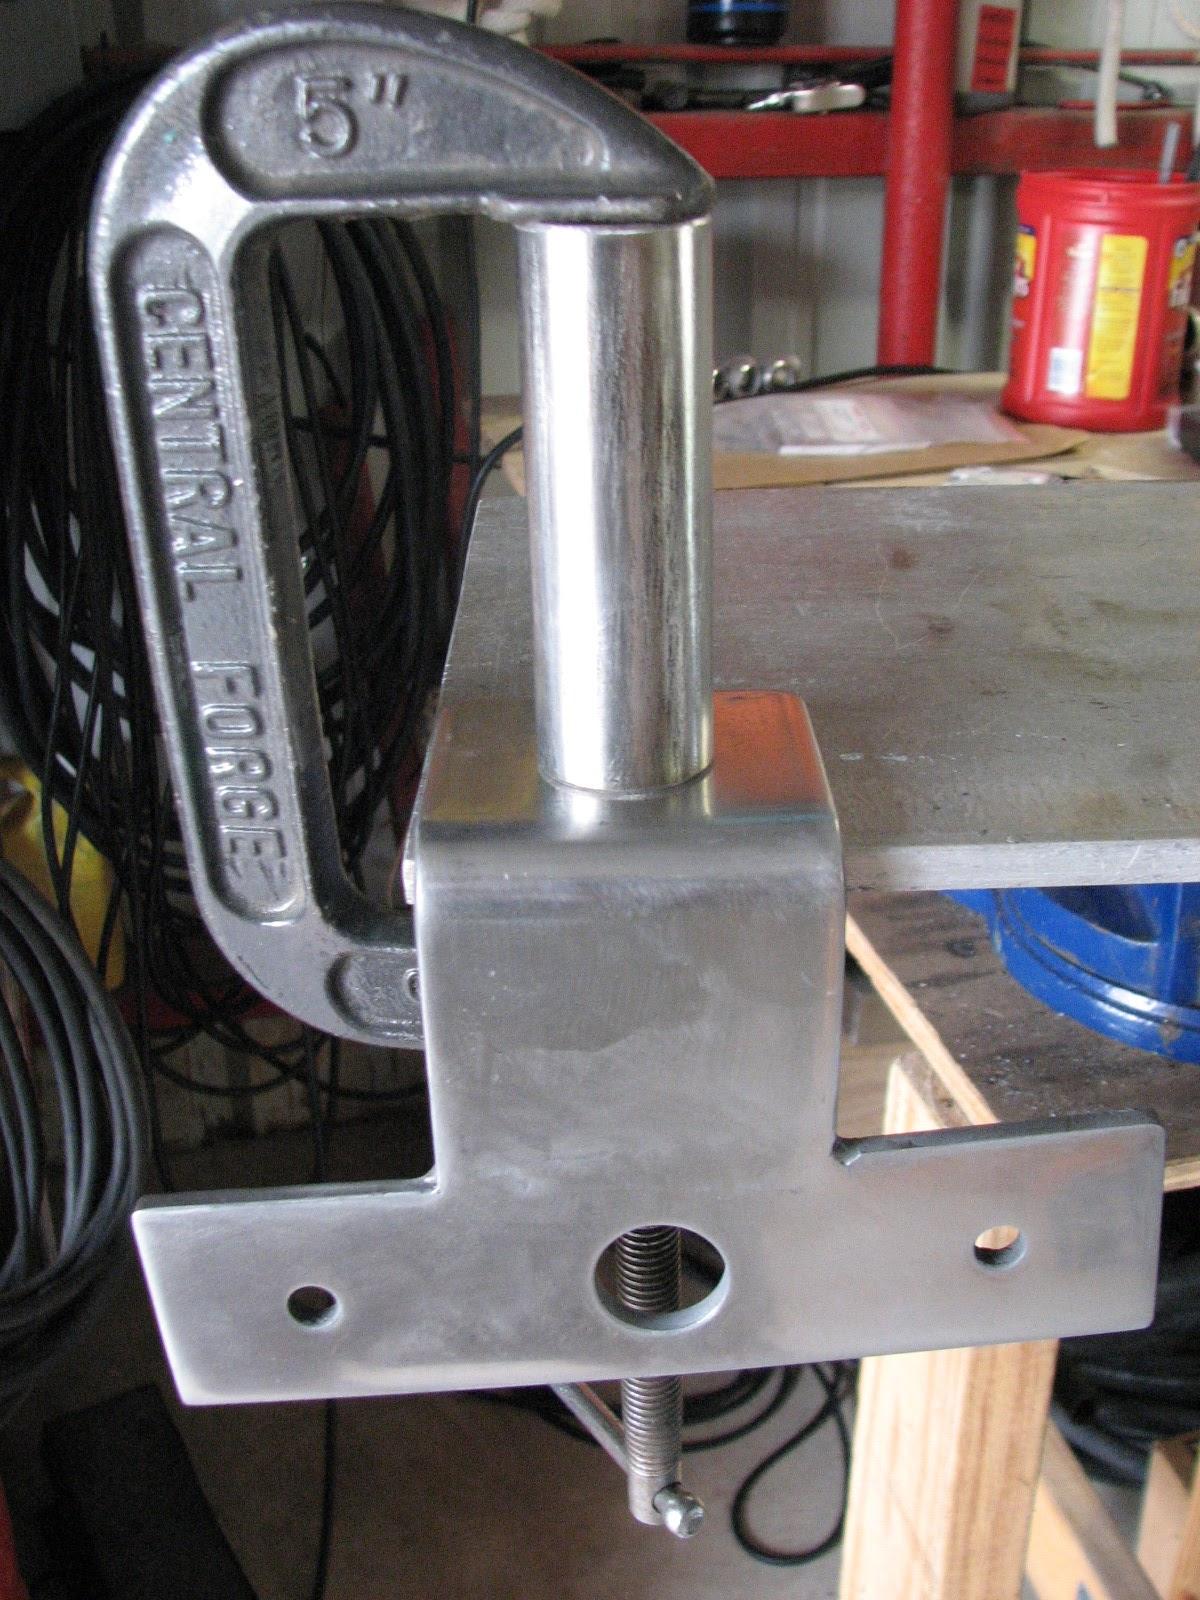
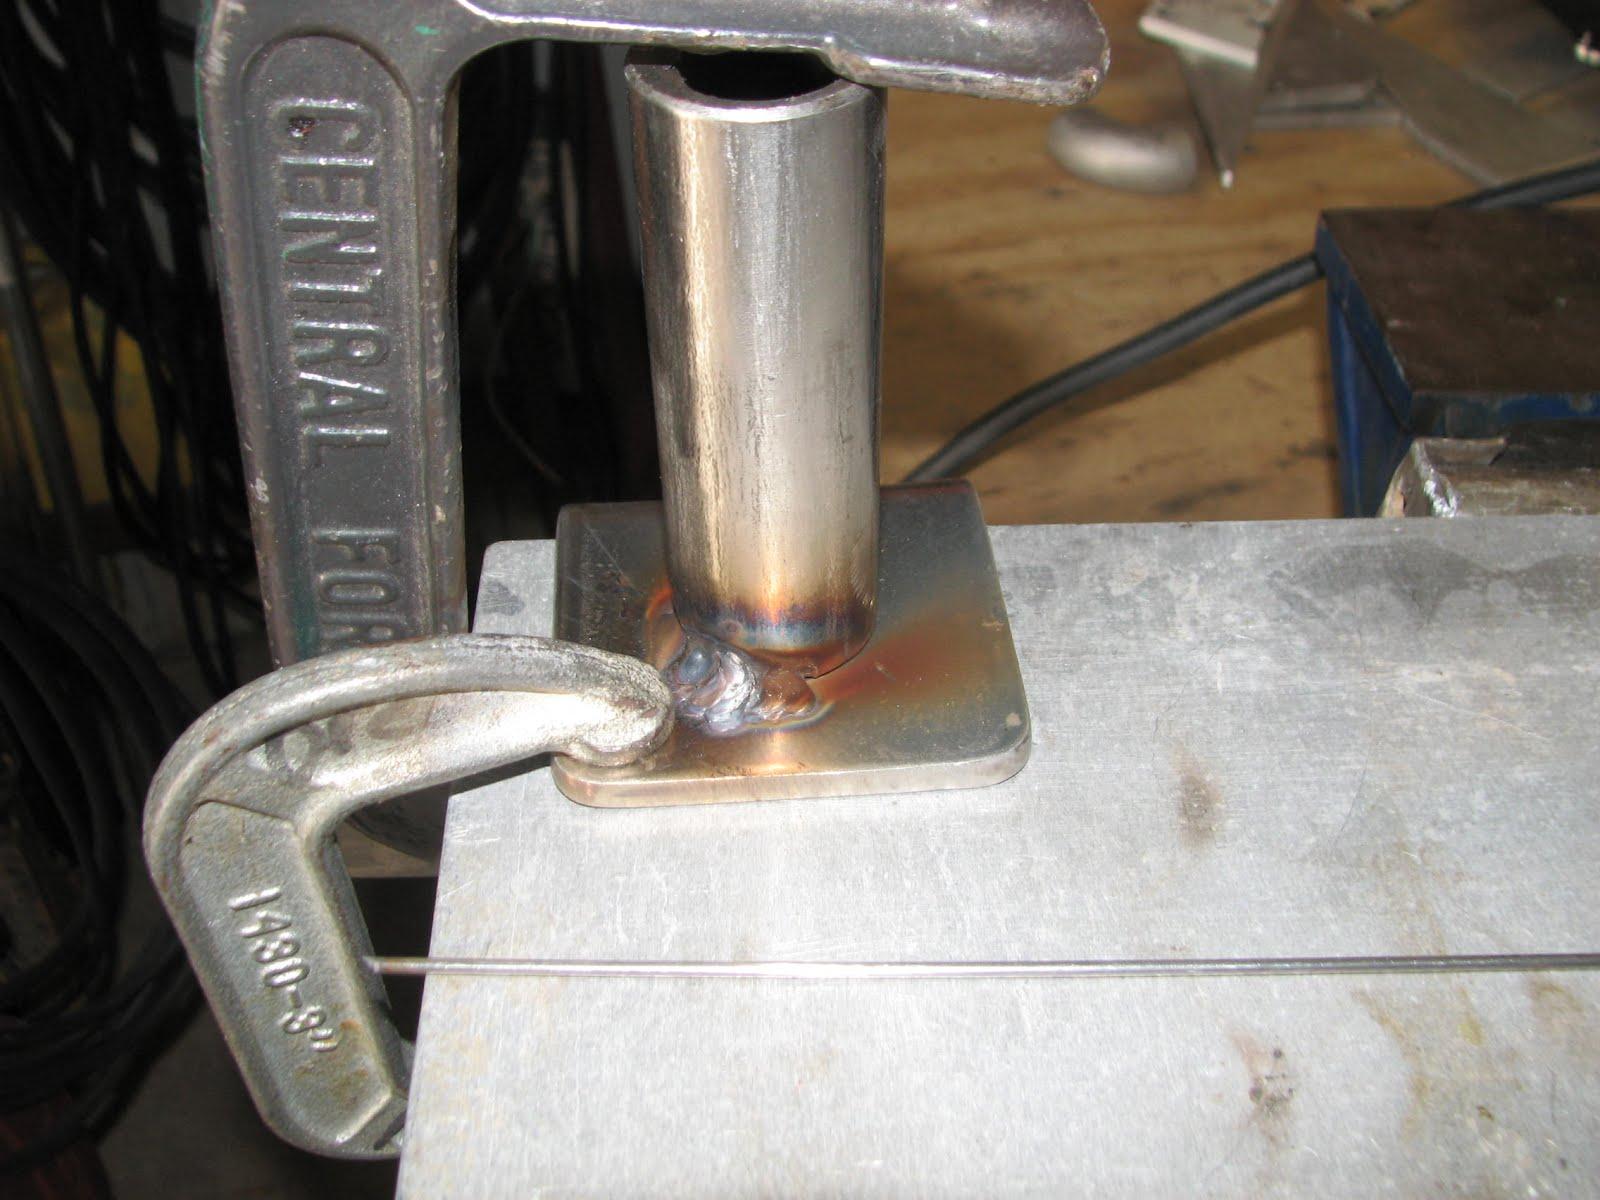
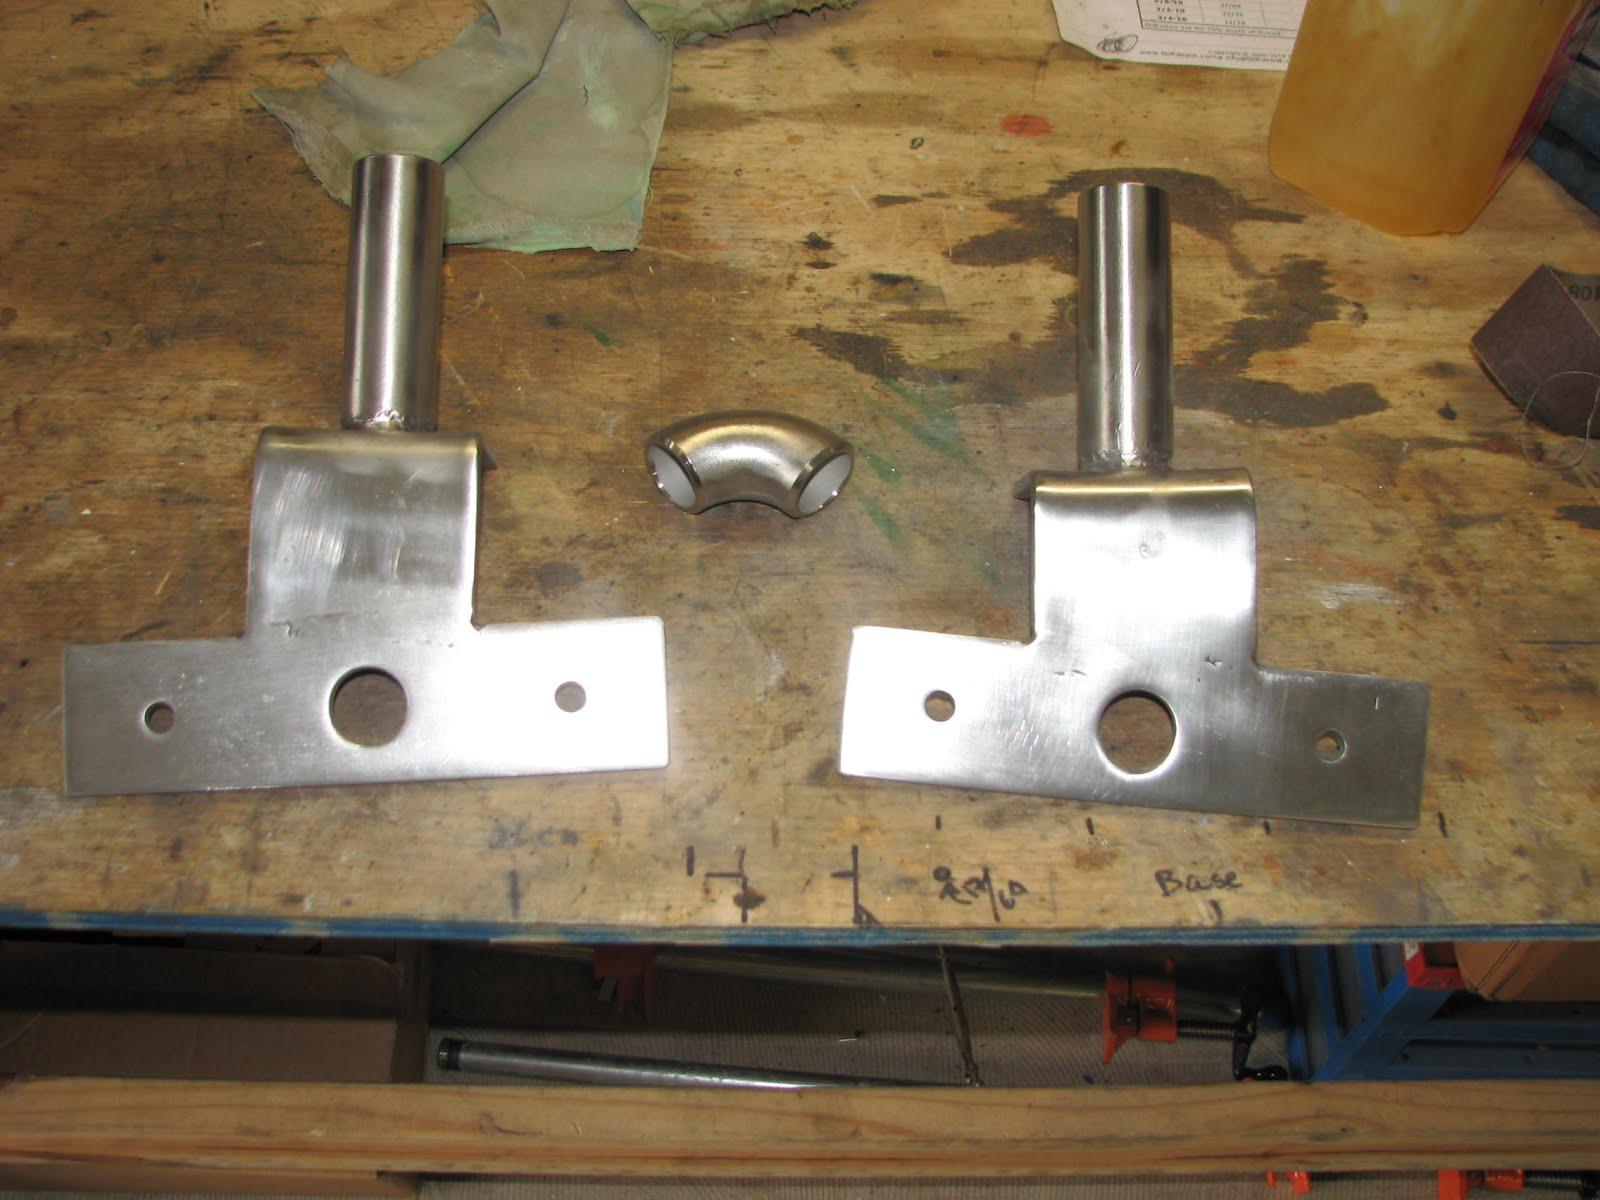
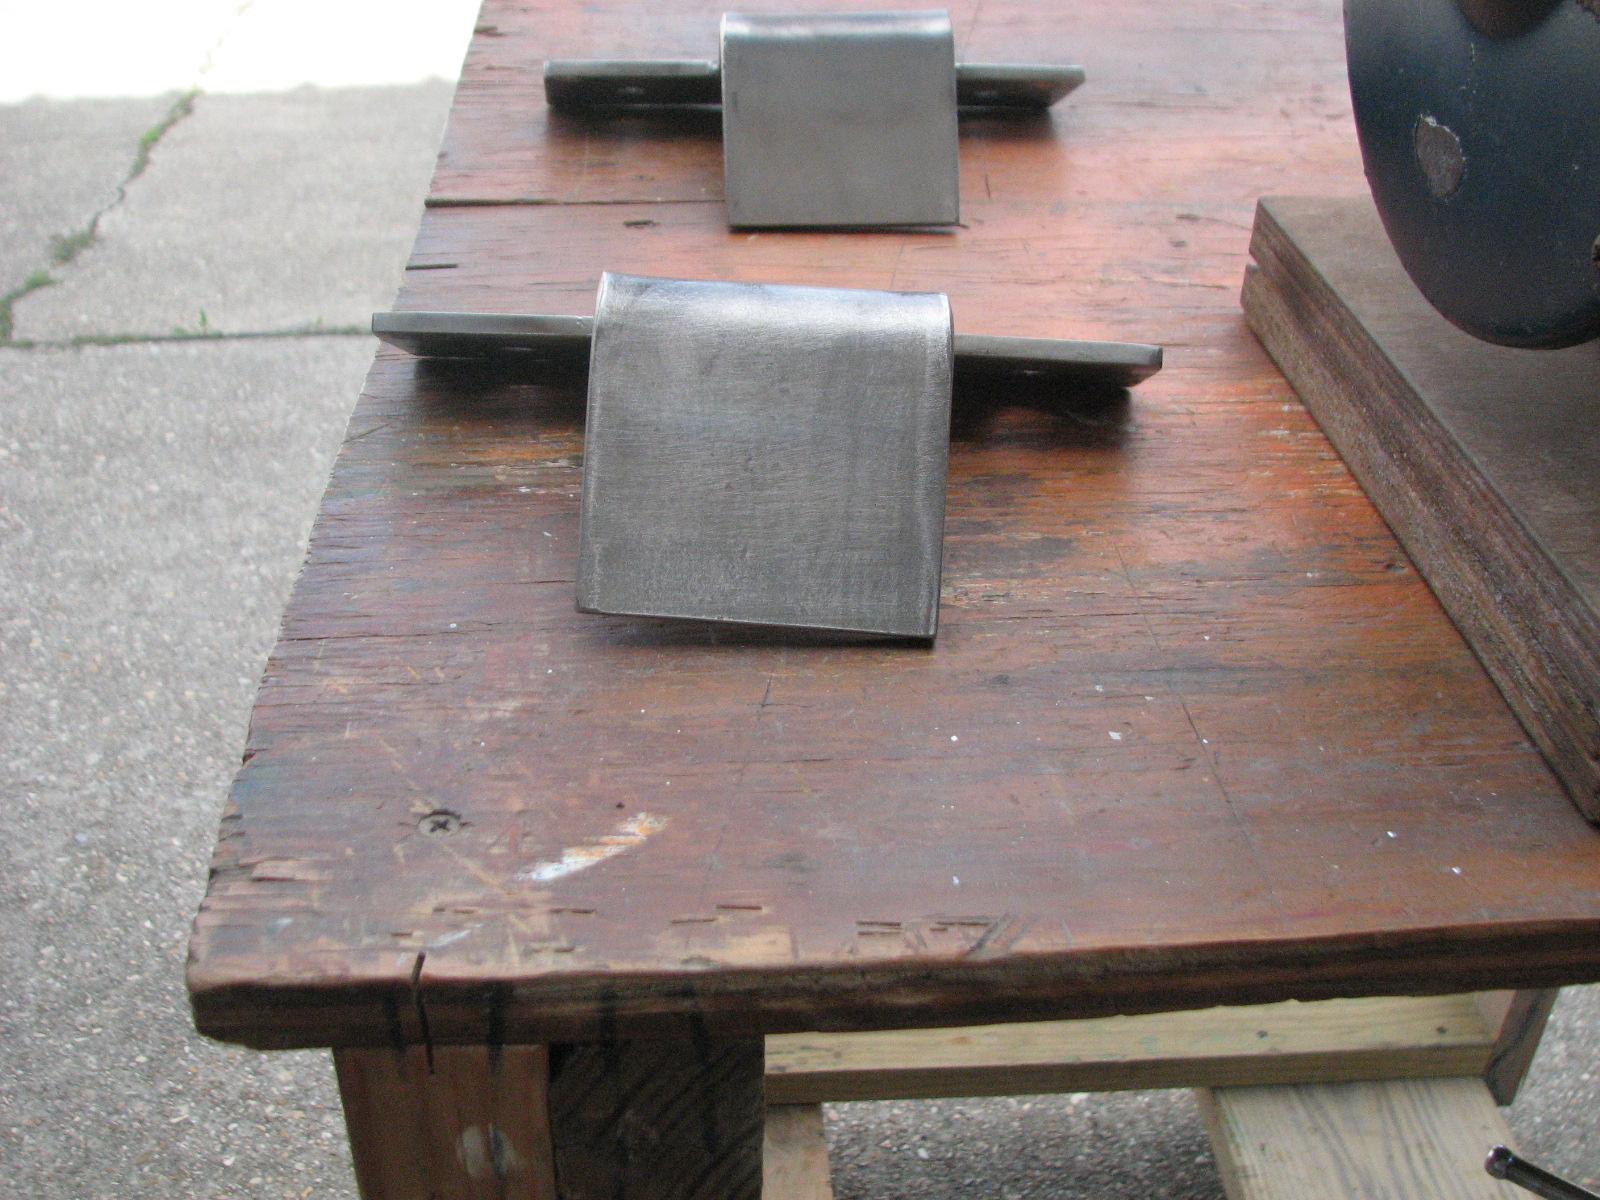
I then got out the chop
saw and cut a piece of 1” stainless steel schedule
40 pipe in half. This is in preparation to welding the
pipe to the aft ladder stanchions.
Pipe And Stanchion Pieces Ready For
Welding
Kitty called, and said she was awake,
so I went over to DREAM AWAY to have breakfast. After breakfast, I
got the two tubs we use to wash lines and put them on the front of
the boat. I am planning on running the generator,
but need to get the exhaust outlet out of the water at the stern. To
accomplish this I must put a lot of weight on the front of the boat.
The present method is to fill the tubs
and buckets with water at the front of the boat. I realized I had
forgotten to bring over the buckets from the shop,
so I went back to the shop
and got the buckets. When I had them on the front of DREAM AWAY I
filled them all with water.
I put the
tender into the water, to get
that weight off of the stern, and finally the generator
exhaust outlet was out of the water. I do not want to have the
problems I encountered with the exhaust outlet clogging up!
I started the generator,
and it started just fine and ran it for a total of two hours. During
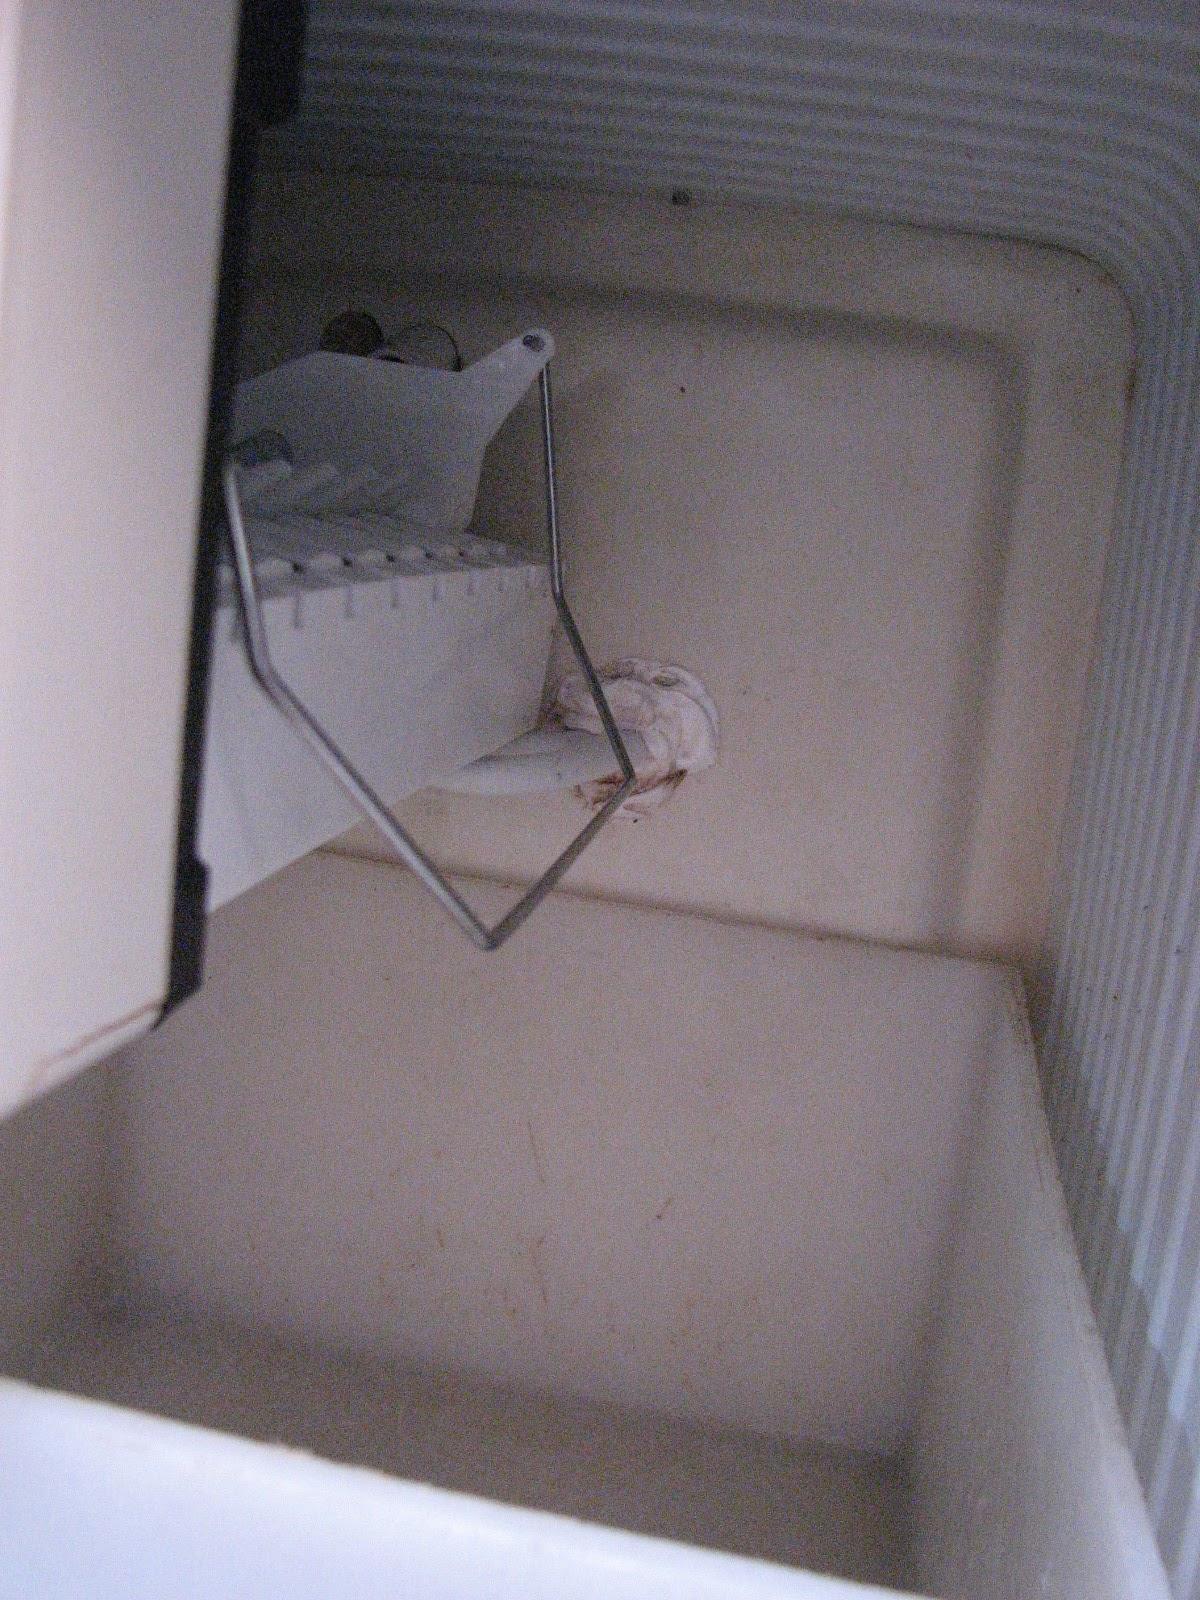
the time it was running, I changed the ice head in the ice maker.
I was having some serious problems with
the ice head not lifting the ice out of the tray, so I decided to
replace the ice head with the spare. But I found a problem with the
spare. It only had four wires coming out of it, and the one in the
ice maker had five wires.
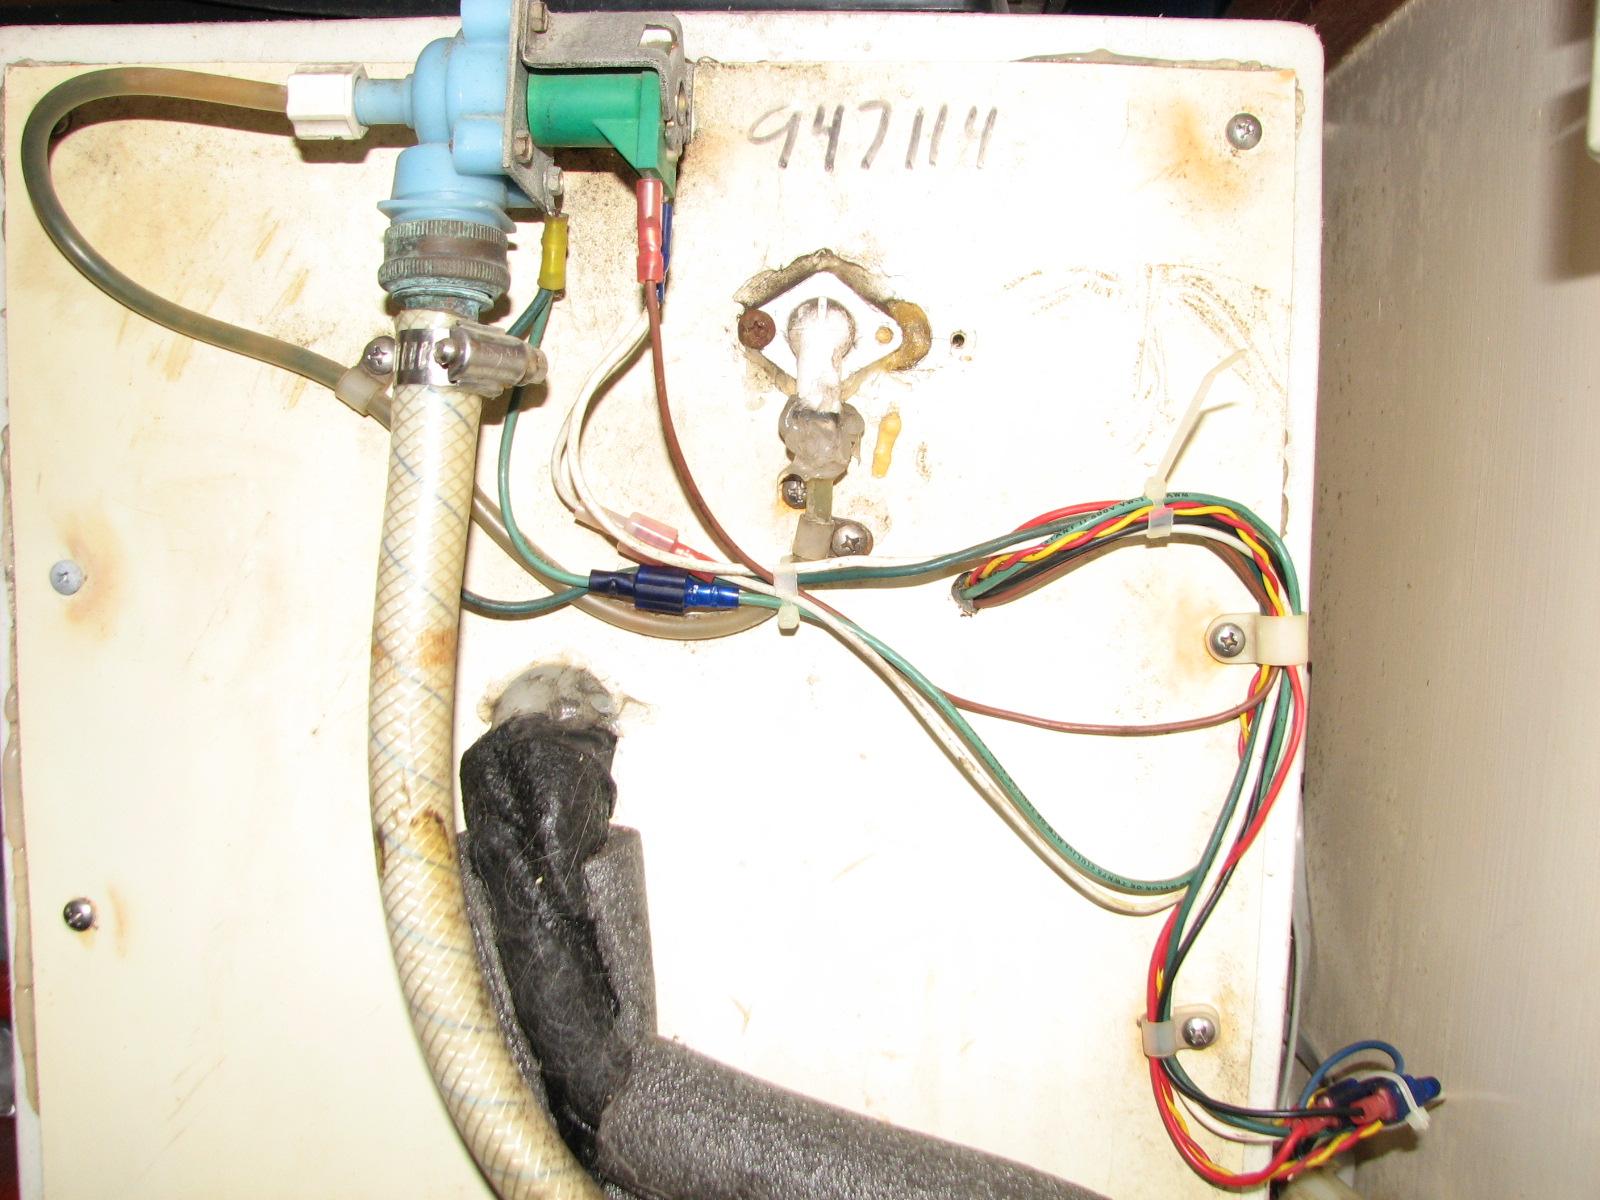
I called David at SeaFreeze
and he told me how to modify the ice head to add the fifth wire. I
made the modification to the spare ice head, after pulling out the
old ice head. I then installed the new ice head, modified all of the
wiring, and started up the ice maker.
New Ice Head In Ice Maker Box
Wiring On Back Of Ice Maker
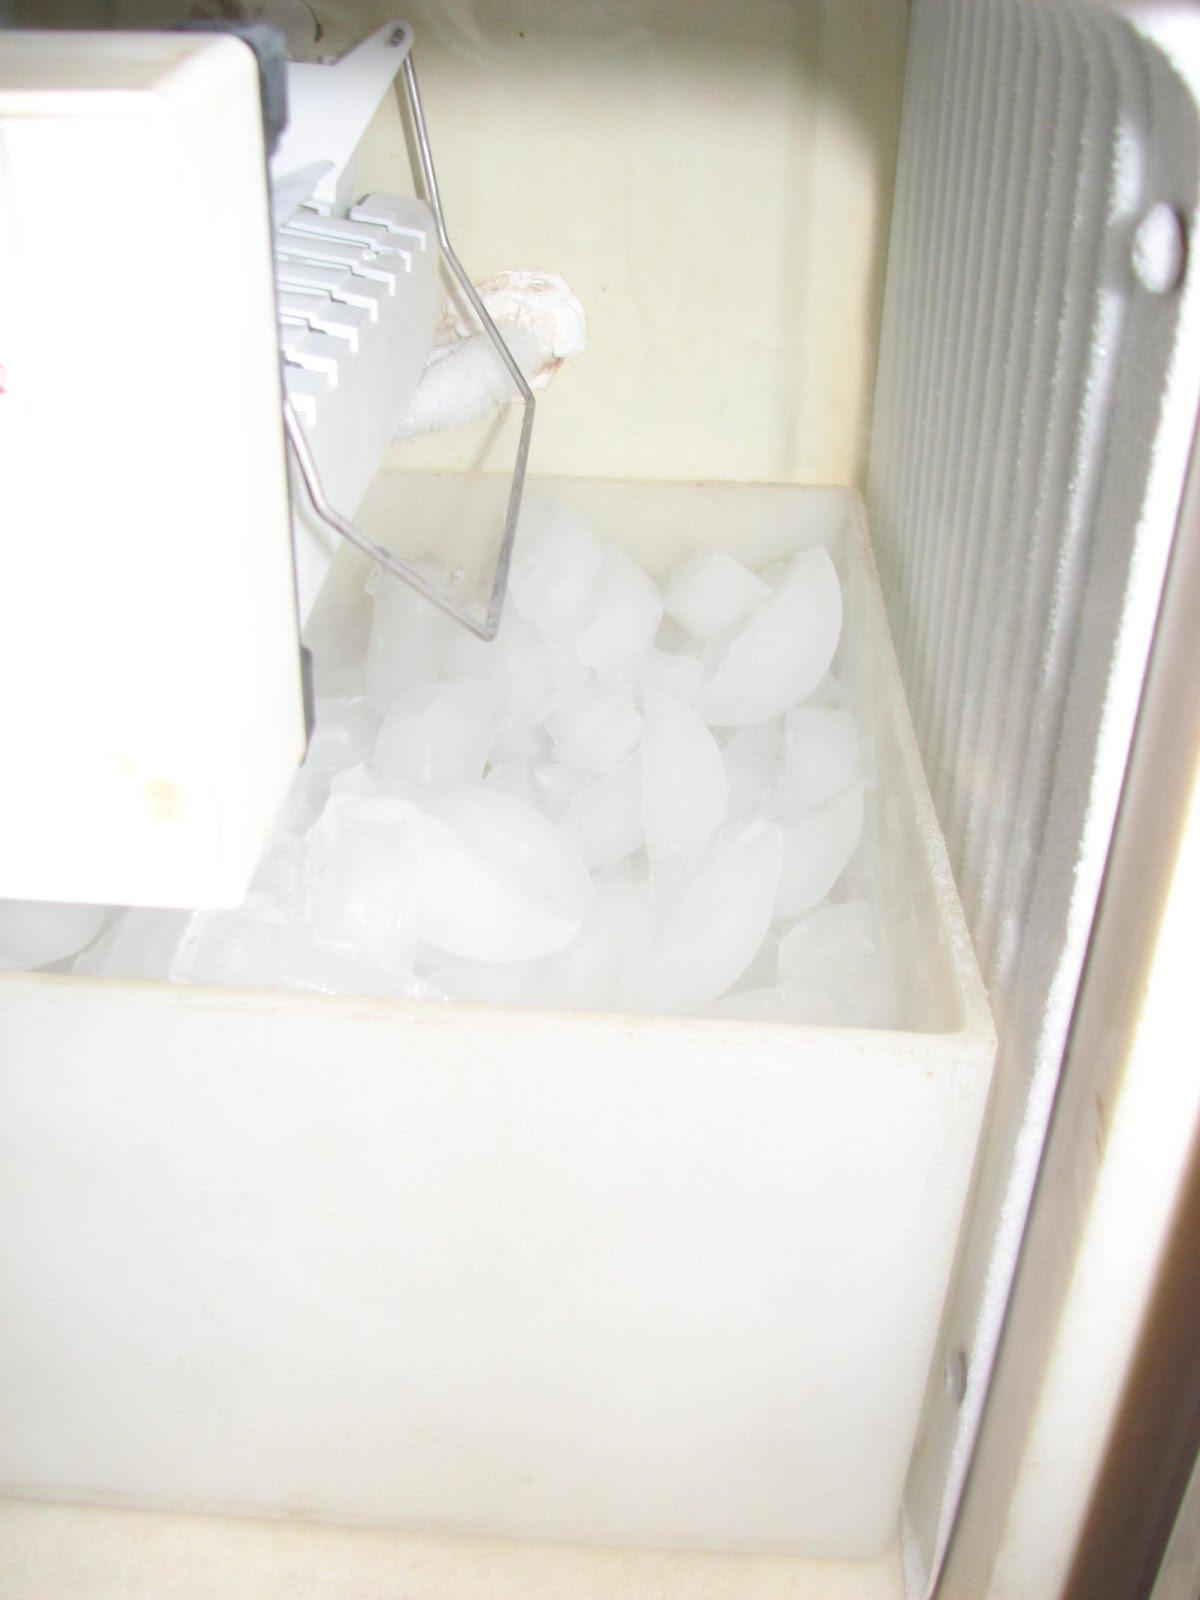
The ice maker started making ice, and
then would not make any more ice! It was late and I decided to work
on it in the morning! A quick note to fast forward to tomorrow. I
realized during the night that I had in fact turned off the water
supply to the ice maker, instead of turning it on. When I turned on
the water, the ice maker started cranking out the ice cubes!!
Ice Maker Producing
May 25, Sunday, 2014
Started off the morning with my normal
ritual of getting on the Internet, answering email, and checking the
weather, while making a pot of coffee. When the coffee is started, I
feed our two cats, Jillian
and Jordan, and spend time with them brushing their
beautiful coats.
Did not go to the
shop
today, but caught up on emails, and the maintenance log. Worked on
the Linux machine to try and get it to be my general purpose and
navigation computer.
Several steps forward and a couple of
steps back. Making progress on the OpenCPN,
but still not satisfied with the application completely.
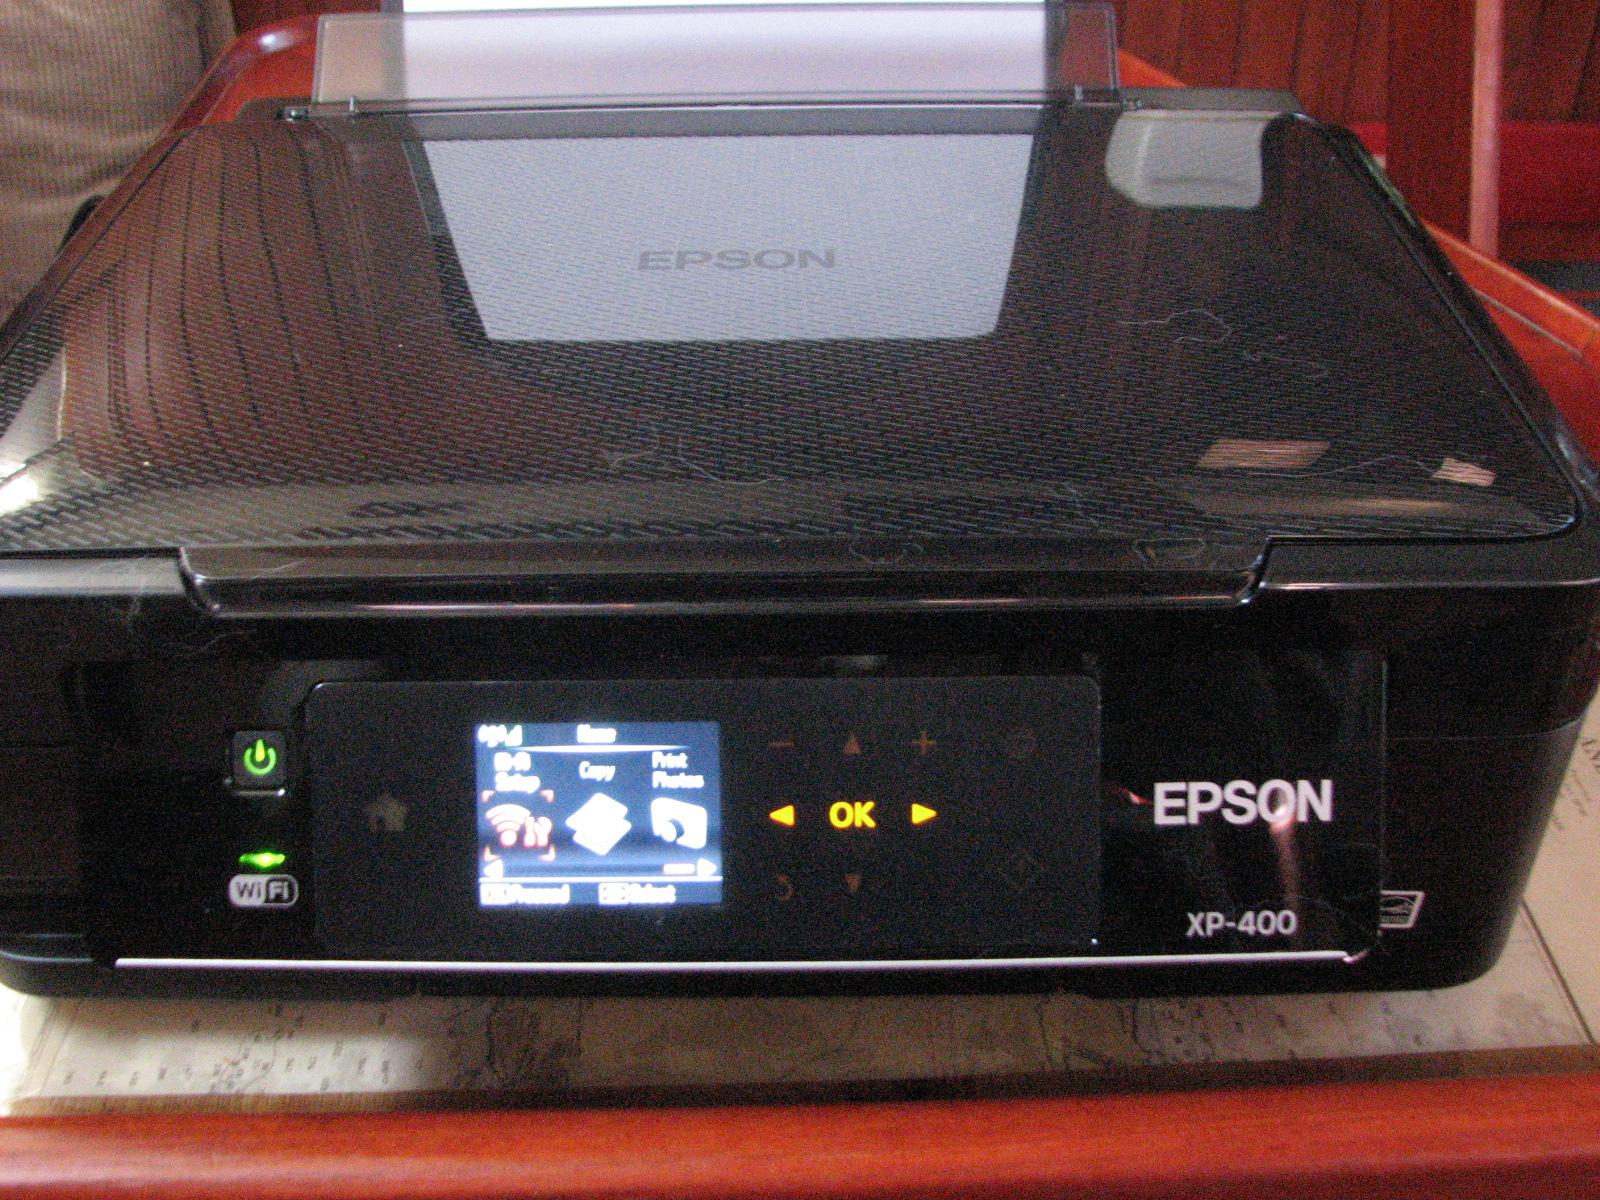
I was able to get the new Epson
XP400 print working on Linux. I also checked out the
VueScan
software on the unit, and it worked great.
Checking Out Printer Operation
Still working on getting the satellite
phone to make a data call.
May 18 - May 24, Sunday -
Saturday, 2014
We left very early on the morning of
the 18th of May, 0430, and flew to Fort Walton Beach, Florida. We
spent four great days with Stacy and Tina. It was a wonderful
vacation, and we did spend a lot of time working on the computers,
but we were very relaxed.
We then went to Miami, via Fort Myers,
Florida, to attend a Shiva for our dear friend Marilyn who was
murdered by her ex-husband. She and her fiance were murdered two days
before their wedding.
A very sad and unhappy time!
May 17, Saturday, 2014
Started off the morning with my normal
ritual of getting on the Internet, answering email, and checking the
weather, while making a pot of coffee. When the coffee is started, I
feed our two cats, Jillian
and Jordan, and spend time with them brushing their
beautiful coats.
Went to the shop
first thing and had to straighten up a bit. Yesterday after I had
helped Troy with his boat, we did not have a lot of time to get to
Norman’s. When I unloaded Ruby,
I just piled everything at the front of the
shop.
Now It was time to put it all away.
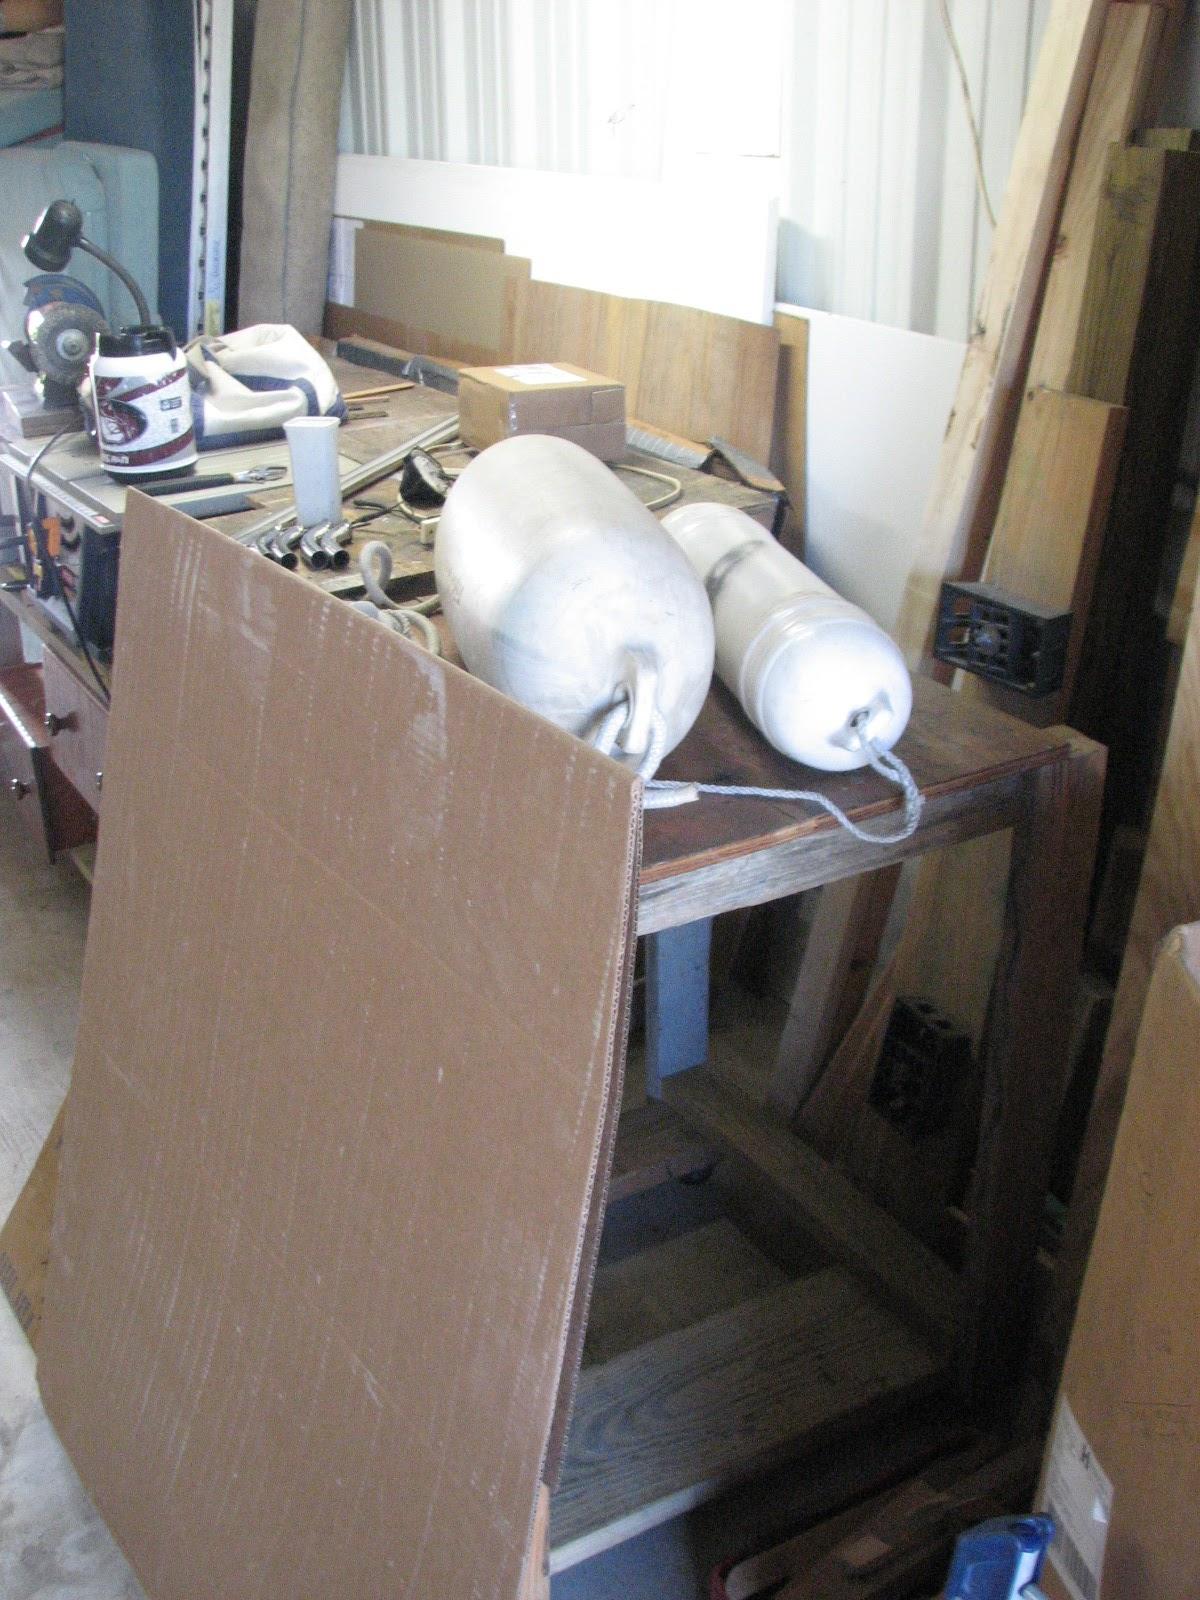
Fenders And Template Cardboard
I had brought over two stainless
steel shackles, that would fit on the two large
shackles at the end of the snubbers, so I made them up to go back to
DREAM AWAY. The big shackle on the second snubber I was not happy
with. There was not enough galvanizing
on it, so I decided to take the snubber over to DREAM AWAY and
replace the big shackle.
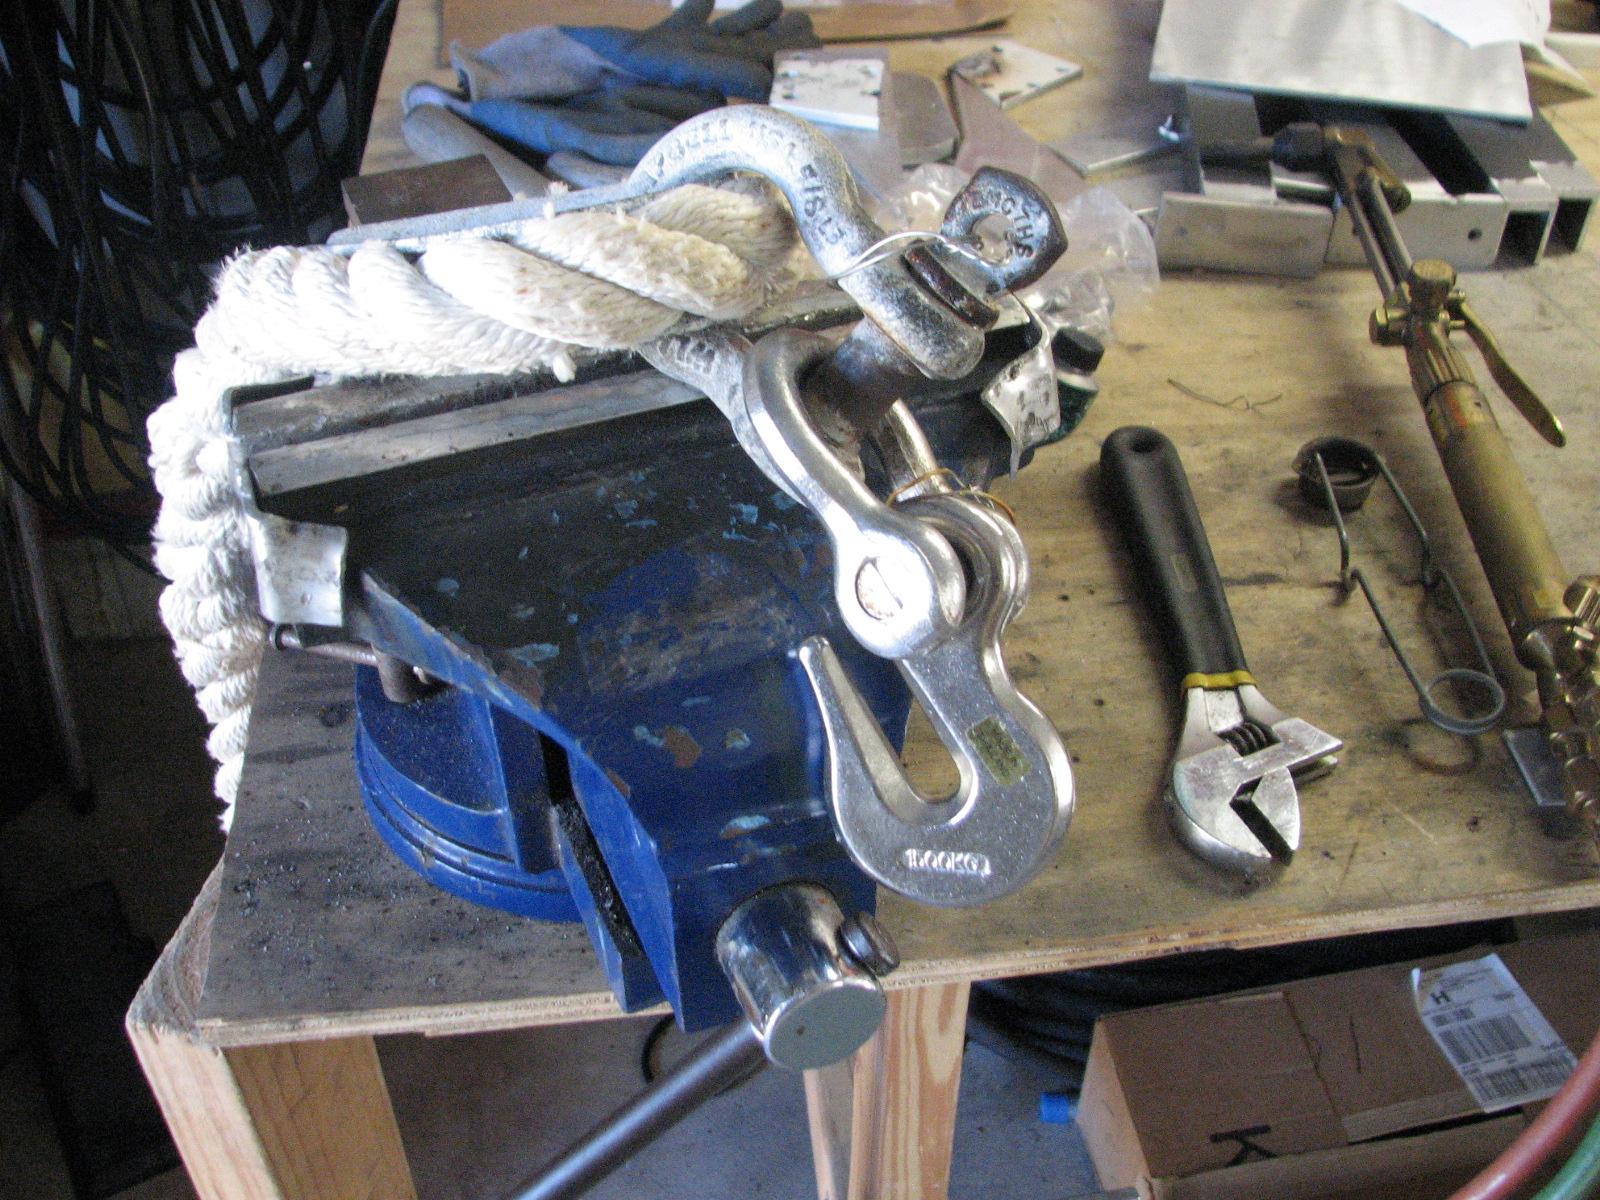
Snubber With New Chain Grabber Ready
For Use
I had purchased some ¼” X 20 X 1 ¼”
hex bolts and wing nuts to finish off the risers for the solar
panels. I used the bolts, wing nuts and the spacers I had fabricated
to complete ll of the solar panel risers.
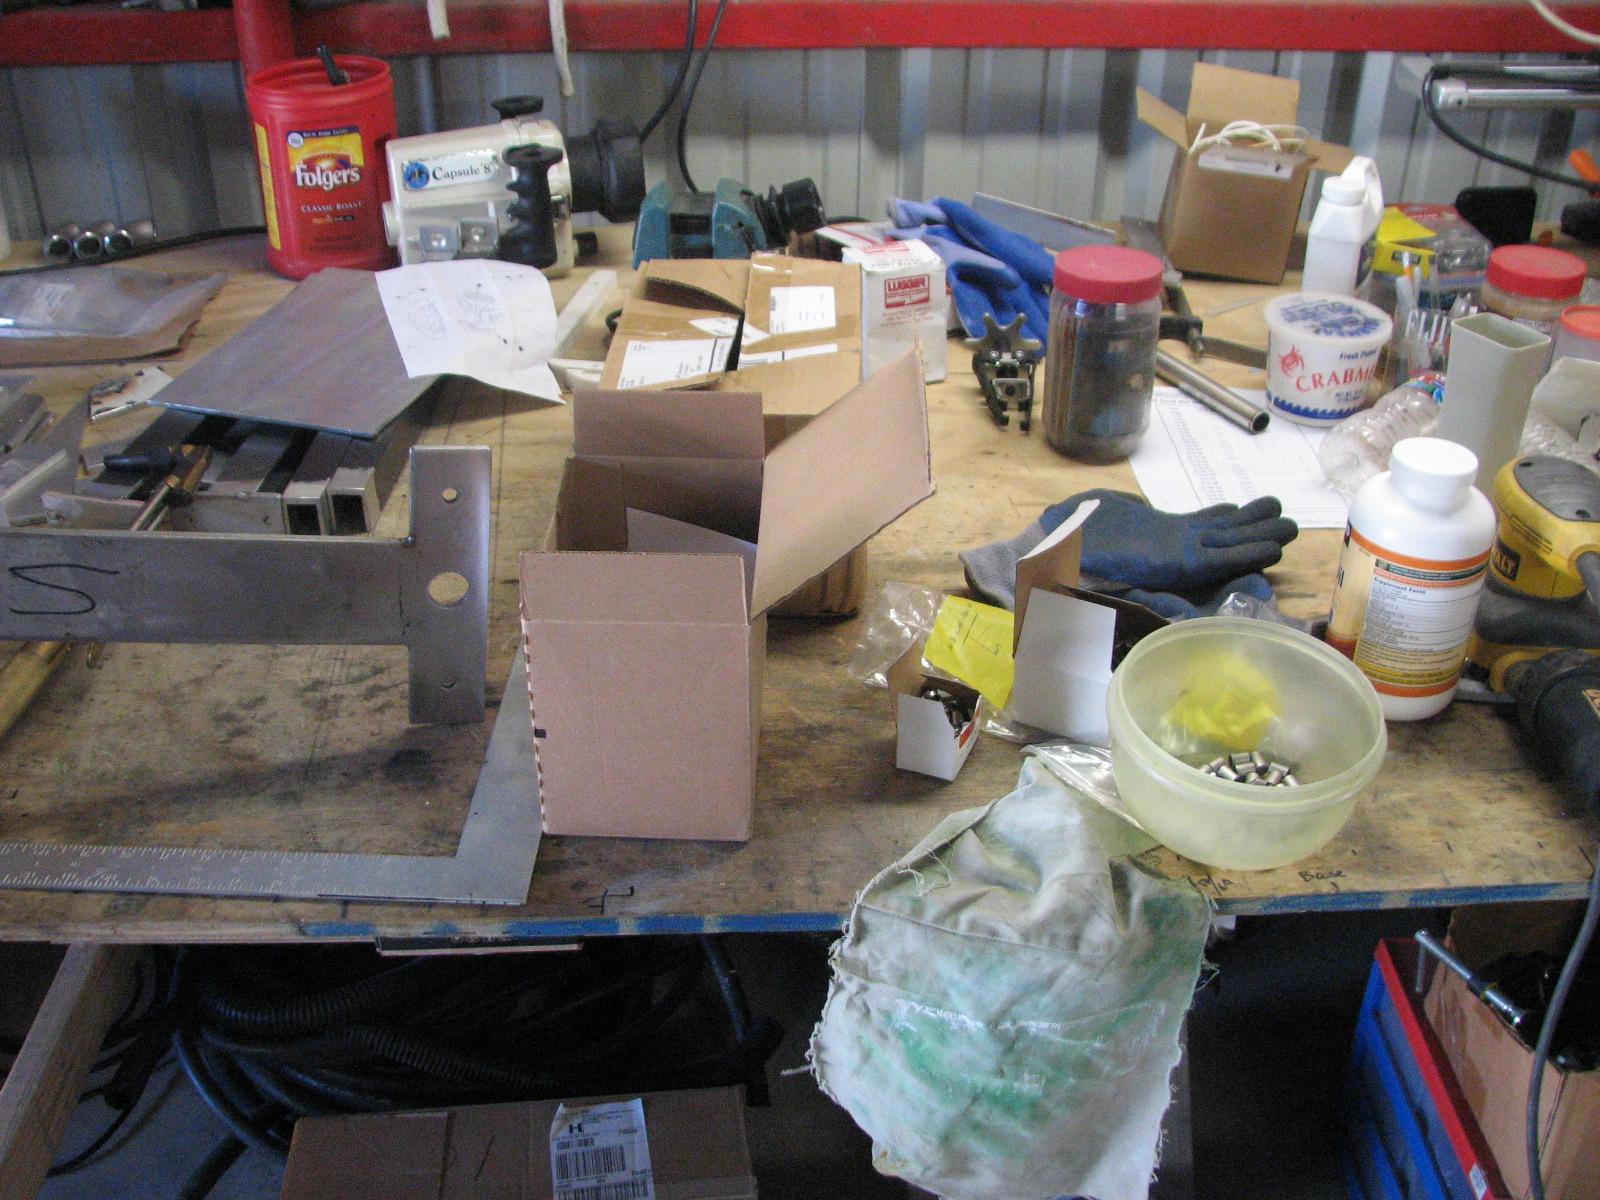
Bolts, Nuts And Spacers On Workbench
Completed Solar Panel Risers
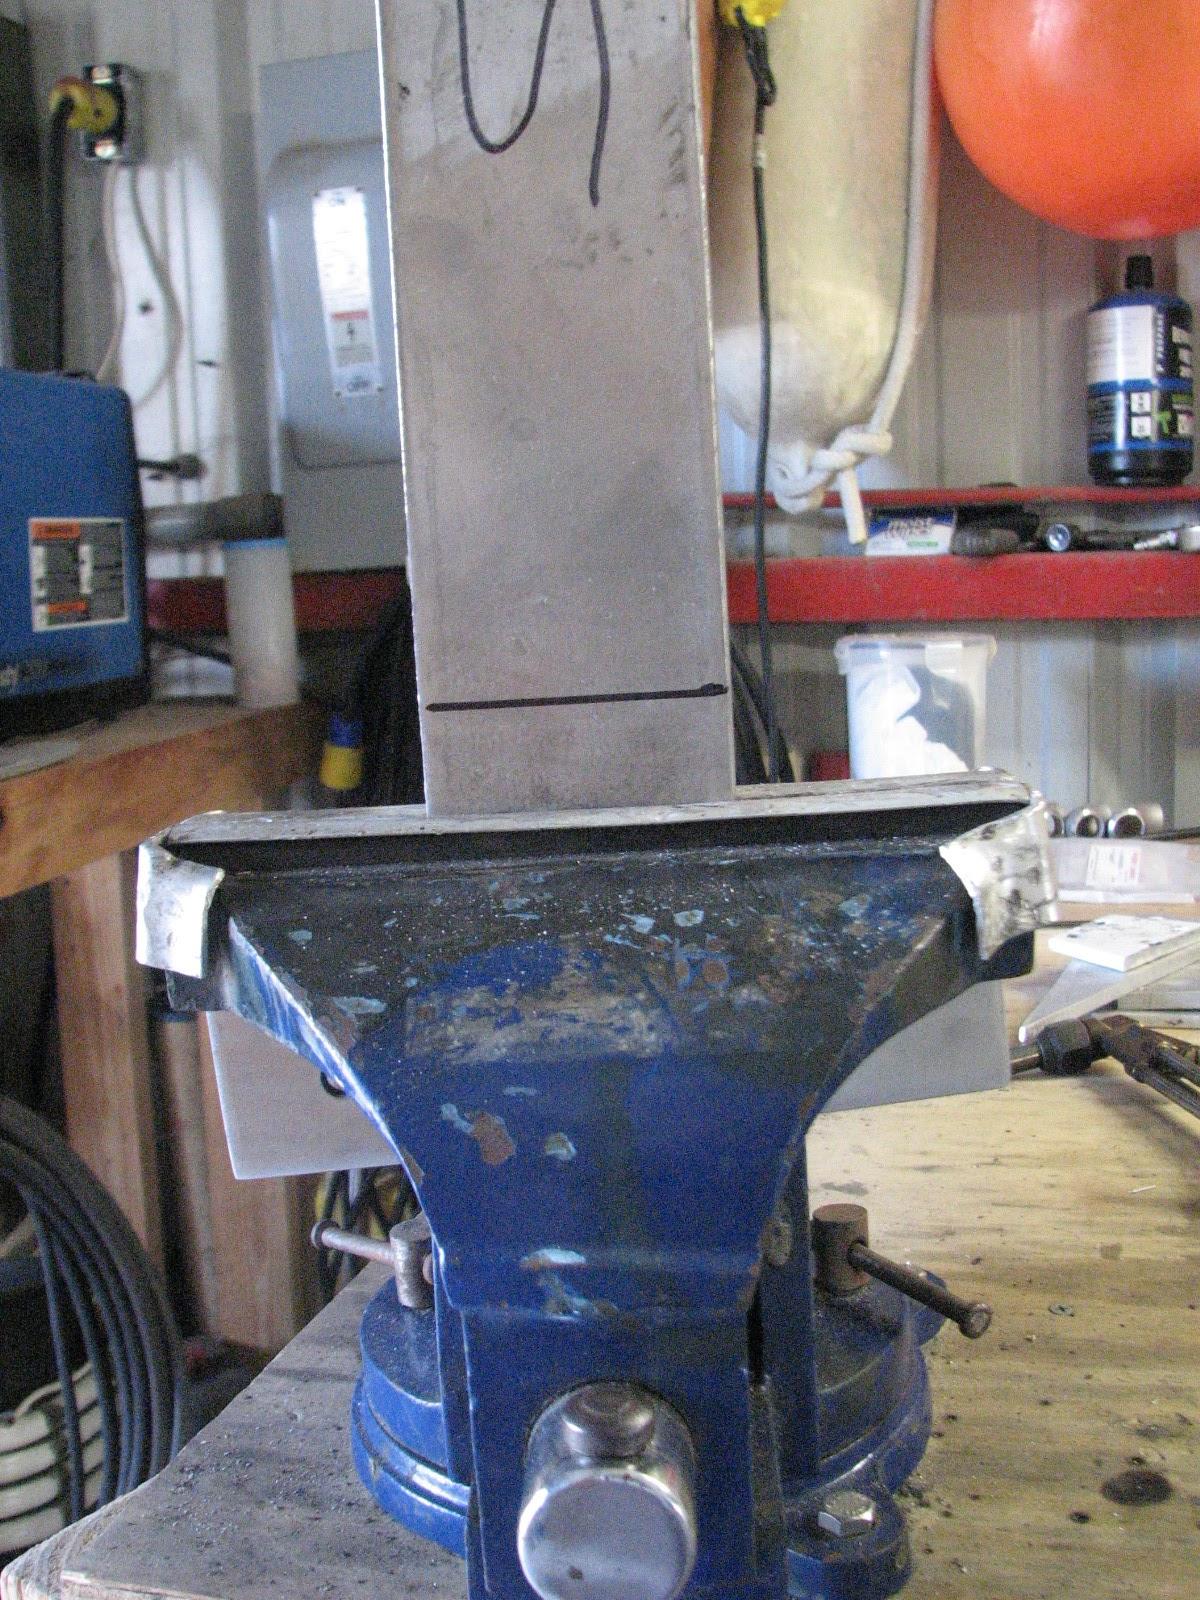
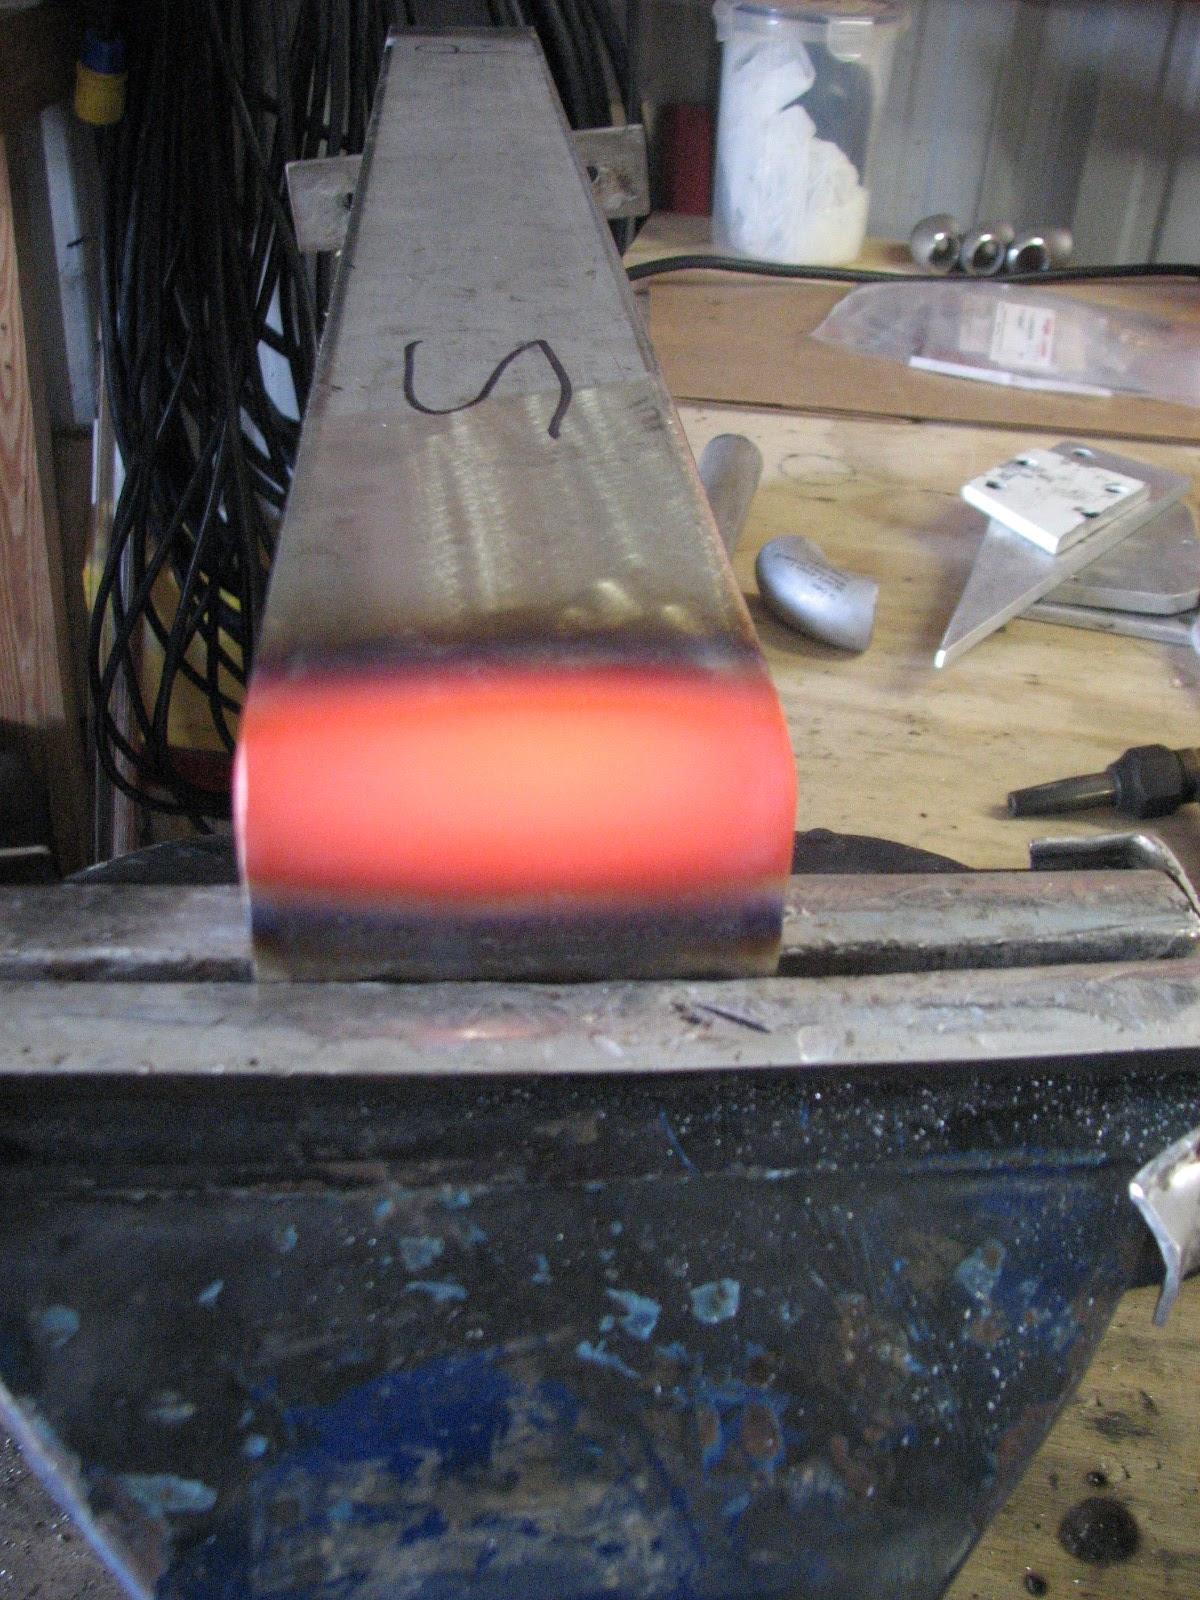
When the risers were finished, next on
the list was bending the starboard stanchion base plate for the stern
ladder. I put the plate in the vice after being marked, fired up the
Oxy-Propane
torch. I heated the plate at the mark and made the 90° bend.
Marked Base Plate In Vise
Plate After The Bend
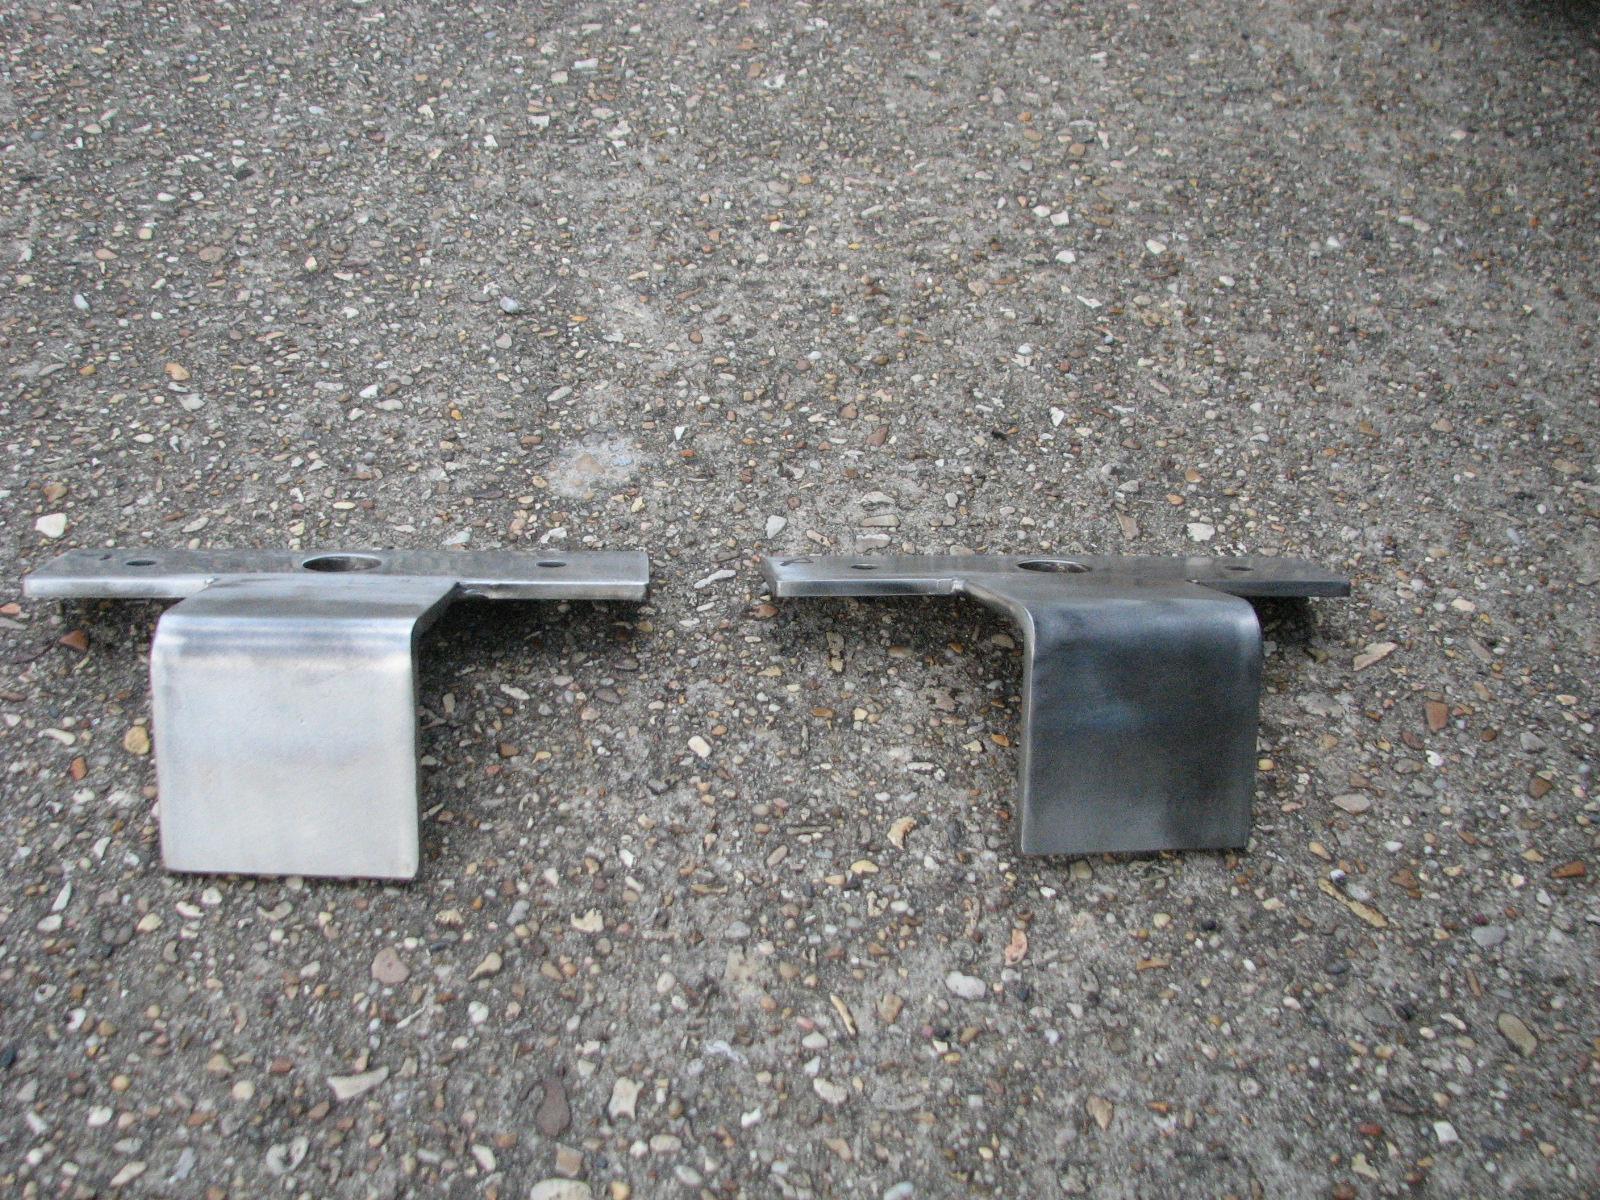
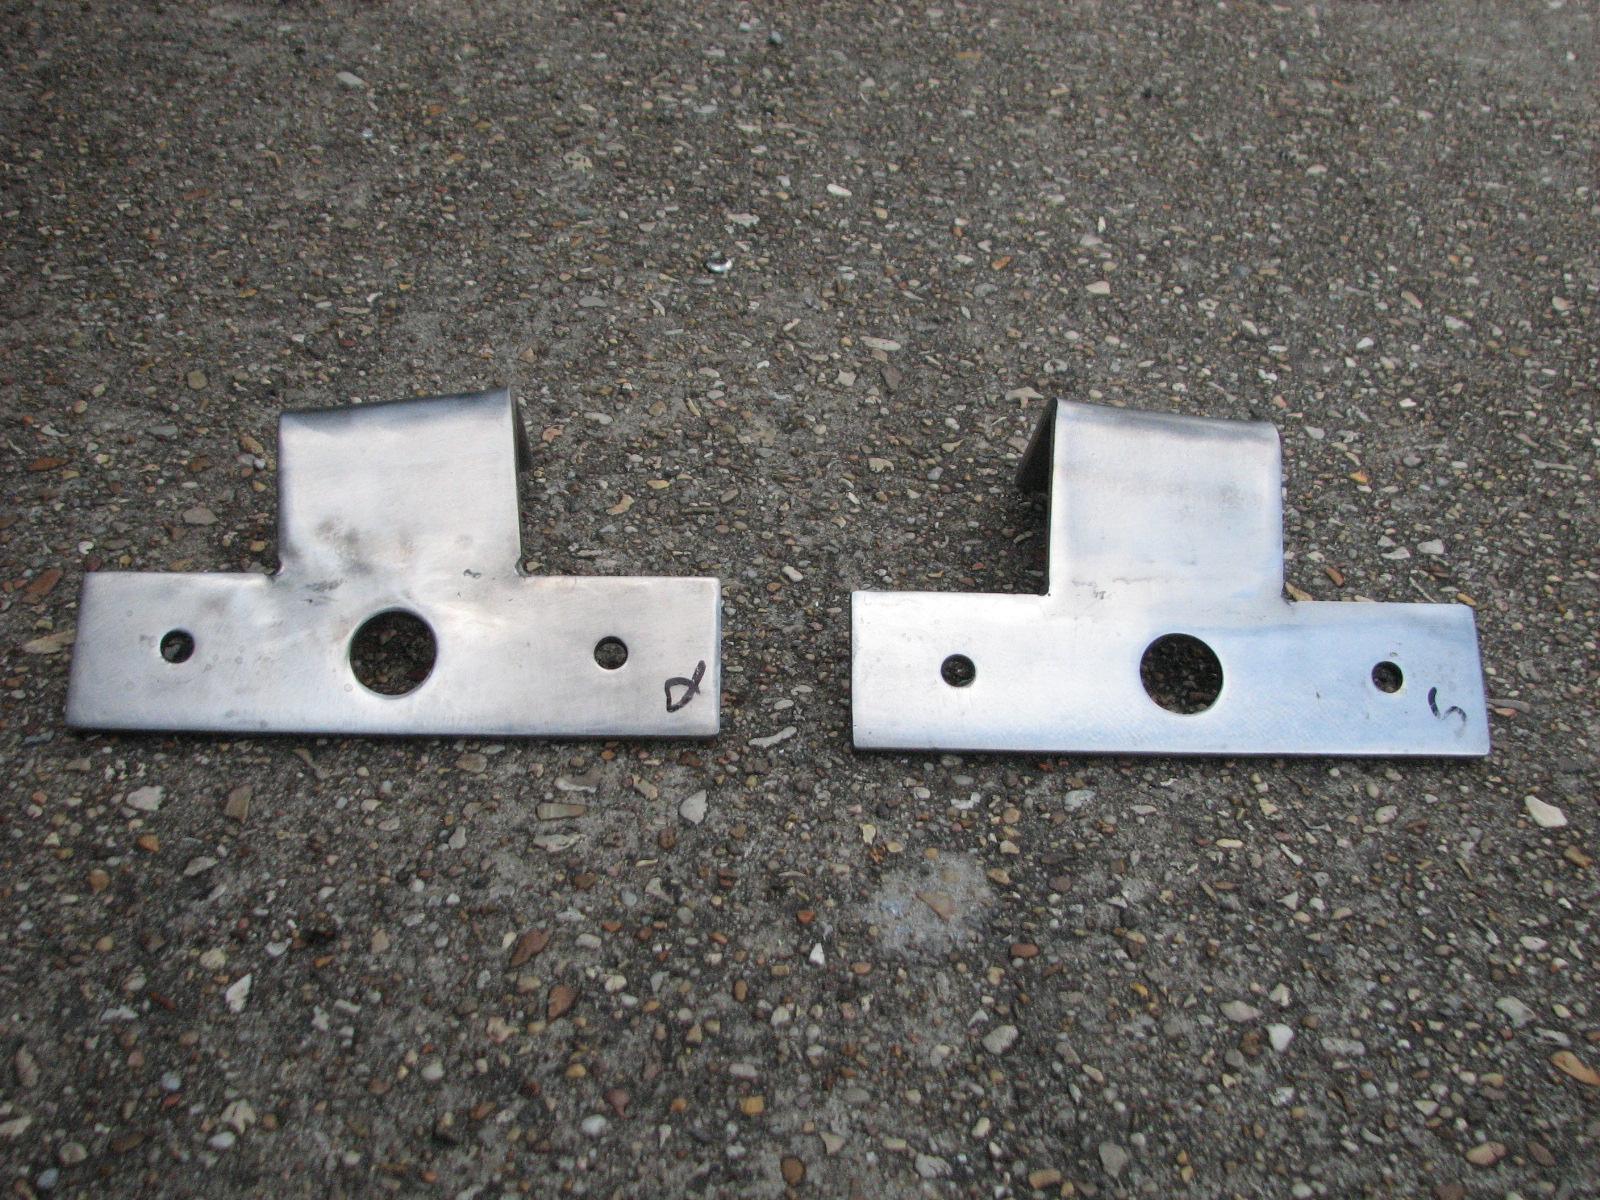
When the plate had cooled down, I got
out the chop
saw and made the cuts so the pipe can be welded on for
the ladder.
Plates Cut For Installation On The
Stanchion Bases
Plates Cut For Installation On The
Stanchion Bases
Kitty had called, so I loaded up the
snubbers and the stanchion base plates into Ruby,
and went over to DREAM AWAY to have breakfast.
When I had finished breakfast, I dug
out a big shackle, and completed the installation of the new chain
grabbers on the anchor snubbers. I also installed seizing wire on all
of the shackle clevis pins.
Complete Installation Of The Chain
Grabbers On Both Snubbers
Next project is something I had wanted
to do for many months, but like a leaky roof, I never remember when
the propane tank was not in use.
In my aft, aft deck box, the starboard
propane tank is in such a location, it is always difficult to attach
the regulator for the Hummer
Grill. The fix was very easy, just move some stuff in
the propane locker around, and the tank would be at the front of the
locker instead of the back. So I did it, and it fixed the problem.
Propane Tank At Back Of Propane Locker
Propane Tank At Front Of Propane Locker
I then put the outboard motor and the
tender
back aboard DREAM AWAY so they would be out of the water while
we are on our trip to Florida.
The remainder of the day was spent
packing for our trip. We are flying out tomorrow morning on a 0615
flight so we are getting up at 0400. We also attended a Luau Saturday
evening at our next door neighbor’s house.
May 16, Friday, 2014
Started off the morning with my normal
ritual of getting on the Internet, answering email, and checking the
weather, while making a pot of coffee. When the coffee is started, I
feed our two cats, Jillian
and Jordan, and spend time with them brushing their
beautiful coats.
Did not go to the shop
this morning, but helped my neighbor, Troy, move his boat to the
shrimp dock so we could remove one of his engines. We got the one
engine removed and loaded onto a trailer, and then secured his boat
to the shrimp dock. The hope is he will have the engine repaired and
be able to get the engine back into the boat within a week.
I next helped another neighbor, Hollis,
pressure wash the side of his boat using my
tender.
When all of that was finished, I went
over to the shop
to unload Ruby.
It was back to the marina
to get cleaned up.
We drove Ruby
over to Norman’s Auto Diesel repair, because he is going to change
out the NV4500 manual transmission in Ruby.
Kitty and I then drove into New
Iberia so we could have a late lunch and purchase a
new printer for DREAM AWAY.
We got back to DREAM AWAY after
stopping for a couple of more errands around 1630. We had to make
some plans around our trip to Destin to visit with Stacy and Tina,
and to plan the trip to Miami for our dear friend’s funeral.
May 15, Thursday, 2014
Started off the morning with my normal
ritual of getting on the Internet, answering email, and checking the
weather, while making a pot of coffee. When the coffee is started, I
feed our two cats, Jillian
and Jordan, and spend time with them brushing their
beautiful coats.
Went over to the shop
with the remaining two windows from the hard dodger. I also took over
a more coarse file to file off the rough edges of the Optix
acrylic window. I set up and drilled the necessary
holes in the Optix
acrylic windows.
I closed up the shop,
and drove down to the Port
of Delcambre’s storage room and loaded up all of the
cleat project gear. I already had my ½” drill in Ruby,
plus the extension cord from the shop,
so I drove over to the marina.
T-Boy, the dockmaster, showed up so we
loaded all of the gear in the dock trolley, and headed out to Pier
“C”. Once we got the hang of the cleat installation we made
pretty good progress. We installed about eight of the cleats.
We did discover one problem. When I
measured the thickness of the boards on the pier that we had to drill
through, I was at the north end of the pier. The boards were 8 X 8's.
When we started drilling into the boards at the south end of the
pier, they used different boards, 12 X 12's! We will have to get 16”
bolts to complete the cleat project at the south end of the pier.
T-Boy and I worked about two hours, and
then quit that project for the day. We plan to get back onto it
tomorrow afternoon.
When I got back to DREAM AWAY, I
removed the two aft stanchion base plates from the stanchion bases. I
will be using these plates to weld on the aft ladder I am
constructing.
Stanchion Base Plates At The Shop
I had purchased two stainless steel
chain grabbers several weeks ago for the anchor line snubbers, but
never installed them. I decided now was the time! As it turned out
the clevis pins in the shackles were so rusty, I could not get them
loose, so this is a project for the big vice at the shop.
I loaded the stanchion base plates and
the snubbers into Ruby,
and went back to the shop. I was able to get the clevis pins removed
from the shackles holding the old rusty chain grabbers from the
anchor line snubbers.
As is common with these situations, the
clevis pin would not go through the hole in the new stainless steel
chain grabber. This is because I am using 1” nylon rope for the
snubber and the thimble for the eye requires a large shackle. I will
have to use a smaller size shackle to be able to attach the new
stainless steel chain grabber to the anchor line snubber.
Anchor Line Snubbers On Floor In The
Shop
I then got to work on the aft ladder
project. I cleaned off the stanchion base plates, and cleaned a piece
of ¼” X 3” stainless steel flat bar I have. I am welding the
flat bar to the stanchion base, then heating the flat bar and bending
it 90°. On the bent piece of flat bar I will be welding the pipe for
the ladder.
Flat Bar Welded To Stanchion Base Plate
Bent Piece Of Stainless Steel Flat Bar
Last item for the day was the console
varnish
project. I applied fifth coat of
varnish
to console base, second coat to bottom of cup holders, and first coat
to lid bottoms.
The day actually ended on a major
downturn. We got a telephone call that a very dear friend’s former
husband had shot and killed her and her fiance two days before their
wedding.
May 14, Wednesday, 2014
Started off the morning with my normal
ritual of getting on the Internet, answering email, and checking the
weather, while making a pot of coffee. When the coffee is started, I
feed our two cats, Jillian
and Jordan, and spend time with them brushing their
beautiful coats.
Before going over to the shop
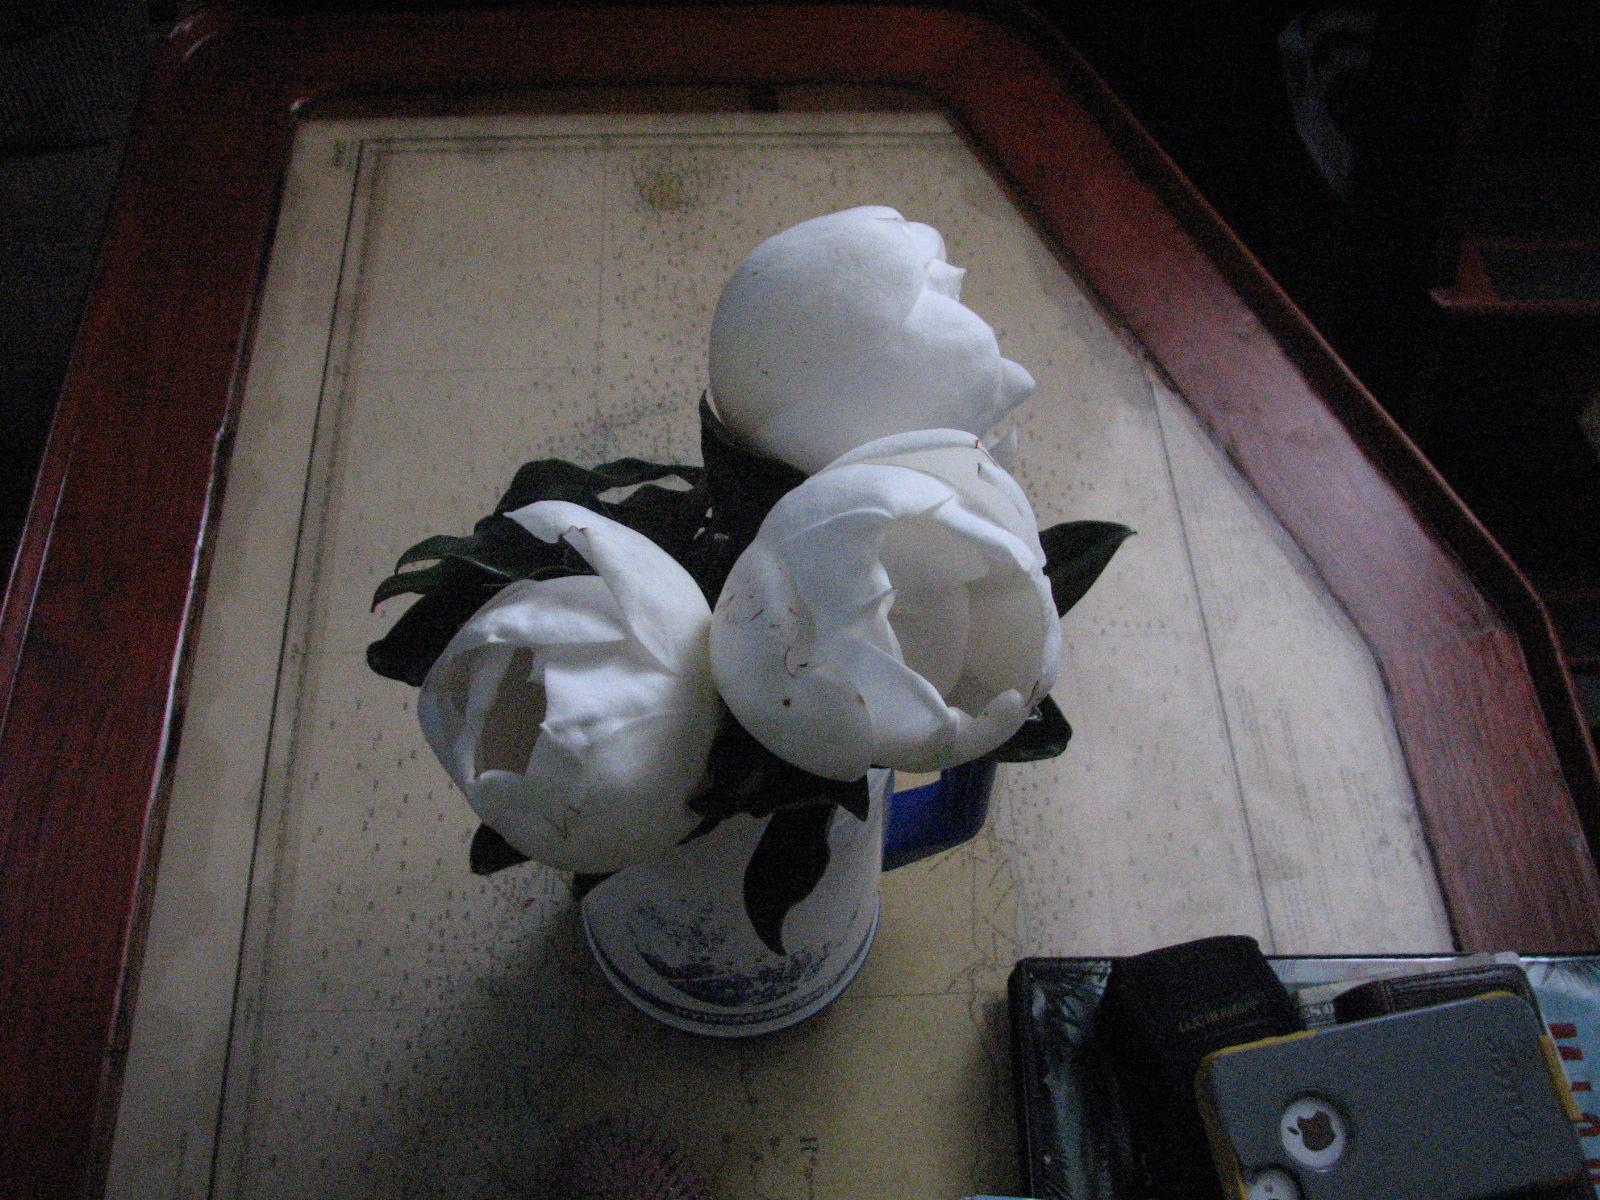
I took a picture of the magnolia blossoms I had picked yesterday.
While I was trimming and cutting the grass yesterday at the marina,
I cut off three of the magnolia blossoms that were growing on our
trees and gave them to Kitty. She was very happy with the gift, but
we were not sure the blossoms would open!
This morning they were opening, and the
scent was magnificent!
Magnolia Blossoms Opening
I then headed to the shop
around 0800 with one of the windows from the hard dodger. I set up
the drill press to drill the holes in the Optix
acrylic window from the hard dodger. The drilling went
fine, and had no real problems. I also used a fine file to file some
of the rough edges left on the Optix
acrylic window.
Took the Optix
acrylic window over to DREAM AWAY, and when we
returned from the doctor’s appointment, I used
Super Glue to glue in
the grommets.
I applied the fourth coat of varnish
on the console base, and the first coat of varnish
on cup holder bottoms.
While waiting for Kitty to call, I
finally finished filing down all of the spacers for the solar panel
risers.
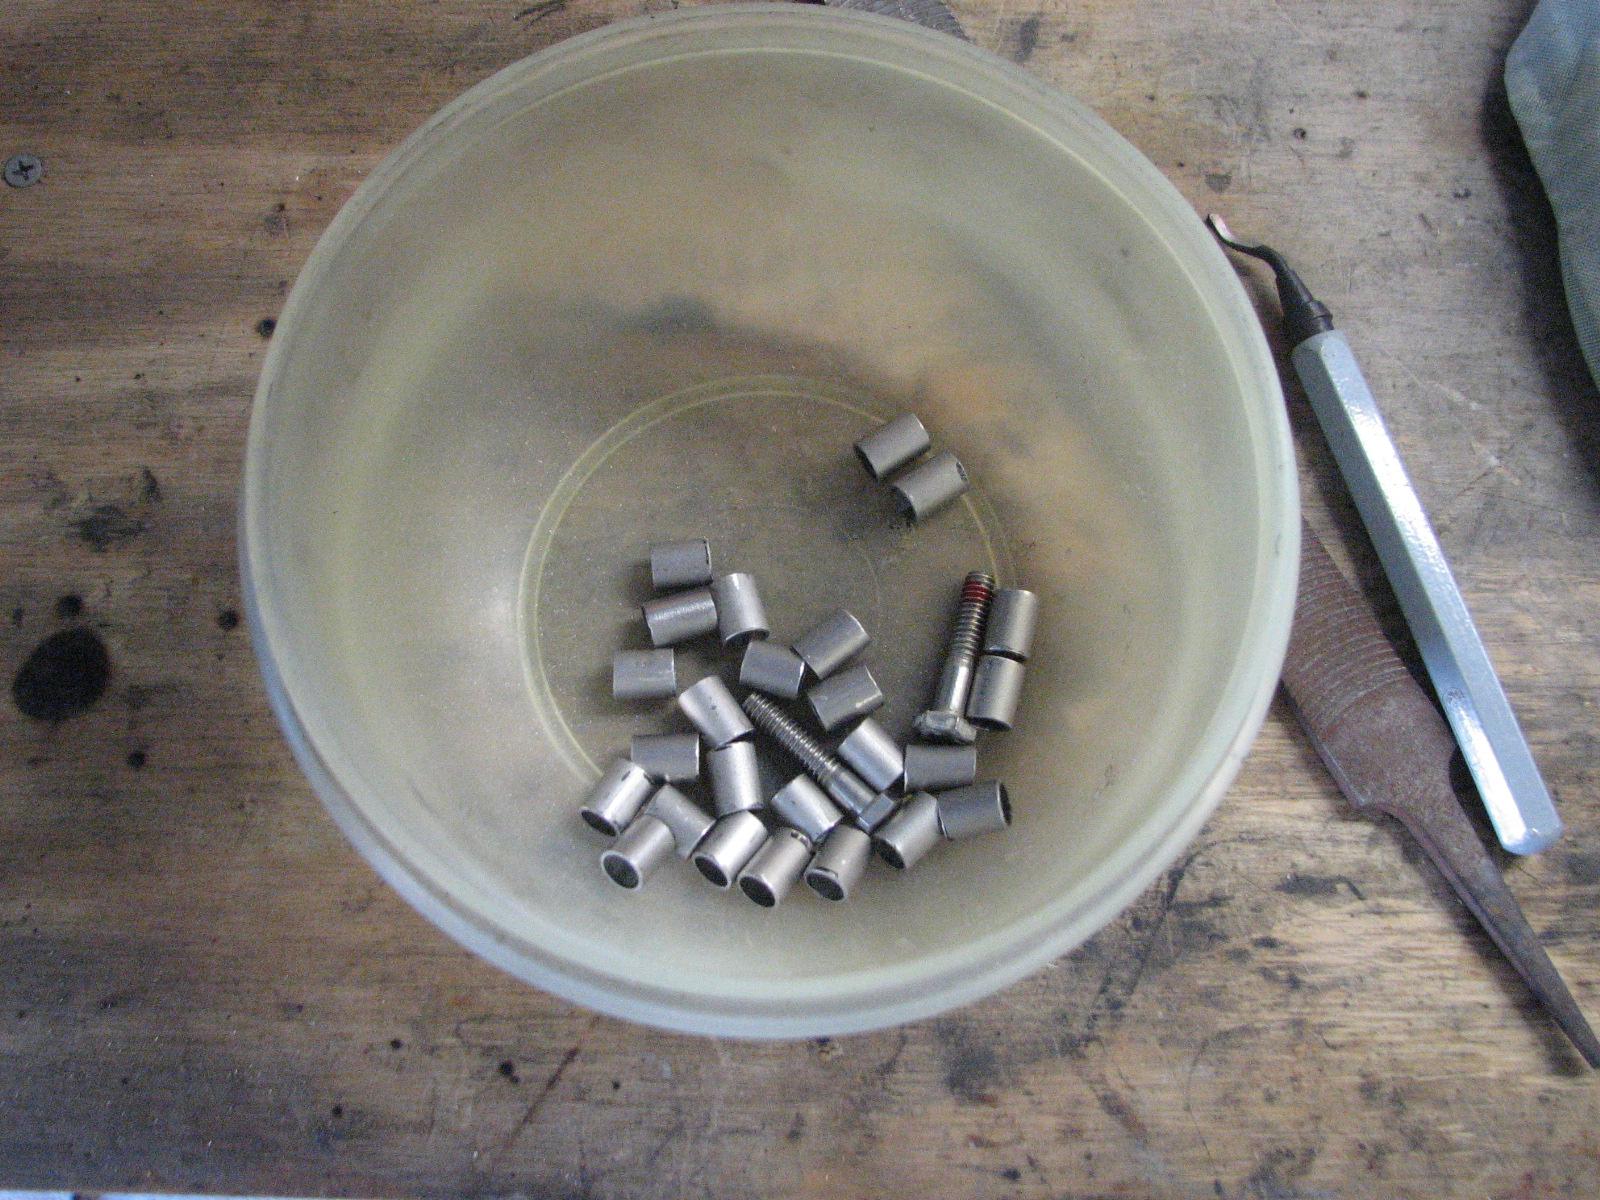
Finished Spacers In Bowl With A Couple
Of The Bolts
Went back to DREAM AWAY when Kitty
awoke and had breakfast. Right after breakfast went over to Hollis’
boat and helped him find his two air conditioner evaporator’s. We
took the coverings off in case access was needed. He is having an air
conditioning man come over tomorrow to have a look at his A/C
systems.
Kitty and I then headed off to
Lafayette for a
doctor’s appointment for Kitty and to run a couple
of errands, which included some grocery shopping.
When we returned to DREAM AWAY in the
late afternoon, we dropped our
tender into
the water and put the engine on. We will be needing the
tender tomorrow for the cleat
project on Pier “C” in the marina.
May 13, Tuesday, 2014
Started off the morning with my normal
ritual of getting on the Internet, answering email, and checking the
weather, while making a pot of coffee. When the coffee is started, I
feed our two cats, Jillian
and Jordan, and spend time with them brushing their
beautiful coats.
Went over to the shop
around 0800. I started working on the console for Ruby.
I had to work on the stand-offs for the bottom of the cup holders.
Yesterday, one of the errands was to pick up the fasteners needed for
the console cup holders.
I had also fabricated new stand-offs
for one of the cup holders, so I needed to drill holes through them
for the screw to go through.
Sanded Cup Holder Bottoms & Other
Console Parts
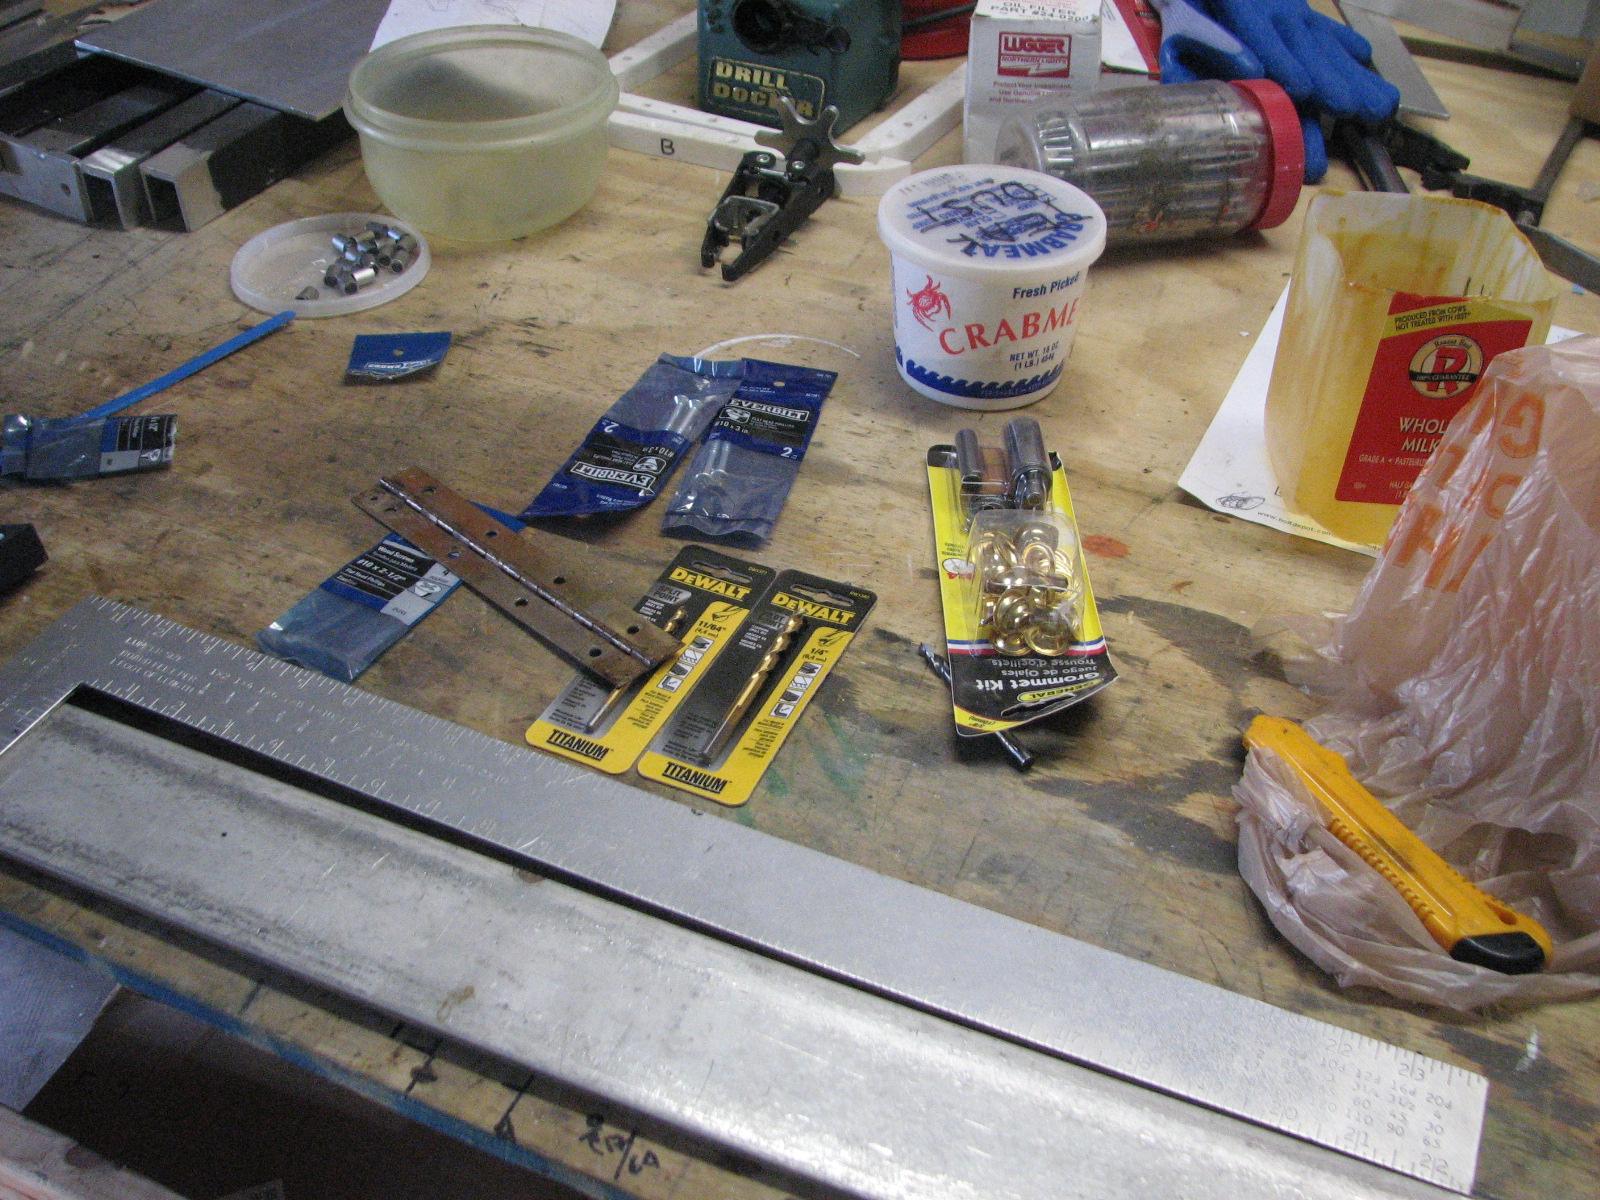
Hardware Ready For Cup Holders
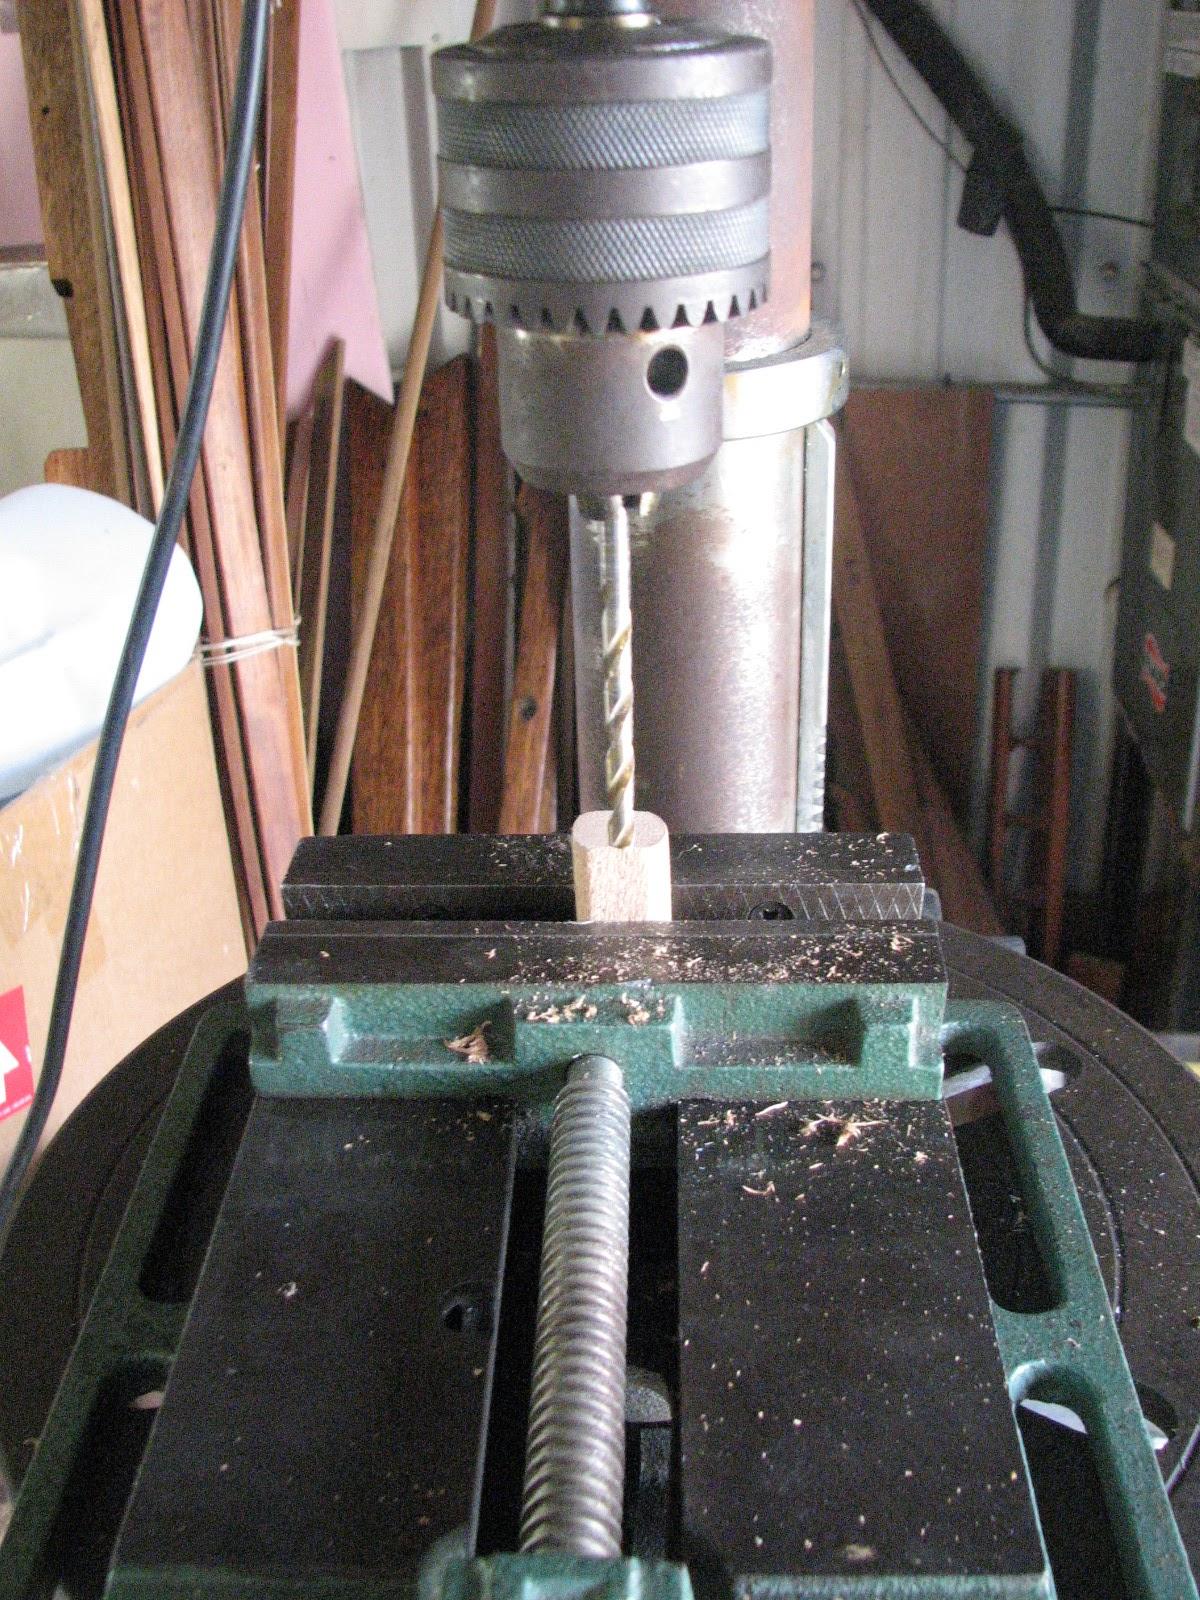
Drilling Out Cup Holder Stand-offs
I got all of the parts ready for the
next coat of varnish,
but the remainder of the day ran so late, I did not get back to the
shop
to apply the next coat of varnish.
The next project is an experiment. We
have decided on the method of raising and lowering the windows on the
hard dodger. We are planning on drilling holes in the bottom of the
windows, and install a brass grommet in the hole. We will pass a line
through the hole, and use small line to raise and lower the windows.
I was not sure how the drilling of the
hole would go, so I drilled out a scrap piece of the acrylic.
I had no problems. No cracking or splitting. I went to install the
grommet into the hole, but the width of the grommet was not
sufficient to install the grommet properly. We decided to use our old
stand by, and Super
Glue the grommet in place. We are going with this plan
for the hard dodger windows.
Experimental Drilled Acrylic
With Grommet
I closed the shop,
and went to the Port
of Delcambre’s storage room and picked up the lawn
mower and fuel tank. Then back to the
marina
to weed all of the gardens. When I had weeded all of the gardens, and
trimmed the grass at the edges of the parking lot and gardens, I
mowed the lawns in the
marina.
These activities took the remainder of the day.
May 12, Monday, 2014
Started off the morning with my normal
ritual of getting on the Internet, answering email, and checking the
weather, while making a pot of coffee. When the coffee is started, I
feed our two cats,
Jillian and Jordan,
and spend time with them brushing their beautiful coats.
Went over to the shop
around 0800 and put several pieces of stainless steel tubing up out
of the way. I was successful in this effort, although the process was
very time consuming.
Area Where Stainless Steel Pieces Will
Go
Stainless Steel Pieces On The Way Up
Stainless Steel Pieces Up And Stored
When that was complete, I sanded down
the console for Ruby
in preparation for the fourth coat of varnish.
I loaded the old TV antennas into Ruby,
and some template material to be used to make a template for the hard
dodger top. I then drove over to DREAM AWAY.
After breakfast, I took a shower in
preparation of running some errands, and we had to deliver 100 Lbs of
fresh frozen catfish to the supplier in
Lafayette
.
When we returned to DREAM AWAY around
1630, we tested out the four TV antennas we have. The two Shakespeare
Seawatch 2025 antennas did not work, but the other two
we have did. I will be getting rid of the two that do not work!
May 11, Sunday, 2014
Started off the morning with my normal
ritual of getting on the Internet, answering email, and checking the
weather, while making a pot of coffee. When the coffee is started, I
feed our two cats, Jillian
and Jordan, and spend time with them brushing their
beautiful coats.
Continued working on the computer,
catching up on
Maintenance Logs until
0830. At that time I drove the
Black Beast
over to the boat landing in
Delcambre.
T-Boy Renard, the dockmaster, met me there.
We then prepared the
shower trailer
for transport back to the
marina.
This included disconnecting the electricity, and putting all the
steps up in the transport mode.
We moved the shower
trailer back to the
marina
and set it up for use. We put all of the steps down, and the railings
on. We emptied the holding tank, and attached the electricity and
water to the shower
trailer. T-Boy emptied all of the trash containers and
put new liners in the trash cans, while I mopped out all three of the
stalls. We are now back in business.
The remainder of the day was spent on
the computer scanning in documents, which I actually finished!
The end of the day was spent preparing
Kitty one of her favorite meals for Mothers Day, grilled steak with
grilled eggplant.
May 10, Saturday, 2014
Started off the morning with my normal
ritual of getting on the Internet, answering email, and checking the
weather, while making a pot of coffee. When the coffee is started, I
feed our two cats, Jillian
and Jordan, and spend time with them brushing their
beautiful coats.
I went to the shop
around 0800, and inventoried the package that had arrived with toilet
parts for Nicola and Noel.
Toilet Parts On Table
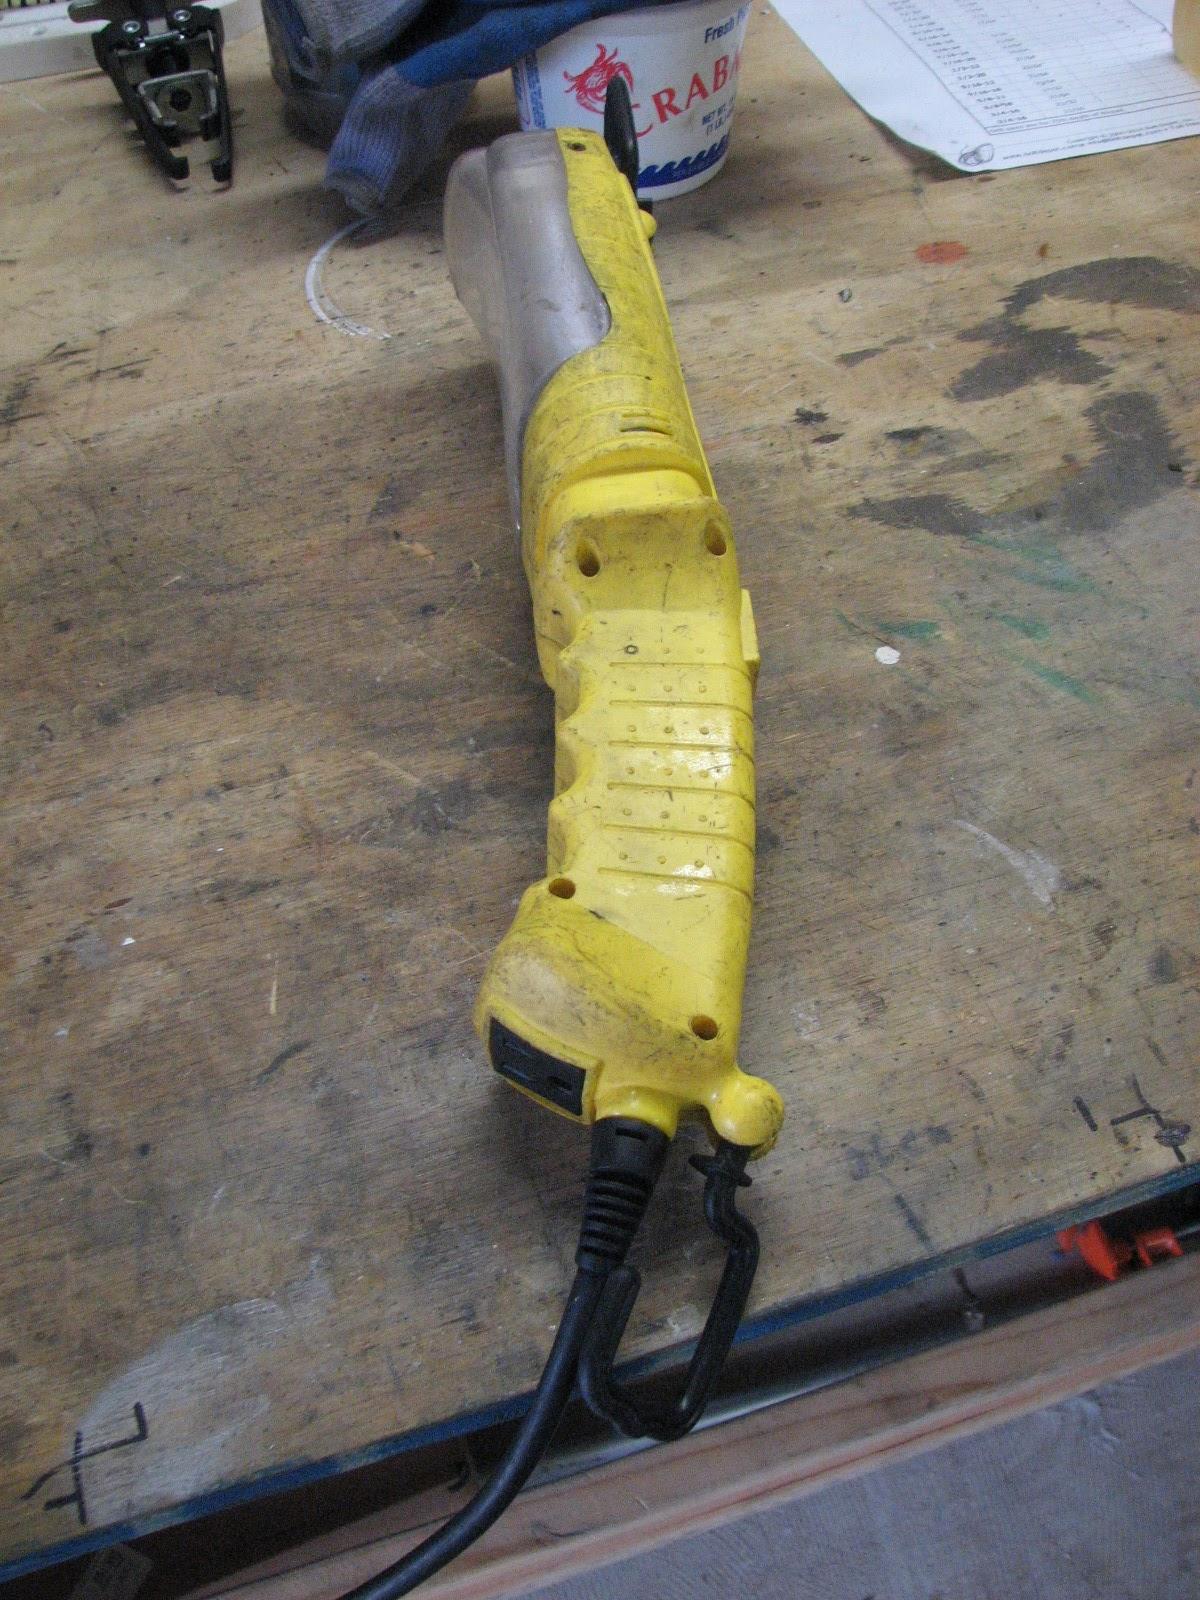
Yesterday while working to get the ice
maker back functioning again, my drop light quit working. I brought
the drop light over to the shop to find the problem.
I suspected the actual light to be the
problem, but when I used my DVM (Digital Volt Meter) there was only
17 volts getting to the light. I then suspected the connection I had
done to the input electrical cord. The original light had come with
only a five foot cord. I had spliced in a 20 foot cord to make the
use of the light more practical.
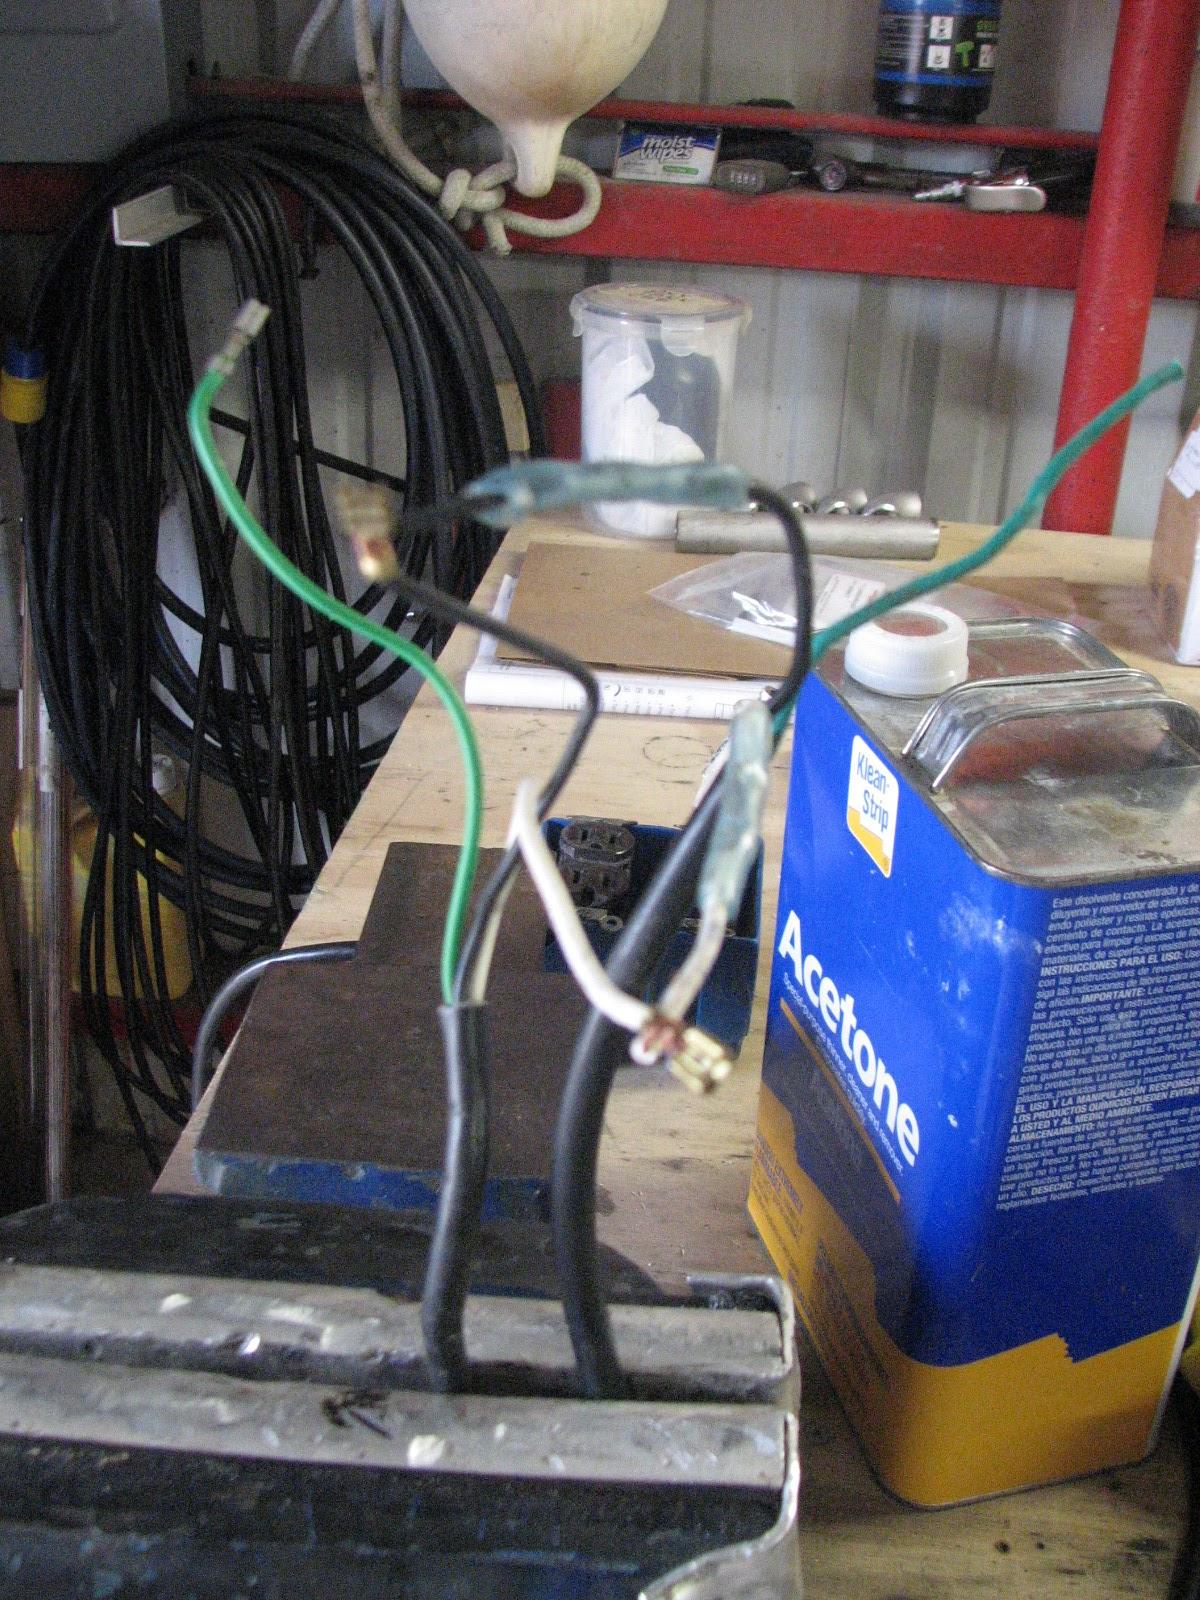
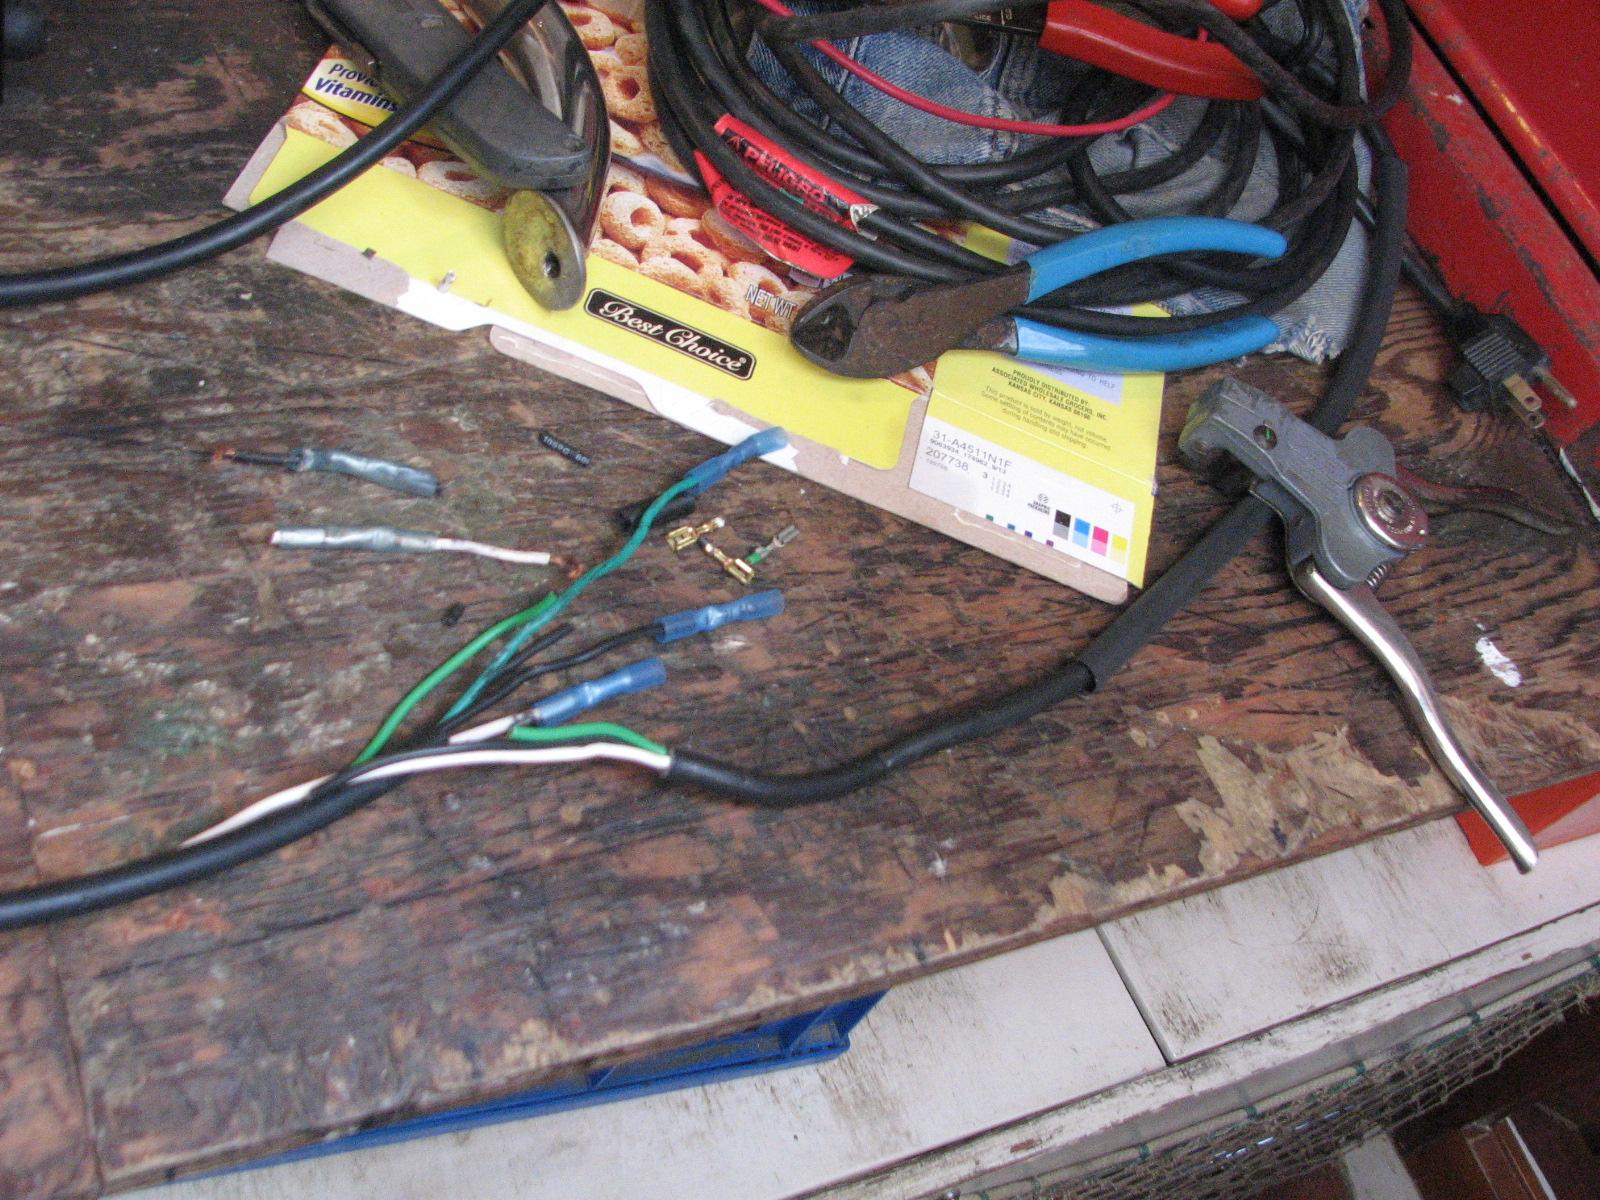
I cut the light cord off from the
extension cord, and tested just the light, and that was good! So the
problem had to be in the actual extension cord. I suspected the problem was the
plug, but that was not the case. I cut off the plug, then used the ohmmeter to
check the actual wires, and that is where the problem is!
My vacuum cleaner had died, the motor
is dead, so I need a replacement. I cut the electrical cord off of
the vacuum cleaner, and tested it with the light. it all worked!
Drop Light On Workbench
Light Wire Connected To New Extension
Wire
I did not have all of the tools and
parts necessary to do a proper splice, so I took the extension cord
and light back to DREAM AWAY.
Next item is to drill the broken easy
out out of the handrail end. I did get it drilled out, but that cost
two drill bits. Rather than drill and tap the handrail end, I have
decided to weld a bolt onto the handrail end. This is much easier
overall, and a more secure fitting.
Kitty called and said she was up, so I
loaded the new ice maker head into
Ruby,
and went over to DREAM AWAY.
After breakfast, I got out the butt
connectors and shrink tubing necessary for the light and extension
cord project. I was able to successfully complete that project. I now
have a working drop light with a 20’ extension cord.
Putting The Light And Extension
Together
Next item was to replace the ice maker
ice head. When I got out the replacement, I discovered that ice head
currently in the ice maker has five wires, and the replacement ice
head only has four wires. Now I do have a problem!
I have to do more research to figure
out what ice head I need for my ice maker.
New Ice Head
Ice Head Currently In The Ice Maker
So I still have no properly functioning
ice maker!
May 09, Friday, 2014
Started off the morning with my normal
ritual of getting on the Internet, answering email, and checking the
weather, while making a pot of coffee. When the coffee is started, I
feed our two cats, Jillian
and Jordan, and spend time with them brushing their
beautiful coats.
It had rained all night and was still
raining in the morning, so did not go to the
shop.
Kitty had a dental appointment at 0900, so I dropped her off at the
dental office in
Delcambre,
and I drove
Ruby
to Winmill Tire in
Abbeville
to get the four new tires installed.
I got the four new tires installed and
then drove back to Delcambre,
picked Kitty up and went back to DREAM AWAY.
I stayed in the remainder of the day
mostly working on the computer getting the
Maintenance Logs updated
and ready for a DREAM AWAY update.
I spent some time working on the ice
maker, but without very much success. I will probably end up
replacing the ice head.
I also prepared the
shower
trailer to be moved to the
Delcambre
boat landing for the Poker Run tomorrow. I emptied the holding tank,
and put all three steps up in transportation mode. I hope we get the
shower trailer back by Sunday!!
May 08, Thursday, 2014
Started off the morning with my normal
ritual of getting on the Internet, answering email, and checking the
weather, while making a pot of coffee. When the coffee is started, I
feed our two cats, Jillian
and Jordan, and spend time with them brushing their
beautiful coats.
Kitty and I both had an appointment at
the doctor’s to draw blood at 0845 in New
Iberia, so we left DREAM AWAY around 0750. When we
finished at the doctor’s we headed out to Abbeville.
We stopped at a place called Auto-Go
Transmission. I am looking for someone who works on manual
transmissions or someone who will supply a manual transmission. We
talked to Jim Reed at Auto-Go, but he was not able to find anyone to
help me get a NV-4500
transmission for Ruby.
It looks like I will be purchasing a
rebuilt transmission online, and having Norman’s Diesel install it
for me. From Auto-Go, we went to Winmill
Tire, also in Abbeville
to see about some new tires for Ruby.
I had one size tire in the front of
Ruby,
and a different size in the rear, and the spare was not a light truck
tire! Brandon, a former Marine, worked it all out for me at a drive
out price of $500.00. That was four new tires on the road and the
proper size tire for a spare. He did not have the required four tires
in stock, so I will be back in the morning to get the tires
installed.
Went back to DREAM AWAY, and drove the
Black
Beast over to the shop
with all of the necessary tools I thought I would need.
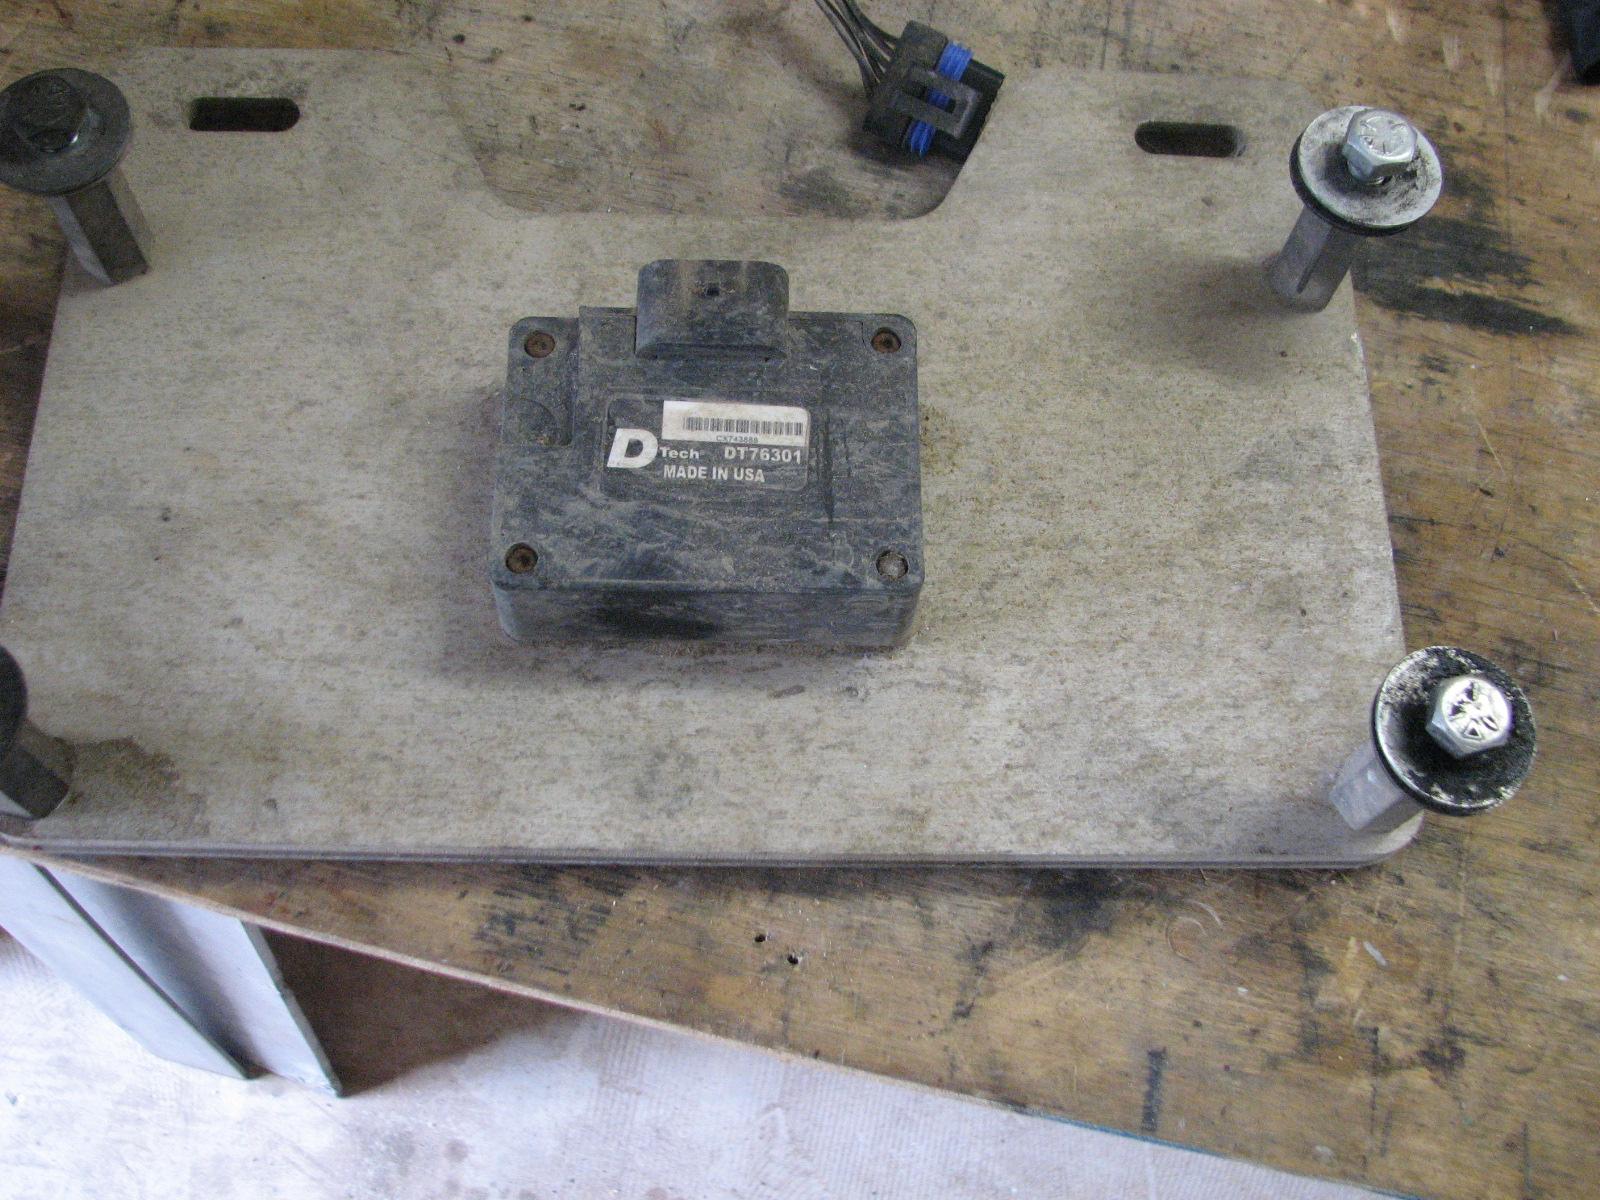
First on the list was to actually
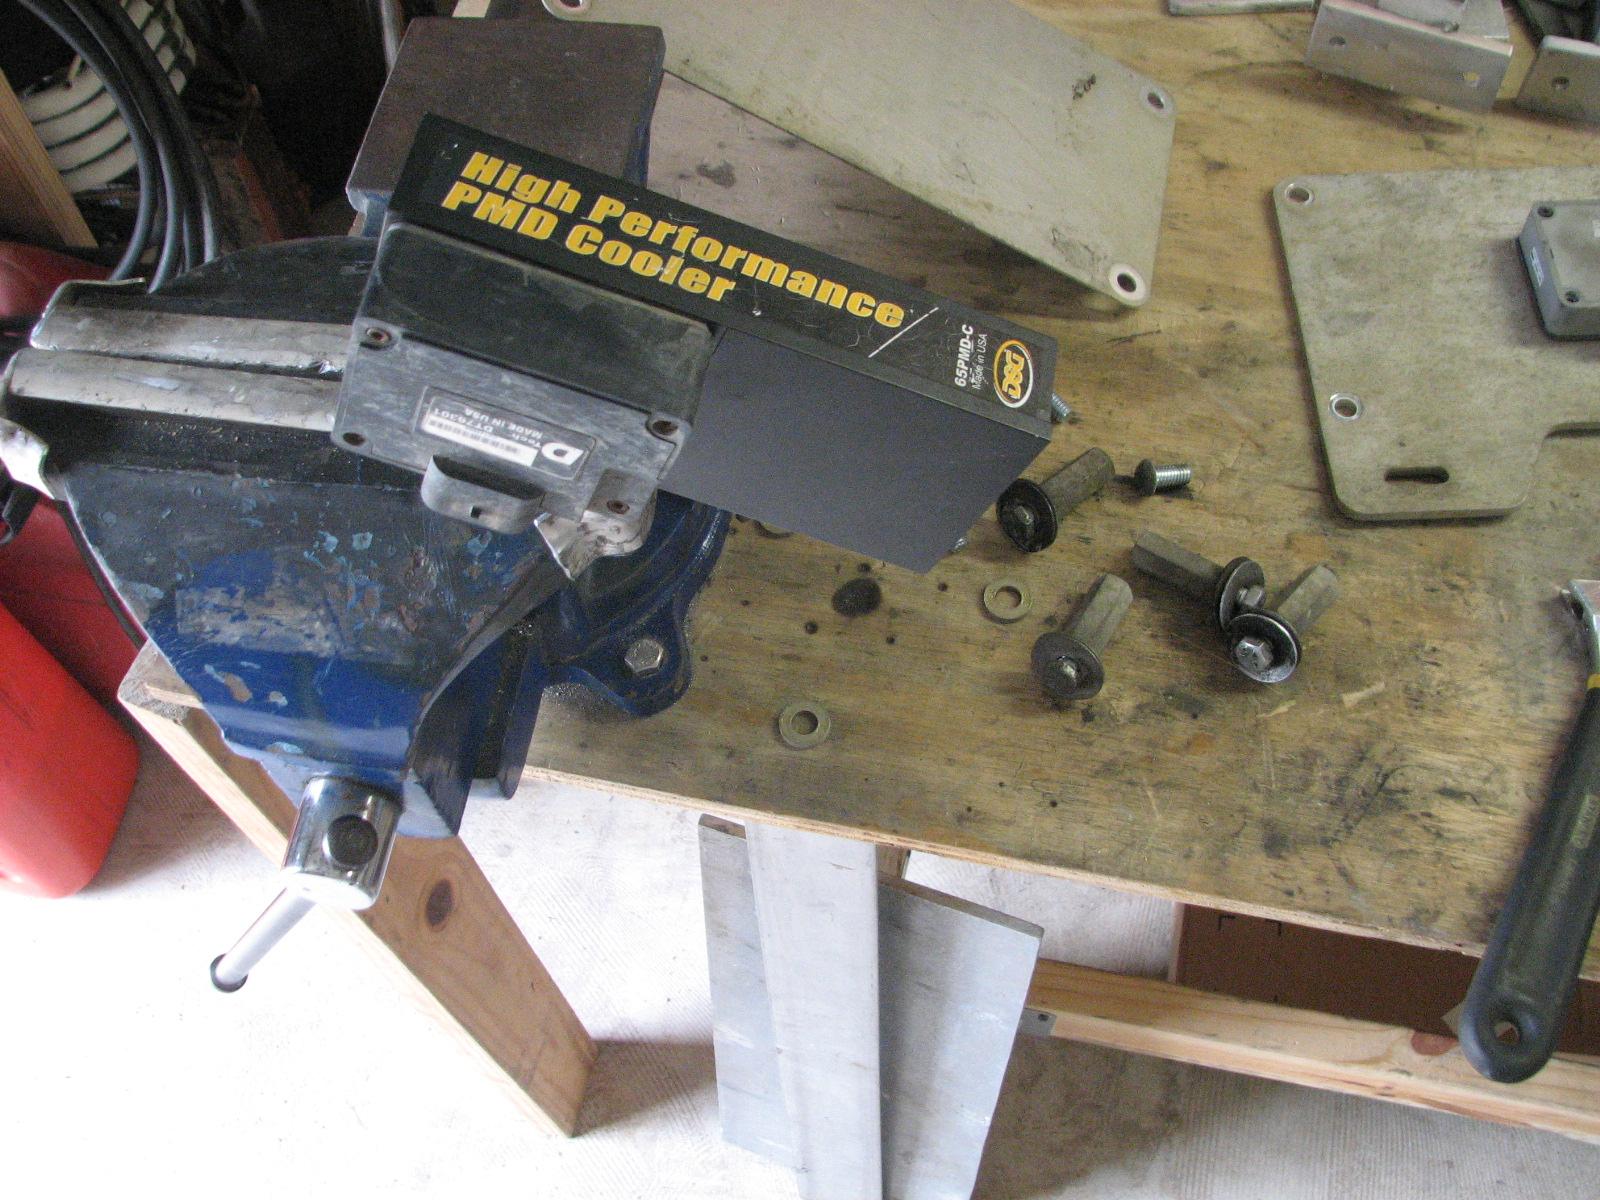
connect the original PMD (Pump Mounted Driver) to the new cable on
the engine of the Black
Beast. After connecting it to the system the engine
started right up, so I was on the correct path.
PWD Module In Original Configuration
I installed the original PMD on the
heat sink, and then installed it on the engine in the Black
Beast. It started right up, and so far is running
fine.
Original PMD On New Heat Sink
Next I attempted to repair the broken
off stud on the handrail end that was on the hard dodger. I drilled
it out, and of course the easy out broke off in the hole! One step
forward two back!!
Broken Stud In Hand Rail End
I applied the second coat of
varnish
to the console and the console parts.
May 07, Wednesday, 2014
Started off the morning with my normal
ritual of getting on the Internet, answering email, and checking the
weather, while making a pot of coffee. When the coffee is started, I
feed our two cats, Jillian
and Jordan, and spend time with them brushing their
beautiful coats.
Went over to the shop,
and started off with sanding the main console and console part I had
repaired yesterday afternoon. I got both parts sanded smooth, and put
them on my paint table ready for a coat of varnish
this afternoon.
I finished cutting all of the spacers
for the solar panel risers. Now I have to trim each one of the
spacers, and remove all of the sharp surfaces, so they are all
useable.
We got everyone in contact with each
other, and it looks like the
US
Customs and Border Protection boat will be kept on our
Pier “C” about 10 days out of the month, so they can do their
Vermillion
Bay patrols from here. I think it will be good
publicity for our marina.
I spent about an hour working in the
gardens at the marina
with the never ending battle to get the weeds under control.
I went over to the shop
in the Black Beast. When I
arrived I cleaned all of the mag wheels on the
Black Beast.
They were in pretty sad shape because of all of the brake dust.
I then tried to connect the original
PMD (Pump Mounted Driver) from before the replacement of the PMD.
This was an issue that happened late in 2012. I was having problems
with the Black
Beast stalling. I had someone replace the PMD module,
and that did not help, so I replaced the injector pump. That solved
the problem unit the last couple of months.
The Black
Beast is stalling again, and I suspect the PMD. Anyway
I could not change the PMD because of the connector issues, and I did
not have the proper tools with me.
I had another fender on the front deck
of DREAM AWAY that I had found floating in the
marina,
so I cleaned it off, and rinsed it, and hung it up to dry.
I then started the varnish
ritual! Put on nitrile gloves, get out the
tack rag,
and wipe down all of the parts to be varnished. Pour some
acetone
into a clean container, and wash out the brush. Open the can of
varnish,
and pour the varnish
through a medium cone filter into a clean cup. I then apply the
varnish
to the job, which in this case in the console and console parts.
I normally do the painting or
varnishing just before I leave the
shop
in the afternoon to keep the chances of disturbed dust to a minimum. Also the truck
traffic is way down in the late afternoon, so that tends to keep dust
down!!
May 06, Tuesday, 2014
Started off the morning with my normal
ritual of getting on the Internet, answering email, and checking the
weather, while making a pot of coffee. When the coffee is started, I
feed our two cats, Jillian
and Jordan, and spend time with them brushing their
beautiful coats.
I was feeling much better this morning,
so went over to the shop
and started in on the projects. Had to do some straightening up, as I
left things a bit of a mess when I left almost two weeks ago!
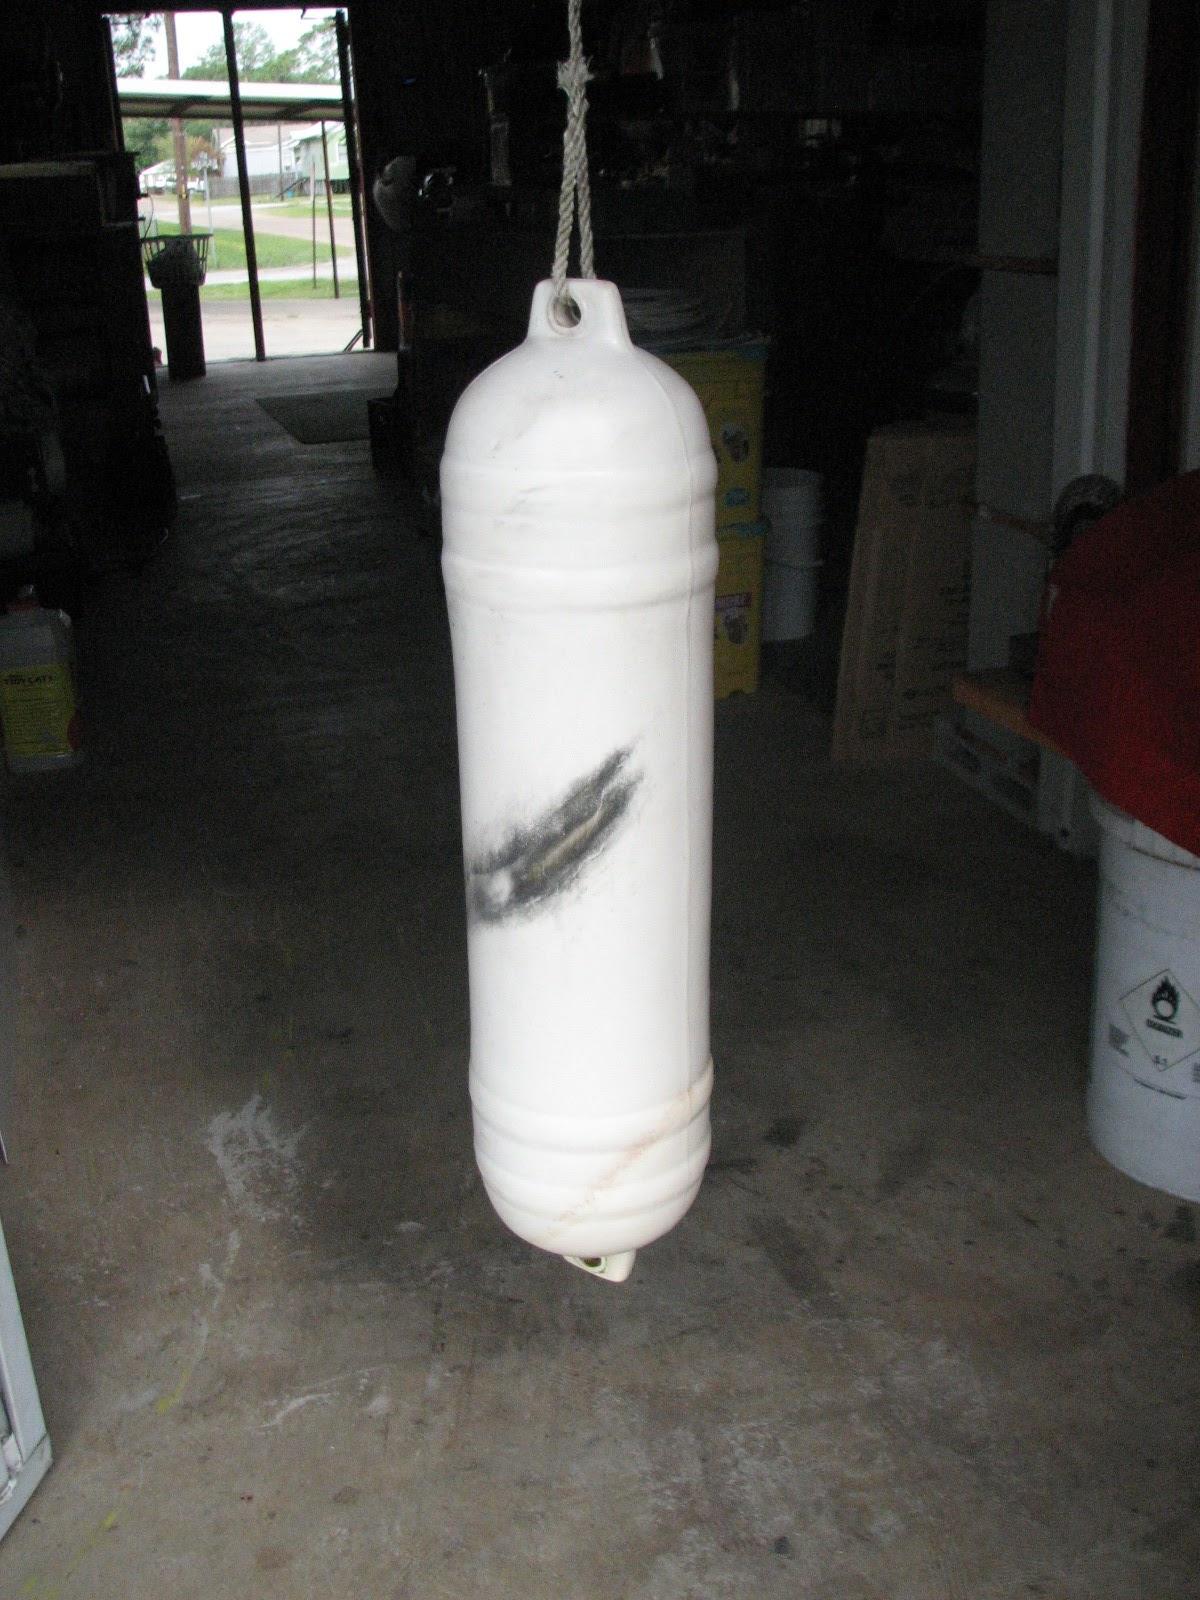
First on the list was a fender
I found floating in the marina.
Before we left on the Puerto Rico trip, I had left the fender
in the sink in soapy water. The fender
was mostly clean, but I scrubbed it down. It looked very nice and
serviceable, so I rinsed it off, and hung it in the sunlight to dry!
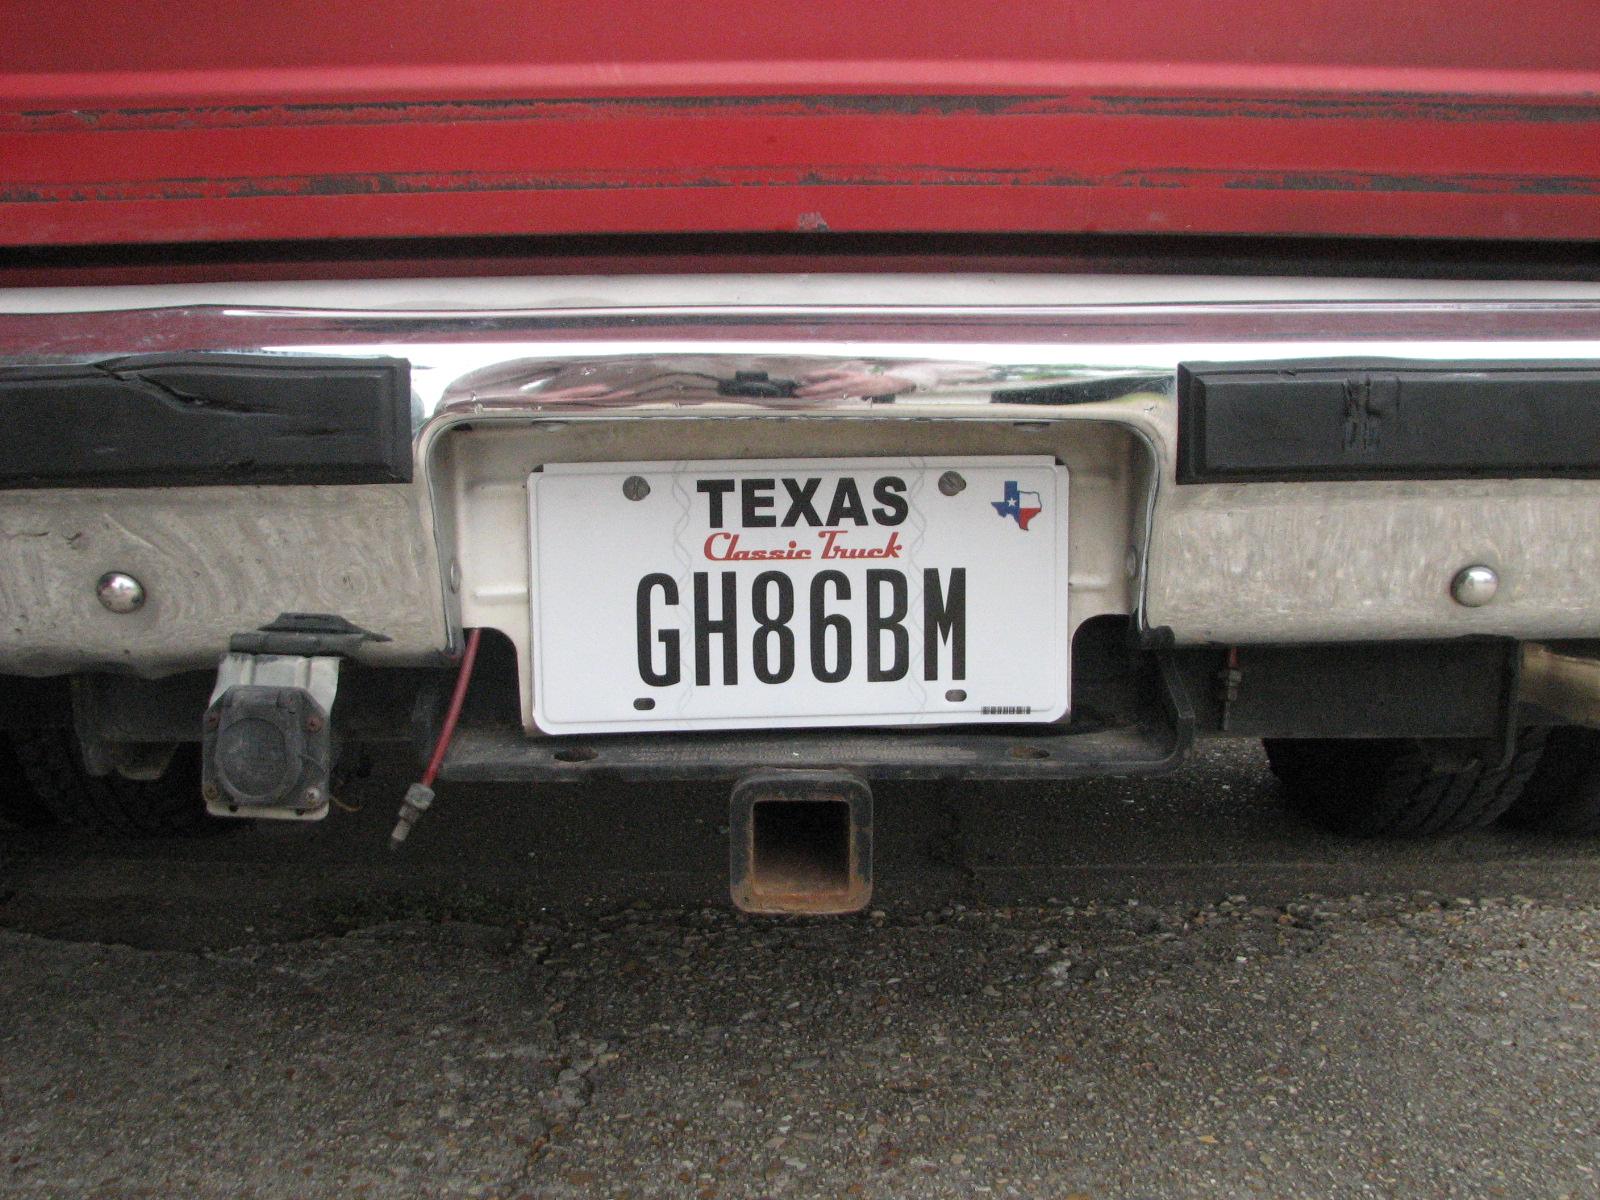
I have a new toy, Ruby,
which is a 1988 GMC
Suburban. Because it is over 25 years old, it
qualifies to be a classic truck in Texas. I therefore ordered classic
truck plates for Ruby,
especially since there was no additional charge. The plates had come
in, so I installed them on Ruby.
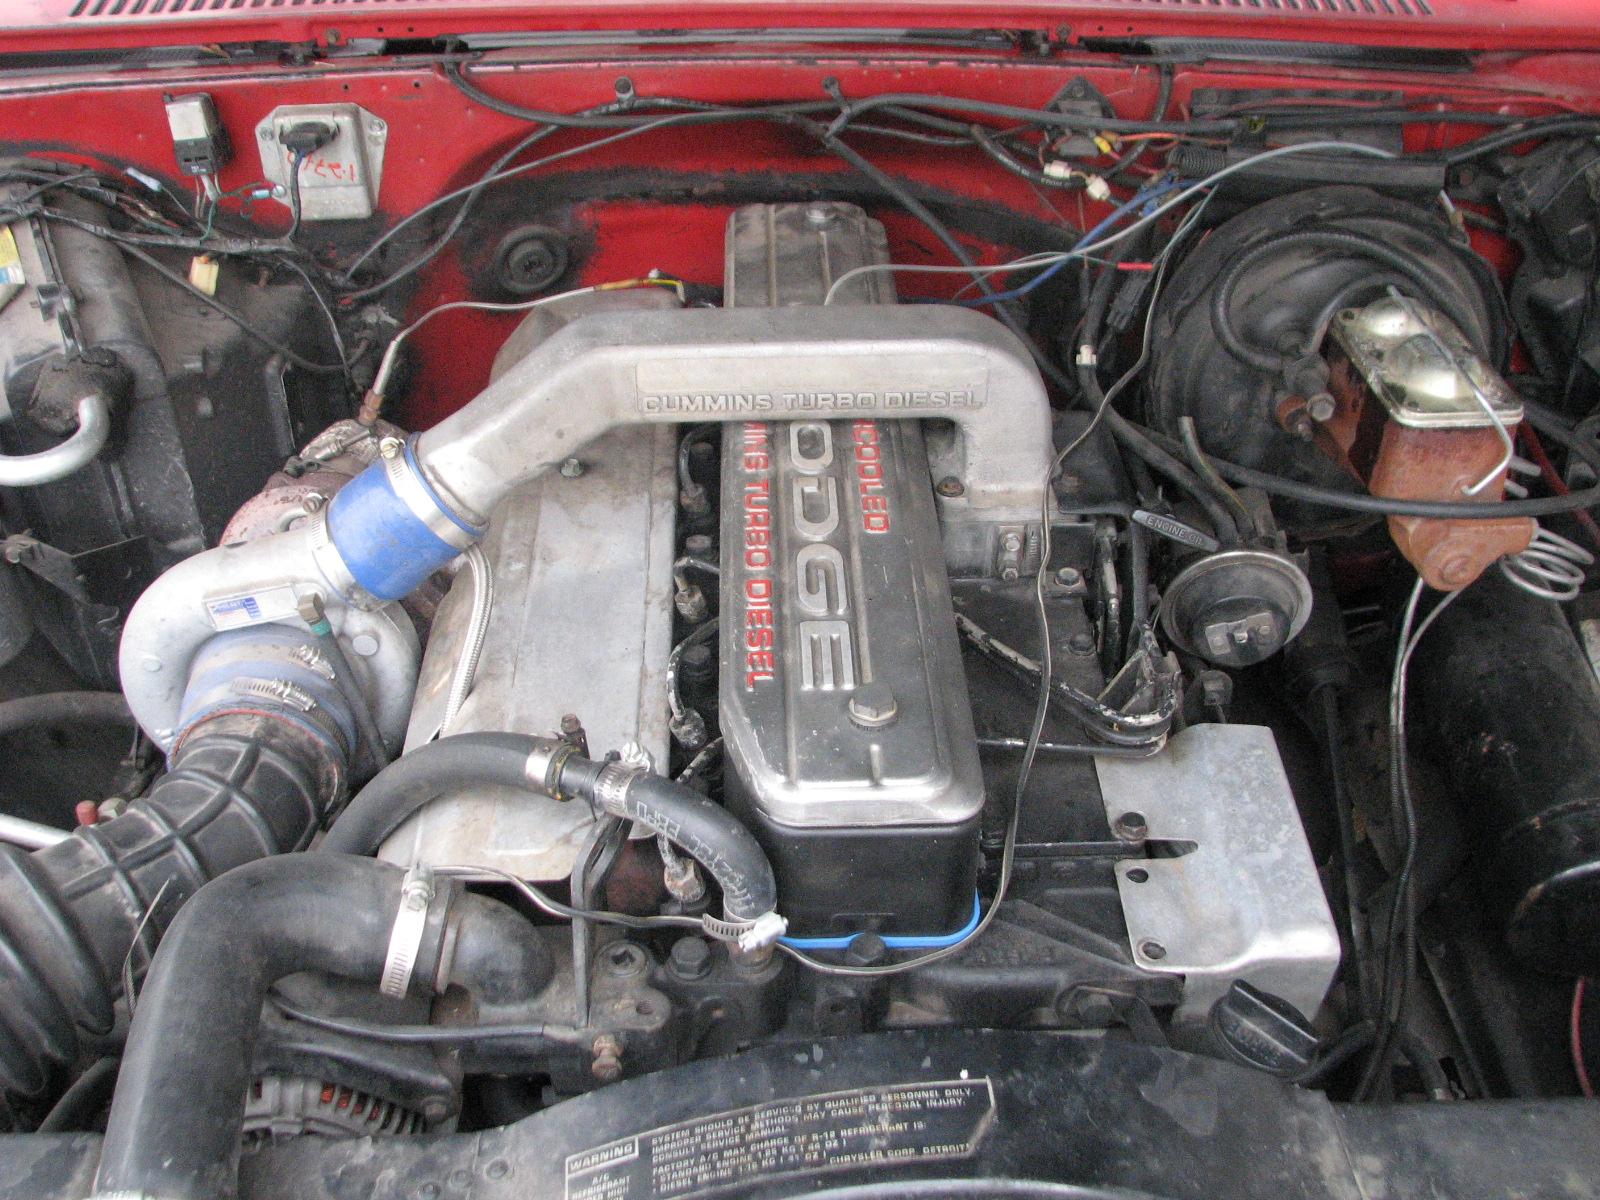
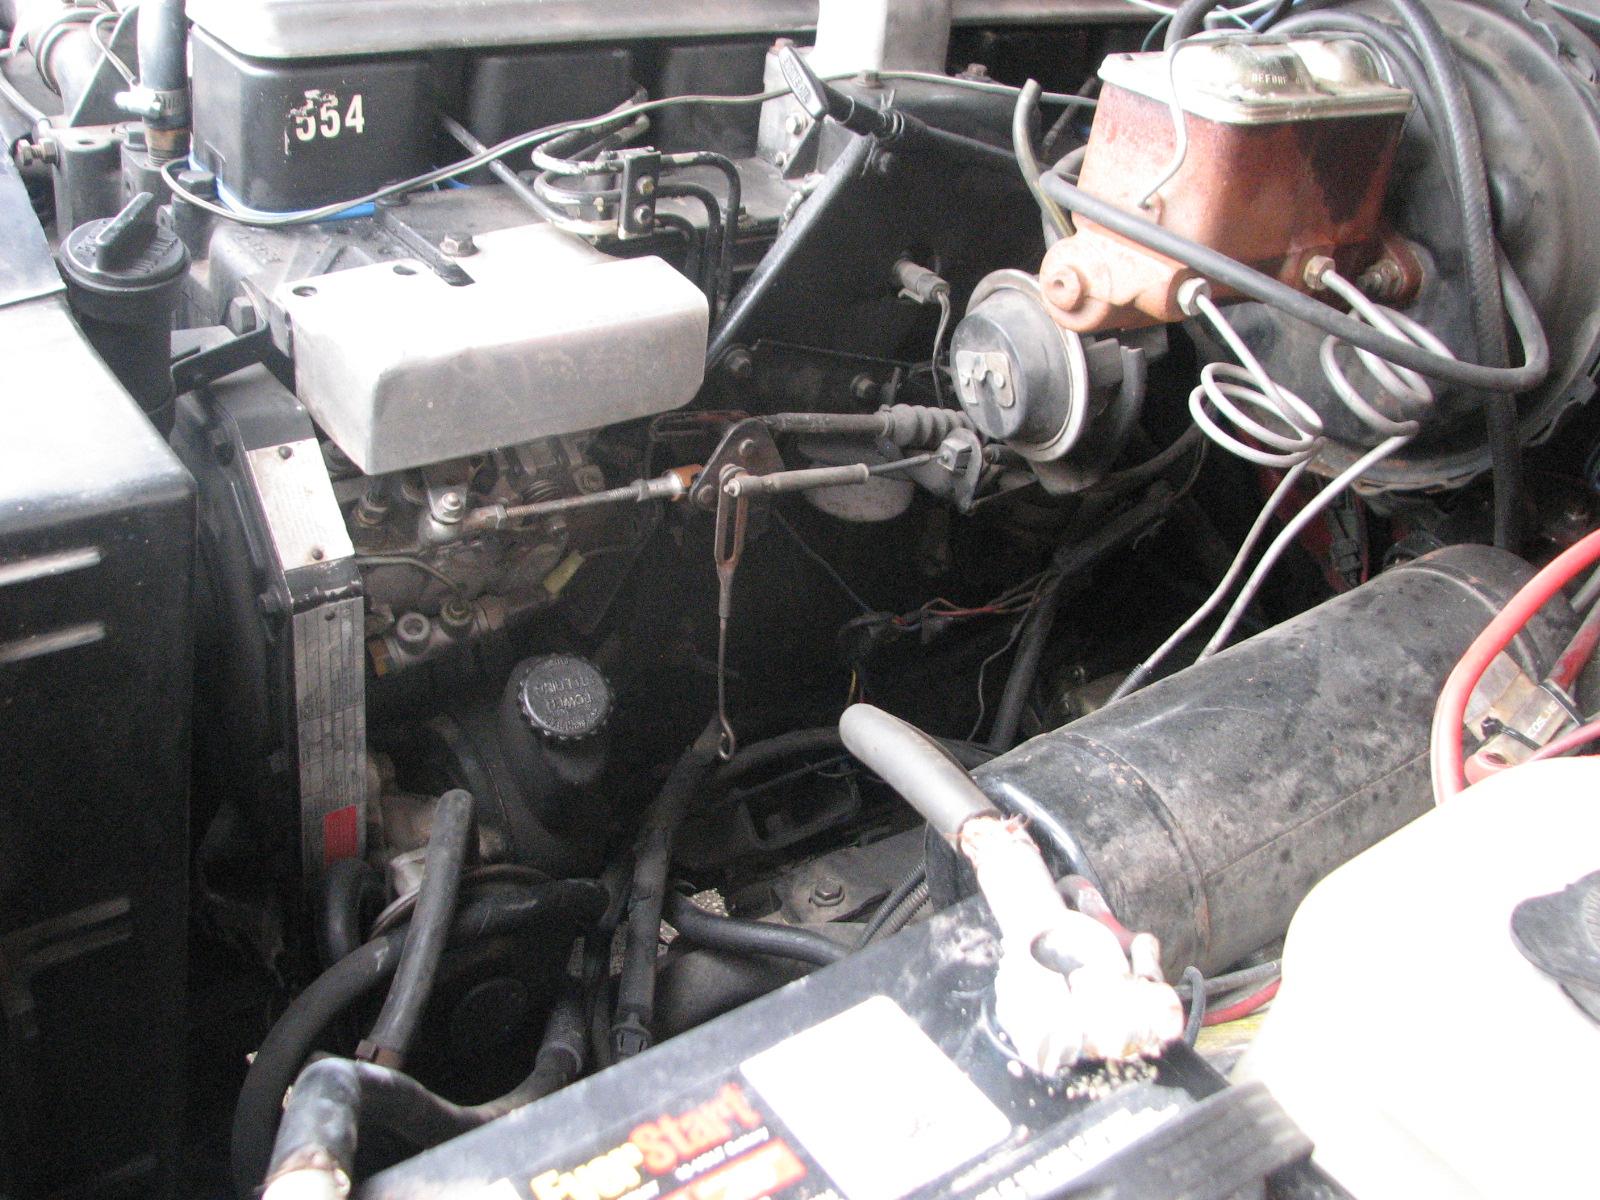
I also took a couple of photos of the engine compartment.
Engine Compartment Showing Cummins
Diesel Engine
Drivers Side Engine Compartment
Engine Compartment Passenger Side
The next project was to change the
three calendars I have hanging in the shop. It is a new month, so the
calendars must keep up to date!
Change Miami Dolphins Cheerleader
Calendar From April
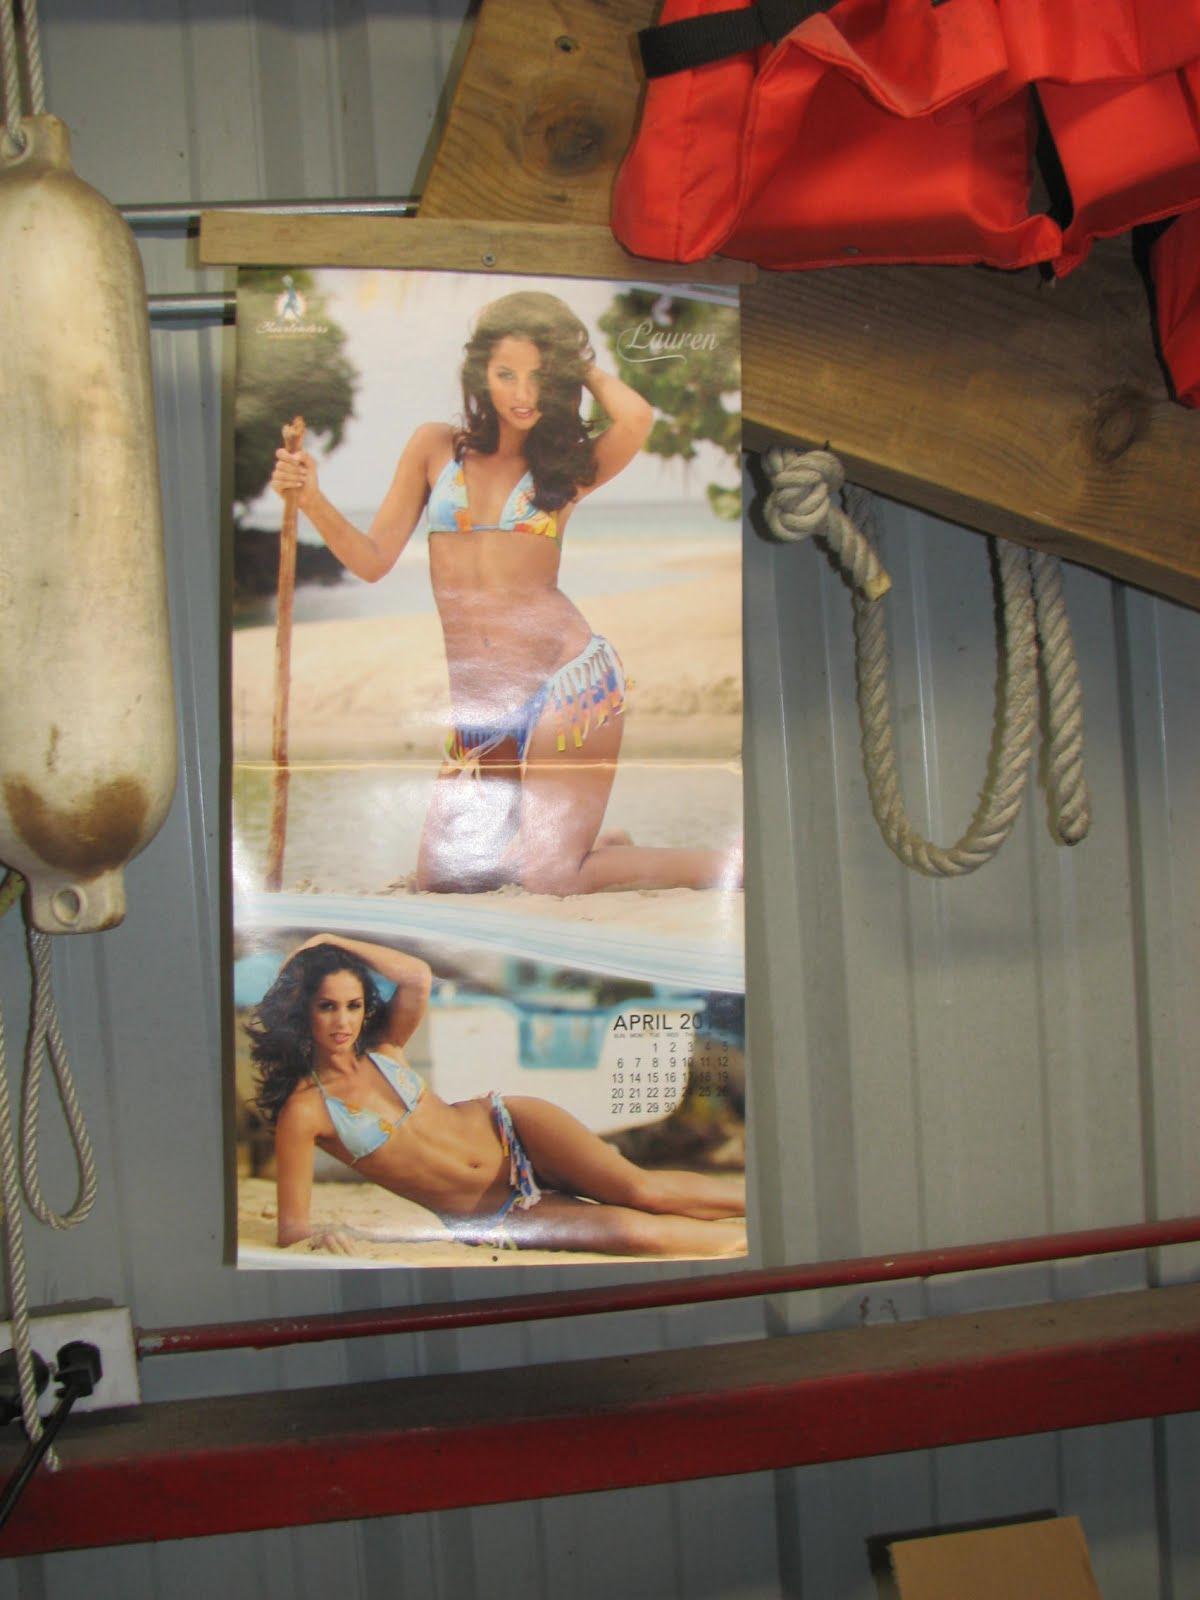
To May
Change The LeBlanc Fuel Construction
Workers Calendar From April
To May
Change The LeBlanc Fuel Beach Calendar
From March
To May
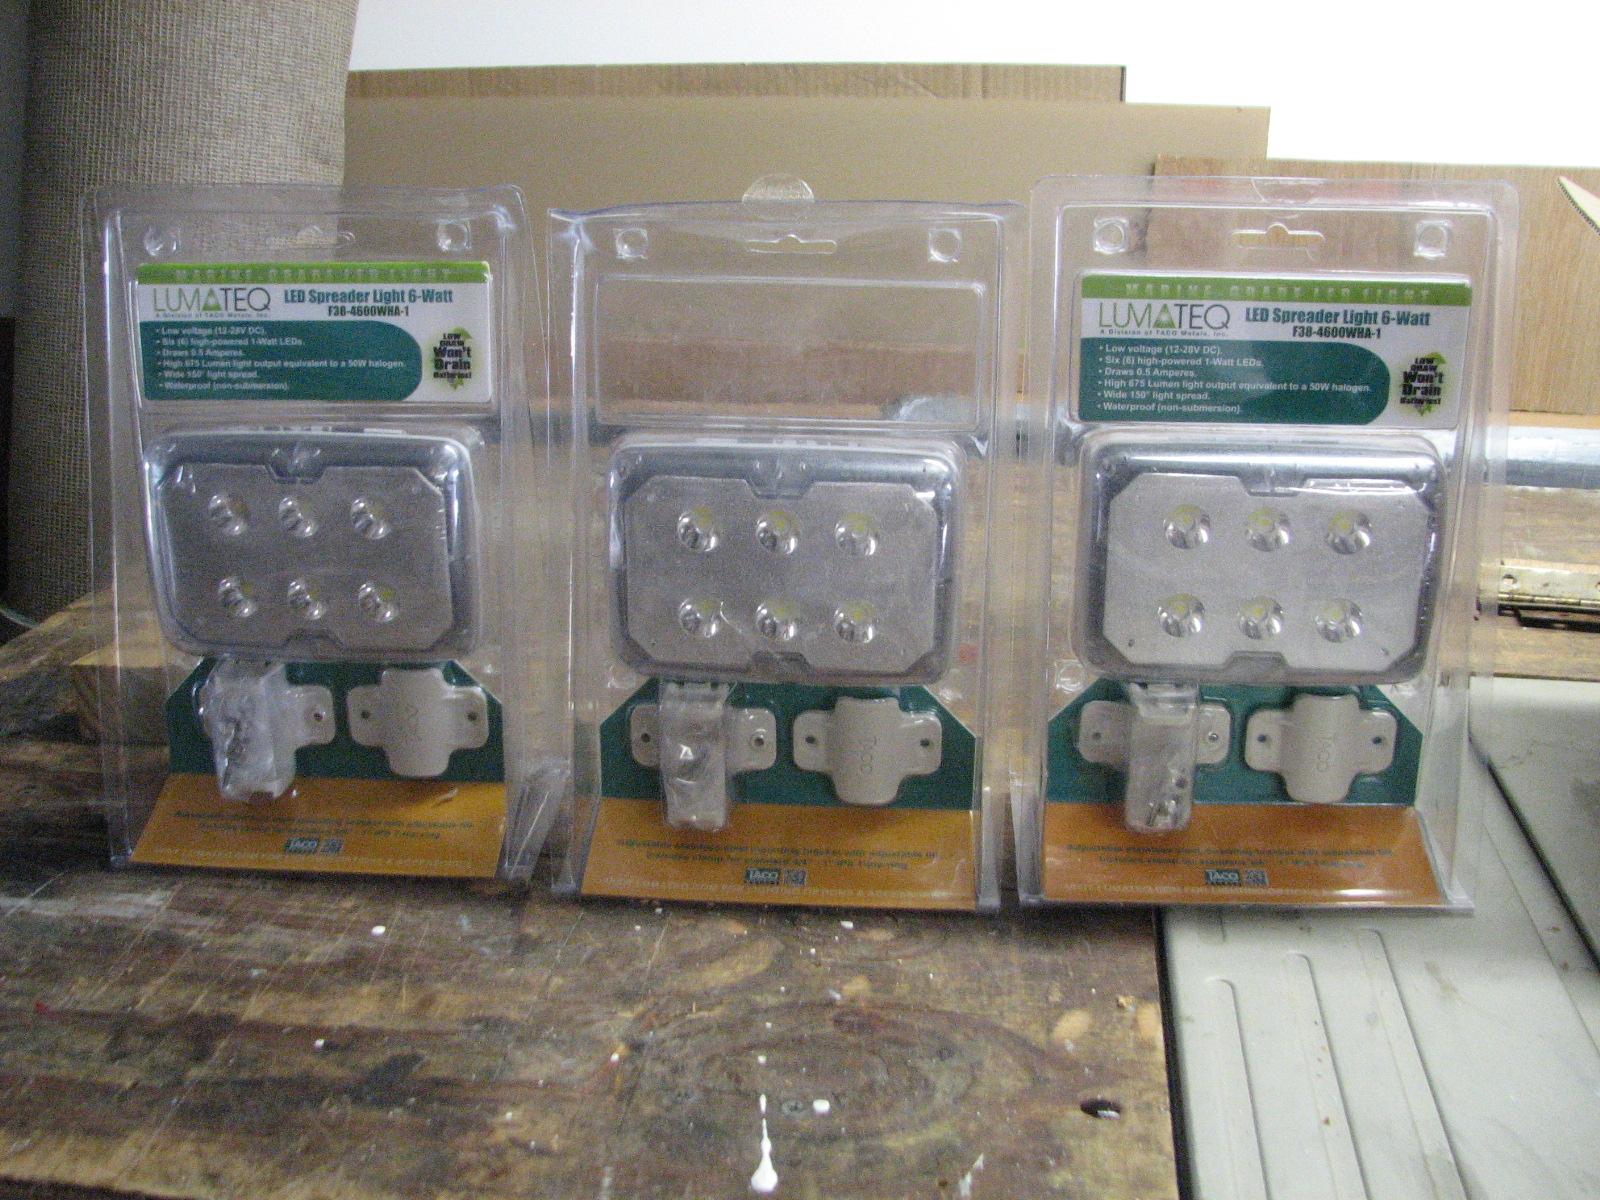
We had received the three
Lumateq Spreader Lights I had ordered for
Tantalus.
I opened the box and verified the lights were in good physical
condition. Now all that remains is to check out the light operation.
I had already cut about 10 spacers for
the solar panel risers, but I needed at least 32, and probably a
couple more as spares. I am sure I would lose a couple over time as I
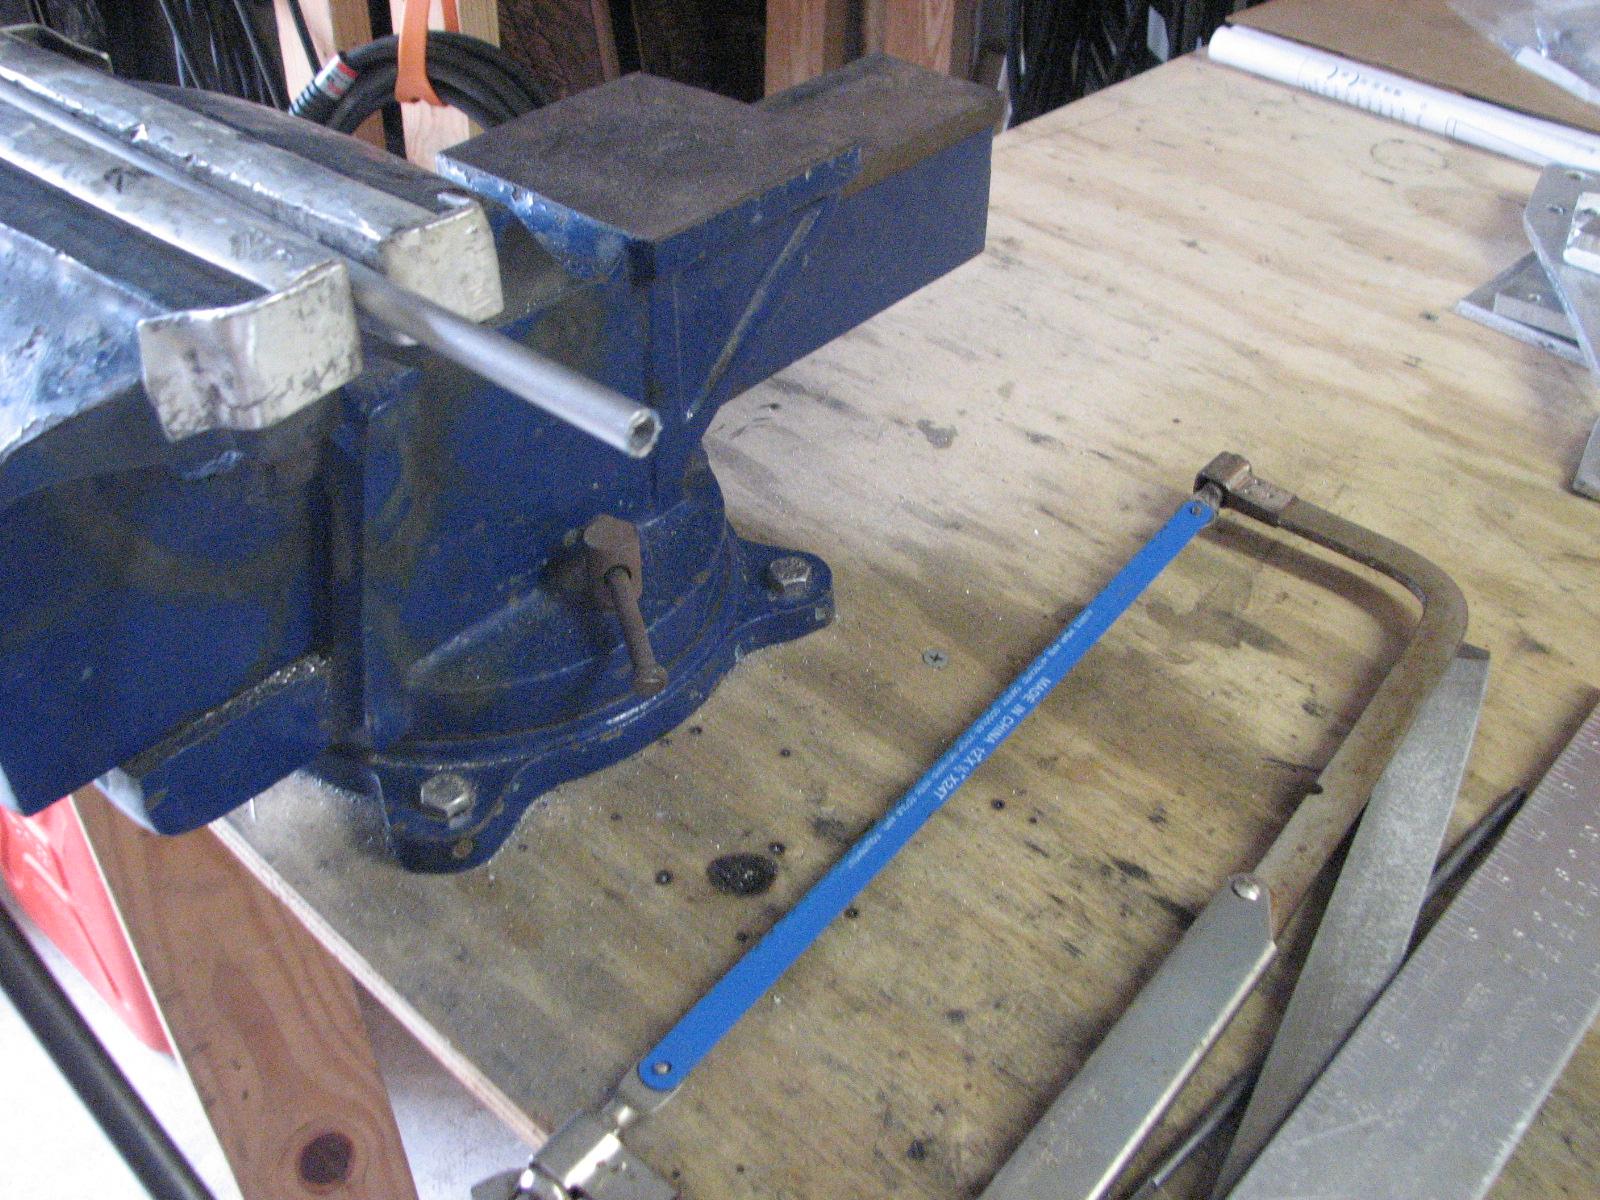
adjusted the solar panels. I used a hacksaw to cut off ¾” pieces
off of a piece of stainless steel tubing to make the spacers.
Tubing In Vice From Which I Am Cutting Spacers
I cut an angle on a 3” piece of
stainless steel flat bar as the start of the stern ladder project,
but it needed to be straightened out just a bit. I used the Chop
Saw to make the cut, and the high speed grinder to
smooth out the cut. I will take the piece of flat bar over to DREAM
AWAY to verify the angle.
Cut Made On 3” Stainless Steel Flat
Bar
Kitty got up, so I went over to DREAM
AWAY to have a small breakfast, as today was a diet day. After
breakfast I removed all of the handrail fittings, reading lights, and
external satellite phone antenna from the hard
Bimini. This is in
preparation of replacing the King
Starboard on top of the
Bimini.
I was a bit disappointed when I removed
the external satellite phone antenna. The metal in the bottom of the
antenna is a pot metal, and it had a stainless steel screw in it, in
a marine environment. Not good to try and attach the antenna back on
the new
Bimini.
Reading Light On Underside Of
Bimini
Reading Light & Antenna Wire On
Underside Of
Bimini
I then installed a water regulator on
our water connection on the dock, and set it for 200 gallons. This is
a safety device that will shut off water flow to DREAM AWAY after 200
gallons, then it will have to be reset again. When we run the
icemaker, we leave the water on even if we leave the boat. If there
was a pipe leak or something, it could sink DREAM AWAY.
Water Regulator Installed On Dock
Pedestal
As I was securing all of the removed
parts, our neighbor Joel, came over. He said he had purchased a large
piece of fresh watermelon, and would we like to share? We said yes,
so we went up to the marina
picnic area and enjoyed our watermelon. Officially, I believe this is
the first picnic of the year!
Kitty And Joel Enjoying The Watermelon
When we finished with the watermelon, I
went back over to the shop
to apply the first coat of varnish
to the console and parts that belong in Ruby.
When I looked at the parts, I realized
one part I had repaired and come apart again, so it would need
repaired before I could start the varnish.
This time I would pin the two pieces together using bamboo
chopsticks. I have used chopsticks on several occasions on DREAM AWAY
to put together two pieces of wood!
I drilled, cut and fitted until I was
satisfied with the fit, and then mixed up a pot of epoxy
thickened with teak dust. Since I was mixing up a pot, I decided to
apply some of the epoxy
to a seam on the main console that had been neglected.
Main Console With Epoxy
Applied To Seam
Console Piece Fitted Together
It will have to wait until tomorrow to
apply the first coat of varnish
on the console!
May 05, Monday, 2014
Started off the morning with my normal
ritual of getting on the Internet, answering email, and checking the
weather, while making a pot of coffee. When the coffee is started, I
feed our two cats, Jillian
and Jordan, and spend time with them brushing their
beautiful coats.
Did not go to the shop
today, but stayed busy all day. When I woke up I did not feel great,
but pressed on!
Kitty was up at 0800, and we were under
way by 0900 to Lafayette.
We were meeting Ben who was driving from
Baton Rouge, so we
could deliver 20 Lbs of shrimp, and seven
Lbs of catfish. Ben is running an online grocery store, and they are
going through the shrimp and catfish very quickly.
When we dropped off the product and we
spent the remainder of the day going to two doctor’s appointments
in New
Iberia, and running several errands.
We arrived back on DREAM AWAY around
1600, and I went right to bed. Kitty took care of everything else!
May 04, Sunday, 2014
Started off the morning with my normal
ritual of getting on the Internet, answering email, and checking the
weather, while making a pot of coffee. When the coffee is started, I
feed our two cats, Jillian
and Jordan, and spend time with them brushing their
beautiful coats.
Did not go to the shop
today, but stayed on DREAM AWAY, getting caught up after the trip to
Puerto Rico. We arrived at DREAM AWAY about 2300 last night. Not much
accomplished then.
I did some catching up on emails and
other computer work. I then went to Shawn’s
Cajun Meats Too to stock up on various meat items.
Kitty and I then got organized and went into New
Iberia to take our dirty laundry and to do our grocery
shopping.
We returned to the marina
around 1700. We got all of our mail and groceries down to DREAM AWAY.
Kitty put all of the groceries away, and while she was doing that, I
went up and finished setting up the shower
trailer, so I could use it to take a shower.
May 01 - May 03, Thursday
- Saturday, 2014
The dates of our trip to Puerto Rico,
which will be covered in a DREAM AWAY update.
