Maintenance Log June 2013
June 30,
Sunday, 2013
Started off the morning
with my normal ritual of getting on the Internet, answering email,
checking the weather, while making a pot of coffee.
The tender was still in
the water after working with PERELANDRA, so I put the engine back on
the lifelines, and the tender back onto the davits.
I washed the mainsheet
in a mild soap and bleach solution to remove built up dirt and
mildew. Rinsed it off and then hung it out to dry. Continued
scrubbing the cockpit sheet nets. They are slow to get clean. May
have to resort to the laundromat.
Worked on the computer
to get caught up on email and scanning in receipts and documents.
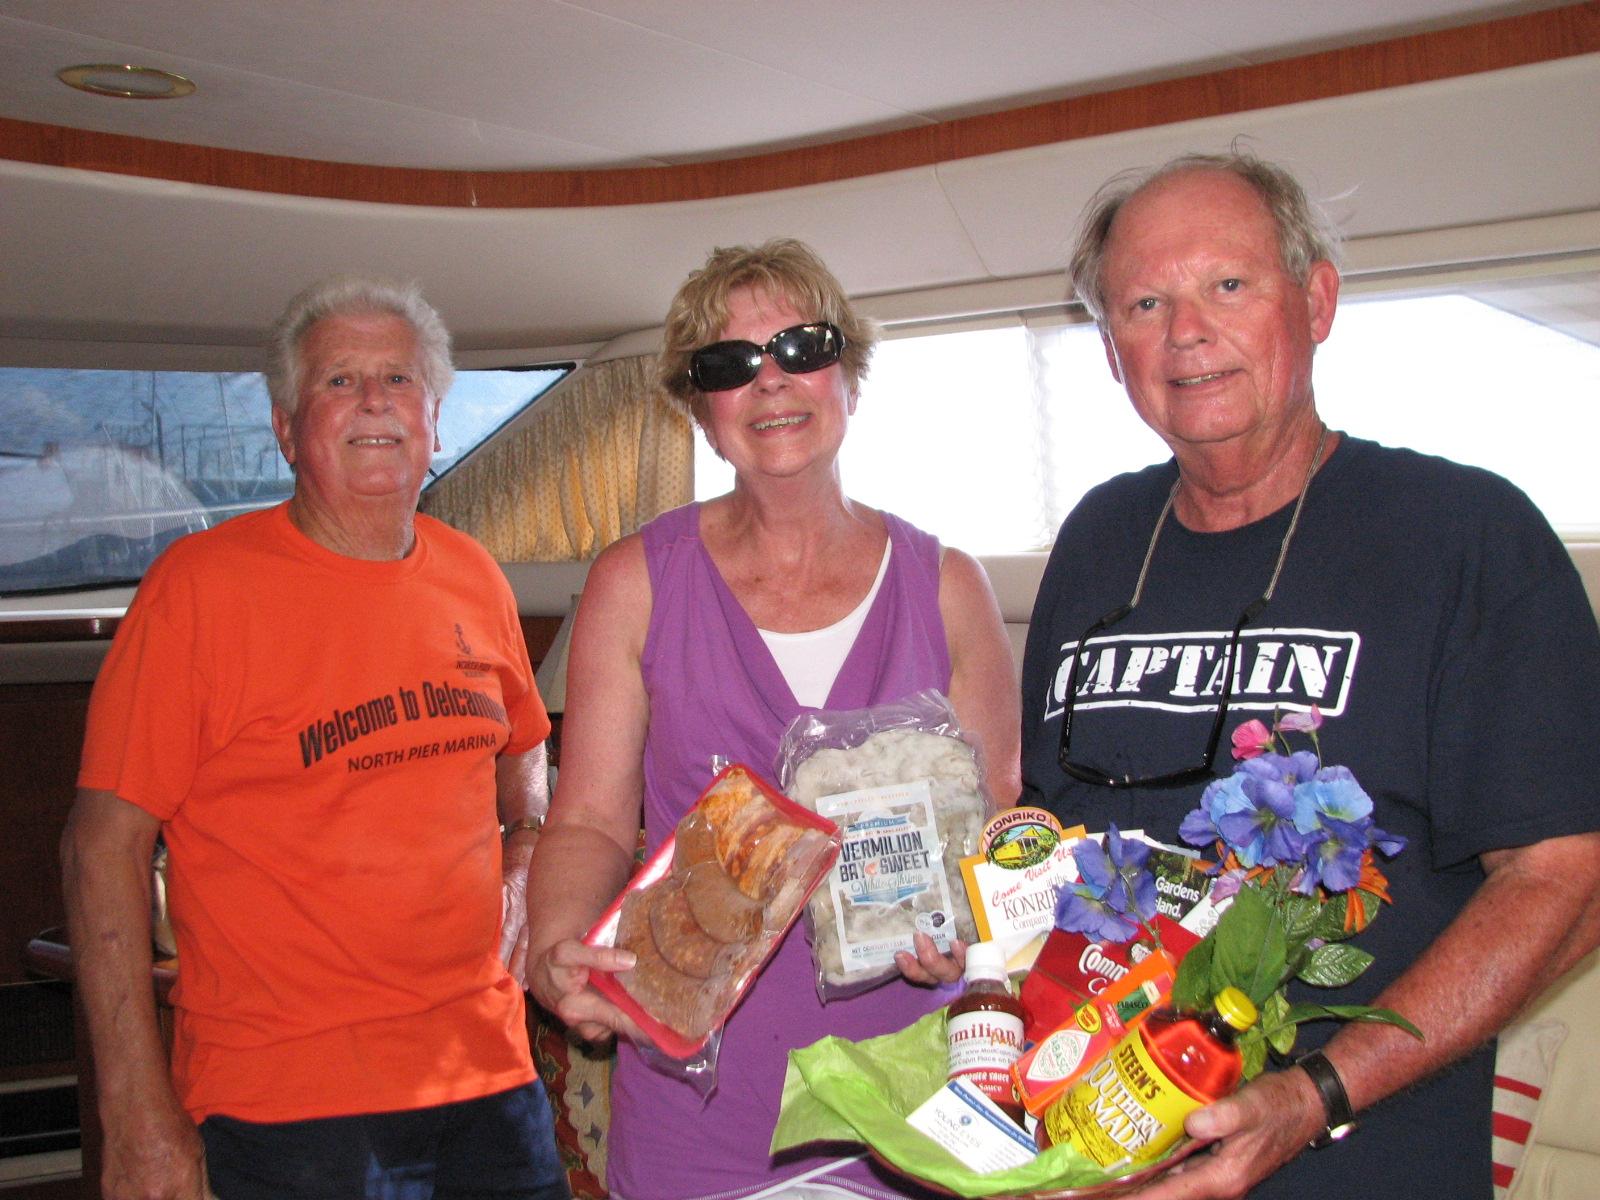
Welcomed Transients To
The Marina
Went and took a shower,
then drove to New Orleans to Get Kitty after her trip to see friend
Kathy. Got back to DREAM AWAY around midnight!
June 29, Saturday, 2013
Started off the morning
with my normal ritual of getting on the Internet, answering email,
checking the weather, while making a pot of coffee.
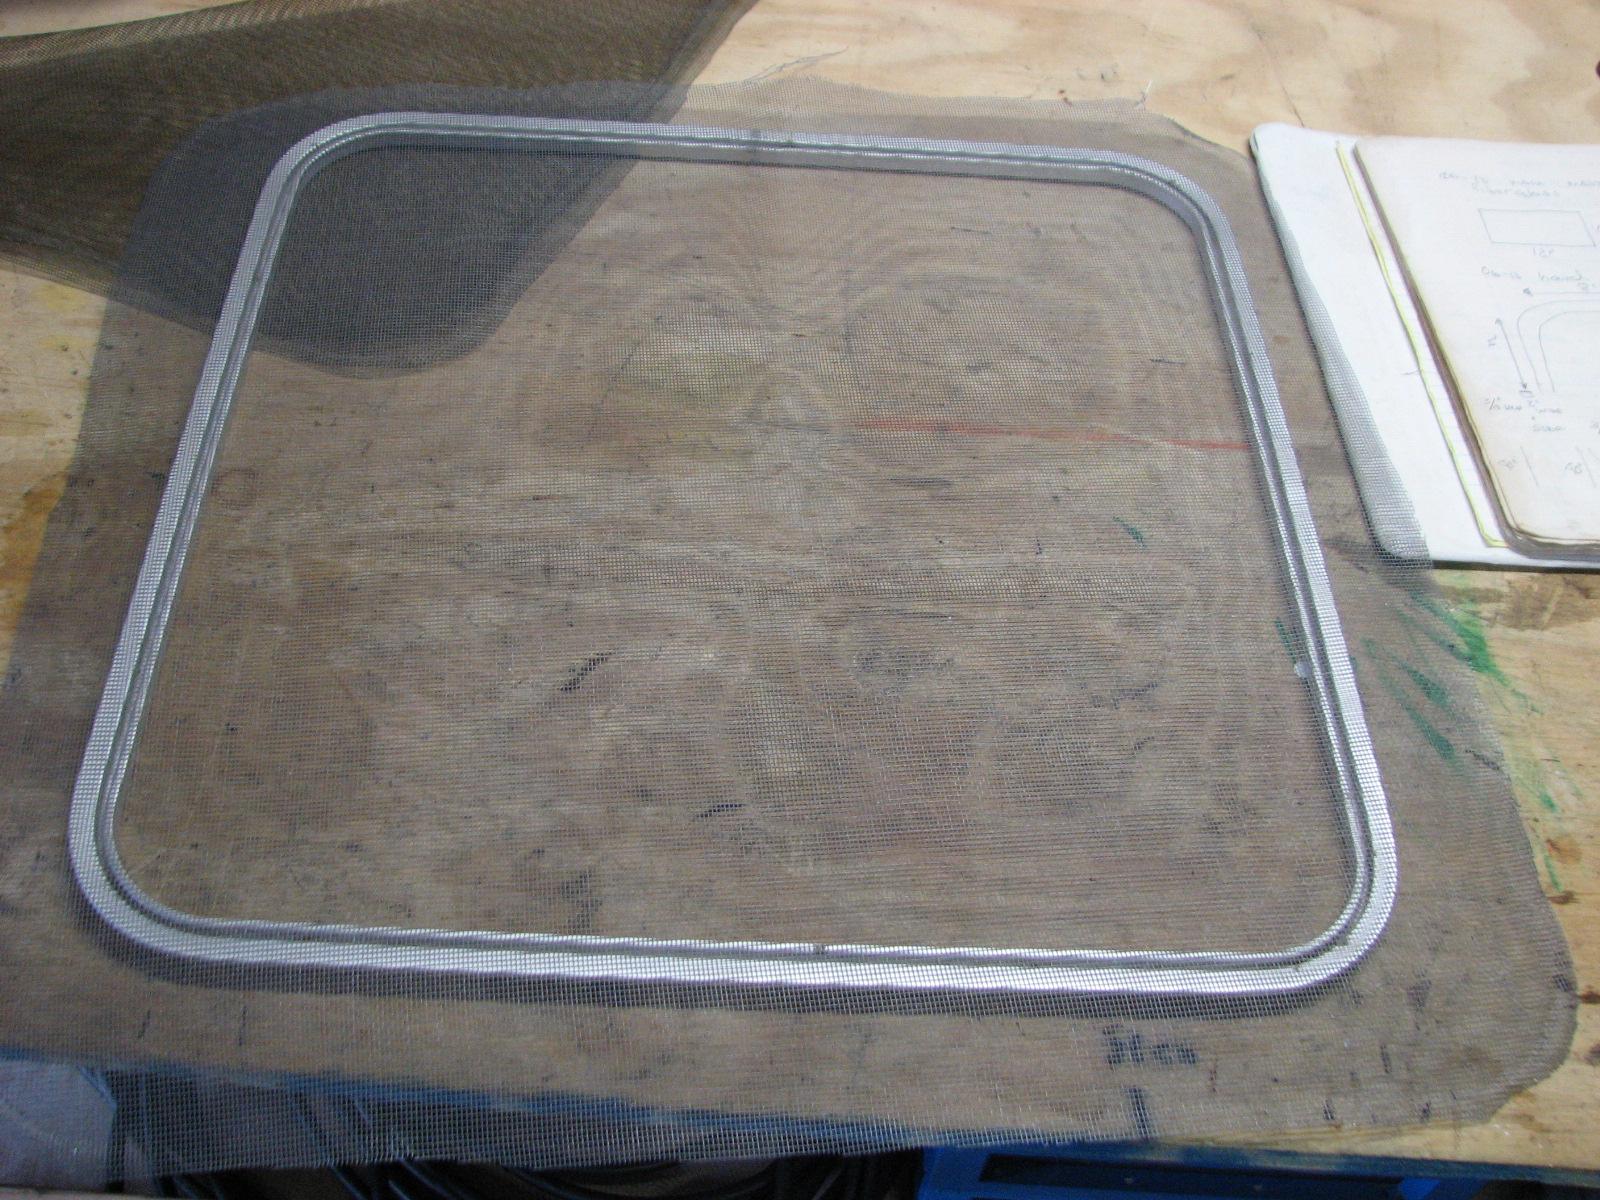
Went over to the shop
and repaired the screen from one of the main cabin hatches. The
screen I repaired yesterday was larger than the main cabin hatch, so
I was able to use the old screen to repair the screen for the main
cabin hatch.
Repaired Main Cabin
Hatch Screen
I checked out the
window air conditioner I have and verified it worked properly. Mark
and Kittie are having issues with their on board air conditioner.
Before I offered them the window unit, I wanted to make sure it
worked.
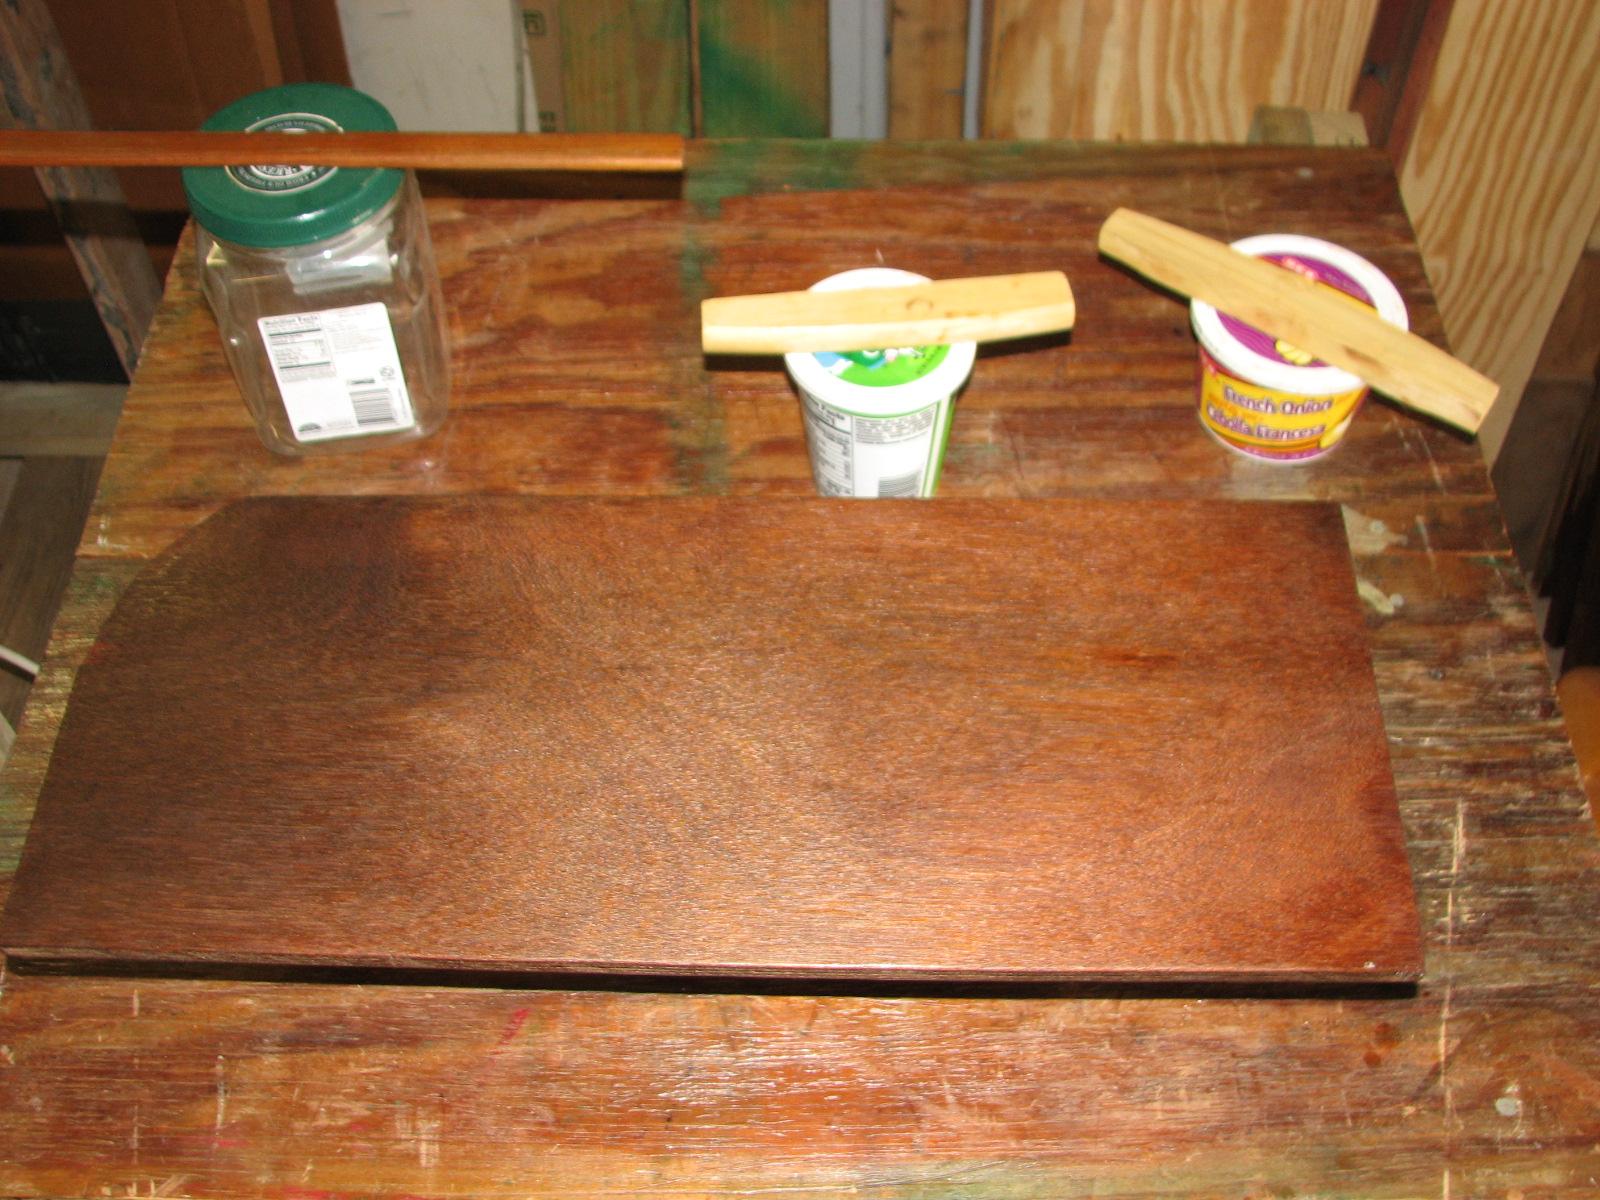
I sanded the V-Berth
insert, and the Panduit
wiring duct covers. I masked the V-Berth insert in preparation for
the application of varnish.
I applied the first
coat ofSmith’s
penetrating epoxy on the
shelf for under the stove in the galley, the batten for the front of
the shelf, and the two supports for the shelf.
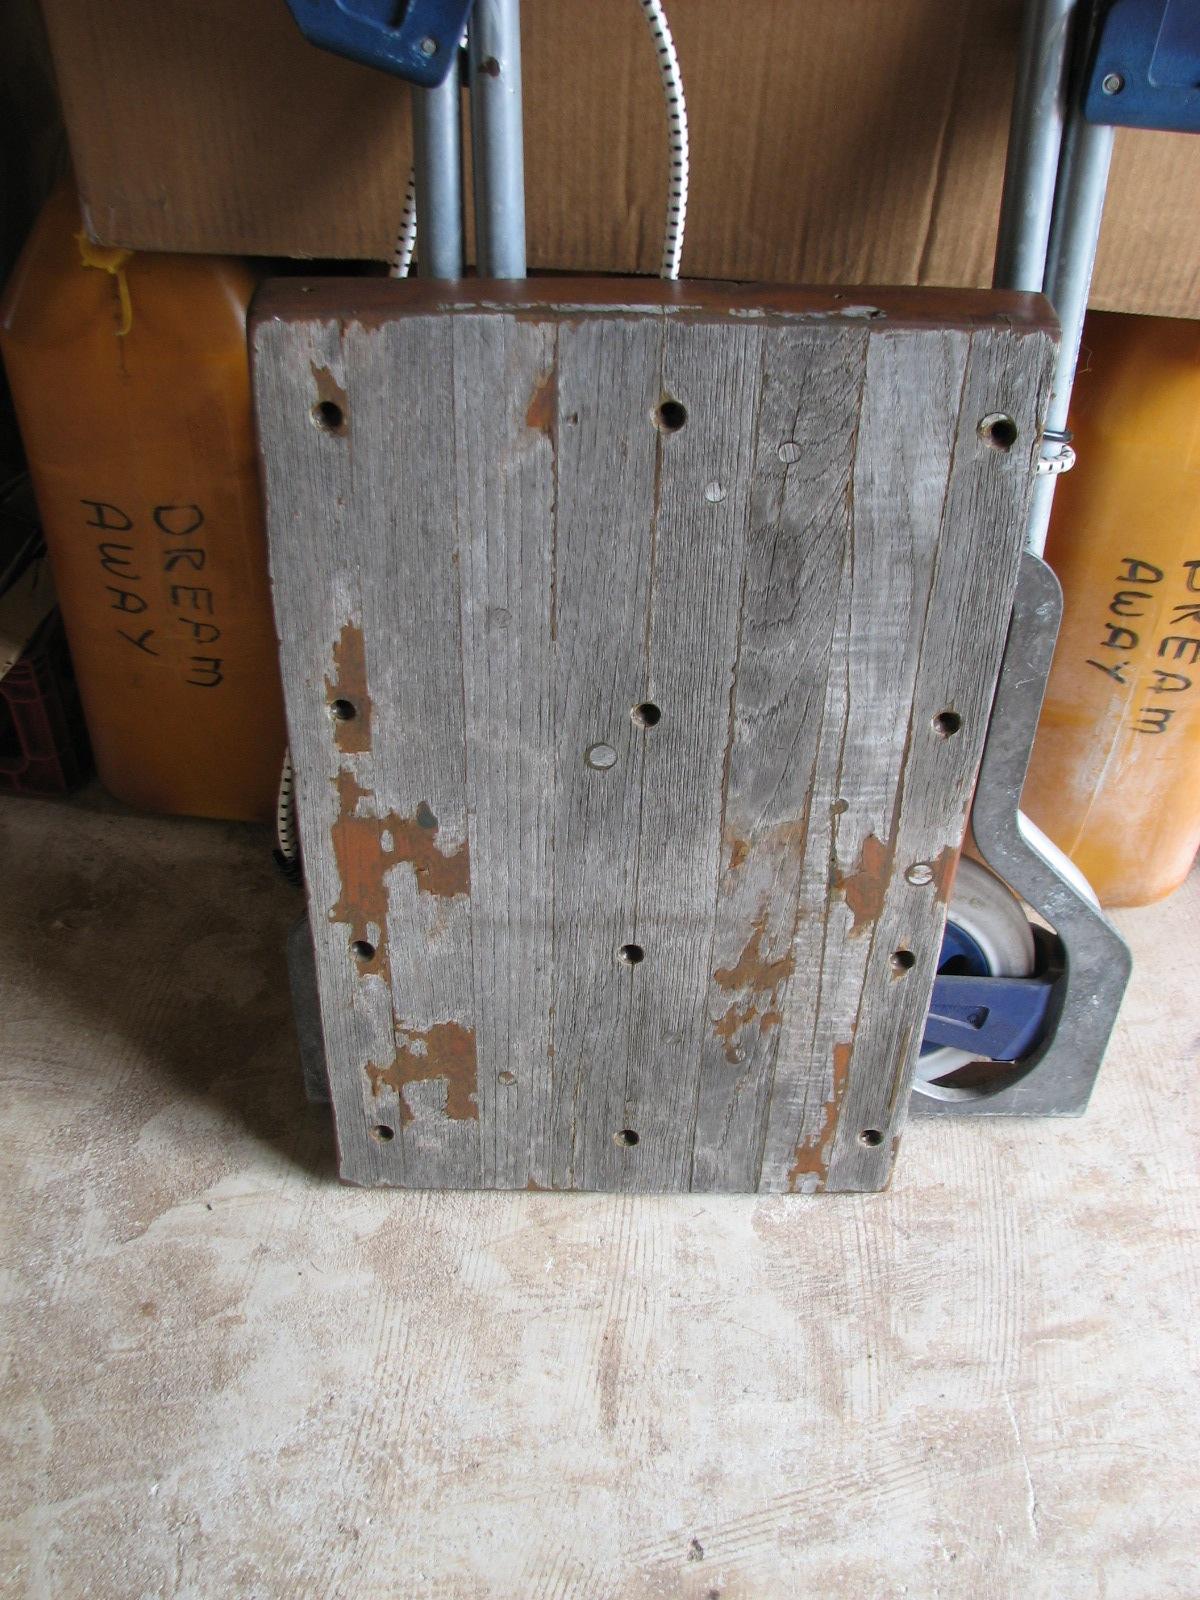
Went back to DREAM
AWAY, and removed the wood deck in the anchor area of the bow pulpit.
Fit the fiberglass grating, but still needed some trimming for the
perfect fit. Marked the grating for cutting.
Deck From Anchor Area
On Bow Pulpit
Back into spring
cleaning mode. I cleaned the main cabin, including both lockers on
either side of the settee shelves.
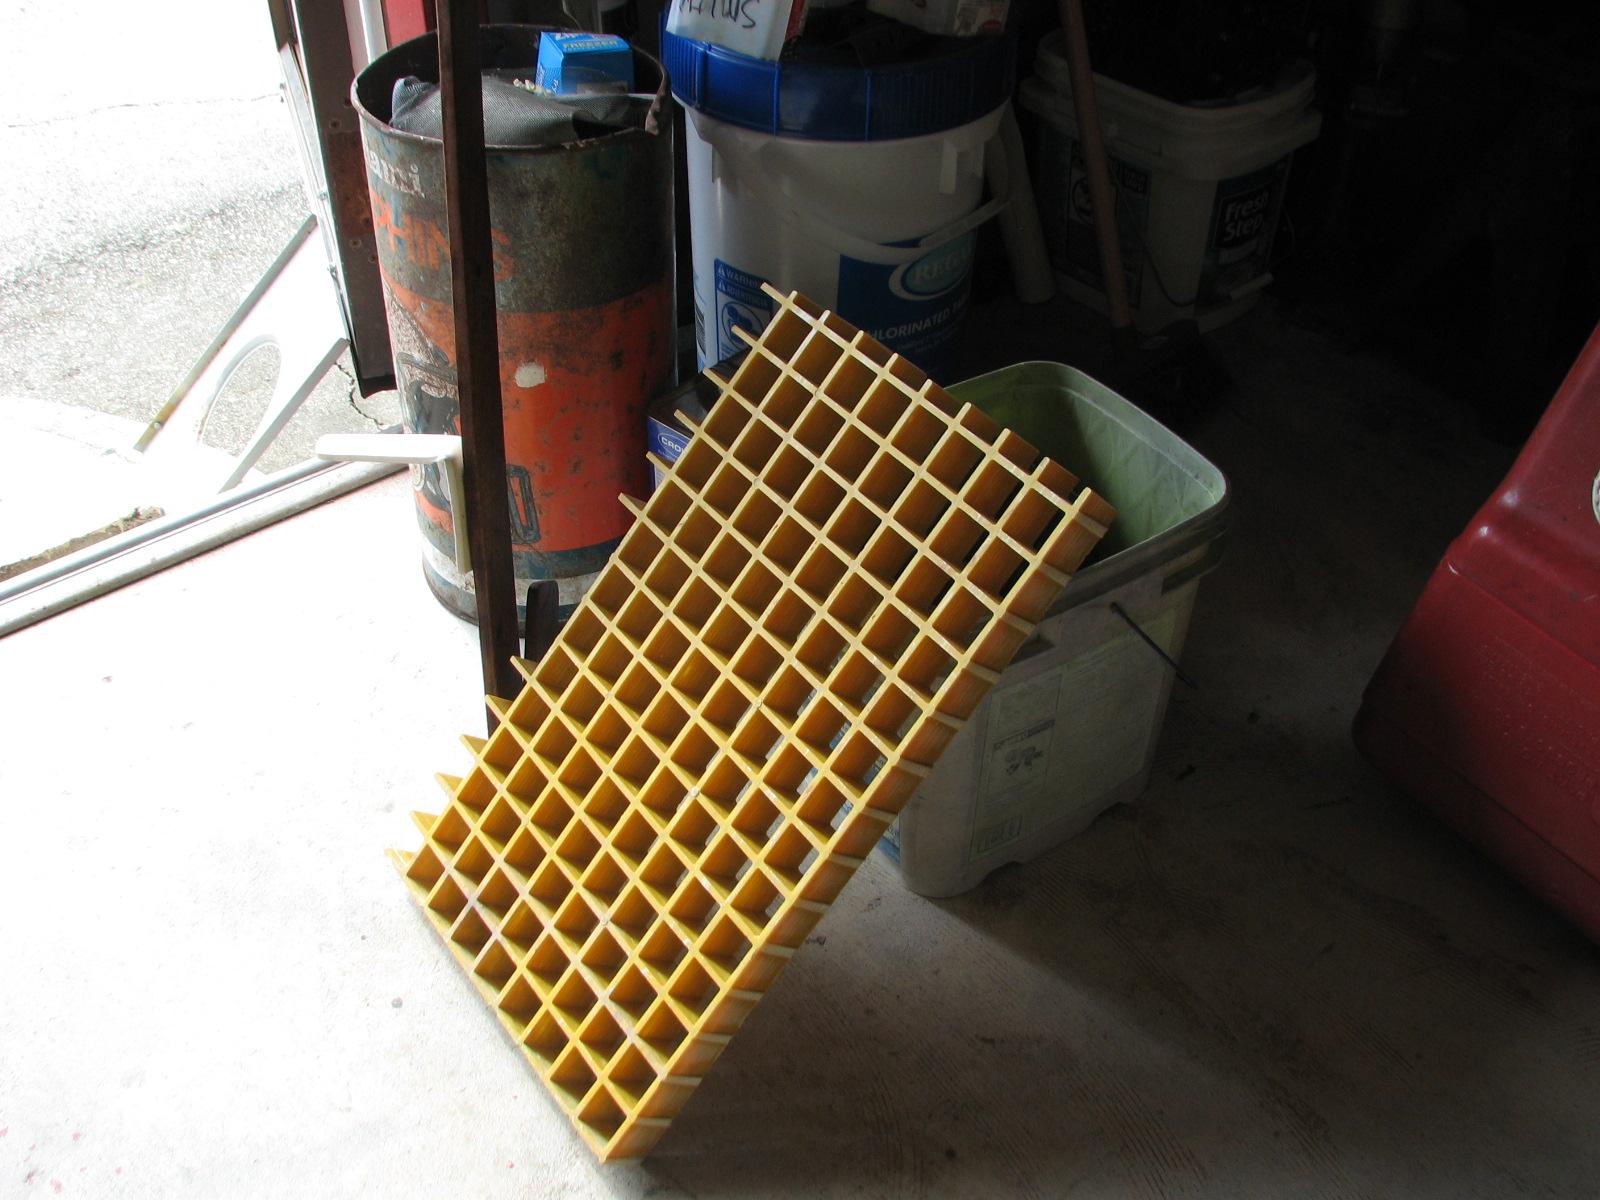
Went back to the shop
and cut the fiberglass grating to the adjusted measurements.
Fiberglass Grating
After Adjustments
I nailed the batten
onto the front of the shelf to be put under the stove in the galley.
The batten is to keep pans from sliding off of the shelf.
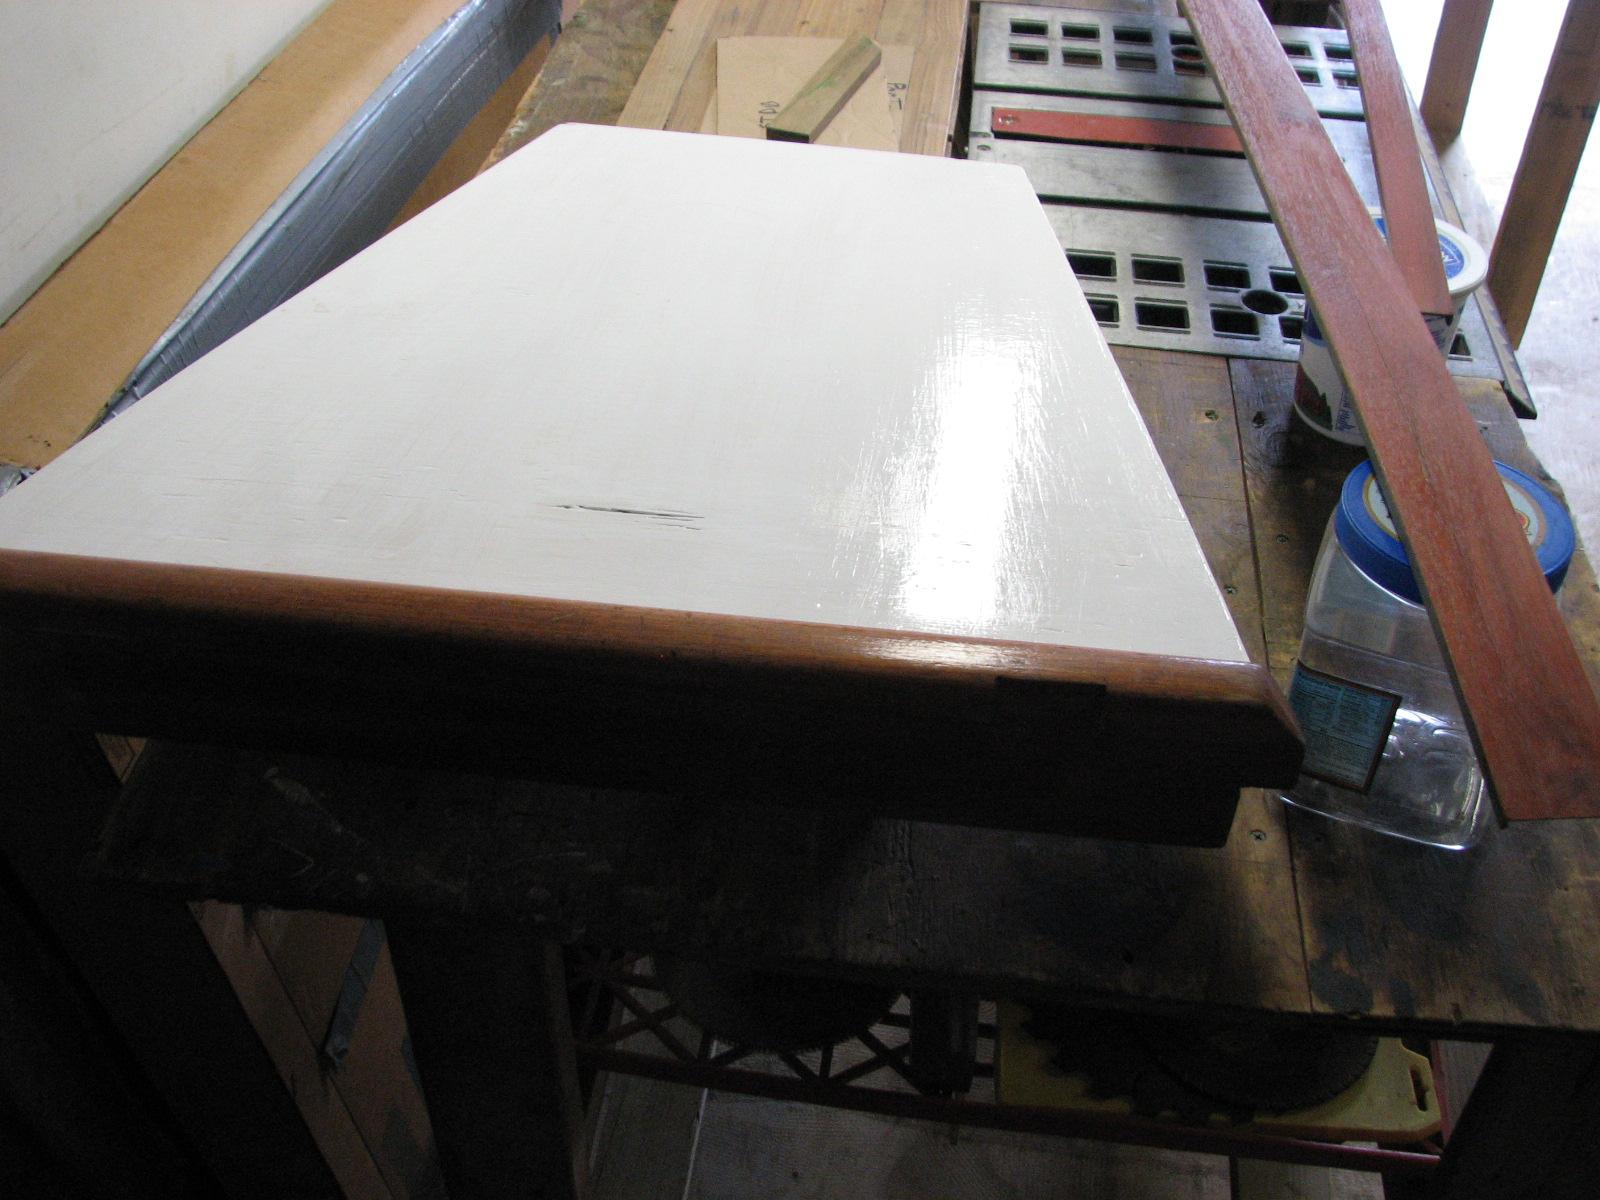
I applied the second
coat of varnish to the Panduit
wiring duct covers, and the first coat of varnish to the V-Berth
insert.
Varnish Applied To
Panduit
Wiring Duct Covers And V-Berth Insert
Went back to DREAM
AWAY, and fitted the fiberglass grating to the deck of the anchor
area on the bow pulpit. It is a perfect fit.
Fiberglass Grating On
Bow Pulpit
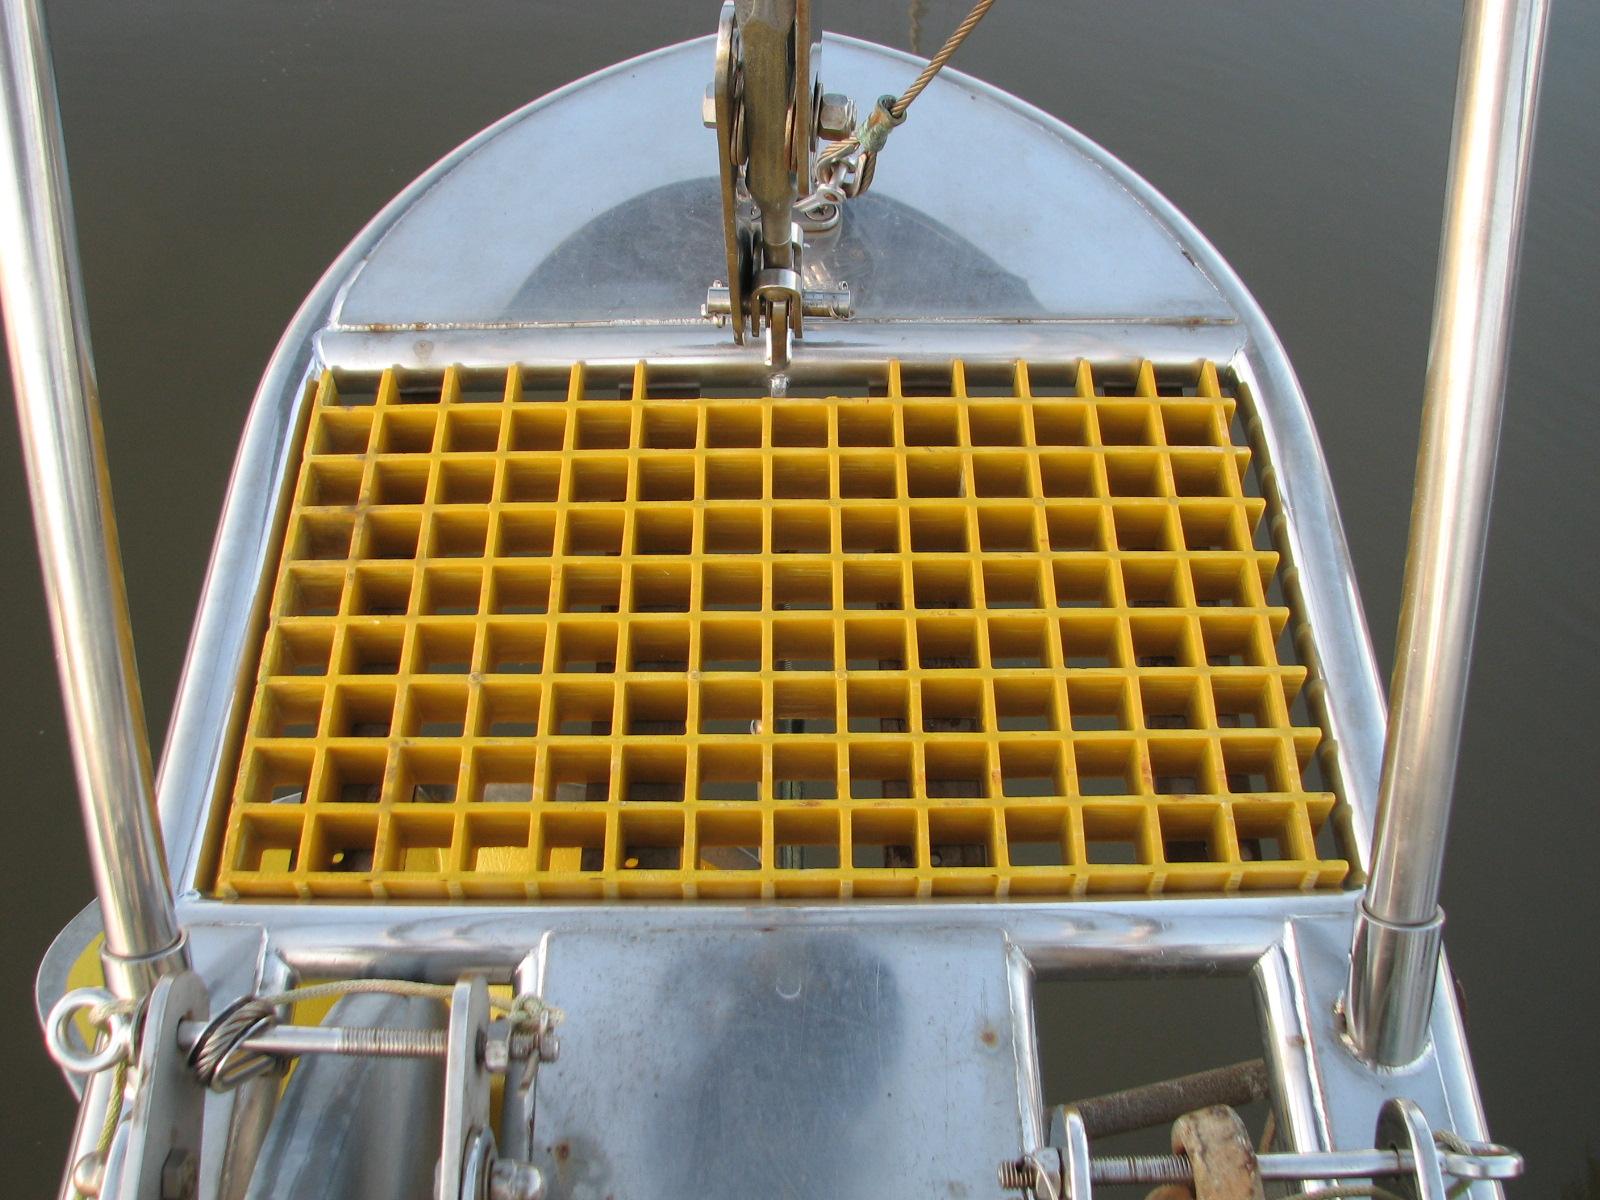
All that remains is to
purchase J-bolts to secure the grating to the bow pulpit.
June 28, Friday, 2013
Started off the morning
with my normal ritual of getting on the Internet, answering email,
checking the weather, while making a pot of coffee.
Went over to the shop
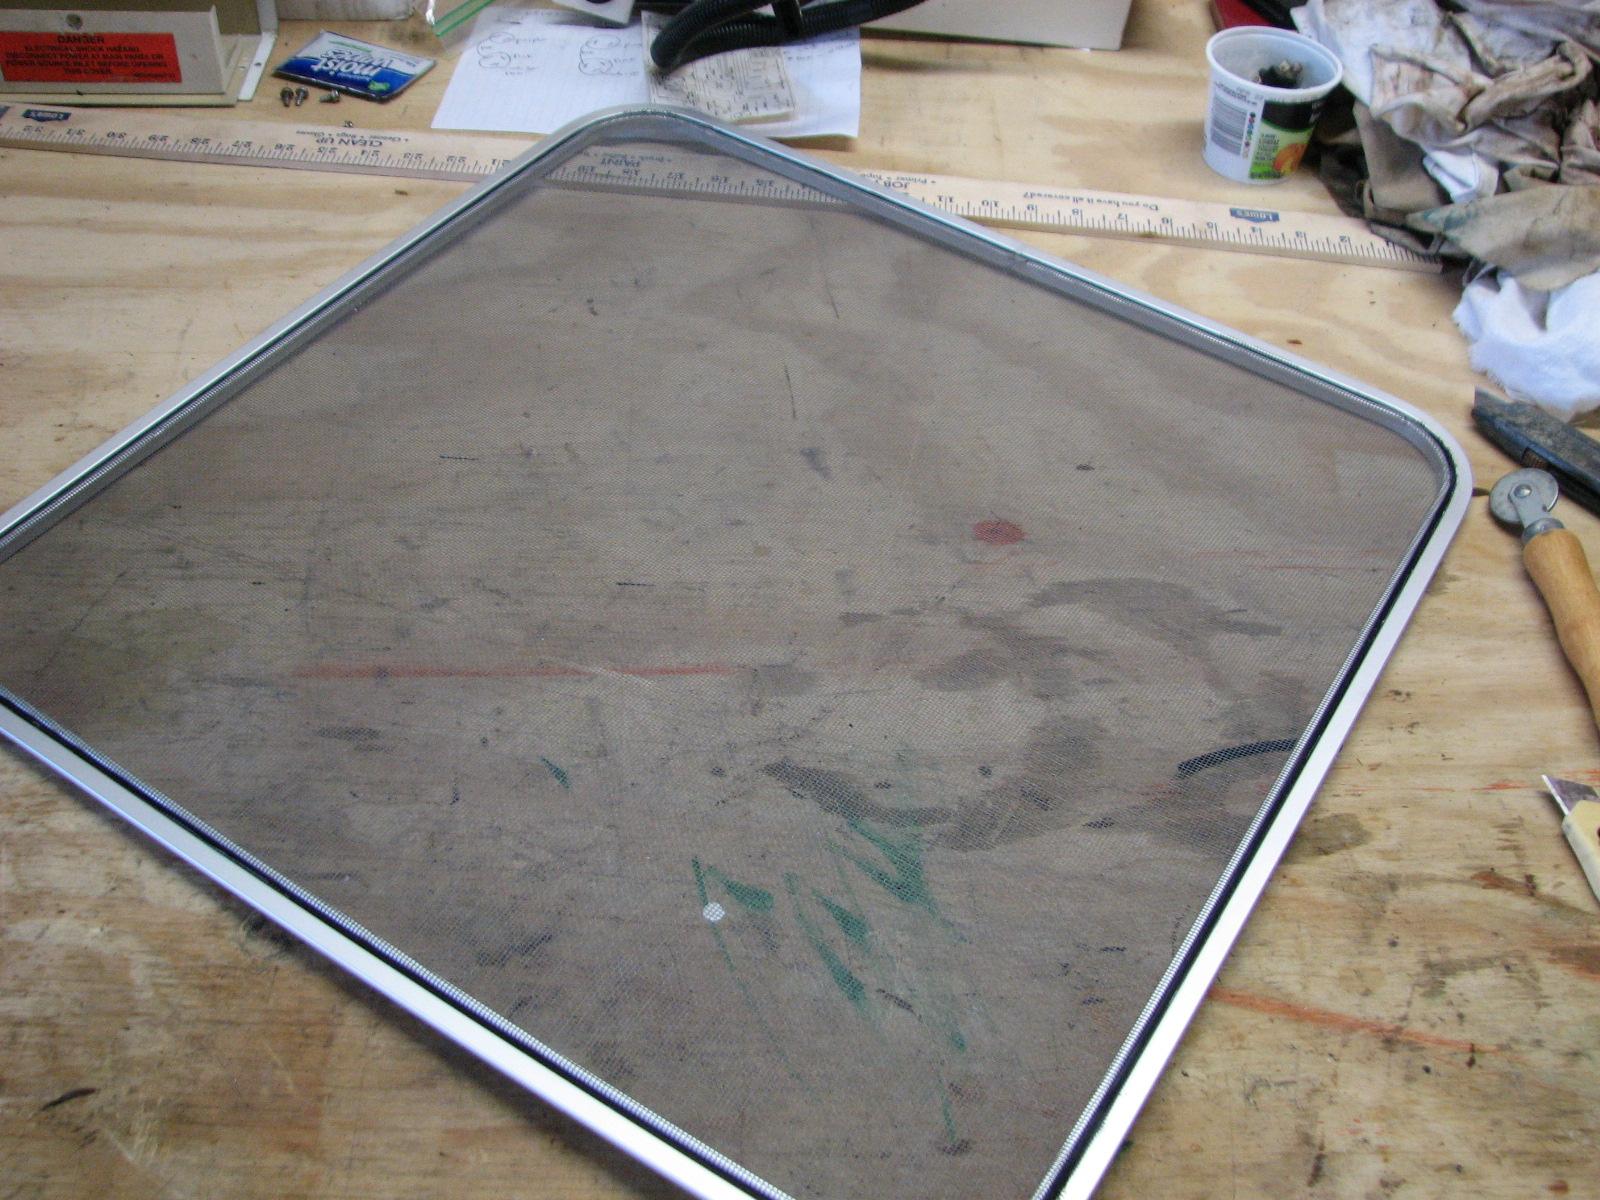
and repaired the screen for the aft cabin. Had to cut new screen
material, and insert the screen into the frame.
Frame With New Screen
Material
I brought over two butt
connectors, so I connected the blower on the spare air conditioner to
the power controls. I powered up the unit, and everything functioned
normally. Now all I need is a small piece of hose, and I can check
the system out with the cooling water running through the system.
I applied the dye to
the Panduit
wiring duct covers. When they dry they will be ready for varnish.

I cut the wood for the
shelf I am putting under the stove in the galley. I also cut the
fiberglass grating to be used on the bow pulpit anchor area.
Before leaving the
shop,
I took a couple of pictures of Mark’s diesel engine that is in the
shop
along with a bunch of parts he ghad stripped from the engine.
Engine From The Back
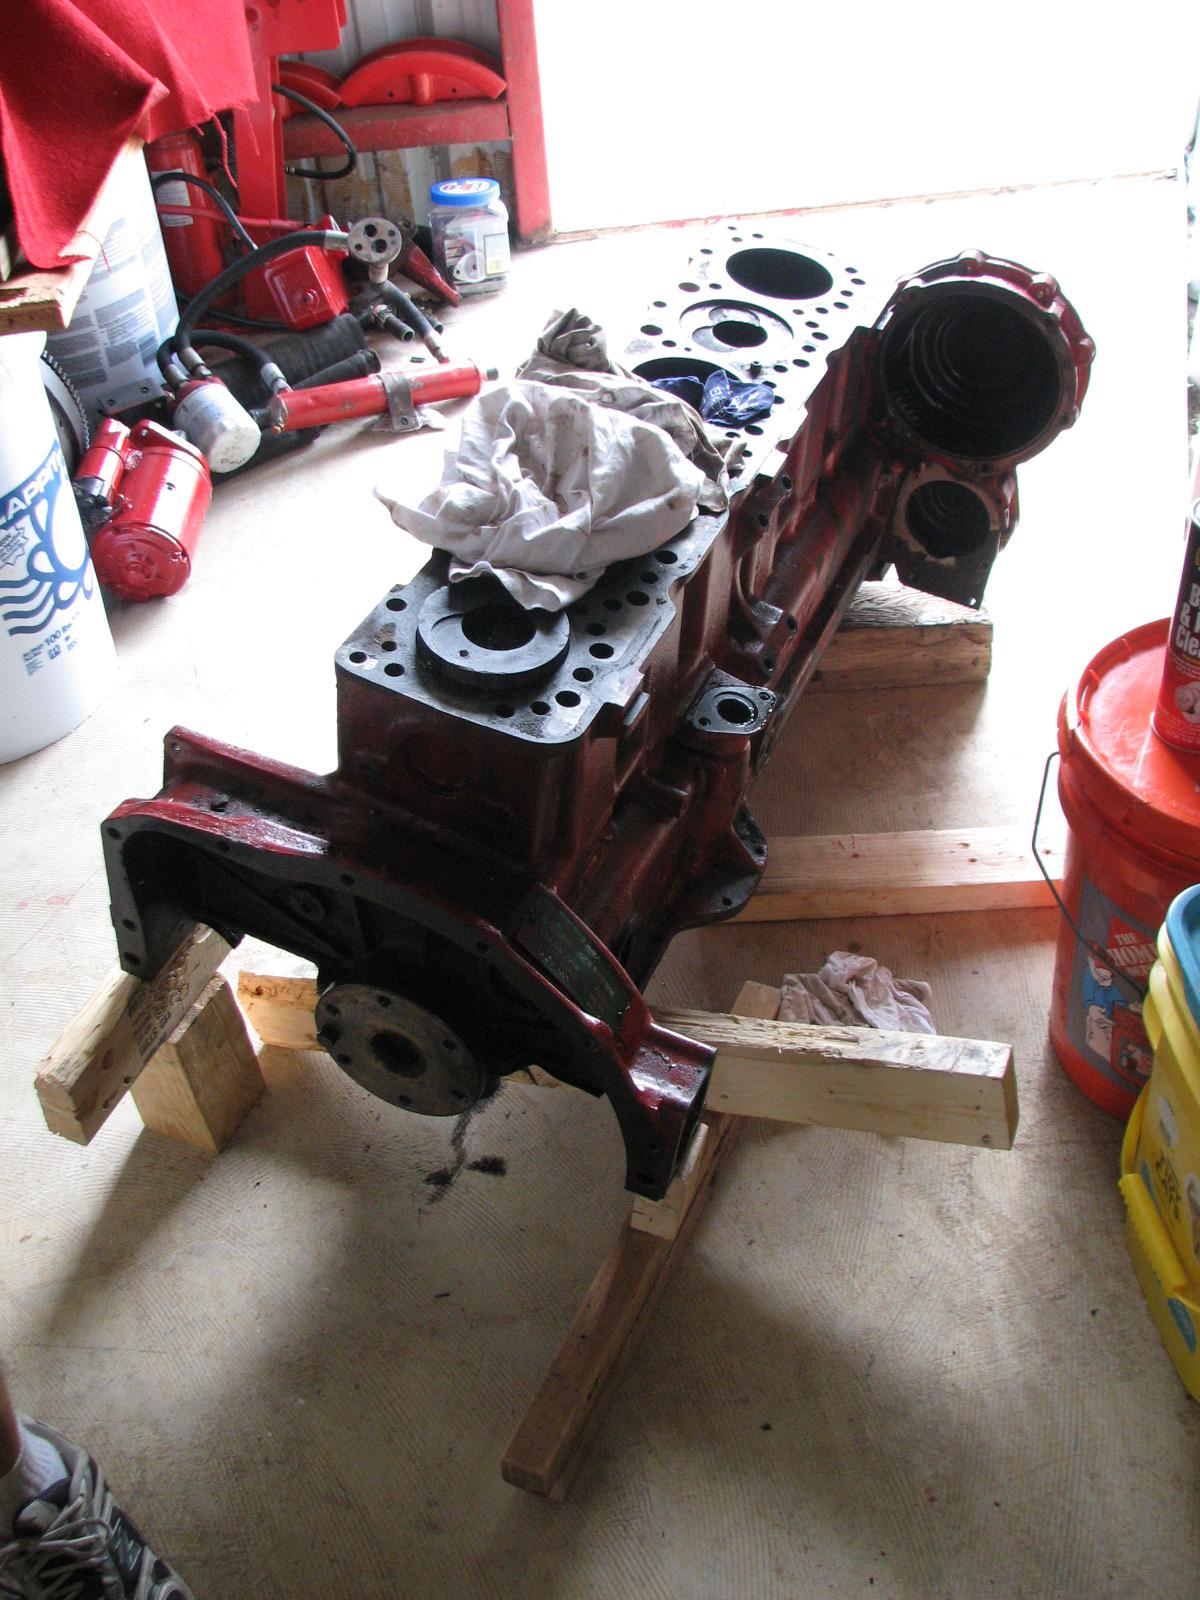
Engine From The Front

Parts Removed From
Engine

Went over to DREAM
AWAY, and fitted the shelf under the stove in the galley.
Went back into spring
cleaning mode. I cleaned the pot and pan storage area under the
microwave in the galley. Took the doors from the aft cabin, and the
door from the main cabin to the mid cabin out on deck and washed and
rinsed them.
I then cleaned the head
and the storage area under the head sink. When that was finished the
doors on deck were dry, so I put them back in their respective door
jams!
I went back over to the
shop
and applied the first coat of varnish to the Panduit
wiring duct covers.
It was then back to
DREAM AWAY for a shower and adult beverages!
June 27, Thursday, 2013
Started off the morning
with my normal ritual of getting on the Internet, answering email,
checking the weather, while making a pot of coffee.
Mark and I drove into
Abbeville to get parts and wood for Mark and his engine project. The
plywood and 4X4’s Mark purchased was to support the engine hoist in
the main cabin of PERELANDRA, and to spread the load of the weight of
the engine. Returned to the marina,
dropped off Mark and his wood, and I went over to the shop.
I removed the old power
and electronic controls from the spare air conditioner, and
reinstalled the original power and electronic controls. I also got
the pump connected all but one hose, which I will get later.
Long story here, but I
could just cut off a short piece of the ¾” hose I have. My plan
though, is to use that long piece of ¾” hose to run from the raw
water washdown pump on DREAM AWAY to the raw water outlet on deck at
the bow. I already have a hose run, but it has been cut into for
fittings that are not needed now. That piece I want to remove from
DREAM AWAY, and I will use that short piece for the air conditioner
test.
I got all of the
electrics and electronics connected except for the blower motor. I
did not have two butt connectors. I powered it on and the unit
started to cool. With no water to cool the unit, I shut it off, as I
did not want to cause another problem.
Spare Air Conditioner
Connected Up

Knew I was going to be
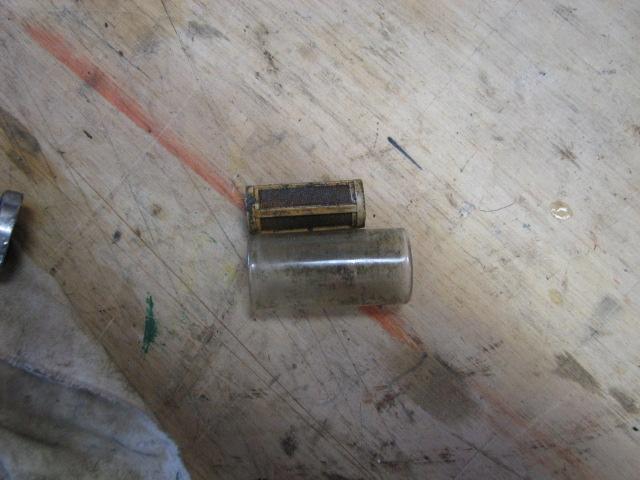
using the tender today to move PERELANDRA to and from the shrimp
dock, so I cleaned out the fuel filter on the tender fuel tank.
Fuel Filter Before
Cleaning
Cut the teak wood tape
for the two Panduit
wiring duct covers I brought over to the shop yesterday. I then used
the iron, and ironed the teak wood tape onto the Panduit
wiring duct covers.
Teak Wood Tape Cut For
The Panduit
Wiring Duct Covers
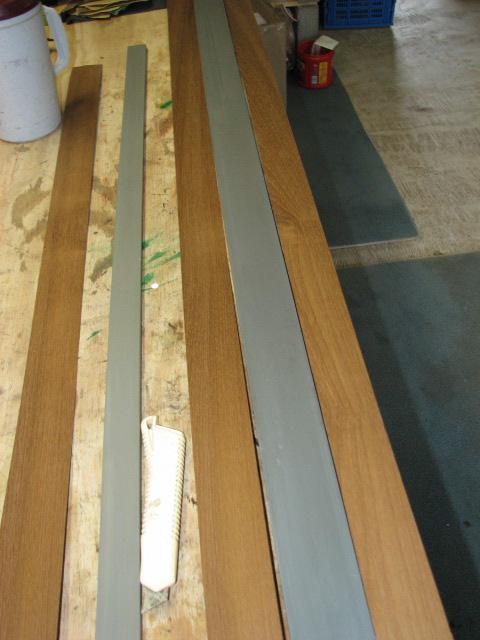
Teak Wood Tape Applied
On The Panduit
Wiring Duct Covers
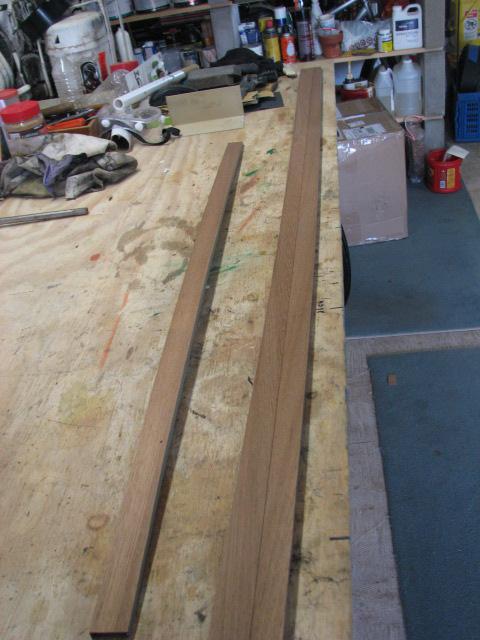
Loaded Troys wood into
the Black Beast, then went back to the marina.
I put Troys wood out in the sun on DREAM AWAY.
I then went into spring
cleaning mode and finished cleaning under the galley sink and the
galley stove. While under the galley sink, I also exercised the
seacocks located there.
Under The Galley Sink
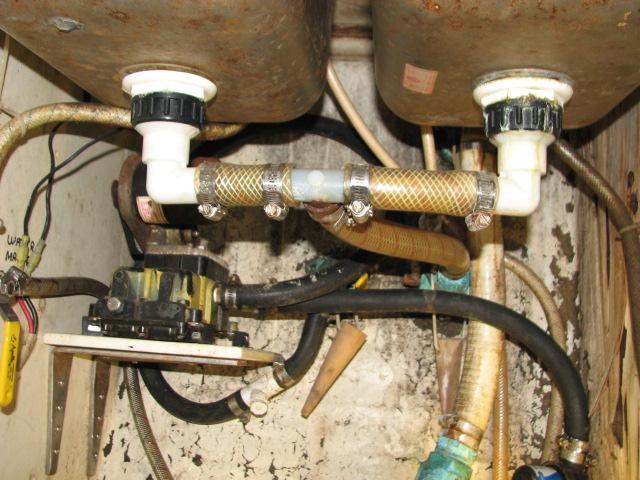
I took measurements for
a shelf in the area under the galley stove. We need a shelf there to
keep some of the large pans and the waffle iron from sliding down the
hull every time you remove something in front.
The remainder of the
day was spent helping Mark get the engine out of his boat. I was
deeply involved, so was not able to take any pictures.
We used the tender as a
tug, and moved PERELANDRA to the public dock in Delcambre. Mark had
arranged to have Mike From Leblanc Oil come to the dock with his
forklift. Mike drove the end of the attachment on the forklift into
the main cabin of PERELANDRA. We attached the engine (short block) to
a shackle on the fork lift. Mike very carefully lifted the engine,
and the backed it out of the main cabin on PERELANDRA.
When the engine was on
the dock, Mike walked back to Leblanc Oil. ark drove the forklift
over to the shop,
and we put the engine in the back entrance to the shop.
Mark drove the forklift back to Leblanc Oil, and the came back to
PERELANDRA. We used the tender again and got PERELANDRA from the
public dock back to her slip on Pier “C” at the marina.
Mark cleaned up the
inside of PERELANDRA to get it back to a live aboard boat again. His
work was cut out for him. Good for him that I had the shop
available for him to use to rebuild his engine.
June 26, Wednesday,
2013
Started off the morning
with my normal ritual of getting on the Internet, answering email,
checking the weather, while making a pot of coffee.
Went to shop
with my digital DVM. Measured the input AC, and it seems good.
Something must be different in the controls from the failed AC to the
controls from the spare AC. Will have to do the exchange of all of
the electrical controls.
Sanded the teak board I
epoxied to use to cover the holes in the aft cabin. Needed to mix
another batch of epoxy but the can of hardener was empty. I have a
new can of hardener, but I could not get the pump out of the old can
to put in the new can. I ended up destroying the old pump, so will
have to purchase a new pump before I can mix any more epoxy.
Took most of Troy’s
wood over to DREAM AWAY to sit out in the sun. This will accelerate
the drying process.
Took eight doors from
the aft cabin, galley and head outside on deck and washed them down
with soap, water and high pressure water. Left them out in the sun to
dry.
Performed the spring
cleaning on the aft cabin. Removed two Panduit
wiring duct covers to take to the shop,
and glue on the teak tape.
Got on the computer and
finally caught up on emails!
June 25, Tuesday, 2013
Started off the morning
with my normal ritual of getting on the Internet, answering email,
checking the weather, while making a pot of coffee.
Went to the shop,
and got to work on the spare air conditioner. Got the blower
connected, and applied power to the unit, but it would not power up!
Very disappointing. I was hoping the controls out of the failed unit
would work on the newer unit. I will have to bring over my digital
VOM to verify the power.
Worked on the epoxied
teak I will be using to cover the davit holes in the aft cabin. Mixed
up a batch of epoxy and filled in any gaps in the teak that I had
missed yesterday.
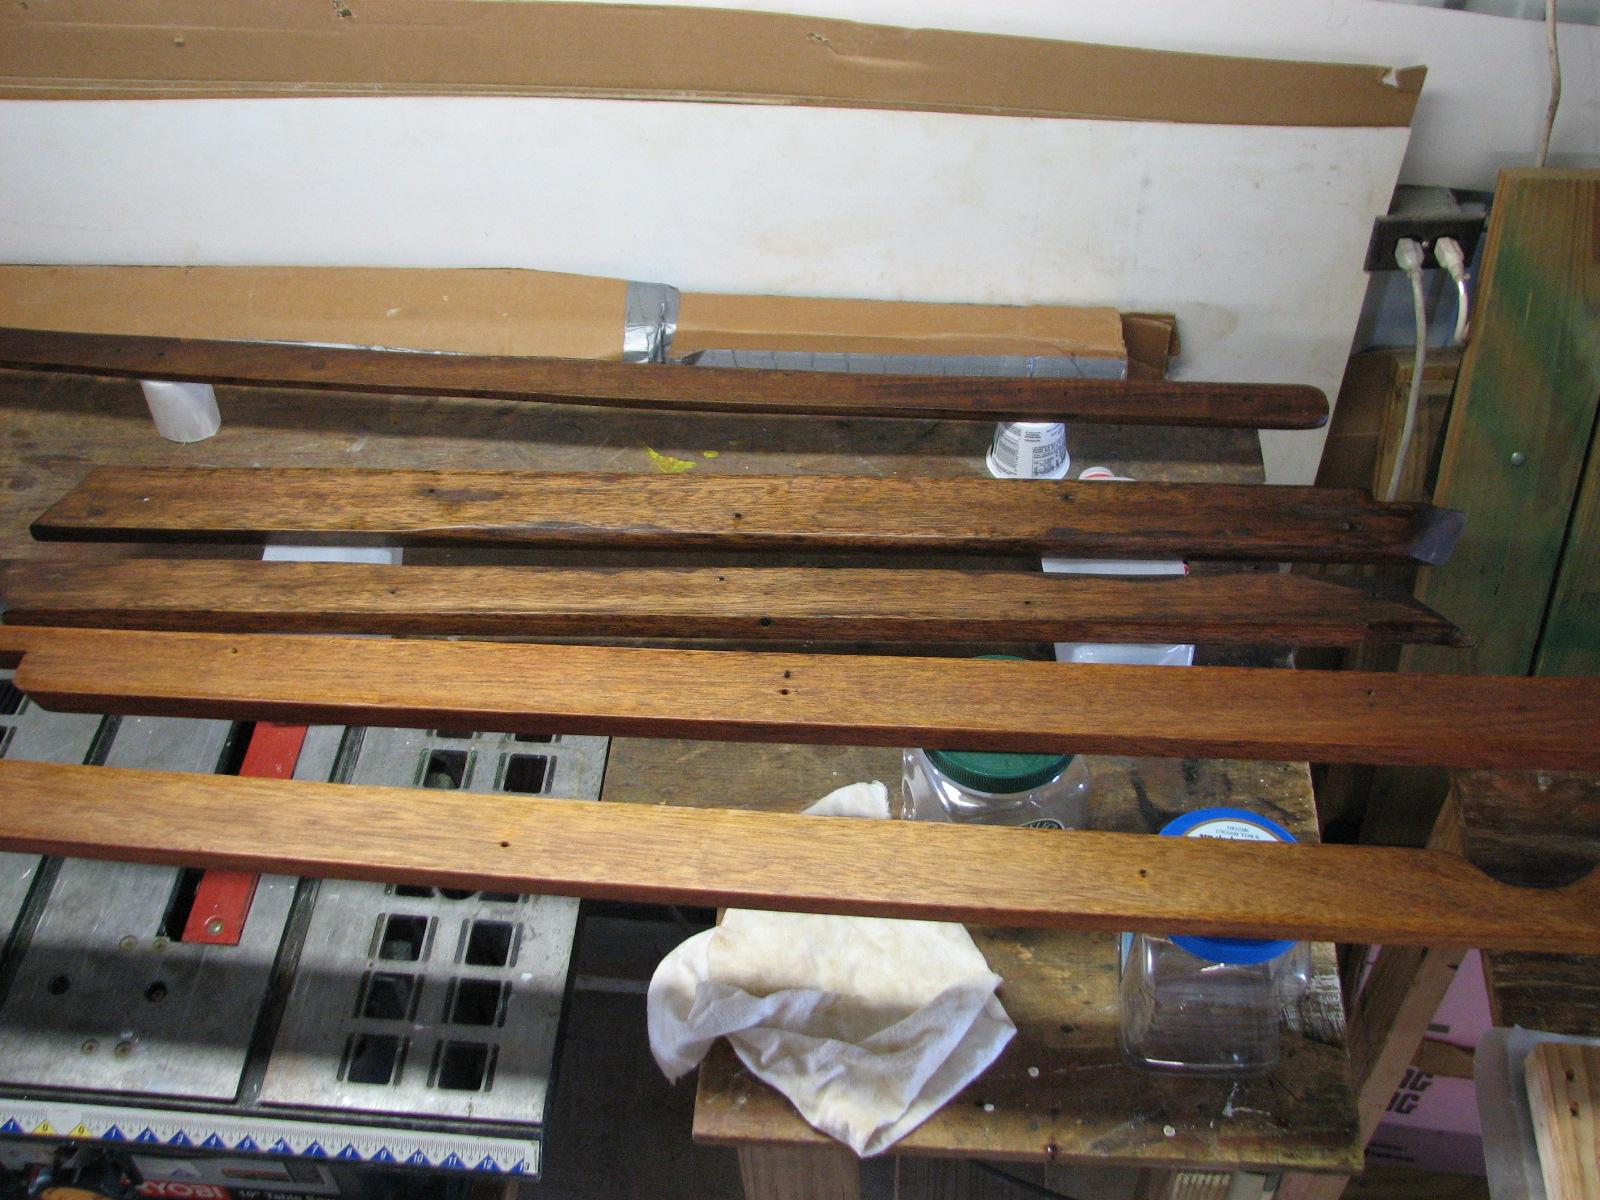
Teak Piece To Cover
Davit Hole In Aft Cabin
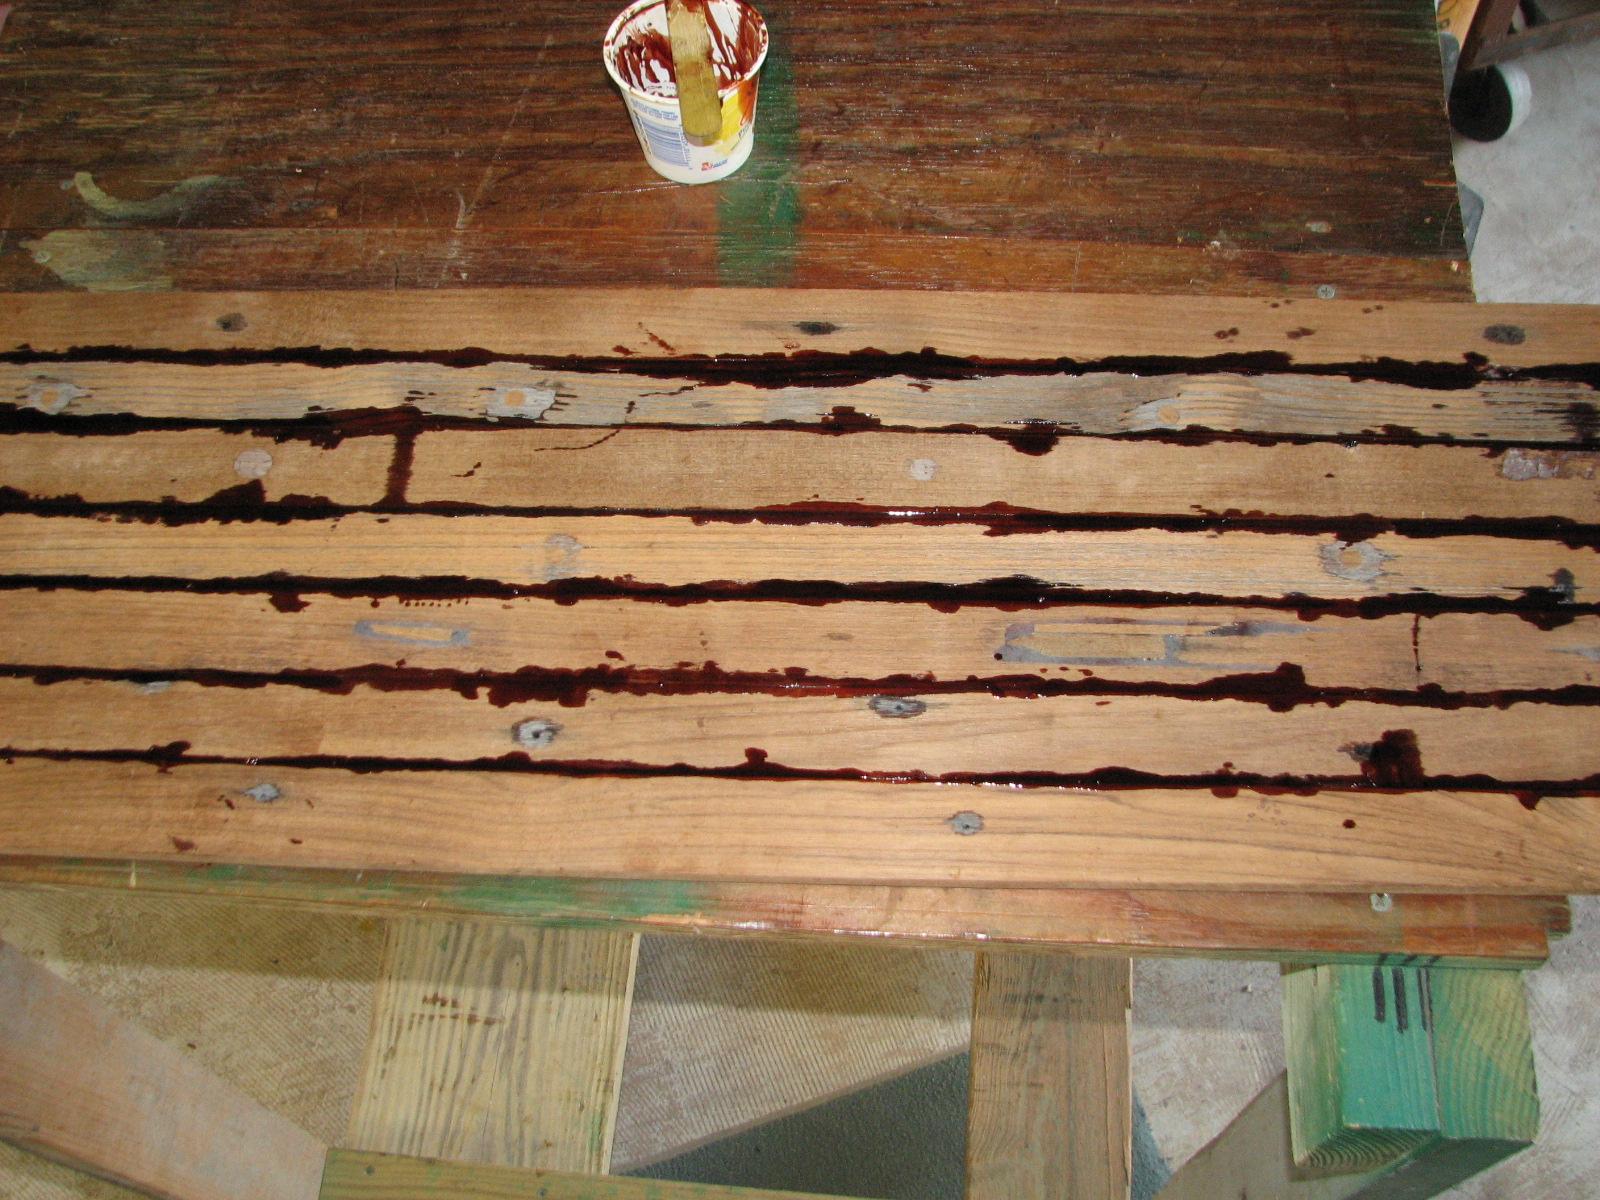
I applied another of
Watco
teak treatment to the backside of Troy’s wood.
Went back to DREAM AWAY
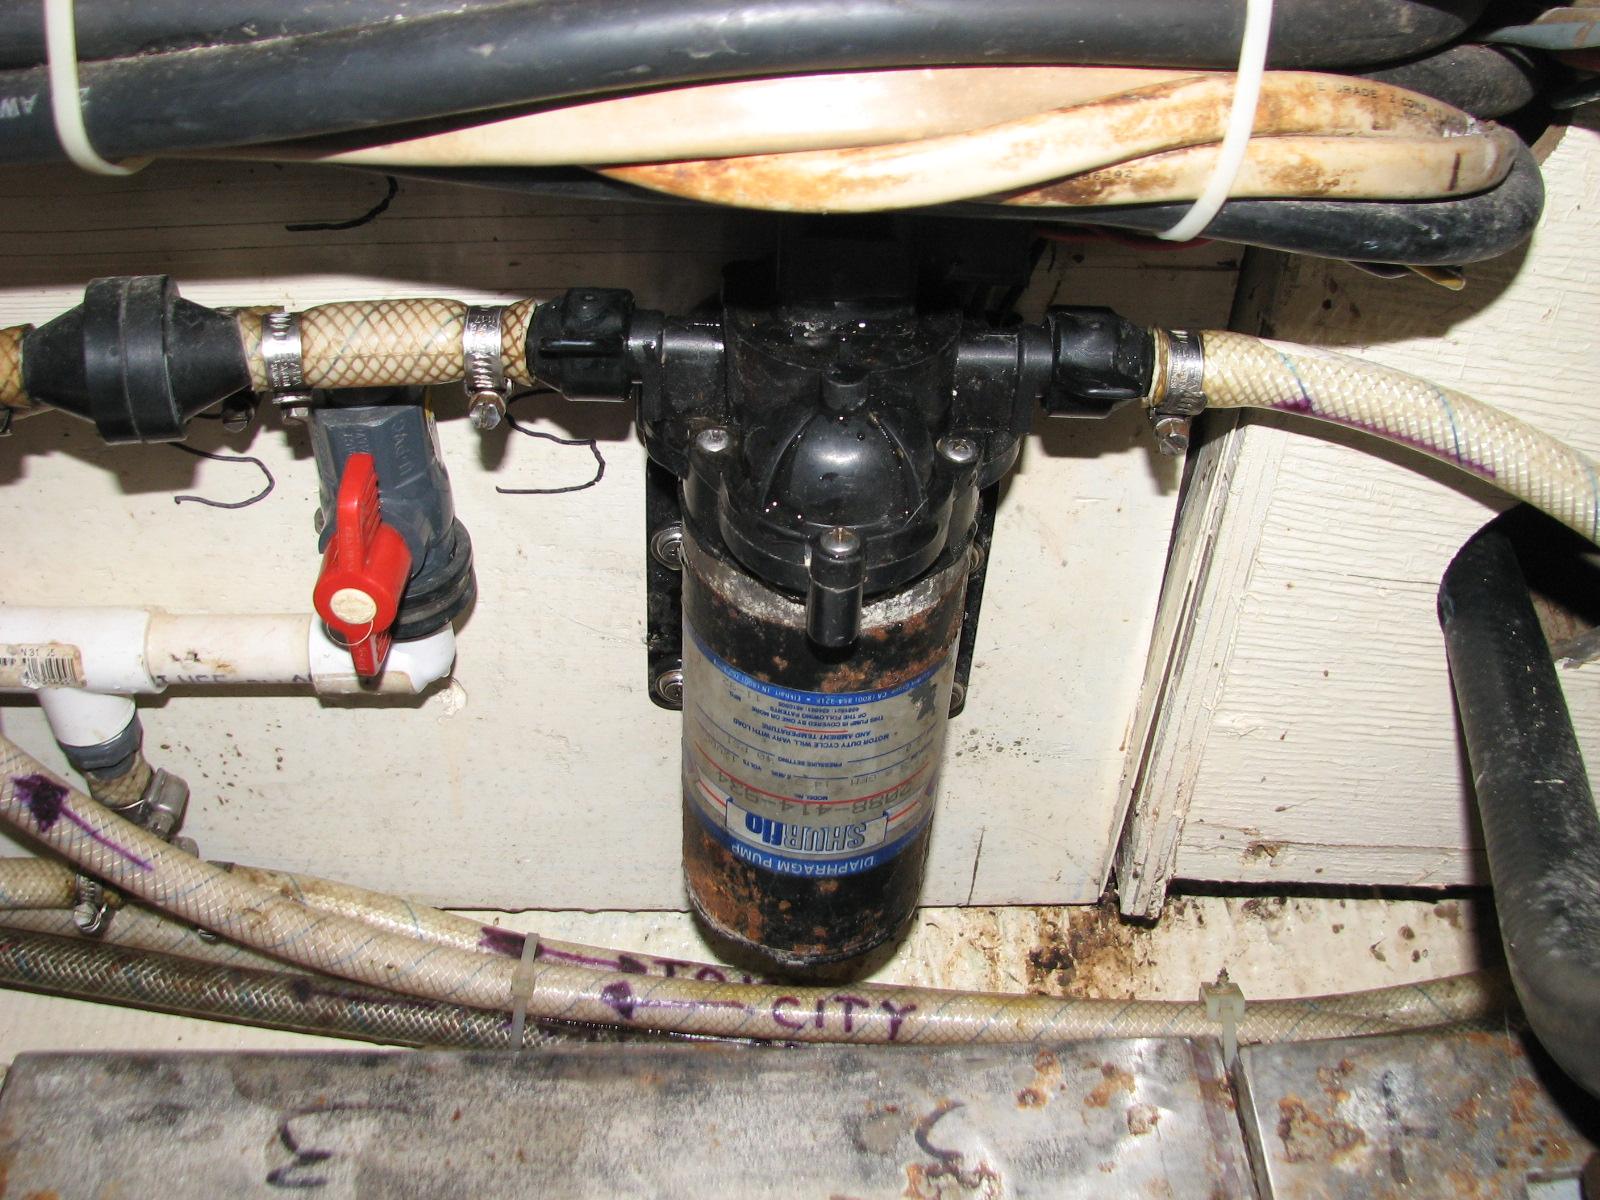
to work on the fresh water pump. The pump in the system was leaking,
so I had to install one of the spare pumps. I carry two spare fresh
water pumps, so I am pretty covered!
Freshwater Pump Removed
From System

Leaking Pump Removed
From System
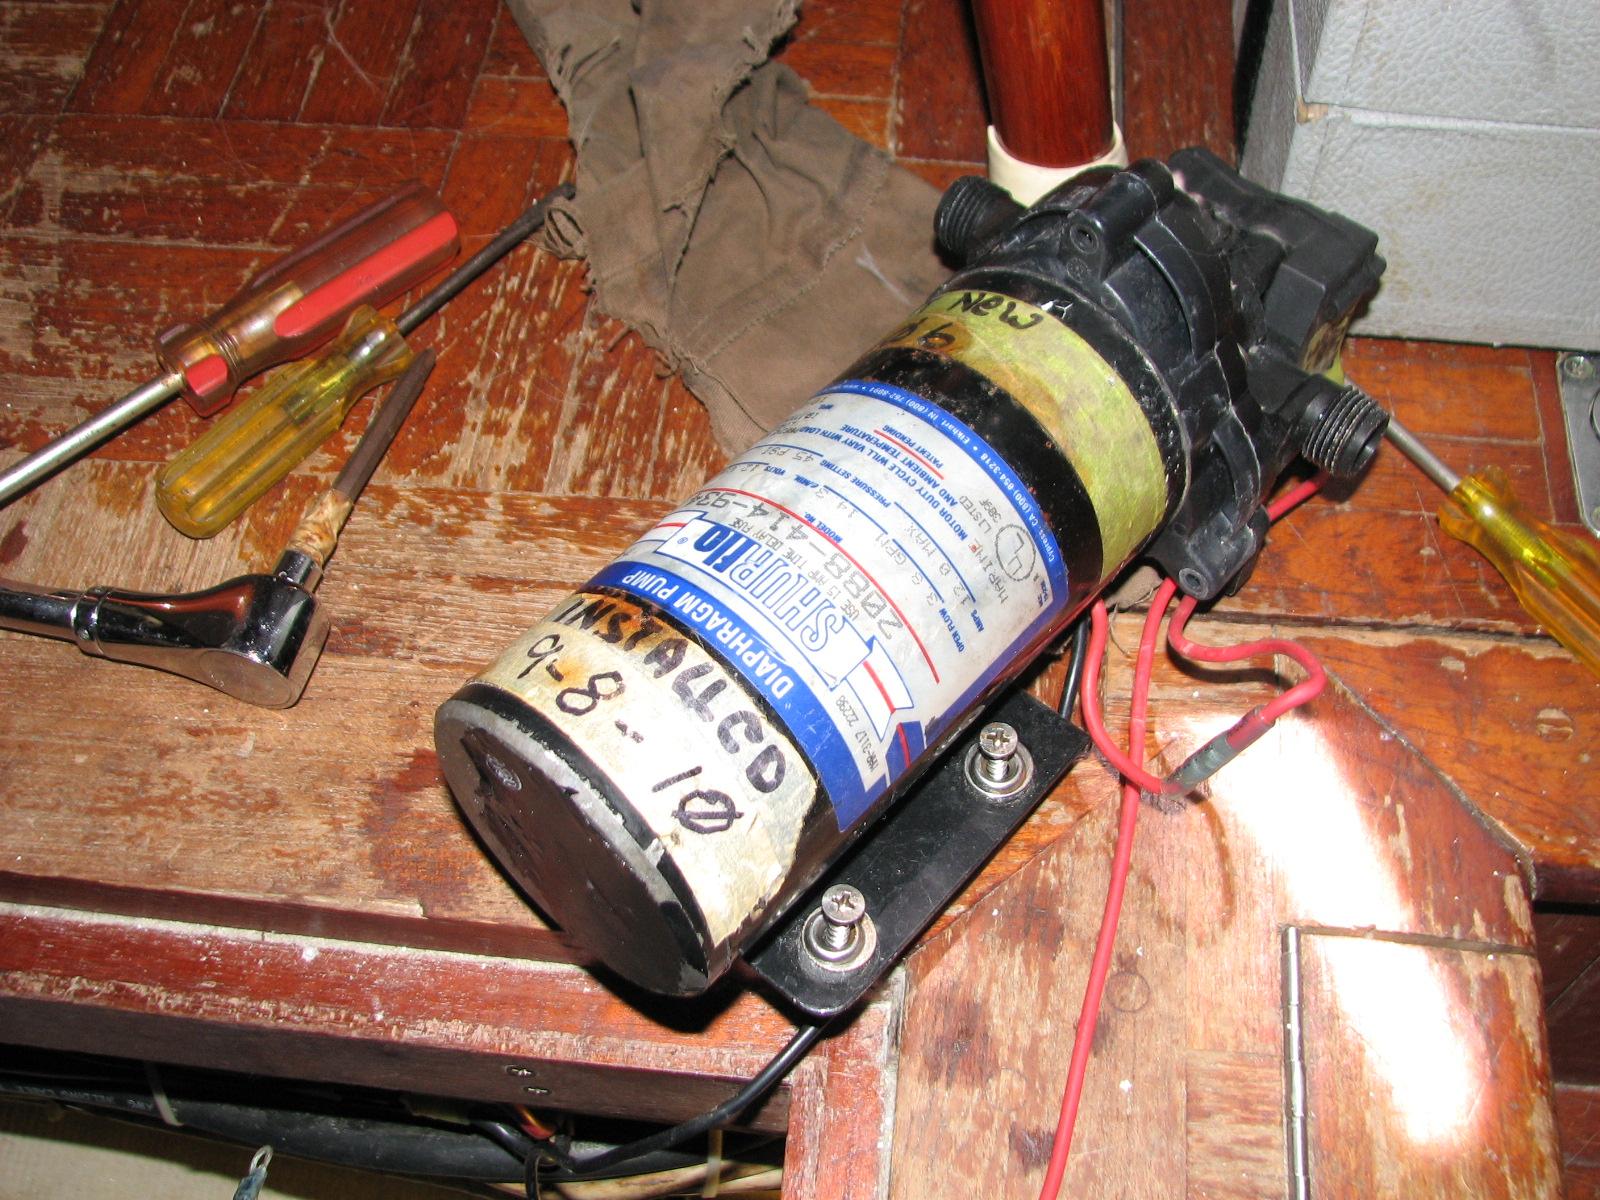
Spare Freshwater Pump
Installed Into System
Spent the remainder of
the day spring cleaning the galley.
June 24, Monday, 2013
Started off the morning
with my normal ritual of getting on the Internet, answering email,
checking the weather, while making a pot of coffee.
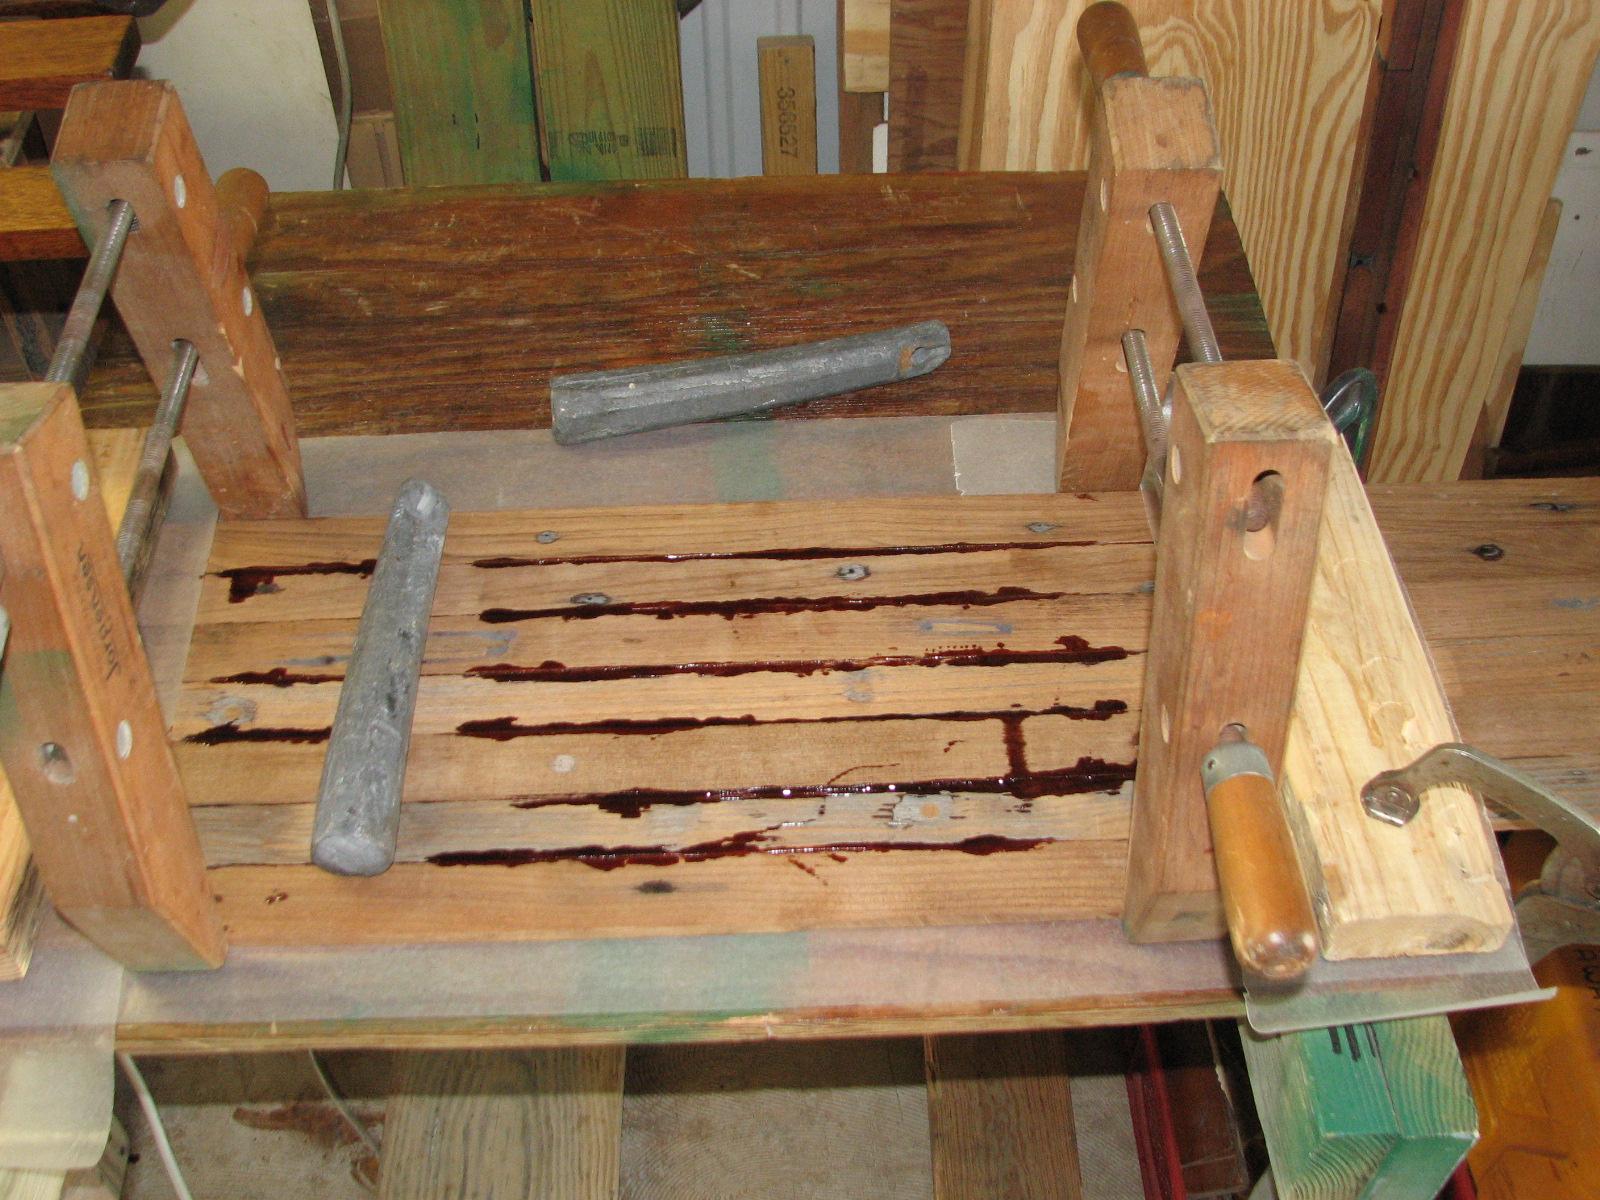
Started fabrication of
a piece of wood to use to cover the holes left by the davit
installation in the aft cabin. I am using several pieces of teak wood
that was removed from the deck of DREAM AWAY many years ago. I lay
all of the pieces on a flat surface, apply mixed epoxy to all the
edges, and then clamp them all together.
Teak Wood Strips
Clamped And Epoxied Together
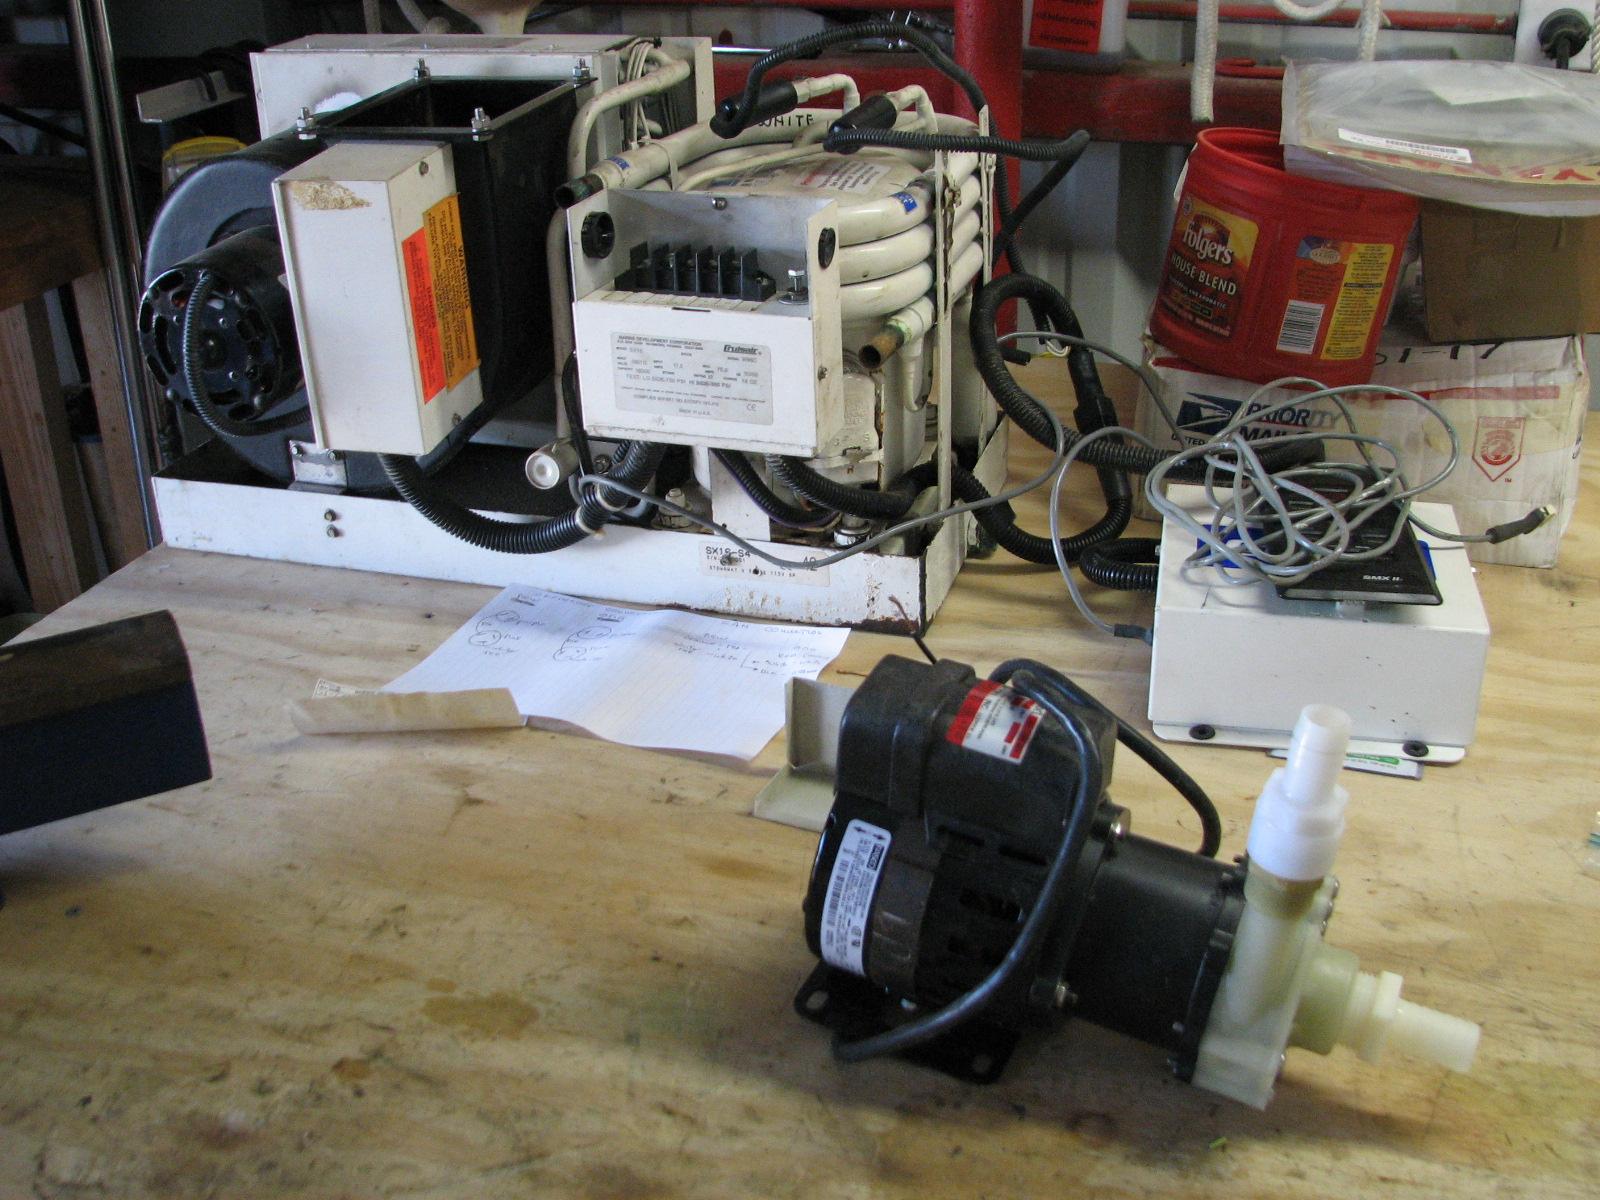
Worked on getting all
the necessary connectors on the water pump and the spare air
conditioner so it can be tested properly.
Water Pump And Spare
Air Conditioner
Went back to DREAM
AWAY, took a shower. Kitty was packed, so we loaded up and I drove
her to New Orleans so she could catch a flight to go visit friend
Kathy. I returned back to DREAM AWAY arriving well after dark.
June 23, Sunday, 2013
Started off the morning
with my normal ritual of getting on the Internet, answering email,
checking the weather, while making a pot of coffee. Alan left this
morning to go back home to Houston.
Went over to the shop
and added more tension on the puller attached to the flywheel of the
spare yamaha. Smacked the puller with a hammer, and the flywheel came
off! I removed the flywheel and the magneto under the flywheel. Now I
had the power head ready to go the machine shop.
I put the first and
second coat of Watco
teak oil finish on back
side of Troy’s wood.
Worked on old air
conditioner to remove parts off of the drip pan. Getting the drip pan
ready to send to Stacy’s friend to fabricate a new drip pan out of
stainless steel for the spare air conditioner.
Took outboard off of
tender and put on DREAM AWAY. Pulled tender out of water and washed
down the exterior and bottom of the tender. Also cleaned up all of
the stainless steel rails and fittings on the exterior. When
finished, I put the tender back on the davits.
June 22, Saturday, 2013
Started off the morning
with my normal ritual of getting on the Internet, answering email,
checking the weather, while making a pot of coffee.
Went over to shop
and checked the puller on the flywheel of the spare outboard engine,
it had not come loose. We applied some more Aero
Kroil, tightened the bolts
a bit more, and tapped the puller with a hammer. The flywheel
remained fixed. We then set the power head aside. A few times during
the day we would tap the puller with a hammer, and tighten up the
bolts from the puller to the flywheel. When we left at the end of the
day, the flywheel remained fixed.
We then started in on
the main outboard engine. As mentioned yesterday, we had an almost
complete engine. All that remained was putting the lower
drive on the engine, which
we did.
I also took pictures of
the new serial numbers, and engine type since I used parts from a 9.9
HP outboard. It is still a 15 HP, it will be listed as a 9.9 HP.
New Serial Numbers And
Engine Model And Year
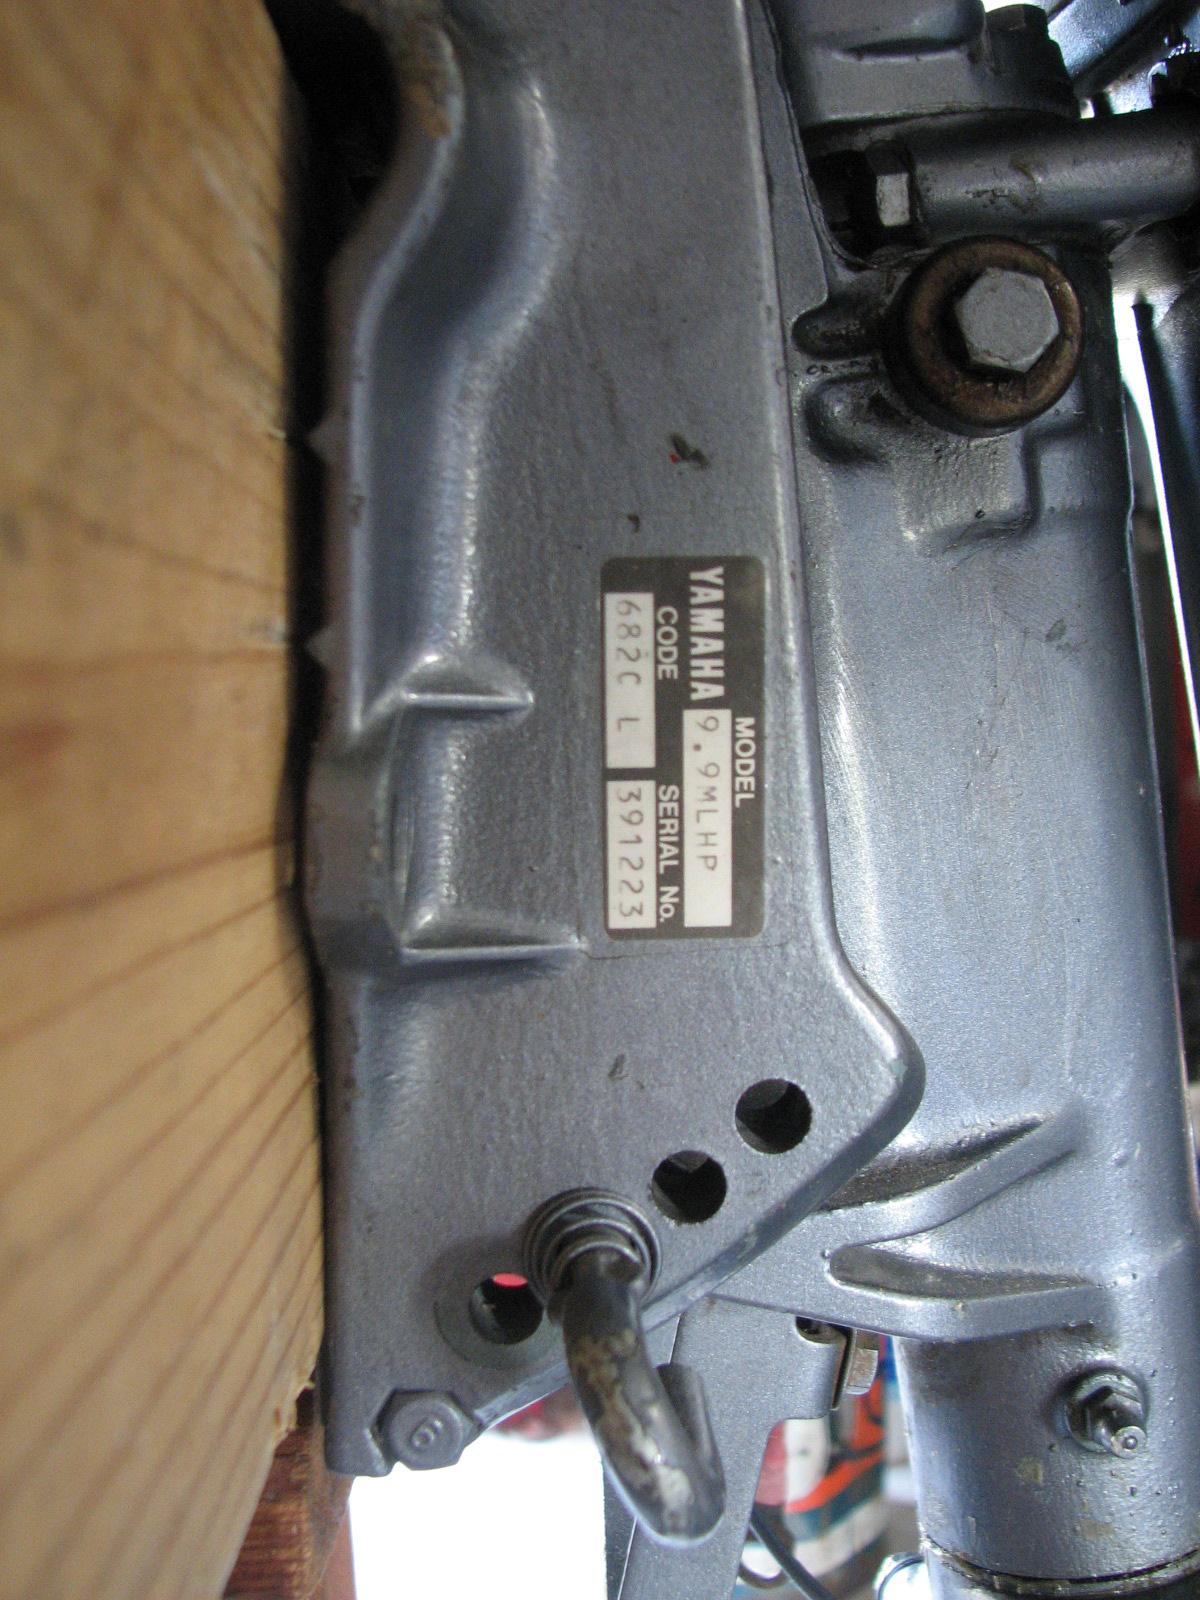
The model I created
with all of the new parts is:
15 ELG
15 = horsepower
E = Electric Start
L = 20"
G = 1988
The parts I used for
most of the upgrades is:
9.9 MLHP
9.9 = horsepower
M = Manual Tilt Manual
Start
L = 20" (Long
Shaft)
H = Tiller
P = 1991
Complete Engine Ready
For Use
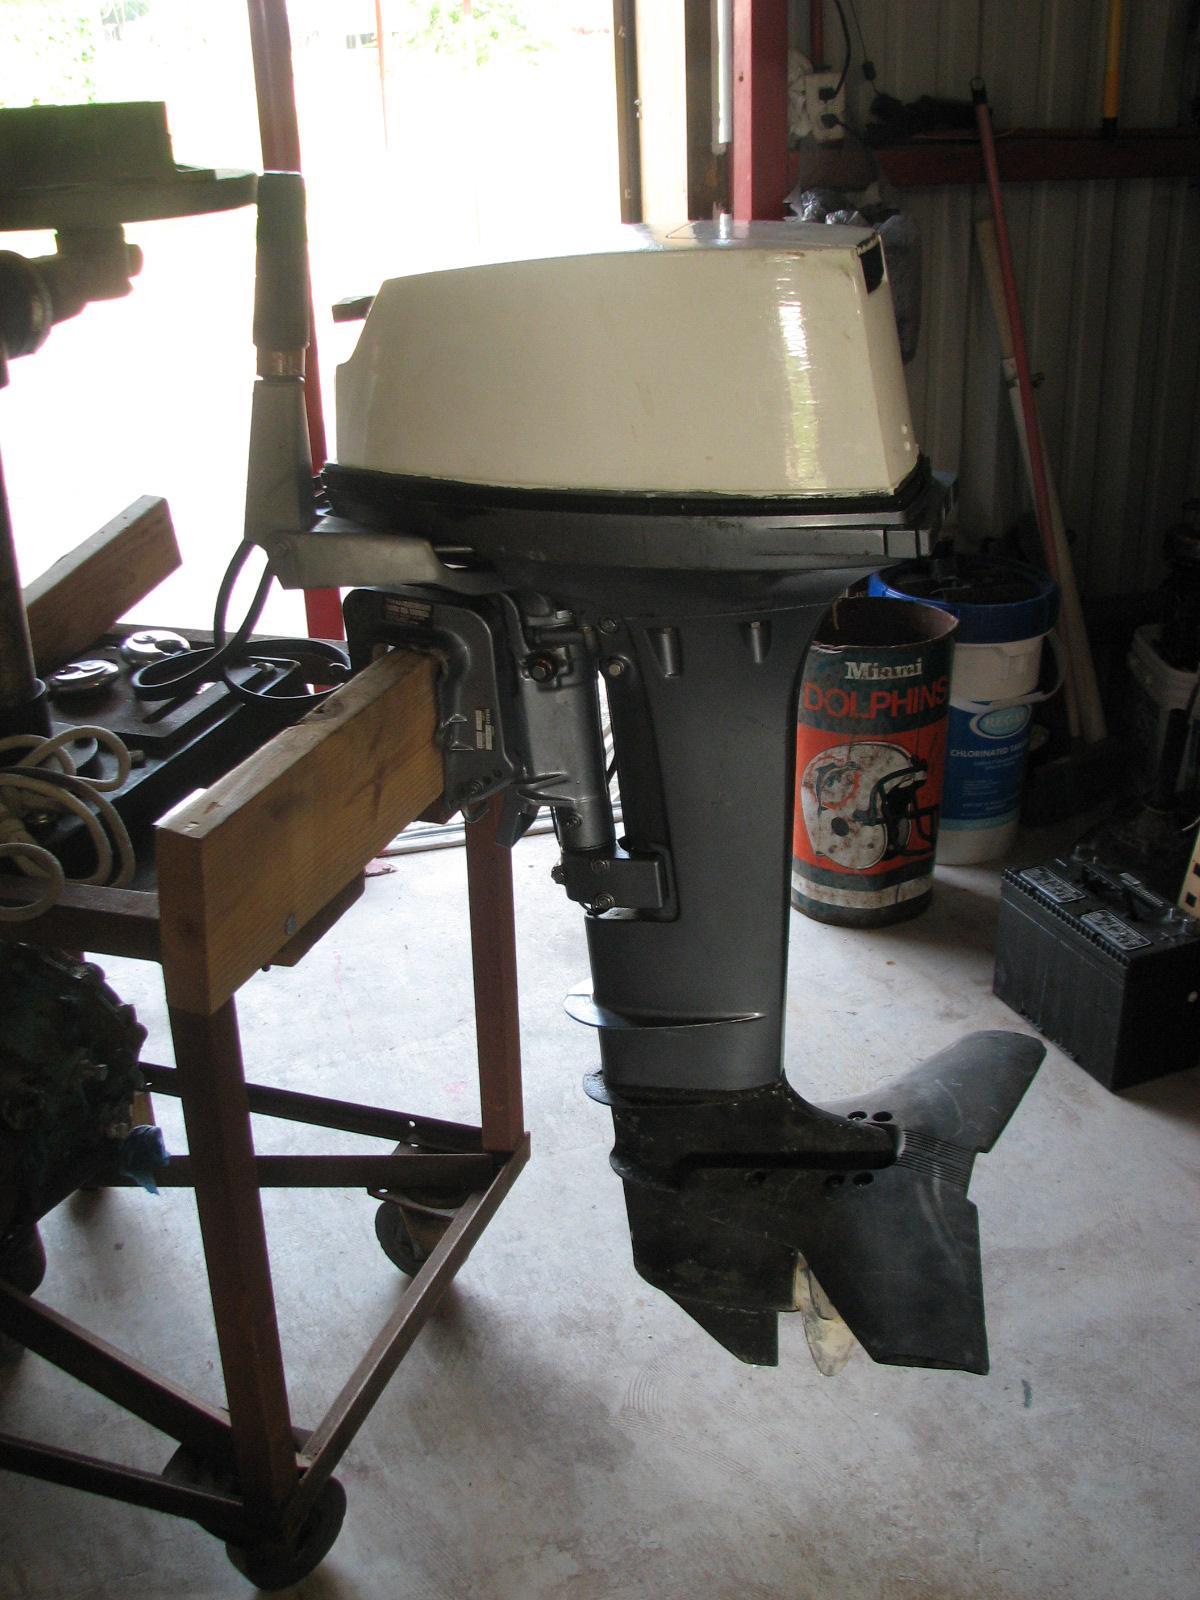
We loaded the complete
engine with the battery and the fuel tank into the Black Beast and
went back to DREAM AWAY. We lowered the tender into the water from
the davits, and then put the “new” long shaft 15 HP motor on the
back of the tender.
We put the battery into
the tender and connected it to the motor. We also connected the fuel
tank that had very fresh gas in it with no alcohol in it. I tried to
start the engine manually and with the electric start, but no go!
Then I remembered I did not have the dead-man switch activated. I
attached the dead man switch, and the engine started right up with
the electric start. I also tried the manual start and that worked
also.
It was so great to
finally have the long shaft motor running. I had been saving parts
off of eBay
for over two years to get this accomplished. That was the good news.
The bad news is there is no water running out of the Pee tube. This
means the water pump is not working.
I decided rather than
try to take the motor apart on the dock, we off loaded the motor from
the tender and took the motor back to the shop
in the Black Beast.
We took the lower
drive off the motor. That
is when I discovered I had not aligned the water tube coming out of
the water pump up to the power head. We put the lower
drive back on the motor
being very careful to get the proper alignment of the water tube.
We took the motor back
to DREAM AWAY, put the motor on the tender and started it up. We had
water pumping out of the Pee tube! What a relief. Alan and I took the
tender down the channel and when we were past the docked the shrimp
boats, I opened it up. Right up on a plane with both Alan and I in
the boat.
We went back to DREAM
AWAY and got Kitty in the tender. Did the same trip again, and when
the tender got up on a plane there was some cavitating. I adjusted
the angle of the motor in relation to the transom of the tender. Went
down for another ride, and it was almost perfect. I finally can get
the tender up on a plane with three people in the tender.
We took the tender back
to DREAM AWAY, and locked it to the dock. We took showers and had an
adult beverage in celebration.
June 21, Friday, 2013
Started off the morning
with my normal ritual of getting on the Internet, answering email,
checking the weather, while making a pot of coffee.
Alan and I had our
coffee, and then went over to the shop to get started on the outboard
engines again. We put together the puller with the proper bolts and
bolted it to the flywheel on the spare engine.
As noted previously, I
was trying to strip all of the parts off of the spare power head
which included the flywheel and the magneto under the flywheel. I
also had to remove the flywheel off of the main outboard so I could
install the electric start kit I had purchased for Kitty. For the
electric starter to function, I had to install a new flywheel.
We put the puller on
the flywheel of the spare engine, and attempted to pop off the
flywheel. We used muscle, a small hammer and liberal application of
Aero
Kroil. It was not going to
work, as hard as we tried.
Well we went to plan
“B”. We removed the puller from the spare flywheel, and attached
it to the main flywheel. We applied some Aero
Kroil, and then tightened
down on the puller. After a few minutes of applying pressure, the
flywheel popped off!
Old Flywheel With
Puller Attached Beside New Electric Start Flywheel
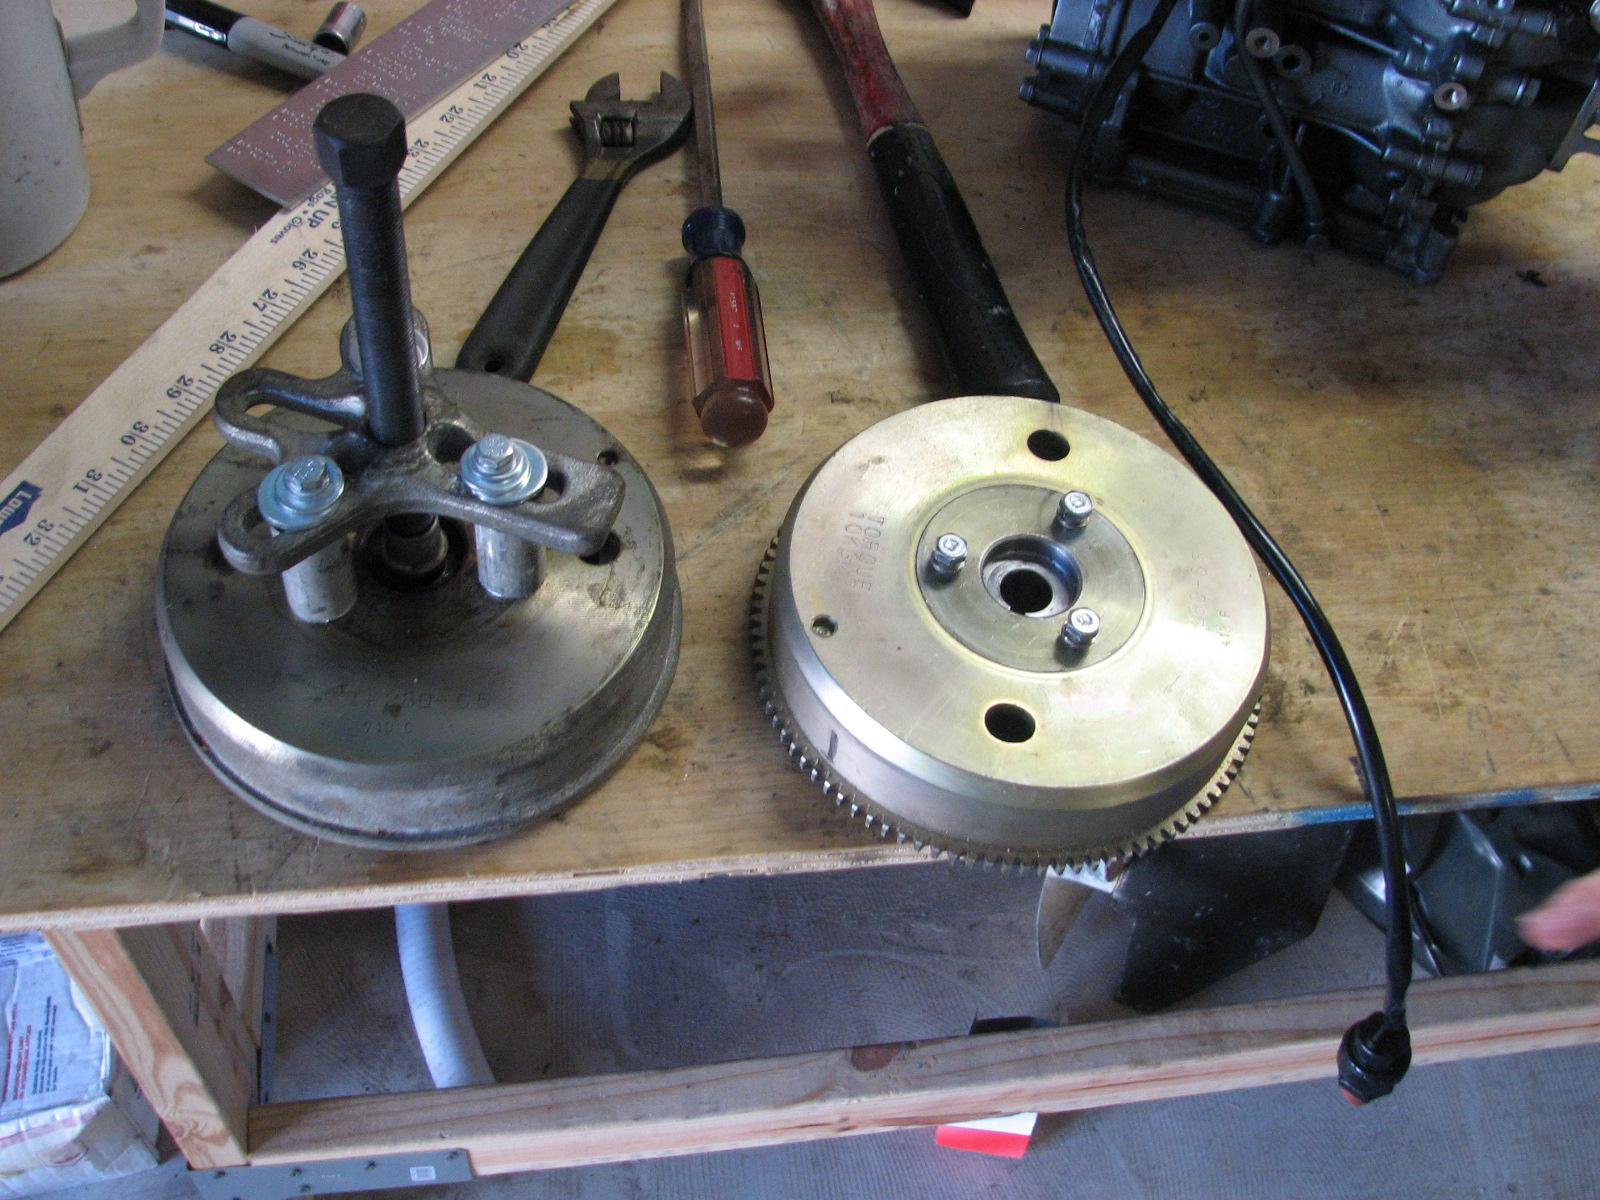
Main Power Head with
Flywheel Removed
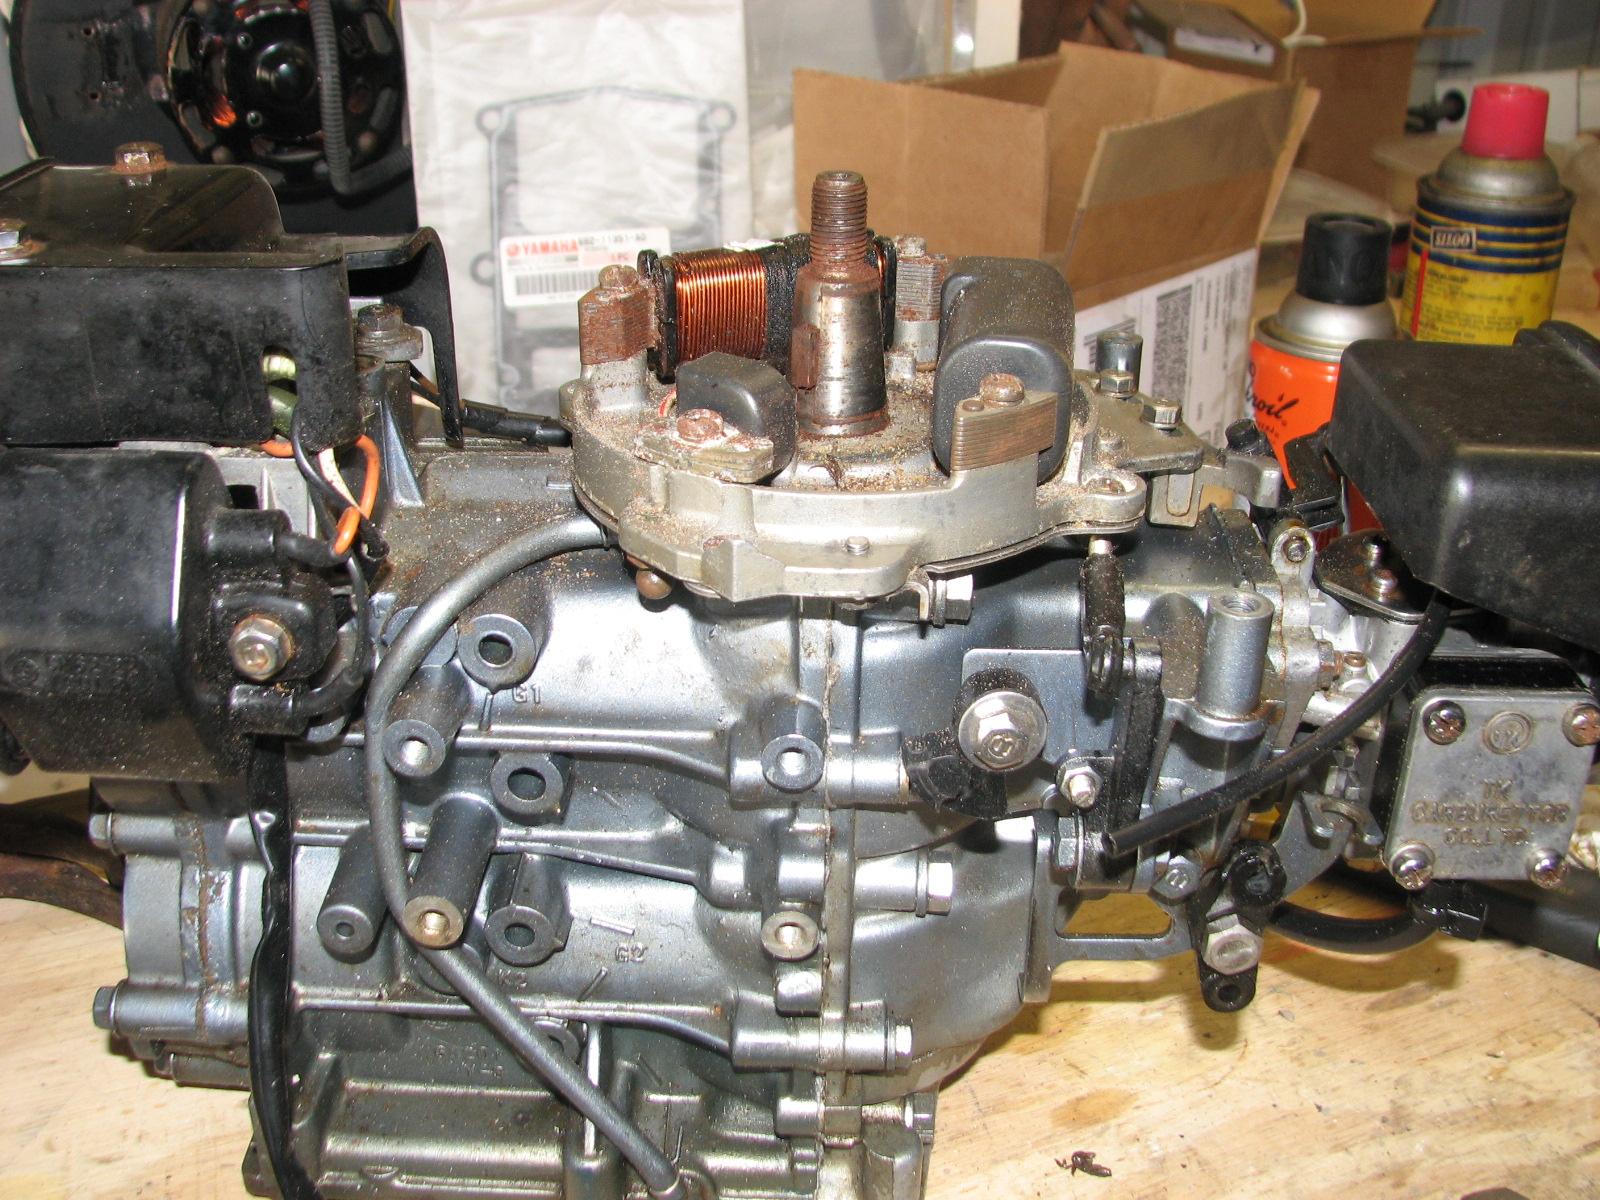
We now knew the puller
actually worked as designed. We put the puller back on the spare
engine flywheel, and tightened up the puller as much as we thought
reasonable. We applied some Aero
Kroil, and then set the
power head aside. A few times during the day we would tap the puller
with a hammer, and tighten up the bolts from the puller to the
flywheel
Now we could get
serious about putting the main outboard engine back together,
starting with the power head back. We installed the new flywheel and
the starter. We also installed the manual start mechanism just in
case!
Power Head With Starter
Installed
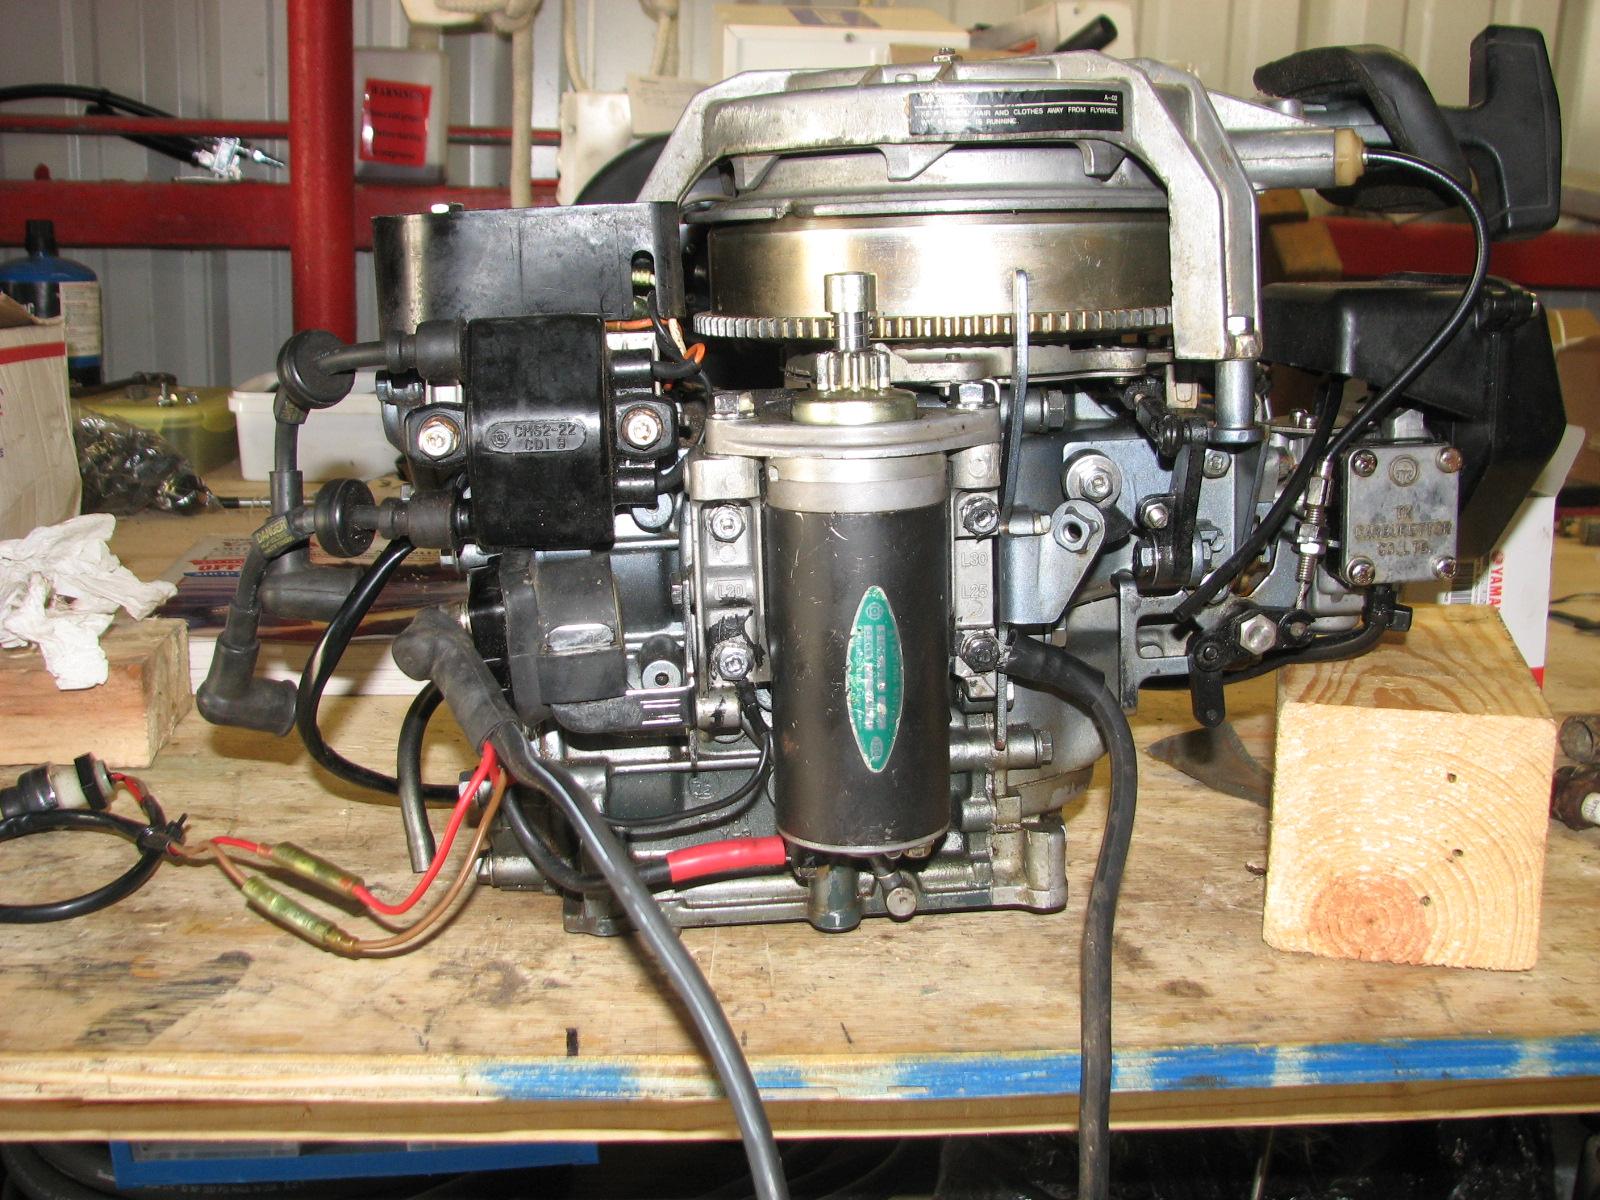
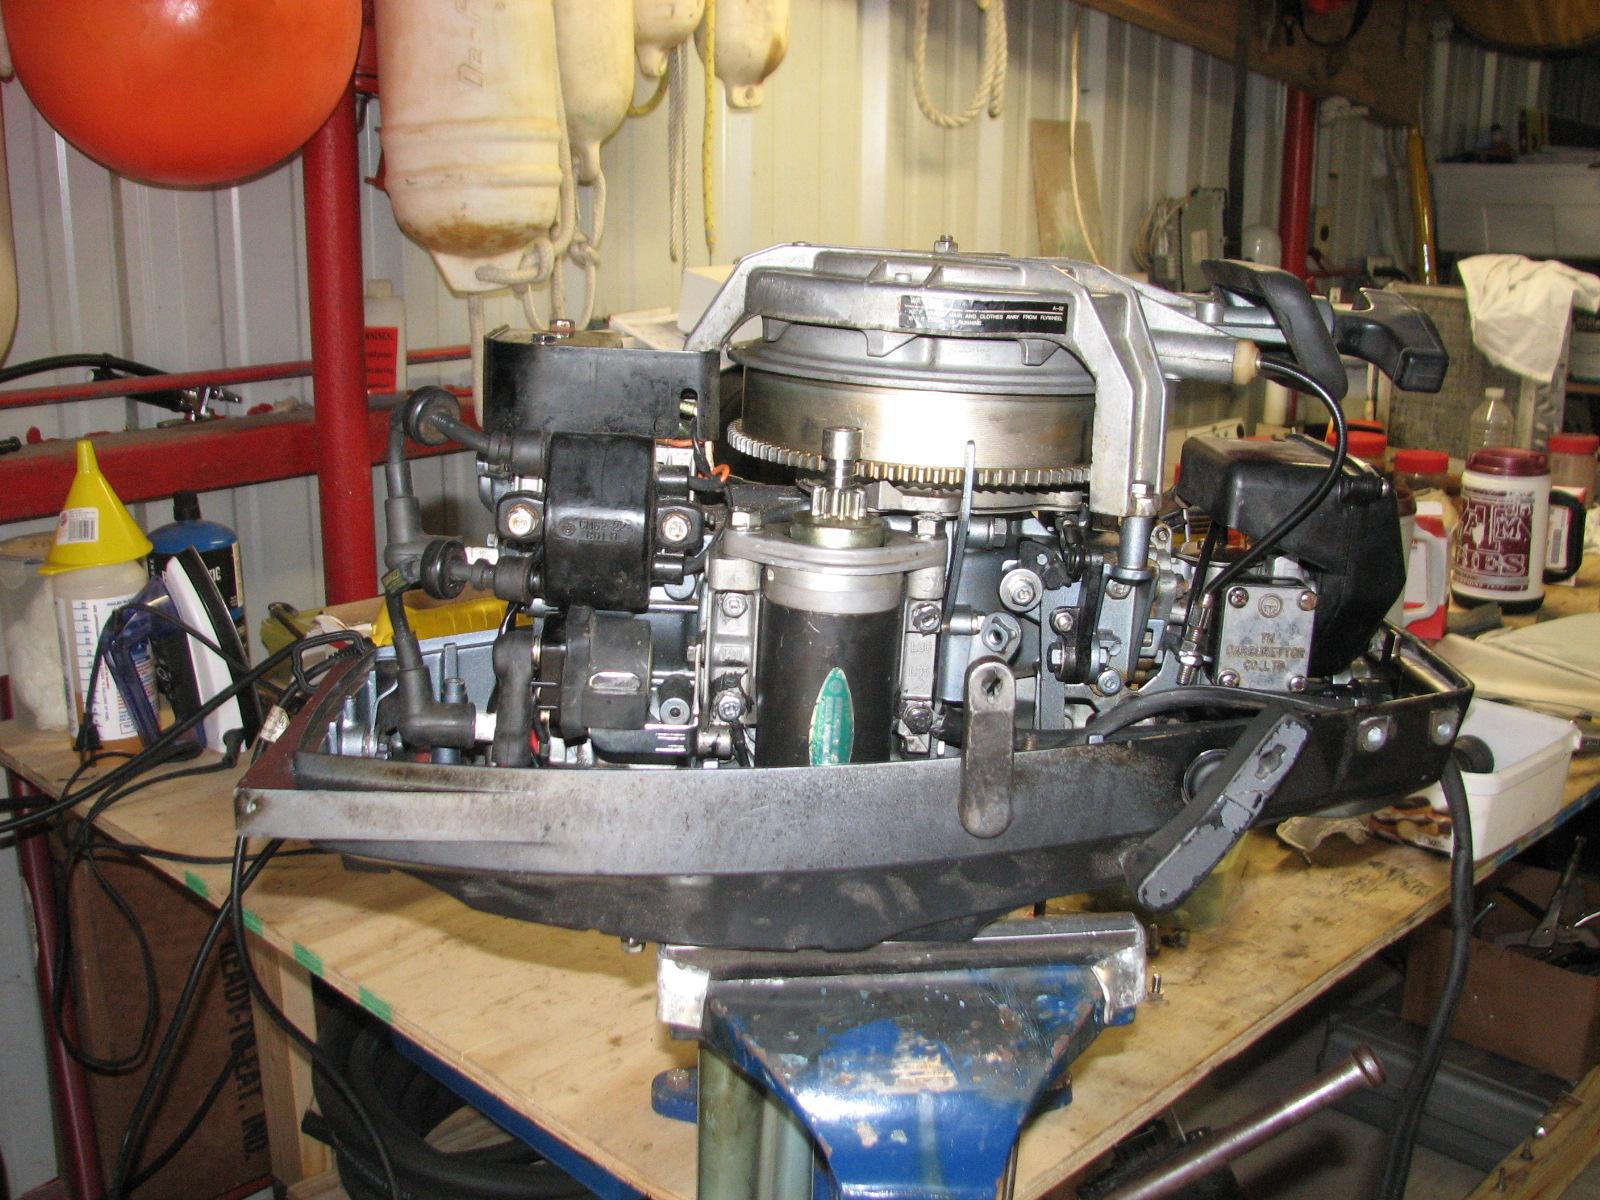
When the power head was
complete, it had to be mated with the bottom
cowling. We did all of this
using never seize with all of the bolts. We also had to clean the
bolts, and some of the parts as we went along.
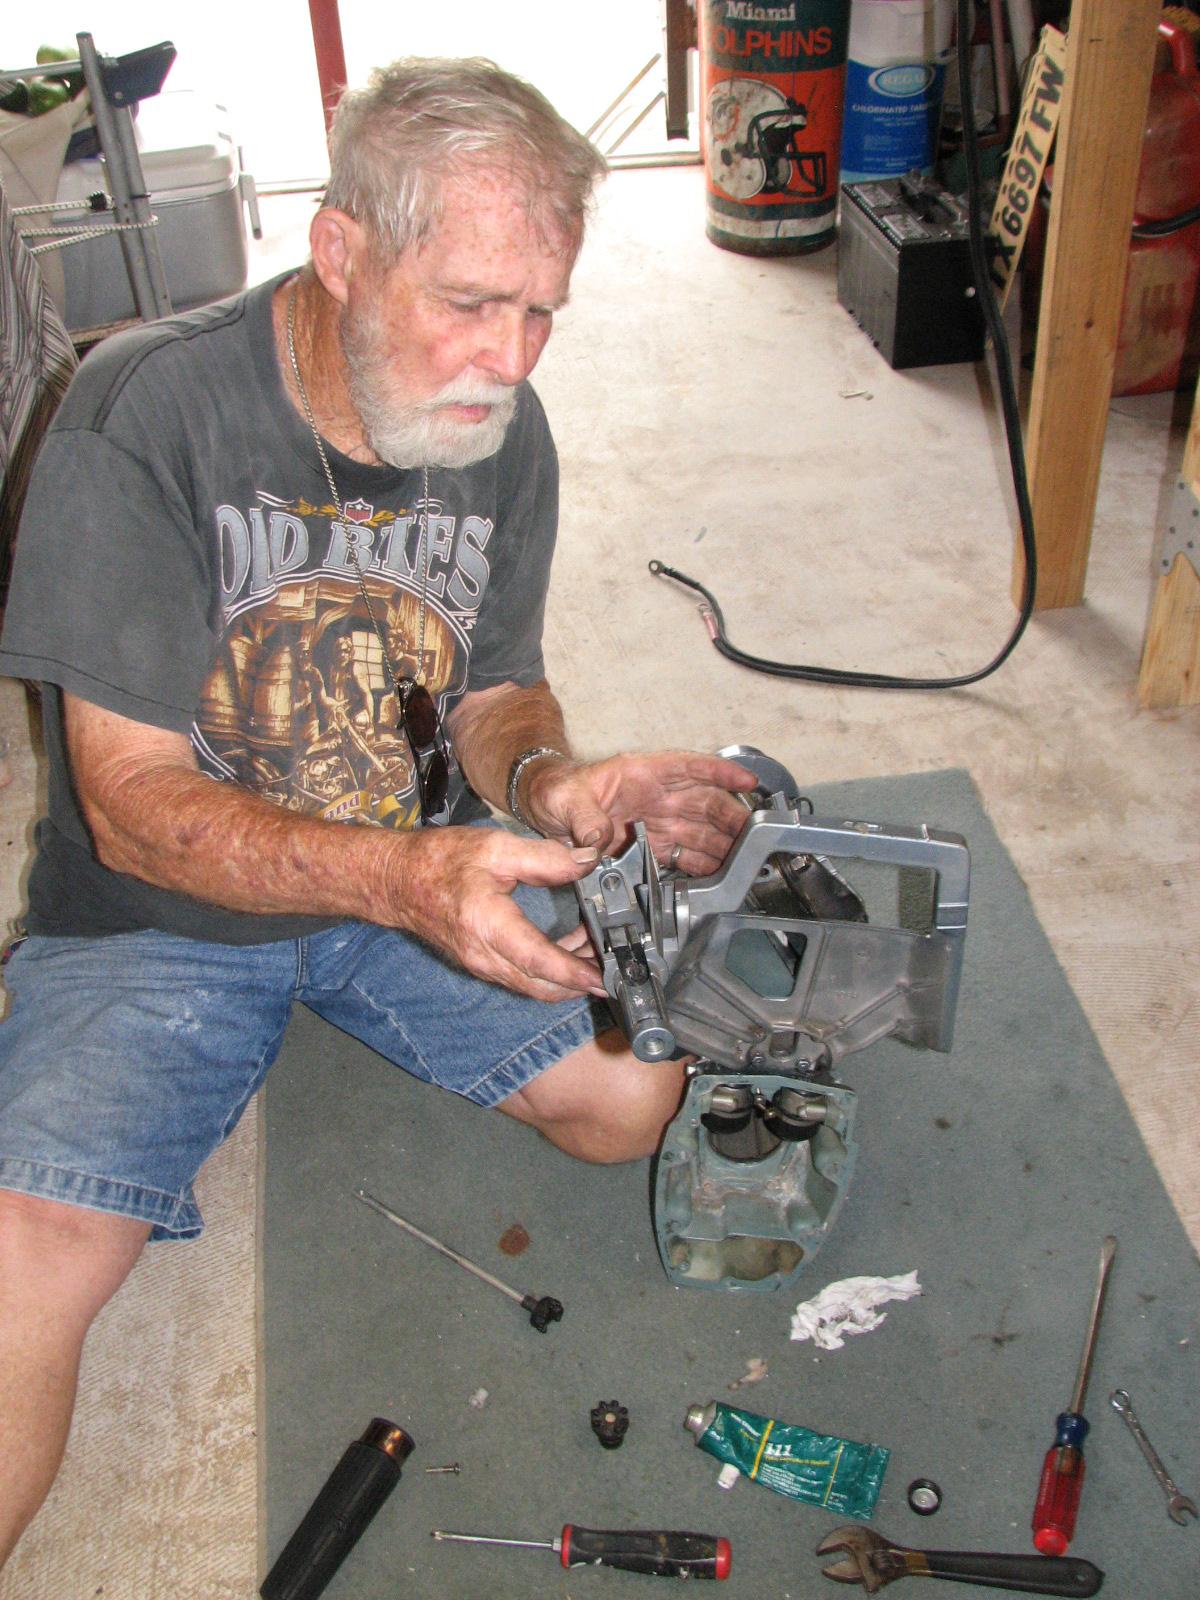
Alan Working On Tiller
Control
June 20, Thursday, 2013
Started off the morning
with my normal ritual of getting on the Internet, answering email,
checking the weather, while making a pot of coffee.
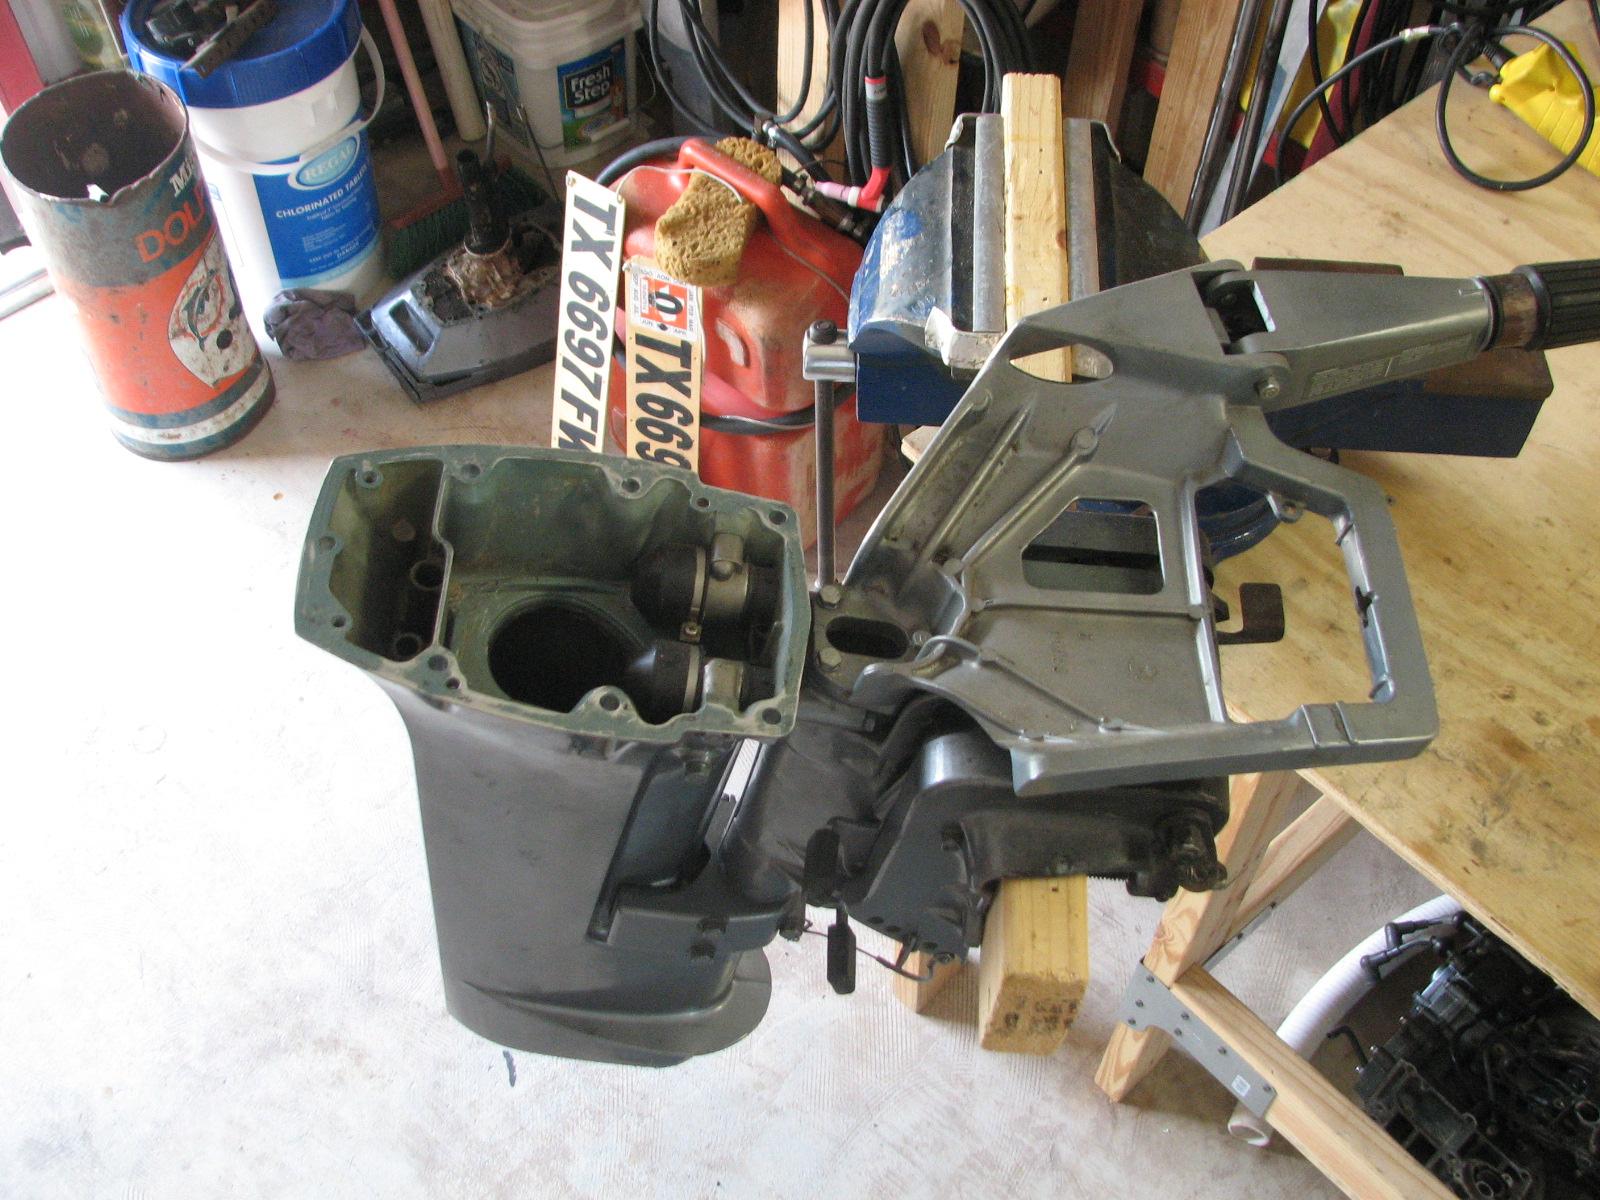
Alan and I went to the
shop
and worked on the two outboard engines. While Alan and I were getting
all of the parts for each engine straightened out, we started putting
the main outboard back together. Kitty went and purchased the
required bolts to use my puller on the outboard flywheels, and also a
tube of never seize.
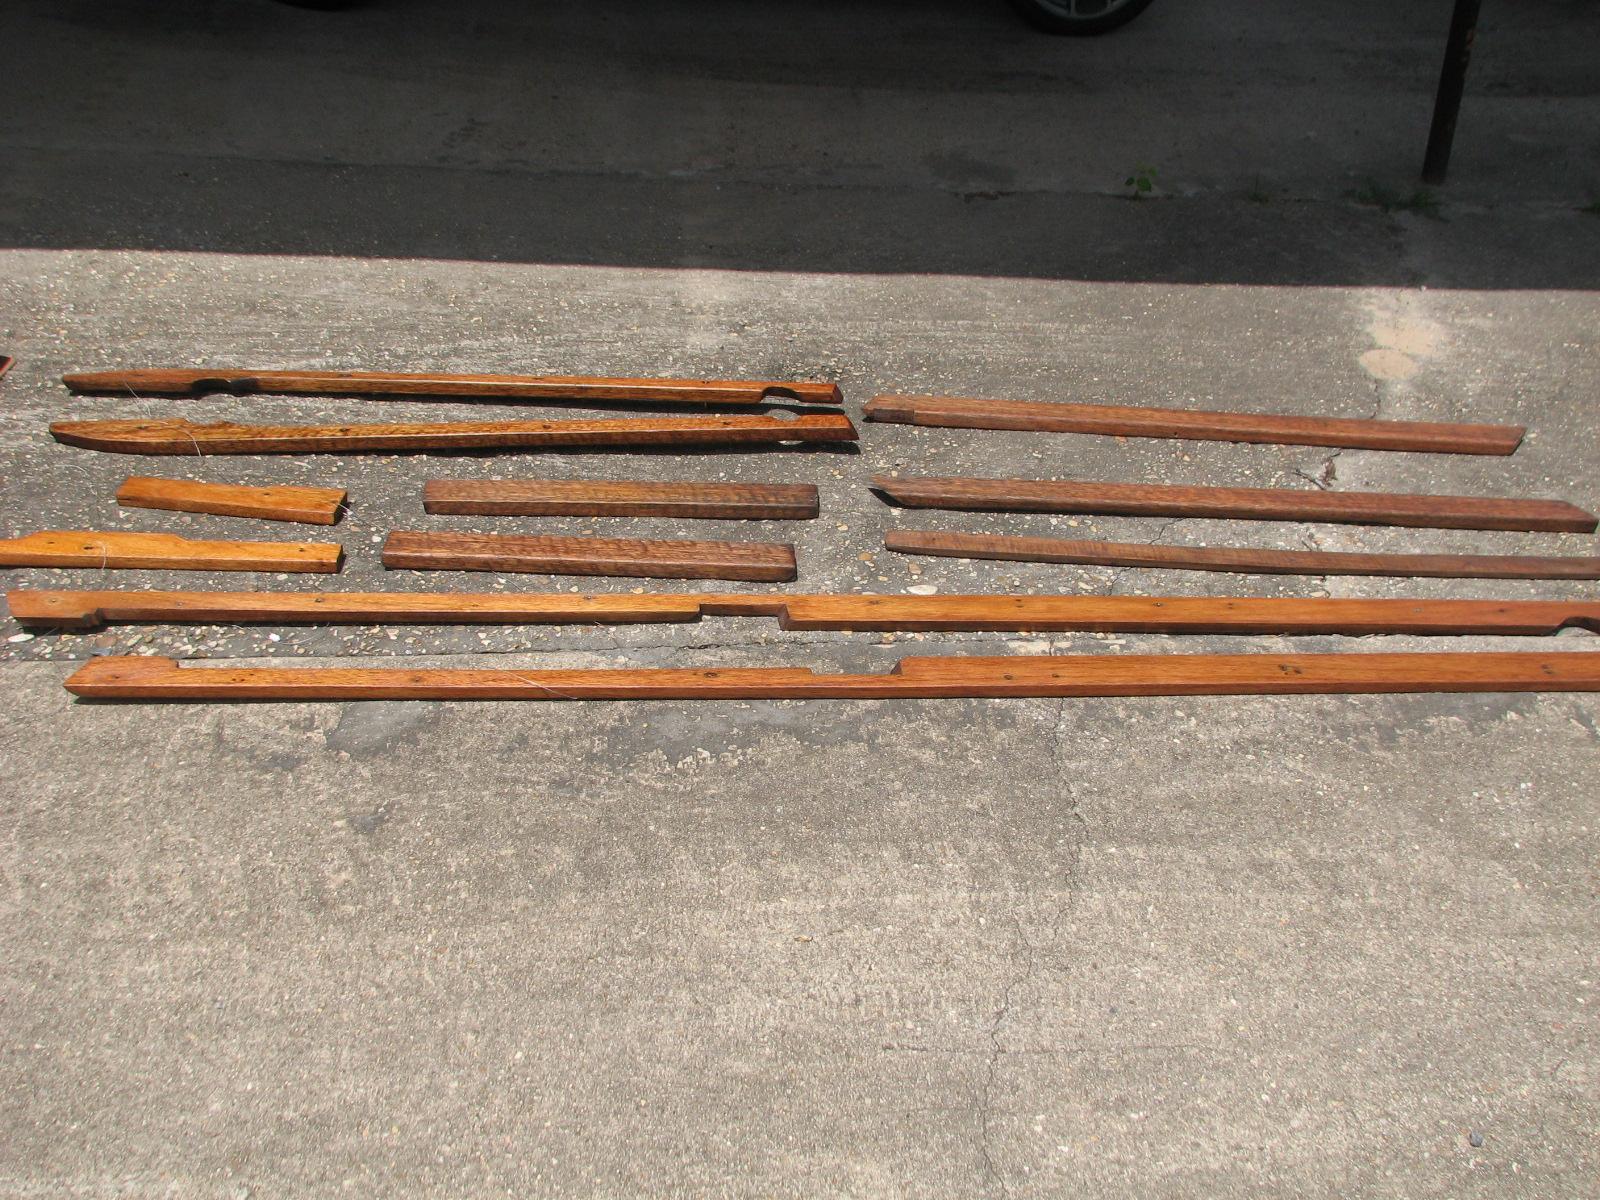
I wiped down all of
Troy’s wood, and put them outside in the sun to dry. I applied a
coat of Watco
on the cockpit hatch, and also put it outside to dry.
Wood Parts Outside To
Dry
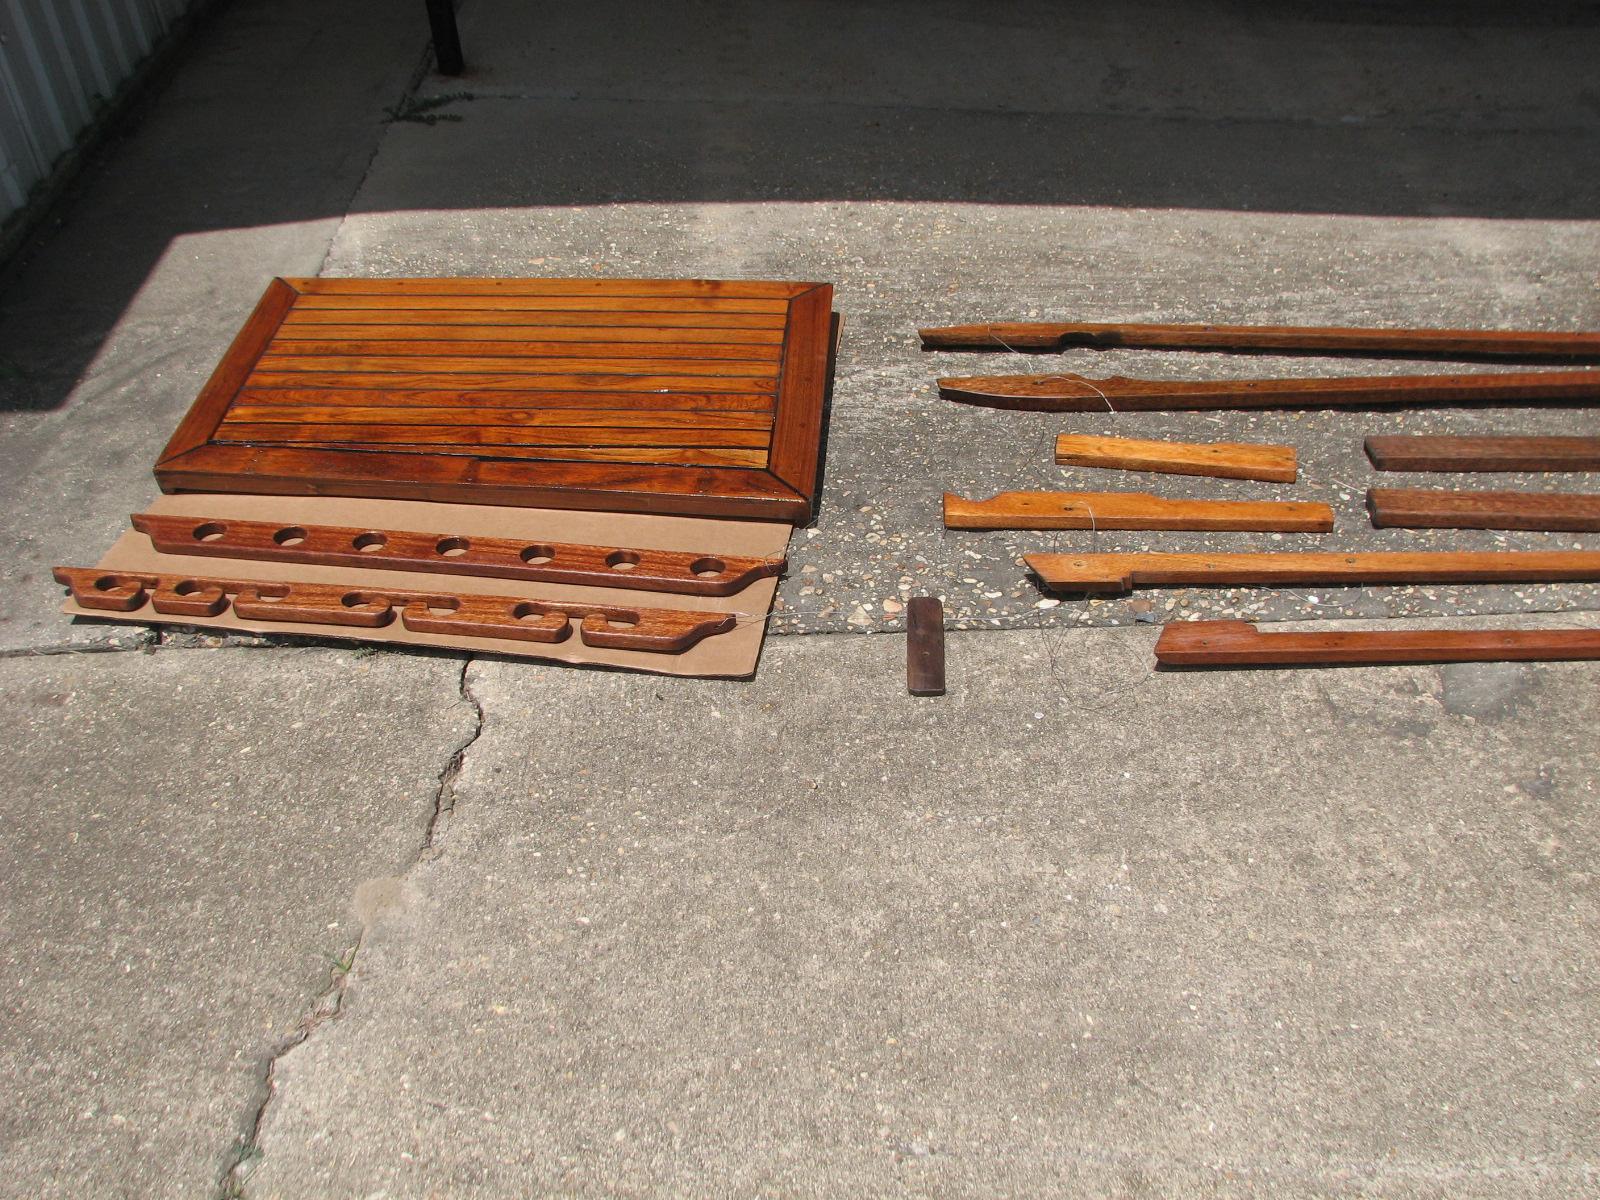
Wood Parts Outside To
Dry
When Kitty came back to
the shop with the bolts and never seize, Alan and I had to regroup! I
decided I wanted to apply never seize to all of the bolts on the
parts we had already put together on the main outboard. So now we
took apart the bracket
assembly and put it all
back together with never seize.
June 19, Wednesday,
2013
Alan and I got up, had
coffee, and hit the road, with a breakfast stop at a Whataburger.
We drove up to Porter,
Texas, to Diamond
Composite Structures. The
man running the company, Vince Pena, remembered me from previous
purchases. I purchased some pieces of the ¾” plate fiberglass for
the hard dodger, and the main mast step. I also purchased fiberglass
grating to replace the teak wood on the anchor area and the seat in
the bow pulpit.
I asked vince about
fiberglass rod of very small size that I am thing about using for
security on the hatches on DREAM AWAY. He had a pile of carbon
fiber tubes that he had
used for arrows. I felt this would be perfect, because of the
strength. He just gave me about 20 of the tubes!
We got all of the
fiberglass parts loaded in Alan’s little FIAT
500, and
drove back to
Delcambre. When we got to Delcambre we unloaded his car and headed to
DREAM AWAY.
June 18, Tuesday, 2013
Started off the morning
with my normal ritual of getting on the Internet, answering email,
checking the weather, while making a pot of coffee.
The folks off of the
cruising boat that came in from Texas this past Saturday, Sammy and
Dick, were heading back to League City today. My friend Alan was
coming over from League City to visit for a couple of days, and I
needed some structural fiberglass from Diamond
Composite Structures.
I made arrangements
with Sammy and Dick to ride over to League City with them. I made
arrangements with Alan to spend the night with him, and then on
Wednesday drive up to Diamond
Composite Structures in
Porter, Texas, on our way to Delcambre.
The plan worked! Sammy
and Dick dropped me off at the West Marine in League City, and Alan
picked me up there. We went to Alan’s apartment, and I worked on
his two computers to get them back up and functional. Alan and I had
dinner and a couple of adult beverages, and hit the sack.
June 17, Monday, 2013
Started off the morning
with my normal ritual of getting on the Internet, answering email,
checking the weather, while making a pot of coffee.
Had to run errands in
Abbeville, so I took my spare Yamaha power head along to stop at an
outboard shop. We stopped at a shop in Erath, and the owner told me
he did not drill out and install helicoils.
I would have to take the power head to a machine shop. He recommended
a shop in Abbeville.
We finished up our
shopping errands, and then went to the machine shop. I told to one of
the technicians there, and he told me he could do the job, but I
would have to strip all of the parts off of the power head. Now I had
another project.
We went back to
Delcambre, and I went to the shop to strip all of the parts off of
the power head. I took many photos, so hopefully when the time comes,
I will be able to get all of the parts back on the power head.
Power Head Before Parts
Removal
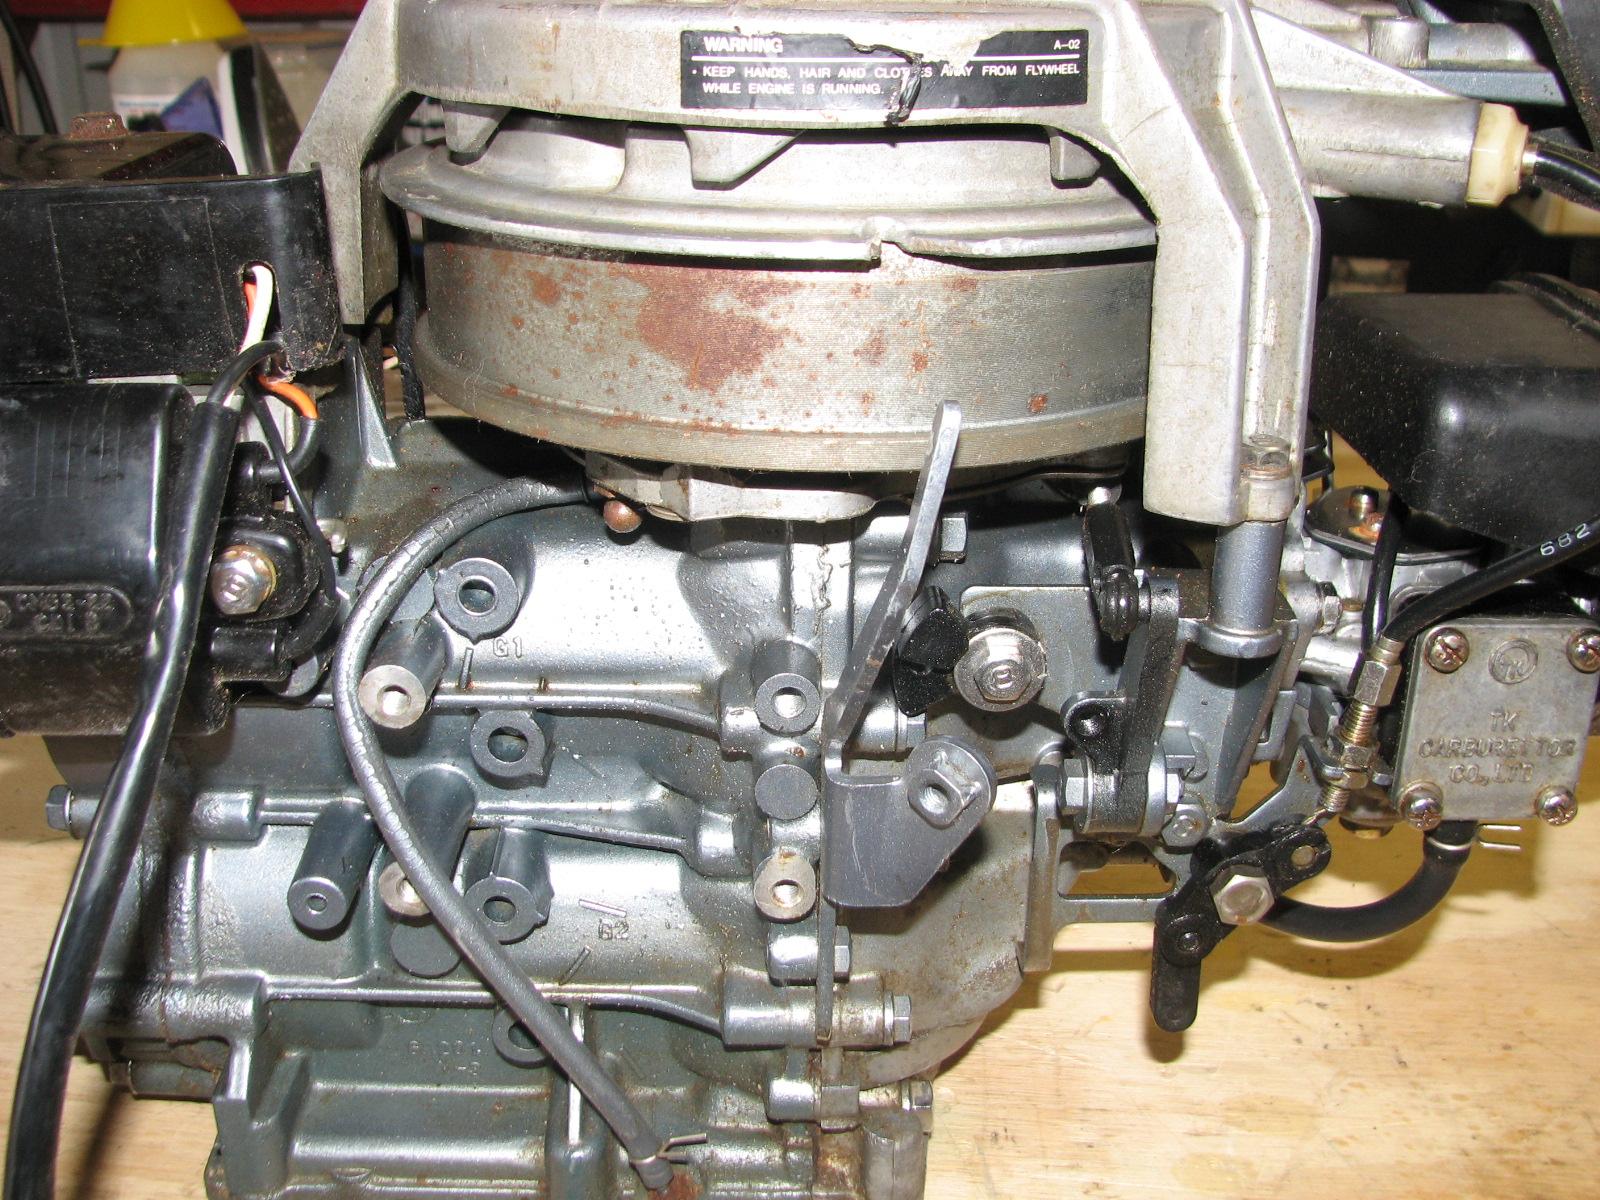
I got all of the parts
stripped from the power head except the flywheel. Of course I did not
have the required bolts for my puller. As it turned out I needed 2 ½”
long 5 mm metric bolts.
I got the new tube of
BoatLIFE
LifeSeal, and I finished
applying it to the cockpit hatch.
Went back to DREAM AWAY
to look for the required bolts, but of course did not have them.
I did call Boats.net,
and talked to a person in the parts department. The o-ring I needed
was listed as obsolete, but they had 15 in stock. I order three of
them. One for my main outboard, one for the spare outboard, and of
course a spare just to have!
June 16, Sunday, 2013
Started off the morning
with my normal ritual of getting on the Internet, answering email,
checking the weather, while making a pot of coffee.
Spent a lazy day on
fathers day. Worked on the computer trying to catch up, and spent
time just reading. Kitty and I talked over our future plans, and
pretty much decided to not stick to a hard a fast date to leave
Delcambre. When I feel comfortable with DREAM AWAY, we will continue
our cruise.
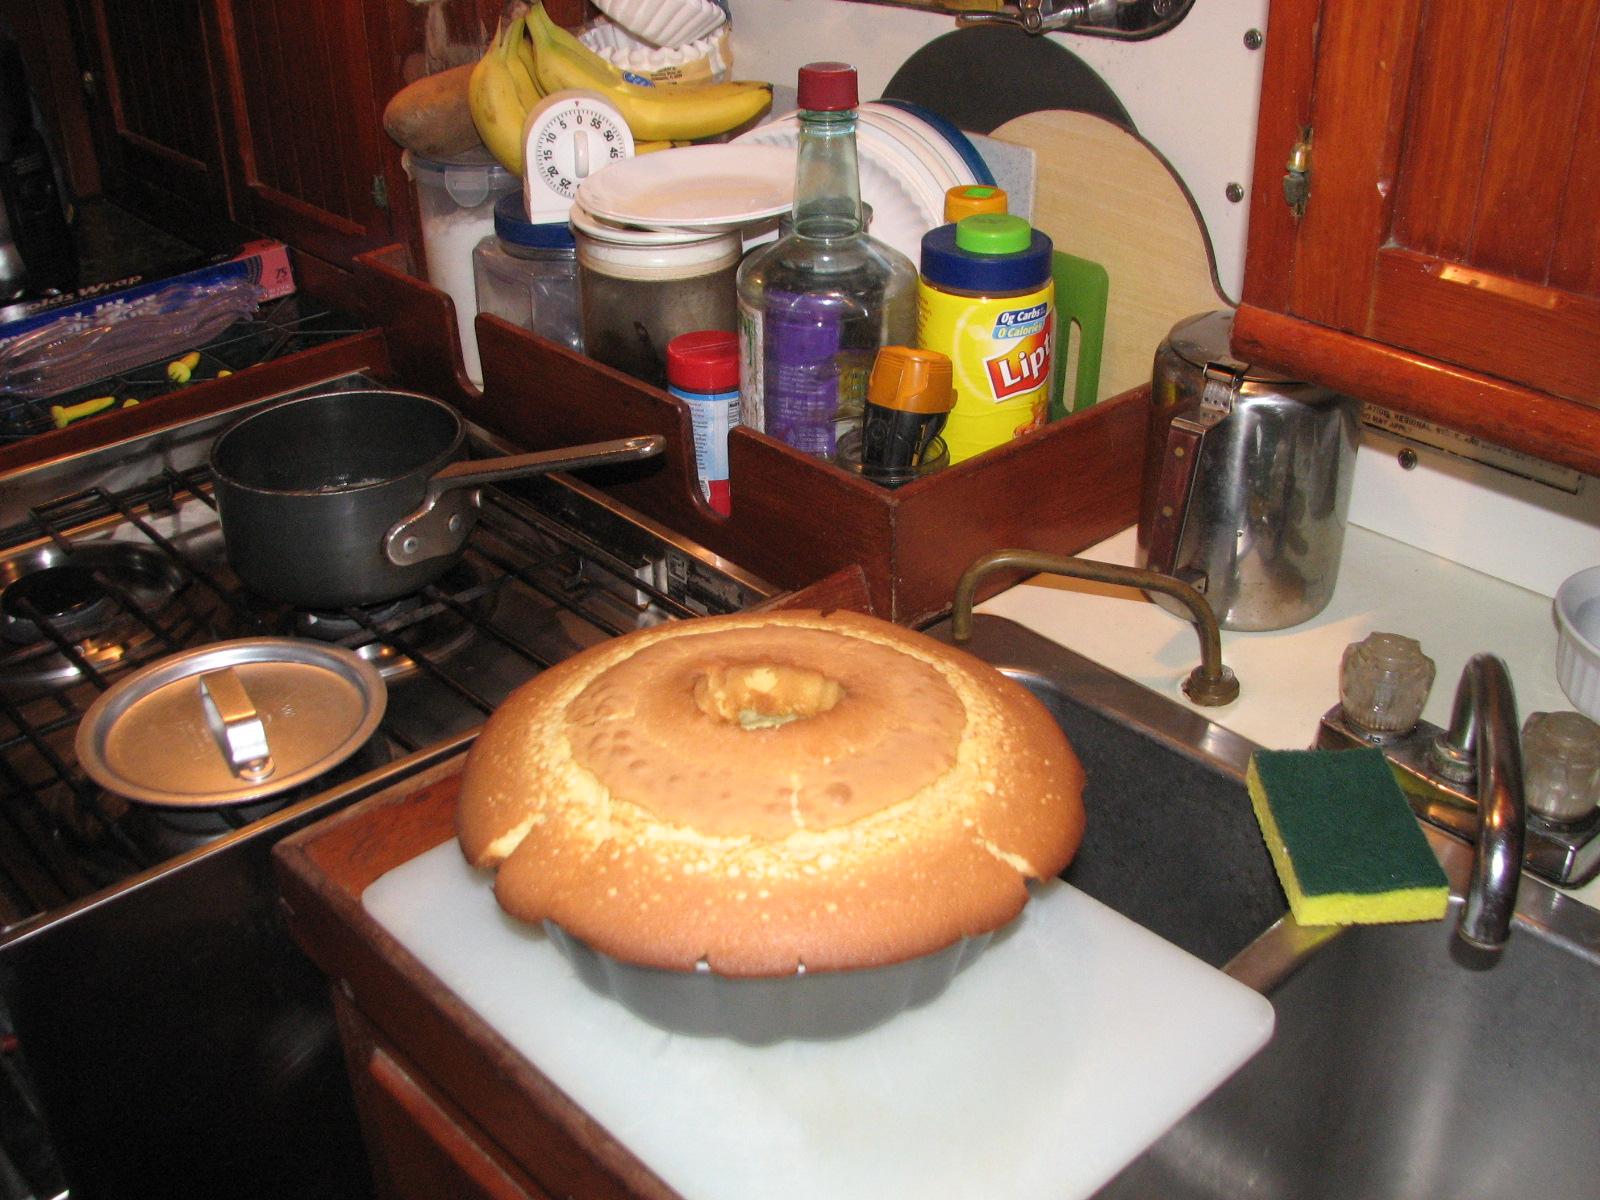
Since it was Fathers
Day, Kitty asked me what I would like for a treat. I told her I would
like her very good rum cake. She made me a rum cake, and we both
enjoyed snacking on it and for dessert!
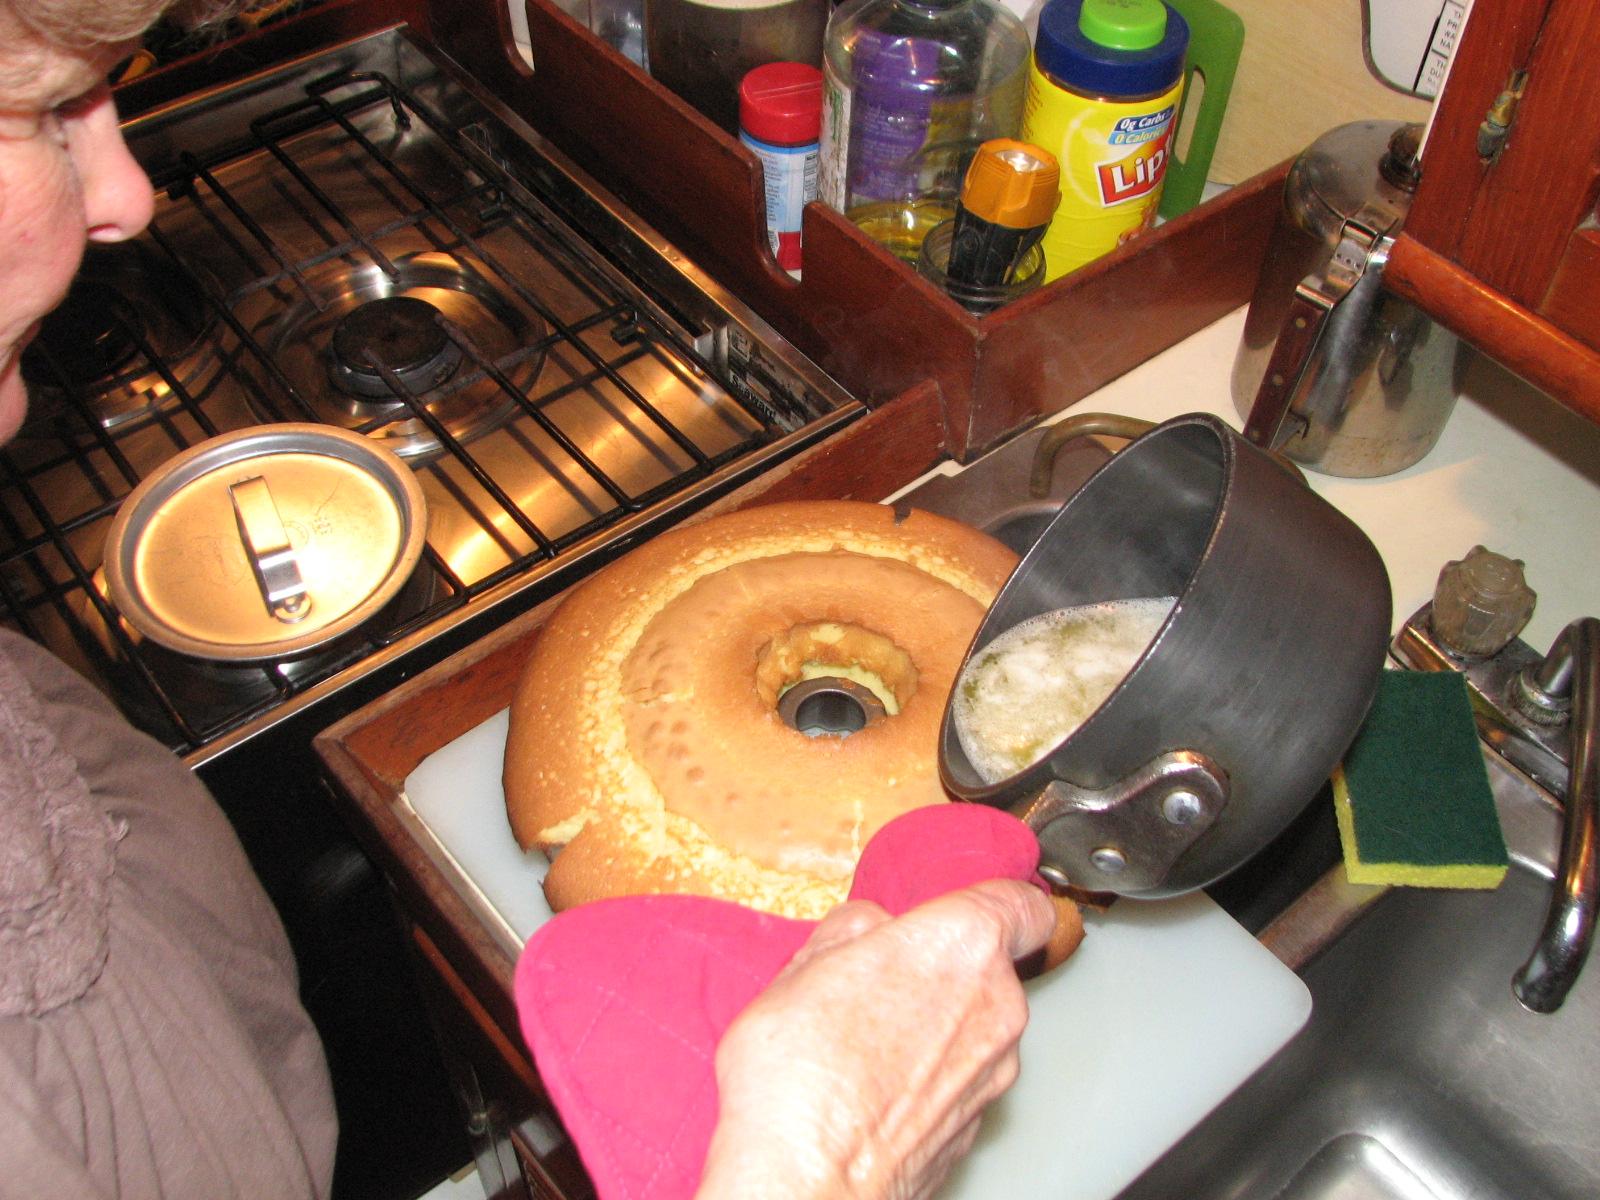
Finished Rum Cake
Pouring On The Rum
Sauce
June 15, Saturday, 2013
Started off the morning
with my normal ritual of getting on the Internet, answering email,
checking the weather, while making a pot of coffee.
Started to work on
getting the outboard motor back together. I had all of the parts to
build a stock long shaft motor. When I went to put the oil
seal housing (use link to
my own pdf file) back on the engine, I realized I did not have an
o-ring that was required. I then went through all of the parts and
gaskets on hand to verify I did have all of the necessary parts,
except one!
Later in the day, when
I went back to DREAM AWAY, I looked on my parts list and got the
necessary part number. I then went on the Internet, to Boats.net,
and discovered the part number is obsolete. This will take more
investigation!
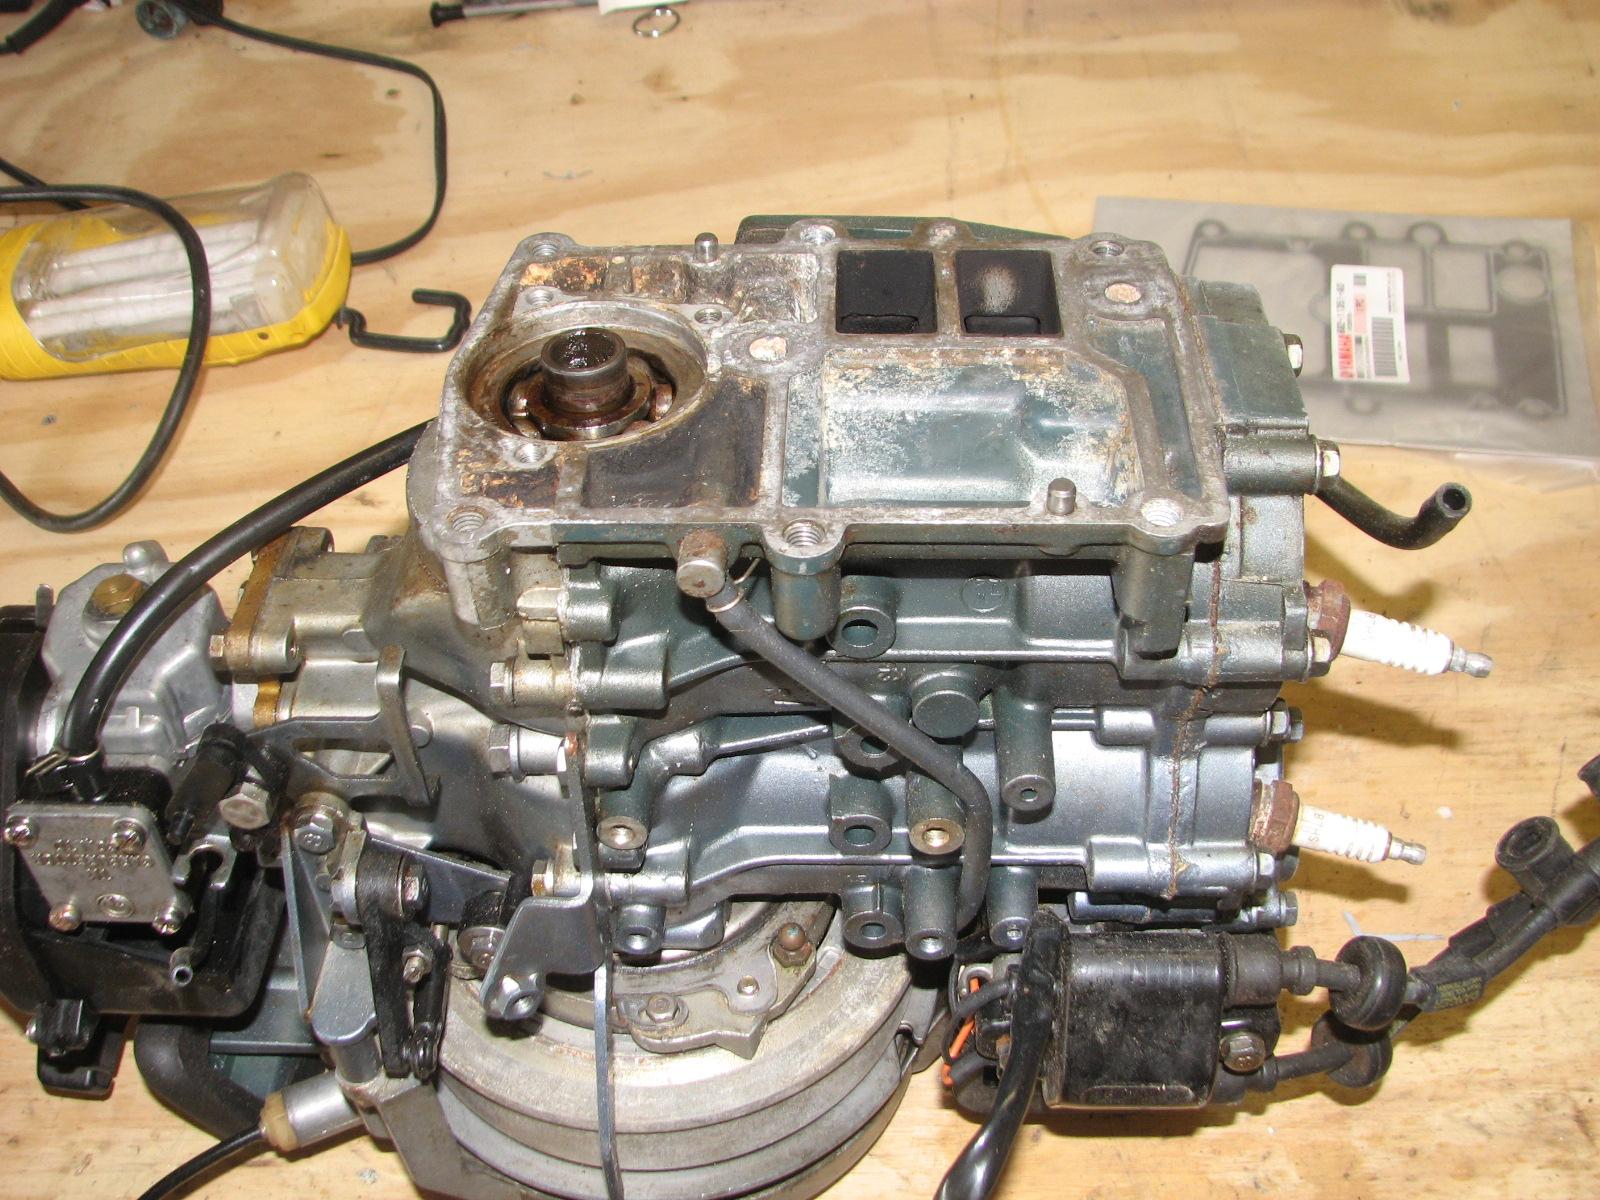
Bottom Of Motor Where
Oil Seal Housing Attaches
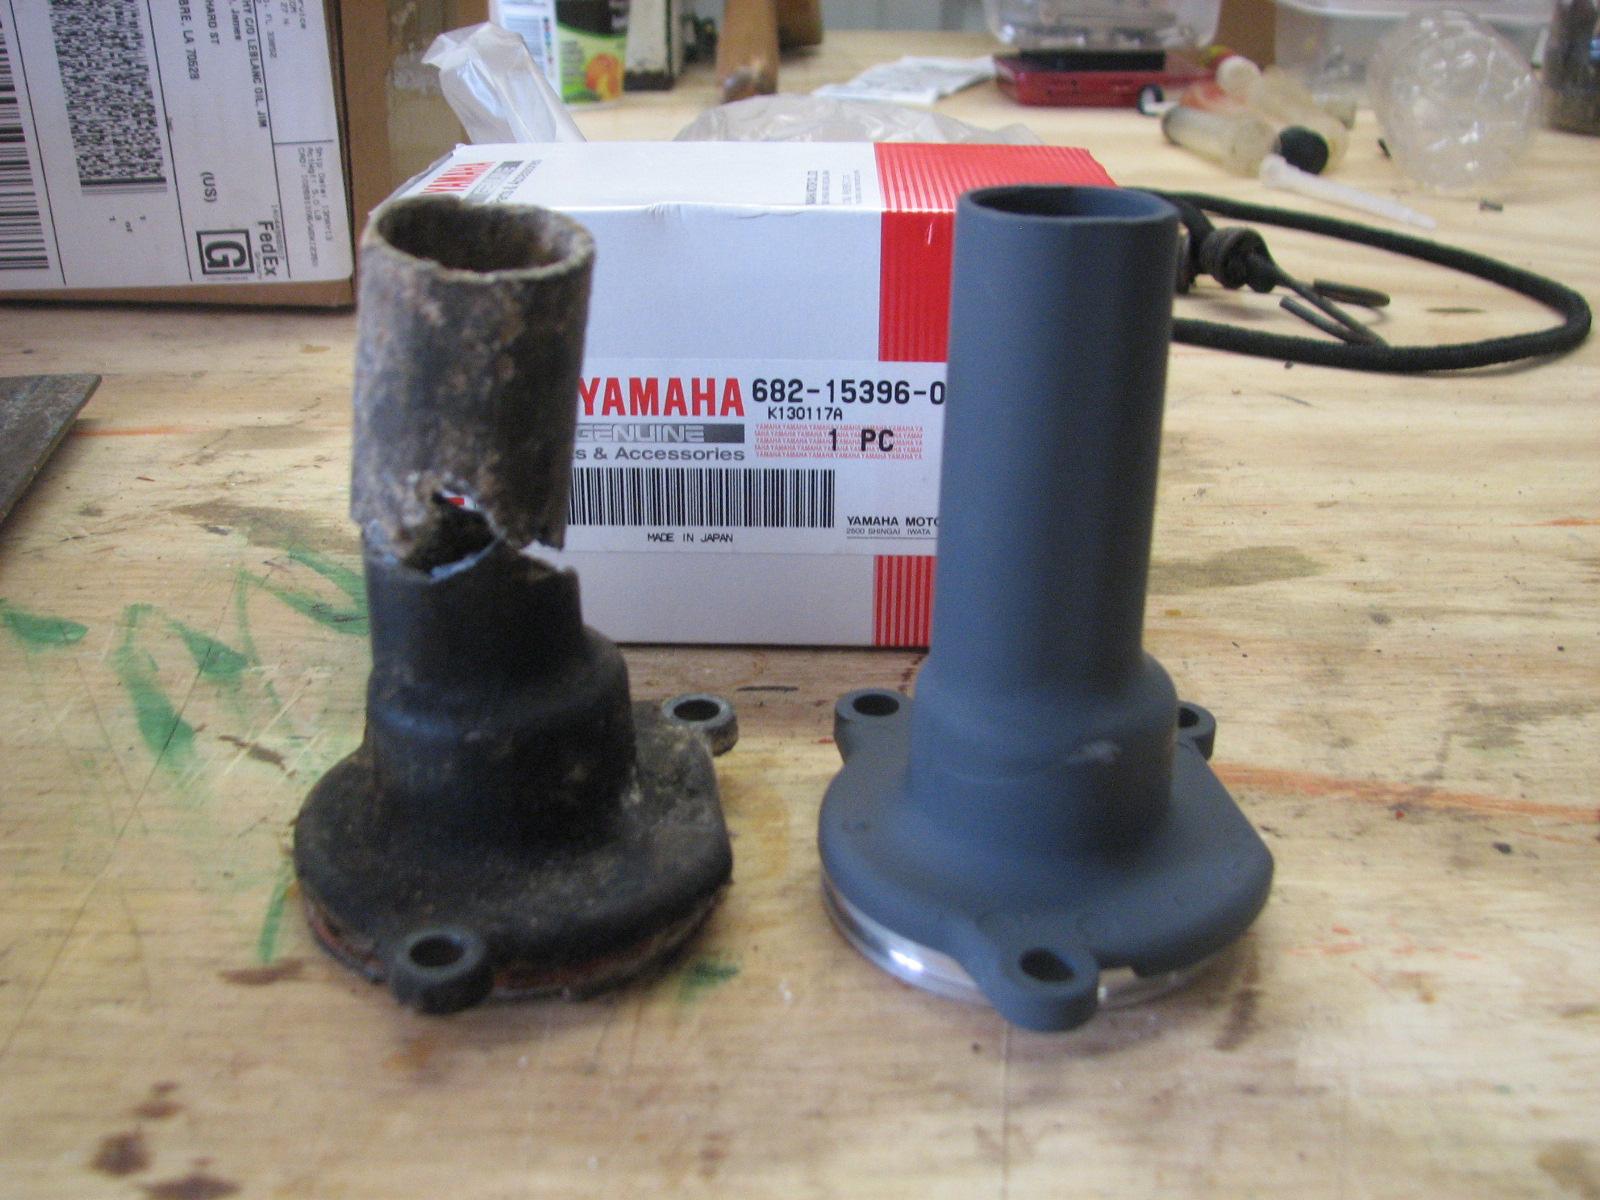
Original And New Oil
Seal Housing
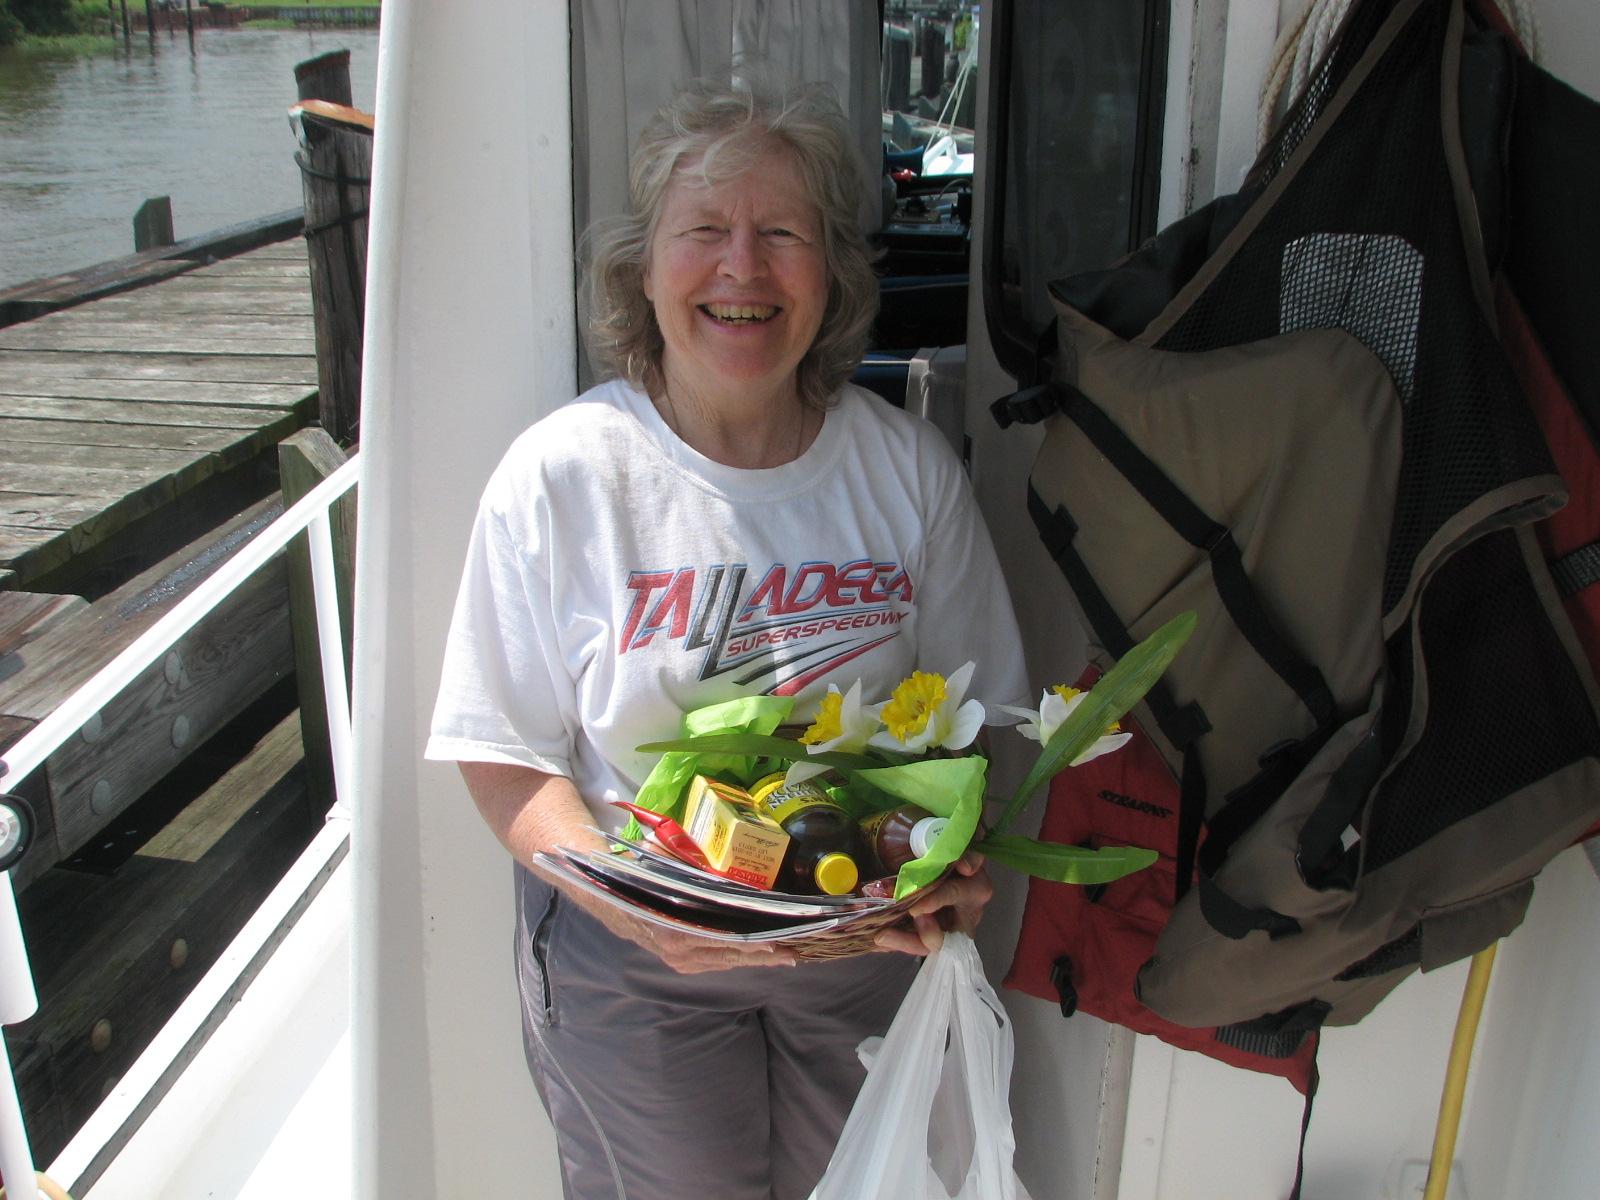
Went back over to the
marina
to welcome two cruising boats into Delcambre. One boat was from
Texas, and the other boat was from Franklin, Louisiana.
Texas Cruisers Welcomed
Into North
Pier Marina
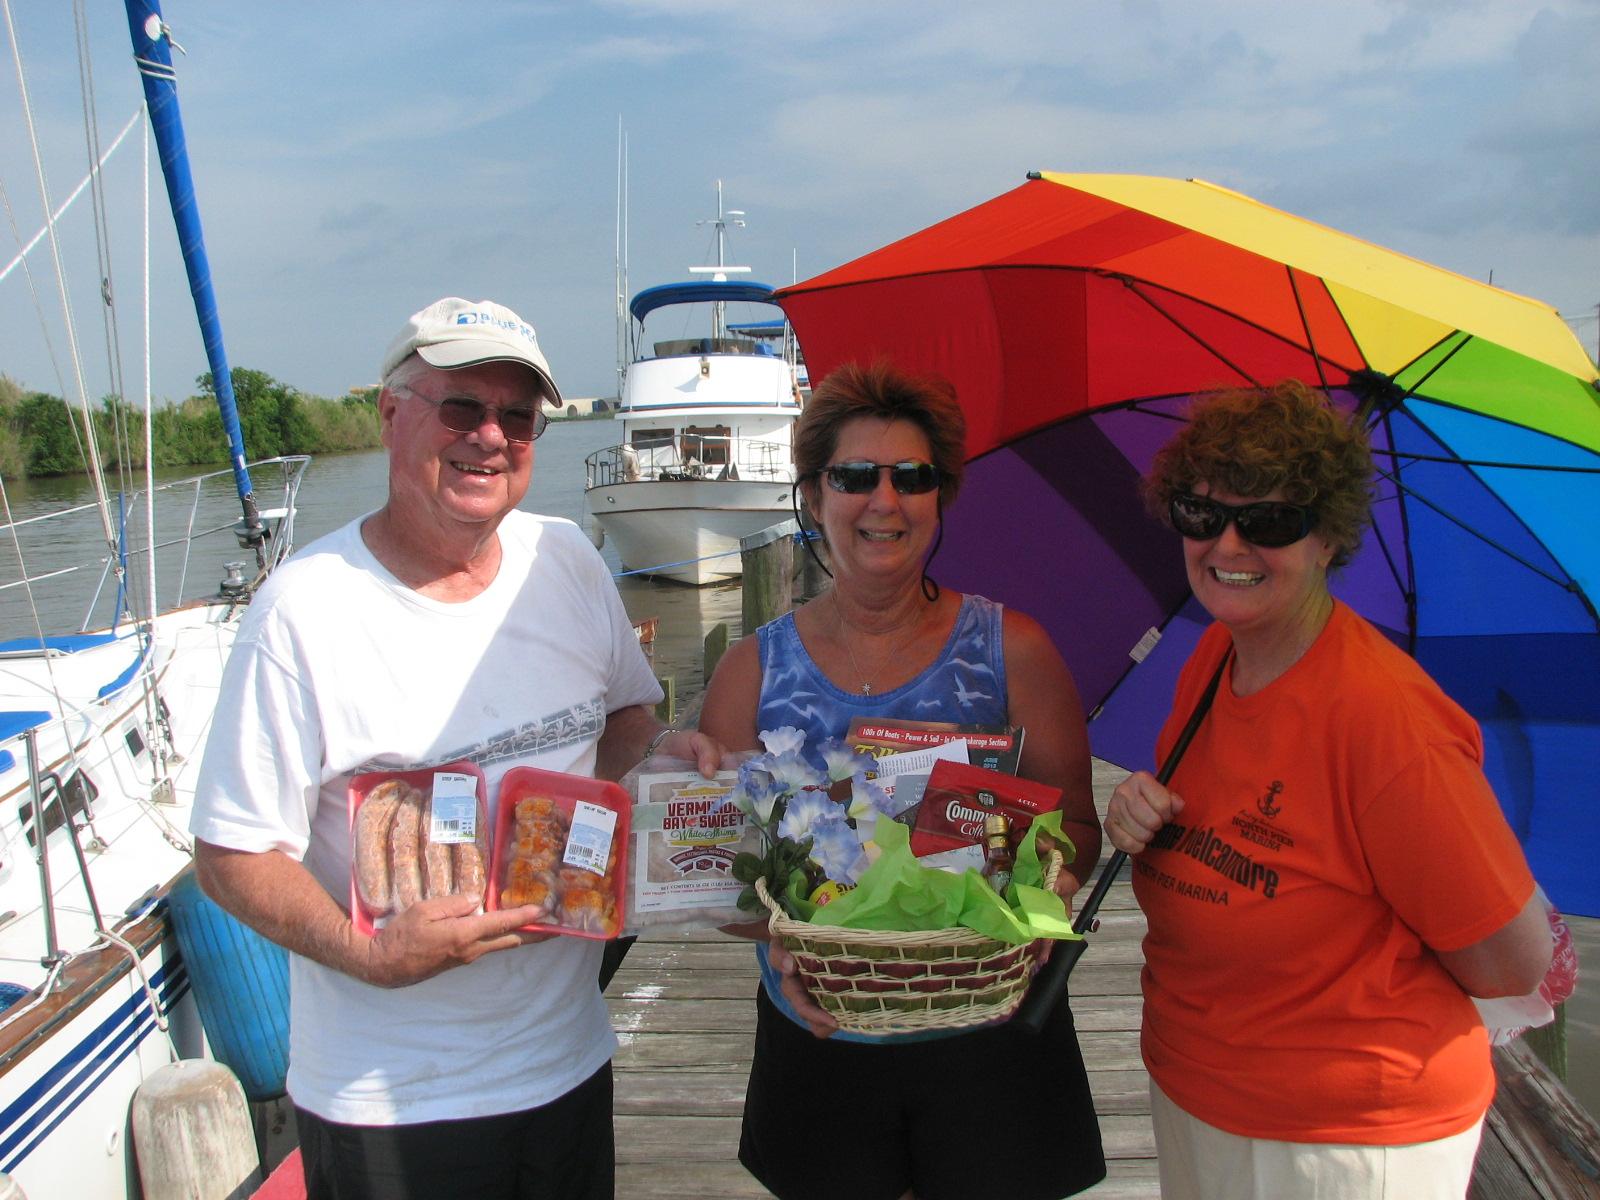
Louisiana Cruisers
Welcomed Into North
Pier Marina
June 14, Friday, 2013
Started off the morning
with my normal ritual of getting on the Internet, answering email,
checking the weather, while making a pot of coffee.
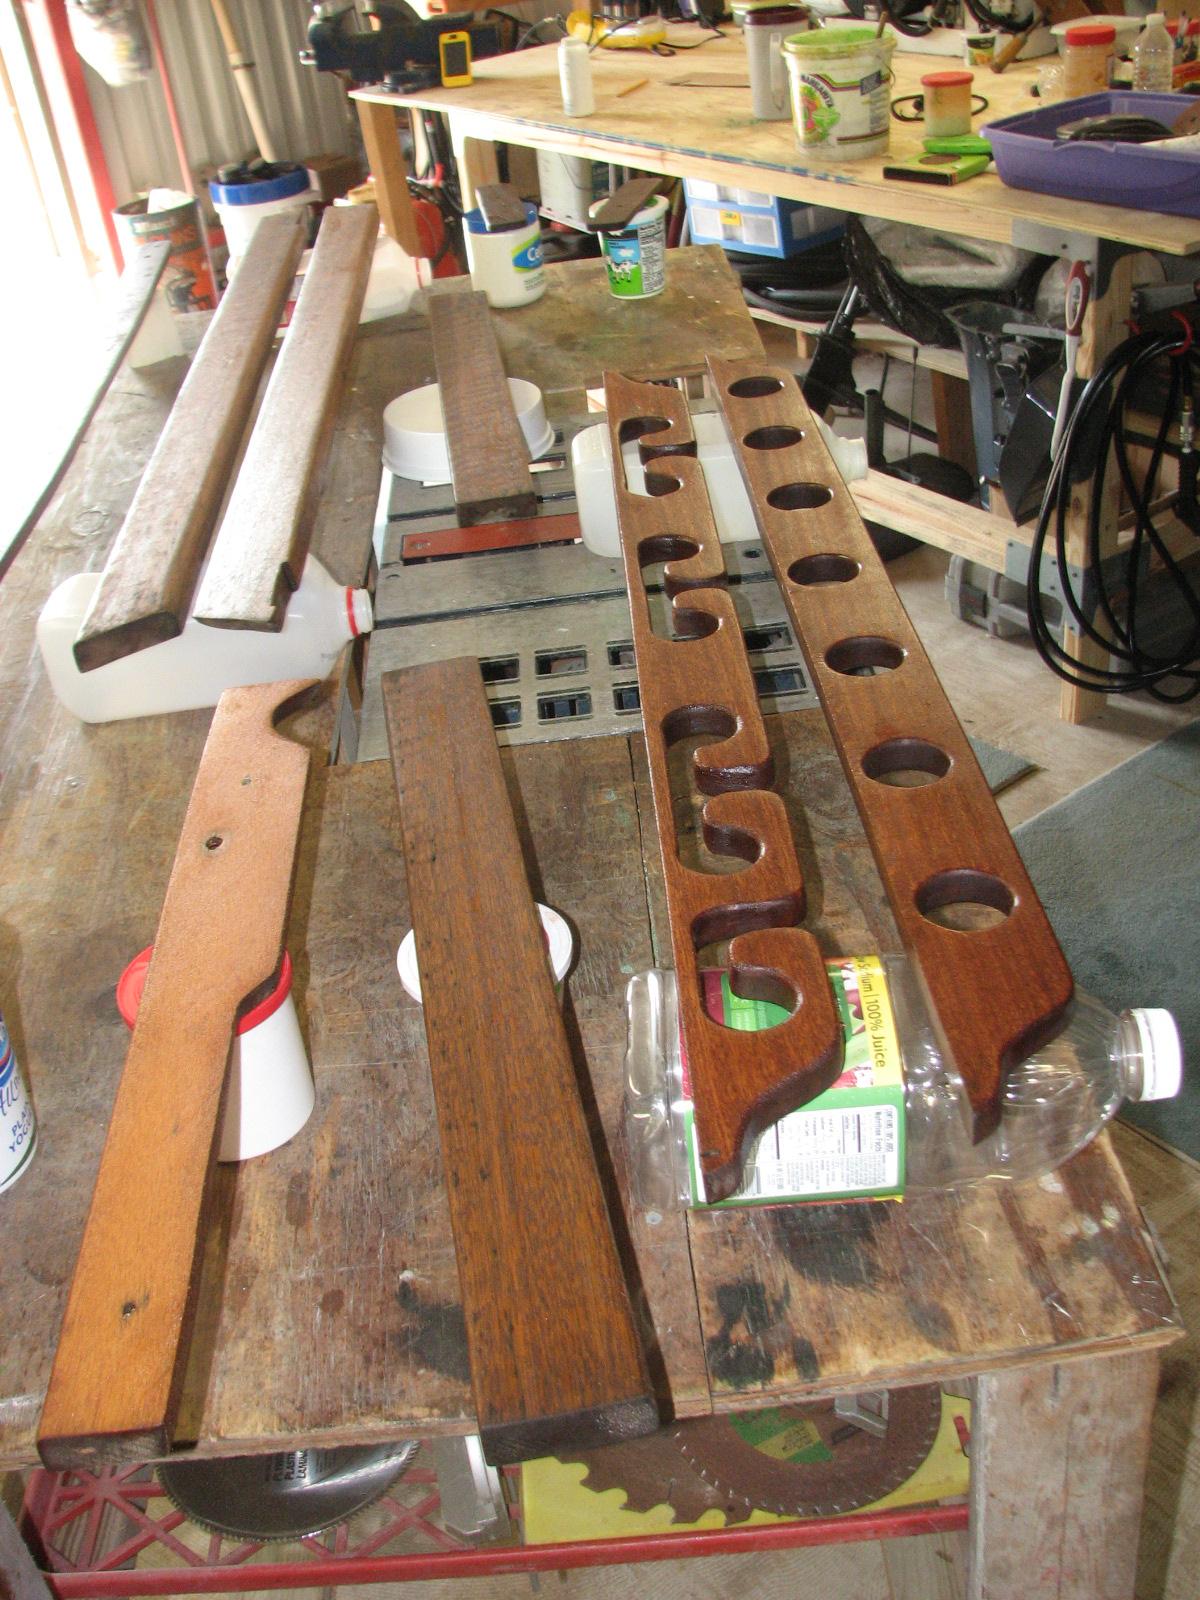
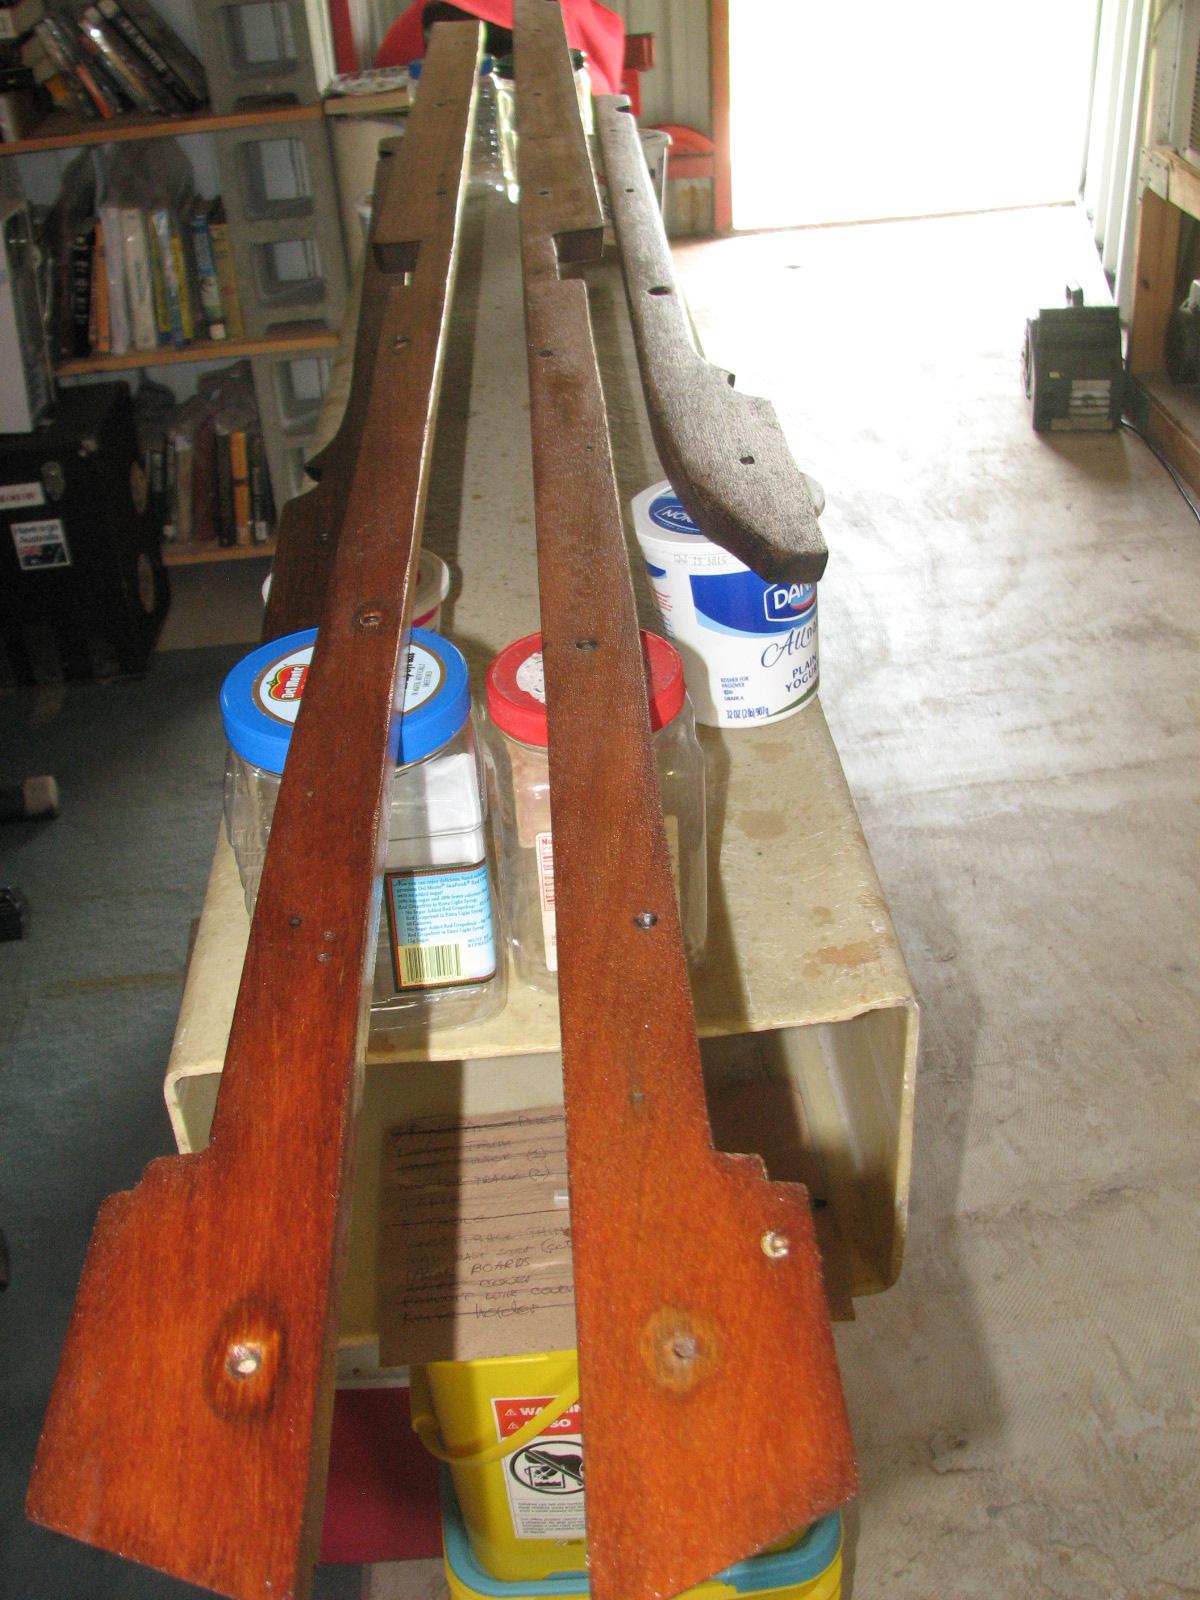
Went over to the shop
and started in on Troy’s wood. Did the final sanding on all of the
pieces. Arranged all of the pieces so that I could get to them and
apply the Watco
teak oil finish. I wiped
all of the pieces down with a tack
rag, and then applied the
first and second coat of the Watco
teak oil finish.
June 13, Thursday, 2013
Started off the morning
with my normal ritual of getting on the Internet, answering email,
checking the weather, while making a pot of coffee.
Went over to the shop
and spent a couple of hours working on Troys wood. He had two fishing
pole hangers that really took a lot of time to sand out. Lots of
holes and curves!
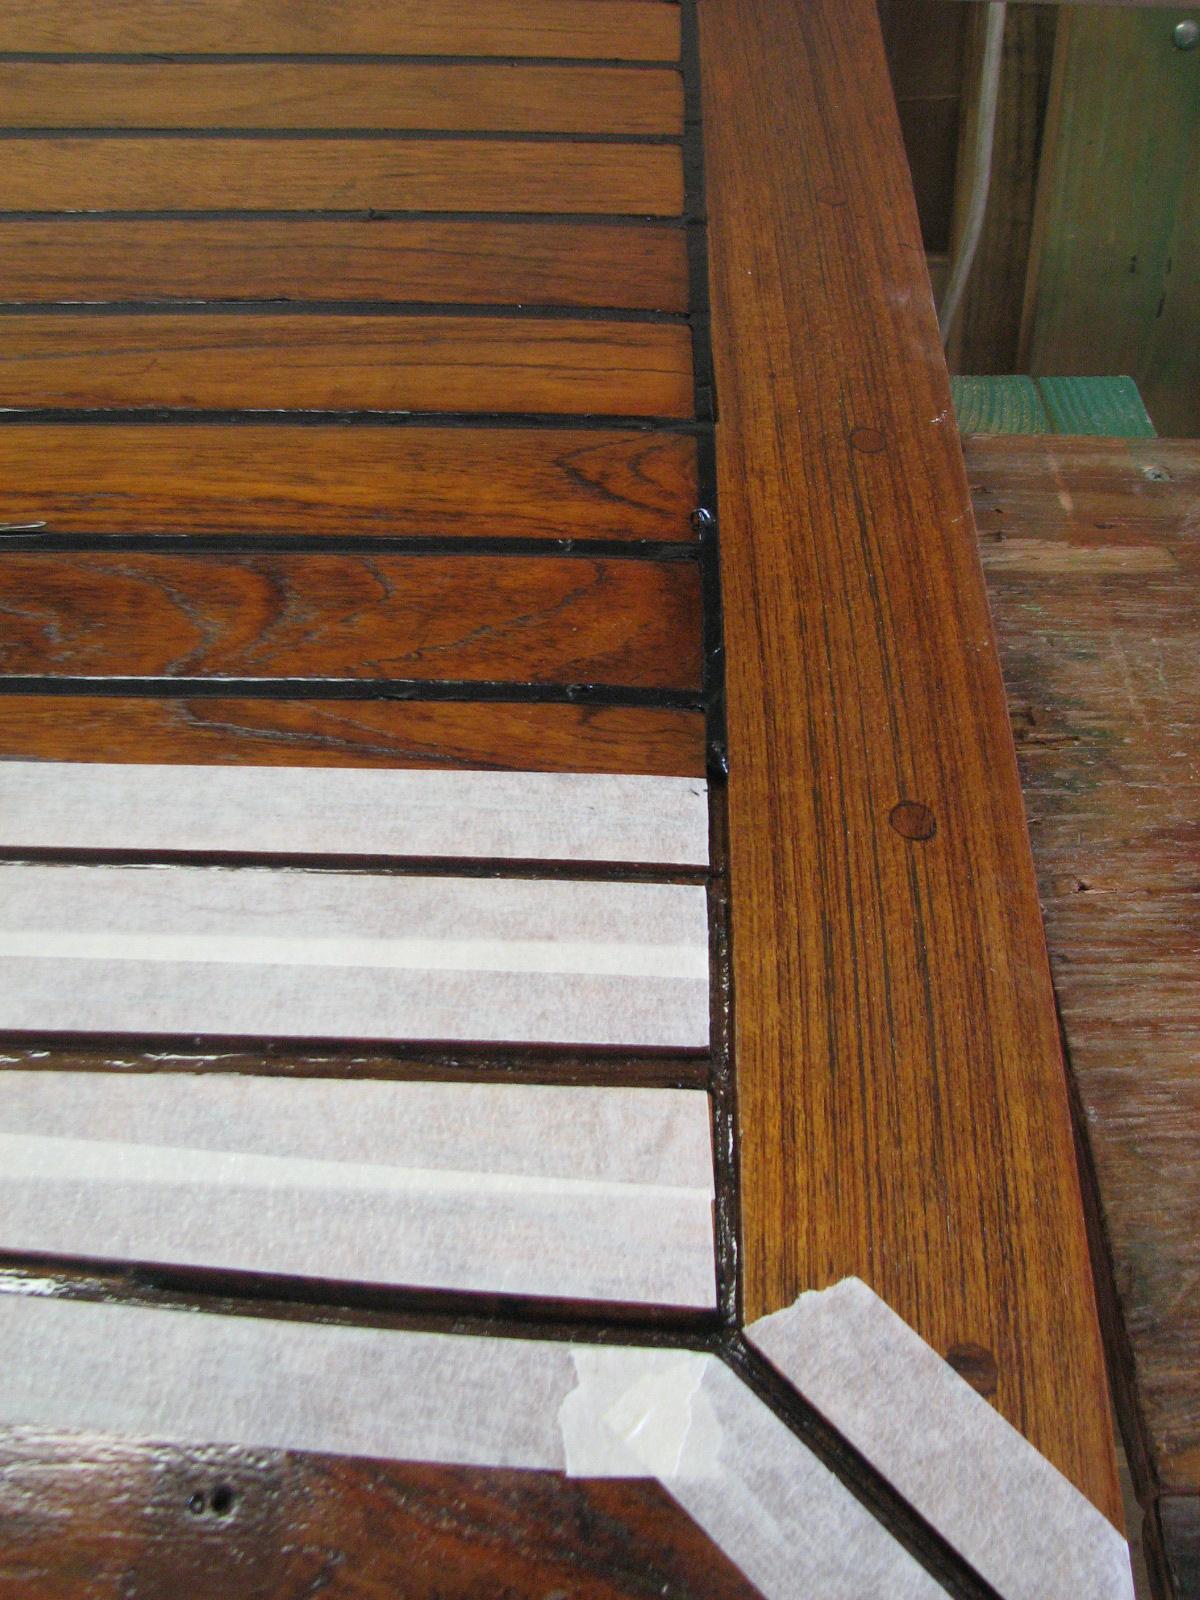
Applied the BoatLIFE
LifeSeal to the masked off
cockpit hatch. Could not do the complete hatch because the tube of
BoatLIFE
LifeSeal had
hardened at the bottom of the tube. Was able to return the tube for a
new one, but it delayed the completion of that part of the project.
Cockpit Hatch Waiting
For More BoatLIFE
LifeSeal
Went back to the
Marina,
and welcomed another cruiser to the dock.
New Cruiser Tied Up To
Pier C

June 12, Wednesday,
2013
Started off the morning
with my normal ritual of getting on the Internet, answering email,
checking the weather, while making a pot of coffee.
Went to shop,
and straightened up all of the stuff we brought back from Atlanta,
and some other stuff I had acquired. Had to put it all away and out
of the way, to get the shop
back into full production.
Finished masking out
the cockpit hatch, so it is ready for the application of BoatLIFE
LifeSeal.
Went back to DREAM
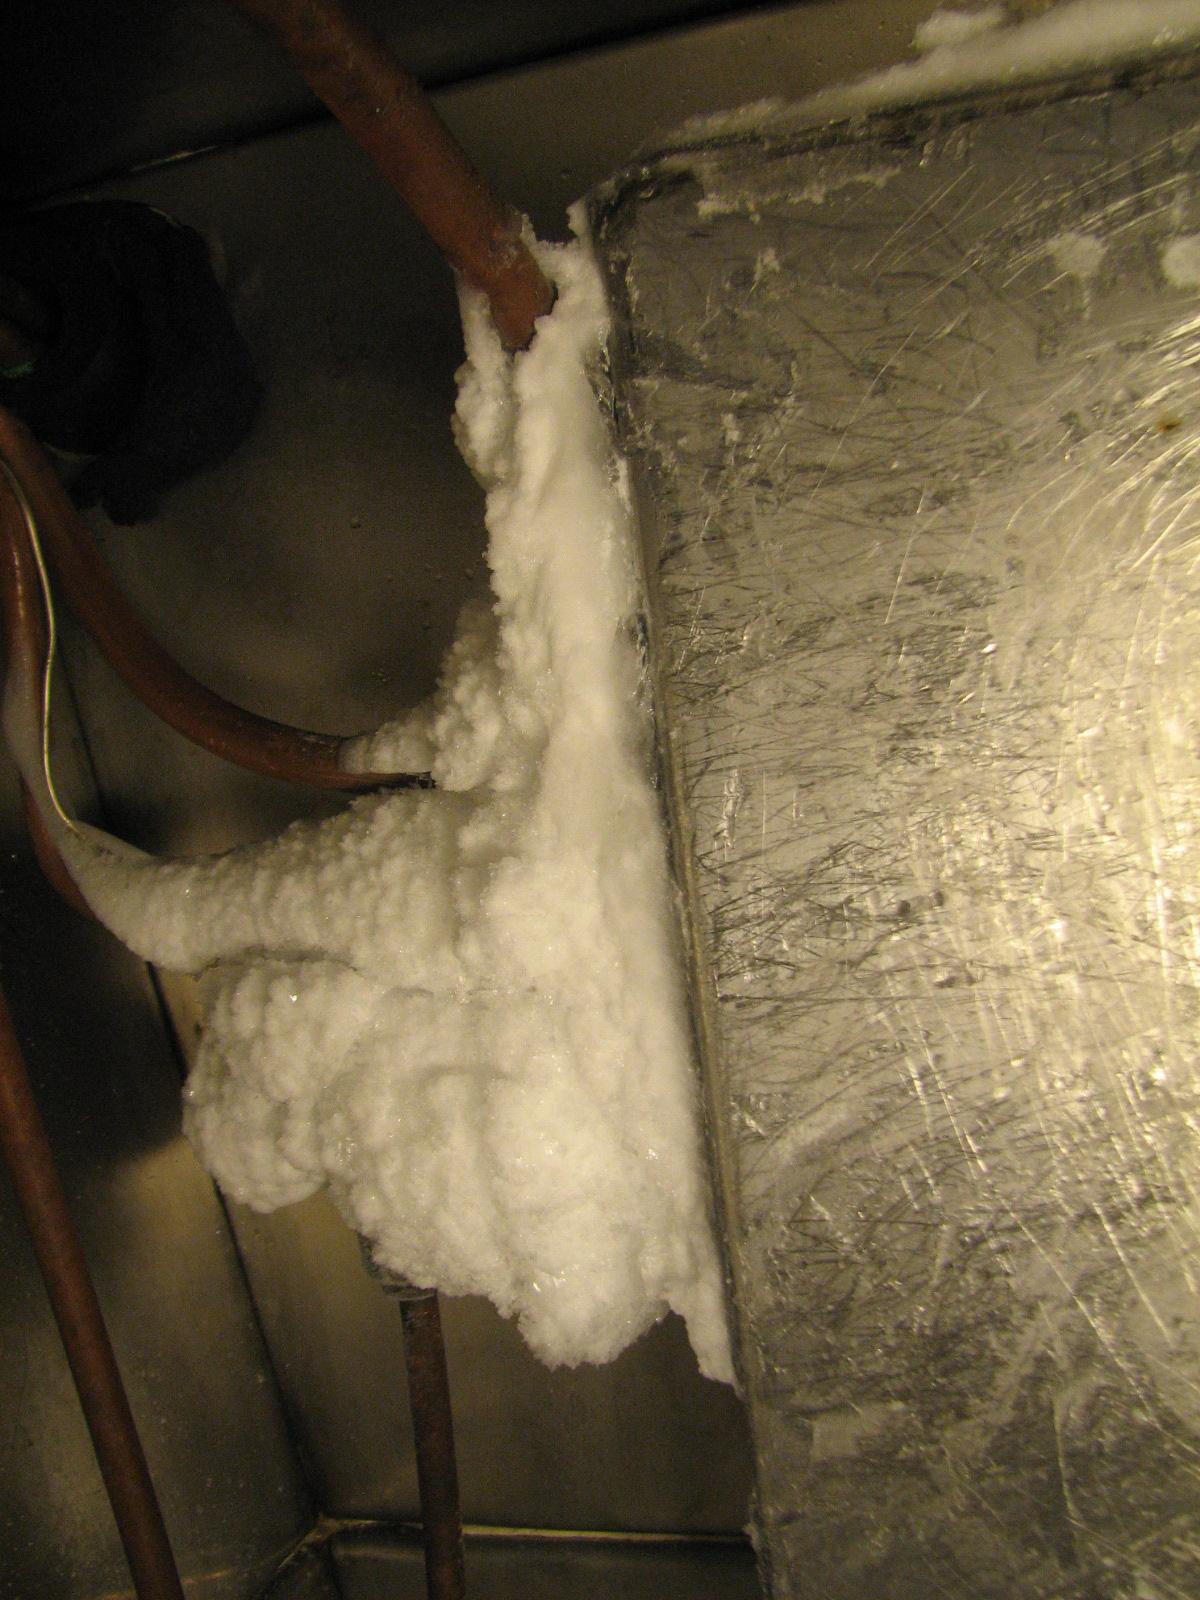
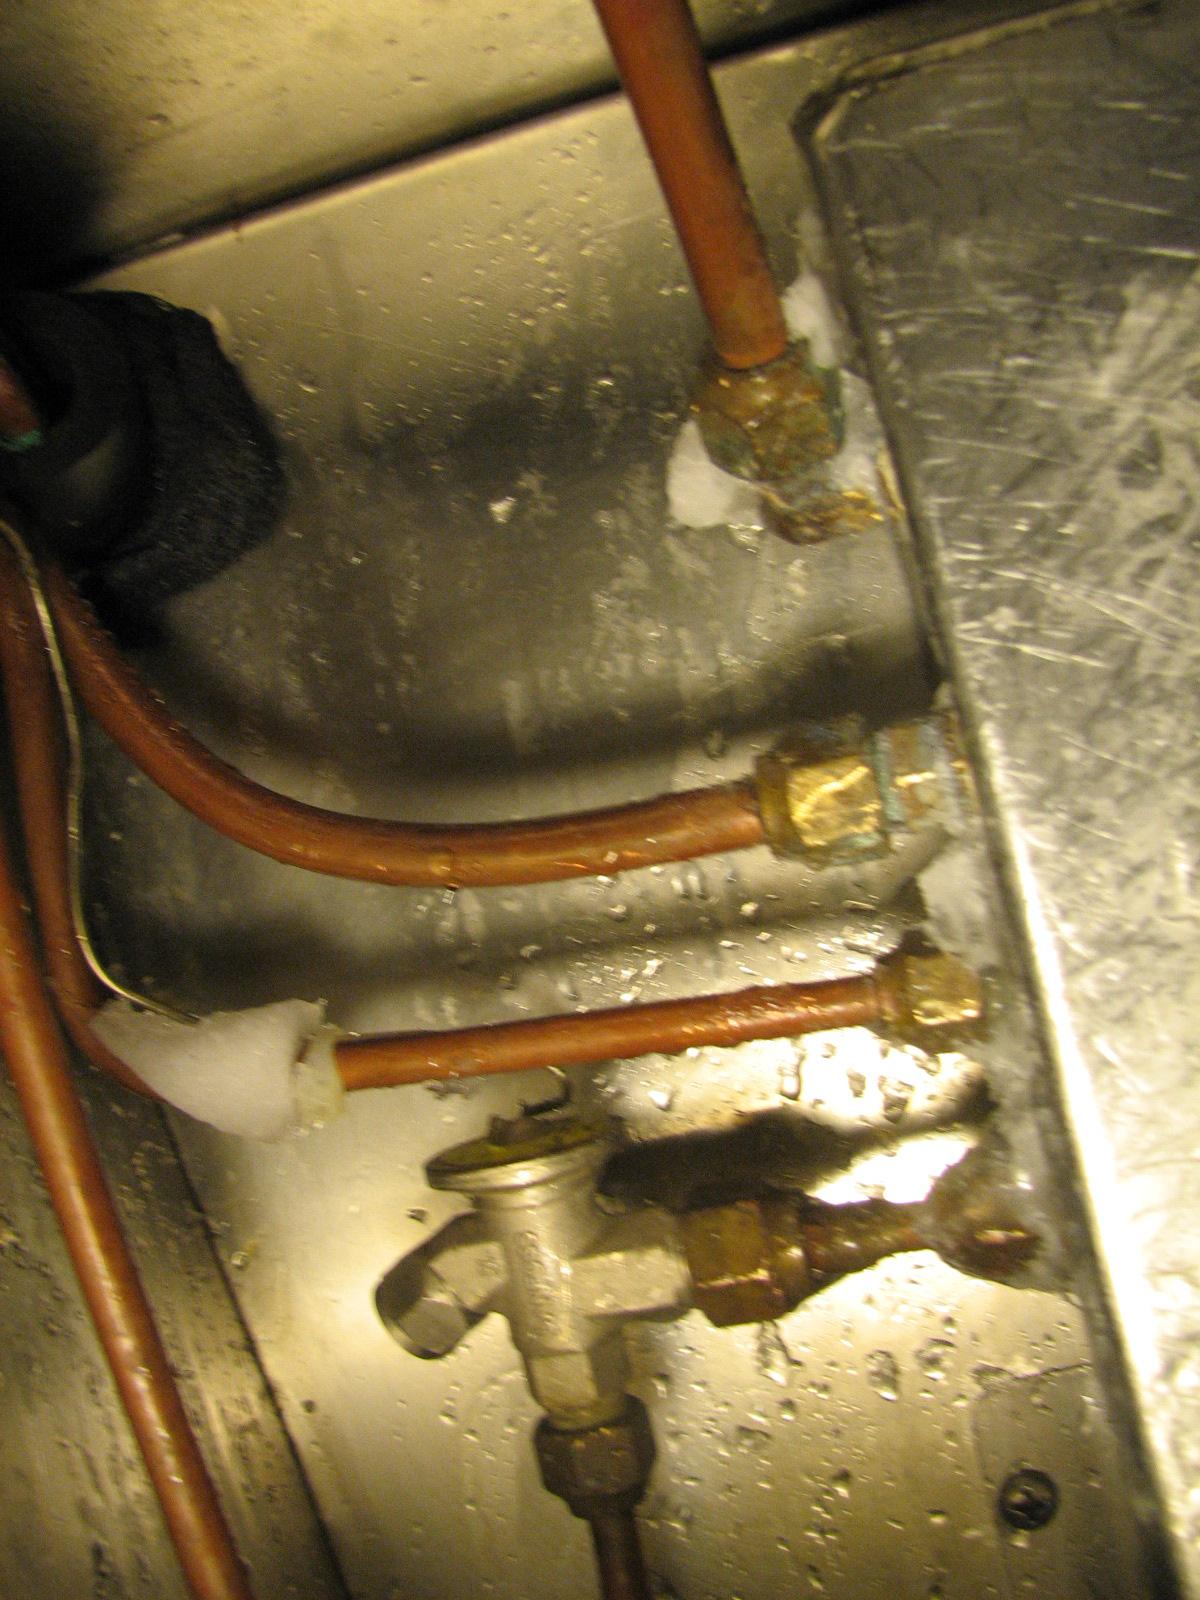
AWAY, to have breakfast. After breakfast, I defrosted the freezer,
and cleaned up the condiment trays in the refrigerator.
Ice Scraped Off Of
Freezer Holding Plates In Freezer

Ice On Expansion Valves
Ice Removed From
Expansion Valves
When I finished
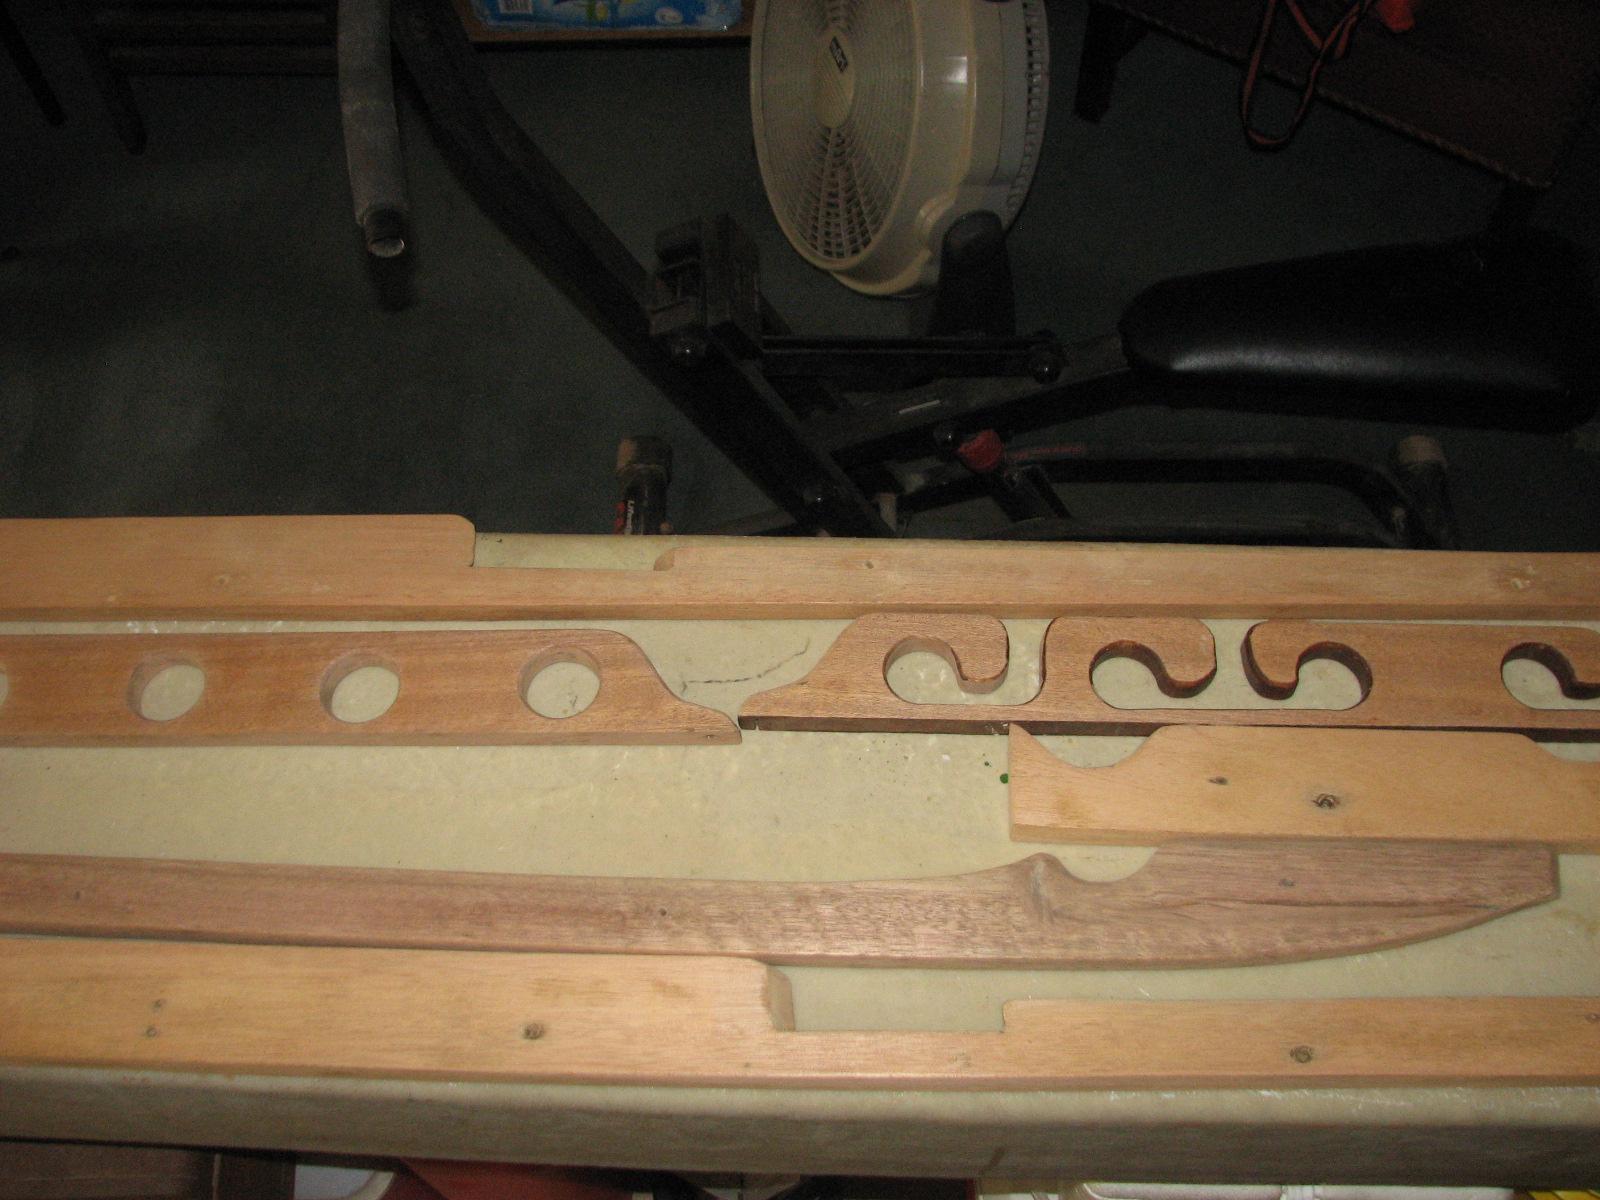
cleaning up from the defrosting project, went back to shop
and started sanding on Troys wood for his boat, and the teak pieces
for the navigation lights on the tender.
Troy’s Pieces Sanded
And Ready For Watco
Application
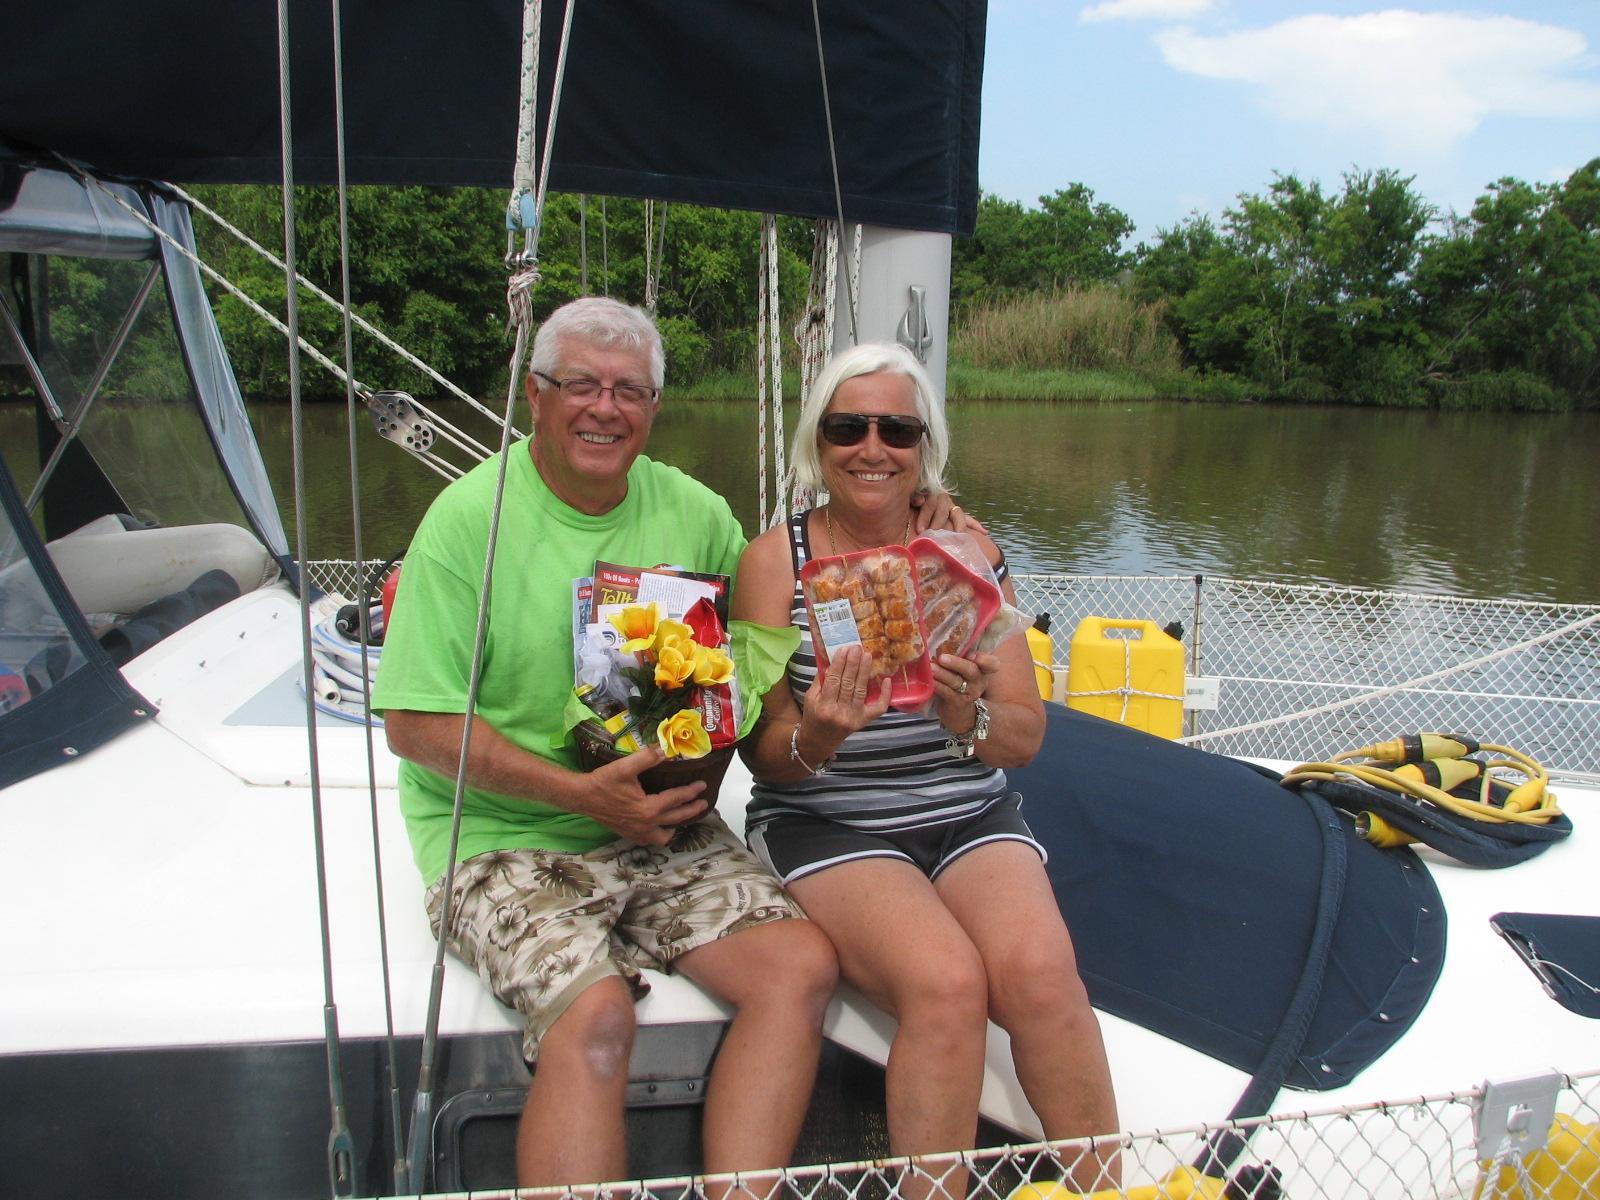
Went back to DREAM AWAY
and welcomed two transient boats to North
Pier Marina. When we got
the two boats all settled in and properly welcomed, I went to work on
the second router at the North
Pier Marina.
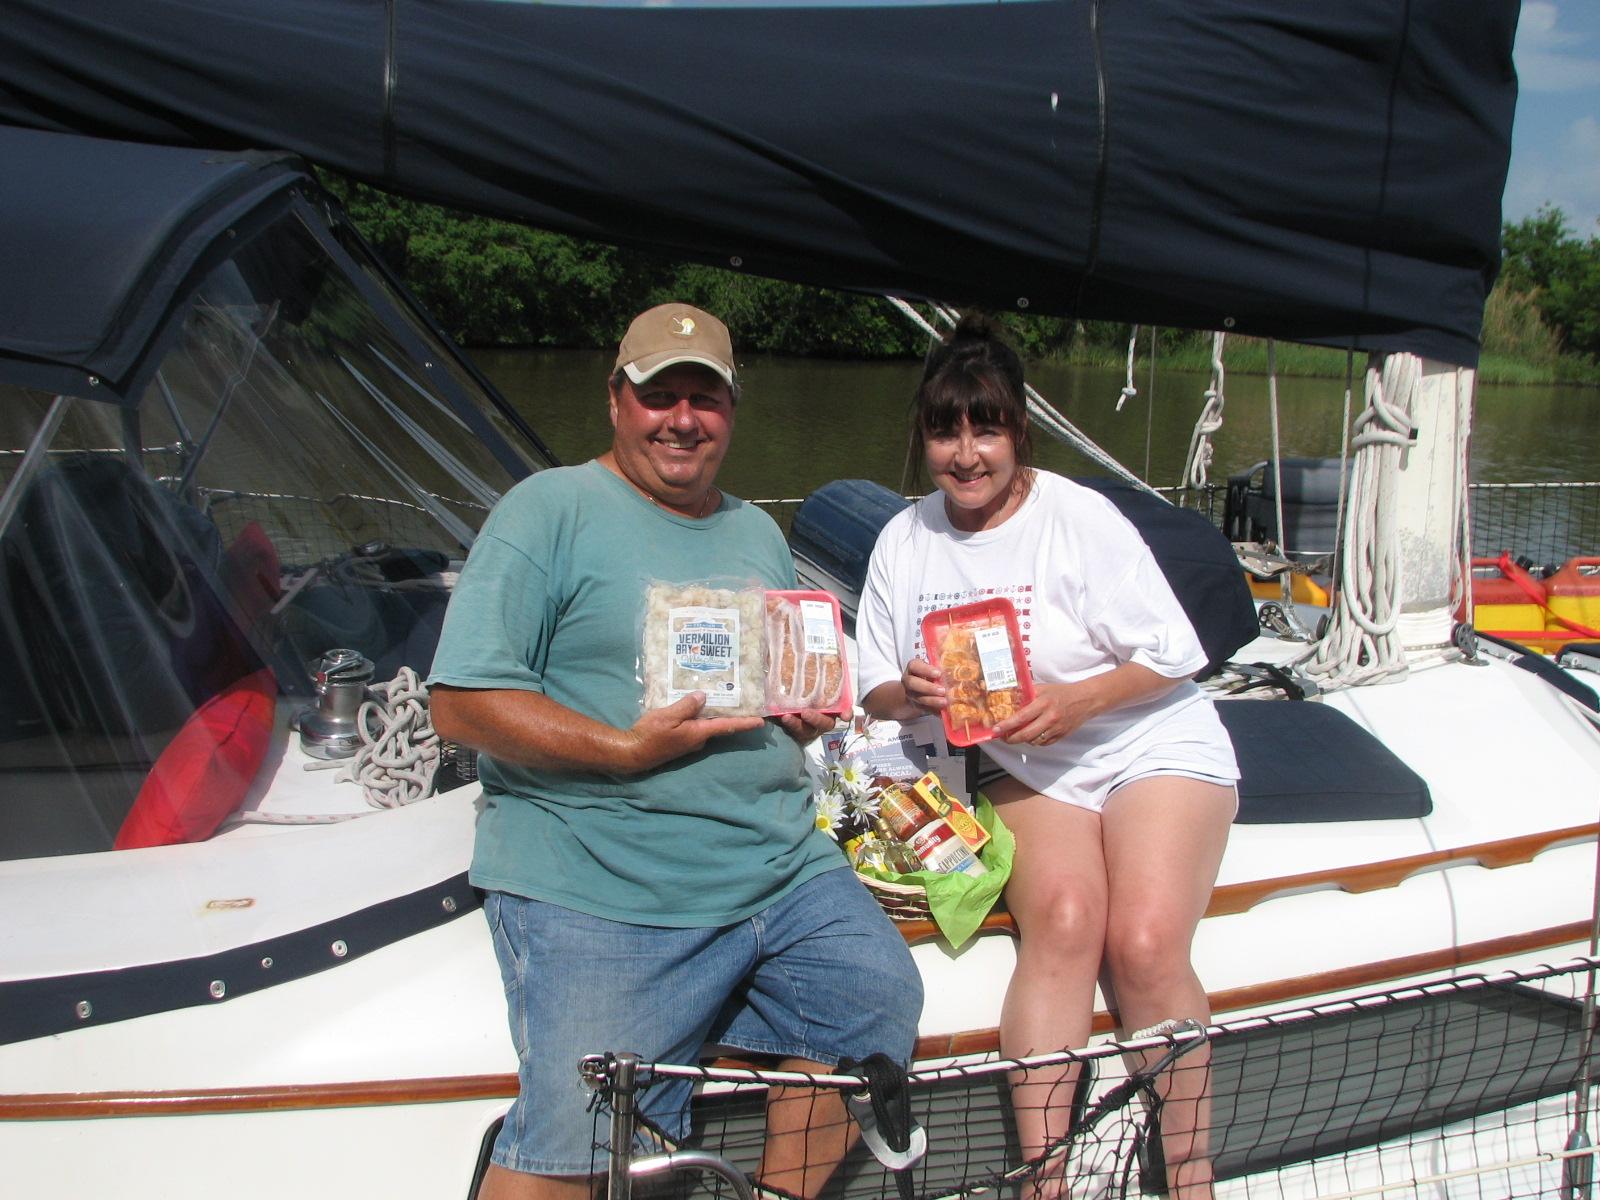
Welcome Transient
Boaters
Welcome Transient
Boaters
June 11, Tuesday 2013
Started off the morning
with my normal ritual of getting on the Internet, answering email,
checking the weather, while making a pot of coffee.
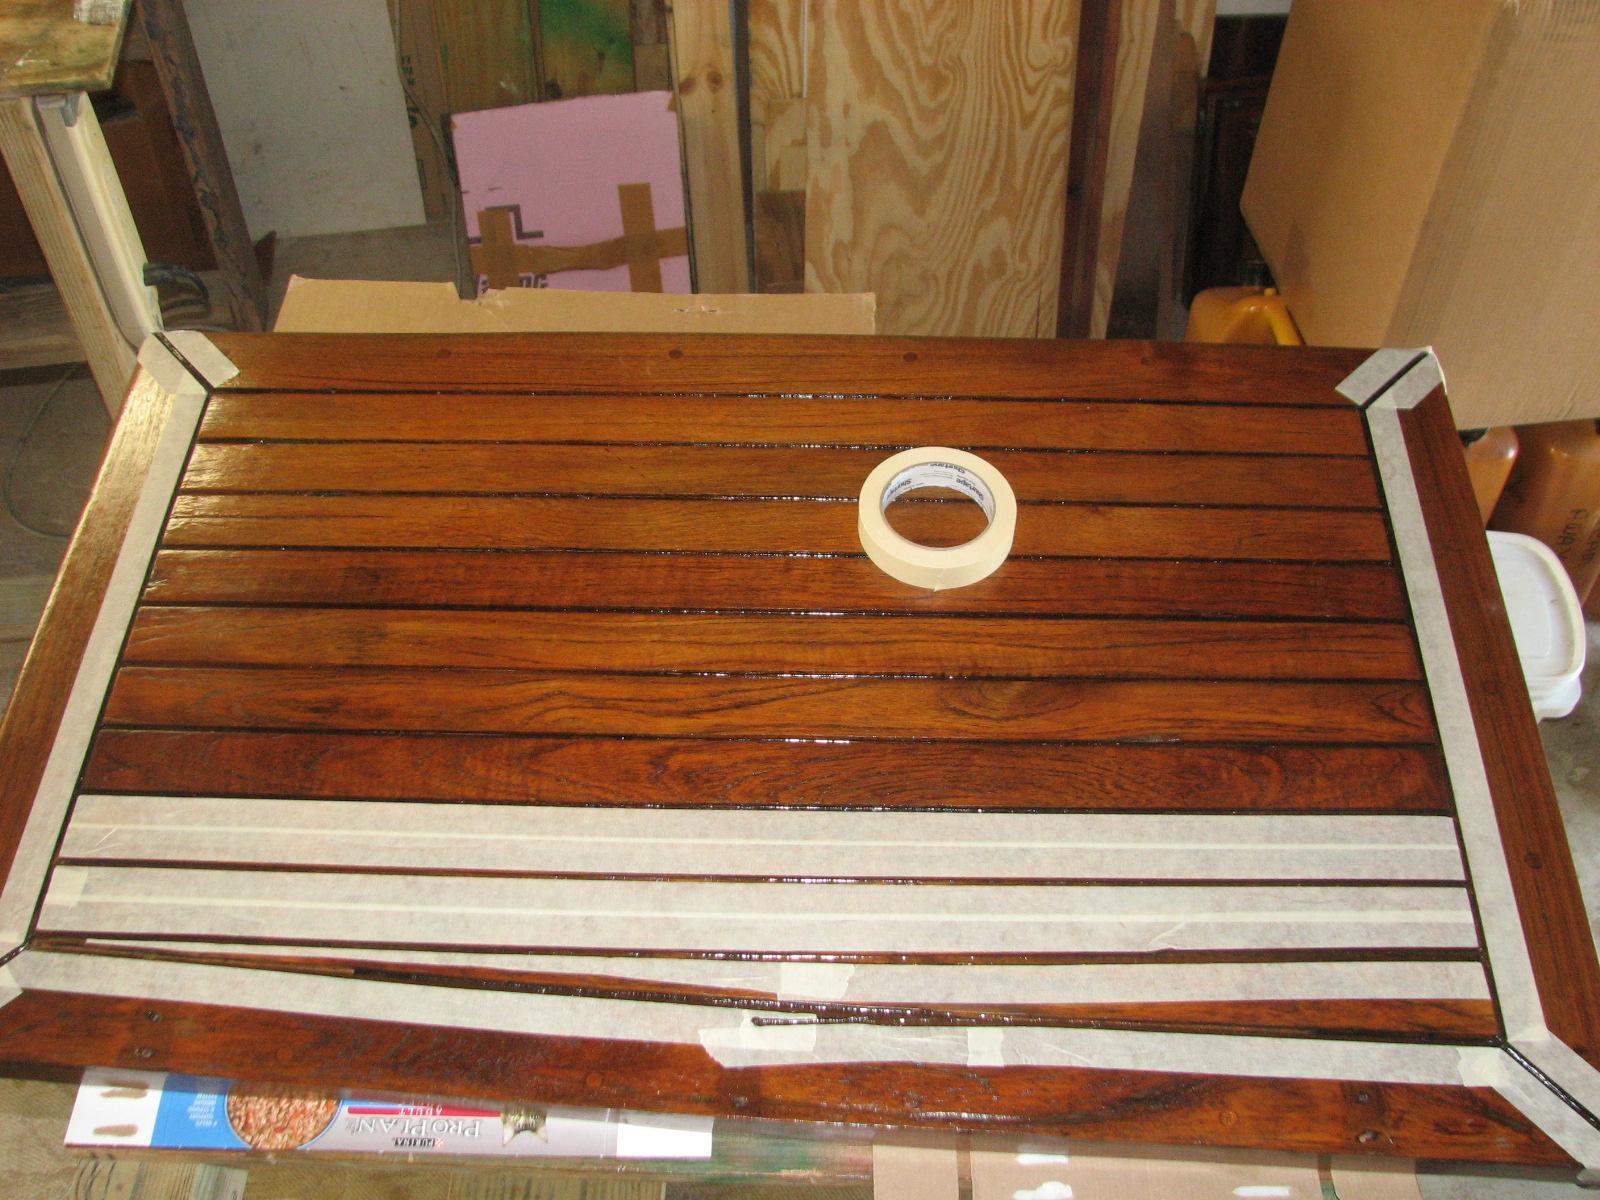
Went to shop
started masking top of cockpit hatch. Have to get the hatch masked
off so I can apply the BoatLIFE
LifeSeal between the teak
boards on top of the hatch
Hatch Partially Masked
Off
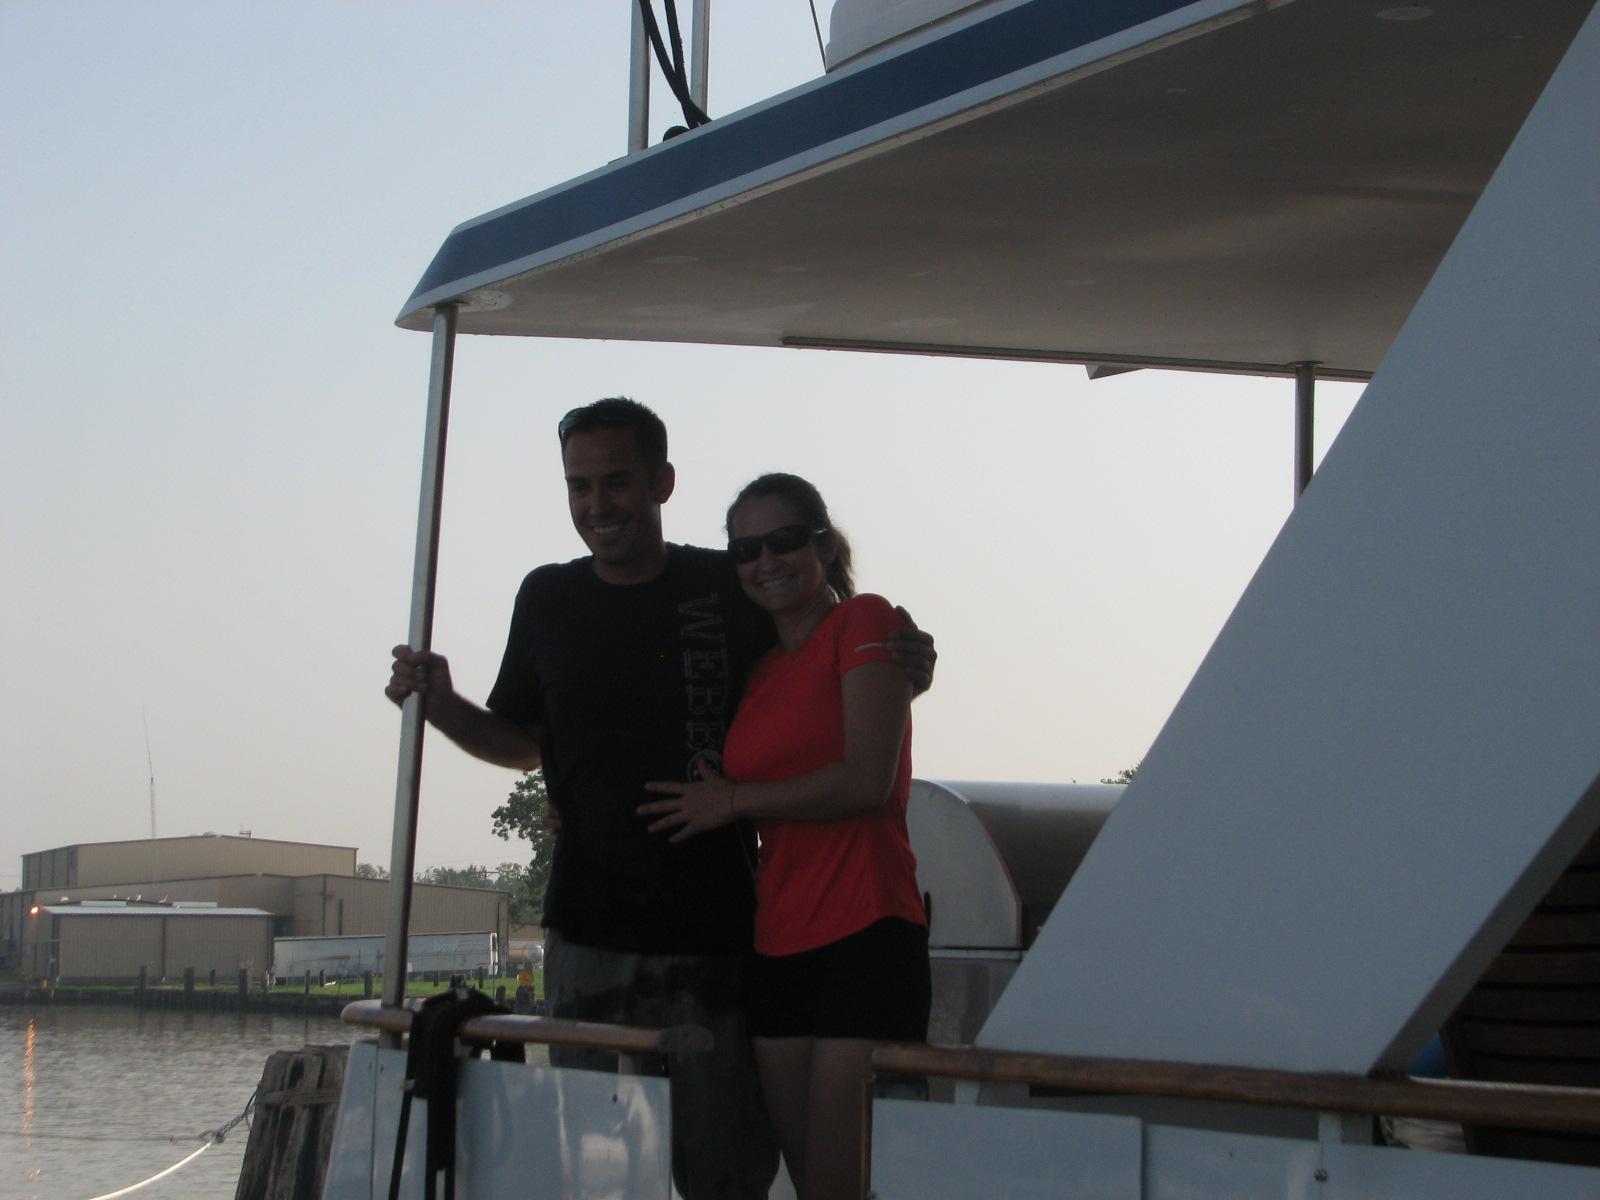
Chris And Sarah On
PENDANA
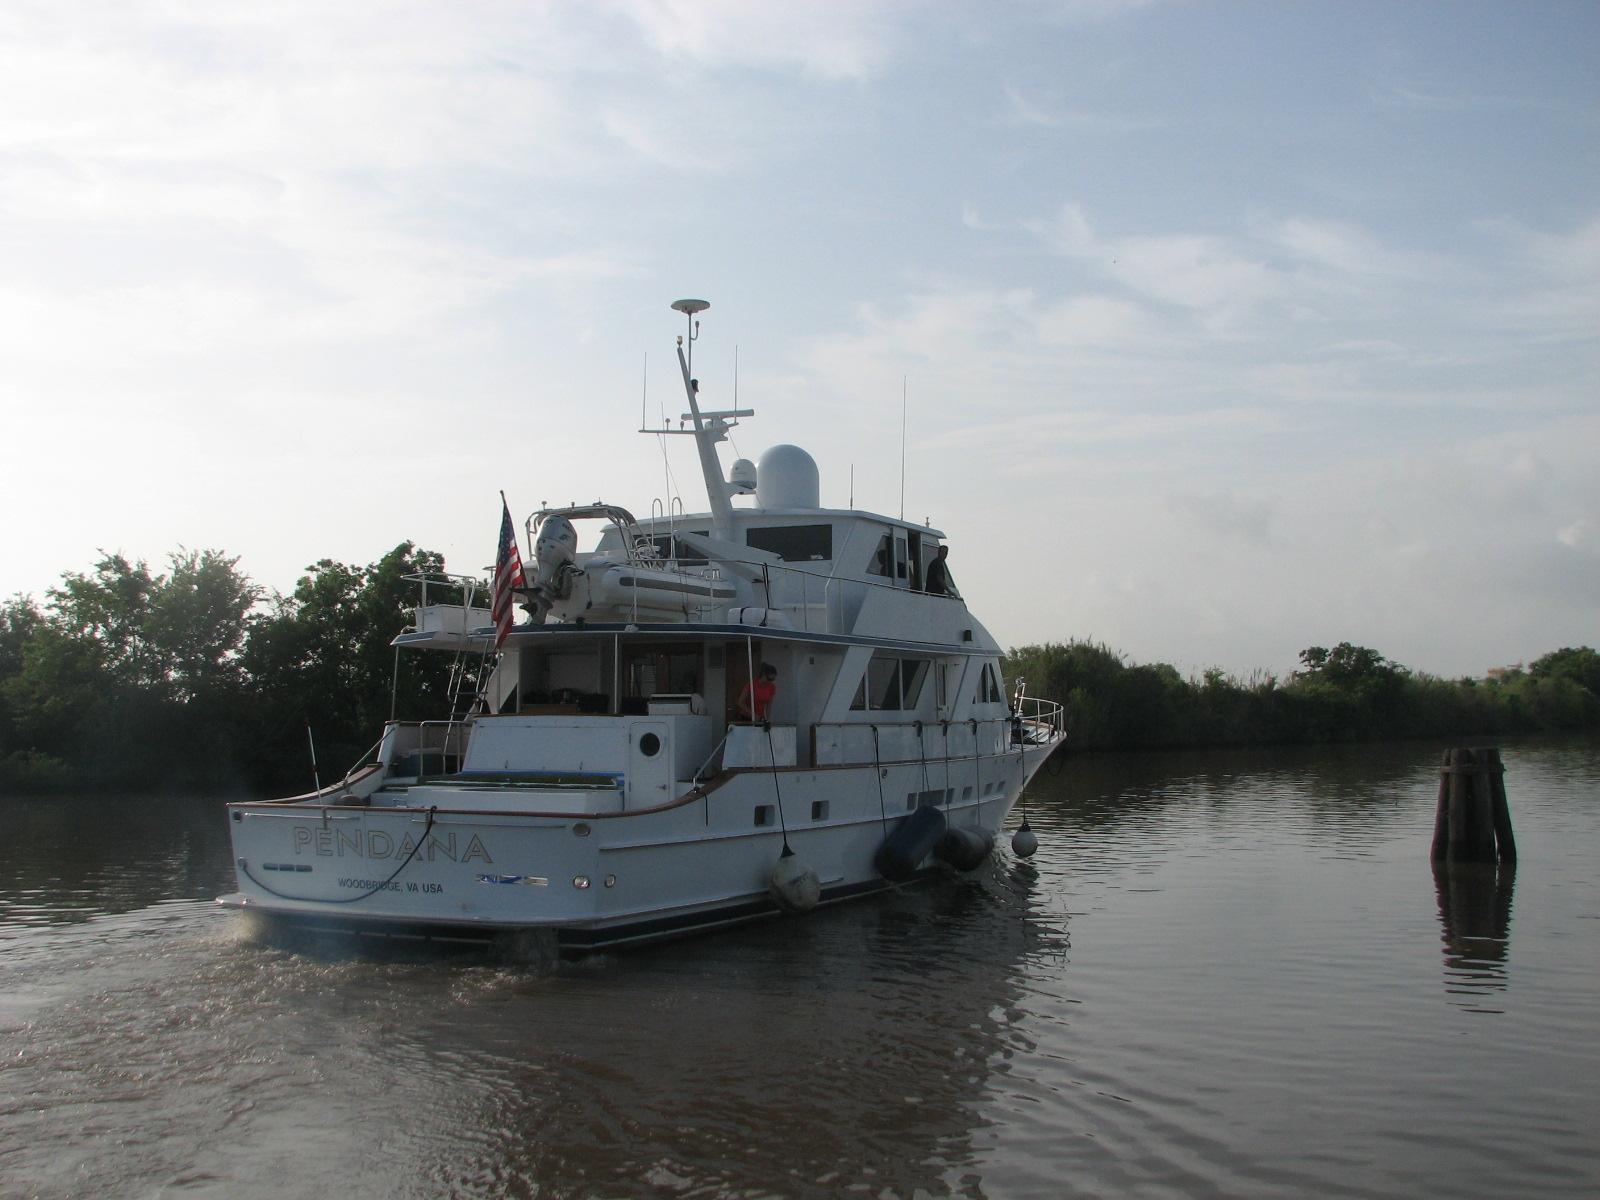
PENDANA Leaving the
Marina
I worked on marina
landscaping, weeding the gardens for about 30 minutes. The remainder
of the day was spent working on web page other computer activities.
Kitty and I attended
the monthly Port meeting that evening starting at 1800.
June 10, Monday, 2013
Started off the morning
with my normal ritual of getting on the Internet, answering email,
checking the weather, while making a pot of coffee.
Went over to the shop
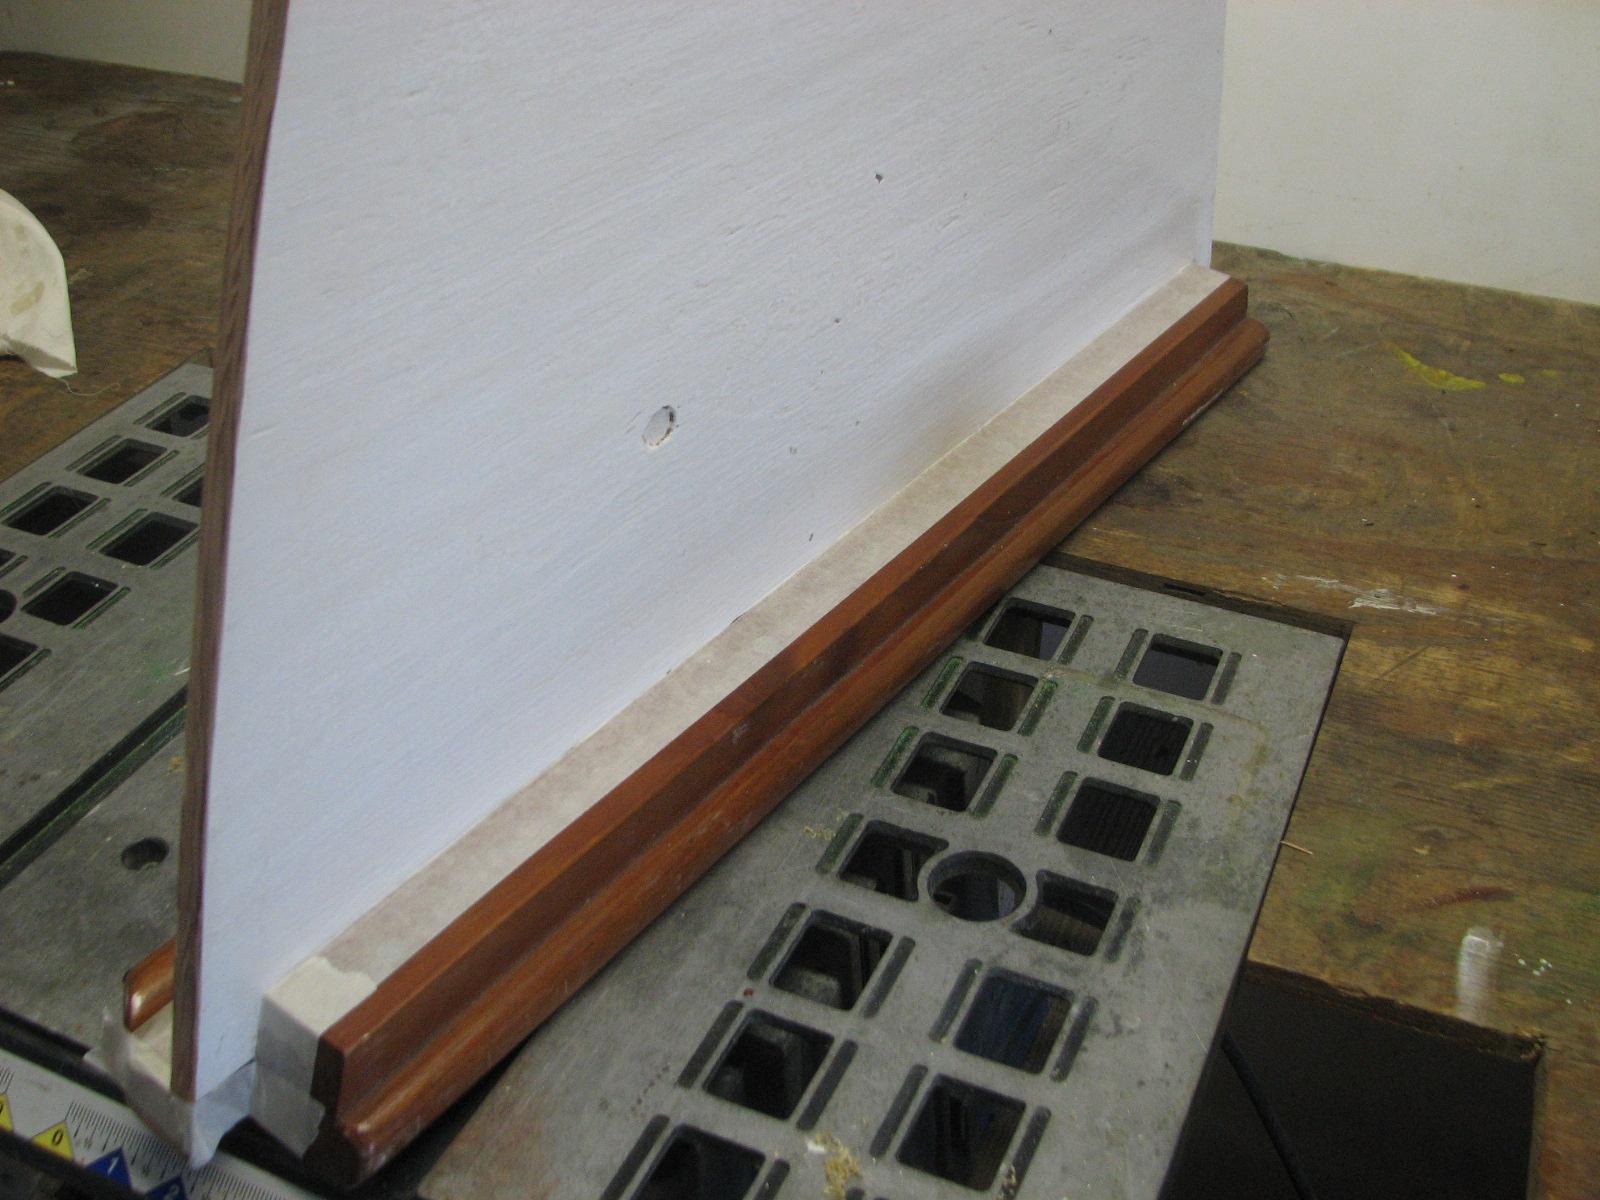
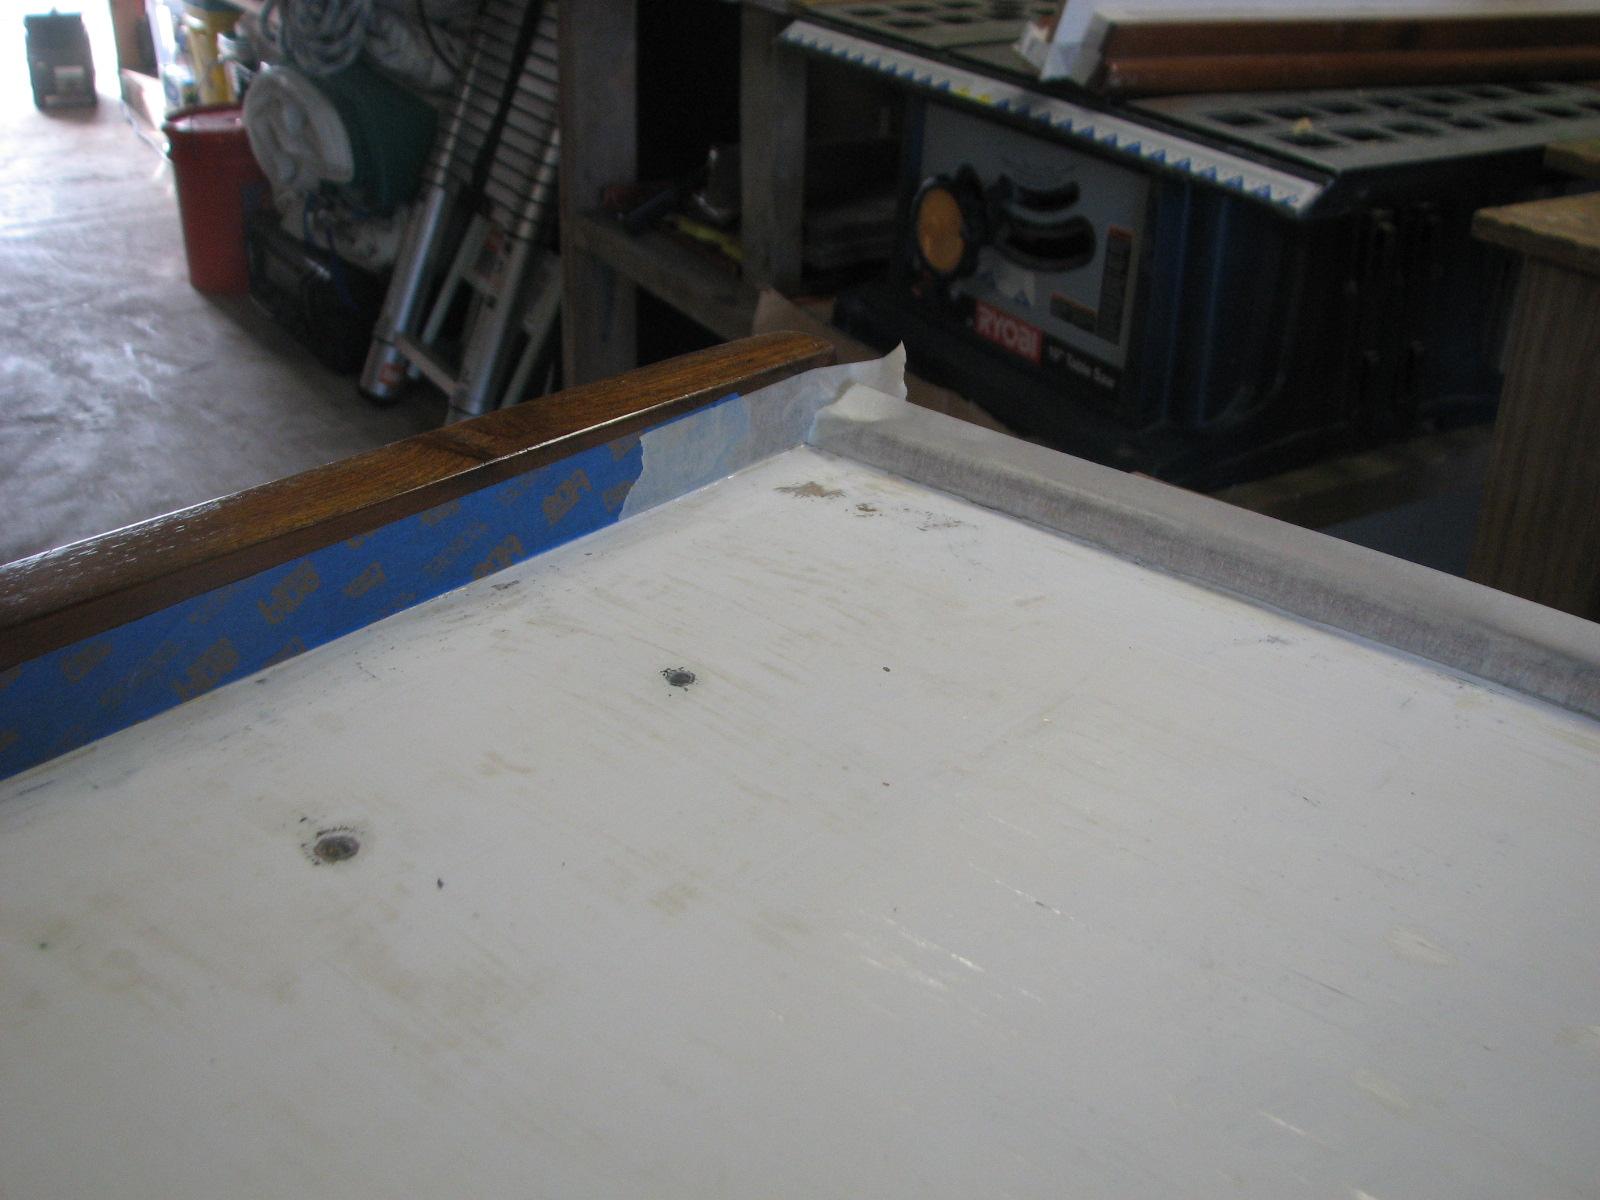
and masked off the bottom of the cockpit hatch and the V-Berth insert
for the forward cabin. Did the preparatory sanding, and the the
wiping down with the tack
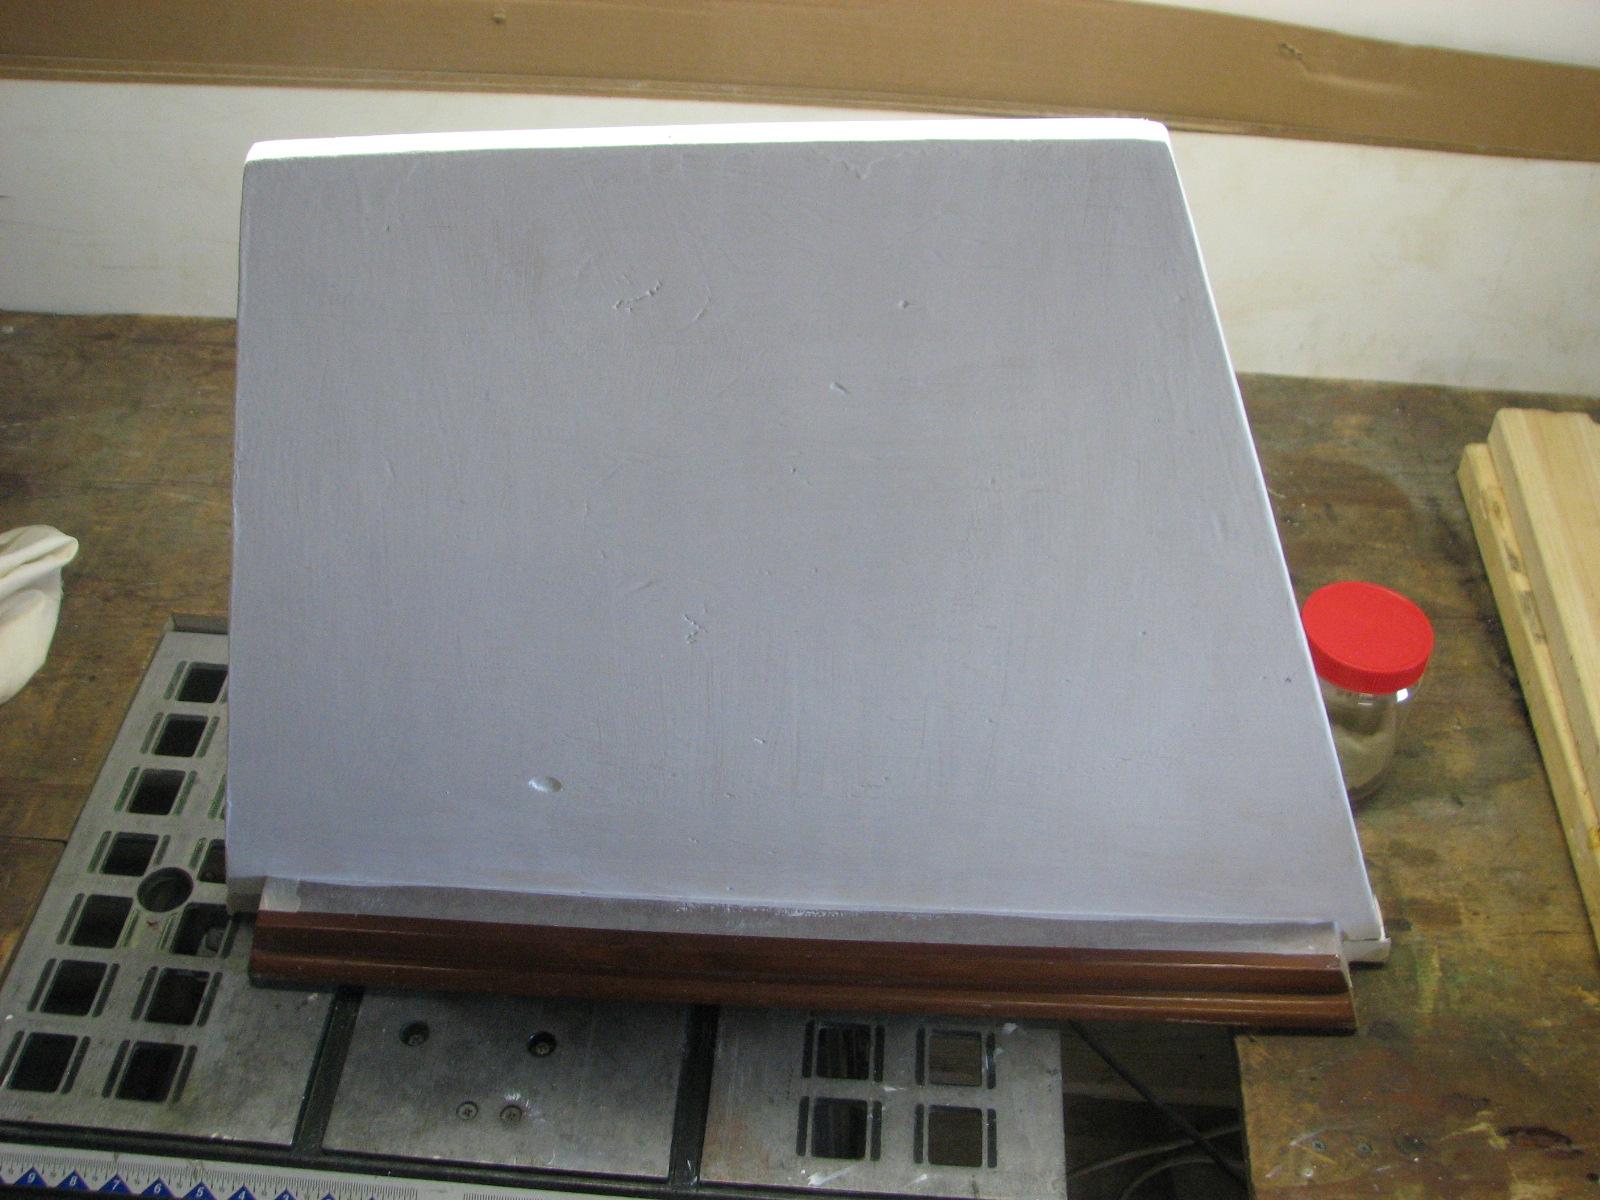
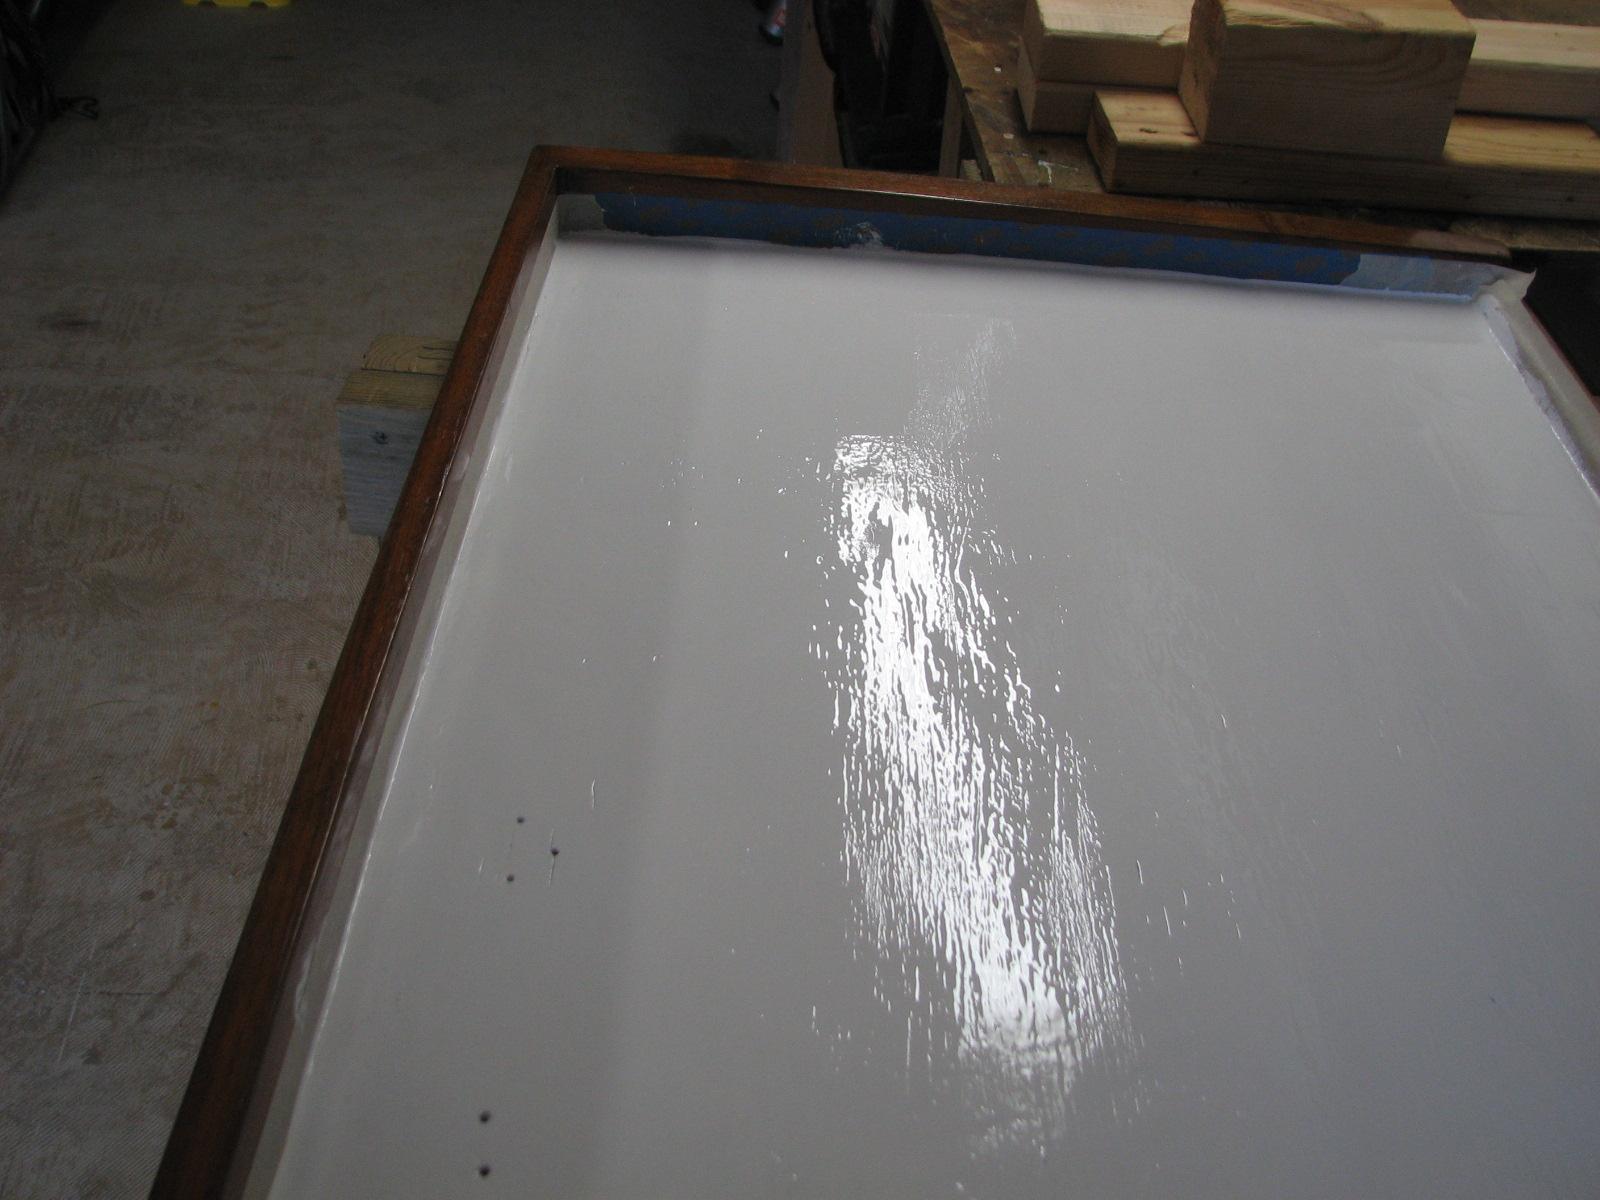
rag. I mixed up a batch of
the two part white paint from Guatemala, and applied a coat to the
cockpit hatch and the V-Berth insert.
Masked V-Berth Hatch
Painted V-Berth Insert
Masked Cockpit Hatch
Painted Cockpit Hatch
The remainder of the
day was spent taking Kitty to the doctors and the hospital for a
test, that did not work out as planned. On the way back from
Lafayette, we stopped and shopped for groceries.
June 9, Sunday, 2013
Started off the morning
with my normal ritual of getting on the Internet, answering email,
checking the weather, while making a pot of coffee.
Spent the remainder of
the day working on the computer to catch up on email, maintenance
logs, and scanning in papers.
Kittie and Mark, on
PERELANDRA, left to start their trek to Florida.
PERELANDRA Leaving
North
Pier Marina

That was the good news
for them, and we will miss them. The bad news is they were back that
afternoon with a blown engine! They had proceeded about 20 miles down
the GIWW,
when the engine froze up! An initial diagnosis was that the number
six cylinder had overheated and froze. They had to be towed back to
North
Pier Marina. Needless to
say they are very down and disappointed. This will be an ongoing
issue.
June 8, Saturday, 2013
Started off the morning
with my normal ritual of getting on the Internet, answering email,
checking the weather, while making a pot of coffee.
Went over to the shop
and unloaded the Black Beast. We had brought some material and tools
from Atlanta to help with the ongoing projects on DREAM AWAY. I also
brought back some stuff that I am going to sell on eBay. I have been
meaning to do this for a long time but never got to it.
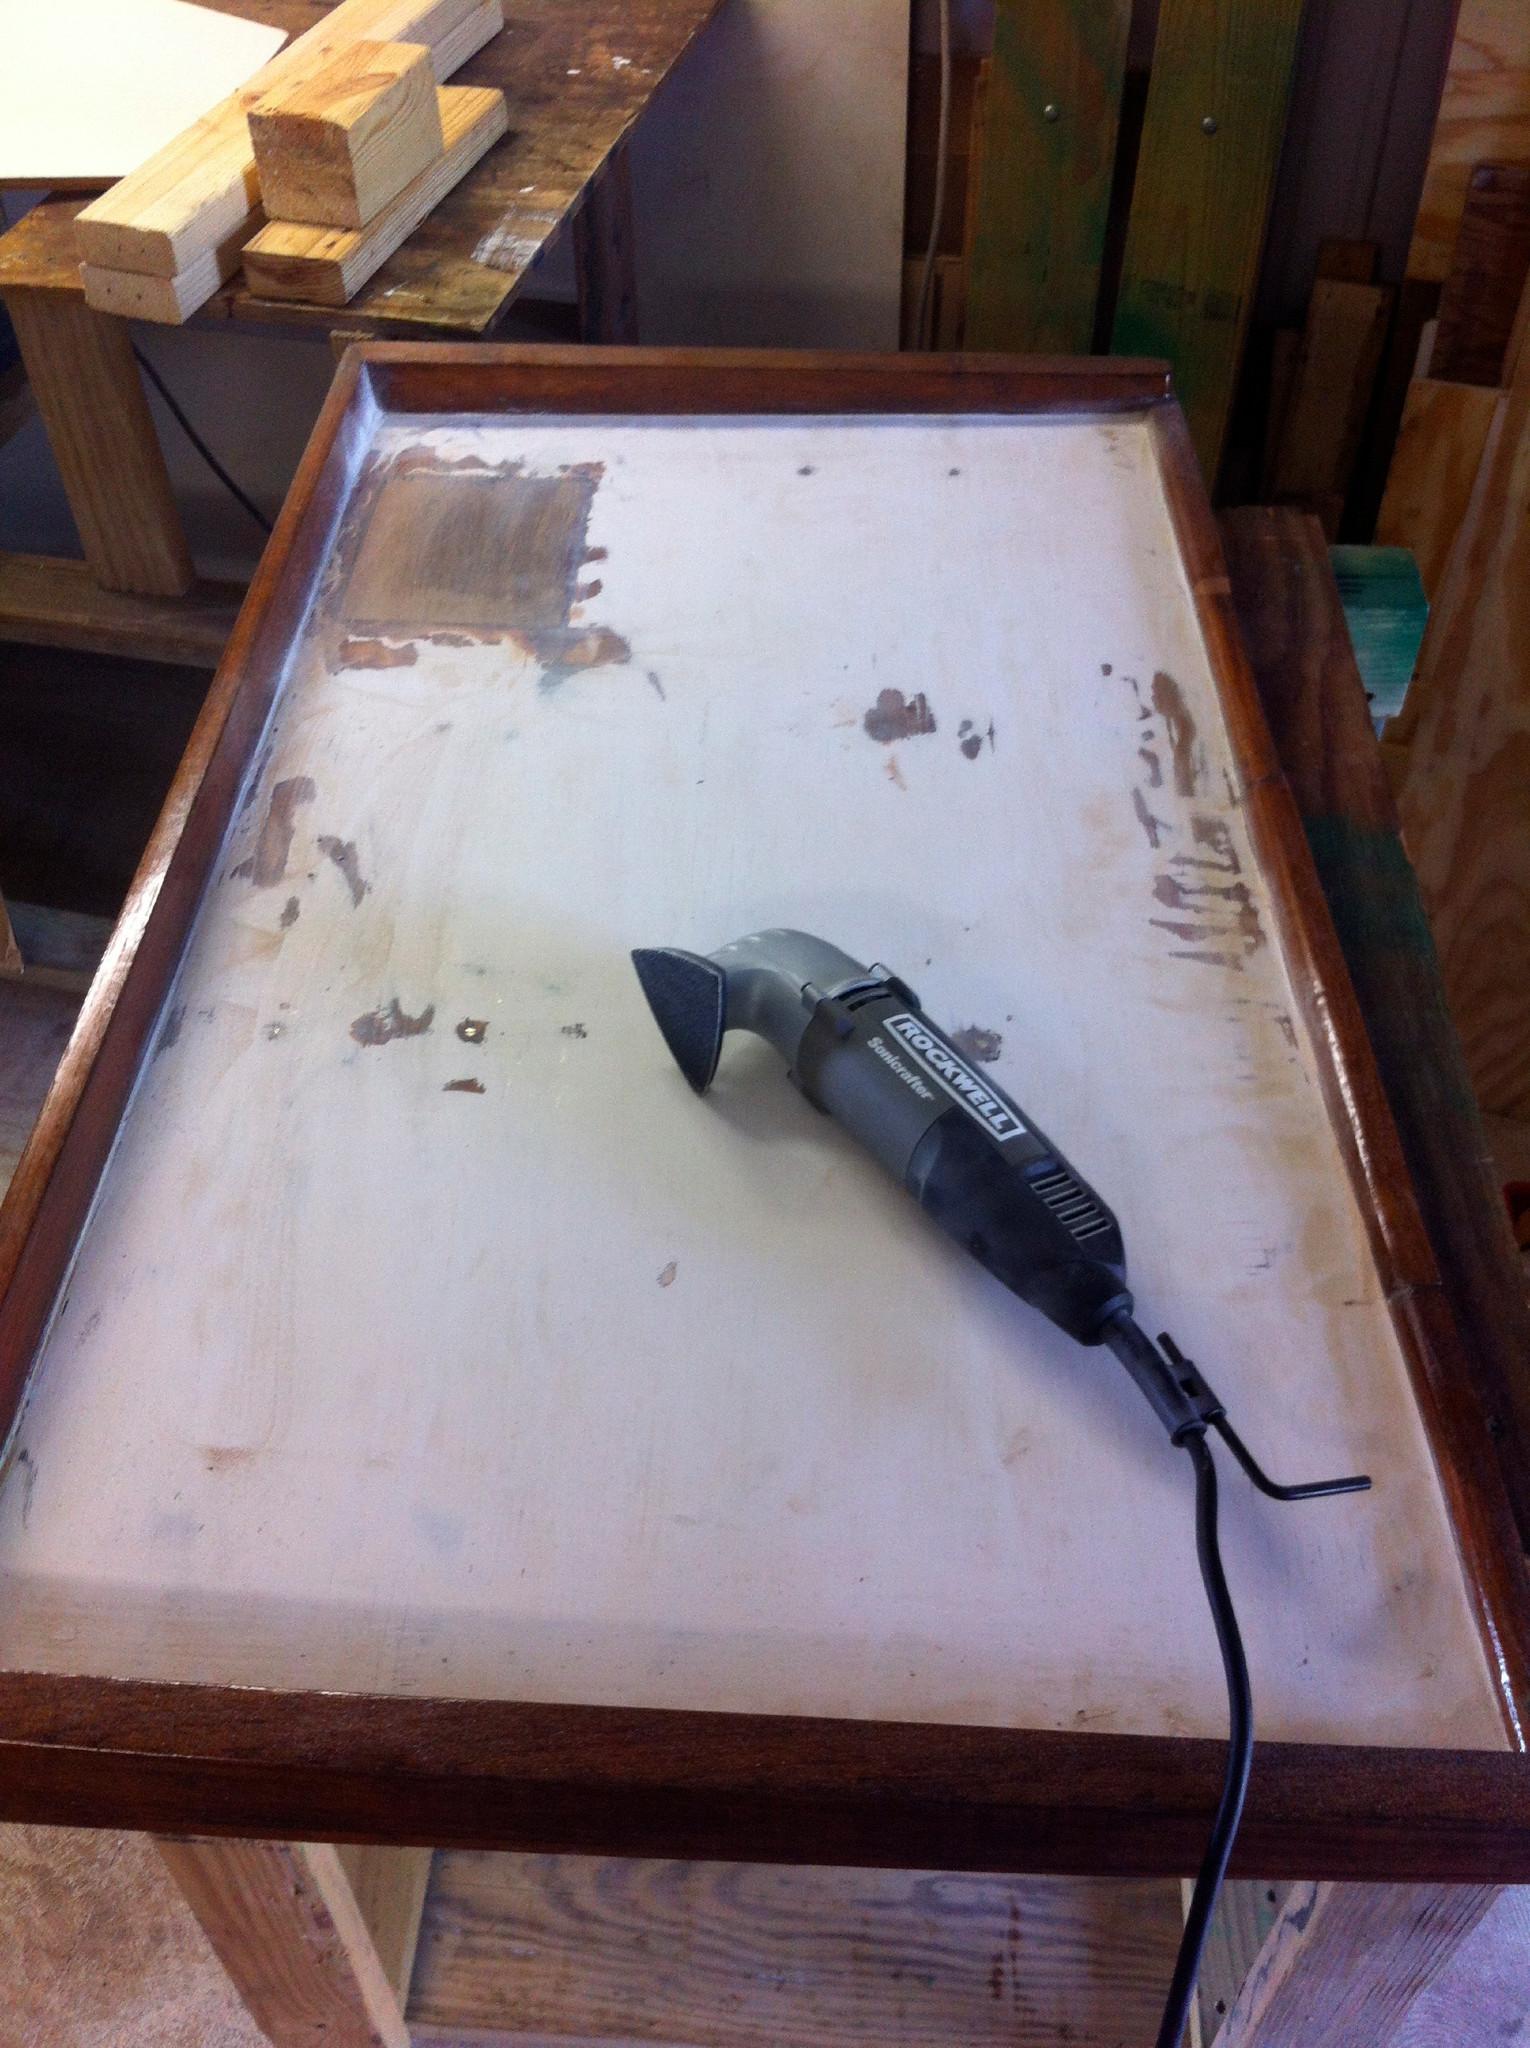
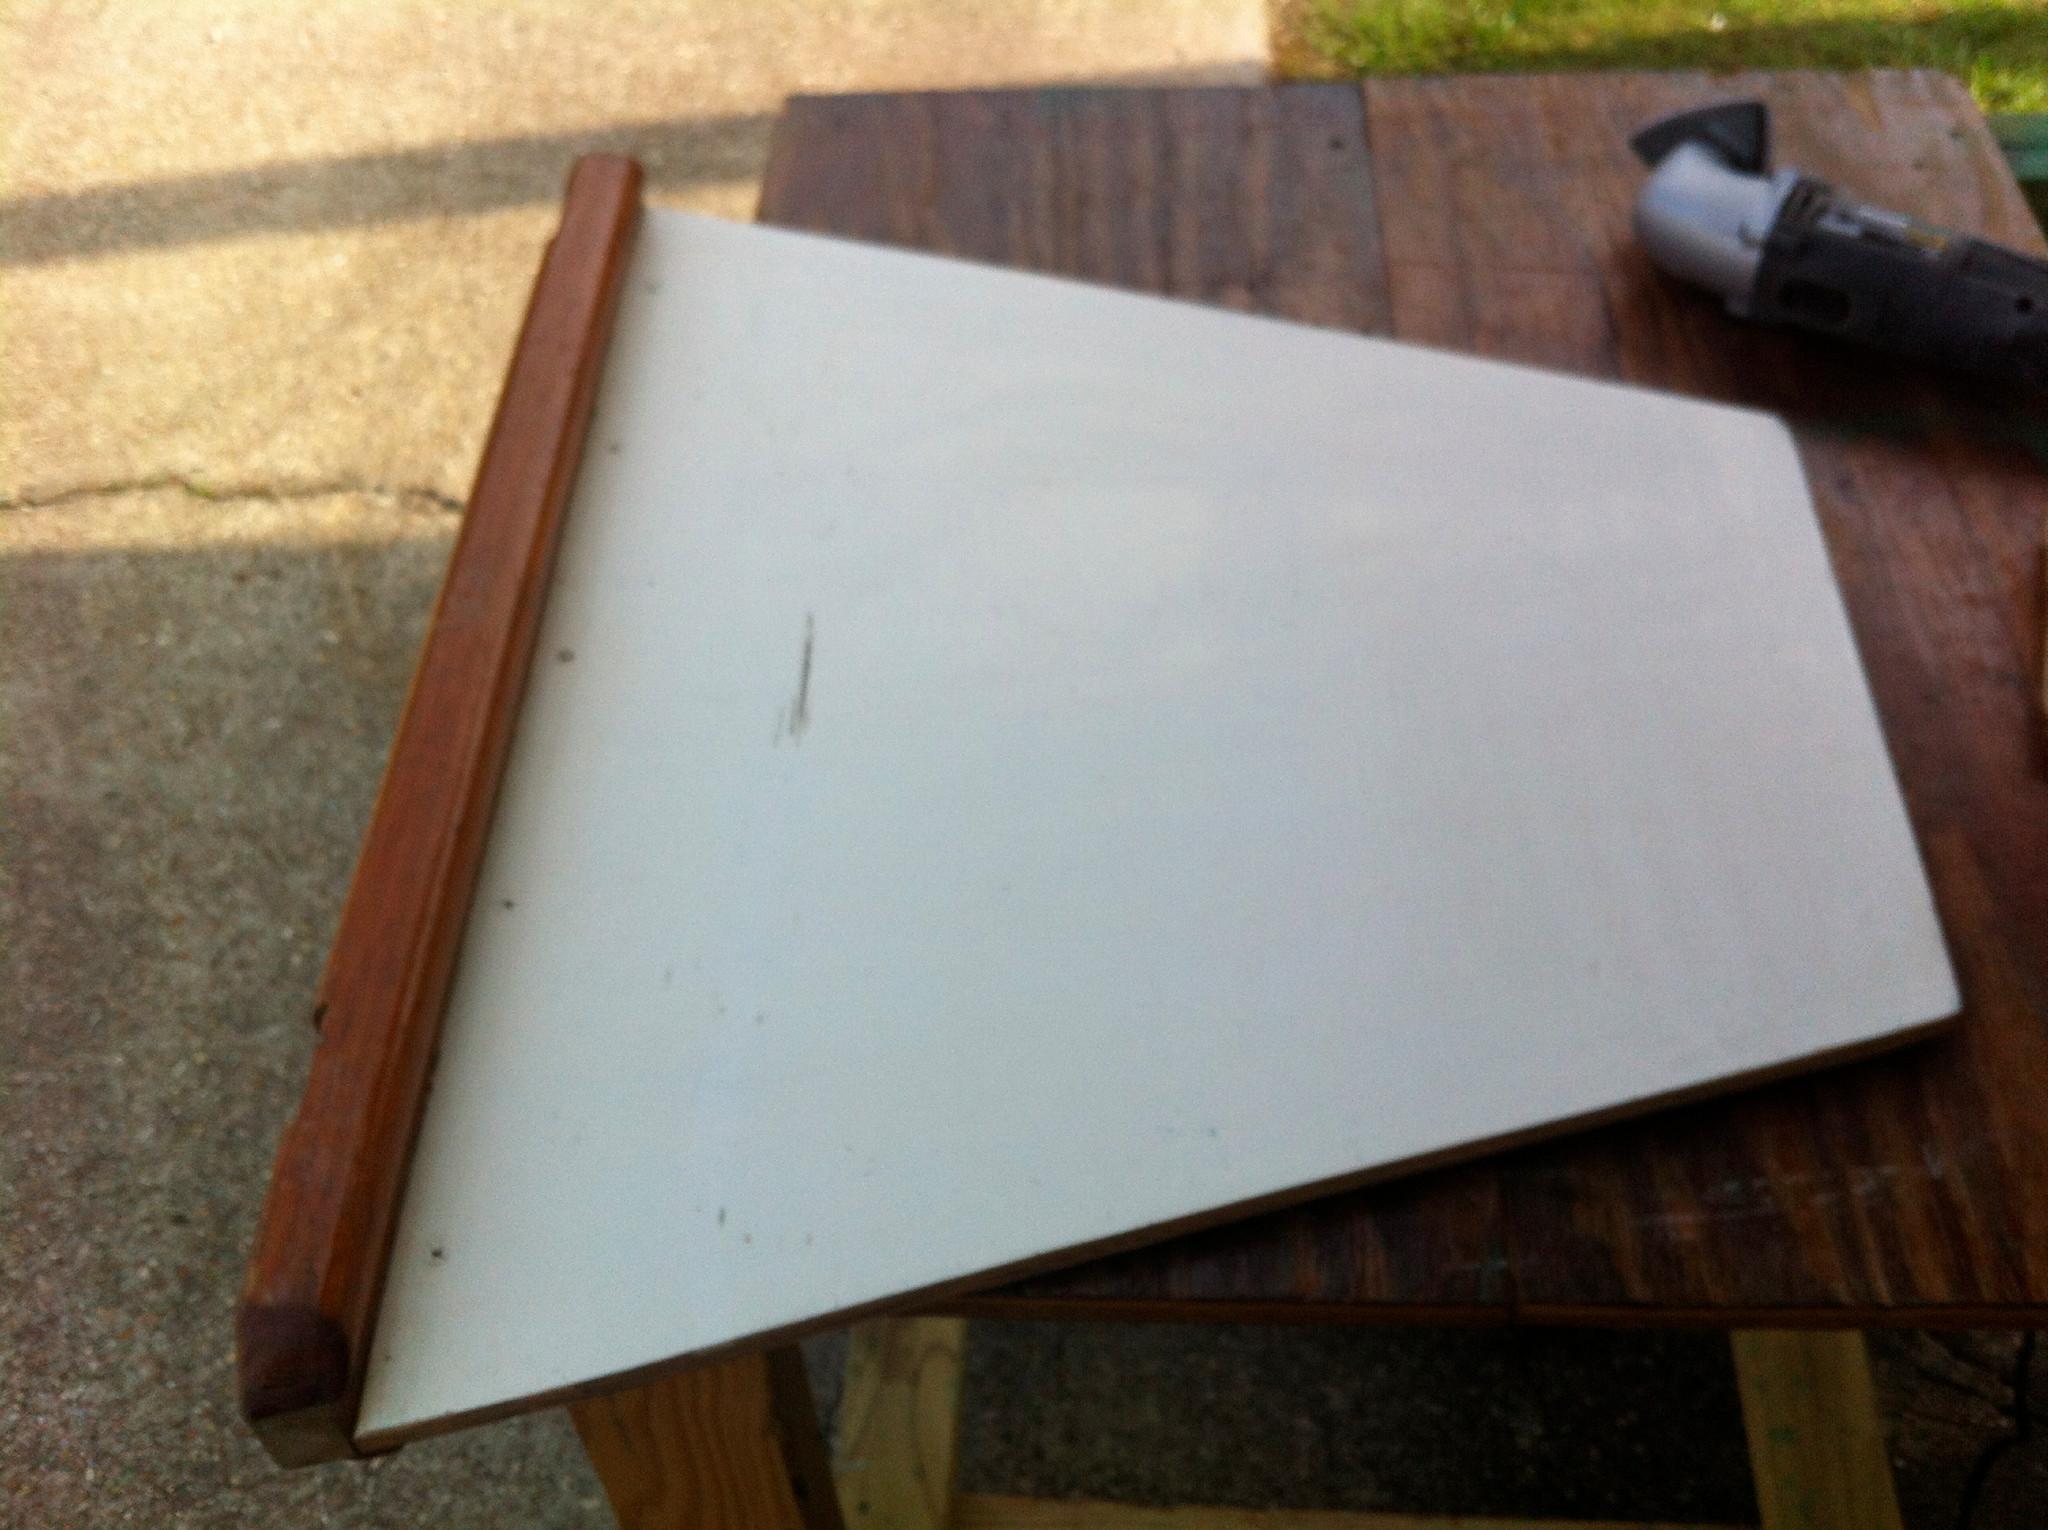
Sanded on bottom of
cockpit hatch to get it ready for paint. Also sanded on the V-Berth
filler brought back from Atlanta, and the tender navigation light
holder. The light holder really needed attention.
Sanding On Cockpit
Hatch
Sanded V-Berth Filler
One other group of
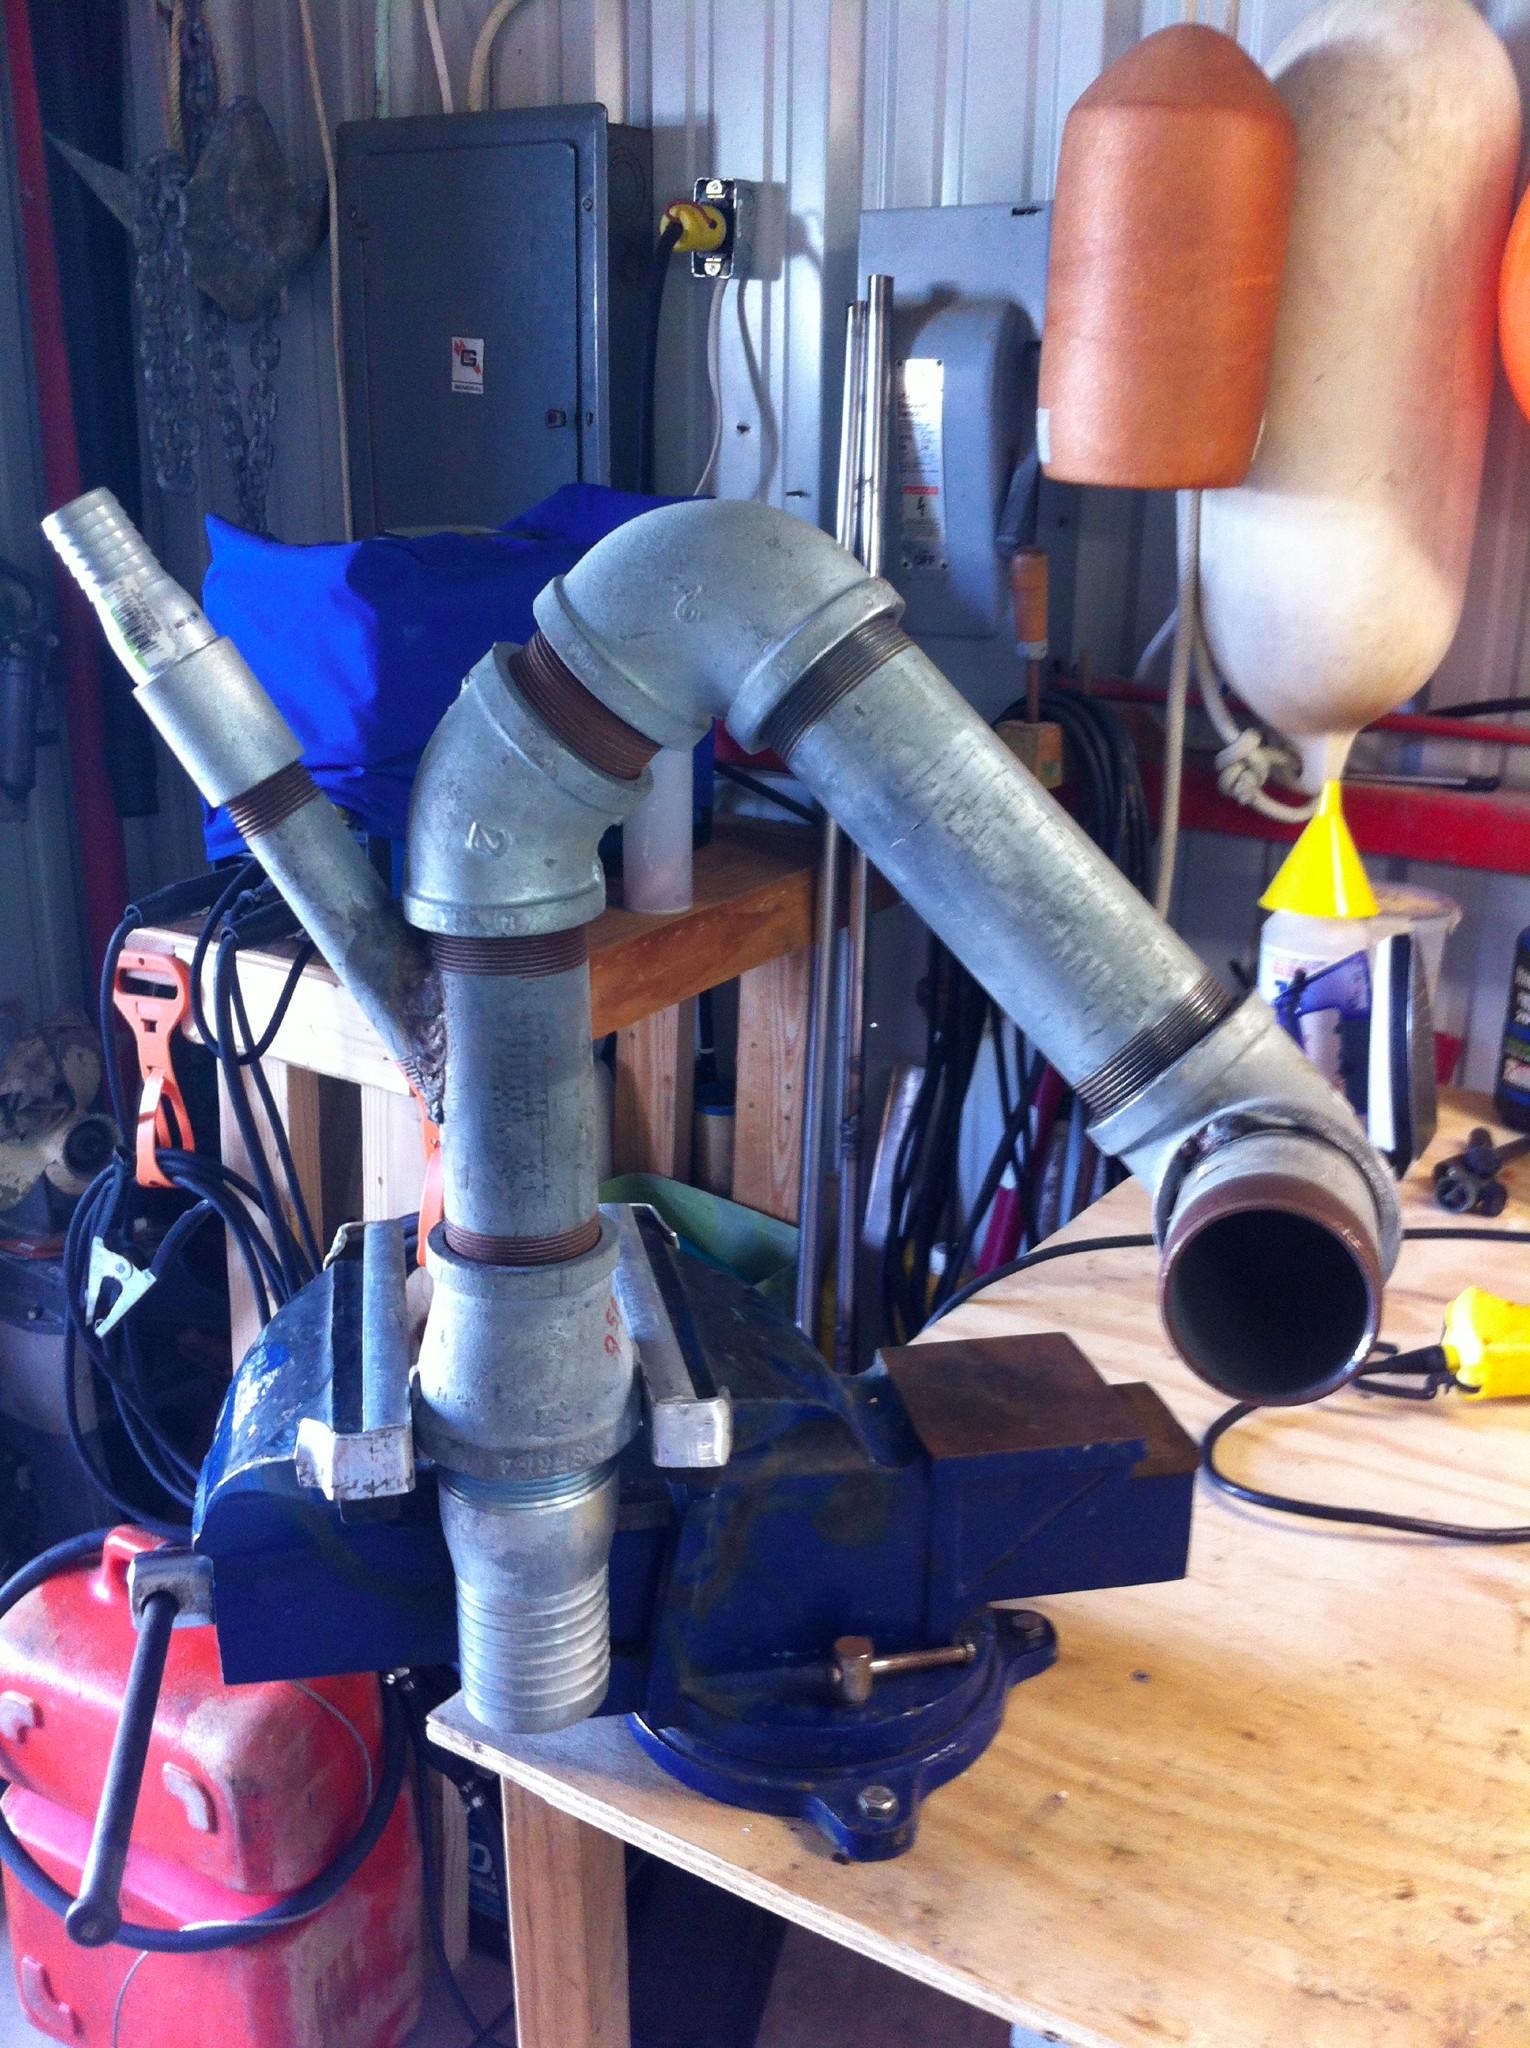
parts I brought from Atlanta was my exhaust elbow for the main
engine. When I had to replace the exhaust elbow several years ago, I
purchased all of the parts to have a spare (Overkill!!). When we left
Texas in 2009, I did not take the spare with me. It is four years
later, so I decided it would be a good idea to have the spare with
me.
I verified all of the
parts fit together and looked like it should when fitted to the
engine. I am considering welding the whole fitting together or
keeping the parts separate. If the parts are separate, they are much
easier to store, but then a far amount work ro put it together with
hi-temp pipe dope. If I weld the whole thing together, it is a bear
to find space for, but can be put in place with little effort. The
jury is still out.
Exhaust Elbow In Vice
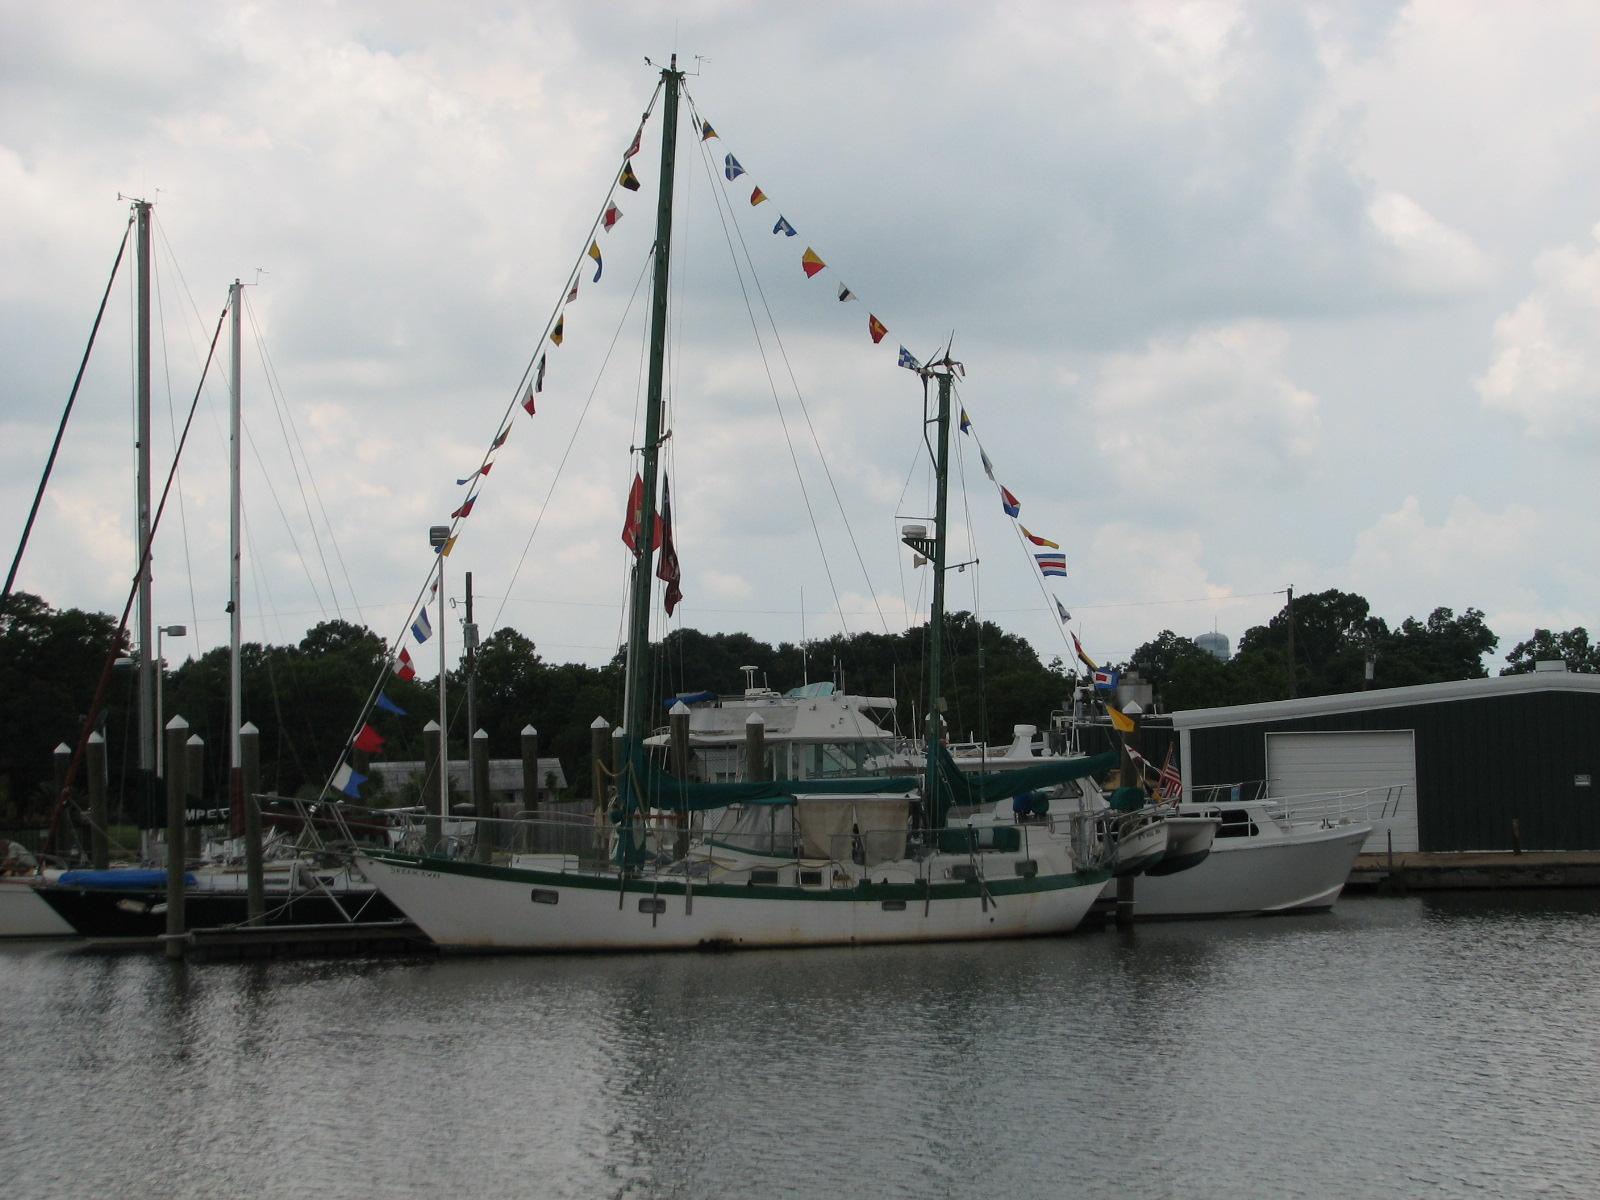
DREAM AWAY Dressed
Ship
May
29, Wednesday, to June 7, Friday 2013
Went
on a driving trip from Delcambre, to Atlanta to visit with our
children. While in Atlanta, we drove to Tampa to visit family and to
attend my sisters memorial service. We came back to Atlanta, spent
more time with our children, then drove back to Delcambre.
Recording
Serial And Model Number Before Shipment
