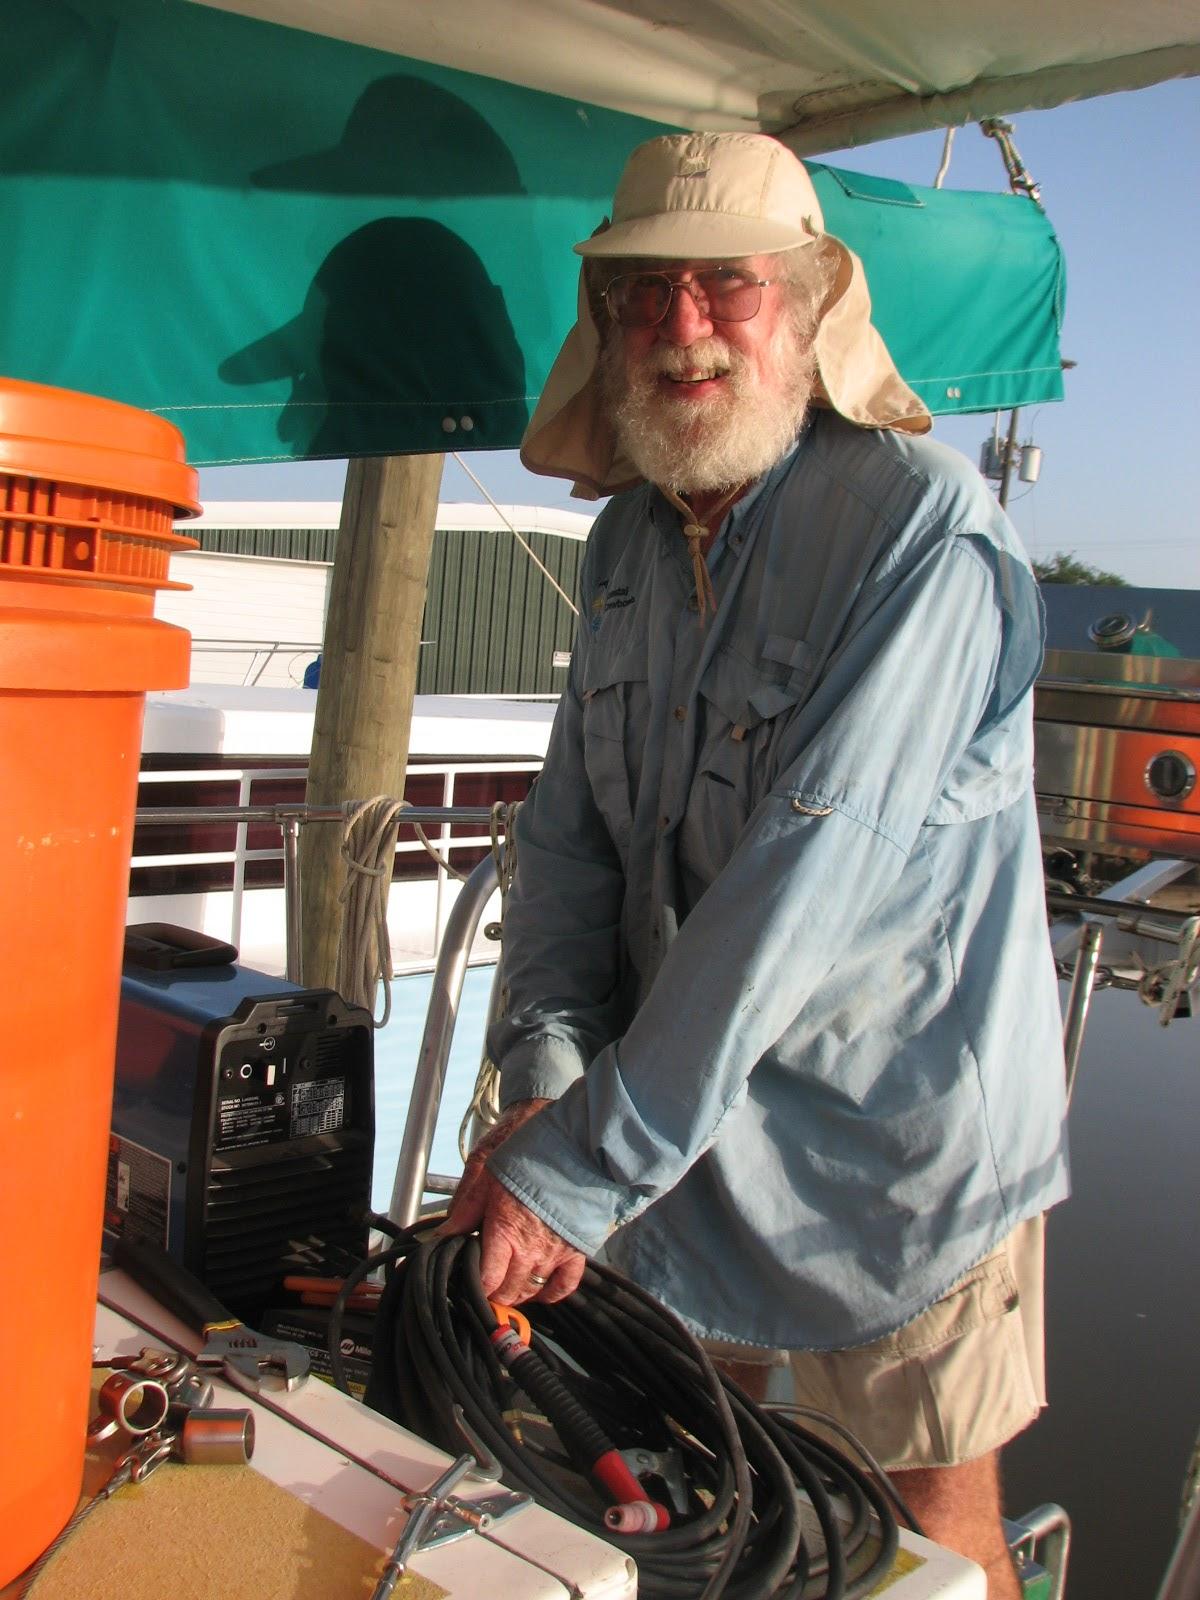
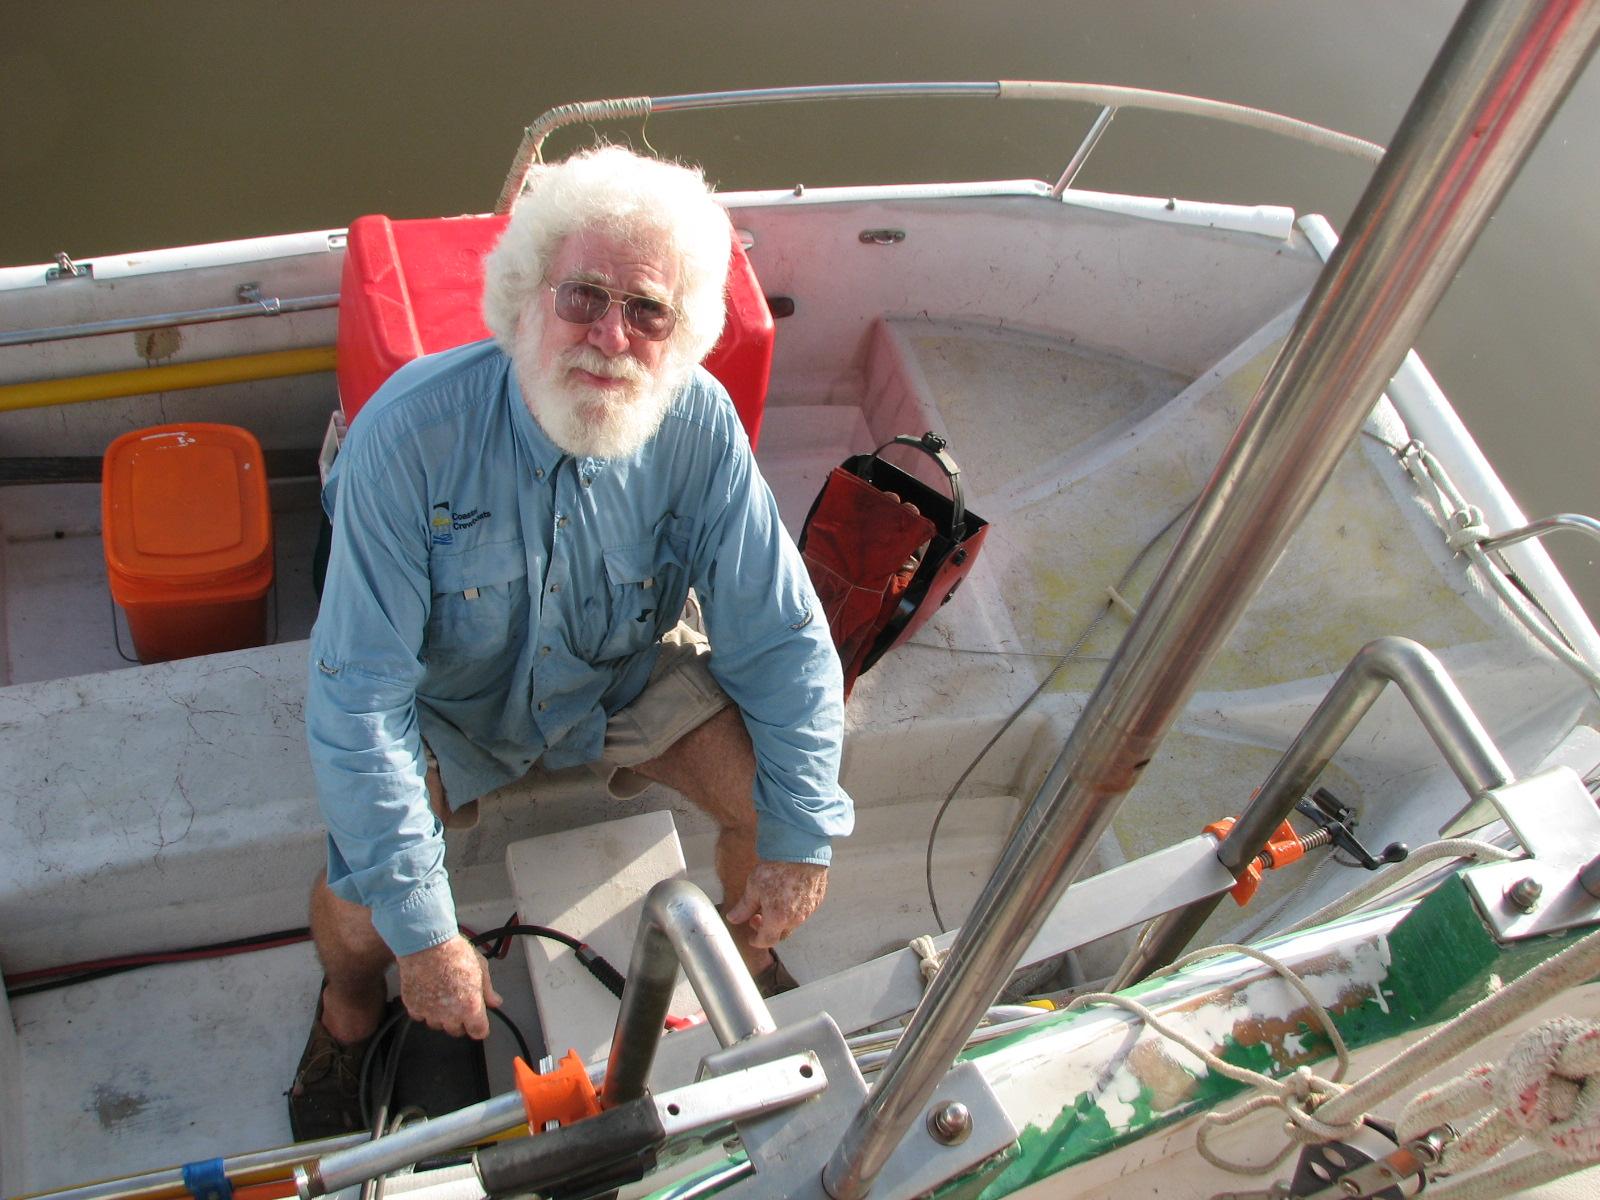
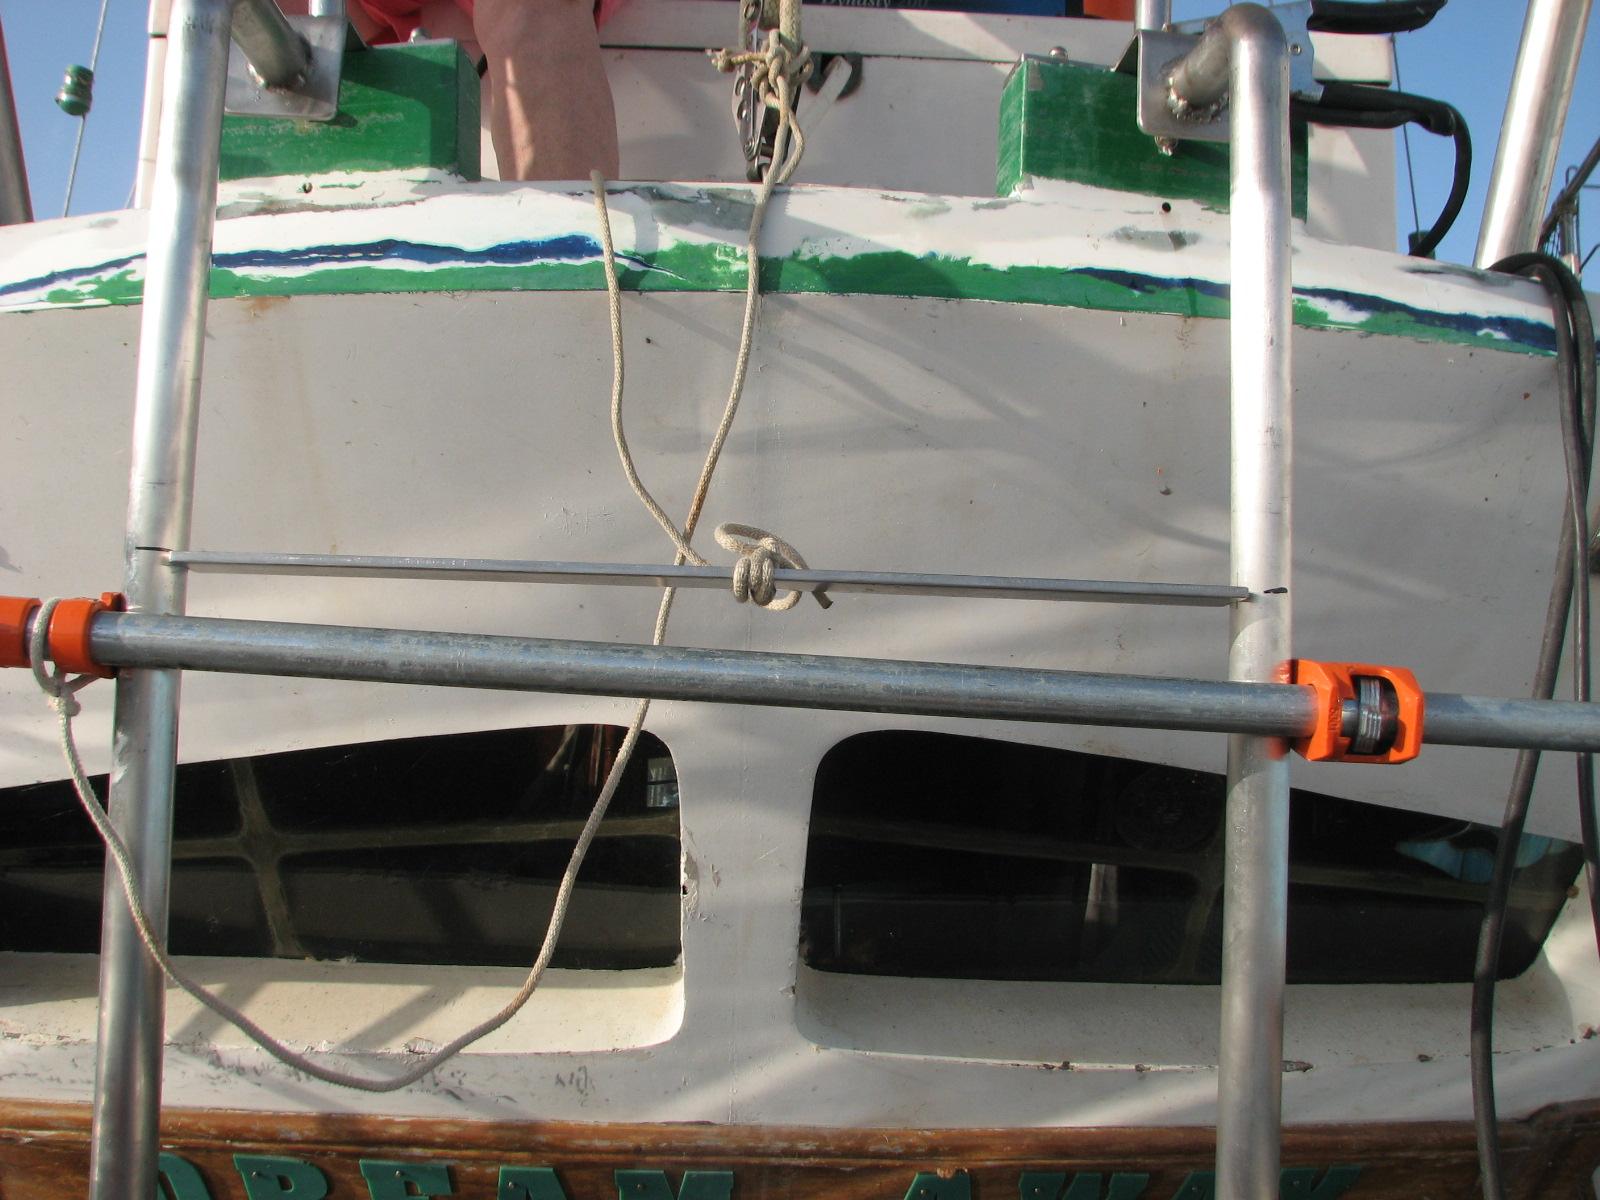
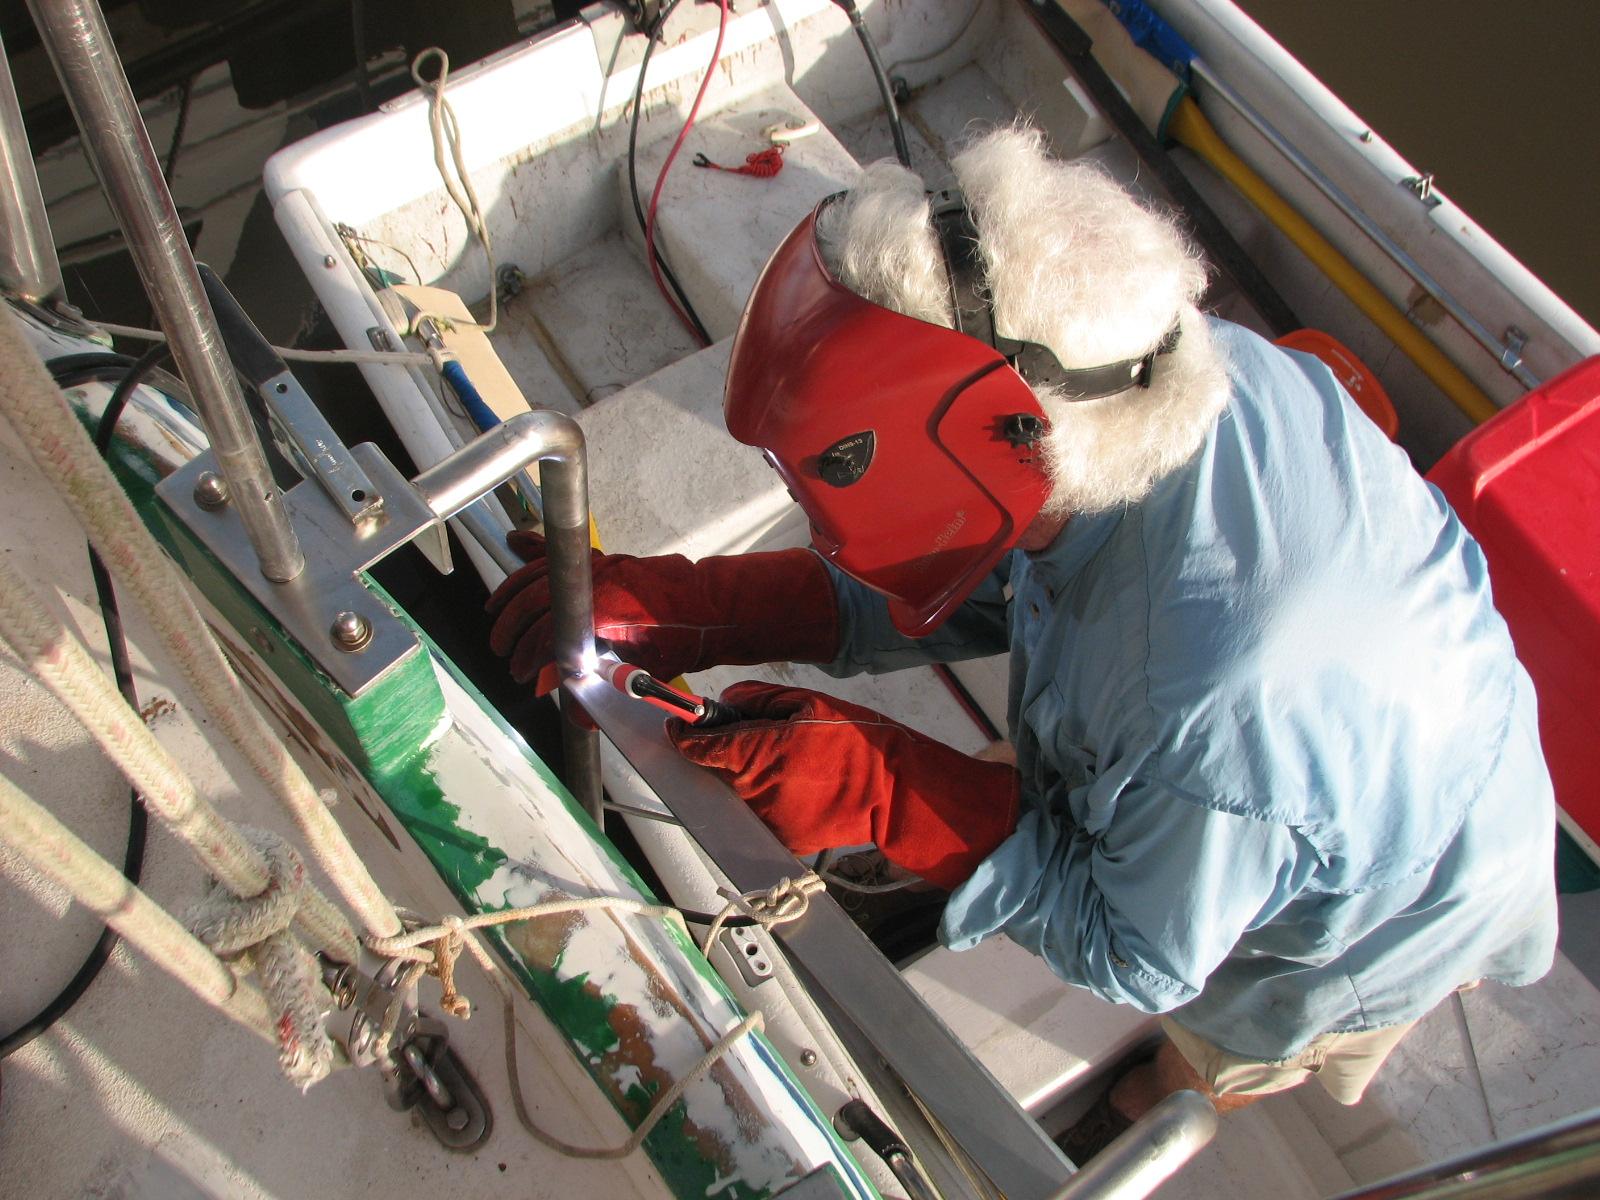
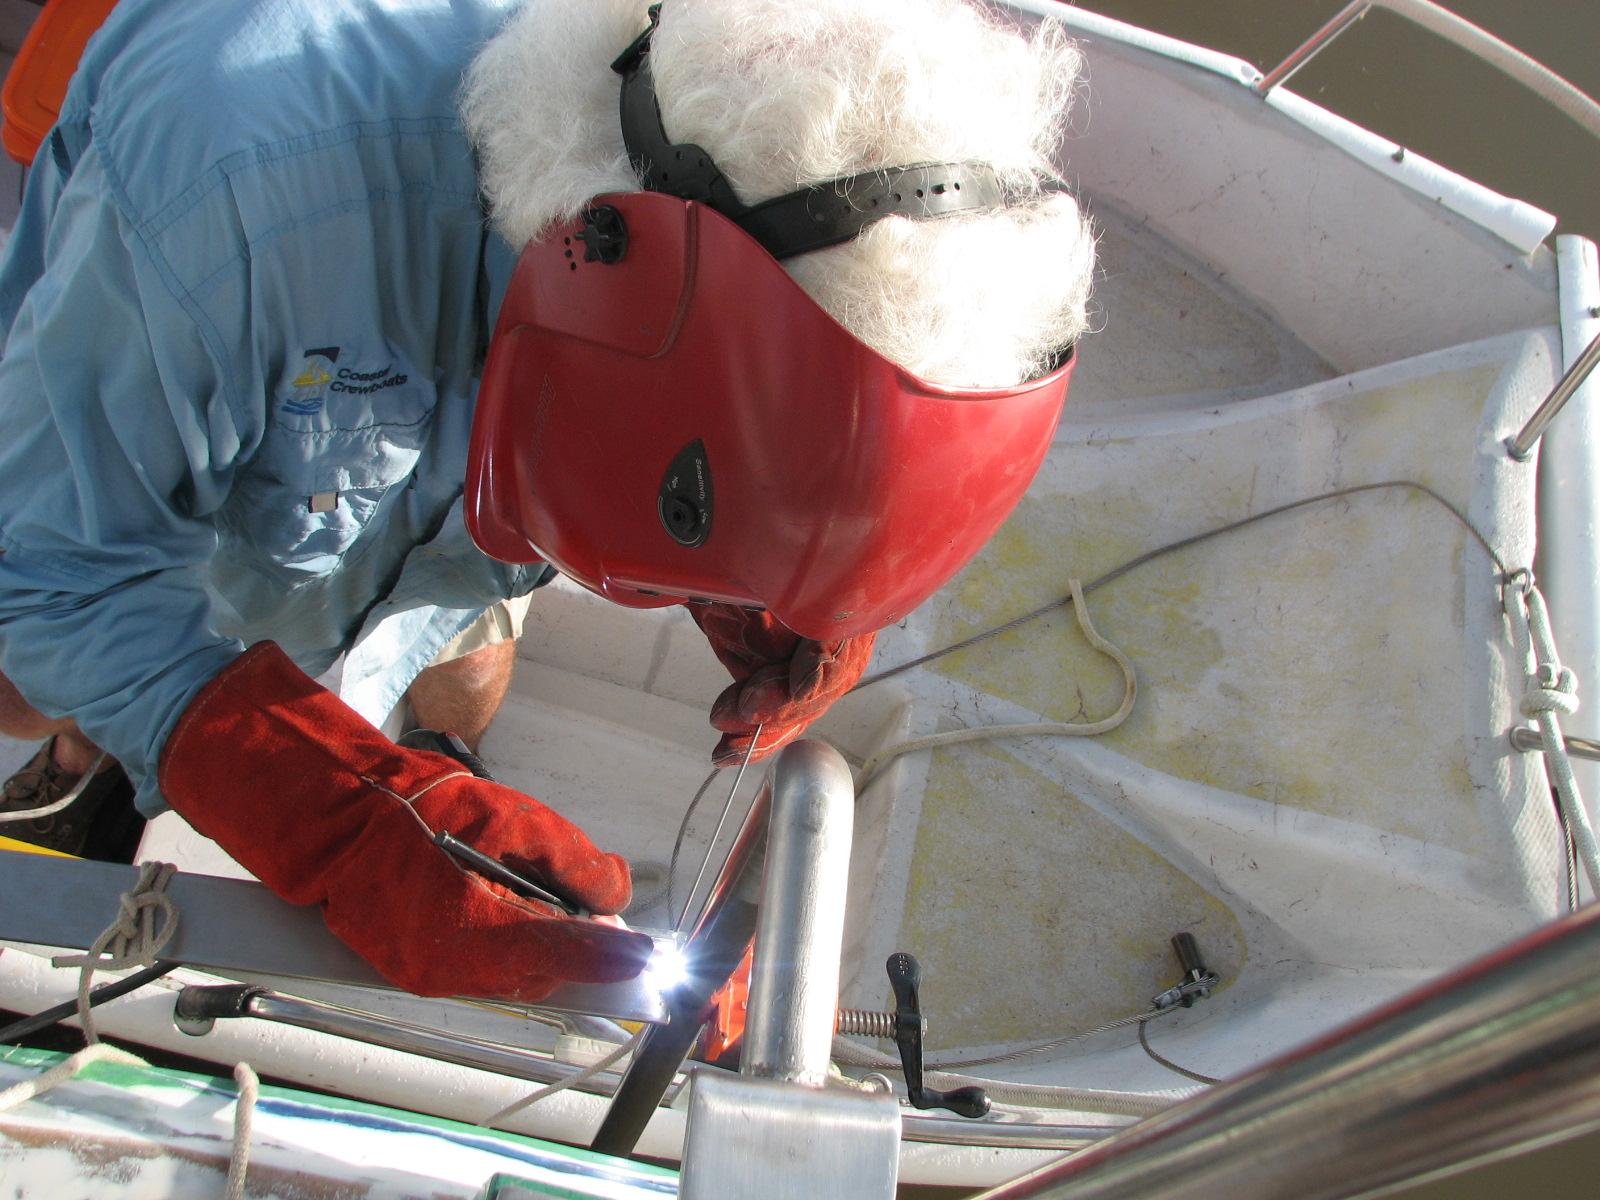
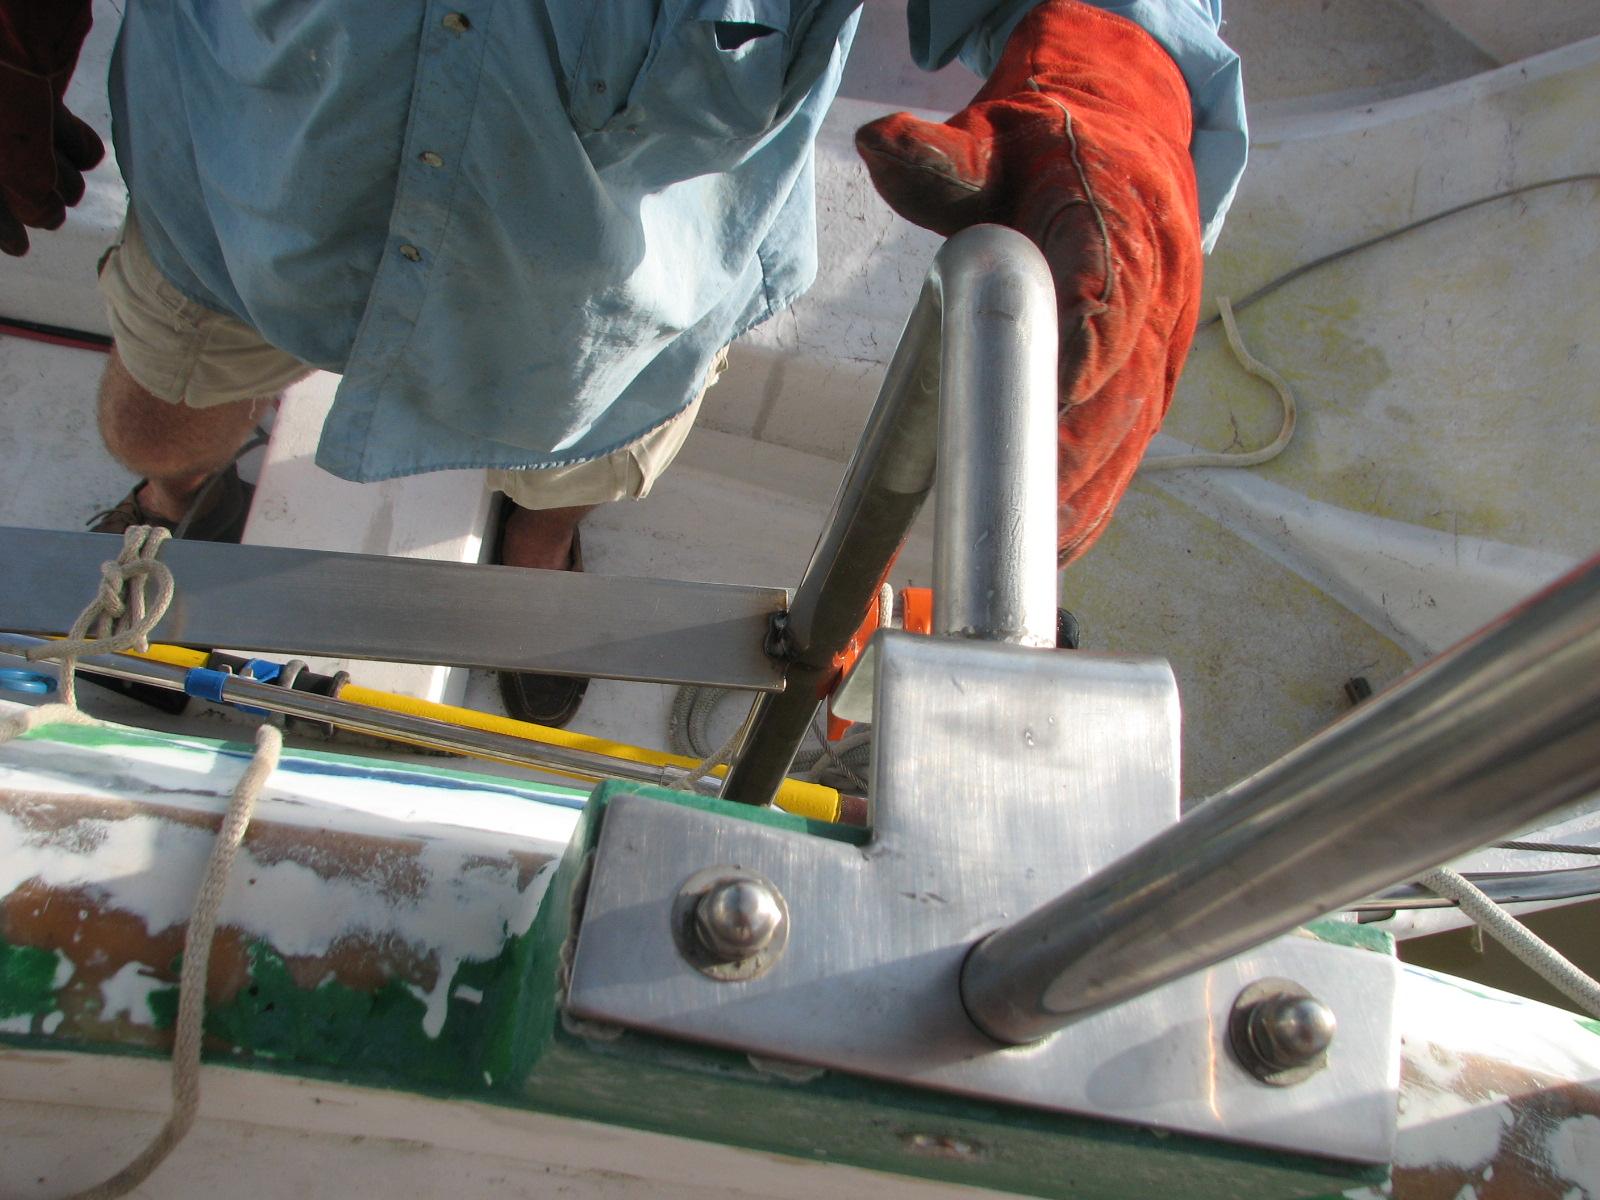
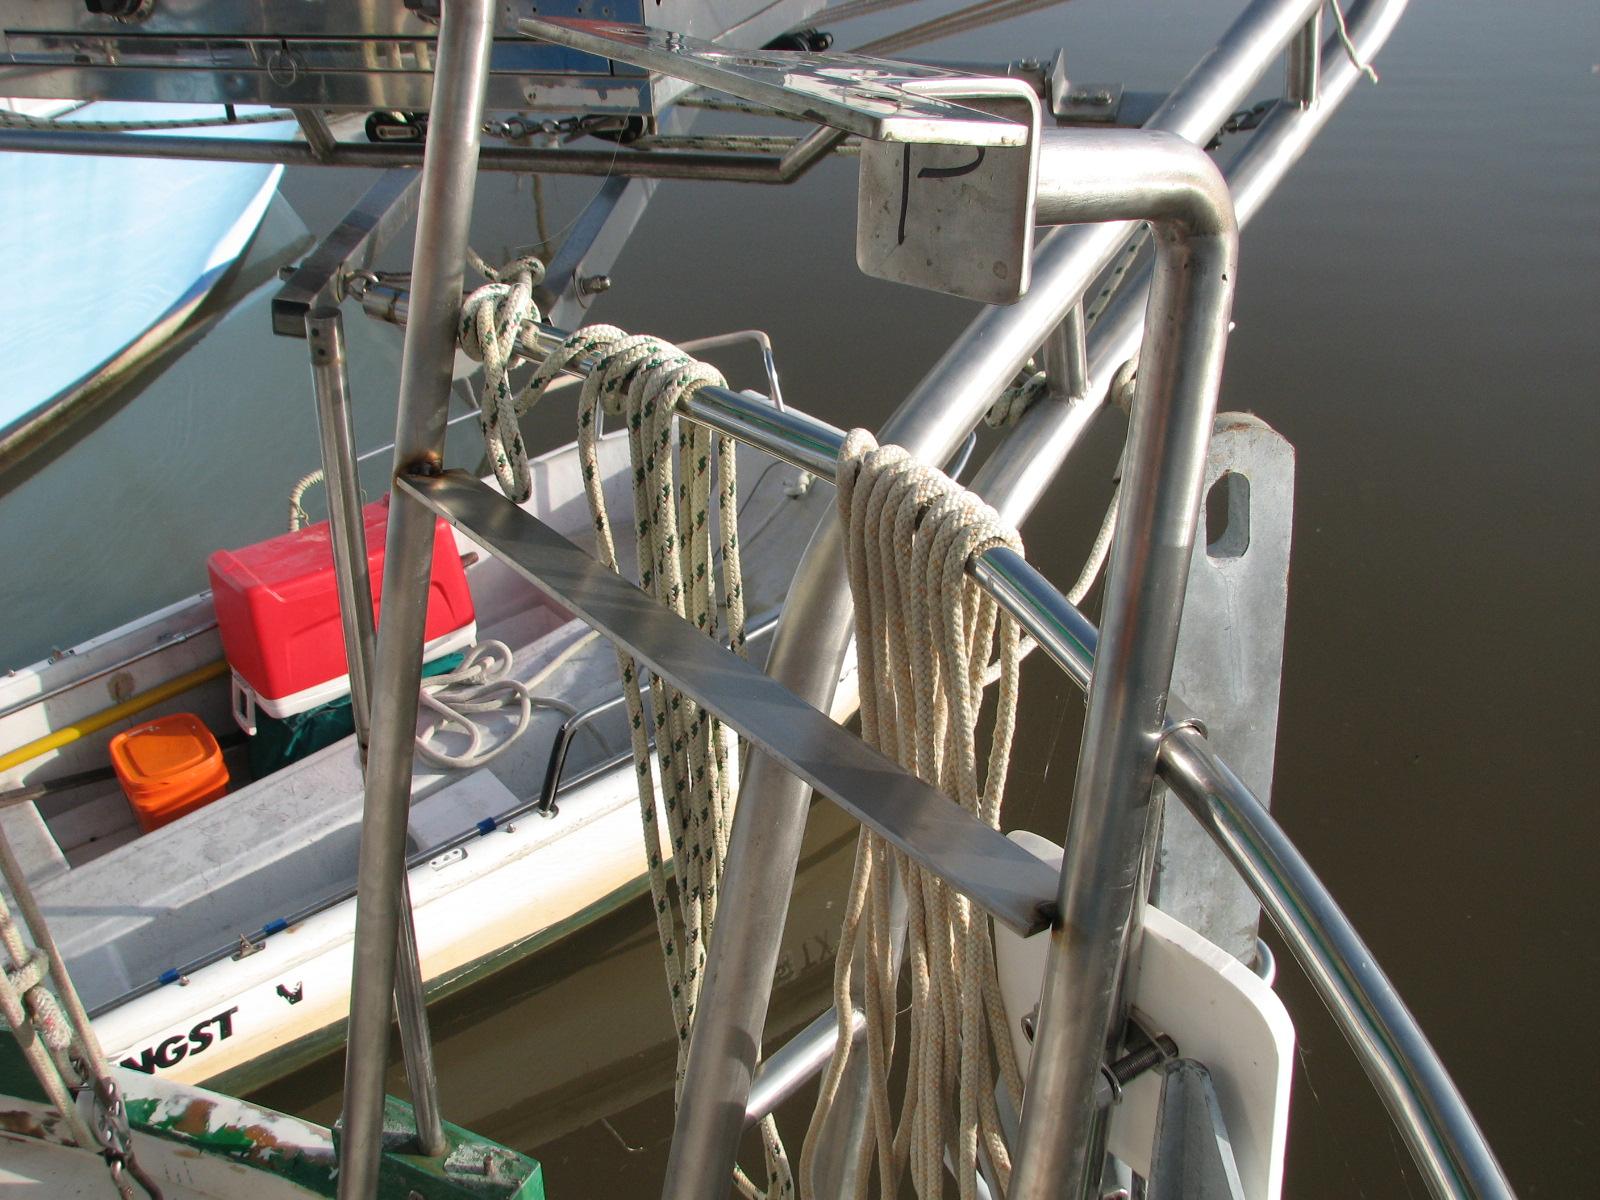
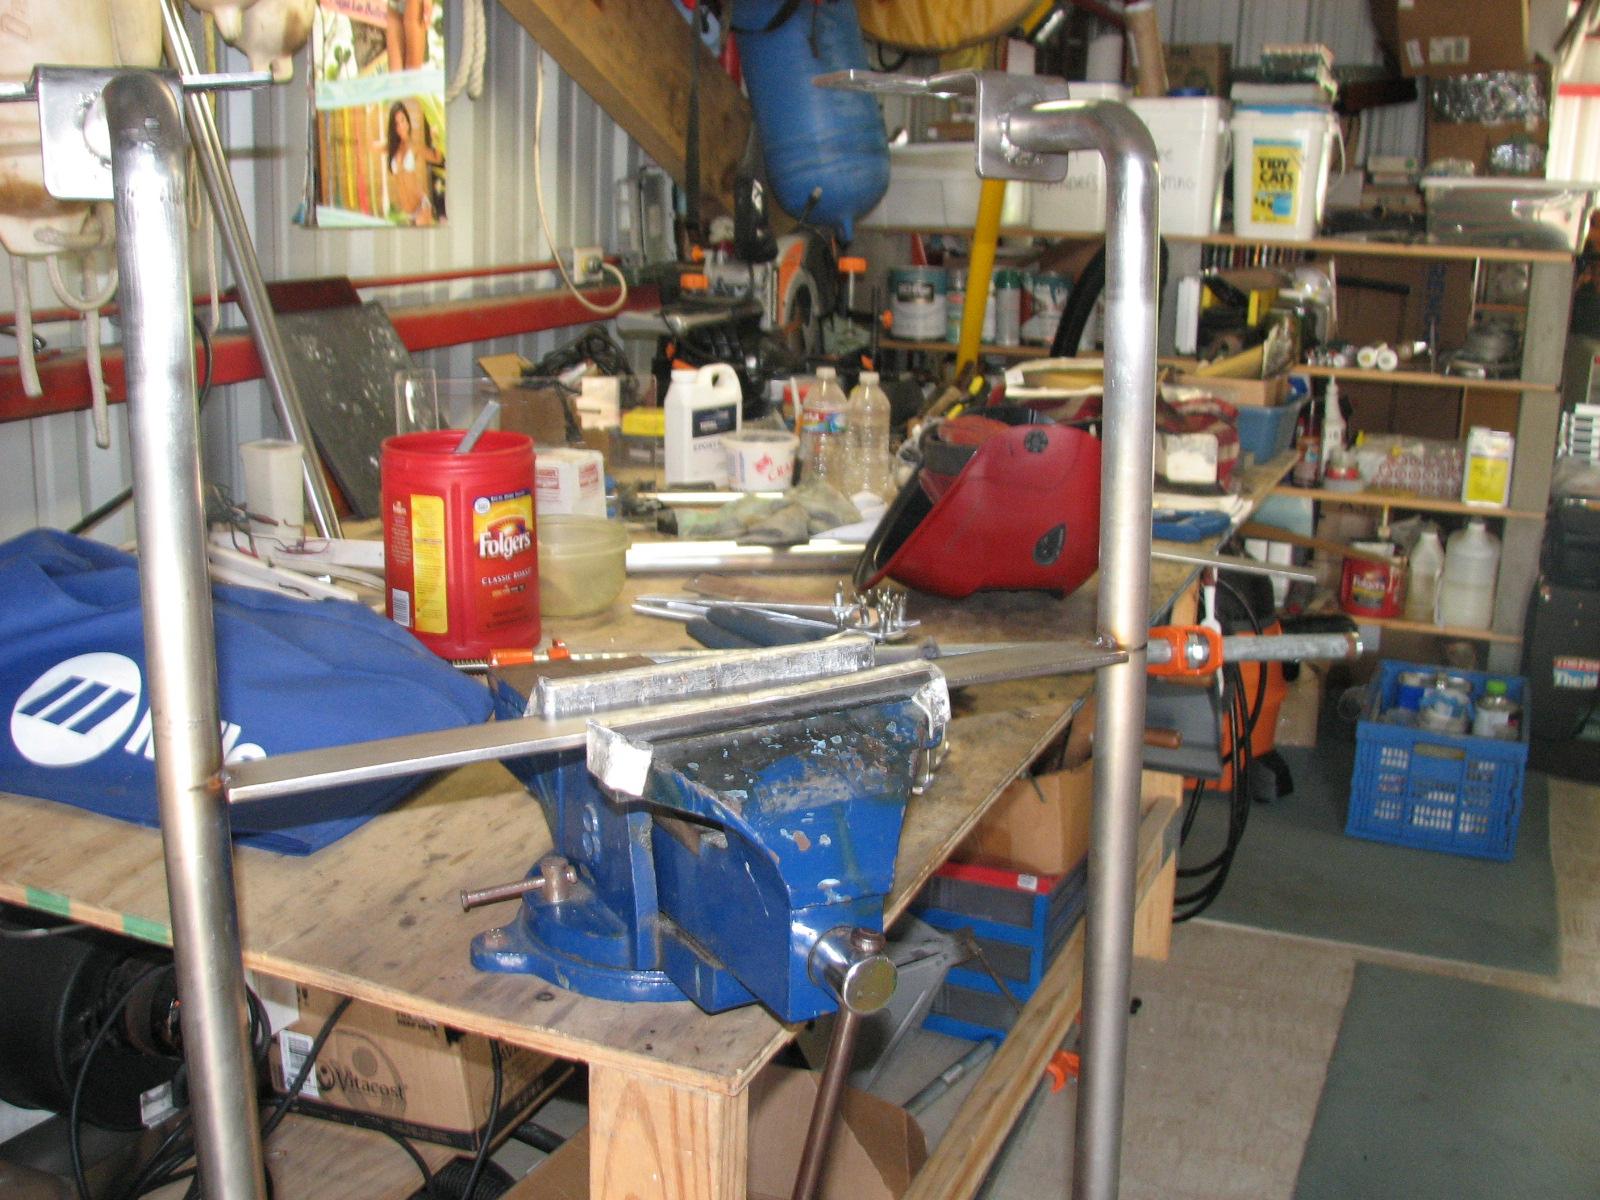
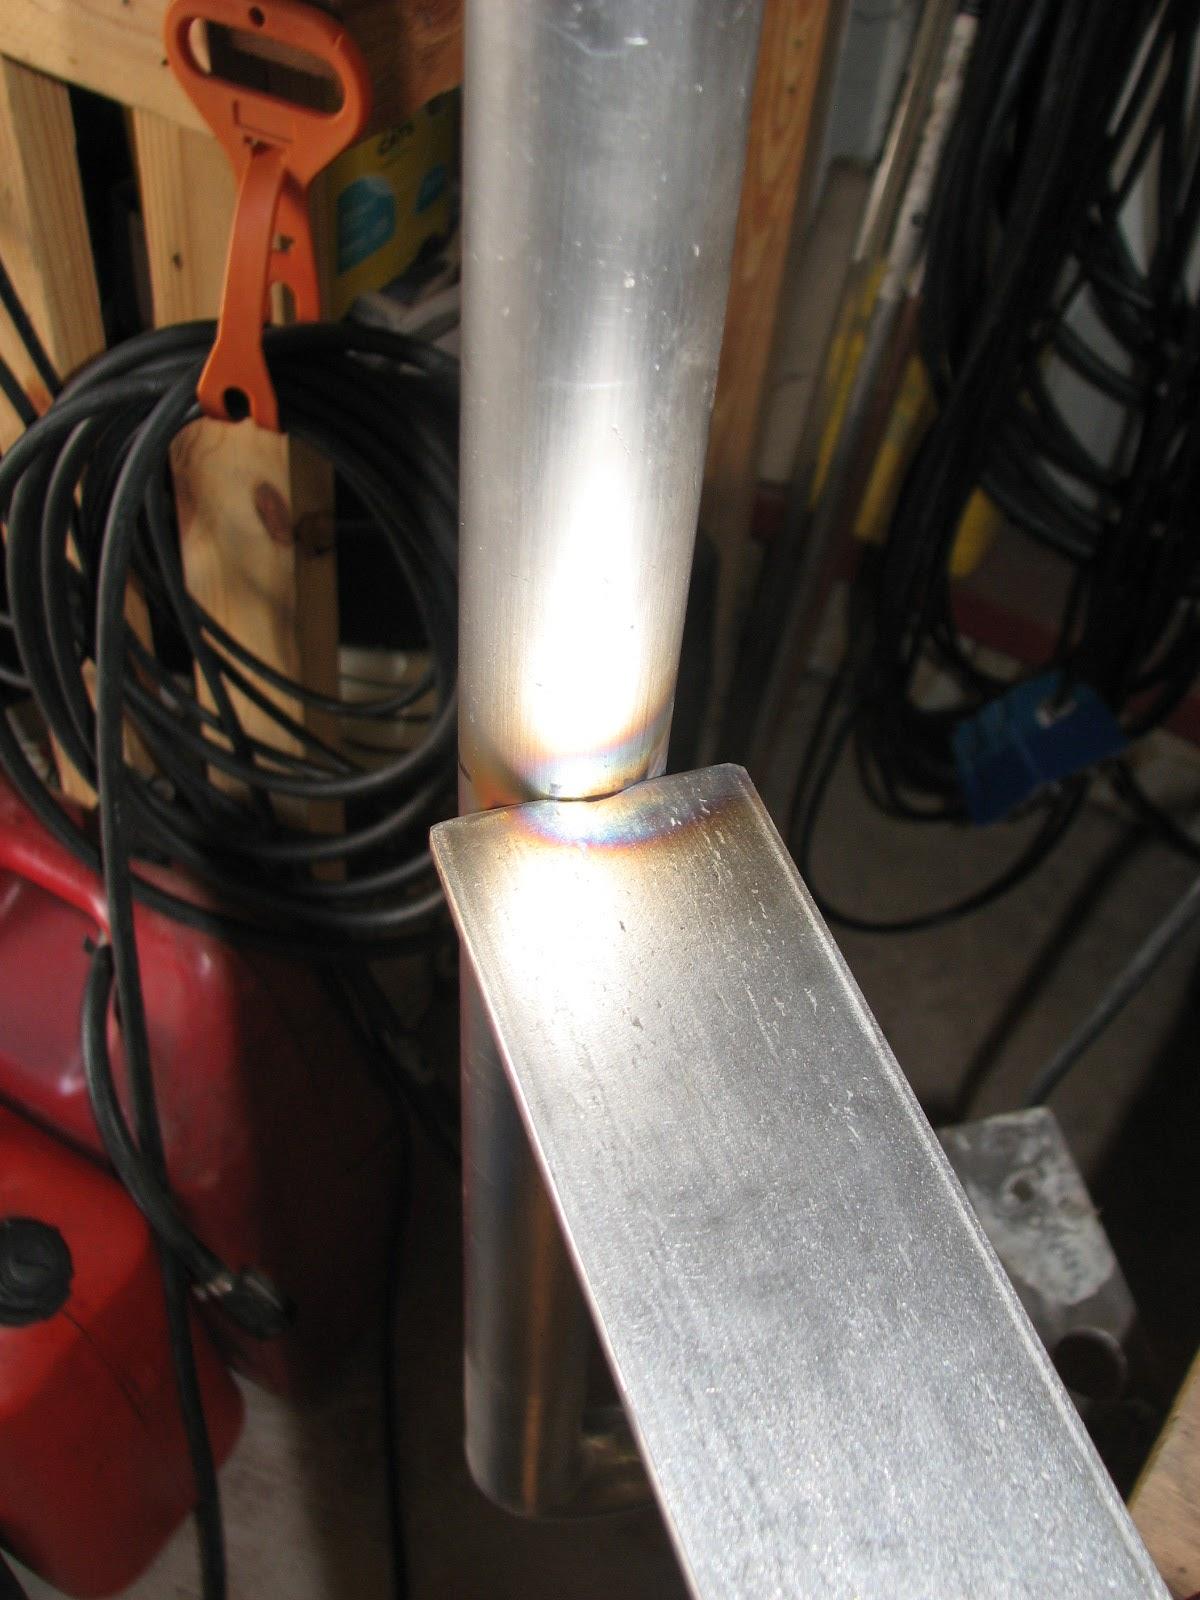
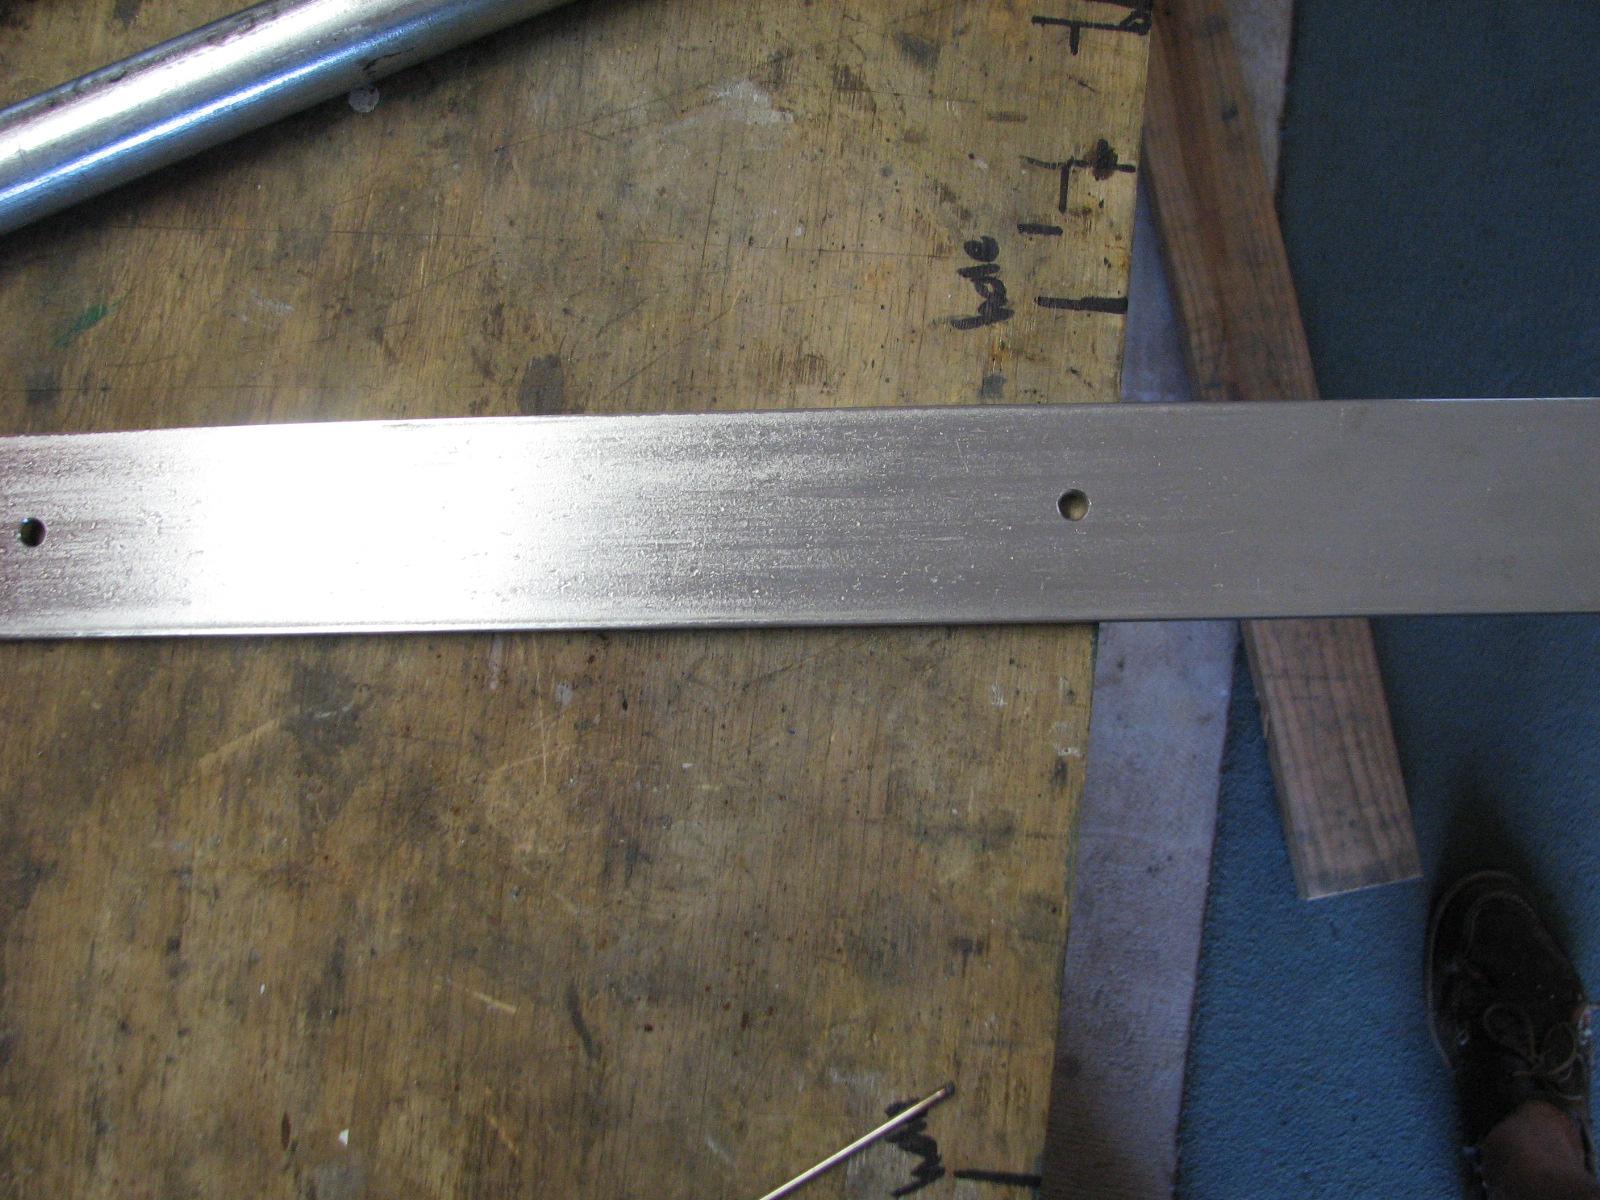
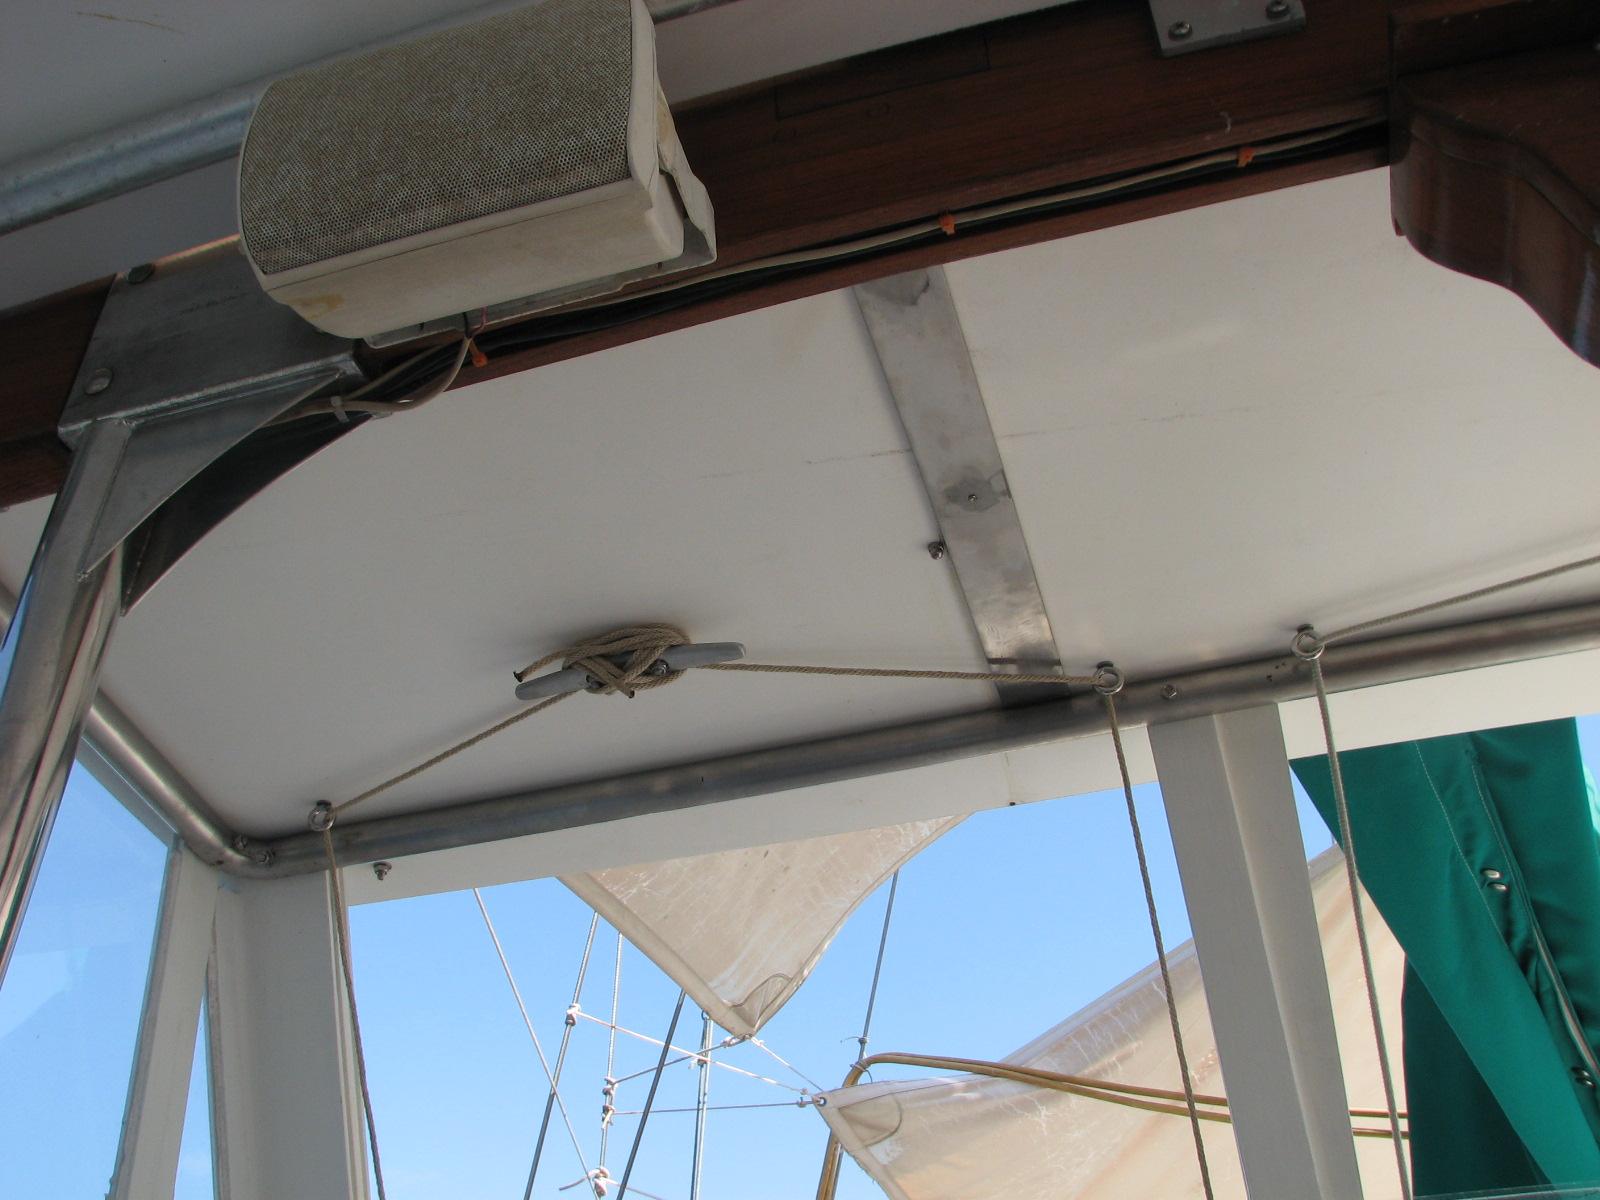
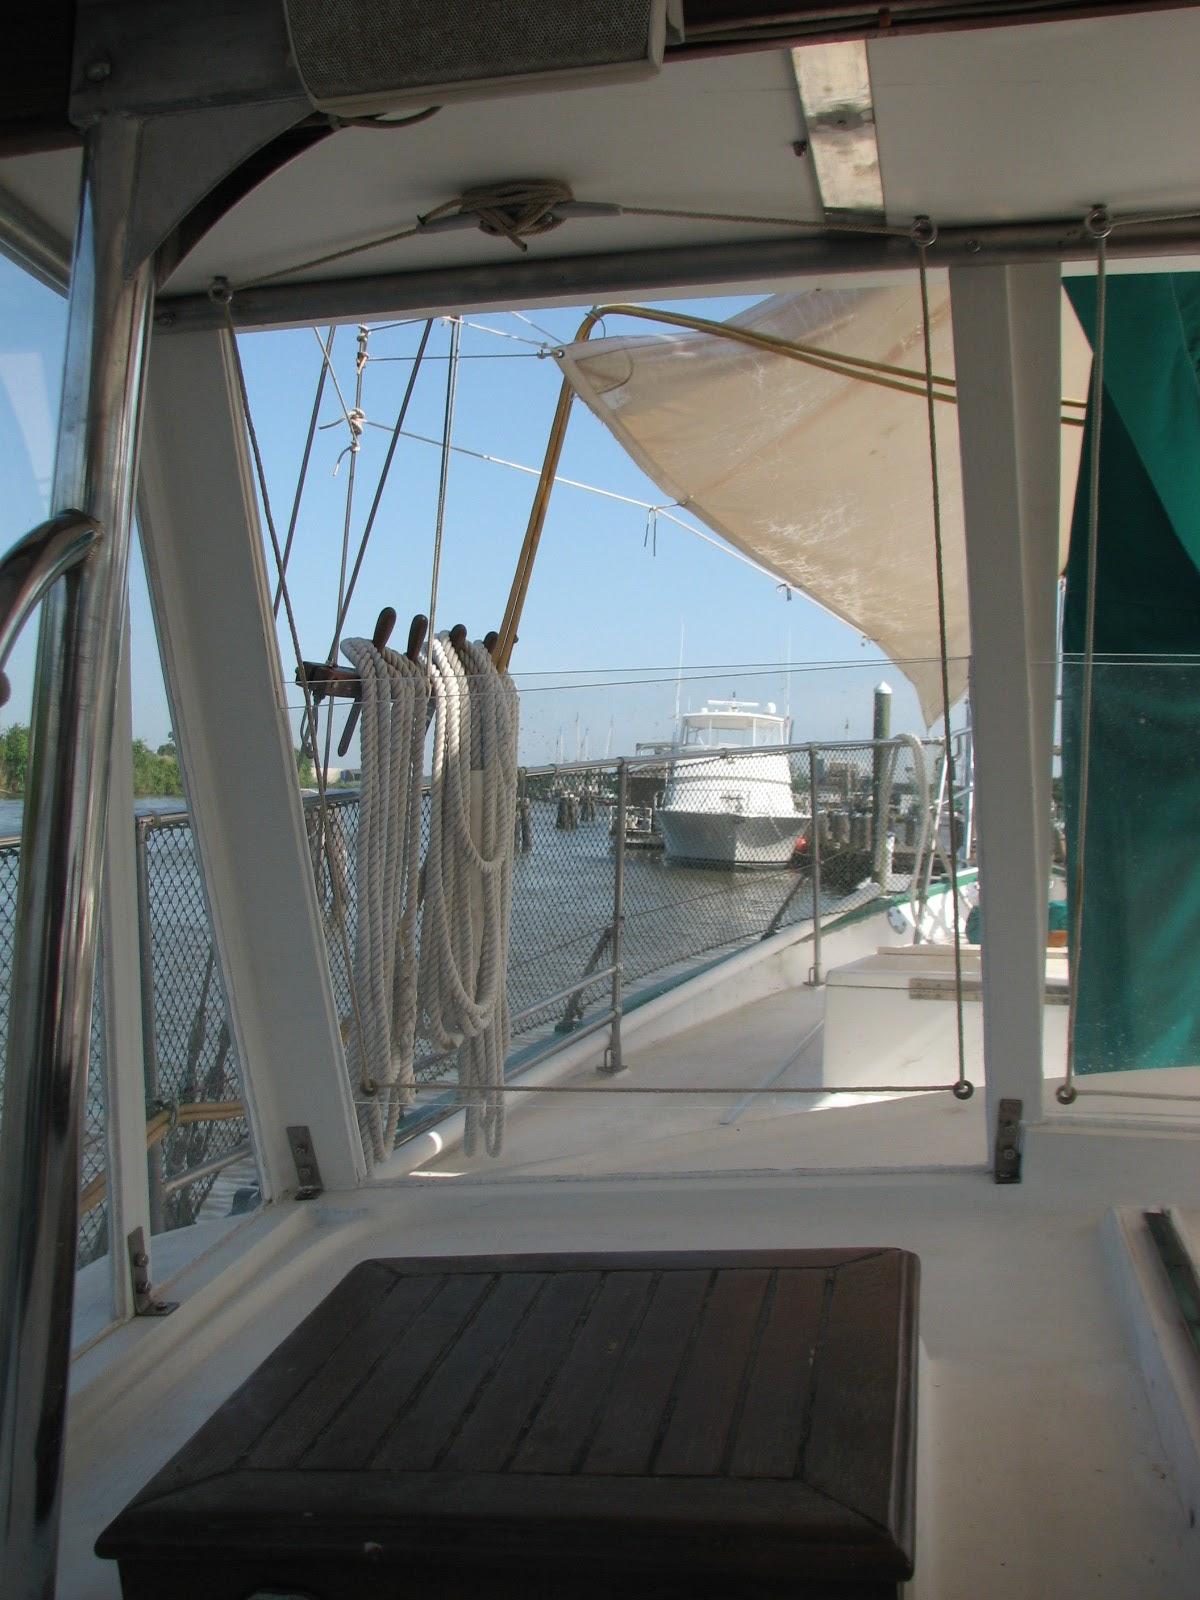
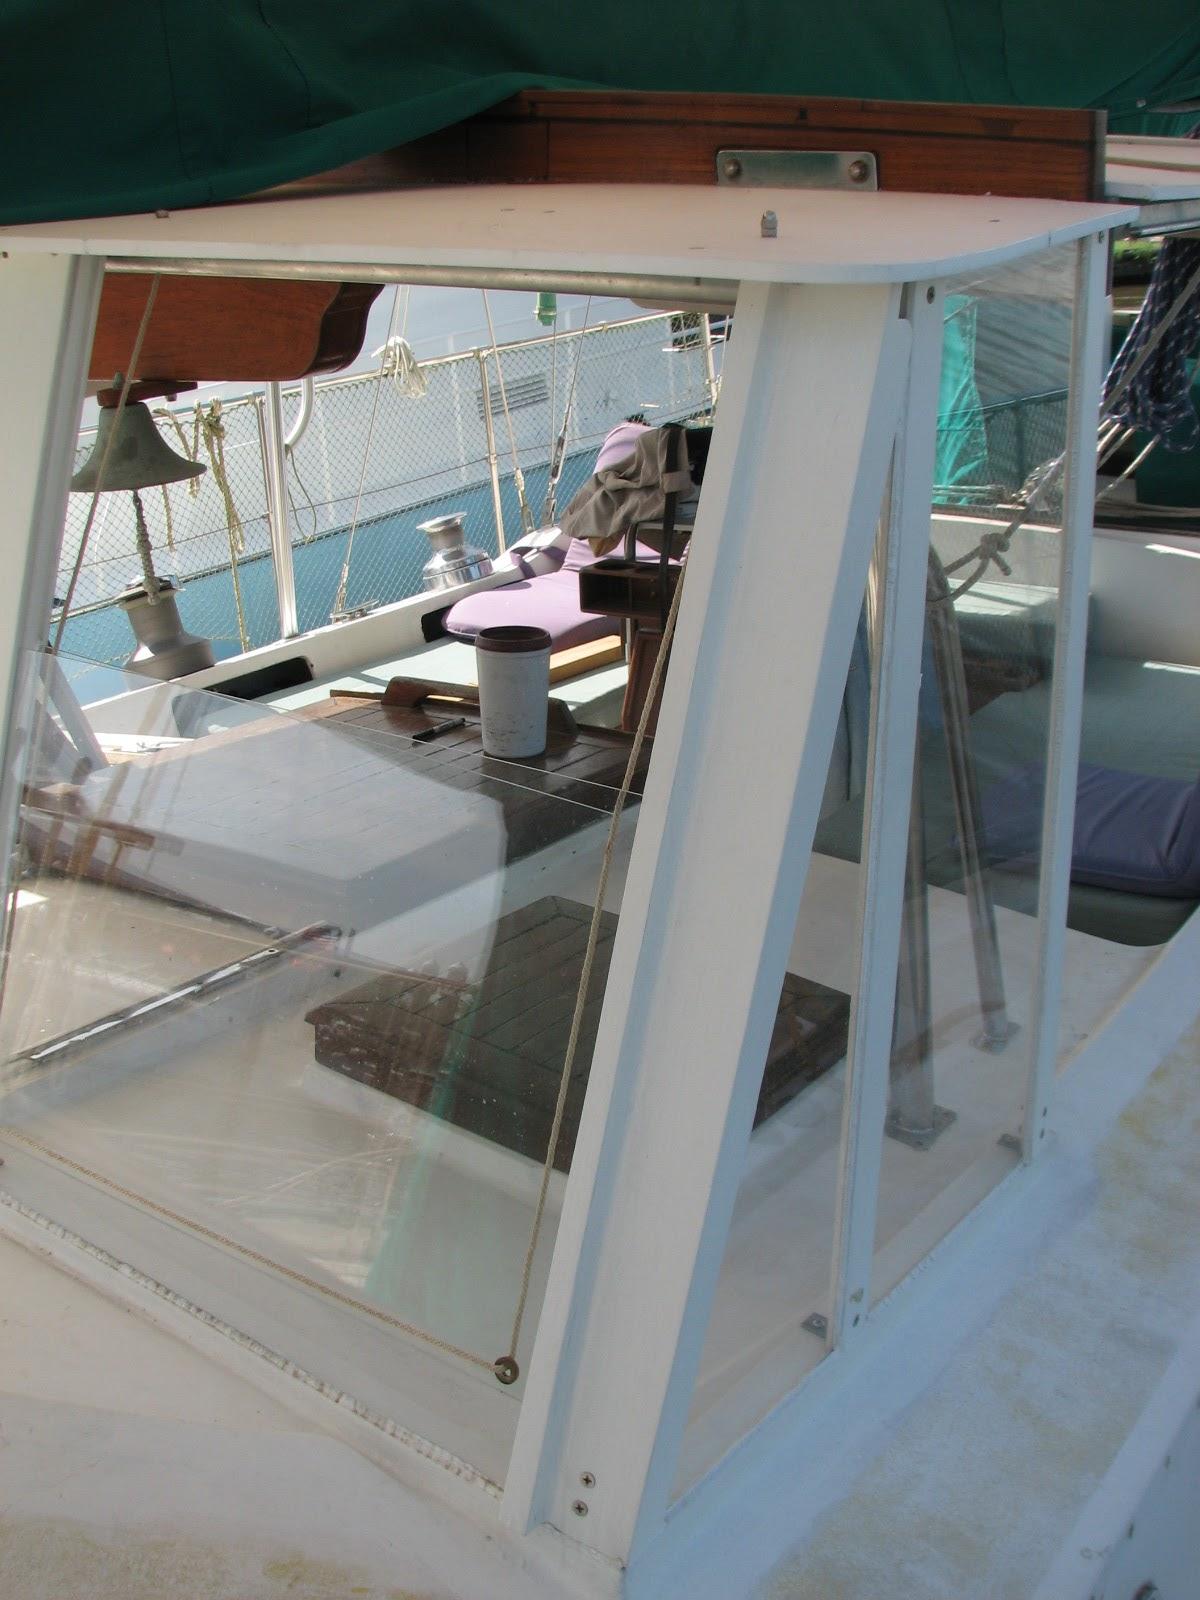
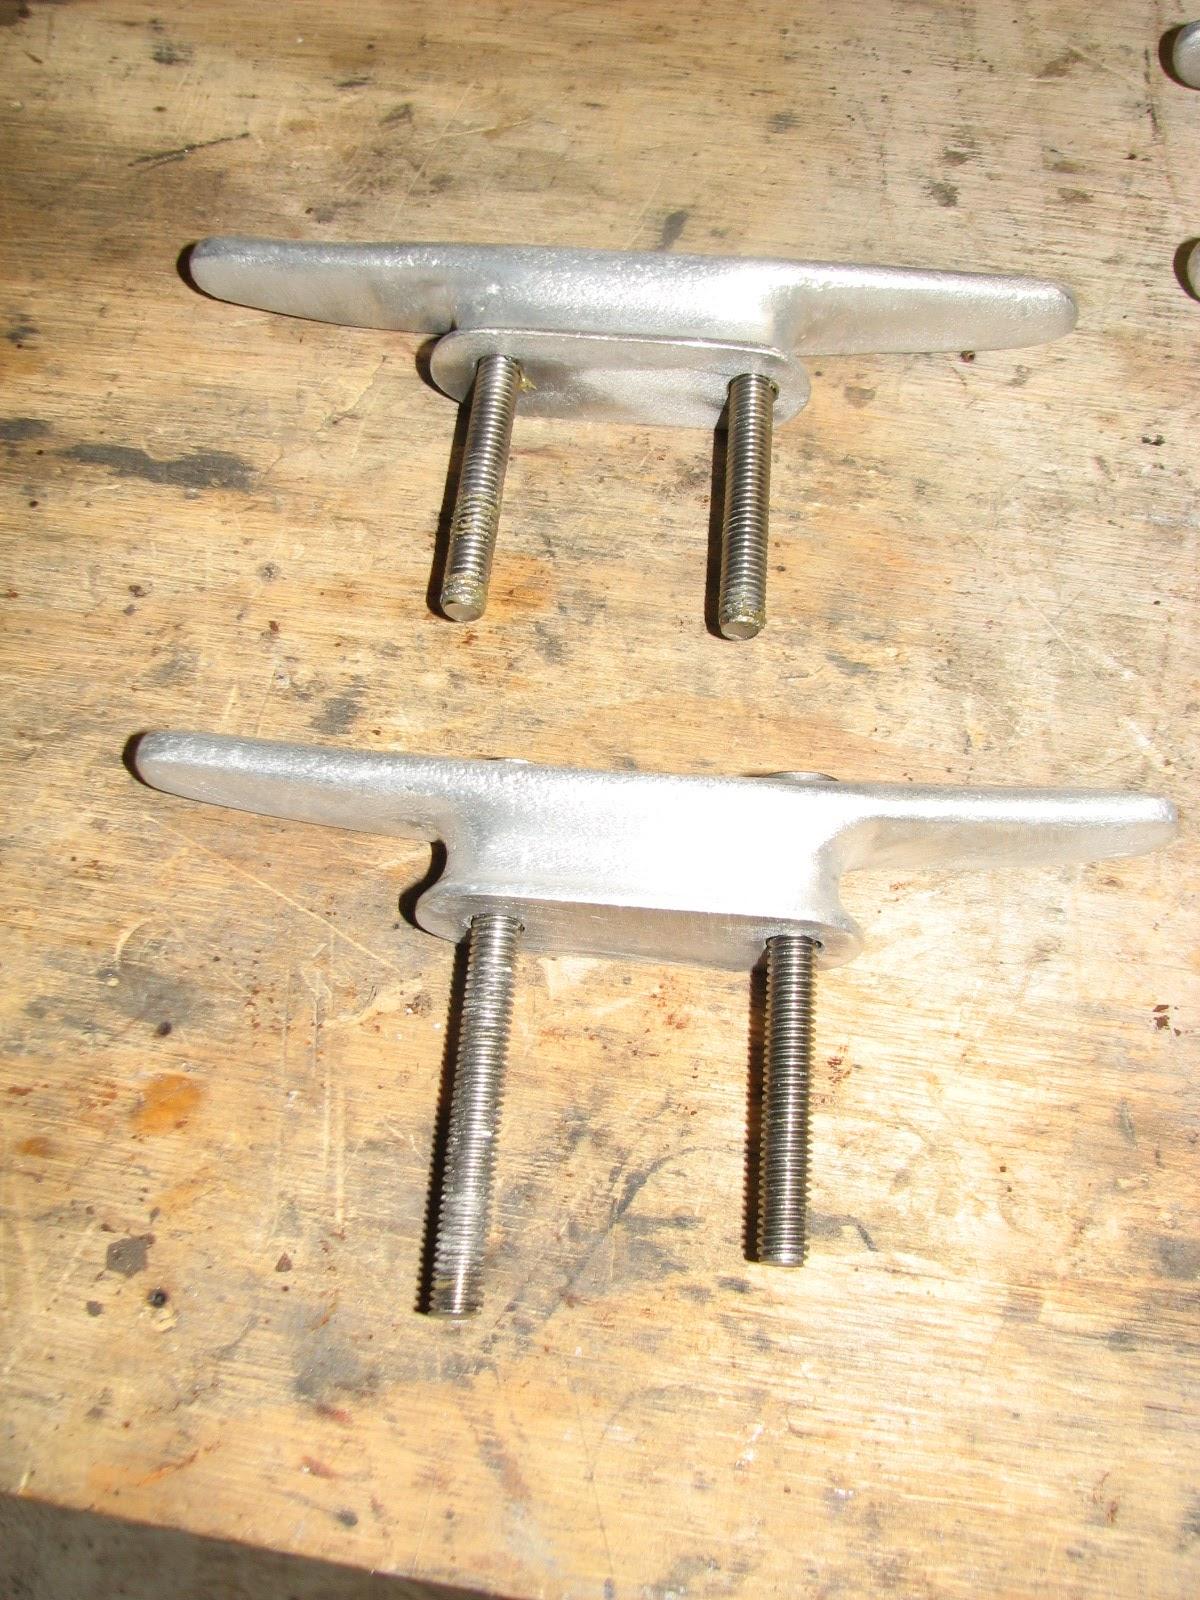
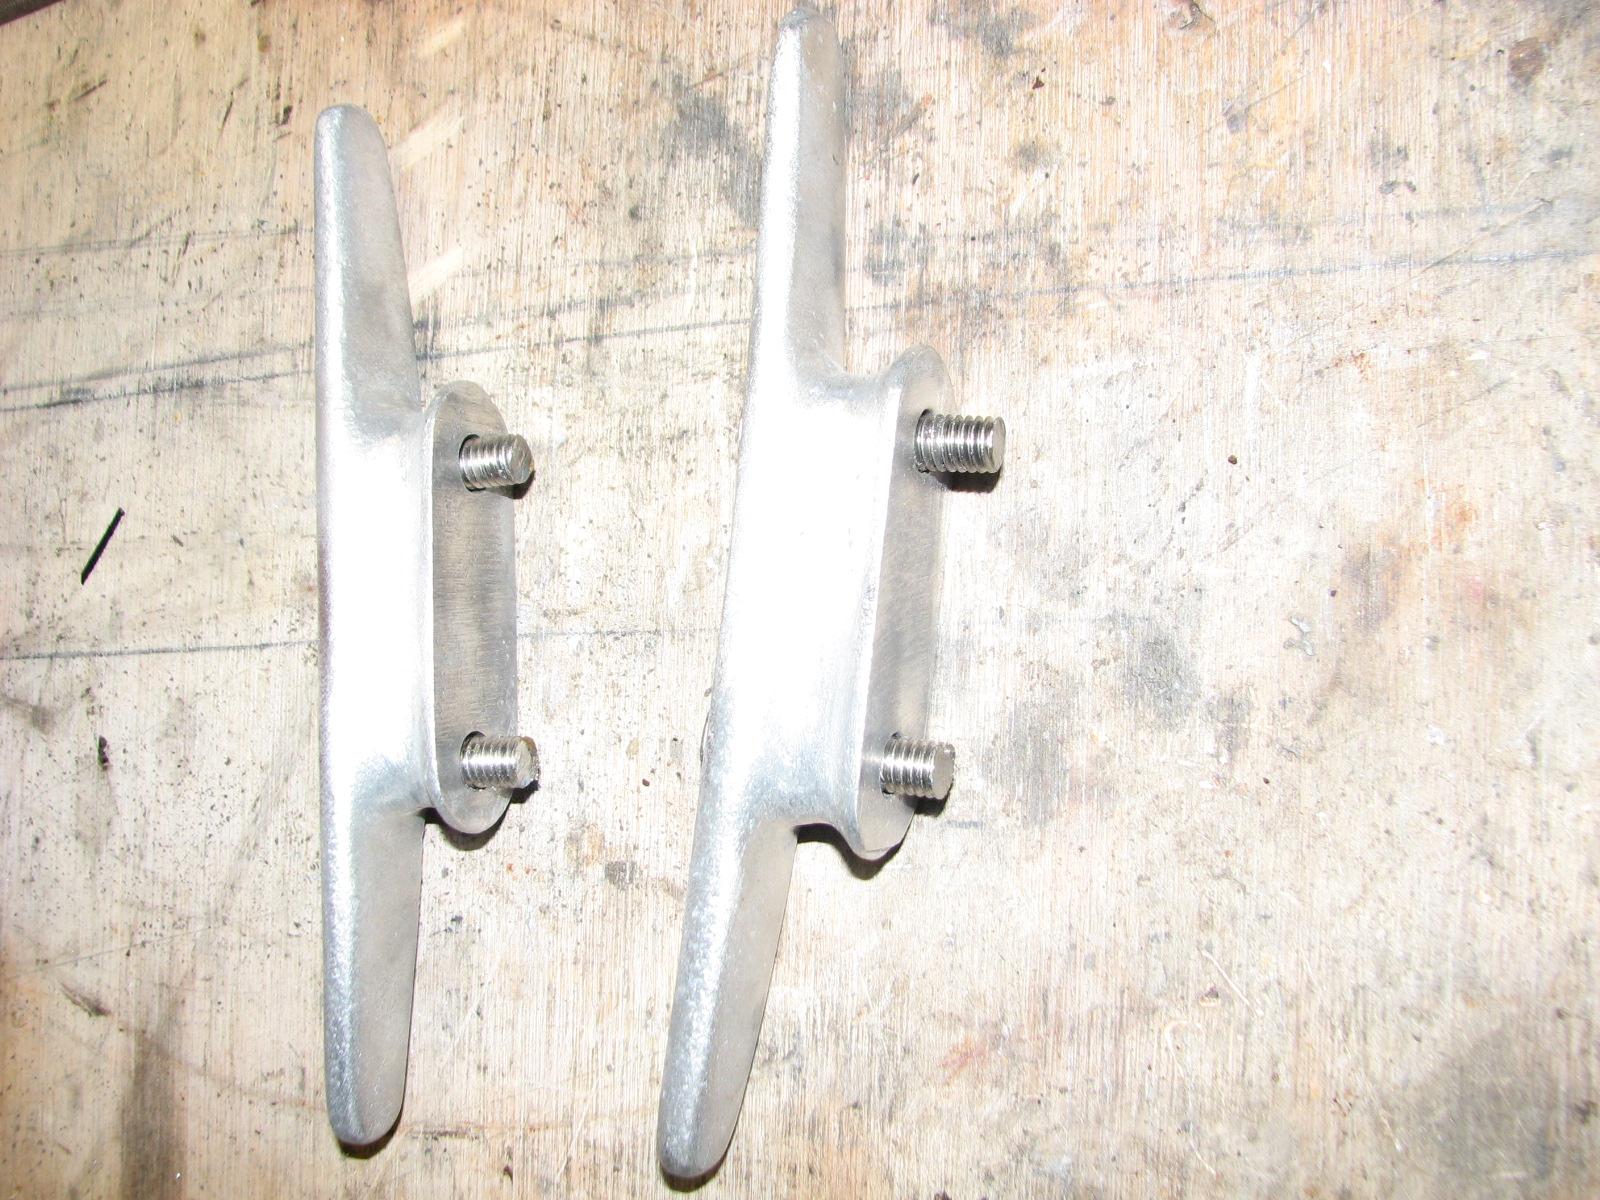
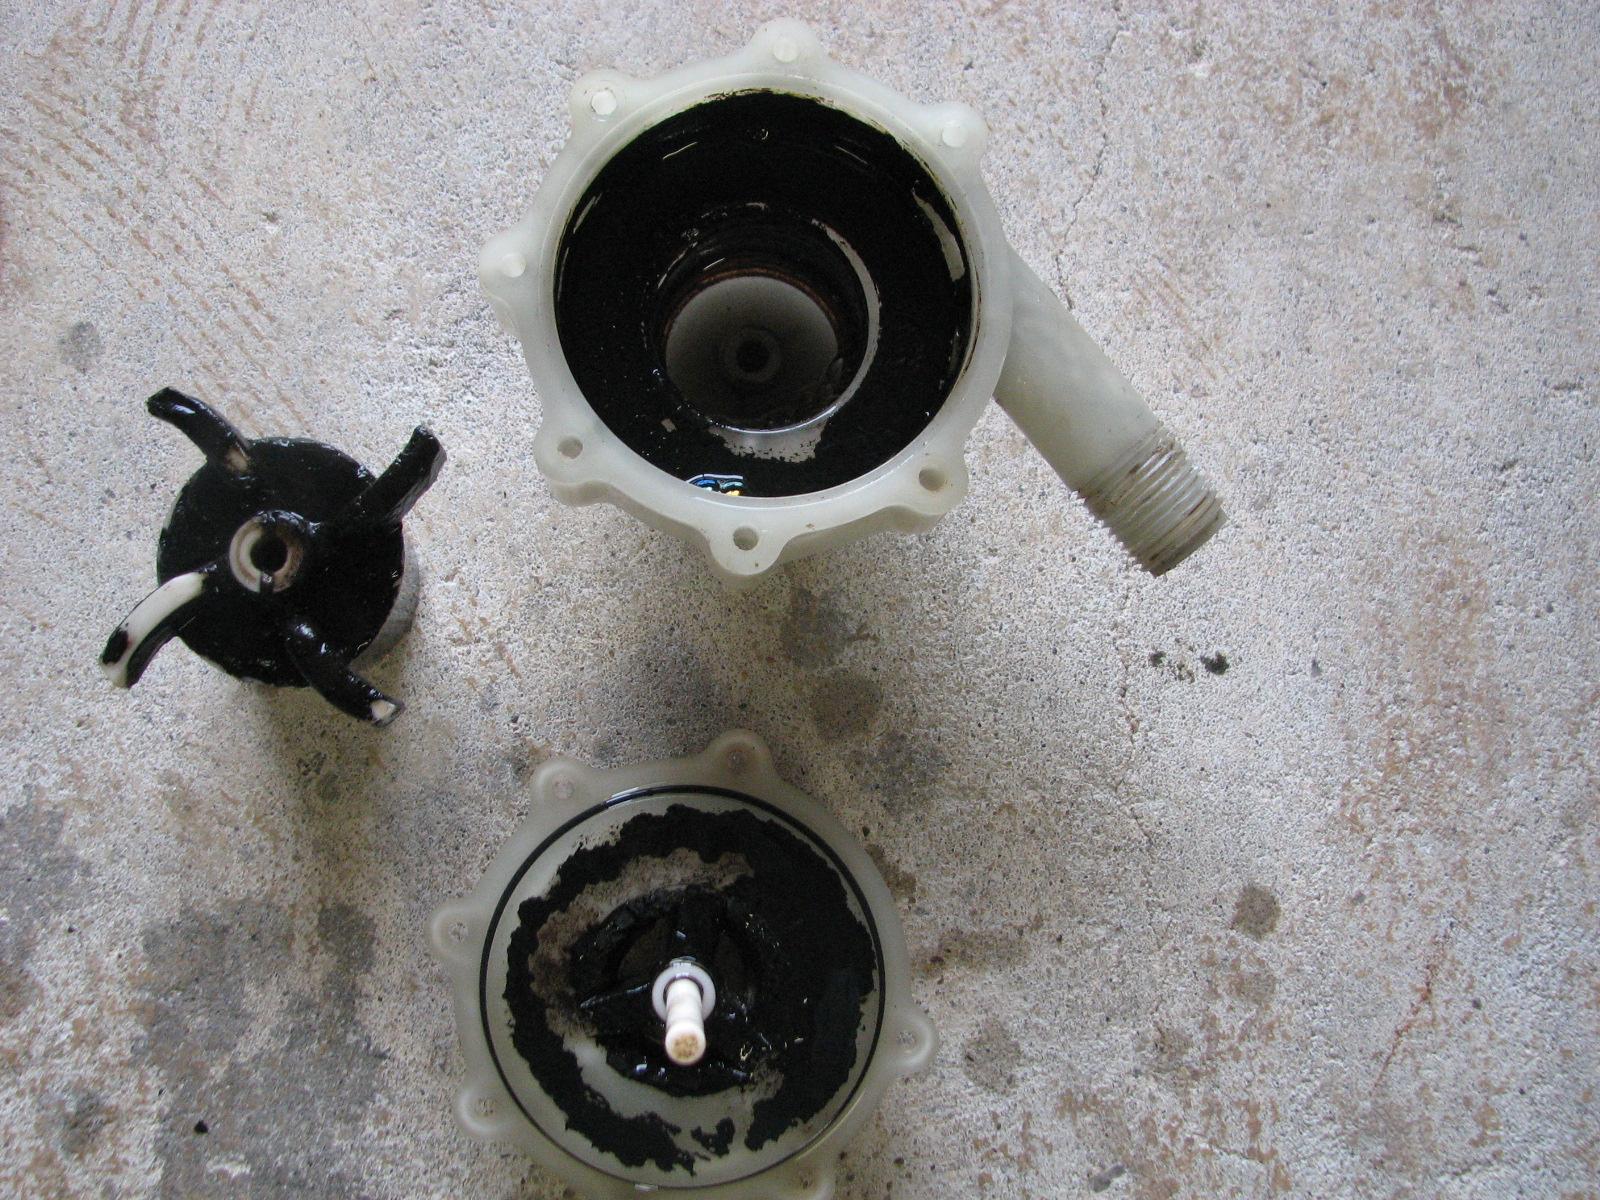
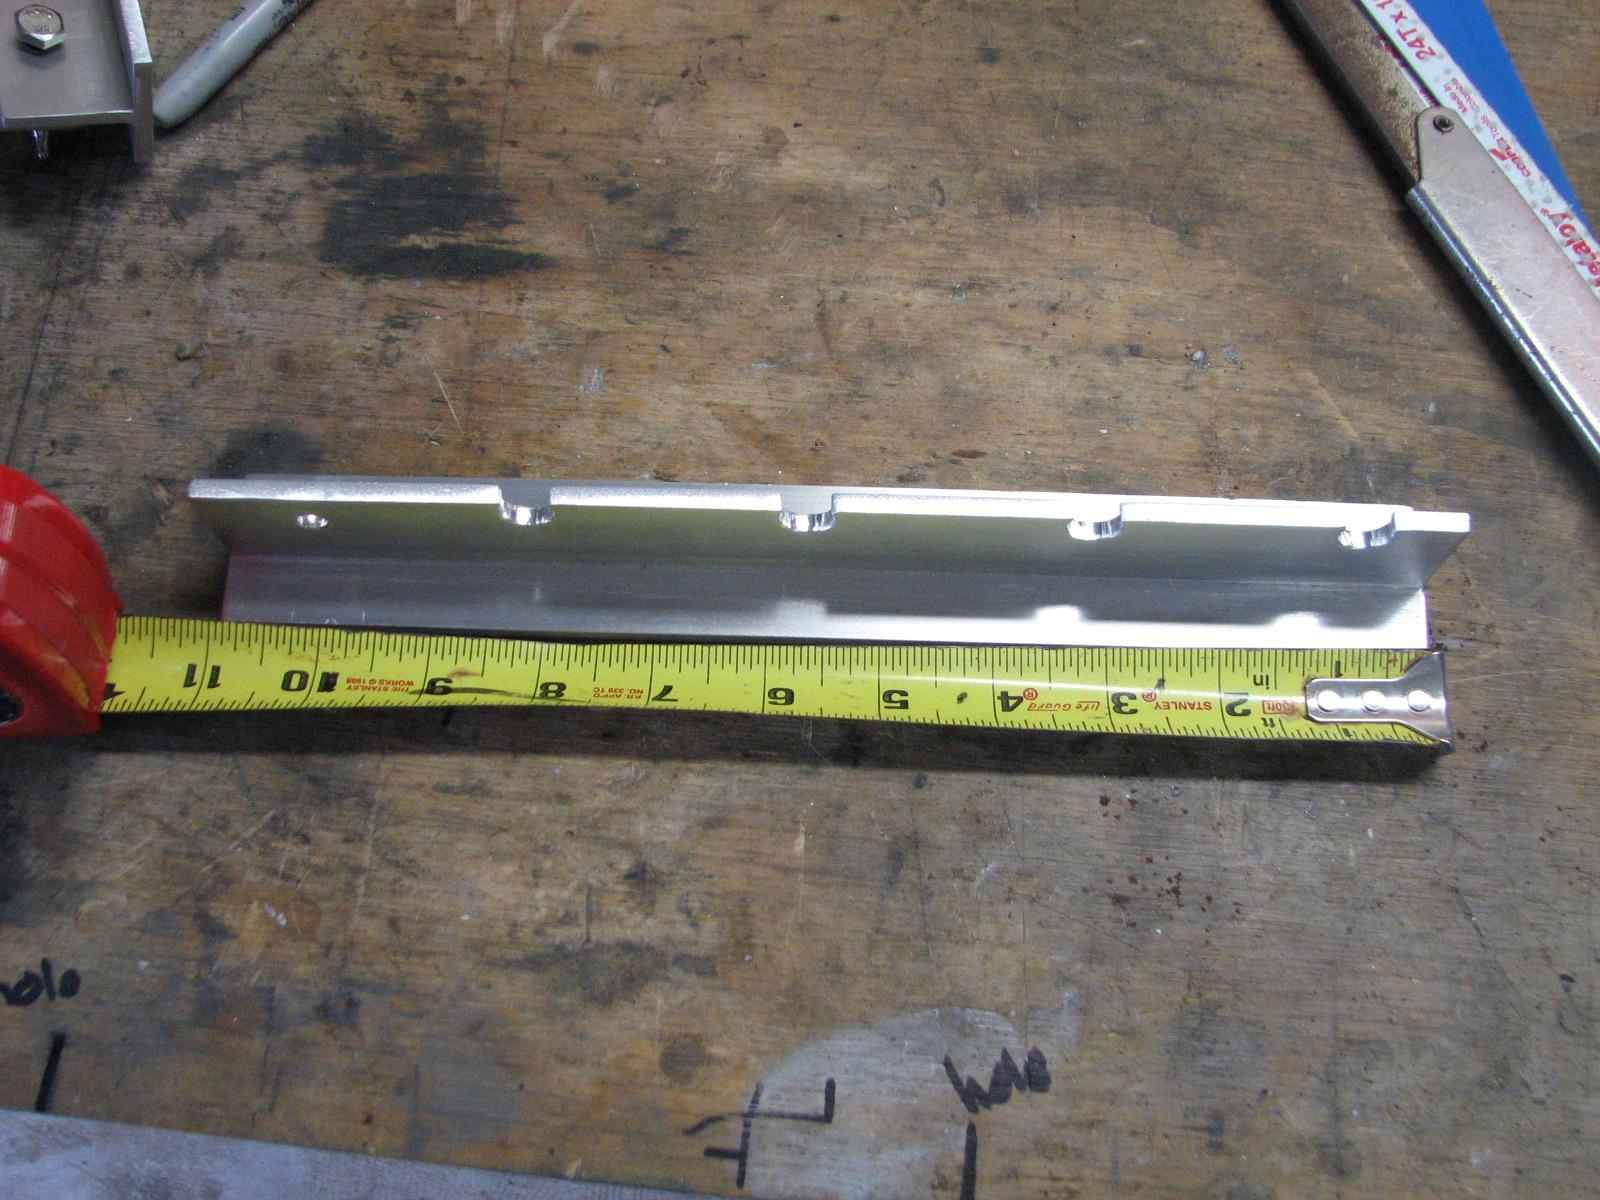
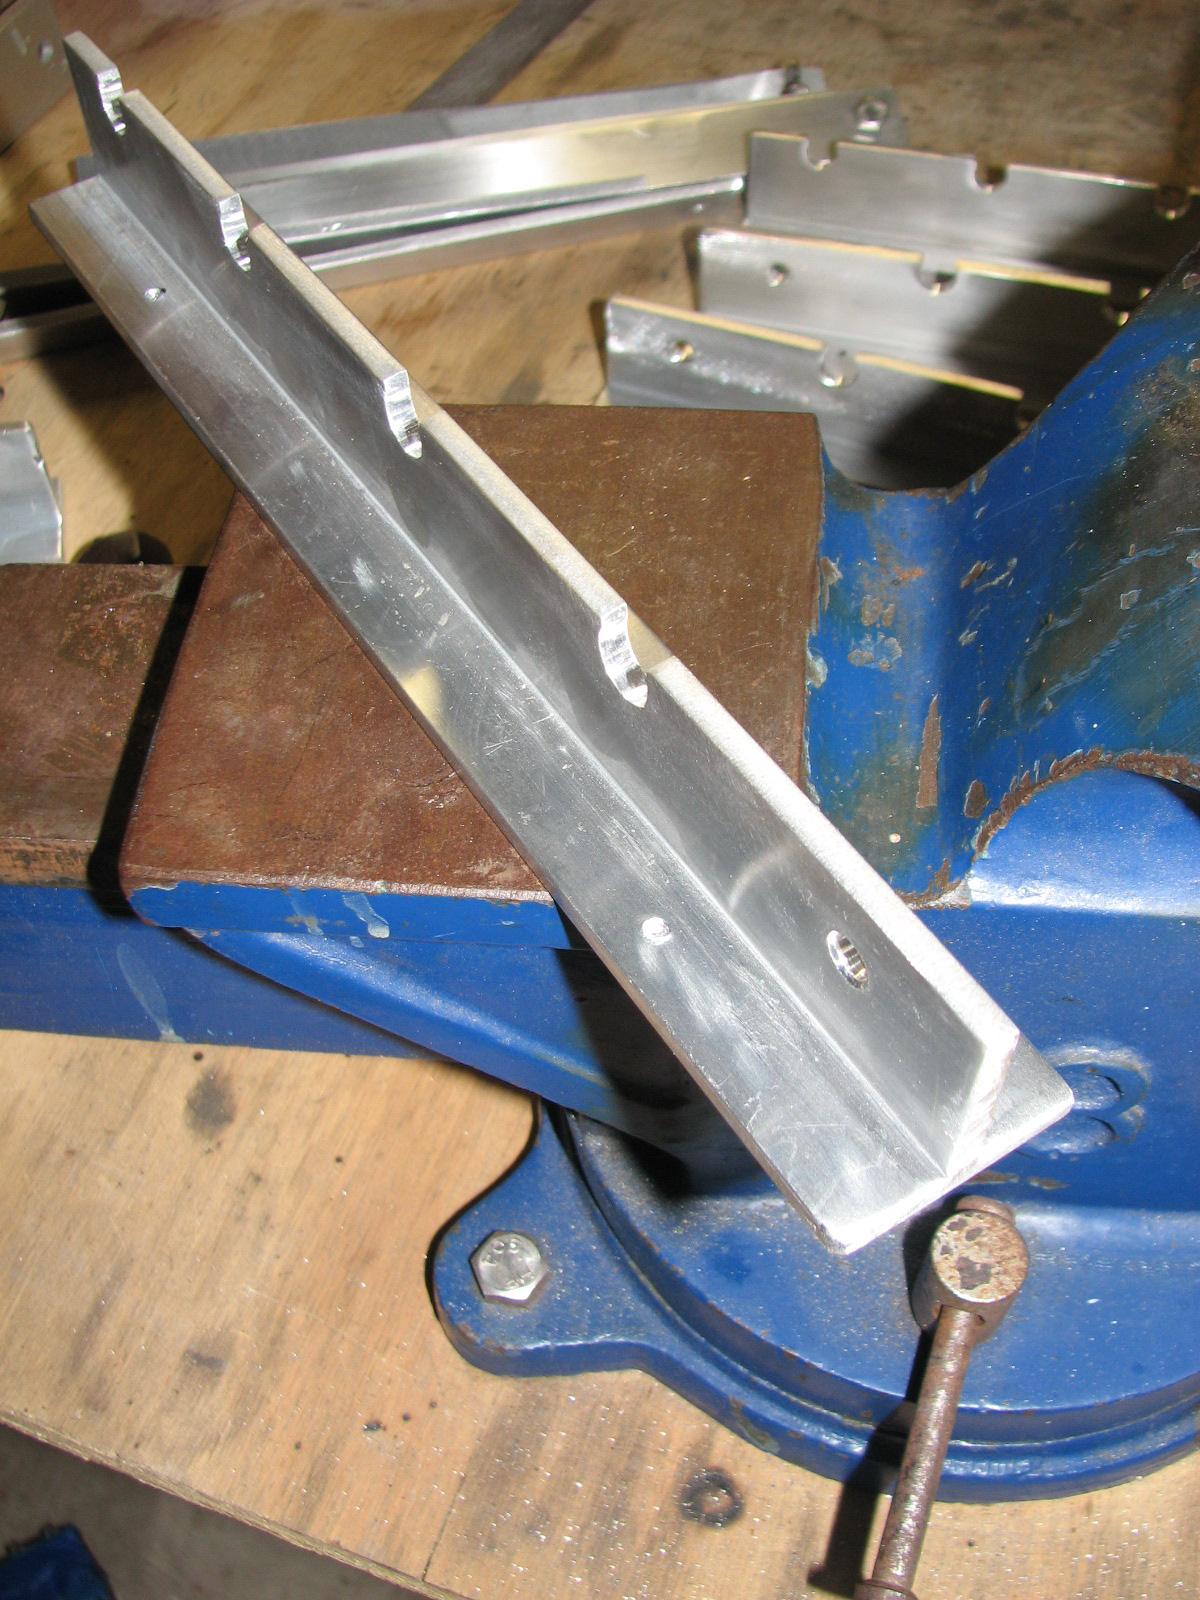
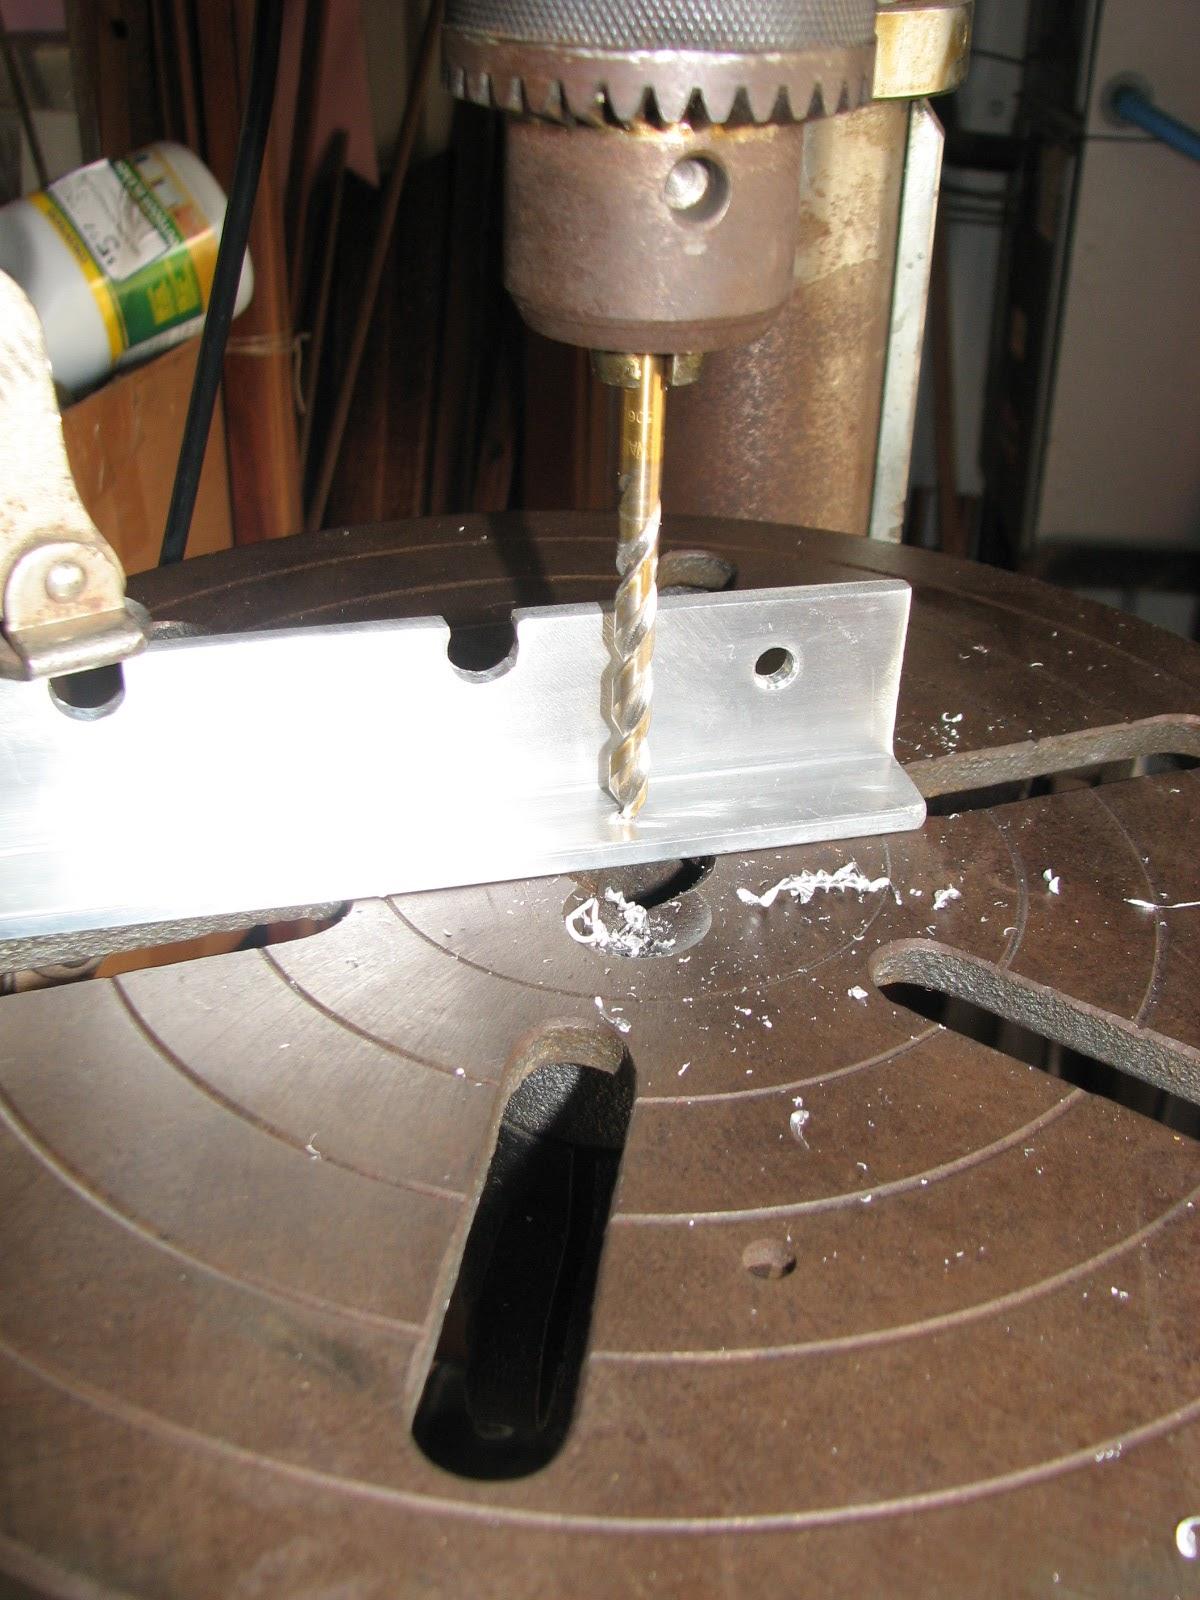
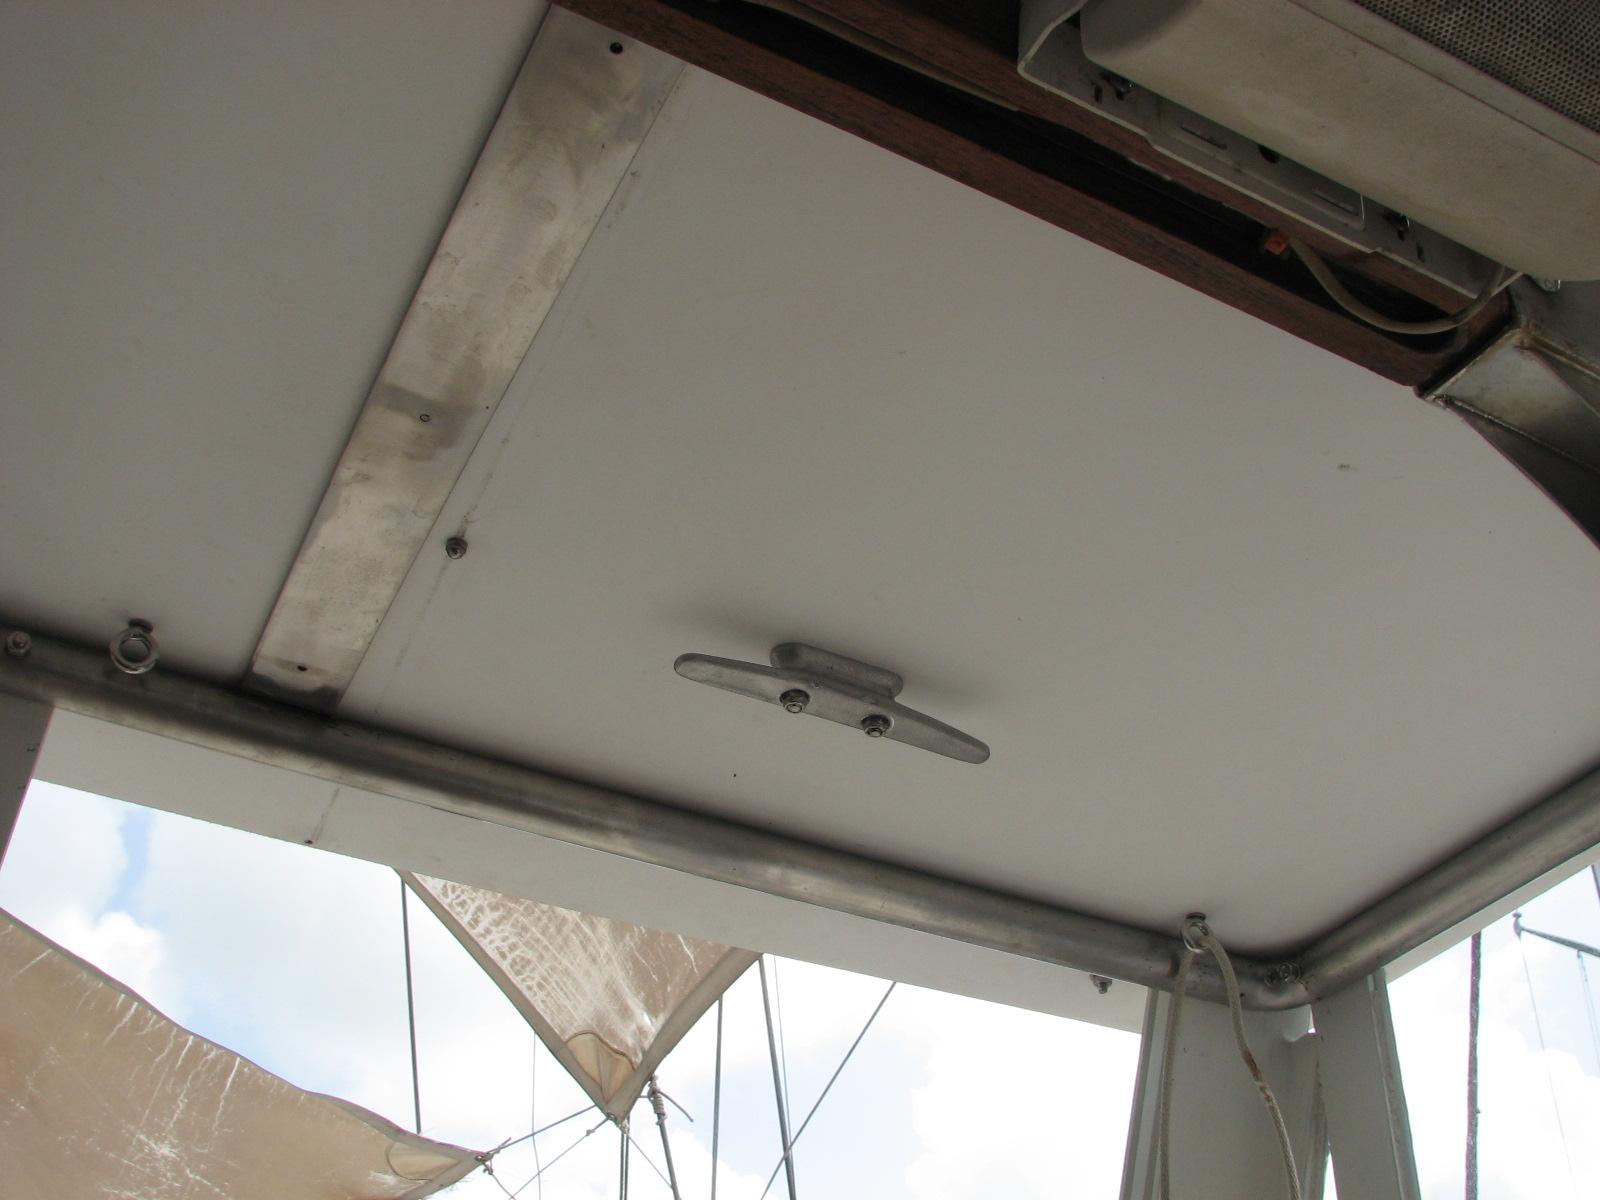
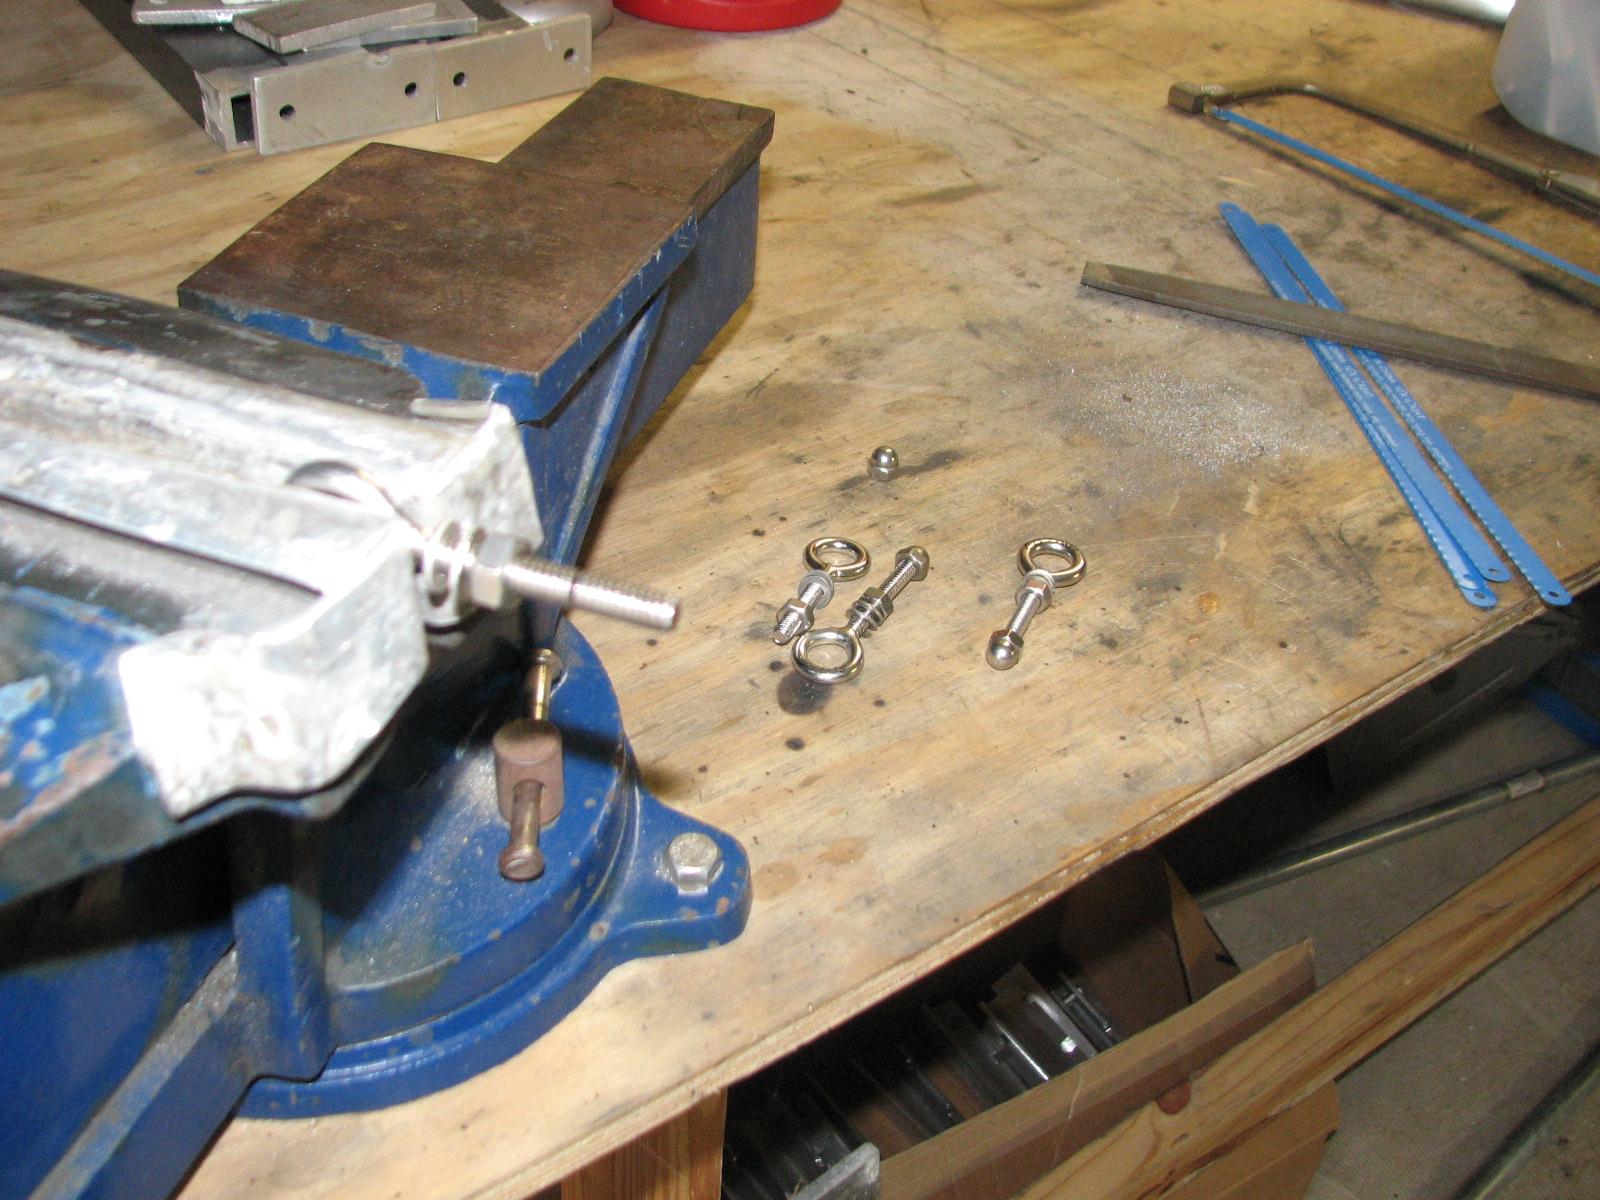
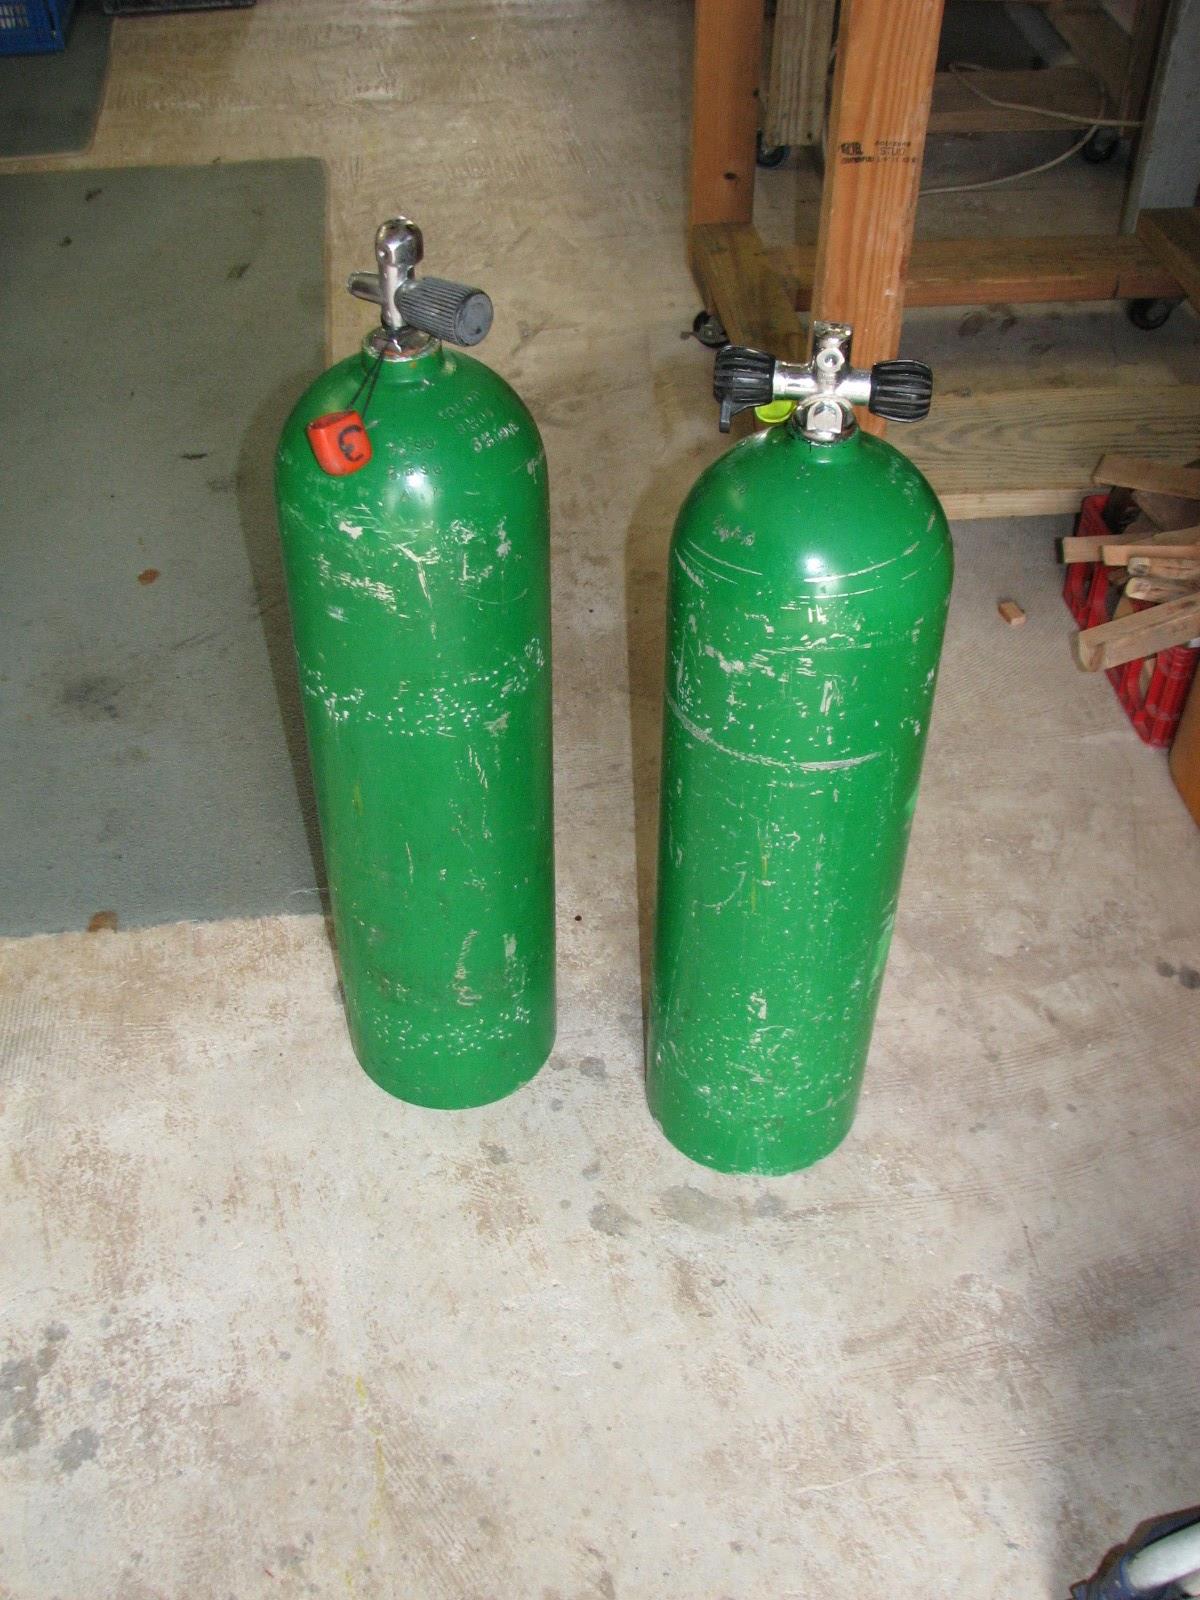
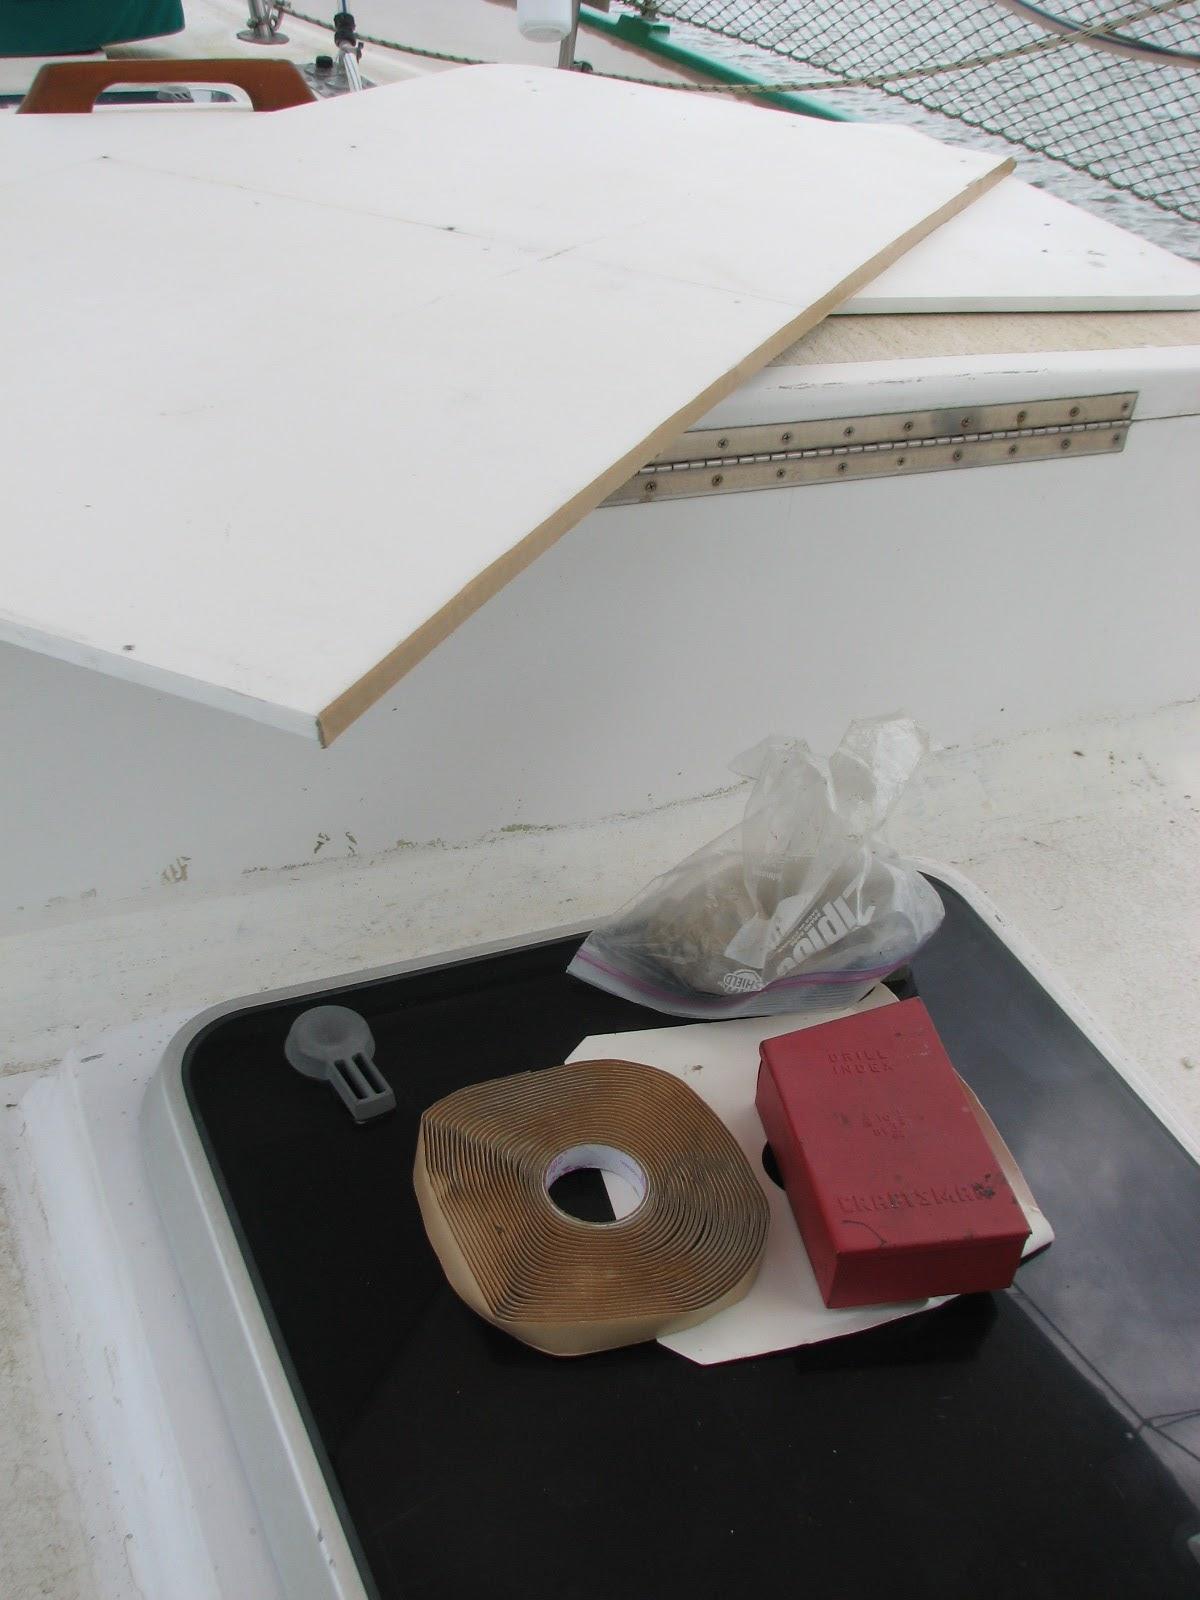
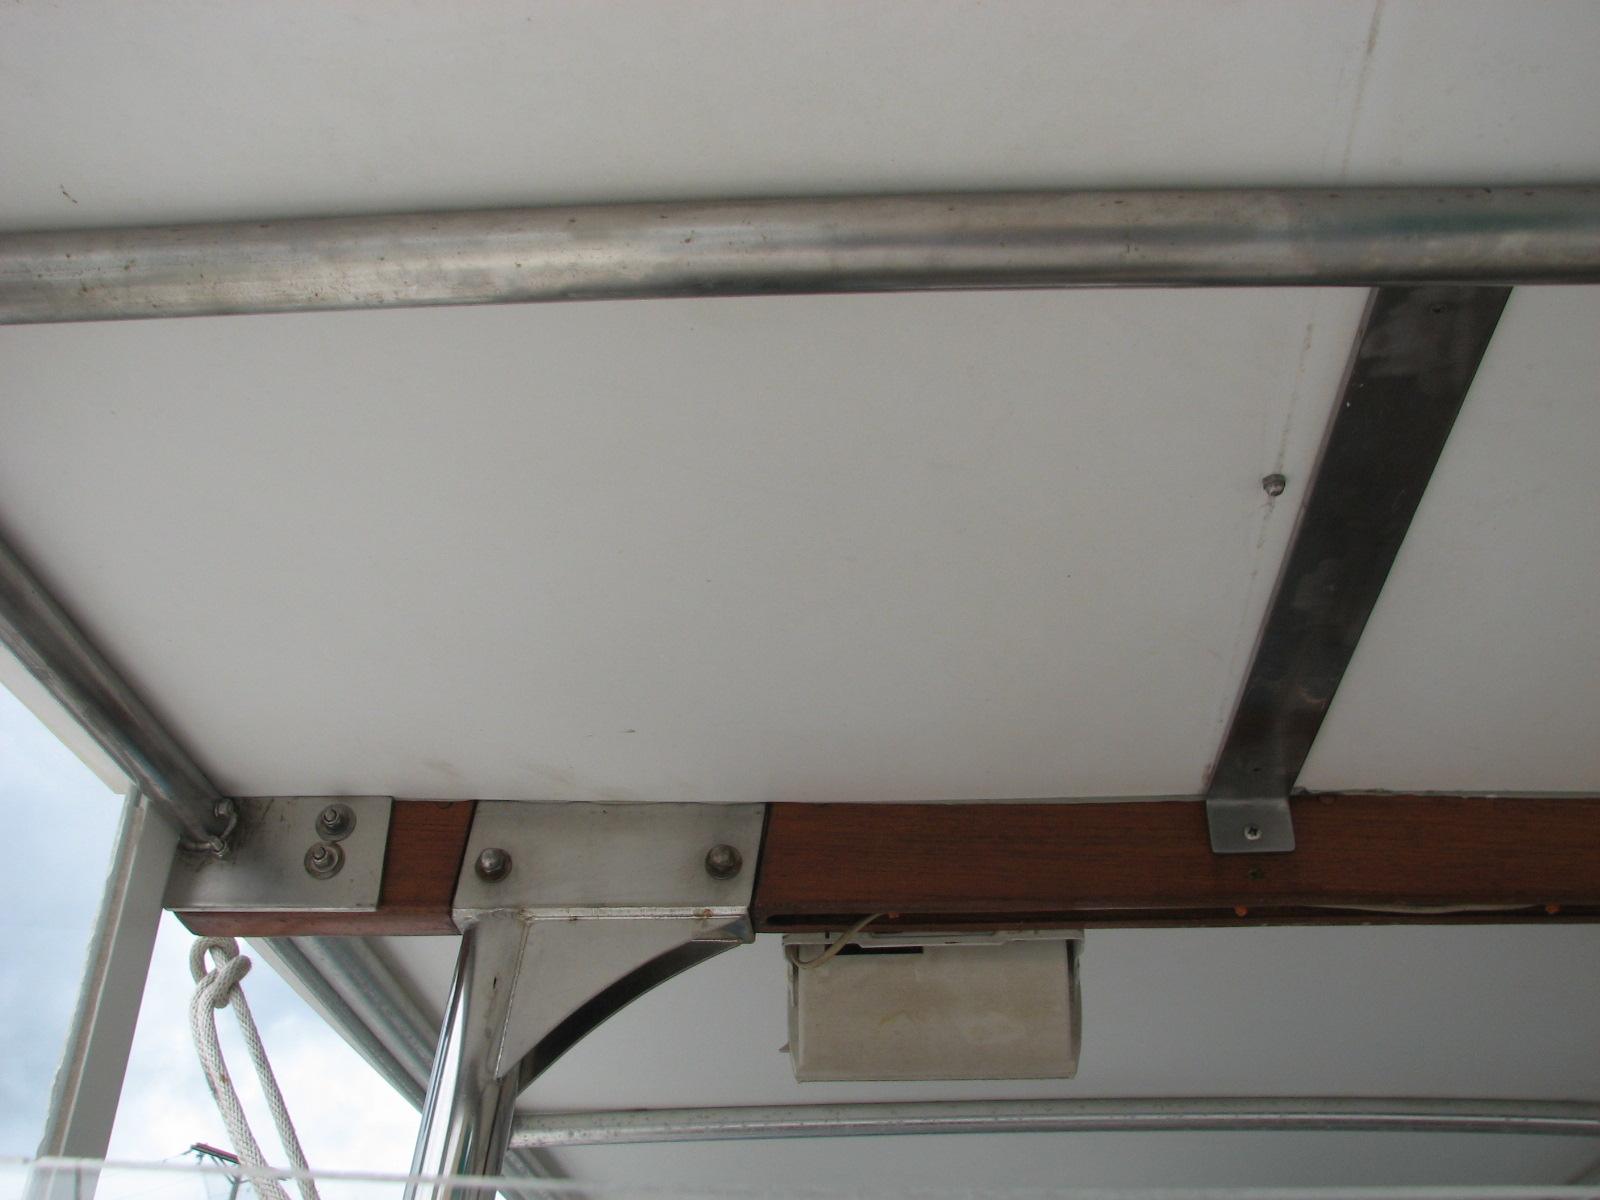
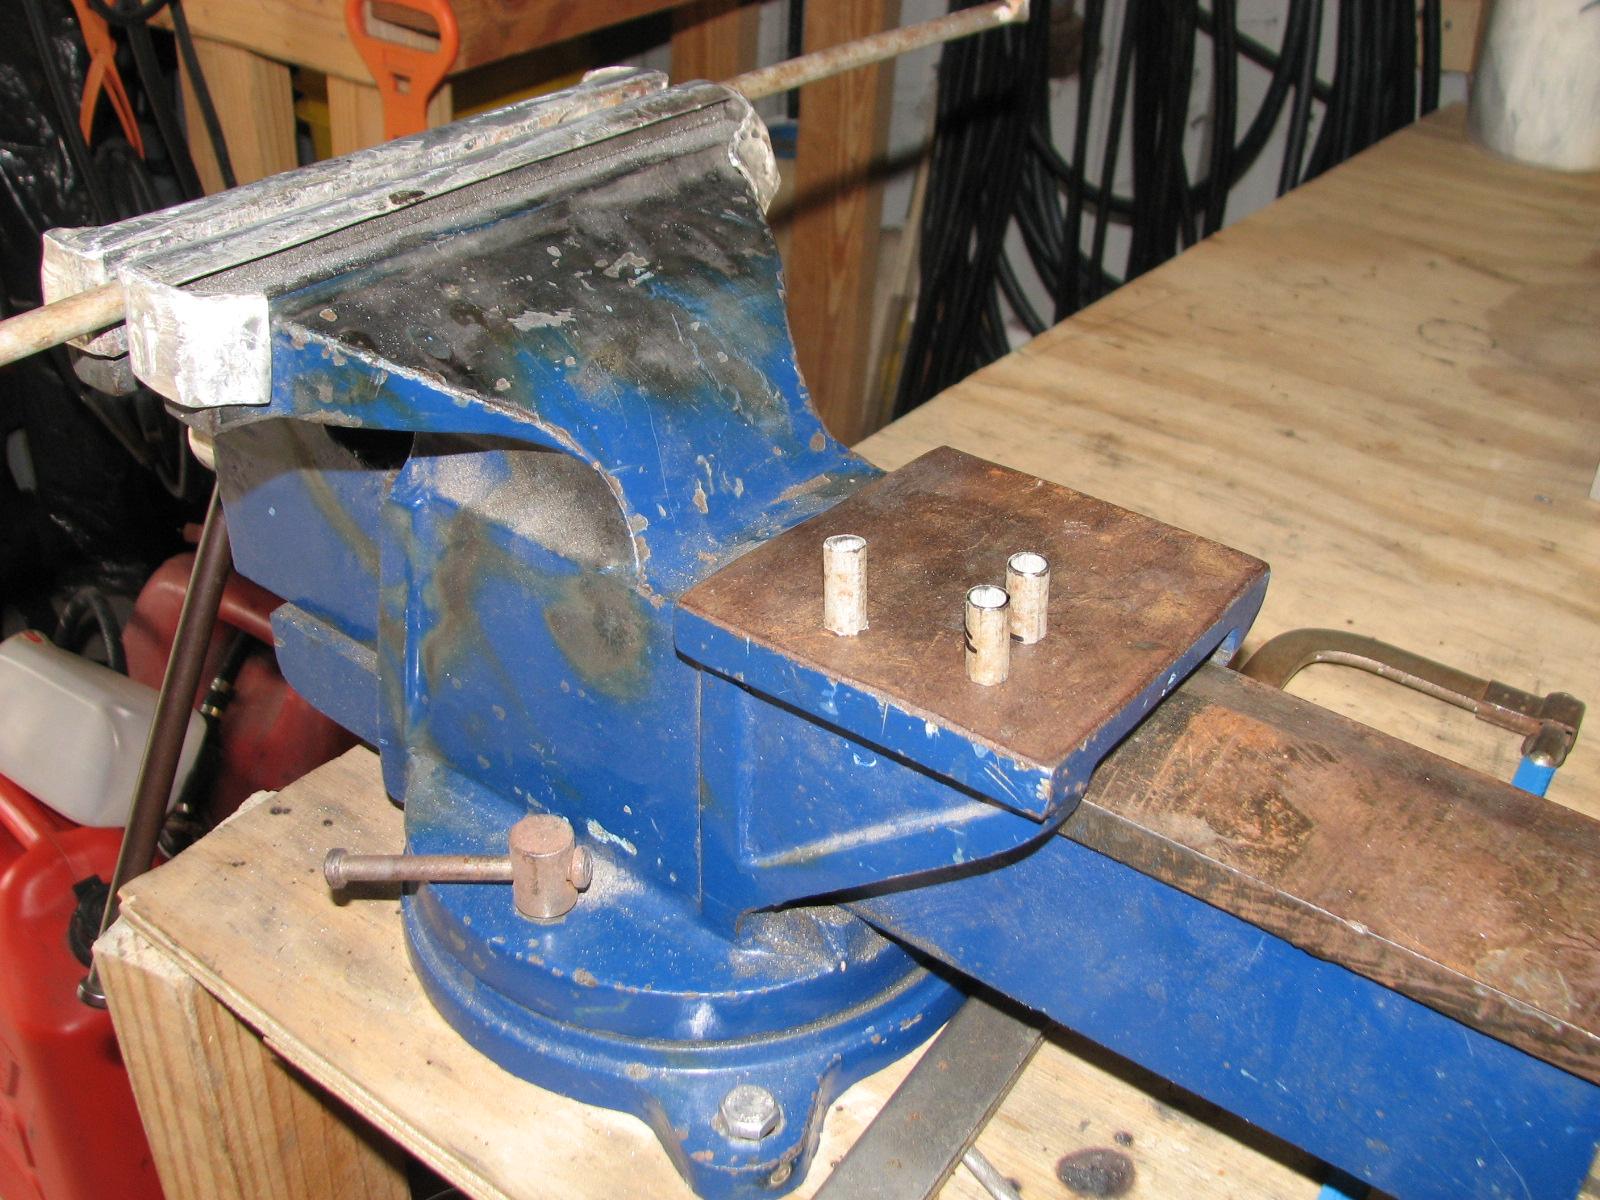
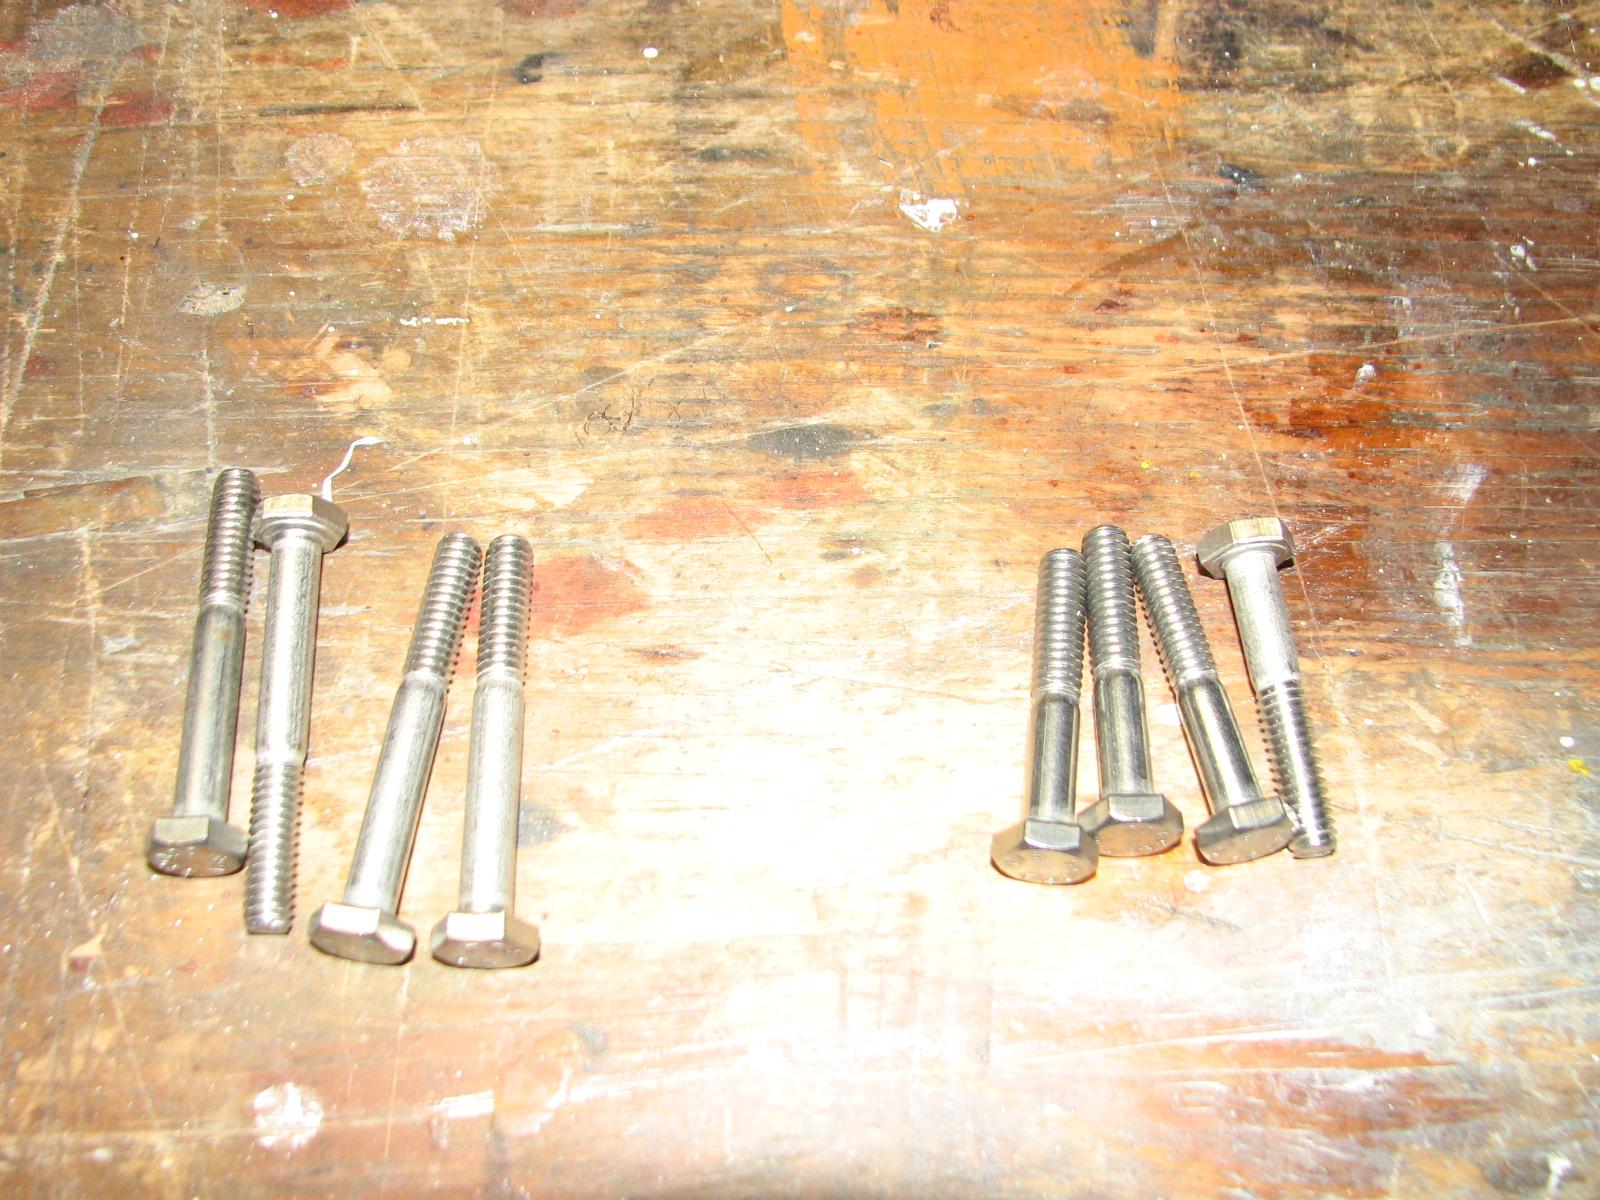
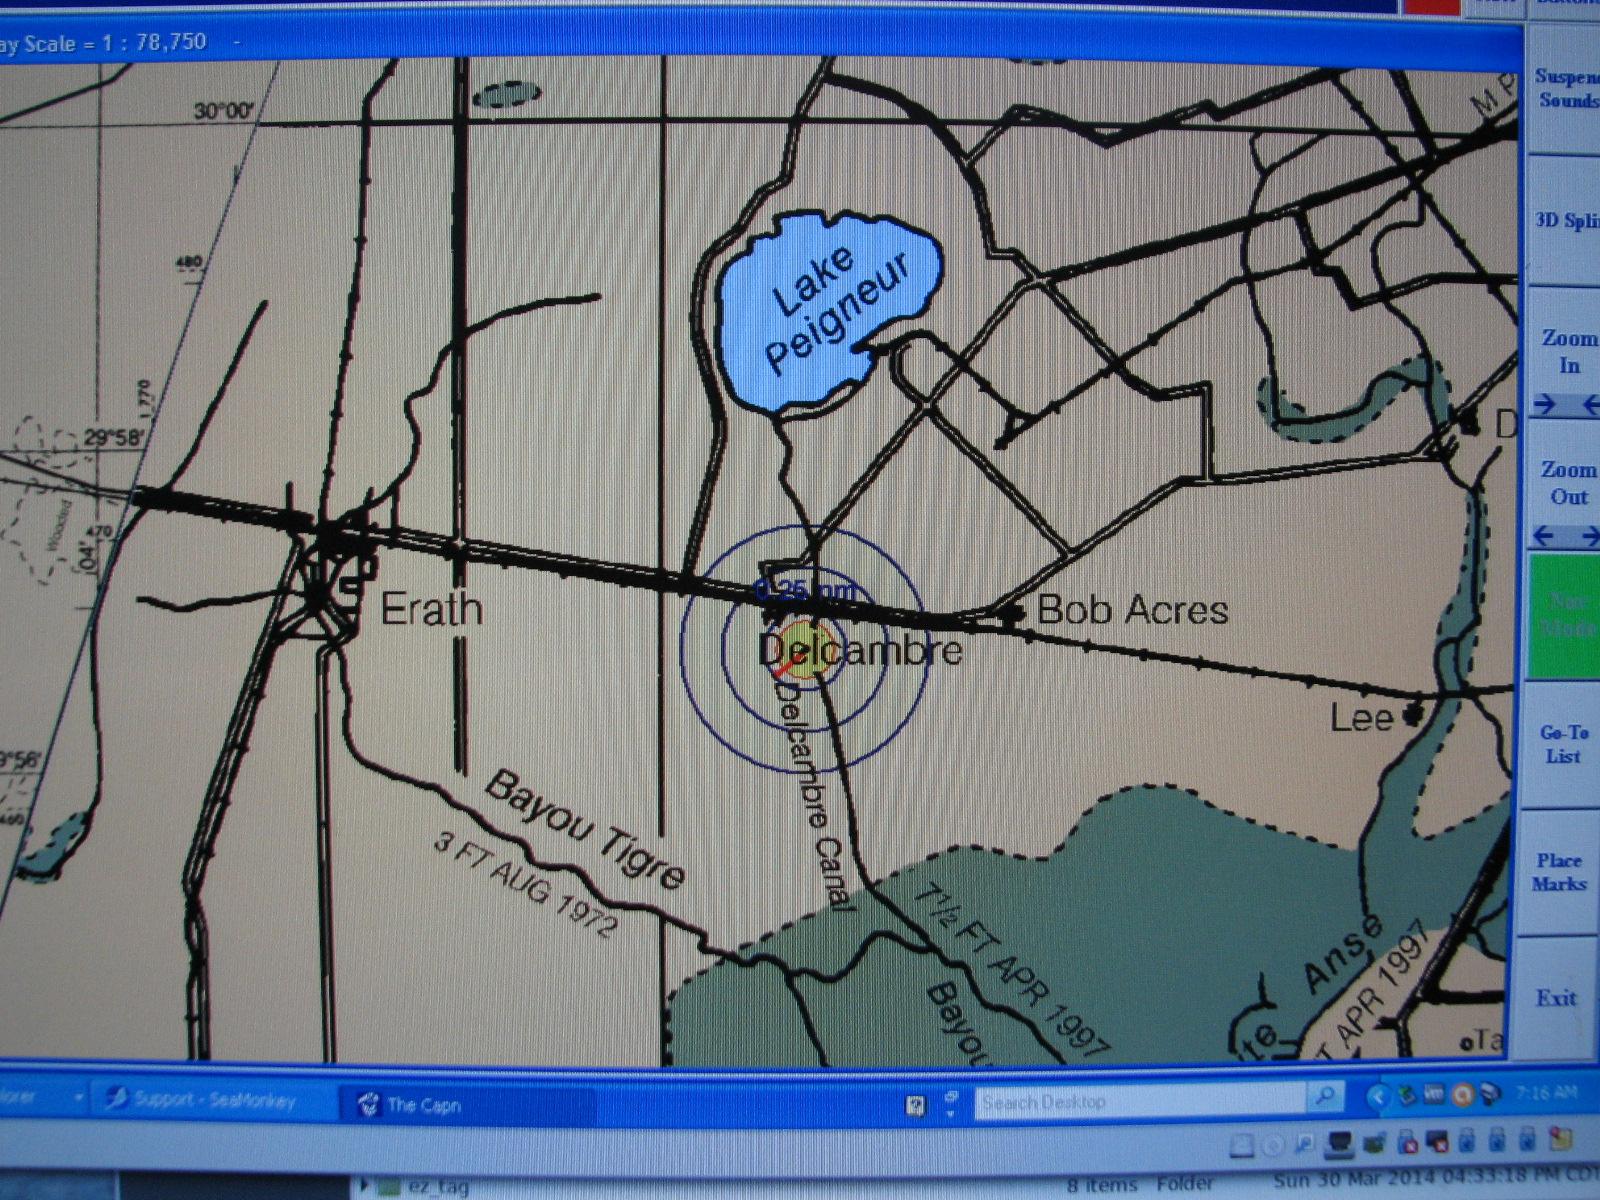
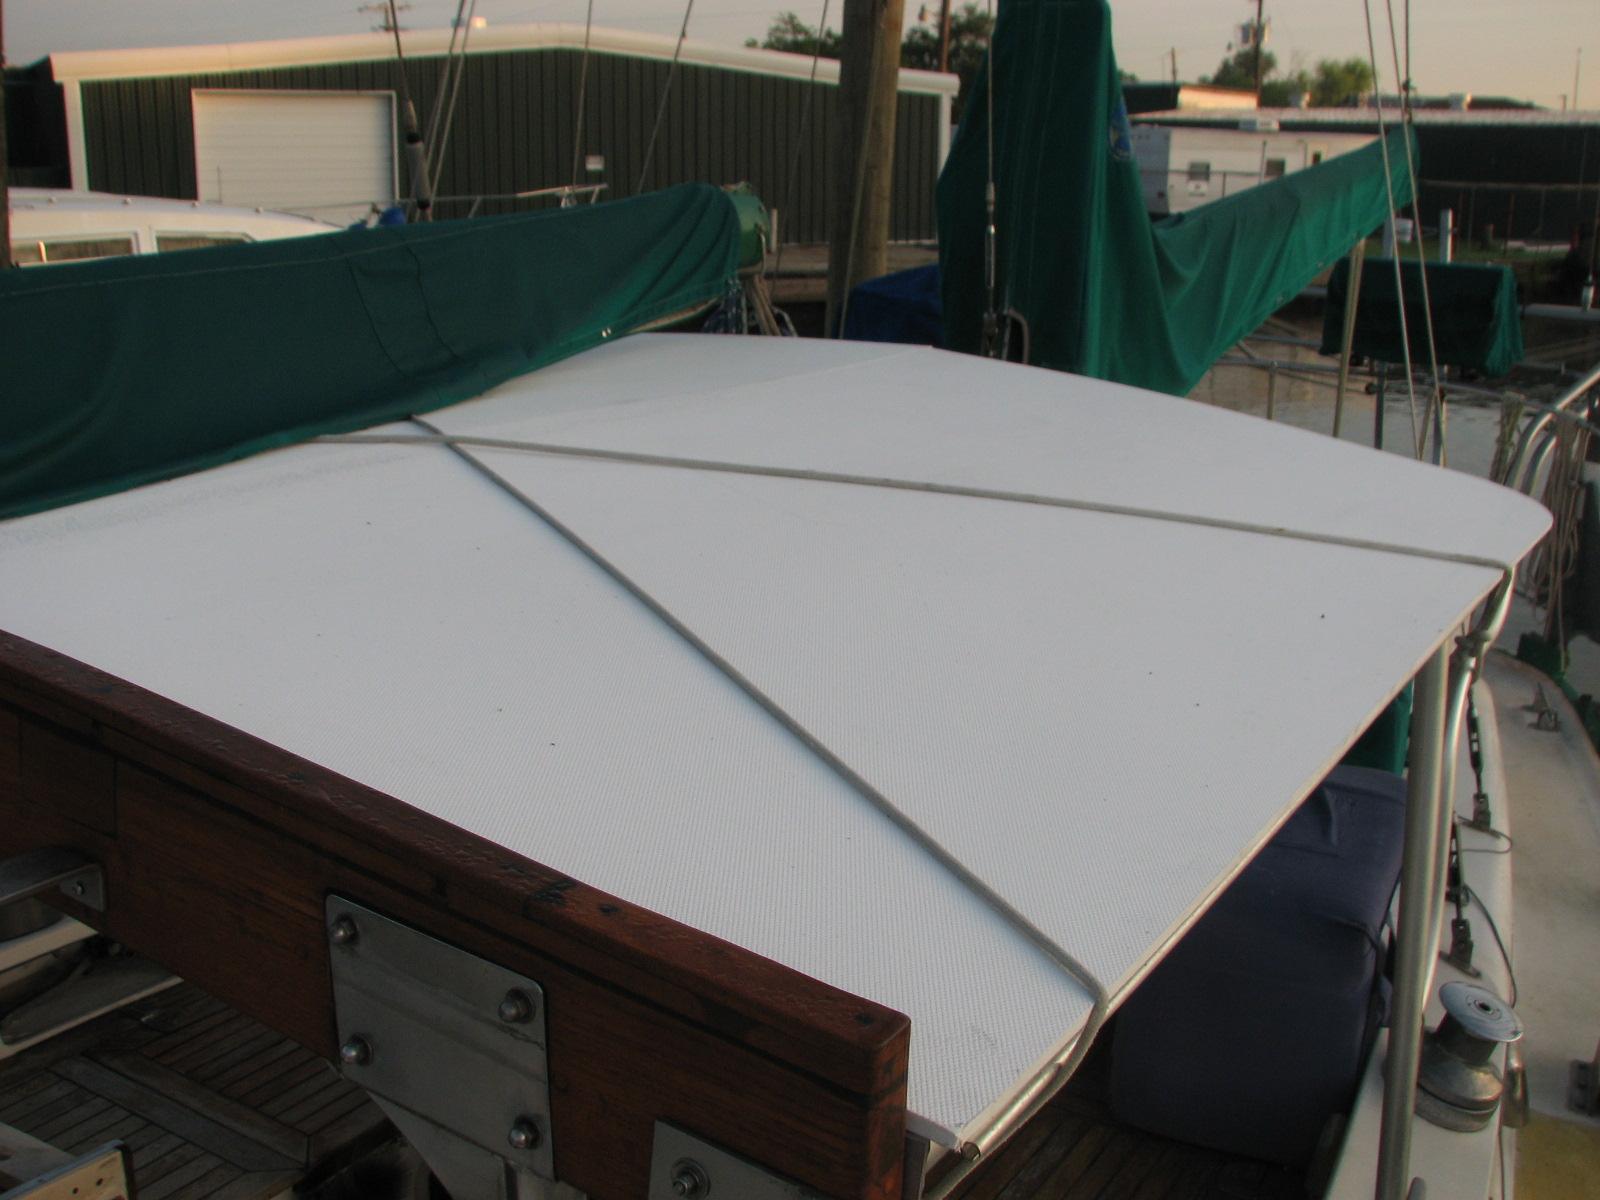
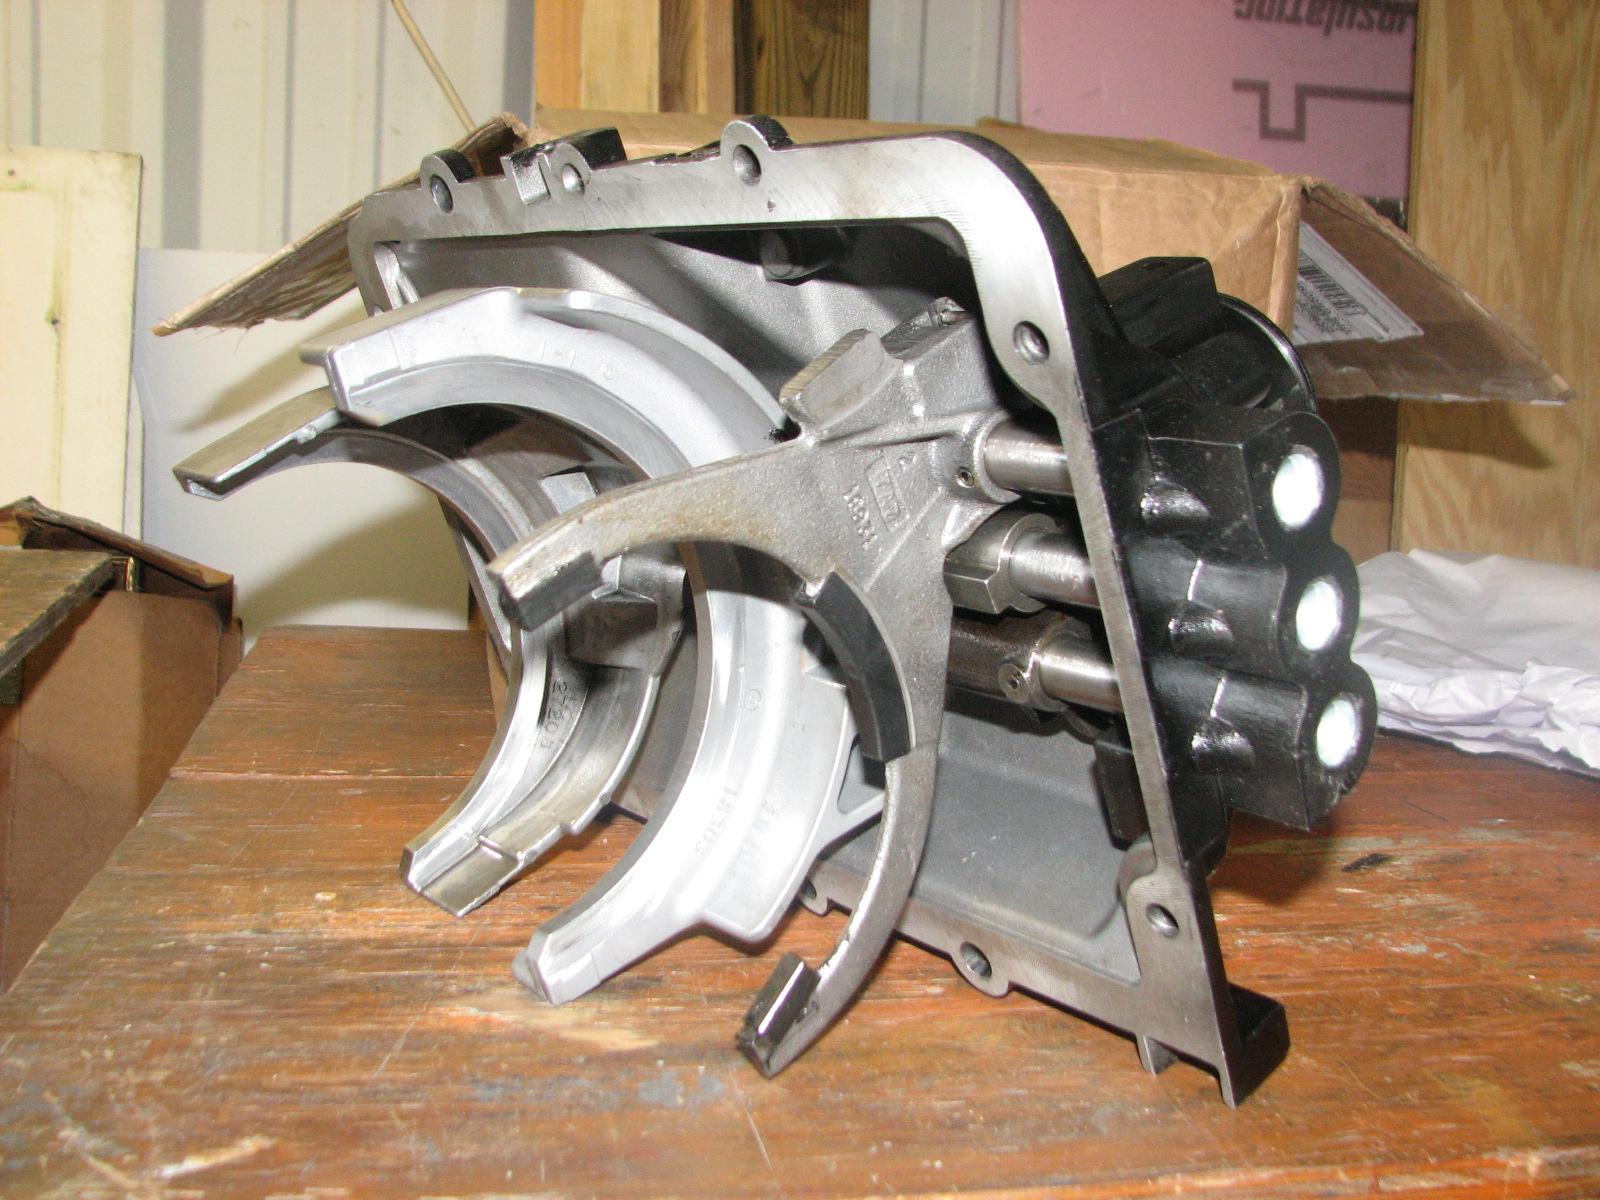
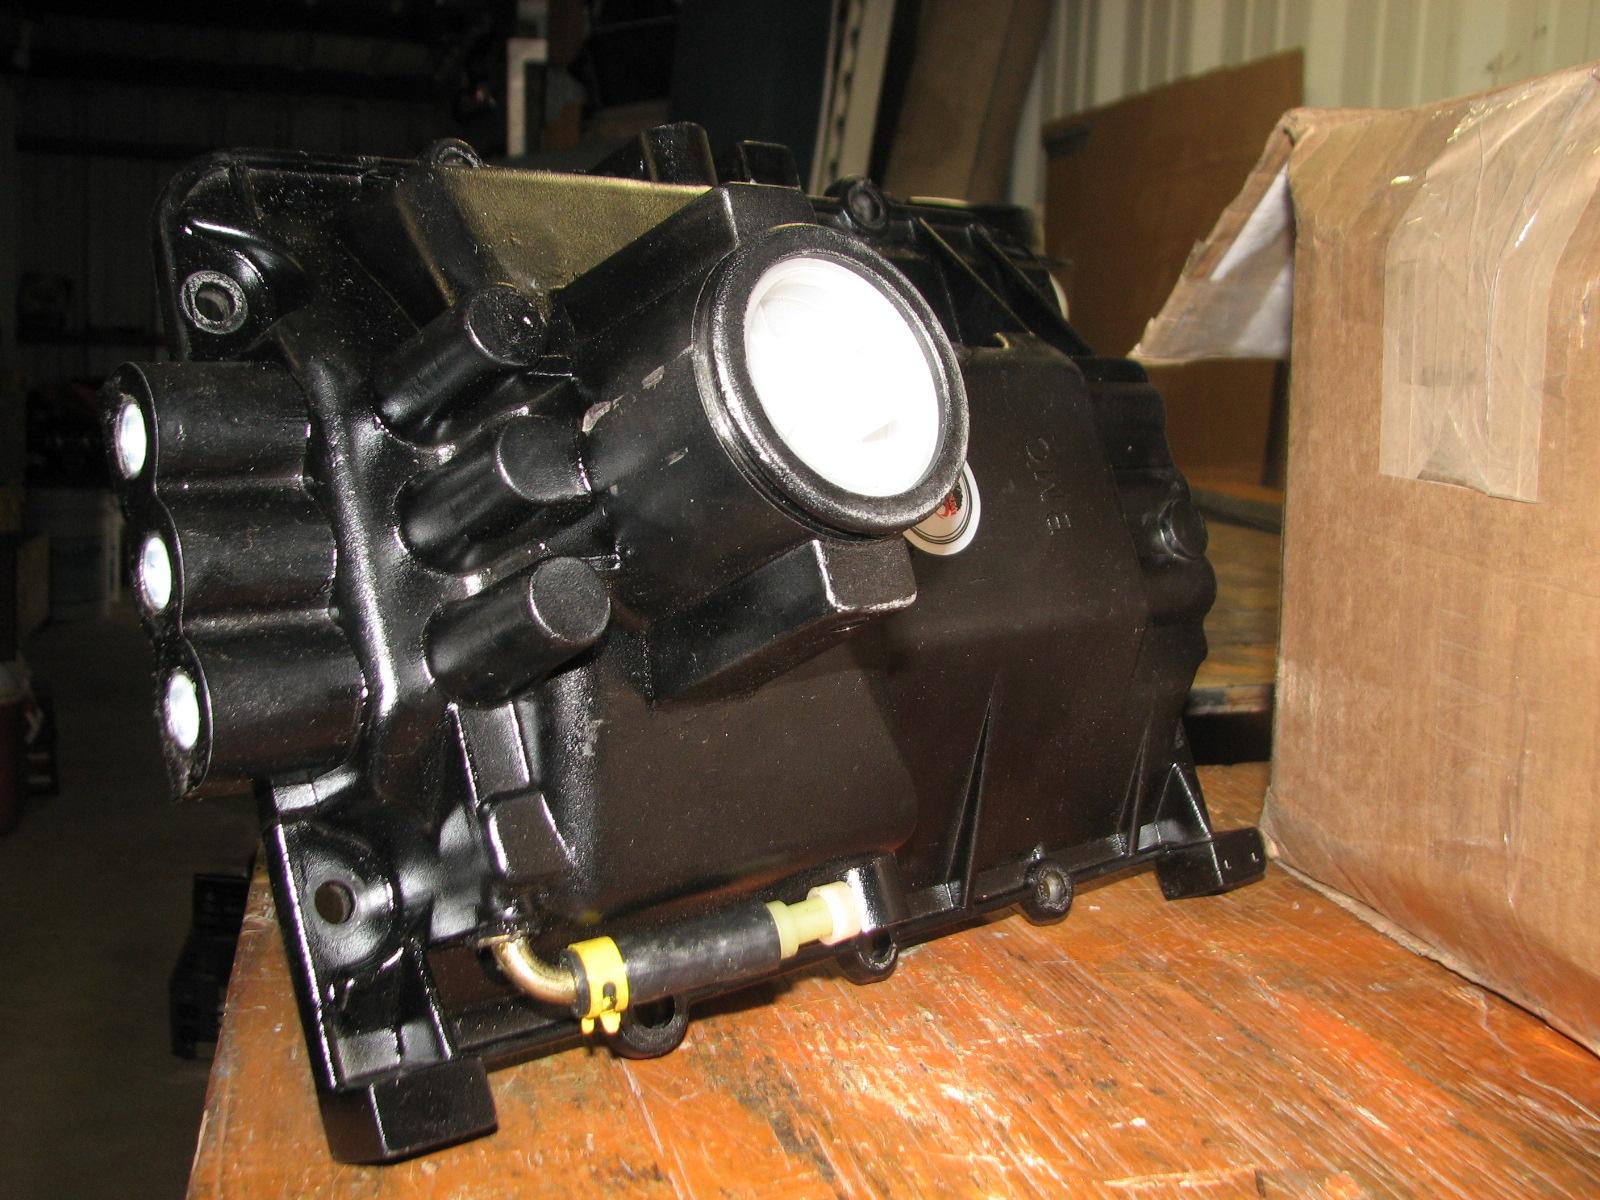
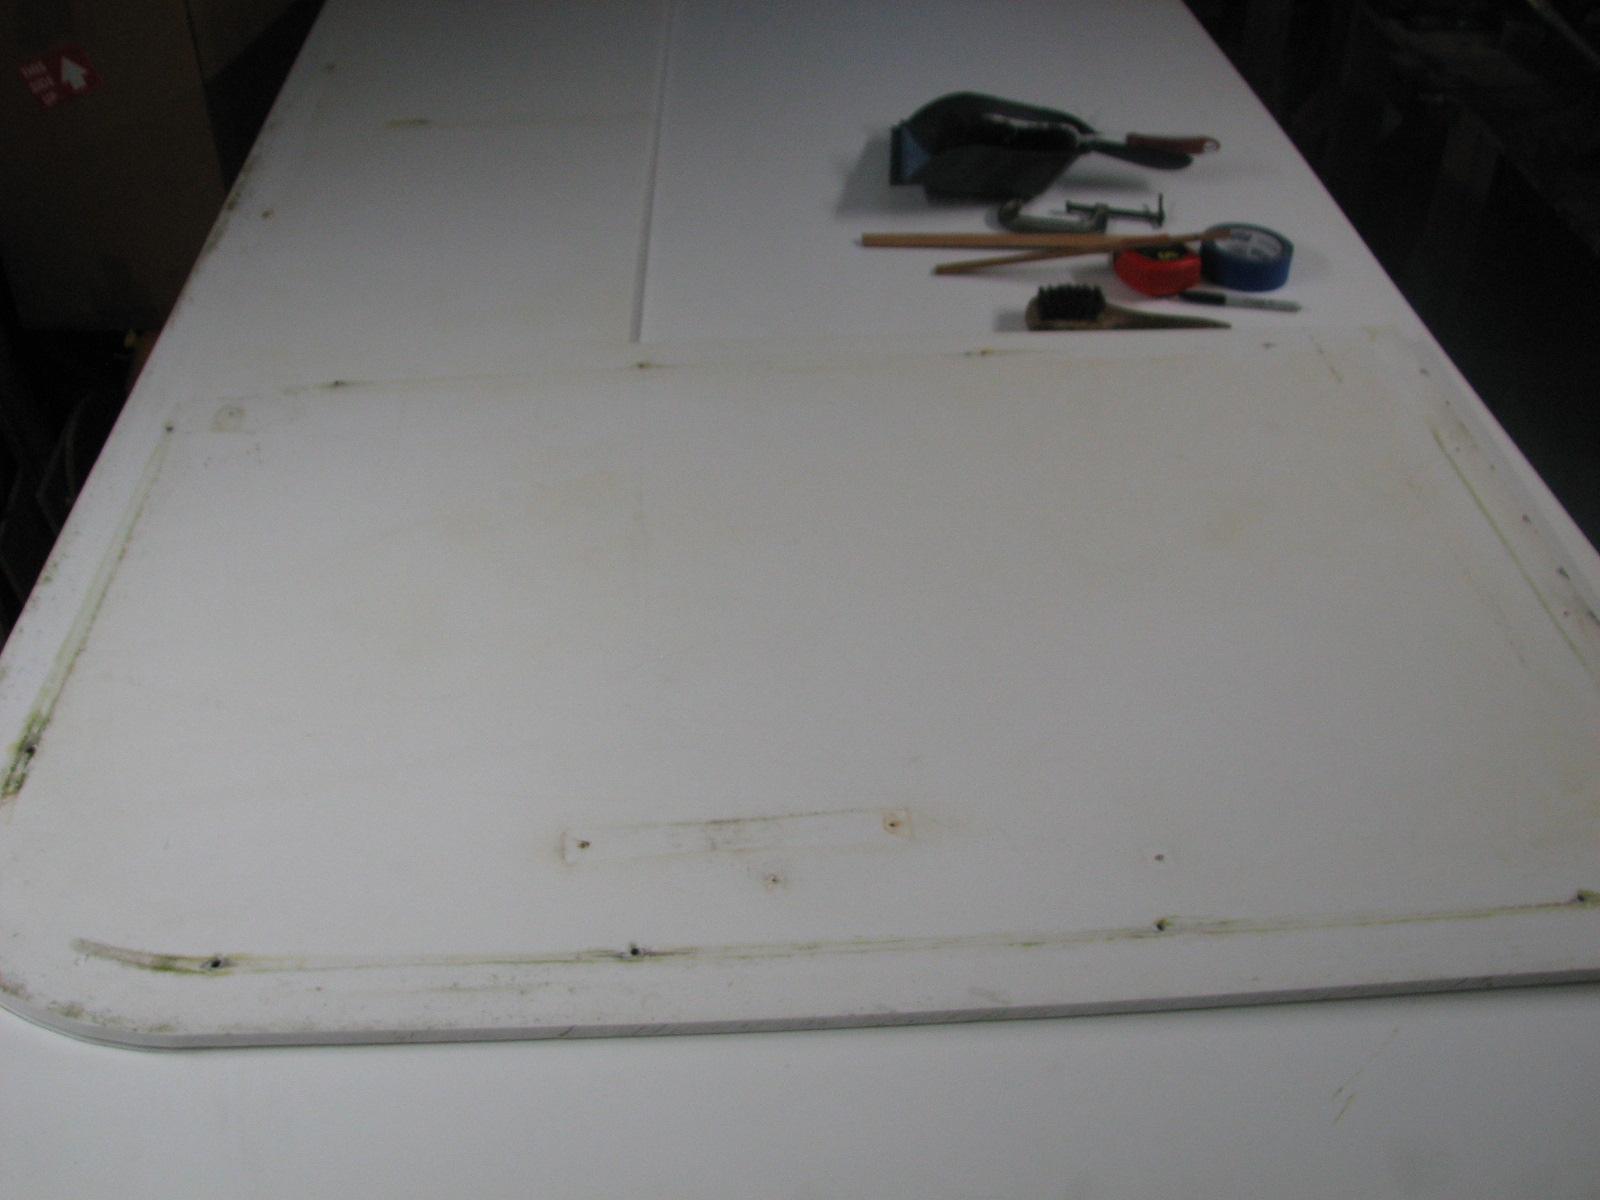
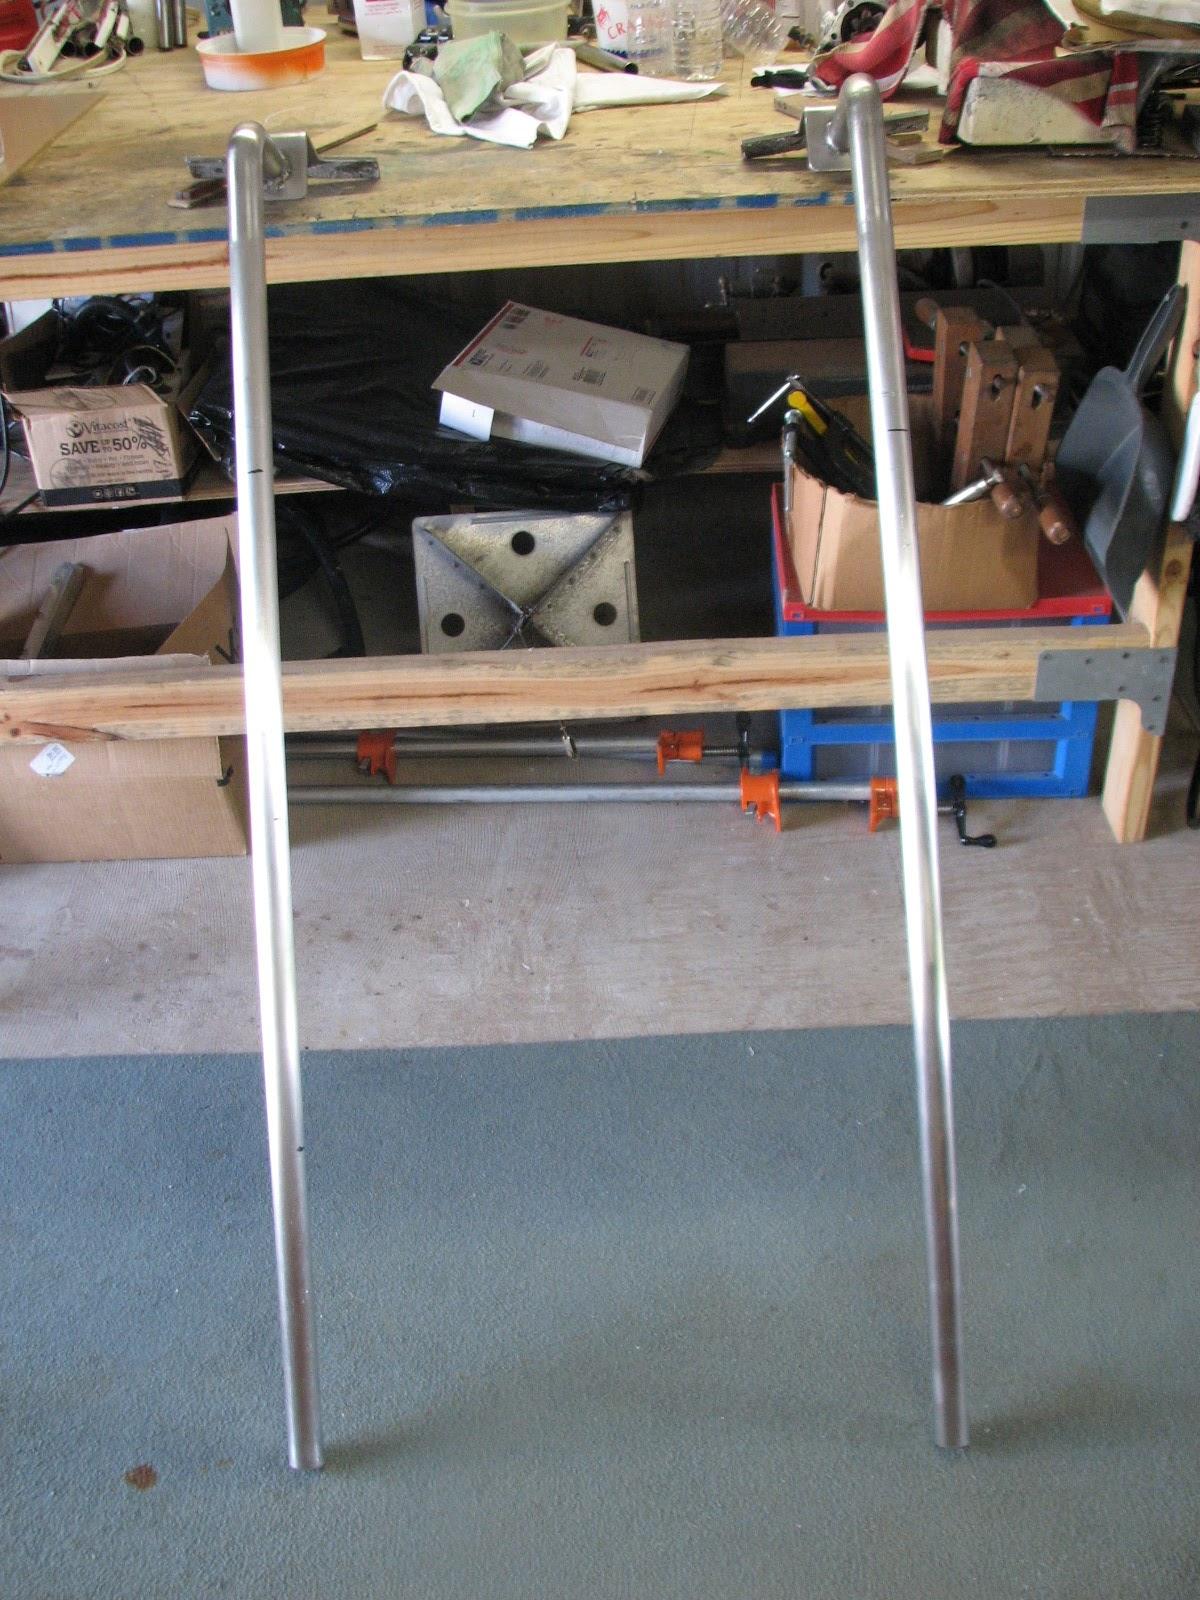
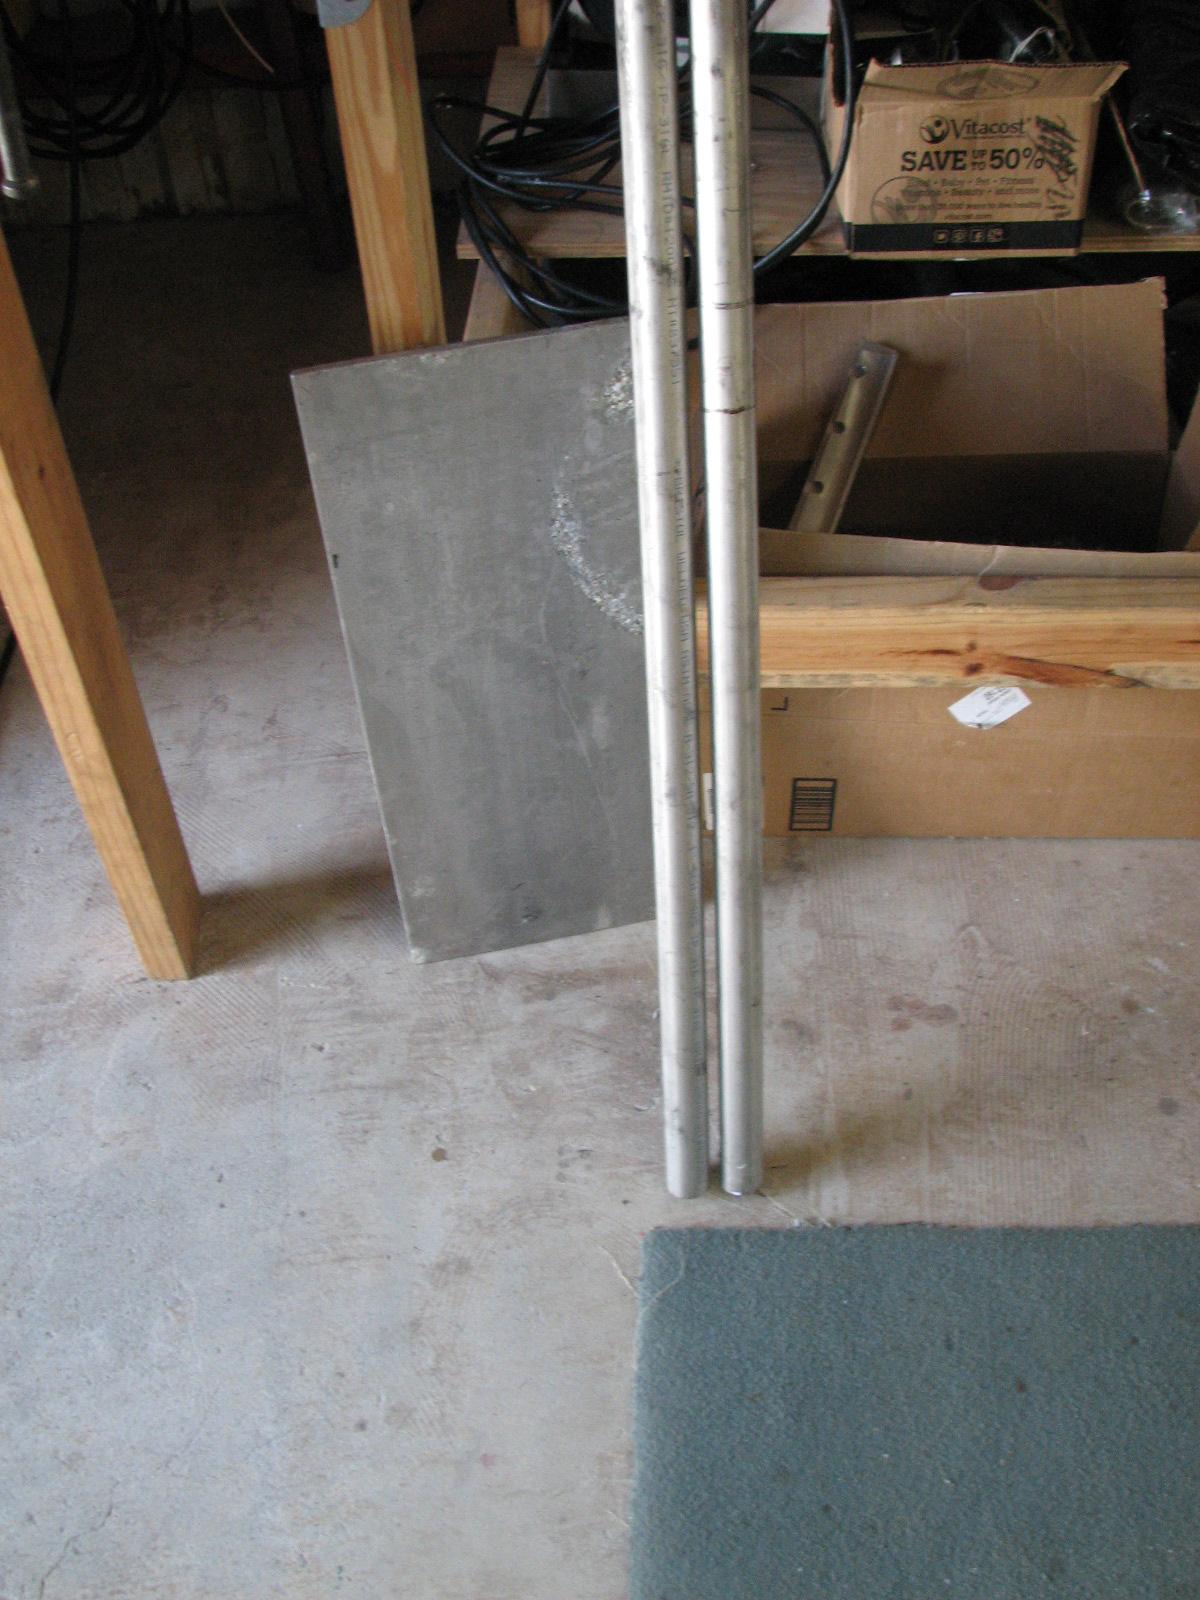
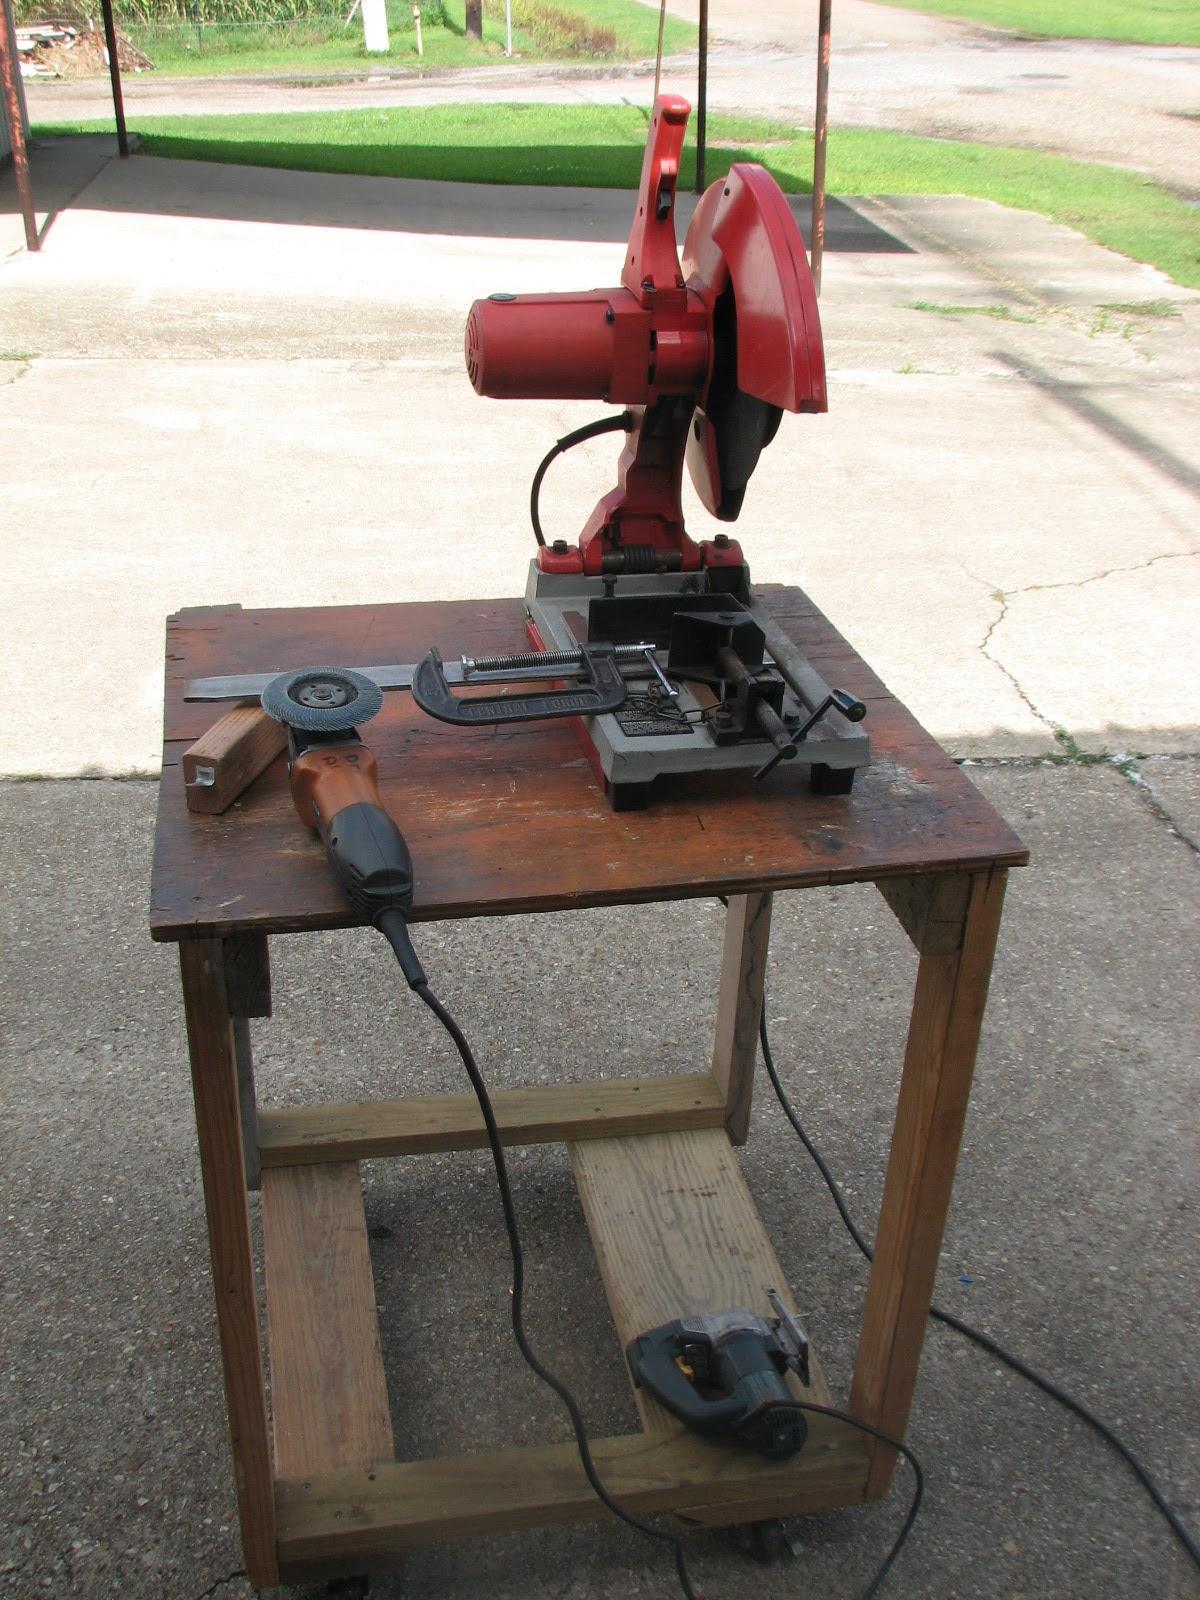
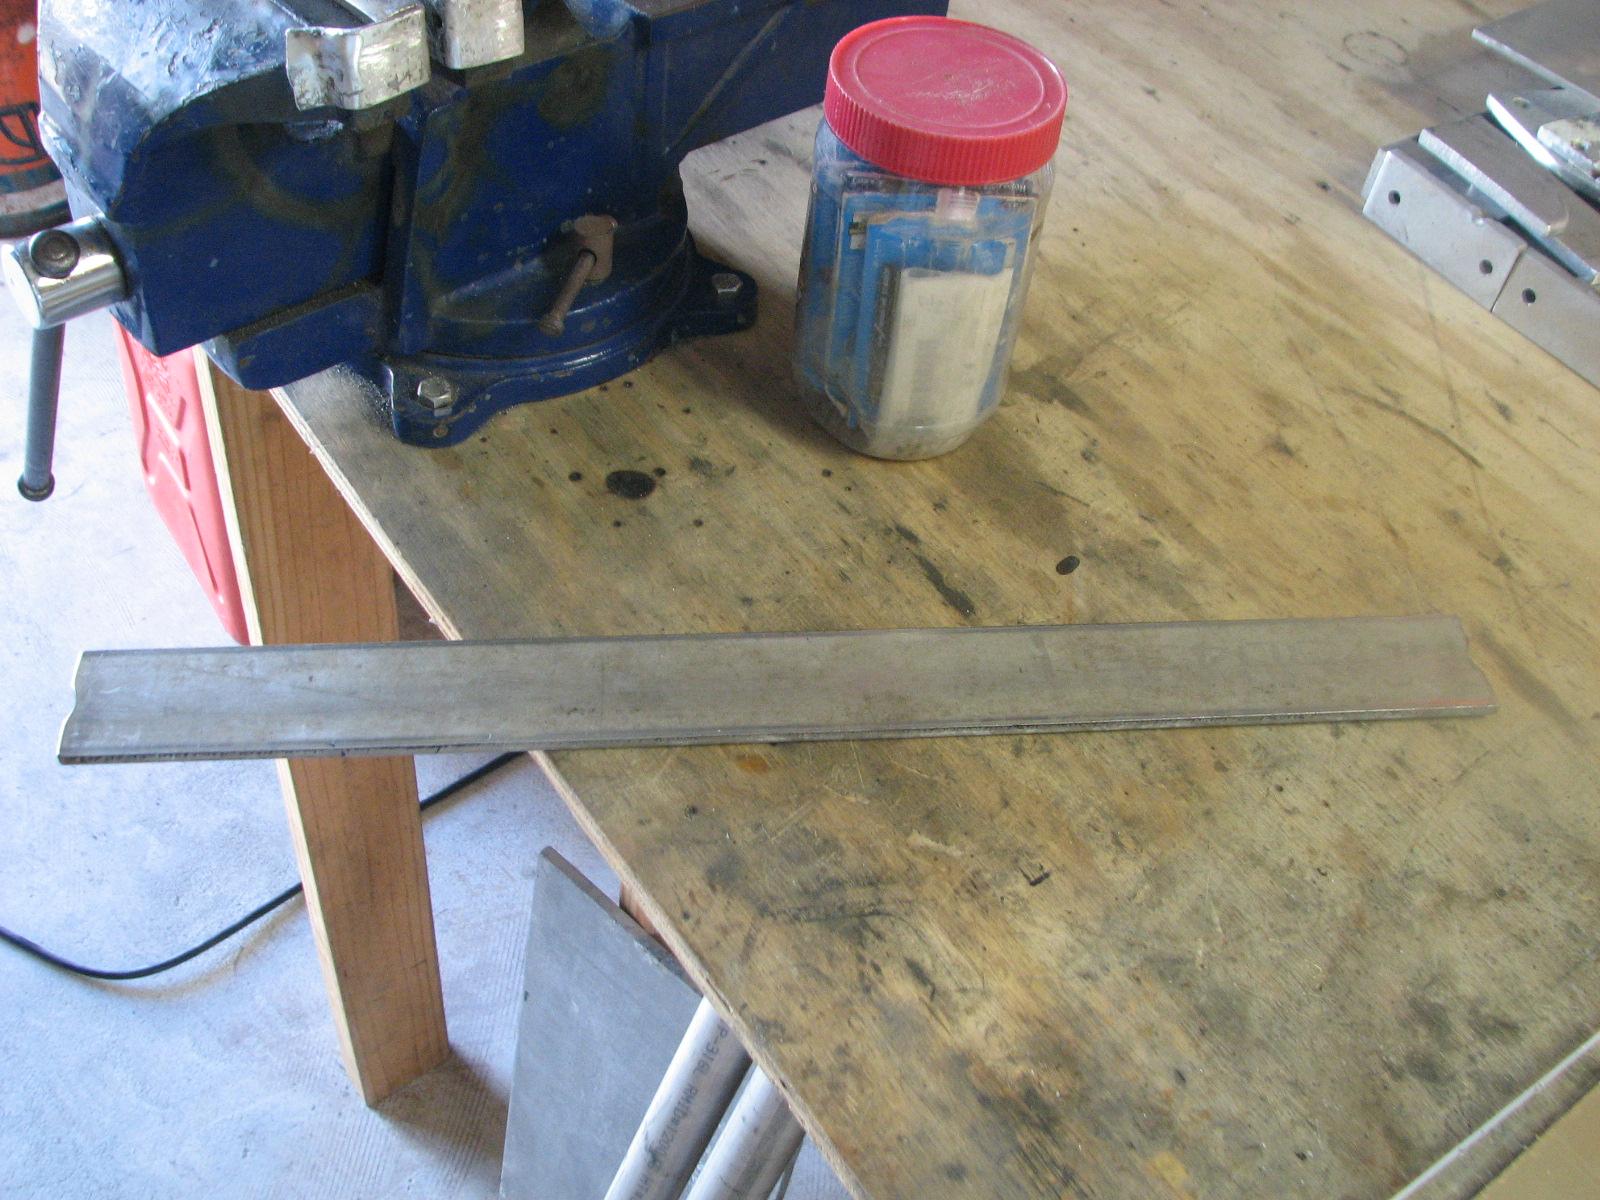
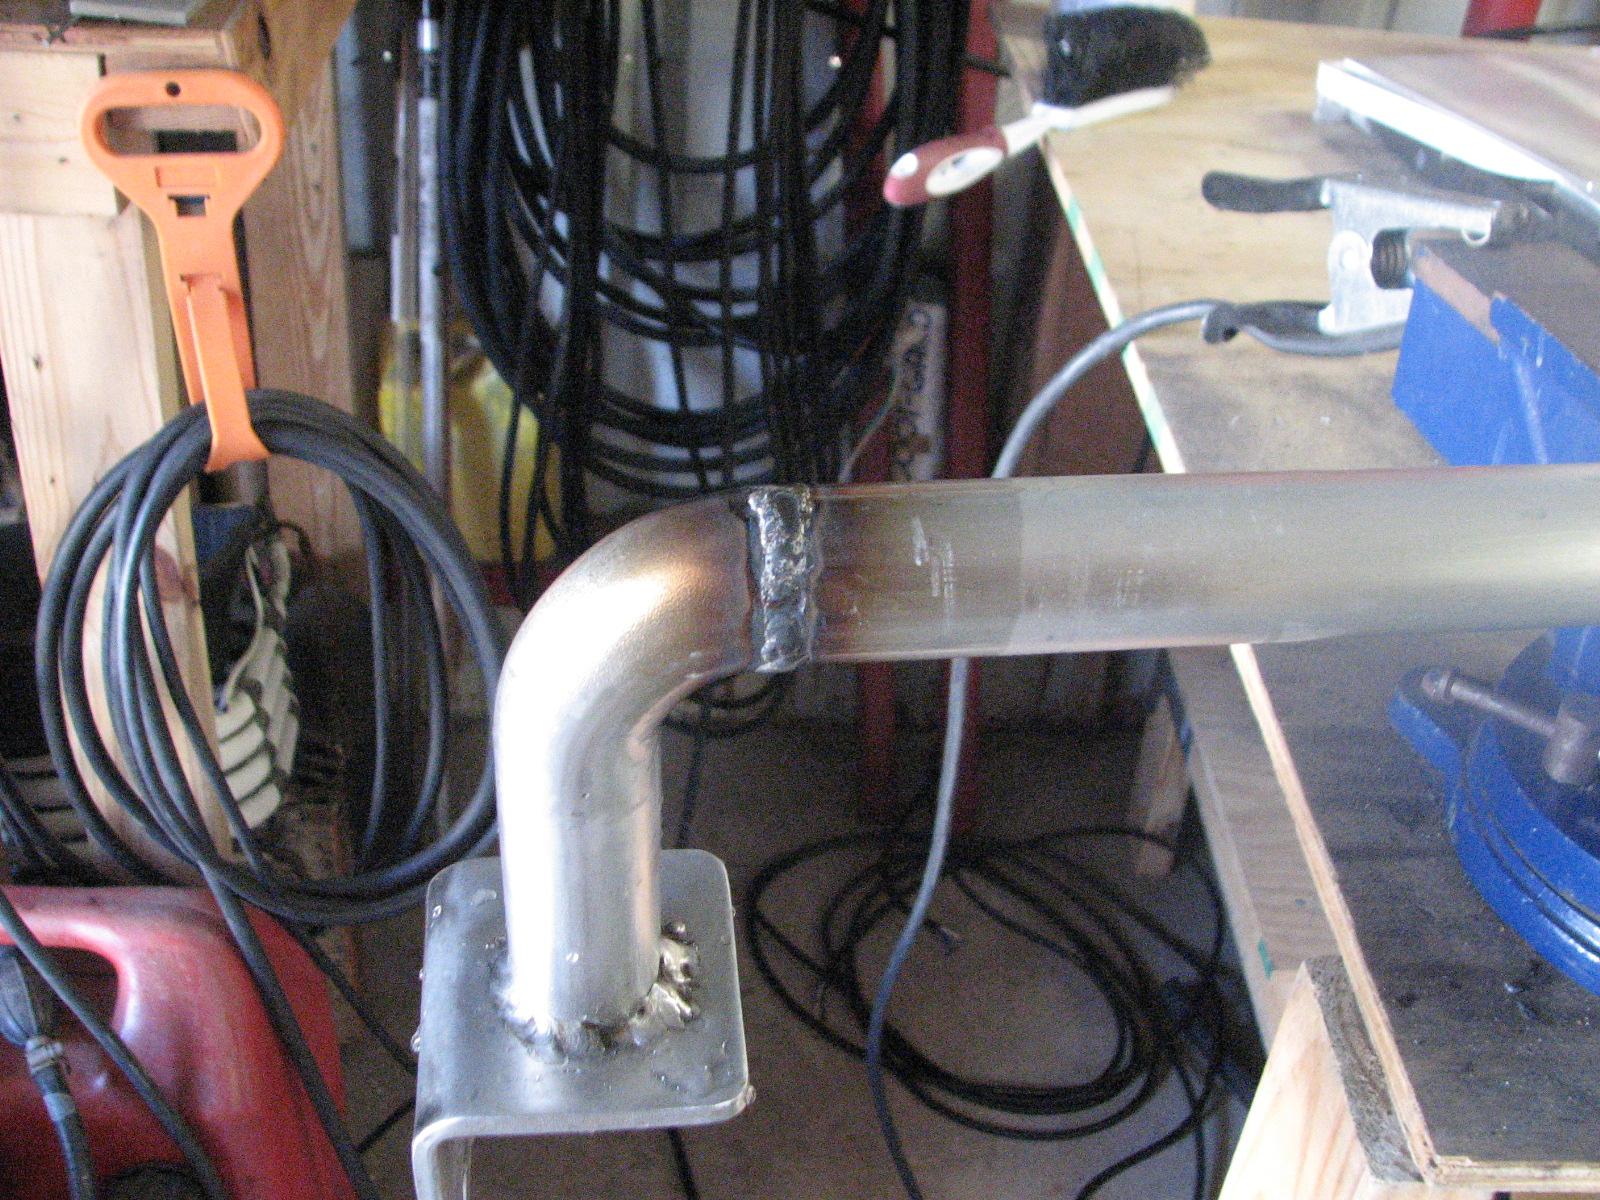
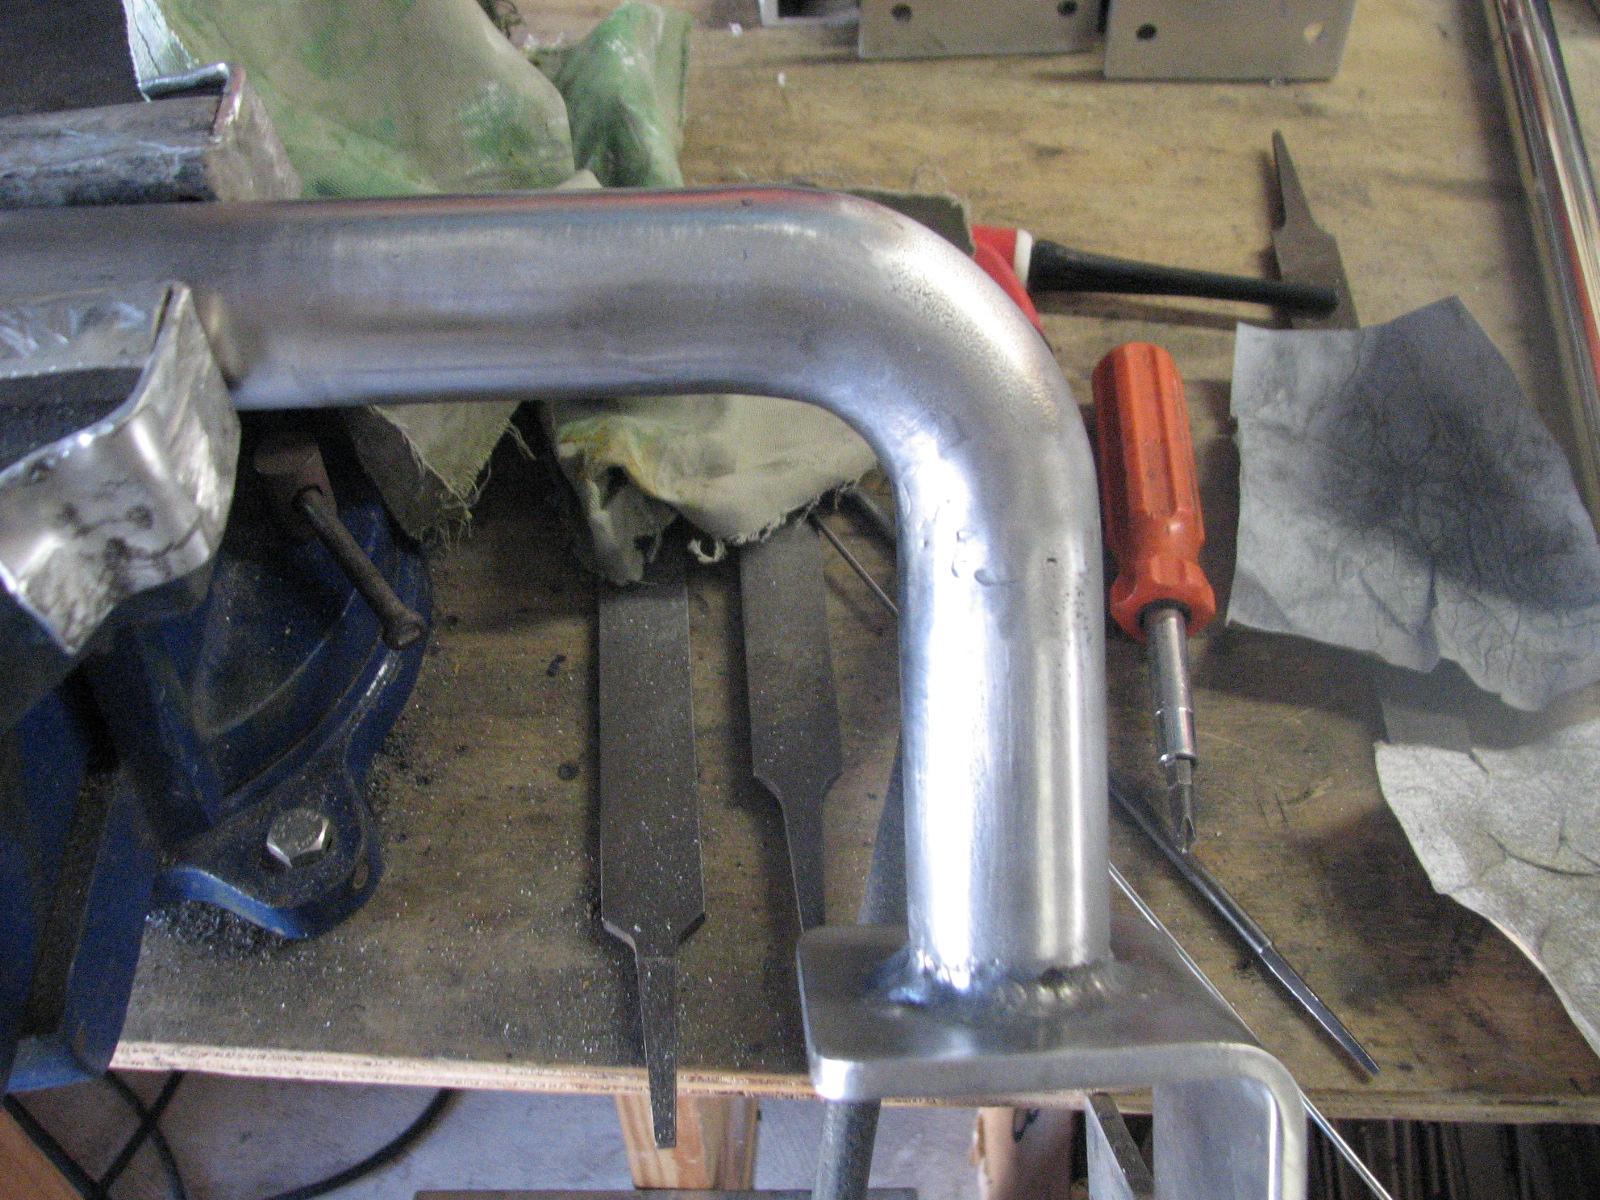
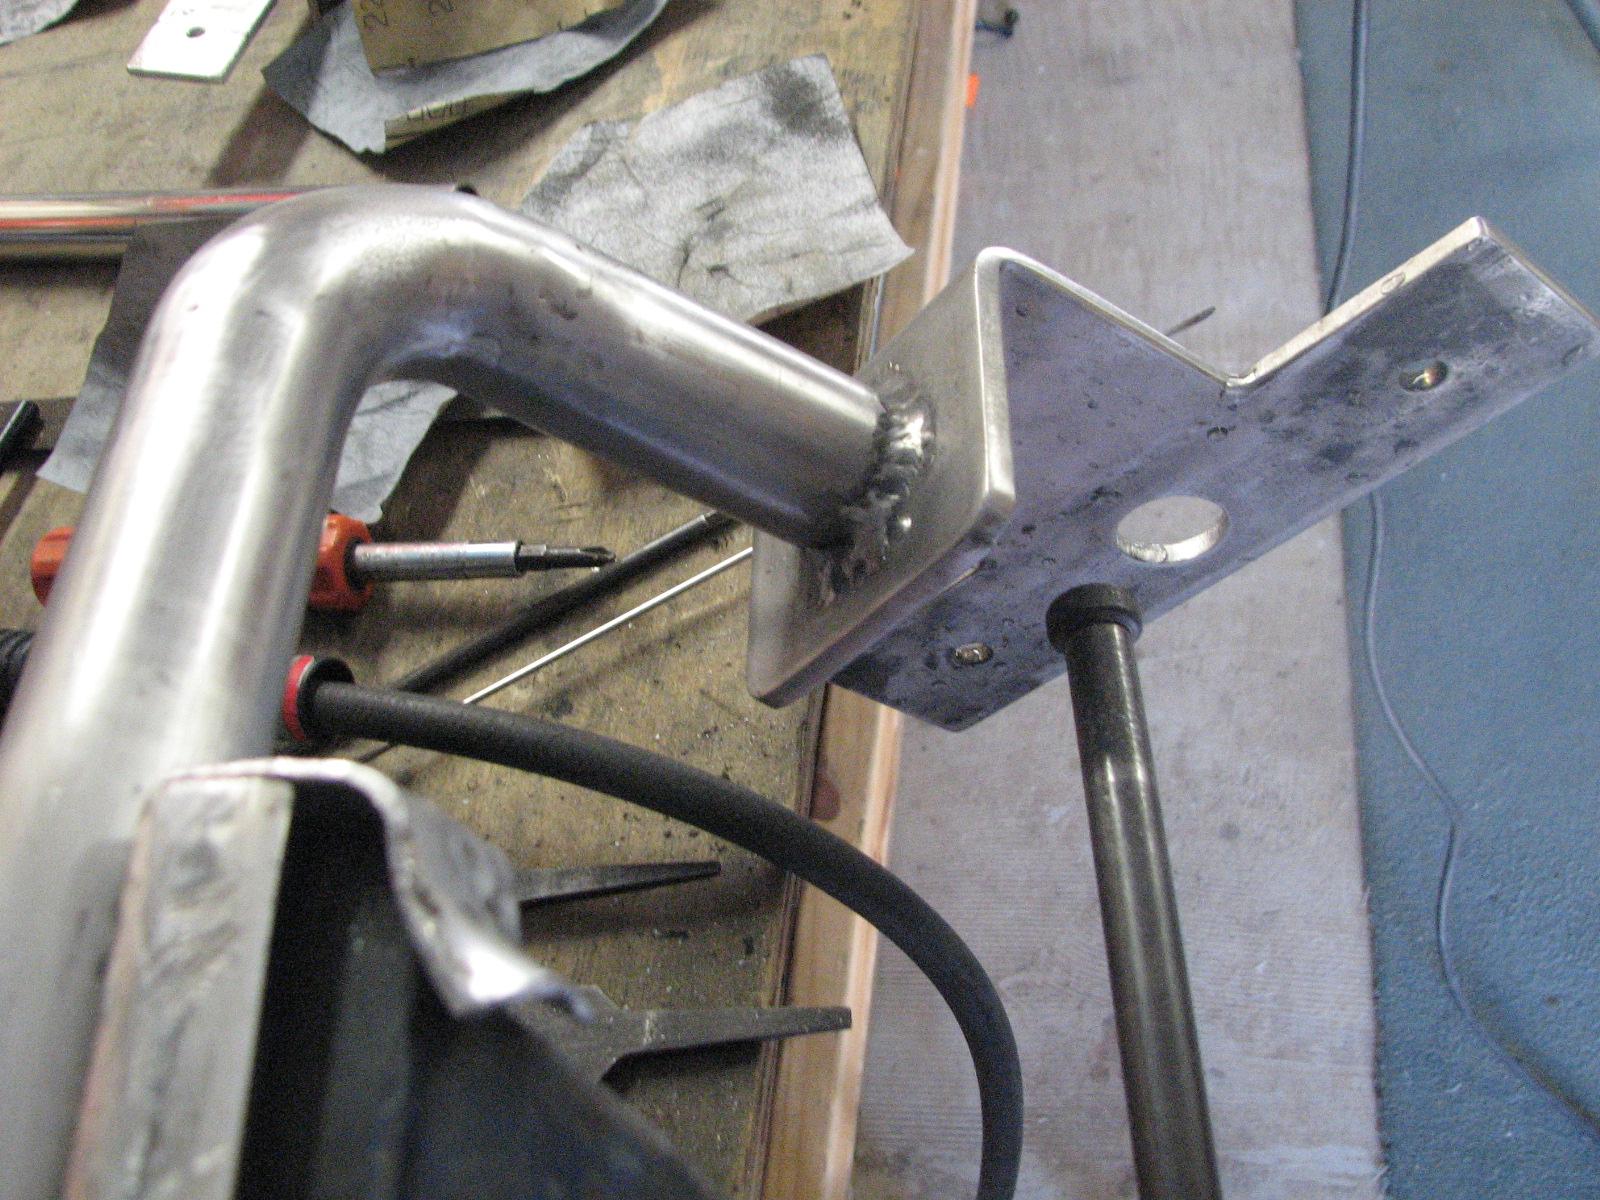
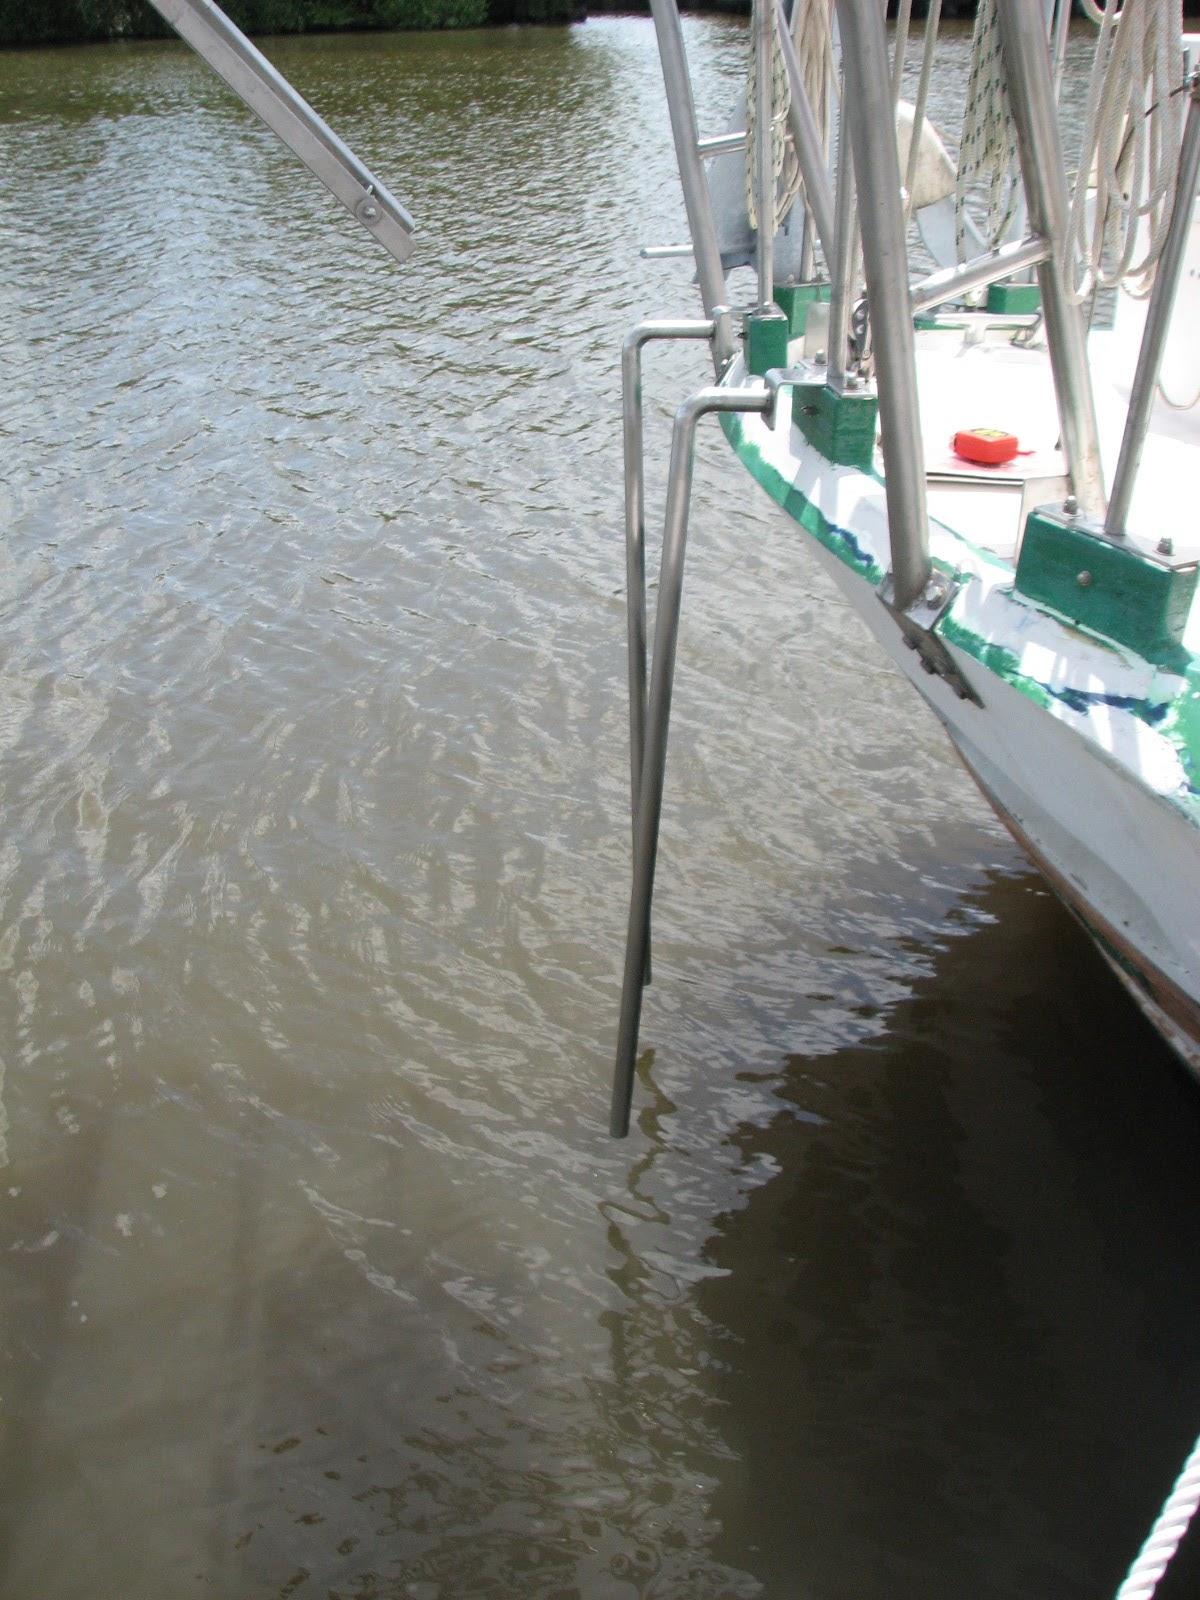
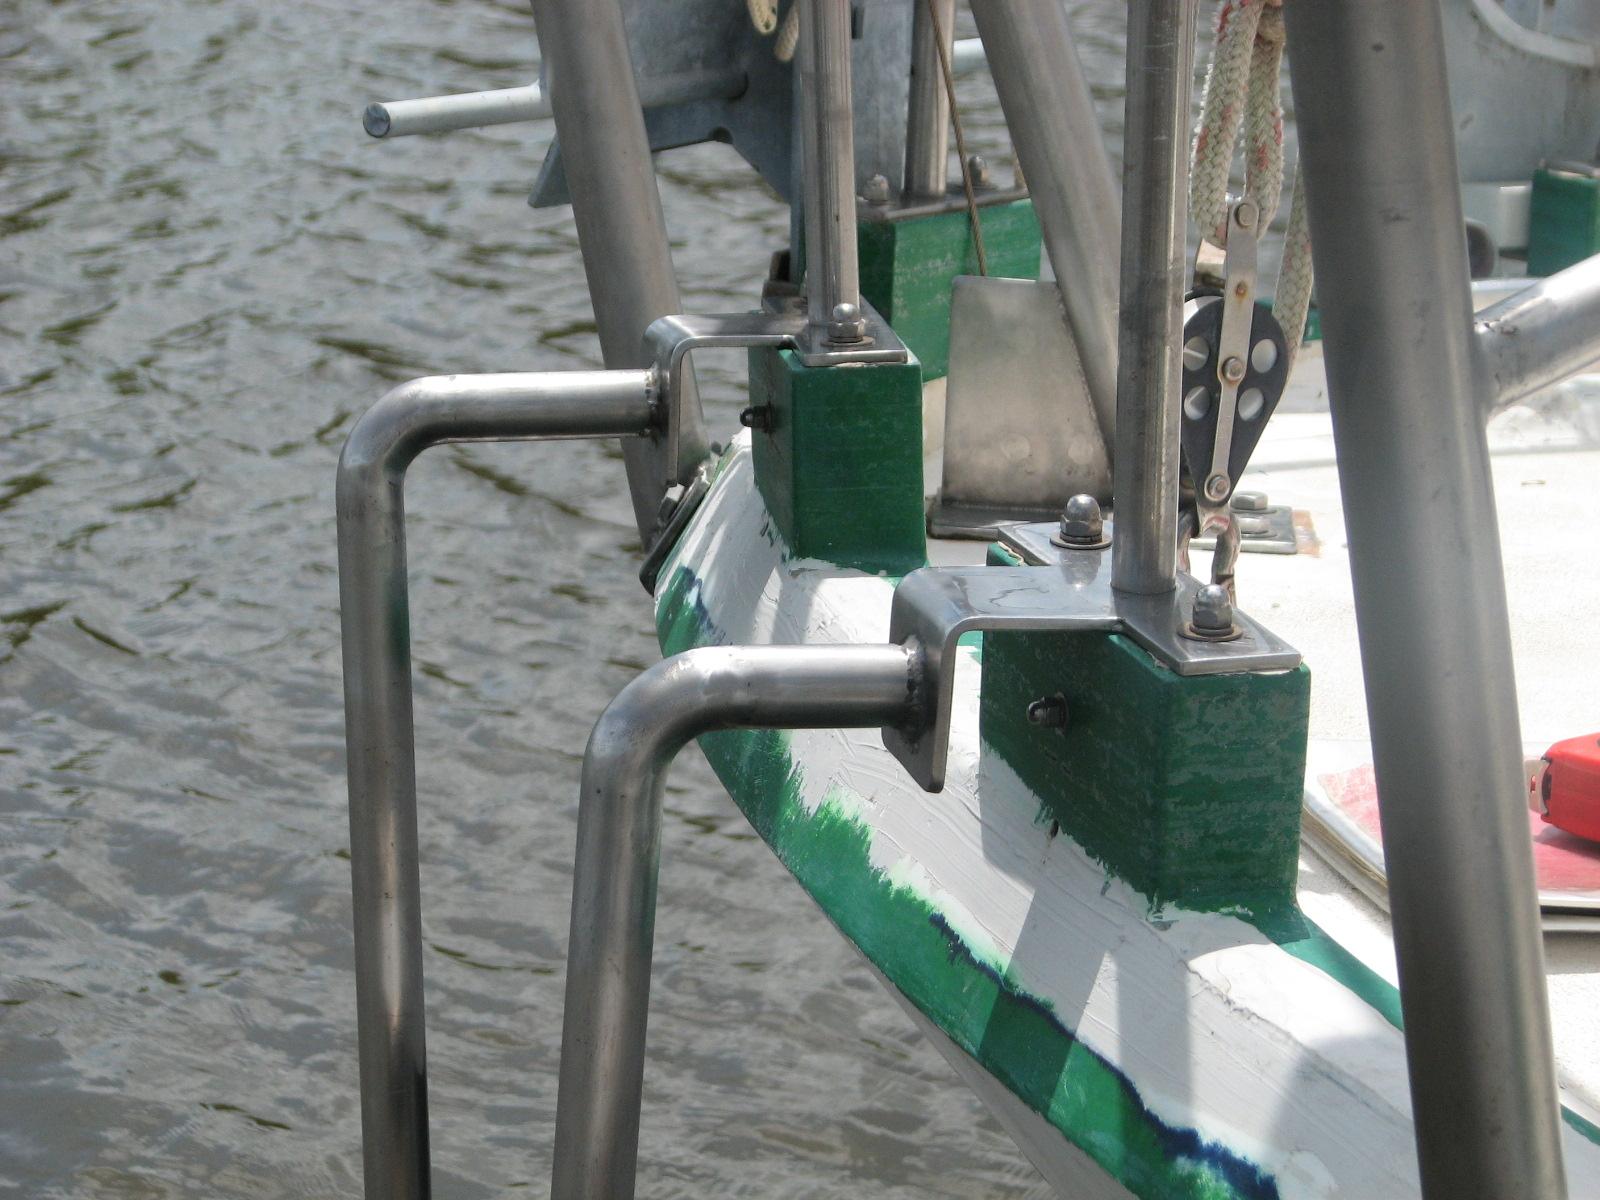
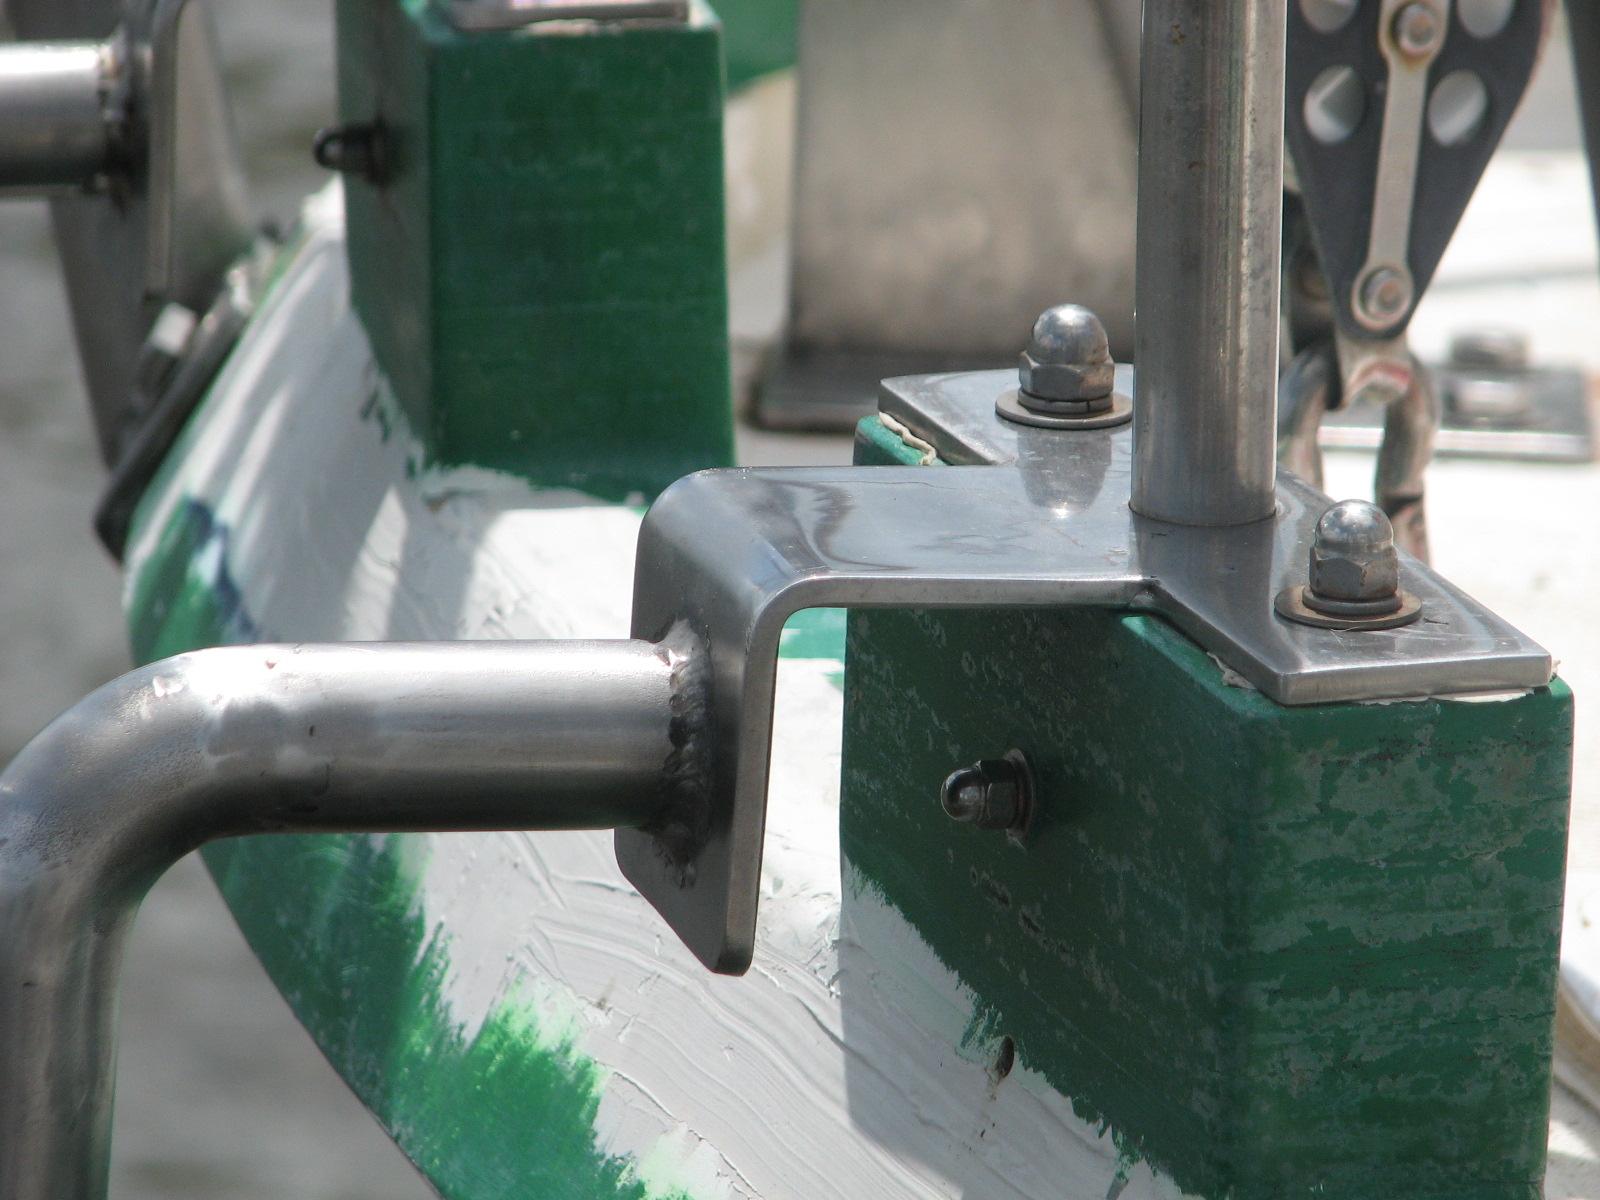
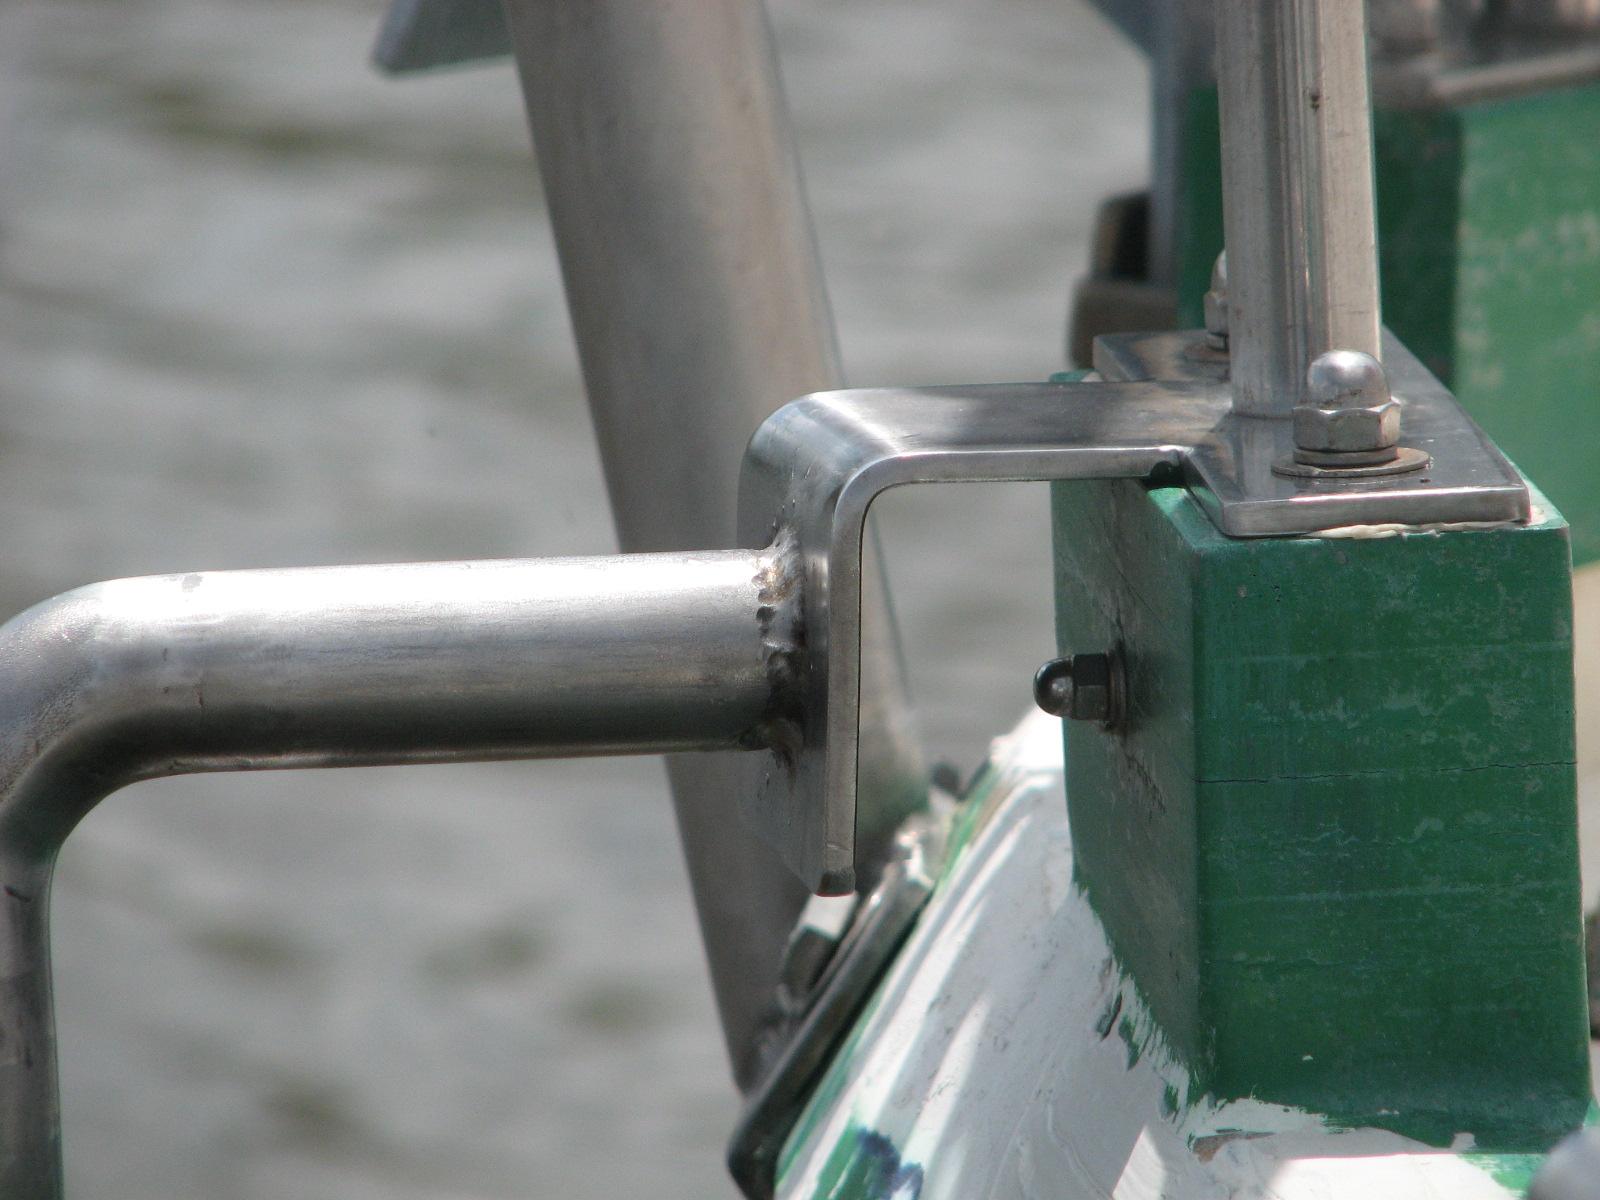
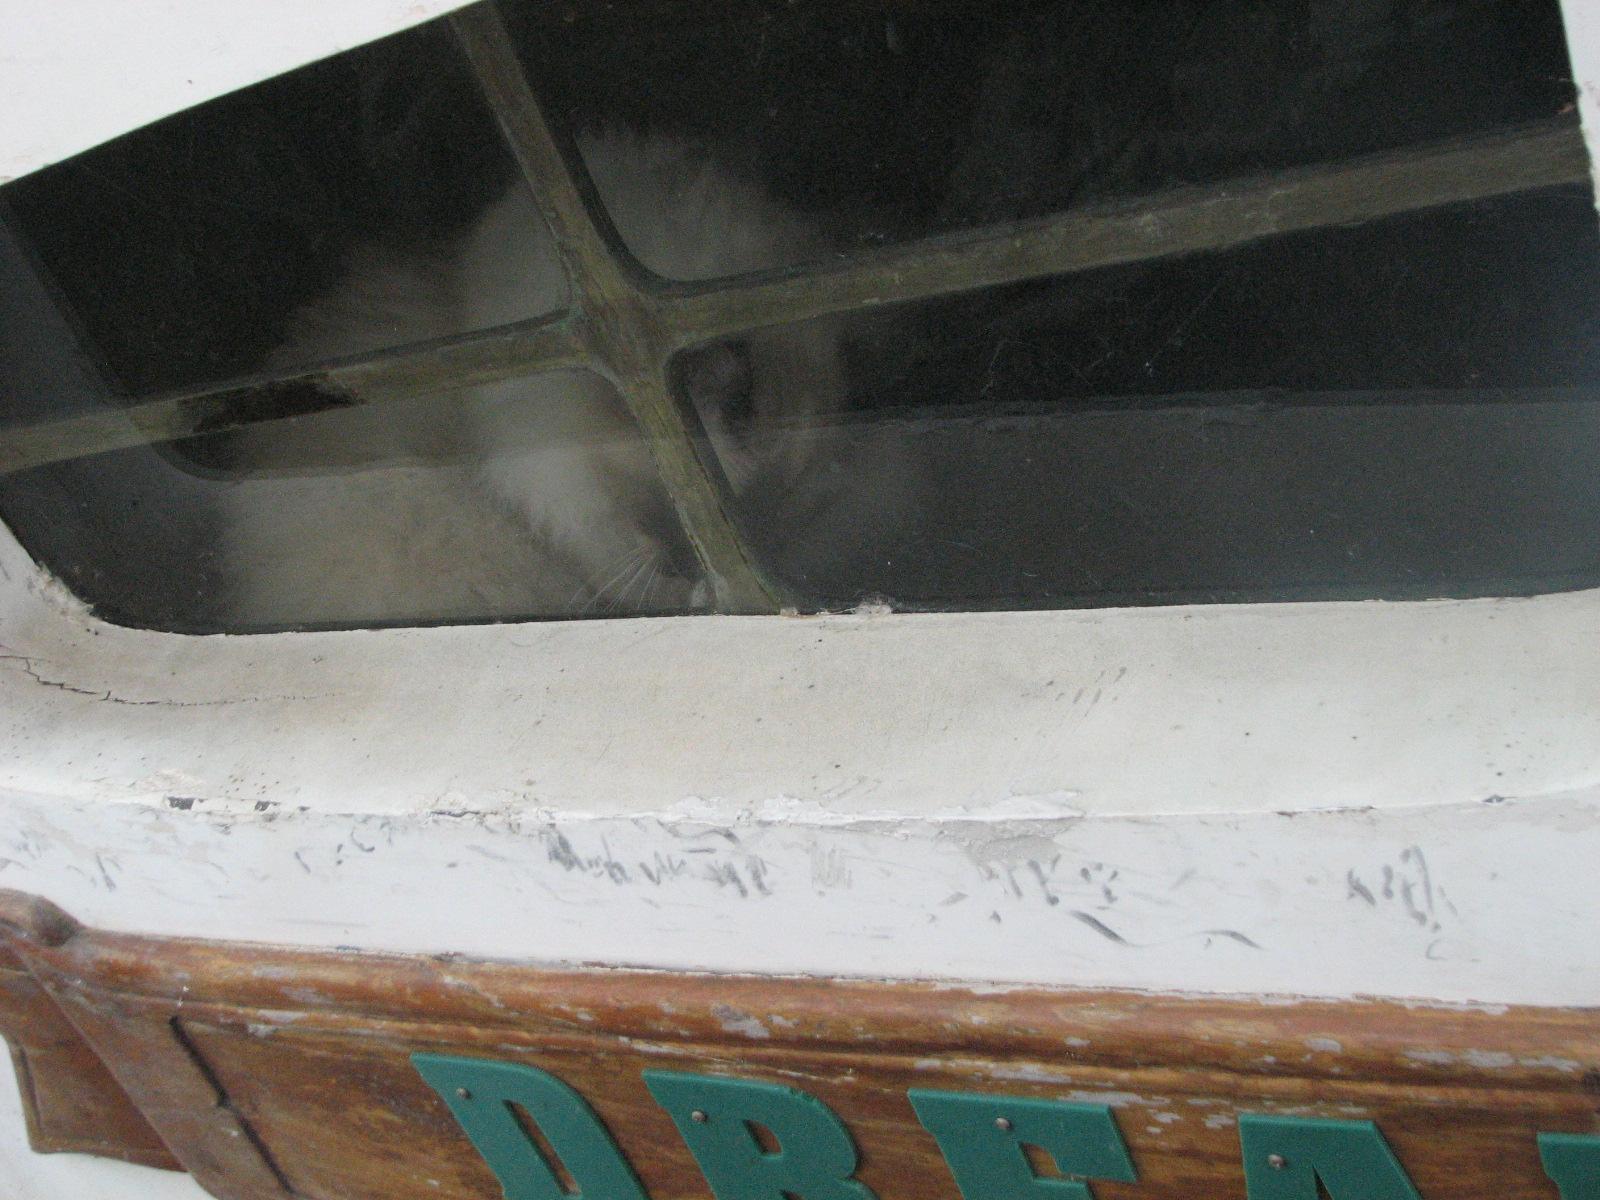
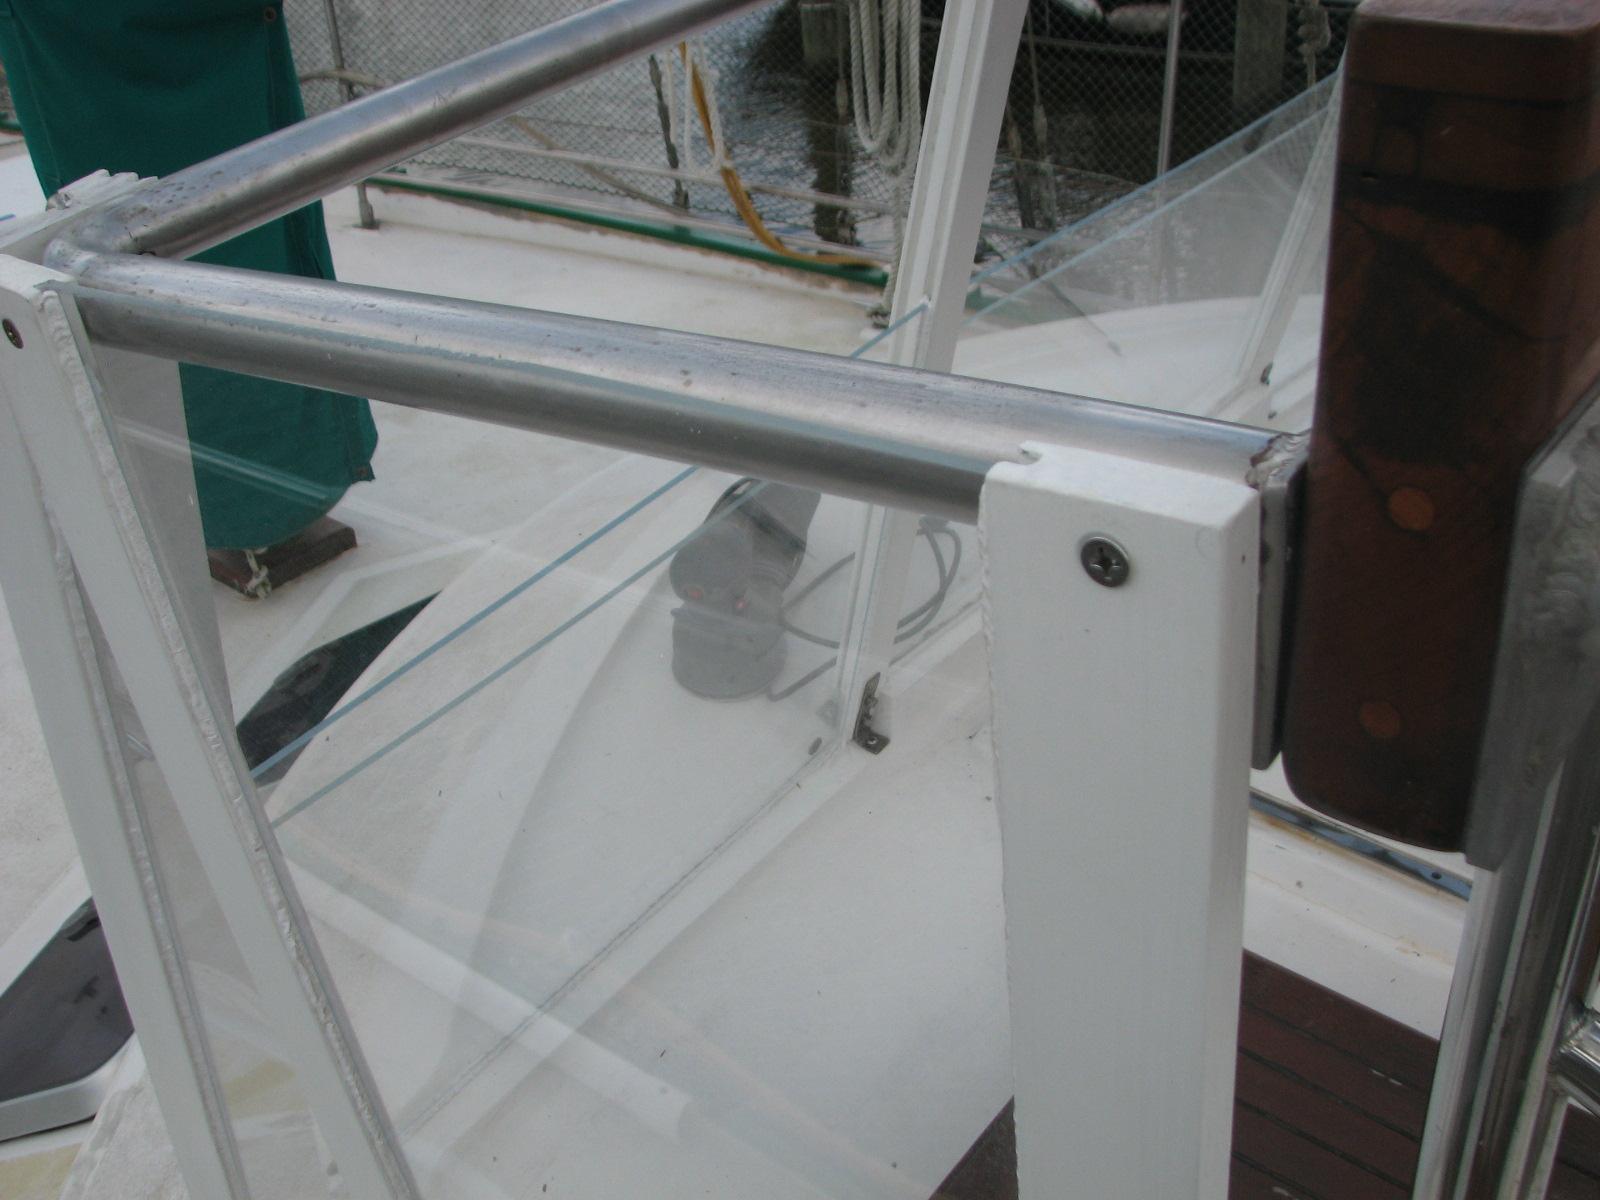
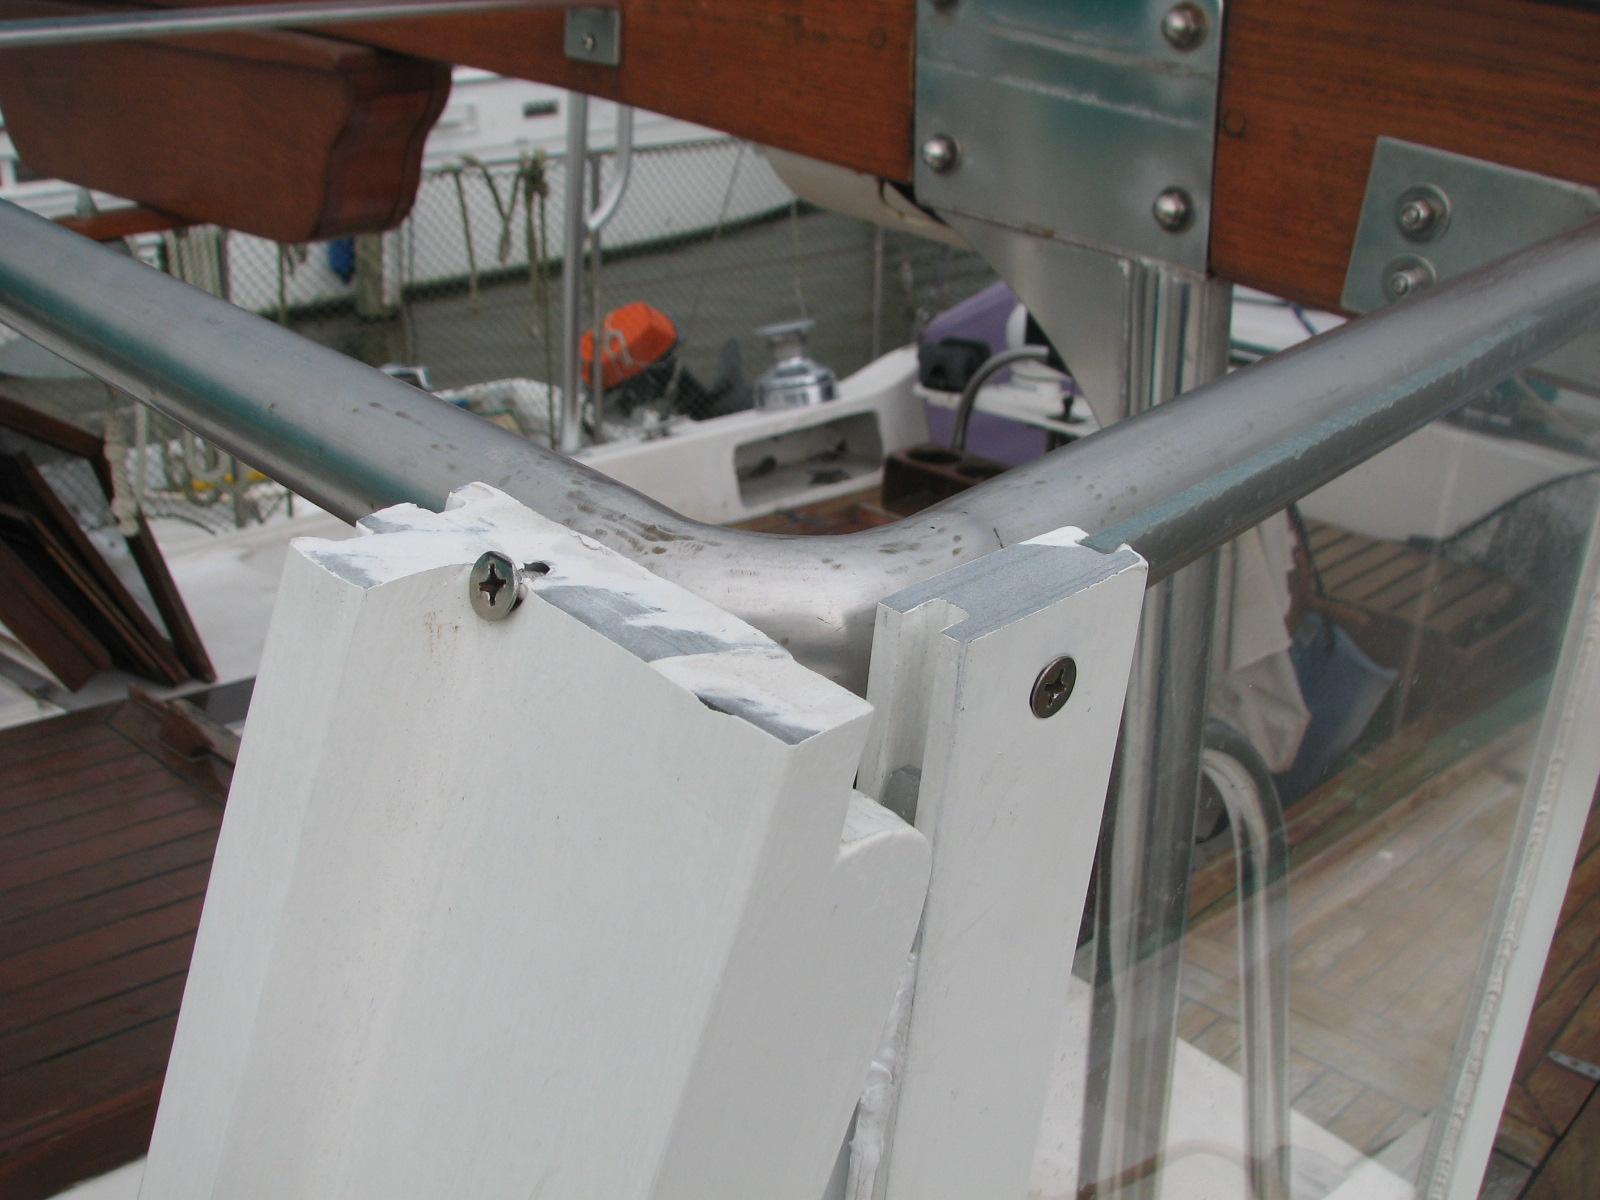
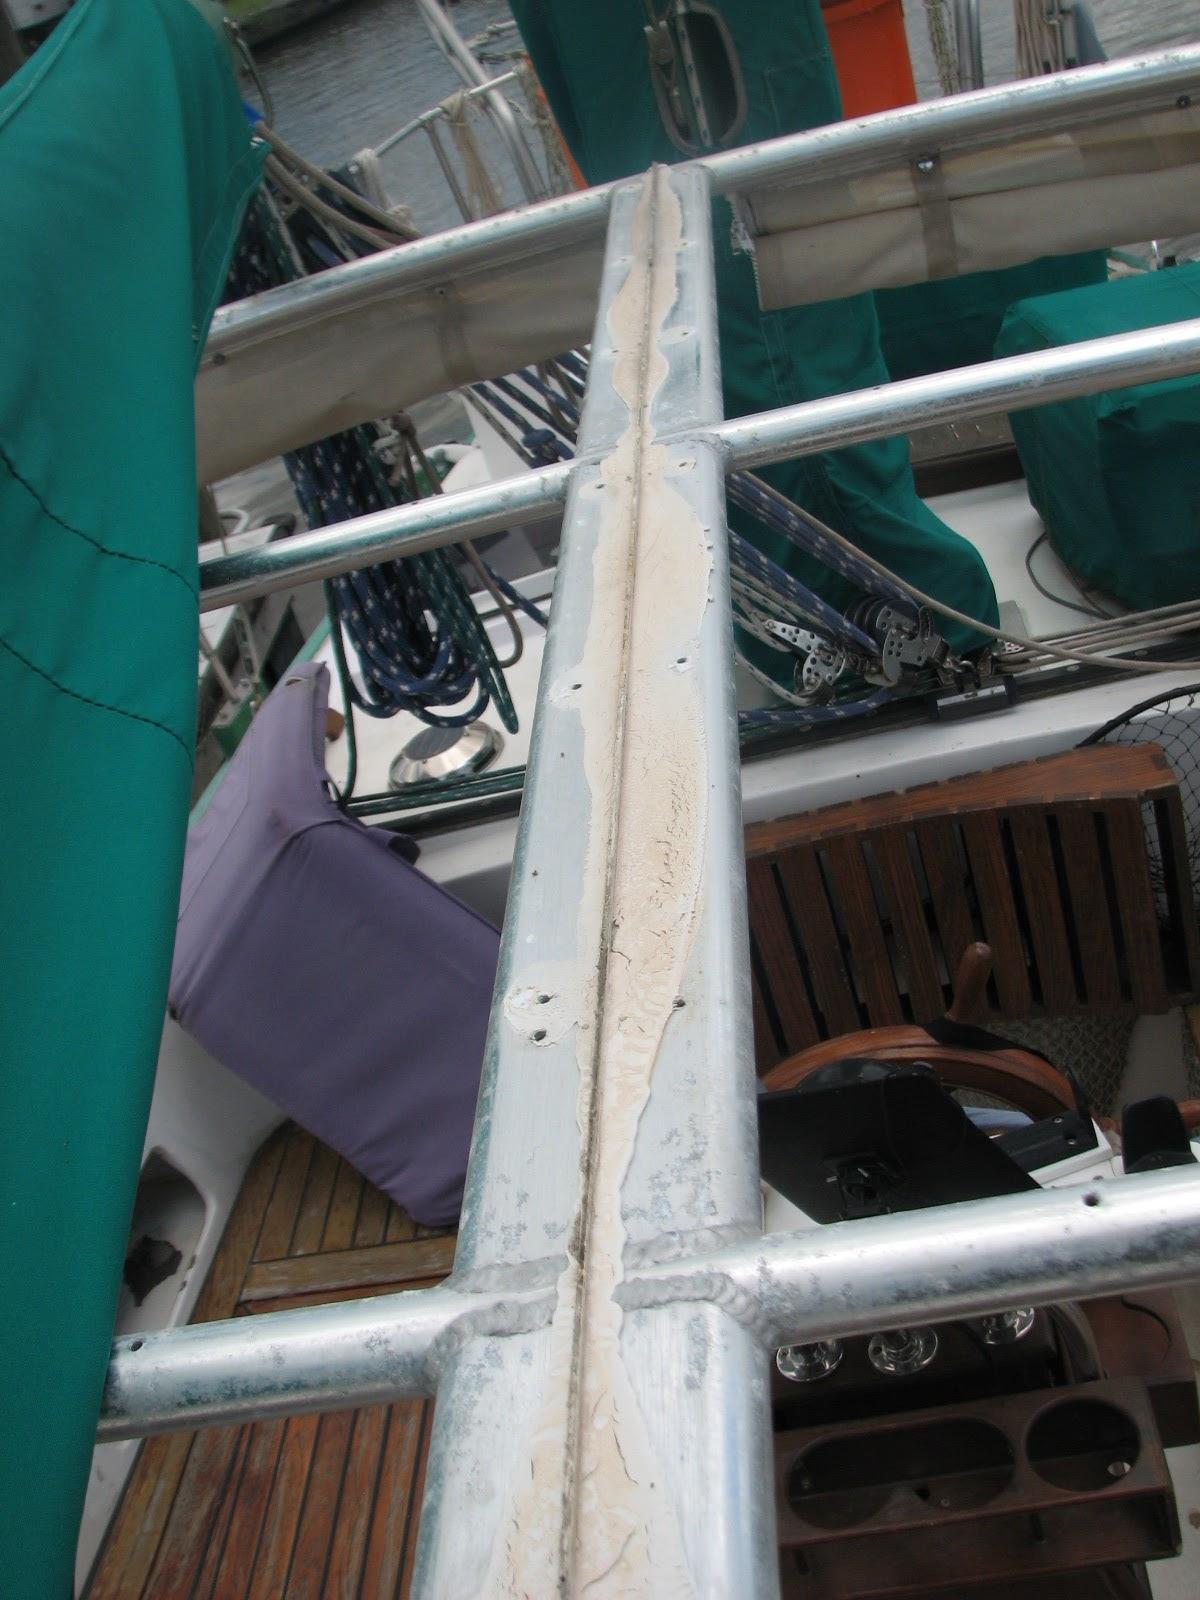
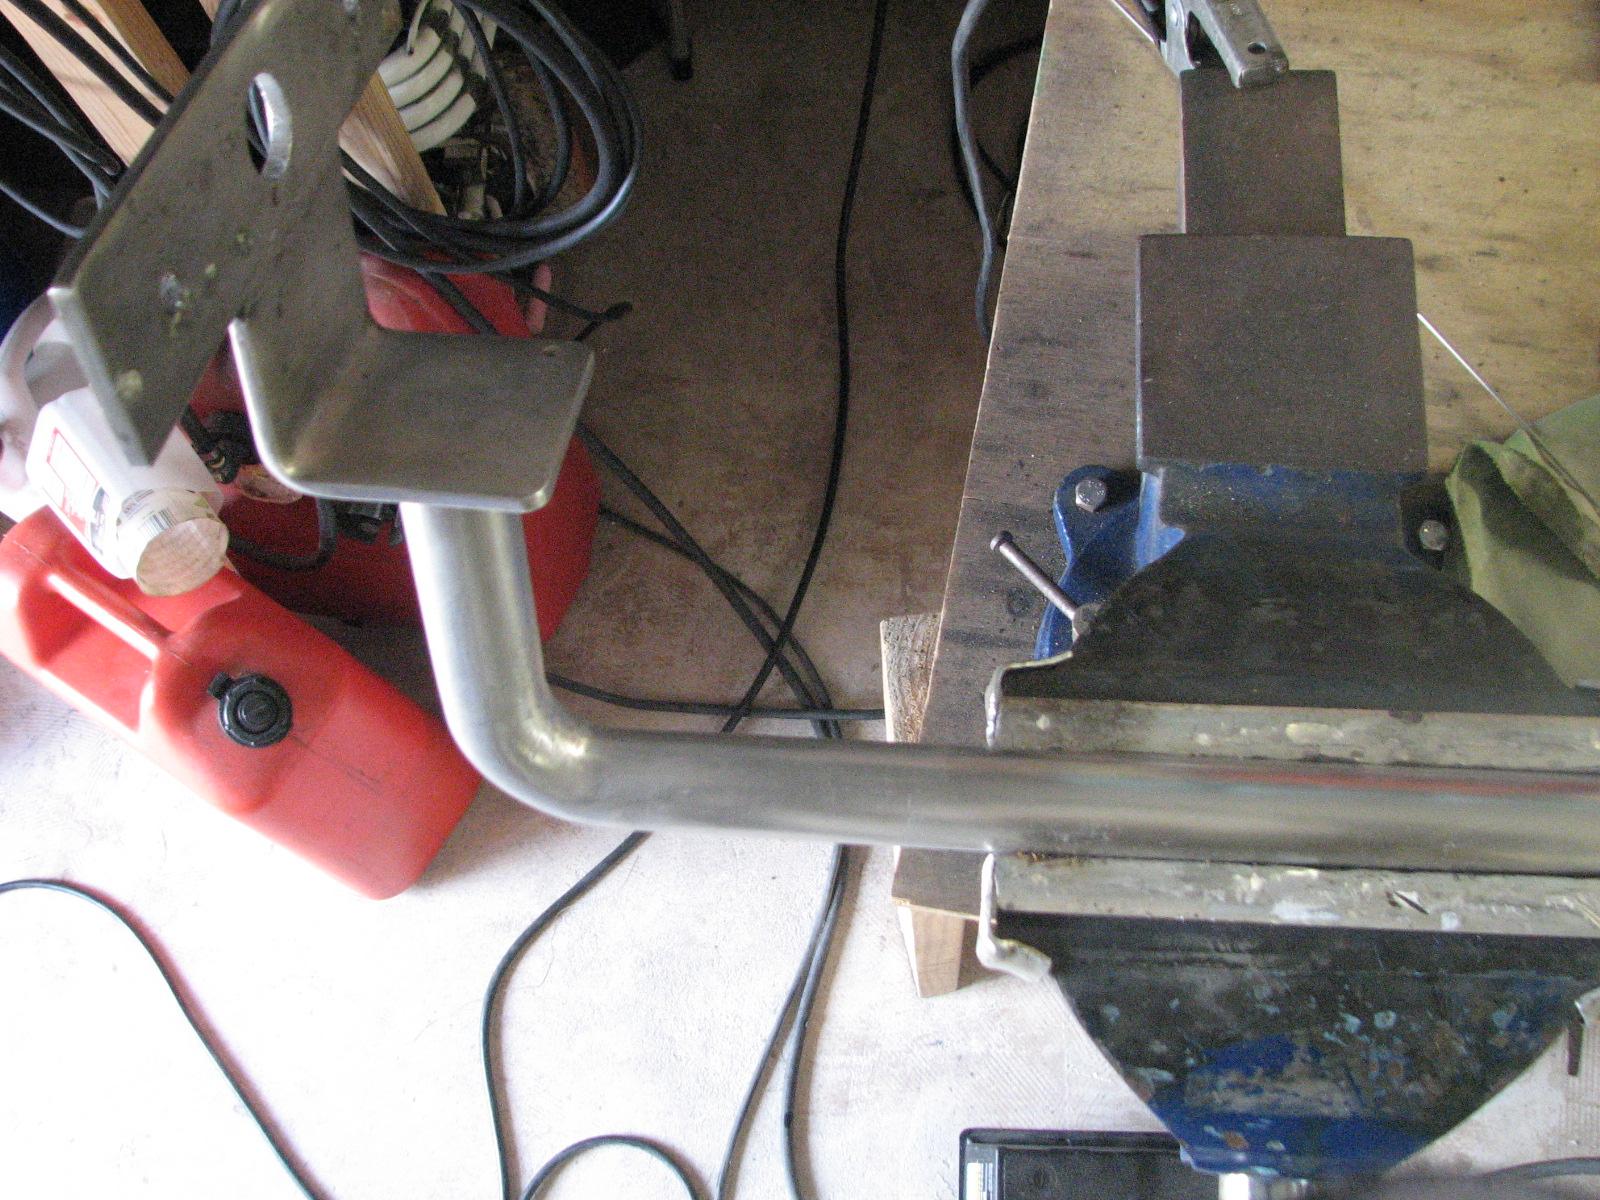
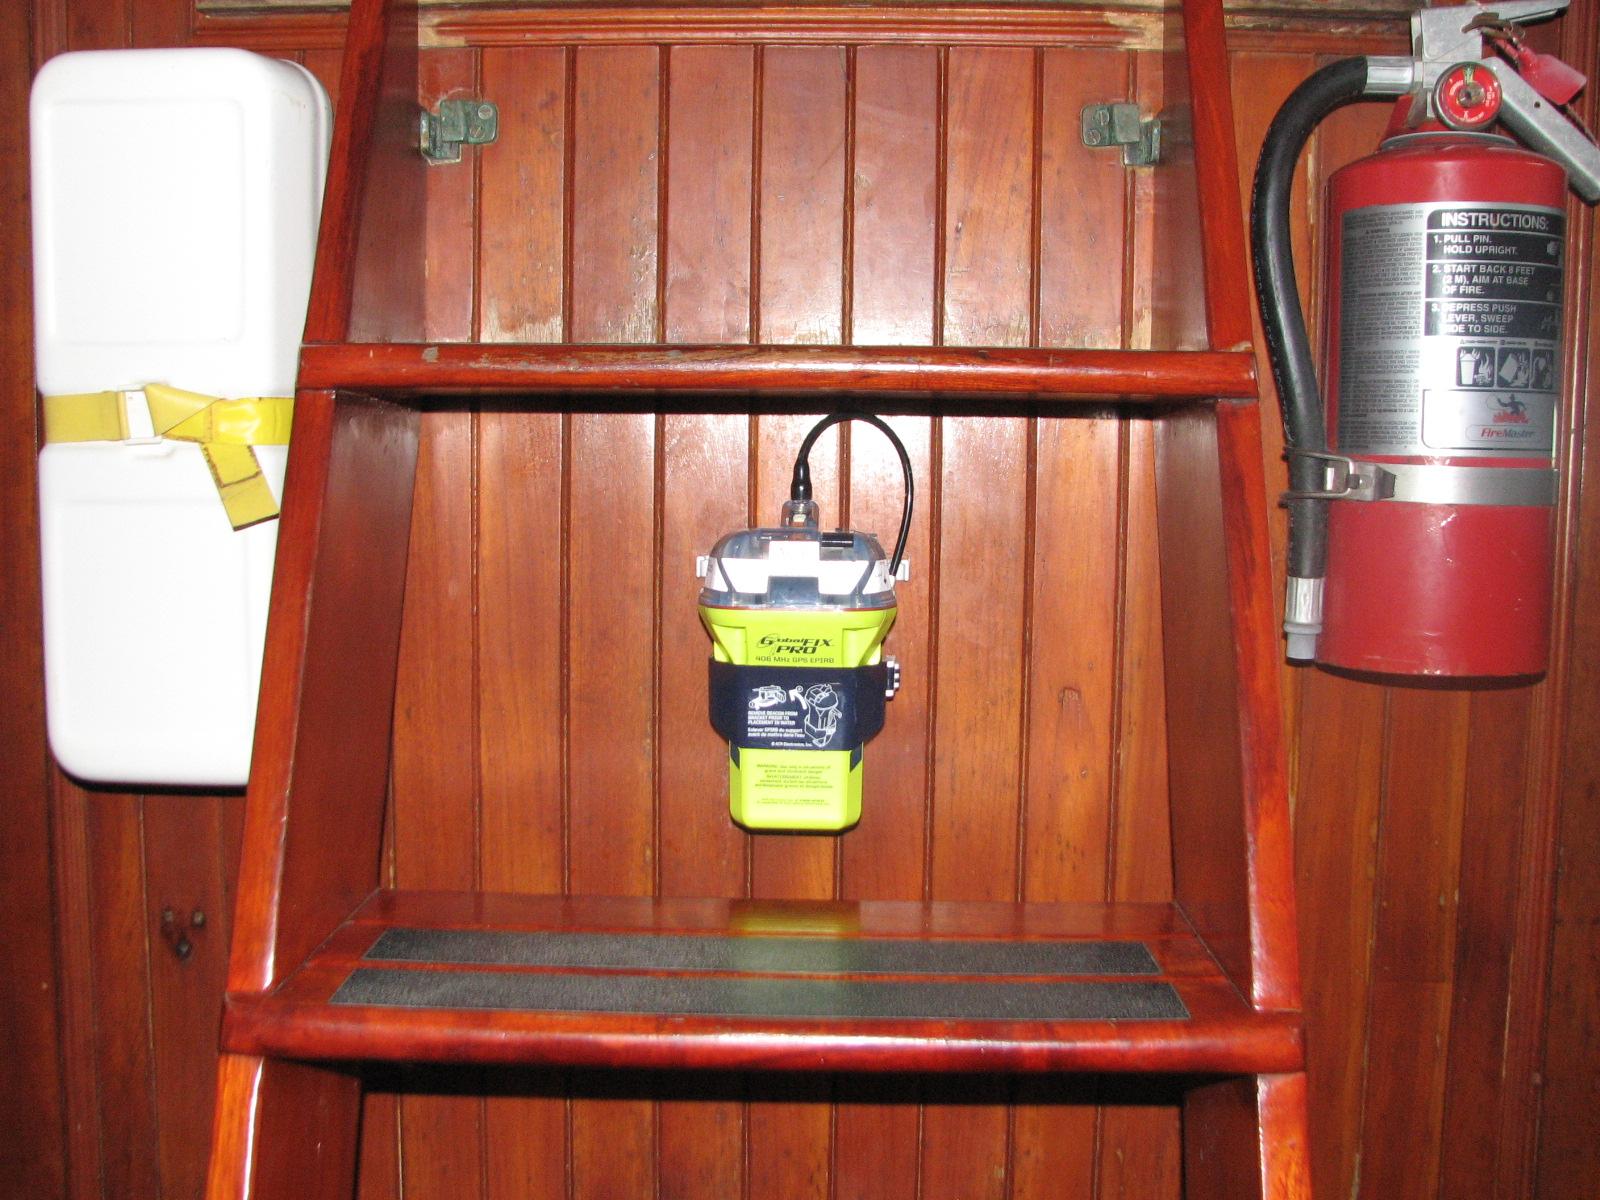
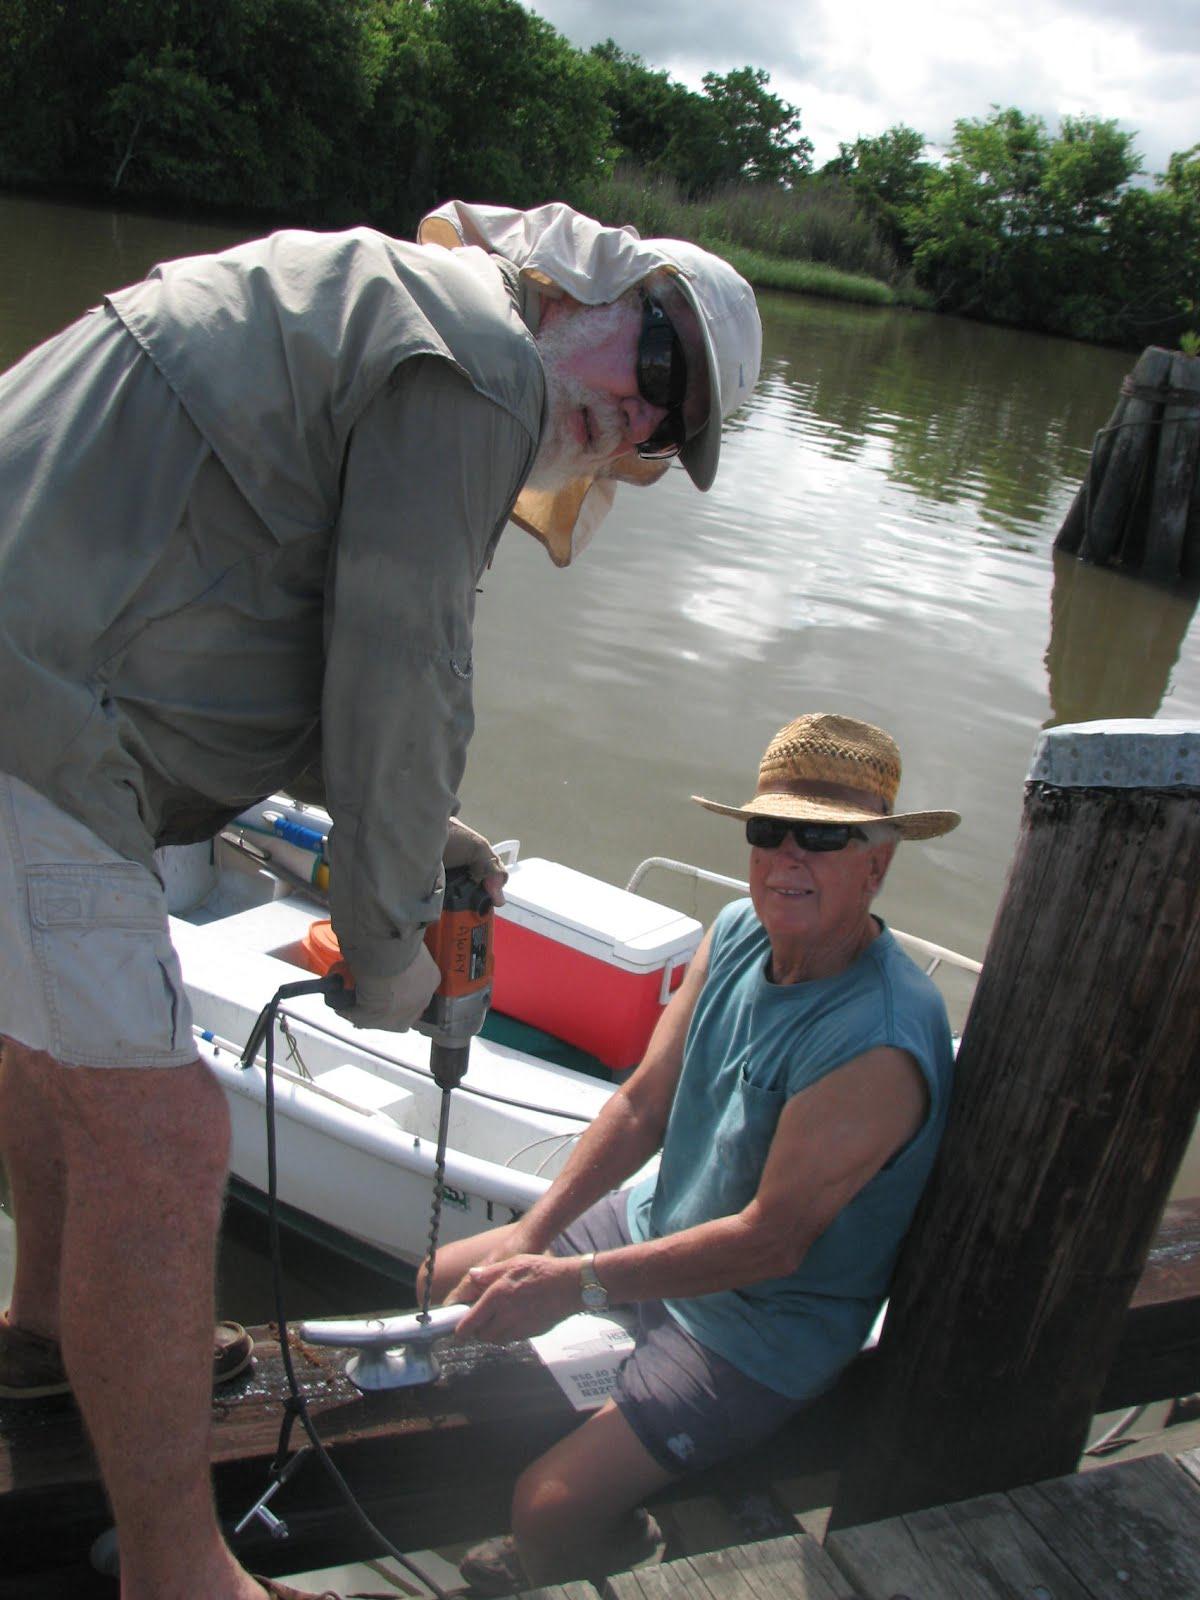
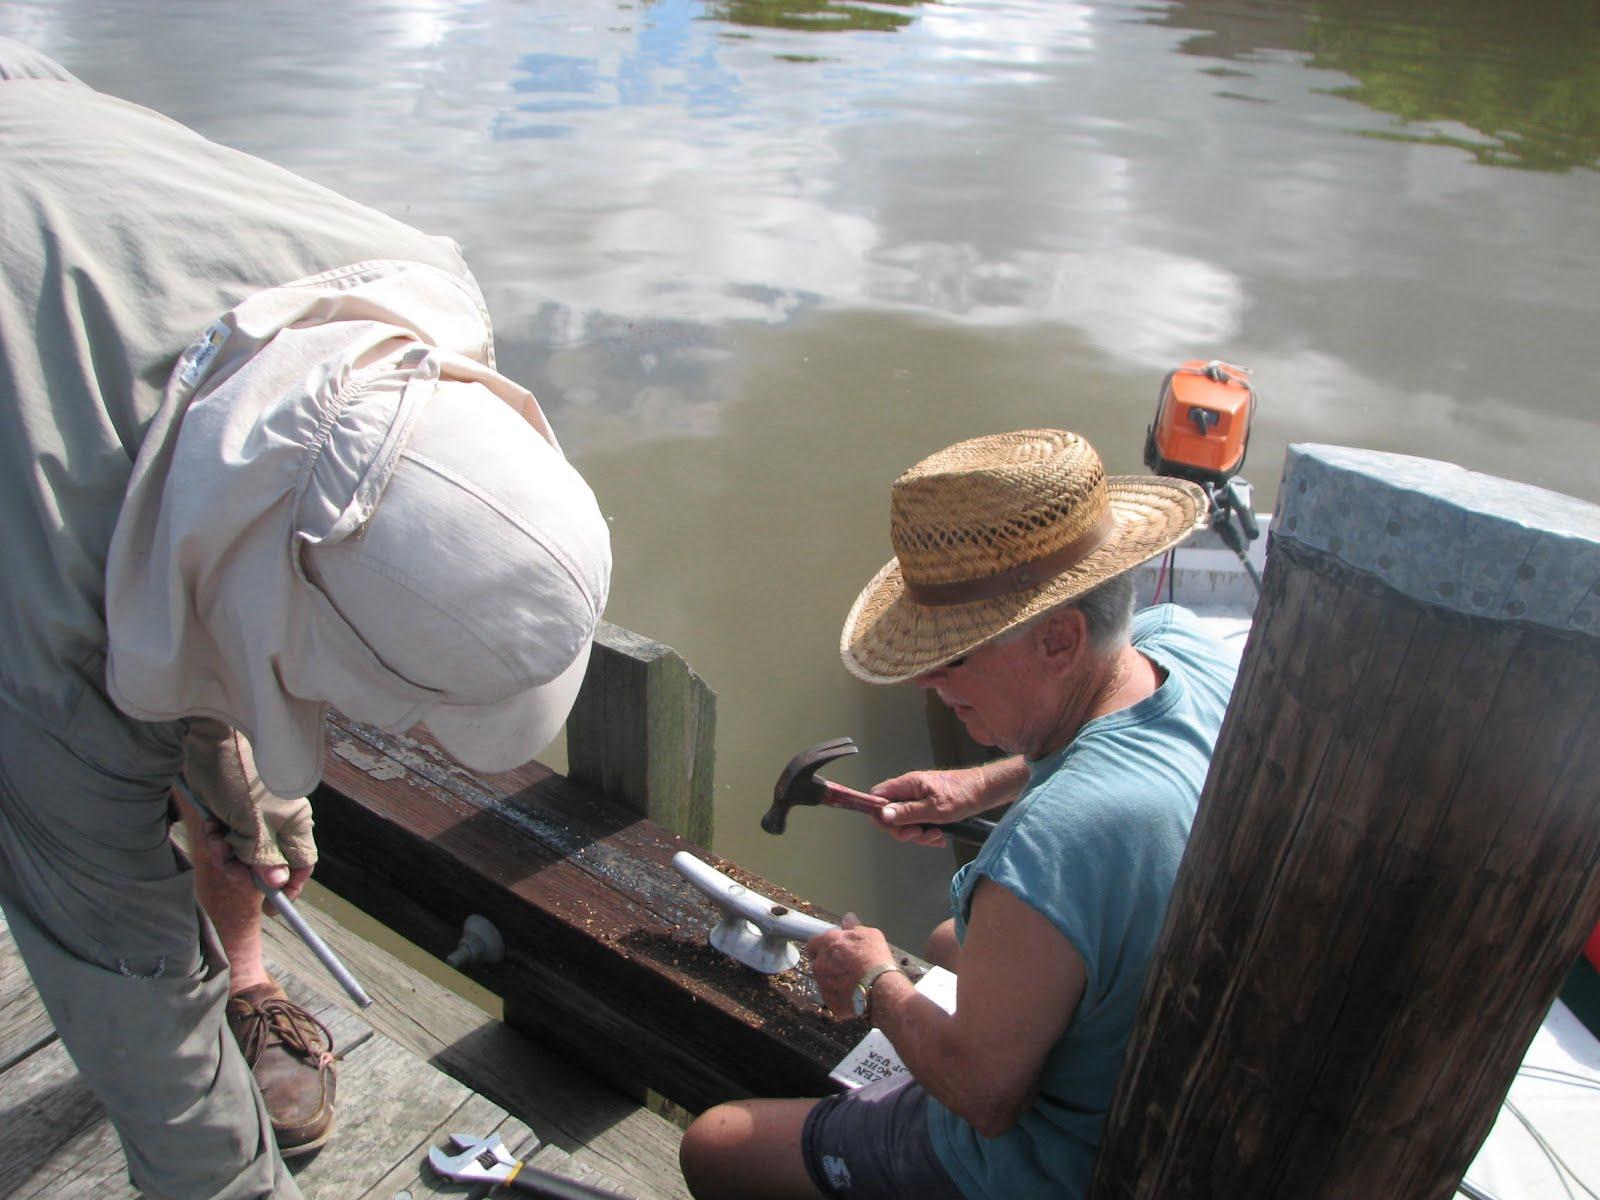
We did start the prop cleaning project
with Joel. It did not go well, but we are moving forward. Joel did
not have a BC, so we dug out mine under the aft bed.
June 22, Sunday, 2014
Started off the morning with my normal
ritual of getting on the Internet, answering email, and checking the
weather, while making a pot of coffee. When the coffee is started, I
feed our two cats,
Jillian
and Jordan, and spend time with them brushing their
beautiful coats.
Did not go over to the shop
today, but stayed on DREAM AWAY working on the computer and visiting
with Judy.
Made some good progress on the
Maintenance
Logs and email. Kitty, Judy and I had a good time
playing dice and card games.
Our friends, Cindy
and Johnal, stopped by for dinner on their way to
Houston. They are staying with their daughter for about a week, then
they will be heading to Montana to spend the summer. They will start
cruising again in the fall, so we are hoping to meet up with them
again in the Florida Keys.
June 21, Saturday, 2014
Started off the morning with my normal
ritual of getting on the Internet, answering email, and checking the
weather, while making a pot of coffee. When the coffee is started, I
feed our two cats,
Jillian
and Jordan, and spend time with them brushing their
beautiful coats.
Went over to the shop,
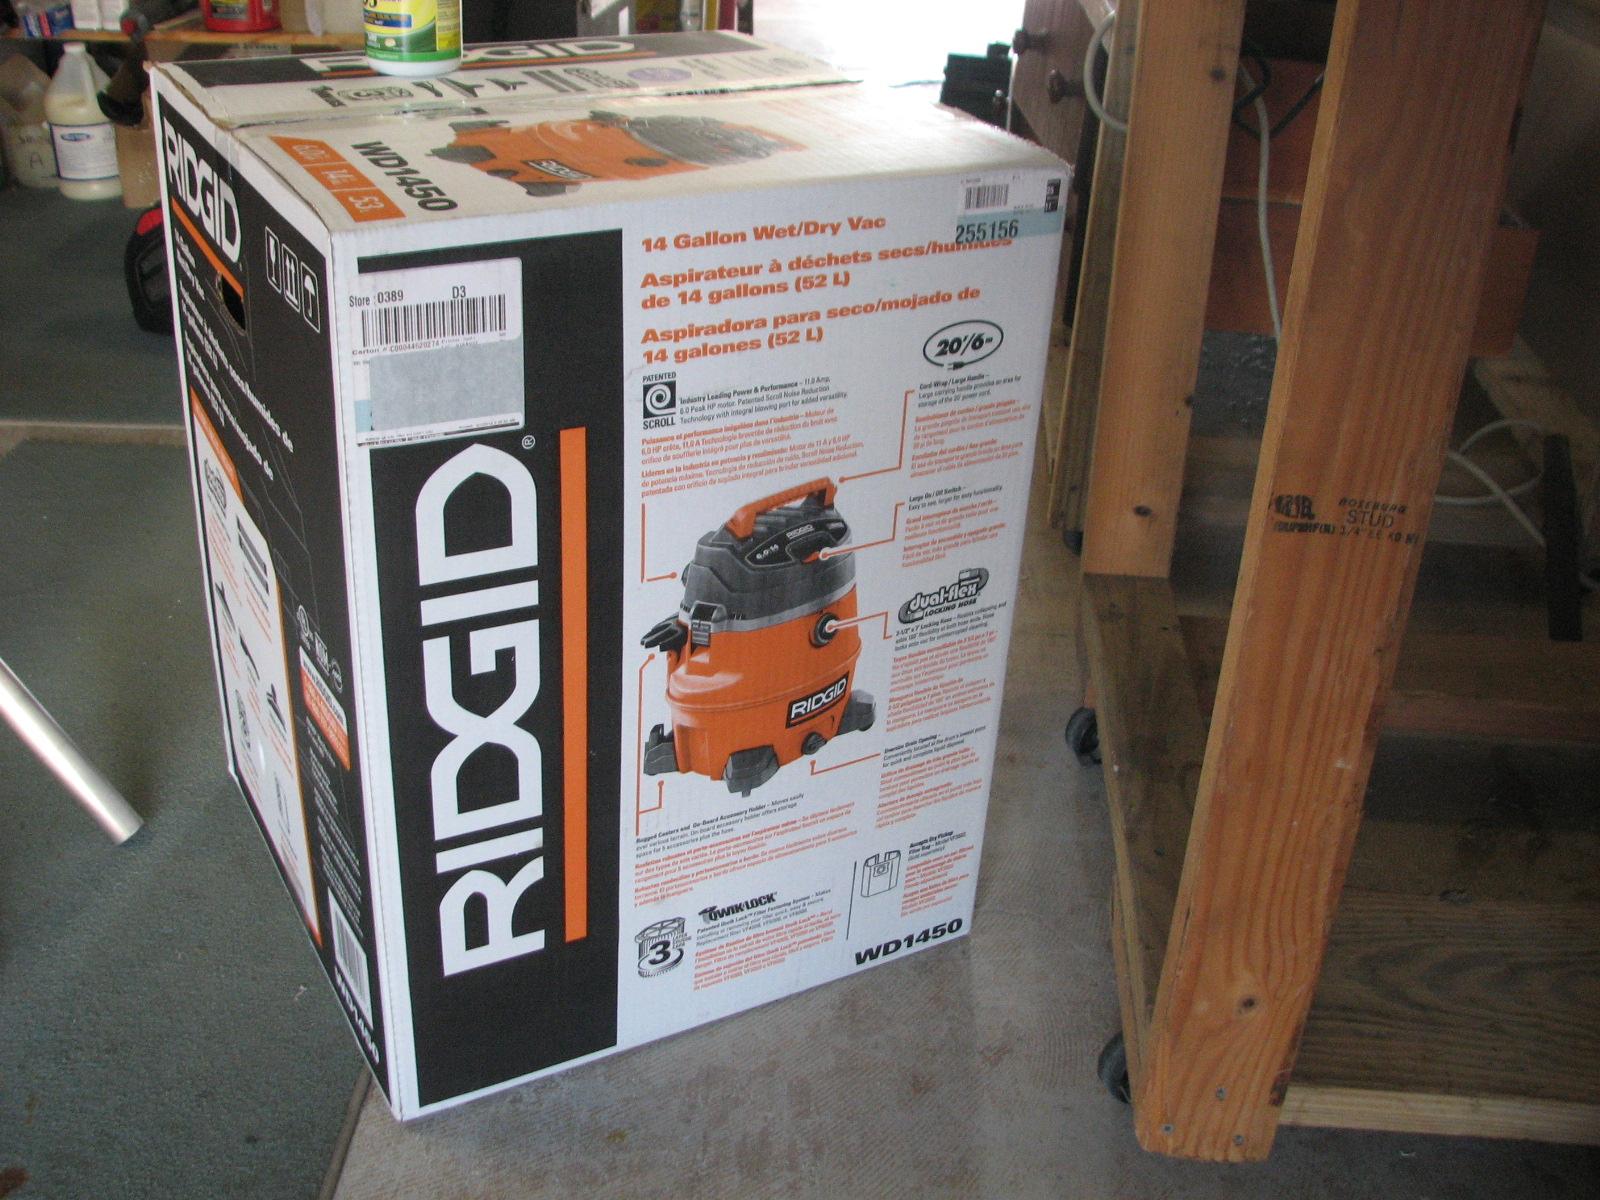
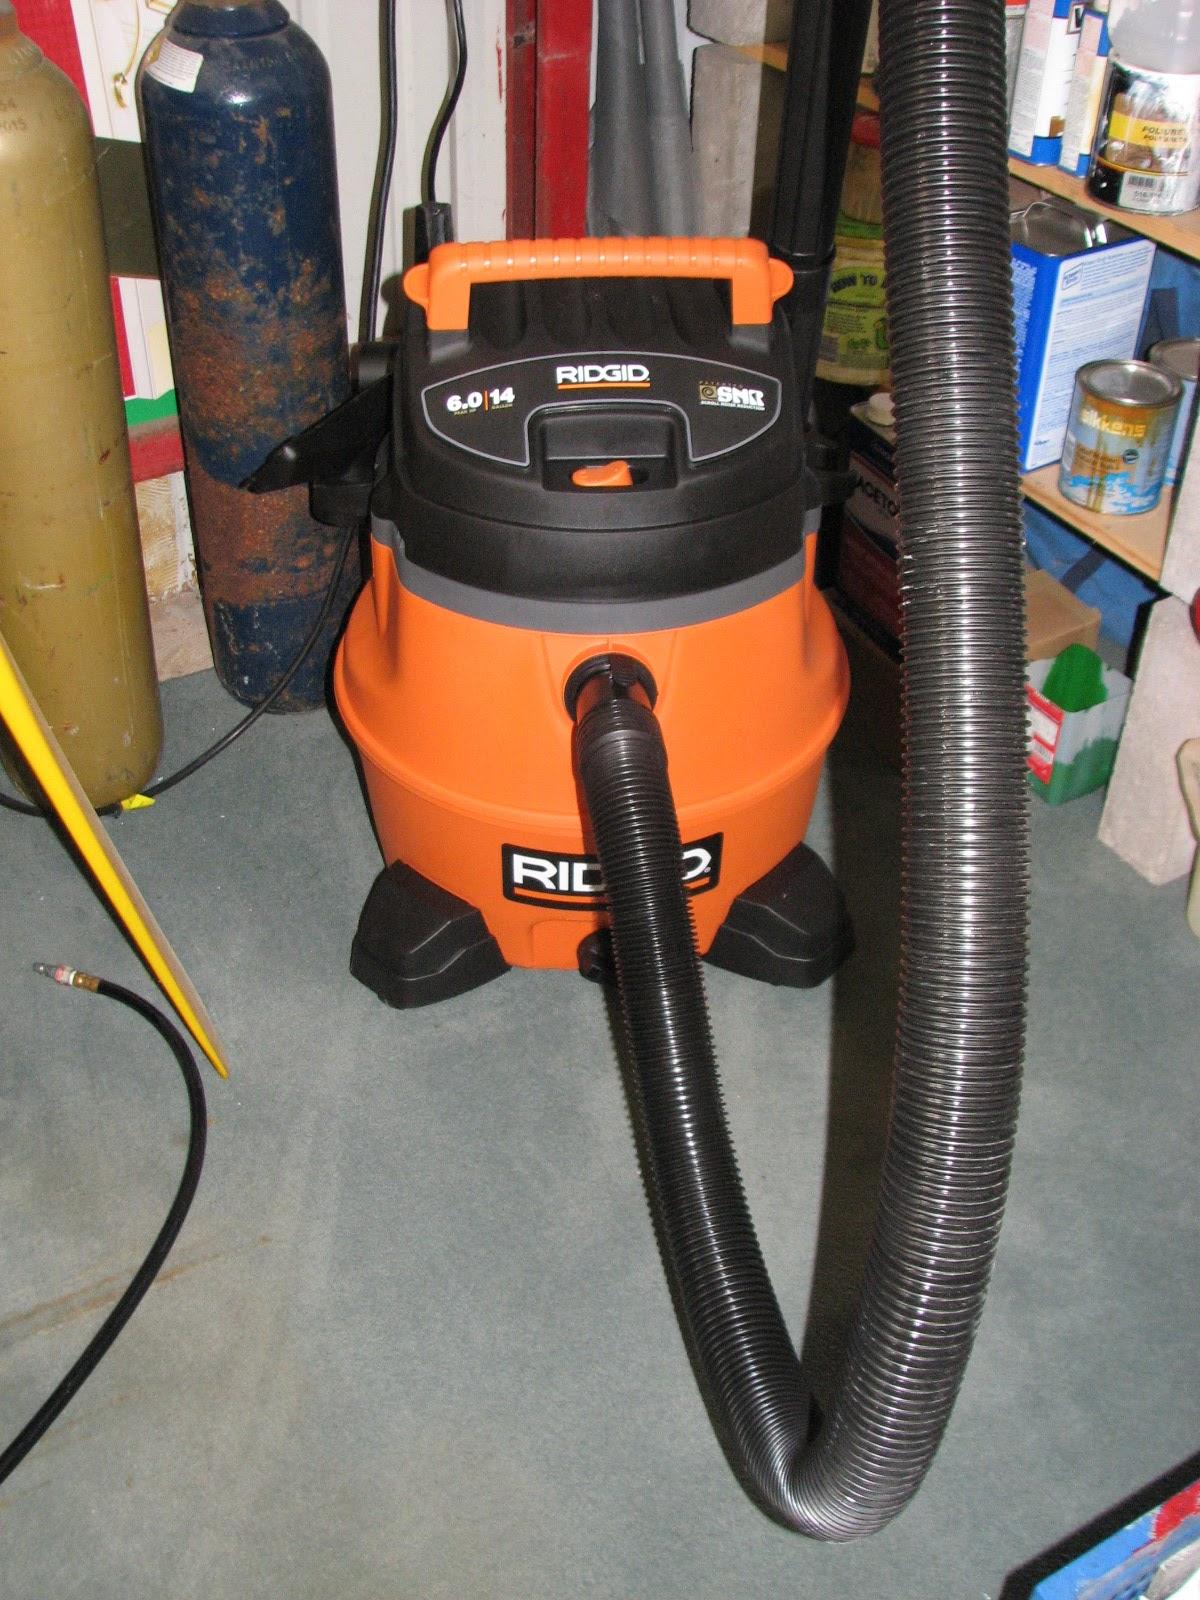
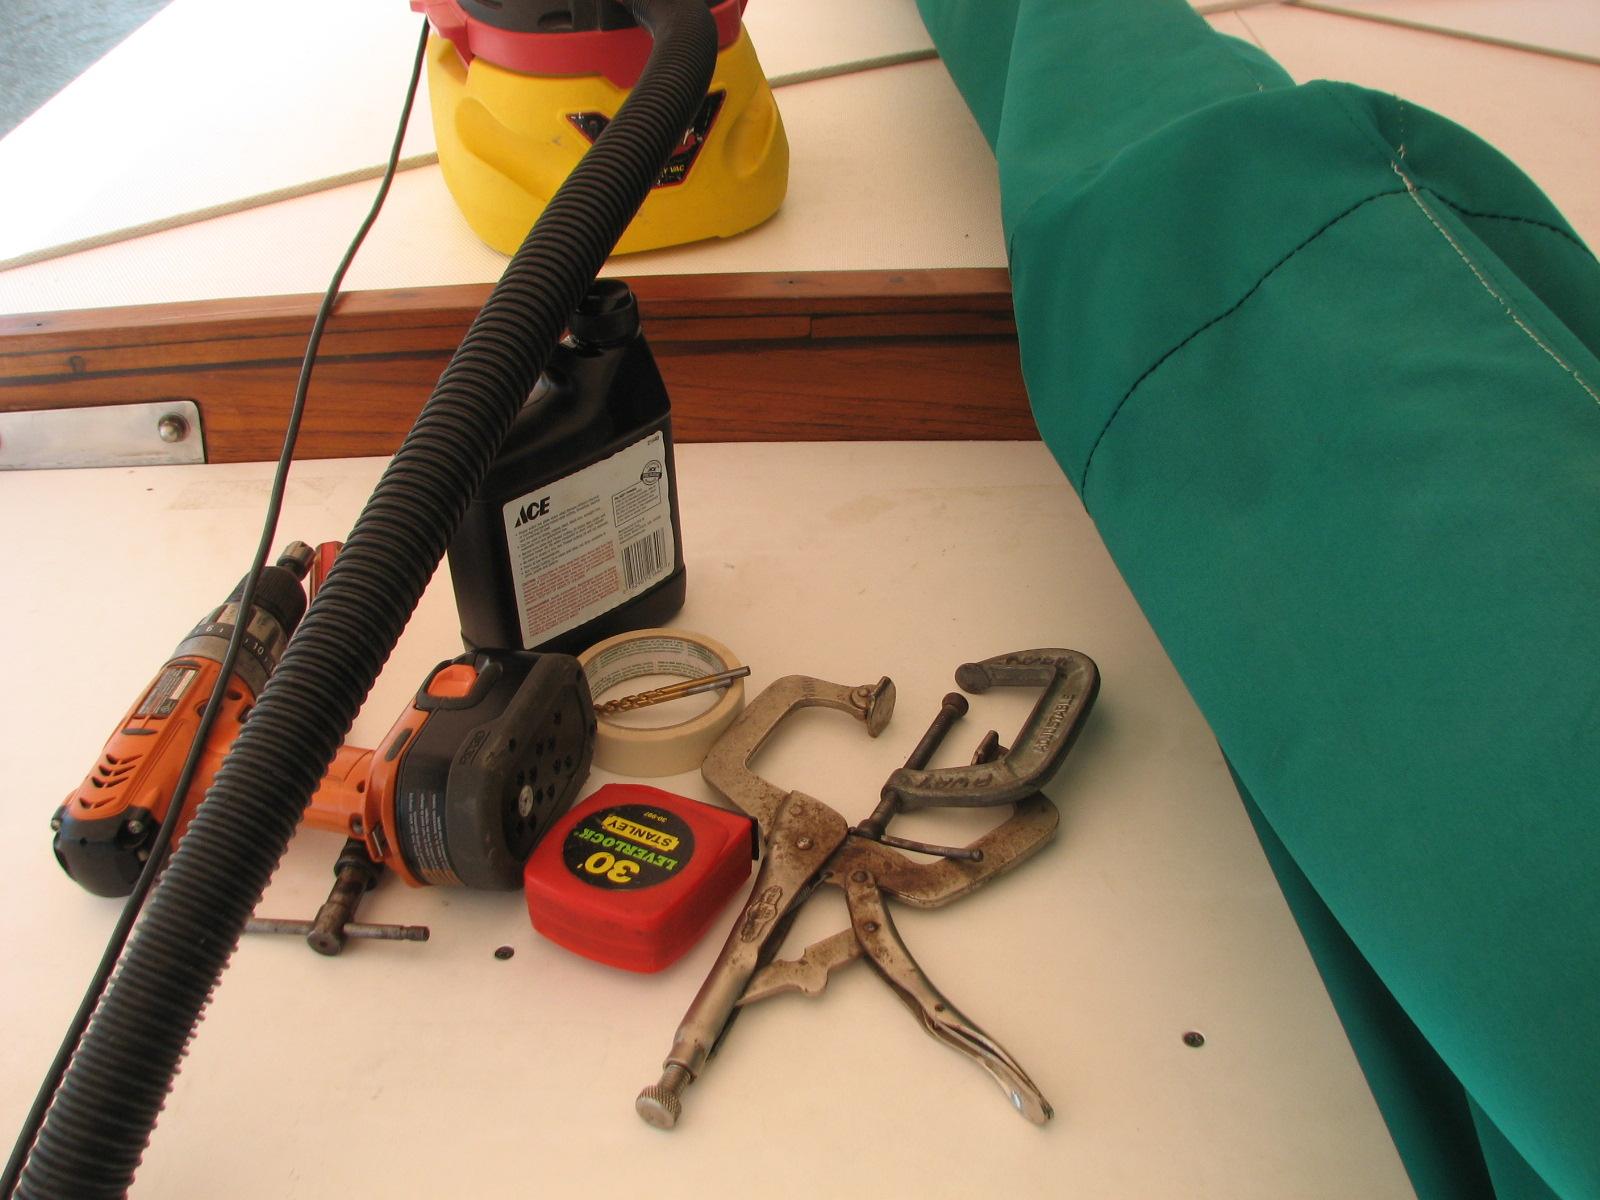
and the first thing on the list was to unpack my new Ridgid
WD1450 wet/dry vac for the shop. I got it all
unpacked, set up and turned it on! It was wonderful, I was able to
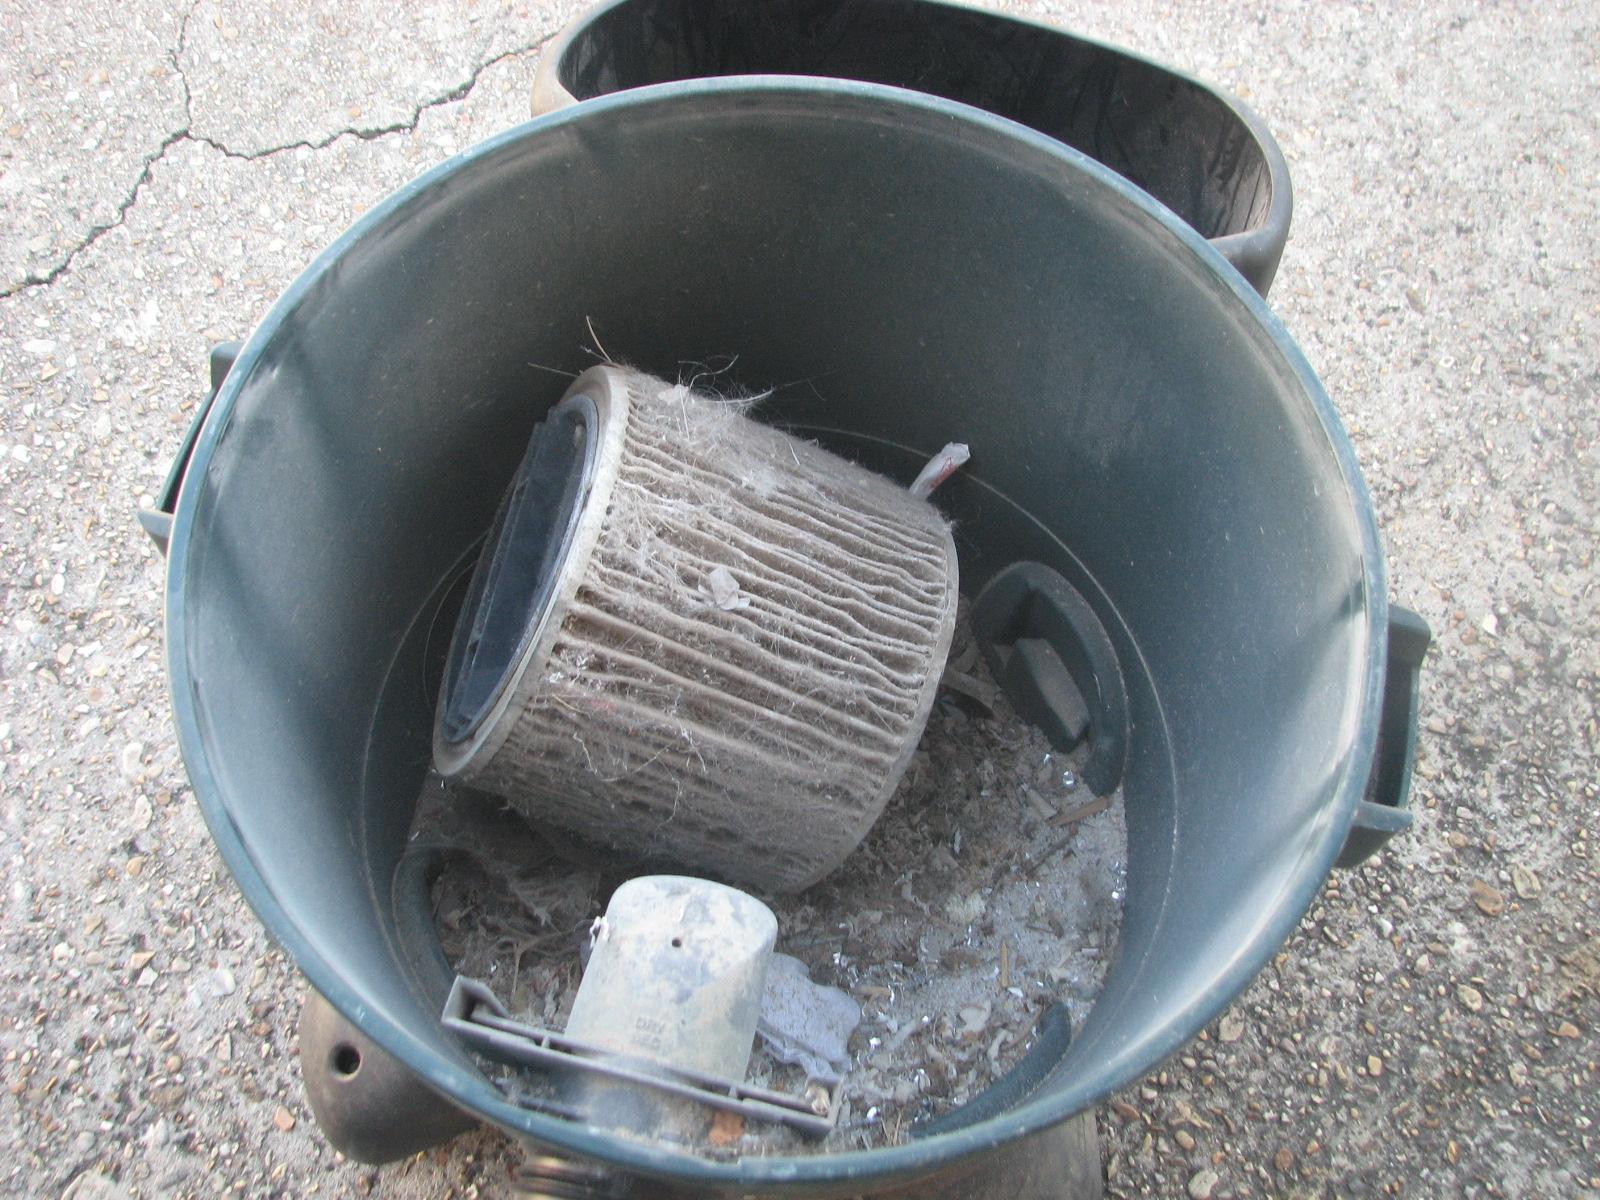
vacuum the shop. The only disappointment was the canister filter from
the old vacuum was not the same size, so I was not able to salvage a
lot from the old vac.
Inside Of Old Vacuum
Now it was time to get busy with the
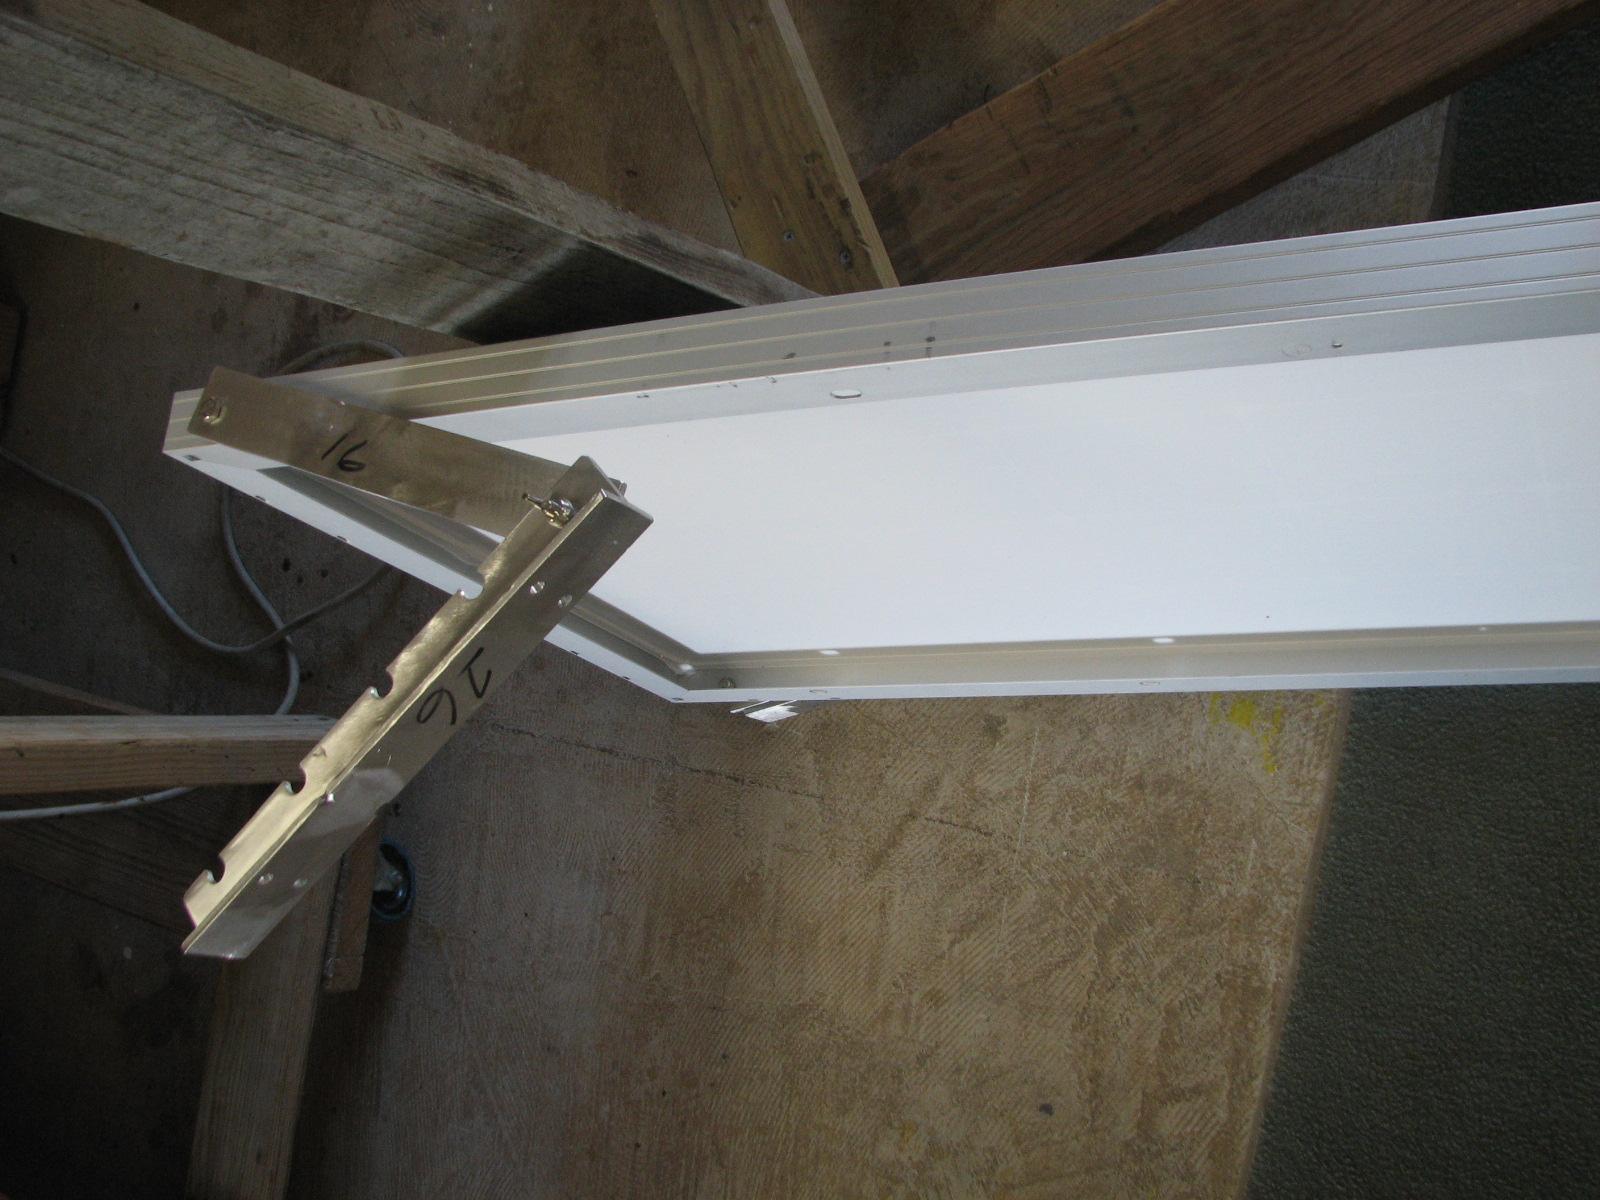
mockup of the installation I am planning with one of the four Renegy
100 watt solar panels I had purchased. This is a
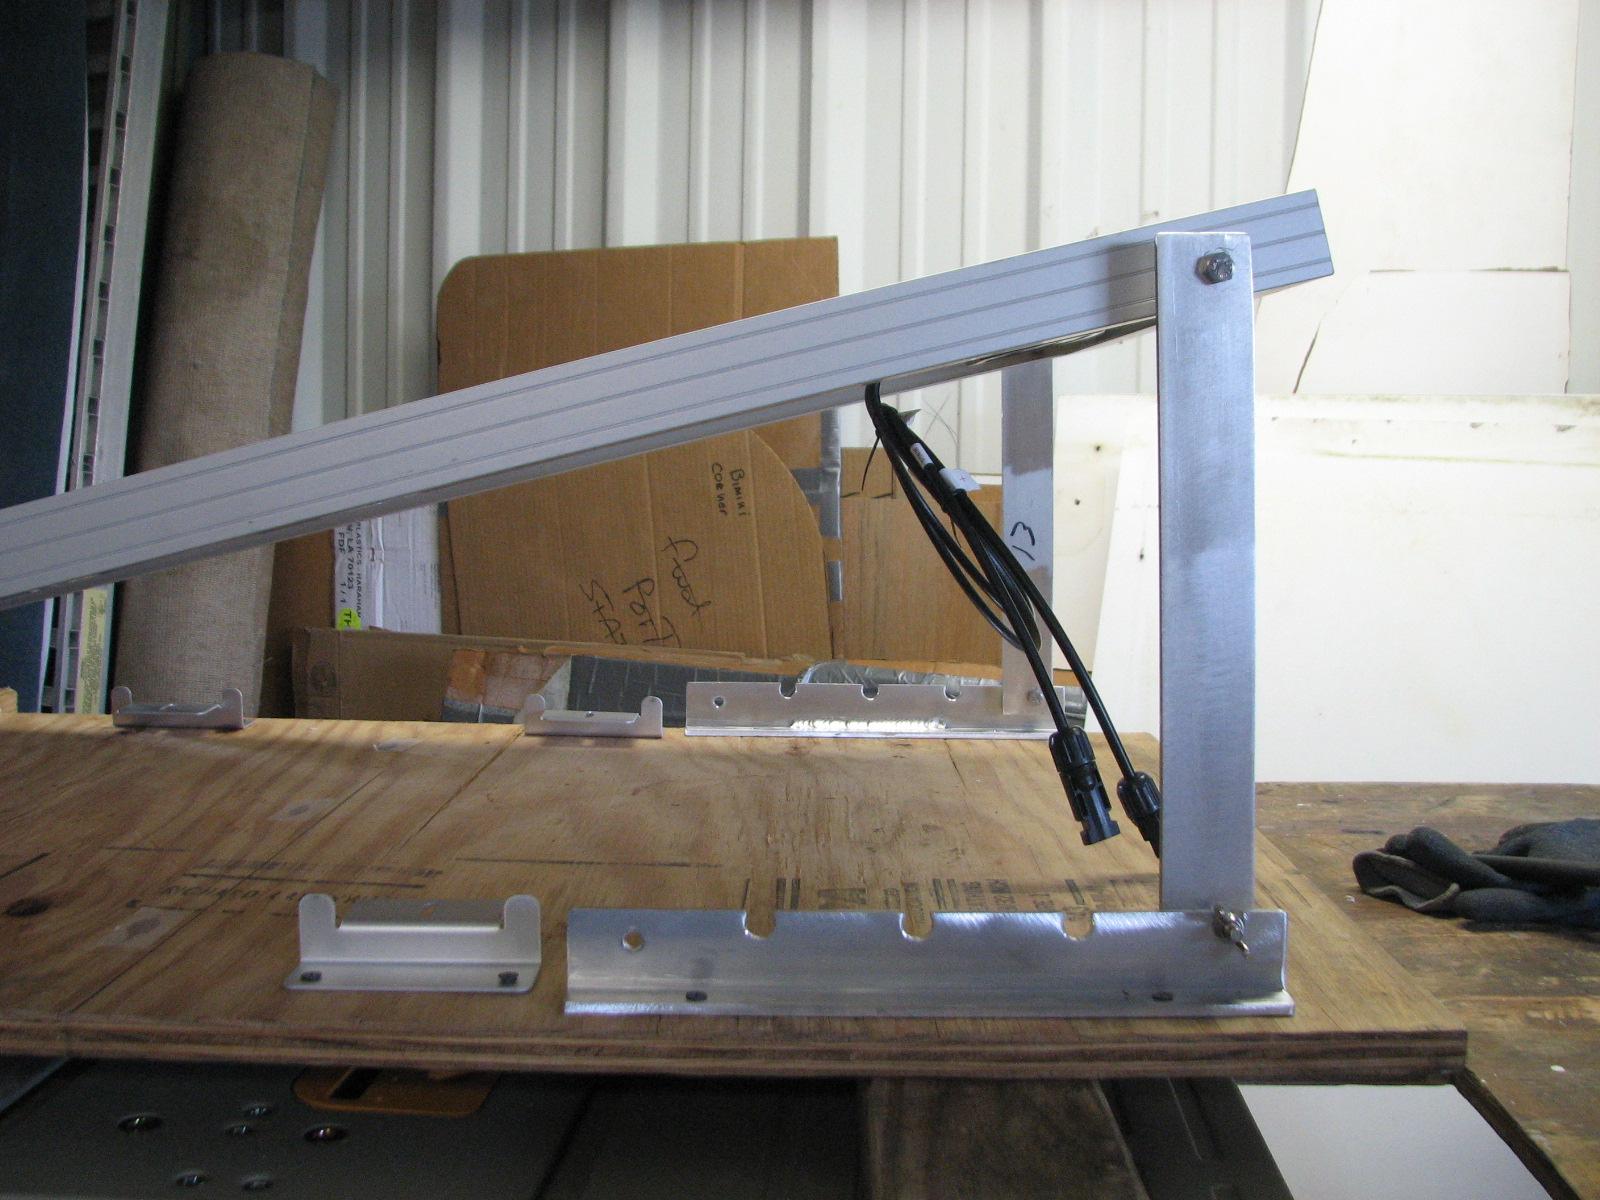
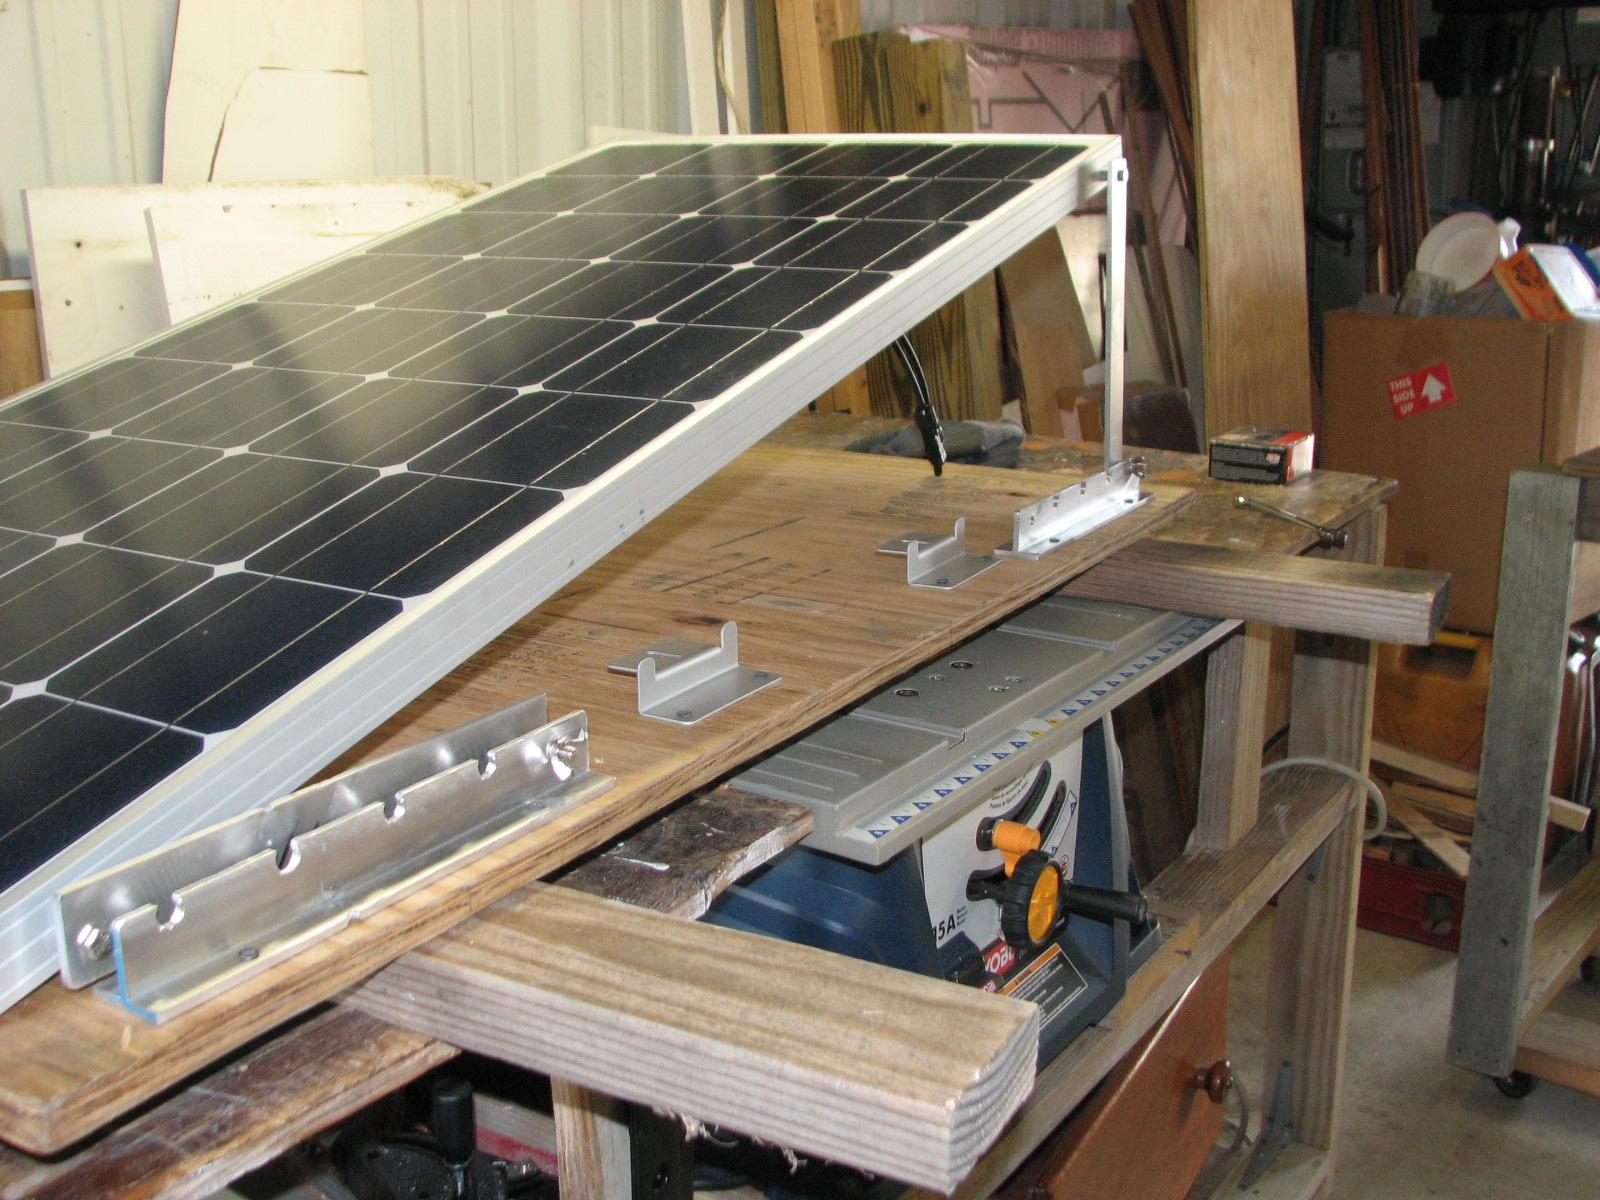
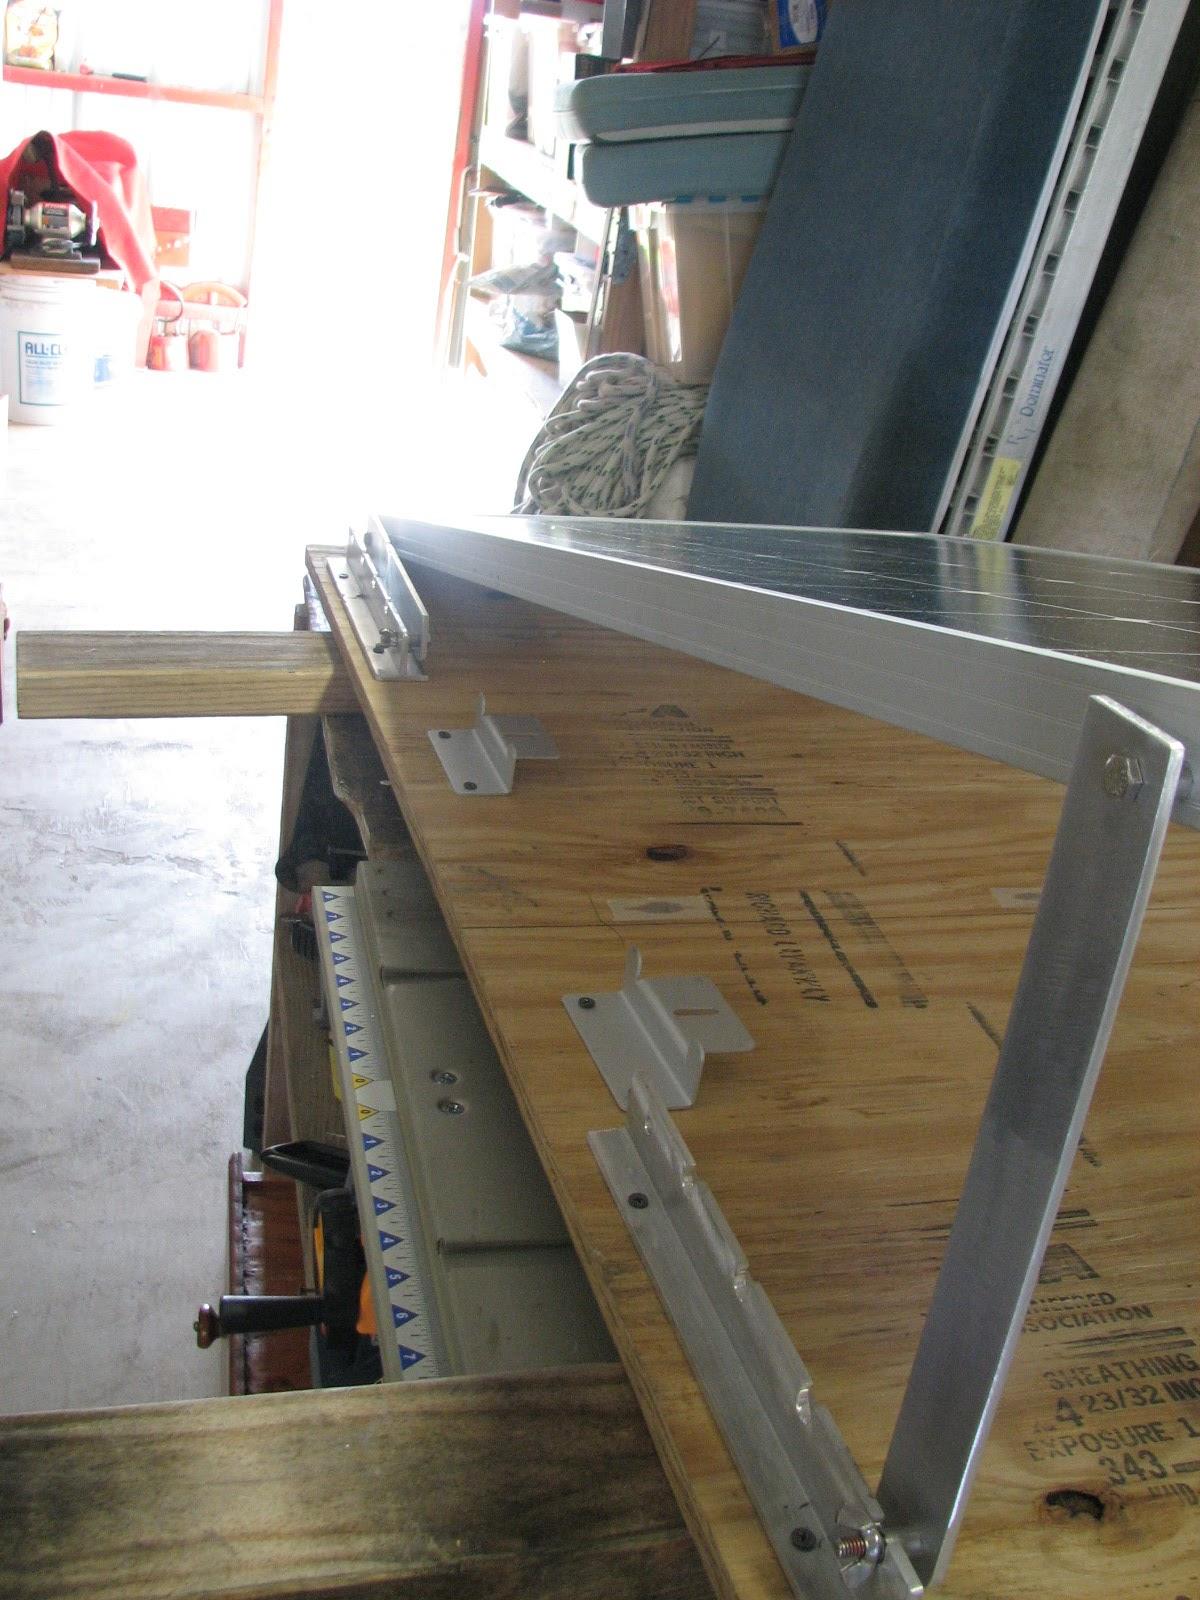
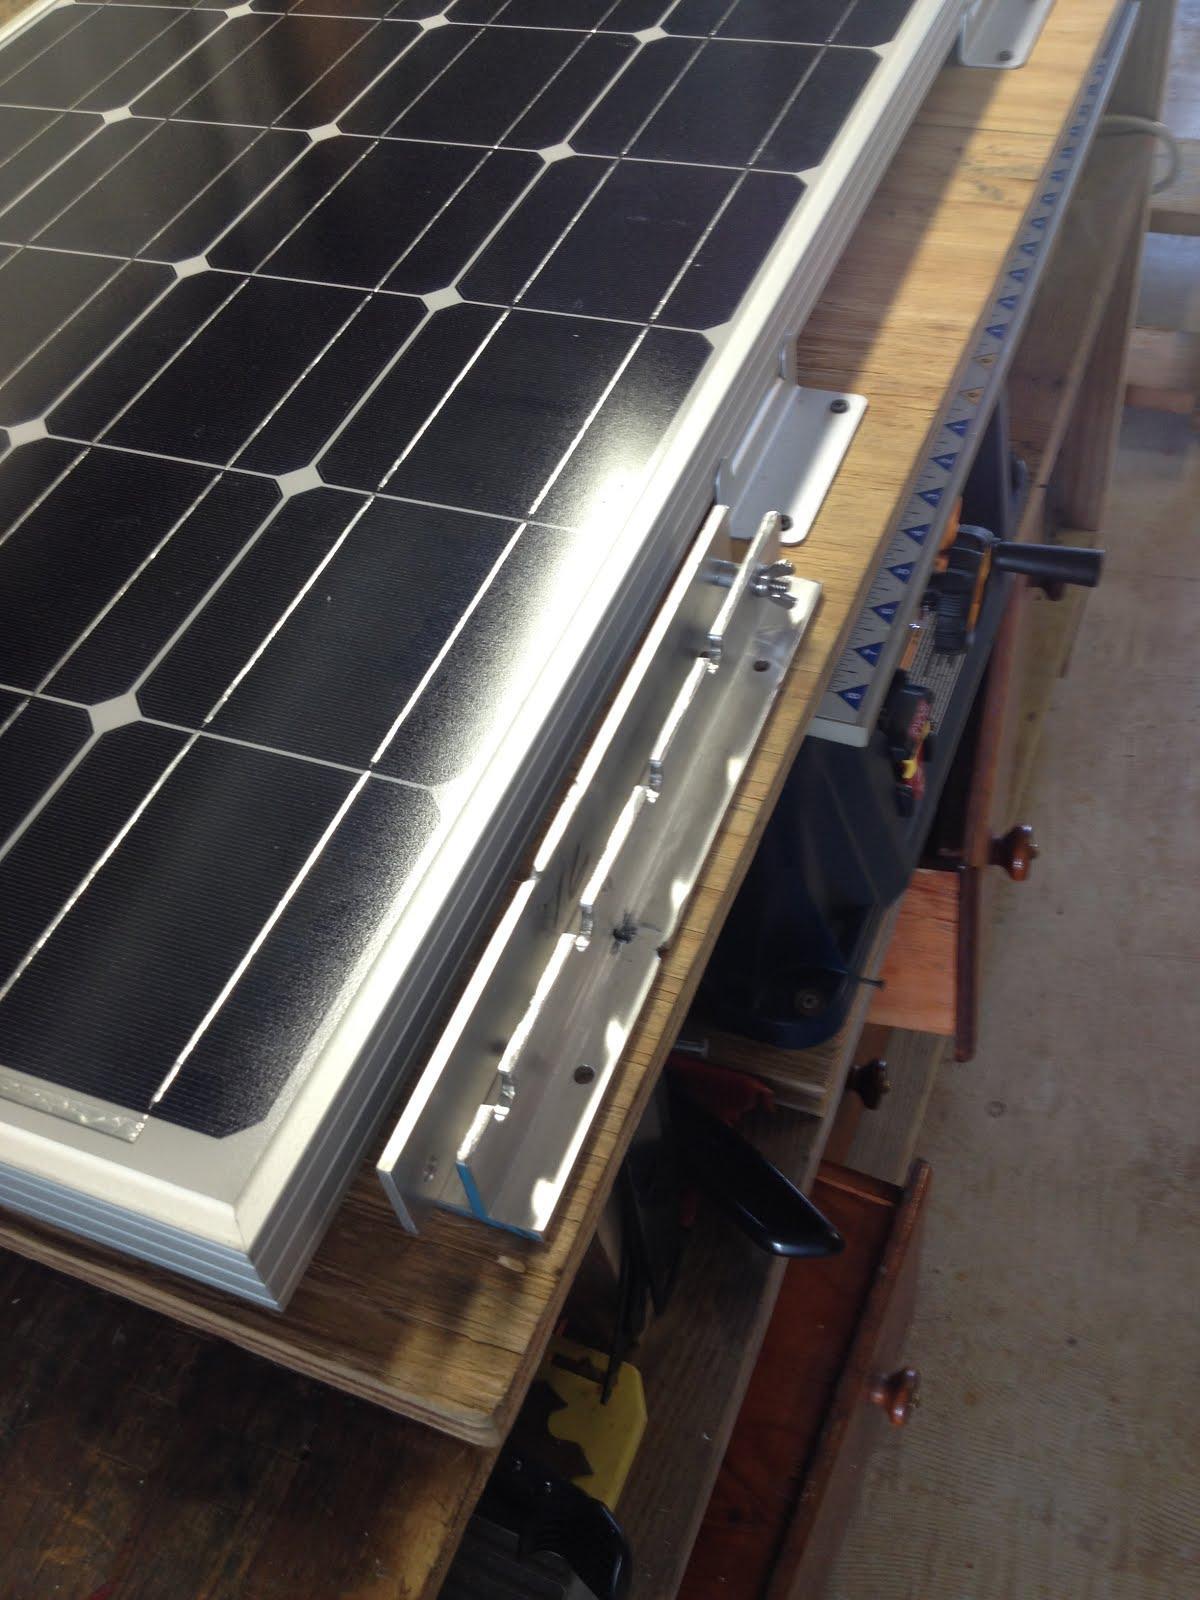
mockup of how the panel will be installed on top of the hard
Bimini.
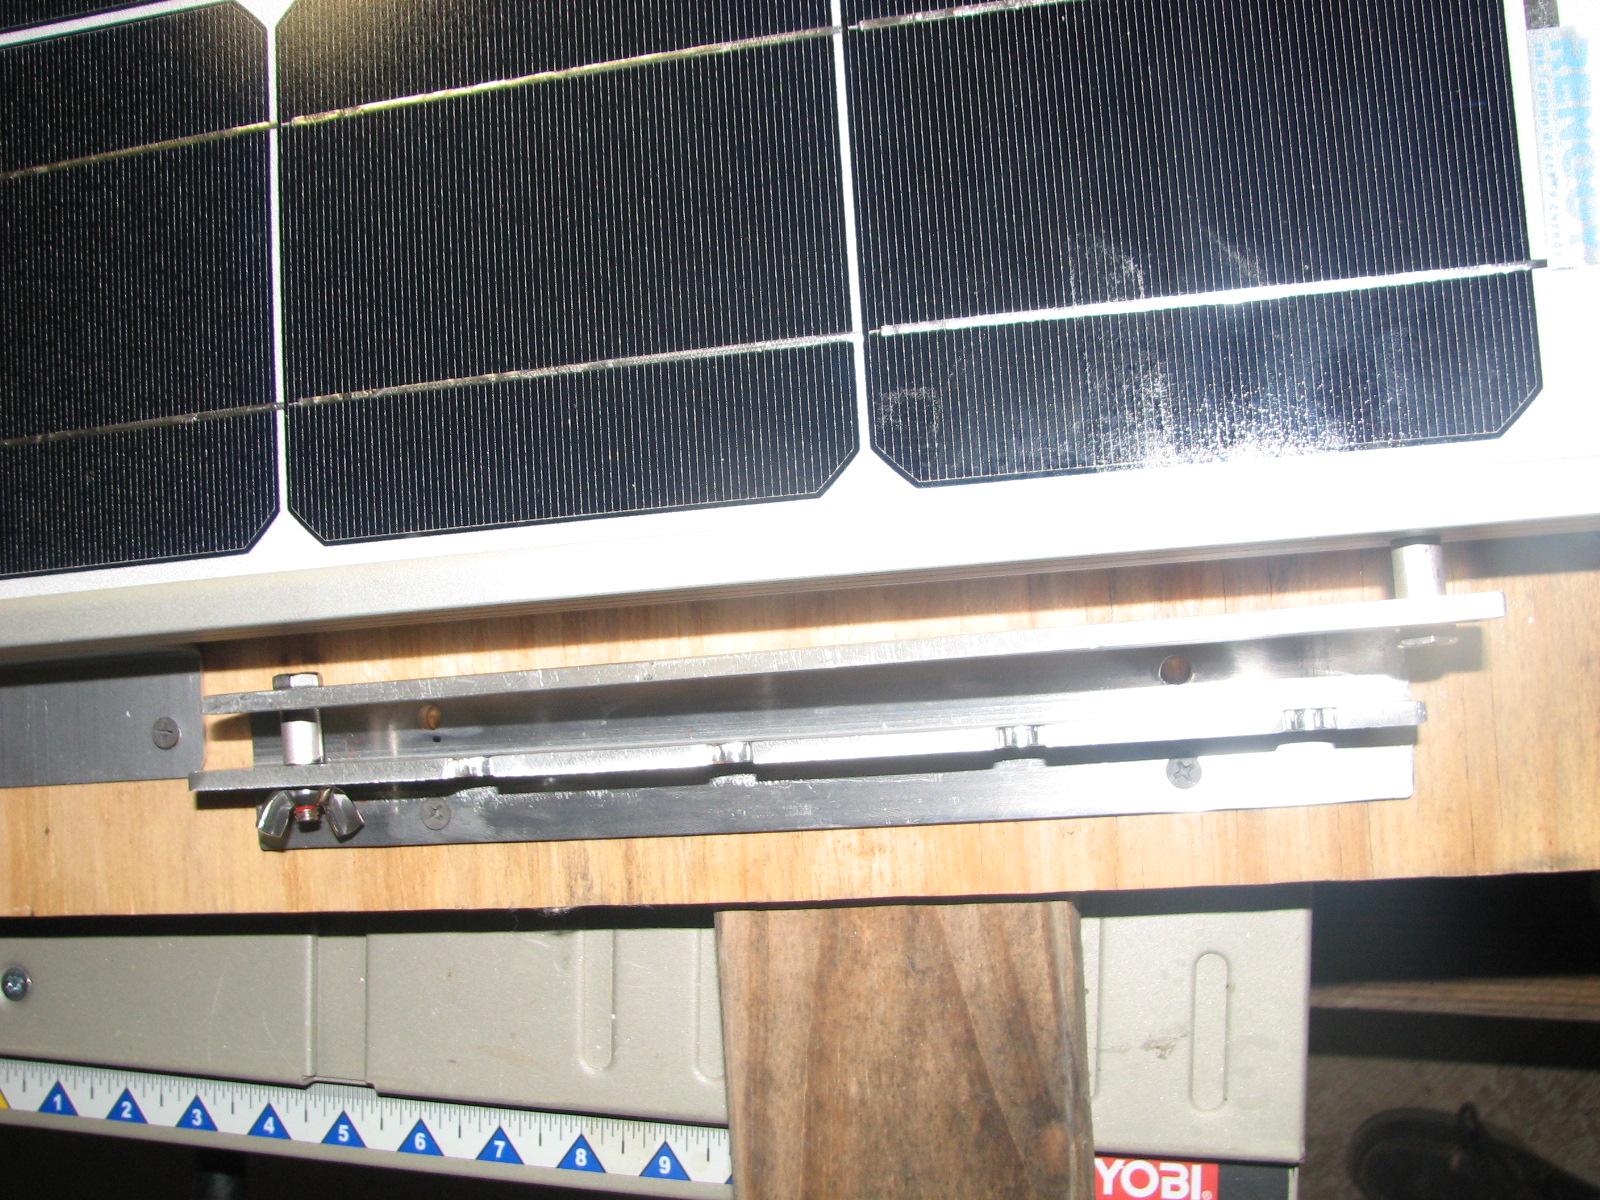
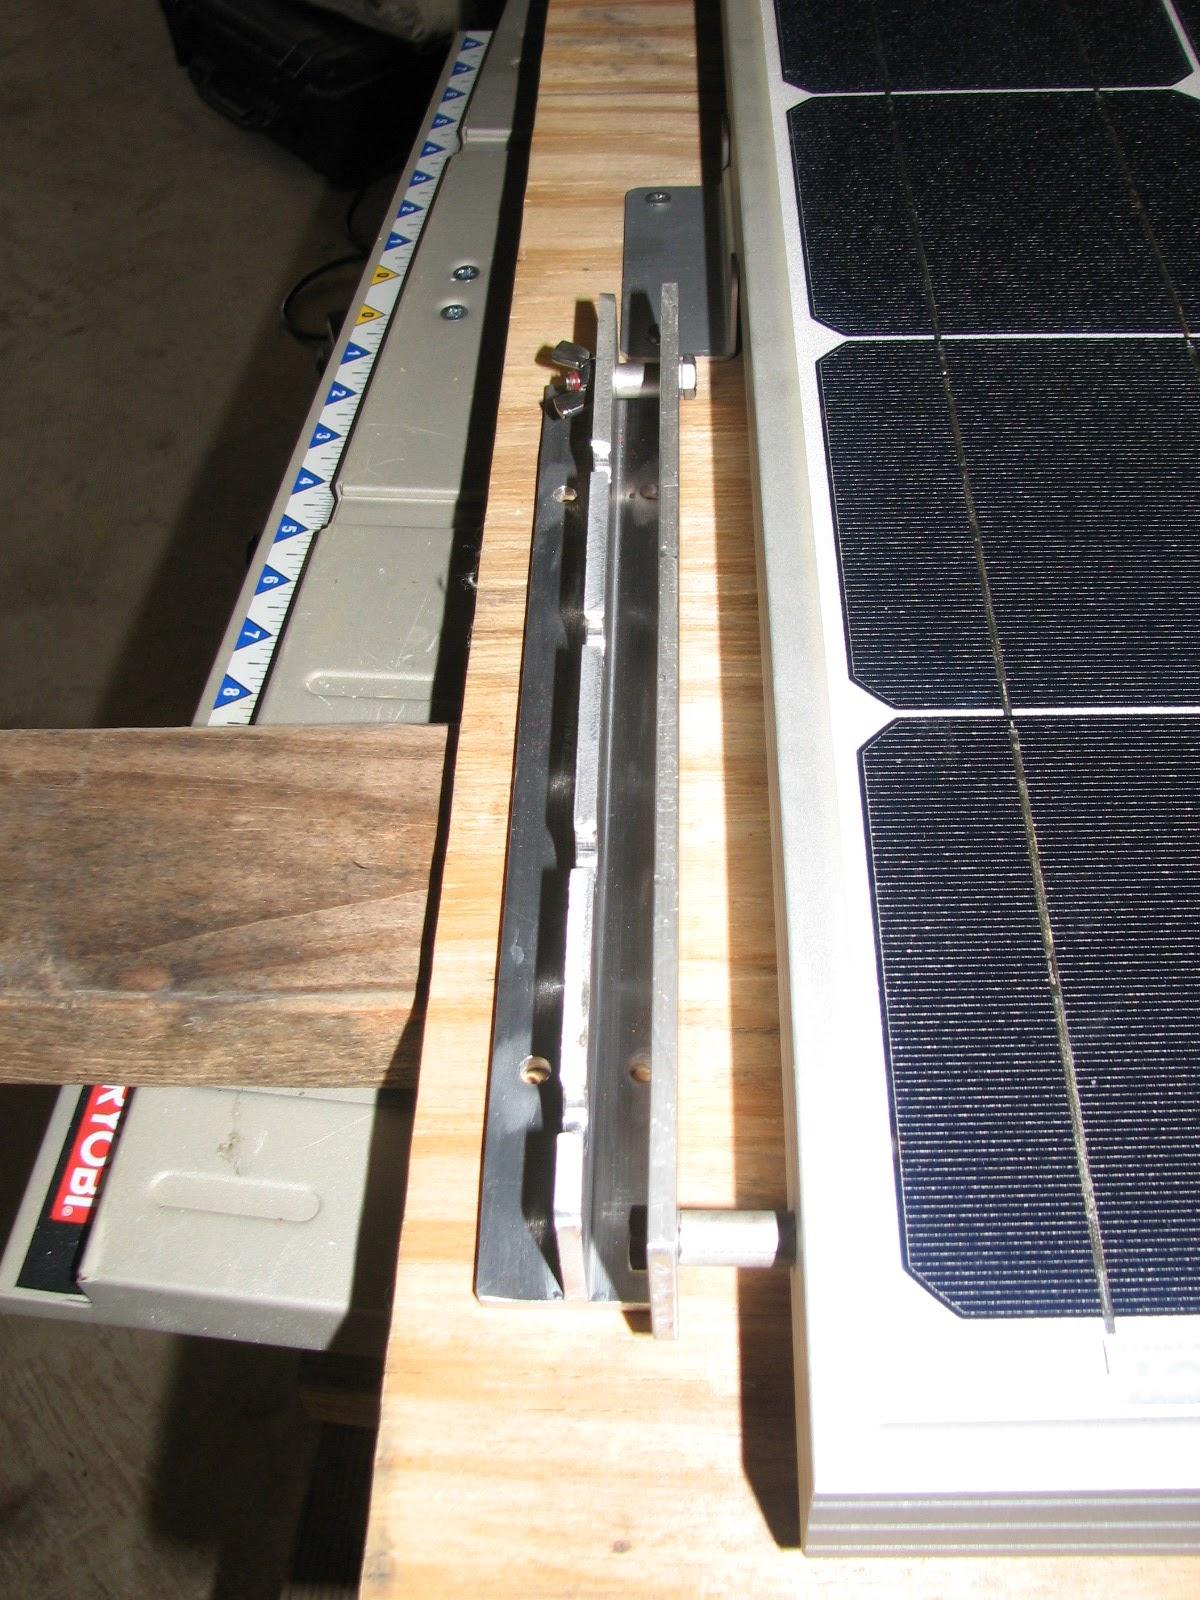
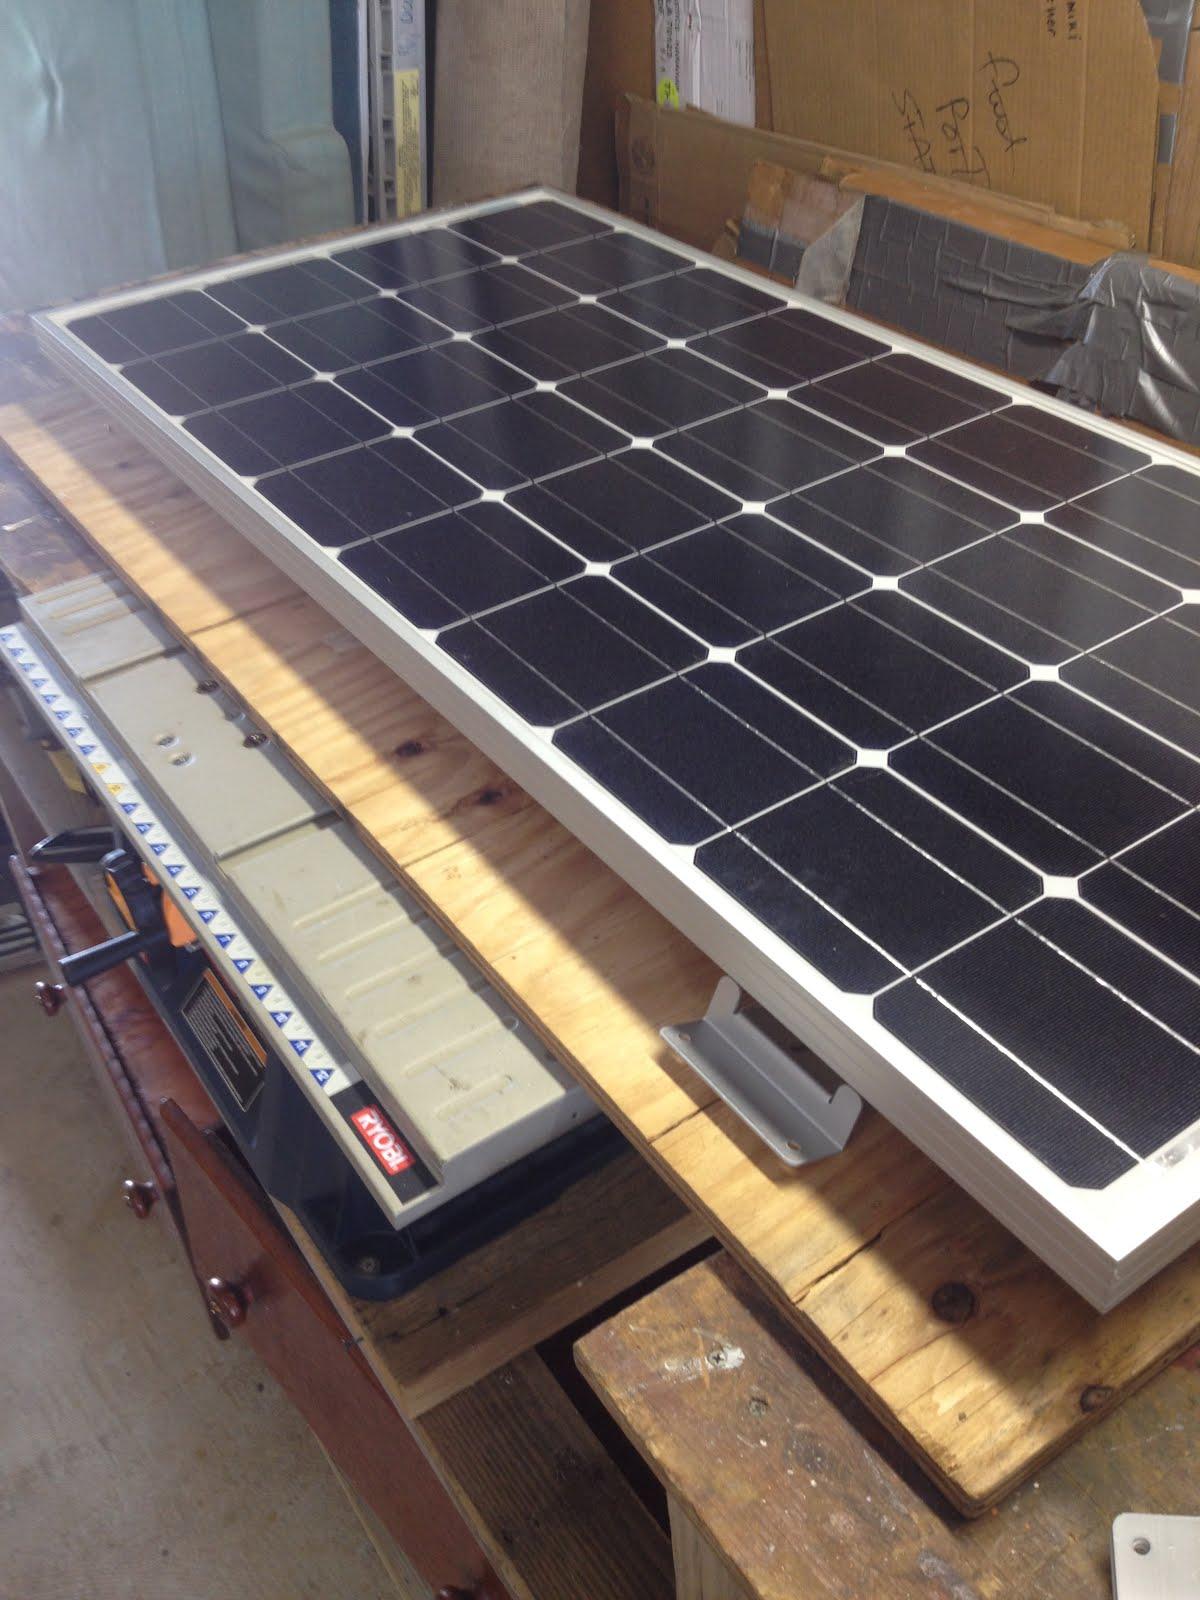
I have built risers for each panel so I could angle the solar panels
more towards the sun as the day progresses.
I built the risers not knowing if they
would actually work, so I thought I would test four of the risers on
one of the solar panels. The first thing I had to do was drill a hole
in the solar panel frame at each corner. I was surprised at how well
the panel is constructed.
After the holes were drilled I attached
the leg of a riser to the panel.
Riser Leg With Riser Base Attached To
The Solar Panel
When I got the riser legs attached to
all four corners of the panel, I moved the panel to my piece of
plywood with the Z
brackets already screwed down to the plywood. When I
had the solar panel fitted into the Z
brackets, I aligned the riser bases on the plywood,
and screwed them to the plywood.
Now came the test to see if the riser
would actually do the job. I did a test, and the theory is good. The
only issue is the spacer on the bolt that attaches the riser to the
solar panel frame. The spacer needs to be longer so I can remove the
bolt that attaches the riser to the riser base. I cut some longer
spacers, but did not have the longer bolts with me.
Riser On Solar Panel At Highest
Position
Static Riser On Left, Raised Riser On
Right
Another View Of Riser Mock Up
I finished cleaning up , and went back
to DREAM AWAY. The remainder of the day was spent with Judy, and
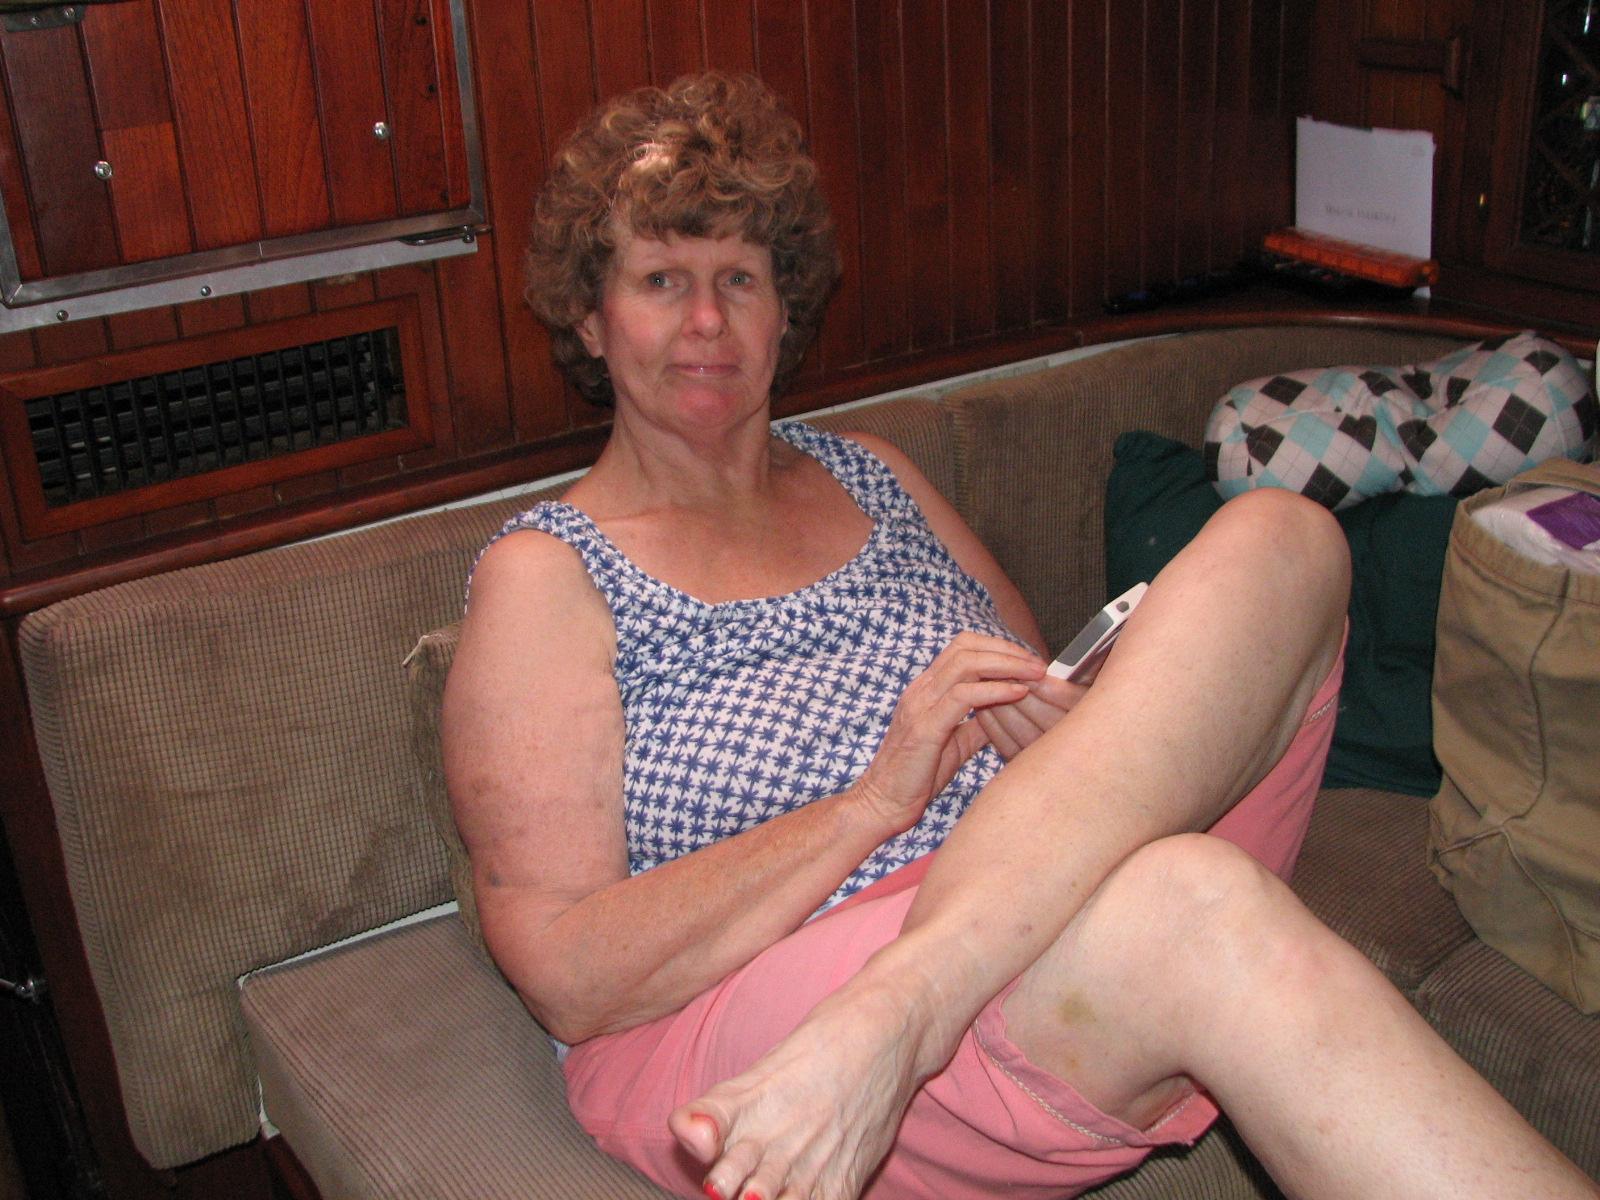
making a lazy day for Kitty. It was her 70th birthday, so she
deserved some time off. It was a very relaxing day.
While Kitty and Judy were resting, I
was able to install the CAPN
software on my virtual Windows XP operating system on the PC with the
host OS of Linux
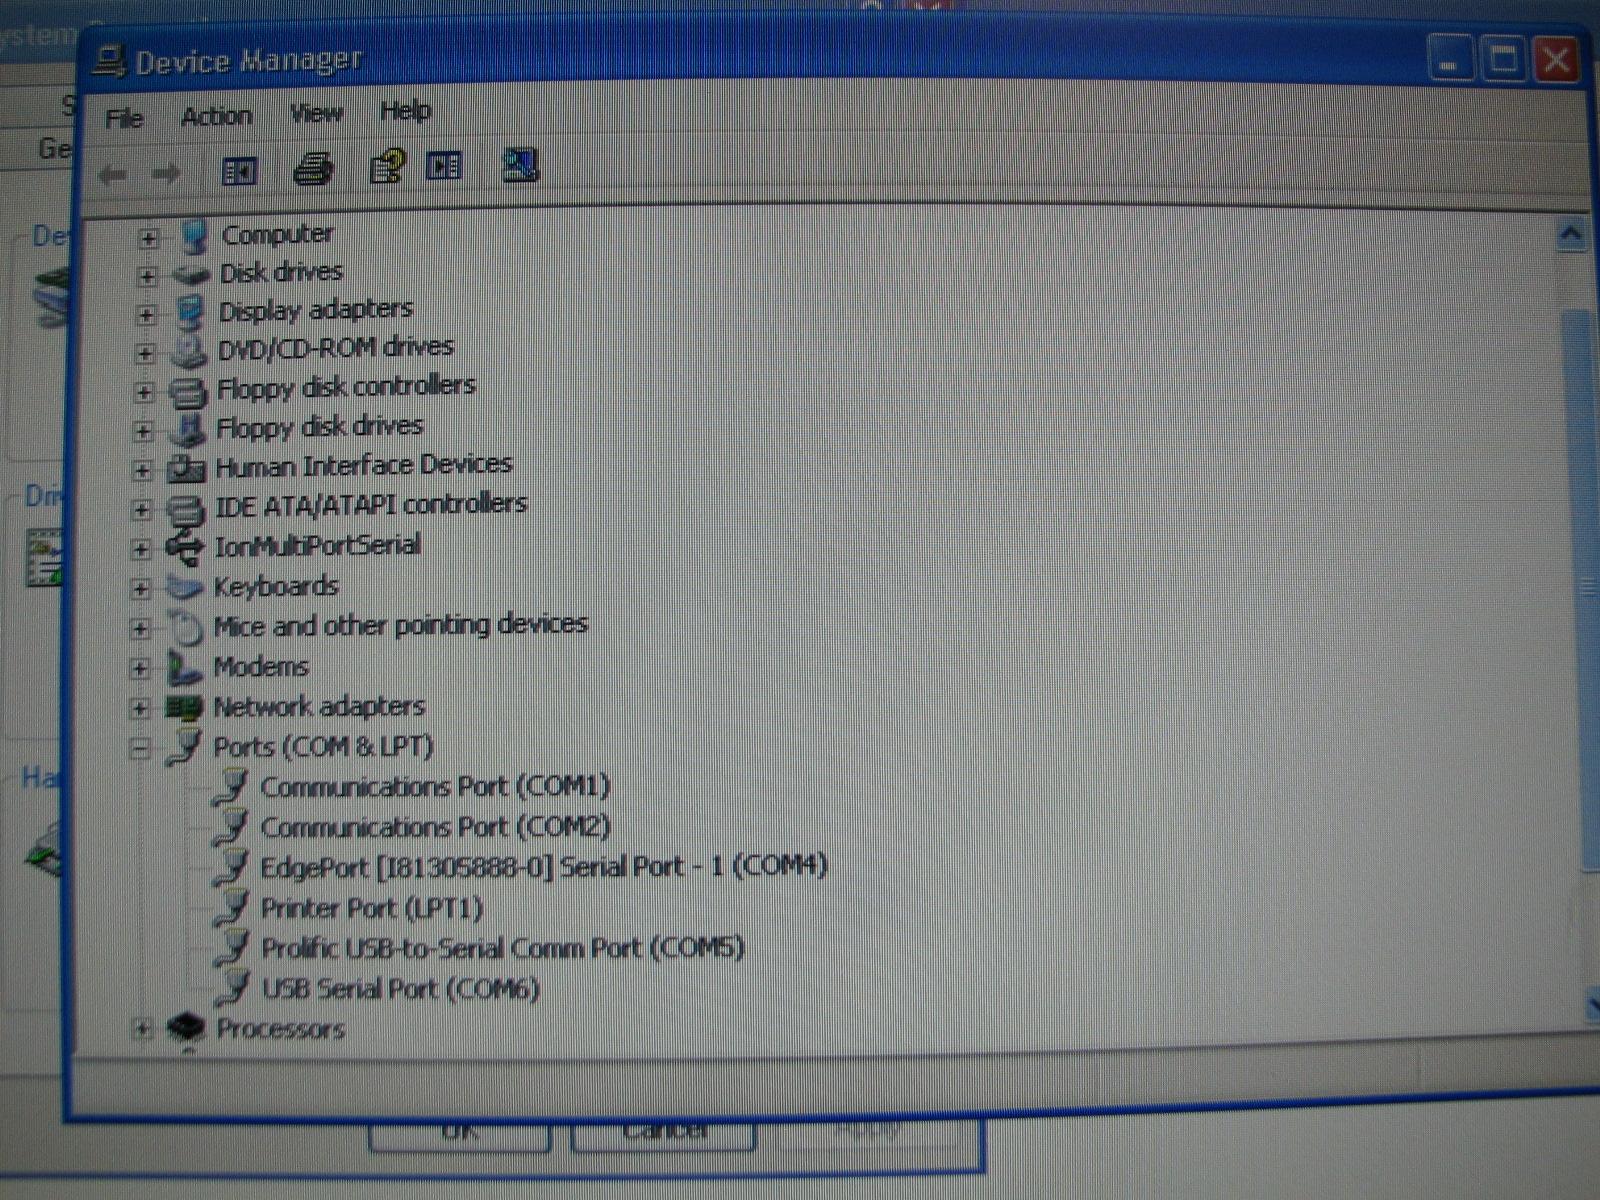
Mint. I was able to get the GPS info to the CAPN,
so I was very pleased about that. Still more work to do, but I am
making progress!
Screenshot Of Windows XP And Status Of
COM Ports
June 20, Friday, 2014
Started off the morning with my normal
ritual of getting on the Internet, answering email, and checking the
weather, while making a pot of coffee. When the coffee is started, I
feed our two cats,
Jillian
and Jordan, and spend time with them brushing their
beautiful coats.
Did not go over to the shop,
but stayed on DREAM AWAY, and worked on the Maintenance
Logs and email.
After breakfast we headed to the
Lafayette
to pick up Judy, our daughter, who will be staying with us for a few
days. After picking her up we ran a bunch of errands. One of which
was stopping at Home Depot to purchase a wet-dry vac for the shop.
This was my birthday present! Today I hit the big seven oh!!
We finally all arrived back on DREAM
AWAY around 1700. We settled in and had a great steak dinner with
corn on the cob, and rum cake for dessert! We all were able to sit in
the cockpit, enjoy a Rum Wookie, and I had a cigar. My first one in
about a year!
It was a good day, and it was great to
see Judy again.
June 19, Thursday, 2014
Started off the morning with my normal
ritual of getting on the Internet, answering email, and checking the
weather, while making a pot of coffee. When the coffee is started, I
feed our two cats,
Jillian
and Jordan, and spend time with them brushing their
beautiful coats.
I went over to the shop
and started in on a test of the solar panel risers. There is nothing
more I can do about the stern ladder until I can get the first step
tack welded onto the ladder. That means I need time and no wind in
the morning to do the setup.
So my thought is to set up a solar
panel on a spare piece of plywood in the shop, and actually test out
my plan for the risers I had fabricated for the solar panels.
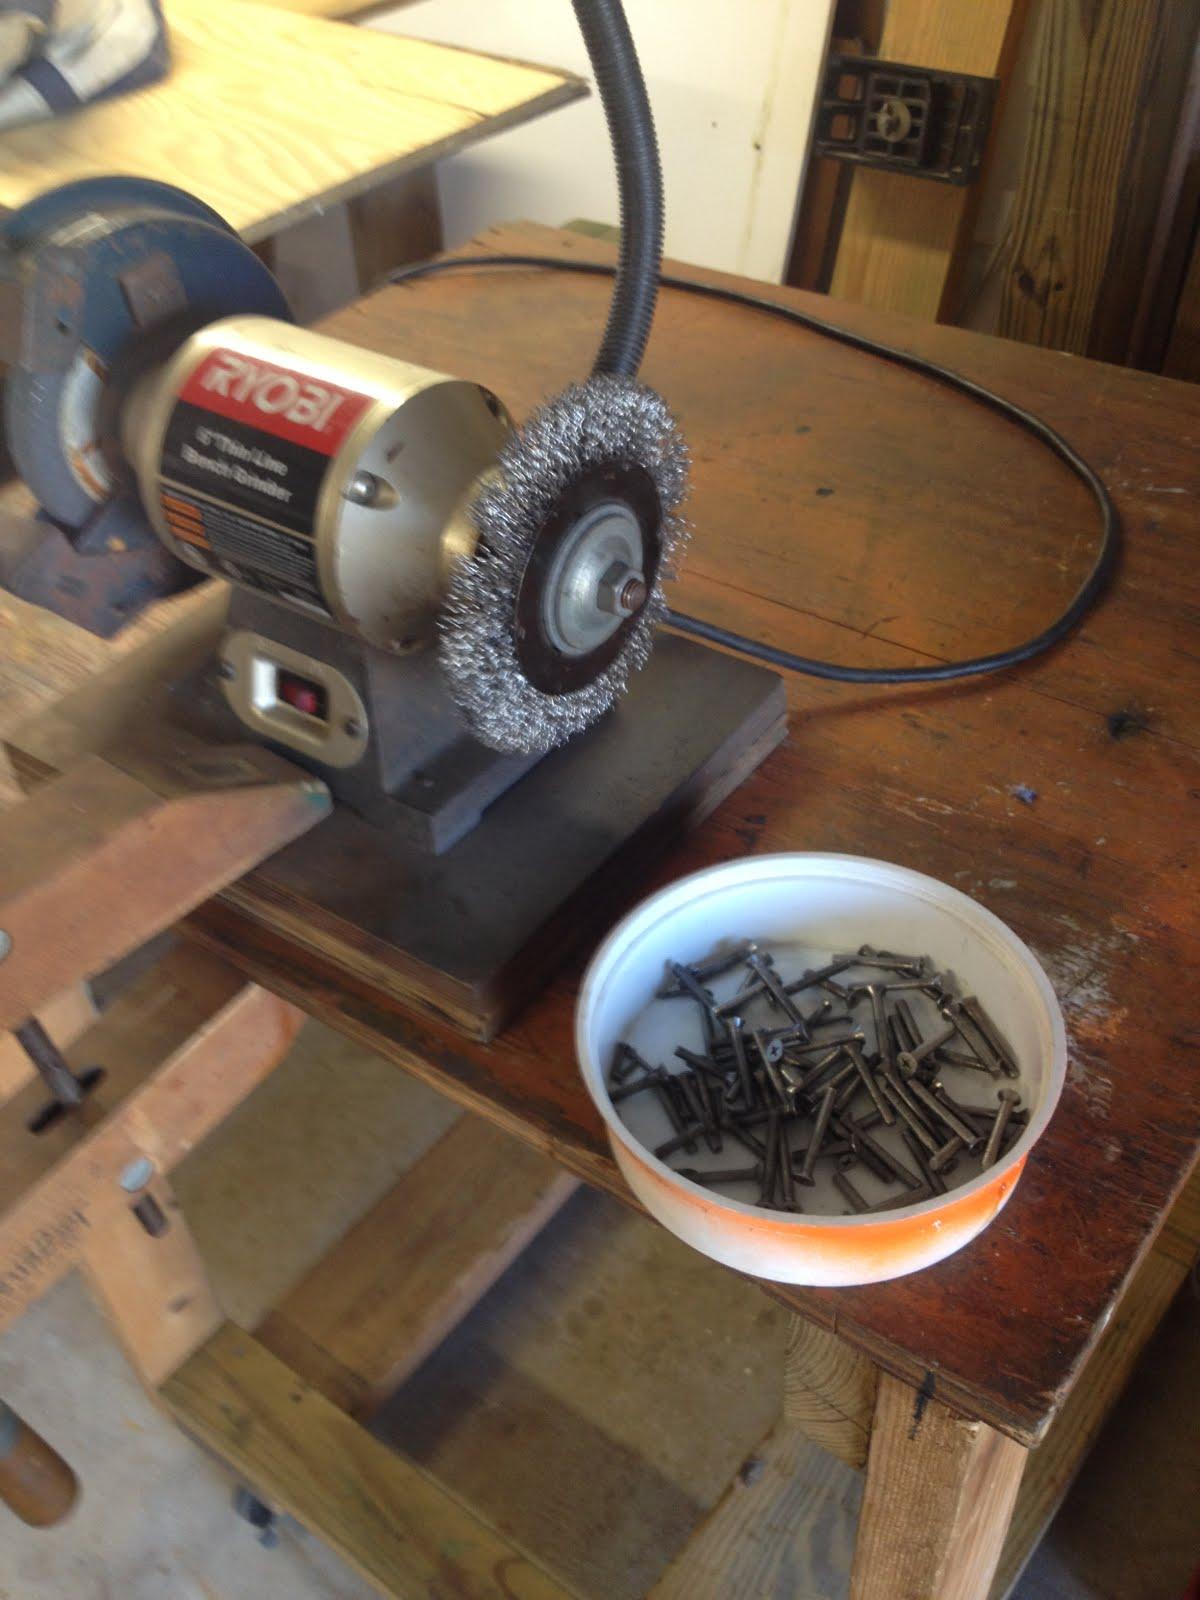
Before I got seriously into the solar
panel project, I finished up cleaning all of the fasteners that I
will be using to attach the hard dodger top to the frame. Hopefully I
will be able to get most of that completed today.
Fasteners All Clean And Ready To Go
OK, back to the present. First thing I
did was use the Z
brackets that came with the solar panel system to lift
the solar panel off of the mounting surface.
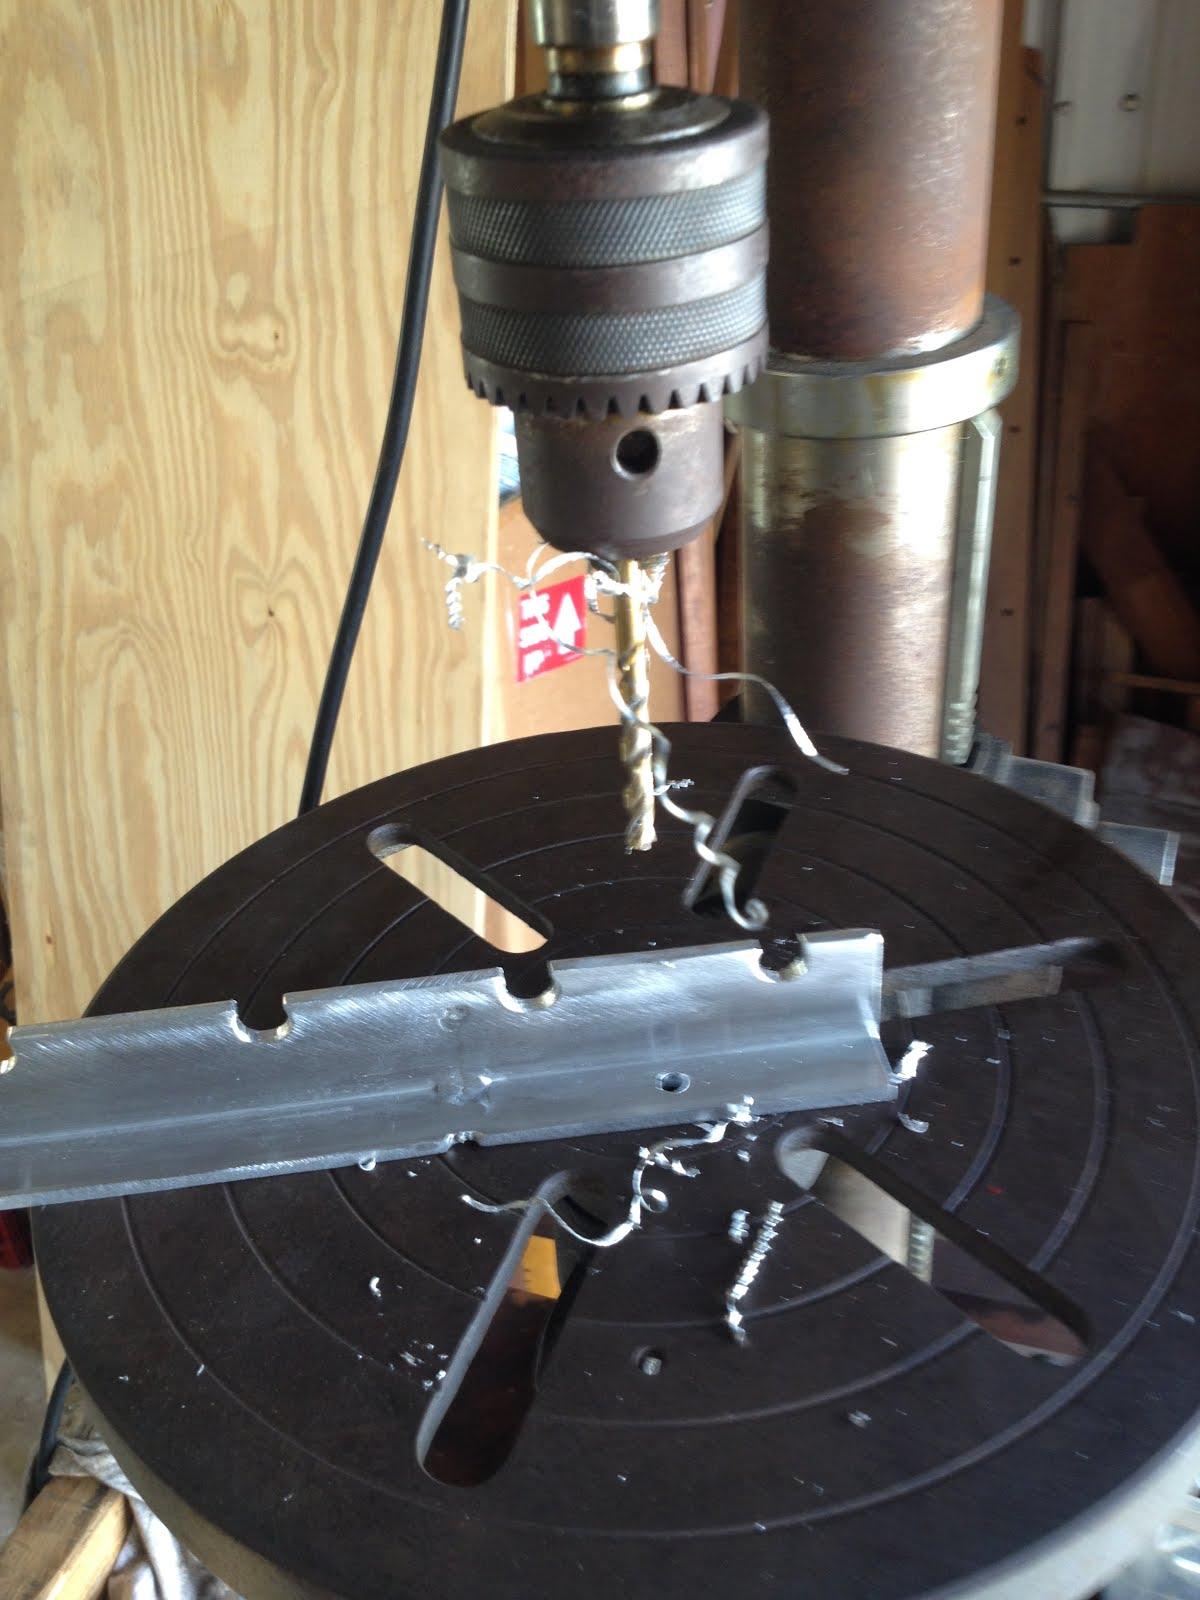
When I do a dry fit of my risers, I
realize I must drill mounting holes in the base of the risers to
attach the risers to the mounting surface. I do some measuring, and
then center punch where the holes must be placed and drill the holes
into four of the riser bases.
Using Drill Press To Drill Holes Into
Riser Base
When I finished drilling the holes in
the riser bases, I realized I did not have the additional fasteners
to attach the riser to the solar panel frame. Because I did not have
the fasteners, I was not willing to drill the necessary holes in the
solar panel frame until I have the fasteners on hand.
Setting Up Risers On Solar Panels
Setting Up Risers On Solar Panels
Kitty called to say she was awake, so I
headed over to DREAM AWAY to have breakfast. After breakfast, Kitty
drove into
New Iberia to drop off laundry, and run a few errands.
I started in on the top installation on
the hard dodger. Right away I realized I needed a sander and some
clamps that were over in the shop,
and got my milk crate with three sanders in it and four of my clamps.
I headed back to DREAM AWAY to get started on the top installation.
I had previously fitted the pieces of
Starboard
to the frame so there was almost no issue there. I did find one
problem, and on the starboard side I had to sand down one of the
uprights of the hard dodger. When I had sanded down the upright, it
was time to clamp down the piece of Starboard
to the starboard side.
I am using the 10 X 32 X 1 ½” bolts
from the old hard
Bimini
to bolt down the top to the frame. The hard dodger frame is stainless
steel, so the drilling and tapping is a bit more time consuming.
The process is to drill a hole in the
Starboard
that has clearance for the bolt. When that bit notches the stainless
steel frame, I change to a smaller bit to drill through the stainless
steel. After I make the hole I use a 10 X 32 tap to make the threads.
Captain Drilling The Holes
While I was tapping out the second hole
in the frame, the tap broke! I called Kitty and asked her to stop by
Lowe’s and pick up two of the taps. While waiting
for Kitty to come back from running her errands, and bringing my new
taps, I worked in the marina
gardens.
When Kitty returned, she told me that
Lowe’s
did not have the taps, and she ended up purchasing the two taps at
LeBlanc Oil here in Delcambre.
That was the first place I called when I broke the tap! Oh well!
I now had a new tap so I got back to
installing the starboard side top on the hard dodger. I finally
completed the starboard side.
Equipment Necessary To Drill And Tap A
Few Holes
Equipment Necessary To Drill And Tap A
Few Holes
While I was working on the hard dodger
tops, Kitty was down below on the phone getting the second
transmission coordinated to be sent to Norman’s. Hopefully this
will be the one that work’s!
Kitty Hard At It On The Phone
Now I started on the port side top. I
got it all set up, but was not able to clamp it down anywhere. I got
Kitty to come out and hold the top in place while I drilled and
tapped two holes. Once the two holes were completed and the fasteners
installed, The port piece of Starboard
was secure, and I was able to continue on without Kitty’s help.
I was not able to complete the port
side of the top, as I simply ran out of time. By the time I got all
of the tools put away it was 1800. I will have to finish the port
side installation tomorrow or Saturday!
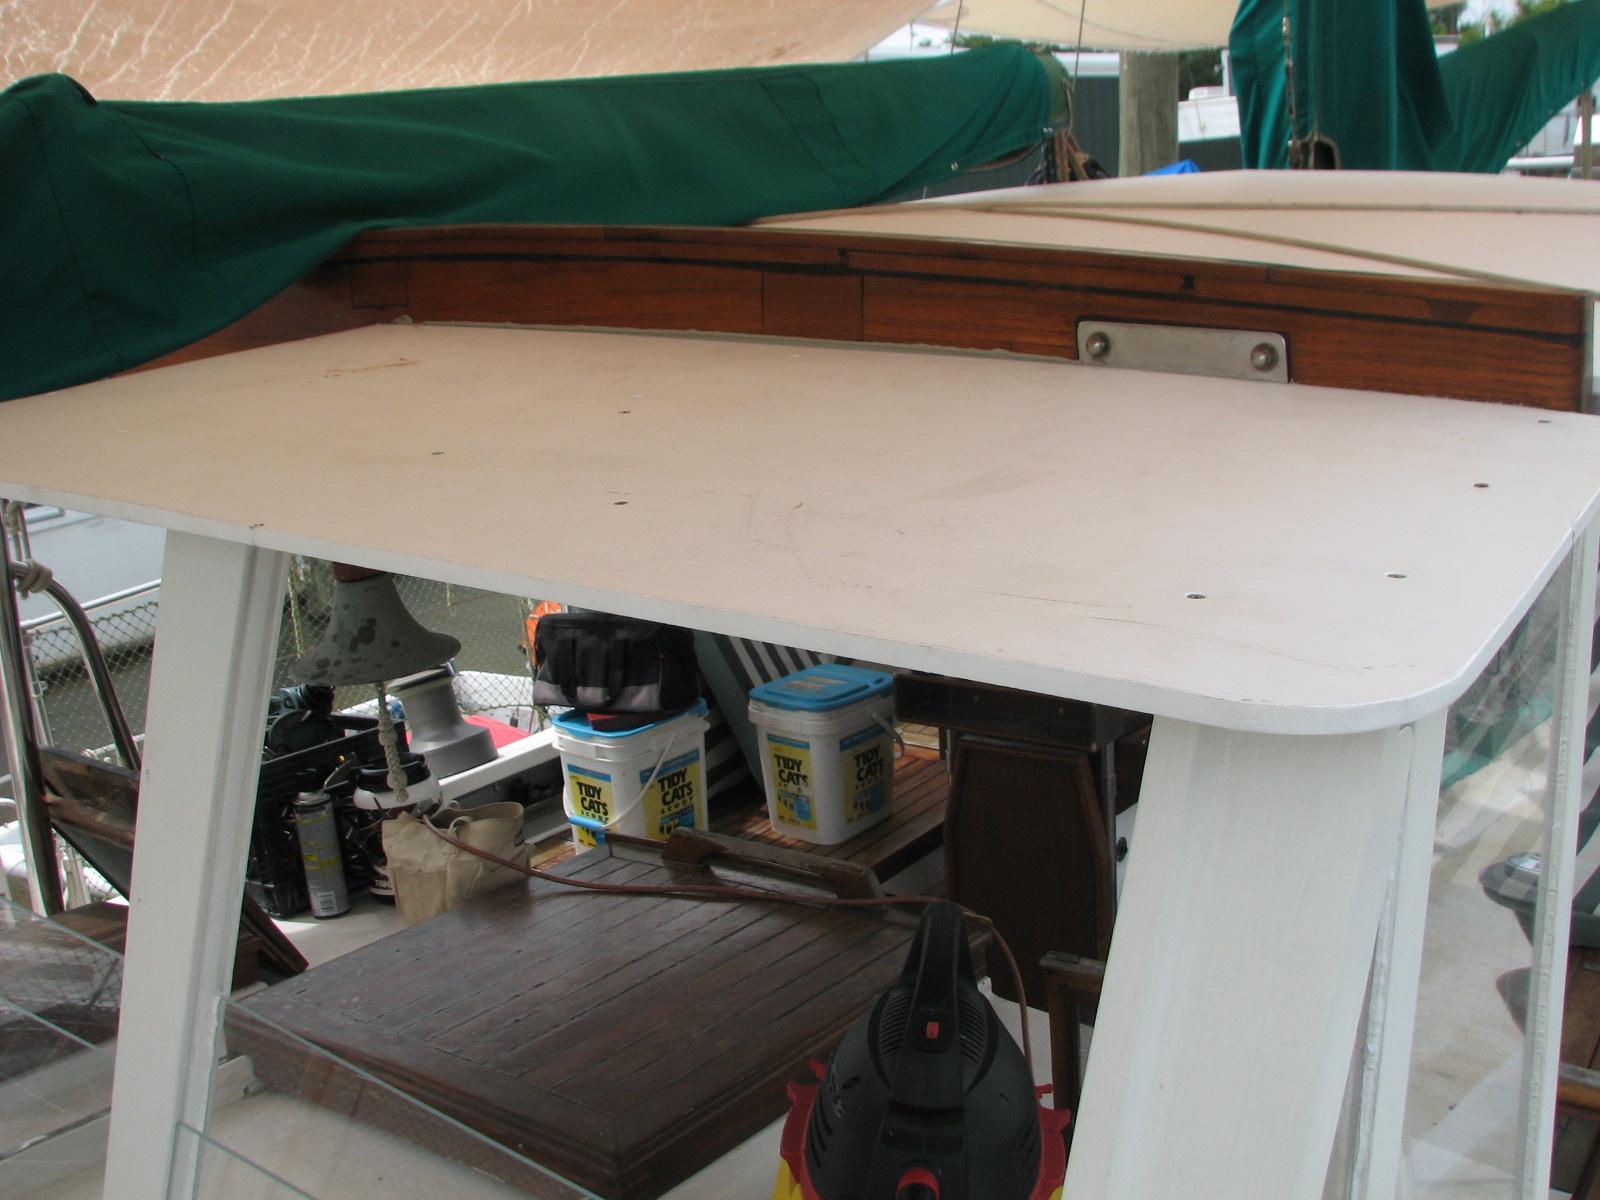
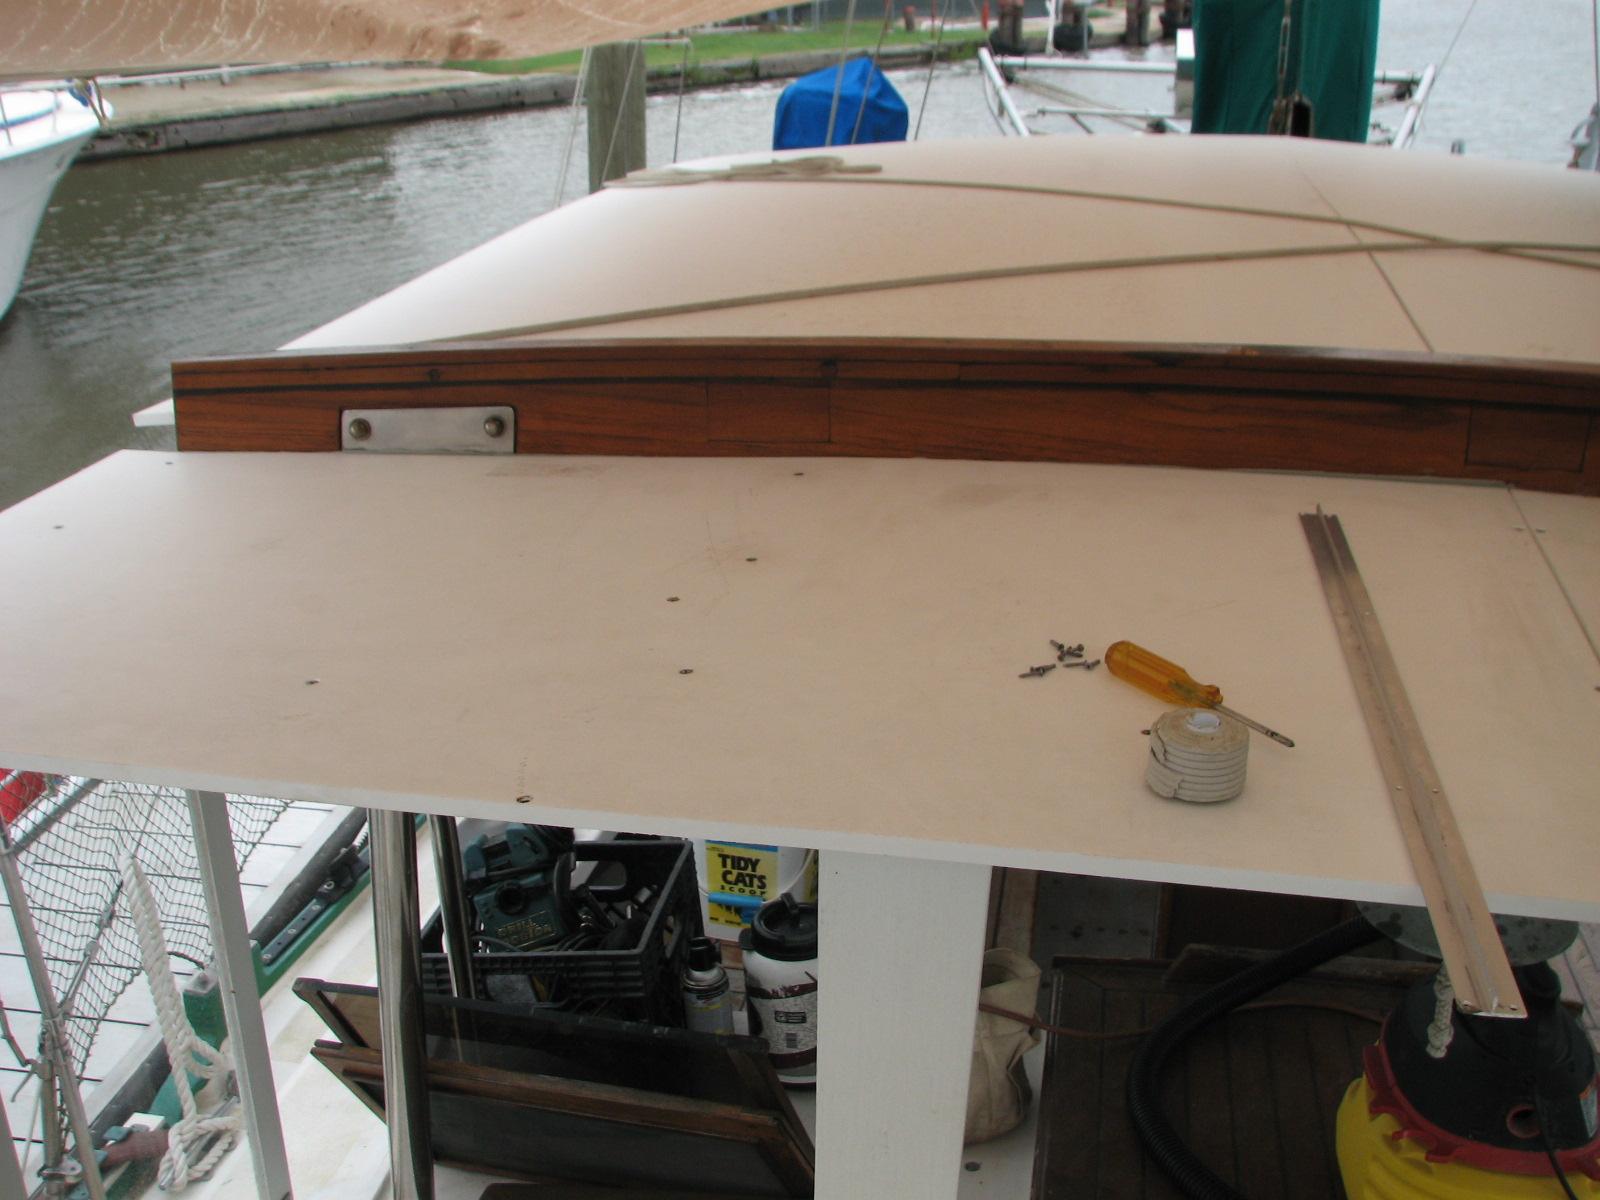
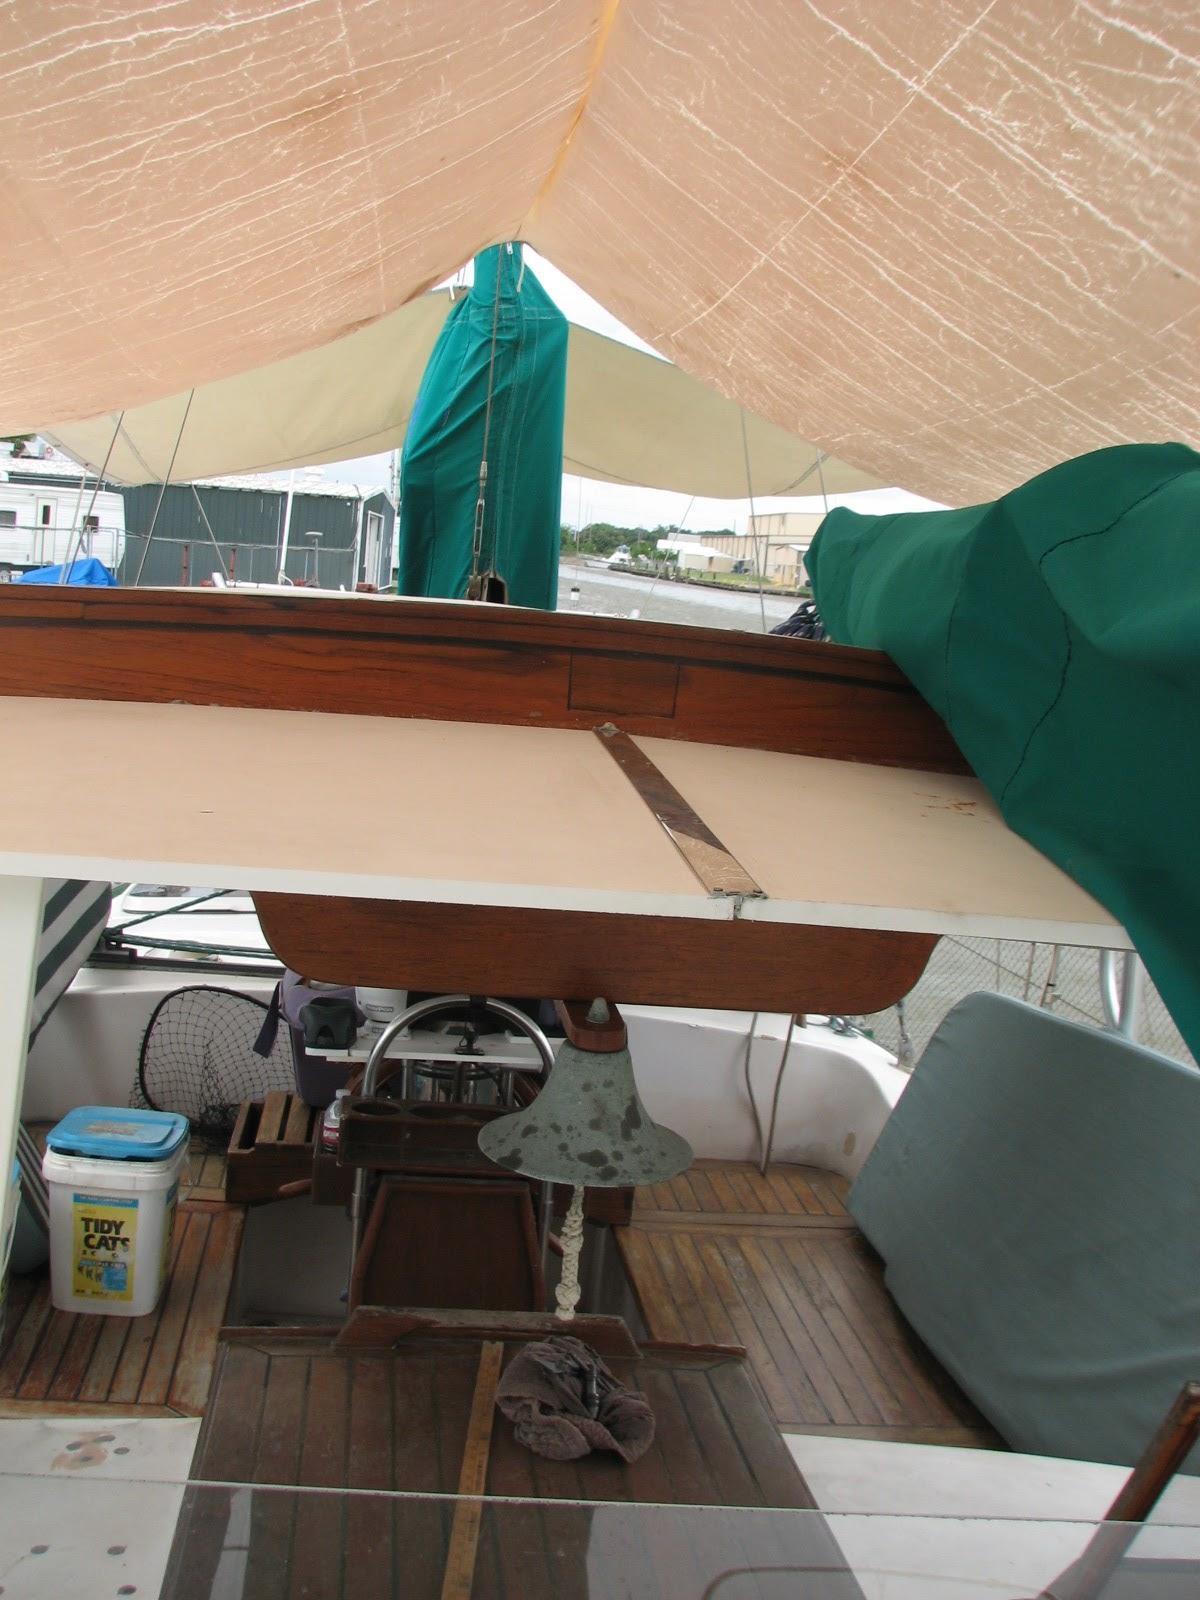
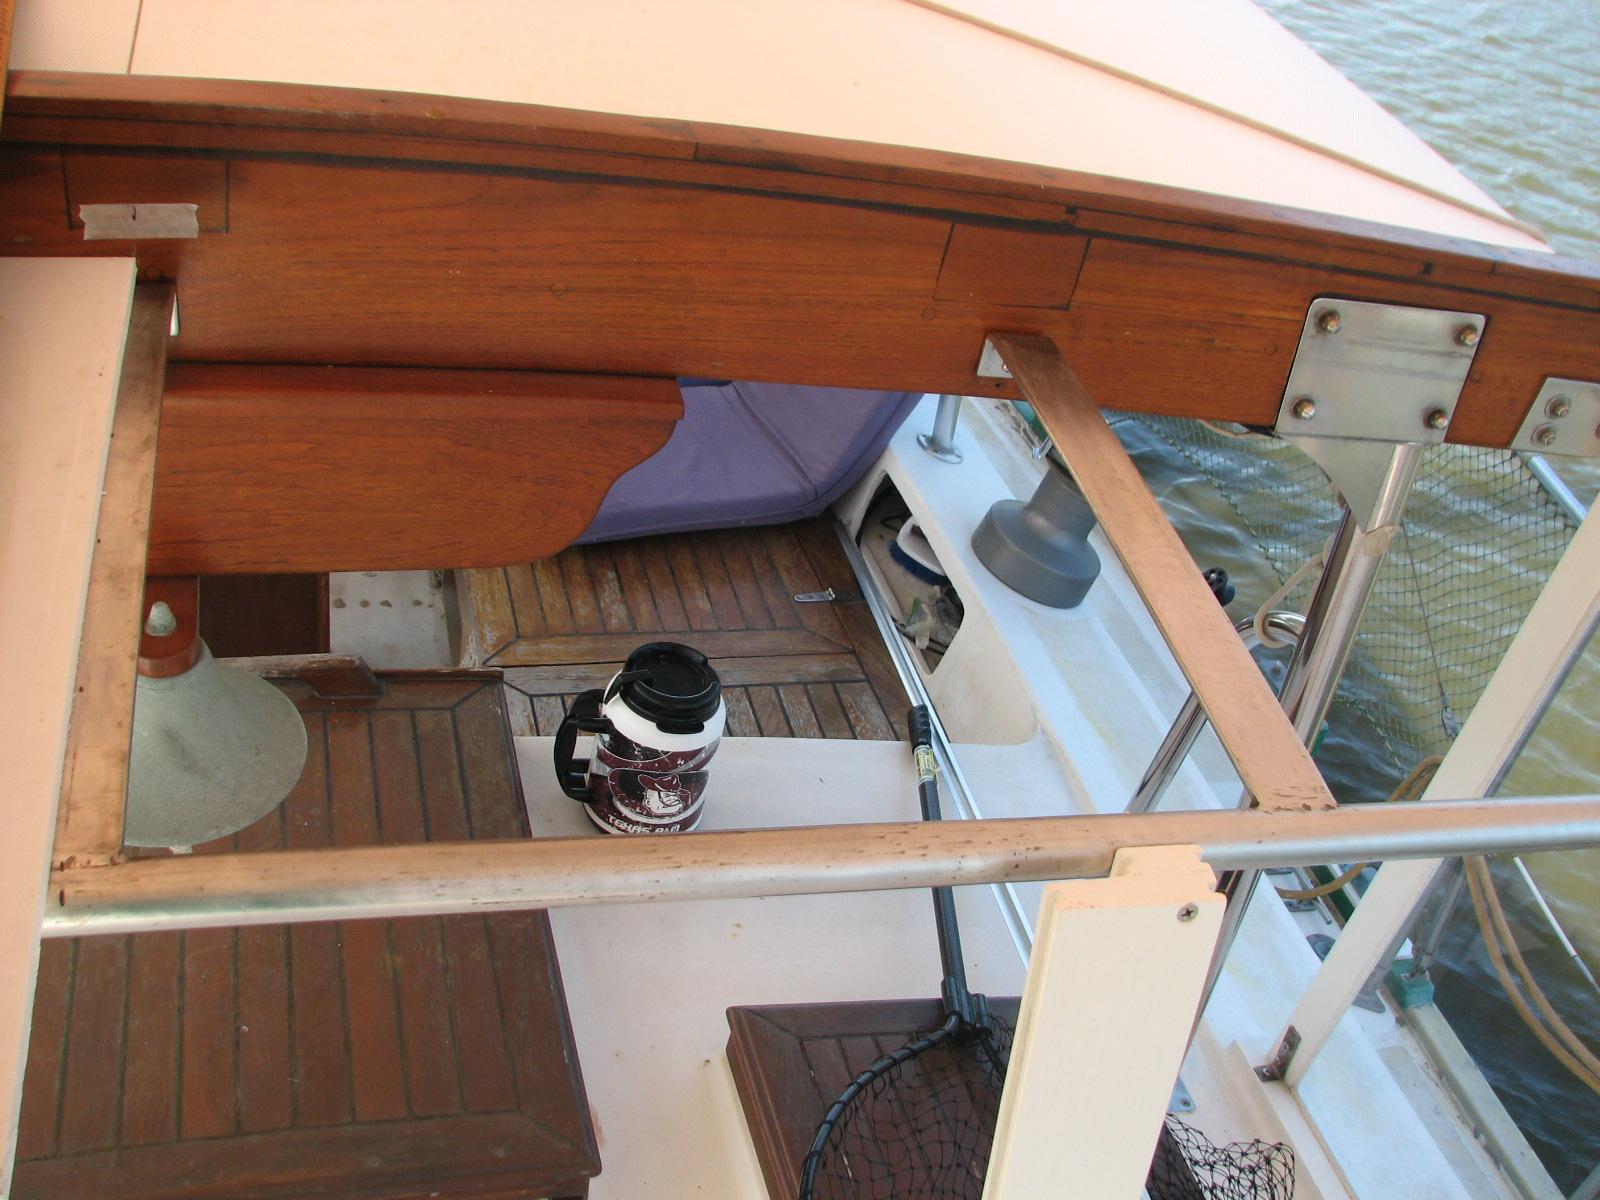
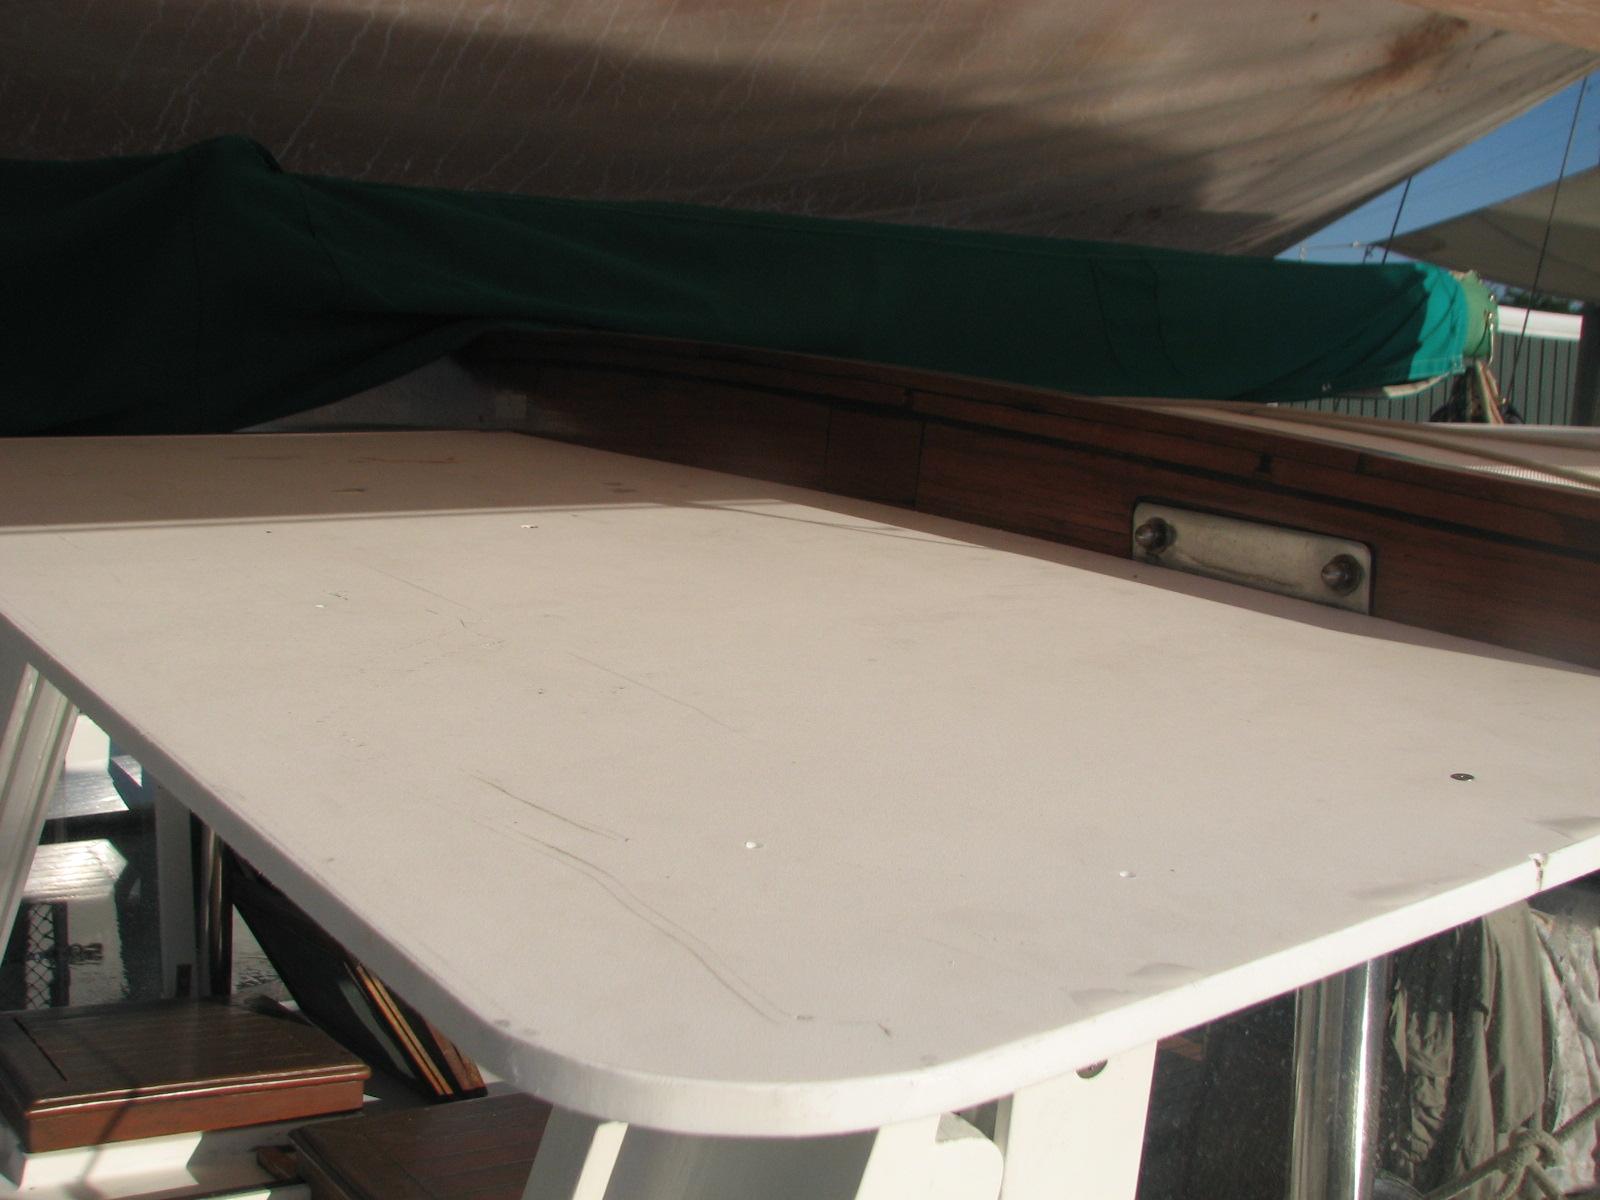
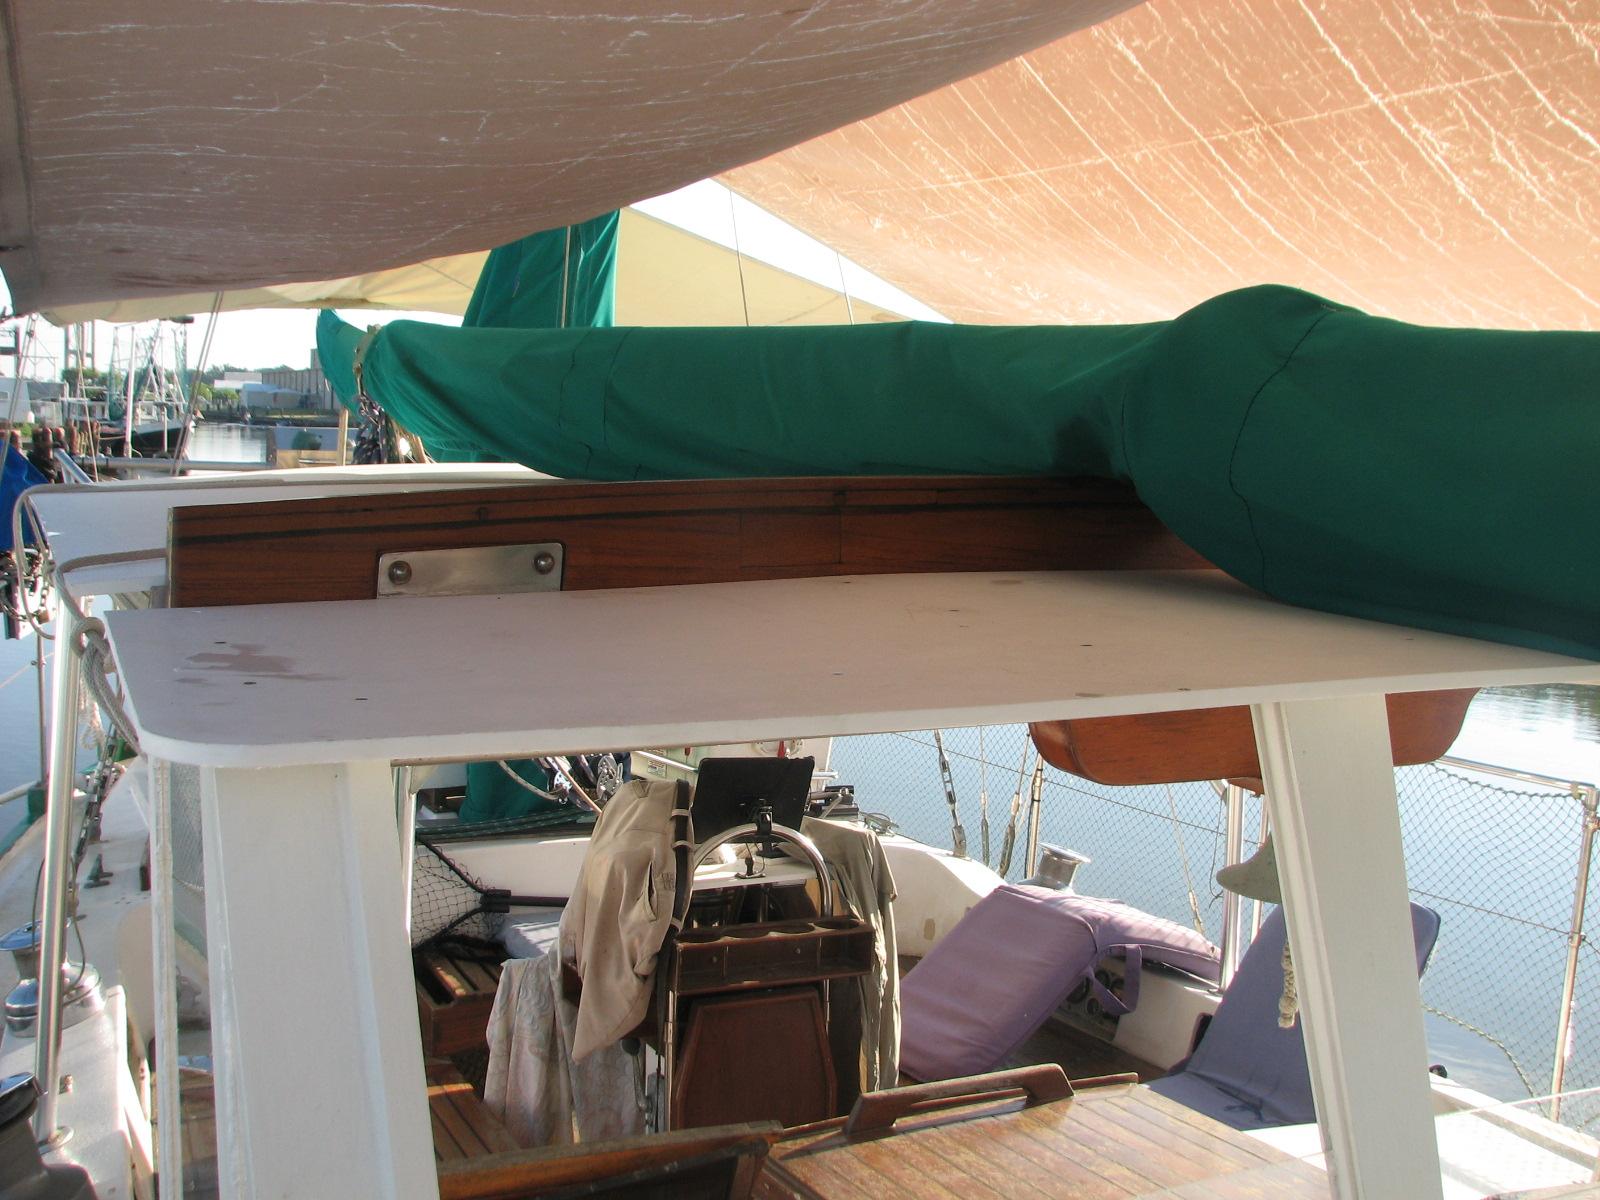
Port Side Top Of Hard Dodger
Starboard Side Top Of Hard Dodger
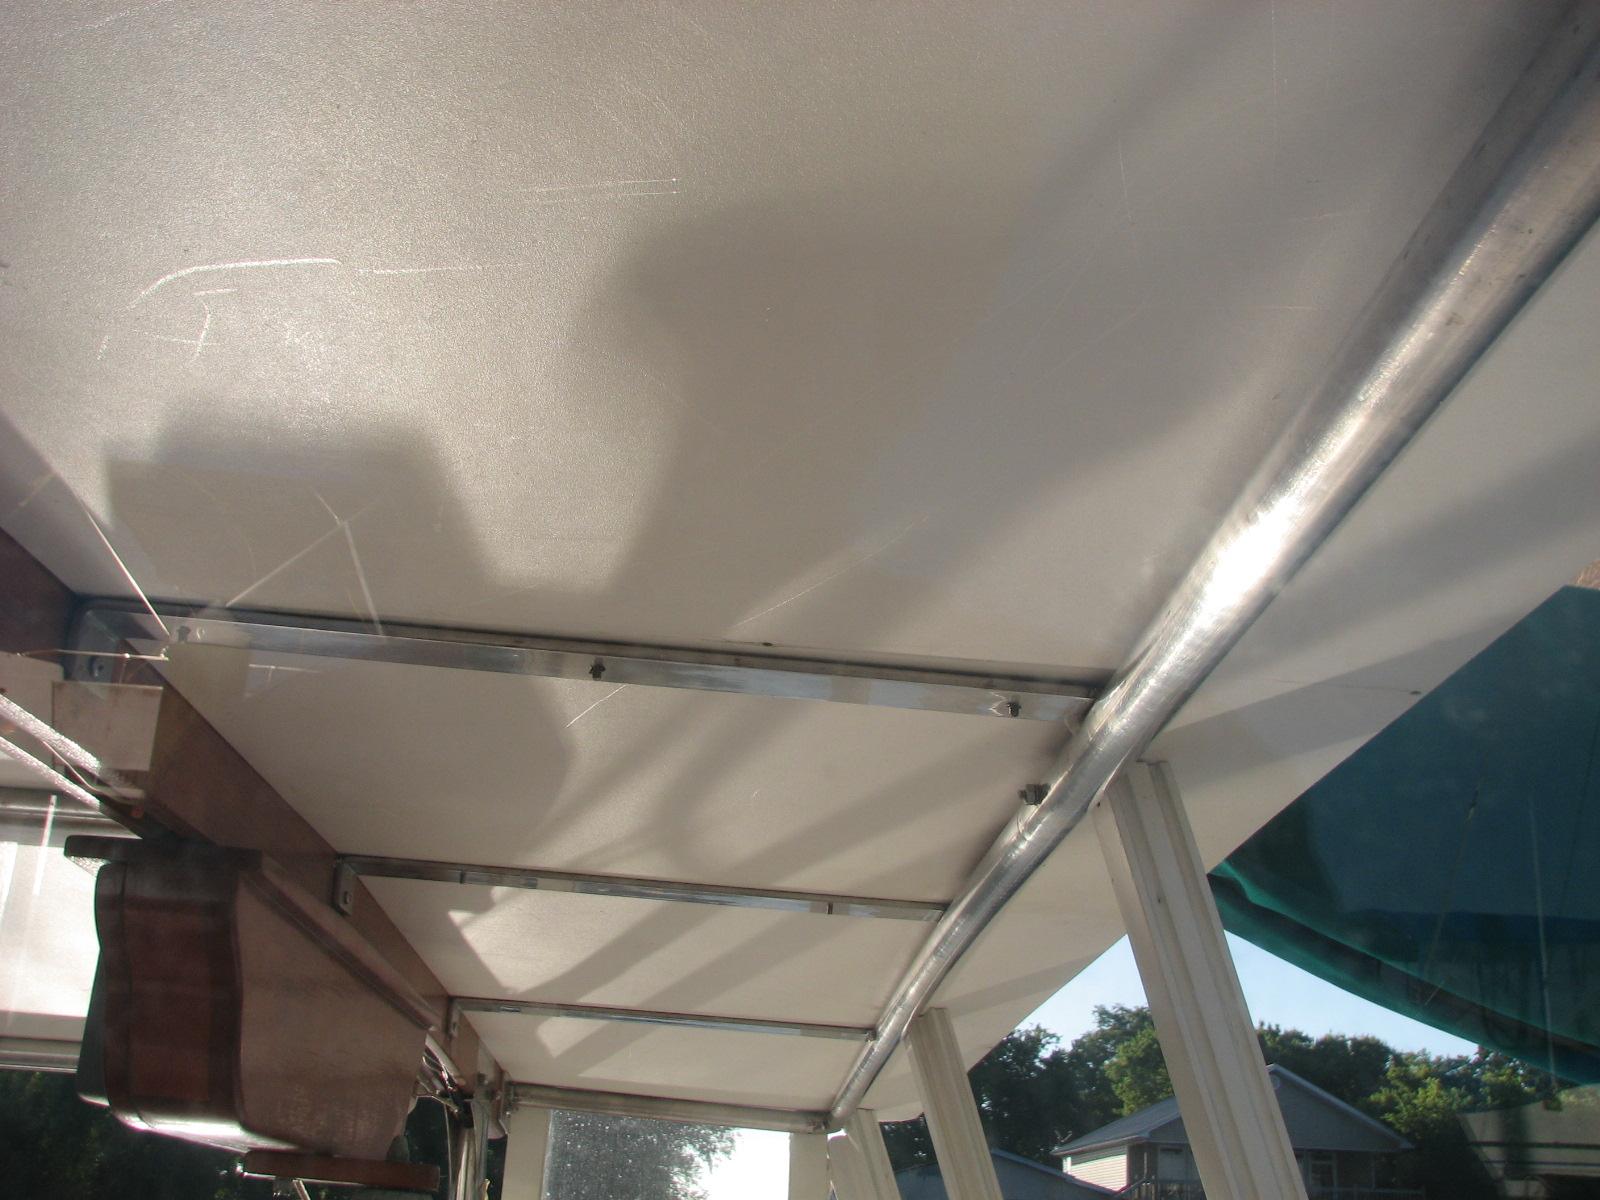
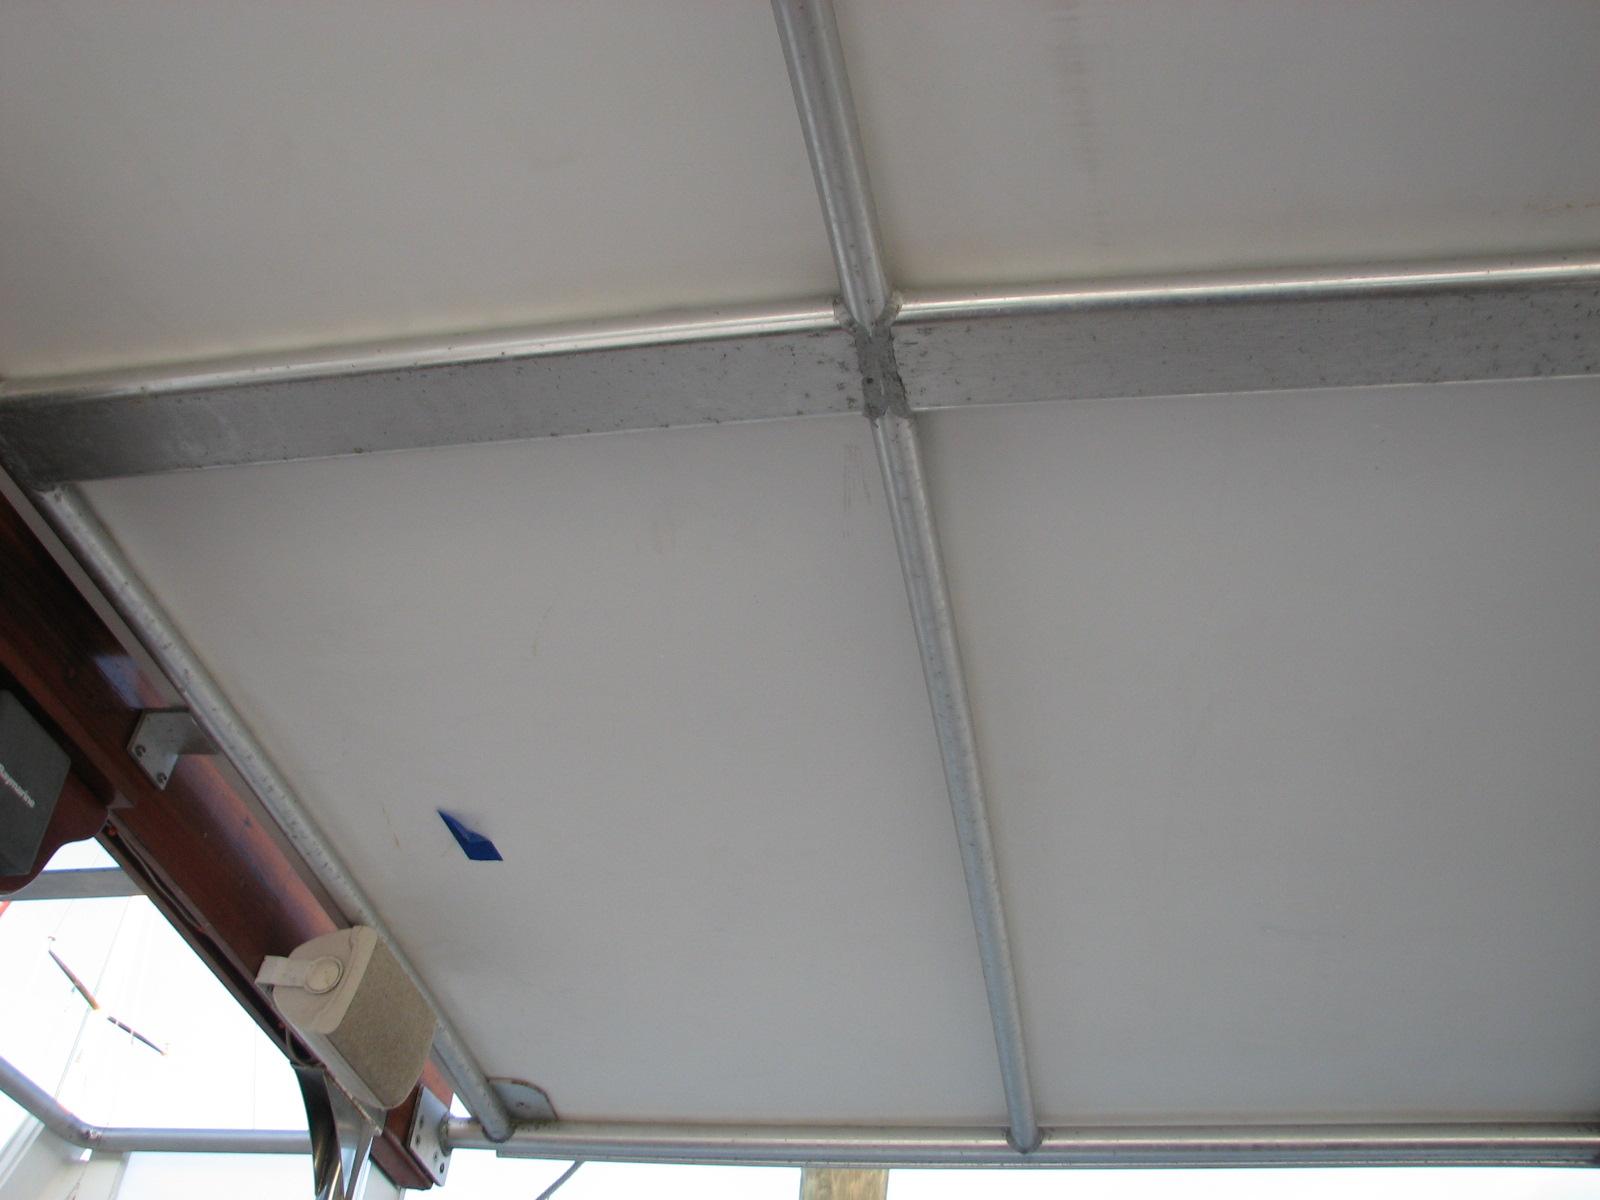
Underside Of Hard Dodger Top
I washed down DREAM AWAY, and then took
a shower myself. Today is a diet day, so no adult beverages!
June 18, Wednesday, 2014
Started off the morning with my normal
ritual of getting on the Internet, answering email, and checking the
weather, while making a pot of coffee. When the coffee is started, I
feed our two cats,
Jillian
and Jordan, and spend time with them brushing their
beautiful coats.
At 0700, T-Boy, the dockmaster, picked
me up at the marina.
We drove down to Jeanerette,
Louisiana, to pick up some boards! We had a good sized trailer, and
we did not know how big the boards were, but we knew we were to pick
up 100 of them.
When we arrived at the proper location
we discovered the boards we were to pick up were 2” X 8” X 8’
treated lumber, and most of the boards were wet and heavy. We got the
100 boards loaded and brought back to a second store room right next
to the original Port
of Delcambre’s storage room. We unloaded the 100
boards into the second storage room, and I was back at the marina
by 0945.
In the meantime Kitty had gone into the
Iberia Medical Center to get her scheduled Reclast IV. This time it
went off without a hitch.
I went over to the shop
and picked up the three awnings for DREAM AWAY. They are not in the
best shape, but they will do until I get the time to fabricate new
one’s.
I was able to get all three awnings put
up on DREAM AWAY. Not only will this make it much cooler down below,
but I will be able to finish up the Hard Dodger, and Hard Bimini
in the shade.
When I had finished the awning
installation, Kitty had arrived home, so we had a late lunch. I took
a shower after lunch, and then spent the remainder of the day working
on my computer and scanning in documents.
June 17, Tuesday, 2014
Started off the morning with my normal
ritual of feeding our two cats,
Jillian
and Jordan.
Kitty and I had a doctor’s
appointment at 0700, so we left DREAM AWAY at 0645. Both our
appointments were at the dermatologist. Kitty was having a small cyst
removed from her face, and I was having two basal cell carcinomas
removed from my left arm.
While at the dermatologist’s, Kitty’s
blood pressure went sky high, so we went to the
Heart Hospital of
Lafayette’s emergency room. We got the situation under control, and
Kitty was released in the afternoon, and we went home and stopped at
the vegetable stand on the way!
Kitty is back on blood pressure
medicine, and has an appointment with her cardiologist next week.
Kitty was feeling much better, so she
accompanied me to Auto Go transmission in Abbeville.
I wanted to have a real transmission man check the problem I am
having with the new transmission I had put into
Ruby.
Jim and Jerry, of Auto Go Transmission,
took Ruby
out for a road test, and confirmed my suspicions. There is a bad
bearing in the transmission, and needs to be replaced.
More delays, more fun and more expense!
I called Norman at Norman’s Auto Diesel, and he agreed to do the
transmission again. I called Smart
Parts Automotive and told them about the problem.
I talked with Jeff, he said he would
call the guys at Auto Go Transmission, and then get back to me
tomorrow. He also said he would check the status of my core. Based on
previous promises of call back and tracking numbers from Jeff, he
will not call me back, and I will have to hound him until I get my
new transmission.
Kitty and I went back to DREAM AWAY.
Kitty got settled in and lay down to try and get her headache under
control, I worked on the computer trying to get caught up.
June 16, Monday, 2014
Started off the morning with my normal
ritual of getting on the Internet, answering email, and checking the
weather, while making a pot of coffee.
When we got ready to leave so we could
go to the USCG office, I had Johnal have a listen to the transmission
noise or growel in Ruby.
We decided it is definitely not the throwout bearing, but something
in the transmission.
Kitty and I went to the USCG office,
and I submitted all of my paperwork for the renewal of my USCG
master’s license. That all went very smooth. They
are four days behind, so by the end of this week, I should be in the
system, and be able to get my new license very soon.
We had an uneventful drive back to
Delcambre,
and as usual were glad to get home and see our cats.
June 15, Sunday, 2014
Started off the morning with my normal
ritual of getting on the Internet, answering email, and checking the
weather, while making a pot of coffee. When the coffee is started, I
feed our two cats,
Jillian
and Jordan, and spend time with them brushing their
beautiful coats.
Went over to the
shop,
and unloaded the long extension cord. I cleaned all of the windows on
Ruby.
I then applied Rain-X
to all of the windows.
I then polished another of the
stainless steel steps I had cut for the stern ladder. I am pretty much
at a standstill on the stern ladder until I can get the first step
tack welded with the stern ladder bolted onto the stern.
I then went to the Port
of Delcambre’s storage room and unloaded two tables
I had in the back of Ruby
just in case they were needed for the National Marina Day
Celebration.
When that was complete, I went back to
DREAM AWAY and took all of the flags down and put them away. Kitty
and I packed all of the stuff we would need for an overnight and
loaded them into Ruby.
We left extra water and food for our sweet cats, Jillian
and Jordan, and headed out to Mandeville,
Louisiana.
I had decided to drop off all of the
necessary forms required for the renewal of USCG
master’s license in person so there would be no loss
of documentation. This had to be done at the office in Mandeville,
so we decided to stay with our friends Cindy
and Johnal who had their boat docked in Mandeville.
When we arrived they had some other friend’s there who they knew
from Kemah.
We had a wonderful visit. The new friends had to leave due to a
commitment, so we played Mexican
Train and Farkle,
until late in the evening. We finally hit the sack around 2200.
June 14, Saturday, 2014
Started off the morning with my normal
ritual of getting on the Internet, answering email, and checking the
weather, while making a pot of coffee. When the coffee is started, I
feed our two cats,
Jillian
and Jordan, and spend time with them brushing their
beautiful coats.
Went over to the
shop
first thing in the morning, and checked out Ruby.
The transmission was working fine, but I think the clutch needs some
adjustment, and I was trying to see how that works. It was not
obvious, so I will have to look that up on the Internet and see how
it is done!
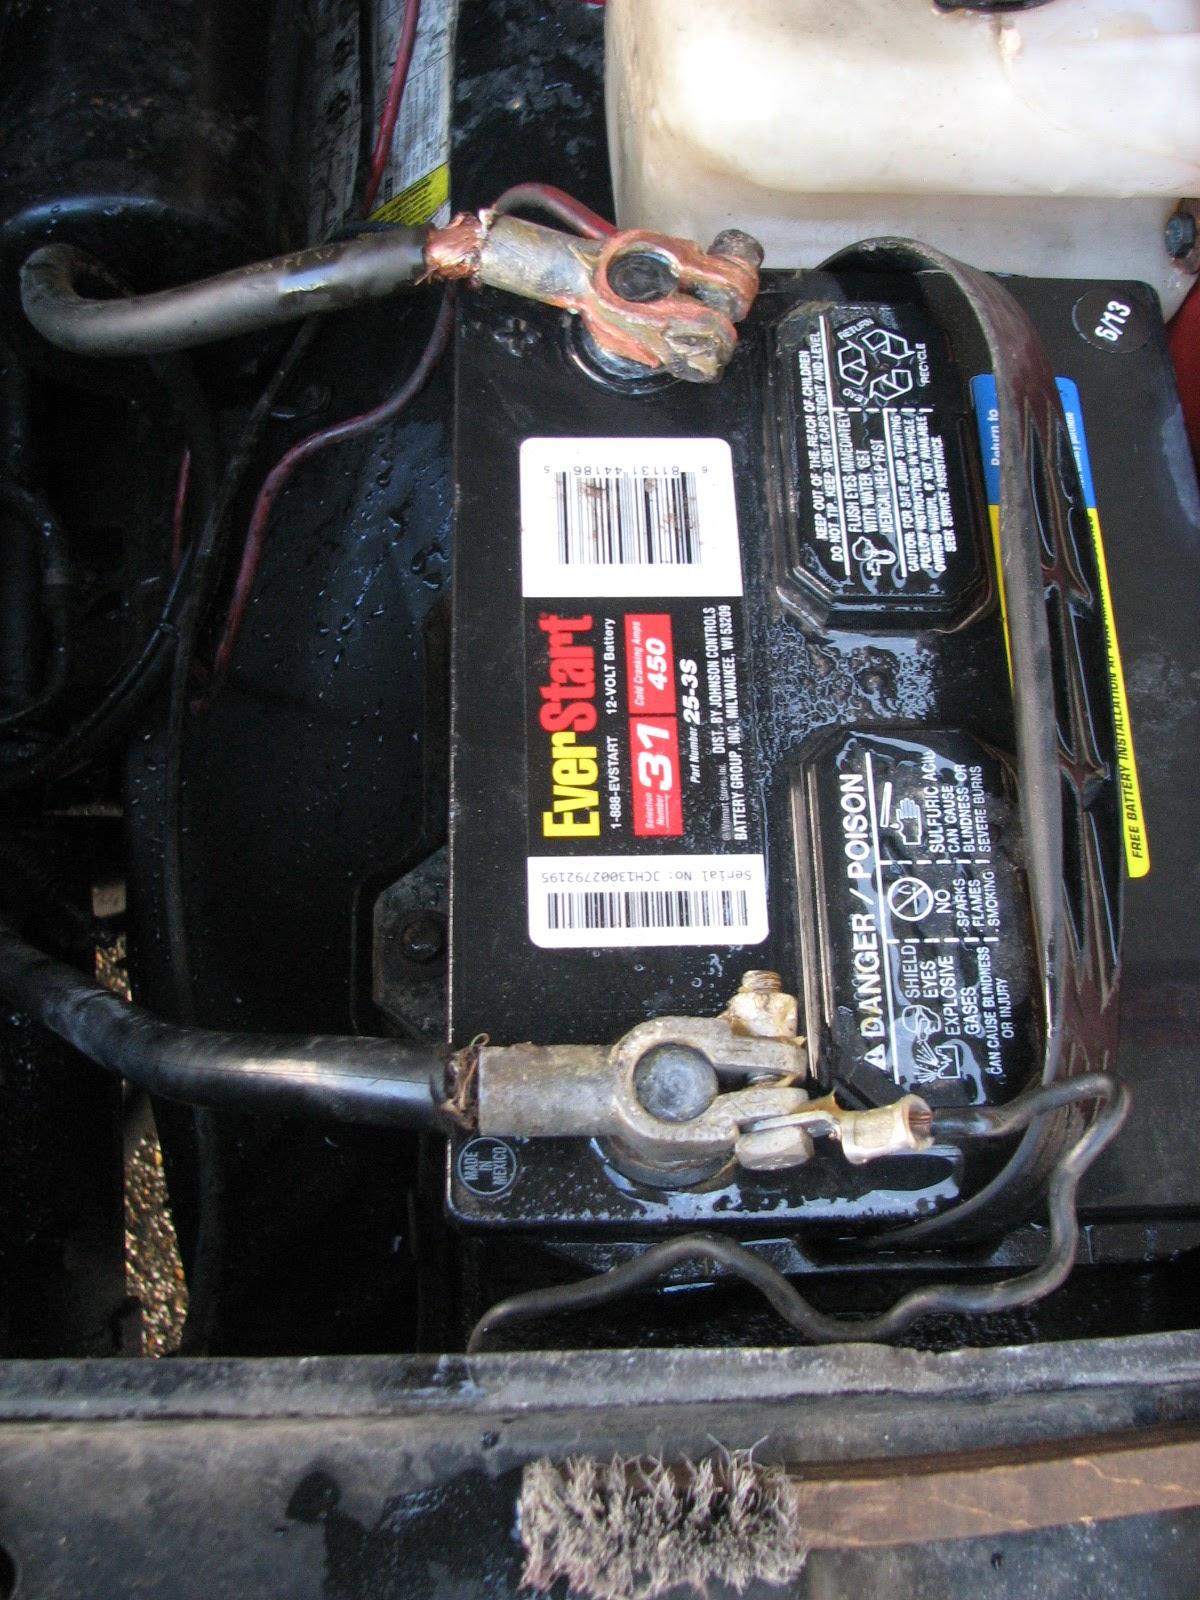
I then cleaned the battery posts on the
battery. They were looking pretty bad. In fact I could not get the
positive post off of the battery. I was afraid if I got too physical
with it, I would ruin the battery! I got the posts cleaned as good as
possible, and then covered them with grease.
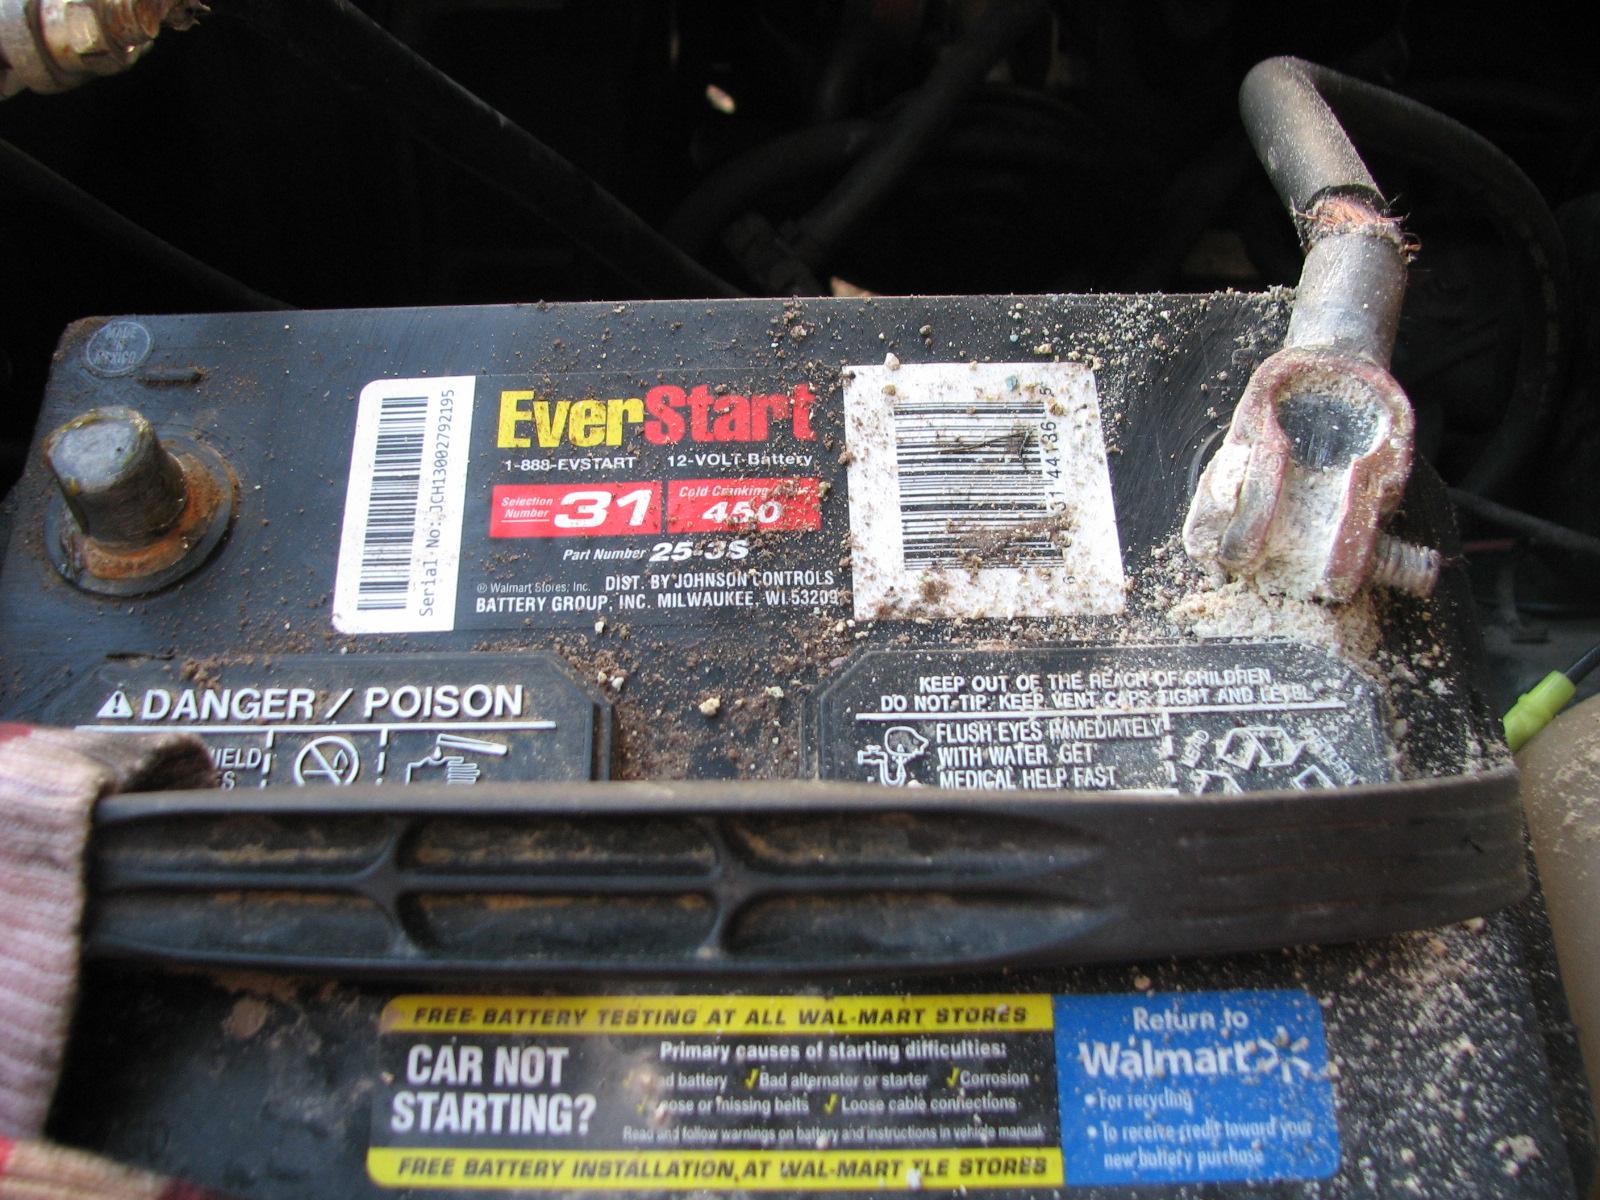
Battery Posts During Cleaning Process
Battery Posts After Cleaning; Grease
Applied
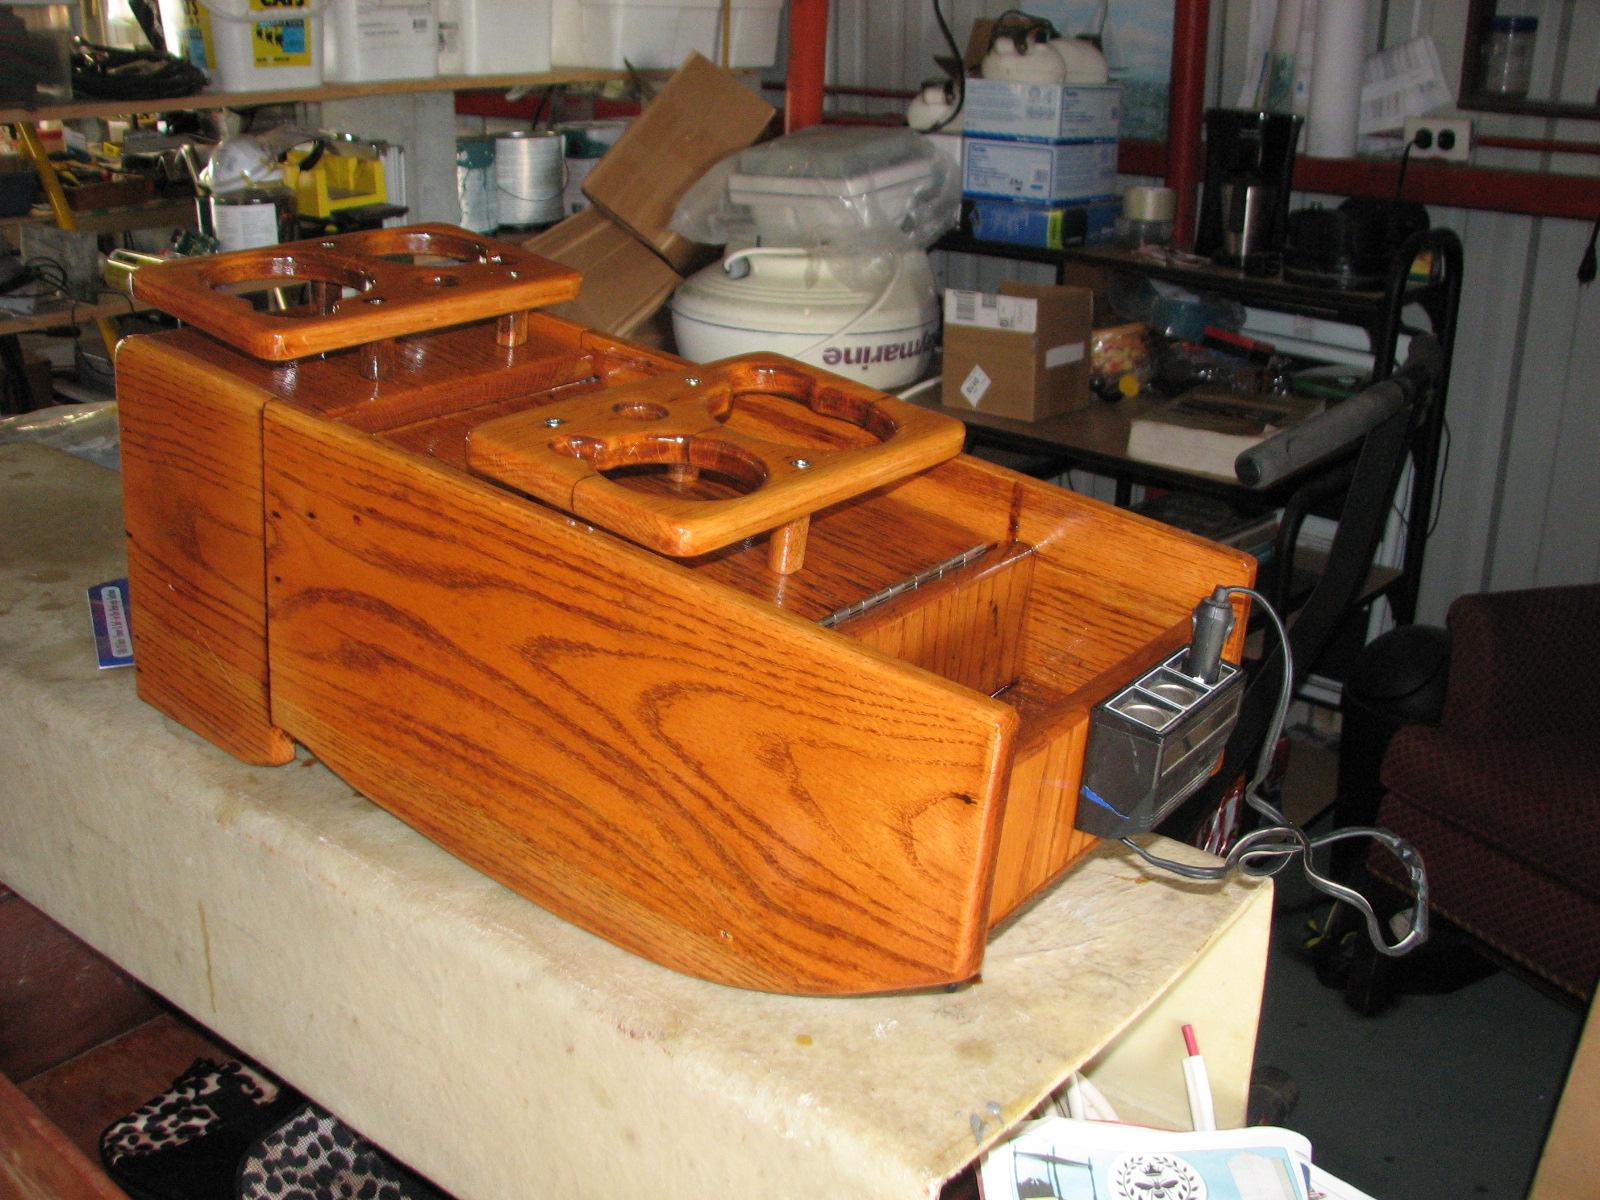
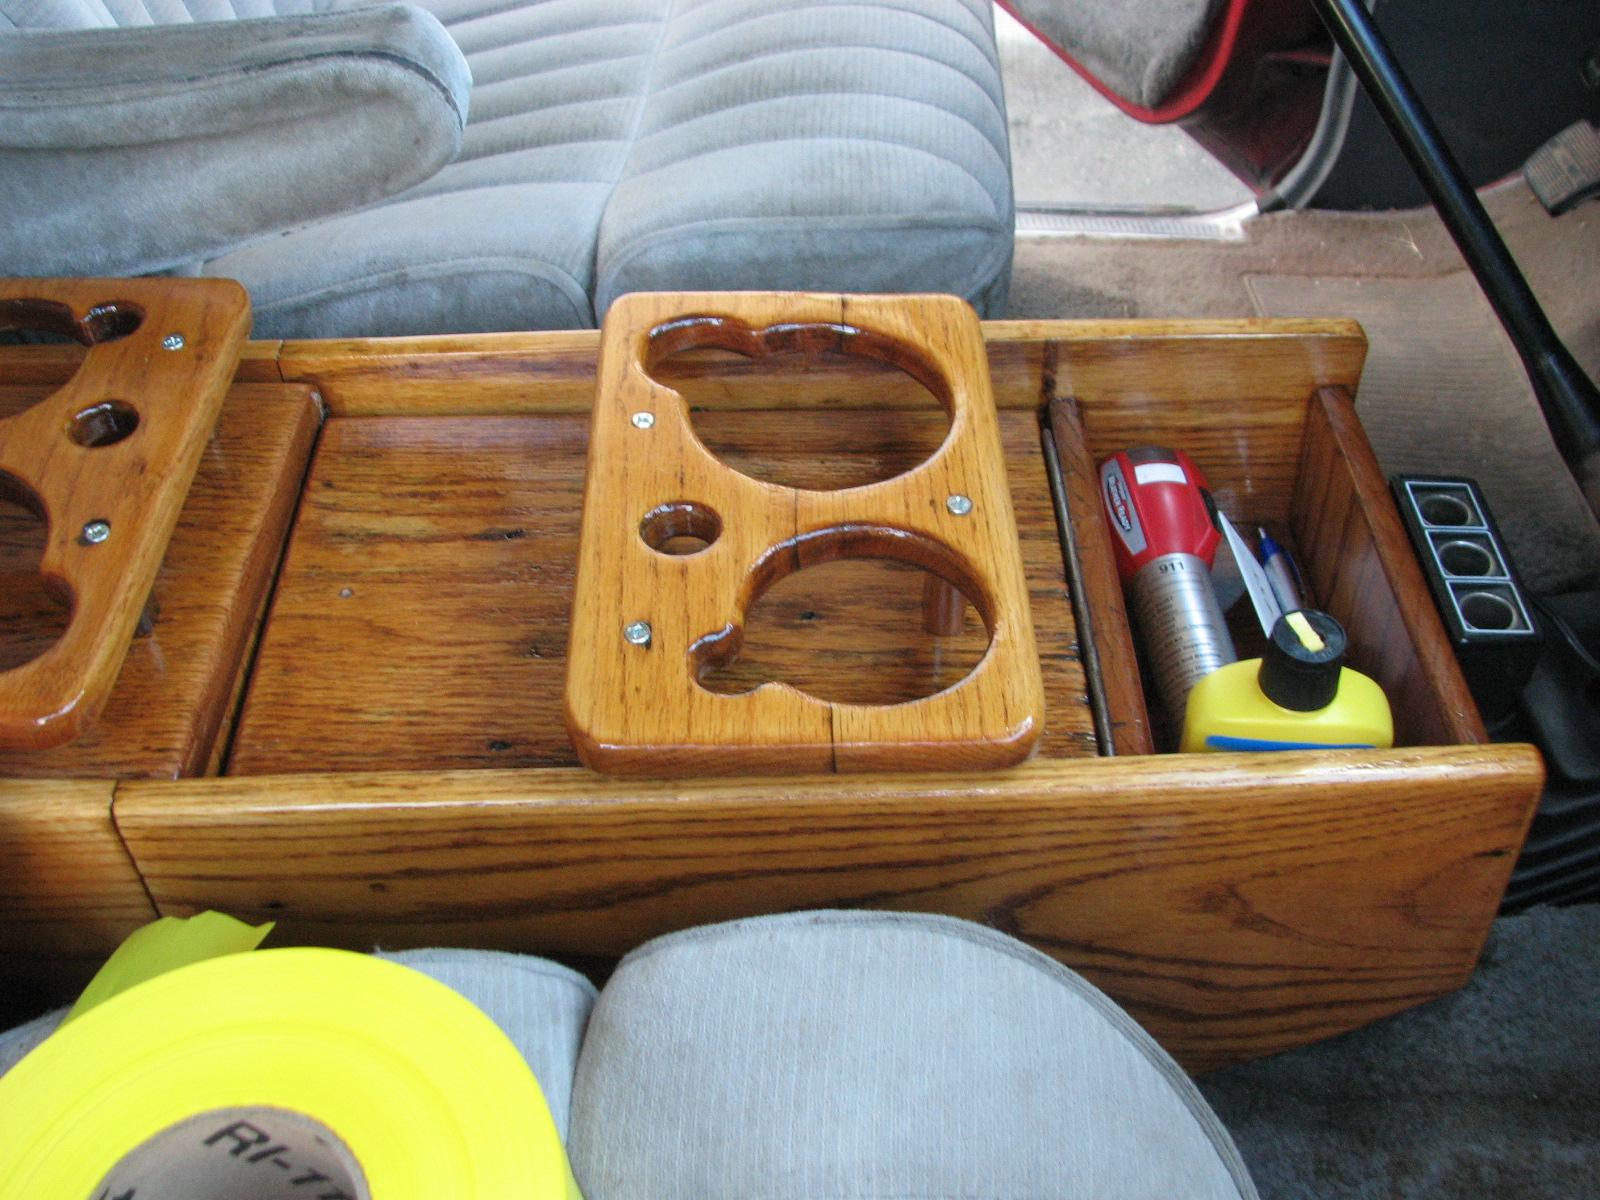
Finally after all of this time,
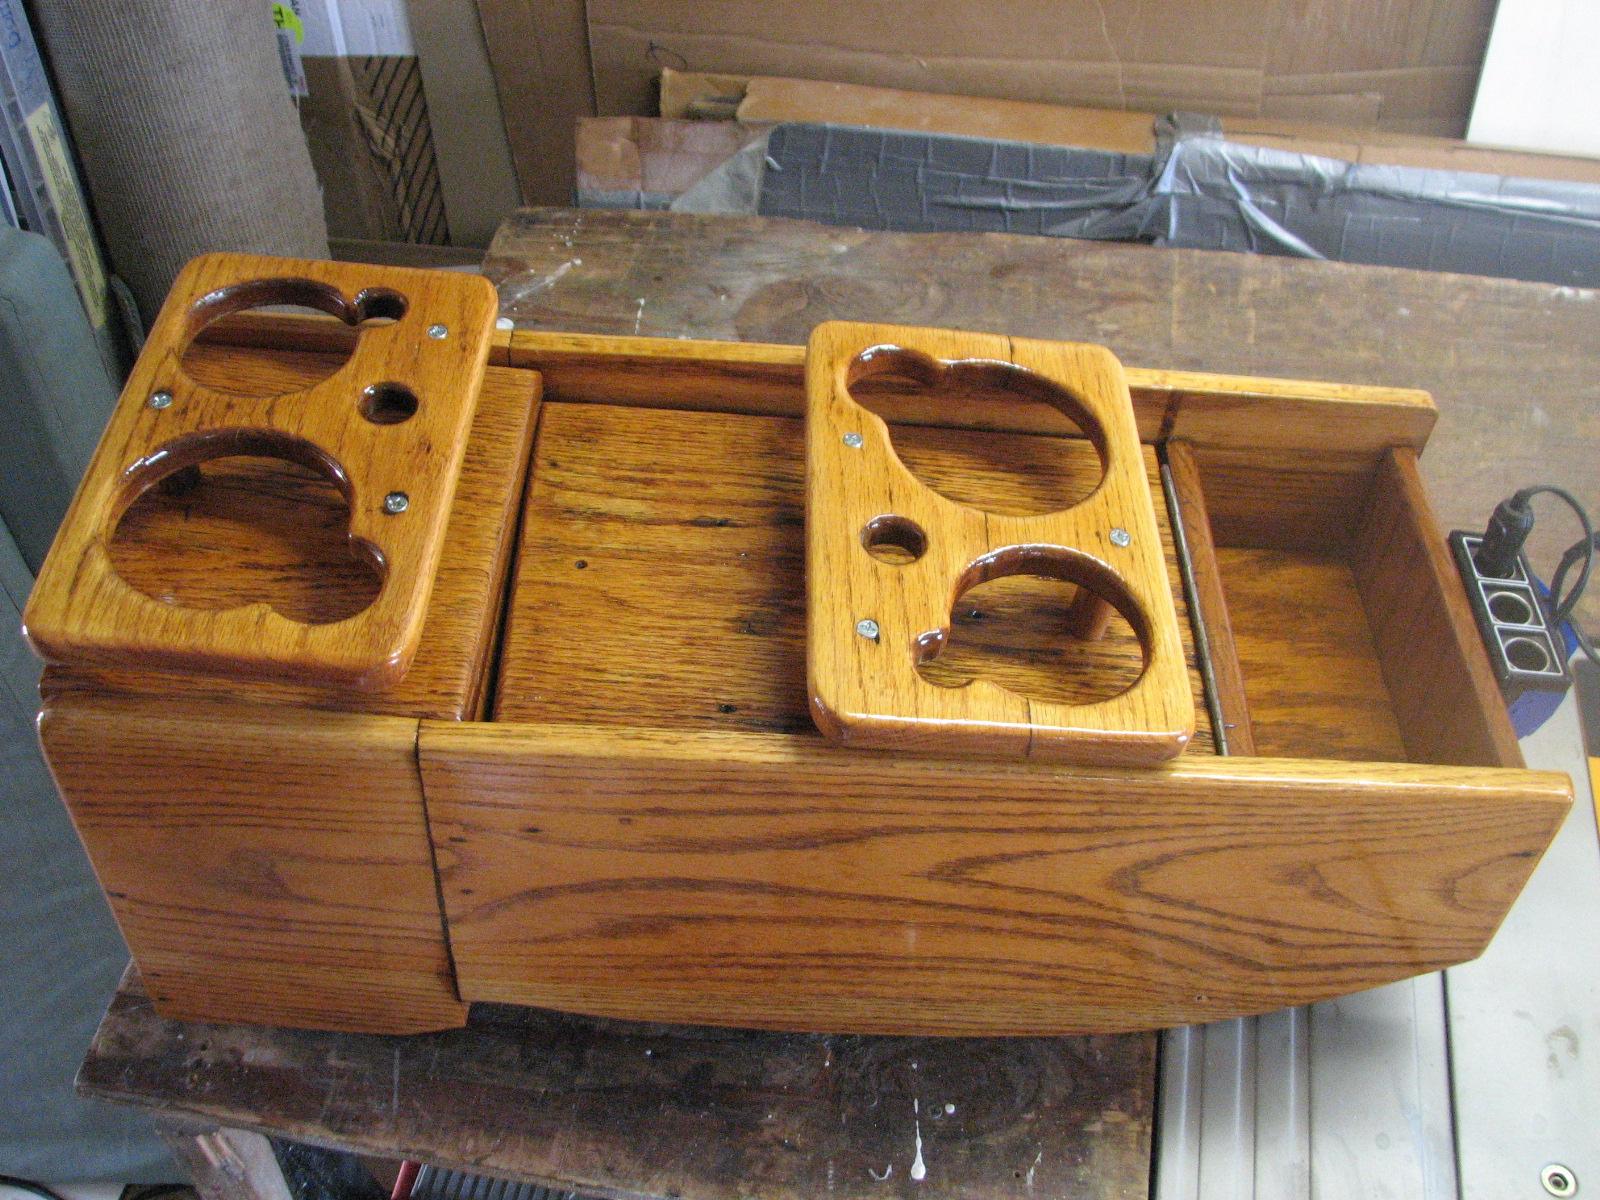
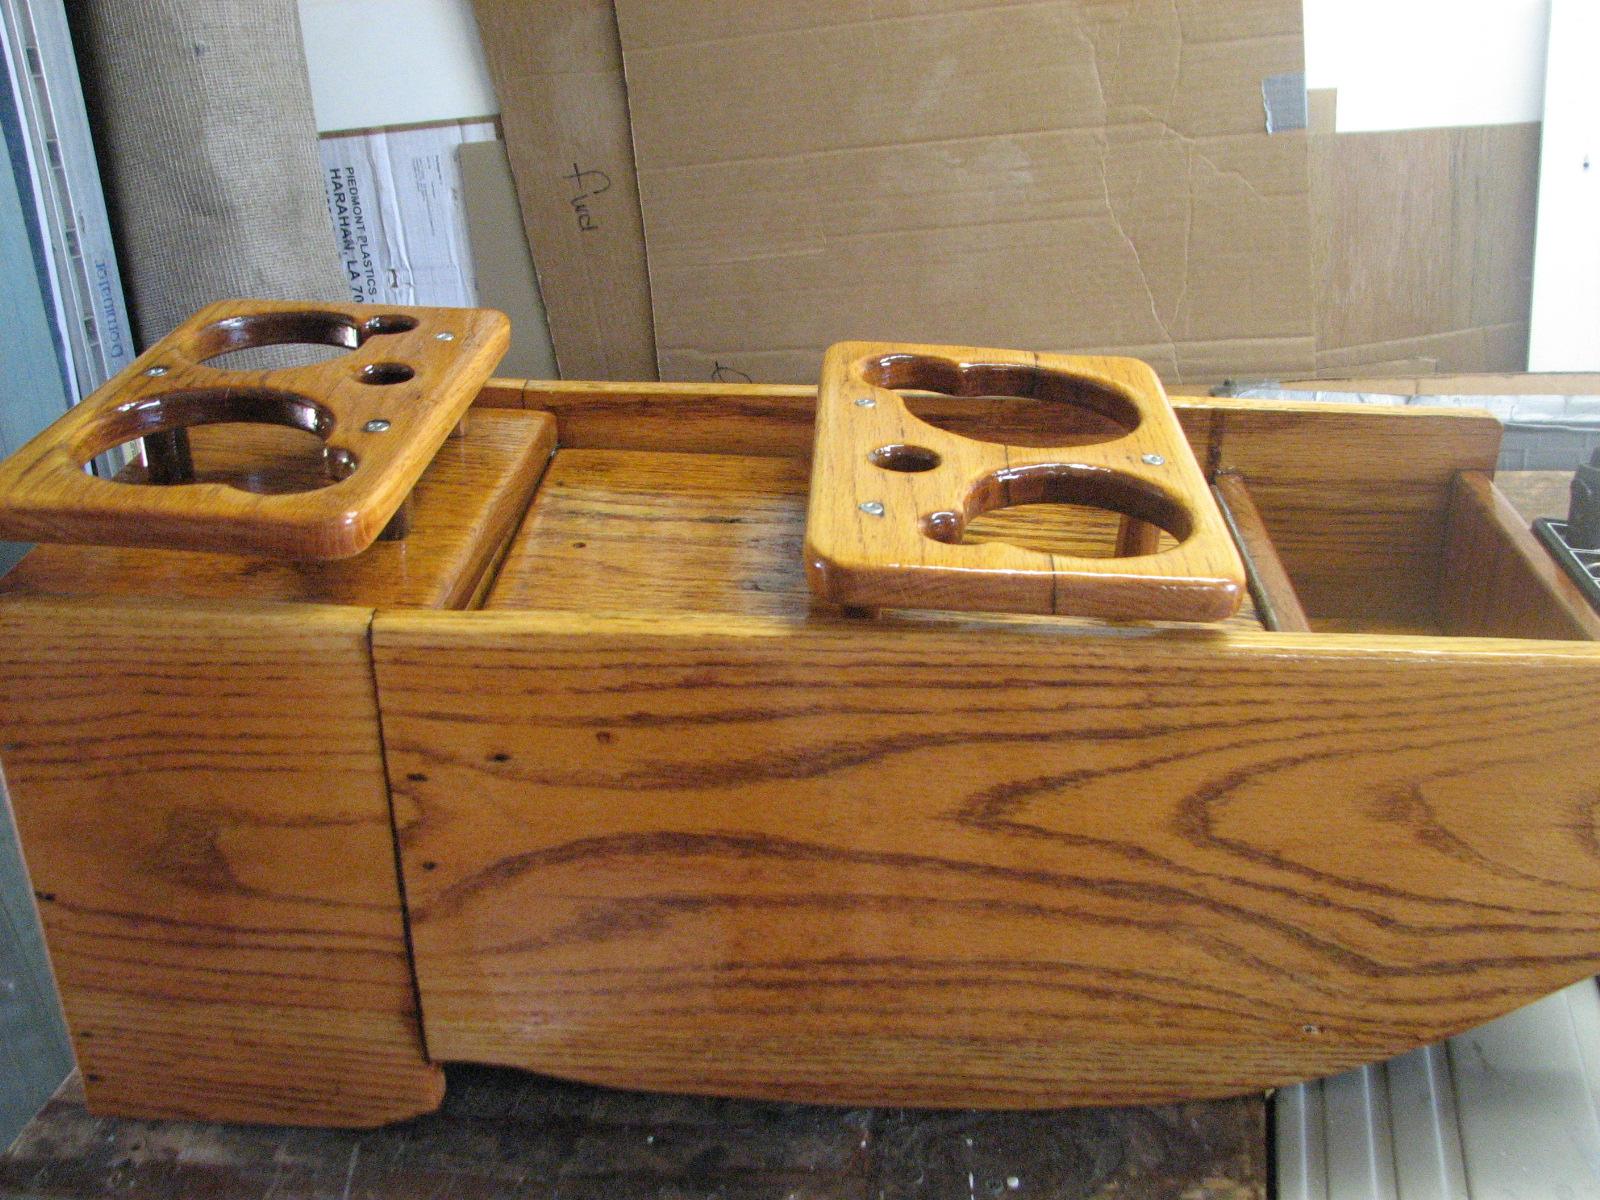
re-construction, and coats of varnish, it was time to put the console
back into Ruby.
Console In Shop
Ready For Installation
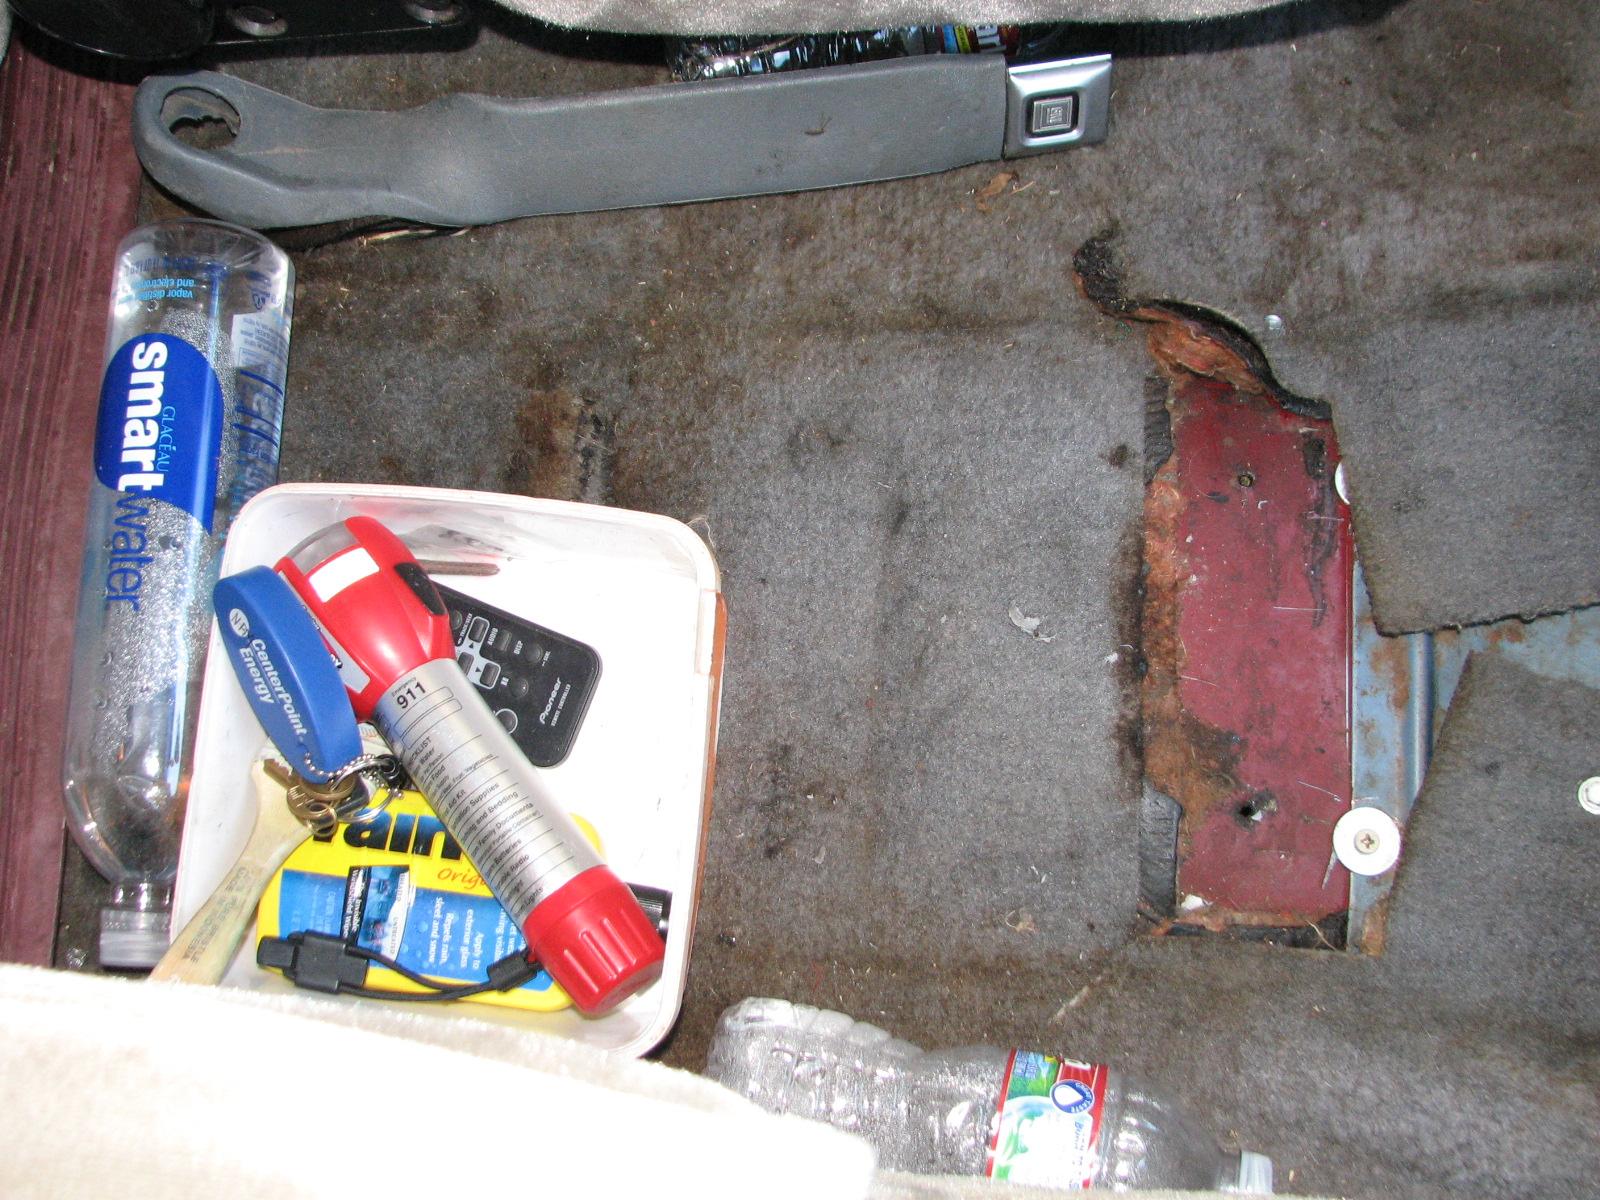
Area Between The Front Seats Before
Console Installation
Area Between The Front Seats After
Console Installation
With that one project finally completed
on Ruby,
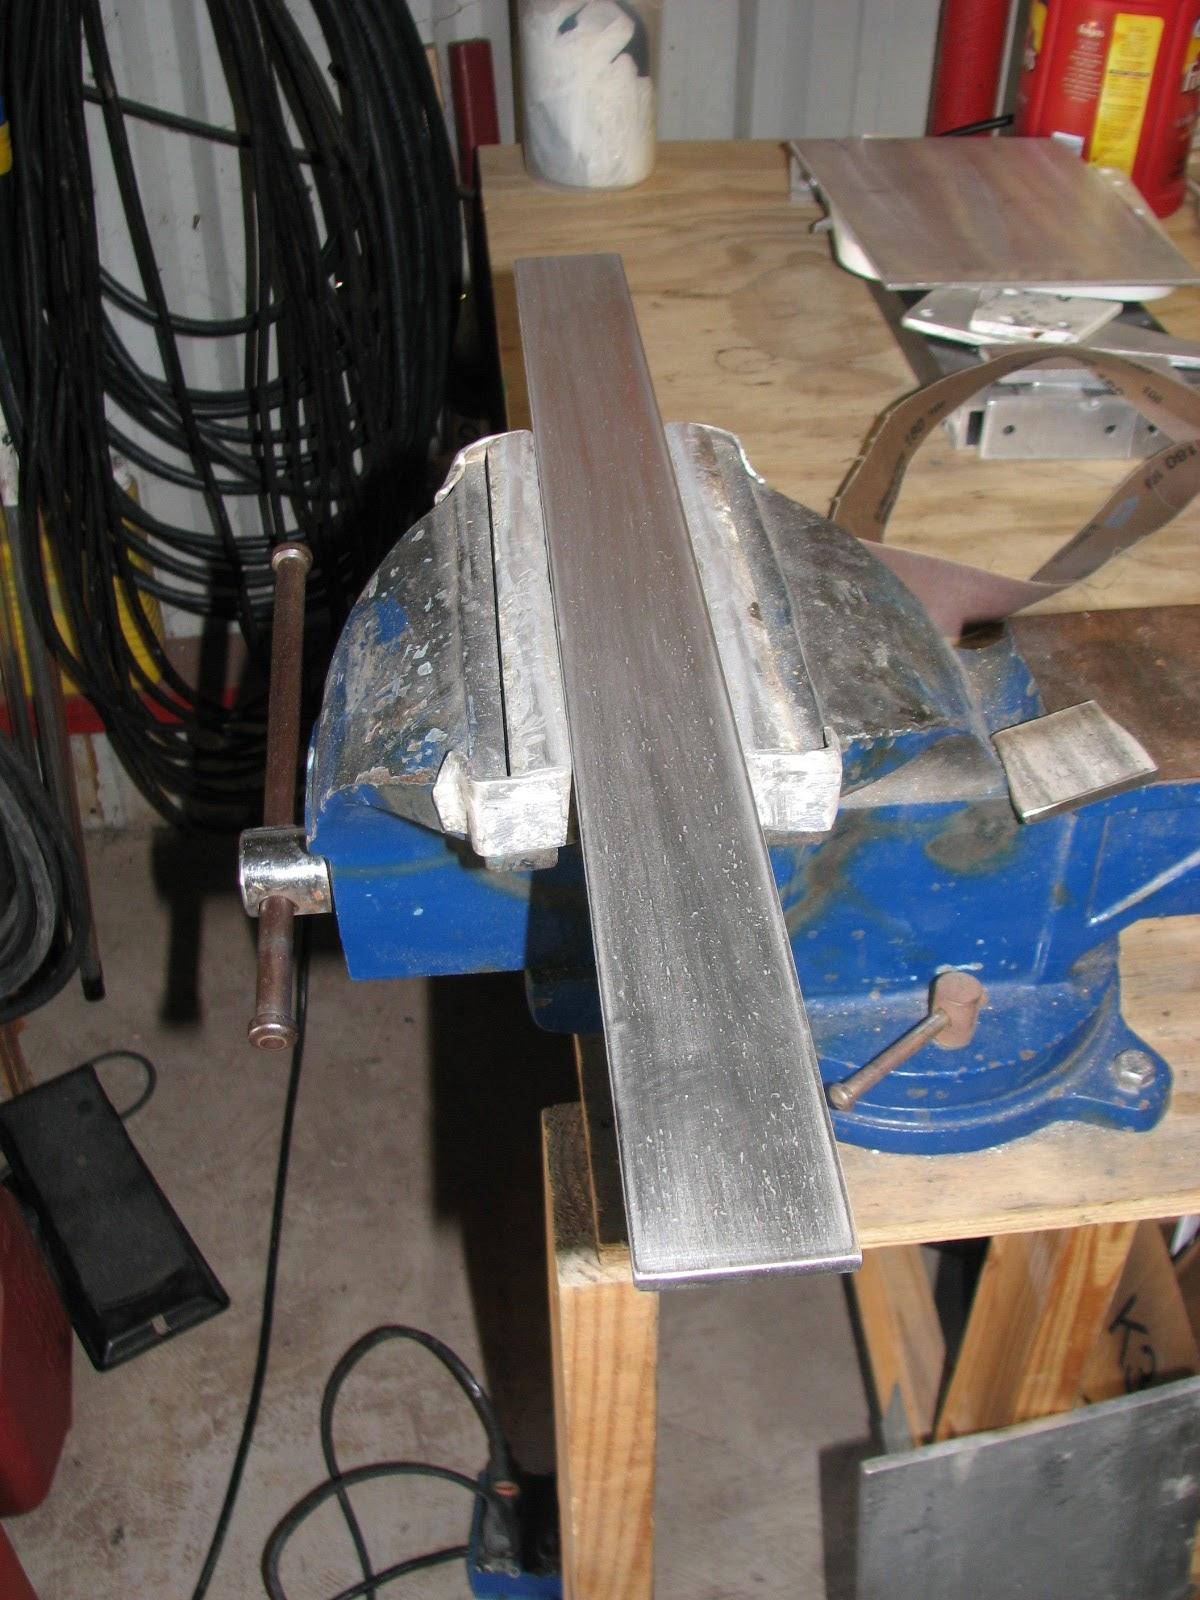
I got back onto polishing the 2” stainless steel flat bar I am
going to use for the steps on the stern ladder.
Polishing Stainless Steel Flat Bar
I came back to DREAM AWAY, and after
breakfast got busy cleaning out all of the raw water strainers and
manifold (Sea Chest). I cleaned out the main strainer for the
manifold, and the manifold (Sea Chest). Also cleaned out the
strainers for the ice maker cooling pump, the refrigeration cooling
pump and the forward air conditioner cooling pumps. During this
cleaning process, I also cleaned out the hoses for all of the cooling
pumps using high pressure water from the dock.
I put up all of the code flags on DREAM
AWAY, and all of the normal flags I put up for events. That would
include, Texas flag, A&M flag, Marine Corps flag, SSCA flag,
ships flag, and the Flag of the United States.
The remainder of the day today was
spent getting ready for the National Marina Day celebration. I
participated in the setup, worked the beer booth during the event,
and helped with the take down.
The event was from 1600 to 2000, so it
made for a long day. We finally finished at 2130.
June 13, Friday, 2014
Started off the morning with my normal
ritual of getting on the Internet, answering email, and checking the
weather, while making a pot of coffee. When the coffee is started, I
feed our two cats, Jillian
and Jordan, and spend time with them brushing their
beautiful coats.
Did not go over to the
shop
today. I had promised a neighbor I would help him move his boat, and
then help stab (put in) a new engine. That took up most of the
morning.
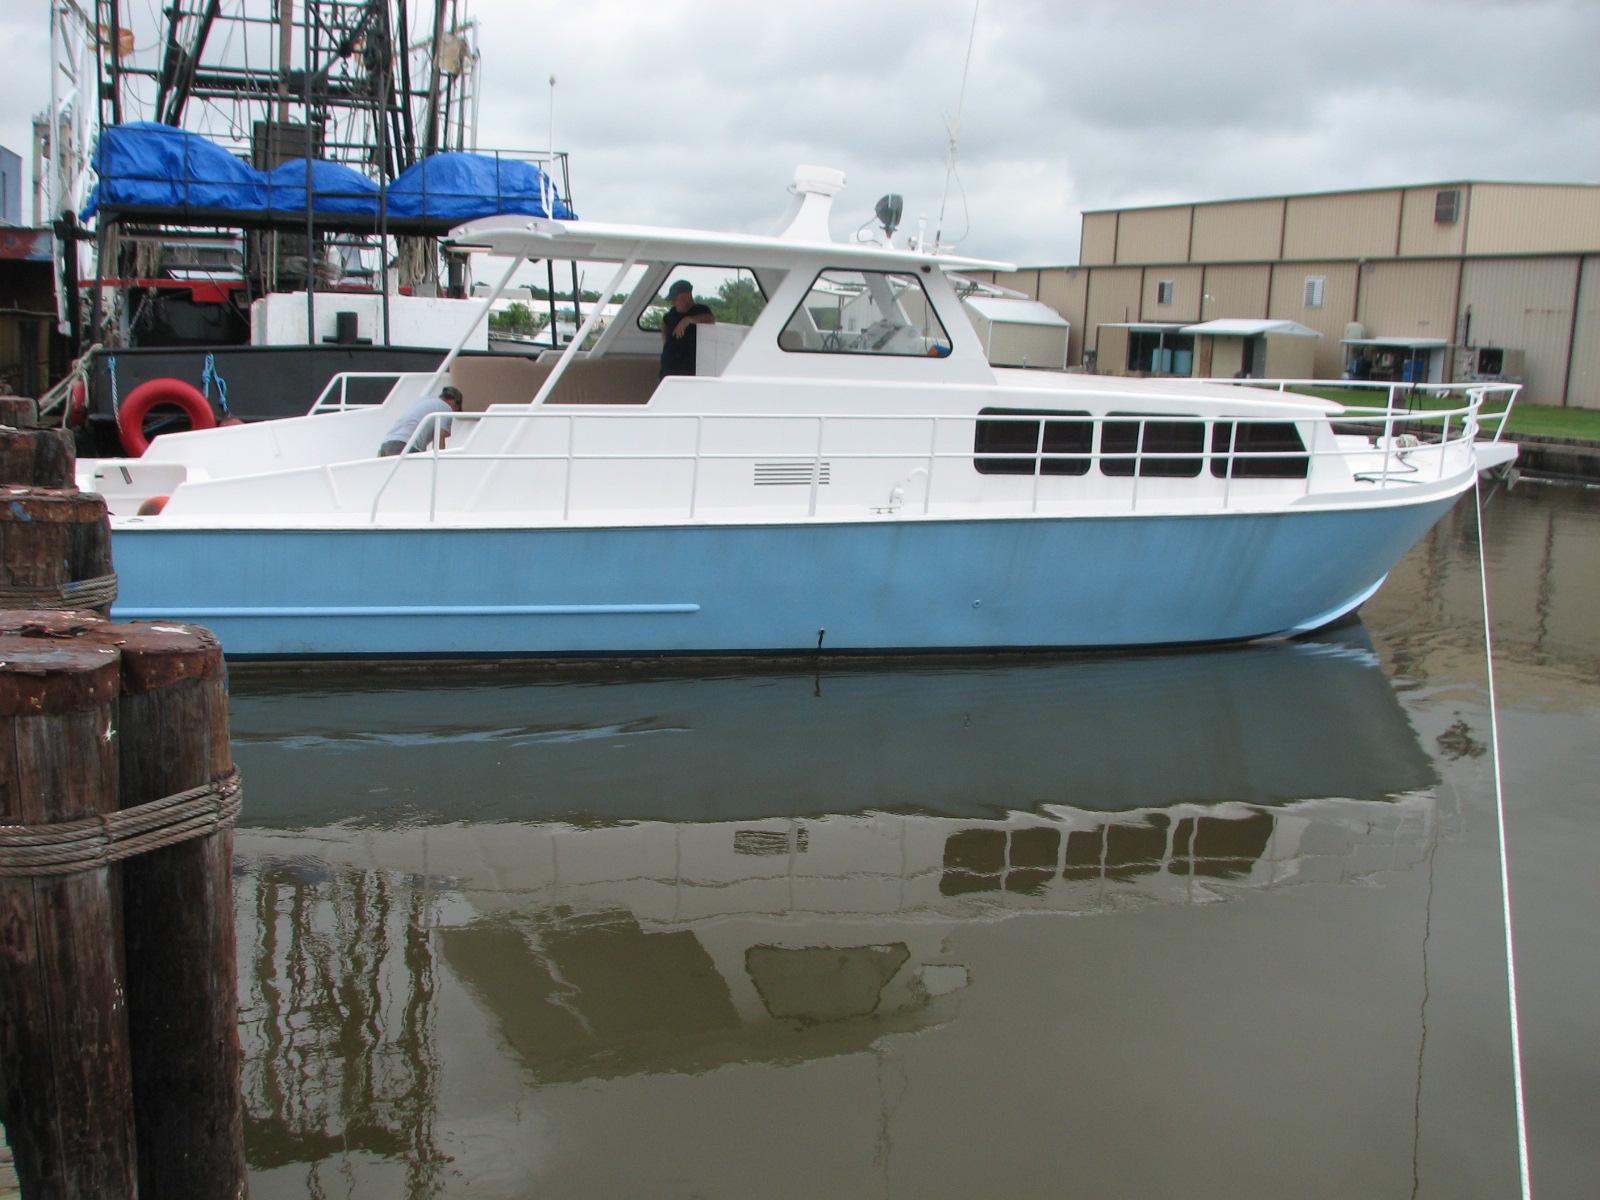
LORRAINE D Ready To Receive Her New
Engine
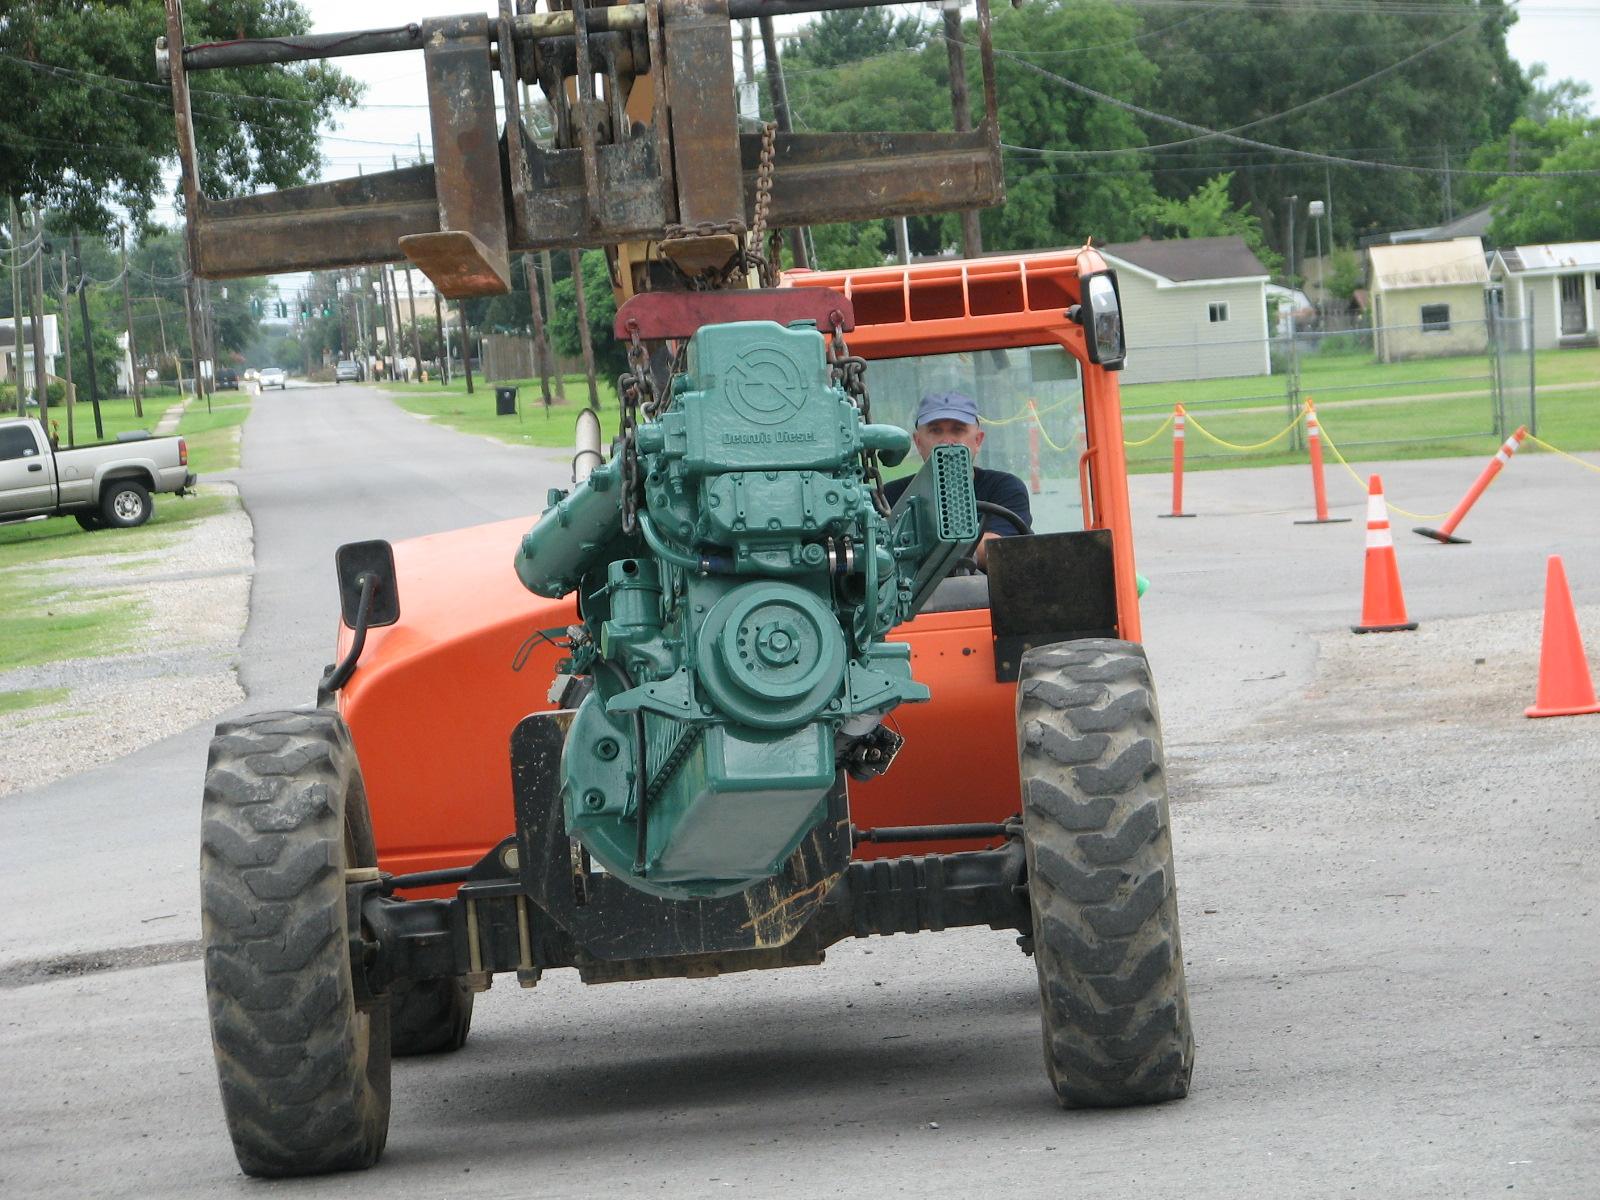
New Engine Ready To Go
Getting Ready To Stab Engine With Troy
Driving Forklift
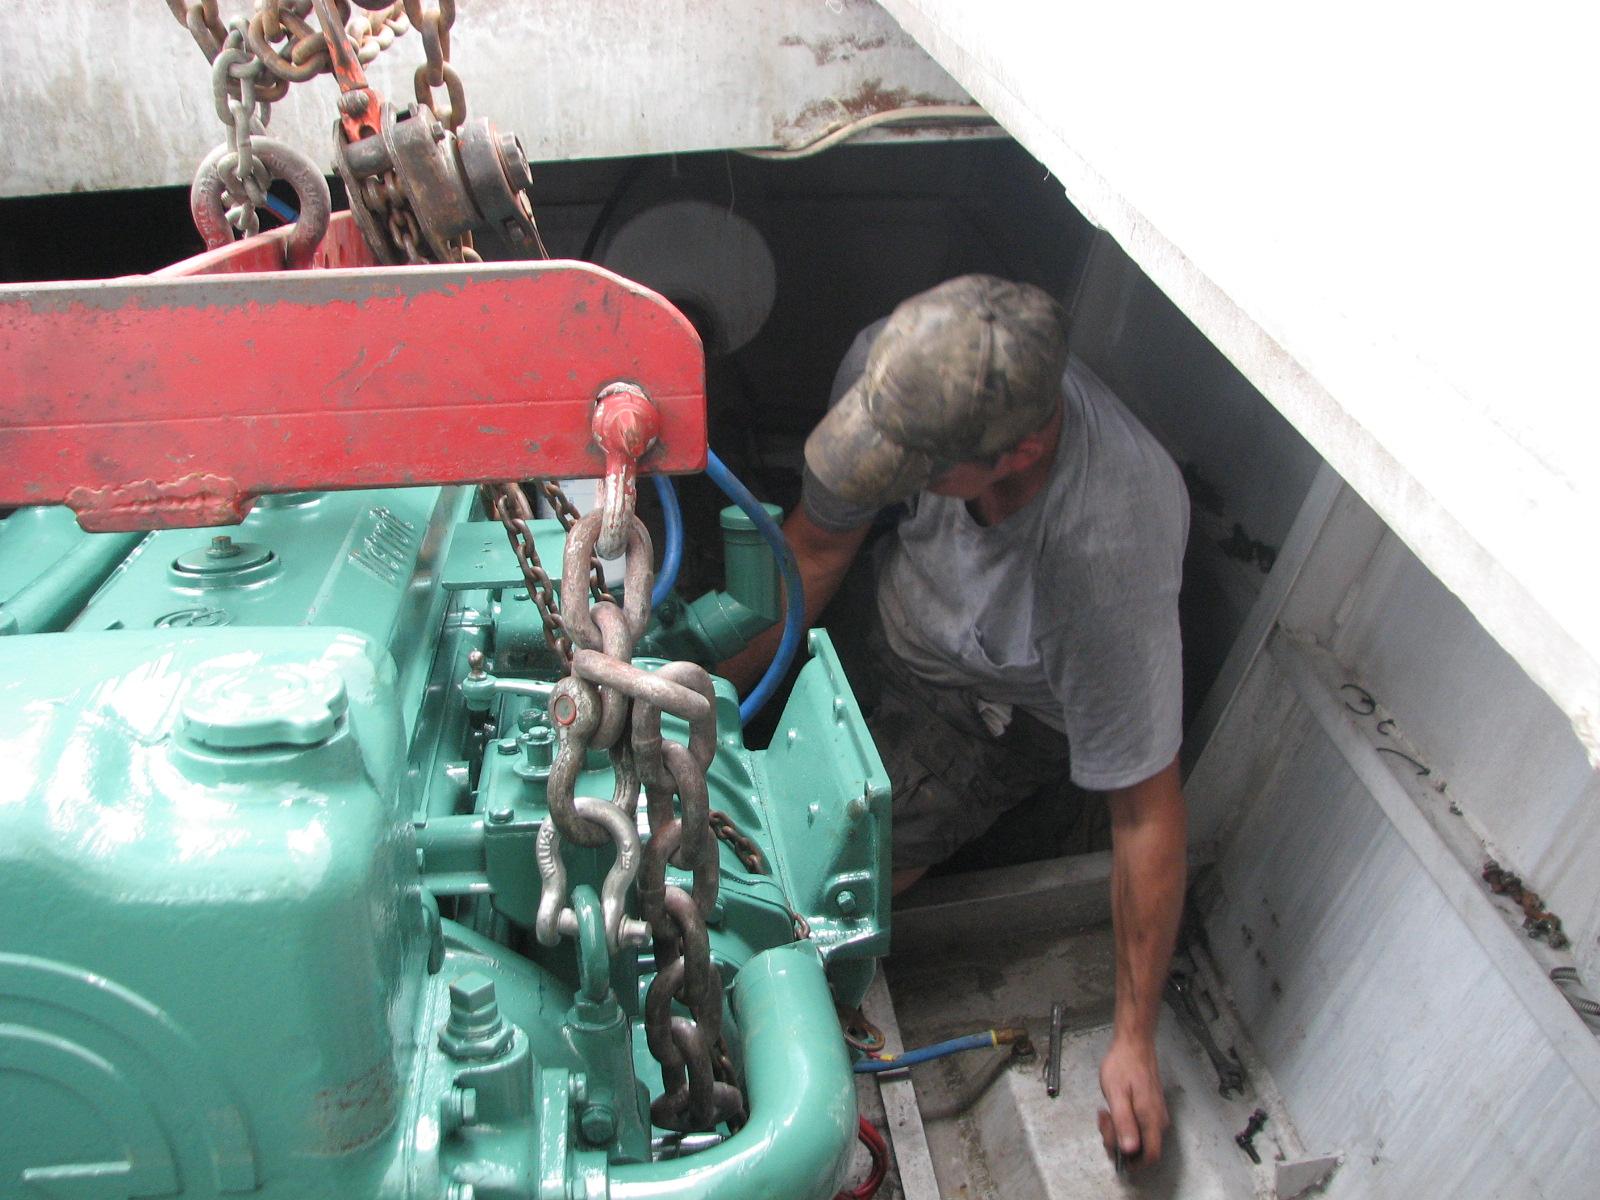
Chad Attaching Engine To The Clutch
Inside The Engine Room
Troy and Chad had the situation under
control, so I went back to DREAM AWAY, had a quick breakfast, and
then Kitty and I drove into
New Iberia,. We went to
Norman’s Auto Diesel Repair, and drove
Ruby
home with her new transmission. It was wonderful to have reverse
again!
When we got back to DREAM AWAY, we
packed up Jordie,
our male cat to go off to the Veterinarian. He was off his feed, and
that is very unusual for him
June 12, Thursday, 2014
Started off the morning with my normal
ritual of getting on the Internet, answering email, and checking the
weather, while making a pot of coffee. When the coffee is started, I
feed our two cats,
Jillian
and Jordan, and spend time with them brushing their
beautiful coats.
Went over to the
shop
and started in on cleaning the fasteners for the hard dodger roof.
Was not able to finish the cleaning.
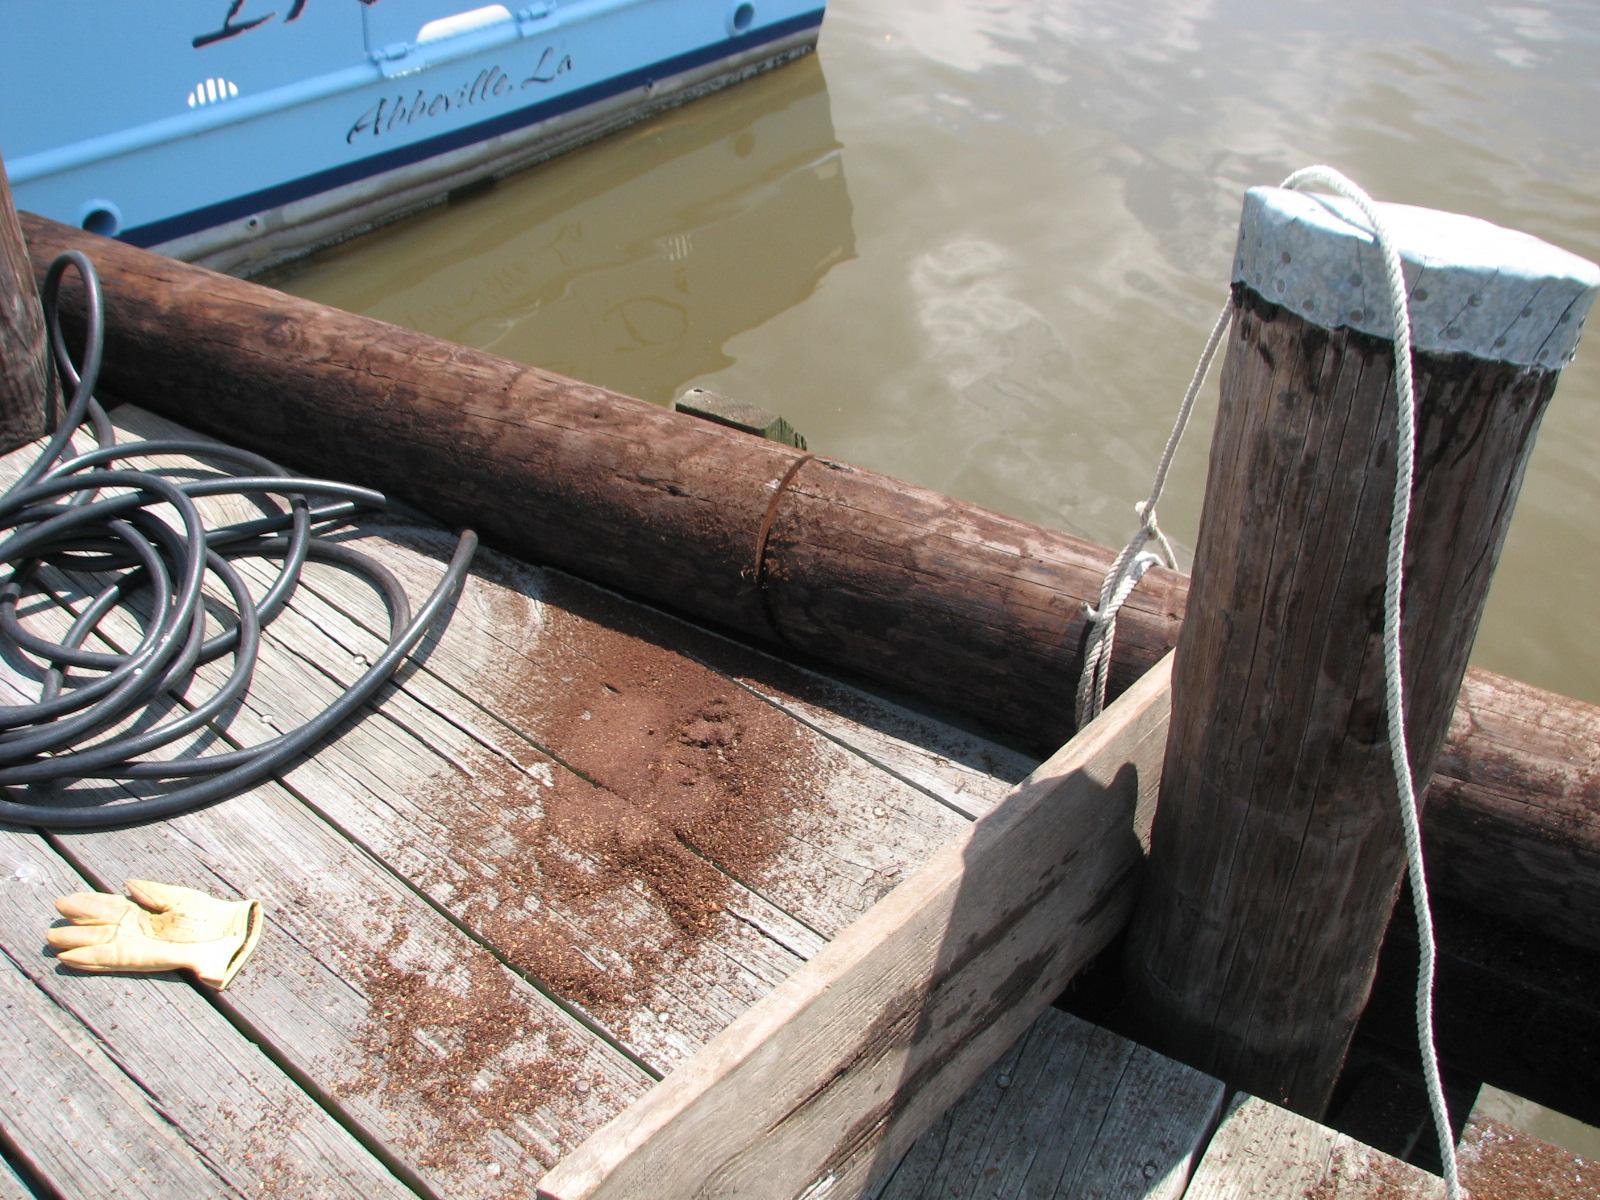
I met T-Boy, the dockmaster, and we
removed a piling from Pier “C” using a chainsaw
and the help of Bradie. We got the piling removed and then installed
a cleat where we had removed the piling.
First Piece Of Removed Piling
Last Two Pieces Of Piling Being Cut
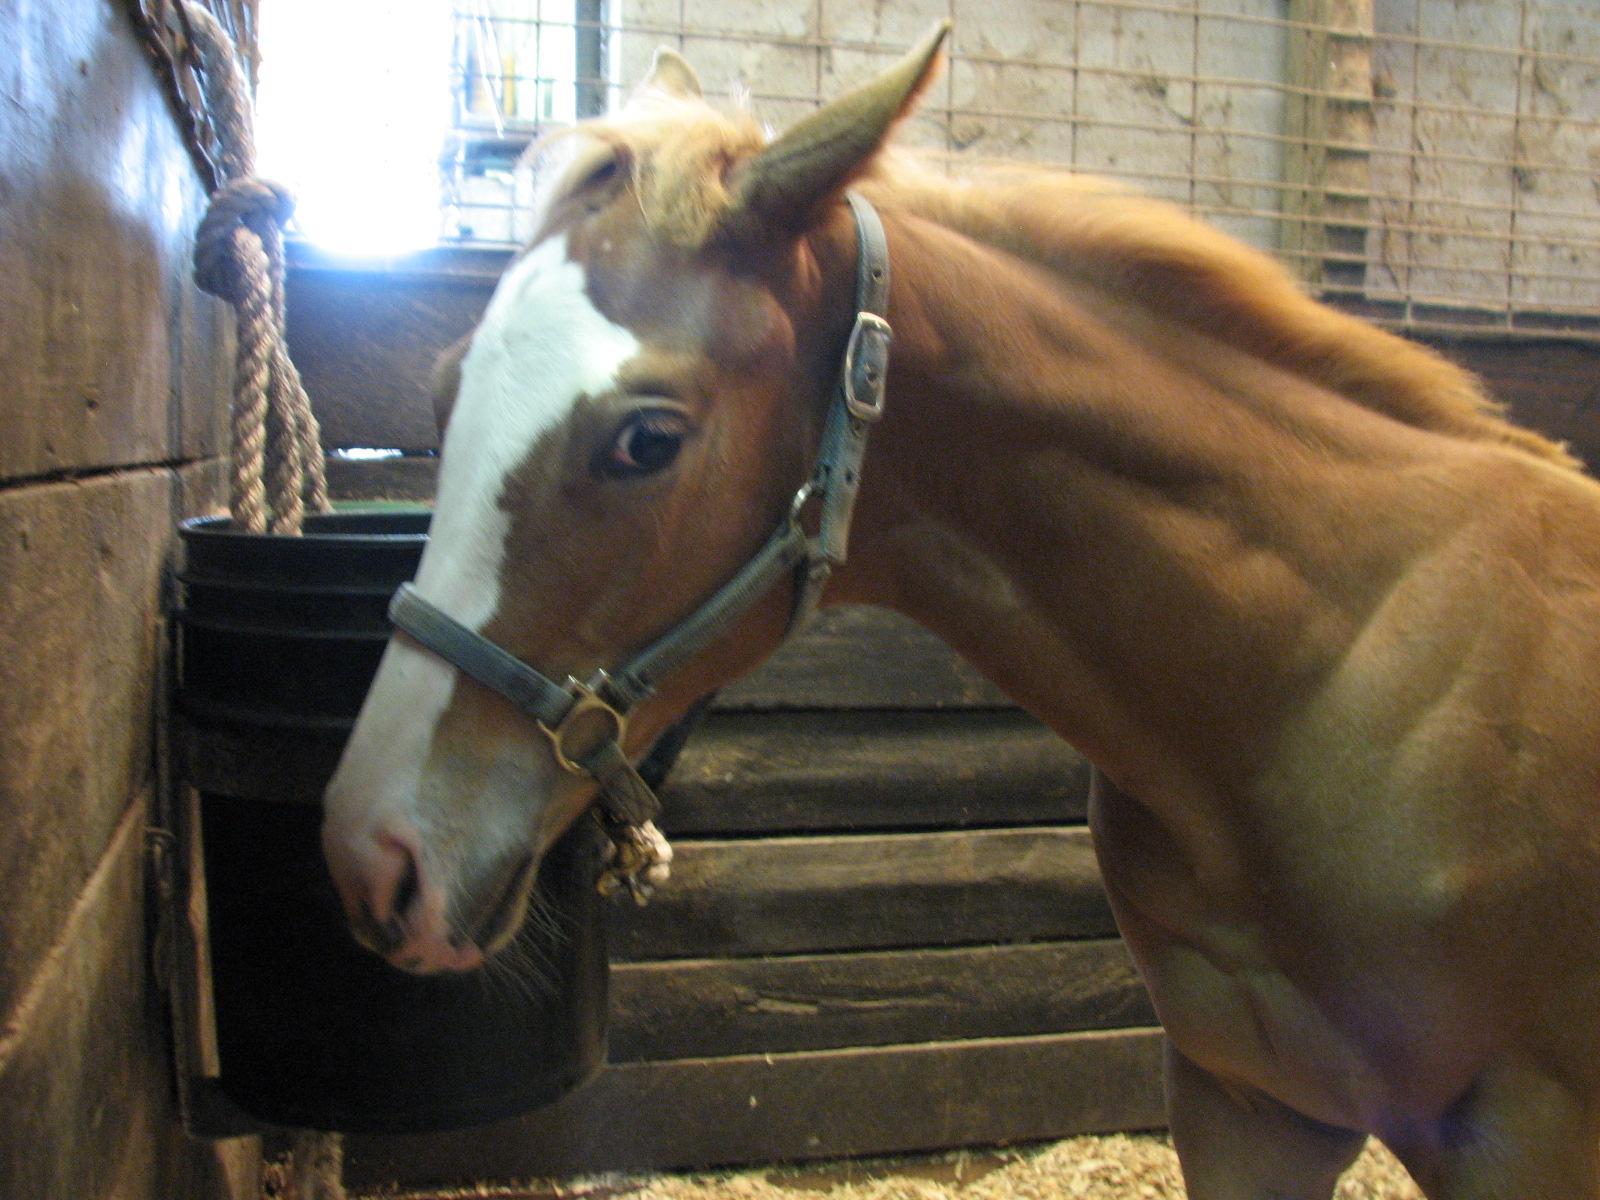
I then rode along with T-Boy to clean
out the stable of his young filly, Apollo.
T-Boy’s Young Filly, Apollo
We returned to the marina,
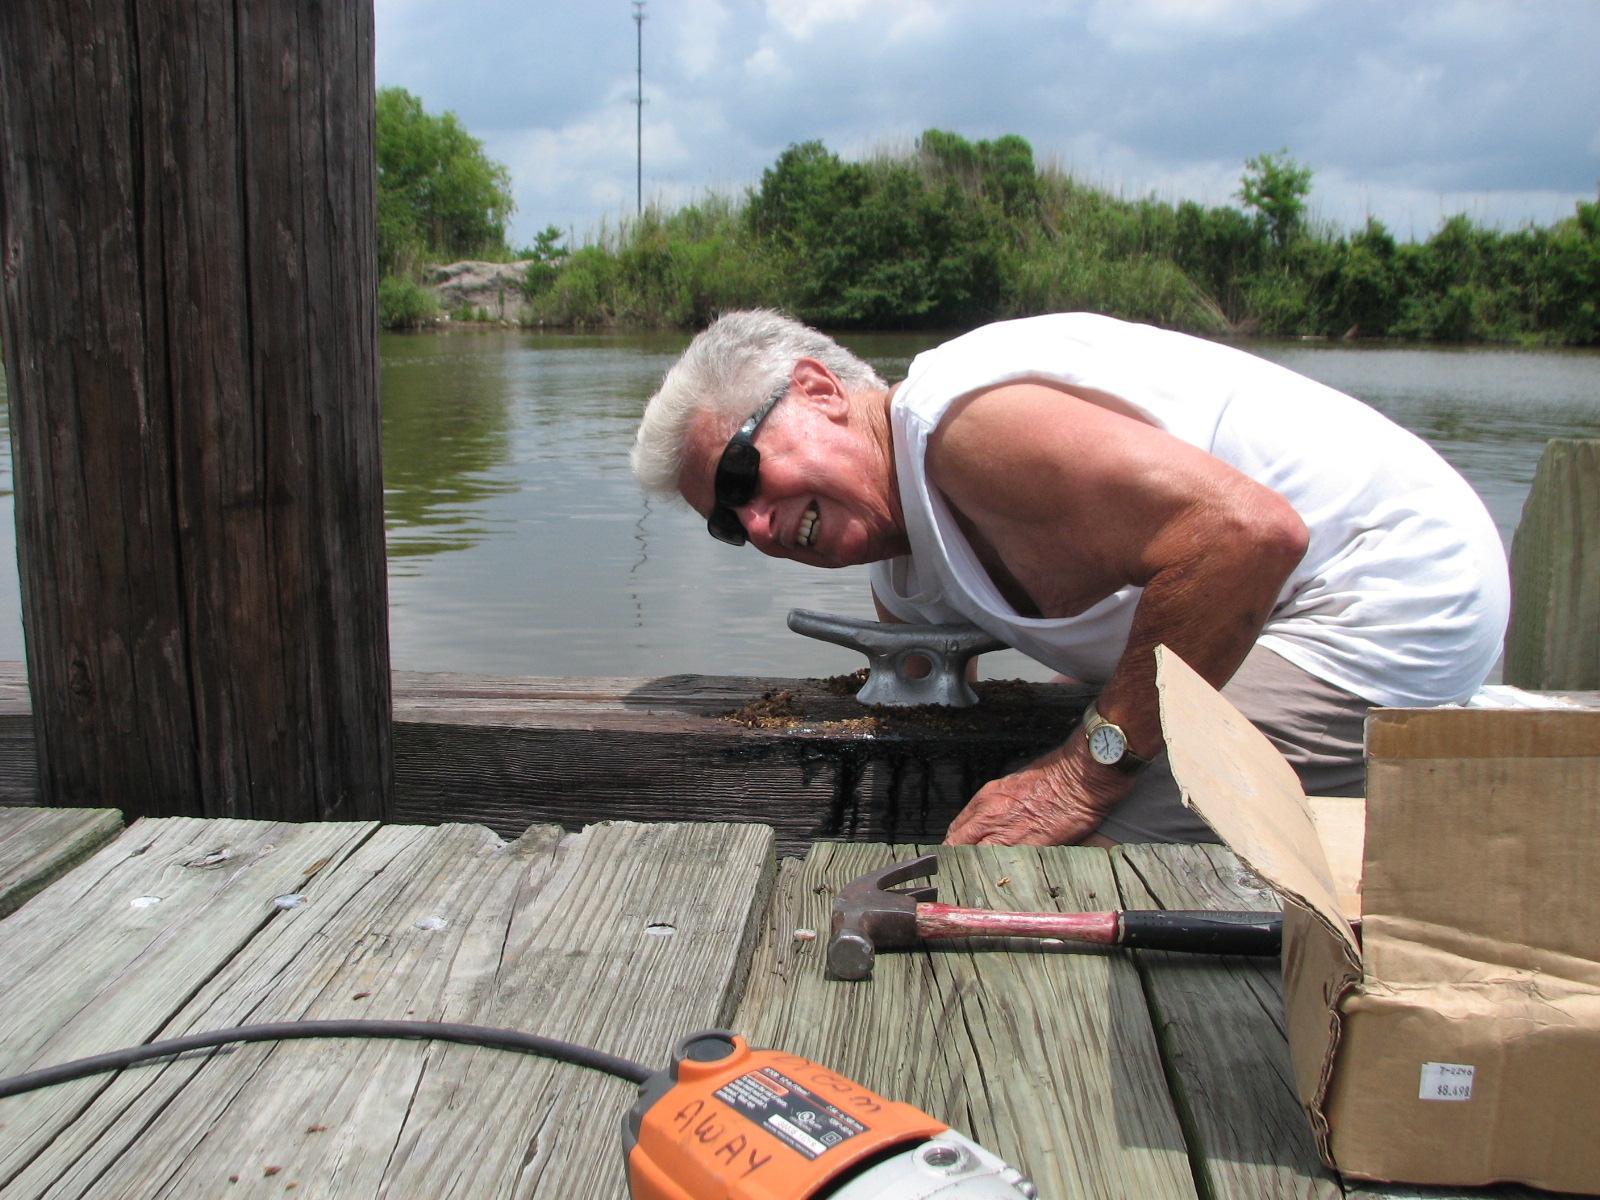
and continued with the cleat project out on Pier “C”. This was
the hard part, as we were drilling through 12’ X 12”’s, and
inserting 16” bolts. It was hot work and finally T-Boy had had
enough. T-Boy had not brought his hat, and had no water to hydrate
himself!
T-Boy Working On The Cleats
T-Boy went home, and I cleaned up and
put everything away. Kitty came home after running several errands,
we had a bit of lunch, I took a shower, and then got into catching up
on emails for a couple of hours.
One of Kitty’s errands was to pick up
two pieces of T-Bar that I will be using for the center piece on the
hard dodger roof and the Bimini
roof.
June 11, Wednesday, 2014
Started off the morning with my normal
ritual of getting on the Internet, answering email, and checking the
weather, while making a pot of coffee. When the coffee is started, I
feed our two cats,
Jillian
and Jordan, and spend time with them brushing their
beautiful coats.
Did not go over to the
shop
first thing in the morning. I stayed on DREAM AWAY, and worked on the
computer almost all day. I was able to get the June Maintenance Log
up to date, and got a good chunk taken out of the emails. I started
the morning with 170 emails. and finished off in the evening with
only 87. Still a way to go, but making progress.
Just after noon, Wayne & Connie
came by DREAM AWAY, and then we went over to the shop.
They had come over to help with getting the two sheets of Starboard
for the hard Bimini
from the shop
to DREAM AWAY. We had loaded one sheet onto their small SUV, when
Jeff showed up in his pickup.
This was great, four people to move the
sheets of Starboard,
and a pickup truck to take the sheets over to DREAM AWAY. We moved
the one sheet from Wayne & Connie’s SUV into the pickup truck,
and then loaded the second sheet into Jeff’s pickup truck.
We all went over to DREAM AWAY, and
then hauled each sheet down to DREAM AWAY and put it on top of the
hard Bimini
frame. I tied the sheets to the frame, because I did not want them to
blow away. Now the pressure is on to get the sheets fitted and bolted
down to the frame.
Of course since we were all involved in
the lifting and moving, I have no photos of the project, just the
finished product.
Kitty had returned from her grocery
shopping with a very nice watermelon just as we had finished the
sheet moving. We all helped getting the groceries from the Black
Beast down to DREAM AWAY. The watermelon was sliced
and we all sat around the main cabin table eating watermelon, and
drinking a special beer that Kitty had brought for Wayne.
All of my workers soon left, so I went
and took a shower, and got back on working on emails. I did this
until we left DREAM AWAY around 1700. We were going over to Jeff and
Janice’s house for homemade red beans and rice. Wayne and Connie,
and Wayne’s mother were also there, so we had a great meal and good
company.
June 10, Tuesday, 2014
Started off the morning with my normal
ritual of getting on the Internet, answering email, and checking the
weather, while making a pot of coffee. When the coffee is started, I
feed our two cats,
Jillian
and Jordan, and spend time with them brushing their
beautiful coats.
Went over to the
shop
and packed up the round top shifter so it could be sent back to Smart
Parts Automotive. They had sent the square top shifter
to put on their new transmission.
Bottom Of The Round Top Shifter
Top Of Round Shifter
When the box was packed and taped shut,
I manhandled a sheet of new Starboard
for the hard Bimini
up onto the saw table. I used the old piece of Starboard
as a template plus the other measurements I had made to mark the
lines on the new sheet Starboard.
When all the measuring has been done,
then it is time to set up the fence, and get it in the proper place
to enable a straight cut with the Skil
saw.
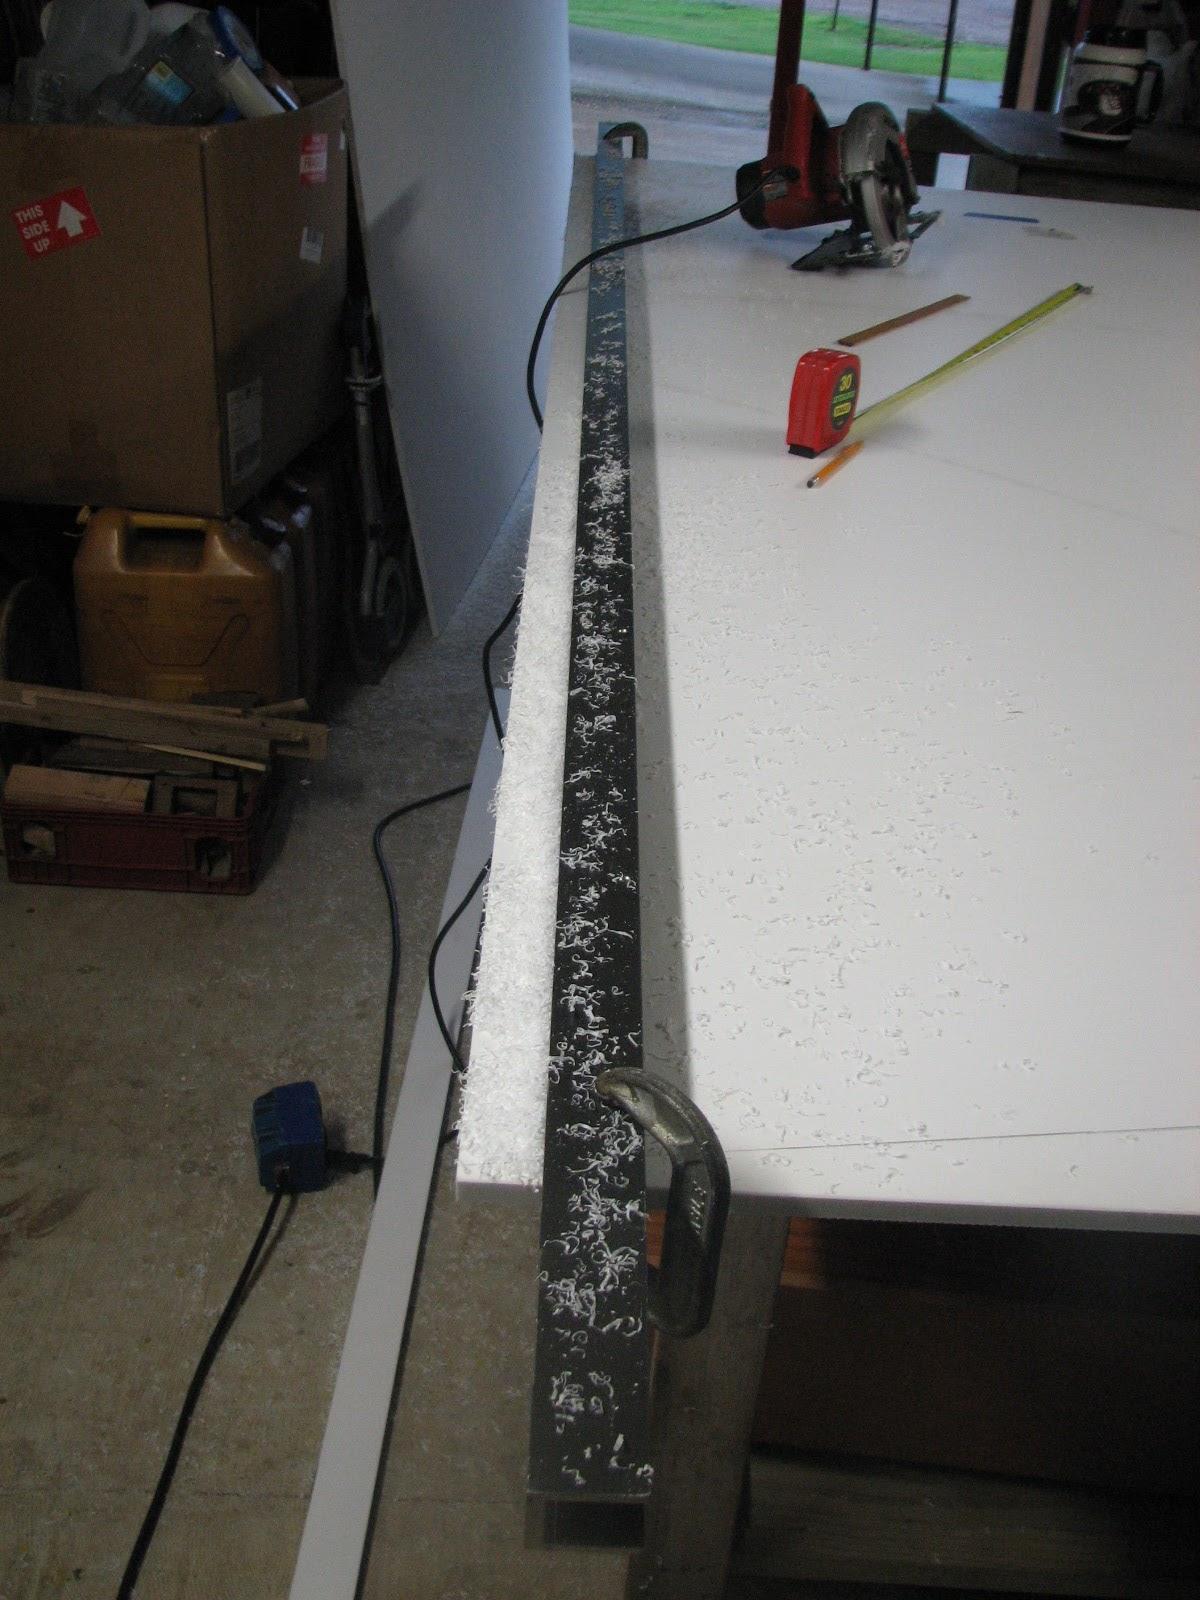
Fence In Place - Ready For Cut
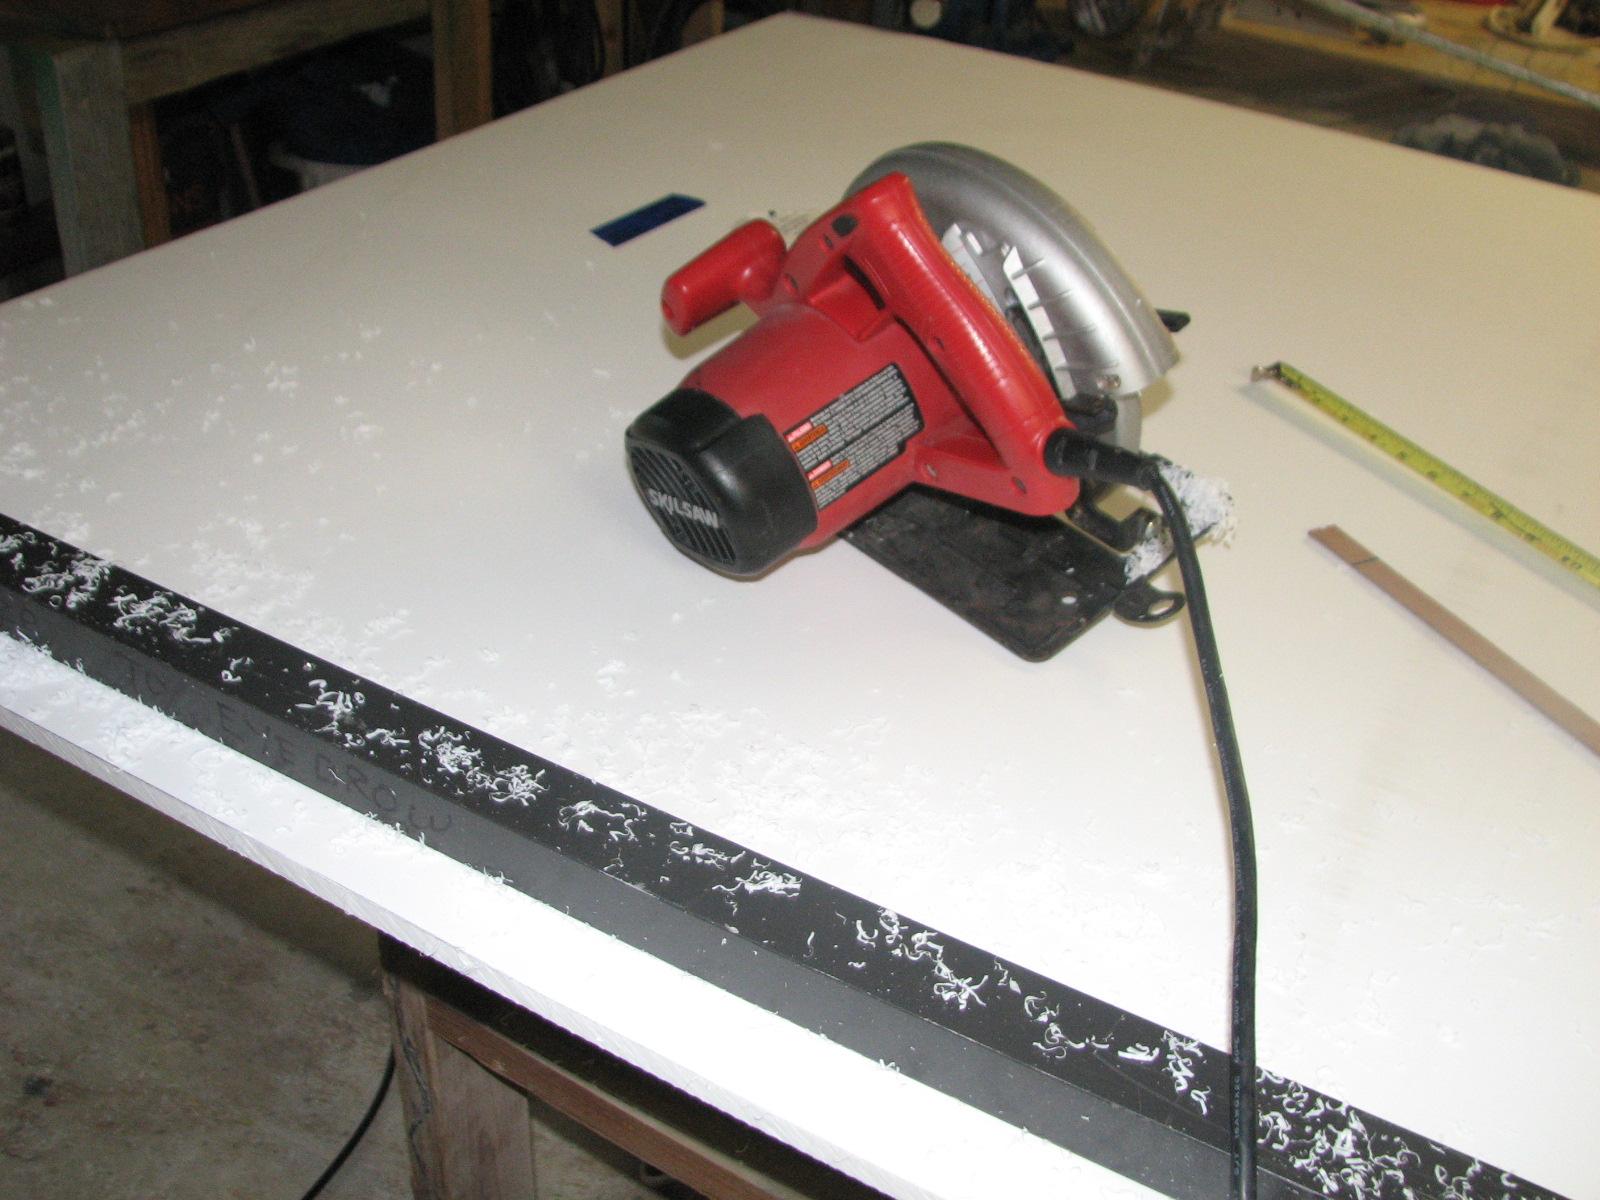
Cut Made Along The Fence
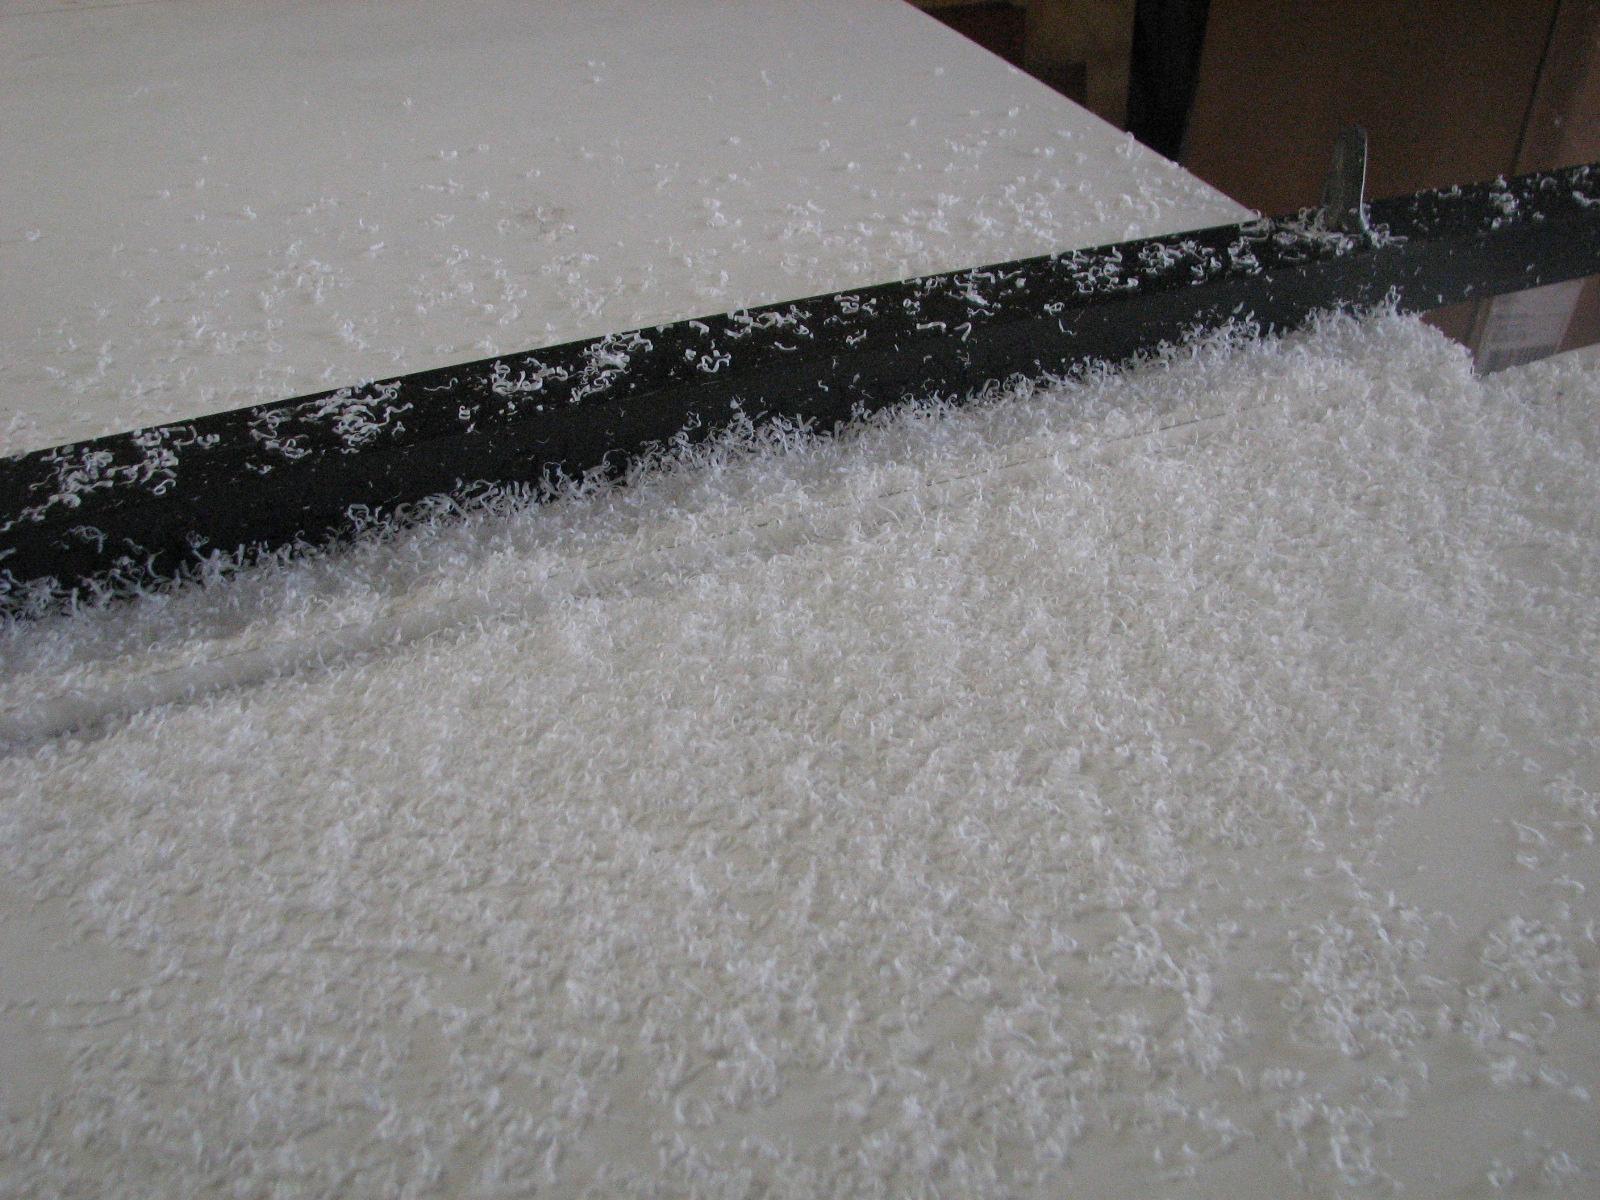
Post Cut Mess
I made all of the cuts on both sheets
of Starboard.
They were now ready to take over to DREAM AWAY, and I even had some
muscle lined up to help me, but!!
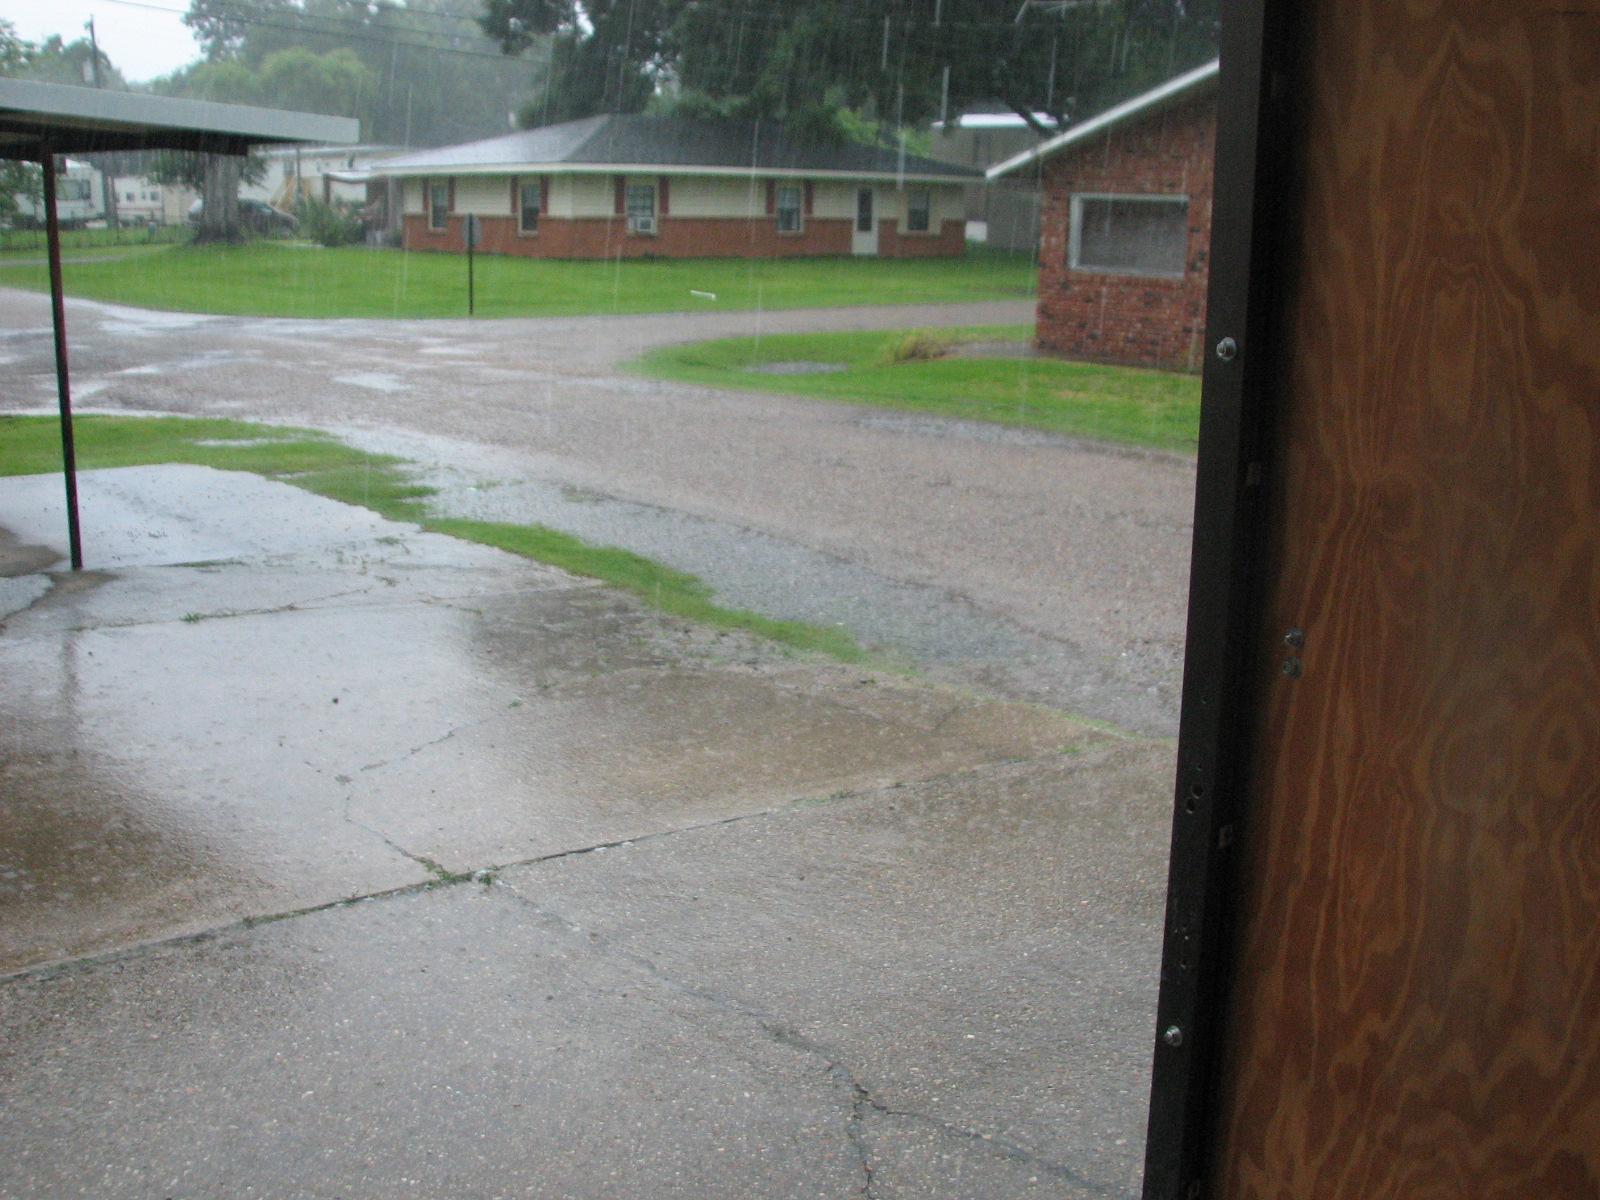
Look Out The Front Of The Shop
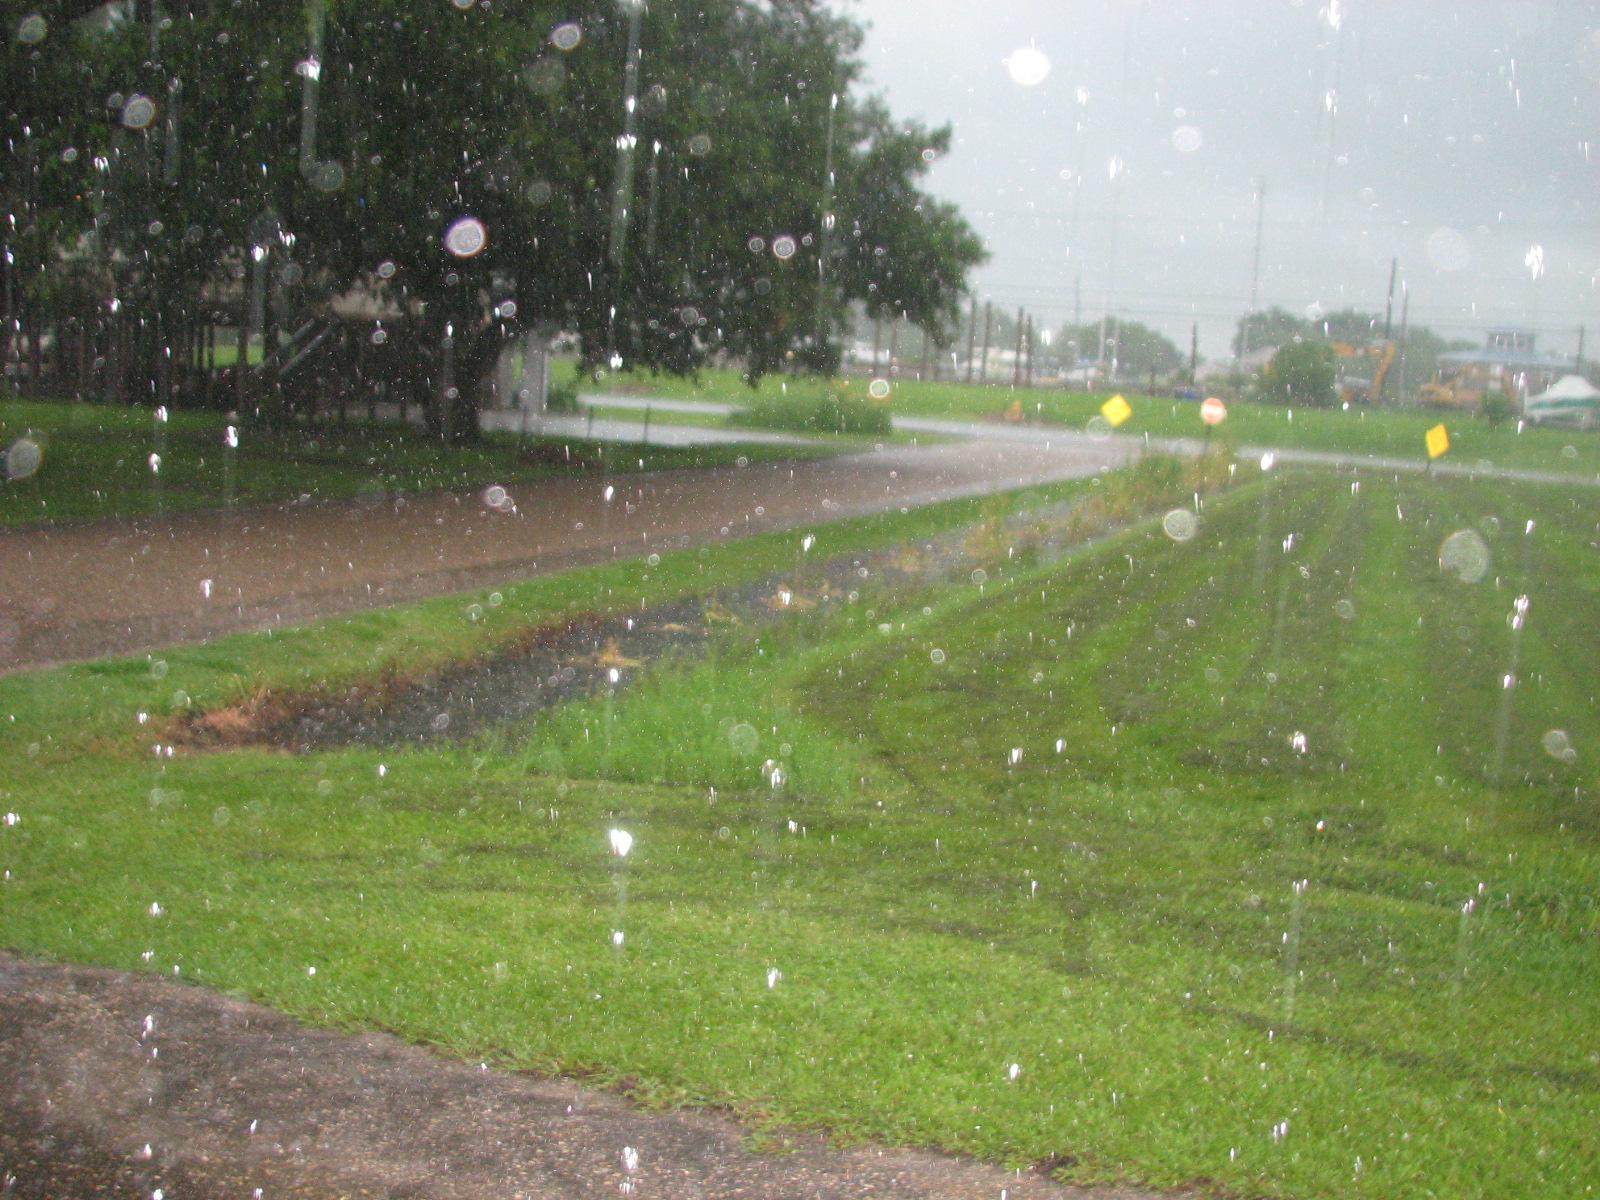
Look Out The Back Of The Shop
As you can see, the weather had
something to say about our plan. I was stuck
in the shop,
so I continued working on projects.
I did call Kitty, and she checked on
our leaks. It seems the one in the aft cabin has been fixed. The
underside of the deck in the head did not leak at all! It seems to
only leak when I put on the backing plate on. That will be the next
course! The leak in the companionway doors, had slowed down a lot,
but there is still a leak that must be found and repaired.
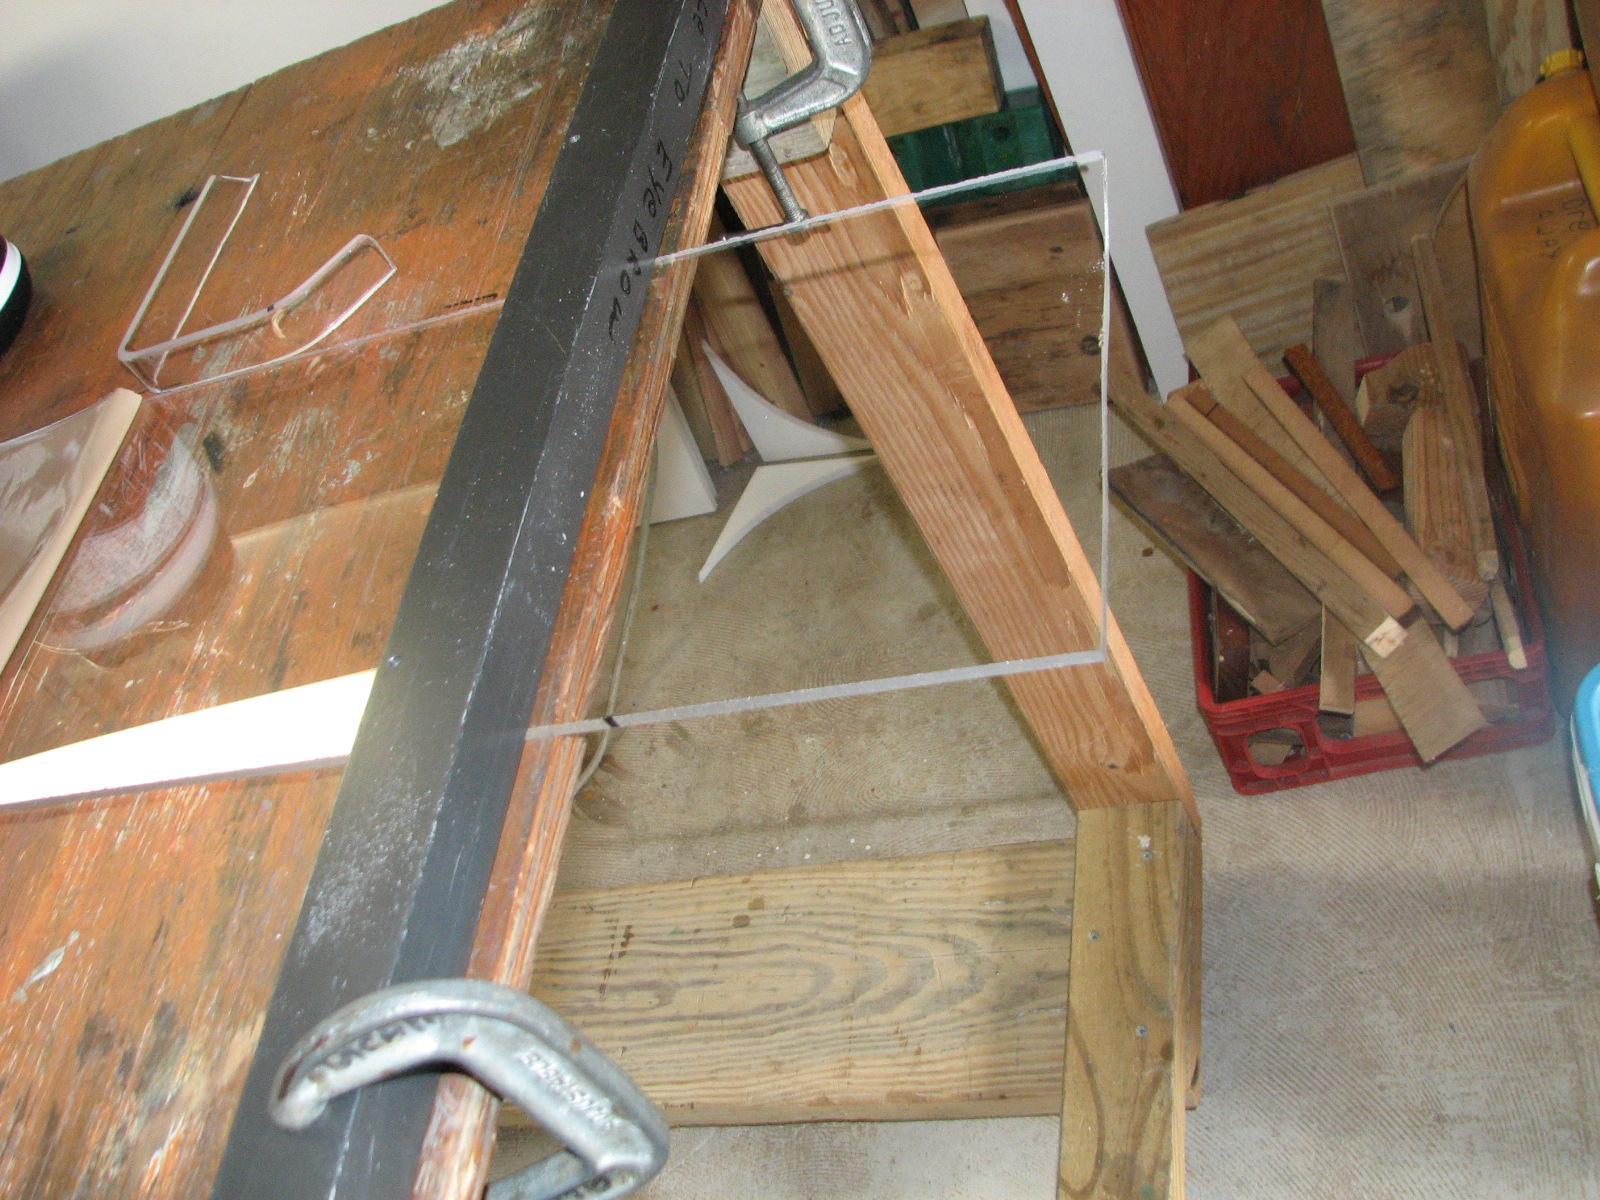
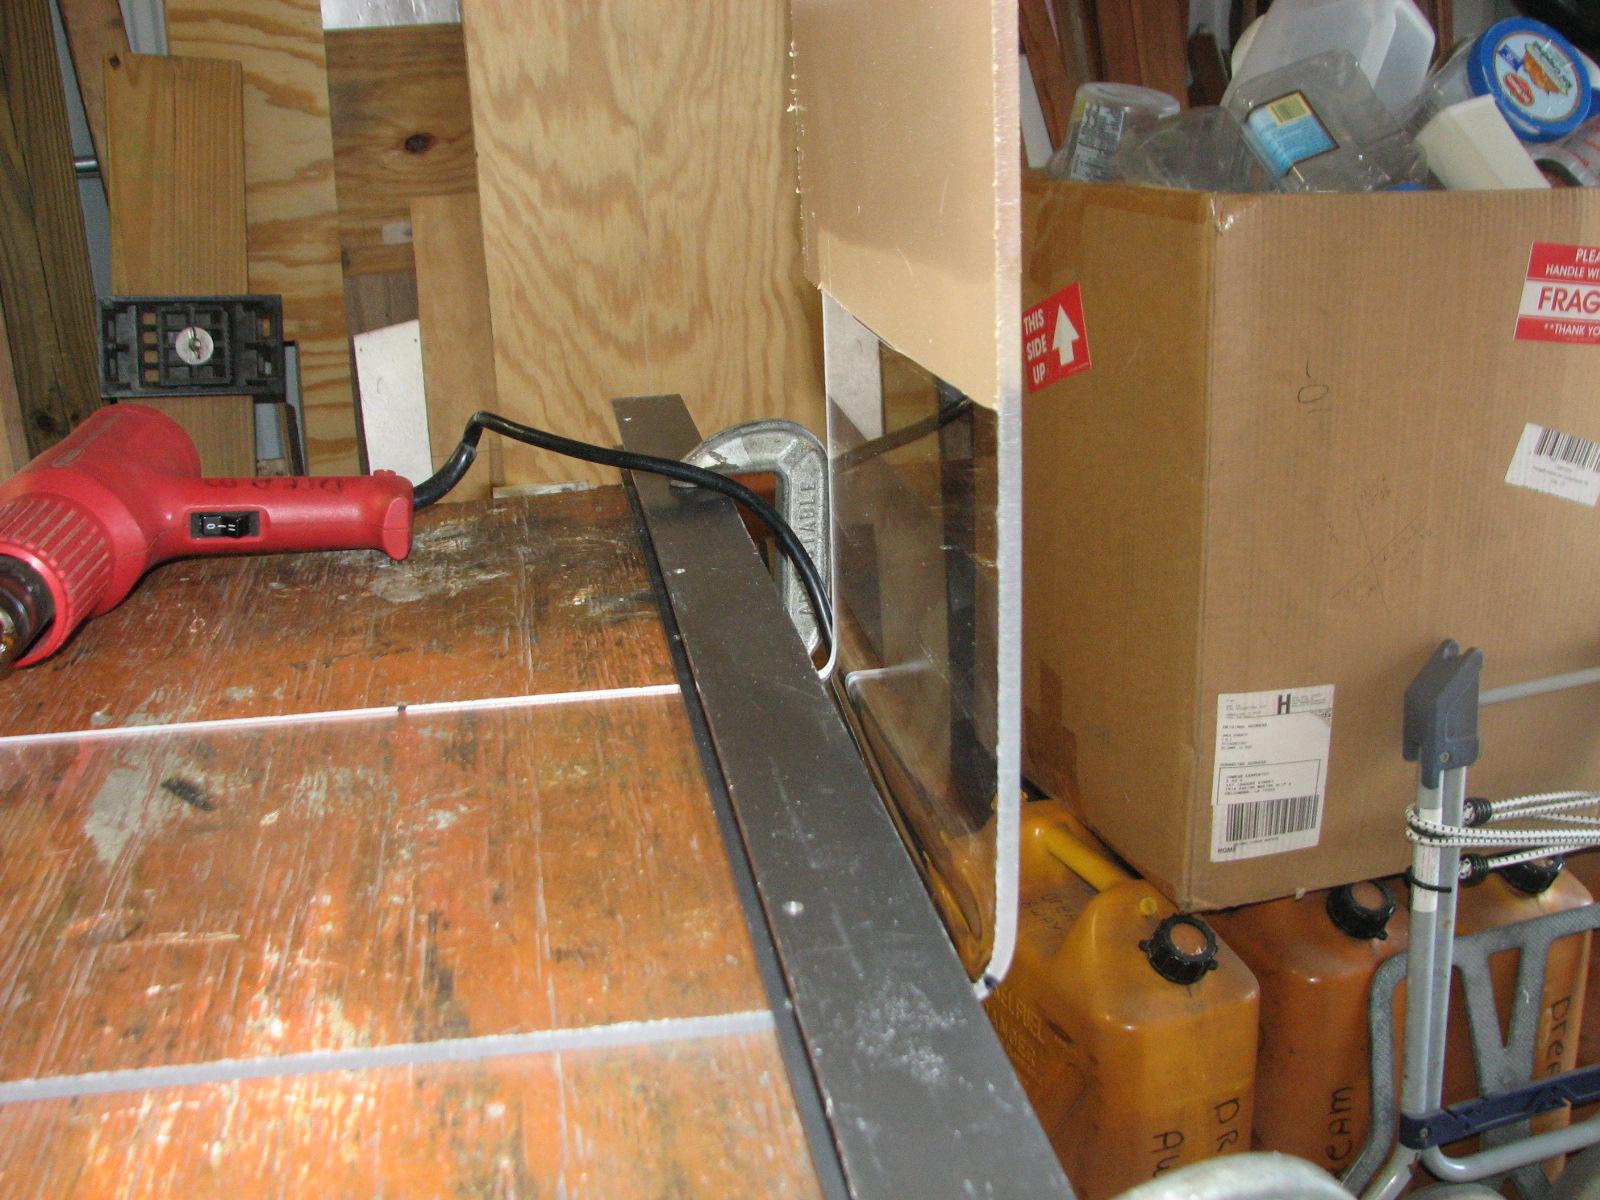
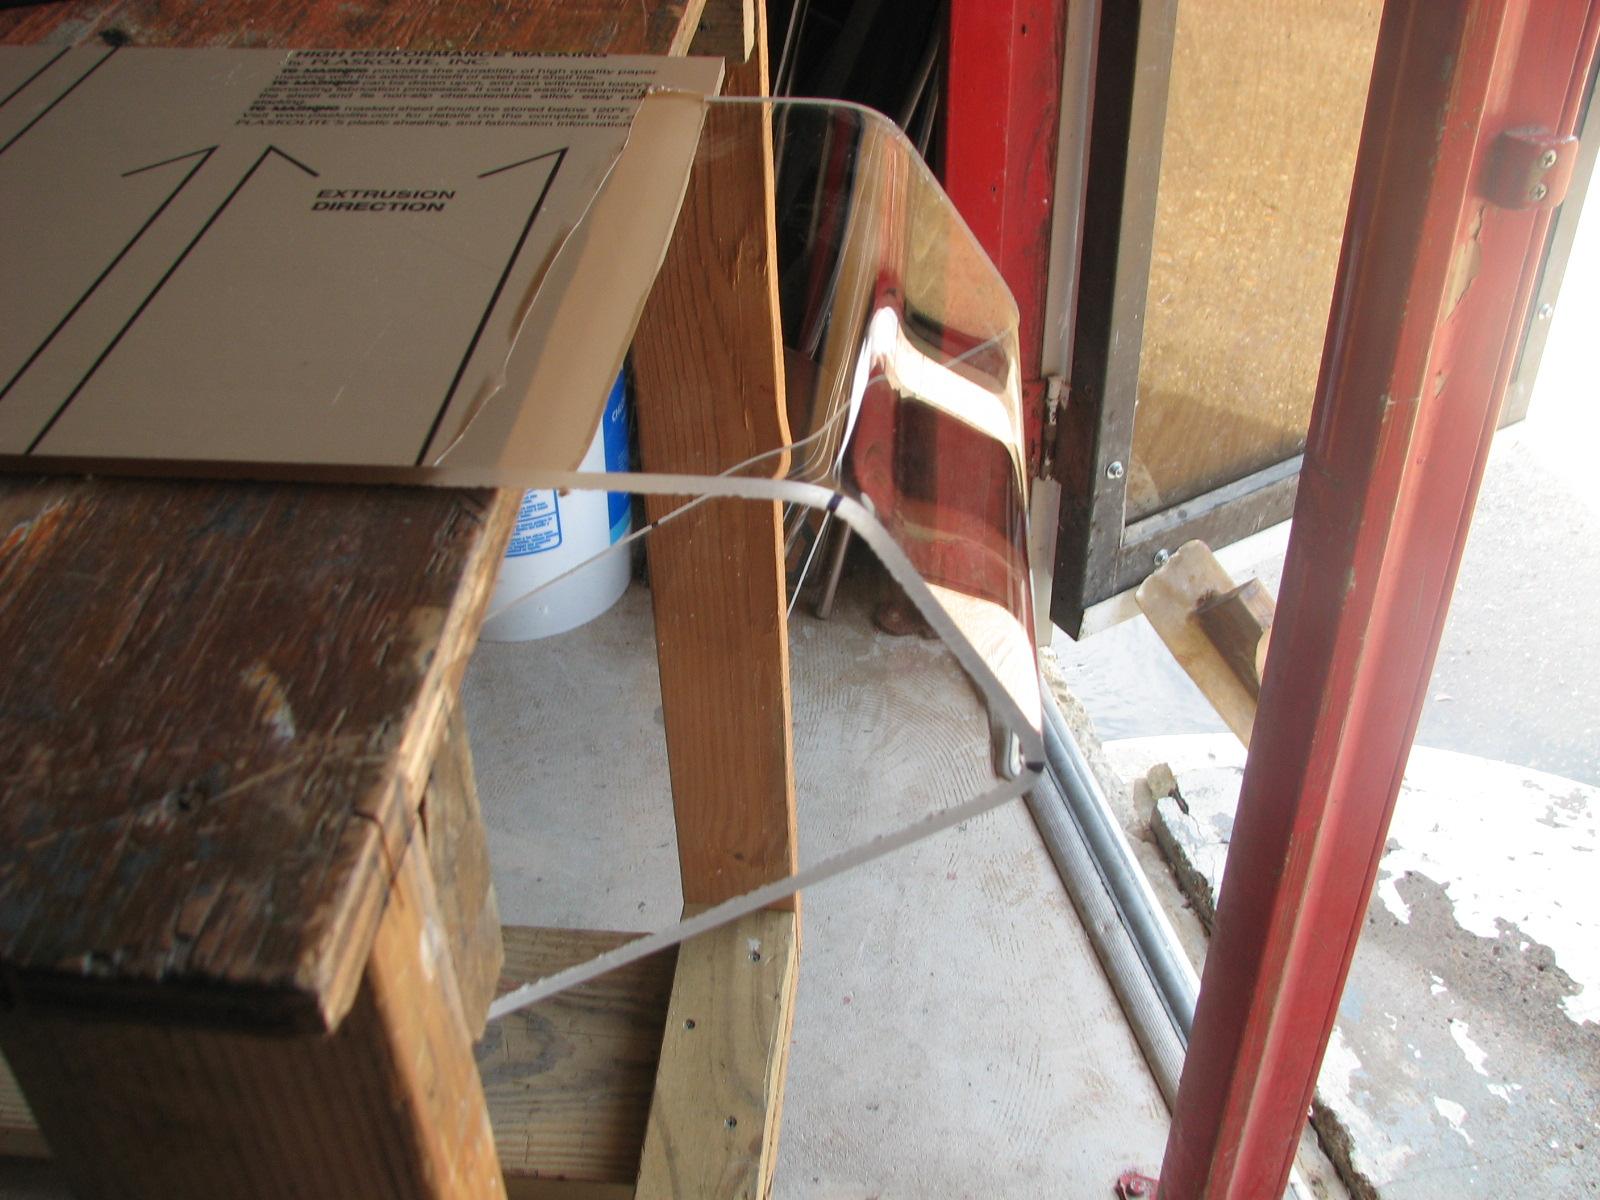
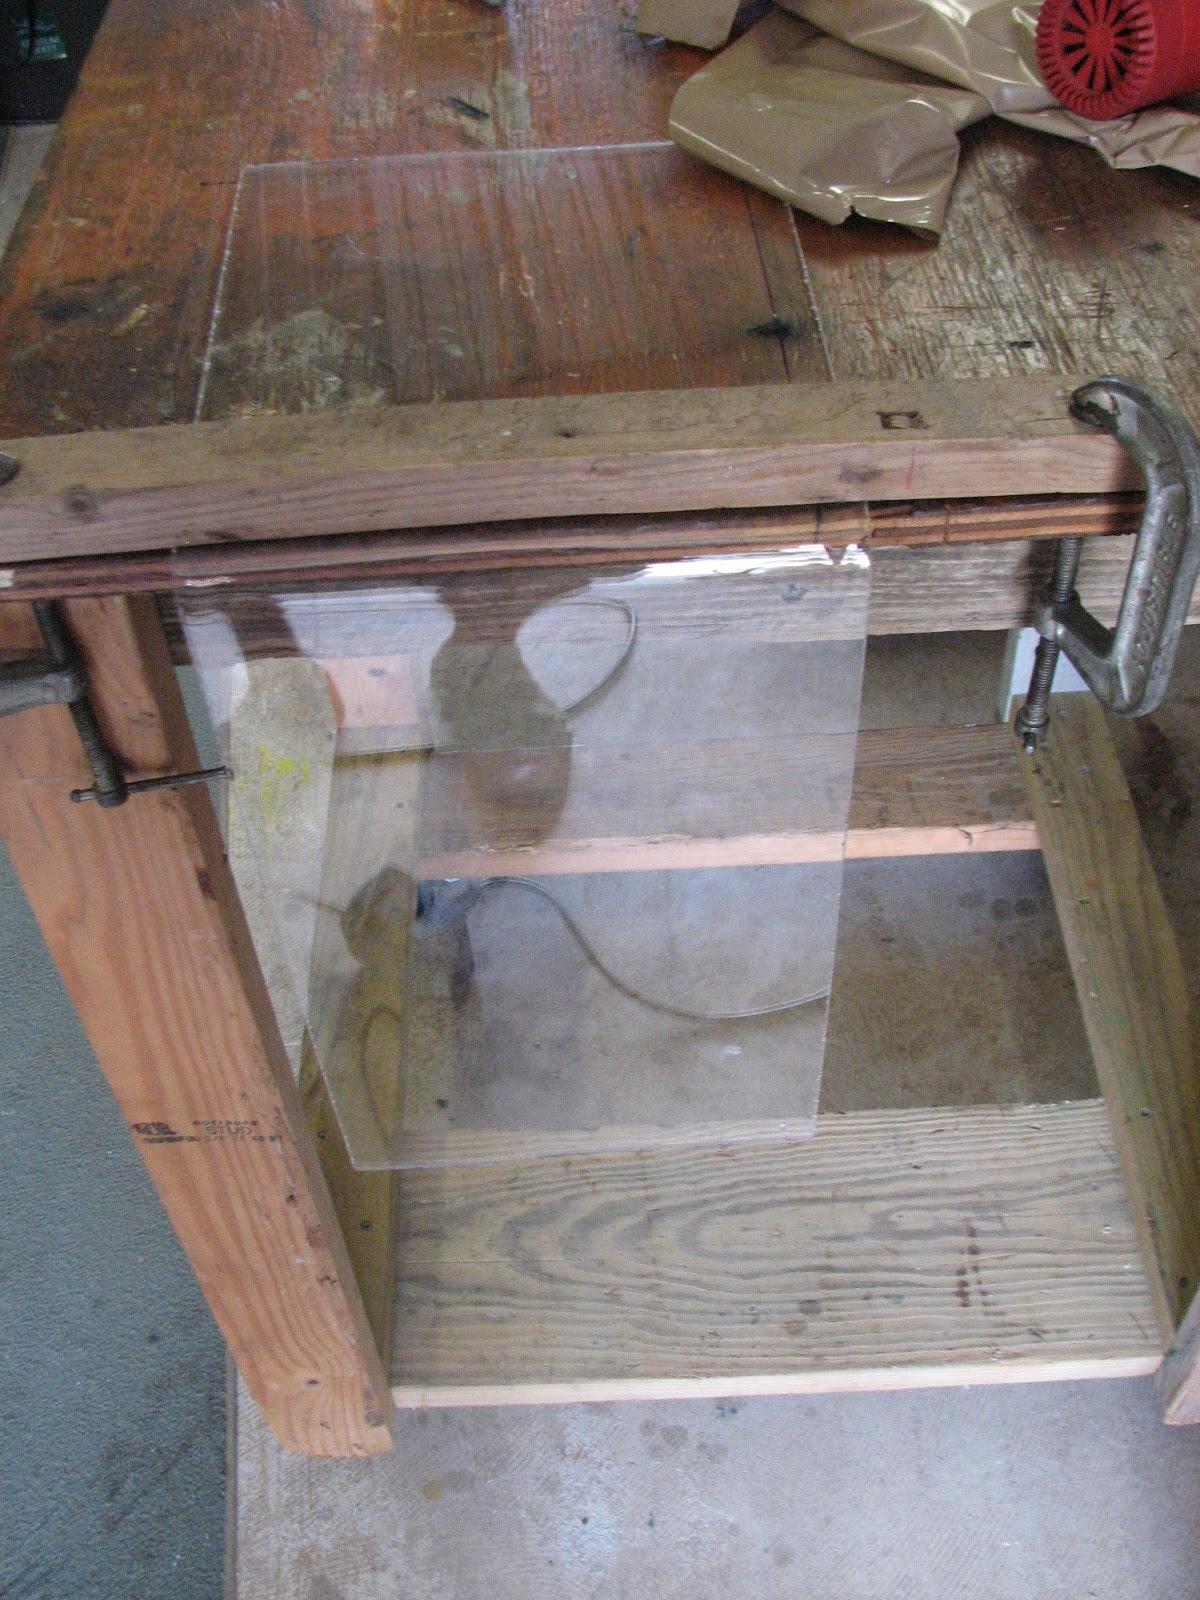
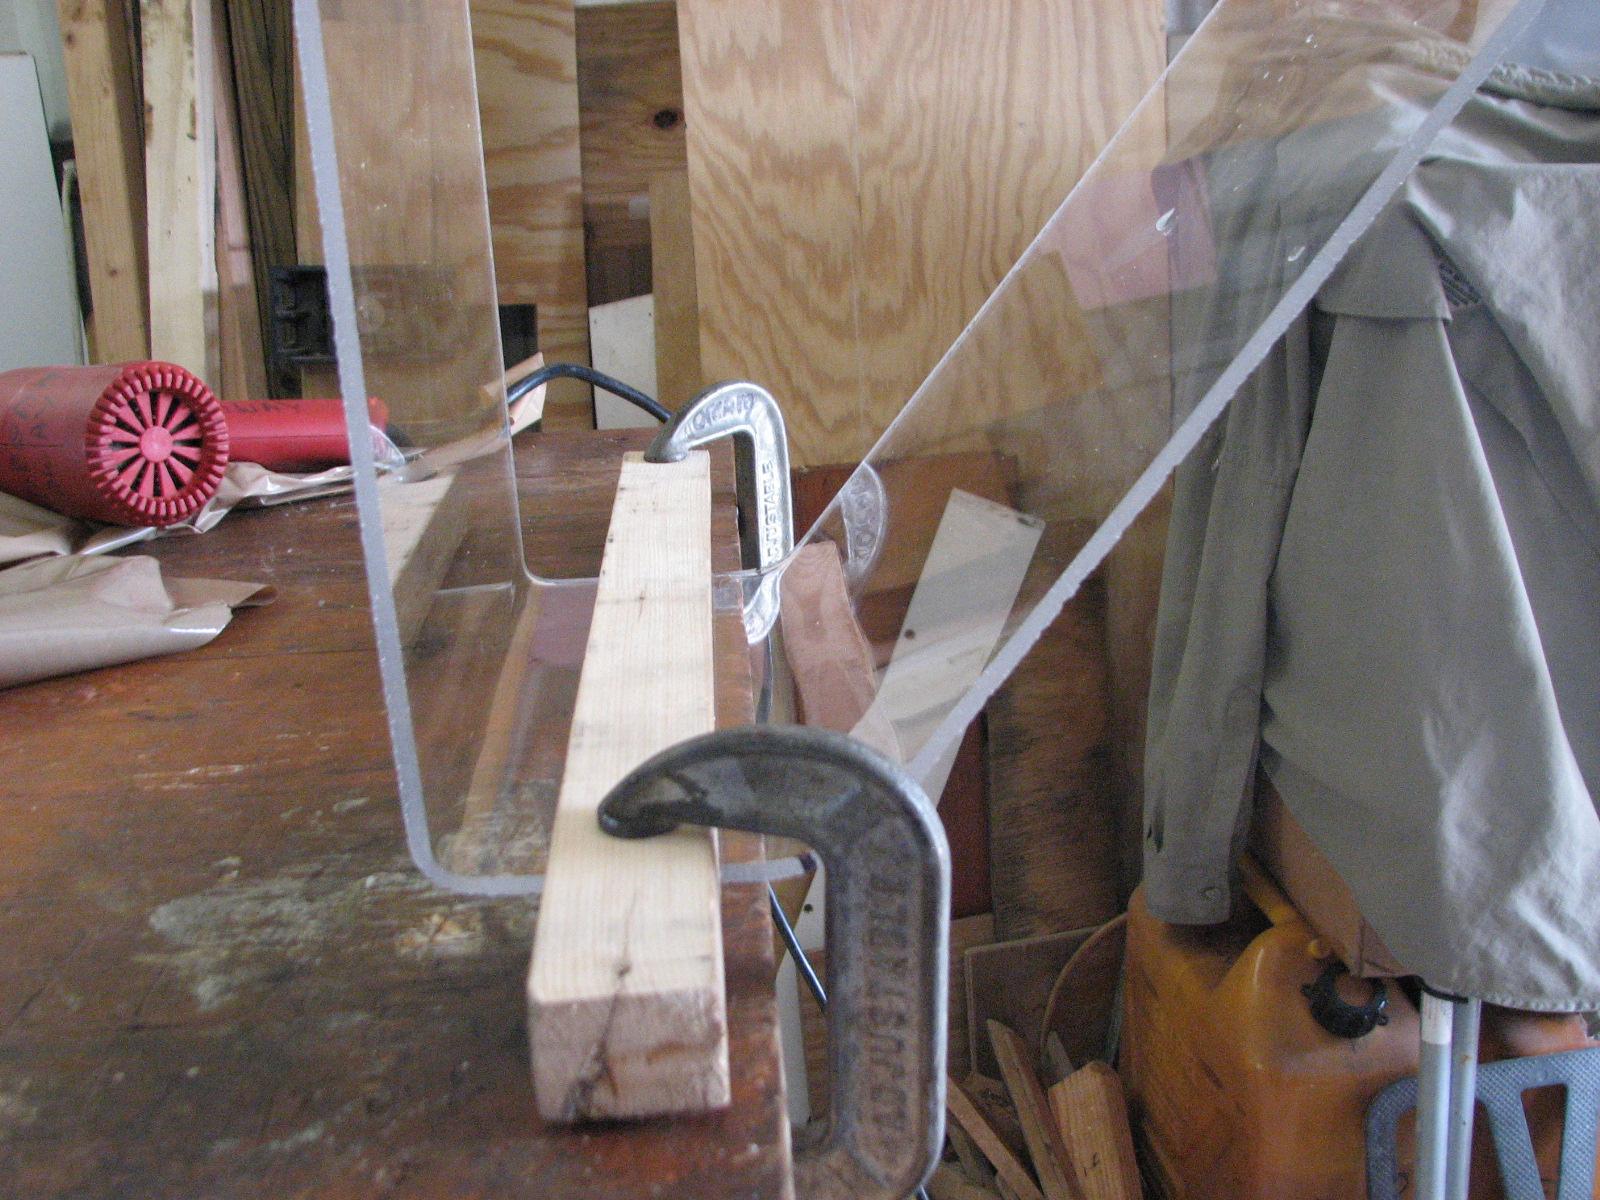
I got the selected piece of the Optix
acrylic sheet I am going to use to make a second
moisture cover for the solar panel charge controller. First I clamped
the piece of acrylic sheet to my work table with the area that will
be bent just off of the table. I then applied heat from the heat gun,
and slowly bent the piece of acrylic to a 90° angle.
Set Up To Bend The Piece Of Acrylic
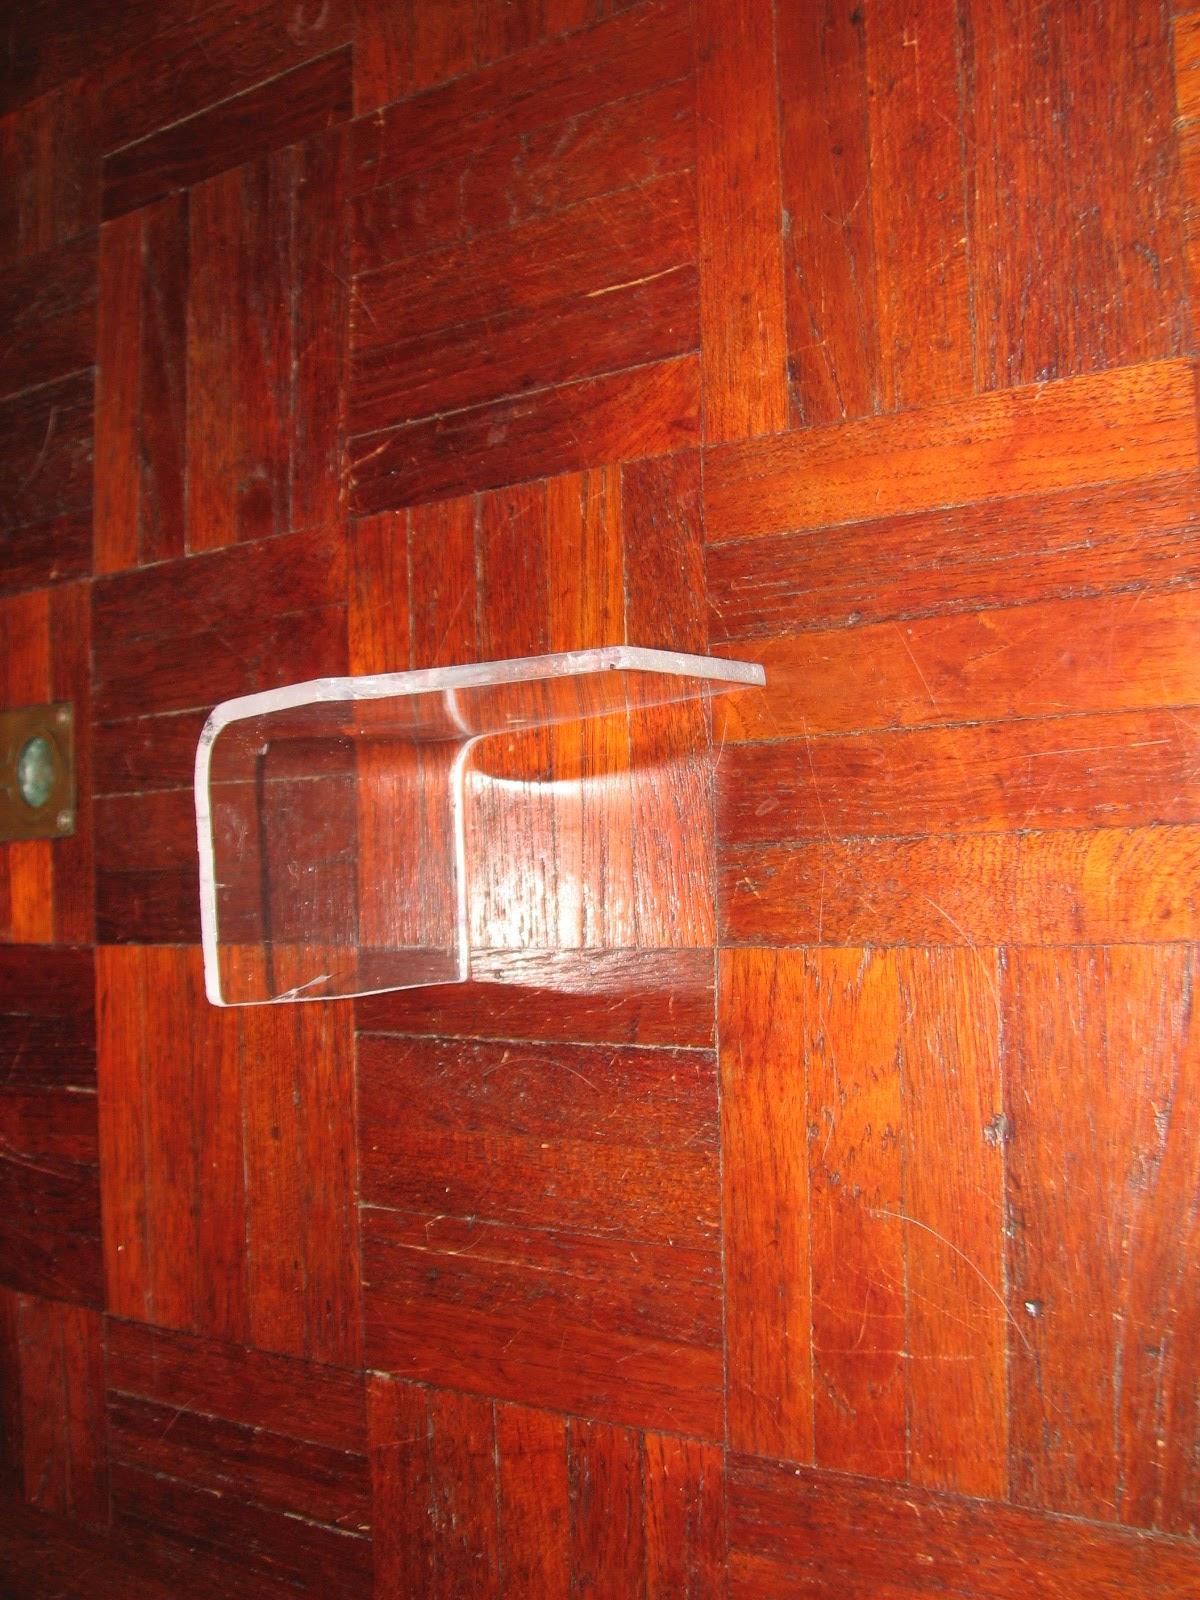
Piece Of Acrylic After 90° Bend
I then made a small 45° bend as
additional protection from moisture. I then did the set up to cut off
the piece of acrylic, and made very sure it was clamped down
properly.
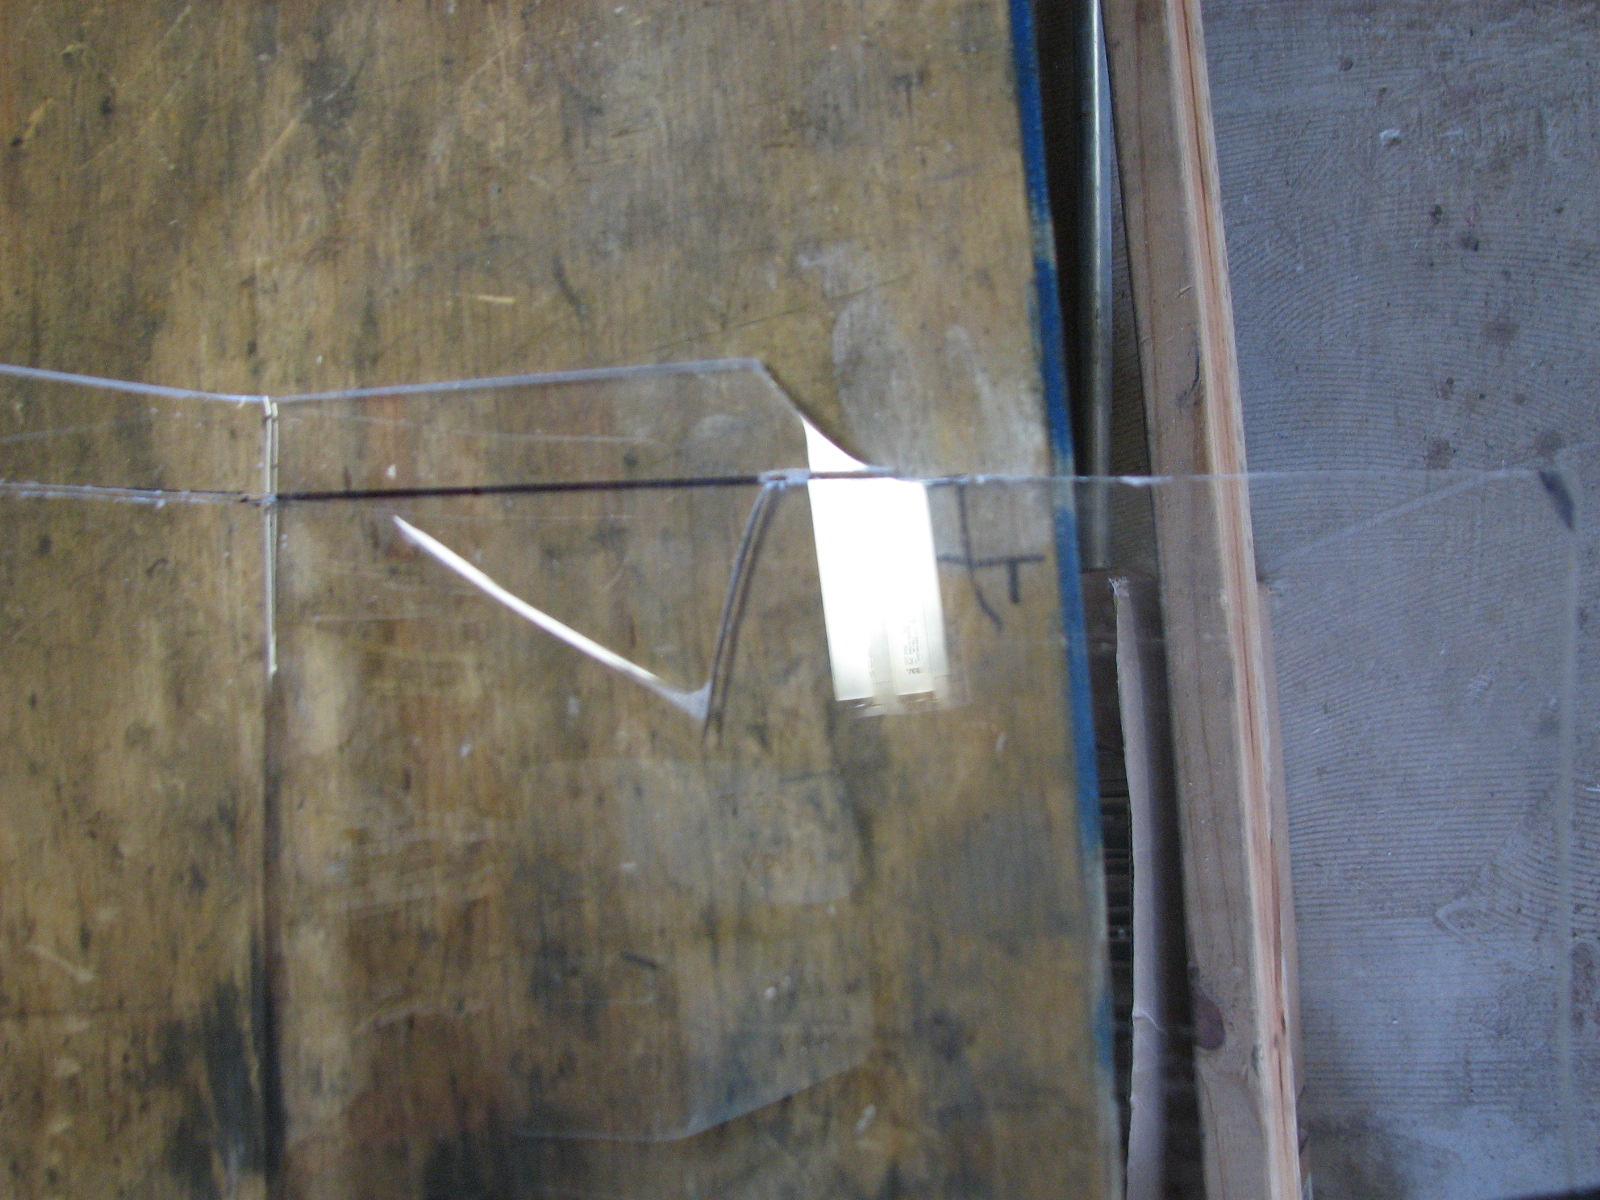
Acrylic Piece Before Cut
I cut off the piece of acrylic, and
then smoothed out all of the sides, and rough places I could find.
The moisture cover is ready for installation.
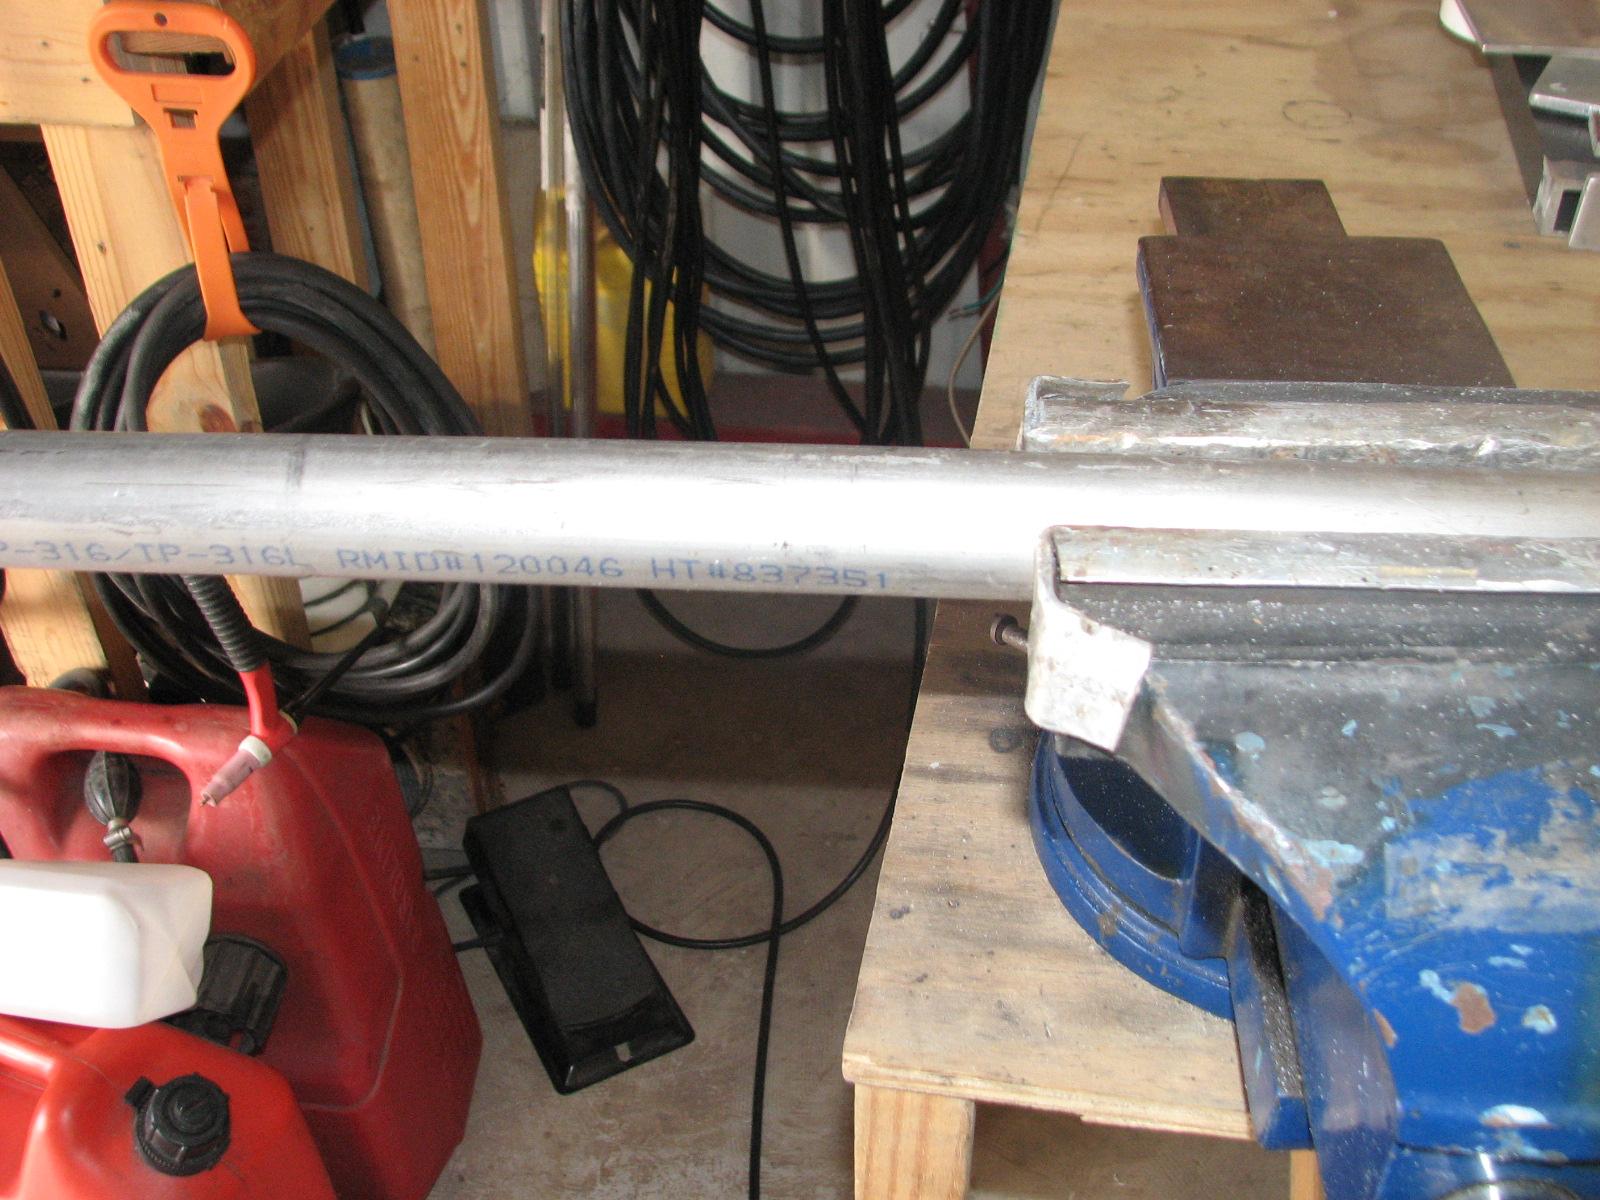
Next project while waiting for the rain
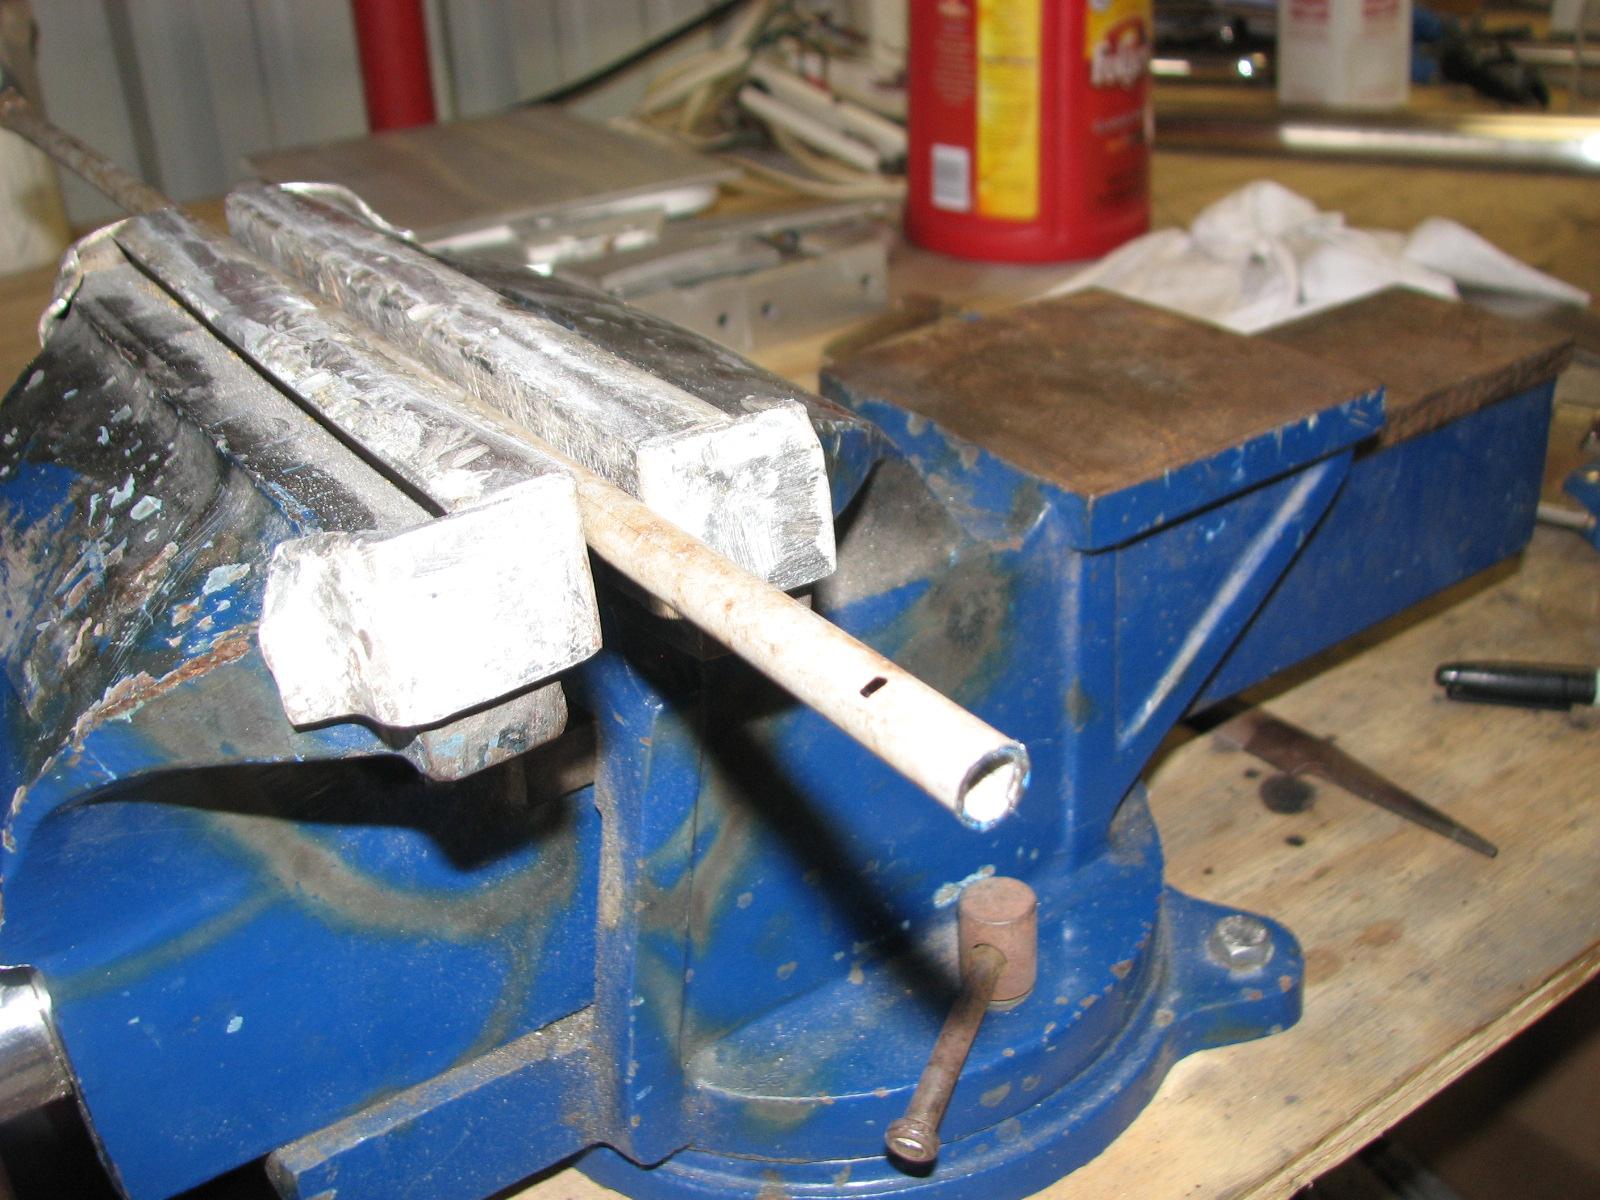
to cease, was to polish the two pieces of pipe and the two steps I
had cut for the stern ladder.
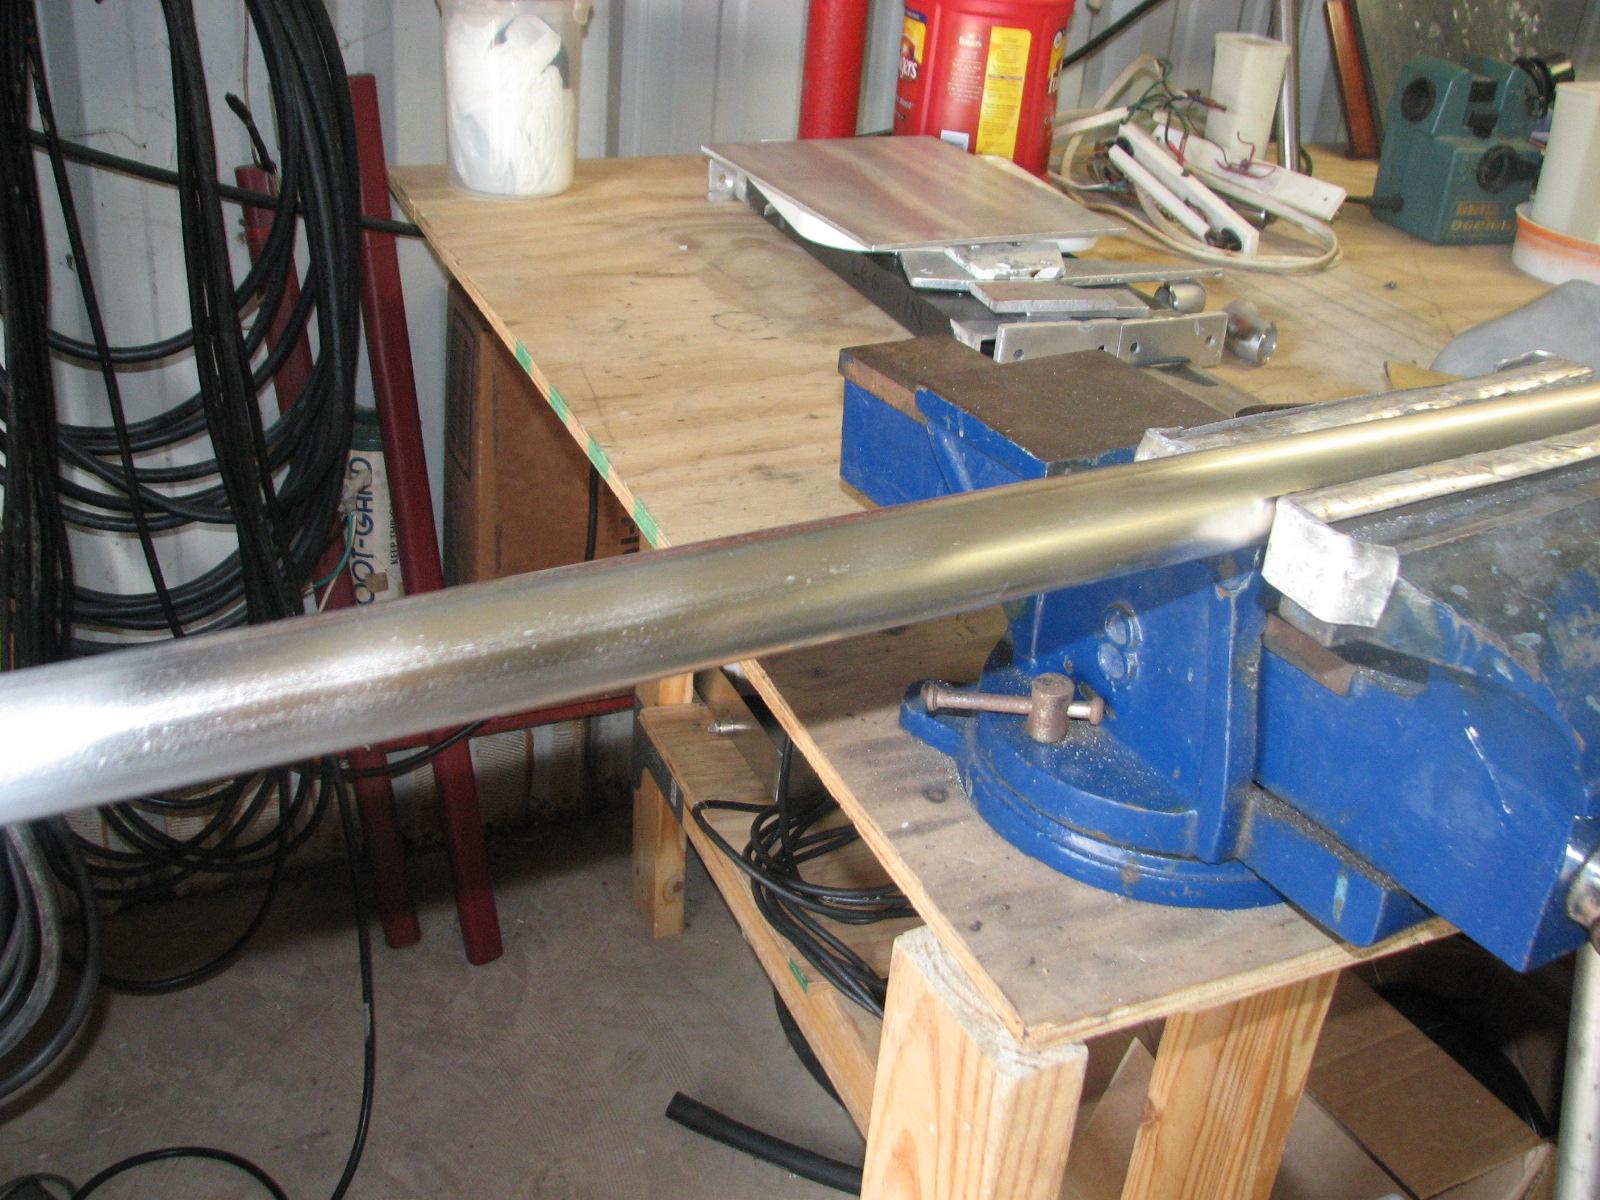
Pipe In Vice Ready For Polishing
You know the drill by now, start with
80 grit sandpaper, then 120 grit, 220 grit, and finish off with the
320 grit. I did this with both pieces of pipe and the two steps.
Piece Of Pipe After Polishing
The rain had finally stopped, so I went
over to DREAM AWAY, and had to pump out the
tender.
Then it was hit the showers, and off to dinner with Connie, Wayne and
his mother. We went to Shuck’s
in Abbeville,
and then we left them to head out to the Port
of Delcambre’s monthly meeting.
June 09, Monday, 2014
Started off the morning with my normal
ritual of getting on the Internet, answering email, and checking the
weather, while making a pot of coffee. When the coffee is started, I
feed our two cats,
Jillian
and Jordan, and spend time with them brushing their
beautiful coats.
Went over to the
shop
and started work on the solar panel controller moisture cover. The
cover was too wide, so I decided to cut off one inch on the width.
Unfortunately, I did not properly secure the acrylic piece while
cutting, and cracked the piece making it unusable for the solar panel
controller moisture cover.
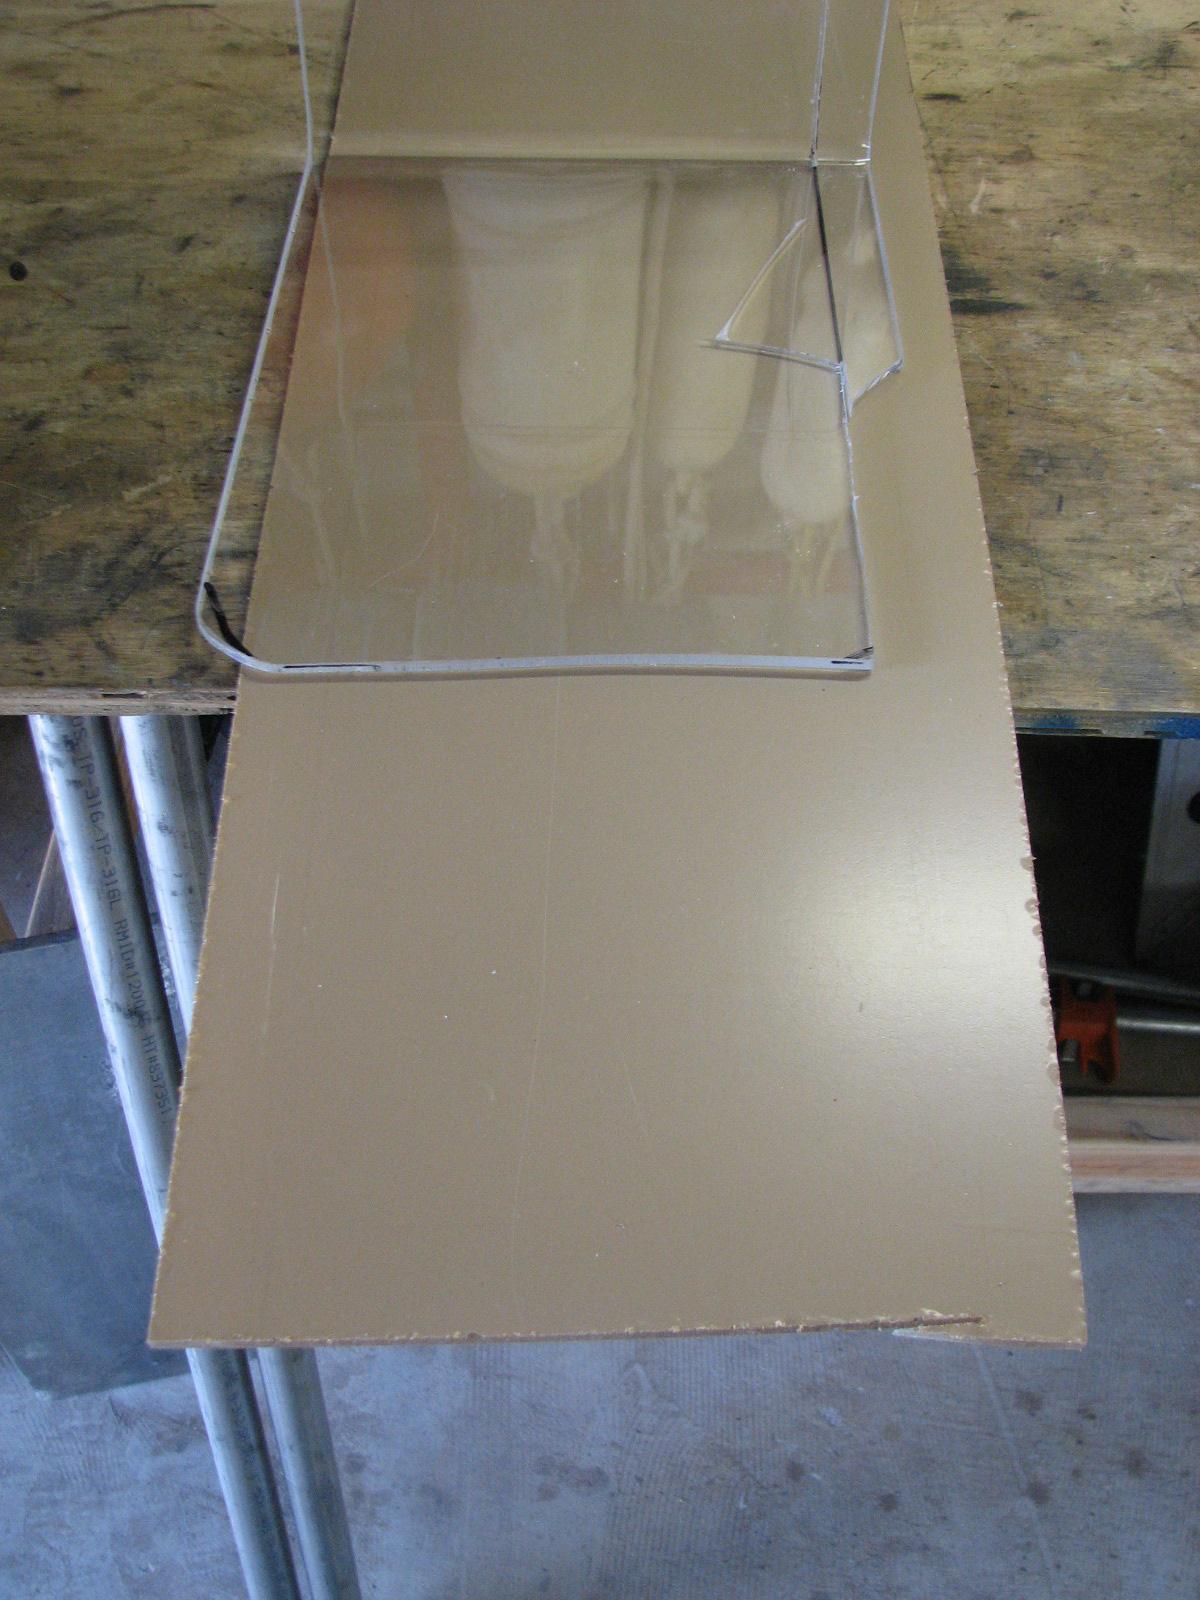
Cracked Solar Panel Controller Moisture
Cover
Salvaged Regulator Moisture Cover
Salvaged Fuse Panel Moisture Cover
Now all that remains to to make another
solar panel charge controller moisture cover. I got out another piece
of the Optix
acrylic sheet, and verified I could make a new
moisture from it.
Next was to select a piece of the 1”
stainless steel pipe from which to cut the two pieces I needed to go
from the stern ladder back to the transom for the stern ladder
support.
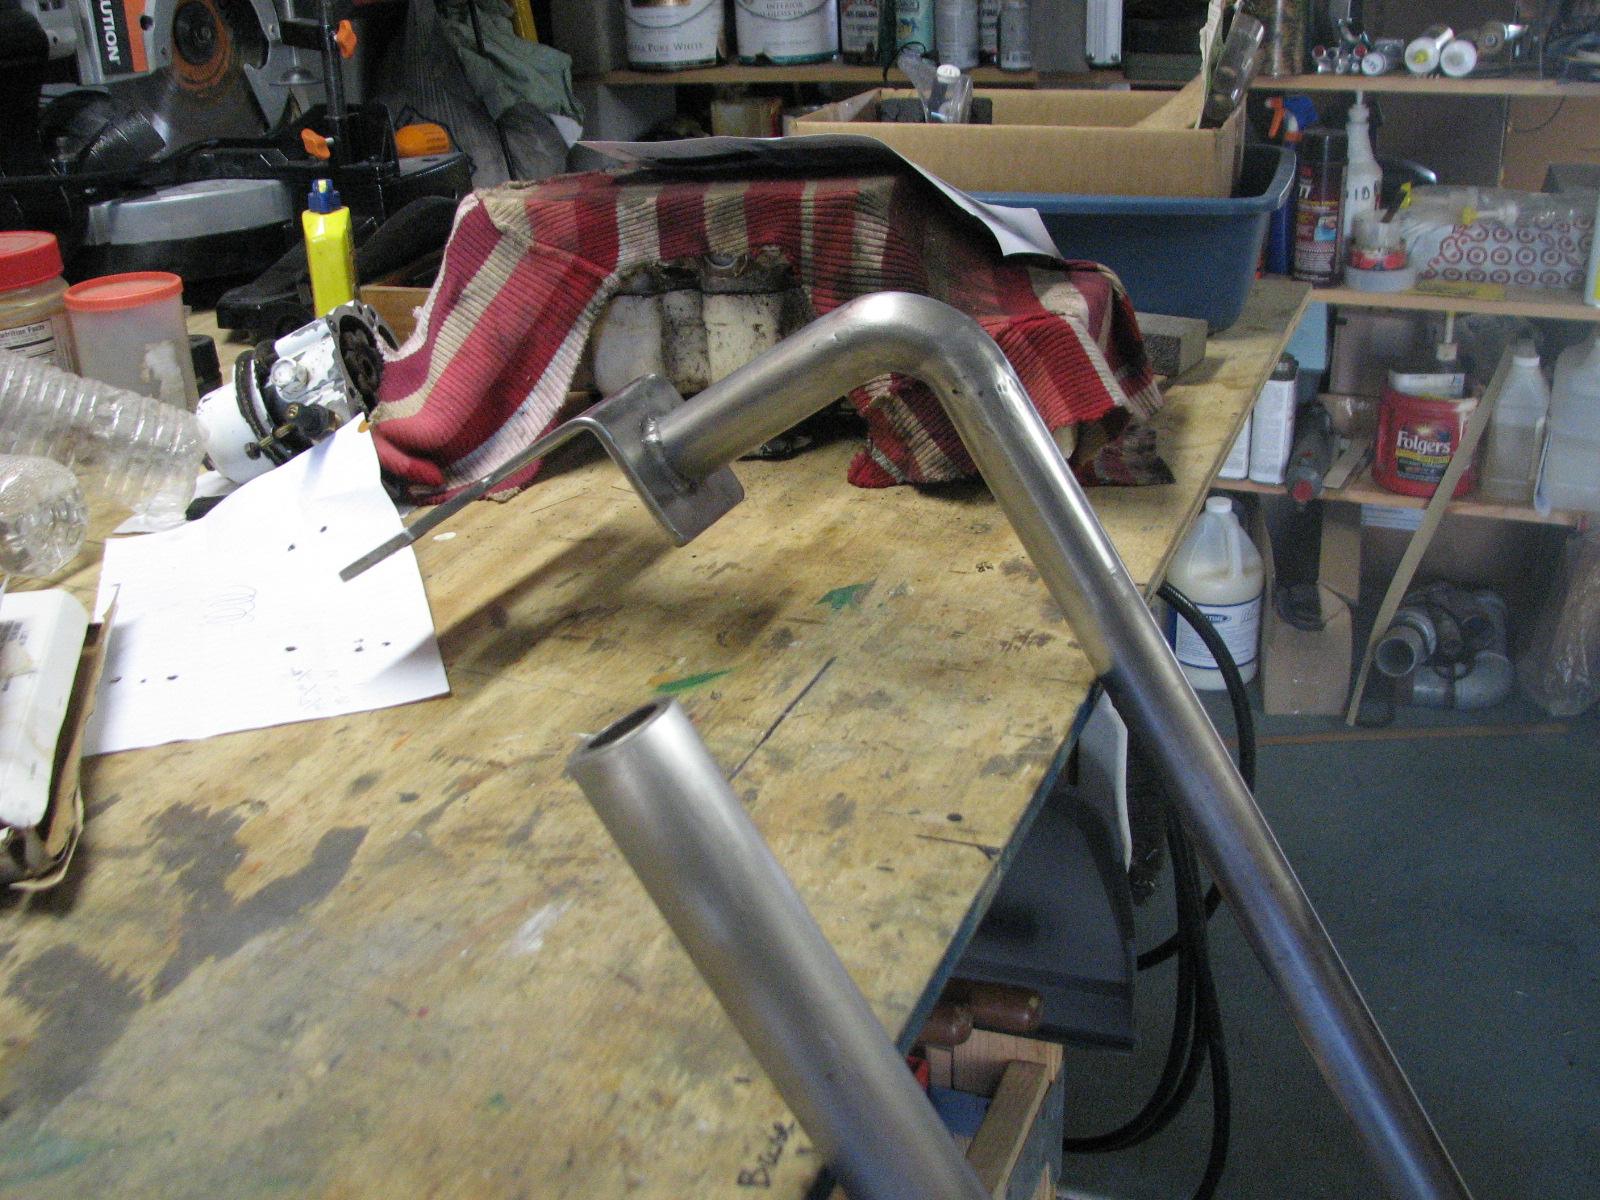
Stanchion Supports & Stern Ladder
Pipes Set Up On Bench
Two Pipes Cut And Ready For Polishing
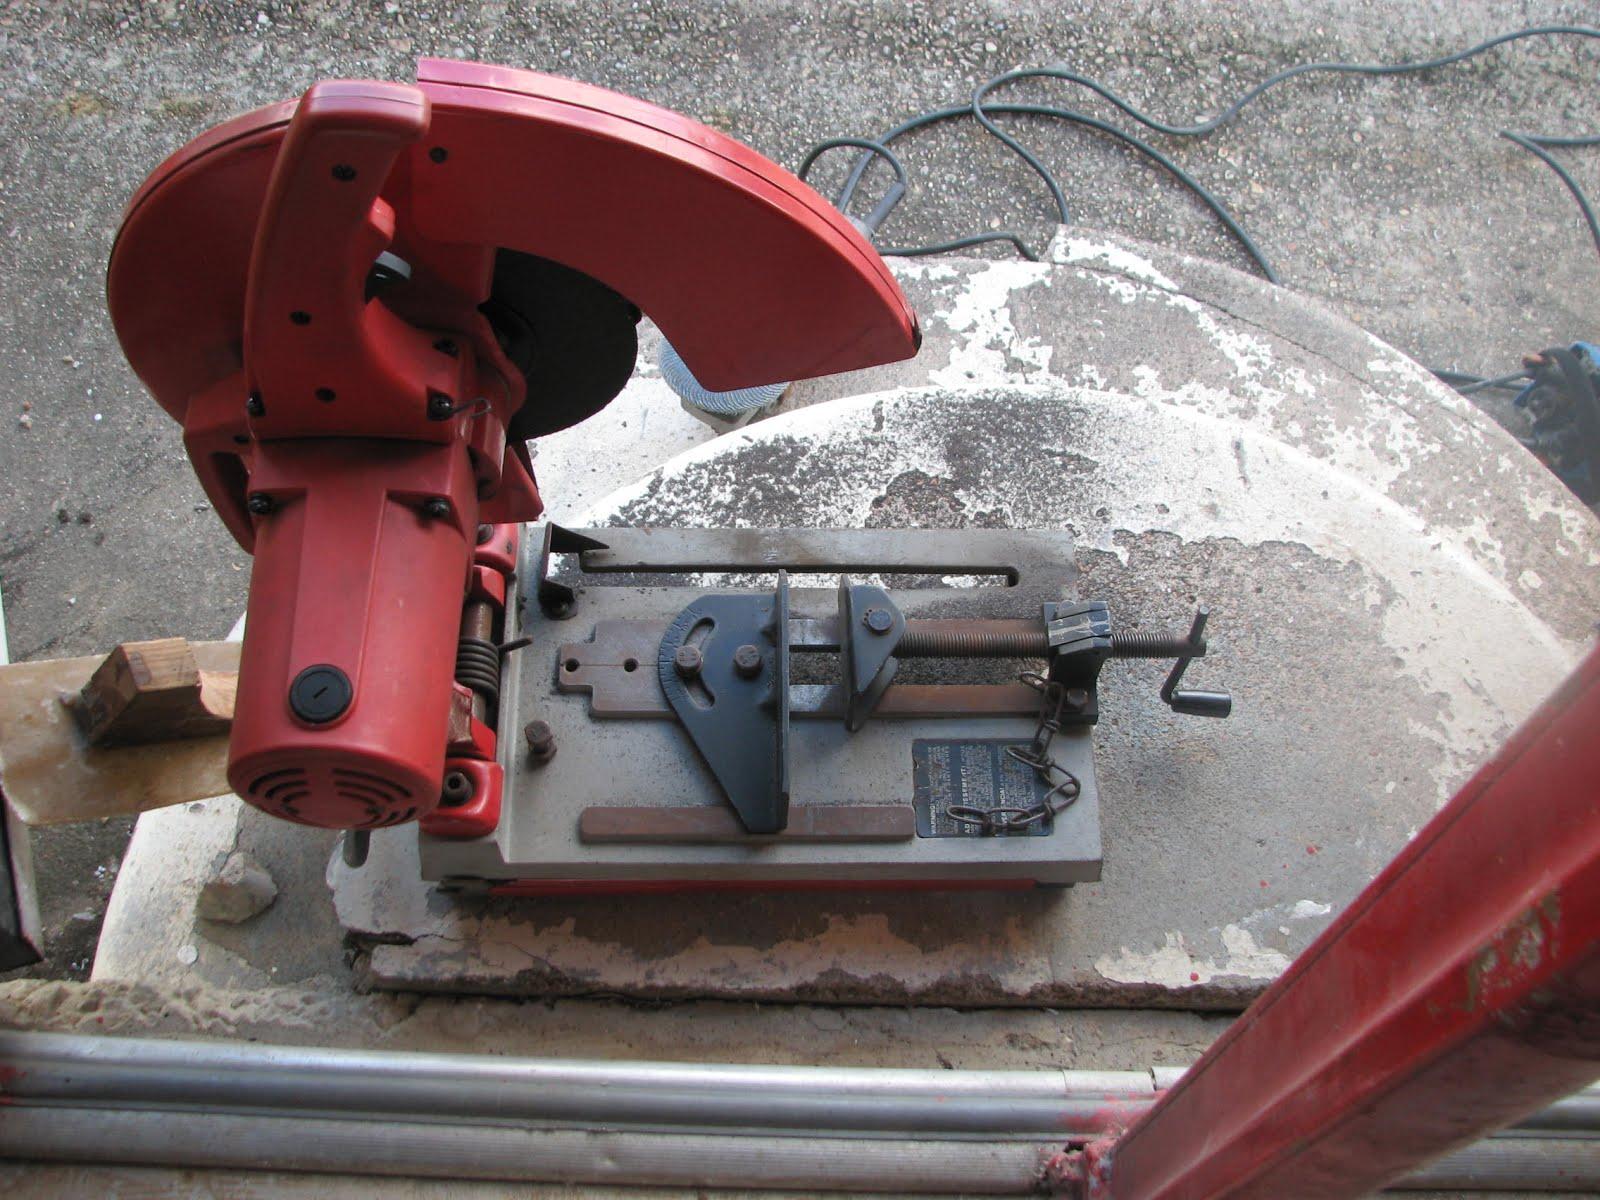
I had the chop
saw set up to cut the pipes, so I used it to
cut the first step that will be welded to the stern ladder. I
selected a piece of 2” stainless steel flat bar, and cut the step.
There is enough metal remaining, I will be able to cut a second step.
I cut the step just a bit long, and I
then notched the step to give me more of a bite to weld the step
to the pipes of the stern ladder.
Notched Flat Bar Of First Step
When Kitty got up, I went over to DREAM
AWAY and had breakfast. We then went over to Norman’s Auto Diesel &
Repair. Norman wanted to ask me about a rear seal issue on the new
transmission. He explained the situation to me, and I decided to go
ahead with the new seal. While there I took several pictures of the
underside of Ruby.
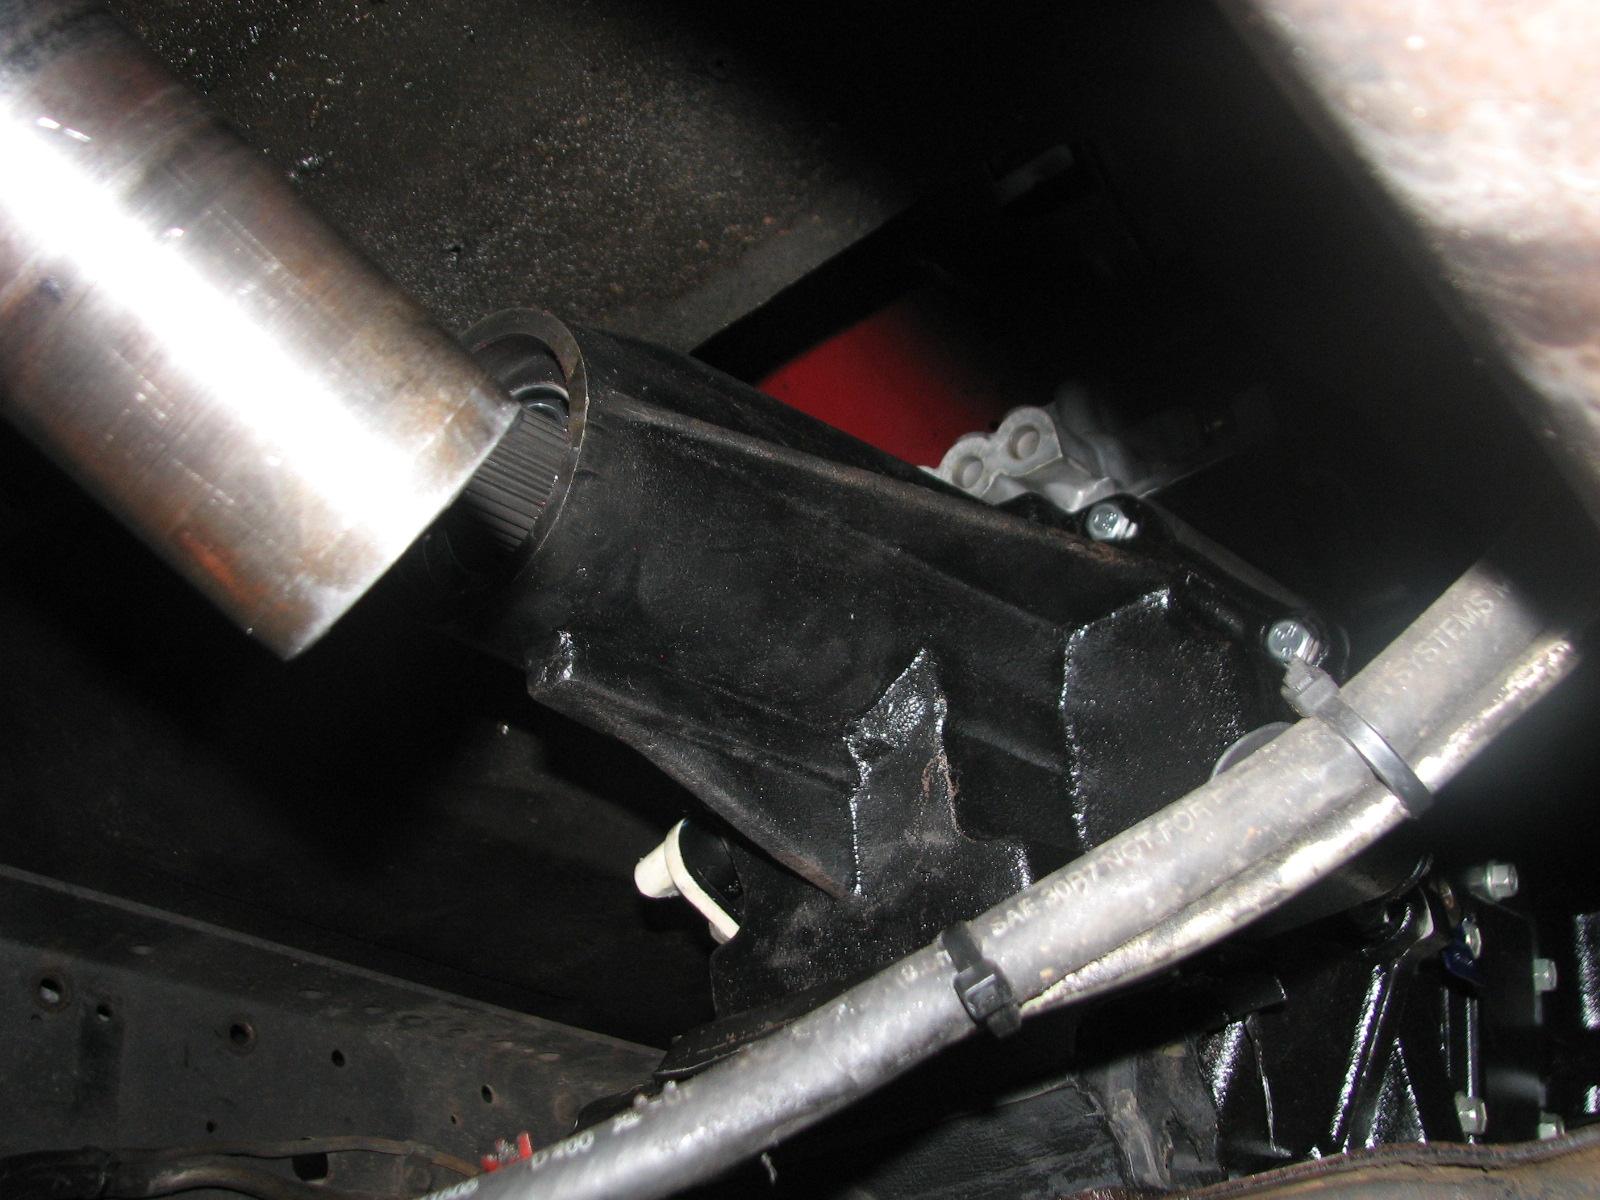
Rear Of Transmission And Drive Shaft In
Ruby
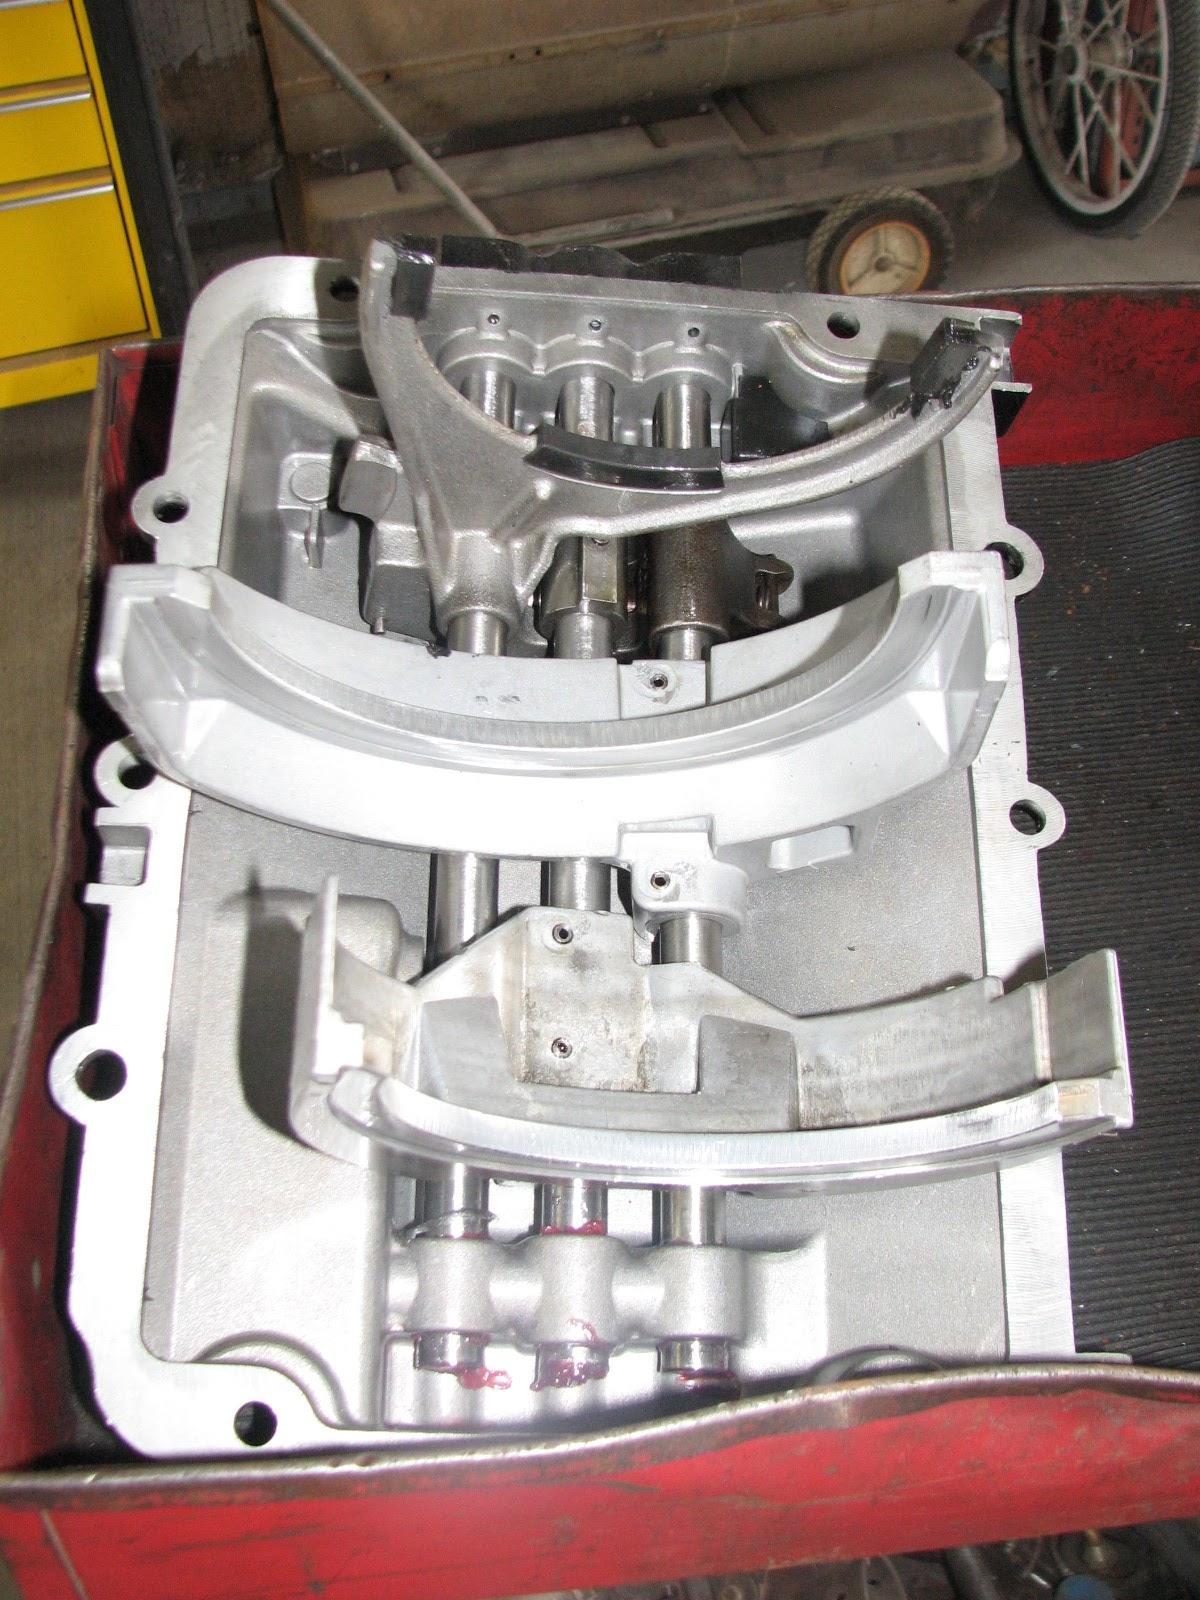
Round Top Shift Plate
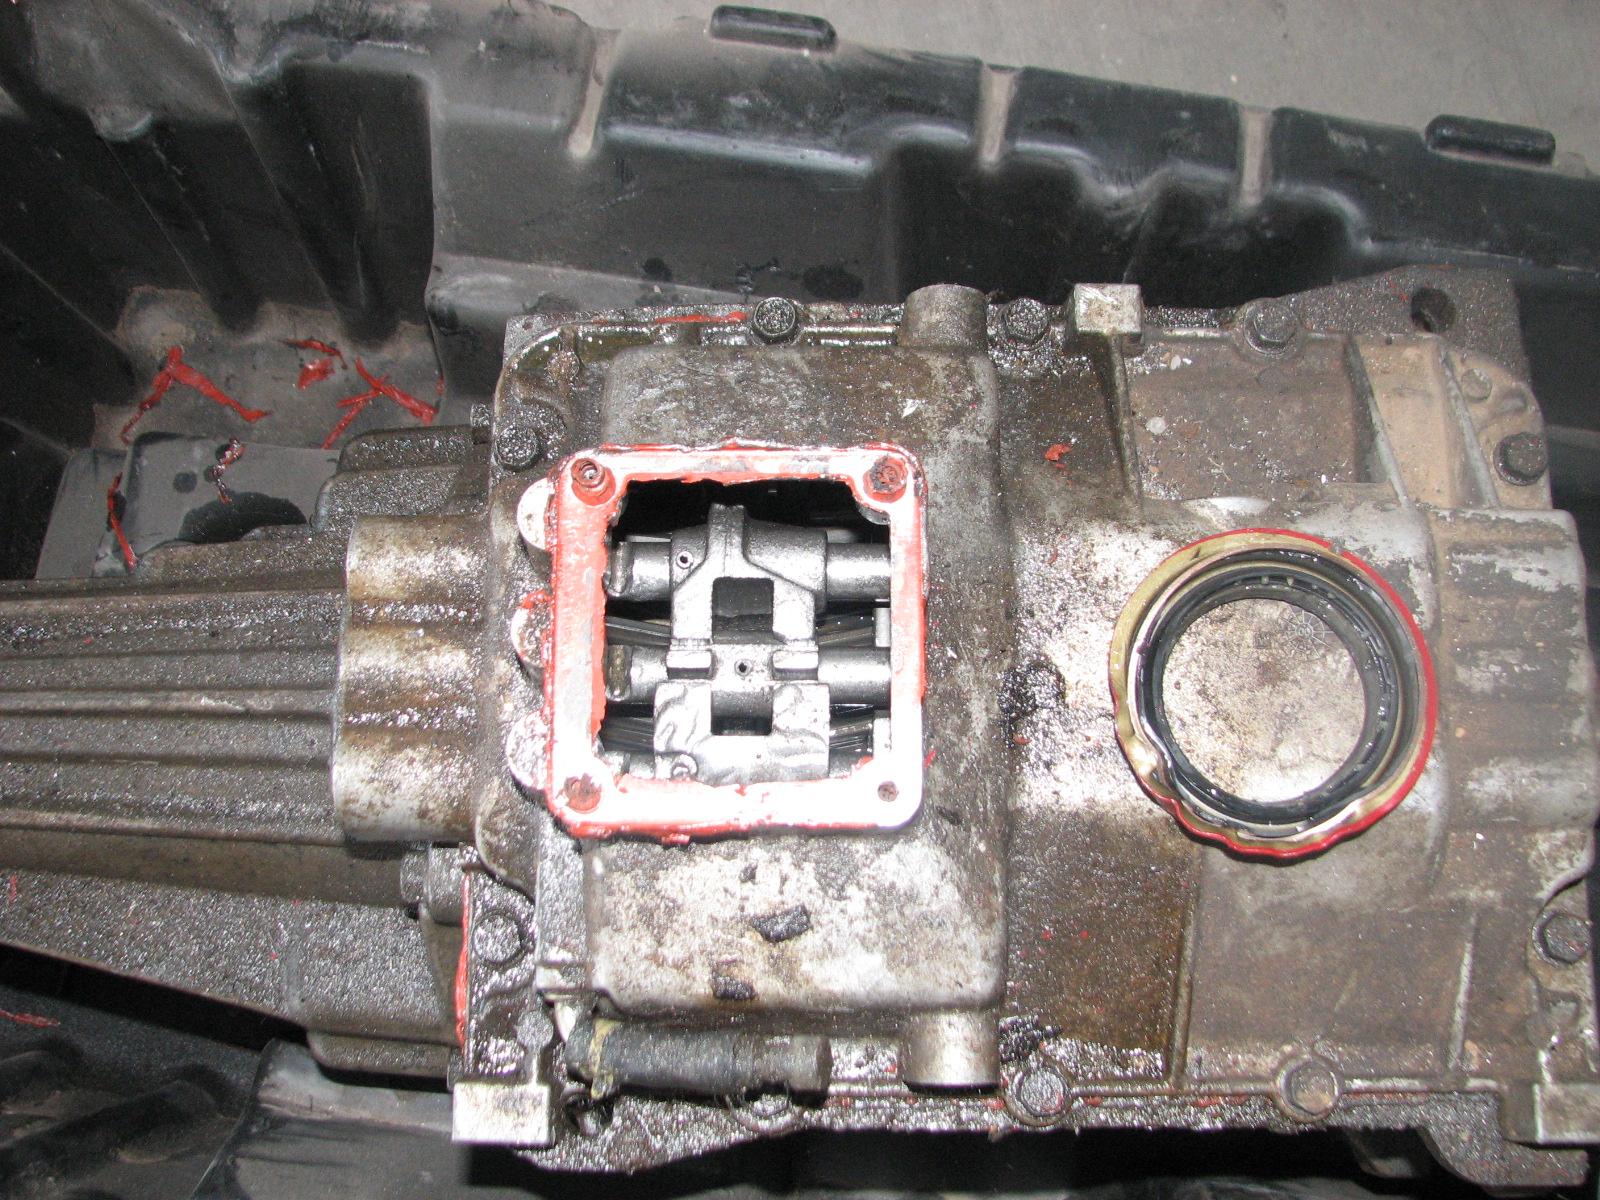
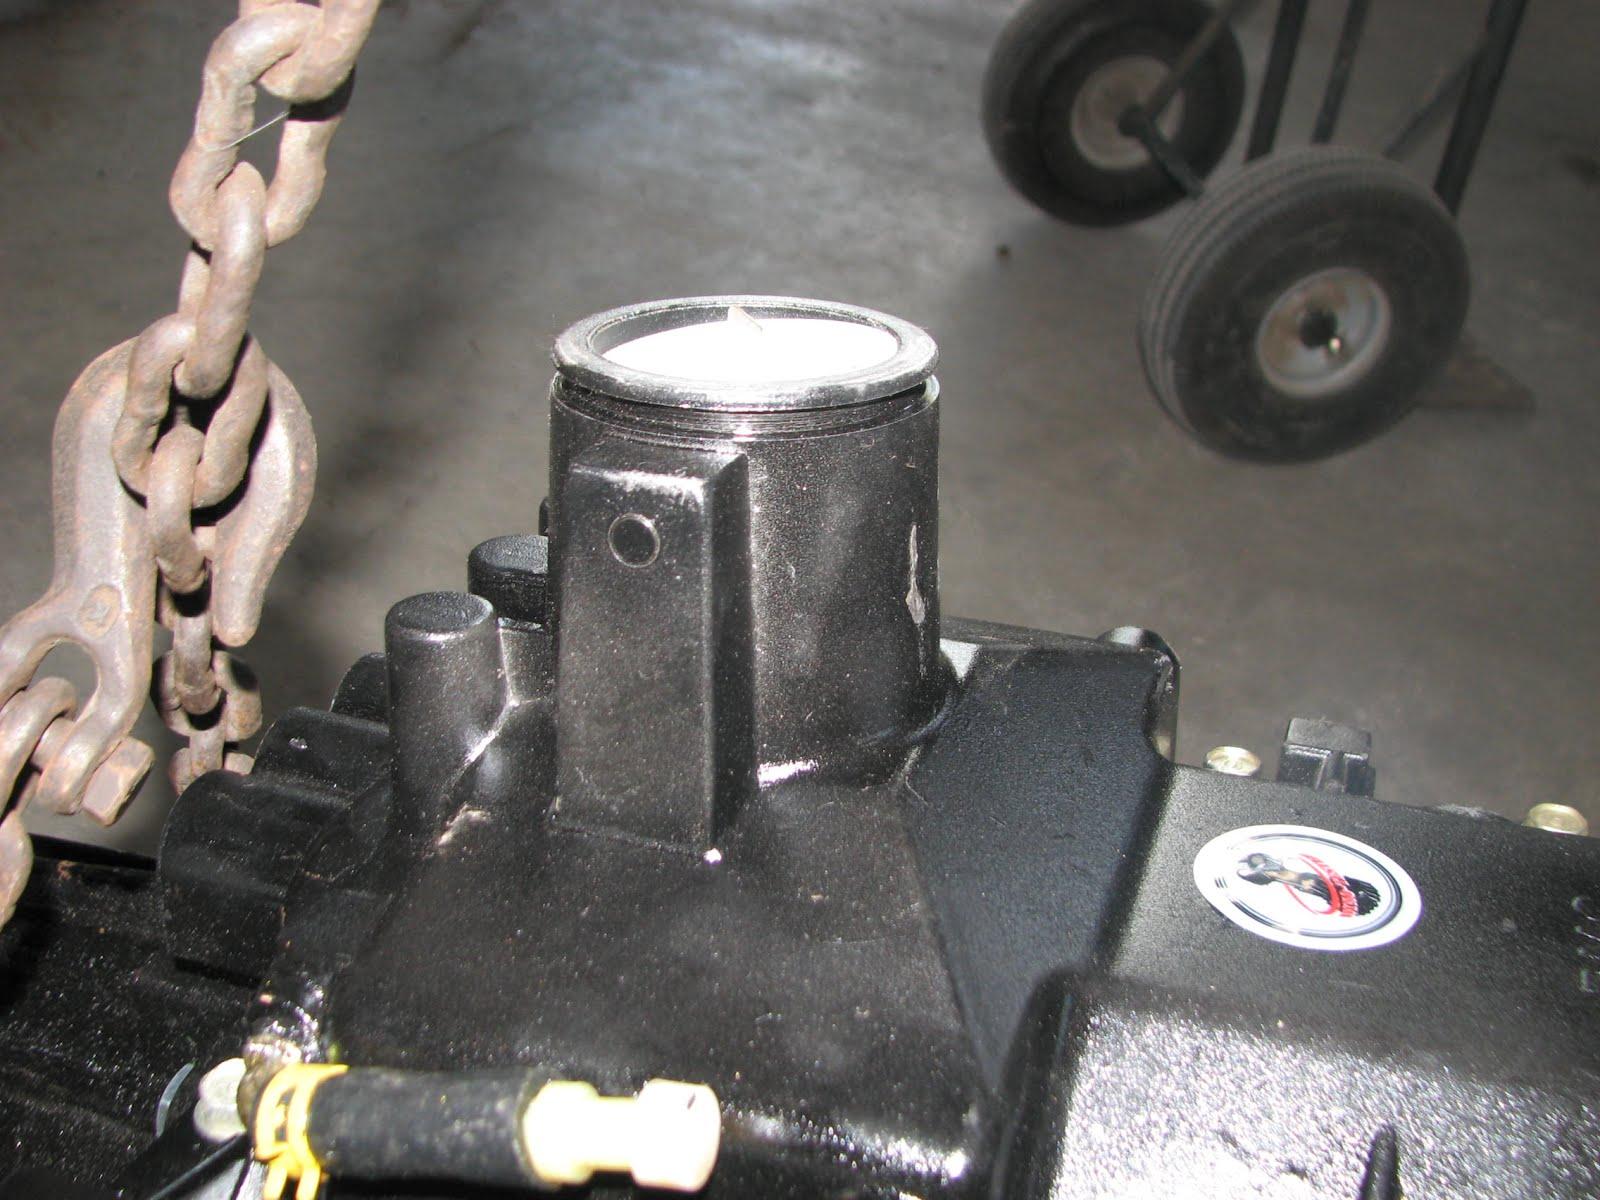
Top Of Old Transmission
When we left Norman’s, we drove down
to Sterlings
Upholstery & Fabrication to see if they had or
could order the T-Track I need for the hard Bimini.
The men in the fab shop were gone, so we had to come back.
When we returned from Norman’s, I
went over to the Port
of Delcambre’s storage room and picked up the
pressure washer and the fuel can. I brought them back to the marina,
and pressure washed dock line I had been cleaning.
I also washed all of the power
pedestals on Pier “A”. When that was done I returned the pressure
washer and the fuel can to the Port
of Delcambre’s storage room.
I came back to the
marina,
and took a shower. We then went back to
New
Iberia to meet Connie & Wayne at Jeff &
Janice’s house. We did a tour of their house, and then went to
Duffy’s
Diner for a great dinner. We then parted company, and
we returned to DREAM AWAY.
June 08, Sunday, 2014
Started off the morning with my normal
ritual of getting on the Internet, answering email, and checking the
weather, while making a pot of coffee. When the coffee is started, I
feed our two cats,
Jillian
and Jordan, and spend time with them brushing their
beautiful coats.
Went over to the
shop
and set up the second aft stanchion base and pipe. When I got the
setup where I liked it, I welded the stanchion base and the pipe
together.
Second Pipe With No Stanchion Base
Pipe And Stanchion Base Welded Together
Pipe And Stanchion Base Welded Together
Pipe And Stanchion Base With Welds
Cleaned Up
Pipe And Stanchion Base With Welds
Cleaned Up
Now that the two stern ladder stanchion
bases were ready for fitting on DREAM AWAY, I started in on cleaning
all of the hardware that was used to bolt the Starboard
to the hard Bimini
frame. I am planning to use it again so all of the little bolts and
screws must be cleaned up.
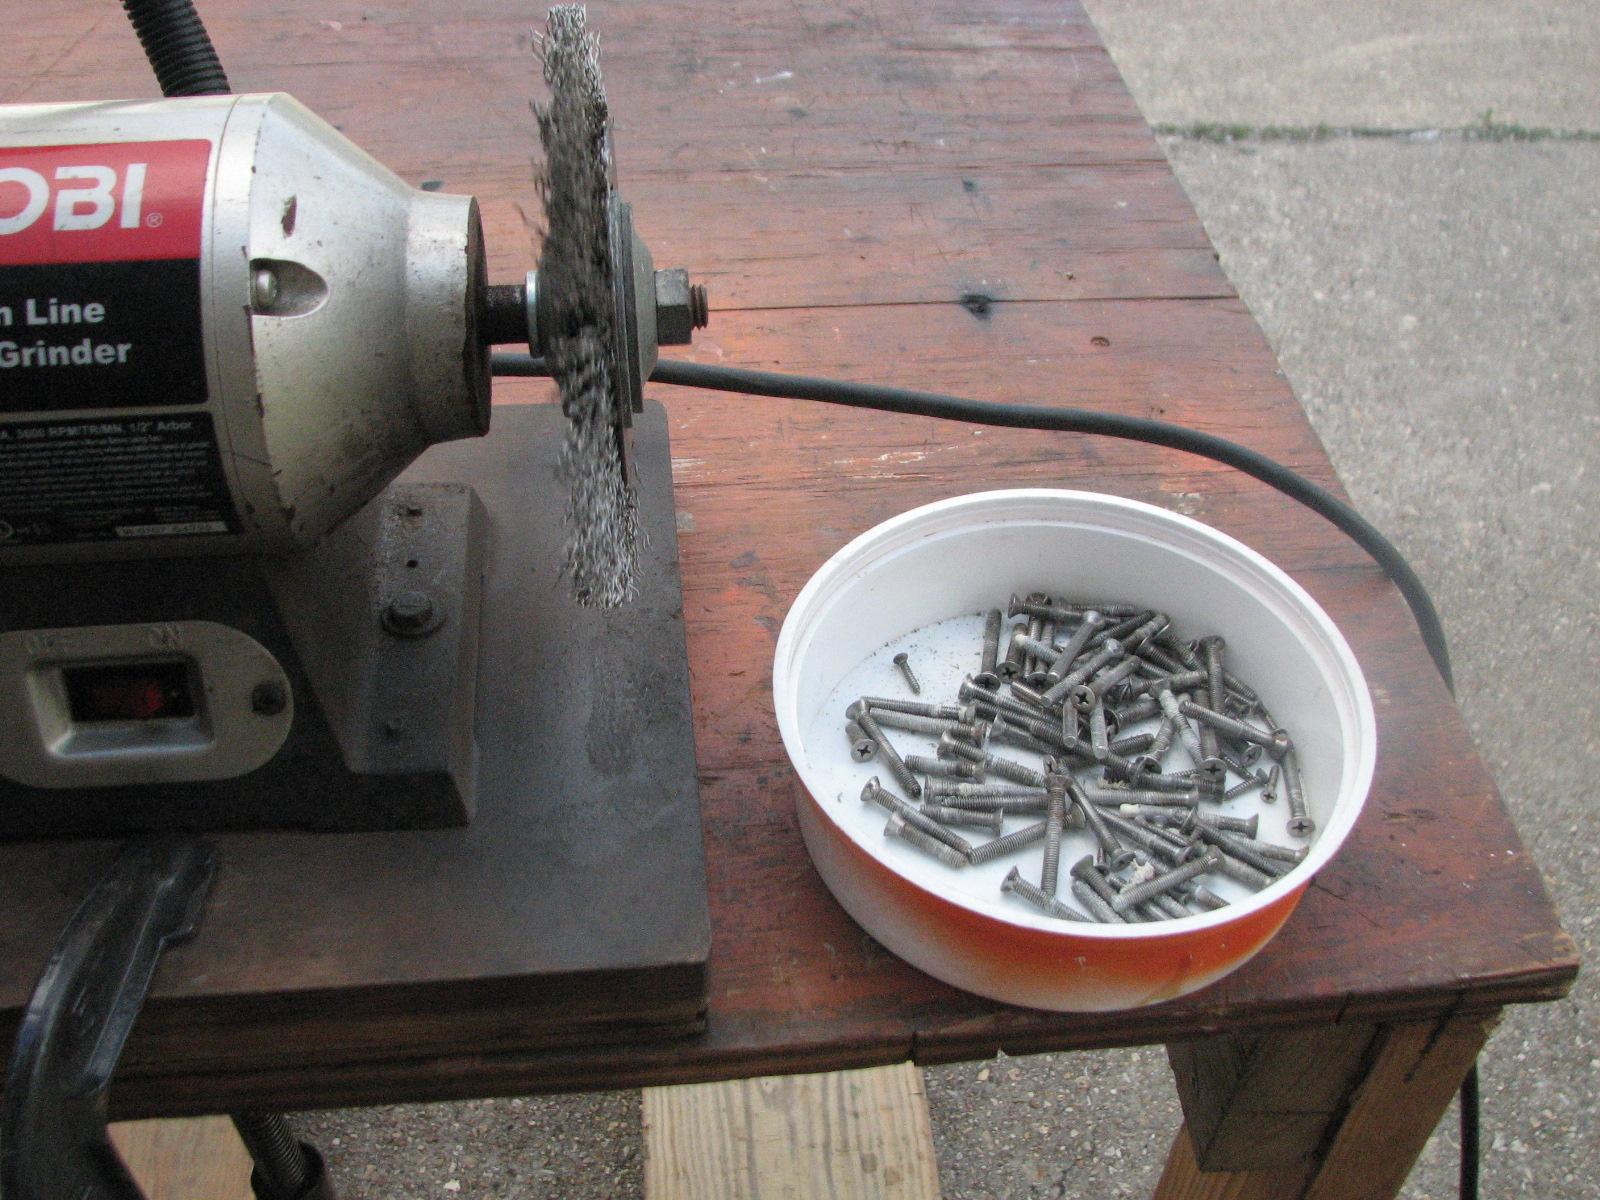
Dish Of Hardware To Be Cleaned
Kitty called and said she was up, so I
went over to DREAM AWAY to have breakfast. After breakfast, Kitty and
our good friend Bonnie, went on a field trip to Washington,
Louisiana.
I stayed on DREAM AWAY to do the stern
ladder fitting, and some sanding at the stern.
First off was the fitting of the stern
ladder stanchion supports. Once I got the stanchion supports bolted
down I could see there was an alignment issue. I had the tender
in the water so it was easy to straighten up the pipes leading down
to the water.
Initial Fit Of Stern Ladder Stanchion
Supports
Closer View Of Stern Ladder Stanchion
Supports
Starboard Stern Ladder Stanchion
Support
Port Stern Ladder Stanchion Support
Jordan Watching Me Fitting The Stern
Ladder
With the initial fit done, I measured
the distance from the bottom of the stern ladder pipe back to the
transom. I measured both sides several times to get a very good
average. Remember I am in a boat trying to fend off DREAM AWAY, and
using a tape measure to measure the distance, and trying to not hit
the pipes!
I also did a measurement of where the
first step would be placed on the stern ladder pipes and how wide it
will be. I got those measurements done, and was happy with them. The
real fun will be tack welding that first step. It will have to be
done on DREAM AWAY on a day with no wind. I can feel the fun already!
Lining Up The Pipes Of The Stern Ladder
Now it was time to do the final fitting
of the hard dodger Starboard
top. There were a couple of places where the supports needed to be
sanded down to be even with the top of the stainless steel frame.
When that was done, I needed to use the
Dremel
Tool to hollow out a couple of places in the Starboard
to make room for the bolts sticking above the stainless steel frame.
I completed all of that, and now the Starboard
top of the hard dodger is ready to be bolted down.
Hard Dodger Supports That Needed
Sanding
Hard Dodger Support Sanded Down
Next on the list was to scrape off the
hardened sealant that I initially used to try and seal the two pieces
Starboard
on the hard
Bimini
frame. As predicted, the sealant did not stick to the
Starboard.
I had much better luck with the
rope caulk
sticking to the
Starboard.
Before installing the new Starboard
onto the hard Bimini
frame, the old caulk needed to be removed.
Old Sealant On Hard Bimini
Frame
Old Sealant Removed From Hard Bimini
Frame
The last project for the day was to
sand down and prepare for painting the stern hull to deck joint. This
is the area I had patched to stop a couple of leaks in the aft cabin.
Still have some work to do, but wanted to get the area sanded down
while I had the time and the tender in the water.
Stern Hull To Deck Joint Being Sanded
Stern Hull To Deck Joint Being Sanded
Stern Hull To Deck Joint Being Sanded
Stern Hull To Deck Joint Being Sanded
Now I just had to clean up, put all of
the tools away, and then clean up myself! Time for an adult beverage!
June 07, Saturday, 2014
Because of the upcoming National Marina
Day celebration, they decided to have a marina
booth set up at the
Delcambre
Seafood And Farmers Market to show off the marina,
and invite one and all to the National Marina Day celebration on June
14th. Kitty and I worked the marina
booth until the market closed at 1300.
They also had a Father’s day tent set
up with free food and drink for father’s, so I took advantage of
that.
After the market shut down, I got the
shower
trailer ready for transportation. This means draining
the fresh water tank, removing the railings for the steps, and then
folding the steps up to transport mode. I moved the
shower
trailer back to the marina, and got it set up there.
I got the water turned on, the
electricity connected, and then changed out the trash bins in each
room. I cleaned up each room, and then I mopped out each room.
I then drove over to the
Port
of Delcambre’s store room and unloaded the trash
bins we used and some other stuff.
It was back to the
marina
and down to DREAM AWAY. I went and took a shower, then got to work on
the computer. My plan was to get the CAPN
software on the virtual machine I have running on my Linux
Mint PC.
I booted up the XP OS using VMware
Player. I noticed that the three USB to Serial converters were not
attached to the virtual machine. When I attempted to attach them to
the XP machine, using the Player software, I got an error. The error
pretty much said nothing, except to contact VMware and investigate
there, so I did.
It was very difficult to find any
support for Player on the VMware page. I get the idea that VMware
does not really put much effort into Player, and they want you to
purchase Player Plus. Bottom line after about 40 minutes of poking
around, I decided to reboot the machine.
Of course please keep in mind while I
am doing this research on the Internet, the WiFi is dropping out all
of the time.
With hindsight, I had made a mistake.
When I rebooted the Linux machine I had forgot I had VMware Player up
running the XP machine. When Linux came back up, and I booted the XP
virtual machine, it took 54 minutes to come up. Once XP was up, it
was very slow to respond to commands. I decided to reboot XP, and
this time it only took eight minutes to reboot!
When XP was up and running, I was able
to get the USB to Serial converters away from the host and attached
to XP. When this was complete, I rebooted the machine again, and
again it took about eight minutes to boot up. When XP was up and
running I checked the USB to Serial ports and they were all attached,
and I recorded the COM ports to which they were attached.
I then decided to run a defrag of the
"C" drive on the XP machine. It was a mess, and took a long
time to run. When it was finally finished, three hours had gone by
and it was time to eat dinner! The CAPN DVD was still sitting by my
keyboard unused!
June 06, Friday, 2014
Started off the morning with my normal
ritual of getting on the Internet, answering email, and checking the
weather, while making a pot of coffee. When the coffee is started, I
feed our two cats,
Jillian
and Jordan, and spend time with them brushing their
beautiful coats.
Went over to the
shop
and did the set up to make the cut on the port piece of Starboard.
I made the cut, so we will have to see how the fit goes later today
on DREAM AWAY.
I had left the piece of stainless steel
pipe with the aft stanchion support in the vice, so I did the welding
necessary, and then did the grinding and cleanup to make the piece
look good again.
Pipe And Stanchion Support Ready For
Welding
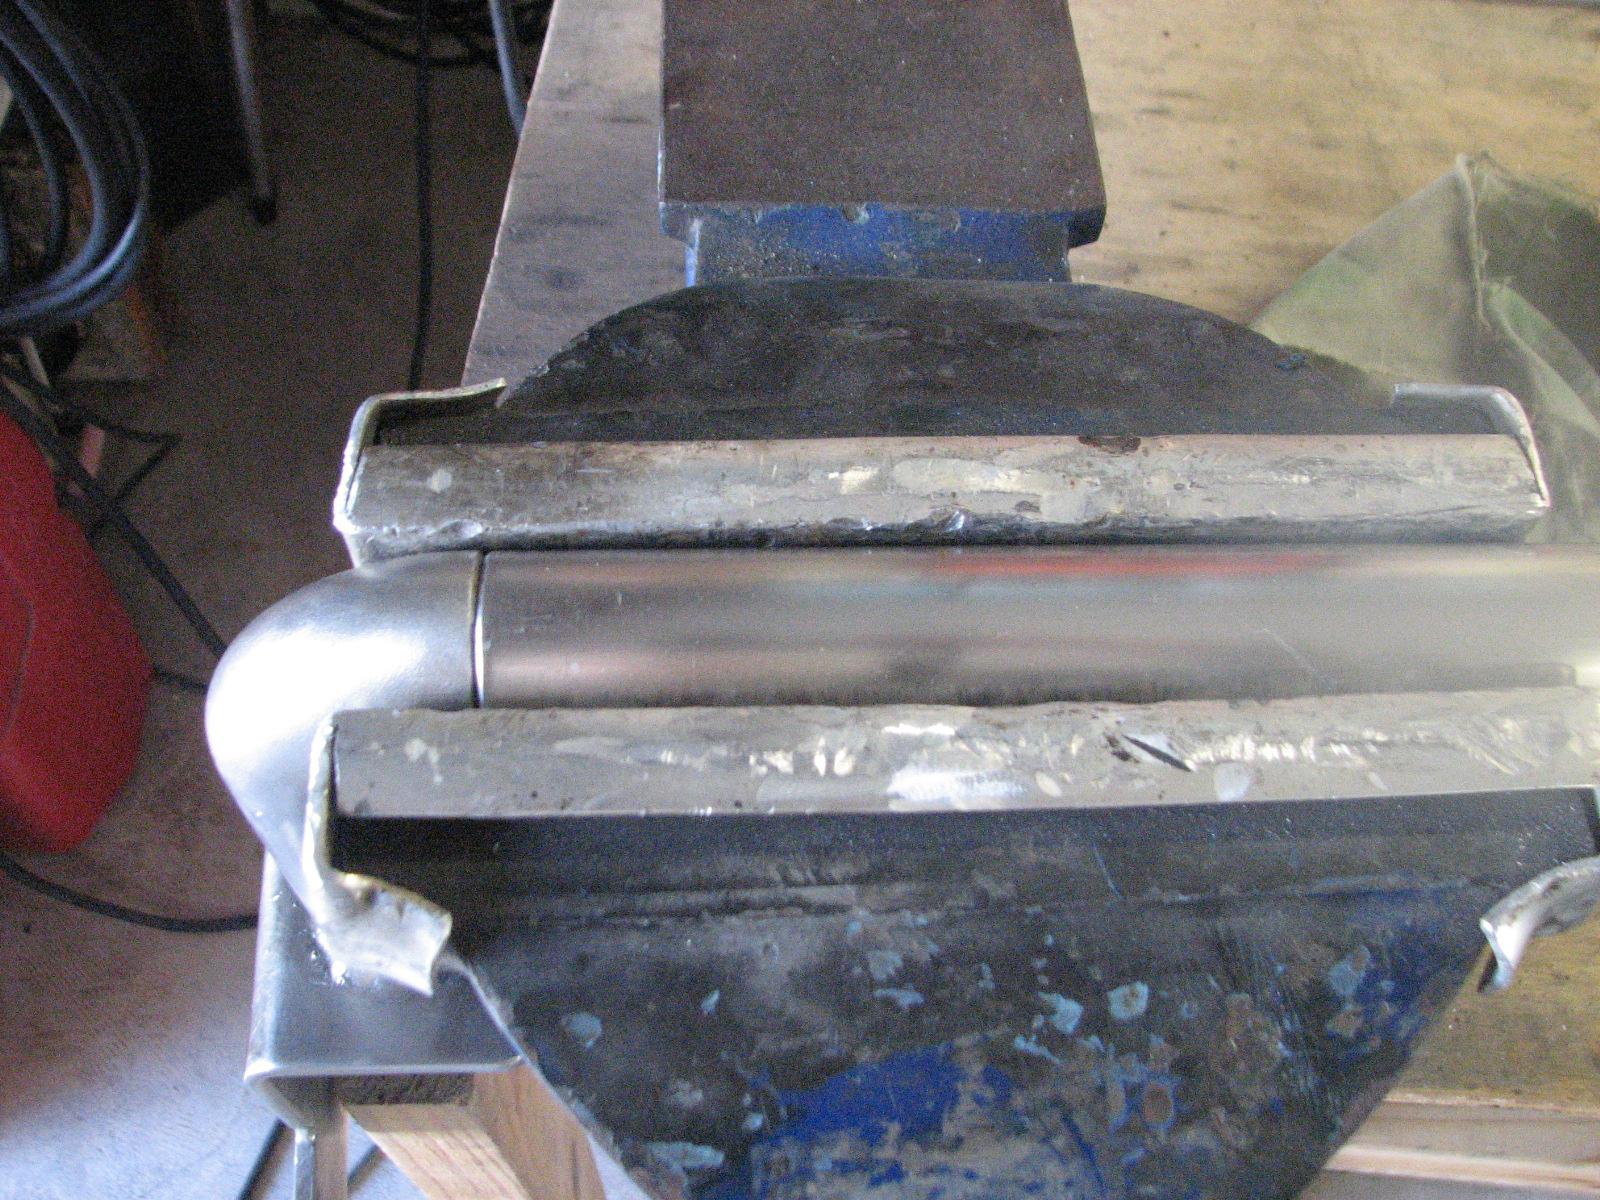
Welding Complete Unit Cleaned up And
Ready For Test Fit
Welding Complete Unit Cleaned up And
Ready For Test Fit
Kitty called, so I went over to DREAM
AWAY, and had breakfast. After breakfast we did a check of the fit of
the ACR
EPIRB
and the solar charge controller under the companionway steps. If I
take an inch off of the acrylic moisture cover for the solar charge
controller it looks like it will fit.
We had a leak in the cockpit and the
water was coming into our container storage area. This is also where
I keep the fuse panel for the Link
2000R regulator and the Link
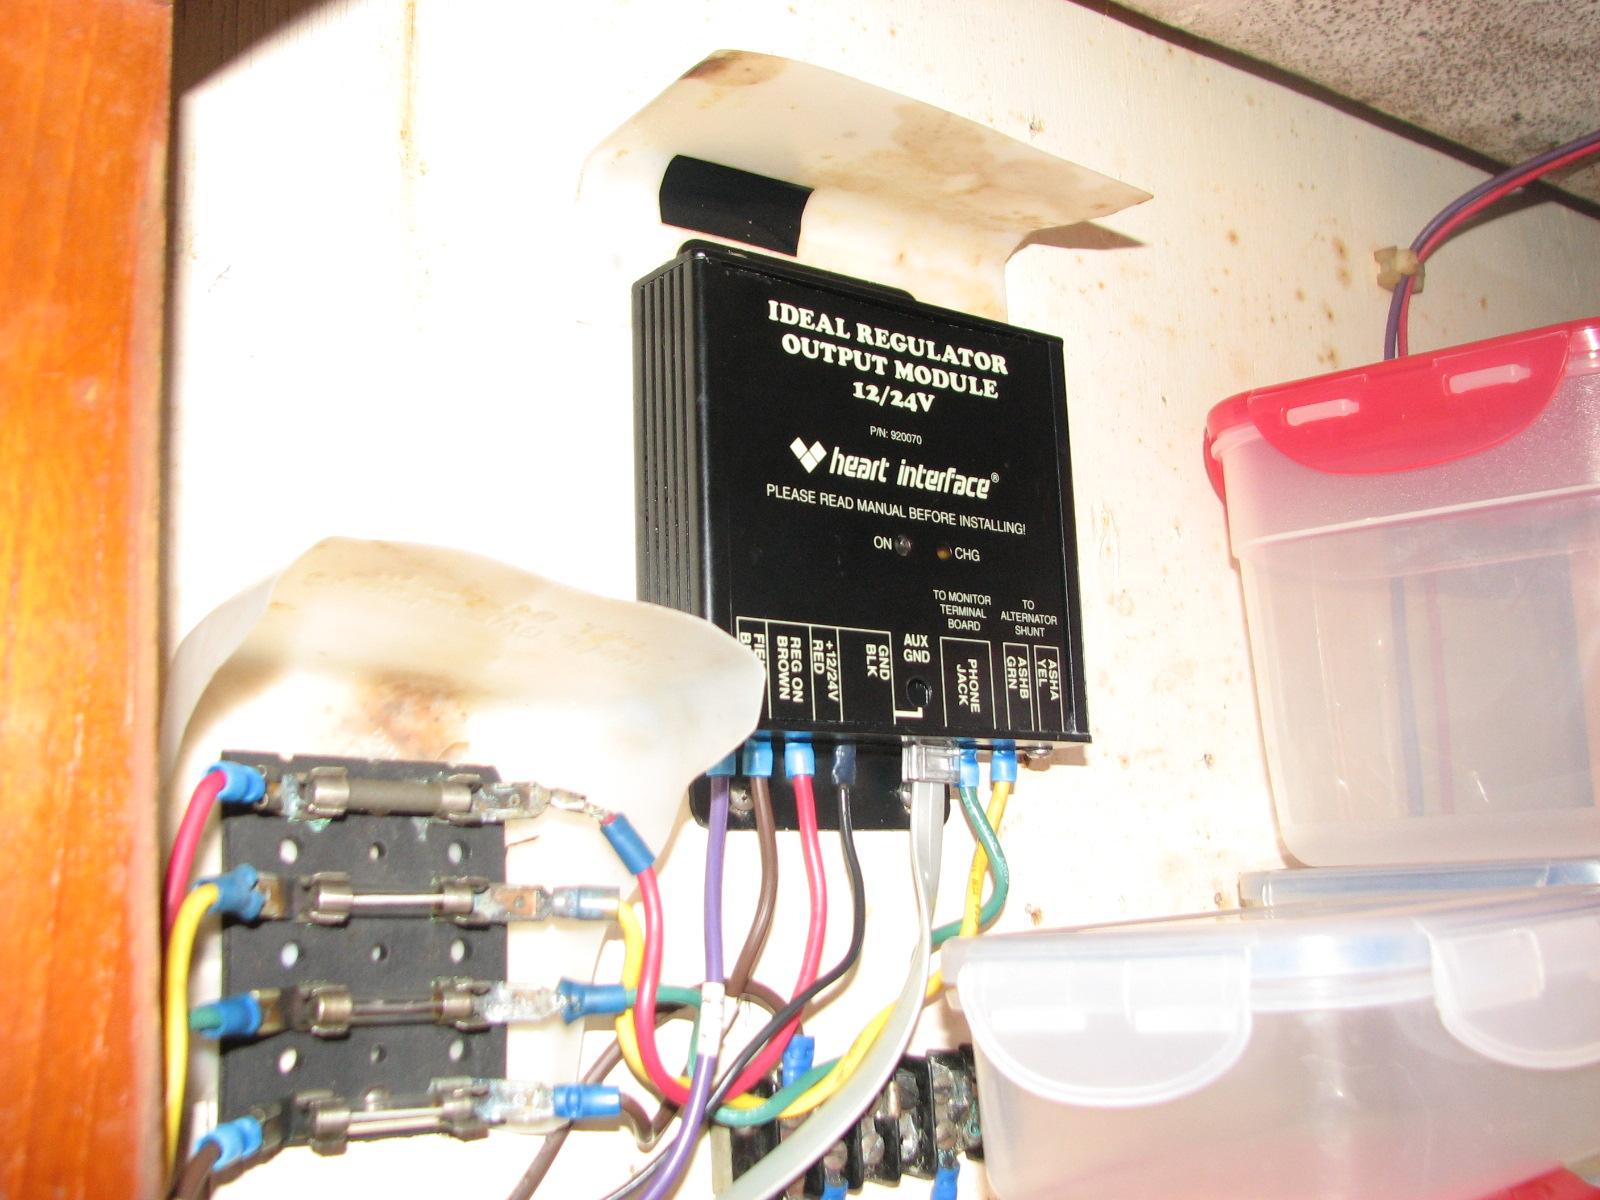
2000R regulator. I have moisture protectors on these
units, but because I had such good luck with the moisture protector
for the solar panel charge controller, I am going to make moisture
protectors out of the Optix
acrylic sheet for them.
Present Moisture Protectors
T-Boy and I emptied the holding tank in
the shower
trailer, and then put the shower
trailer into transport mode. This means we have to
remove the railings on all three of the toilet/shower units, and then
put up the steps. We then moved the shower
trailer to the Delcambre
Shrimp Festival grounds, in preparation of the
Delcambre
Seafood & Farmers Market tomorrow morning.
We left the shower
trailer in transport mode, as we will not put the
steps down and the railing up until tomorrow morning. We did fill the
onboard water tank with water.
I then perused the Delcambre
Shrimp Festival grounds looking for fire ant hills.
When I did find one, I dumped the ant poison on it hoping the ants
would be gone by tomorrow morning.
The part for Ruby’s
transmission arrived at Norman’s Diesel Auto & Repair, so I
hope he can get the transmission put into Ruby
early next week.
June 05, Thursday, 2014
Started off the morning with my normal
ritual of getting on the Internet, answering email, and checking the
weather, while making a pot of coffee. When the coffee is started, I
feed our two cats,
Jillian
and Jordan, and spend time with them brushing their
beautiful coats.
Did not go over to the
shop
in the morning. Stayed on DREAM AWAY, and put the tender into
the water, and put the outboard on the tender. We are using the
tender to continue with the cleat project.
T-Boy and I started on the cleat
project for Pier “C”, but I had forgotten the long extension cord
from the shop.
I went over and retrieved the extension cord, and we worked on the
cleat project until noon.
We finished installing all of the
cleats on the portion of the dock that had the 8 X 8’s. We are
waiting on the longer bolts for the portion of the dock that had the
12 X 12’s.
Jim & T-Boy Working On The Cleat
Project
Jim & T-Boy Working On The Cleat
Project
When we finished the cleat project and
cleaned up, I had lunch on DREAM AWAY, and then went over to the
shop.
I had done a quick inventory of all of
the parts that came in from our solar panel order. I ordered the
system from Renogy
through eBay.
All of the items in the order looked to be in good shape, except they
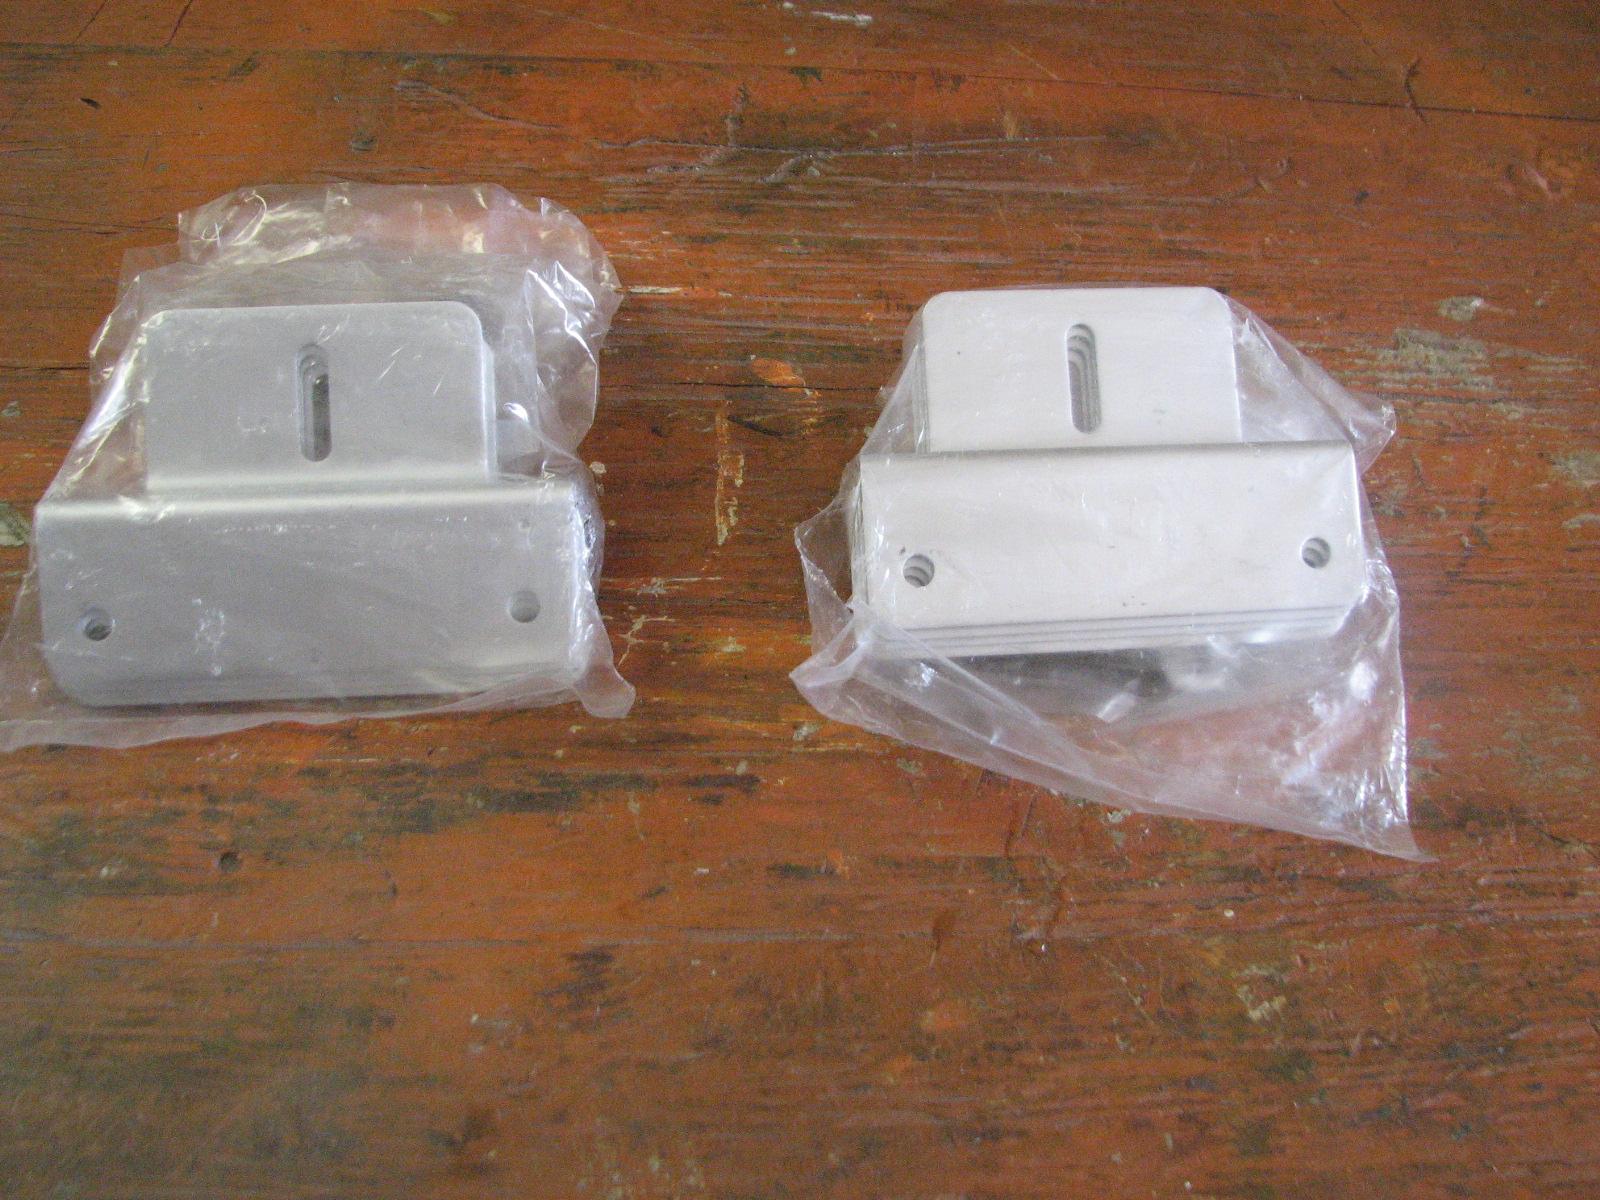
forgot to send one package of the Mounting Z-Brackets. I am working
that out through eBay.
40 Amp MPPT Solar Charge Controller
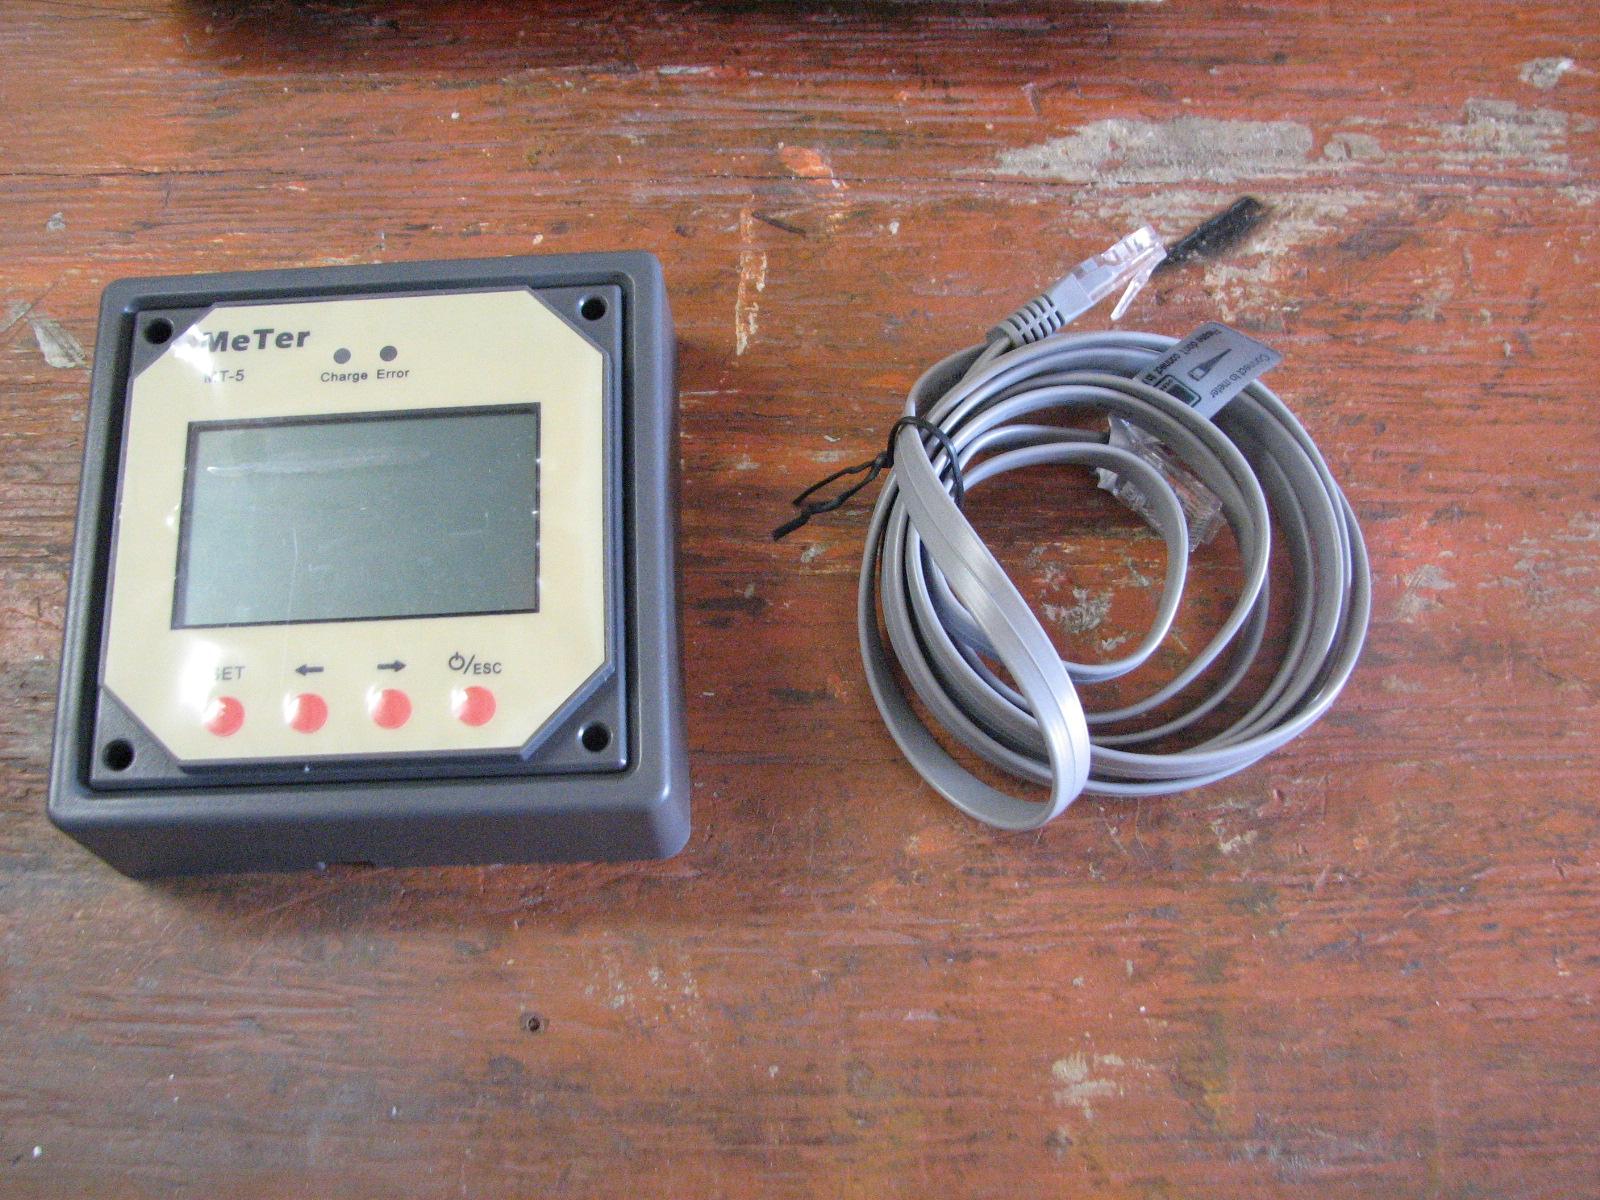
MT-5 Tracer Meter For MPPT Charge
Controller
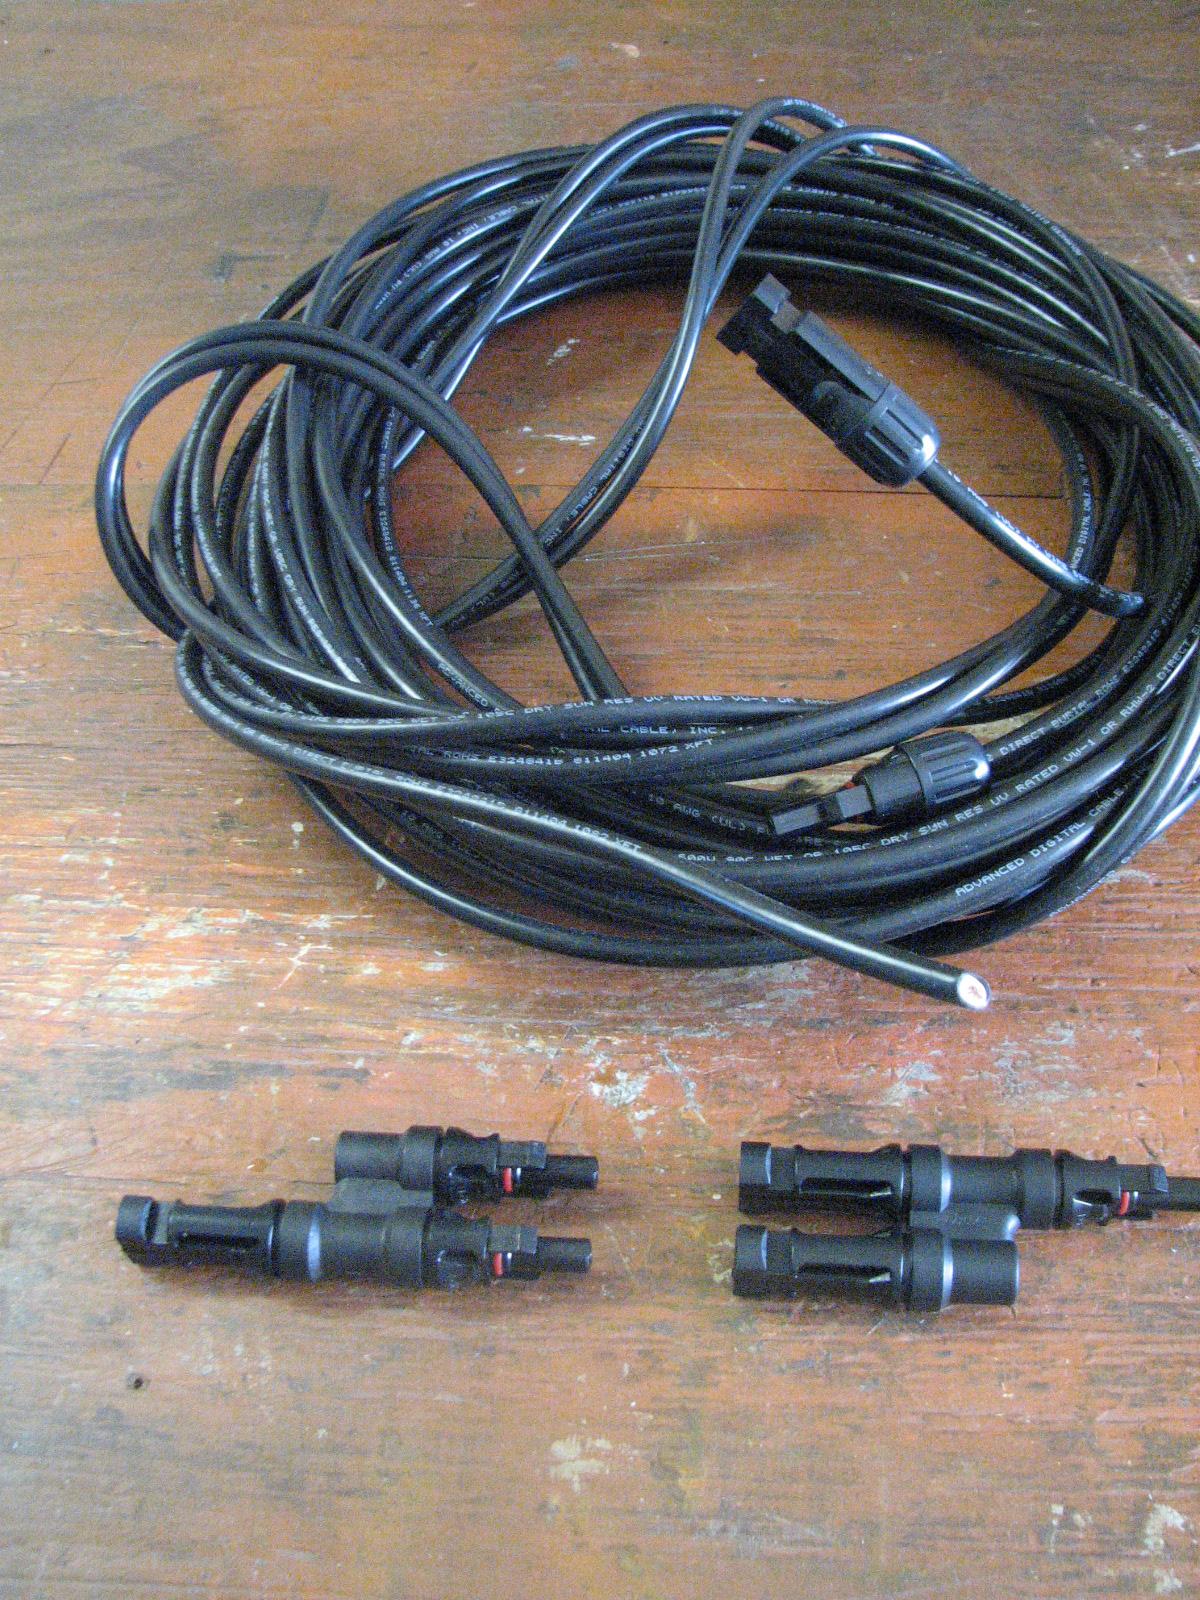
40’ Solar Cable & MC4 Branch Y
Connectors
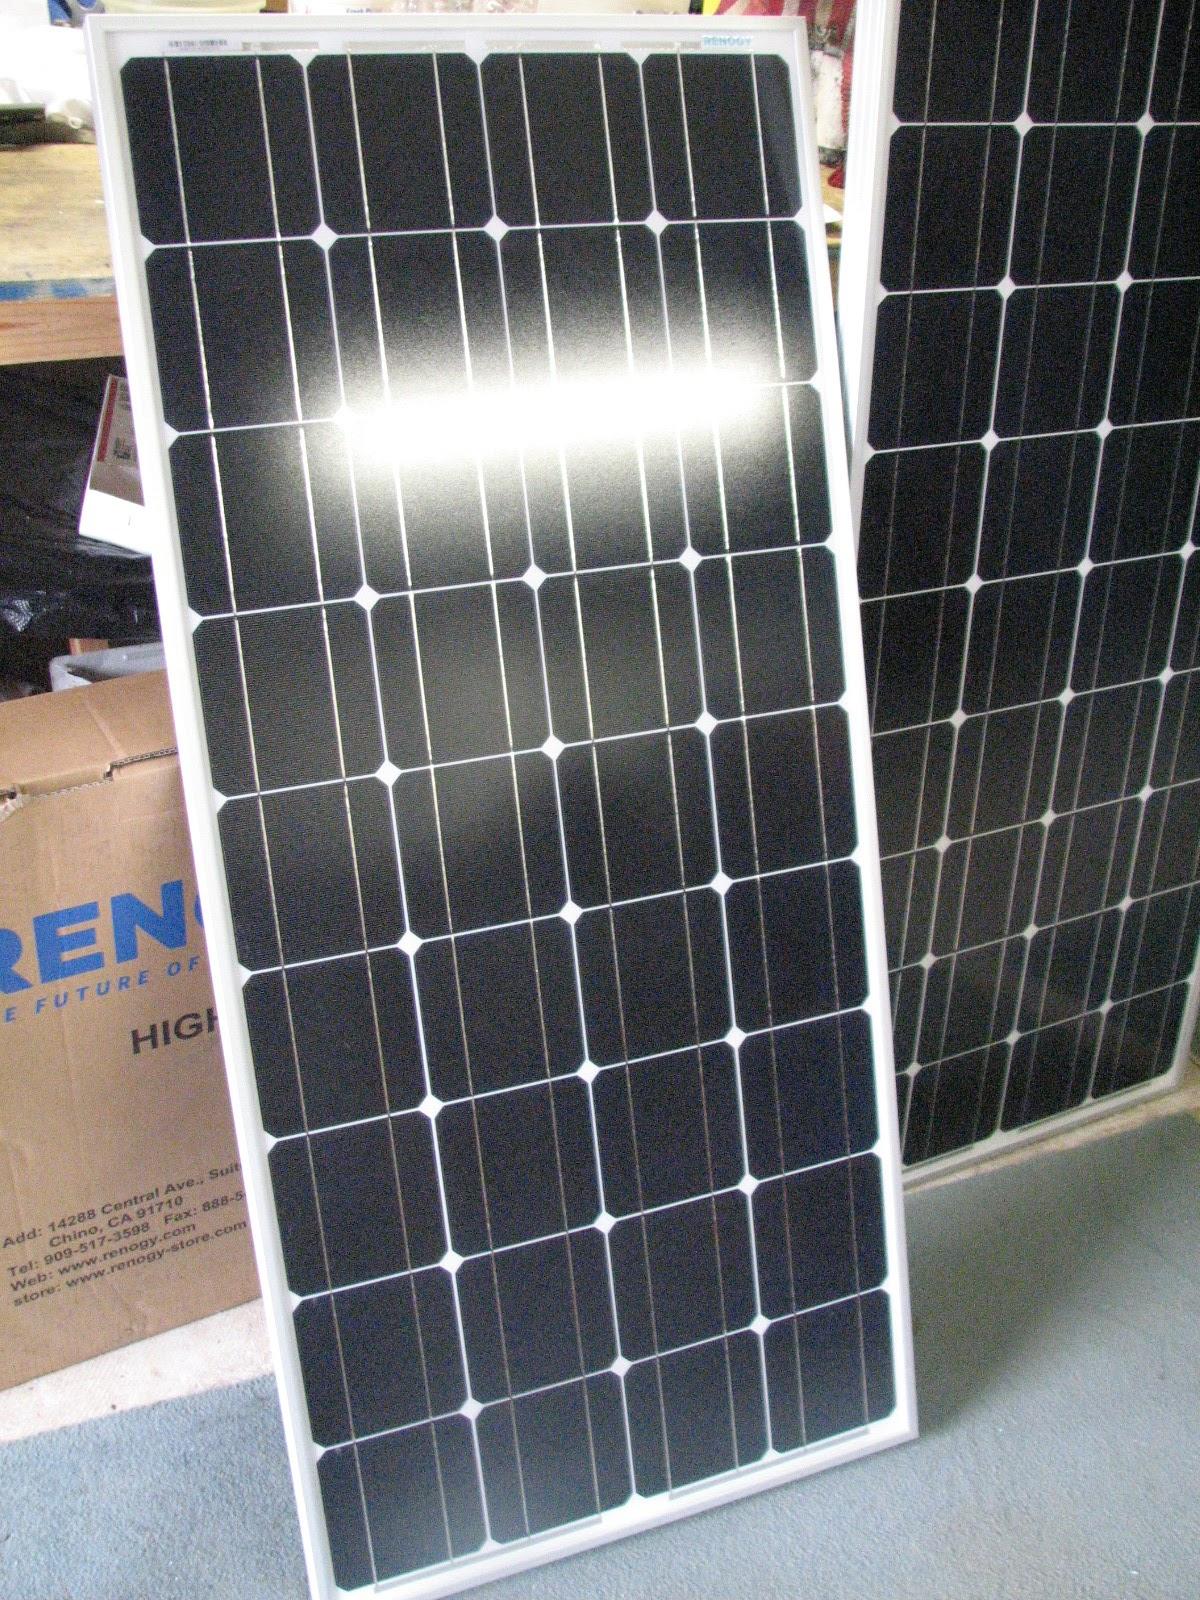
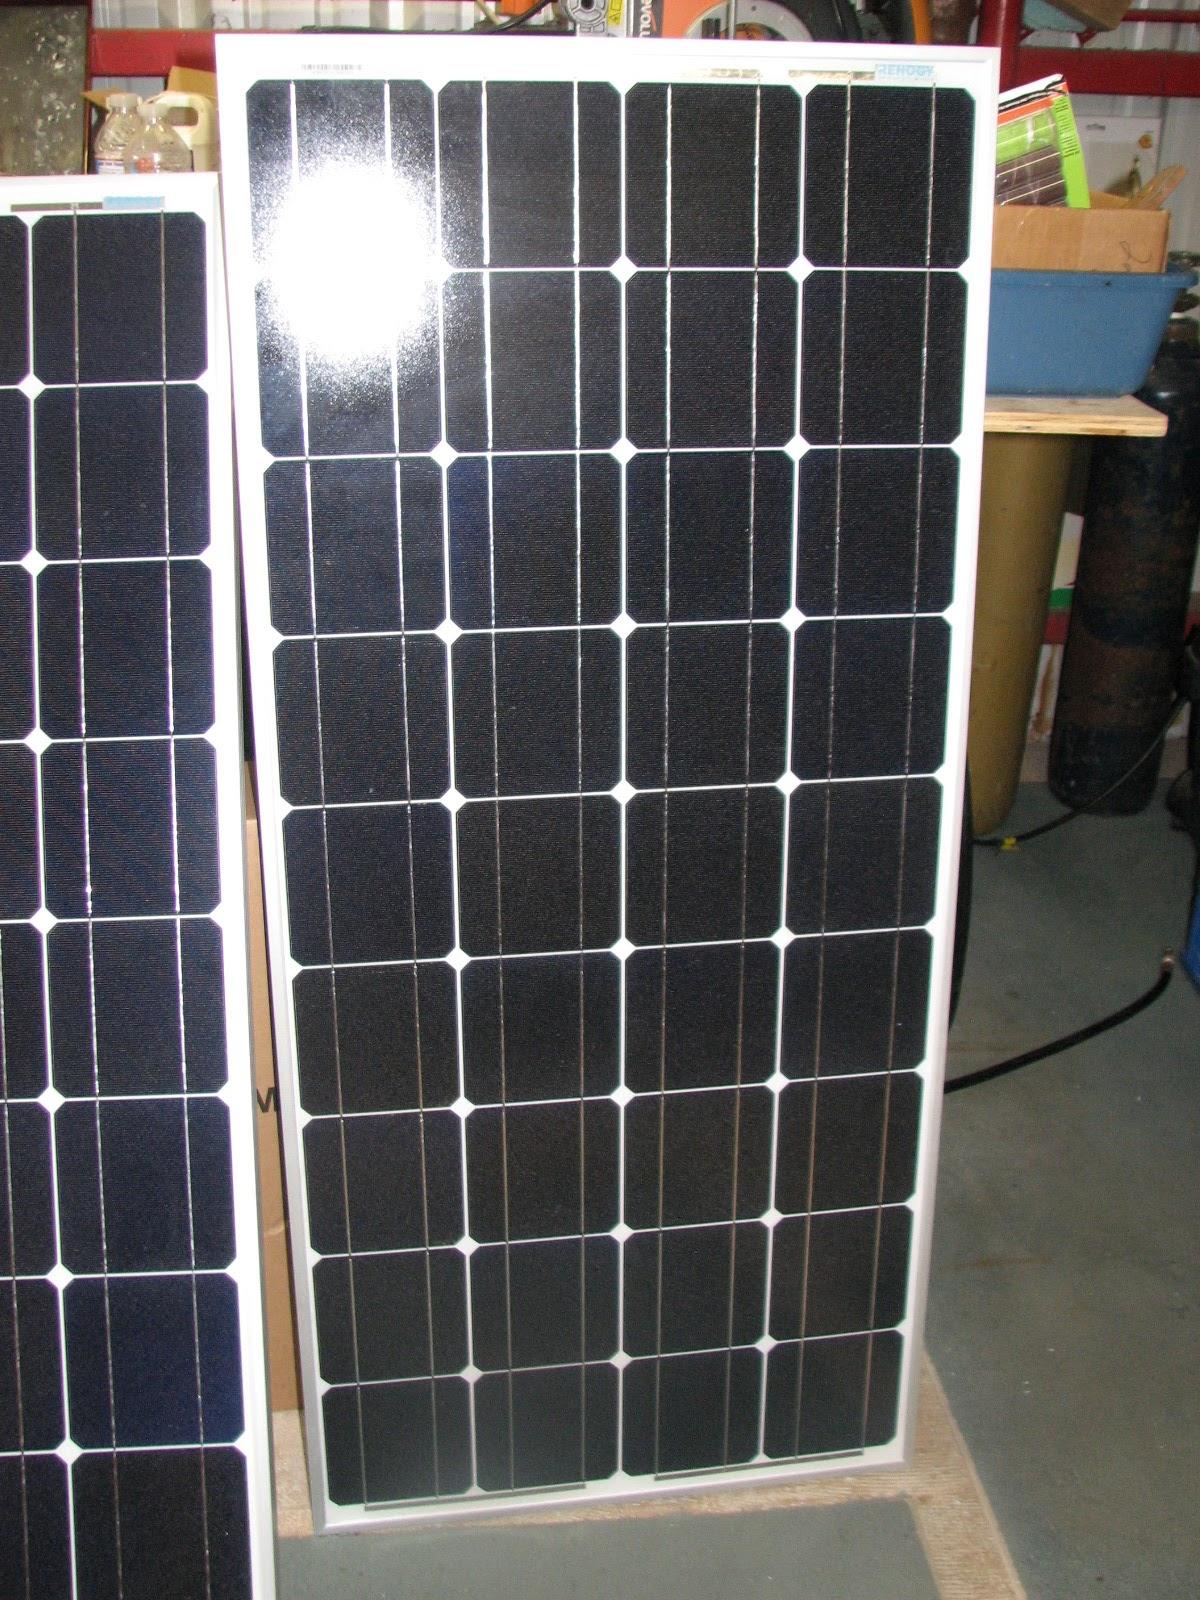
Now we will take a look at the solar
panels. The came very well packaged, and they were physically in
great shape. I can hardly wait to get them installed.
Box Of Two Solar Panels
Panels Out Of The Box
Panels Out Of The Box
I was planning on removing some plant
growth from Pier “C” at the marina,
so I mixed up a batch of weed killer. My plan is to cut down the
weeds growing on the pier, and then spray the roots with the weed
killer.
Mixed Weed Killer Ready To Go
I had accomplished this task a couple
of days ago, but wanted to get visual proof in the Maintenance Log.
Miami Dolphins Cheerleader Calendar
Changed To June
LeBlanc Fuel Construction Babes
Calendar Changed to June
The next project is an experiment. We
have a problem with the placement of the 40 Amp MPPT charge
controller for the solar panels. It should be placed where it has
good air circulation, and “in-line” between the panels and the
battery.
So far the only practical place for the
controller is under the companionway steps, next to the ACR
EPIRB.
Since this could be a pretty wet location, I decided to fabricate a
piece of plastic to serve as a shield to keep the controller dry.
I had lots of pieces of Optix
acrylic sheet left over from cutting out the windows
for the hard dodger. I used one of these pieces to fabricate my
moisture shield for the solar panel charge controller.
I clamped the piece of Optix
acrylic sheet to the work surface, and then used a
heat gun to heat up the acrylic, and bend it at a 90° angle. When
this was completed, I clamped the piece again and went through the
same procedure to get a 45° bend. I then cut the piece of acrylic
piece to make a very passable moisture shield for the solar panel
charge controller.
When the bending was complete, I used
my Bosch
jig saw, and files to clean up and round the corners
of the piece of acrylic.
First Bend Made On Acrylic
Second Bend Made On Acrylic
Controller Sitting On Finished Piece Of
Acrylic
Now all I have to do is fit the
controller and the ACR
EPIRB
under the companionway steps and see if it will work as planned.
When we did the fitting of the
Starboard
for the top of the hard dodger, I discovered I need to cut a notch it
the Starboard
to make room for the stainless steel frame of the hard dodger.
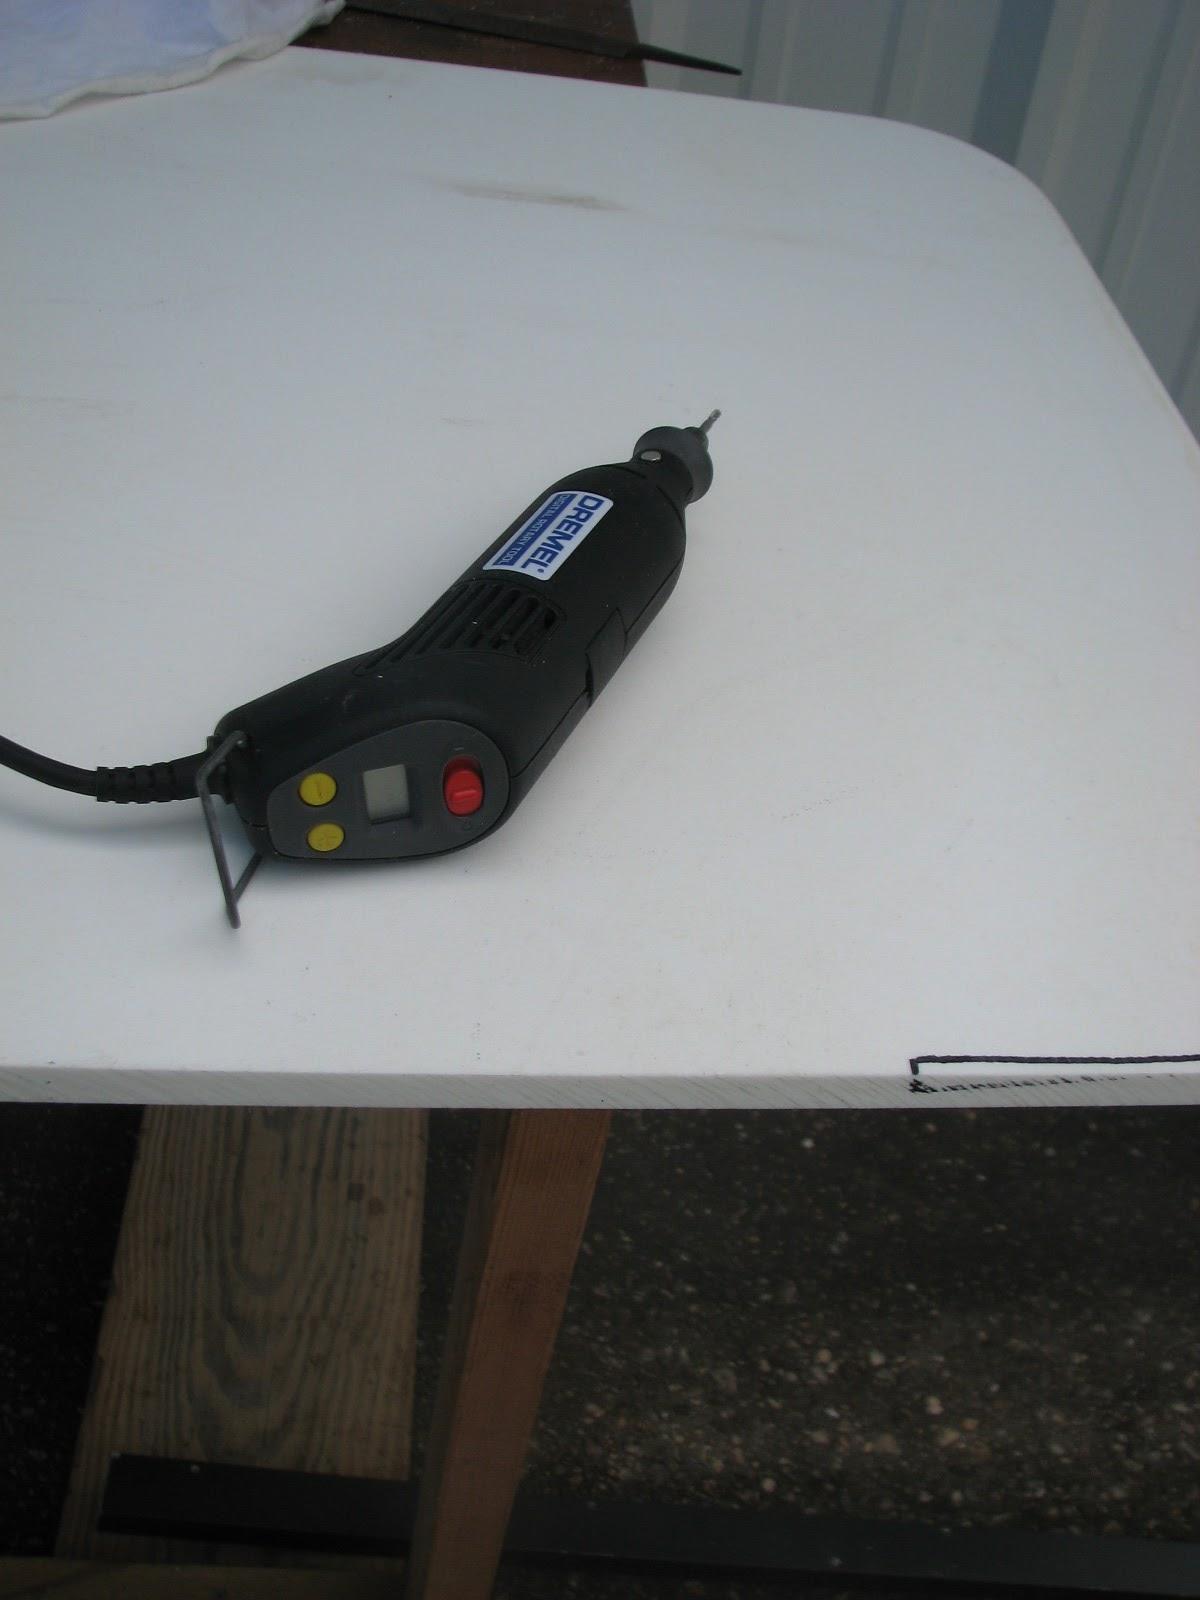
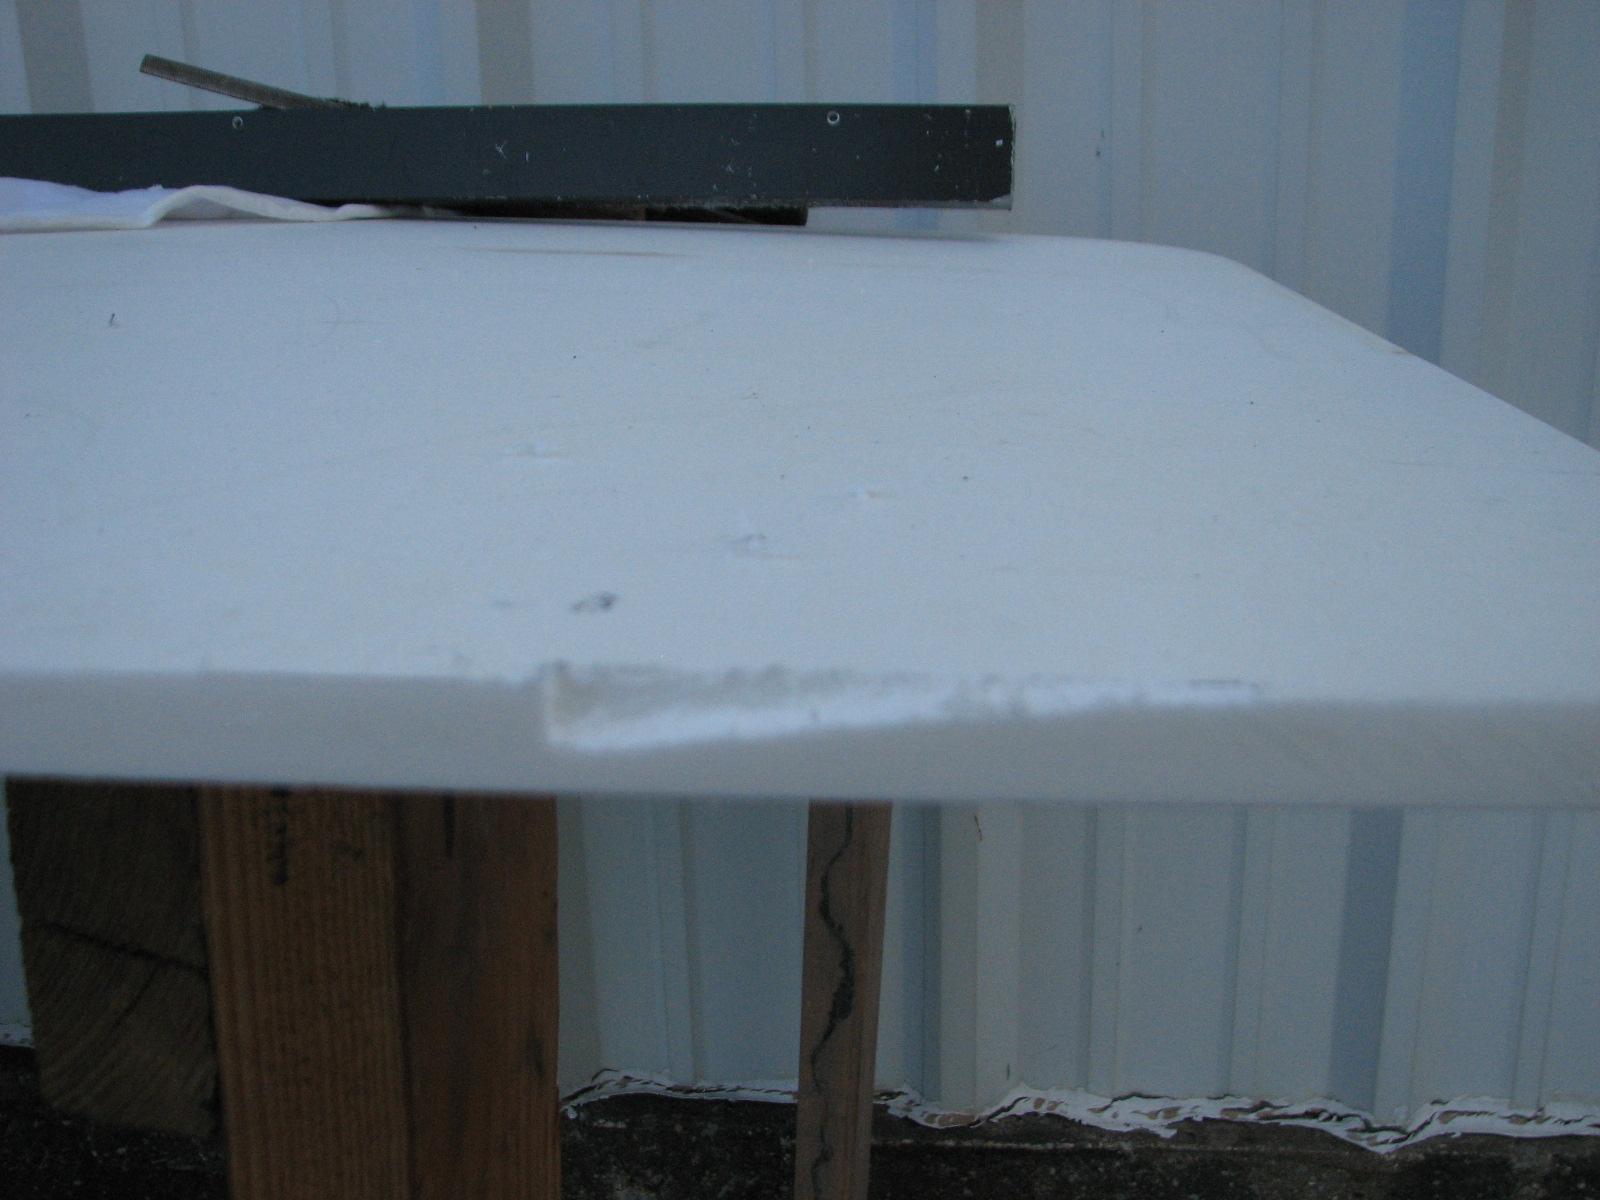
I got out my Dremel
Tool and inserted a bit I thought would do the job.
Sure enough, the tool made the cut out just right. Of course we will
not know until I take the Starboard
back to DREAM AWAY and do the fit.
I cleaned up from that project and got
started on the next project in line! This is the stern ladder. I had
cut the stainless steel pipe earlier in the week, now all I had to do
was polish the two pieces of pipe before welding them onto the the
two aft stanchion supports.
I polished the first pipe with 80 grit
sandpaper, and then used 120 grit sandpaper with the palm sander I
have. The pipe looked pretty good, but the second piece of pipe I did
differently.
For this piece of pipe, I again started
out with 80 grit sandpaper, but did the sanding by hand. I then used
120 grit sandpaper, then 220 grit sandpaper, and then finished off
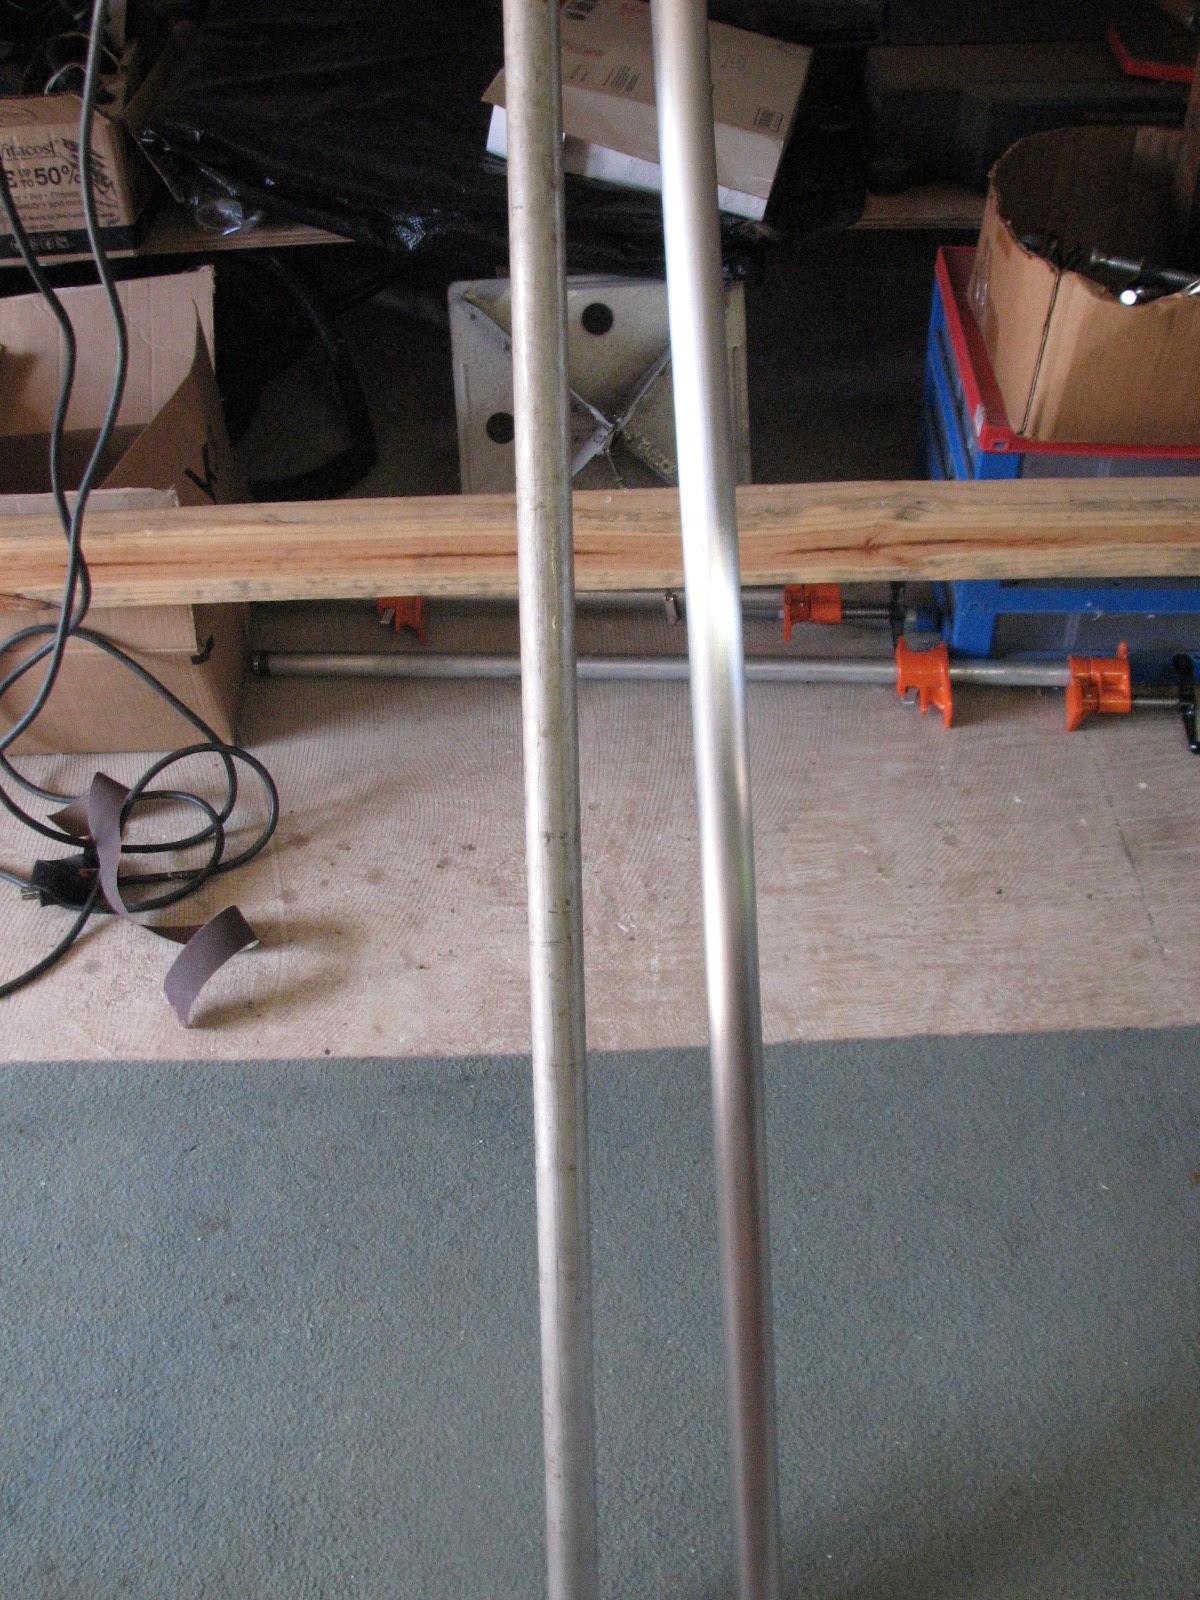
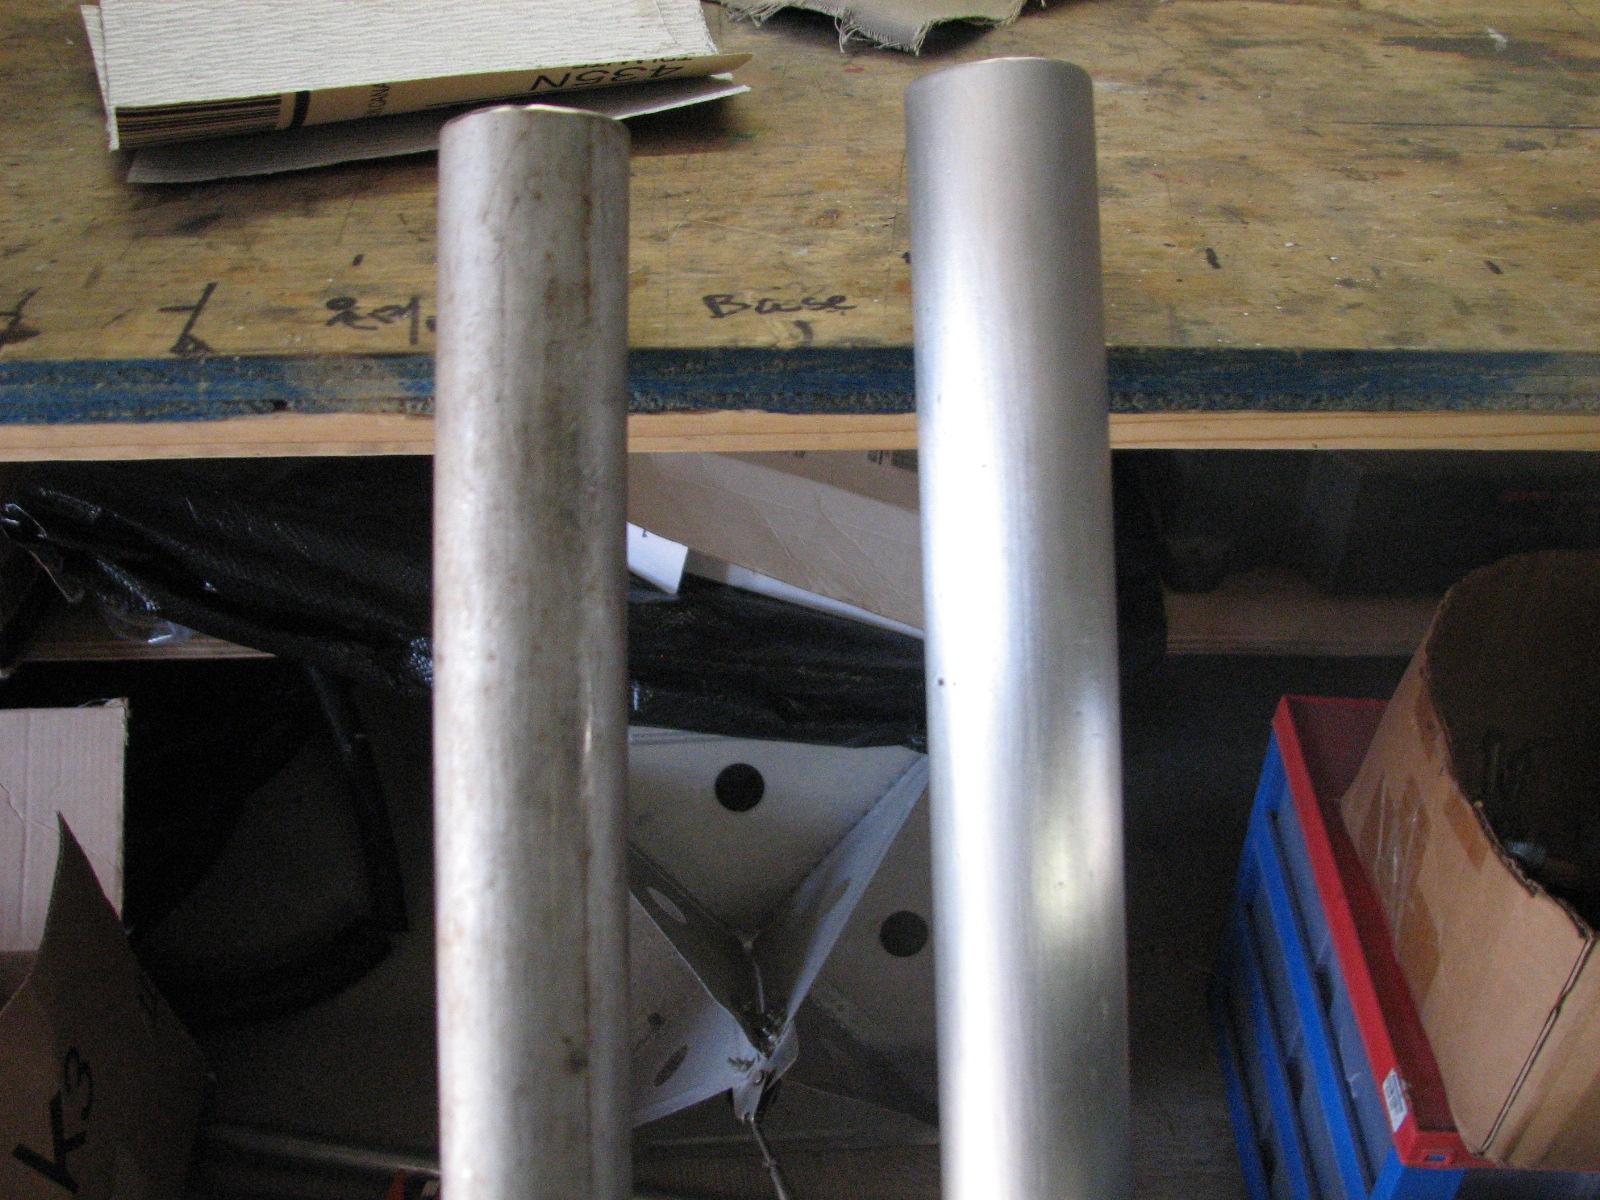
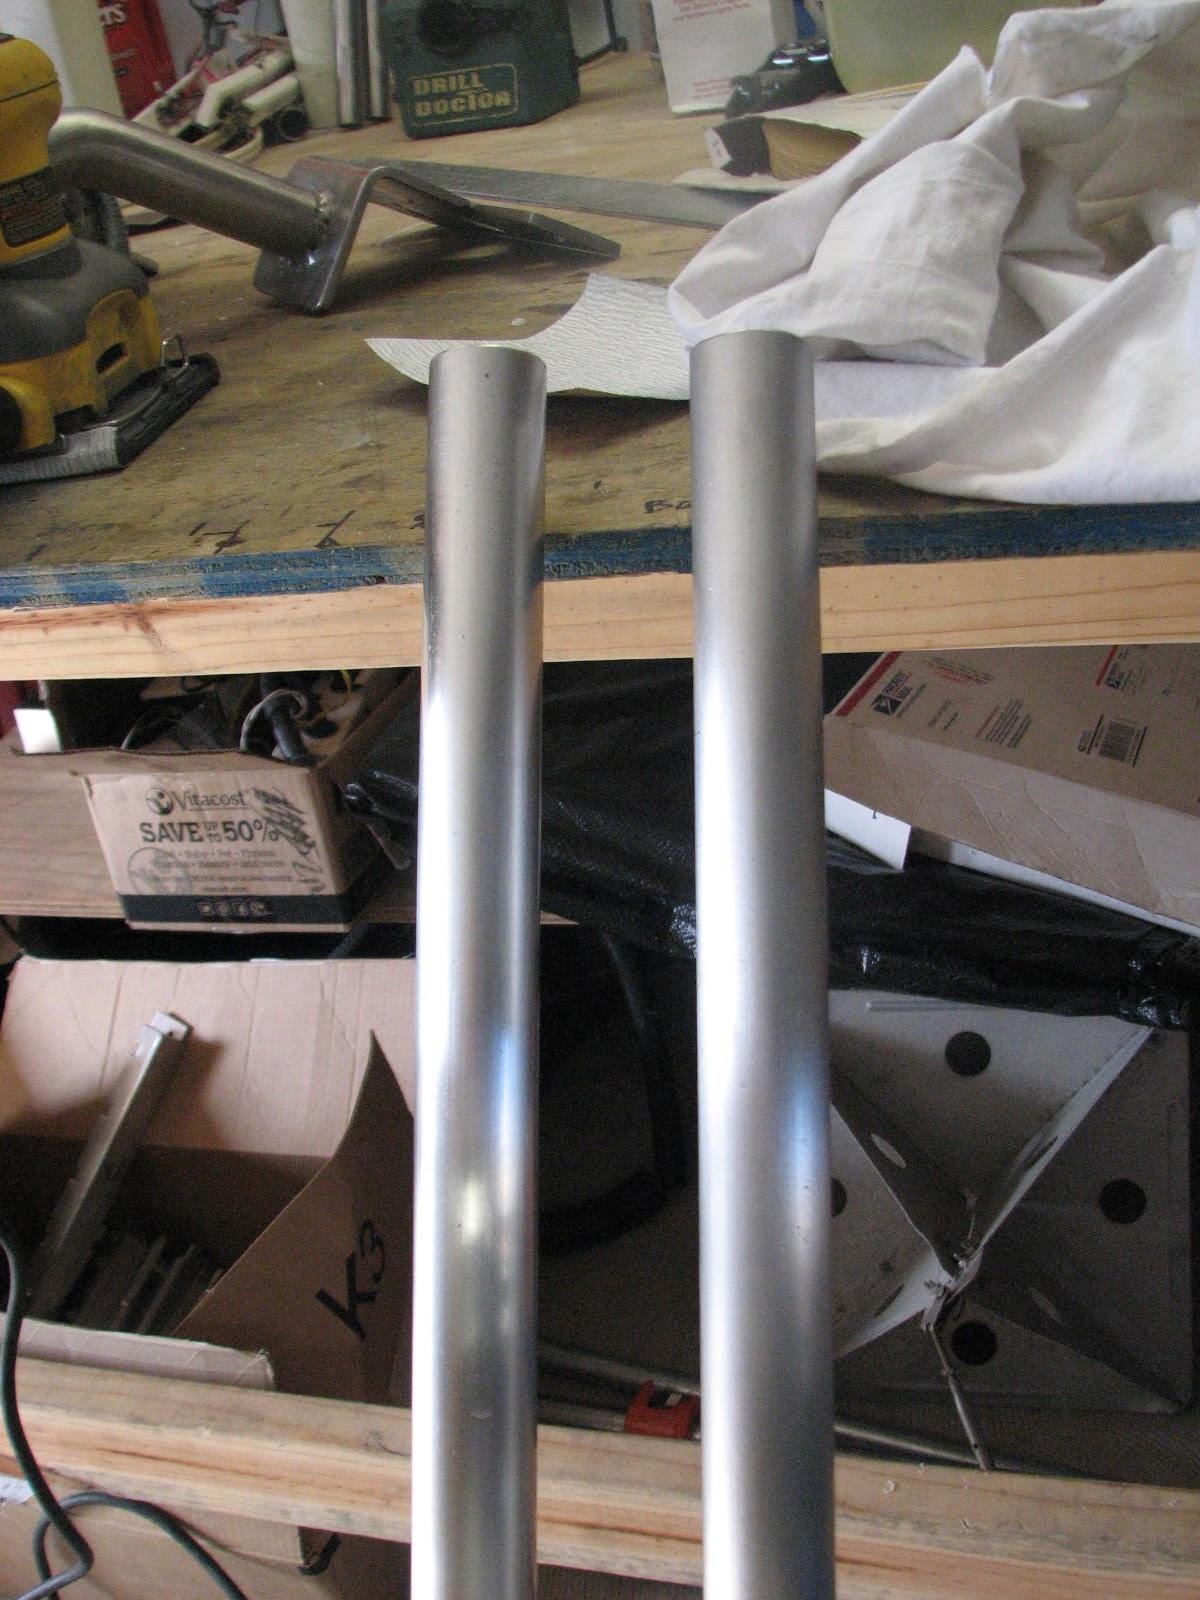
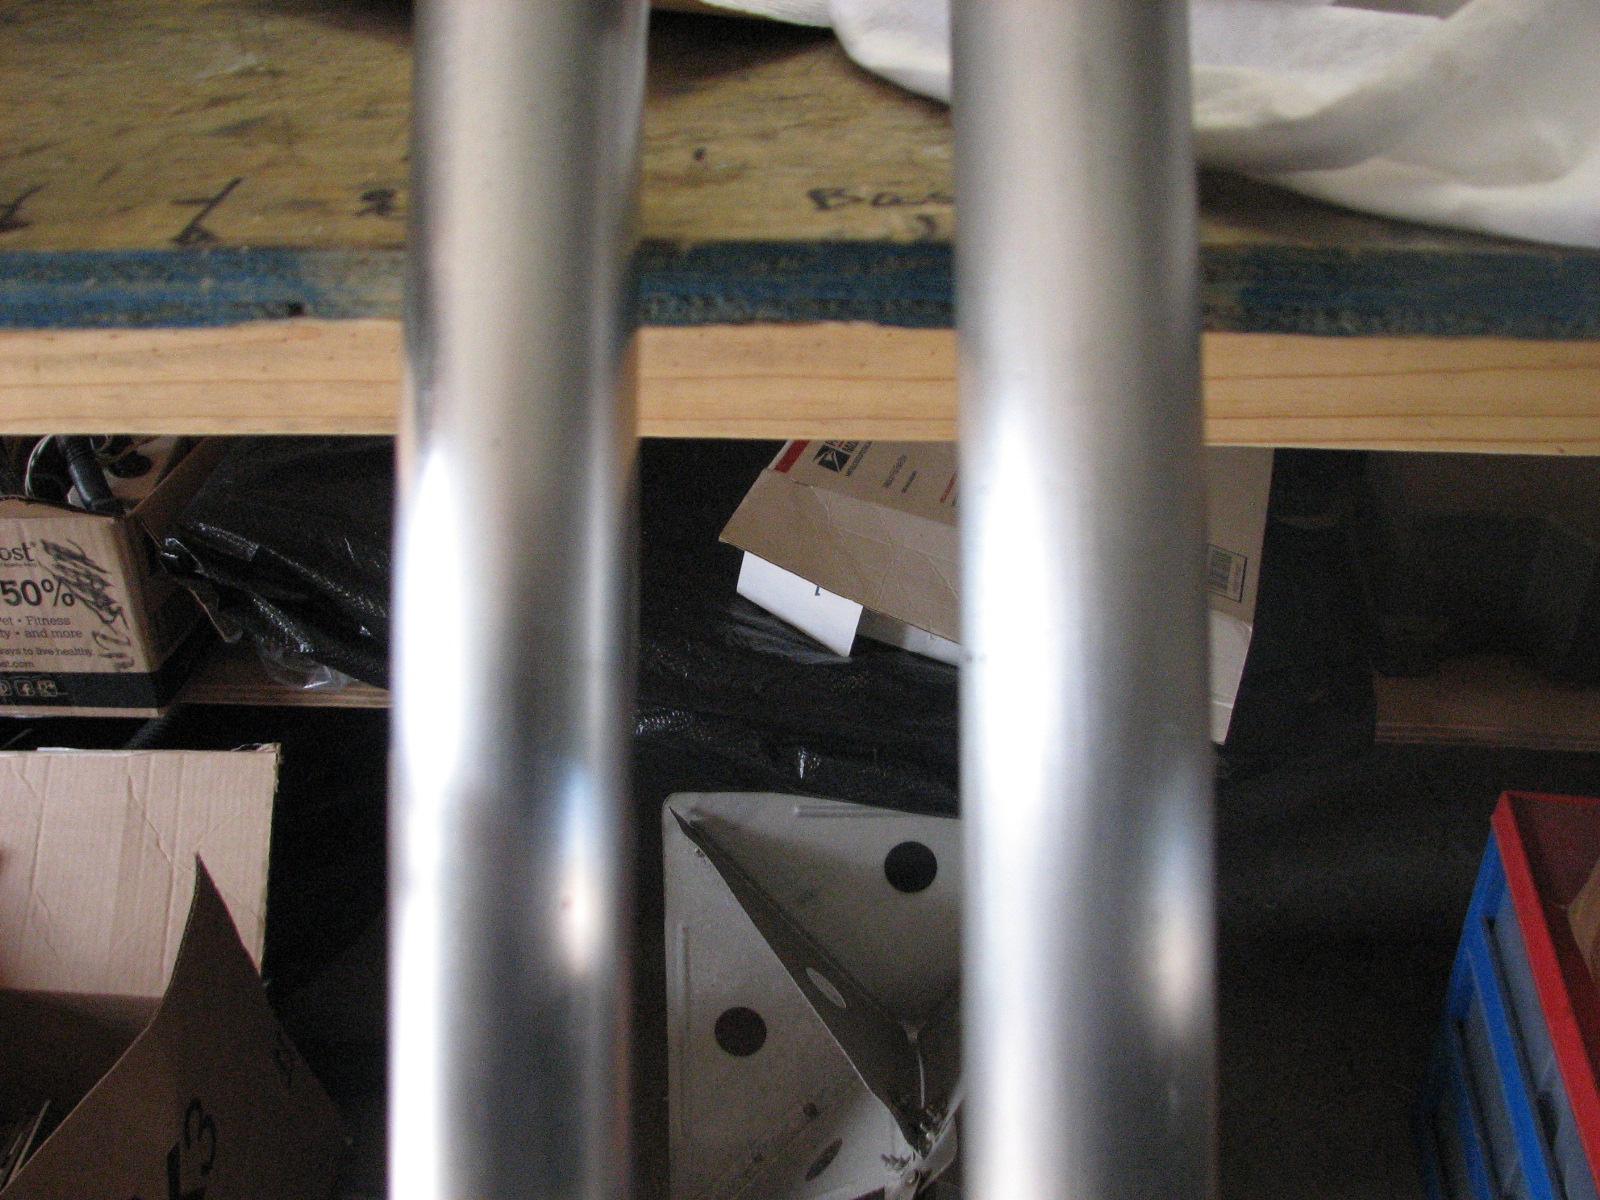
with 320 grit sandpaper. When the two pieces of pipe are side by side
it is easy to tell which is the better polished. In the photo the
best polished pipe is on the left. I am not sure you can tell from
the photos.
First Polished Pipe On Right, Non
Polished Pipe On Left
First Polished Pipe On Right, Non
Polished Pipe On Left
Well Polished Pipe On Left
Well Polished Pipe On Left
When the polishing project was
finished, I went over to the marina.
I loaded the weed killer into the tender,
and went out to Pier “C” and removed all of the plant growth and
sprayed the source of the plants growing from the Pier. This should
keep the plant growth under control for a while!
I brought the tender
back to DREAM AWAY, and then Kitty and I did the top for the hard
dodger fitting. The notch I cut in the Starboard
worked and the fit of the piece was great.
When we put the port and starboard
pieces together, it became clear that I needed to make one more cut
on the port piece. The cut was barely the width of the saw blade, so
I would have to be careful setting up the cut.
June 04, Wednesday, 2014
Started off the morning with my normal
ritual of getting on the Internet, answering email, and checking the
weather, while making a pot of coffee. When the coffee is started, I
feed our two cats,
Jillian
and Jordan, and spend time with them brushing their
beautiful coats.
Did not go over to the
shop
in the morning but drove into
New Iberia,
to Norman’s Auto & Diesel Repair. I had to
take care of the problem with the transmission for Ruby.
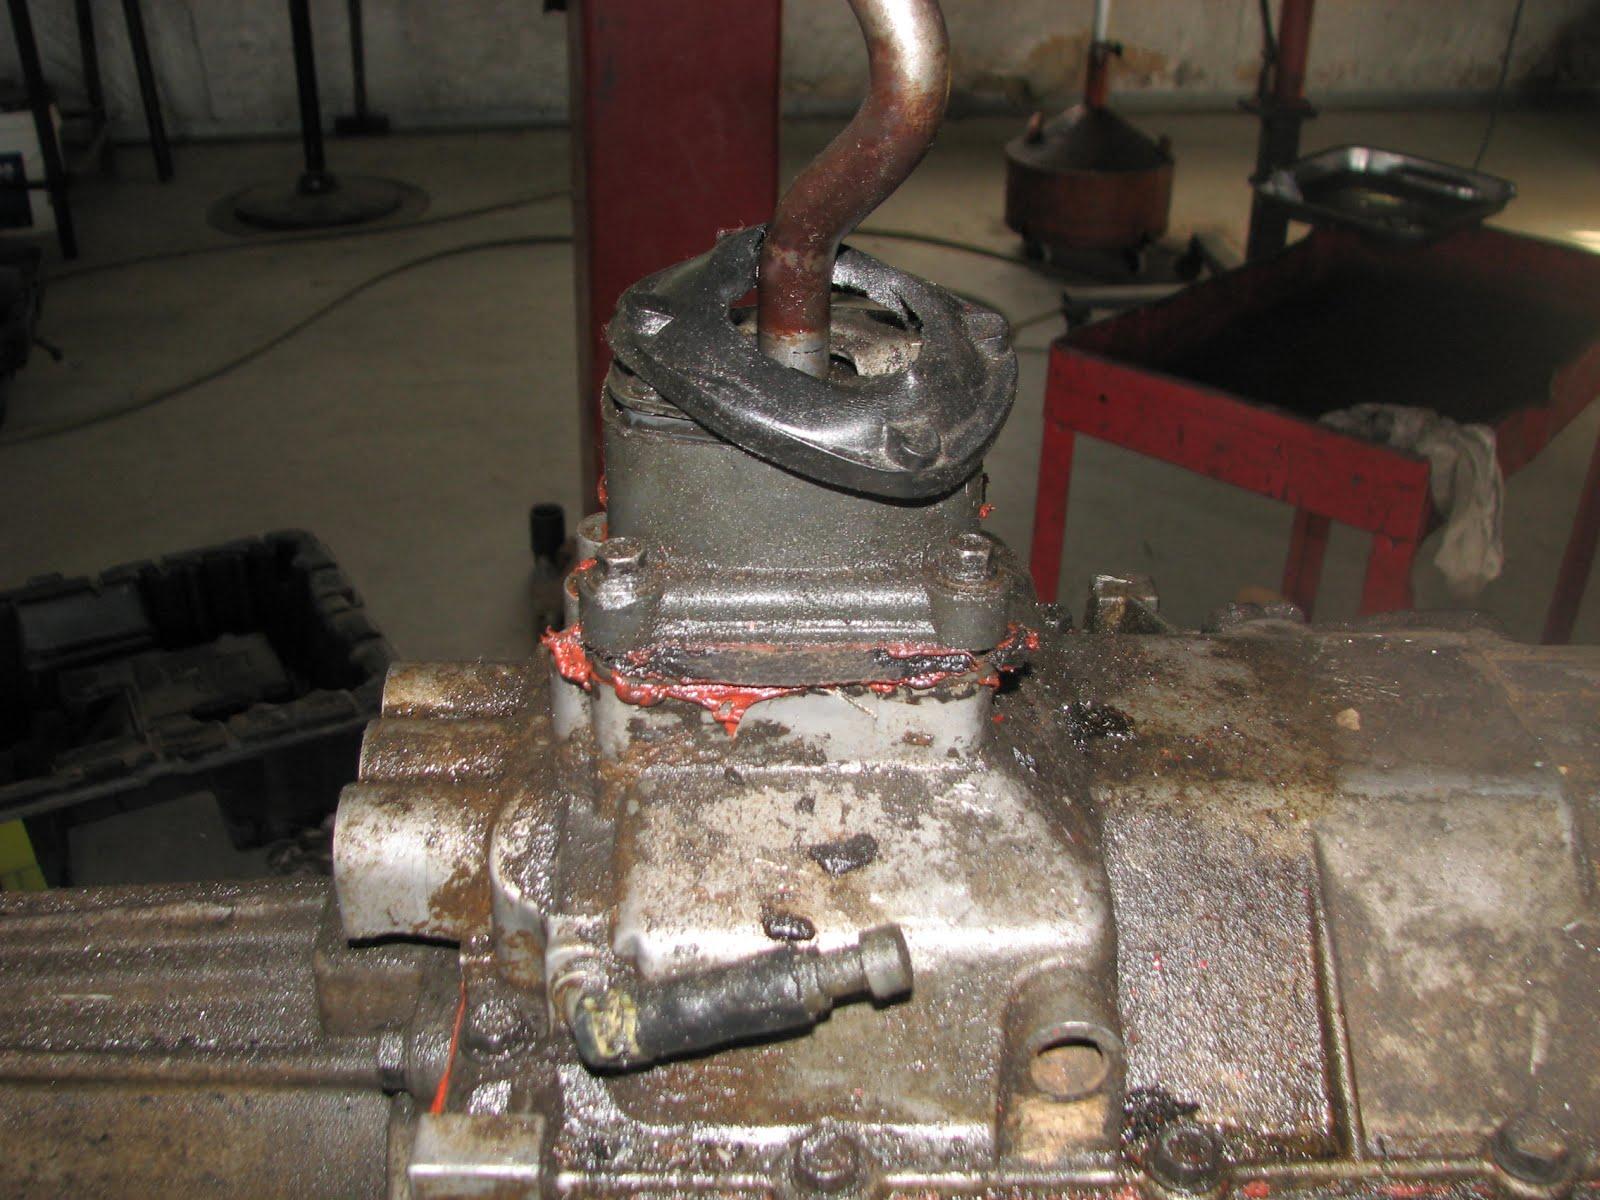
It turns out the transmission can have
a square top for the shifter or a round top. The transmission in
Ruby
had a square top and the replacement transmission has a round top. I
called Smart
Parts Automotive, from whom I purchased the
transmission, and got the problem worked out. They will be sending me
a new square top for the new transmission.
My Old Transmission With Square Top
New Transmission With Round Top
When we drove back to DREAM AWAY, it
was raining, so we canceled the Pier “C” cleat project until
tomorrow. The weather should be much better.
I spent the remainder of the day
getting all of my paperwork ready for my USCG
master’s license renewal and the VA
health system.
Now I have to get a date that I can get
over to New Orleans and submit the paperwork to the Coast Guard.
Hopefully with a clean bill of health, negative drug screen, and no
felonies to investigate, the process should go very smooth.
I got all of the VA
paperwork together so on my next trip to Lafayette,
I can submit it to the VA
office there. As it turns out, I was in the system, but you have to
update the system annually, and I had not done that. I am trying to
get an appointment for the Agent Orange test, and to get into the
health care system in case I ever need it.
I checked on the eBay
site and discovered that all of the solar panels had been delivered
to LeBlanc Oil. We drove over to LeBlanc Oil and picked up the four
boxes, and took them over to the shop.
Kitty and I unpacked all of the boxes
to verify contents and to verify physical condition. Everything had
arrived in great shape, but they did not send all of the Z
brackets. When we got back to DREAM AWAY, I logged
into my eBay
account and notified the seller. The remaining products will be on
their way soon!
Late in the evening, Kitty and I drove
to Hai
Nam Restaurant in
Abbeville
for the Marine
Corps League Meeting.
June 03, Tuesday, 2014
Started off the morning with my normal
ritual of getting on the Internet, answering email, and checking the
weather, while making a pot of coffee. When the coffee is started, I
feed our two cats,
Jillian
and Jordan, and spend time with them brushing their
beautiful coats.
Went over to the
shop
and got to work on the console for Ruby.
I had finally completed all of the varnishing for the console, so now
it was time to put it all back together. There is a slight problem
with one of the tops not being in alignment, but that is what they
make sanders for!
Screwing Hinge To One Of The Tops
Top & Cup Holder Screwed Onto
Console Base
Console Completely Back Together
Console Completely Back Together
This is great, I have a project
finished. Now if I can just get
Ruby
back from the mechanic with the new transmission in it, I would have
a truck to put the finished console in!
I got a piece of the 1” stainless
steel pipe out and measured it. I need two 48” pieces to weld onto
the stern ladder stanchion bases. Before measuring, I had to use the
chop saw
to cut off the bad ends of the pipe.
When that was done, I measured out the
two 48” inch pieces and cut them on the
chop saw.
I cleaned up the area, and put the
chop saw away.
I then put a piece of the pipe in the
vice and started the polishing process. This will take some time, but
it is better to do most of the polishing before the welding process
starts.
Stainless Steel Pipe In The Vice
Kitty called and said she was awake, so
I went over to DREAM AWAY for breakfast. It is a light breakfast, as
this is a diet day, 600 calories max!
We went into Lafayette,
via the laundry in New
Iberia, for my appointment with the dermatologist.
Only two biopsies, so I felt pretty good about it.
Did a couple of errands on the way
home. Kitty called Norman’s Auto & Diesel Repair, and they said they
would be starting on the truck today or tomorrow!
We got home, and I started in on the
paperwork to renew my USCG
master’s license, and the VA
paperwork to get me into the healthcare system.
Around 1700, Tasha called from Norman’s Auto & Diesel Repair,
and said the transmission that I had ordered was
the incorrect transmission. Great another project and more expense.
June 02, Monday, 2014
Started off the morning with my normal
ritual of getting on the Internet, answering email, and checking the
weather, while making a pot of coffee. When the coffee is started, I
feed our two cats,
Jillian
and Jordan, and spend time with them brushing their
beautiful coats.
Went back to DREAM AWAY, worked on
computer and scanning the remainder of the day
Went over to the
shop
to finish cutting the Starboard
for the hard dodger tops. Before I got into that project, I had to
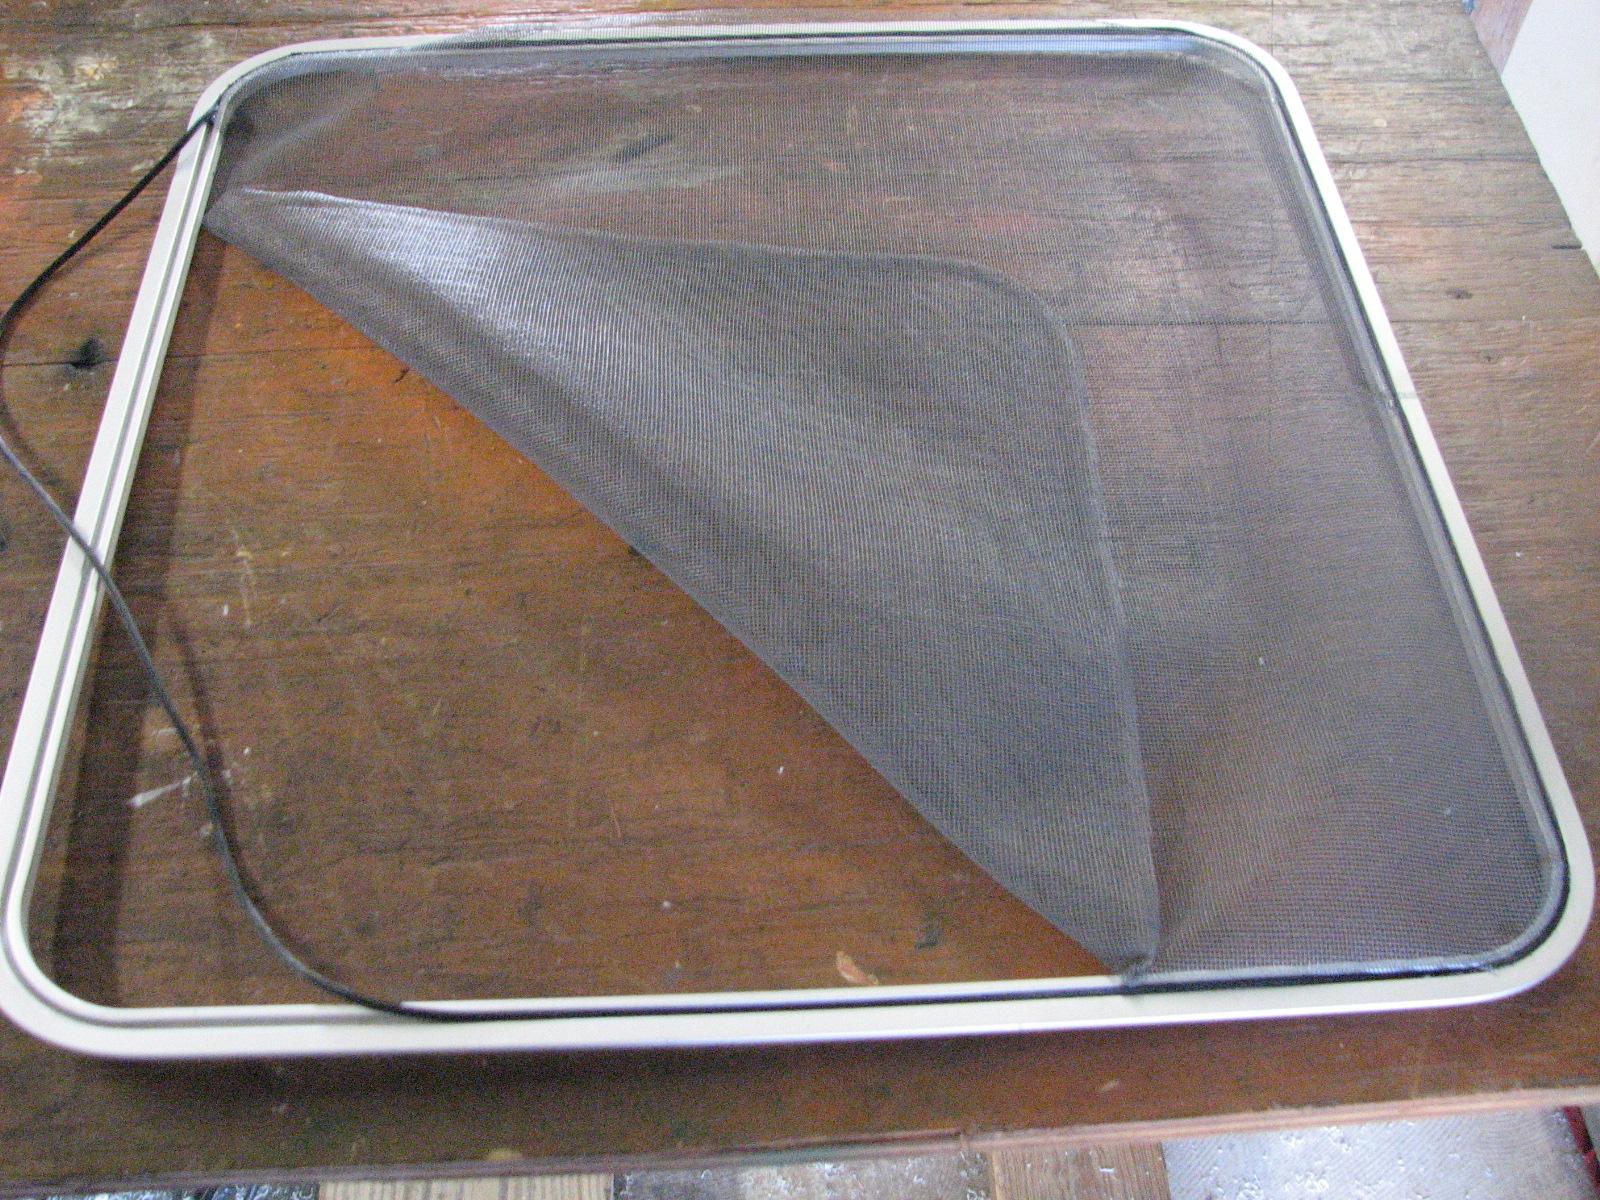
repair a couple of screens. It seems when our two favorite cats are
outside wondering the deck of DREAM AWAY, they step on the screen in
a hatch and push it through. So the screens must be repaired.
One Screen Waiting For Repair
Repaired Screen
I really needed to get the Starboard
cutting finished. I had cut one piece in the shop, and left the mess
on the floor. I wanted to get the second piece cut so I could get the
mess cleaned up.
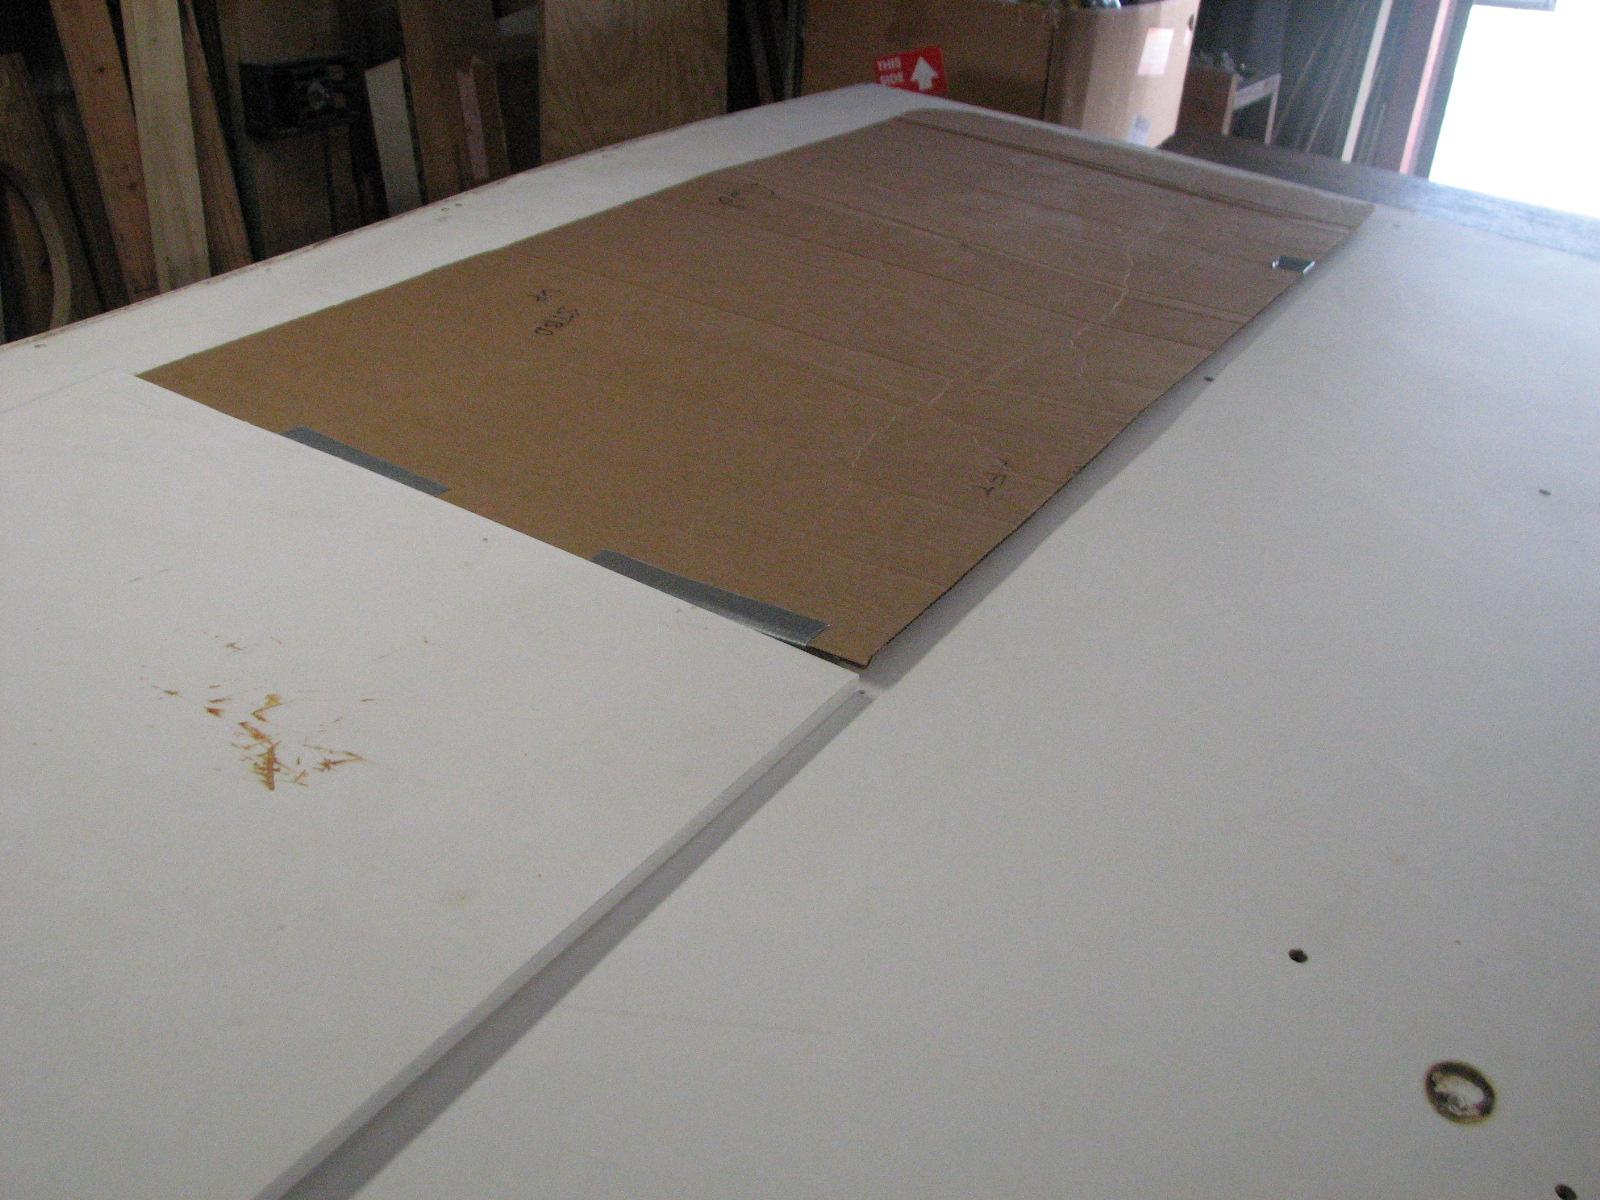
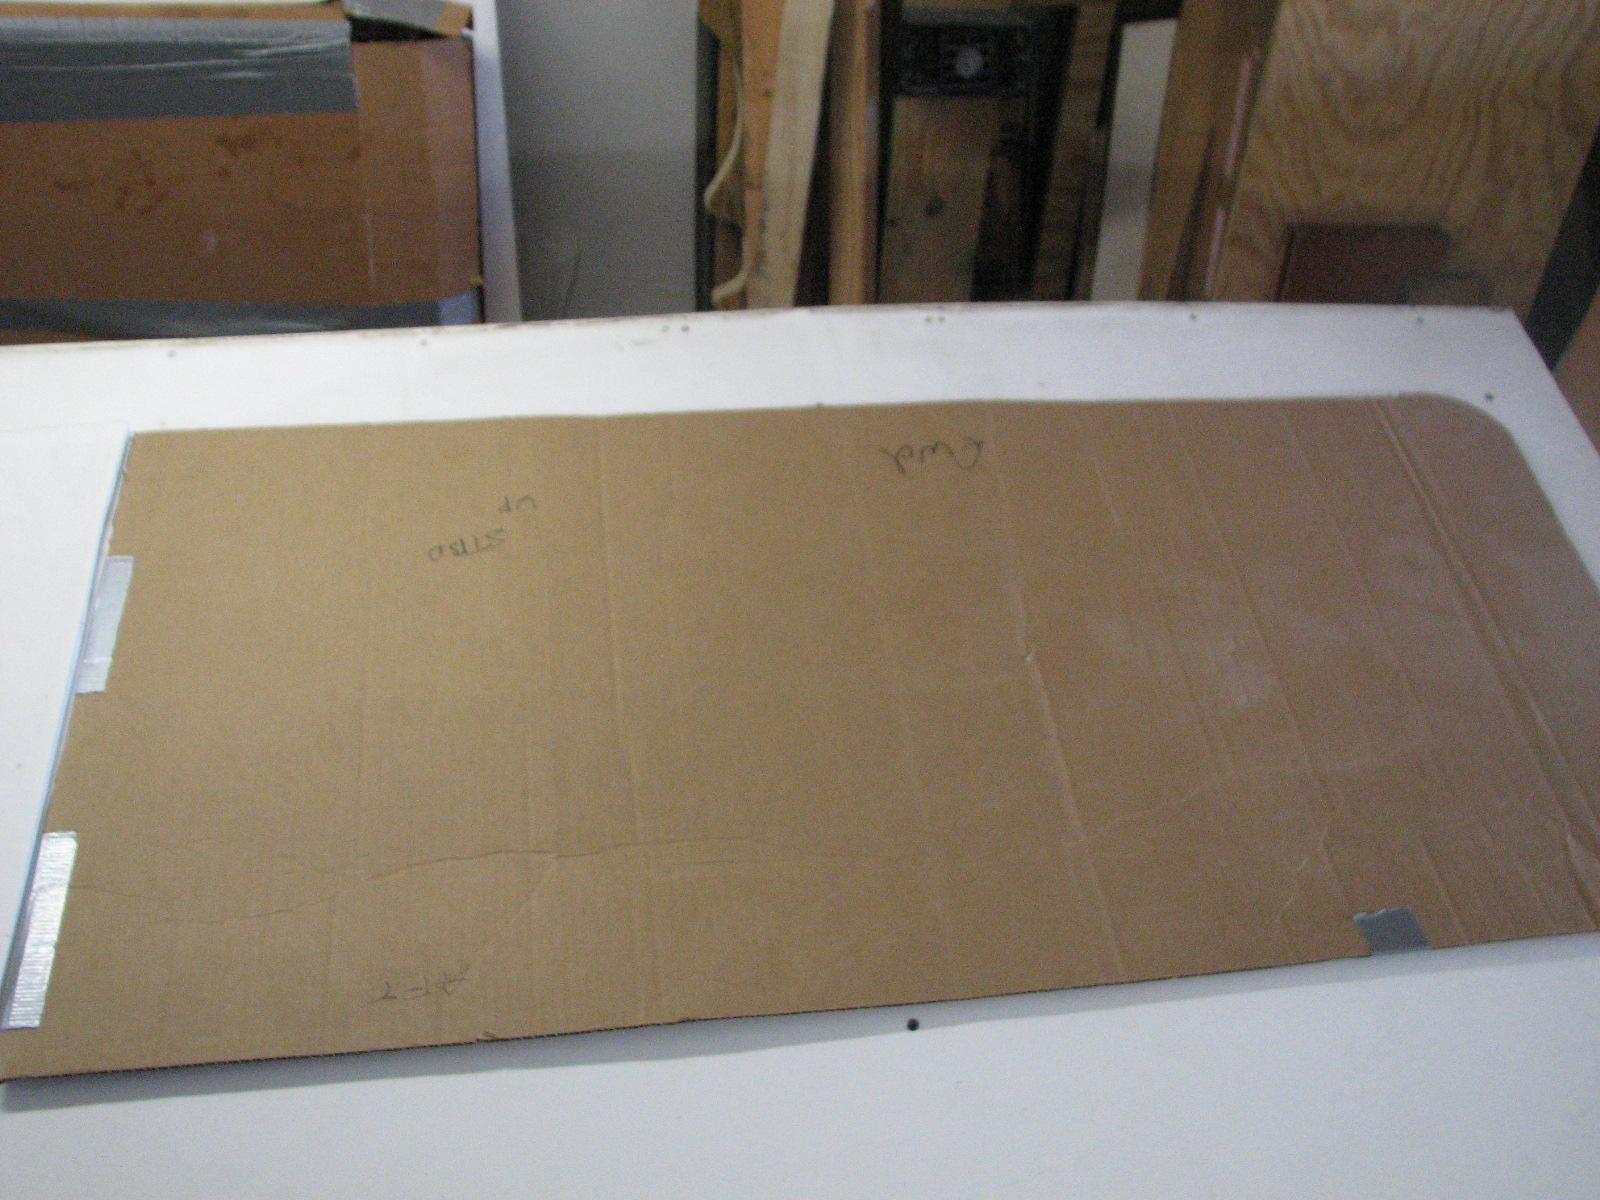
I put the sheet of Starboard
on the saw table and placed the template in the best spot to keep the
holes in the hard dodger roof to a minimum. I used the template and
the first cut piece of Starboard
to get the exact measurements for the second piece of Starboard.
Getting Measurements With Template &
Starboard
Making Final Measurements With Template
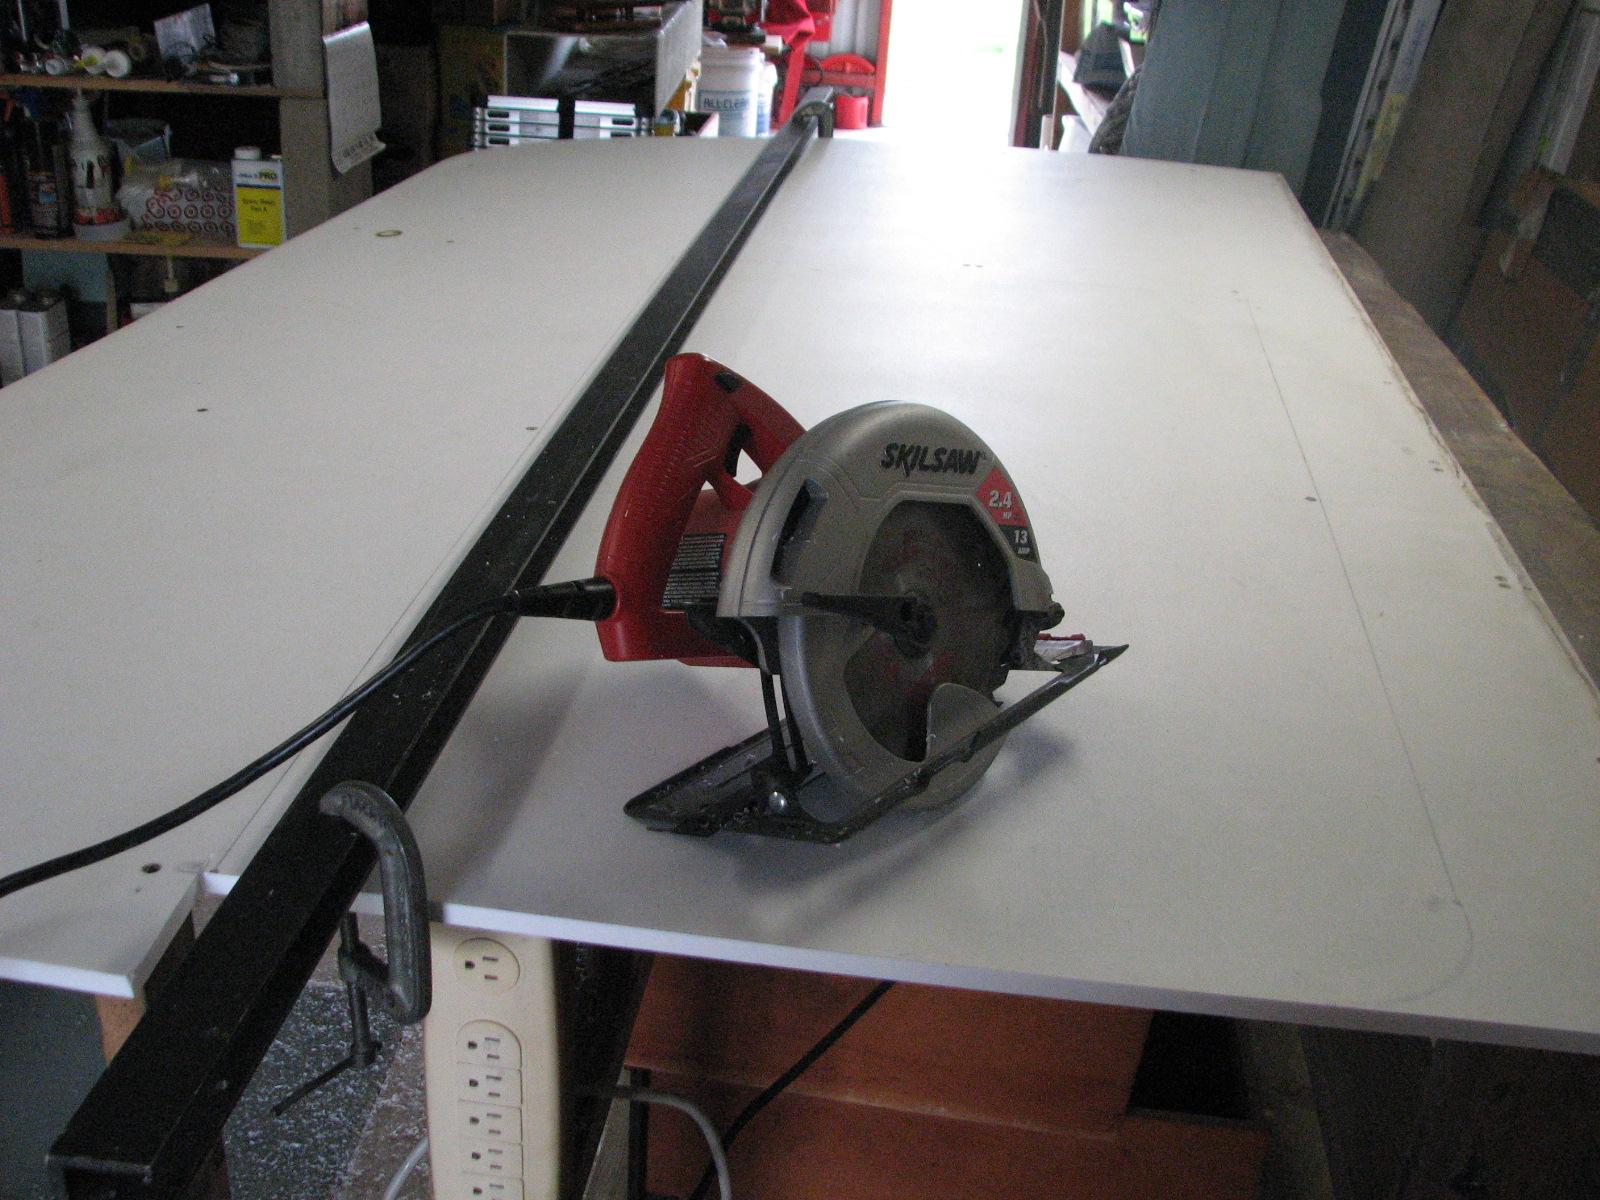
With the measurements made, it was time
to get the fence set up on the sheet to make the actual cut with the
Skil
saw. Once the fence was measured and clamped down, the
cut takes about 10 seconds!
Fence Set Up & Ready For Cut
The Mess After The Cut
I got the second piece for the roof of
the hard dodger cut out, now it was time to get the shop
cleaned up.
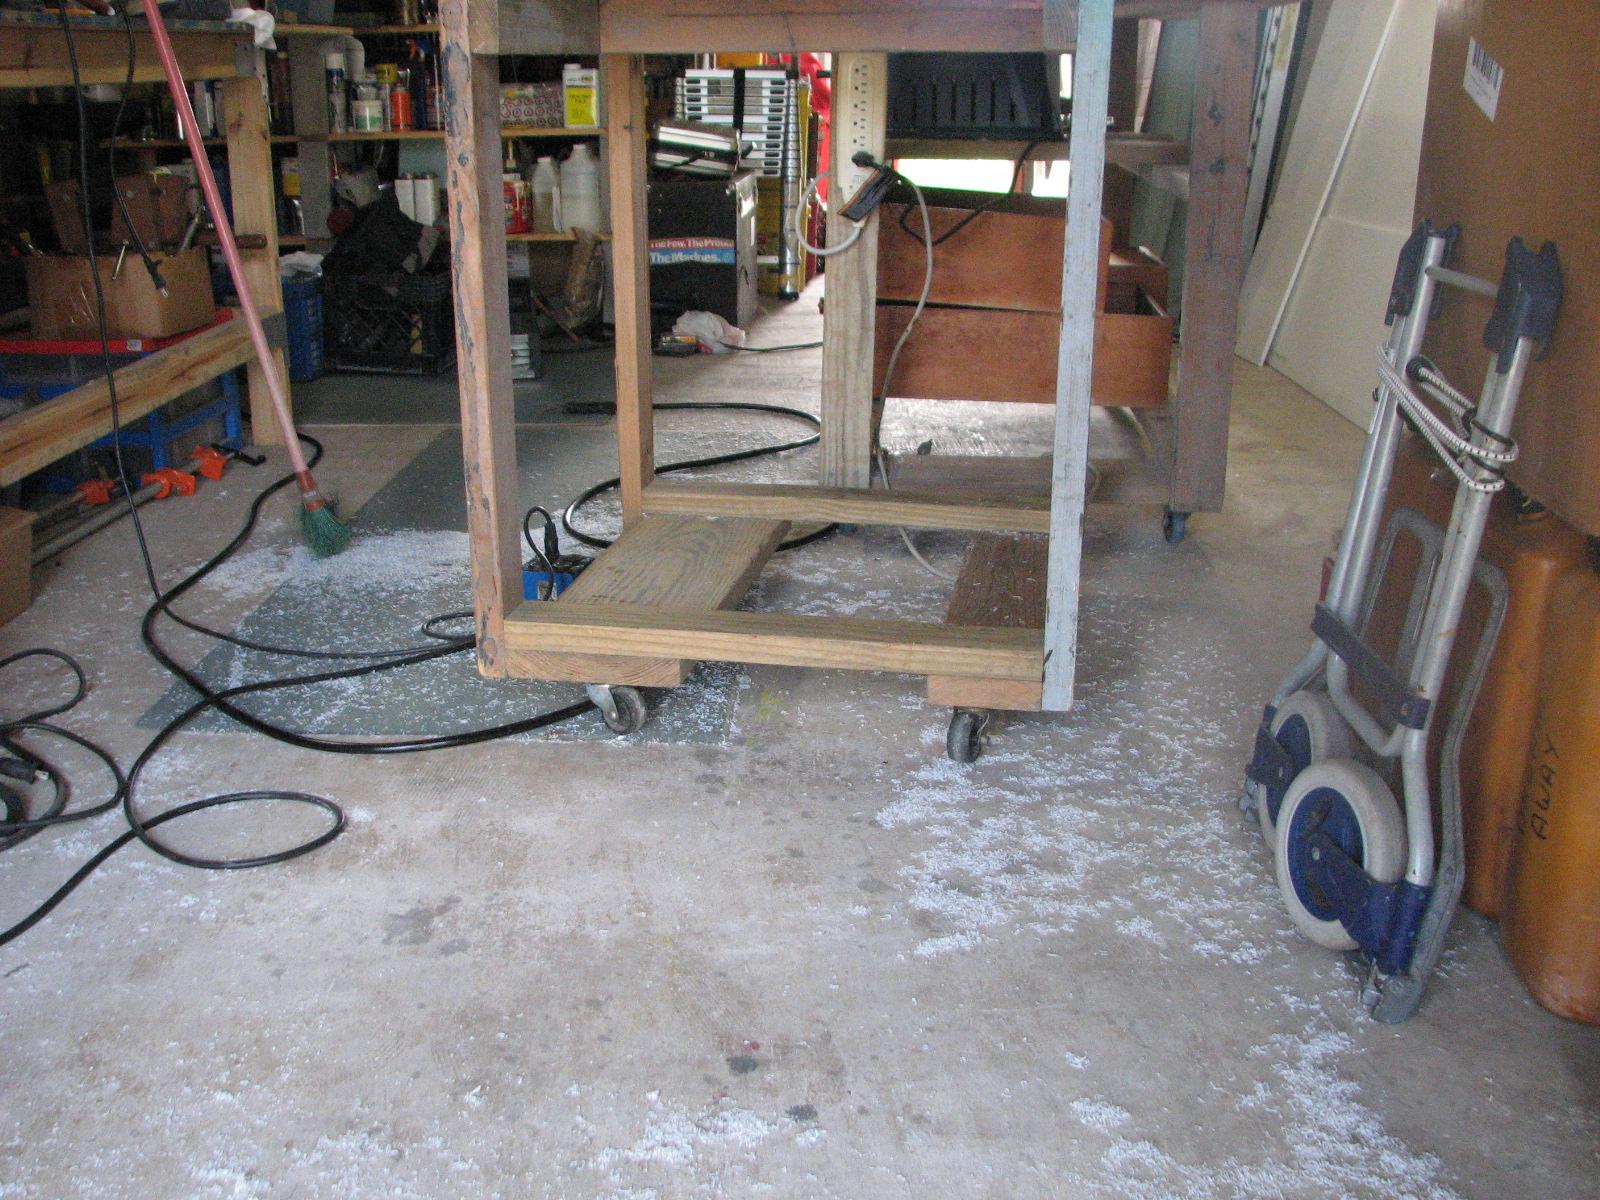
Mess On The Floor Of The Shop
Finished cleaning up the
shop without
aid of a vacuum cleaner. I then started in on the stanchion plates
for the aft ladder I am fabricating. I am rounding out the hole in
the center for the 1” stainless steel tubing to go through.
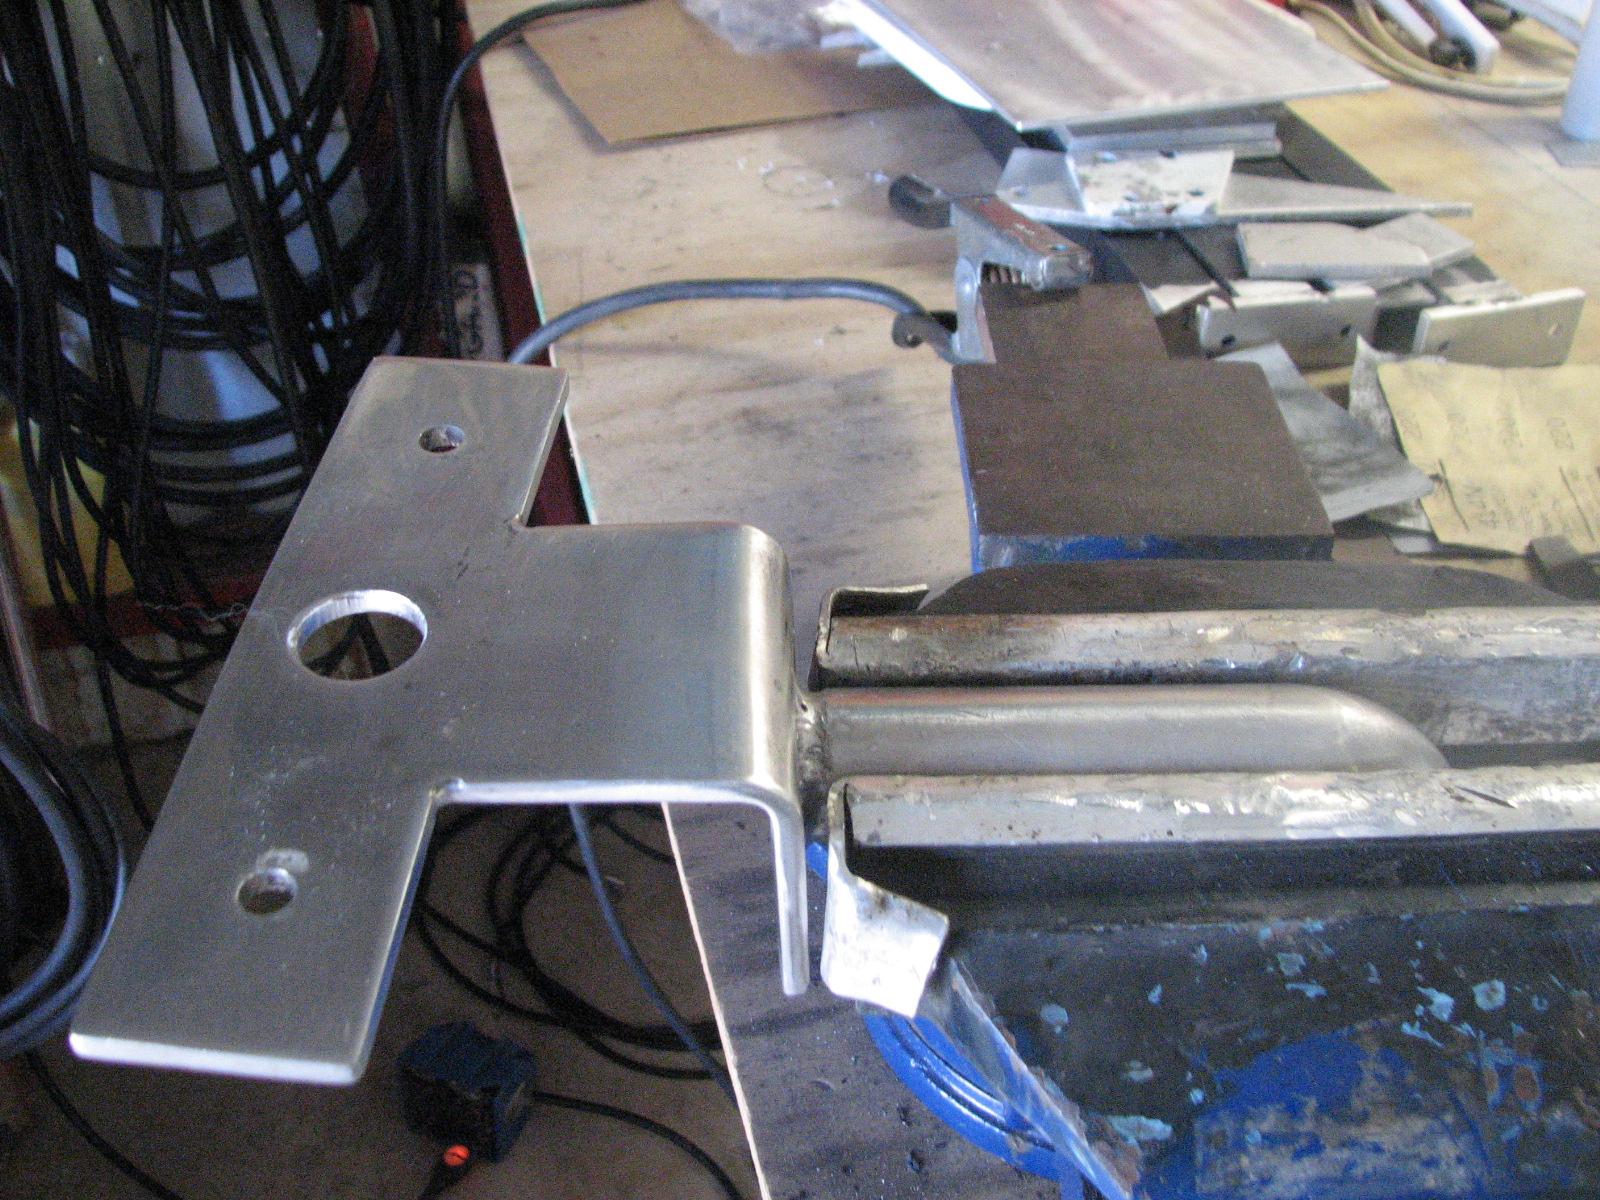
Stanchion Plate In Vice
Kitty called, so I went to the
Port
of Delcambre’s storage room and picked up the lawn
mower and fuel tank, then went over to DREAM AWAY for breakfast.
After breakfast, I finished trimming
the gardens, and then mowed the lawns at the
marina
, finishing up in a light rain. One of
the wheels on the lawn mower had rusted away from the lawn mower
chassis, so finishing up was a challenge.
I loaded up the lawn mower and fuel
tank, and took them back to the
Port of Delcambre’s storage
room. When I came back to the
marina
, I took a shower.
I spent the remainder of the day
working on the computer, catching up on emails, working on the
Maintenance
Logs, and scanning in paperwork.
June 01, Sunday, 2014
Started off the morning with my normal
ritual of getting on the Internet, answering email, and checking the
weather, while making a pot of coffee. When the coffee is started, I
feed our two cats,
Jillian
and Jordan, and spend time with them brushing their
beautiful coats.
Did not go over to the
shop
at all today. I spent the whole day working on computers. I did
backups on the Linux
Mint PC and backups on my Mac. At this time, I still
do not have a navigation computer. As best I can tell, there is no
way to import the tracks and waypoints I have in my CAPN
software to the OpenCPN
software running on Linux
Mint.
I have not made the final decision
about the direction I am heading, but I am leaning back to the Mac. I
think I will install OSX
Snow Leopard back on my Mac and see how it runs. I
know all of my navigation products run on Mac’s XP virtual machine.
I do like some of the features of the
PC running Linux
Mint, but it seems like I am taking more time finding
out how certain applications run, than actually making progress. This
week will be my decision week.
