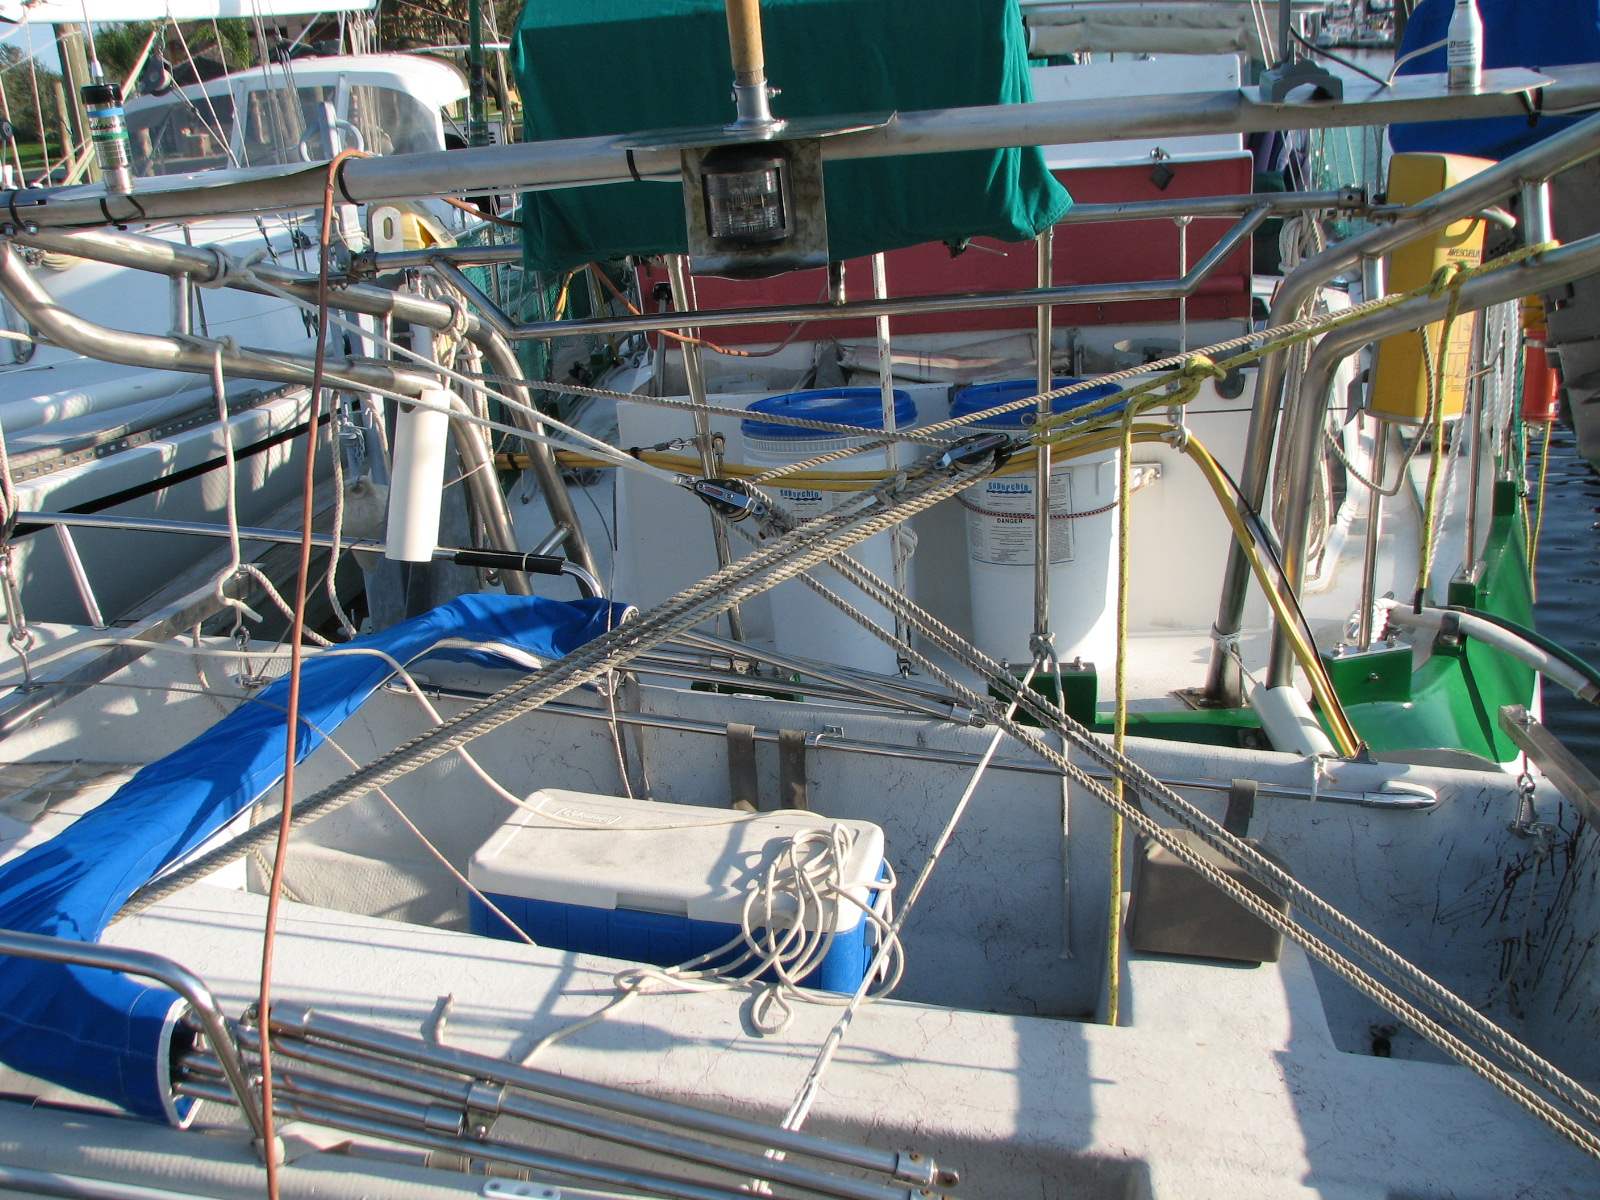
Maintenance Log 07/2009 - 10/2009
October 29, Thursday.
It has been a very long day, and it is not over yet!!
Went over to the shop first thing and met up with Al. We loaded the truck with all of the remaining items that Al wanted and took them over to his shop. I then went back to my shop and loaded all of the items that should have gone to Atlanta, but did not make it. I took them over to Al's shop and put them all on the top shelf of the shelves I put in Al's shop.
I then went back over to my shop and loaded up all of the items to take to the boaters resale shop. I got all of the items over to the Boaters Resale shop and did all of the paper work for the goodies. Hopefully they will all sell at my asking price and I will have lots of money to go into the cruising kitty.
From the resale shop, I went back to the
shop and moved all of the cardboard boxes off of the second floor and
the overhead shelf. I broke down the boxes, and loaded more wood into
the truck and some other items that were trash. I left the shop,
stopped by the dumpster and put all of the trash items into it, then
off loaded the wood and other items that might be useful to the pier
four pavilion.
I went to Dream Away and decided to pack
away the new inflatable dinghy into the forward deck box. Naturally the
new 9'2" dinghy is bigger than the old 10' 2" dinghy. It took me
awhile, but I got it all packed away in the forward deck box. Then I
started on the raw water manifold. I cleaned the strainer, the
manifold, the ice maker strainer, the reefer strainer and the A/C
strainer. That also included flushing out the hoses with fresh water. I
then replaced †he lift pump for the raw water washdown/ watermaker. I
got that system working, and started the watermaker running into the
port water tank. I have a kit to rebuild the old raw water pump, as it
was making a lot of noise, and I believe there is a problem with it.
Next I replaced the freshwater pump. I wanted to get one of the spares into the system to make sure we were good for the passage. The new freshwater pump checked out great.
Then I went to dinghy and worked on getting it all ready for the passage. When I attached the blocks to the tabs I welded onto the davits, the line was not long enough. I will have to get more line from West marine tomorrow so I can secure the dinghy to the davits.
We went to dinner to Oscar and Elizabeth's boat, and had a great gumbo. After dinner we went over to the shop and loaded up the truck with a full load of trash which we took to the WYC dumpsters.
Went back to Dream Away with the new 80 cu ft bottle of Argon and packed it away under the bunks in the front cabin, along with a lot of teak for projects. I then started the watermaker. I was able to top off the port tank and started on the stbd tank.
October 28, Wednesday.
Yesterday was a long we. I finally finished packing spares, tools and sundry other items at 0030.
First thing this morning I went to Al's
boat, had coffee, then we went over to the shop. We dismantled some
large shelves I was giving to Al so we could move the shelves to his
shop, and put them back together. A friend of Al's come over to help,
which was a great help. We moved all of the big tools and tables
including the vise over to Al's shop. We also moved two truckloads of
stuff that Al wanted over to his shop.
The big set of shelves we moved to Al's shop, the top shelf is reserved for me. I am putting some items on there that I can move to Atlanta later, or I can use when I get back to Texas.
When we got all of the stuff moved over to Al's shop, I went back to my shop and started to do more cleaning. I worked on separating out the ferrous and non-ferrous metals for recycling. I also loaded all of the non teak wood into the truck to take to our pavilion for our winter fires. I also loaded a bunch of trash to take to the dumpster. Friend Troy came over to the shop and hauled away my big work bench. Now even more space. I still have a fair amount of items to take care of but I am getting closer.
I left the shop and went over to Dream
Away. I loaded a bunch of tools and consumables into a cart and took
them to the boat. I got them all loaded onto the boat with Kitty's
help. After lunch friend Oscar showed up with the two raw water pumps
rebuilt. That was great timing. I unloaded the truck so Kitty could run
some errands. I was going back to the shop, but I decided to stay on
Dream Away and check out the raw water pump on the main engine. I
installed the pump on the engine, connected all of the hoses, opened
the sea-cock, and hoped for the best. I started the engine and ran it
for about ten minutes. No sign of a leak. Oscar is a hero!!
When I finished that project, I removed one of the propane tanks from it's locker to take to the propane store. I took a shower, loaded the propane tank and headed out with Kitty. We stopped by Gordon's boat and picked up his propane tank. We then stopped by the shop and loaded the 120 cu. ft. argon tank. down the road to the propane store. We got my tank and Gordon's tank filled.
We then went down to Texas city to the Argon store. We had purchased a 120 cu. ft argon tank to use while I built the davits. It became obvious the 40 cu. ft. tank I had purchased with the welder was not big enough to do some serious welding. The purchase of the big tank was a sliding scale thing. Your purchase the tank, and in the first month you return the tank you get back 90 percent of the price. The second month you get back 70 percent, and so on until the fourth month you own it. When we went to the Argon store I wanted to trade the 120 tank I had for an 80 cu. ft. with no charge except the Argon. The reason being is I have room for the 80 but not the 120. Anyway, they agreed to the swap, but did not have any filled 80 tanks. They will fill one tomorrow morning, and Kitty will pick it up.
We left the Argon store and went to the Reef for dinner. After dinner we stopped by Walmart and filled all of the diesel jerry jugs with diesel, and one jerry jug with gasoline. We got back to Dream Away, and we brought all of the jerry jugs to the boat and got them loaded onto the boat.
Next I put away all of the tools and
consumables I brought down to the boat before lunch. An early night, it
is only 2300.
October 27, Tuesday.
Jim picked up Gordon and went to the shop to bend some tubing for him, and to pack the truck with chemicals, tools, and spare parts to bring to the boat. From the shop Jim went to Walmart to fill the diesel jerry jugs. He bought 35 gallons. Then he went back to the shop, picked up Gordon and took him home, and then he went to West Marine where he checked out the new dinghy (it was the right one this time), filled out the registration for the dinghy, and picked up other parts, including a new lift pump for the watermaker.
Jim came back to the boat, unloaded the oxy-propane torch, and bent the newly welded cleats. Then he brought down two cart loads of items from the truck that had to be stowed on the boat. While the carts were being loaded, the dinghy was delivered from West Marine, so that, along with the jerry jugs of diesel, were also brought down to the boat.
After lunch, Alan came over and he and Jim put the new exhaust elbow on the generator. Then they ran generator, and it checked out great. No problems encountered. Next they started the engine to check out the installation of the newly cleaned heat exchanger. Unfortunately, the heat exchanger could not be checked out thoroughly as the engine had to be turned off quickly because the raw water pump was leaking. This was bad news because our backup raw water pump had a known leak that had not yet been repaired.
We decided to work on the pumps tonight, and use the daylight to get the fuel in the boat, and to set up the dinghy. Twenty-seven gallons topped off the starboard fuel tank. Then we got the dinghy out of the box, took the wrappers off all the pieces, and set them out in the grass in front of the boat.
Being already behind on projects and packing due to yesterday’s storm, Jim was very concerned about having the time to properly repair the raw water pumps. When Oscar kindly volunteered to help in any way he could, Jim took him at his word, and asked if he would repair the two raw water pumps for us. Oscar graciously agreed to do so, at a cost of $2,000, which was magically the very same amount that Jim was charging Oscar to borrow our big grinder :-). Oscar now has the pumps and repair kits in hand, and said he would make the repairs and return the pumps tomorrow.
While Oscar and Jim removed the raw water pump from the engine, and discussed the repair procedures, Kitty and friends put the floorboards into the new dinghy, and inflated it. It looks great. It has been tethered to a tree in front of the boat for the night to see if it holds air correctly. Then we left for a lovely steak dinner with Pam and Steve.
After dinner, we hauled two more cart loads of stuff from the car, and loaded them on the boat. Jim is stowing chemicals and parts, and Kitty is assisting as possible, and writing this update with the Captain’s input.
It has been a long and productive day. Still more to come.
October 26, Monday.
Started off the day welding tabs onto the dinghy davits. These will serve as hold-down blocks to keep the dinghy from moving laterally. These, in addition to the PVC pipes that have been installed, should help keep the dinghy stable while we are underway, and minimize its banging into the stern of the ship. I also welded two cleats onto the davits.
In an effort to beat the weather front headed this way, the torch parts were brought down from the truck and set up on the dock very early in the morning. However, the front came in with a vengeance so no torch work could be accomplished. The torch parts were set on the aft deck while the day’s appointments were undertaken, and then put back in the truck later in the evening.
The boat had been moved close to the dock to accommodate the torch work, but the front was so severe that the boat had to be moved away from the dock to keep the davits from being damaged. This was no small feat as the winds were in excess of 25 knots. It rained all day, soaking all the cockpit cushions, and everything else that was outside. The good news is that the heavy rain was a good wash-down for the boat.
From noon until late in the evening, we were involved in a doctor’s appointment, going to CostCo for some provisioning, stopping by Johnson’s Paint and Supply for a quart of resin, and getting some tools from Tommy’s Tools with which to replace the elbow on the generator. We then had dinner with Iris and Terry, and heard about their travels and travails aboard their barge in the canals outside of Paris. We look forward to visiting them some day and taking a lazy trip through France’s famed wine country.
When we got home, Jim
packed away the welder and the associate equipment. Then the late night
found him at his computer, as usual, attending to family business and
emails.
October 25, Sunday.
A long day and the eyes have it!! More later.
I checked on Blue Water Ships Store web
site, and they listed the wet exhaust elbow and the gasket I need on
line.
Went over to the shop first thing. On the way to the shop I stopped at Blue Water Ships Store. Their computer said they had the parts in stock, but they could not find them on the shelf. I left a note to get the parts ordered first thing tomorrow morning. I will call tomorrow to make sure the parts are on order, and the shipment is expedited. When I got to the shop, I worked on cleaning up the new parts I am going to weld on the davits for more dinghy support.
October 24, Saturday.
Went over to the shop first thing. Fabricated the parts I will need to weld onto the dinghy davits for the extra tie-downs of the dinghy. Friend Al showed up, and he helped me drill out all of the pieces of metal I will be using to support shelves, and to hold up Pelican cases.
I also went through all of the teak wood I have and separated out what I want to put on the boat for projects. I also cut a piece of PVC sheet to put on the boat for backing plates. I separated out some sheet fiberglass pieces i want to take in the boat. All of the separated out pieces I loaded into the truck to take to Dream Away. I also loaded the spare heat exchanger for the main engine.
Went back over to Dream Away. I took all of the doors off of the engine room, and did a good look around. I had to find the source of the salt build up in certain areas. I ran the generator for about ten minutes, but did not see any leaks.
Friend Al showed up to help me so we started on replacing the main engine heat exchanger. We took the old one off, put a zinc in the freshly cleaned one, and installed the clean heat exchanger. While we were doing the worked on the main engine, Al noticed a small crack in the generator wet exhaust elbow. We looked at it closely, and this seems to be the source of the problem. Water would leak out of the elbow into the generator pan. When there was enough water in the pan, raw water, the cooling fan of the generator would sling the water in the pan out right into the area where I was seeing the dried salt. So the source of the salt problem was solved.
We finished off the installation of the heat exchanger. We had a look at the old heat exchanger, and sure enough several of the cooling tubes were clogged. I had cleaning this heat exchanger on the list, so it will get done tomorrow.
Al and I started in on removing the old wet exhaust elbow. Of course the socket I needed, I did not have. I have a complete set of 1/4" drive sockets in metric, but somehow I have misplaced the 10 mm socket. So AL and I went over to his shop and retrieved a deep-well 1/4" drive socket from his tool box. We then went back over to Dream Away, and we were able to get the exhaust elbow off of the generator engine. When we got the elbow off, it was cracked on the back side also.
I am going to get a new elbow as soon as I can, and also see if I can get the old one welded up. The old elbow is cast iron, and I have no experience with welding cast iron, so I will have to take it out to get welded.
By the time all of this was done, it was
time to go see Steve at SeaTech systems. We went over to his
home/office, and he checked out my navigation computer, which is a
virtual XP machine running on my Mac. We did some tuning ox XP, and he
loaded a lot of new government publications, and the latest copies of
the government charts for the US.
October 23, Friday.
I got up the morning and started in on the email, and cleaning up the computer files. The wind was still blowing. It was a beautiful day, but cold, the overnight low was 53 degrees.
Kitty got up, we had breakfast, and then got ready for the anchor dance. I knew, as usually happens in Offatt's Bayou, once I get the anchor set, it really digs in. Having the wind blow all night from 20 to 30 knots really buried the CQR plow. I also knew it was going to be a hard slog home up the Houston Ship Channel (HSC), with an outgoing tide and a 20 knot wind on or nose.
It was a struggle getting the anchor up.
The chain was very muddy, so took a long time to get it in as I had to
hose the chain off as it came onto the boat. Finally got the anchor in
and stowed, and on our way. As predicted, when we got the HSC, it was
slow going. We averaged about 4 knots. Because of the crud on the prop
I could not speed up the engine any more as it would cause the engine
to overheat. We finally got into our slip at Watergate around
1730. I am having a friend come over on Monday and he is going to clean
the prop, and clean all of the thru-hulls.
One problem was discovered on our trip up the HSC. Kitty noticed some water on the floor in the garage. She opened the door to the engine room and could not see a problem. I went down and could find nothing wrong with the main engine, but did find residue of salt that appeared to be coming from the generator, but I could not find the exact source of the problem. That will be something I will have to look into tomorrow.
Kitty and I generated a project list that must be finished before we leave a week from Saturday. The list probably has 15 items on it, so this week will be a very busy one.
While backing Dream Away into the slip,
I had to rev up the engine a bit, and it overheated just as I got into
the slip. It appears the heat exchanger project has moved up on the
list. Got Dream Away secured into the slip. electricity and water
connected, and we were good to go.
October 22, Thursday.
I started off the day by getting on the
computer. Really not much else to do as it was raining and the wind was
really blowing. Continued with emails, and more back and forth emails
and phone calls to get the insurance squared away for the boat.
I decided to look into the issue with the watermaker. I decided that
the pump may still be part of the problem, but the first 30 micron
filter in the water input could be clogged, so I was going to change
it.
While I was getting all of the goodies out to work on that project, both of the anchor alarms went off on the two GPSs I keep running while at anchor. The weather had cleared up, and the norther had come through, so we were swinging on the anchor. The weather report said the front would come through later in the afternoon, but here it was 1100. So we dropped everything, got the engine running and went to the anchor drill.
We got the anchor up without any problems, and headed over to the north side of the Bayou to re-anchor. As expected it took over two and a half hours to get the anchor set. I do not know what the issue is with Offatt's bayou, but I have the devil of a time getting the anchor to set. Anyway after eight attempts we got the anchor set, and the snubber set. Just in time as the wind was really starting to pick up, 15 to 25 knots.
I went back to the water maker project.
I go the first filter changed, and bled. I started the generator, then
started the water maker. I set the unit to 600 PSI, and was making
about 20 gallons per hour. The unit ran for about two hours, so I think
the real problem was the filter, but the pump makes a lot of noise, and
it was very hot after the two hour run. While the generator was on I
also charged the batteries, and had the hot water heater on.
Felt pretty good about all systems on
the boat, so to finish off the day went back to the computer to scan
documents and answer emails.
October 21, Wednesday.
Another day started out with
electronics. I used the Single Side Band (SSB) radio to download
weatherfax. It went pretty well, but had some problems. I went through
the help file with the WeatherFax2000 software and set up the
software. I made several changes, so I will have to see. The USCG
broadcasts the weather faxes every six hours, so if I can remember to
tune in I will check out the new setting in the program.
We also spent time getting new insurance for the boat. We have to change policies to go to Mexico and Guatemala, so we were getting all of that organized.
Next was the dinghy and motor checkout. I was very pleased with the way the dinghy handled the trip. The tie down system I have seems to really work. I will have to weld on a couple of tabs and two more sets of cleats. It should work out very well. The PVC pieces will have to be adjusted some, but the basic down will work.and
We got the dinghy all untied and into the water. We dropped the Yamaha on the dinghy and got it all connected and set up. The engine started right up. We let the engine idle for a bit, and then put the peddle to the metal. Everything worked just fine. We went to the other side of the Bayou and stopped at the convenience store to get a couple of items. The dinghy really performs well with the Yamaha 15HP. It gets up on a plane quickly, and is a very dry boat. Both Kitty and I love it.
When we got back, we secured the dinghy and the motor. The checkout was very successful. Kitty turned too on contacting various people and Doctors in preparation of our departure. I wanted to get the WiFi system finished off. We got in the 12VDC to 24 VDC converter last Saturday. The converter had to be installed to power the EnGenius bridge. I finally got the converter installed, along with fixing a cabinet door in the mid-cabin. Got that all completed and everything put back the way it was. The WiFi system now runs completely off of 12 VDC. It also works very well. We are using a WiFi network here in Offatt's Bayou that is not secure, and is much faster then the Verizon Broadband. The only problem with the connection is we can not send email. To send email we switch to the Verizon Broadband connection. I will probably look for another free WiFi network that will work completely.
While I was working on finishing the
WiFi system. I started the genset so I could run the watermaker. Got
everything all set up and working, and was making water in about 10
minutes. After about an hour and ten minutes, I noticed the watermaker
was making some sounds that told me it was not getting enough water. I
shut the system down, and checked the overboard discharge from the lift
pump. There seemed to be enough water flowing, but when I reached down
and checked the pump motor, it was extremely hot. That means it was
working way to hard. It was then I realized I do not have a spare pump,
nor the parts to repair the pump. This will have to be fixed tonight. I
will order the repair parts, and a spare pump.
I remember I was going to solve the
problem with my one pump solution, but that did not pan out, and I
forgot to get the spares for the lift pump.
October 20, Tuesday.
Got up in the morning, had breakfast and got Dream Away ready to get underway. The windlass and wash down system worked great, and we had the anchor up and stowed in about 20 minutes.
We jumped into the Houston Ship Channel (HSC), and headed down to Galveston and Offatt's Bayou. With the wind direction, we were not able to sail, so we motored down the HSC, switched over to the Gulf Inter-Coastal Waterway (GIWW), and went into Offatt's Bayou. We were concerned about the wind instrument, so when we got into the clear and calm waters of the Bayou, we calibrated the wind instrument. It seems to be operating normally.
We then started the anchor dance. I do not know why, but Offatt's Bayou has it in for me when anchoring. I have never had really good luck getting the anchor down and set. Today it took six times, but I finally got the anchor set. Of the five times the anchor did not set, I let out 125" of chain. The windlass performed outstanding, so I could say all of the anchoring attempts were just to check out the windlass!! I know when we try to up the anchor, it will really be buried in the mud and will take a real effort to get it out. That will be an issue tomorrow. There is supposed to be a front come through tomorrow afternoon. The wind is now coming out of the south-southeast. When the front comes through the wind will blow out of the northwest, then the north. We will have to move to the north side of the bayou, and set the anchor.
I got out the Iridium phone and all of
the accessories to have a look and see how much effort it will be to
get the phone system installed. I was hoping I could install the phone
without removing the Globalstar phone, but that will not happen. Just
do not have the physical space. So I will have to remove the Globalstar
phone and all of its accessories. I am going to leave the antenna and
the antenna wire installed. At least that way I can re-install the
Globalstar with out too much trouble.
October 19, Monday.
Today started off with us getting ready to take Dream Away out and around Galveston Bay to check out the boat, the systems, and the captain and crew.
We left the dock about 1030 and headed out to the bay. When we got past marker #2 we raised the mizzen sail, and rolled out the Genoa. Everything looked good. We then raised the main sail and shut off the engine. We sailed across the ship channel into Trinity Bay, and just sailed around changing tacks when necessary. Everything checked out very well. We were able to tack with almost no problem, since I moved the stay sail stay back to the port main fife rail. This seems to be a good solution, and cheap!! I also checked the rigging on both a port and starboard tack. It needed very little adjustment. When I get back from this week's checkout, I will put cotter keys in all the turnbuckles on the main and mizzen standing rigging.
We were going to anchor at Red Fish Island. I wanted to anchor here for several reasons. First was because if we had a problem with the windlass, it would not be very far to get back to our marina. The windlass performed perfectly and we had no oil leaks! We also got the anchor down on the first try. The other reasons I want to anchor at Red Fish Island is because it is right beside the Houston Ship Channel (HSC). That means lots of traffic. I wanted to check out the radar and the new AIS systems. It is easier to be able to check out the radar if I am stationary, and can watch the targets go by. This worked perfectly, and the radar is working great. The new AIS system worked great also. The targets all came up on the CAPN software, and I could identify all of the ships and tows moving up and down the HSC. Both these systems were important, because I took the mizzen mast down and back up on Saturday, and both the antenna for the radar and the AIS are on the mizzen mast.
The wind generators on top of the mizzen
mast are performing wonderfully.
We then checked out the Hummer Grille by
grilling out steaks, potatoes and peppers. The grille worked perfectly.
The meal was washed down with wine and rum!
October 18, Sunday.
Went over to the shop first thing, and
went to work drilling the stainless steel shelf parts. The bad
news is I broke a drill bit, so could not continue with that project!!
I did get the teak covers all sanded down and drilled out to fit over
the fasteners for the SCUBA compressor rack.
Disappointed again with the fiberglass resin application. The resin kicks off great when I put the resin on the fiberglass, but the resin that was not applied to the fiberglass mat, did not kick off. I am at a loss. I am going to a company called Johnson glass and purchase some of their resin.
Loaded more stuff into the truck, and went back to Dream Away.
Hauled the stuff from the truck to the boat, and got most of it stowed away.
Got to work on the SCUBA compressor
rack. Put more roof mastic on the base pads, and bolted the rack down
to the after deck. Used longer bolts than before so I could put the
teak pieces over the bolts, and then put an acorn nut on the bolt to
hole the teak piece in place. Looks pretty good.
Next was getting the mizzen mast back together. I had to splice some wire onto the wires for the wind generators because I used about a foot of wire in the "S" fold in the wind generator mount. I got the splice made, then ran the wires back down through the hole in the deck. I then connected all of the wire back up. Wouldn't you know, when I got all of the wiring done the wind dropped so the wind generators would not turn. I hope the wind comes up so I can check out the operation of the units.
Got all of the wiring done. Climbed back up the mizzen mast to disconnect the line I used to attach the main topping lift to. I got the mizzen boom back on the mast and the sail folded properly. Put on the sail cover and dressed all of the lines, sheets and halyards. I put the Hummer Grill back into its place of honor. I then put new polypropylene line on the Horseshoe Buoy overboard system. The line is great because it floats, and is perfect in this application, but the polypropylene line really does not like UV. The line has to be changed yearly, in cruising conditions.
Got everything back together on the
mizzen mast, so we are ready to go on our check out cruise this coming
week. I then turned to on my work bench in the garage. I got most
everything squared away for an offshore trip.
October 17, Saturday.
Alan came over first thing in the morning to help with the mizzen mast project. We had coffee, and a nice breakfast prepared by Kitty. I had added the SCUBA compressor rack to the area just behind the mizzen mast. We had to remove the rack to be able to safely drop the mast. Alan and I got the rack removed, then we loosened all the rigging in preparation for the event. I secured a safety line around the base of the mizzen mast so if the mast kicked off of the mast step, it would not go flying.
Finally all hands showed up, we had nine folks helping with the project. We got under way and had the mast down in about 20 minutes. We moved the mast to a convenient area so I could fix the wind generator wiring problem. We got the wind generators removed, but my original plan for the fix would not work. The #8 AWG has a jacket on it, and the clamp I made was to go over the jacket. I had removed the jacket on the wires inside the wind generator mount. I came up with another plan. What I ended up doing was lashing a line to the wires, folding the wires over in an "S" shape, then shoving the wires down into the pipe mount. The line holding the wires was clamped down to the pipe using the clamp that is used to mount the wind generator.
We tested the installation by putting on the wind generator, then removing the wind generator, and pulling out the wires using the line. It all worked very well. It was great with the mast on the ground. It will not be easy removing a wind generator while the mast is up. We got both wind generators wiring repaired, now we were ready to put the mast back up.
I got the crew all back into place and
we got the mast back up in about 20 minutes. I got all of the rigging
secured, and we were done. I released the crew, and we went to the
pavilion and had pizza and beer. Kitty and I felt it was least we could
do for the crew helping with the mast project. Certainly it would have
cost a bunch more than the cost of four pizzas and a case of beer if I
had to do it at the yard.
After our pizza lunch with good friends John and Lee, I went back to the boat to get the rigging all tightened down and make sure the mast is aligned. Got that finished up, and it was the end of the day.
Picked up the new Iridium phone and all
of the accessories from SeaTech systems. Now I have another project.
October 16, Friday.
Went over to the shop and started
working on stainless steel shelf parts that I will be taking with me.
The parts are 2" stainless steel flat bar that I have used the torch to
bend at 90 degree angles to be used to support shelves or Pelican cases
or anything. I am using the drill press to drill holes in the stainless
steel. The drill press is much easier than trying to use a hand drill.
Now I will already have the holes in the pieces to mount them.
I also started cutting out pieces of teak with a hole saw that I will use to cover the holes in the overhead in the aft cabin where the bolts for the SCUBA compressor rack come through.
Loaded some more goodies into the truck
to be stored on the boat, and went over to Dream Away.
Hauled all of the stuff to Dream Away,
and got most of my stuff stored away in its proper place.
Got busy on getting the mizzen mast
ready to drop tomorrow to fix the slack cable issue for the wind
generators. To get a better idea of the problem, please see the April
25 entry in the maintenance log on the web page. http://www.dreamaway.net/maintenance_log_04-2009_06-2009.html
Took off the mizzen sail and the boom. Then took both out into the grass behind the boat and replaced the mono filament line on the sail that is used for the DutchMan system. Finished the installation of the mono filament line and folded the sail back onto the boom, and took the boom and sail over to the boat.
Went up the mizzen mast and tied off a line so the mizzen mast can be lowered to the ground using the main mast topping lift. Also removed the Hummer Grill, the boat hook, and the Horseshoe buoy overboard system. I verified the mizzen topping lift and mizzen halyard were long enough to act as staying lines as the mast dropped. I then disconnected all of the electrical lines that go to the mizzen mast. When I was sure I got everything done I could for the mizzen mast dropping project, I went back to the shop.
Kitty had purchased the two new belts
for the drill press, so I installed them. Those belts made quite a
difference. I finished cutting out the pieces of teak using the drill
press and a hole saw. I also sorted out more stuff to get rid of in the
shop, and loaded more stuff into the truck.
I then mixed up some more resin, and put
some fiberglass onto the SCUBA compressor cover. This cover would be
completely finished if I did not have so many problems with the resin
not kicking off properly. Any way we will see if any progress has been
made.
October 15, Thursday.
Went over to the shop first thing in the morning. Did not stop by the auto parts store to get the new belts. I decided to let Kitty do that errand, and also to stop by Triad and check on the pricing of a new inflatable dinghy. I worked on the SCUBA compressor cover. I completely washed out he inside of the box with acetone. I also worked on the clamps for the mizzen mast wiring. Loaded some more stuff into the truck to take to Dream Away. Left the shop, and went over to Dream Away.
Only took one cart full of goodies down to Dream Away. I stored away some spare rigging wire in case of an emergency in the forward cabin port side under the berth. I also stored away some fiberglass parts I will be using on the forward cap rail under the port forward berth. I also put some teak doors there that I will be using to make some changes in the mid cabin to take advantage of storage space not being used. Stored away a few other items.
Went to work on a problem we have with the staysail stay. When we tack the big genoa I have, the tack always gets hung up on the staysail stay. The solution is to move the staysail stay out of the way, but it is not as easy as it sounds. Any way I believe I have come up with a solution. That is all I'll say now. After we go out sailing next week and the solution is successful, I will take pictures and explain.
Next project is to try and get the dinghy in the davits from moving around while under way. Here again, I believe I have come up with a solution. I had two block systems left over from the previous davits. I have installed them in such a way I can keep the dinghy from moving horizontally back and forth in the davits. The arrangement I have now works, but is temporary. If the system holds up next week, I will weld a couple of rings to attach the blocks directly to the davits. Right now the blocks are attached to the davits with line. I will also weld on another set of cleats to tie off the line. If I do this, I will have to get new line, as the old line I have is not long enough.
Dinghy With Crossing Blocks and Tackles
to Secure Back And Forth Motion.

To solve the vertical motion of the dinghy while under way, I decided to use 3" PVC pipe. I cut the pipe to the proper length, and then notched each end to fit around the dinghy, and the other end to fit around the dinghy davits. I then tied a line on the dinghy, ran the line through the PVC pipe, then tied the line off on the davits. This PVC pipe, in conjunction with the blocks and tackles keep the dinghy very secure. Again this will be checked out next week.
PVC Pipe Between Dinghy And Davit On
Port Side.
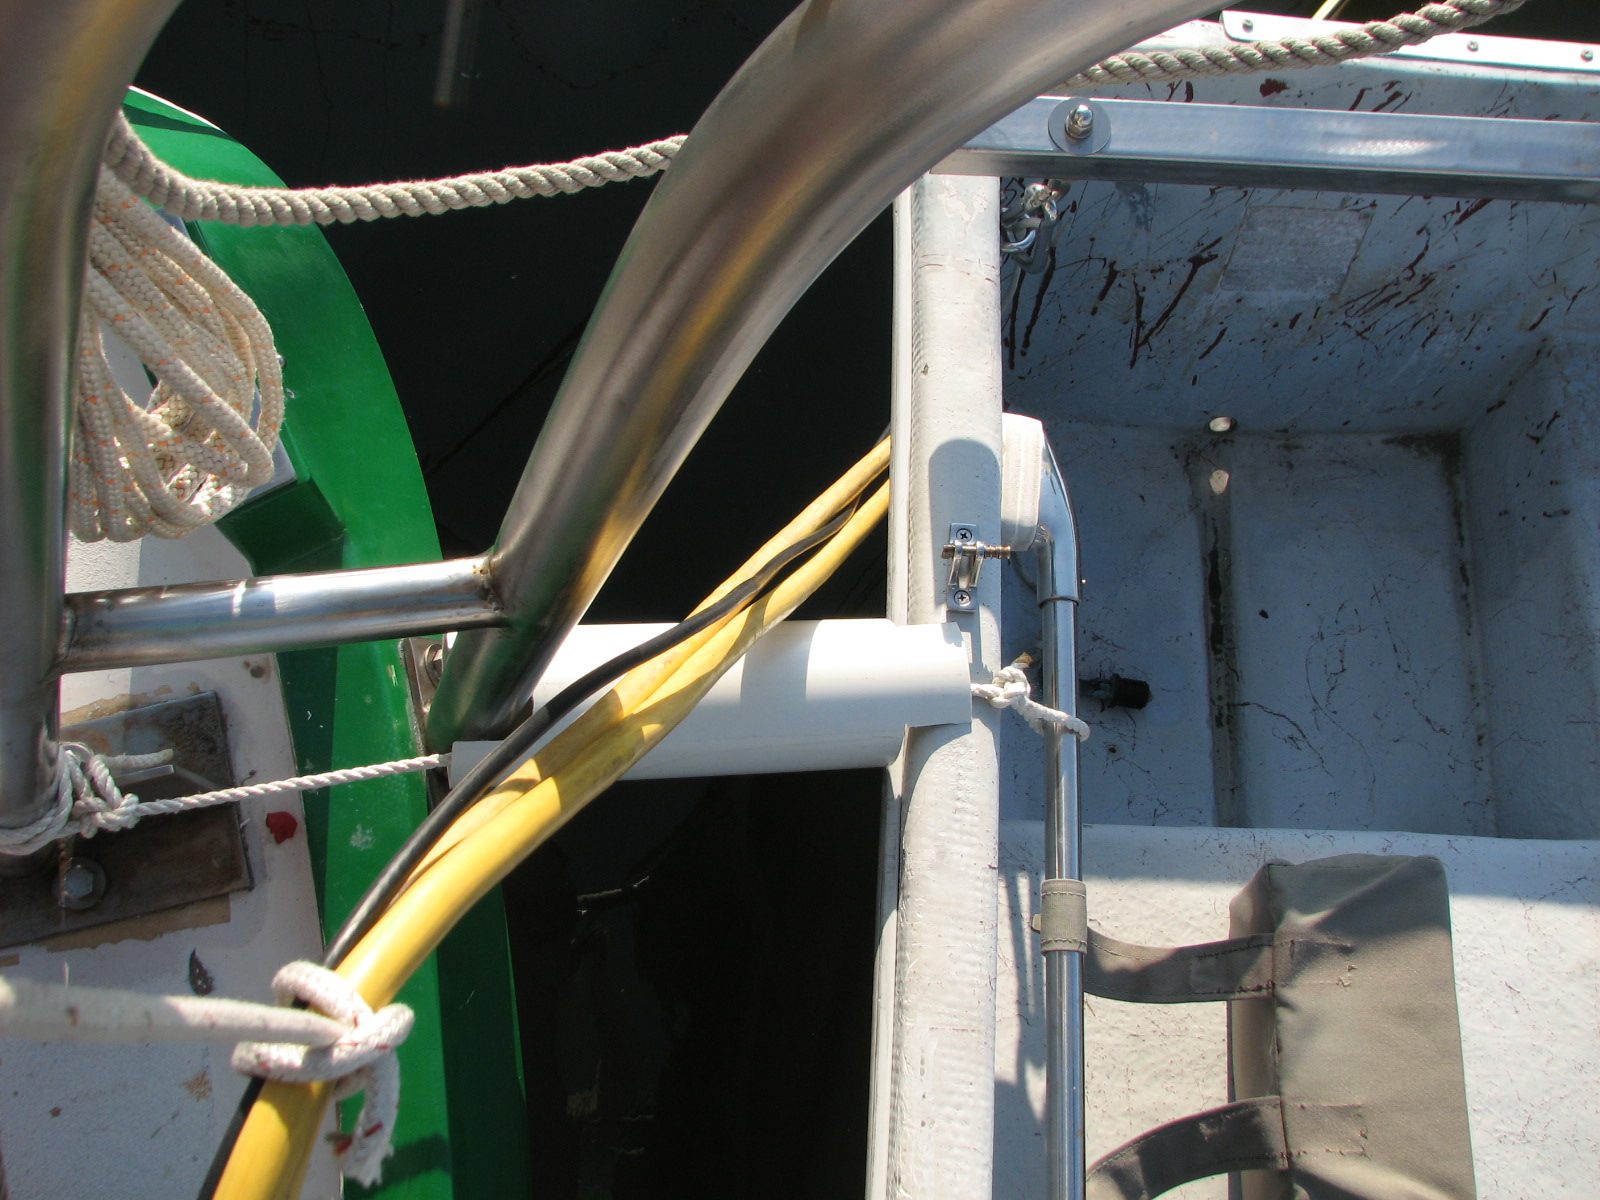
PVC Pipe Between Dinghy And Davit On
Starboard Side.

The last thing for the day was a high
and a low. I am getting way to many of these. With Stacy's help we
purchased a new inflatable dinghy at West Marine today. It is a really
good boat with a lot of the features I want in an inflatable. It has
aluminum floor boards, it is made out of Hypalon rather than PVC. It
also has three chambers, and an inflatable keel. It also comes with a
pump, repair kit, oars, seat and a carrying case. The folks at West
Marine delivered the boat to me late this afternoon. When I finished
with securing the hard dinghy to the davits, I wanted to get the new
inflatable out, pump it up and make sure it holds air over night. Now
comes the bad news/good news. The boat we ordered was not in the box.
The boat that was in the box is a much better boat. It is a sport cat
by AMI. It is a great boat, a bunch of features, but two items that
made me decide not to keep it. First and foremost, it is much bigger,
so to store it in my forward deck box means I will have to remove some
stuff, and I have no place to put it. The second item is the boat is
made of PVC, which has really poor UV characteristics. It is a bummer,
because the boat I have in my possession is a $2800.00 boat, and the
one I purchased is a $1500.00 boat. I will return the boat tomorrow,
and hope they can find another boat of the one I ordered. I will try
and get some money off, because I am saving West Marine about $1300.00.
I will see if they will throw in a cover for free. Oh well more fun
October 14, Wednesday.
Went over to the shop first thing after stopping at Alan's boat for coffee.
Took a good look at the SCUBA compressor cover, and I am still having problems getting the resin to kick off all over. Just as I was shaking my head, John came by the shop. I had him come over and look at the cover. He seems to think there is some kind of contamination on the outside, and inside of the box. He recommended I was the box down with a lot of acetone, then sand the whole surface of the box both inside and out, then another generous washdown with acetone. I started that phase of the project. I washed down the outside of the box with acetone, and started sanding. I do not have many 80 grit disks left, but I have a bunch of disks for my big grinder, which was on Dream Away.
I loaded a bunch of stuff into the truck
and went back to Dream Away. It took two cart loads to get all of the
stuff down to the boat. One item was the ditch bag which I put into
it's place. I also brought over the remaining sails and packed them all
onto the storeroom. I also put the boarding ladder in it's proper
place, and filled the fuel tank for the Yamaha. Also packed away
several other items. I replaced the shock cord around the aft trash
containers. The shock cord was in bad shape due to UV, and I came
across my stash of shock cord while stowing away the sails. It was a
good time to get it done.
I/We decided not to go out and test the boat this week. Too many things were cropping up, so we have decided to go out Monday for the entire week next week.
After lunch Kitty had some errands to
run, so she took me to the shop to work, while she ran the errands.
I am taking down the mizzen mast on Saturday. The one thing I need to fix is the wire for the wind generators. The wire drops down into the mast, and the wire is so heavy, I can not lift up the wind generator to remove it. Alan and I came up with a fix for the problem. Build a cable clamp to put on the wire, and drop it down into the wind generator support. So while at the shop this afternoon I cut out the two clamps I need out of the 3/4" fiberglass I have left over from the stern stanchion project. I got one clamp fabricated, and will make the other tomorrow. I am planning to drill two holes in the wind generator support pipes, and put a rivet in each one. This will prevent the wire clamps from dropping down any further. When that is all done, I should be able to remove the wind generators from the support pipes.
Also while at the shop I sanded down the outside of the compressor cover. I will wash it down with acetone tomorrow and then put some resin and fiberglass onto the box.
I also started cutting out the four teak
pieces I need to cover the holes I put in the aft cabin overhead to
secure the SCUBA compressor rack. I ran into a problem as one of the
belts on the drill press broke. So tomorrow I will have to go get new
belts to be able to use the drill press.
Kitty arrived at the shop around 1730, so we both headed back to Dream Away for a welcome shower.
I started to use the new WiFi setup I
finished installing yesterday, but was very disappointed. With the MAC
I cannot access the wireless network. If I take the MAC into the same
room as the wireless router, I can access it. BTW, the router is only 8
feet away from the MAC. I used the Gateway PC, and was able to access
the wireless router from the main saloon. When I moved to the aft cabin
with the PC, I dropped the connection. Very disappointing!! I looked up
the EnGenius router specs, and it says the transmit power is 6db. The
transmit power for the Kyocera we normally use is 15dBm of power. This
tells me there is not enough power from the EnGenius router. This of
course will necessitate a few calls to get to the bottom of the problem.
October 13, Tuesday.
Never left Dream Away today, and it was a day of highs and lows. First the low. Triad called us in the morning to tell us about our inflatable dinghy. It has a lot of very small leaks, a seam coming apart, along with the bad valve which I knew about. They said it would cost around $800.00 to get the dinghy fixed. A new Achilles from Triad would be around $1600.00. For me there is not much of a choice. I can not see spending half the cost of a new dinghy on the old one, and I still end up with a 20 year old dinghy. I also cannot see spending the money for a new dinghy right now, so we shall see what plan we can come up with.
Started in on the continuing wiring project. First off was the WiFi amplifier wiring. Naturally I had to take half of the mid cabin apart to get the wiring completed. I finally got it all done. I had to wire the antenna from the antenna to the EnGenius EOC160 bridge. From the bridge I had to run a CAT5 Ethernet cable to the EnGenius ESR1221 router. I also had to run power to both units. I got the power cable ran to both EnGenius units, and the WiFi amplifier. Last was actually connecting the power cable to the correct breaker in the breaker panel. I then powered up the complete system and verified operation, and it does work.
Next on the list was installing the new EPIRB in the old EPIRB box. This was done, so we are ready to go with the new EPIRB. With the EPIRB and the Spot, everyone should know where we are under all normal and emergency situations.
Now we move onto the AIS receiver. Got the power ran to the AIS receiver. Naturally the power connector is unique for the receiver, so had to cut and splice to get the power working. I got the power cable wired into its proper breaker in the breaker panel. I was able to get a PL59 to BNC adapter from SeaTech systems. This item saved a bunch of hassle. I got the antenna connected to the receiver. When I powered it on, the lights blinked. I still had to connect the receiver to the computer via a new Serial to USB converter, install the drivers, and then make sure the CAPN software would see the new AIS signals.
Before I could do the AIS checkout, I had to put the navigation station back together. I got all of the pieces put back into their proper places, and checked out. I brought up my Mac, then the virtual XP machine. I loaded the new drivers on XP, then brought up the CAPN. Bingo, I was able to see vessels going up and down the ship channel so that system checks out good.
When I got the boat put back together,
and all of the tools and other things I had scattered about, Kitty and
I had a tot of Zaya to celebrate the tasks accomplished for the day.
October 12, Monday.
Went over to the shop first thing and worked on the SCUBA compressor cover. The wax added to the resin seemed to help, but could not say for sure. Mixed up some more resin with some wax in it, and glassed some of the outside corners of the cover. Film tomorrow morning.
Went back over to Dream Away, and started back into the wiring project. I installed the new black box for the Globalstar satellite phone. That went good, and was able to charge the battery on the phone. If they ever get the satellite constellation back up to par, will be be able to communicate with the Globalstar phone.
Next on the list is the AIS receiver. Naturally a bunch of problems there. The antenna coming down from the top of the mizzen mast needs to be plugged into a piece of antenna wire running to the navigation station where the AIS receiver is located. I have PL59 connectors at the end of each wire, but did not have a PL59 union. At the end of the antenna wire for the AIS receiver is a PL59 connector, but the AIS receiver takes a BNC connector. Now I will have to get two parts to get the AIS receiver working!!
Started in again on the power wire for
the WiFI amplifier, and Sirius antenna. Got both wire run up through
the navigation station. Ran the power wire through the navigation
station and into the electrical panel area. Ran the Sirius antenna up
through the navigation station up next to the radar display. This is
where we decided to put the Sirius radio. I ran the power connector and
the audio wire for the Sirius radio. Was able to get the Sirius radio
working with the aft external antenna, so now we will have music, news
and games all the way across the Gulf of Mexico.
Went into a small locker on the
starboard side of the main salon and installed a terminal board for the
WiFi power cables. The power is run from the main breaker panel to a
terminal board in the locker. From the terminal board, power is run aft
to power the WiFi amplifier. Power is run forward for the EnGenius
bridge and router. I started on installation of the EnGenius bridge,
but did not get very far. Hopefully the 12 VDC to 24VDC converter I
ordered will be in so I can complete the WiFi amplifier installation.
October 9 - October 11.
Went to San Antonio Texas for a reunion
of the employees of Bendix Field Engineering Corporation. This was the
company I worked for when I was working on the Apollo Manned Space
Flight Network.
October 8, Thursday.
Went over to the shop first thing and worked on the SCUBA compressor cover. Applied some more finishing putty in areas on the edges. Talked to one of the guys in another shop about the problems i am having with the polyester resin not setting up, or kicking off properly. He suggested I am using a lamination resin, and I need to add wax to the resin so the surface of the resin will kick off. I mixed up a batch of resin, added the hardener, then a small amount of wax solution. We will see.
Went back over to Dream Away and got
back into running wires. Ran the Sirius antenna wire, plus the 50'
extension cable from the aft starboard side to the main salon, then
under the floor to the port side in the navigation station. While
running the antenna cable I also ran the power cable for the WiFi
amplifier system. I installed the WiFi amplifier on the bulkhead
between the head and garage on the starboard side.
I did not even get the power cable for the WiFi system, and the Sirius antenna wire ran all the way to the ultimate destination. Both wire stopped just under the navigation station. The WiFi antenna did get to the mid cabin.
That is all I was able to finish. It is
very difficult moving everything out of the way to run the wires, then
put it all back in place. I should have taken a photo of the mess in
the main cabin.
October 7, Wednesday.
Alan came over first thing and he helped me get the repaired anchor windlass on deck. It really helps to have a second person, because my arms are just not long enough. We got the basic windlass with the new gasket installed. Alan had to go, so he went off. I decided to finish the windlass installation later. Kitty was going off to shop.
With Kitty gone, I was able to turn off the air conditioner and open the boat. I disconnected the AC electricity coming into the boat, and got to work on the wiring. I got all of the AC wiring from the input breakers to the output breakers with new 8 GA wire. I added in a new double pull, double throw breaker for the SCUBA compressor/welder outlet at the stern of the boat, and got the breaker all wired up with the new 8 GA wire.
I installed two new DC breakers, and moved the main salon light to a different breaker. I then ran a wire for the AIS receiver power. I still have to run the power wire for the WiFi amplifier. Hopefully tomorrow.
I finished the installation of the
anchor windlass. I attached the anchor chain to the anchors, so now we
are ready to go.
October 6, Tuesday.
Kitty and I had a meeting to get all of our plans together for the next two weeks to make sure we have everything on the list to get done.
I went over to the shop, but forgot the key, so had to come back to Dream Away and get the key. Back over to the shop to work on the SCUBA compressor cover. I sanded down a couple of areas, then put some putty on a couple of seams. When the putty had kicked off, I cut out some pieces of fiberglass, and glassed then to a couple of seams. I left the shop while the resin kicked off.
Got back to Dream Away, and put the
"Whales Tail" on the Yamaha outboard motor. This device helps keep the
prop of the motor down in the water, and also allows more power of the
prop to actually push the dinghy along. I then used one of the new
locks to lock the two outboards to the rail. I also used one of the new
locks to lock the dinghy to the new davits using a stainless steel wire
for that exact purpose.
I then went to the Hummer Grill on the
davits, and rotated the arm the Hummer sits on 90 degrees towards the
back of the boat. I fabricated the arm to be able to rotate the grill
out of the way of the mizzen boom. Great idea, but I have not tried it.
The good news is after I rotated the grill, the mizzen boom cleared the
grille. This rotation will be used for passages.
Next was a fun part. I ran the new wire,
8 GA tri-plex wire, from the back of the aft cabin to the circuit
breaker panel. This job took about 1.5 hours, but I did get it done.
Hopefully tomorrow I will get the time to get it all wired up in the
circuit breaker panel.
I then replace the two Hella 12 VDC fans in the aft cabin with the two new fans I purchased last week. These new fans are much quieter, they move more air, and hopefully parts will not fall of while in use. One of the fans removed from the aft cabin went to replace a bad fan in the forward cabin. The second fan will become a spare. It the tropics, it is very important to have air moving. Hopefully i will be able to afford new fans to replace all of the old Hella fans remaining in the boat.
I then put the second bronze padeye on the outside of the boat on the starboard side right at the gate. This padeye along with the first padeye i put on a couple of weeks ago will support the boarding ladder. That finishes a small project, but I can now deploy the teak boarding ladder on the port or starboard side of the boat.
Last item for the day. I went back to
the shop and loaded the anchor windlass. I have made arrangements for
Friend Alan to come over in the morning to help me install the
windlass, hopefully for the last time this year or next!!
October 1 - October 5.
Participated in the annual Harvest Moon Race. Dream Away did not participate because we did not get the anchor windlass back in time. The Harvest Moon Race is an annual race from Galveston, Texas, to Port Aransas, Texas. It is usually a fun time, especially because of the social events in Port Aransas and the Bacardi sponsored parties.
The morning of the start of the race, October 1, Rick had pancakes for breakfast at 0600. We enjoyed the breakfast, than started out around 0700 to get to the start by 1420 in our case. It takes about five hours to go from Watergate Yachting Center to the start of the race off of the Flagship hotel on the beach at Galveston.
We had a good start, but the wind was on our nose. We tacked back and forth for many hours, but did not make much headway. Finally a cold front blew through. It was very exciting for a while, but after the front came through, we had good steady wind from the north, and Vista Cruiser really started to go. We finally finished the race around 0140 on Saturday morning, with barely any wind blowing at the finish.
We got settled into our area, got the boat tied up, had a margarita, then a shower, then sleep. I slept in to 0930 Saturday morning. Had a great day visiting with a who;e bunch of friends.
At the awards ceremony Saturday night we got first place in our division. There were only two boats that finished in our division, and we beat the other boat!
Next day after breakfast, we departed Port Aransas to sail back home. Had a great sail all day, as the winds were out of the south and we were heading north. The winds finally gave out to such a point we were only making three knots, so we started the engine to get our speed back up. Jacob, one of our crewman, had purchased fishing tackle in Port Aransas. During the trip back he caught two fish, a Kingfish and a Bonita. Both were cleaned and put into the refrigerator.
We got back to Watergate around 1700 on
the 5th of October. Vista Cruiser was pretty well cleaned up when we
arrived. We all took showers, then grilled the fish in our
pavilion. With all of the fixins' we had some great fish tacos. I
was in bed by 2100, and slept through till 0600. It was a great race
and sail, and I am really happy I decided to do it.
September 30, Wednesday.
Went over to the shop first thing in the morning with Gordon. I worked on welding two support pieces for Gordon's dinghy davit's. While Gordon worked on fabricating pieces for me to weld, I worked on the other storage room. I moved all items out of the storage room, and moved them into the shop. Most of the items were to move onto Dream Away, but just did not have time to clean up areas on the boat, and get the stuff moved. I did get the other storage room emptied and swept out.
I finished Gordon's welding. We loaded the two pieces into the truck and went back to Watergate. We took the two pieces out to Gordon's boat. I then went back to Dream Away.
I spent the afternoon getting my
equipment ready for the Harvest Moon Race. I also helped friend Rick do
some last minute items on his boat to prepare for the race. I got all
of my gear packed and loaded on Rick's boat, Vista Cruiser. By the way,
Vista Cruiser is a Hardin Voyager 44'. It is almost exactly the
same as Dream Away. Also went by the Watergate office and picked up the
anchor windlass. I opened up the box to verify that there were no
leaking seals. I also verified a gasket was included.
September 29, Tuesday.
Went by friend Oscar's boat and picked him up. We then went over to the shop and loaded the welder and the Argon bottle. We then went back to Oscar's boat. He had asked be if I could weld one of his aluminum stanchions that had broken on his boat. This seemed like a small job, so I agreed. He needed it done by the first of October as Oscar and his boat are participating in the Harvest Moon Race. The good news is the job went very fast, and the welding was done in about 15 minutes. Earned another bottle of rum!!
I then took all of the welding gear back to the shop and unloaded it. I loaded the truck with three SCUBA tanks, the oxygen tank, and all of the dive gear I could locate. Because we were installing the SCUBA compressor rack over the aft cabin, I had Kitty break down our bed in the aft cabin. Because the bed was broken down, it left the whole area under the bed exposed, and that is were we store the three SCUBA tanks, the oxygen tank, and all of the dive gear. Two birds with one stone.
Got the SCUBA compressor on the boat, and got it aligned on the pads I had glassed onto the deck over the aft cabin. I drilled the four holes for the through bolts, through the deck. With the four holes in the overhead of the aft cabin, I was able to use a four inch hole saw to cut four holes in the overhead liner. This was to make room for the three inch backing plates. I cleaned out the area exposed with the holes in the overhead liner. We did a dry fit of the rack, but I did not have the correct size bolts. I had four inch, and three inch bolts, but needed three and a half inch bolts. Off to Kemah hardware. We purchased the bolts, and the PVC pipe and fittings to store the spare water maker membrane.
We came back to the boat, Kitty dropped me off, and she went to Best Buy to get her computer repaired. I went back to work on the aft cabin hatch. I marked all of the holes that required drilling with a screw starter. I then drilled the holes out with the screw starter. I did another dry fit of the hatch, and all of the holes were right on. I then applied plenty of roof mastic to the hatch, and installed the hatch onto the base.
Kitty returned, and we were able to get
the SCUBA compressor rack installed. I needed a second person because
my arms were not long enough to hold the head of the bolt and twist the
nut. The installed rack looks really good.
I then carried the three SCUBA tanks, the oxygen tank and all of the dive gear to the aft cabin. I got all of the tanks put into their places. Kitty tightened down the tank hold downs, and put all of the SCUBA gear and dive gear away.
Meantime, I was working on the mid-cabin hatch. I marked all of the holes that required drilling with a screw starter. I then drilled the holes out with the screw starter. I did another dry fit of the hatch, and all of the holes were right on. I then applied plenty of roof mastic to the hatch, and installed the hatch onto the base.
That is another milestone on our way cruising. The hatches and the compressor rack is the last of the major projects. What remains are several small projects that I will probably get done before we leave in November, but we could leave now. A toast was drunk in honor of the finished project.
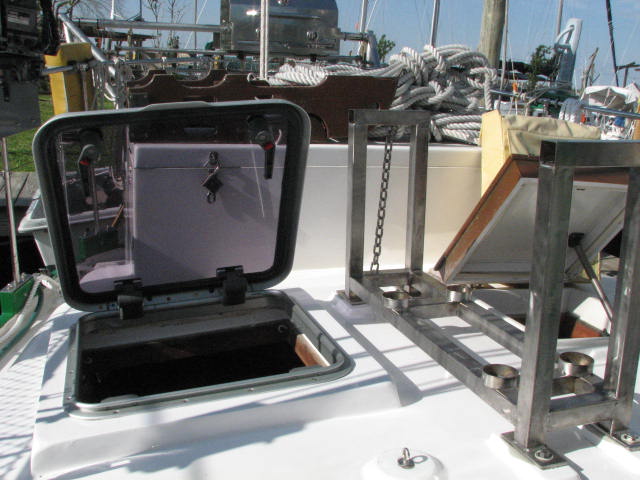
Mid-cabin Hatch Base With Gucci Hatch In
Place. New Lewmar Hatch on Top Of Gucci Hatch.
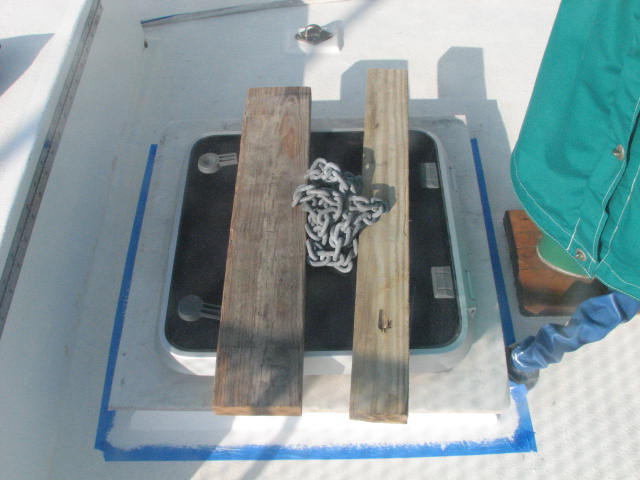
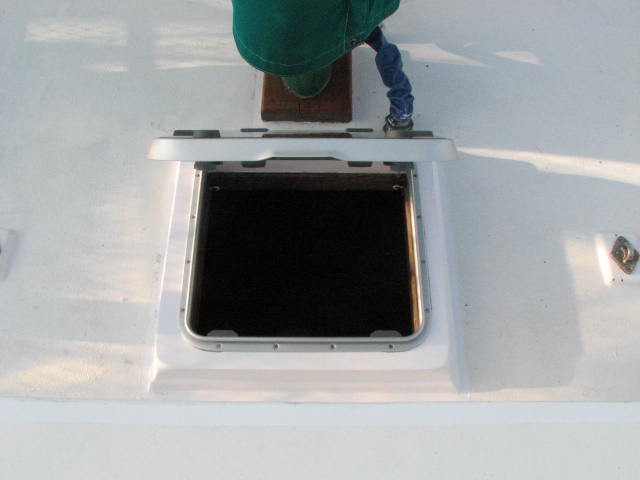
Aft Cabin Hatch Base With Gucci Hatch In
Place.
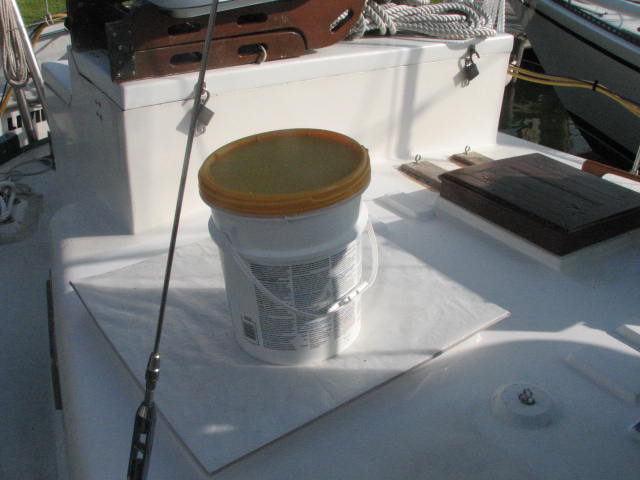

September 28, Monday.
Kitty and I went over to the shop first
thing in the morning. We loaded all of the stuff in the staging
storeroom that was give away into the truck. Kitty drove the truck over
to Goodwill and dropped it all off. I moved all of the remaining items
I want to try and sell, back to the main shop. All that remains in the
staging storeroom are items that need to be loaded onto the boat.
I also worked on the SCUBA compressor cover until Kitty returned. I then loaded both outboard motors into the truck along with their fuel tanks, then we went back to Dream Away. I unloaded the motors and tanks and took them to the boat. Got some help from friend Harold, and was able to get the 15 HP Yamaha onto the outboard bracket. I then loaded the 5 HP Mercury onto the bracket. This was the first time both motors have been on the new outboard bracket, and they both fit perfectly.
Kitty went out to the Doctor's and to run some errands, so I was able to shut down all of the AC power to the boat. AS I said in an update a couple of months ago, I am running a AC wire to the aft deck box so I can plug in the SCUBA compressor and the welder. The wire is an 8 AWG wire, so I have to change all of the wires on the input breaker panel and the main AC Switch to 8 AWG wire. I started this process, but did not get it finished. I still have a fair amount of wiring to do. Hopefully when I return from the Harvest Moon Race, the weather will be cool enough that Kitty will be able to have the air conditioner off.
When Kitty returned to the boat, I put all of the wiring stuff I had out back into its proper places, got AC power back to the boat, and started the air conditioner. I then went over to the shop and worked some more on the SCUBA compressor cover. I am making very good progress with the cover.
September 27, Sunday.
Went over to the "staging" storeroom with Jimmy and Barbara. They looked over all of the stuff we are selling and giving away, and took some of it. They left and Kitty and I remained behind. We went through all of the stuff I had saved to go onto the boat. A few things were added to the give away pile, but most remained to go to the boat.
Went back to Dream Away. I prepared the hatch bases of the two hatches. I hit the bases with 220 grit sandpaper. Got both of the bases smooth, then wiped them down with acetone. I then went over the bases with a tack rag, and then put on the second coat of the Interlux Brightside single part epoxy paint. The bases really look good. I will now wait 48 hours before I install the hatches and the SCUBA compressor rack.
I then went below and worked on the
battery wiring. I had noticed a couple of problems with the wiring
yesterday while charging the batteries with the main engine. There is
still a weird reading I have no explanation for. I measure the battery
voltage at the batter with my DVM. The LINK 2000-R also measures the
voltage at the battery, but my meter consistently measures at least a
tenth of a volt higher. More checking will have to be done on that
issue.
I took the remainder of the day off. I
showered and read!
September 26, Saturday.
Went to the shop first thing, and started on the library store room. I loaded the remaining two sets of shelves into the truck, and took them over to Alan's shop. Back to my shop and the library store room. Loaded all of the trash into the truck.
I then spent some time working on the SCUBA compressor cover. Since I am making this cover out of several pieces of fiberglass, I have to put the cover together in pieces. I put two or three pieces together with finishing putty. I also use the finishing putty in the corners so I have a nice radius for the fiberglass. When the finishing putty dries, I then put one or two layers of mat plus resin, to build up the strength. I need to do this because I am sure the cover will be stepped on.
Went back to Dream Away, unloading the trash into a dumpster at the marina. Went over the two hatch bases looking for problems. Found a few, and hit them with 220 grit sandpaper. Got both of the bases smooth, then wiped them down with acetone. I then went over the bases with a tack rag, and then put on the first coat of the Interlux Brightside single part epoxy paint. The bases really look good.
I then attached the brackets that hold on the man overboard light and horseshoe ring. I then installed the light and horseshoe ring onto the brackets to finish that project.
I washed the third awning, and got it dried. I folded it up into a nice compact package, then had to re-fold the other two awnings so the foot print was the same for all three. There is limited space for the folded awnings, so I have to be careful.
I ran a complete battery cycle on just
three of the gel cells in the house battery using the engine
alternator. It took about five hours to go through the bulk charge,
accept, and then float. That time is more like what I would like to
see, but the real problem is, the measured voltage at the LINK 2000-R
never for above 13.95 volts. The bulk charge cycle, and the accept
cycle should have been at 14.4 volts. I generated an email and sent all
of the information concerning the charge to Xantrax. I have a technical
support call open with them concerning this problem. I opened the
support call on 9-22-09, and have not heard anything more from them.
September 25, Friday.
Started off the day by removing the covers from the hatch bases. Got out a soft cloth and wiped down the area around the hatch bases so they area would dry and continue applying the primer.
While waiting for the drying to occur, I installed the blocks Robert took off the stanchions for the roller furling back in place. I also removed the forward awning and put it off on the dock.
Next I got a new soft cloth, and with acetone, wiped down the mid-cabin hatch base and the aft cabin hatch base and compressor blocks. I then used a tack rag on both areas and applied the second coat of primer.
We went to South Carolina with Stacy, for the weekend to see good friends Dale and Karen. Had a great time. Came back to Atlanta and spent more time with the kids. Left Atlanta on the 23rd and had an eventful trip back to Houston.
Went over to the shop first thing, and spent the day loading the Dino onto the trailer, and then loading the truck with all of the Atlanta stuff. Had lots of help from many friends, so it all went very smooth.
Tomorrow it will be up very early, and
then under way to Atlanta with a truck full of stuff, and the Fiat Dino
on the trailer.
Went over to the shop first thing, and brought all of Gordon's Davits back to his boat. Helped him get his davits installed on the boat.
No Dream Away Projects today. Was employed with the Buffalo Bayou Partnership pontoon boat for the day.
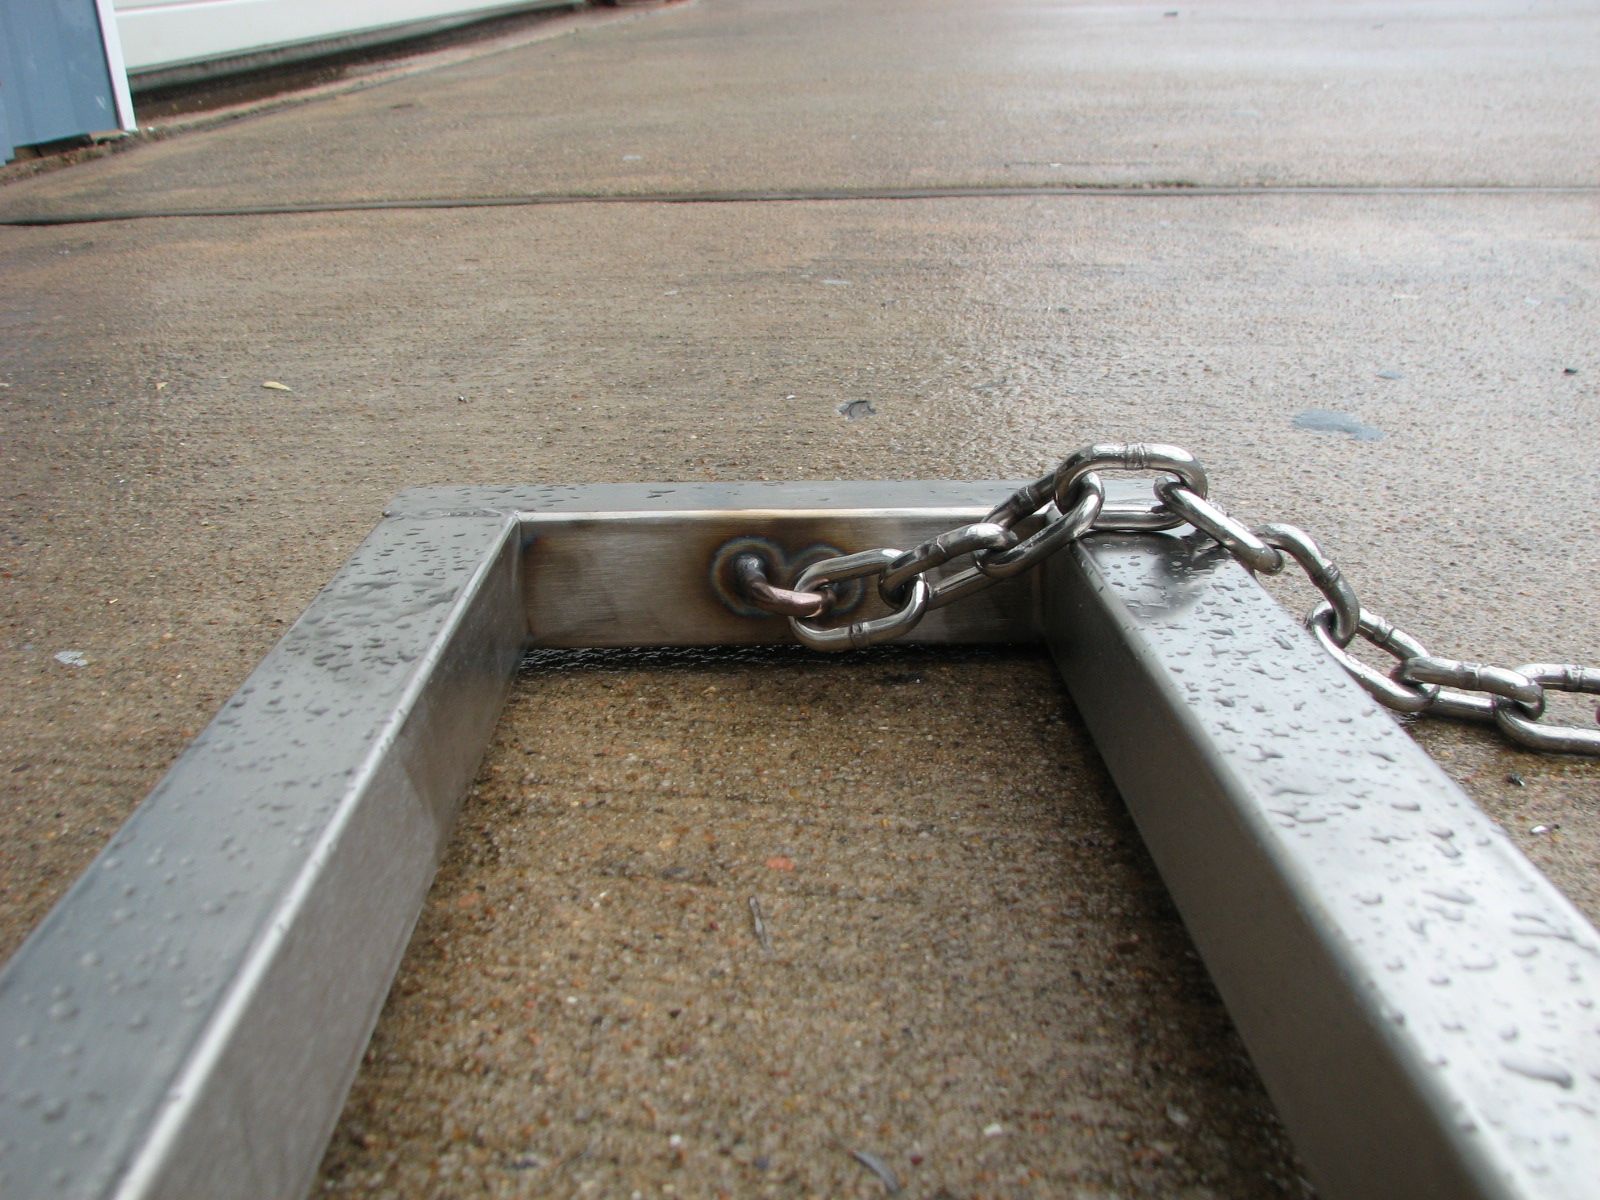
Went over to the shop first thing in the morning. It was off and on raining, but I was able to get the generator working long enough to weld the chain on the SCUBA compressor rack, and the two aft gate wire.

Chain Welded to SCUBA Compressor Rack.
The remainder of the day was spent working on getting stuff packed and ready to move to Atlanta.
A small historical note, we had a Ike
survivors party party, and it was well attended. It was a year ago
today we all evacuated for the storm. Much of the area is back to
normal, but there are still many areas that have not been rebuilt, and
even still living in tents. It is all up to the media where the
suffering is. Even with Katrina, all anyone remember is New Orleans,
but the Mississippi Gulf Coat suffered much more damage than New
Orleans. They just rebuilt and moved on. Pretty much the same with Ike,
you are still hearing about Katrina in New Orleans, but nothing about
Ike, we are rebuilding and moving on.
It was raining like cats and dogs, so
did not do the walk with Puss-N-Boots. Stayed inside and worked on
getting the EnGenius bridge working. Another hour and a half wasted, no
progress.
Went over to the shop to do some welding. I wanted to weld the stainless steel chain to the SCUBA compressor rack, and to fix the two gate connections for the stern. Would you believe, as soon as I got the generator started, and the welder set up, it started to rain - a lot. Had to stop the generator and put it away.
No welding, but for the next two or three hours worked on getting the storerooms cleared out and organized. Kitty and I made good progress.
Went back to Dream Away for lunch. After lunch got back on the EnGenius Product. Called their support line and found out I have to use the router that was purchased with the system. Spent the next hour and a half working on getting the bridge and router working. Did not get it working. I will be calling the support line again tomorrow to see if I can get the system up and running. It is really interesting, in that the on line manuals are horrible, and do not match the software installed on either device. They could really use a technical writer.
Back outside and started in on the hatches. Worked on trimming and cleaning up the mid cabin hatch. Got the first application of the filler putty on the base.
Went to the aft cabin hatch, and finished off getting all of the gelcoat cleaned off of the hatch base, and the pads for the SCUBA compressor. Did not finish, but the filler putty on the mid-cabin hatch base had kicked off, so went back to that hatch.
Cleaned off and sanded the hatch base on
the mid-cabin hatch. Got it looking pretty good. Applied the first coat
of the finishing putty on the mid-cabin hatch base.
Back to the aft cabin hatch base. Got
all of the gelcoat cleaned off of the area, and all sanded down. Of
course there were a few bad spots, so had to put on another application
of the finishing putty. This will be the last application of finishing
putty on the aft cabin hatch base and compressor pads. Tomorrow,
weather permitting, I will sand the area down and get the first coat of
primer on the area.
Went back to the mid-cabin hatch, and
sanded down the hatch base. it was looking really great except for a
few minor issues. Applied the last coat of the finishing putty. Like
the aft cabin hatch, when I sand down this last application of
finishing putty, and clean up the hatch base it will be ready for the
first coat of primer.
The weather tomorrow is not looking good
for painting, but we will see.
Started off the day on Dream Away wanting to continue work on the hatches, but Mrs Nature had other thoughts. I made the attempt several times during the day, but each time it was raining. So it was other things that needed attention.
The last project for
the day actually happened while work on the WiFi network was
progressing. The air conditioner had stopped, and I heard water
dripping. This was not a good sign. I investigated, and discovered the
condensate from the air conditioner evaporator, was not draining
properly, and running out of its pan. I also discovered the sump for
this overflow was not working. I got the sump cleaned and working
properly, they was able to blow out the hose for the condensate pan,
and get it flowing properly. Just the routing maintenance of living on
a boat.
Went over to the shop first thing, and finished up the major welding on Gordon's Davits. Finally!!
Went back to the boat, and went down hill from there. There had been a major rainfall at the marina, but barely rained over at the shop. When I walked up to the boat, I noticed Robert's canoe, which he left behind our boat, had about 3 inches of water in it. He also left a lot of his work tools in the bottom of the canoe. I jumped down into the canoe and started to bail out the canoe. Next thing I know the canoe had capsized, with me in it. My iPhone got soaked. Major Bummer. I got all of Roberts things out of the canoe onto the dock, and hosed everything off with fresh water. We then put it all out on the dock to dry. I also finished the canoe bailing, and was successful this time.
Kitty and I went to the dentist for a six month cleaning, so that shot the remainder of the day.
Went over to the shop first thing and
spent the day welding on Gordon's davits. Finished at the shop around
1430.
Went to Gordon's boat first thing and helped him get his backing plates in for the Davits I am constructing. I know, please leave it at that!!
Went back to Dream Away to get ready to put the second coat of gelcoat on the after hatch base and SCUBA compressor pads. Not a good thing. For some reason, not all of the gelcoat had kicked off!! Some had done a fine job, and some of it was a bit tacky. I was pretty upset about it. I fumed about it for a few minutes, and decided to blow off the gelcoat. I could futz around with it for a couple of days, but the bottom line is I do not want to solve some kind of chemical problem. I want the hatch base to look nice.
I decided to remove the wet and dry gelcoat, and paint the area. Of course it is not as easy as 1-2-3. I started off with a scraper, and Acetone and paper towels. I got about half of it done before I had to got to the shop.
Went back to the shop and welded on
Gordon's davit project.
Went over to the shop first thing and worked for 2.5 hours on getting stuff ready to ship to Atlanta. I also put another layer of finishing putty onto the new piece added to the aft hatch cover. Went back to Dream Away.
Once at Dream Away, I got the mid-cabin hatch ready to glass. I got all of the fiberglass pieces out and made sure they fit onto the hatch base correctly. When I finished the sizing, I mixed up the resin. I went out and put both layers of fiberglass down on the hatch base which had been wetted-out with ample resin. Then I applied the hatch insert to the wetted-out resin, and made sure the insert was in the proper place.
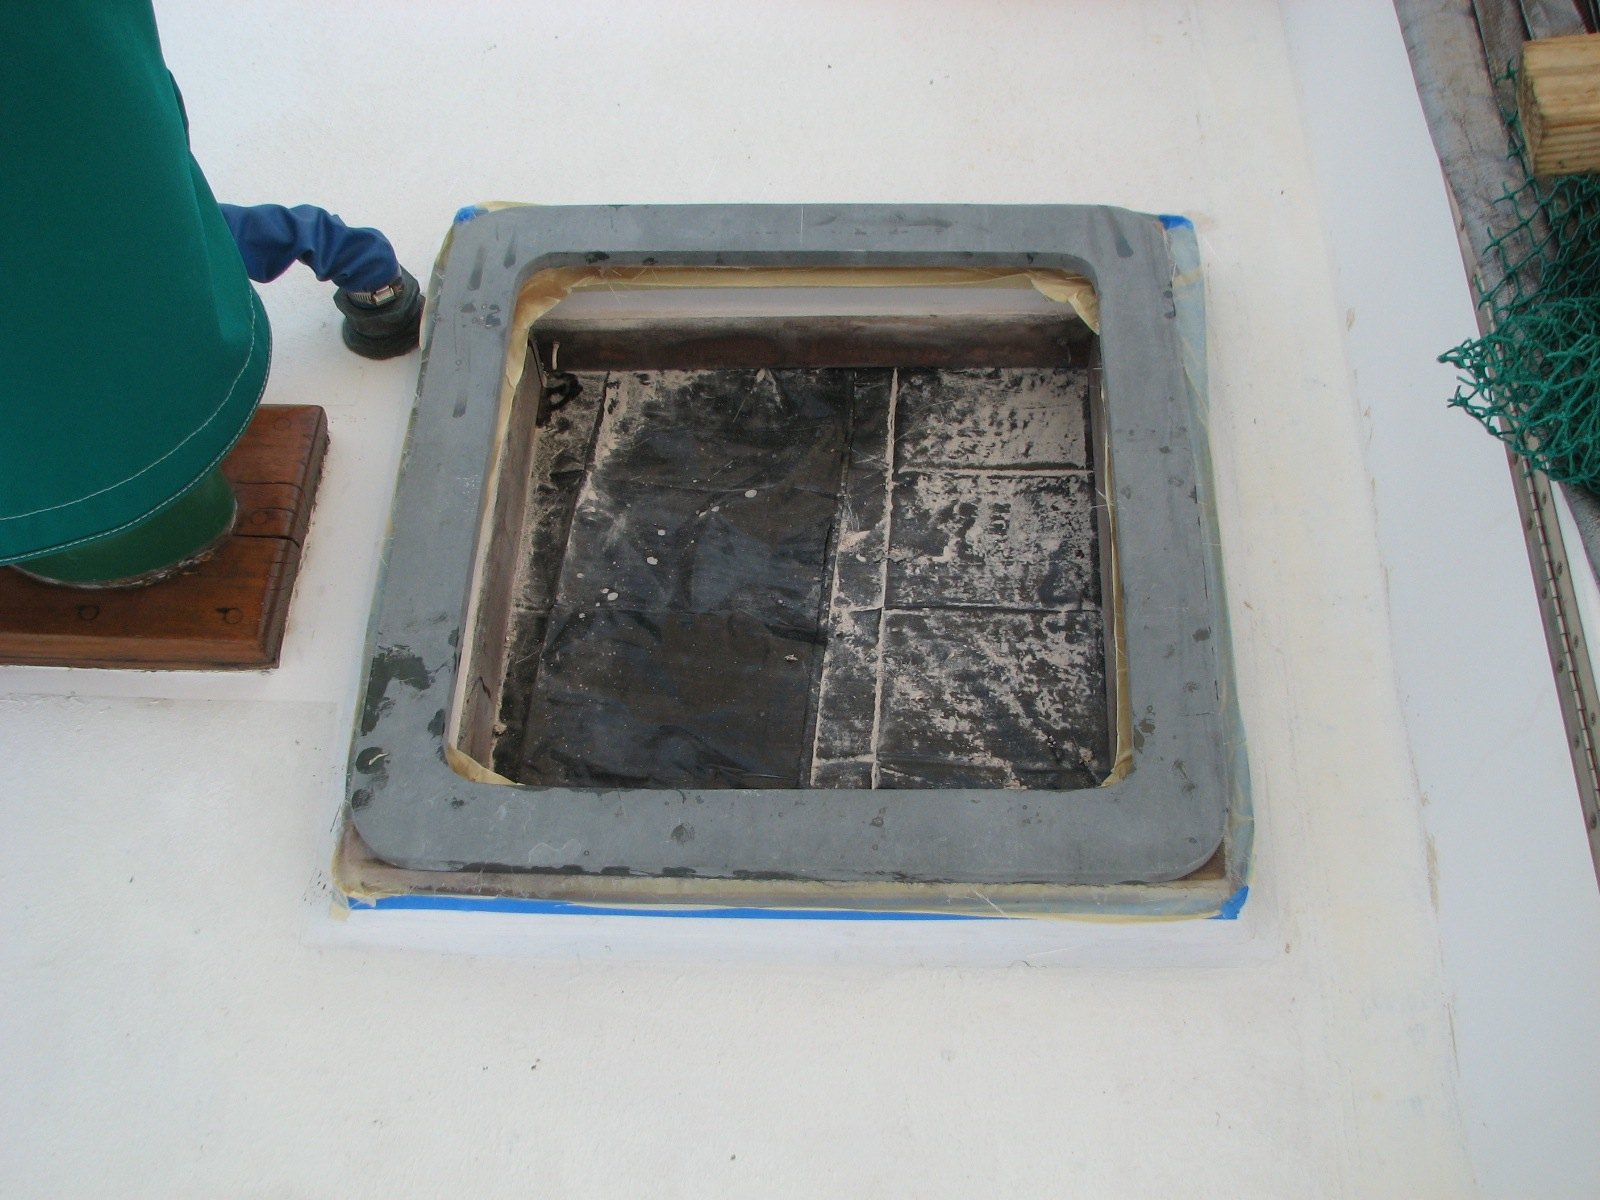
Next, I started on the aft cabin hatch and the pads for the SCUBA compressor. I wiped down the whole area with Acetone and got the gel-coat ready for application. I was going to roll and tip the gel-coat. I thinned the gel-coat with Styrene, then added hardener. Then I applied the gel-coat to the aft hatch base and to the compressor pads. It looked pretty good, although I will have to add a second coat. I did not want to put it on super thick at first and have it look bad.
Aft Cabin Hatch With First Coat Of
Gelcoat Applied.
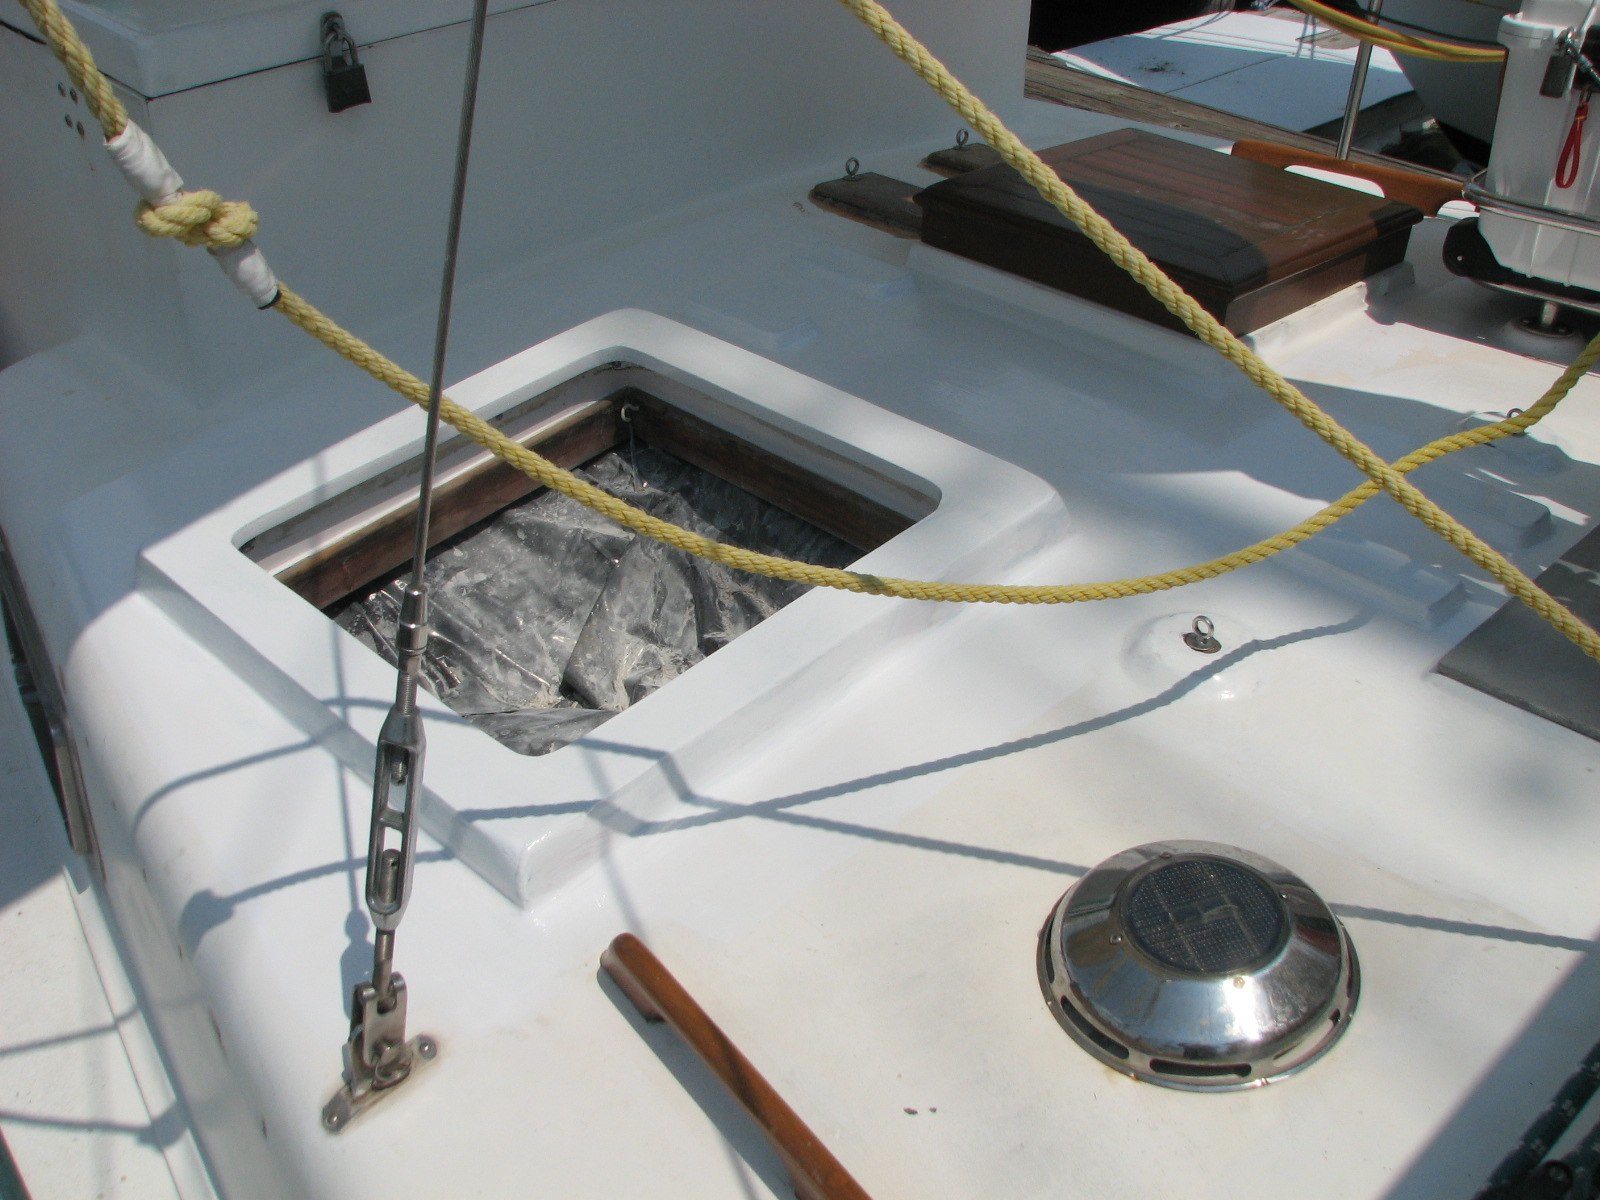
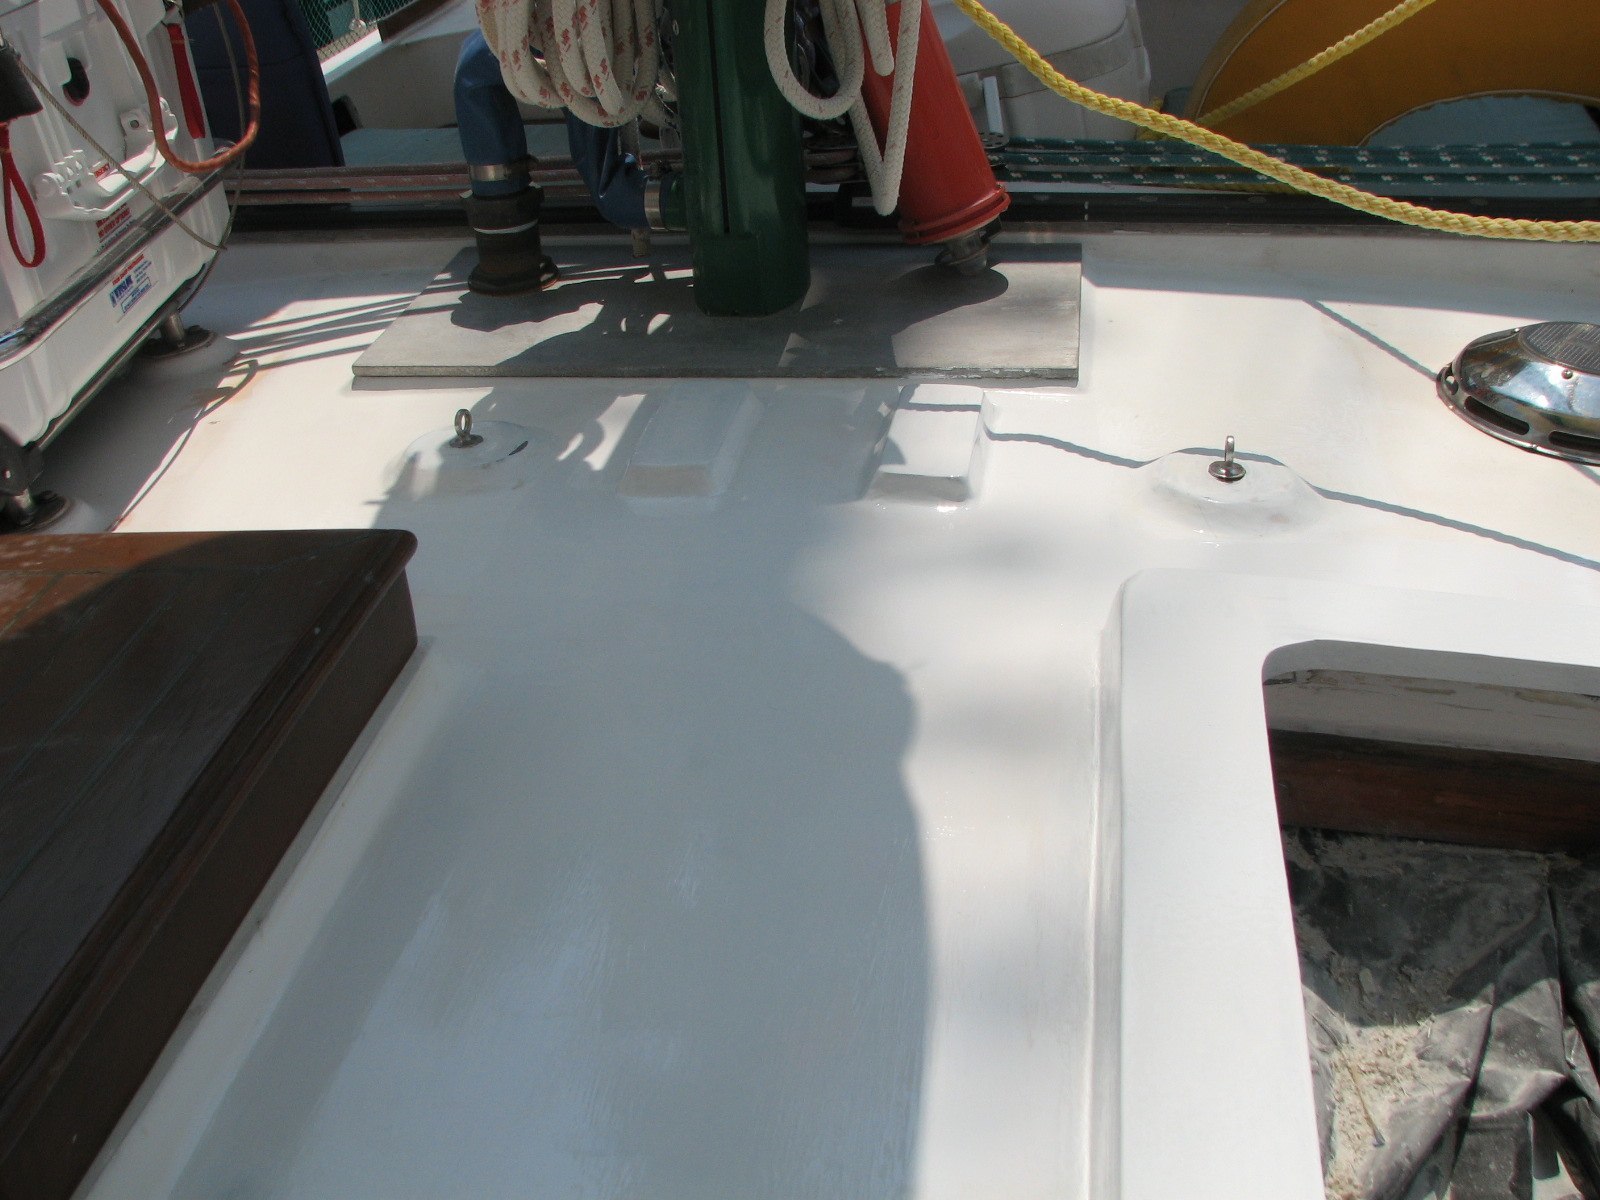
I went over to friends Alan's boat and
helped him with some electrical connections. From Alan's boat I went
over to the shop. I welded tabs on Gordon's davits. Went back to Dream
Away around 1830.
First thing in the morning, I masked off
the water line on the dinghy. I stirred up the anti-fouling paint and
applied two coats to the bottom of the dinghy. When I finished the
painting, I pulled off the masking tape.
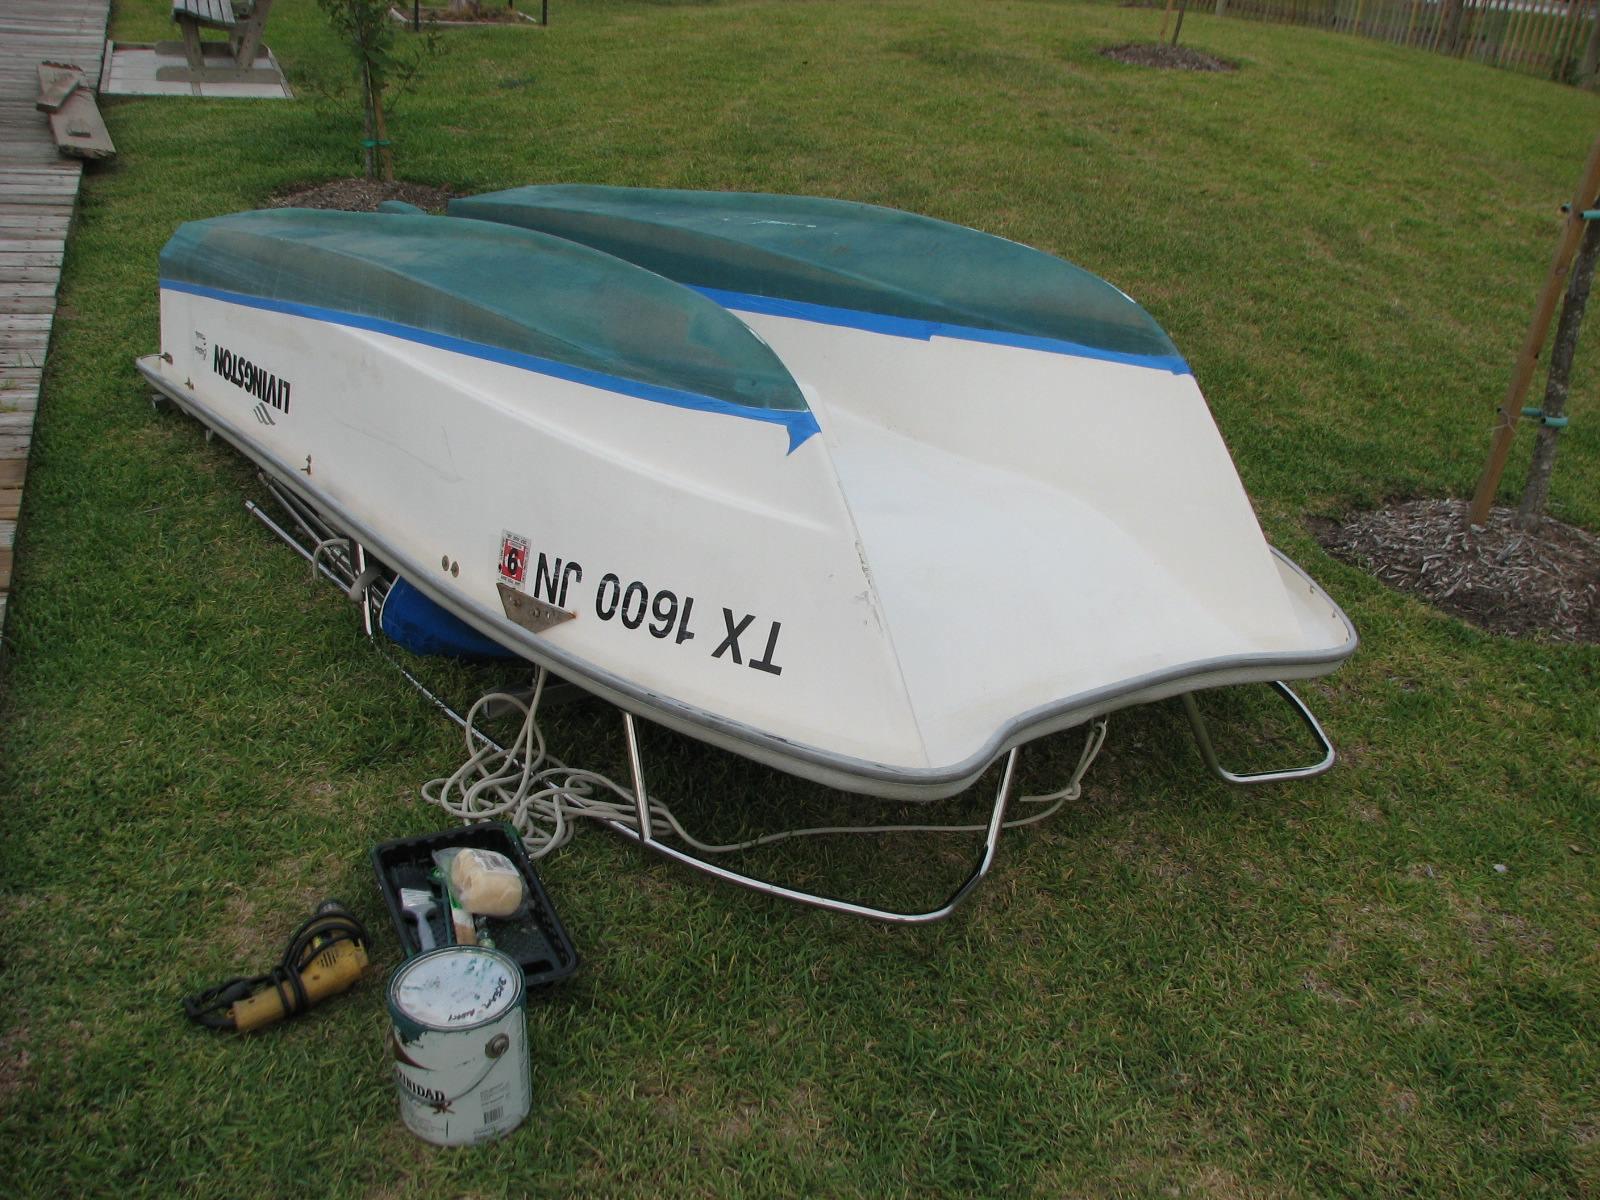
Dinghy Bottom Painted With Masking Tape
Removed.
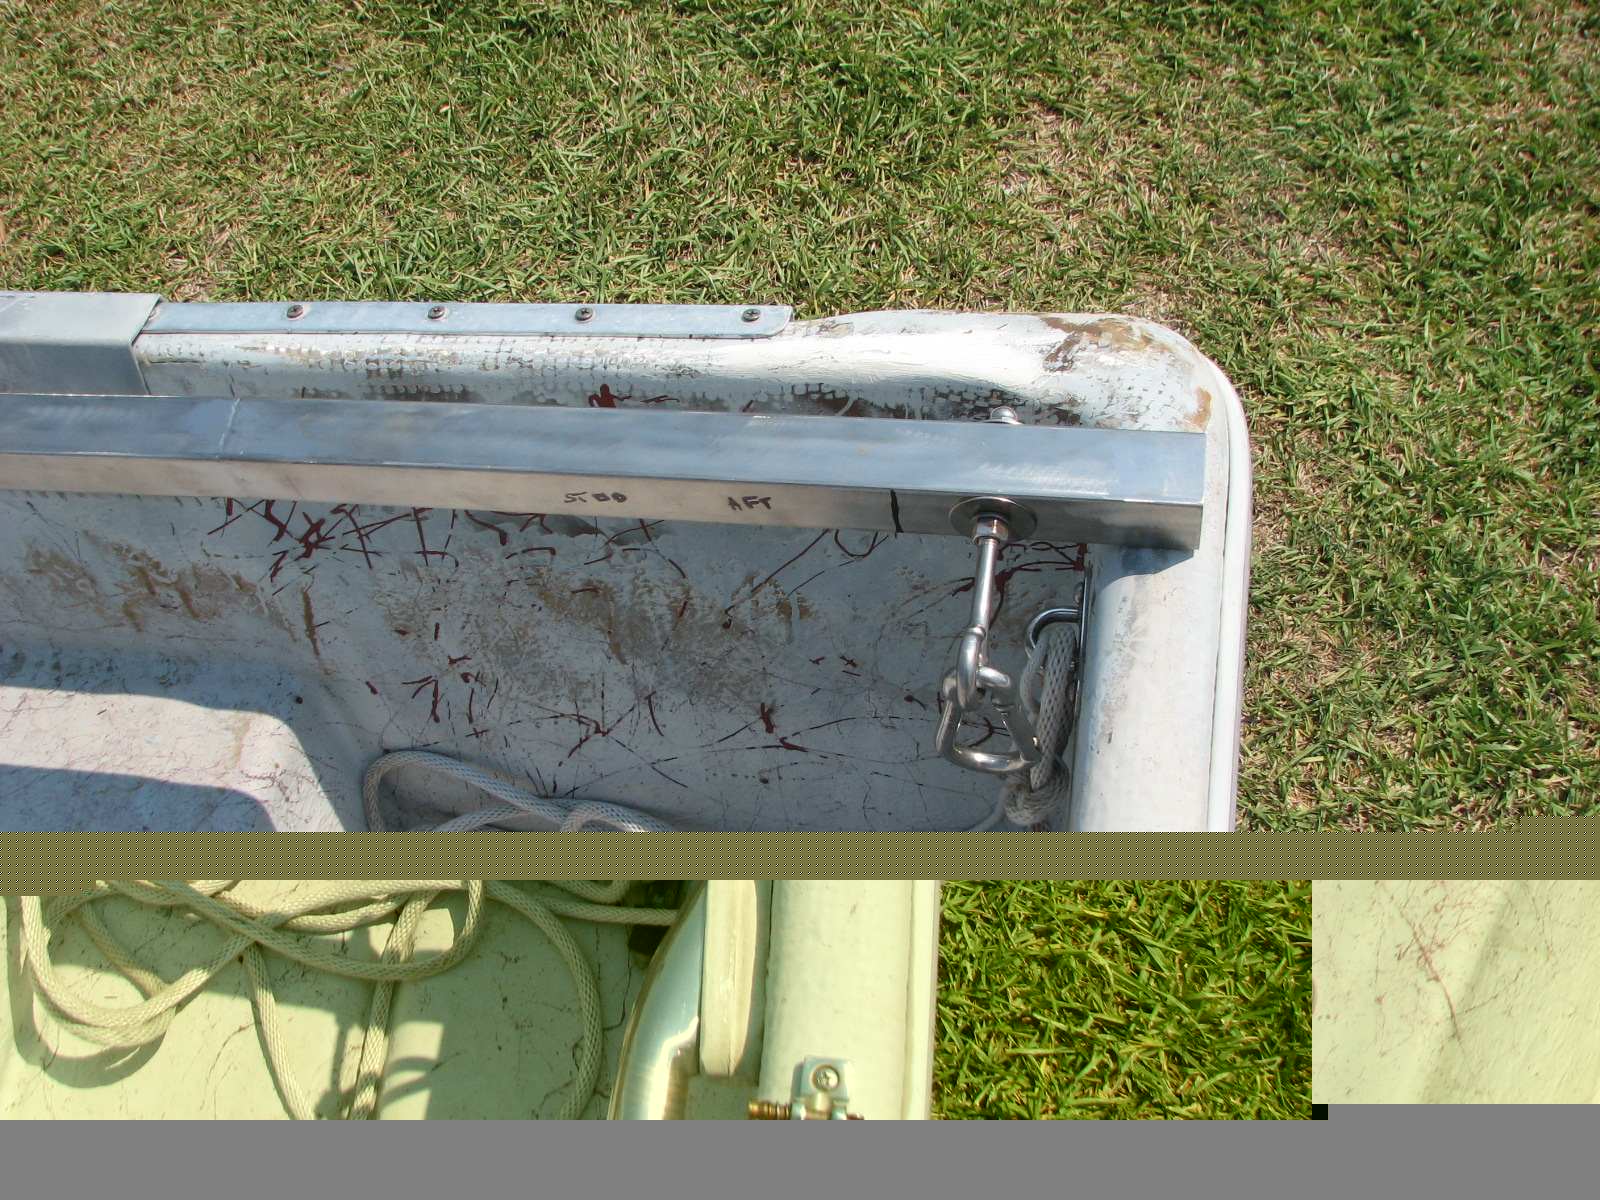
Went over to the shop first thing to work on the spreader bars for the dinghy davits. I cut some fiberglass pieces that just fit into the square tubing of the spreader bars. These fiberglass pieces will prevent crushing of the square tubing when the bolts and nuts on the eyes are tightened down. I inserted the fiberglass pieces into the square tubing, and drilled the holes for the eye bolts. I had marked the location of the eye bolts yesterday. I cleaned up the spreader bars, and went back to Dream Away.
On the way back to Dream Away, I stopped by West Marine and purchased four carabiners for the spreader bars. They only had three in stock, but I would get the fourth later in the afternoon.
When I got back to Dream Away, I got all of the hardware needed and constructed the spreader bars and put them on the dinghy. I then pulled the dingy over to the stern of Dream Away, Hooked up the block and tackle from each davit, and lifted the dinghy off of the dock so it was supported by the davits. Everything worked great and the project is mostly finished. I put the dinghy back onto the dock, and pulled it over to the grass. I turned the dinghy over and masked it off for a coat of anti-fouling paint. I will put the paint on tomorrow.
Dinghy With Aft Spreader Bar, Eyes and
Carabiner Attached.
Dinghy Hanging From Davits From The
Stern. Spreader Bar With Eyes to Davit Block and Dinghy Attachment
Point.
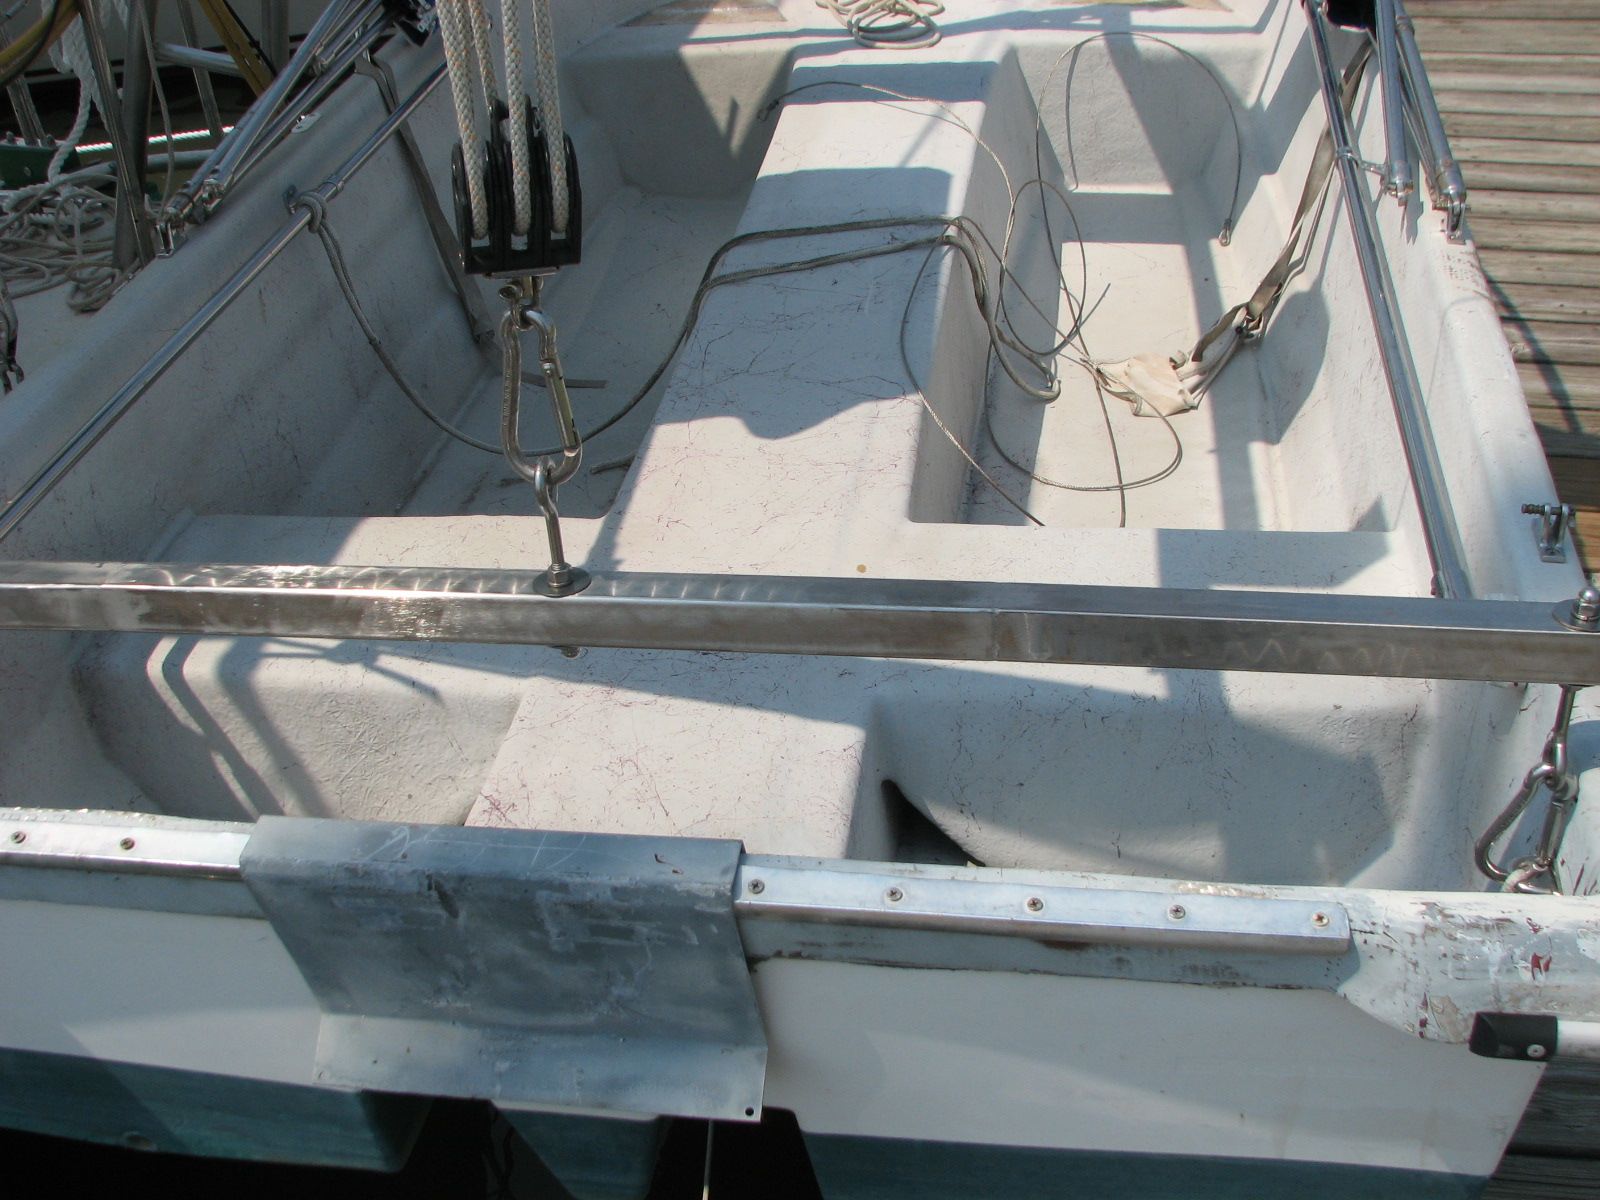
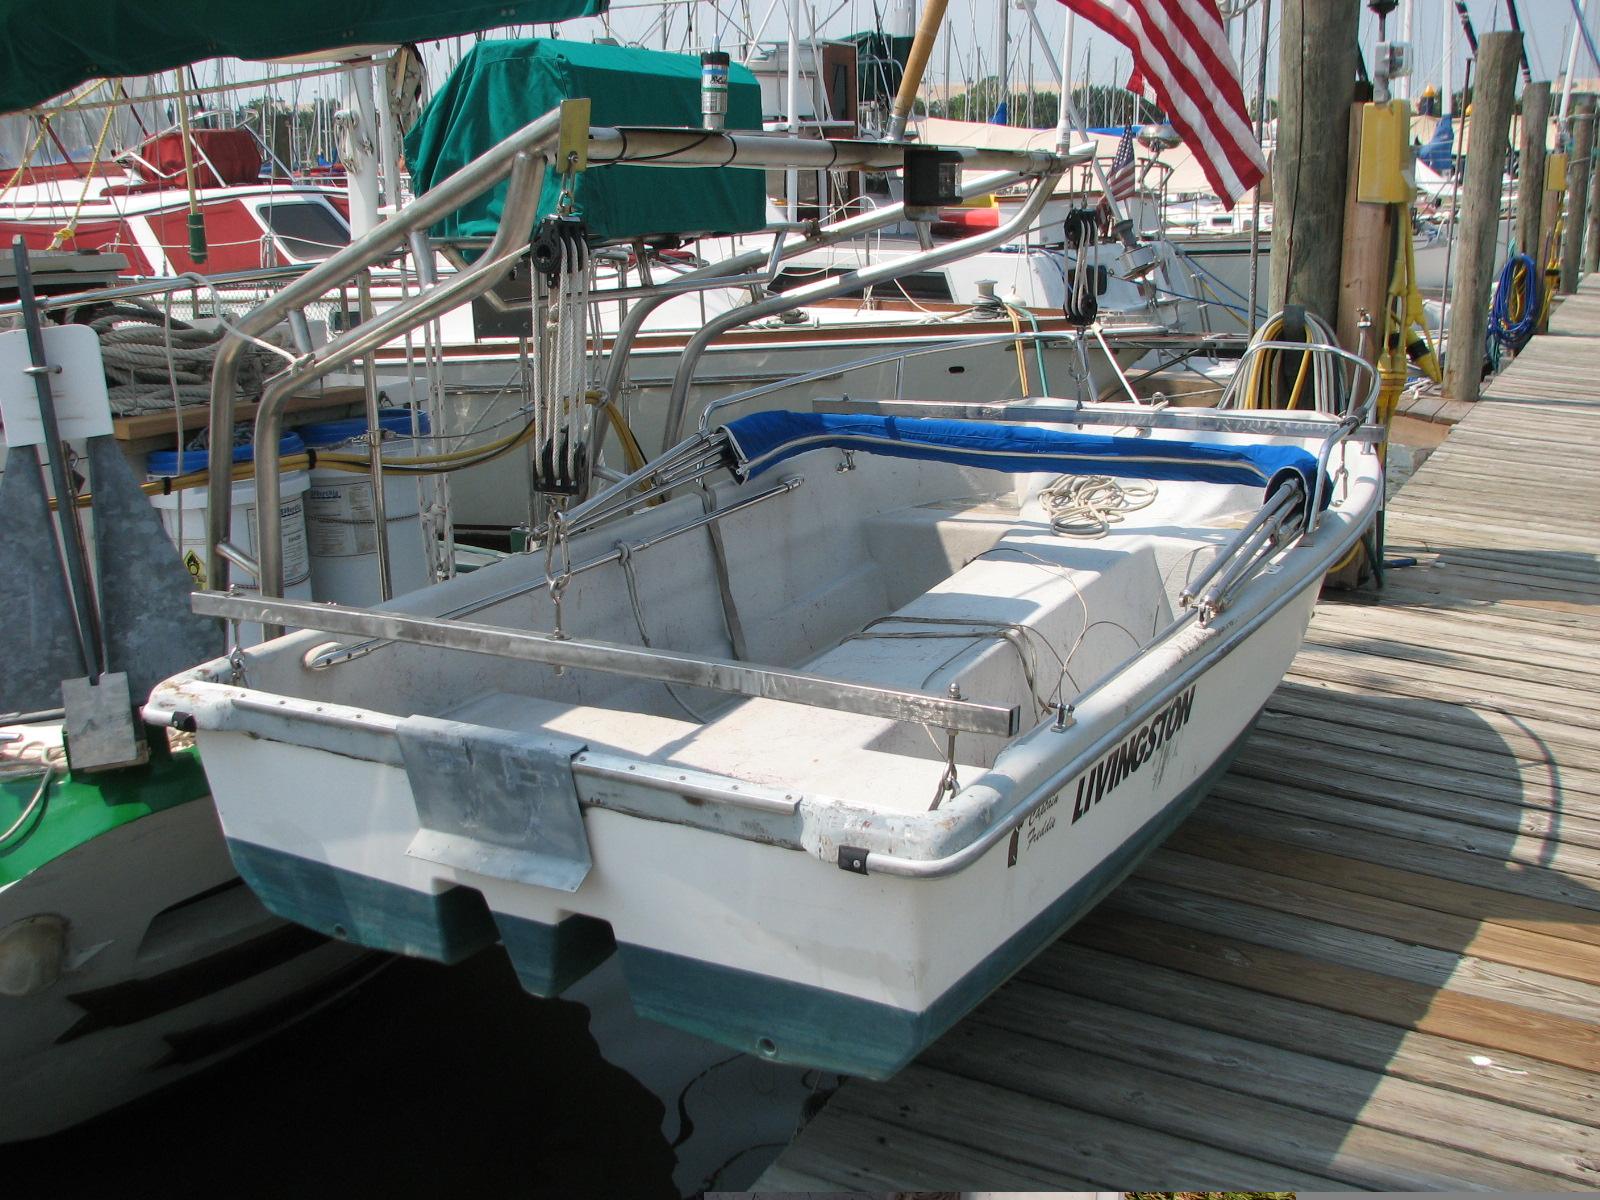
Dinghy Hanging From Davits With Spreader
Bars.
While I was working on the davits, Kitty had called Lighthouse Manufacturing, and talked to Jordan. He was very surprised the gasket was not included and upset about the oil leak. He issued us a FedEx Label to send the windlass back to him. Before the day was out, I had the windlass packed back up and in the truck. Tomorrow I will take the windlass over to the Watergate office to be picked up by FedEx.
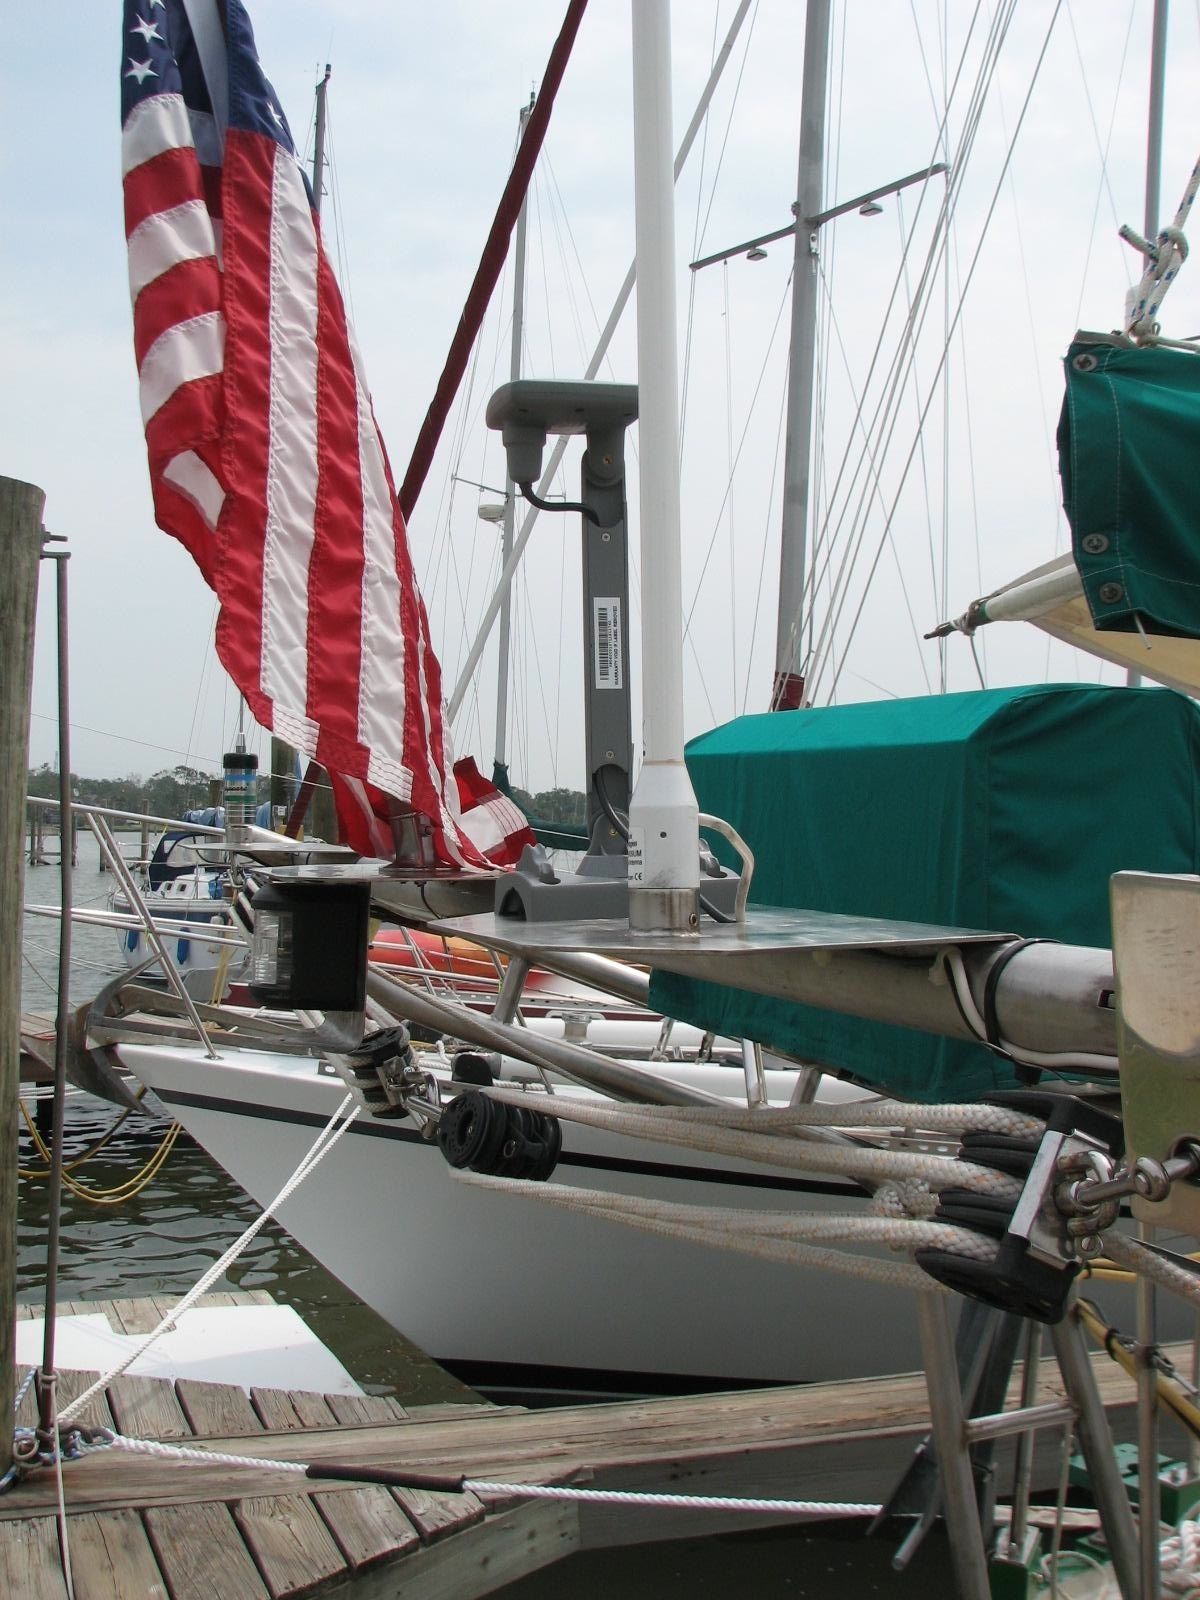
Kitty found the missing Sirius radio outdoor antenna last night. I installed the antenna on the starboard antenna mount on the dinghy davits. I will run the cable next week when I have the "Day of the Wiring".
I started the installation of the pad eyes on the starboard side of the boat for the boarding ladder. I got one pad eye installed before I had to leave to run the flu shot errand.
After getting our flu shots, we went
back to the marina, where we picked up Gordon. We then went to the
shop. Kitty dropped Gordon and I off at the shop, and Kitty left to run
more errands. I helped Gordon with cutting and drilling pipes for his
dinghy davits. I cut out fiberglass pieces that I can use to complete
my cover for the SCUBA compressor. I have all of the pieces cut out,
now all I have to do put them all together into one piece and finish it
off so it looks good.
Started off today with friend Alan coming over to help me re-install the anchor windlass. The windlass had been sent back to Lighthouse Manufacturing because the seals on the shafts were leaking. I wanted to get the windlass installed, but it was very difficult to do by myself, so Alan came over to lend a hand.
I had not even opened the box with the windlass in it, because I first wanted to finish the forward hatch before installing the windlass. When I opened the box, which had been shipped upside down, I was shocked and depressed to see grease leaking out of the seal on one of the shafts. I also realized the gasket between the windlass and the deck, had not been returned with the windlass, so even if there was no leak the windlass could not be installed. I was so mad and upset, I dared not call the company. I just sent them an email with pictures asking what they are going to do, and where was my gasket.
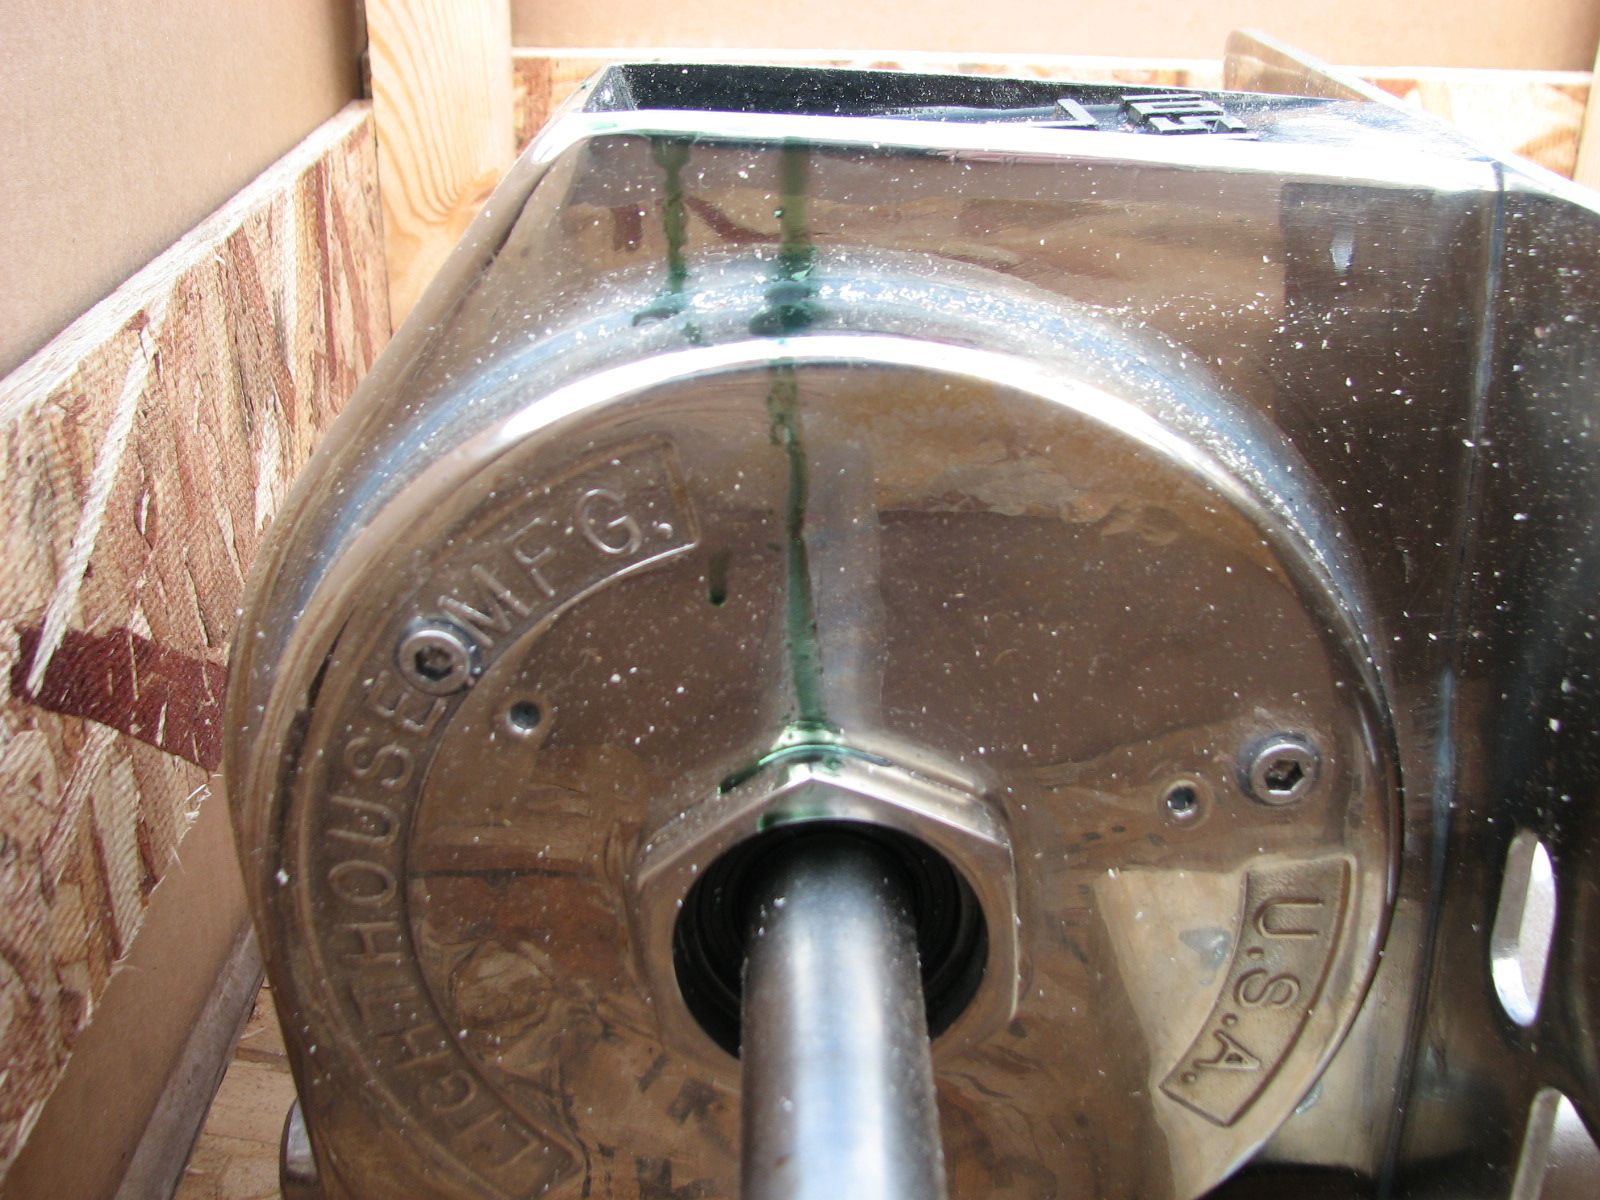
When I got all of the measurements completed on the dinghy spreader bars, I started in on the after hatch. I was able to get the SCUBA compressor blocks sanded and ready for gelcoat before I had to quit.
Started out the day and went over to friend Alan's. We then went to his shop and I worked there helping him move boxes around. I left his shop and went back to Dream Away.
I got out the new forward hatch and got it installed. I did the dry fit and it fit perfect. I marked all of the holes on the hatch base. I drilled all of the holes using a #10 screw starter. I vacuumed out all of the holes, and made sure the hatch base was clean. I then got out the roof mastic and applied two layers of the mastic to the actual hatch. I then set the hatch in place and put in all of the screws. Like most things of this type, a week of preparation, 30 minutes to insert the hatch and it is all done. One down and two to go.
Forward Hatch Base, Left; New Forward
Hatch, Right

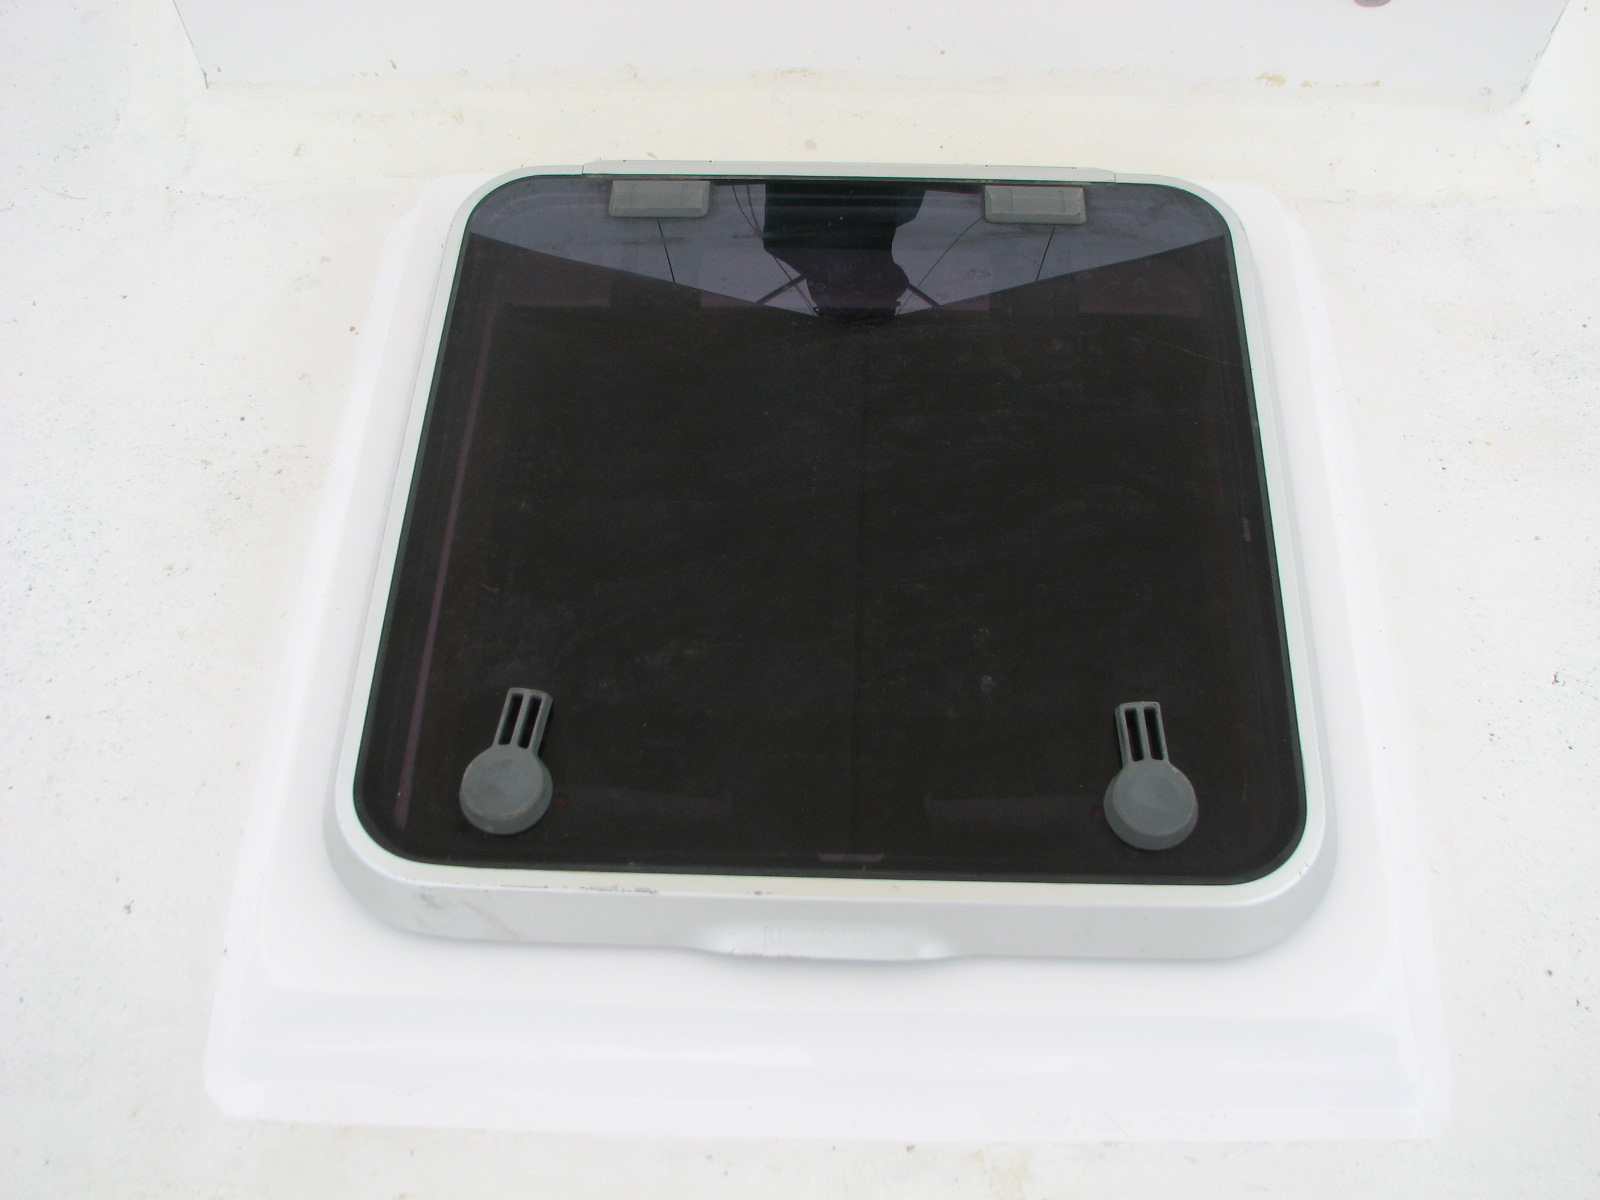
New Forward Hatch Opened
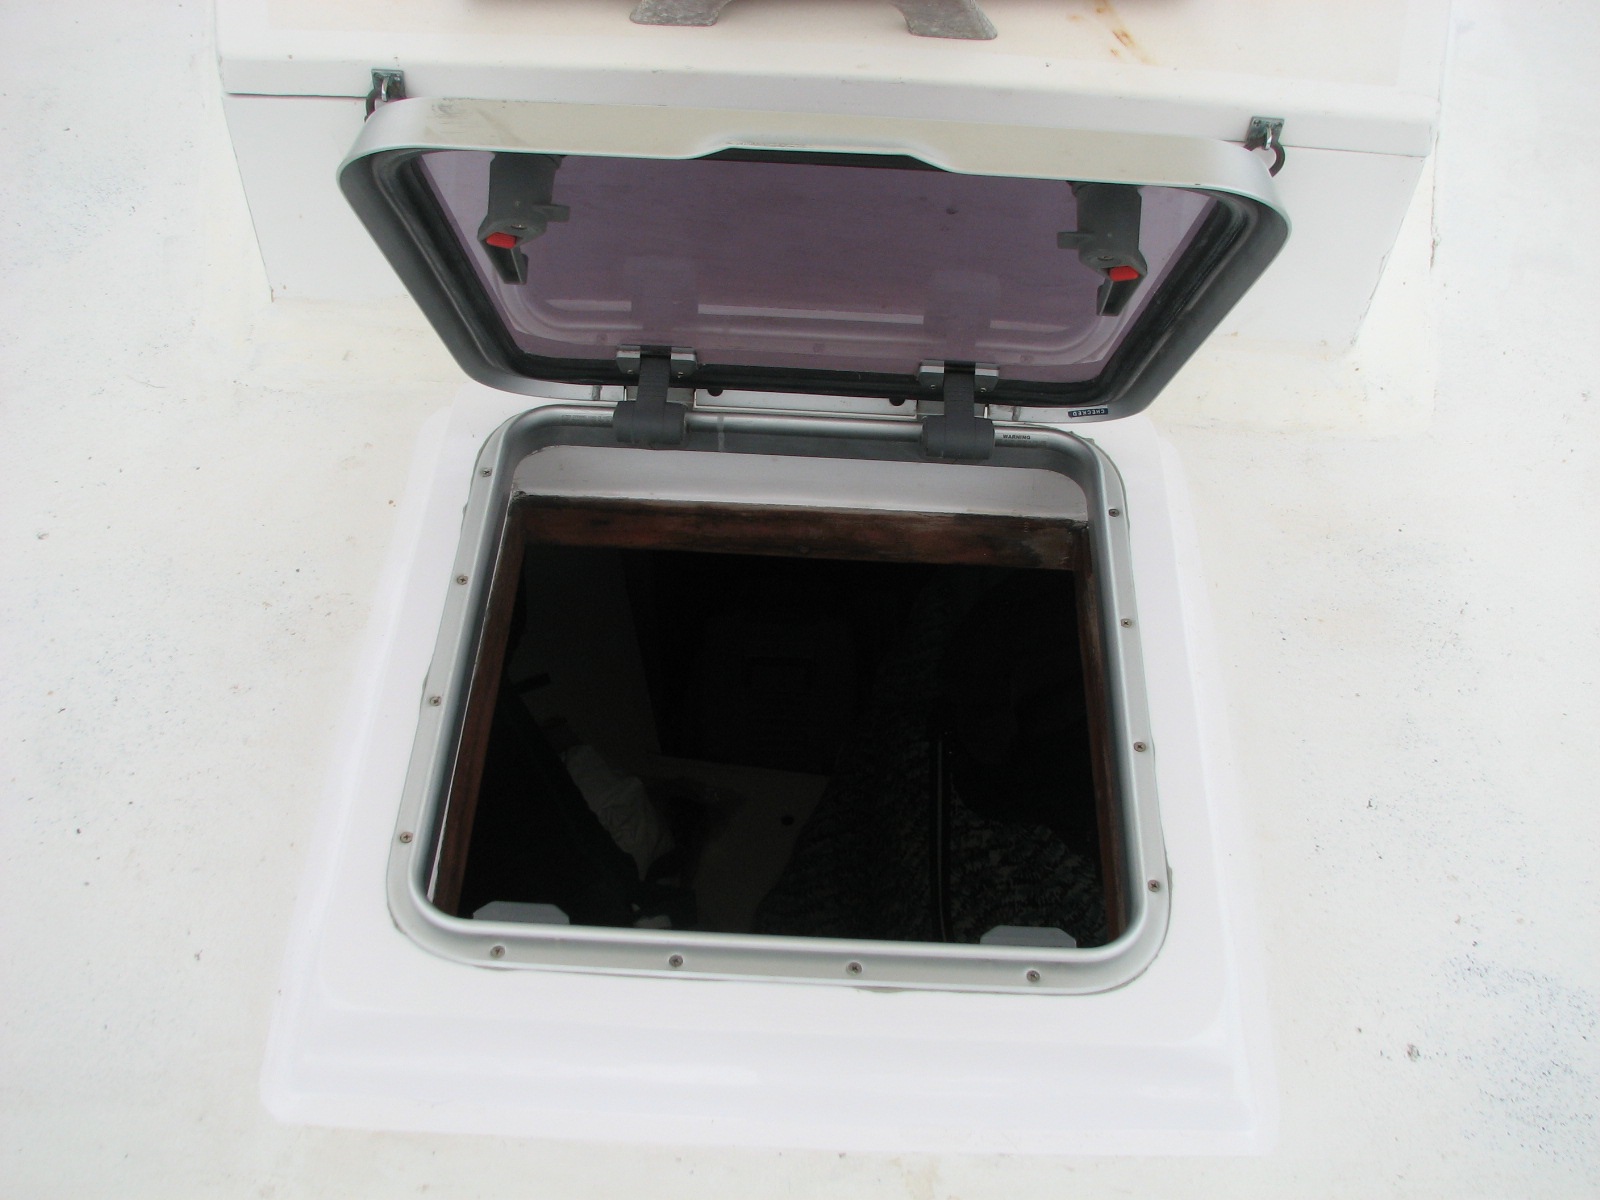
I then got to work on the after hatch and the pads for the SCUBA compressor rack. I made sure the compressor rack fit on the pads, so we were good there. Next was sanding down and smoothing the finishing putty applied yesterday. It all went very well, but there were a few places that needed another application of the finishing putt. I know Stacy, just one more application of the finishing putty. I put on the finishing putty, cleaned up the area, installed the temporary Gucci hatch, and went over to the shop.
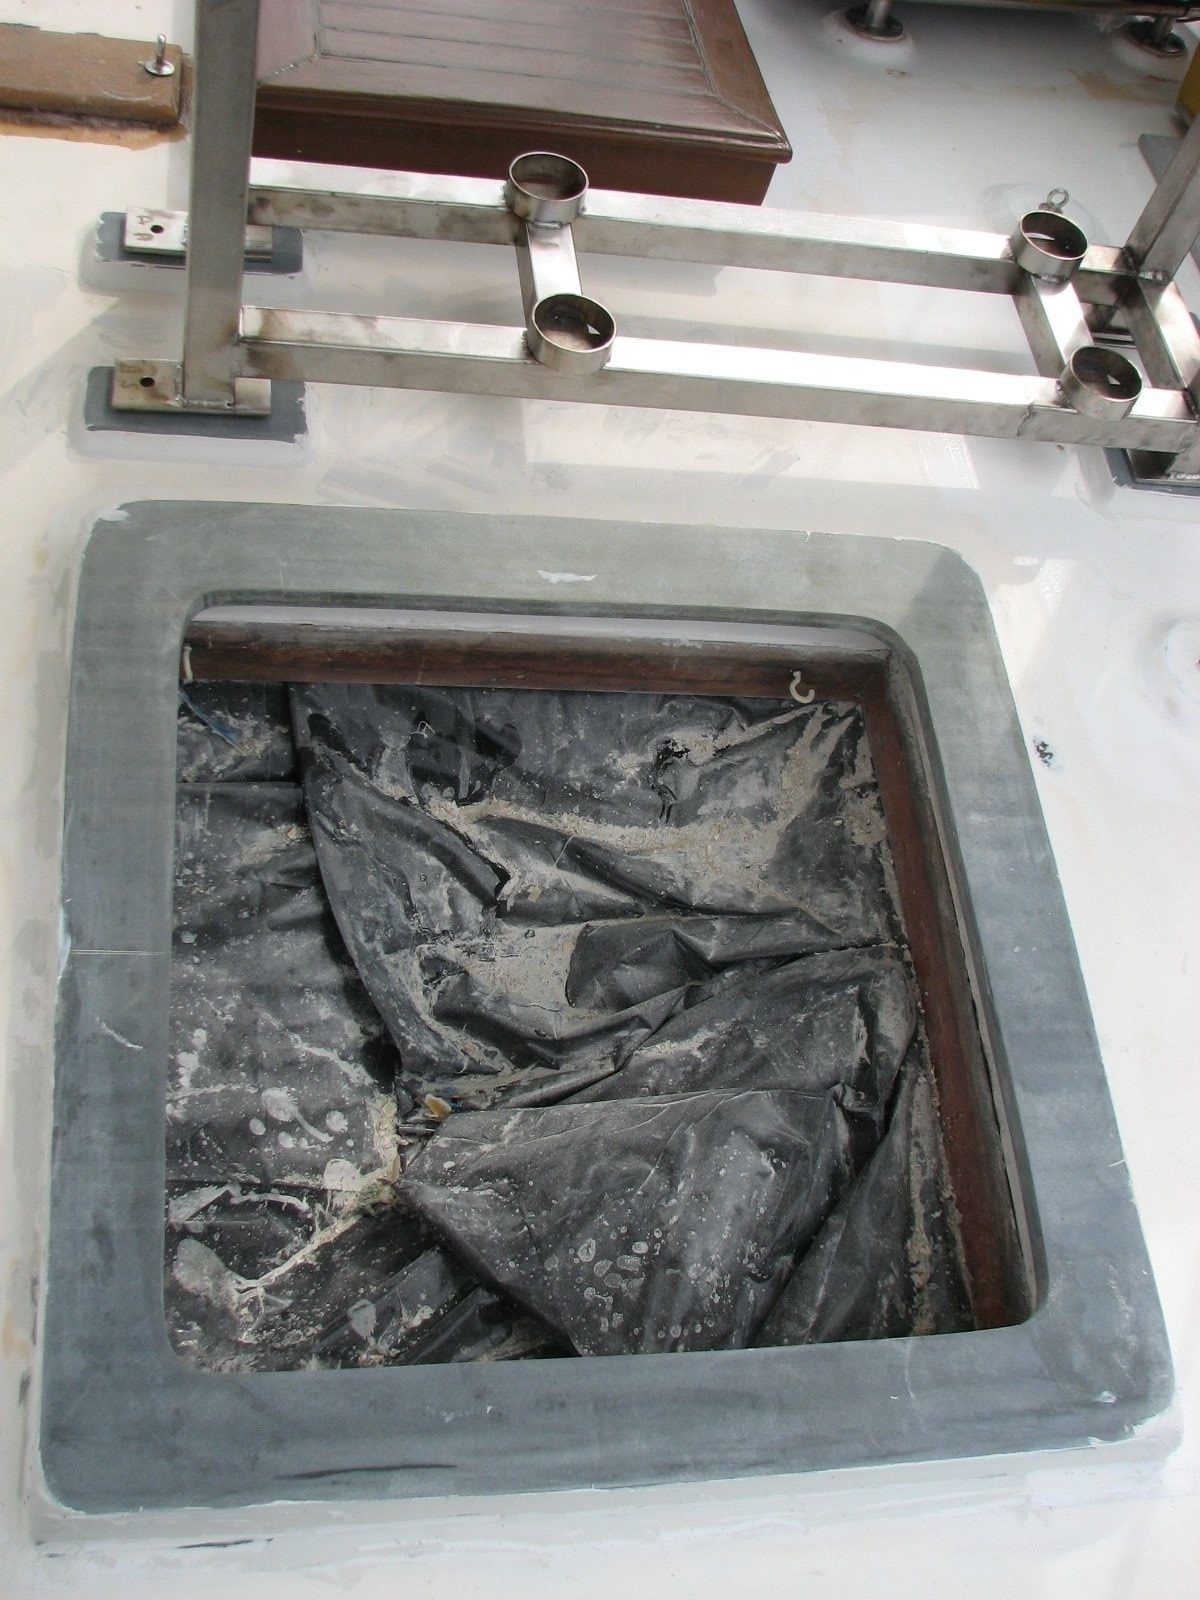
I picked up Gordon, and on the way to my shop, I stopped by Alan's shop and picked up an old fiberglass tank. It is the tank that came with Dream Away. I used the area where the tank was to put the holding tank, but I built and installed a stainless steel holding tank. Naturally I saved the fiberglass tank, but when I went cruising the first time I gave it to Alan. Now Alan is cleaning out his shop, and was going to throw the tank away. When I got the tank to my shop, I measured the tank, and realized the if I cut up the old tank, it would cover about 2/3 of the compressor.
I then got out my saw and proceeded to chop up the tank. I will
have to cut some pieces out of another piece of scrap fiberglass, but
it will take a lot less time to built this cover from scraps, than to
build a new one from scratch.
I left Gordon working on his davit project, and went back to the marina to get Troy and his truck. We drove back to the Dino store room, and picked up the Livingston dinghy. We loaded the dinghy onto the truck, and went back to the marina. We unloaded the dinghy onto a dock cart, and brought the dinghy to the area behind Dream Away on the grass.
Went back over to my shop. Cleaned up the area, picked up Gordon
and went back to Dream Away, dropping Gordon off at his dock. The end
of a really long day, 1945.
Started off the day by checking the filler putty on the aft hatch. It kicked off as I expected so that was good. I threw away the cream hardener that did not seem to work earlier. The interesting part is that the cream hardener that worked was the oldest of all I had. The cream hardener that did not work was the newest. So, here I am again, being the quality control person for these manufacturing companies.
I started sanding and cleaning the aft hatch base, and also the blocks for the SCUBA compressor rack. I got those areas all cleaned up and sanded, and applied a coat of the finishing putty. This putty set up as planned, and hopefully will be the last application for the aft hatch.
I checked into installing the forward hatch, as the Brightside paint was dry, and ready to accept the hatch. Naturally, with all of the fasteners I have, I did not have the correct size. I called West marine, and they had a box of 100 of the correct size. I went by and purchased the fasteners. The forward hatch will have to be installed tomorrow, Tuesday (9/01/2009).
After lunch, I went by Gordon's boat and picked him up. We went to Great Western Metals to get a stick of 1" pipe. We got back to the shop, and unloaded the pipe. Gordon started cutting all of the tabs he will need on his dinghy davits. While he was cutting and trimming up his tabs, I moved a lot of the Atlanta-bound stuff to the store room that is acting as a temp area. I also got all of the Fiat Dino parts packed into boxes, or into the vehicle. SO, the Dino is ready to roll, so to speak.
Next, I got out the welder and finished the welding on the rack for the SCUBA compressor. I got all of the welds made, some very good, some not so good looking, but all strong. I now have to clean up the rack. When I left the shop to go back to Dream Away, I took the rack with me.
When I got back to Dream Away, I checked the fit of the rack on the blocks, and it still fits. Now, all I have to do is the final cleaning and polishing on the rack, and I can install it on Dream Away.
Since I know the rack fits, tomorrow I
will take the rack back to the shop, and start constructing the cover
that will rest on the rack and cover the compressor.
No work done on Dream Away today. Catching up on email, scanning, and financial issues. Also, ran the pontoon boat for the Buffalo Bayou Partnership.
Went over to Gordon's boat to help him with the first dry fit of the davit pipes. We had to remove a screw in each of the old davit bases, before we could try the fit. The pipes are very unwieldy to move around, but we got them on the boat and checked out. The pipes fit where they belong just right. When we finished the fitting, I went back to Dream Away.
First on the list was the second coat of
Brightside on the forward hatch base. I cleaned the area off with paper
towels, and used a tack cloth. Then I applied the second coat of
Brightside, and removed the masking tape.
Next was the aft hatch base. For some
reason, some of the filler putty did not kick off, so I had to scrape
it all off and cleaned up with acetone. I also cleaned up the
fiberglass around two of the compressor blocks, and the finishing putty
around the other two blocks.
I applied the new filler putty (using a different tube of cream hardener) around the hatch base where it was needed, and applied finishing putty around the compressor blocks. The finishing putty kicked off without a problem, and the filler putty seemed to kick off with great gusto. I will really be able to tell on Monday.
After lunch, I went over to the shop with Gordon, to work on his davit pipes. I finished the welding on the davit pipe bases and on some tabs on the pipes. Gordon has to fabricate the remainder of the tabs for his davits, and I will weld them on for him. I also cut out two pieces of 3/4" fiberglass plate for Gordon to use as backing plates for his davits.
I drilled out the holes on the feet of
the compressor rack. I finished the welding of the feet to the
compressor rack. The welding on the compressor rack and on Gordon's
davit pipes worked hand in hand. Everything has to be clamped up so the
metal does not warp. I would weld on one piece, then switch to another
piece, and so on, until the job was finished.
I also welded a top piece onto the
compressor rack. I still have one more top piece to weld onto the
compressor rack, then I can start construction on the cover. I am
pretty sure I will be able to use the deck box lid mold to make the
necessary pieces for the compressor cover.
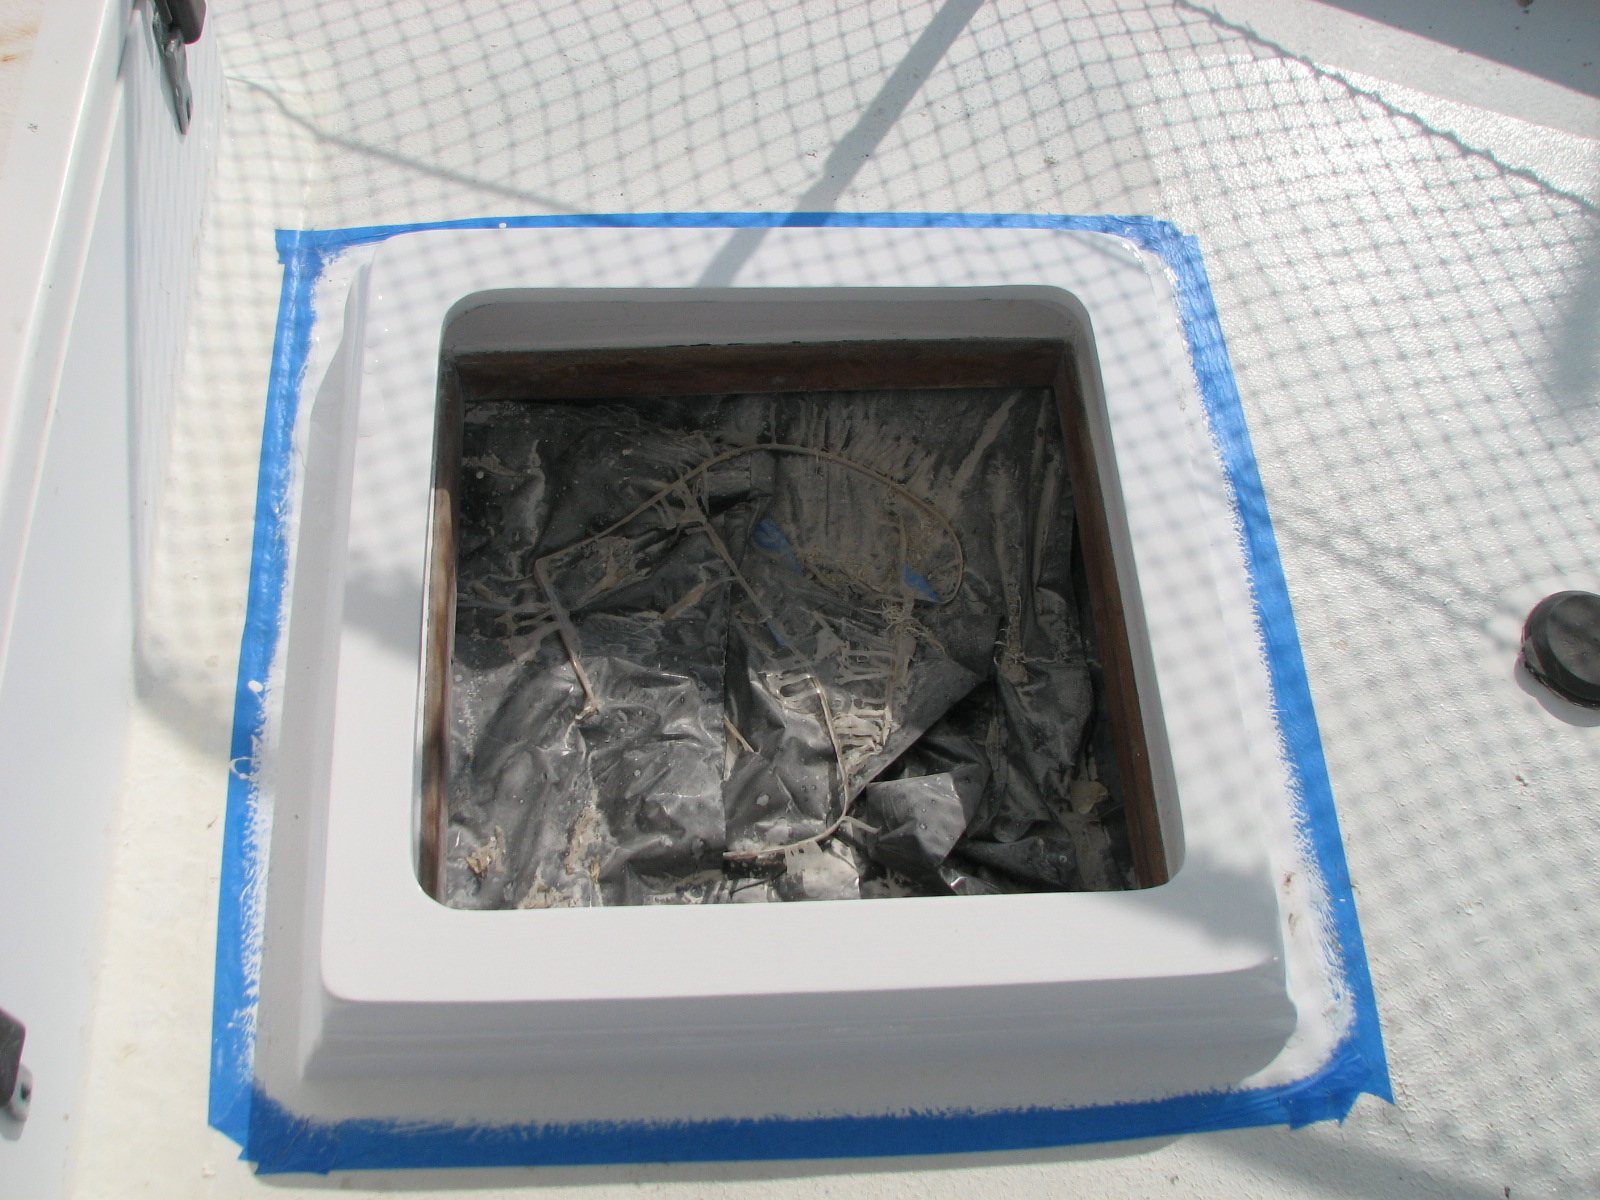
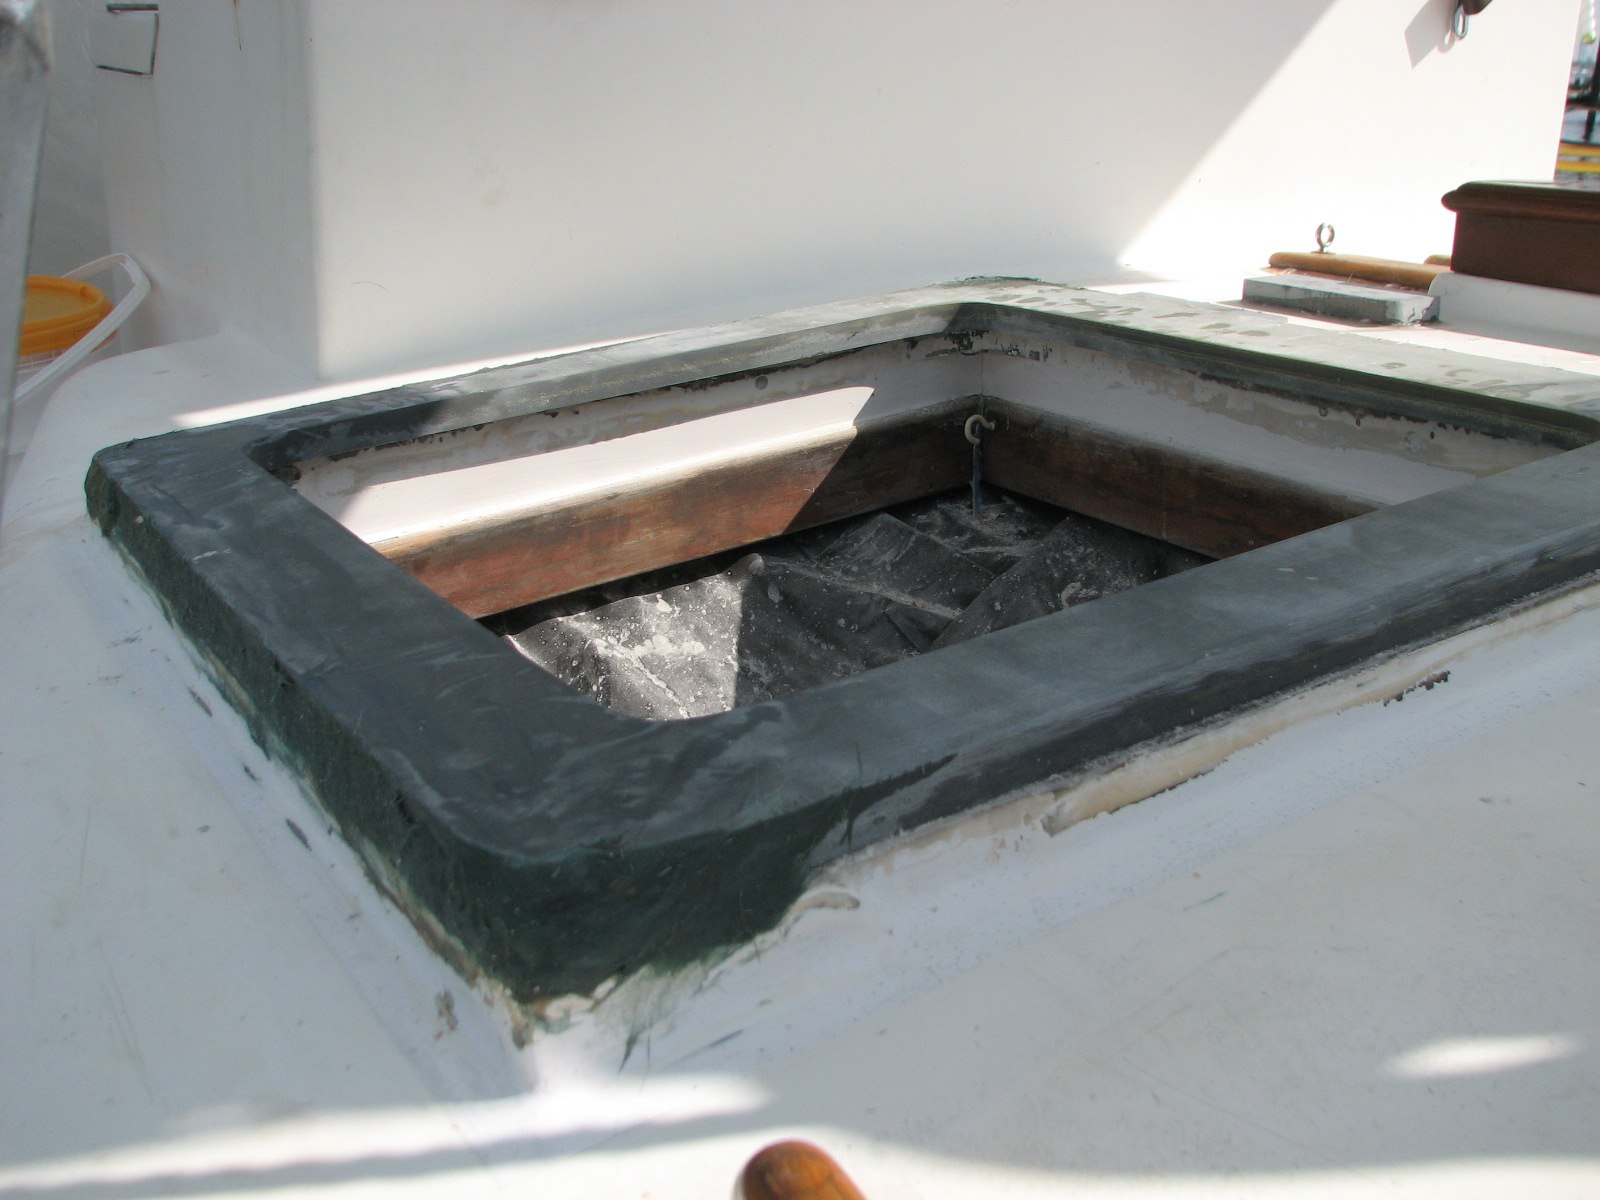
Went over to the shop first thing after picking up Gordon.
We took the one pipe on which I had
welded the base plate incorrectly, and I was able to cut off the tack
welds. We line up the base plate on the pipe and I tack welded it
properly. Gordon also measured where some of the tabs are to be welded
for the davit supports. We got those cut out out, and I tack welded the
tabs onto the port and starboard pipes
When I tack welded the feet onto the compressor rack, I did not drill the holes for the hold down bolts first. I then had to mark I also cut out two pieces of the 3/4" the feet for the holes to be drilled.
We left the shop with the two pipes in
the truck. Stopped by Gordon's dock and off loaded the two pipes, and I
continued on to Dream Away. It rained almost as soon as I got to Dream
Away, so I was not able to put the second coat of Brightside onto the
forward hatch base.
Started off the day working on the forward hatch. I sanded down the second coat of primer, prepared the area, and cleaned it up using acetone and a tack rag. I applied the first coat of Interlux Brightside singe-part Polyurethane paint to the hatch base.
Next, I fiberglassed the insert to the
aft hatch base. I am also going to fiberglass the blocks to the deck
for the compressor rack. When I did a dry fit of the insert on the
hatch base, was I surprised! The hatch base was not square, and, of
course, the insert was square. The front hatch base has been square, so
this was a bit of a surprise. I made the necessary measurements, then
went over to the shop to make the cuts with my diamond saw blade. I got
the cuts made, and the insert all sanded down. I also rounded the
corners of the blocks for the compressor rack. Then it was back to
Dream Away.
When I got back to Dream Away the dry
fit of the insert went great. I sanded down the area where the
compressor rack blocks were going. I then used masking tape to mask off
the areas around where the hatch insert was going, so the excess resin
would not cause a problem. I next got out the pre-cut fiberglass
I had for the hatch base and made sure two layers of fiberglass were
ready. I also got the fiberglass pieces cut and ready for the block to
be used for the base of the compressor rack. Everything was ready to
start the fiberglassing process.
Went over to the shop first thing, and started on Gordon's project. We got the 1 1/2' Pipe and made two bends in each pipe. It took a lot of time to get everything all set up, and get the bends made.
We then went back to Watergate. I dropped Gordon off so he could work more on the project, and I went to Dream Away.
I got to work on the forward hatch. Got out the 220 grit sandpaper and sanded down the area that was primed. Cleaned up the area with acetone, wiped down the area with a tack rag and then applied the second coat of primer.
Next, I turned to on the aft hatch which also needs to be replaced. I taped a large trash bag under the hatch to keep all of the dirt and dust from getting into the aft cabin, and then removed the hatch. Next was cleaning off all of the roof mastic I had used to seal these hatches and ports onto the boat. It is really a good news/bad news situation. It really seals much better than anything I have used from the marine industry. The bad news is that it really sticks. If it is out of the sun, it just does not quit. Thus, it is a real nightmare to clean off of the deck around the hatch base. I finally got it all cleaned up, and sanded down the top of the base to get it ready for the insert to be glassed into the base.
Aft Hatch With Black Bag Under The Hatch.
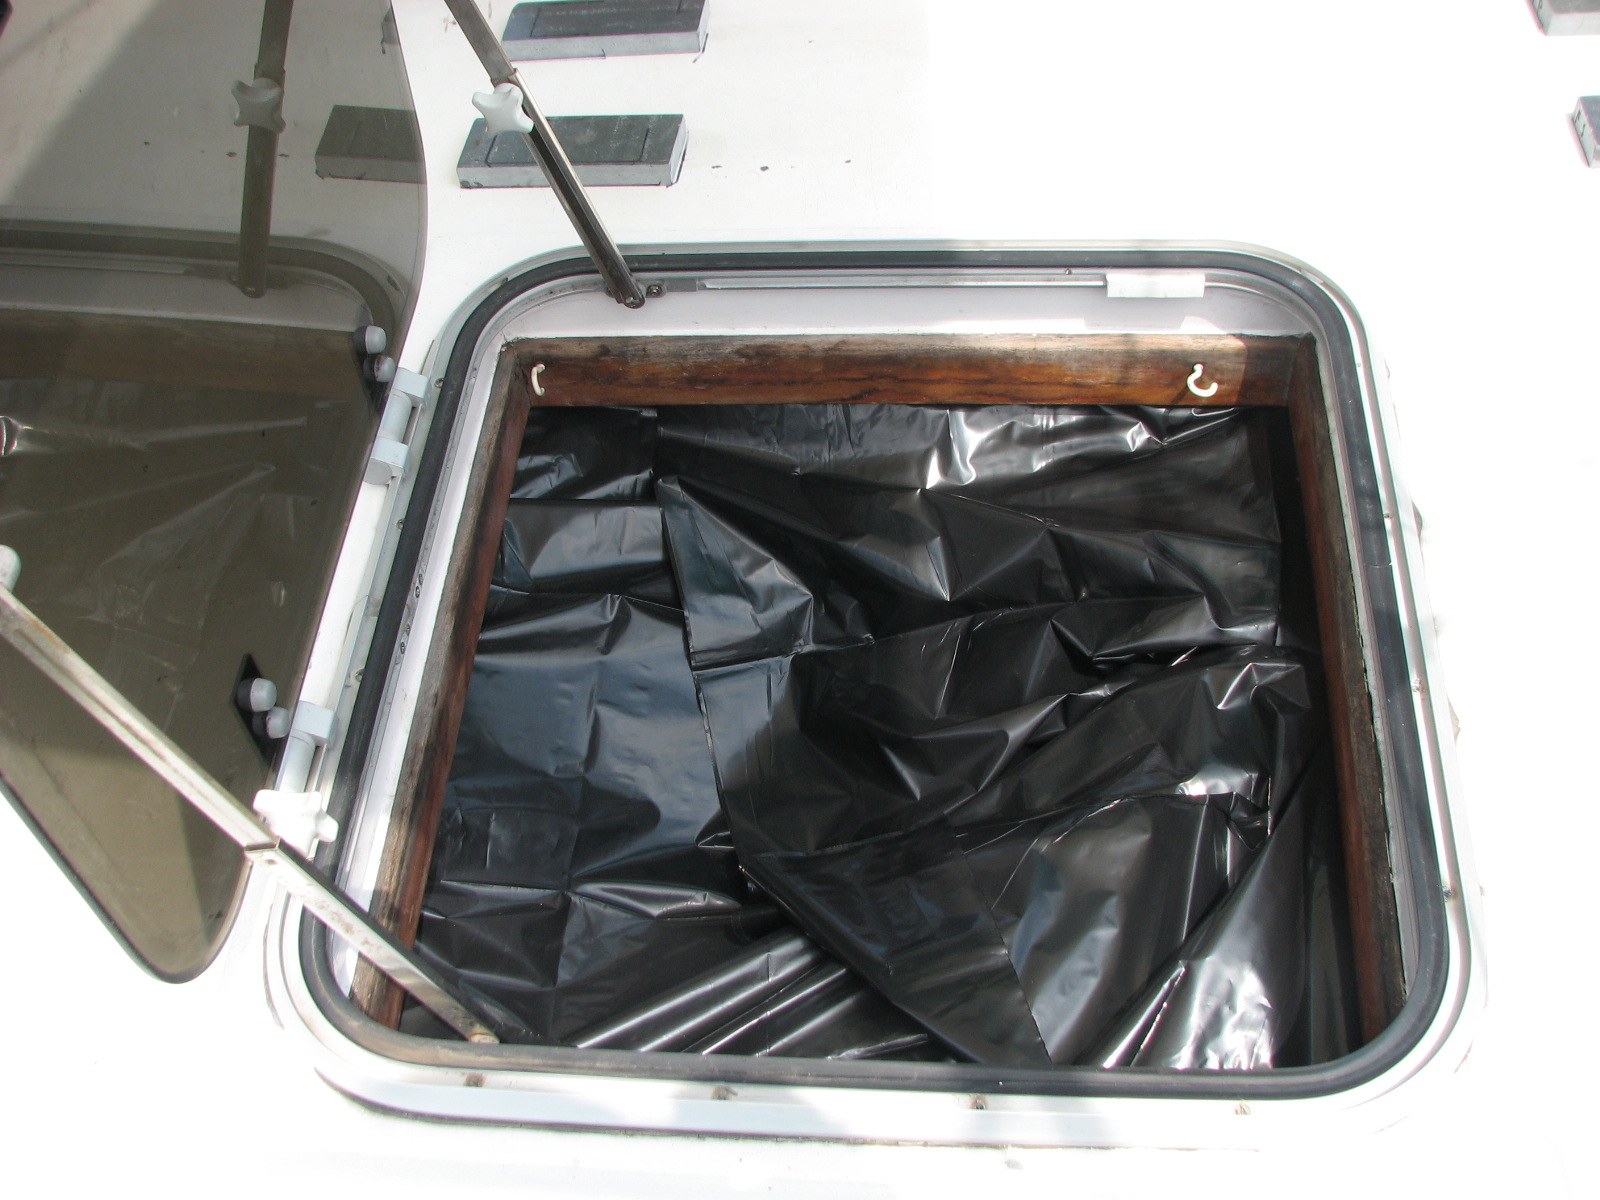
Aft Hatch Area With Hatch Removed.
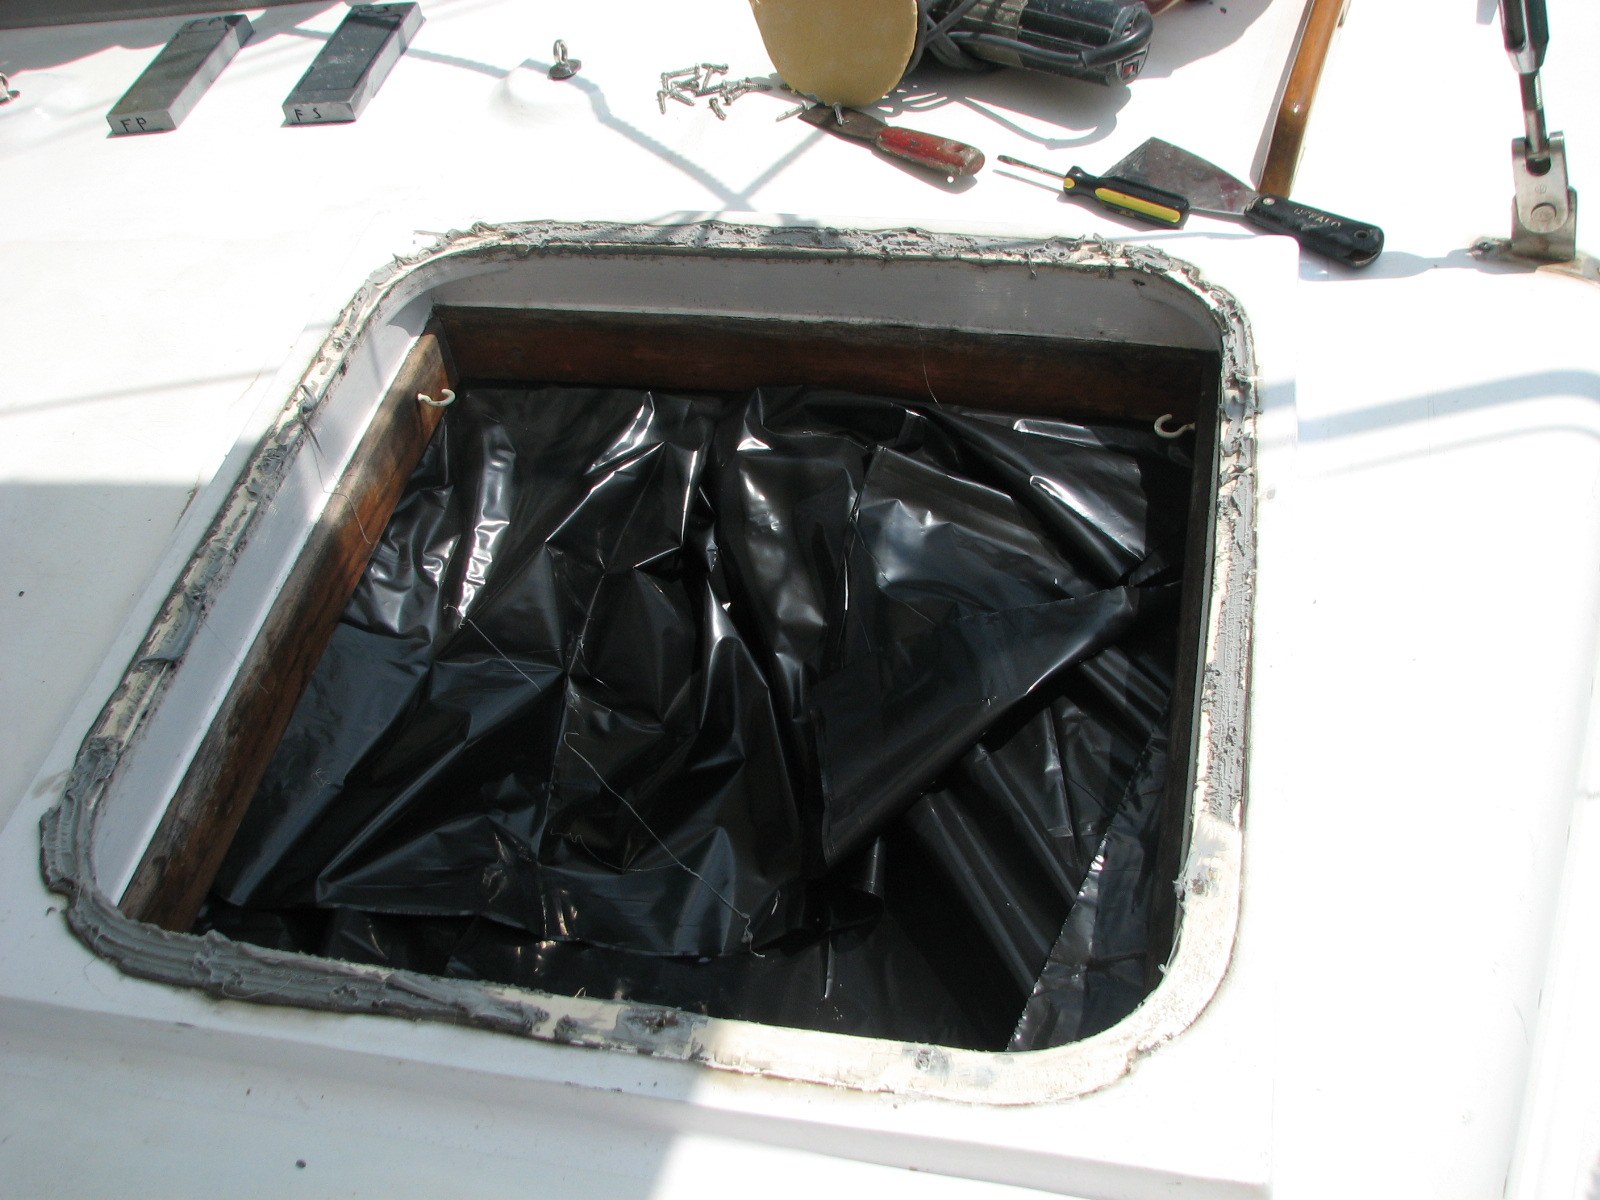
Went back over to the shop with Gordon. Got him started on how to use the chop saw and the drill press. I left him to cut the bases for his davits, and to drill the center holes in the bases.
While Gordon was working on his project, I sanded down the blocks I am using for the compressor rack on the aft deck. These blocks will be glassed down to the deck next to the new hatch insert I am installing on the aft cabin top. I also cut out the pieces of square tubing that will go on the top of the rack; and, set up the jig and clamps for the compressor rack so I can tack weld the foot pieces onto the rack.
Went back to Dream Away after a long
hard day.
Started off the day by getting the first
coat of primer on the forward hatch base. Took off all of the covers,
then wiped down the base and area with acetone. I then masked off the
area to be painted. I used a tack rag to wipe down the area to remove
all bits of dust or dirt. I then applied the the primer. As my luck
would have it, the construction crew right across from the boat,
upwind, used their cement saw, and now there was a fine dust in the
air!! As I would be leaving for most of the day, I went over to the
shop to get a tarp to cover the painted base, in case of rain.
I picked up friend Gordon, and we went off on our errands. I am helping Gordon construct some davits. He is buying all of the material, and doing most of the grunt work, and I will be doing the welding.
Our first stop was Diesel Pump and Injector Service on Navigation Blvd. near the turning basin on the Houston ship channel. They are going to look at the injector pump for the generator, and see if it can be rebuilt, and then tell me how much it would cost.
Next we went out to West Houston, and stopped at Land, Sea, and Sky. They had repaired the telltale compass Kitty had found for me. The compass really looks good.
From Land, Sea, and Sky, we stopped and had lunch, and then went to Great Western Metals to pick up the pipe and tubing required for Gordon's project. We dropped off the pipe and tubing at the shop, then went down to Texas City to get our bottle of Argon filled. We came back, dropped off the bottle at the shop, then back to Gordon's boat to do some measurements. When that was completed, I went back to Dream Away. I did install the outboard motor mount on the starboard aft rail.
I checked the primer on the forward hatch, and sure enough the paint was gritty. I will have to sand it down tomorrow before I put on the second coat.
I then took a shower, and over to the Apple store to get my iPhone replaced.
Telltale Compass Cleaned and Repaired.

Went By Alan's and had coffee and a visit, then over to the shop.
Got to the shop and got right into welding on the SCUBA compressor rack. I needed to get the rack welded to a certain point so I could set the compressor onto the rack. I was able to get two more separators welded between the stringers. Next I had to weld the rings to the vibration isolators into which the compressor fits. This was a pretty tight tolerance. I measured and welded on the first two rings. I let them cool, then put the compressor on the rack again so I could verify the placement of the second two rings. I got them set up, and welded on those two rings. I let them cool, then put the compressor on the rack, and the compressor dropped right into place. The rack was now at a point at which I could take it to the boat and mark off placement of the rack on the aft dog house.
BTW, I have already lifted the compressor (90 Lbs), four times onto the rack to check measurements. Now I put the rack and the compressor in the back of the truck. I then went over to Dream Away.
I put the compressor and the rack into a dock cart and took it down to the boat. Put the rack on the aft doghouse, then put the compressor onto the boat, and into the rack. Got all of the measurements taken, and marked. Off-loaded the compressor and the rack back into the truck. Since I do not have a good way to secure the compressor to the boat until the rack is installed, I leave the compressor in the shop. I also have to finish welding the rack. I have to clean up some of the welds. I also have to weld the tabs onto the feet of the rack. I will also weld a piece of square tubing across the top of the uprights so there is a good clean, flat surface on which the covering box can rest.
Next was the forward hatch. I sanded down the second coat of the finishing putty, and got the whole hatch base area on the deck and the new piece I installed looking really good. I washed down the area and got it prepared to put on the Gelcoat. That is when I remembered I had painted the hatch base area before. To use Gelcoat, I would have to remove all of the paint, and then sand and finish the area again. I decided not to take all of that time, and to paint again. Before I did either the paint or the Gelcoat, I wanted to dry fit the hatch, which I had left in the shop. So I called West Marine, ordered the paint, and went over to the shop. I picked up the hatch, stopped by West Marine, and then back to Dream Away.
I dropped the new hatch into the new
base, and it dropped in perfectly. The weather outlook was a bit shaky,
so I did not attempt to apply any paint tonight. If it is dry, and the
weather looks good, I will put a coat of primer on the hatch base in
the morning before I go into Houston.
Compressor Rack Completed With
Separators And Rings Welded In Place
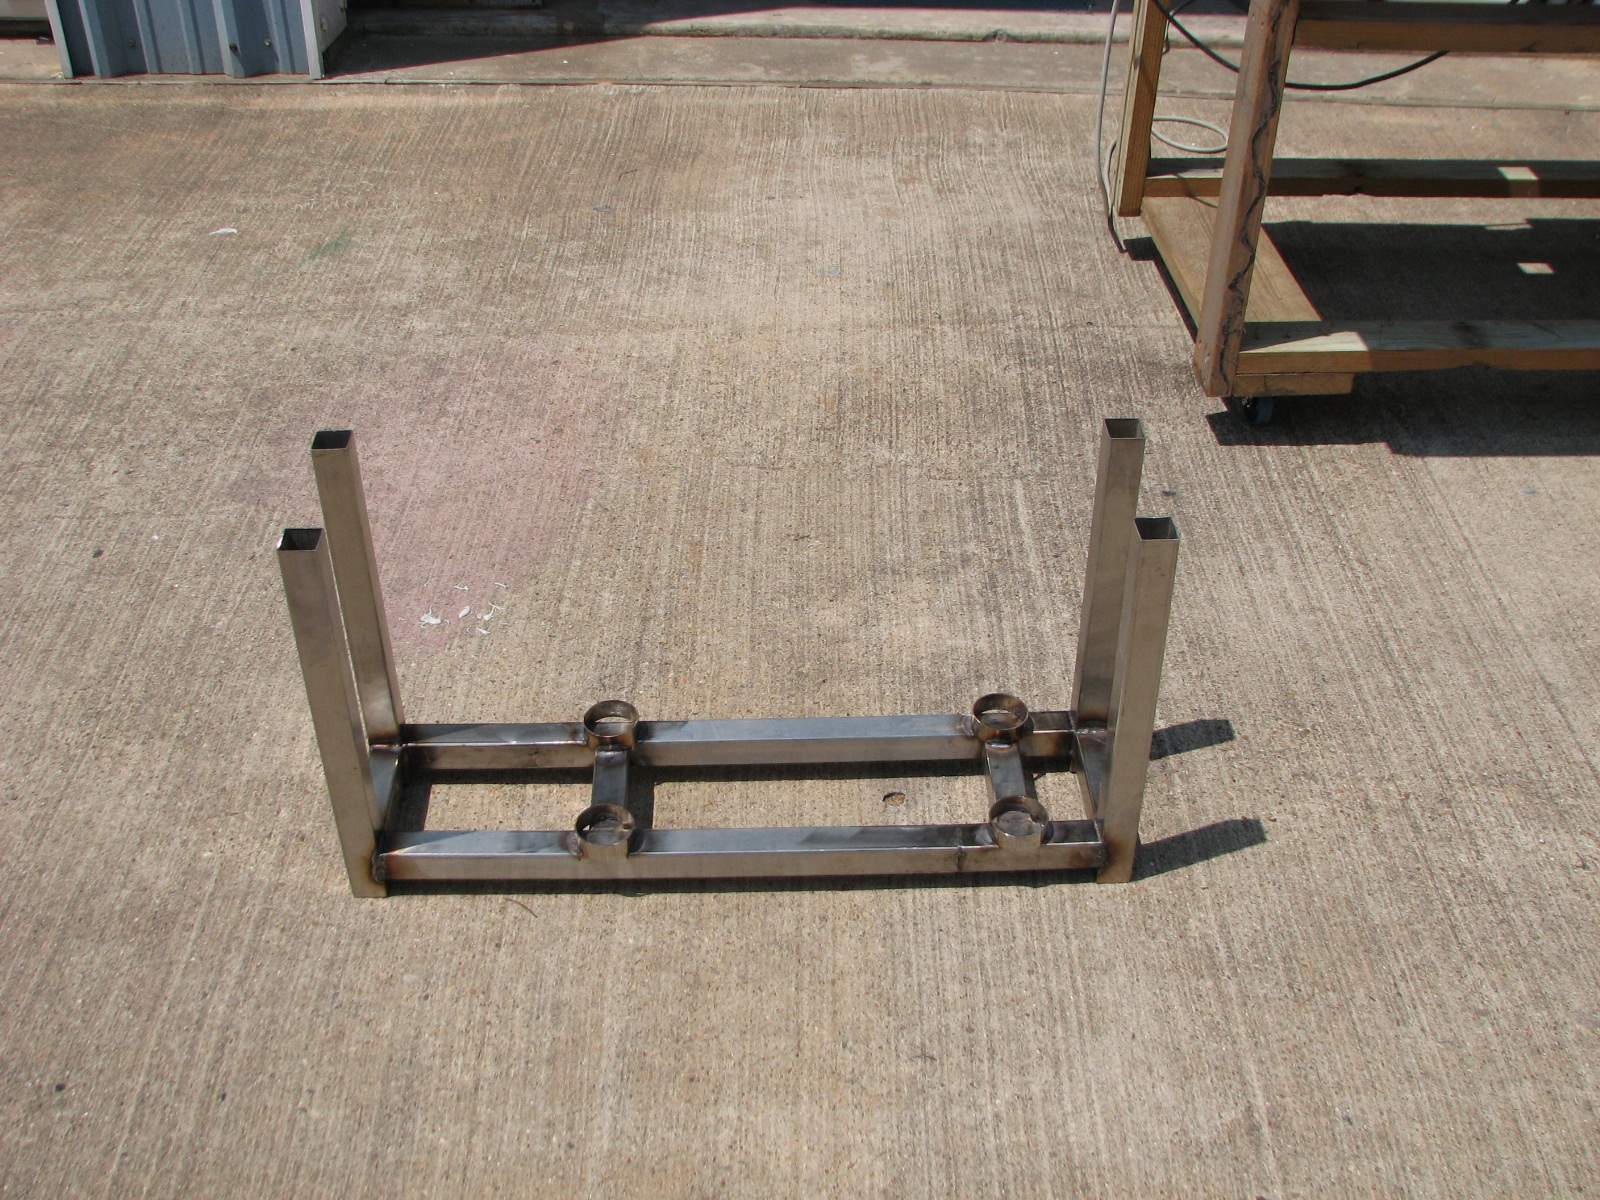
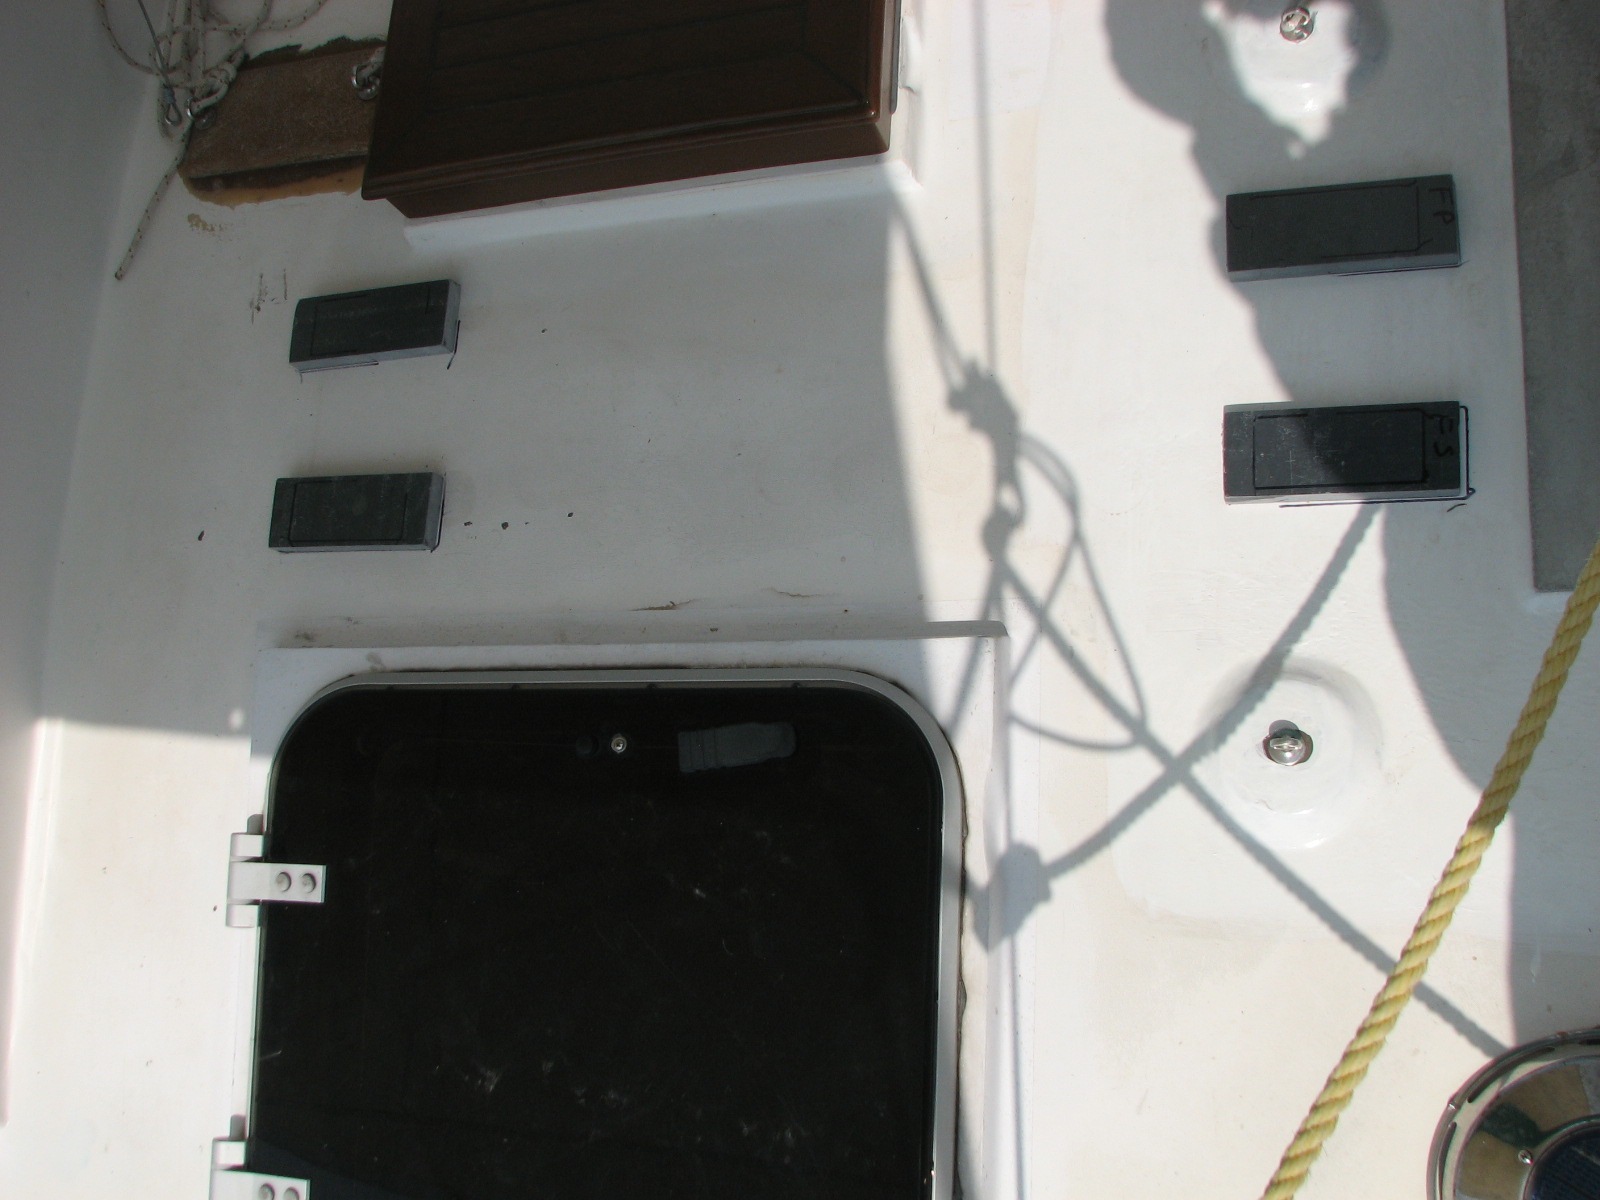
No projects worked on today. It has been
a month since all of the raw water strainers have been cleaned, so I
decided to get that done before I had a problem.
I removed the main raw water input strainer, and the manifold. I
took them both out onto the dock, and cleaned them out. There were lots
of jellies in the main raw water strainer basket. There was also a lot
of mud in the strainer and the manifold. I brought them back on board,
and installed them into the boat. I then connected the fresh water hose
from the dock to each of the hoses for the aft air conditioner, forward
air conditioner, ice maker, and refrigerator, one at a time. After
cleaning each in-line strainer, I then turned on the fresh water hose
and blew out each line. When I finished all of this, I connected
everything back up, and we are now able to run the air conditioner,
refrigeration, and ice maker.
Went over to the shop first thing, and
ended up spending the entire day there except for a break to go over to
friend Jim's boat to help him get a haul out set up.
I wanted to get the rack for the SCUBA compressor welded up and finished today if possible. As it turned out I was not able to finish, but I did get pretty far along. I had to cut all the pieces of the square tubing that are going to be used as uprights, stringers and other separators. I also had to cut out four pieces of tubing that will be used to fit the compressor rubber vibration isolators into. There are four vibration isolators on the bottom of the compressor. I also had to cut out four pieces of flat bar that will be the feet on the bottom of the uprights. I also cut out four fiberglass pads for the feet to sit on.
Once I get the rack built, I will be
able to see where the four fiberglass pads will go on the after
doghouse. Since I will be working on the hatch right next to where the
compressor will go, I wanted to be able to work on both at the same
time.
Back to the rack. The stringers were longer than 24", so I had to weld two pieces of the square tubing together to get the 30" length required for the stringers. Of course, it required lots of clamping of the pieces as I was welding. I also had to plan my work so that, after I was finished welding and was waiting for the cool down period, I was able to perform productive labor. I was able to get quite a lot done. All the pieces that were cut initially had to be cleaned and polished, to weld. So a system came together pretty well. I got the stringers welded together, then I welded two uprights to each stringer, and then welded two of the separators to them.
Welding a Stringer To An Upright.
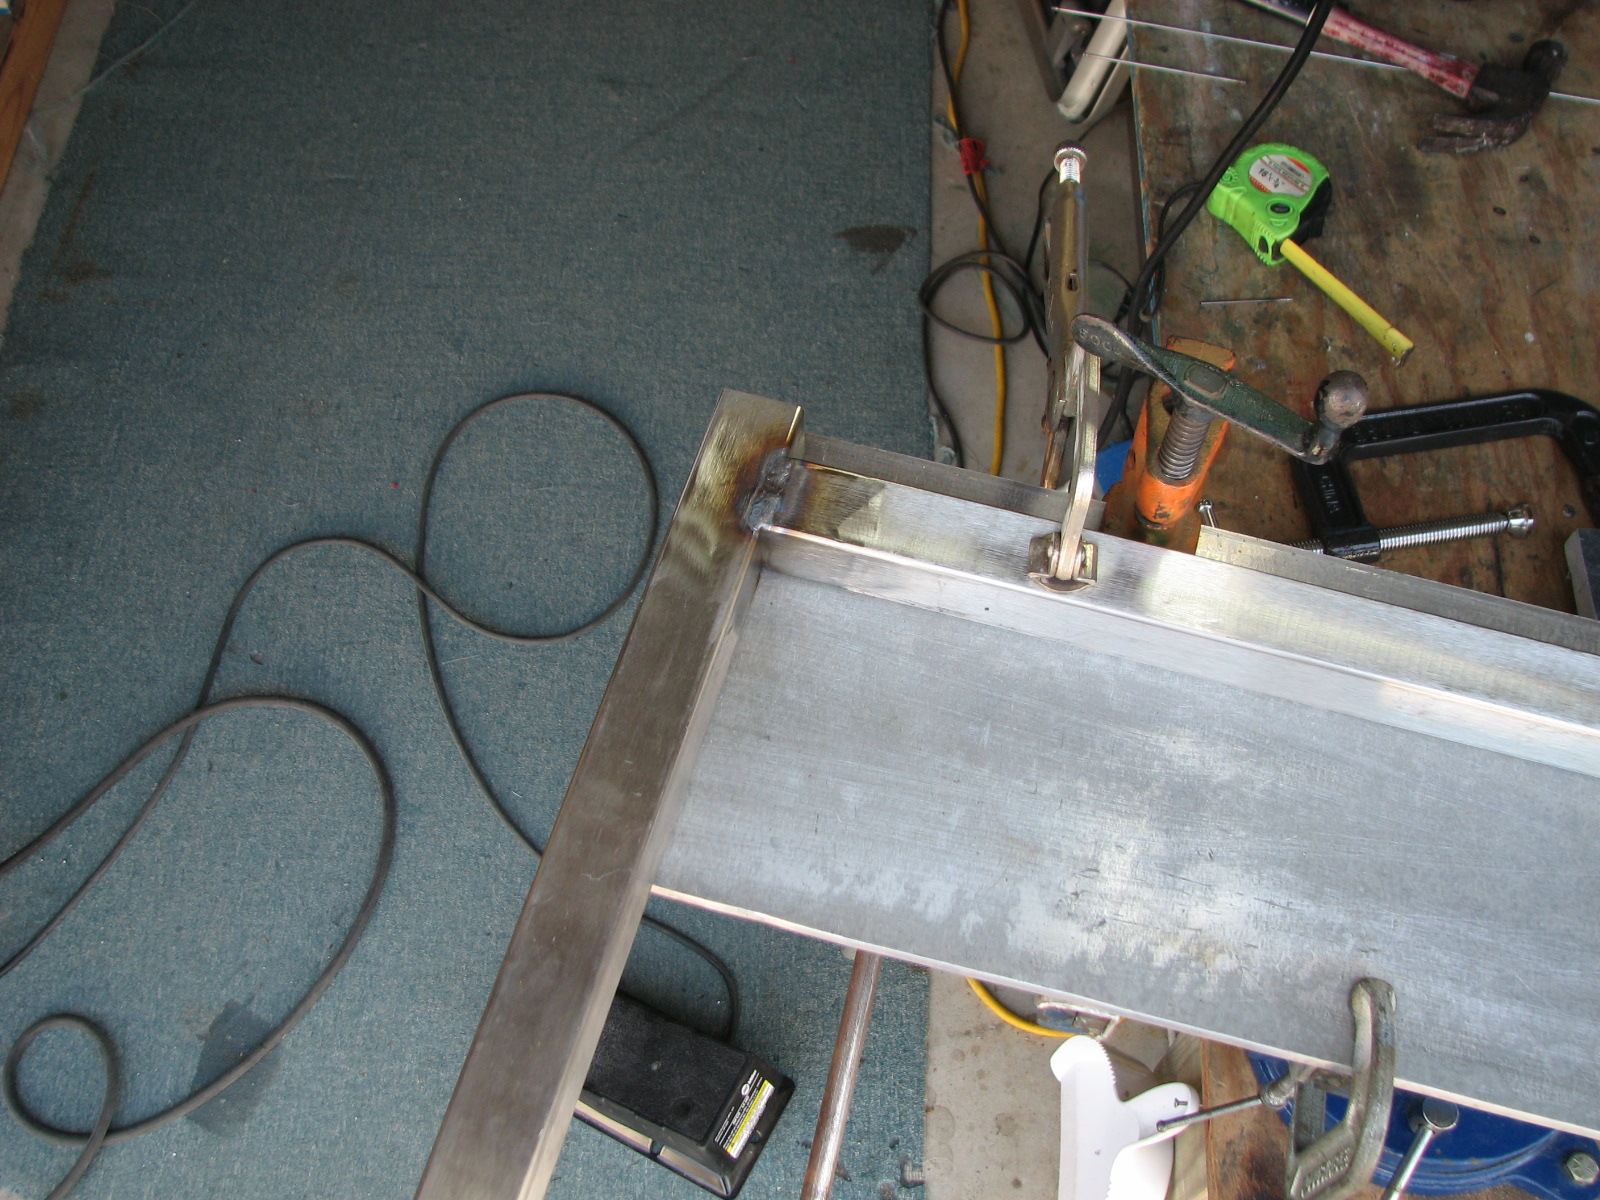
One Stringer, Two Uprights, And Two
Separators Welded Together
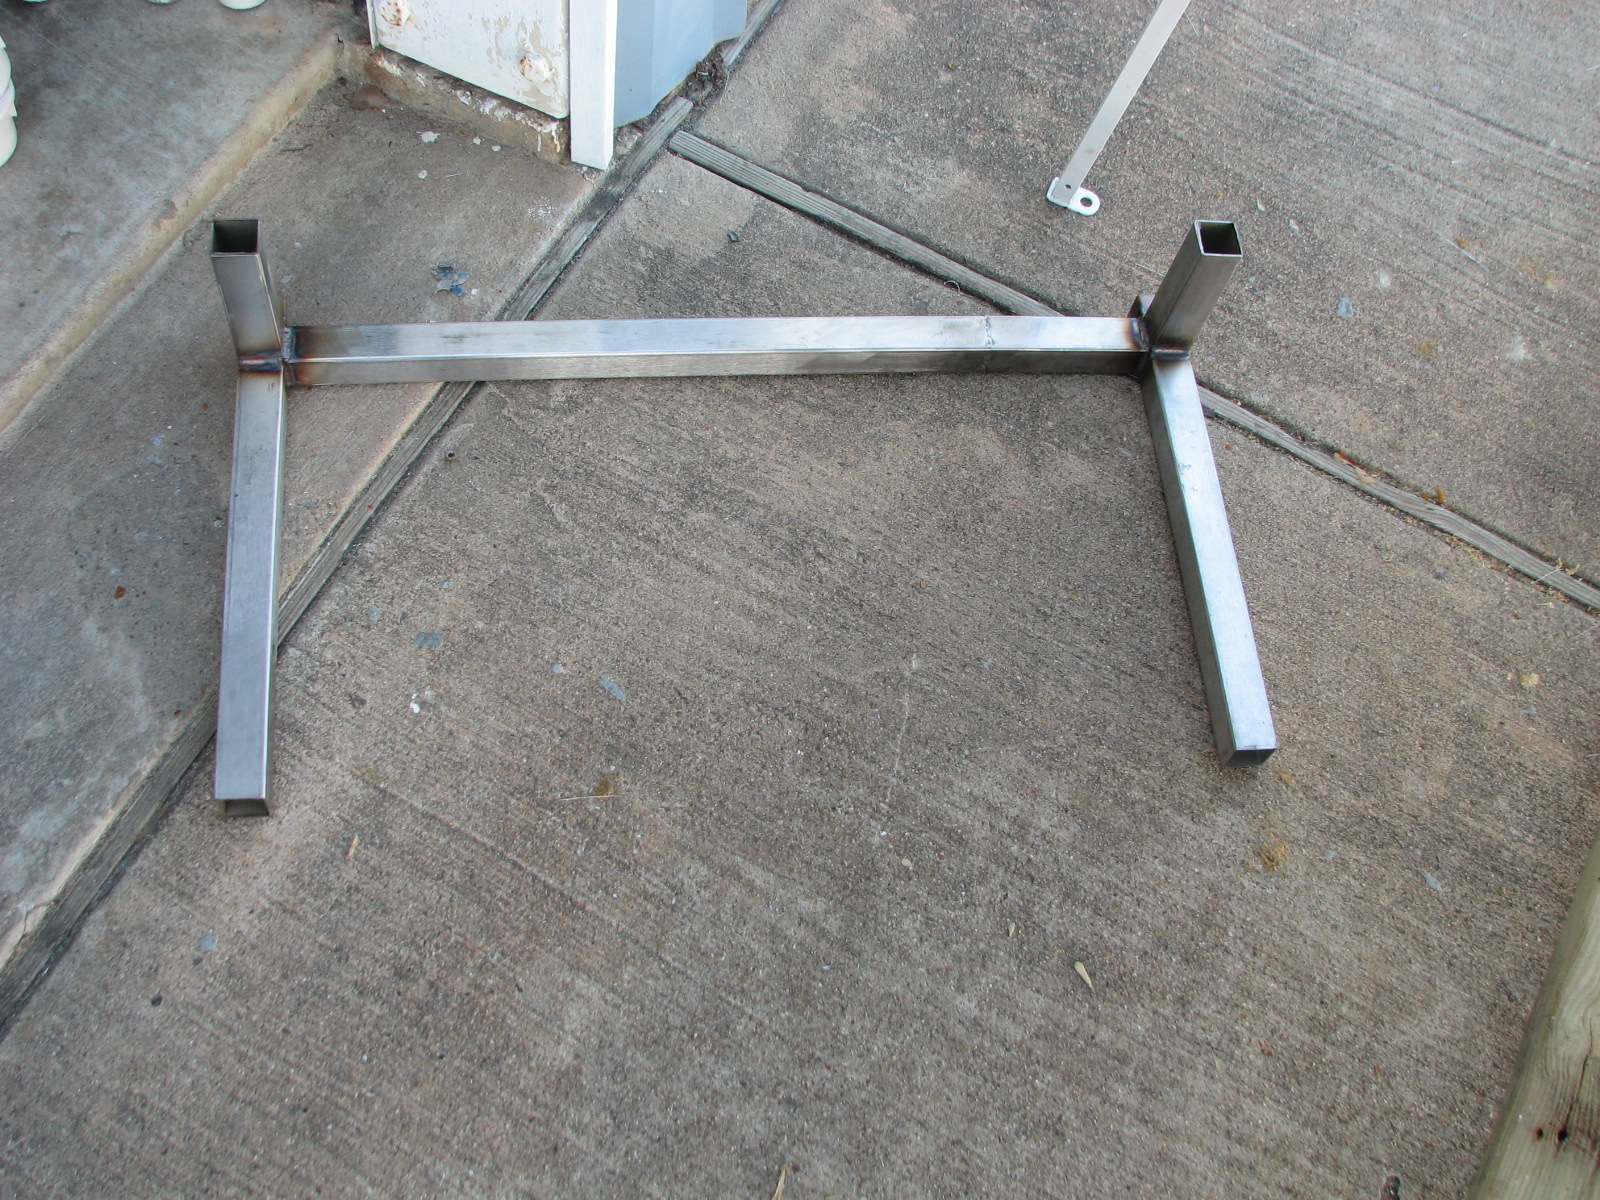
Next I welded the remaining stringer upright combination to the piece in the above picture. It was a lot of fun trying to come up with all of the clamps necessary to get it all into position, and be able to actually weld after everything was clamped down. I finally got done, and enough welds put on it, so I will be able to finish it off on Monday. Once the welding is done, and I can place the fiberglass pads correctly, I will be able to polish the rack up, and engineer some way to be able to lock the cover onto the rack and not permit water from entering. The fun continues!!
Bottom Side Of Compressor Rack With All
Of The Clamps, And Most Of The Welds.
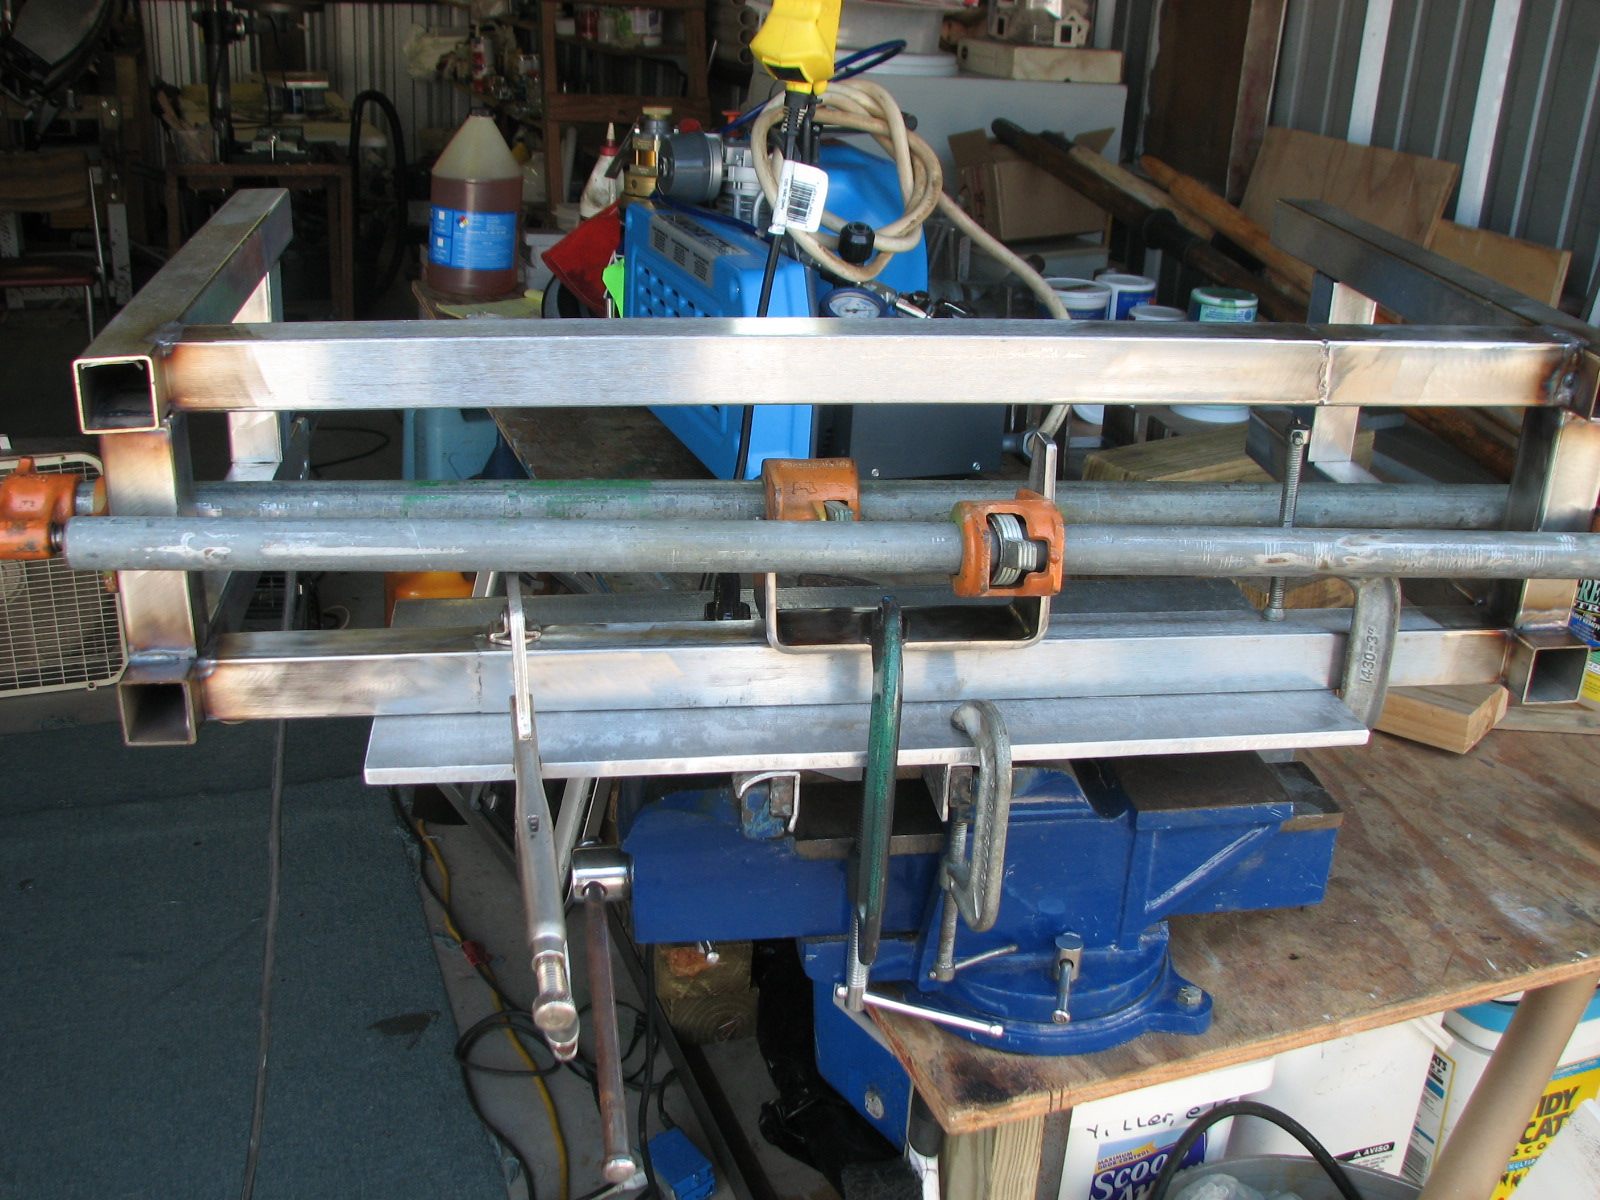
Started off the day on Dream Away. Got out all of the tools and wire cable needed to attack the dinghy davits. Called friend Alan and asked him to come over and help me run the wiring down the davits. I had messenger wires in each davit, but it makes the effort go better if you have one person pulling on the messenger wire, and a second person feeding the wires.
On the port davit, I attached the wire for the stern navigation light, and the antenna wire for the SSB DSC VHF antenna. I also attached another messenger wire, to leave in the davit, just in case I want to add something else in the future. On the port davit we were pulling the wires into the boat. On the starboard davit, we had to pull the cable, and the spare messenger wire out. I got all of that attached, and Alan pulled the wire out the starboard davit while I was feeding the wires. Well, the easy part was done.
Alan went back to his boat, and I started attaching the wires and cables. First I connected the stern navigation light. I got it all connected and verified that the light worked.
I then went forward and applied the
first application of the finishing putty on the new hatch base.
Now it was back to the davit cabling. The VHF antenna was not long enough to reach the SSB radio. I had to add another piece of the antenna wire. I also had to run the wire through three cabinets and the wire raceway. Only three cabinets you say? Well, first you have to remove everything from the cabinet, then run the wire, and then replace all that you removed. When I finally got the cable run to the incoming VHF cable, I took a break.
Back to the front of the boat, and sanded down the first application of the finishing putty. It really looked pretty good after sanding, but I decided to put on a second application of the finishing putty. I got the second application of the finishing putty on, then back to the cables.
I put a connector on the VHF antenna
wire coming in from the davit. I also put a connector on the cable I
ran from the SSB radio. I had a union, so inserted it and then put the
antenna wire and the navigation light wire into the raceway, and got it
all buttoned up. Next was the WiFi antenna. I got that antenna wire run
down the starboard side of the boat from the aft cabin to the garage. I
will install the amplifier in the garage, and run the next antenna wire
to the mid-cabin where the bridge will be located. I now have to run
the wire for power to the amplifier in the garage.
I then turned to on clean up. The work bench in the garage needed a lot of attention, and I had to put away all of the tools and accessories I had out for the front hatch and the wiring. Got that all done and the area vacuumed because of all of the dirt I managed to shake out of the areas in which I was working.
Still not able to test the VHF antenna for the SSB or the WiFi, but hope to do that soon.
Stern Navigation Light Installed On
Davits
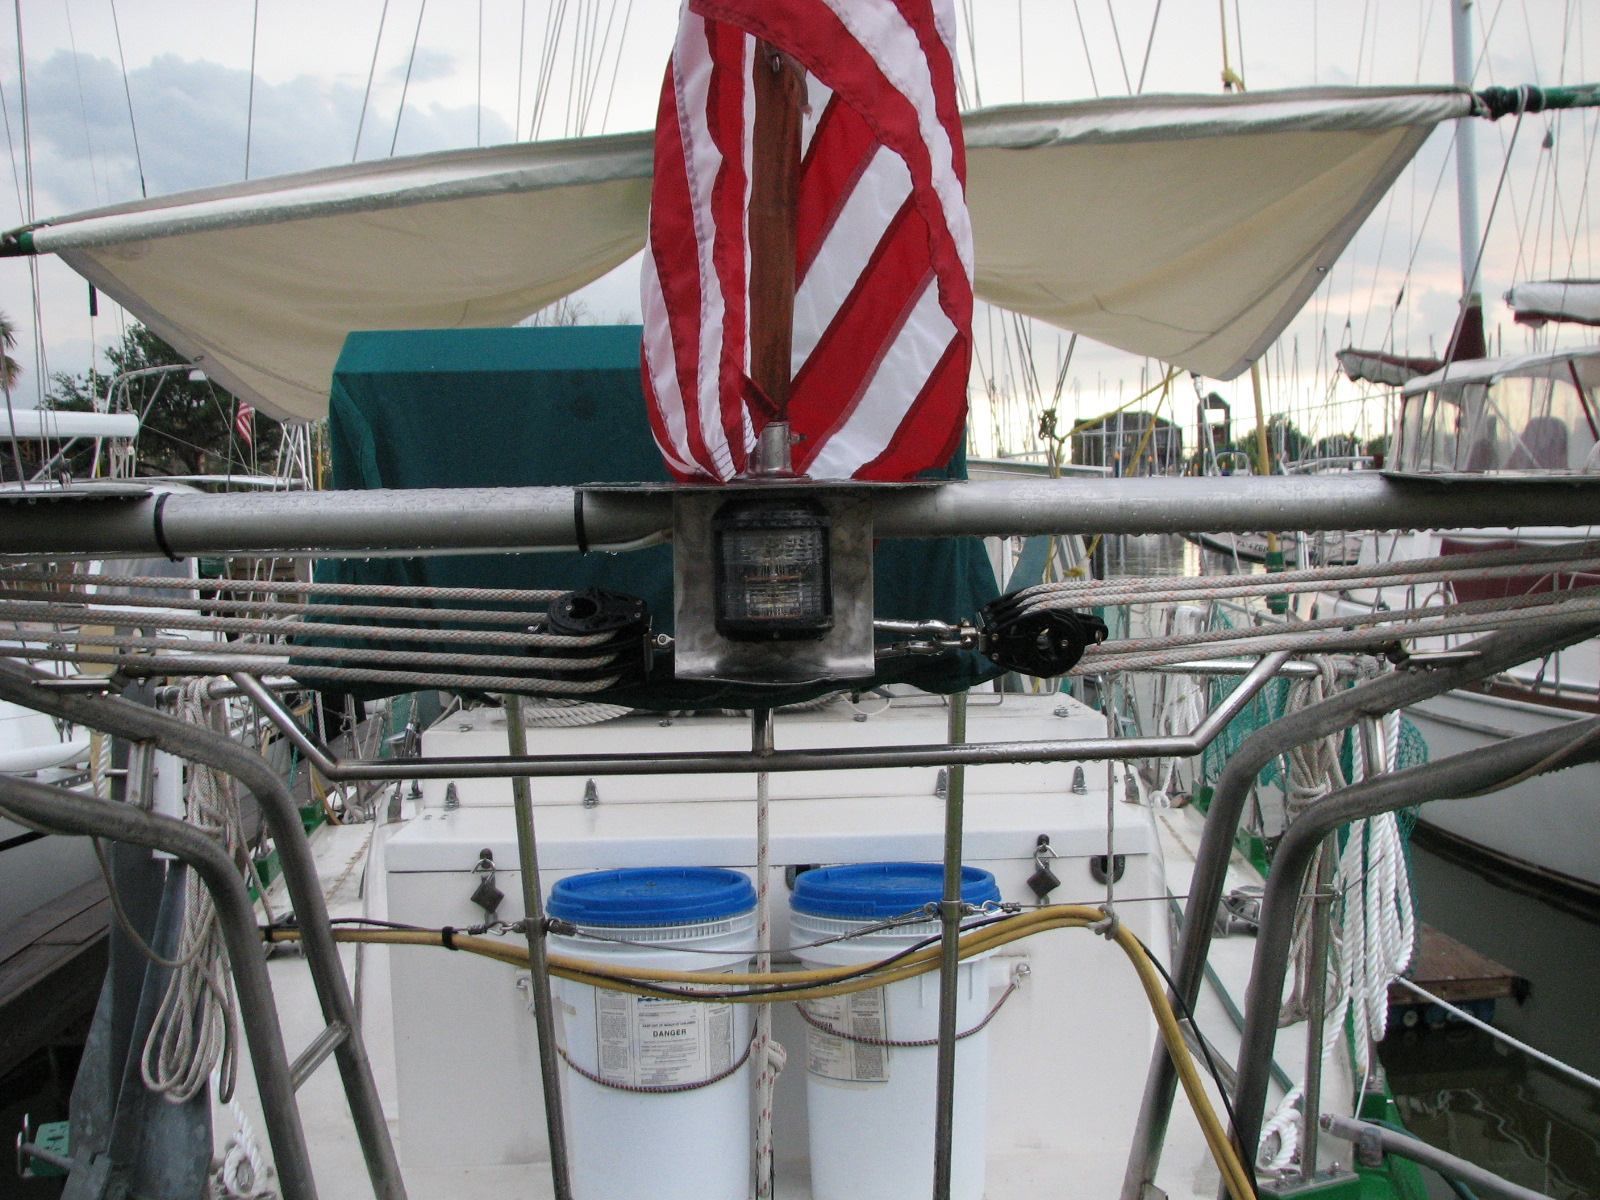
VHF Antenna Installed On The Davits
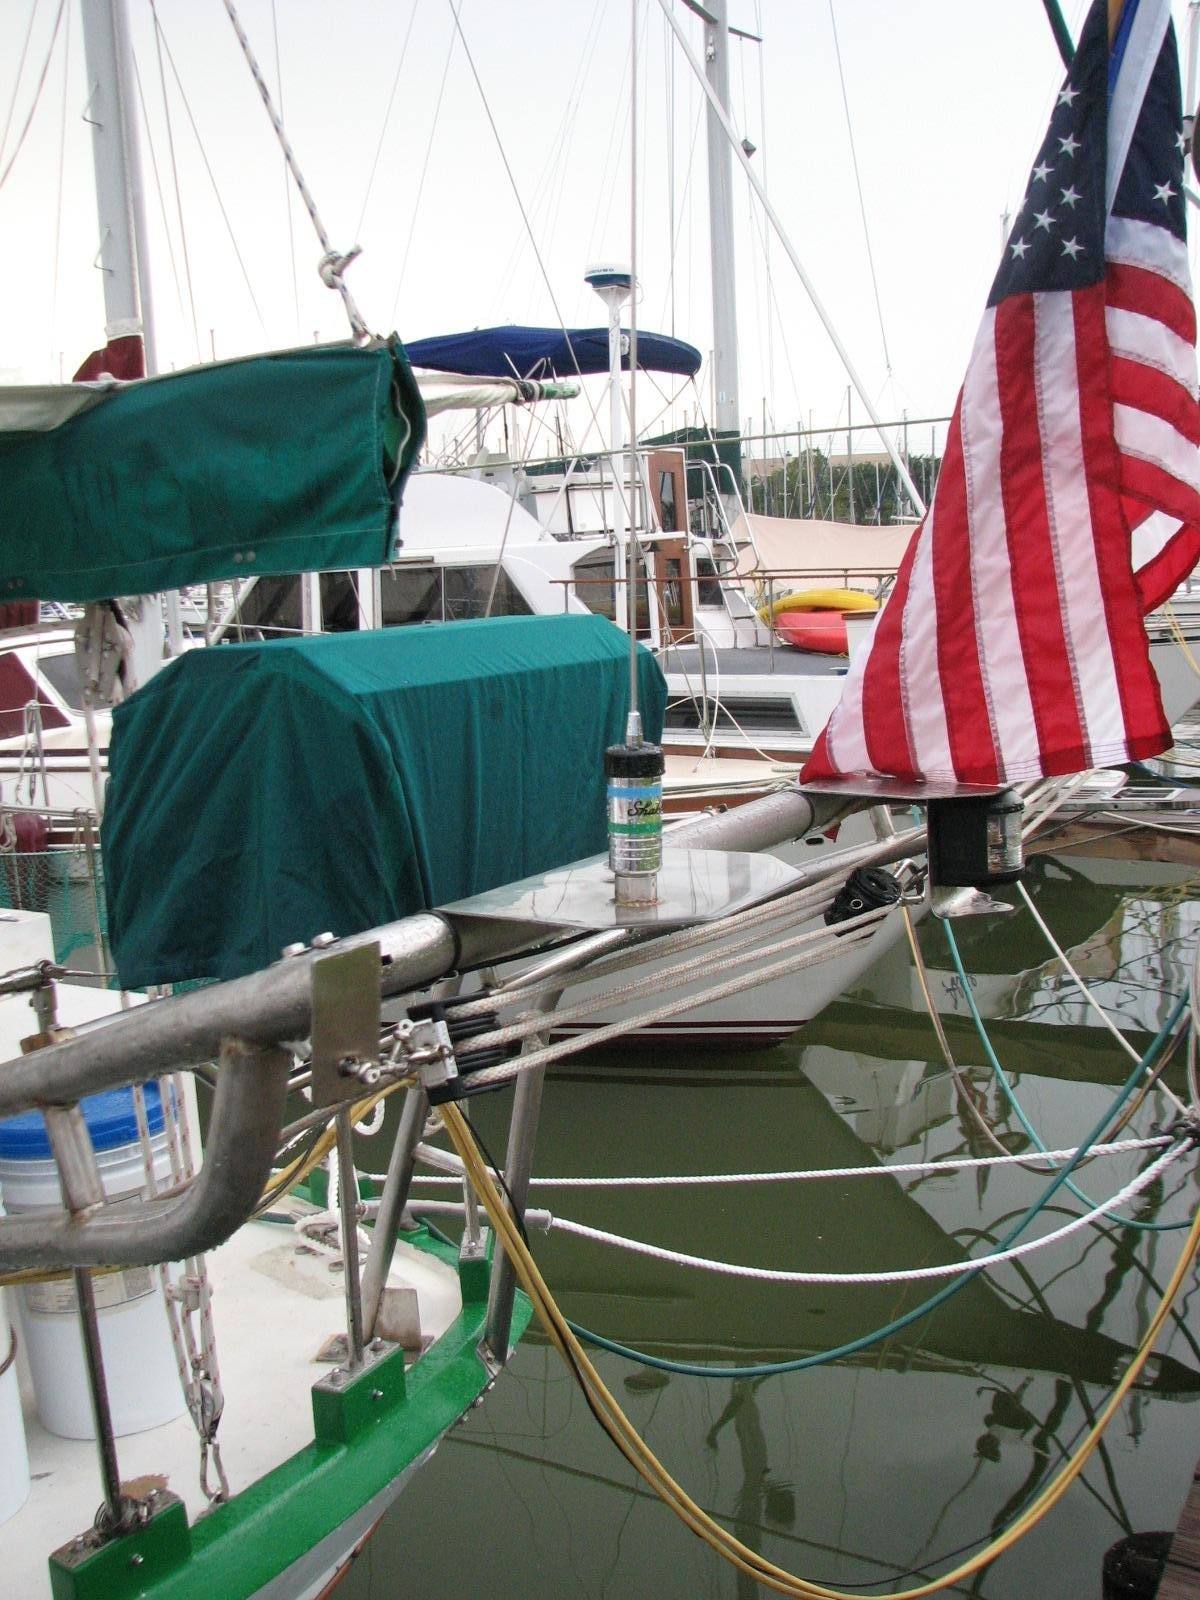
WiFi Antenna Installed On The Davits
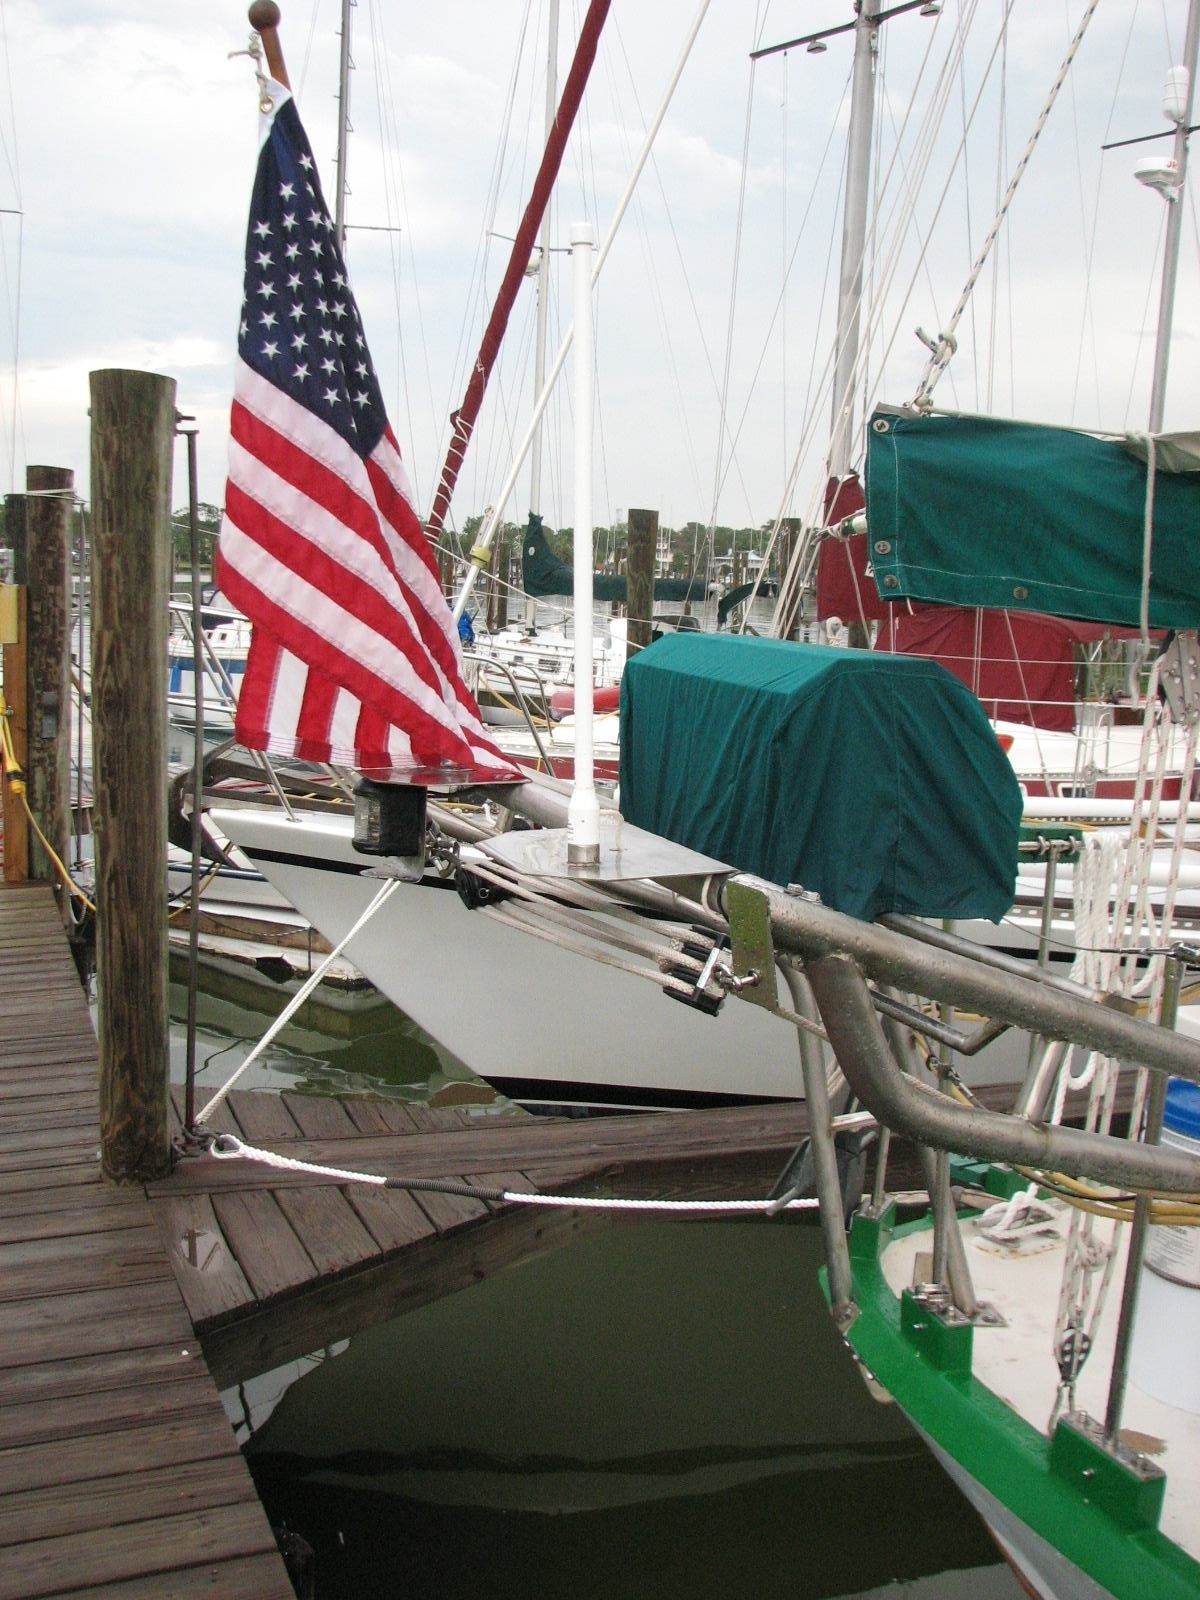
Went to shop first thing to make a second Gucci hatch. I felt this was necessary so I can be working on two hatches at the same time.
From the shop I went by Alan's and we then went to the metal recycling shop. I was looking specifically for some tubing or pipe to make spreaders for the dinghy. The spreader will aid in lifting the dinghy using the davits. On each davit is a block that can lift one point on the dinghy. This makes the dinghy very tippy when lifting, so the norm is to add a cable or chain from the port side to the starboard side of the dinghy, front and back. This works very well, but then you end up with the cable or chain in the dinghy, when it is not really necessary. So I want to add spreaders, which are metal bars, pipe or tubing, that have attachment points on the outer ends of the spreaders that will attach to the eyes on the dinghy where the chain or cable used to be. With the spreaders, when you have dropped the dinghy into the water, the spreaders stay with the boat and not in the dinghy. This means less hassle and less weight in the dinghy.
When Alan and I got to the recycle shop, I did not find anything that would do. Then I found some 2 foot pieces of 1.5" square tubing. If I weld three pieces together, I will be able to make the spreaders I need at the proper length, plus it is square tubing, it is stronger than round tubing. I purchased six pieces for $14.00. The recycle shop is great, because when you purchase metal, it is at the scrap price.
Left recycle shop and dropped Alan off at his boat, and then went to Dream Away. I started looking at the placement of the SCUBA compressor, and as I was thinking about how to make the mounts. I thought I could make a really great mount out of the square tubing. We had planned on covering the compressor with a Sunbrella cover, but both Kitty and I were concerned that someone would step on the compressor while working the mizzen sail. If I make the mount out of the square tubing, I will be able to make a cover out of wood or fiberglass. This will better protect the compressor from the elements, and will also provide a place to step while working on the mizzen sail, without worrying about damaging the compressor.
Seemed like a great idea, so back to the recycle shop to see if they had ten more pieces of the square tubing. When I got to the recycle shop, the bin I had found the square tubing in had been moved, so initially I was down. I then found the bin somewhere else in the shop, and there were ten pieces of the square tubing left! I purchased all ten pieces for $23.00. I left the recycle shop, and went back to Dream Away.
Sanded and filed down the filler putty
that was applied yesterday to the first hatch base. Got the hatch base
all sanded down, then put on the first coat of the finishing putty.
Went over to the shop, and welded up the
dinghy spreaders. I welded three pieces of the square tubing together
for each spreader. I only need 58" for each spreader bar, so I will
have some left over for the SCUBA compressor mount. Since I have
learned about metal doing funny things when it is welded, I clamped the
work down and welded two sides. I waited until the work cooled to the
touch, turned the work over, and welded the other two sides. It took a
lot more time, and I still got a small amount of warpage, but both
pieces looked pretty good. It was 2000 when I left the shop to go back
to Dream Away.
I have some photos, but I added a photo
to yesterday's update showing the final tie down for the stern anchor.
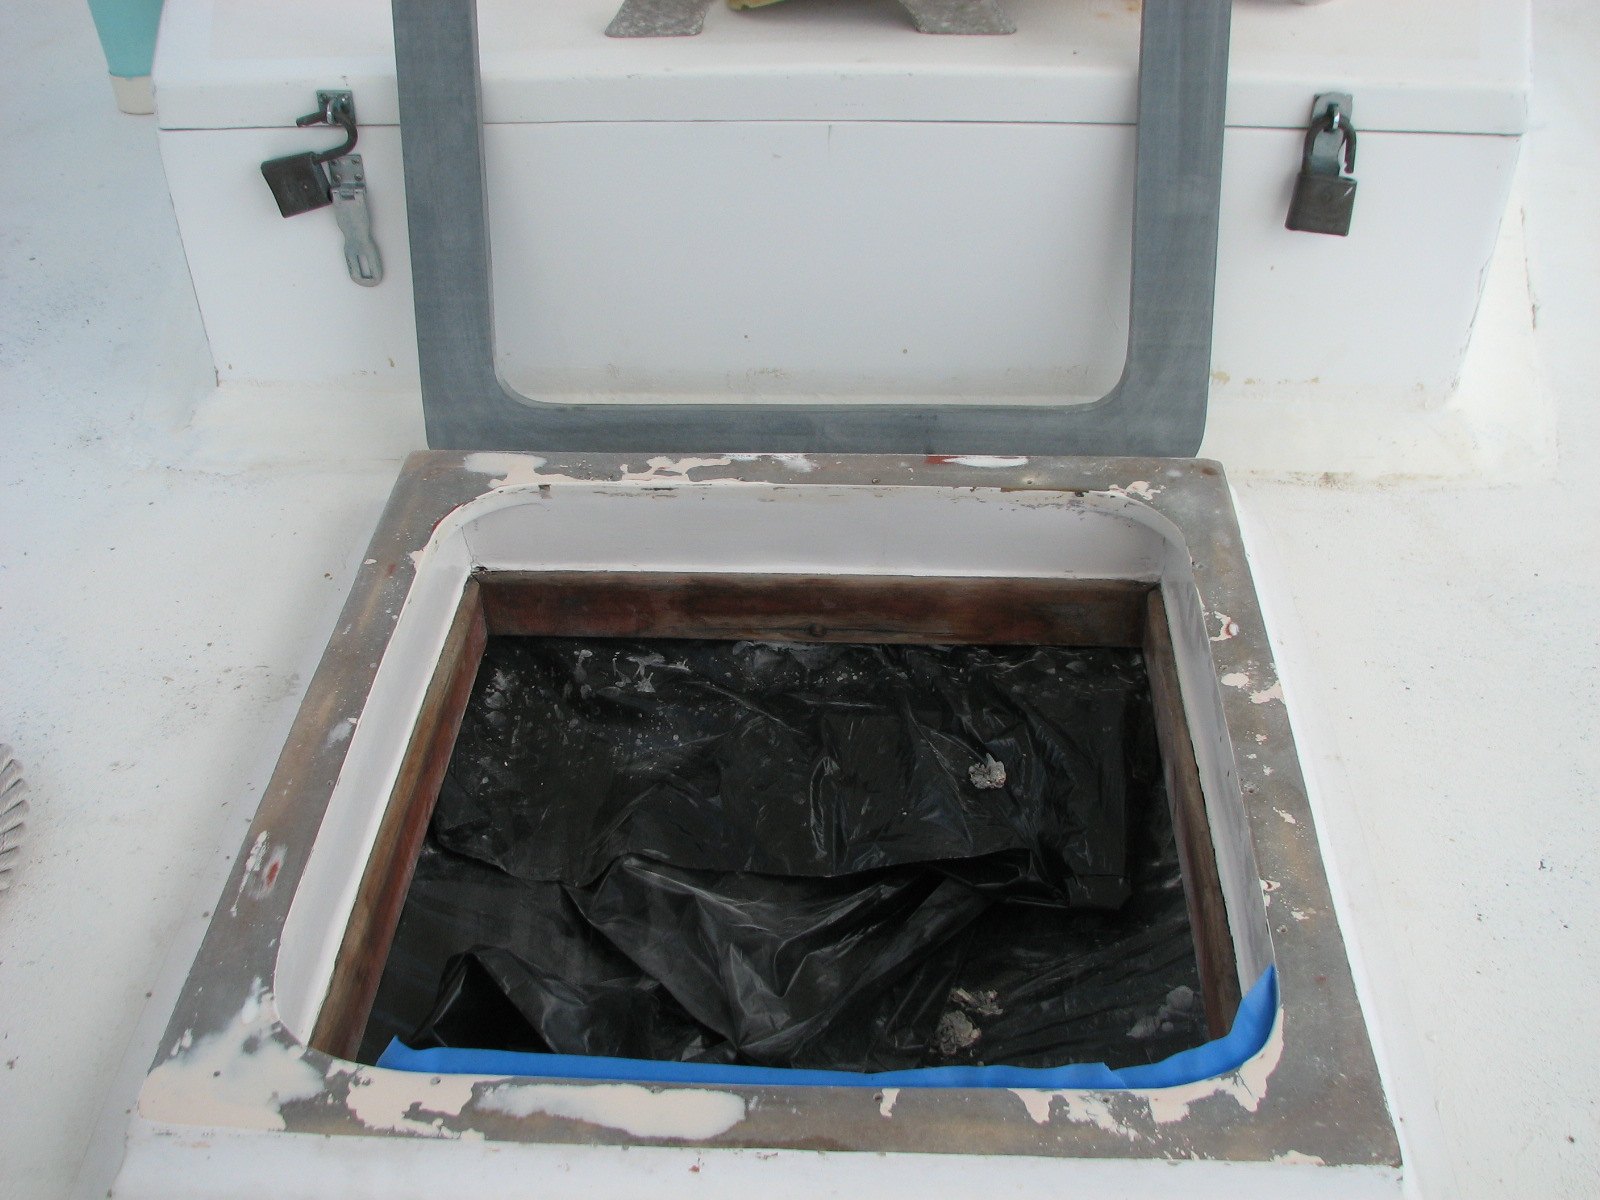
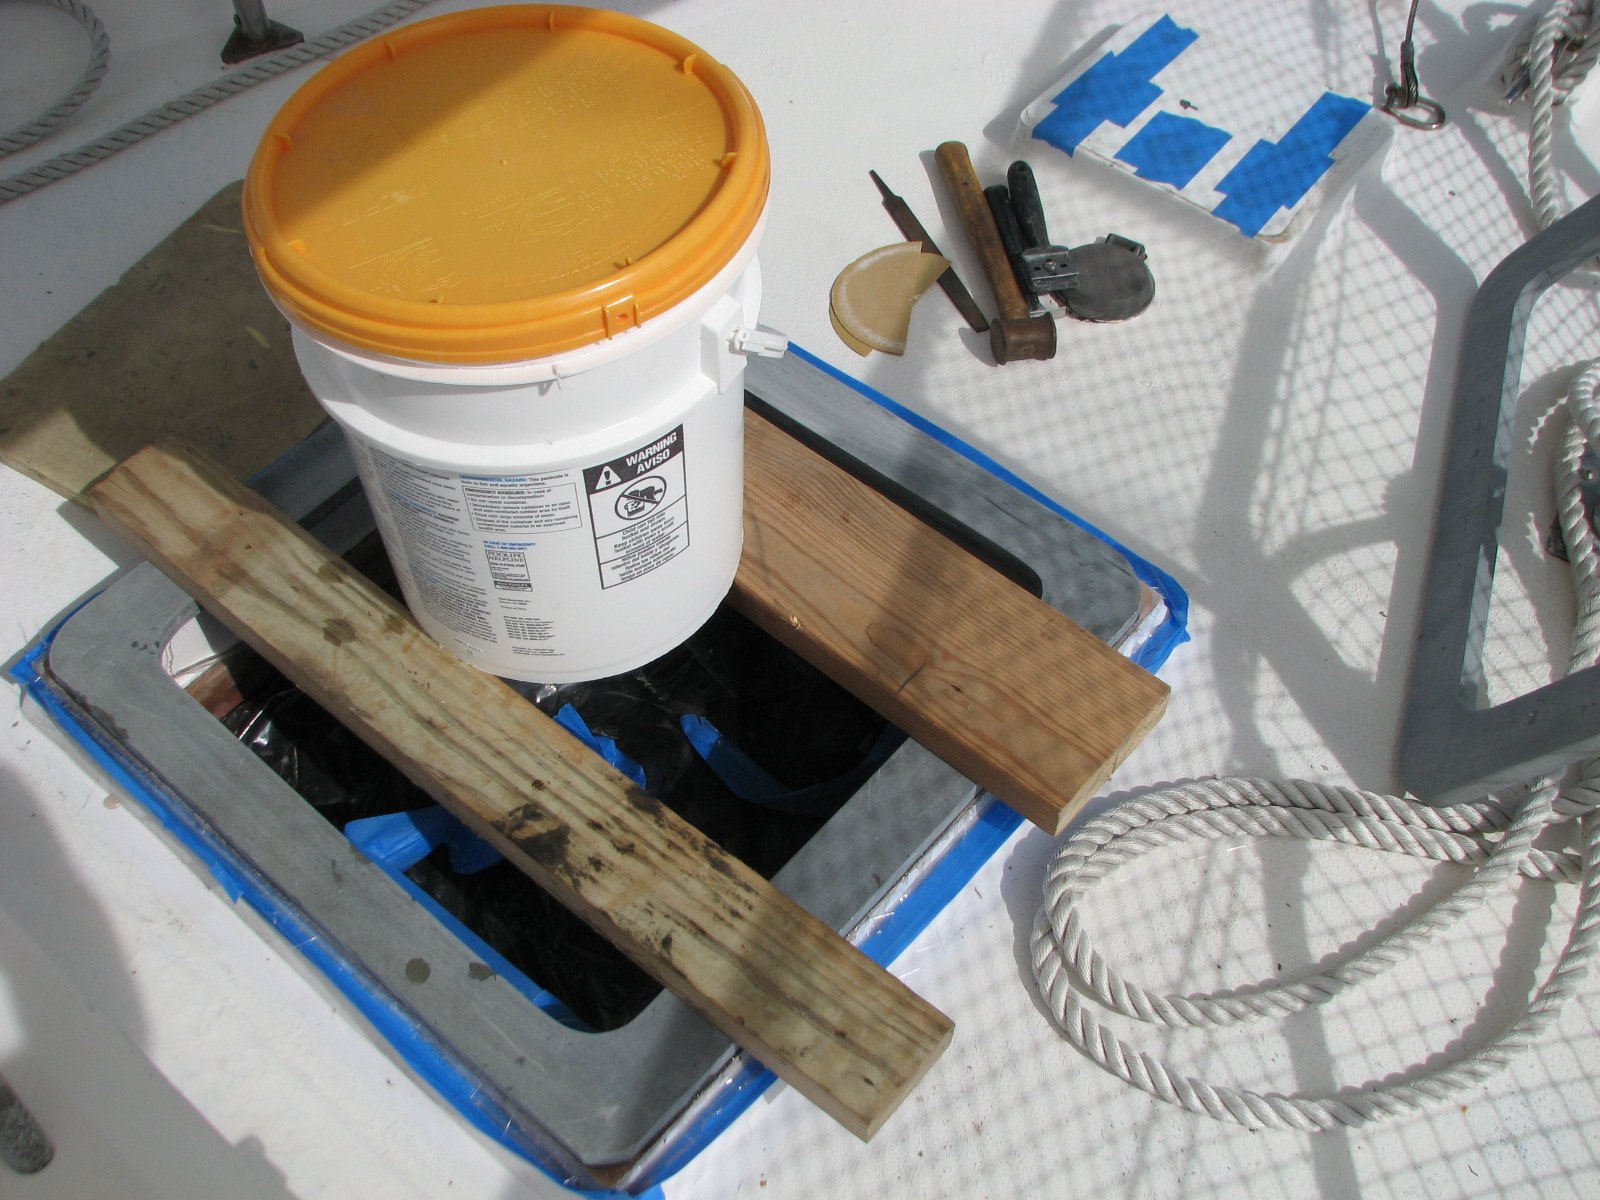
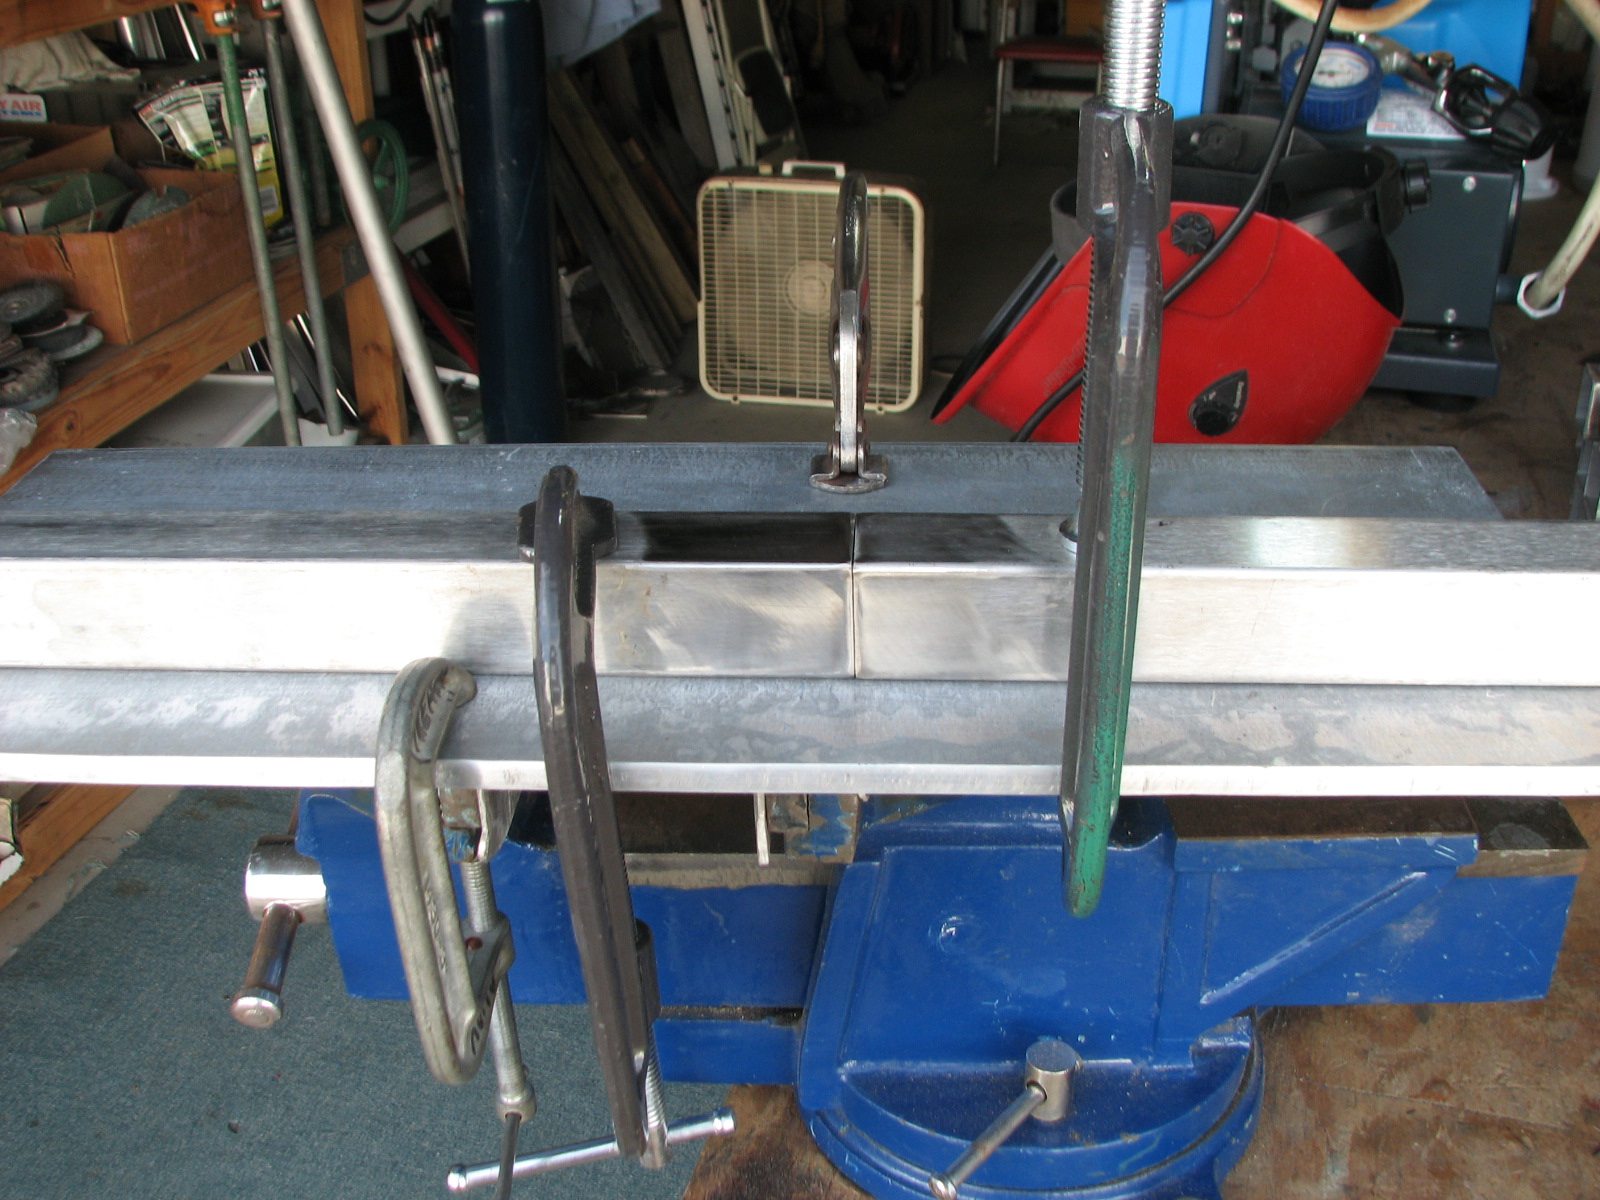
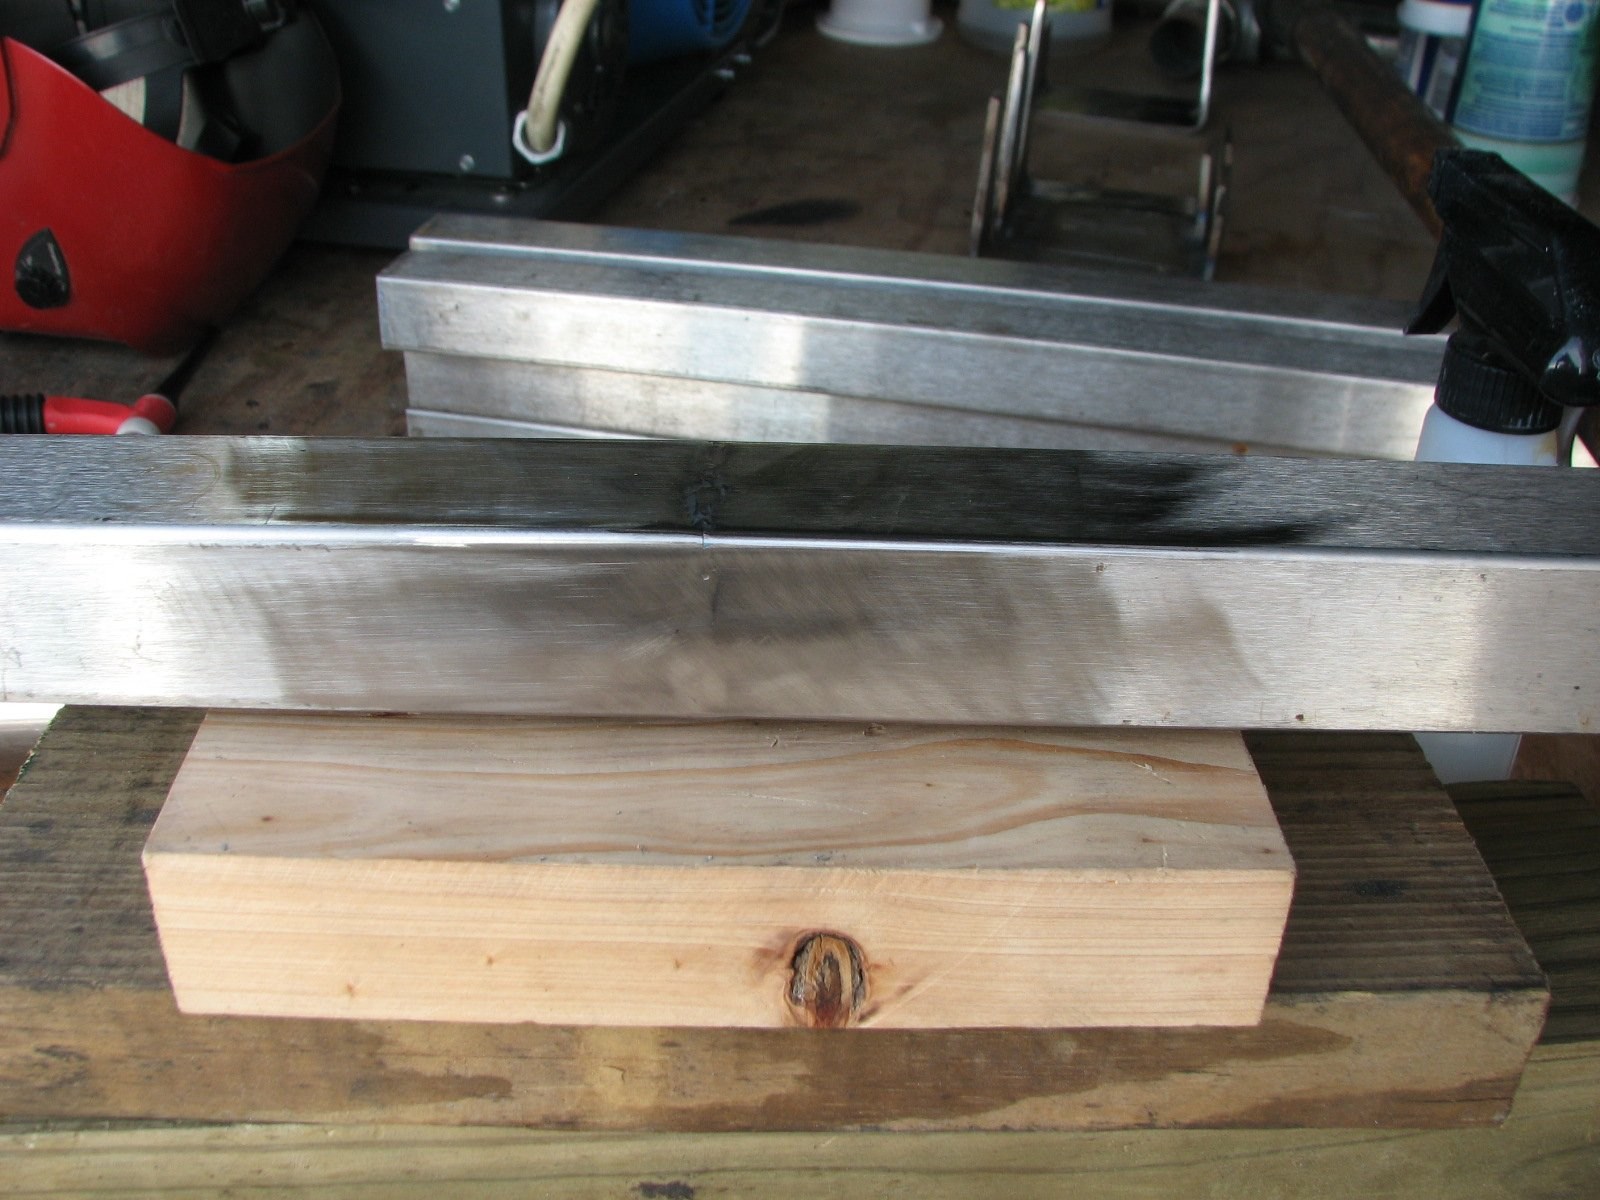
Got a late start today. I actually slept in until 0700. Just as I finished my walk with PNB, friend Alan showed, so we had a visit. When Alan left, I had breakfast, and then got started on the most forward hatch.
I wanted to get started early while the wind was down, and it was not so hot. When I started to get out all of the necessary items, I realized I did not have the polyester resin on Dream Away. I had to go to the shop, and on the way to the shop I made several stops, including one at the Post Office.
Got to the shop, picked up the gallon of polyester resin, and a fitting that I could use to tie down the stern anchor. I then went back to Dream Away.
I got out all of the tools and materials
I needed to glass the hatch base down to the deck. I got my box of
fiberglass out and started to go through it, and realized there was not
enough mat in the box for me to do one hatch. I also measured the
fitting and a piece of starboard to use on the final tie down of the
stern anchor. This arrangement will be much better than a piece of
line. Then it was off to the shop again.
At the shop, I got out my stash of fiberglass mat, and cut the pieces I would need to glass the hatch base to the deck. I cut the pieces for the other two hatches I would be putting on in the next few days. I also cut the piece of Starboard to go with the fitting on the stern anchor. Then it was back to Dream Away.
Now I REALLY had all of the tools and materials to glass the base to the deck. I did a dry fit to make sure it would all work. I also put layers of masking tape around the inside and outside of the work area to act as dams to keep the resin from going all over the place. Since it was much later in the afternoon, and the sun was now shining on the area in which I was working, I decided to not put as much hardener into the resin. I got the resin all mixed, and went out and wetted out the deck area, applied the fiberglass, more resin, and another layer of fiberglass, then the hatch base. Once I verified the base was placed properly and the resin was starting to kick, I put some weights on the base to make sure there was a good bond.
While waiting for the resin to kick off completely, I went and visited another boat to talk of projects.
When I got back to Dream Away, the resin
had kicked off so life was good. I then took off the masking tape dams,
and cleaned up the fiberglass and resin around the hatch base. The
hatch base is now ready for the first application of finishing and
filler putty.
Robert showed up while I was cleaning up the hatch base. He had come to do the eye splices in the new dock lines to get ready for the hurricane season. We got all four of the dock lines done and the two spring lines. We now have all new un-stretched lines for the dock, in case of storm. I will use the old dock lines as a backup in case of another hurricane.
U-Bolt And Starboard Holding Shank And
Flukes To Stanchion
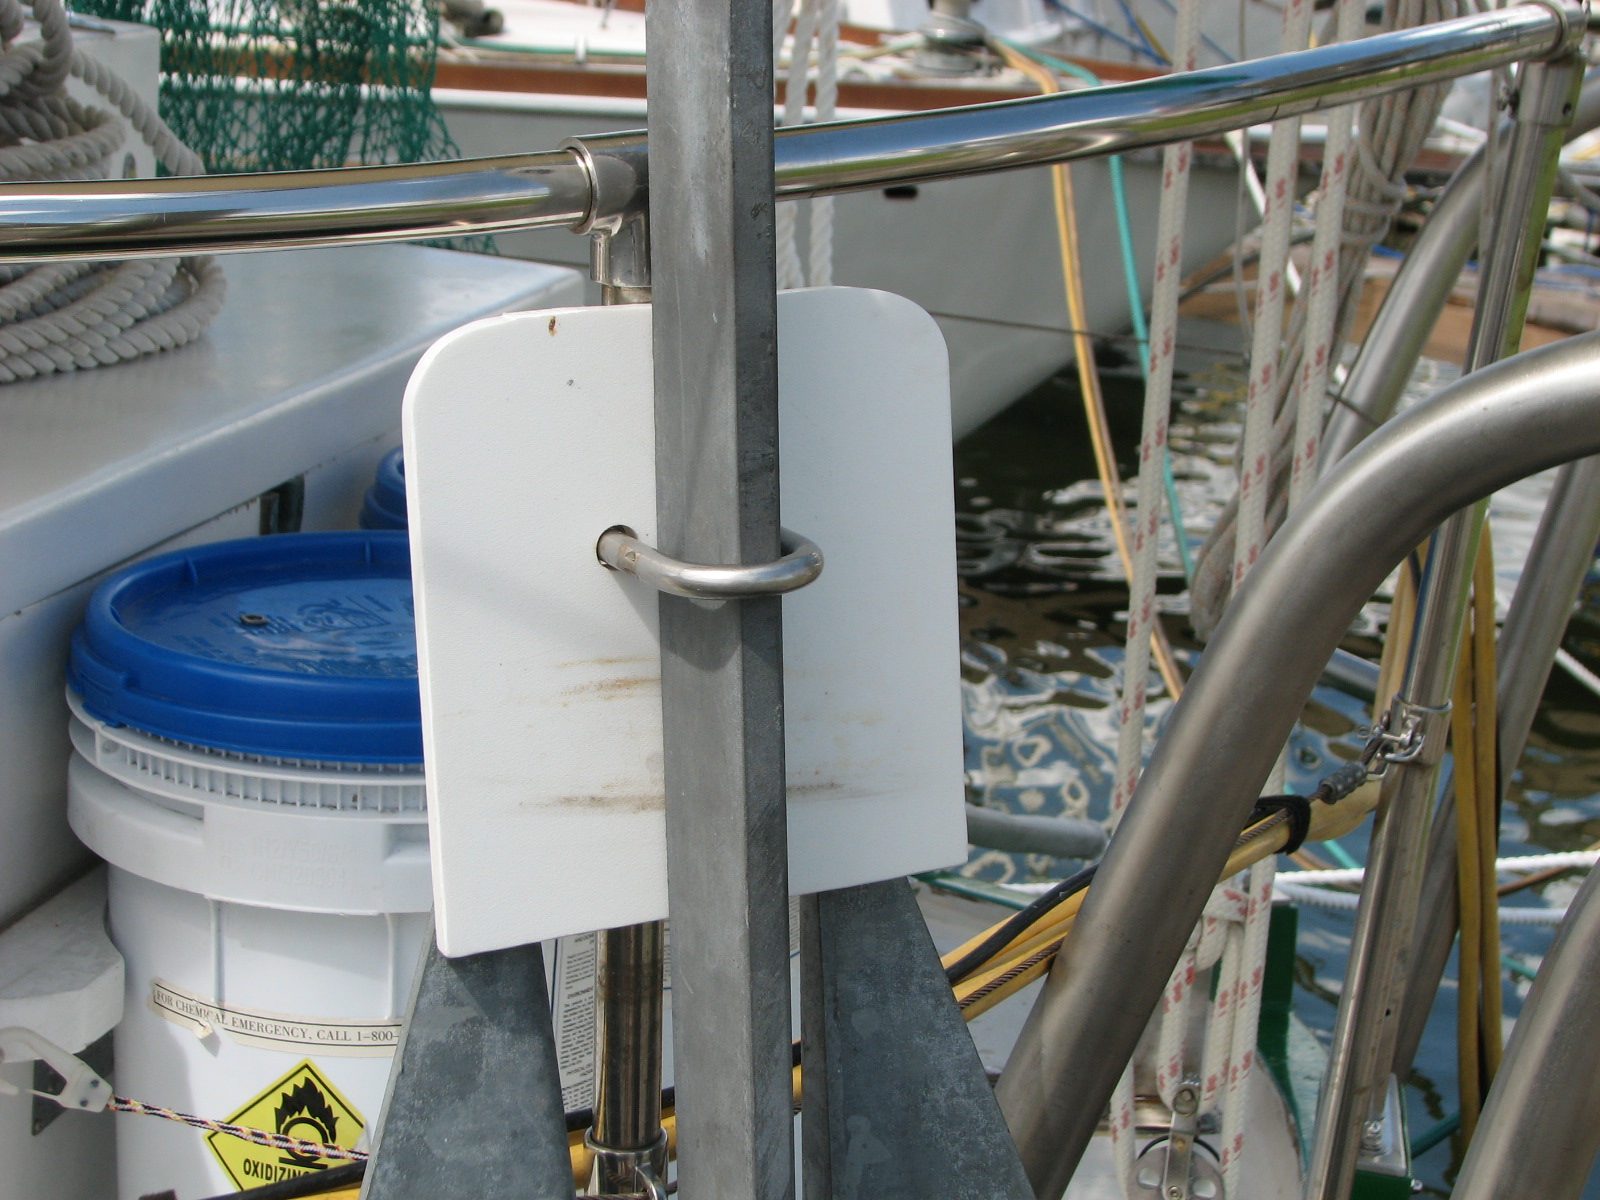
Inboard View Of U Bolt And Starboard
Holding Flukes

First thing this morning I worked some more on computer items. I was waiting for Kitty to get up so we could go to the airport.
On my way back form the airport, I stopped at a roofing supply center. I was looking for a roll or two of the sealant that is used on the roofs of metal buildings. BTW this sealant is called "Roof Mastic". The supply center did not sell the roof mastic, and they suggested I check at Home Depot. I continued on home.
Got work clothes on, and made some measurements for the stern anchor area. I then went out to the aft stanchion where the stern anchor will go and removed the plate on top of the fiberglass stanchion base. Of course, this was easier said than done. I had to remove the life rail from three stanchions, and the life line from two stanchions. When I completed that, I was able to get the plate off of the stanchion base. I left Dream Away and stopped by Home Depot, and sure enough they had the roof mastic. I purchased two rolls, and then went over to the shop.
When I got to the shop I realized I had not marked the plate front or back. Got back into the truck, drove back to Dream away and verified the front of the plate. Then back to the shop.
I was able to find a bunch of scrap pieces of 5" plate to fabricate a holder for the stern anchor to weld to the plate. This I did, and got the holder all put together and polished and cleaned. While all of this welding was cooling, I fabricated the fiberglass pads I will be fiberglassing to the deck to anchor the SCUBA compressor. When the plate had cooled, I went back to Dream Away to attach the plate with the stern anchor holder.
I forgot about the bolts I put through the stanchions and the bases to prevent the stanchions from pulling out. The stern anchor holder would not go over the head of the bolt. Back to the shop. Got out the Oxy/Propane torch and heated up the holder, and bent it out of the way. While waiting for the holder to cool, I applied paint remover to the two oars for the dinghy and the spare oar. They are all varnished, and look really good for about a month after initial varnish application. After one month they look really bad until I apply more varnish. I am removing the varnish, and painting the oars -- less maintenance!! The holder cooled down, so I cleaned and polished the holder. Back into the truck and then back to Dream Away.
The holder fit perfectly, and the anchor fit into the holder perfectly. All I need to do is come up with an elegant way to tie the anchor off to the stanchion.
Stern Anchor Holder Before Installation
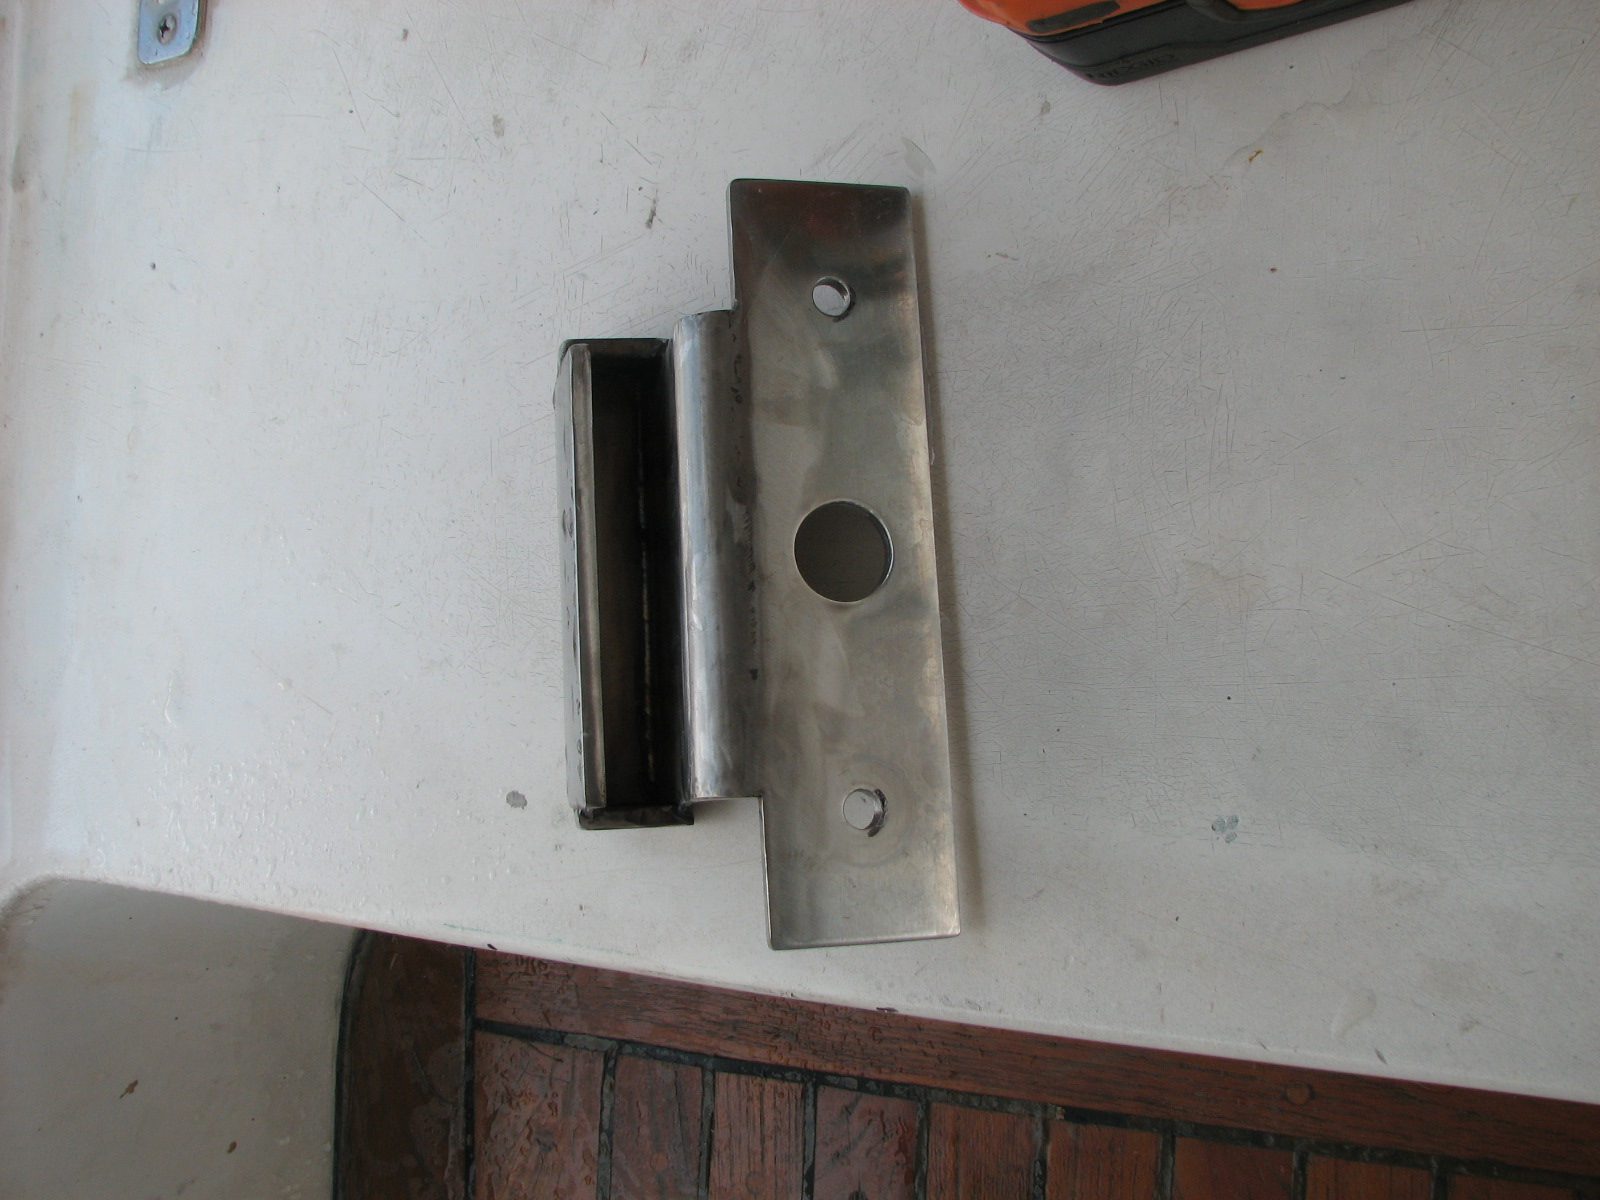
Stern Anchor Prior To Installation
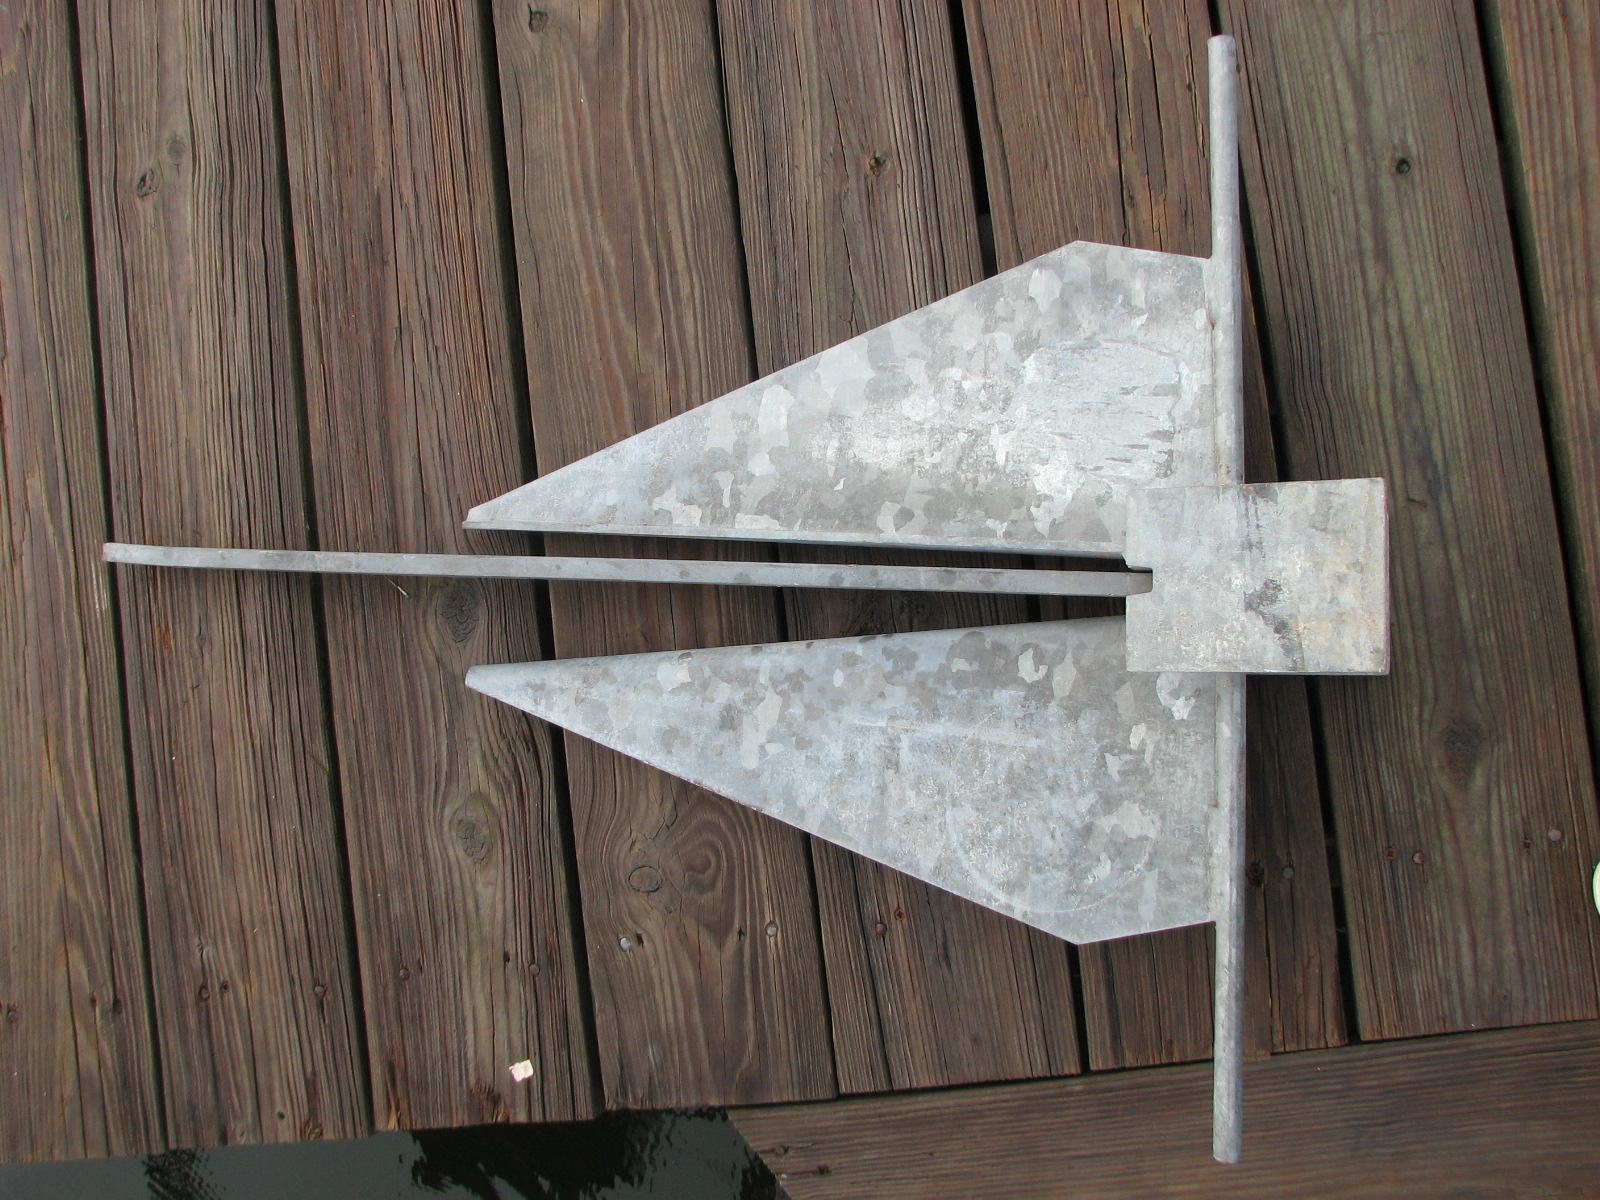
Stern Anchor Holder Installed On
Stanchion Base, Starboard View.

Stern Anchor Holder Installed On Stanchion Base, Port View.
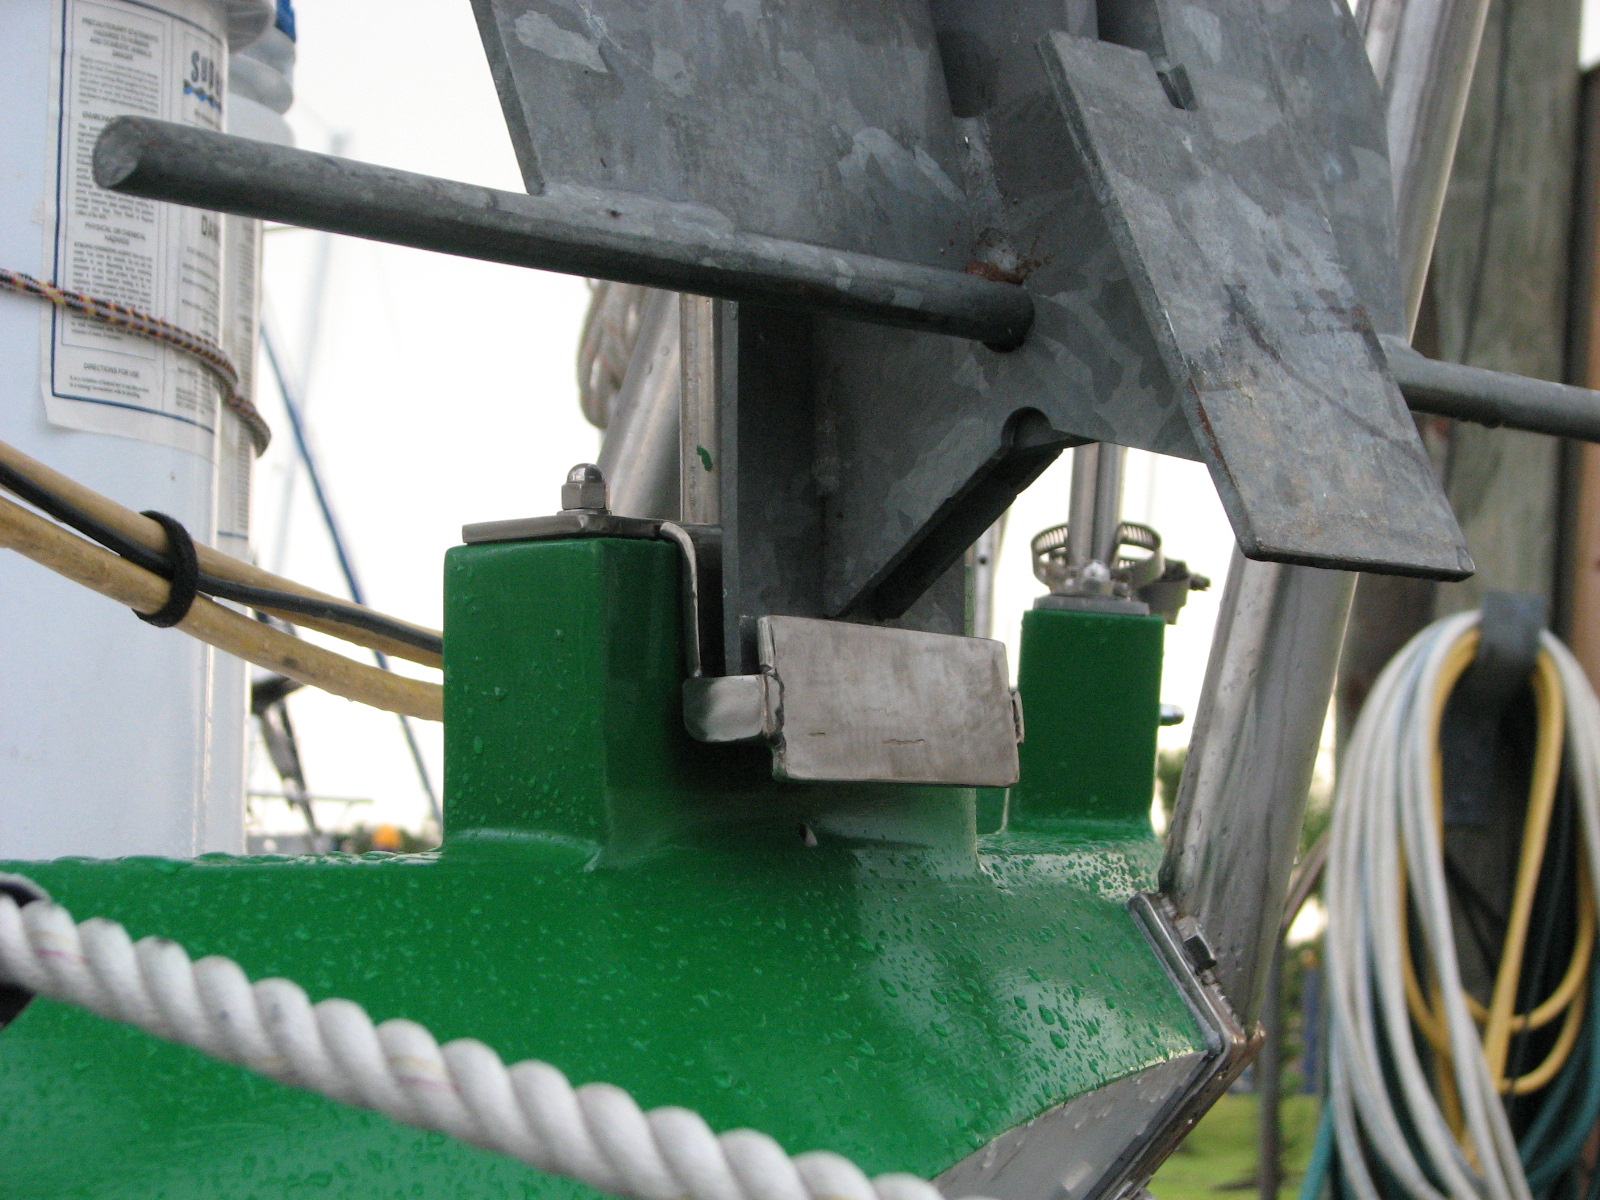
Went over to the shop first thing. Spent time cleaning up shop and putting tools and equipment back in it's place. Started moving items from the shop to the staging store room.
Started cleaning and polishing some pieces of stainless steel that I had heated and bent to be used as supports to hold up folding chairs and umbrella in the forward cabin. The supports I presently have are barely adequate. These new ones will fit the bill much better.
I loaded the new Dutton-Lainson Sentinel fluke anchor to be used as the stern anchor, and the SCUBA compressor into the truck. I then went back to Dream Away. The plan was to work on boat projects, and to spend time with Kitty.
We first spent time trying to figure out where to store the SCUBA compressor on the boat. The SCUBA compressor weighs 89 pounds, so there is almost no way I can store the compressor down below. It would be nearly impossible to get the compressor out on deck to use it. We had very few choices topside. We had to be able to store the compressor where it would not have to be moved for use, it had to be covered from the weather, and it had to be secured to the boat. We ended up deciding to put the compressor over the aft cabin between the two hatches. I am pretty sure I will not have enough time to build a stainless steel mount for the compressor, and will not have enough time to build a metal or fiberglass cover. We decided to make a Sunbrella cover for the compressor. I purchased four eyes I will glass down to the aft cabin top deck. These pads with eyes will be used for securing and locking the compressor to the boat. Perhaps in the future I will be able to build a stainless steel mount for the compressor.
Kitty and I went on a shopping trip to Kemah Hardware and West Marine. I purchased the eyes, two shackles for the dinghy davits, and the VHF antenna to be used as the DSC antenna for the SSB radio at West Marine. We then went to Kemah Hardware to get some new bolts of the proper size for the davit main cross support pipe.
No actual work done today on Dream Away.
It was work on computer day, doing email, and getting caught up on
financial issues, and scanning. It was also spend time with Kitty day.
Kitty is going off for two weeks, on Tuesday the 18th, to be with her
friend Kathy while Kathy will be recovering from surgery.
Over to the shop first thing to try and straighten out the warped plates. I started on the center plate as it was the one in need of the most repair. I assumed the problem came from me not clamping down the work well enough, and un-clamping the work as soon as I finished. Learning this did not help the problem right now.
I took the center plate and attempted to straighten it out by putting one end into the vice, and then bending the plate one way or the other. I was able to make a little bit of progress, but not a lot. I then clamped the plate to the vice, and did a little more welding of the navigation light mount to the plate. This got the plate heated up pretty well. I then removed half of the clamps on the plate and got out the Oxy-Propane torch. I heated up the plate very hot but not cherry red. At this point I clamped down the heated half to the vice. I waited about 15 minutes until the plate cooled to the touch and took the plate off of the vice. Not any real improvement.
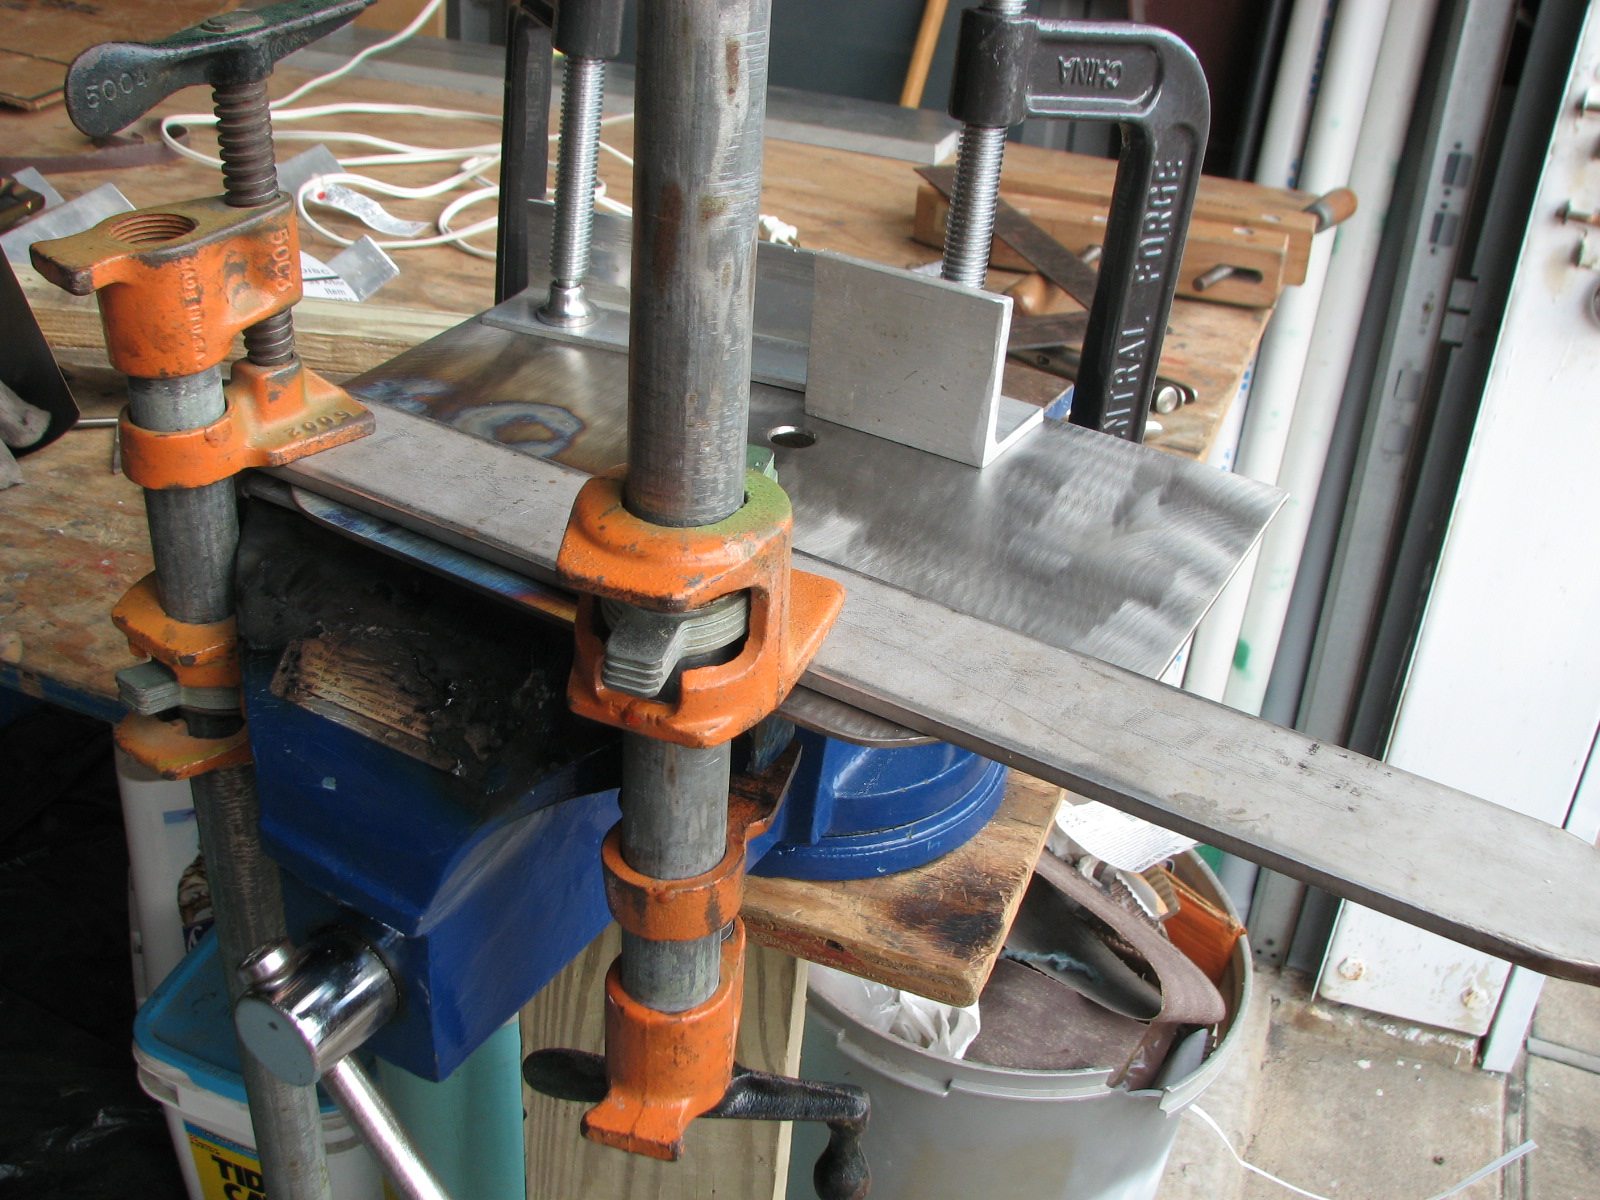
By this time I had convinced my self I could make three new plates, cut the parts off of the old warped plates and be better off than trying to straighten out the old plates. When I bought the scrap piece to cut the plates from, it was plenty big. In fact I cut out the three new plates and still have a 36" piece left over that will go on the boat. You just never know.
I cut out the three new plates, and trimmed off two of the corners on each plate. I had my little tent erected over the work bench that I had outside the shop so I could do most of the work in the shade. I cleaned up and polished the three plates. I then drilled a 3/4" hole in two of the plates to allow antenna or electrical wires to pass through. I was not able to reuse the flag holder I welded to the original center plate. The good news was I had another chrome plated brass flag holder that could be bolted onto the plate. I drilled the three holes necessary to attach the flag holder to the plate. I also drilled a hole in the flag holder so when I put the flag pole into the holder I can drill a hole into the flag pole and bolt the pole to the holder. The flag pole will not be easy to get to, so I did not want to run the risk of losing the flag pole and flag.
Next I cut the antenna mounts off of the old plates, and I cut the navigation light mount off of the original center plate. I now had three new plates and all of the mounting hardware ready to go - again.
My next problem was how was I going to
clamp the work down so I could still weld and not let loose the clamps
until the work had cooled down. By luck I found a scrap piece of 3/8"
aluminum plate left over from making the main mast spreader mounts. I
took the aluminum plate and clamped the work and the plate to the vice.
I also got some additional pieces of aluminum angle bar and clamped the
work to the plate.
New Plate Clamped to Aluminum Plate And
Vice After Welding Antenna Mount In Cool Down Period
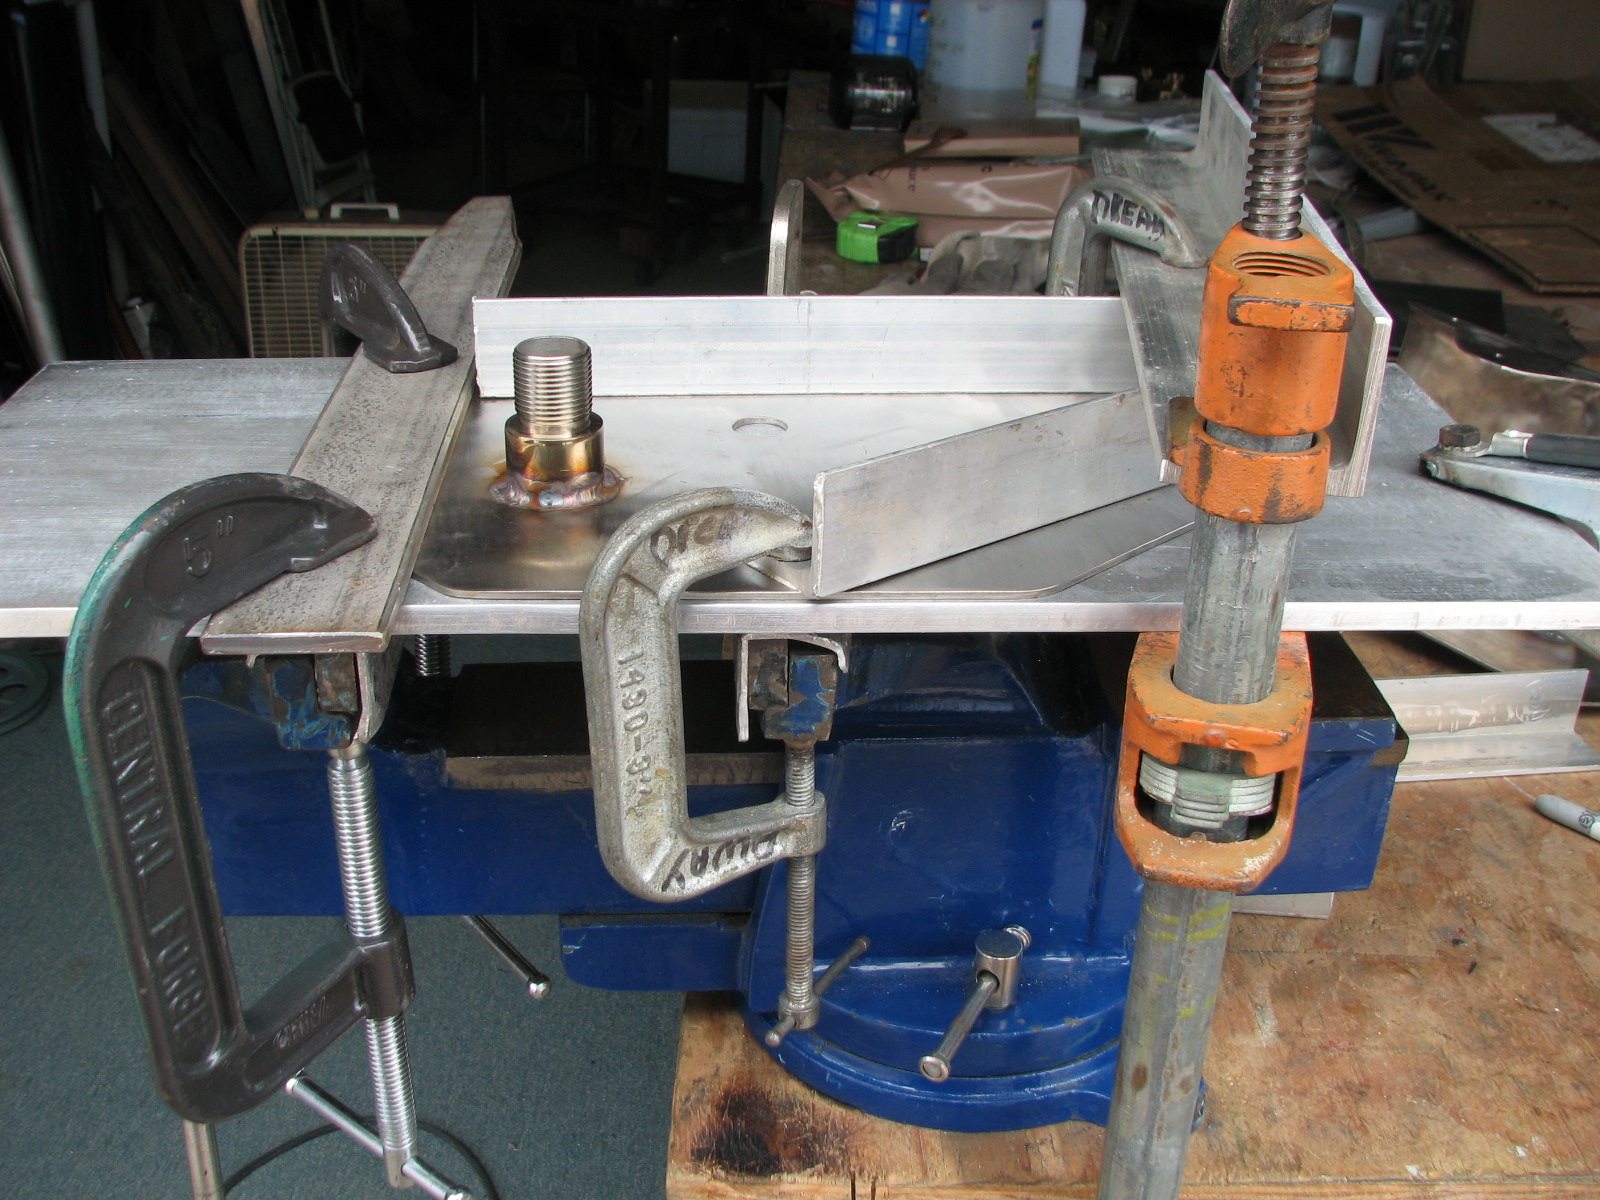

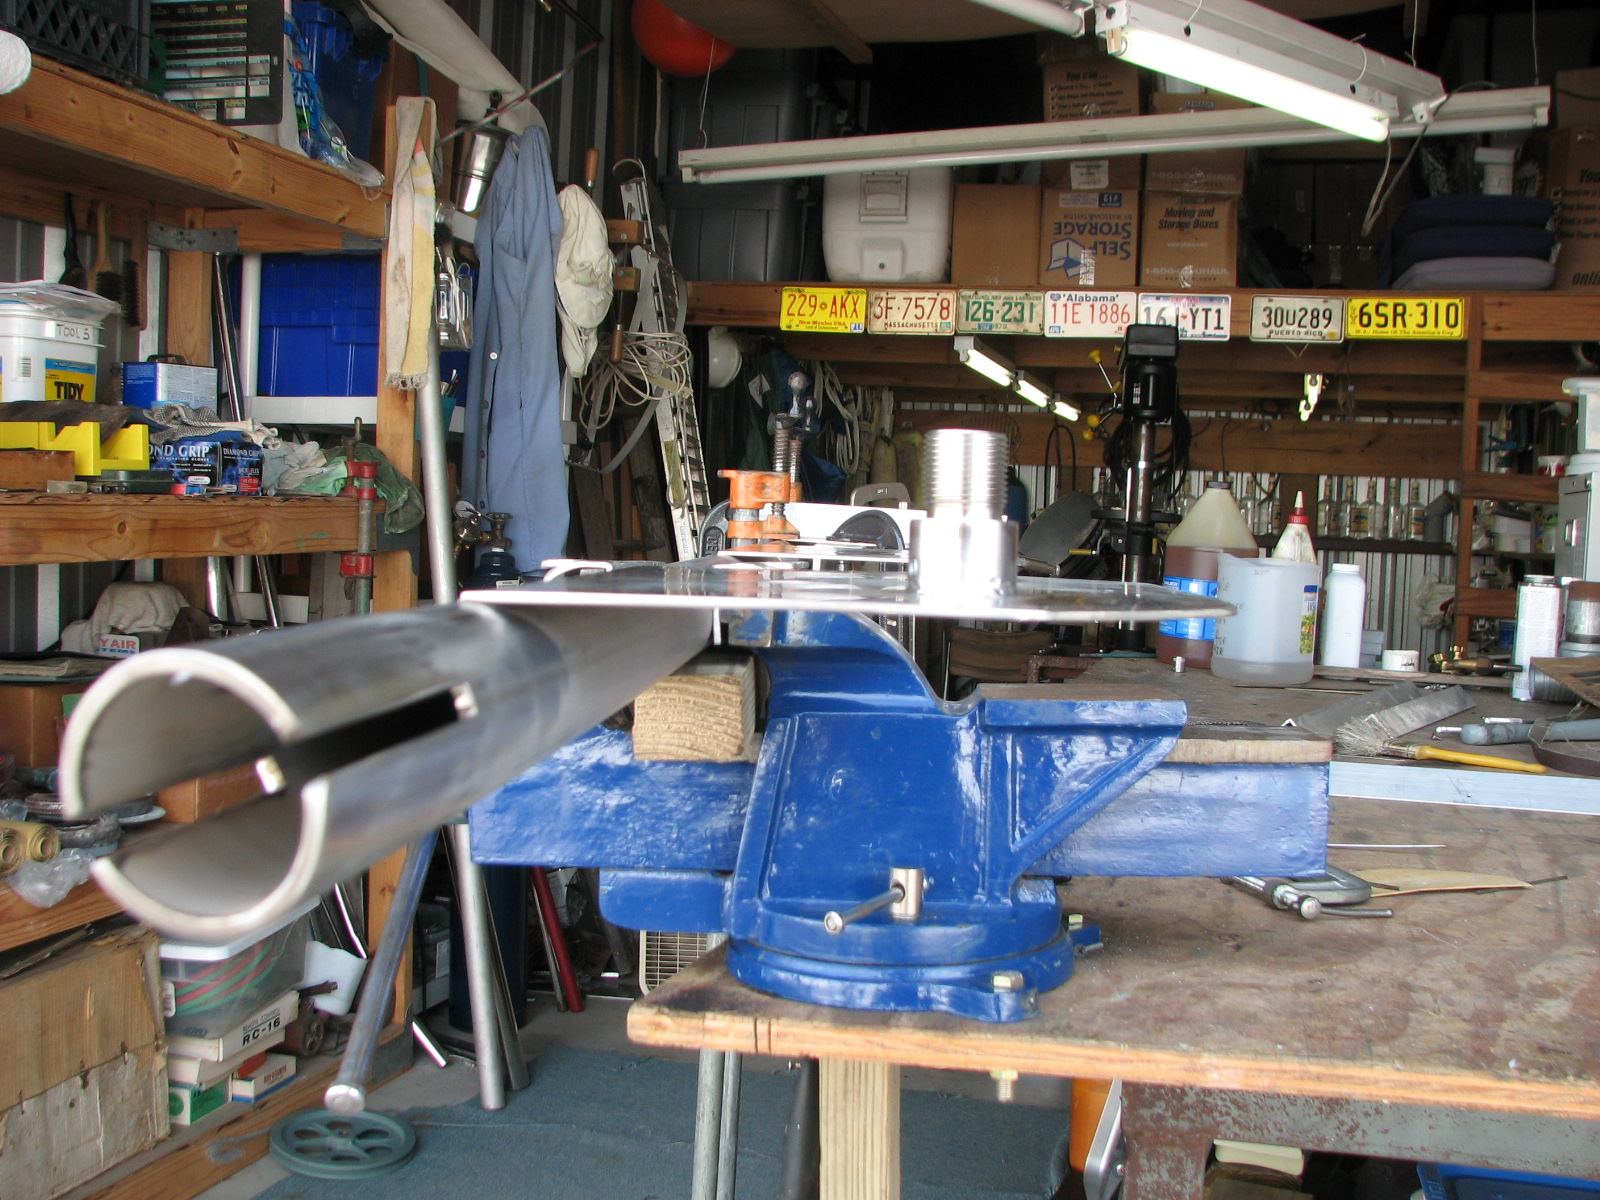
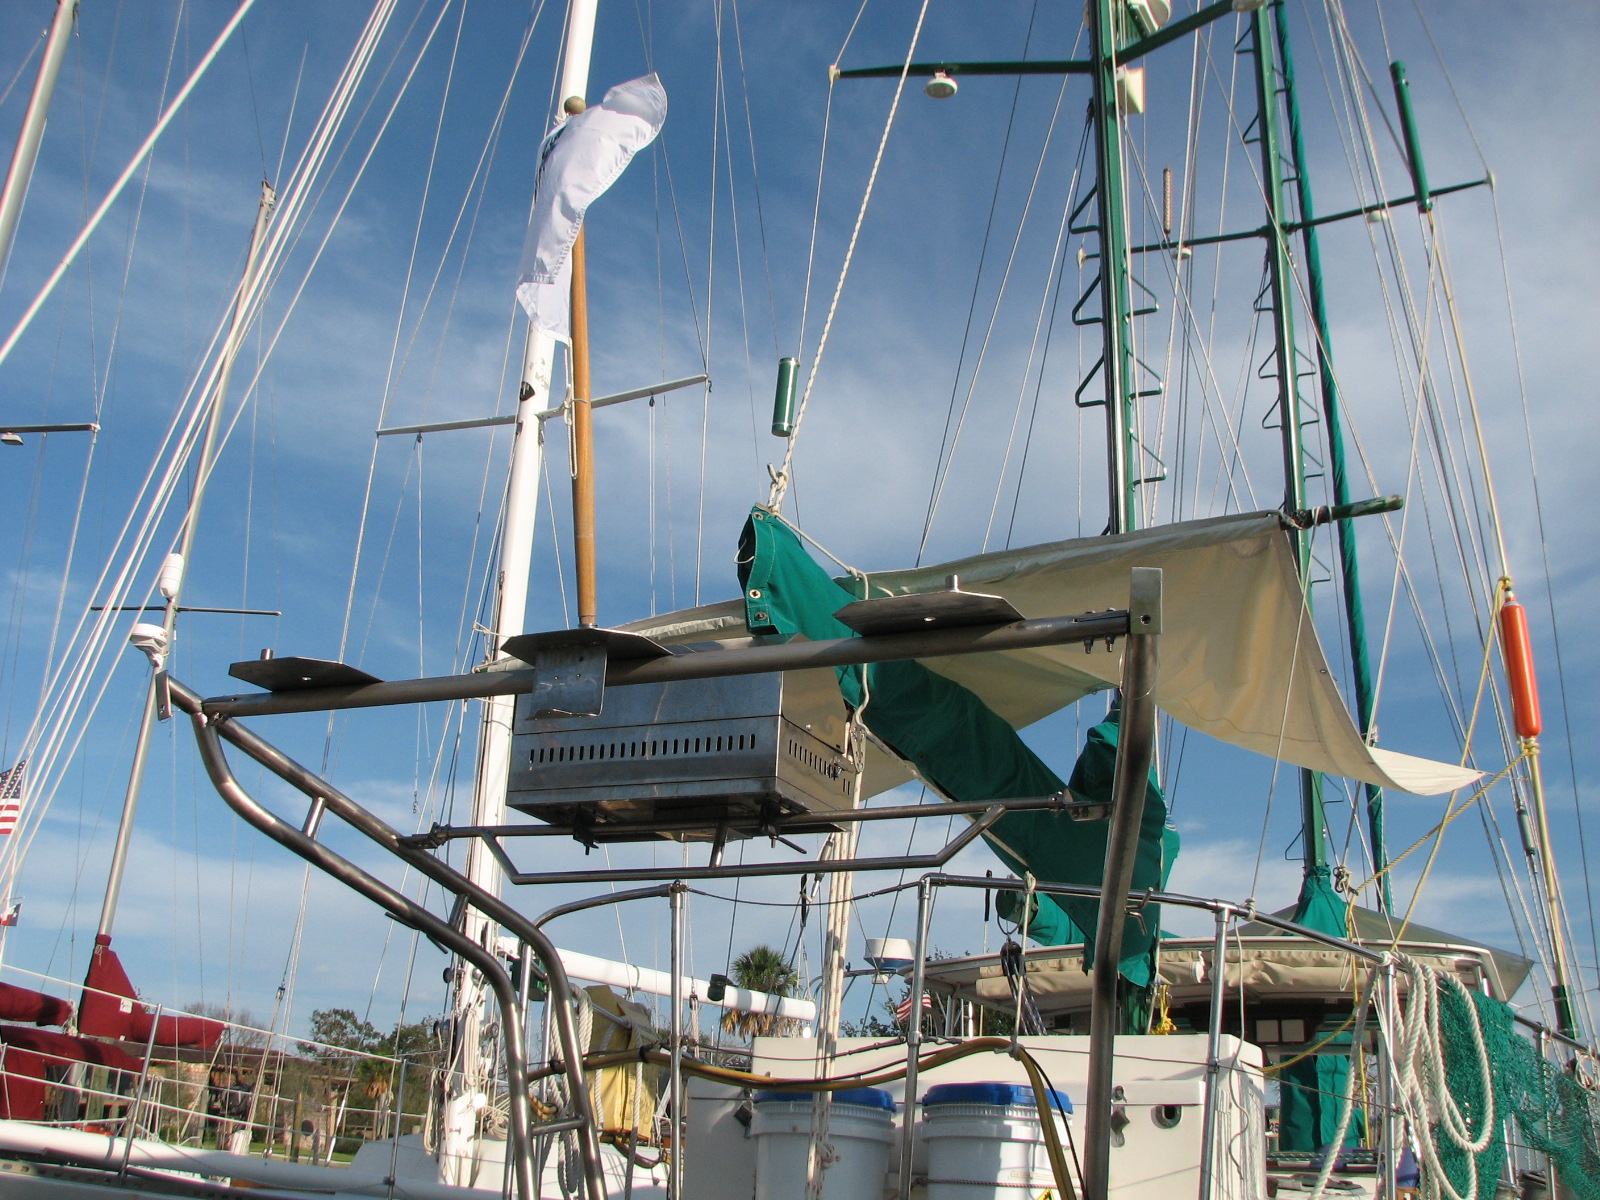
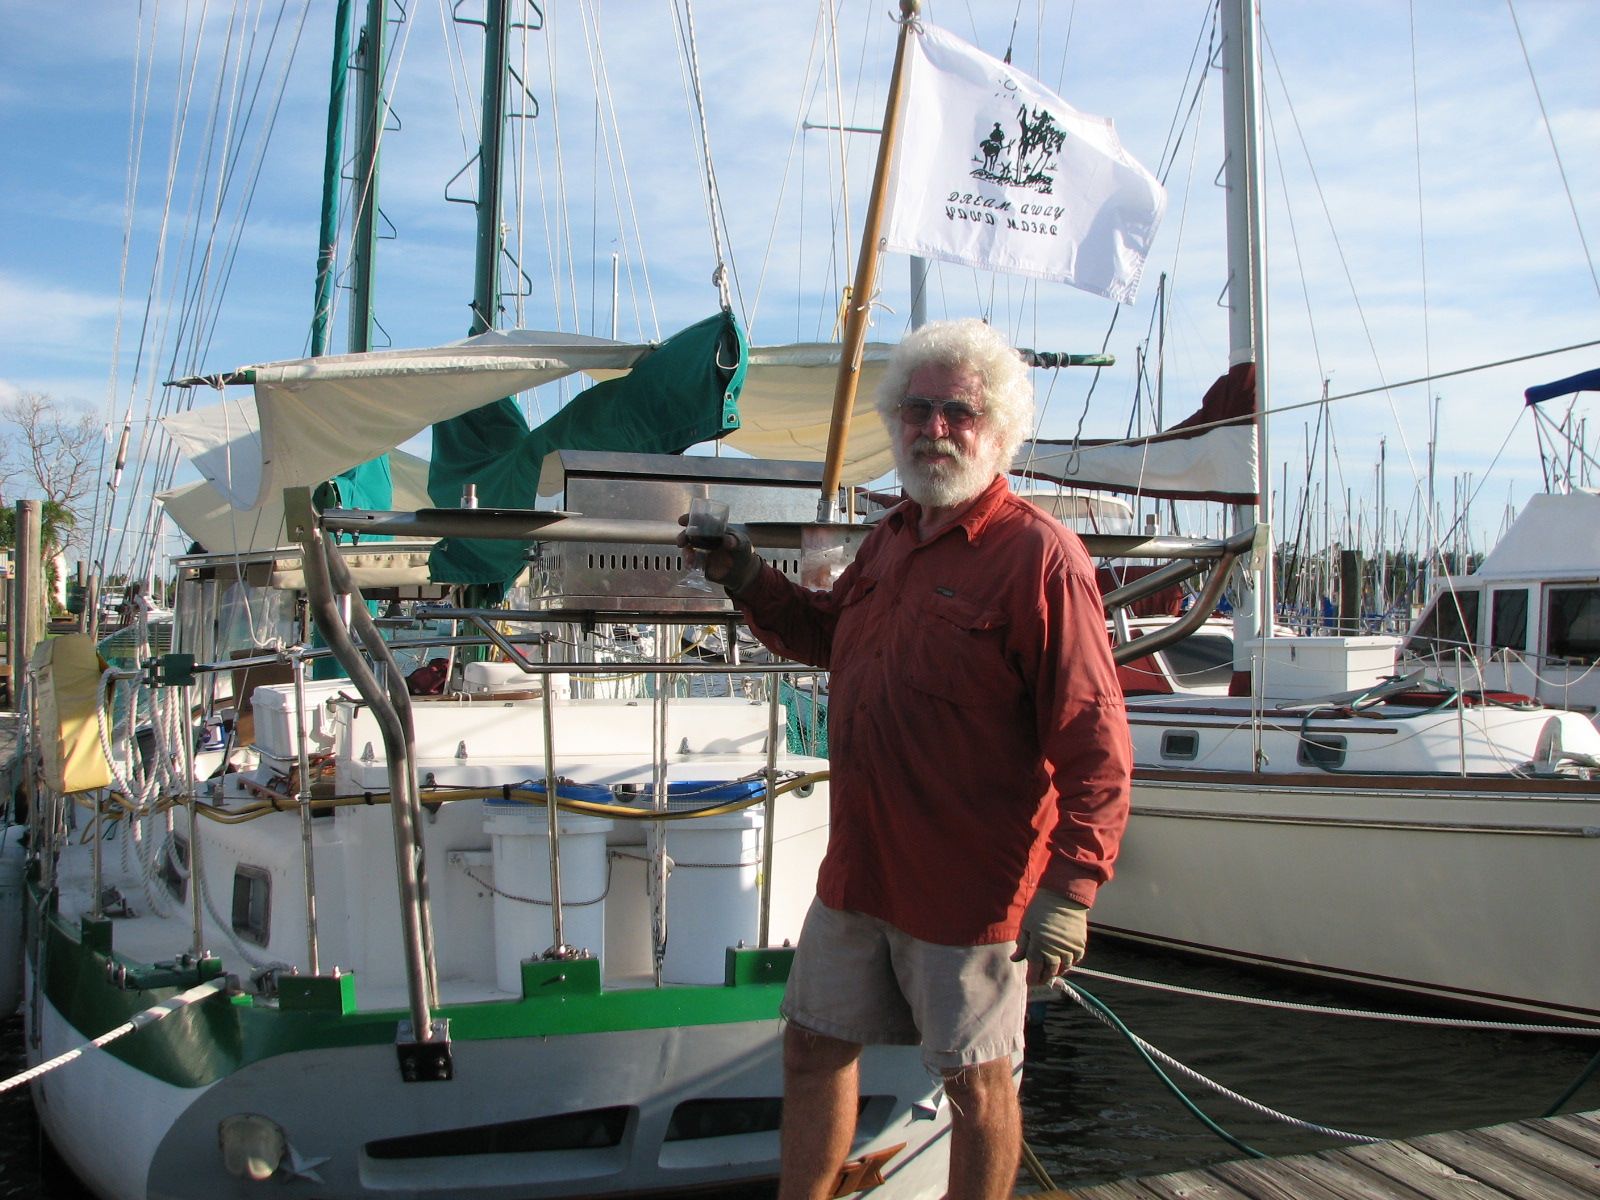
More update from last night. The ice maker was making so much ice, I decided to turn it off for a few days. I typically run the ice maker long enough to fill the ice bucket in the freezer, then when it is full, take the full ice maker bucket, pop it in the freezer, and wait for the ice to be used. When the ice in the ice bucket in the freezer get low, I will start the ice maker again.
Ice Maker Bucket Ready To Be Deposited
Into Freezer
Set the alarm and got off to an early start. Was at the shop at 0730 ready to get working on the davit support pieces. I decided to get the Hummer grill support piece done first . Getting this piece all welded up was very time consuming. I had decided to add a brace to the support piece so the support piece would not sag in the middle. The previous piece I had on the old davits holding the Hummer Grill, had sagged due to the weight of the Hummer Grille and the length of the support piece. I eventually got the support piece fabricated and welded together. I was able to get the support piece tubing drilled out to match the pieces the tubing goes into. This will enable me to swing the Hummer Grille out of the way when necessary.
All of the welding I did on the Hummer
Grille support piece, ran the generator out of gas. I had to clean up
and leave the shop, go get some gas in a jerry jug, then back to the
shop.
Next on the list was to weld the three
plates that are going to be attached to the main support brace between
the two davits. The center plate has a holder for a flag pole, and a
piece of stainless steel to which the stern navigation light is
attached. I cut the hole in the plate for the flag pole holder. I next
drilled holes in the two other plates for wires to go through. I wanted
to get all of the prep work done, so I could do all of the welding at
one time. With 20-20 hindsight, this was not the way to go.
I started the welding process by welding
the holder to the center plate. I then turned the plate over and welded
the piece for the navigation light to the plate. I had the plate
clamped to the vice during the welding process. When I finished welding
the center plate, I put the plate down on the cement floor to cool off.
I then welded an antenna mount to each of the other plates. Again I had
clamped the plate to the vice, did the welding, then put the plate on
the cement floor to cool.
Now I was ready to weld the three plates to the main support pipe. Here is where the problem was. The three plates I had welded were all warped out of shape. I would now have to spend the time heating and straightening the three plates. I could tell by the time, 1630, I was not going to get the davits done today. Here are two pictures of the plates showing how bad they had warped out of shape due to the heat.
Center Plate On Right, Outside Plate On
Left Showing Warpage
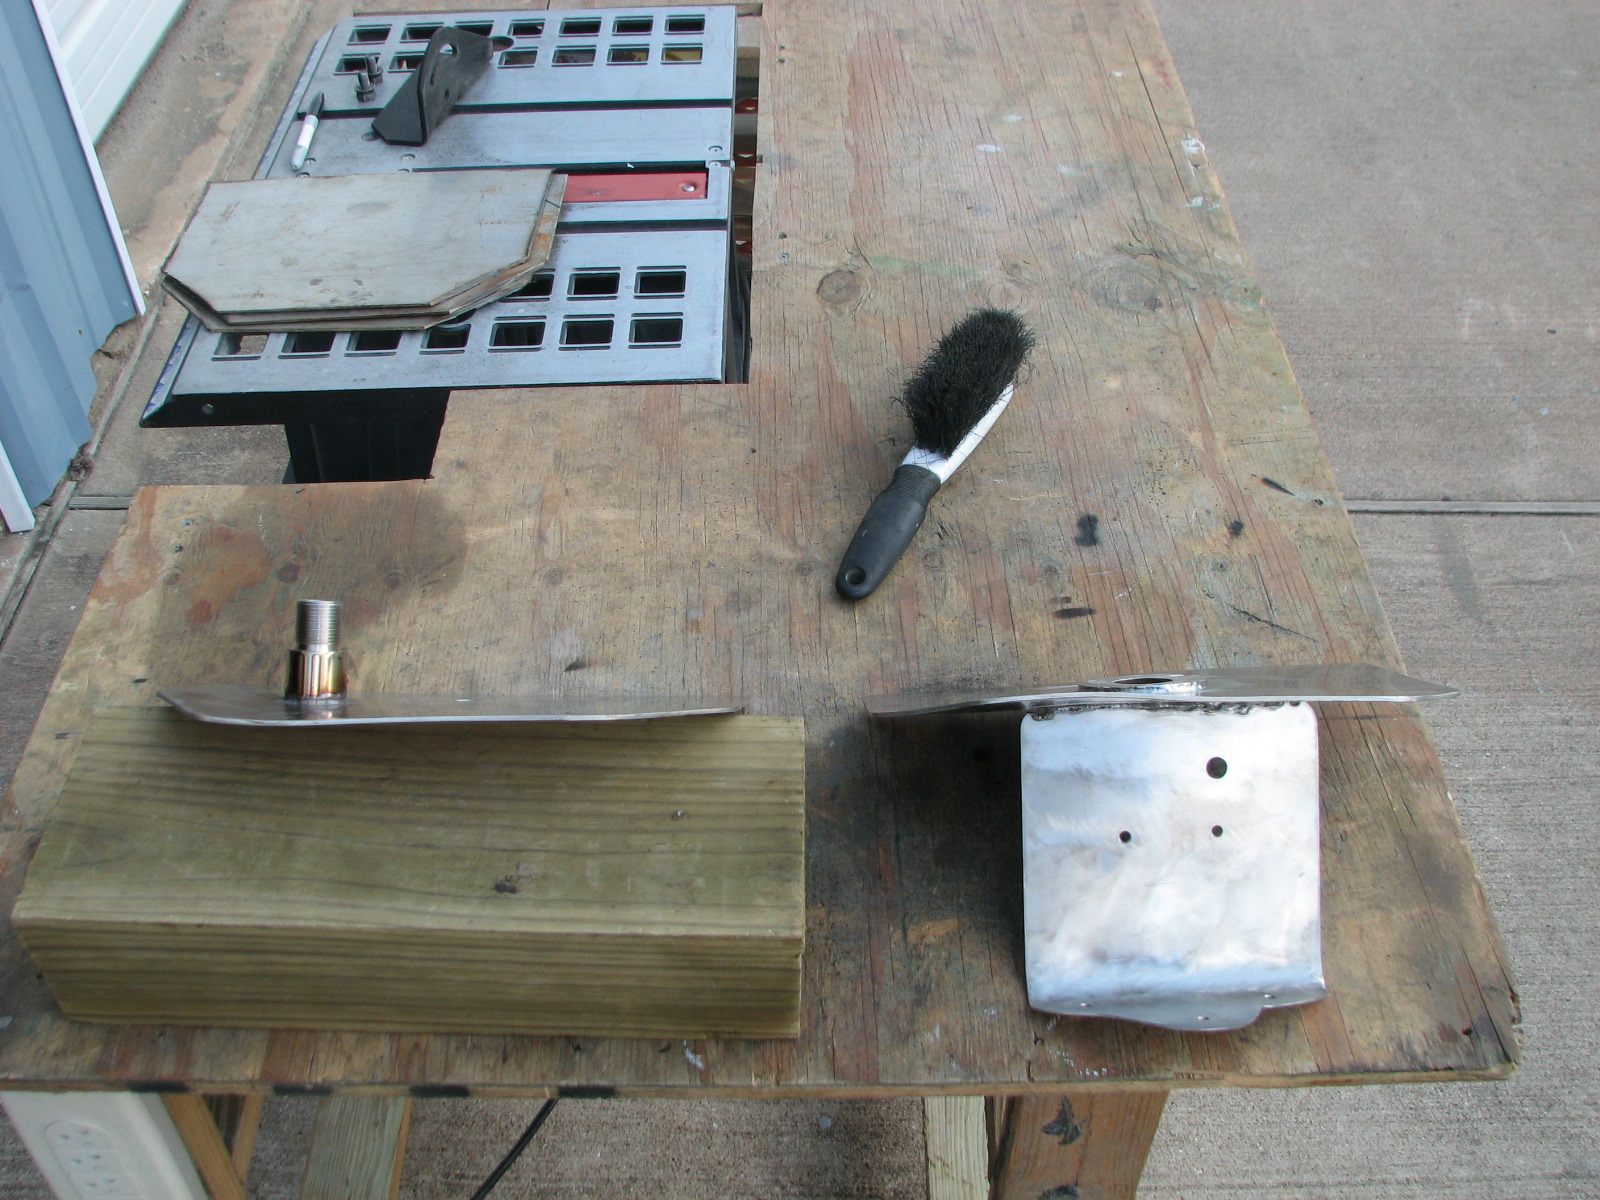
Major Warpage On The Center Plate
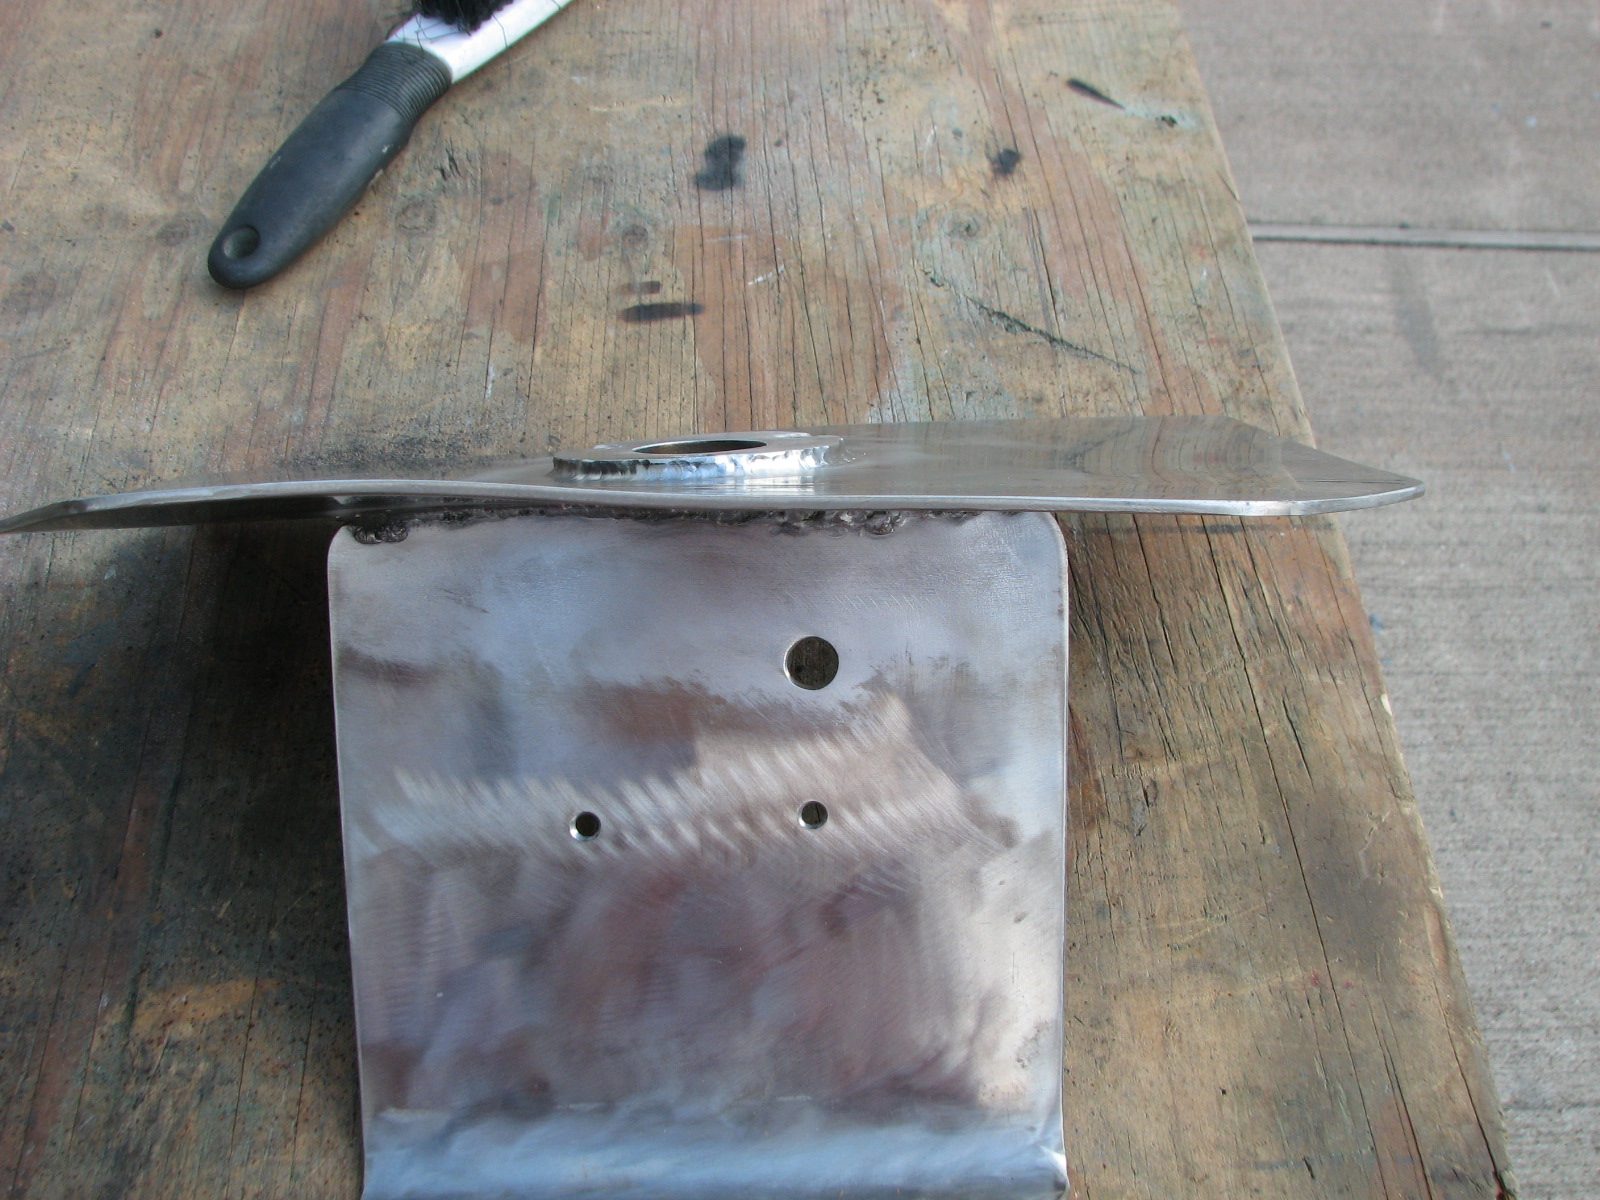
I cleaned up all of the mess, loaded the Hummer Grille support into the truck, and a bunch of tools. I then went to Dream Away.
The good news was I got the hummer
support on the davits. To take a look, it looks a bit over kill, but I
do not want to lose the Hummer Grille. And as I mentioned in another
Maintenance Log update, I want to be able to remove the support if we
ever have to Med Moor. I got the Hummer grille installed, and the
Hummer worked great on its first test. We had grilled steaks for
dinner!!
I was very disappointed about not finishing the main davit support pipe, but I have all day tomorrow to fix that problem.
The Three Plates, Center Plate On Right With Flag Holder Hole Drilled Out
Parts For Hummer Grille Support And
Parts To Weld Onto The Plates
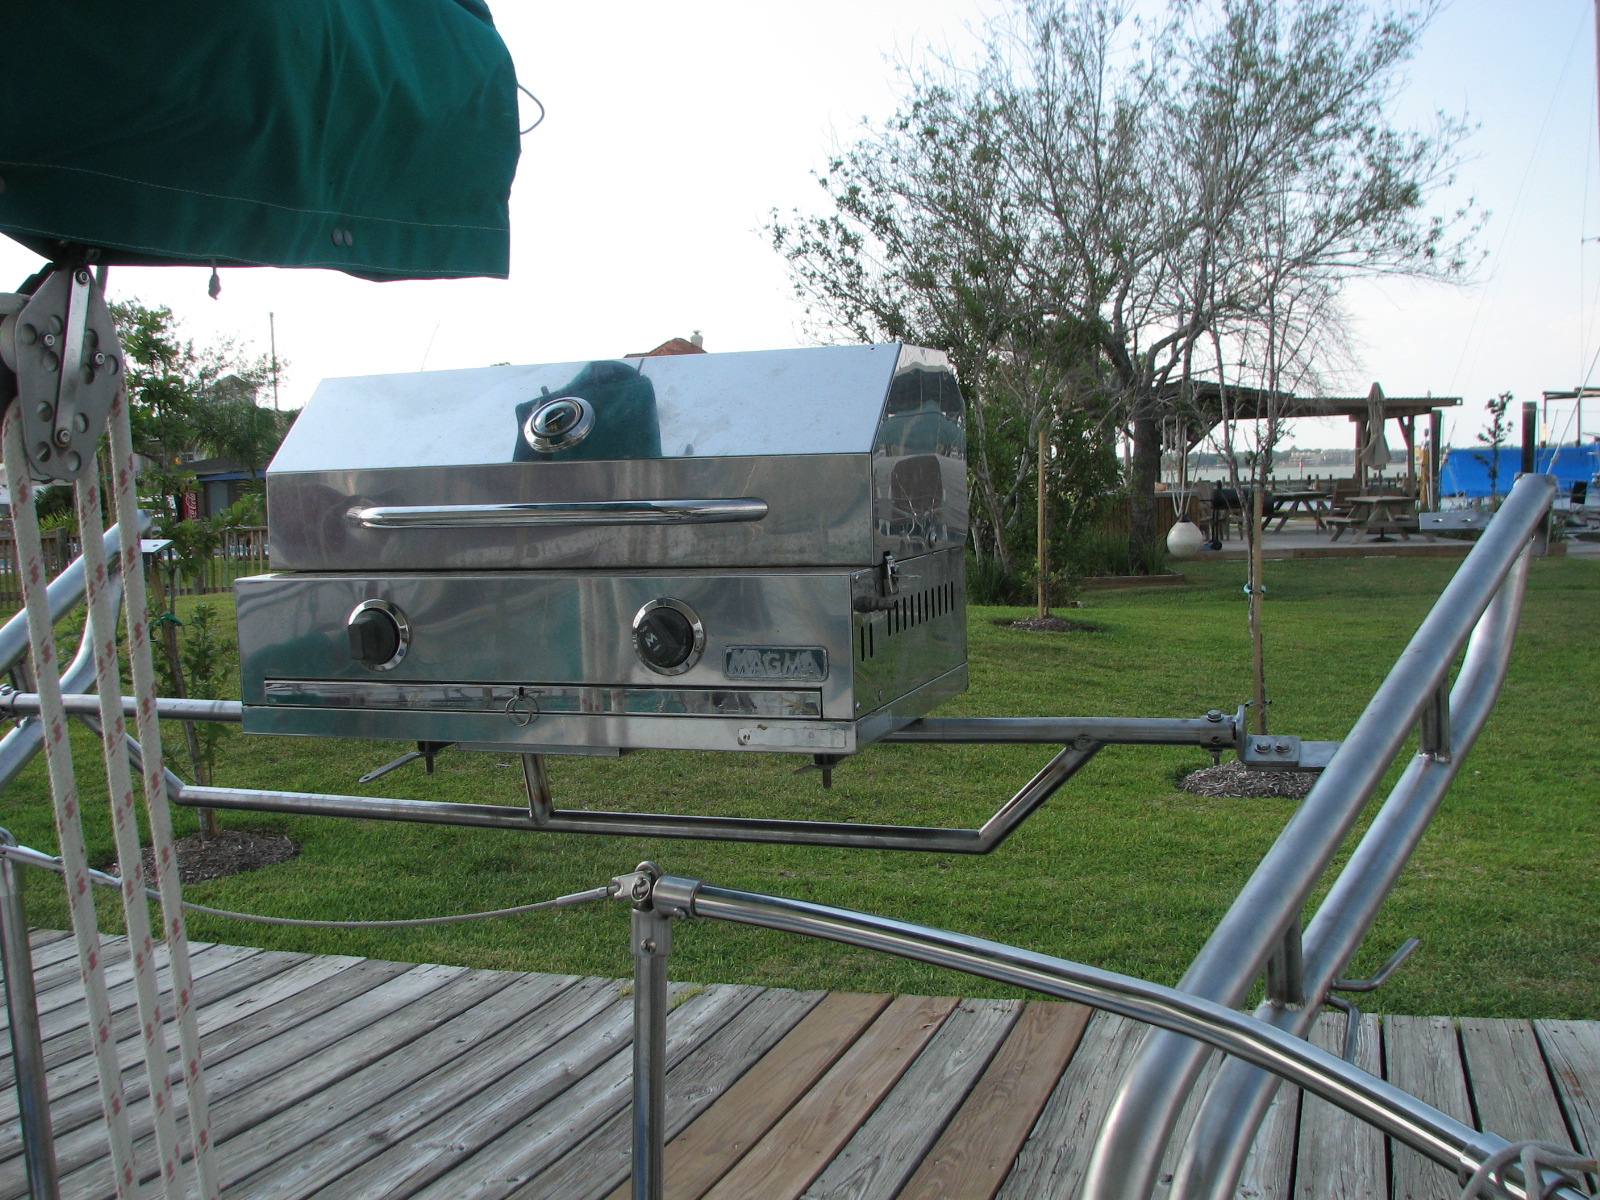
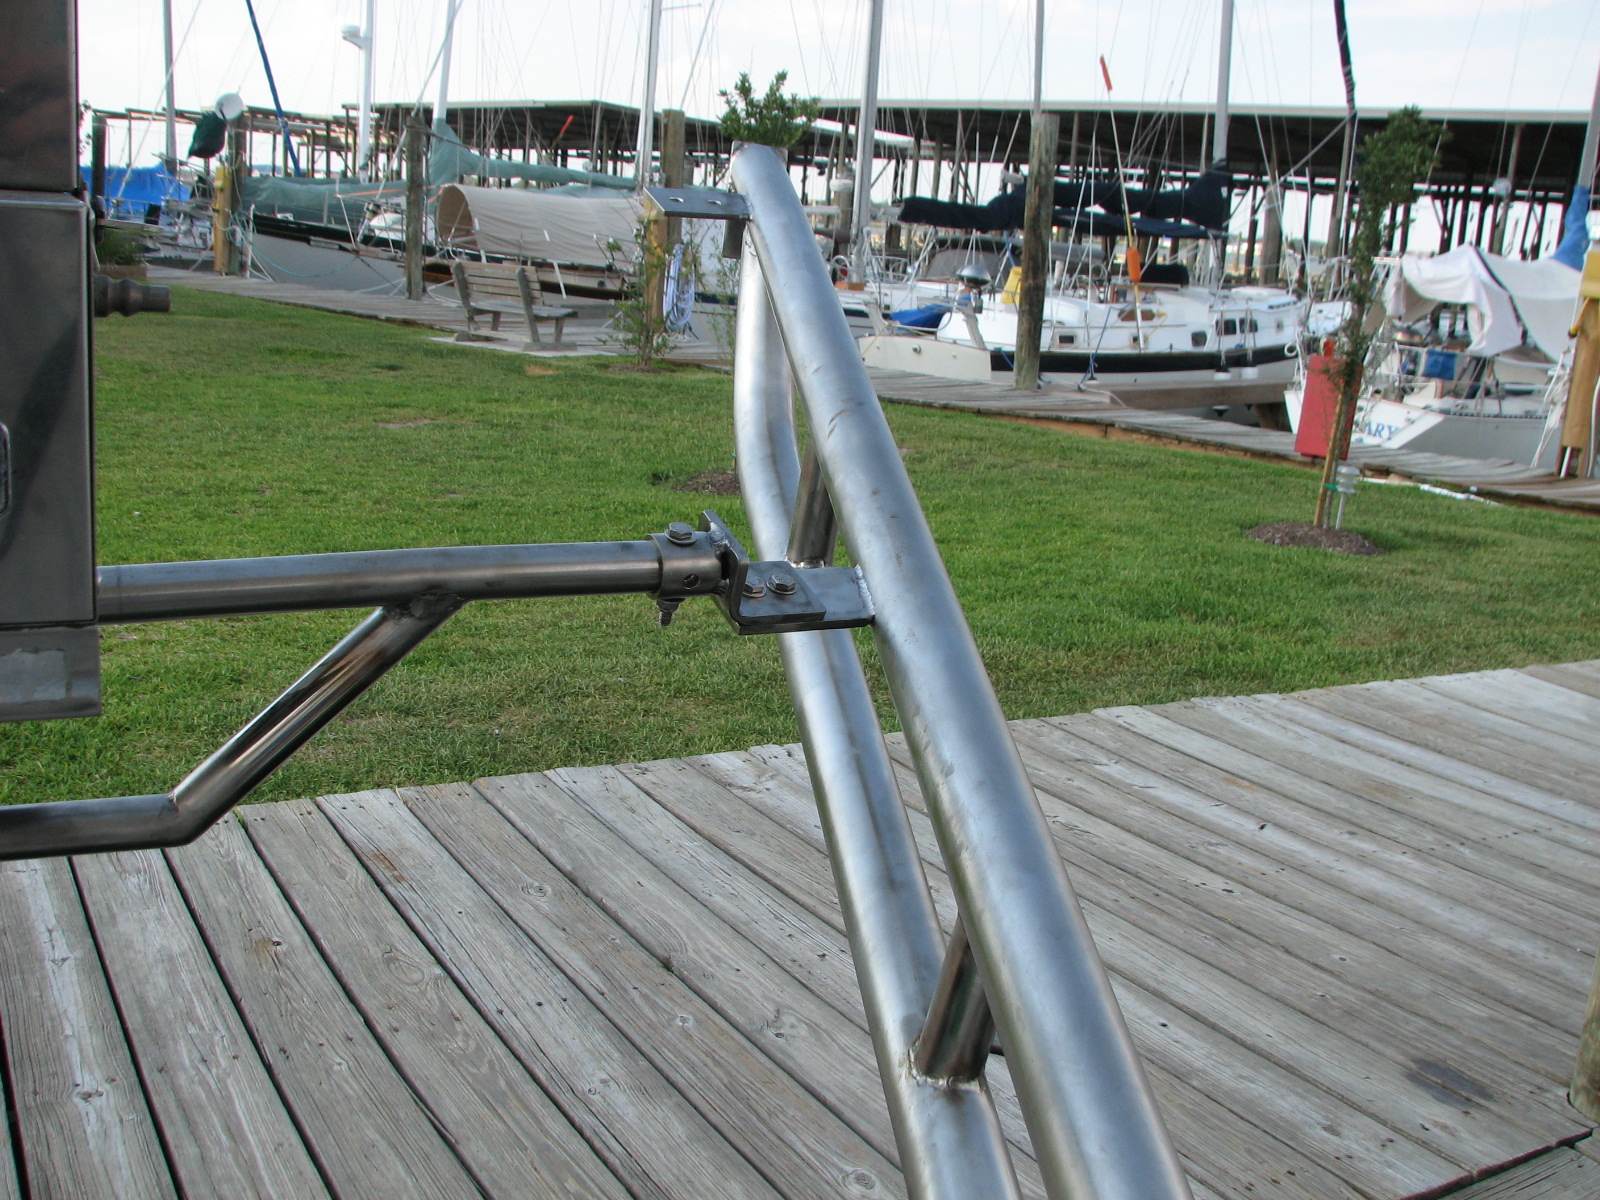

Went over to the shop after a stop at
Alan's for coffee and to help him with a couple of computer problems.
Alan followed me to the shop, so I could help him drill some holes in
his air conditioner plenum.
Proceeded to load the truck with tools, davit parts, chop saw, table and tent. Then drove over to Dream Away. Hauled all of the goodies down to the boat.
First on the list was to set up the table and tent. The tent could not be placed over the actual work area, but it was nice to have the table under the tent. I could take a break under the tent, and it was really nice to have all the tools remain in the shade. The tools were actually cool when you picked them up!!
First order of business was to measure and then cut the support for the Hummer Grille on the davits. This went with no problem. The support brackets fit perfectly, and the ends of the support will be perfect, once they are welded in place.
Next was to attach the main lateral
support pipe to the davits. I was able to get the support pipe in
place, and take the measurements. I then cut slots in each end of the
support pipe using the chop saw. I was able to get the support pipe to
fit over the tabs on the davits. I then used clamps to hold down the
support pipe to the davits. I used short pieces of line attached to the
support pipe, and all of the clamps in case something slipped and it
all came crashing down. No problem there. I then drilled two 3/8" holes
in each end of the support pipe that also went through the tabs. I put
the bolts through the holes, and tightened them down. The davits with
the support pipe on and in place do not move at all, a very worthy
structure.
Next I measured on the support pipe for all of the plates to be welded on for the antennas, and navigation lights. When the measuring was finished, I took the support pipe off of the davits. Then I loaded all of the tools, parts, chop saw, tent and table back into the truck, and went back over to the shop, and unloaded everything.
I started on the support pipe, by
cleaning up all of the cuts and holes. I then polished the ends of the
pipe. I will be doing a lot of welding to the support pipe tomorrow. I
also worked on the support for the Hummer grill. I drilled out the end
fittings so I will be able to swivel the Hummer on its piece of tubing.
I also got the pieces cut out I will be using as additional support
pieces for the Hummer support pieces. It might seem there are a lot of
support pieces, but it should be OK tomorrow when words will be
supported by pictures.
Went over to the shop after a stop at Alan's for coffee and to pick up the set of hole saws I will need for the remainder of the davits.
Started the generator and got the welder running. Welded on the two pieces of stainless steel for the cleat on the port side davit. Got the Oxy/Propane torch out and bent the stainless steel to the proper angle to be used for the cleat. While all of that was cooling, I worked on cleaning and polishing the parts I will use to attach the navigation lights and the antennas. When the cleat on the davit had cooled, I polished the area around the cleat and got it looking really good.
I then loaded the two davits into the truck. I also loaded the chop saw, and a bunch of tools into the truck, and went over to Dream Away. Then the reverse, I unloaded the two davits from the truck, and hauled them down to Dream Away.
Yesterday I put the new backing plates on the boat, and bolted the plates in place until the filler putter hardened. I removed the bolts, and drilled out the bolts holes to make sure the holes were clean. I then drilled a 1" inch hole in the backing plate to allow access for the wires. I got that all done, and the area cleaned up. I got all of the bolts and washers I needed on the back of the boat in preparation for the davit installation. Kitty had suggested using the original backing plates under the new backing plates as insurance. You know I jumped on that! So I had to drill holes in the original backing plates for the wiring access.
So now we were ready for the davit installation. I put the butyl rubber sealant on both base plates of the starboard davit. A good friend, who owns the other Hardin on the dock, just happened to walk down the dock and ask if he could help. I said yes. We picked up the davit and moved it onto the boat. That in itself is a job. The davit had been laying on the dock for two hours in the hot Houston sun, so the davit was very hot. We got it on the boat and after a bit of a struggle got it positioned and all 10 1/2" stainless steel bolts on. Rick then went down below to operate the wrenches below, while I operated the wrenches topside. He was in air conditioned comfort, while I was outside.
When the starboard davit was installed,
we got on the port davit. The installation went very smooth, and we got
it all installed and all of the fasteners tightened. With the new
extremely large backing plates installed along with the original
backing, there is no flexing in the deck.
So we have reached a milestone. The new custom made dinghy davits are installed. It will take the next two days to finish the total installation, with the cross bar support, the cross bar for the Hummer grille, and the blocks for the dinghy raising and lowering. By Friday evening the 14th of August, the dinghy davit installation should be complete.
Captain Working On The Davit Installation
Port Davit Installed

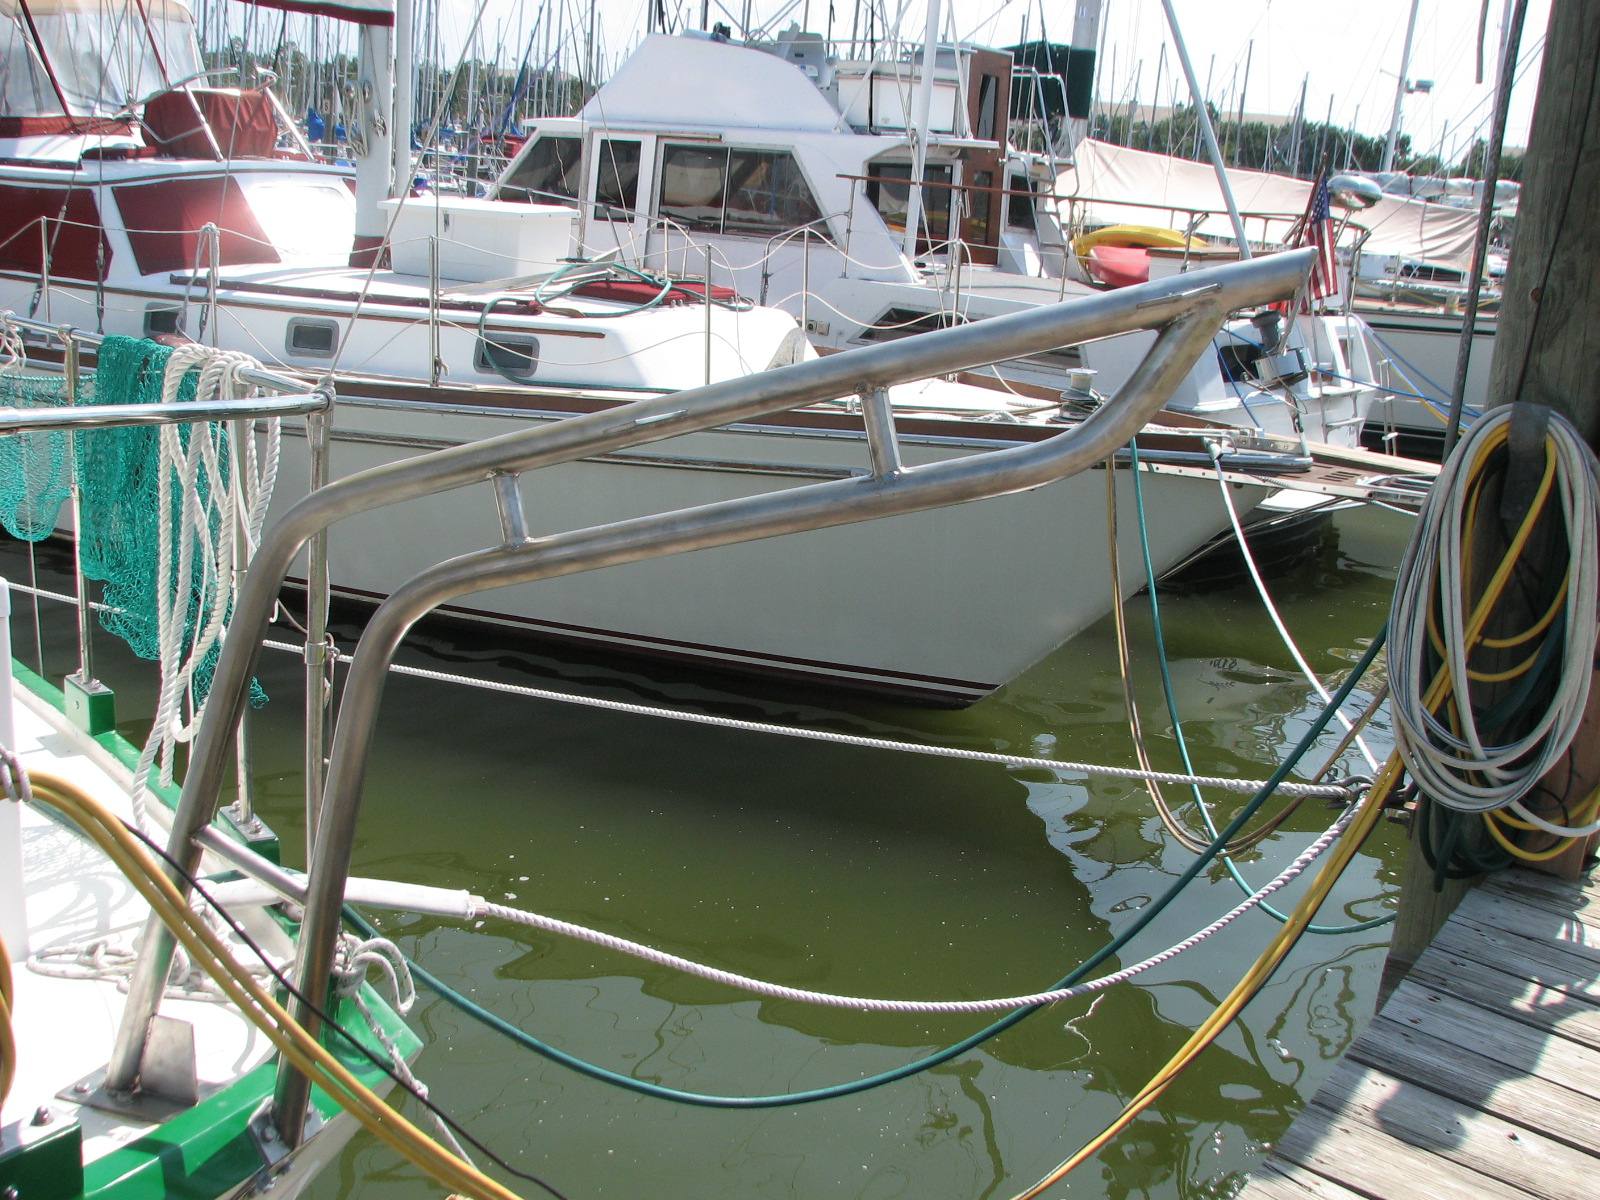
Port Backing Plates, Davit Installed
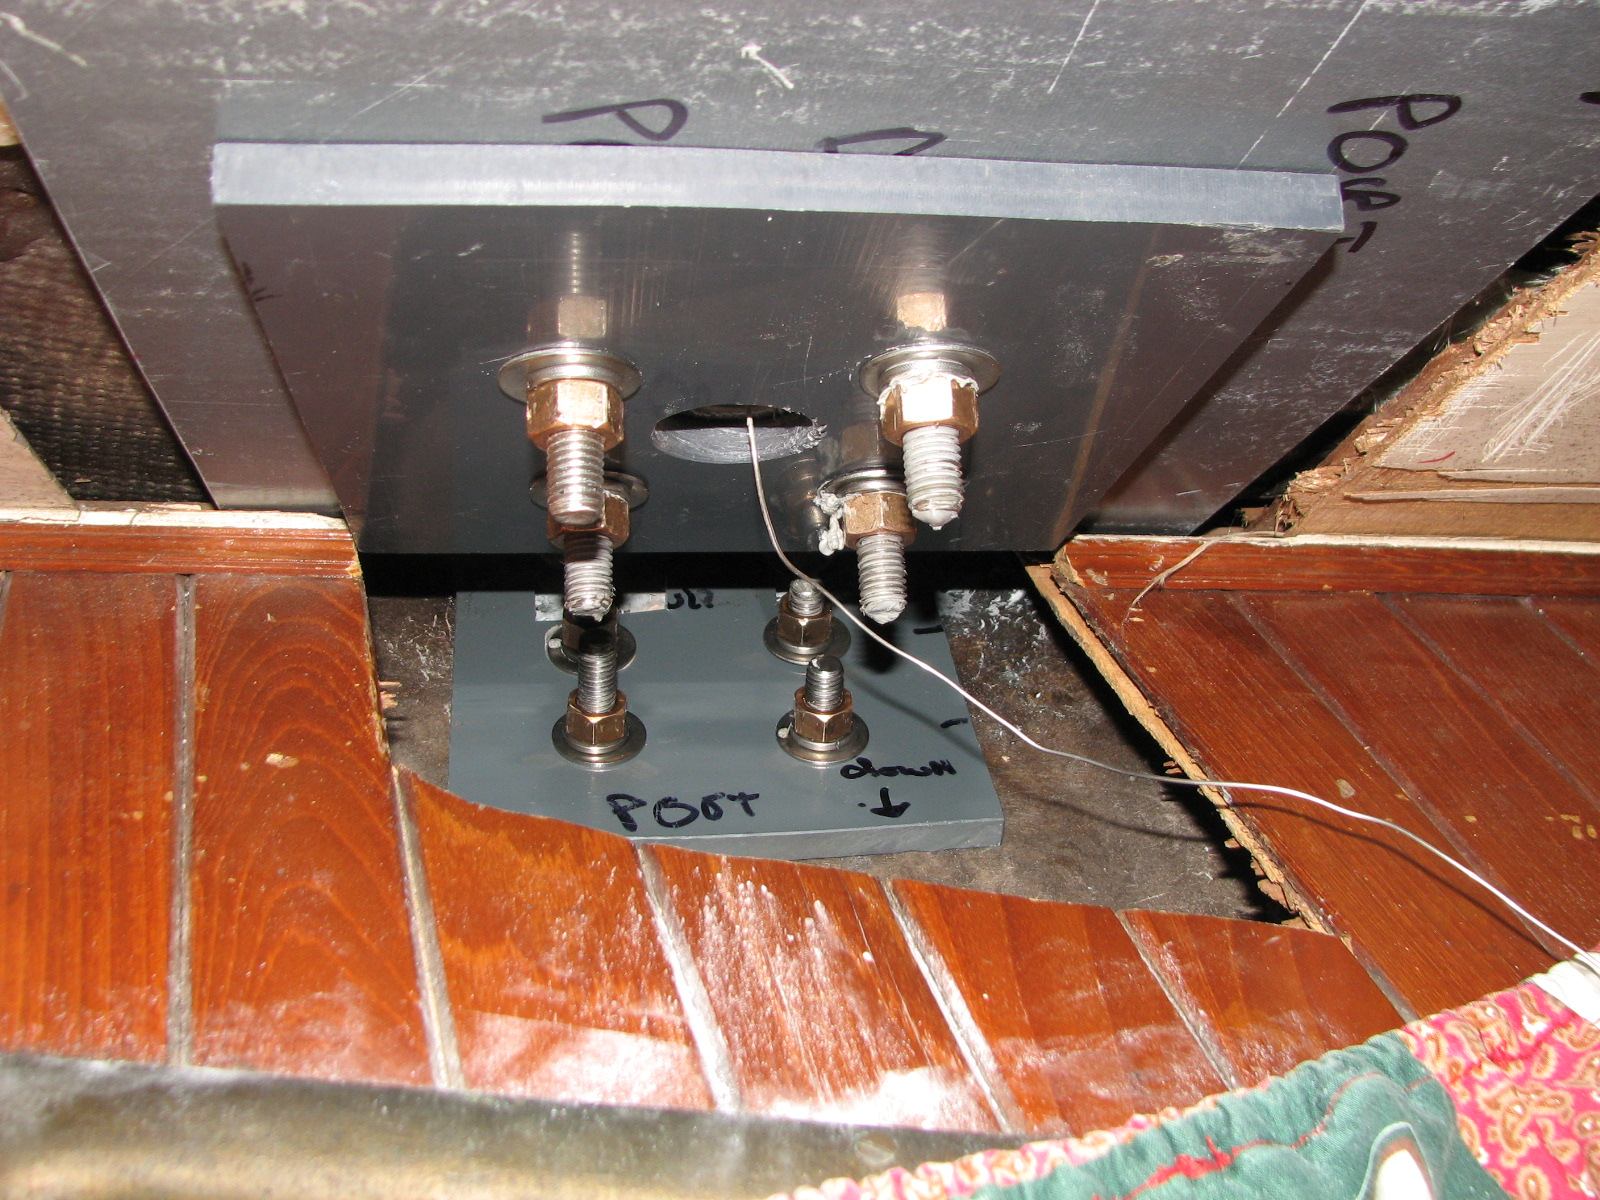
Starboard Backing Plates, Davit Installed
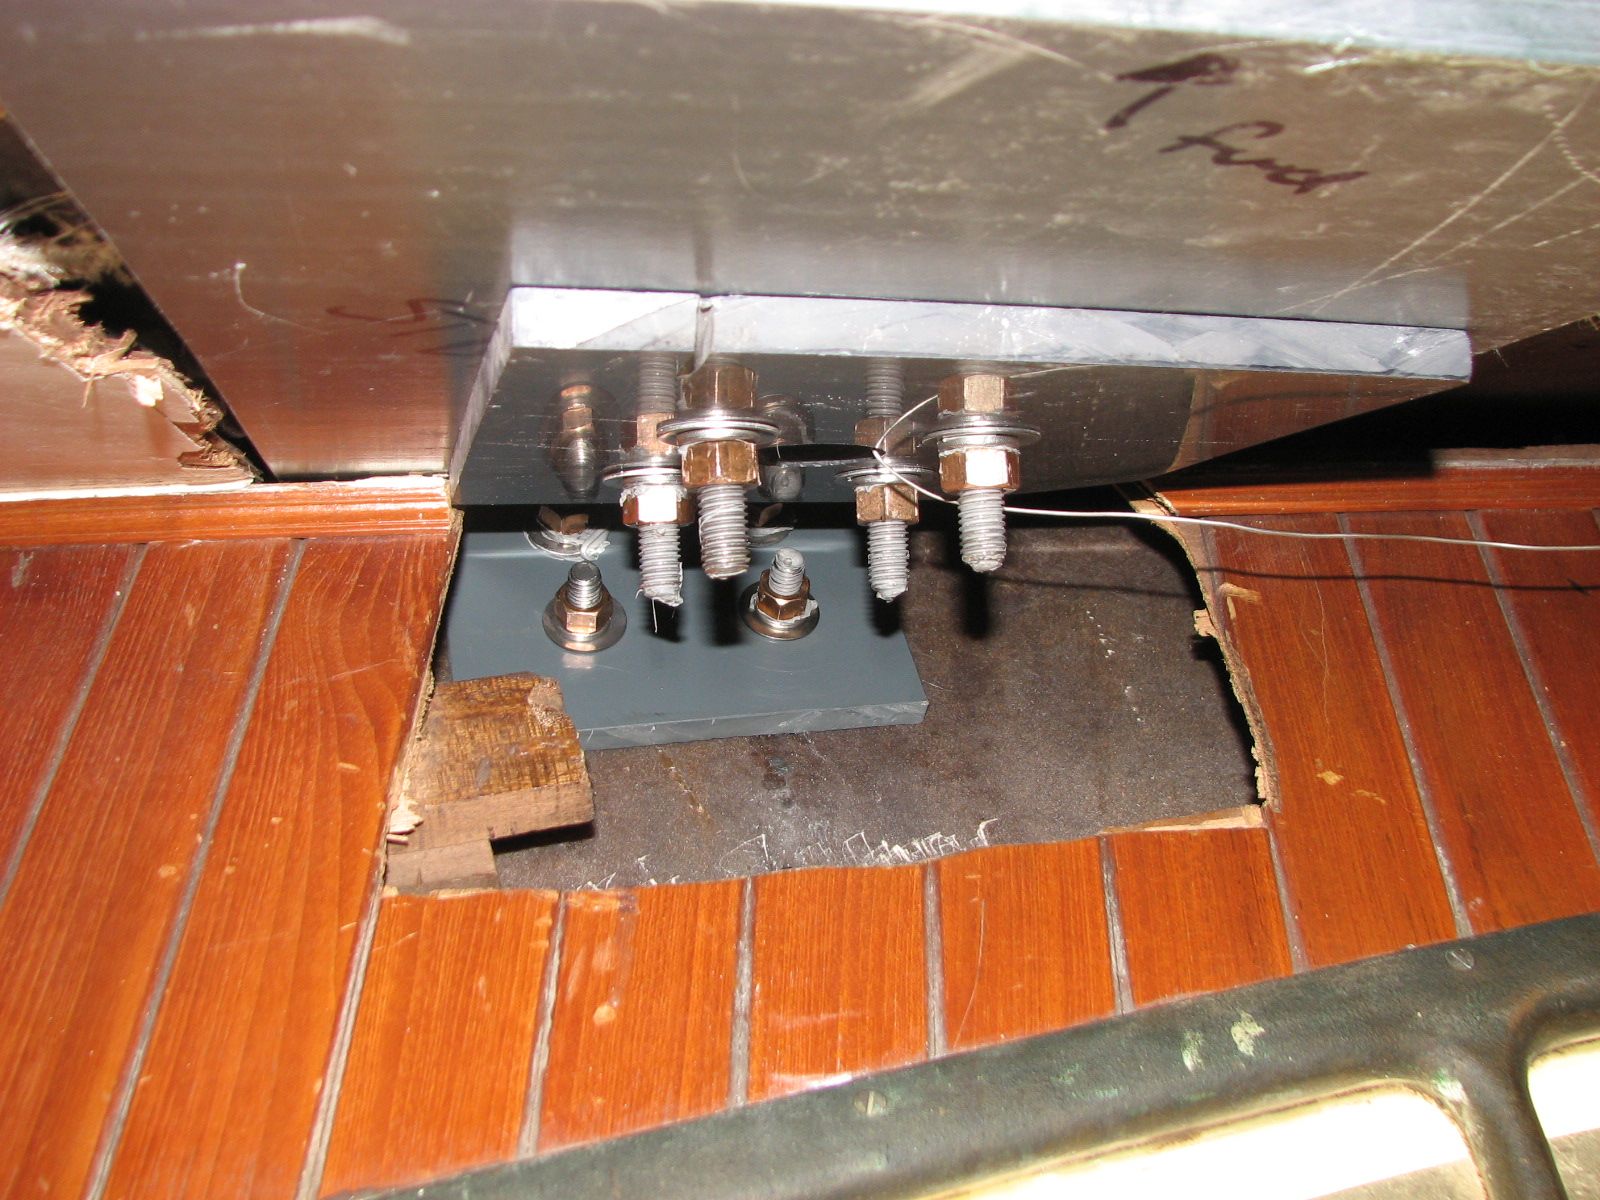
Went over to the shop first thing in the
morning and started polishing and cleaning up the parts I will be using
on the davit cross piece to support the antennas and the navigation
light. Lots of little parts, so it will eat up time, but I will get
past it. I also packaged up the Lighthouse windlass into it's shipping
box. I then loaded the oxygen bottle and the argon bottle into the
truck.
I also loaded the welder into the truck.
We want to check the welder will go on the boat where I think it should
go.
I cut down the new backing plates for
the davits. There was not enough room to get the full 18" length, so I
had to cut off two inches.
I left the shop, stopped by the UPS store to ship the windlass, and then went over to Dream Away.
I checked the placement of the welder in
the life preserver locker. It fit into the locker, so we will have the
welder along with us!!
Kitty had the aft cabin all prepared for the backing plate installation. Because of the increased thickness of the backing plate, we had to get larger bolts. While I got everything ready to install the backing plates, Kitty went to Kemah Hardware and purchased the new bolts. When she got back, I mixed up a large pot of the filler putty, added the cream hardener, and put in the port backing plate. This installation took a lot of the filler putty, because the underside of the deck on the port side was very irregular. The installation of the putty is to provide a flat surface for the backing plate. While I put the backing plate into position from under the deck, Kitty pushed the bolts through the deck from topside. I added nuts and washers, then we tightened the bolts and nuts against the backing plate. This squeezed the putty all under the backing plate, and in some cases out the sides. This was all good.
We did the same thing for the starboard backing plate. I did not need as much putty for this backing plate, as the underside of the deck on the starboard was much smoother. The installation of the two backing plates went very smooth.
New Port Side Davit Backing Plate
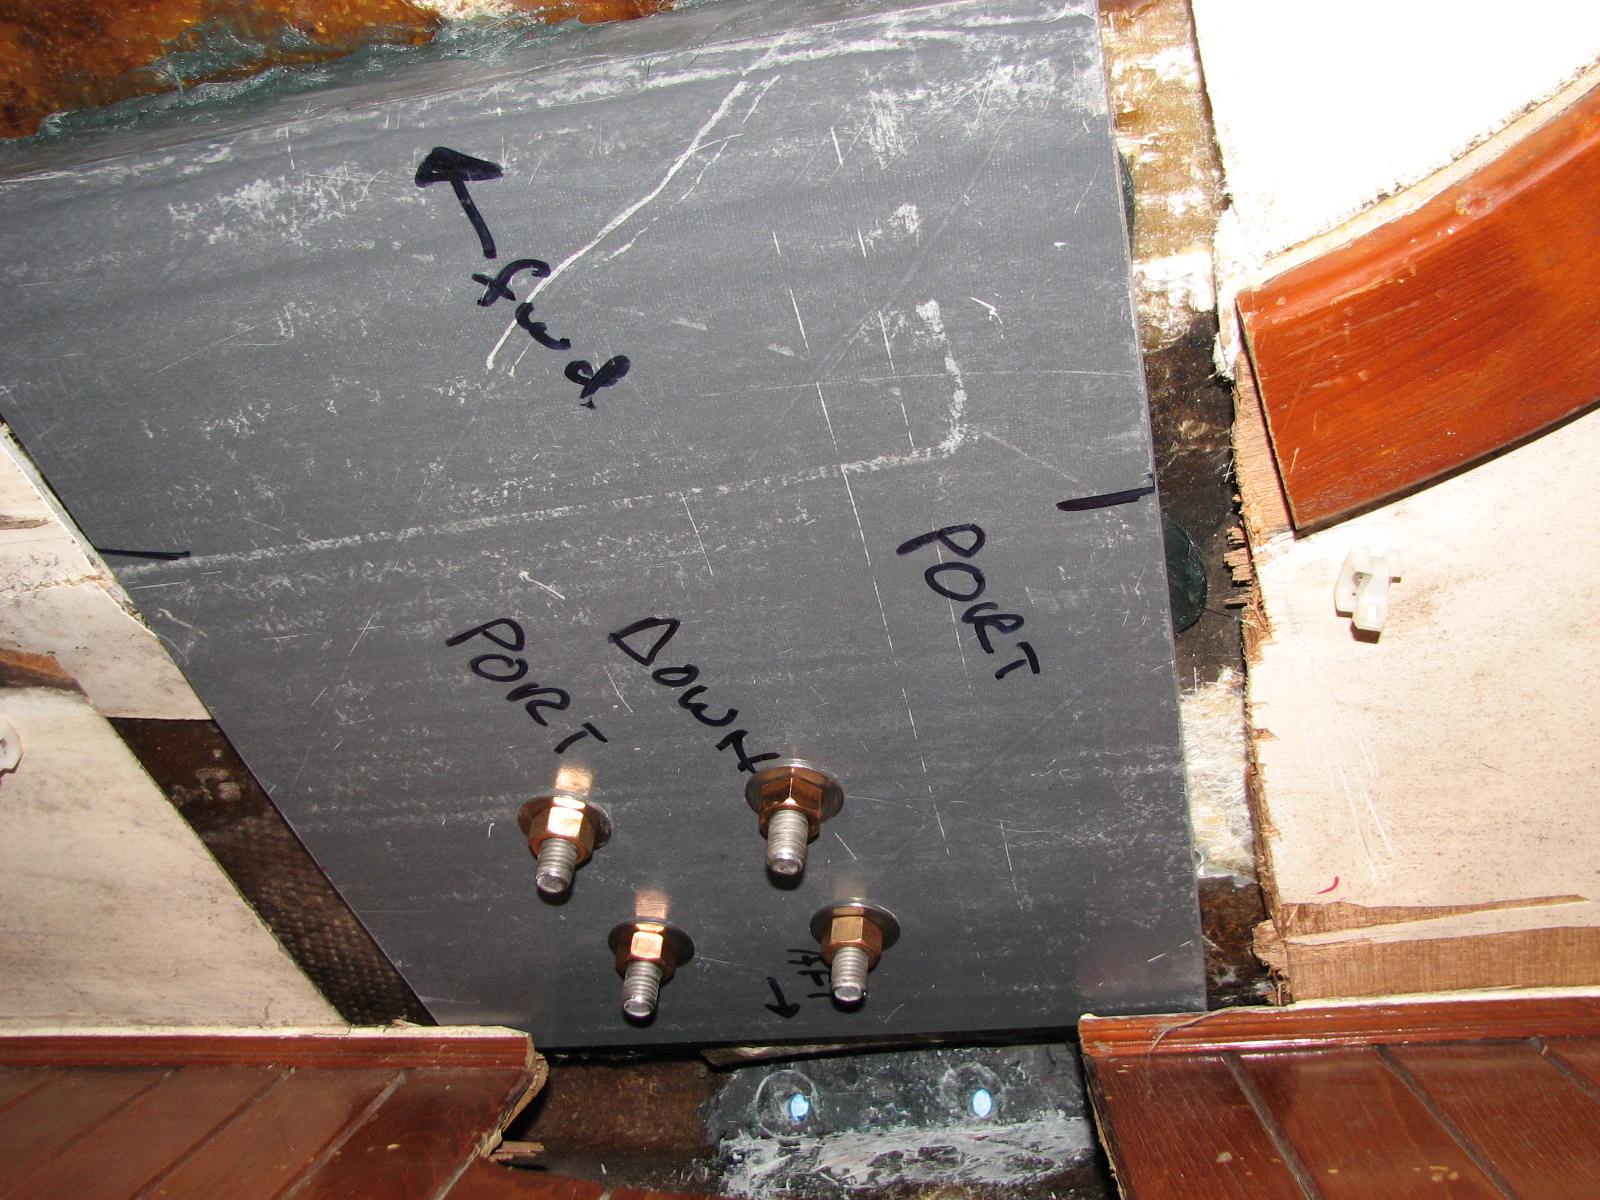
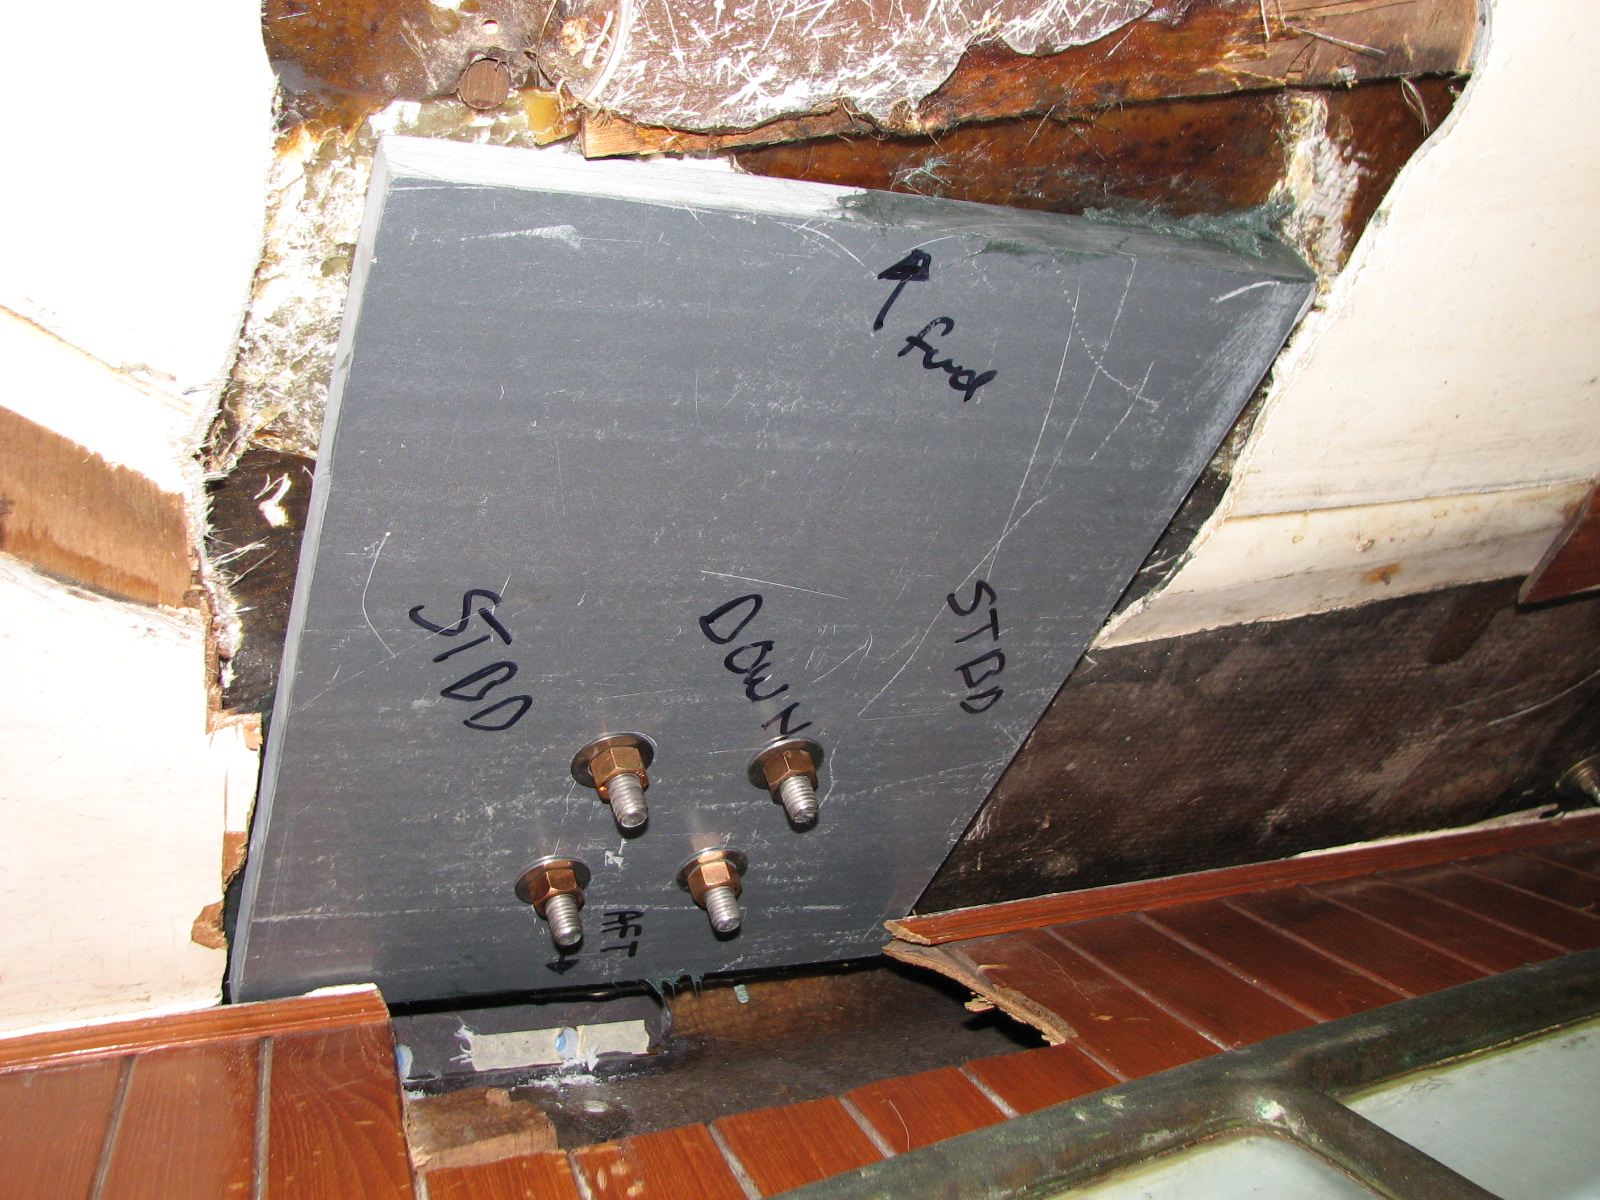
When we finished with the backing plates, we had lunch, and left Dream Away. Kitty took me over to the shop and dropped me off. Kitty went on down to Texas City to get the Argon and Oxygen bottles filled, which she did.
I cut the new line we purchased to the
correct lengths for docking lines. I am going to have Robert come over
and do the six splices. He only charges $10.00 a splice, and he takes
about 1/4 of the time it would take me, and I have plenty of other
things to do.
Went to the shop first thing, and started in on the davits. I welded the tabs onto the davits for the two cross pieces. I drilled the necessary holes into the tabs that will be used to support the Hummer grill. I also cut, fabricated and welded the round stock onto the davits that are going to be used as the cleats.
I also cut out the pieces out of flat stock I am going to weld on the support cross piece of the davits. These pieces of flat stock are going to support the antennas, the navigation lights, and the flog pole holder. Tomorrow I will clean and polish them.
I cut out the pieces of fiberglass I am
going to use for the new backing plates of the davit supports under the
aft deck.
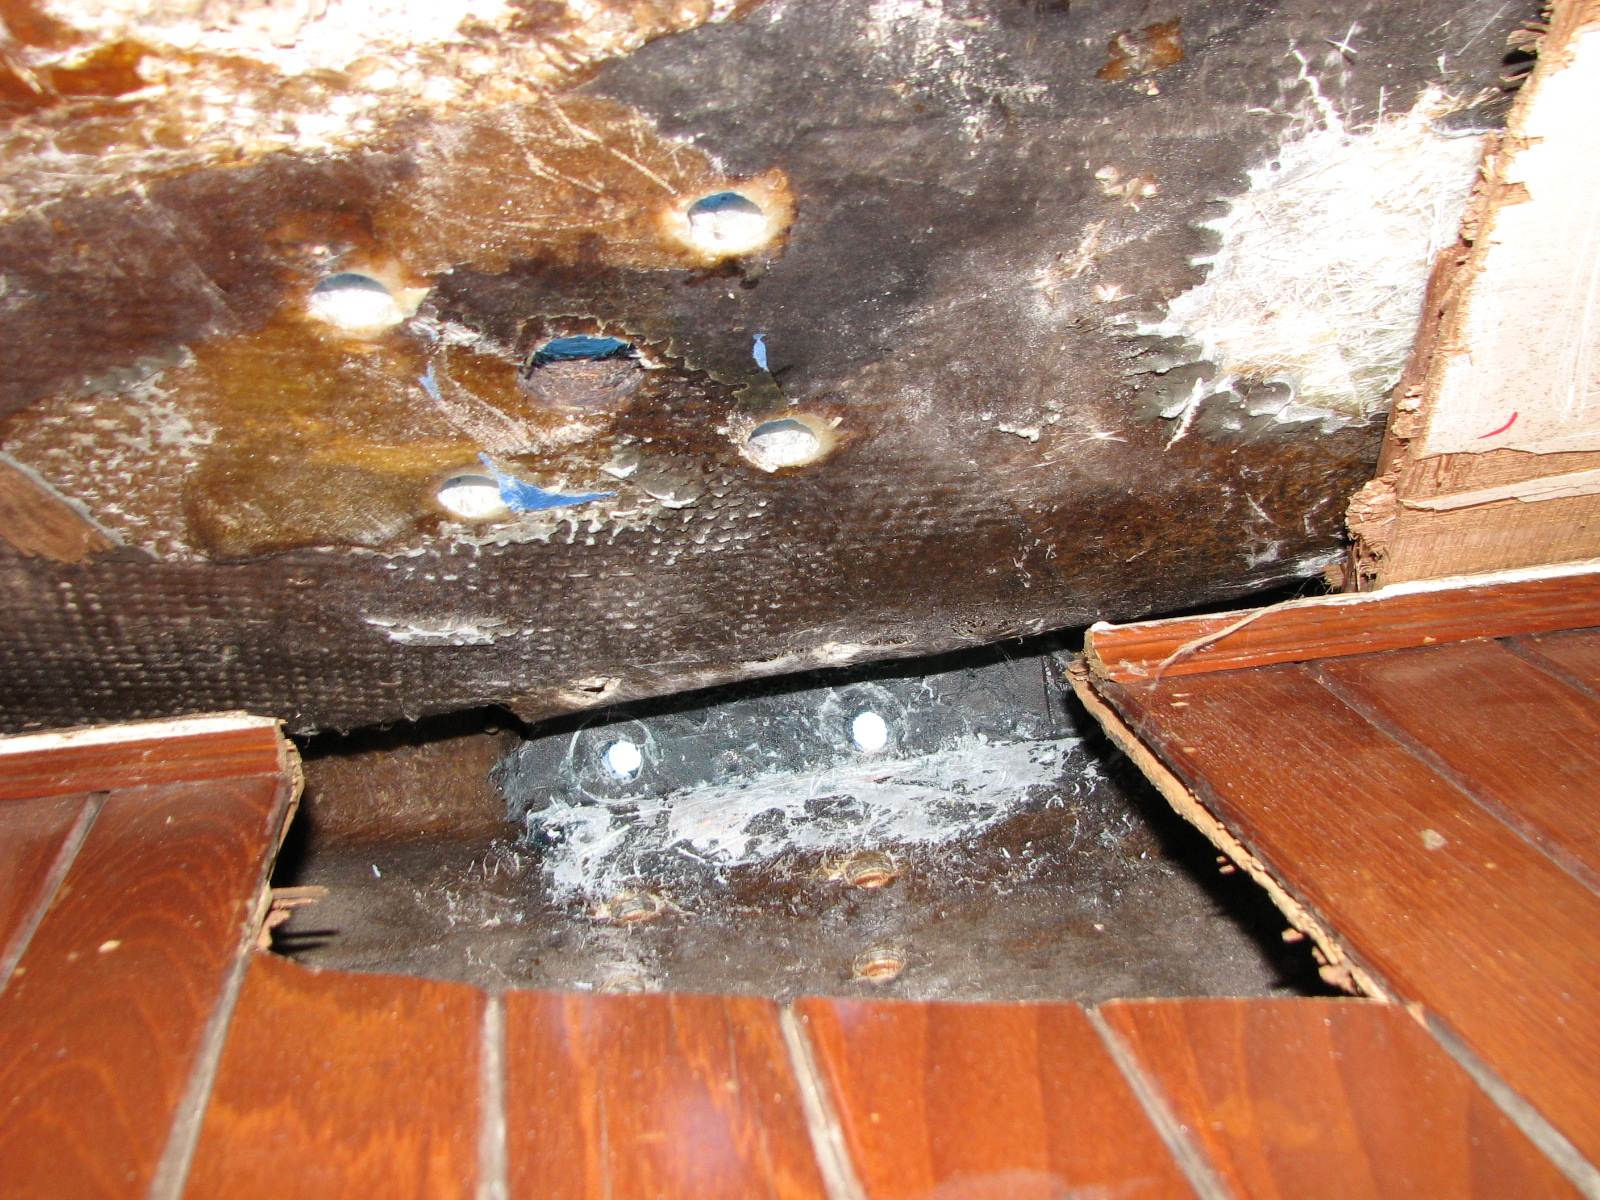
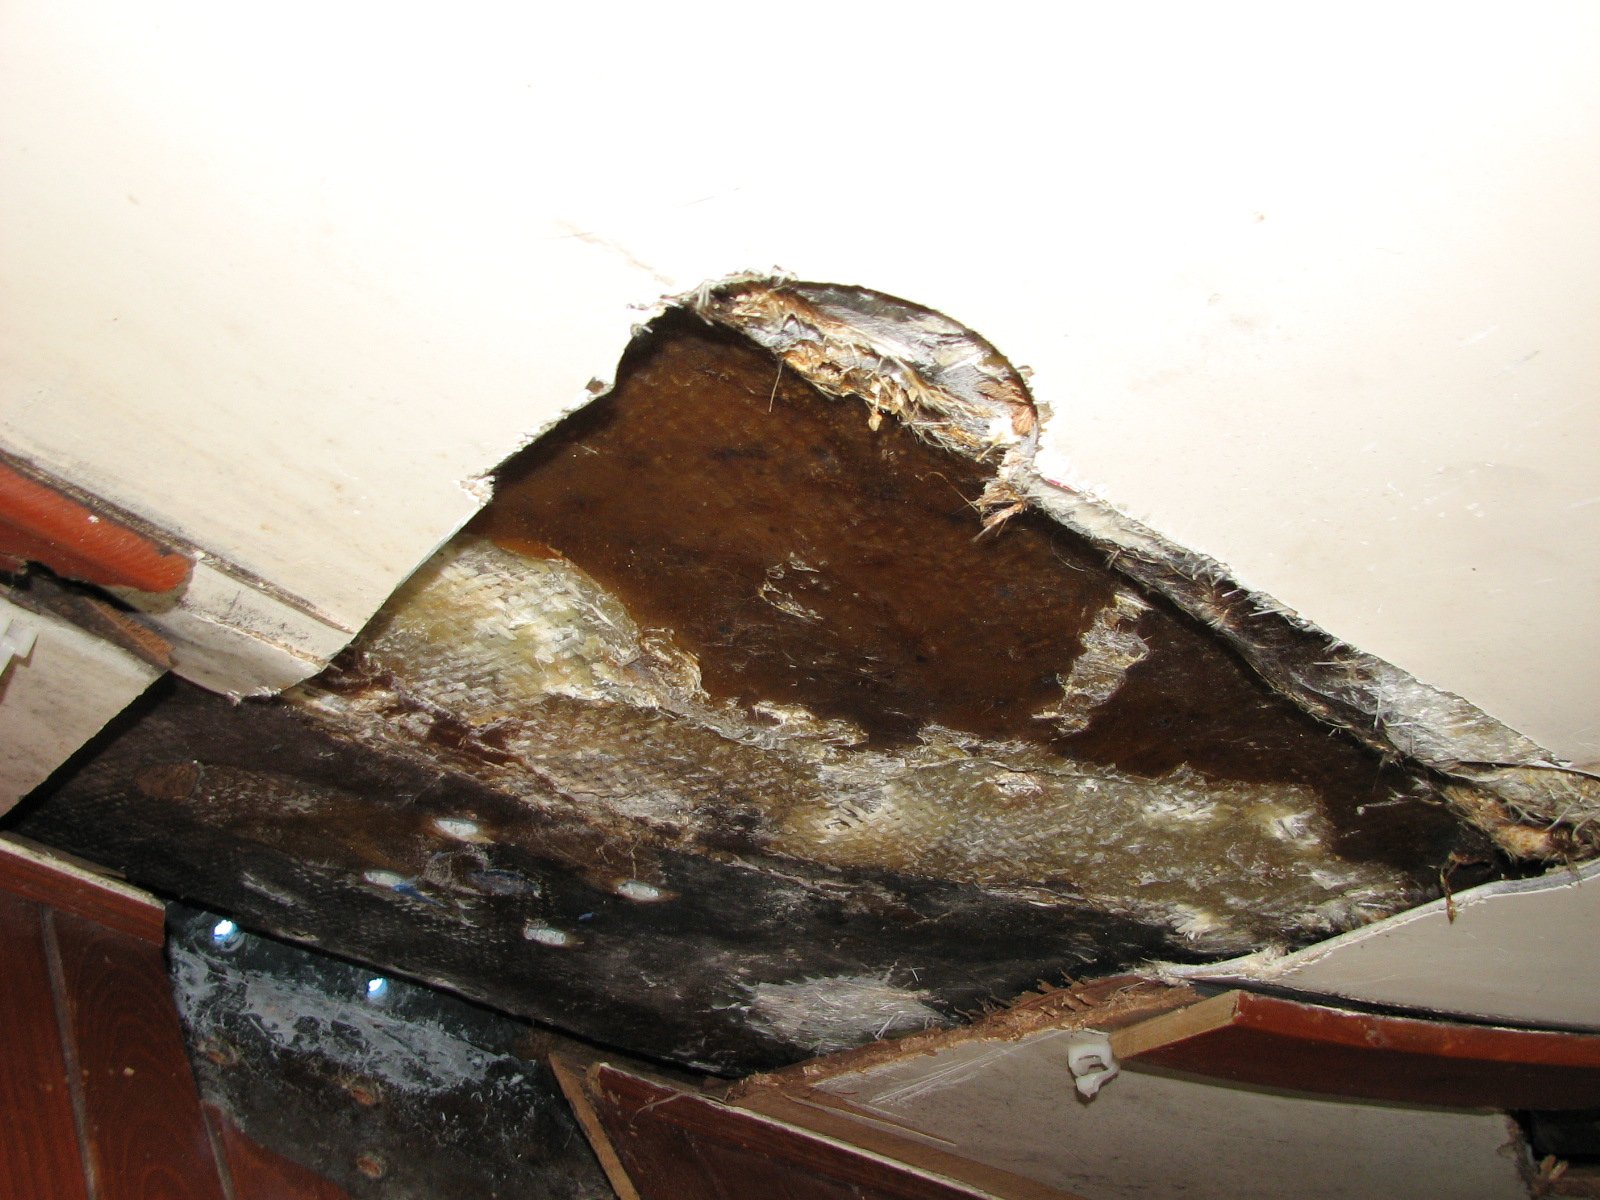

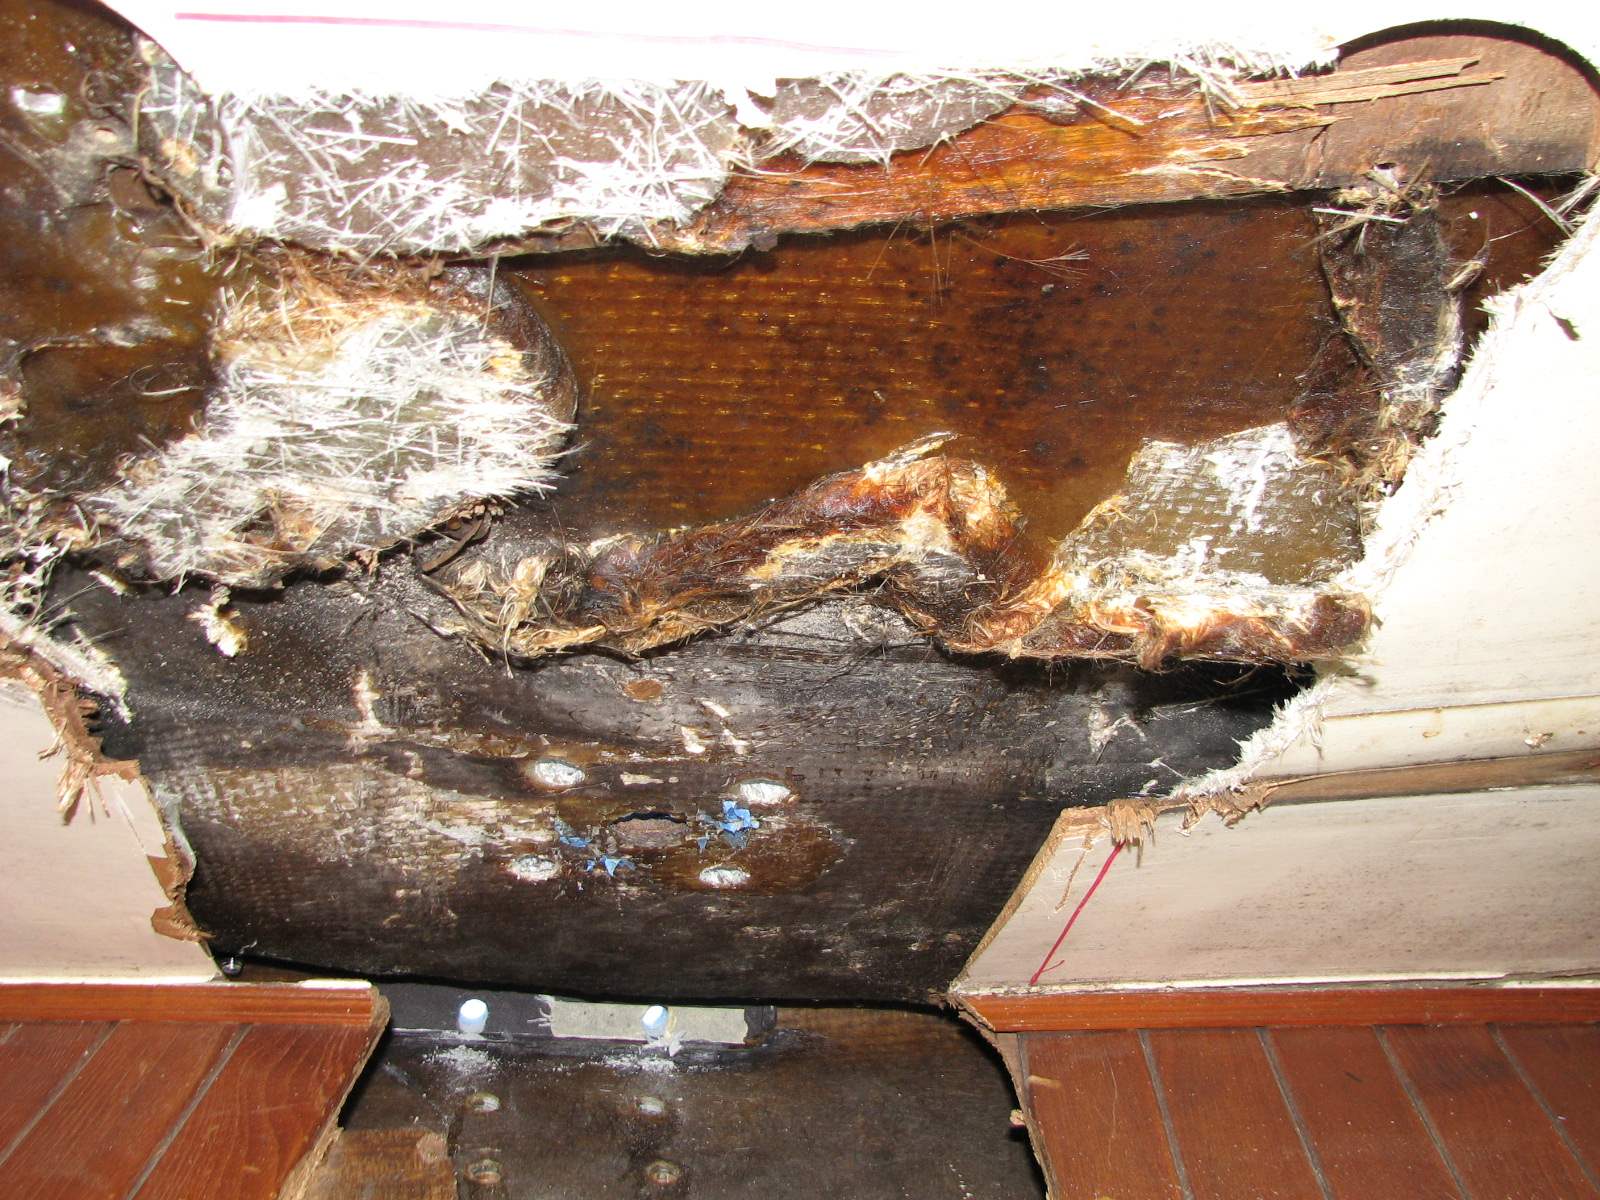
No Dream Away work done today. Kitty and
I went on an authorized field trip to Round Top, Texas, to visit some
friends, with some friends. Great trip, Great time, Great friends.
No Dream Away work done today. Worked as
Captain on the Buffalo Bayou Partnership pontoon boar (Rum money).
Kitty and I removed the davits from the
boat first thing. With any luck, this will be the last time the davits
are removed on purpose! Got the davits loaded into the truck, and went
over to the shop.
Fabricated the brackets for the Hummer
brace. This meant cutting and bending pieces of the 2" flat bar I have.
I was able to find some pieces of stainless steel to insert the 1"
tubing into to rotate the Hummer grille. These pieces I will weld onto
the brackets already fabricated. Once all of these pieces are put
together they will work it the manner in which I have designed. I think
I have all of the pieces on had to make the Hummer brace, Including the
reinforcement.
Went back over to Dream Away for lunch. After lunch I started on the water maker. I was able to get oil into the reservoir that feeds the valve wicks. When that was finished I ran the water maker for 1 hour and 15 minutes with the product water going into the port water tank. When I was finished, I ran the water maker for two minutes using the product water. This will insure the system is as clean as possible before shutdown. If I leave salt water in the system, it must be run within seven days. If I use fresh water I have a 30 day window before I must use the system.
I heard from Jordan yesterday concerning the oil leaking out of the Lighthouse windlass. He said he is not sure what the problem is, but to send him the unit and he would check it out. Good thing I saved the shipping box he sent me in February. I removed the windlass from the front deck, and loaded it into the truck.
I also tested the new ICOM CommandMic I had ordered to replace the one that came up bad over the Fourth of July weekend. It checked out and worked, so that is something else off of the list.
Went back to the shop, and started to get the Lighthouse windlass into the shipping box. I am going to need several of the very long and big wire ties to hold the windlass into the shipping crate.
I received the valve assembly for the Bitzer refrigeration compressor. I took the compressor apart, and put in the new valve assembly. Looking at the old valve assembly, I can see where the leak problem was. I button up the compressor, and it is ready to go. I have put on the list to put the rebuilt compressor into the system, and see if it works. If that was the problem, I will order two more valve assemblies to take along as spares.
I also ordered new line for dock lines, spare fuel filters, a new EPIRB, with GPS functionality, and the WiFi amplifier. Now of course I have to get all of this installed.
I have set myself a goal of having the
davits installed by happy hour next Friday.
Went over to the shop, and finished cleaning and polishing the port davit. Also made sure the first davit looked pretty good. Loaded both davits, cross pipes, chop saw and several other tools into the truck, and went to Dream Away.
Unloaded all of the tools, davits, pipes and such, and hauled it all down to Dream away. With Kitty's help we got both davits installed on the aft deck. The port davit, went right on, and really had no problem with it. The starboard davit is still a bit of a pain to get on, but it finally did. They really looked pretty good.
Both Davits Installed
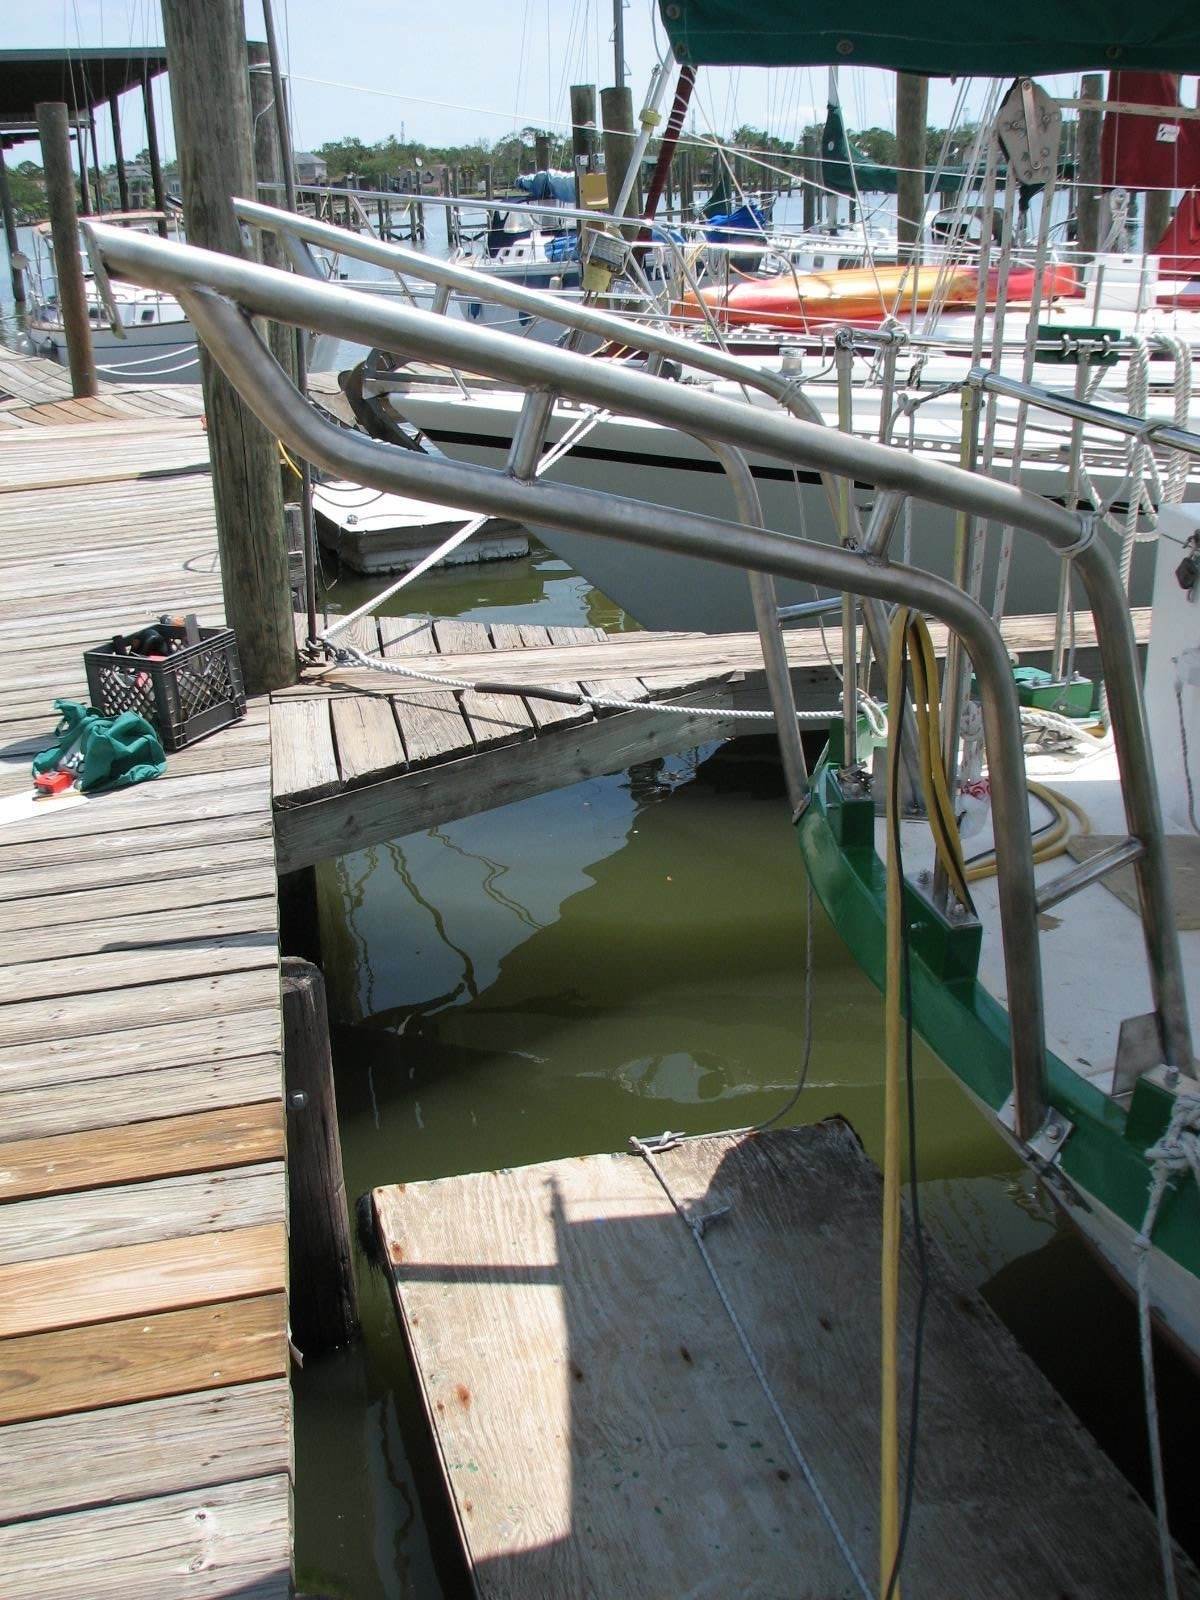

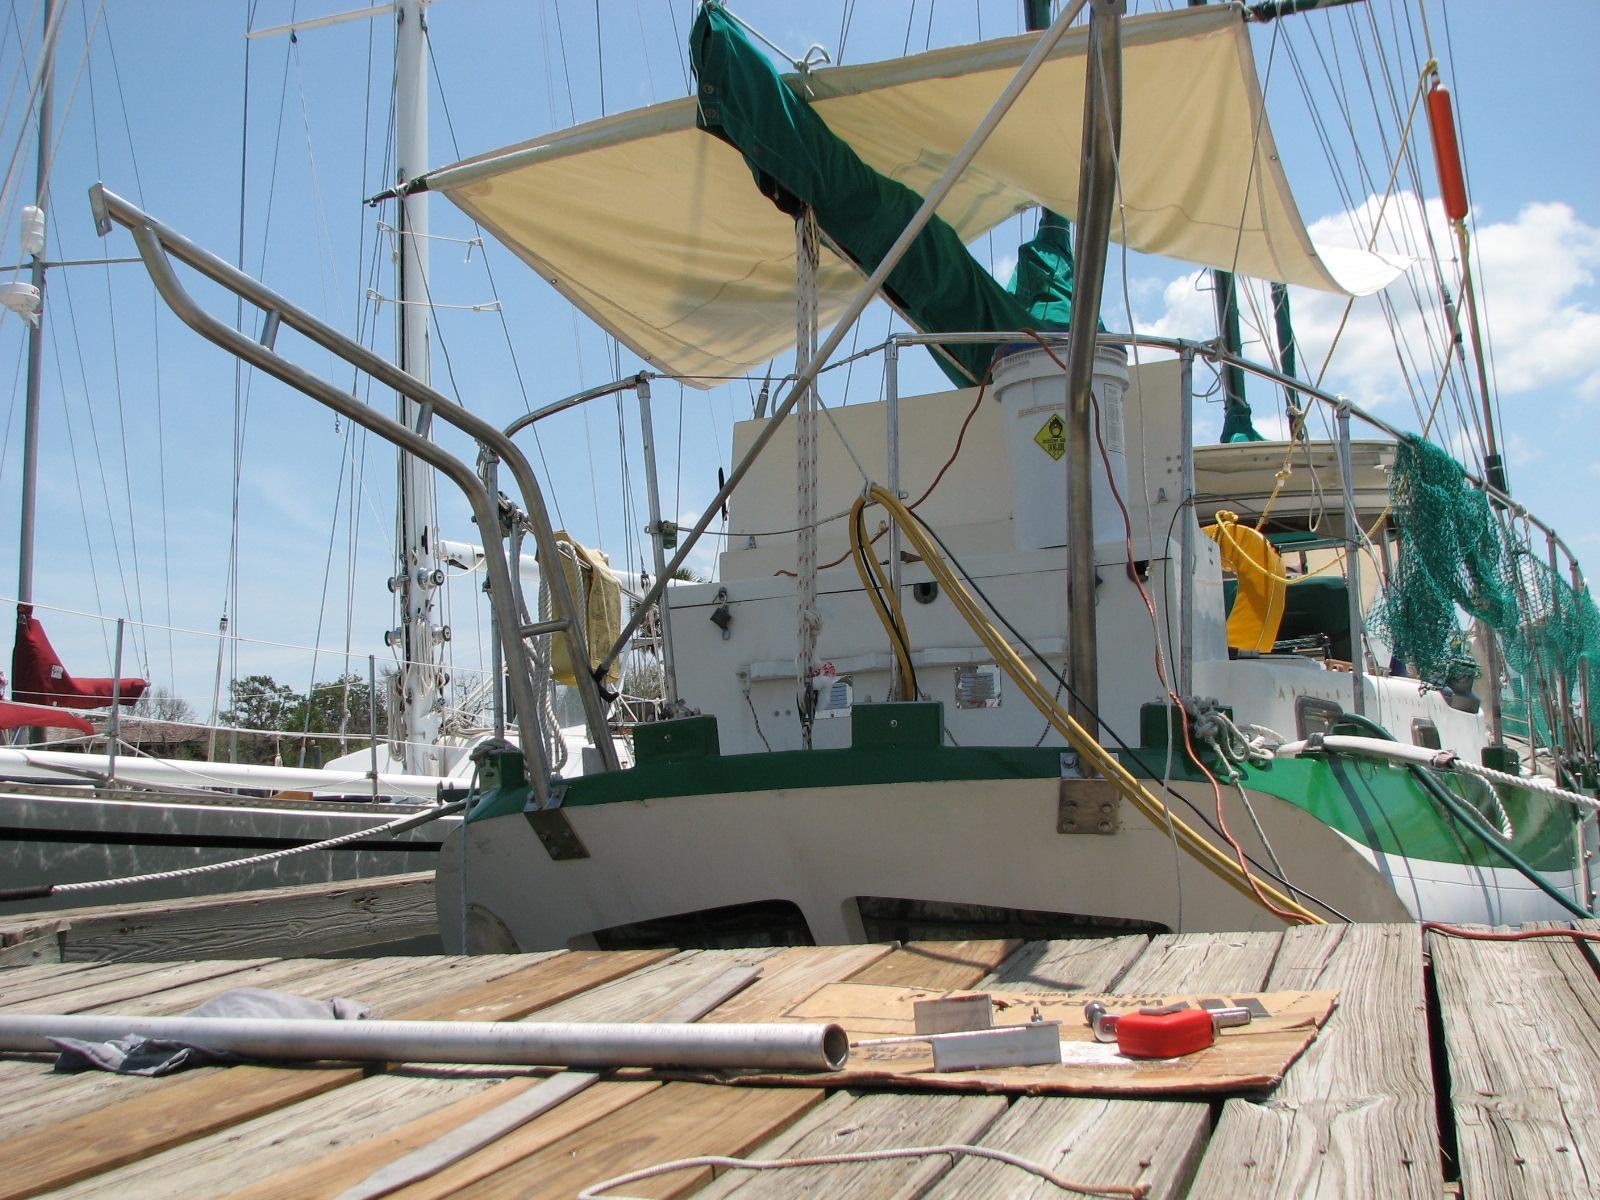
Drilled holes in the deck using a 1"
hole saw under the pipe base on each davit for wires to come up through
the davit. I know I will be running wires for the stern light, the WiFi
antenna, and the DSC antenna on the SSB (Single Side Band).
The DSC, (Digital Selective Calling) is a method to output location information in the event of a problem on the boat via the VHF radio. The radio will out out your GPS location, if you connected the GPS output to the radio, and your MMSI (Maritime Mobile Service Identity) number. The MMSI number is unique, and enables the Coast Guard to look up your number and get information about you. Anyway, for the DSC function to work on the SSB, you have to install a separate VHF antenna.
I also drilled the 1/2" holes in the new
fiberglass I put on the deck for the starboard davit.
Headed over to the shop at 0700. Picked up the welder, all of the accessories, and the Argon gas bottle. Went back to Dream Away. Unloaded the welder, et all and set it up on the dock at the back of the boat. I tack welded the the two pipes together for the port davit, and tack welded the support piece of stainless steel tubing between the two pipes. Took the welder, et all and loaded it in the truck. Back to Dream Away, and Kitty helped me unbolt the davit from the after deck and transom. Loaded the davit in the truck, then back to the shop. Unloaded the welder, all of the accessories, the gas bottle, the davit, all of the tools, and water. Kitty left me at the shop. She took the truck to our mechanic to get the air conditioner repaired.
Because of the problem I had with the first davit, I spent a fair amount of time making steel and aluminum parts to put between the two pipes of the davit so it would not move when I started welding. I also clamped the pipes together to try and insure there was no movement during the welding process.
I then started the welding. I welded the first support piece between the two pipes. I then welded the two pipes where they join together at the after end of the davit. I also welded the base on to the second pipe. This all takes a a lot of time. All of the weld on the pipe and tubing are 360 degree welds, so the work has to be turned over all of the time. Also after you do one weld the work is very hot, so being careful is a must.
When I got all of this finished, Kitty
called and said the truck was finished, and did I want to go to lunch
for the fried shrimp special at Joe Lee's. Of course I said yes. I had
to find a dry shirt, and I was soaked in sweat. As I mentioned before,
when I am welding, I have to shut down the fans, and I can not be
outside, so no breeze what so ever. I lose a lot of weight during the
day, and then eat to much for dinner, and put it back on again.
Got back from lunch at the shop and started in fabricating two other short support pieces that go between the two pipes of the davit. Go look at the pictures for July 25th, and you will see the small pieces of tubing between the two pipes of the davit. When I got the two pieces fabricated and fitting just right, I welded them onto the davit.
I then fabricated and fitted a gusset to use on the base of pipe number one. I finally got it positioned just right, I got the gusset tack welded on the base. I then quit for the day. I basically had been standing on the concrete floor of the shop all day, and I was tired. Tomorrow I will finish the davit, then we will see if it fits.
I have decided how I am going to attach
the cross pieces of pipe on the davits. I had planned on welding the
cross pieces to the davit, but I am afraid that once I get all of that
done, I will not be able to get the davits back onto the boat. I have
decided to weld tabs onto the davit pipes. The pipes that are going to
be the cross pieces, I will cut out a slot at either end, that will fit
over the tabs. I will drill through the pipe, and the tab, and bolt
them together. This will be a bit easier on the over all construction,
and will make replacement of any one part easier if there is some kind
of a problem. Once I get the two davits on the boat, and start
measuring the cross pieces, and welding the tabs onto the davits, I
will put some pictures in the maintenance update.
Another fun day working on a boat built in Taiwan by two families. Family one built the starboard, and family two built the port side, and they never, ever spoke to one another!!
Went over to the shop first thing. Friend Alan showed up, and I helped him with some cutting and drilling he needed done on some big pieces of aluminum.
I got to work on the second dinghy davit. I basically copied the first davit, and tack welded the base and the ends of the second davit. It was a very good match, and I was very happy. See pictures of setting up for the welding.
Setting Up Second Davit, By copying the
First Davit

Setting Up Second Pipe Base On Second
Davit
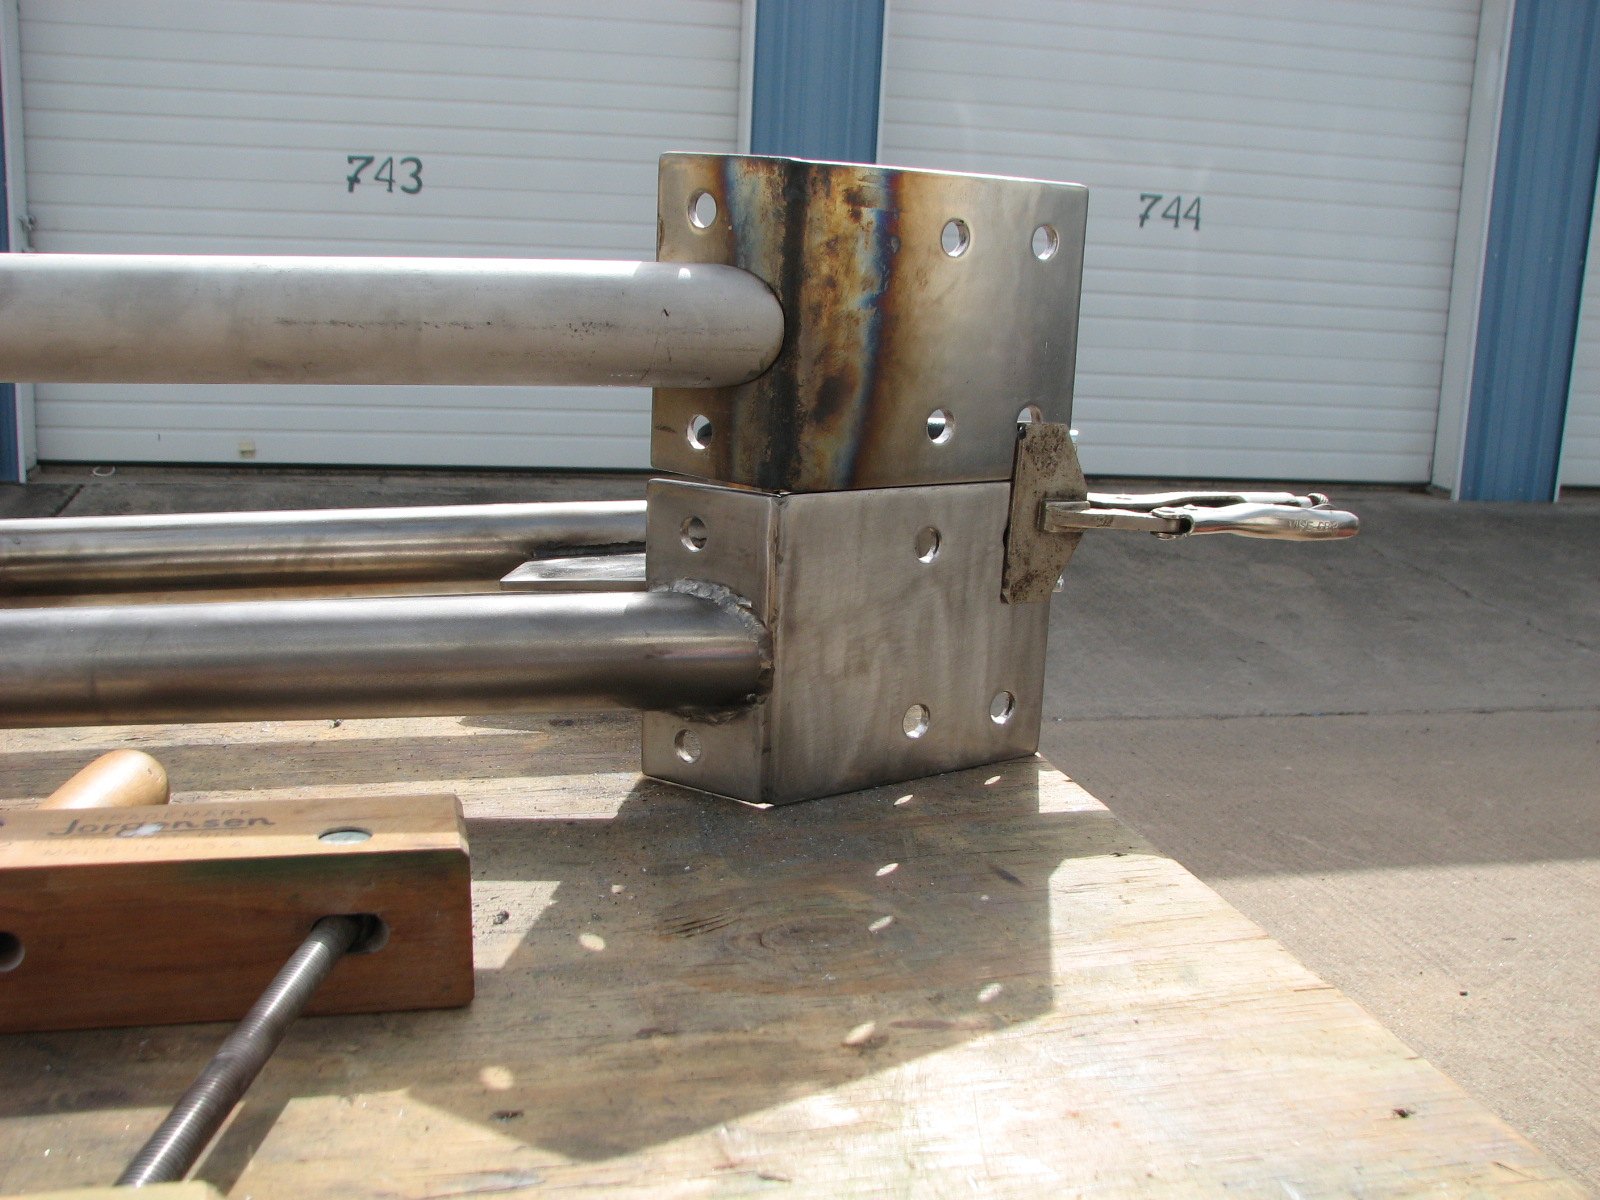
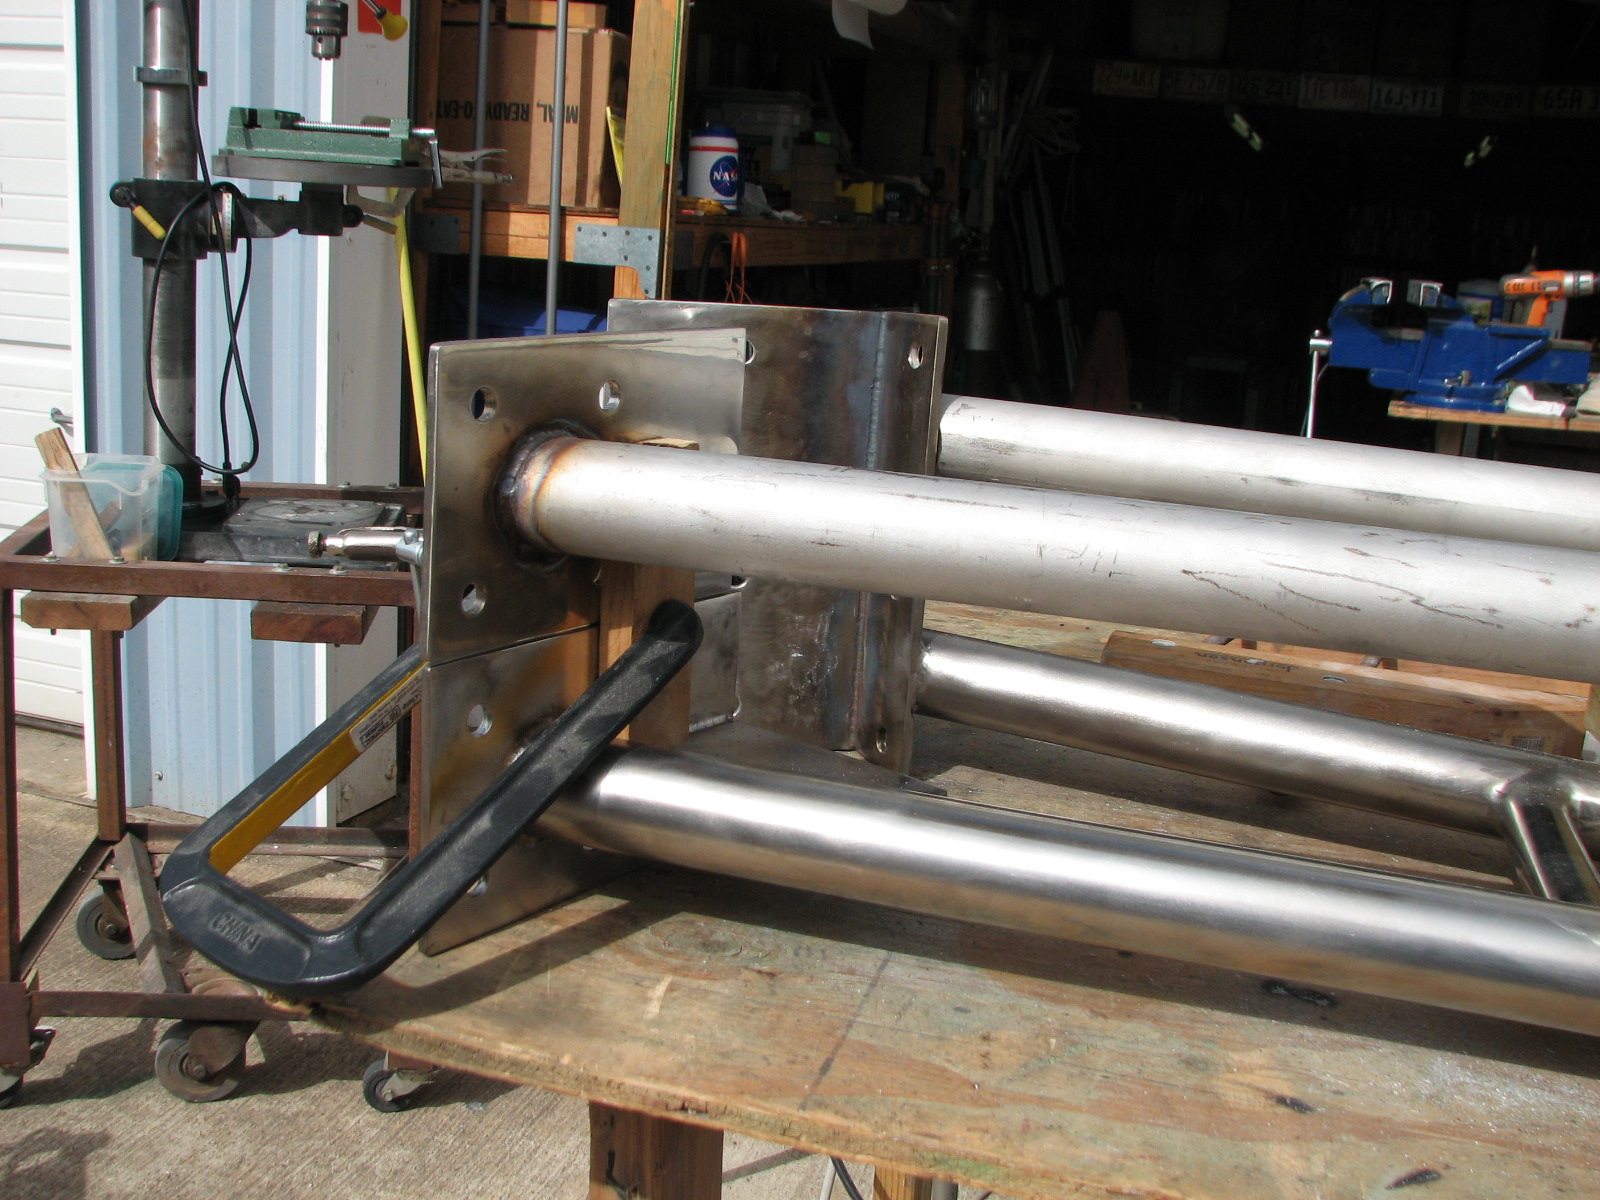
Went back to Dream Away and sanded down the finishing putty I had put in the deck area where the second davit will go. I then put the second davit on Dream Away. The base for the first pipe went on just great, but the base for the second pipe was about an inch too high! Please refer to the first sentence in this entry. I could not believe the difference. So I had to break the tack welds where the second pipe joined the first pipe. I then was able to bolt down the second pipe base. I was able to get the second pipe adjusted properly. Tomorrow morning, very early, I will bring the welder over to the boat and tack weld the second pipe to the first pipe. There will be no wind in the morning, so it will not be a problem.
I put some finishing putty around the
area when the base of the port davit will go. I also put some finishing
putty, right on the transom, where I had damaged some of the fiberglass.
I then sanded the area on the deck where the new hatch base will go. I got it all sanded, and cleaned up. I then tried to fit the fiberglass hatch base piece, and it was about 1/4" too big on the port side of the base, and about 1/2" to big on the back of the base.
I measured one of the pieces of
stainless steel I will be welding between the first pipe and the second
pipe. It was about 1/2" too long.
I left Dream Away, and went over to the shop. I worked on the stainless steel piece, and got the shape very close. I then cut the fiberglass hatch base to the proper dimensions. Loaded up the parts, and the bench grinder, and went back to Dream Away.
The hatch base fit perfectly, so now all I have to do is some preparation, and then I will glass the base to the deck.
I sanded down the putty I had put around
the starboard davit base, and the transom. That looks good, and will be
a much better surface for the davit base.
I checked the fitting of the stainless
steel piece to the two pipes on the second davit, and it was not
perfect. I brought the bench grinder to Dream Away, so I was able to
get the piece to fit perfectly. Tomorrow, when I do the tack welding, I
will tack this piece between the two pipes.
Most of the day was spent doing computer work, catching up on emails, paying bills and the such.
Went over to friend Alan's and did some tech support on his computer. He had lost some files, so I was able to retrieve them.
At 0700 this morning, I was able to
check out the Pactor modem. After getting by a couple of setup issues,
I was able to download some weather faxes. This was really good news.
Having the weather available is a wonderful thing. I will start doing
more of that in the near future, just to get back into the flow!!
Went over to the shop, and got the torch out to bend the base piece for the second pipe on the port davit. Before I started the bend. I decided to build a new angle finder using aluminum pieces of angle stock. The problem I had getting the angle correct was the angle finder I have. It is a great unit, but one side of the tool is plastic, so I can not really use it on the metal when it is hot, so I had been guessing at the correct angle. After I fabricated the new angle finder, I heated up the base piece, and bent it to the correct angle using the new aluminum finder.
Went over to the shop and got out the torch, and bent the base piece for the second pipe on the port davit. I also got out the welder and weld the inside seam of the second base piece. All went well, and put the piece off to the side to cool.
Had the first pipe and base piece tack welded, so completed the weld all away around the pipe and base piece. Put it off to cool. It is now ready to take to the boat and fit in place.
Sanded down the new fiberglass hatch base. Getting the hatch base ready to be glassed to the boat.
Went to Kemah Hardware to purchase some
more 1/2" bolts and some nuts. I read an article about the galling of
stainless steel, and it recommends using bronze nuts on stainless steel
bolts. This goes against everything I believe about dissimilar metals,
but I am getting very tired of attempting to twist off galled 1/2"
stainless steel bolts. I purchased the bronze nuts. I feel I am pretty
safe, because the area where the nuts will be should not have any salt
water on them.
Here is the article I was referring to:
High oxidation-resistance in air at ambient temperature are normally achieved with additions of a minimum of 13% (by weight) chromium, and up to 26% is used for harsh environments.[8] The chromium forms a passivation layer of chromium(III) oxide (Cr2O3) when exposed to oxygen. The layer is too thin to be visible, and the metal remains lustrous. It is impervious to water and air, protecting the metal beneath. Also, this layer quickly reforms when the surface is scratched. This phenomenon is called passivation and is seen in other metals, such as aluminium and titanium. Corrosion resistance can however be adversely affected if the component is used in a non-oxygenated environment, a typical example being underwater keel-bolts buried in timber.
When stainless steel parts such as nuts and bolts are forced together, the oxide layer can be scraped off causing the parts to weld together. When disassembled, the welded material may be torn and pitted, an effect that is known as galling. This destructive galling can be best avoided by the use of dissimilar materials, e.g. bronze to stainless steel, or even different types of stainless steels (martensitic against austenitic, etc.), when metal-to-metal wear is a concern. In addition, Nitronic alloys (trademark of Armco, Inc.) reduce the tendency to gall through selective alloying with manganese and nitrogen.
On the way to Kemah hardware stopped by a friends storeroom to visit a few minutes. He had a LaVac toilet he did not like and was throwing it away. It was not very heavily used, so I took it, and will strip it for spare parts.
Went to Dream Away, and rushed around
taking down awnings, and putting loose items below. A really bad storm
was heading our way, and it looked like it had a lot of wind in it. As
it turns out the wind was not to bad, but it did rain a bunch. Before
it started to rain, I checked the measurement on the base piece for the
second pipe on the port davit. It was still not correct, so will have
to apply heat again, and bend it again.
With all of the rain, I could not do outside projects, so I did a couple of inside projects. I had three big jars of fasteners on the garage work bench that needed to be put away in their proper place, so I did it. It was nice to free up the space and get it done.
I also started to run the #8 AWG wire
from the DynaPlate to the to the SSB grounding
system.
Better day today. Went over to the shop first thing, and built an angle finder out of metal. I then cranked up the propane torch and bent the base piece for the second pipe to the proper angle.
Worked on cleaning up the first davit.
With all of the additional heating, welding and carrying the davit all
over the place, it was in need of more cleaning.
Came back over to Dream Away, and unloaded all of the stuff I would need for the day of working on Dream Away. The first thing I did was make sure the base piece for the second pipe on the port davit fit on the hull. It did, and I am happy about that.
I now spent the time to install the
re-stitched dodger. It was a bit tight on the port side, so did not get
it completely installed. I also installed the re-stitched after awning.
I then mixed up some filler putty to put on the inside of the transom where two bolts help hold down the second base piece for the starboard davit. There two bolts were very difficult to get a nut and washer on. By putting the putty in the area, it acts as a backing plate and provides a flat surface to put the nuts and washers on the bolt. More strength.
I then trimmed up the area cut out for the first base plate backing plates on the underside of the deck. I then had to cut out the area for the port davit on the underside of the deck to make access for the backing plate for the second base plate. I know it sounds confusing, but it is lots of fun. Finally got all of the cutting done, and all of the clean up done. I then mixed up some filler putty to put on the inside of the transom where two bolts help hold down the second base piece for the port davit. There two bolts were very difficult to get a nut and washer on. By putting the putty in the area, it acts as a backing plate and provides a flat surface to put the nuts and washers on the bolt. More strength.
Next was out on the after deck where the first base piece bolts down to the deck. The area was not exactly flat, and especially for the port davit. When I removed the old davit bases, the port side was really sealed. When I picked up the base piece, I actually ripped off some of the first layer of fiberglass. I did a quick fix, but today I did the final fix, and was able to get a flat surface to bolt the first base piece down to the deck on the port and starboard side.
I had noticed a bad place on the starboard side of the aft deck box. There was a bunch of rot. I drilled down into the rot to make some holes. I then mixed up some Smith's penetrating epoxy, and poured about 4 ounces of the epoxy into the rotten place. I will check it tomorrow, but once the epoxy sets up, I will have the old strength back into the wood. I will also check to see if I can add some more epoxy.
For the remainder of the day I worked on
the most forward hatch replacement. I had to clean up all of the butyl
rubber I had used to seal the Boman hatch. I got all of the rubber
cleaned out, and the area looking good. Now I will have to sand the
area.
Went to the shop after stopping for coffee at friend Al's boat.
Checked the base of the first davit I straightened with heat yesterday. It looked pretty good, and will be very nice on the deck, once I get a really flat spot on the deck to sit it on. Heated up and bent the base piece for the second pipe on the port davit.
Stripped some more parts off of the old gen set I have in the shop. Took off the raw water pump and housing. When I get these parts all cleaned up and vacuumed bagged, I will have quite a bunch of spares for the gen set.
Went back to Dream Away with the complete davit, and after a few issues got it installed on the boat. I wanted to make sure it would fit after all of the changes within the last two days. Had to drill out some holes to make them larger. I had a VERY frustrating time getting the davit off of the boat. Two bolts had galled for no apparent reason. These two bolts had to be broken off. Breaking off 1/2' stainless steel bolts is no easy matter. Finally got that done, then I had one bolt in the base that would not come out. It took over an hour to get that bolt out. By the time I was done I had spent three hours putting the davit on and taking it off. The bad news is I will probably have to go through this exercise at least two more time before the davits are installed permanently.
Checked the fit on the base piece for
the second pipe on the port davit, and it was not quite right. Will
have to heat it up again and get the angle correct. I am going to make
an angle finder out of metal so I can put the angle finder up against
the hot metal to check the angle. The angle finder I have now, has a
plastic piece, so I cannot put it up against hot metal.
I then taped the plastic covering on the
underside of the most forward hatch. Went topside and removed the Boman
hatch. I scrapped off all of the sealant. Tomorrow I will start in on
putting down the fiberglass piece that will be the base for the new
Lewmar hatch.
Went over to the shop first thing. I
welded up a part for the first davit, and got that part strengthened. I
then applied heat on the second half of the base plate, and clamped it
all down. When it all cools off it should be fairly level, and good to
get back onto the deck.
I did not want to leave the shop with the base plate very hot, so I spent the next two hours cleaning some parts. I am stripping the old gen set I purchased of good parts that I can use as spares. I am spending the time getting them cleaned up so I can wipe them down with oil and put them in vacuum bags for later use. It is also helping to get stuff out of the shop. When ever I leave the shop, I am bringing out trash or stuff I can get rid of to help get the shop ready to give up.
I then went back to Dream Away to get the boat and myself cleaned up. Kitty was coming back today, so I had to go pick he up at IAH.
On the way back from the airport I
stopped by AllStart and picked up the newly rebuilt motor for the
refrigeration system. I also stopped by Harbor Freight and got some
replacement consumables. The remainder of the day was spent on the
computer and with Kitty.
Wow was this day a bunch of highs and
lows. Since I finished the first davit on Saturday, I was anxious to
get started on the second davit. I had the second davit base and pipe
that I had tack welded on Saturday in the truck.
Alan come over to help fit the second
dinghy davit. It looked like a good fit, but I wanted to put the first
davit on to check the measurements. It was also obvious I needed to
make a very level area for the base on the second davit. So I will be
putting some fiberglass and resin down so I really have a good flat
surface for the davit base. Sine I will be going to the trouble for the
second davit base, I will also do the same for the first davit base.
Alan got a call from a friend about picking up some teak and mahogany, so we went off to get the wood. We went to a store room where someone was clearing out all of their stuff and I was invited to look around and see if there was anything I could use (need), and I was very lucky. I got some really thin aluminum sheet I can use to make a cover for the SCUBA compressor out on deck. I also found a fluke type anchor I had to buy, but I had been looking for one for a very long time. I have a Danforth fluke anchor as a stern anchor, but it is only 35 lbs, and I have wanted something bigger. The new anchor I purchased is a 50 lb anchor, so will be perfect for the stern anchor. I also got a horseshoe ring that was in great condition. The horseshoe ring I have on the boat for the man overboard pole is in really bad shape, and needed replacement. So I got a practically new one. It is a $90.00 item in the West Marine catalog. The really great news is I found two special pad eyes to attach the boarding ladder to. I have been looking for these pad eyes for several years and have not been able to find them. I have the pad eyes on the port side of the boat to hang the boarding ladder from, but there are times when I want to put the ladder on the starboard side of the boat. Now I will be able to do it.
When we finished hauling all of Alan's stuff to his store room, we went to my shop, dropped off my goodies, and picked up the finished davit. We brought the davit back to Dream Away to put on the boat. Oh Boy, what a surprise. The davit would not fit on the boat. When I had done all of the finishing welding, the metal had sucked up, and now would not fit. Back to the shop to get a bottle jack, and some wood pieces. We took these over to Dream Away, and with a lot of jacking around we were able to get the first davit on. We check the measurements against the second davit, and all looked good.
I took the finished davit, and the
second davit back to the shop. I got out my oxy-propane torch, the
bottle jack, and was able to get the davit stretched apart. I also had
to do some heating of the base plate on the first davit to get it
straightened out. Due to the amount of clamps I had I was only able to
do one half of the base plate.
No work on Dream Away today. Spent the
whole day on the computer working on the latest Dream Away web page
update. Finally got the update email out around 2330. Also caught up on
emails and general family financial issues.
Went over to the shop and welded on the two support pieces between the two pipes of the davit. The welding came out pretty good. I fabricated two pieces of stainless steel to weld to the end of the davit to hang the blocks that will be used to raise and lower the dinghy once the davits are installed. Fabricating included cutting, shaping, polishing, and drilling.
I cut out a piece of wood to be used as
my Gucci hatch while I am working on installation of the new Lewmar Ocean hatches to replace the Bomon
hatches.
Went back to Dream Away for lunch and to
fit the port base plate to start the second davit. I drilled the holes
in the deck for the base plate. I did this because it is so much easier
to get the holes drilled with out the pipe attached.
While on Dream Away I also constructed the Gucci Hatch. What a Gucci hatch is this. I take a piece of wood cut to the proper size, cover the piece of wood in plastic, and tape the plastic to the wood using only high quality duct tape, and there you have it. Now when I remove the original Bomon Hatch, and before the Lewmar hatch is installed, I will use the Gucci hatch to cover the hole. The installation of the Gucci hatch is not complete without the decorative cement block to anchor the Gucci hatch in place.
I also finished making the mango Ice
Cream. The mangoes that I used were a gift from Tina, so I will really
enjoy the ice cream. The ice cream will be hardened to perfection, so I
will have some for dessert tomorrow evening.
I removed the main raw water input strainer, it had a crab in it, and the manifold. I took them both out onto the dock, and cleaned them out. There were lots of jellies in the main raw water strainer basket. There was also a lot of mud in the strainer and the manifold. I brought them back on board, and installed them into the boat. I then connected the fresh water hose from the dock to each of the hoses for the aft air conditioner, forward air conditioner, ice maker and refrigerator one at a time. After cleaning each in-line strainer, I would then turn on the fresh water hose and blow out each line. When I finished all of this, I connected everything back up, and we are now able to run the air conditioner and refrigeration. I decided to not run the ice maker as we did not need ice. This fun finally ended at 2130, so I fixed a drink, and then went to get a shower. Came back, had dinner, washed the dishes, and went to bed.
Even though I did not get the celebration in, I feel good about the one davit being finished.
Preparing to Weld Base Support Starboard
Davit
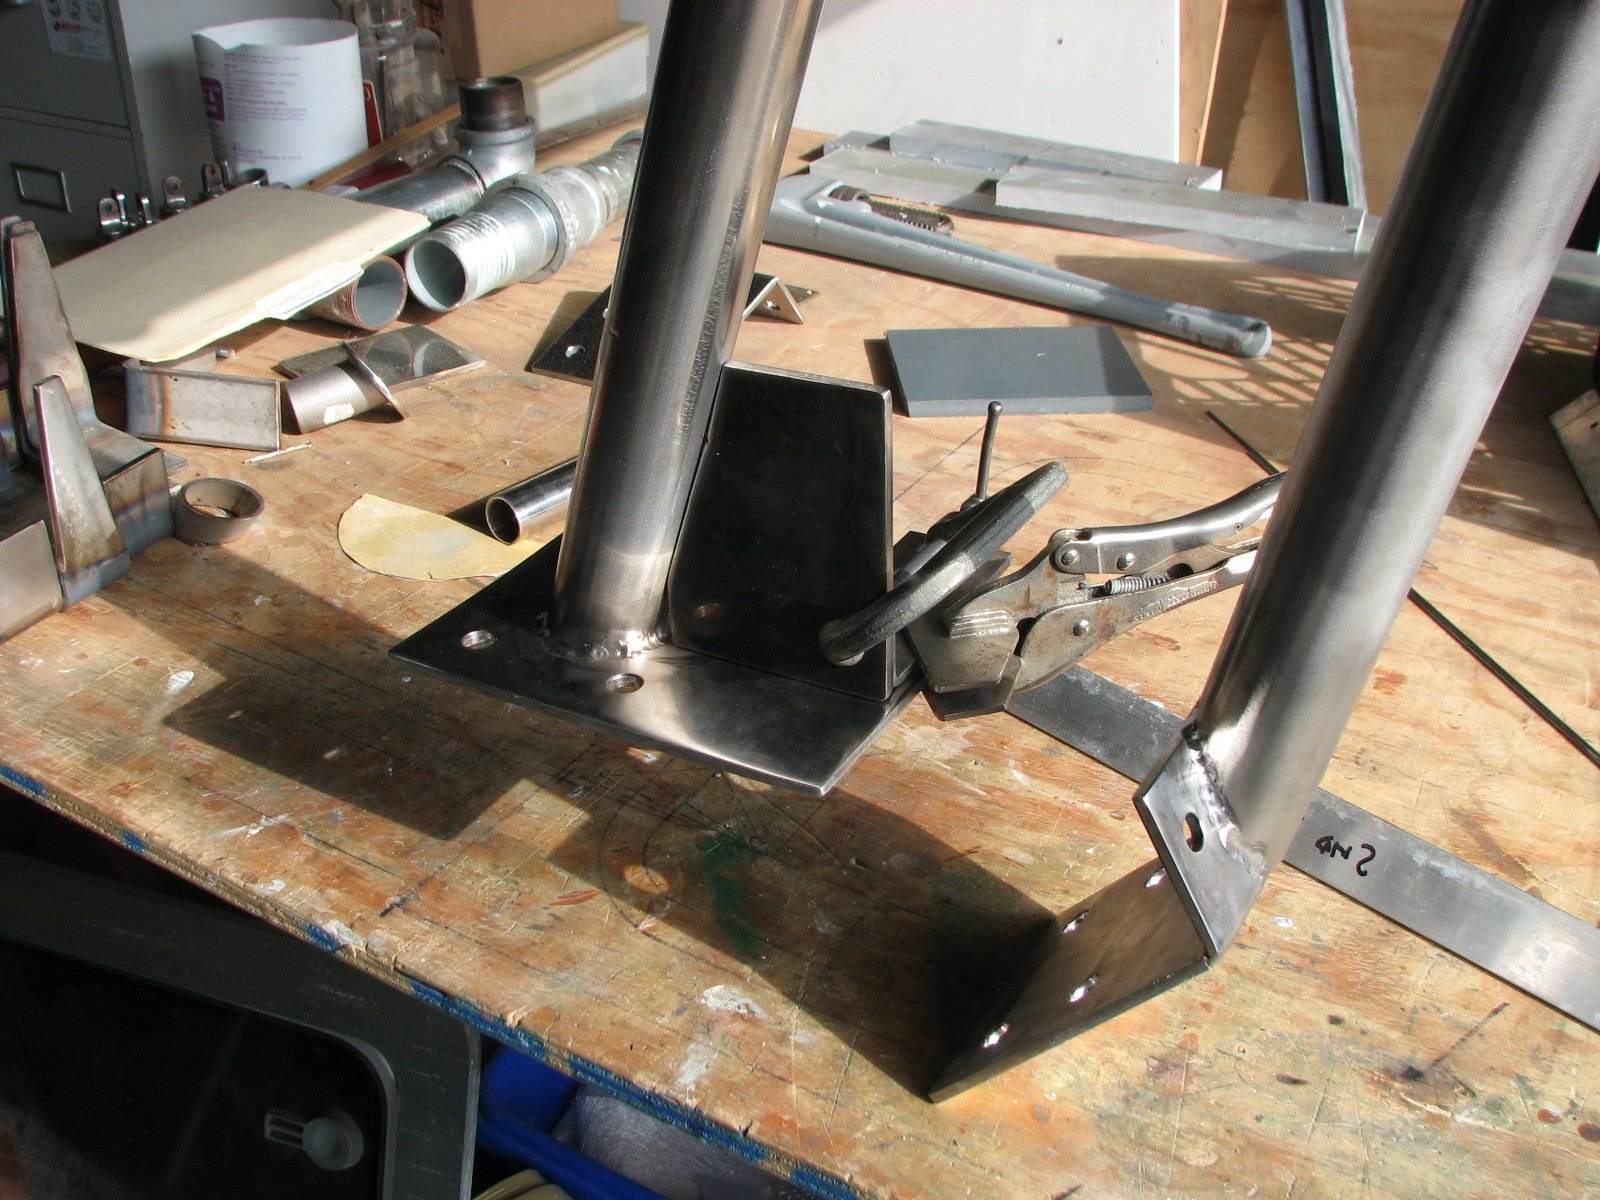
Base Support Welded On - Nice Welds
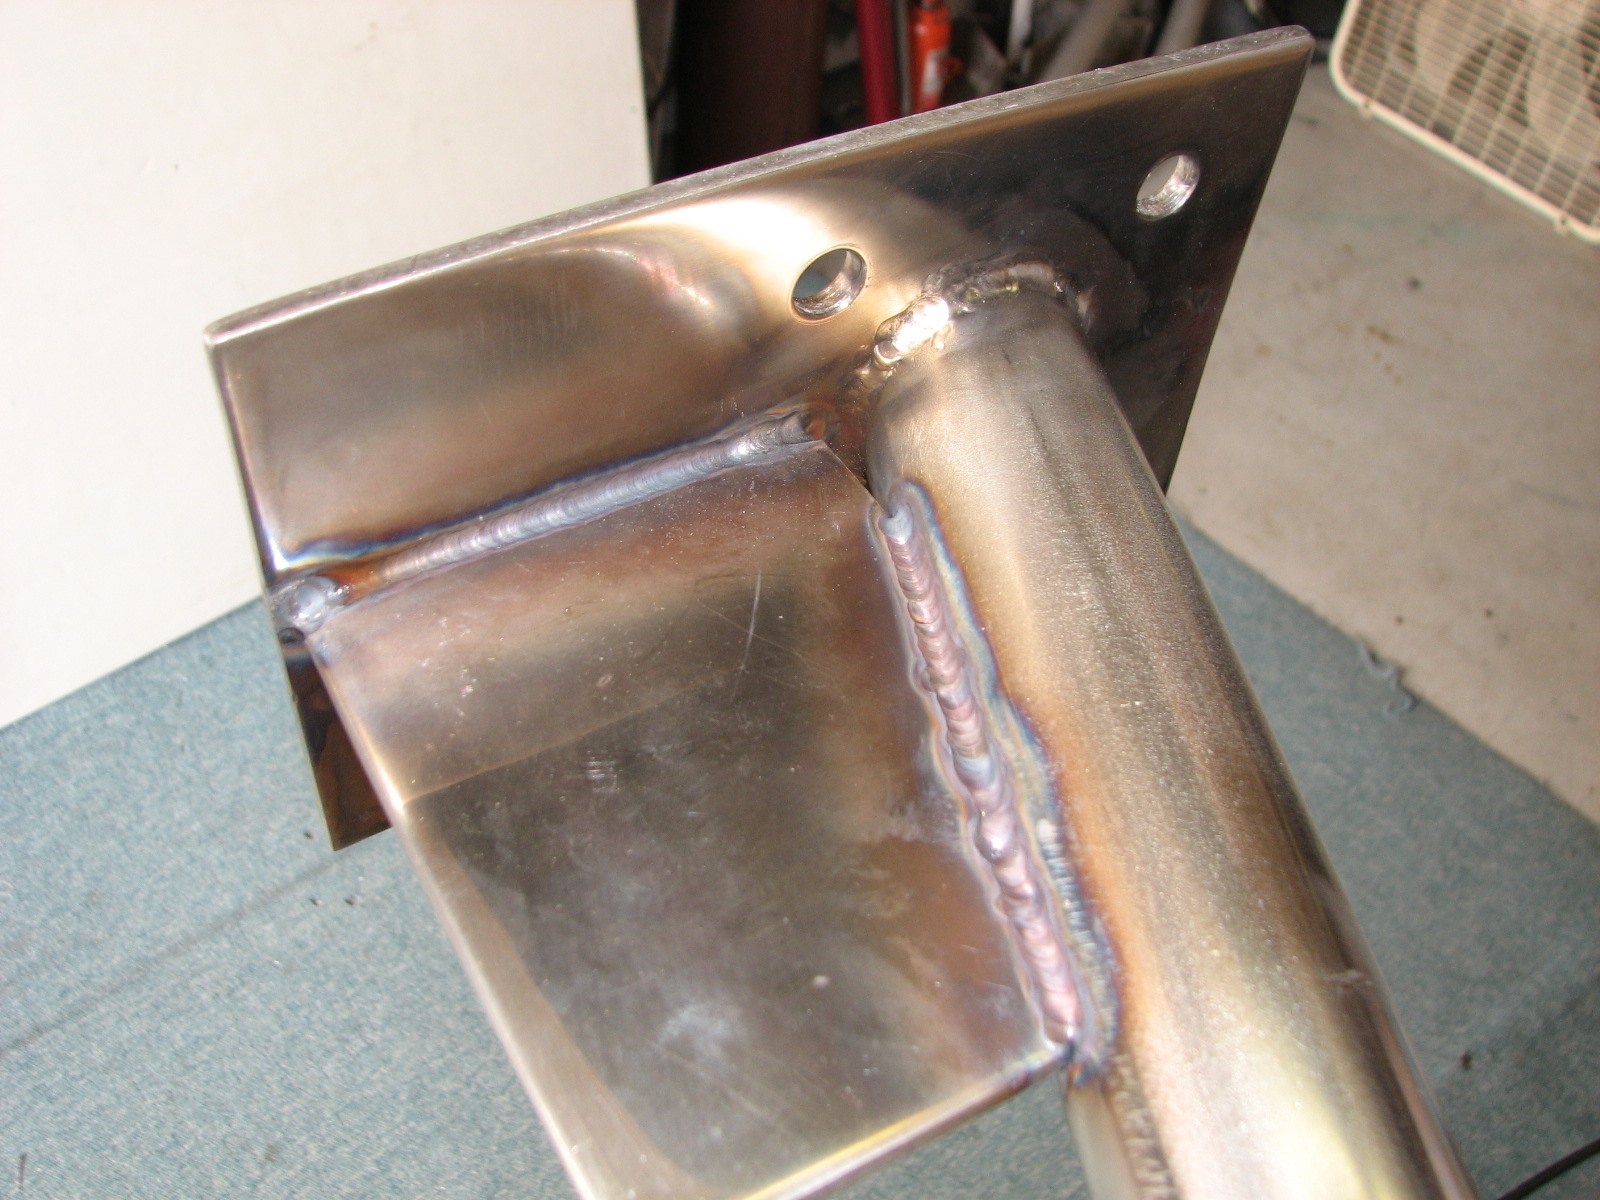
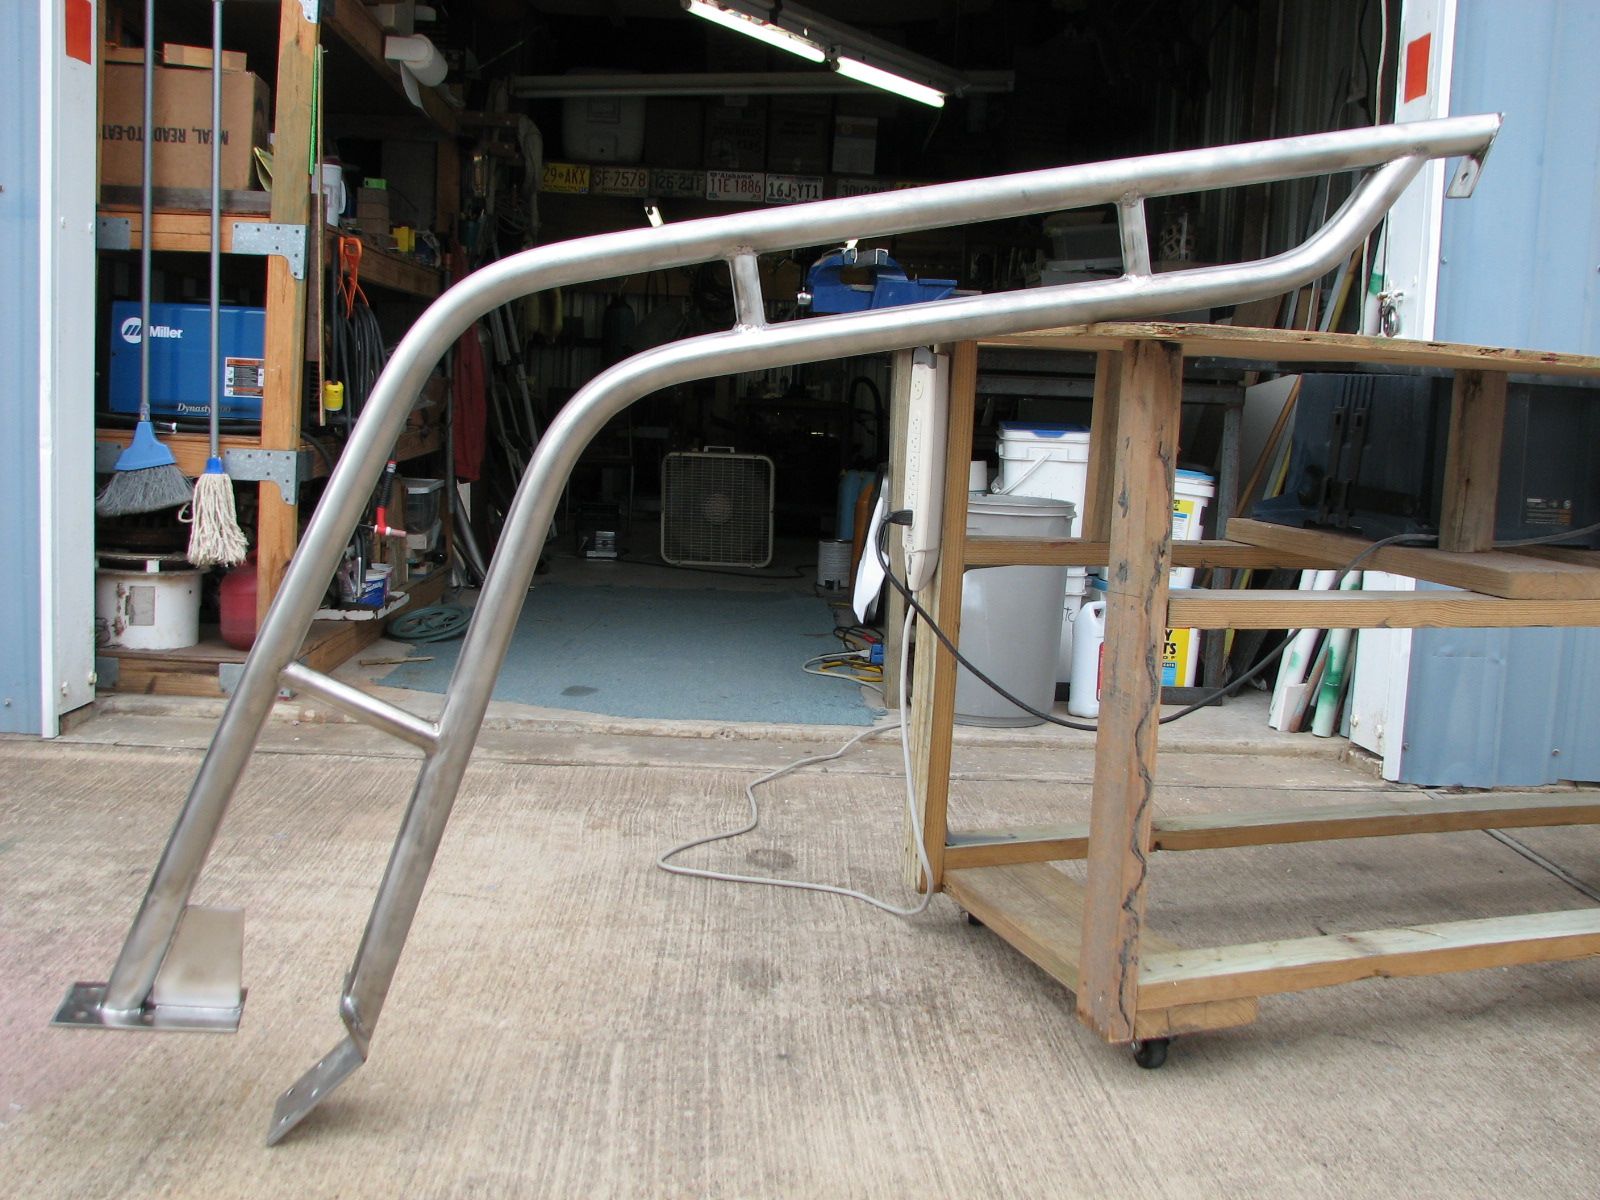
This day ended up as a nothing day. When
I went down below make my second cup of coffee, I left Puss-N-Boots
(PNB) on deck as I normally do, he decided on an unauthorized field
trip. He went under the dock, and I saw him go there. I will not go
into a lot of explanation, but it was 1530 before I was able to get him
out from under the dock. He really enjoyed the bath he got.
Went grocery shopping first thing. Came back to the boat, did the laundry and cleaned up the boat. Also started making Mango ice cream.
Before leaving the boat, I checked out
the two pumps that had failed when we were anchored out over the 4th of
July weekend. based on a "fix" I had for the starter on the Suburban, I
smacked the motor of each pump with a leather hammer. Good news, they
both started working! For whatever reason, I assume the brushes had
corroded to the armature, and the gentle smack broke them loose. I will
have to install each one and see if they check out.
Went to the glass shop first thing to have the rear view mirror glued back on. The last time I took it there the service man said it would last forever. As it turns out forever is about 8 months.
Left the glass shop and went to my shop. Worked on cleaning up all of the welds I had done on the davit before I left on the Atlanta trip. A wire wheel on my drill, really cleans up the welds on stainless steel. The clean up will not be perfect, but it will look pretty good. Spent some time working on the Yamaha outboard. I want to make sure all of the parts are lubricated, or greased and working properly.
Went back to Dream Away for lunch with one of the hatch bases. I wanted to fit the base on the hatch hole before I start on that project.
Left Dream Away, and went by the
Watergate office to pick up a package, then on to Banks Sails to get
the fittings and wire they swedged for me. These will go on the aft
gate in the life rails.
Went over to the shop and met Alan
there. He came over to help me bend the pipes for the second dinghy
davit. He is leaving town tomorrow for five days, so I wanted to
get the pipes bent and cut, so I would be able to do some fitting
and welding on the second davit this weekend. The bending
and cutting went very well, and only took about three hours. It really
made it easy having the first davit there laying on the bench. Now that
all of the cuts and bends are made on the second davit, I will be able
to finish off all of the welding on the first davit and get it on the
boat and matched to the second davit.
Went back to Dream Away, and raised the main sail. The cover was not on the sail, and it had rained, so I wanted to make sure the sail was dry before I put on the cover. I had the sail up for about an hour. I dropped the sail, flaked it on the boom, dropped the Dutchman, and got all of that squared away on the boom. Last but not least, I put on the repaired main sail cover to protect the sail. looked really great.
I put they new swaged fittings on
the aft gate, and that is looking good also. Now all I have to do is
get a ladder so we can use the aft gate properly.
Spent the remainder of the night working
on computer/Dream Away updates.
Arrived in Houston from Atlanta, and spent most of the day running catch errands.
Went to our family doctor's to get all of our medical records. They are not able to give us our medical records in electronic form, so the office take our electronic medical records, prints them out on paper and give the records to us. I then get to scan all of the records in so I have an electronic copy. What a great world we live in. It is good to have the government looking out for me!!
I then went to Fry's to get a new USB hub and an SD card for my camera. The SD card in my camera just up and died!!
When I got to the boat to have a bit of
lunch and to make sure Puss-N-Boots is OK, I noticed Robert had made no
progress on the nets since we left to go to Atlanta. I will have to
call and find out what the issue is.
Then I went to Dockside Canvas to pick
up our repaired and re-stitched canvas. It was the main sail cover, the
three awnings and the dodger. The dodger was in bad shape. All of the
zippers had to be replaced. When I left Dockside Canvas, I went to
Texas City to get the bottle of Argon filled. I hope to be doing a lot
of welding this next week.
When I got back from that trip, I went over to friend Alan's and helped him move a lot of stuff from his boat over to his shop.
Came back from that project, took a
shower, then got into more computer work.
During this period of time Kitty and I
drove from Houston to Atlanta, Georgia, in our Nissan Altima. We are
giving this vehicle to our daughter Judy since we pretty much will have
no need for the vehicle in a couple of weeks.
It was also great to spend time with
both our children and significant others.
Went over to the shop and loaded up the welder and the small bottle of Argon gas. Went back to Dream Away and got the welder all set up. I then tack welded the upper and lower pipes together, and the short piece of 1 1/4" tubing between the upper and lower pipes of the davit. I then packed up the welder and took it back to the truck. With Kitty's help, we were able to get all of the bolts out of the two bases of the davit, and get the davit off of the boat. I loaded the davit into the Suburban.
Went back to the shop and unloaded the welder and the small gas
bottle. Got everything ready to do some serious welding. I put the
davit onto the work bench but sitting on some angled pieces of
aluminum. This will keep the heat from being transferred from the
stainless steel to the wooden work bench. I was low on Argon in the big
bottle, so I decided to weld the two pipes together until the Argon ran
out. I got quite a bit done, but did not get all of the welding
finished.
Worked on emails and computer work until Kitty got up, then went to good friends boat for a Sunday Morning Brunch.
After the brunch, I wen to the shop to work on some pieces needed for the starboard dinghy davit. I found a piece of 1 1/4" stainless steel tubing I had purchased to test the pipe bender, but never used. It would be perfect to cut off pieces that I needed as supports between the upper and lower pipes on the davit. I also was sorting out some pieces to use to be able to mount the Hummer Grill on the davits, but also be able to lower the Grille when sailing.
Was able to work on the Suburban
starter. I still could not get the second bolt to start. I took off the
starter and just tried to get the bolt through the casting, and it
would not go. The starter casting was not made correctly!! I did not
have my drill motor or bits, with me, so I had kitty come over to the
shop with them. I disconnected the starter, drilled out the hole, and
then installed the starter as designed.
I am just overwhelmed of the quality of
parts I am getting these days. I feel like I (Customer) am being used
as the quality control service for any part manufactured.
Went back to Dream Away, and some
friends of Kitty's showed up. I was able to get the husband, Patrick,
to help me bolt down all of the davit bases to the bolts. The support
piece I cut and fabricated fit perfectly between the lower and upper
davit pipes. Everything is all set up to be able to tack weld the two
pipes together in the morning.
No work done on Dream Away today. I was
captaining the Buffalo Bayou Partnership
pontoon boat down town in Buffalo Bayou.
Went over to the shop first thing. I turned over the two wooden pieces used to mount the storm anchor, and put a second coat of Krylon green paint on them.
I was able to tack up the lower pipe of the davit to the base. This went pretty well. I also drilled out the last fitting needed for the aft gate.
I then worked on getting the second bolt into the starter on the Suburban. Again, I was not successful. I left the starter with one bolt. I will have to work on this again before our trip to Atlanta.
I loaded the davit piece, the wooden
pieces for the storm anchor, and the tools into the truck, and went
back to Dream Away.
Once back at Dream Away, I put all of the pieces on the boat. Then I installed the two wooden pieces for the mounting of the storm anchor. They both look pretty good, but I did not install the anchor. I will not do that until Robert has finished the installation of the netting around the lifelines. Robert is continuing with the netting installation. Robert is having to squeeze the netting project in between his other jobs.
I installed the 90 degree piece on the aft life rail, and the stanchion for the aft gate. I then drilled and tapped into the life rail and stanchions on both side of the gate. I then used 1/4" X 20 X 1/2" pan head bolts to secure the installation. All of the stainless steel fittings that are used for the stanchion and life rails come with small set screws to secure the fitting to the stainless steel tubing. I feel this is not secure enough for the situation, so I normally drill and tap the fittings, and use the pan head bolts to secure the pieces. As part of my "get ready to make a passage" routine, I go up and down the life rails and make sure all of the bolts are tight.

Next was the installation of the lower pipe of the davit on the starboard side. The upper pipe and its base is securely bolted to the after deck. I put on the lower pipe and the base and two of the six bolts. The alignment of the two pipes was right on, so the tacking I did was good. the remaining issue was the distance between the upper and lower pipes from front to rear. This was not right on. I had brought my high speed grinder with me, so I spent the next hour or more, taking off the lower davit pipe, grinding off the end of the pipe, and then doing fittings. I finally got to where I am satisfied with the fit. It is off about 1/4" inch from front to rear, but I am afraid if I grind any more off, I will have other problems.
Now I have to tack the upper and lower pieces together so I can weld them up. I will have to do the tacking in the morning because of the winds that blow in the afternoon. Since I am TIG ( Tungsten Inert Gas ) welding, I need an inert gas in the welding process. When I am outside, I either need to rig a shield or have no wind blowing.
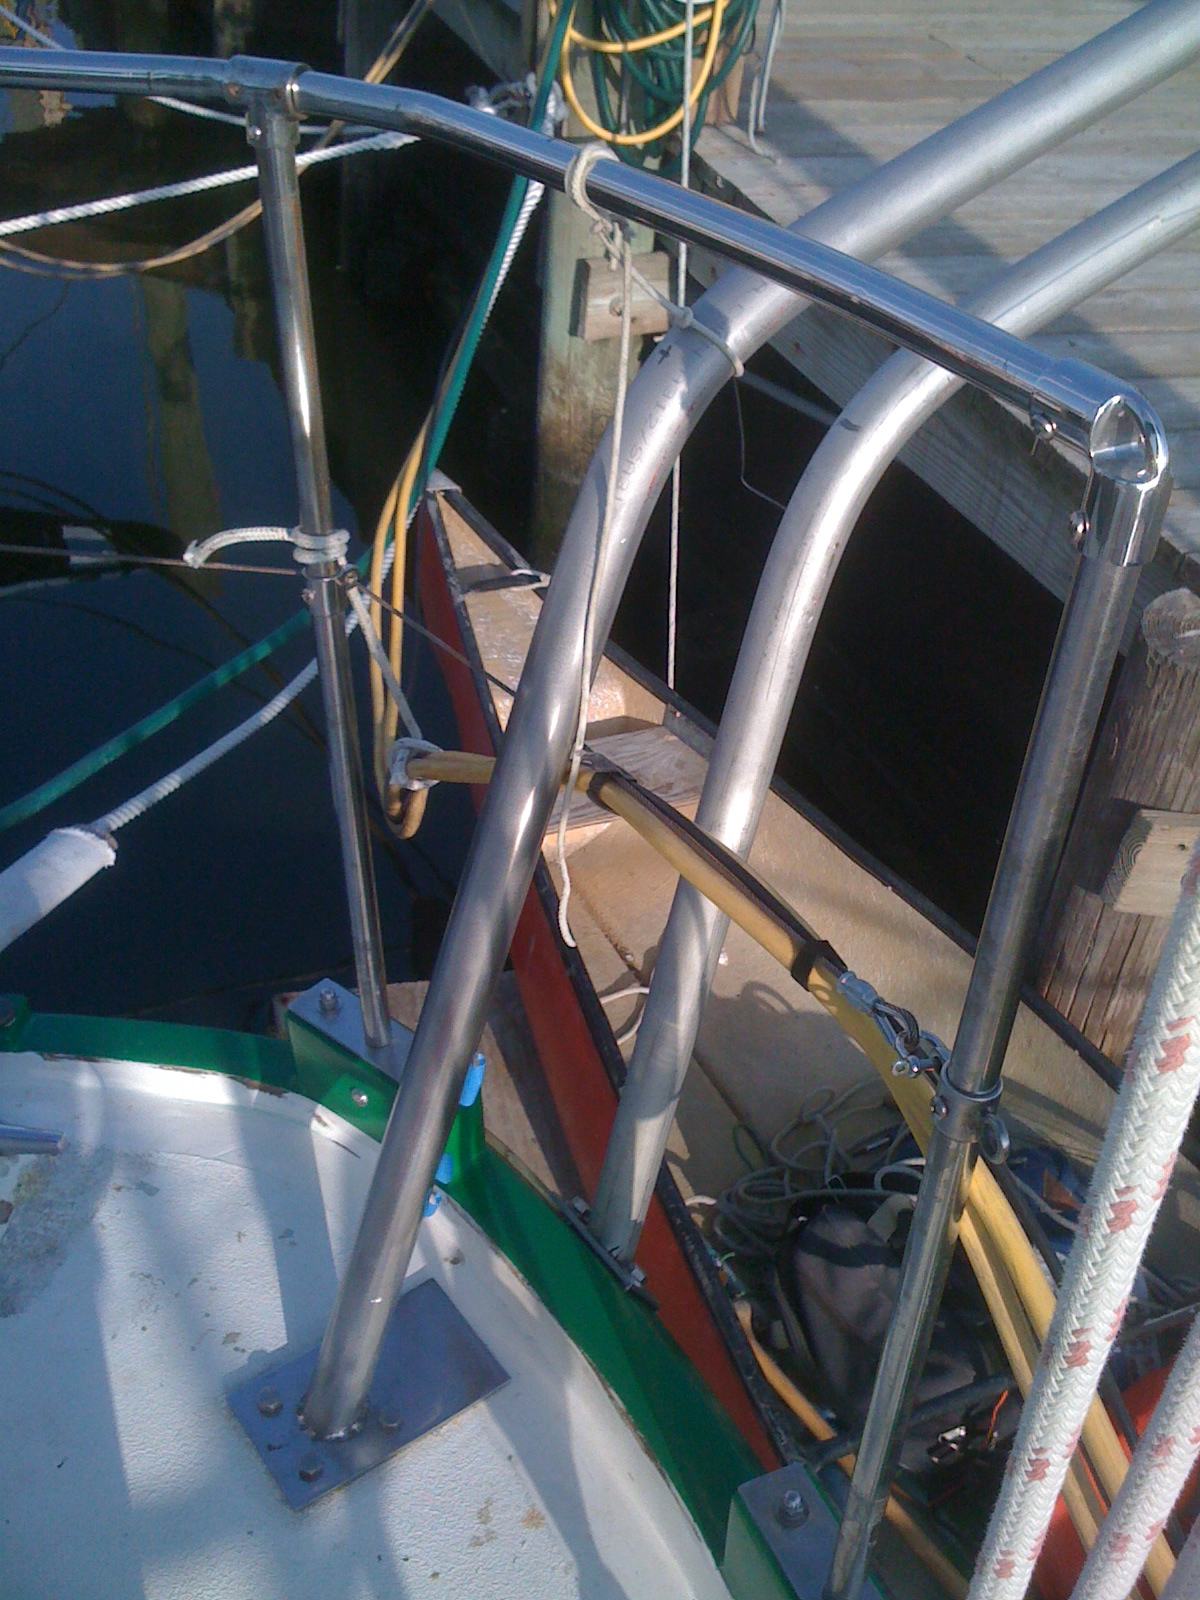
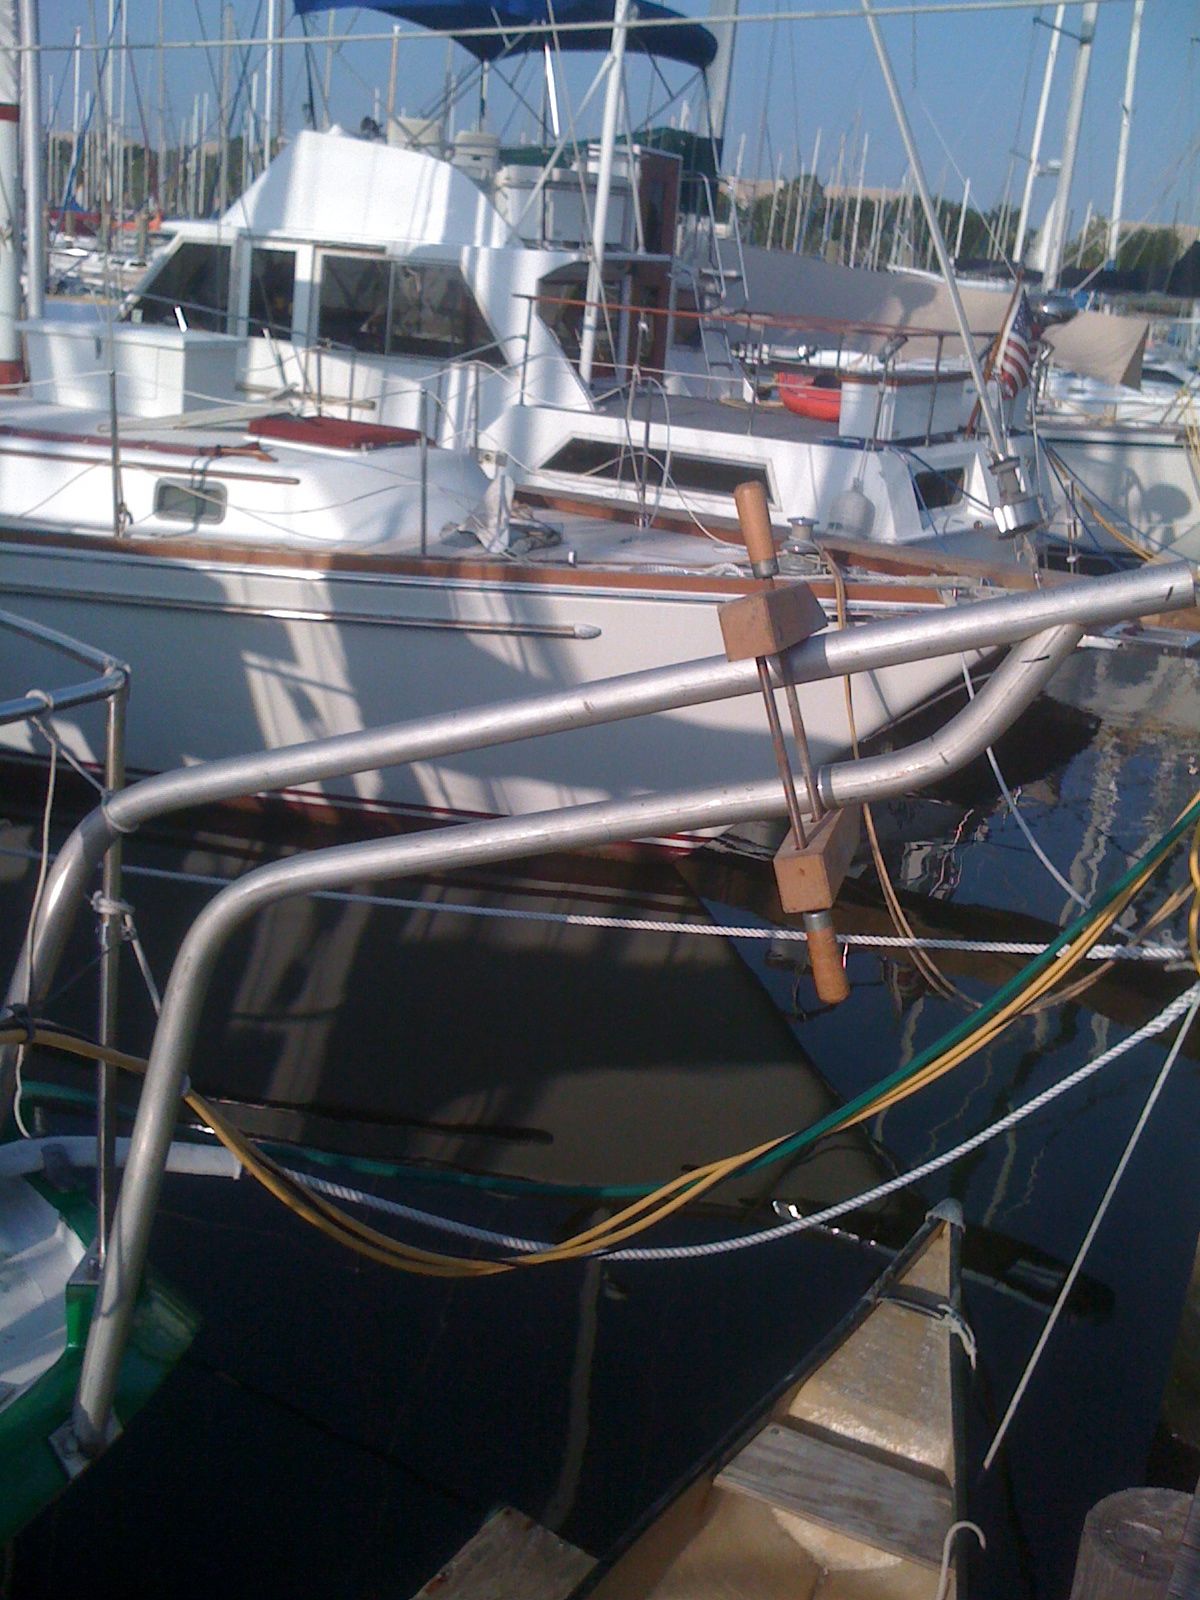
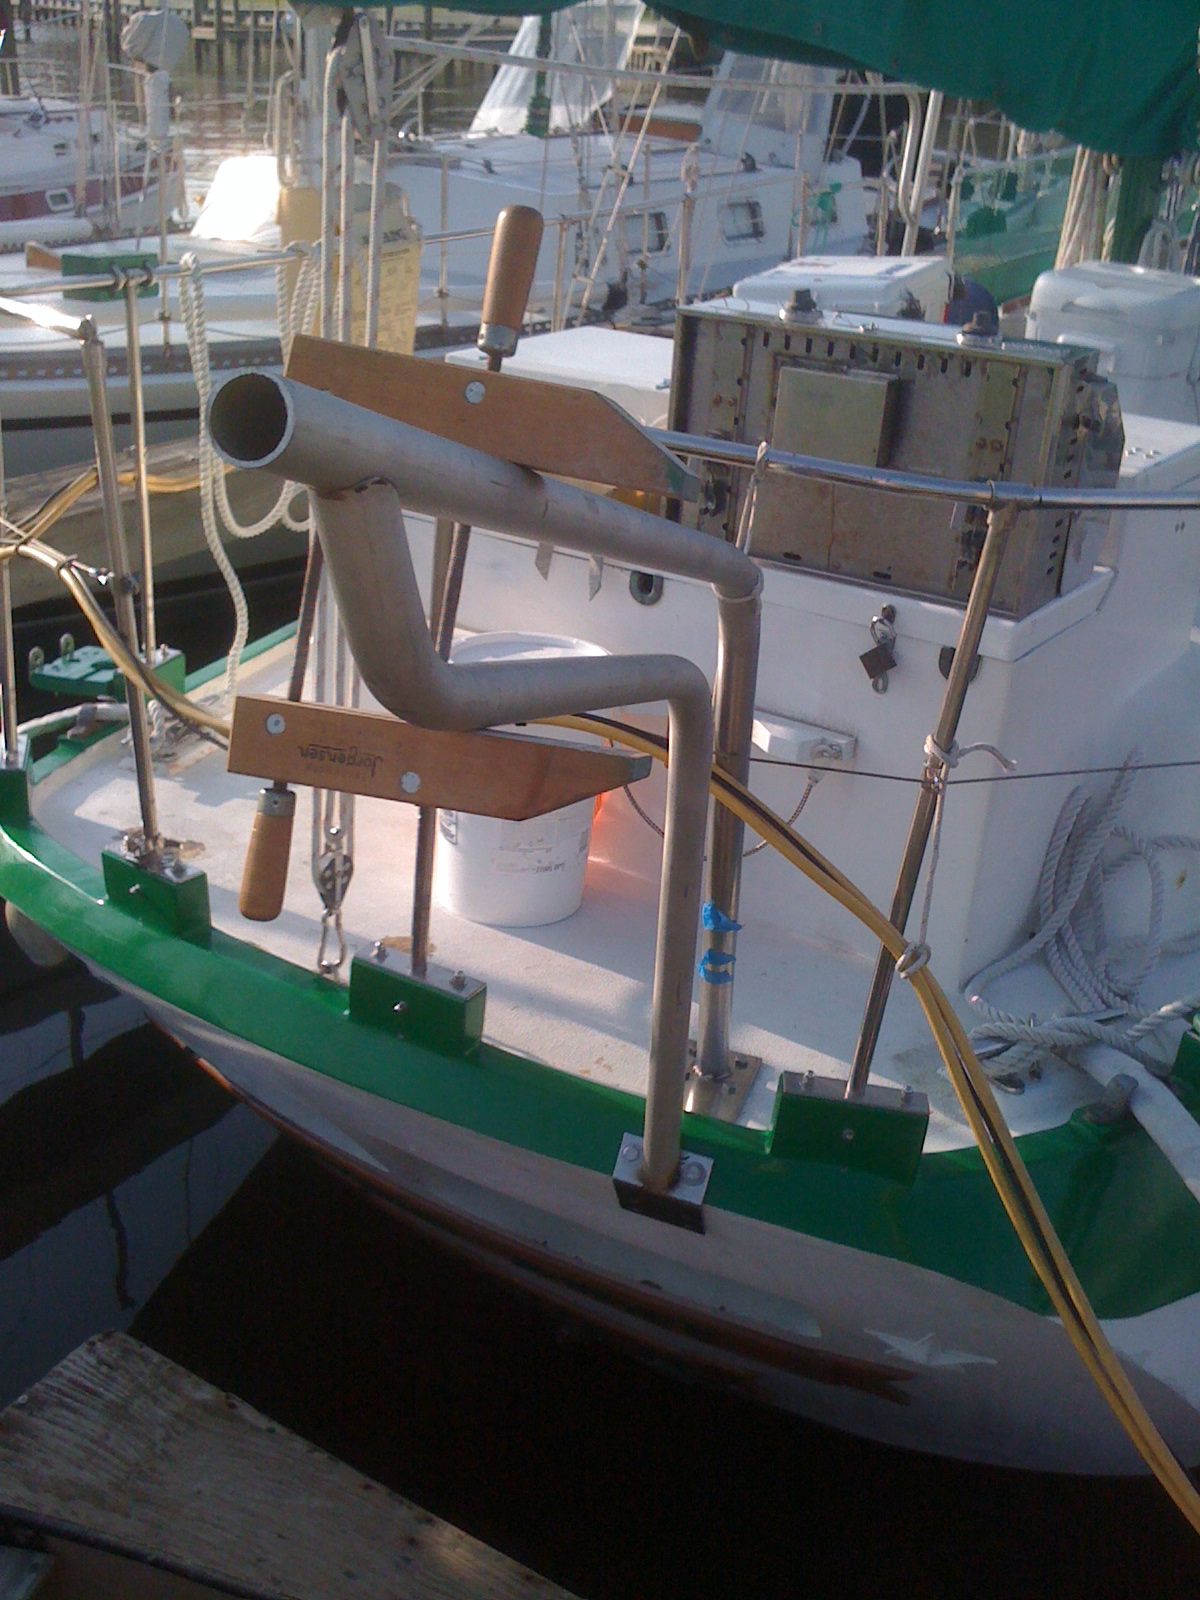
On Sunday or Monday morning, I will
bring the welder and the gas over to the boat and do the tacking. I
still have to bolt the lower davit piece and the base securely to the
boat so the fit is precise.
Started off the day by driving to Deer Park to get a drug screening done for my Captains position with the Buffalo Bayou Partnership.
Returning from the drug screening, I stopped at Kemah Hardware to get the bolts, washers, and nuts that I need for the installation of the davit lower base pieces. I also went by West Marine to get the NicroPress parts, shackles for the life lines and a shackle for the mizzen mast Dutchman fitting. When I left the West Marine store, or attempted to, the Suburban would not start. Oh joy. The West Marine manager had one of his employees take me home, so I left the truck at the West Marine store.
When I got back to Dream Away, I started
putting the NicroPress fittings onto the lifelines. Before I could
finish the first one, some good friends stopped by and we had a great
visit and then went out to lunch.
After we returned from lunch, Kitty dropped me off at the shop, and she went to the auto parts store to purchase a new starter for the Suburban.
I worked on the wooden piece for the storm anchor bracket. I made some modifications so it would fit the new bracket. I got out another piece that holds the storm anchor to the stanchion, and sanded off both parts. I painted both of the storm anchor parts with the Krylon green paint I used to paint the masts. Tomorrow, I will paint the second side of both parts.
I then tacked up the lower pipe of the davit to the base. It is a lot of fun getting all of these pieces fitted and set up to weld not having all of the brackets and stands it would be nice to have. I eventually got the two pieces tacked together.
Kitty came back from the auto parts store, stopped by the shop and picked up me and the davit parts. We then went back to Dream Away.
When I got back to Dream Away, I started
on the NicroPress parts. I got them done and the life lines connected
to the aft stanchions. I measured and cut the wire for the gate. Now
all that remains is to get the actual gate parts with the pelican hooks
made up.
Next was the lower davit part. I fitted the base onto the transom with the two bolts I drilled out yesterday. Today I drilled the remaining four holes in the transom, and installed all of the bolts and nuts to actually install the base. Where I had tacked the lower davit pipe onto the base was not exactly where it should be, and the tack welds were a bit larger than necessary. I had to break the welds, but I was able to make a really good measurement. I will tack it up again tomorrow, and hopefully I will be very close.
We then drove over to West Marine, and I
changed the starter on the Suburban. There is a lot to be said for
having a big truck. I did not need a jack, so no jack stands. Just
crawl under the truck and do the deed. I got the old starter off and
the new one on in about an hour. It was the problem, so the truck is
back in operation. The only outstanding issue is with the two mounting
bolts for the starter. I could only get one in. I decided to leave it
that way, and would finish getting in the second bolt at the shop when
I had more light.
Went over to the shop and started into getting some parts welded up. The first part was the bracket to mount the storm anchor on. I had the stainless steel plate from the stanchion base, and the two parts that would form the storm anchor bracket. I welded the two bracket parts to the stainless steel plate from the stanchion base. When I finished the welding, I cleaned up the welds then cleaned and polished up the part.
I had to weld two stainless steel rings to the part that hold the life lines at the new aft gate. I got those two pieces welded up, and then cleaned and polished them. I also had to drill a hole in each one of the parts to attach them to the aft stanchion.
There is a 90 degree piece, elbow, that forms one part of the gate for the new aft gate. This piece had to be modified for the actual life line gate to fit. I cut out a part of the elbow, and then welded a ring I cut off from the old CQR anchor part to the elbow. When I was finished I had to drill two holes into the elbow so I could attach the elbow to the stanchion. When I finished all of the welding and drilling I cleaned and polished the elbow.
I drilled a hole into the bolt I will be
using to secure the CQR anchor to the anchor roller.
I cut a two inch piece of pipe off of
the lower davit piece, and cleaned and sanded the end of the pipe
I loaded up all of these parts into the Suburban, and headed back to Dream Away. I took all of the new and modified parts down to Dream Away and started to install them.
The storm anchor mount/stanchion base piece fit perfectly, so it was installed and bolted down. The piece of wood that sits on the new stainless steel bracket that the storm anchor actually sits on, did not fit just right, so it went to the truck to take to the shop and modify.
I installed the new pin to hold the CQR anchor to the anchor roller. This pin is a 7/16" stainless steel rod, so it should not have a problem. I feel much better about the CQR anchor not coming loose with the new pin in place.
I installed the newly modified pieces
for the lifelines at the aft gate. These are going to work great. I
have to purchase a few parts so I can NicroPress the life line, and
then attach them to the stanchions.
Next was the fitting of the lower piece
of the dinghy davit to the base piece and check the clearance to the
upper piece of the dinghy davits. This went well and I seem to have the
measurements about right. I will have to tack up the lower davit pipe
to the base piece, and then check the fitting again.
Went over to the shop first thing and finished up working on the parts needed for the davit fitting. I also straightened up the shop because I had left it in a bit of a mess when we left for the weekend.
I cut the parts I would need to put the 100 LB. storm anchor back on the aft life lines.
Went back to Dream Away to fit the dinghy davit parts. I had drilled the mounting holes in the deck, and filled them with epoxy last week. I got the upper davit piece and base in place, and drilled the mounting holes through the epoxy. With Kitty's help I got the upper piece of the davit mounted to the deck. I then took the base for the lower davit pipe and drilled two of the six holes into the transom. With the lower davit pipe base in place, I was able to fit the pipe to the base. I still have to cut about two more inches off of the pipe and try again.
We had the aft cabin pretty much in
disarray at this time, so I took more a part, and got to the rudder
angle indicator. With Kitty's help I was able to adjust the unit so it
read properly on the auto pilot control head.
The pieces I had cut off for the storm anchor looked like they would fit. I had to remove the stainless steel plate on top of the stanchion base. This was necessary so I could weld the storm anchor pieces to the stanchion base plate.
I cut the wire for the aft life line so I could remove parts and to make the gate required in the aft life lines. After I cut the wire, I was able to remove the stainless steel plate to weld for the storm anchor base. I also removed several other parts that needed welding for the gate in the aft life lines. I used a cable clamp to put the wire on the aft life lines back where it was and to be safe until I got the gate made.
In the meantime Robert is working on the netting for the life lines.
Brian from Dockside Designs came over and said he could repair and restitch most of our canvas work. We removed the tree awnings, the Sunbrella dodger and the main sail cover. We carried all of this canvas work to his truck. Hopefully he will have them repaired and back to Dream Away before we leave on out Atlanta trip.
I also removed a pin that hold the CQR
anchor in the anchor roller. The one I have now was very thin and was
bent, and might cause a problem if it remained. I found a part that
would make a replacement, so I loaded it into the truck for work
tomorrow.
We got up and cleared the boat, raised the anchor and got under way. The bad news was we had to go straight into the wind for the trip home, so we motored all of the way back. We got to Watergate, and the wind was good enough I was going to try backing Dream Away into the slip. It worked out, I got it first shot with no problems, and no scrapes.
I spent the next several hours getting us back together. I got the boat
all tied into the slip. I got two of the three awnings up. The wind had
picked up quite a bit, and I could not get the big awning up under
those conditions. I washed down the boat, emptied three bags of trash,
and moved the Hummer grille from down below to out to the aft life
rail.
Over all it was a great weekend and boat test. I am really afraid it
will turn out to be an expensive weekend.
The Good News: The main engine ran well. Today I ran the engine at 1800
RPM for 15 minutes, and the temperature stayed right at 180 degrees,
and the alternator charged the batteries as hoped.
The generator ran well, and was no problem. I will do more testing this
coming week, with different loads on it.
The anchor windlass operated well, and the wash down system works well.
I have to investigate why the windlass is leaking oil.
The rigging did well and I got it all adjusted. I still have to take
the mizzen mast down to fix an electrical problem. When it goes back up
I will have to attend to the adjust of shrouds on the mizzen, but I am
pleased with it at this time. There is no vibration on the mizzen mast
with the wind generators running in 25 knots of wind.
Not sure why, but the compass instrument is now working. I tested the
circuits, and cleaned all of the connections, and it started working.
The CAPN navigation software worked just fine and does not seem to have
a problem running on the XP virtual machine on the MAC.
The watermaker worked great. I was able to fill one water tank on Dream
Away, and all of the drinking water bottles.
The Bad News: I was not able to determine the cause of the knot meter
not working. I will have to do some research on the compatibility of
the transducer with the ST50 instrument.
The remote CommandMic does not work with the ICOM IC-M502. I plugged
the microphone directly into the back of the radio, and the CommandMic
still does not work, elimination the wiring between the radio and the
remote CommandMic.
Have to work on a system to move the staysail stay back to the main
mast when the stay is not needed.
Have to order a clevis pin for the topping lift on the mizzen boom.
Have to repair two fresh water pumps.
Have to adjust rudder angle indicator.
Replace the mono filament lines for the Dutchman on the mizzen and the
main. The two line on the mizzen broke, so have to get new ones
installed, and replace the ones on the main to be prepared.
We used the inflatable, and it has a bad leak in one of the valves, so
will have to take the inflatable to shop to get it repaired.
The horseshoe ring for the man overboard system is degrading, and can
not be fixed. It will have to be replaced.
Have to install cotter rings and cotter rings in all of the rigging.
The outboard shop called and said there is another bad part in the
Mercury. The man said he would replace the part for no labor charge,
but it is still going to drive the price up of repairing the two
outboards. I am afraid the cost is going to be over $600.00.
Spent most of the day at anchor working on email and the Internet while at anchor. Both Kitty and I were trying to get caught up, but the Internet connection was very intermittent, so we did not make a lot of progress.
Just as I was finishing up the dishes the freshwater pump failed. I removed the bad pump, and put in a tested spare, but it did not work either. I then put the second spare into the fresh water system and it worked. I will not go into a long explanation, but I could spin a very long yarn concerning ShurFlo pumps. The pump that is in the system and working, is the original pump I purchased in 1994, and it has been my old faithful. Now I will have to figure out what is wrong with the other two pumps, repair them and be sure I have spare parts handy.
The wind was blowing so hard, 20 to 25 knots, the wind generators were really putting out the current. I decided to see if I could use the current, so I turned on the ships inverter and turned on the ice maker.
Sailed boat out of Watergate Yachting Center with no problems. Got through the Clear Creek Channel and into the bay. We checked out autopilot computer, and calibrated same. This meant we had to do two 360 degree circles under 2 knots speed. The ST50 electronic compass did not work did not seem to work after we calibrated the autopilot computer. This was very disappointing, but will look into the problem tomorrow.
We made the trip with jib and mizzen. Did not raise main sail. We did
several tacks as we made our way to the Lone Oak Bayou anchorage. I did
this so I could check all of the rigging on both tacks. There was not
to much to adjust. I will check it all again when we go back to
Watergate on Monday. If that all seems good then I can feel good about
spending the time to put the cotter keys and rings in place on the
turnbuckles.
Experimented with relocation of the stay sail stay while under way.
Very difficult to tack jib with stay sail stay rigged. Kitty came up
with a plan that I think will work. Will be checking it out over the
weekend.
Anchor windlass worked great. The only problem I see is there is oil
leaking out of the windlass, and Jordan from Lighthouse manufacturing
said there should be no oil or grease leaks. I will be calling him on
Tuesday, as I just had the unit rebuilt early this year, and have not
really used the unit.
The wind generators are working great, and a good workout they are
getting. The wind is blowing from the south or south-south west at 15
to 20 knots, so we are getting the amps. The real surprise is the wind
we are getting. This is very unusual for Texas in the summer months.
Engine ran great all day. Had no problems there.
ST50 knot meter did not work. This is crazy, because when I took the
boat out on 6-19-09 I was able to get the unit working. I pulled out
the transducer, and it was spinning with no problem. It is a new
transducer, so I will have to check compatibility of the transducer
with the old ST50 instrument.
Both GPS 128/126 worked fine.
Went to shop and spent most of the morning trying to get Alan's outboard running for the trip this coming weekend.
We are planning to go out on the bay, and spend the weekend anchored out with the San Leon Sailing Club. We are not members, but were invited along because we are good friends with the cruising director. We also needed some time to check out various systems on the boat, and to do some calibration on some of the electronics.
Alan came over to the shop to help with the outboard, and its problems. We finally got all of the issues settled, and got the engine started. The problem then was the engine was not pumping cooling water. We messed around with it, but could not get it working, and Alan did not have a spare impeller. Alan had another outboard, so we went over to his shop to get that engine. Alan had taken the carburetor off of the engine to rebuilt it, but could not find the parts. We searched all over, but no parts.
Kitty called friend Jimmy, San Leon
Sailing Club cruising director, and explained we could not do the
planned trip. I did not want to go if we did not have a
functioning dinghy with outboard in case any problems came up. I
always like a backup – overkill!! Jimmy said he had a second outboard,
2 HP, but it would push my dinghy, and we could use it to run out a
kedge anchor, so we were good to go.
Back to Dream Away to get a shower,
as we had another doctor visit for a test. Got the test handled, I went
back to the boat to get ready for the trip, and Kitty went to HEB to
get groceries.
I put the safety devices on board. I
installed the Lifesling Overboard Rescue system, and the
Rescuesling Inflatable Overboard Rescue system on the aft life rails.
Took down the life rail netting drying off on one of the spinnaker
halyards. Folded the netting up and stored the netting and line in the
truck. Took the “Hummer” grille of of the aft life lines and stored in
the forward cabin.
Removed all three awnings. Folded
and stored the awnings in the top shelf of the store room. Took off the
mizzen and main sail covers.
We received my rivet gun back from the repair shop. Went up the main mast and installed the last mast step. I had forgotten to install this last step when we put the main mast back together for raising. I noticed the step was missing on Saturday June 20, the day of the party. I had to climb the main mast twice to retrieve code flags, and the distance from the top mast step to the spreaders was very large. I then looked and discovered I had forgotten to install a mast step. Now when you climb the mast, not so much work.
The real reason I wanted to get the
mast step installed was because I needed to go to the top of the mast
and retrieve the last code flag and the topping lift. I needed the main
topping lift to rig the Dutchman on the main mast. I went to the top of
the main mast, got the code flag and got the topping lift run down to
the deck. I came down the mast, and we were able to rig the Dutchman on
the main and the mizzen for the sail tomorrow.
Went over to the shop in the morning, and sanded and polished the parts on which I welded yesterday. As I said before it is better to do the polishing before the welding. If the parts are polished before welding, than after the welding all you have to do is sand and polish the area in and around the welds.
Went back over to Dream Away. I wanted to test the generator, and look into the refrigeration. I did a complete check of the cooling system of the generator. I checked the input strainer and it was clean. I took the raw water pump apart, and checked the impeller, and it checked out good. I looked at one of the hoses from the raw water water pump to the siphon break, and wondered why I had a hose adapter in the line. I went over to the shop to get a piece of 3/4" hose. When I got back to Dream Away, I had planned to replace the hose on the generator with two pieces of hose from the raw water pump to the siphon break with one piece of hose and eliminate the hose adapter. When I took the hose off of the raw water pump, and attempted to put the new hose on, I realized what the problem was and why I have the jury rig of hose. The clever engineers at Lugger, which is the company that marinized the Kubota diesel for Northern Lights, put the raw water pump to close to the casting at the front of the engine. You can not put a piece of thick wall hose on the raw water pump of the generator. So I had a small piece of thin wall hose to put on the raw water pump, then used the hose fitting so I could make the remainder of the run with thick wall hose. I will have to look for a long piece of thin wall hose, to make a single hose run.
Once I checked all of the water hoses and runs for the raw water, I topped off the generator cooling system. I started the generator and ran it for 15 minutes with no load. I stopped the generator, and checked the coolant level, which I topped off. I started the generator again and ran it for 30 minutes with no load. The generator got up to temperature, so I put a load on it and ran it for another 30 minutes. We had no problem, so I guess the coolant level for the system is very critical.
I am very tired tonight, it is 2300, so I will finish this update tomorrow!!!!!!!
I then went into the store room to work on the refrigeration system. Got the gauges connected to the system, and all seemed OK. I measured some temperatures on various places before I added more refrigerant.
0936: compressor hi side: 204, lo side 147, measured at the valve. Return (suction) valve 84. DC motor aft end 210. Holding plate reefer 43 degrees, Holding plate freezer 1 33. Holding plate freezer 2 27. Compressor pressure hi 100; lo 20.
I gave the system 3 small shots of
refrigerant.
1057: compressor hi side: 188, lo side 127, measured at the valve. Return (suction) valve 70. DC motor aft end 186. Holding plate reefer 45 degrees, Holding plate freezer 1 27. Holding plate freezer 2 30. Compressor pressure hi 115; lo 13.
I monitored the system until 1400, but
everything pretty much remained the same. I am afraid the compressor is
not working to it's full capacity. I was planning to get another
compressor to use as a spare, but now it seems I will get a new
compressor to put in the system, and then get the old one rebuilt. i
will also look into getting some replacement valves for the compressor,
and attempt to repair the old one my self.