Maintenance Log July 2013
July 31,
Wednesday, 2013
Started off the morning
with my normal ritual of getting on the Internet, answering email,
and checking the weather, while making a pot of coffee.
Spent
extra time getting information for Kitty printed, and trying to get
some air conditioner information. Also working on the Maintenance Log
for June and July.
The
technician from Tim’s
air conditioning called and
said he was on a call, but would come to DREAM AWAY as soon as he
finished. He came, and to make a long story short, I had fixed the
problem but did not know it. Yesterday when I cleaned out all of the
strainers, and blew out the hoses with the pressurized dock water,
there must have been a minor blockage in the AC cooling hose. After
cleaning out the hose yesterday, I did not attempt re-starting the
air conditioner, because I was afraid of damaging the unit.
When the
technician ran the unit, it did not cool properly, because i did not
bleed the air out of the cooling lines yesterday. Today after we bled
the air out of the AC cooling lines the system ran with no problem,
and has been the remainder of the day.
Next on
the agenda, I went out to pier C in our tender, and cleaned all of
the plants that were growing on the dock. Not a big item, but it did
not give a good professional appearance. When that was completed, I
mowed the grass at the marina,
and did a lot of grass trimming, and garden weeding. That pretty much
ended the day.
I still
have to find the switch numbers to properly repair the aft air
conditioner.
July 30,
Tuesday, 2013
Started off the morning
with my normal ritual of getting on the Internet, answering email,
and checking the weather, while making a pot of coffee.
Also
spent some time working on the Internet getting in touch with the
folks from whom we purchased the new Dometic
ECD16K-HV air conditioner
last January.
The
bottom line after spending a lot of time on the Internet and the
phone, is I am screwed and did not get a kiss! The Dometic
support person said it sounds like the problem is either water flow
or the high pressure switch. I know it is not the water flow, so it
must be the high pressure switch. The support person said those
switches rarely fail that new, the usually fail in the five year
range.
I also
found out the warranty for this unit is one year if purchased and
installed by a Dometic
certified technician. If purchased from anyone else and self
installed the warranty is six months from date of manufacture! To put
more salt in the wounds, I can not find the manuals that came with
the unit. So I am trying to find an electronic copy of the manuals.
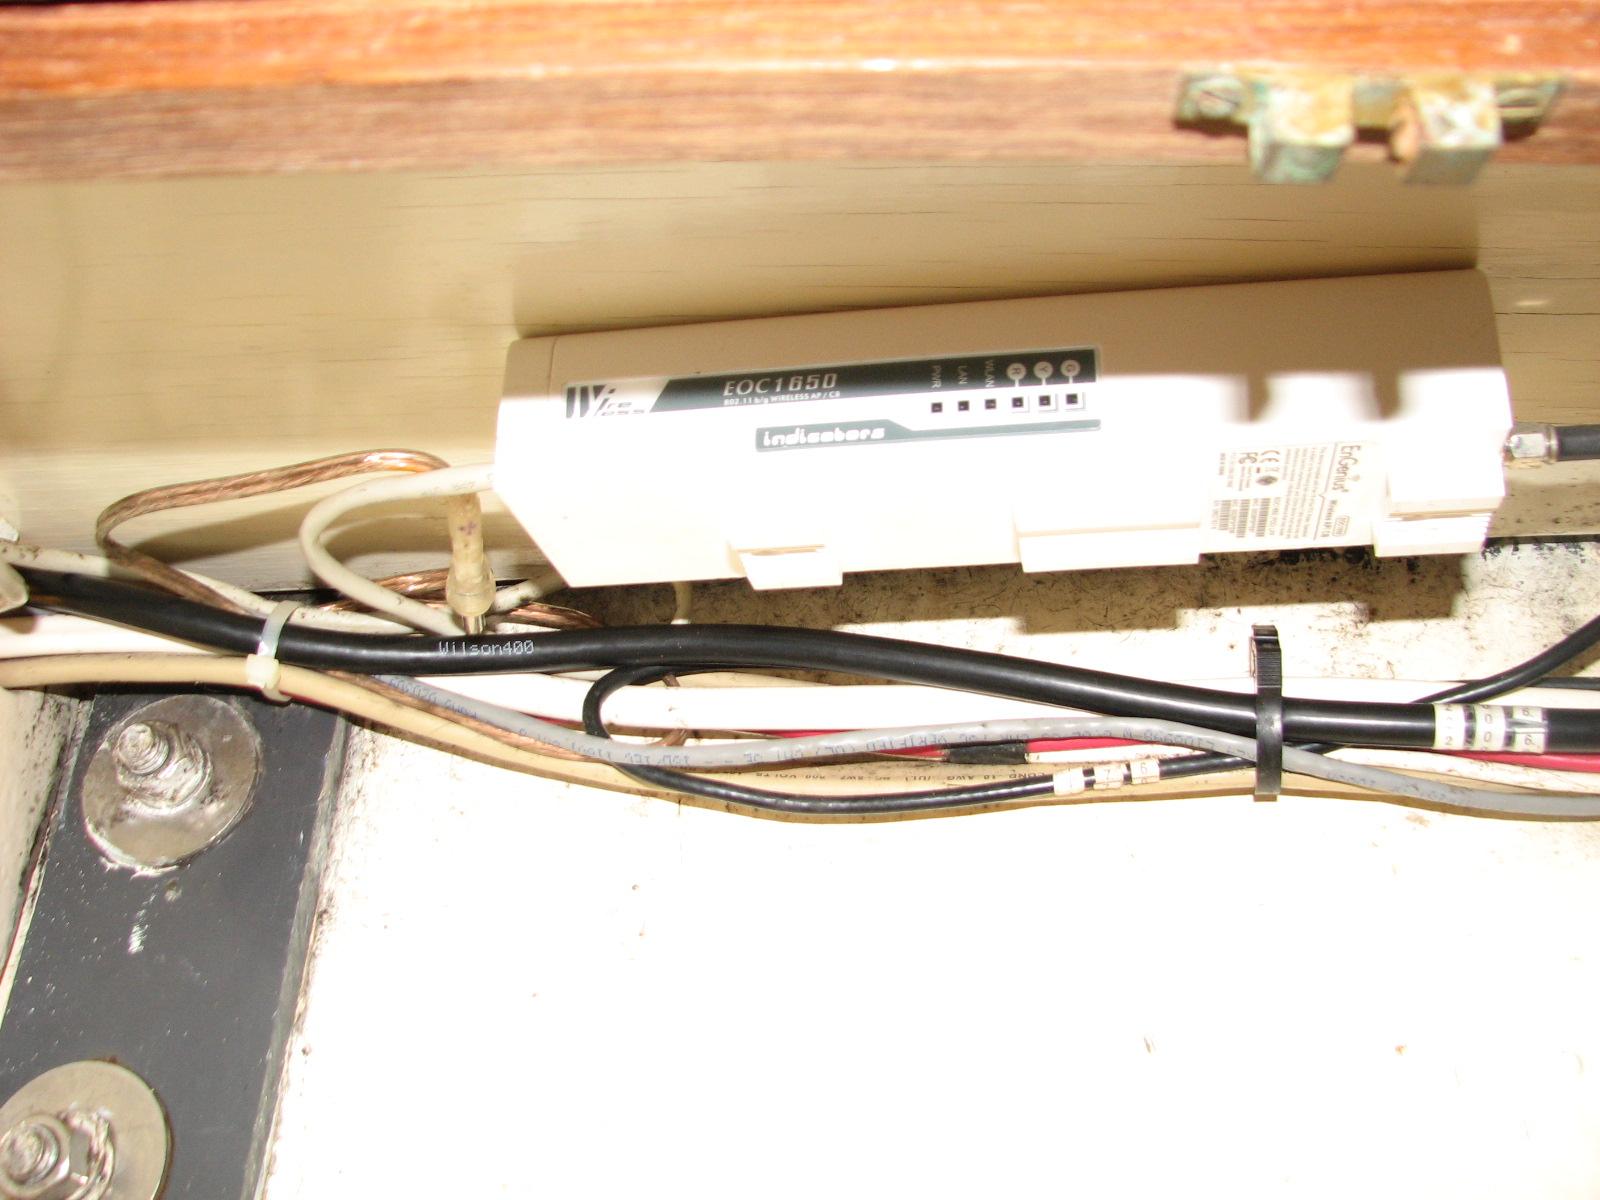
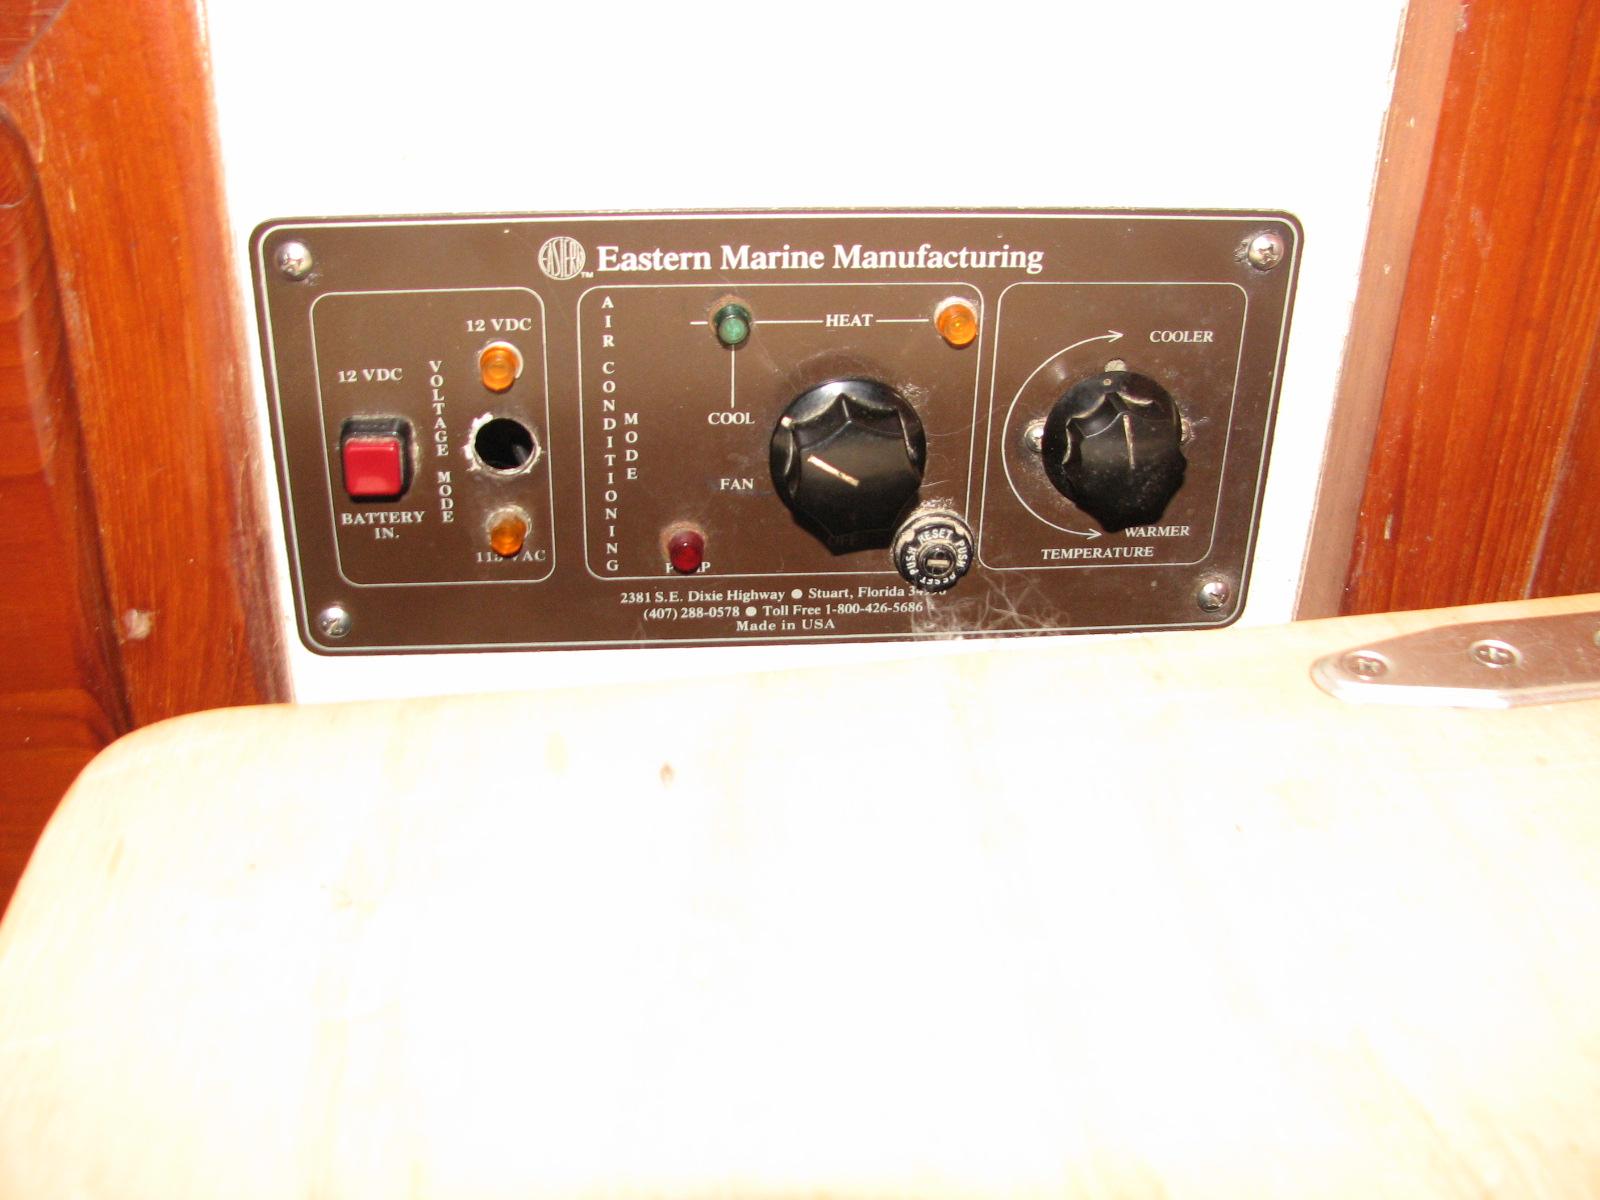
The aft
air conditioner works, but the off/on switch is not working. I
removed the air conditioner controls from the panel, and used butt
connectors to wire out the switch. I verified the aft air conditioner
worked, then shut it off.
Aft Air
Conditioner Control Panel
To insure
there were no water flow problems with either air conditioner, I
cleaned out the main strainer for the manifold (Sea Chest), and the
manifold (Sea Chest). Also cleaned out the strainers for the ice
maker cooling pump, the refrigeration cooling pump and the forward
and aft air conditioner cooling pumps. During this cleaning process,
I also cleaned out the hoses for all of the cooling pumps using high
pressure water from the dock.
When I
finished and cleaned up from this process, I started the aft air
conditioner. Kitty was out doing laundry, and I wanted the aft cabin
cool when she returned. A problem presented itself with the aft air
conditioner. When it had run for about 10-15 minutes, the breaker on
the control panel would pop. Not a good thing. I would wait about 3
minutes, reset the breaker, and it would run again for about 10-15
minutes.
So now I
have an additional problem with the aft air conditioner. I suspect it
is a problem with another switch on the control panel. The input wire
(black), is has been very hot and is corroded, and the connector on
the switch is not very nice either. I will try and get the numbers
off of the switch and see if I can find a new one.
I also
contacted Tim’s
air conditioning in
Broussard, Louisiana, to see if they could come out and repair the
high pressure switch on the forward air conditioner. The Dometic
support person recommended Tim’s
air conditioning as the
closest Dometic
approved repair vendor. The technician was gone for the day, but the
secretary said the technician would call first thing tomorrow
morning.
I then
went over to the shop
and got the awnings for DREAM AWAY. They are not in the best of
shape, but will probably help keep the inside temperature down until
they fail. I put up the aft awning and the midships awnings. They are
in the best shape, but they need to be replaced. That project has
moved up the list a lot. The forward awning is in such bad shape, I
did not put it up. I will probably put it up tomorrow, and leave it
up until it blows out completely.
July 29,
Monday, 2013
Started off the morning
with my normal ritual of getting on the Internet, answering email,
and checking the weather, while making a pot of coffee.
The MacBook
Pro is still up and
running, with no apparent problems, so I will continue to catch up on
my email, and trying to get the June and July Maintenance Logs
updated.
Drove into Lafayette
for doctors appointment for Kitty. Doctor was delayed by two hours,
so we did not get back until 1830. When we arrived on DREAM AWAY, the
forward air conditioner was down.
We were getting a HPF
error indication which is a high pressure shutdown. This error
usually indicates a cooling water flow problem. It did not appear to
be the problem, but I cleaned out the main input strainer, and the
specific air conditioner strainer. I also vacuumed the air filter on
the evaporator. Nothing helped the problem.
We went to bed without
air conditioning. It was not bad at all, the temperature was in the
mid 70’s, and we have plenty of fans.
July 28,
Sunday, 2013
Started off the morning
with my normal ritual of getting on the Internet and checking the
weather, while making a pot of coffee. Having computer problems, so
no checking of email.
I had left a
permissions fix program running on the MacBook
Pro all night long, and it
did not finish. I then decided to do a backup from my Time Machine
backup hard drive on the MacBook
Pro. Somehow I completely
screwed that up! It was a bust!
As of this point in
time I am backing up from my last clone which is two months old! I do
have a backup of all my data files from yesterday morning, and email,
so I will be able to restore those files if the backup is successful.
I have been successful,
and I am now back up and running on the MacBook
Pro. I have been able to
download email, so the remainder of today will be getting caught up
on email, and working on the maintenance logs for both June and July.
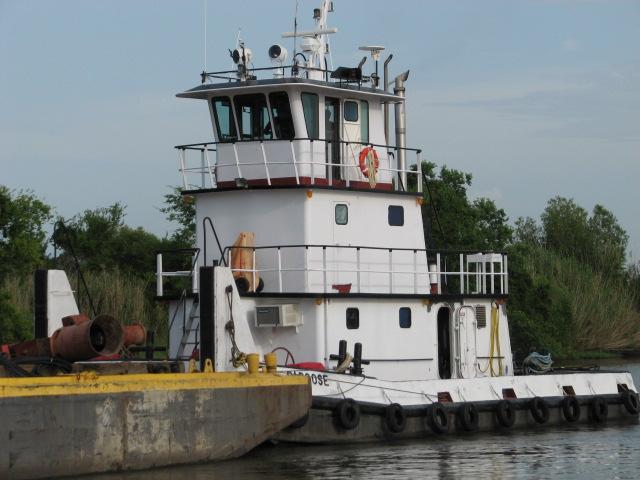
An unusual occurrence
on the Delcambre Canal this afternoon. After my shower I was enjoying
an adult beverage in the cockpit, and a spud barge and towboat came
by, and went up into the lake.
Towboat
With Spud Barge
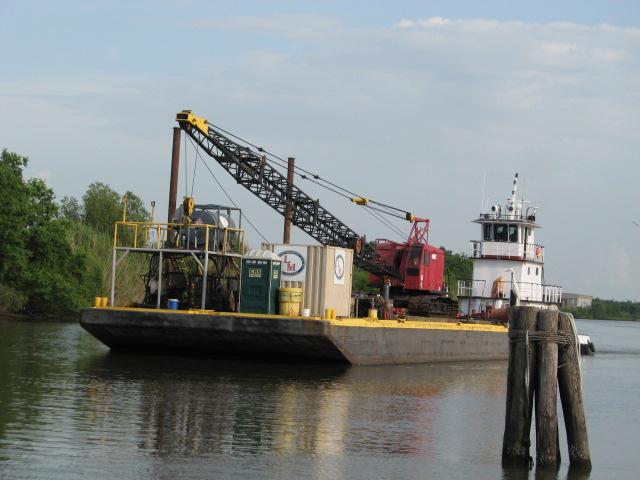
Towboat
Pushing Spud Barge
July 27,
Saturday, 2013
Started off the morning
with my normal ritual of getting on the Internet and checking the
weather, while making a pot of coffee. Having computer problems, so
no checking of email.
Went over
to the shop,
and did some cleanup because Mark has moved some of his stuff out of
the shop.
He still has a bunch of engine parts in the shop,
but they will be going on his newly installed engine on PERELANDRA.
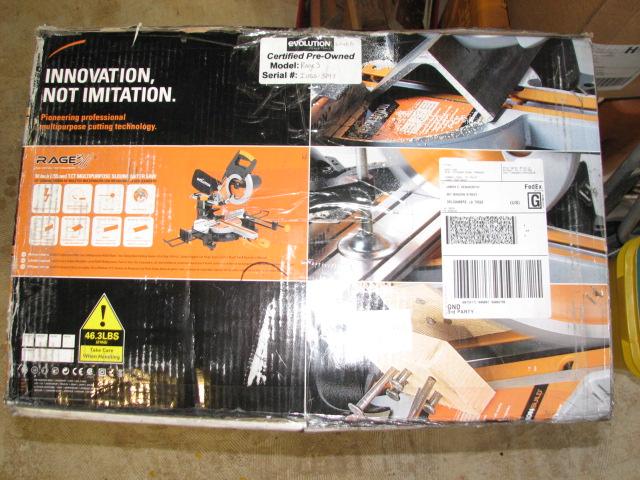
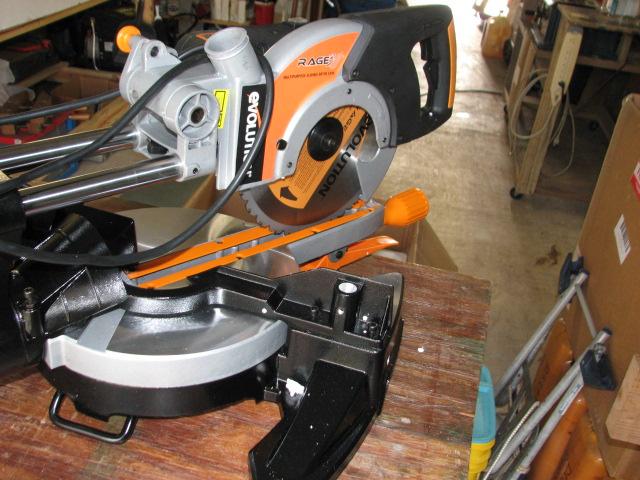
I
unpacked the new Evolution
Rage III compound miter
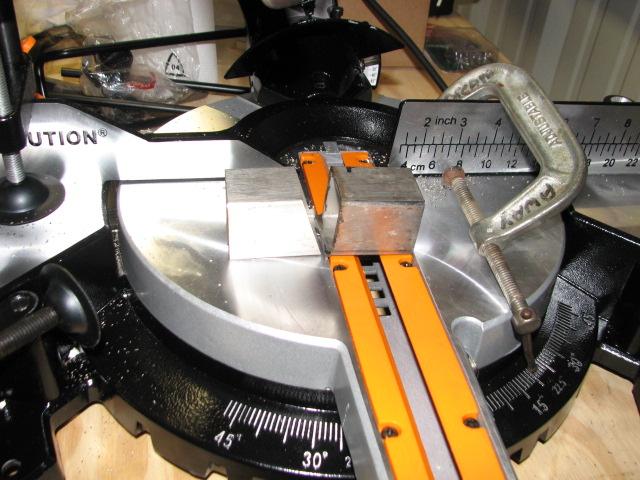
saw, and put it together and tested it. Looks like it will be a
dandy. I was able to cut my stainless steel square tubing at a 20
degree angle. This saw will be most helpful with future projects.
Evolution
Rage III Compound Miter Saw
In Box
Evolution
Rage III Compound Miter Saw
Ready For Use
Evolution
Rage III Compound Miter Saw
After Cutting Stainless Steel Square Tubing
I then
applied the fourth coat of varnish on teak pieces to cover the davit
holes in aft cabin, the teak piece to cover the winch hole in the
main cabin, and the teak electrical wire cover.
Left the
shop
and then back to DREAM AWAY to try and get out of the hole with my
computer problems. The MacBook
Pro I am using is dying a
slow death. I did all of the backups, and have moved all of my data
to my backup Gateway PC. In fact I am doing this entry from the
Gateway. I have to try and get the MacBook
Pro back up and running
from the backups I have been doing.
I got the
power washer out to see if I could make any progress on the rust
stains on the outside of the hull. No effect whatsoever. I will have
to remove the stains the old fashioned way, with elbow grease, and
stainless steel cleaner. A good toilet bowl cleaner works wonders on
stainless steel and stained fiberglass.
July 26,
Friday, 2013
Started off the morning
with my normal ritual of getting on the Internet, and checking the
weather, while making a pot of coffee. No email because I am having
some computer problems.
Today was the big day
for Mark and PERELANDRA. Will not go into a huge amount of detail,
but Mark had been working for the past week on rebuilding the diesel
engine for his trawler. Today was the day we put the rebuilt short
block back into the boat.
Lots of work and
effort, but we got PERELANDRA moved, the engine inserted in the main
cabin, and PERELANDRA moved back to her dock. Because of several
issues, we did not get the engine mated up to the transmission. To be
continued tomorrow.
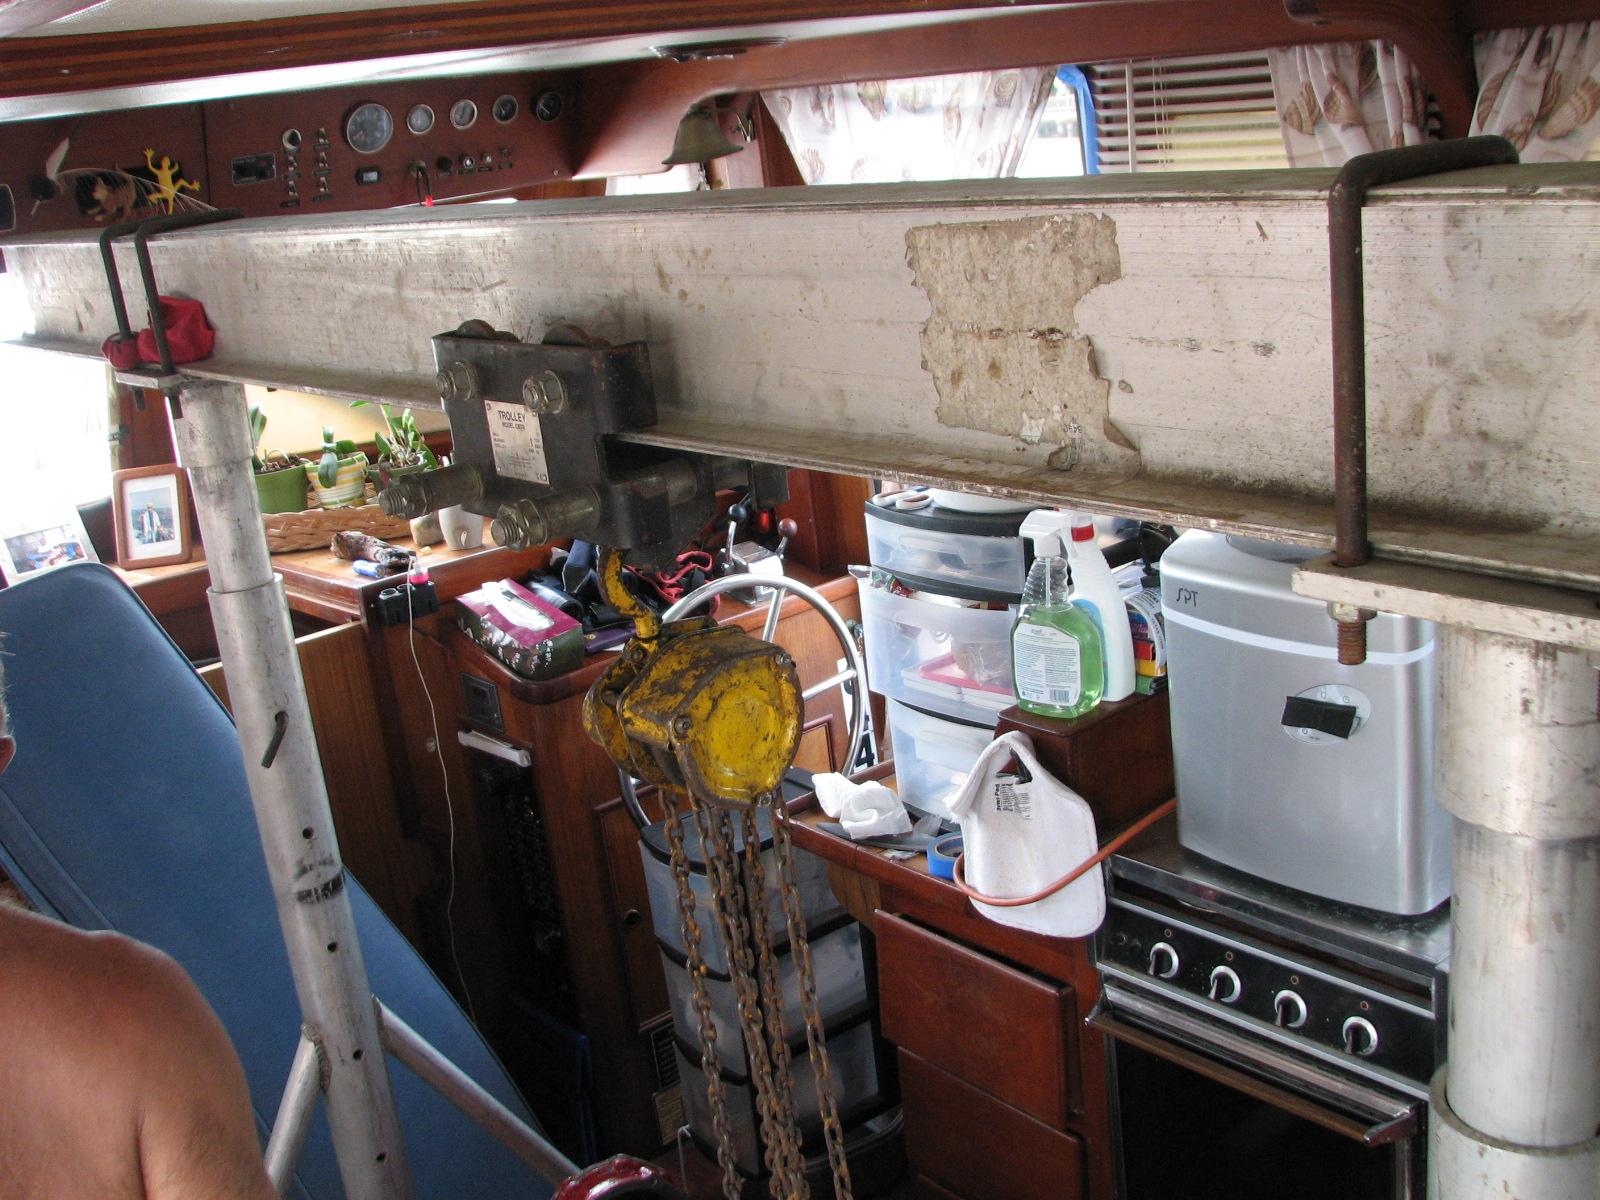
Engine Lifting Device
In PERELANDRA’s Main Cabin
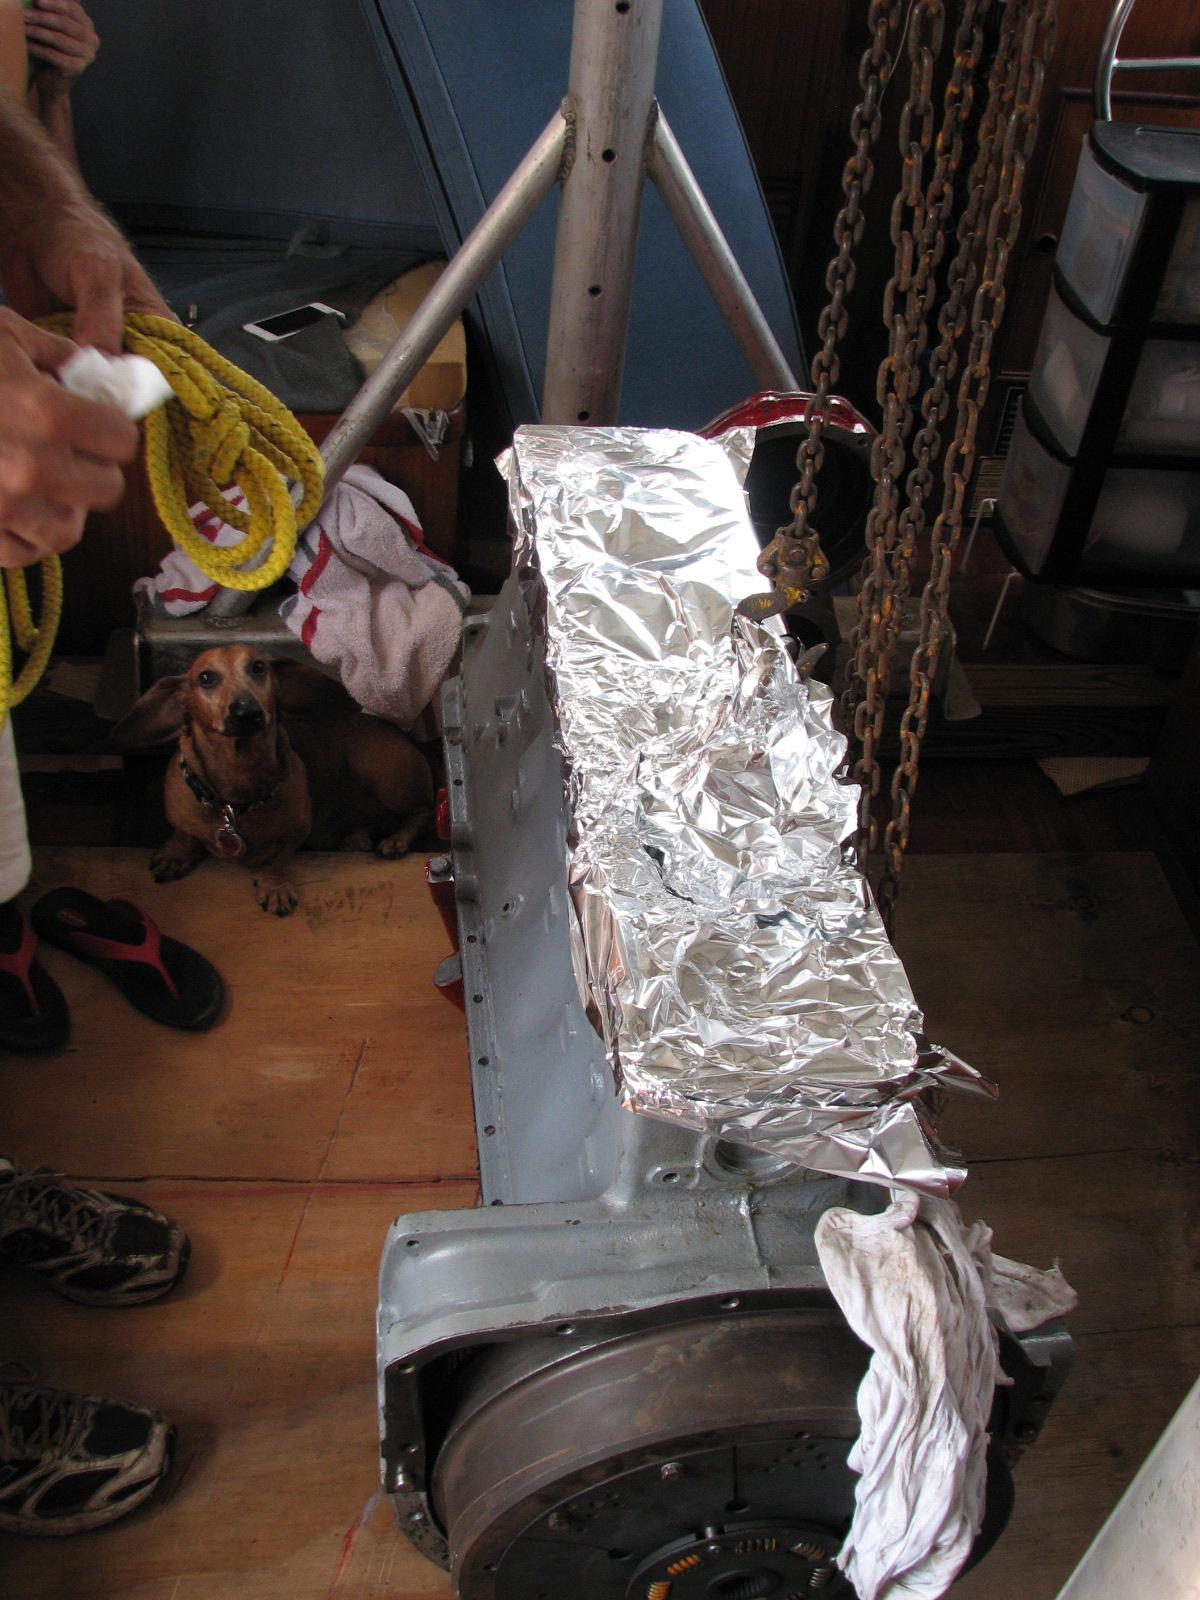
Short Block Sitting In
PERELANDRA’s Main Salon
I did borrow Mark’s
pressure washer, and brought it over to DREAM AWAY. I washed down the
topsides and it really got rid of a lot of dirt. Very pleased.
July 25,
Thursday, 2013
Started off the morning
with my normal ritual of getting on the Internet, answering email,
checking the weather, while making a pot of coffee.
Spent extra time
working on email, scanning and updating the maintenance log
I then applied the
third coat of varnish on teak pieces to cover the davit holes in aft
cabin, the teak piece to cover the winch hole in the main cabin, and
the teak electrical wire cover. I also applied the second coat of
Watco
teak oil finish to the boom
gallows, and the second coat to the instrument cluster housing, and
the bell holder.
July 24,
Wednesday, 2013
Started off the morning
with my normal ritual of getting on the Internet, answering email,
checking the weather, while making a pot of coffee.
Spent a couple of extra
hours working on getting caught up on email, and the maintenance log.
Went over to the Port’s
storeroom and picked up the lawn mower, trimming shears and the wasp
spray. Came back to the marina,
and cut all of the grass, and trimmed around the trees, and along the
edges of the grass. I then weeded all of the gardens.
I then took apart the
Nicro
day/night vent that had not
been working. The vent is located in the overhead of the head. I
removed the battery, and the solar vent started working. I checked
the battery and it was as dead as a rock! Now the vent works during
the day. As soon as I can get a rechargeable “C” NiMH
battery, I will have the
day/night vent back.
Loaded the lawn
equipment into the Black Beast, and took it back to the Port
of Delcambre’s storage
room. Then it was off to the shop,
which is actually at the other end of the storage room building!
I then applied the
second coat of varnish on teak pieces to cover the davit holes in aft
cabin, the teak piece to cover the winch hole in the main cabin, and
the teak electrical wire cover. I also applied the first coat of
Watco
teak oil finish to the boom
gallows, and the second coat to the instrument cluster housing, and
the bell holder.
July 23,
Tuesday, 2013
Started off the morning
with my normal ritual of getting on the Internet, answering email,
checking the weather, while making a pot of coffee.
Drove into New Iberia
to get my new TWIC
card. That was fun! Could not schedule an appointment because the
scheduling system had been down for seven days! Had to go in on a
first come first serve basis. I was fourth in line, and it took 2.5
hours. The Internet connection kept going up and down, but I was
finally successful. I now have the TWIC
card for three more years.
Did some shopping, and
then back to DREAM AWAY to catch up on email, scanning and the
maintenance logs!
Since I wanted to keep
the one Taco
LED spreader light, I
needed to replace the butt connectors with shrink wrap butt
connectors. I also had to put a nut on a bolt to adjust the light. I
did not have the correct metric nut the first time up the mast. I had
purchased what I thought was the correct nut. When I got up the mast
to the Taco
LED spreader light, I then
discovered I had the wrong nut, and broke one of the shrink wrap butt
connectors, and I only had two! So the effort was pretty much wasted.
I completely disconnected the Taco
LED spreader light and
brought it down with me when I came down the mast.
This way I can insure I
have the proper nut, and the shrink wrap butt connectors will already
be on.
July 22,
Monday, 2013
Started off the morning
with my normal ritual of getting on the Internet, answering email,
checking the weather, while making a pot of coffee.
Went over
to shop
and did final sanding on boom gallows. All of the voids had been
filled, so we were ready with the next step.
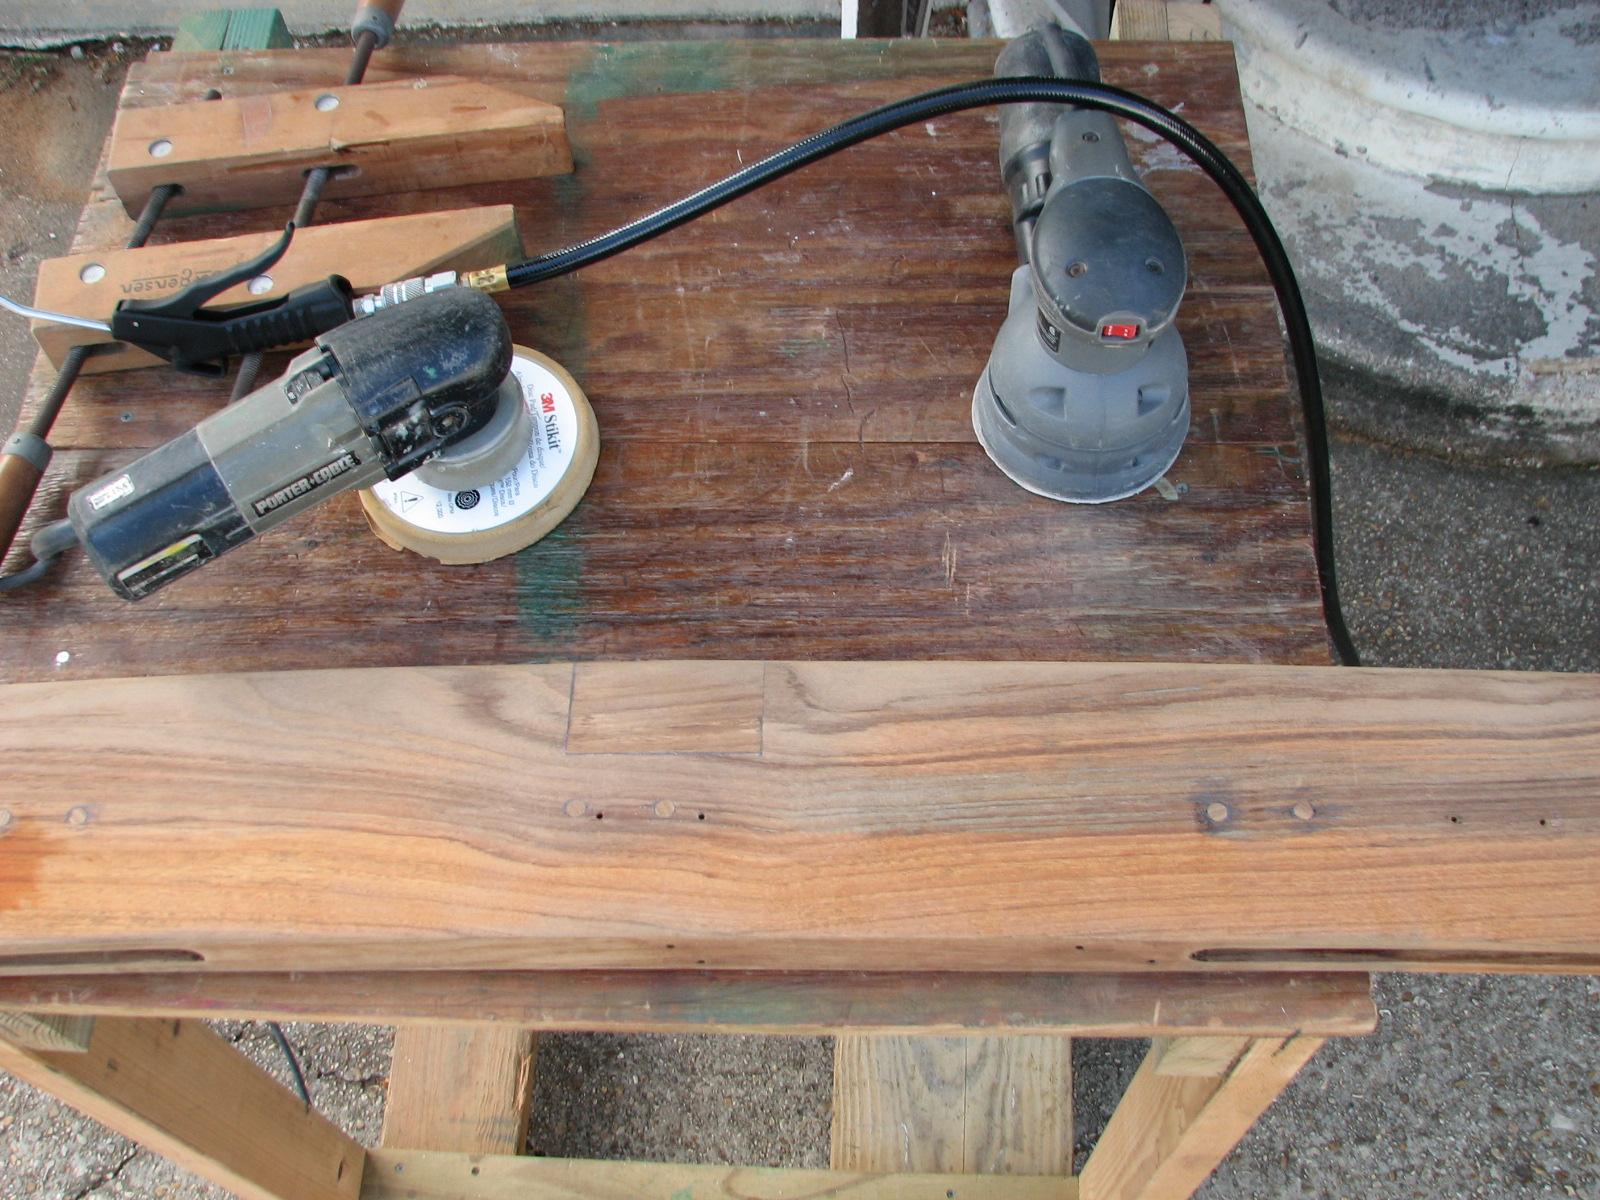
Sanded
Boom Gallows
I hung up
the boom gallows from the overhead. This was so I would have access
to all four (six) sides of the boom gallows. I then mixed a batch of
Smith’s
penetrating epoxy, and
applied it to the boom gallows.
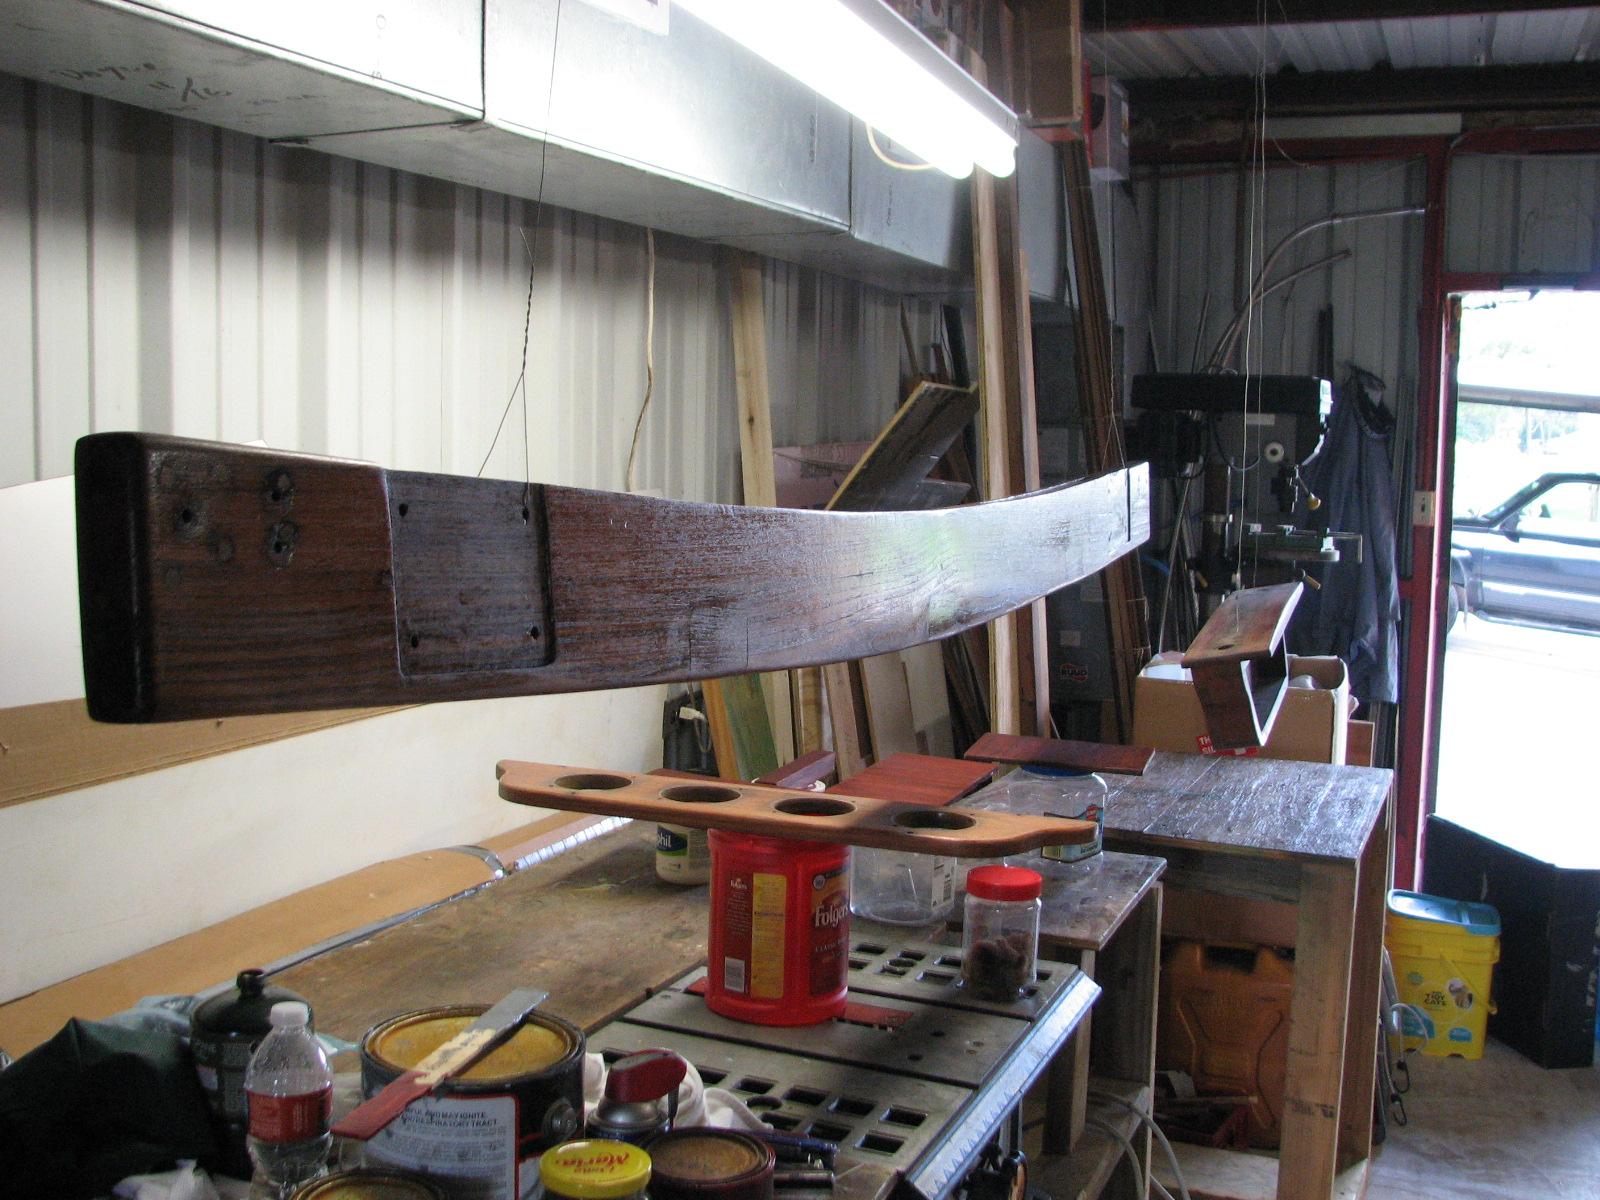
Smith’s
penetrating epoxy Applied
To Boom Gallows
Took
apart
Sealand
pump and removed the
duck
bill valves from the valve
housings, and the pump itself. I then put all of the parts in a
bucket of water to soak to try and get the build up of calcium
removed. This will be a long dirty process!
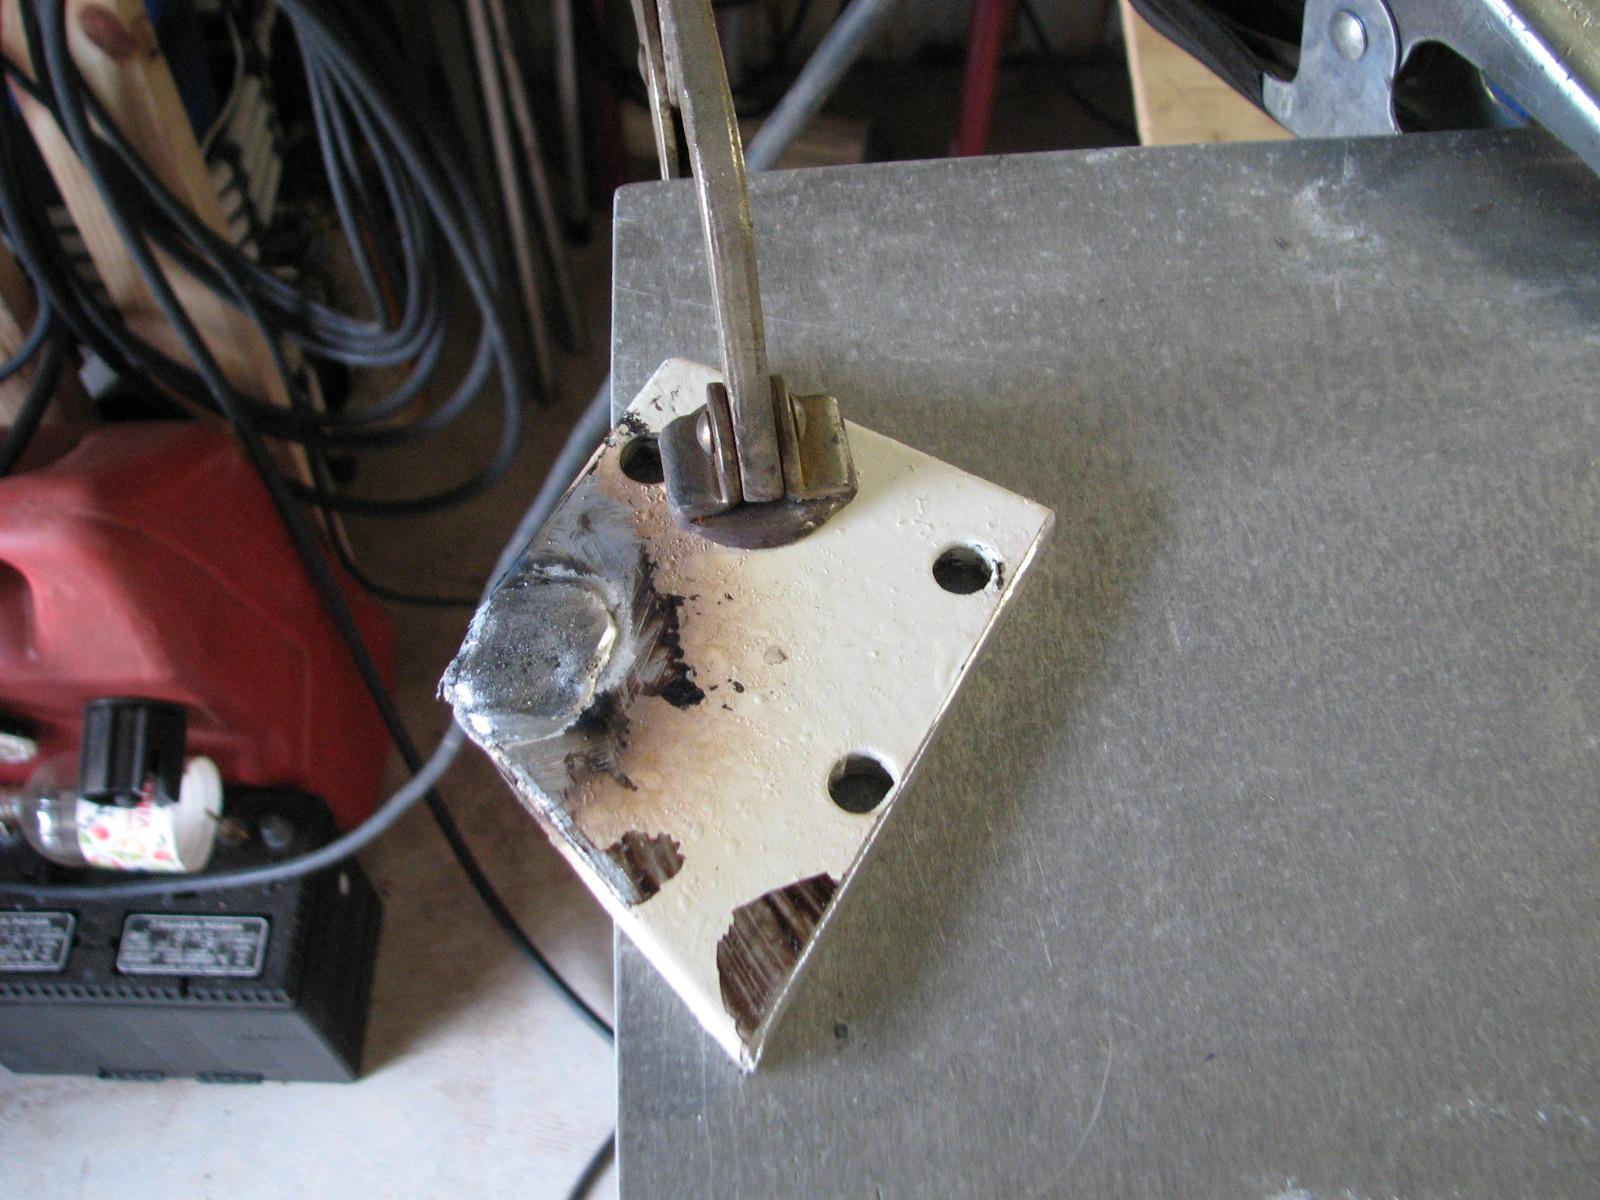
Hopefully
I will be getting into working on the main mast sail deck, which will
require welding of aluminum. To help with the preparation, I decided
to practice filling a hole in a piece of scrap aluminum. The effort
worked out very well.
Practice
Weld On Scrap Aluminum
I then
went back to
marina.
The project for today was to clean all of the power pedestals on “C”
dock. I had purchased a long handled brush for just this purpose. It
would clean away spider nests and wasp nests, and my hands would not
be very close to the activity! I got all of the pedestals cleaned,
and there was no wasp nests!
I went
back to the shop
and applied the first coat of varnish on teak pieces to cover the
davit holes in aft cabin, the teak piece to cover the winch hole in
the main cabin, and the teak electrical wire cover.
Varnish
Applied To Teak Pieces

After the
varnish application, I applied the first coat of
Watco
teak oil finish to the
instrument cluster housing, the bell holder, and a third coat on all
of Troy’s wood.
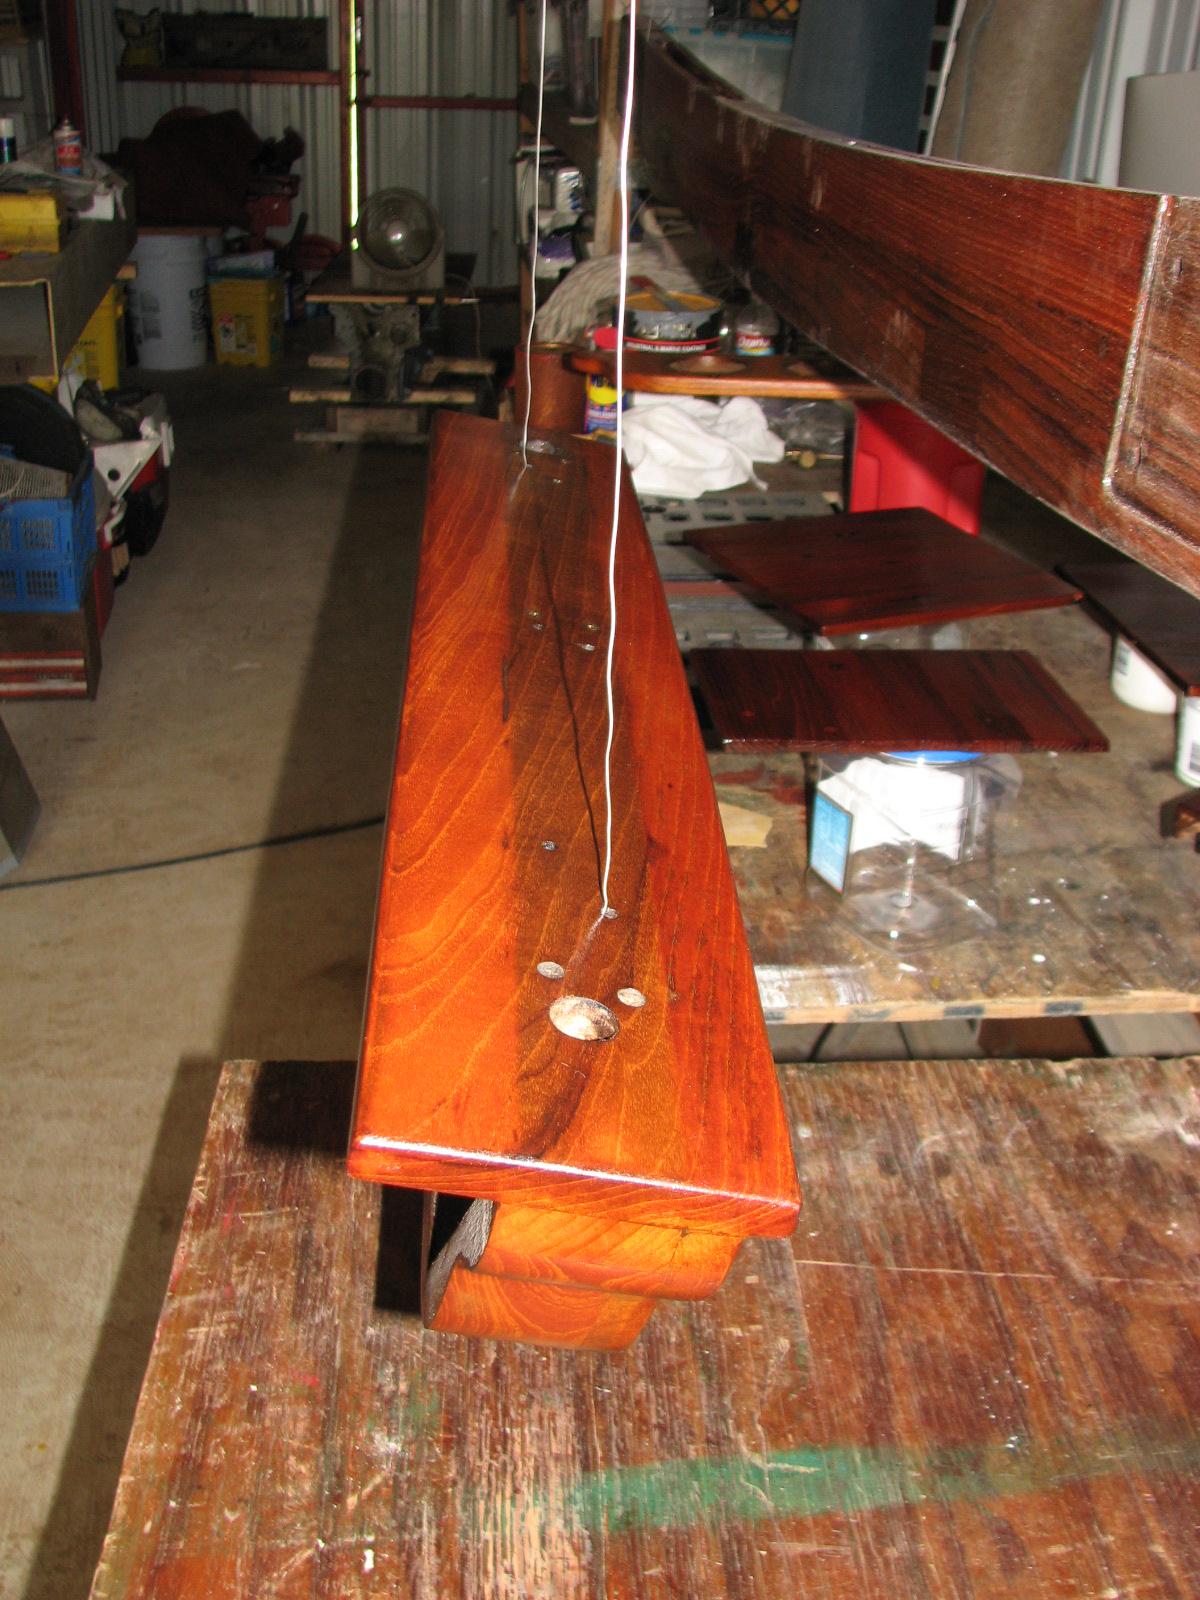
Watco
Teak Oil Finish Applied To
Hanging Instrument Cluster
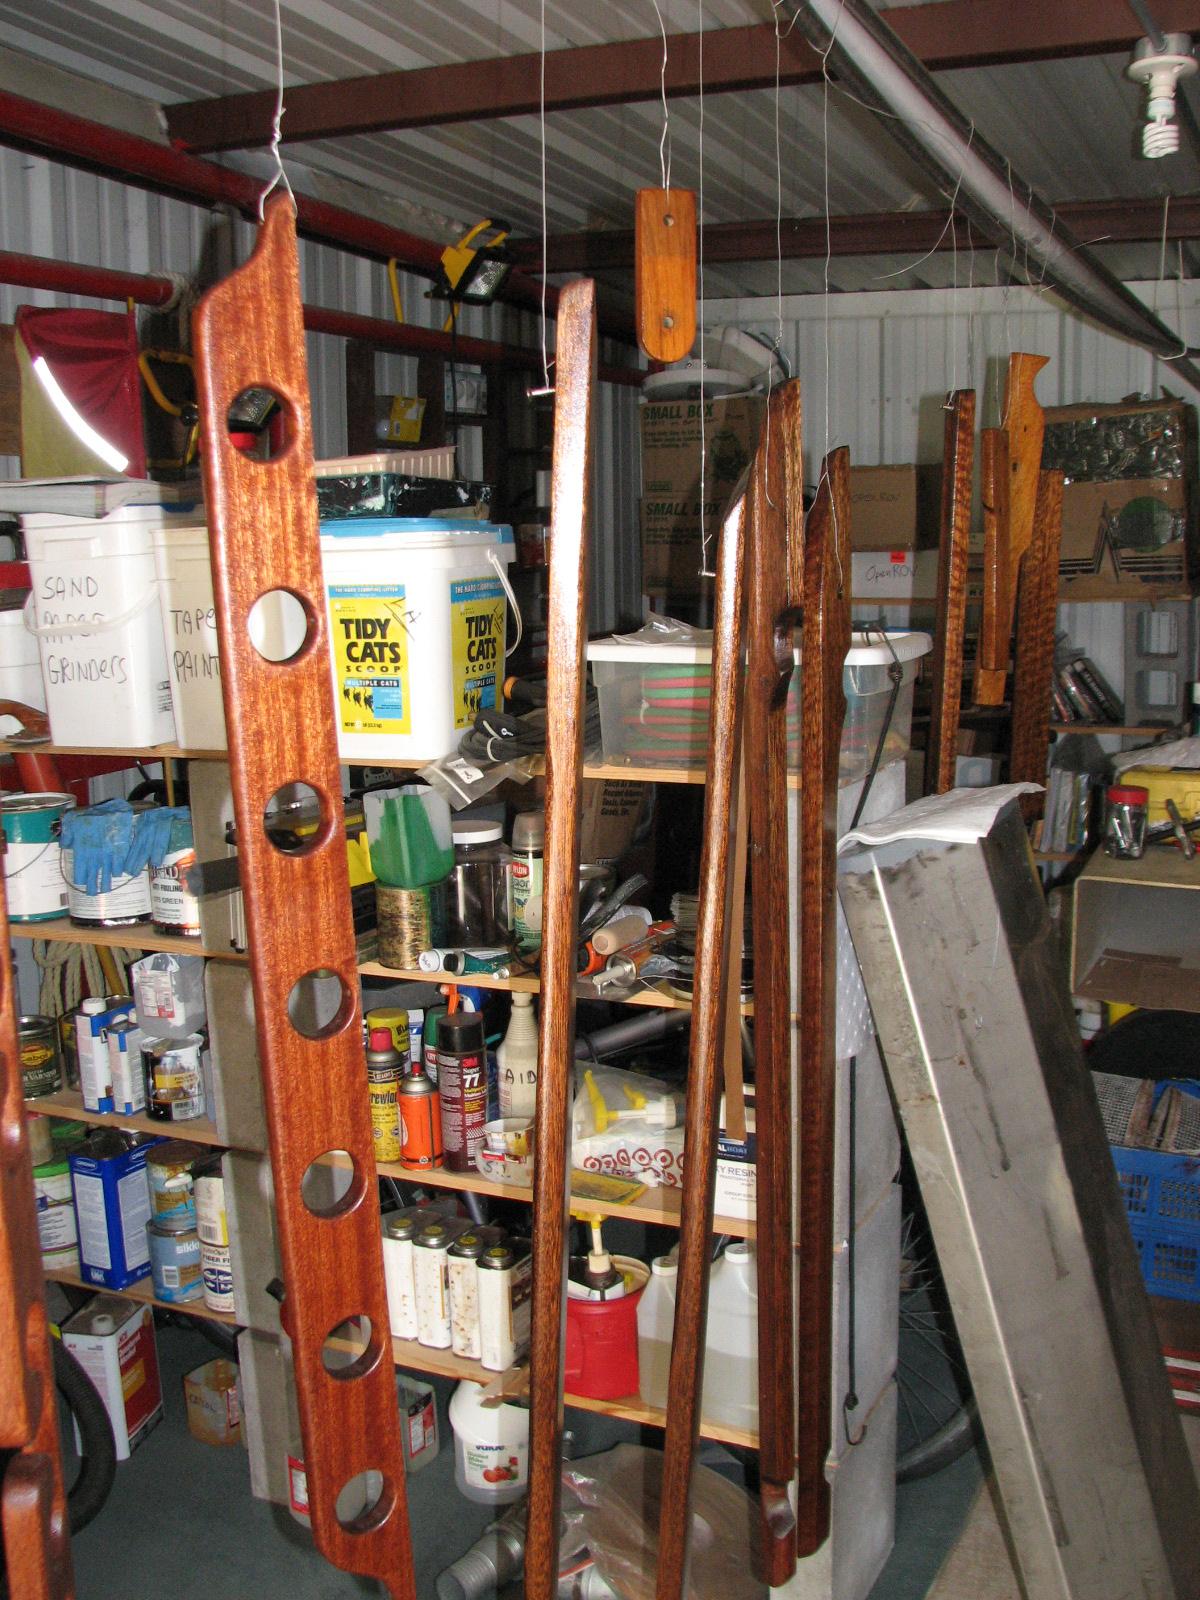
Watco
Teak Oil Finish Applied To
Troy’s Wood & Bell Holder
July 21,
Sunday, 2013
Started off the morning
with my normal ritual of getting on the Internet, answering email,
checking the weather, while making a pot of coffee.
Went over
to the shop.
The epoxy I had left yesterday had set up nicely. I was able to sand
down the boom gallows again. I discovered I had five new hole to fill
with teak bungs, and still had a few voids to fill where I had filled
the slots in the boom gallows
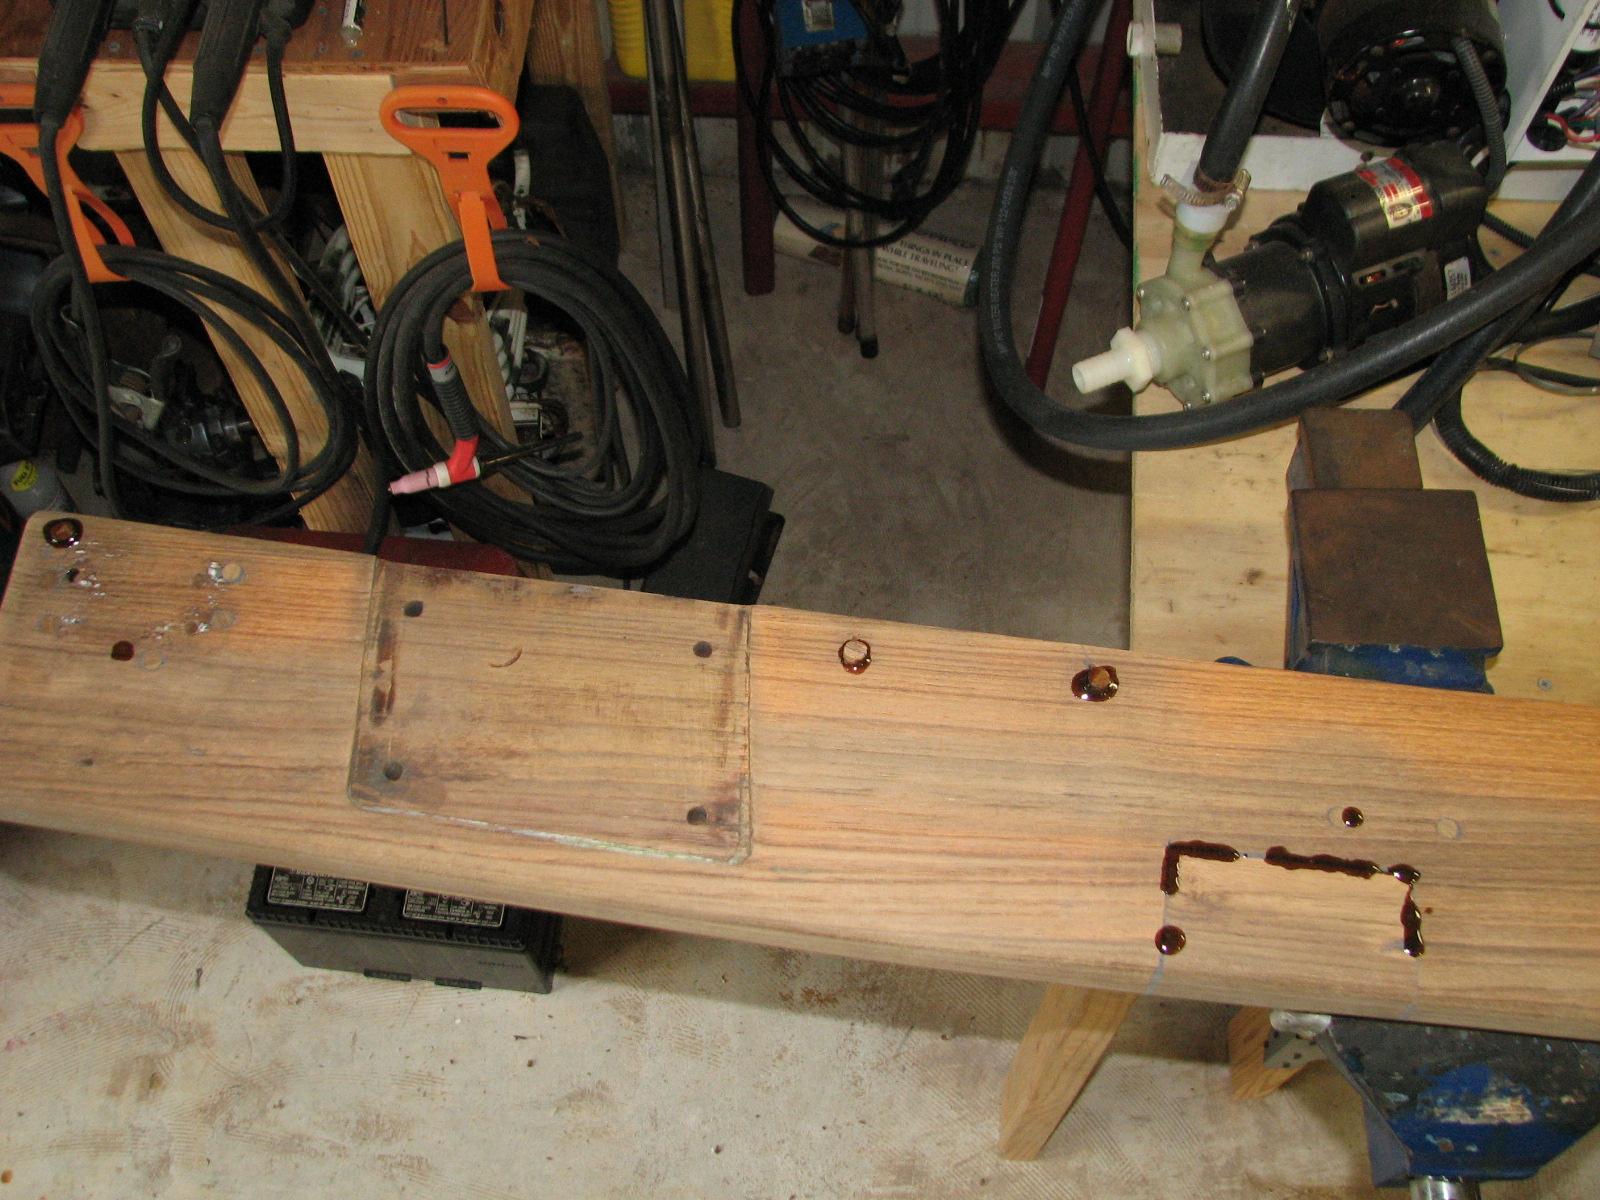
I mixed a
pot of epoxy, and used it to put in the teak bungs. I then mixed a
small amount of teak dust with the epoxy, and filled in the voids.
Bungs And
Voids Filled With Epoxy
While the
epoxy was sitting up, I sanded smooth the teak pieces to cover the
aft cabin davit holes, the piece to cover the main cabin hole in the
overhead, and the teak wire cover for the main cabin. I wiped them
all down with a tack
rag to remove excess dust.
I then applied the “agent orange dye” to all four pieces of teak
wood.
Agent
Orange Dye applied to the Teak Wood Pieces
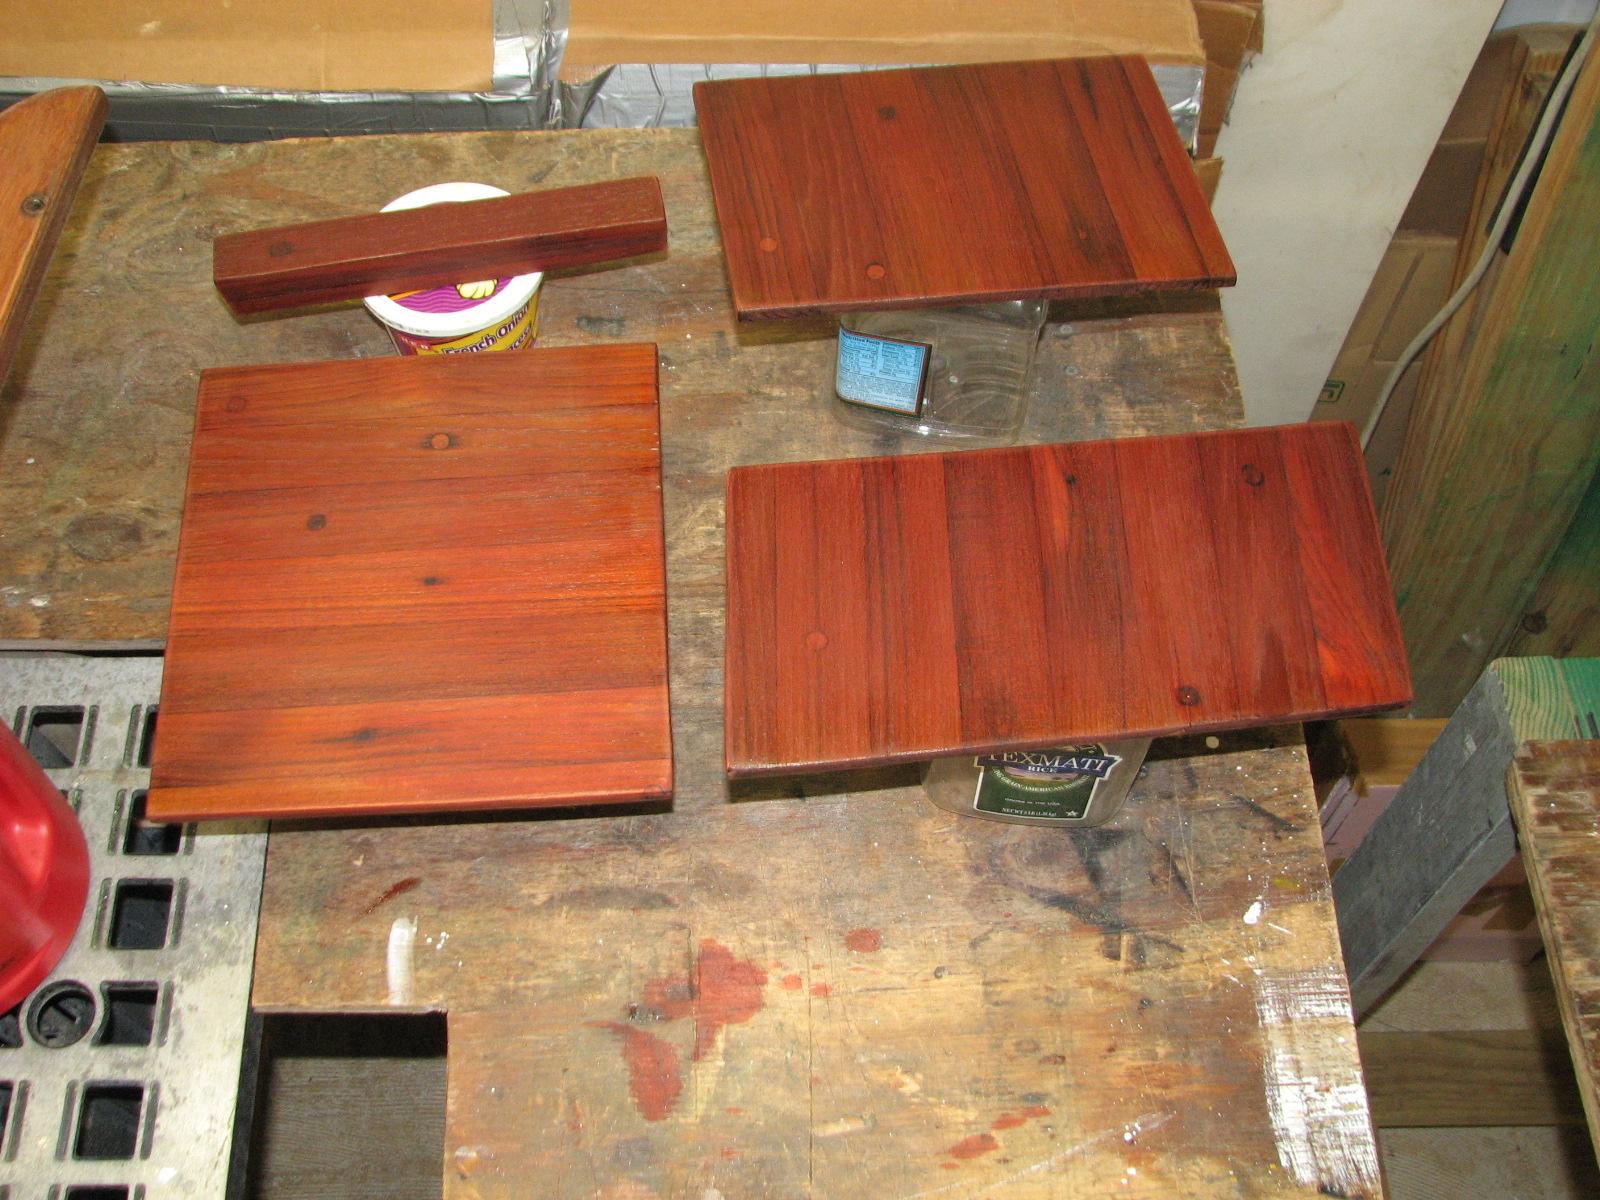
I then
went to DREAM AWAY and participated in a port meeting concerning the
Safe Harbor Initiative with one of the shrimpers.
Then I
had to fix the toilet. It would not pump out into the holding tank. I
was pretty sure I knew what the problem was, and as it turned out I
was correct! The duck
bill valves were covered in
calcium deposits, and would not allow the pump to work as designed. I
had a new pump ready to go with all of the valves and housings.
Because of the location it still took about three hours to get the
job completely done.
Now I
have to take the removed pump apart and clean it out thoroughly,
install new duck
bill valves, and it will be
ready to go again.
July 20,
Saturday, 2013
Started off the morning
with my normal ritual of getting on the Internet, answering email,
checking the weather, while making a pot of coffee.
Went over
to the shop,
and removed the Formica
from the first filled slot on the boom gallows. Overall, not too bad
of a job. Will require some sanding, and some voids that will need a
fill in of epoxy0.
First
Slot In Boom Gallows, Formica
And Clamps Just Removed
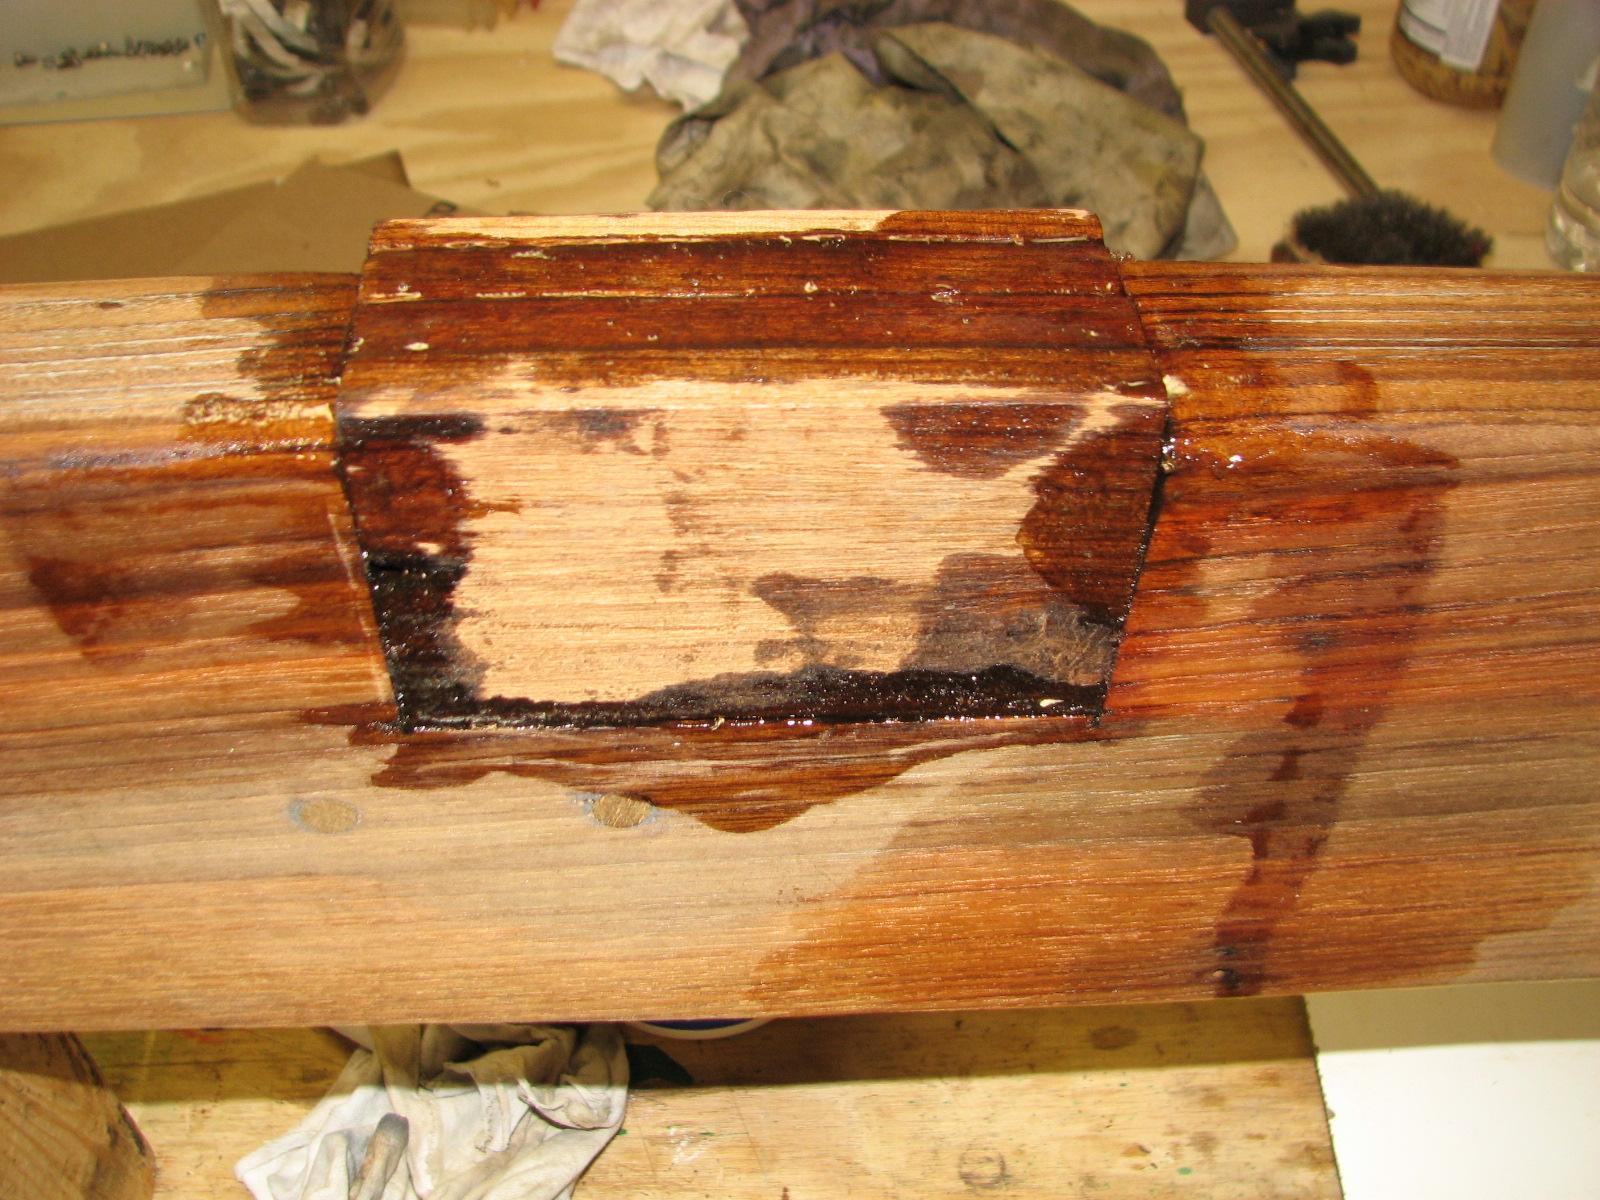
Went
through the same drill as yesterday for the second and third slot in
the boom gallows. Used the Formica
and the clamps with lots of epoxy to fill the second slot. When it
was filled, I put the boom gallows outside in the sun to get the
epoxy kicked off.
Second
Slot In Boom Gallows Filled
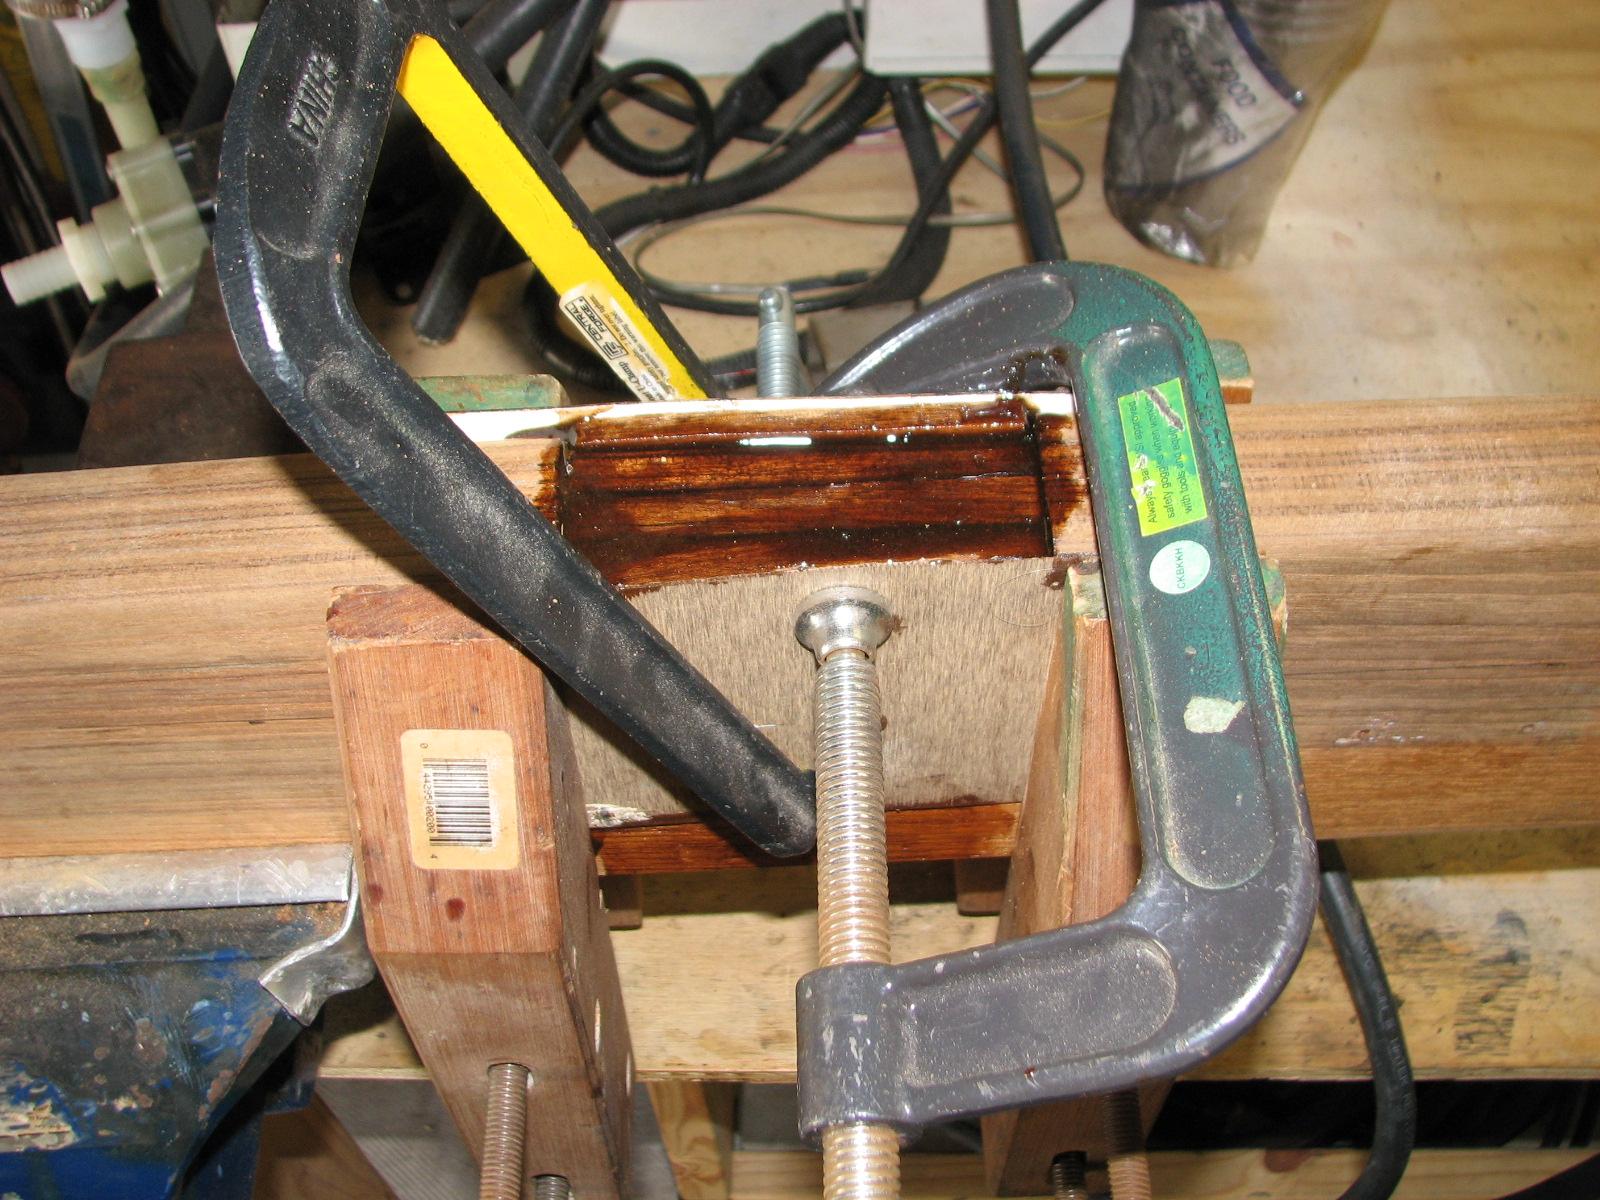
When the
epoxy in the second slot had kicked off, I filled the third slot. Had
to use some extra weight to keep everything in place.
Third
Slot In Boom Gallows Filled
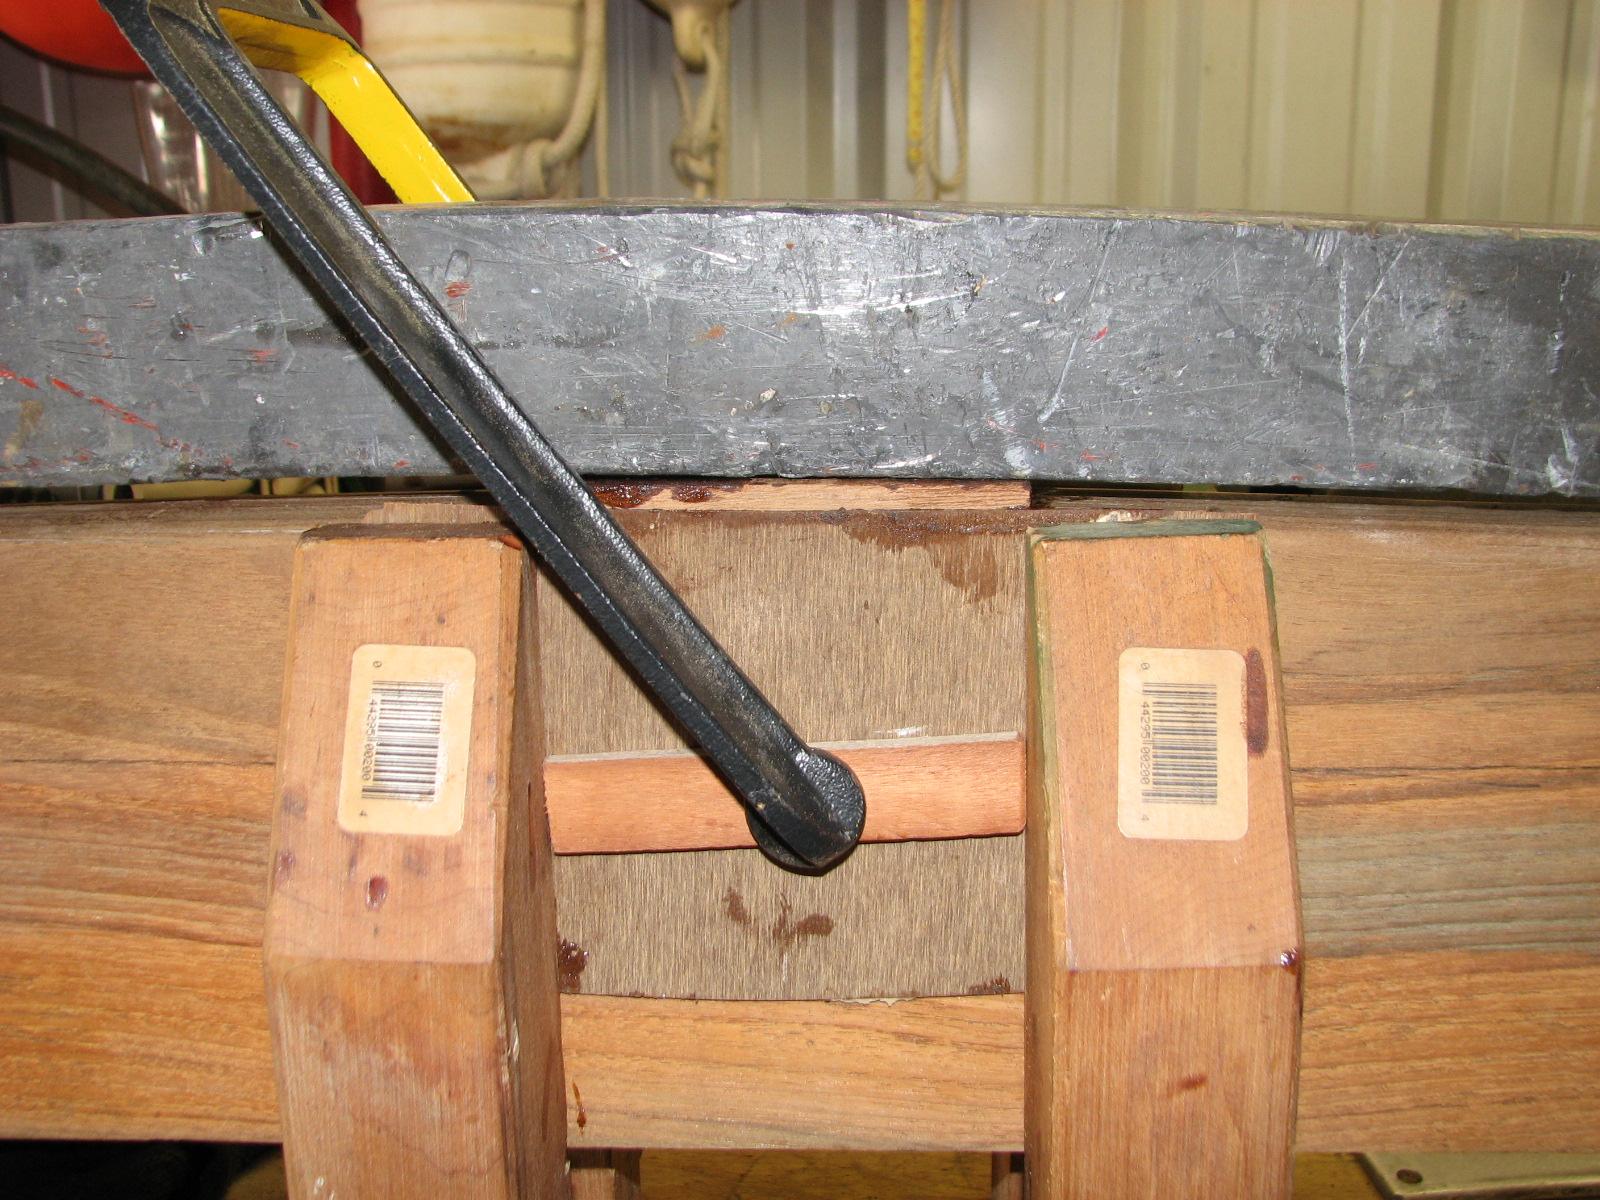
Went back
to DREAM AWAY for lunch. When I came back I mixed up a batch of
Smith’s
penetrating epoxy. I
applied it to the Instrument pod, the two teak covers for the aft
davit holes, the teak cover for the main cabin hole and the teak wire
cover for the main cabin.

The epoxy
had kicked off on the third slot in the boom gallows, so I was able
to sand down all three filled slots in the boom gallows. As
suspected, there were some voids that would need filling with an
additional application of the epoxy mash mix.
Voids In
Slots Of Boom Gallows

Slots one
and two were pretty easy to fill in. I used masking tape to build
dams, and the just poured in the mixed epoxy. The mixed epoxy was a
mild mash mix. By that I mean I mixed in a small amount of teak
sanding dust. This thickens the mixture, but also gets closer to the
real color of the teak wood.
Slot
three turned out to be a bit short, so I had to add some teak wood to
it. The good news was I had to cut off a high piece on one of the
other slots, so it fit in perfect.
Masking
Tape Dam On Slot Two Of Boom Gallows
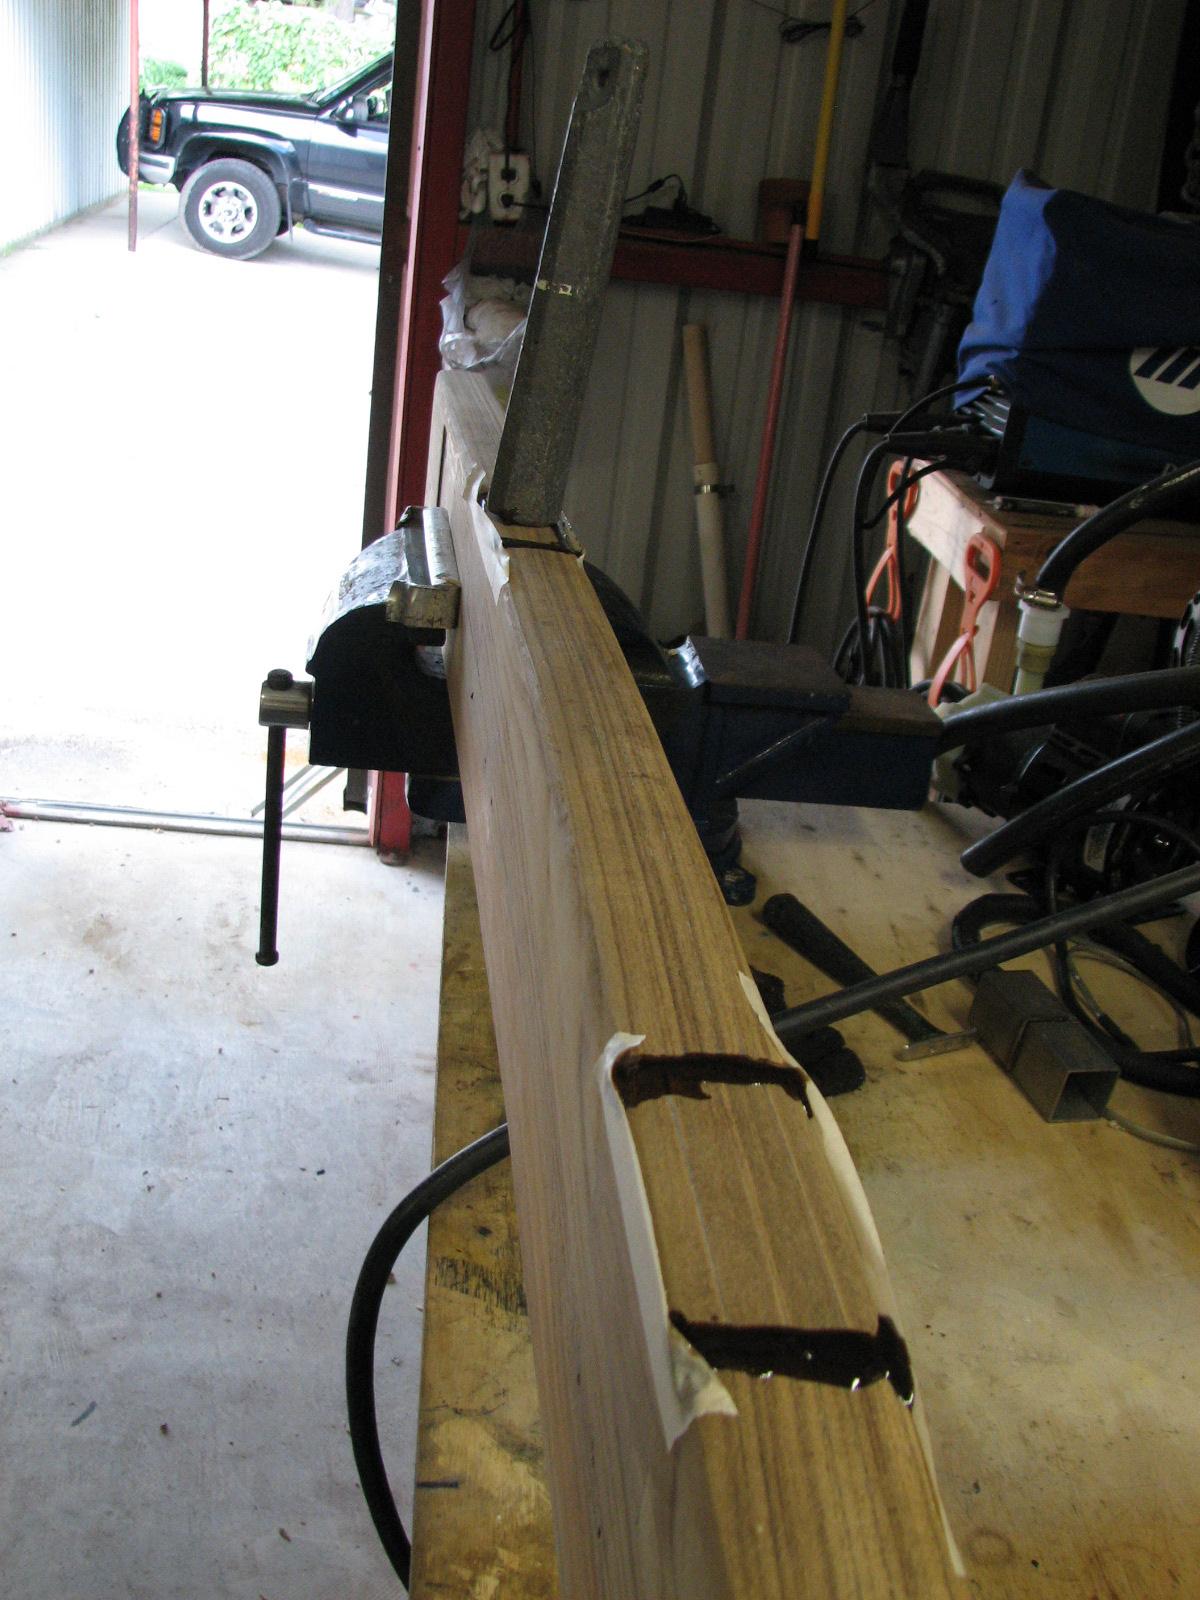
Showing
Extra Weight On Third Slot With Added Teak Wood

While
working on the boom gallows, I found two more holes that needed to be
filled with teak bungs. This will be done tomorrow, after the epoxy
has set up over night.
July 19,
Friday, 2013
Started off the morning
with my normal ritual of getting on the Internet, answering email,
checking the weather, while making a pot of coffee.
Went to
the shop
to work on the Black Beast ignition problem. I will relate here the
entries I put into the Chevy Truck Forum trying to get help with the
problem.
I have
a 1996 Suburban diesel that will not start. When I turn the key to
the run position, all is well, when I turn the key to the start
position, nothing happens. I have done a bunch of troubleshooting,
and have narrowed down the problem to the gear mechanism between the
cylinder and keys and the ignition switch.
If I
remove the ignition switch from the steering column, and turn the
ignition switch with a flat blade screw driver, it goes to the run
position, then the start position, and the engine starts normally.
When I turn the key in the cylinder, the gear that operates the
ignition switch turns, and does not seem to have a problem. When I
put the ignition switch into the gear mechanism, and turn the key,
the engine will not start.
Has
any one seen this problem and have a fix for it? What is the gear
mechanism that connects the ignition switch to the cylinder and keys
called? I can not find the part name on any parts list.
Not
sure of the how or why, but the problem has been repaired. Hopefully
the fix is long lasting, but I am not sure. I swapped in a new
ignition switch and I got the same symptoms as I described in the
original problem. Put back in the original ignition switch, and the
same problem was there, so it seemed like the problem was not the
ignition switch assembly.
We
took the original ignition out of the vehicle, as I wanted to ohm out
some of the connections. I took the wrong side of the switch apart,
and six little springs went flying! I recovered four of the springs,
but could not find the other two. I took two ball point pens apart,
and used the springs out of the pens in the ignition switch, and put
the switch back together.
We put
the ignition switch back in the vehicle, and it worked! Tried
starting the vehicle several times, and it always worked. We put the
steering column and all of the sundry parts back together, and it
still works.
That
was yesterday, and I am still not having a problem. Not sure why the
new ignition switch would not work, and not really sure why messing
with the springs in the original ignition switch fixed the problem.
Hope this information helps someone else!
That
finishes the entries I put in the Chevy Truck Forum. Just a note
here, I am actually writing this in the middle of August, and still
no problem with the igintion switch!!
I cut the
pieces of teak wood I am going to use as the fill-in for the
rectangular cut-outs in the boom gallows. These pieces of wood are
left over from the teak deck that was removed many years ago. I
clamped pieces of waxed Formica
on either side of the cut in the boom gallows. I also did a dry fit
of the teak wood pieces in the cut out. I labeled each piece at to
position and top and or bottom.
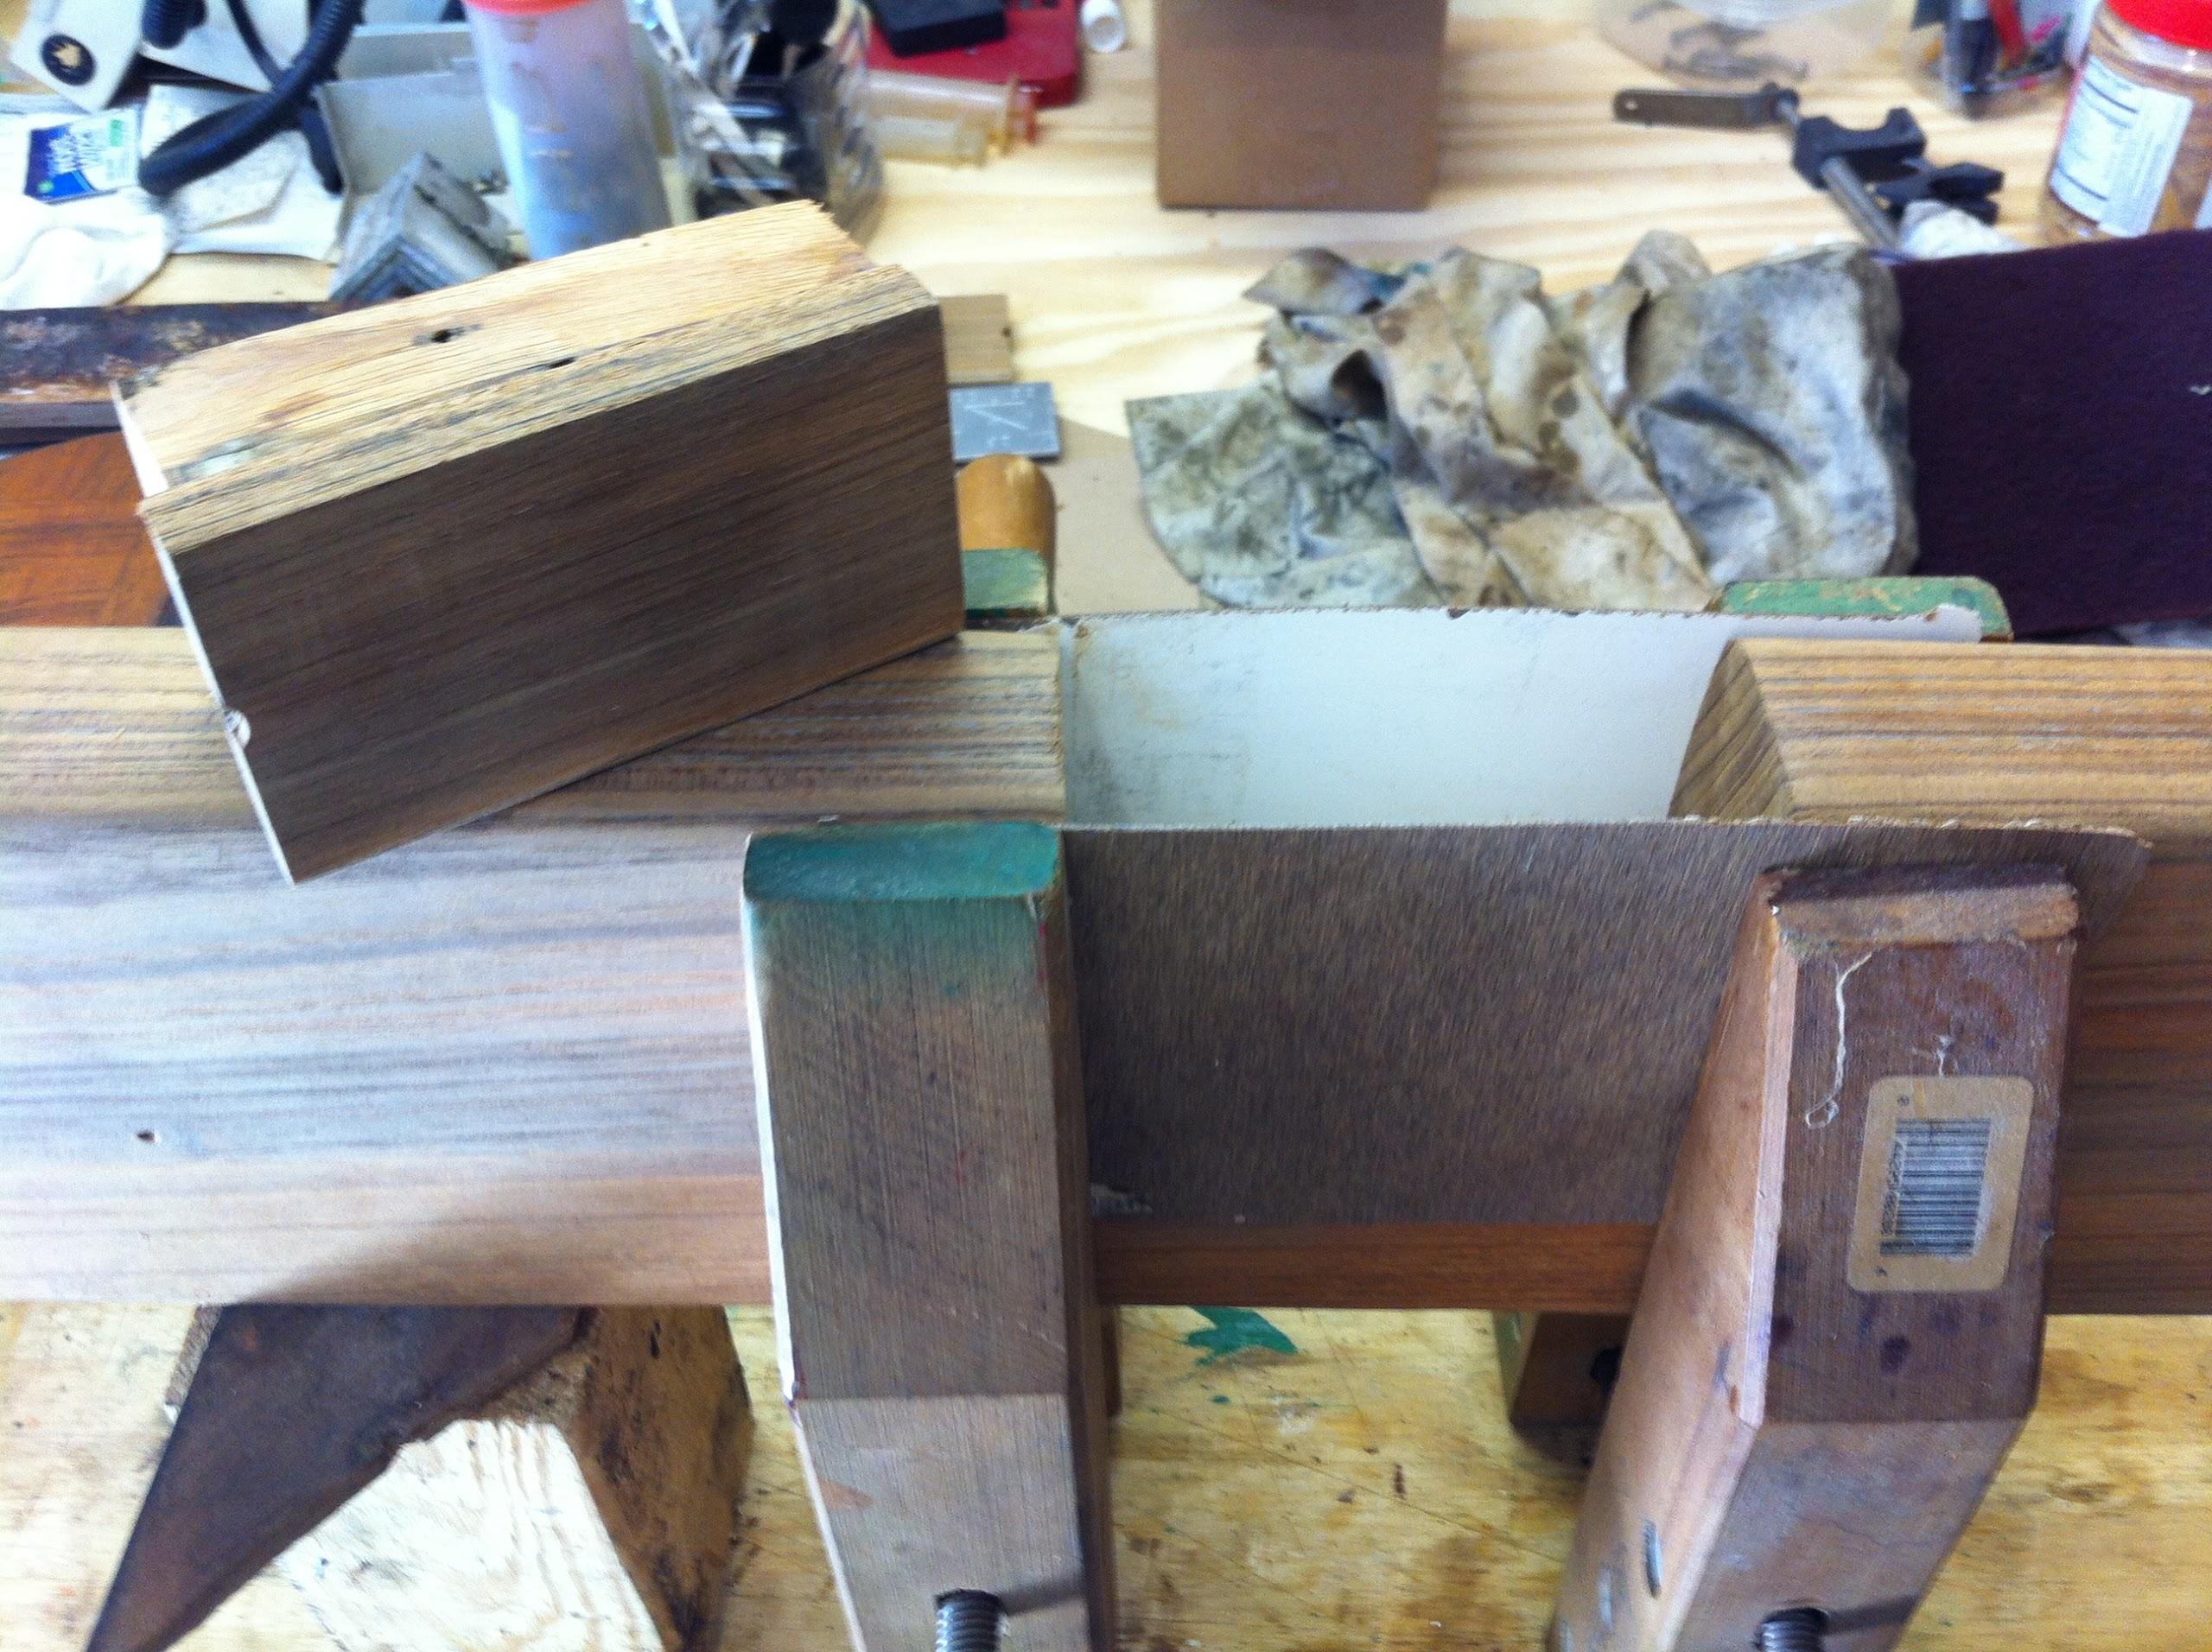
Formica
And Clamps On Boom Gallows
I mixed
up a pot of epoxy and started putting the pieces of teak wood into
the cutout in the boom gallows.
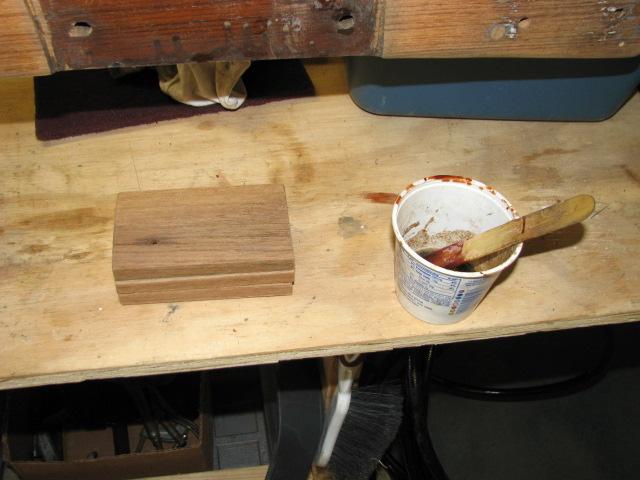
Cut
Pieces Of teak And Pot Of Mixed Epoxy
Initially
I poured some of the mixed epoxy into the cutout in the boom gallows.
I wanted to make sure I had plenty of epoxy on all sides of the
pieces of teak.
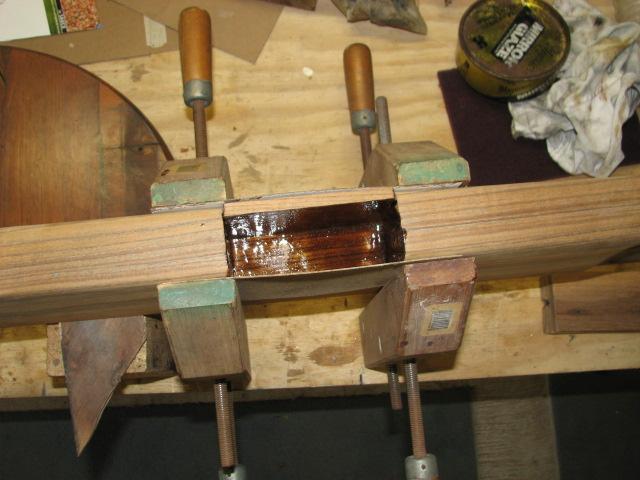
Epoxy In
Boom Gallows Cutout & First Piece Of Cut Teak Wood
Then it
was just a process of putting epoxy all over each piece of cut teak
wood, and inserting the piece into the cutout in the boom gallows.
When all of the cut pieces of teak wood had been inserted, I put
another clamp on the outside of the Formica
to make sure it was a good tight fit.
Insertion
Complete, Waiting For Epoxy To Kick Off

While the
epoxy was kicking off, I cut out the second slot in the boom gallows,
and also cut the pieces of teak wood to be used as the filler.
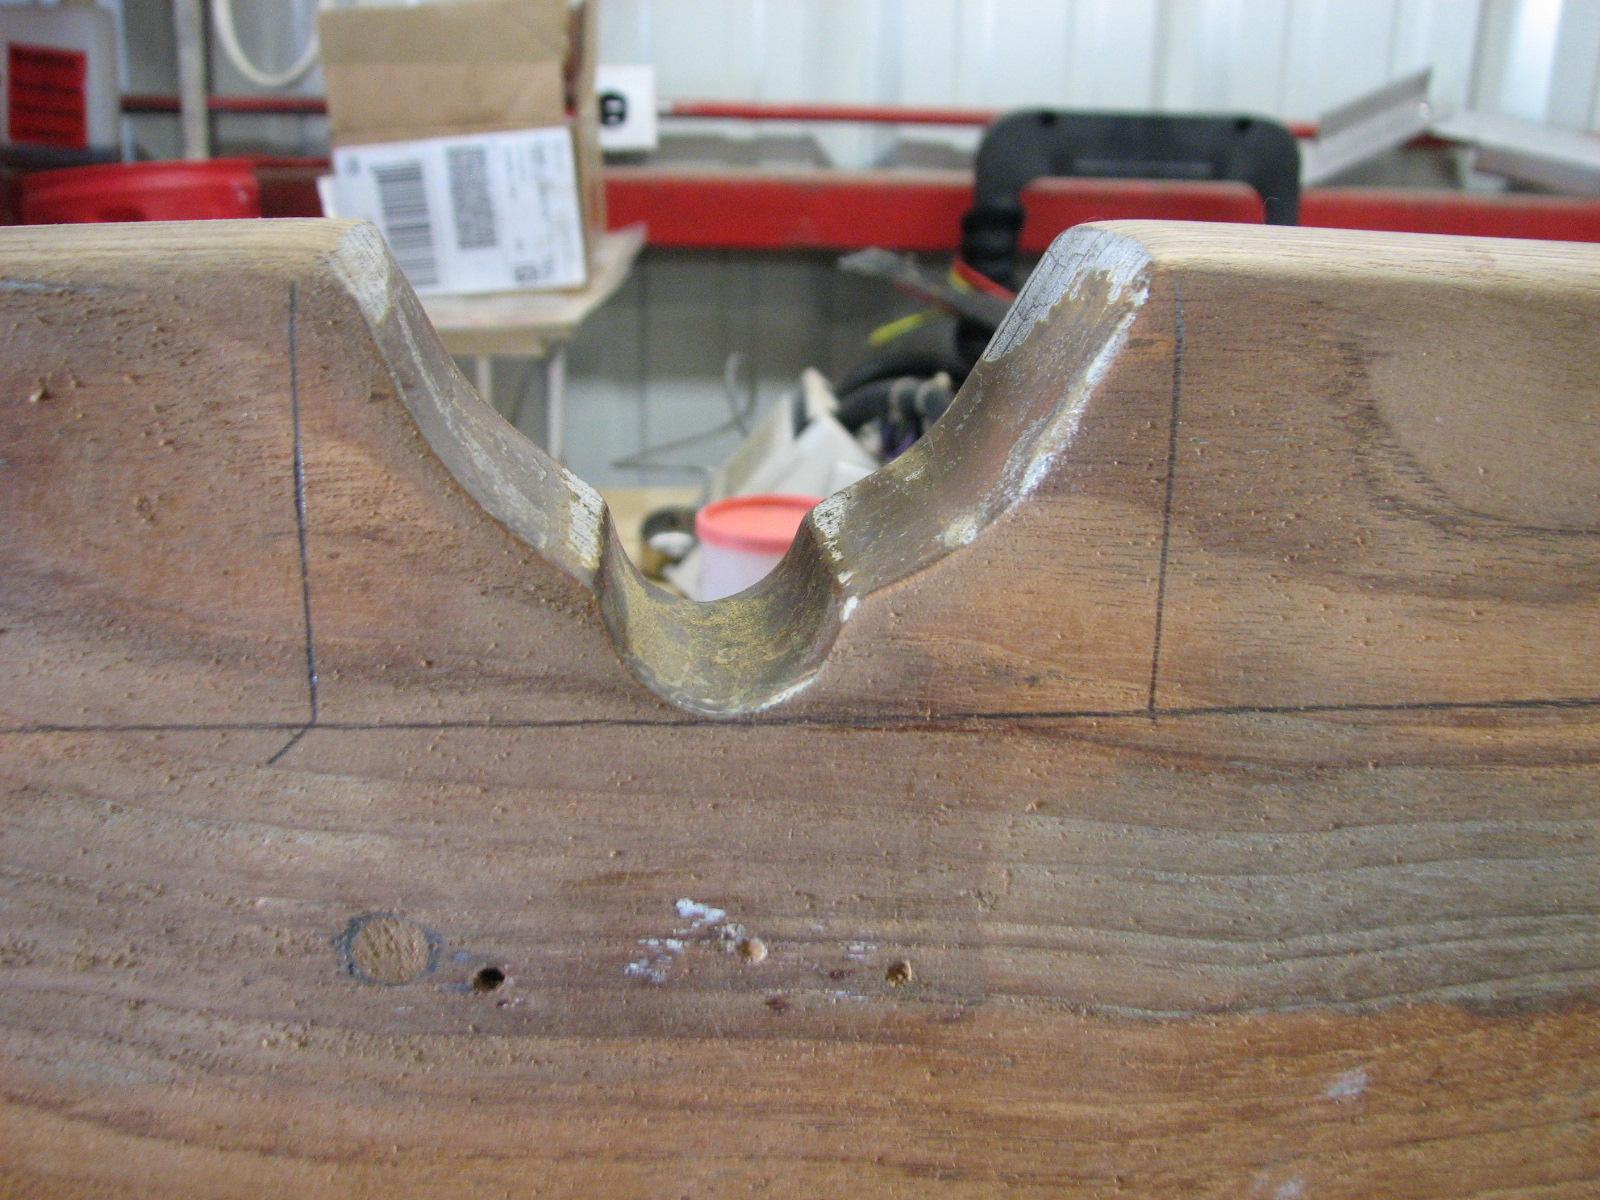
Boom
Gallows Marked For Rectangular Cutout
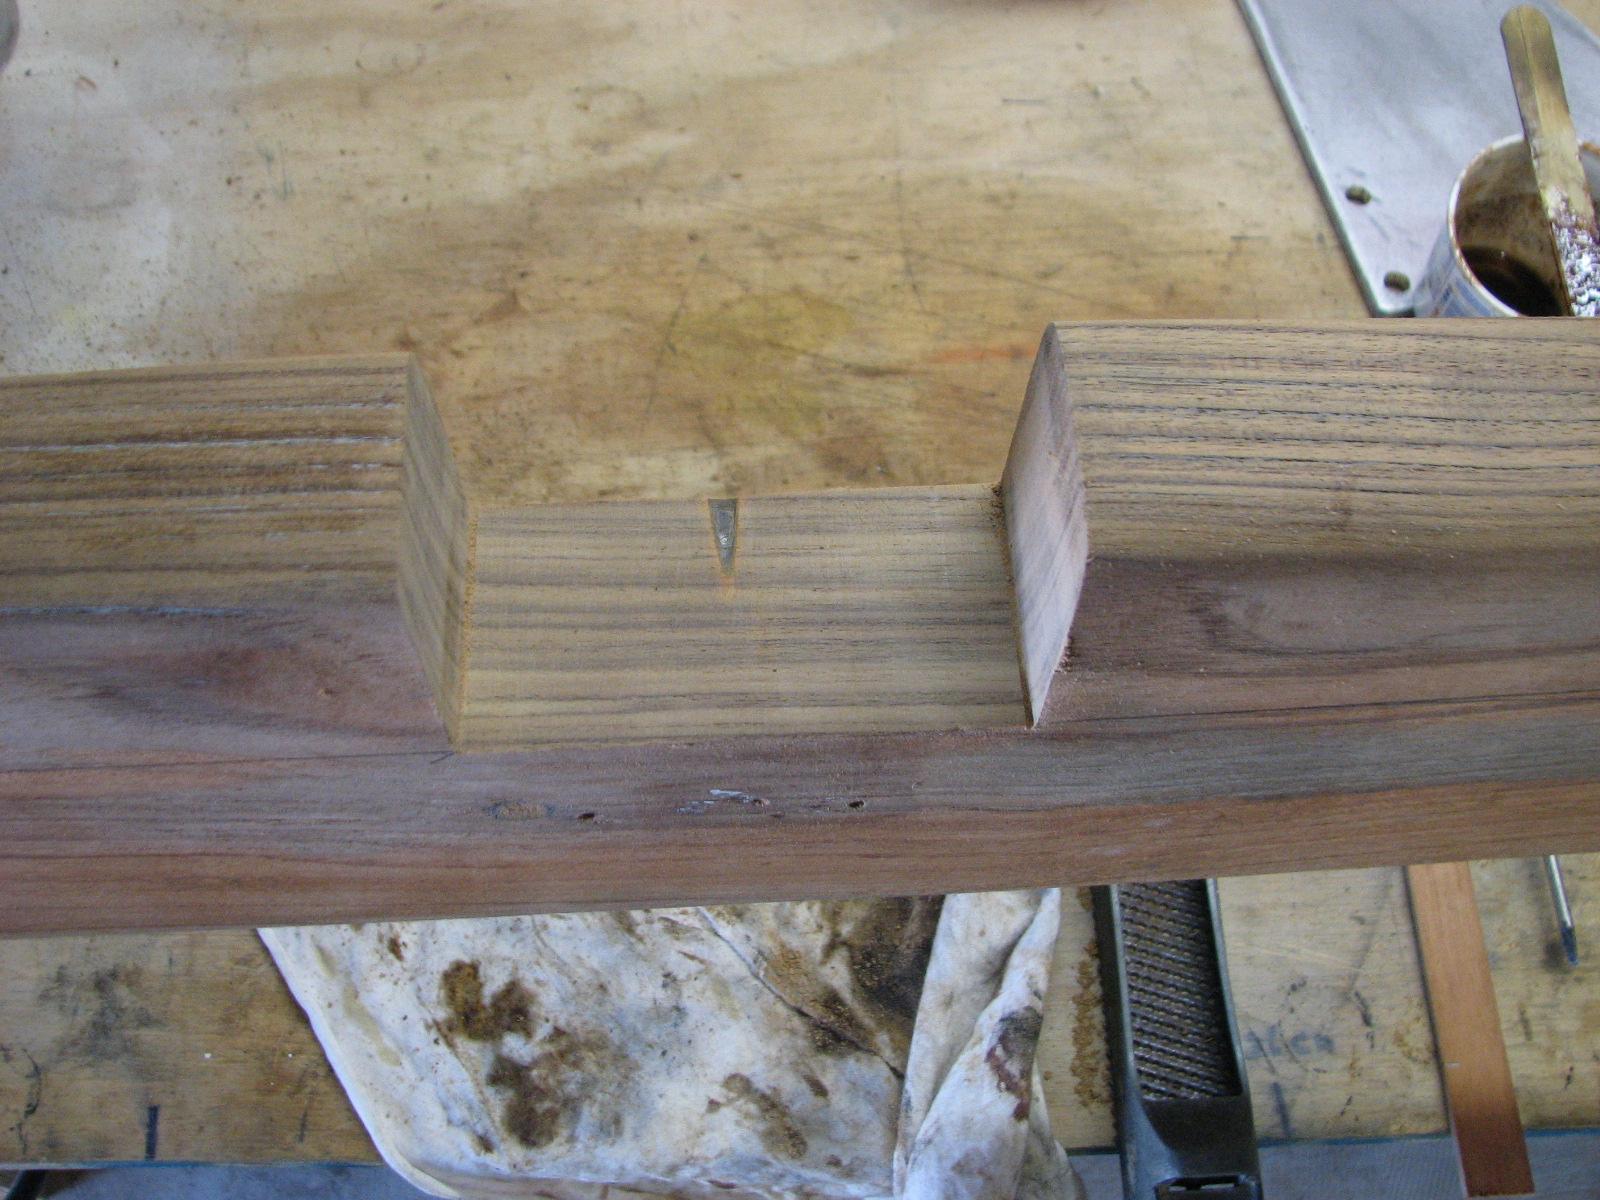
Cut Made
On Boom Gallows
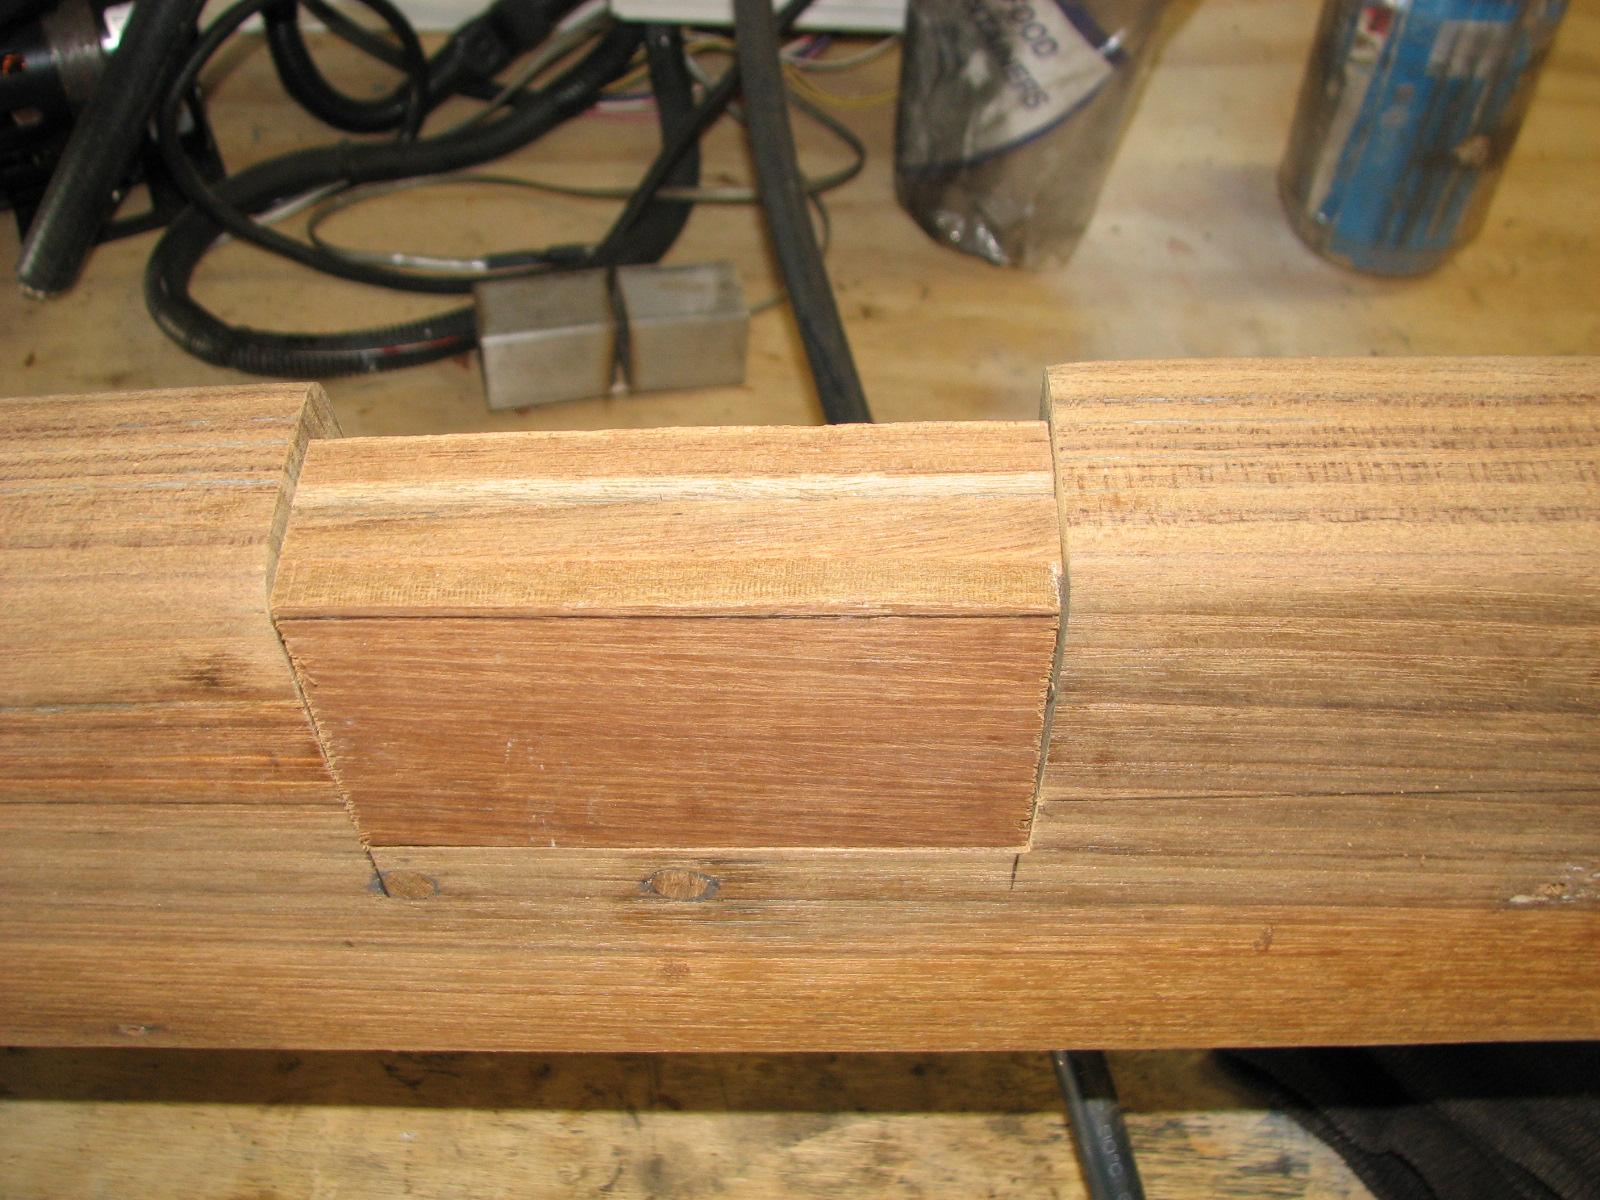
Cut Teak
Wood Pieces In Rectangular Cutout
Long day
finished, went back to DREAM AWAY for a shower and supper.
July 18,
Thursday, 2013
Started off the morning
with my normal ritual of getting on the Internet, answering email,
checking the weather, while making a pot of coffee.
Went over
to the shop
and continued work on the boom gallows. As I figured, I found my jar
of screw starters and bung cutters where I had put them last! I did
not have enough ⅜” teak bungs, so I had to cut about 50 of them.
Having a drill press and some scrap teak really helped this process.
Cutting
Teak Bungs
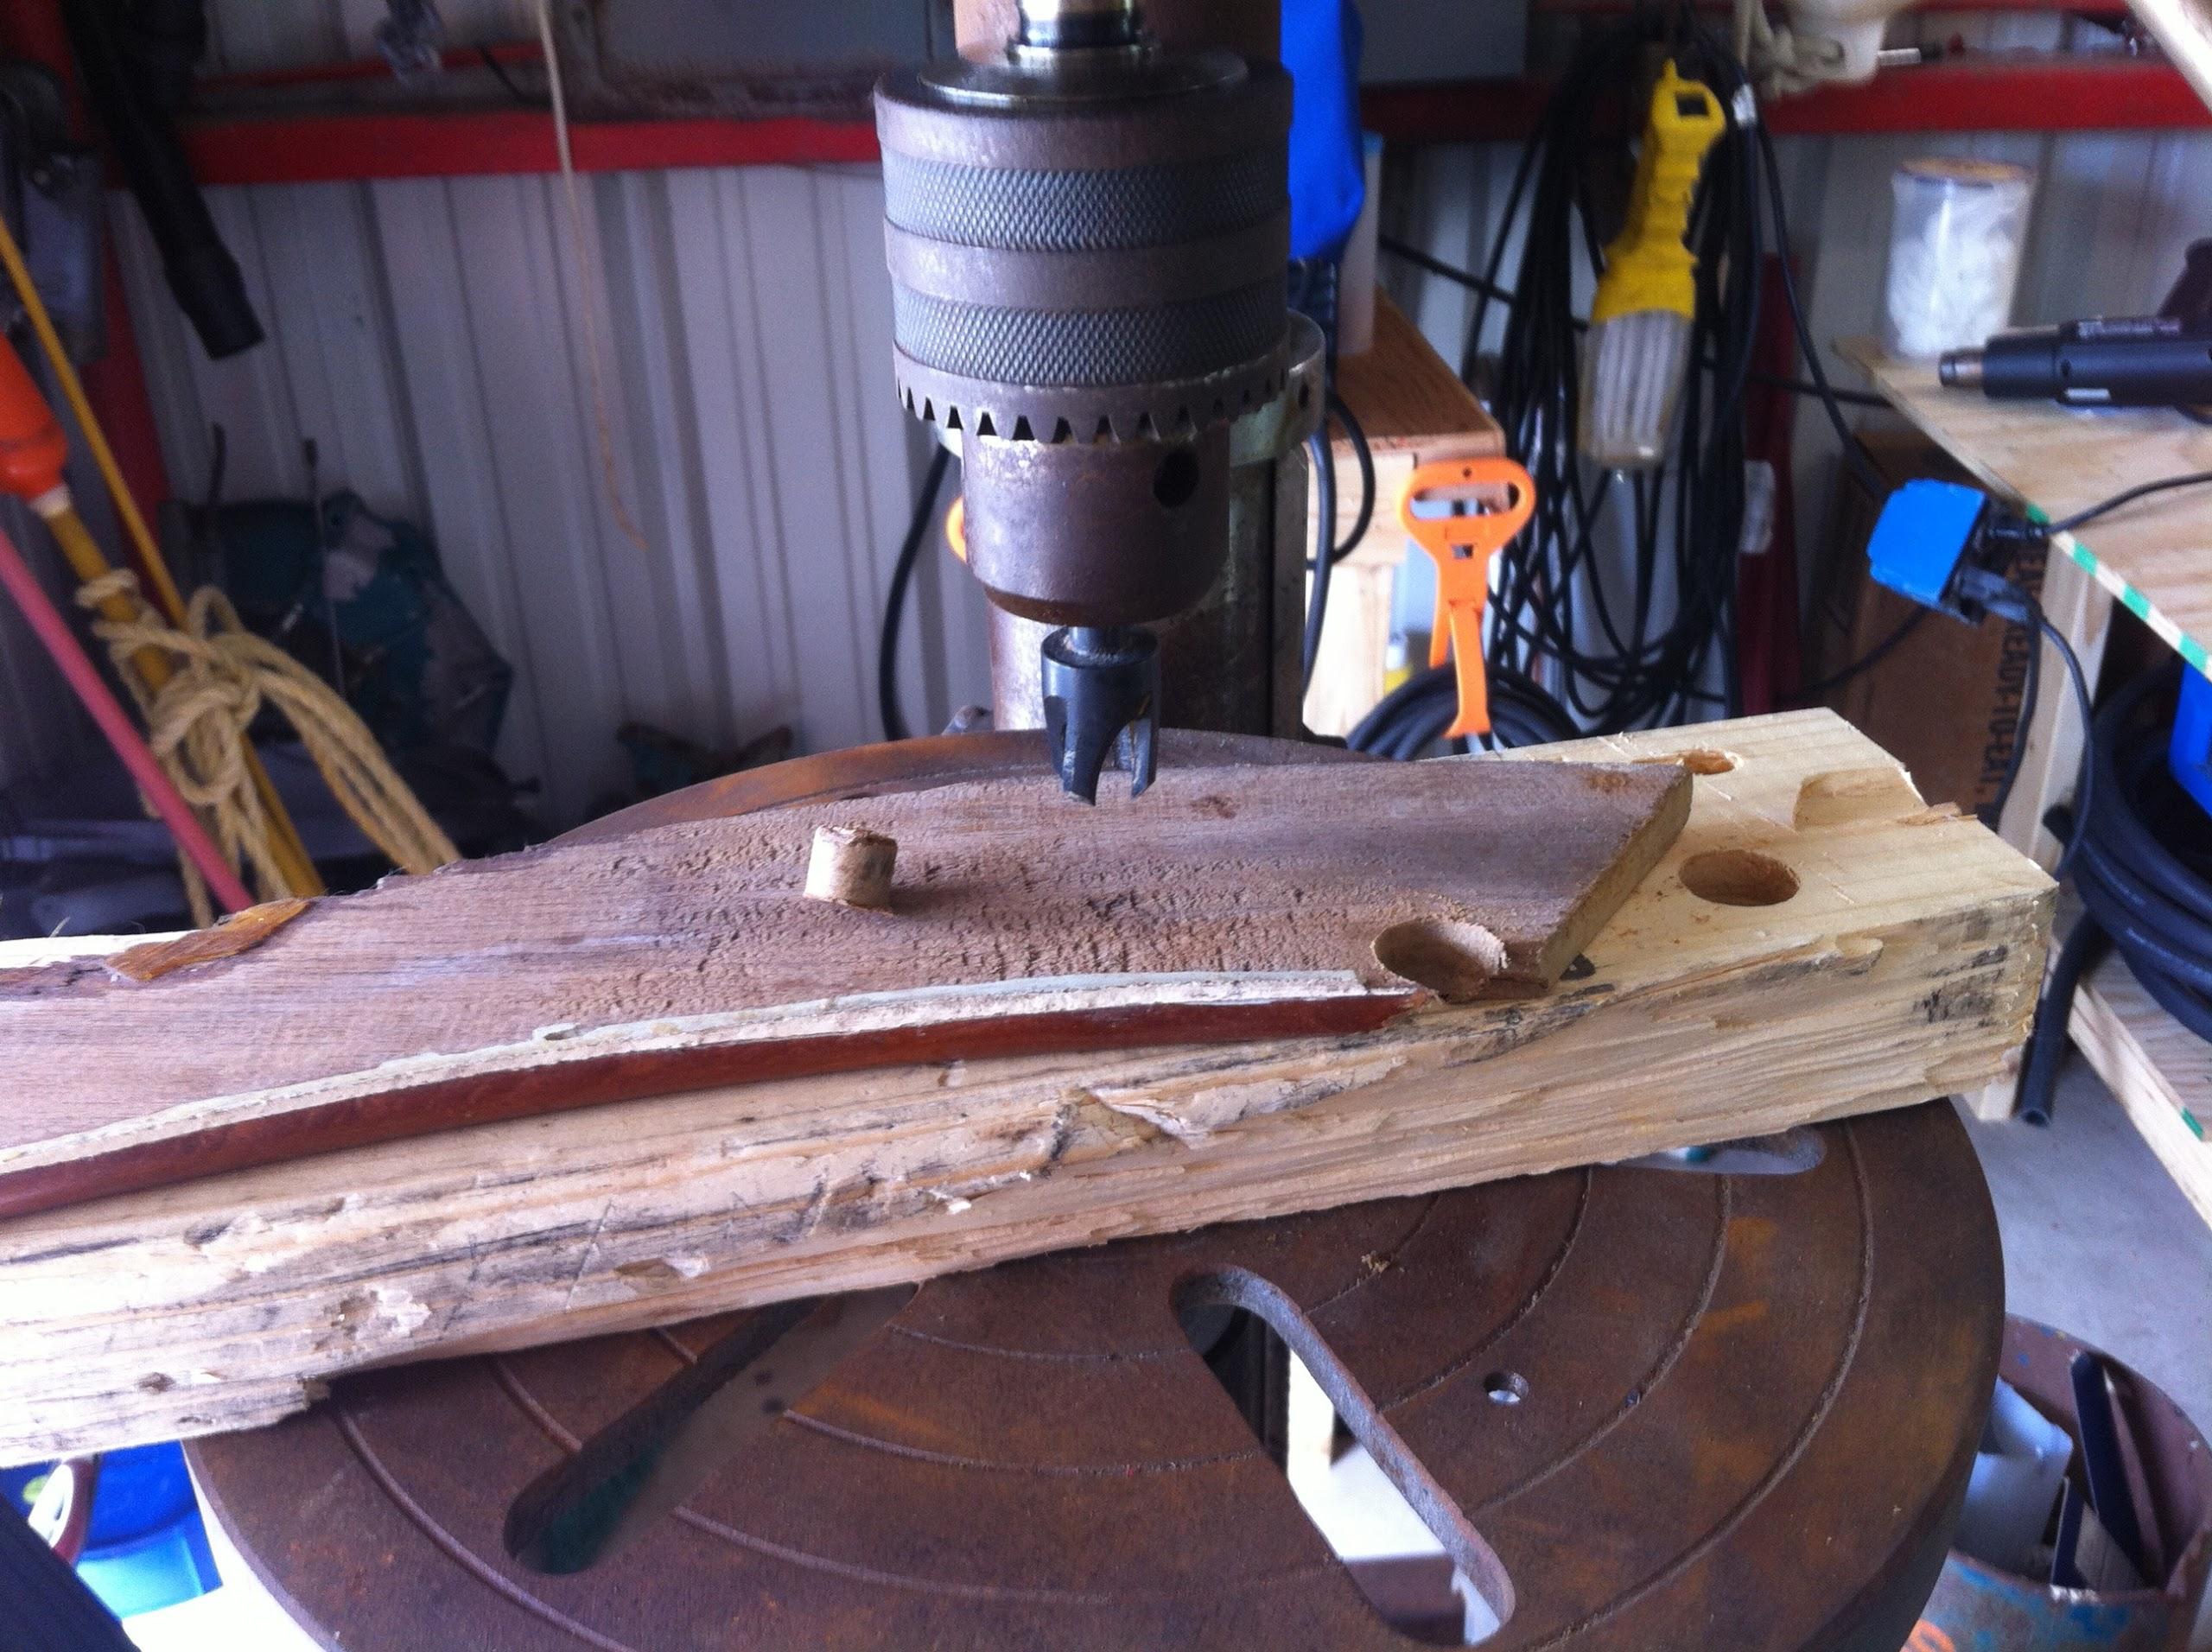
Mixed up
a pot of epoxy, and epoxied all of the bungs needed on one side of
the boom gallows. I set the boom gallows out in the sun. When the
epoxy had kicked off, I brought the boom gallows back into the shop,
mixed another pot of epoxy, and epoxied the bungs into the other side
of the boom gallows. The boom gallows went back out to the sun to
kick off the epoxy.
While
that batch of epoxy was kicking off, I sanded and scraped off all of
the old Cetol
on the instrument cluster. Had to be down to bare wood.
Went back
over to the North
Pier Marina, as it was that
time of the week to cut the grass and do some additional weeding of
the gardens. I cut grass until the rains came. Will finish that
project tomorrow.
Went back
over to the shop
to continue work on the boom gallows. Right after I had installed the
hard bimini, I realized I would have to fill in the slots for the
boom on the boom gallows.
Slots For
The Boom On The Boom Gallows
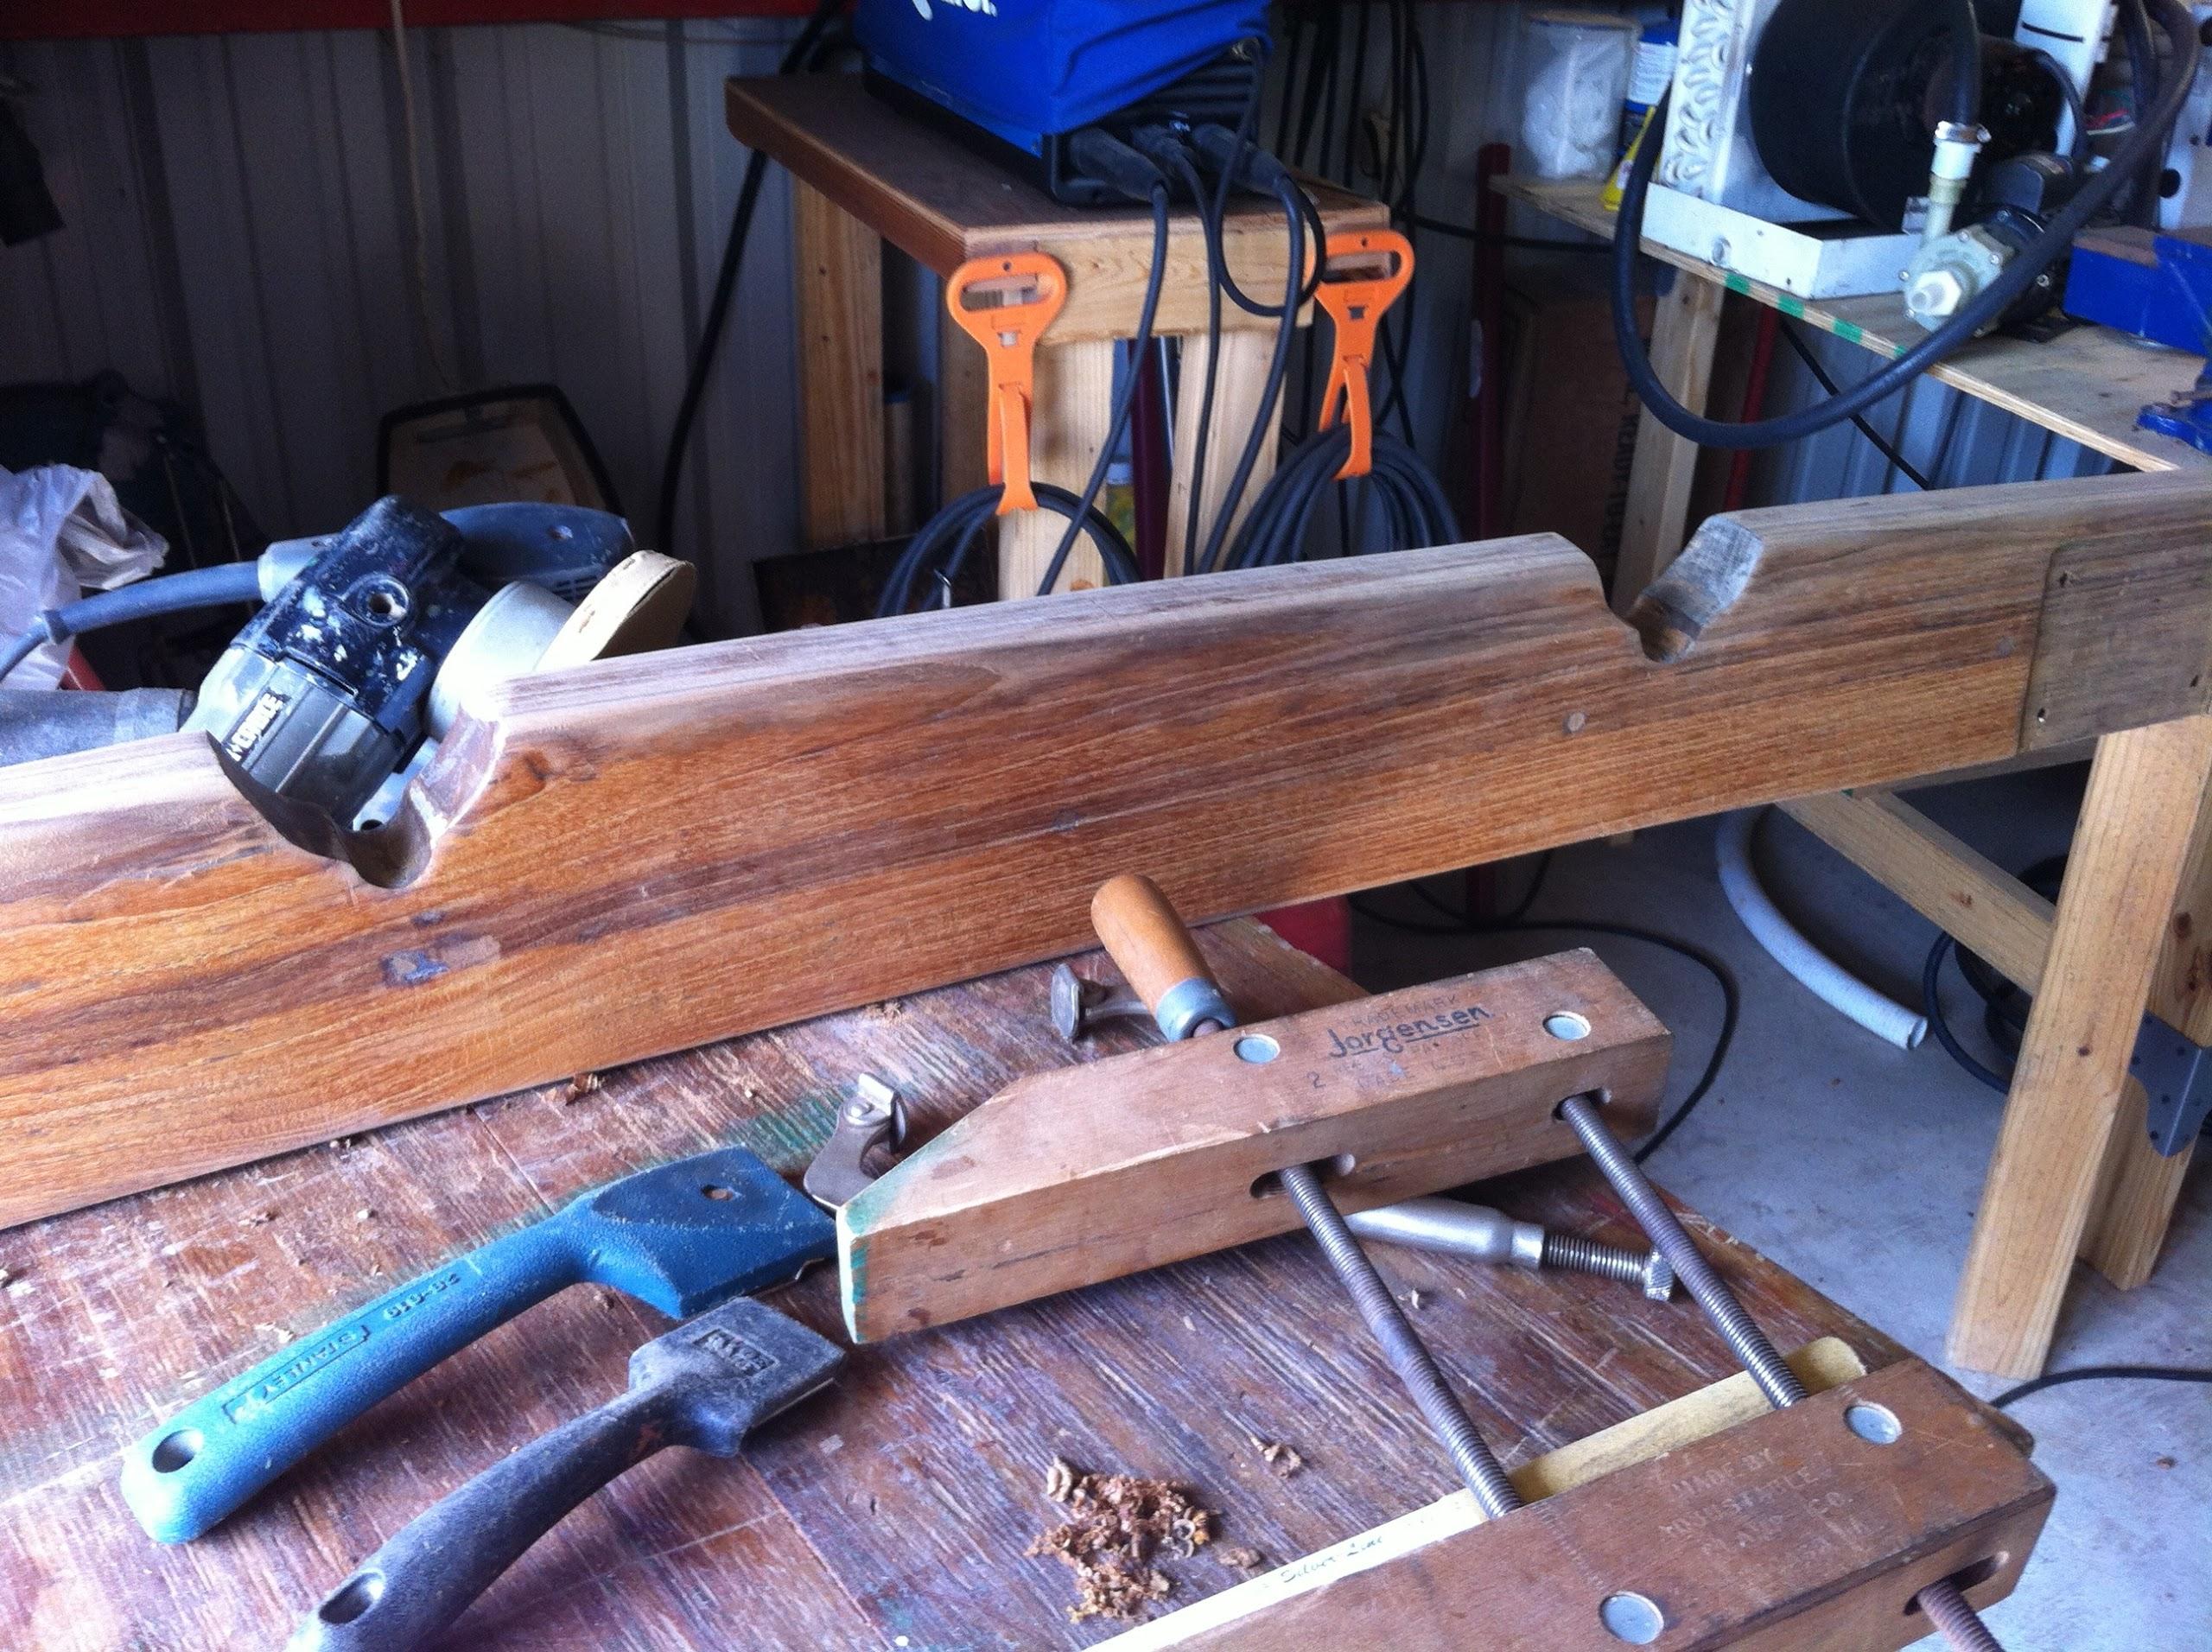
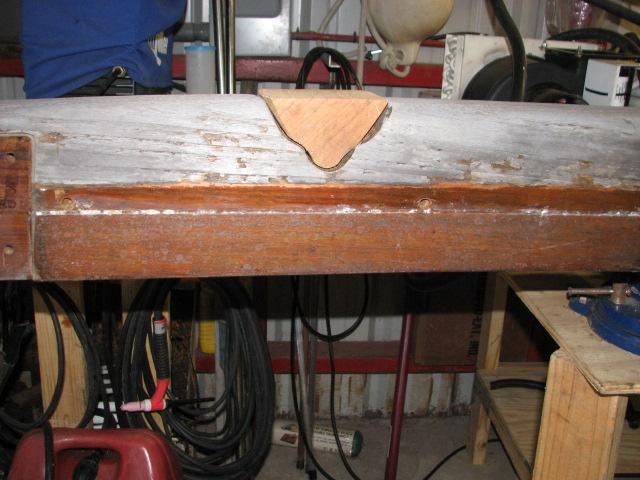
I had cut
out some pieces to fill in the slots, I have just never had the time
to shape the pieces and fill in the slots in the boom gallows. The
time had come! I started in on shaping the pieces to fill the slots.
Teak
Piece For Slot In Boom Gallows
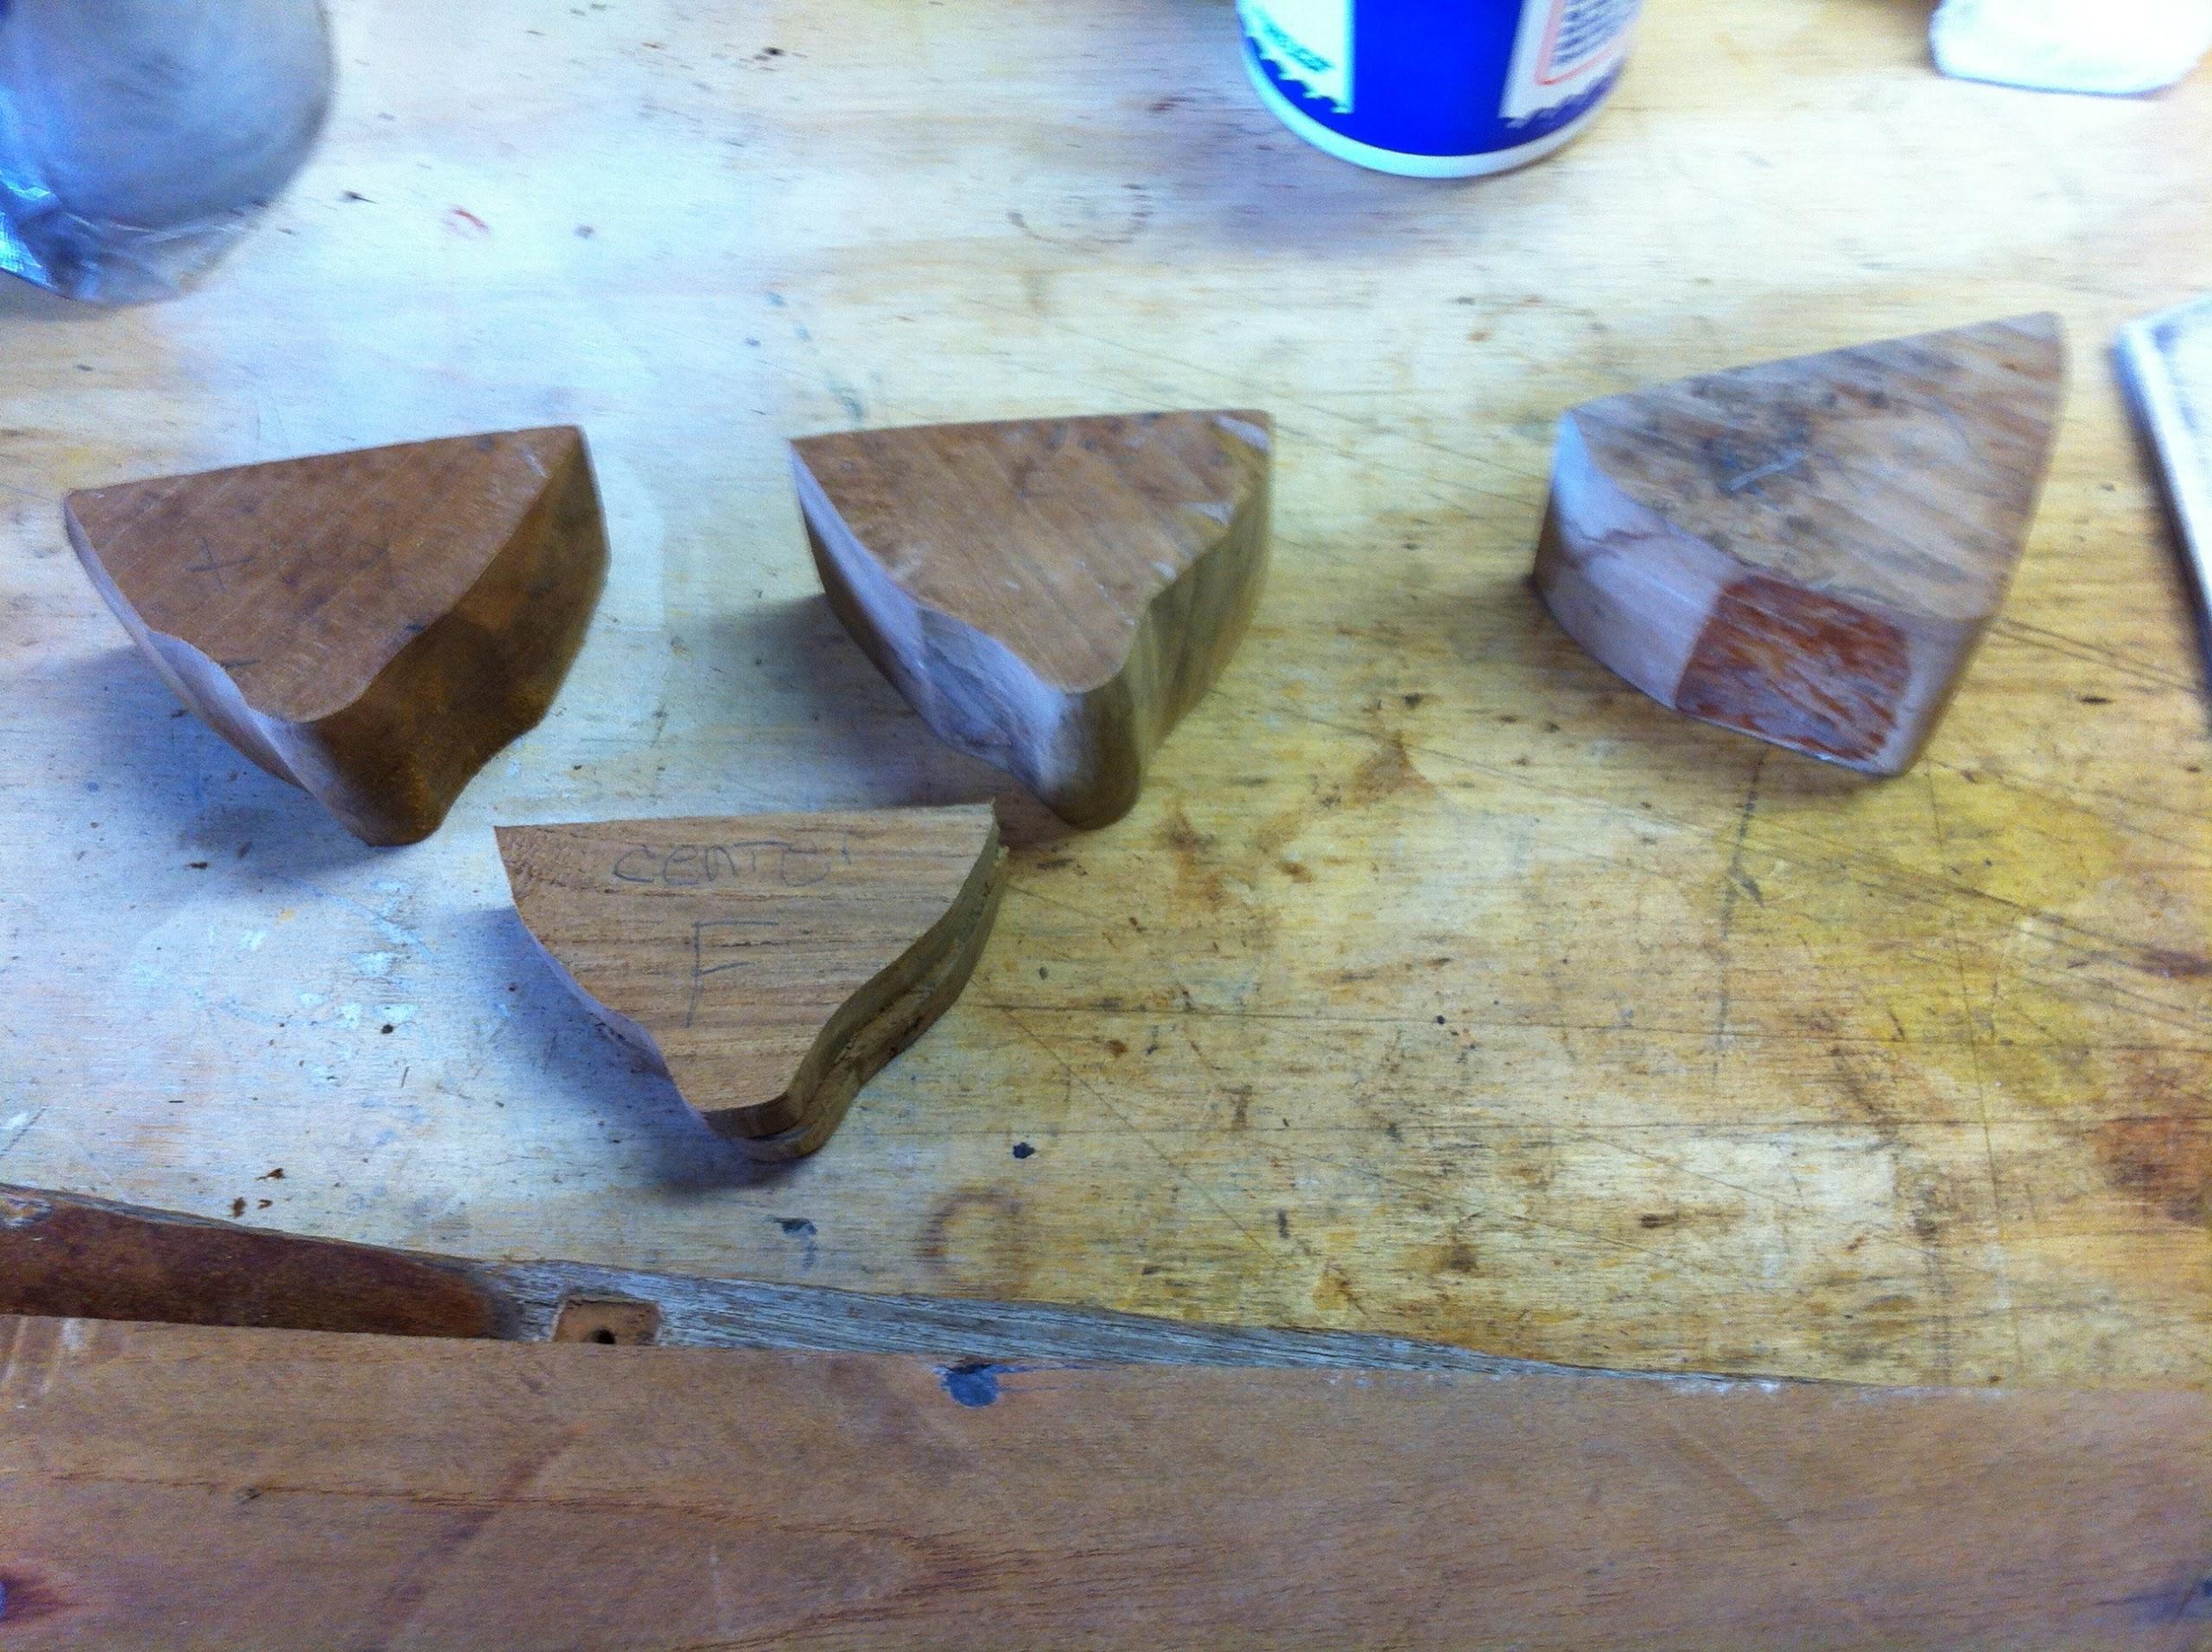
I worked
at the teak pieces, and it was going to be a chore to try and get the
pieces to fit the curved, angled slot in the boom gallows. I decided
to go at it another way. I did not have any teak as thick as the boom
gallows, but I could cut out four or five pieces to a better shape
and epoxy them into the slots. I worked on that for some time.
Pieces
Cut To Fill Slots In Boom Gallows
Pretty
soon I came to realize that I am a fair carpenter, but I was never
going to get the pieces shaped properly. I came up with plan “C”.
This plan is to cut rectangular slots in the boom gallows, completely
removing the curved, angled slots. With a rectangular hole to fill, I
would be able to cut the necessary pieces, epoxy them into place, and
the boom gallows would look very good.
This new
plan would be started on the morrow!
July 17,
Wednesday, 2013
Started off the morning
with my normal ritual of getting on the Internet, answering email,
checking the weather, while making a pot of coffee.
Went over
to the shop
and cut out the teak piece for the main cabin overhead, and the two
pieces for the aft cabin davit holes.
One Of
The Aft Cabin Davit Holes
Went back
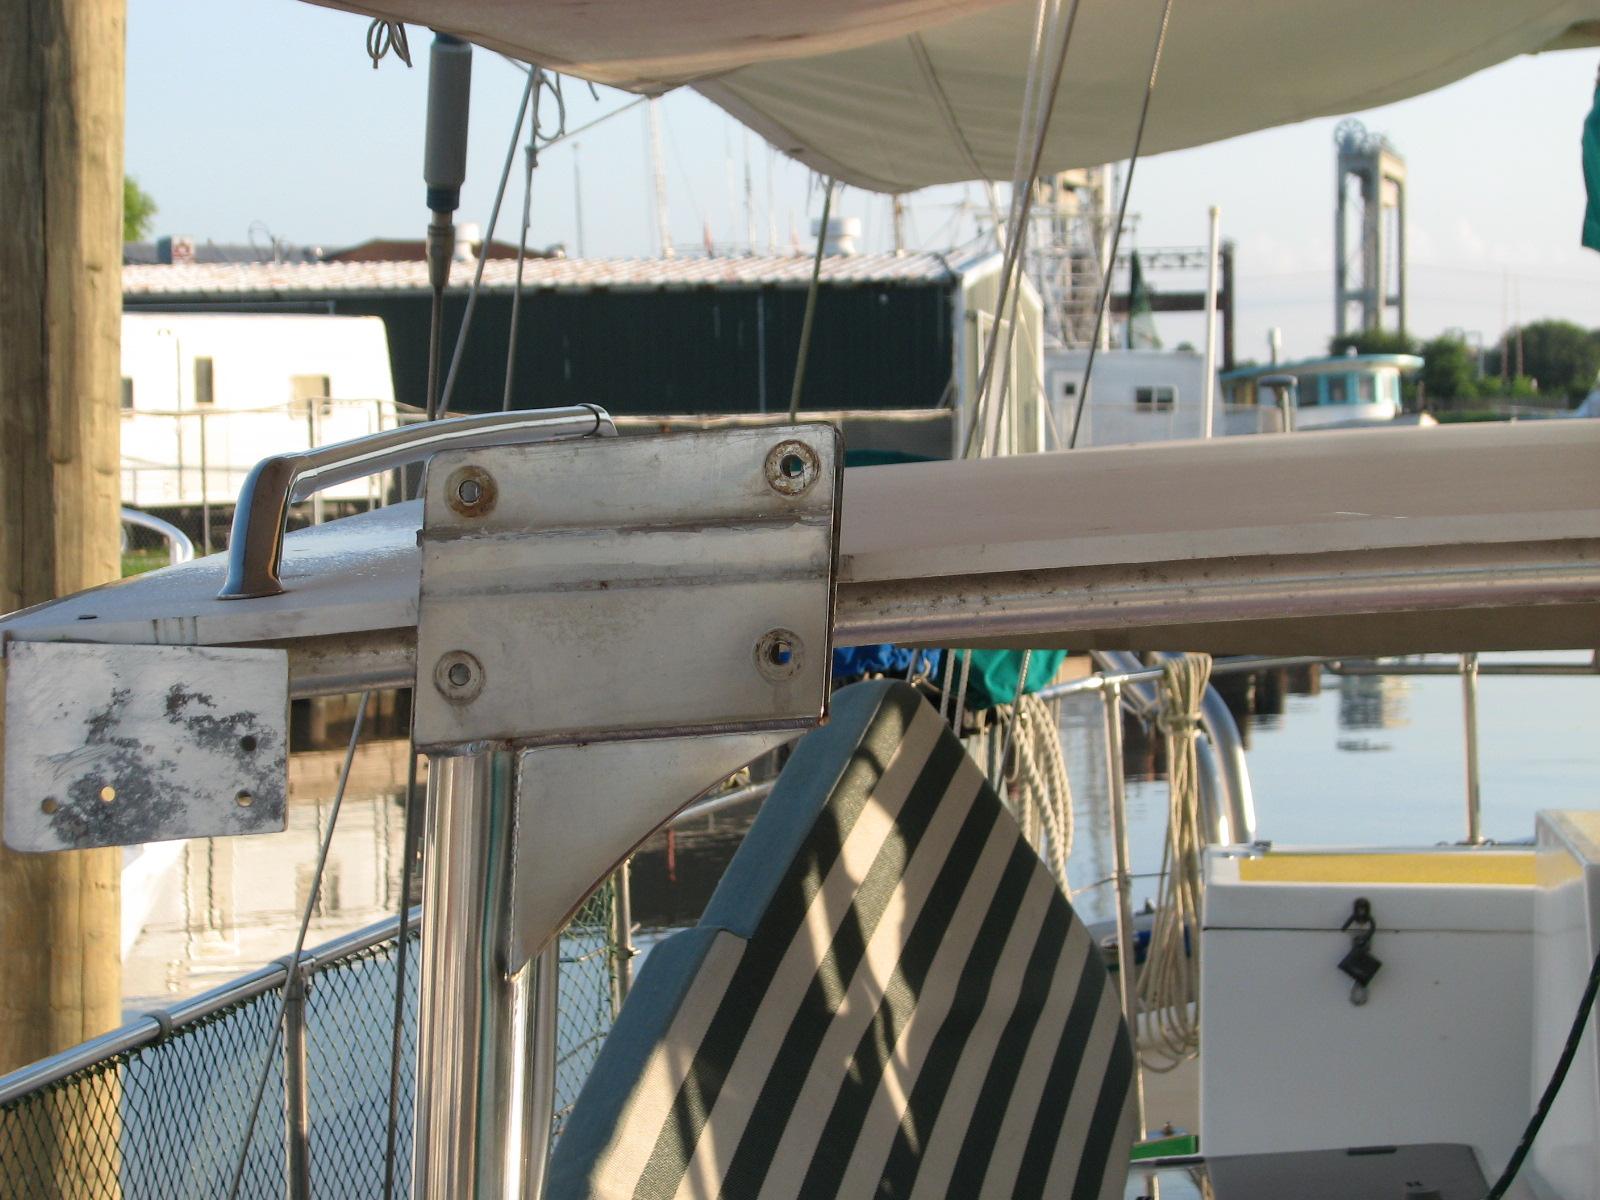
to DREAM AWAY, and completed removal of the boom gallows. Loaded the
boom gallows into the Black Beast.
Boom
Gallows Removed
We then
went off to New Iberia to attend a Port
of Delcambre luncheon about
safe harbor in Vermillion and Iberia Parish.
Came back
to Delcambre, got Mark and we headed off to the Dugas Engine Services
shop
in New Iberia to pick up Mark’s engine block, crankshaft, and my
power head (yea).
Came back
to Delcambre, unloaded the crankshaft, the engine block, and my power
head.
I got
back into work on the boom gallows. I drilled out all of the “extra”
holes in the boom gallows where screws used to be, but were no
longer. I drilled them out for teak bungs to be inserted. I still
have not been able to locate my jar of screw starters and bung
cutters
Had to
leave early, to prepare for and attend a pot luck supper for and by
the Delcambre
Seafood and Farmers Market.
It was put together by all of the vendors, just to have a social.
July 16,
Tuesday, 2013
Started off the morning
with my normal ritual of getting on the Internet, answering email,
checking the weather, while making a pot of coffee.
Had
breakfast and then started striping the boom gallows. The boom
gallows needed some work in preparation for installing the hard
dodger. There were also three indentations in the boom gallows in
which the main boom could drop. These were not needed anymore because
the hard bimini interfered with the indentations. I wanted to fill in
these indentations so the boom would not fall into them and damage
the solar panels I plan to install on top of the hard bimini, in the
future.
I removed
the external speakers, the instrument cluster, and all of the
associated wiring. I removed the track and supports for the soft
dodger. I also removed the bolts attaching the hard bimini to the
boom gallows. Without the boom gallows in place the hard bimini would
just lean against the boom gallows supports.
Boom
Gallows Before Removal

When I
had all of the removed parts from the boom gallows, I put all of the
pieces in the Black Beast. Kitty then drove me over to the shop,
I unloaded all the boom gallows parts and started in to work on them.
The plan
is to sand down all of the parts, including the boom gallows, soak
them with Smith’s
penetrating epoxy, then
apply at least three coats of Watco
teak oil finish. The first
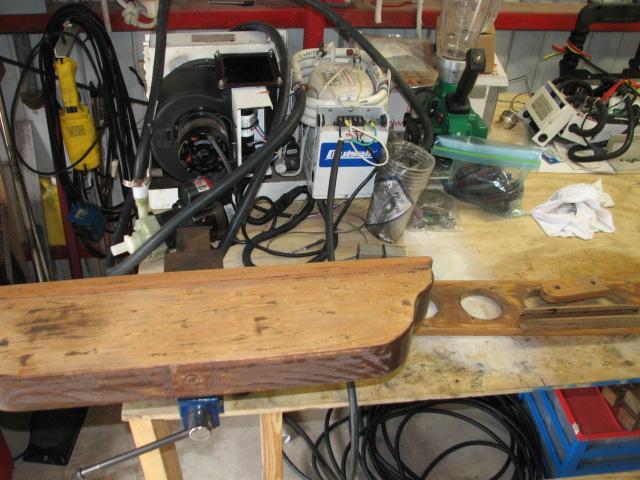
pieces to work on was the instrument cluster. This had to be scraped
and sanded to bare wood.
Working
On The Instrument Cluster
Went to
lunch, and then back to the shop.
Started in on the instrument cluster, and Kitty called and said there
was a problem with the Black Beast. The ignition switch would not
start the engine!
Was able
to get the Black Beast started, then drove it over to the shop.
Spent the remainder of the day working on that problem. At the end of
the day, 1800, we (Mark and I, mostly Mark) had the ignition switch
off of the steering column, and with a flat blade screw driver, were
able to start the Black Beast at any time.
July 15,
Monday, 2013
Started off the morning
with my normal ritual of getting on the Internet, answering email,
checking the weather, while making a pot of coffee.
Had
breakfast, and went over to the shop
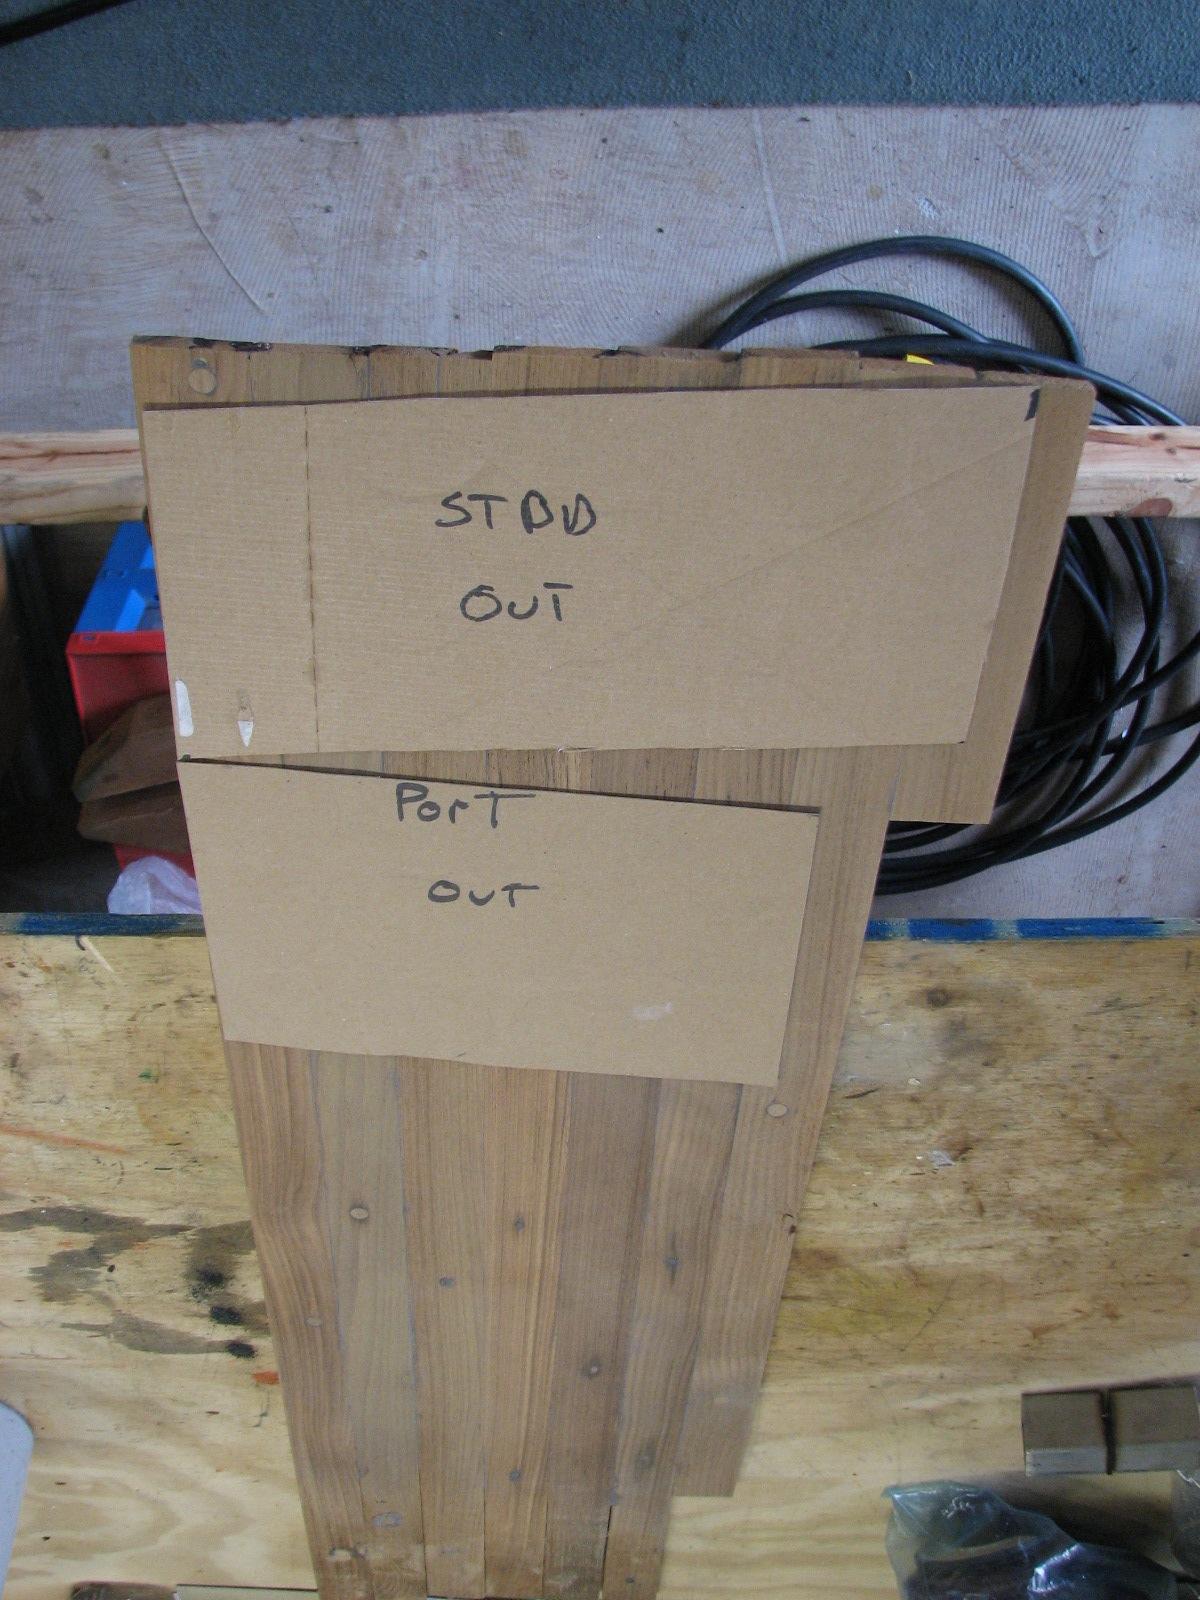
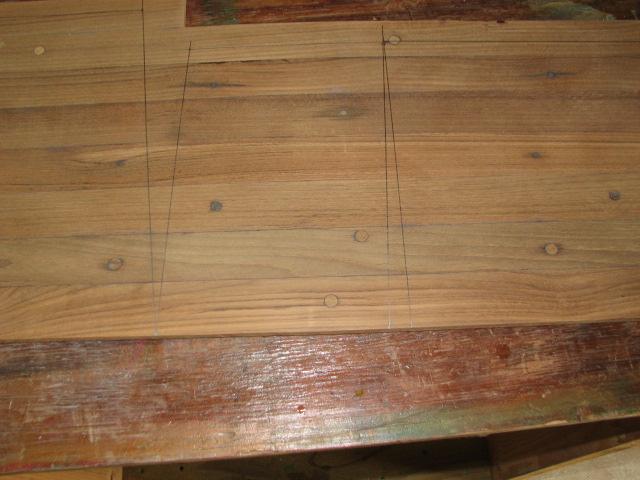
and started in on the teak pieces I had epoxied yesterday. I already
had templates made for the pieces I needed to cut out, so I marked
off the templates on the teak. These two pieces are going to be used
to cover the holes cut in the aft cabin bulkhead to install the
backing plates for the dinghy davits.
Templates
On Fabricated Teak Piece
Cut Marks
On Fabricated Teak Piece
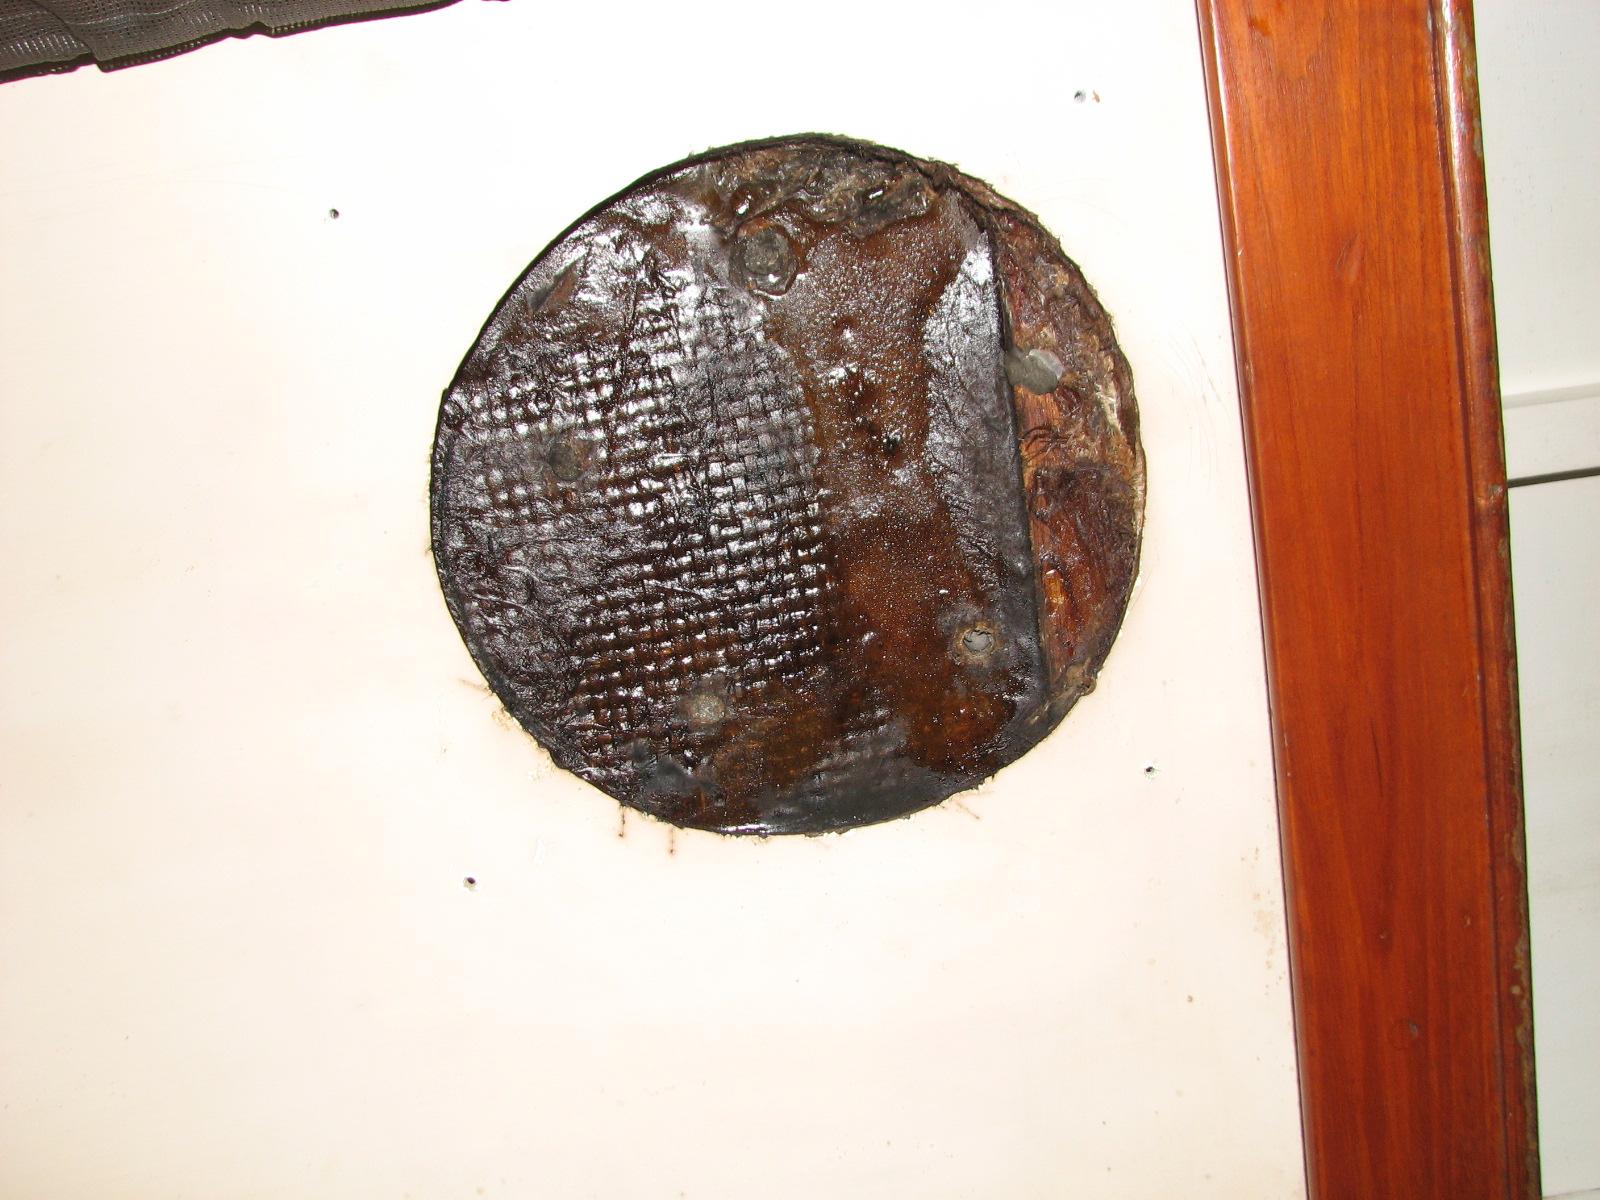
I
realized I had enough wood remaining in my fabricated teak piece, I
could cut out another piece to cover a hole in the overhead of the
main cabin, which I did.
Hole In
Main Cabin Overhead
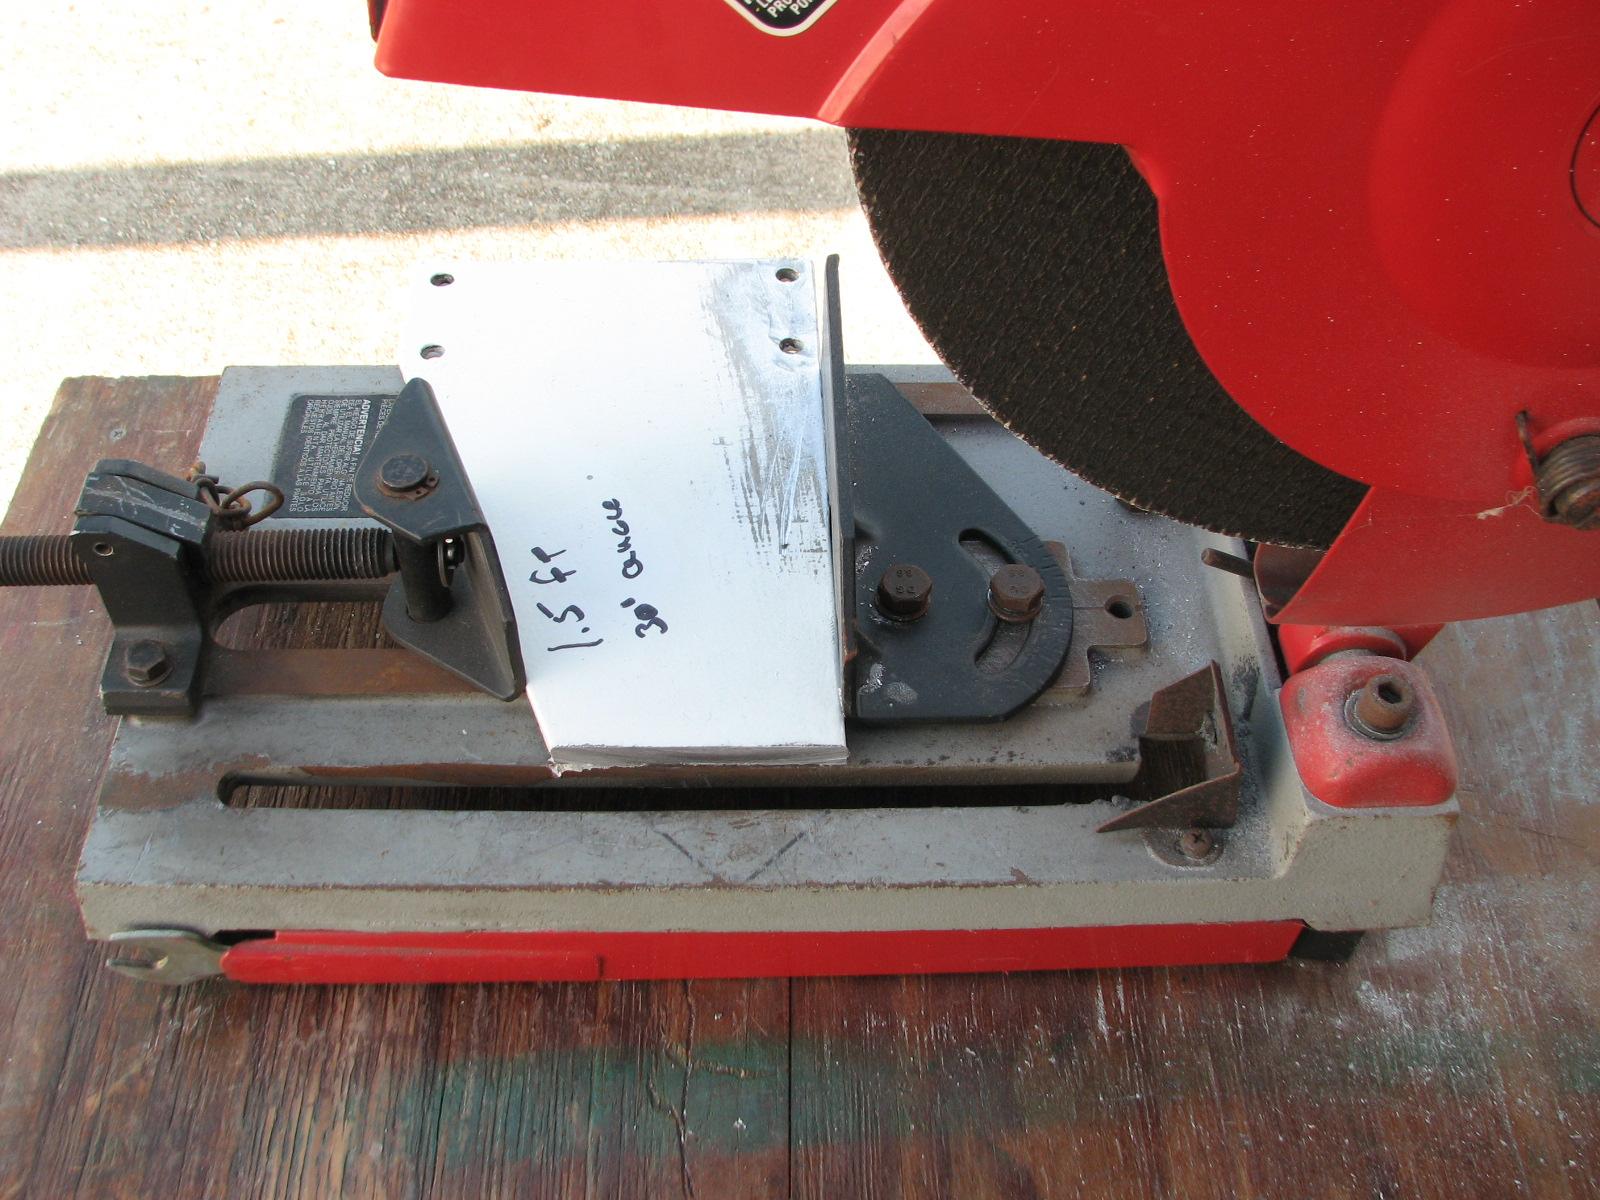
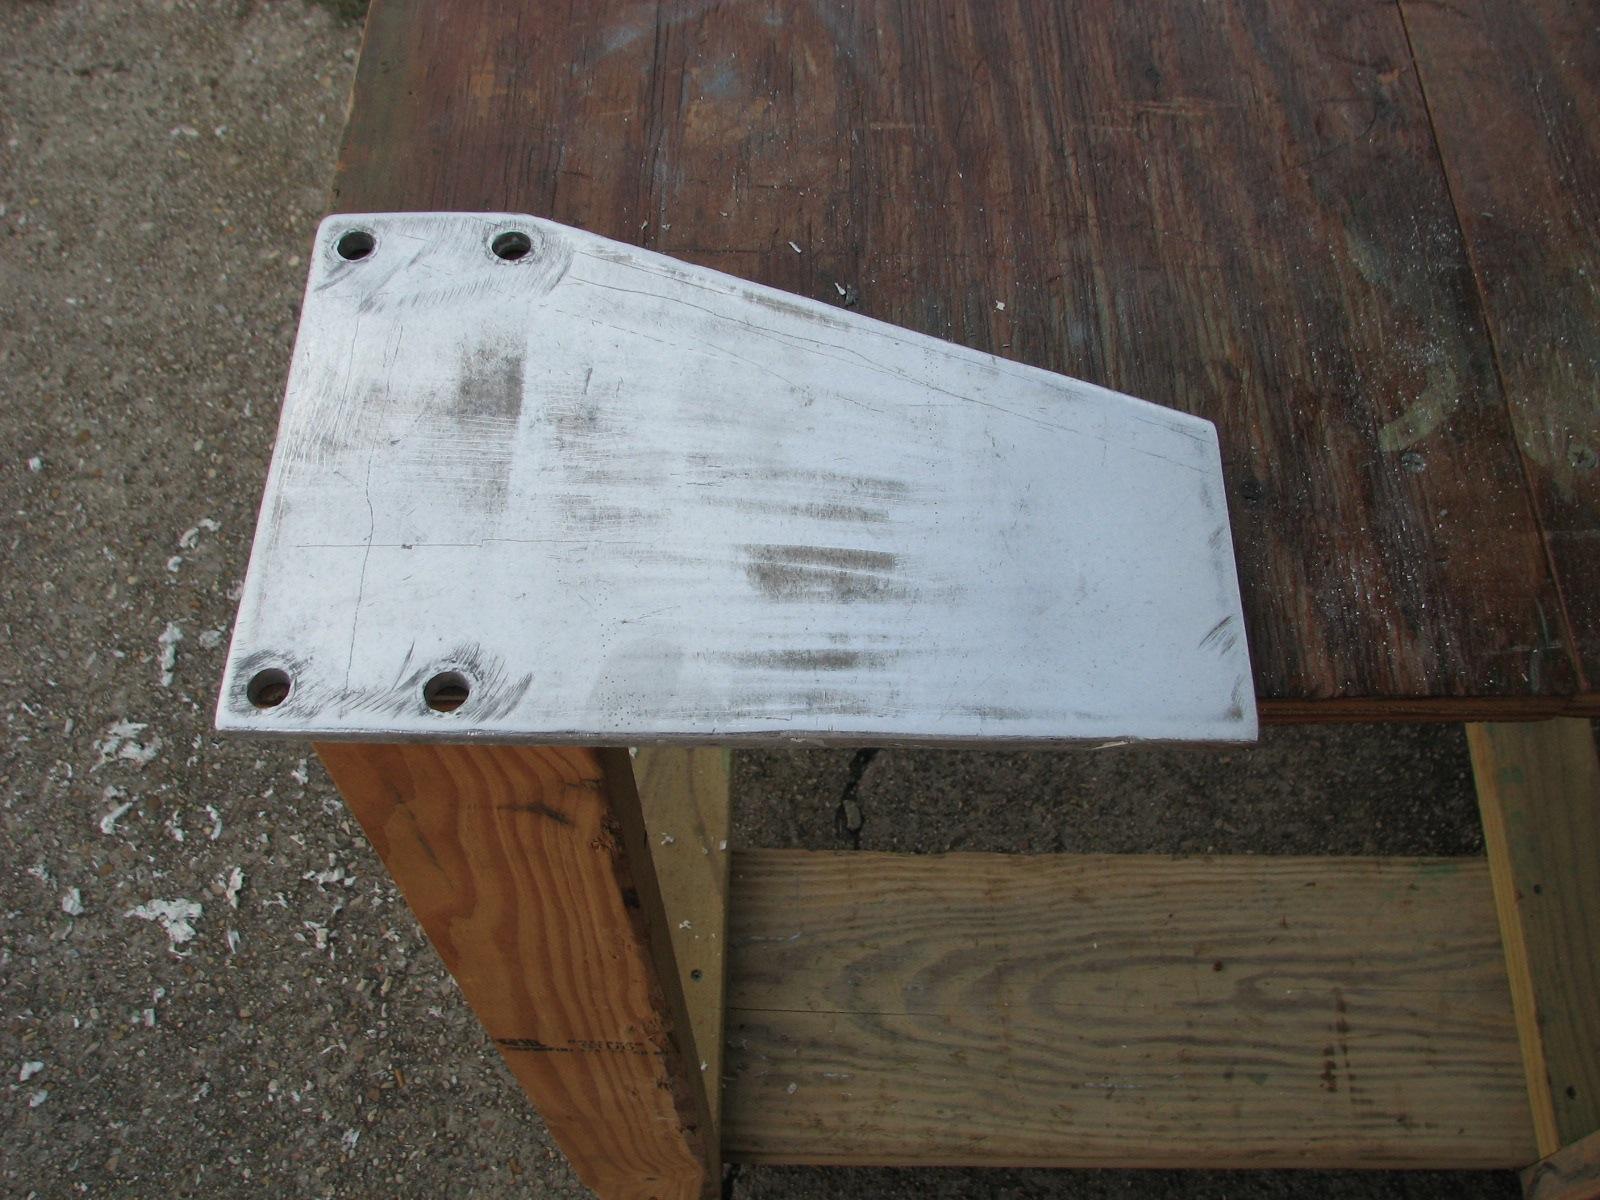
I am
working on fabricating a deck from the main mast to the cabin top as
an area to work on the main sail. I will be referring to this project
as the main mast sail deck. I have some aluminum pieces at the shop
I am going to use as the primary support at the main mast. These
pieces had to be cut and modified. I used my chop saw to cut the
piece, and then sanded it down smooth. In the future I will weld up
the present holes in the piece.
Piece
After Cut In Chop Saw
Piece
Sanded Smooth
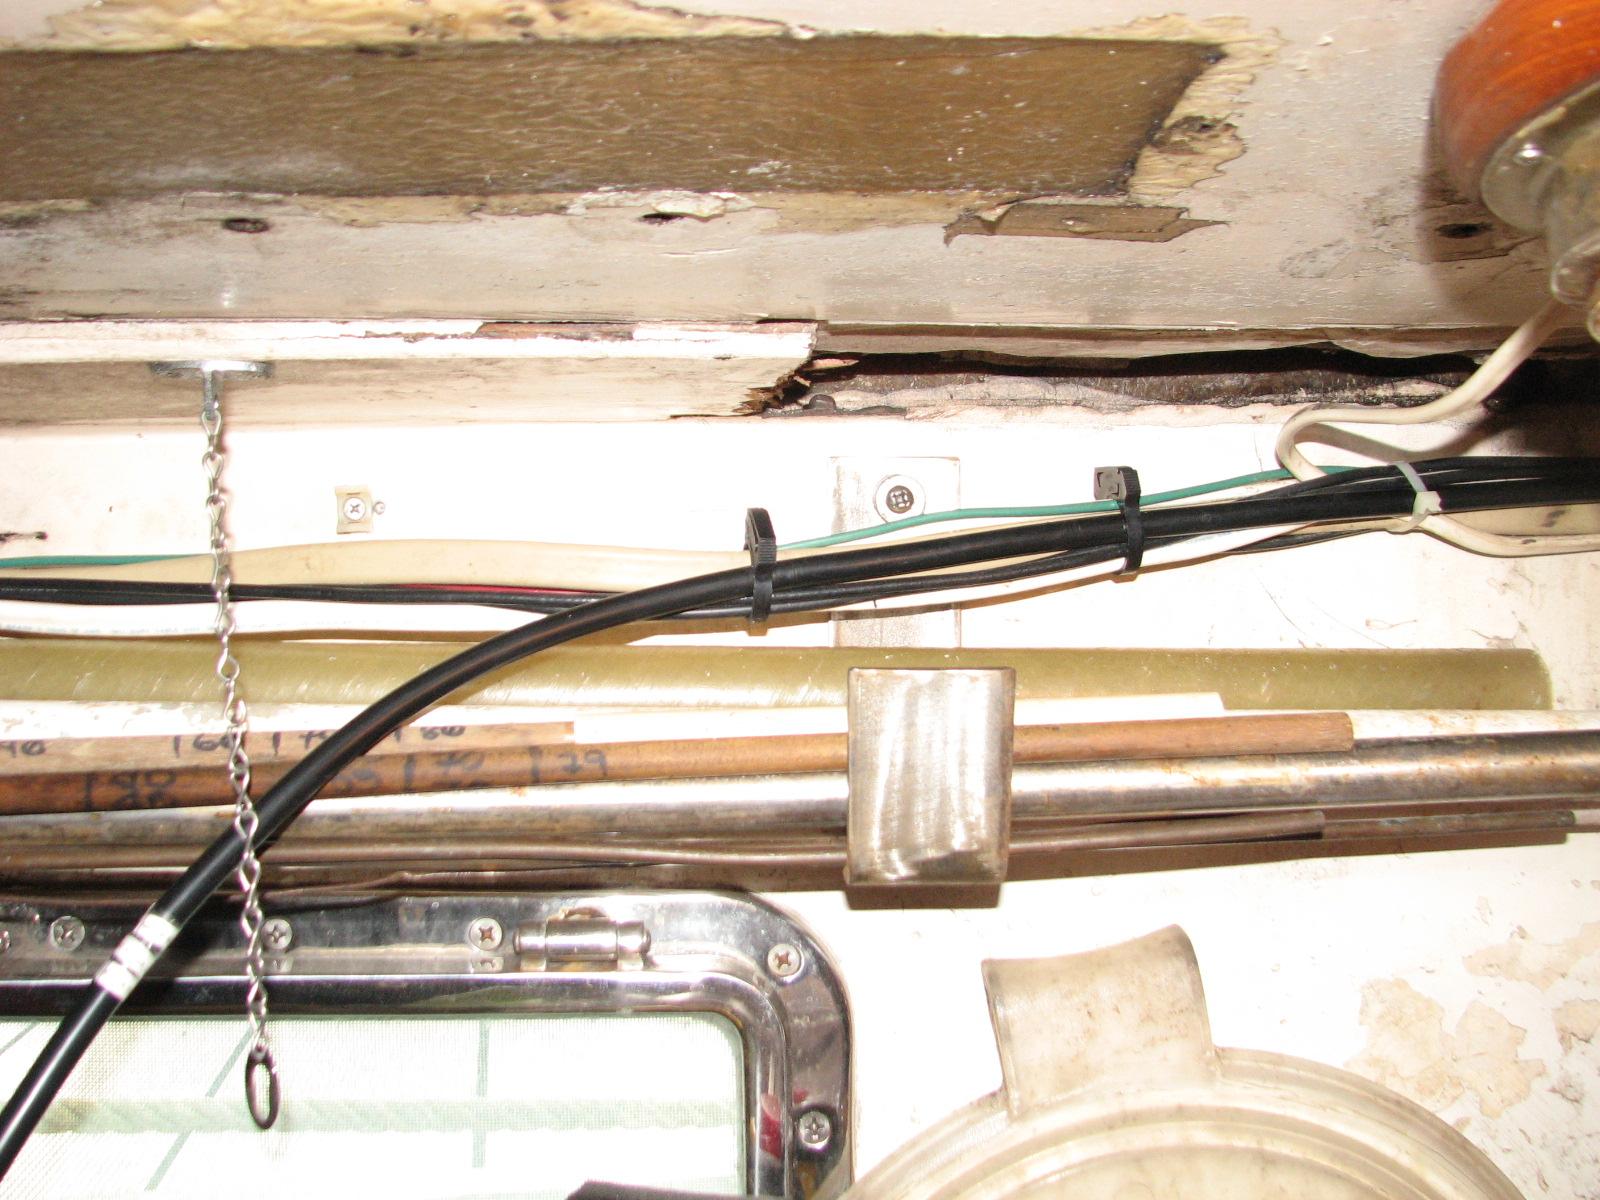
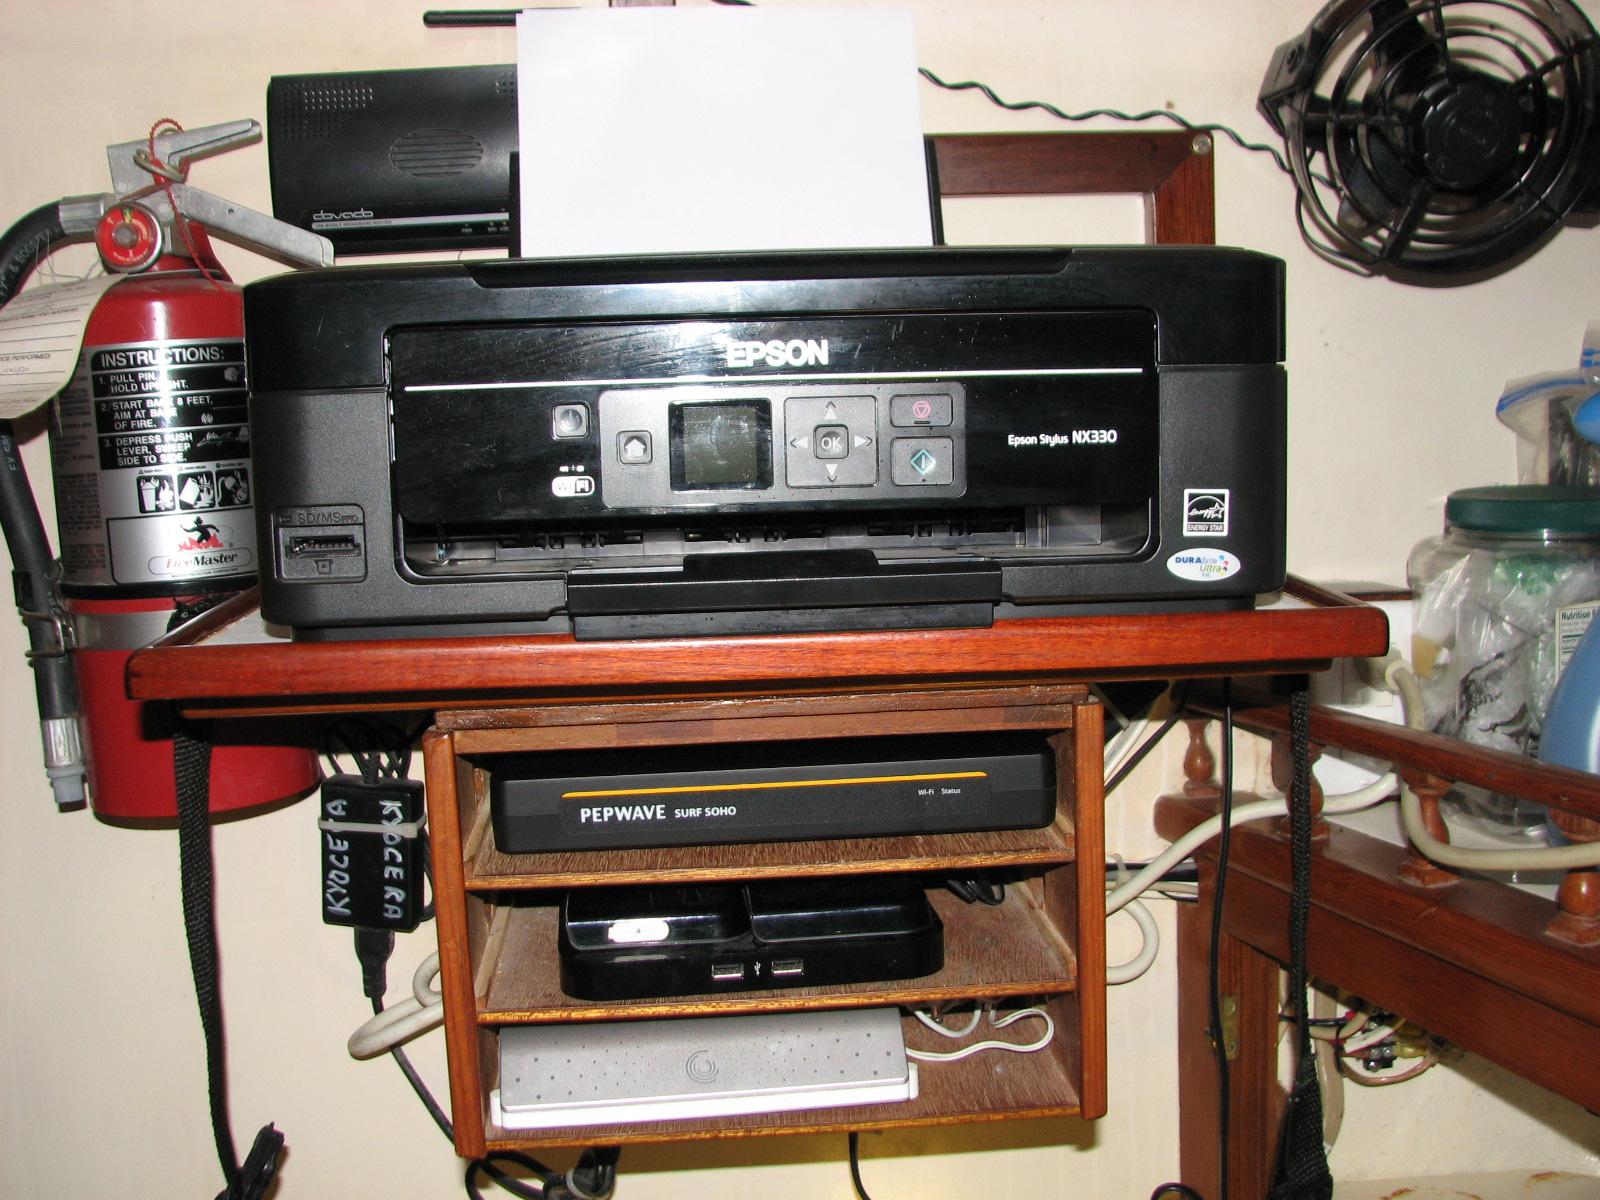
Running
Cable In Garage
July 14,
Sunday, 2013
Started off the morning
with my normal ritual of getting on the Internet, answering email,
checking the weather, while making a pot of coffee.
Went over
to shop
and removed the compressor from the air conditioner tray. When that
was removed I finished cleaning all the junk and rust out of the
tray. The tray is ready to send off to Stacy.
Finally
got the epoxy pumps for my epoxy, so I was able to finally mix some
up! I did mix a batch and epoxied a piece of teak to the piece I had
made to cover the holes I had to cut for the davit backing plates. I
had made the teak piece some time ago, but it was not wide enough.
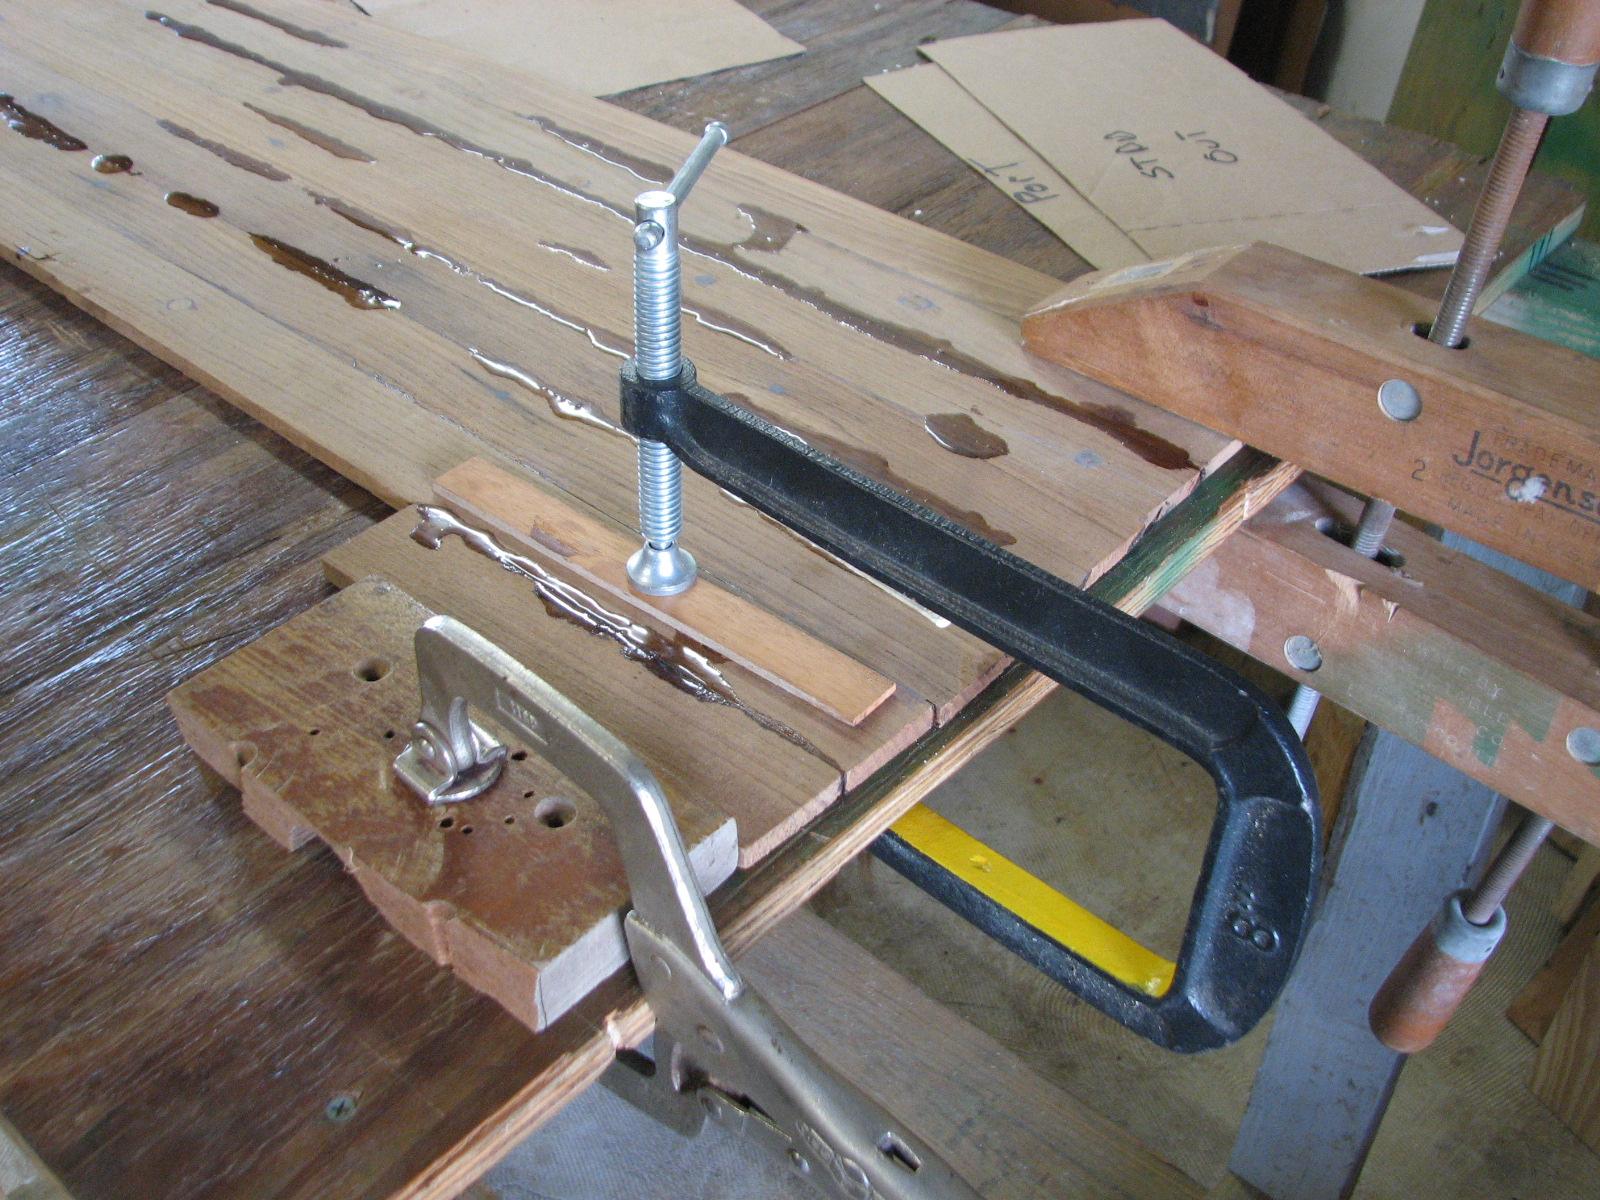
Epoxying
Teak Piece’s Together
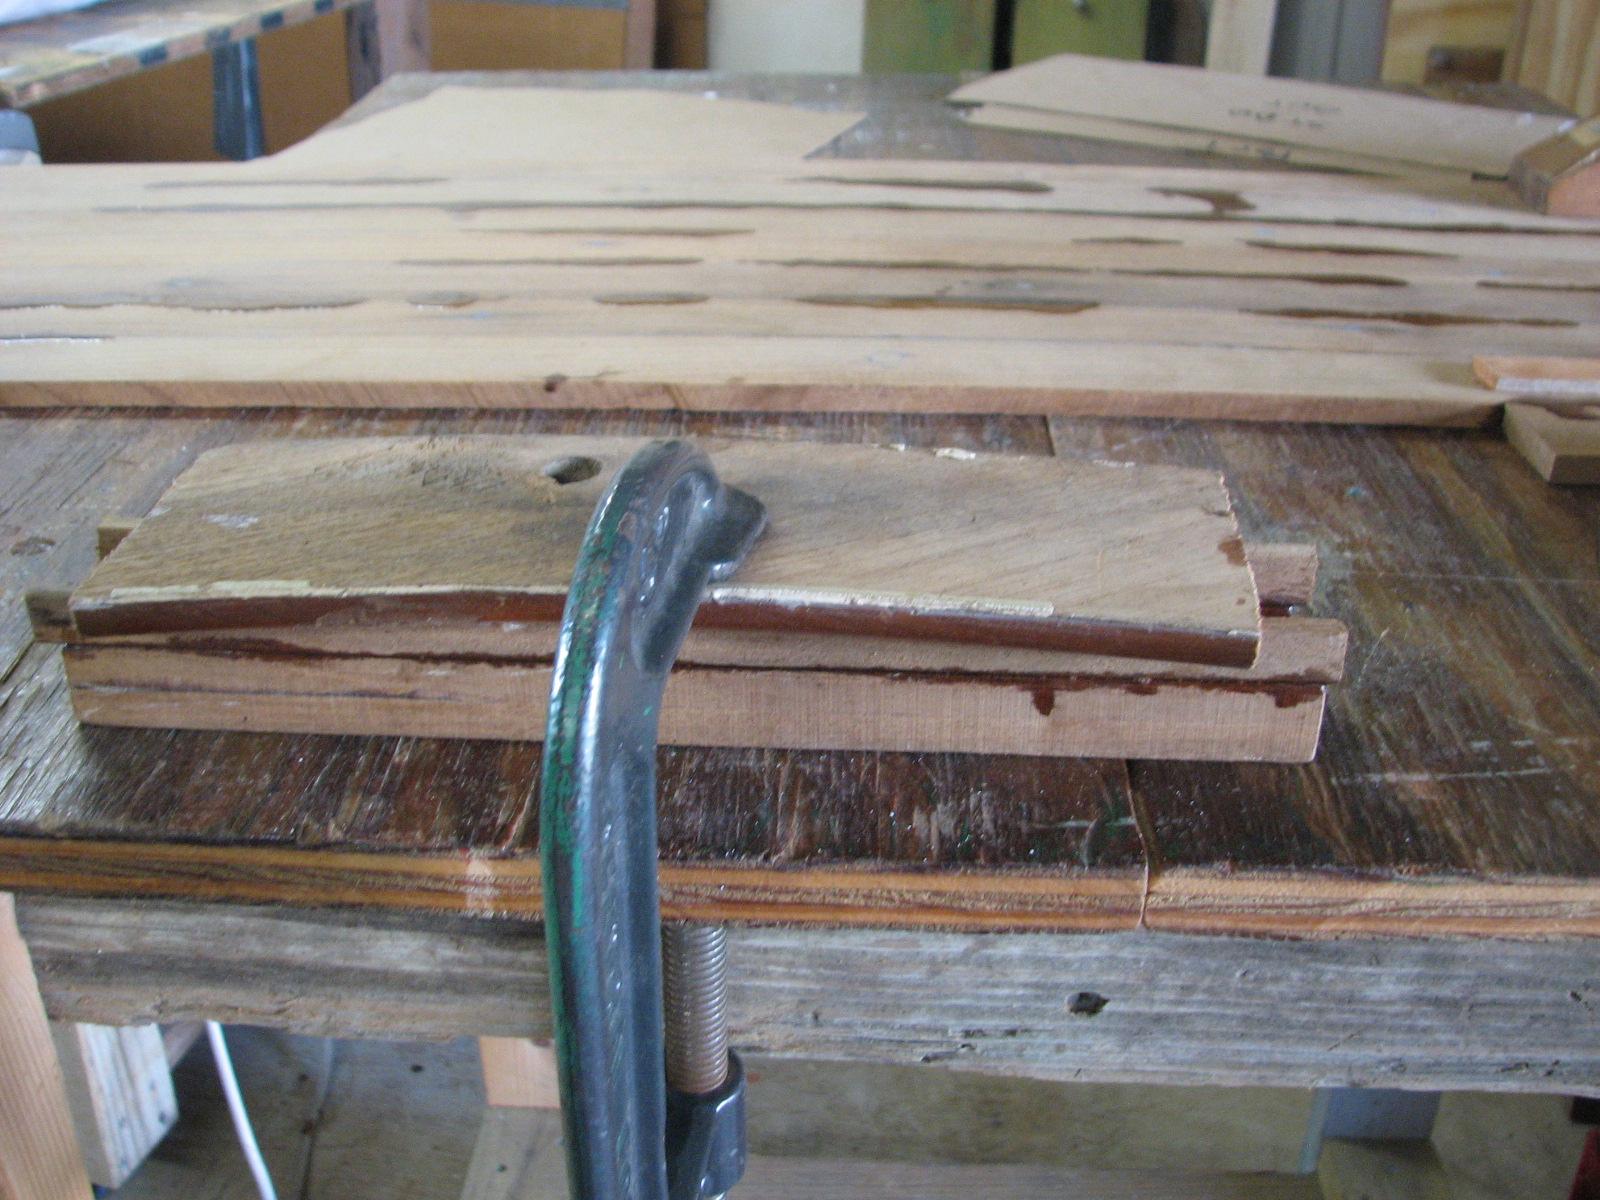
I also
added a couple of small pieces of teak to a teak wire cover I am
using to cover electrical wires in the main cabin.
Teak
Electrical Cover Being Added To
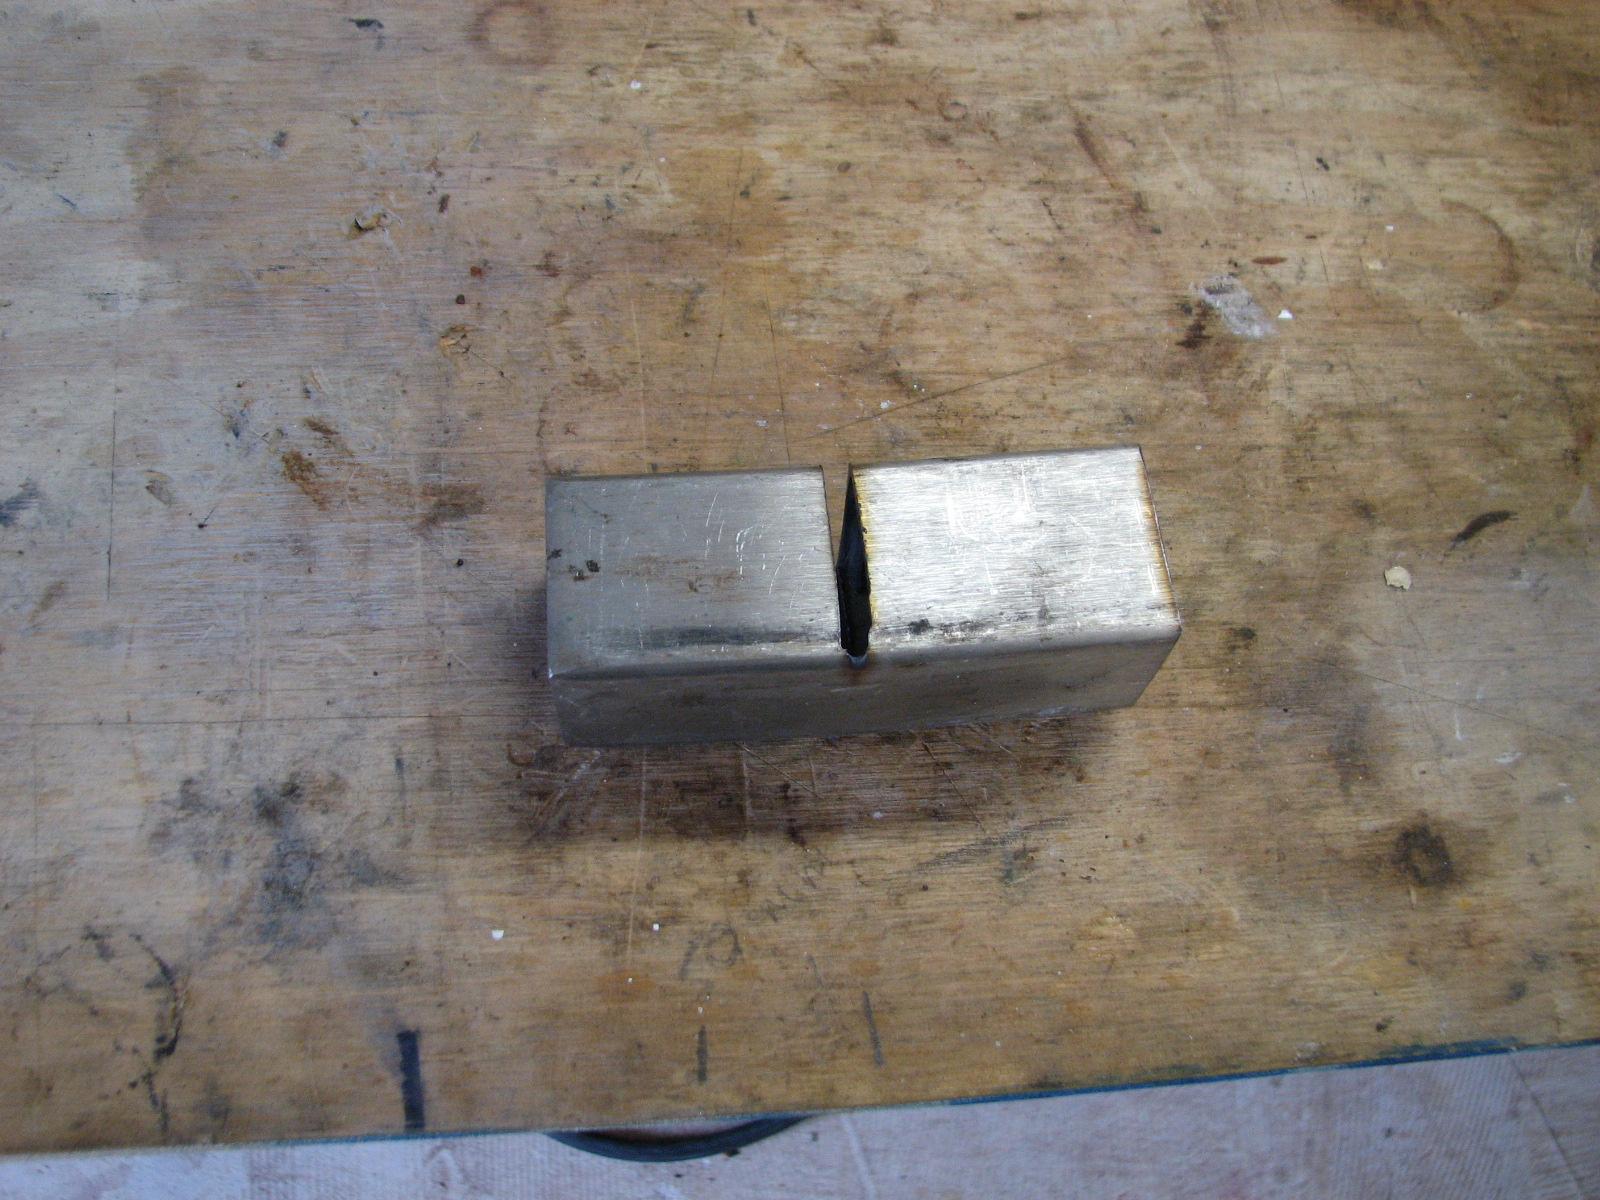
I used my
chop saw and started doing some experiments with putting a curve in
the stainless steel tubing. I am pretty sure it will work, so I might
use it for the fabrication of the stern ladder. The theory is to cut
out a portion of the metal at a thirty degree angle, then gently bend
it back together, and weld it.
Experimental
Cut Square Tubing
I had
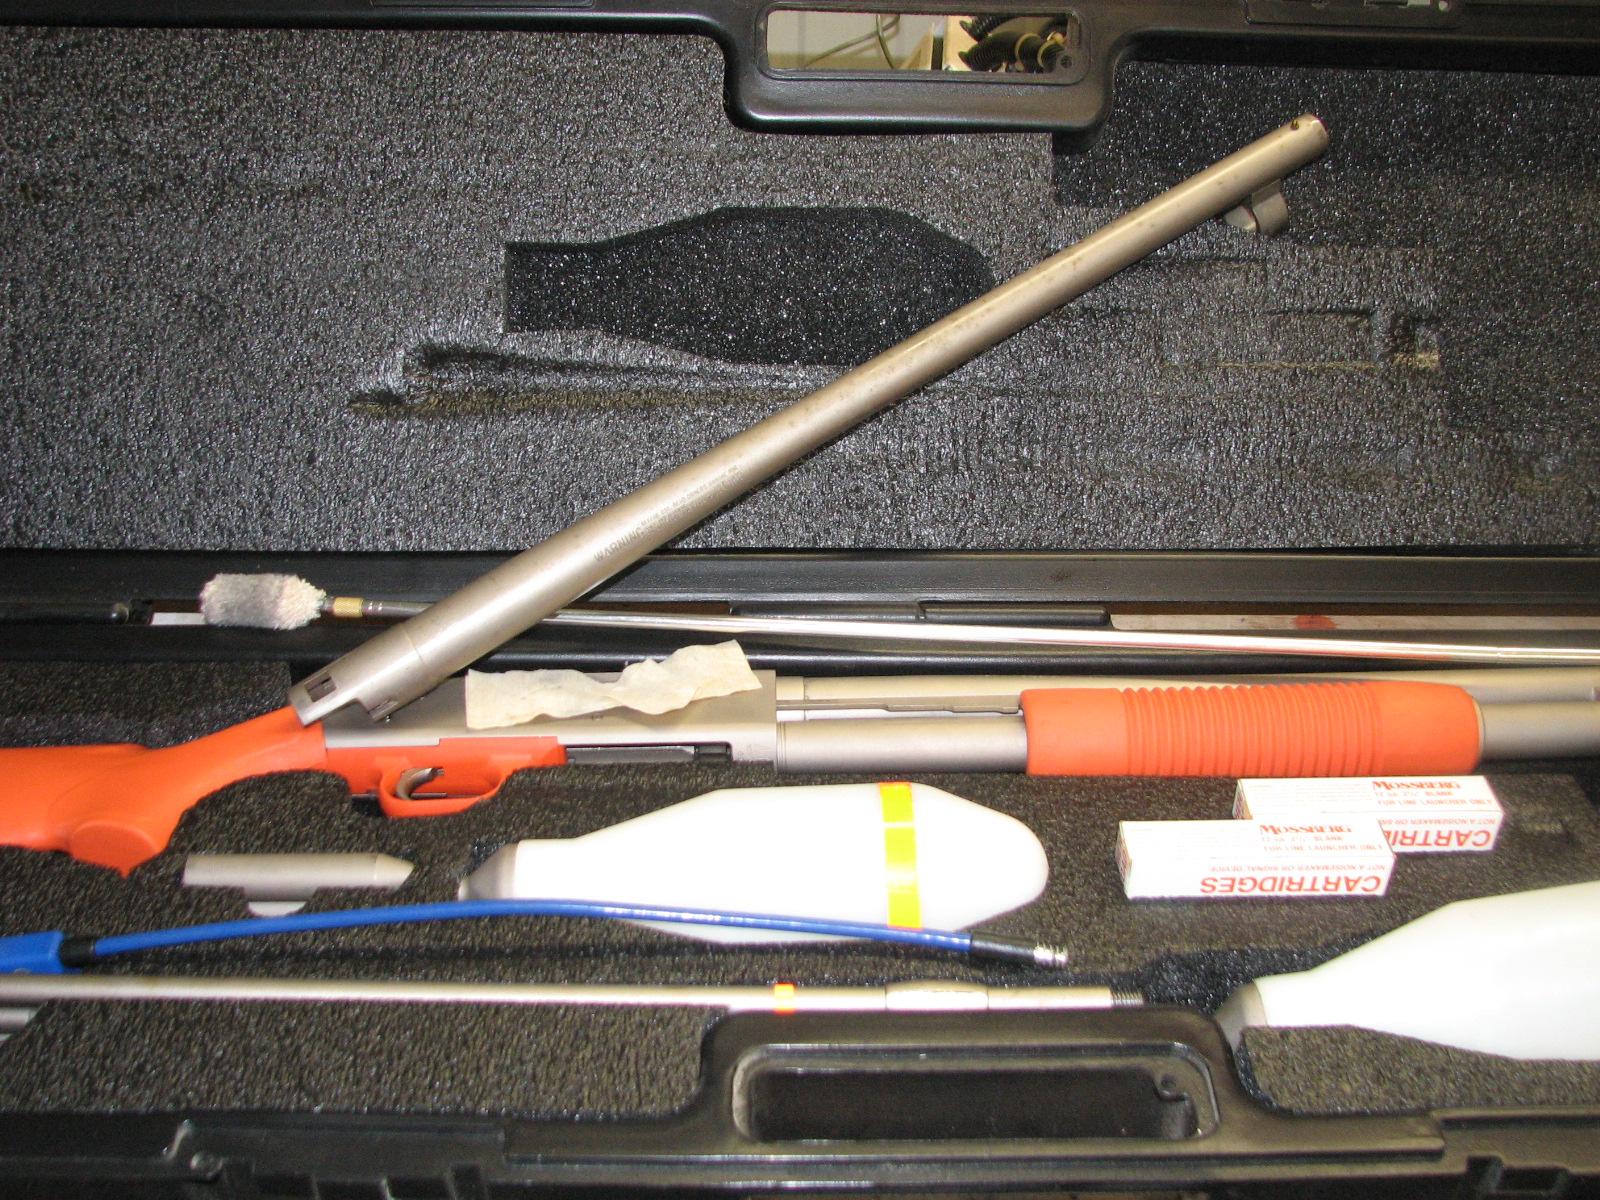
finally received the gun cleaning kit I ordered. I have not cleaned
the line
launcher since our trip to
Atlanta at the first of just, so it was due. I got the line
launcher cleaned, oiled
down, and all put back into it’s case.
Line
Launcher With Cleaning Gear
Went back
to DREAM AWAY, and had breakfast, then up the main mast.
The wind
instrument had quit working. I have a spare piece of cable and wind
vane, so I had connected them directly to the wind instrument, and it
worked great. I then disconnected the cable that came down from the
top of the main mast at the junction box and connected the spare wind
vane cable at the junction box. The wind instrument worked just fine.
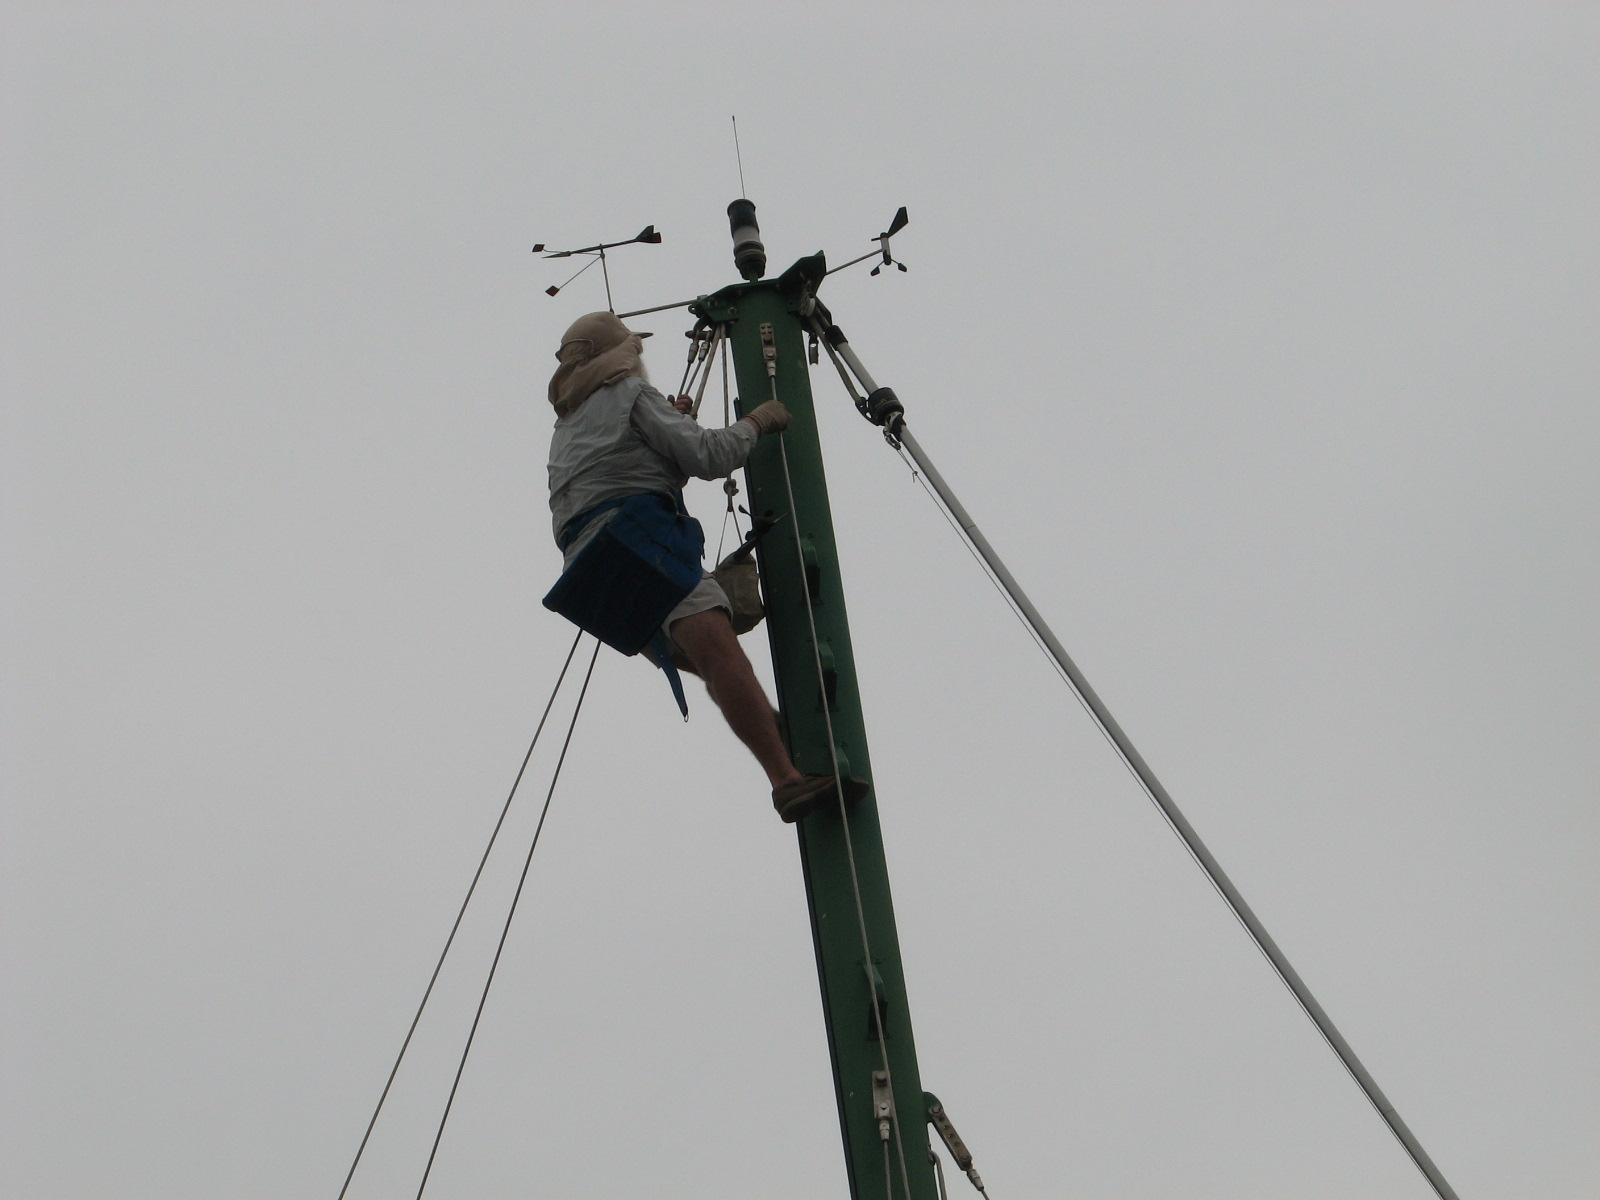
Now it
was time to take the wind vane up the main mast and install it. I
took it up to the top of the mast and removed the old vane and
installed the spare. When we tried the wind instrument, it worked
great. So now I had to get the wind vane repaired.
Captain
Jim At The Top Of The Main Mast
I did a
quick installation, and then back down to the deck. I waited until
the night, and was pleasantly surprised with the amount of light put
out by the Taco
LED spreader light. Now I
will have to purchase three more of the Taco
LED spreader lights.
I just
might use one of the Hella
Marine Halogen Deck Floodlights
back on the dinghy davits to light the area when getting into and out
of the tender at night, and also as a security device.
July 13,
Saturday, 2013
Started off the morning
with my normal ritual of getting on the Internet, answering email,
checking the weather, while making a pot of coffee.
took off
tender hold down lines and started wash process; removed soft dodger;
measures bracket for main mast base grating; helped Joel with air
conditioner.
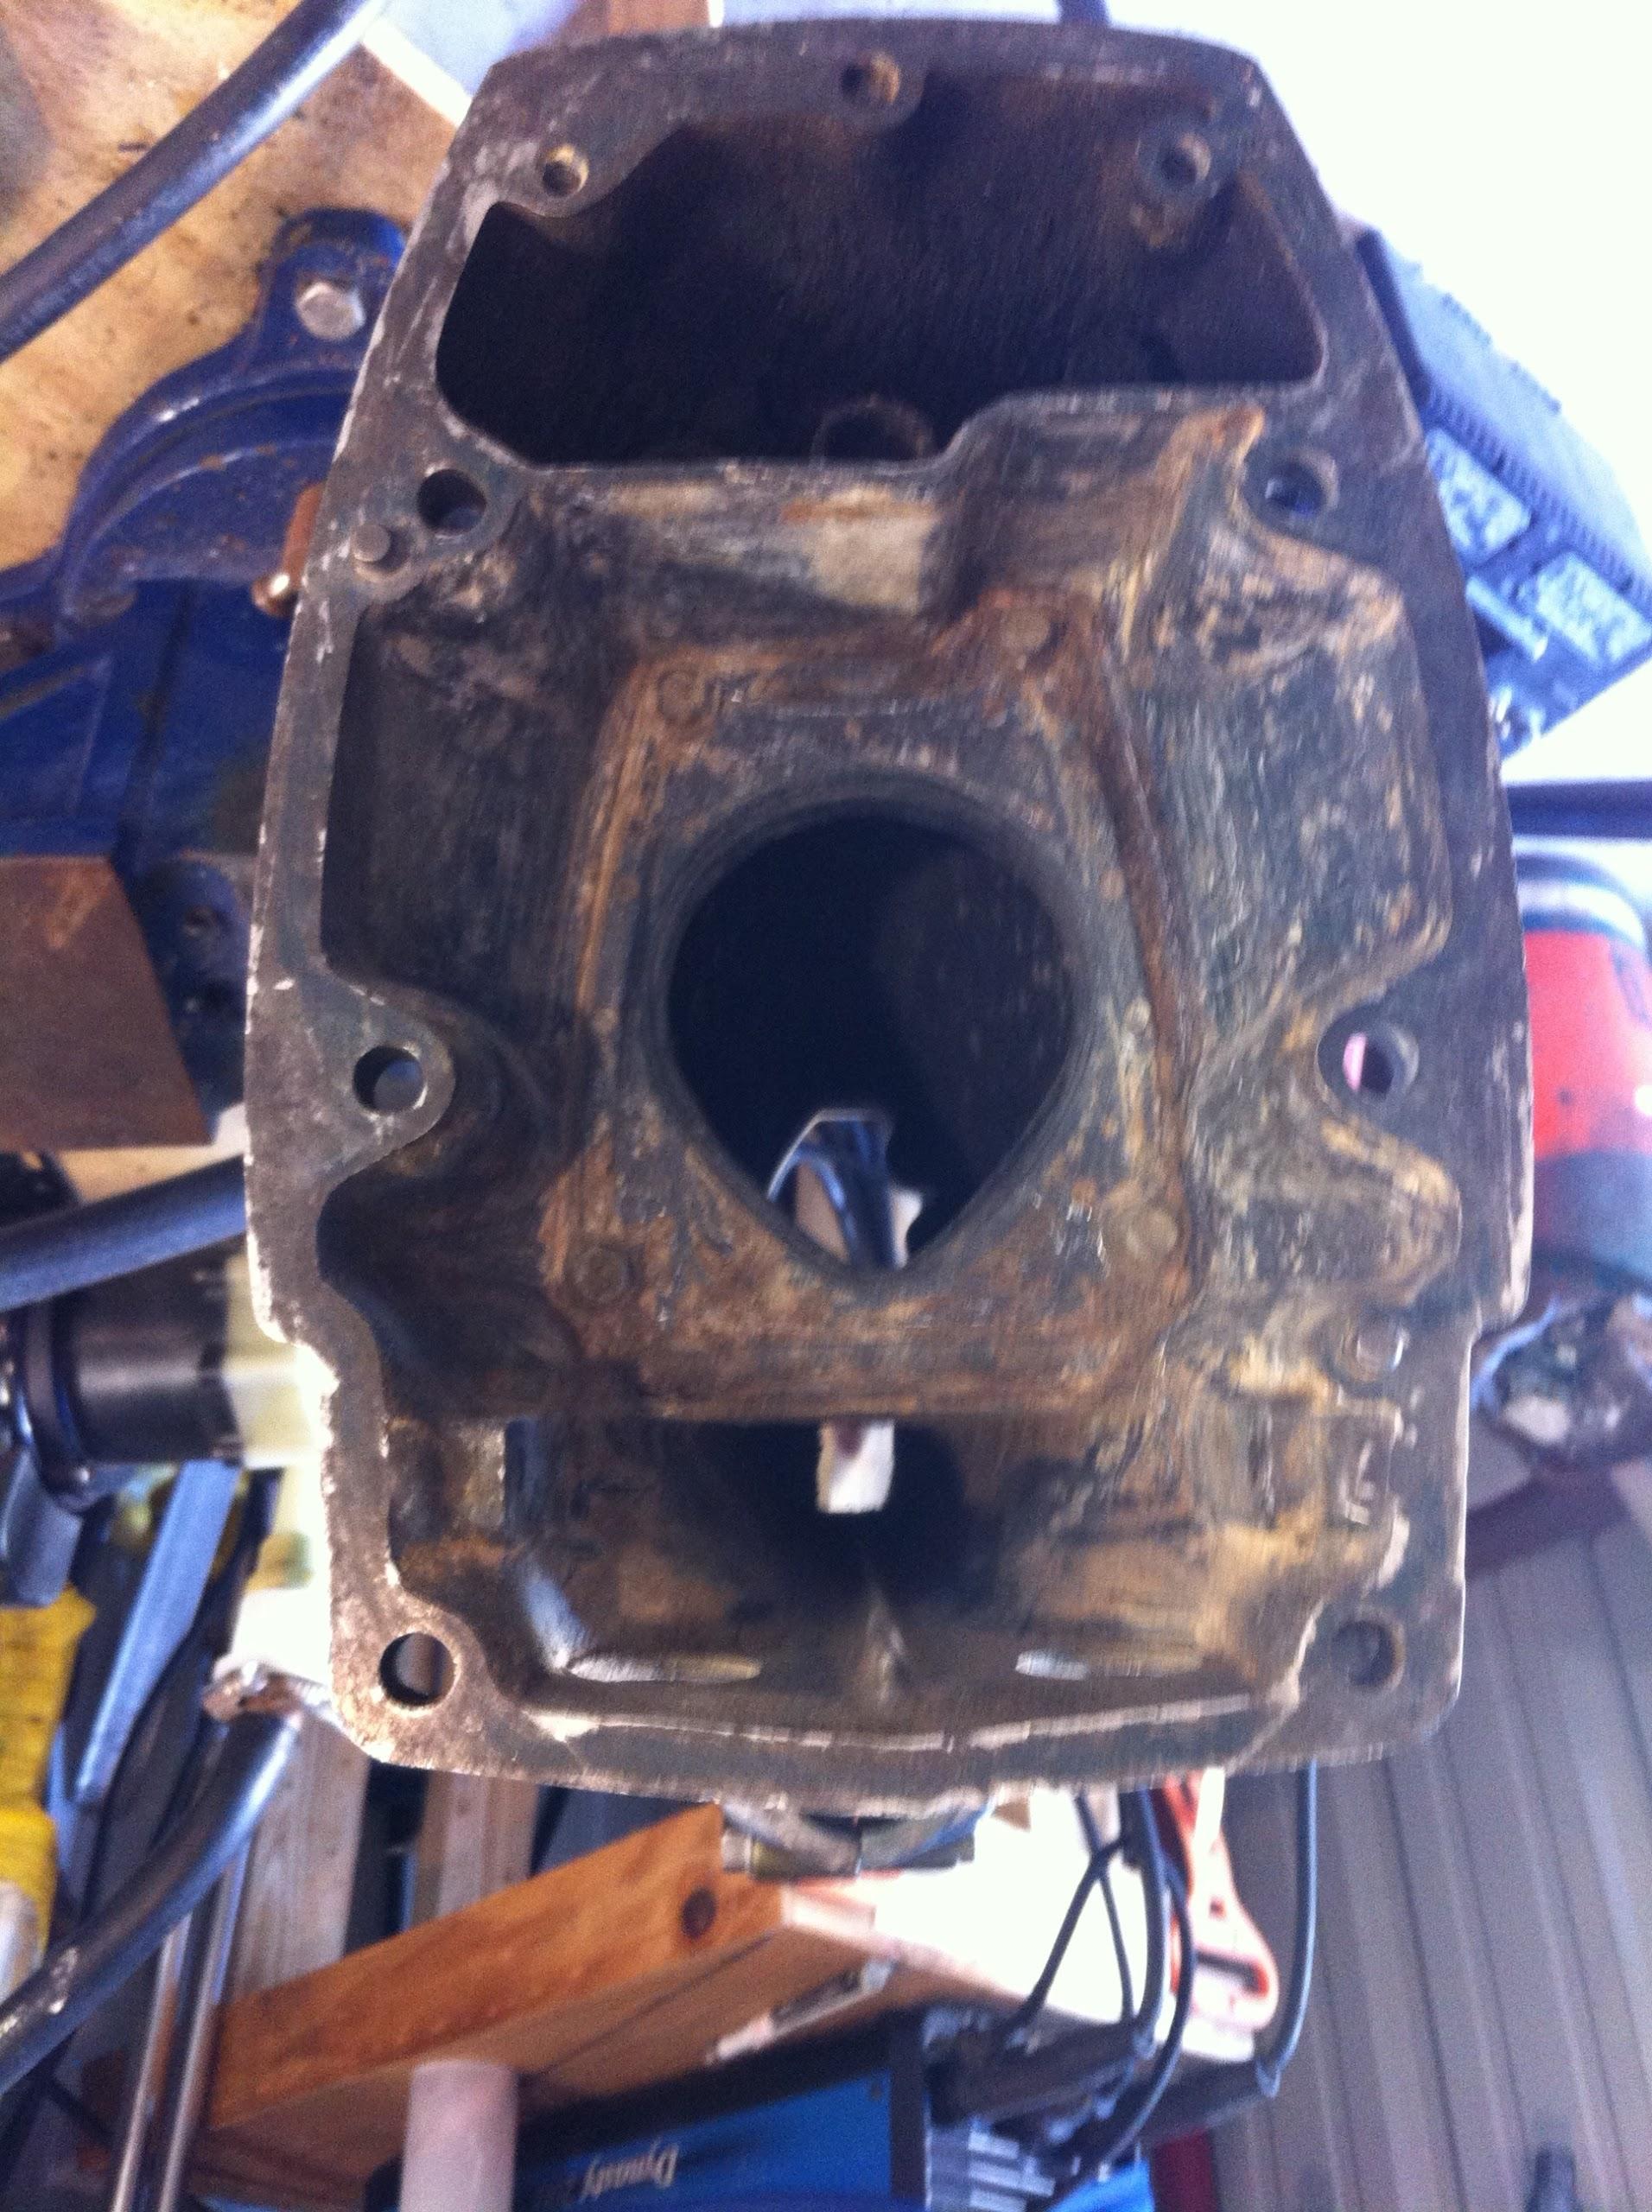
Went to
the shop
first this in the morning and started cleaning up the parts on the
spare Yamaha Outboard. Hopefully I will be getting back the repaired
power head and will be able to reassemble the spare engine.
Upper
Casing Getting Cleaned Up
I
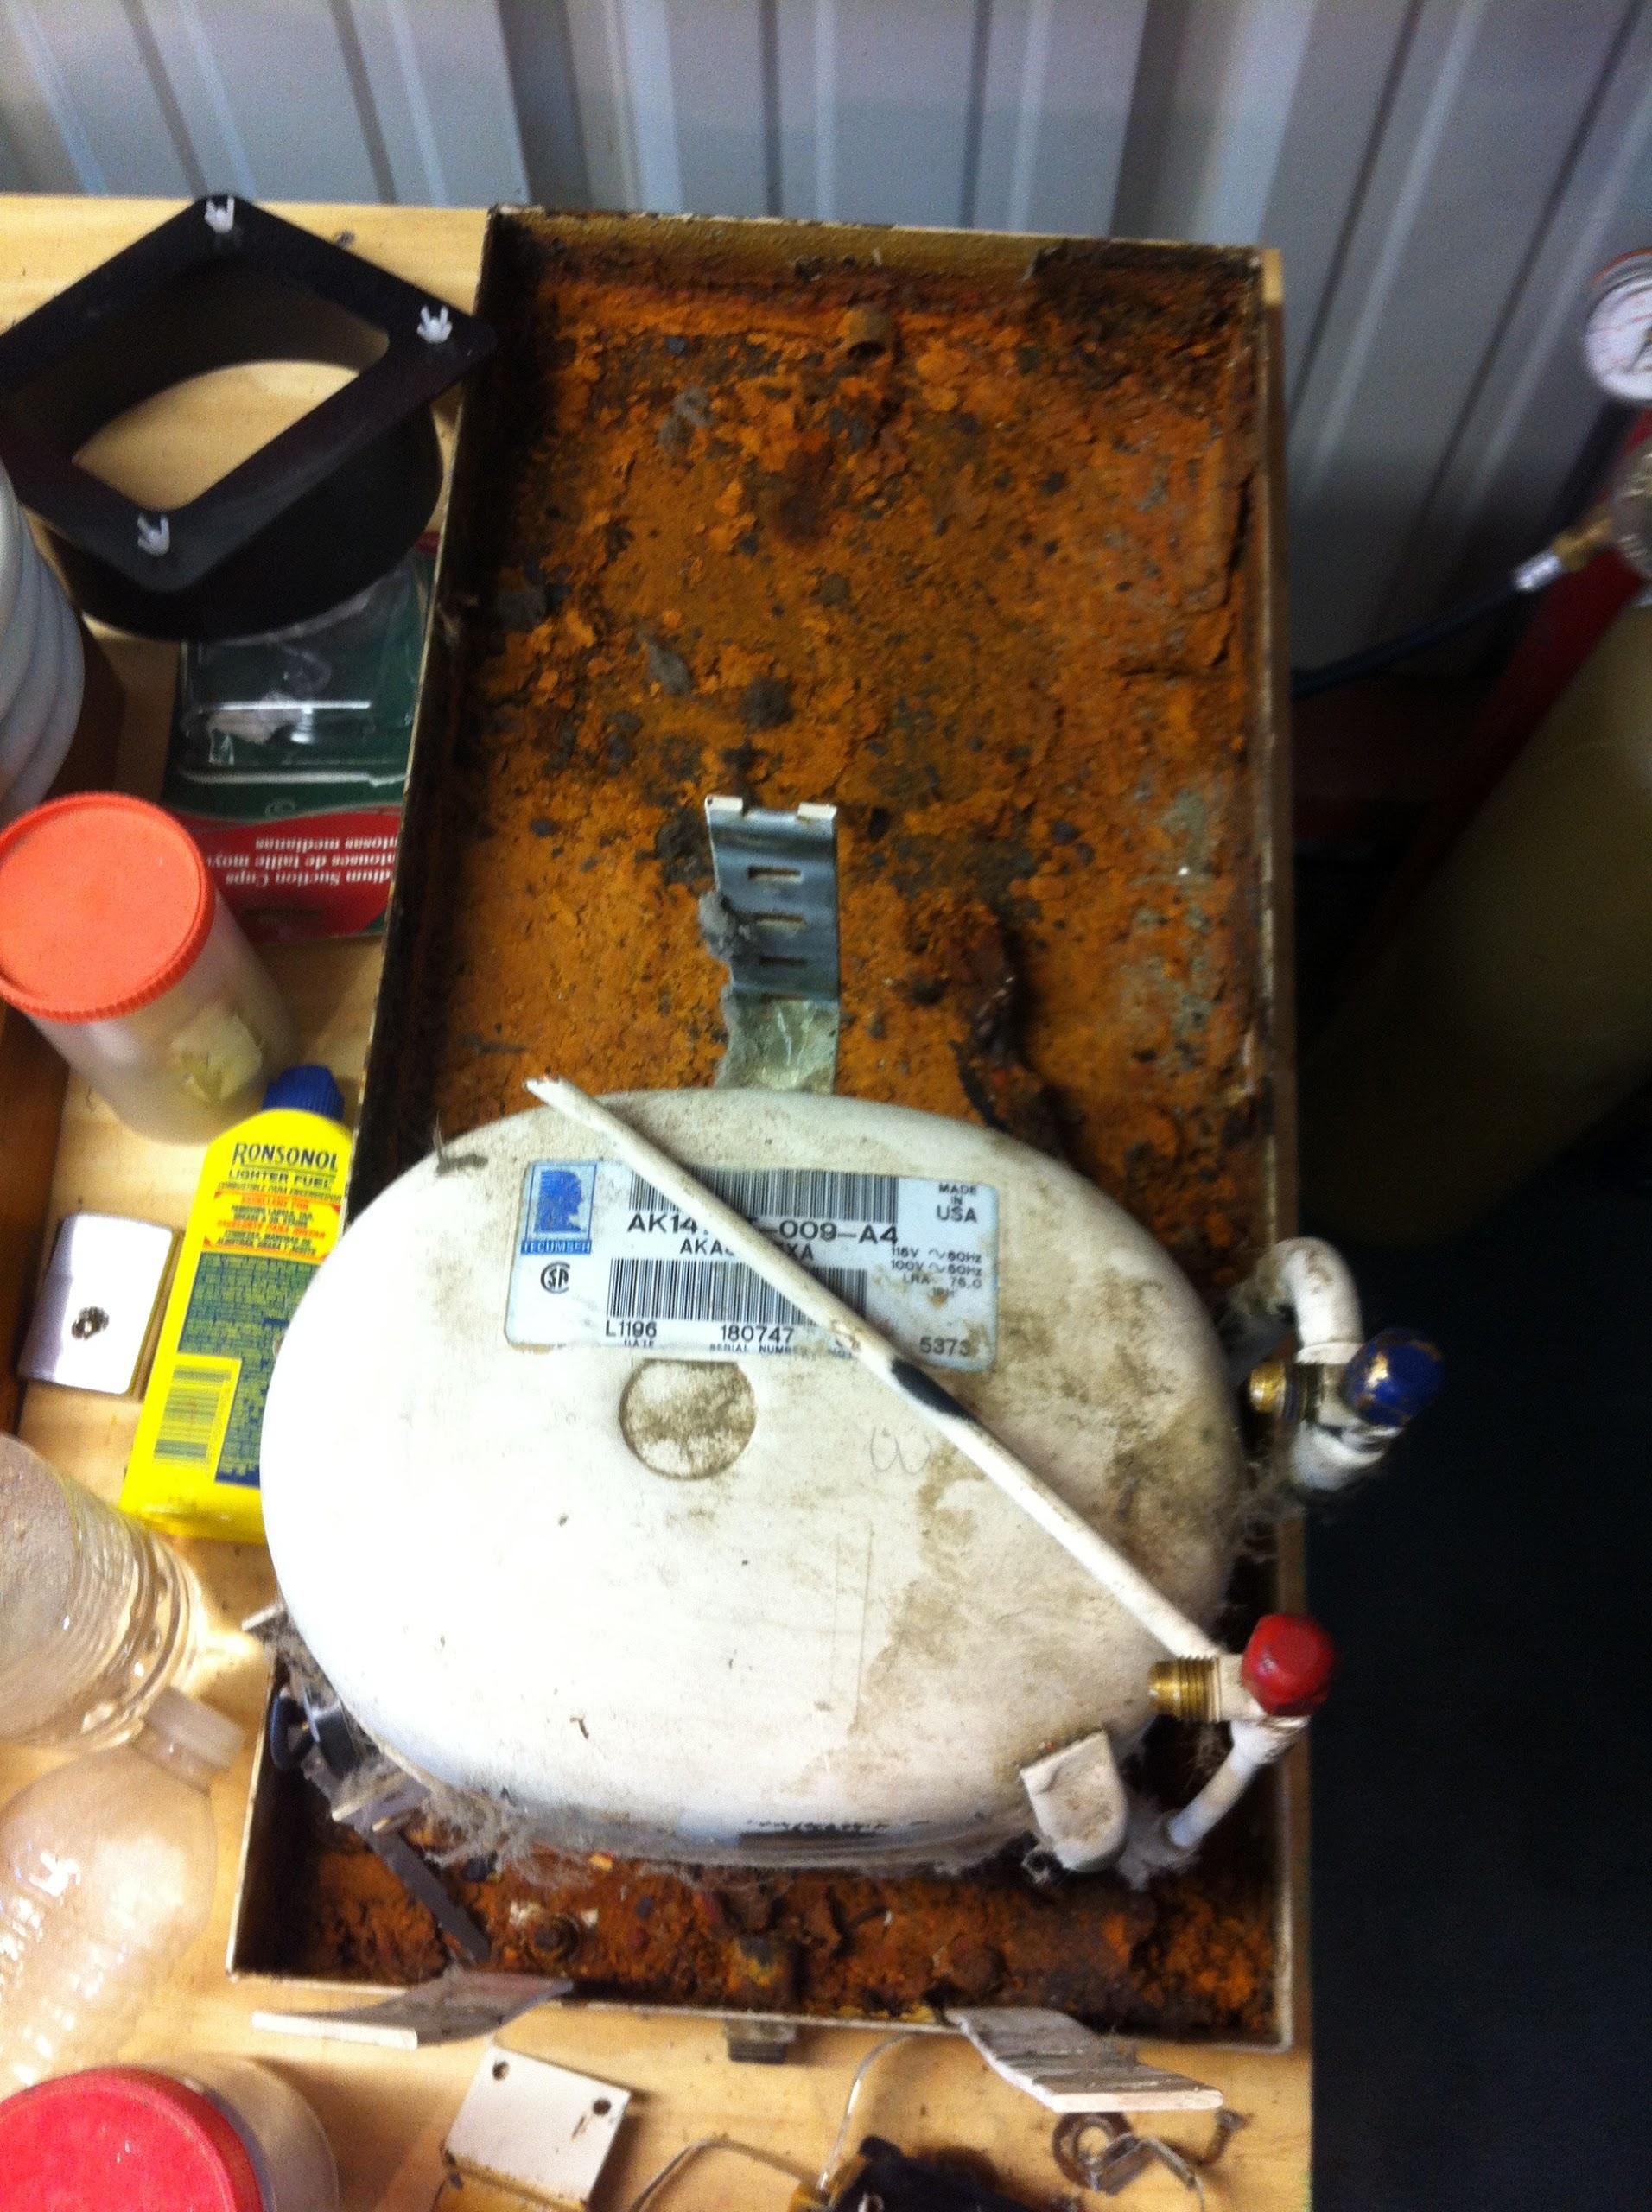
continued working on the tray for the failed air conditioner. My son,
Stacy, has a friend who can fabricate the tray out of stainless
steel, and he offered to get it done for my spare Cruisair
Air Conditioner. What I
need to do is strip all of the parts out of the tray so it can be
sent off to Stacy’s friend. Once all of the parts are out of the
tray, then the tray itself will have to be cleaned out.
Evaporator
Removed From Tray
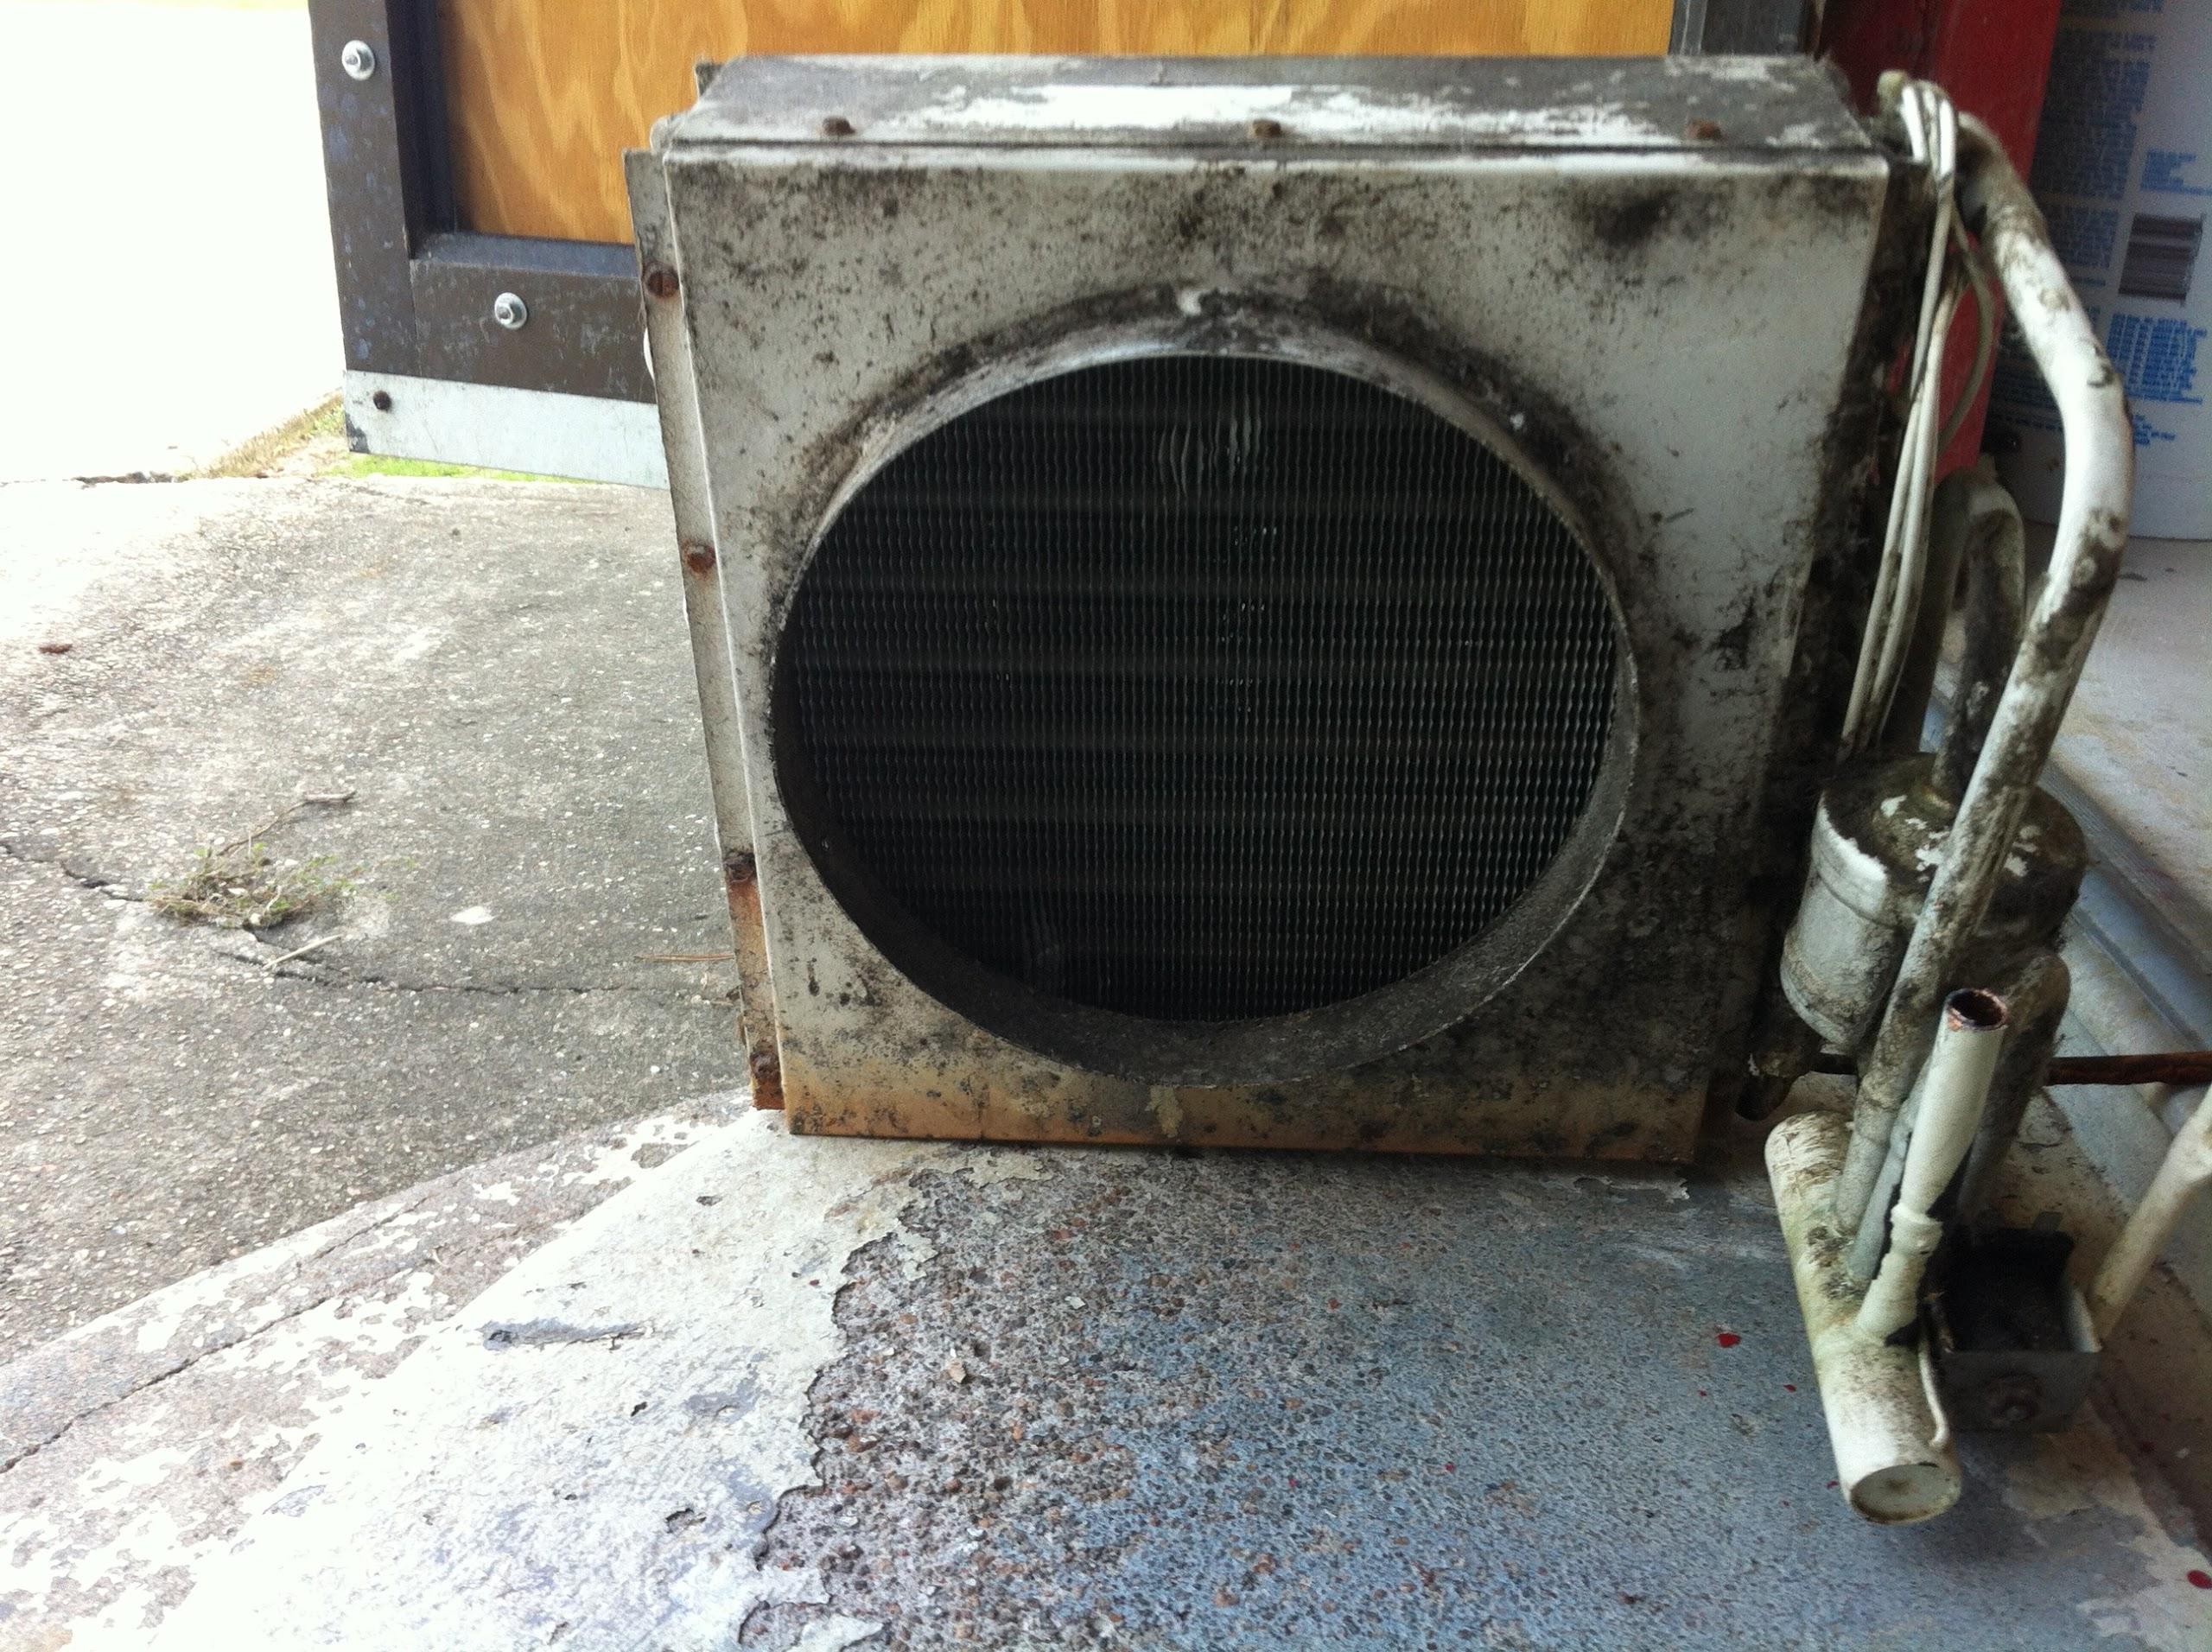
Air
Conditioner Tray With Compressor
Went back
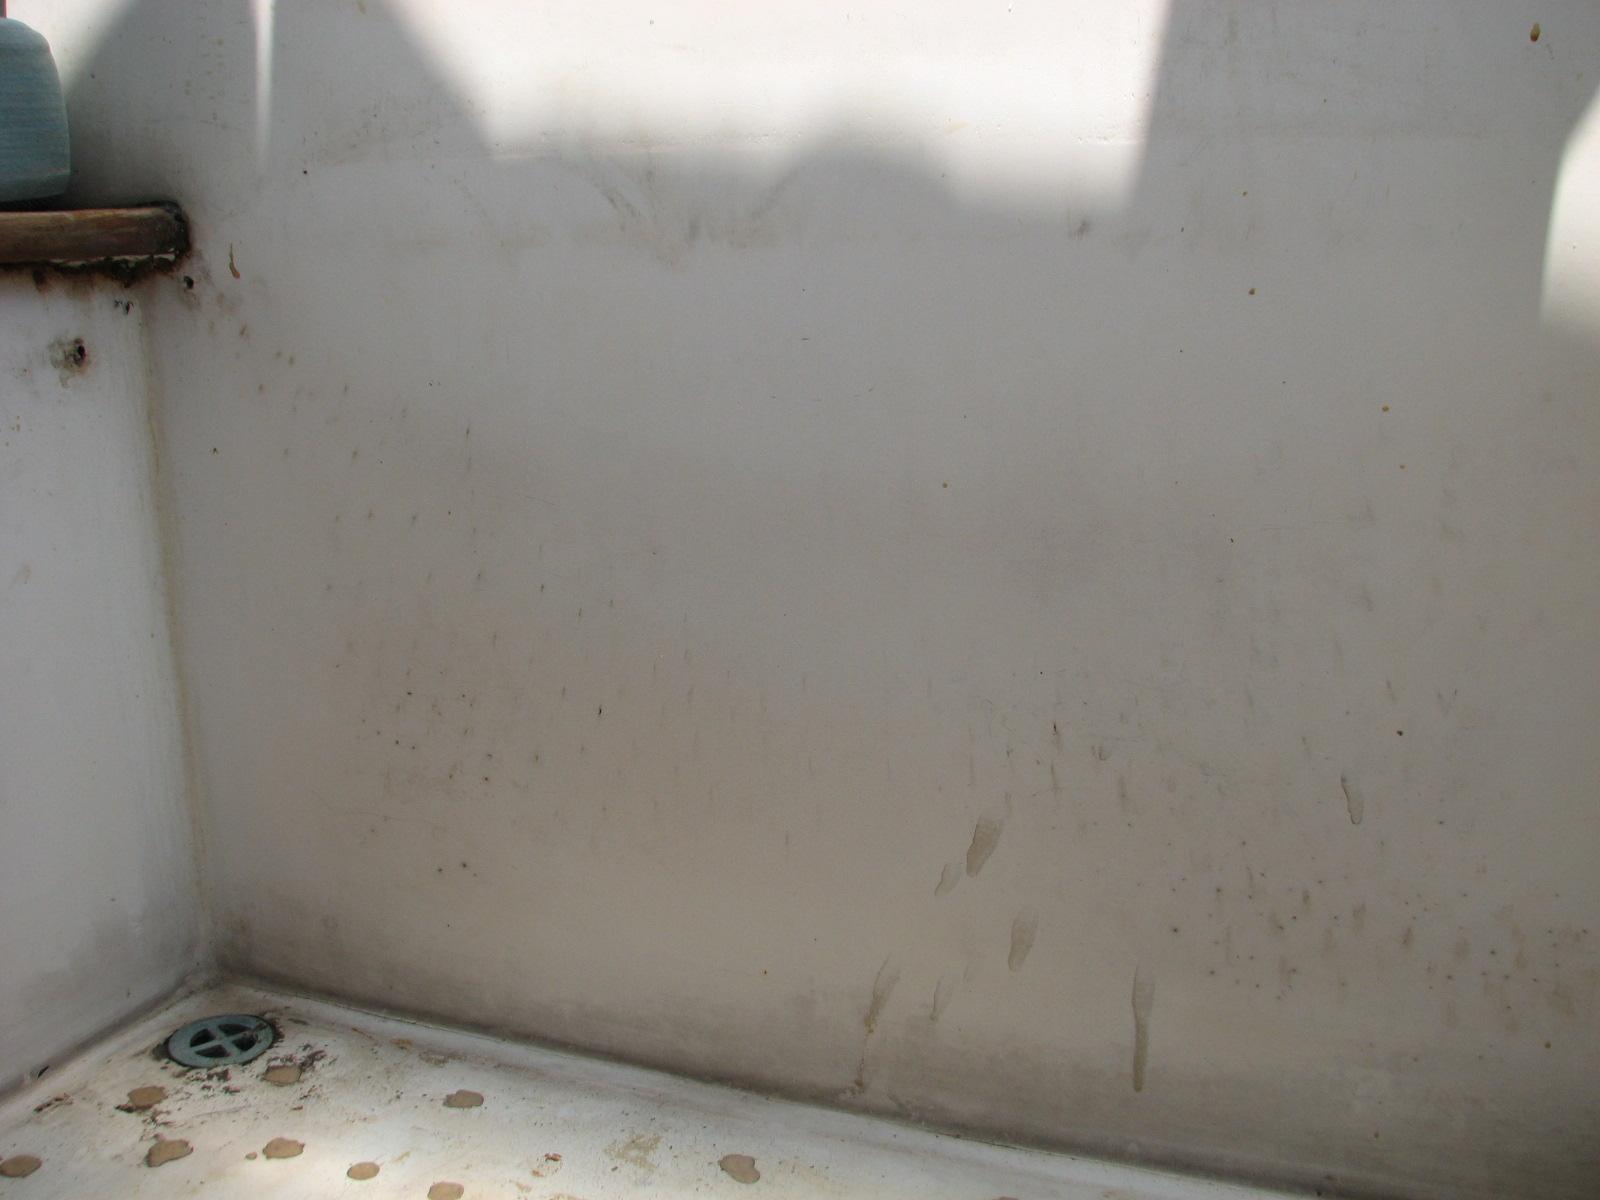
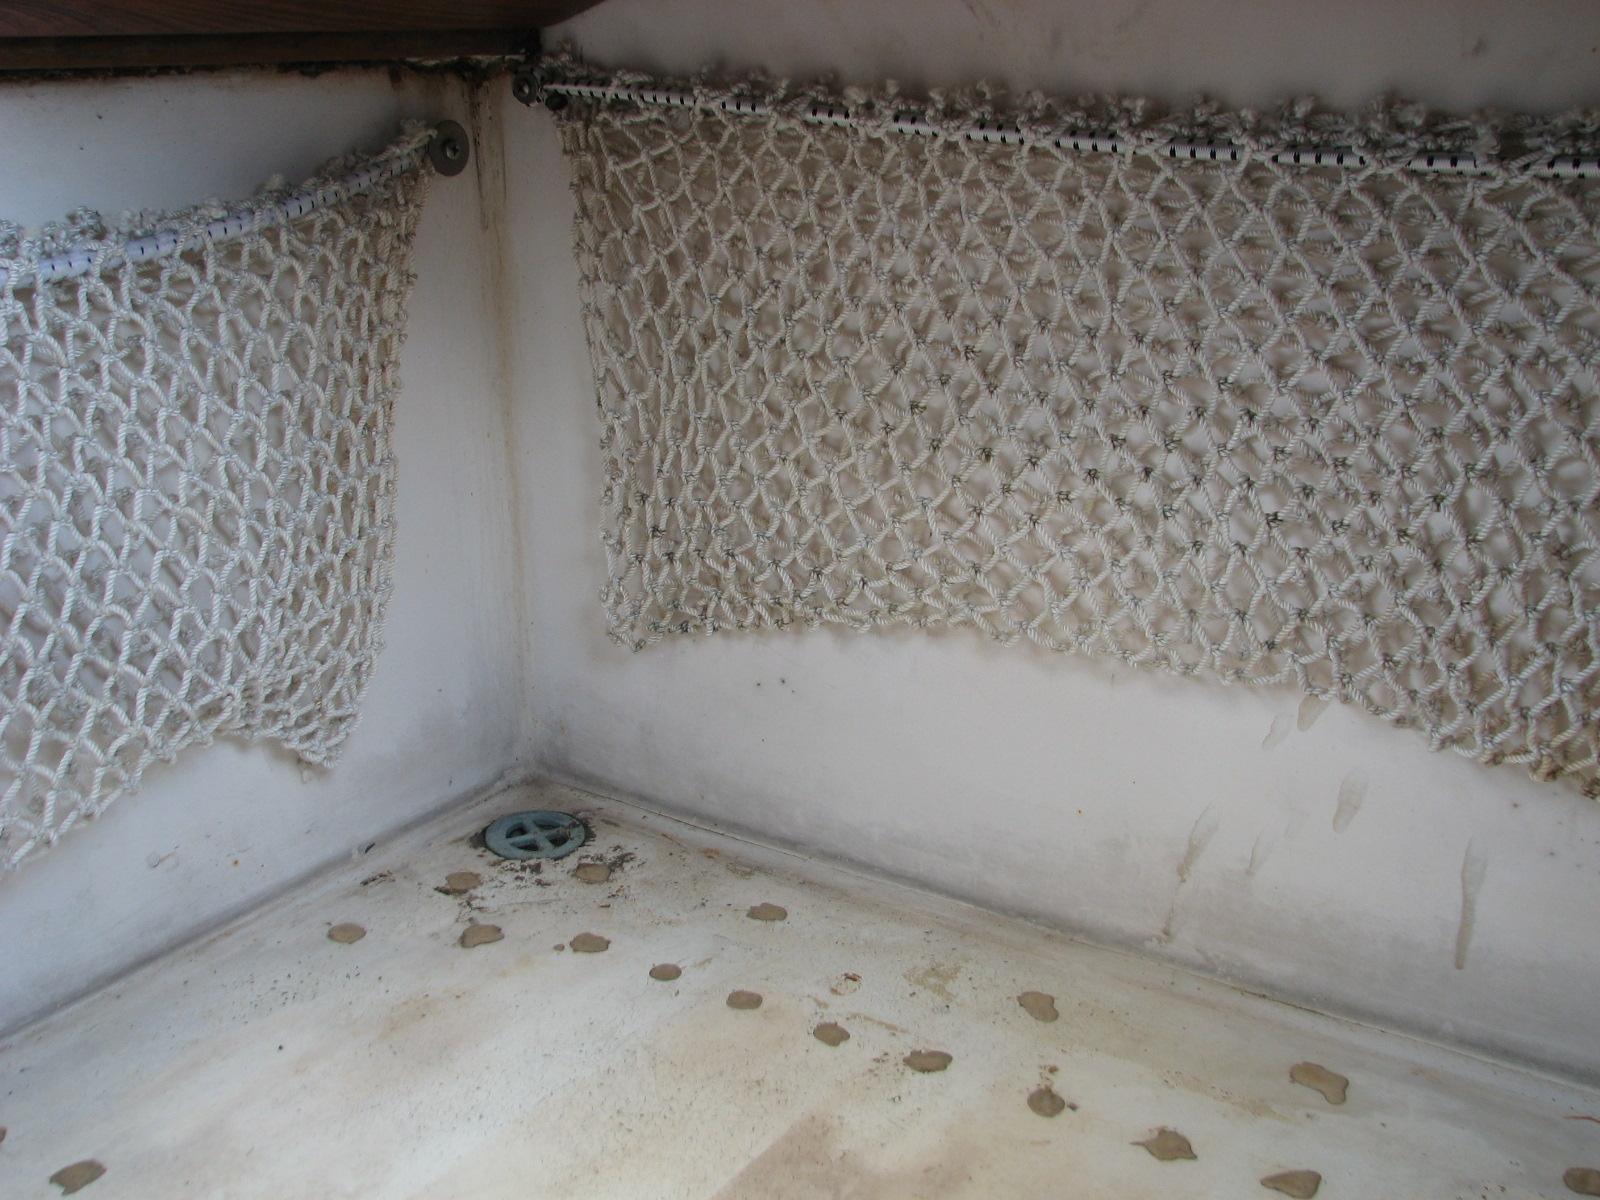
over to DREAM AWAY for breakfast, and afterwards, I installed the
washed and clean sheet nets in the cockpit.
Aft
Cockpit Without The Nets
Aft
Cockpit With The Nets
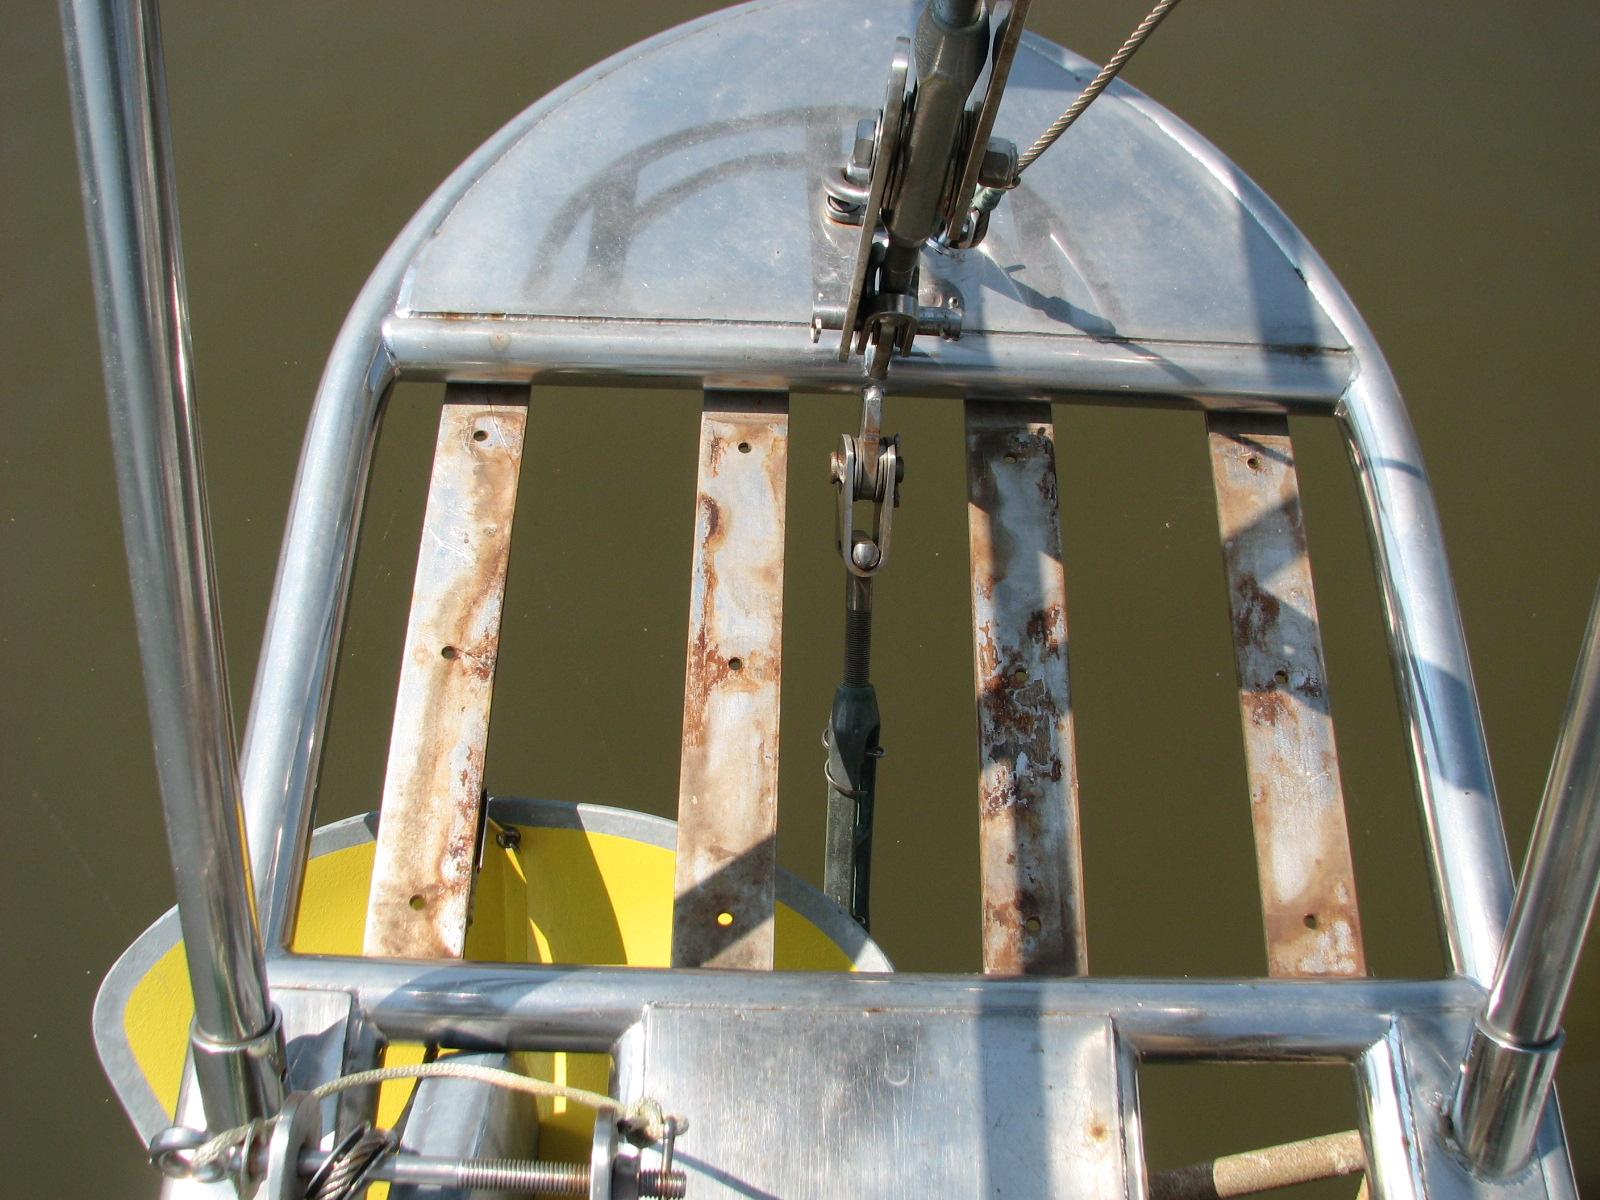
The new
J-Bolts I had ordered came in so I am able to bolt down the
fiberglass gratings I had cut for the bow pulpit. First I had to
clean the bow pulpit deck and seat area in the bow pulpit before I
installed the gratings.
Bow
Pulpit Deck Before Cleaning
Bow
Pulpit Seat Before Cleaning
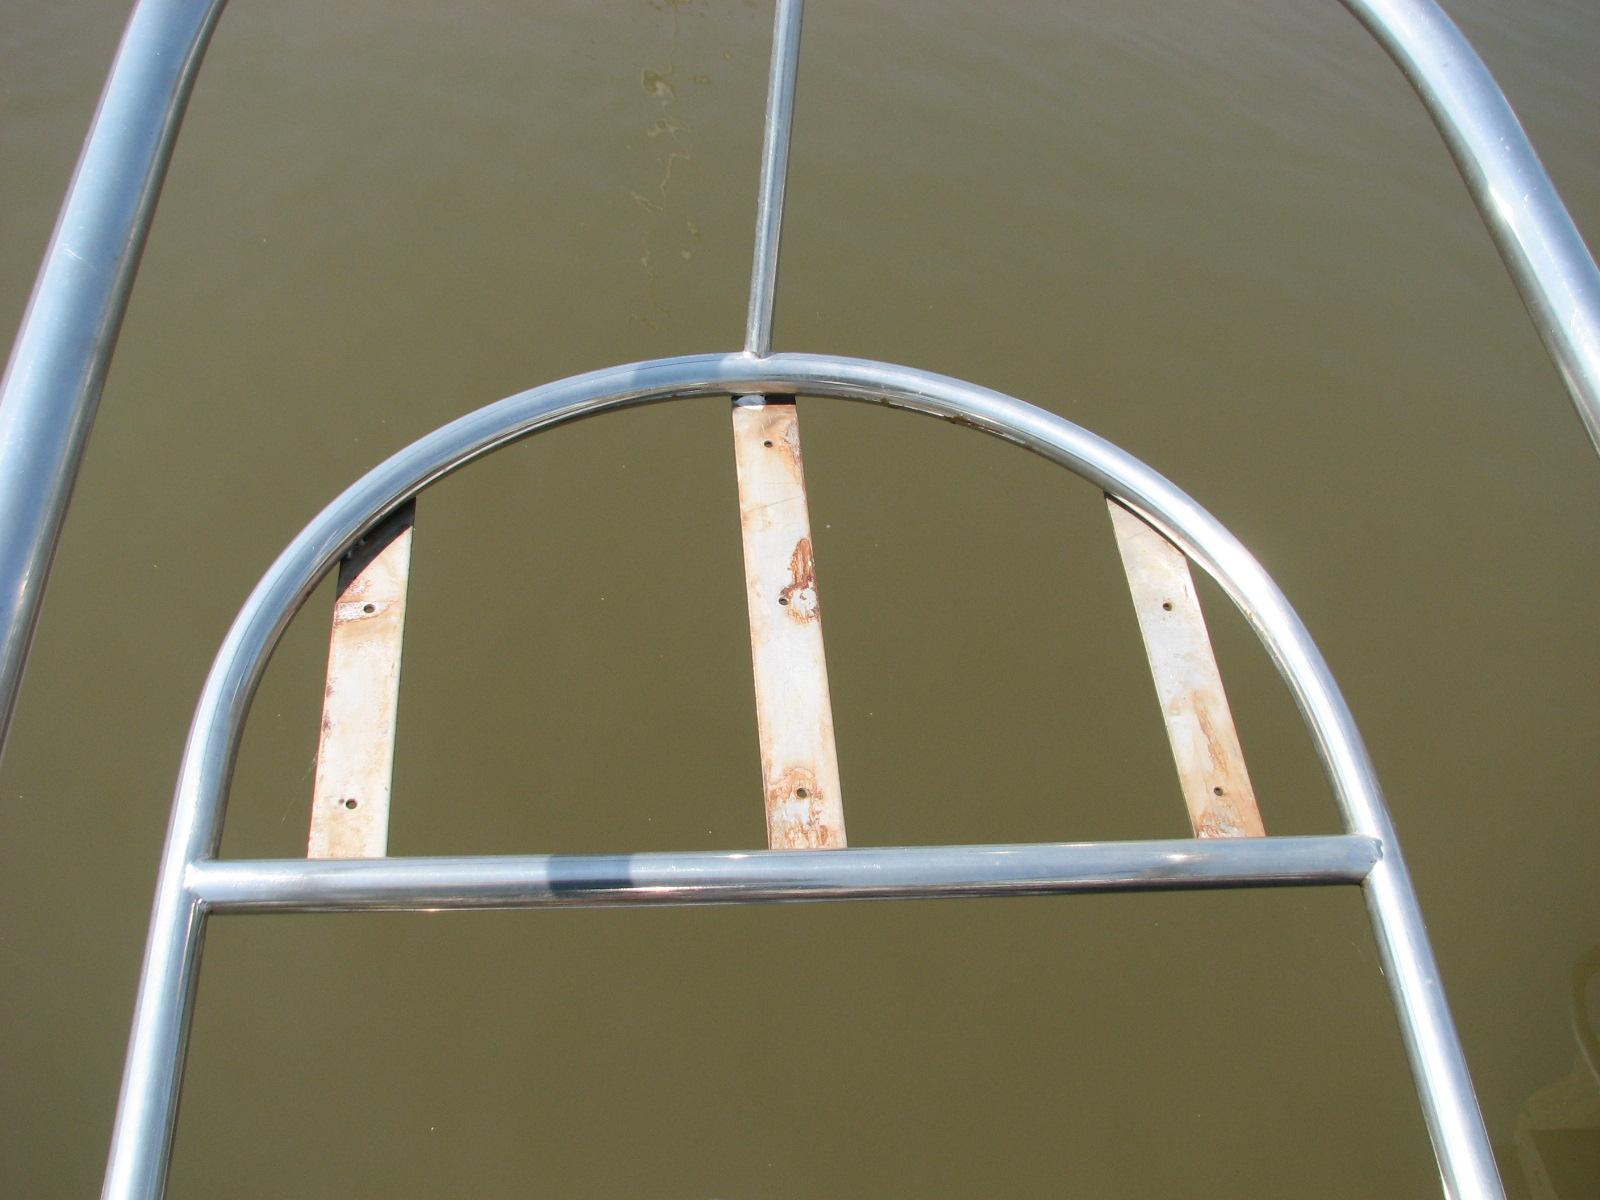
Bow
Pulpit Deck After Cleaning
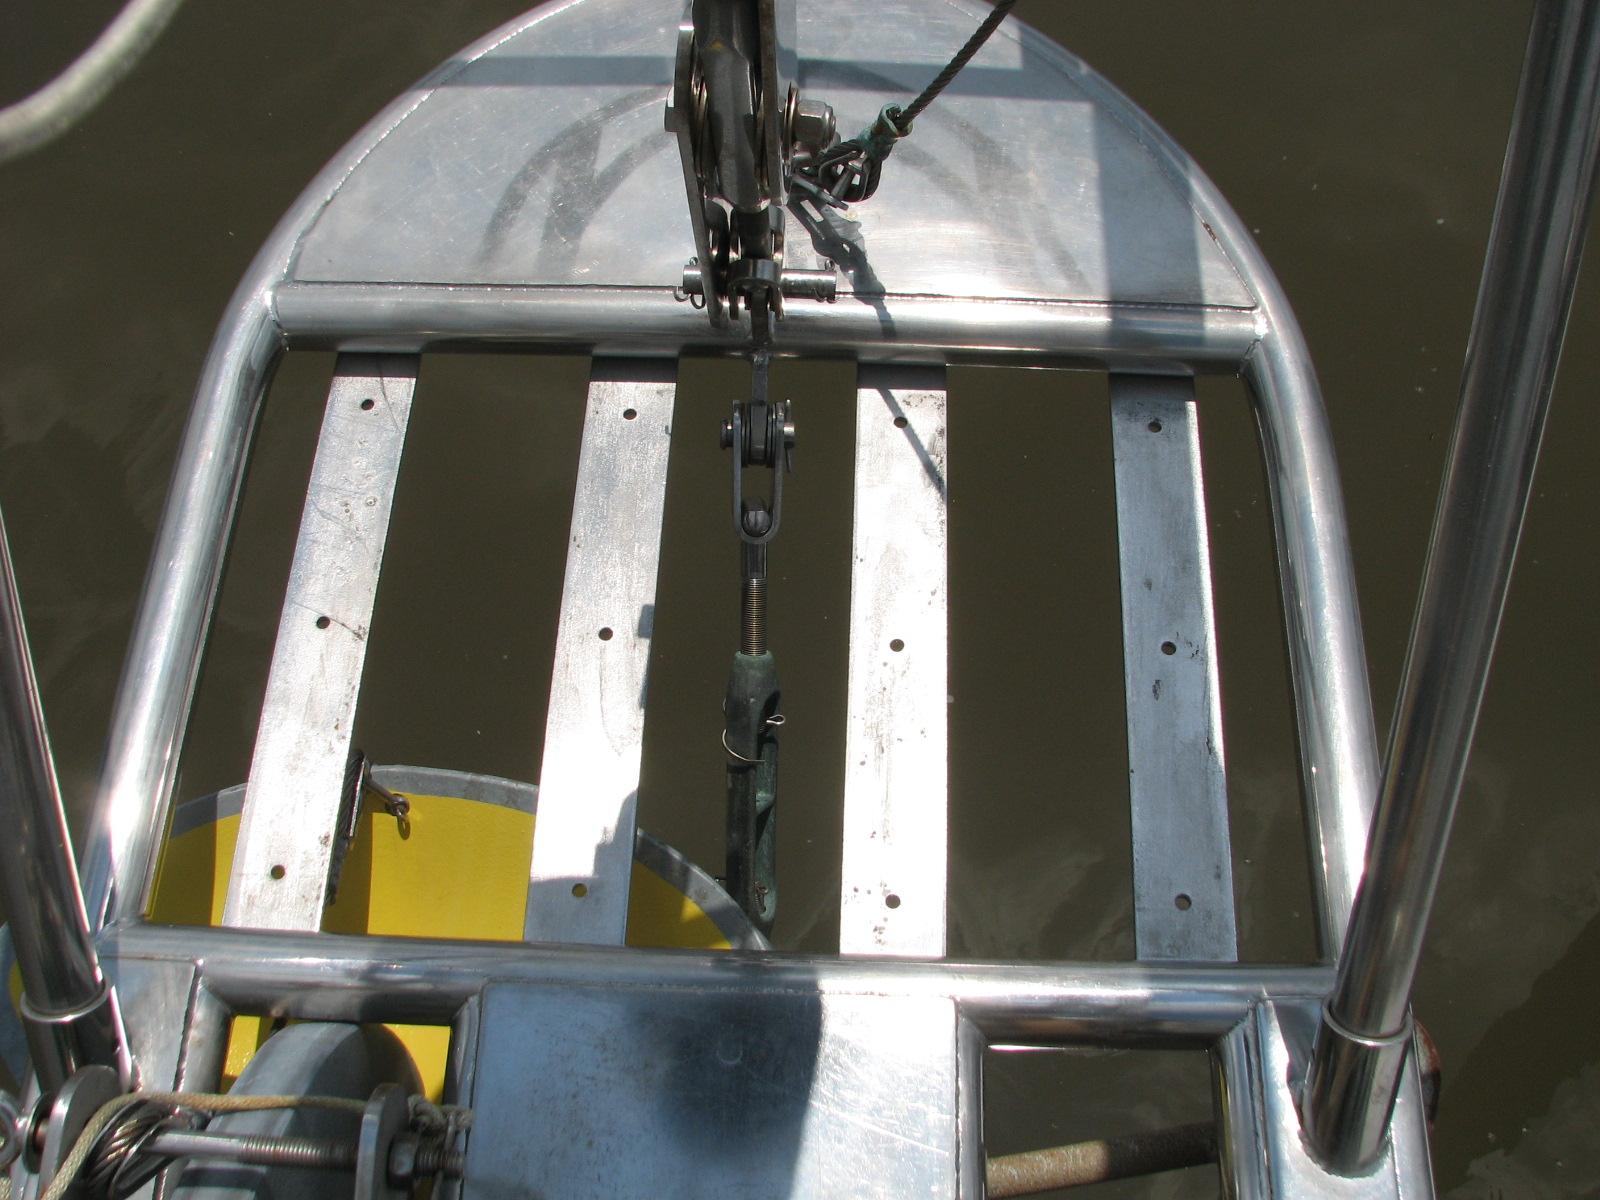
Bow
Pulpit Seat After Cleaning
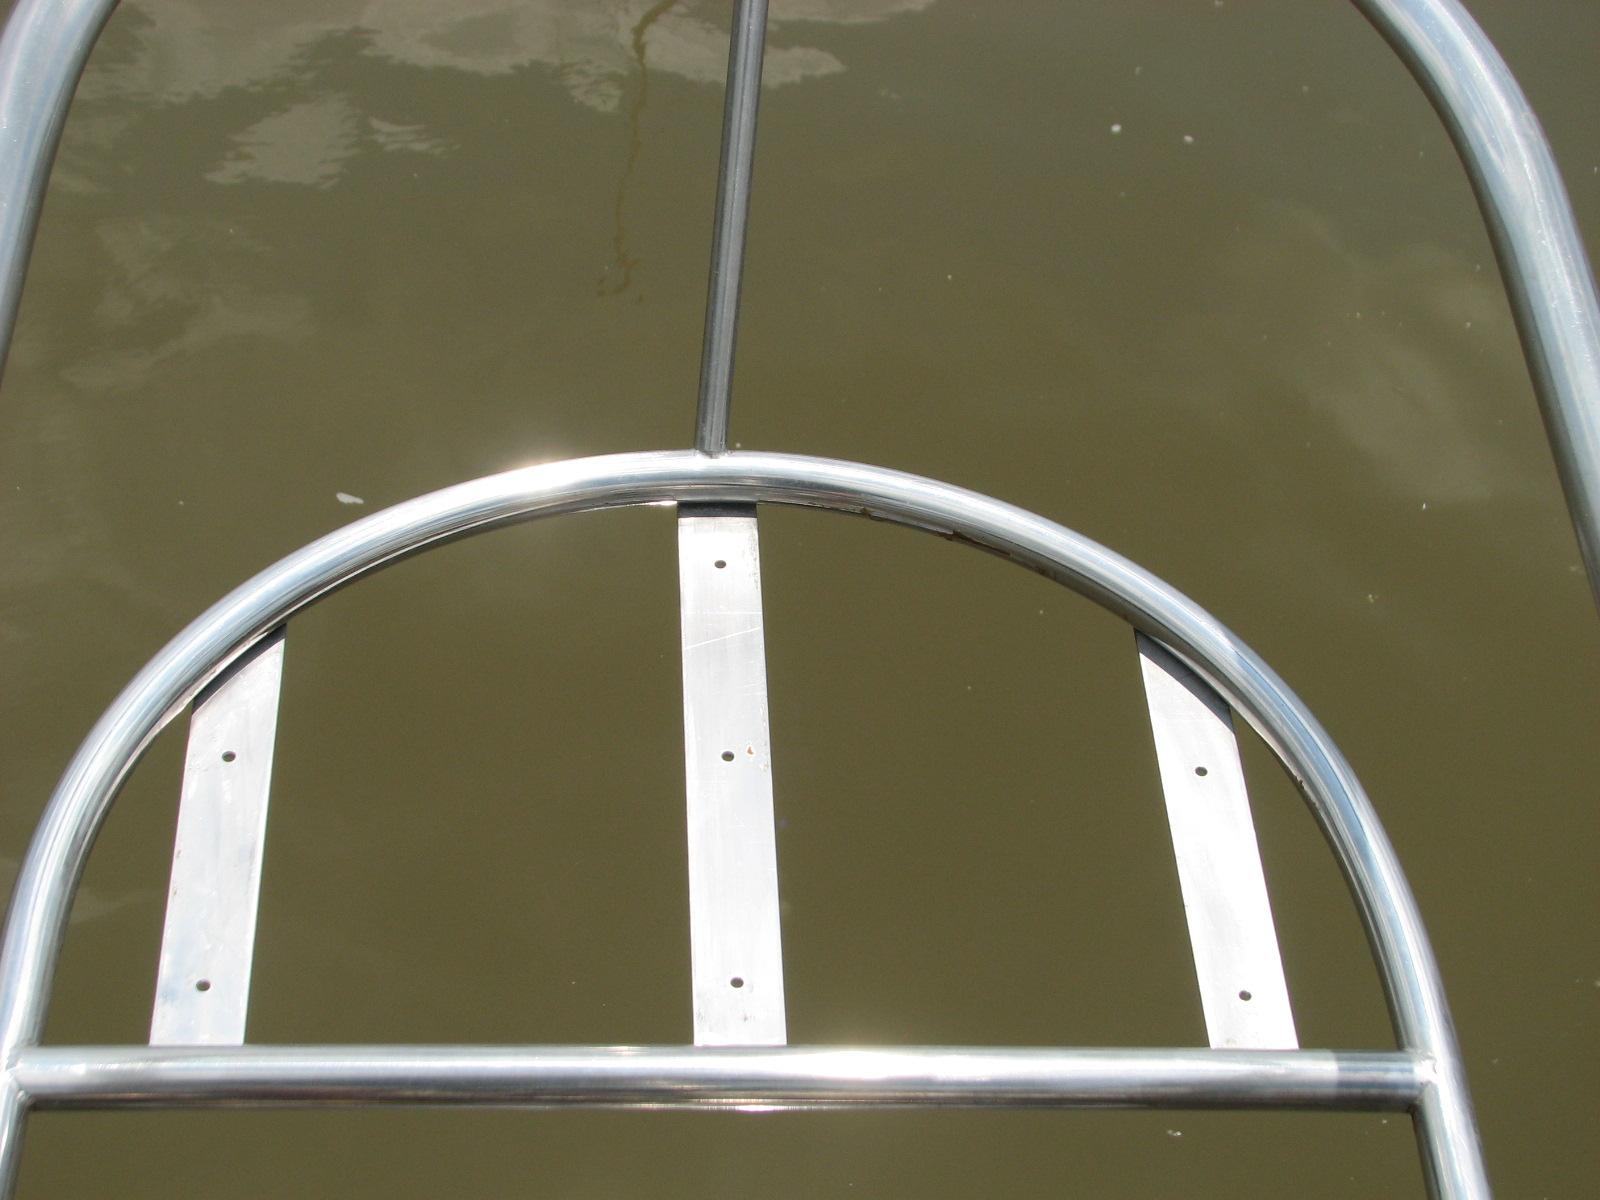
Grating
Installed On Bow Pulpit Deck
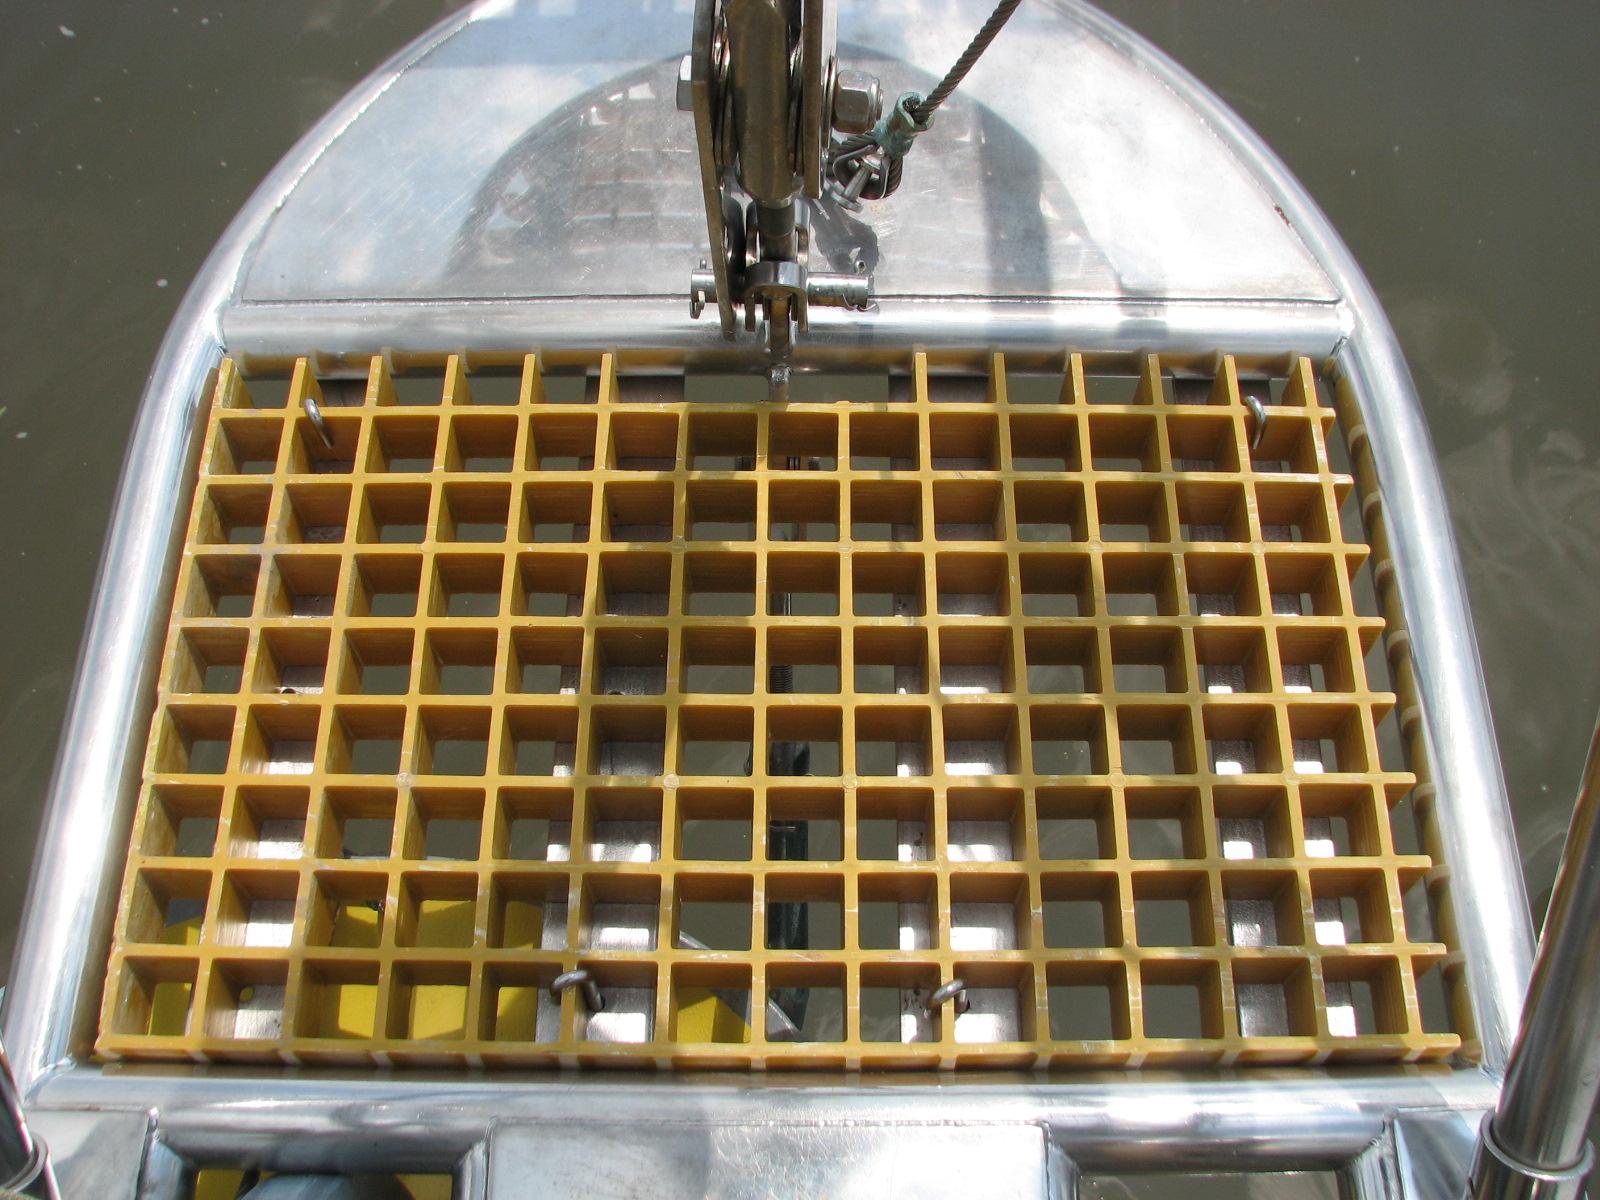
Grating
Installed On Bow Pulpit Seat
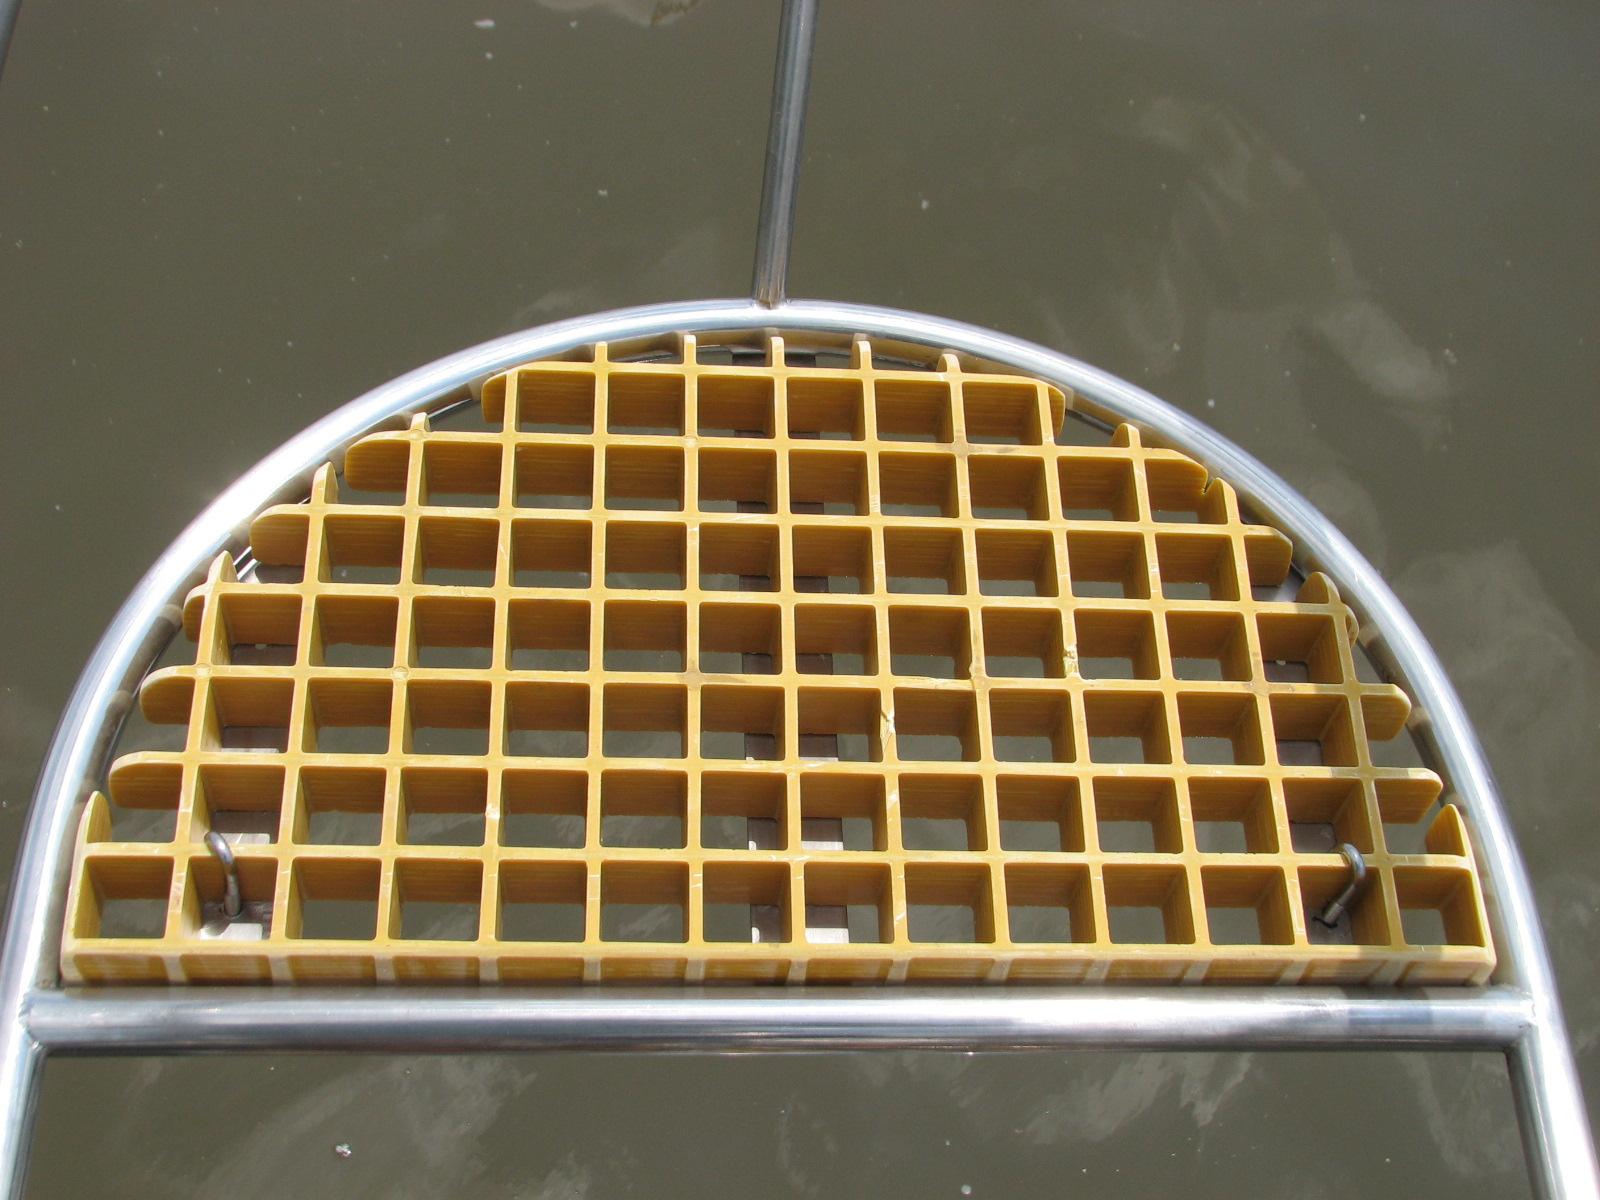
J-Bolt
And Grating Detail
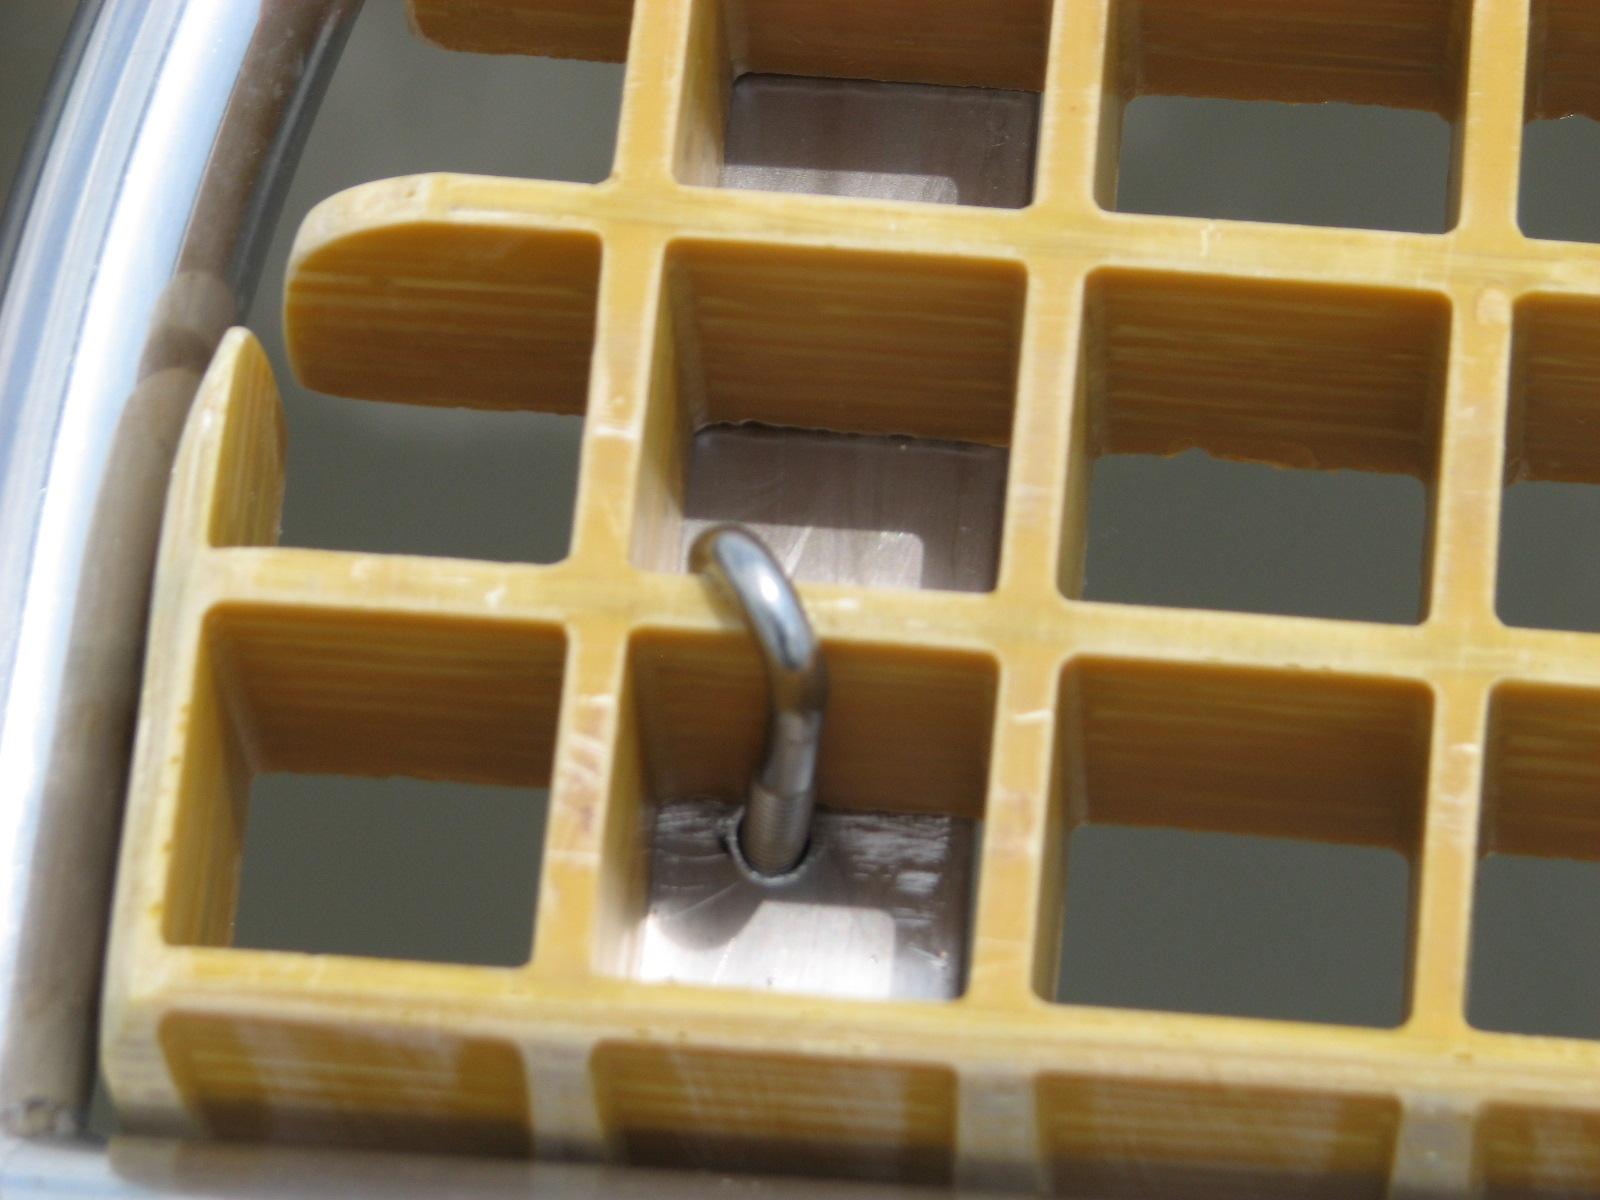
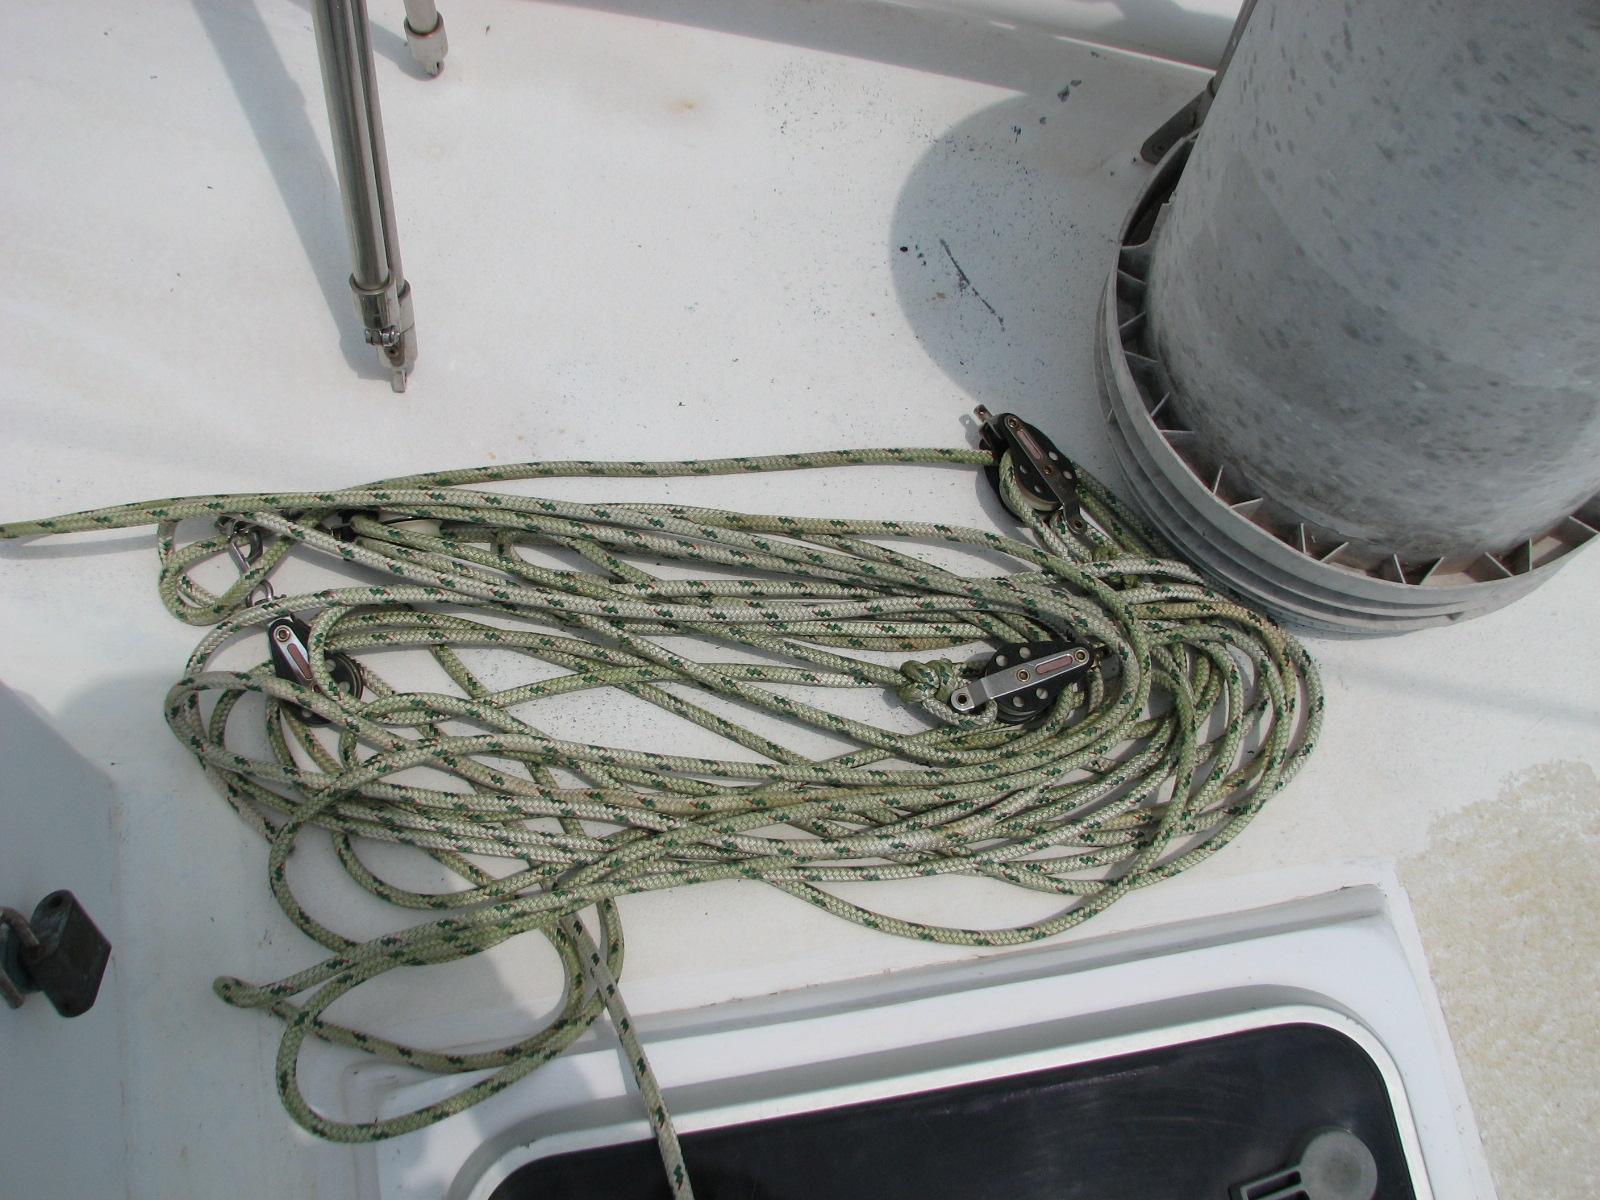
I took
off the tender hold down lines off of the davits to clean them up.
They had been unused for some time, and were getting green. It was
time to start washing lines on DREAM AWAY, and these were it. The
plan was to soak them in a bucket with a mild bleach and soap
solution, for a couple of days.
Lines
Getting Ready For The Bucket
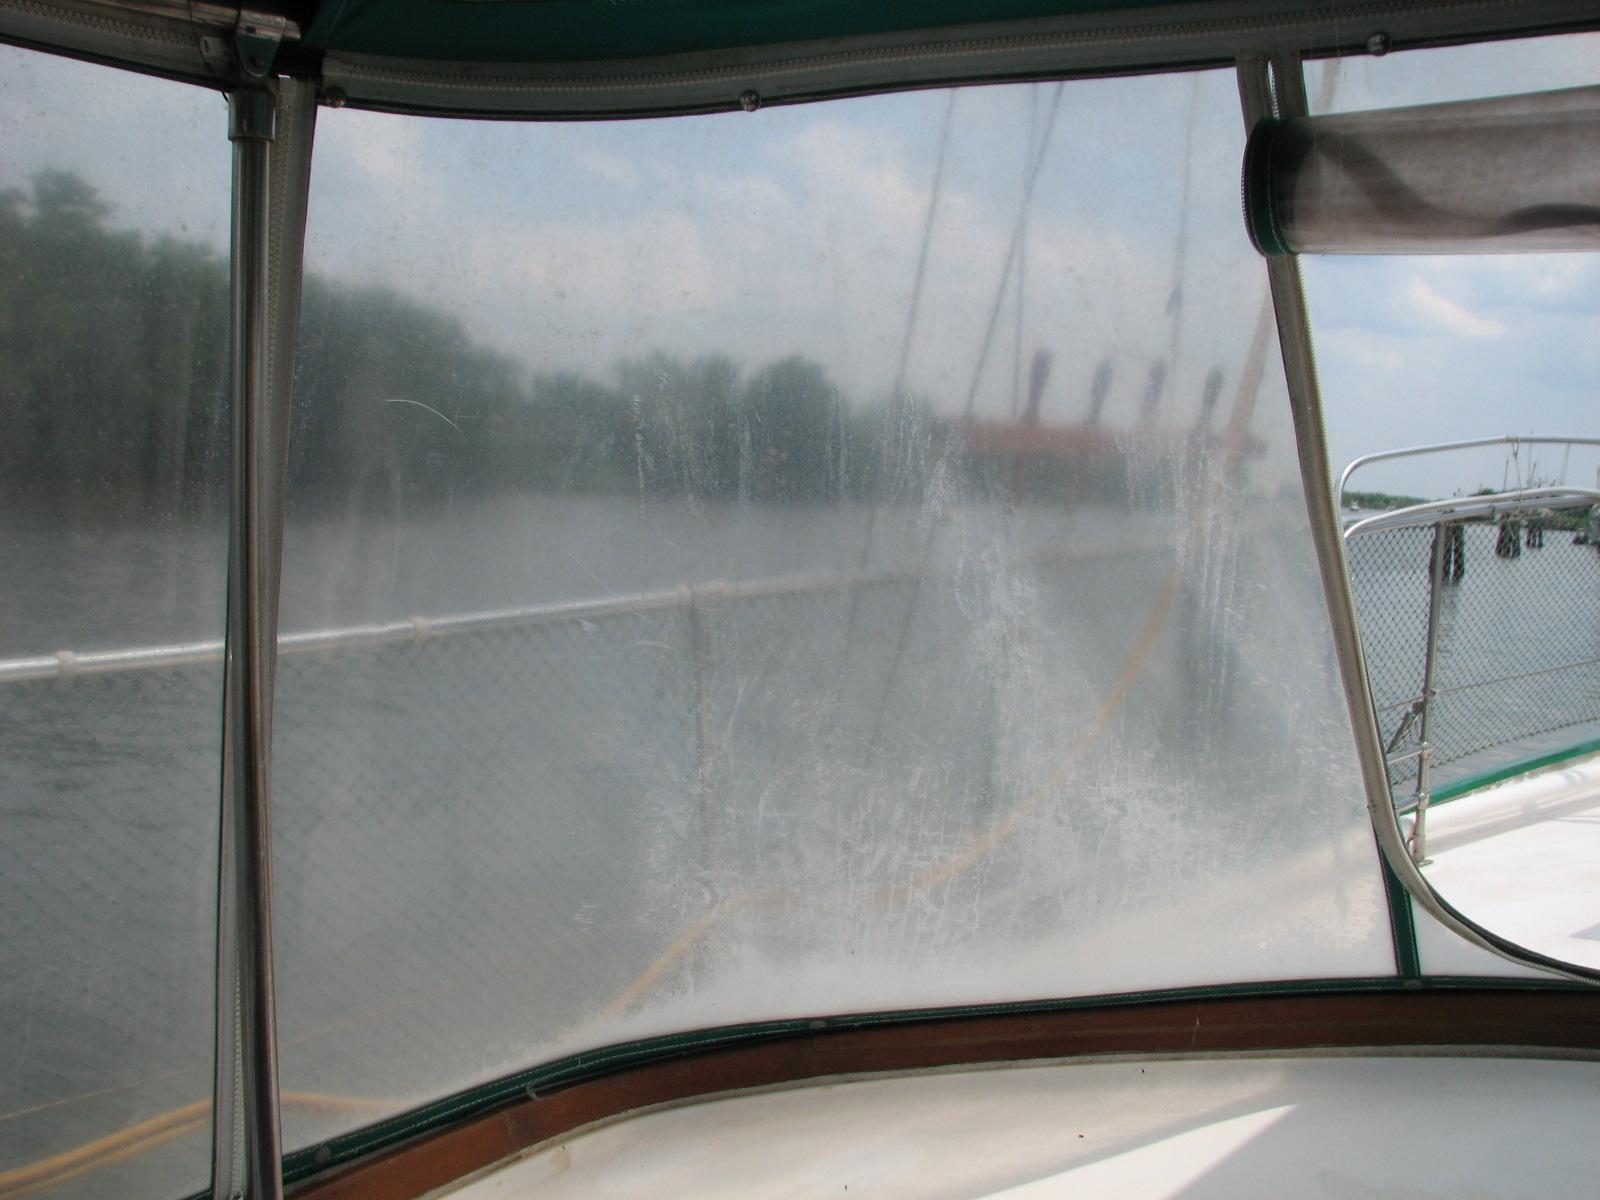
Last item
for today is to remove the soft dodger. As you can see from the
pictures, it needs replaced, and we are going to replace it with a
hard dodger. The boom gallows needs work, so the soft dodger has to
be removed for that project also.
Soft
Dodger Before Removal
Soft
Dodger Removed
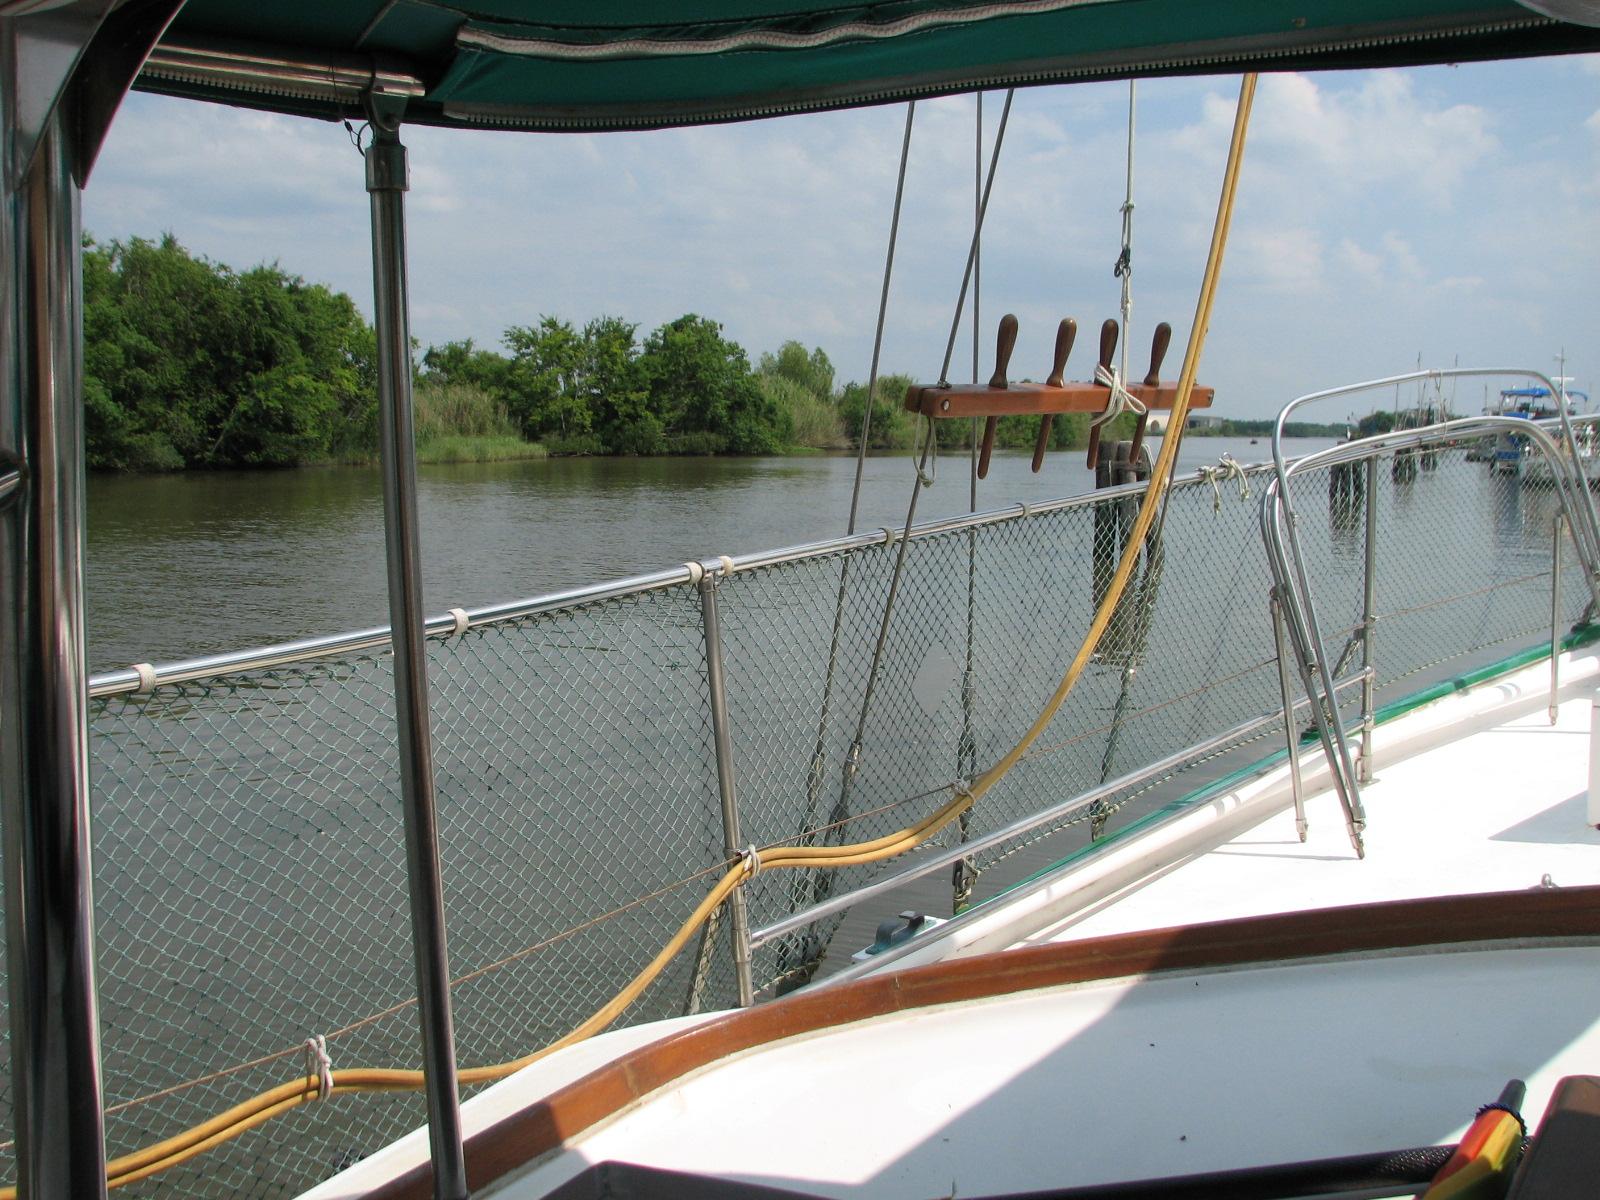
I then
helped our neighbor Joel with his air conditioner. We were able to
remove the AC unit from his boat, and really get a good look at the
burnt capacitor. We were able to get the capacitor removed, so he
could use it to go get another one at an electric supply store in New
Iberia this coming Monday.
July 12,
Friday, 2013
Started off the morning
with my normal ritual of getting on the Internet, answering email,
checking the weather, while making a pot of coffee.
Started
off the day by cleaning out the main strainer for the manifold (Sea
Chest), and the manifold (Sea Chest). Also cleaned out the strainers
for the ice maker cooling pump, the refrigeration cooling pump and
the forward air conditioner cooling pump. During this cleaning
process, I also cleaned out the hoses for all of the cooling pumps. I
clean out each hose by sending water through each hose with water
from the dock!
Went out
to pier C and checked the electrical issues on the 29/30 pedestal.
Finished
up work on Hollis’s boat. Was able to finally get the diesel leak
on the generator repaired. I also changed the oil and the oil filter
and fuel filter on his generator. Hollis was a happy camper.
Helped
Joel with his air conditioner problem. Could not resolve problem, we
need to remove the unit to get a better view of the electrical parts
at the back of the unit.
July 11,
Thursday, 2013
Started off the morning
with my normal ritual of getting on the Internet, answering email,
checking the weather, while making a pot of coffee.
Did not
go over to the shop
first thing, stayed on DREAM AWAY and worked on getting caught up on
email, financial issues, and updating the Maintenance Log and web
page.
Went to a
safe harbor meeting for the Port
of Delcambre in New Iberia.
Well worth the effort!
Came back
from the meeting and purchased docking lines at Touchard’s.
Returned to Marina
and installed the lines on the designated boat. Cleaned all of the
power pedestals on pier B, and weeded the south garden at North
Pier Marina.
I then
went over to the shop
and worked on cleaning up the parts for the spare Yamaha outboard
engine. I also worked on smoothing out the rough places on the new
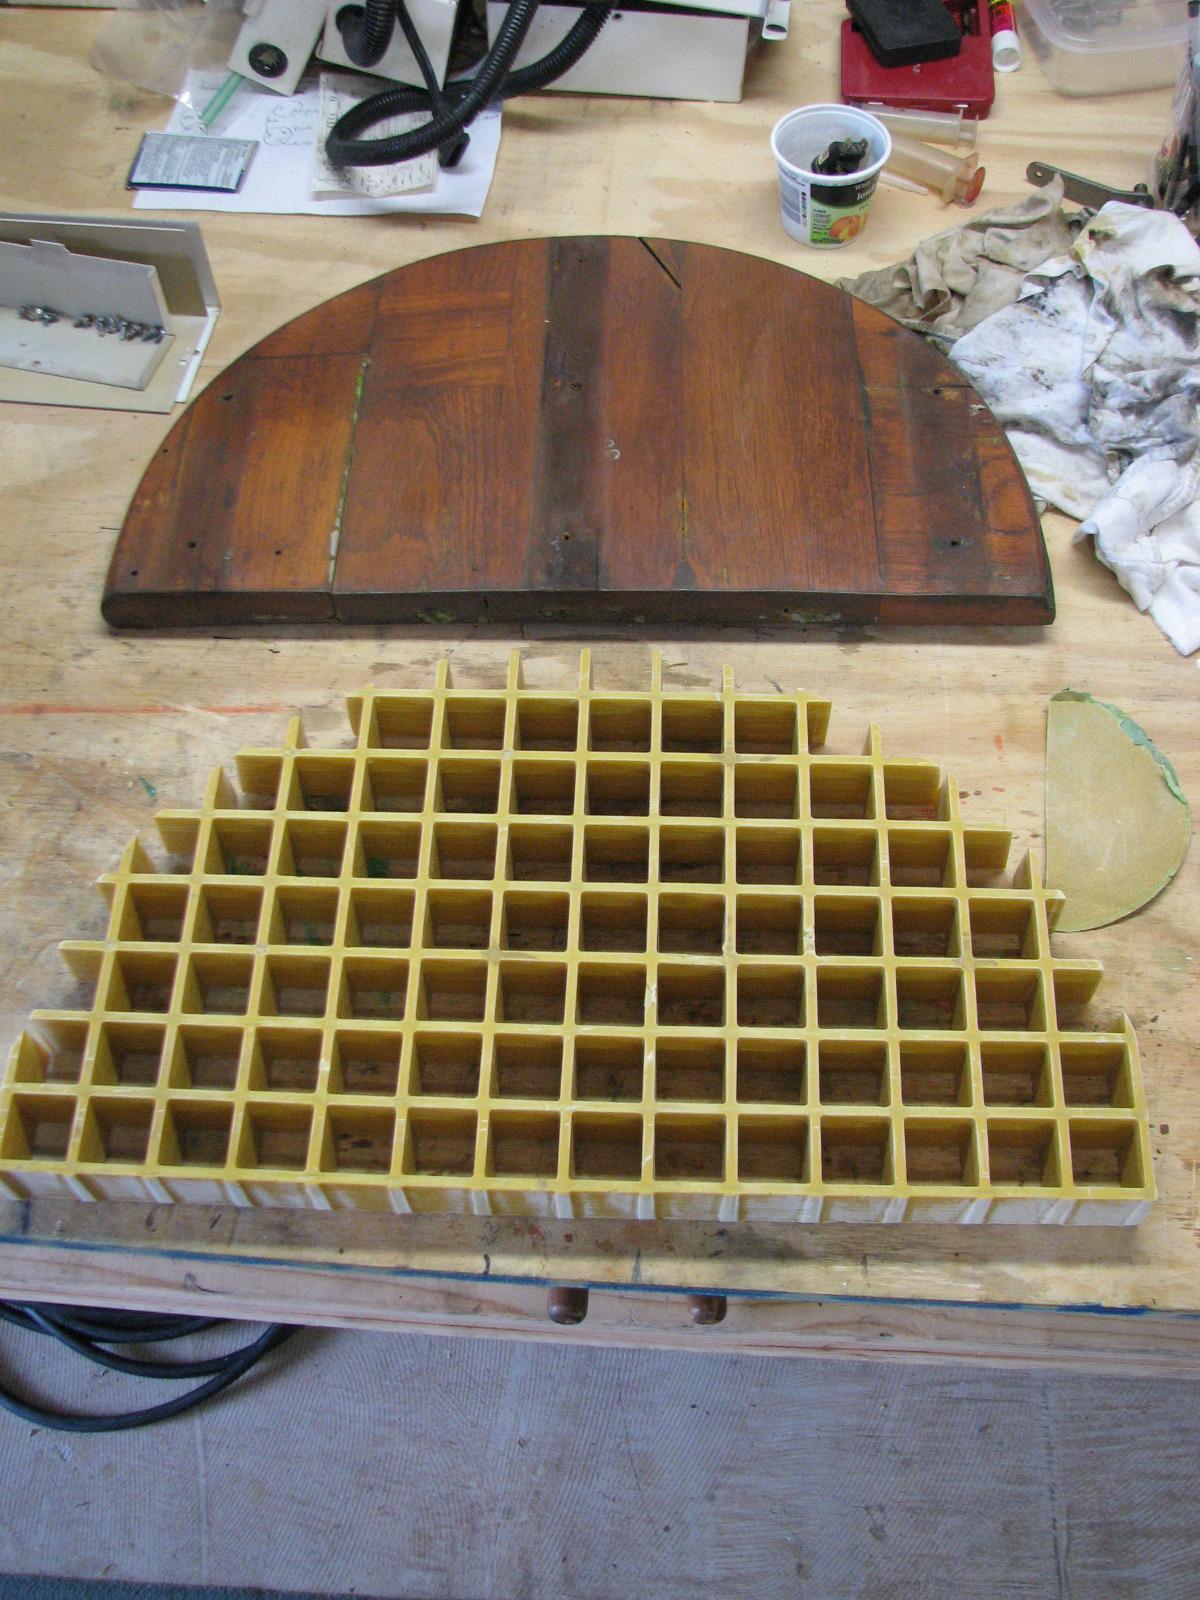
grate in the seat on the bow pulpit.
Grate To
Replace Seat On Bow Pulpit
July 10,
Wednesday, 2013
Started off the morning
with my normal ritual of getting on the Internet, answering email,
checking the weather, while making a pot of coffee.
Did not
go over to the shop
first thing, stayed on DREAM AWAY and worked on getting caught up on
email, financial issues, and updating the Maintenance Log and web
page.
Helped
Mark with his engine. We loaded the stripped block and the crankshaft
into the Black Beast. We also put in my spare Yamaha powerhead, and
drove into New Iberia to the machine shop. We dropped off both parts.
They are going to drill out my powerhead and put helicoils
in it, and bore out Mark’s block.
When we
returned, I got the lawn mower and cut all of the grass at the
Marina.
Next I helped Hollis with his boat, but when we went to the Onan
dealer, they did not have the correct part, so we ordered what we
hope will be the correct part.
July 9,
Tuesday, 2013
Started off the morning
with my normal ritual of getting on the Internet, answering email,
checking the weather, while making a pot of coffee.
Did not
go over to the shop
first thing, stayed on DREAM AWAY and worked on getting caught up on
email, financial issues, and updating the Maintenance Log and web
page.
Helped
Mark work on his engine, helped Hollis work on his boat, and worked
on the Marina
gardens! No work done on DREAM AWAY.
July 8,
Monday, 2013
About
mid-morning, Jimmy and Barbara left to go back home in Houston. Kitty
and Connie, off of IMPETUOUS, drove over to Orange, Texas, so Kitty
could get her driving license.
I stayed
in Delcambre and worked on Hollis‘s boat at North
Pier Marina with the owner
for the remainder of the day. He had some engine issues, leak issues
and air conditioning that he needed some help with.
We got
the main engine issue solved, still working on the diesel leak on the
generator.
Kitty did
get her driving license, and was back in Delcambre by 1900. Long wait
for the license!
July 6
and July 7, Friday & Saturday, 2013
Did not
do any work on DREAM AWAY during this time. We just kicked back and
enjoyed our friends while they were here. I had a couple of small
projects planned with Jimmy’s help, but the weather was most
uncooperative, so did not get them done.
July 5,
Friday, 2013
Started off the morning
with my normal ritual of getting on the Internet, answering email,
checking the weather, while making a pot of coffee.
Got
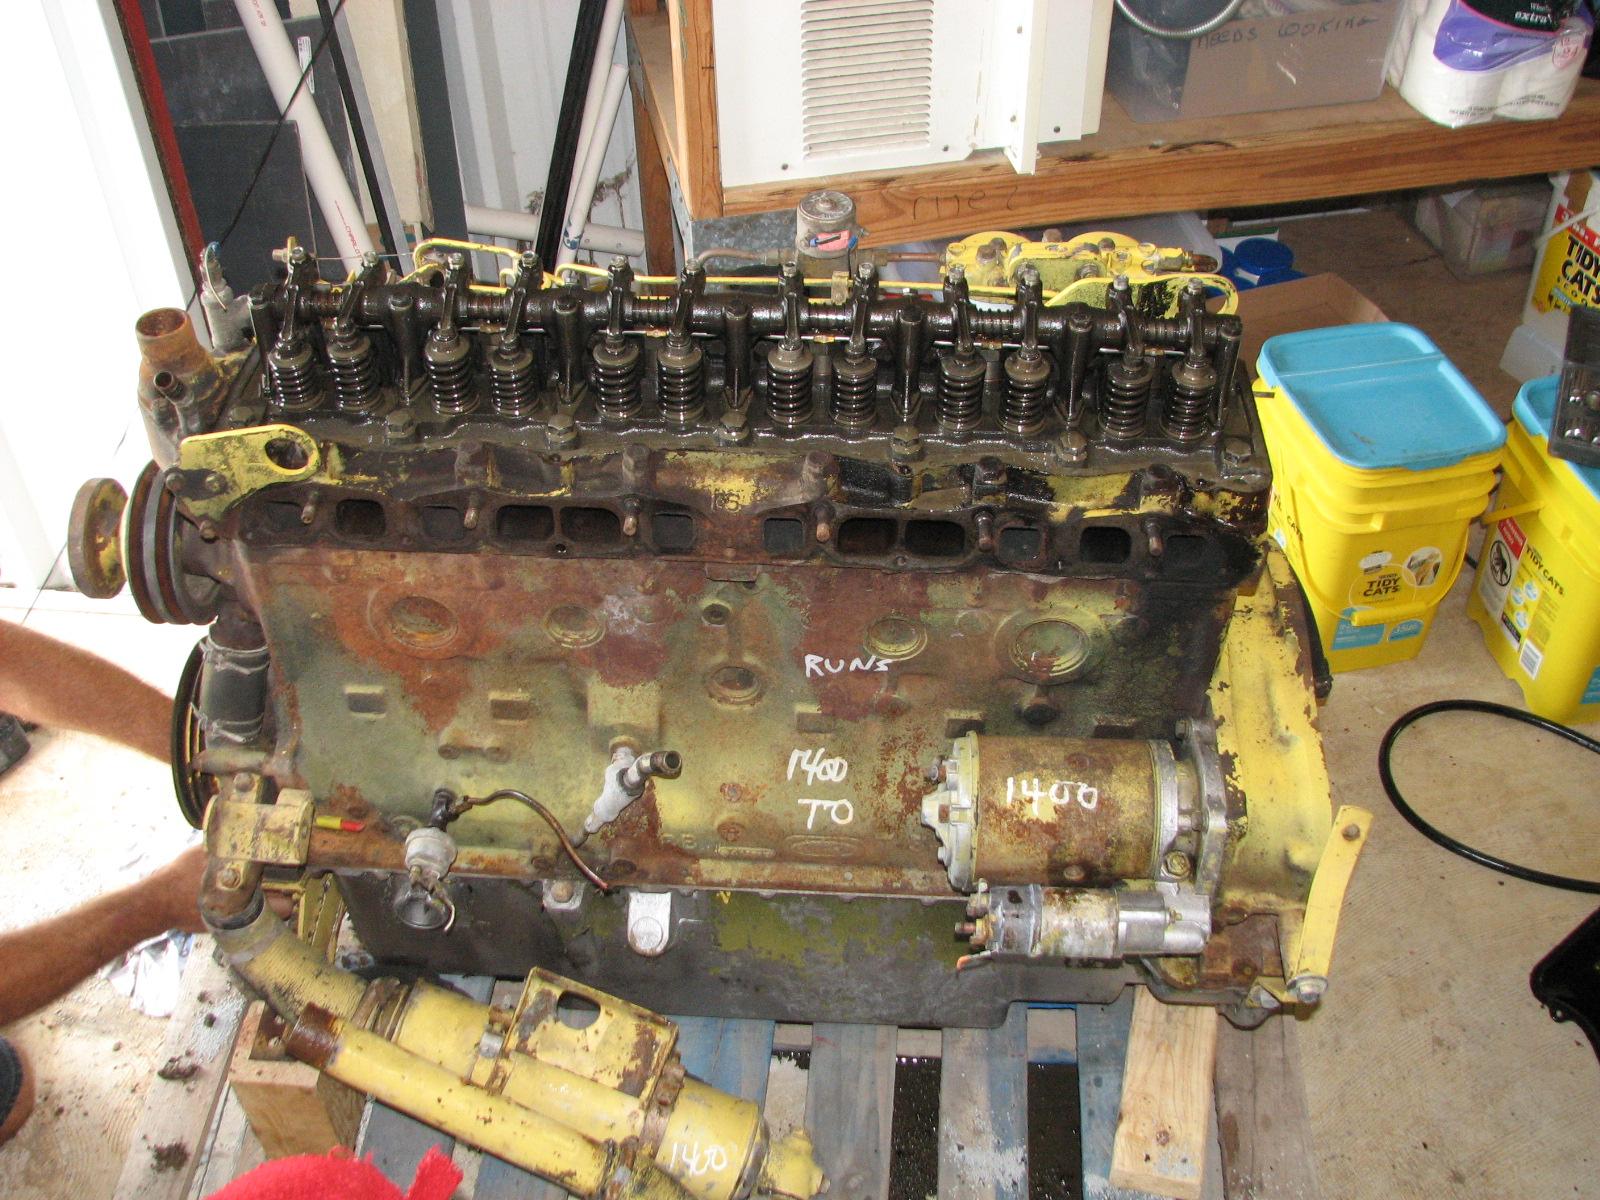
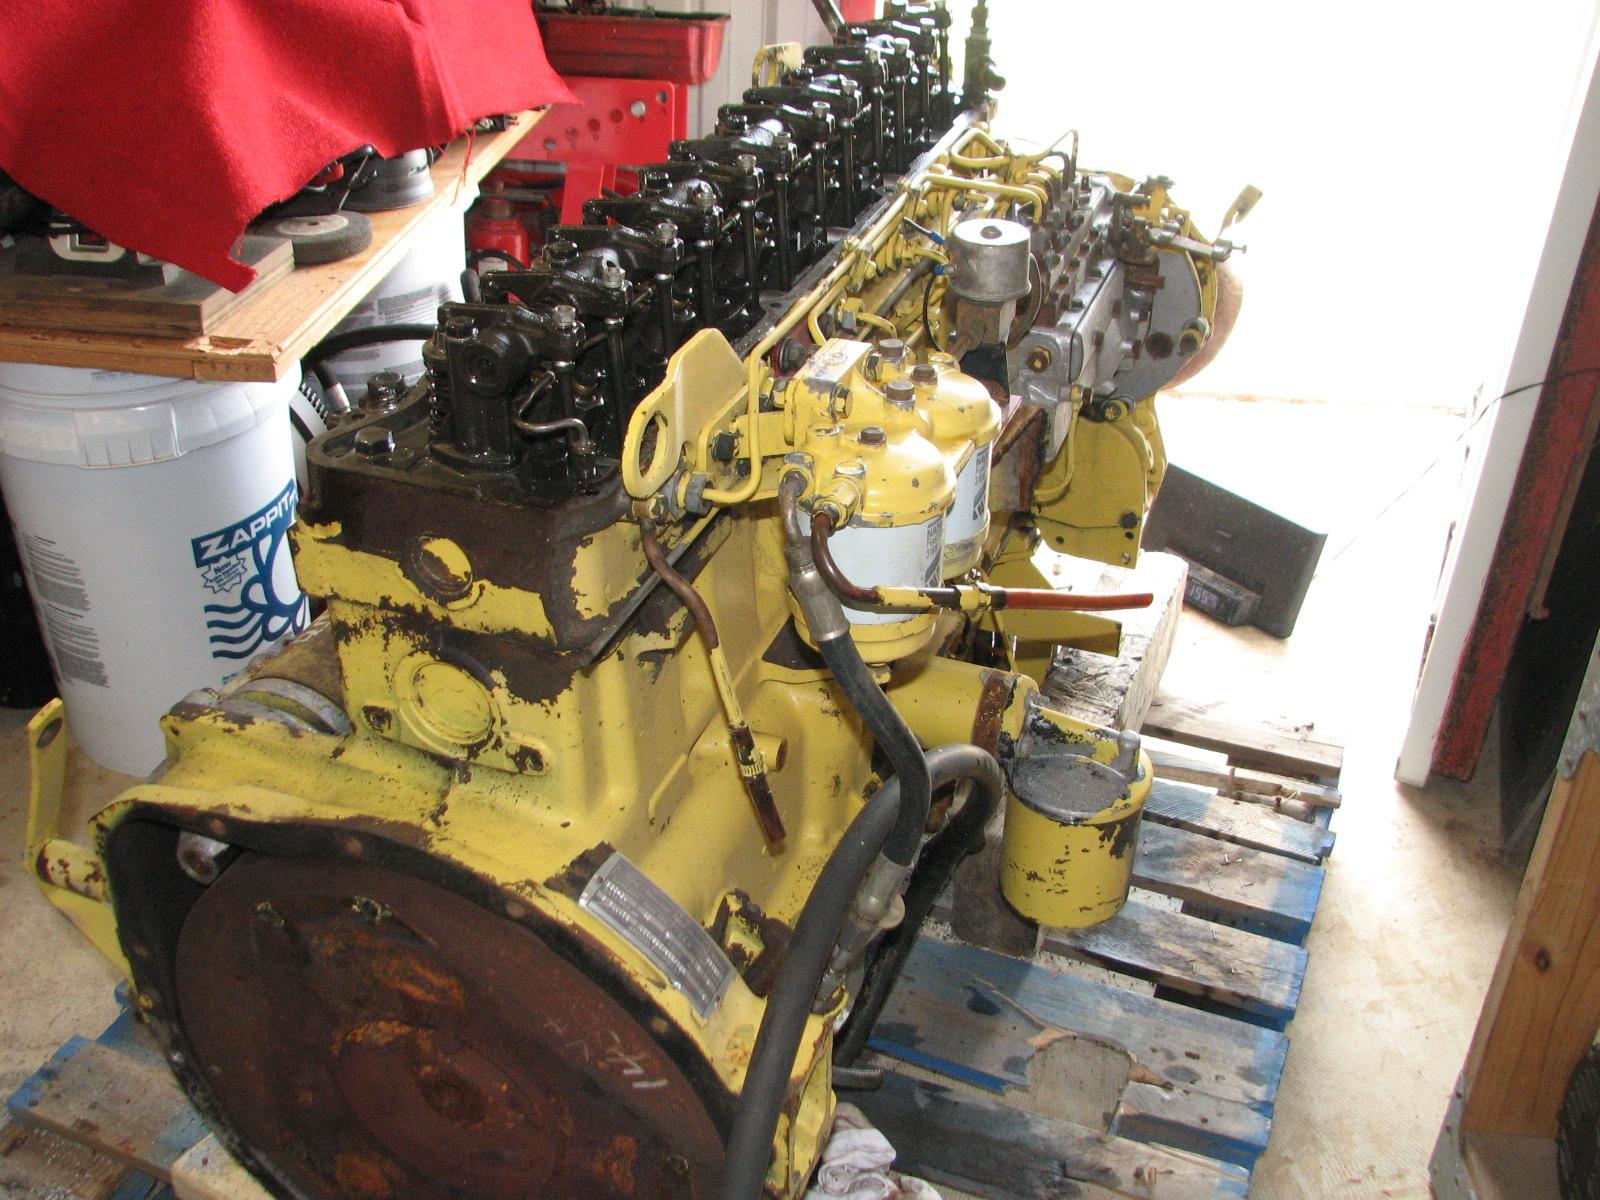
called out to help Mark unload the new engine he had purchased to
replace the blown one in his trawler. We moved the old block out of
my shop
and then put the new engine in the shop
on a pallet. Now between the new combine engine and the blown marine
engine, he will be able to build a pretty good running marine engine.
New
Engine In Shop
New
Engine In Shop
We then
got a call to come over to the marina
to help another boat back into the marina.
This boat had gone out for a couple of days, but had lost an engine.
Once we got the boat in its slip and settled, a dive under the boat
found a crab trap line wrapped around the shaft.
Since
Wayne, off of IMPETUOUS, was already in his SCUBA gear, I asked him
to check the prop on DREAM AWAY. Not good, he confirmed my
suspicions. The prop is nothing but a ball of barnacles. The prop and
shaft will have to be scrapped before we go out sailing. Another
project to add to the list!!
Went back
to the shop
and cut out the grating for the seat in the bow pulpit. I had the old
teak seat to use as a pattern, so I probably got the new grating
pretty close.
Grating
Cutout & Old Teak Seat On Workbench

Late in
the afternoon, our good friends from Houston, Jimmy and Barbara drove
in from Houston, so we kicked back and enjoyed their visit.
July 4,
Thursday, 2013
Started off the morning
with my normal ritual of getting on the Internet, answering email,
checking the weather, while making a pot of coffee.
Did not
go over to the shop
this morning. Stayed on the computer and worked on updating the June
Maintenance Log. Did some work for the port moving a boat, and then
using my lines to moor it in it’s slip.
Worked
most of the day getting ready for our Independence day cookout. Had a
great cook out with Kittie and Mark from the marina,
and new friends Wayne and Connie off of a transient boat staying in
the marina
for a few days, and Miss Glo. We all ate more than we should, but we
cleaned up, and then drove over to Otto Herbert Lumber. We set up our
folding chairs and watched the fireworks display put on by the town
of Erath. It was a great day, and we were all happy to lay heads on
pillows.
July 3,
Wednesday, 2013
Started off the morning
with my normal ritual of getting on the Internet, answering email,
checking the weather, while making a pot of coffee.
Went over
to the shop
and picked up the finished Panduit
wire duct covers. Then I
went to the Port
of Delcambre’s storage
room and pick up the lawn mower, after topping off the gas tank. I
came back to the marina
and mowed all of the grass. It was a much easier job than last week
because the grass was not near as high. Only took about 1.5 hours!
When I finished the grass, I loaded the mower back into the Black
Beast and took the mower back to the storage room.
When I
got back to the marina
I took the two Panduit
wire duct covers to the
boat. After breakfast I installed the two pieces in the aft cabin.
Not an easy task as all of the books on the starboard and port side
had to be removed before the Panduit
wire duct cover could be
installed. I also had a little help from Jordan.
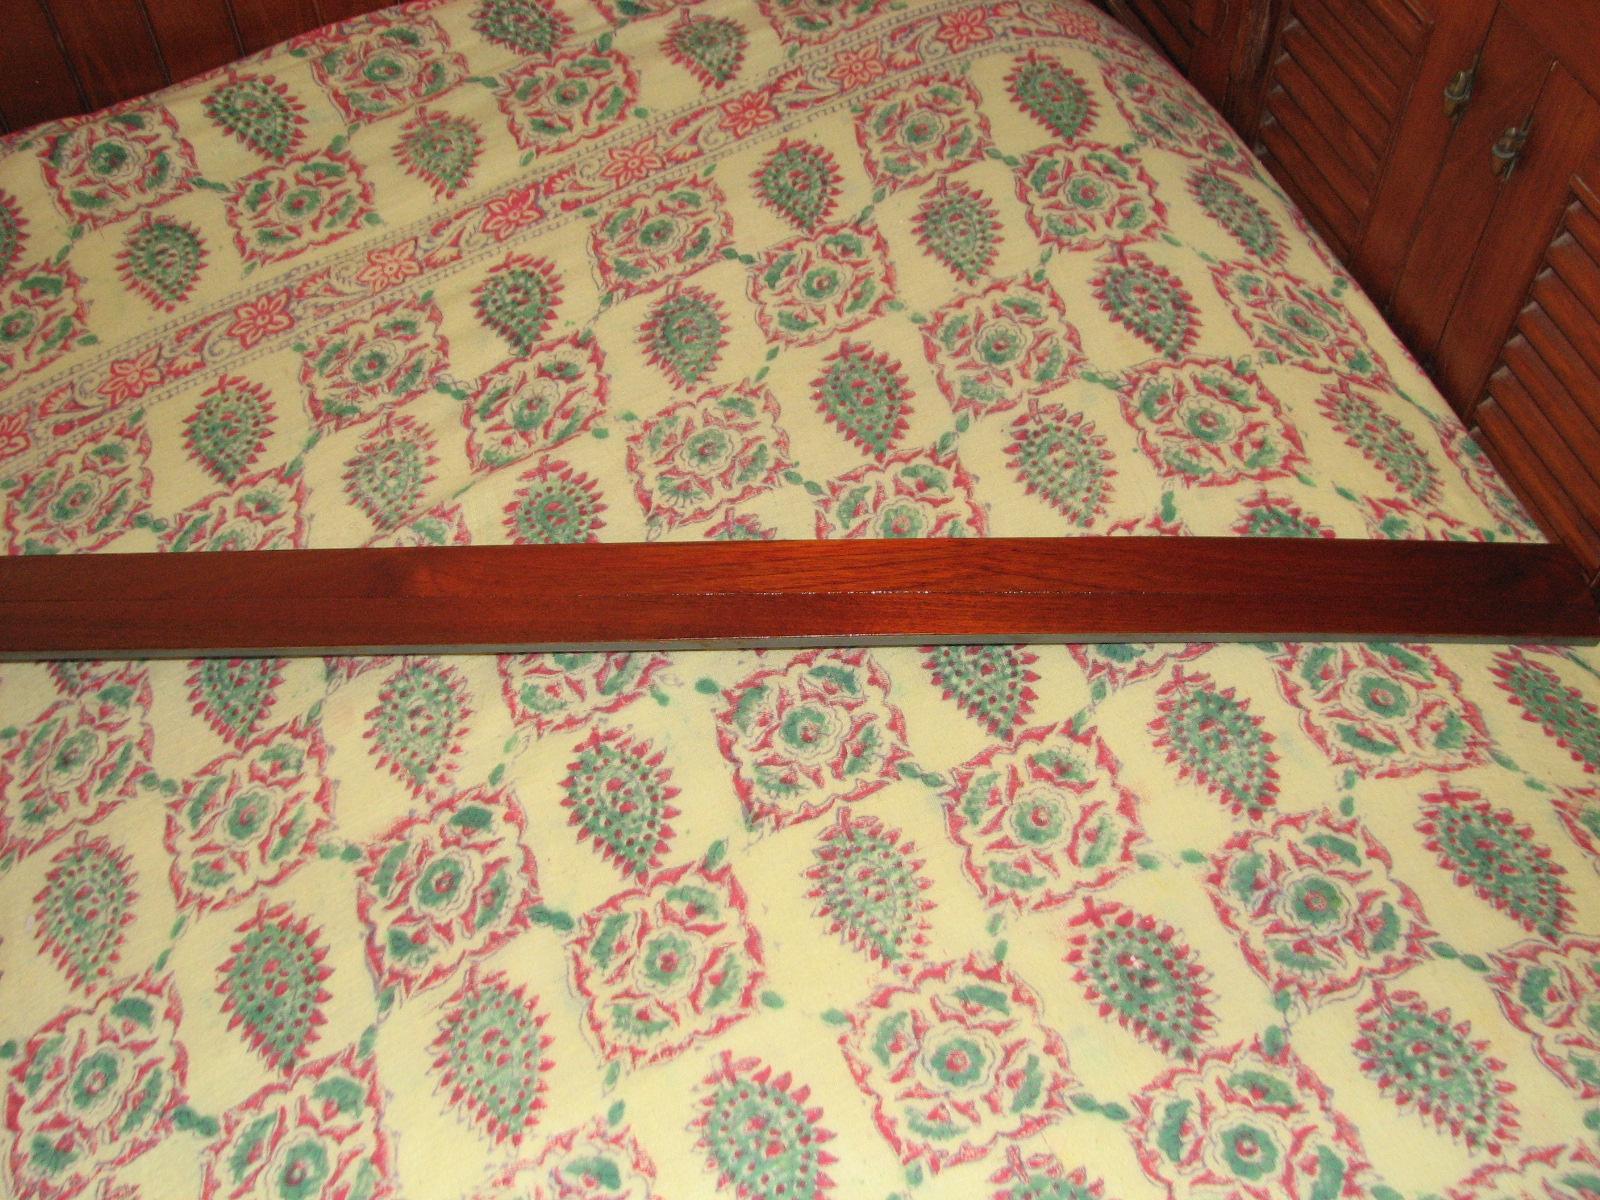
Panduit
Wire Duct Cover Before
Installation
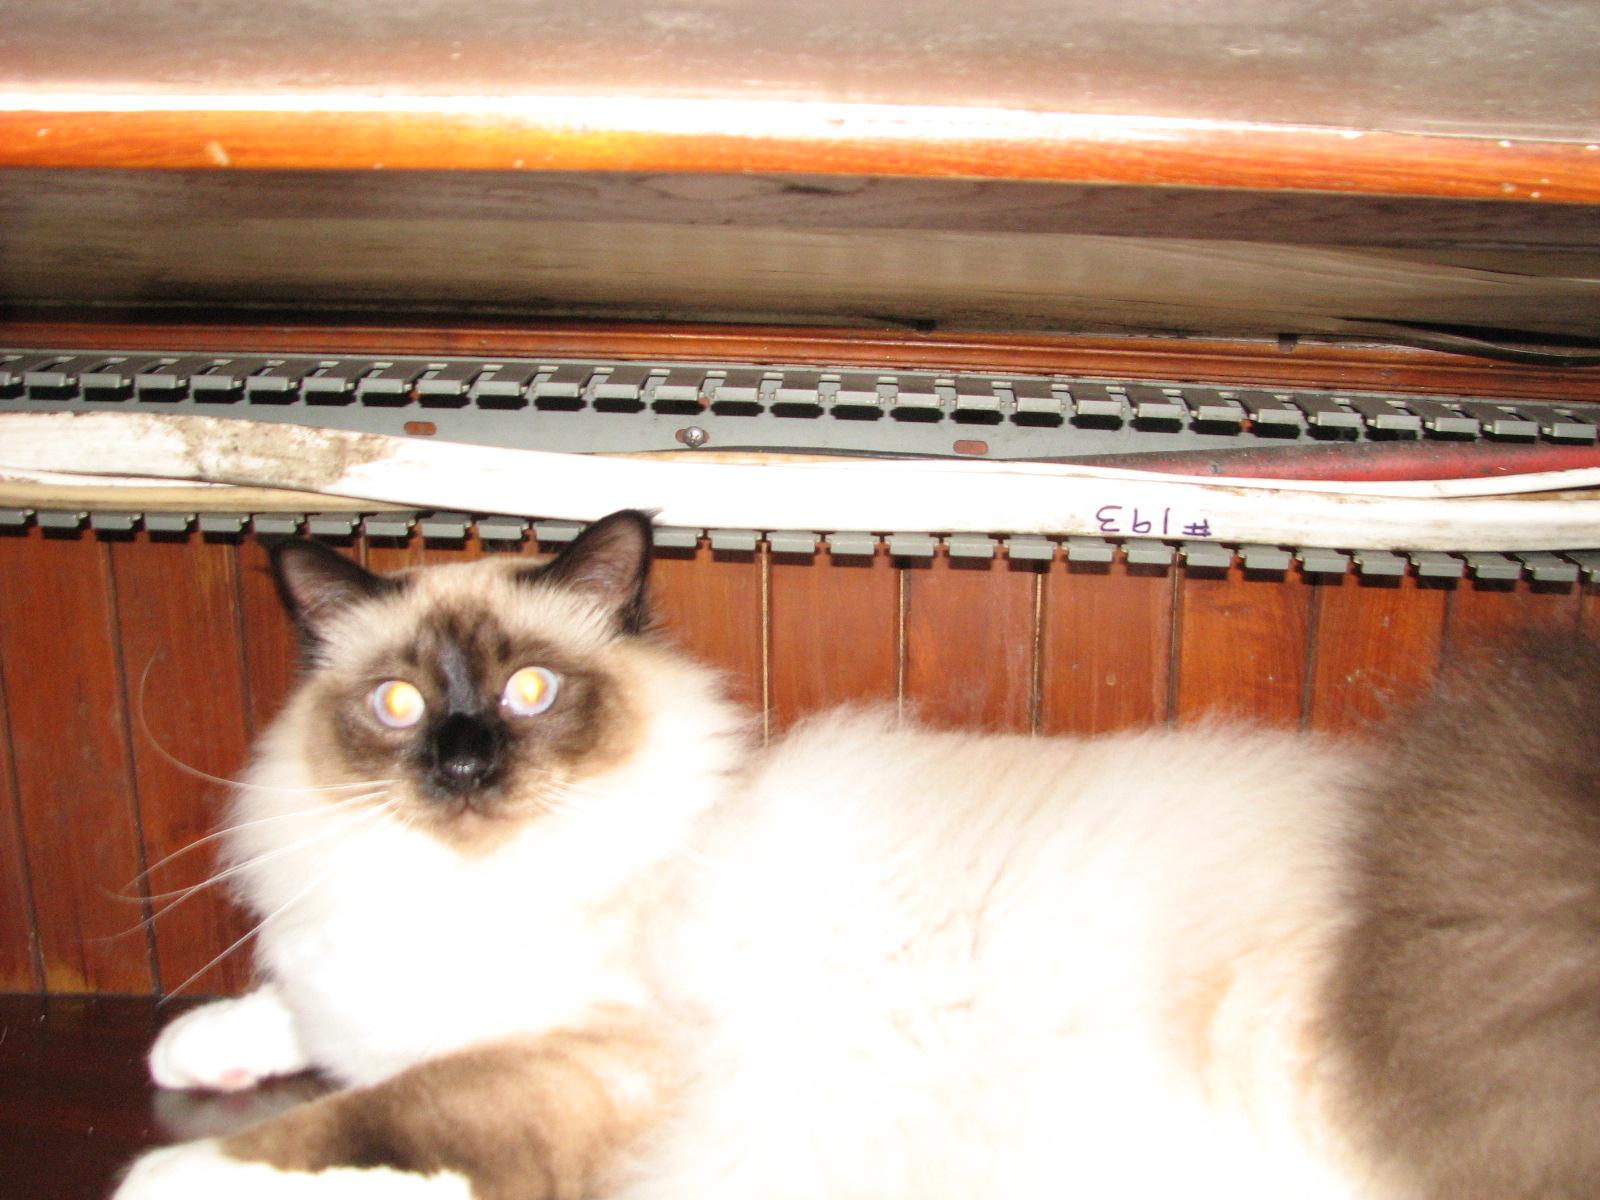
Panduit
Race Track With Wires
Exposed And Helper
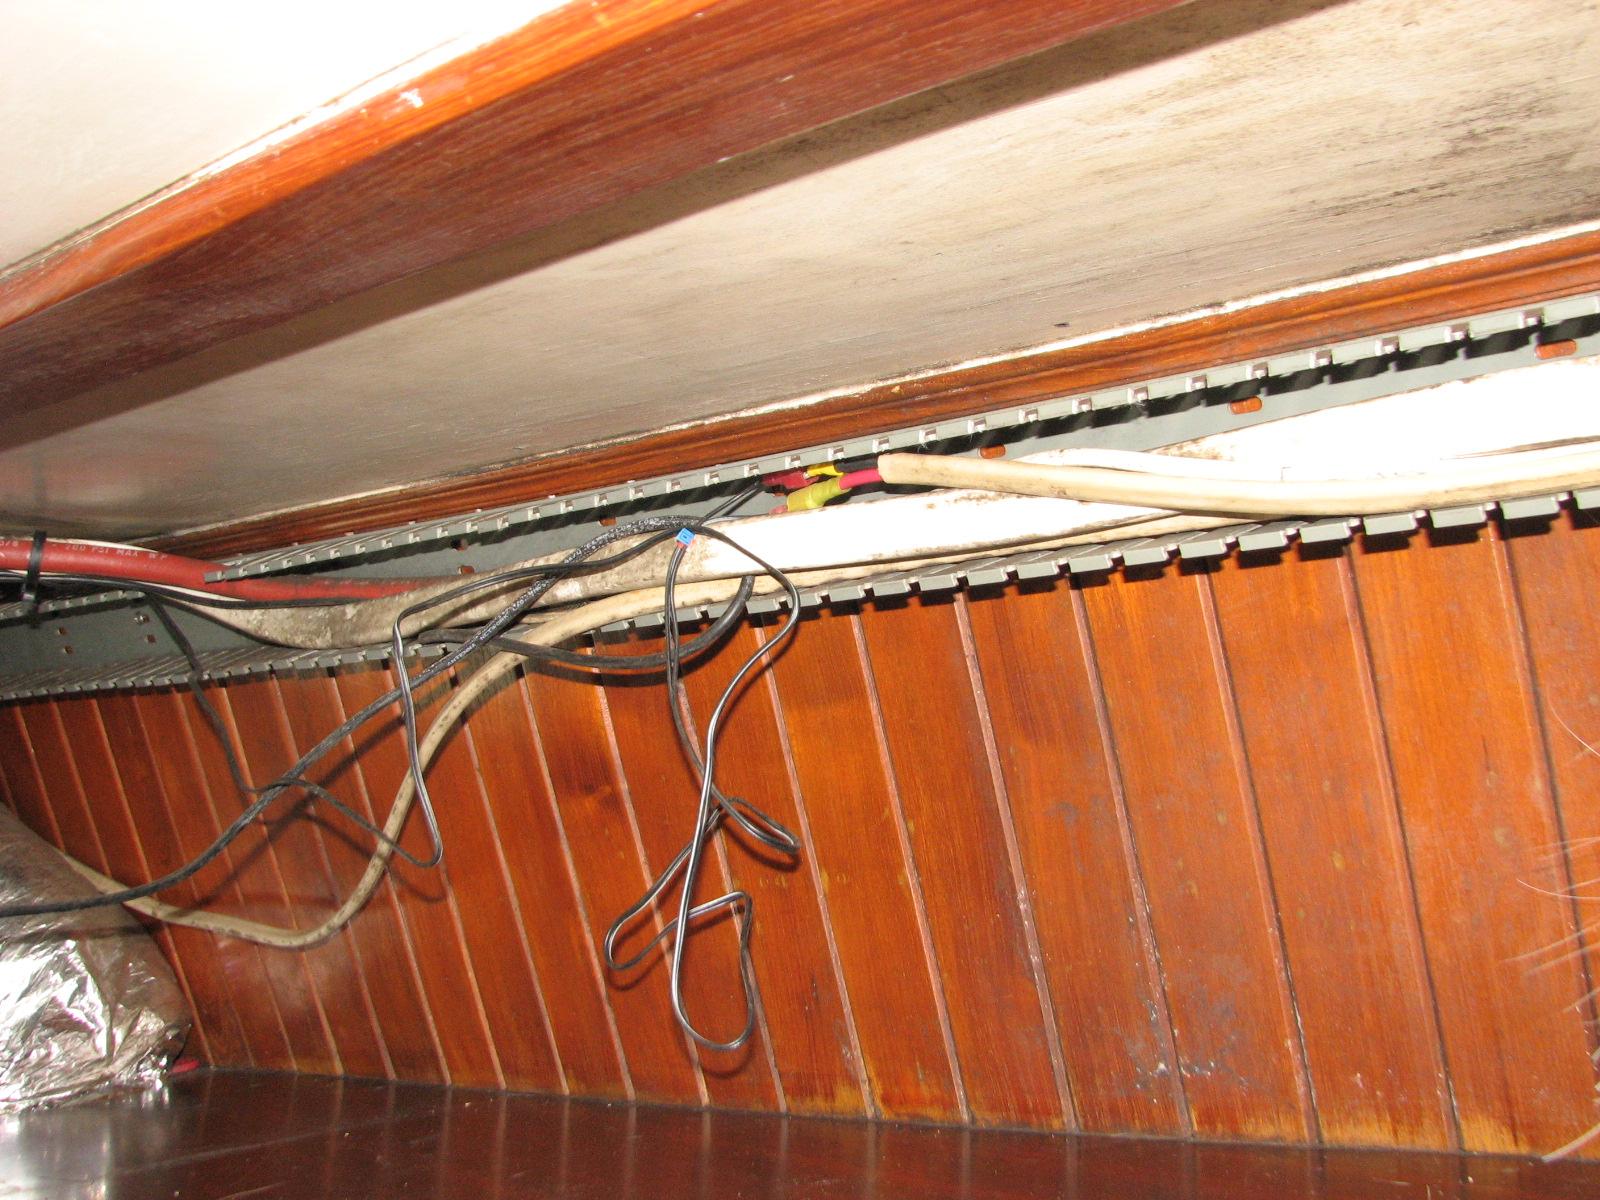
Wires
Exposed
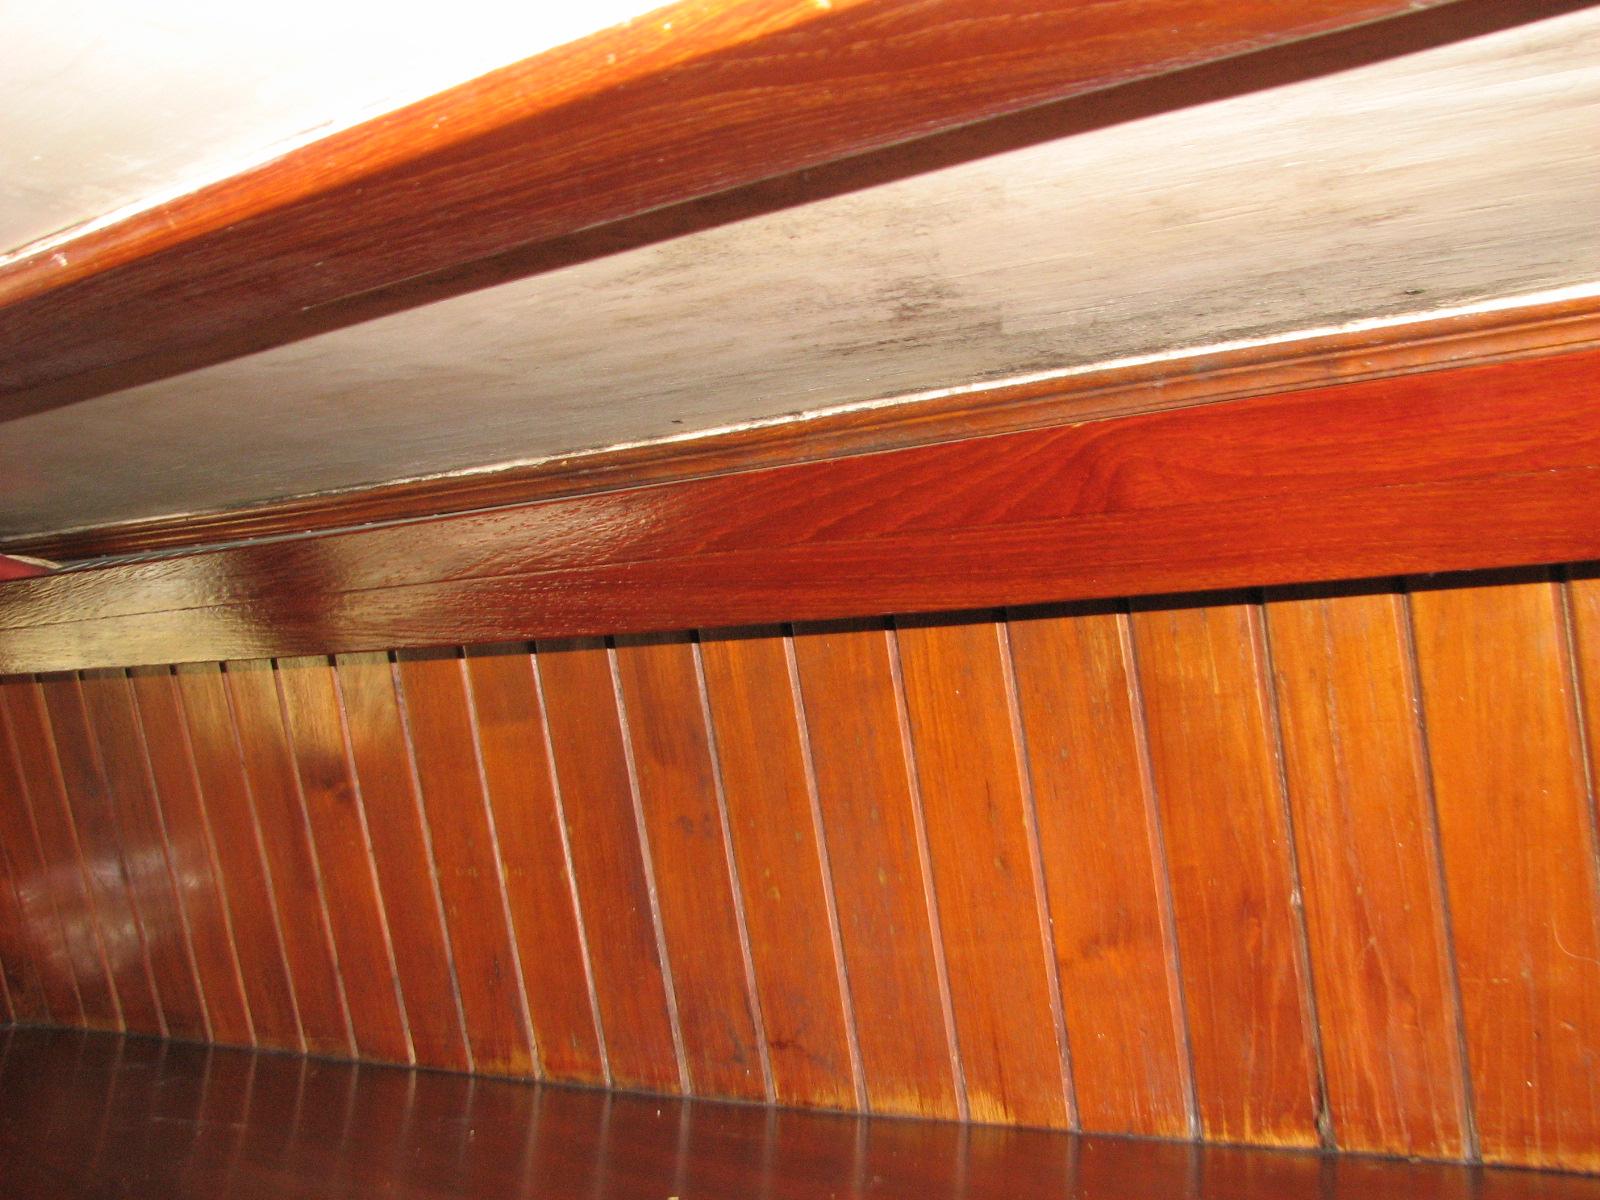
Panduit
Wire Duct Cover After
Installation
DREAM
AWAY Burgee
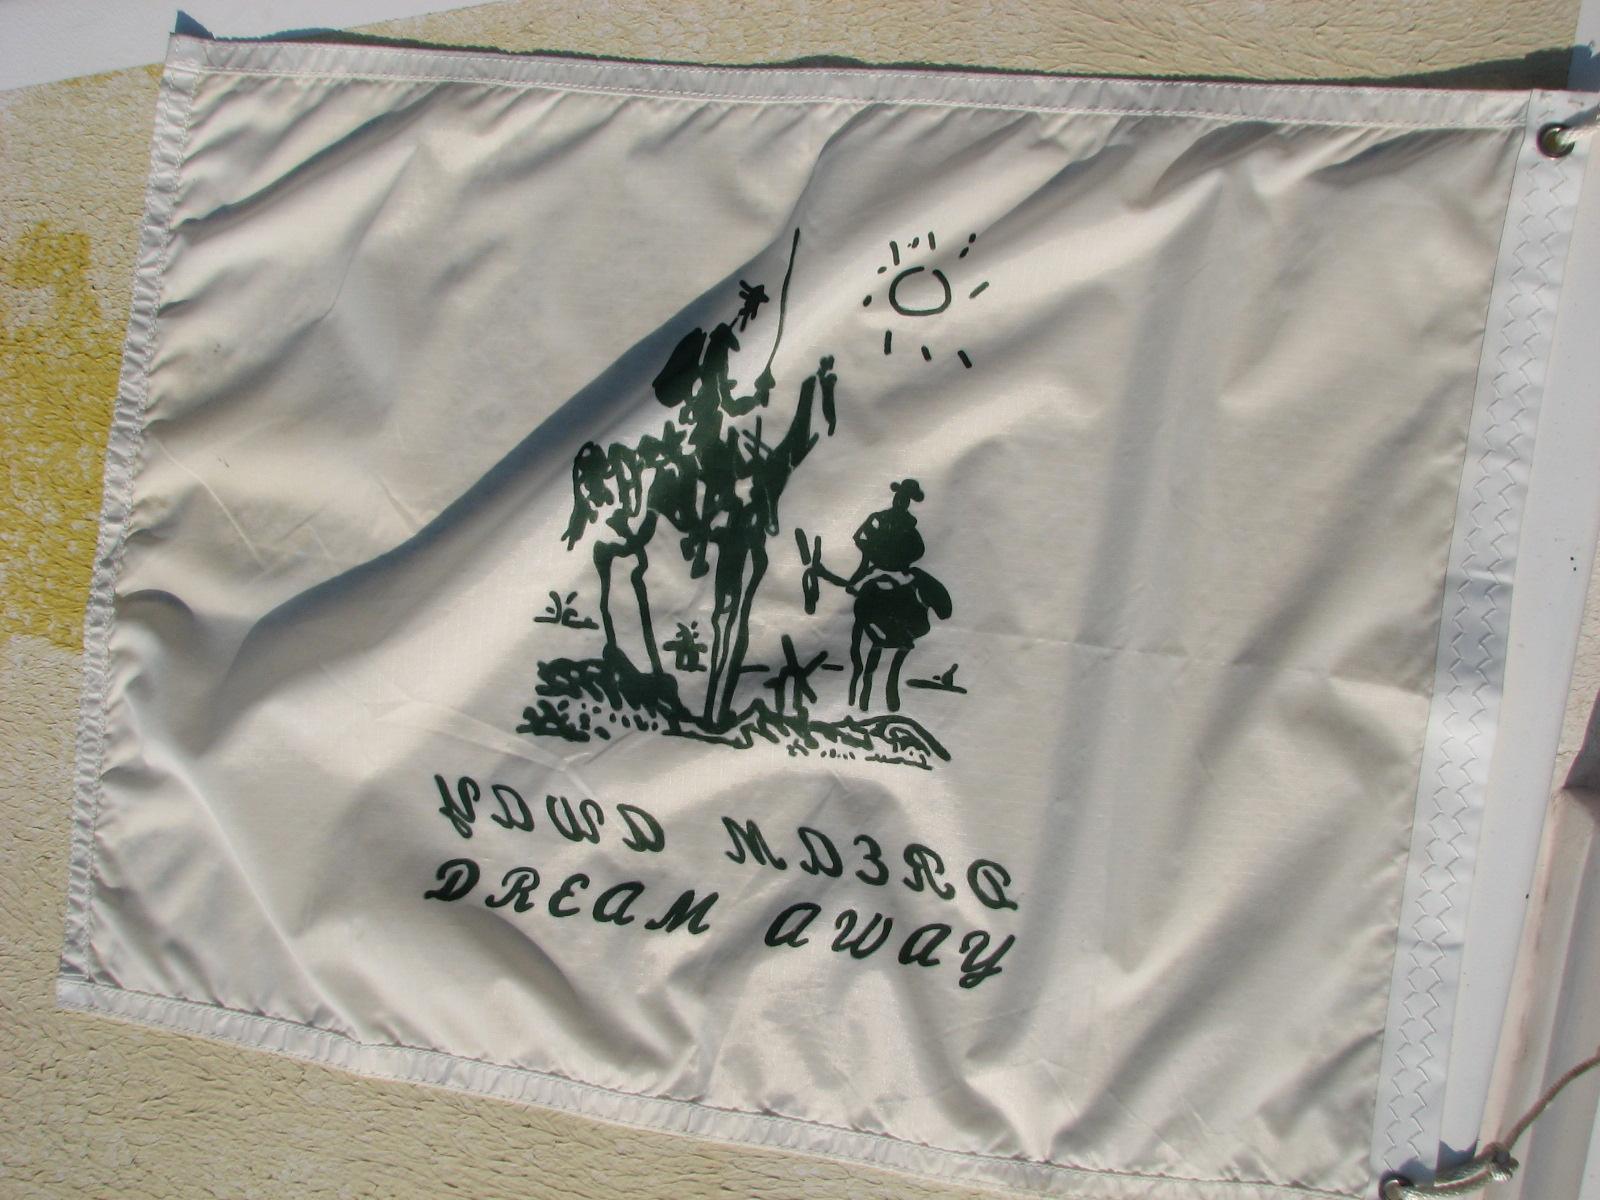
DREAM
AWAY Dressed
Ship
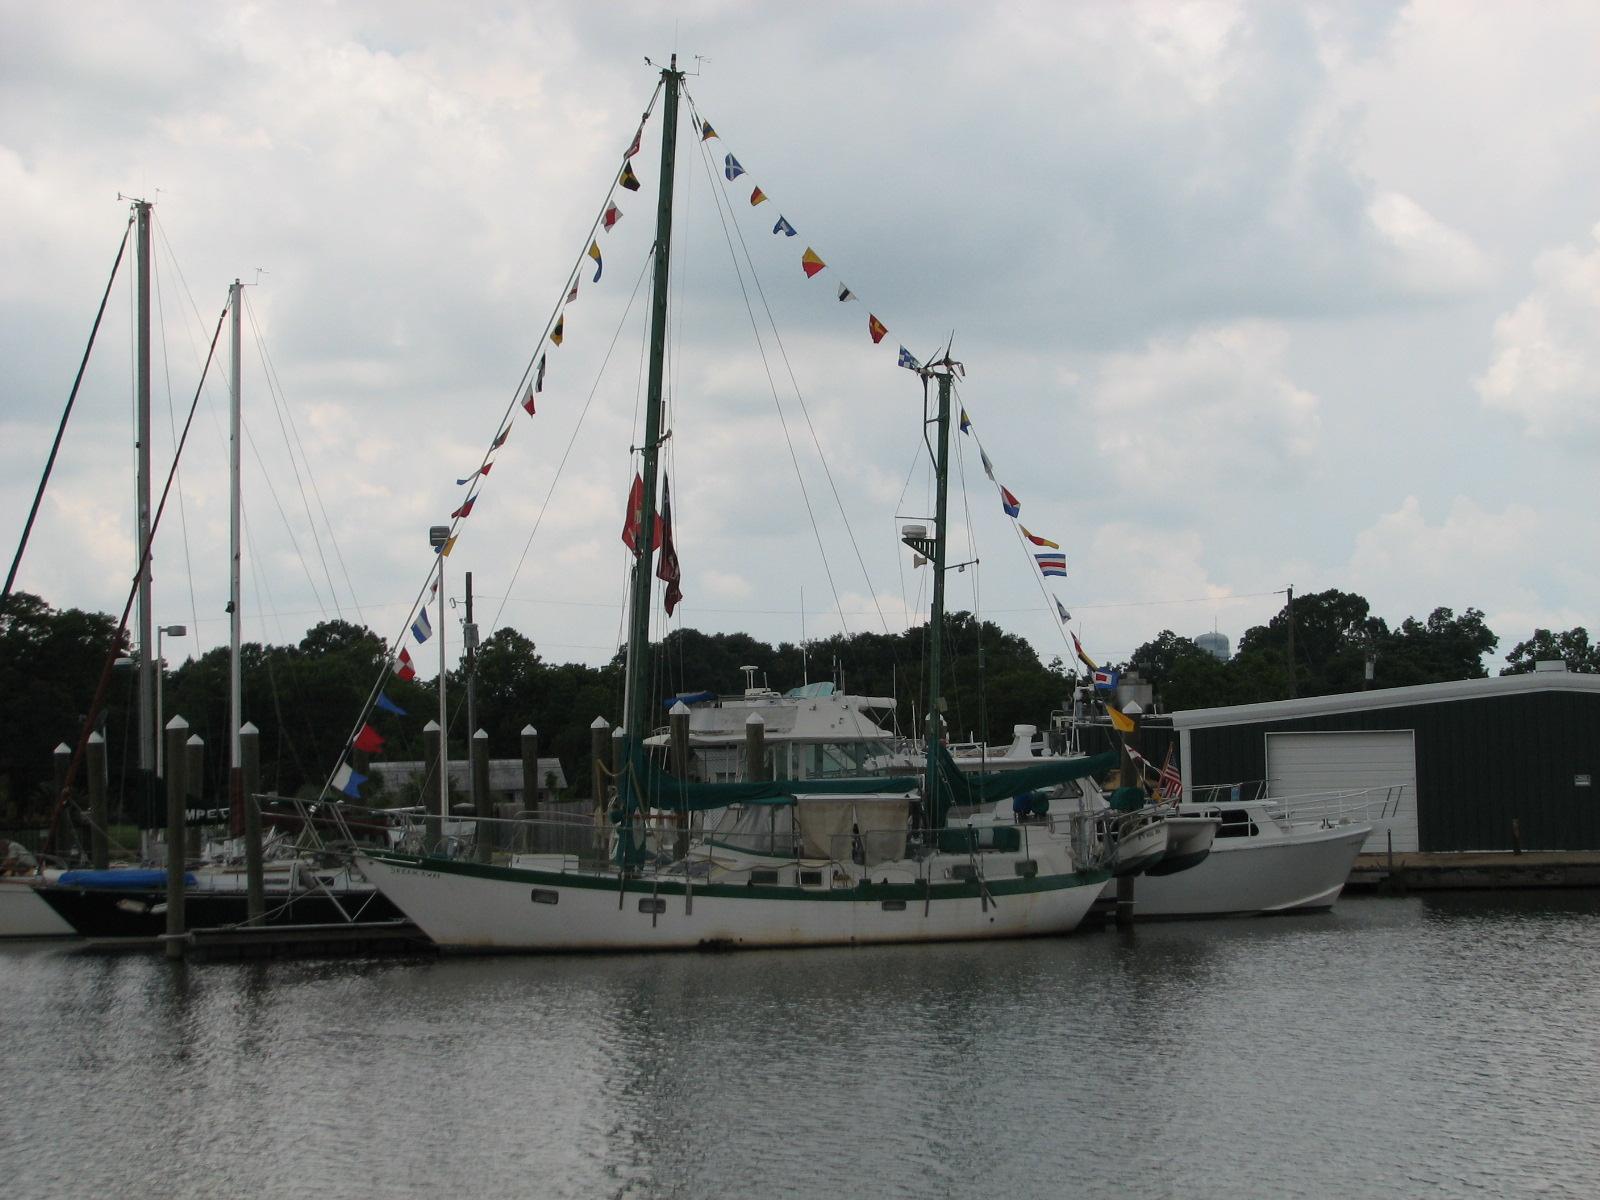
When I
finished with the flags, I walked over to the shop
and picked up the shelf I had been working on to install in the
storage area under the galley stove. I also picked up the necessary
tools for the installation, and walked back to DREAM AWAY.
The
installation of the shelf was not a big issue, the problem is the
space to work in! Too large a person working in too small a space.
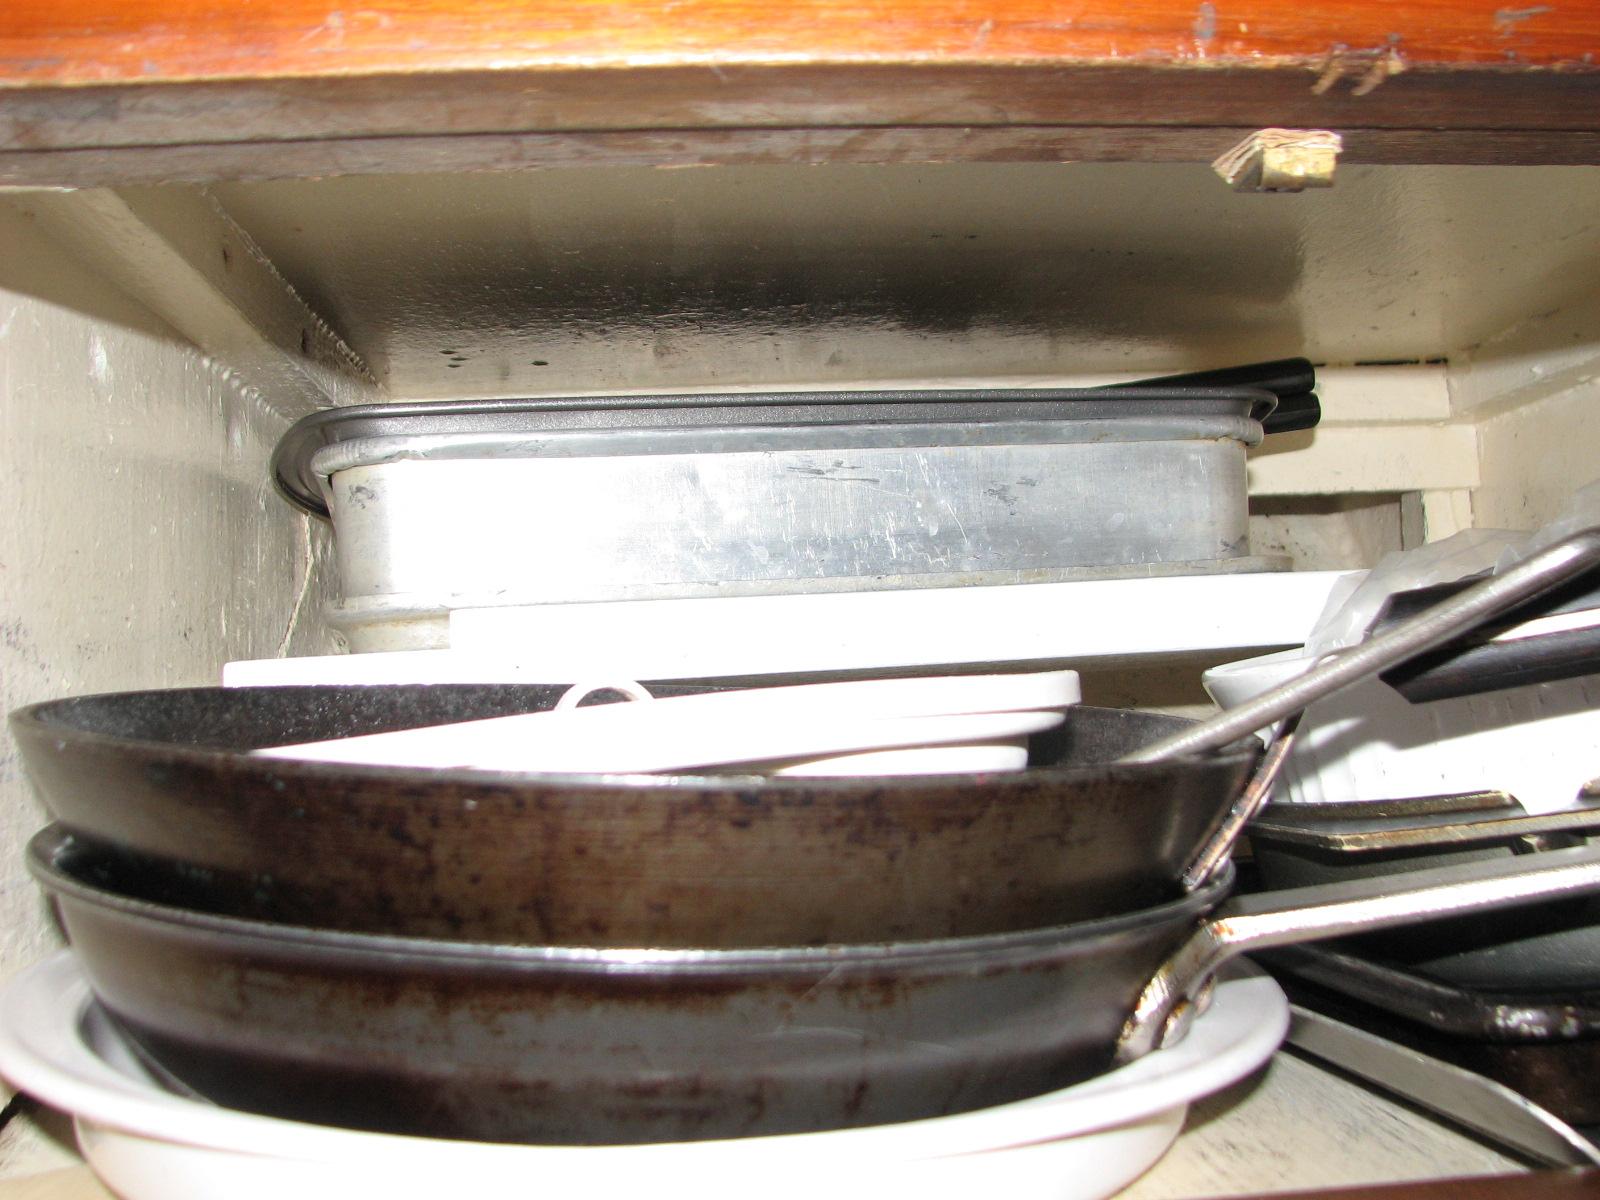
After much slippin’ and perhaps a four letter word or two, the
shelf was installed. Now when we remove a pan or anything from the
front of the storage area, all the items in the back will not slide
forward.
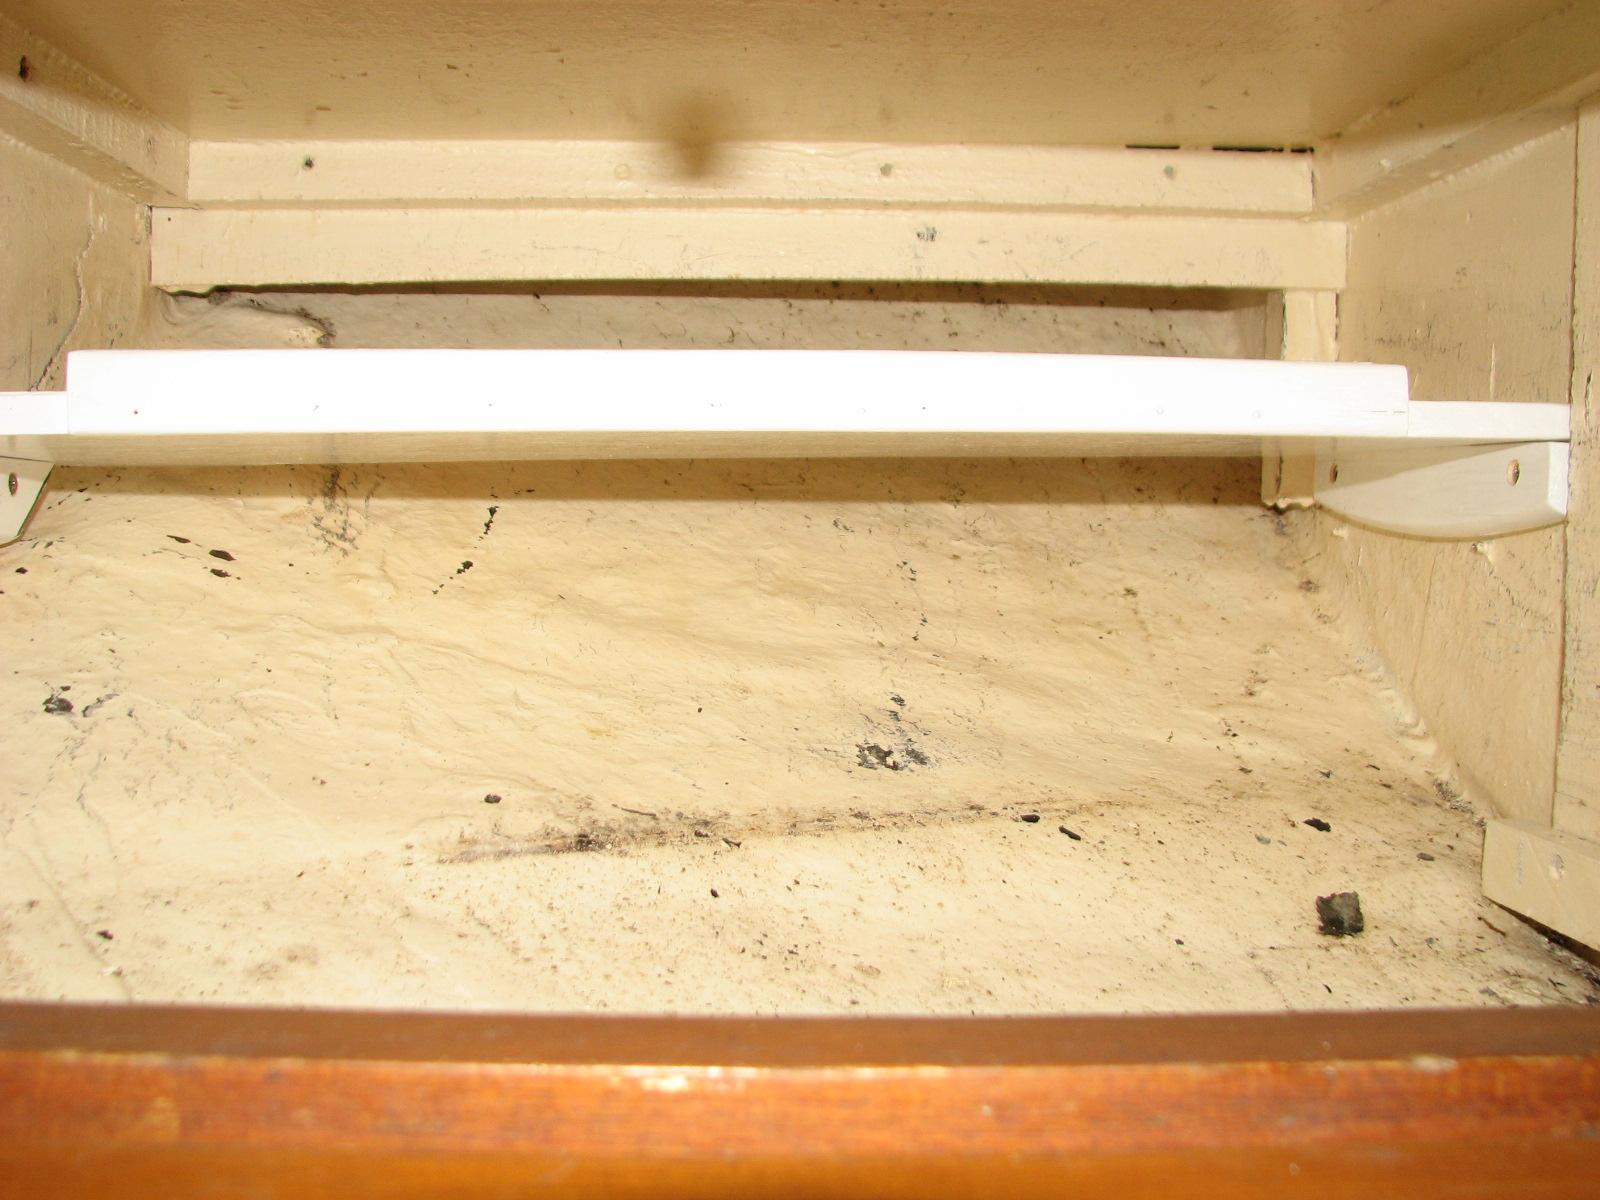
The bad
news is, because the shelf has new white paint on it, it is plain to
see how much the other white paint in the storage area has faded.
Another project for the future!
Front Of
Storage Area Under Propane Stove
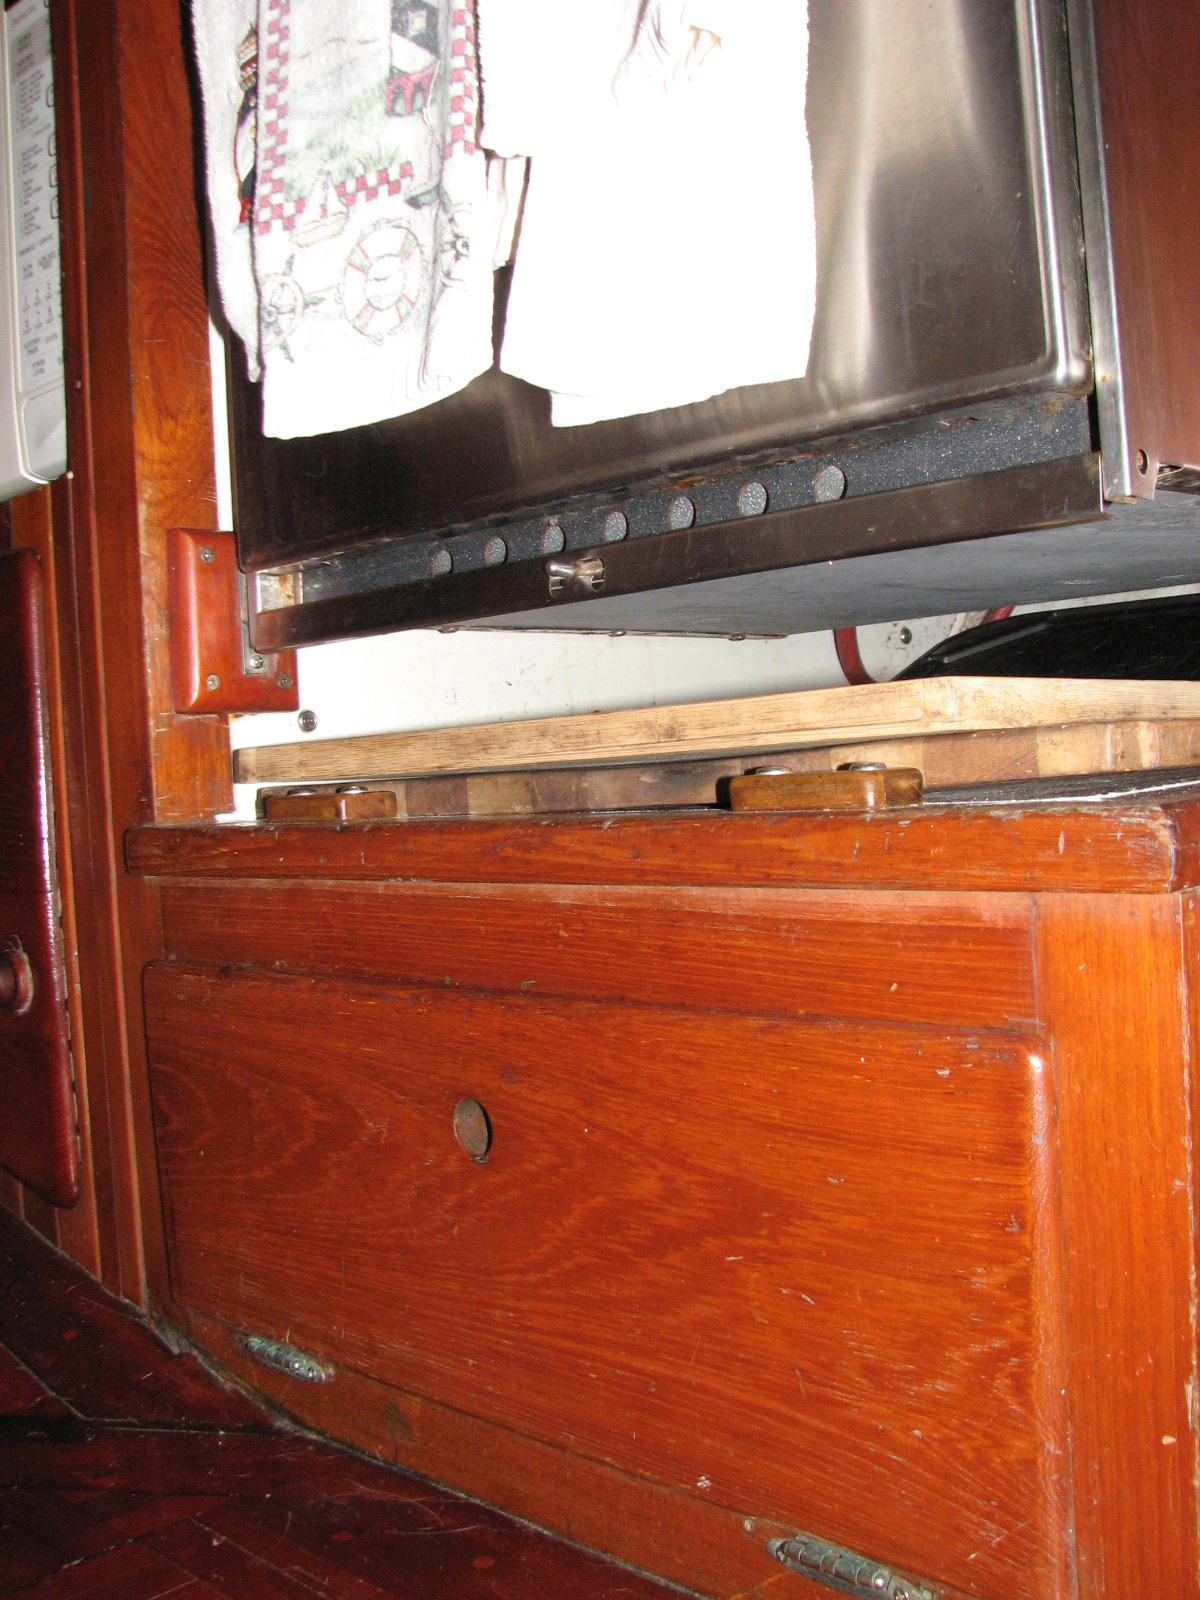
Shelf Not
Installed
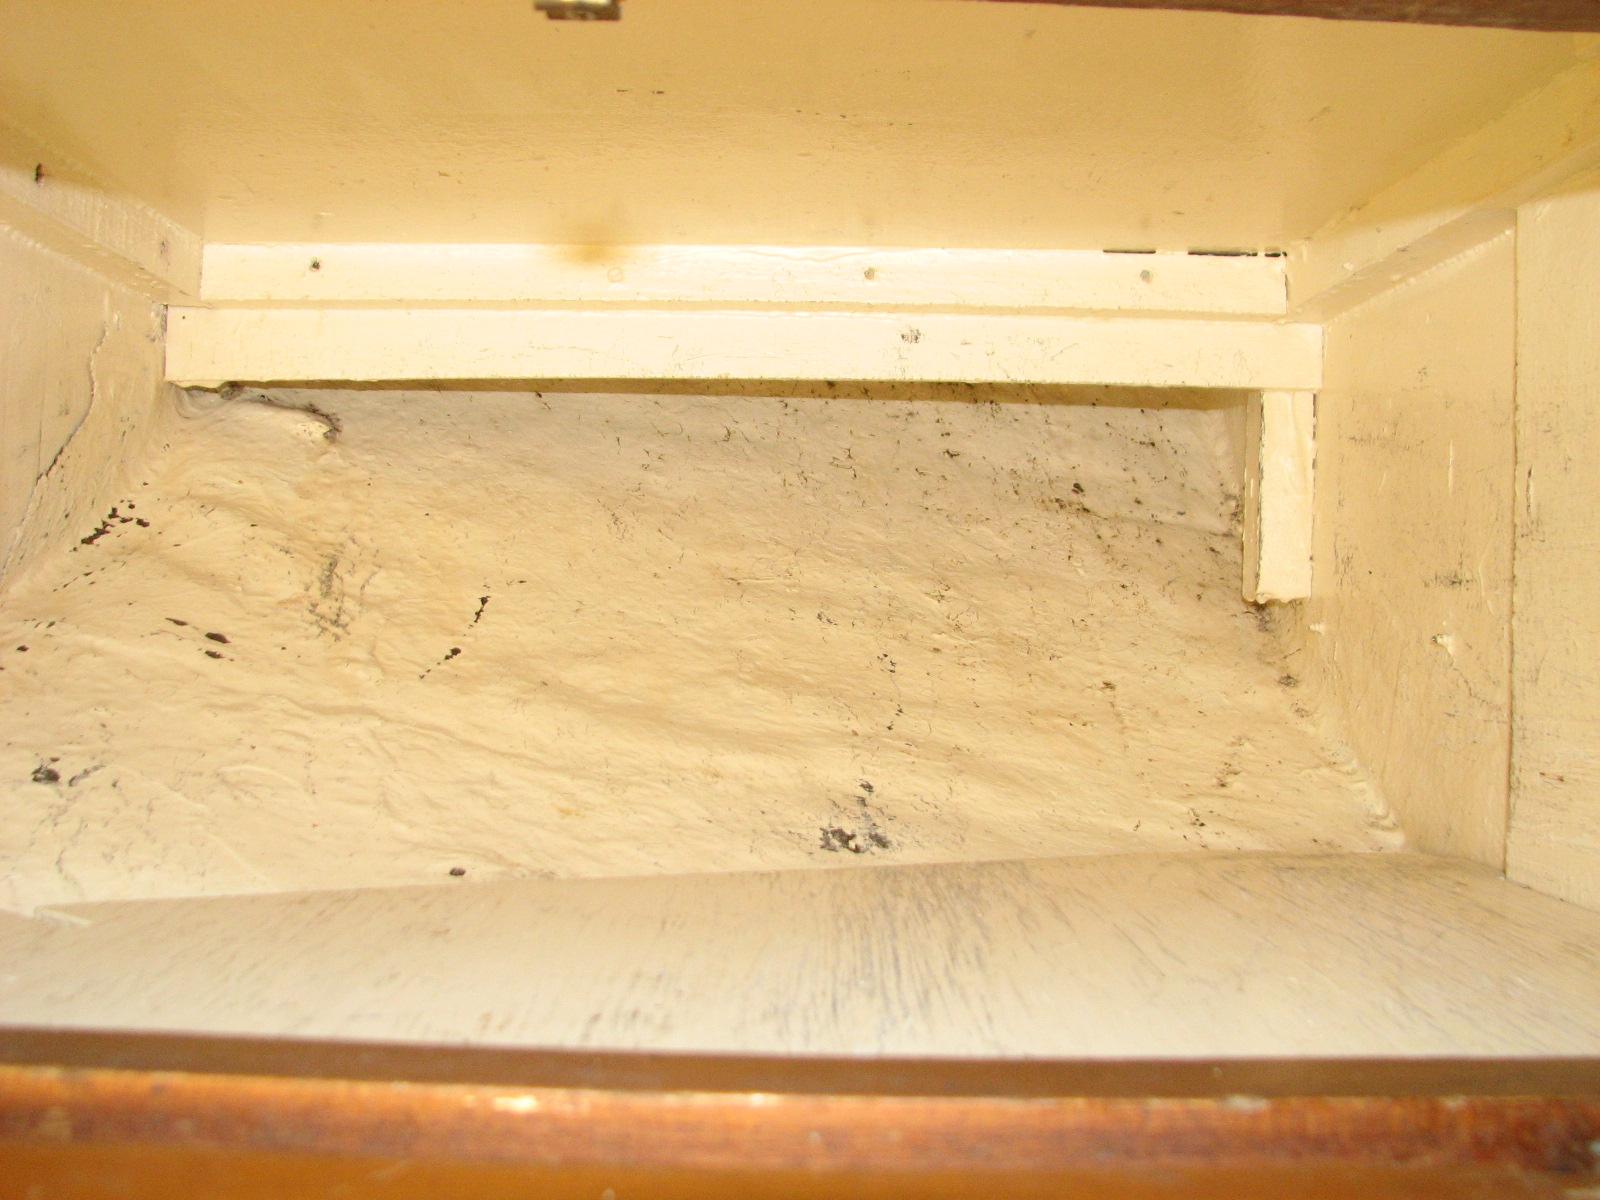
Shelf
Installed
Storage
Area With all Items Back In Area, New Shelf With Pans
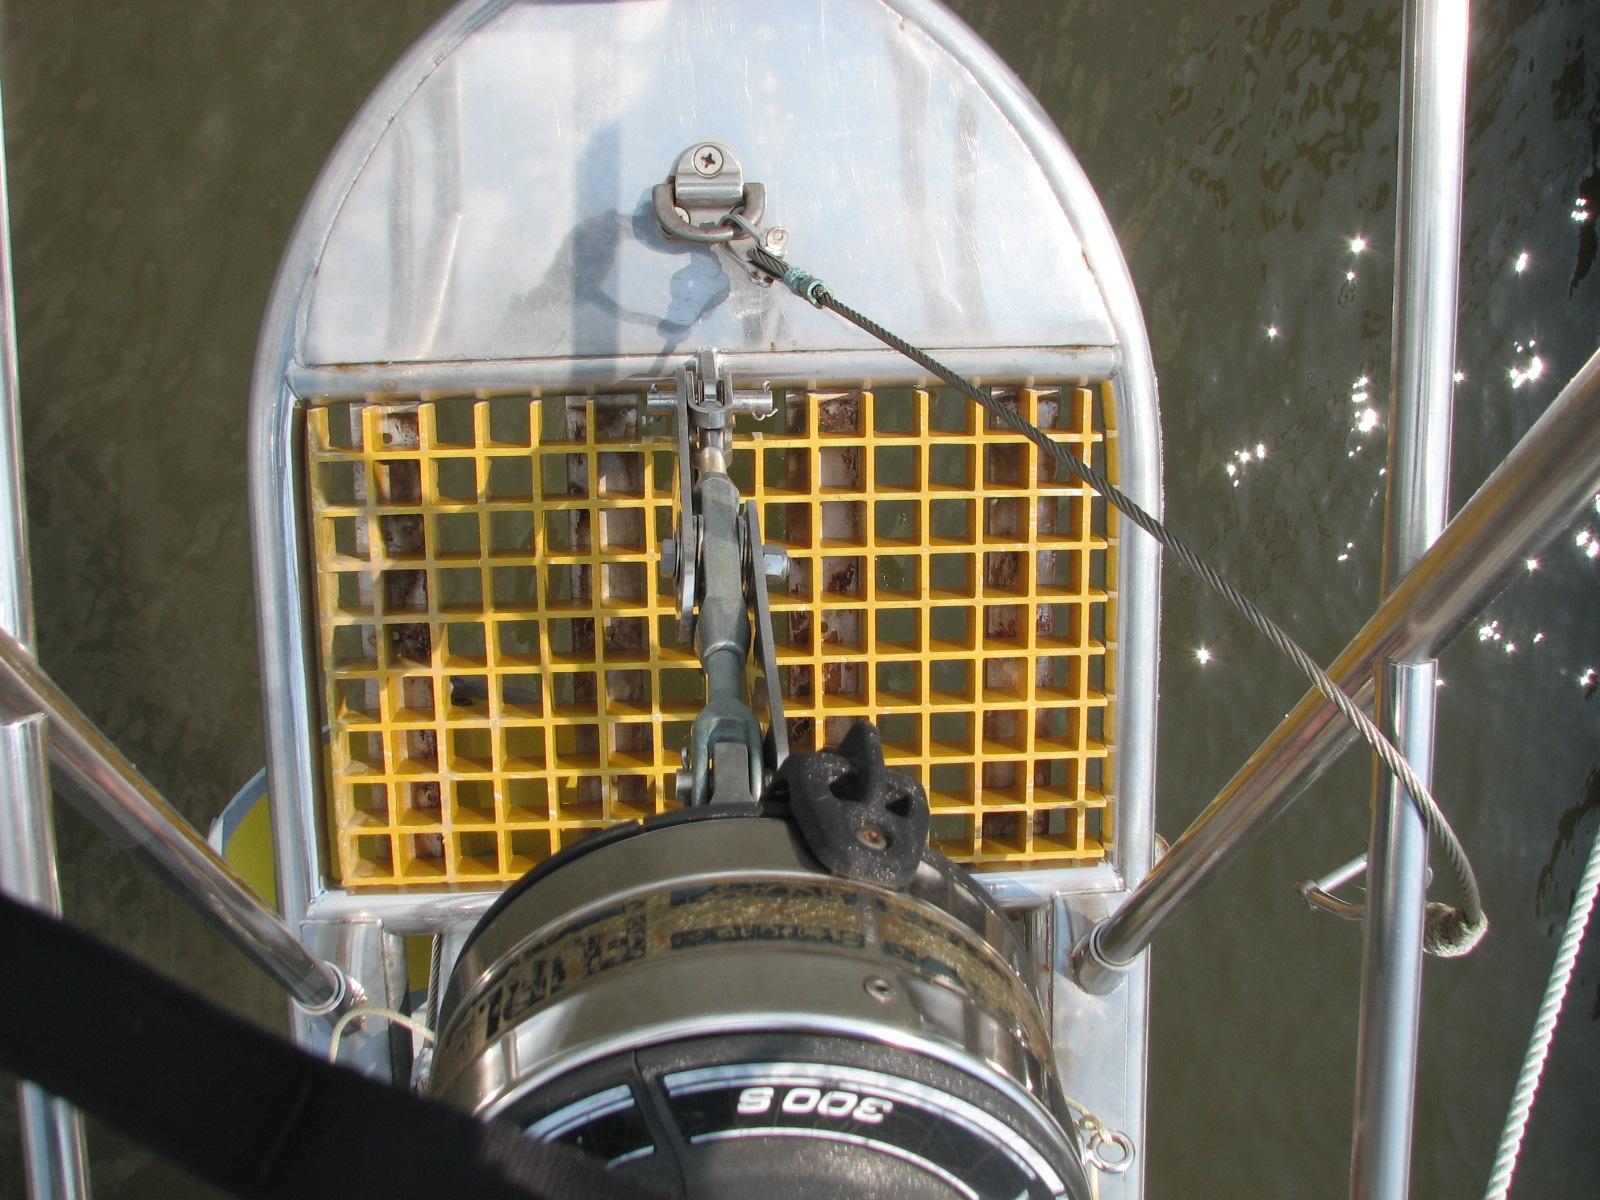
Last item
for the day was to remove the seat that is on the bow pulpit of DREAM
AWAY. I am going to use the same fiberglass grating
on the seat that I installed in the anchor area of the bow pulpit.
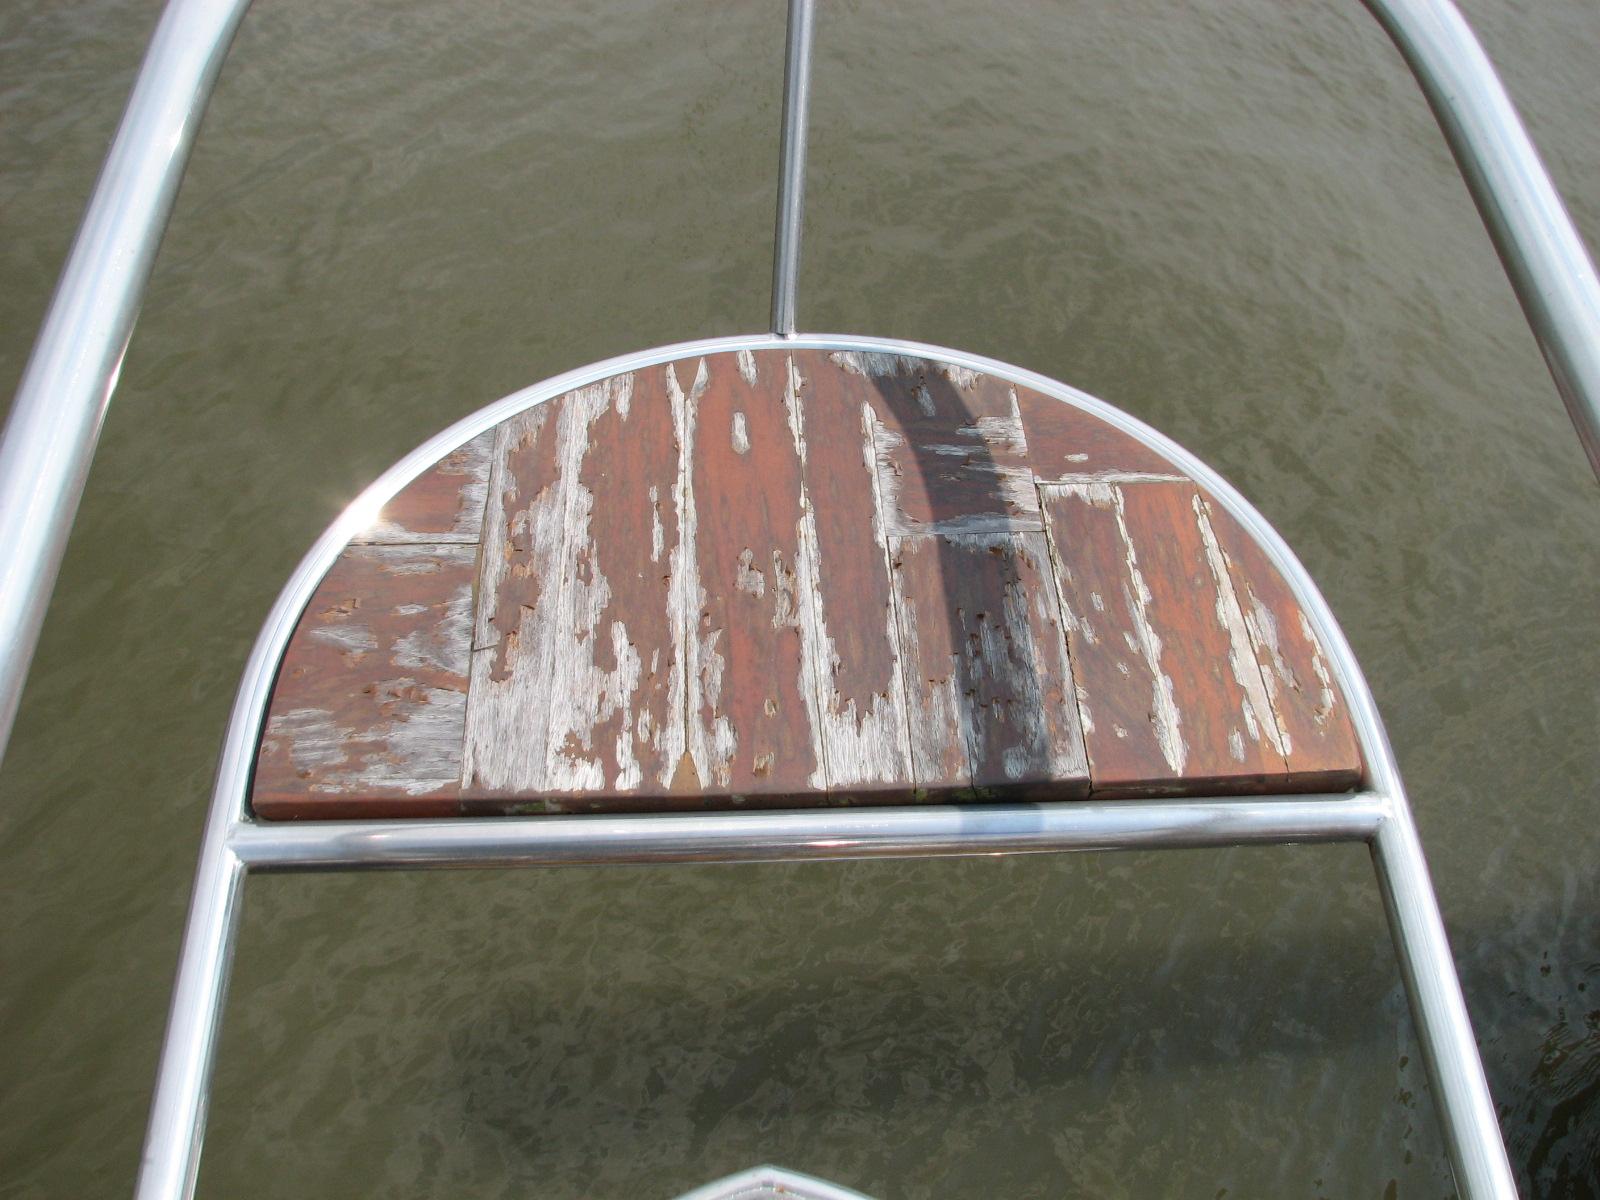
As you
can see from the picture, the teak wood is in desperate need of
maintenance, so I am working to get rid of maintenance issues.
Replacing the teak with fiberglass
grating will accomplish
that task nicely.
Fiberglass
Grating On Anchor Area Of
Bow Pulpit
Teak Seat
That Was Removed From Bow Pulpit
July 2,
Tuesday, 2013
Started off the morning
with my normal ritual of getting on the Internet, answering email,
checking the weather, while making a pot of coffee. Spending extra
time working on the June Maintenance Log to put up on the web page.
Went into New Iberia
and had the new air conditioning compressor installed on the Black
Beast. When that was finished, I came back to DREAM AWAY and had
lunch.
After lunch I set up to
test my freshwater pumps. One had quit working, and the was an easy
fix. The micro switch that allows the pump to turn on was dirty. I
sprayed some corrosion block on the switch and actuated it several
times and that cleared the problem.
Now I got out two
pieces of ½” hose and attached to the pump. I then got a bucket
and filled it with water and brought it down into the garage. I
connected my jumper cables to the battery and verified pump
operation. The pump leaked, so I took it apart and cleaned up all of
the mating surfaces. I put the pump back together and used
never-seize on the bolts.
Freshwater Pump Being
Tested In The Garage

The pump worked
perfectly this time! I connected the hoses to the second pump and
verified it’s operation. Both pumps worked as advertised, and I put
them back into the spares locker.
I also helped a fellow
boater solve his air conditioning problem. He had cleaned the
strainer for the air conditioner, and now he was not getting water
through the system. I initially thought the problem was the pump
needed primed, but it turned out to be simple. He had forgot to open
up his seacock after cleaning the strainer! We open the seacock, and
the air conditioner worked just fine.
We then
welcomed back another transient into the marina.
They were very happy to be back with us.
July 1,
Monday, 2013
Started off the morning
with my normal ritual of getting on the Internet, answering email,
checking the weather, while making a pot of coffee.
Day started off with me
accompanying Kitty to the Iberia Medical Center for a CAT scan, that
did not work out as planned. On the way home I noticed the air
conditioning compressor on the Black Beast was not coming on.
I knew this was a
problem that would come up because the noise the compressor was
making when I had to change the harmonic dampener earlier in the
year. So off I go to Chabill’s
Tire Service to get the
compressor replaced. Chabill’s
Tire Service is where I
originally had all of the air conditioning work done. I had a two
year warranty on the compressor, and one year on the labor.
Lots of back and forth,
that I will not go into, but the new compressor is on order, and I
have to go back tomorrow at 1000 to have the work done! Then I went
back to DREAM AWAY, and finally had breakfast and lunch, 1400!
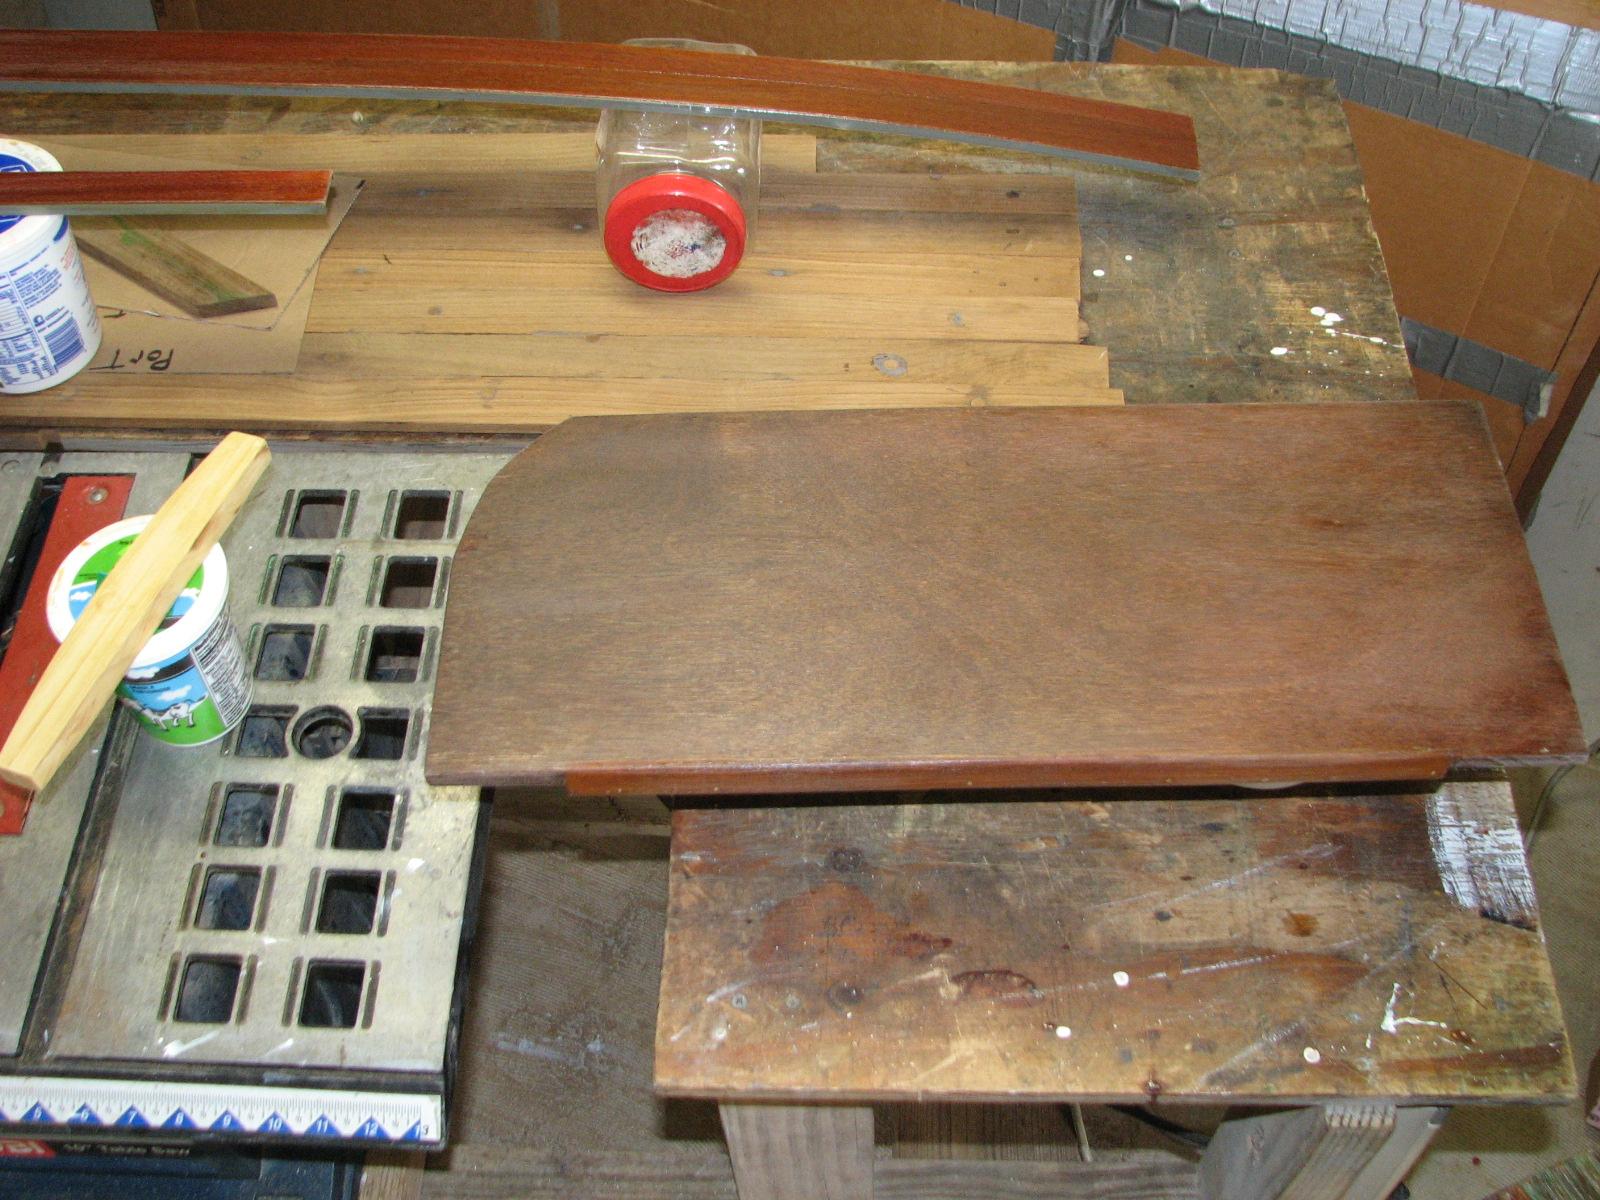
Went over to the shop
and sanded down the shelf I am building for the area under the
propane stove in the galley. I also sanded the white area of the
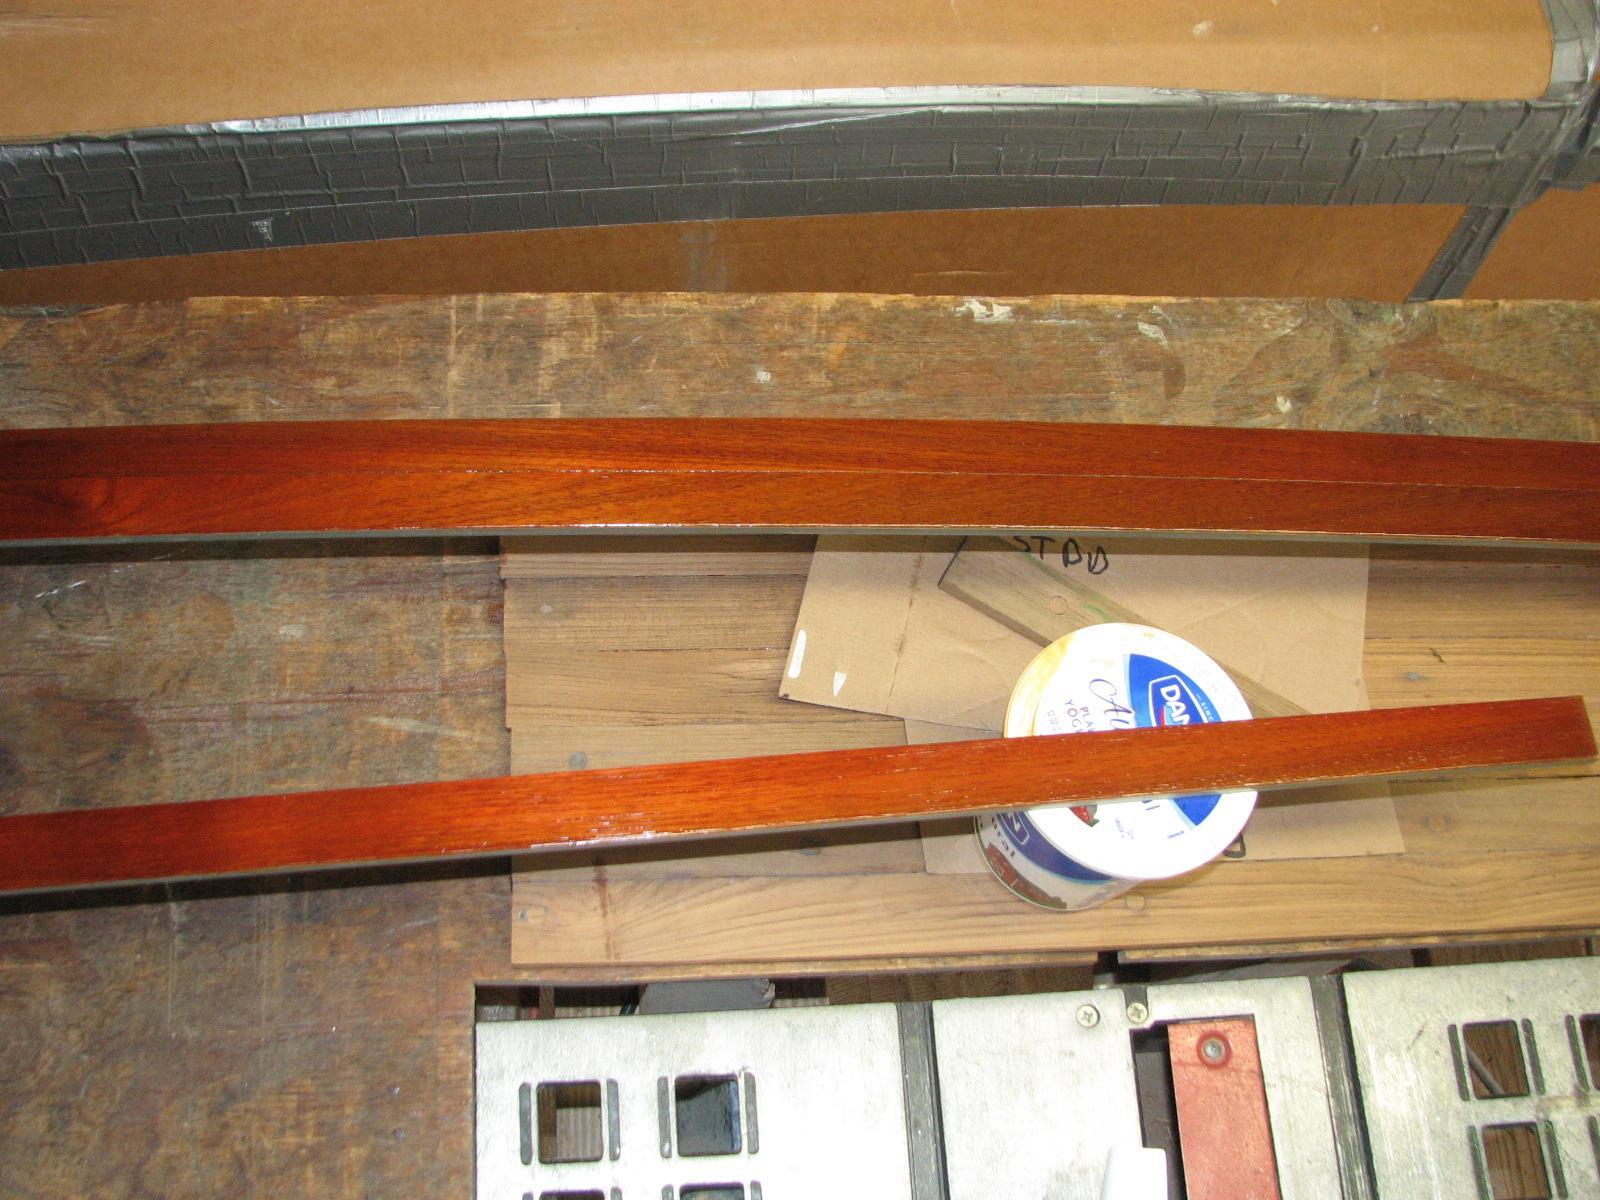
V-berth insert, and the Panduit
wire duct covers.
Shelf Sanded And Ready
For Paint
V-Berth Insert Sanded
And Ready For Paint

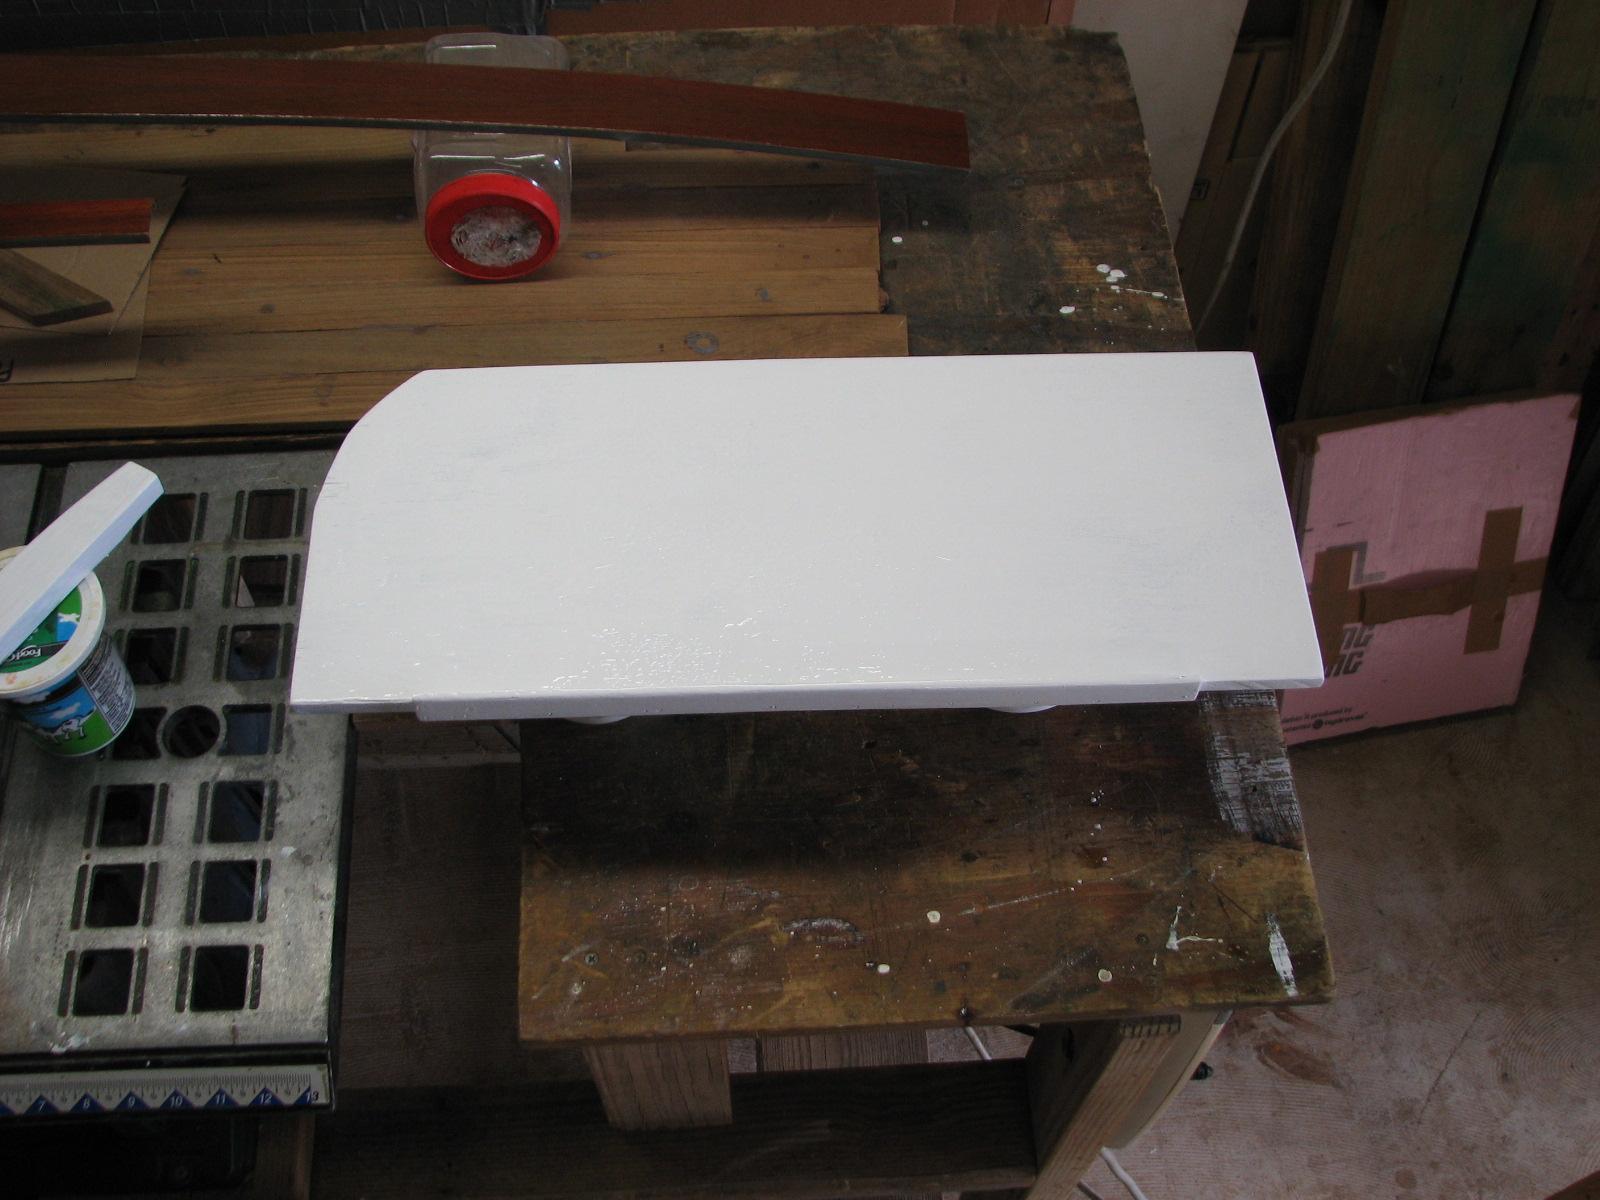
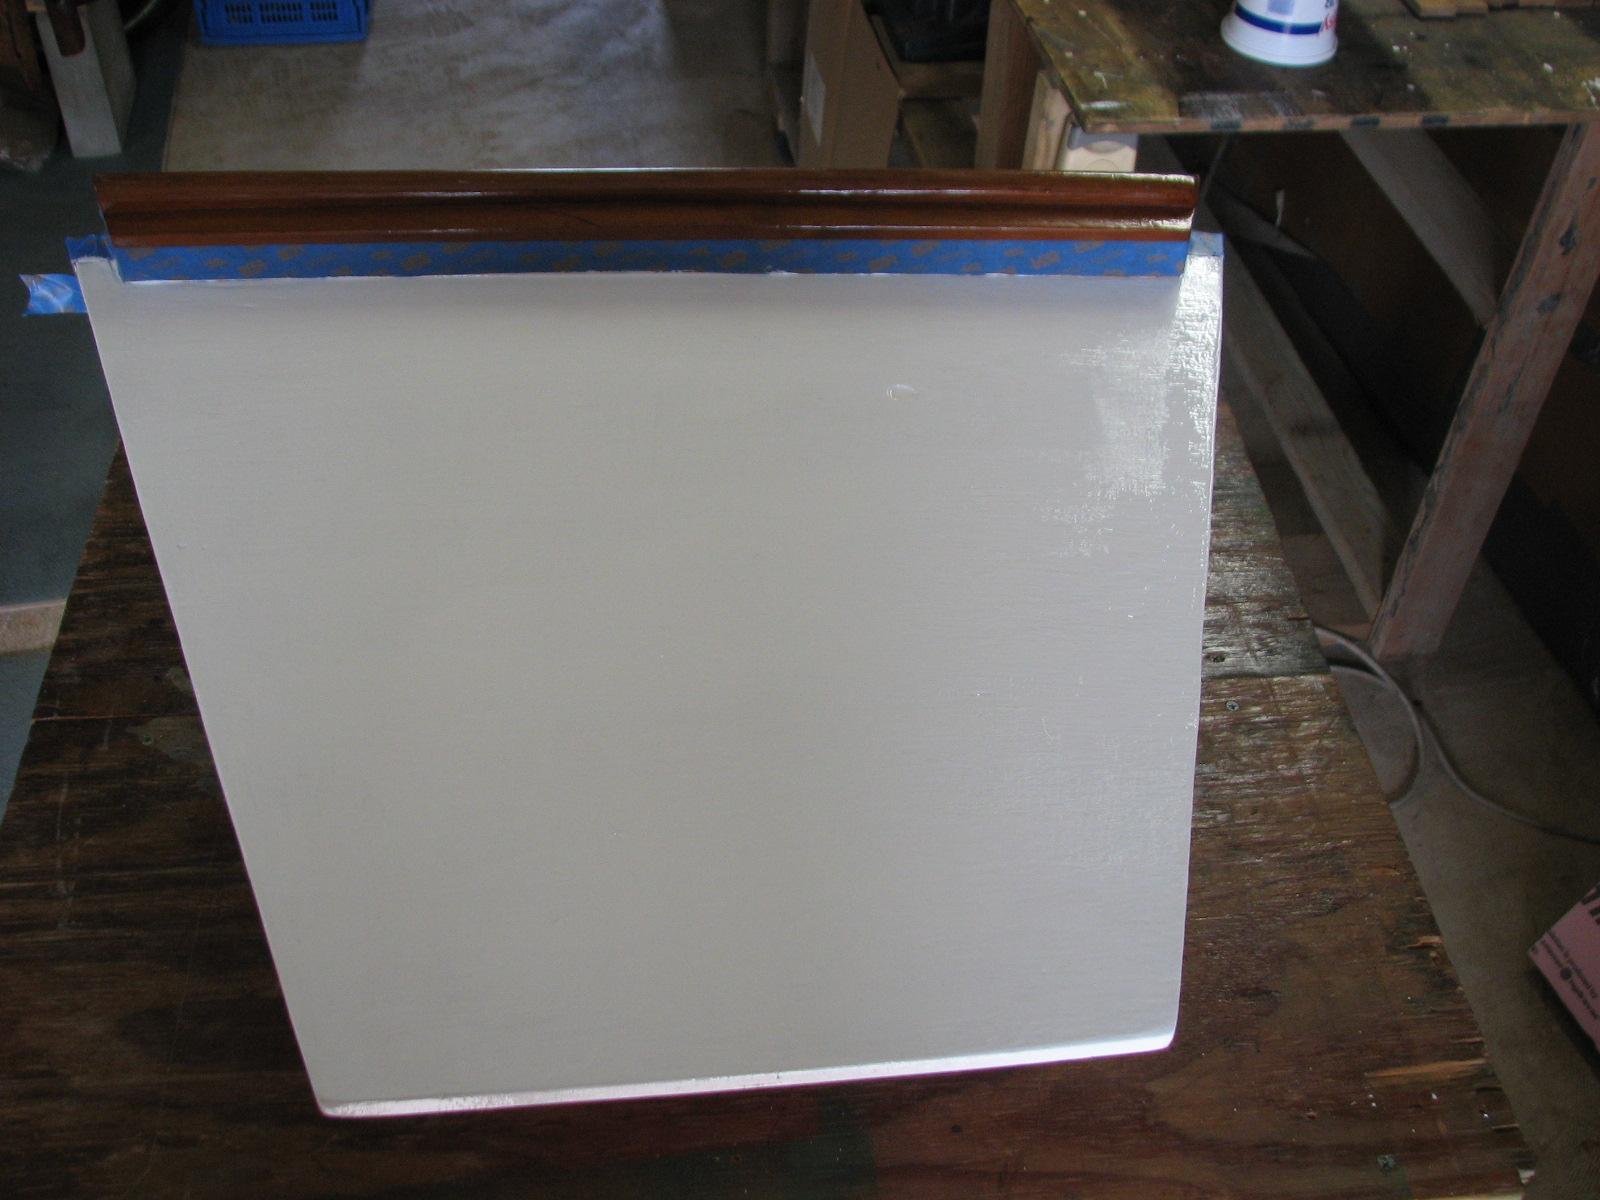
I then mixed up a batch
of the two part paint I have left over from Guatemala, and painted
the top of the galley shelf, the shelf supports and the top of the
V-Berth insert.
Painted Shelf And
Supports
Painted V-Berth Insert
I left the shop
and went back to the marina,
and performed my daily gardening activity. This means I pulled weeds
out of the marina
landscaping for about 30 minutes. This is an ongoing part of my part
time job as the Marina
Maintenance man!


