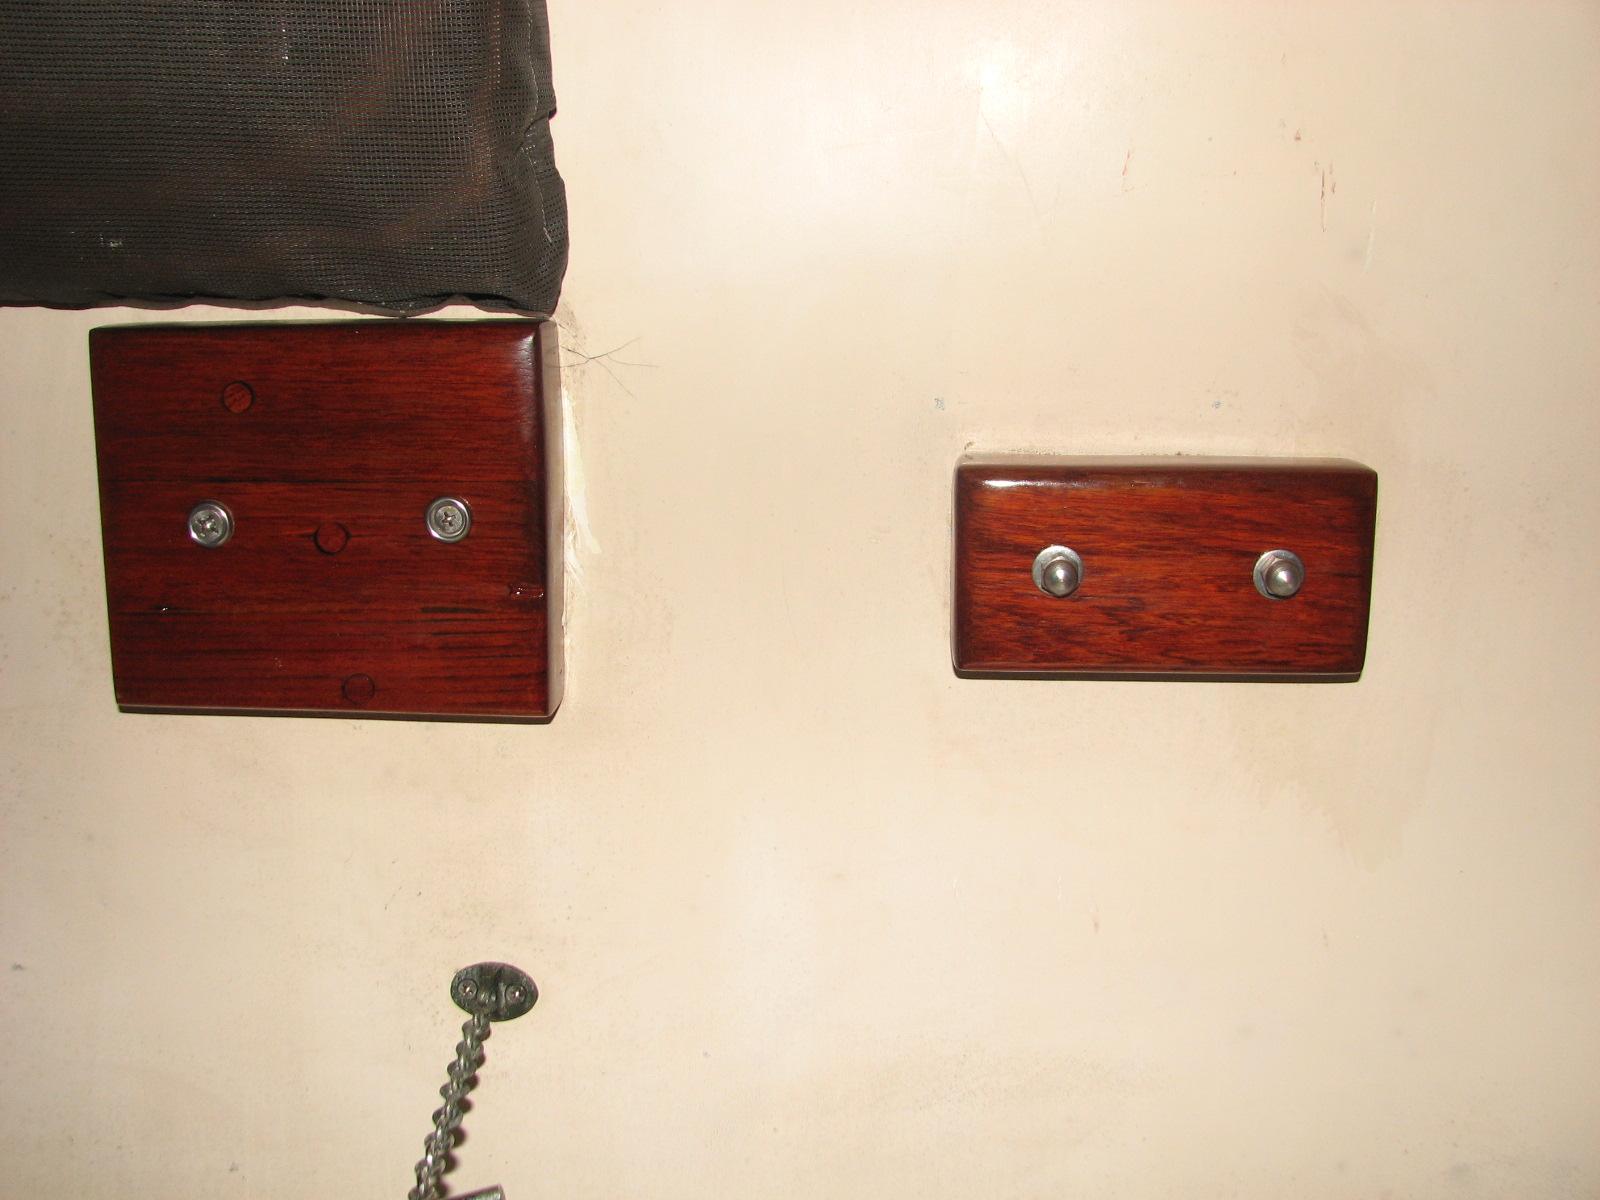
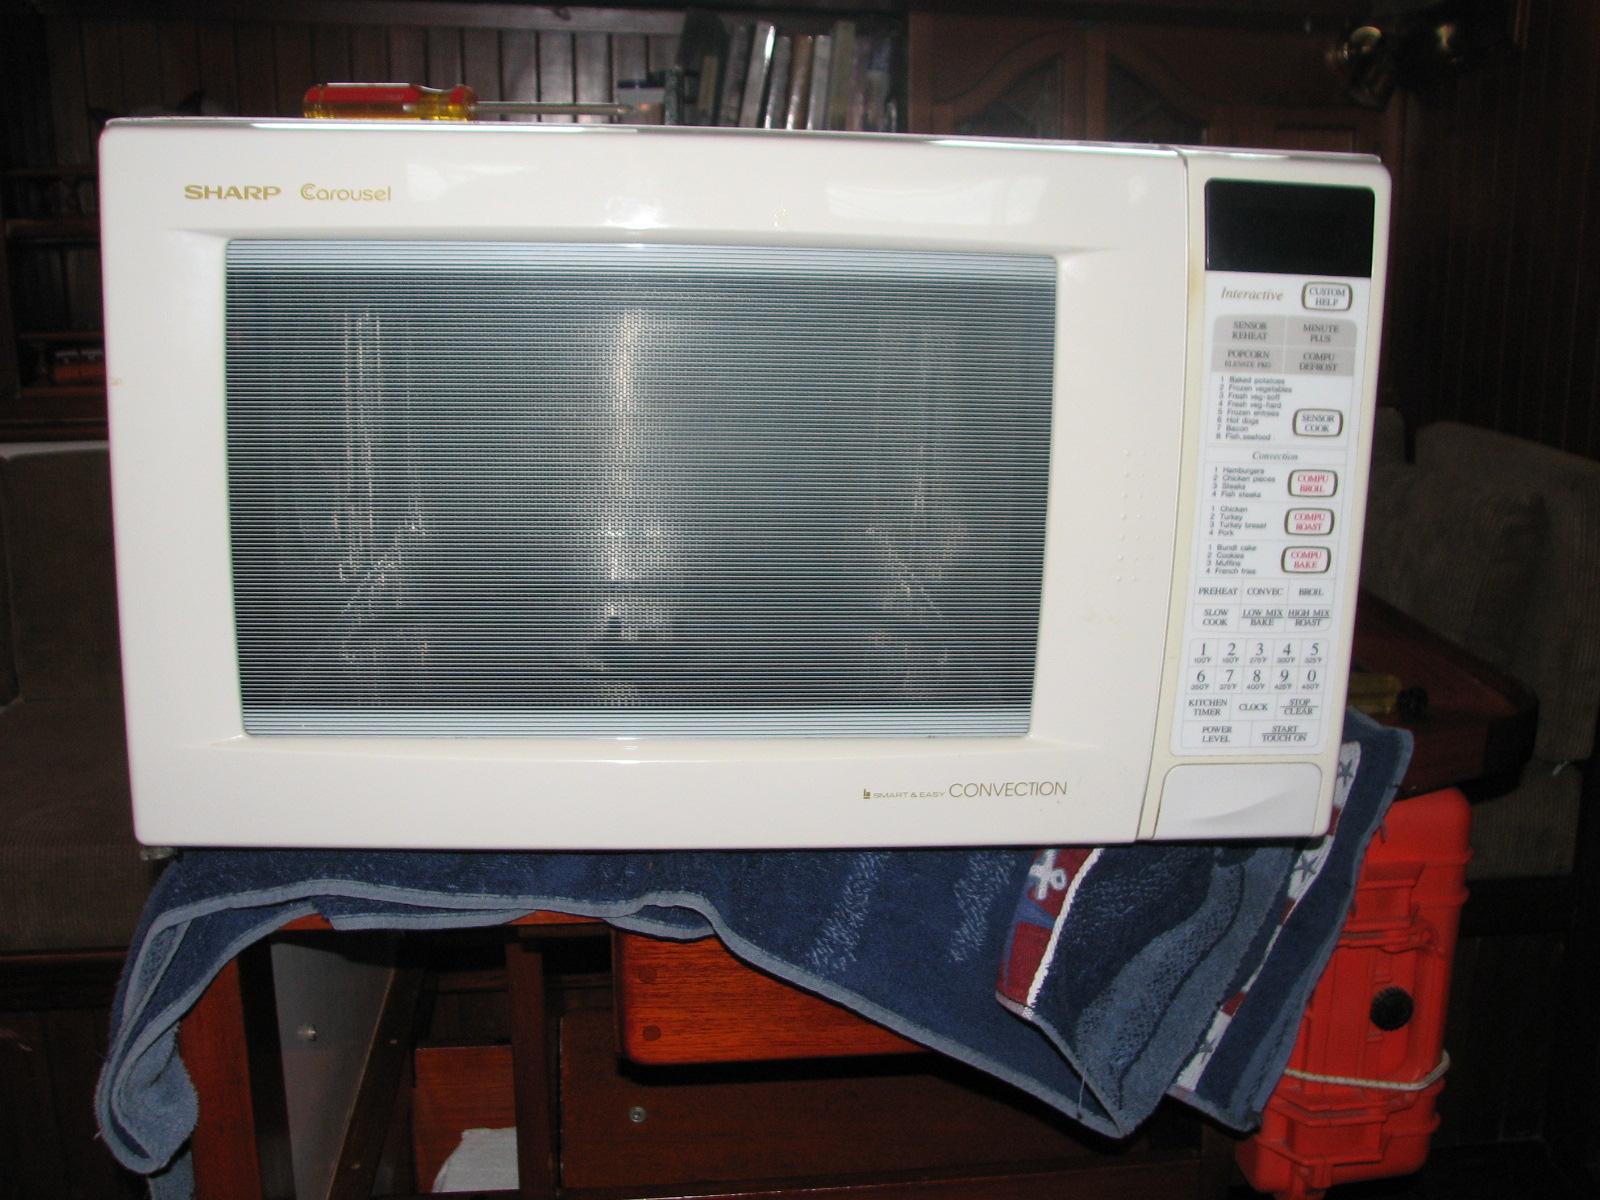
I then put the Sharp
Microwave back into it’s place in the galley,
and put all of the hold downs back in to keep the microwave from
shifting during a passage. As a final test, I heated a cup of coffee,
and it all went well.
I then went over to the shop
to get to work on other projects. First on the list was to cut out
some pieces of fiberglass
to use to attach the battery box and the gratings in the tender.

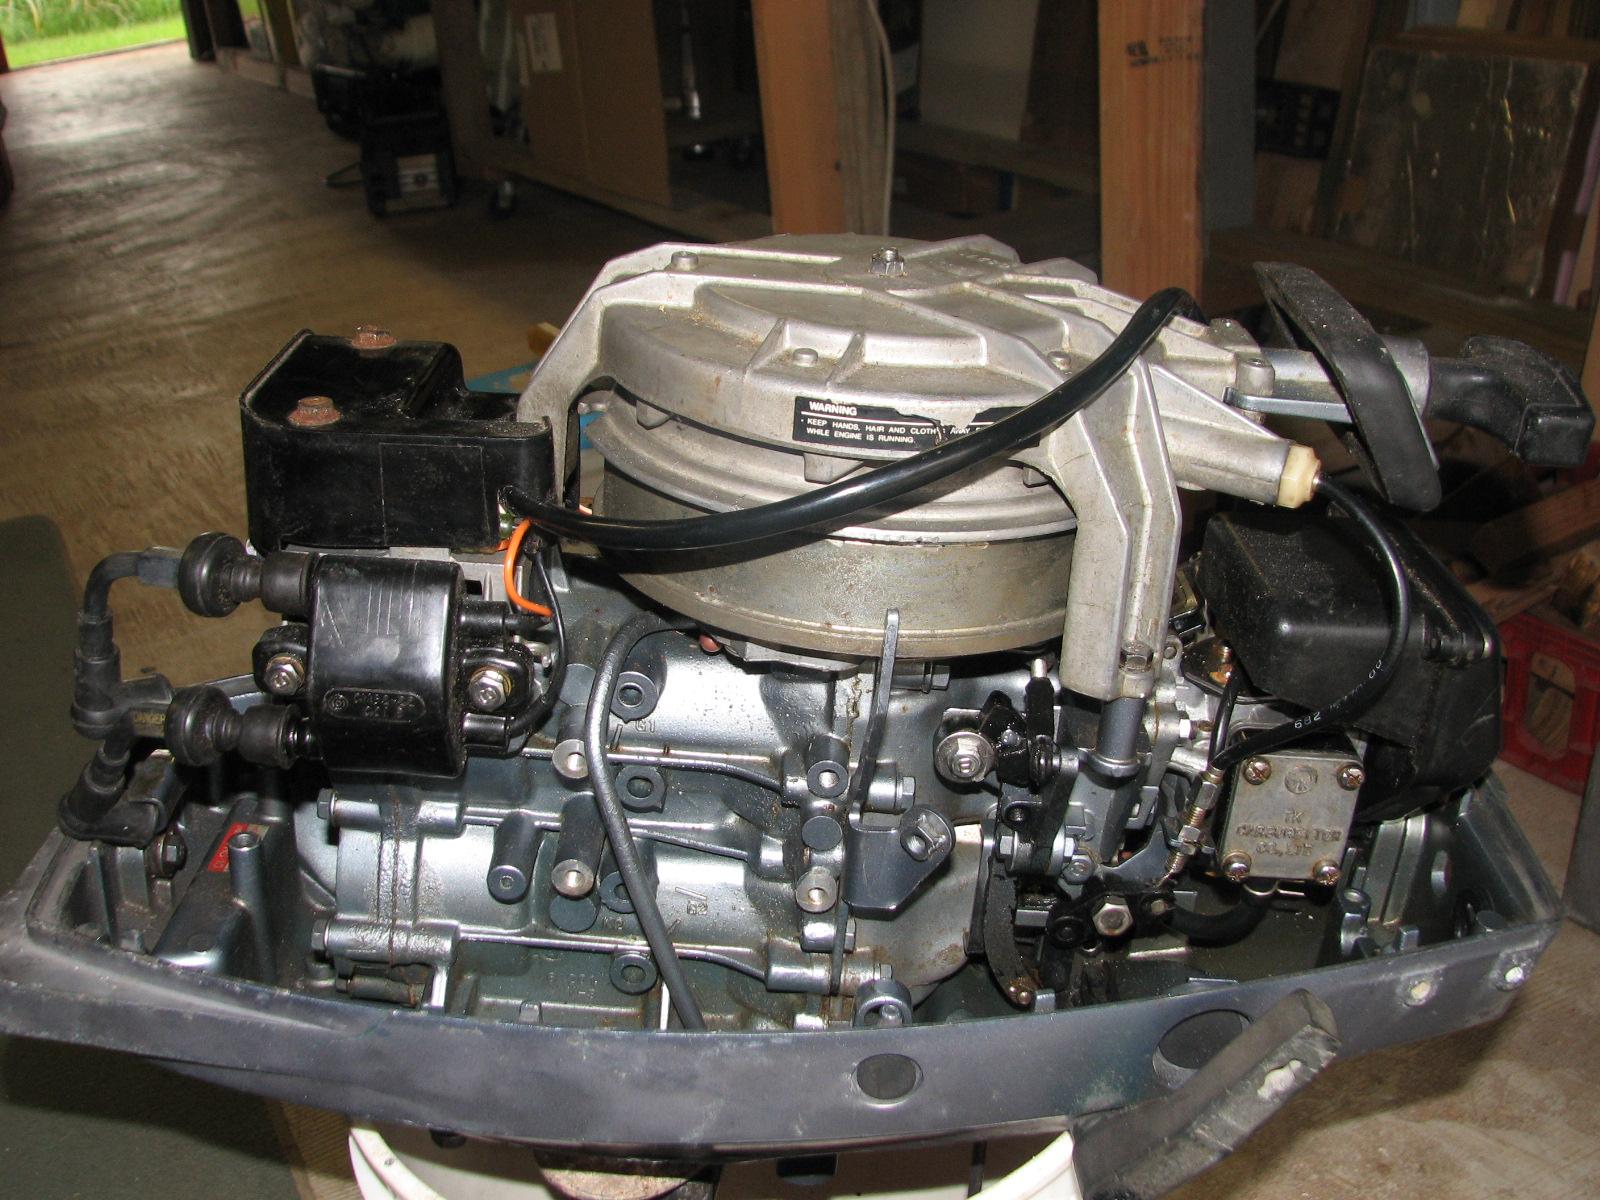
Now I put together the bracket
assembly. While putting all of these parts together, I
am putting a silicon
grease on all parts for protection, and using an
anti-seize compound so I will be able to take apart the engine again
without problems.
Spare Outboard Mostly Assembled
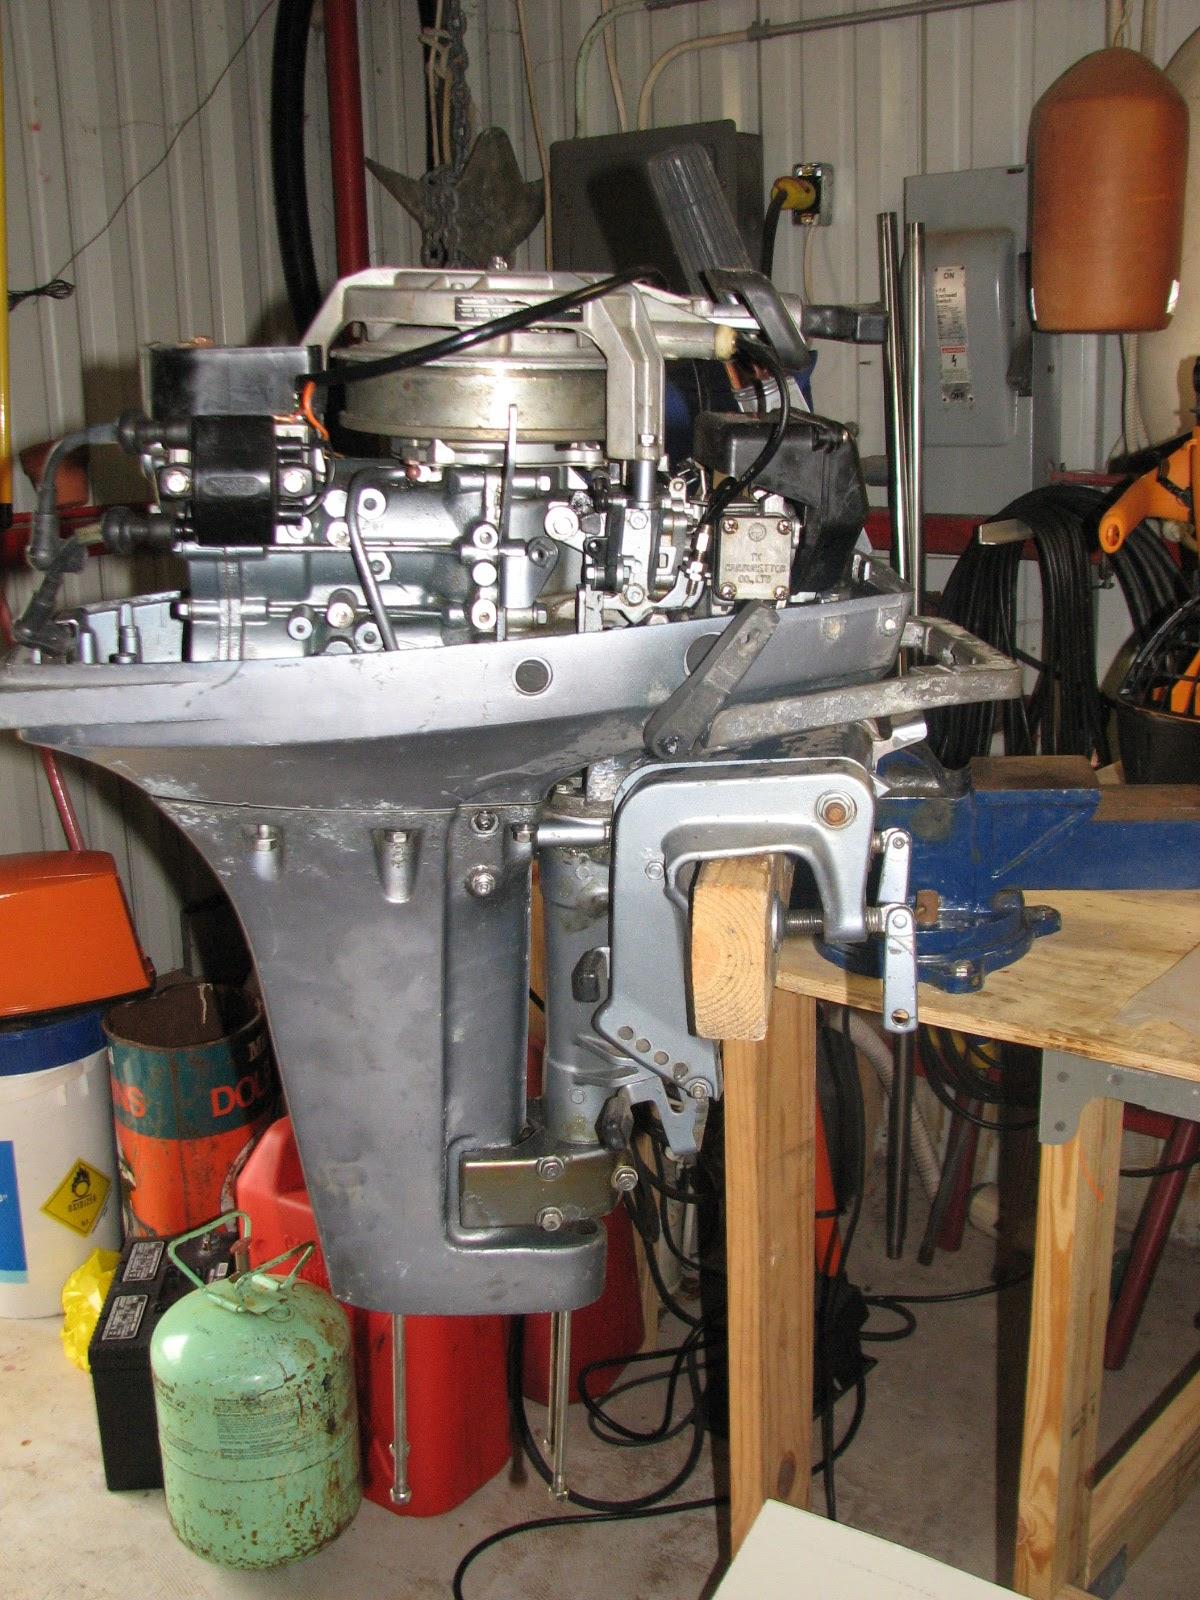
Spare Outboard Mostly Assembled
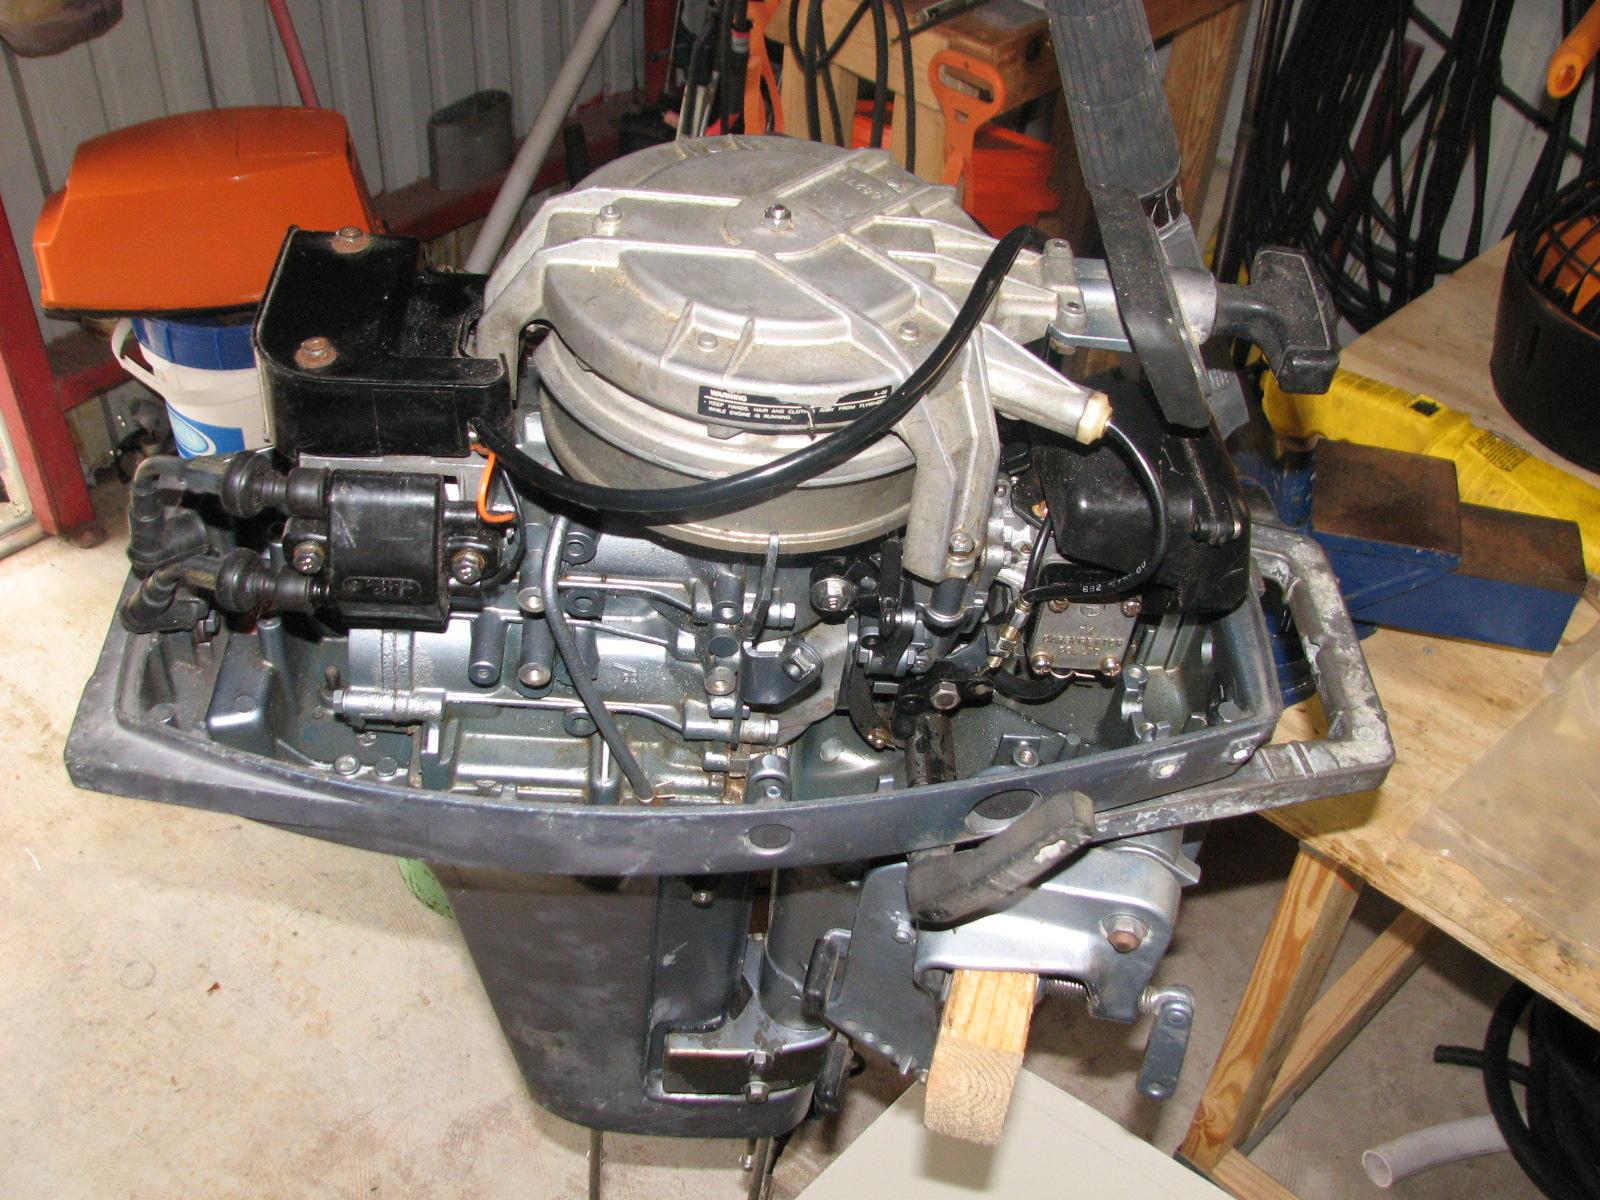
Hopefully all that remains is the lower
drive, and a couple of small items, and this motor
will be ready for a run and a test.
September 28, Saturday,
2013
Started off the morning with my normal
ritual of getting on the Internet, answering email, and checking the
weather, while making a pot of coffee. I also spent time with our two
cats, Jillian
and Jordan.
Kitty got up early, and we drove over
to the Farmers Market in Erath.
Erath
is our sister city next to Delcambre.
It was a good turn out, and we purchased a few fresh vegetables and
fruit, some smoked meats, and a couple of sweet treats. We came home
and had a breakfast of fresh cantaloupe, smoked canadian bacon, and a
fresh baked muffin.
First thing on the list is to see if
the newly purchased prop for the Mercury
outboard will fit. I installed the new prop with no problem, so that
is an item off of the list.

Now I was determined to complete two
items on the list with Kitty’s help. I needed to go up the main
mast, and finally install the
Taco
spreader light. Second I wanted to drop the back stays
and masthead
fitting to the deck, so I could change out the hex
head bolt for a carriage bolt. The head of the hex head bolt was
wearing on the main halyard, and I needed to stop that. The bolt I
needed to change actually holds the back stays to the main mast
masthead
fitting.
It took about an hour to get everything
ready to do these two projects, but I was finally ready. Kitty helped
me get up the main mast to the level of the spreaders, and then she
hauled up the tool bucket to me. I bolted on the new Taco
spreader light, and then wired it into the electrical
system. Kitty went below and turned on the new light to verify
operation, and it worked great. Will have to check the operation
tonight when it is dark to see how well it lights up the foredeck.
Wires Sticking Out Of Starboard Main
Mast Spreader
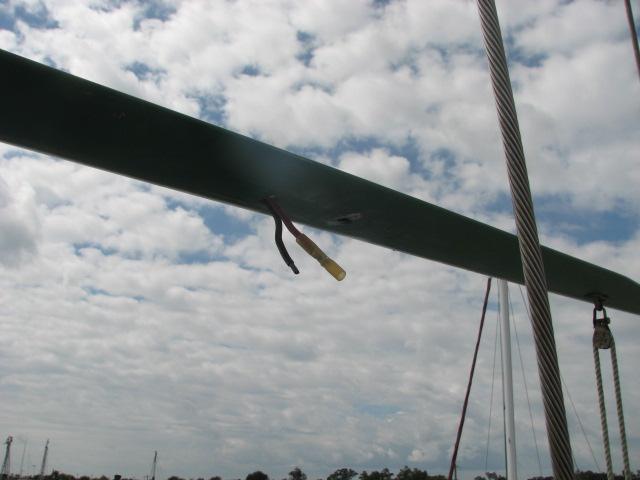
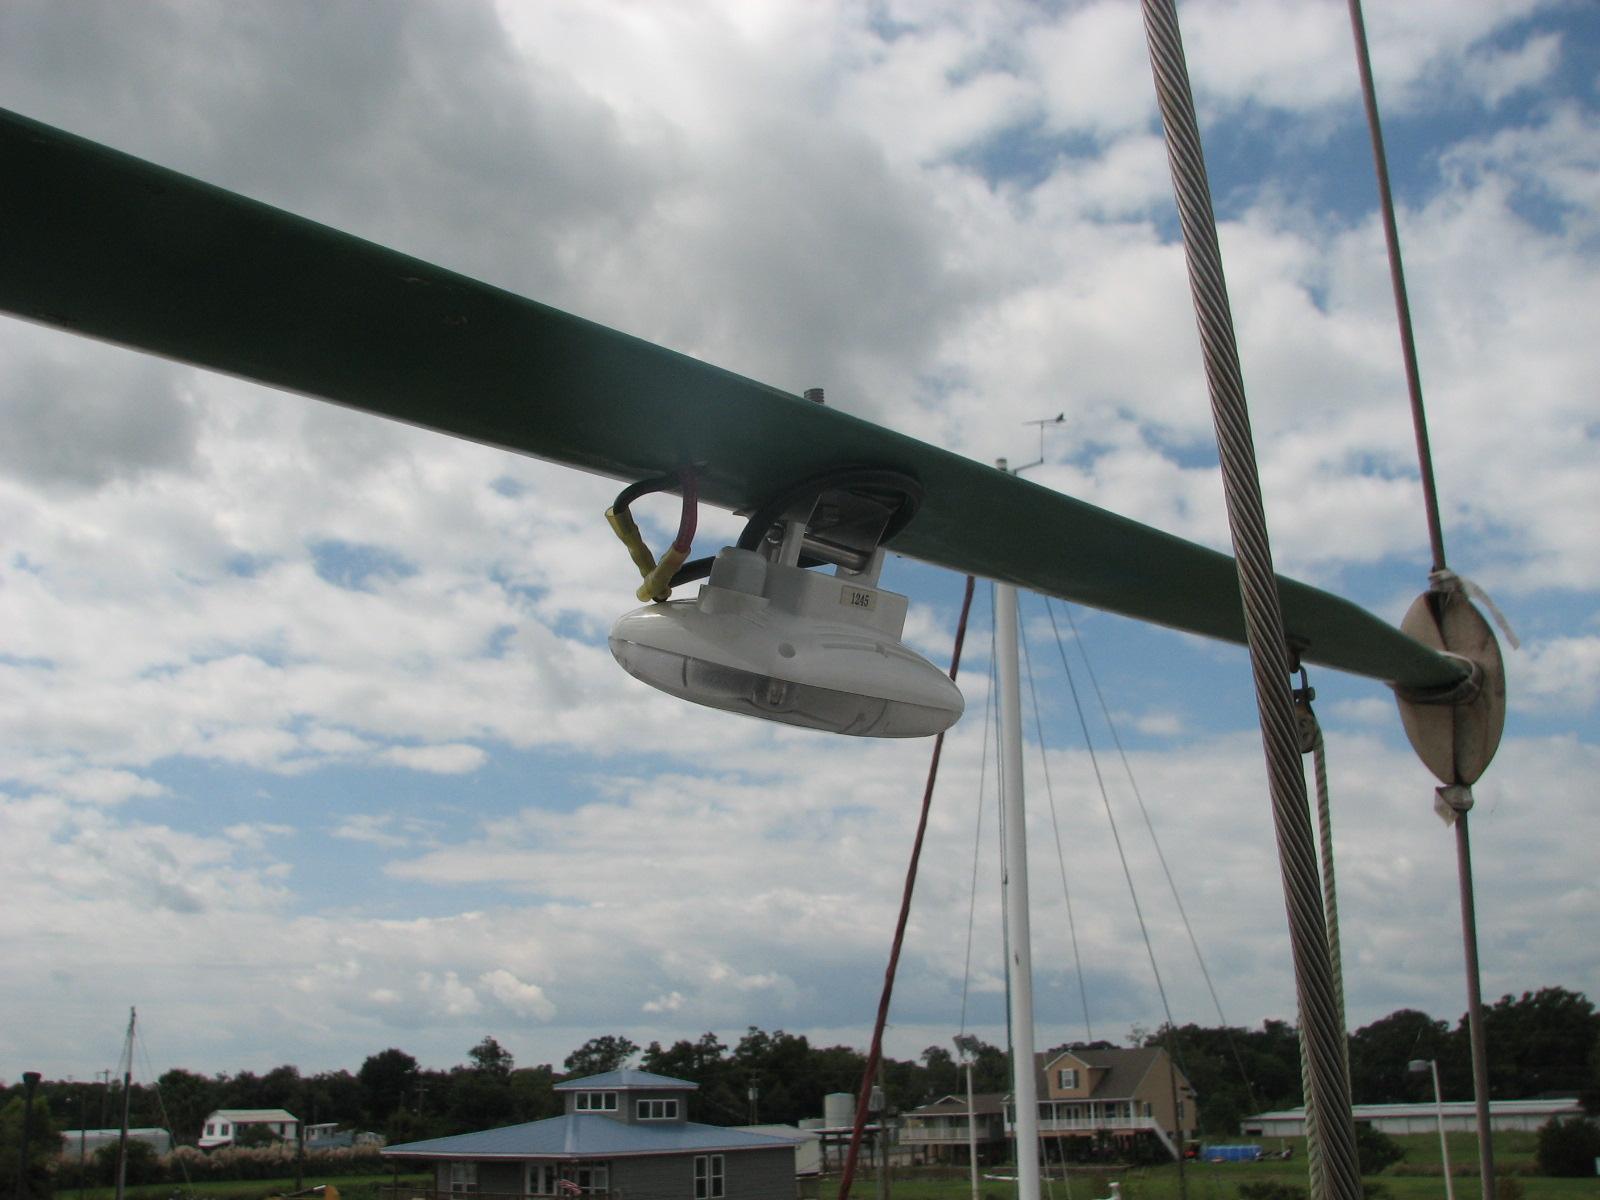
I sent the tool bucket back down to the
deck, and then I went up to the top of the mast with some wasp spray!
There is a wasp nest at the top of the mast! Kitty changed the tools
necessary for this project, then hauled the tool bucket up to me. I
worked the pin holding the backstay
fitting loose, and sent the tool bucket back down to
the main deck. I kept a screw driver and hammer with me. Kitty
disconnected the tool bucket from the topping
lift and sent the topping
lift back up to me.
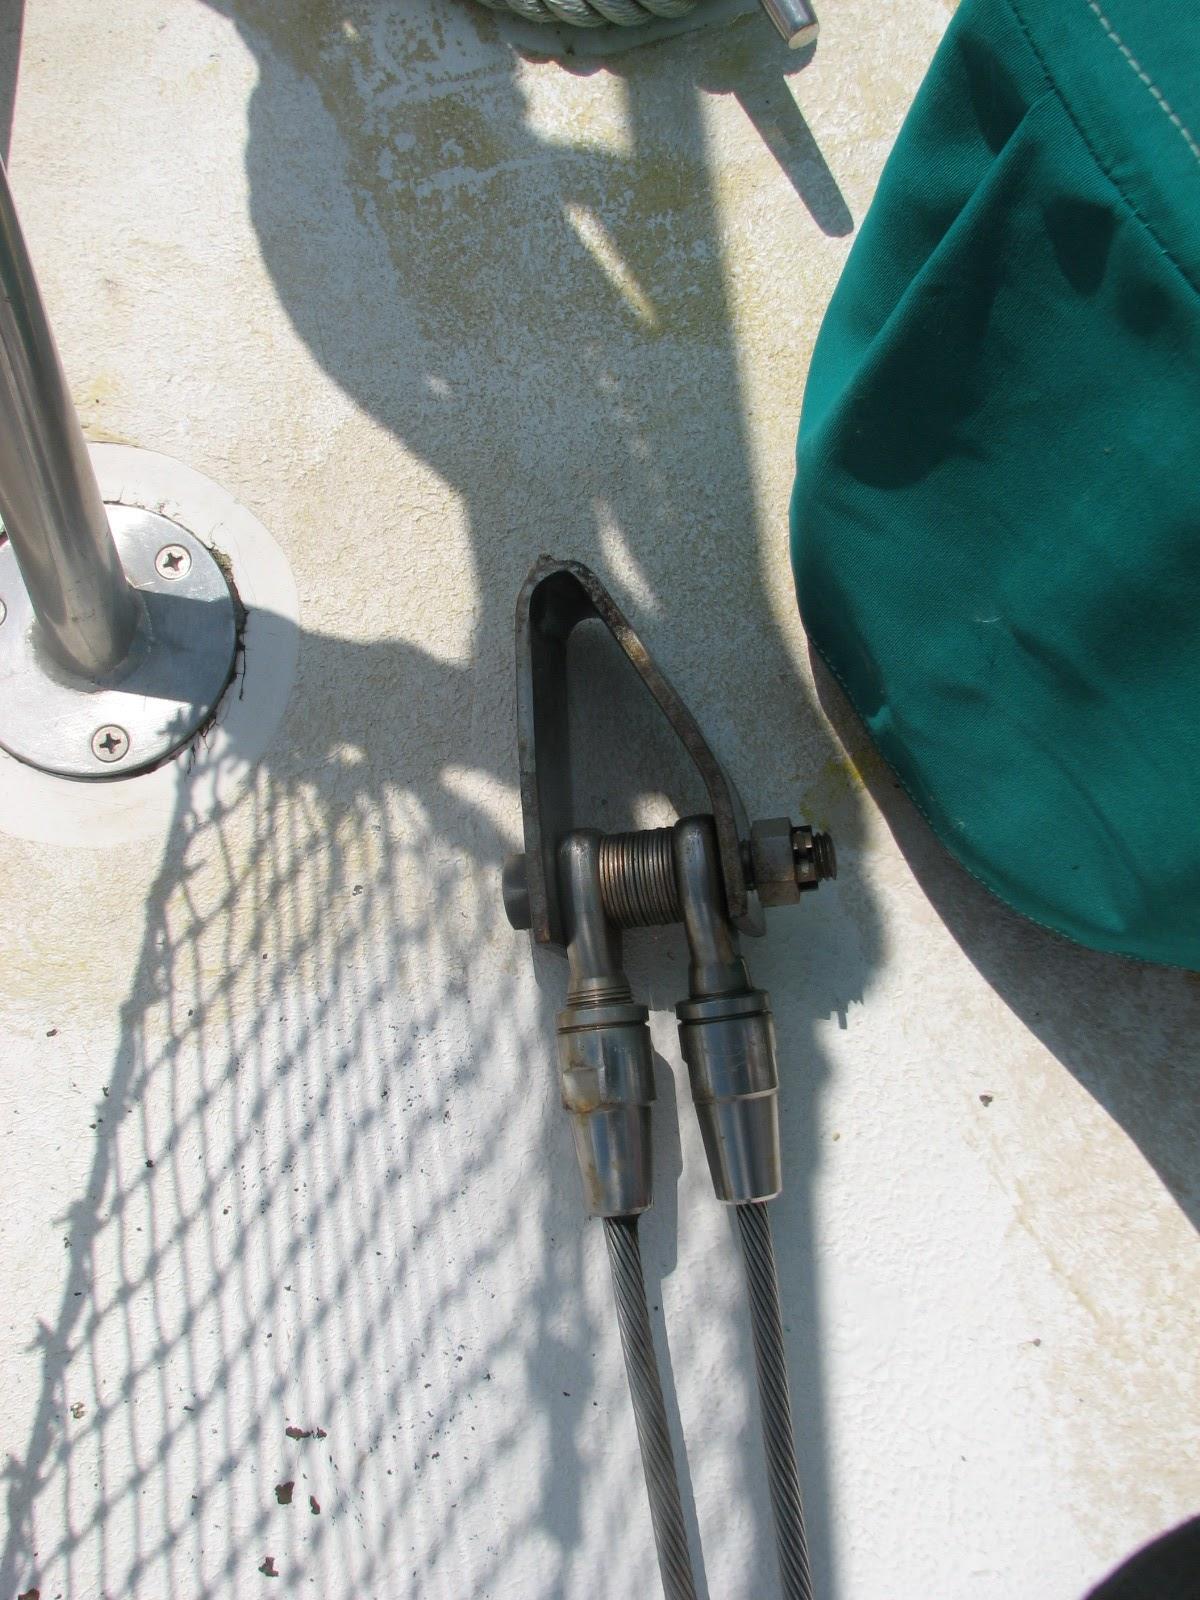
Went to the
shop
and unloaded the Black Beast, and got it back into shape. I then got
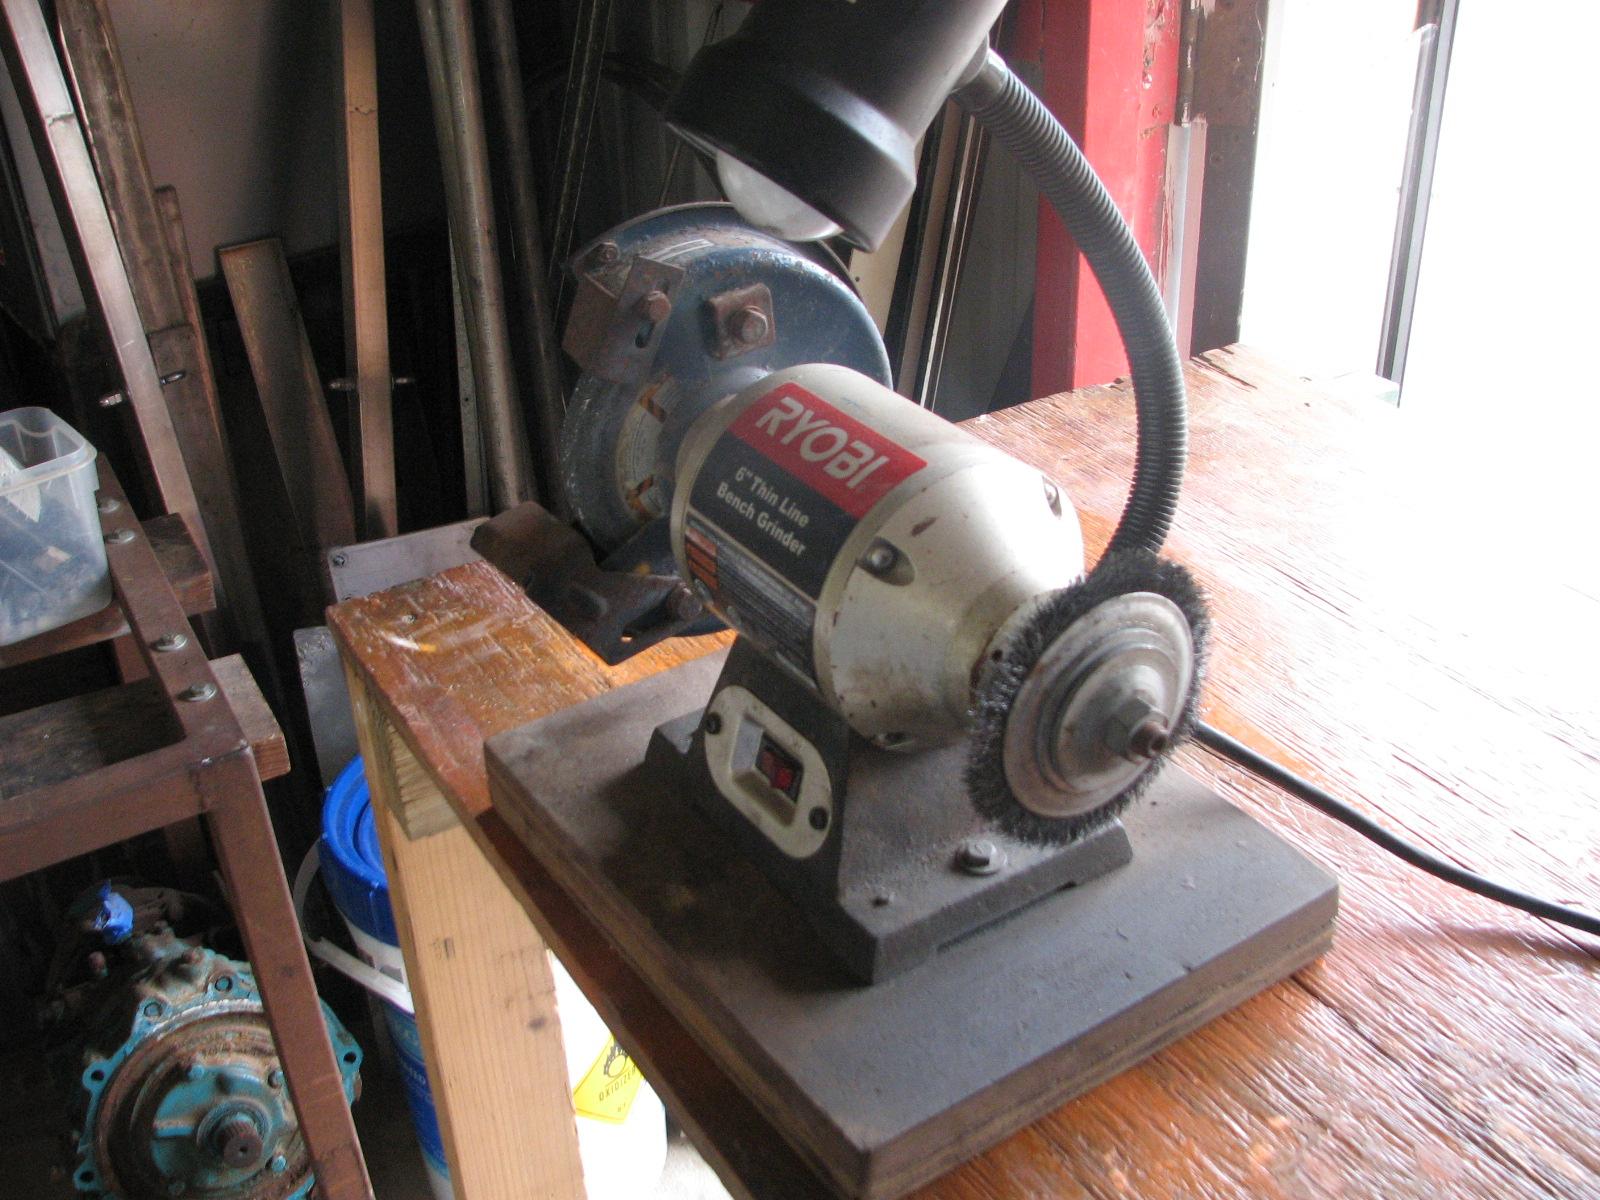
out my bench grinder with wire wheel and cleaned all of the parts of
the backstay
fitting. Now as soon as I can get the proper sized
carriage bolt and square out the hole in the backstay
fitting, I will be ready to put the backstays
back onto the mast.
Bench Grinder With Wire Wheel To Clean
Parts
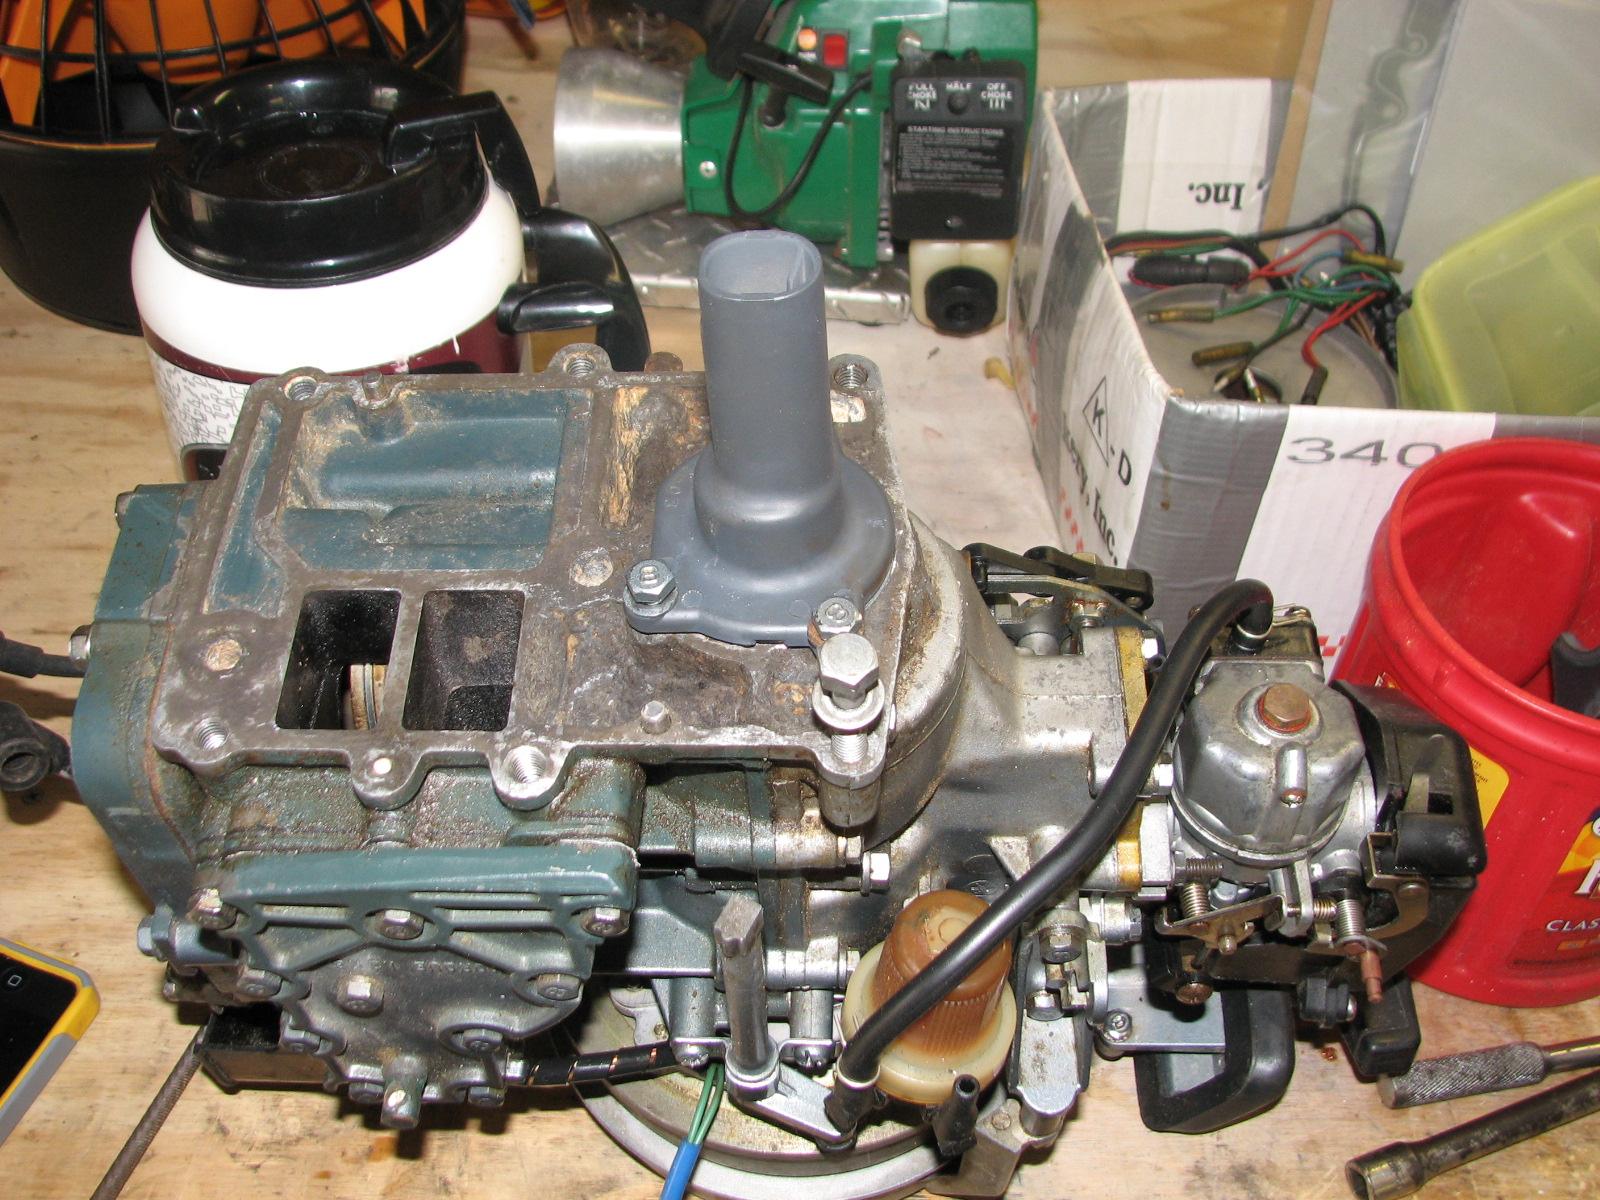
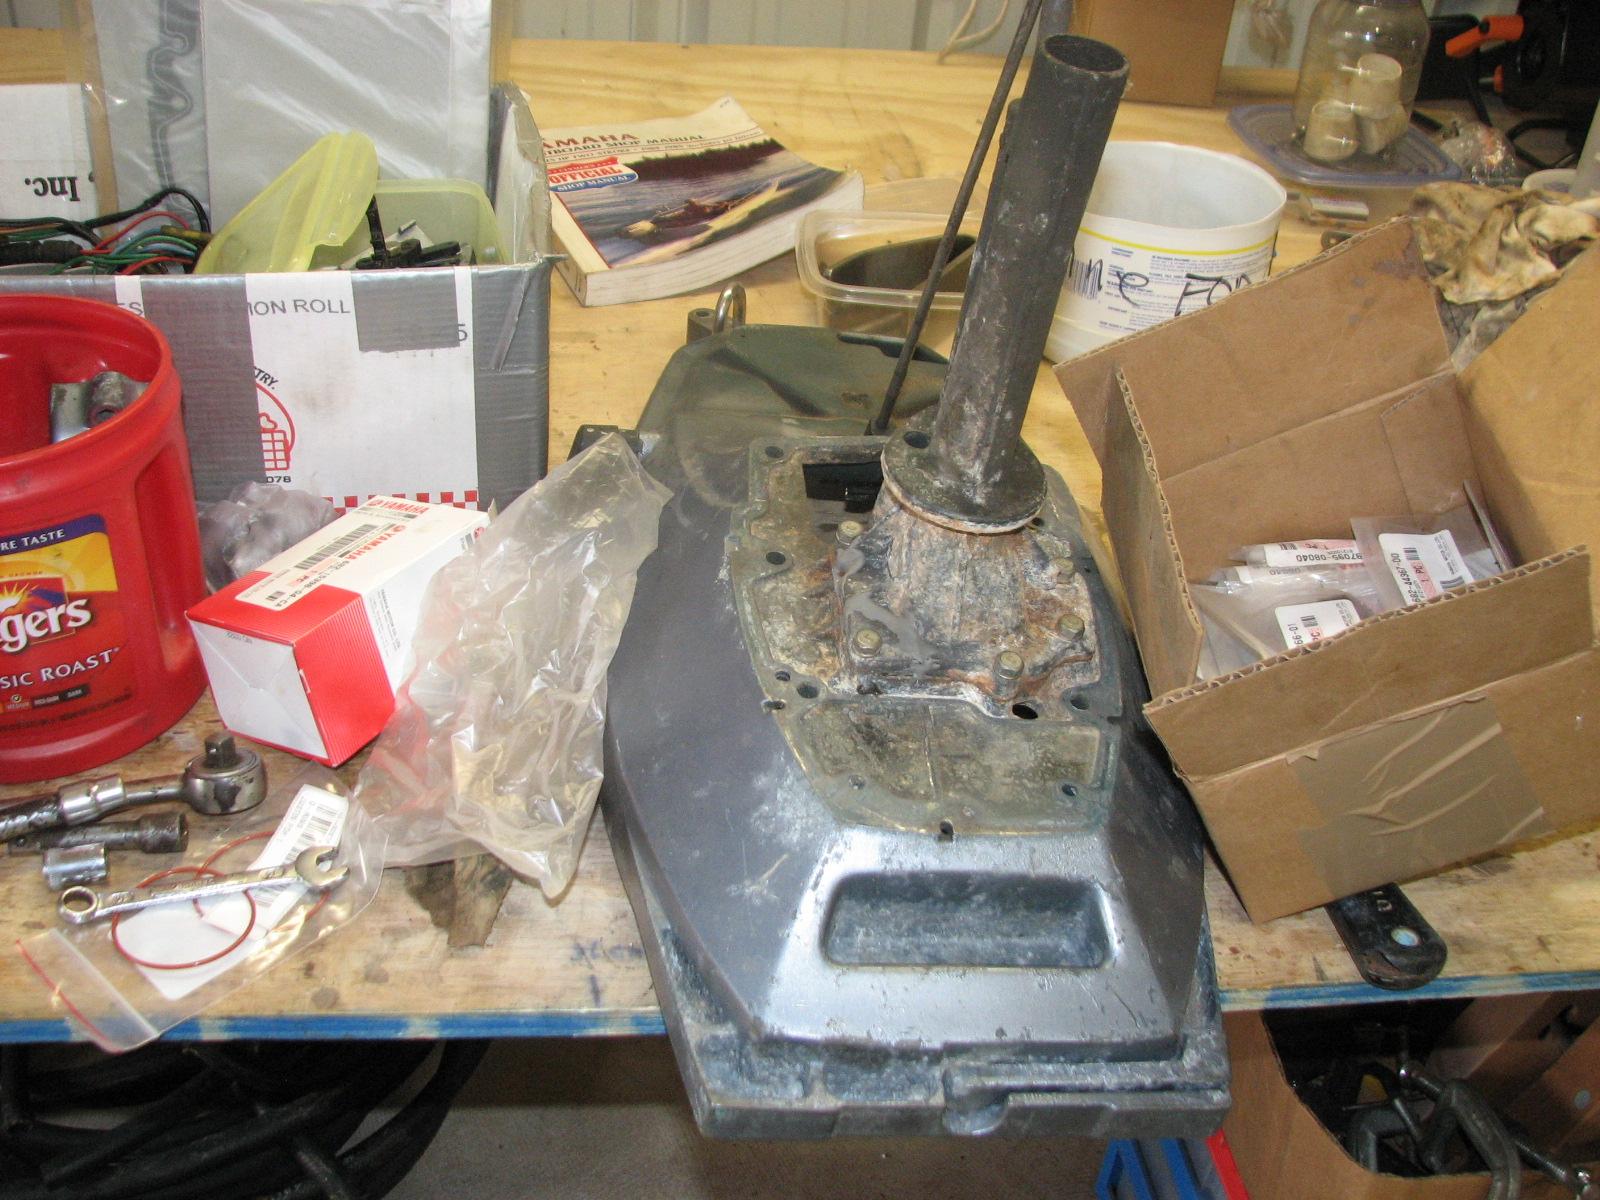
I then started to put back together the
spare Yamaha outboard motor, now that I had all of the parts. When I
started digging around looking for the specific parts, I realized I
had not cleaned all of the parts and fasteners. I kept the bench
grinder out and cleaned all of the parts and fasteners.
I then applied the second coat of
varnish to the nav
station chair and the third coat on the backing plate
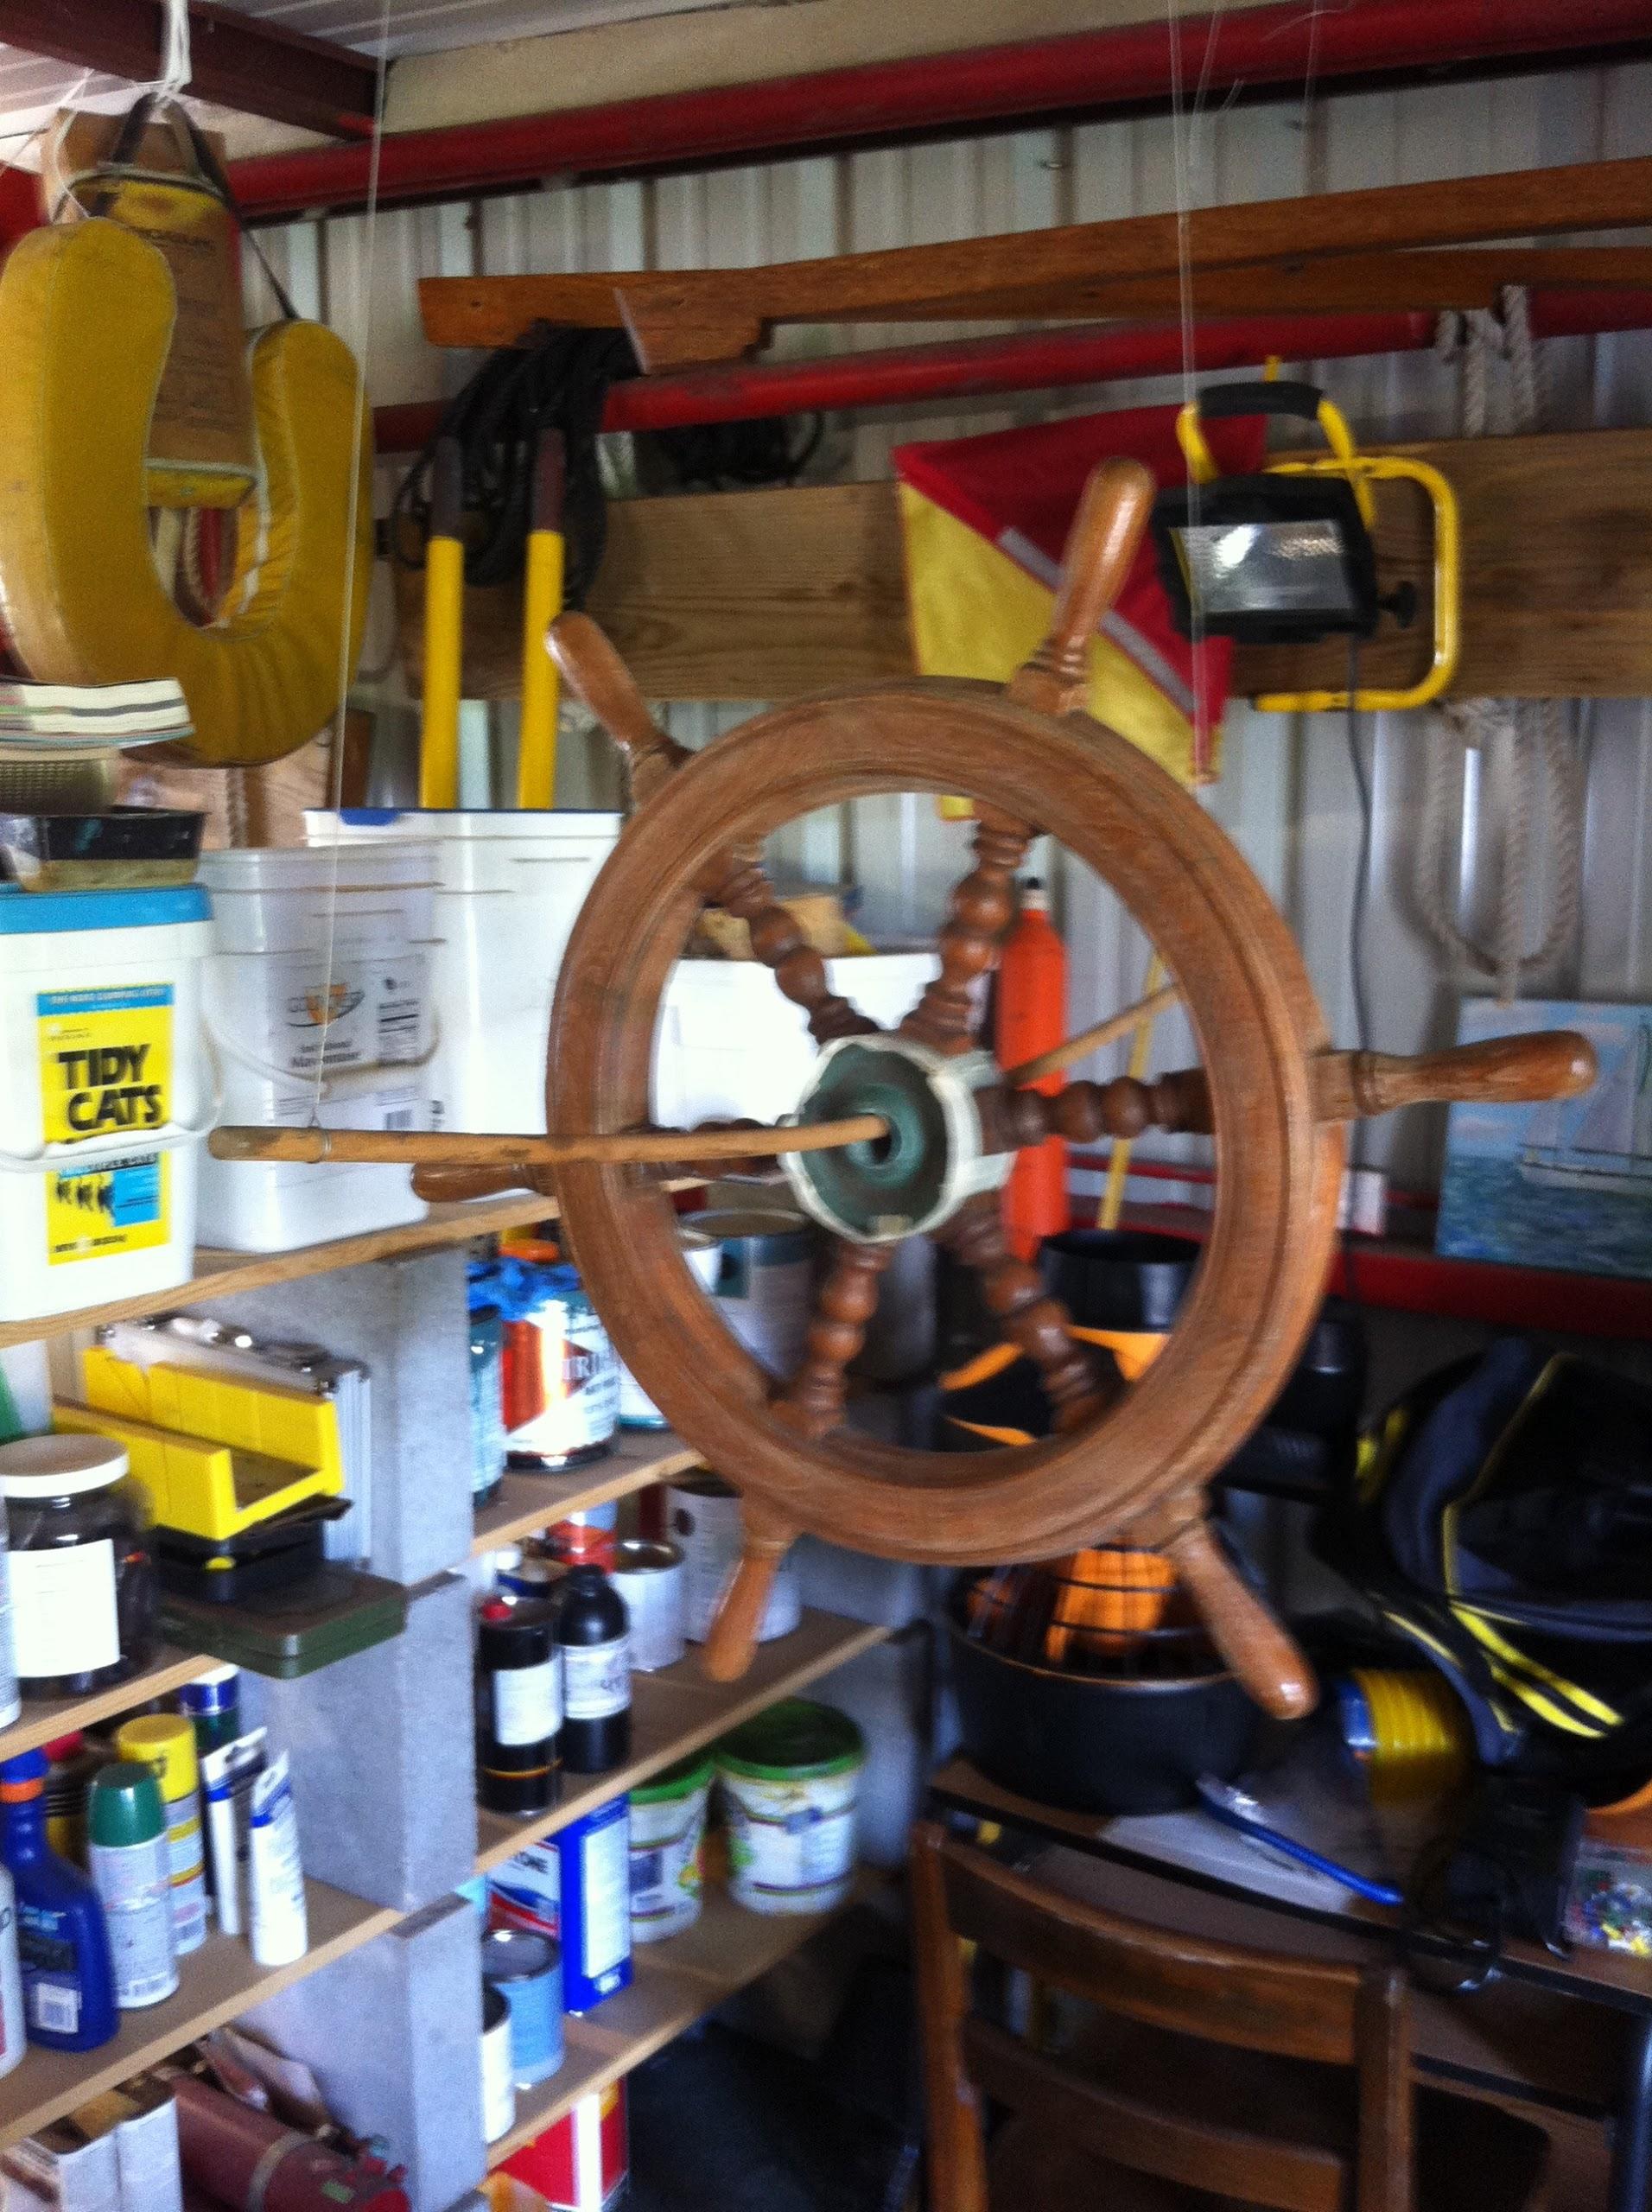
cover for the head. I applied the seventh coat of Cetol
to the teak wheel on DREAM AWAY.
I left the shop
and went back to DREAM AWAY, where I was presented with good news and
bad news. The good news was Kitty had prepared me and adult beverage,
rum and pink lemonade. The bad news was the Sharp
Microwave had died.
Kitty and I removed the Sharp
Microwave from its place in the galley,
but could find no apparent problem. It would just not turn on, like
an internal fuse or circuit breaker had popped. It will have to wait
until tomorrow as I needed a shower and Kitty was preparing dinner.
The Sharp
Microwave was put into the garage
until tomorrow.
After dinner, when it got dark, we
checked the brightness of the Taco
spreader light. It is amazingly bright, and uses about
1/5th of the current of my present spreader lights. The Taco
spreader light uses about 6 watts, and the Hella
spreader light uses 55 watts! I will see how the new
light does after a storm, because of talk about leaking issues. If no
problems are found, I will be ordering four more. Three for the main
and mizzen spreader lights, and one for the davits on the stern.
September 27, Friday, 2013
Started off the morning with my normal
ritual of getting on the Internet, answering email, and checking the
weather, while making a pot of coffee. I also spent time with our two
cats, Jillian
and Jordan.
Went to the shop
and wiped down the nav
station chair and the backing plate cover for the head
with the tack
rag. I then applied the first coat of varnish to the
nav
station chair and the second coat on the backing plate
cover for the head. I applied the sixth coat of Cetol
to the teak wheel on DREAM AWAY.
Went back to DREAM AWAY, to take a
shower. We got ready and headed out to New Iberia, with Monica and
Warren, to have lunch at Victors
Cafe. After lunch we went to tour the Shadows
On The Teche house. We were going to stay and watch
the boat parade on Bayou
Teche presented by the Sugar
Cane Festival. We got information the boat parade was
not going to be much this year, and Monica and Warren were tired out,
so after the tour, we headed home.
September 26, Thursday,
2013
Started off the morning with my normal
ritual of getting on the Internet, answering email, and checking the
weather, while making a pot of coffee. I also spent time with our two
cats, Jillian
and Jordan.
Went to the shop
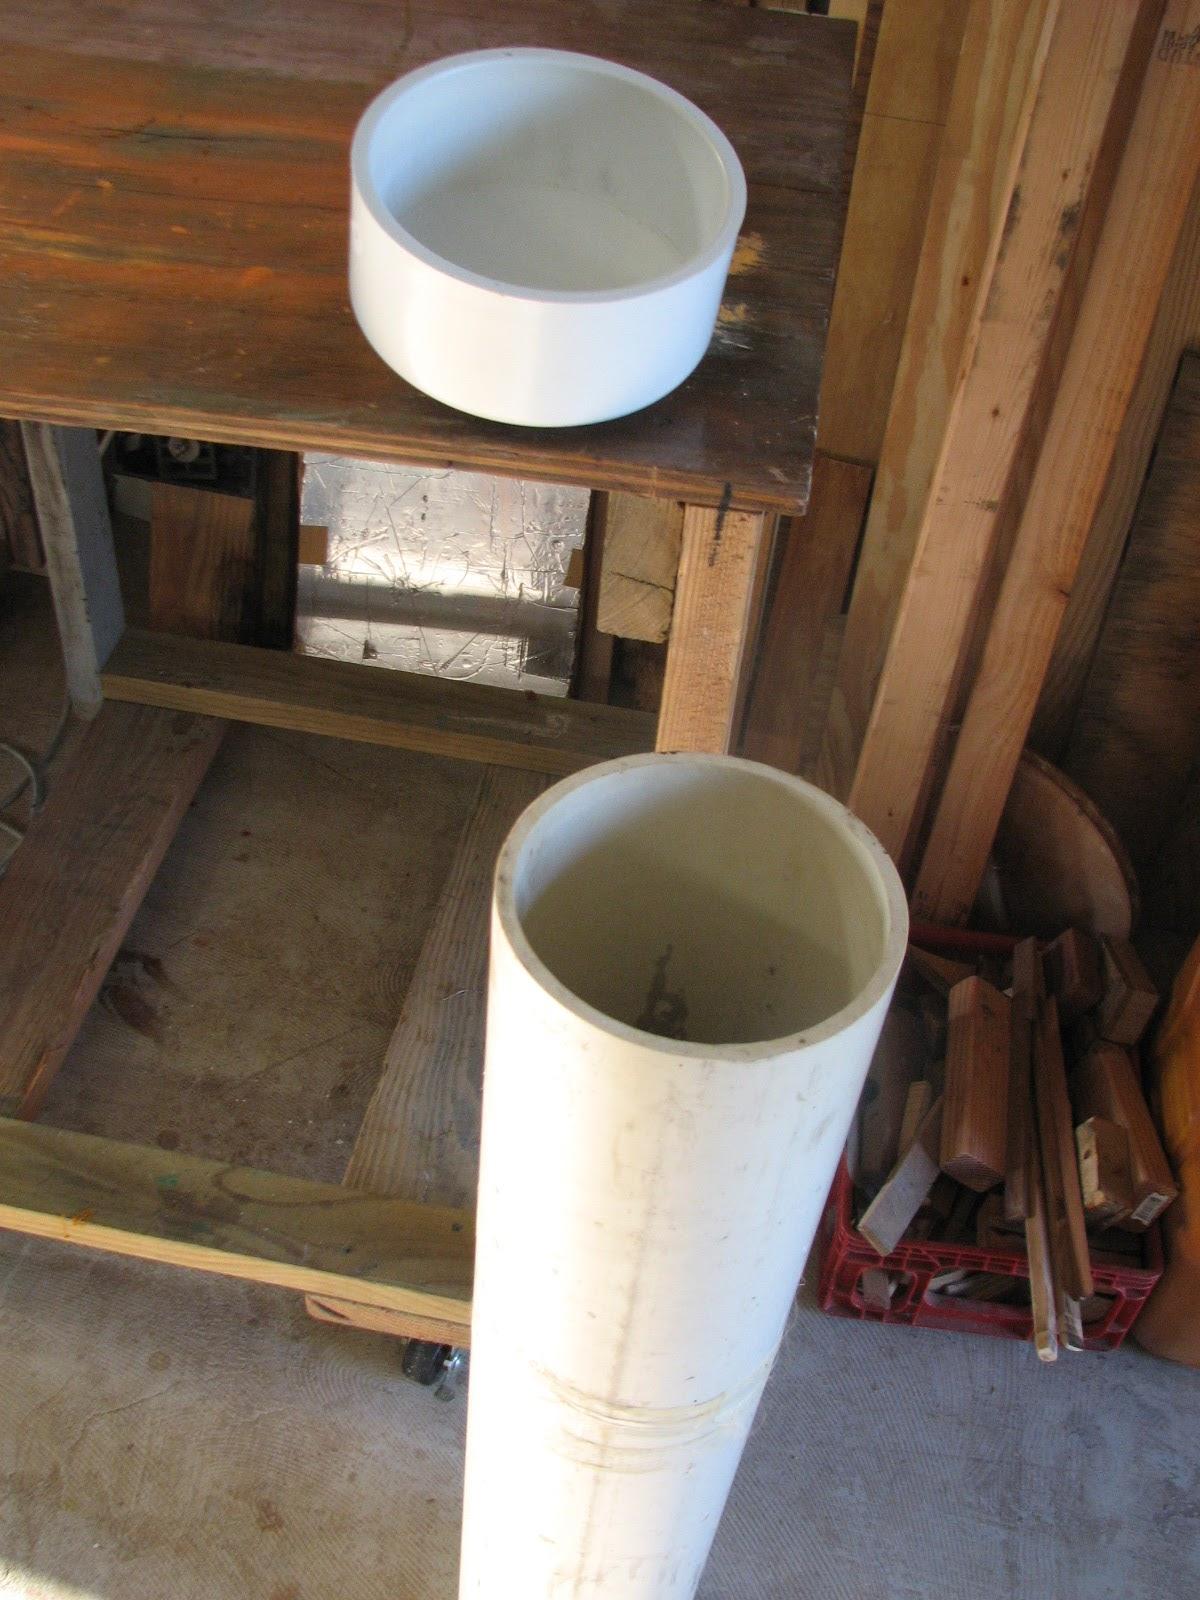
and the first item on the list was to check the PVC
cap I purchased at Shannon
Hardware in Morgan
City yesterday. I had purchased a piece of 6” PVC
pipe to use as my heat
exchanger cleaning device. The problem was I could not
find a cap to seal off one end.
As I was walking around Shannon
Hardware on our visit there yesterday, showing Monica
and Warren around, I came across the 6” PVC
cap. I purchased it immediately. The good news is the cap fits the
pipe, so now all I have to do is cut the pipe to the proper length,
and I will have a heat
exchanger cleaning device to use at any time!.
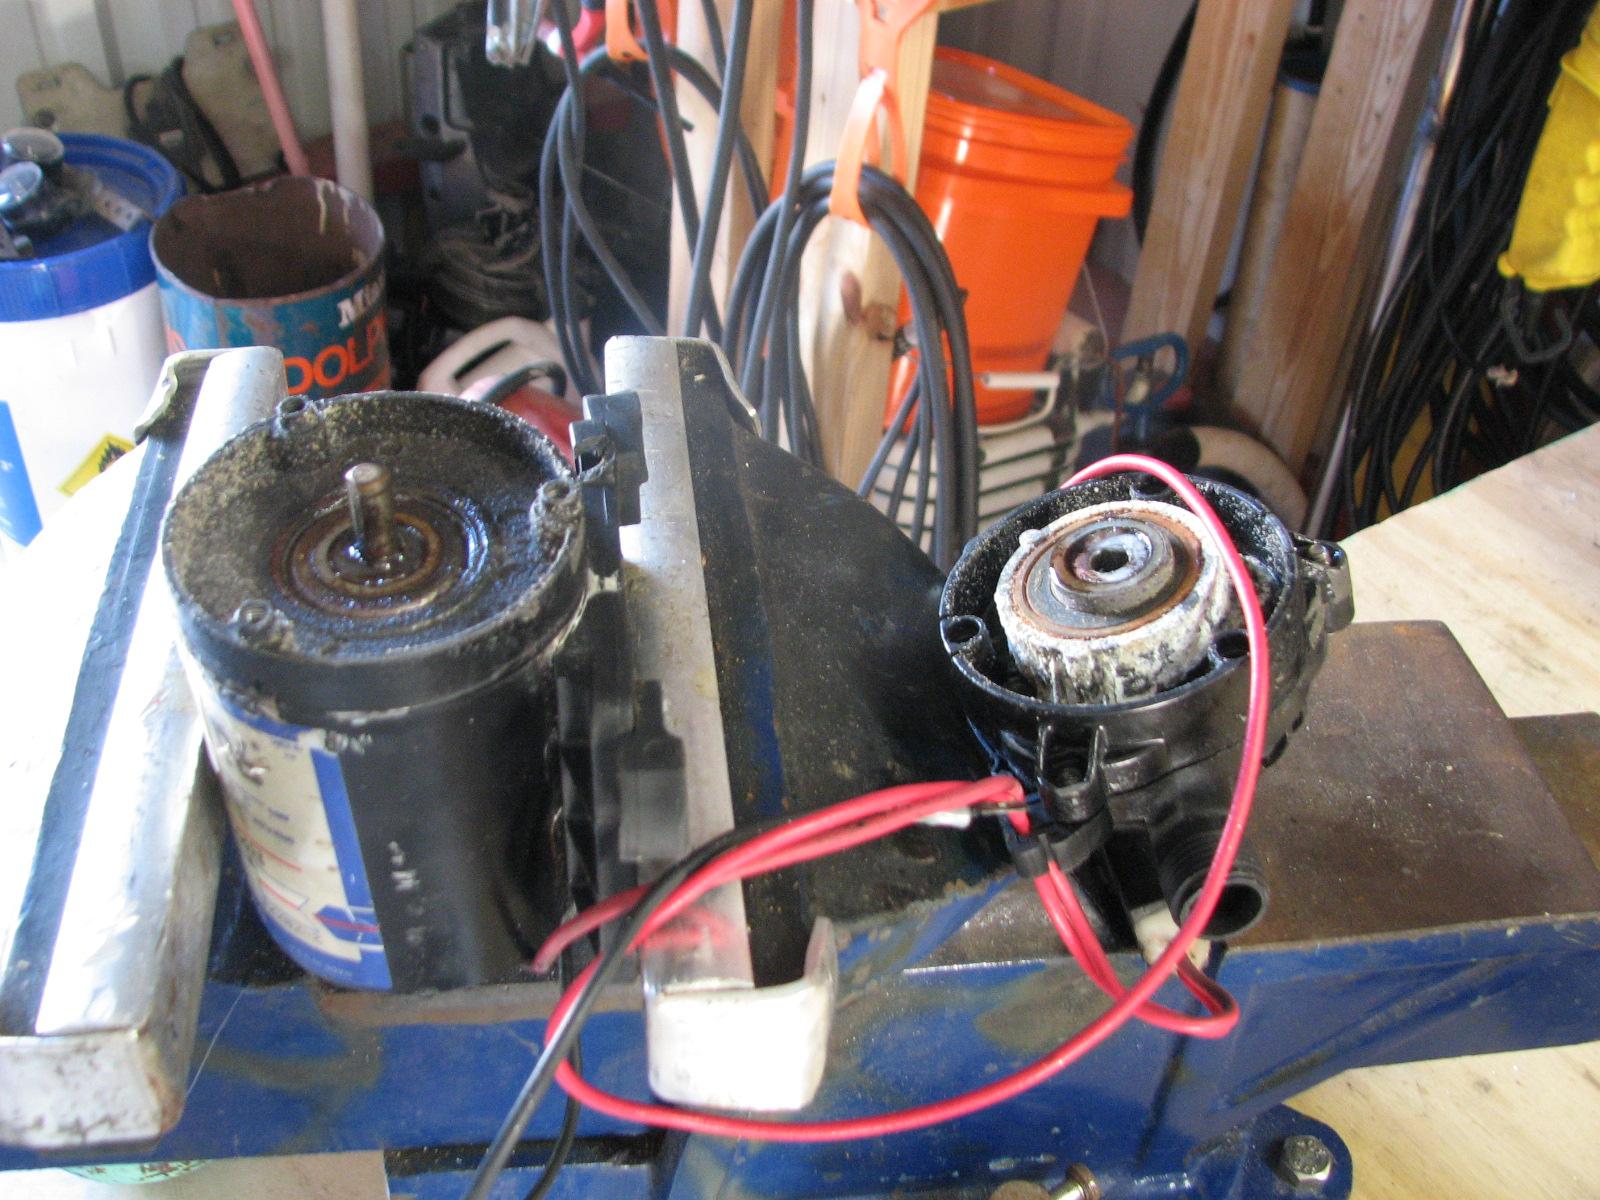
I took a look at the pump that was left
for me, and was able to separate the pump from the motor. It was
obvious there had been salt water allowed to get into the motor. I
was able to break loose the shaft in the motor and it was able to
spin, but sounds very rough.
I have spares for all of my pumps, and
this model, I do not use, so I will not waste any more time on the
project. I will put the pump outside the shop and someone will pick
it up for use or scrap.
Motor And Pump Separated
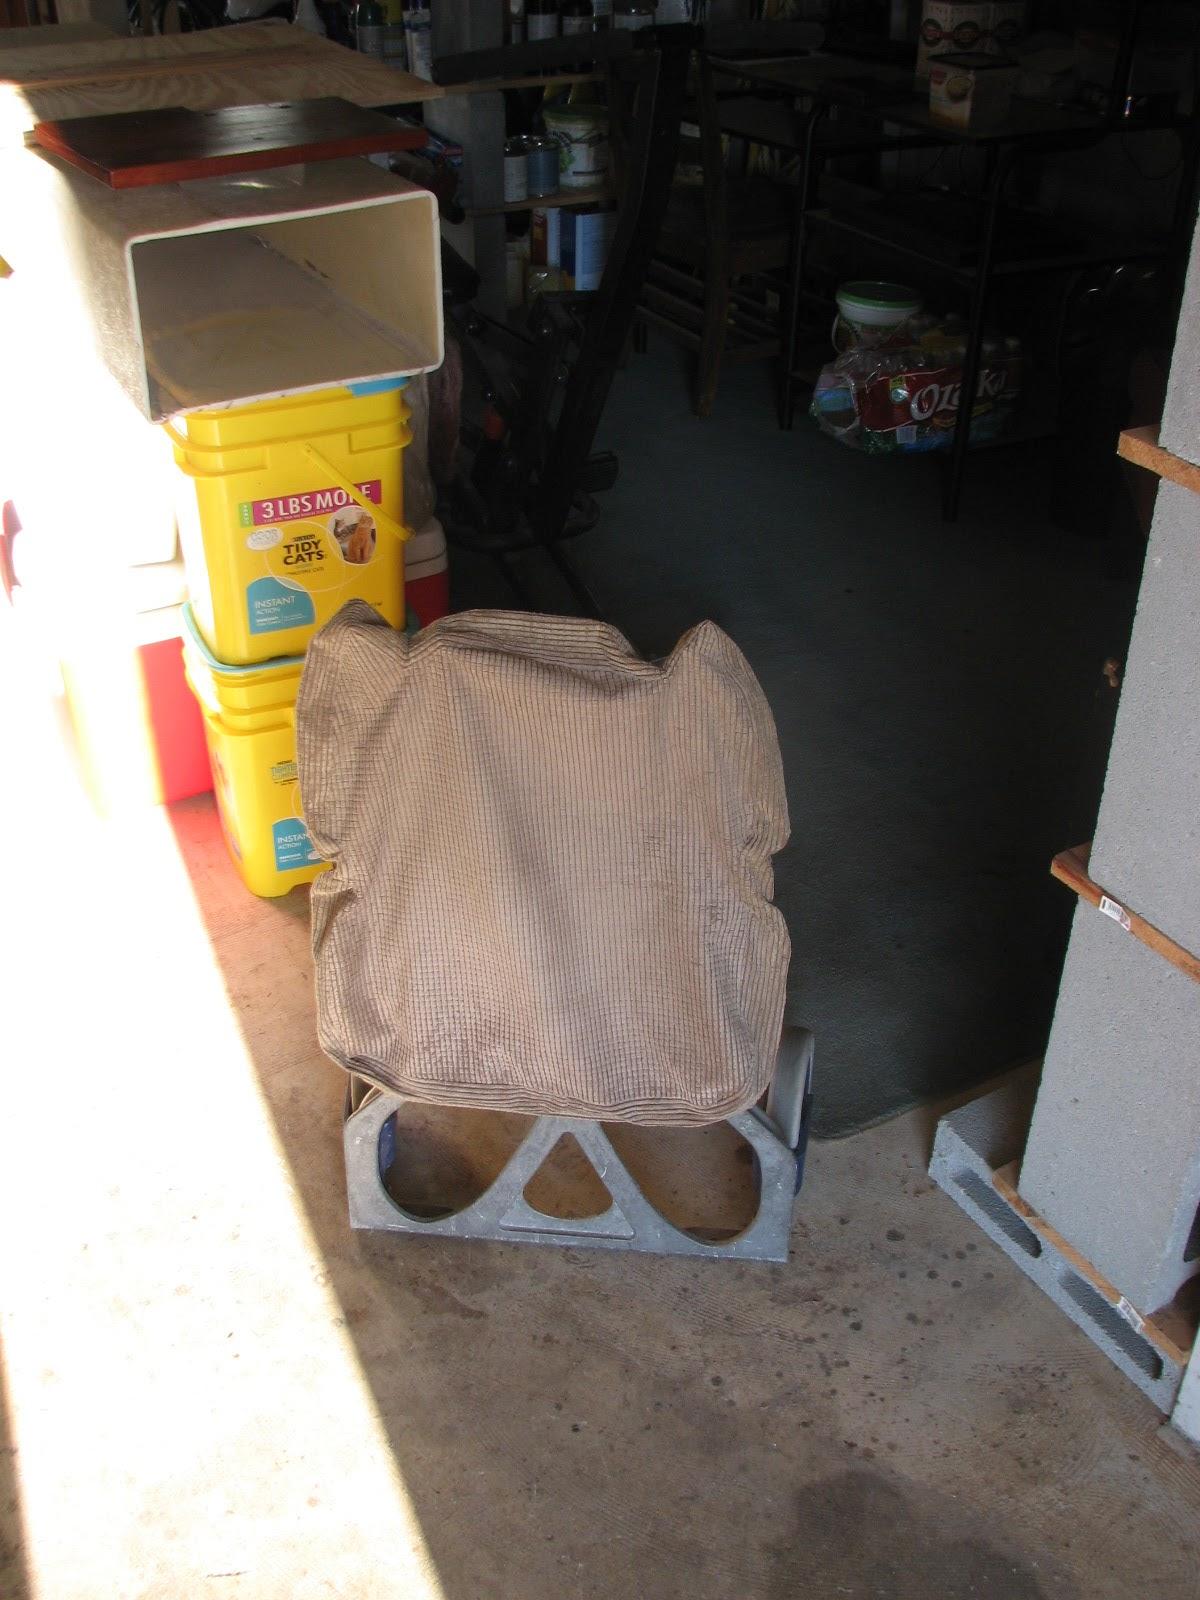
I then got back to work on the nav
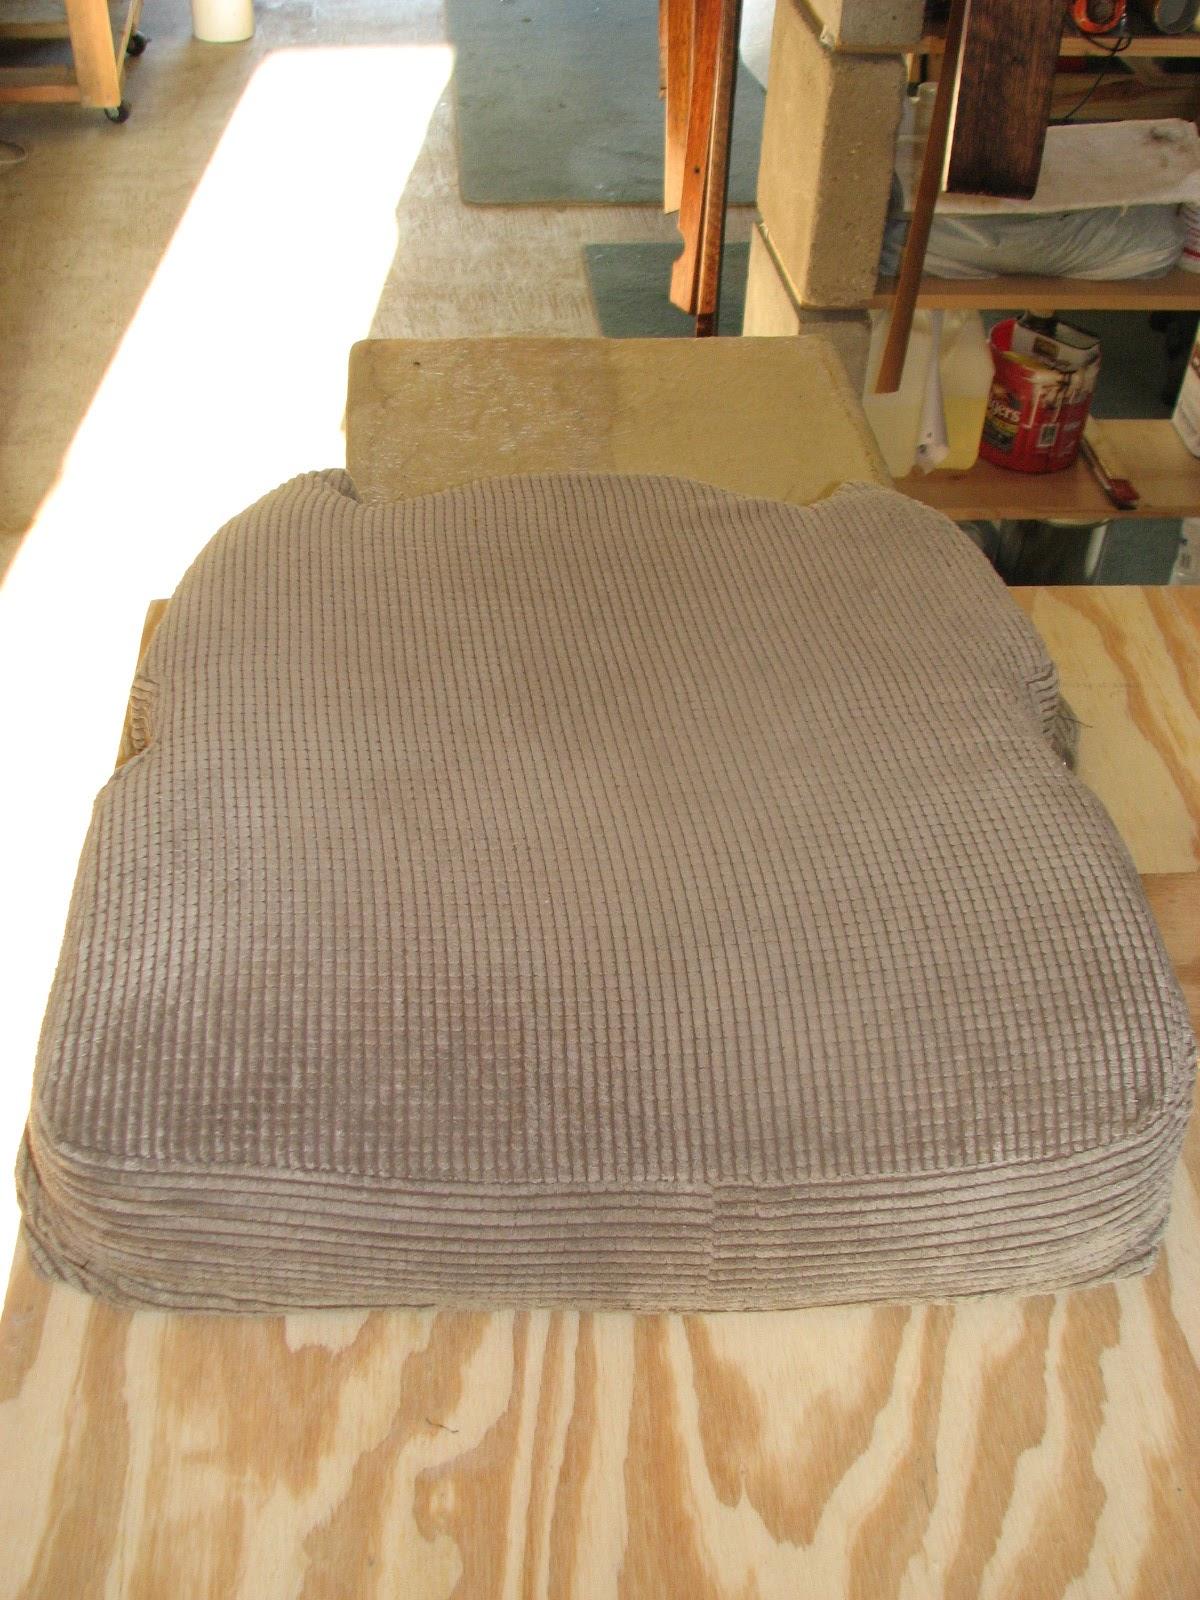
station chair. The seat cover had dried, so I put the
cover back on the foam.
Dried Seat Cover
Seat Cover Back On Foam
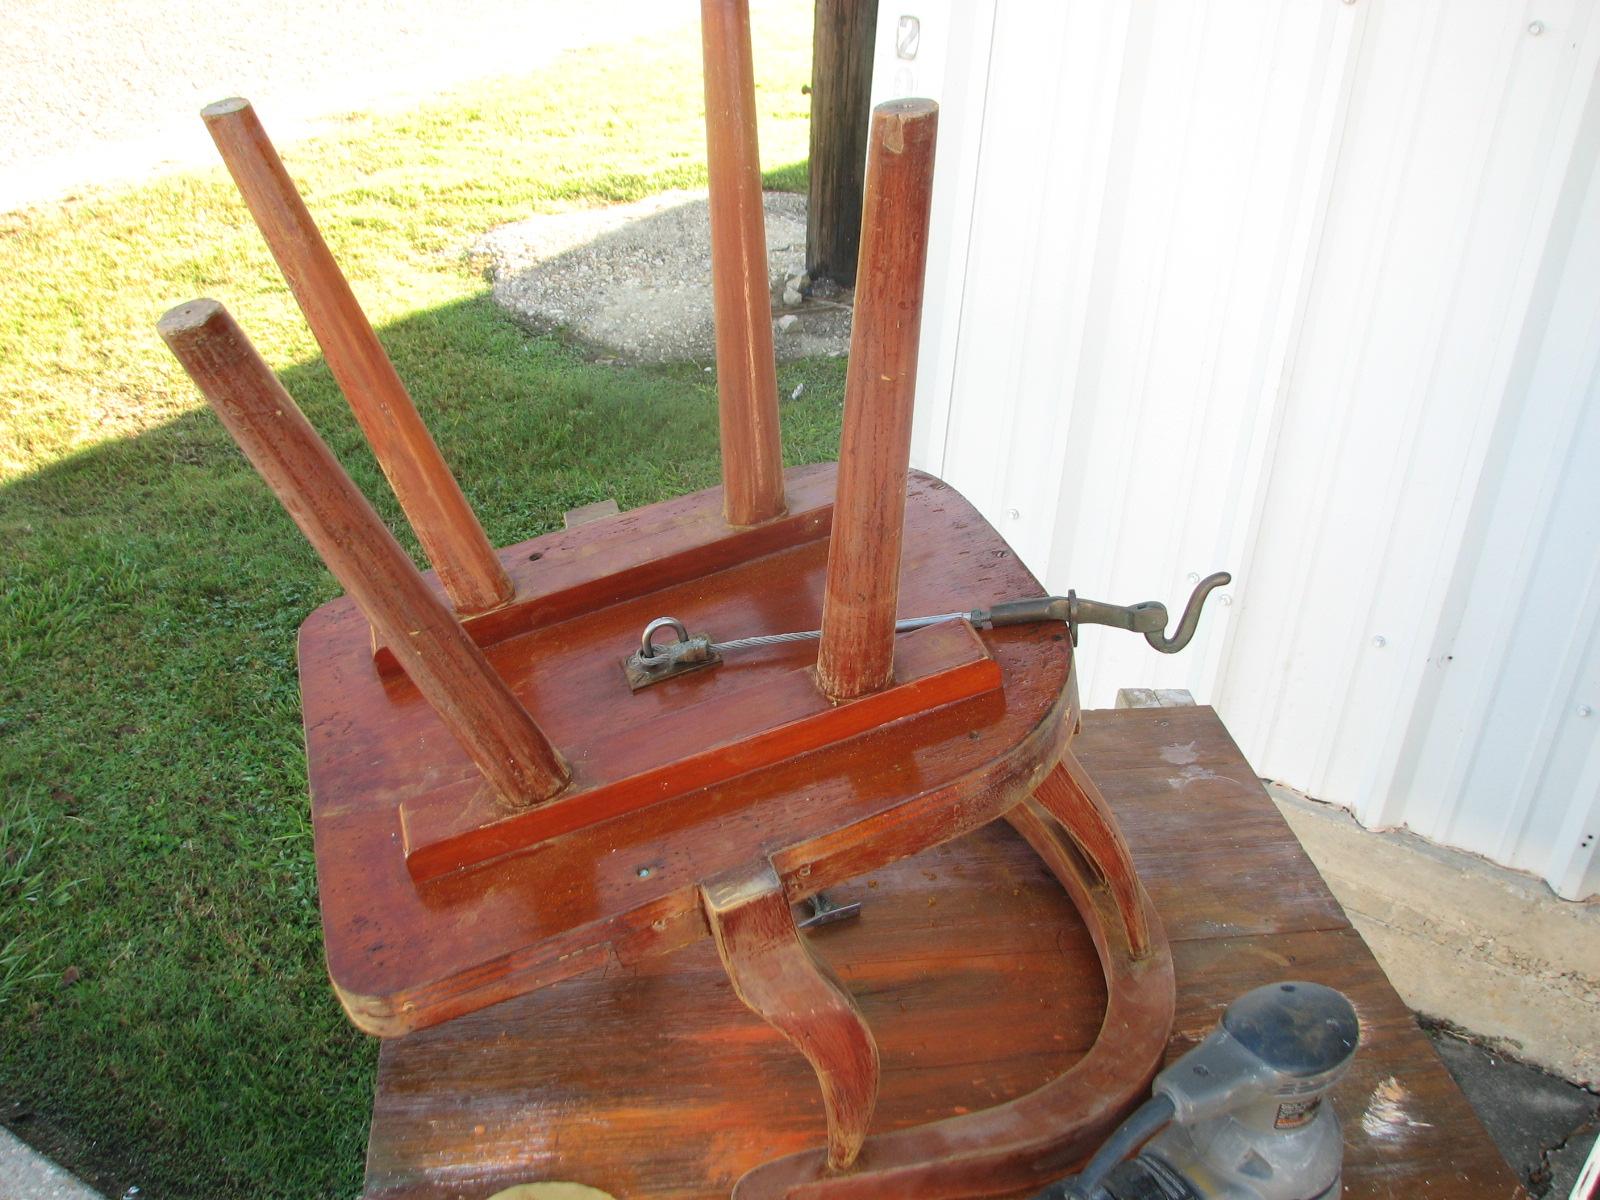
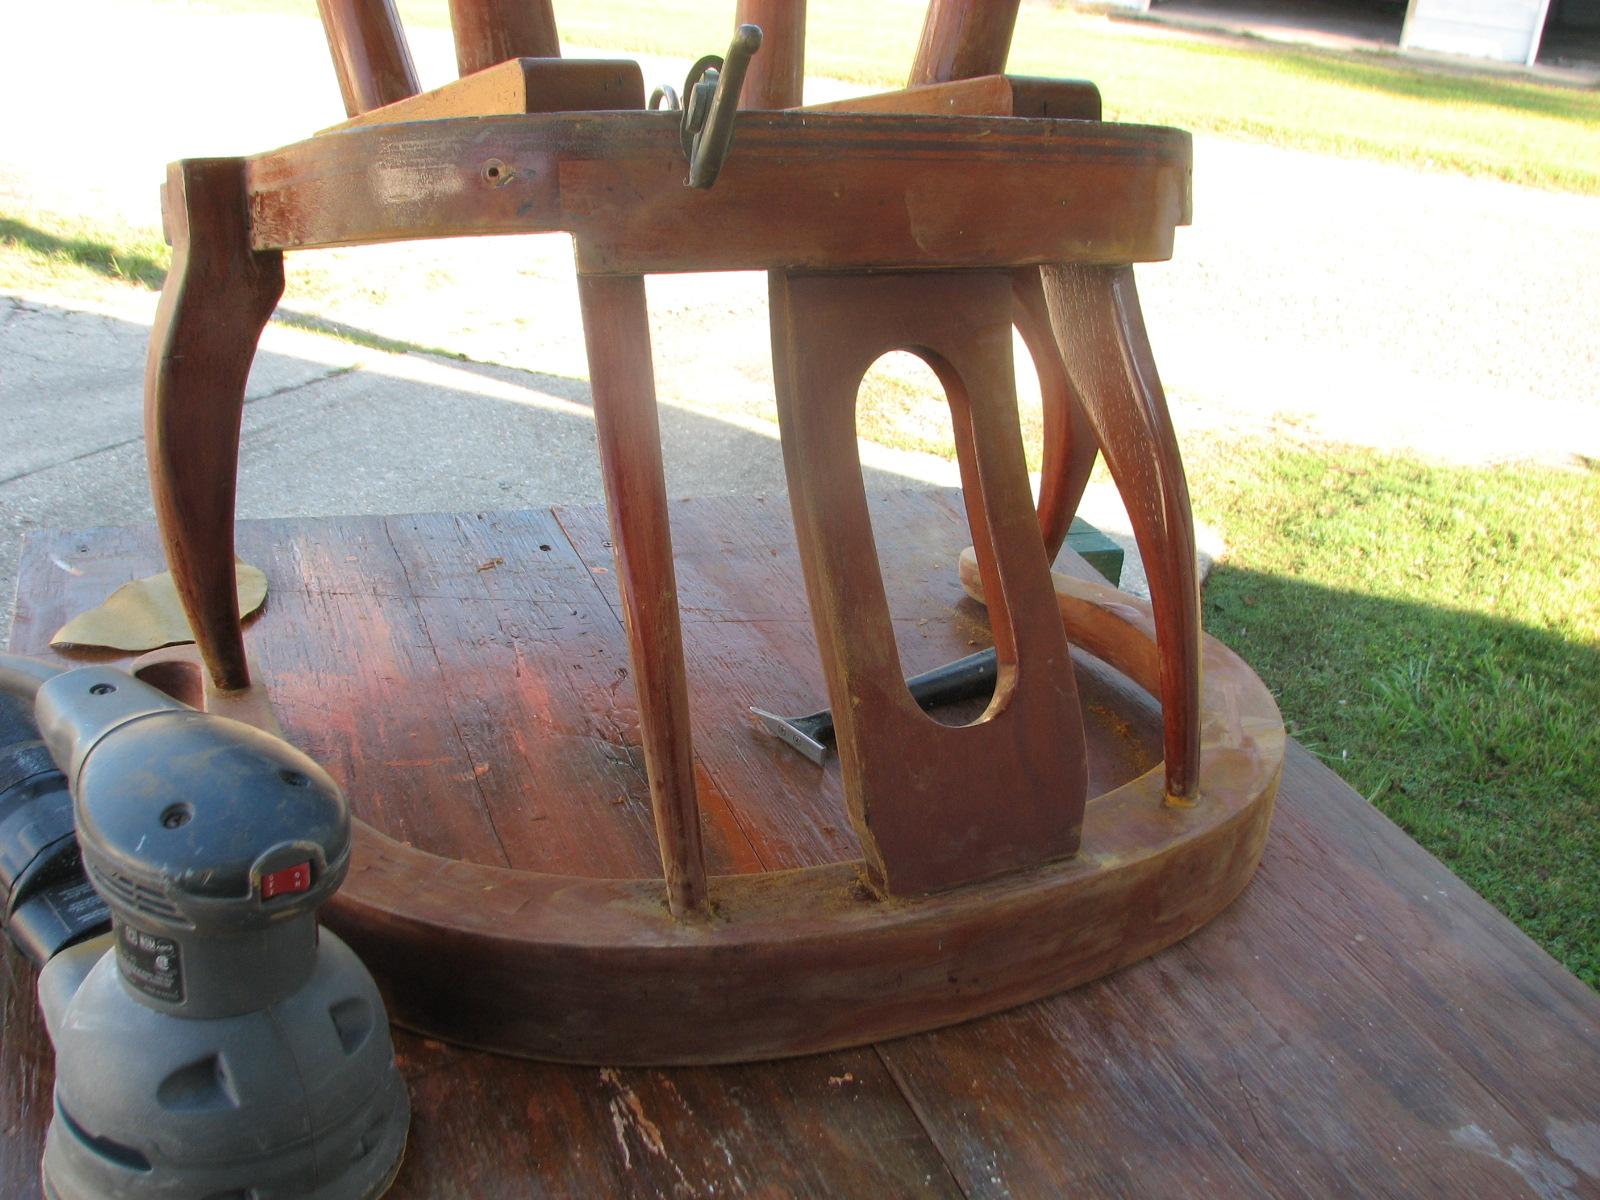
I then got busy and completed the
sanding process on the nav
station chair. When I finished it was ready for the
first coat of varnish.
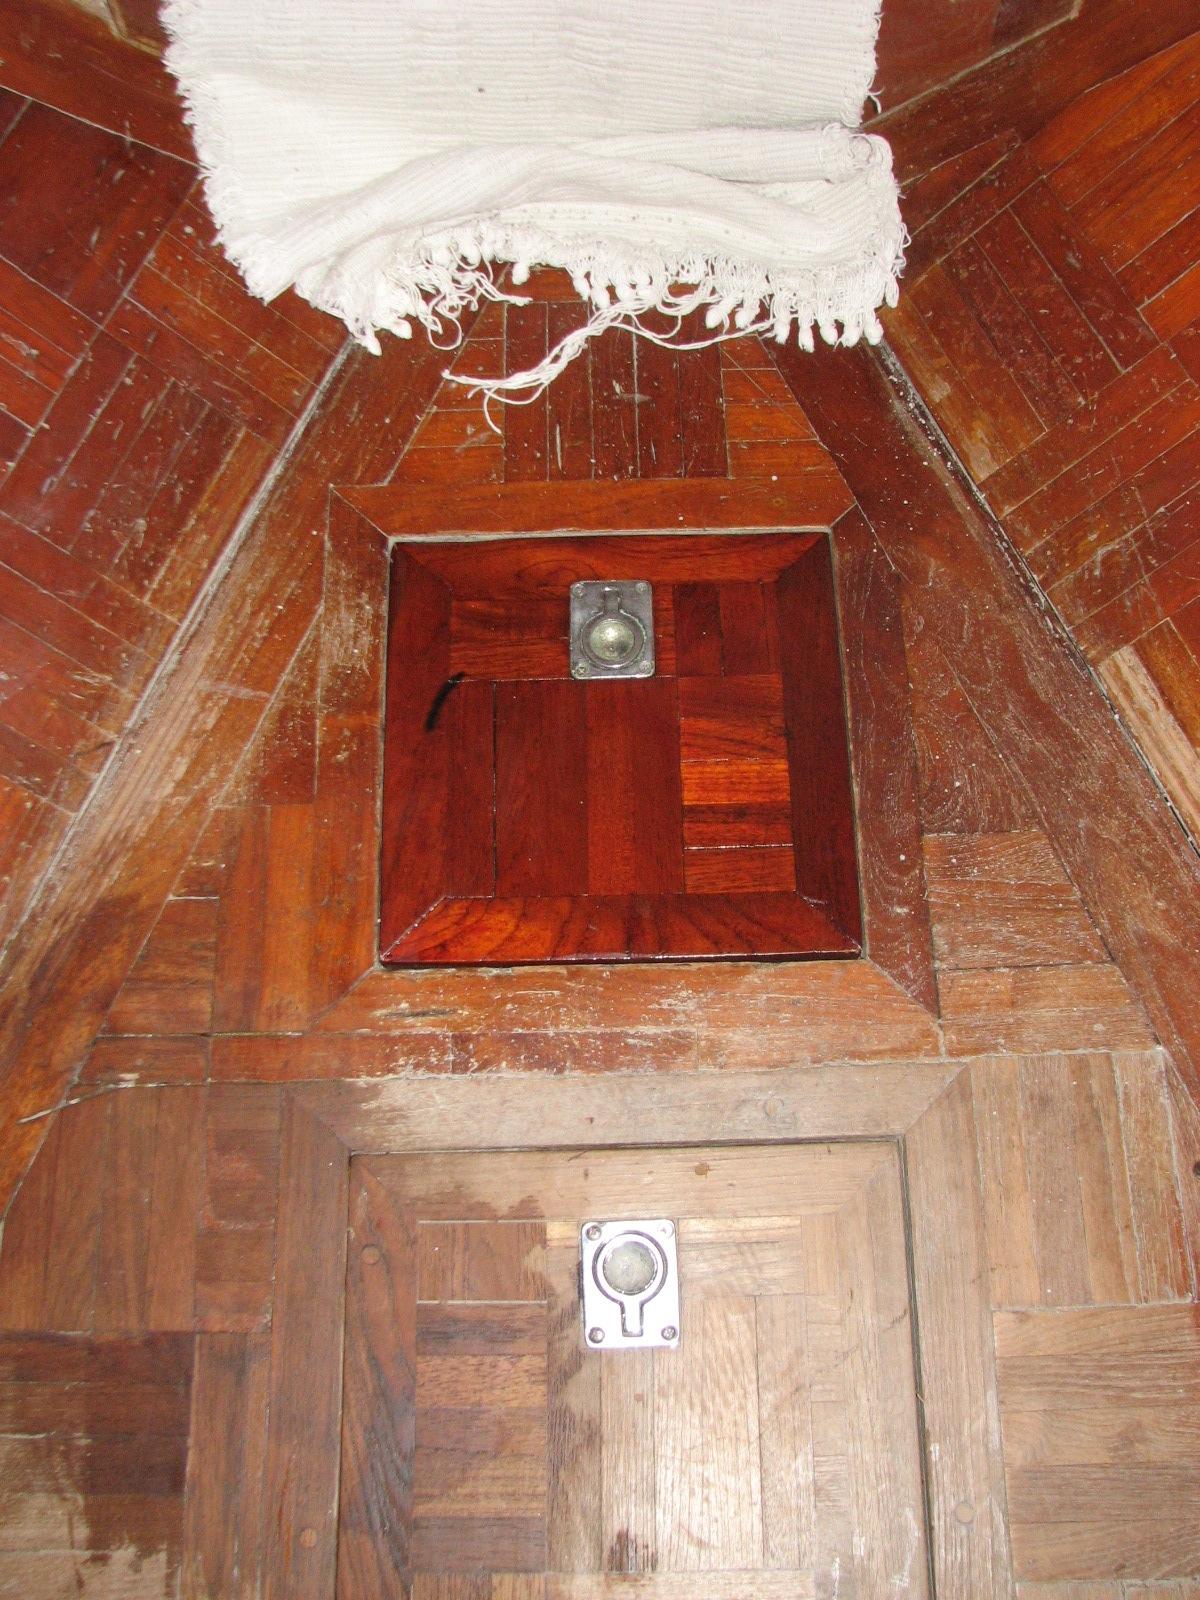
I loaded up the small varnished
hatch for the mid cabin in the Black Beast, and stopped at the Port
of Delcambre’s storage room to pick up the lawn
mower and fuel can. I went back to the marina,
and then went to DREAM AWAY for breakfast. I removed the temporary
hatch in the mid cabin, and installed the freshly varnished hatch.
Freshly Varnished Hatch In Mid Cabin
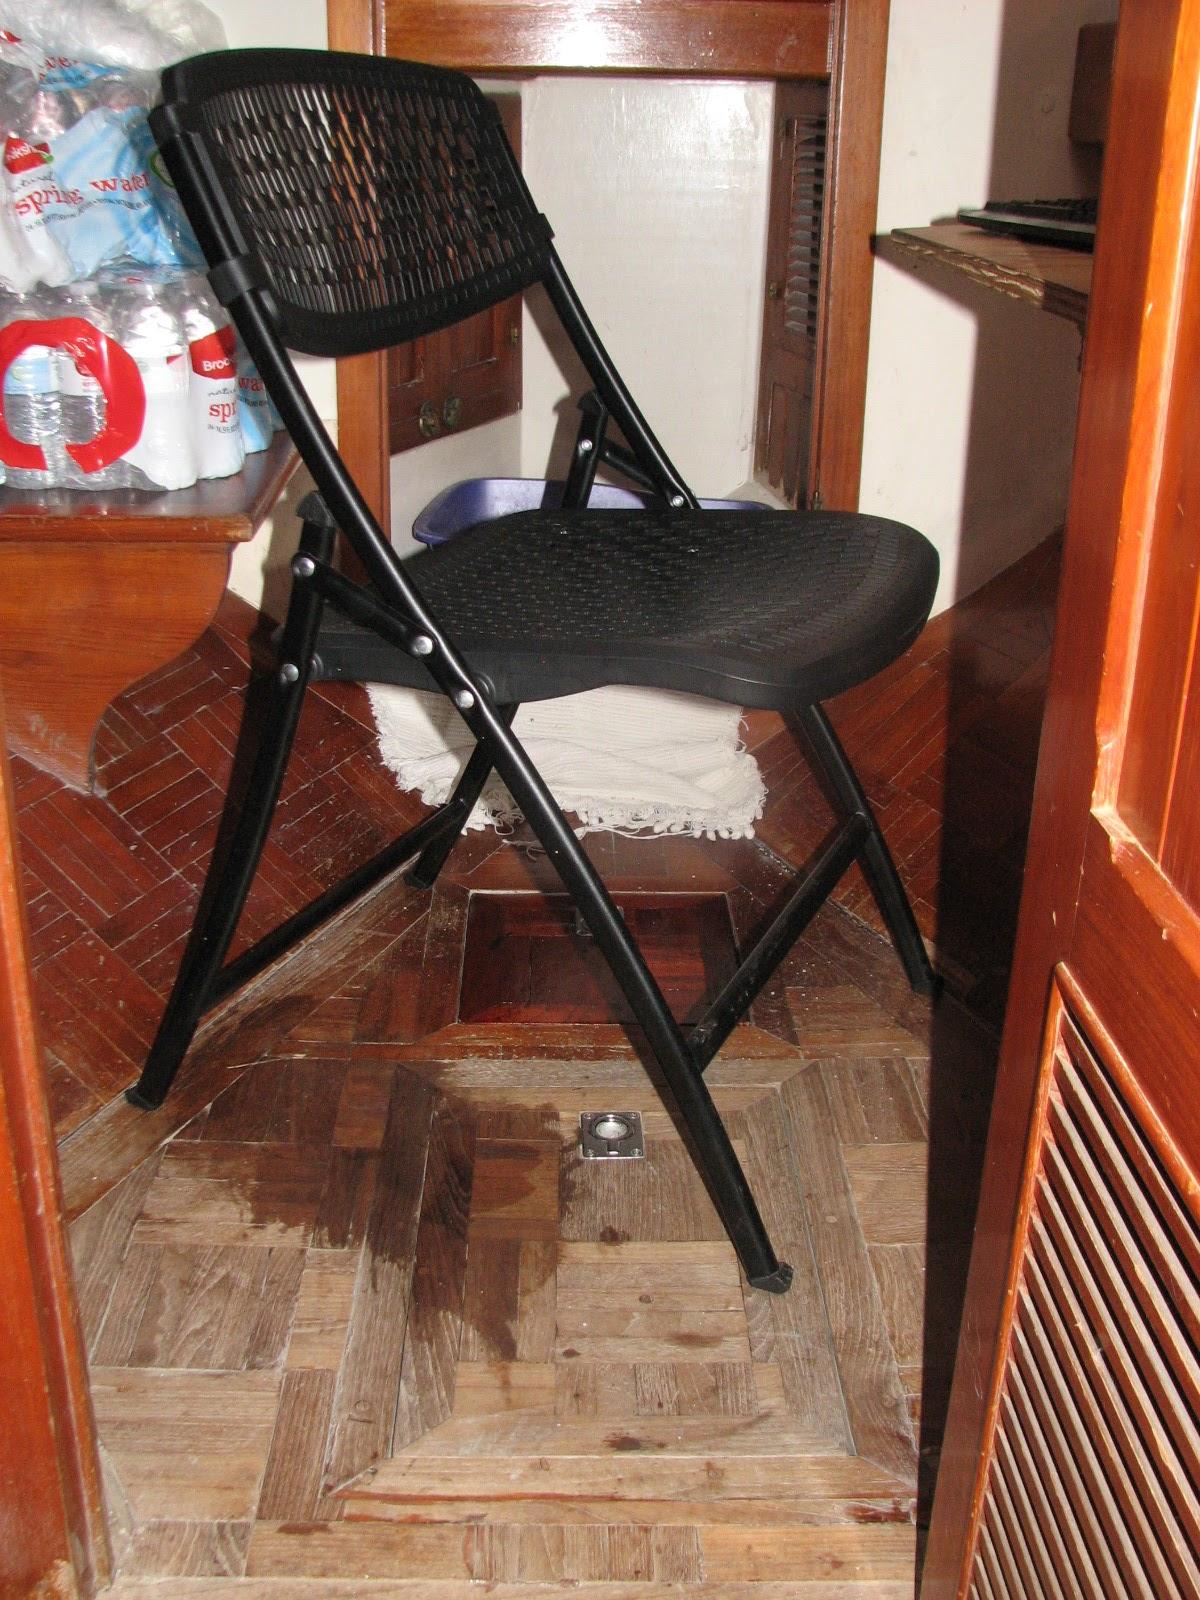
New Office Chair Being Tested In
Kitty’s Office
After breakfast, I trimmed the grass,
and pulled weeds around the marina
gardens, then mowed the grass.
I took a shower, Kitty and I had lunch,
then we drove to Lafayette,
for we both had doctor’s appointments.
September 25, Wednesday,
2013
Started off the morning with my normal
ritual of getting on the Internet, answering email, and checking the
weather, while making a pot of coffee. I also spent time with our two
cats, Jillian
and Jordan.
Spent some extra time catching up on
the Maintenance log and emails, and then played tourist the remainder
of the day, We went with new cruisers Warren and Monica down to
Berwick and Morgan City. We looked at the dock facilities they had in
the area, and had lunch at Cafe
JoJo’s on Front Street in Morgan City. It was a
great lunch, and the ambience was wonderful.
We then drove back to Delcambre. It was
a very enjoyable and relaxing day.
September 24, Tuesday,
2013
Started off the morning with my normal
ritual of getting on the Internet, answering email, and checking the
weather, while making a pot of coffee. I also spent time with our two
cats, Jillian
and Jordan.
Went to the shop
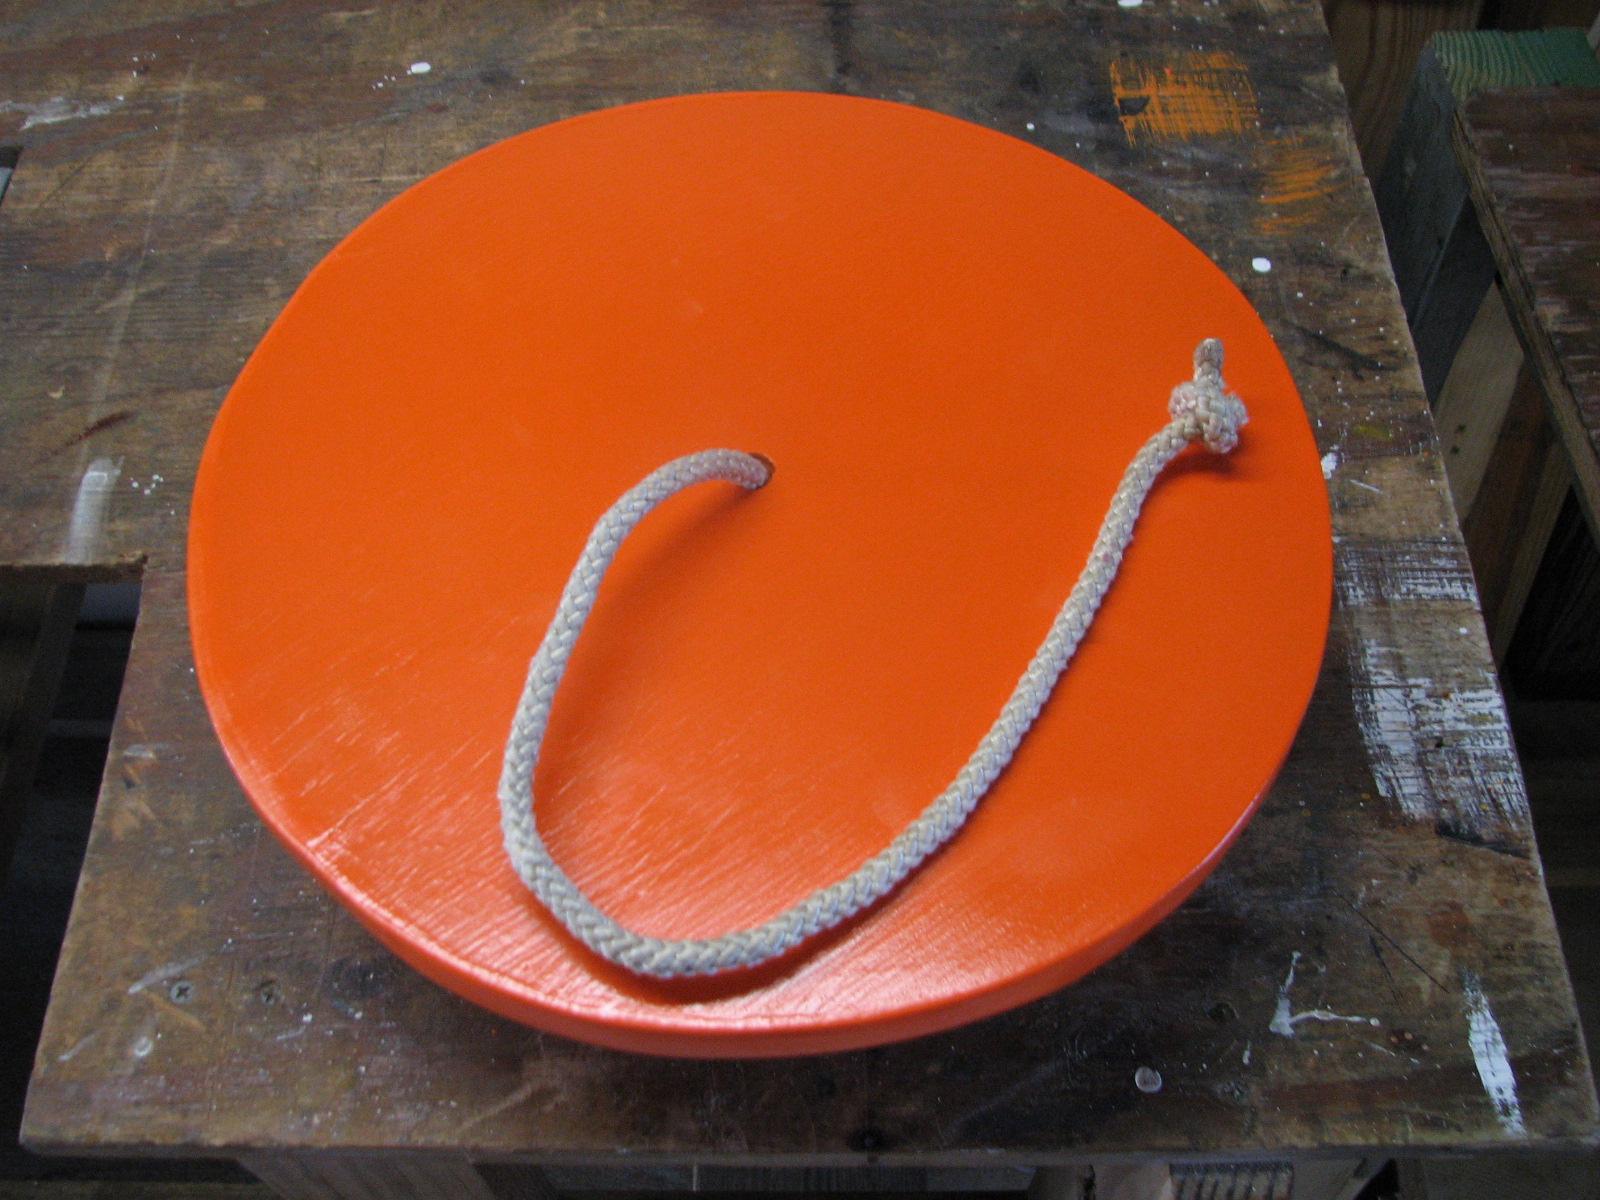
and checked on the “trash compactor”. I applied the last
coat of paint yesterday, and the paint had dried perfectly. I
attached the carrying line to the “trash compactor” and it was
ready for prime time. When I go back to DREAM AWAY, i will take the
“trash compactor” with me.
Finished “Trash Compactor"
Messed about with the pump given to me
by Kittie and Mark. I was able to get three of the bolts out that
hold the motor to the pump, but I have three more remaining. I
sprayed more Aero
Kroil on the remaining bolts. Will keep at it and they
will all come loose, and then I will be able to see what the problem
is.
I took the cushion off of the nav
station chair, and washed it out in soap and water in
the sink
at the shop.
I then started the sanding process. It will take a bit to get the nav
station chair sanded with all of the curved and round
surfaces.

I loaded up some of the teak pieces
that were finished and came over to DREAM AWAY. The plan was to
finish the gelcoat
on the floor of the tender, but it started to rain, and that stopped
that plan.
In the meantime we got word another
boater is coming in tomorrow and will be on pier “C”. I drove
over to the Port
of Delcambre’s storage room to pick up the pressure
washer, and returned to the marina.
Kitty had a hair appointment, so I got to work pressure washing the
area of pier “C” where the new boat will be. I also washed all of
the power pedestals on pier “C”.
When I finished that project, I had a
shower, and Kitty returned, we then went into New Iberia to run
errands.
September 23, Monday, 2013
Started off the morning with my normal
ritual of getting on the Internet, answering email, and checking the
weather, while making a pot of coffee. I also spent time with our two
cats, Jillian
and Jordan.
Went to the shop
a bit late because I slept in until 0650 this morning! I did the
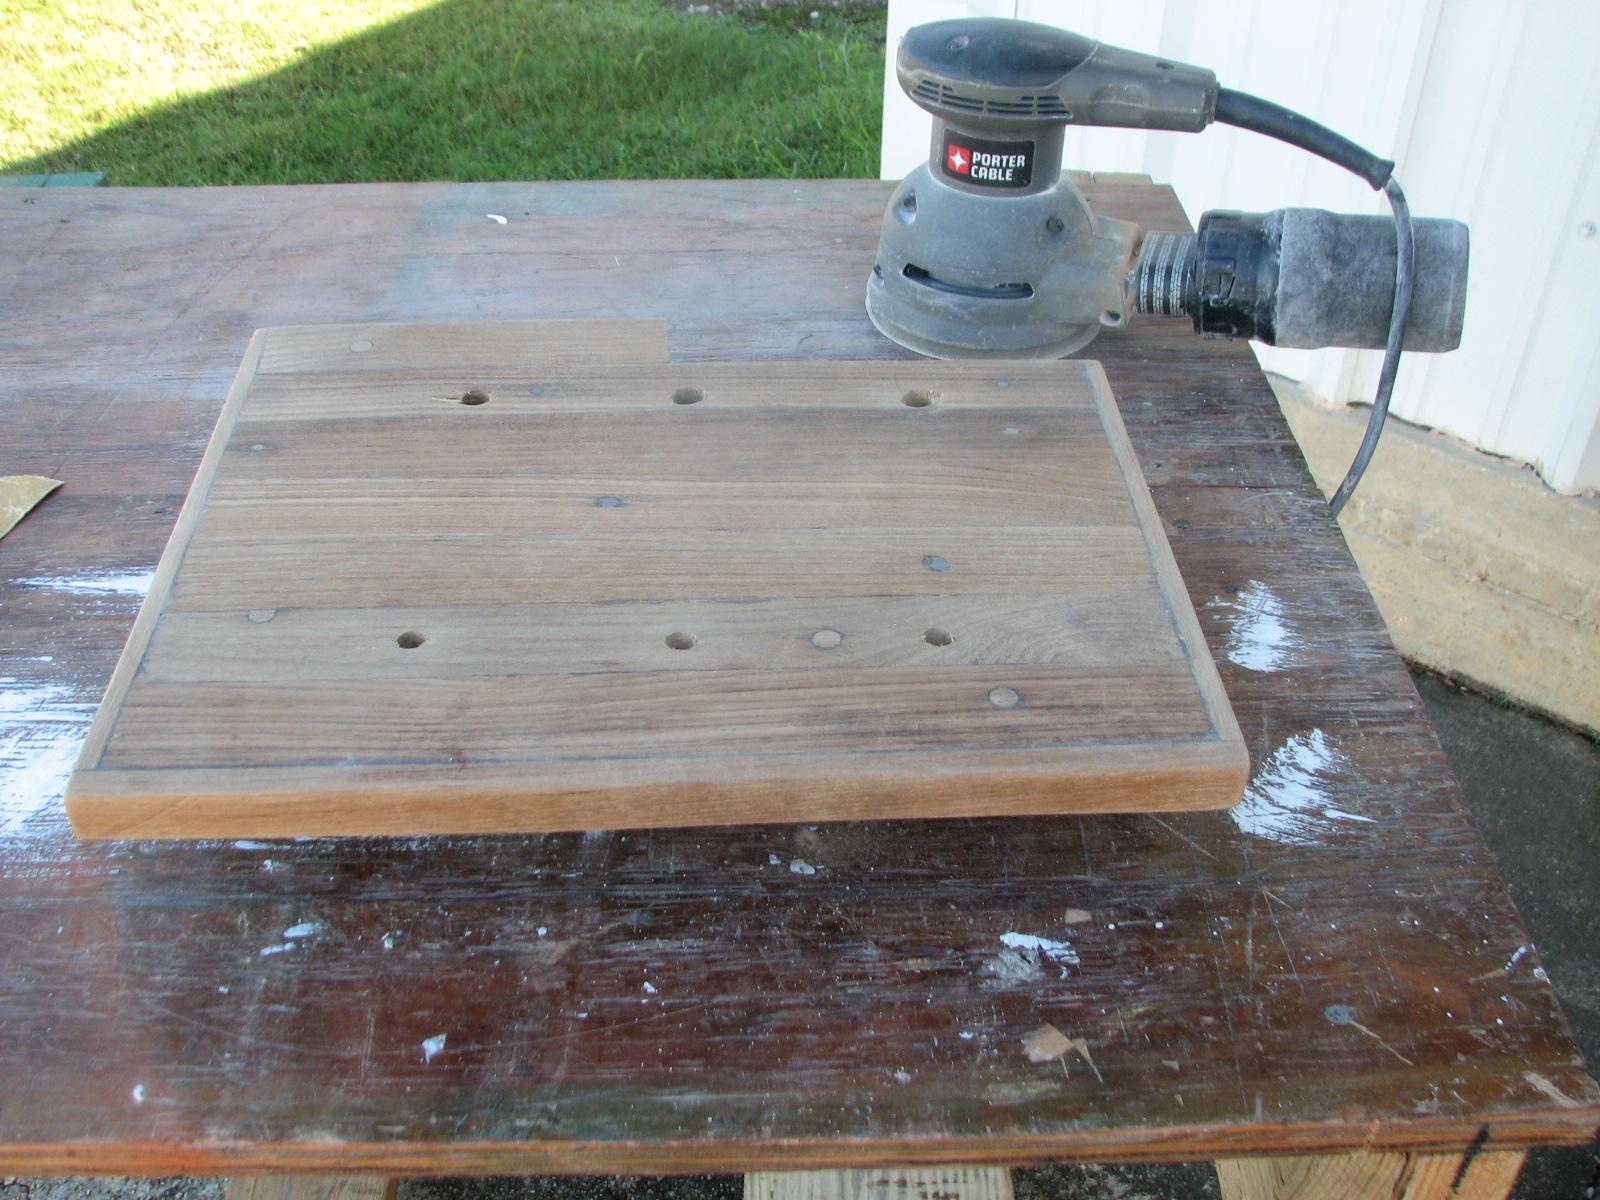
finish sanding on the teak piece for the backing plate in the head.
The dry fit went very well yesterday. All that remained after the
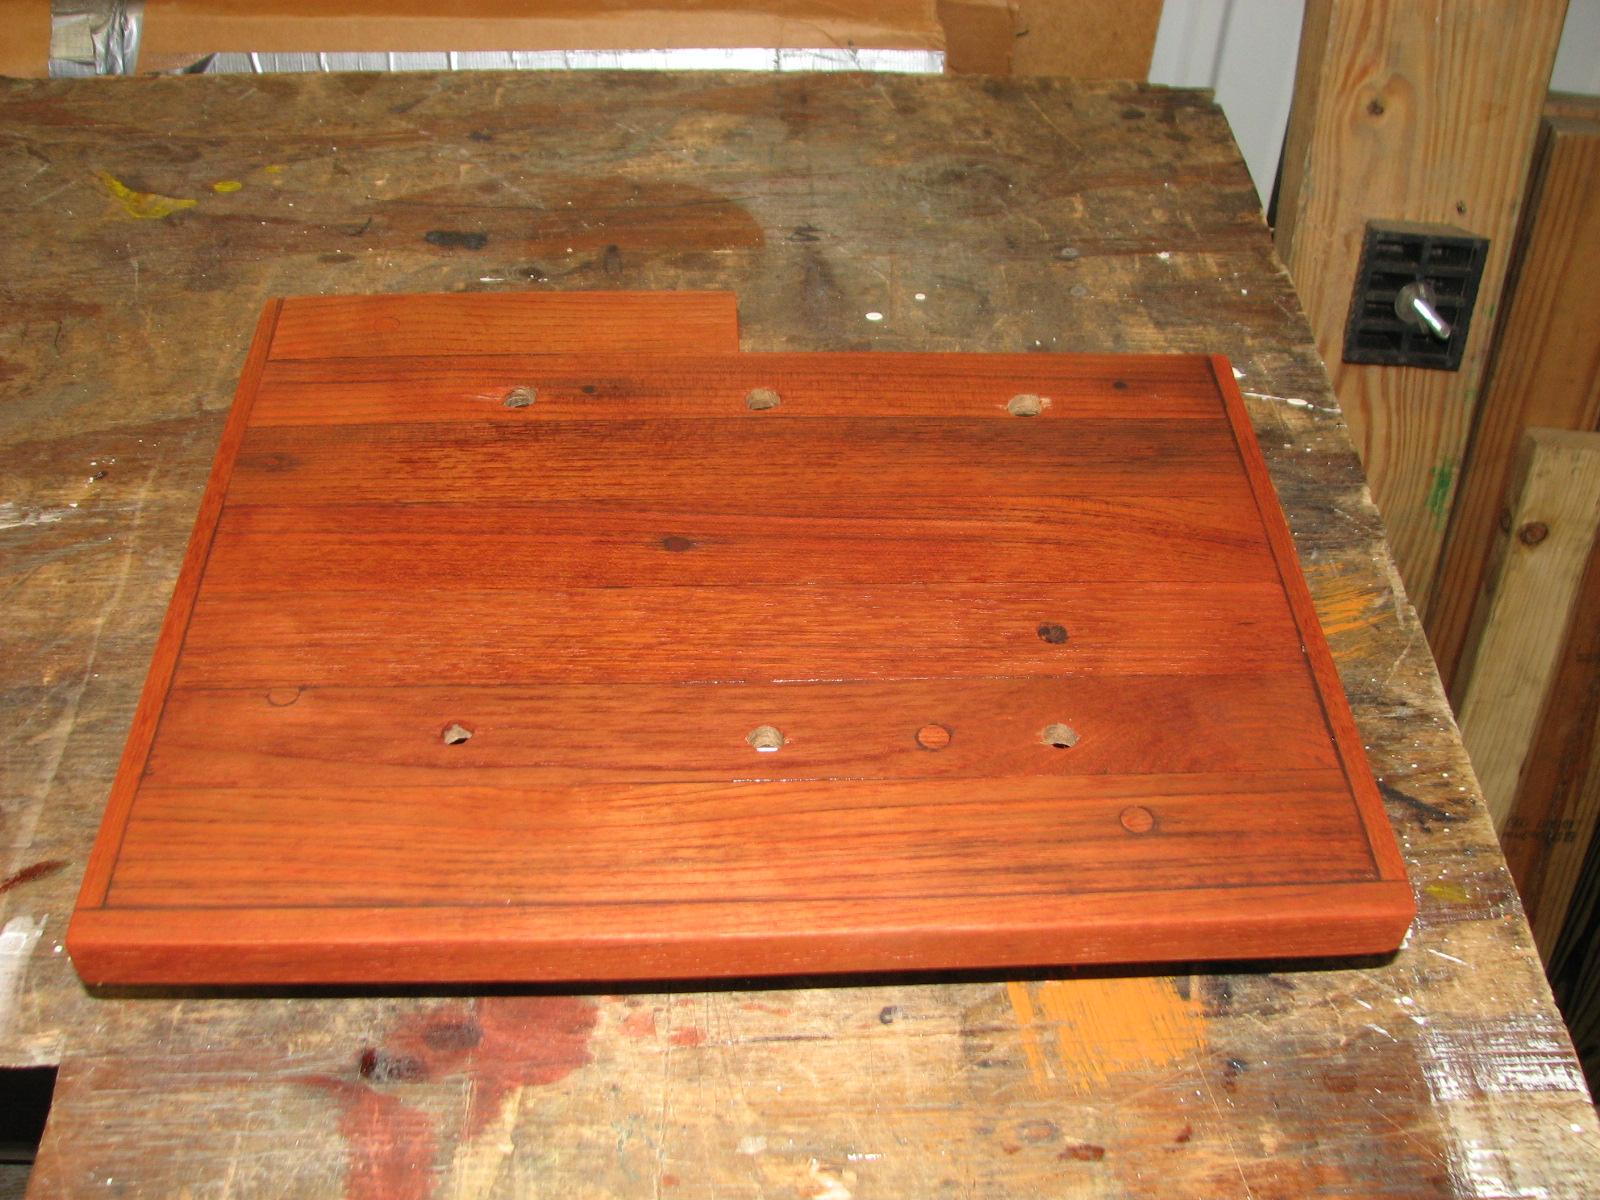
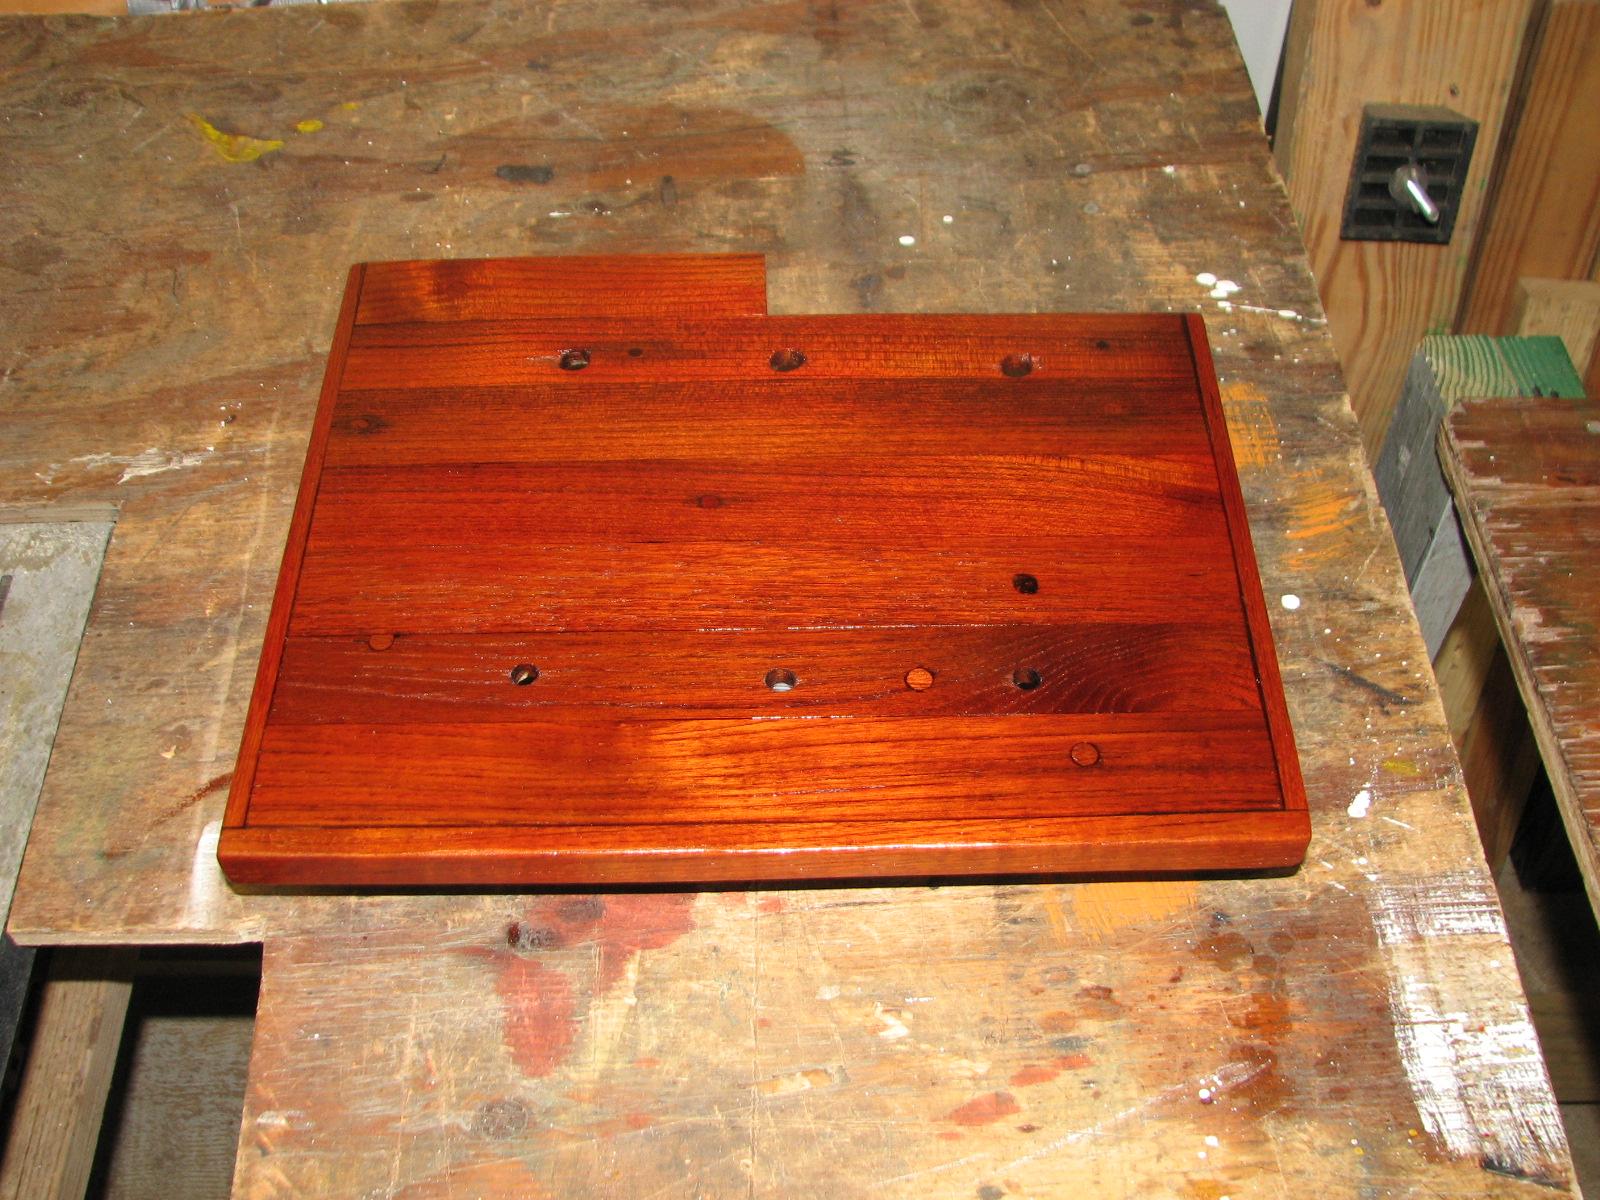
final sanding is to apply the dye, and then apply the Smith’s
penetrating epoxy. When the Smith’s
penetrating epoxy sets up, I will be able to apply the
varnish.
Teak Backing Plate Cover After Final
Sanding
Teak Backing Plate Cover With Dye
Applied
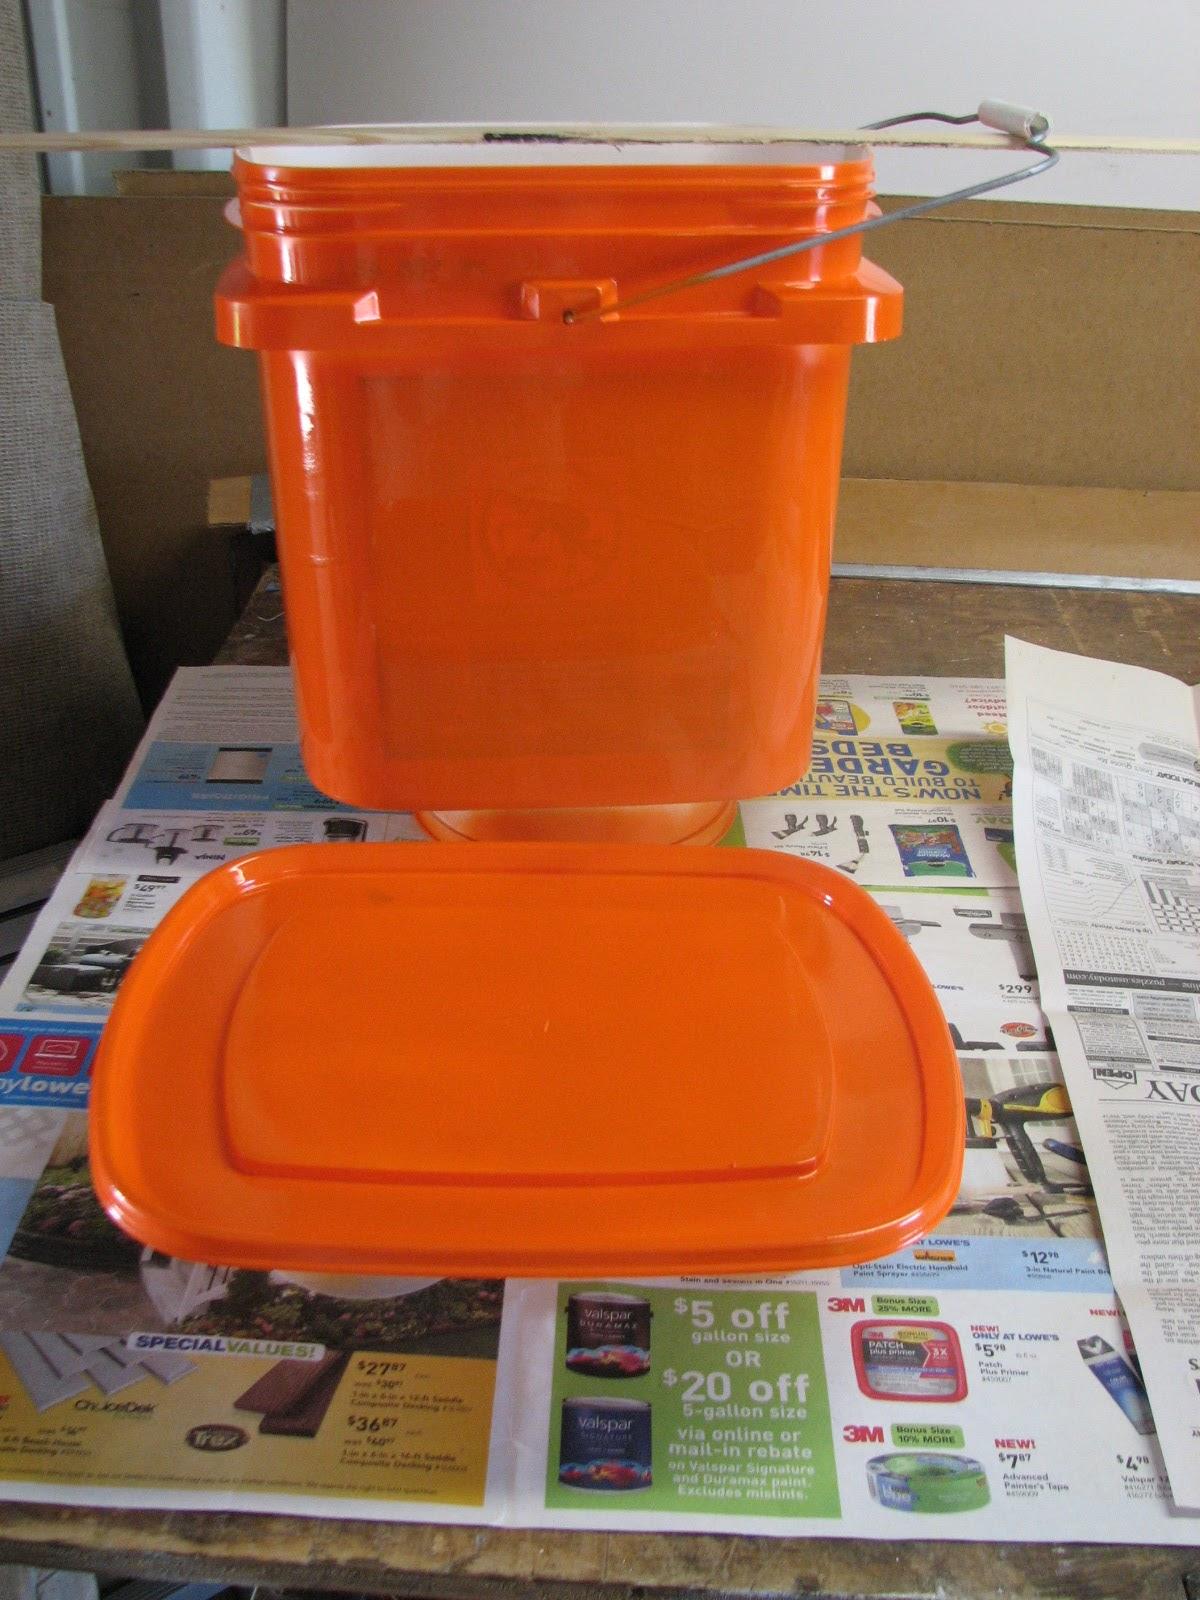
I had an old kitty litter bucket I used
in the tender to carry my sponge, bailing bucket and other
accessories. It was a little worse for wear because of the UV.
I decided to use a new kitty litter bucket, but I am painting it with
the Rustoleum
orange spray paint to see how it holds up to the UV.
Bucket With Rustoleum
Orange Spray Paint Applied
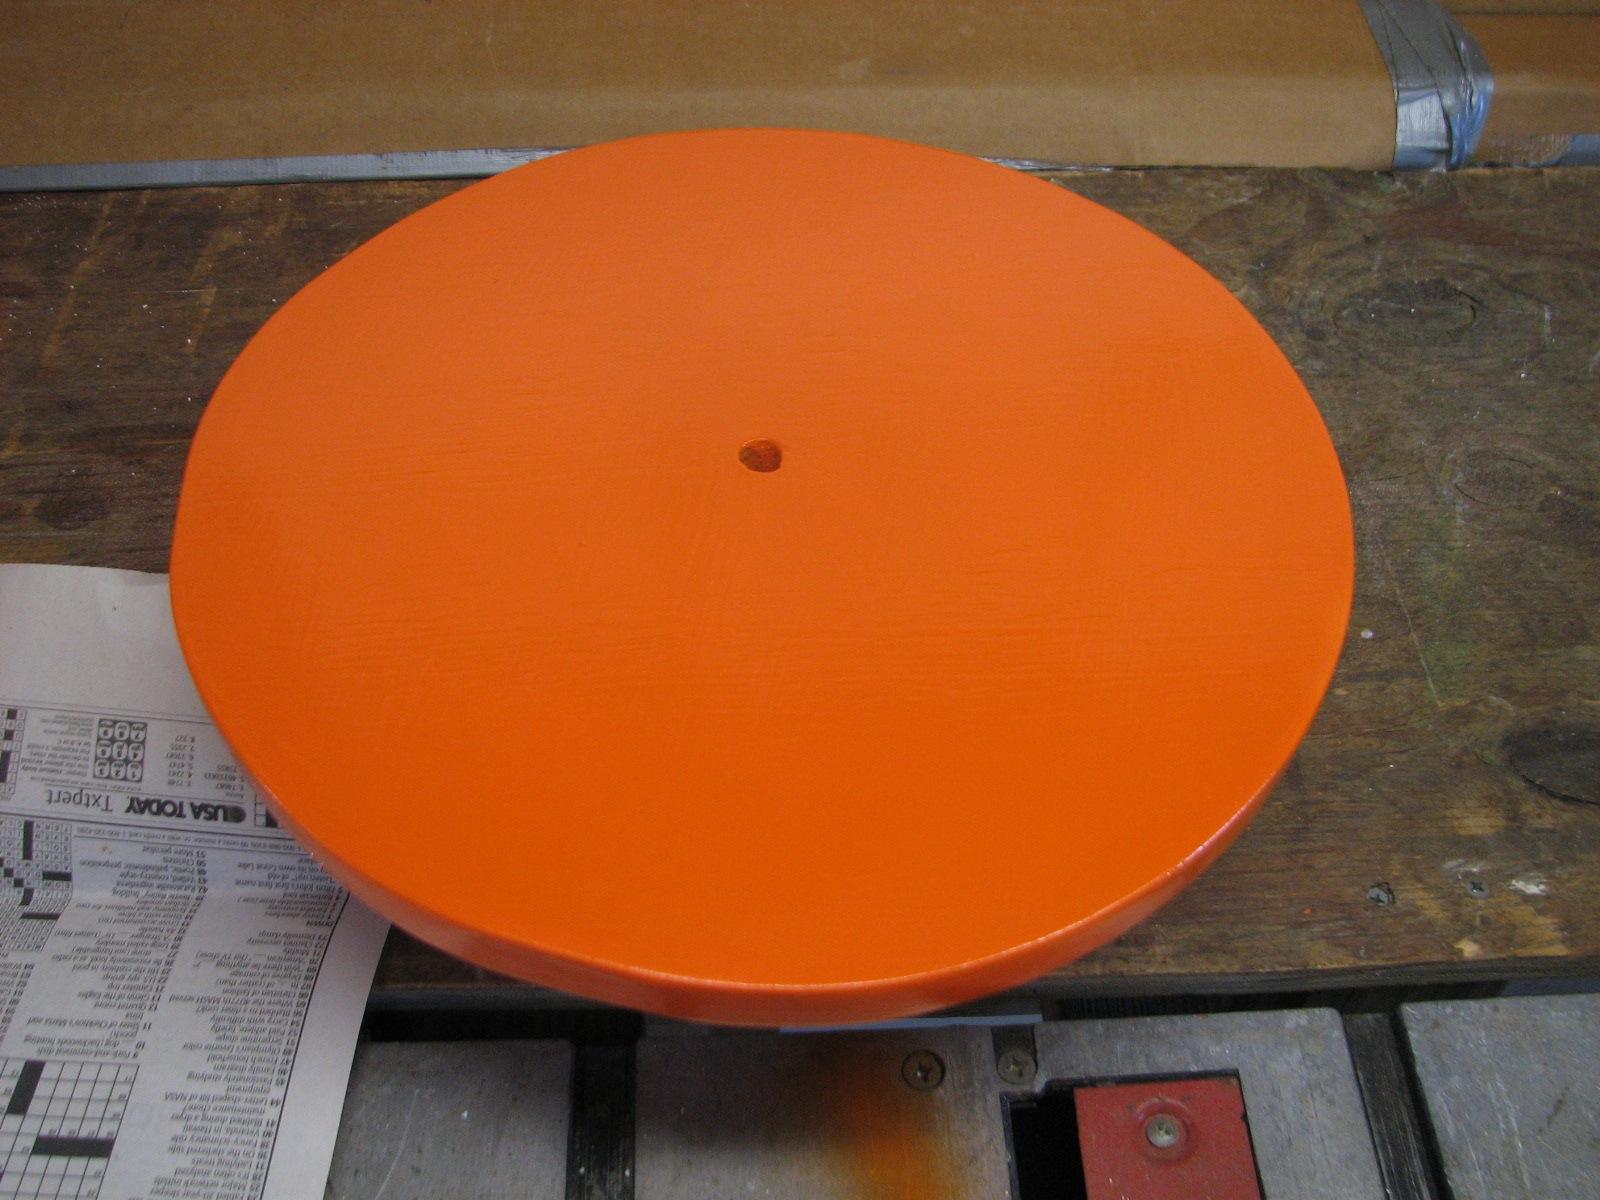
I sprayed a coat of Rustoleum
orange spray paint on the second side of the “trash compactor”.
It is pretty much ready for prime time.
Rustoleum
Orange Spray Paint On The Second Side
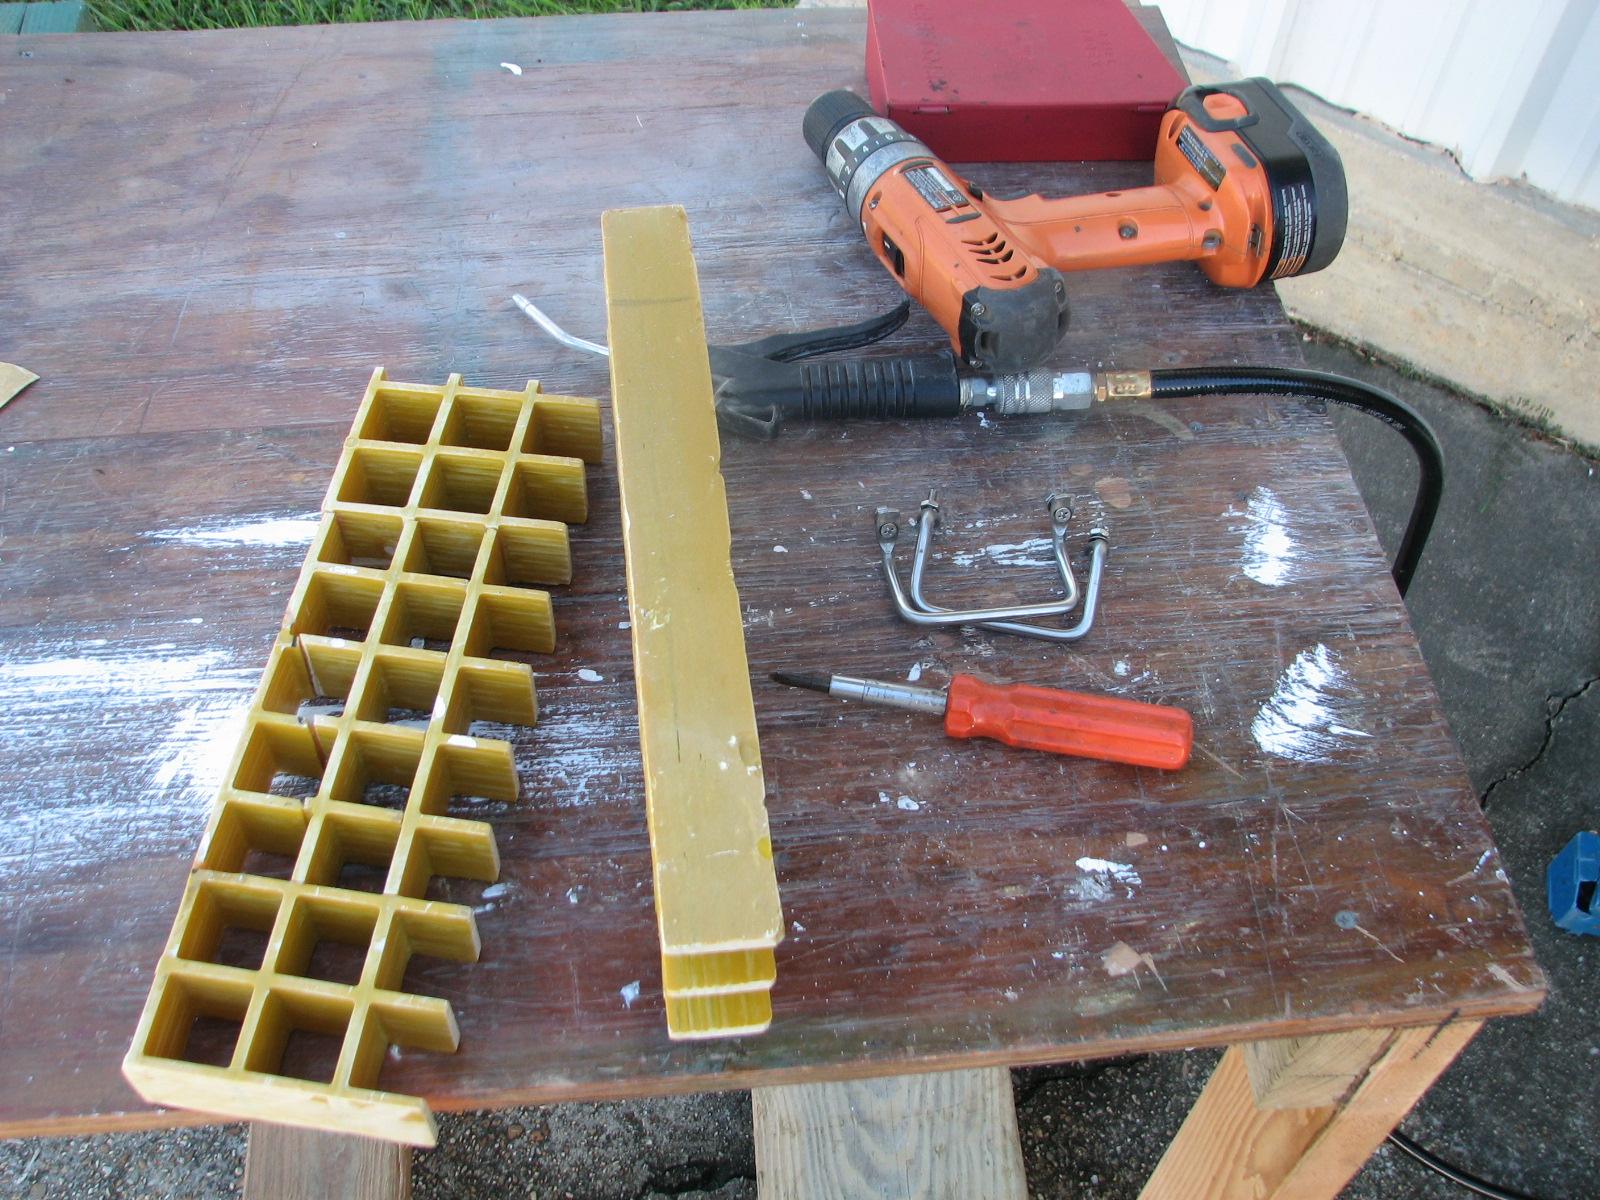
I worked on the grating I will be using
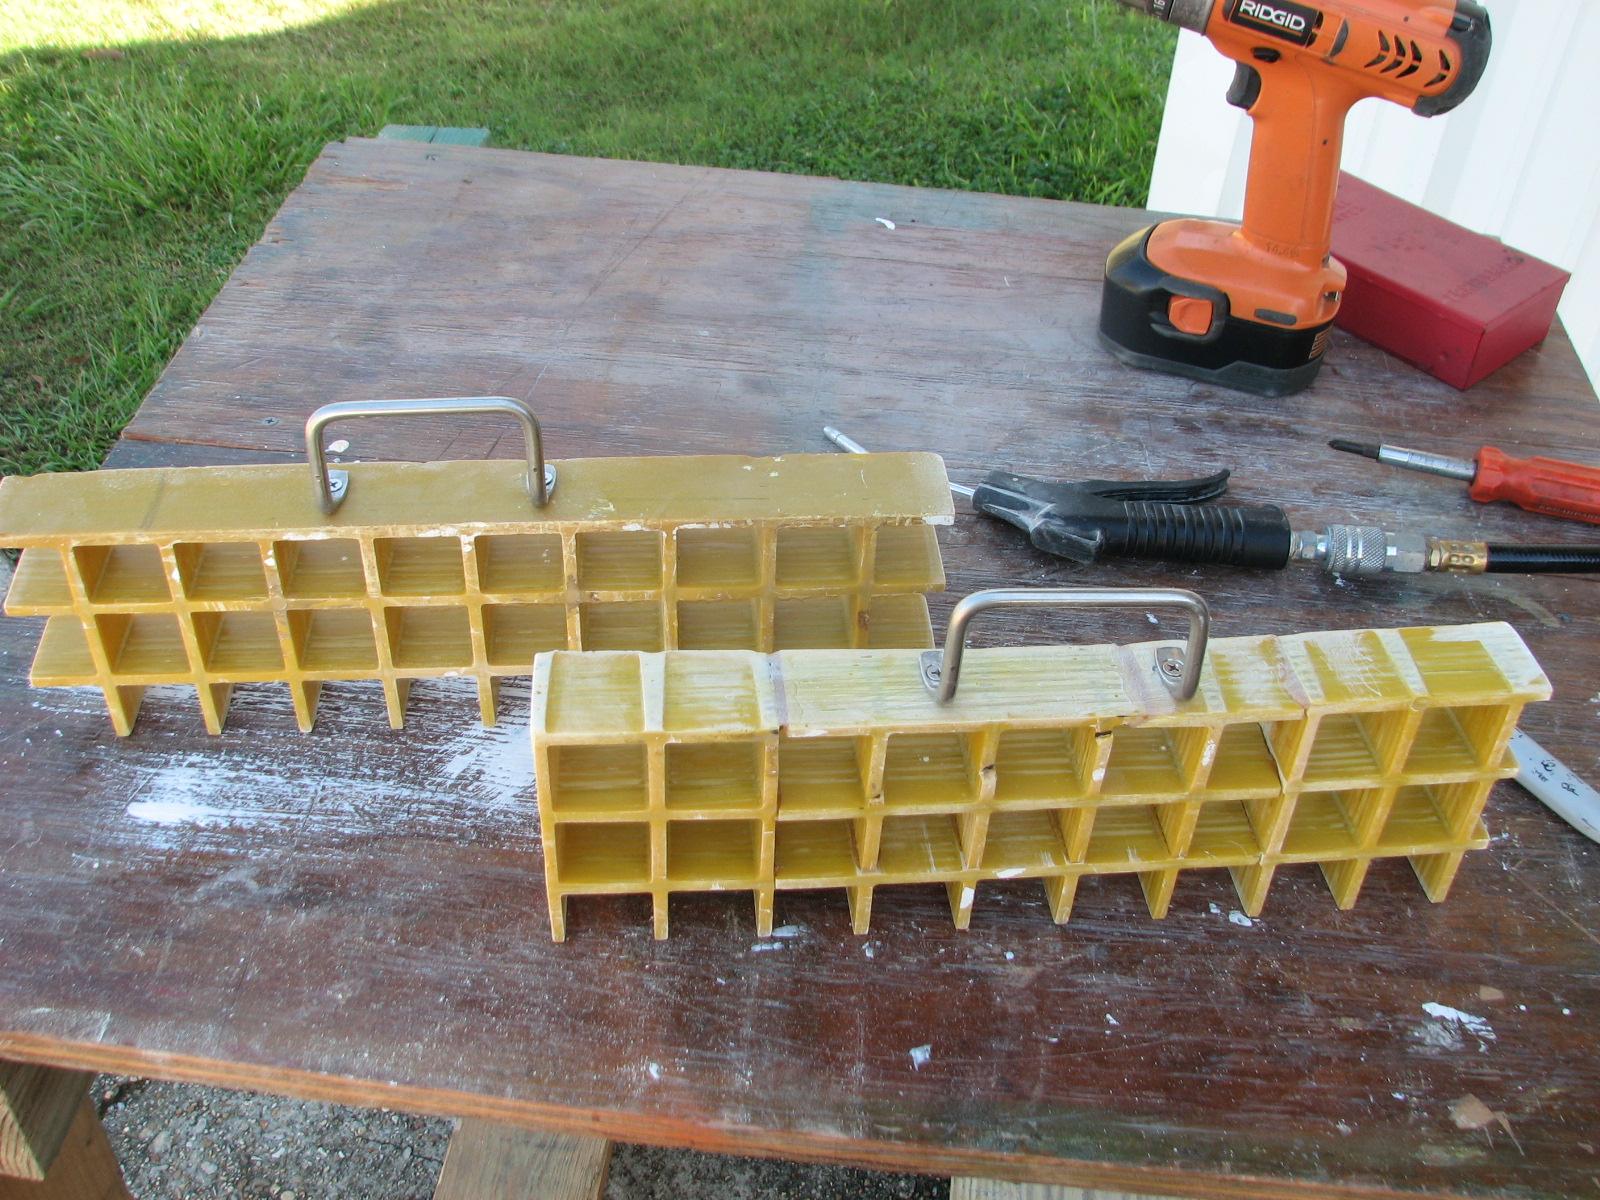
to keep the fuel tank in the tender. I attached some stainless steel
pieces to the gratings to hold the cable and locks to keep the fuel
tank in the tender, and to keep the fuel tank from being stolen out
of the tender.
Gratings And Hardware
Gratings With Hardware Attached
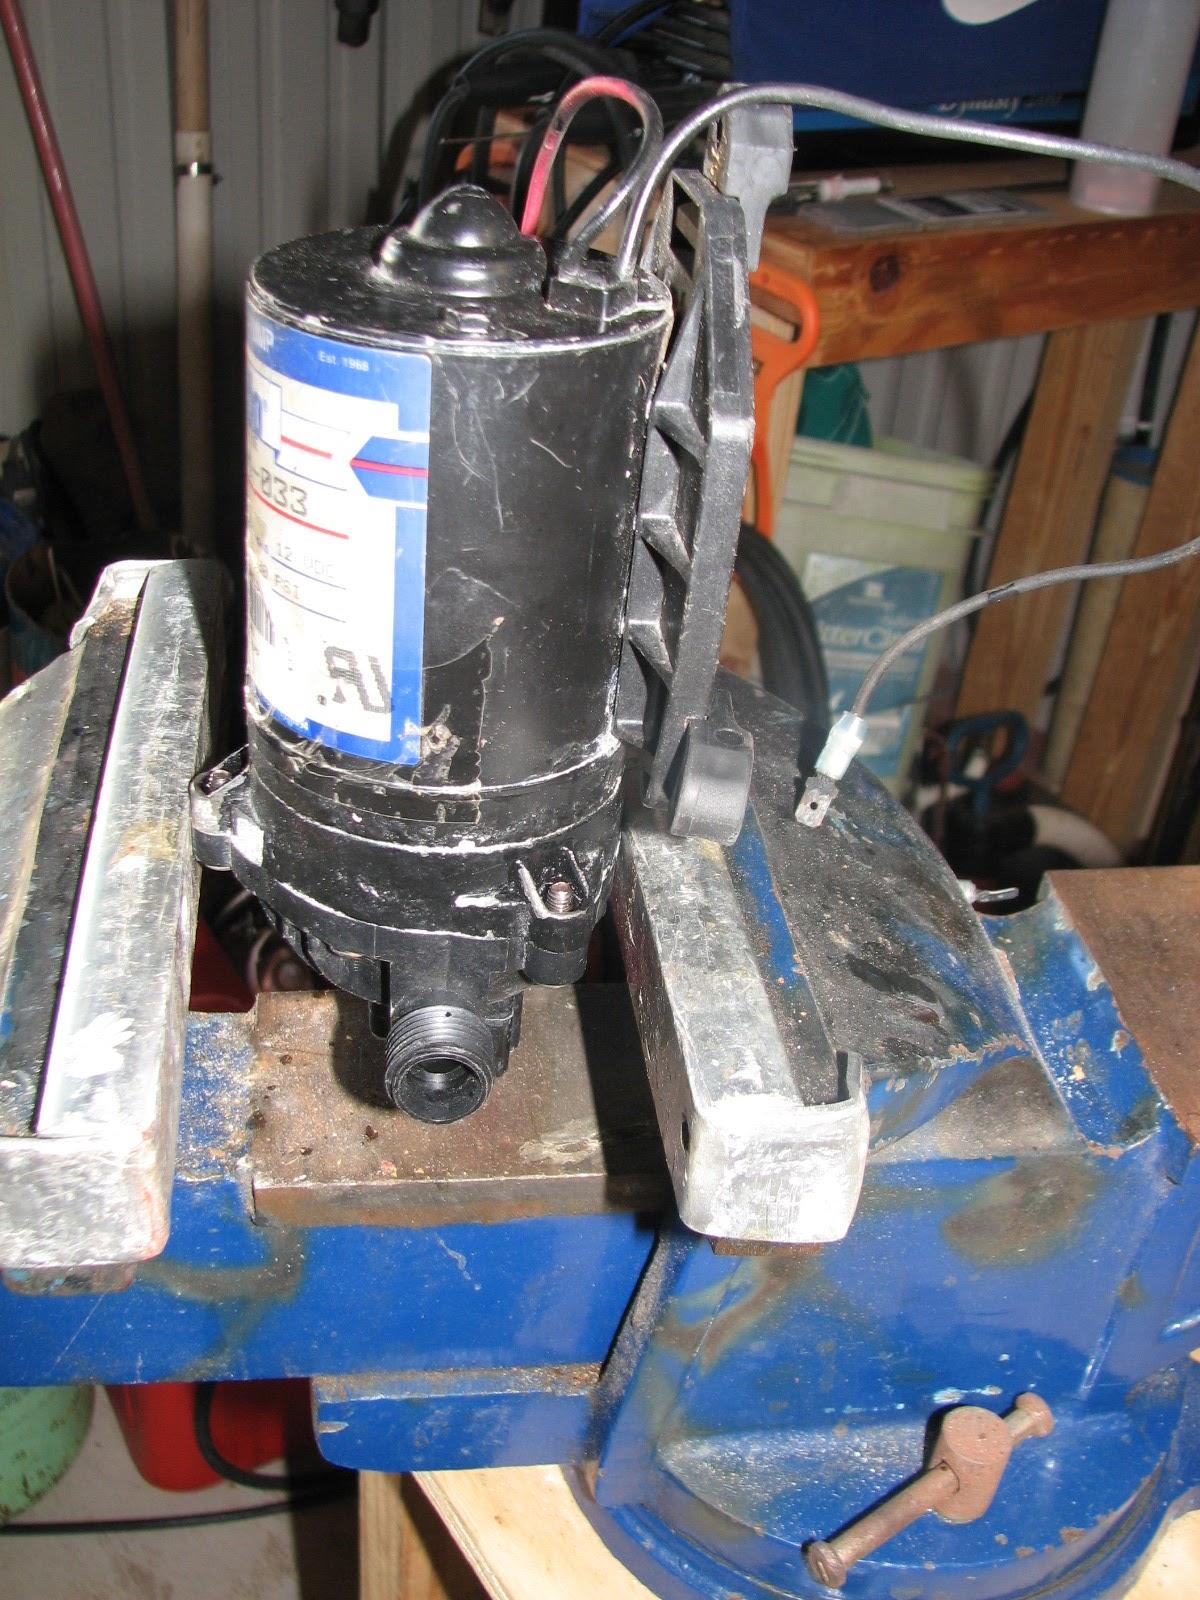
When Mark and Kittie left, they left
me a pump that they said did not work. I verified the motor on the
pump would not turn. I put the pump in the vise and applied Aero
Kroil to all of the bolts seized up to separate the
pump from the motor.Pump In The Vise
Went over to DREAM AWAY, and prepared
to apply the gelcoat
to the tender decks. I found a couple of places that needed an
application of finishing putty, so I did that. After the putty kicked
off, I sanded it all down and the wiped down the whole area with
Acetone.
I then masked off the areas where the gelcoat
is to be applied. I mixed up a batch of gelcoat
and applied it to the tender transom, and to the port side deck. I
mixed a smaller second batch and started application to the starboard
deck, but the rain came and halted progress.
Decks Masked Off In Tender
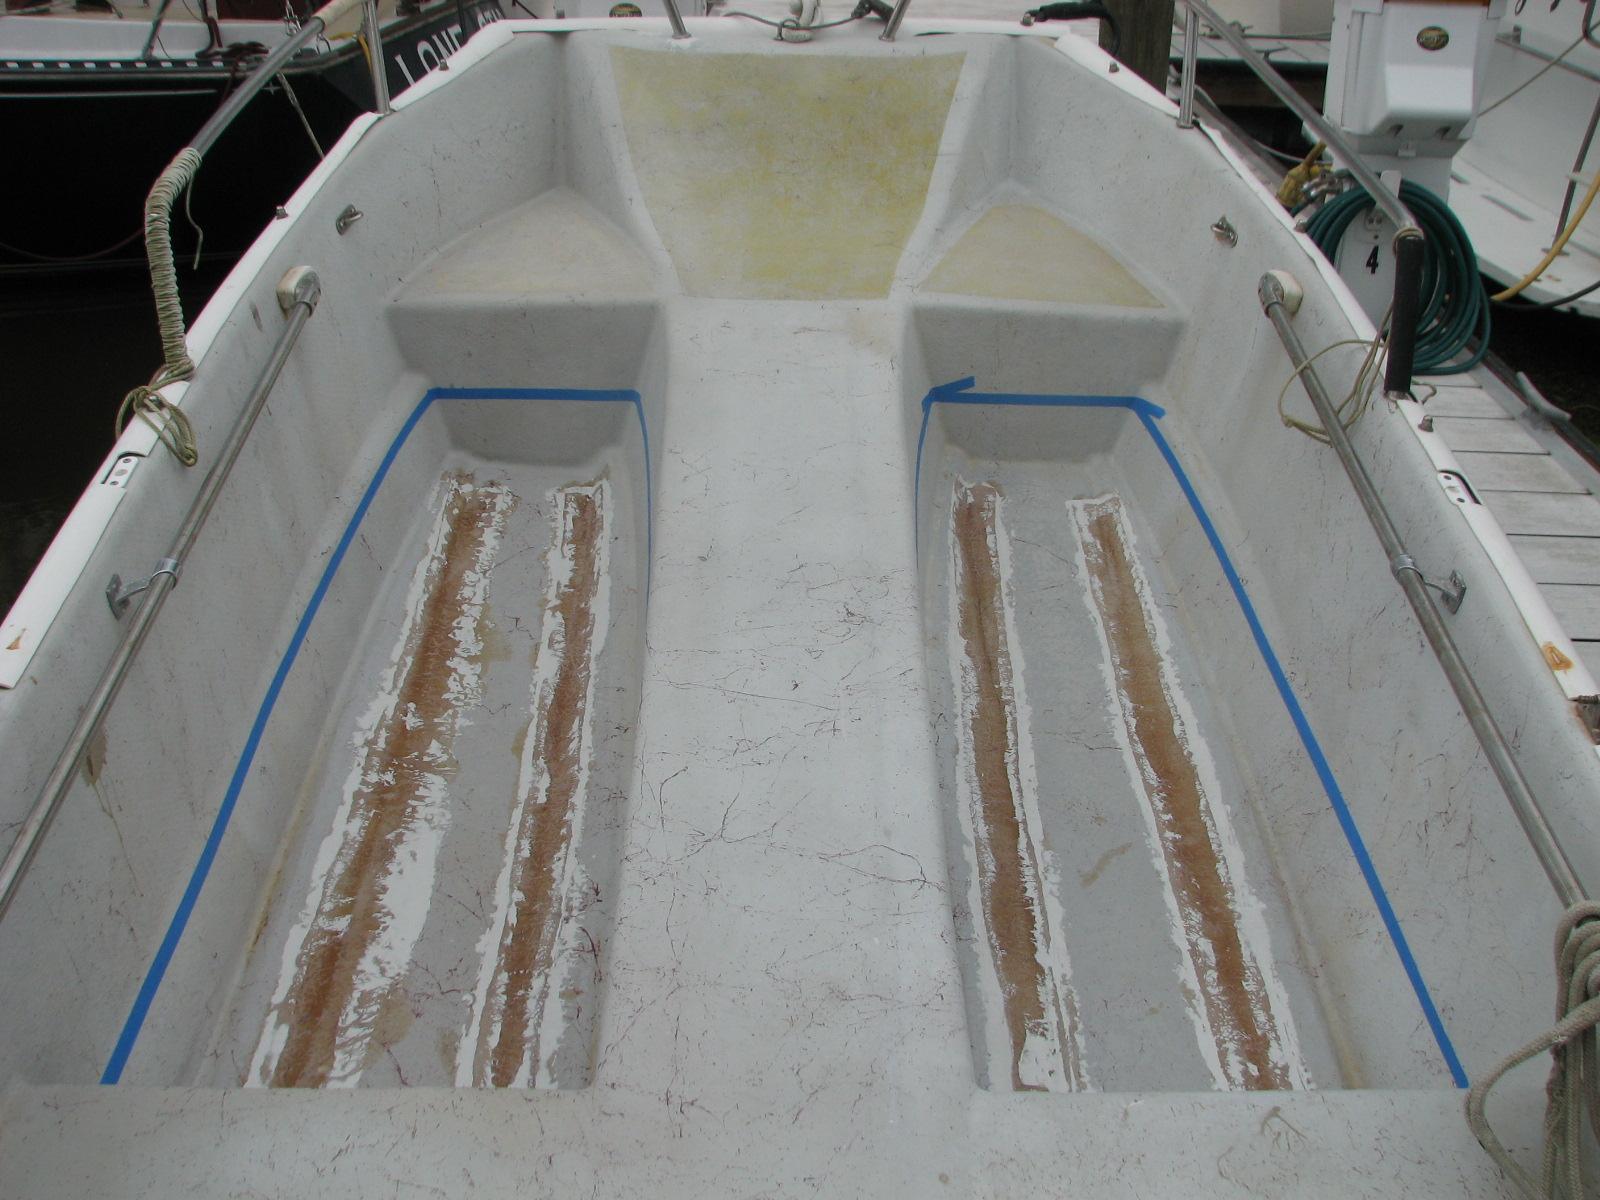
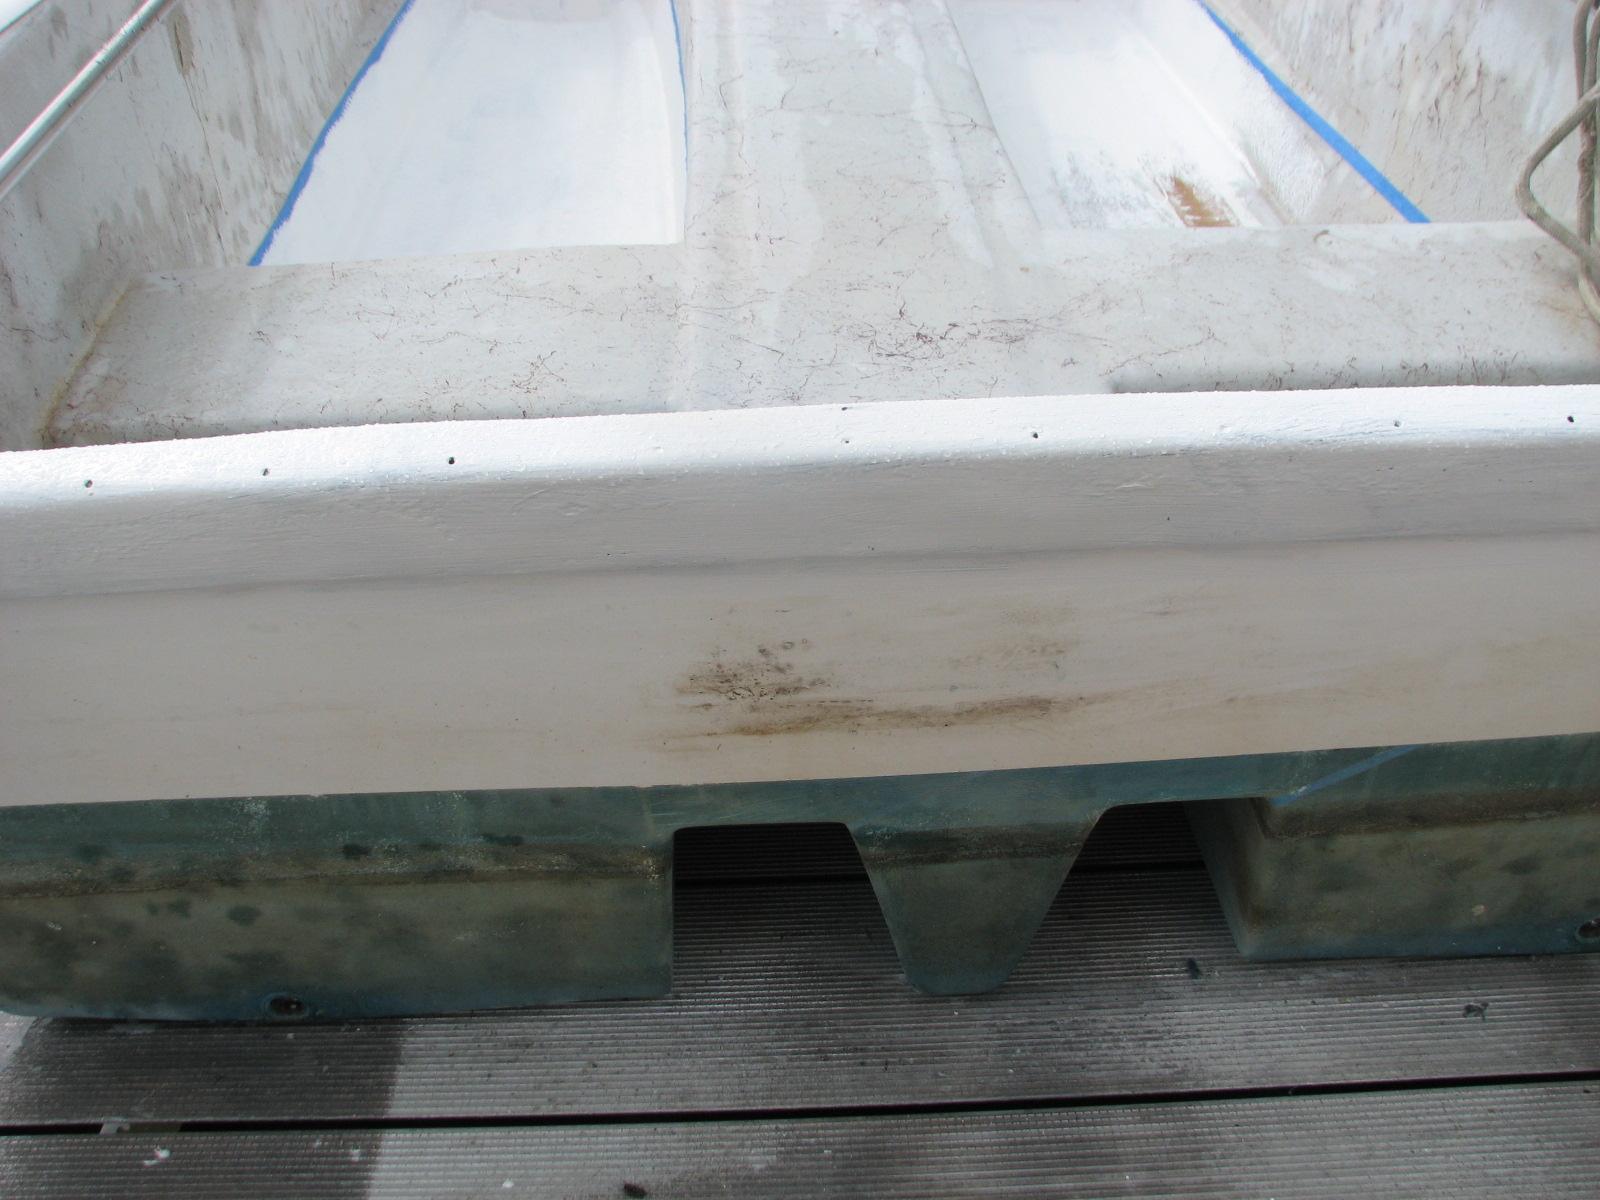
Gelcoat
Applied To Port Deck, Incomplete Starboard Deck

When it got serious about the rain I
went back to the shop
and applied the fifth coat of varnish to the interior teak pieces,
the first coat of varnish to the backing plate cover, and the fifth
coat of
Cetol
to the teak wheel on DREAM AWAY.
September 22, Sunday, 2013
Started off the morning with my normal
ritual of getting on the Internet, answering email, and checking the
weather, while making a pot of coffee. I also spent time with our two
cats, Jillian
and Jordan.
Went over to the
shop
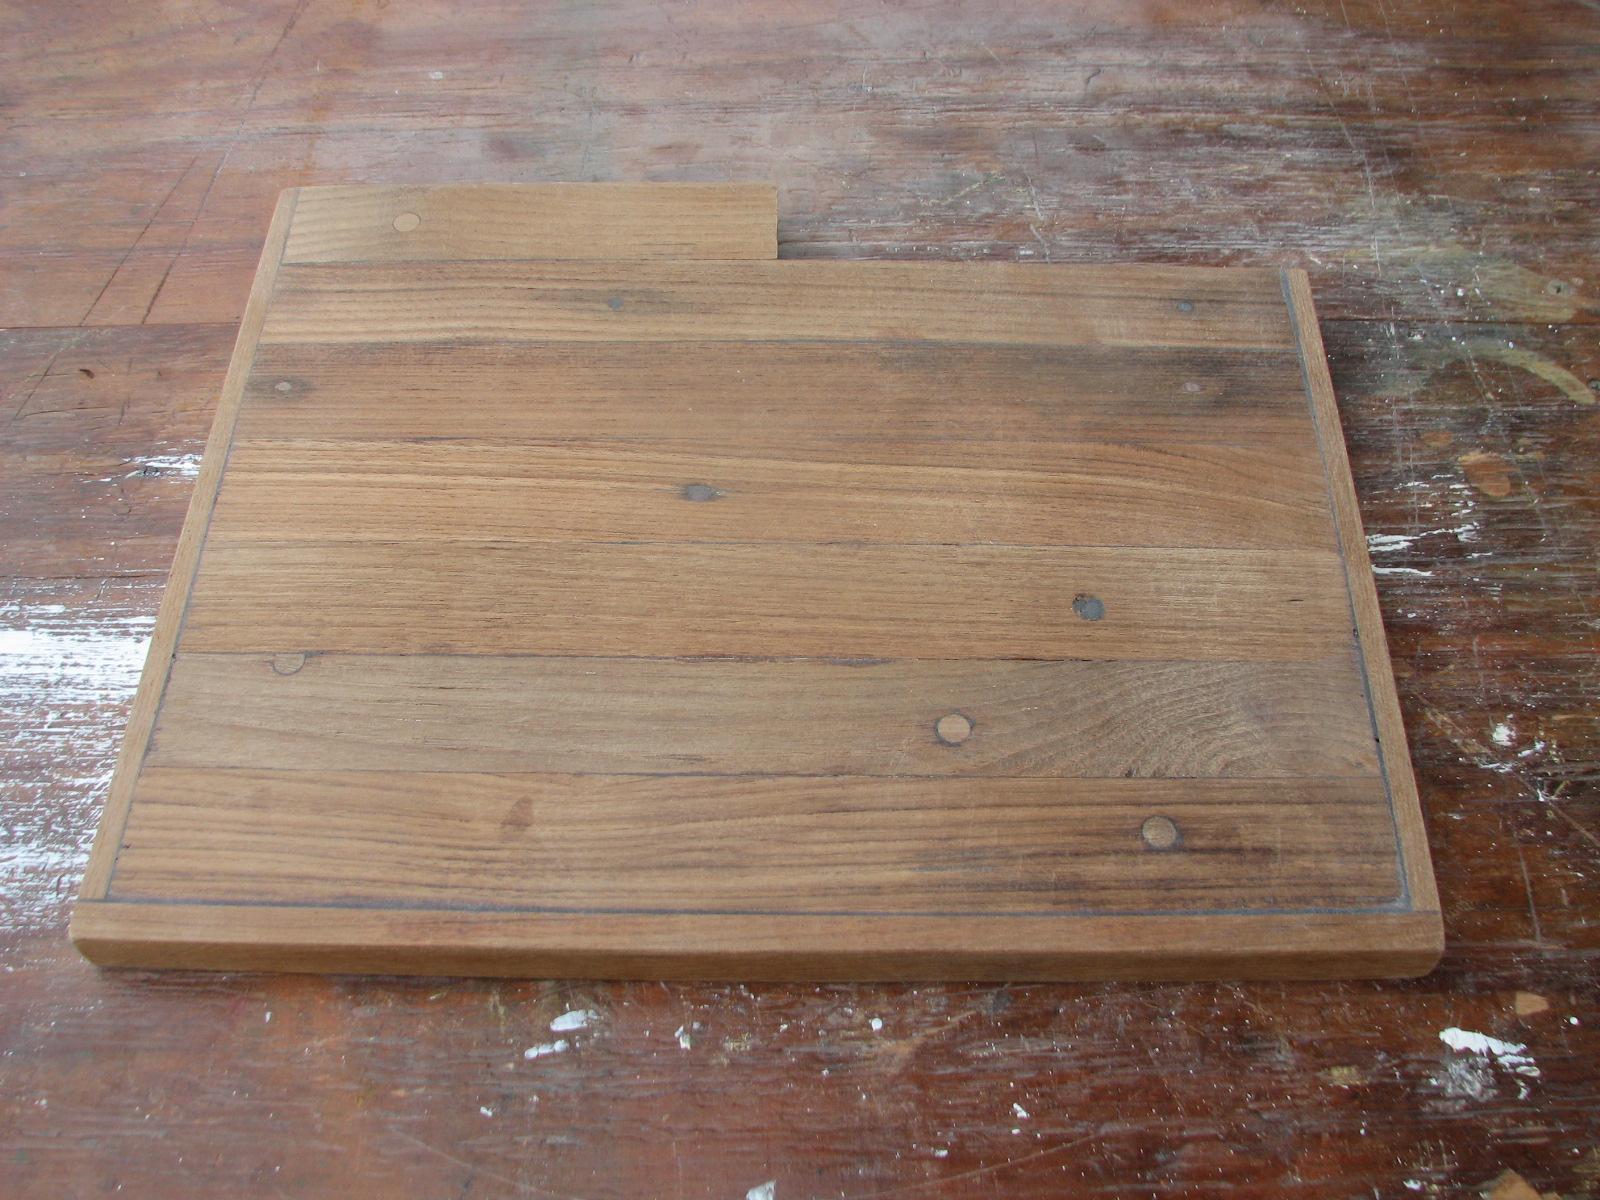
and sanded on the teak piece to cover the backing plate in the head.
Got it all finished to take over to DREAM AWAY, and try a dry fit.
Teak Piece Just Out Of The Jury Rig
Clamps

Teak Piece Sanded And Ready For Dry Fit
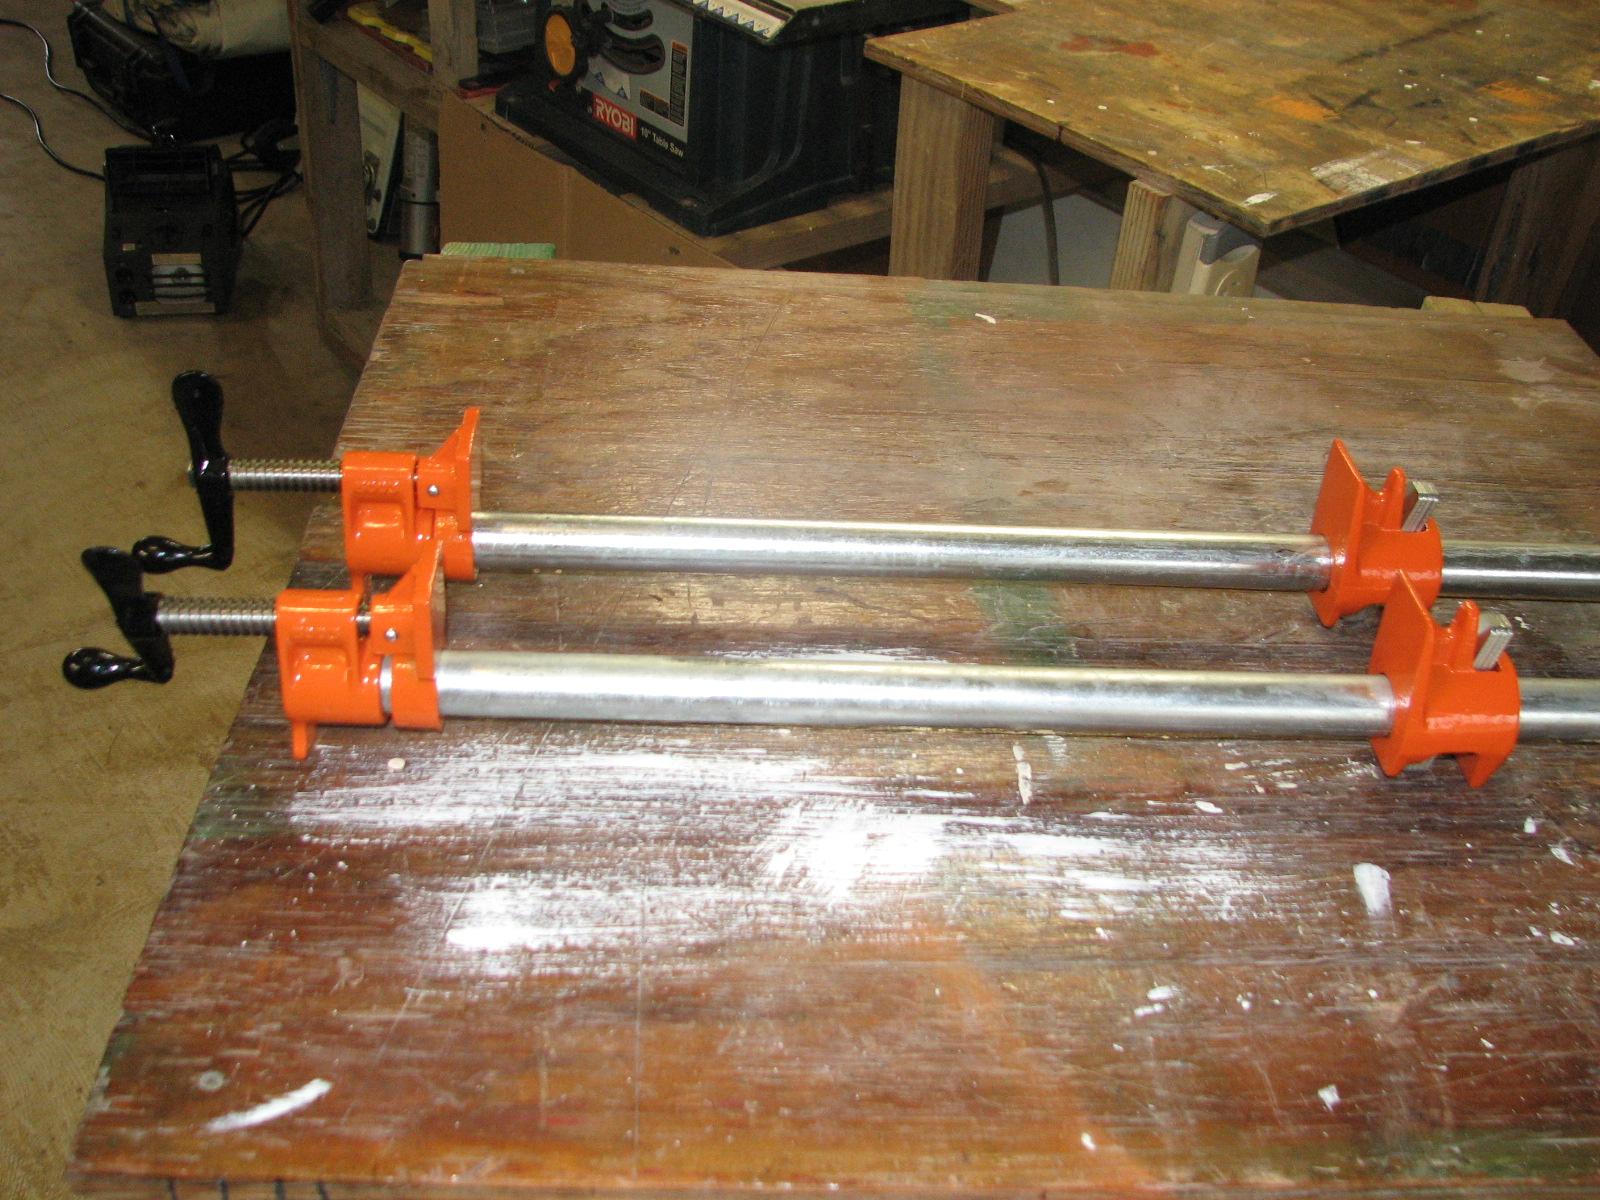
Just had to put a photo of the pipe
clamps and the pipes in the Maintenance Log.
Newly Purchased Pipe
Clamps With Attached Galvanized Pipe
I had purchased a new can of Rustoleum
orange spray paint yesterday on one of the errands, and I sprayed a
coat of paint on one side of the “trash compactor”.
“Trash Compactor” With Coat Of
Spray Paint

Sanded the teak interior pieces and the
ships wheel in preparation of the varnish and Cetol
application. As it turned out, I did not make the application today.
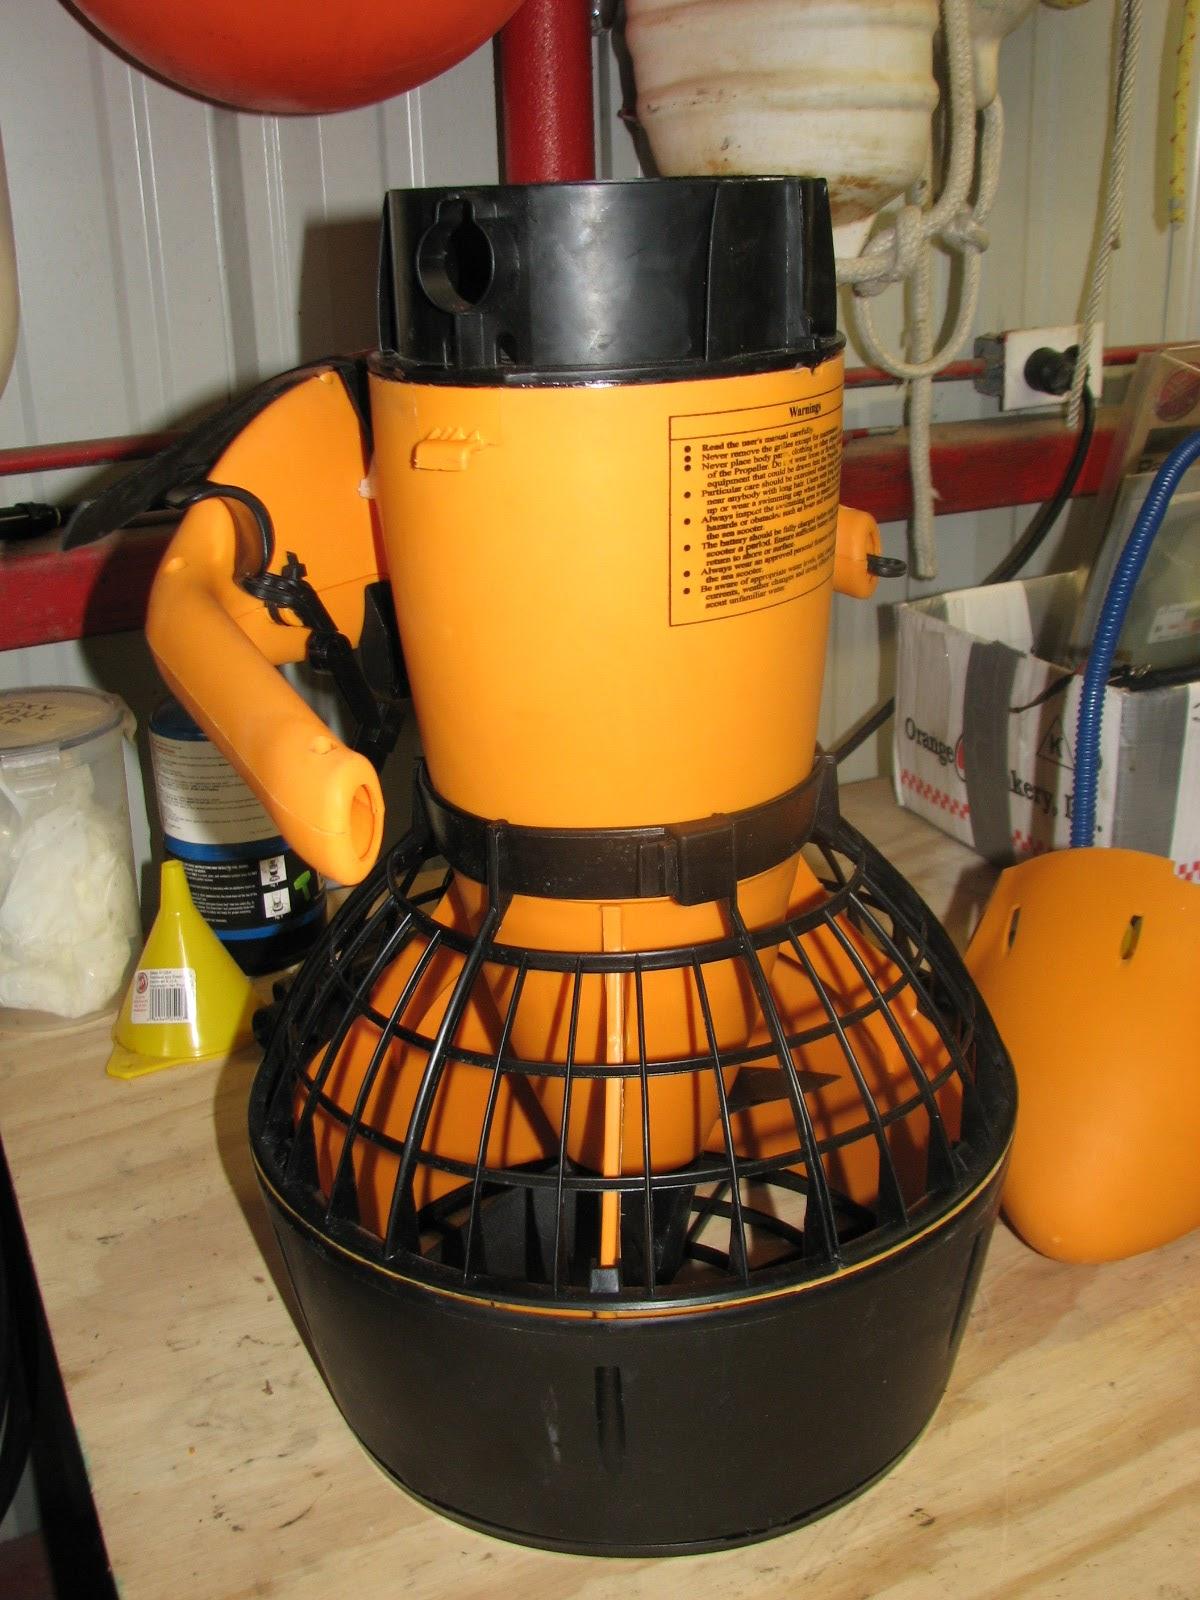
I put the SeaScooter back together
after making another attempt to get to the motor and gearing in the
unit. It still sounds like a thrashing machine, so I will try the
water test again and run it until the battery runs down.
SeaScooter Back Together
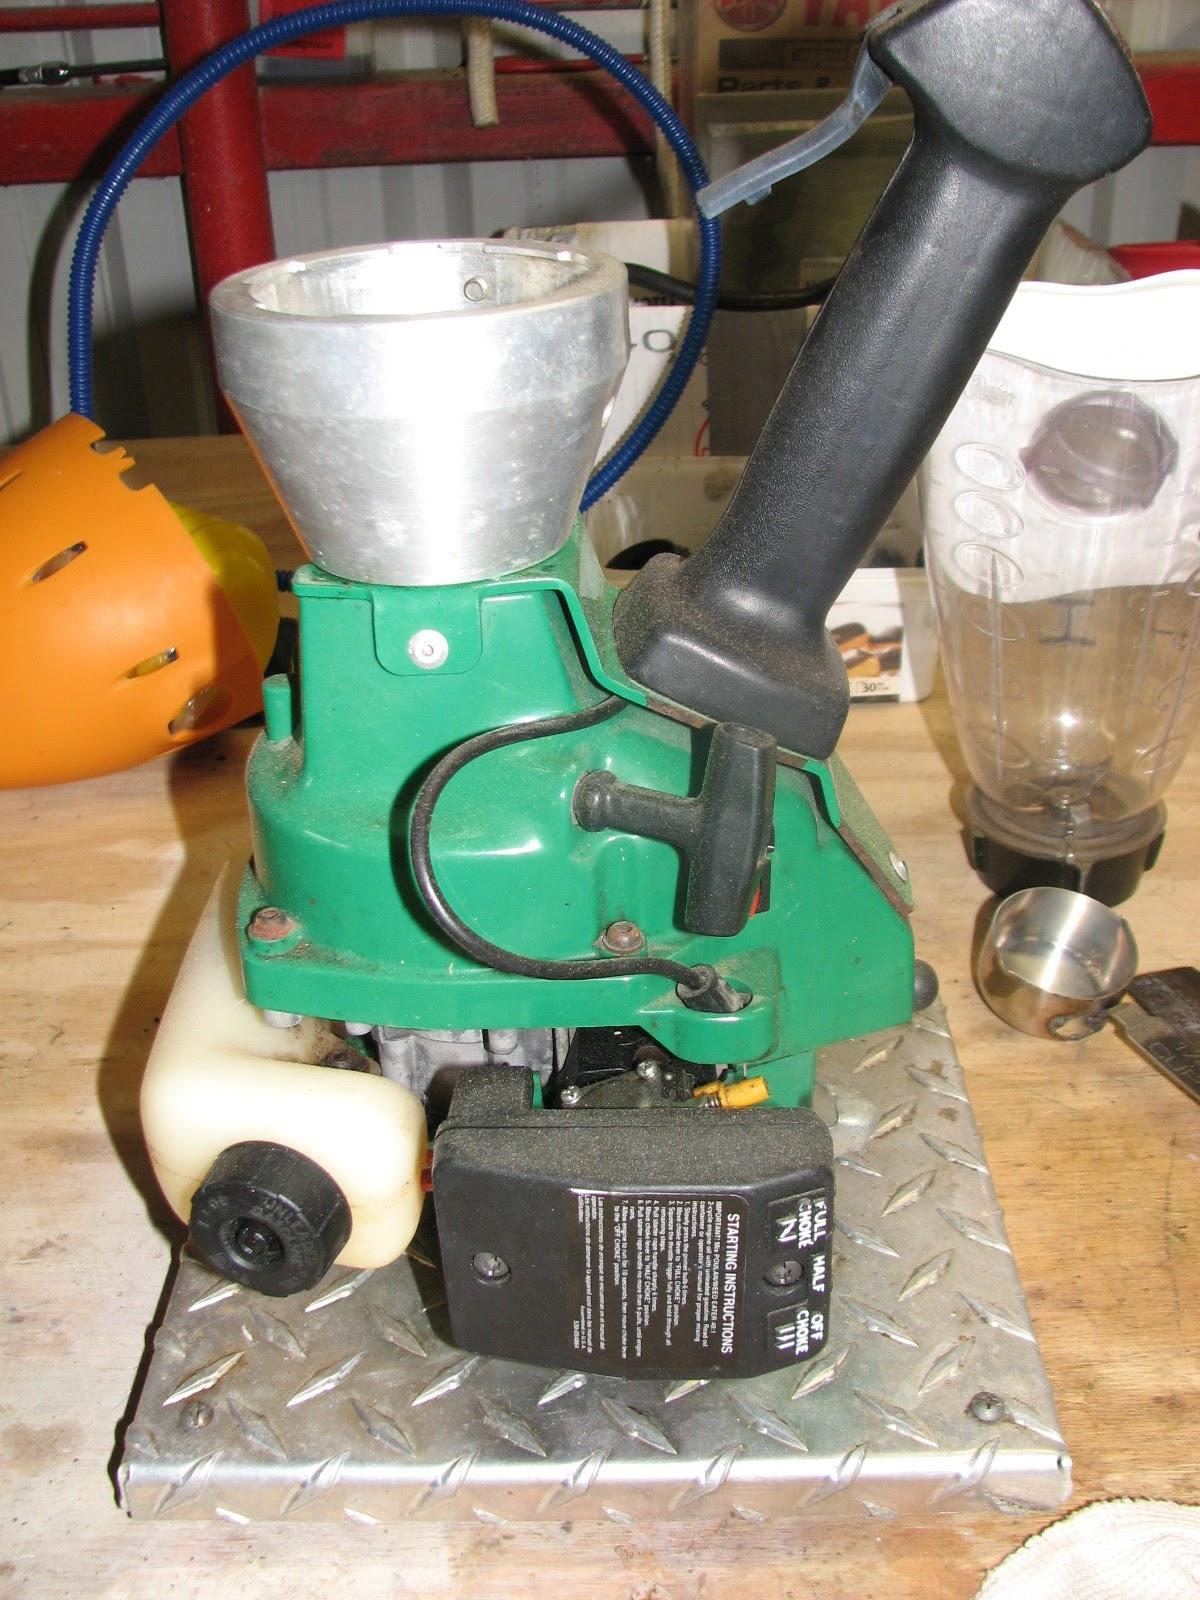
Next item was to remove the pump on the
Blender
Blaster that had come apart. I need to get a new one
before I can use the Blender
Blaster again. Just a not here, it appears the Blender
Blaster company has ceased to exist, as the original URL does not
work.
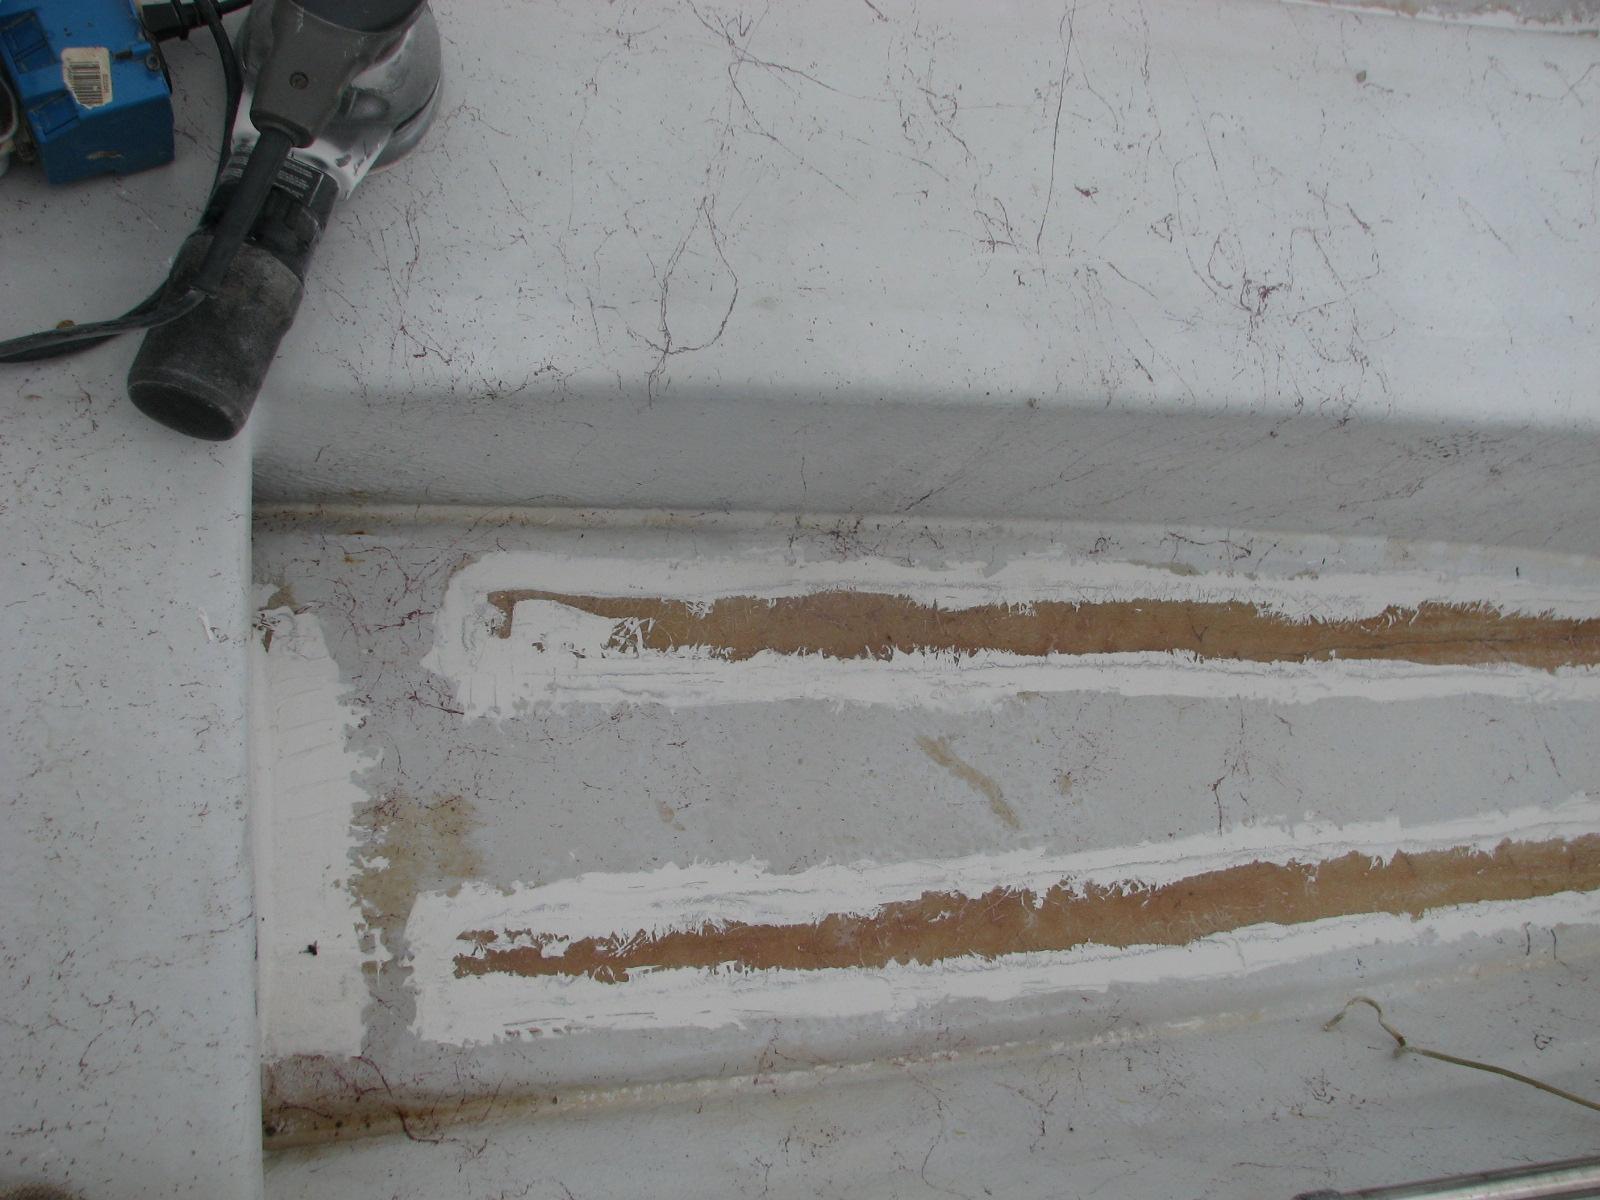
Went back to DREAM AWAY and sanded down
the deck in the tender. I had applied the finishing putty day before
yesterday, and it needed sanded before I apply the gelcoat
to the deck.
Deck In Tender Before Sanding
Next on the list was an inside DREAM
AWAY project. It could be a long story, but lets just say, I need to
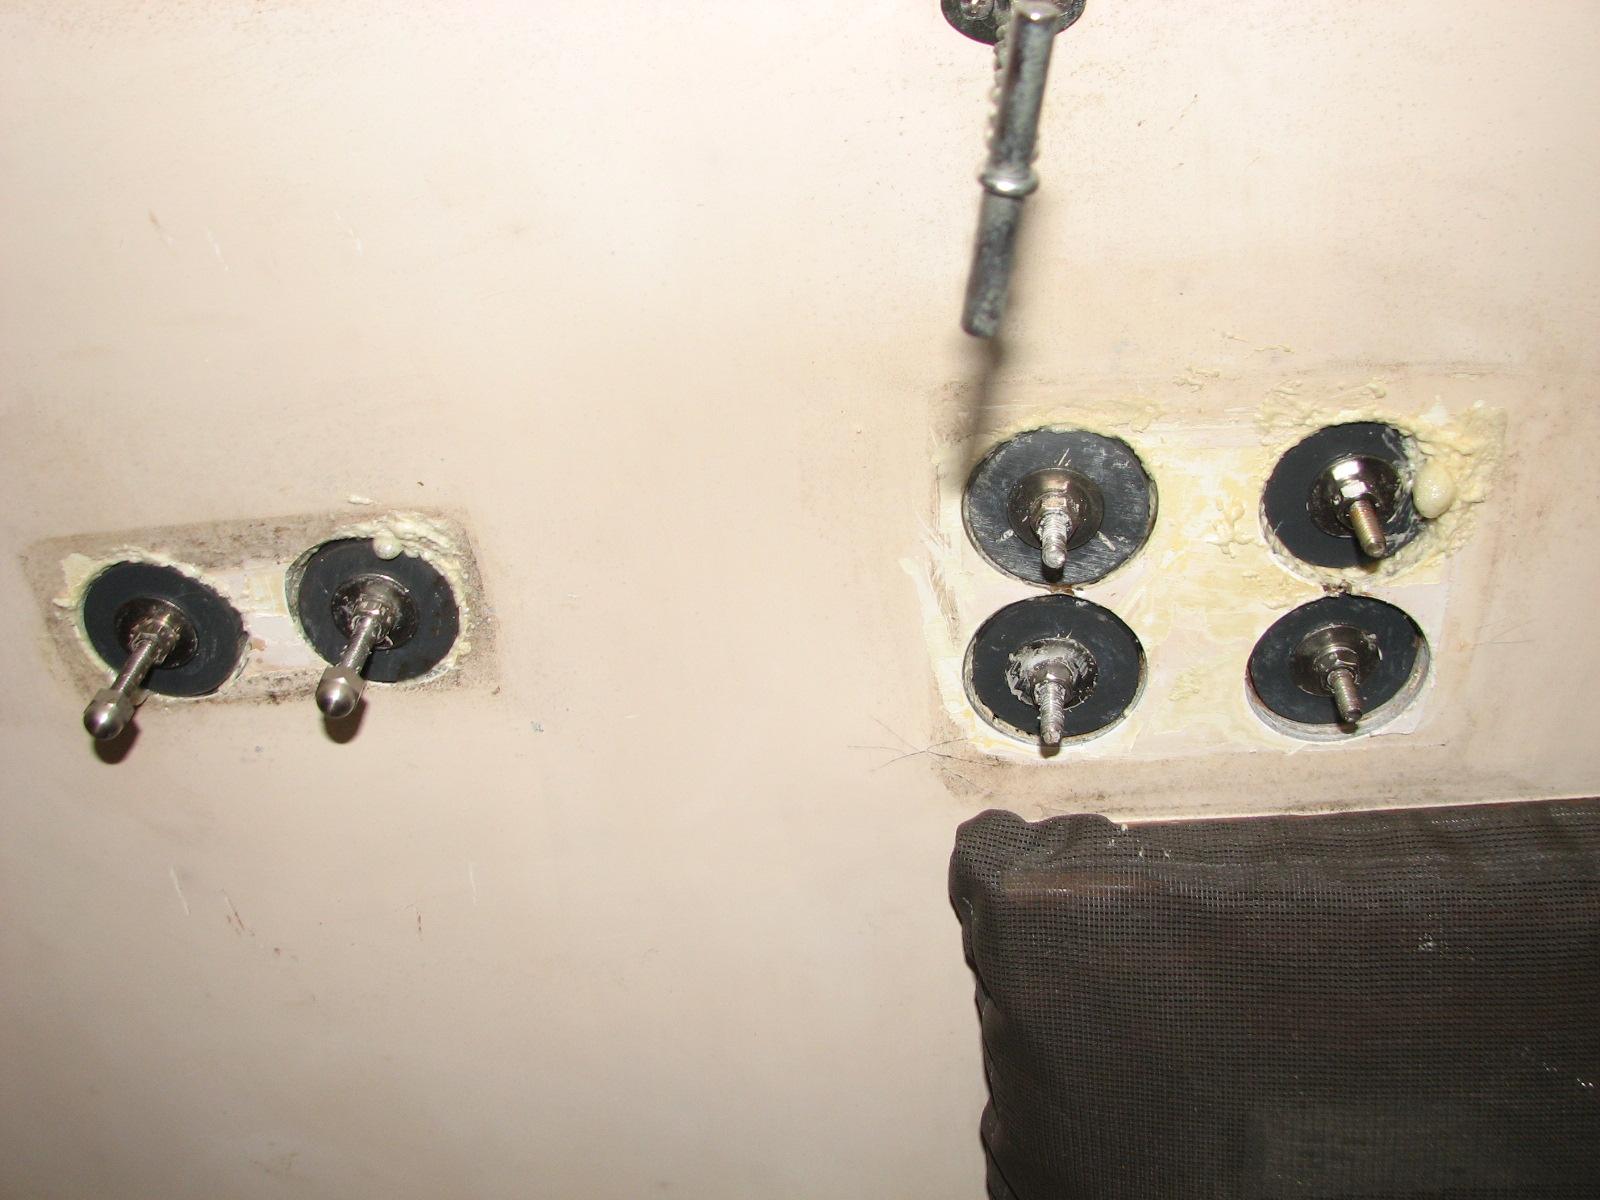
cut into the main cabin overhead and install different backing plates
for the boom gallows supports. While I was cutting into the overhead,
I also needed to apply the expandable Great
Stuff foam between the overhead and the fiberglass
liner. This will cut down on condensation problems in the future.
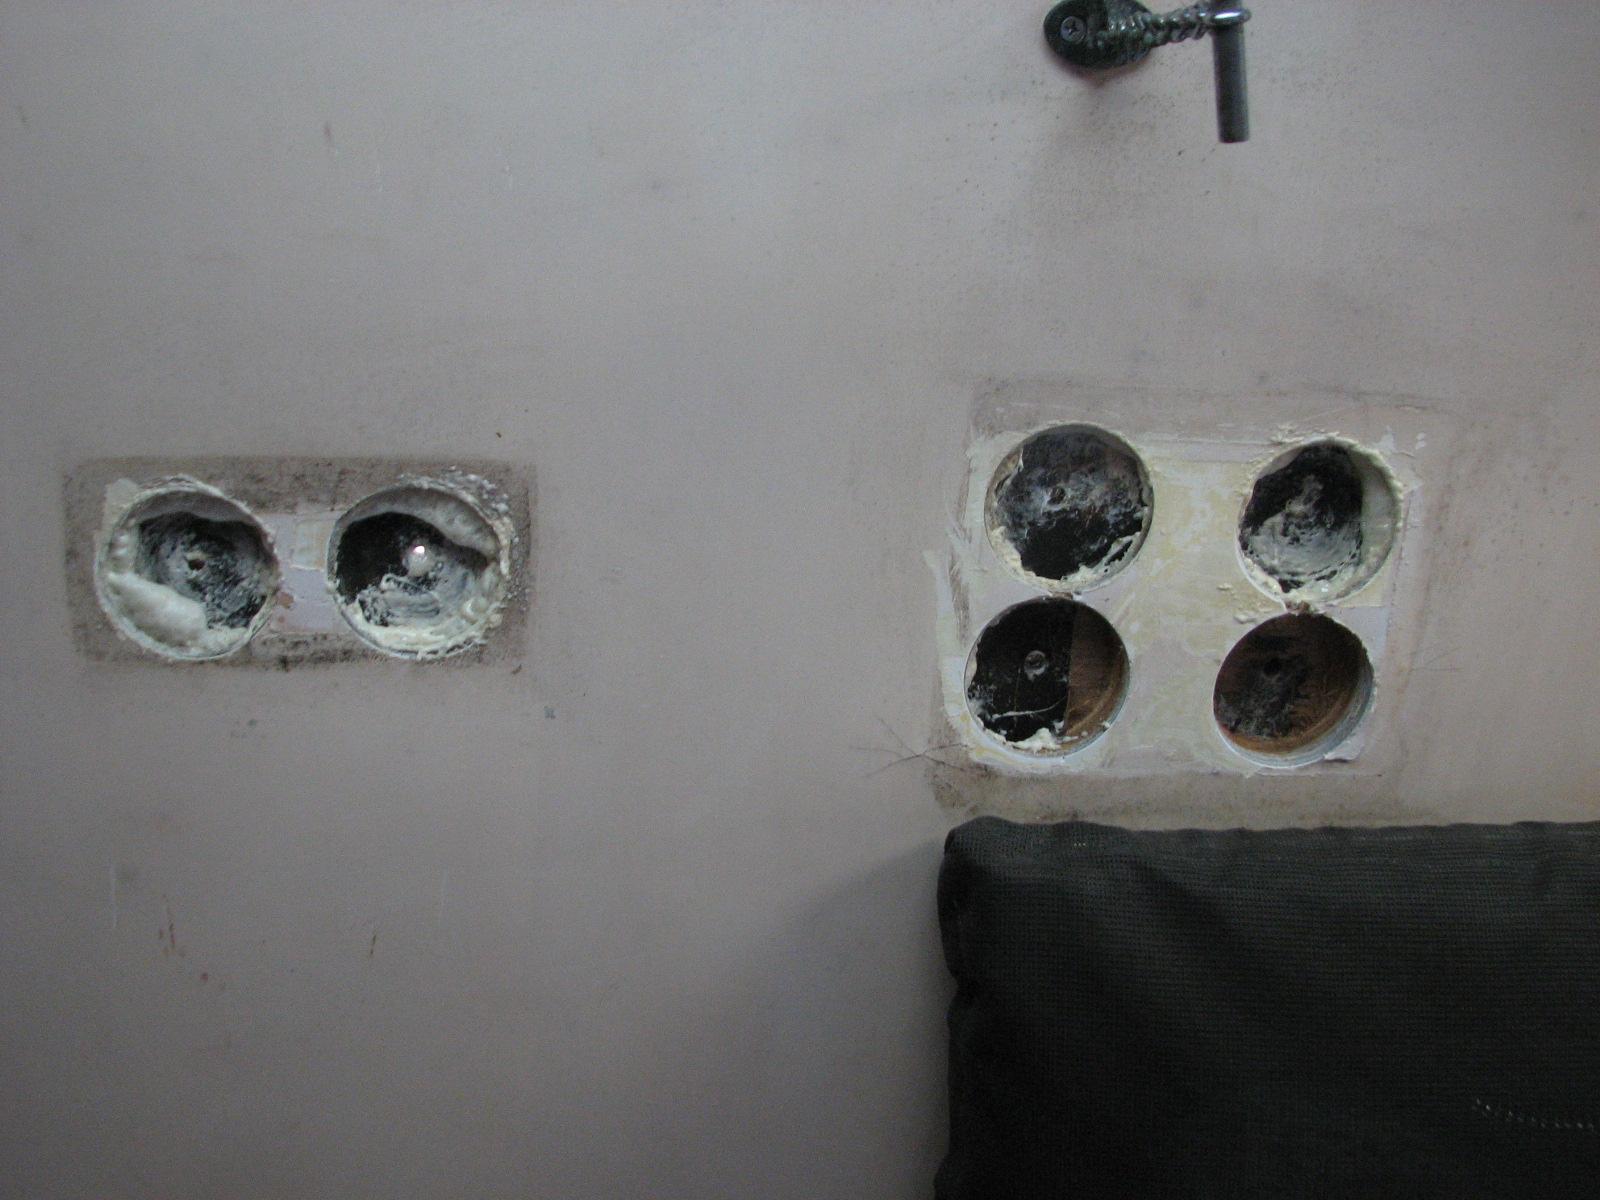
Bolts And New PVC
Backing Plates Installed
Since I was In the overhead of the main
cabin, I also sprayed the Great
Stuff foam around where the main sheet winch used to
be installed.

Hole Covered With Finished Teak Piece
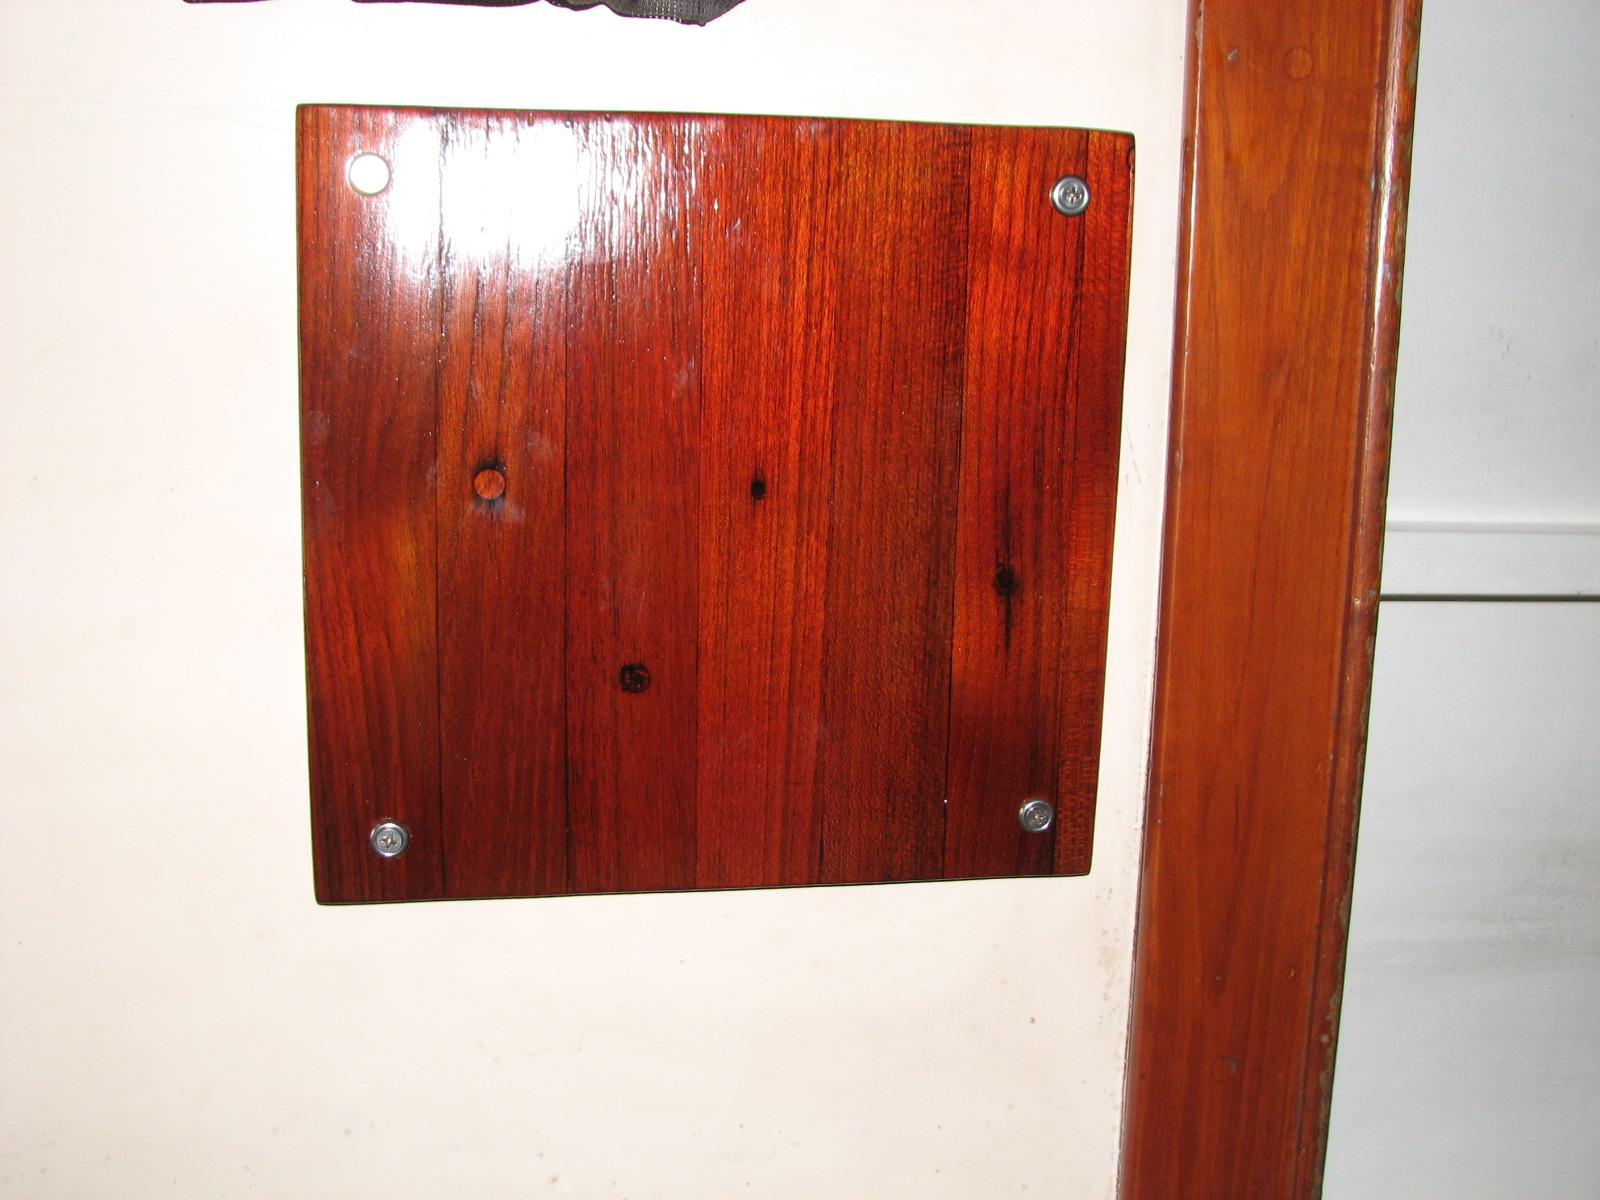
Fitted new piece of teak to cover
backing plate in located in head. Used cardboard to plot location of
bolts to drill holes in the teak cover. Got the holes drilled, and
the teak piece dry fitted.
Teak Piece Dry Fitted Over Backing
Plate

September 21, Saturday,
2013
Up and at ‘em at 0430, and at the
Shrimp Festival Grounds at 0500, in the amazingly pouring rain. My
job was to help direct traffic for the Delcambre
Seafood and Farmers Market. It was not a good start,
but the rain finally stopped around 0800, and we had a surprisingly
good turn out for the market.
Kitty showed up at 0730, and we worked
at the market as volunteers until 1330. We went back to DREAM AWAY,
had a nap, and then finished out the day with computer work and catch
up. No DREAM AWAY projects today.
September 20, Friday, 2013
Started off the morning with my normal
ritual of getting on the Internet, answering email, and checking the
weather, while making a pot of coffee. I also spent time with our two
cats, Jillian
and Jordan.
Before going over to the shop
this morning, I raked in the garden at the marina.
There are a couple of small hills of left over dirt that are not fun
trying to mow around, so I am slowly trying to get them smoothed out
and the weeds removed, so a nice green ground cover will grow.
I then went over to the shop
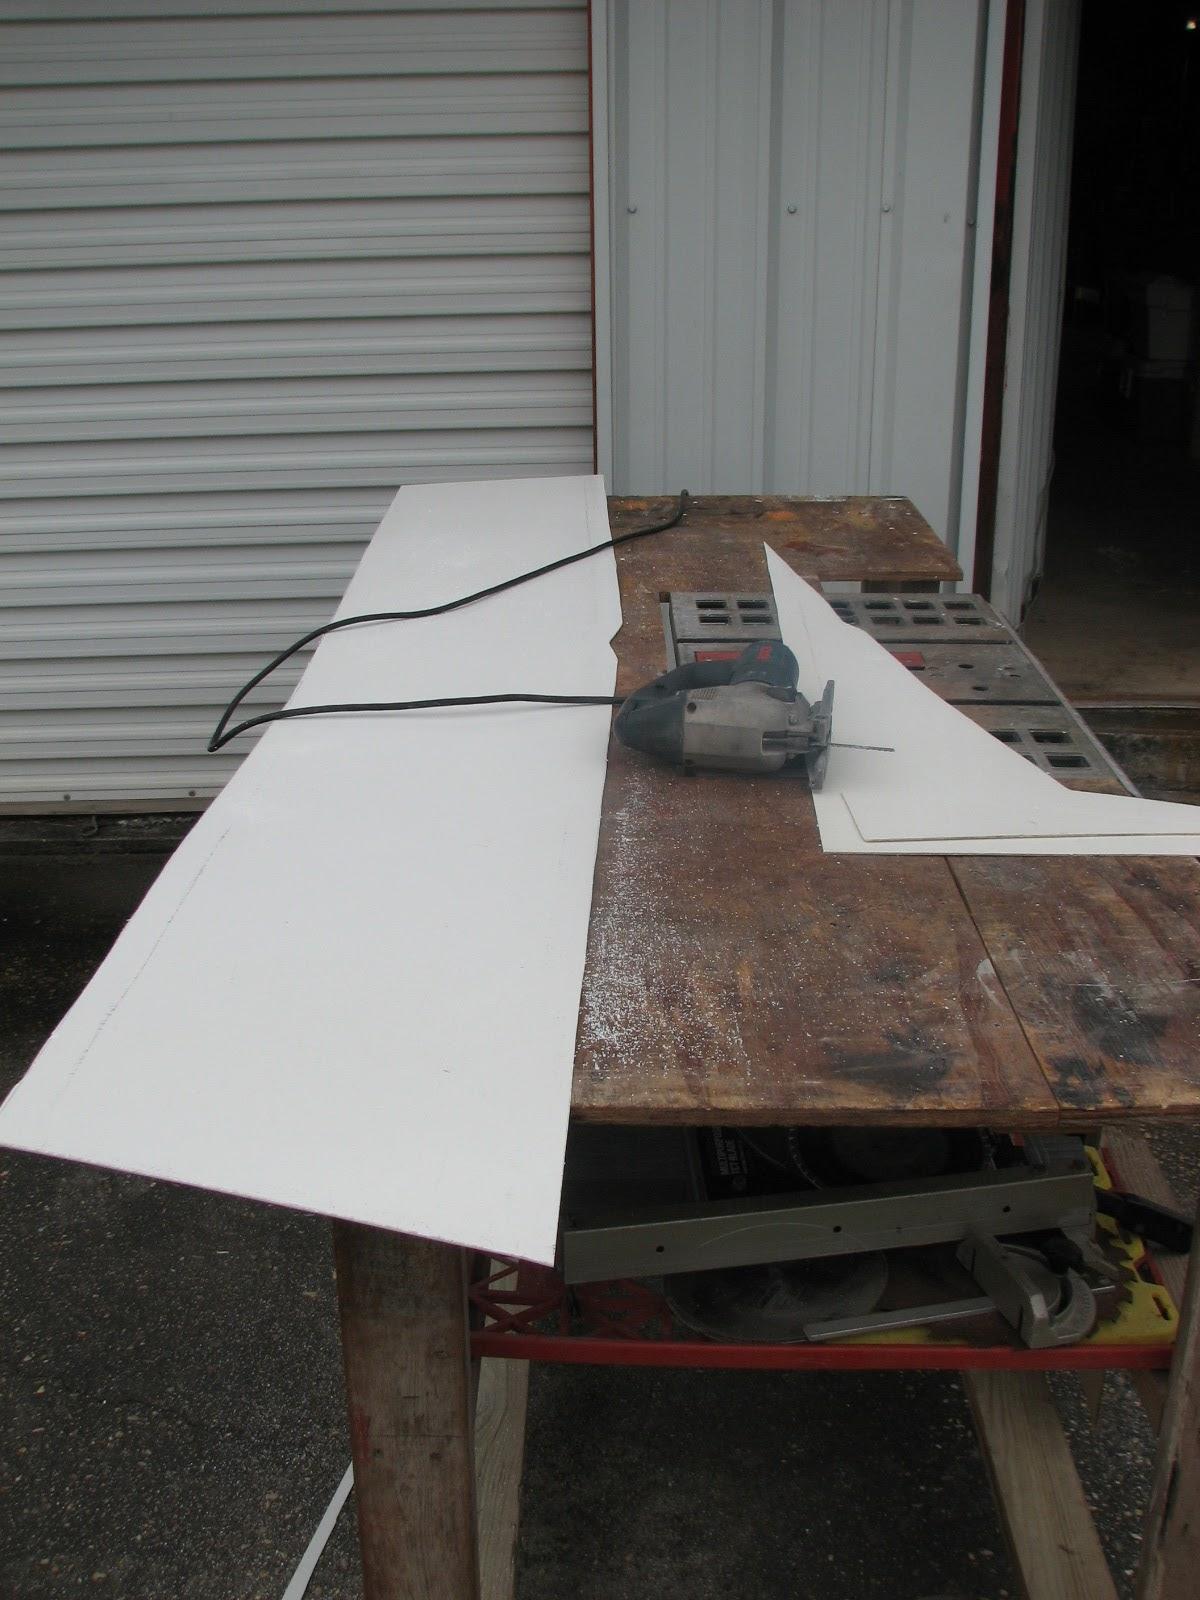
with a roll of wax paper. The first thing I did because of the threat
of rain was to roll my table saw out of the shop
to the driveway and cut the Structoglas
piece to be used in the after cabin.
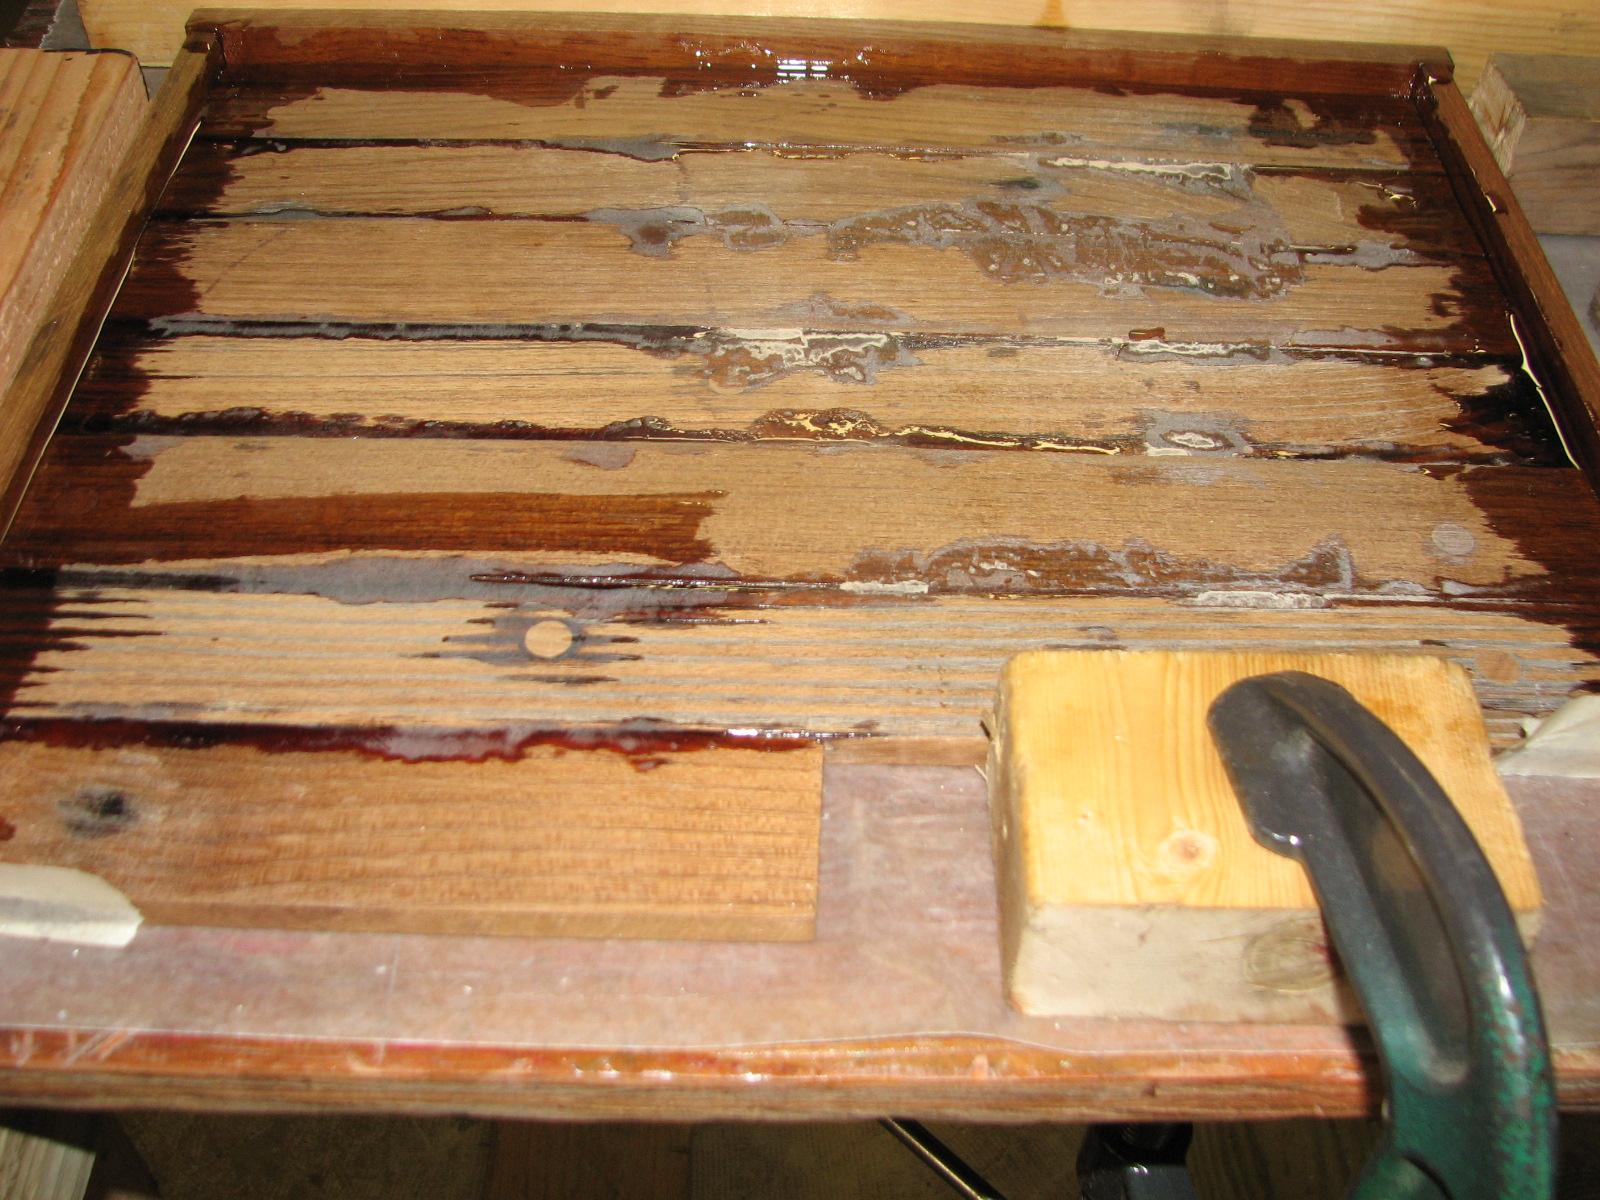
Since I had no pipe
clamps, I came up with a jury rig to fabricate the
side to the teak piece I am using in the head to cover a turning
block backing plate.
Dry Fit Of The Teak Piece
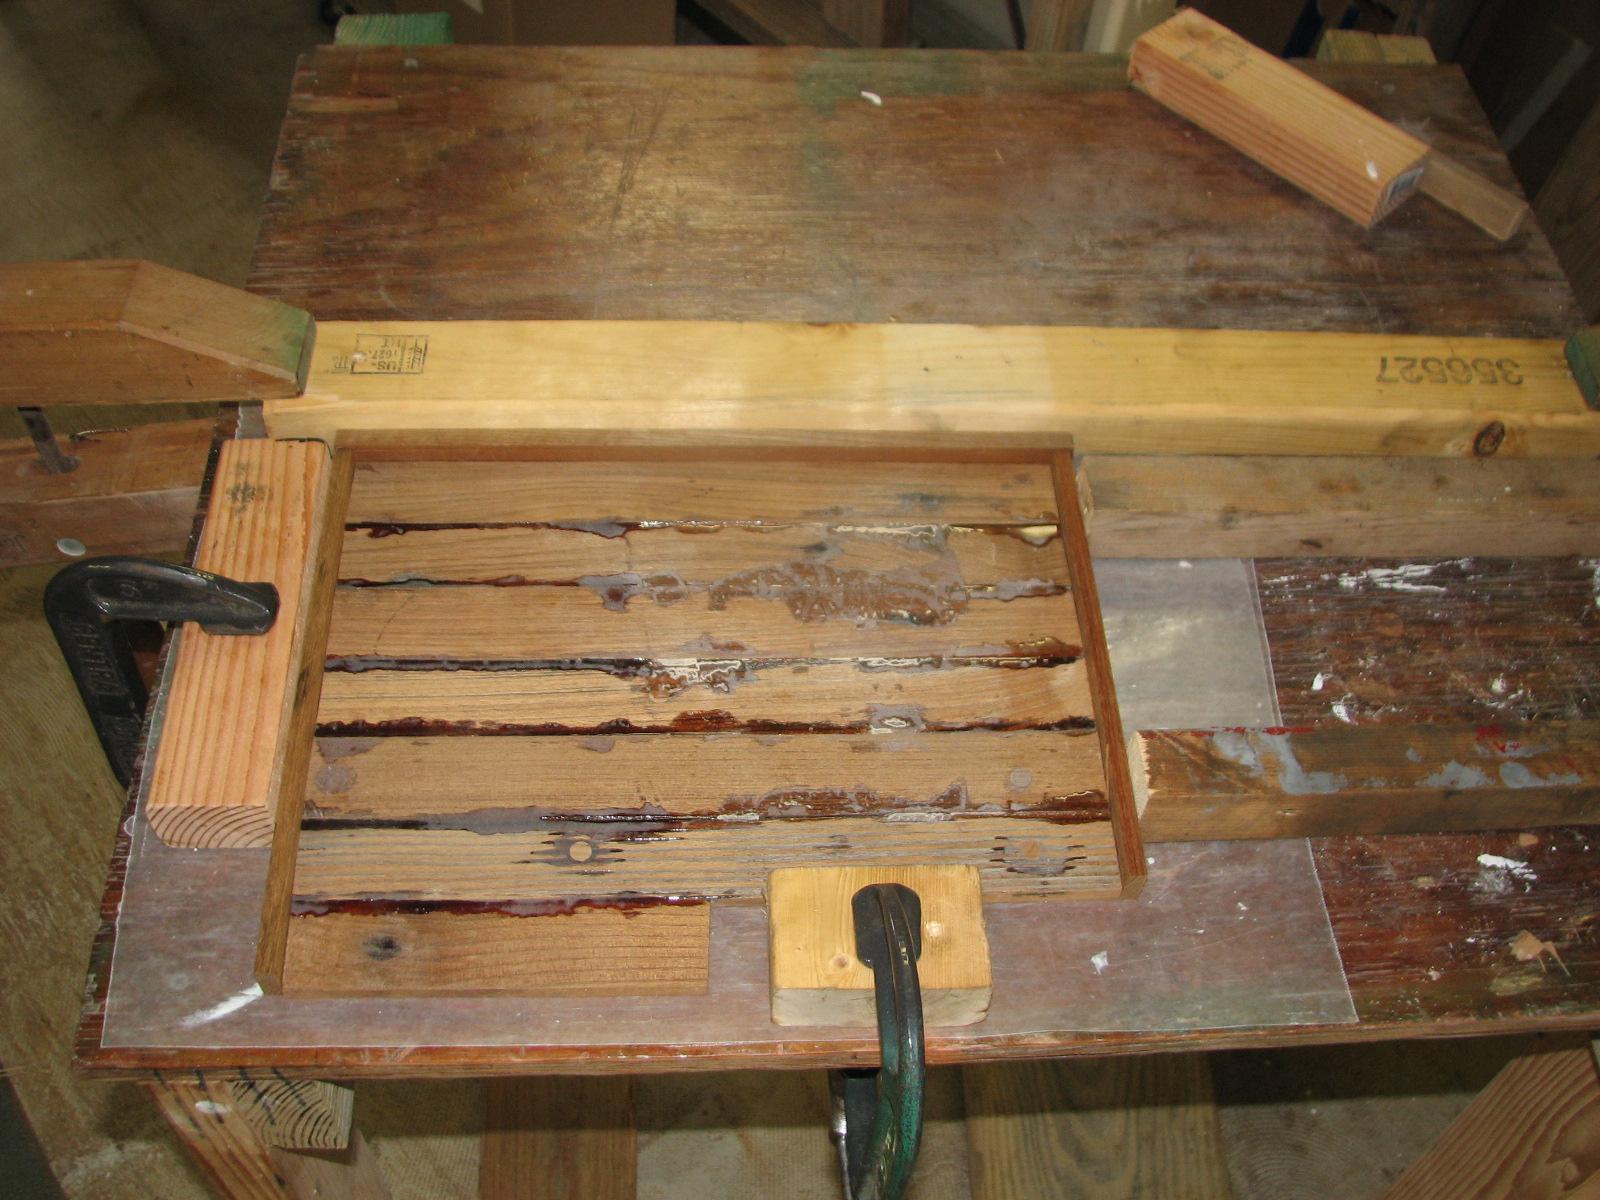
When I was satisfied the clamping
system I was using would work, I mixed up a batch of epoxy
resin, and applied it to all of the pieces and clamped
it up. It made me determined to purchase a set of pipe
clamps.
I left the shop
and went back to DREAM AWAY. I applied a layer of finishing putty to
the fiberglass
I applied earlier to the deck of the tender. This will help smooth
out the deck in preparation of the application of gelcoat.
We then went to lunch at Shuck’s
in Abbeville with our newly arrived cruisers Warren and Monica. After
a fabulous lunch we ran a bunch of errands in Abbeville and New
Iberia. I purchased the pipe
clamps at an Ace Hardware (Handyman Hardware) store in
New Iberia.
September 19, Thursday,
2013
Started off the morning with my normal
ritual of getting on the Internet, answering email, and checking the
weather, while making a pot of coffee. I also spent time with our two
cats, Jillian
and Jordan.
Went over to the
shop
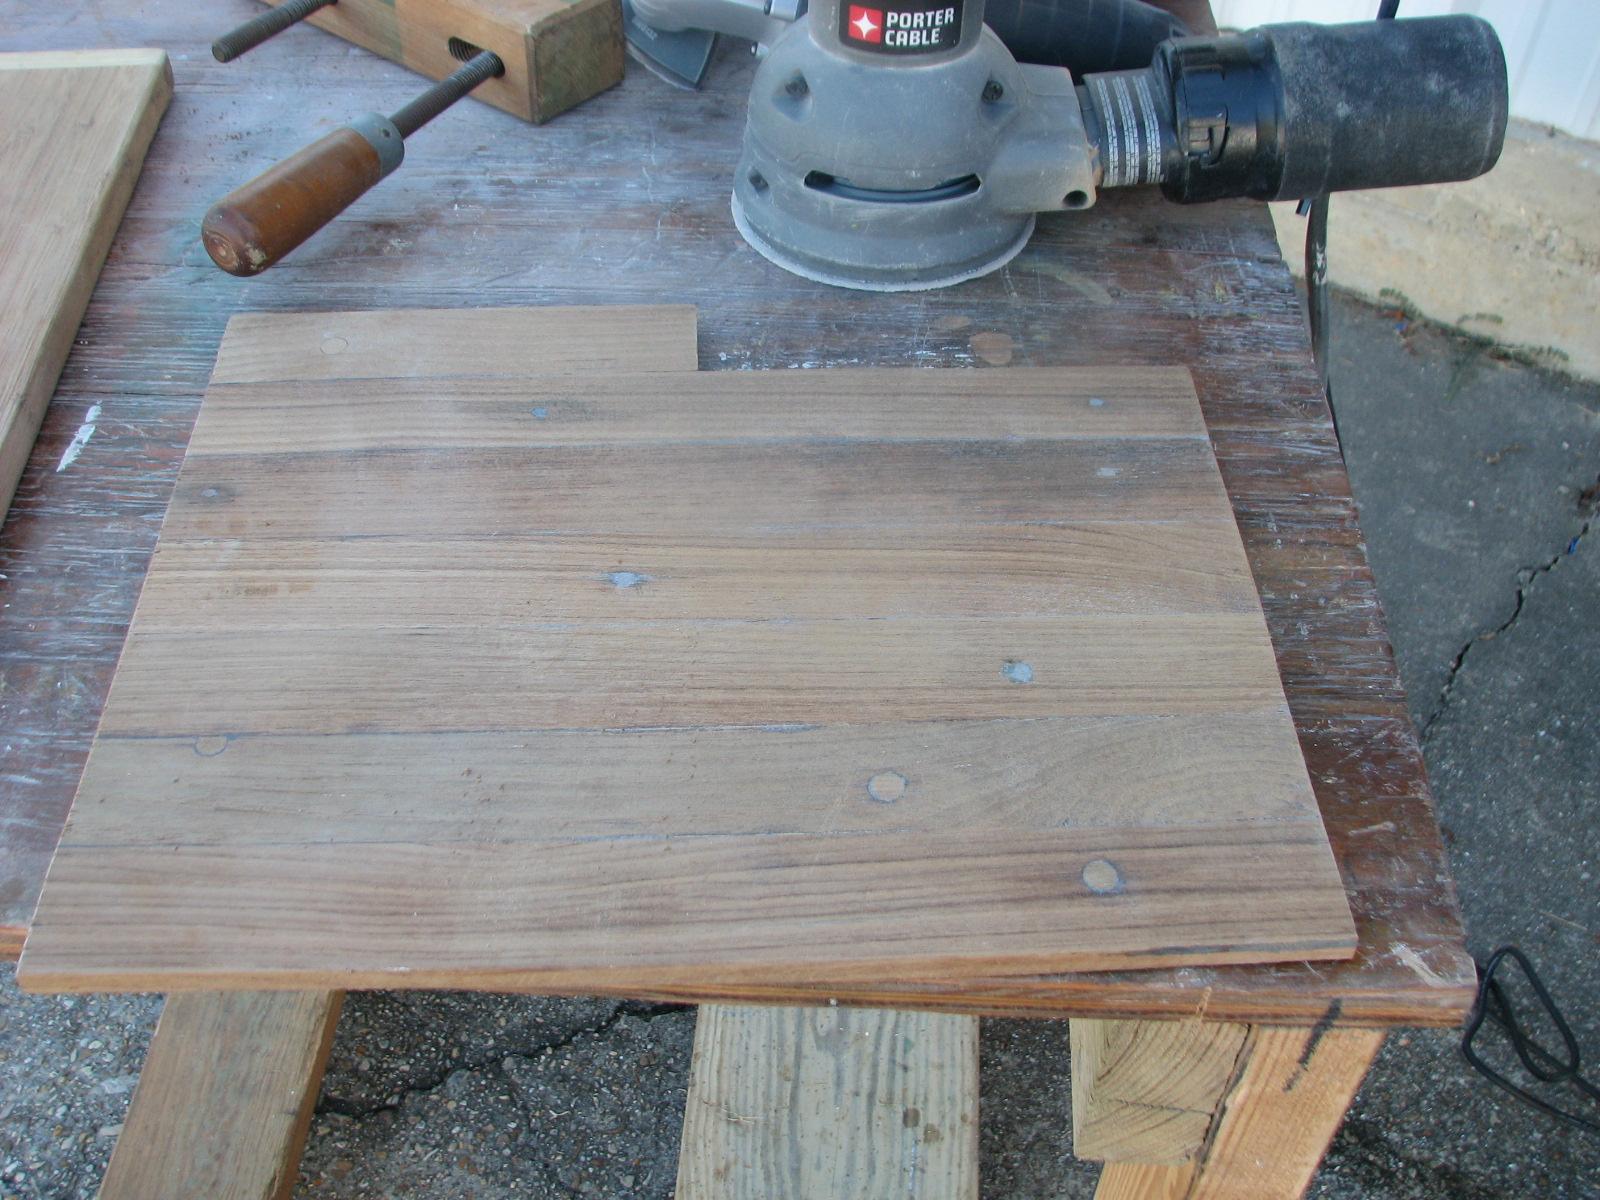
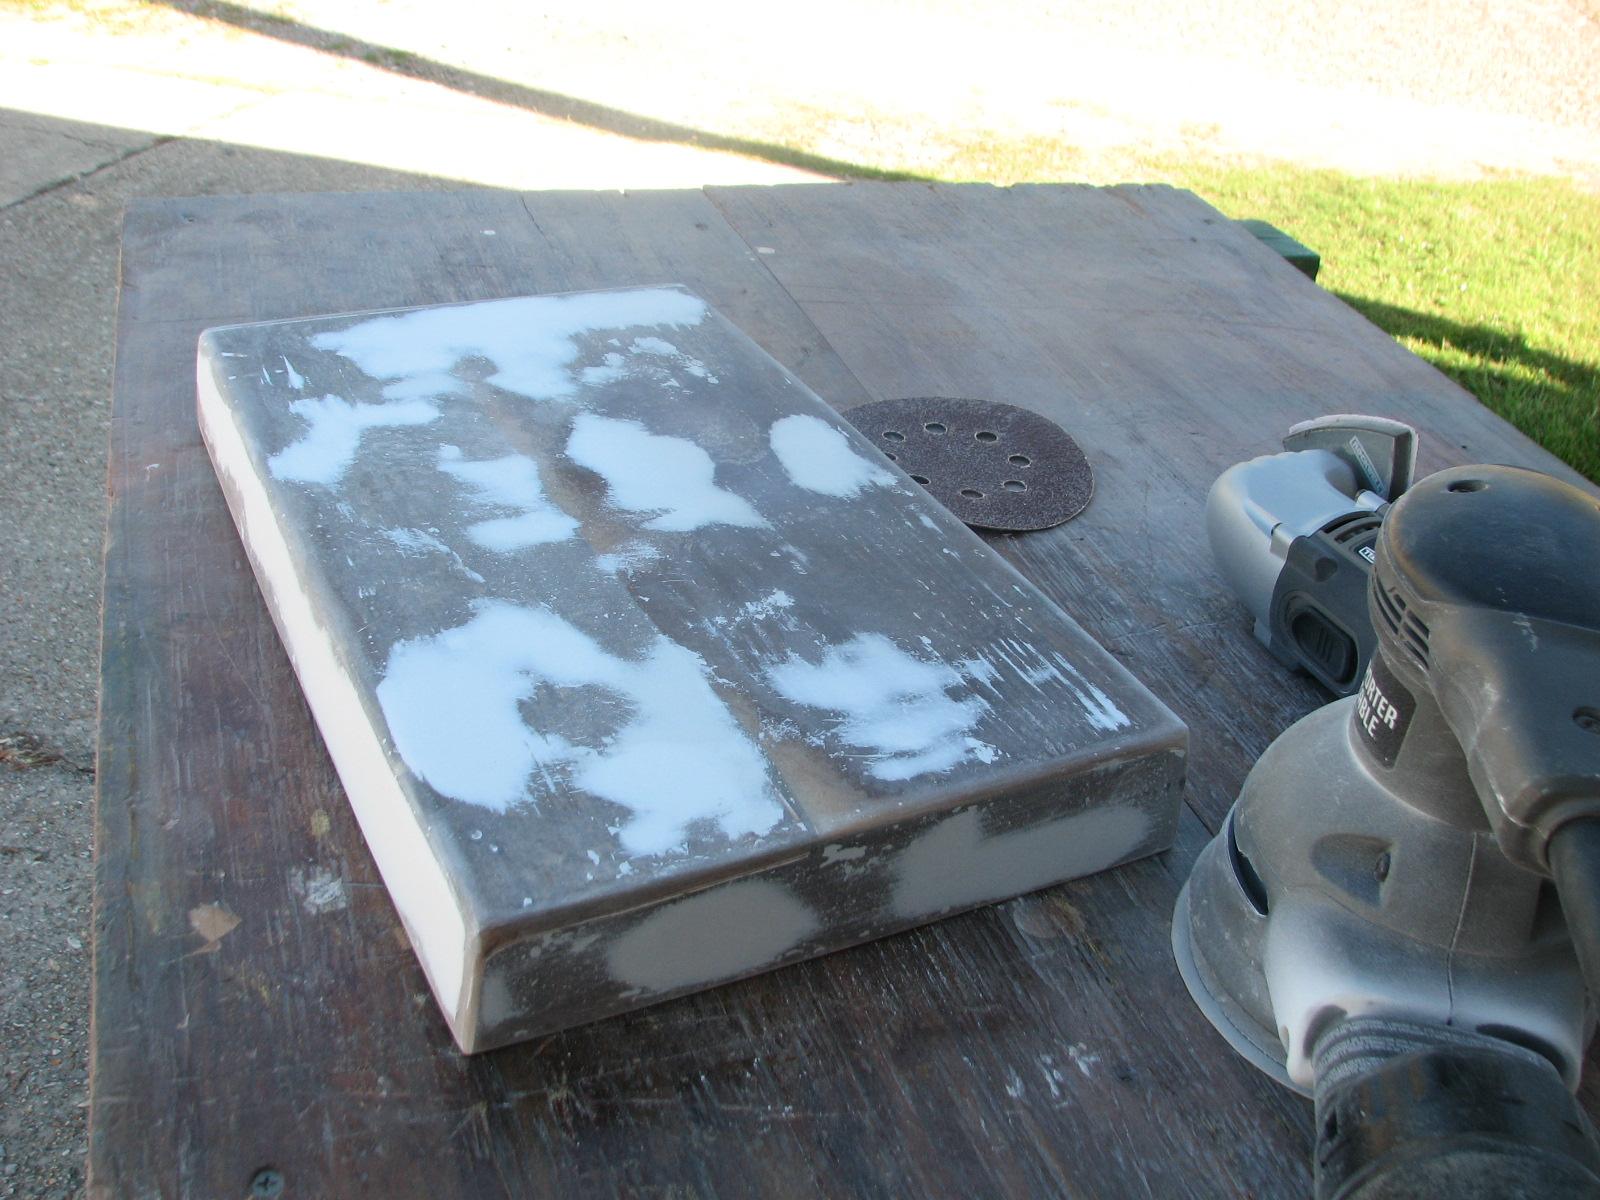
and sanded down the teak piece for the head, the cutting board, and
the battery box top. All three pieces looked good. The cutting board
was ready to go back to DREAM AWAY, the teak piece for the head was
ready to finish the fabrication process, and the battery box top was
ready for the application of gelcoat.
Finished Teak Piece
Finished Cutting Board

Finished Battery Box Top
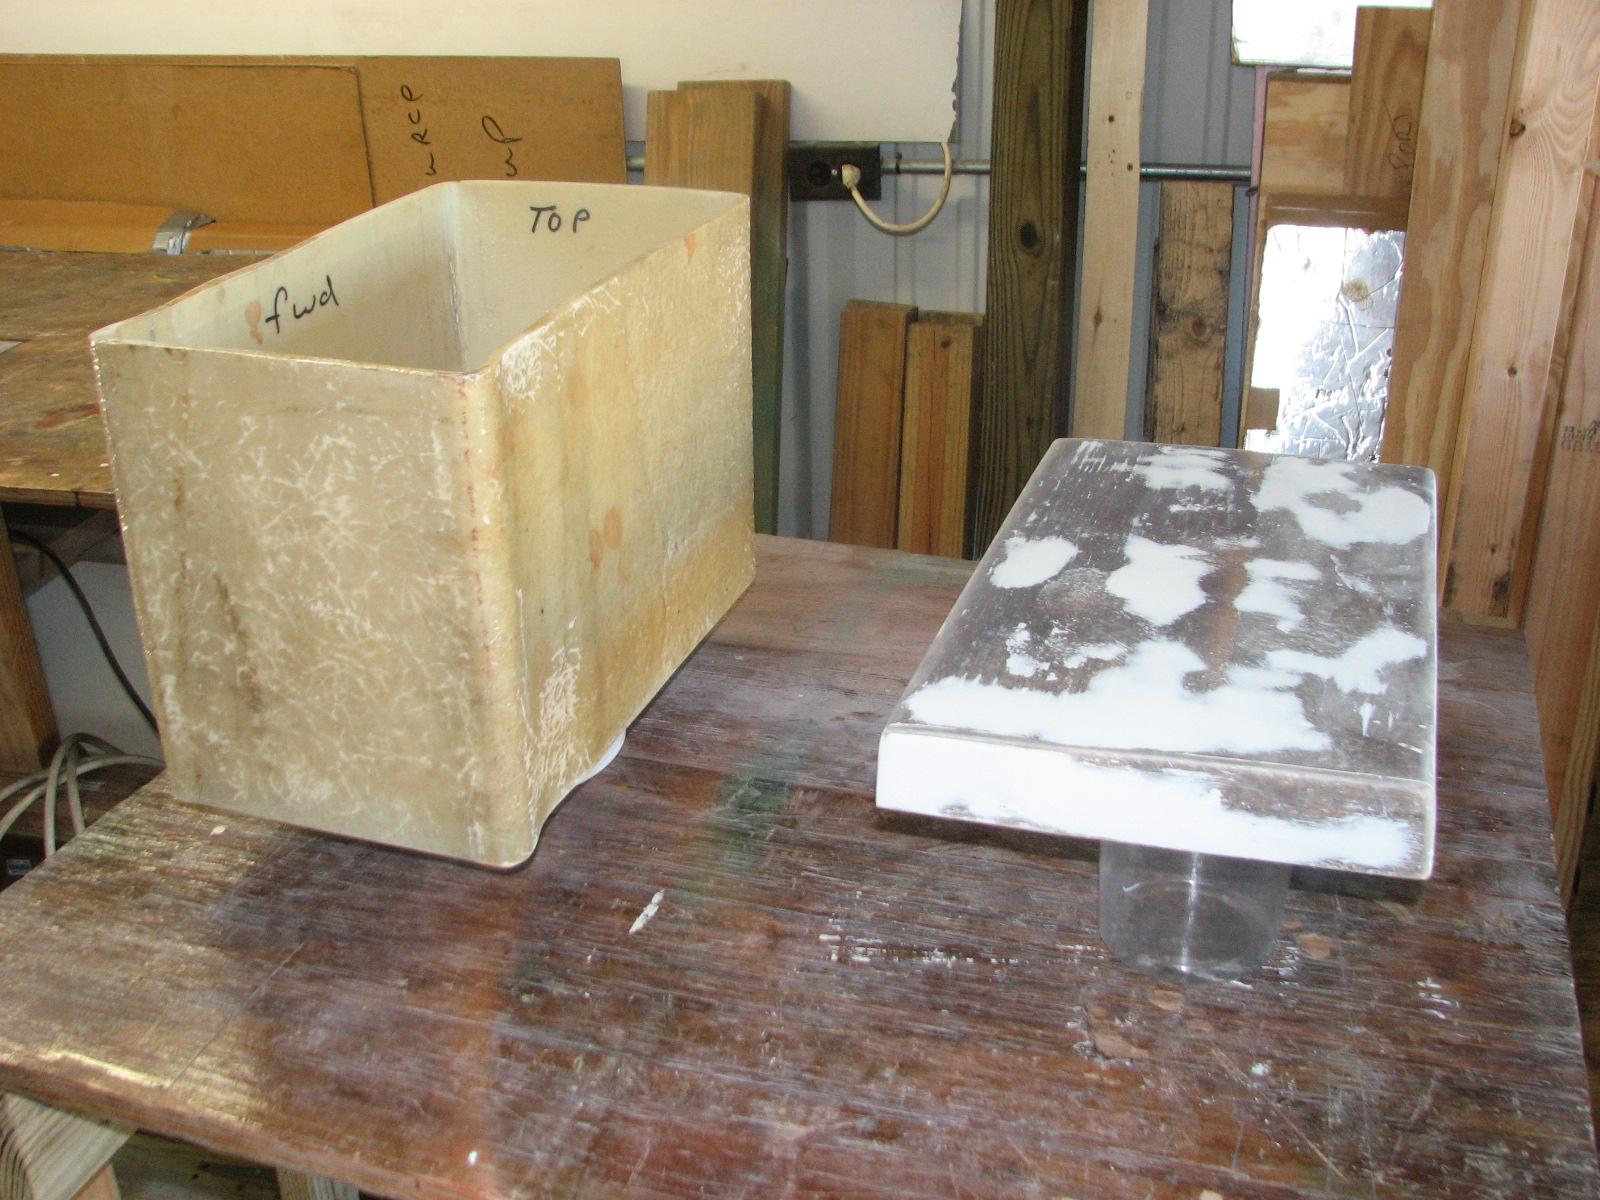
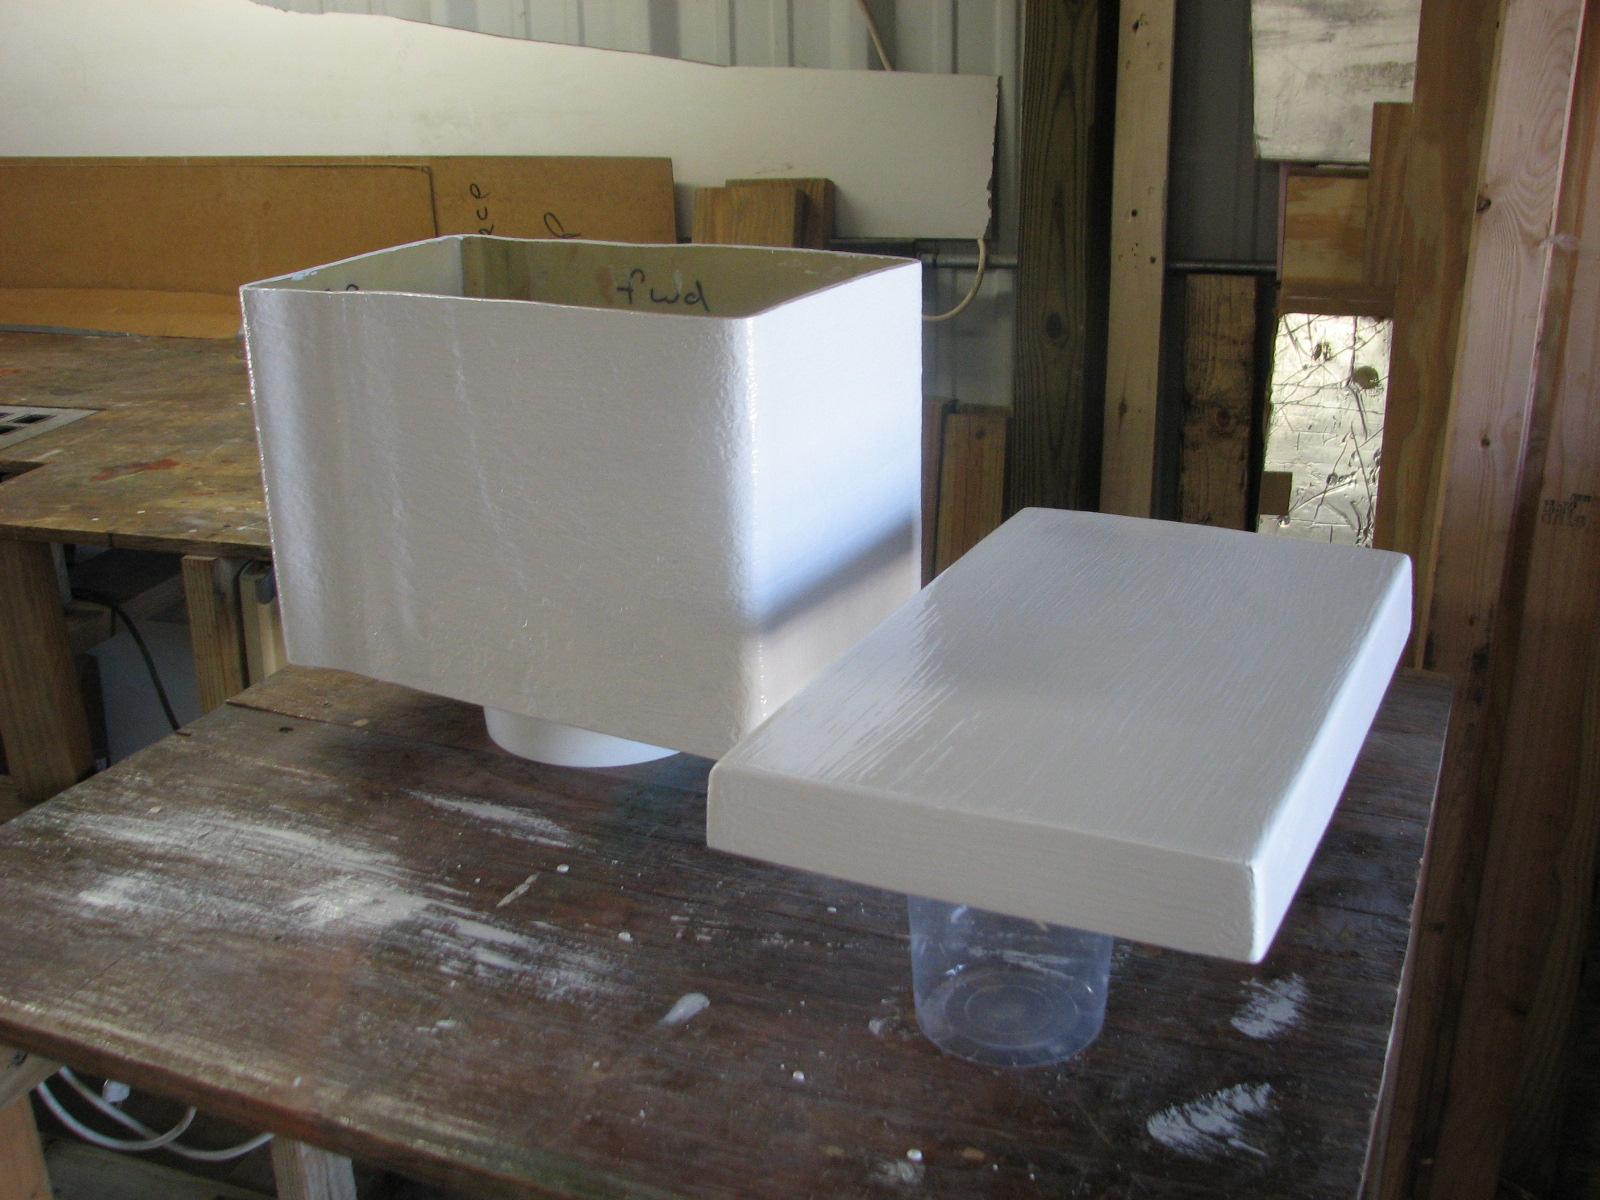
Now that the battery box top was
finished, the actual battery box was also finished it was time to
apply gelcoat
to both pieces. I had purchased a new supply of gelcoat,
but it did not have wax (Styrene)
in it. What this means is the gelcoat
will never cure, so the wax must be added to have the gelcoat
cure in air.
You must play the game of amounts! the
normal mixture with gelcoat,
and polyester
resin is a 2% mixture ratio of hardener (MEKP),
and the same with the wax. The fun you get to play with, is working
times and temperature. Anyway, I mixed up a gelcoat
batch with 2% of hardener, and about 3% of the wax and applied it to
the battery box and the battery box top.
Battery Box And Top Before Gelcoat
Application
Battery Box And Top After Gelcoat
Application
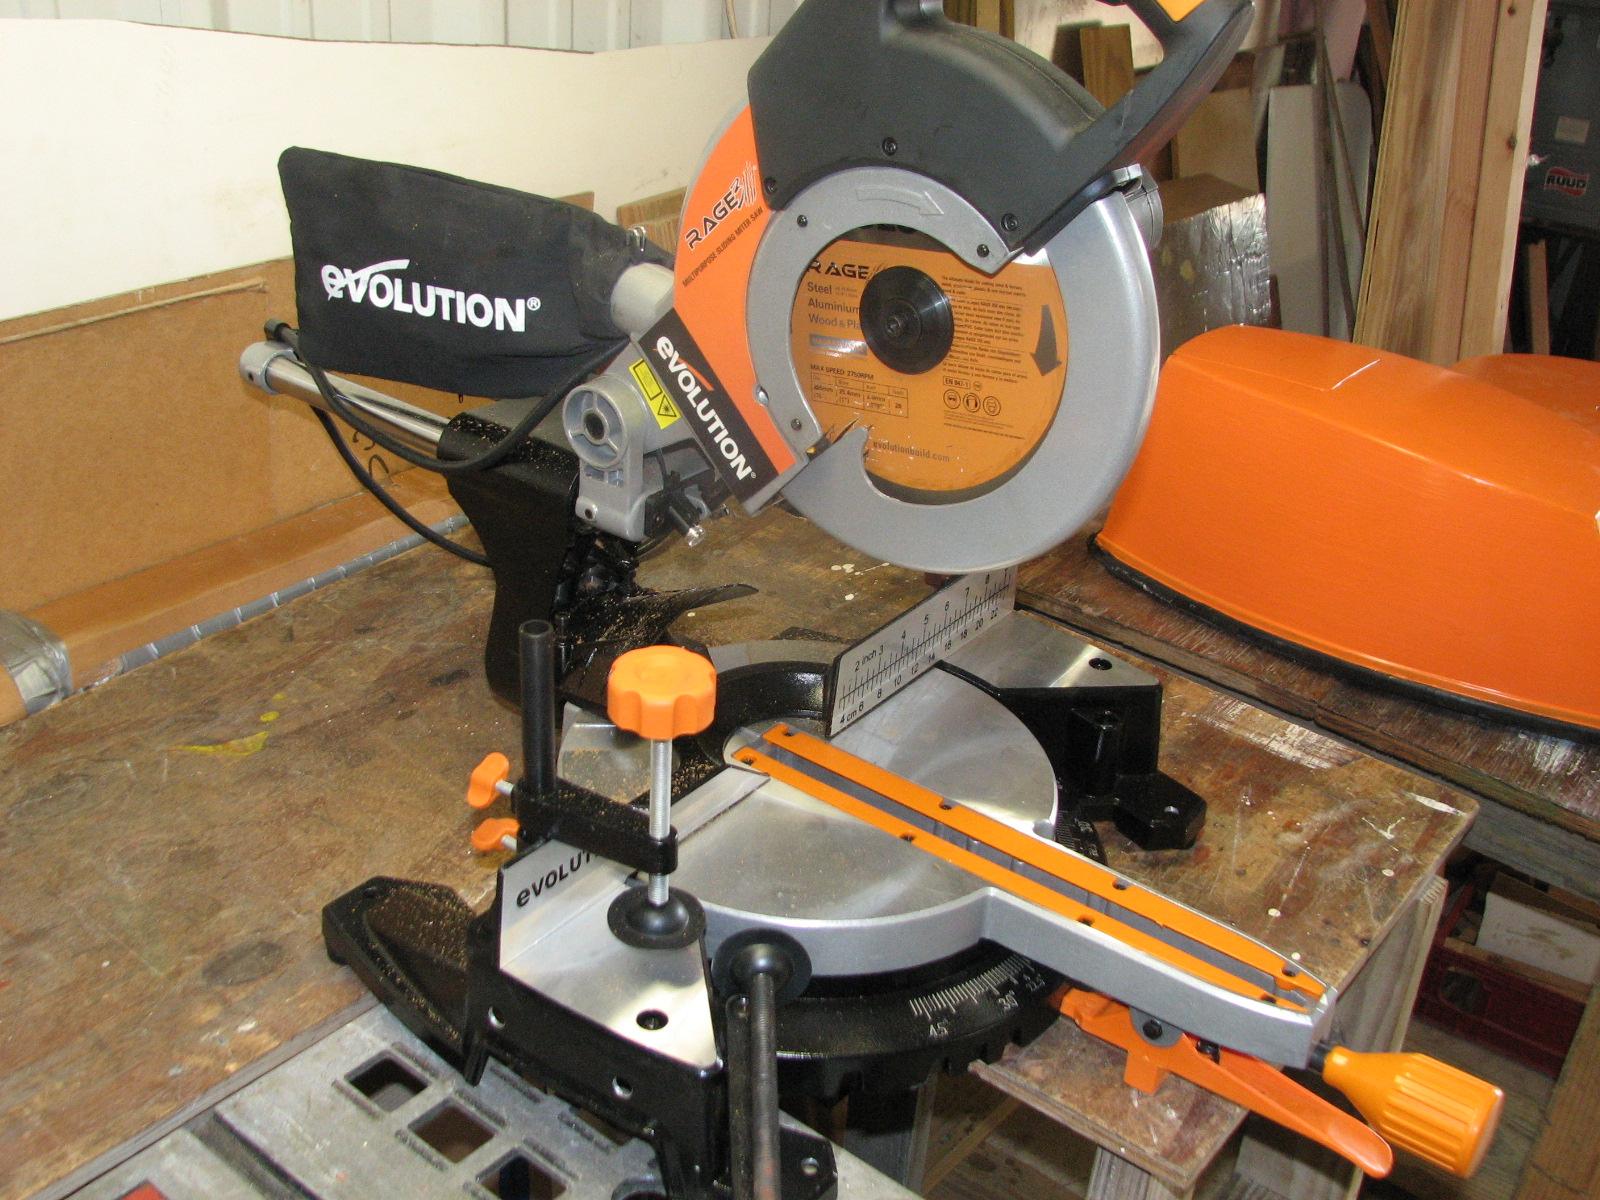
I needed to cut some pieces of teak
wood to finish fabrication of the cover for the backing plate in the
head. I cut a couple of pieces using the table saw, and then did the
finish cutting with my new Evolution
Rage III compound miter saw.
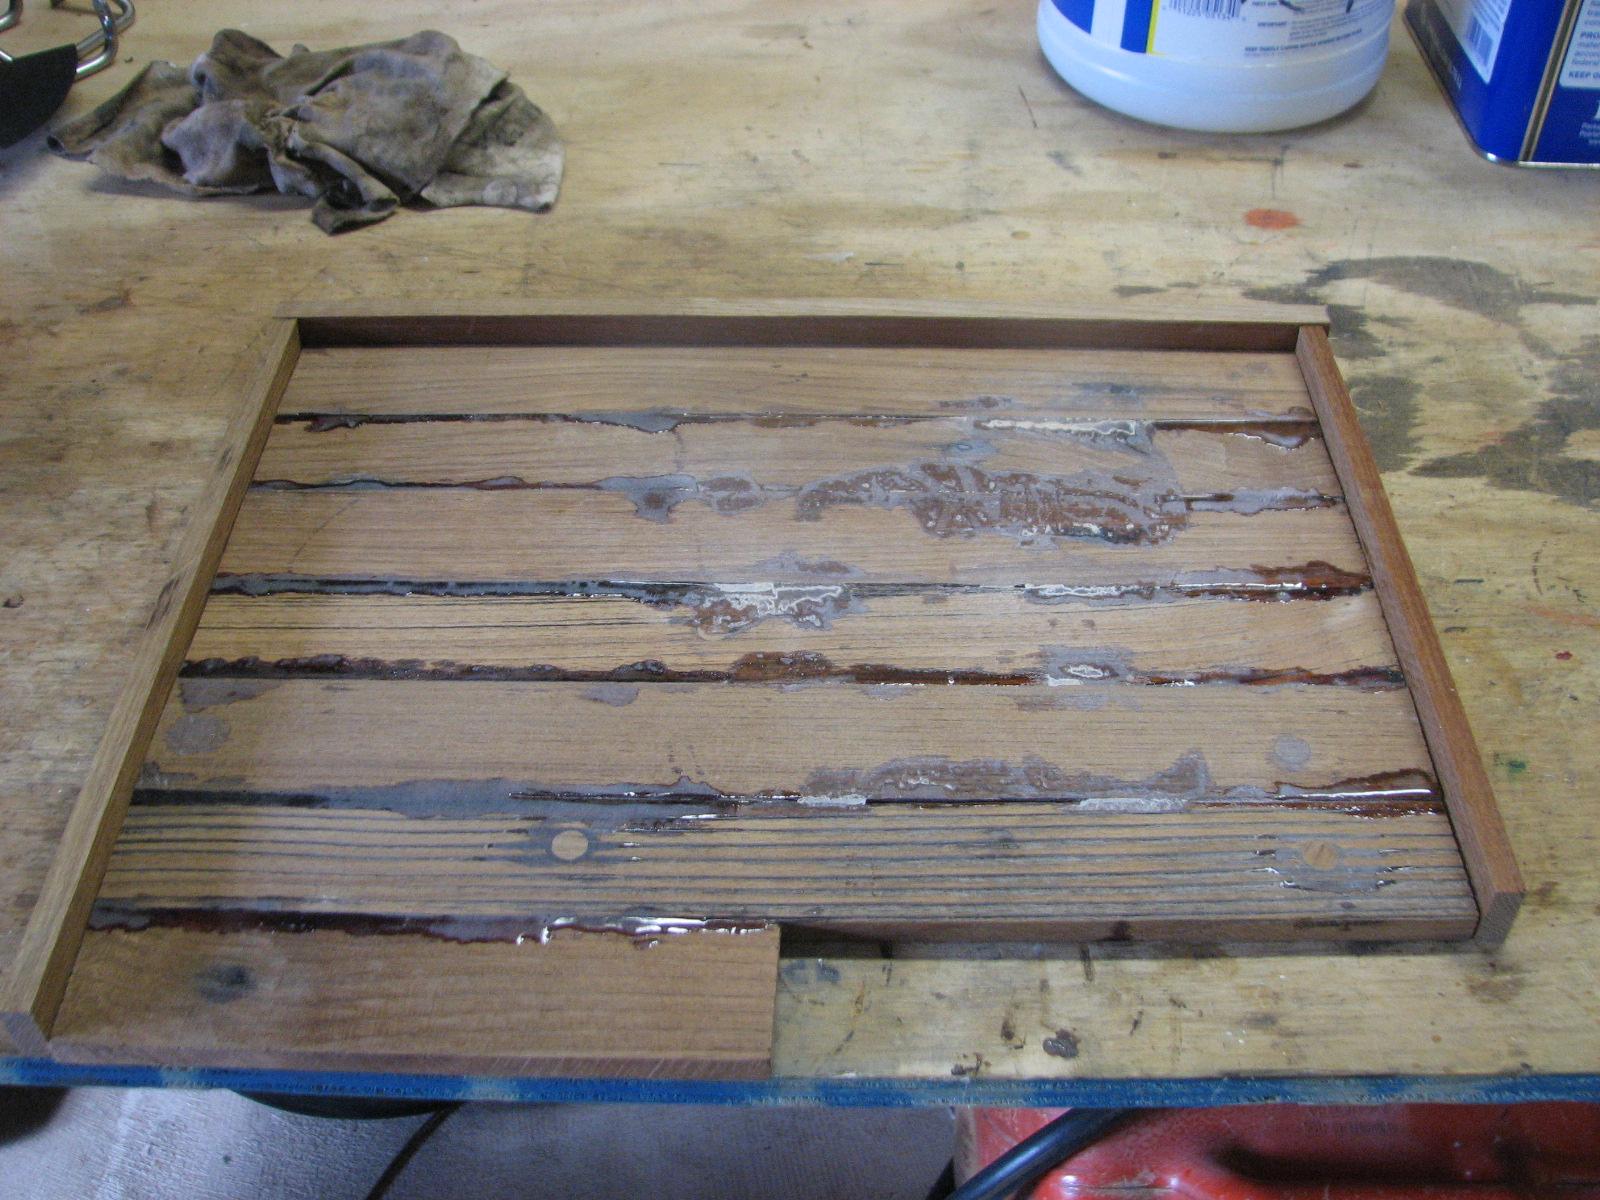
Dry Fit Of Fabricated Teak Piece For Head
I applied the fourth coat of varnish to
the interior teak pieces, and the fourth coat of
Cetol
to the teak wheel on DREAM AWAY. I also applied the fourth coat of
orange paint to the “trash compactor”, and the third coat of
orange paint to the outboard cover.
I went back to the marina,
and did some raking of rocks with a borrowed garden rake. I then took
the pressure washer out to the end of Pier “C”, and cleaned the
end of Pier “C”. We have a 56’ Grand Harbor cruising yacht
coming in this afternoon, and wanted the dock as free of bird
deposits as possible.
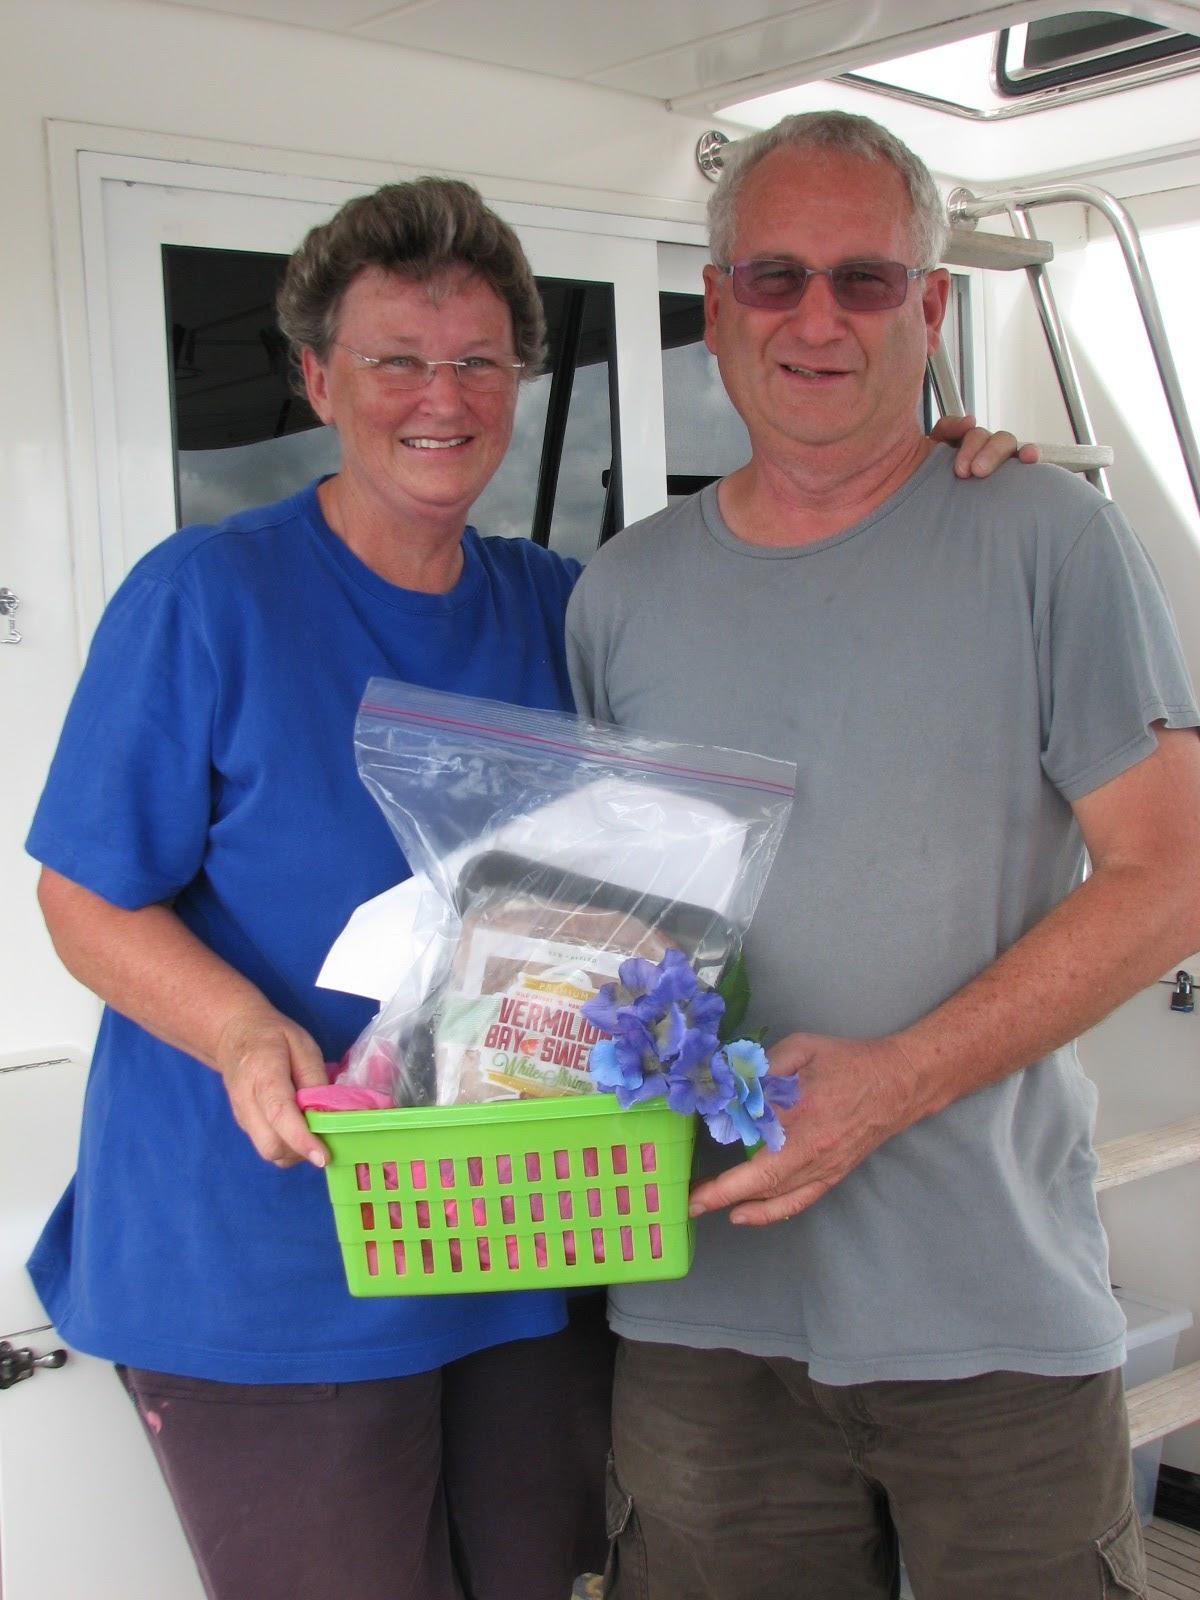
We welcomed two cruisers, Warren and
Monica to the marina.
They are from New Zealand, have purchased a US flagged yacht, and are
on their way to do the Great
Loop. They had had a long day so we presented them
with the Welcome Basket, and left them to get settled. They will
probably stay with us for at least a week.
Monica & Warren With Welcome Basket
I went back over to the Port
of Delcambre’s storage room to return the pressure
washer and fuel, then I went to the
shop.
I wanted to epoxy the three newly cut boards to the piece of teak. I
discovered I did not have any wax paper at the shop. I use the wax
paper under the pieces I epoxy so the epoxy
resin will not adhere to the workbench. Had to put
that off until tomorrow.
September 18, Wednesday,
2013
Started off the morning with my normal
ritual of getting on the Internet, answering email, and checking the
weather, while making a pot of coffee. I also spent time with our two
cats, Jillian
and Jordan.
Went over to the
shop
and got to work on one of the ABUS
locks that does not work properly. I am hoping I can free up the
inside mechanism. ABUS
does offer a repair service, but it costs more than a new
lock. I actually have two locks that are not working properly.

I got out the remaining piece of
Structoglas
I had in the shop,
and laid out the template made from yesterday, and marked up the
Structoglas.
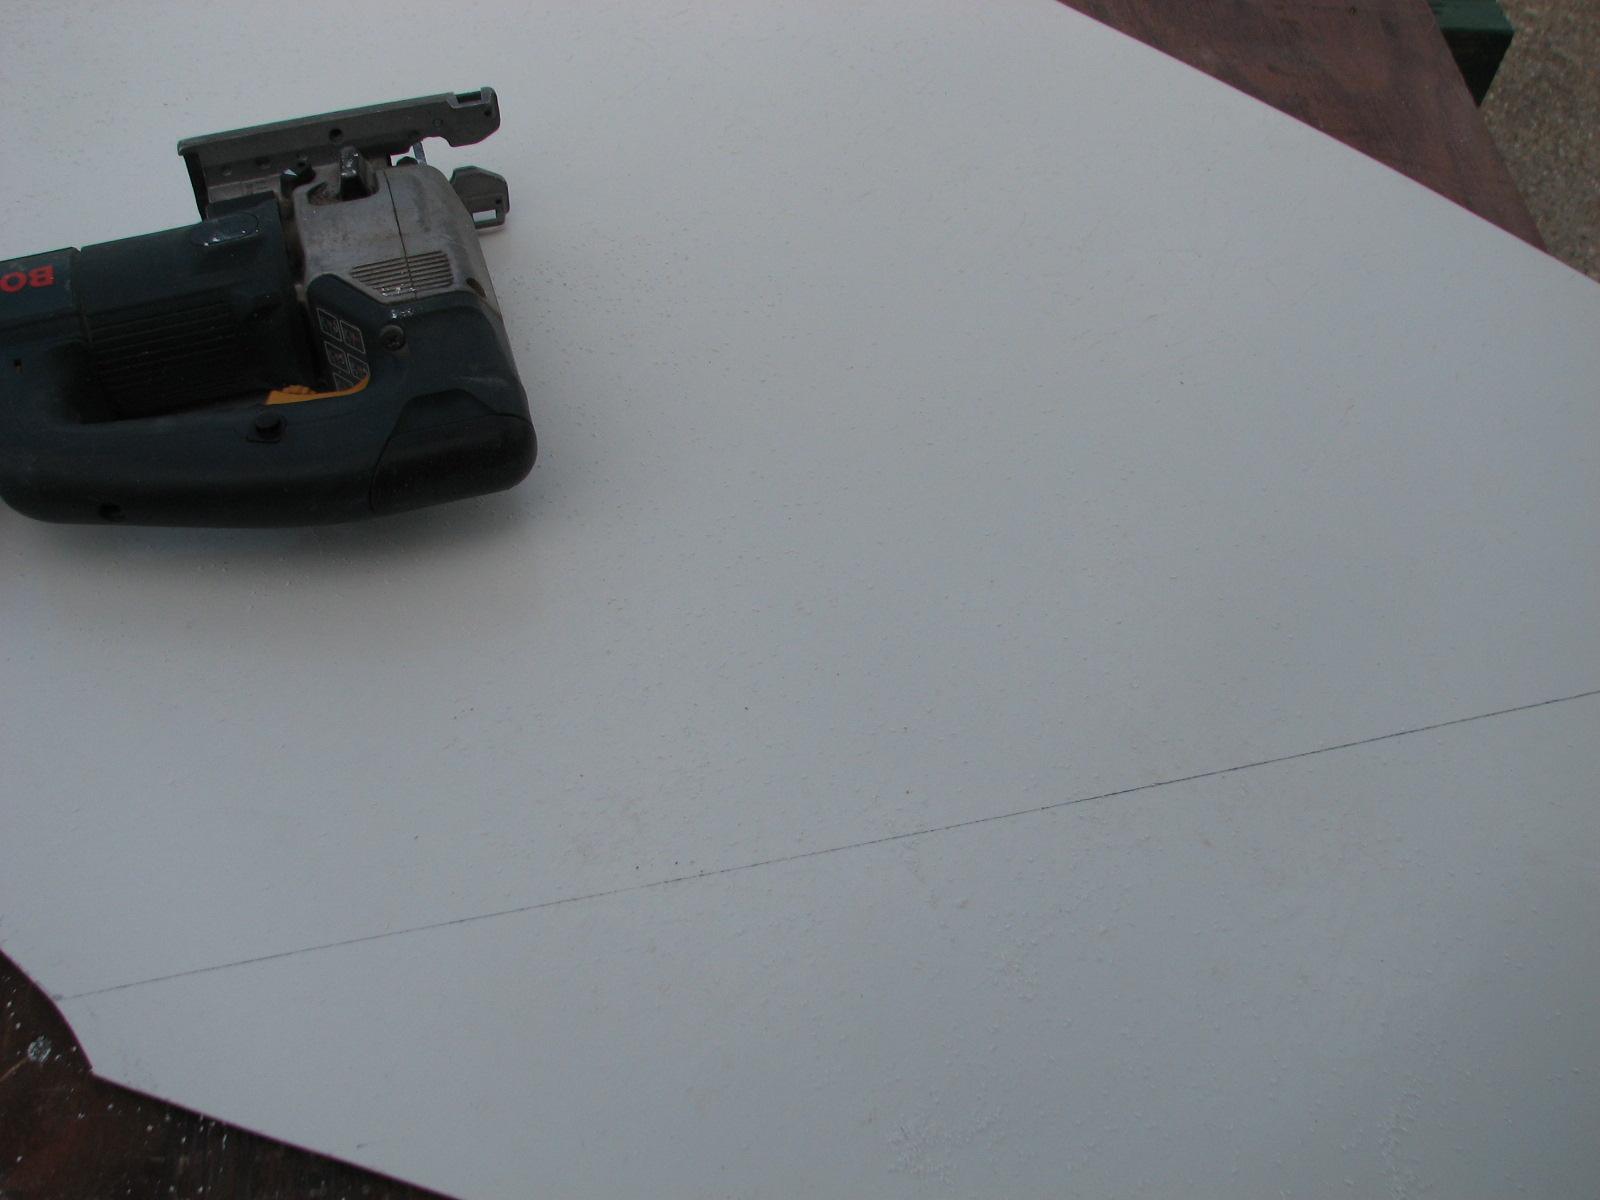
I cut out the piece that will go on the overhead of the head.
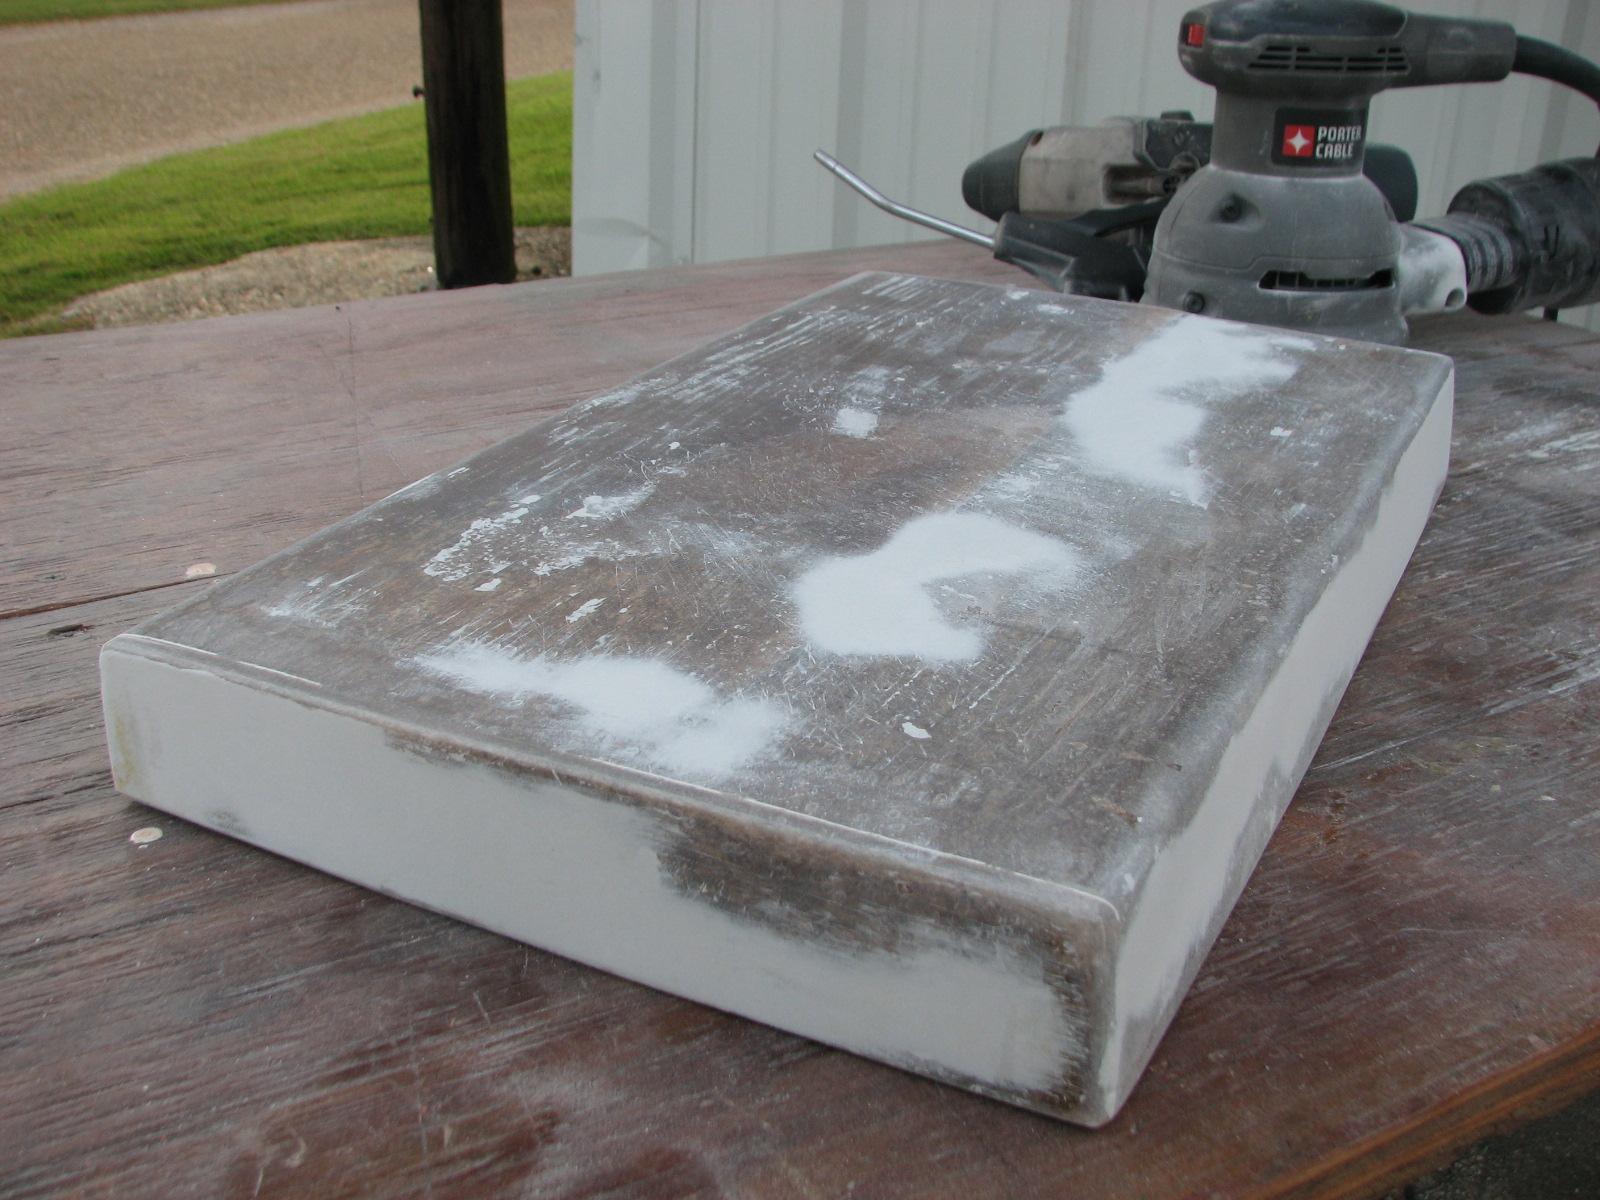
I got out the battery box lid and
sanded it all down to be smooth as possible. I will be applying some
Marine-Tex
to the battery box top to finish out the top completely. I have some
Marine-Tex,
but it is old, and I do not know if it is any good. After I apply the
Marine-Tex,
and it sets up I will know if it is useable repairing some small
places on DREAM AWAY. When I finish with the battery box top, I will
apply gelcoat
to the battery box and the top.
Sanded Battery Box Top
Next project is to finish applying
epoxy
resin to a piece of teak I had fabricated to cut
covers for the main cabin, and aft cabin. I now need a piece of teak
to build a backing plate cover in the head, under the deck. I also
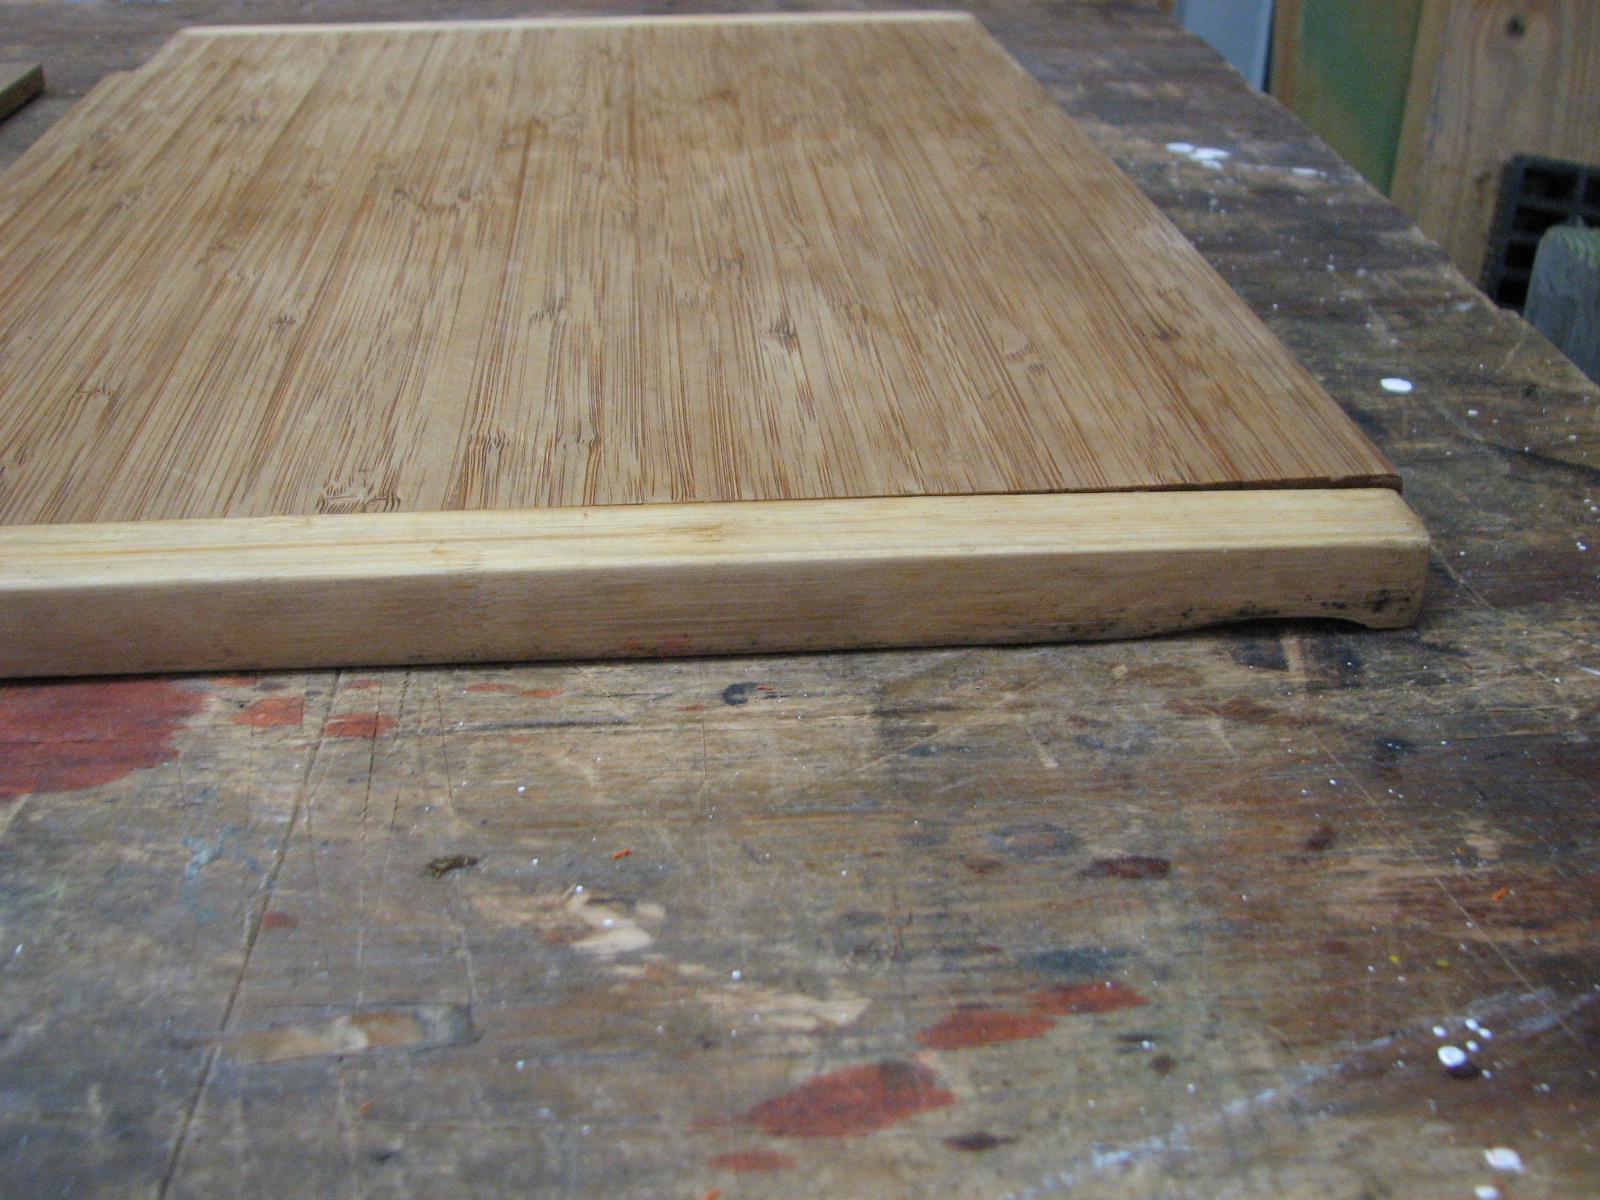
need to repair a cutting board from the galley sink, that is starting
to delaminate. Working on both at the same time, I only need to mix
one batch of epoxy
resin.
Cutting Board To Be Repaired
Teak Piece To Finish
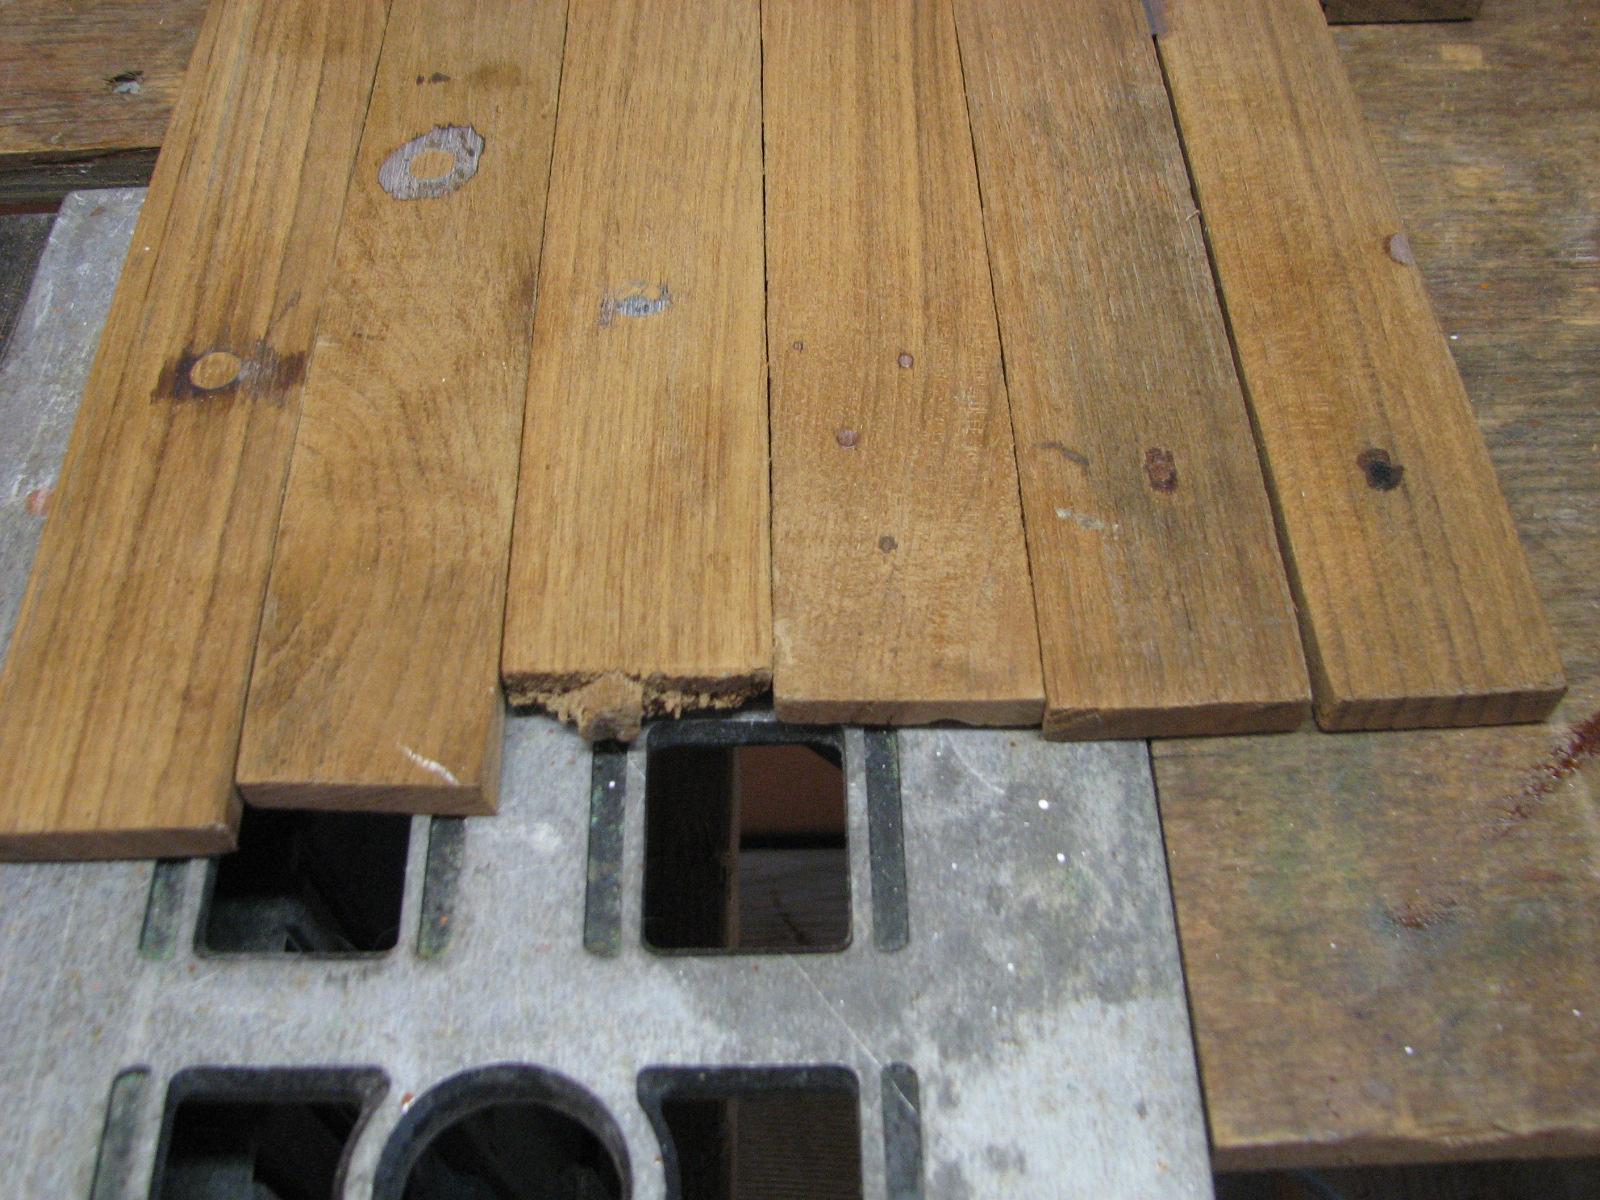
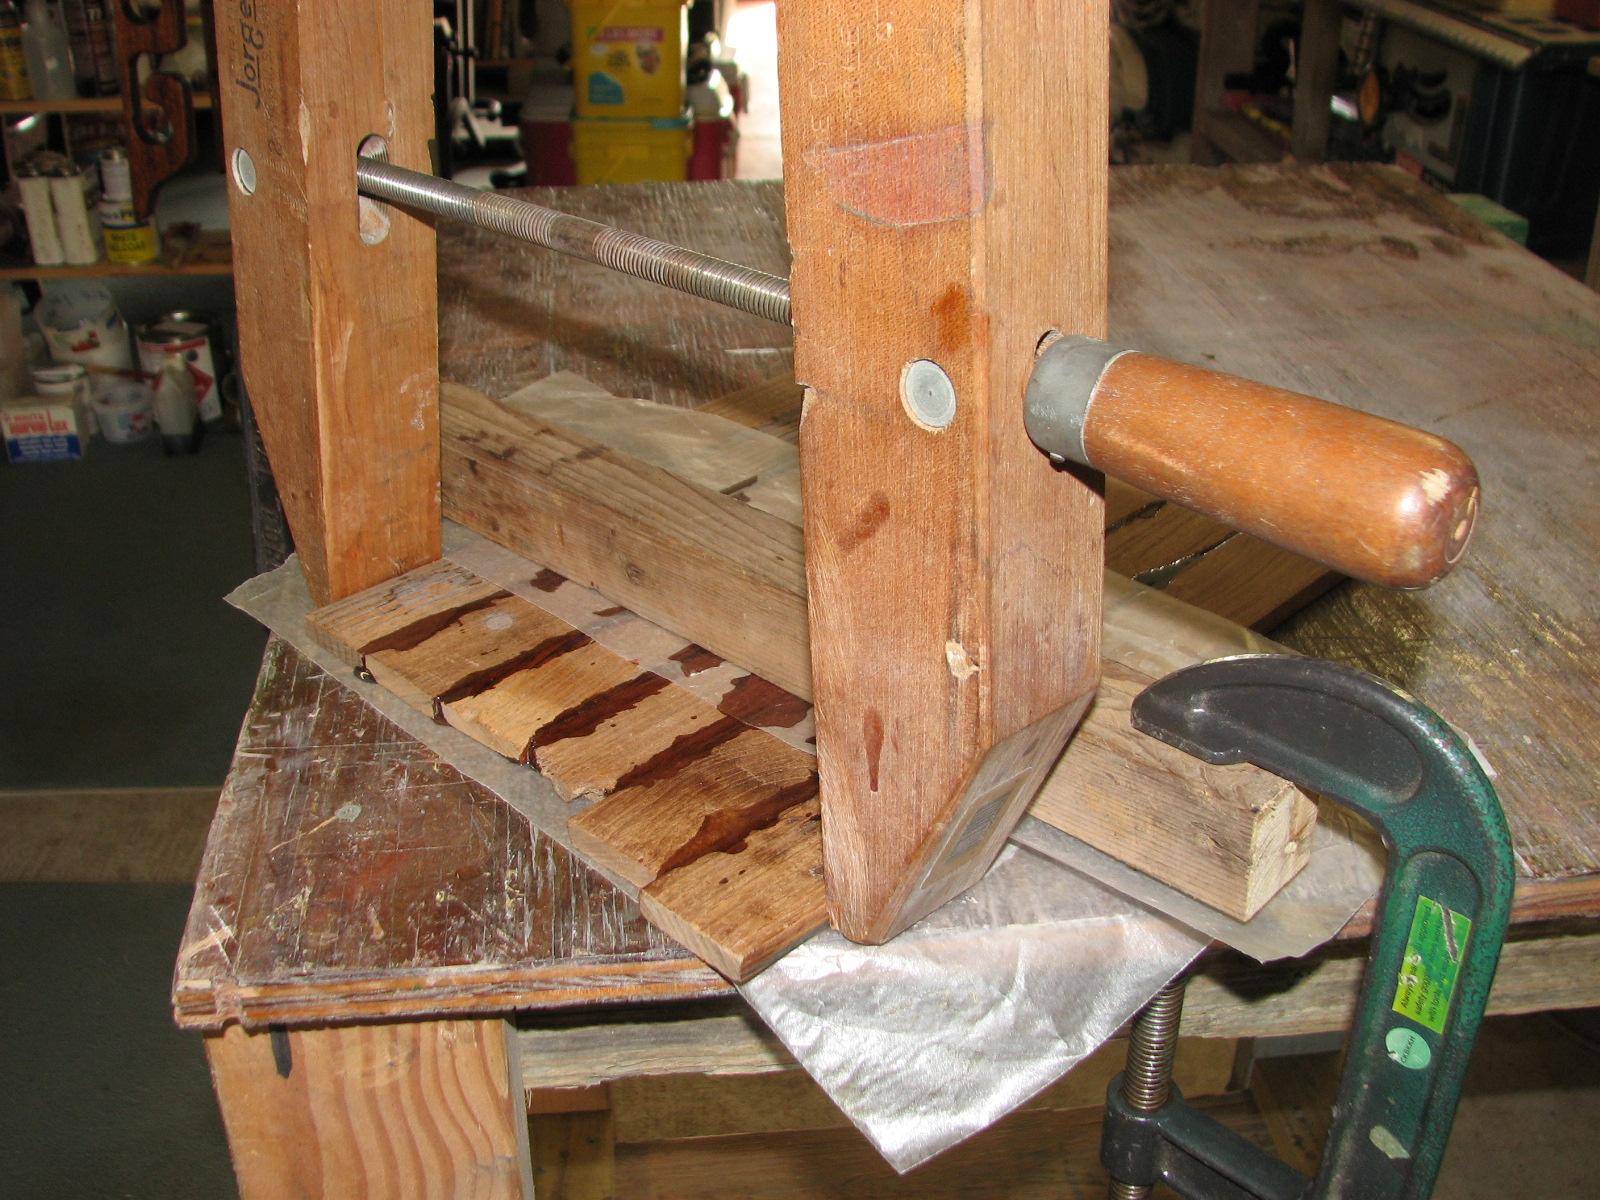
I dry fitted the teak piece to make
sure I had all of the clamps and other pieces necessary. The fun is,
I need to apply the epoxy
resin, then make sure all of the individual pieces of
teak are flat, then squeezed together to make one piece of teak. So I
am working on two planes, and you do not want to squeeze the pieces
together too hard, and squeeze all of the epoxy
resin out. As you can see, it is an interesting
solution. I really need some pipe
clamps to do the job properly.
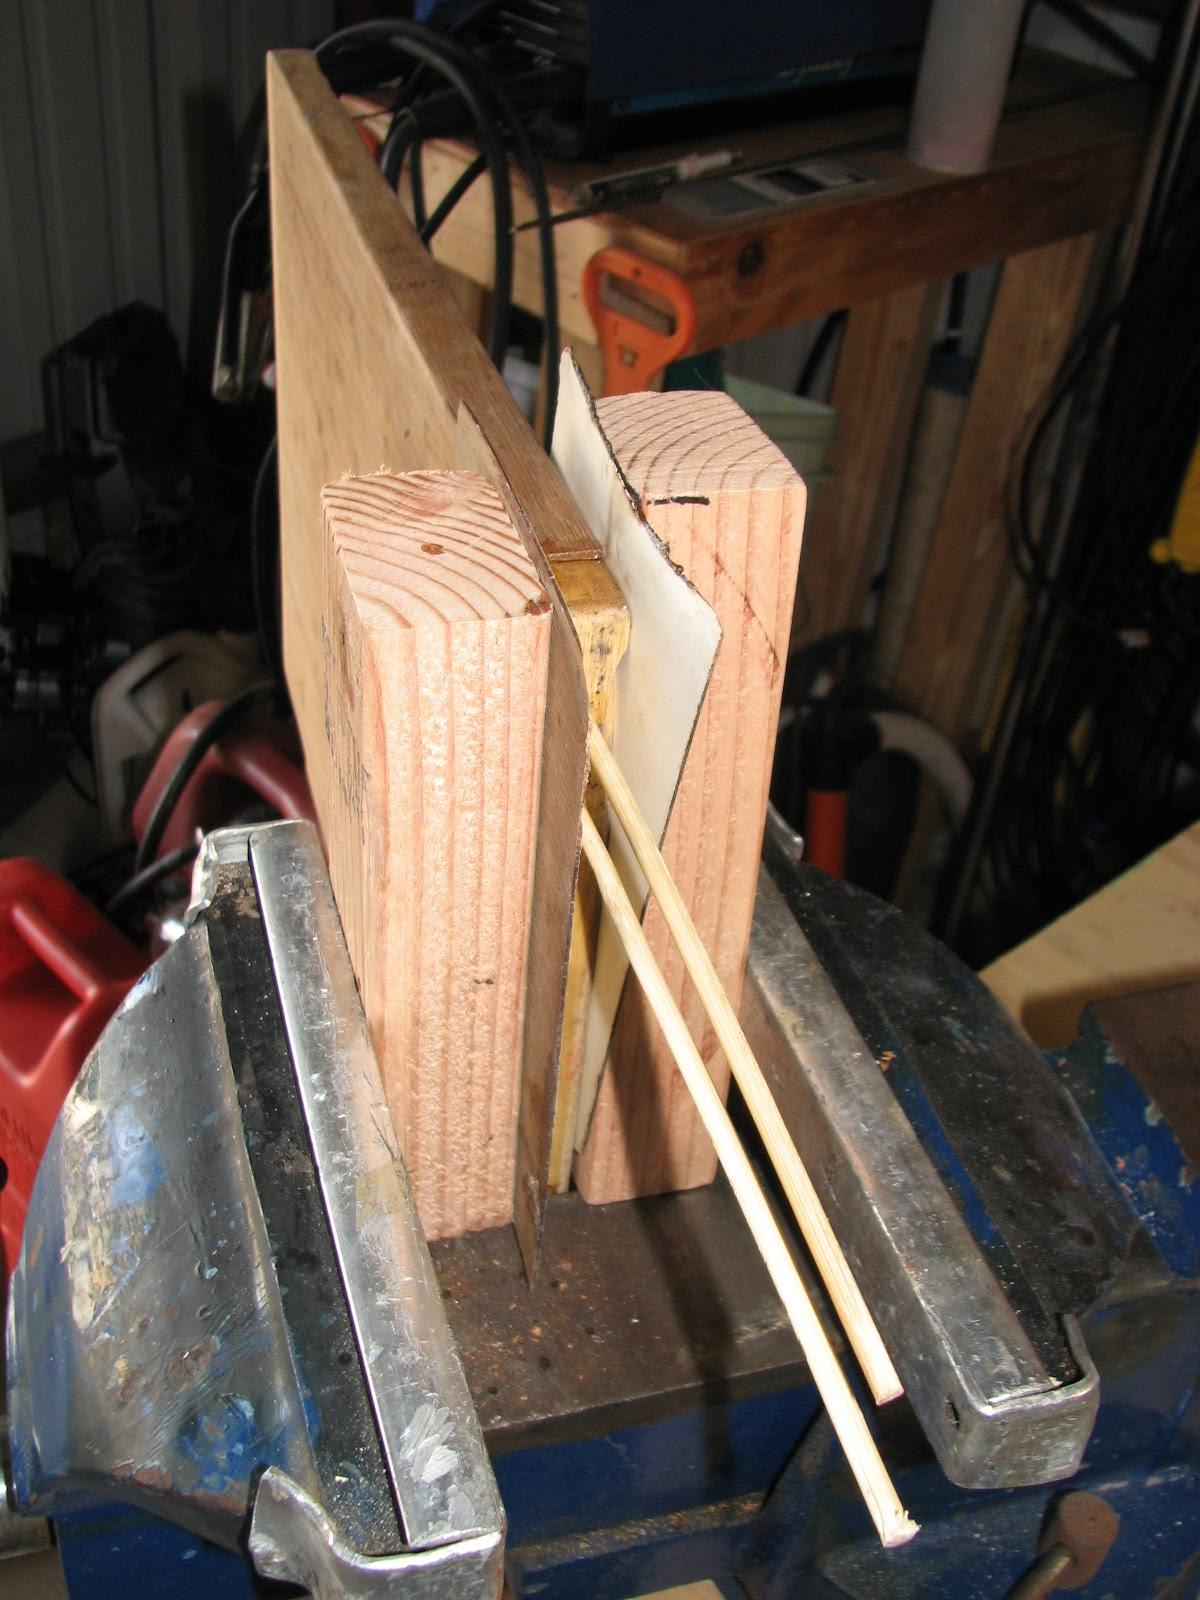
To repair the cutting board, I need to
drill into the two pieces and insert wooden dowels. For dowels, I use
chopsticks! I have used this method several times on wood repairs on
DREAM AWAY. I drilled the holes in the two pieces, then I had to do a
dry fit. That is putting all of the pieces together in the vise.
Here again I am working on two planes.
I also had to use two pieces of Formica
and backing plates for the Formica
to act as dams. I did not want epoxy
resin running all over the place.
I mixed up a batch of epoxy
resin and went to work on the teak piece, then did the
cutting board. It all went amazingly well.
Teak Piece Clamped On Two Planes


After breakfast Kitty and I made a
template for another piece of Structoglas
to be fitted in the aft cabin, just forward of the newly installed
Structoglas
covering the davit and cleat backing plates in the aft cabin.
We also made another template for a
Structoglas
piece for the head that will go around the backing plate cover I am
fabricating.
I then went out and weeded the marina
gardens, and trimmed around the grass yards. Then I cut the grass
inside the marina
and the two areas of grass just outside the marina fence. When that
was finished, I took the lawn mower and gasoline jug back to the the
Port
of Delcambre’s storage room, then I went to the
shop.
Did not have very much time in the
shop, but did notice the epoxy
resin had set up on the teak piece and the cutting
board, so the efforts there successful.
I then left and went to the Shrimp
Festival grounds to help set up and mark the booths
for this weekend’s Delcambre
Seafood and Farmers Market. We are all looking forward
to the market, but the prediction is lots of rain, so I think spirits
will be dampened!.
September 17, Tuesday,
2013
Started off the morning with my normal
ritual of getting on the Internet, answering email, and checking the
weather, while making a pot of coffee. I also spent time with our two
cats, Jillian
and Jordan.
Went over to the
shop
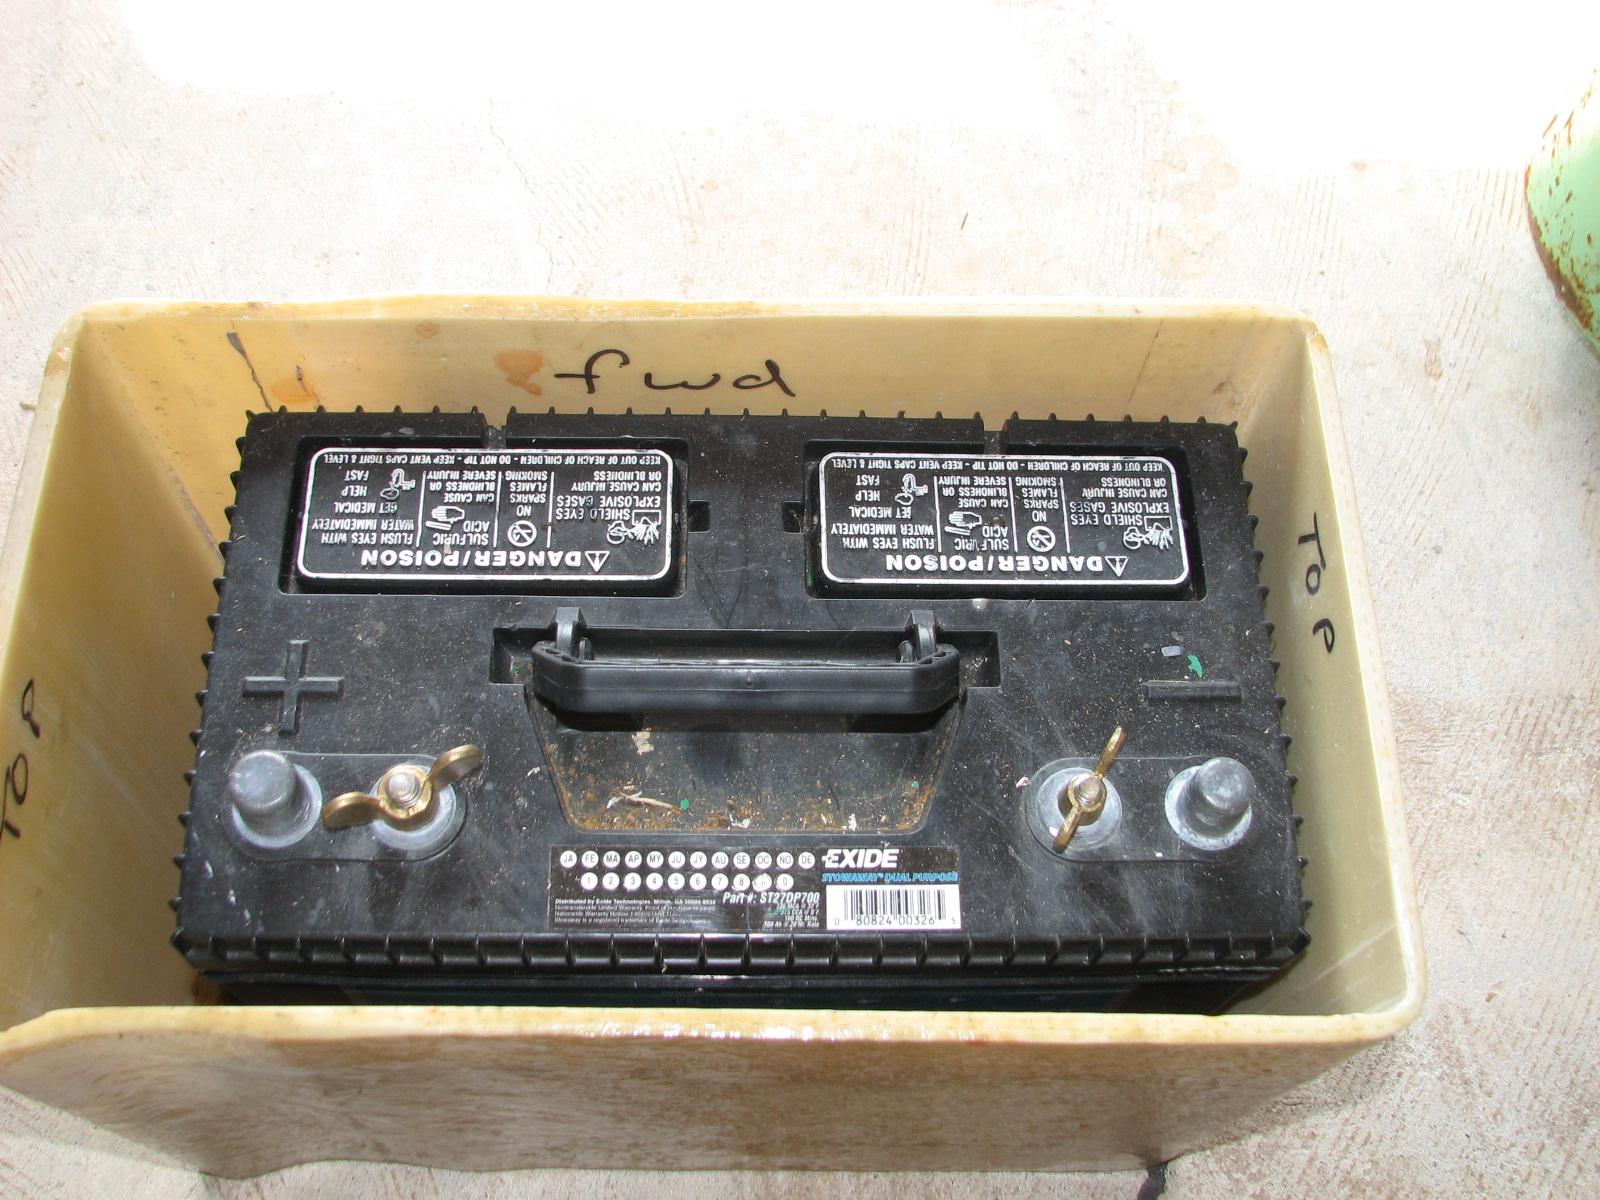
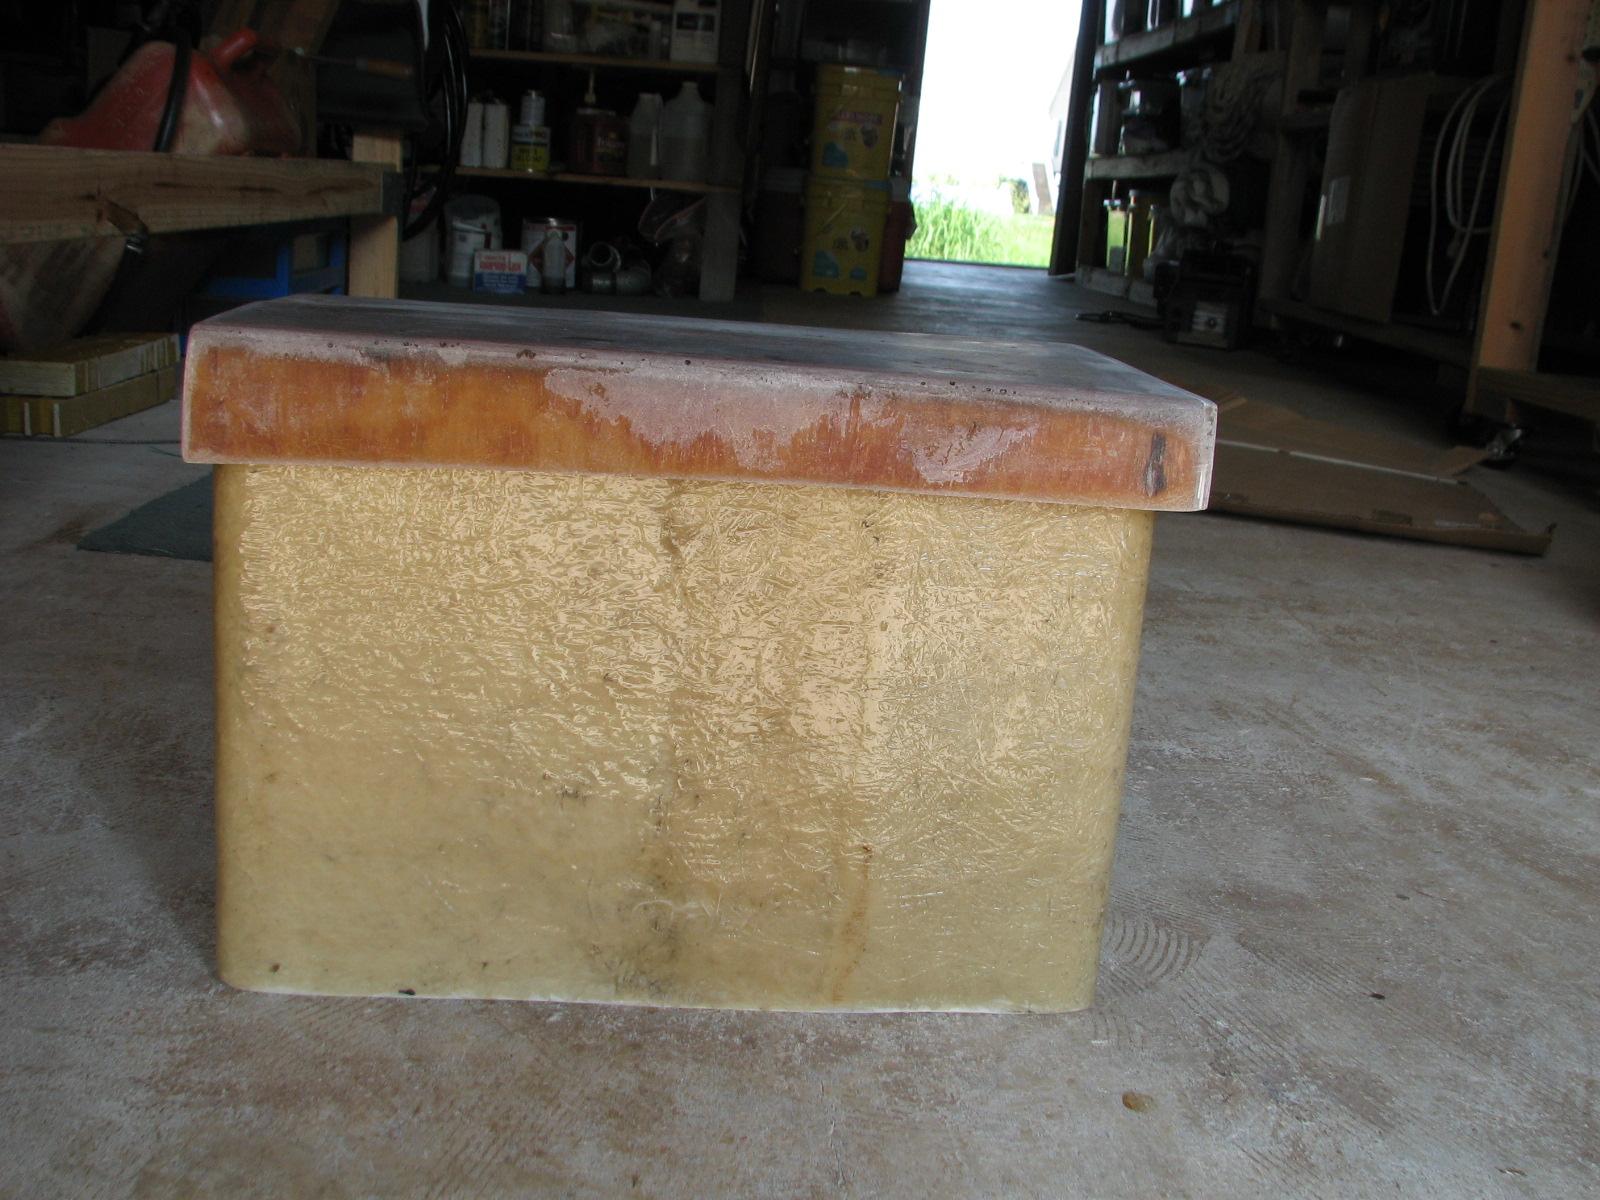
and got to work sanding on the battery box and the battery box top. I
got the top pretty smoothed out, and the box bottom sanded smooth. I
actually put the battery in the new box, and dropped on the lid, it
fit.
Battery Inside Battery Box
Battery Box With Top
I will have to drill a hole in the side
of the box for the cables, and I have to do at least one application
of finishing putty on the battery box top, and the box will be ready
for installation in the tender.
Back to DREAM AWAY, and did the
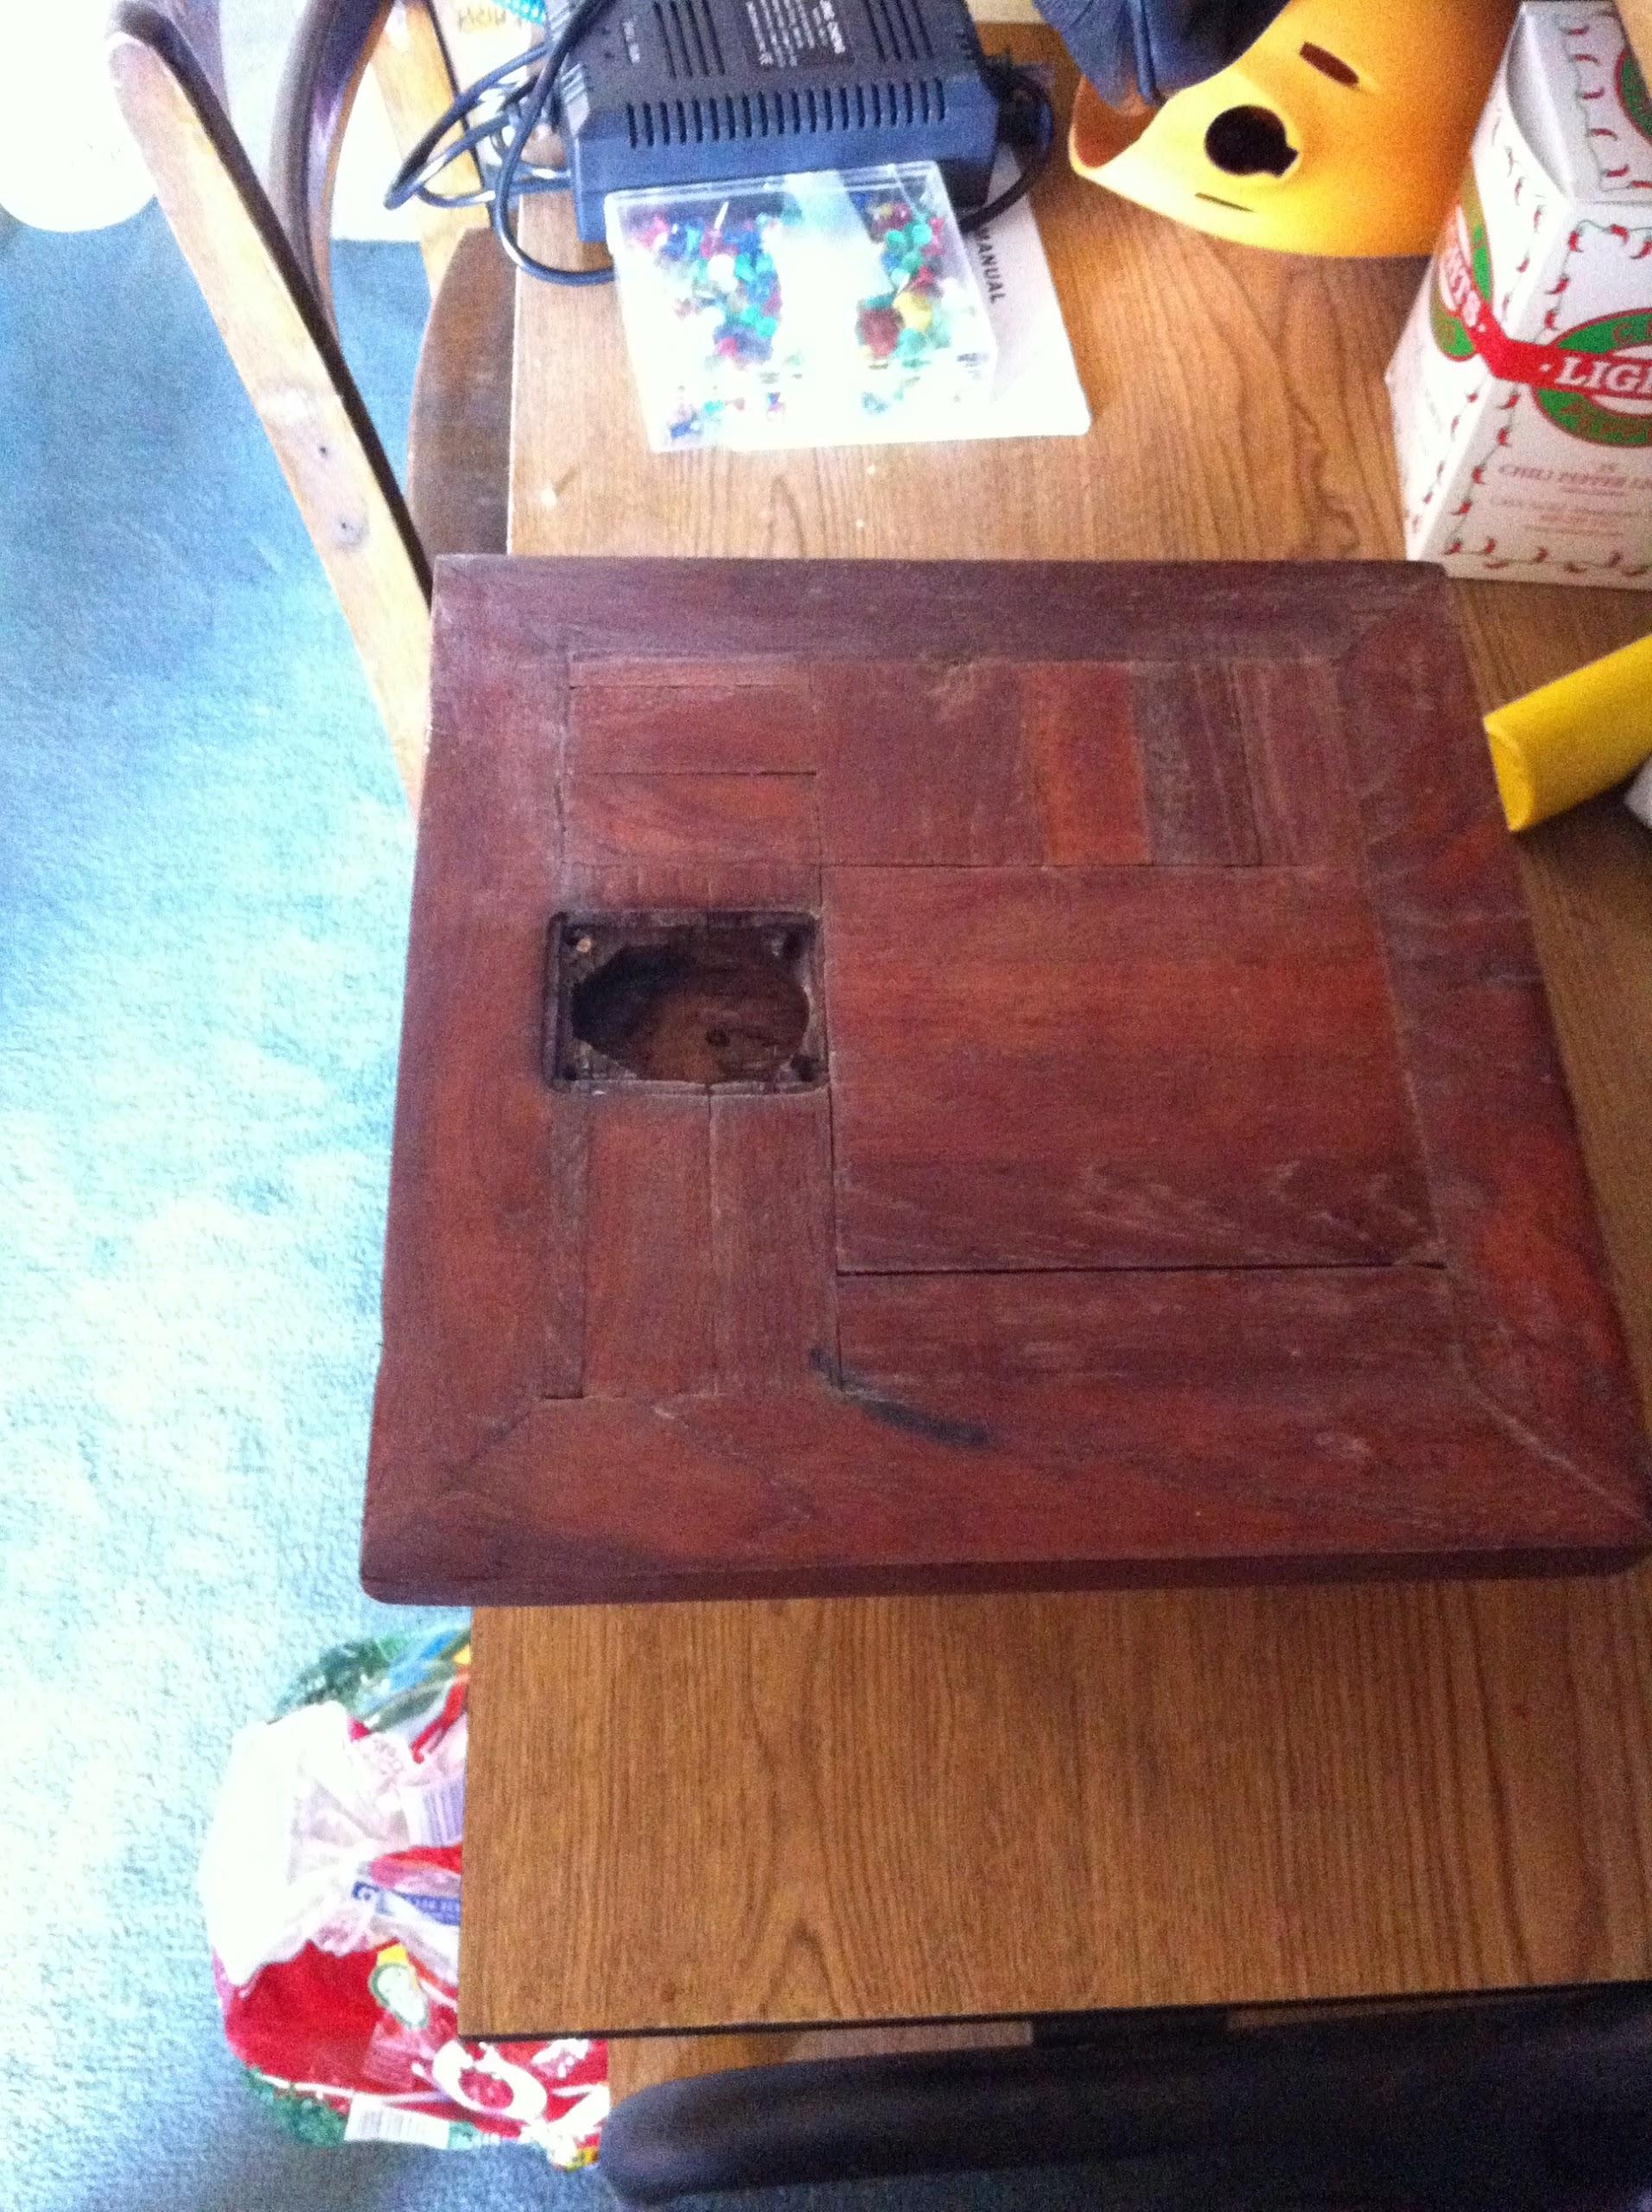
template for the overhead in the head. I want to cut a piece of
Structoglas
to put on the overhead and finish the head off nicely. Also measured
the size of the backing plate in the head that will need to be
covered with a finished piece of teak.
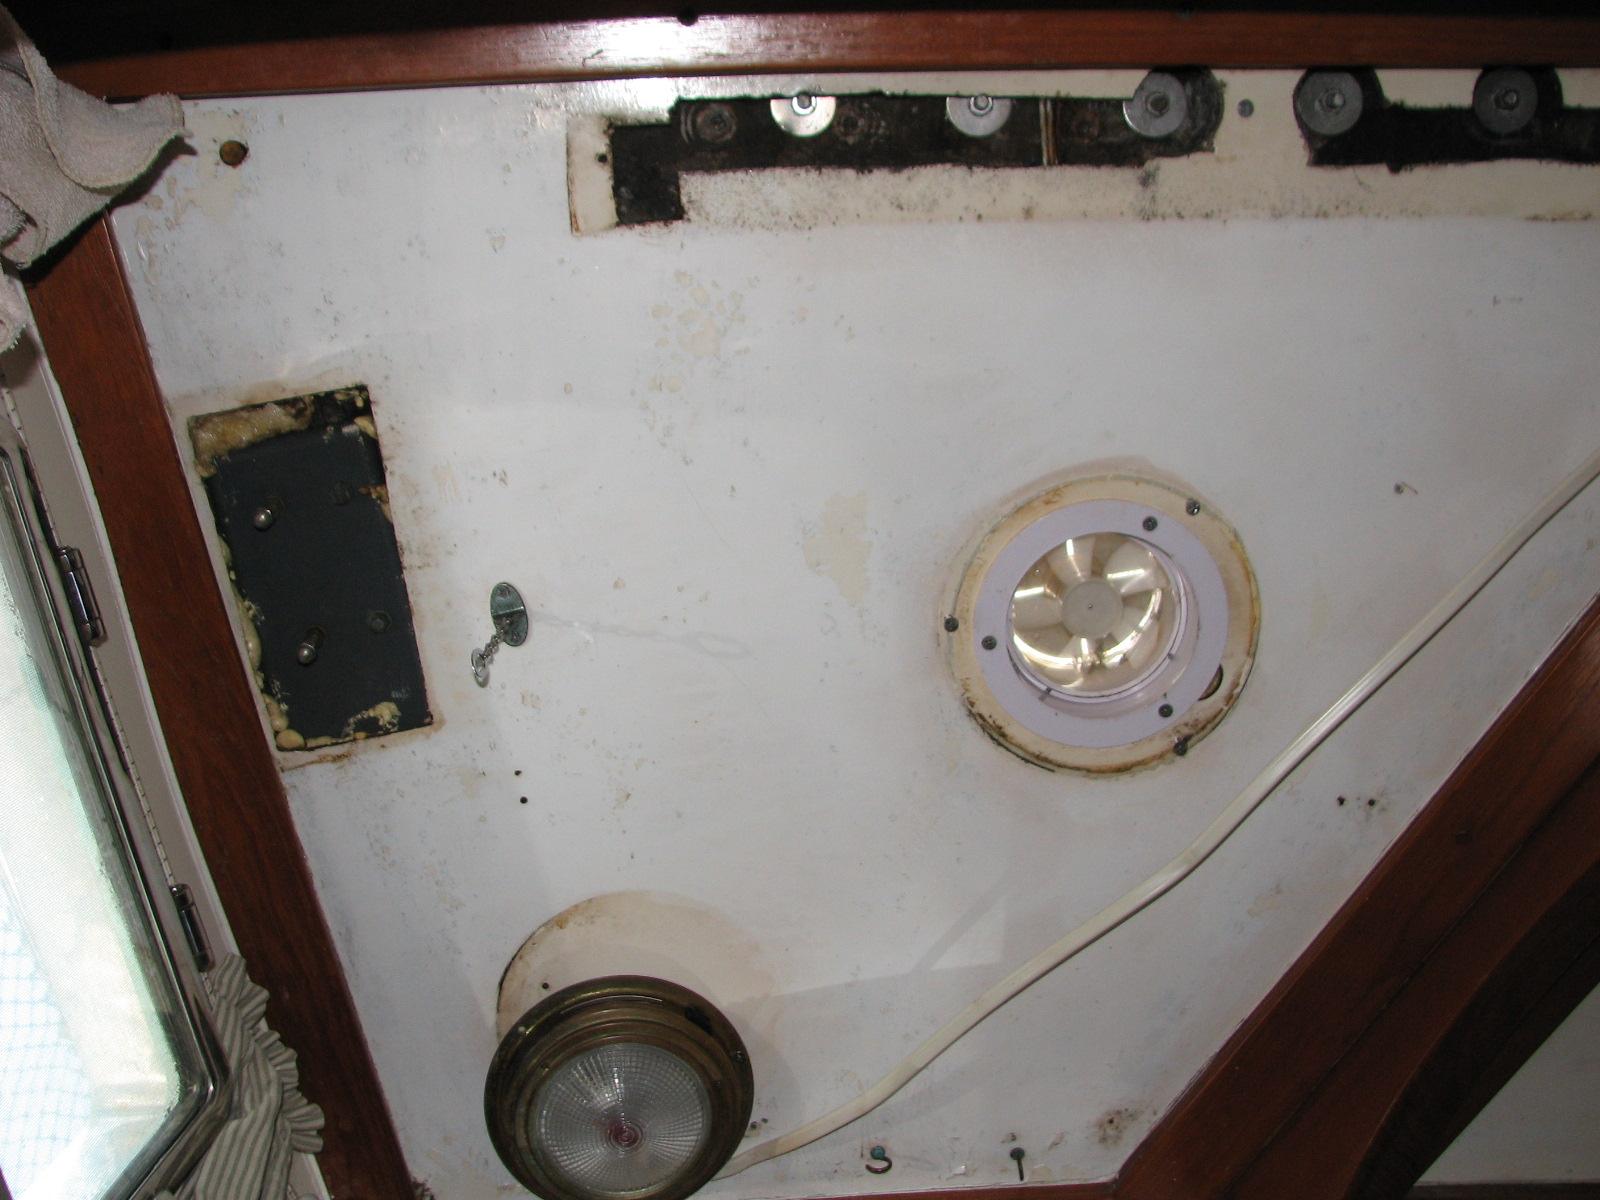
Backing Plate In Head To Be Covered
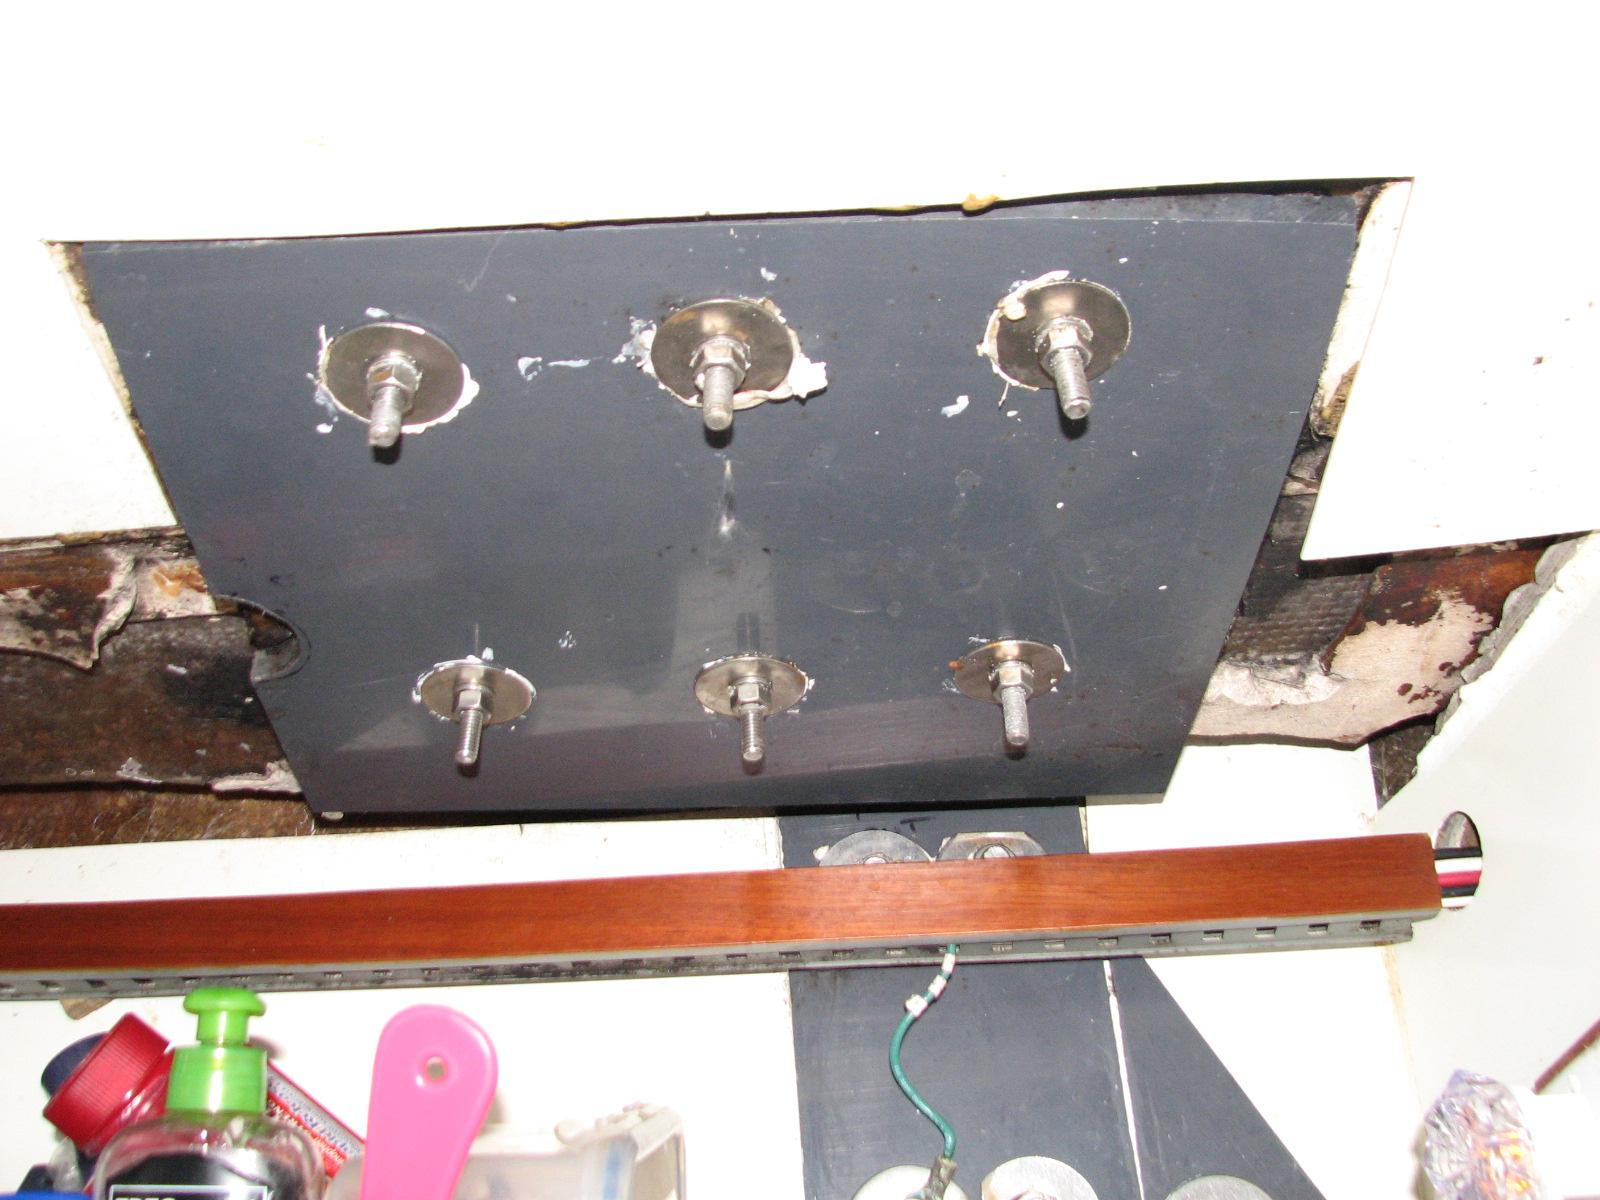
I also sanded down the fiberglass
I applied to the deck of the tender. This is in preparation of
applying some finishing putty to the deck to smooth out some rough
spots, then I will apply some gelcoat.
While on DREAM AWAY, I ordered the
parts necessary for the assembly of the spare Yamaha outboard motor.
I also ordered a new prop for my 6 HP mercury
outboard. For whatever reason, one of the blades on the prop broke
off, so it needed to be replaced.
I went back to the
shop
and got out the remaining piece of Structoglas,
and using the template, marked off the piece I will need for the
overhead in the head.
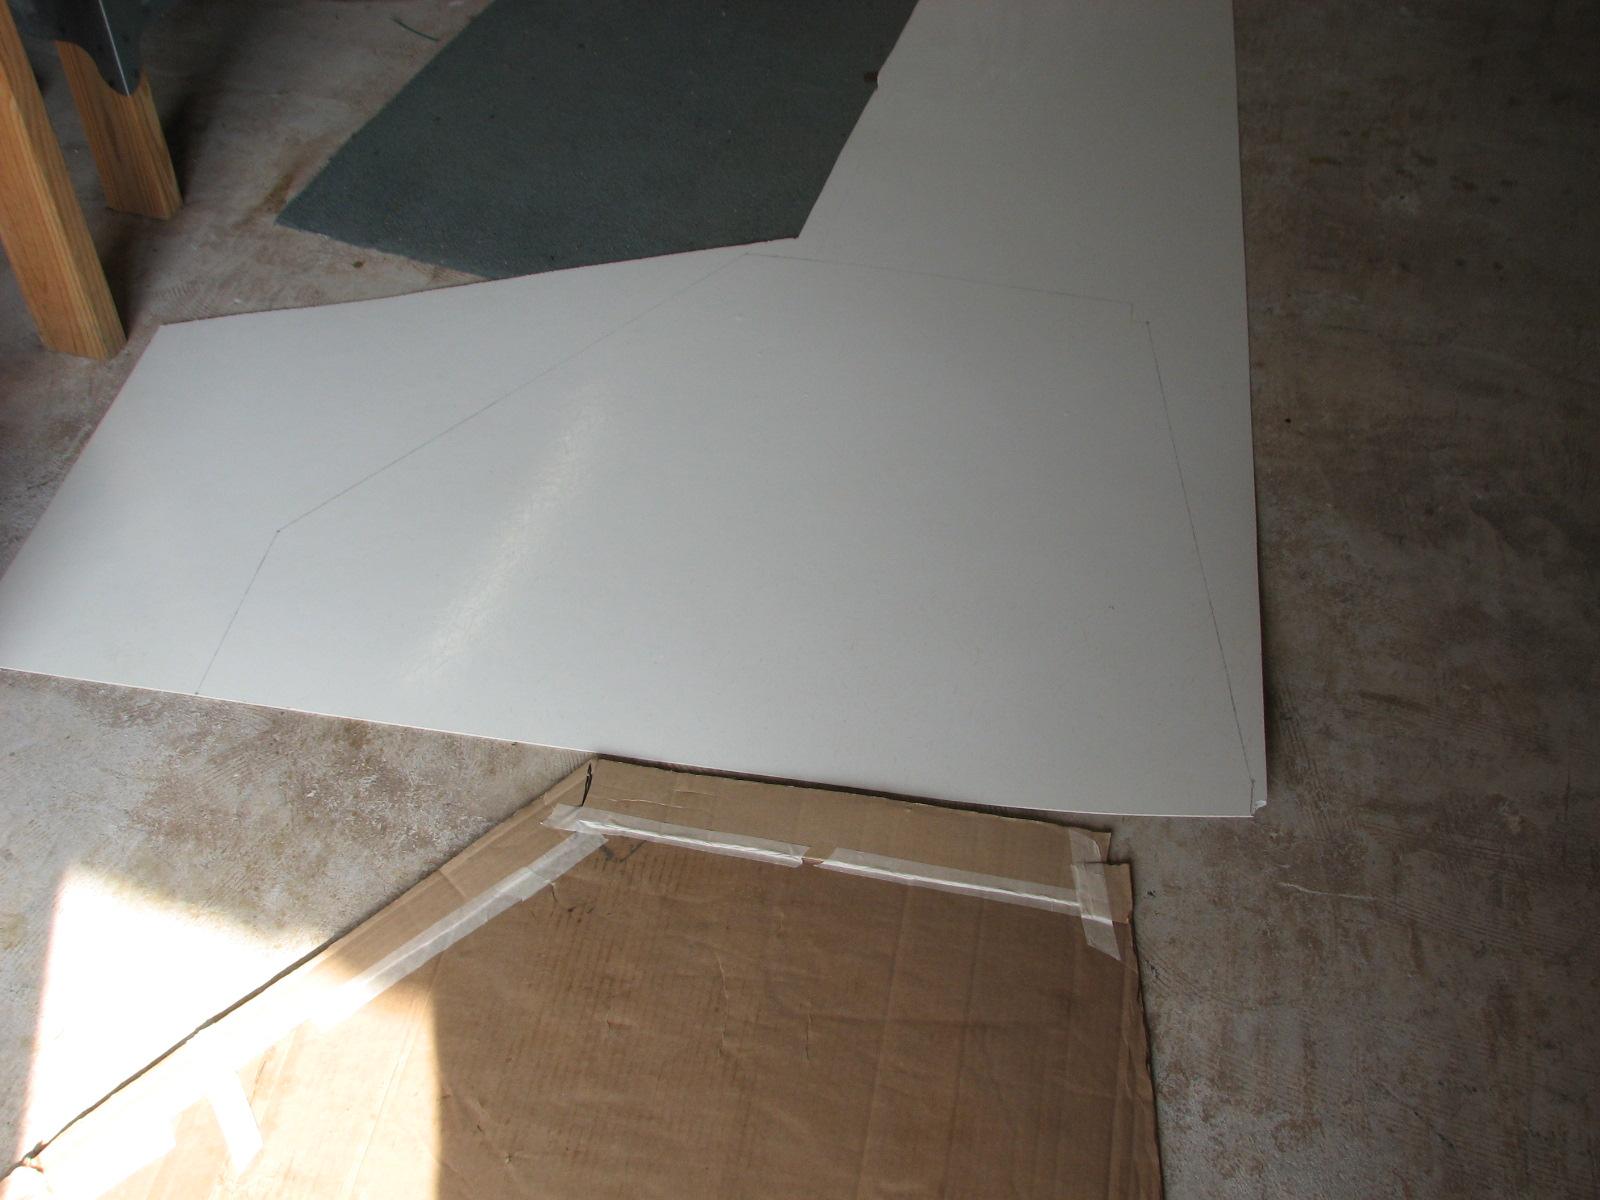
I mixed up a couple of batches of the
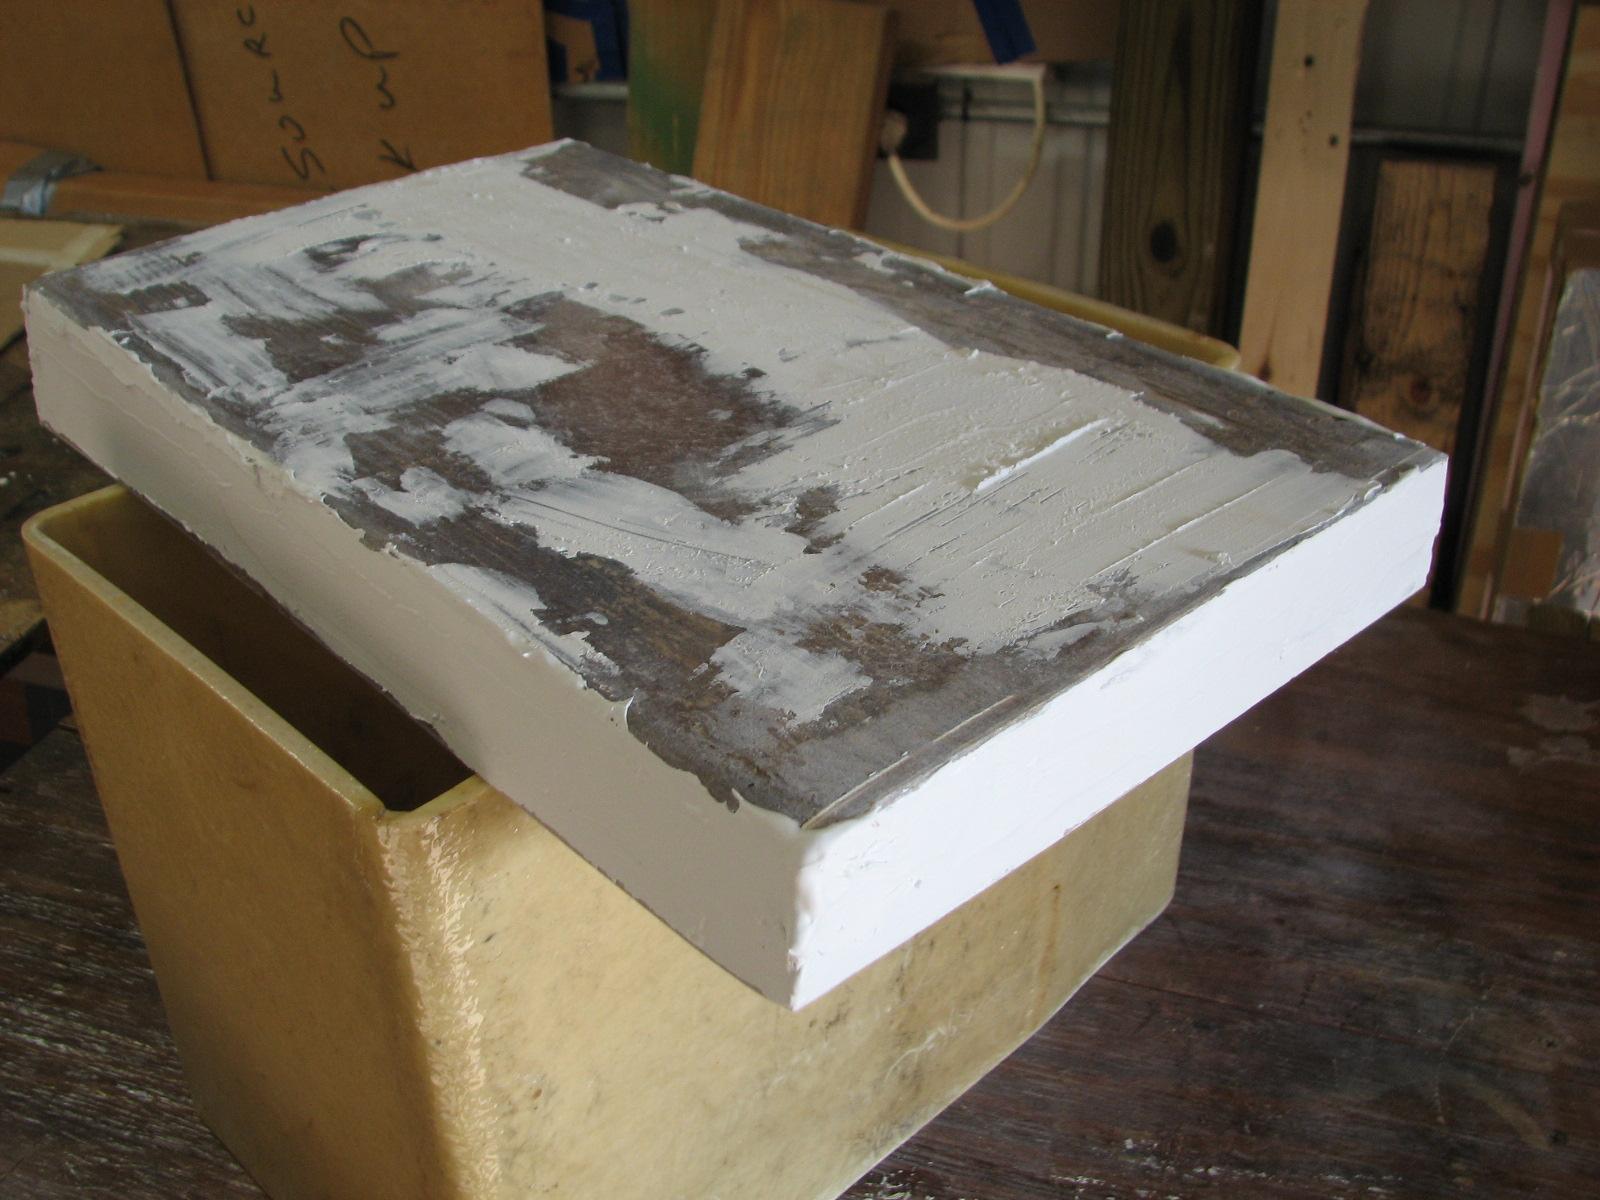
finishing putty, and applied the putty to the battery box top.
Battery Box Top With Finishing Putty
Applied
I got out the can of Rustoleum
orange spray paint and finished covering the one barrel and top to be
used on the aft deck. I used the last of the spray paint to put the
last coat on one of the outboard covers. I brought the painted barrel
back to DREAM AWAY, and put it on the aft deck. This will be the way
to test the paint with the elements.
Freshly Painted Barrel On Aft Deck

I applied the third coat of varnish to
the interior teak pieces, and the third coat of
Cetol
to the teak wheel on DREAM AWAY. I also applied the third coat of
orange paint to the “trash compactor”.
September 16, Monday, 2013
Started off the morning with my normal
ritual of getting on the Internet, answering email, and checking the
weather, while making a pot of coffee. I also spent time with our two
cats, Jillian
and Jordan.
Went over to the
shop
and got to work sanding on the battery box and the battery box top. I
did some cutting and sanding on the top to get all of the sides and
edges looking square. The actual battery box looked very good after
yesterdays application of the polyester
resin. I had to do a little touch on the box, to get a
couple of rough edges smoothed out.
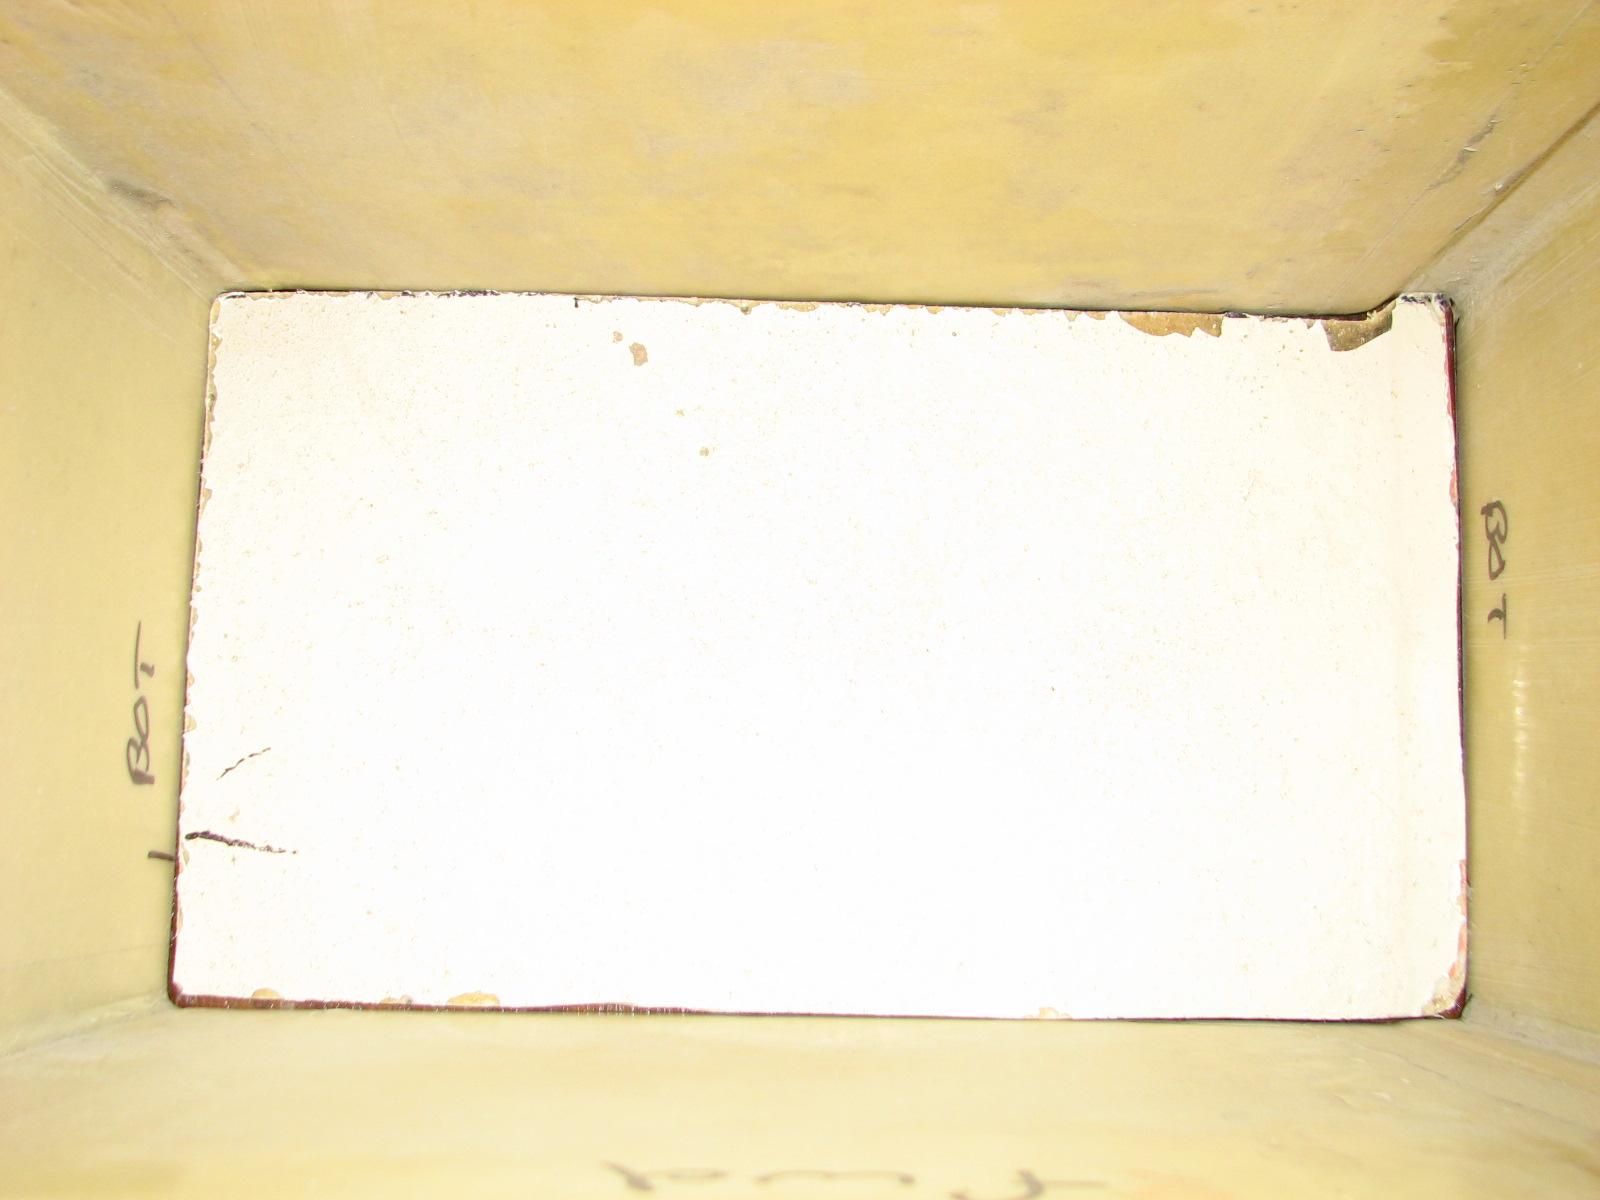
I then cut out a piece of spare
fiberglass to make the bottom of the battery box. I got the bottom
piece dry fitted to the battery box.
Battery Box Top Ready For Mash Mix
Application
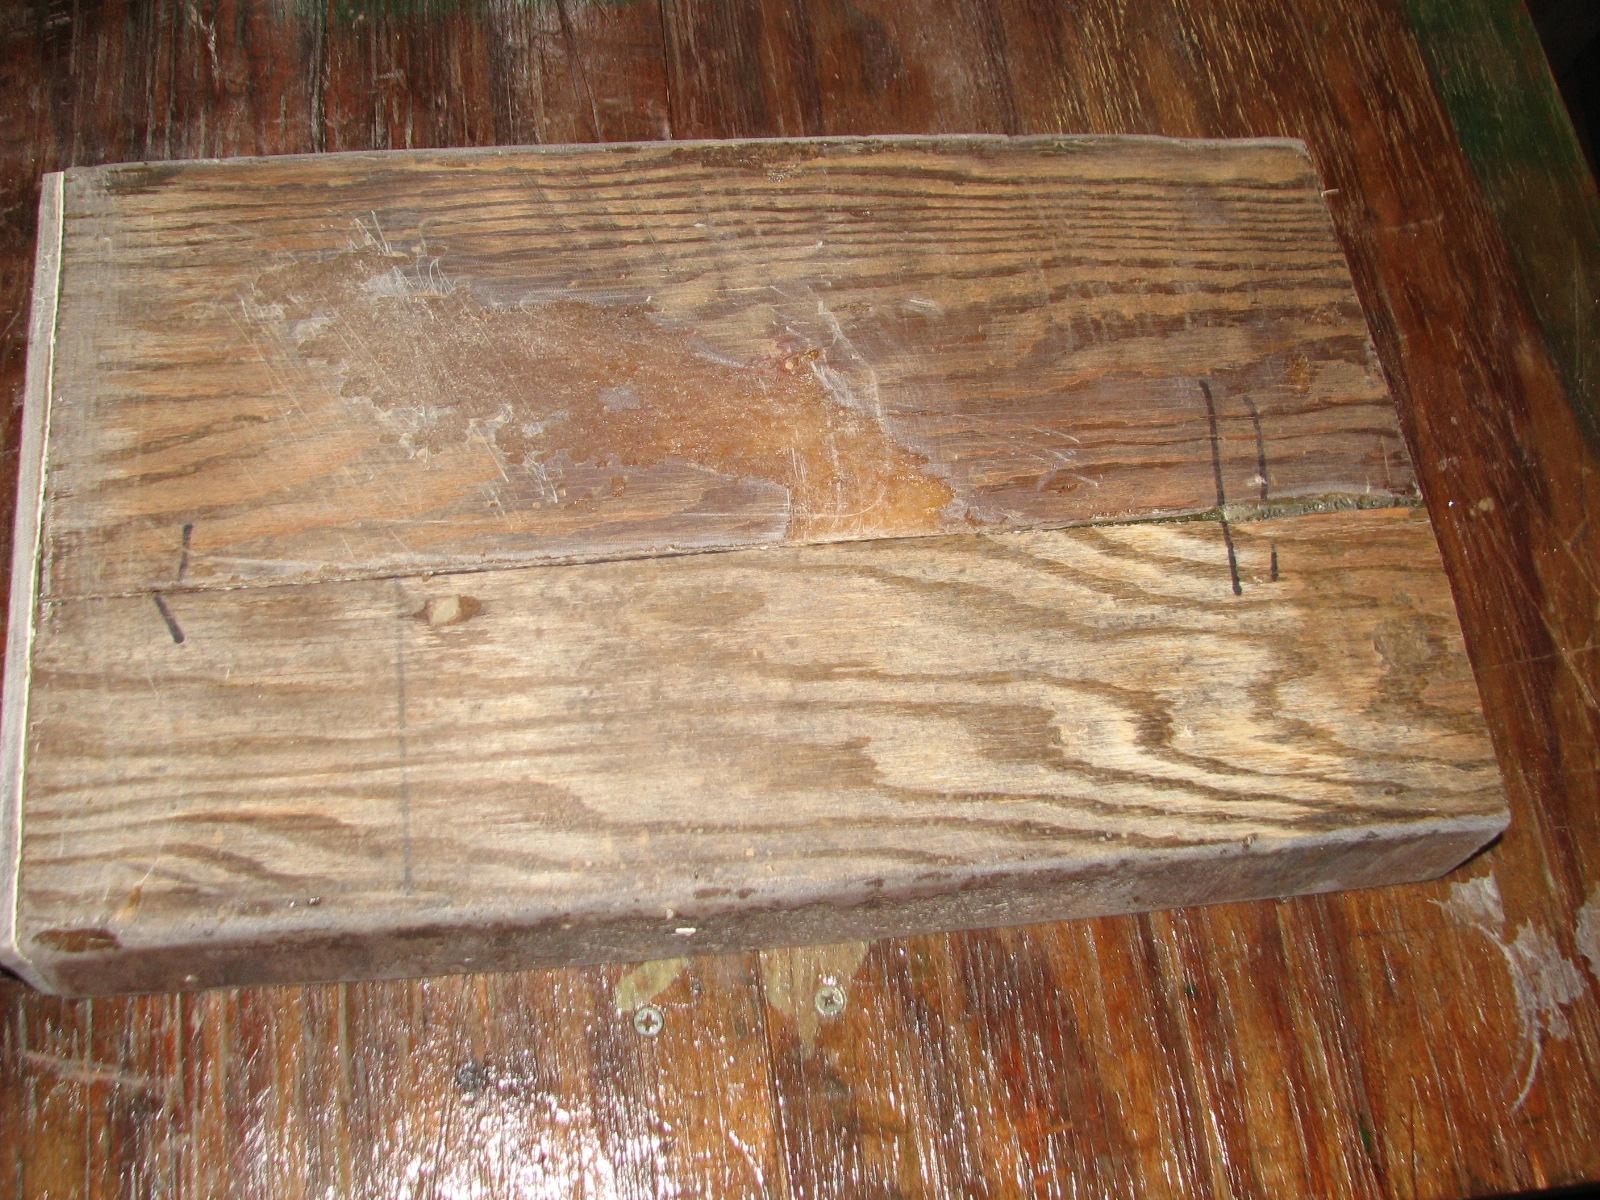
Battery Box Bottom Ready For Mash Mix
Application
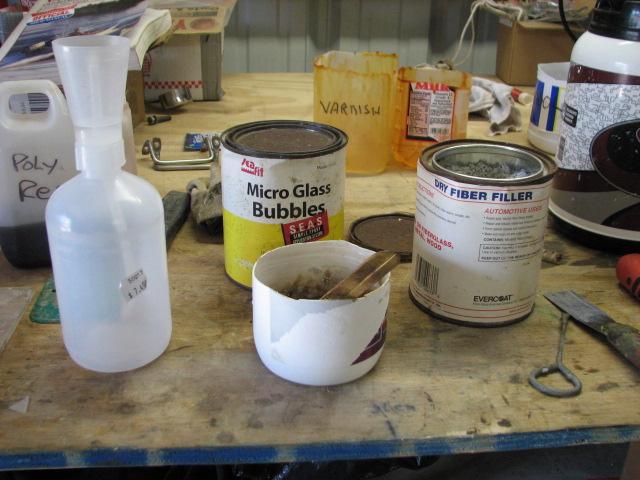
I then mixed up a batch of mash mix to
apply to the battery box top, and the inside of the battery box to
adhere the bottom piece of fiberglass to the battery box.
Mixing The Mash Mix
Mash Mix Applied To Battery Box Top

Mash Mix Applied To Battery Box Bottom
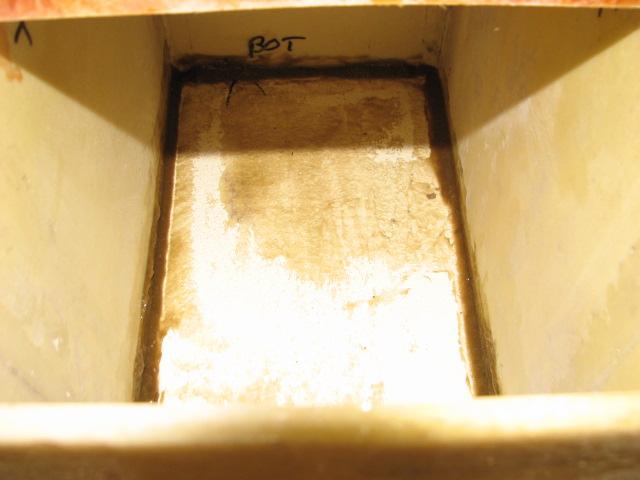
Next I started in on the SeaScooter. I
took the unit apart as much as I could without being destructive, but
could not get into the motor or gear housing. I got the unit mostly
back together, which was good. I did not want to get too heavy handed
with the SeaScooter, so I stopped working on it for the day.
Tomorrow I will put the unit completely
back together and verify the operation. I will then do the bucket of
water think again. If that all works, I will see if I can “cheat”
the on/off switches, and leave the unit running in the water until
the battery runs down. If I can do that a couple of times, and the
motor mechanism does not sound any worse, it could be the “thrashing
machine sound” is the way it is supposed to be.
Next I decided to get to work putting
together the spare outboard. I really wanted to get that project off
of the list.
I started to put the power
head onto the bottom
cowling, but I did not have the proper gasket! I was
really surprised, as I thought I had ordered all of the parts for the
assembly of the spare outboard. I will have to get the gasket ordered
ASAP.
I decided to put the bracket
assembly and the upper
casing together, so that would all be ready when the
needed gasket arrived. Foiled again! I was missing one of the upper
side damper mounts (58) in the bracket
assembly drawing.
Now I had to get two parts ordered to
get any of the spare motor back together.
I applied the second coat of varnish to
the interior teak pieces, and the second coat of
Cetol
to the teak wheel on DREAM AWAY. I also applied the second coat of
orange paint to the “trash compactor” and the two outboard
covers.
September 15, Sunday, 2013
Started off the morning with my normal
ritual of getting on the Internet, answering email, and checking the
weather, while making a pot of coffee. I also spent time with our two
cats, Jillian
and Jordan.
Went over to the shop
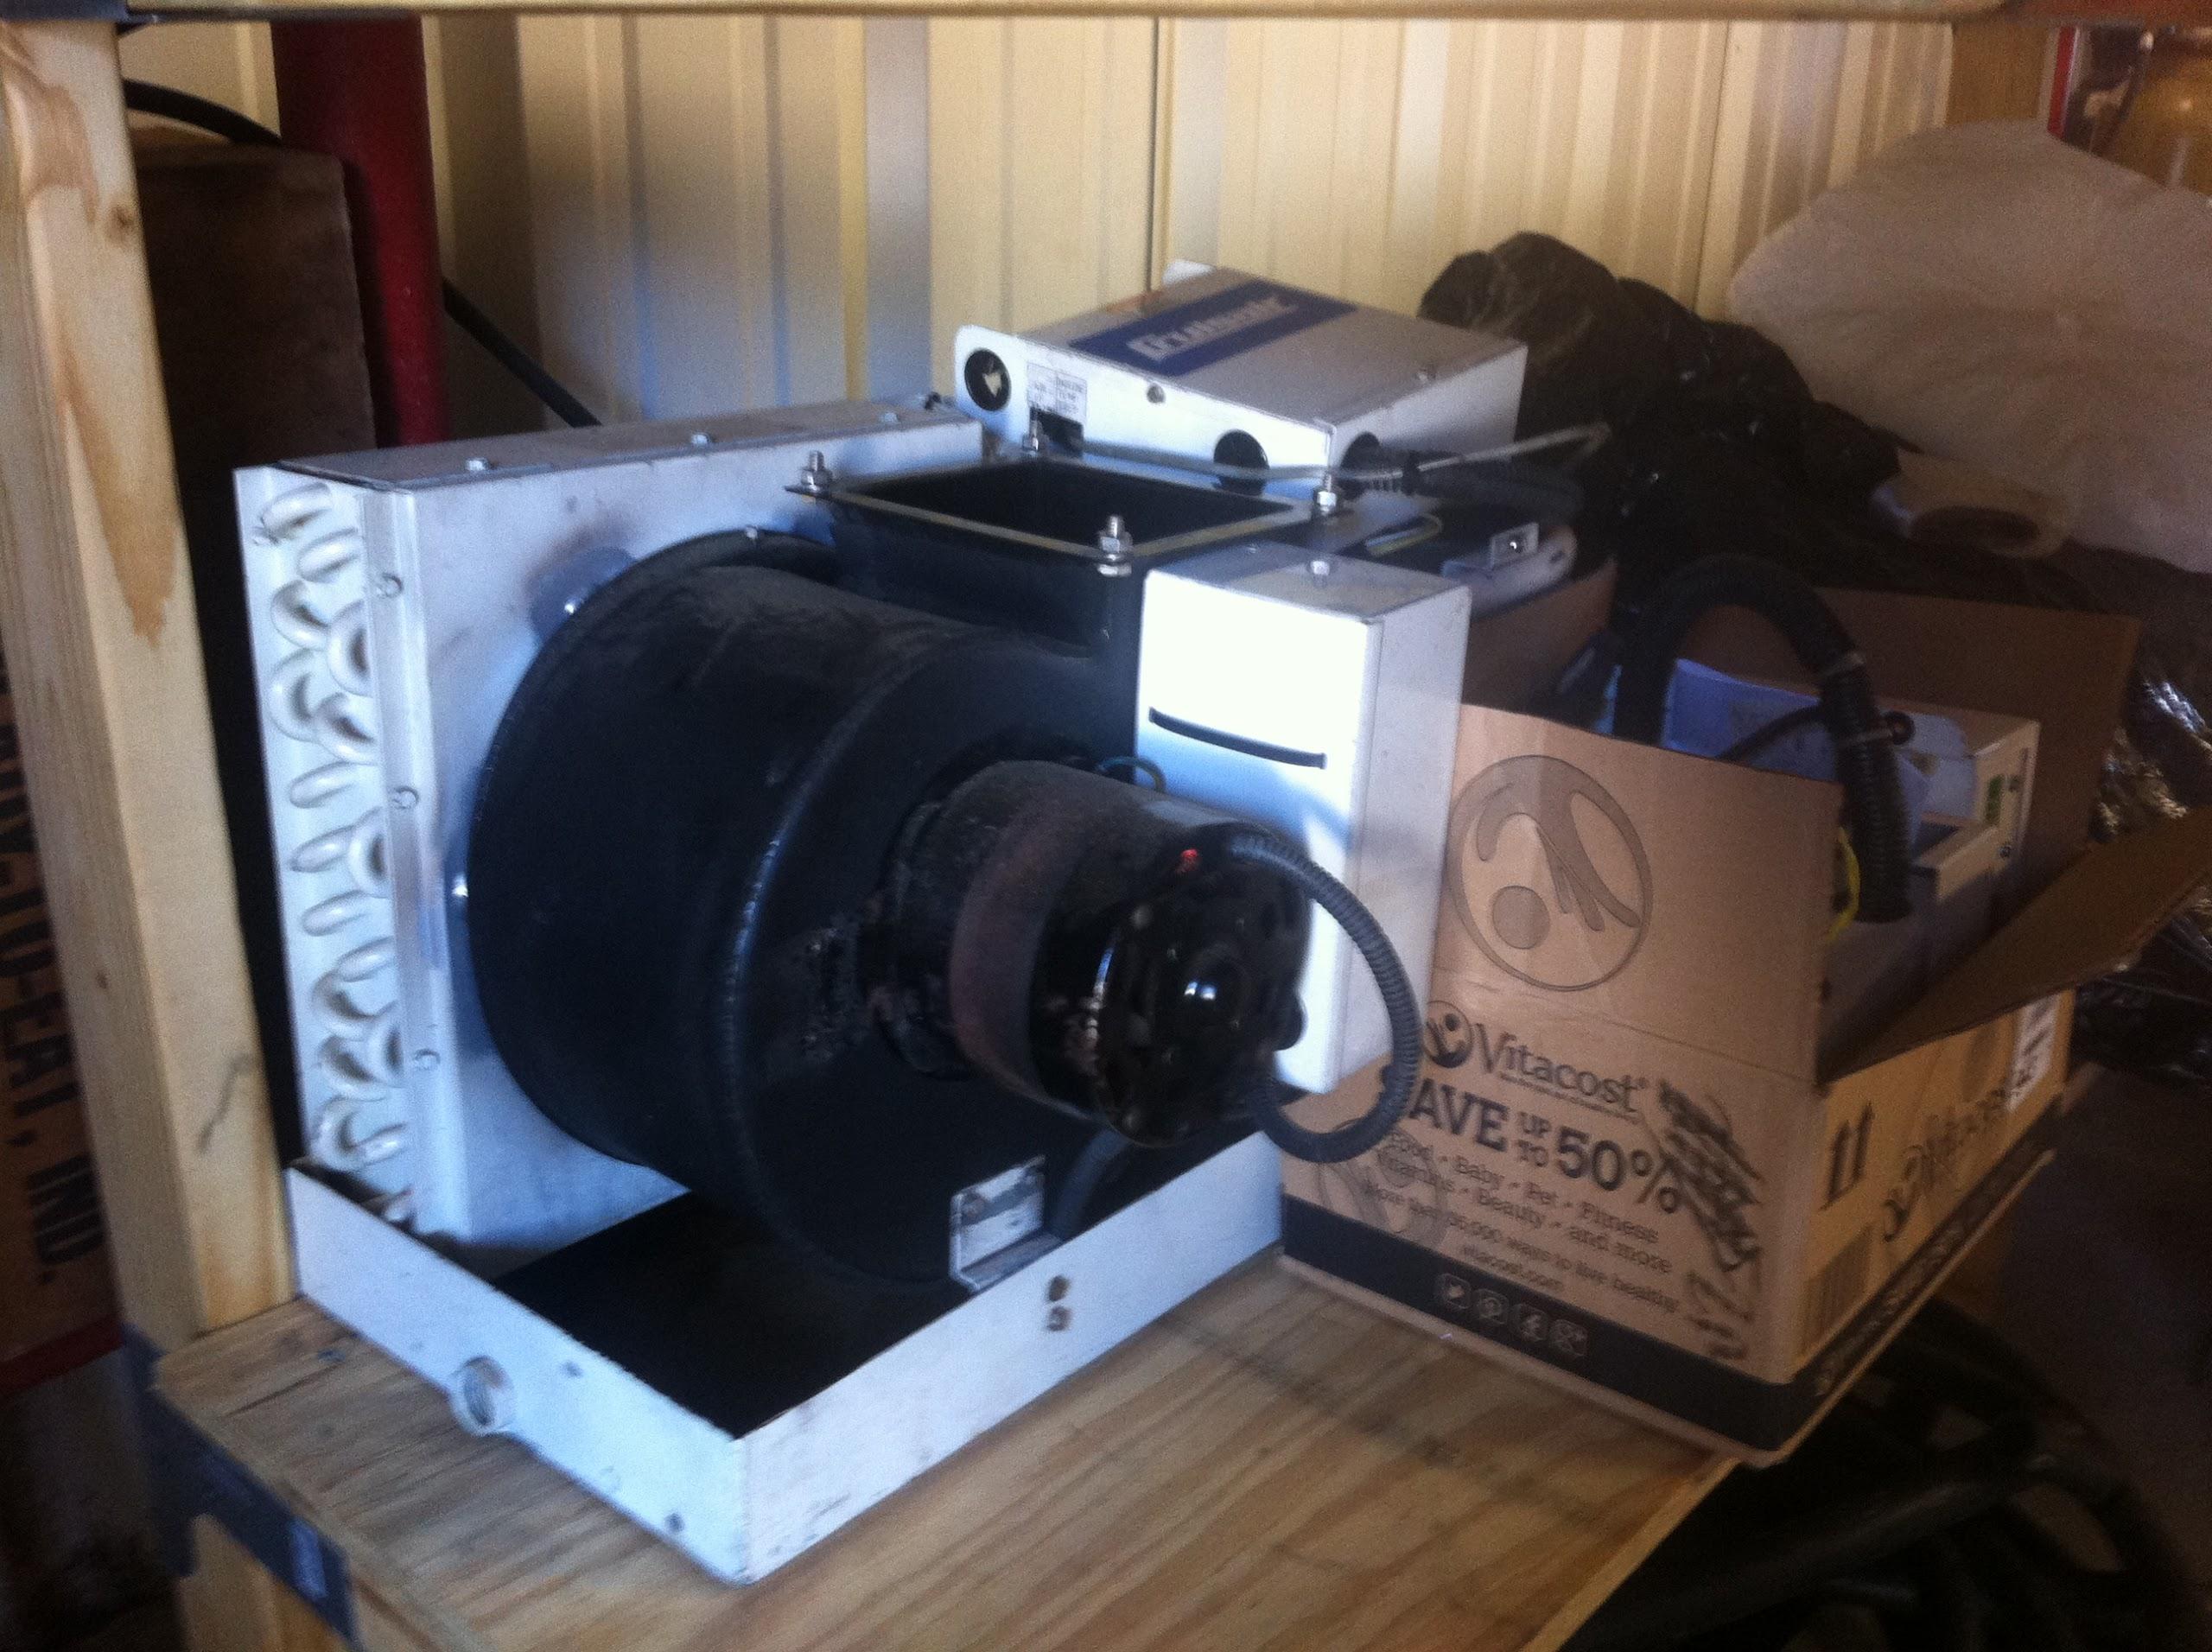
and got to work on the spare air conditioner. I thought I had the
wires sorted out to get the digital control to work, but I could not.
It could be the control is bad, and will never work, The good news is
the spare air conditioner works, and I have a spare in case my new
unit dies. The spare is stored in the shop,
but on my next trip to Atlanta, I will take the unit there for
storage until needed.
Spare Air Conditioner In The Shop
I then started in on sanding the
battery box parts for the tender. I cut the bottom of the box so that
it was even, and sanded off the side of the box. There are some
fiberglass
fibers stick out on the side of the battery box, so I will apply a
layer of straight polyester
resin to the sides, to smooth out the sides.
I cut the pieces to the end of the top,
and will mix a pot of polyester
resin mash mix to “glue” the ends on the battery
box top.
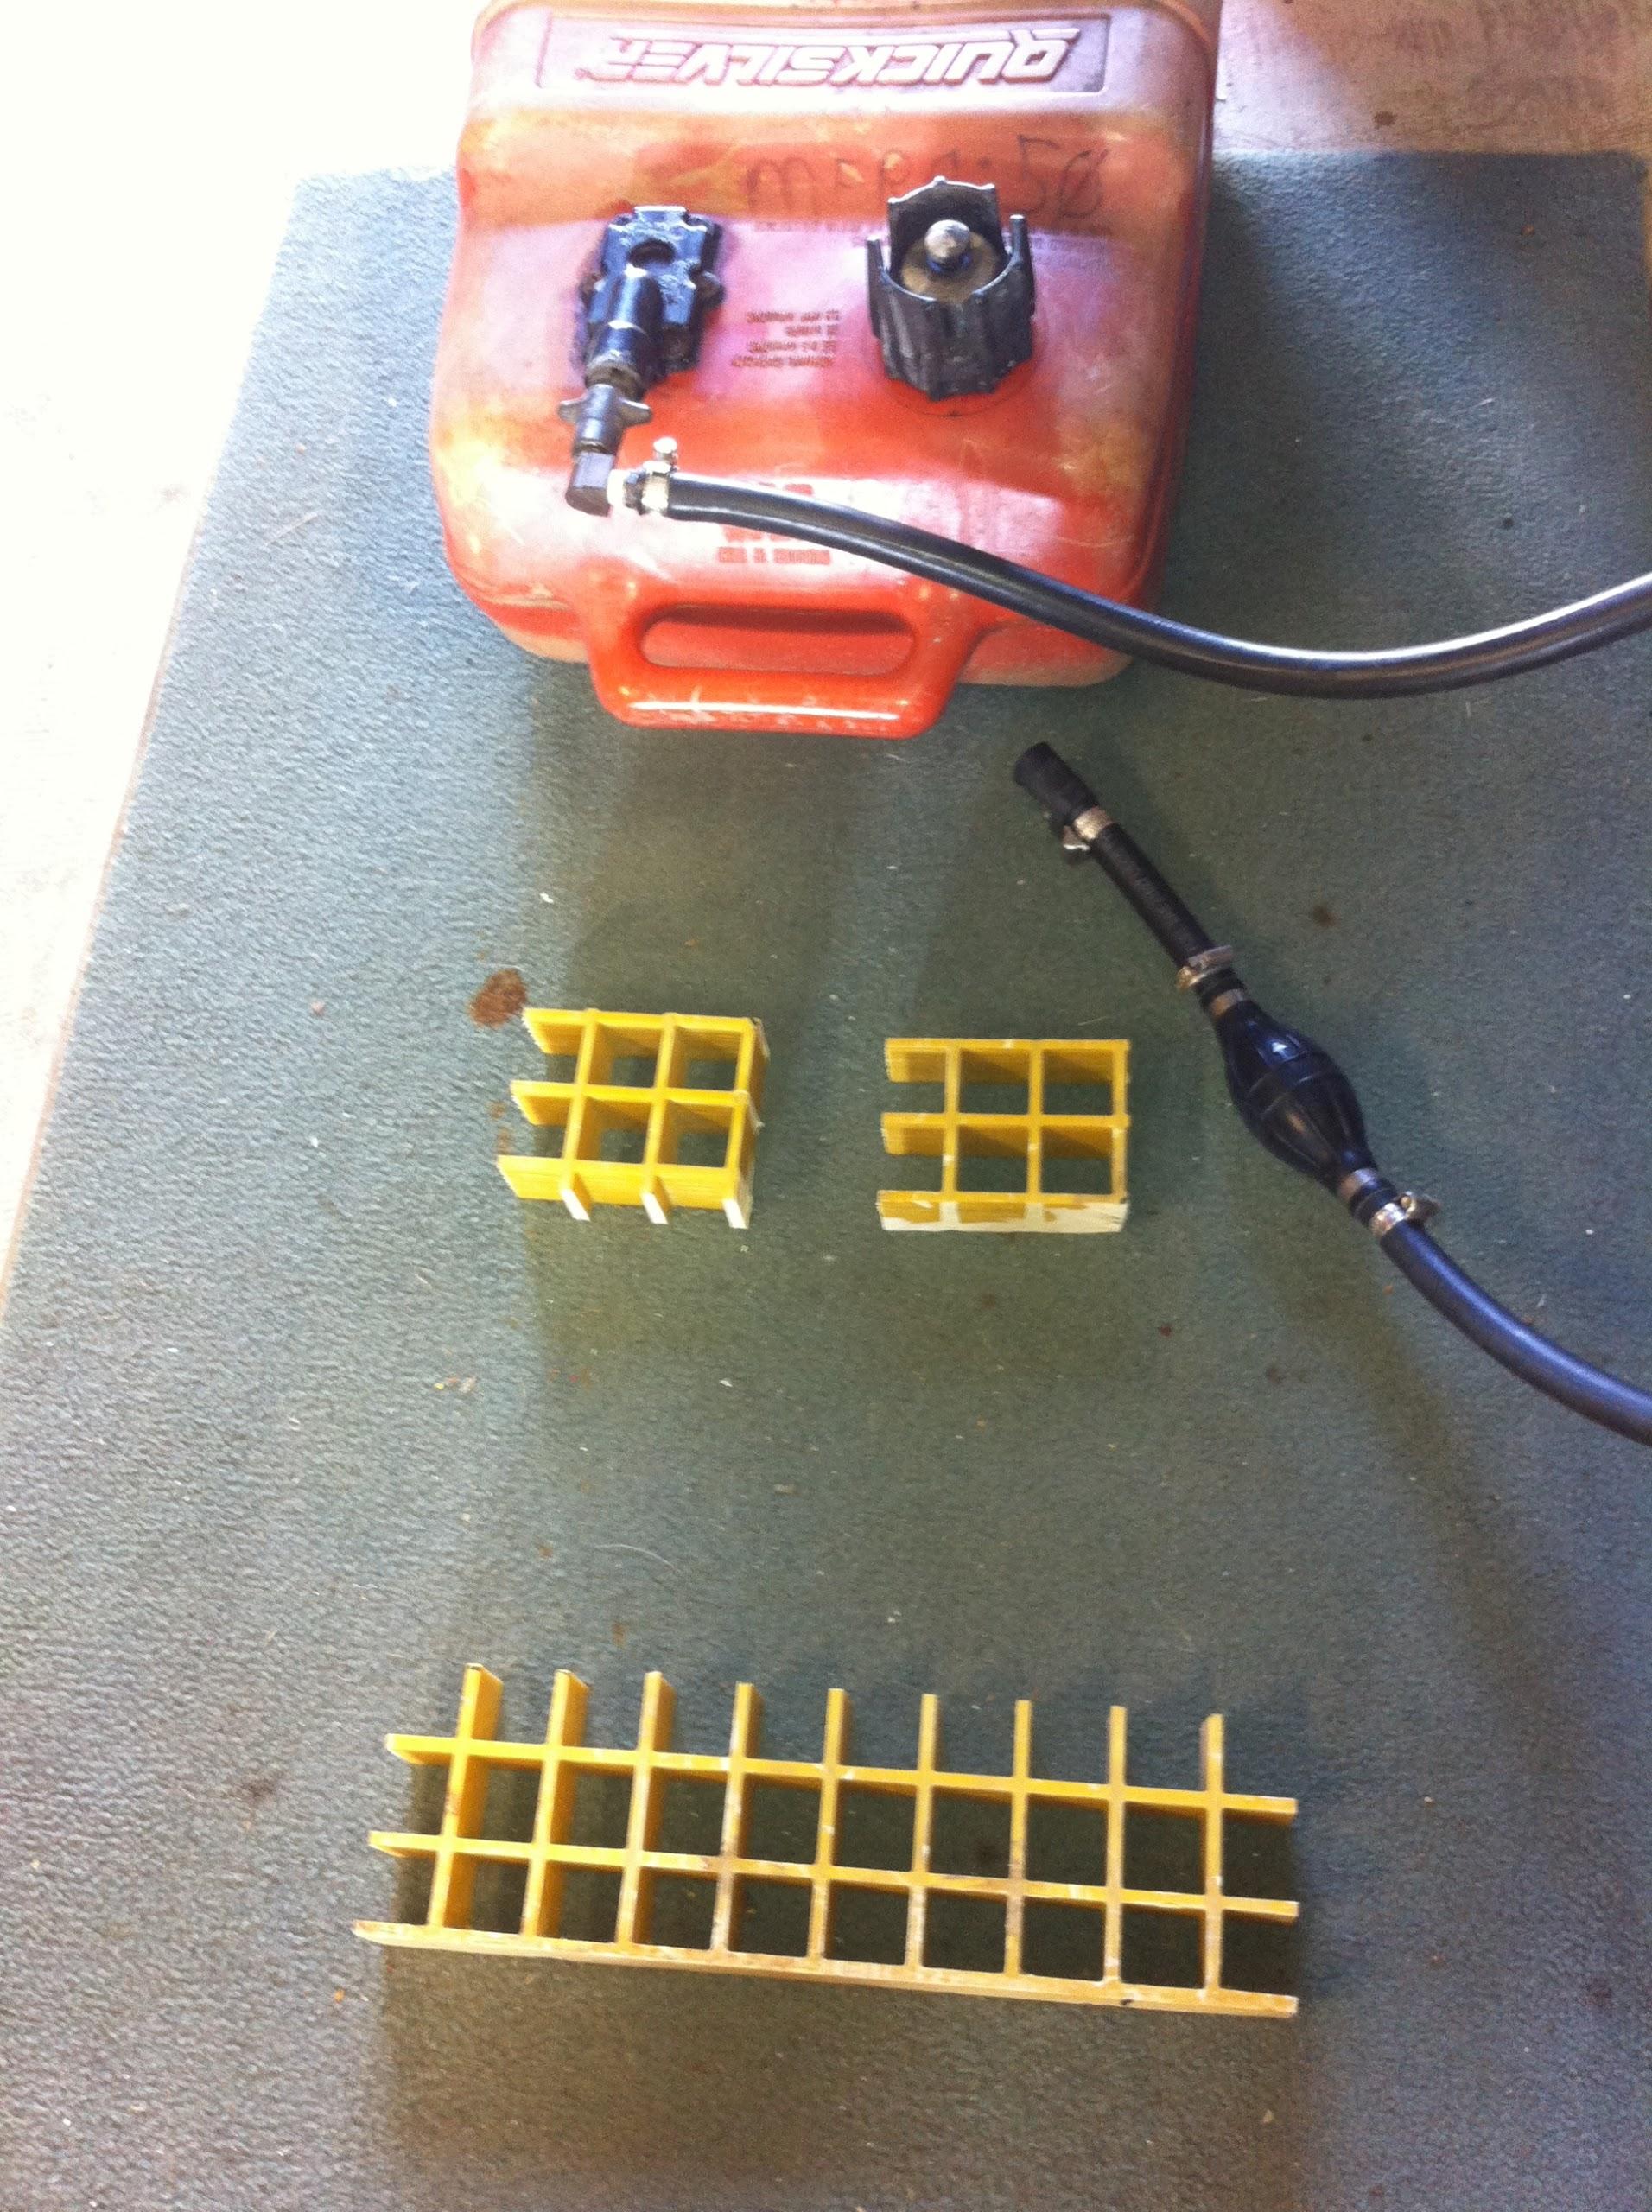
I also cut pieces of the fiberglass
grating so I could fabricate a long piece of grating to support the
fuel tank in the tender.
When I got all of the pieces cut and
sanded, I dry fit all of the pieces I was going to put together, I
mixed a patch of polyester
resin, and applied it to the sides of the battery box.
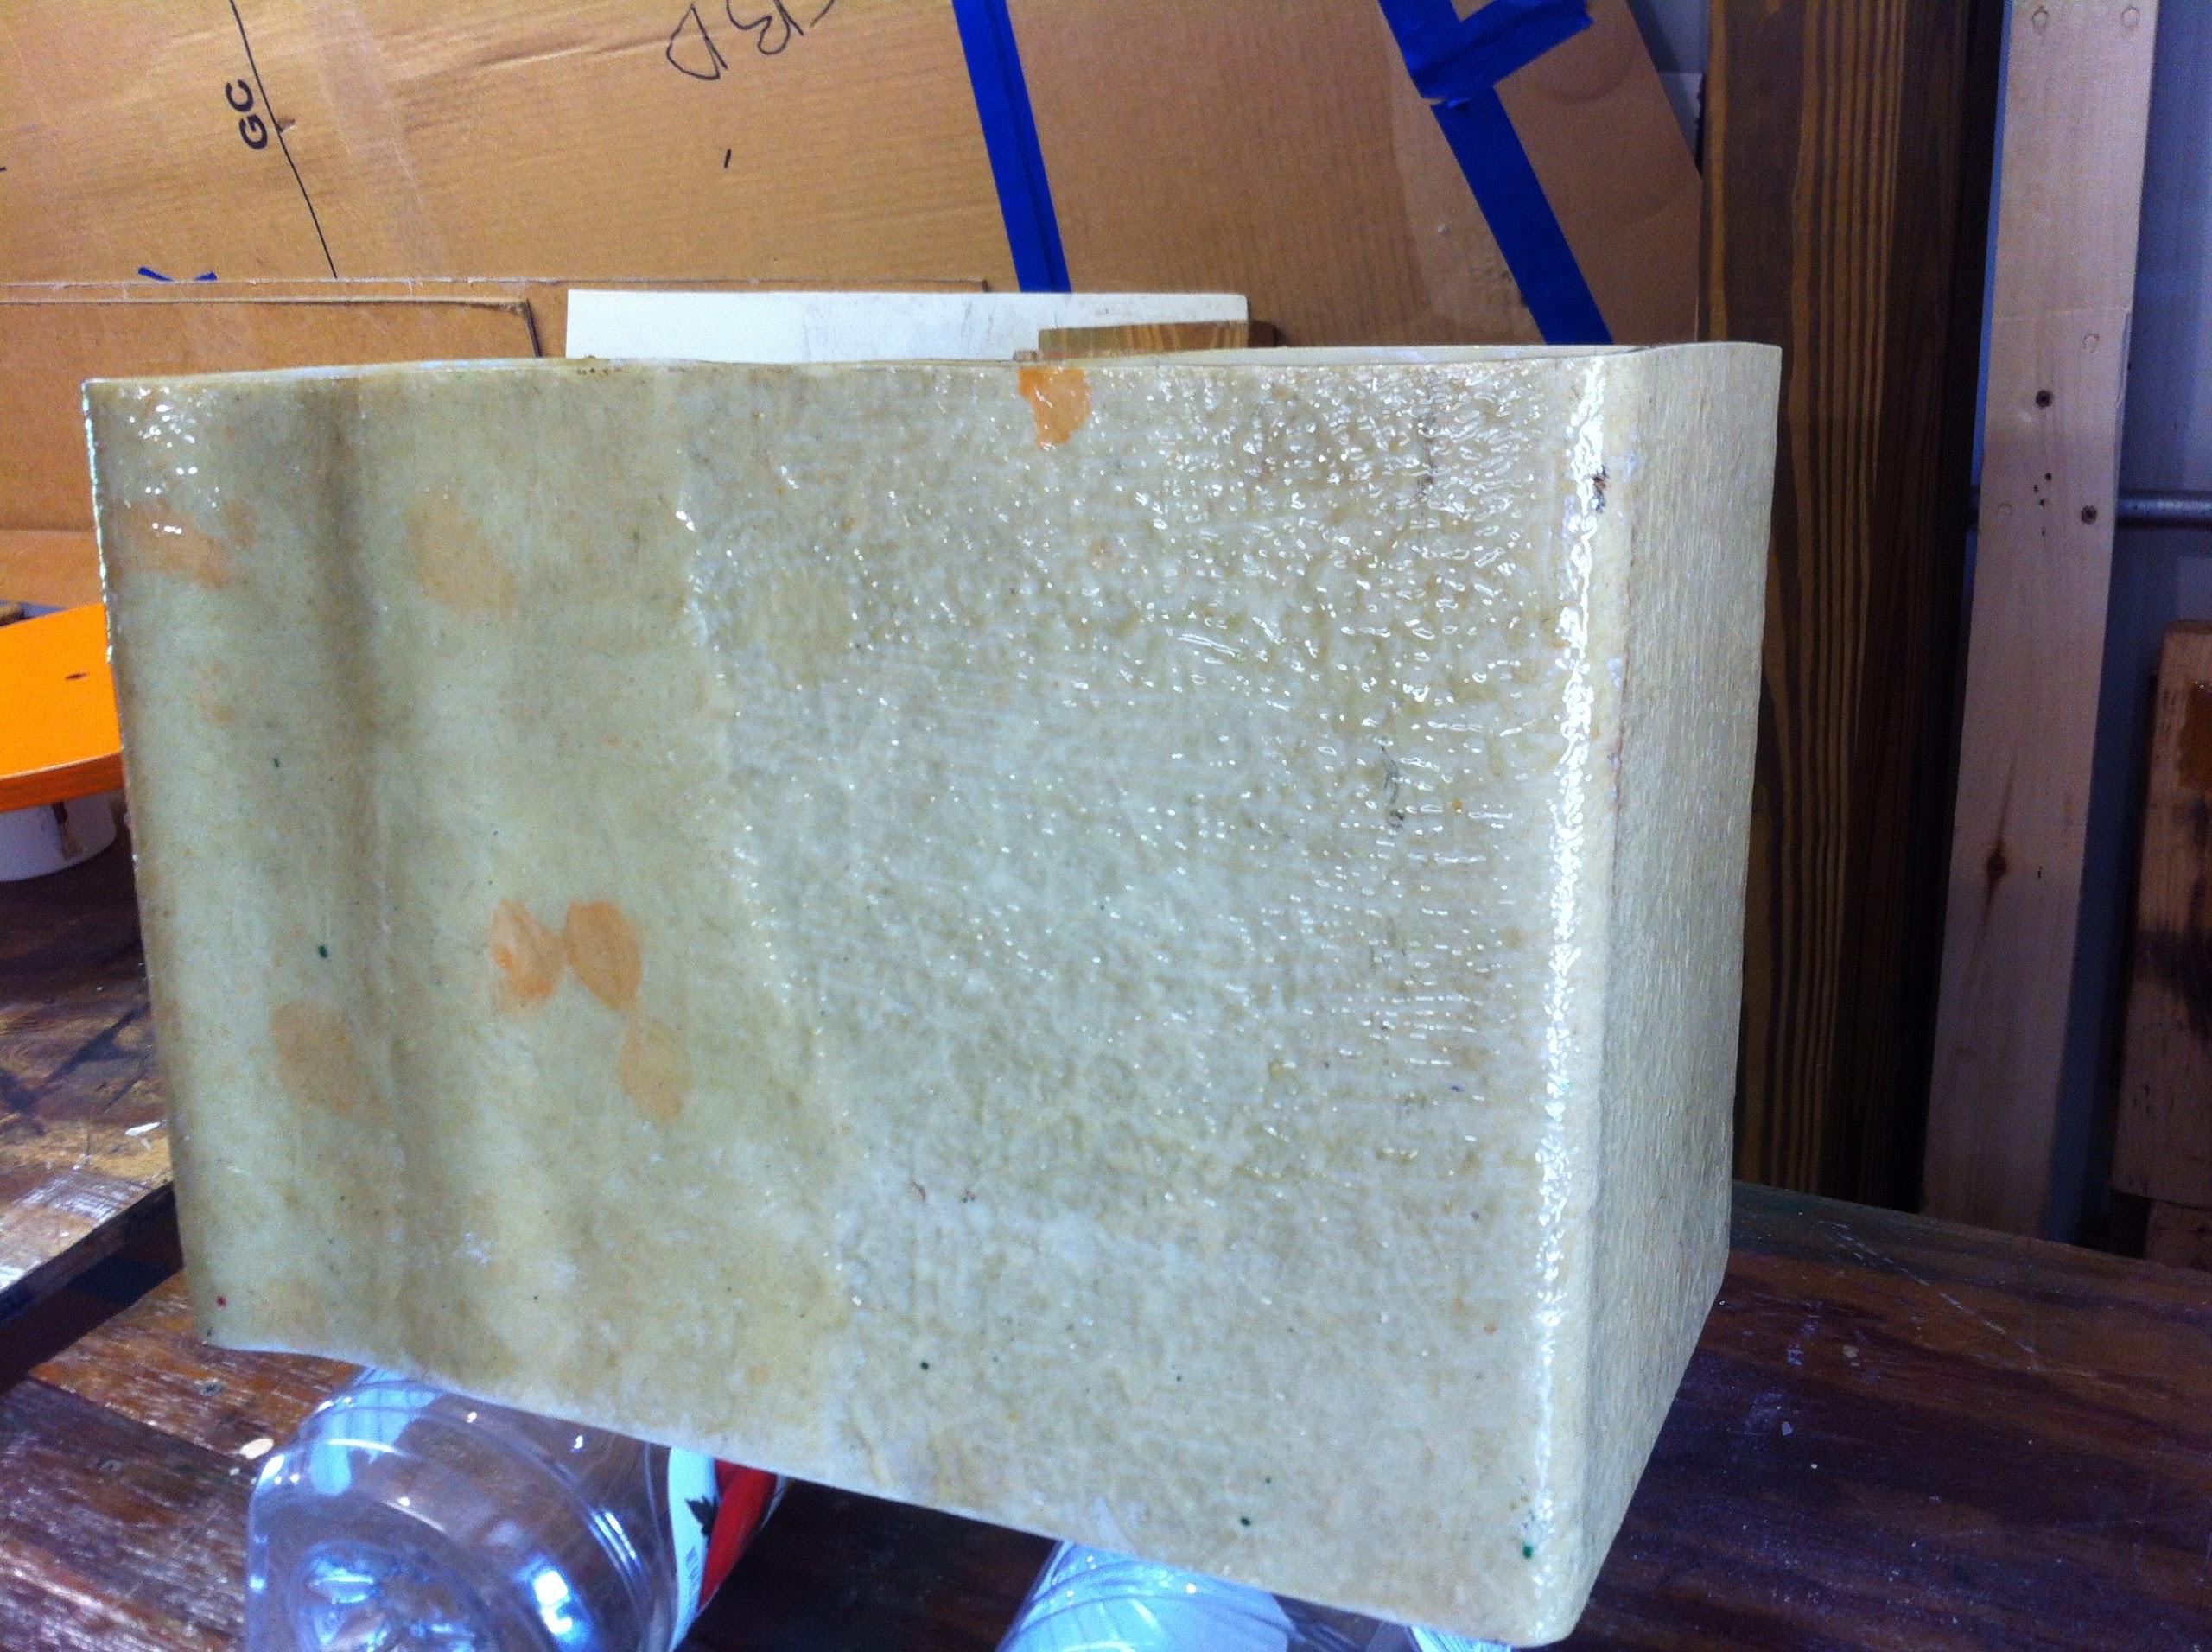
When I finished applying the straight
resin, I then added the cabosil
to the polyester
resin to make the mash mix to complete this days work
on the battery box. I dry fit the ends to the battery box lid, then
applied the mash mix to complete the battery box lid.
Dry Fit Of Battery Box Top
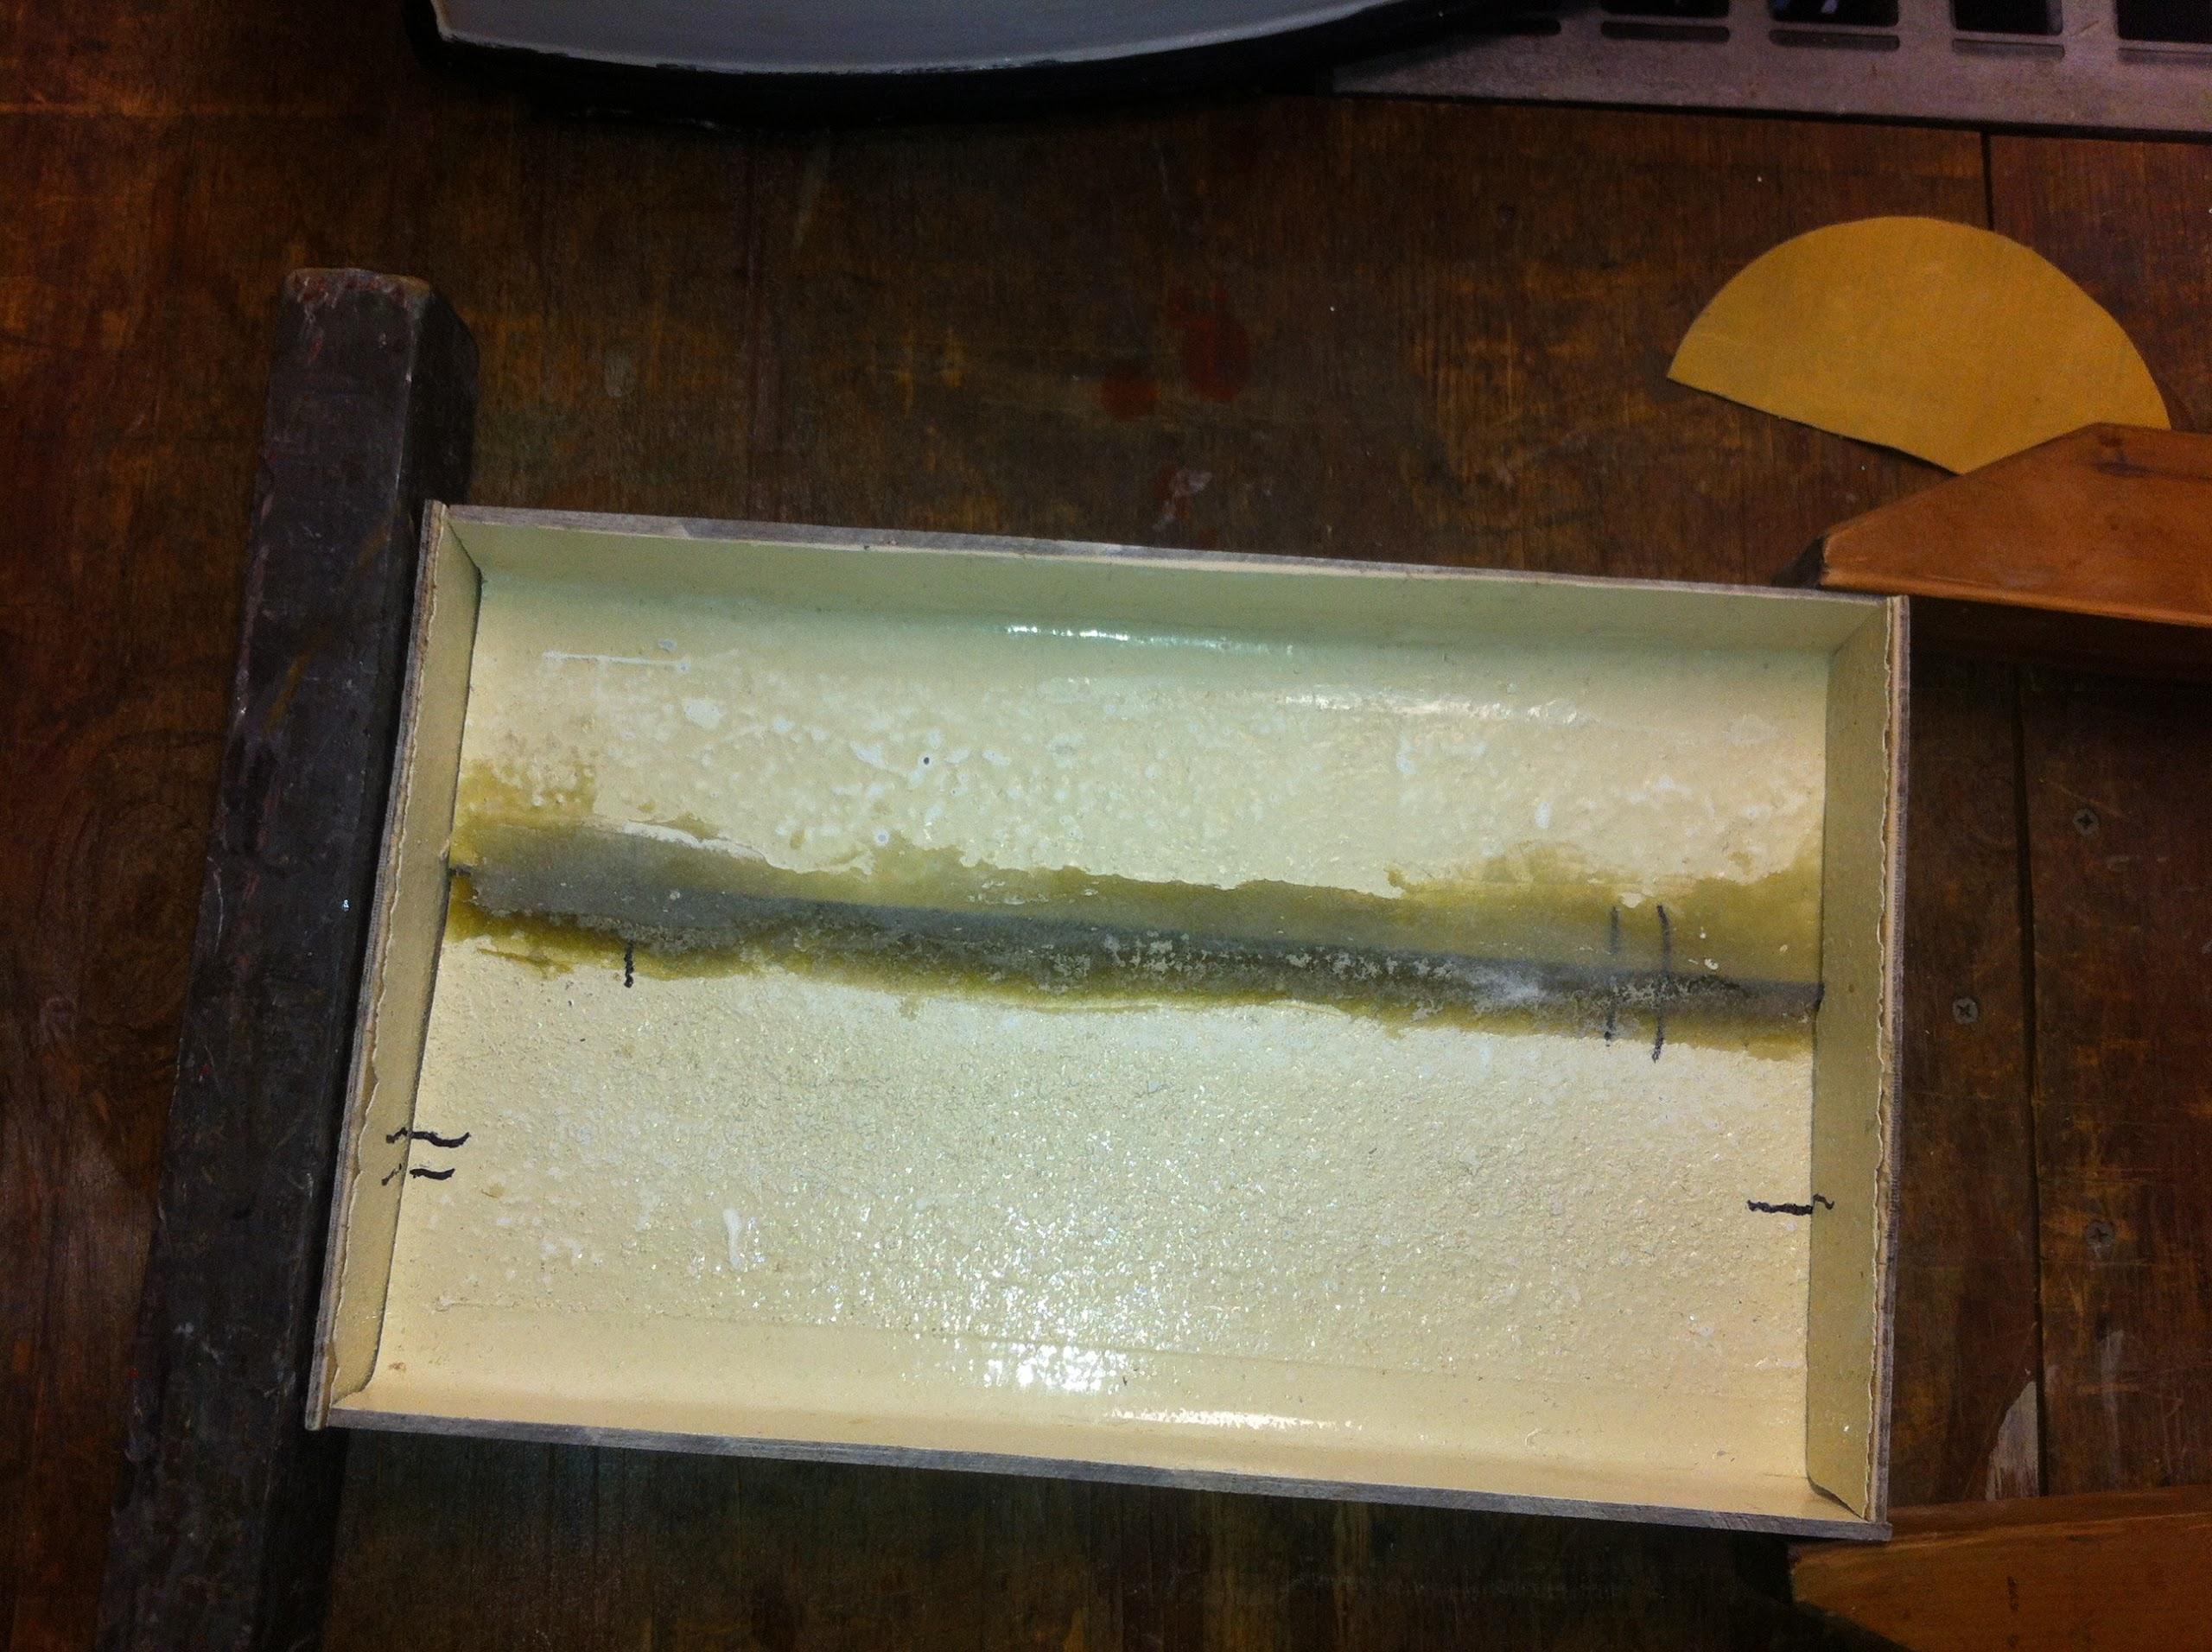
Battery Box Lid With Mash Mix Applied
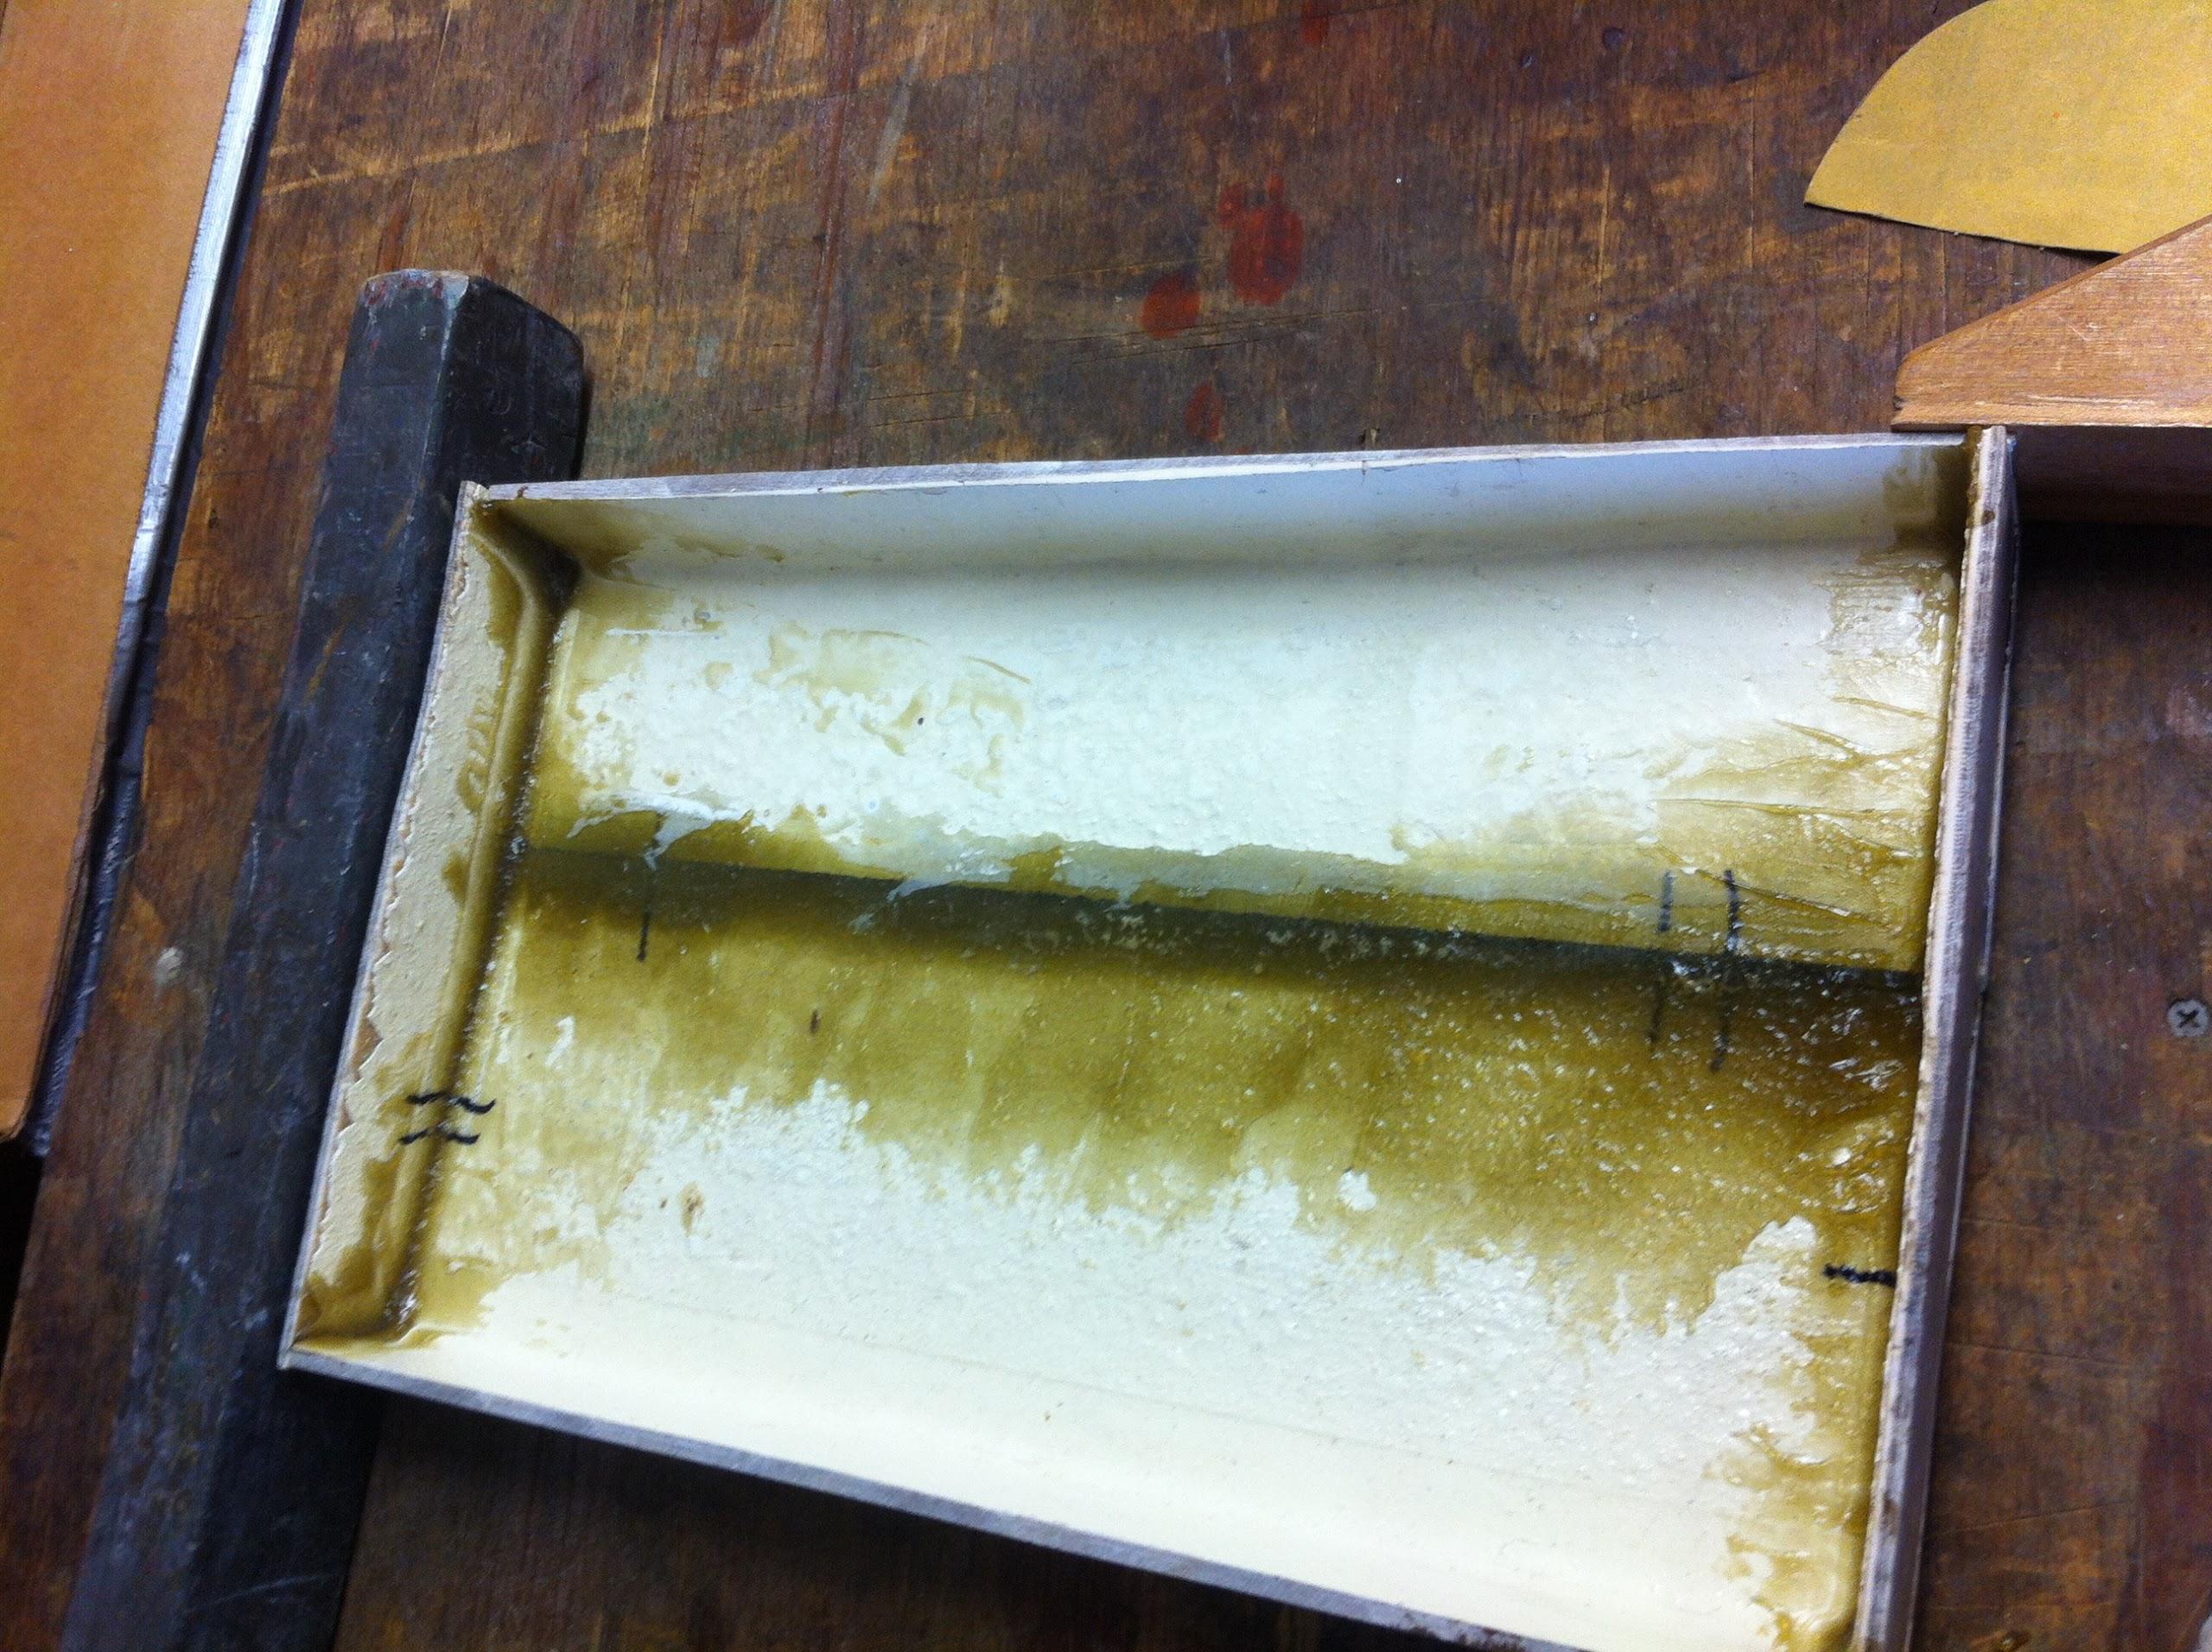
I then used the mash mix to put
together the pieces for the grating assembl.
Grating Together With Mash Mix

Next on my list was to get to work on
the SeaScooter Stacy had sent to me to test several weeks ago. I got
the unit out and ran it to be sure the battery in the unit was up. It
ran just fine, but still sounded like a thrashing machine.
SeaScooter On Work Bench
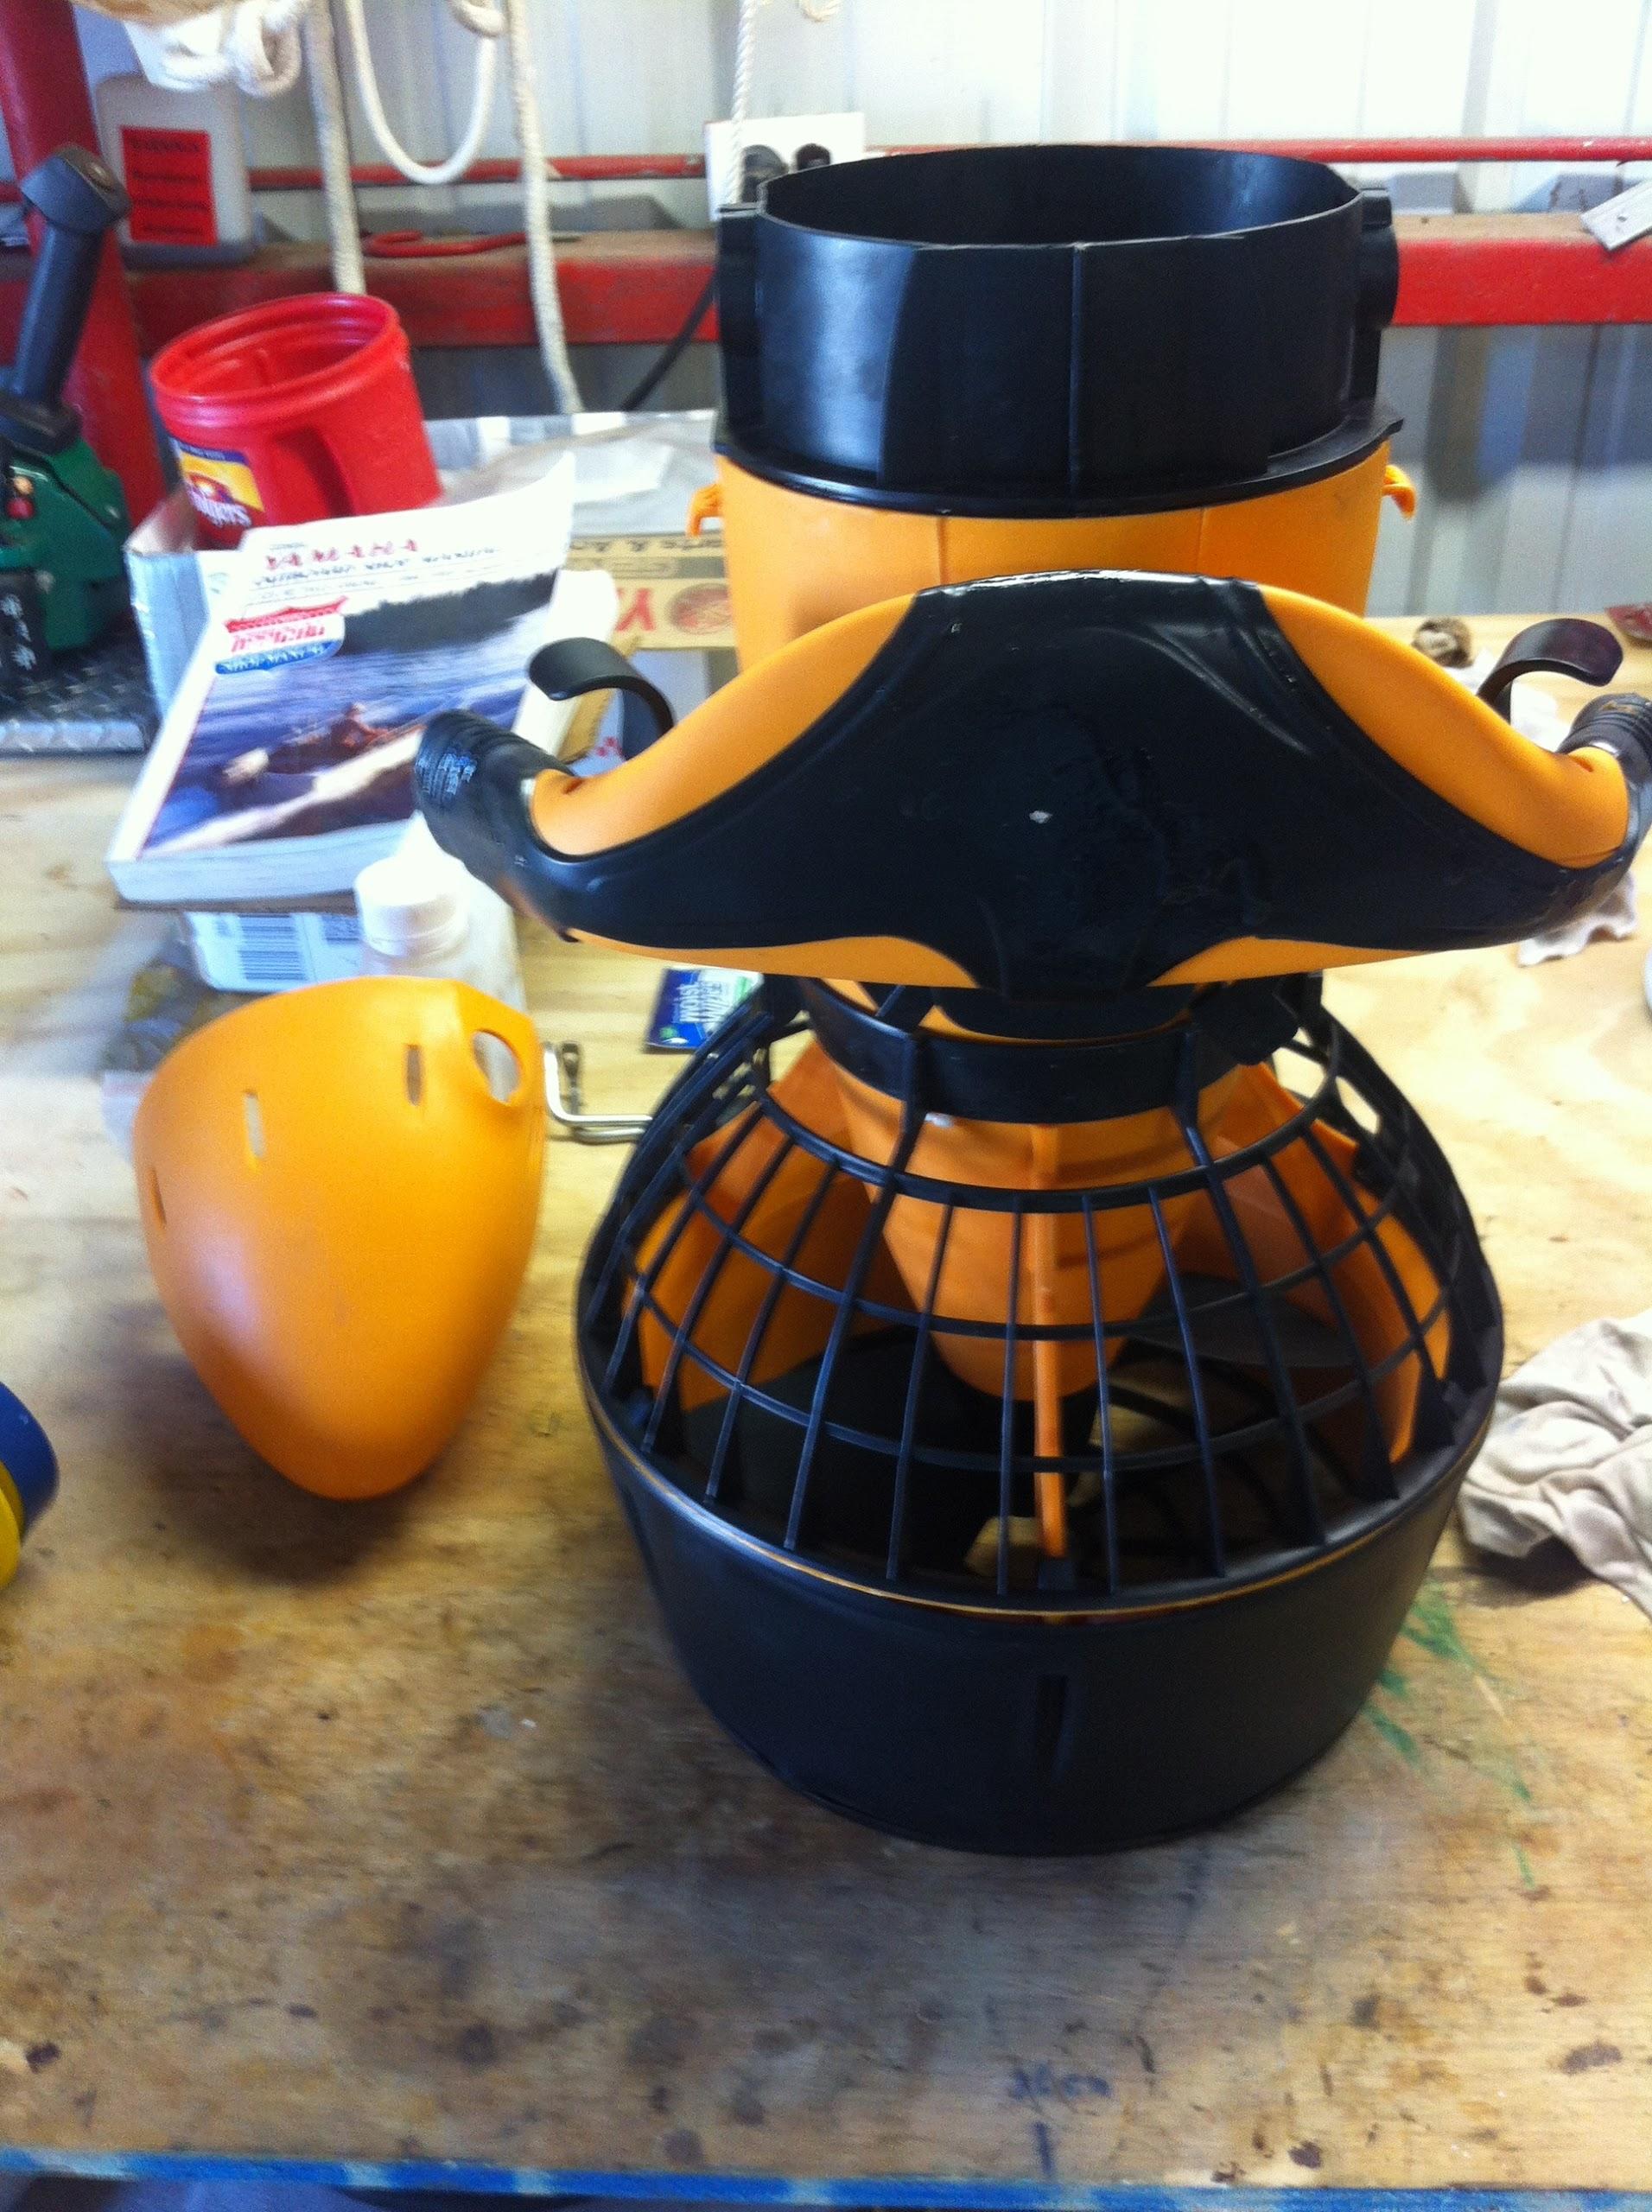
I decided to fill one of my barrels
with water, and submerge the SeaScooter in the barrel and see if it
worked partially underwater. When the barrel was 3/4’s filled with
water, I put the SeaScooter in the barrel and started it. It
definitely moved water! Once it splashed the excess water out of the
barrel, I was able to go to the high speed. I ran it for about 30
seconds.
When I took the unit out of the water
and ran the propeller, it still sounds like a thrashing machine. I
will let the unit dry off, and tomorrow I will see how to get to the
electric motor and the gear box if there is one. It sounds like there
is a lack of grease or lubricant in the propeller driving mechanism.
I will let you know how it goes with the testing.
Last projects for the morning was
painting. There is a new color scheme coming on DREAM AWAY, it will
be green and orange. Because of that, the “trash compactor” and
the two outboard covers are being painted orange, and I applied the
first coat of orange paint.
Orange Paint Applied To “Trash
Compactor” & Outboard Cover
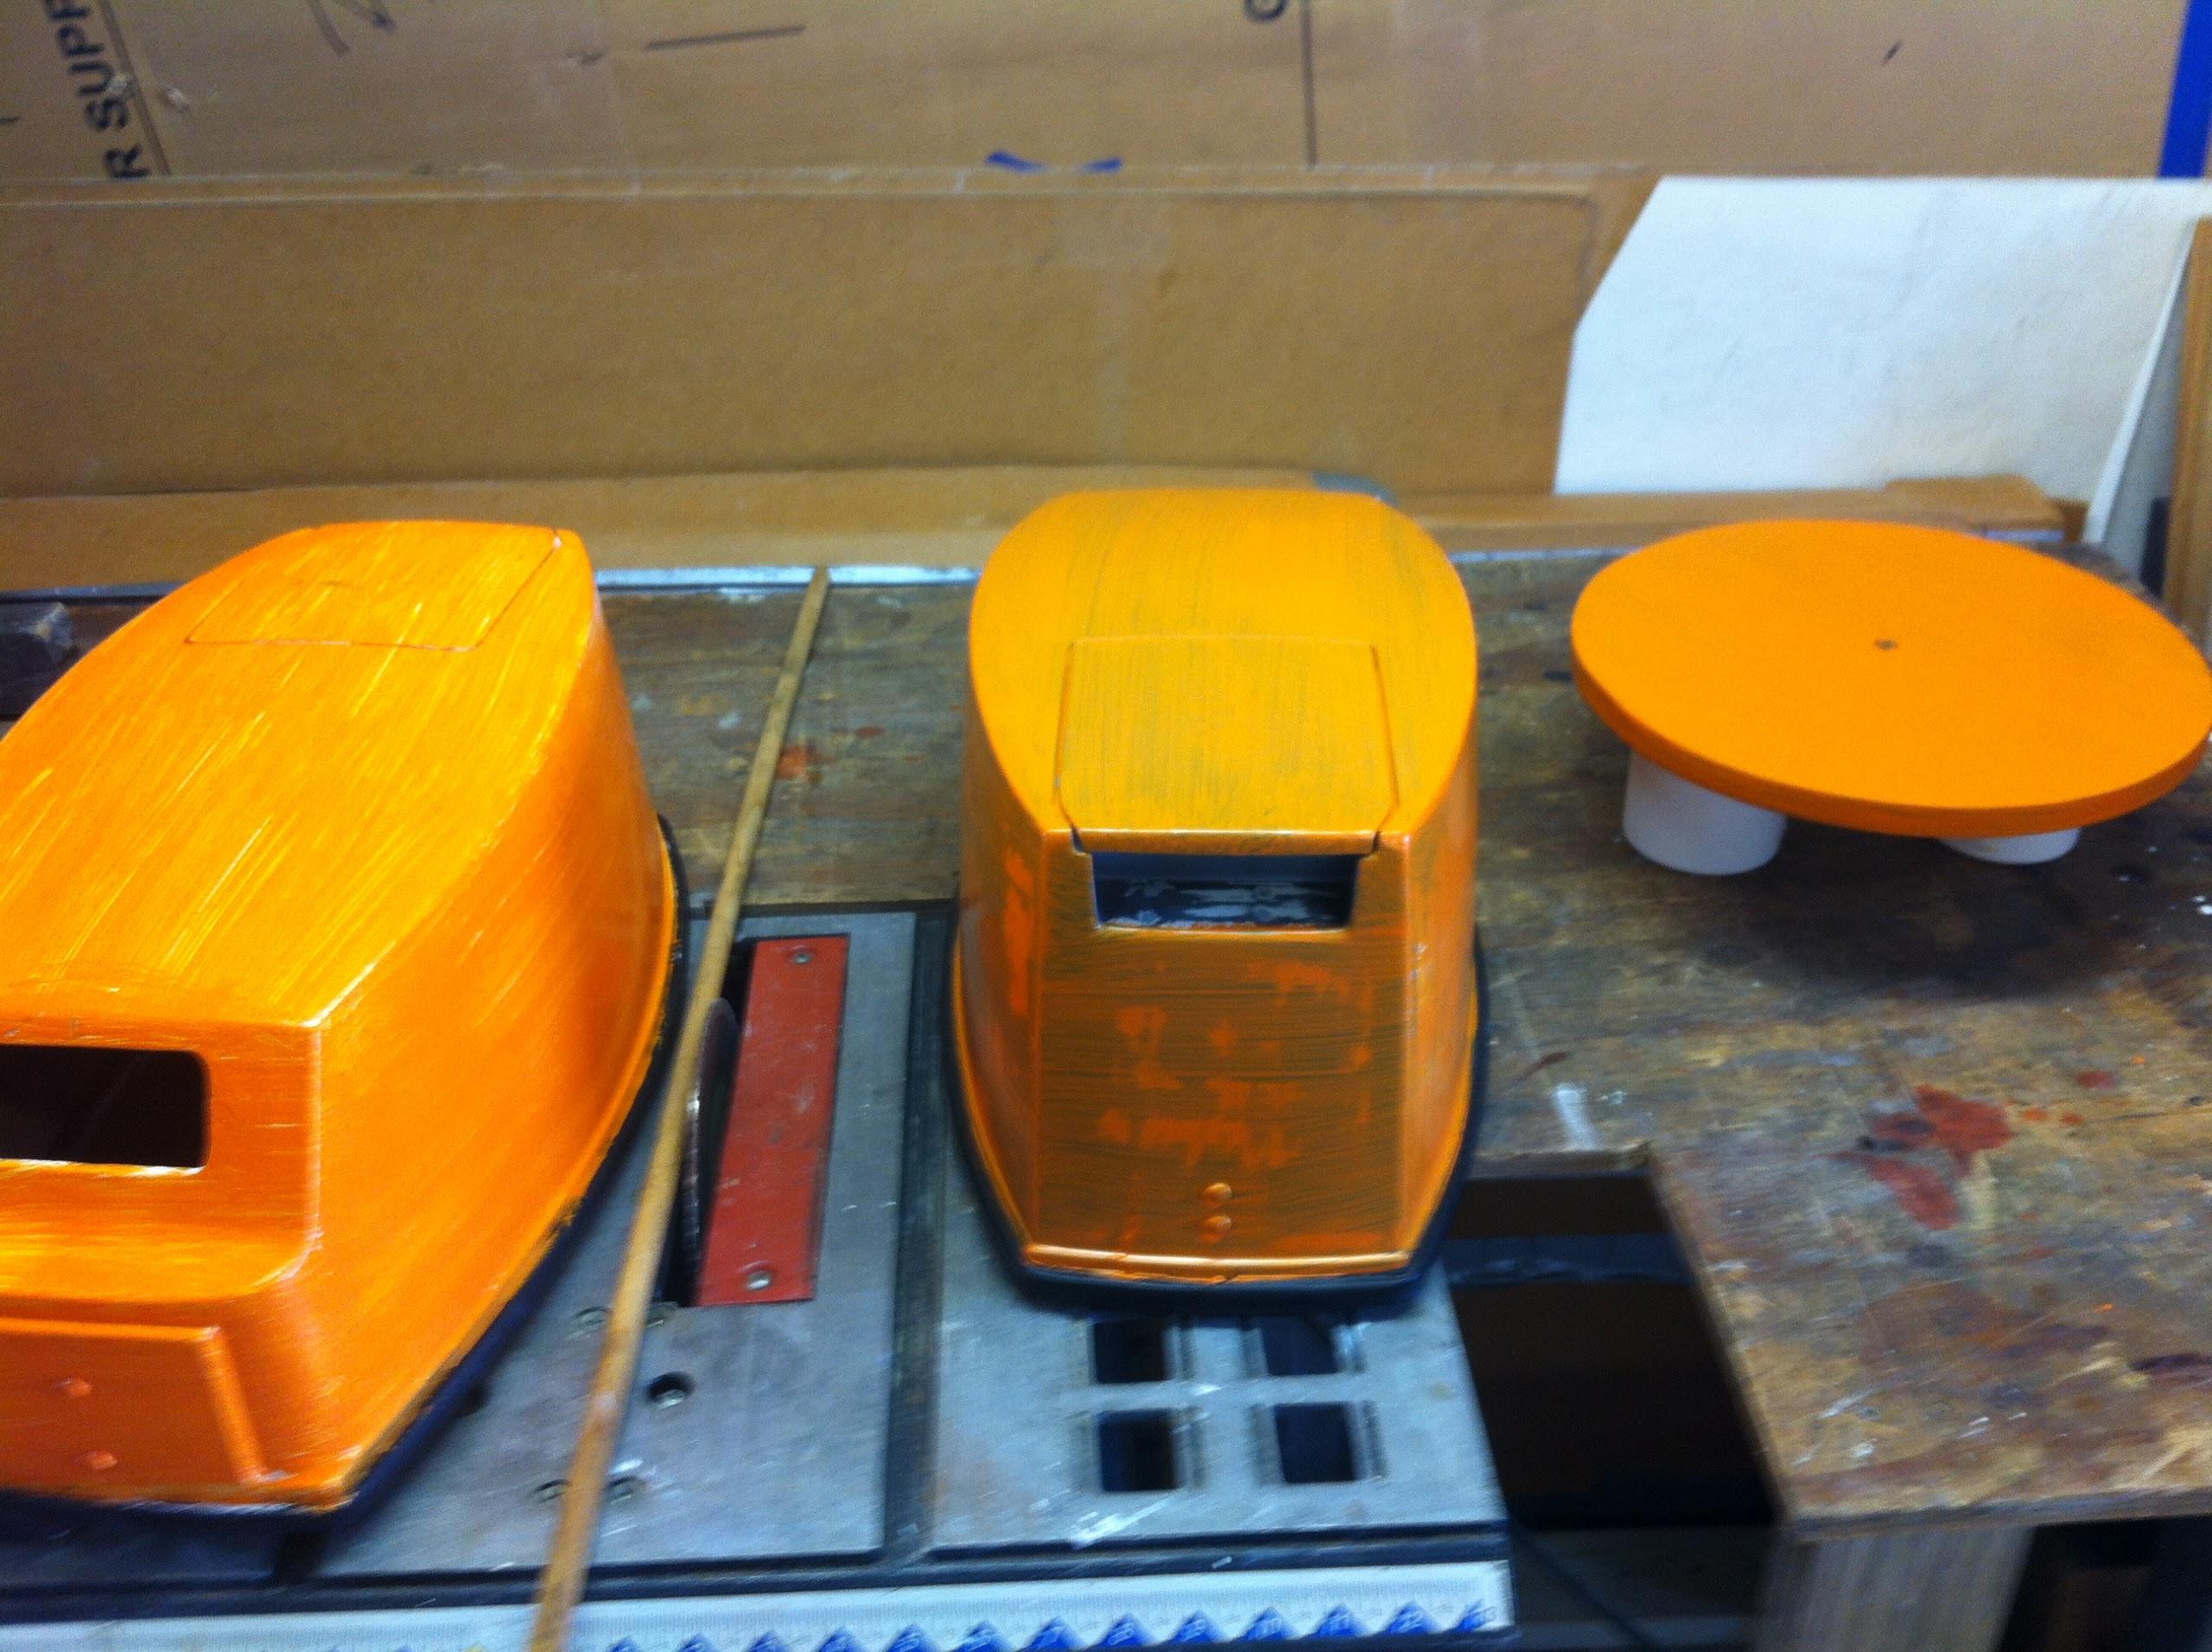
I also applied the first coat of
varnish to the interior teak pieces, and the first coat of Cetol
to the teak wheel on DREAM AWAY.
Suspended Teak Wheel After Cetol
Application

I moved the tender from the dock and
put it back into the water in the slip next to DREAM AWAY. I then
started up the pressure washer, and completed the cleaning of “A”
dock and all of the power pedestals.
I then removed the “Hummer
Grill” from the davits, and took it up to the
parking lot. I used the pressure washer and thoroughly cleaned the
grill. It took well over an hour, because of the rain storms. When
the rain clouds would come over, I put the pressure washer away into
the Black Beast, then ran for DREAM AWAY. When the rain clouds
passed, I started over with the pressure washing project.
When the first rain cloud was coming, I
also pulled the tender out of the water and back onto the dock so I
can do the work with the fuel tank and battery box. I did not want
the tender to get filled with water, and make it difficult for me to
get the tender out of the water.
September 14, Saturday,
2013
Started off the morning with my normal
ritual of getting on the Internet, answering email, and checking the
weather, while making a pot of coffee. I also spent time with our two
cats, Jillian
and Jordan.
An off day today, no work done on DREAM
AWAY projects today. We went to the Lydia
Food Festival in Lydia, Louisiana. We enjoyed some of
the food, but we went with our friends Bonnie and Joel to see and
admire the older cars on display from the 50’s and 60’s. Great
fun.
We came back and watched the Texas
Aggies lose to the Alabama Crimson Tide. It was a good game, but
tough because we lost.
September 13, Friday, 2013
Started off the morning with my normal
ritual of getting on the Internet, answering email, and checking the
weather, while making a pot of coffee. I also spent time with our two
cats, Jillian
and Jordan.
Went over to the
shop
and changed the blade on the table saw to the
fiberglass
cutting blade. I then rolled the table saw out of the shop onto the
driveway.
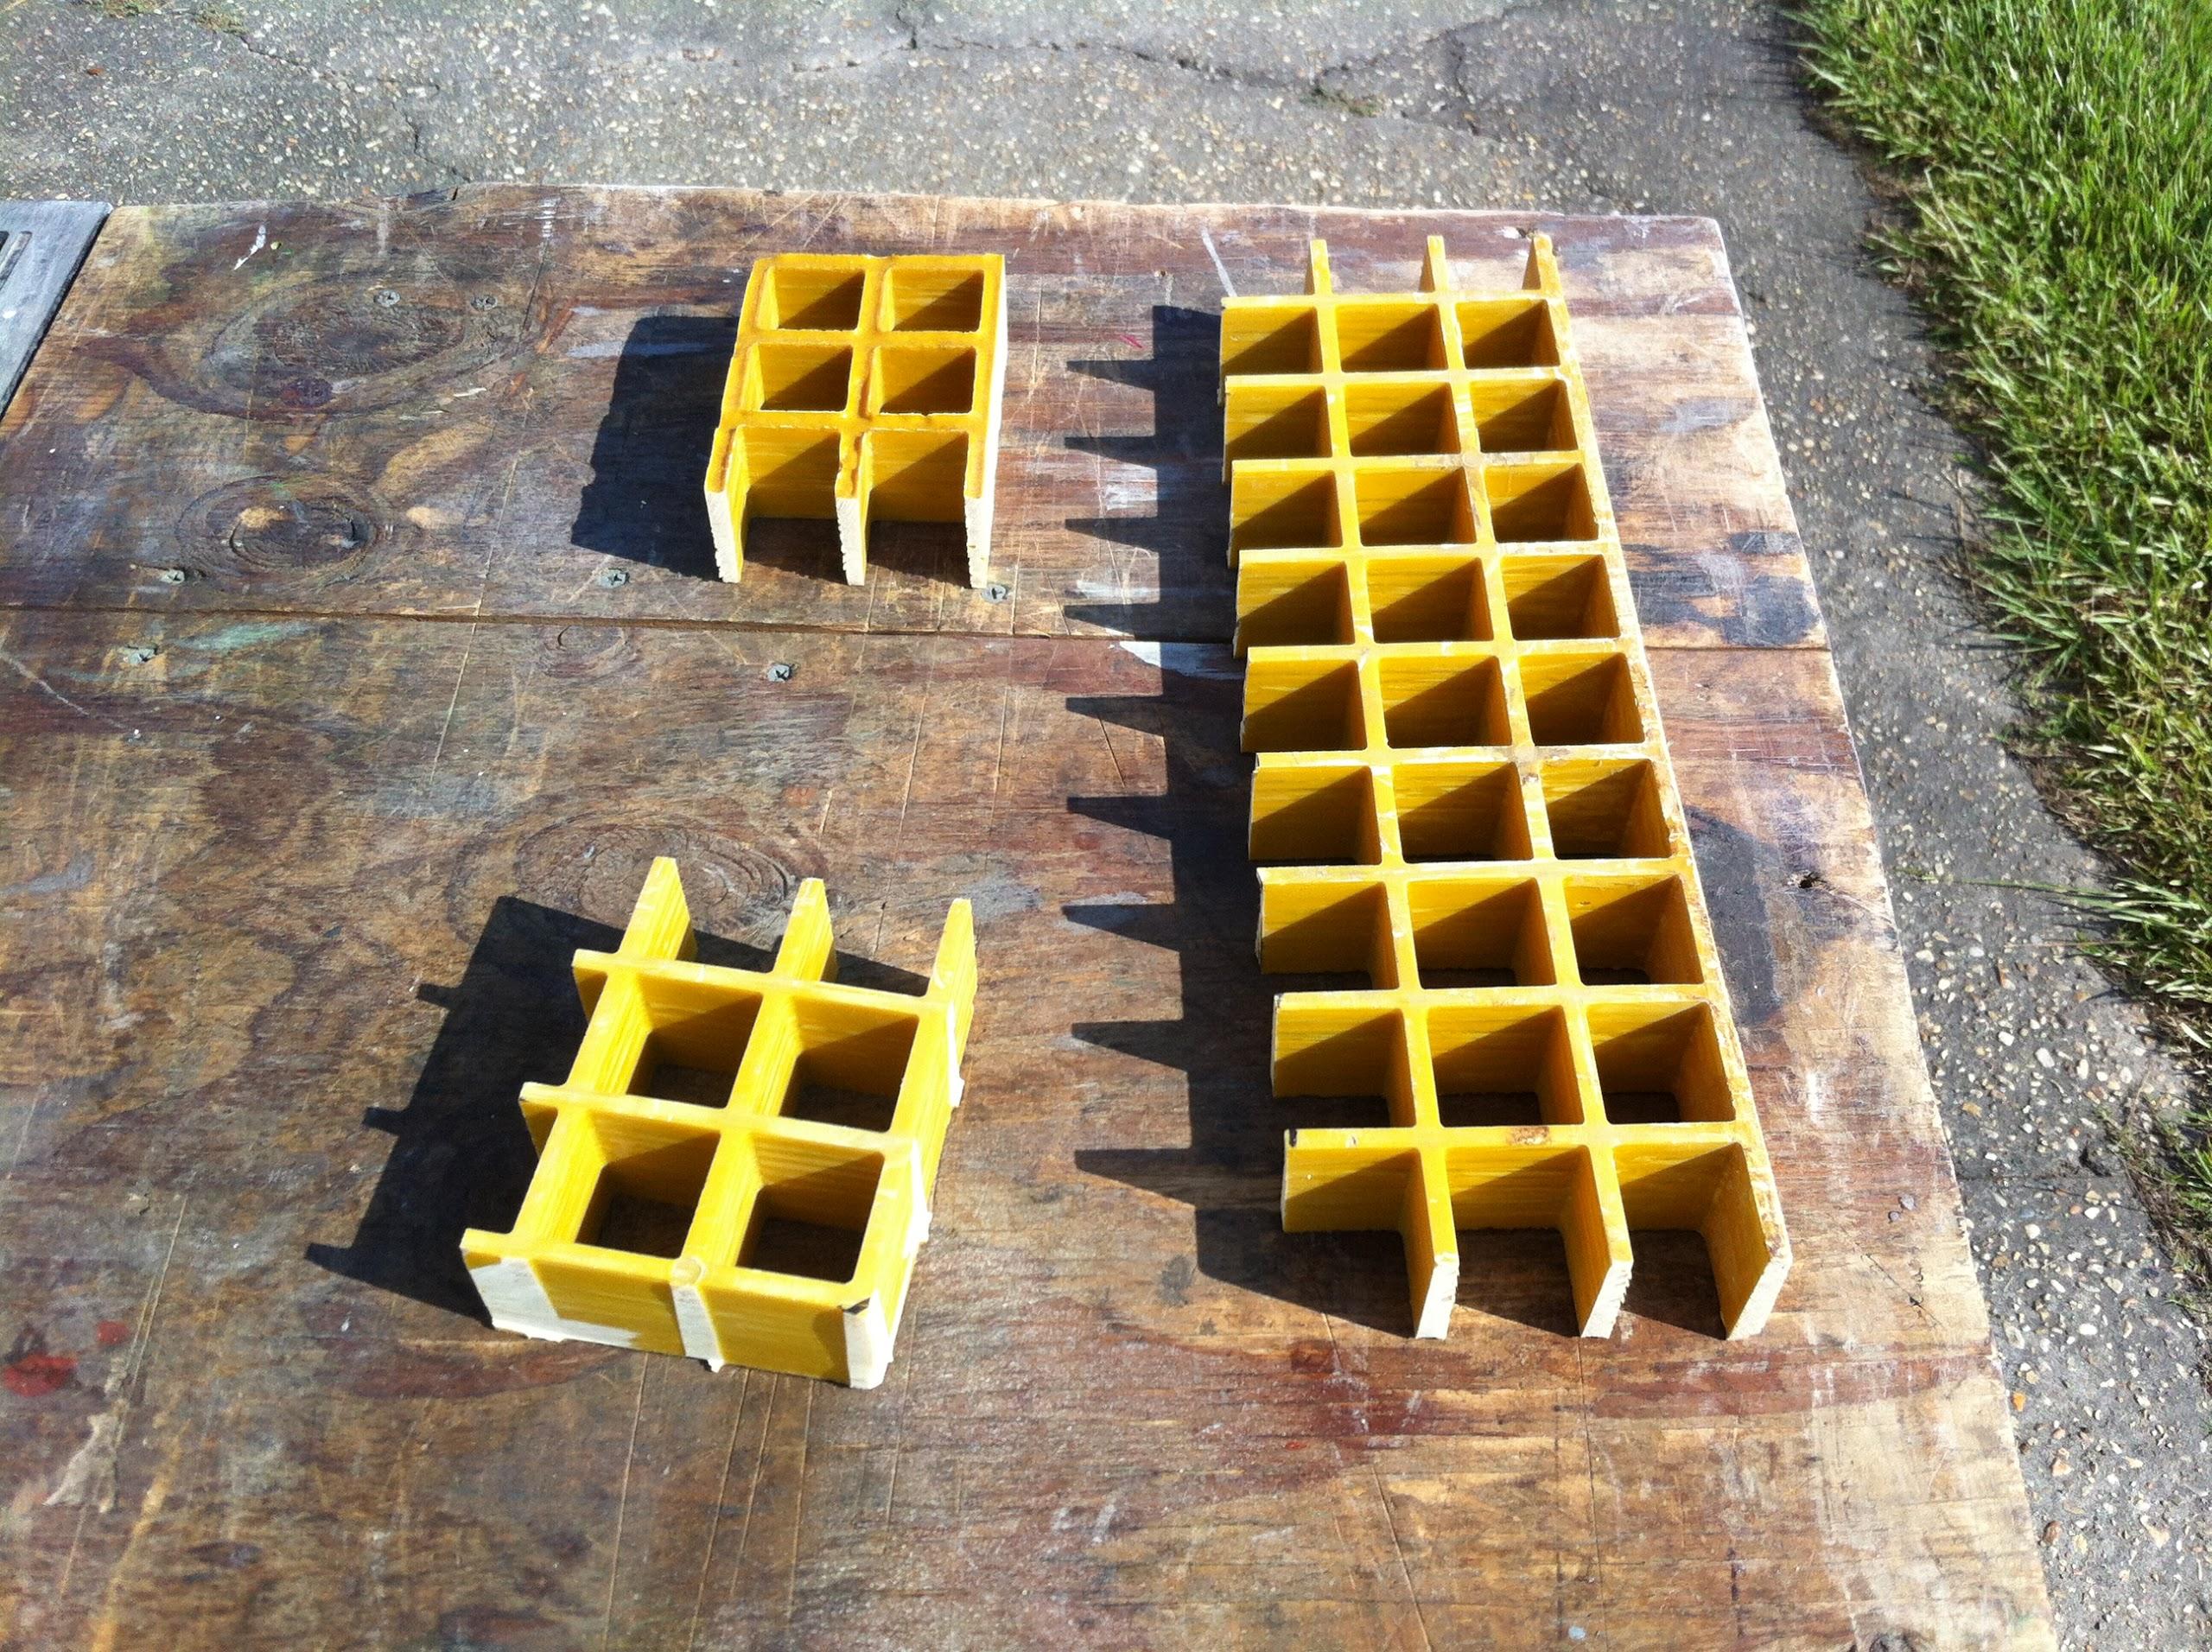
I cut the fiberglass
grating so I could use some of the parts as a stand for the fuel tank
in the tender. I also cut off a piece of the fiberglass
rectangular tube I have to be used for the battery box in the tender.
I then cut up a piece of fiberglass
so I can use some parts to make a top to the battery box.
I am going through all of this effort
so I can lock the battery and the fuel tank to the tender. This will
serve as security and will keep all of the parts with the tender
should the tender turn over. This has happened twice, so there is no
reason it could not happen again.
Cut Grating
Cut Battery Box Parts
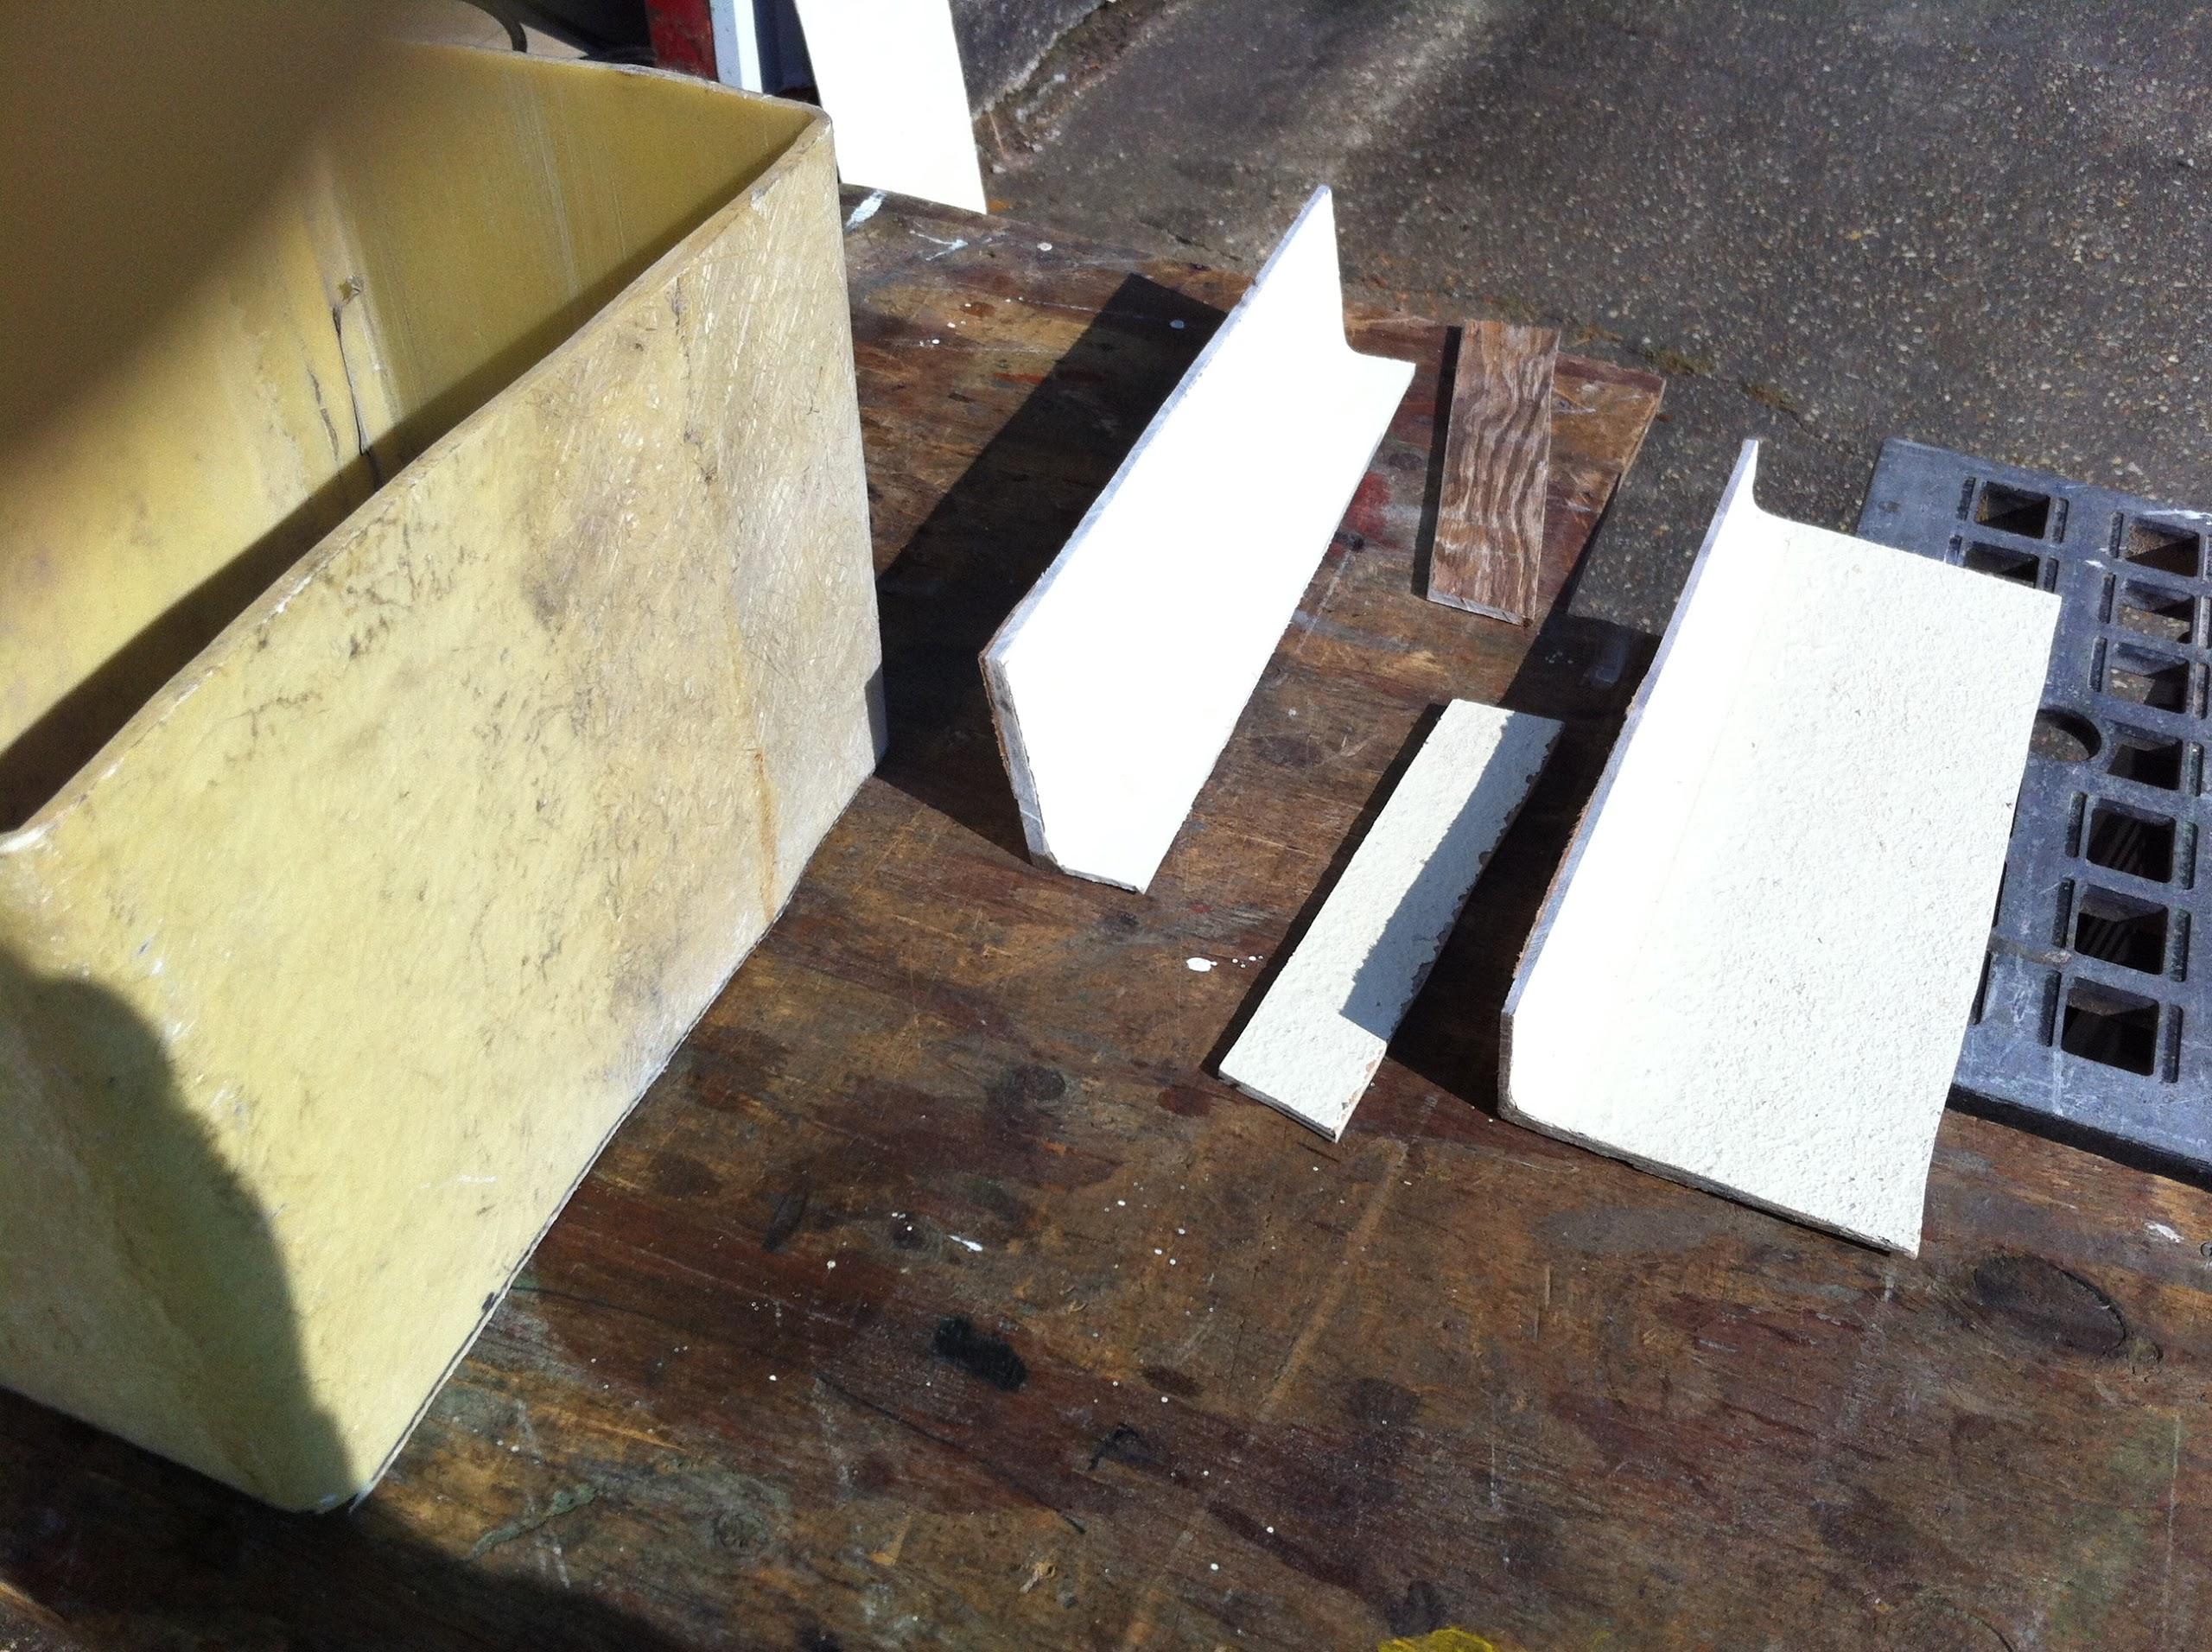
Cut Pieces For Battery Box Top

Checking Cut Grating Pieces To Fuel
Tank
I then fitted the two battery box top
halves together to make sure they would fit. I mixed up a batch of
polyester
resin mash mix, and used the mash mix to hold the two
pieces together. When the mash mix sets up, I will glass a layer of
mat to the inside of the battery box top.
Battery Box Top Pieces Fitted Together
Battery Box Top Pieces With Mash Mix
Applied

The Smith’s
penetrating epoxy I had applied to all of the teak
pieces and the “trash compactor” yesterday had dried. I sanded
all of the pieces down with 220 grit sandpaper, and got them set up
for the varnish application. I also got the wheel sanded and ready
for the application of the Cetol.
Teak Pieces Sanded And Ready For
Varnish Application
Mid Cabin Hatch Sanded And Ready For
Varnish Application
Wheel Sanded And Ready For Cetol
Applicatio.
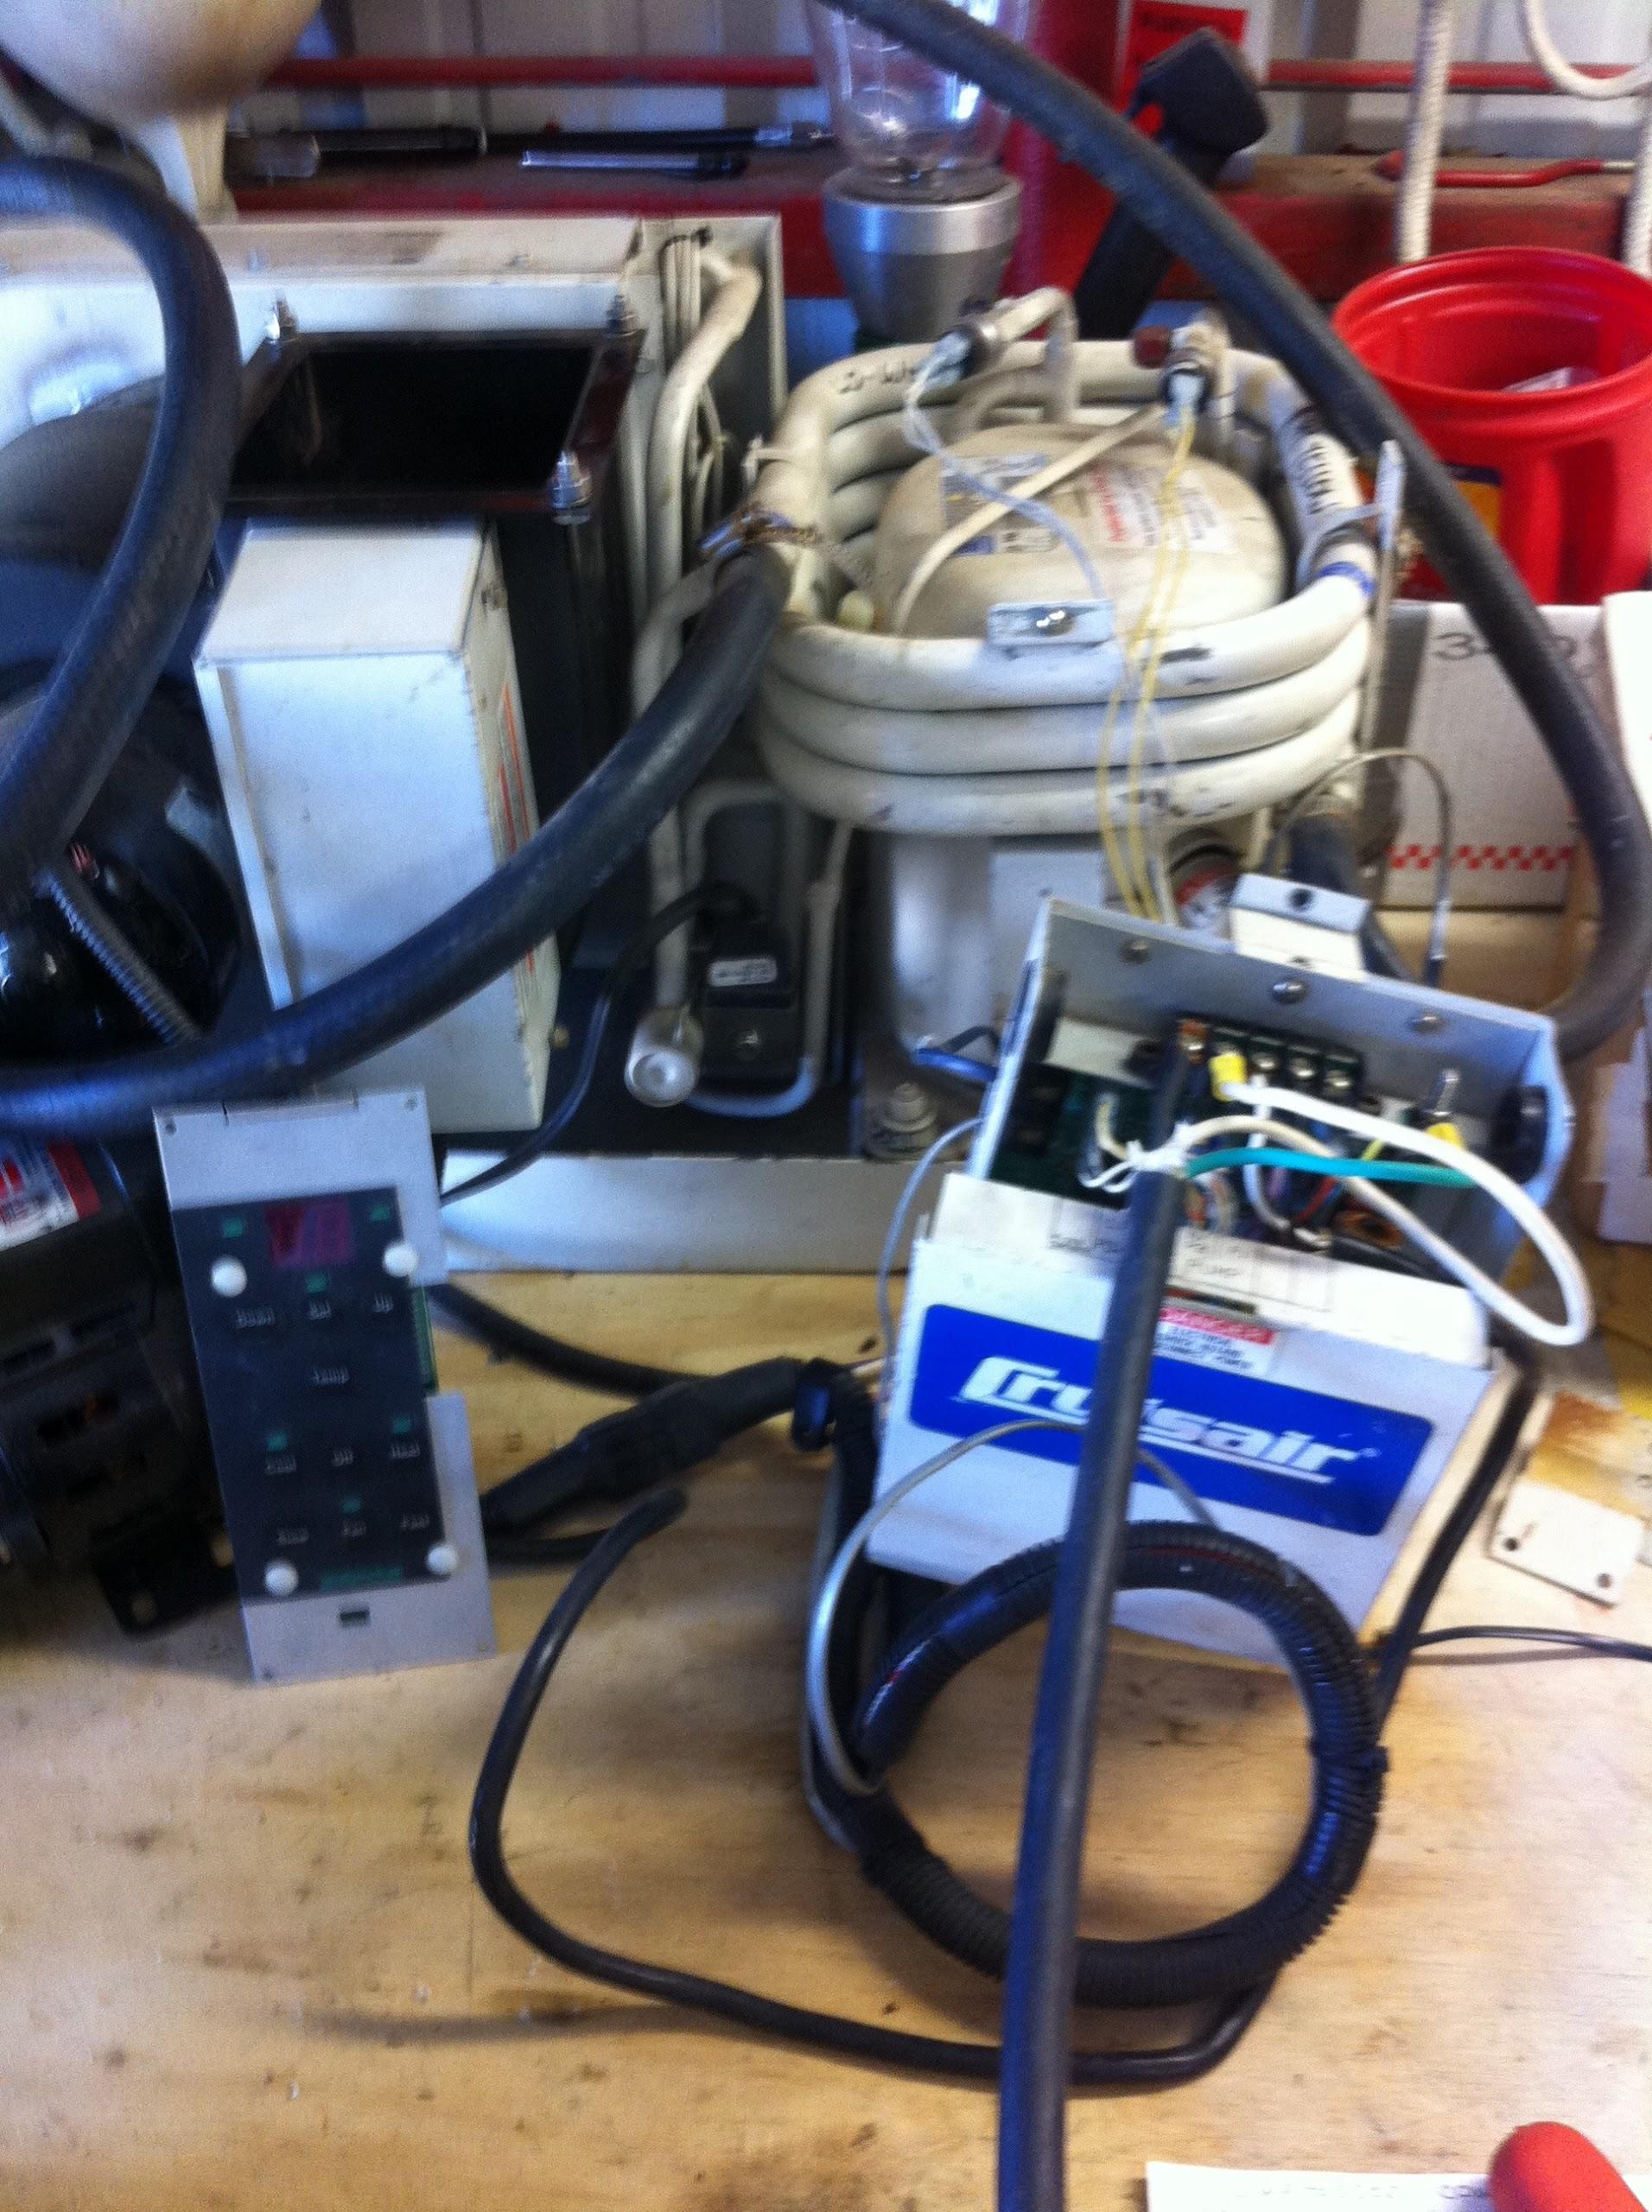
Before leaving the shop I spent some
more time figuring out the wiring for the digital control on the
spare air conditioner. I think I might be getting close to a
resolution.
Spare AC Power Control.
Went back to DREAM AWAY to shower and
get cleaned up. We had a lunch date, and then ran some errands.
Arrived back at DREAM AWAY, and made a wonderful four banana
daiquiri.
September 12, Thursday,
2013
Started off the morning with my normal
ritual of getting on the Internet, answering email, and checking the
weather, while making a pot of coffee. I also spent time with our two
cats, Jillian
and Jordan.
Went over to the shop
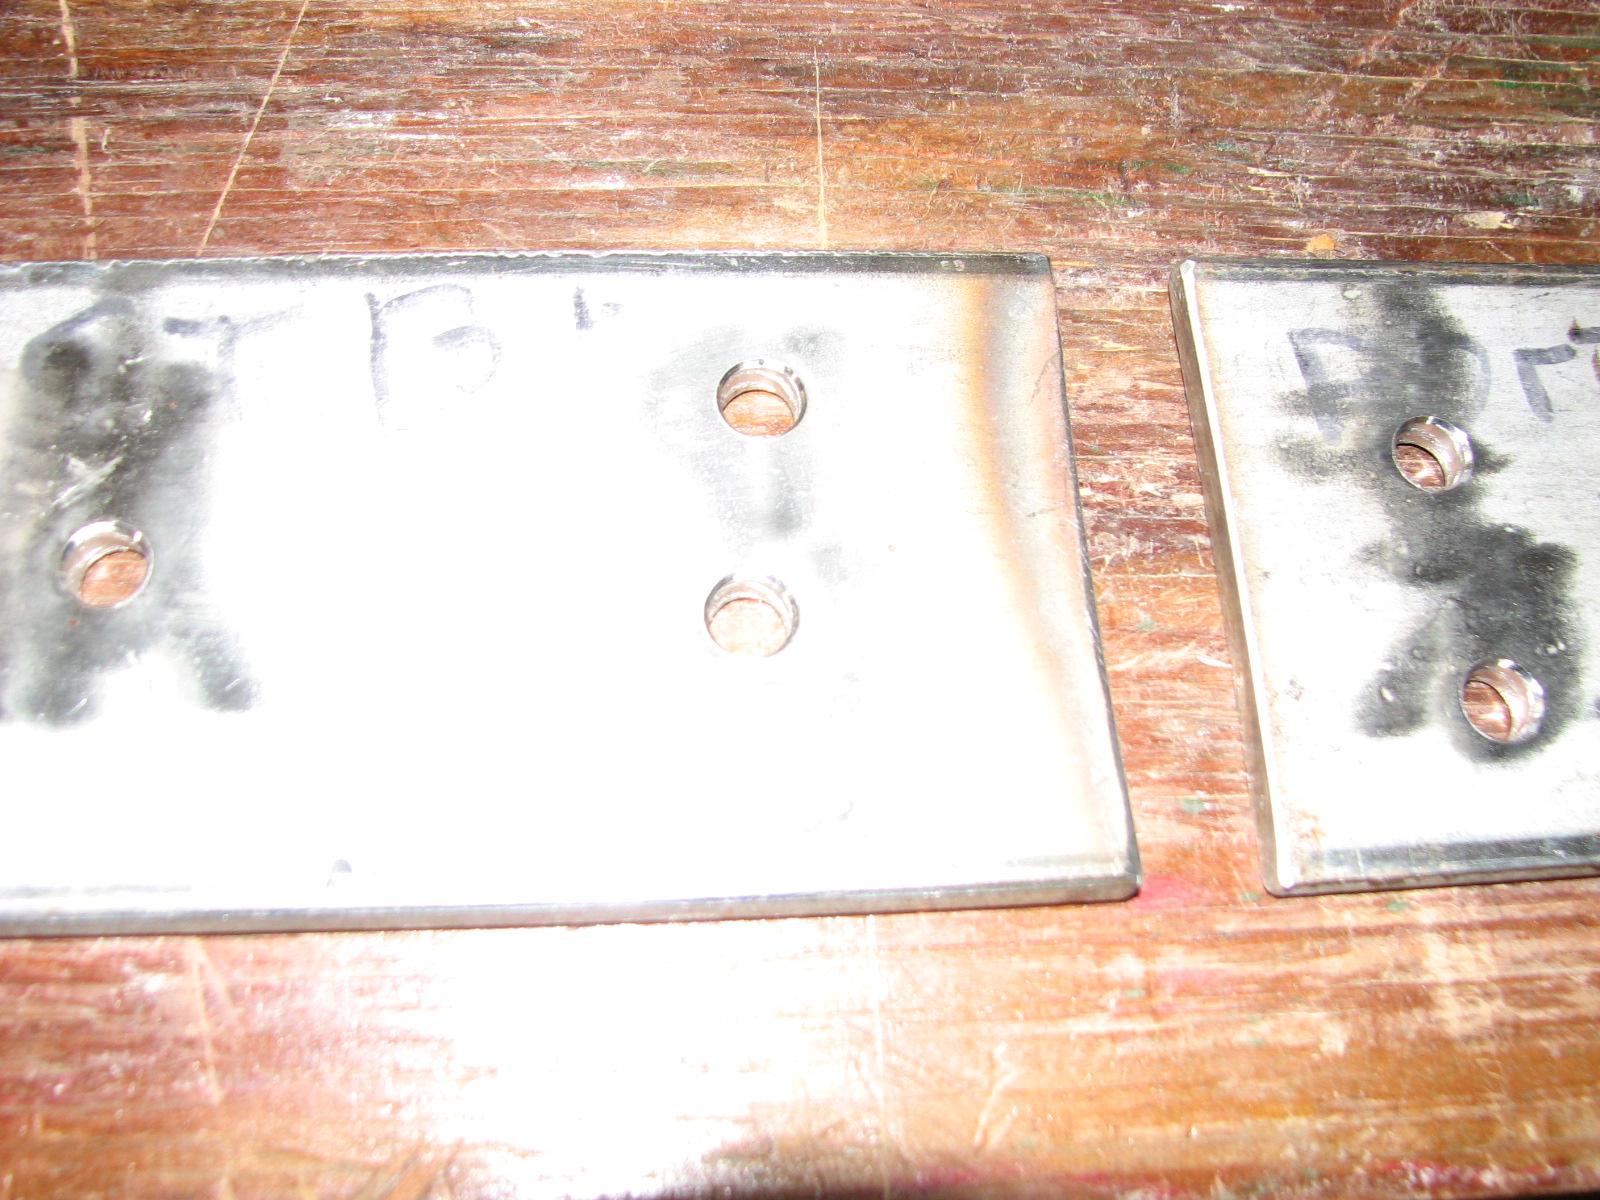
first thing. I put the countersink into the drill press and smoothed
out the holes I had drilled into the stainless steel plates
yesterday.
Plates With Countersunk Hole
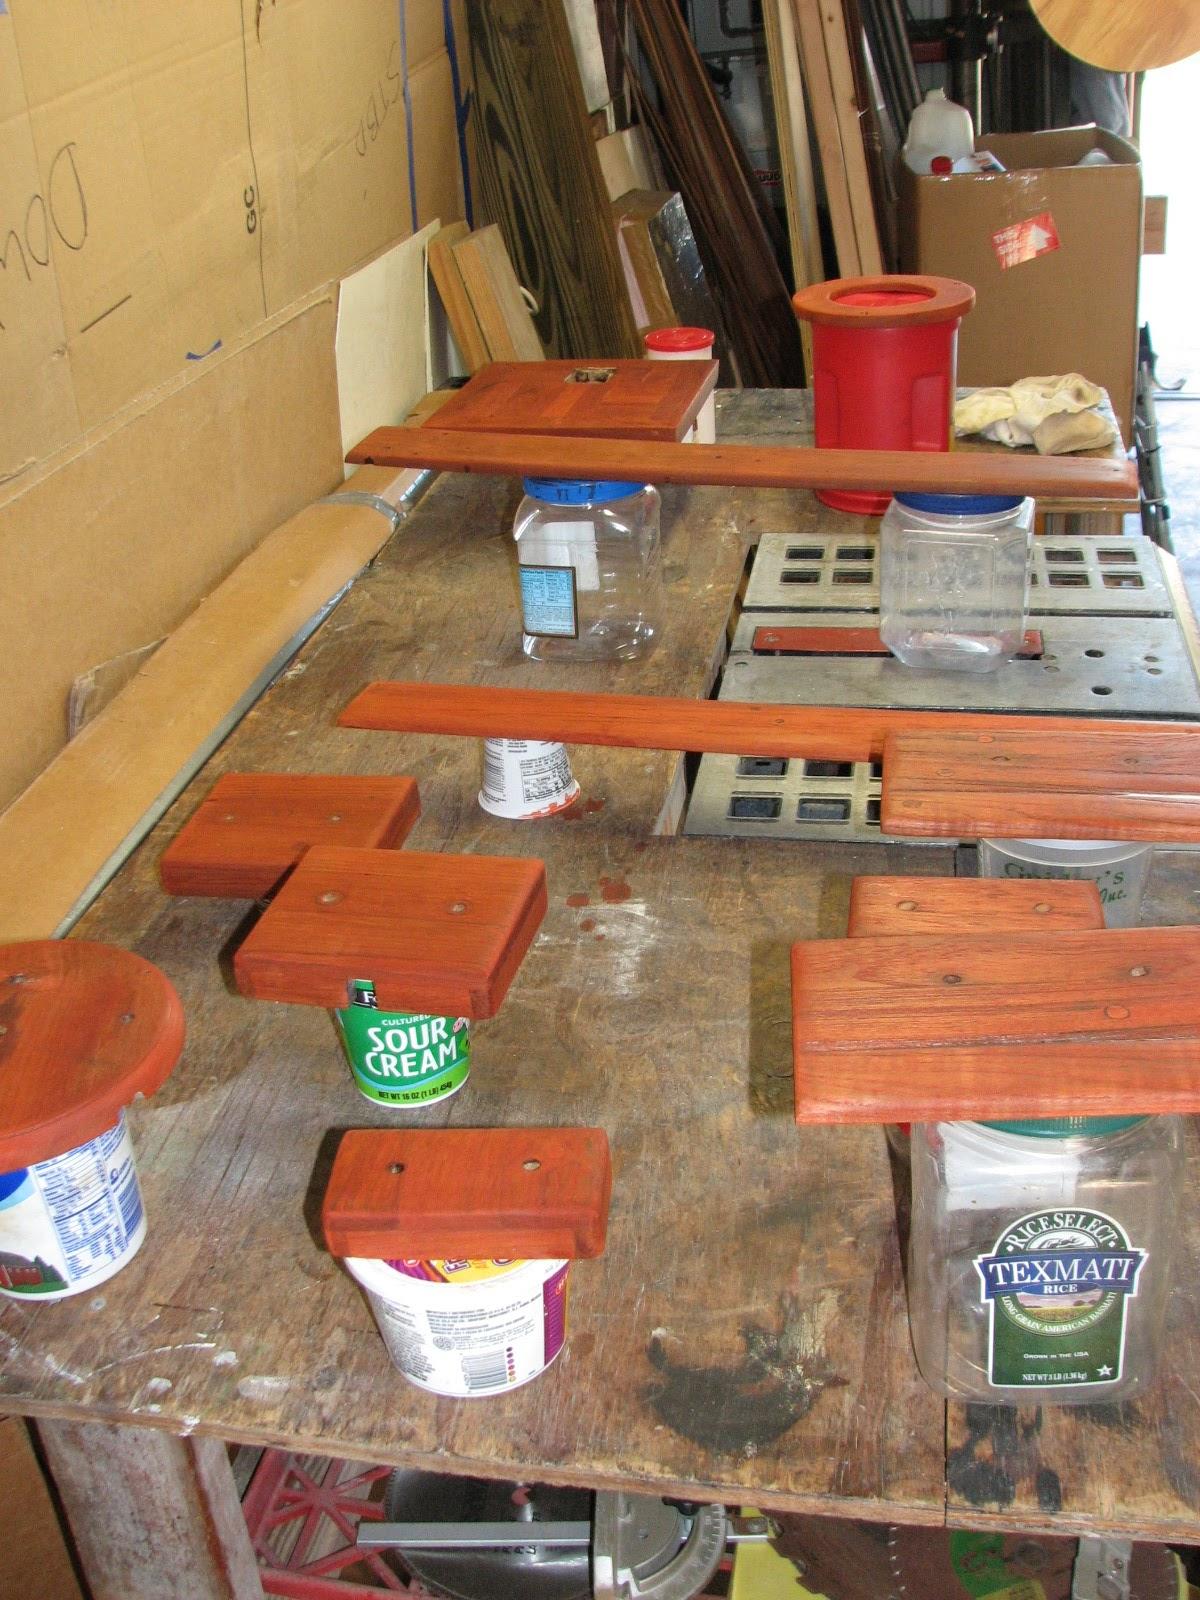
I made sure all of the teak pieces were
dry and smooth, and then applied an a very thick coat of
Smith’s penetrating epoxy
to all of the teak pieces. I also
applied an ample second coat to the “trash compactor”.
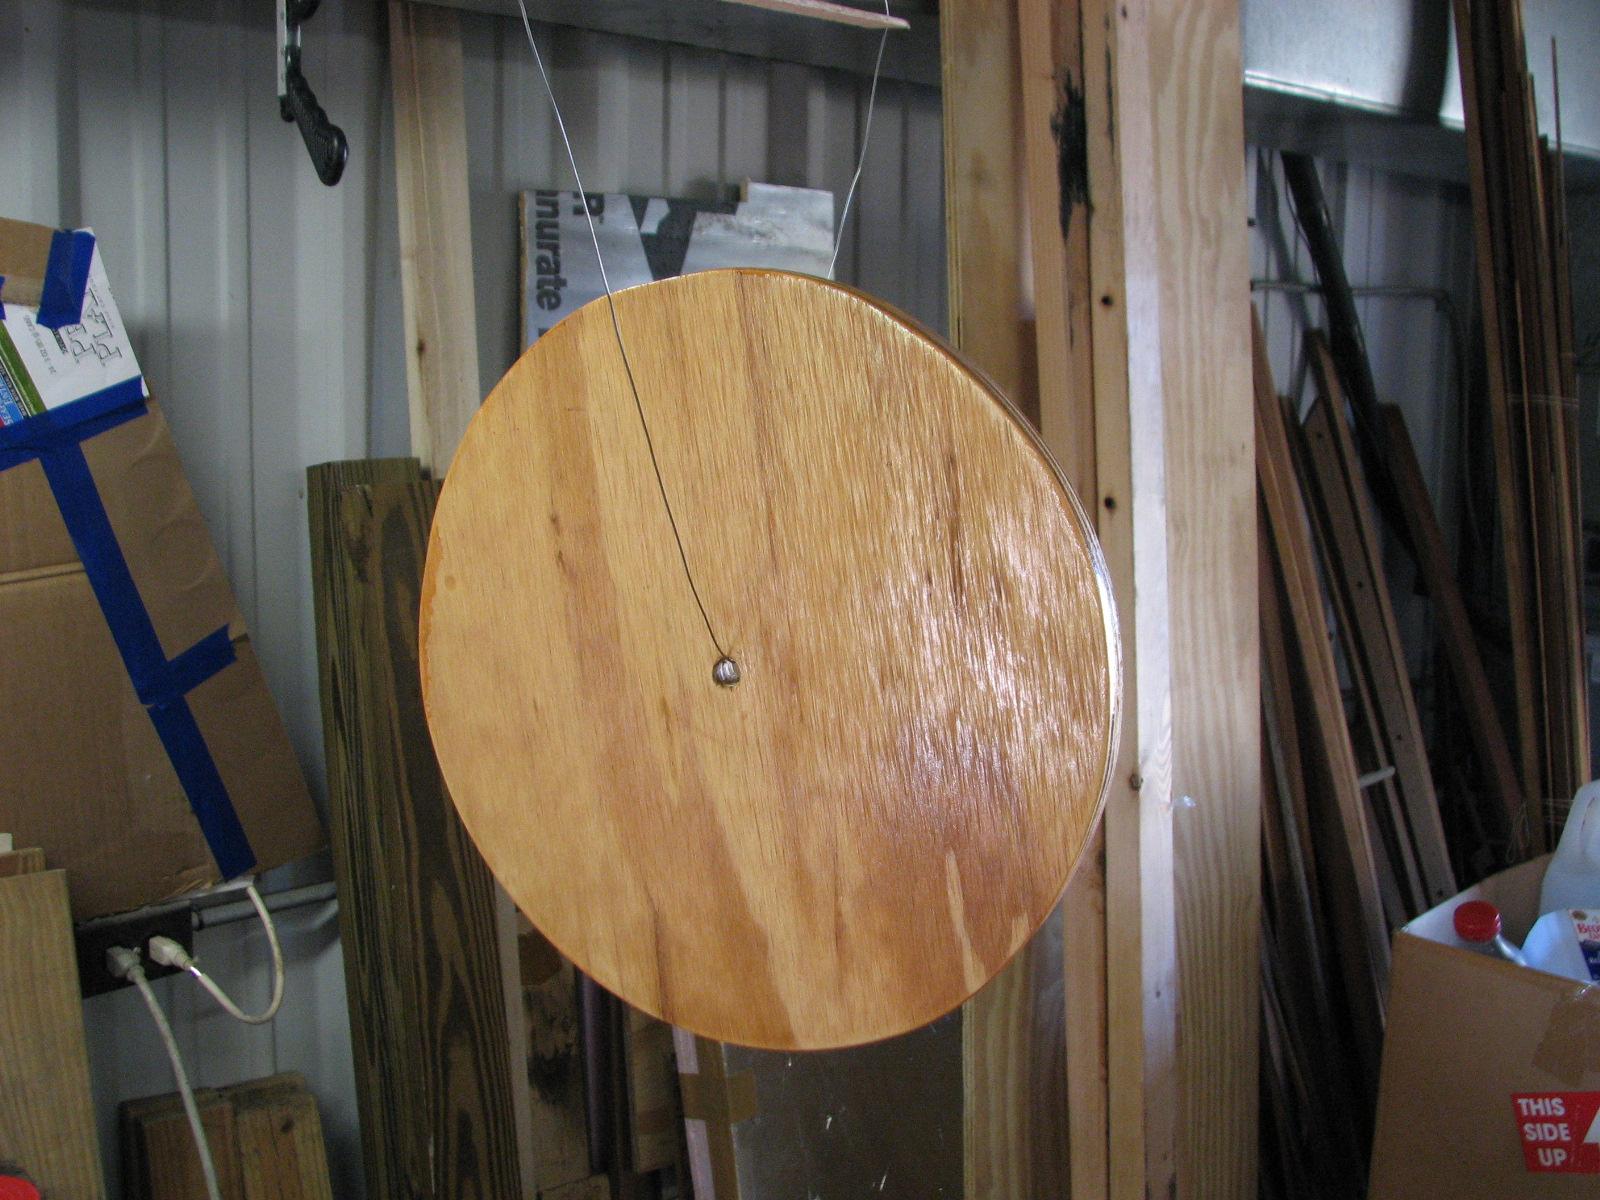
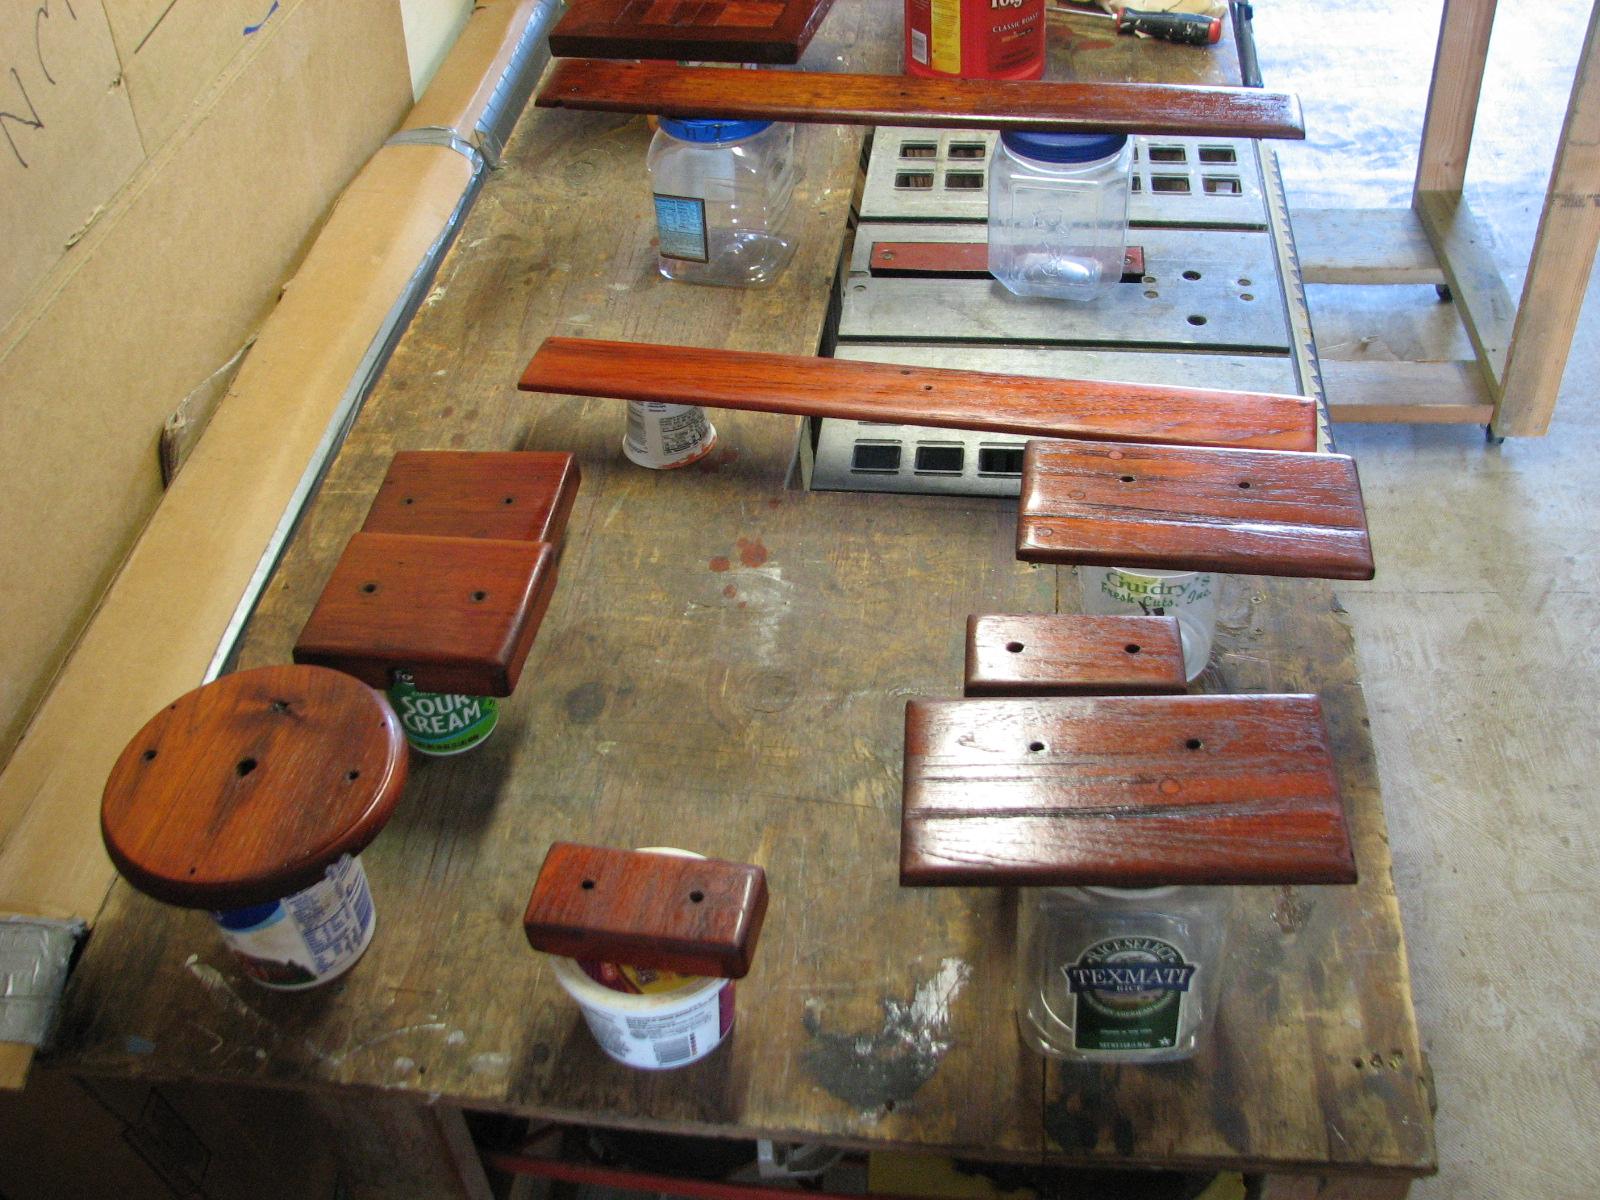
Next project is to test a spray paint
from Rustoleum
that is supposed to work on plastic. I keep two 10 gallon plastic
buckets on the stern of DREAM AWAY for trash and other storage. The
sun with the UV takes a toll on the buckets. I am going to try this
paint on the buckets and some other plastic items. Specifically I am
going to try it on the manual bilge pump I keep in the tender.
Paint Test - First Pass
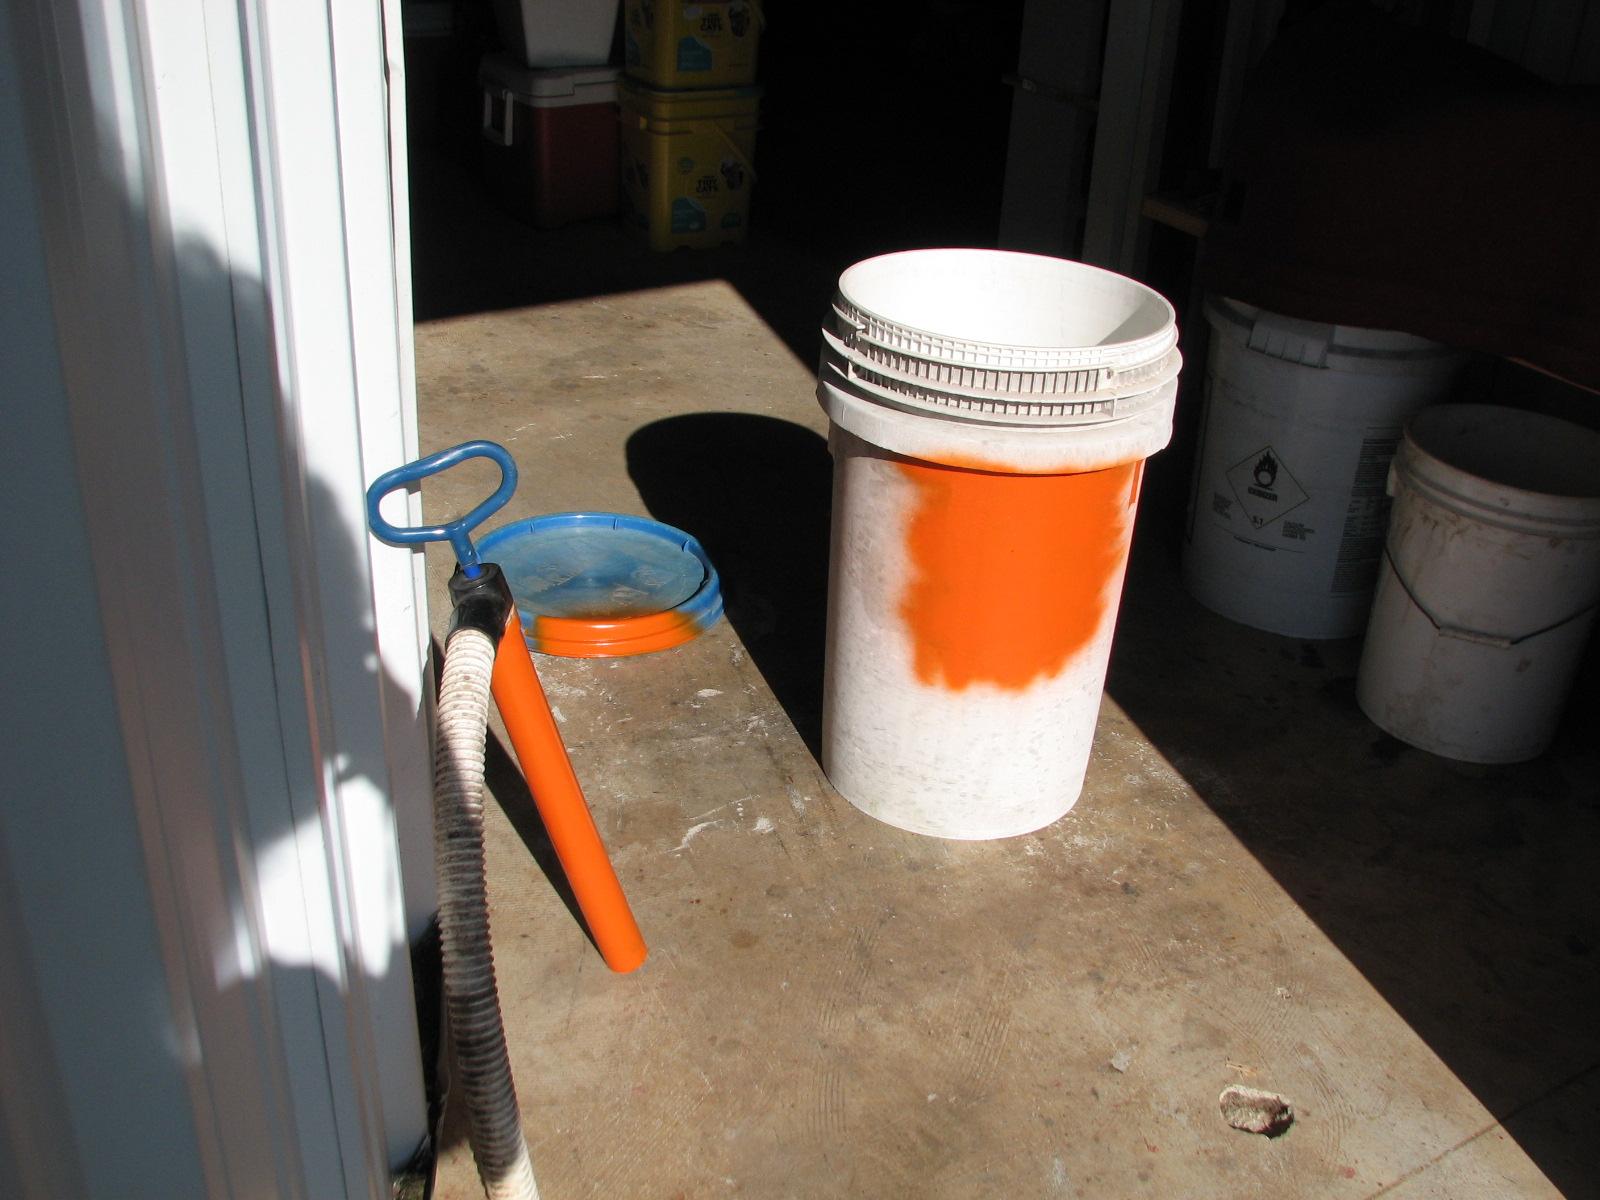
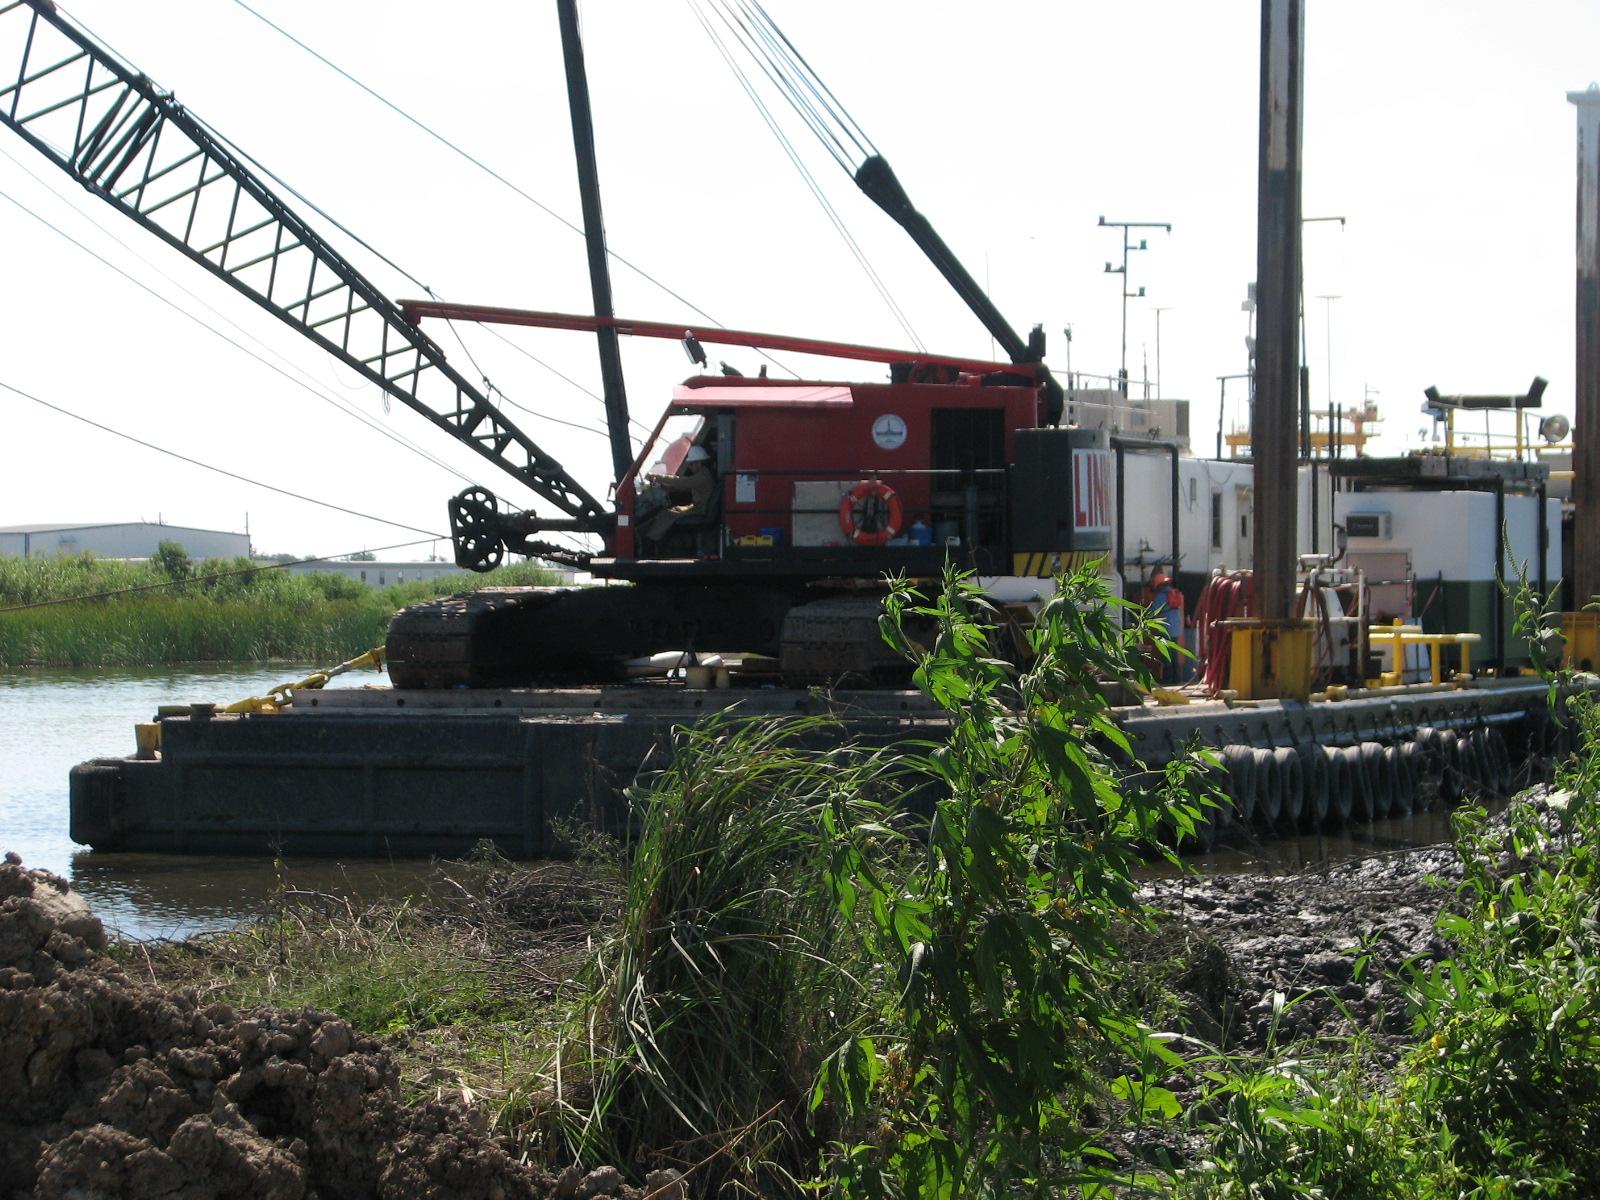
Went back to DREAM AWAY, and had
breakfast. We then took a drive to the new facility being built by
the Port
Of Delcambre. It will be wonderful when finished, and
I am going to try and go by at least once a week to keep a pictorial
history of the construction.
Dredging Out For Piers And Boat Launch
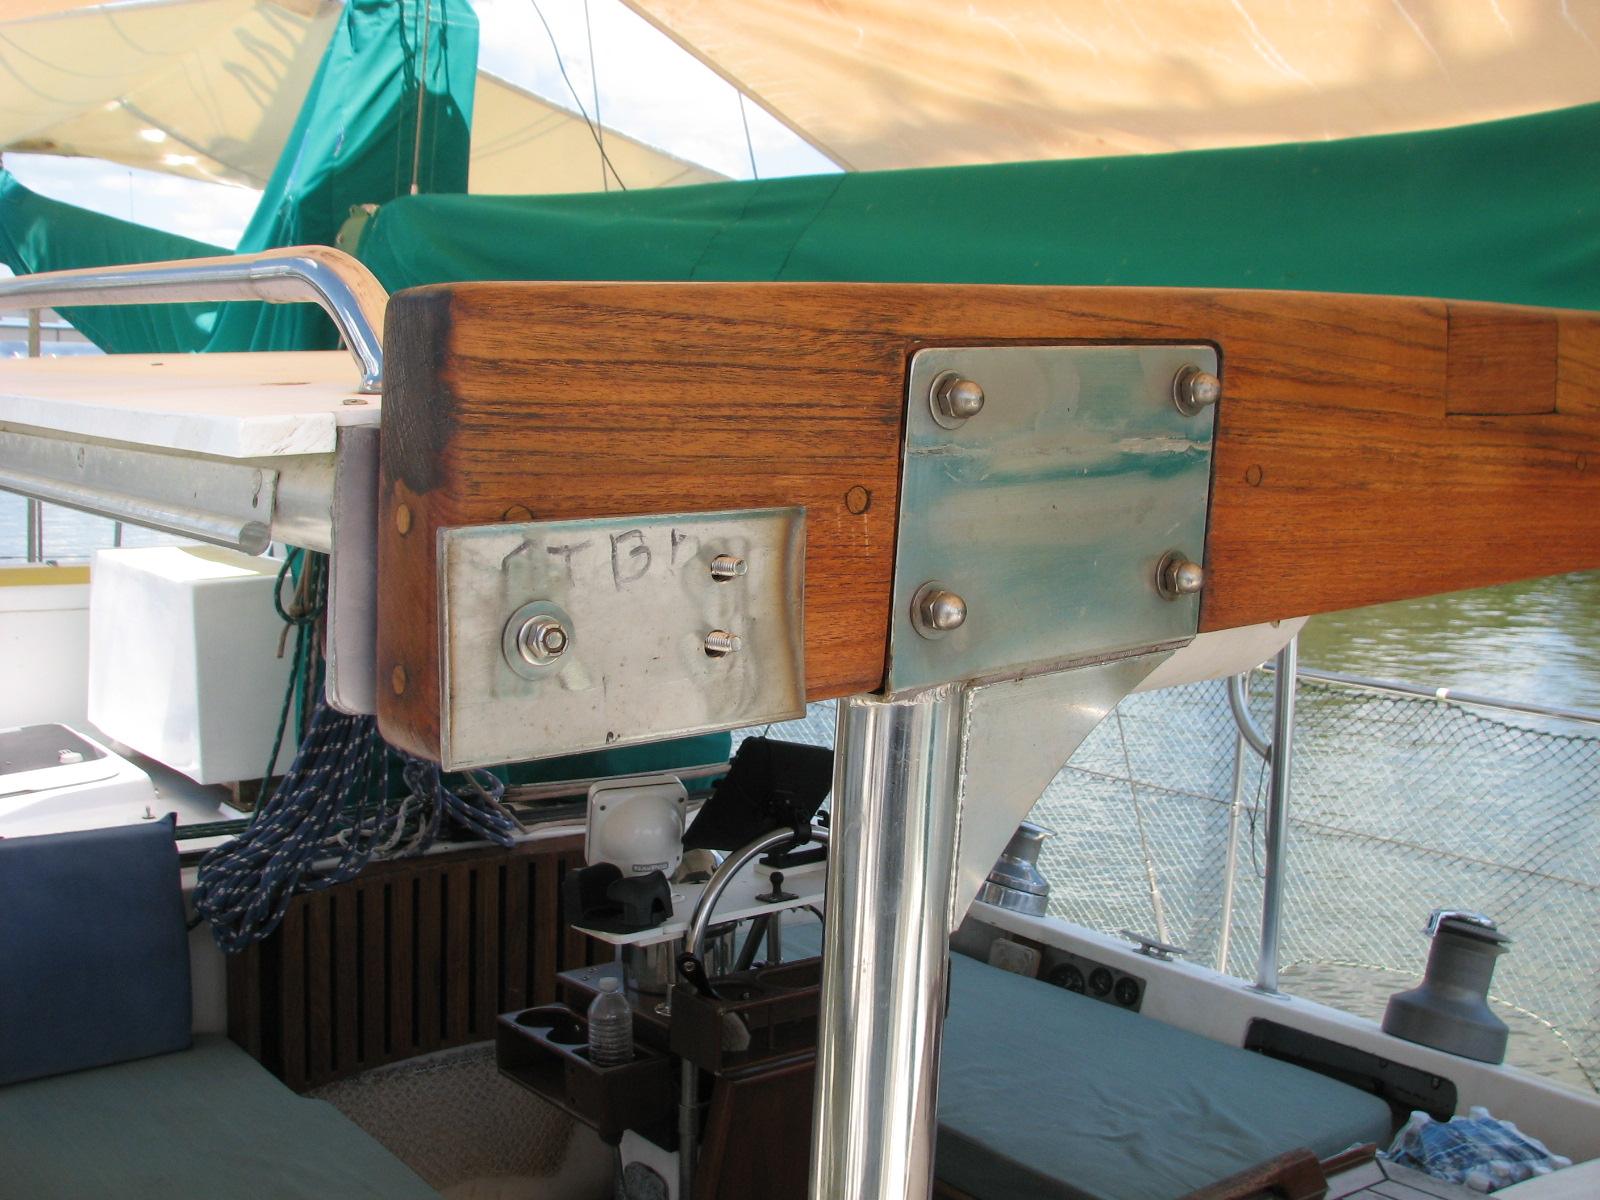
We drove back to DREAM AWAY, and I did
a fitting of the stainless steel plates that fit on the front of the
boom gallows. I will be welding 1” pipe onto the plates for the
fabrication of the hard dodger. I wanted to verify fit before I start
the welding.
Starboard Side Plate Fit
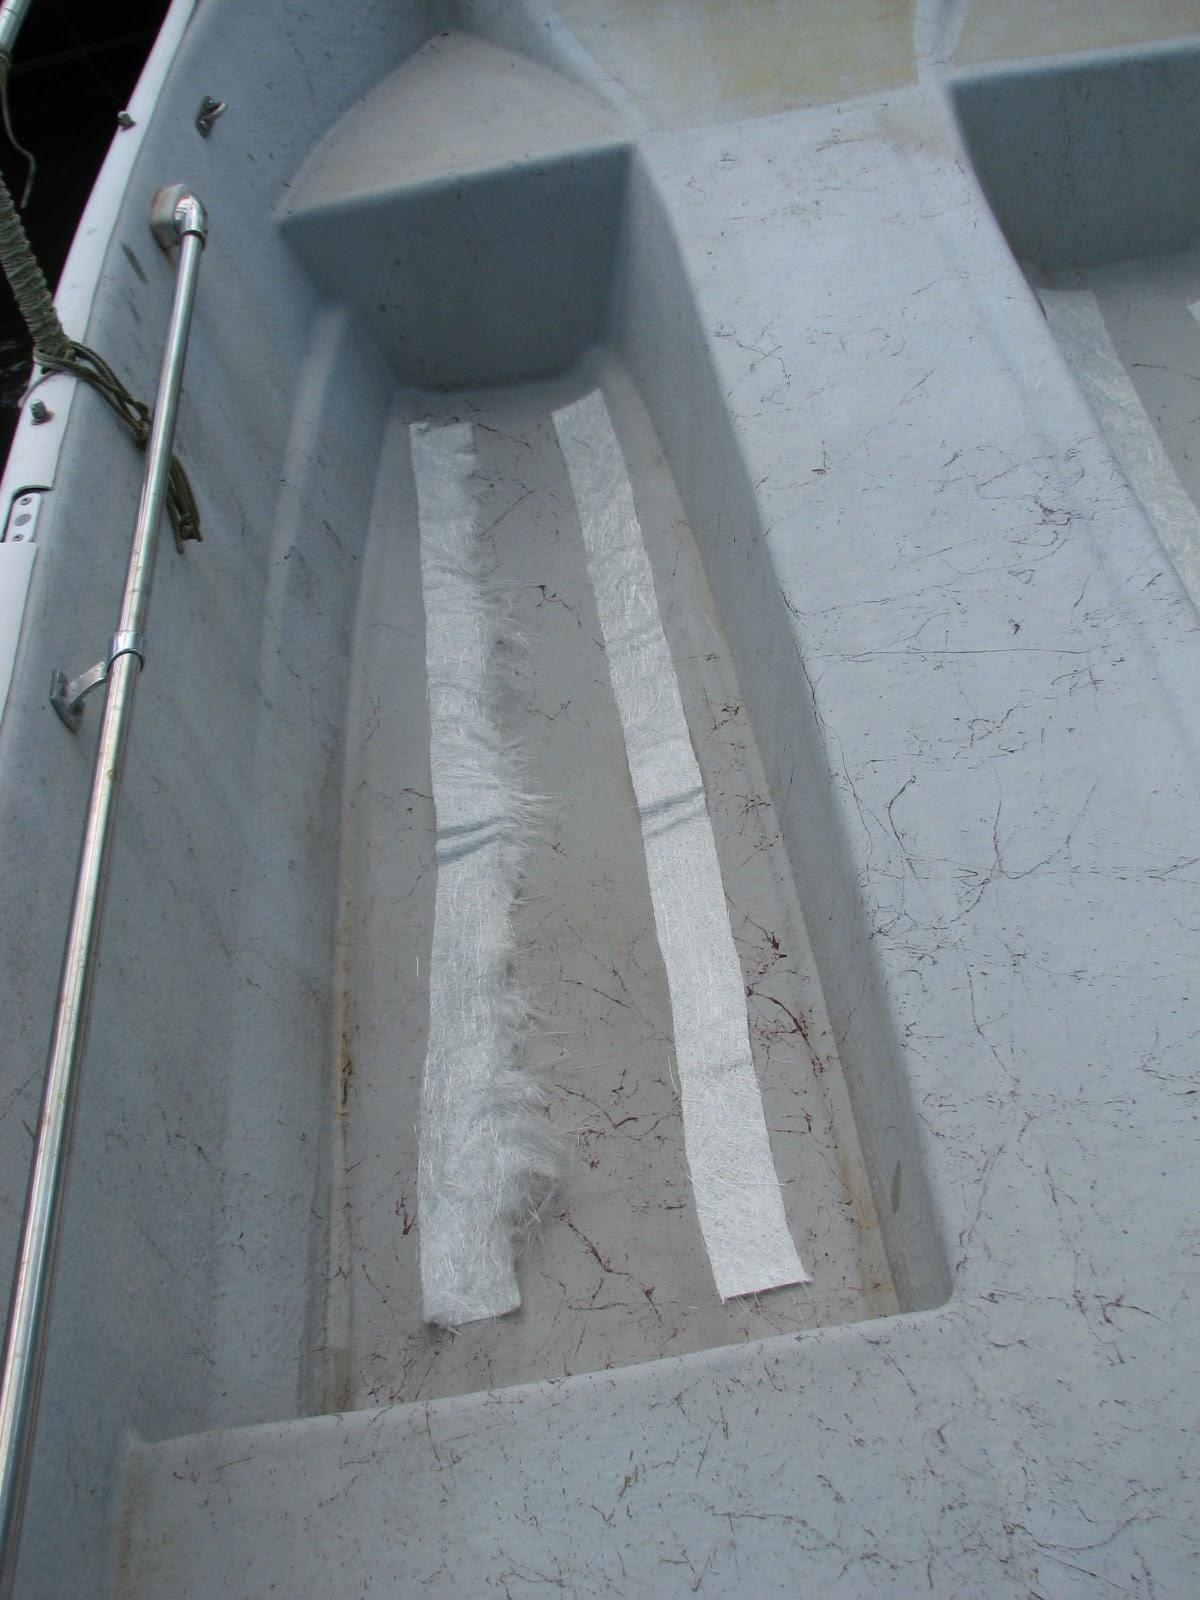
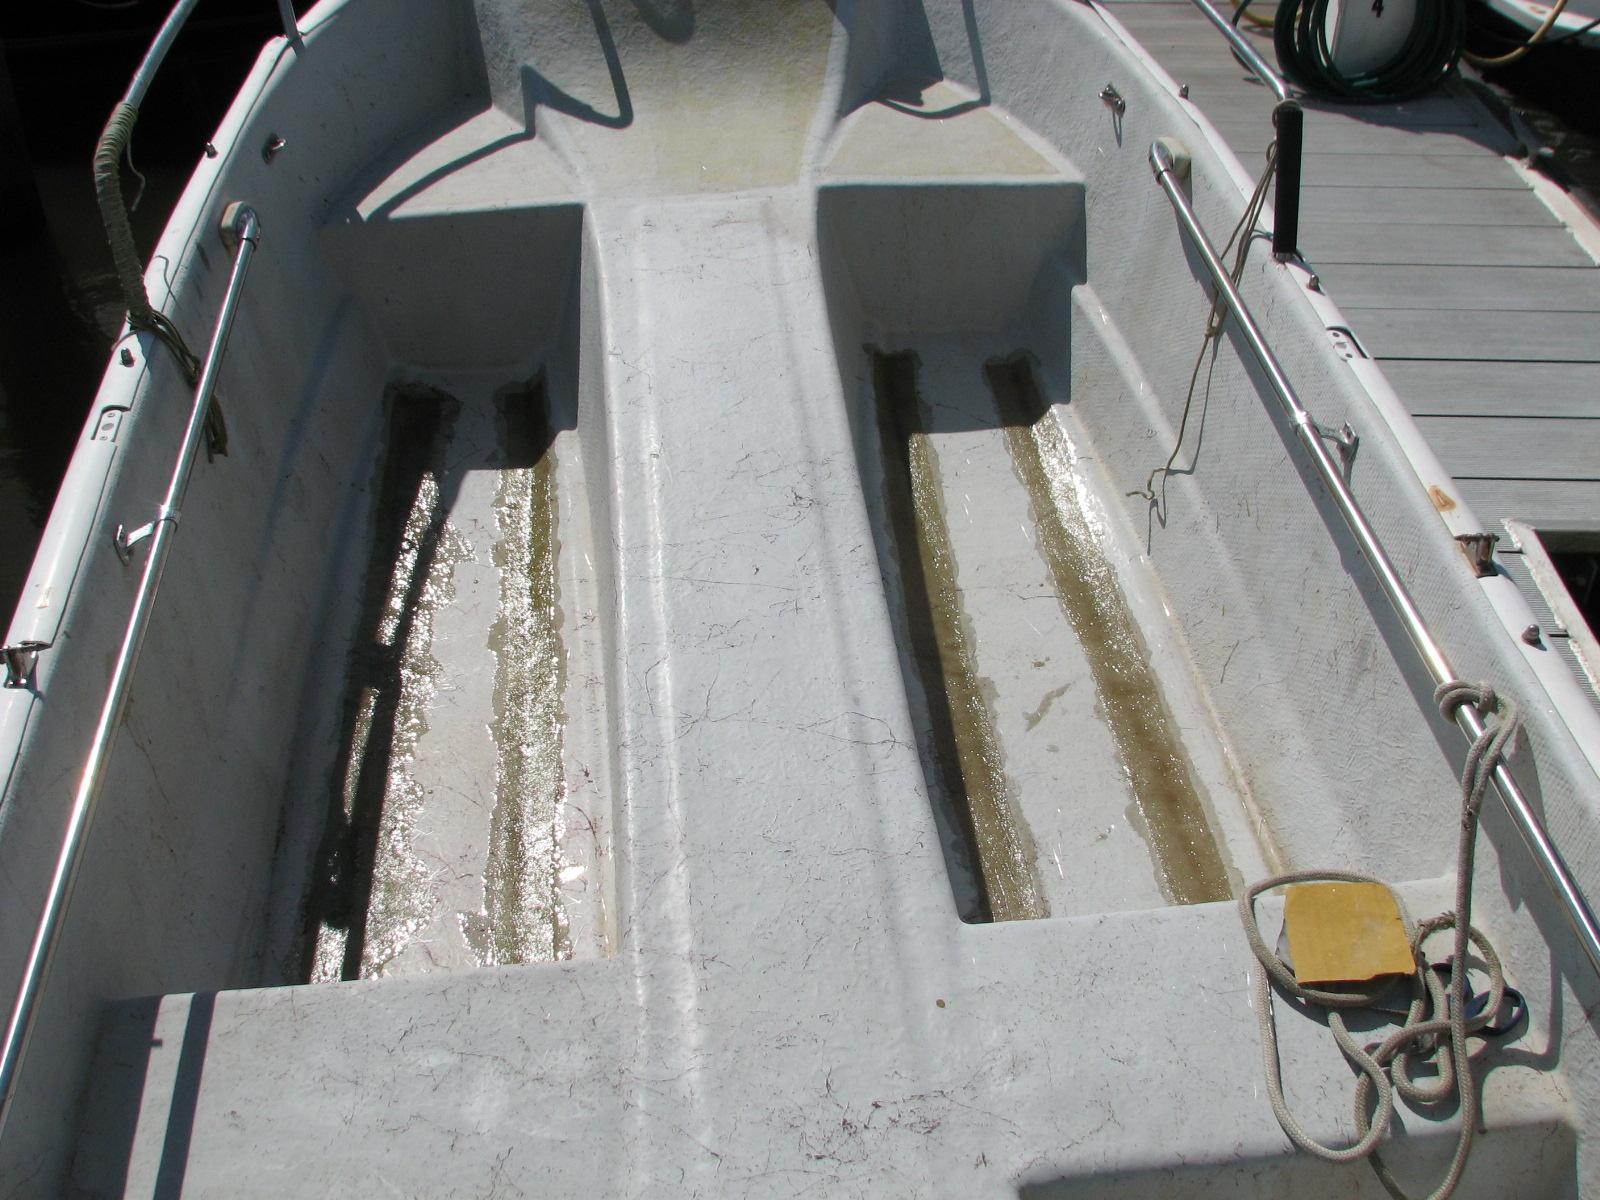
Now I started the repairs in the
tender. I cut out the fiberglass
to repair the cracks in the deck of the tender on both the port and
starboard side. I also removed some hardware from the transom so I
could brush on some polyester
resin. The fiberglass
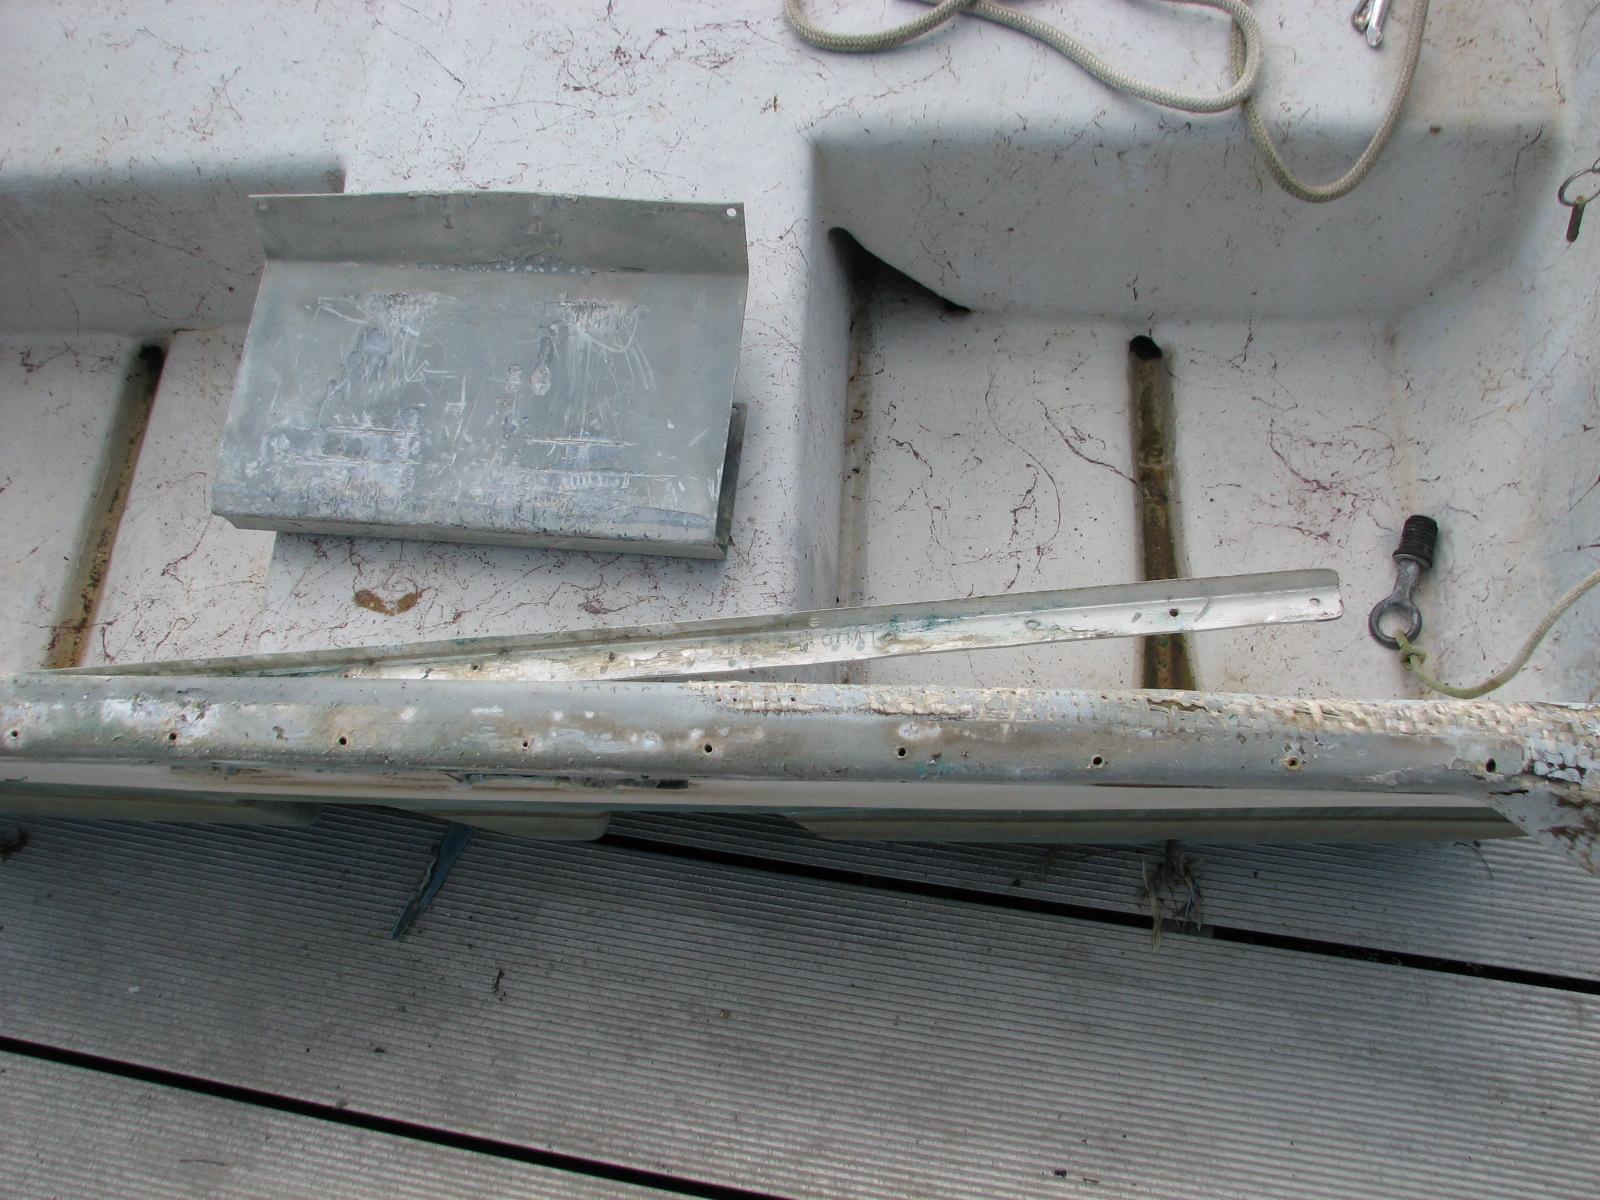
fibers are exposed on some of the transom.
Hardware Removed From Transom
With that complete, I loaded up all of
the gear into the Black Beast, and went back to the shop.
The Smith’s
penetrating epoxy had nearly set up, so I know all of
the teak pieces will be ready for sanding and varnish tomorrow.
I also did some searching and measuring
for fiberglass
parts that I can use for the battery box and fuel tank in the tender.
The plan is to move the battery and fuel tank as far forward as
possible in the tender, and put security fittings for the fuel tank
and battery box so they can be locked and made secure.
I also check the paint application on
the plastic parts I had painted in the morning. The application went
very well, so I cleaned all of the unpainted parts of the bucket and
lid with acetone. Tomorrow I will complete the painting of the
buckets for the aft deck.
September 11, Wednesday,
2013
Started off the morning with my normal
ritual of getting on the Internet, answering email, and checking the
weather, while making a pot of coffee. I also spent time with our two
cats, Jillian
and Jordan.
A moment of silence for all the folks
who lost their lives in the 9-11 tragedy.
Caught up on emails, scanning in
documents, and financial stuff.
Kitty had to go to
Lafayette to see a doctor about a sleep study. I stayed on DREAM AWAY
as it was time to clean out all of the raw water strainers and
manifold. I cleaned out the main strainer for the manifold (Sea
Chest), and the manifold (Sea Chest). Also cleaned out the strainers
for the ice maker cooling pump, the refrigeration cooling pump and
the forward air conditioner cooling pumps. During this cleaning
process, I also cleaned out the hoses for all of the cooling pumps
using high pressure water from the dock.
When I finished that
project, I pulled the tender out of the water and onto the dock, so I
could do some repairs on it. I will let it dry out, and then start
the repairs tomorrow.
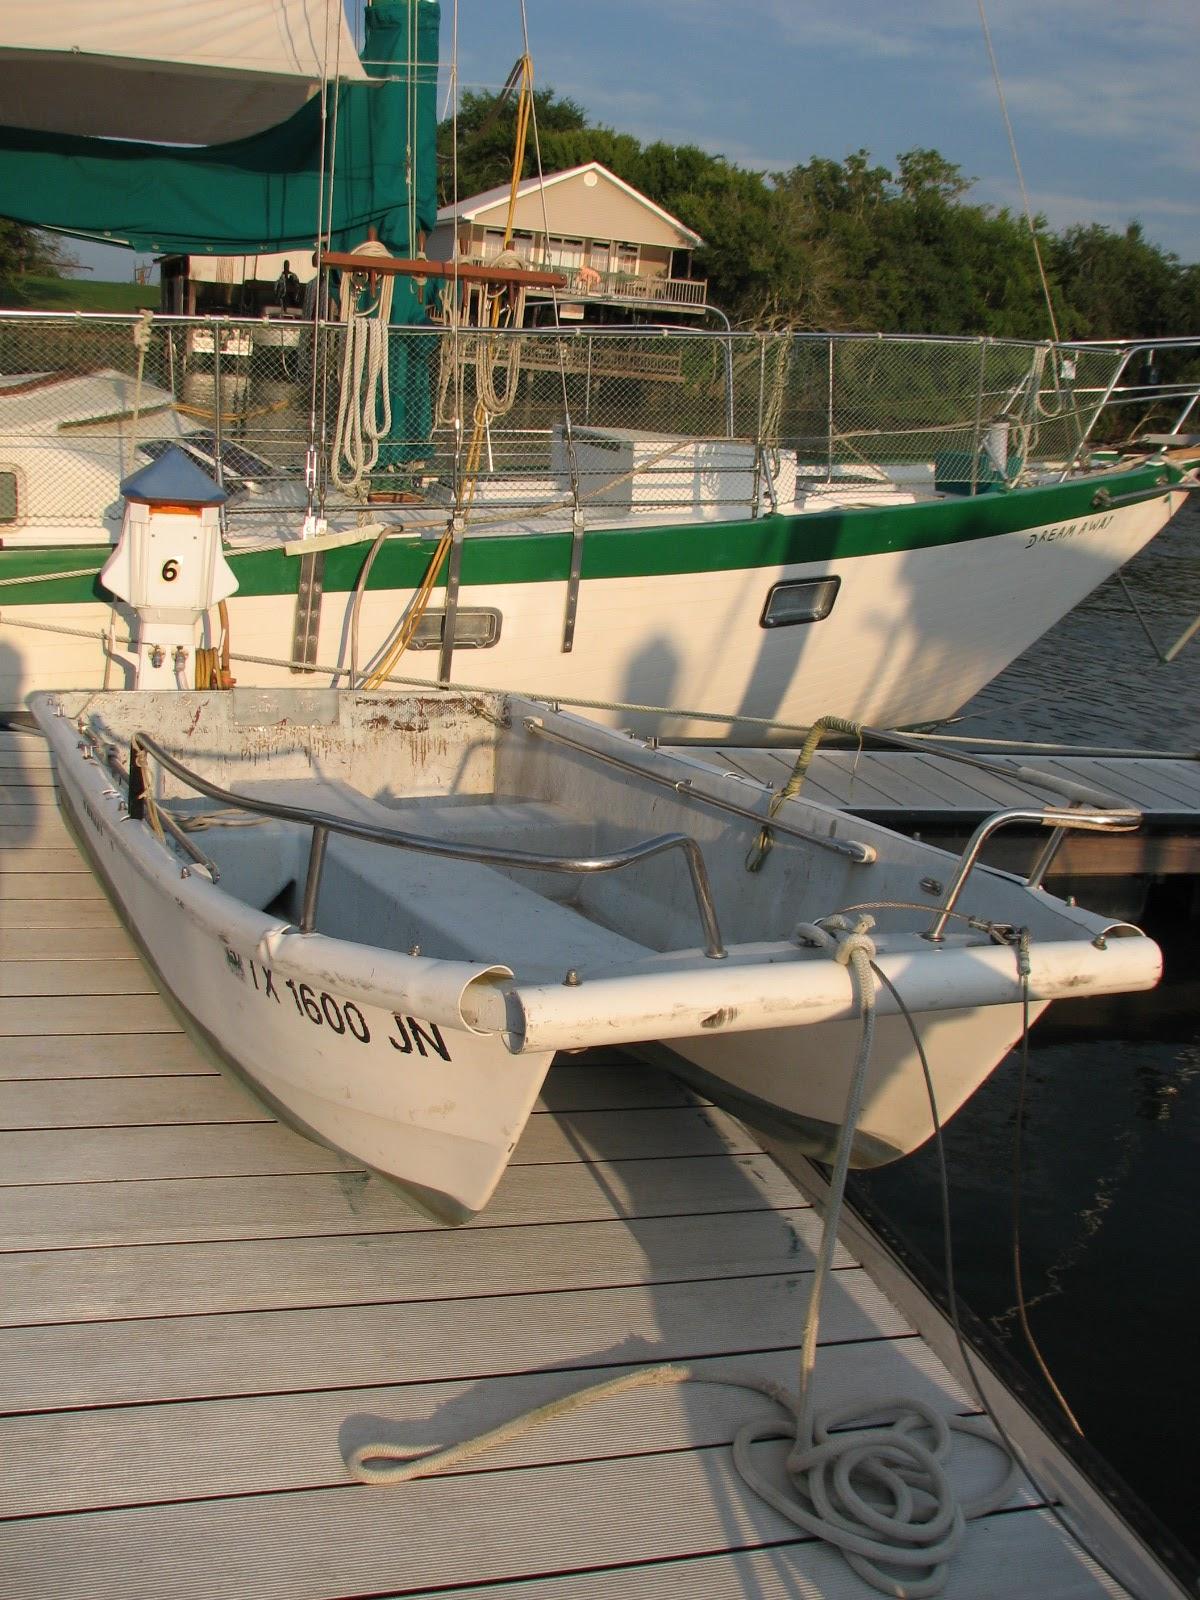
Tender On Dock Next To DREAM AWAY
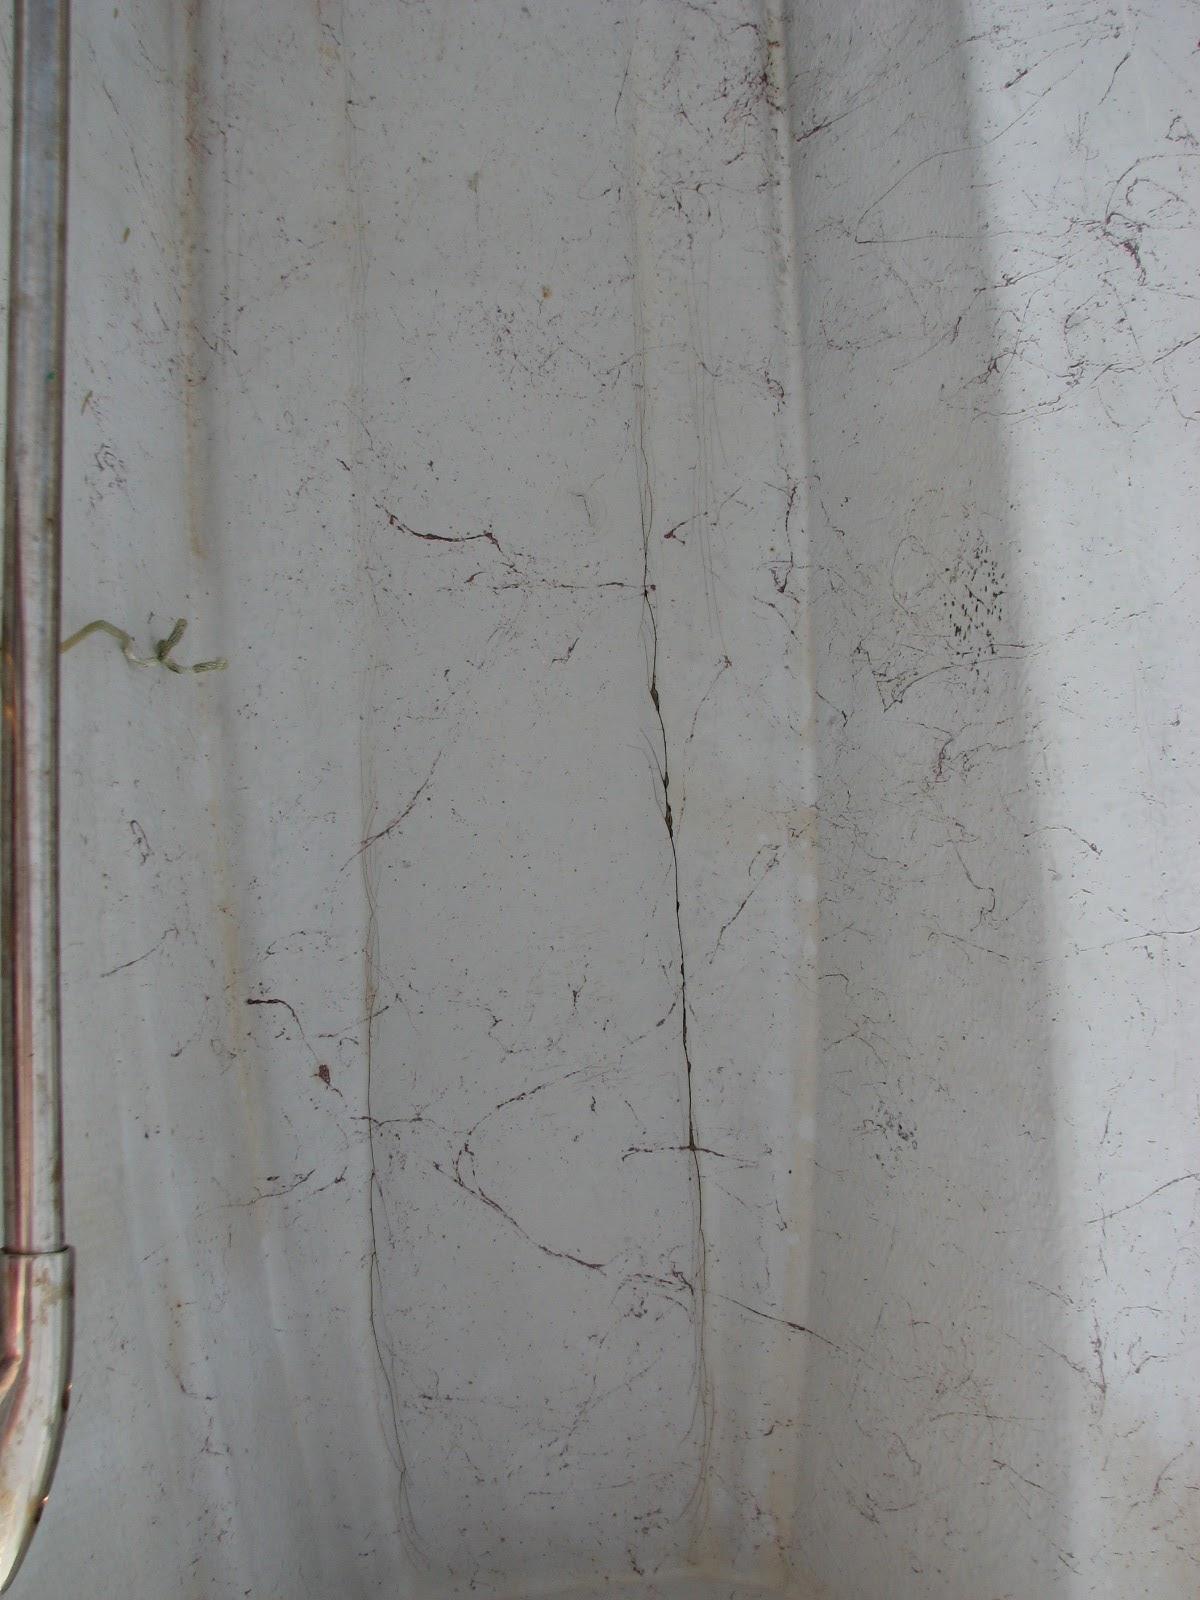
Deck Inside Tender Where Repairs Are
Needed
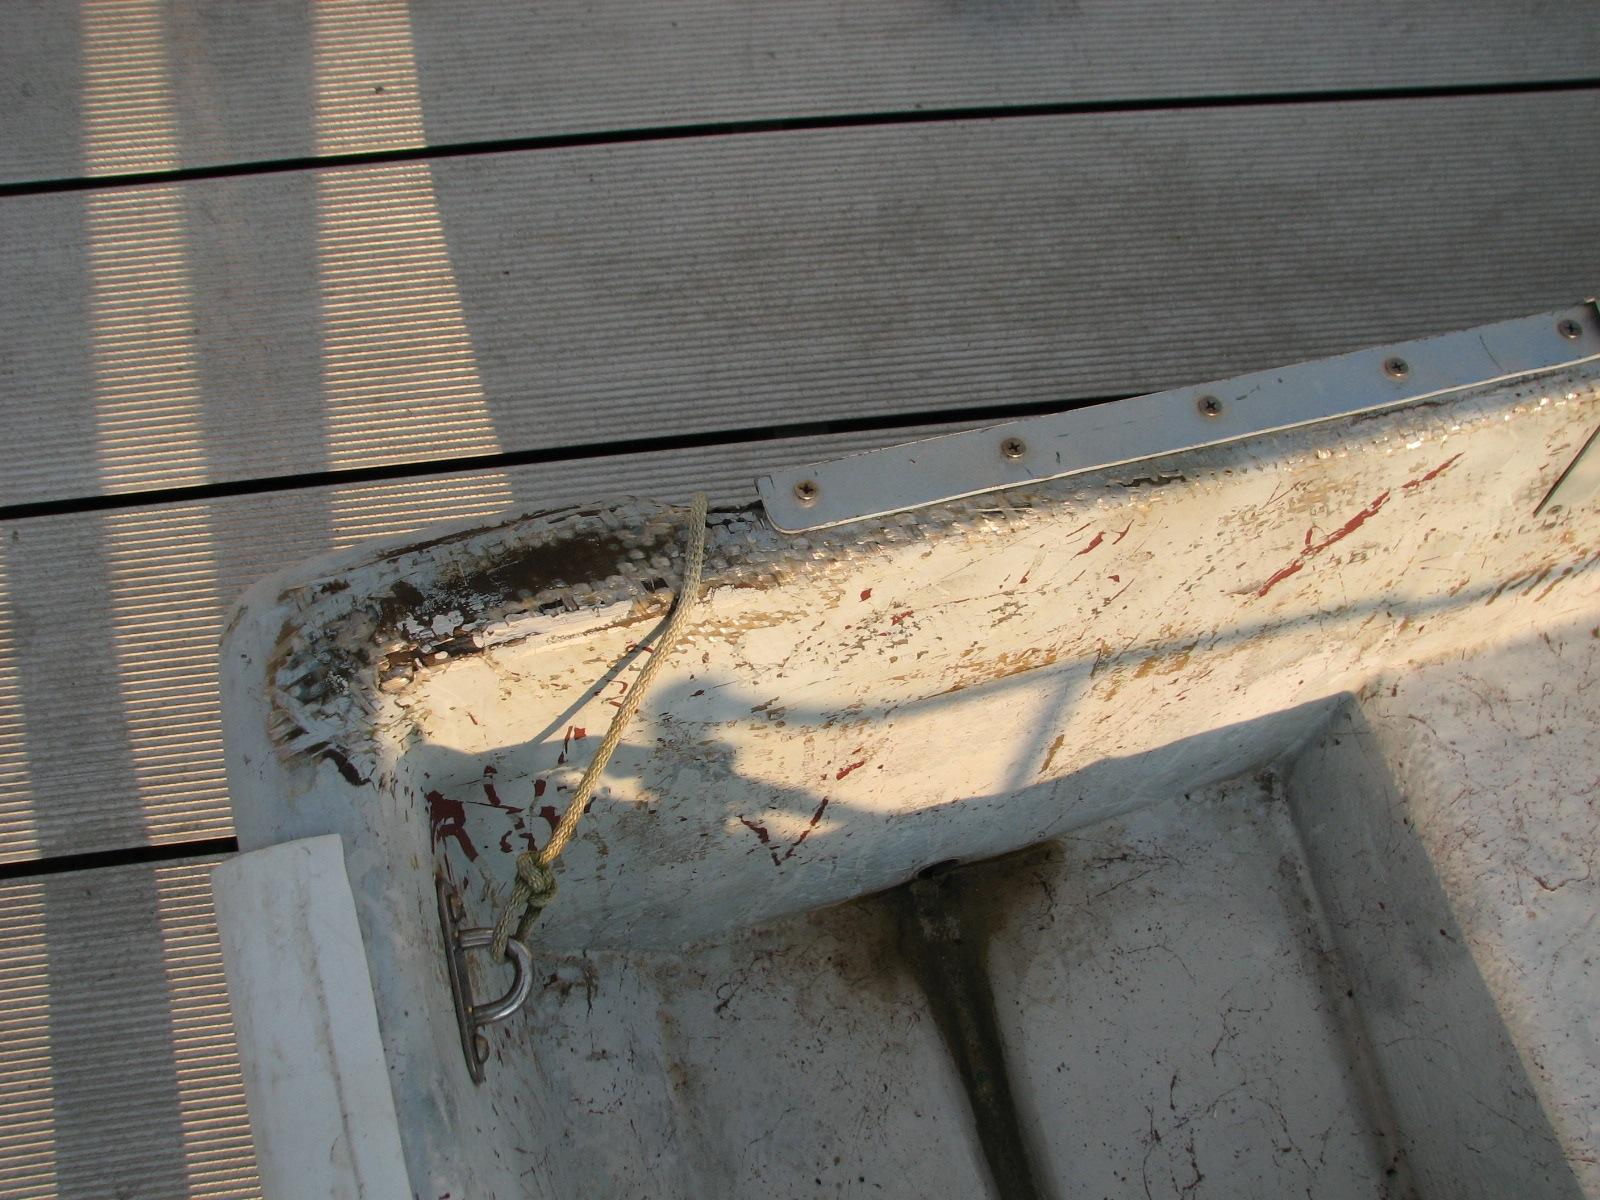
Transom On Tender That Needs Repair
I then went over to my shop
to make some progress on some of my projects. I finished sanding all
of the pieces of teak I had removed from the main cabin overhead, the
aft cabin overhead, the head overhead, and the small hatch from the
deck in the mid cabin. I blew all of the pieces off with air, then
wiped them all down with acetone.
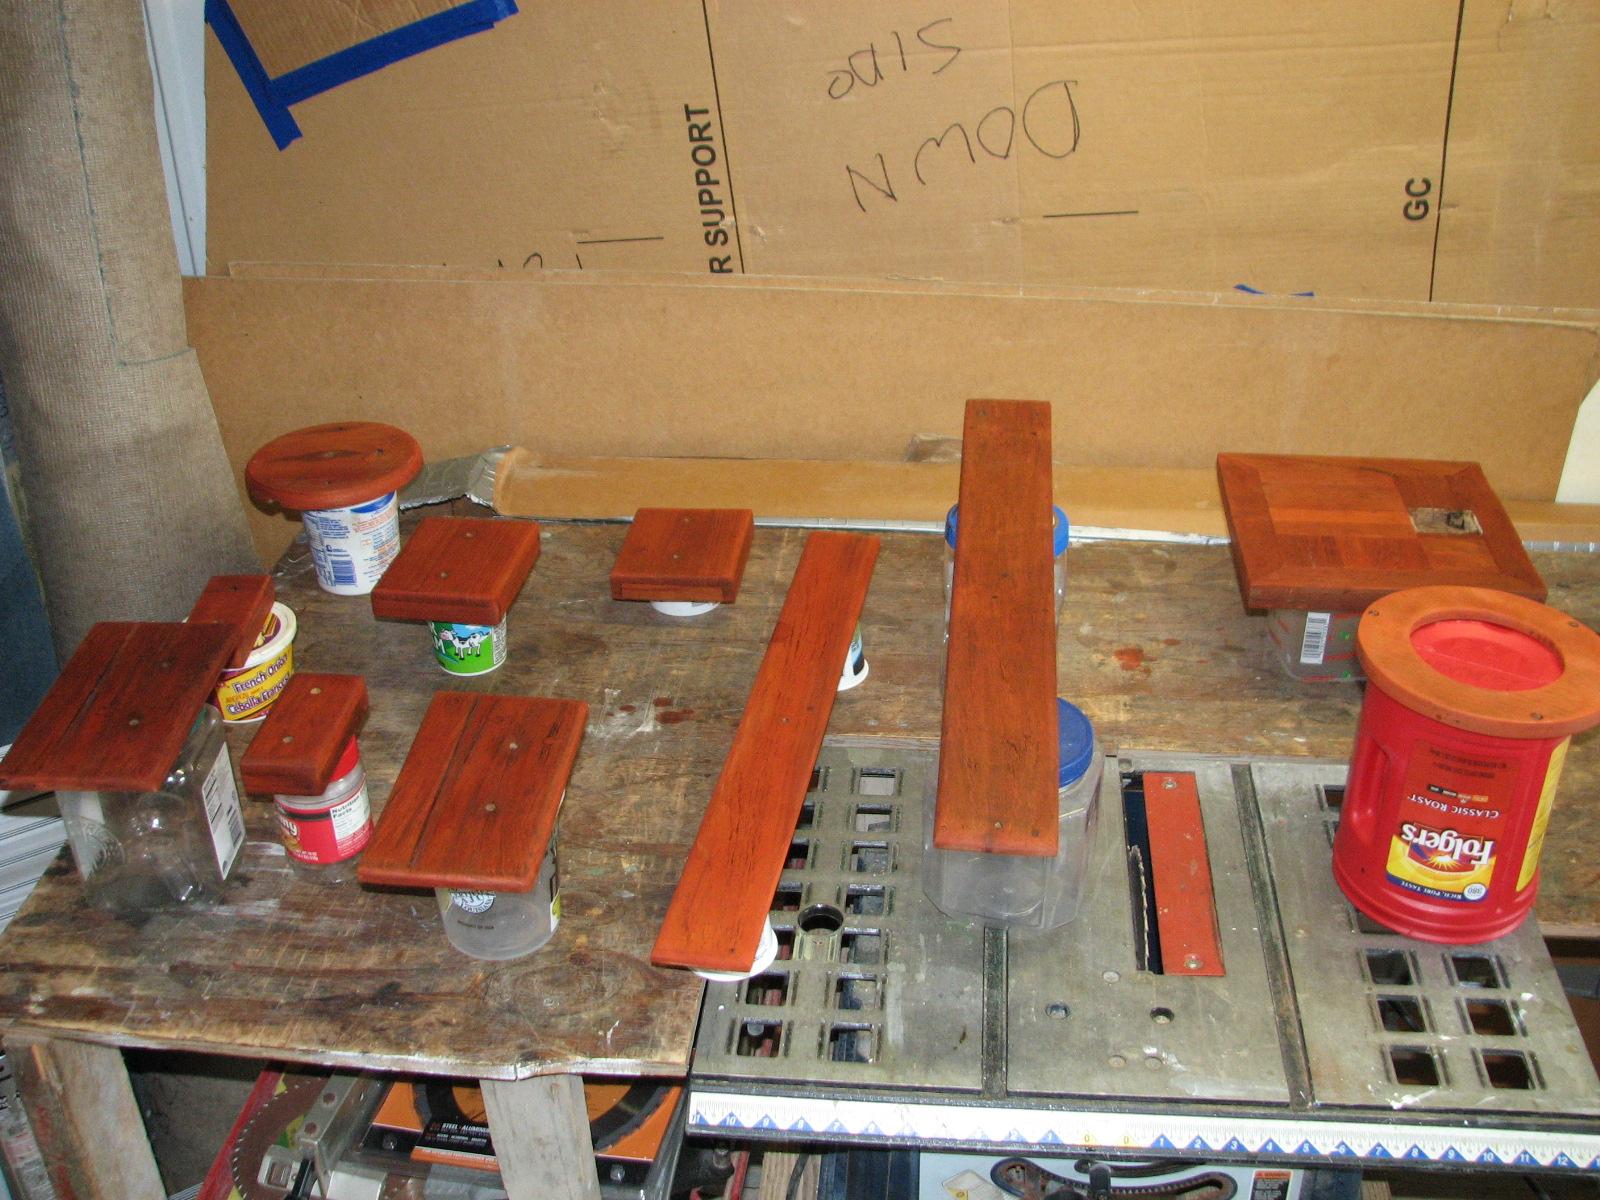
I then wiped down all of the pieces with the “agent orange” dye.
Teak Pieces Ready For Dye Application

Applying Dye To Mid Cabin Hatch
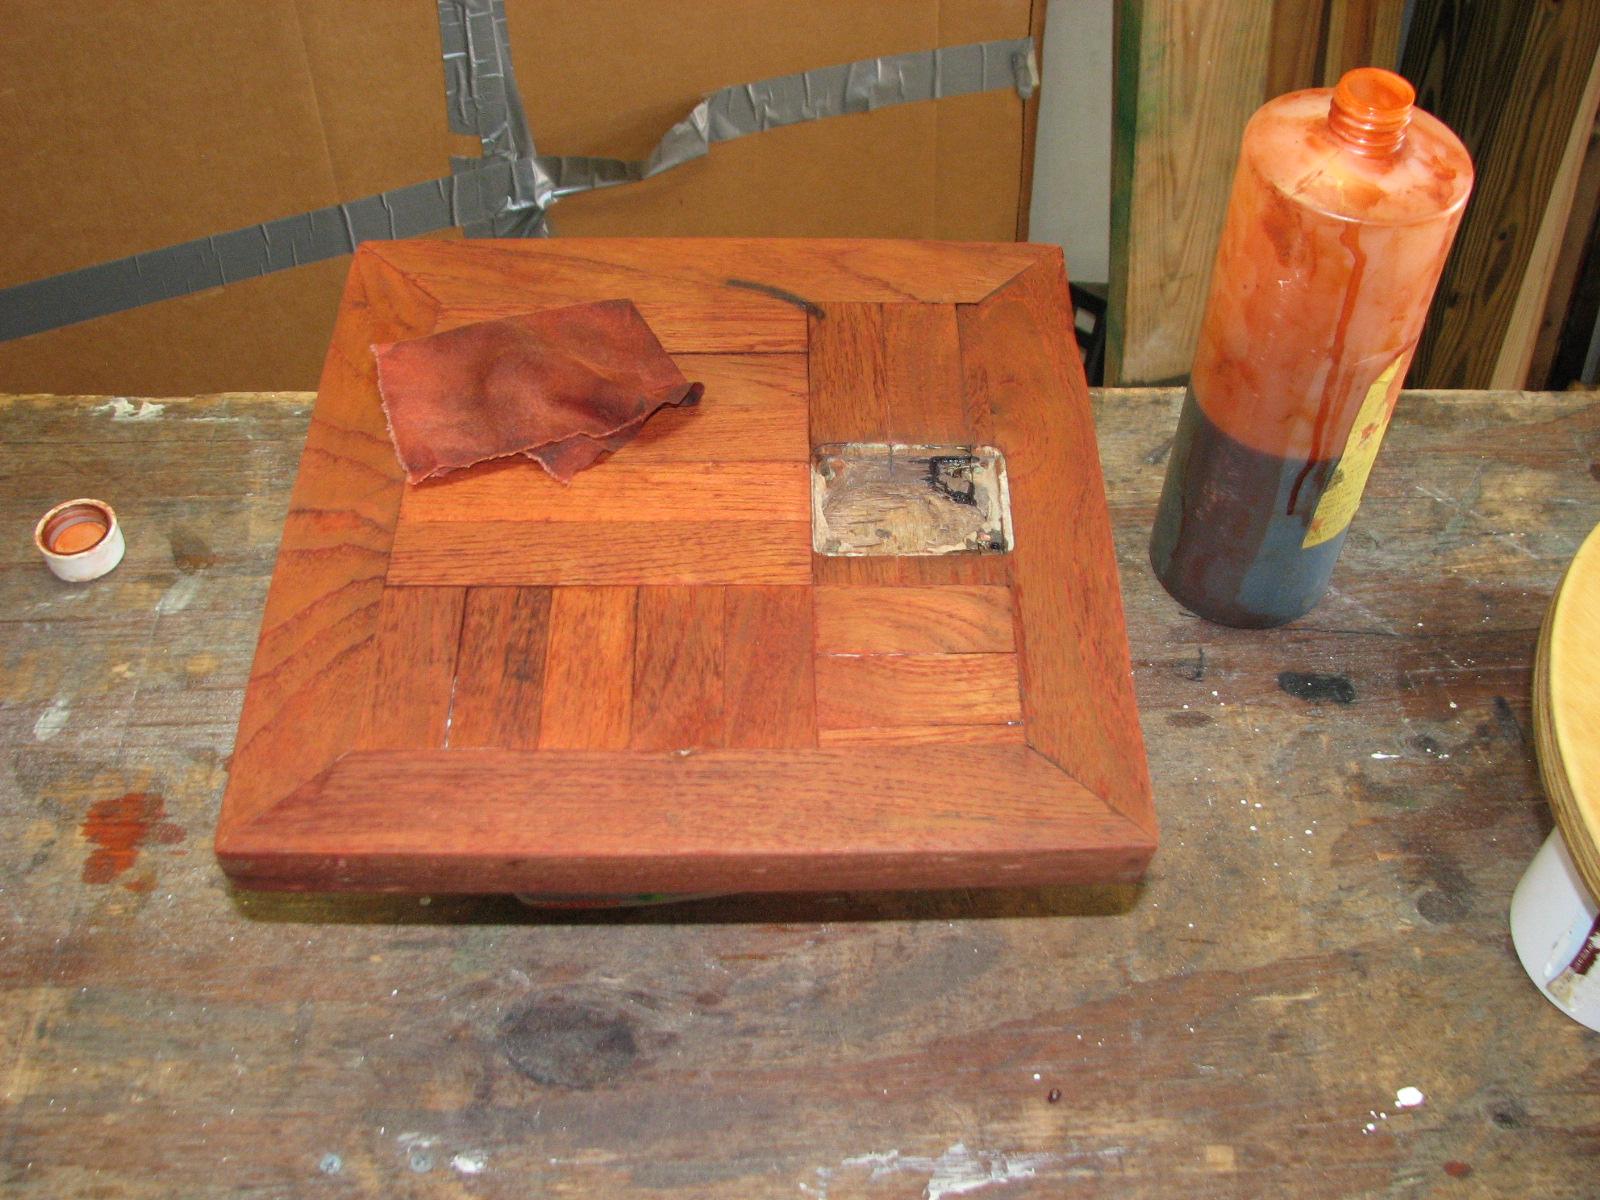
Dye Applied To All Teak Pieces
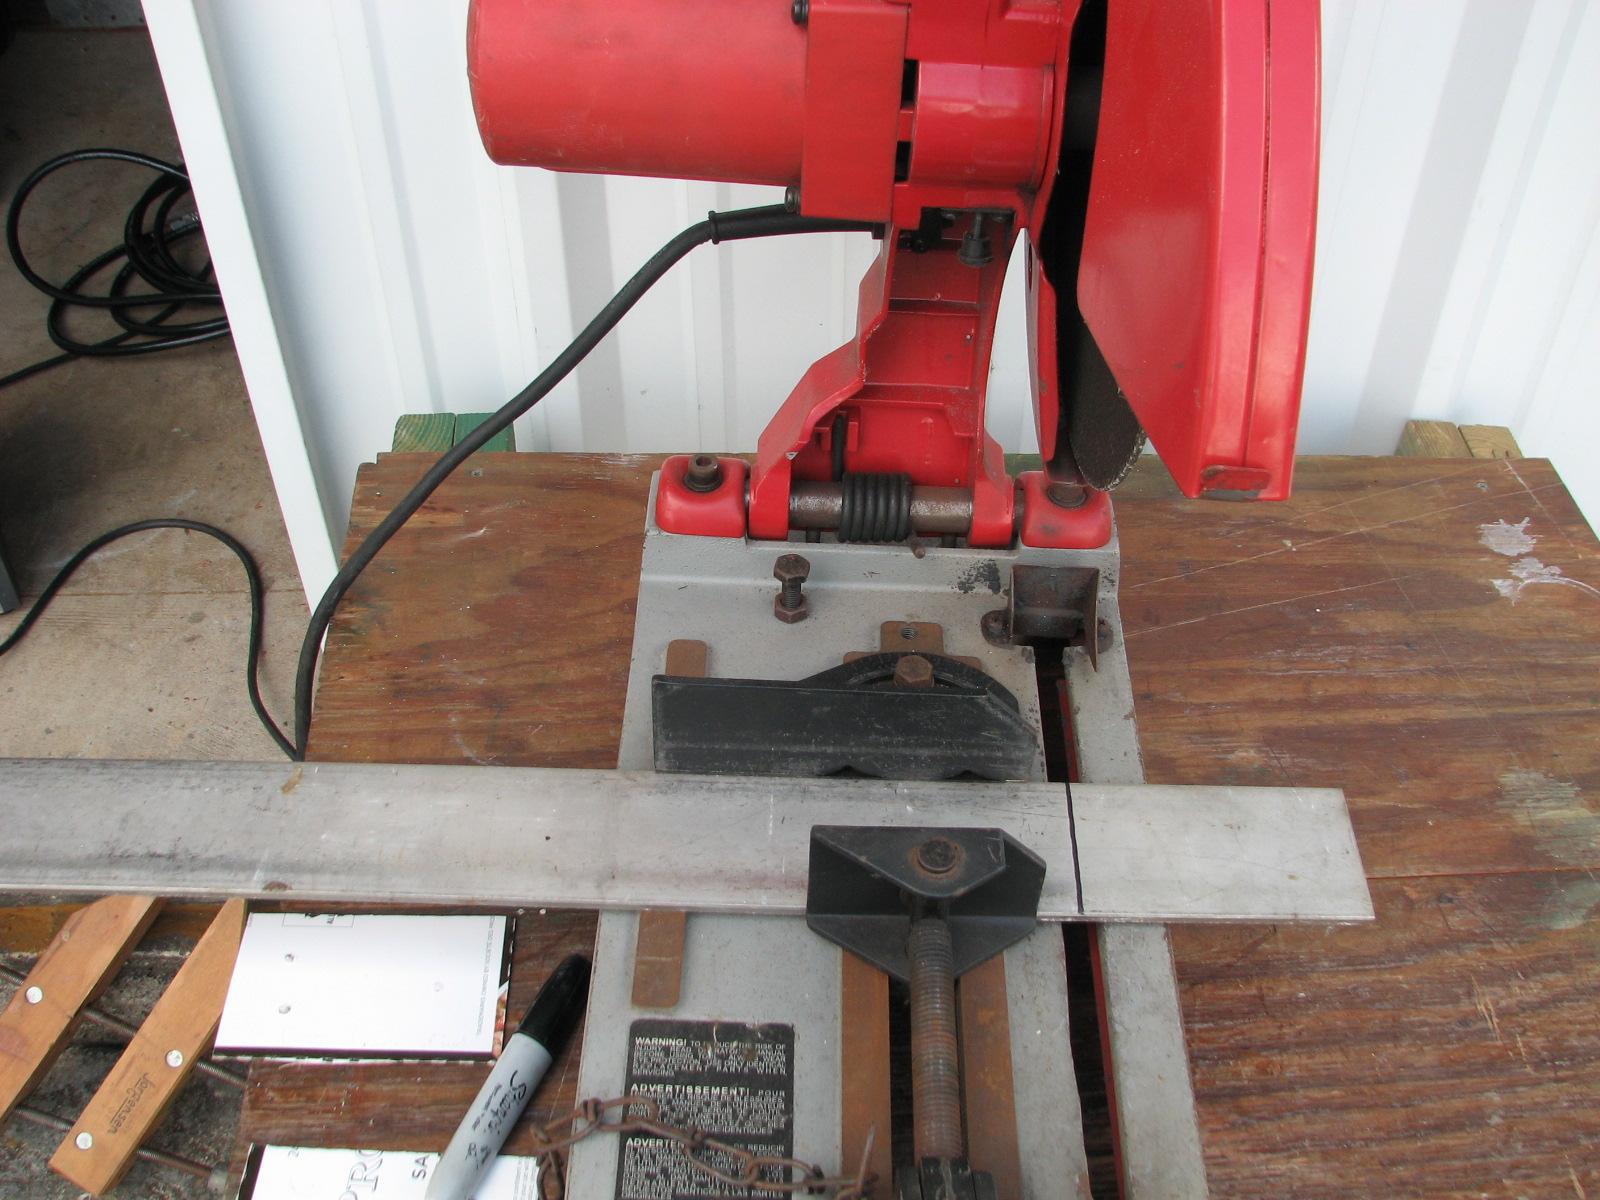
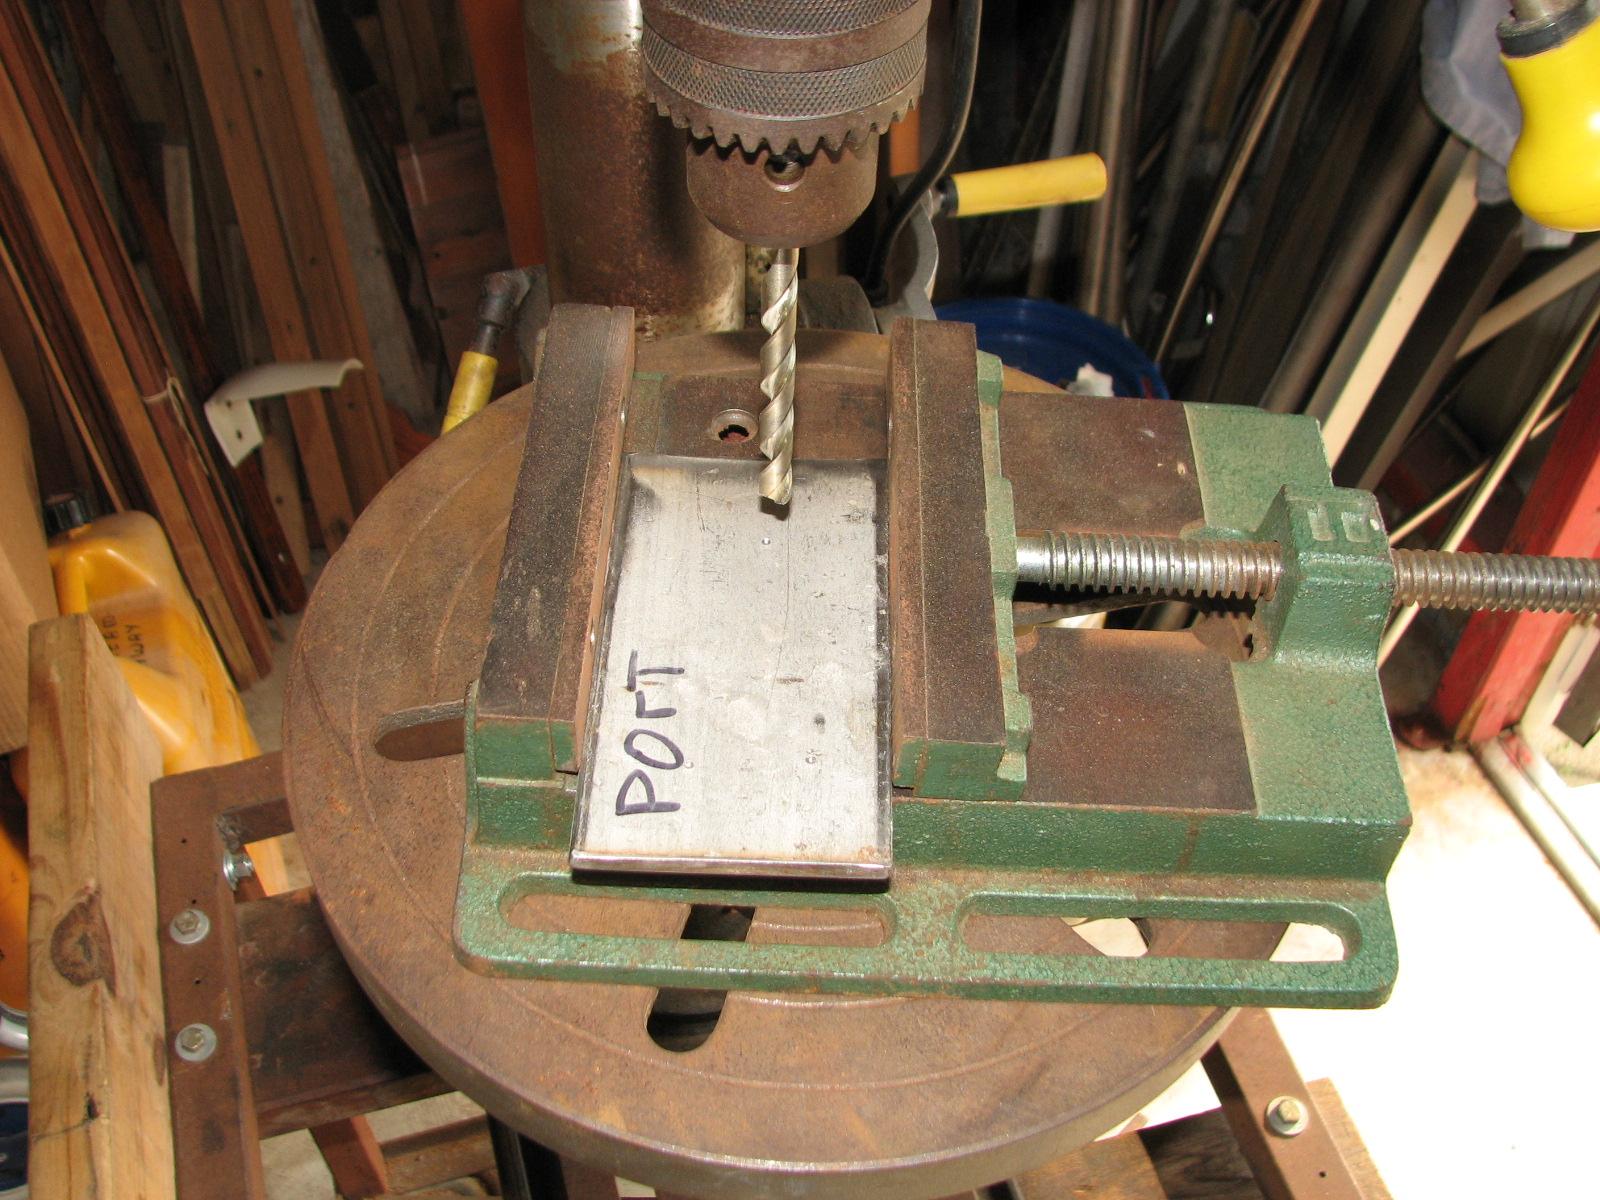
I had done two templates for the plates
I need as the base plates for the frame of the hard dodger on the
boom gallows. I got out the chop saw, and cut the two pieces, from
some 3” stainless steel ¼” flat bar. After the pieces were cut,
I used the drill press and drilled the required holes.
Setting Up Cut In The Chop Saw
Set Up In Drill Press
I closed up the shop
and went back to DREAM AWAY. I checked the fit of the two plates, and
it looks like it will be a nice fit. Now I am ready for further
progress on the hard dodger project.
Time for a shower and an adult
beverage.
September 10, Tuesday,
2013
Started off the morning with my normal
ritual of getting on the Internet, answering email, and checking the
weather, while making a pot of coffee. I also spent time with our two
cats, Jillian
and Jordan.
I accompanied Kitty to her kidney
doctor in Lafayette. On the way back home I stopped at
Aluminum & Stainless
in Broussard to pick up some 90
degree ells for the hard dodger and aft latter project.
When we returned to DREAM AWAY, we had
lunch, and I changed into work clothes. I put the tender into the
water and moved it into an empty slip next to DREAM AWAY. I removed
everything from the inside of the tender. I have some repairs to
accomplish on the tender, and I must glass in a battery box and some
tie downs for the fuel tank.
I then helped our friend Hollis with a
problem he was having with one of his main engines. I discovered the
source of the leaking fuel problem, but did not know enough about the
engine to repair the problem. Hollis is going to call Chad of C
& J diesel to repair the problem.
I then went over to the shop and
serviced all of the ABUS
locks. I cleaned them off, and then lubricated them thoroughly. I
found two that were not working properly, and will have to be sent
off for repair.
September 09, Monday, 2013
Started off the morning with my normal
ritual of getting on the Internet, answering email, and checking the
weather, while making a pot of coffee. I also spent time with our two
cats, Jillian
and Jordan.
First thing in the morning, I caught up
with emails and other computer related items. Kitty and I then drove
into New Iberia so Kitty could have her Renal Ultrasound and
bloodwork. We then ate lunch in New Iberia and returned to DREAM
AWAY.
On the way back to DREAM AWAY we
stopped by Port
of Delcambre’s storage room and loaded the lawn
mower and fuel. Spent the remainder of the day mowing the grass,
trimming grass and weeding the gardens at the
marina.
I took all of the ABUS
locks, except for one new one, off of DREAM AWAY, and took them to
the shop when I returned the mower to the Port
of Delcambre’s storage room. I put all of the lock
in a tub of gasoline to clean all of the locks. They are very good
locks, but need to be cleaned and lubricated periodically.
September 08, Sunday, 2013
Started off the morning with my normal
ritual of getting on the Internet, answering email, and checking the
weather, while making a pot of coffee. I also spent time with our two
cats, Jillian
and Jordan.
I stayed on the boat today as a catch
up day. Had to catch up on financial issues, had a lot of documents
to scan into the computer, and even took some time reading.
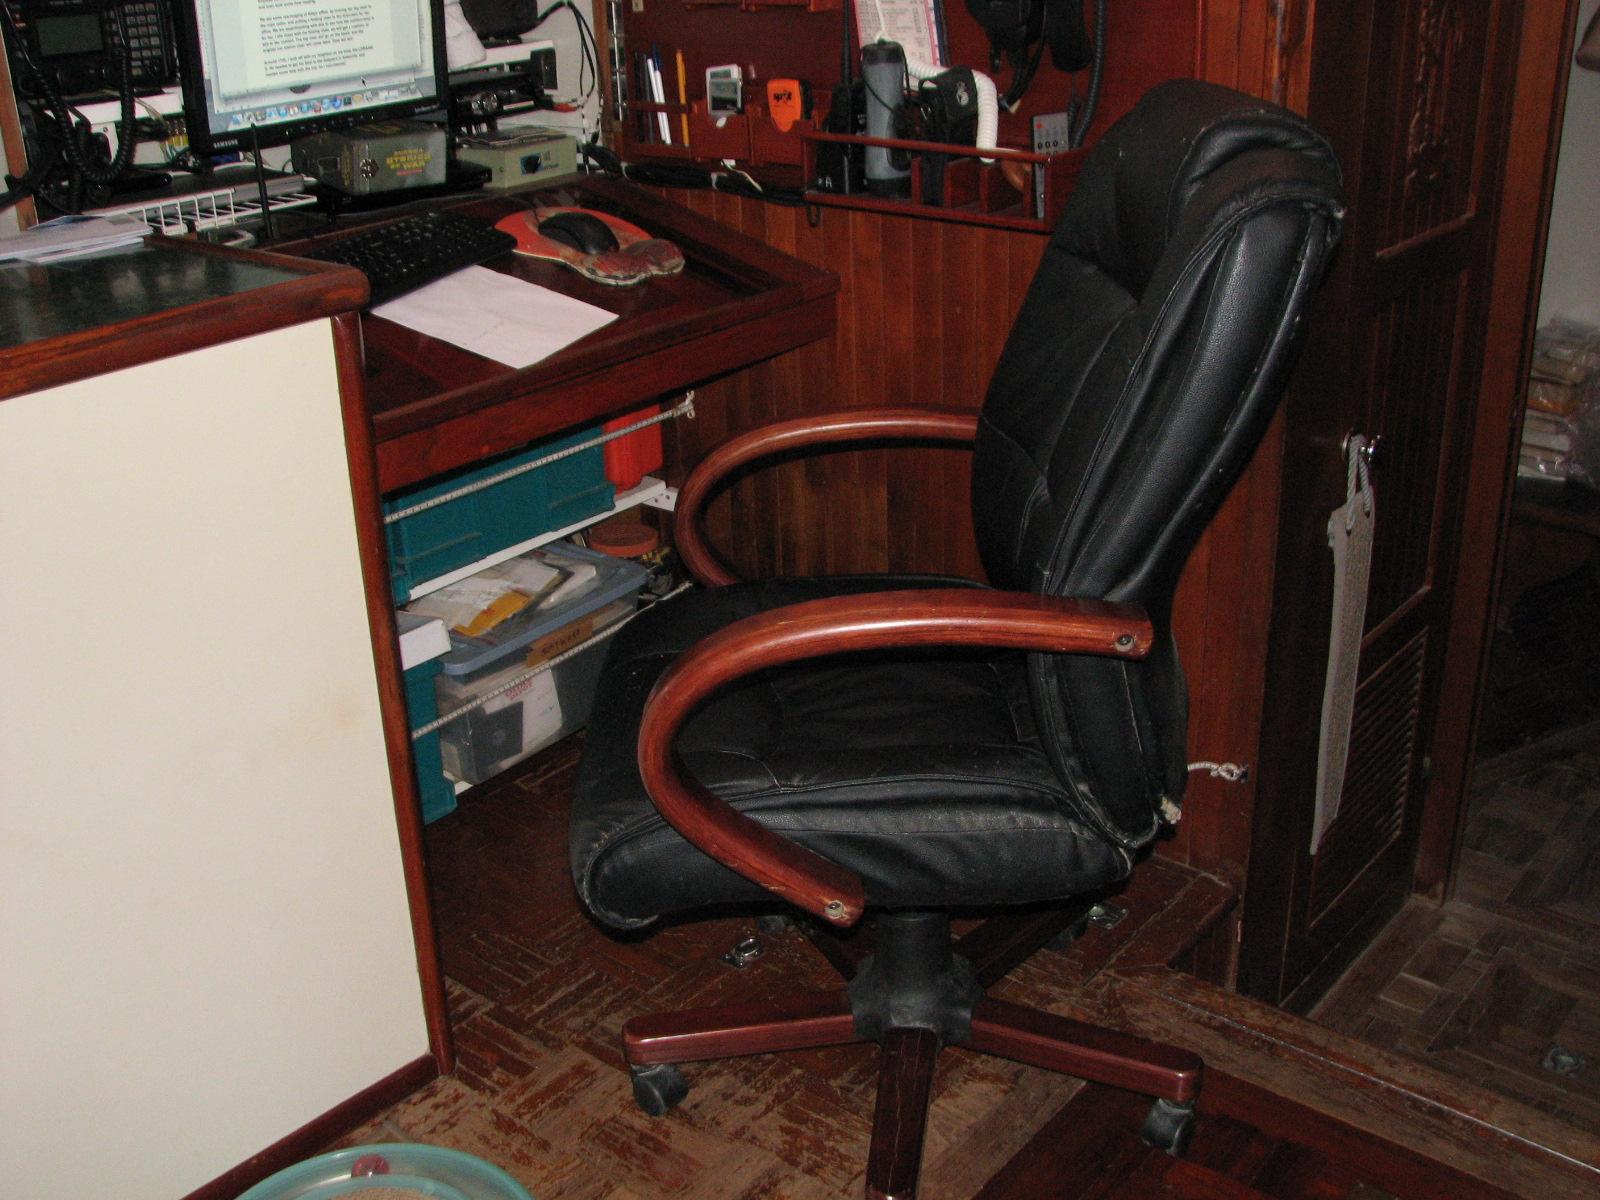
We did some rearranging of Kittys
office, by moving her big chair to the main cabin, and putting a
folding chair in the mid-cabin for her office. We are experimenting
with this to see how the comfort level is for her. If she stays with
the folding chair, we will get a cushion, to add to the comfort. The
big chair will go on the block, and the original nav
station chair will come back. Time will tell.
Kitty’s New Office Chair

Big Chair Moved To Nav Station
Around 1700, I took off with my
neighbor on his boat, the LORAINE D. He needed to get his boat to the
De Hart in Abbeville, and needed some help with the trip, so I
volunteered. It poured rain as we were about to leave, so we waited
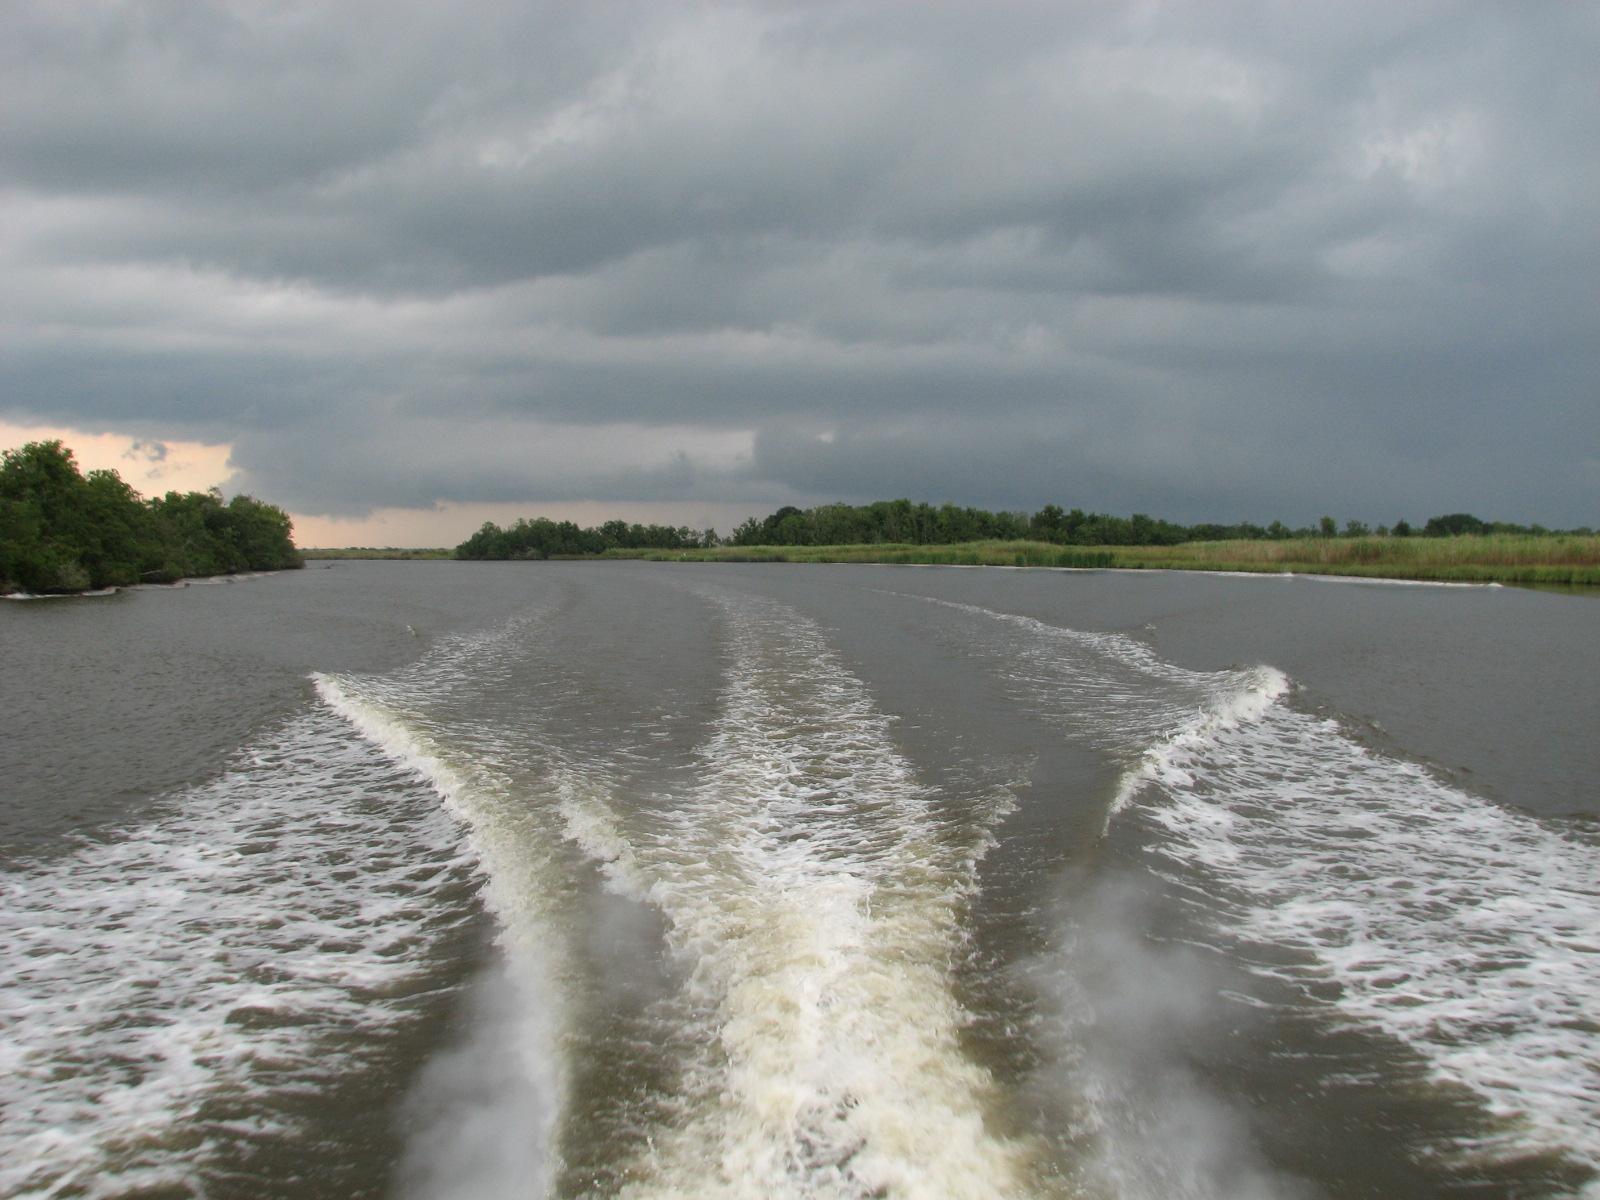
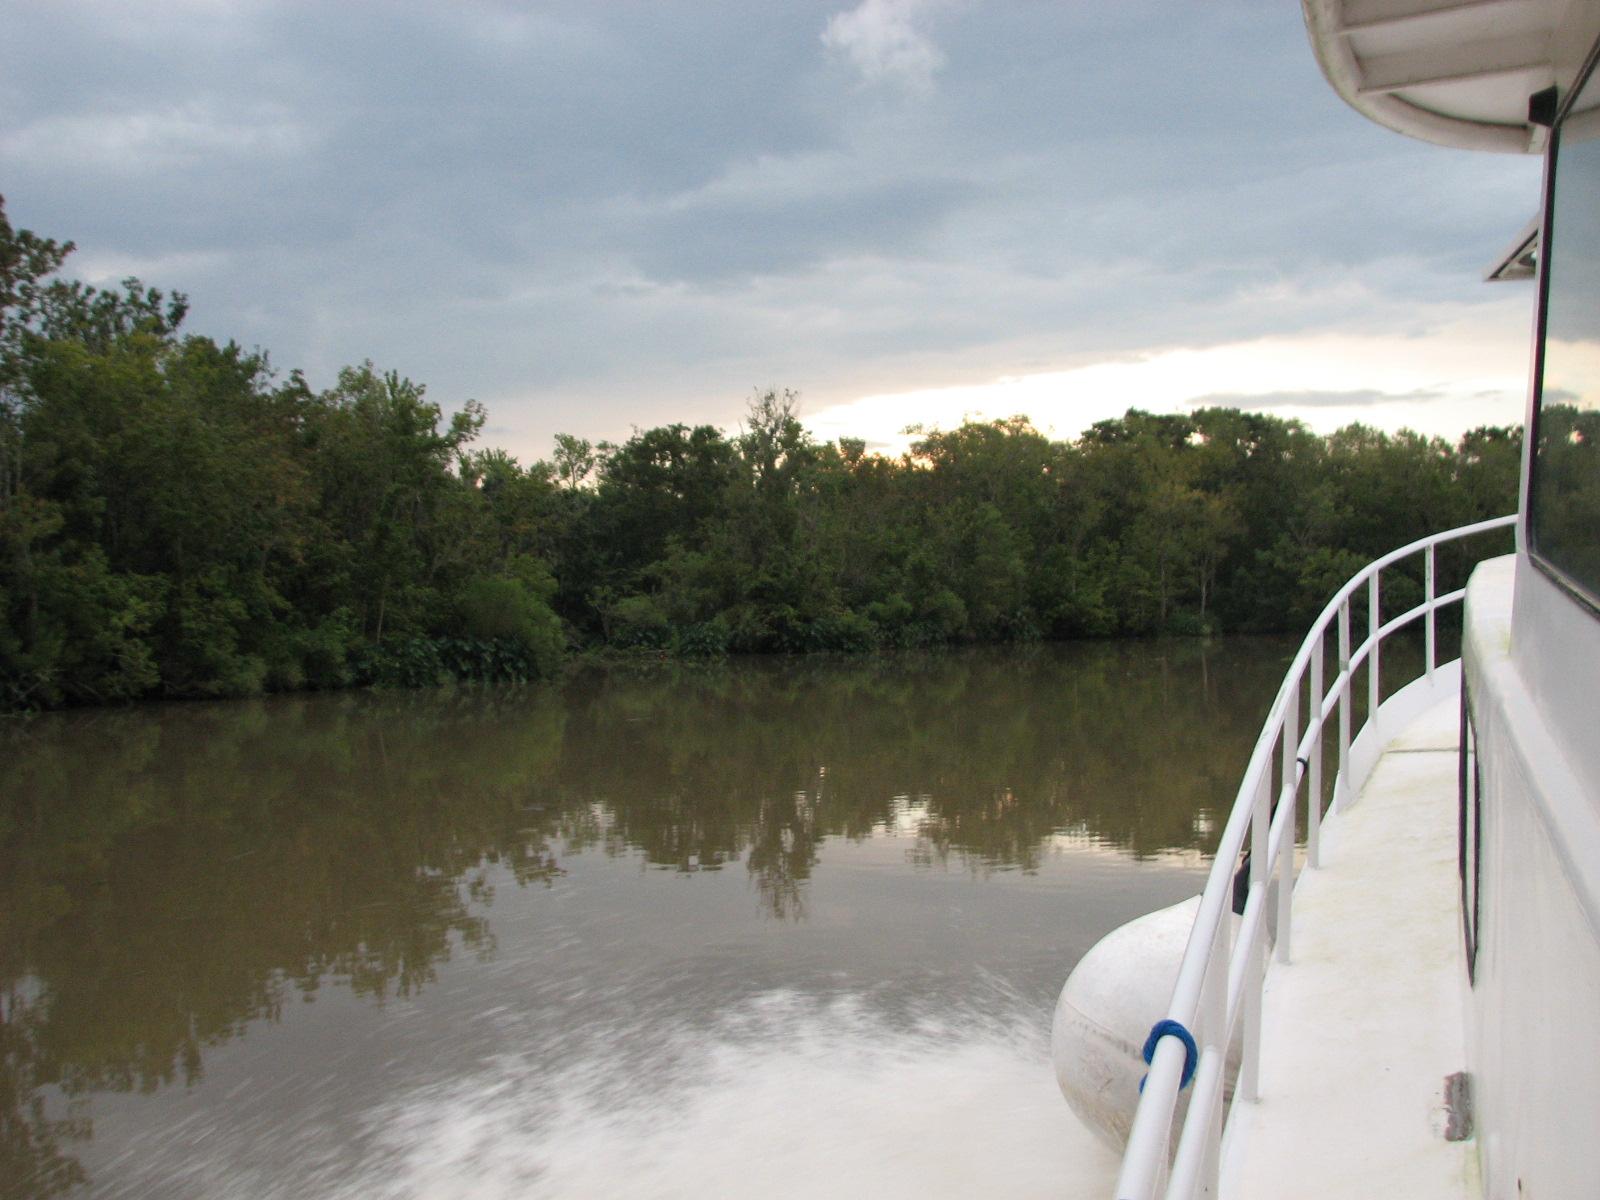
for the rain to pass. It was a nice trip down the
Delcambre Canal
to the GIWW,
then west to the Vermillion
River, then up the river to Abbeville.
Waving Goodbye To Kitty

September 07, Saturday,
2013
Started off the morning with my normal
ritual of getting on the Internet, answering email, and checking the
weather, while making a pot of coffee. I also spent time with our two
cats, Jillian
and Jordan.
Went over to the shop,
and started in sanding all of the teak pieces removed from from DREAM
AWAY yesterday. I finished sanding several of the pieces, but I will
have to repair one of them.
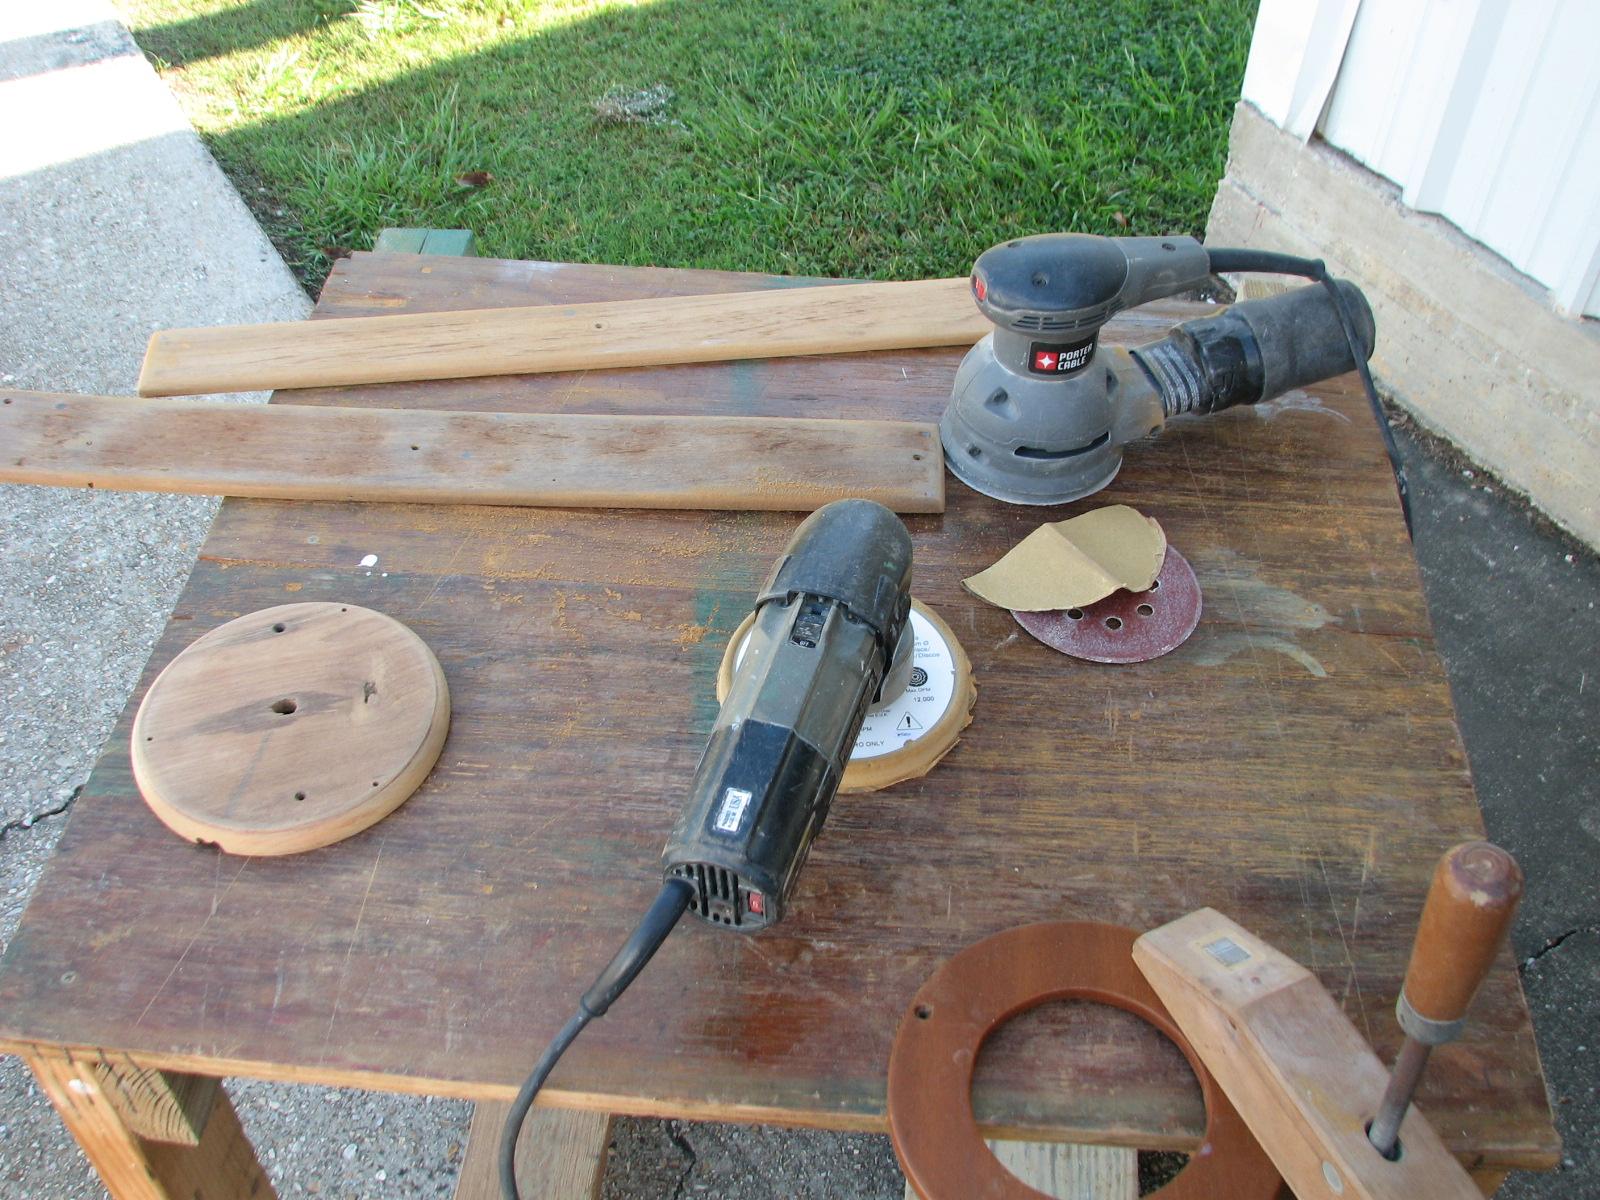
Teak Pieces Being Sanded
Had breakfast, then spent an hour and a
half pressure washing Pier “A”. I cleaned the aluminum dock and
the power pedestals until the pressure washer ran out of gas.
I took a measurement for the bolt
pattern on the front of the boom gallows, for the base piece of the
hard dodger.
Kitty had to run an errand so she
dropped me off at the shop
with the pressure washer, which I took back to the Port
of Delcambre’s storage room.
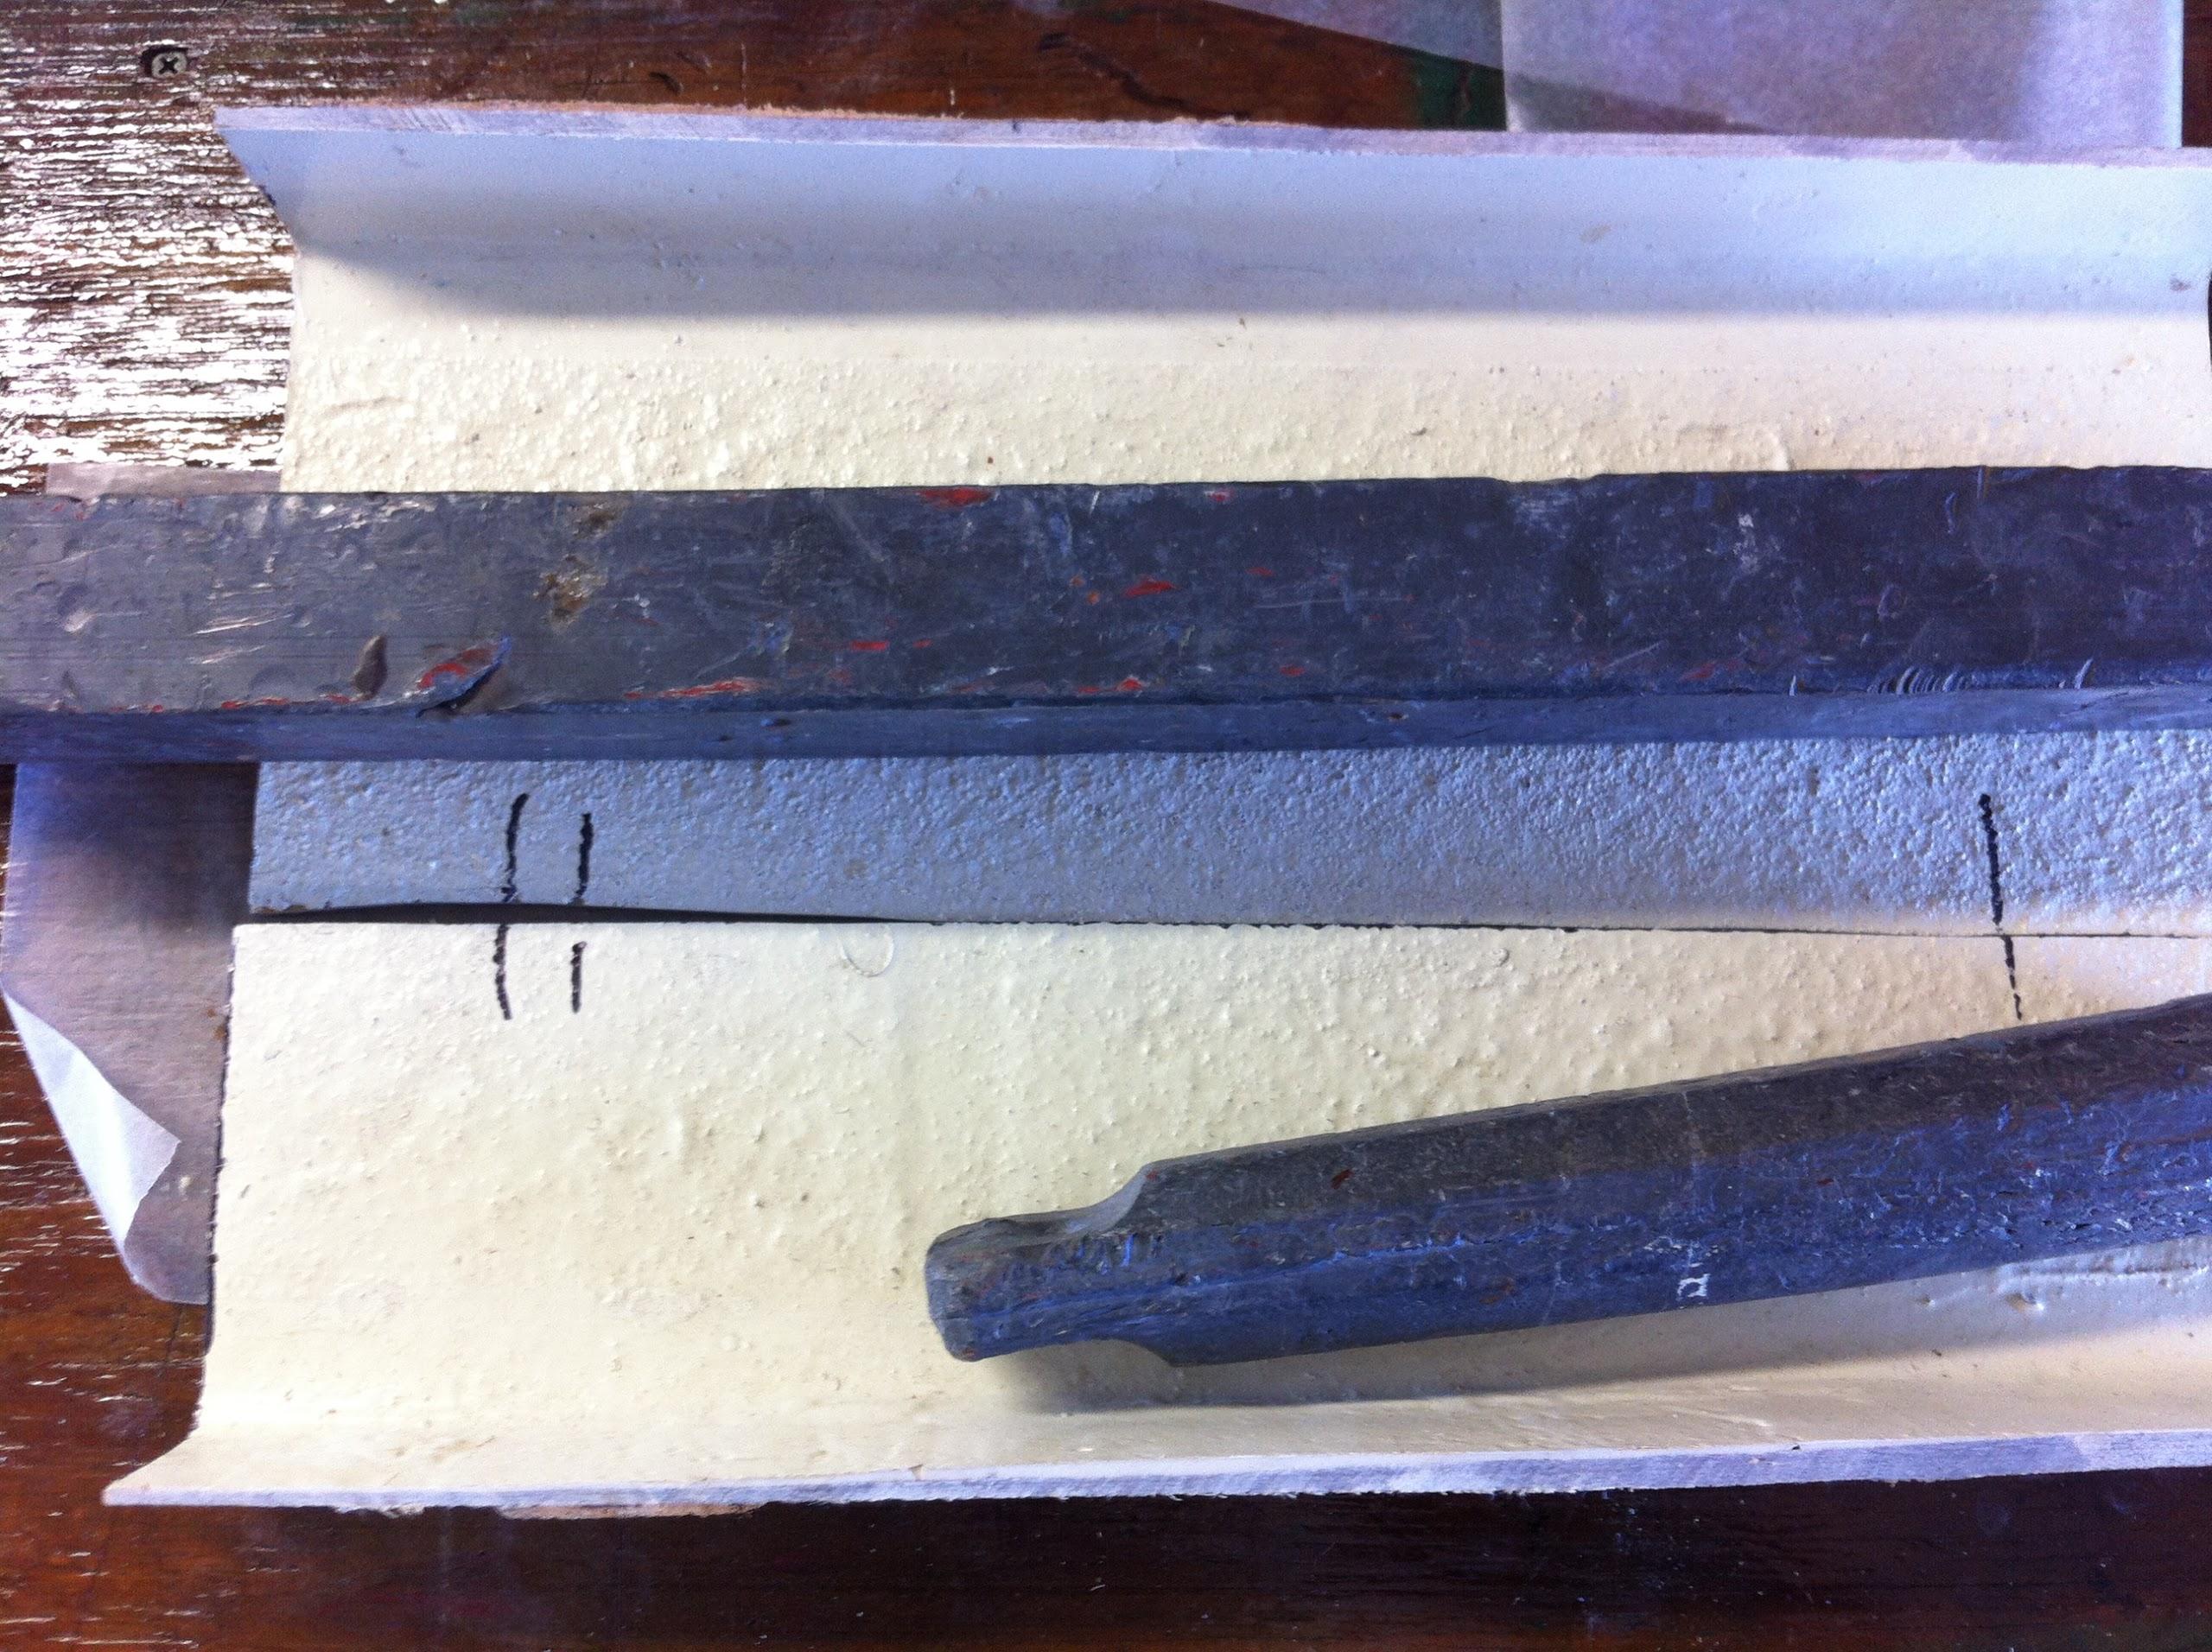
I mixed up a pot of epoxy
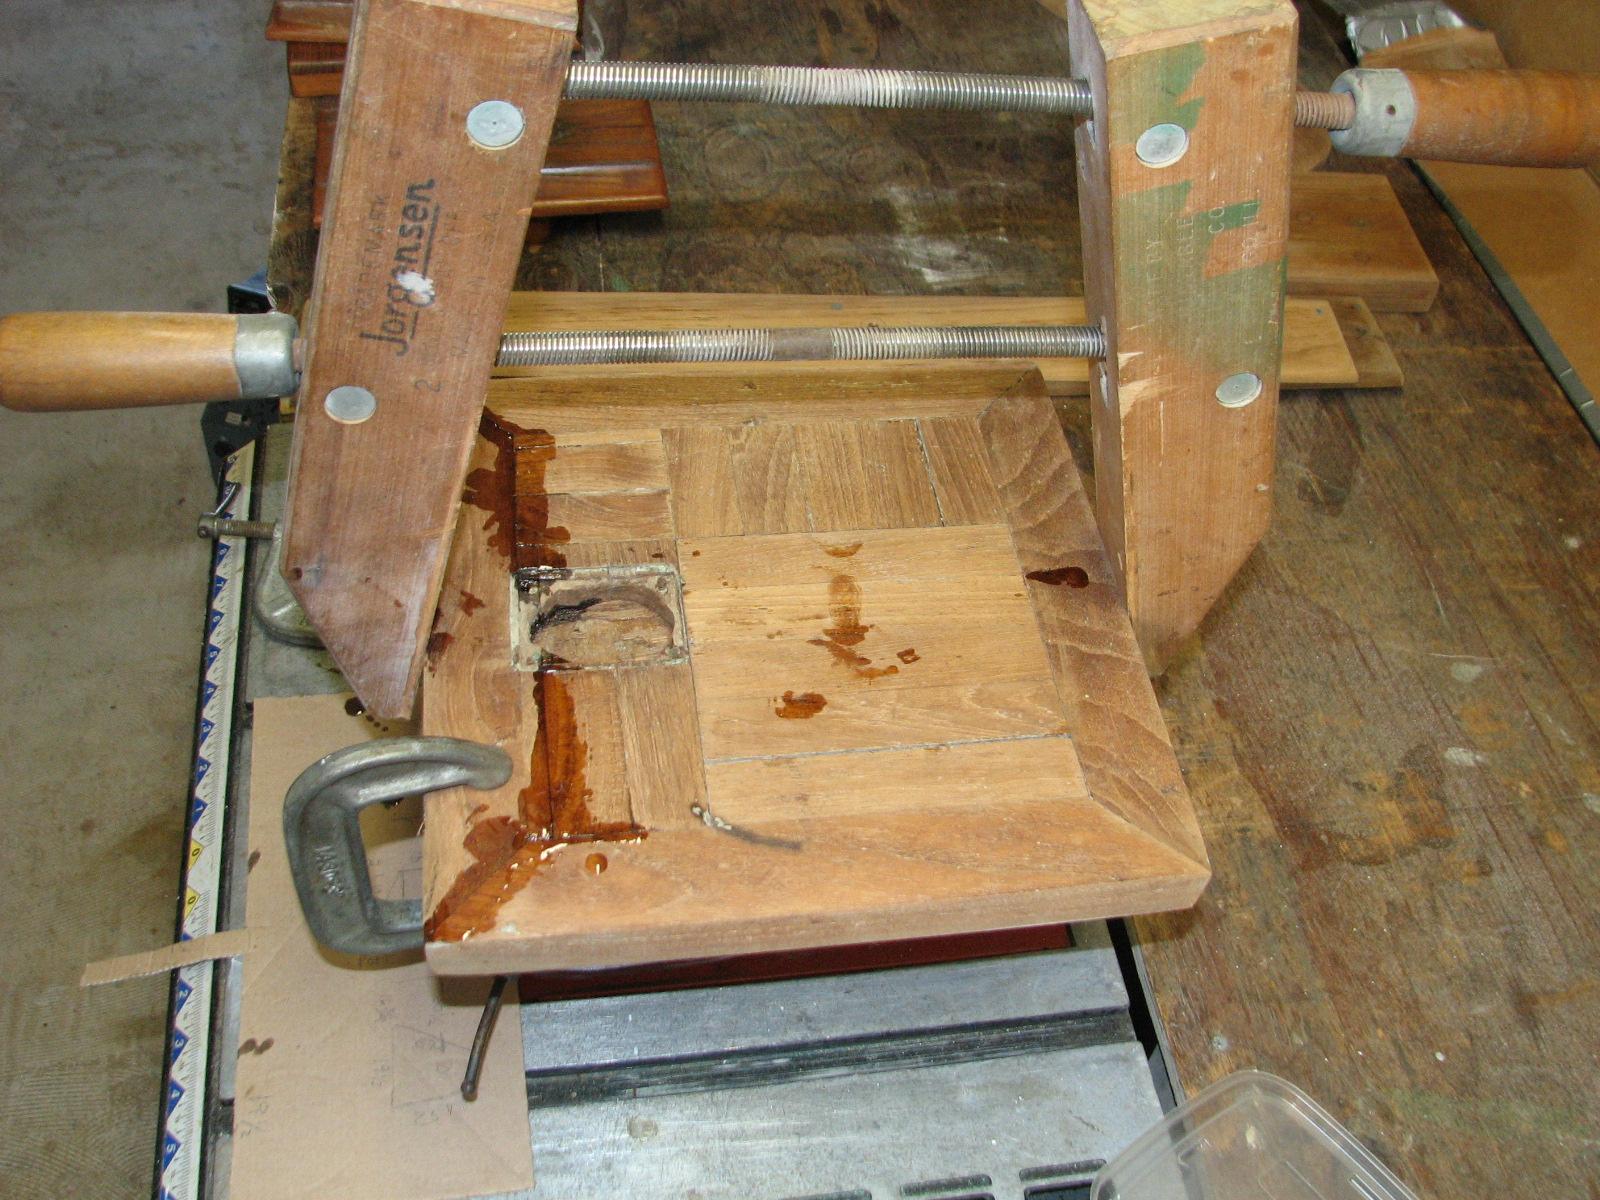
resin and repaired the small teak hatch that was
coming apart. This teak hatch is in the floor of the mid cabin. I put
the epoxy
resin on and in the hatch, then clamped it up until
the epoxy
resin sets up.
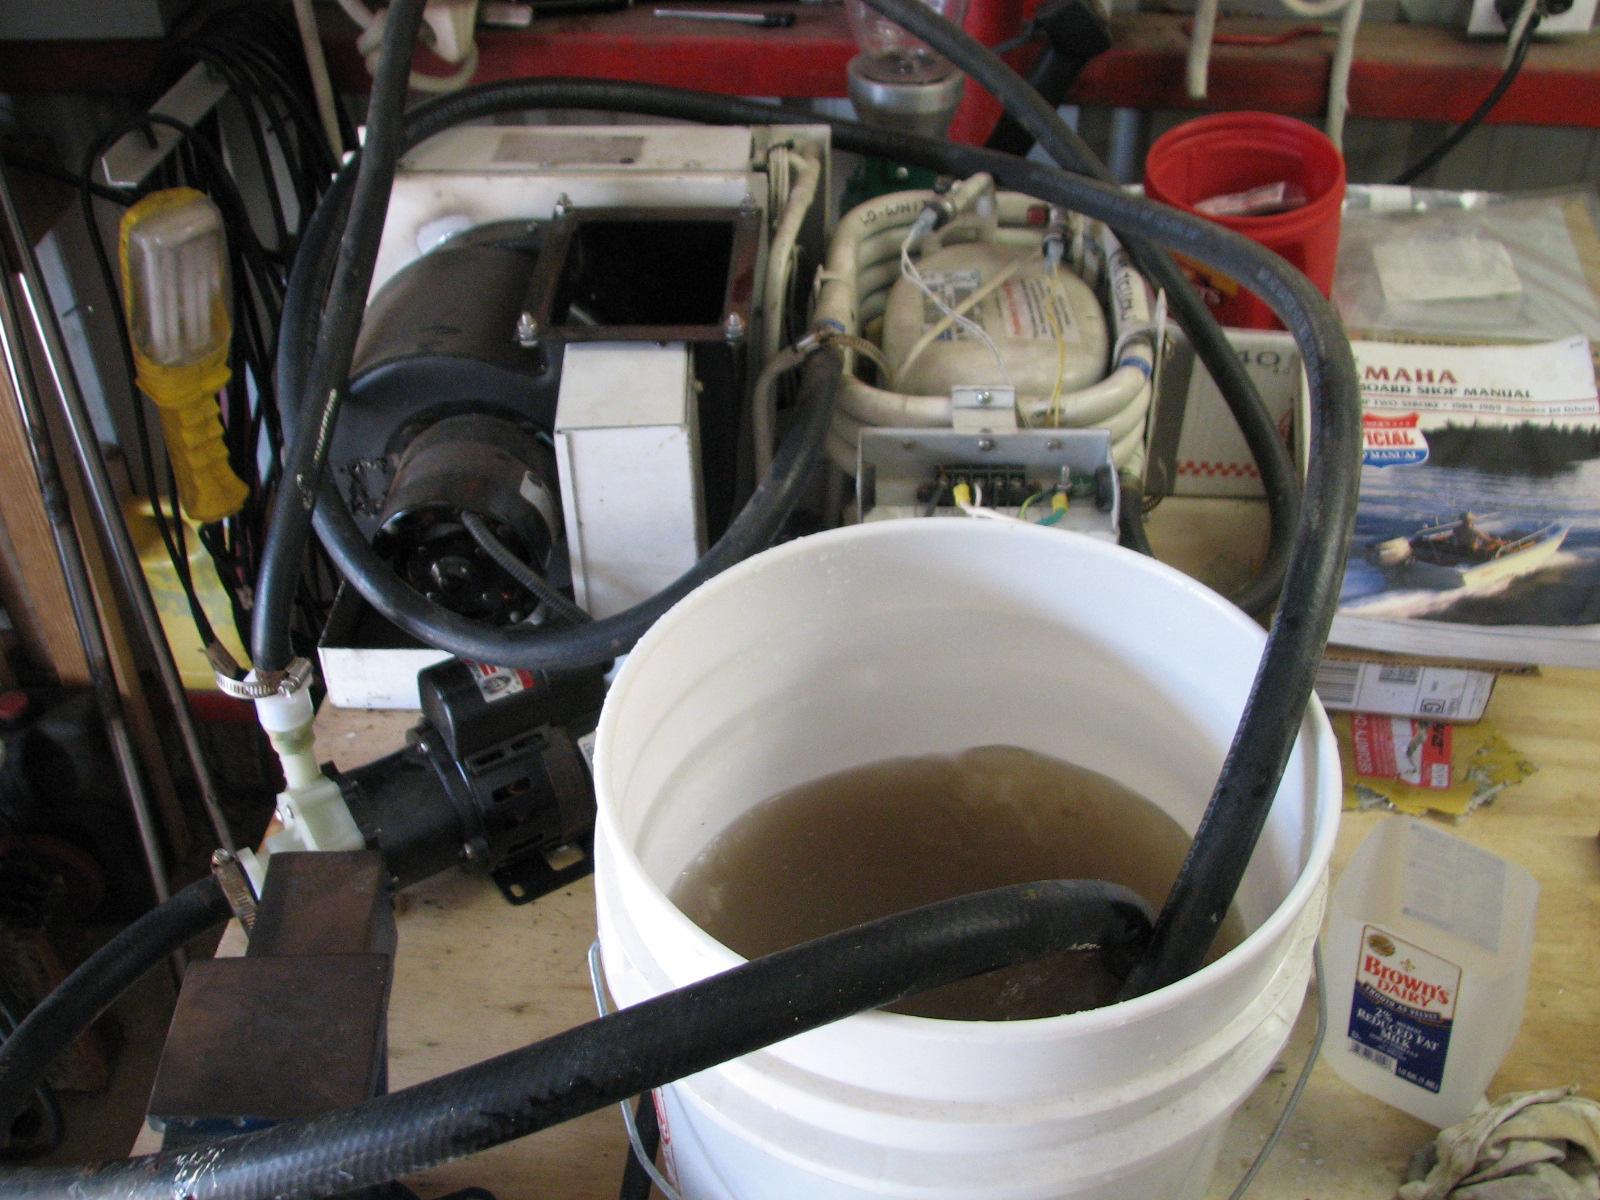
Since completing the hose project on
DREAM AWAY yesterday, I had a short piece of ¾” hose to attach to
my spare air conditioner, which I did. I got a bucket of water,
dumped the inlet and outlet hoses into the bucket, primed the pump,
and turned the unit on. It worked wonderfully. I still have a problem
with mismatched controls, but I am going to give that problem one
more shot.
Spare Air Conditioner Working On Bench
When Kitty finished her errand, she
picked me up at the shop
and we went back to DREAM AWAY.
I had one thing with which I wanted to
experiment. We have several of the ABUS
locks onboard DREAM AWAY. One lock got the combination screwed up,
and I could not open the lock. A friend had lost one of the locks, so
we needed a couple of new ones.
A deal came up at a very good price,
with an additional 10% off, so we purchased three of the locks, and
they arrived this week.
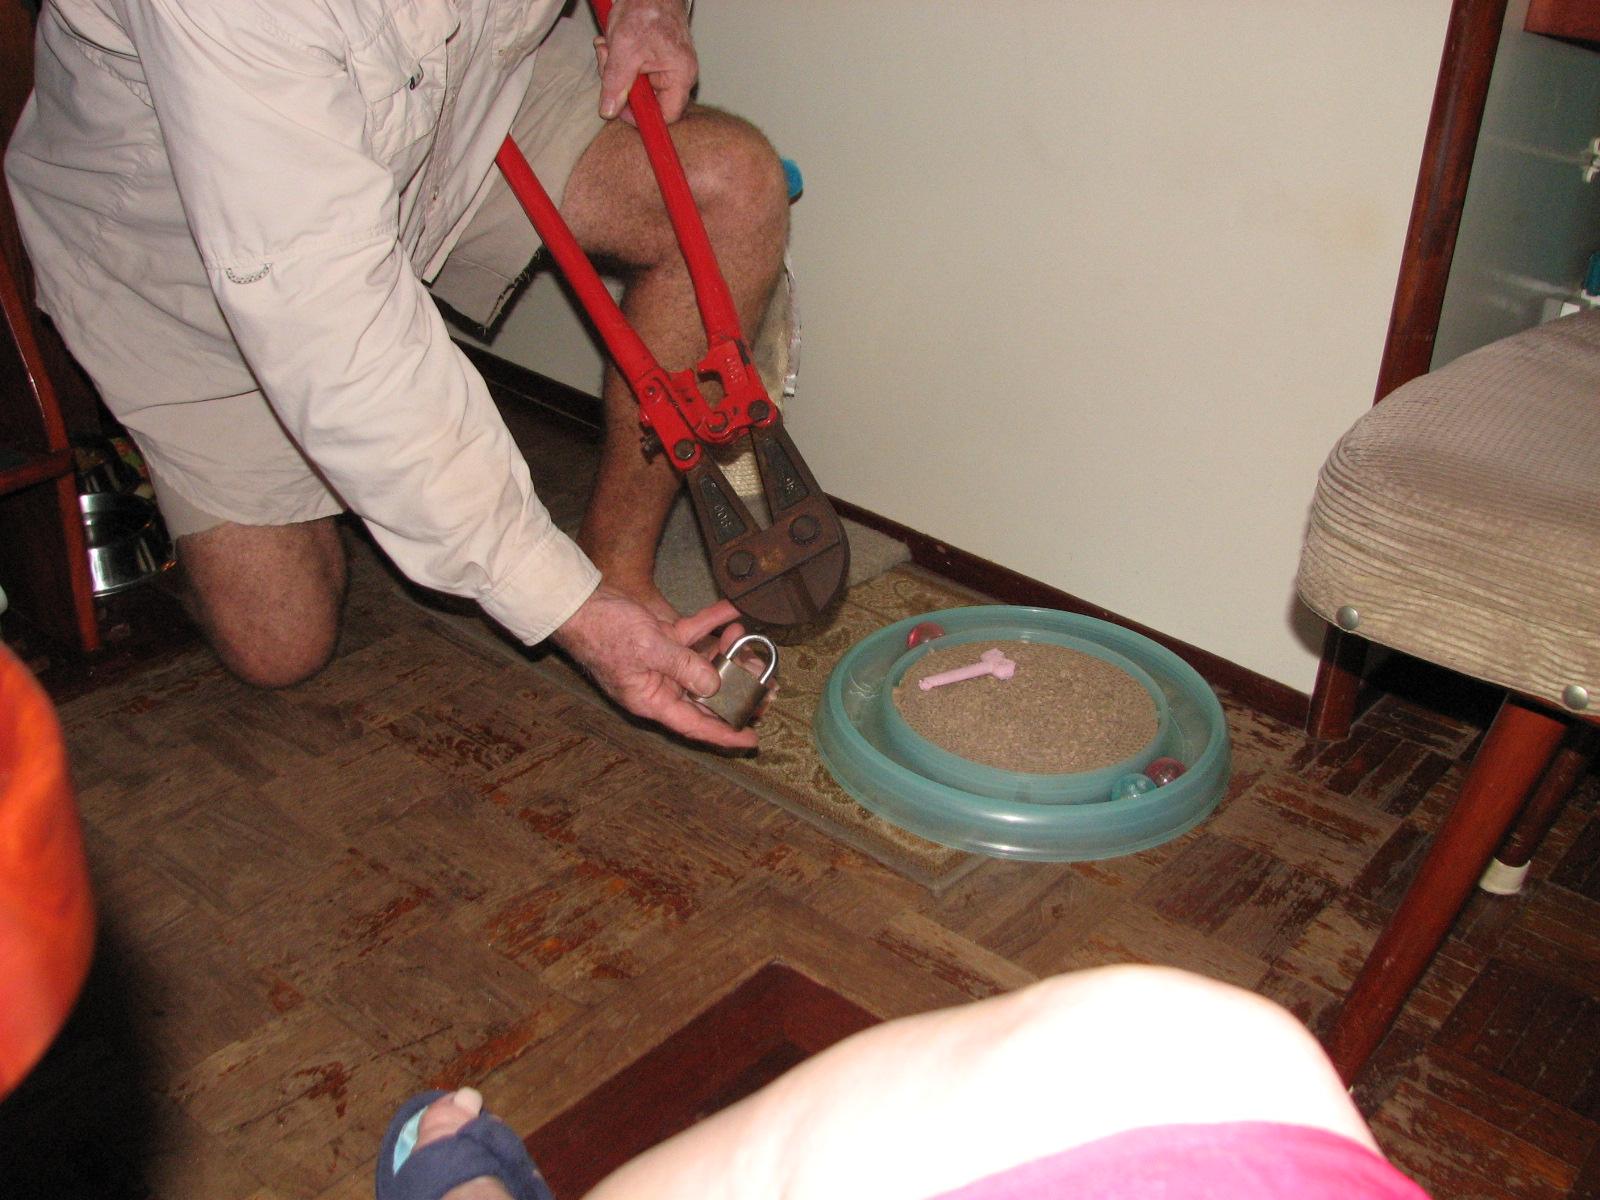
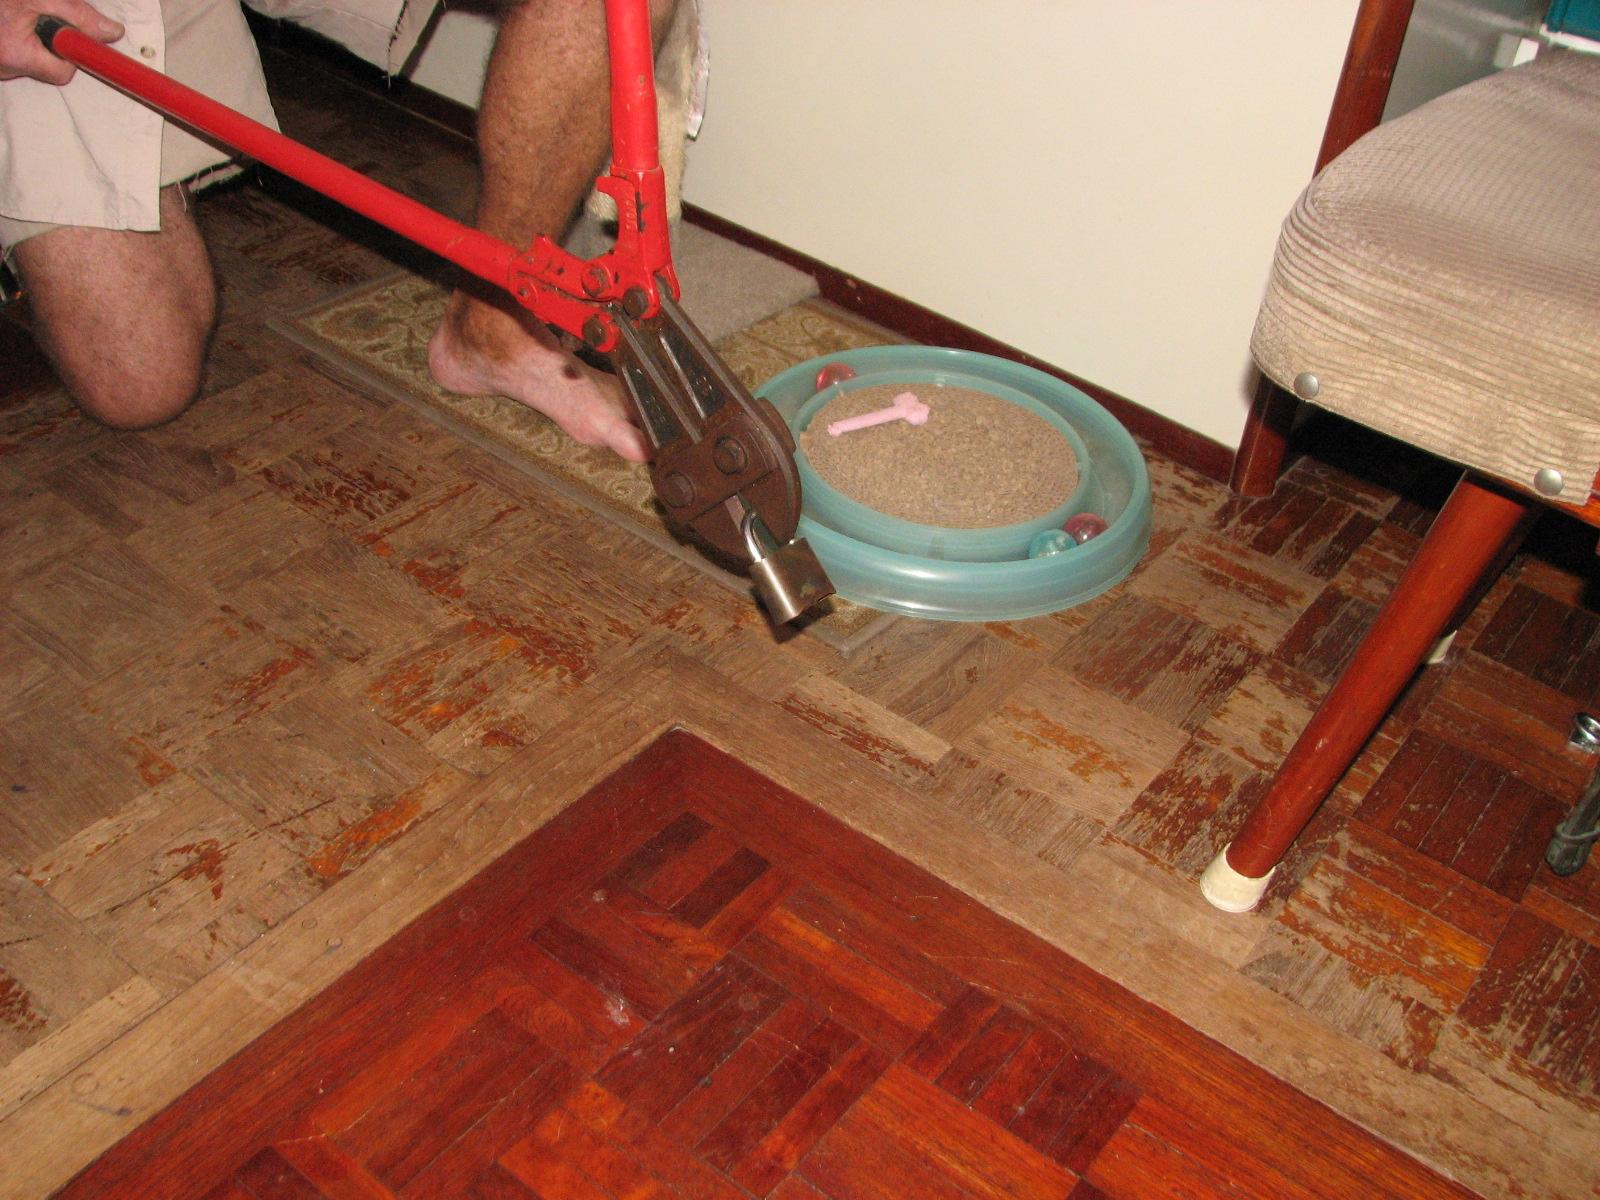
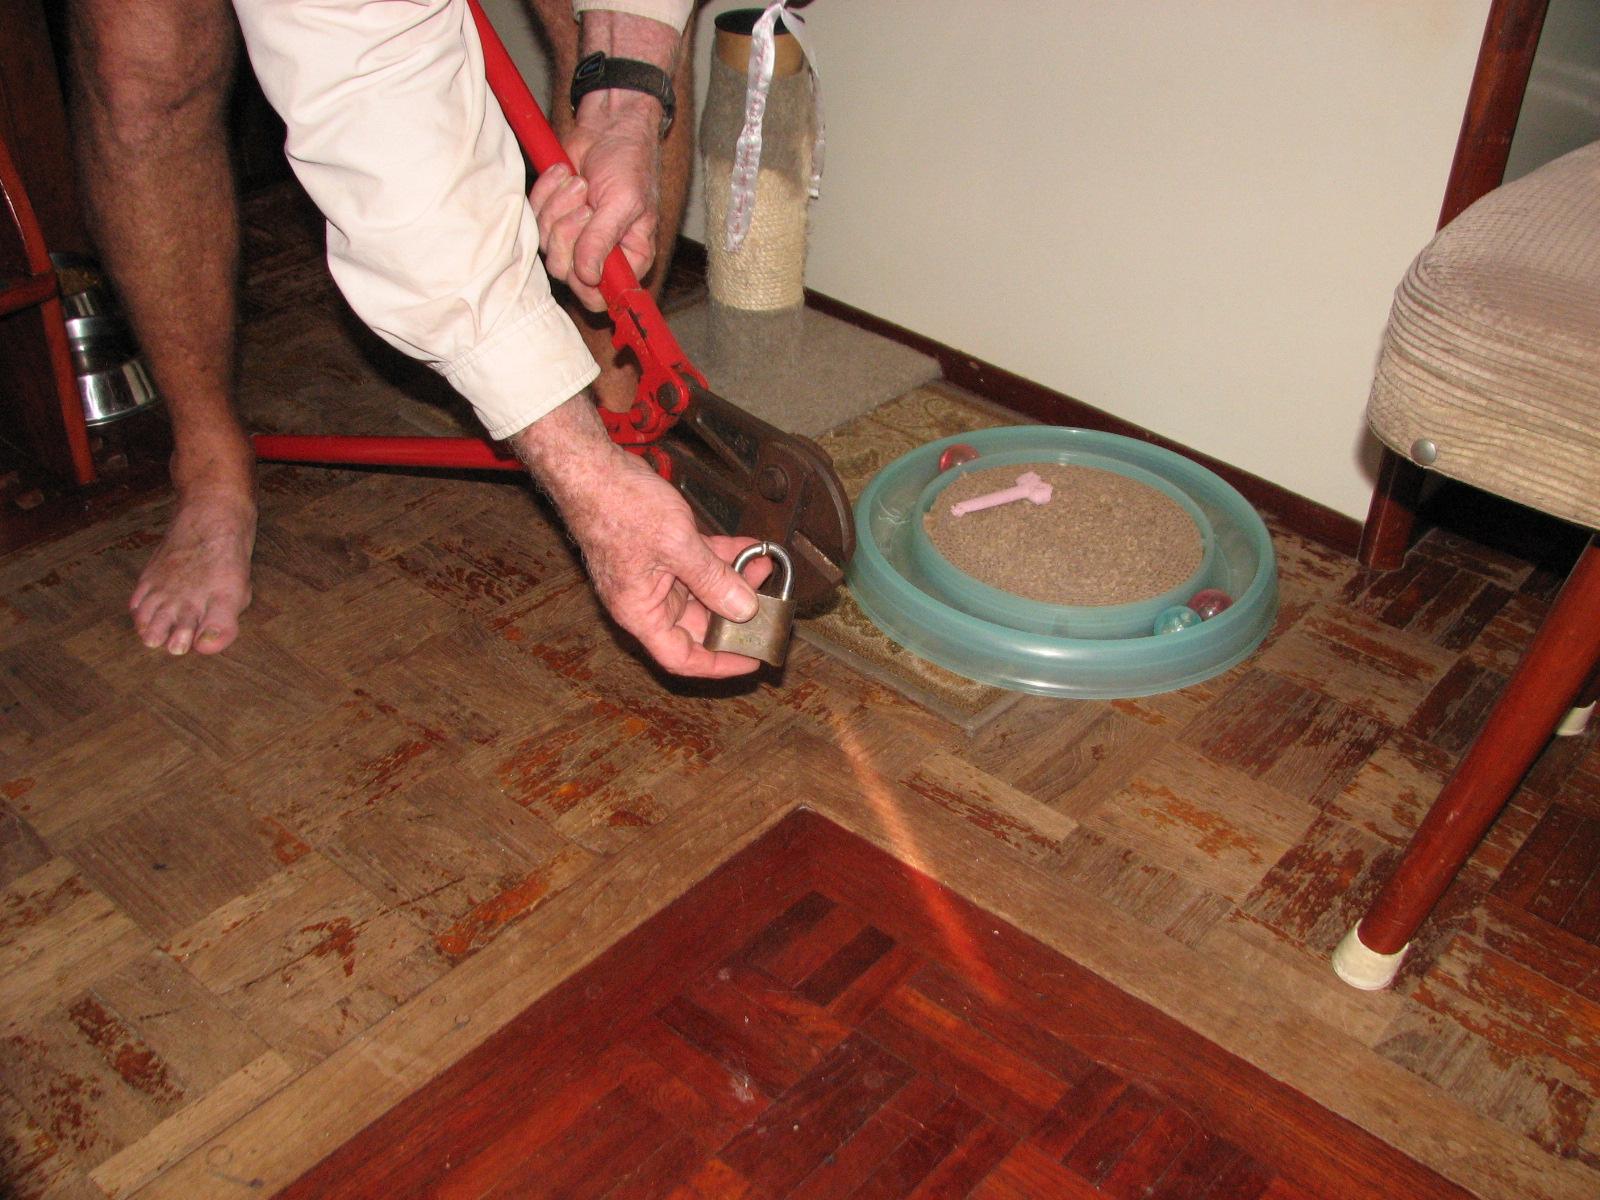
One thing I have always wanted to do is
see how hard it would be to cut one of these locks open. I got out my
36” bolt cutters, and gave it a go. It was not easy. Just grabbing
the bolt cutters, and squeezing the jaws shut would not do it. I had
to put one handle on the floor and press down on the other handle to
be able to cut through the hasp on the lock. I am pleased that these
lock will keep most petty thieves away from our stuff.
Bolt Cutters With Good Lock
Bolt Cutters Cutting Into The Lock
Bolt Cutters With Cut Lock
September 06, Friday, 2013
Started off the morning with my normal
ritual of getting on the Internet, answering email, and checking the
weather, while making a pot of coffee. I also spent time with our two
cats, Jillian
and Jordan.
After breakfast, went out on deck and
finished the hose project by getting both anchors and all of the
chain, washed off, and into the anchor locker. A slow go, as it took
two hours this morning.
When I finished this project, we went
out to run errands, including stops at Stine’s
and Winn-Dixie.
When we came back, I went over to the
shop,
and unloaded all of the teak wood pieces I put in the Black Beast
yesterday. I will start the sanding process tomorrow.
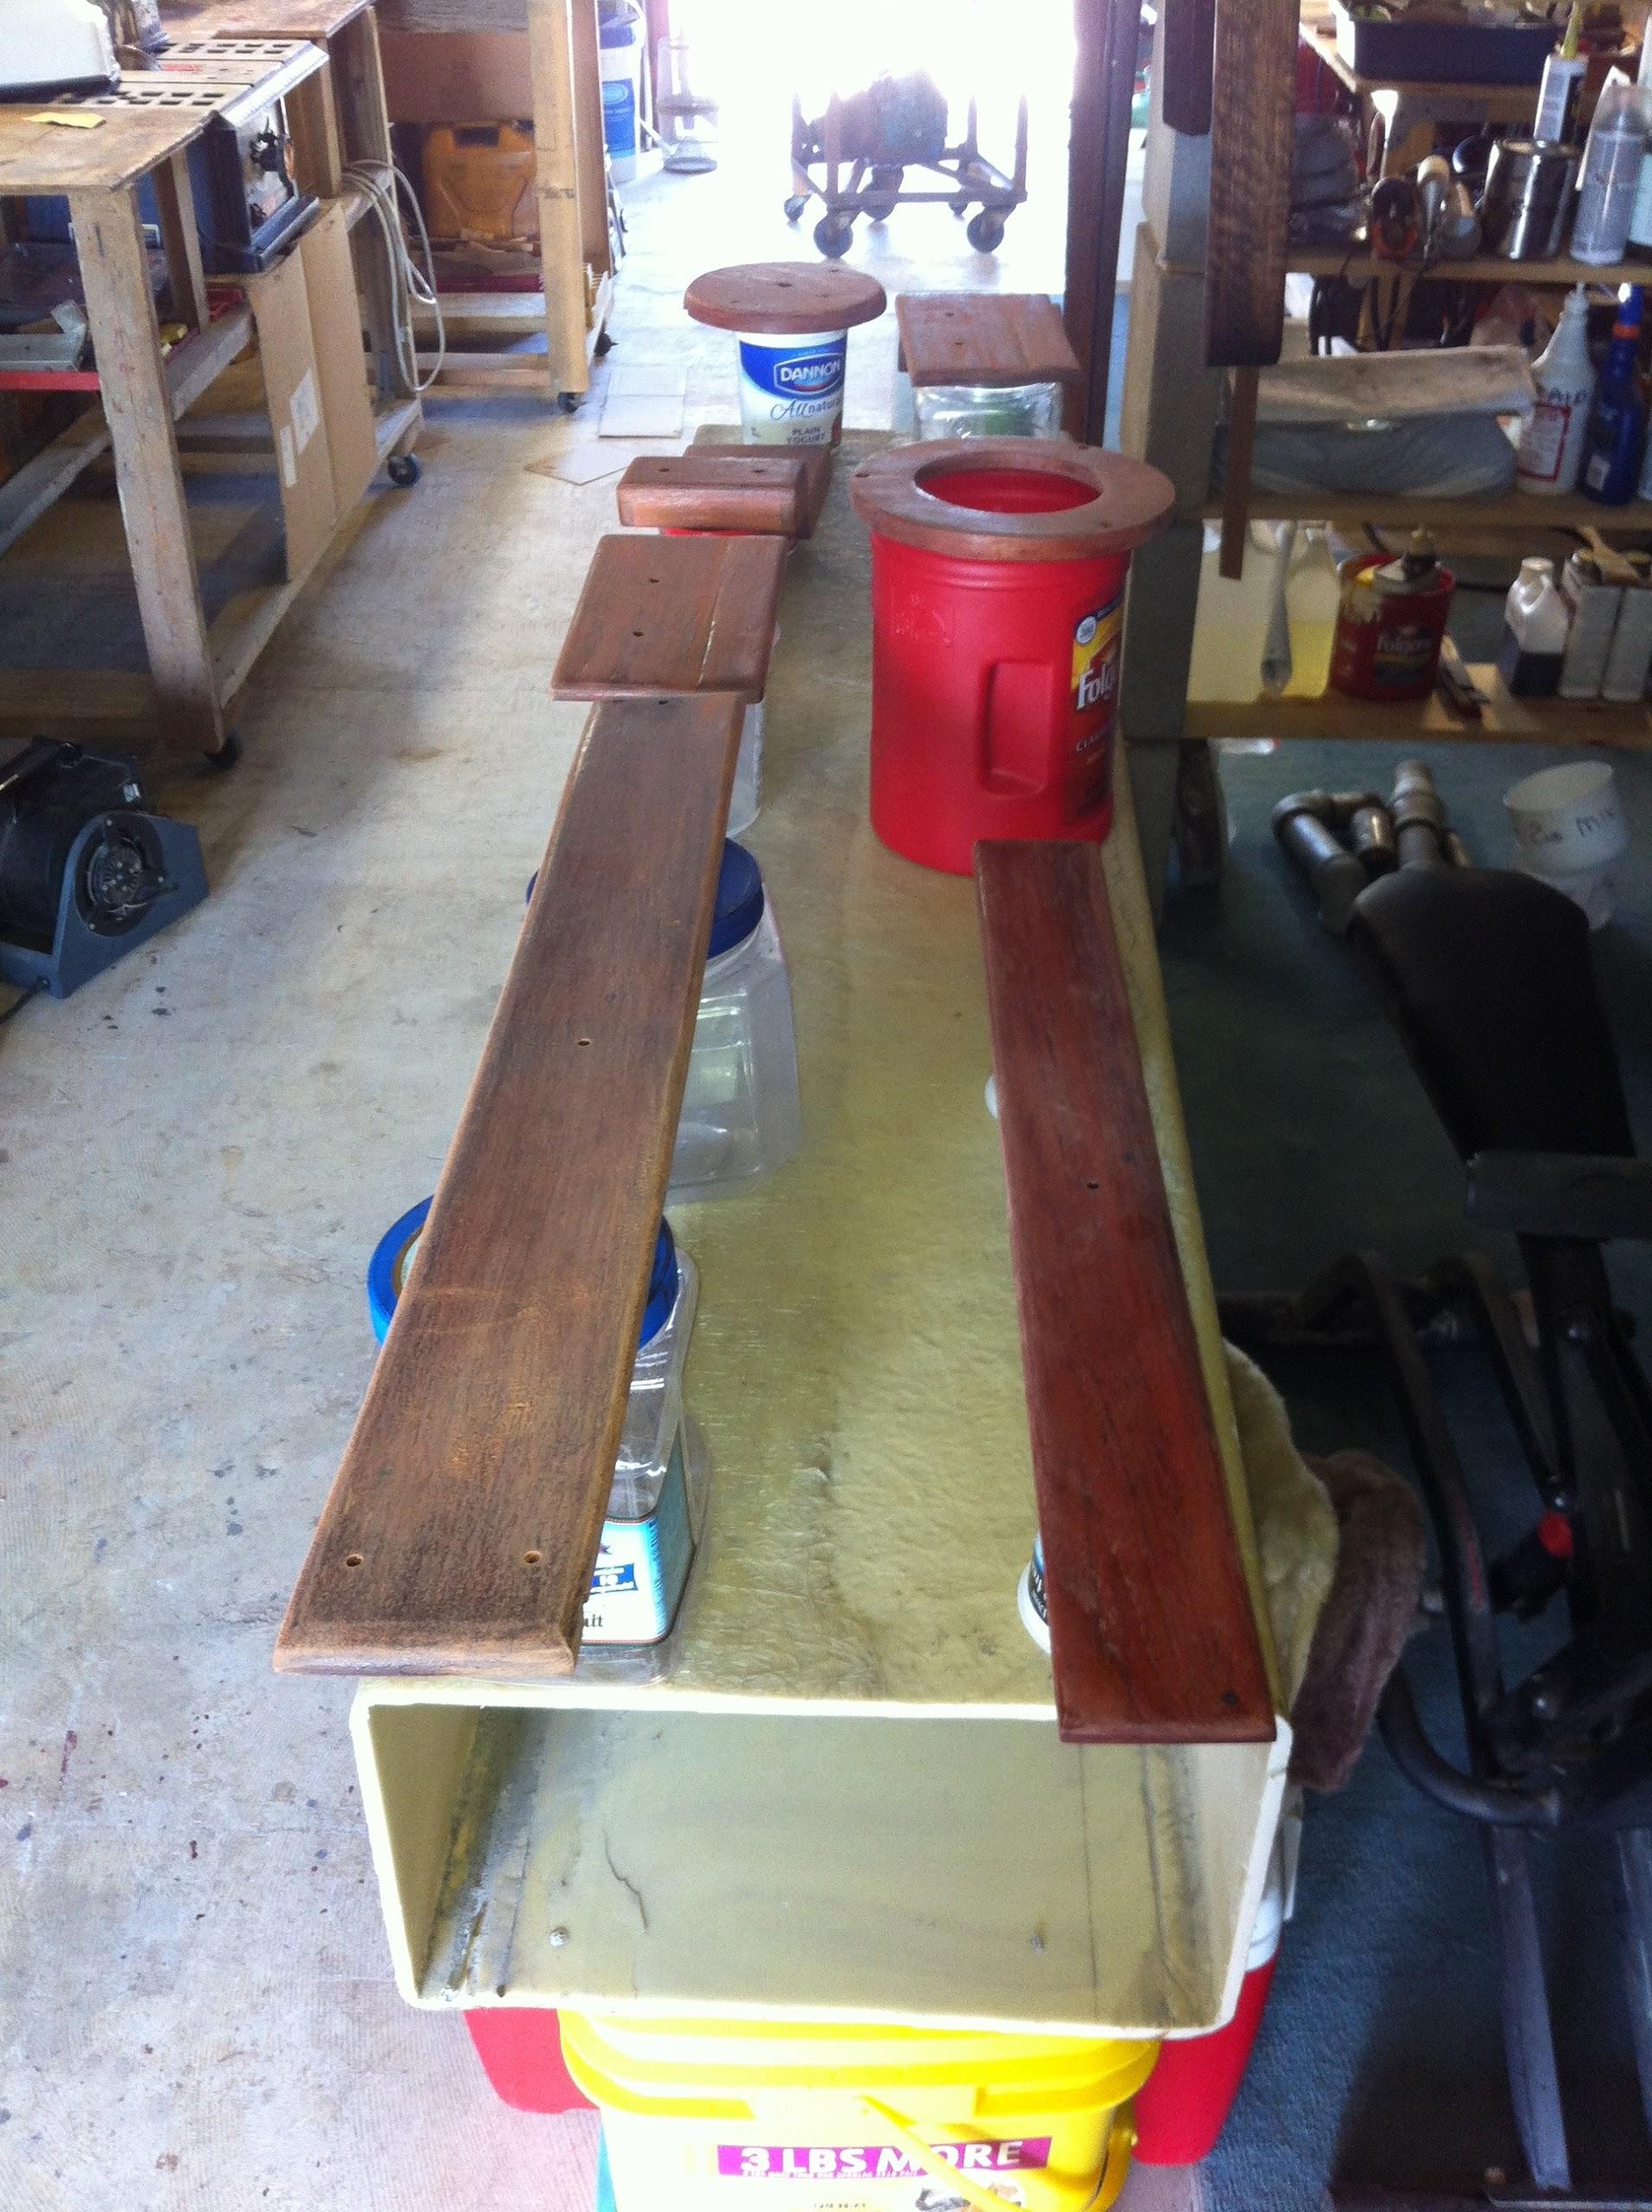
Teak Wood Pieces Set Out And Ready To
Sand

There is the small teak hatch from the
mid cabin that needs to be repaired, and it will be started tomorrow.
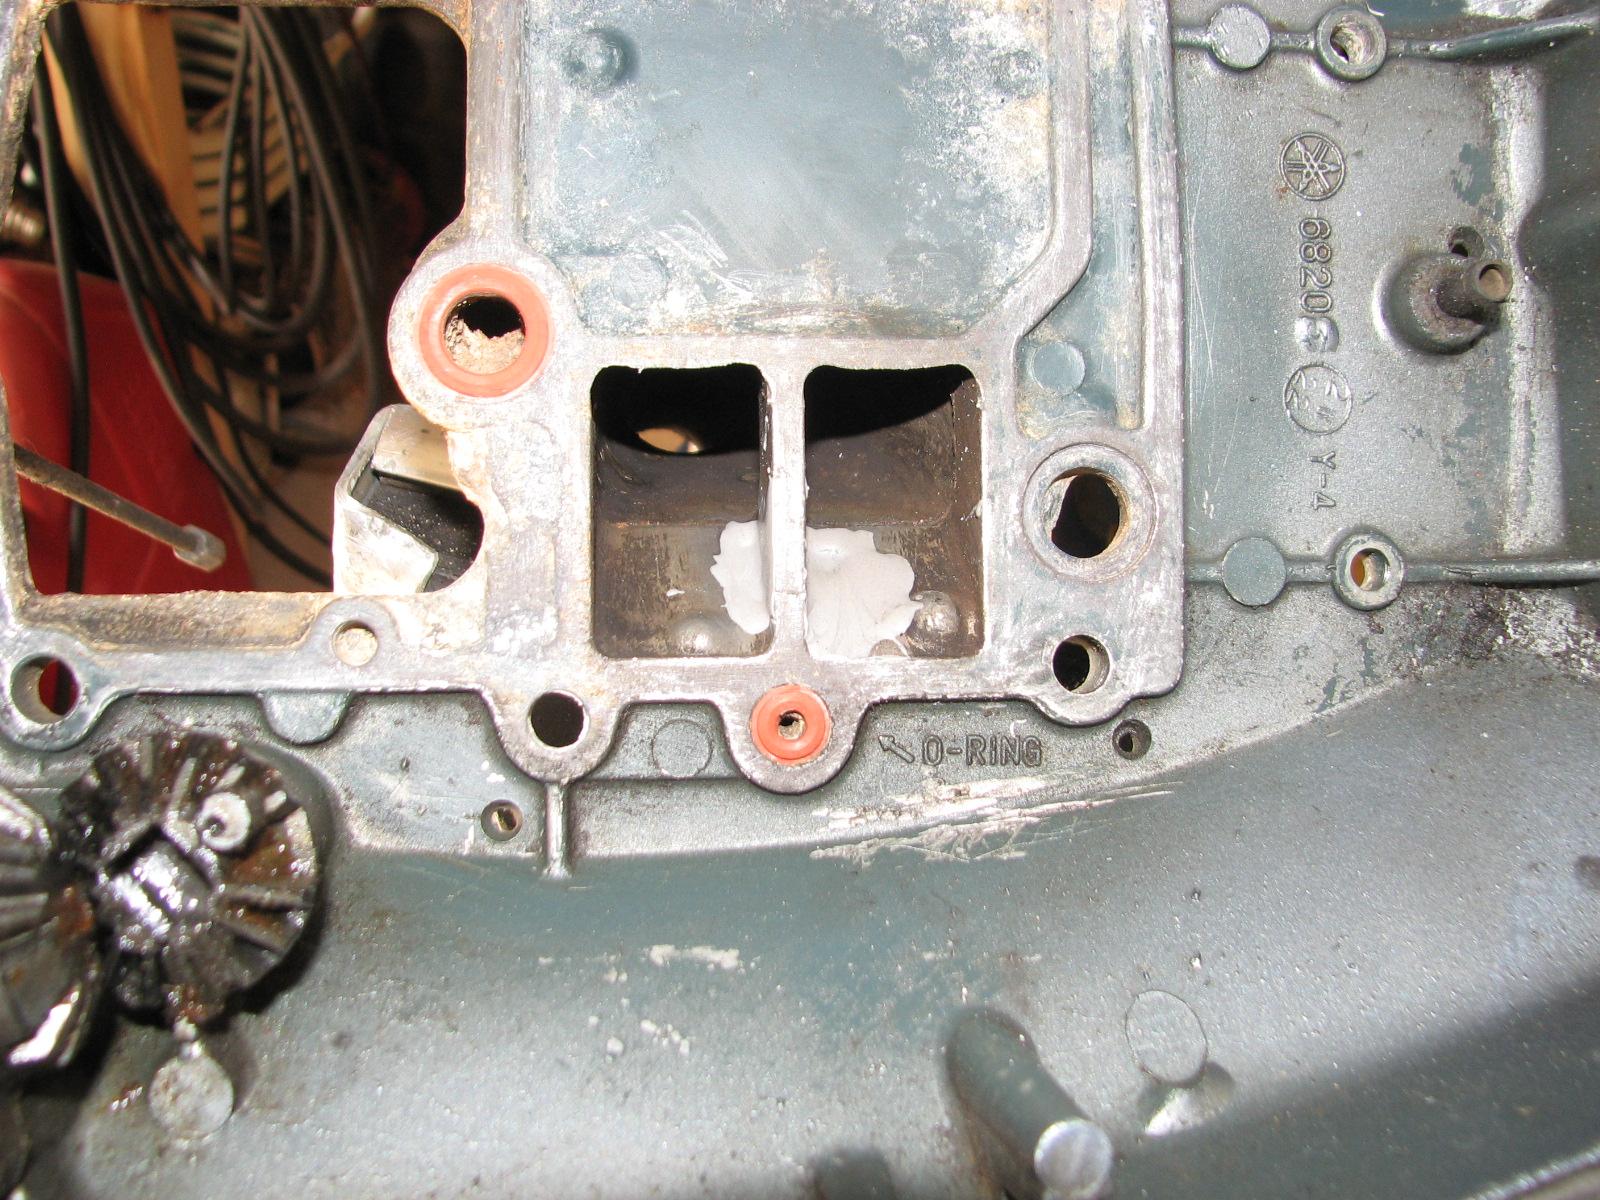
I checked out the application of the JB
Weld to the exhaust manifold of the spare outboard. It
looked pretty good, but had sunk a small bit in the large holes. I
mixed up another small batch of JB
Weld, and applied it to the exhaust manifold. I will
check on it tomorrow.
JB
Weld Applied To The Exhaust Manifold
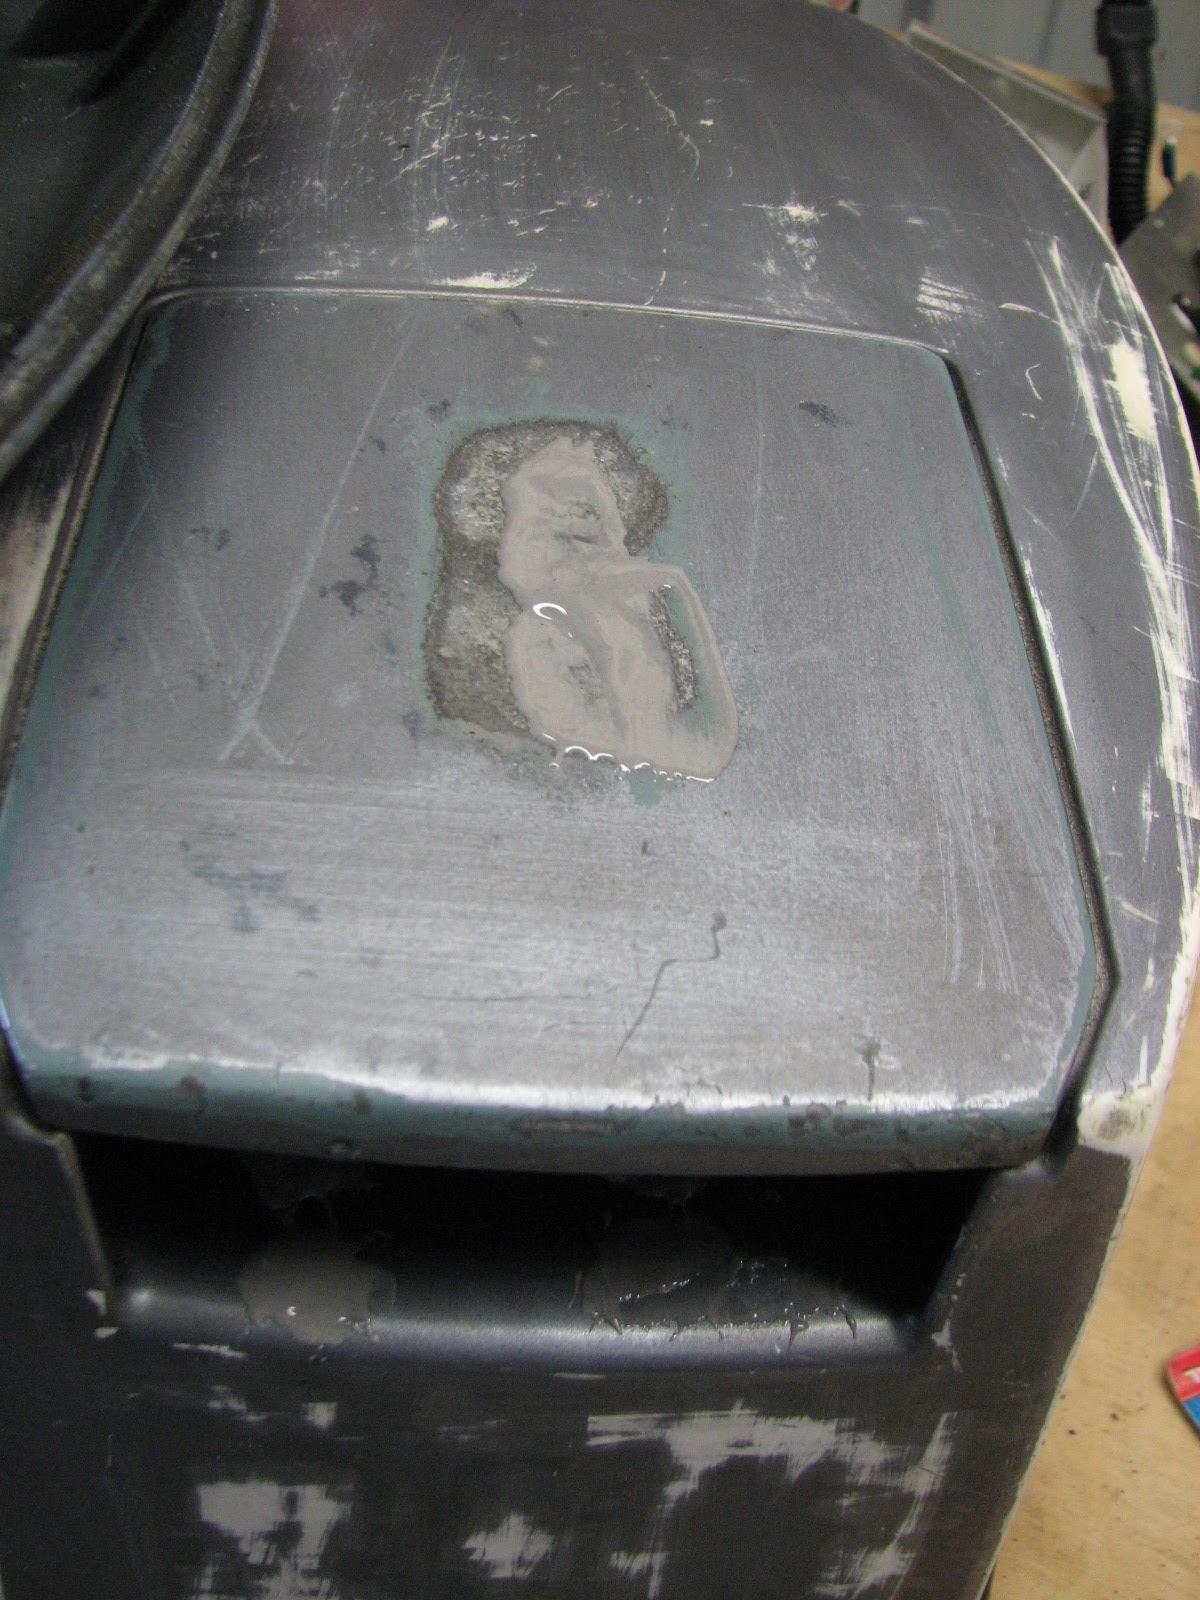
While at Stine’s
today, I purchased paint to apply to the two outboard motor covers,
and the “trash compactor”.
Two Outboard Motor Covers

September 05, Thursday,
2013
Started off the morning with my normal
ritual of getting on the Internet, answering email, and checking the
weather, while making a pot of coffee. I also spent time with our two
cats, Jillian
and Jordan.
This morning I went over to the
shop,
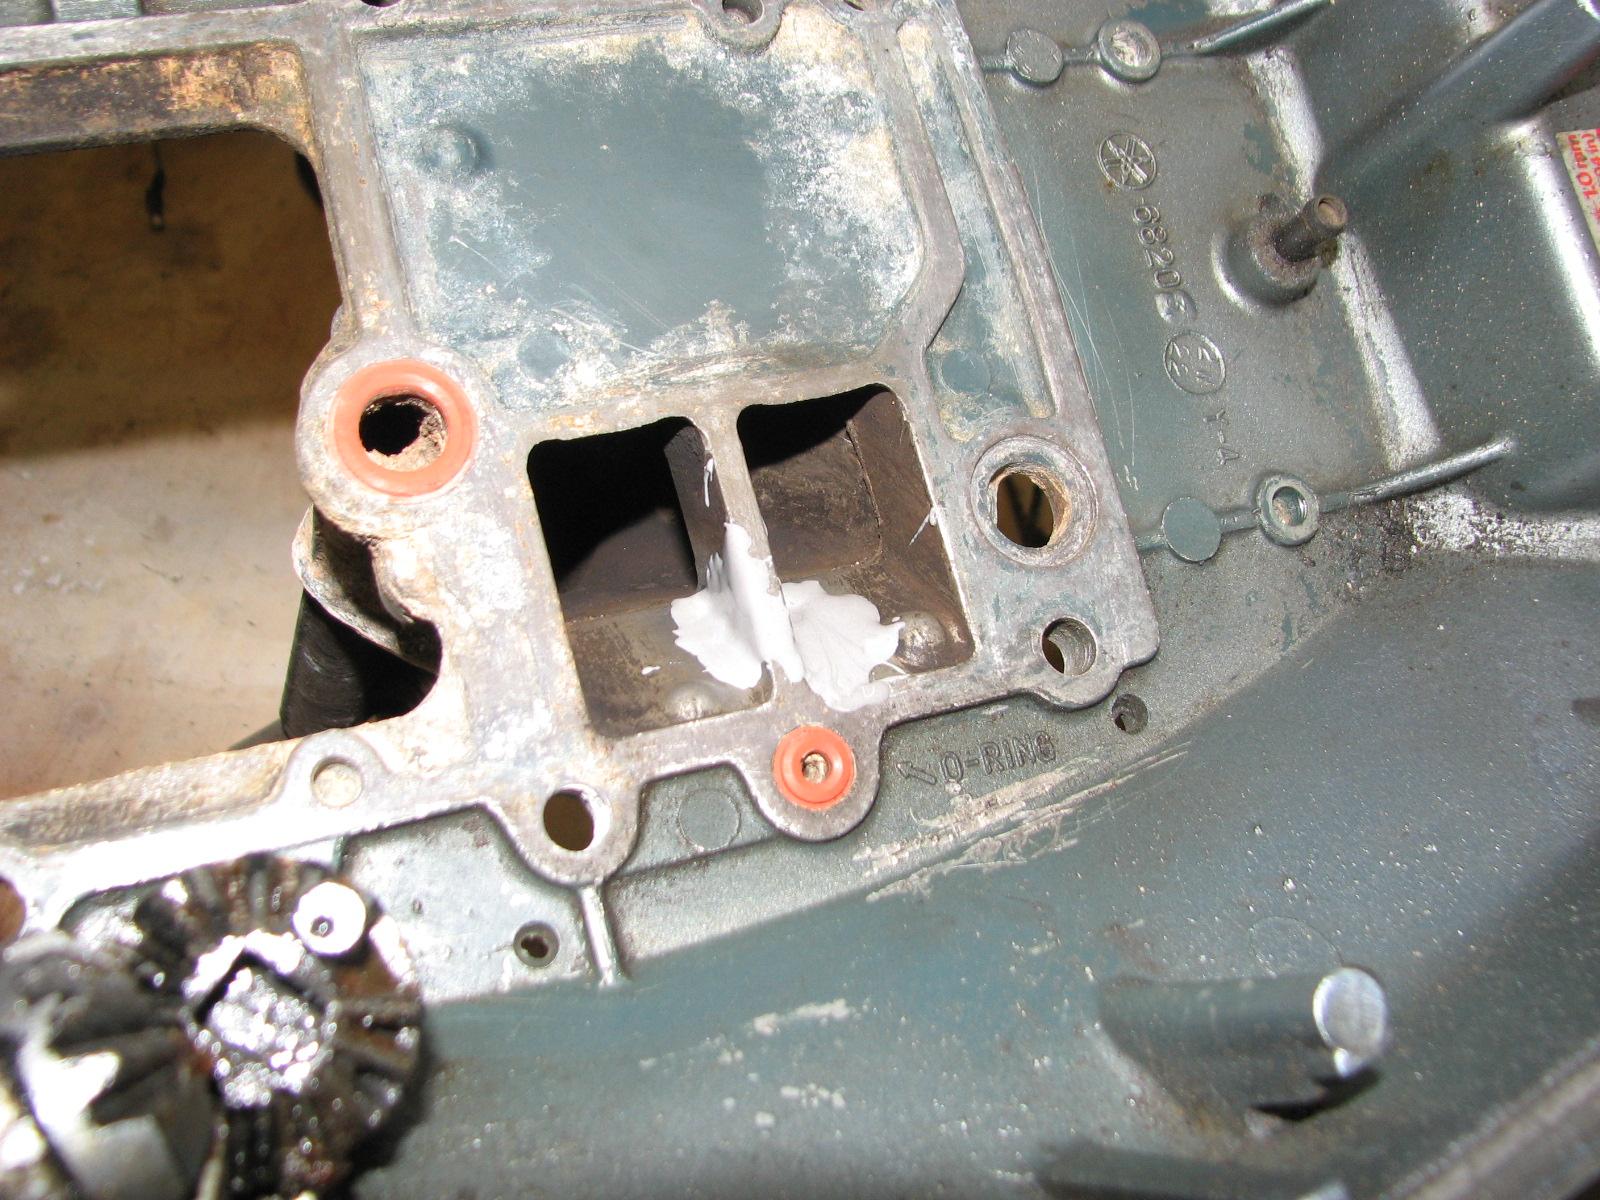
and started in on the spare outboard motor. I mixed up a batch
of JB Weld.
I applied some to the outboard motor cover that had several holes in
it. I also applied some to the broken spots I had found on the
exhaust manifold.
JB
Weld Applied To Exhaust Manifold
I worked on some boxes of office
supplies that I had brought from Atlanta. I will be keeping some of
the supplies, but giving most of them away.
I left the shop
and went back to DREAM AWAY. The project for the day was to run a
hose for the raw water washdown system. While waiting to get Kitty’s
help, I removed various teak covers in the main cabin, head and aft
cabin. I will be taking these to the shop,
stripping them all down, applying Smith’s
penetrating epoxy, then the agent orange dye, and
finally applying varnish. I want to get all of the interior trim
approximately the same color and look.
The raw water washdown hose had to be
run through the chain
locker, and I could not do it with the anchor chain in
the locker. I had to remove all of the chain!! So I ran all the chain
out for both anchors, off of the front of the boat into the Delcambre
Canal mud.
To run the new hose, I first
disconnected the short piece of hose from the old hose, the taped the
remaining old hose to the new hose to have a ‘messenger’. Of
course I used duct tape! (Shades of Red Green!) WIth Kitty’s help,
I was able to pull the new hose through the middle cabin, the forward
cabin, and into the chain
locker.
I connected one end of the new hose to
the deck outlet, and the other to the pump. I started the pump, and
all worked as designed. There were no leaks.
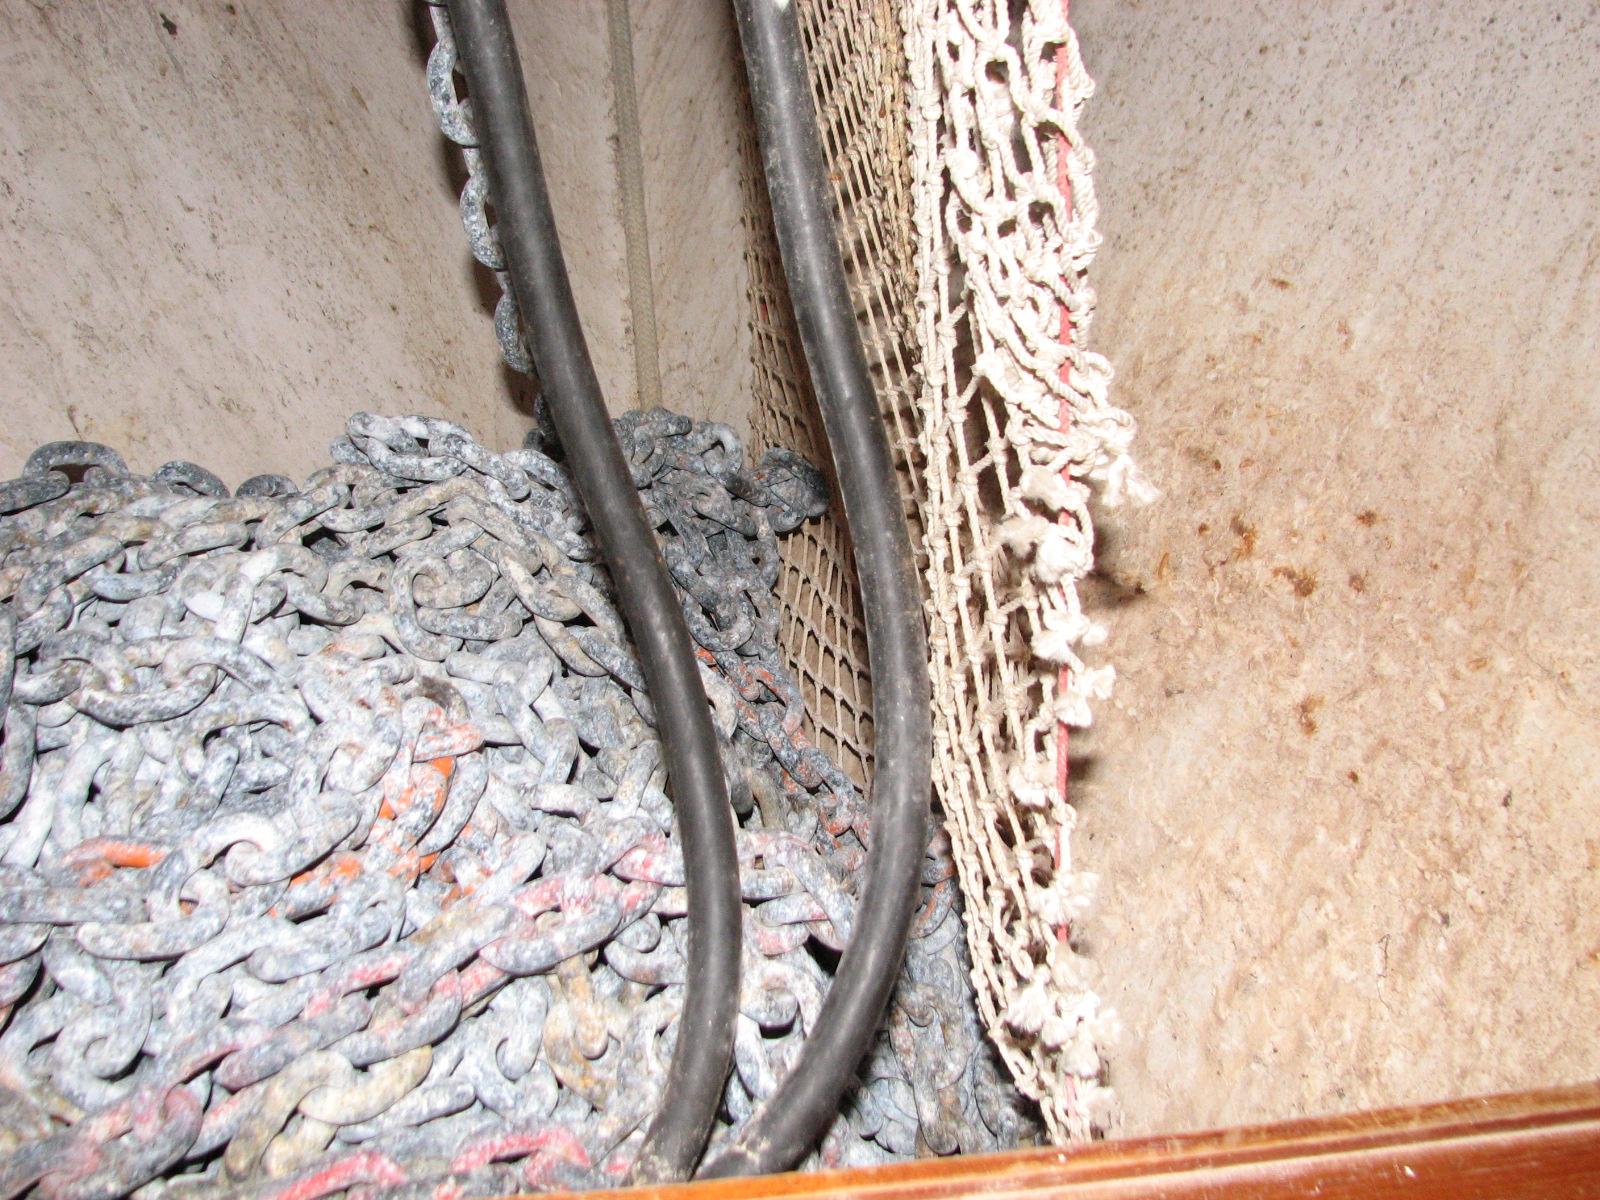

New Hose Attached To Underside Of Deck
Fitting In Chain
Locker
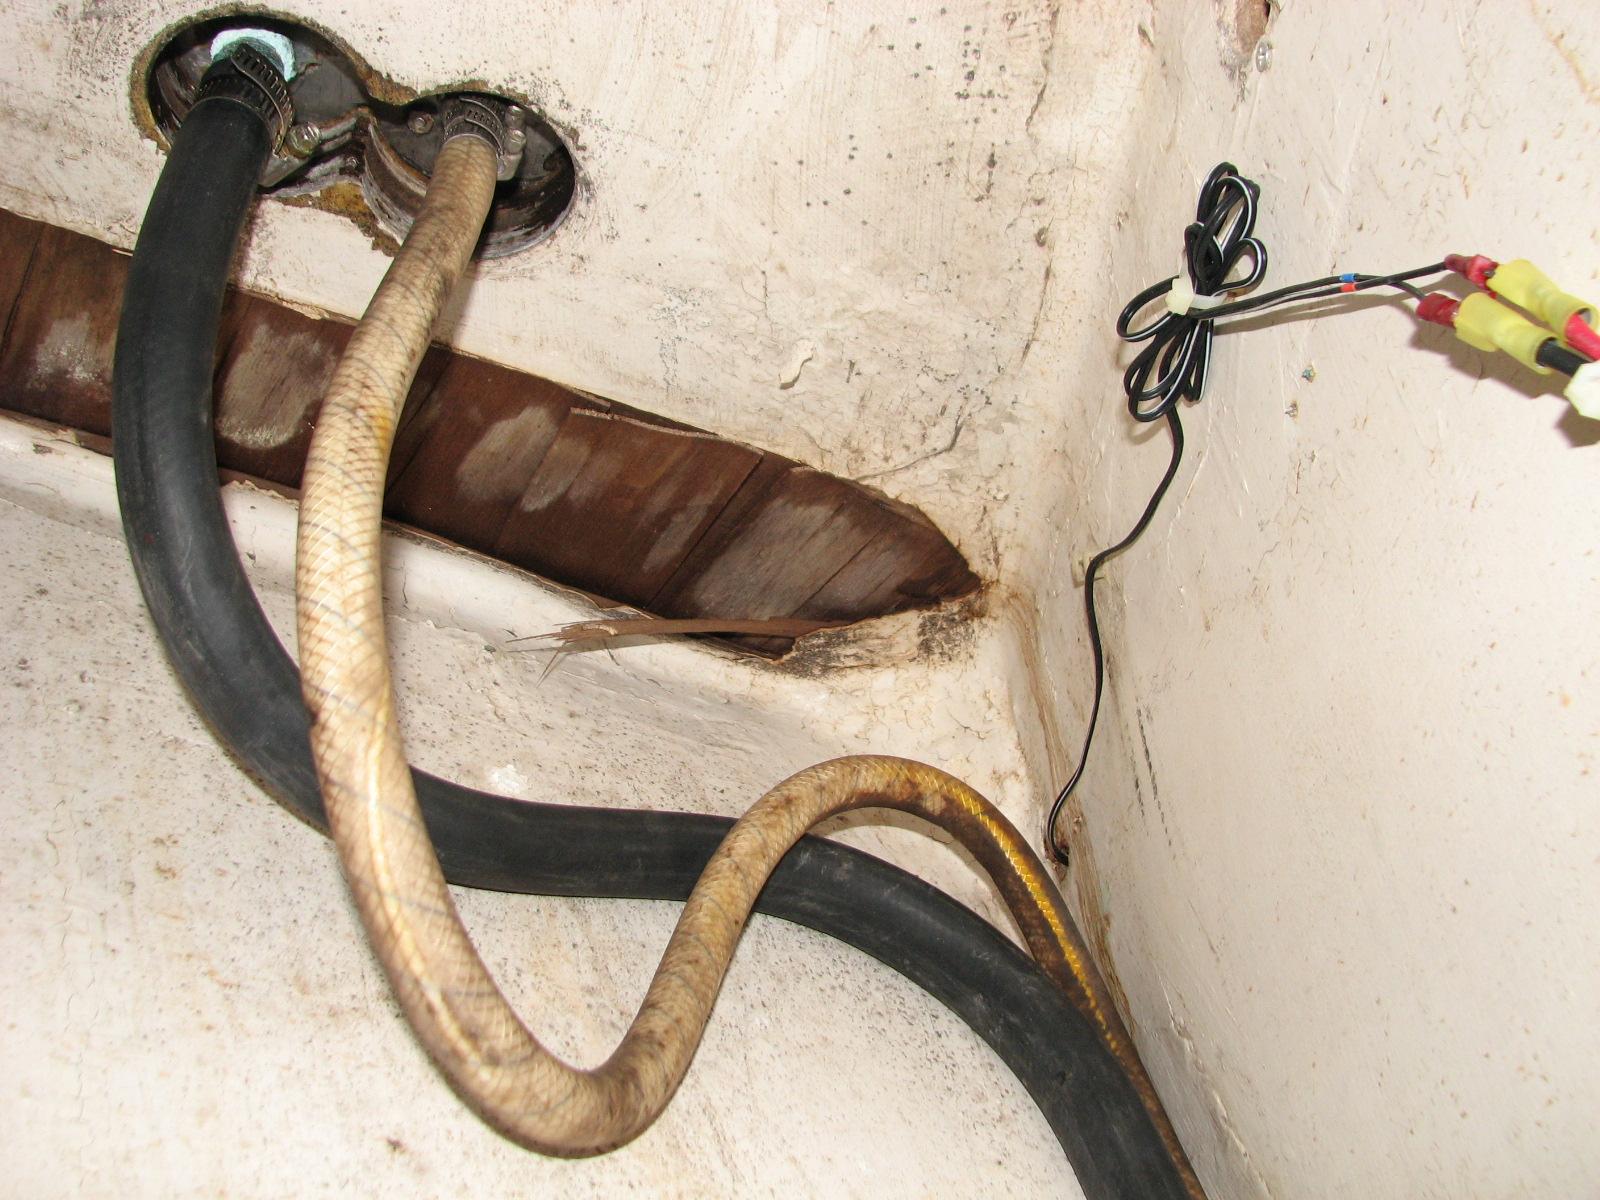

The last item to complete the project
is to put the chain back into the chain locker. This is a good news /
bad news situation. I good news is that I have my fine Lighthouse
1501 windlass to bring the chain up. The bad news is
that all the chain (400 feet on the primary, and 350 feet on the
secondary) is now caked with mud.
I started working on the primary chain,
bringing it up ever so slowly, and washing it off with dock water
from a hose as it came up. I did not finish the primary chain,
because a storm came up with bunches of rain, and ran me down below.
It was already 1730, so I called it a night, and took a shower. I
will finish the anchor chains tomorrow.
September 04, Wednesday,
2013
Started off the morning with my normal
ritual of getting on the Internet, answering email, and checking the
weather, while making a pot of coffee. I have been doing another
thing to add to the morning ritual. I spend between 15 to 20 minutes
playing with and brushing our two cats,
Jillian
and Jordan.
This morning I went over to the shop
after breakfast. I unloaded the Black Beast of all of the pieces of
wood I had over on DREAM AWAY, so I could work on the hide hole
project in the aft cabin.
I then worked on putting all of the
parts I had stripped off of the spare outboard powerhead. Even after
so much time away from that project, I was able to get all of the
parts back on the powerhead. I did not have to search for the
required bolts because I had taped the bolts to each part when I took
it off the power head.
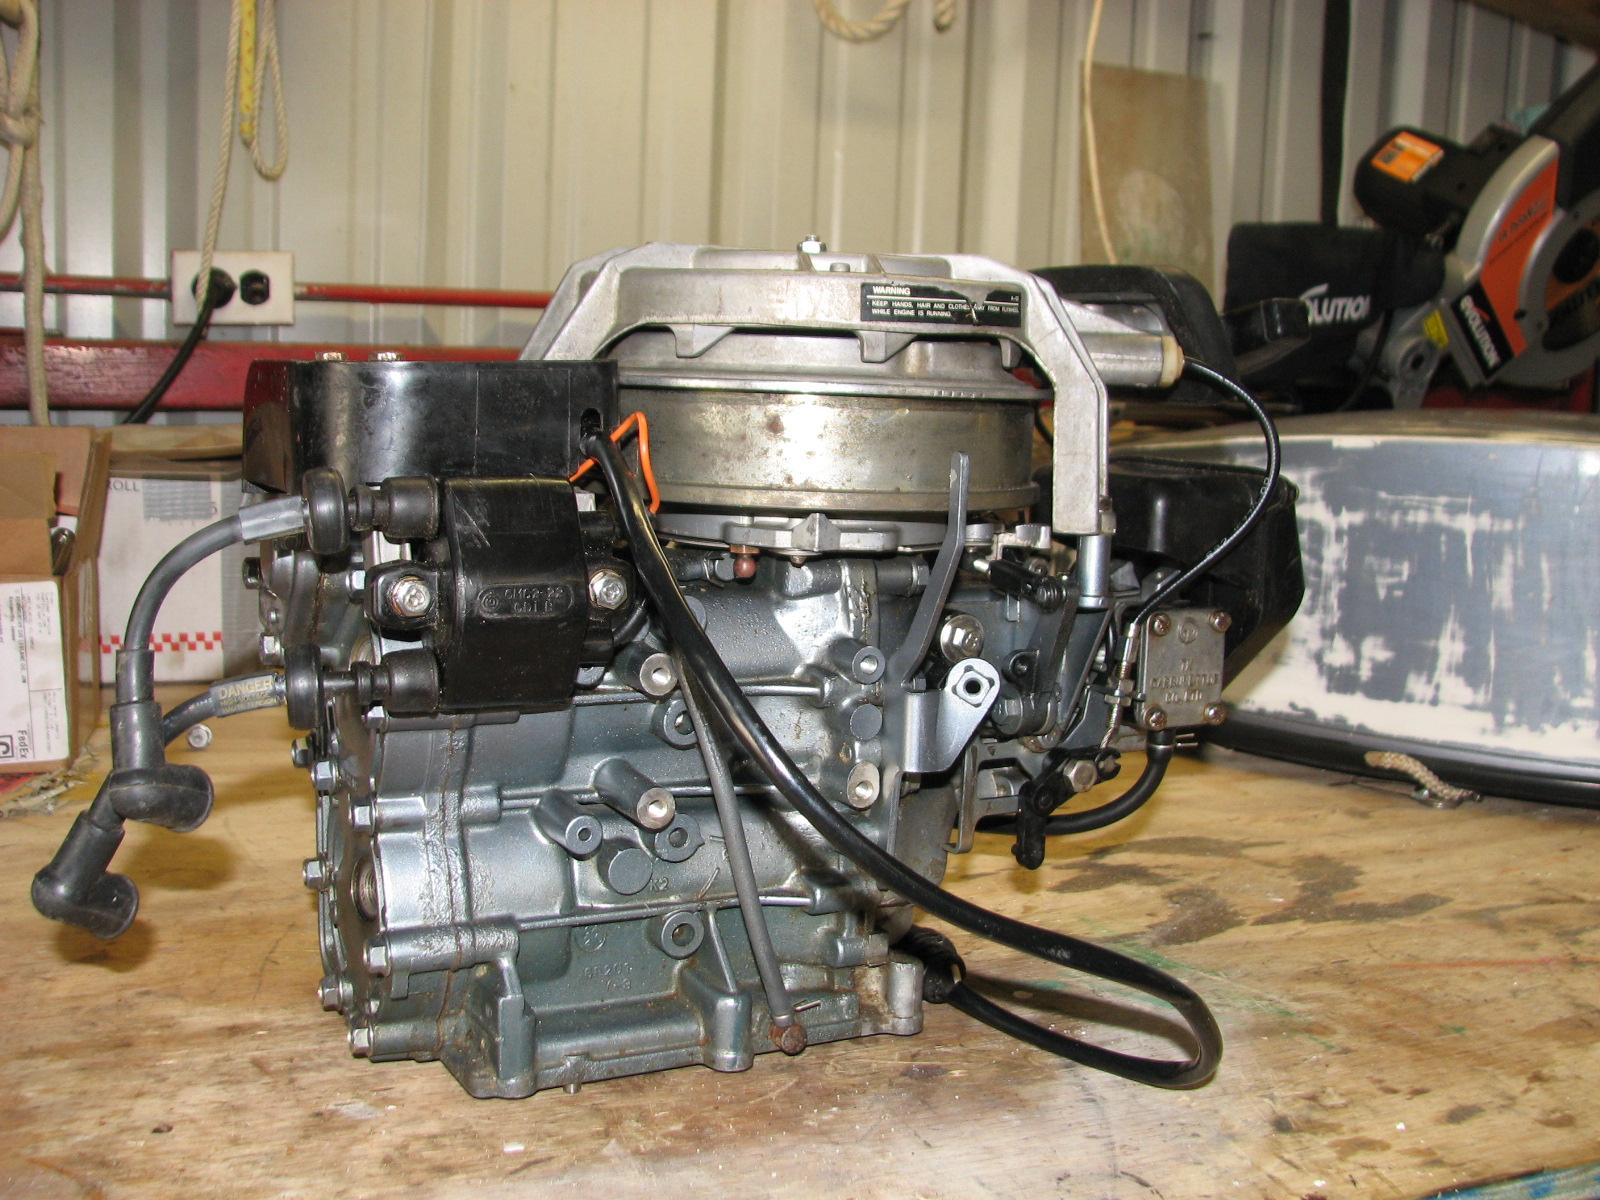
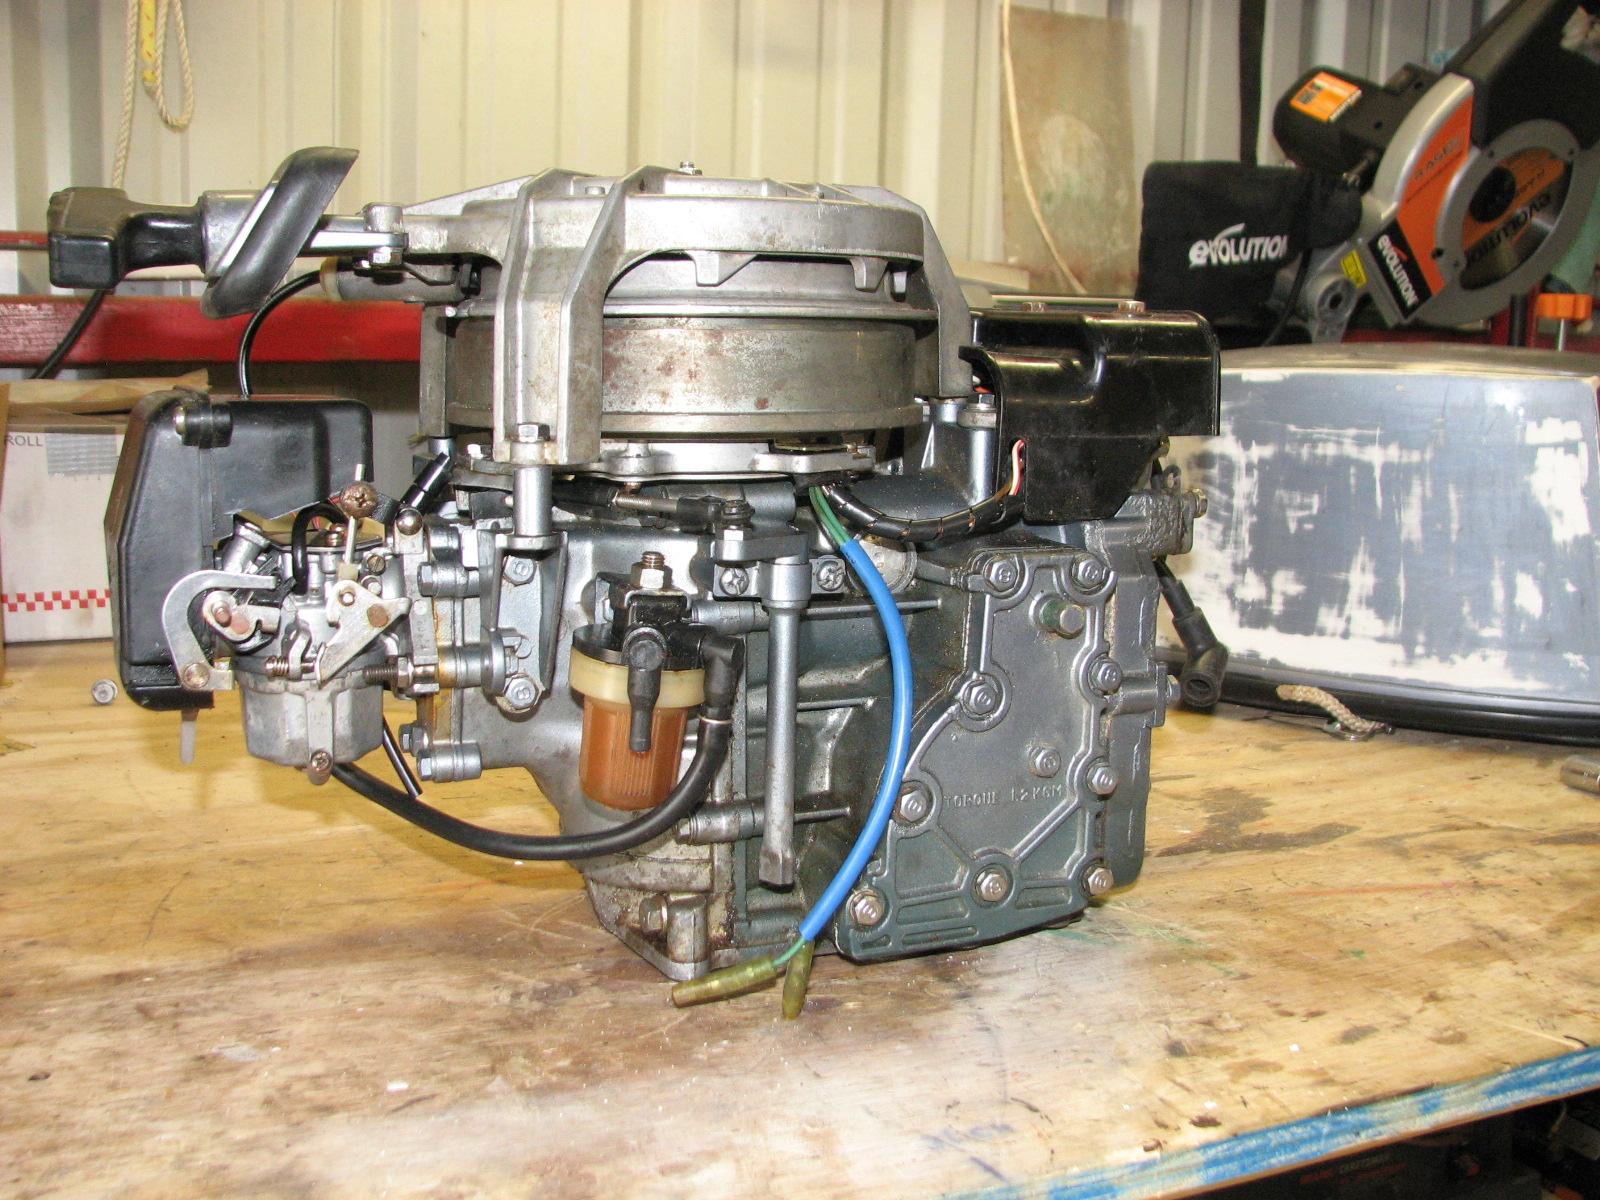
Assembling The Power Head

Power Head Complete Right Side
Power Head Complete Left Side
Straightened up the shop and then drove
over to DREAM AWAY. I had the forward hatch to finish with
installation of the hatch security devices. I got out all of the
required tools, and parts. Did the measurements on the hatch base,
and then drilled the holes.
I measured the carbon fiber arrows, and
the welding rods, and installed them in the hatch base. This idea
will certainly keep the average intruder out of DREAM AWAY. If we are
at anchor, and someone tries to enter the boat, we will have enough
time to take corrective action.
Hatch Security Devices Installed On
Forward Hatch

That project is finished, but will have
to look into adding the same devices to the Lewmar hatches in the
main
salon and aft cabin.
I cleaned up the tool and parts from
the project, and took all of the excess out to the Black Beast. Kitty
is coming home tonight, so did the vacuum the boat thing, fresh
sheets on the aft cabin bunk, and general spruce up.
Will go into Abbeville
tonight for the Marine Corps League monthly meeting, and then drive
into Lafayette to pick up Kitty.
September 03, Tuesday,
2013
Started off the morning with my normal
ritual of getting on the Internet, answering email, and checking the
weather, while making a pot of coffee.
Did not go to the shop
this morning, but stayed on DREAM AWAY. I went up to the Black Beast
and brought down all of the small pieces of wood I had in the shop
and loaded into the Black Beast yesterday.
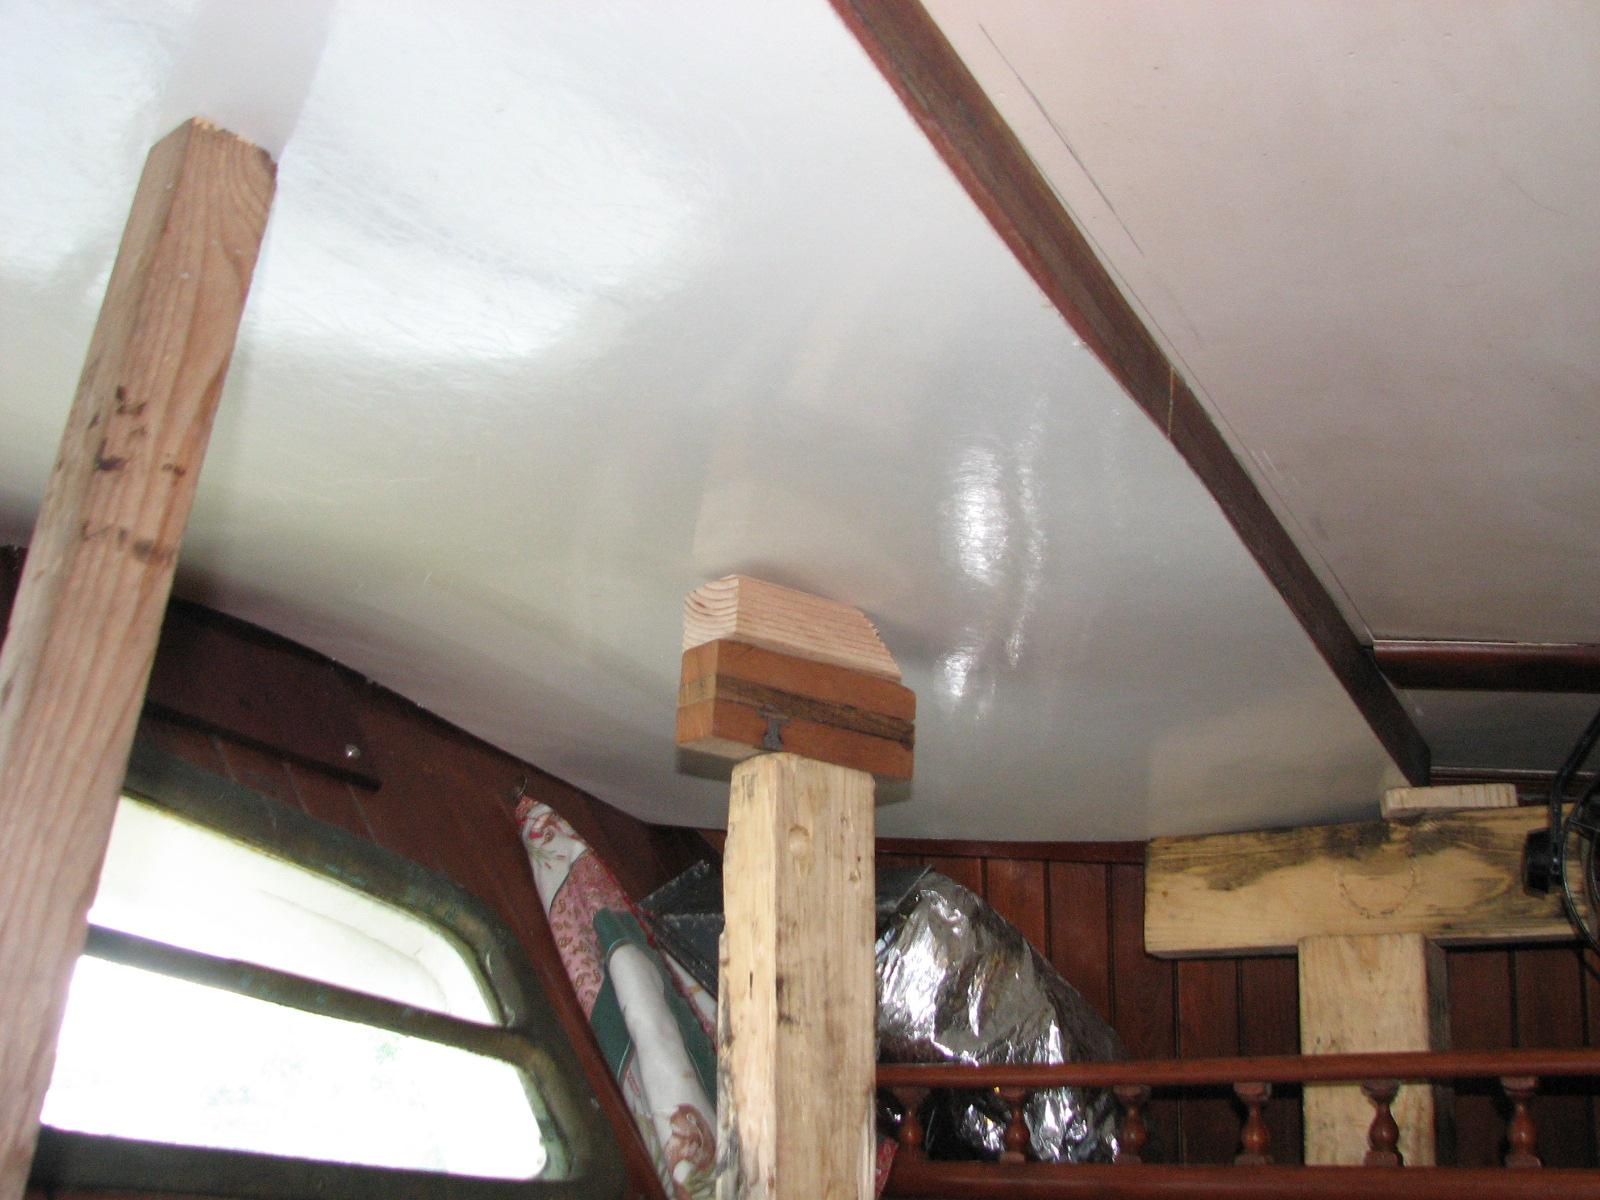
I had rolled up the cut piece of
Structoglas
and stored it in the forward cabin, so after removing the mattress
from the aft cabin bunk, I brought the piece of Structoglas
to the aft cabin and unrolled it. I placed the piece of Structoglas
up to the overhead in the aft cabin. With all of the wood pieces I
had, and I had to “adjust” a couple of pieces, I was able to
support the piece of Structoglas.
Starboard Side Supported
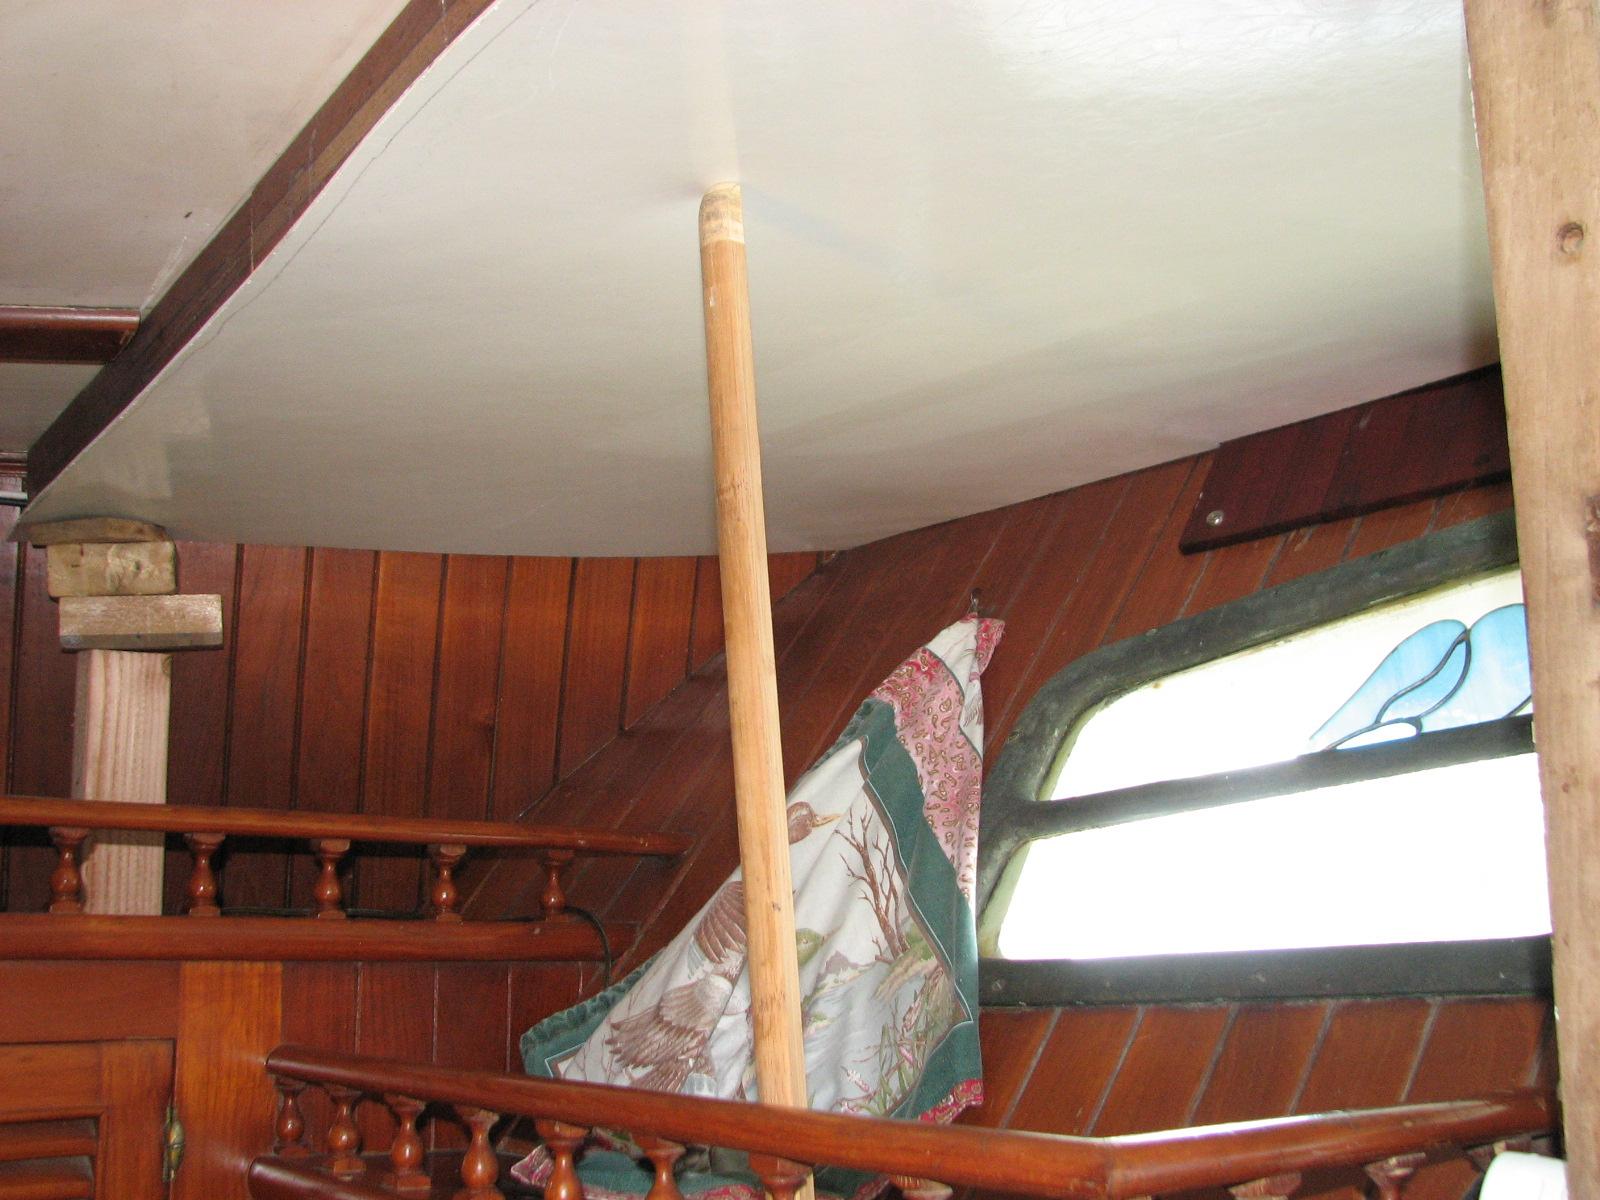
Port Side Supported
Now that I had the piece of Structoglas
supported, I could make sure it was fitted to the main cross piece
and all of the battens I had installed. The piece was a bit large so
I made the markings to cut the piece of Structoglas.
Now more fun! I had to take the piece of Structoglas
down from the overhead of the aft cabin, out of the aft cabin, and
then outside DREAM AWAY so I could make the cuts. So much fun moving
a piece over eight feet long and three feet wide at its widest point.
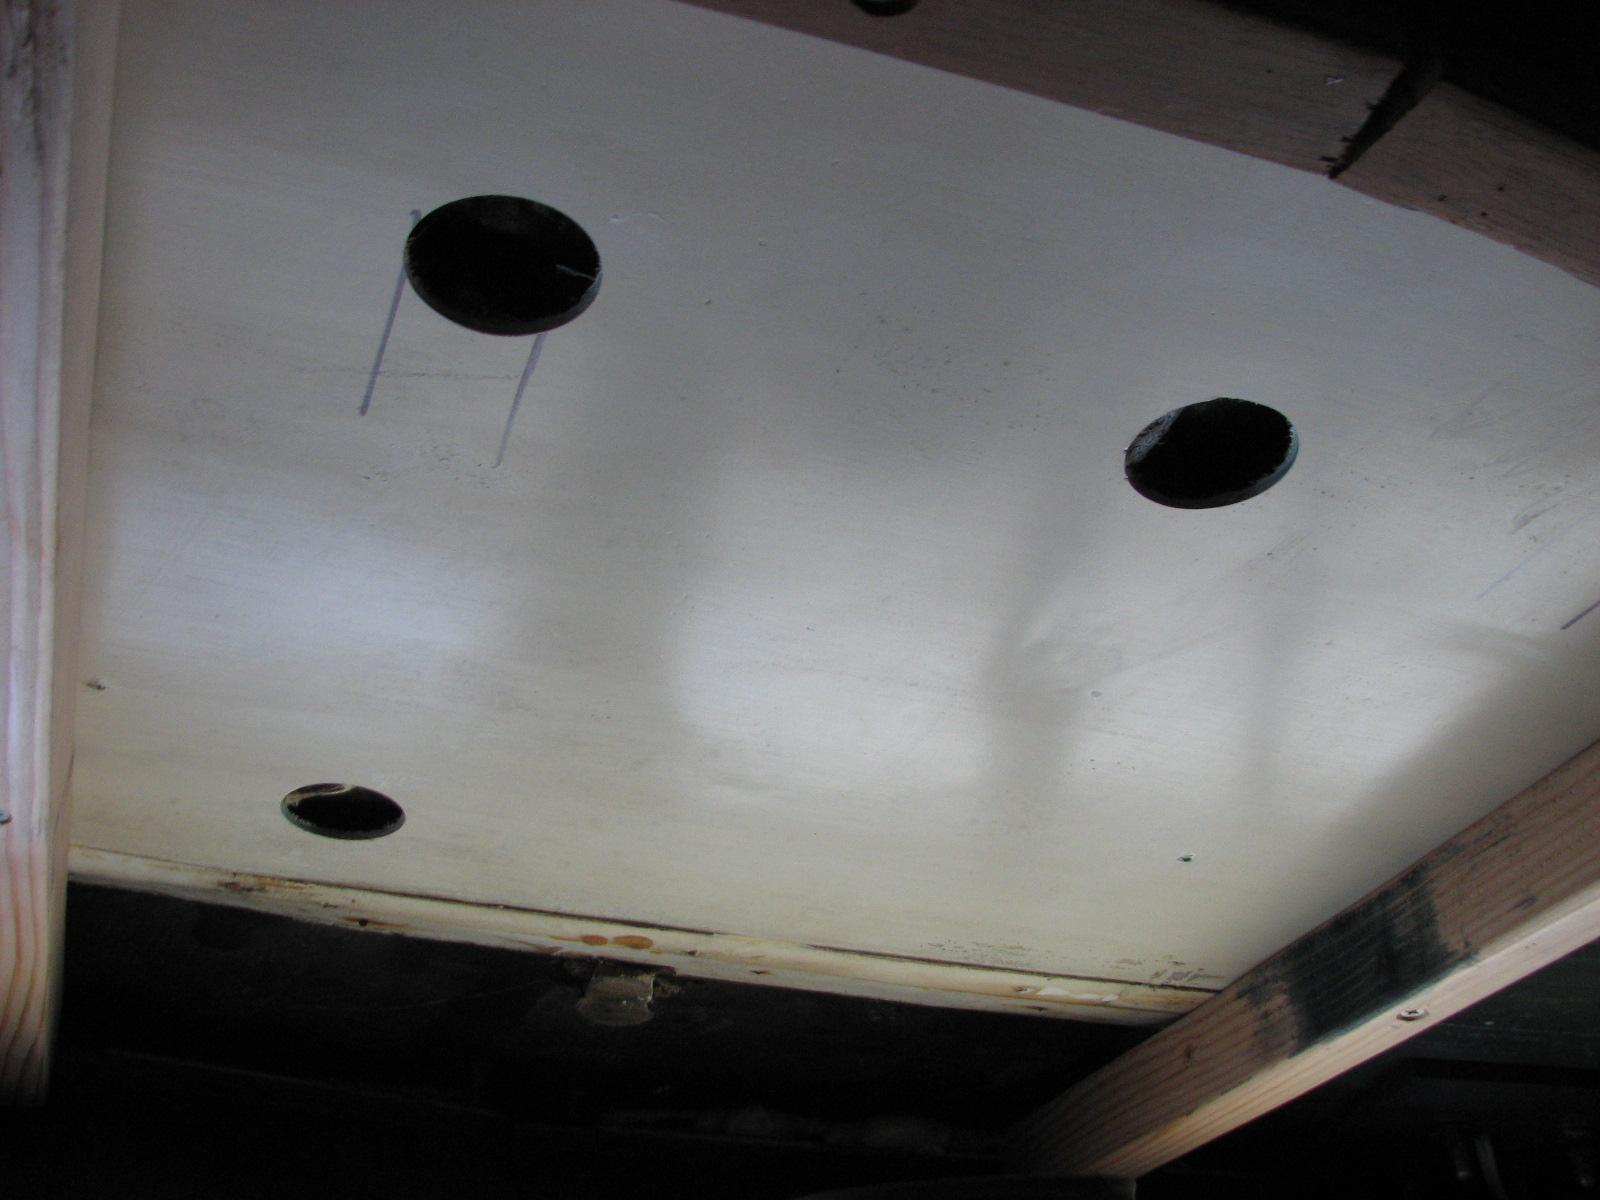
Before I made the cut on the piece of
Structoglas,
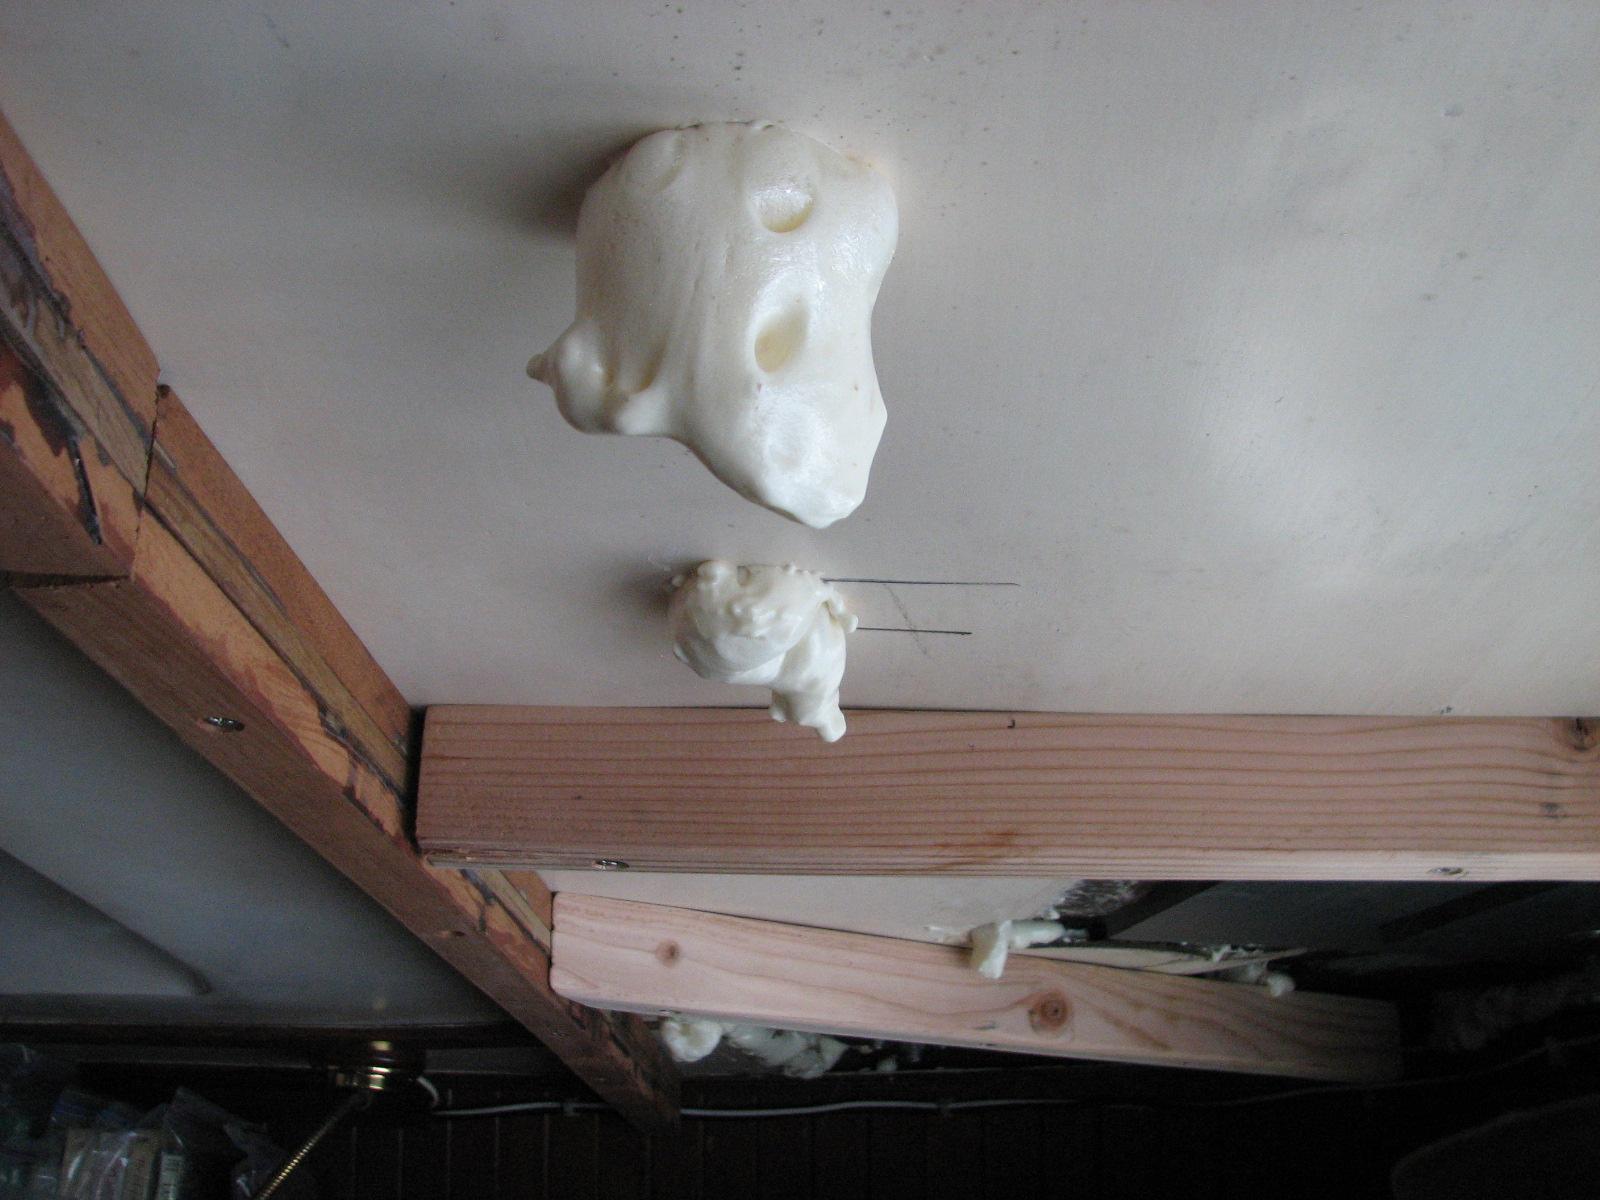
I drilled some holes in the overhead of the aft cabin. I did this so
I could use Great
Stuff spray insulation foam and fill the voids between
the fiberglass deck and the interior paneling. When I finished
spraying in the Great
Stuff foam, I went out on the dock and made the cuts
on the Structoglas.
Holes Drilled In Overhead Panel
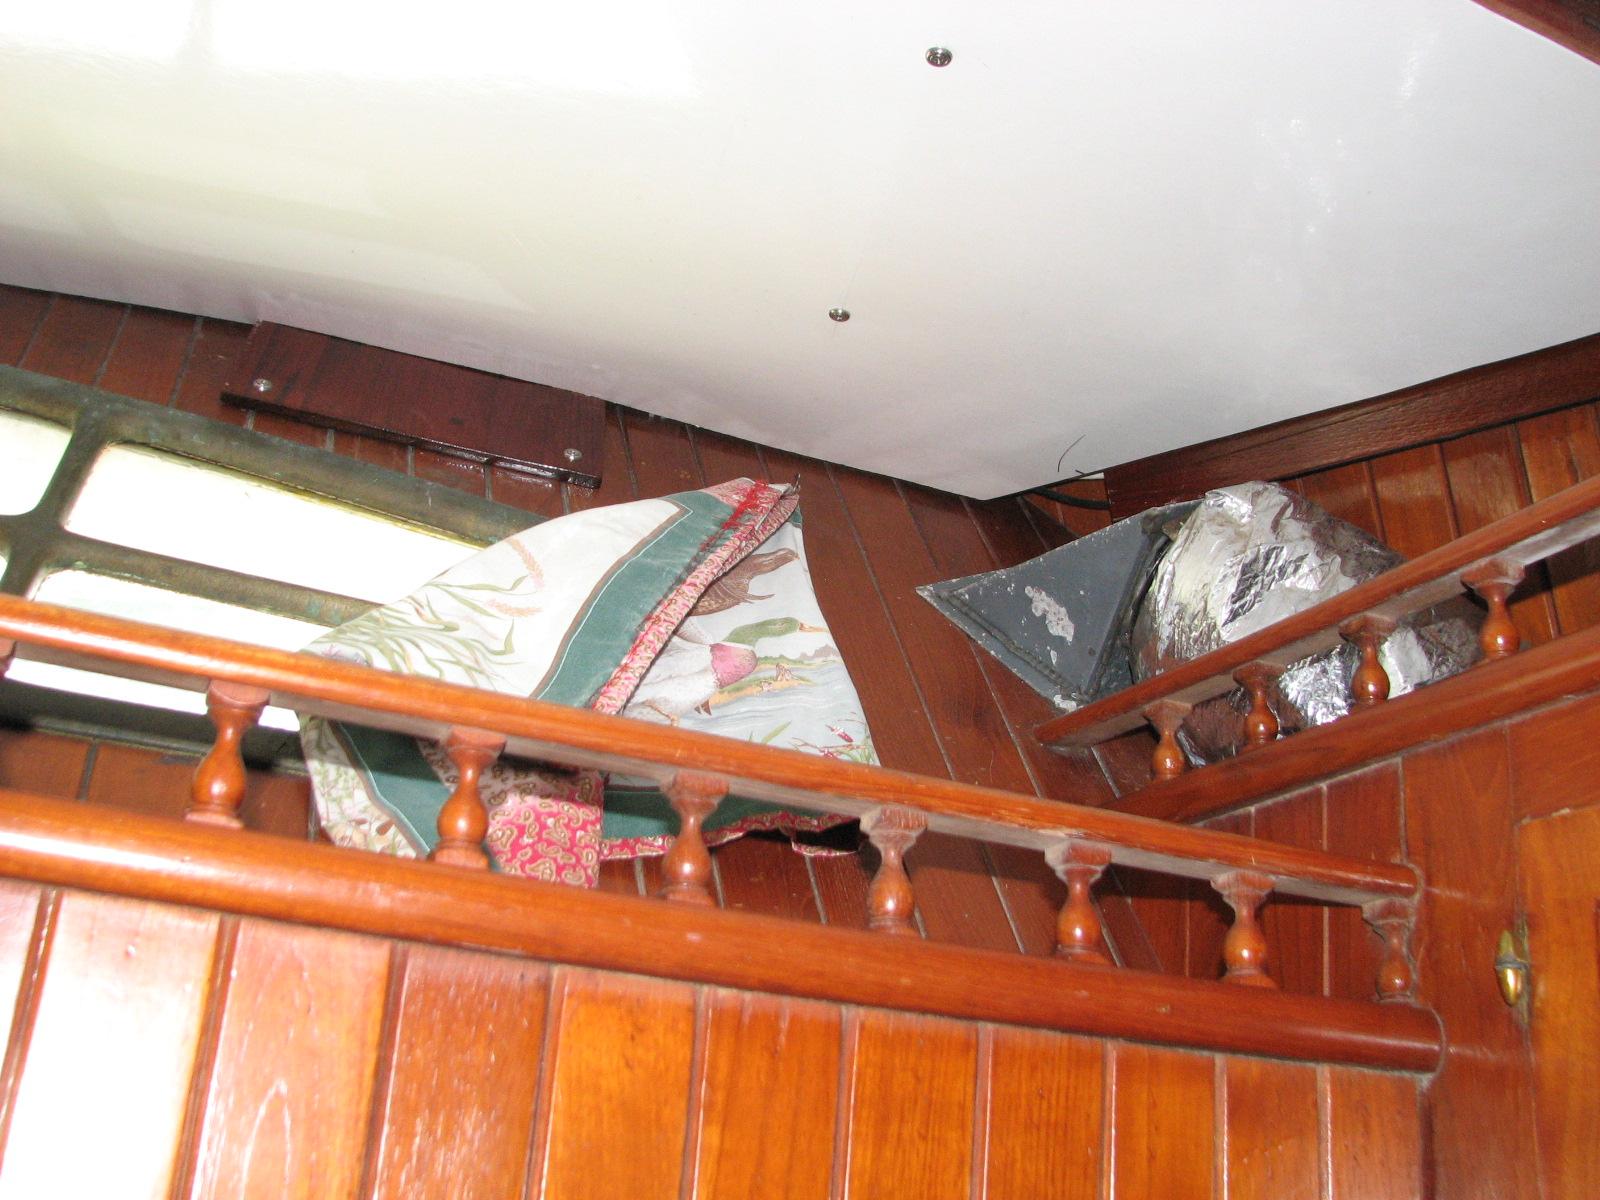
I brought the piece of Structoglas
back into DREAM AWAY, then into the aft cabin, and up against the
overhead. I got the piece of Structoglas
all blocked up again. The cuts were just right, so now I had to screw
the piece of Structoglas
to the main cross piece of wood and the battens. I did the measuring
and marking for the location of the screws, and did the deed.

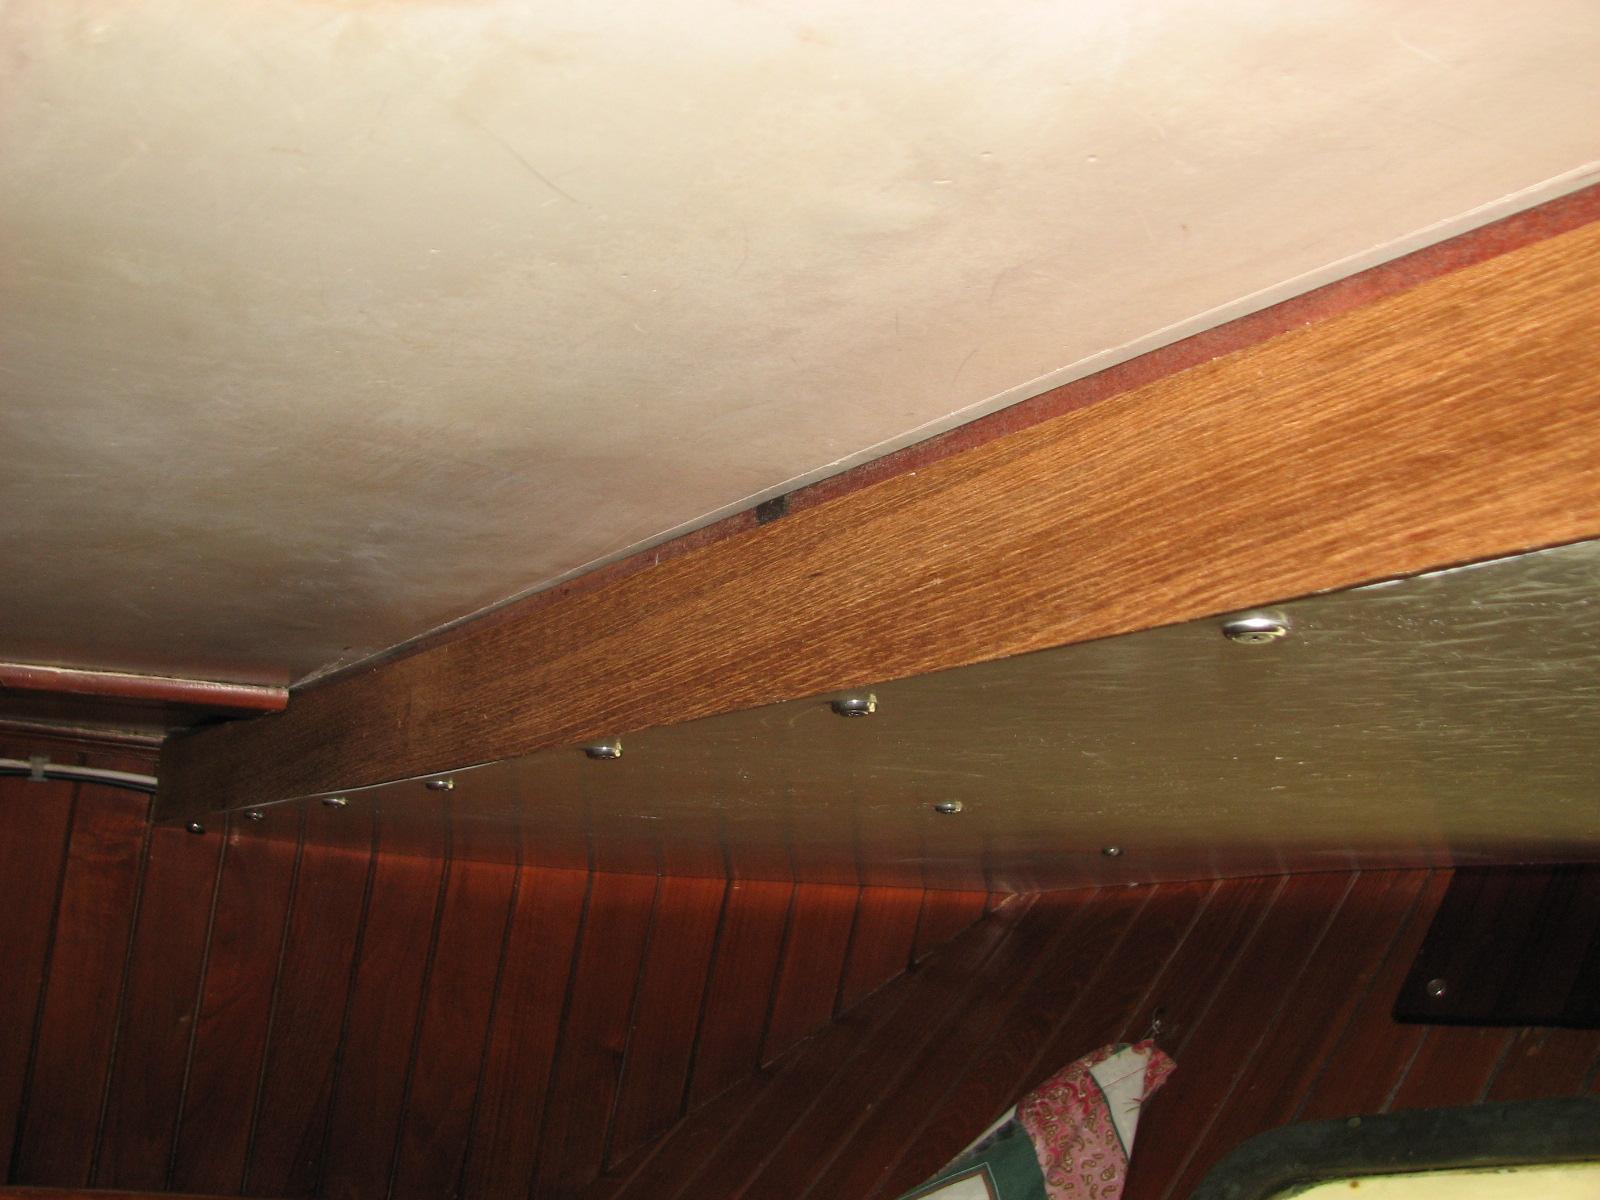
Now all that remained was to “iron”
on the teak tape on the front of the main cross piece. The teak tape
was ironed on, so now it will need to be dyed, and varnished.
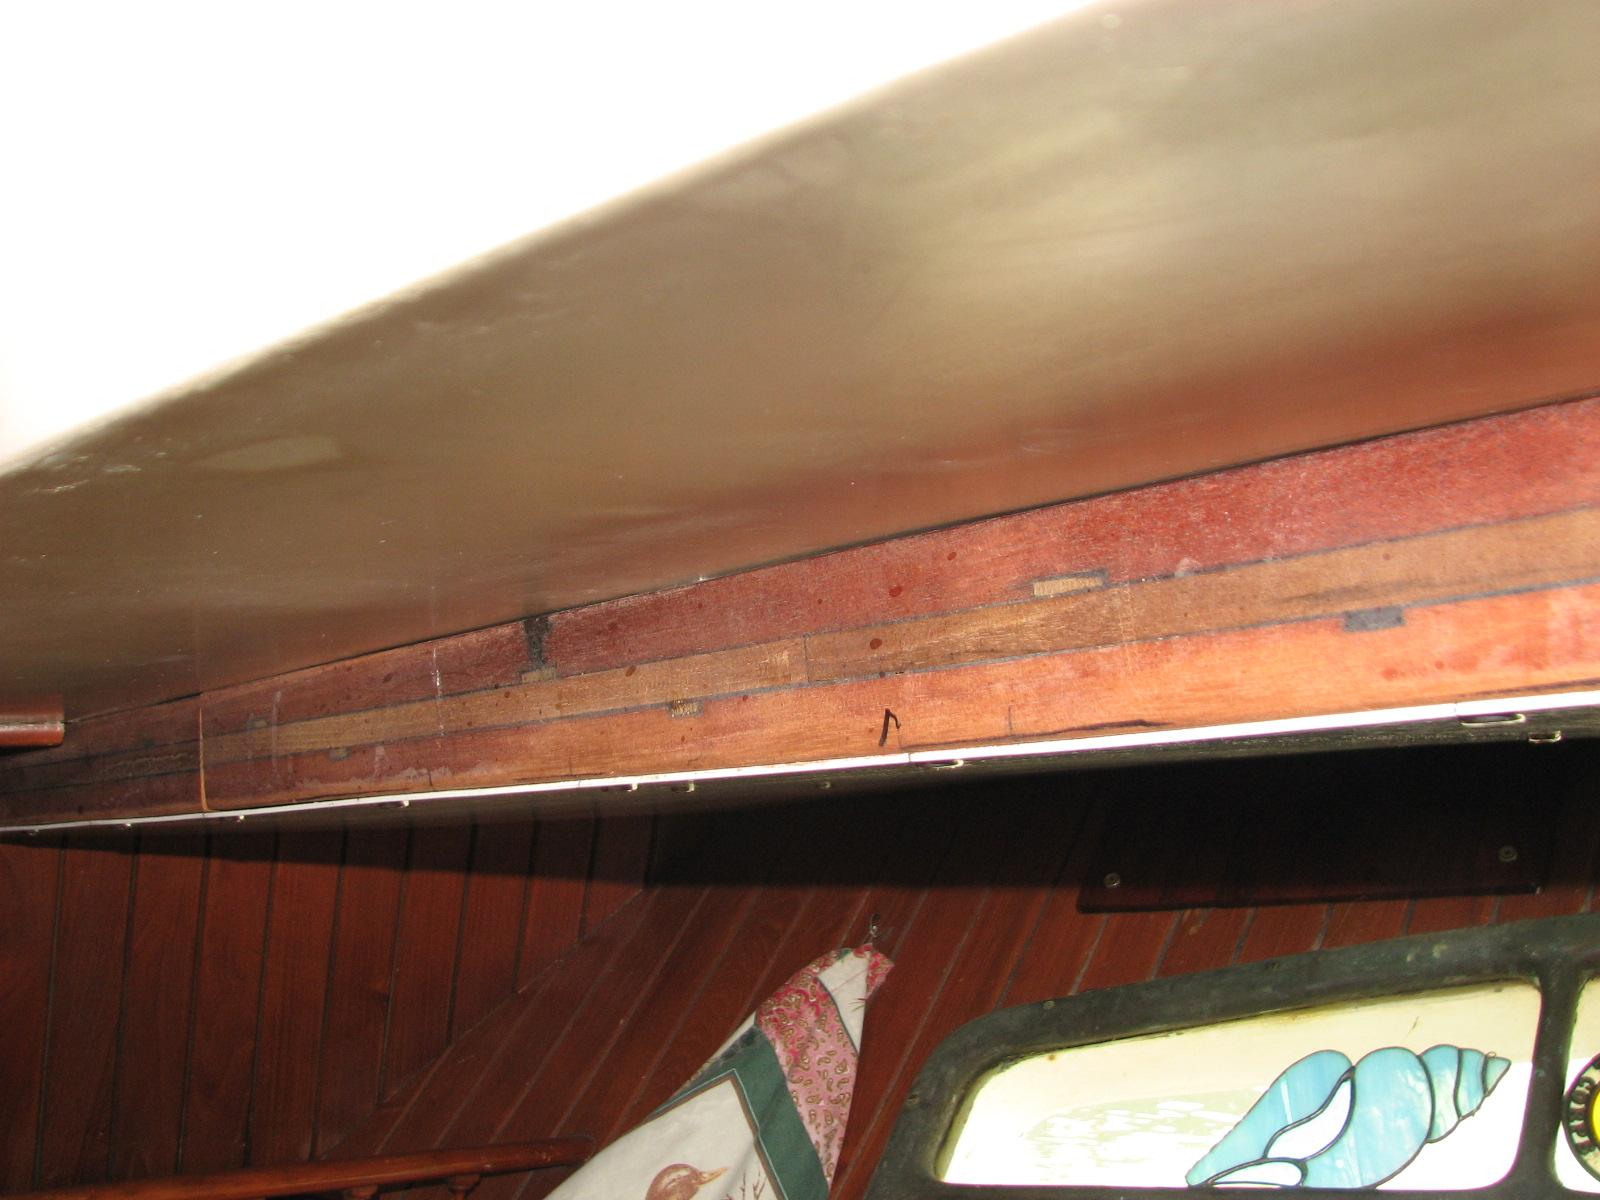
Main Cross Piece Before Teak Tape
Installation
Main Cross Piece After Teak Tape
Installation
Shot Of The Finished Product
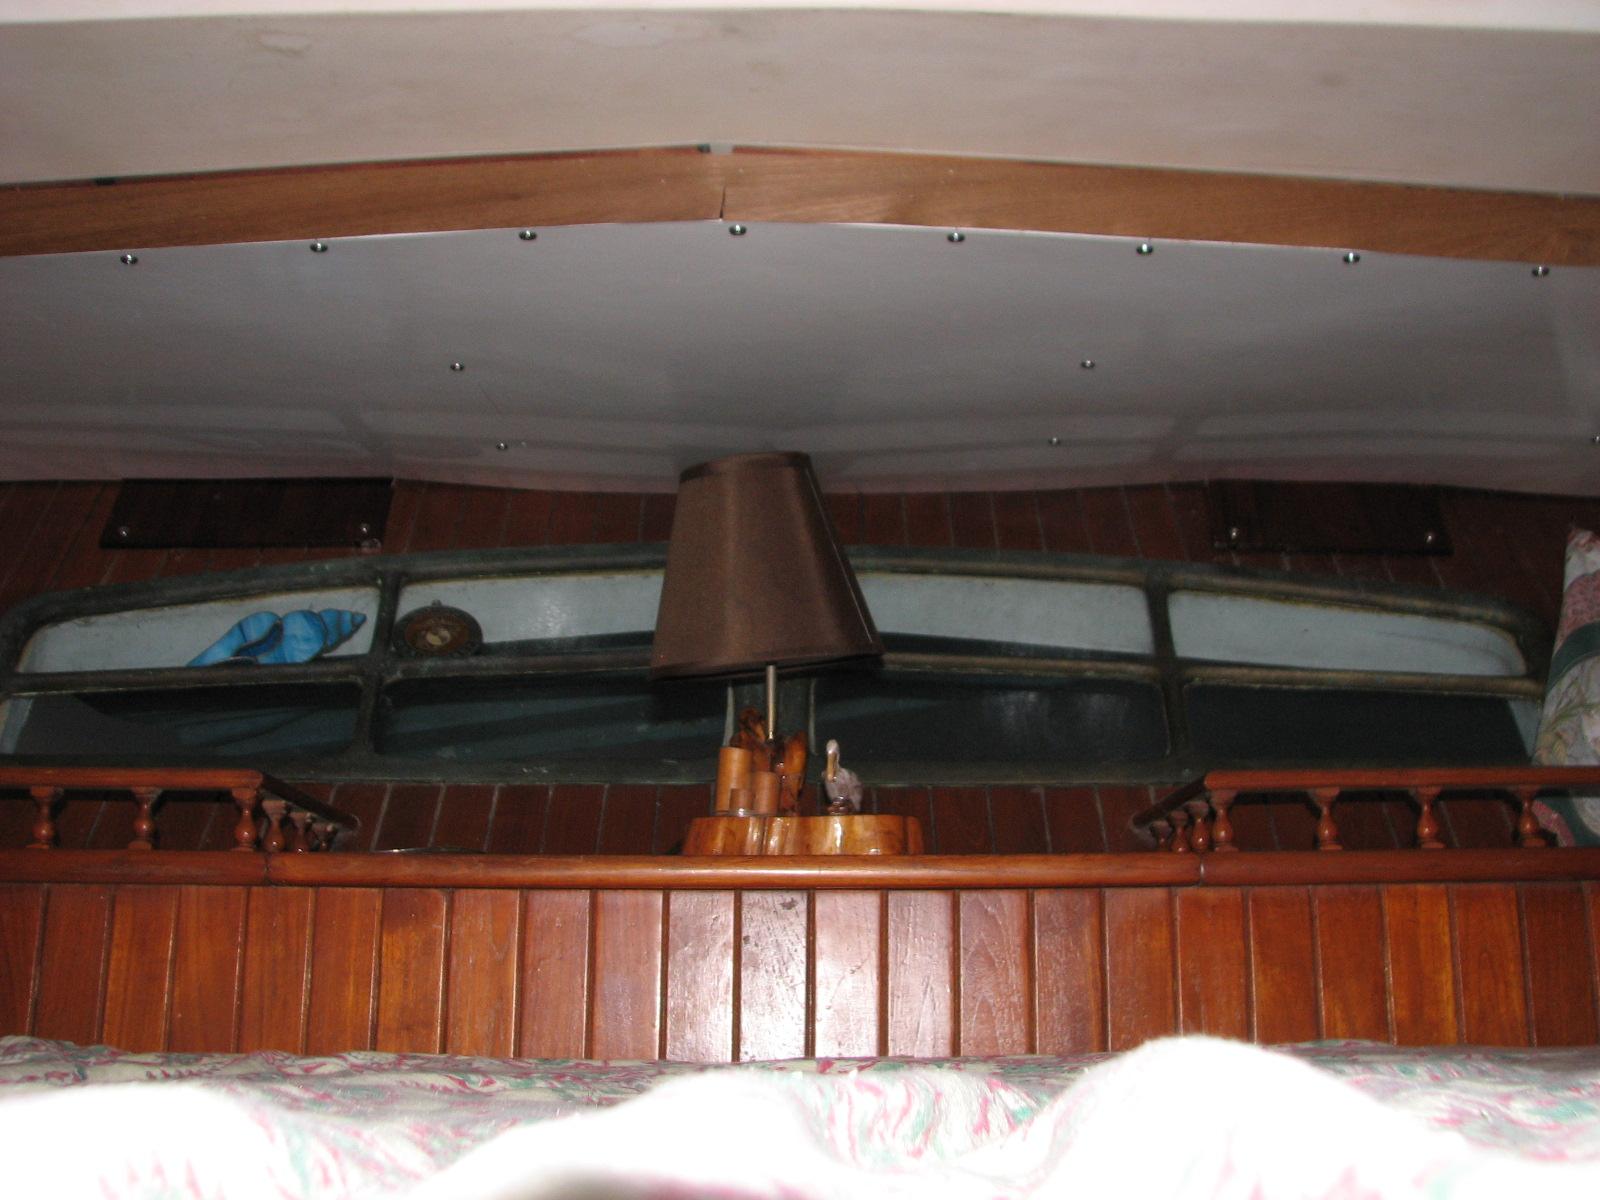
Of course, this project took up the
whole day, by the time I finished cleaning up, vacuuming, making up
the bed, and putting all of the tools and parts away.
I took a shower and went to the ground
breaking ceremony for the South
Pier Dock and Pavillion. Construction and dredging
will be starting tomorrow.
Officials Doing The Actual Ground
Breaking

September 02, Monday, 2013
Started off the morning with my normal
ritual of getting on the Internet, answering email, and checking the
weather, while making a pot of coffee.
Worked on the Maintenance Logs, and the
DREAM AWAY update, and finally got the update out with links to the
June, July, and August Maintenance Logs. A lot of effort and a
milestone.
I wanted to get the mid cabin deck
hatches fixed before Kitty returned, and set up her office in the mid
cabin. The smaller hatch had a problem where some of the wood on
which the hatch rested had loosened and fallen out. That made the
hatch wobbly, and it needed to be repaired.
I founds some very small pieces of wood
at the shop, and was able to fit them into place. They made the hatch
very stable.
I had a similar problem with the larger
hatch in the mid cabin deck. The unevenness of the hatch base had
been there since I installed the hatch during the
main mast compression post repair. Here again, I had
to find a very small piece of wood to put into place that would cause
the hatch to sit evenly in the hatch base.
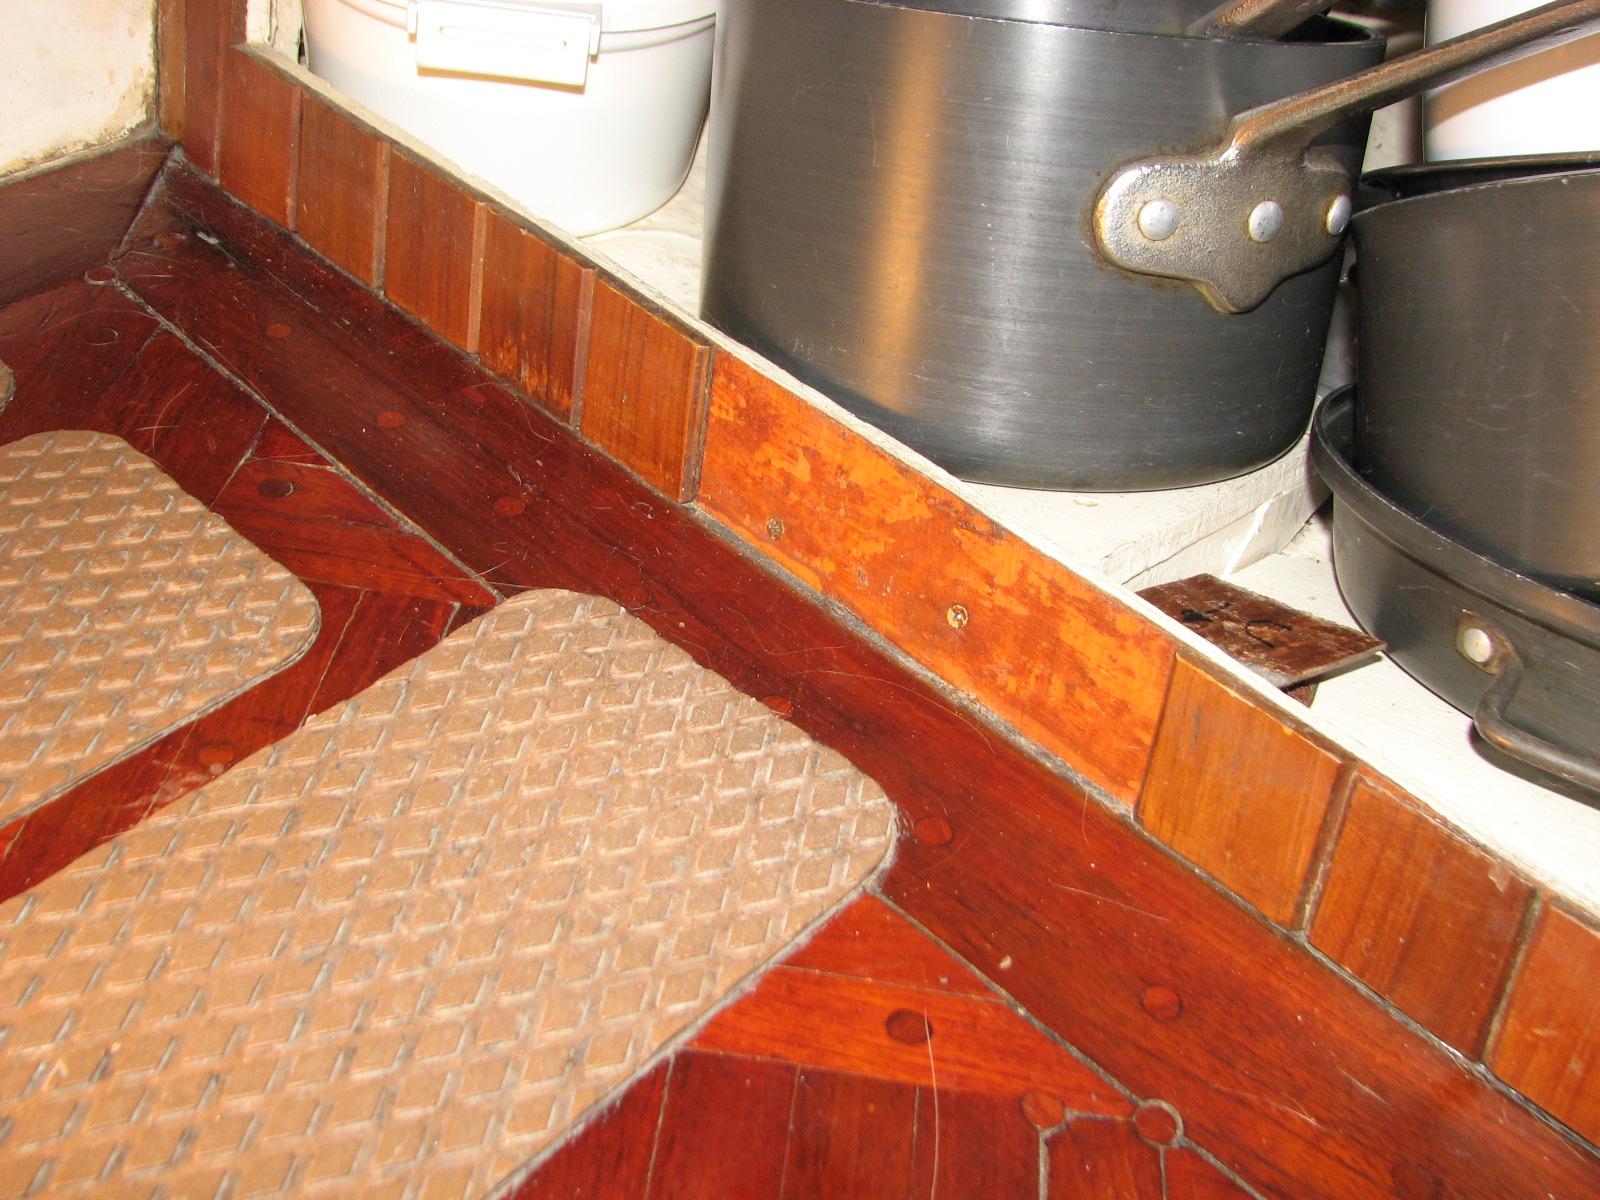
I also had some small pieces of teak
wood that had come loose from around the storage area under the
microwave/convection oven. These needed to be epoxied in place.
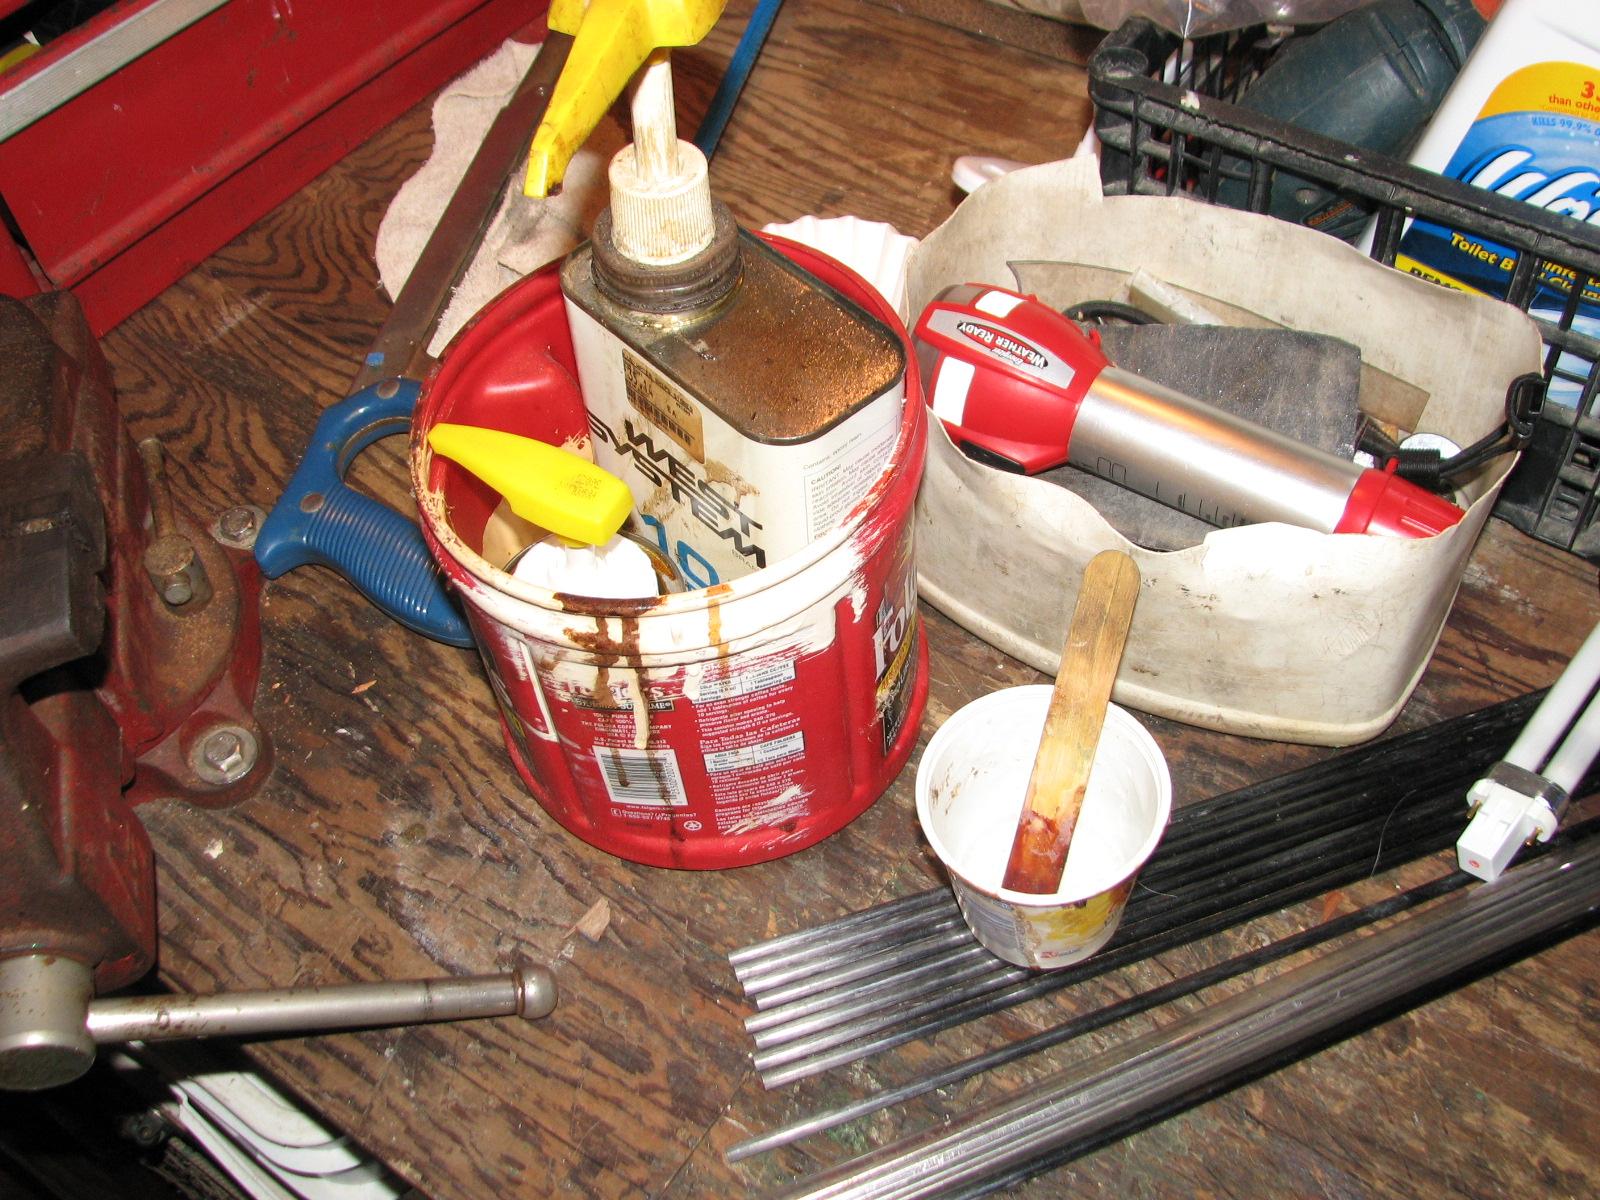
I mixed up a pot of epoxy
resin, and epoxied the three small pieces of wood from
around the storage area. I then epoxied the small pieces of wood
around the small hatch and the large hatch in the mid cabin.
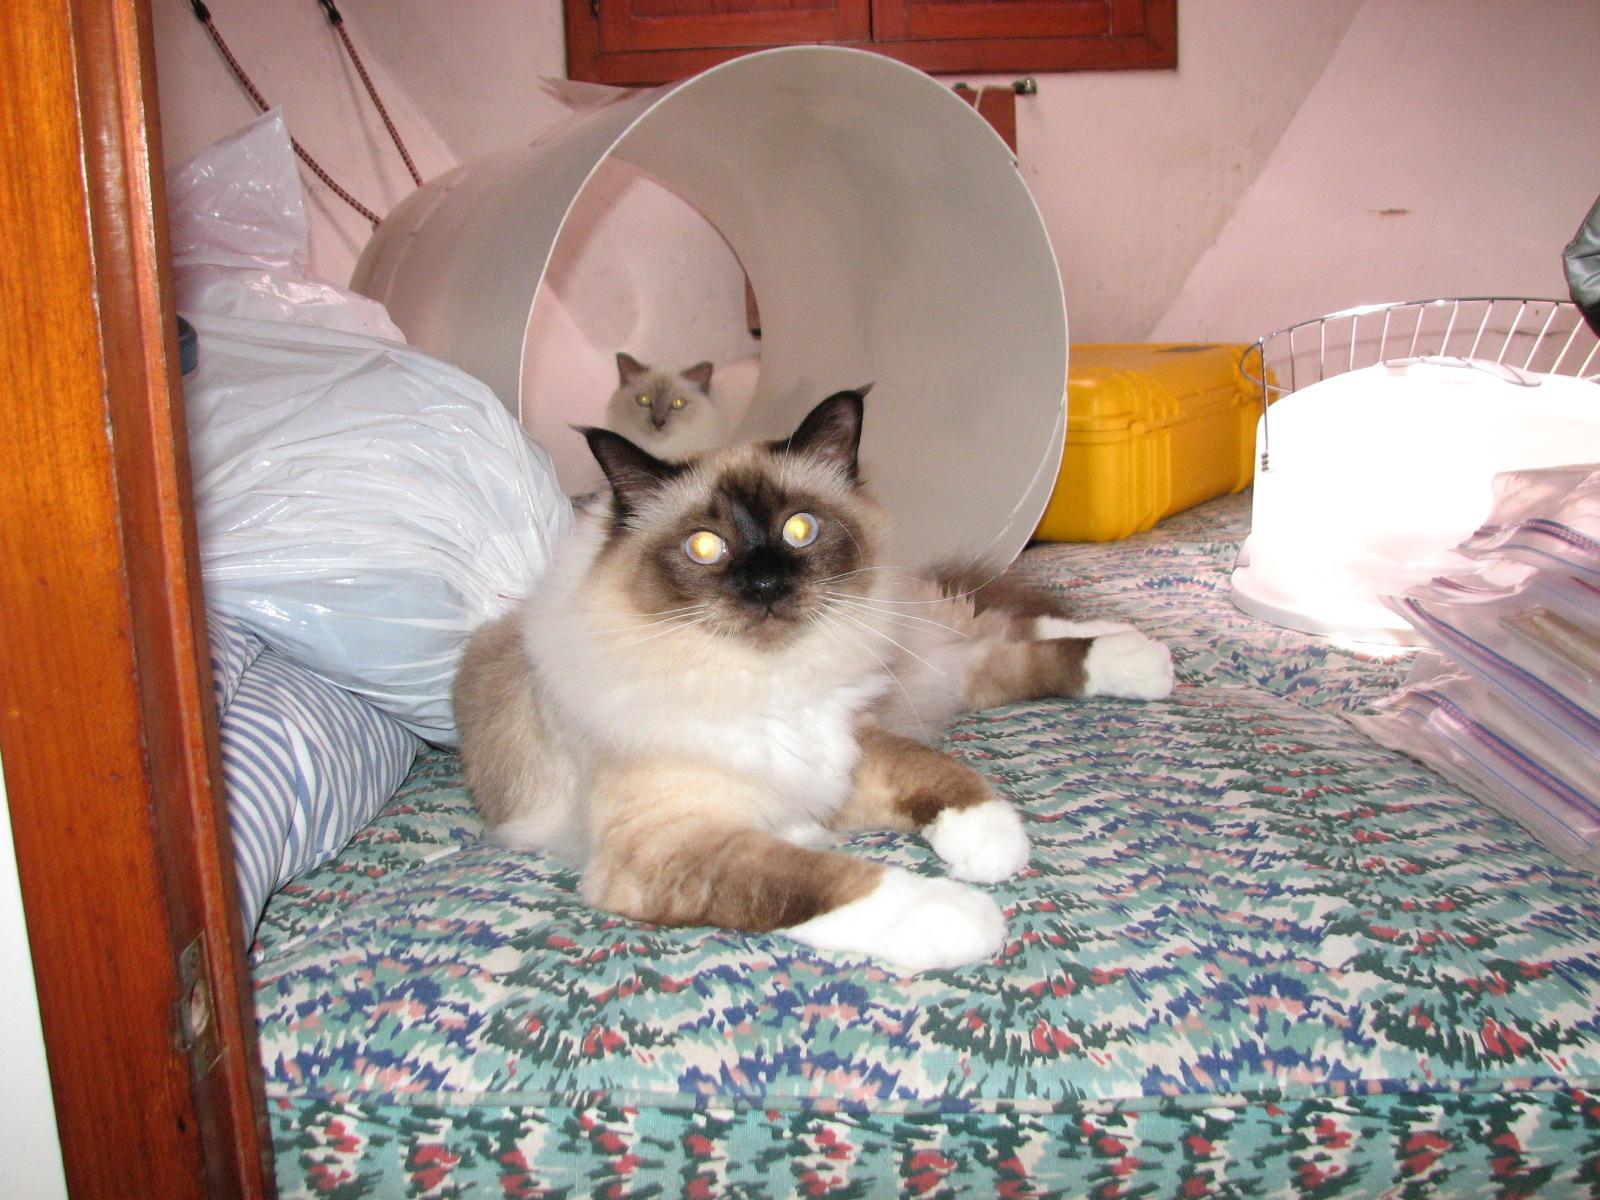
Helpers Standing By
Small Hatch With Wood Fitted
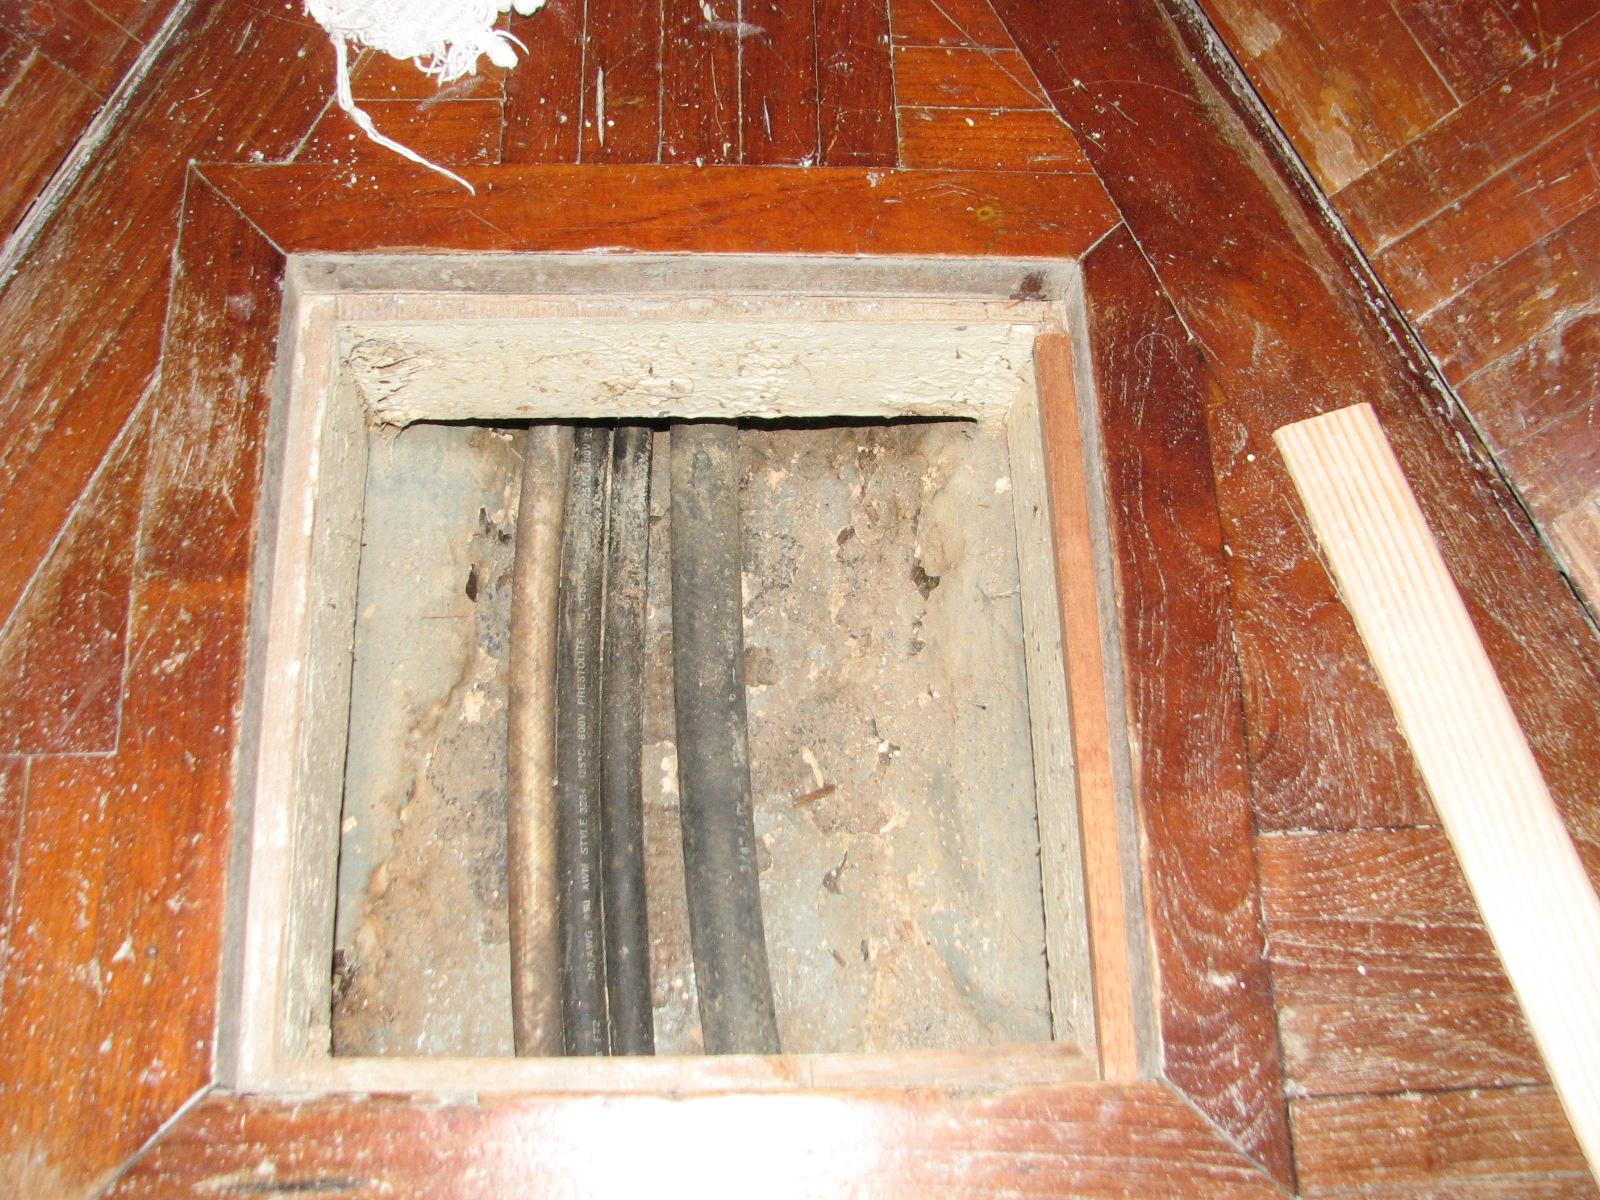
Large Hatch With Wood Fitted
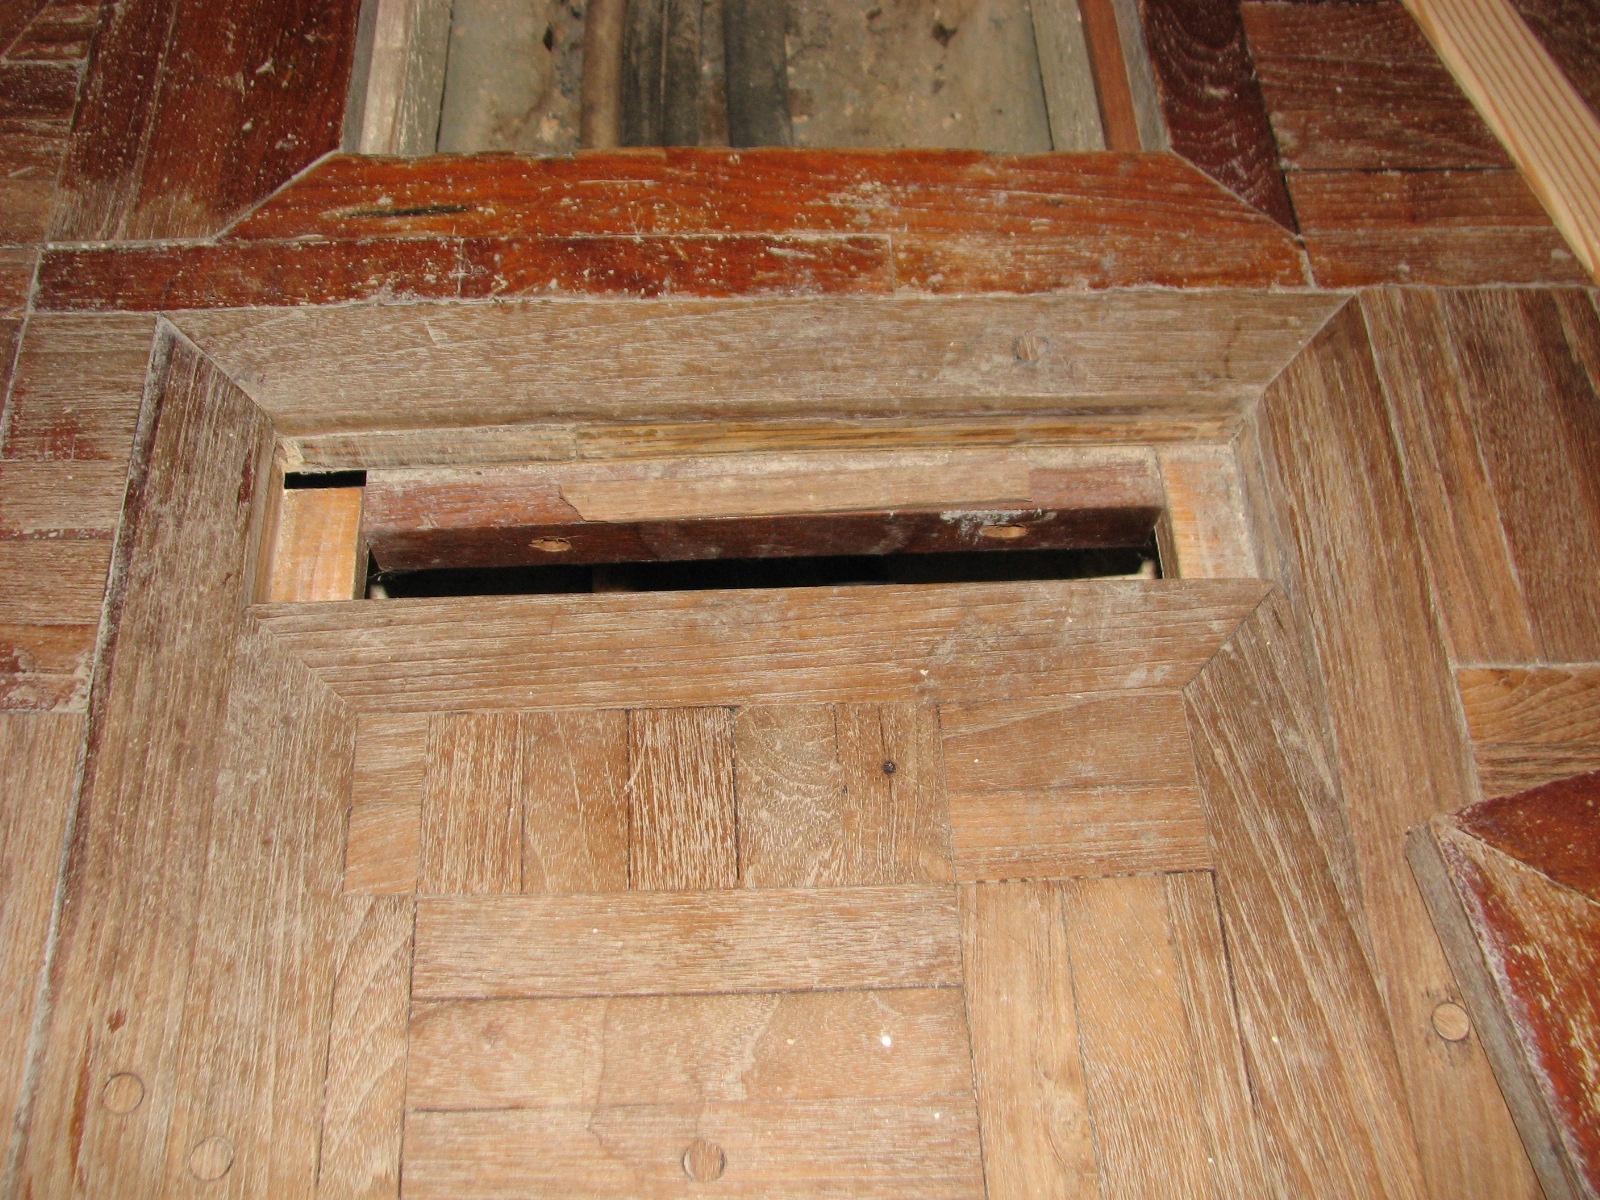
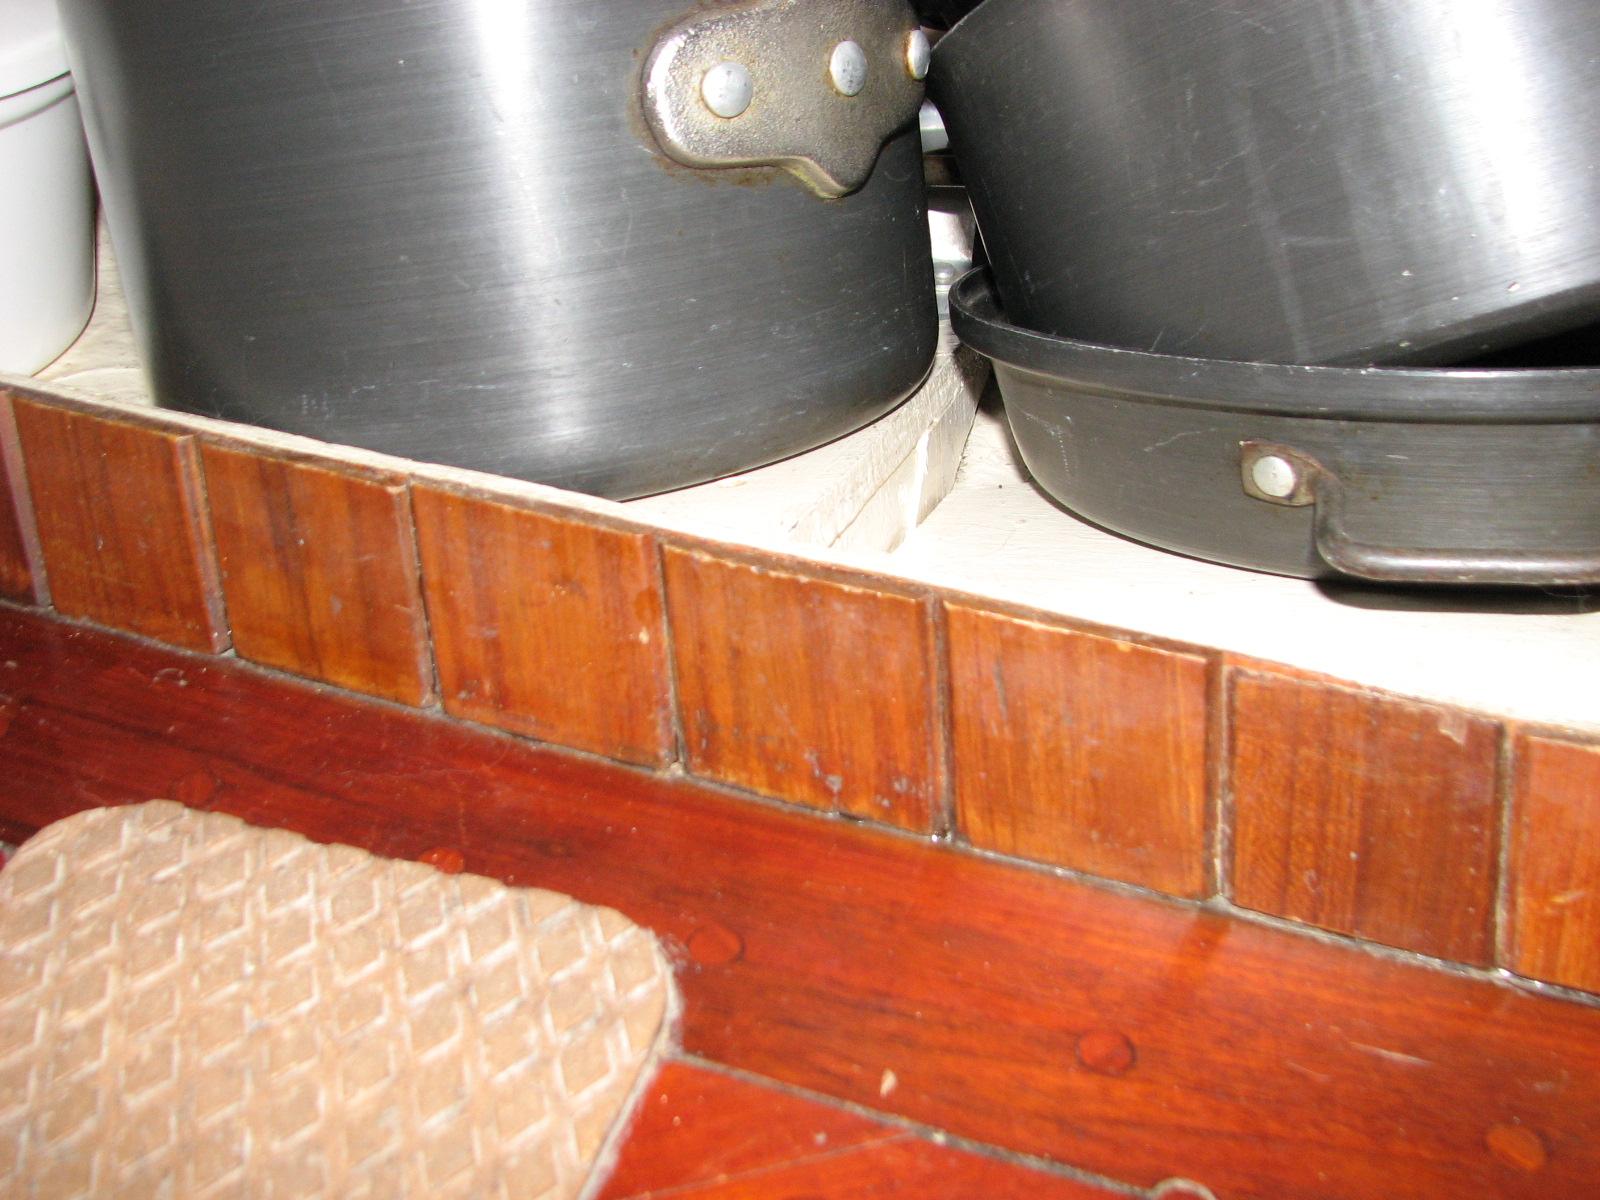
Pieces Of Wood Missing From Storage
Area.
Pieces Epoxied In Place Around Storage
Area
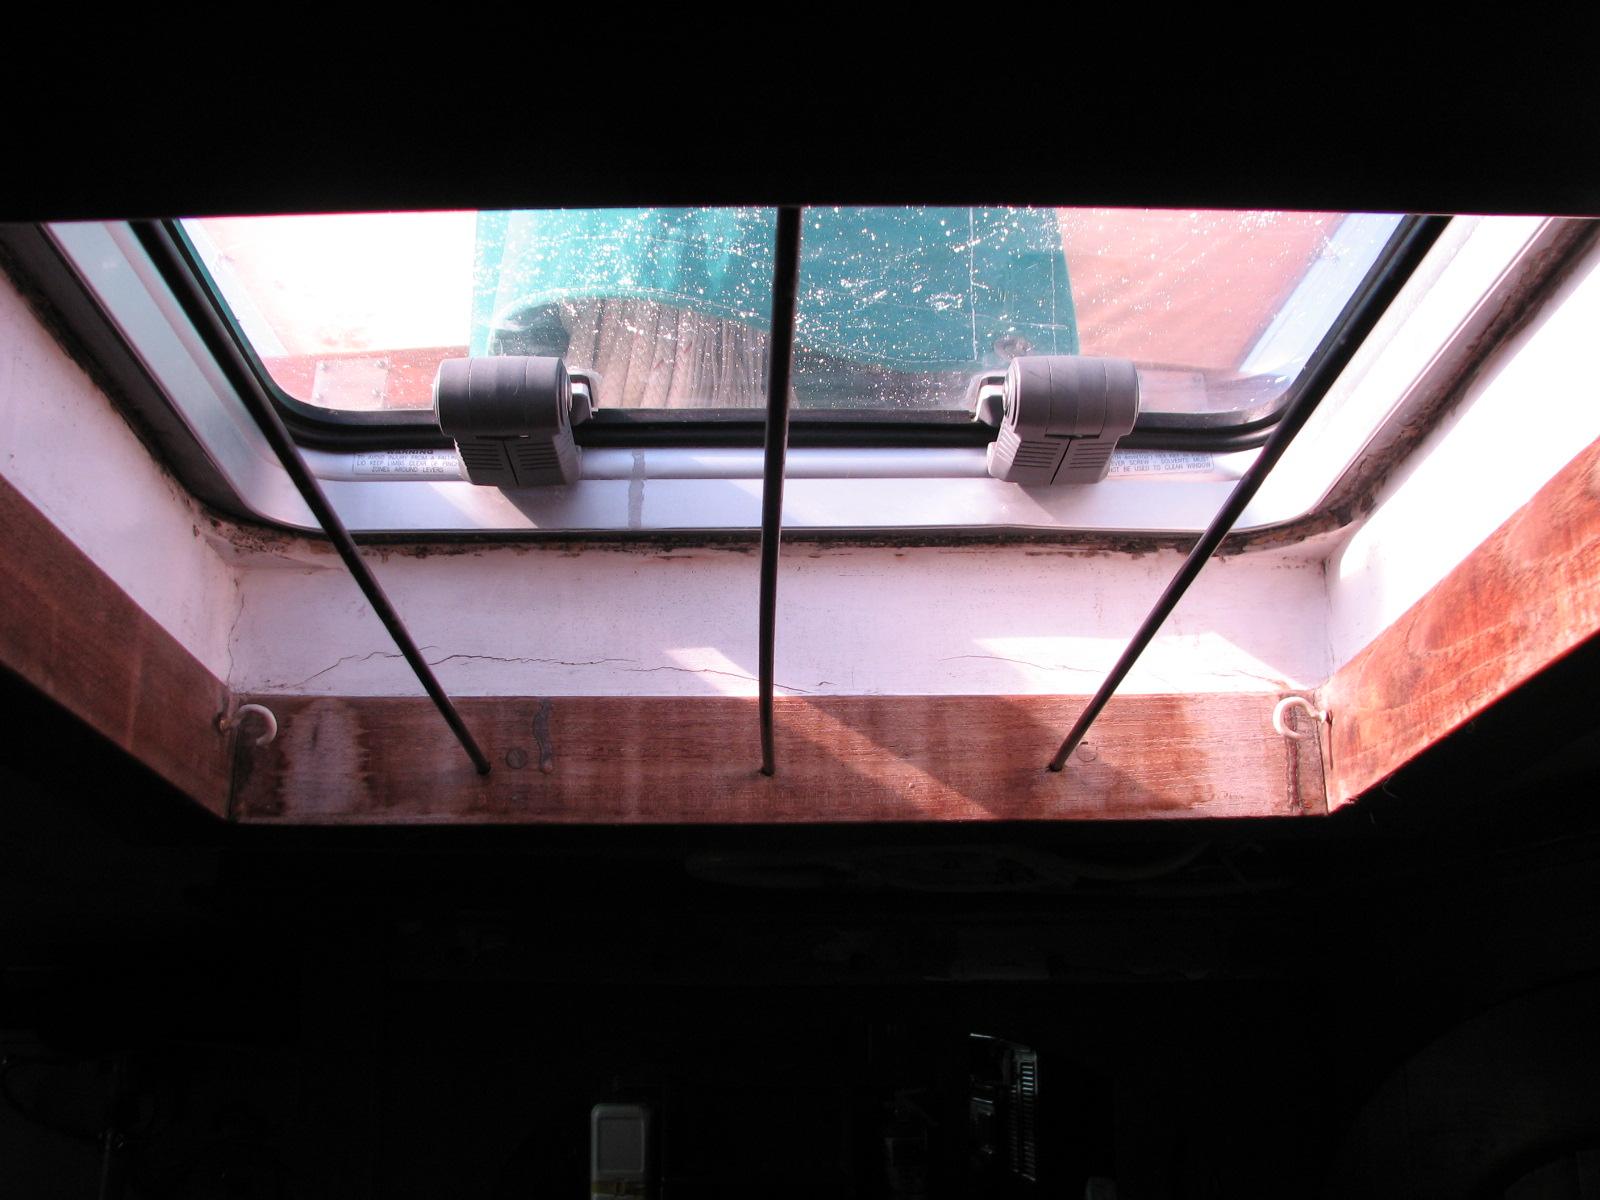
Next I got working on finishing the
“security bars” in the hatches in the main cabin and the mid
cabin. For a more complete explanation look at the August
Maintenance Log. Check the end of the August 27,
Tuesday, 2013, entry.
Main Cabin Hatch Security Bars
Installed
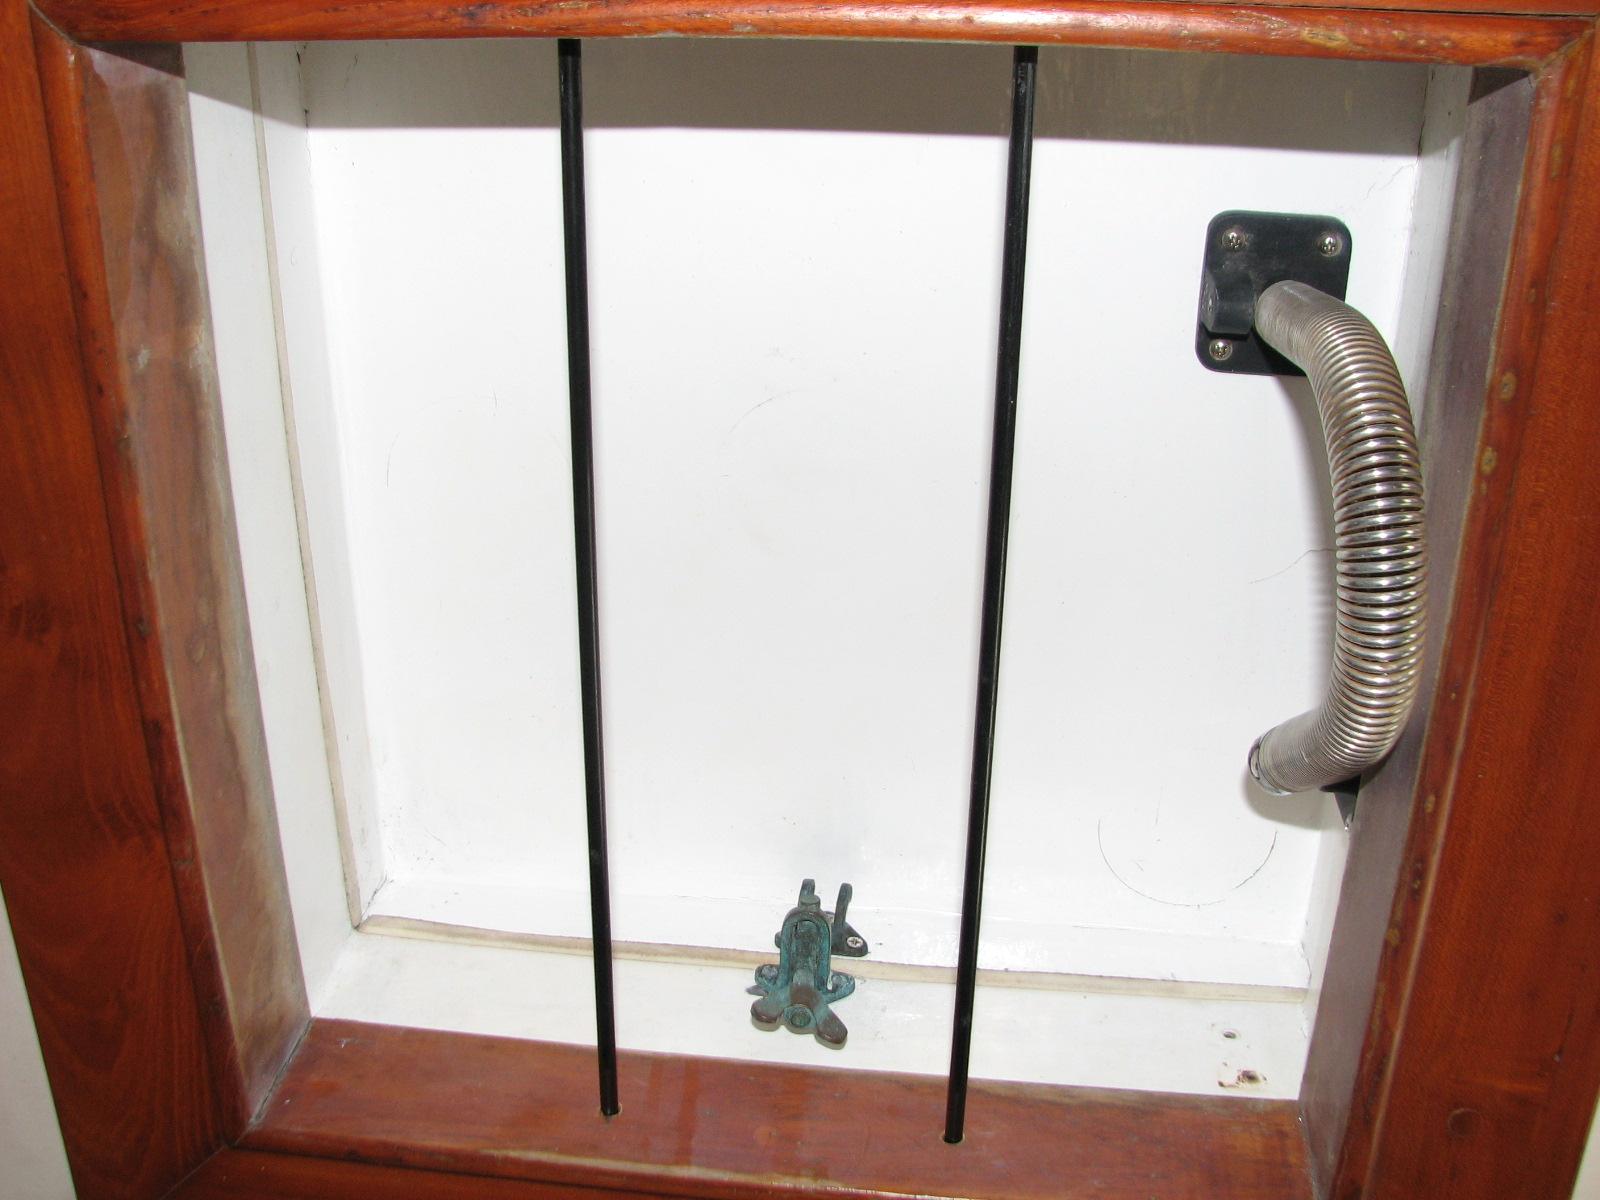
Mid Cabin Hatch Before Installation Of
Security Bars

Mid Cabin Hatch After Security Bar
Installation
September 01, Sunday, 2013
Started off the morning with my normal
ritual of getting on the Internet, answering email, and checking the
weather, while making a pot of coffee.
Spent the remainder of the day working
on getting the Maintenance Logs for June, July, and August completed.
When they were completed, I downloaded them and got them ready for a
DREAM AWAY update.
I also did some cooking while working
on the computer.
