Maintenance Log October 2013
October 31, Thursday, 2013
Started off the morning with my normal
ritual of getting on the Internet, answering email, and checking the
weather, while making a pot of coffee. I also spent time with our two
cats,
Jillian and Jordan.
A
cold front with lots of rain was coming today, so I did not work on
DREAM AWAY projects. Spent the whole day working on the computer,
email, scanning, and generally catching up.
I actually did do a bit of work on DREAM AWAY today. During
the heavy rains, we looked at the leak in the head, and it was just as bad as
before. Not very happy about that. We removed the backing plate for the turning block,
and discovered there is water leaking in, and it appears to be coming from the
turning block.
As soon as the weather dries out, I will pry the turning block
from the deck and see if I can find the source of the problem. We also have another
leak in the aft cabin on the starboard side near the clothes closet, and another leak
aft on the port side. I will be looking into them also.
October 30, Wednesday, 2013
Started off the morning with my normal
ritual of getting on the Internet, answering email, and checking the
weather, while making a pot of coffee. I also spent time with our two
cats, Jillian
and Jordan.
Went over to the shop
and started sanding all of the parts I had worked on yesterday in the
shop.
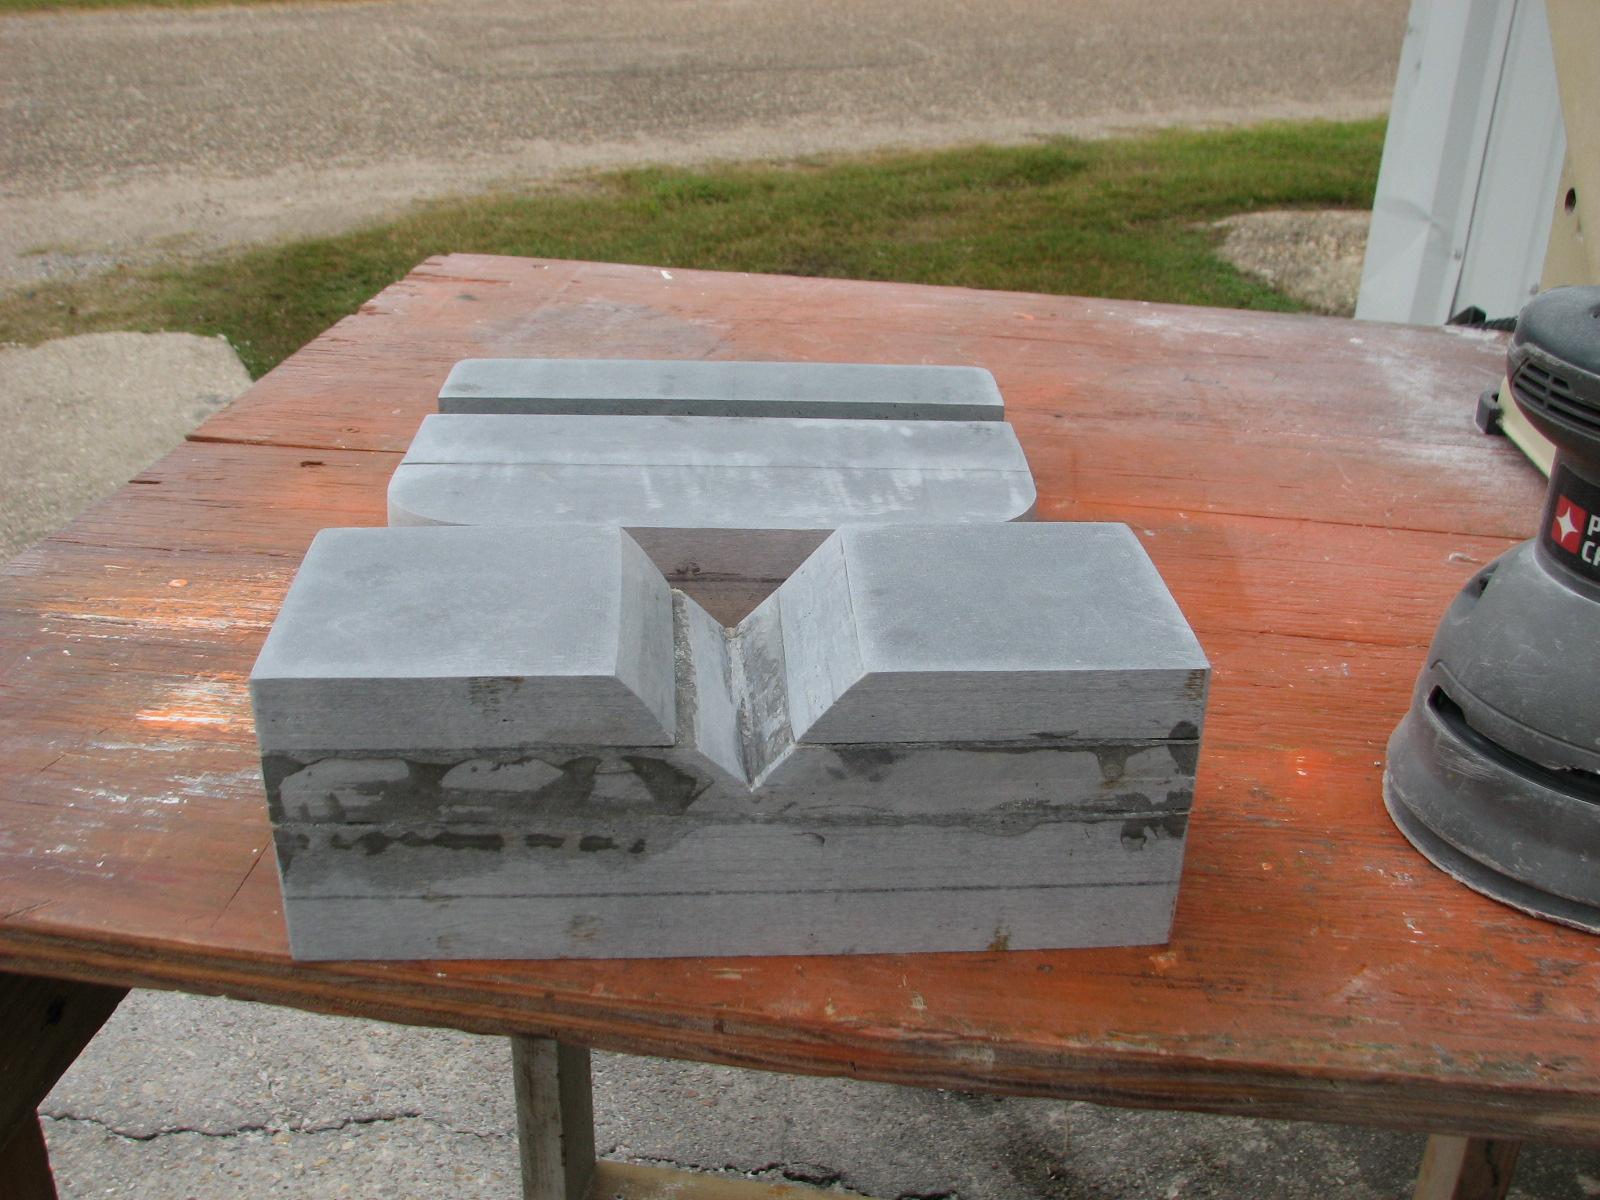
The anchor support parts were sanded first. The belt sander does a
great job on sanding the Strongwell
Extren plate. I will still have to use some finishing
putty in the parts for the final finish, but we are making great
progress.
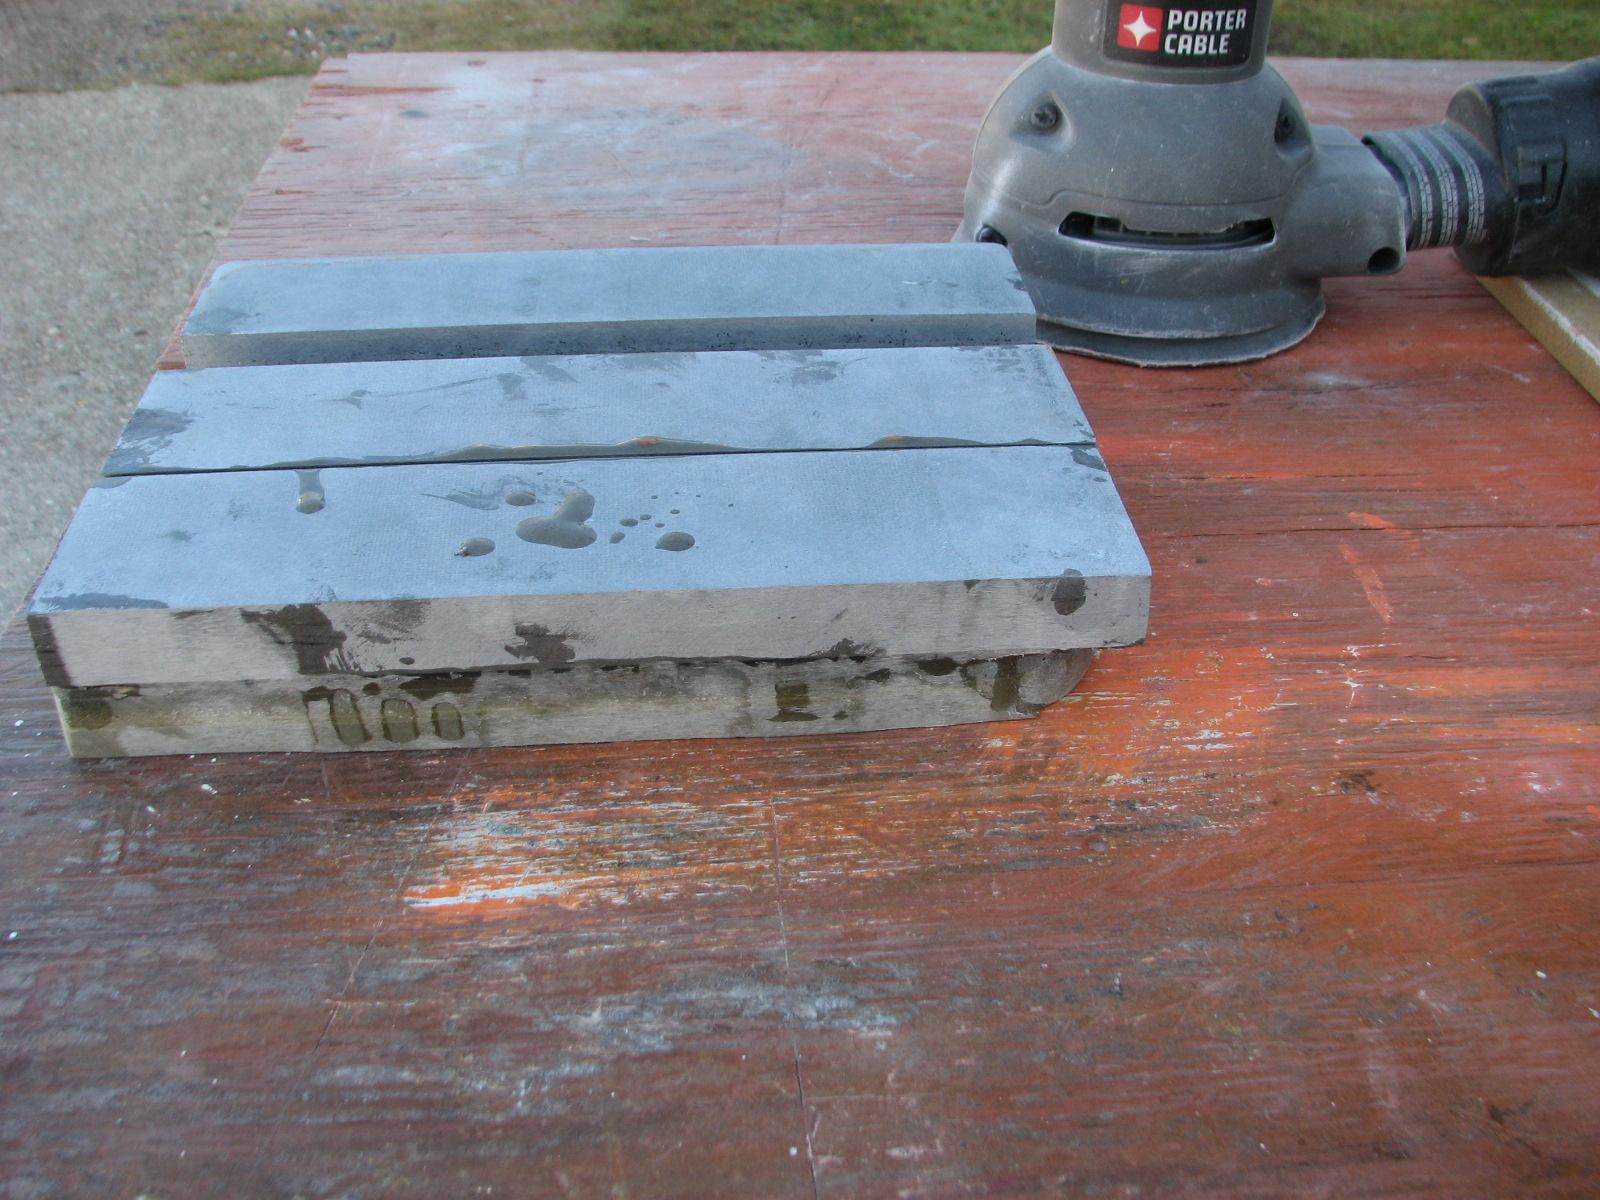
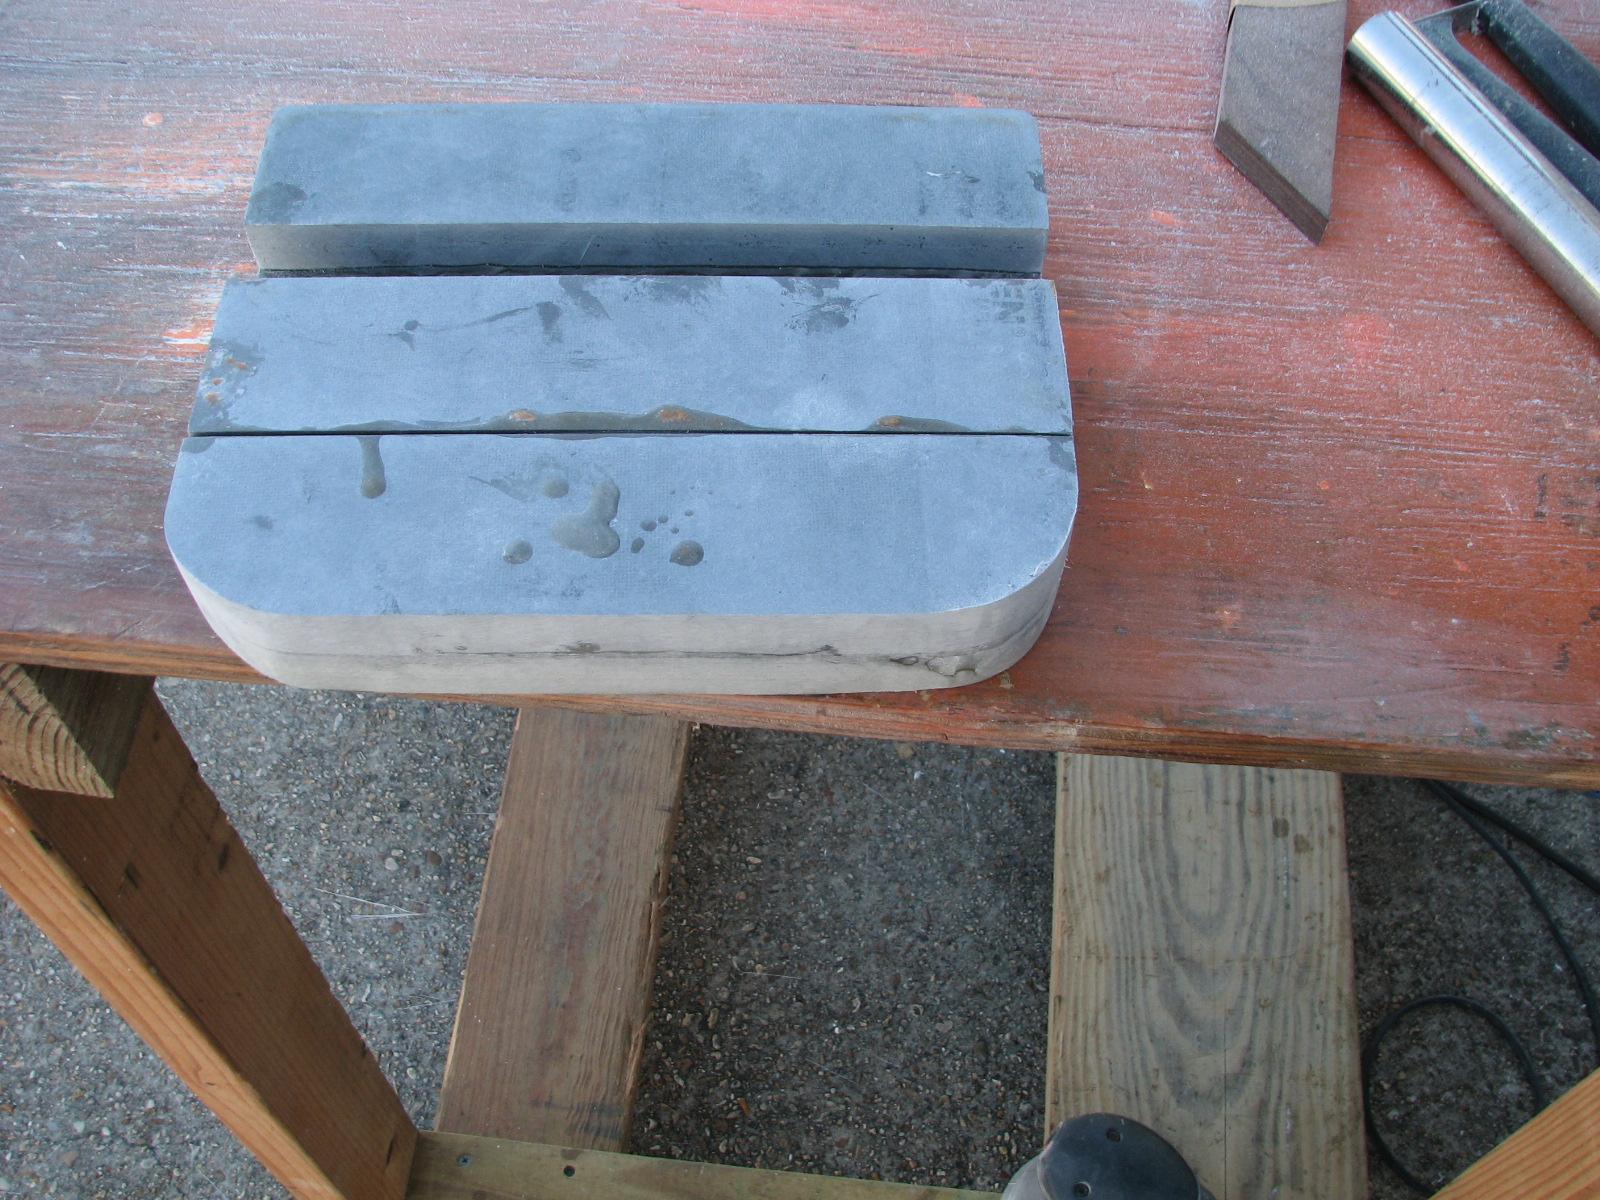
Anchor Support Parts Before Sanding
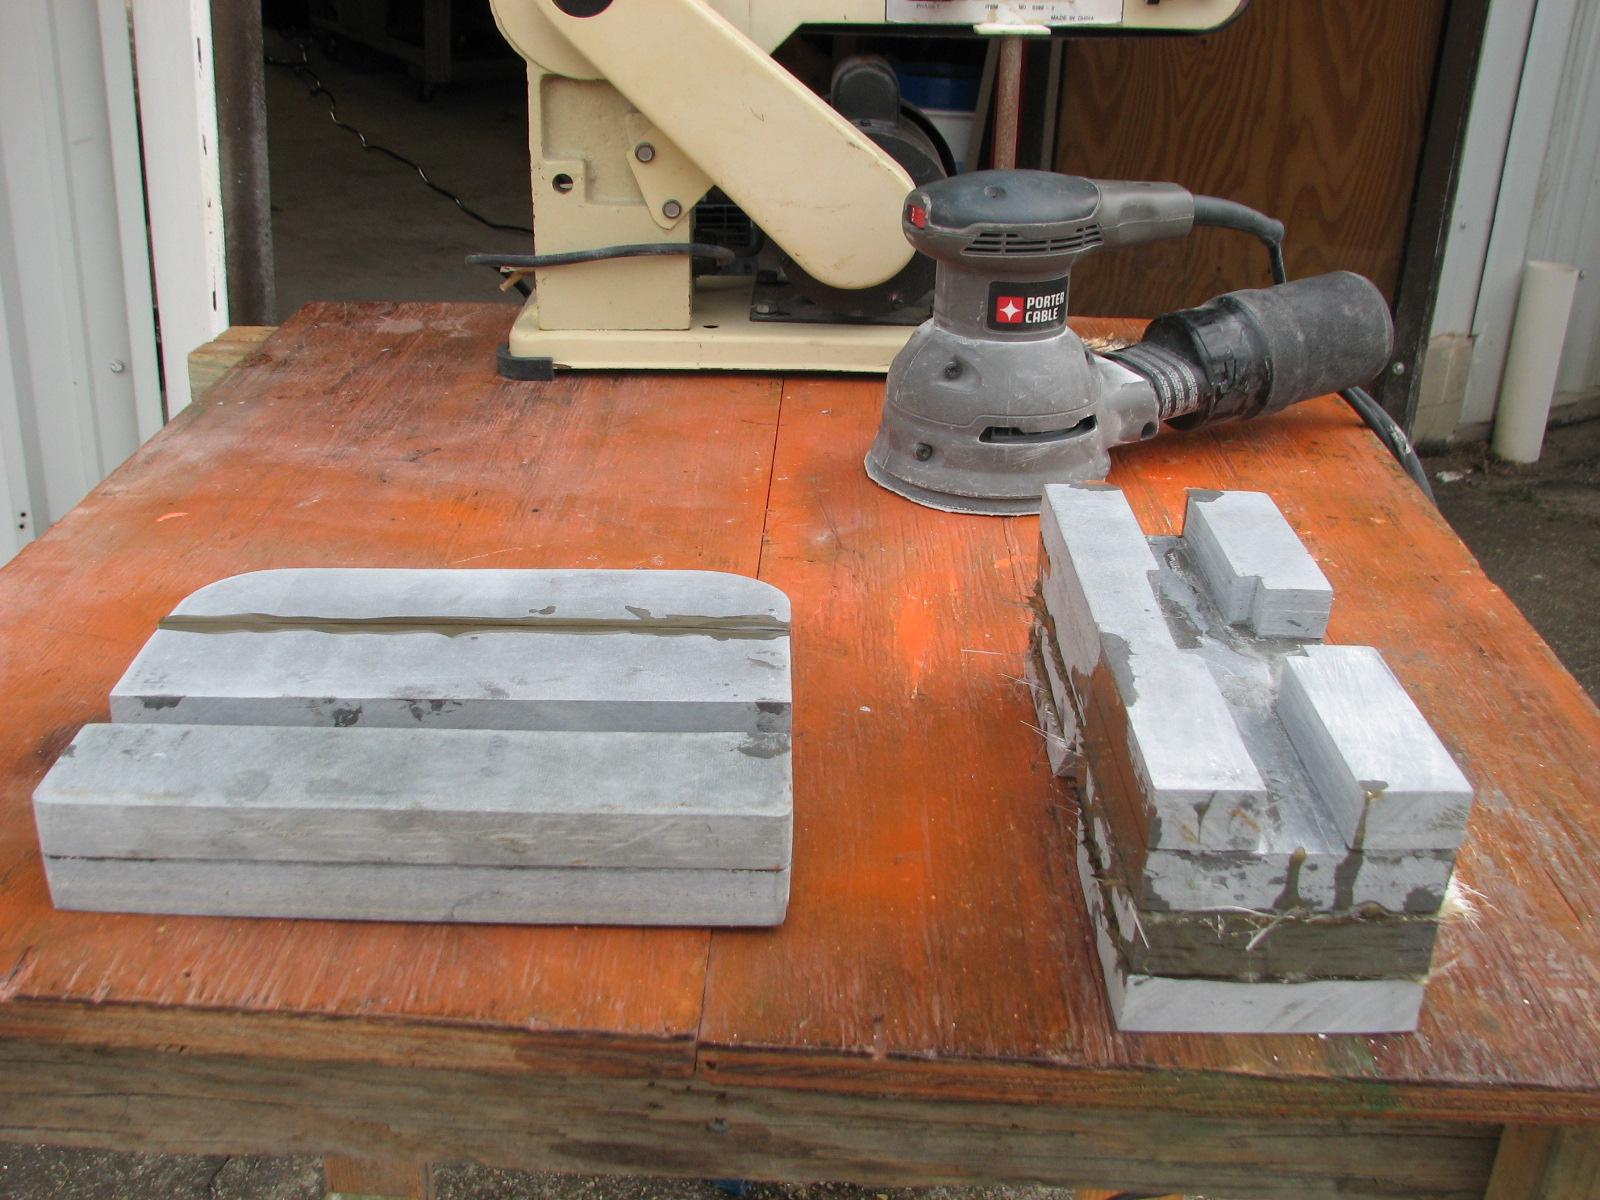
Anchor Support Parts Before Sanding
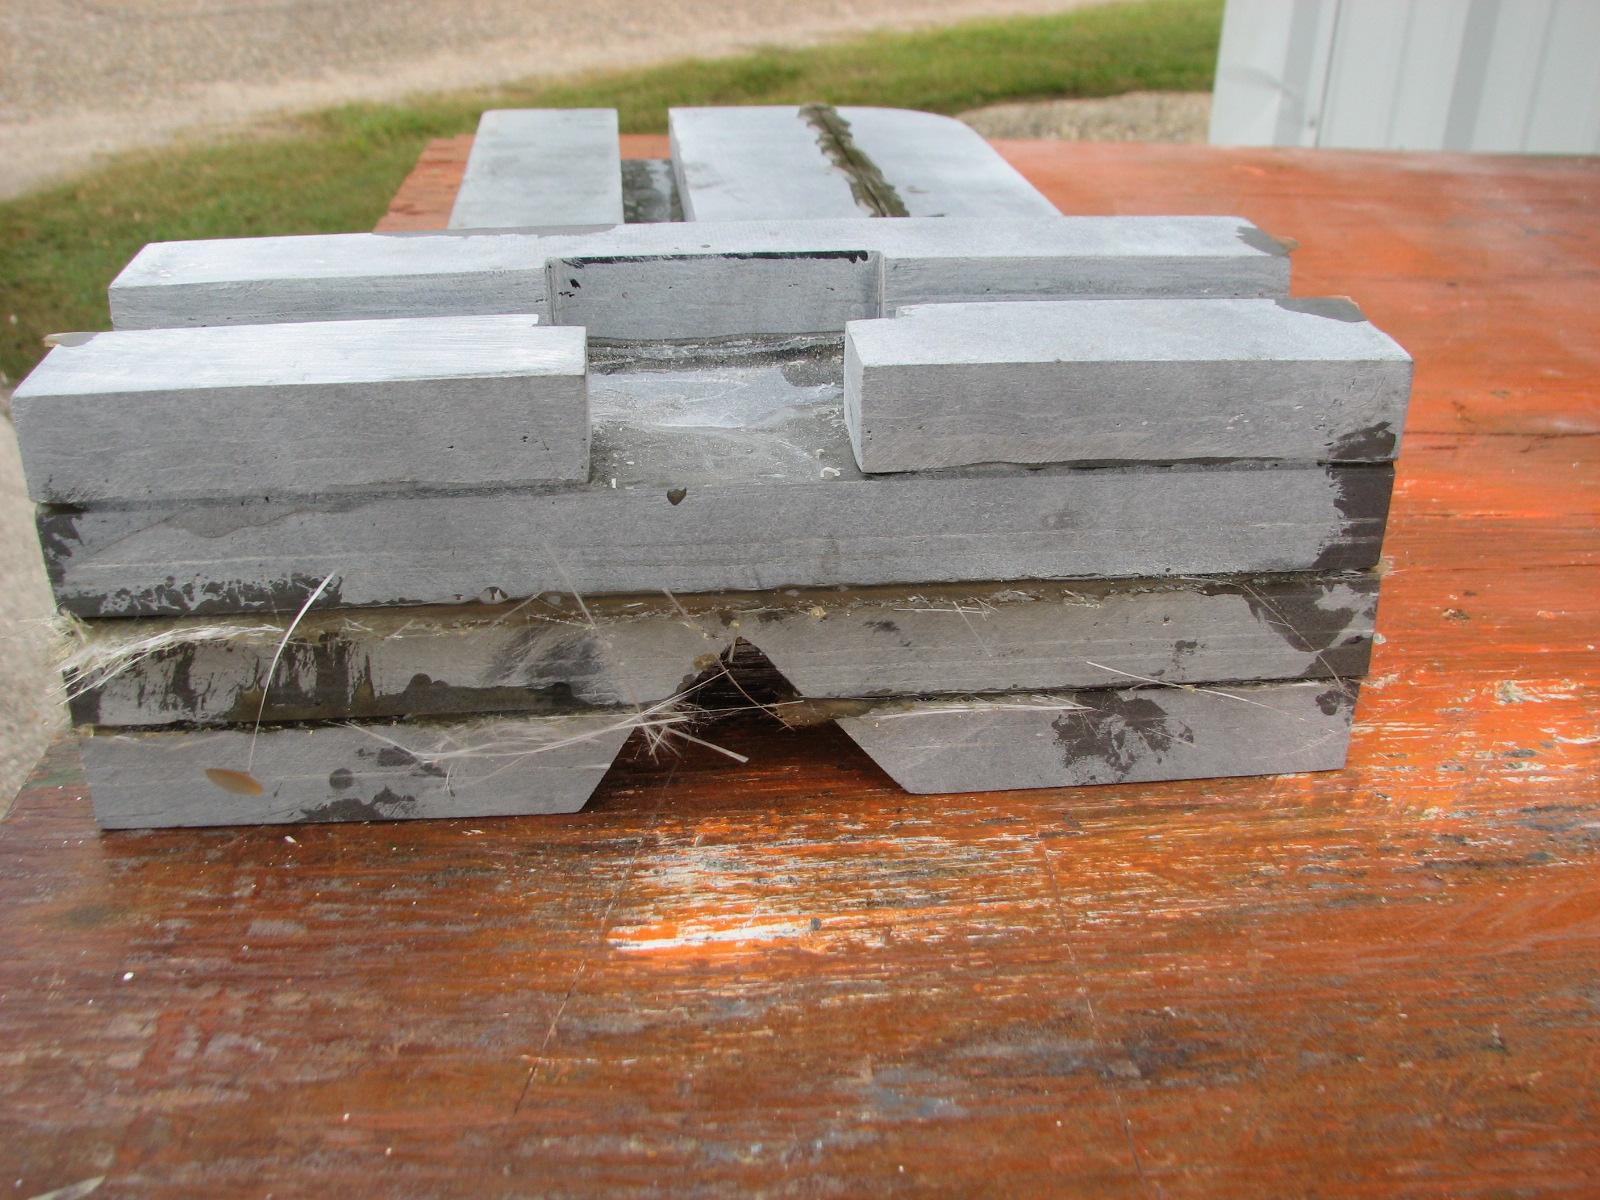
Anchor Support Parts After Sanding
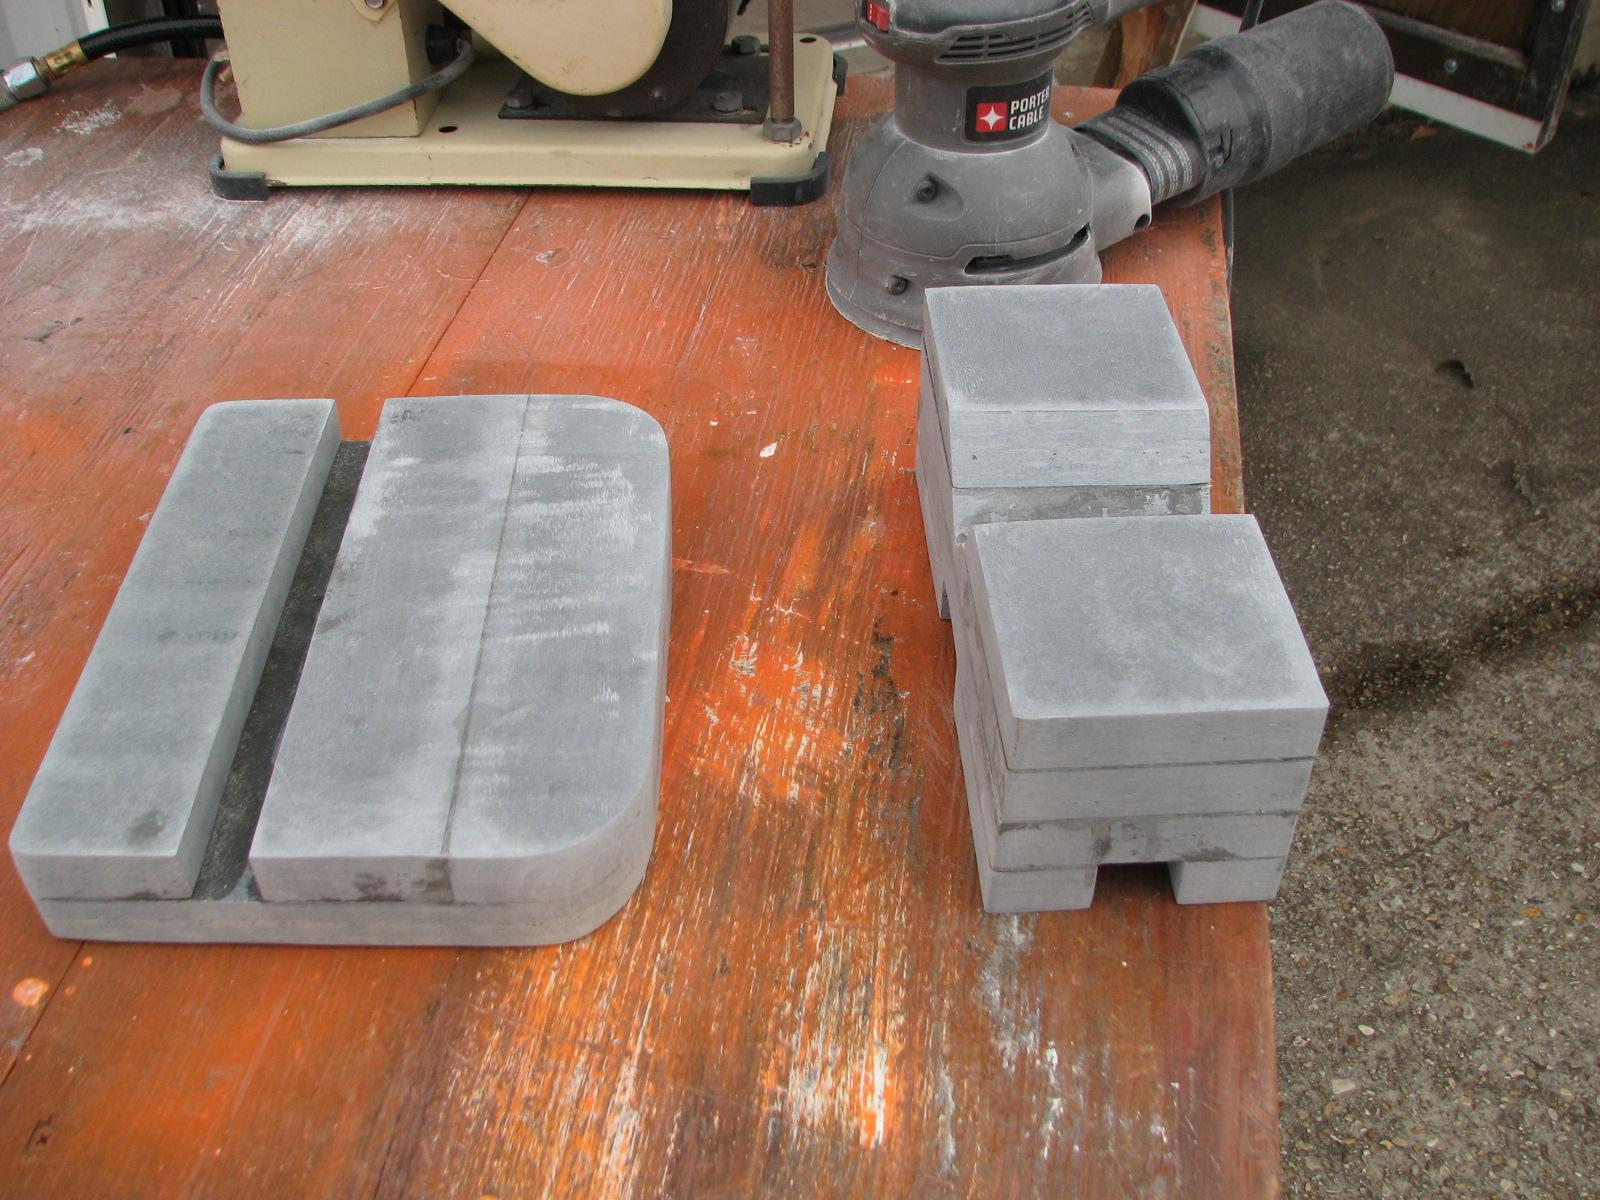
Anchor Support Parts After Sanding
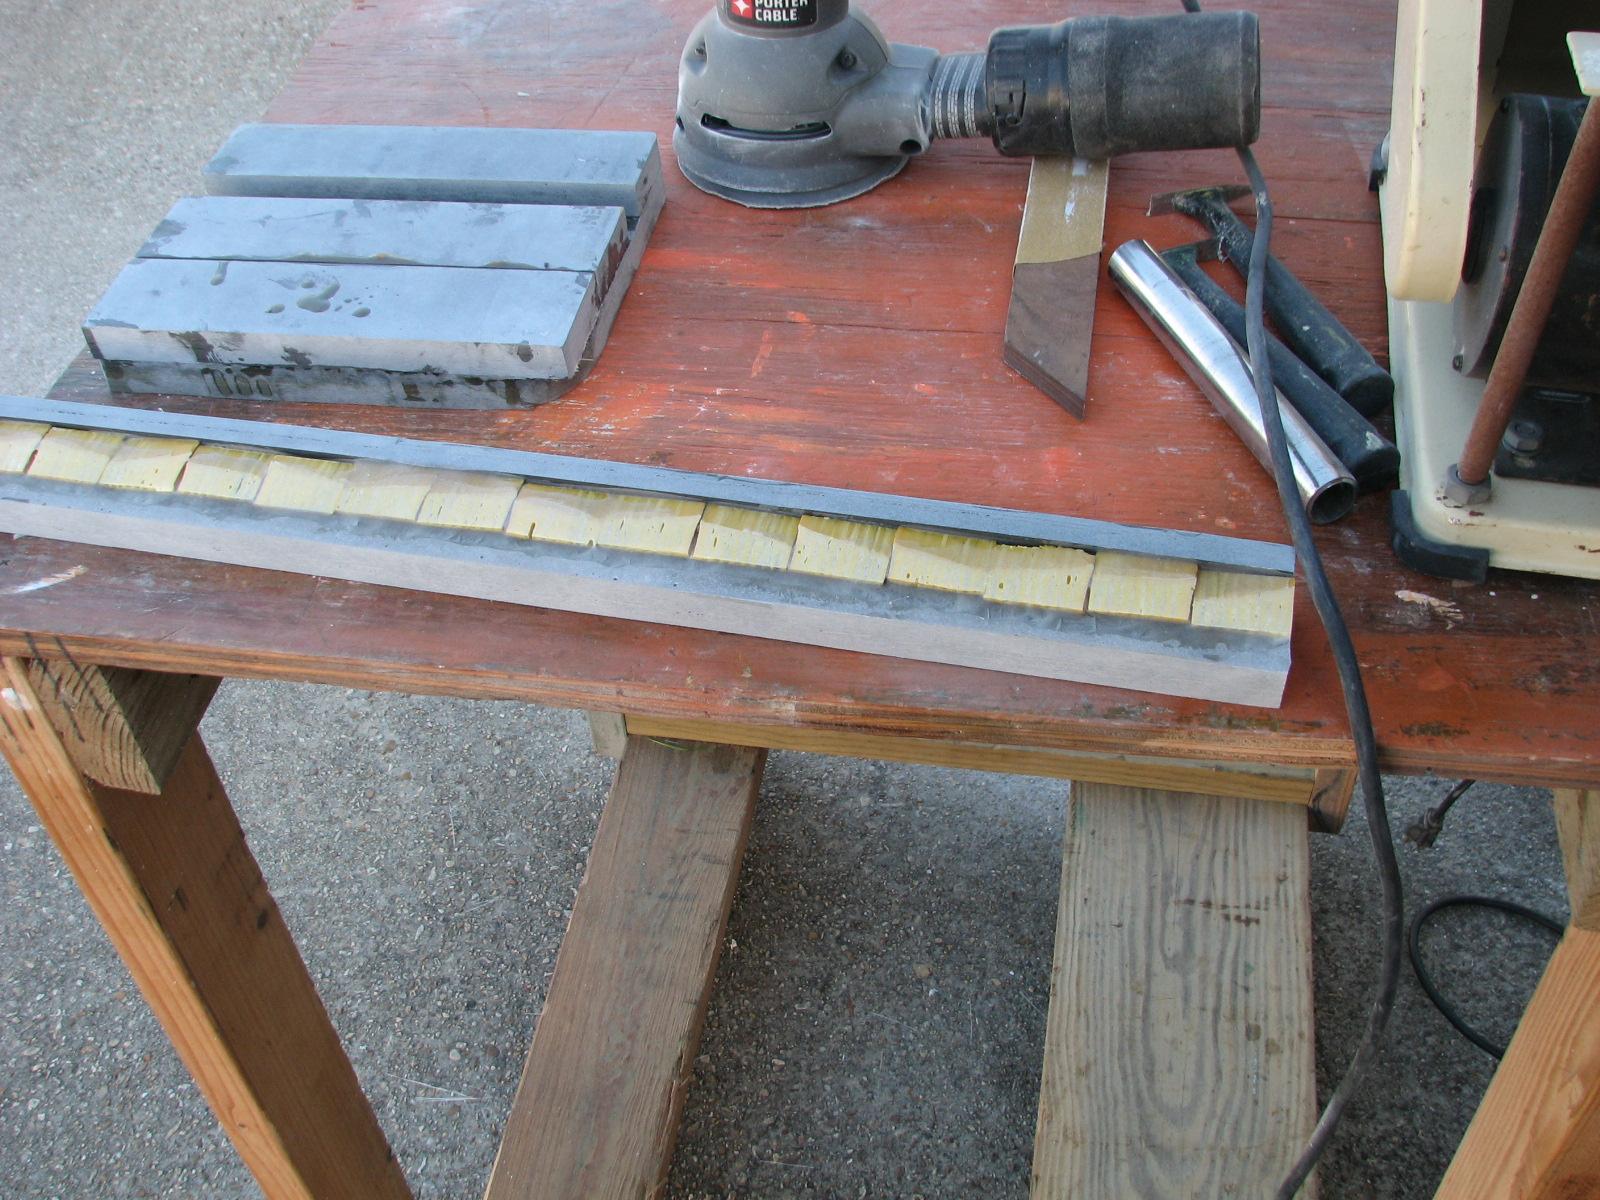
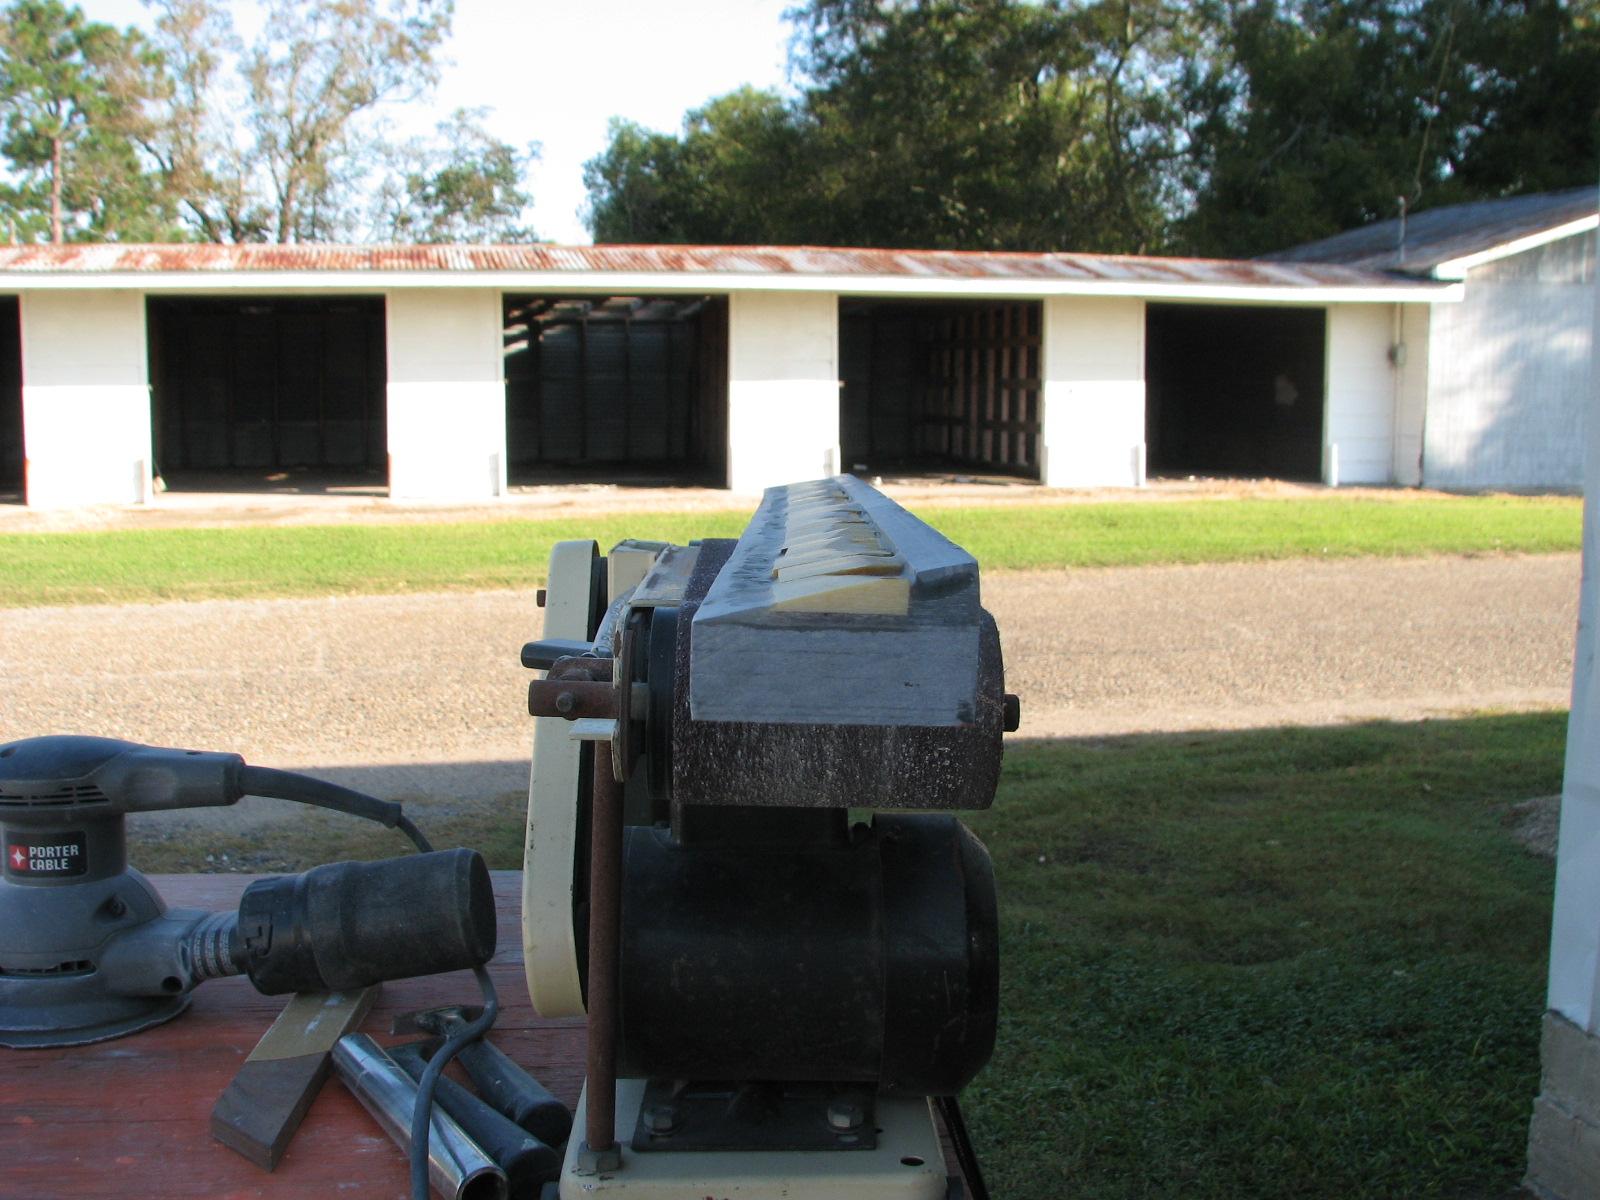
When I finished the anchor support
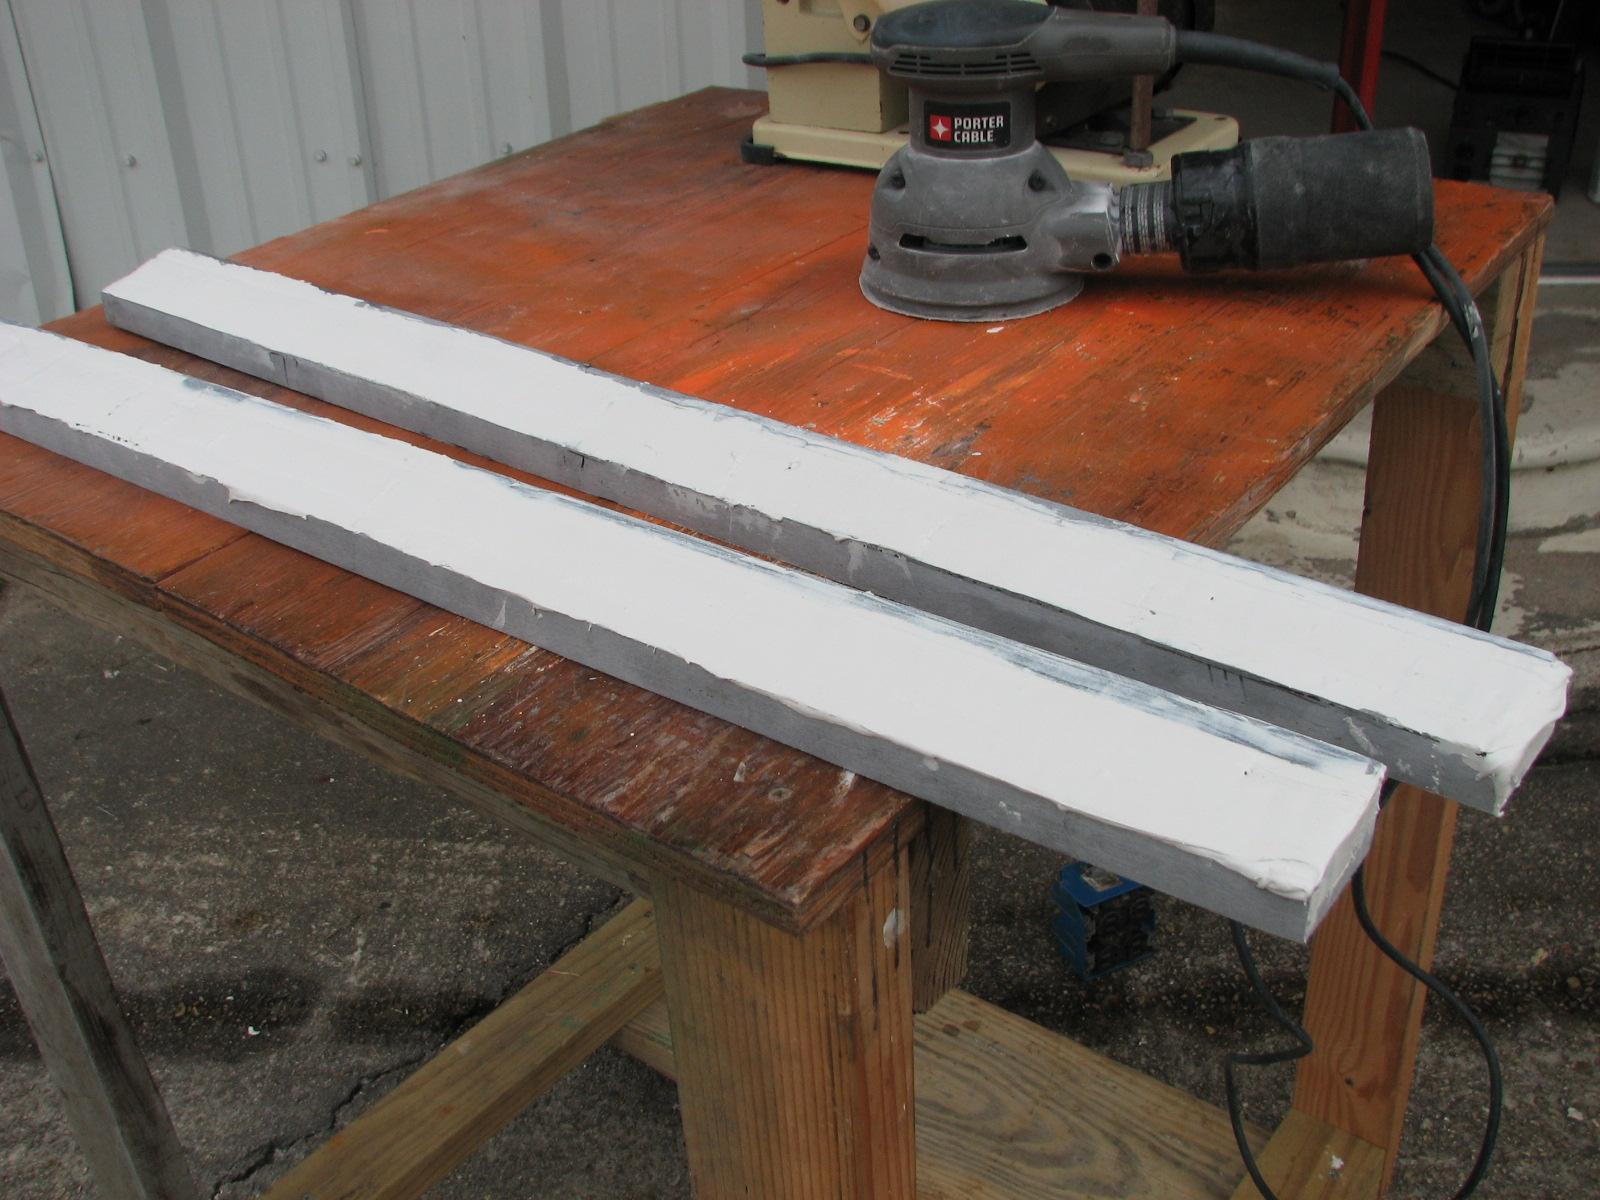
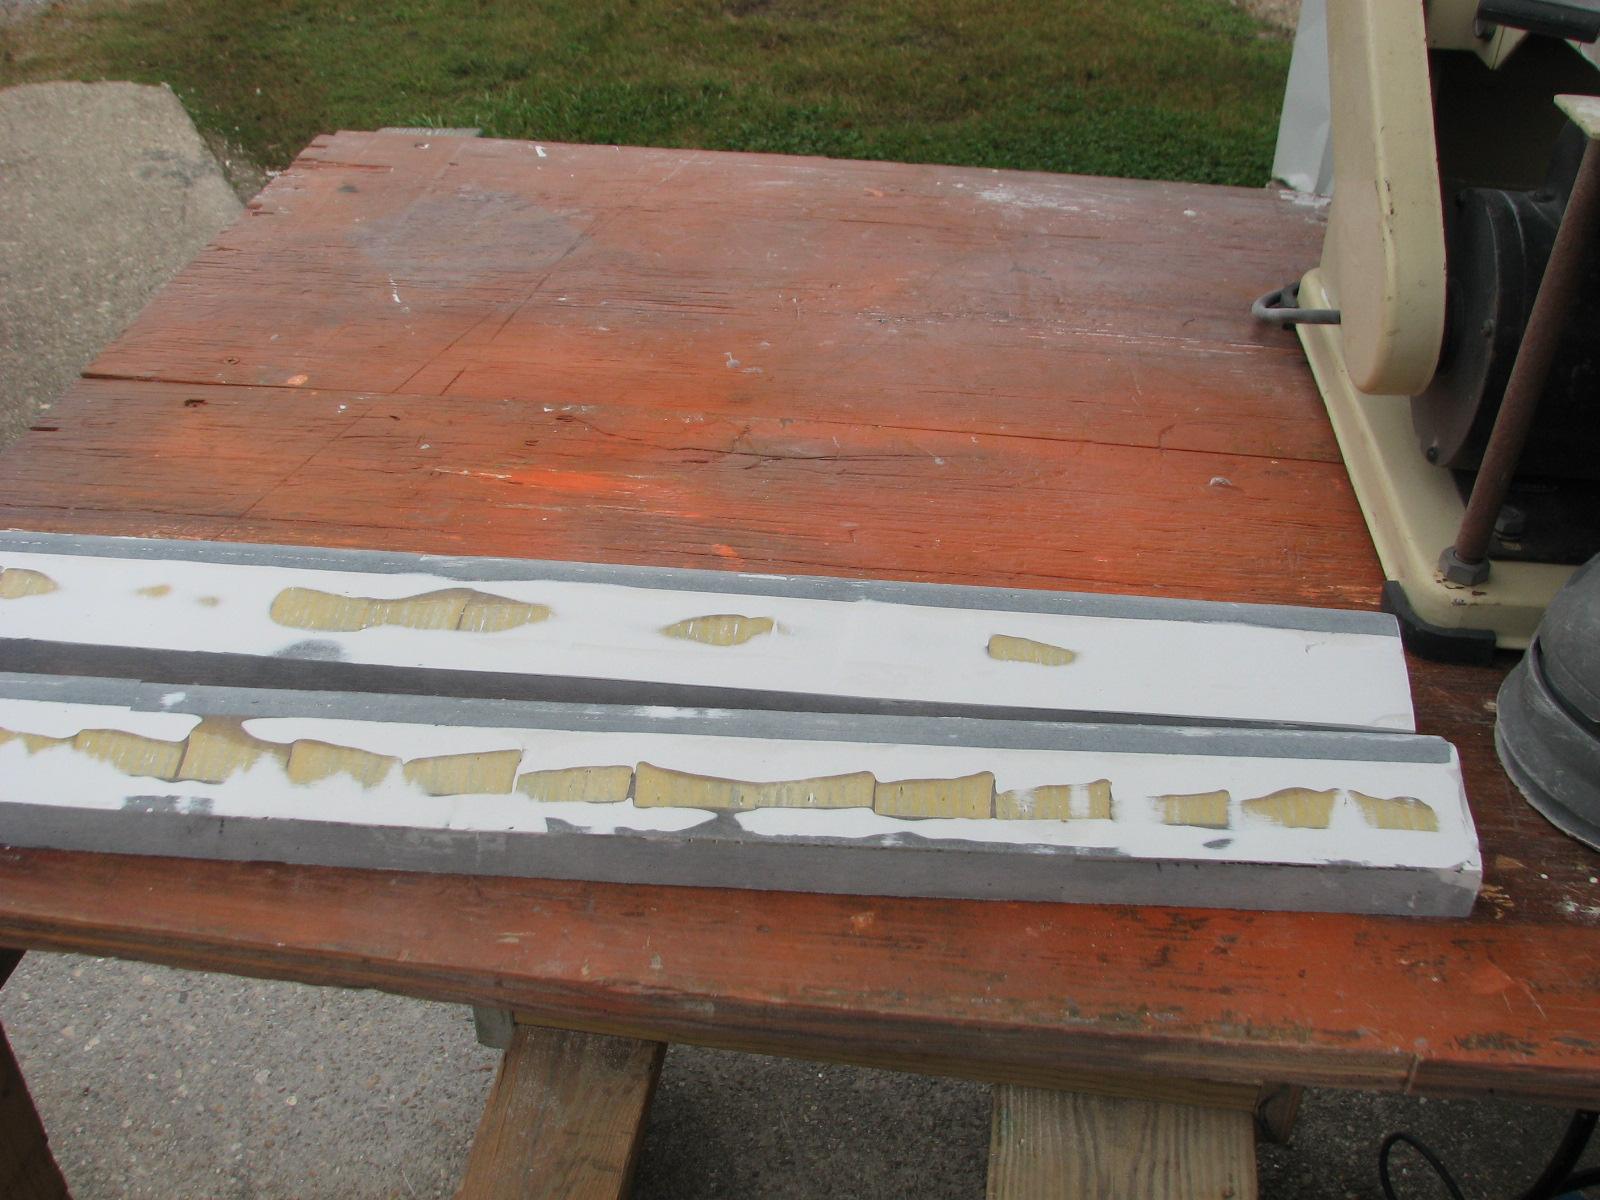
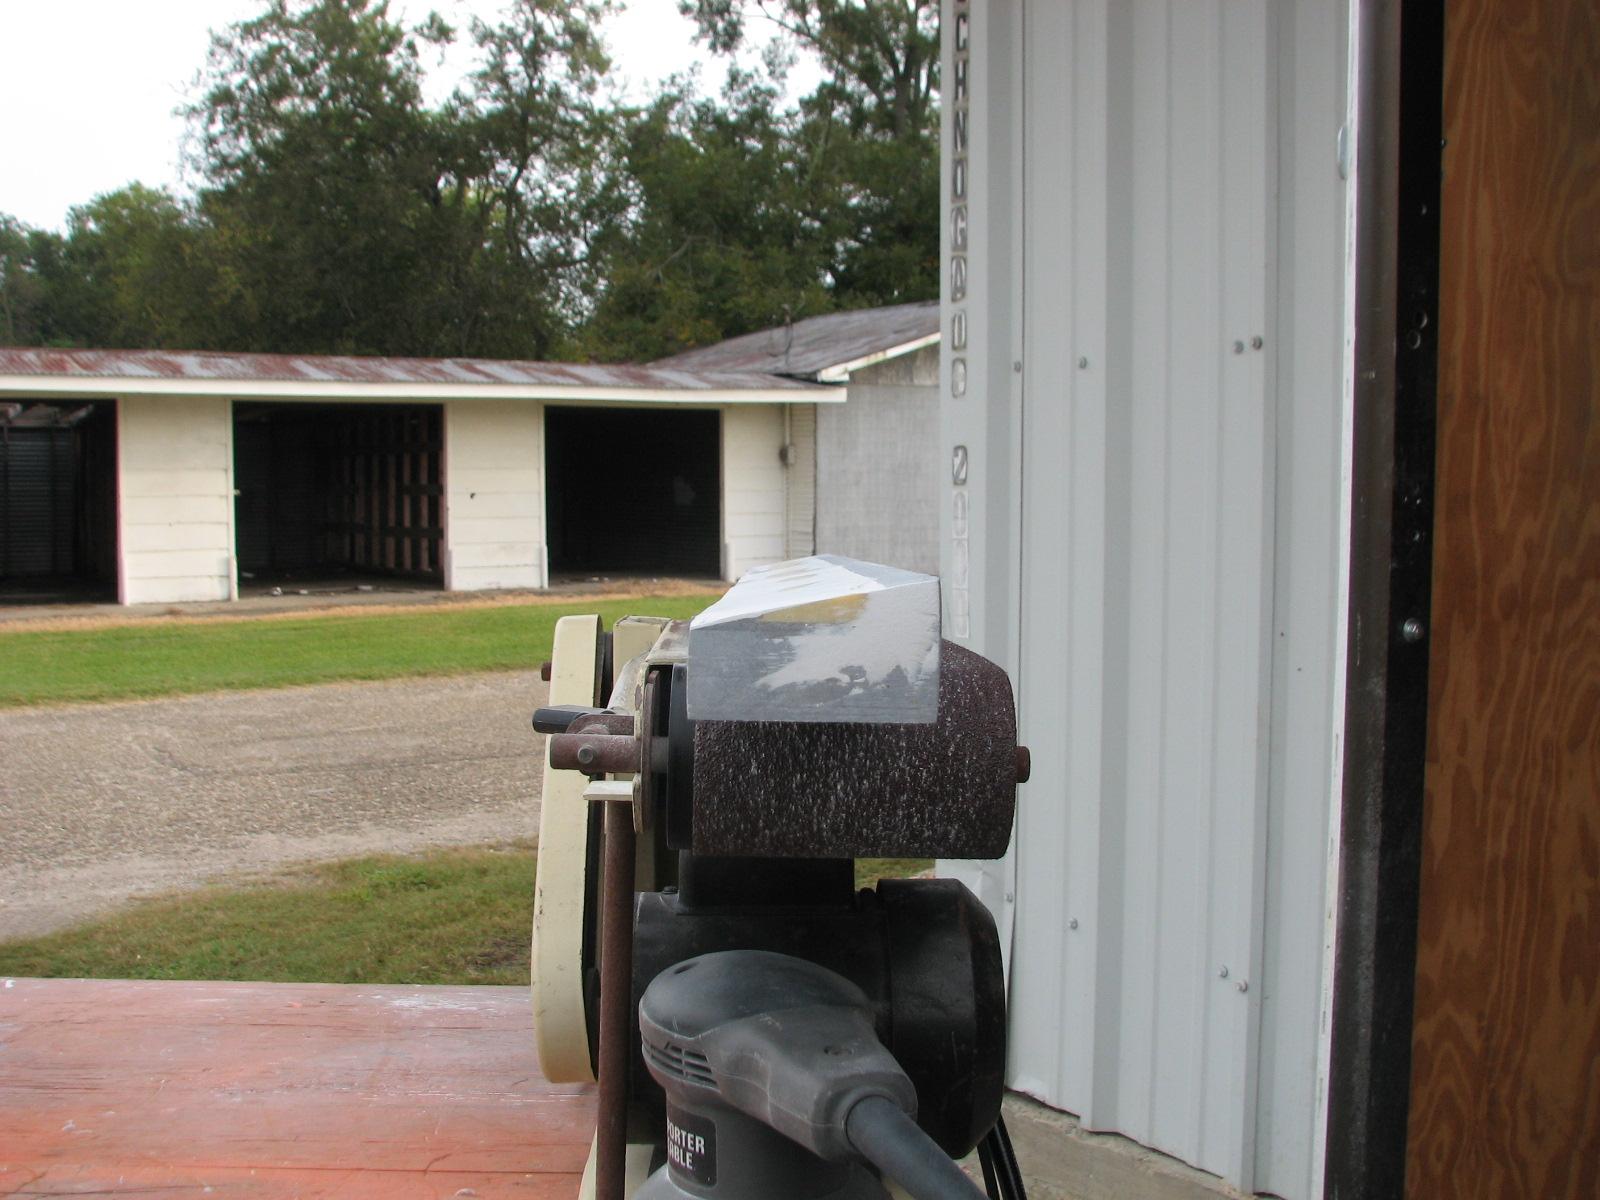
parts, I sanded down the hard dodger angled base support pieces I had
fabricated.
Hard Dodger Angled Base Support Pieces
Before Sanding
Hard Dodger Angled Base Support Pieces
After Sanding
Hard Dodger Angled Base Support Pieces
After Sanding
When the sanding was completed, I
cleaned up the tools and the area. I loaded up the“Box
O’ Resins”, sander, fiberglass
mat, and other items in the Black Beast. Went back to DREAM AWAY and
had breakfast..
After breakfast, I started in on
putting the hard dodger angled base support pieces on the doghouse
with the front pieces of the hard dodger base. I did a dry fit of the
starboard angled piece, and decided not to put the piece down with
fiberglass
mat, because of the inconsistencies in the surface of the angled
piece mating with the top of the doghouse.
I decided to use my own fabricated
putty, made with polyester
resin, cabosil,
and cotton flock. After the dry fit I mixed up a batch of my putty. I
started with 200 ml of polyester
resin, and kept adding the cabosil,
and cotton flock until the consistency was similar to peanut butter.
When I was all ready except for adding
the hardener, I got Kitty out to help me. We did the dry fit, and
then I explained what I wanted to do, and how she could help.
I added in the hardener, and mixed it
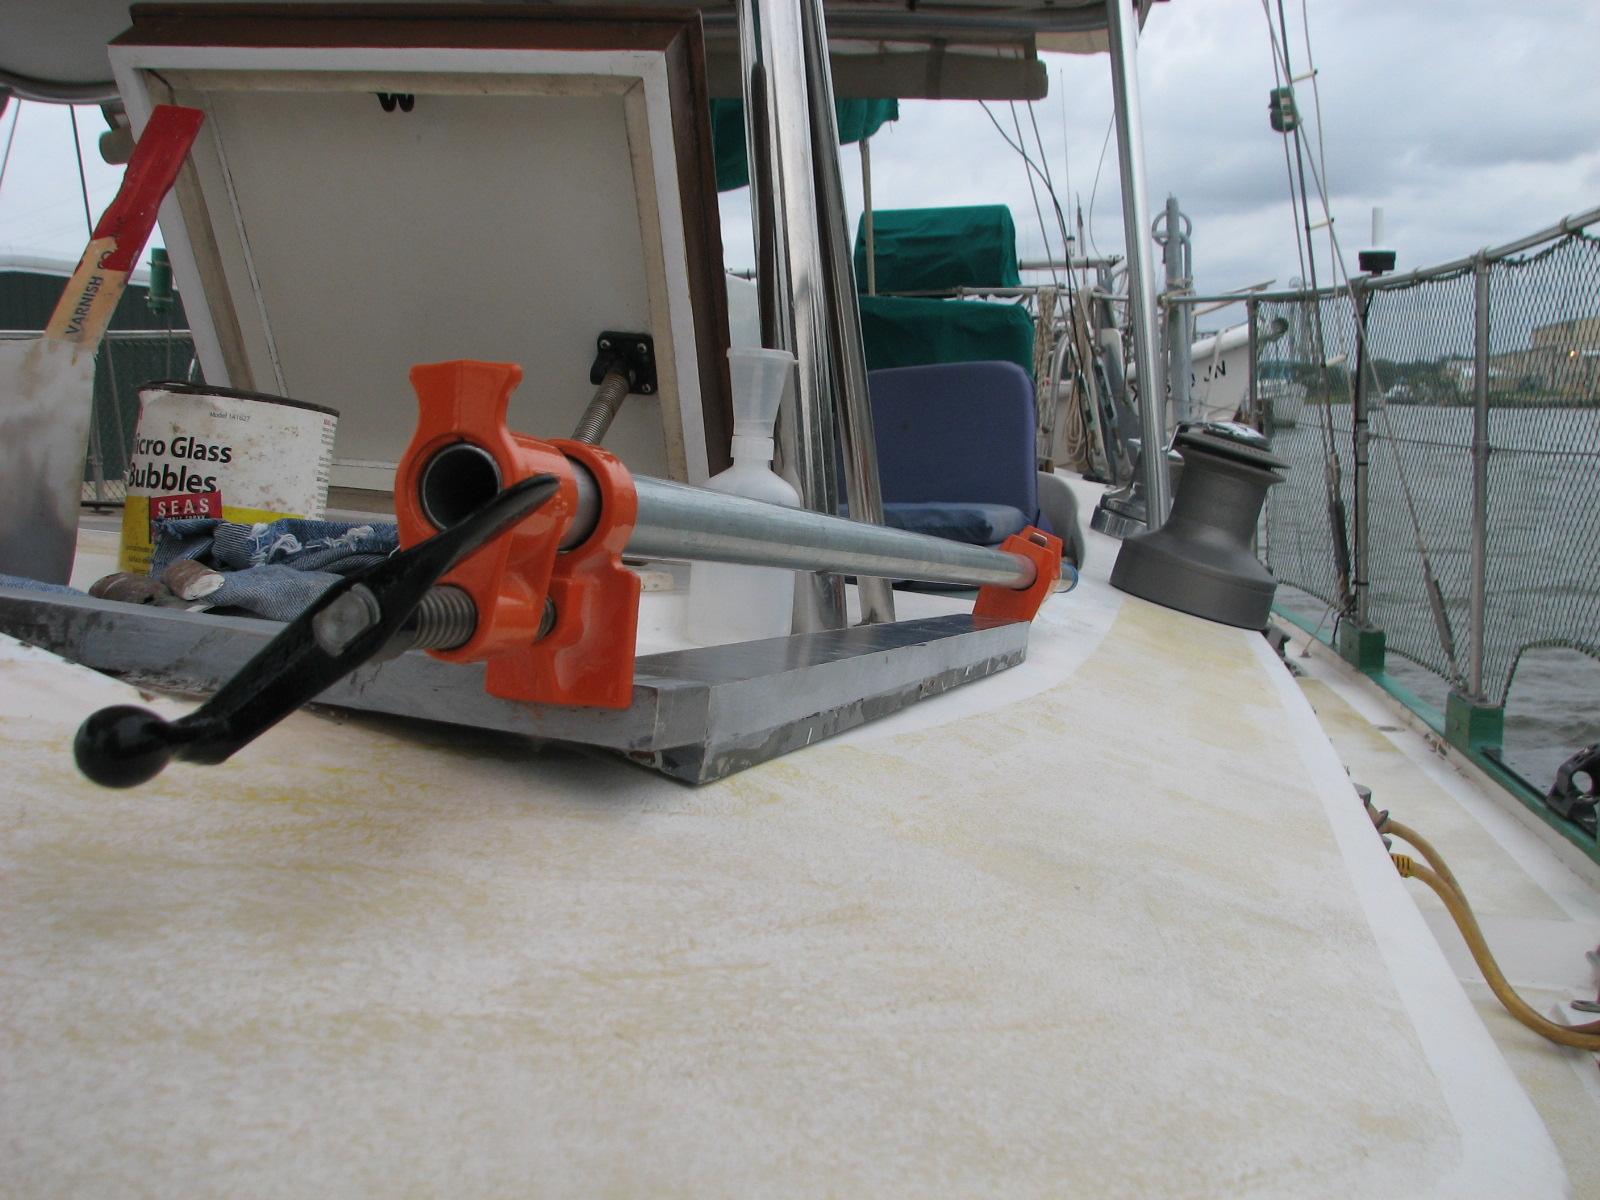
thoroughly into the putty. I applied the putty to the bottom of the
angled piece, then we put the piece in place. Using a pipe
clamp, we were able to fit the angled piece up to the
front piece of the hard dodger base. I also had to use a quart can to
adjust the distance of the piece from the boom gallows upright.
Once that was done, I used the
remainder of the putty to fill in any spaces left, and also as a
filler around the base pieces to get a nice radius rather than the
hard angle.
Dry Fit Of Starboard Angled Piece
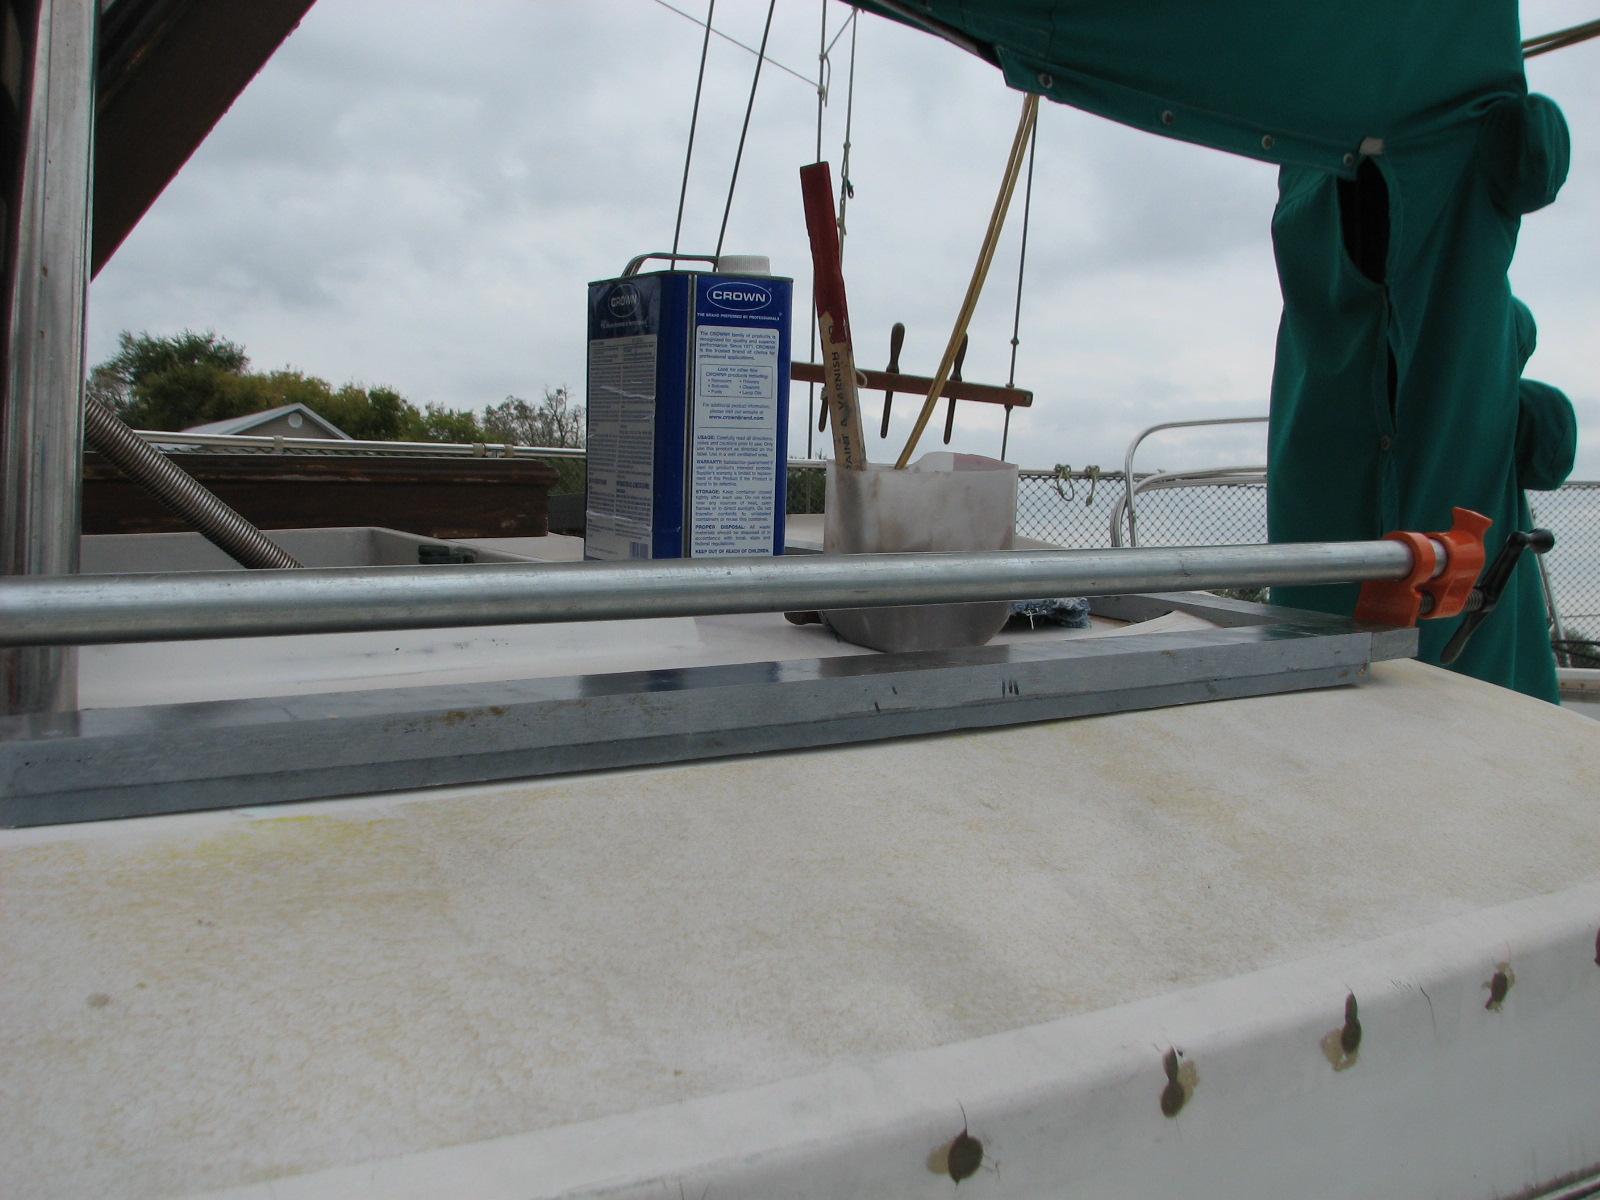
Starboard Angled Piece In Place With
Putty
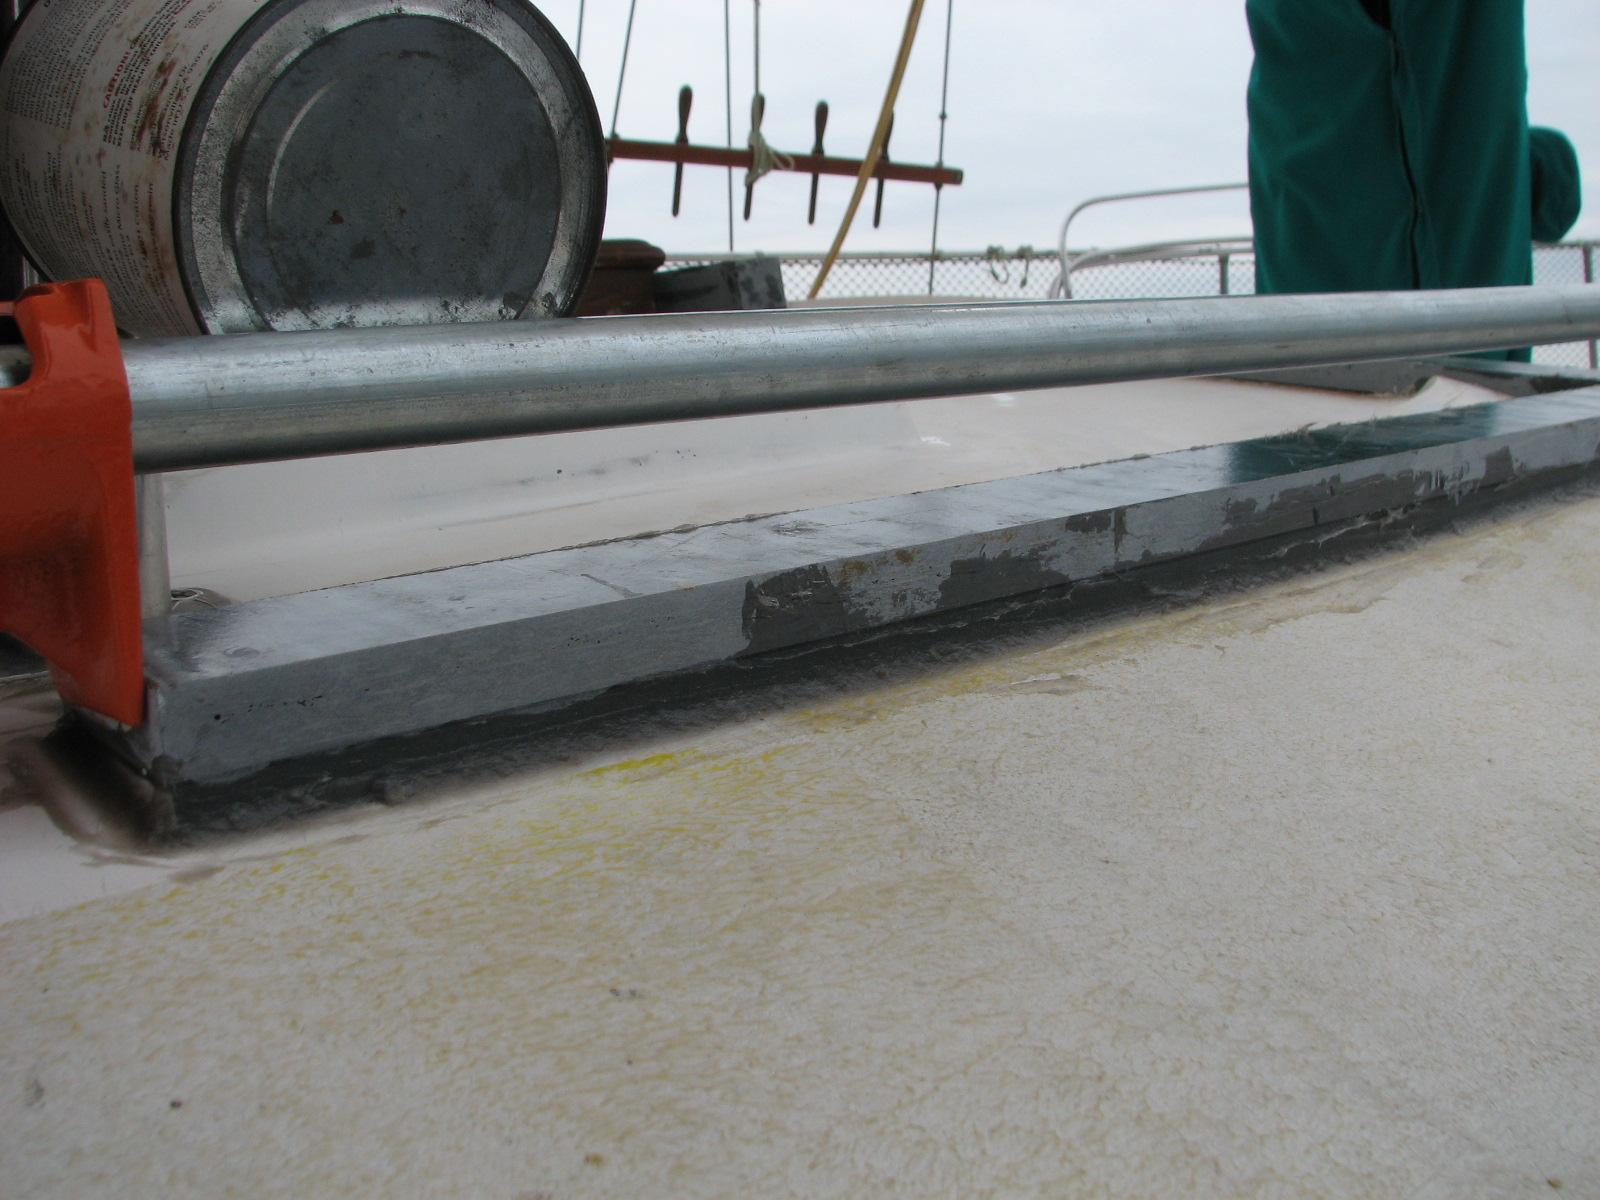
Front View Of Starboard Piece Clamped
To Front Piece
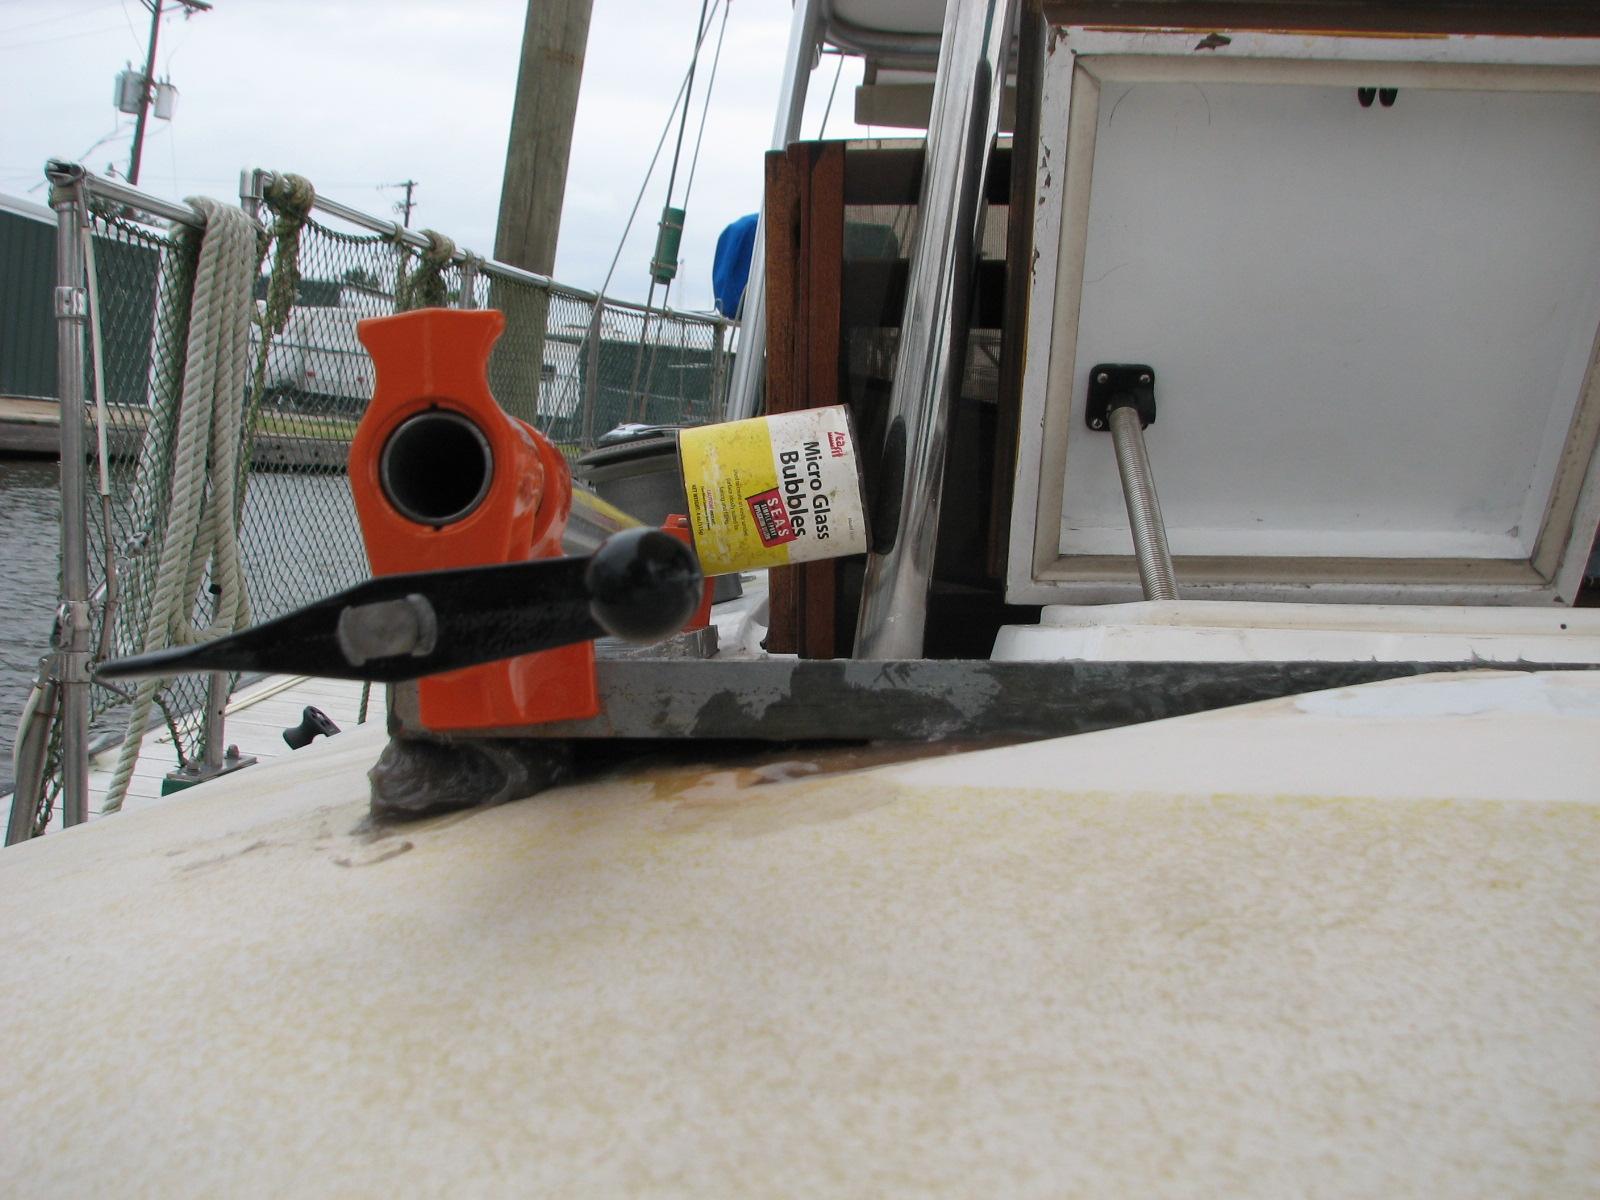
Inside Of Starboard Piece To Front
Piece

The port side was pretty much the same
as the starboard side. I mixed up a batch of putty, and did the dry
fit with Kitty as the helper. I applied the putty to the angled
piece, and then applied the piece to the front piece with the pipe
clamp. I used the remainder of the putty to fill in
any spaces left, and also as a filler around the base pieces to get a
nice radius rather than the hard angle.
Dry Fit Of Port Angled Piece
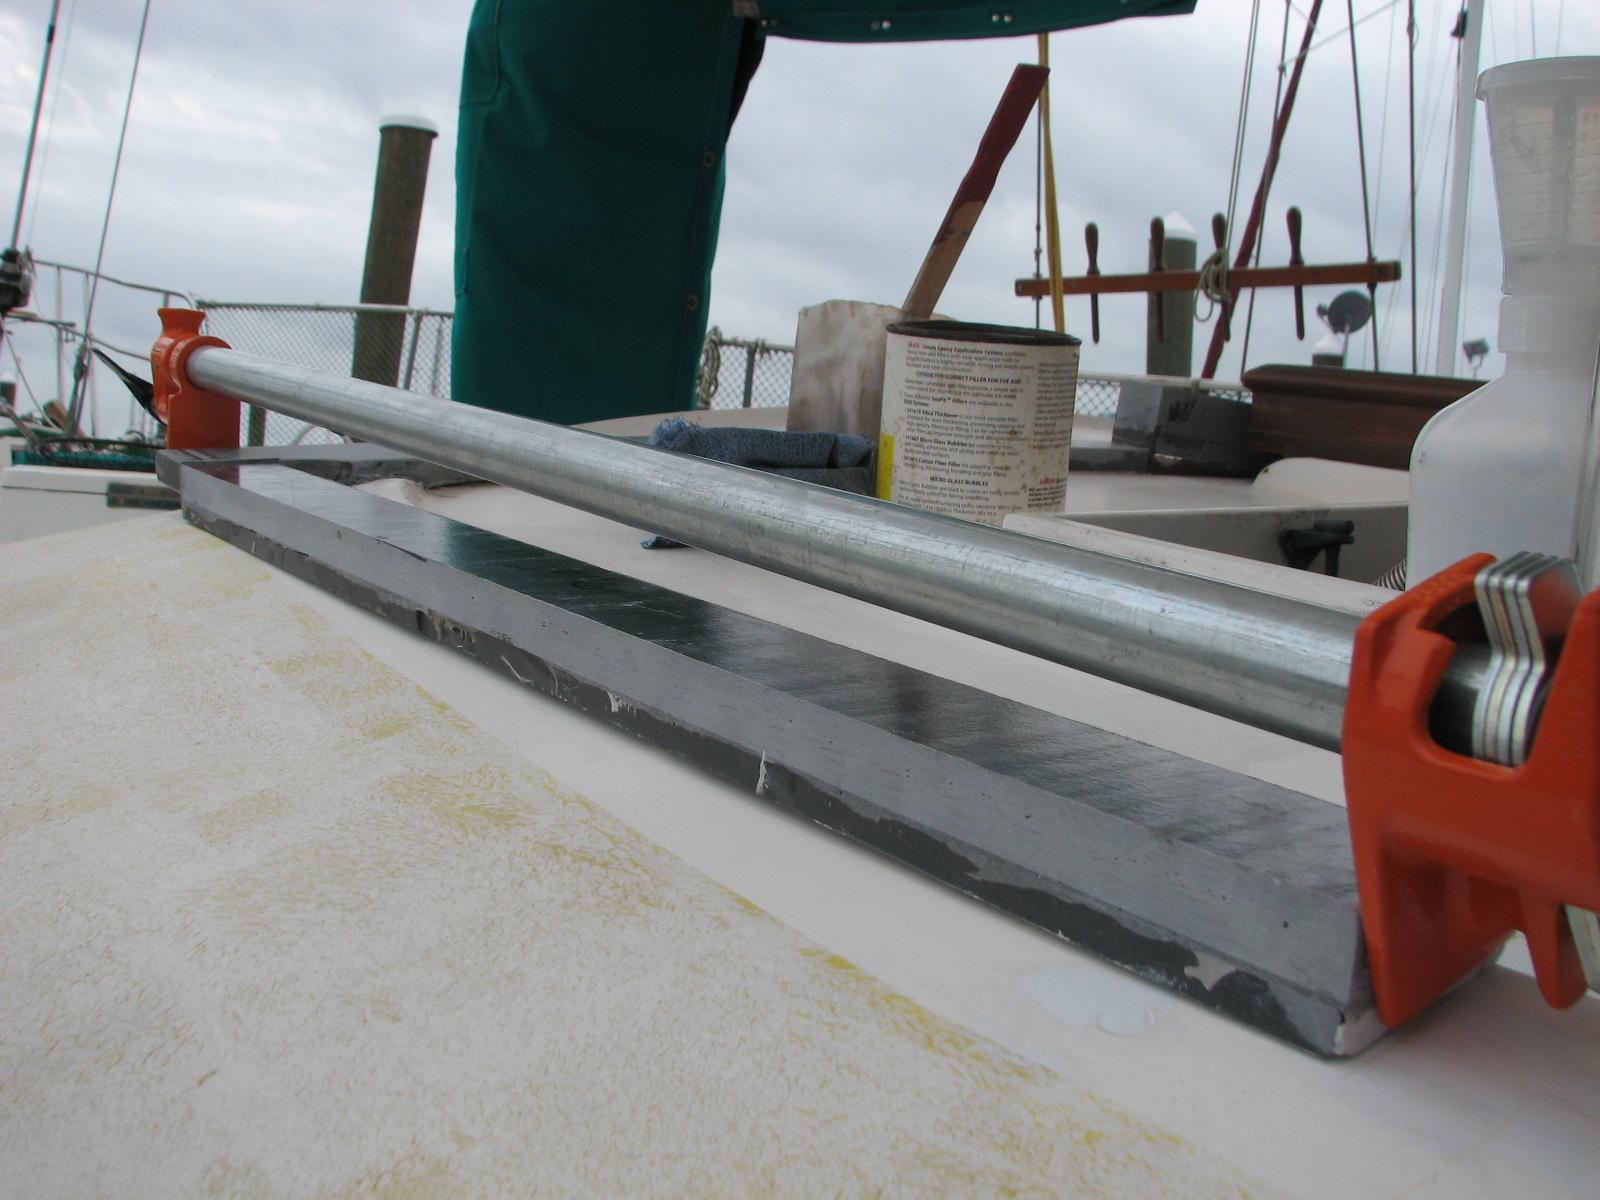
Dry Fit Of Port Angled Piece
Port Angled Piece In Place With Putty
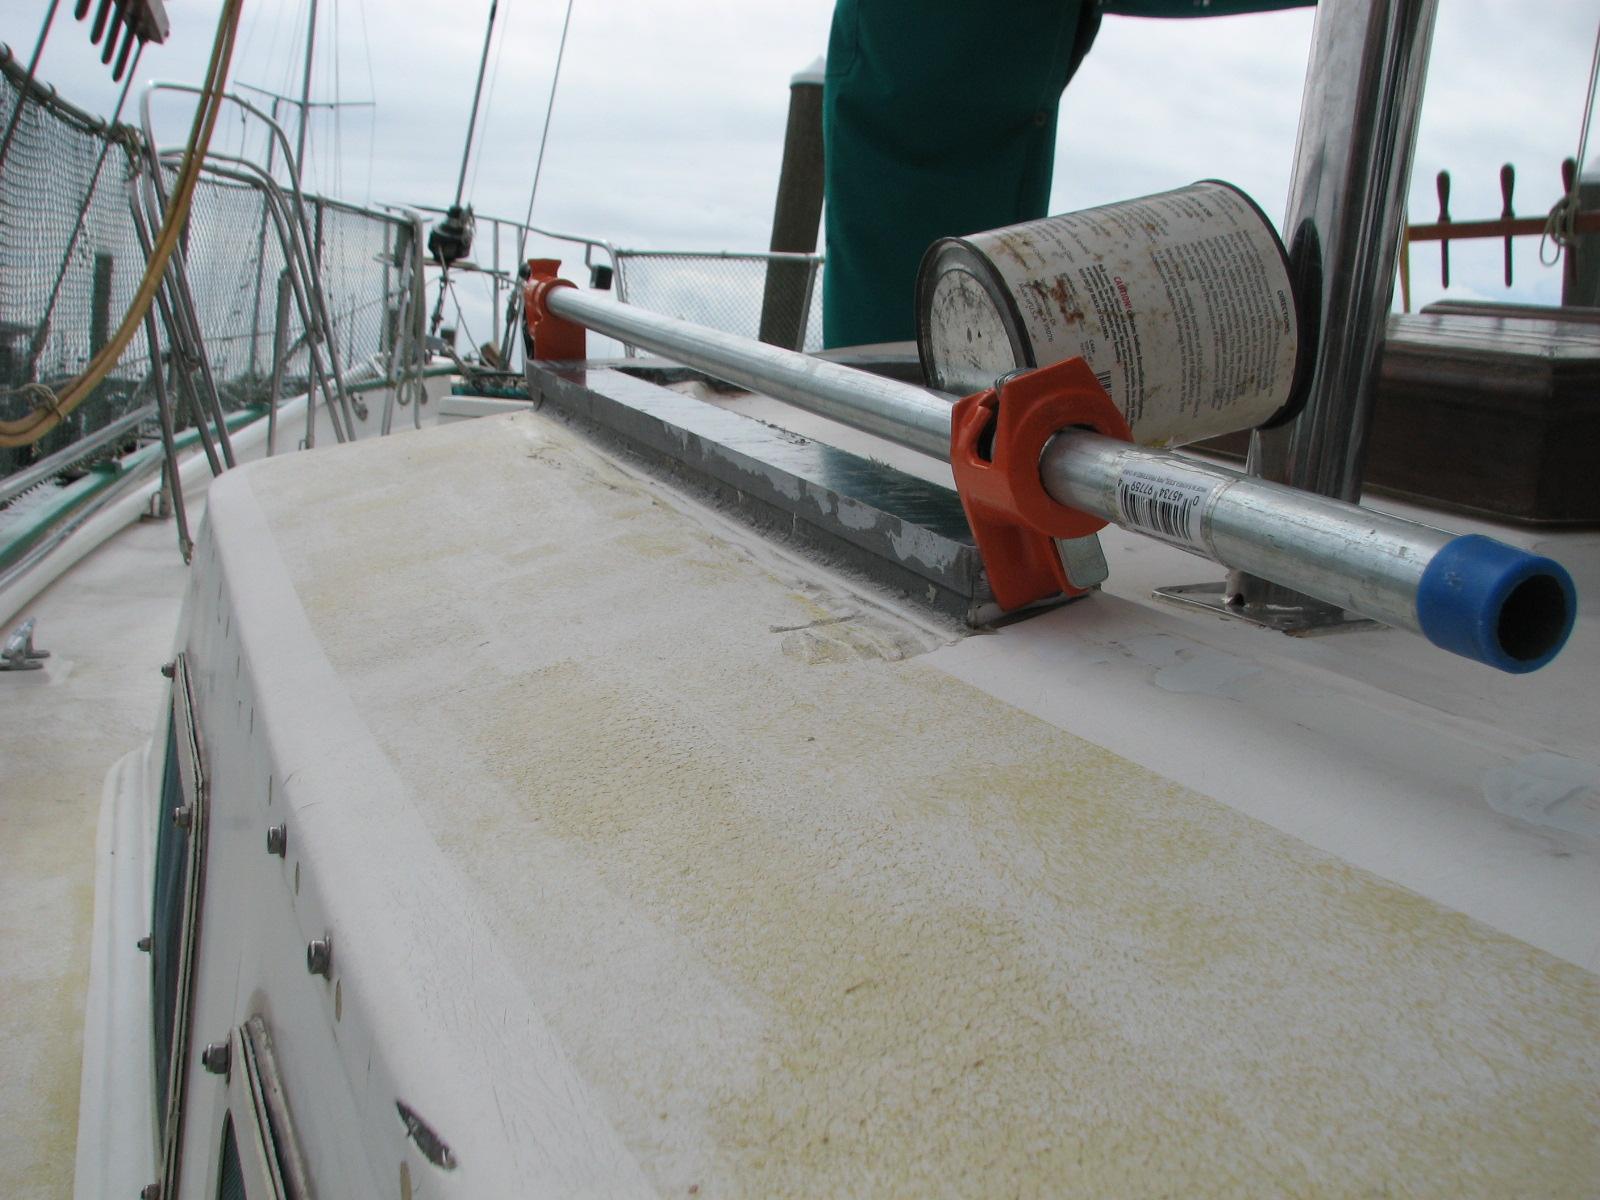
Port Angled Piece In Place With Putty
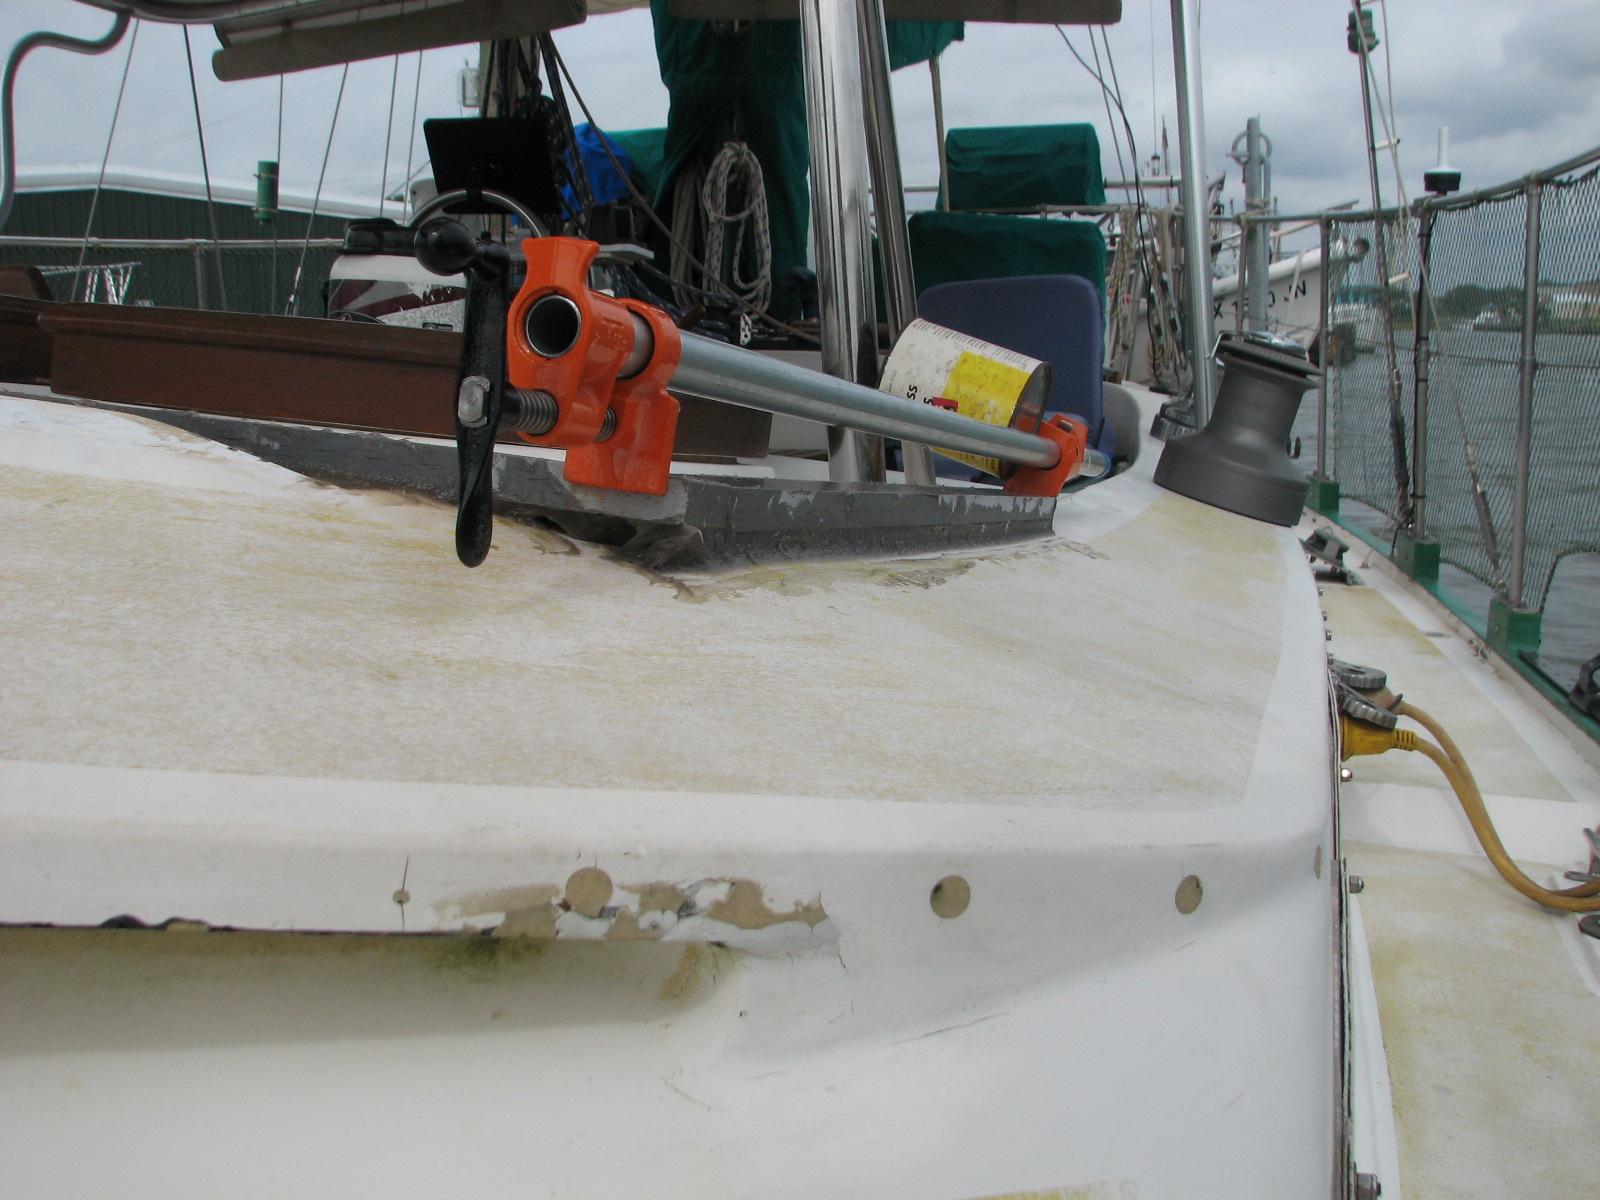
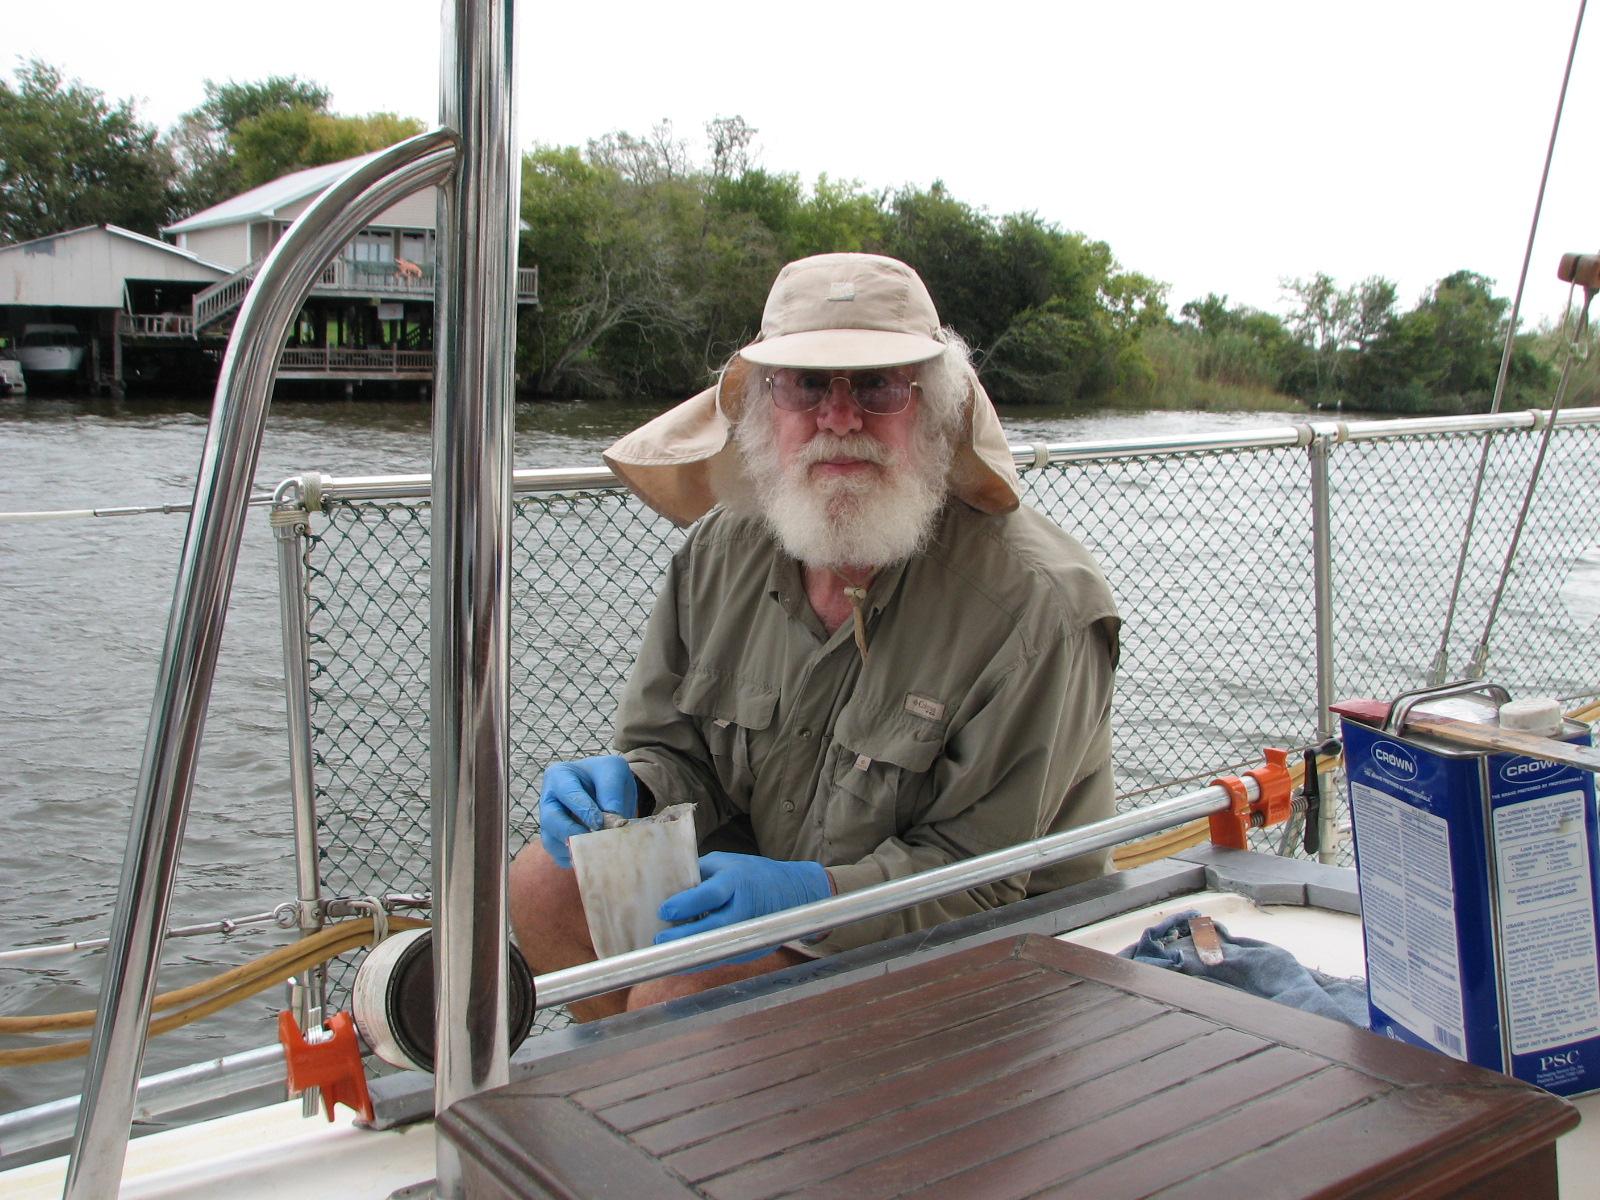
Captain Applying Putty
Front Piece Showing Putty Applied As Radius Filler
I cleaned up all of the tools and
various items used in the application of the angled pieces. I got
cleaned up a took a shower.
We then drove into New
Iberia, to pick up laundry, and to take the tour of
the Konrico
Rice Mill. The visit to the Konrico
Rice Mill was well worth the time. Kitty, as the
Cruisers Market Manager for the North
Pier Marina, made some good contacts, and got some
goodies for the cruisers welcome baskets. We also saw a film as part
of the mill tour, which we thoroughly enjoyed. It was a brief history
of the Acadians from the expulsion
to more or less present day. Kitty and I decided this was the first
place we should take cruisers new to the area, so then can get a
taste of the history of Acadiana.
We had a wonderful time seeing all of
the children dressed in some very interesting costumes.
October 29, Tuesday, 2013
Started off the morning with my normal
ritual of getting on the Internet, answering email, and checking the
weather, while making a pot of coffee. I also spent time with our two
cats, Jillian
and Jordan.
Went over to the shop and did a dry fit of the remaining parts I have to glass to
the anchor support. The dry fit went well. I also taped up the second
anchor support piece to act as dams. I have to run some resin in a
gap between two pieces I glassed together.
Dry Fit Of Anchor Support Piece

Anchor Piece With Dams Attached
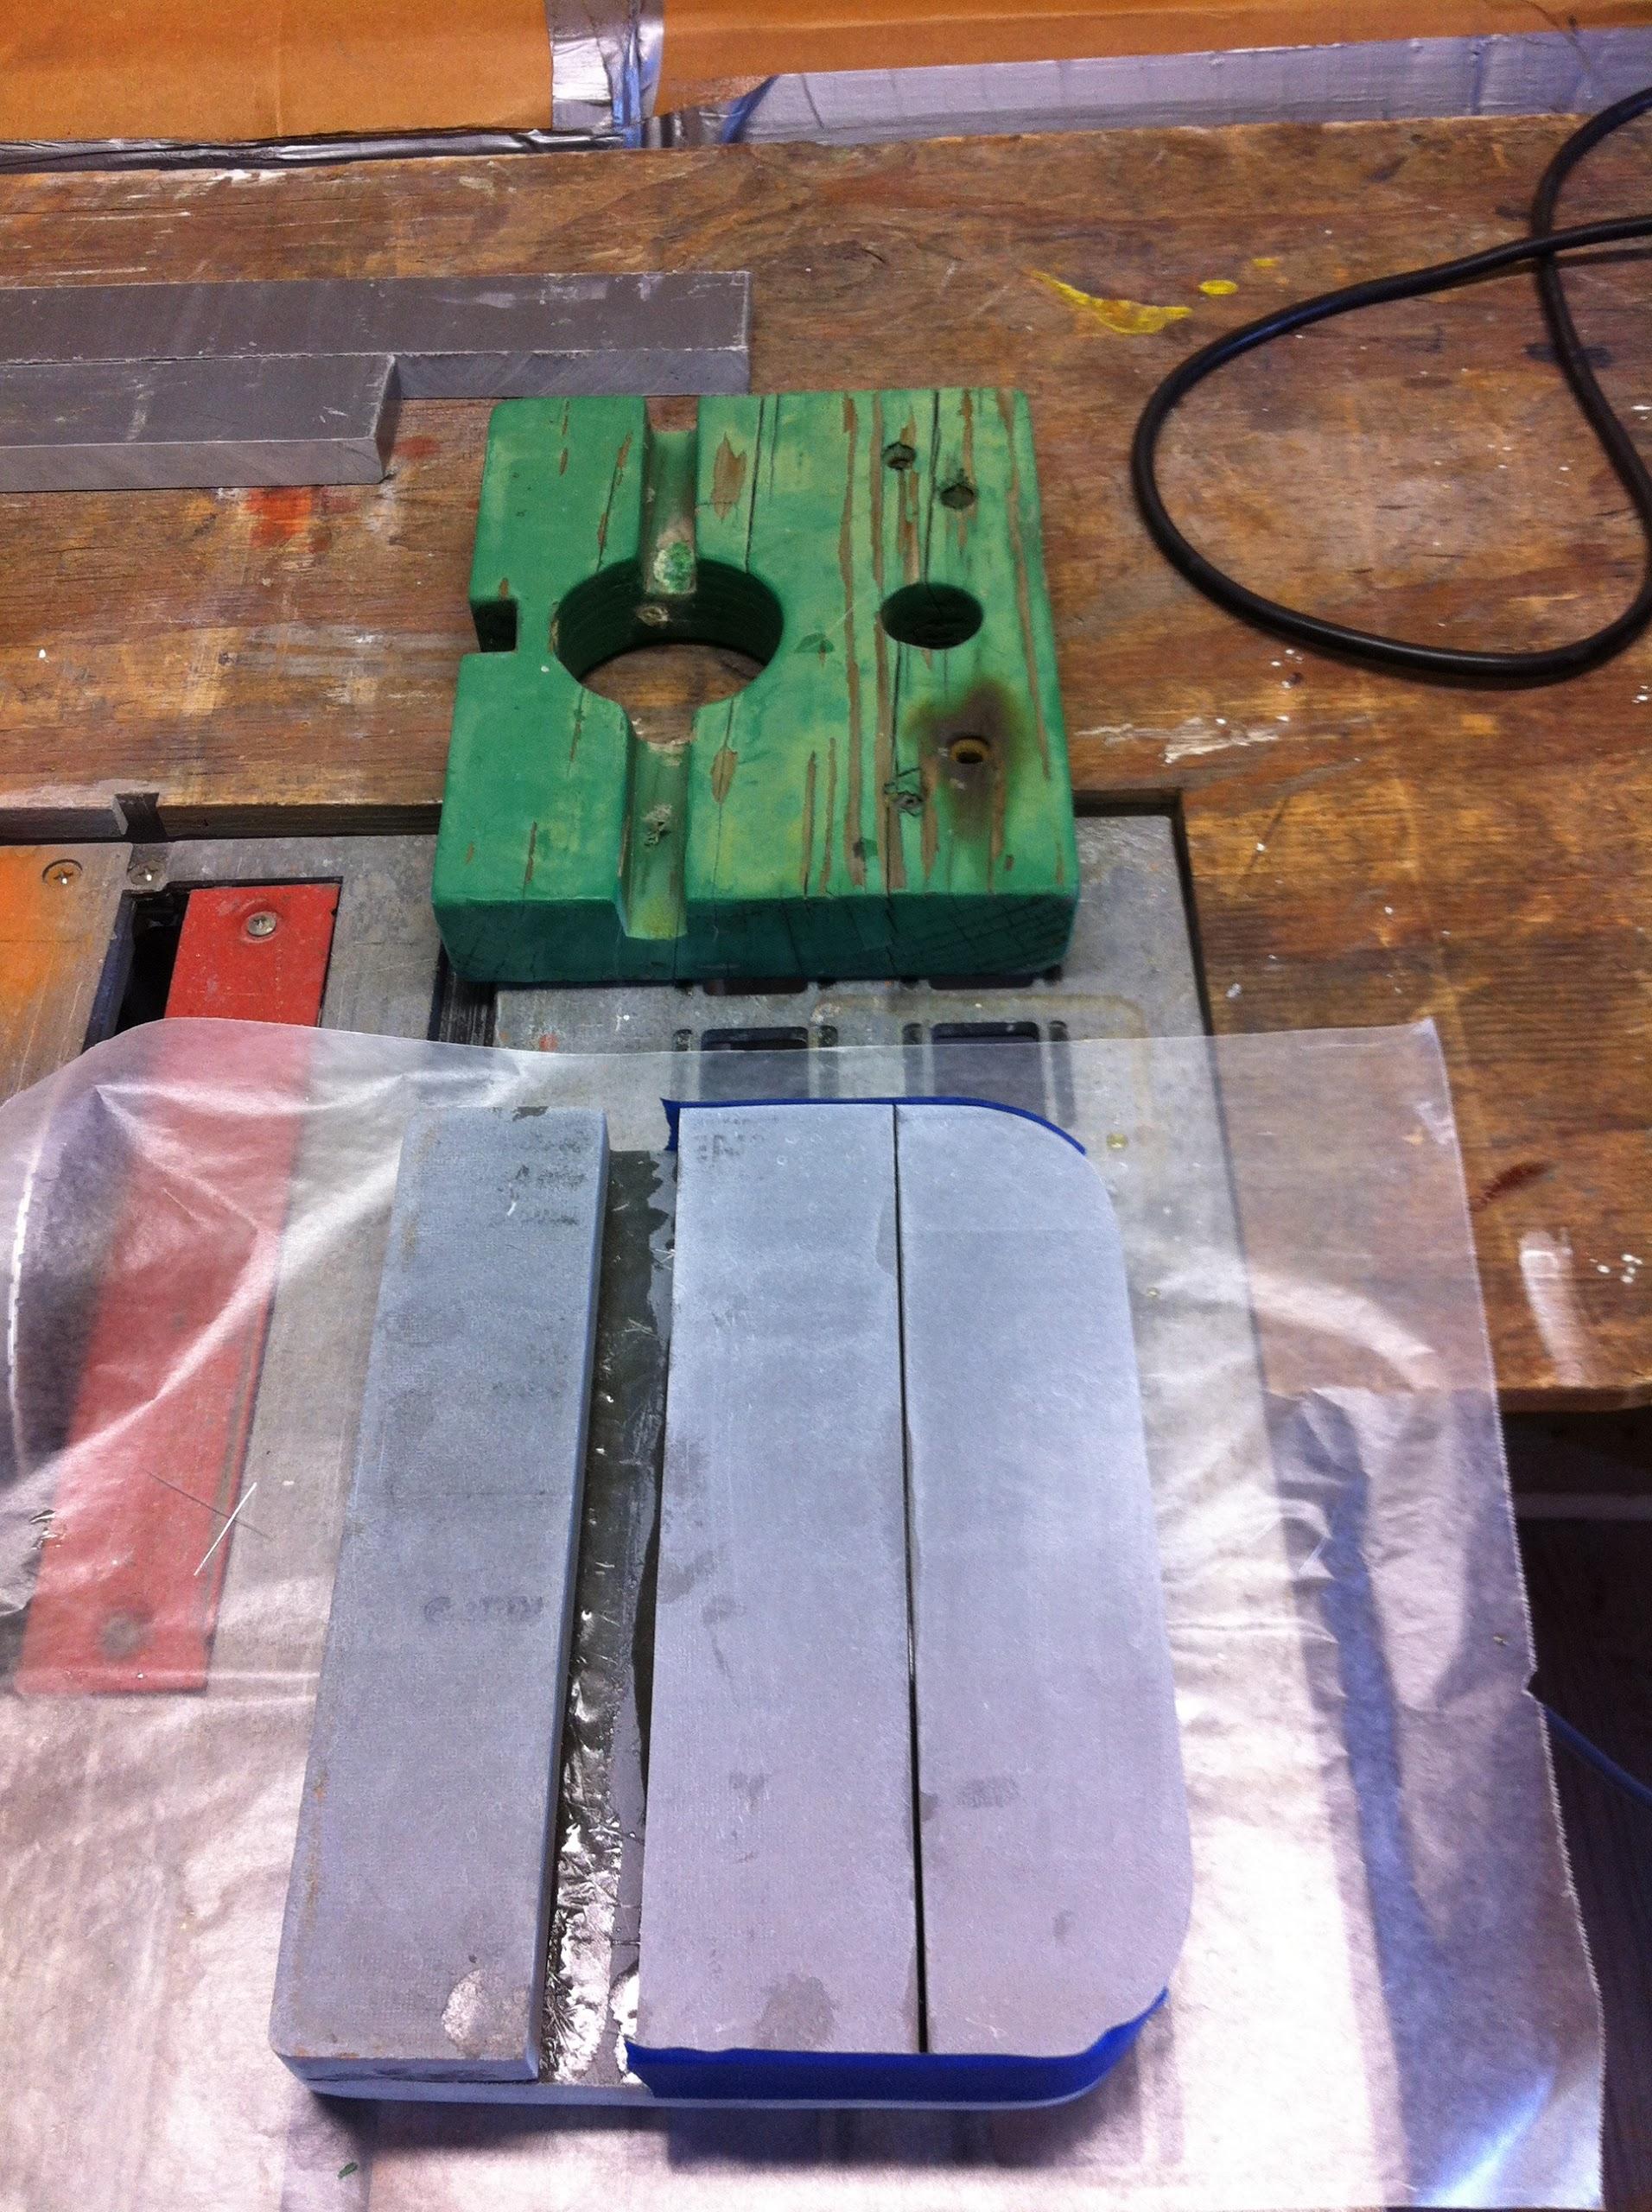
Anchor Support Glassed Together
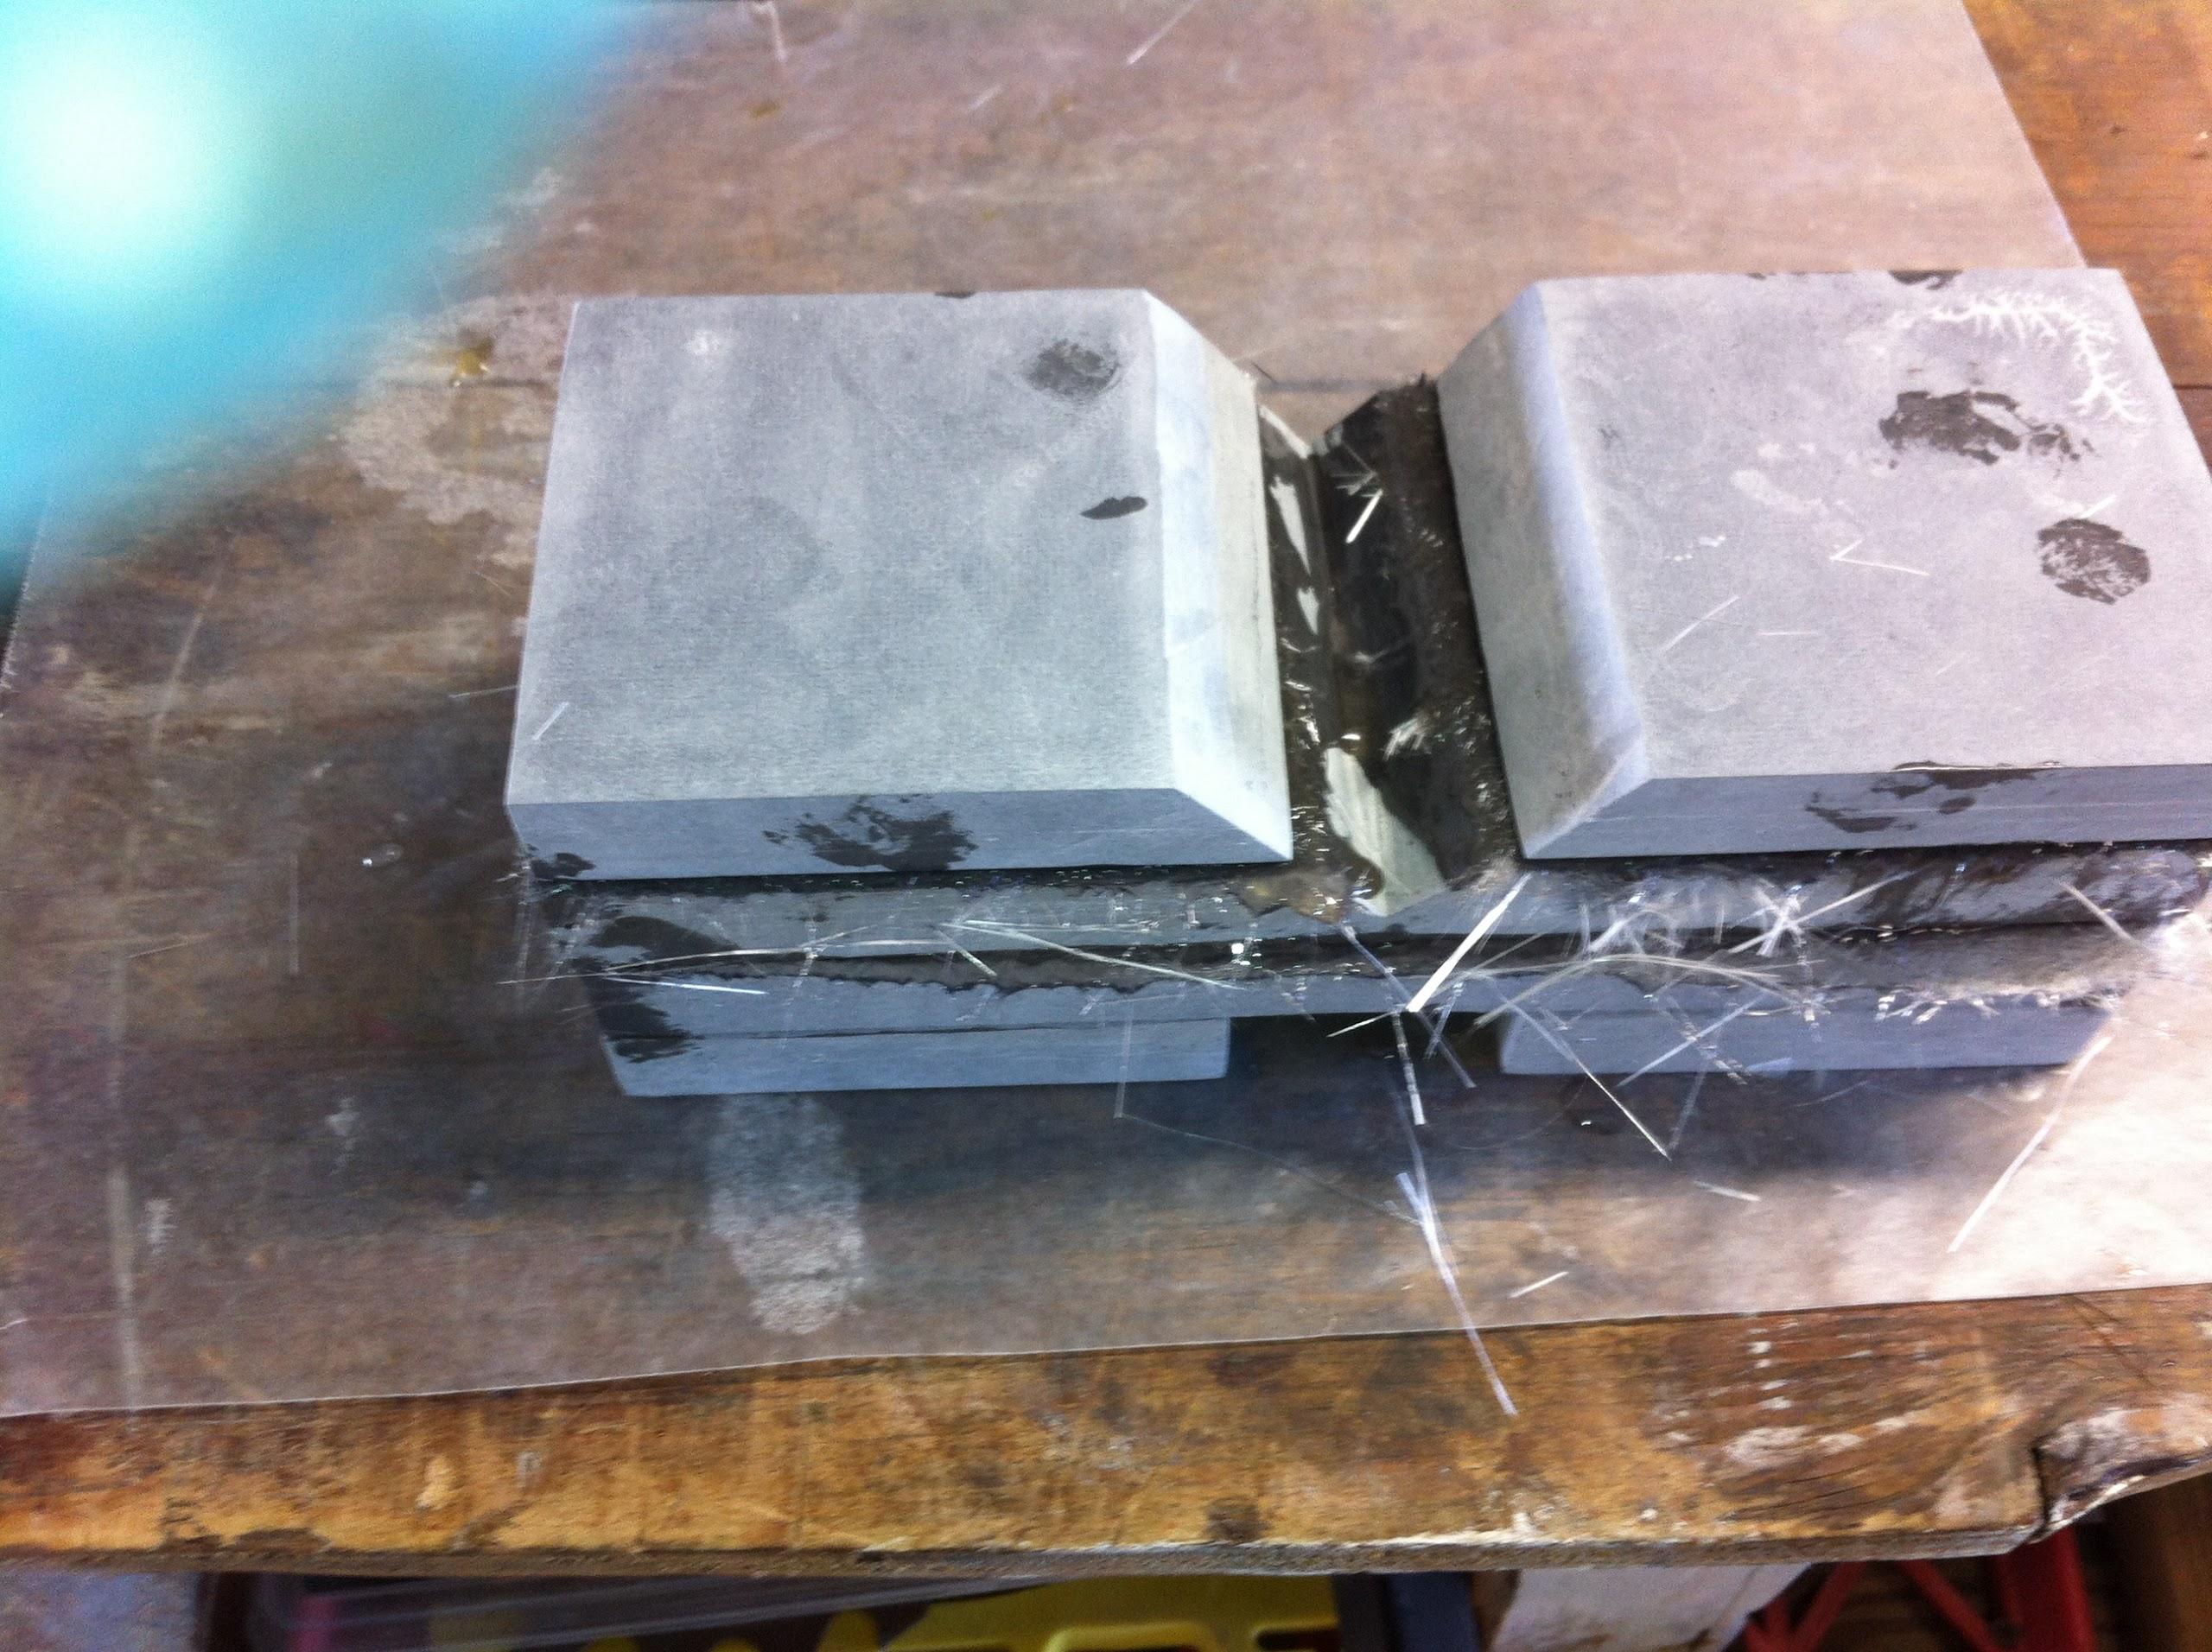
Another Angle Of The Anchor Support Glassed Together


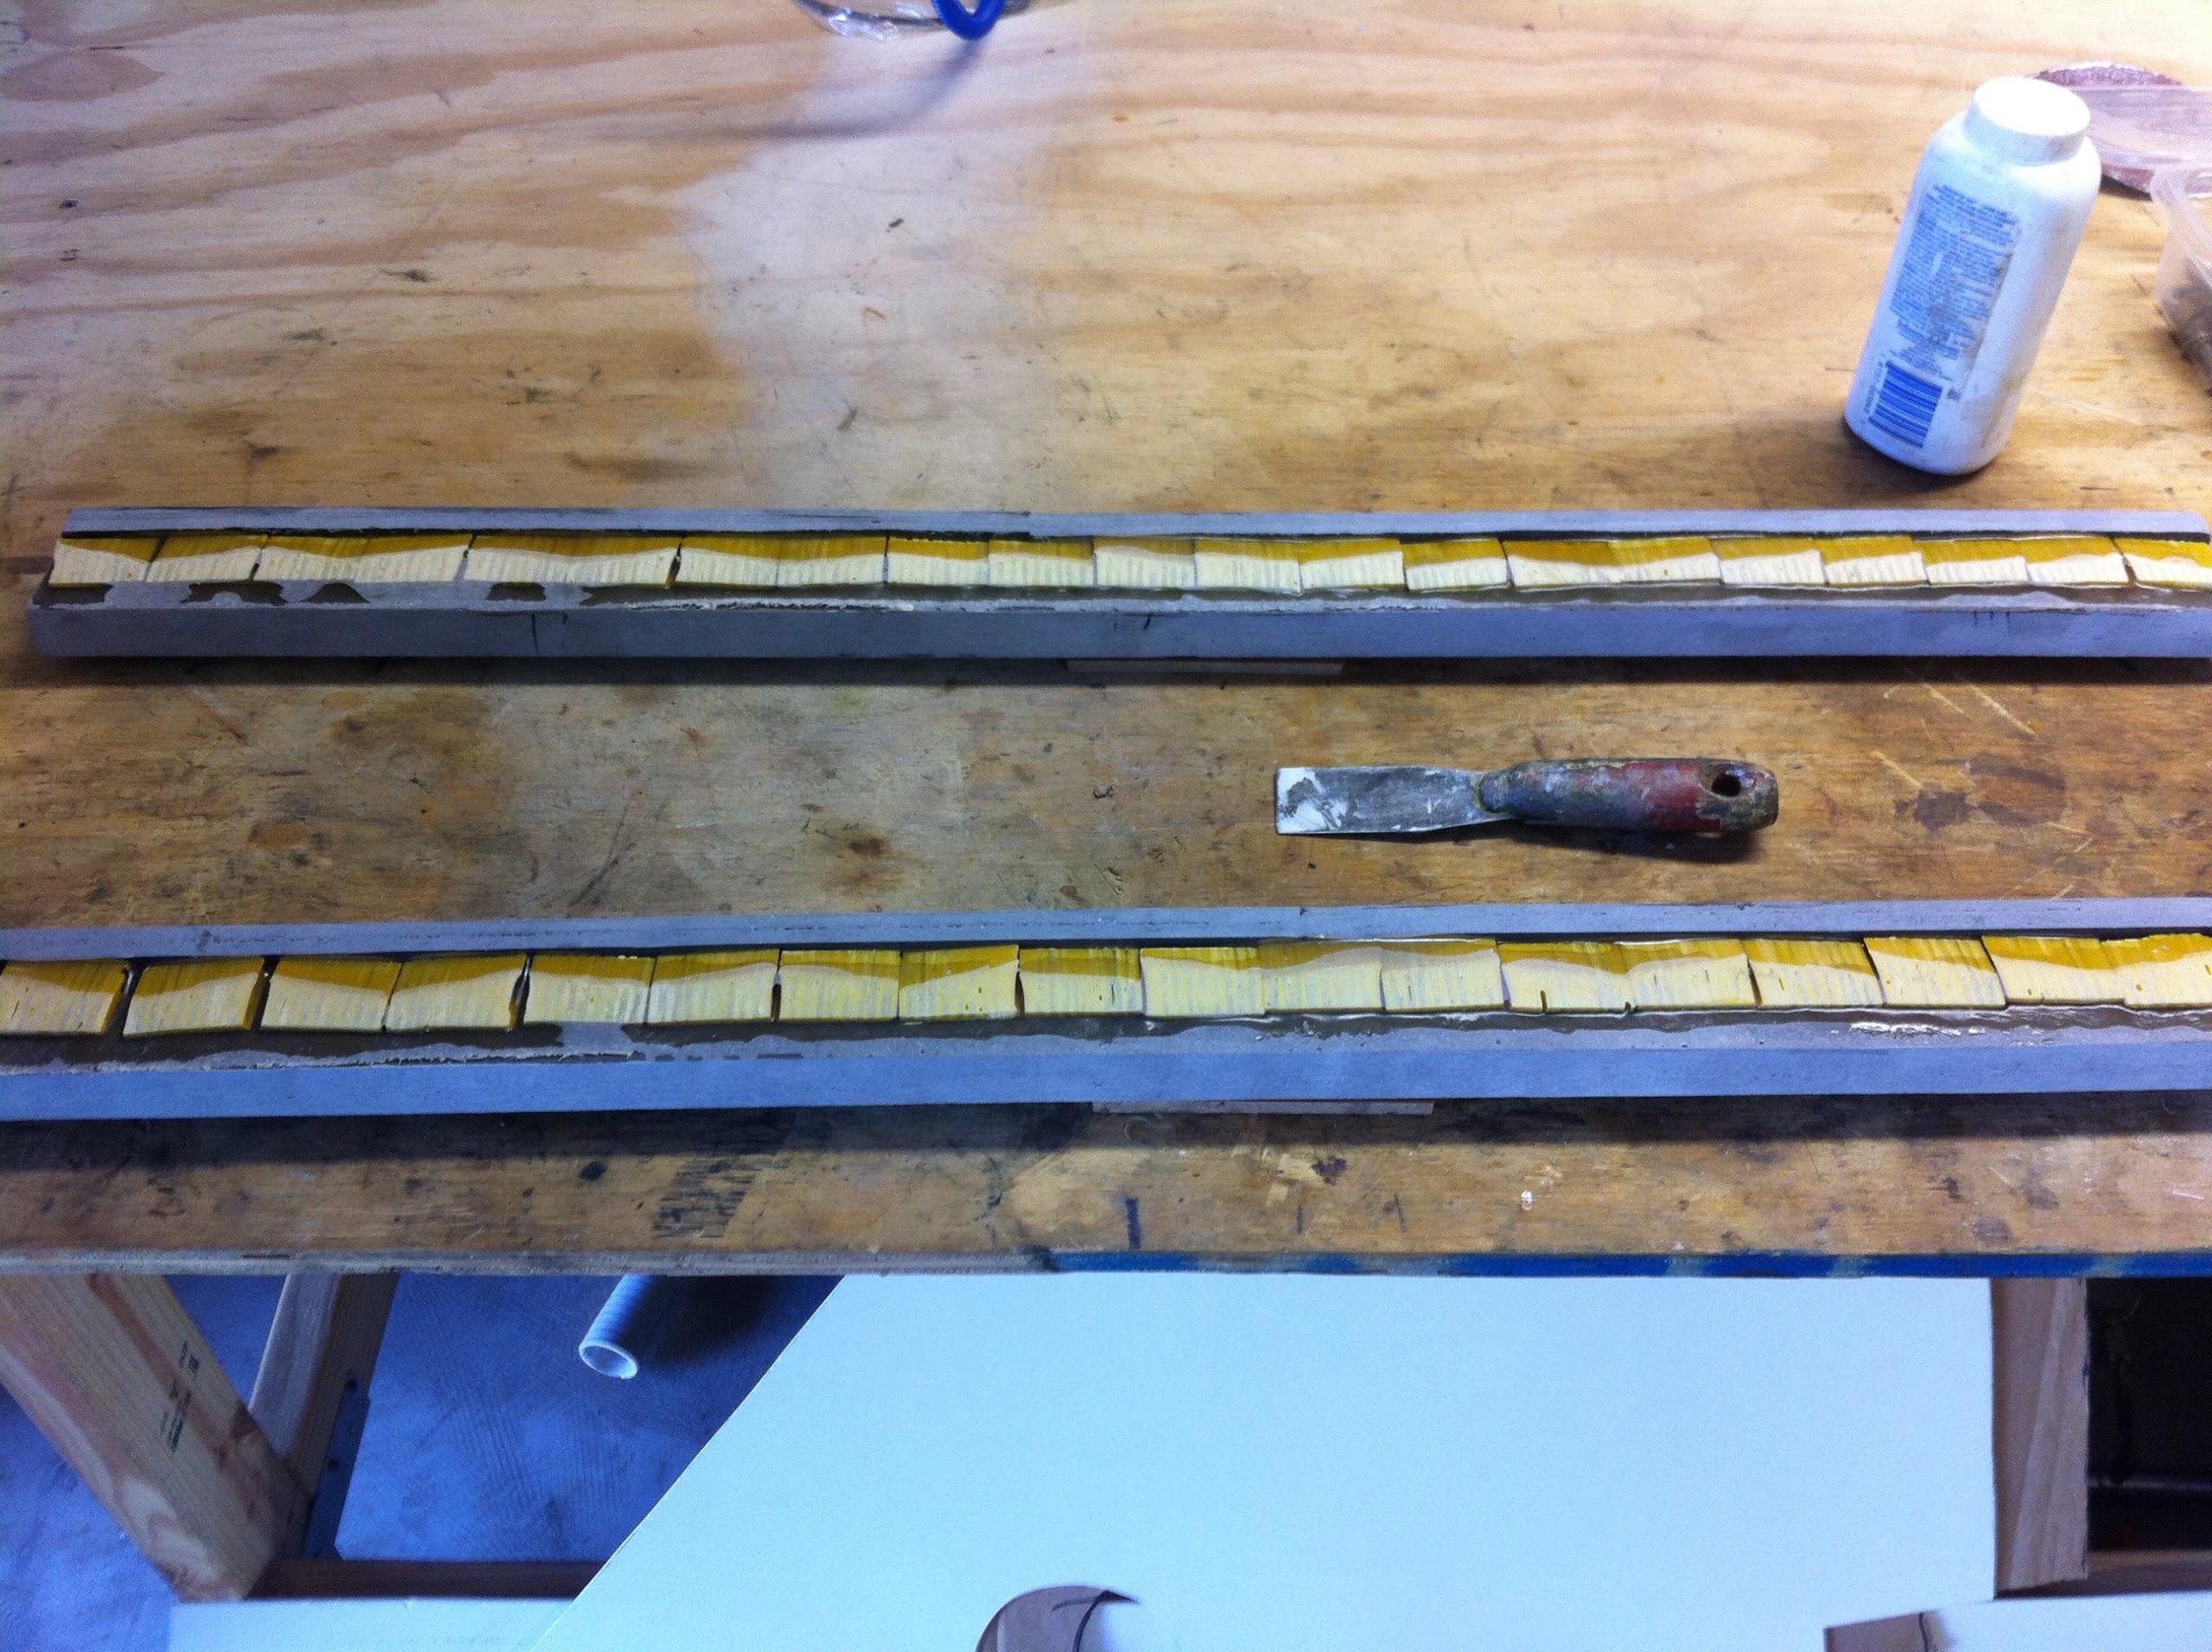
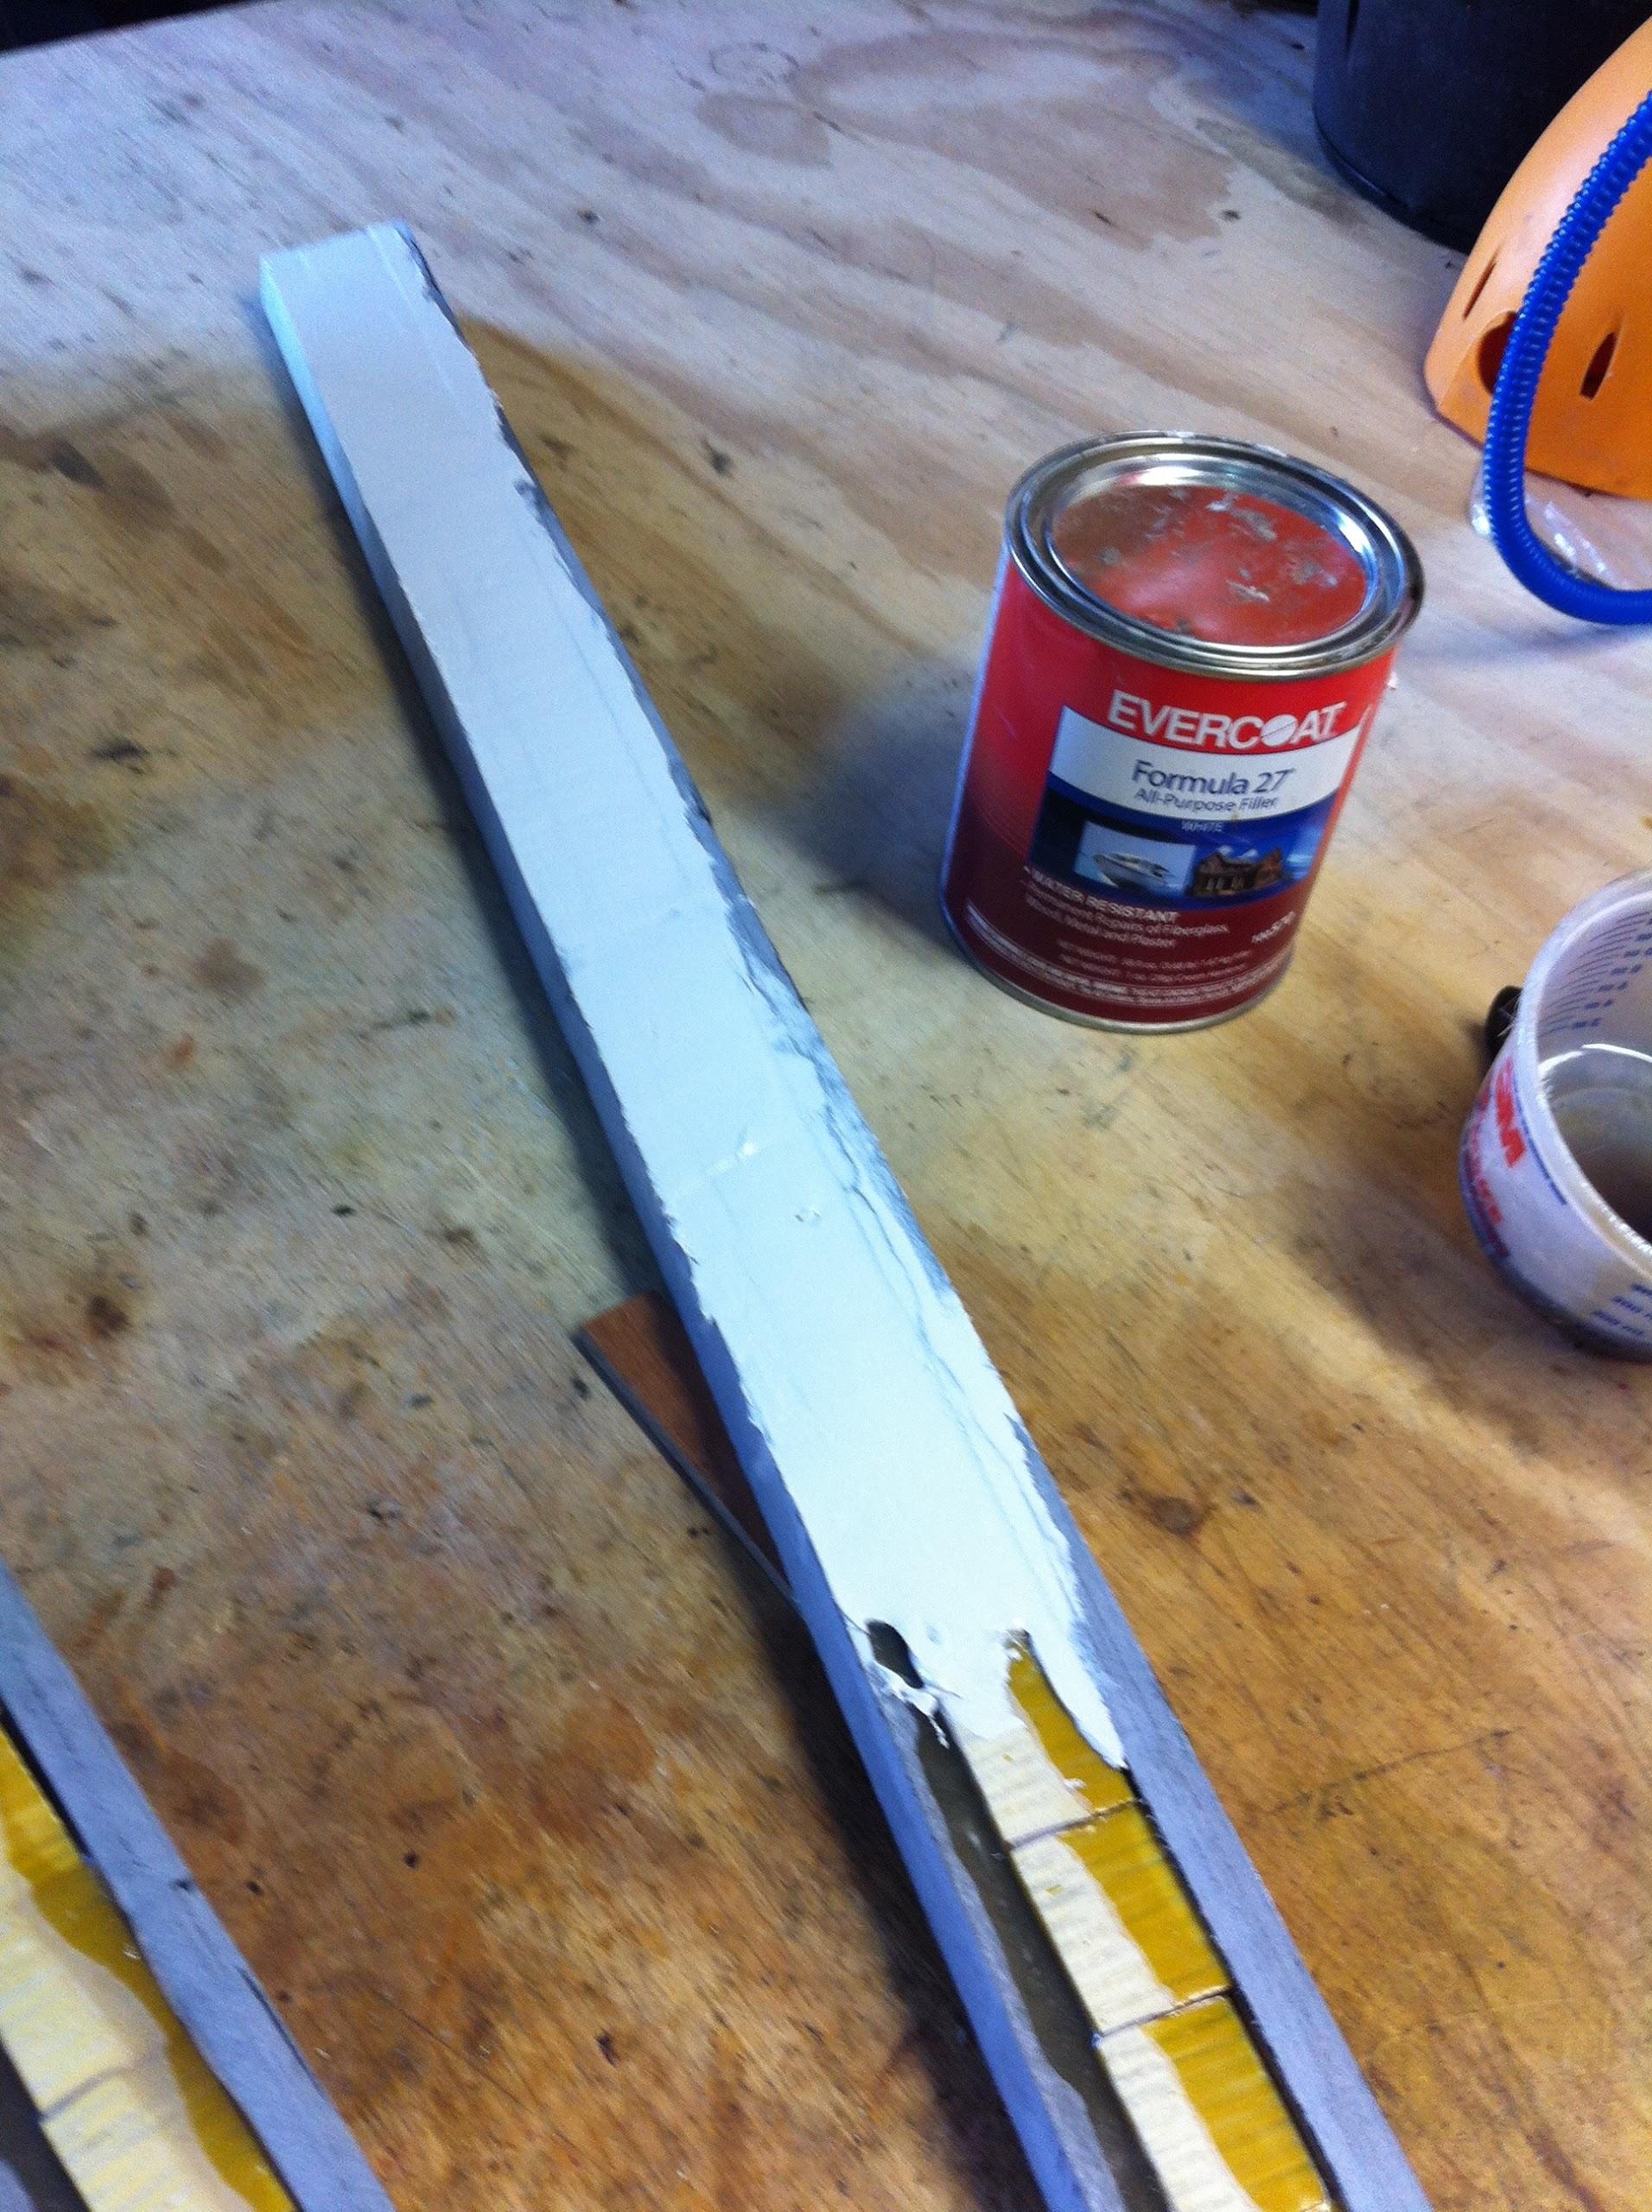
Next I decided to use the Evercoat
Formula 27 finishing filler to fill the gaps on the
angled piece of plate I fabricated for the sides of the hard dodger
base.
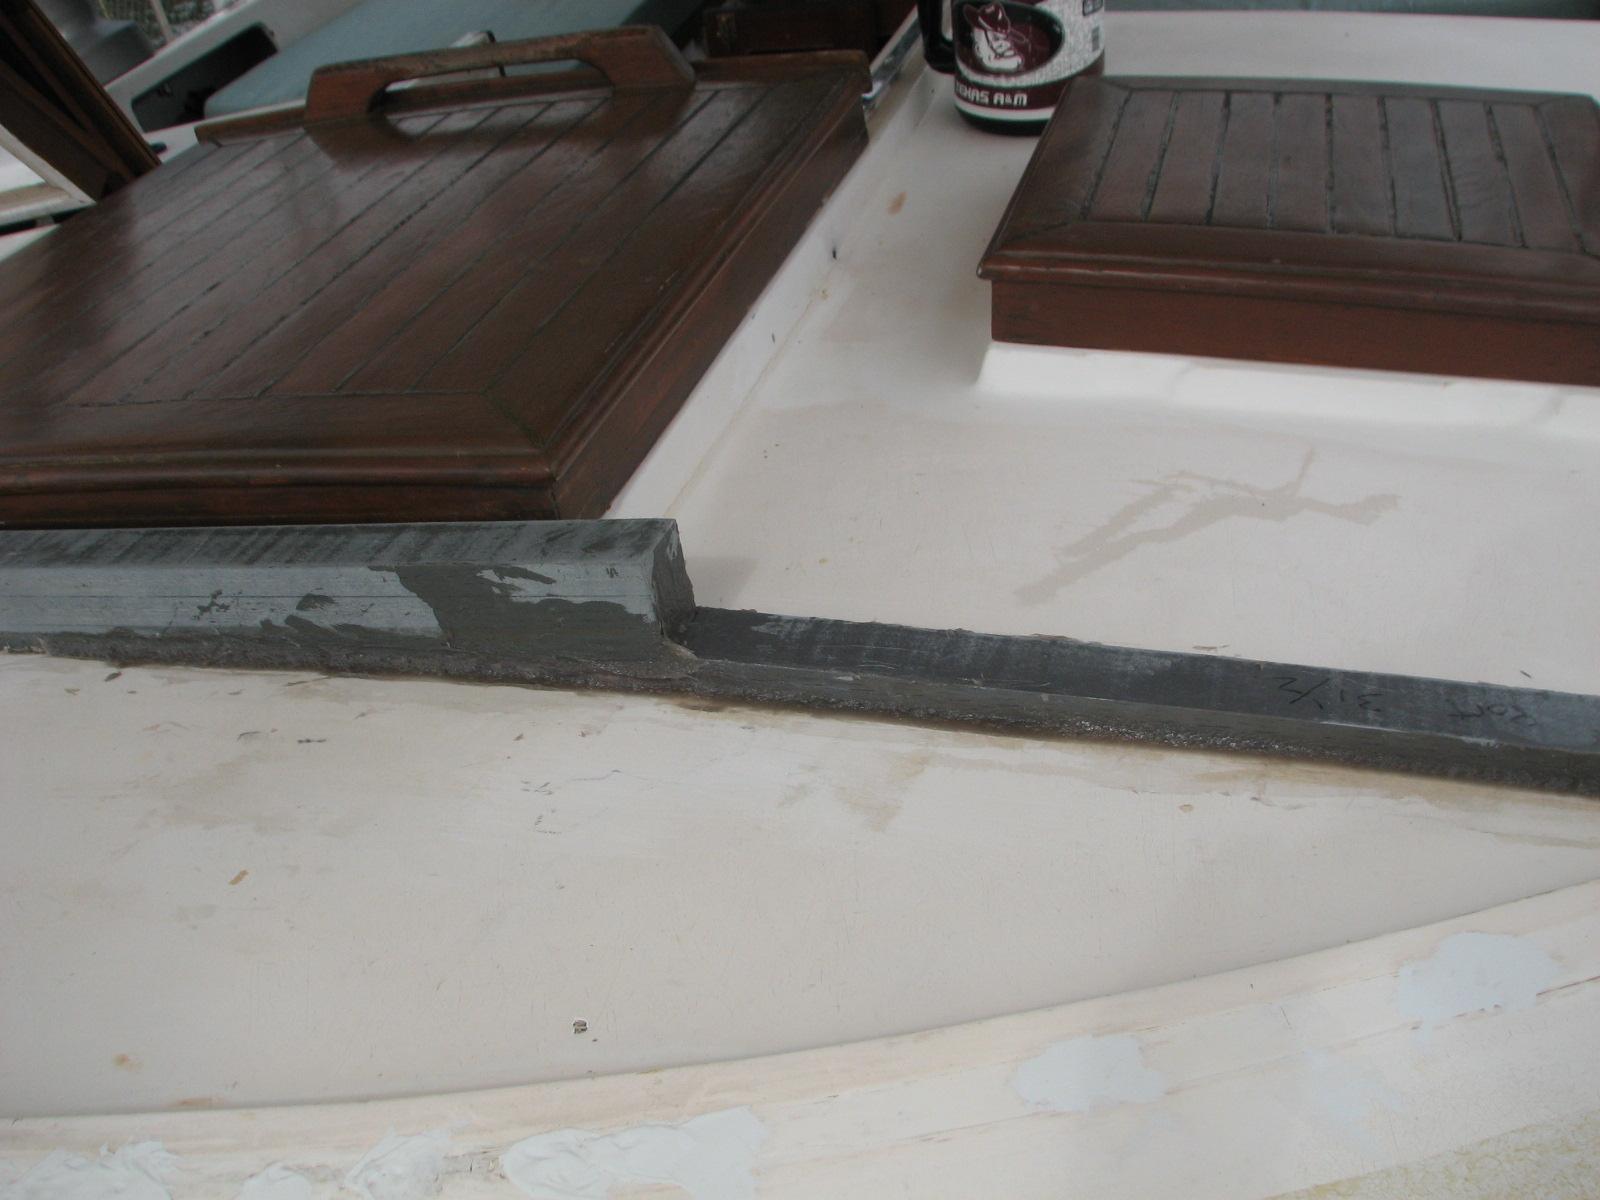
Hard Dodger Plates Needed To Be Filled
I got some of the filler out of the can
and onto my mixing slab. I added the cream
hardener and mixed the two together. I then applied
the mix to the angled piece of plate for the hard dodger.
Filler Applied To Angled Piece
Now I wait until it all sets up, and
then there is more sanding to be accomplished. The hard dodger parts
will need to be sanded. The anchor support pieces have to be sanded,
and the some holes drilled into them before they can be finished and
gelcoat
applied.
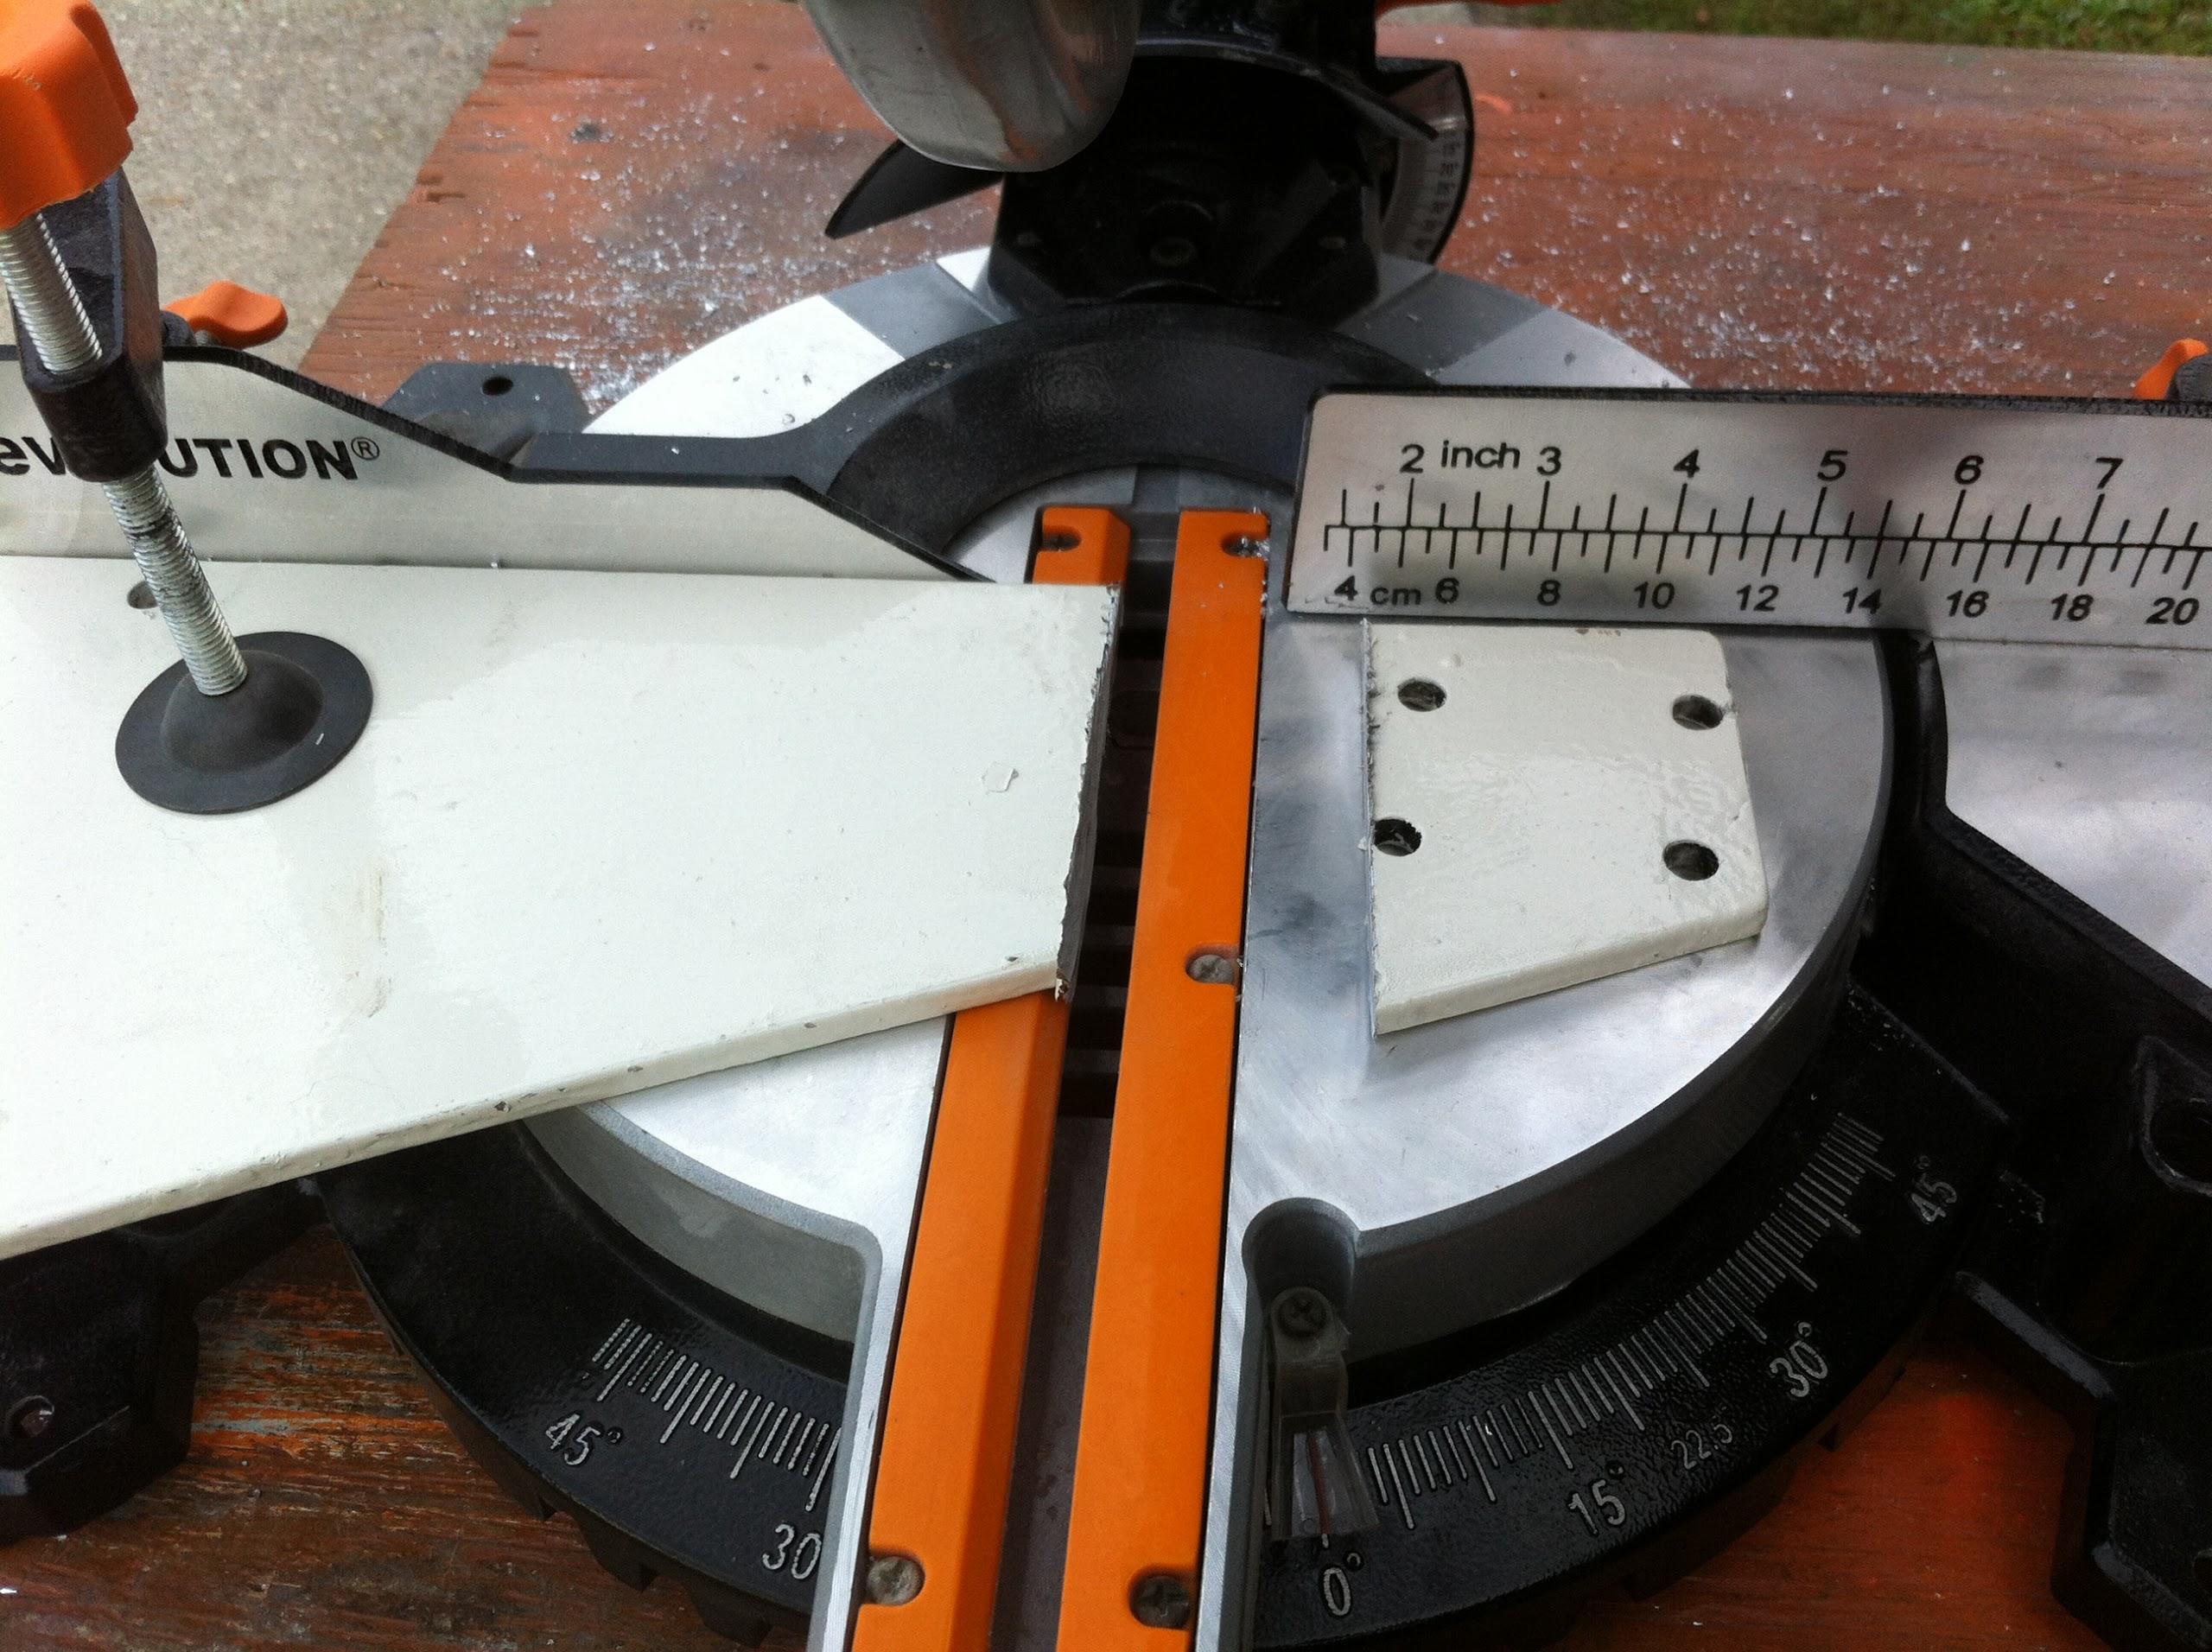
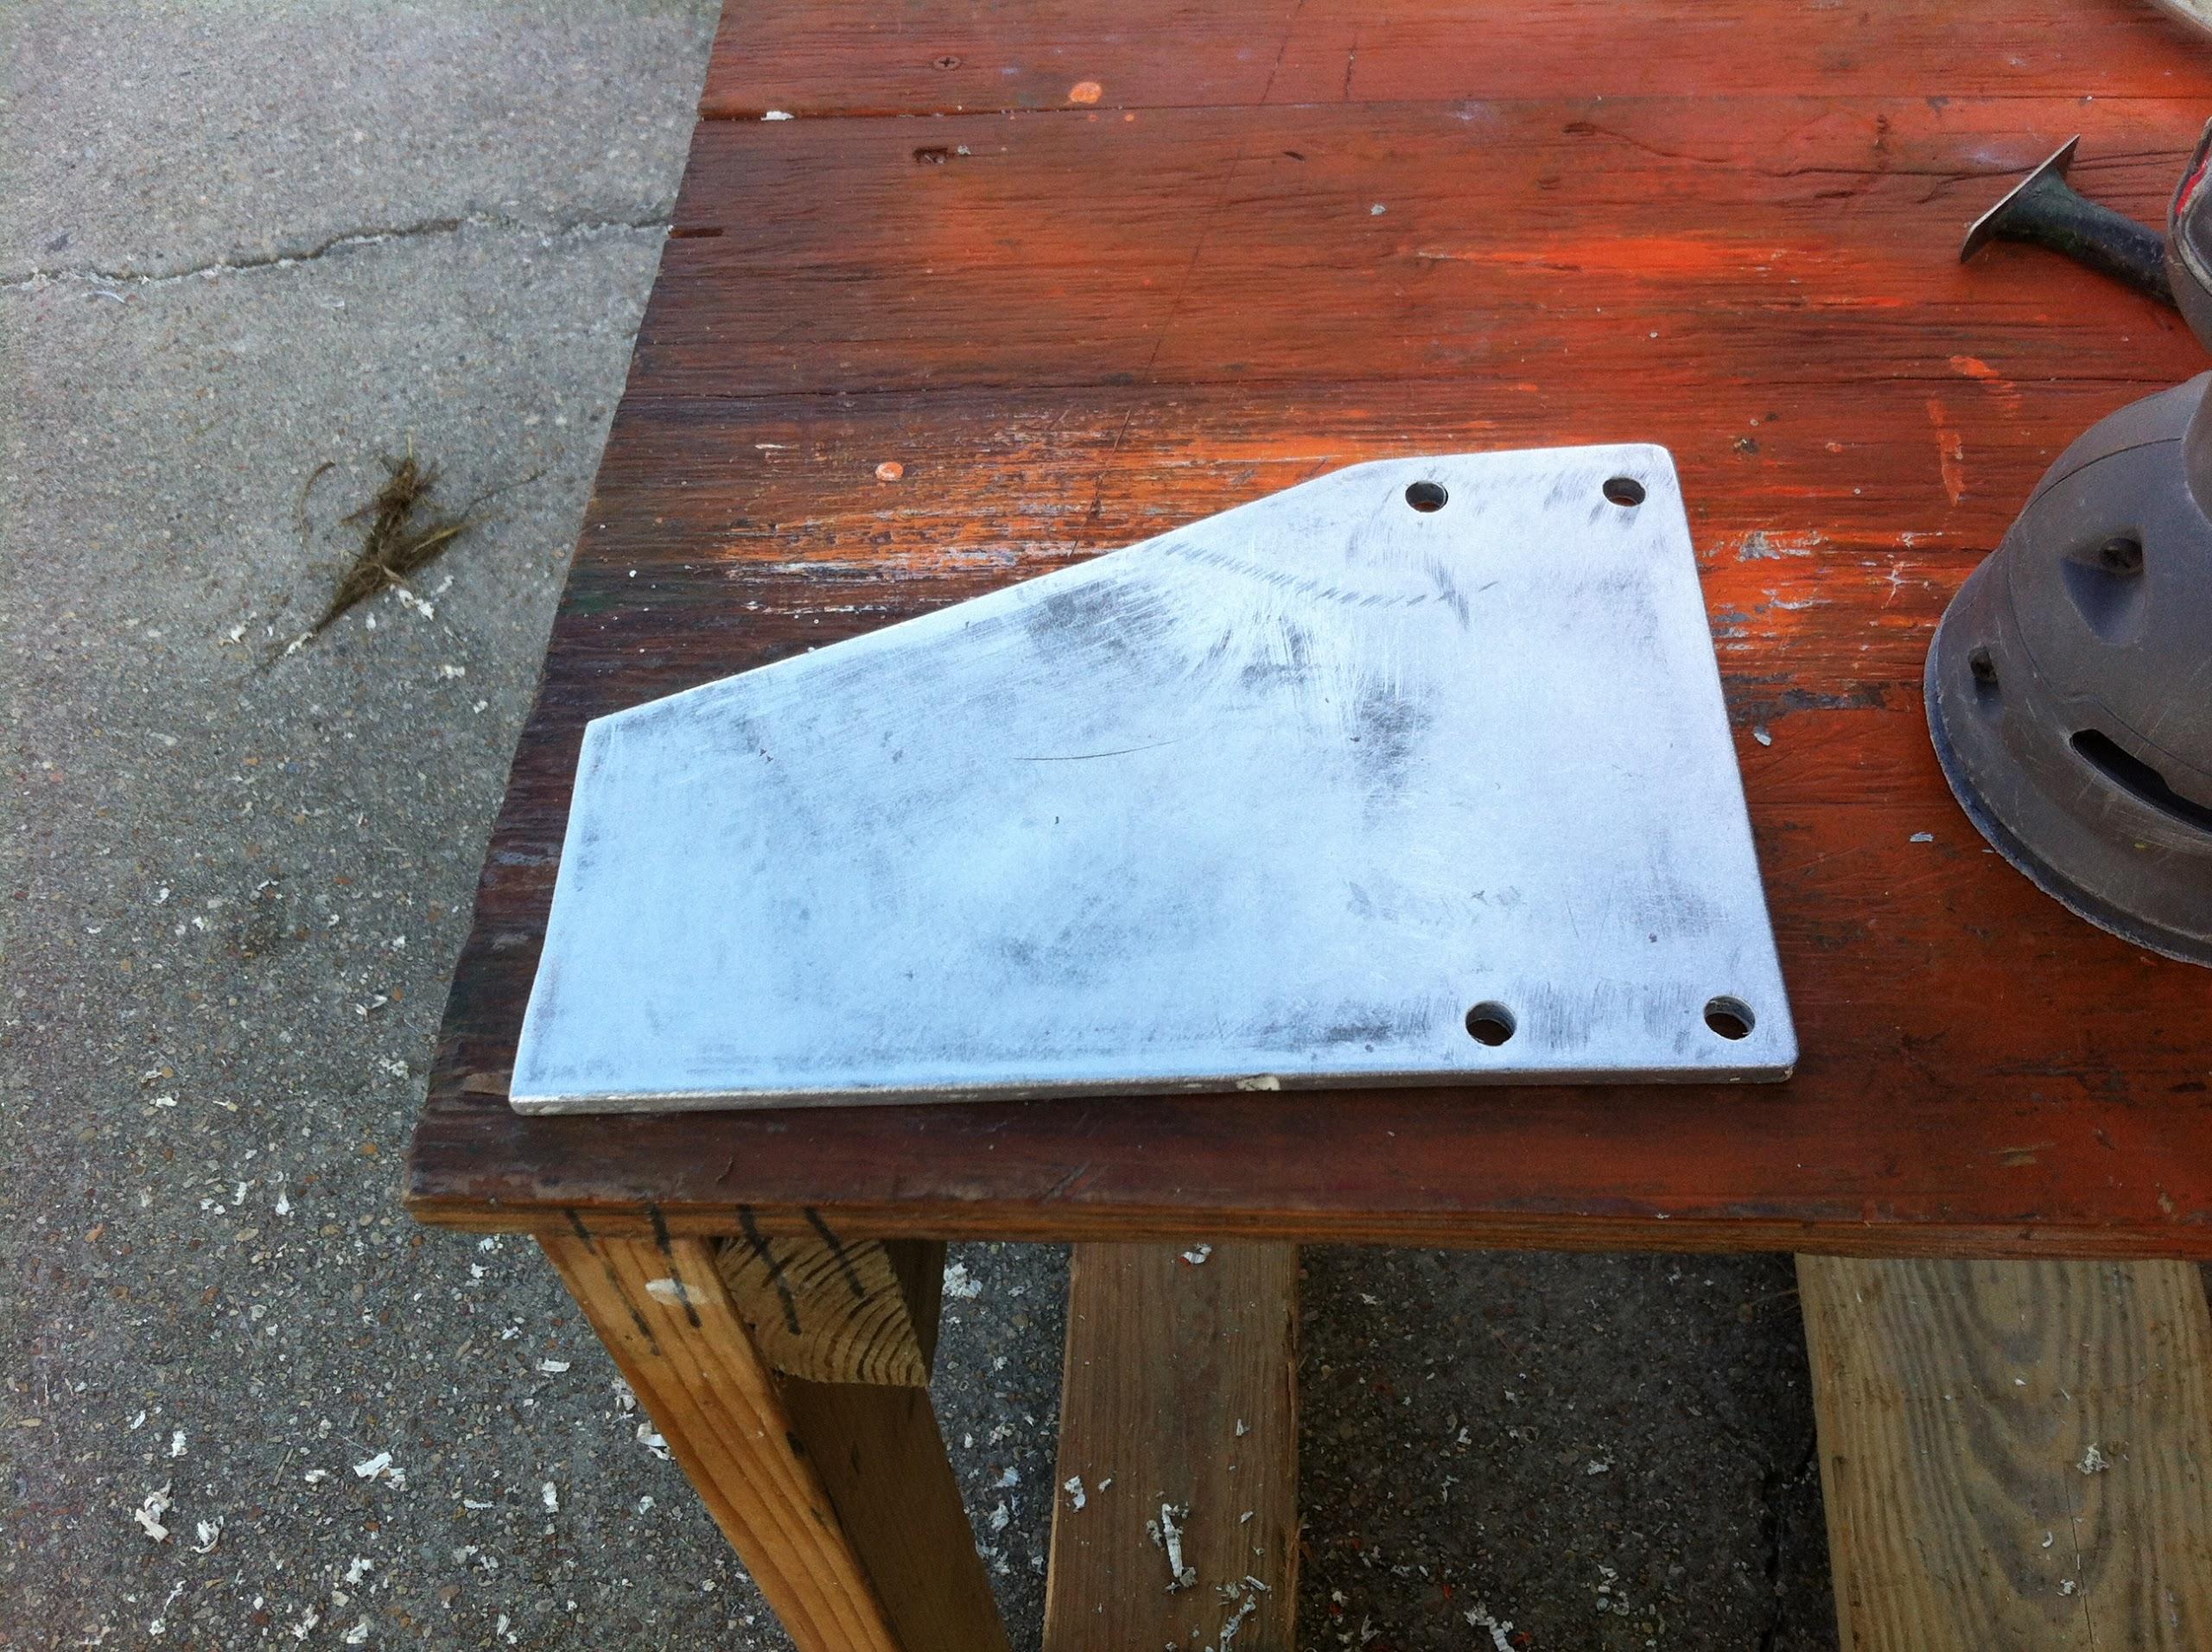
Next I decided to cut and sand a second
piece of aluminum plate I will be using as part of the base on the
main mast sail deck. This is in preparation of welding the unit
together.

Cut Made
Sanding Complete
Went back over to DREAM AWAY and had
breakfast.
Kitty had some errands to
run in New Iberia, so she left on that project. I stayed on DREAM
AWAY as It was time to clean out all of the raw water strainers and
manifold. I cleaned out the main strainer for the manifold (Sea
Chest), and the manifold (Sea Chest). Also cleaned out the strainers
for the ice maker cooling pump, the refrigeration cooling pump and
the forward air conditioner cooling pumps. During this cleaning
process, I also cleaned out the hoses for all of the cooling pumps
using high pressure water from the dock.
I closed up the boat and
did the sanding in the area where I want to glass down the two angled
pieces as part of the hard dodger base. The wind was really blowing,
so dust was everywhere. I had to hose down the boat to get it all
cleaned up. I dried the seats in the cockpit, and took a reading
break before I hit the shower.
October 28, Monday, 2013
Started off the morning with my normal
ritual of getting on the Internet, answering email, and checking the
weather, while making a pot of coffee. I also spent time with our two
cats, Jillian
and Jordan.
Went over to the shop
and started sanding on the parts which I had glassed yesterday. They
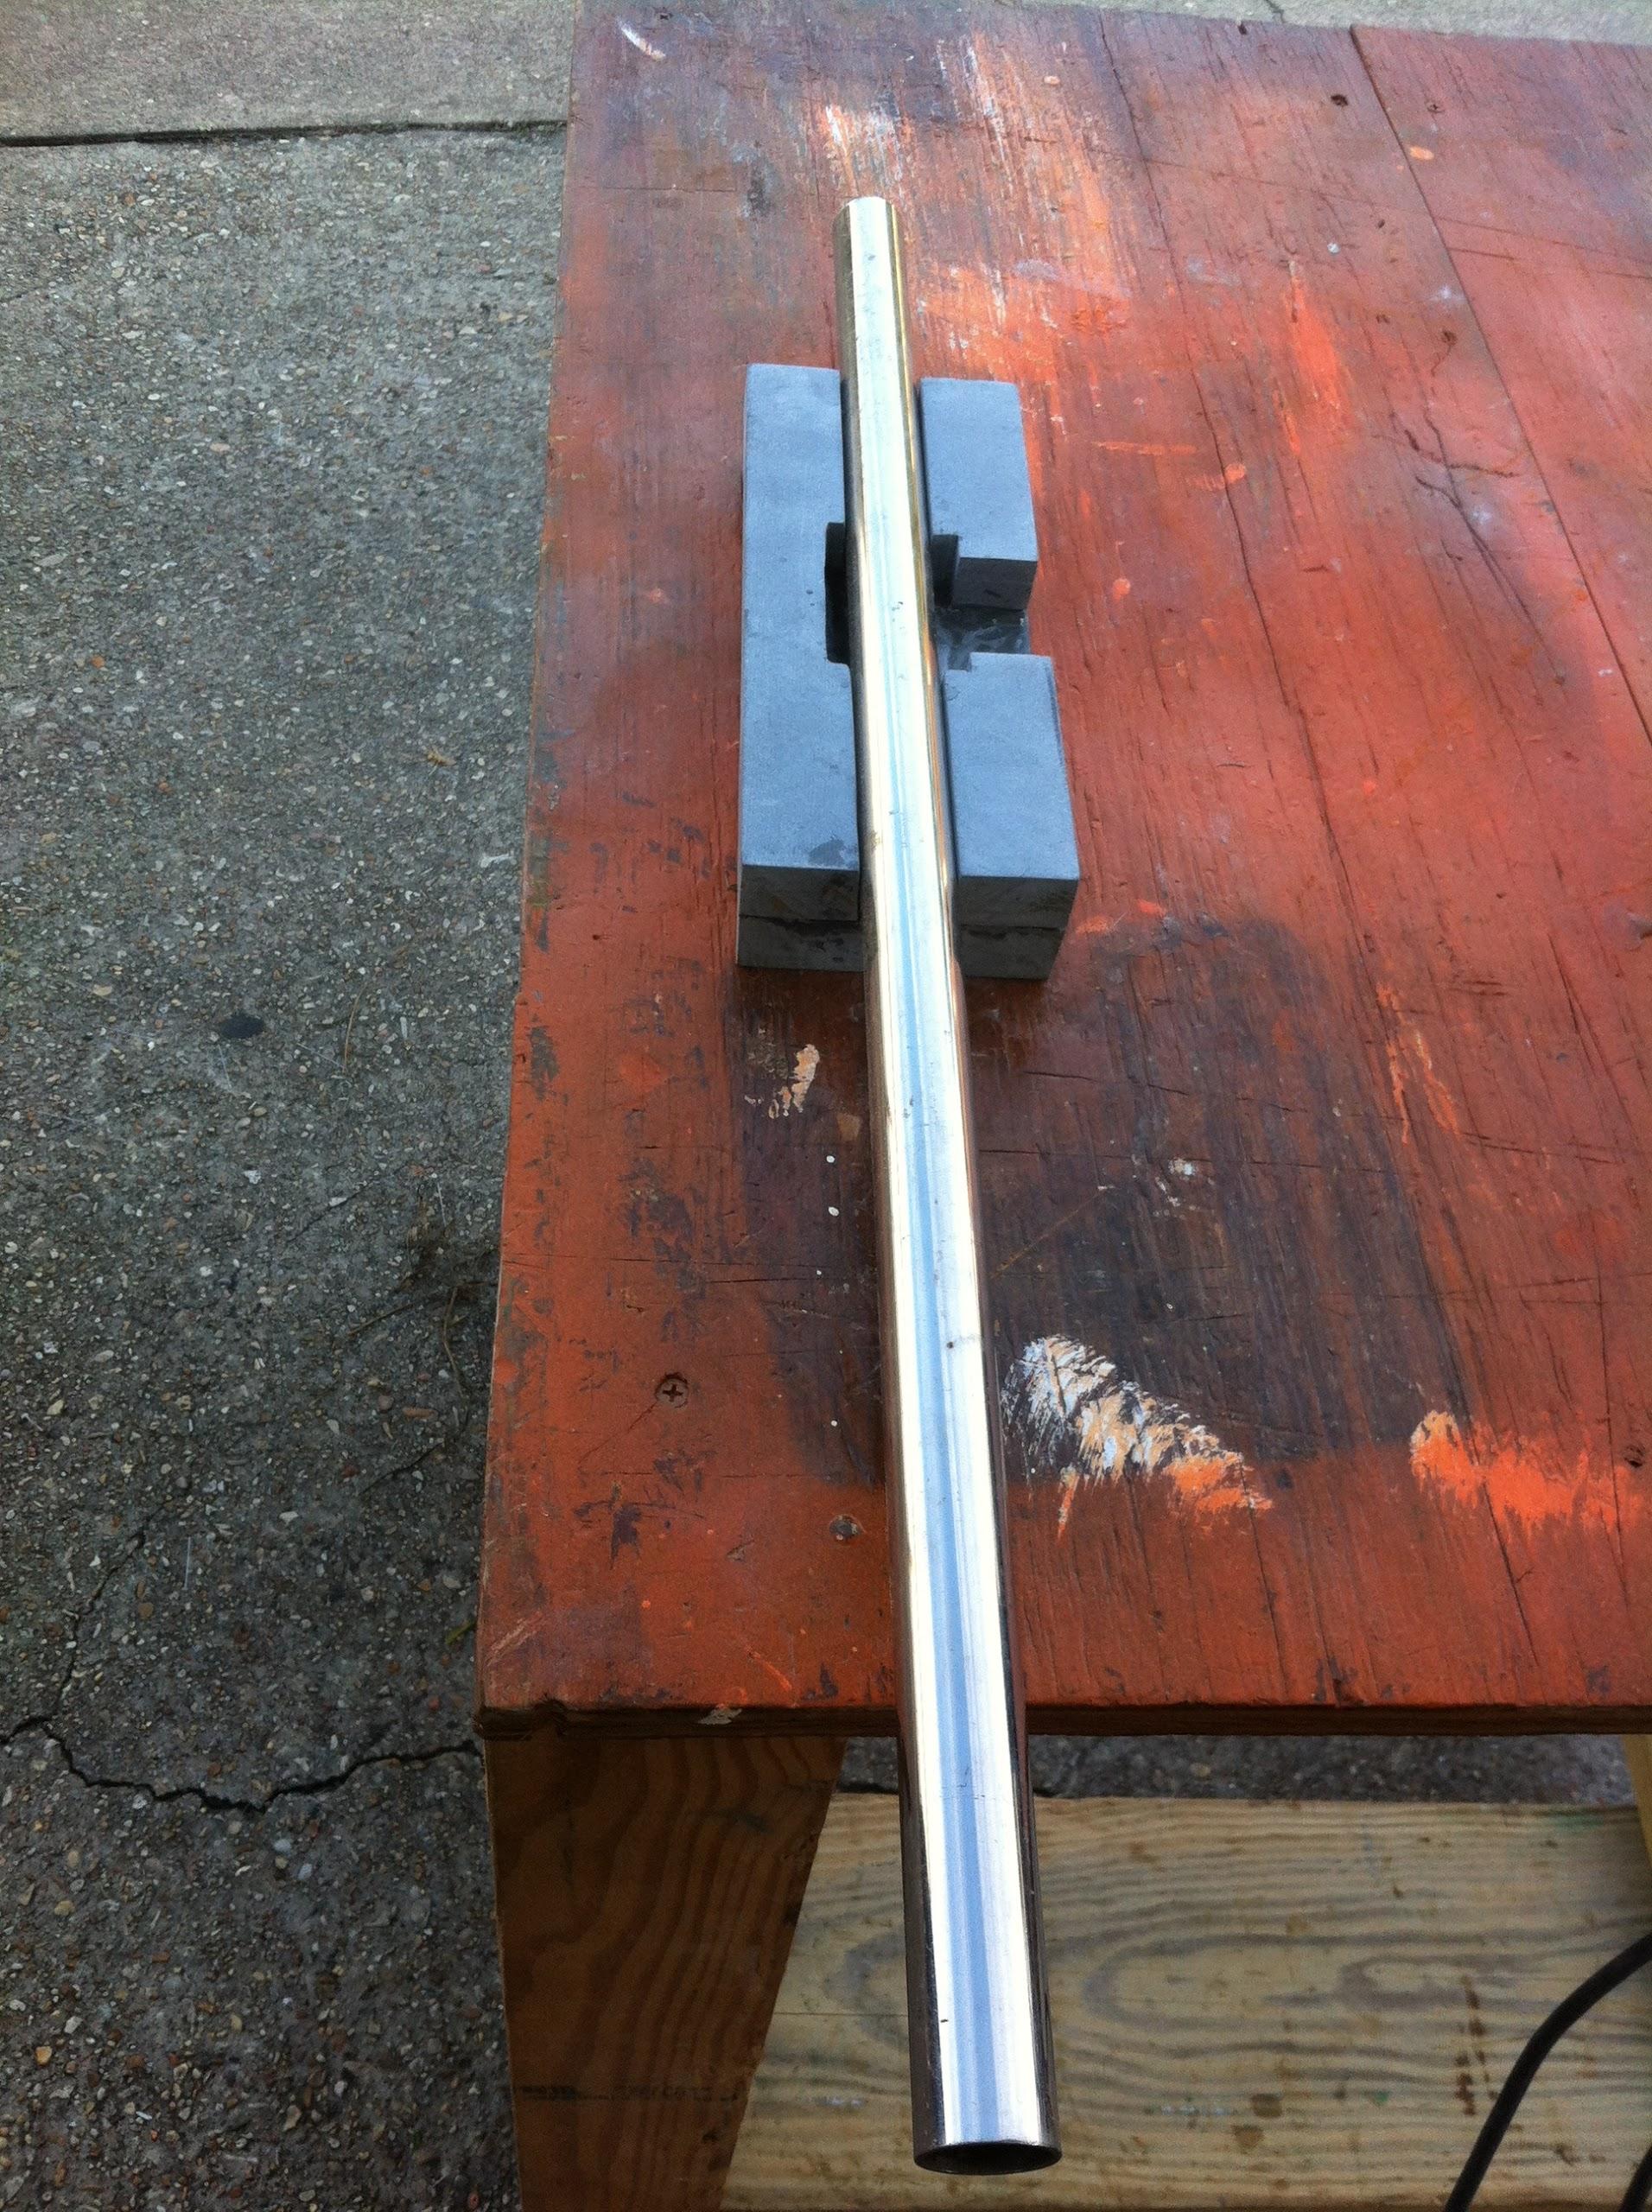
all came out pretty well. One of the anchor support parts had a small
problem. The 1” stainless steel tubing of the liferail would not
fit exactly, so I had to do some sanding to get the tubing to fit
into the proper slot.
Stainless Steel Tubing Fitting In
Anchor Support
I then sanded and trimmed the other
anchor support. It will need some extra resin to be put between two
pieces, but not a big deal.
Anchor Support Piece Before Trimming
Anchor Support Piece After Trimming
The last pieces that needed a lot of
trimming and sanding, were the angled pieces I fabricated for the
hard dodger base. Both pieces worked out pretty well. I will have to
take the pieces over to DREAM AWAY and do a dry fit to know for sure.
Sanded Hard Dodger Piece
Hard Dodger Piece Showing Fabricated
Angle
I loaded the hard dodger pieces into
the Black Beast, and went back to DREAM AWAY. After breakfast I dry
fit the pieces on the top of the doghouse, and it looks like the
fabricated pieces will be a good fit. I will take the two pieces back
to the shop,
and use some finishing putty to fill in all of the spaces.
The remainder of the day, I worked on
the shower trailer purchased by the Port
of Delcambre. I checked out all the systems, and only
found one problem. The on demand hot water system does not work. It
will take more research to get to the source of the problem.
October 27, Sunday, 2013
Started off the morning with my normal
ritual of getting on the Internet, answering email, and checking the
weather, while making a pot of coffee. I also spent time with our two
cats, Jillian
and Jordan.
Went over to the
shop and finished
sanding all of the pieces of the
Strongwell
Extren plate I am using to build these parts. I sand
down all of these parts to rough them up so the fiberglass
and polyester
resin will stick together to form a single piece.
Sanding The Small Piece
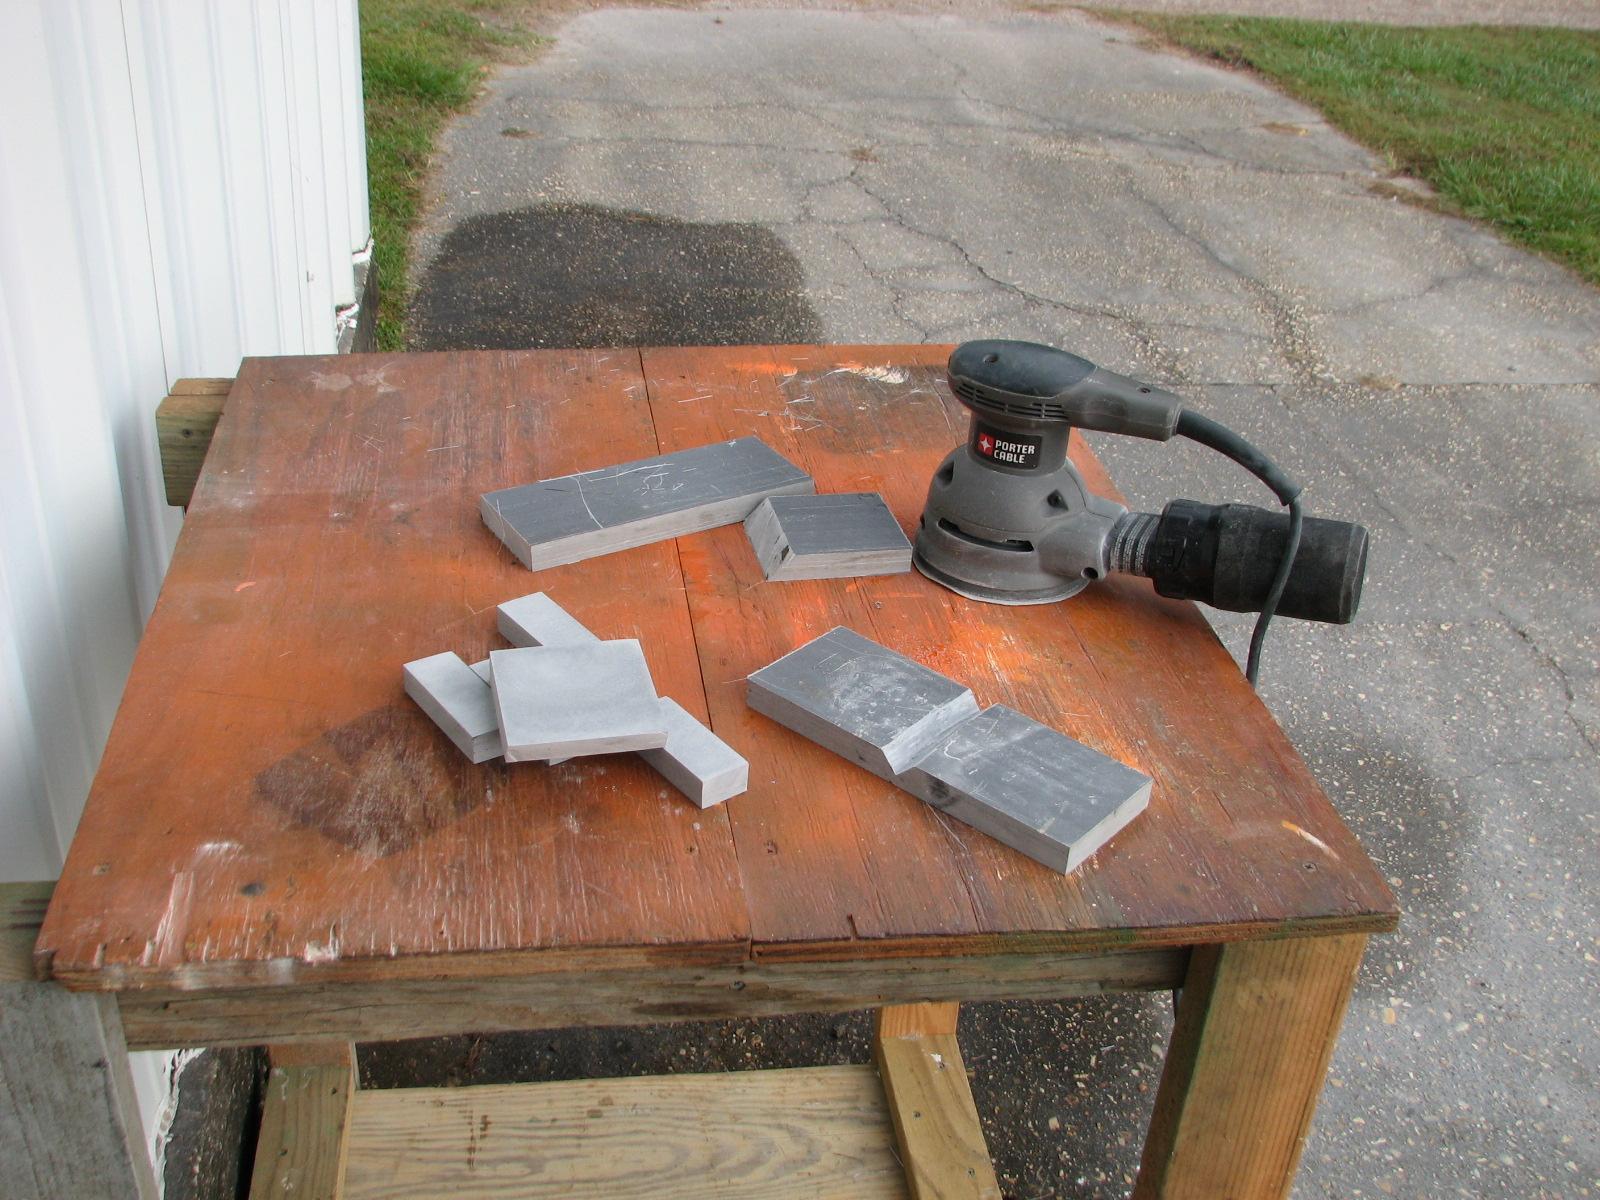
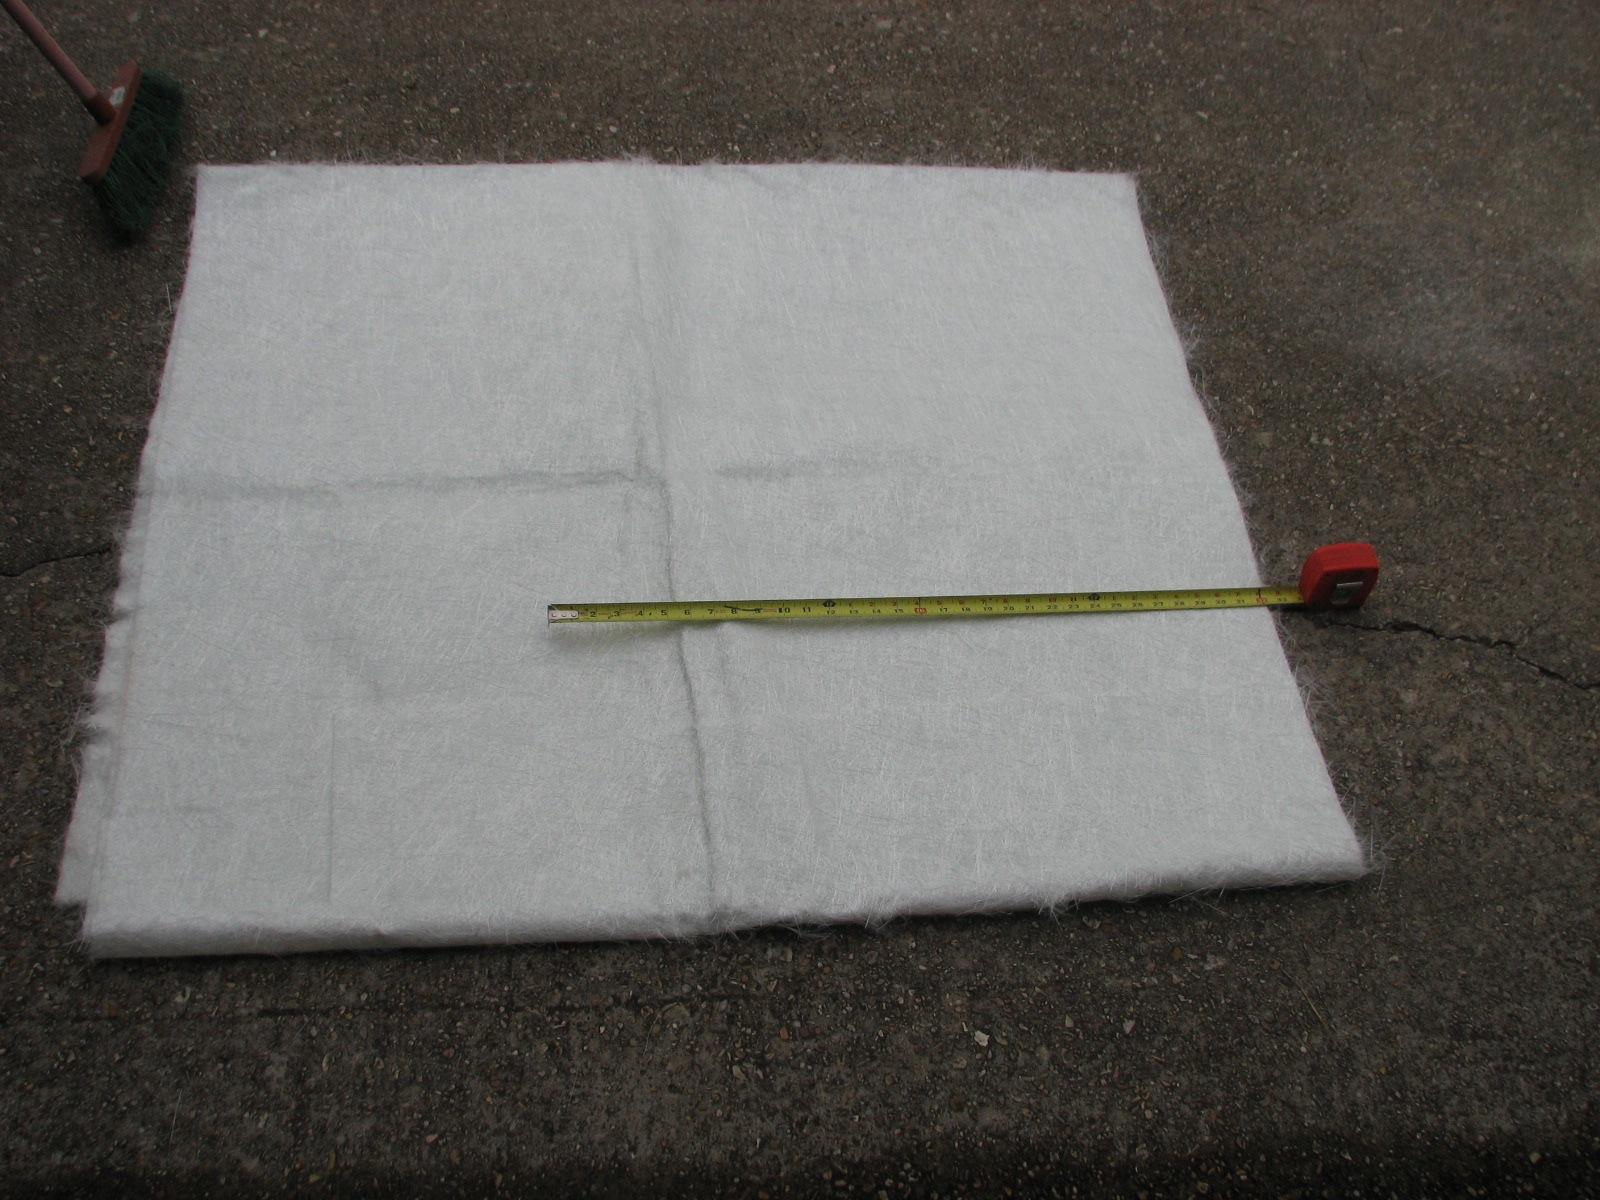
When the sanding was complete it was
time to cut out the fiberglass
mat pieces I will need to glass the pieces together.
Dry Fit The Hard Dodger Piece
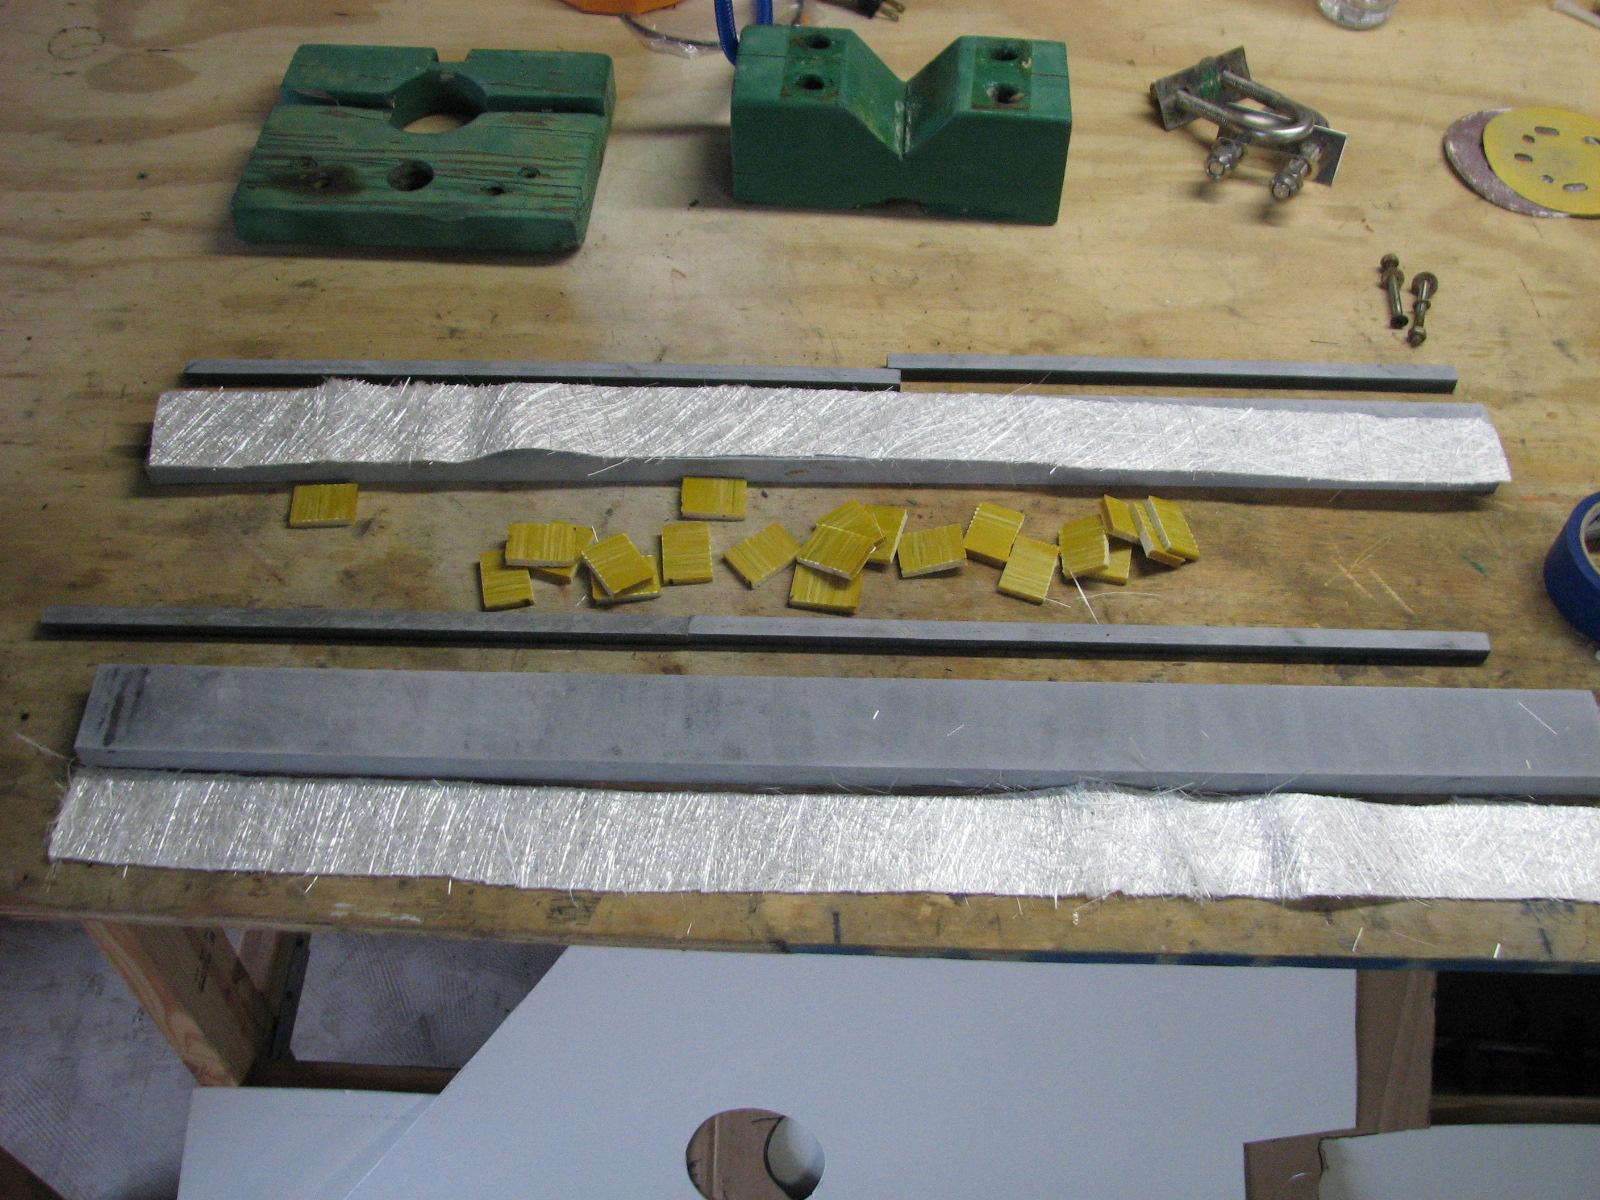
Dry Fit The Anchor Support Piece
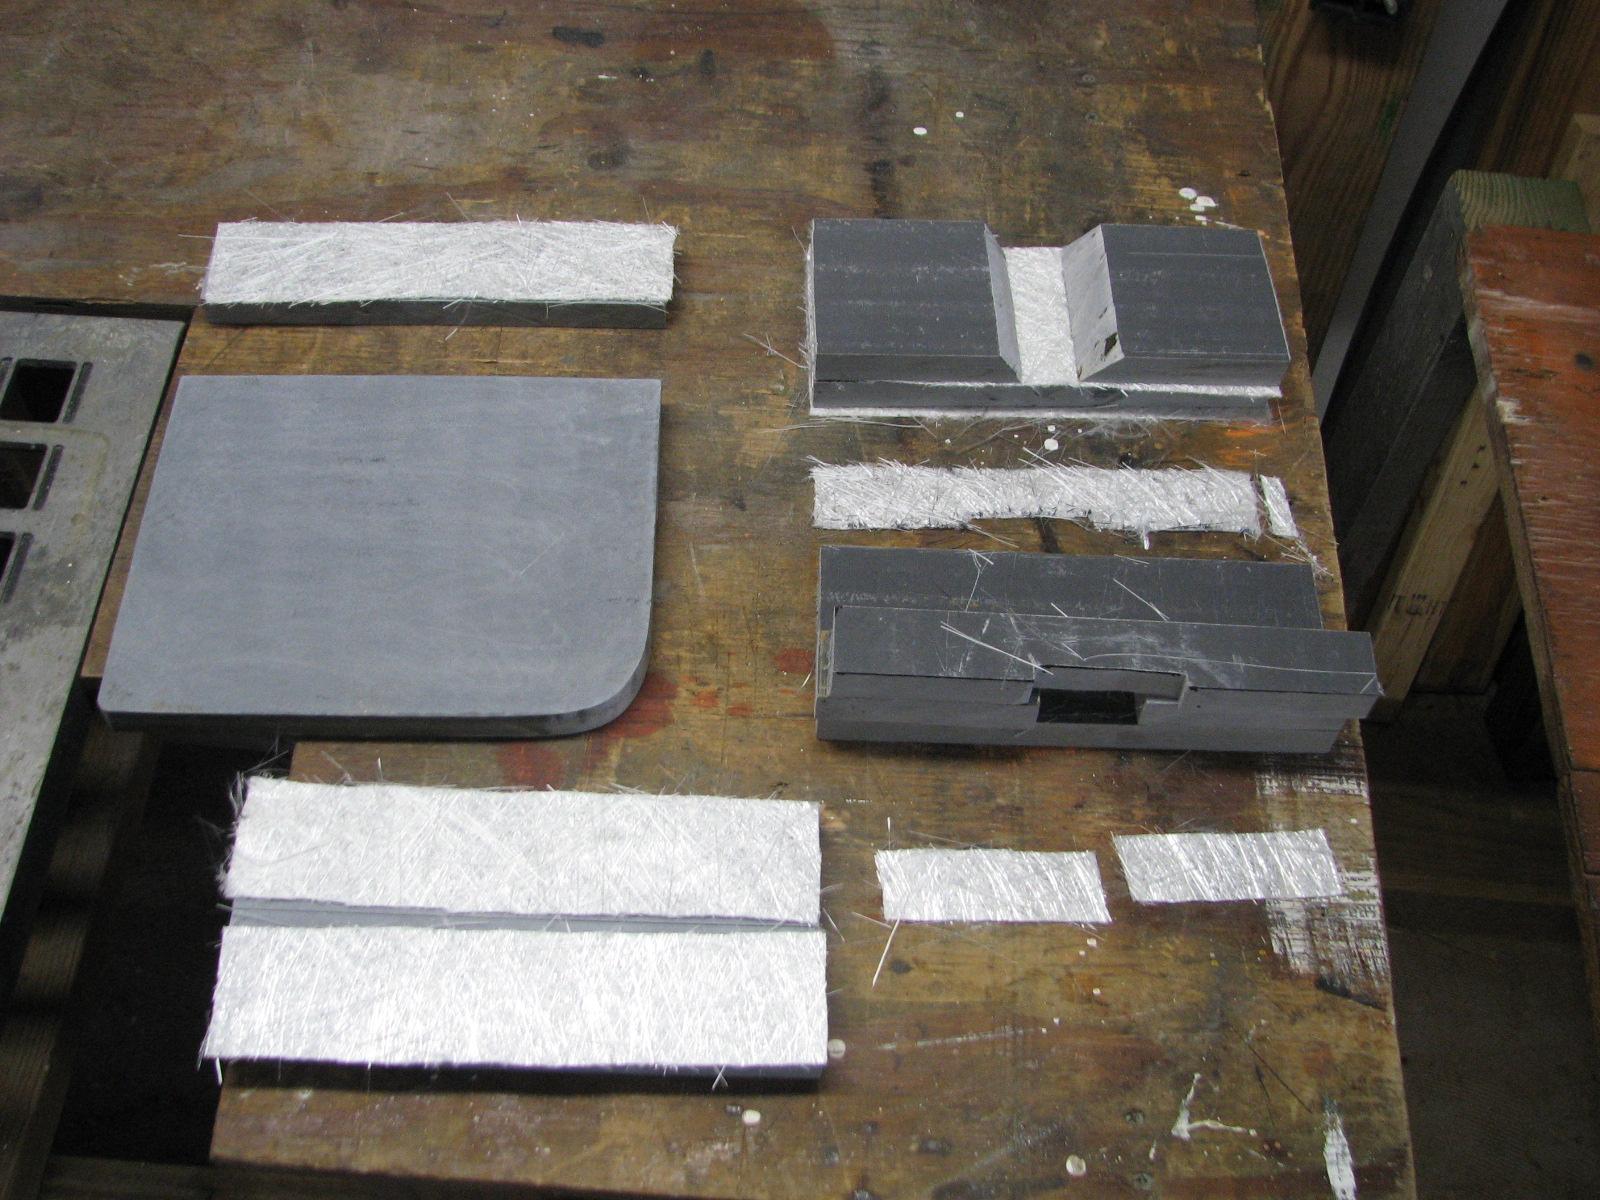
Hard Dodger Pieces Glassed Together
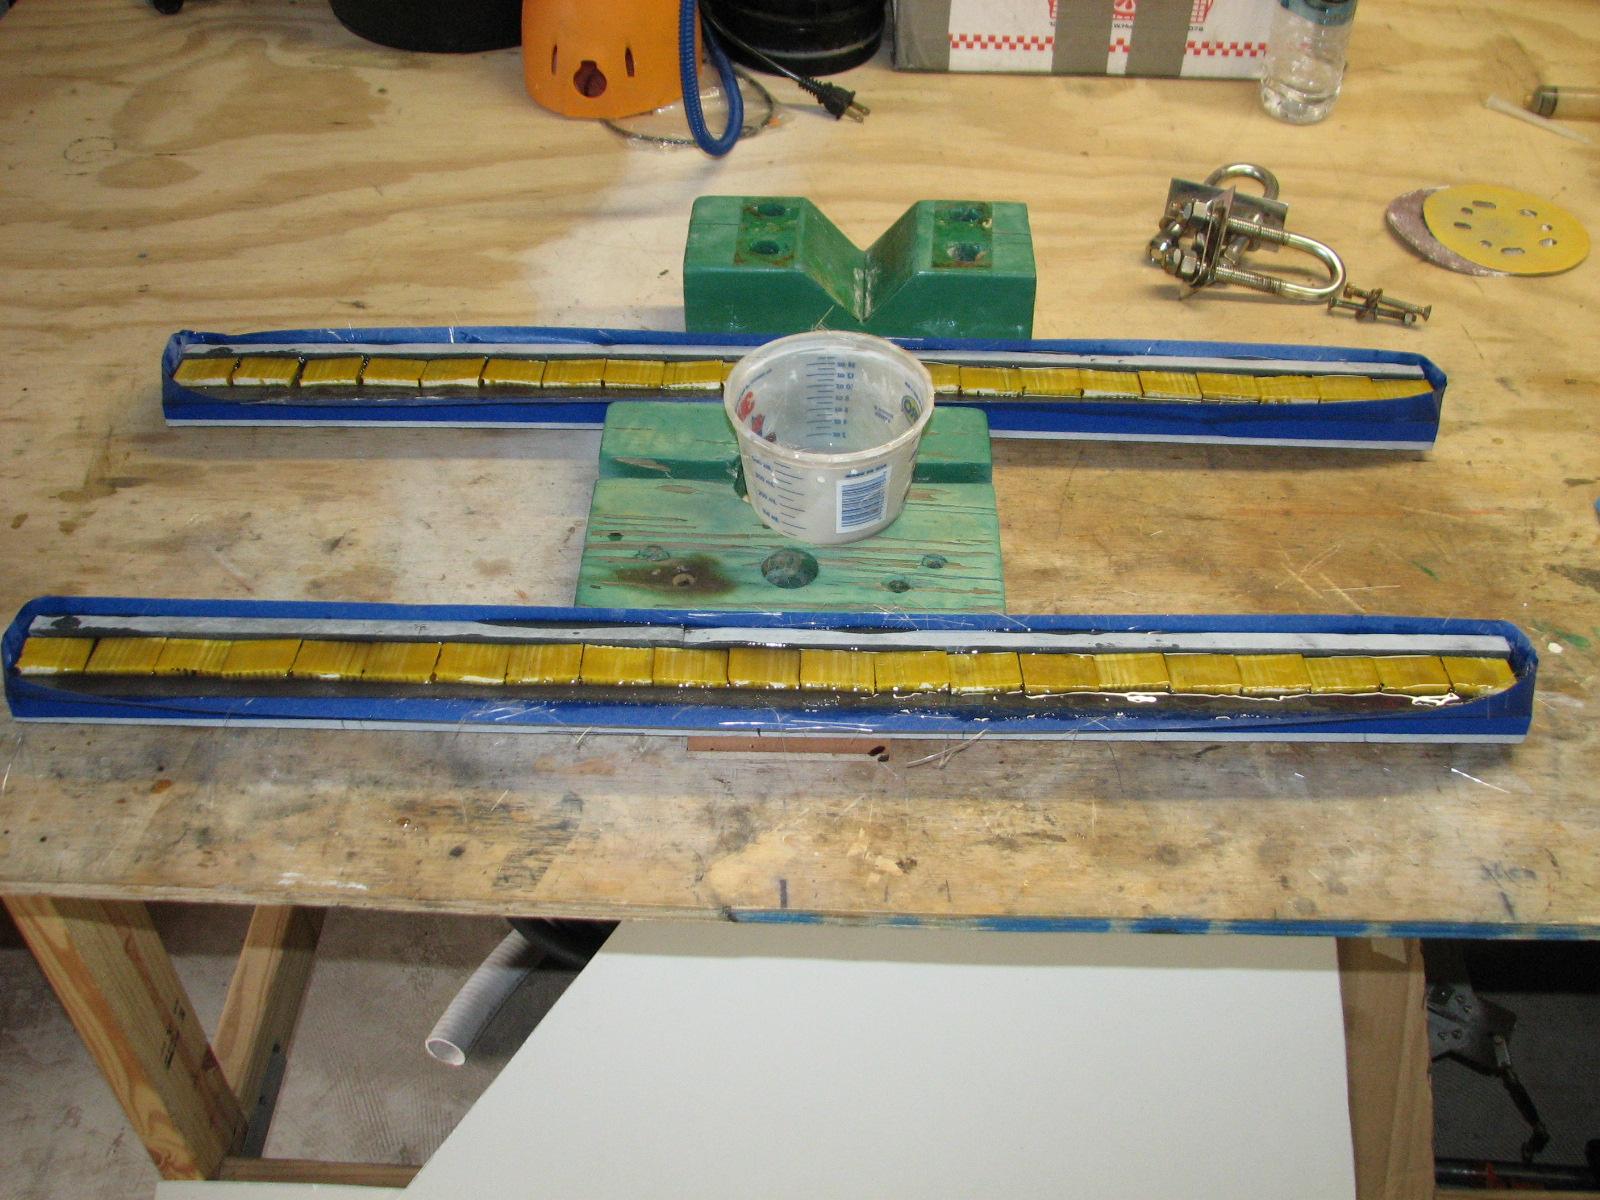
Anchor Support Pieces Glassed Together

The anchor support piece for the
liferail had so many pieces, I could not glass them all together at
one time. I glassed four of the pieces together now, and will add the
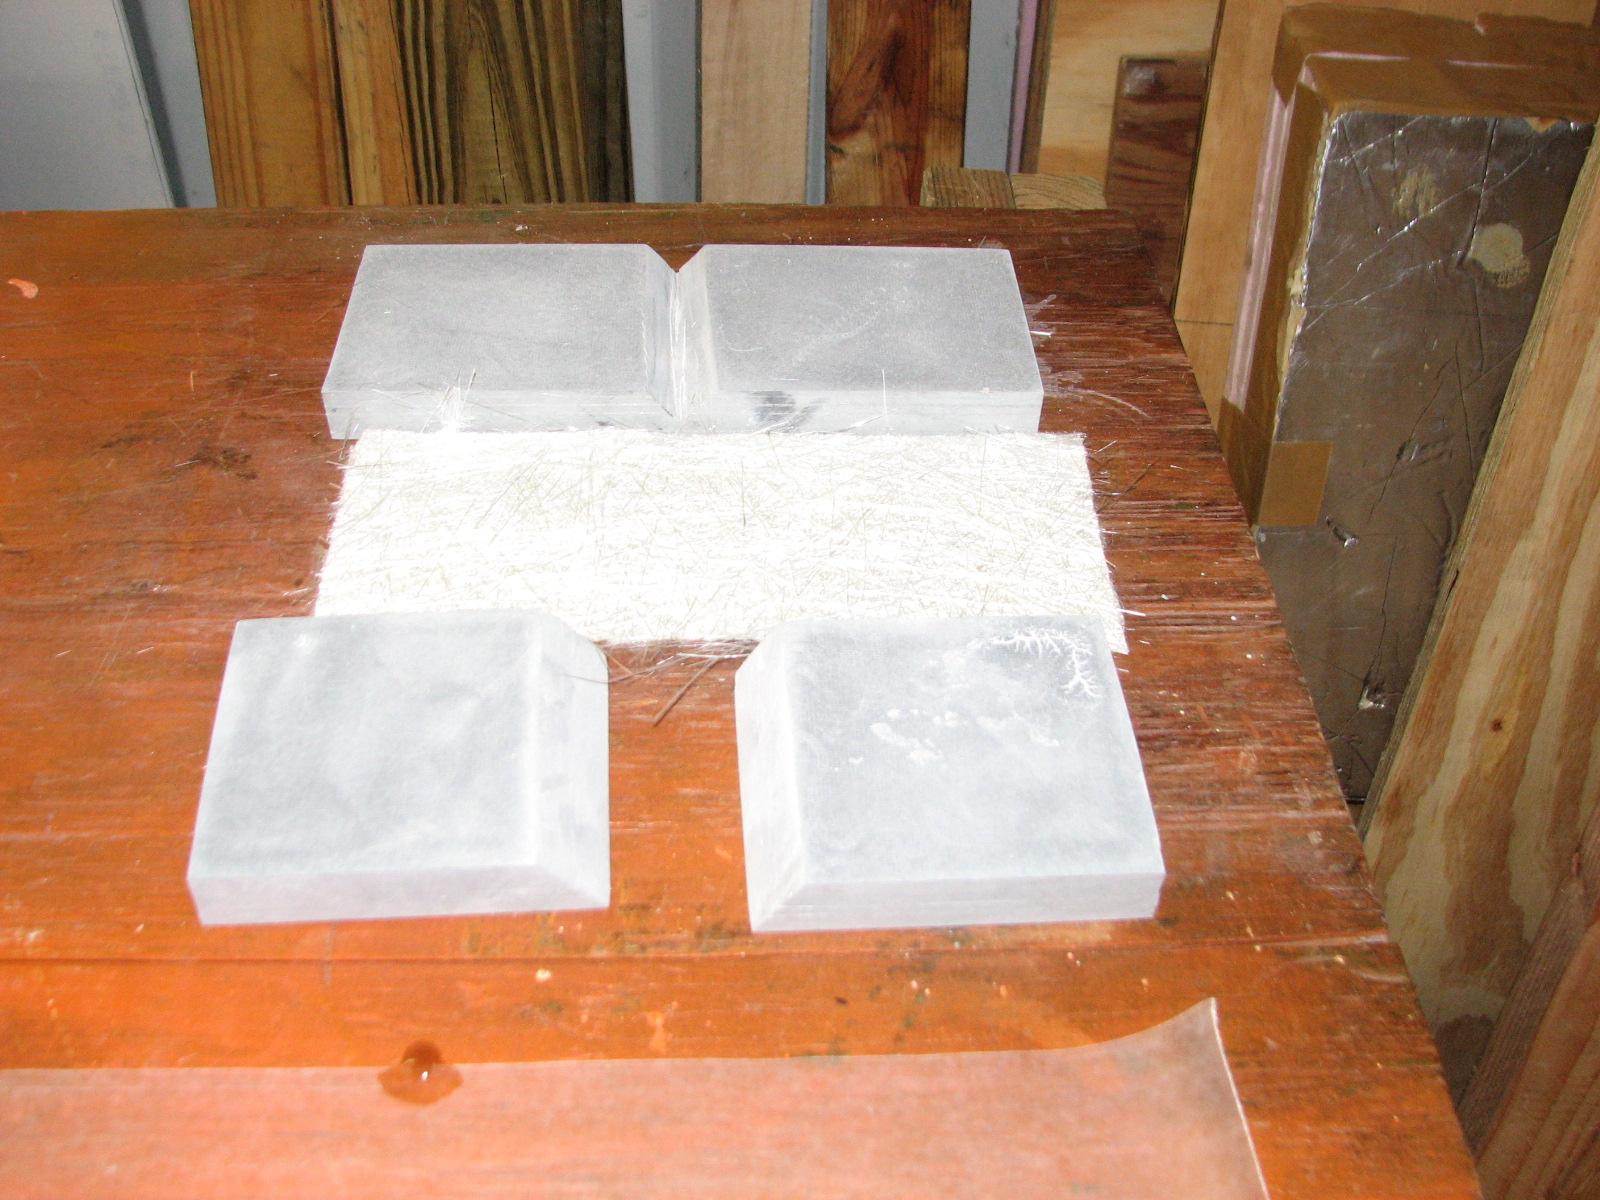
other three pieces tomorrow.
Three Pieces Not Glassed Today
I then went back to DREAM AWAY and we
had breakfast. After breakfast we drove to Intracoastal
City to support one of the fishermen in the Delcambre
Direct Program. They are Cheryl and Big Al Granger off
of the shrimp boat MISS BRITTANY G.
This morning they had Kimberly
Schlapman from the Kimberly’s
Simply Southern cooking show on board. Kimberly is a
founding member of the Little
Big Town Band which was doing a show in Lafayette.
Kimberly wanted to go out on a real shrimp boat and see how real
Cajun shrimp gumbo was made.
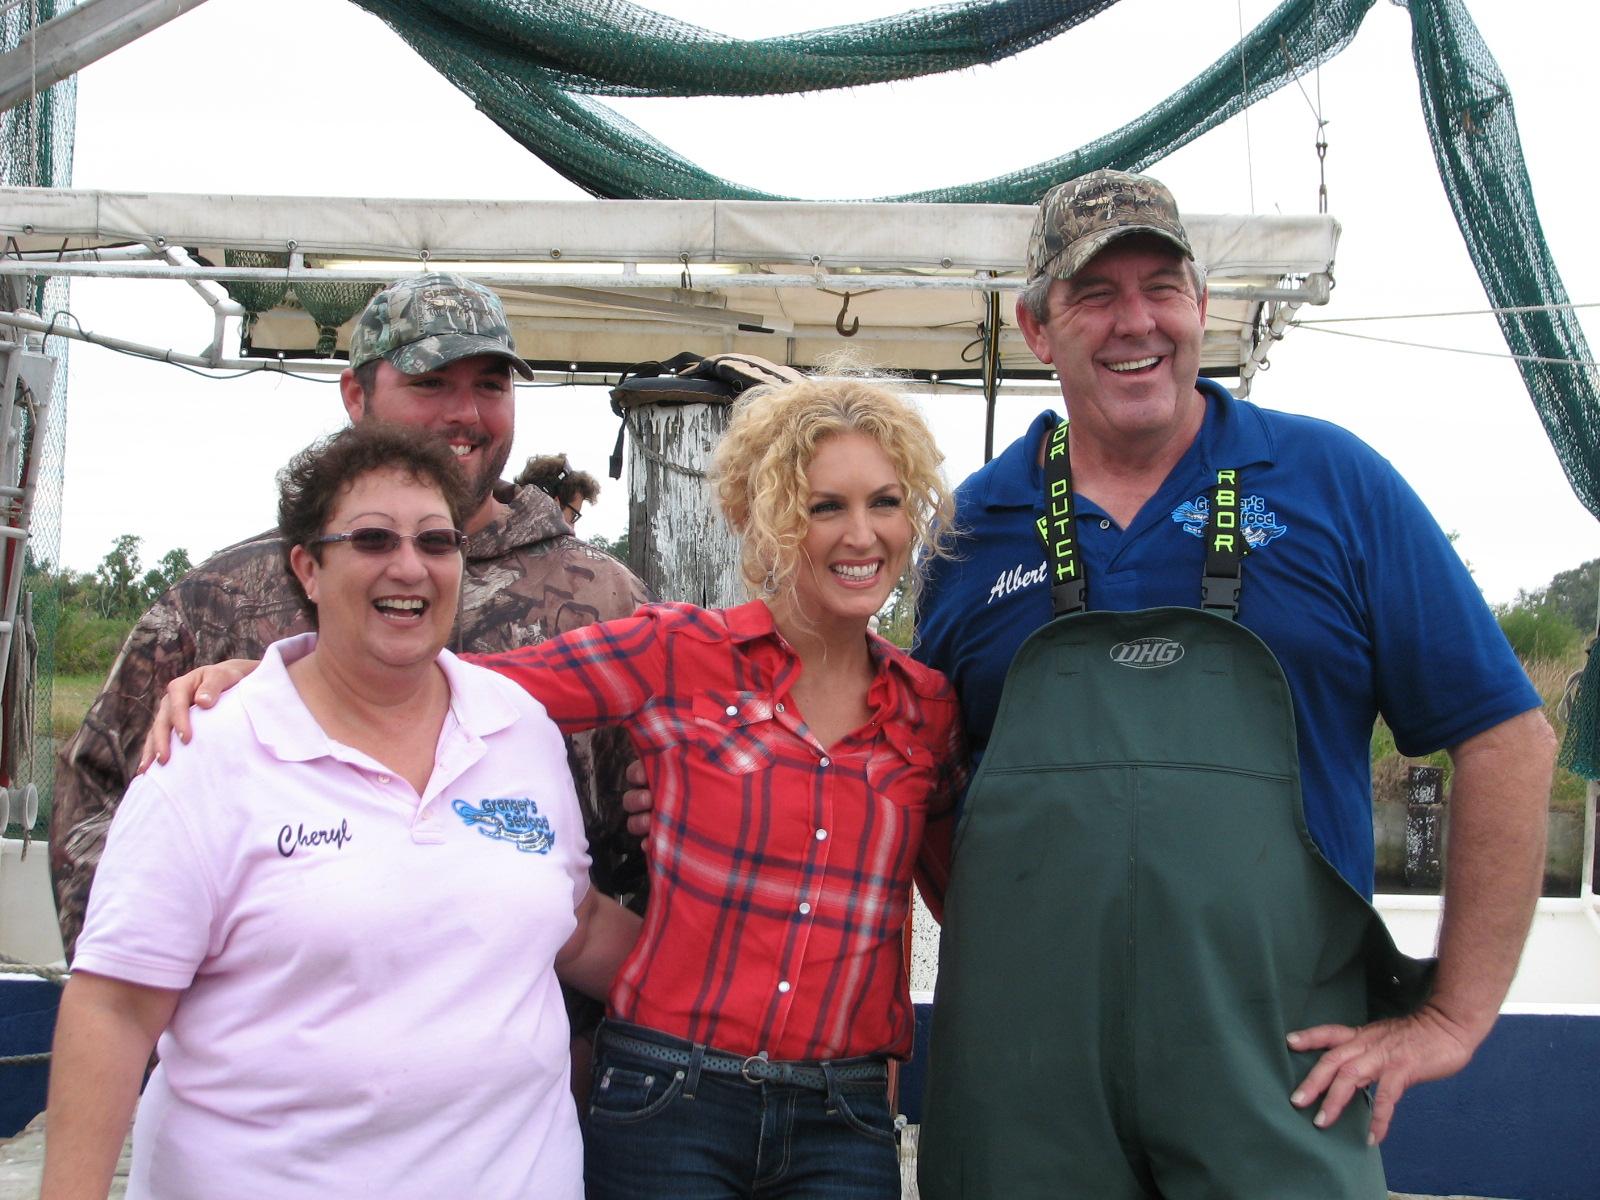
Cheryl, T-Al( Cheryl & Big Al’s
Son) , Kimberly, Big Al
October 26, Saturday, 2013
Started off the morning with my normal
ritual of getting on the Internet, answering email, and checking the
weather, while making a pot of coffee. I also spent time with our two
cats, Jillian
and Jordan.
Went over to the shop
and I remembered the tool to repair the screen. Our male cat, Jordan,
again laid on a screen and fell through, so it needed repair. I laid
the screen out and did the number on it, and had it back together and
looking good.
Repaired Screen With Screen Tool

The trimmed upright I had dry fit
yesterday was not exactly cut properly, so this morning, I cut an
extra ¼” off of the bottom. It will take it back to DREAM AWAY and
check the fit again.
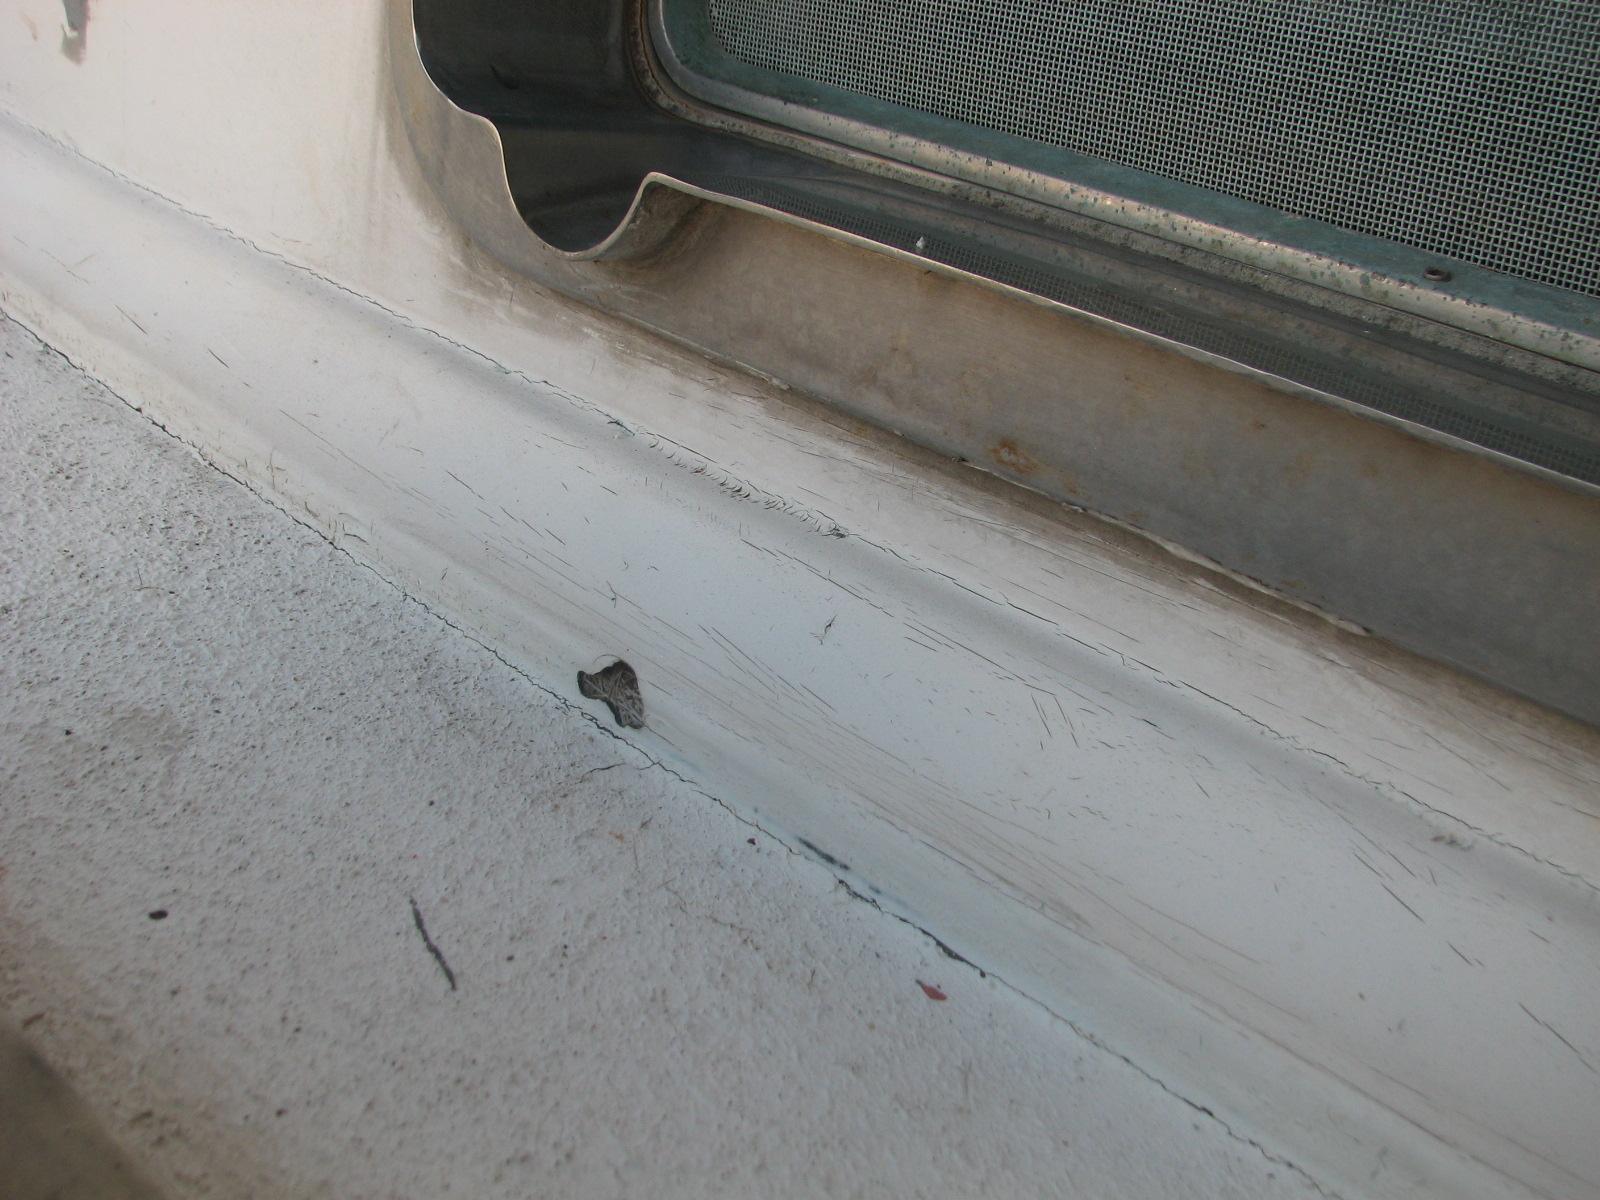
After breakfast, I started in on
repairing the broken gelcoat
that was discovered yesterday while rebedding the starboard turning
block on the aft deck. I sanded the area, and also the seam between
the deck and the side of the doghouse. I also sanded a couple of
other little broken areas of gelcoat
on the deck.
I vacuumed up all the dust in the area,
and then wiped it down with acetone.
I mixed up a batch of Marine-Tex,
and applied it to all of the area and hole I had cleaned out. Now all
we have to do is wait for the next rain to see if any progress was
made.
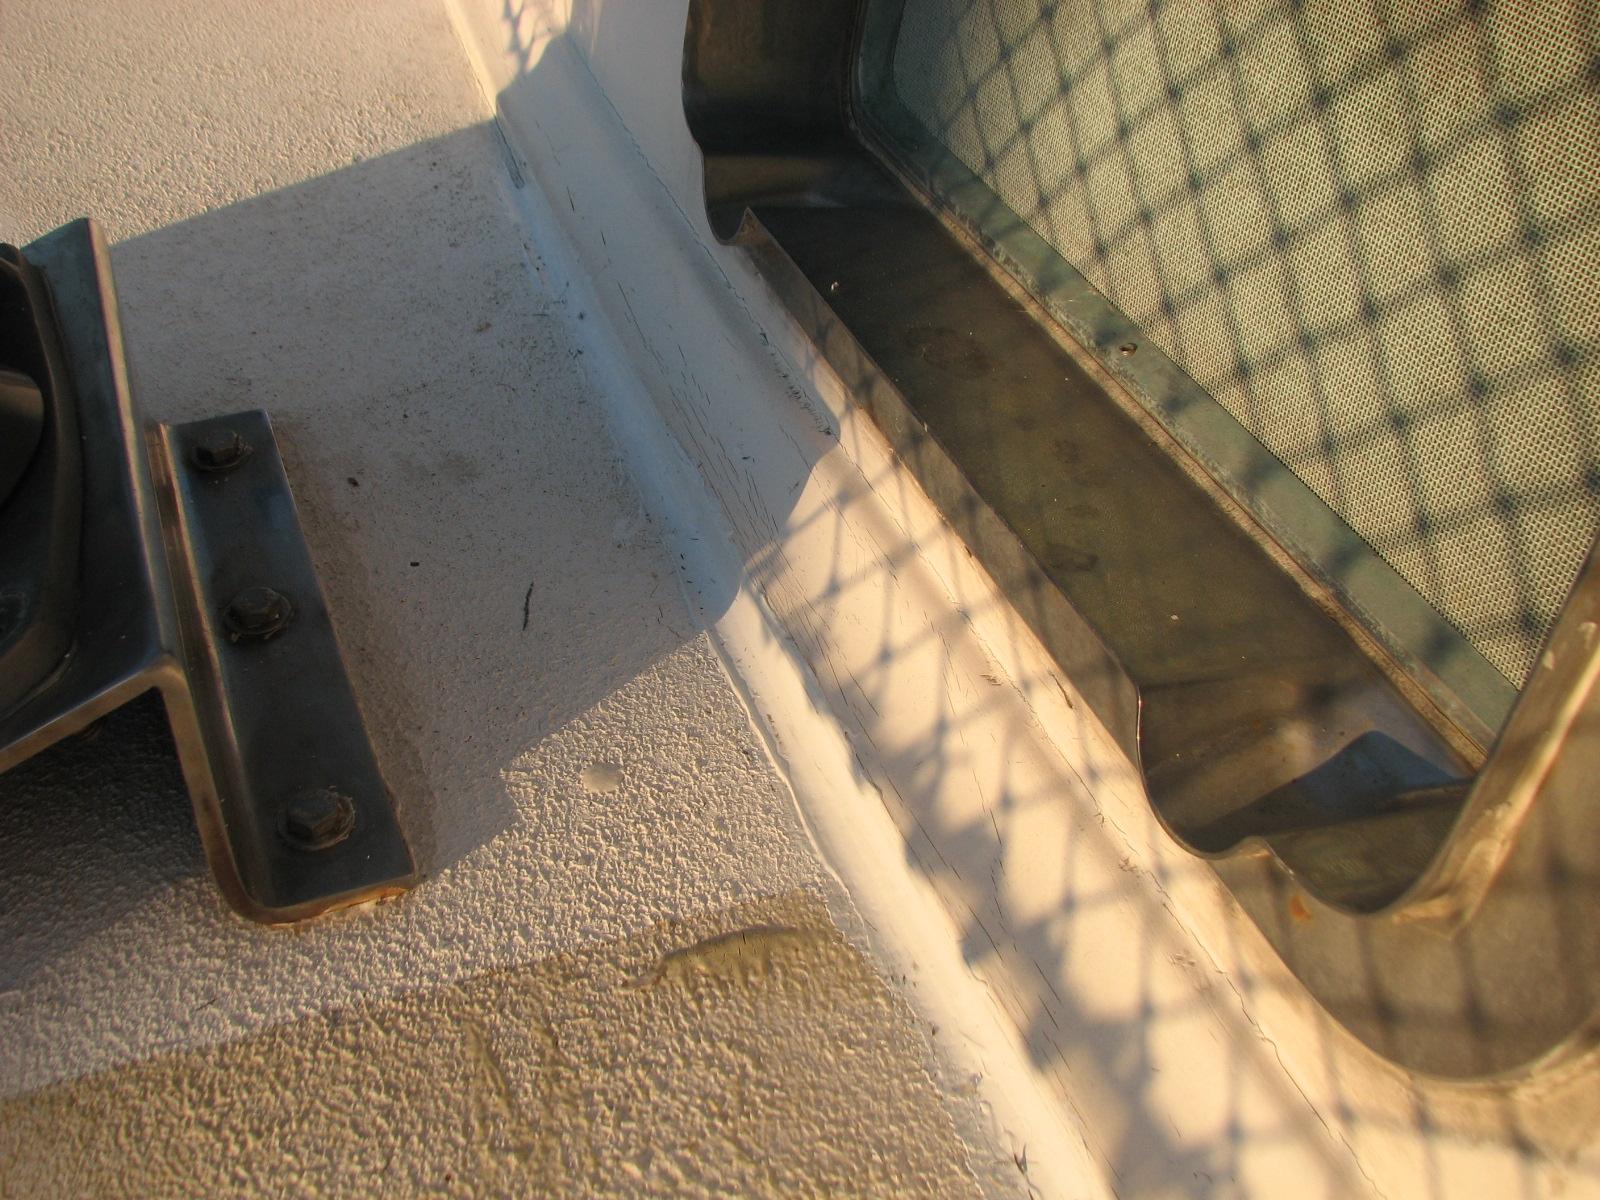
Next item on the list was to finish
rebedding the stanchion bases. I had one base remaining, but that
base also had the supports for the 100 LB storm anchor. Obviously to
rebed the stanchion, the anchor had to be moved. So this is one of
those cases where it takes 30 minutes to get to the project, 5
minutes for the project, then 30 minutes to put everything back.
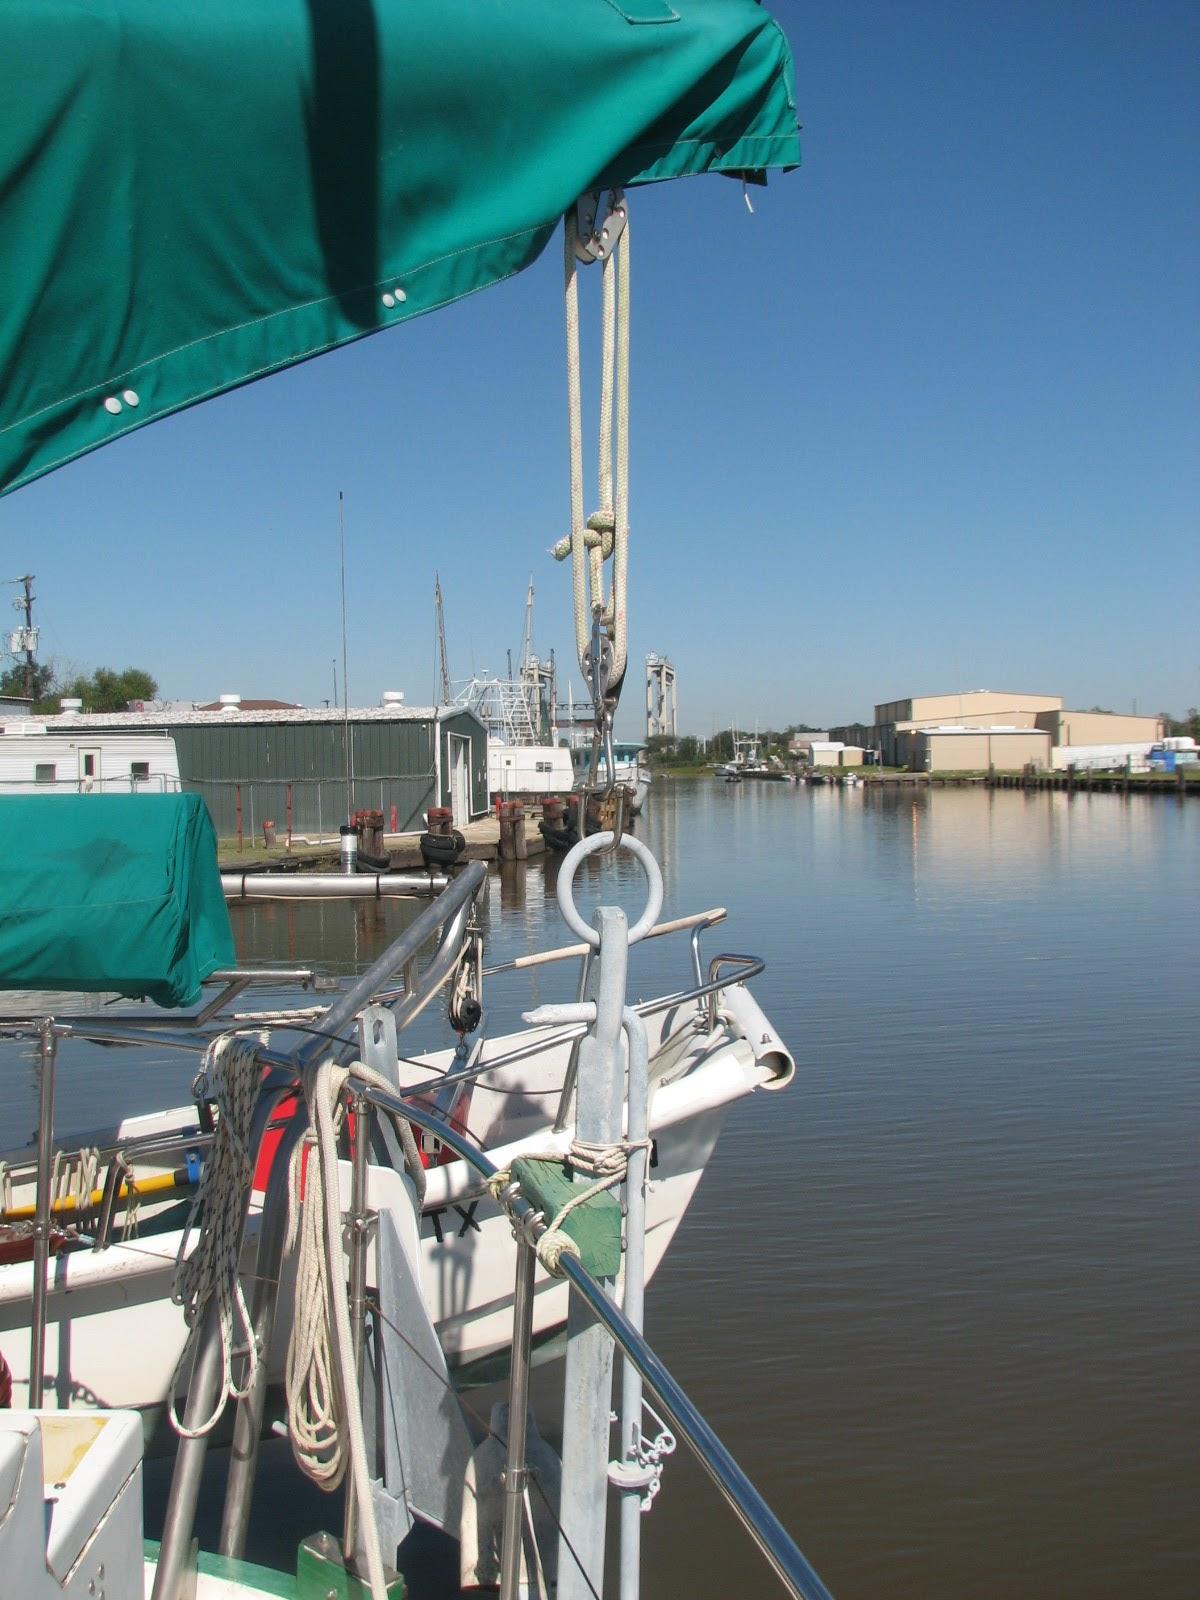
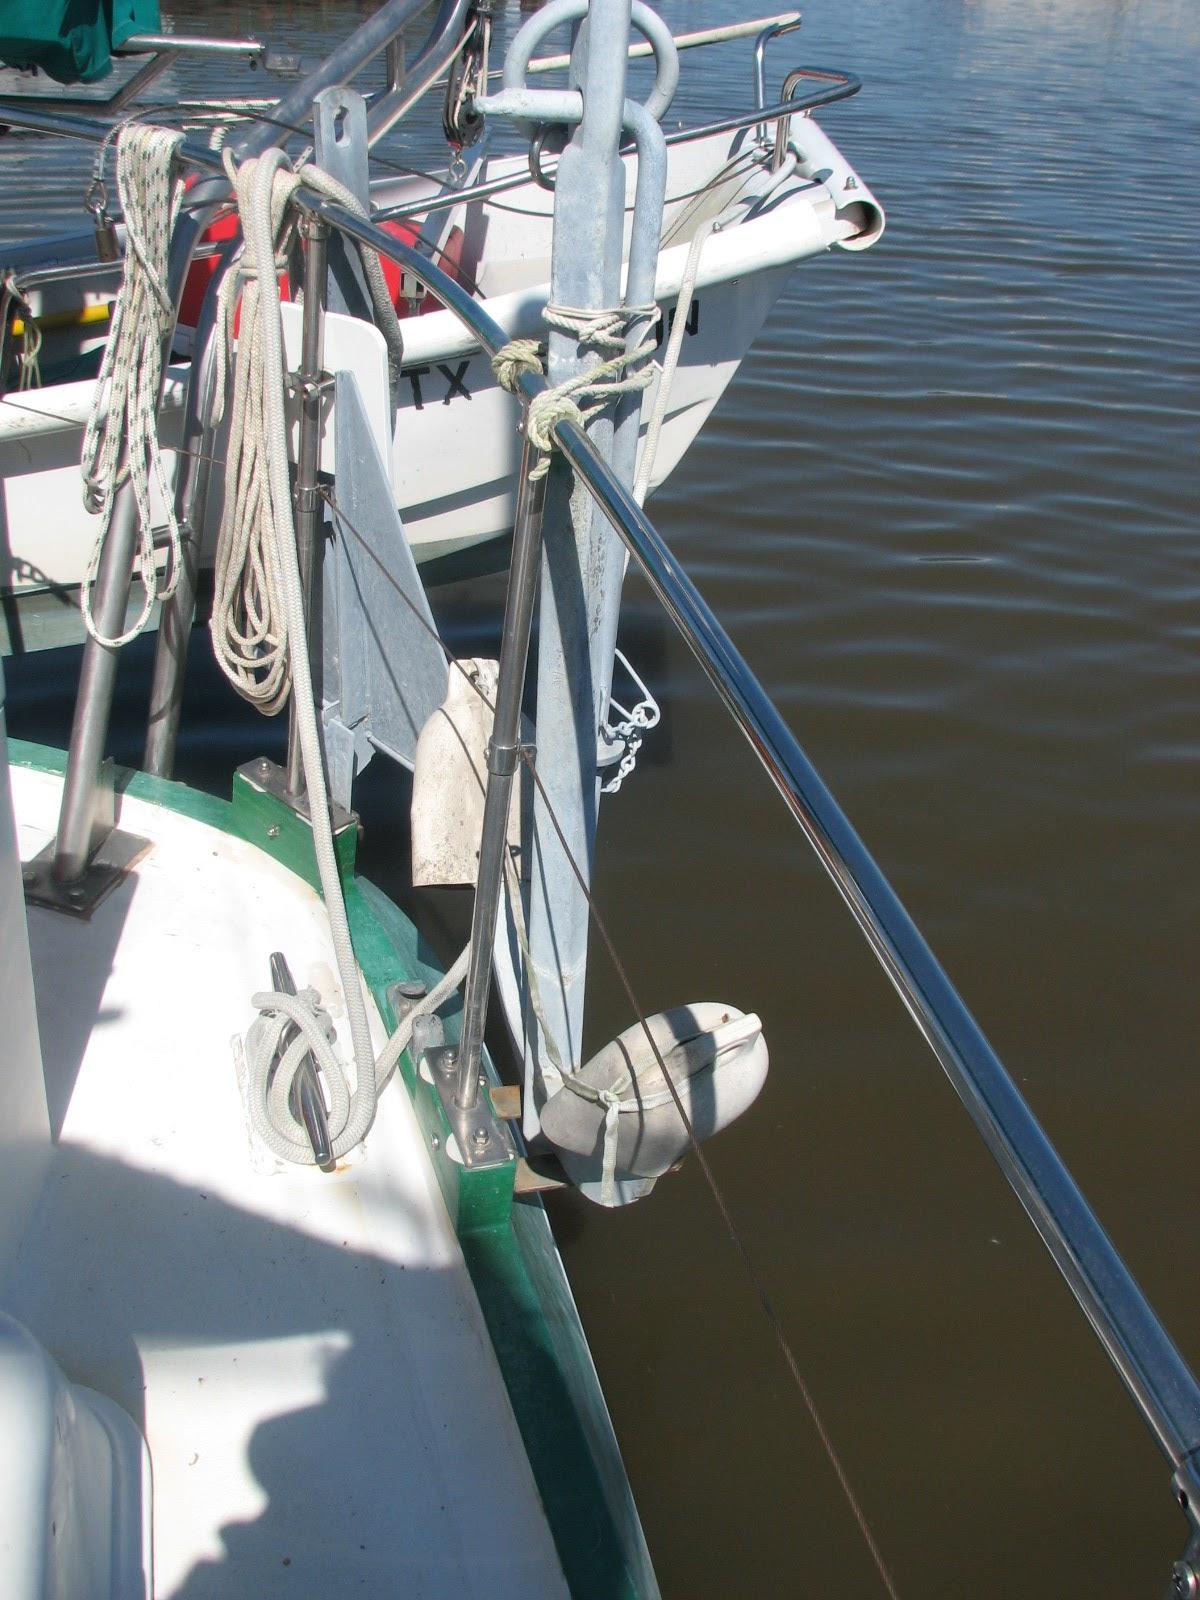
I hooked the anchor up to the mizzen
boom, and lifted it off of the supports.
Mizzen Sheet And Boom Connected To The
Anchor
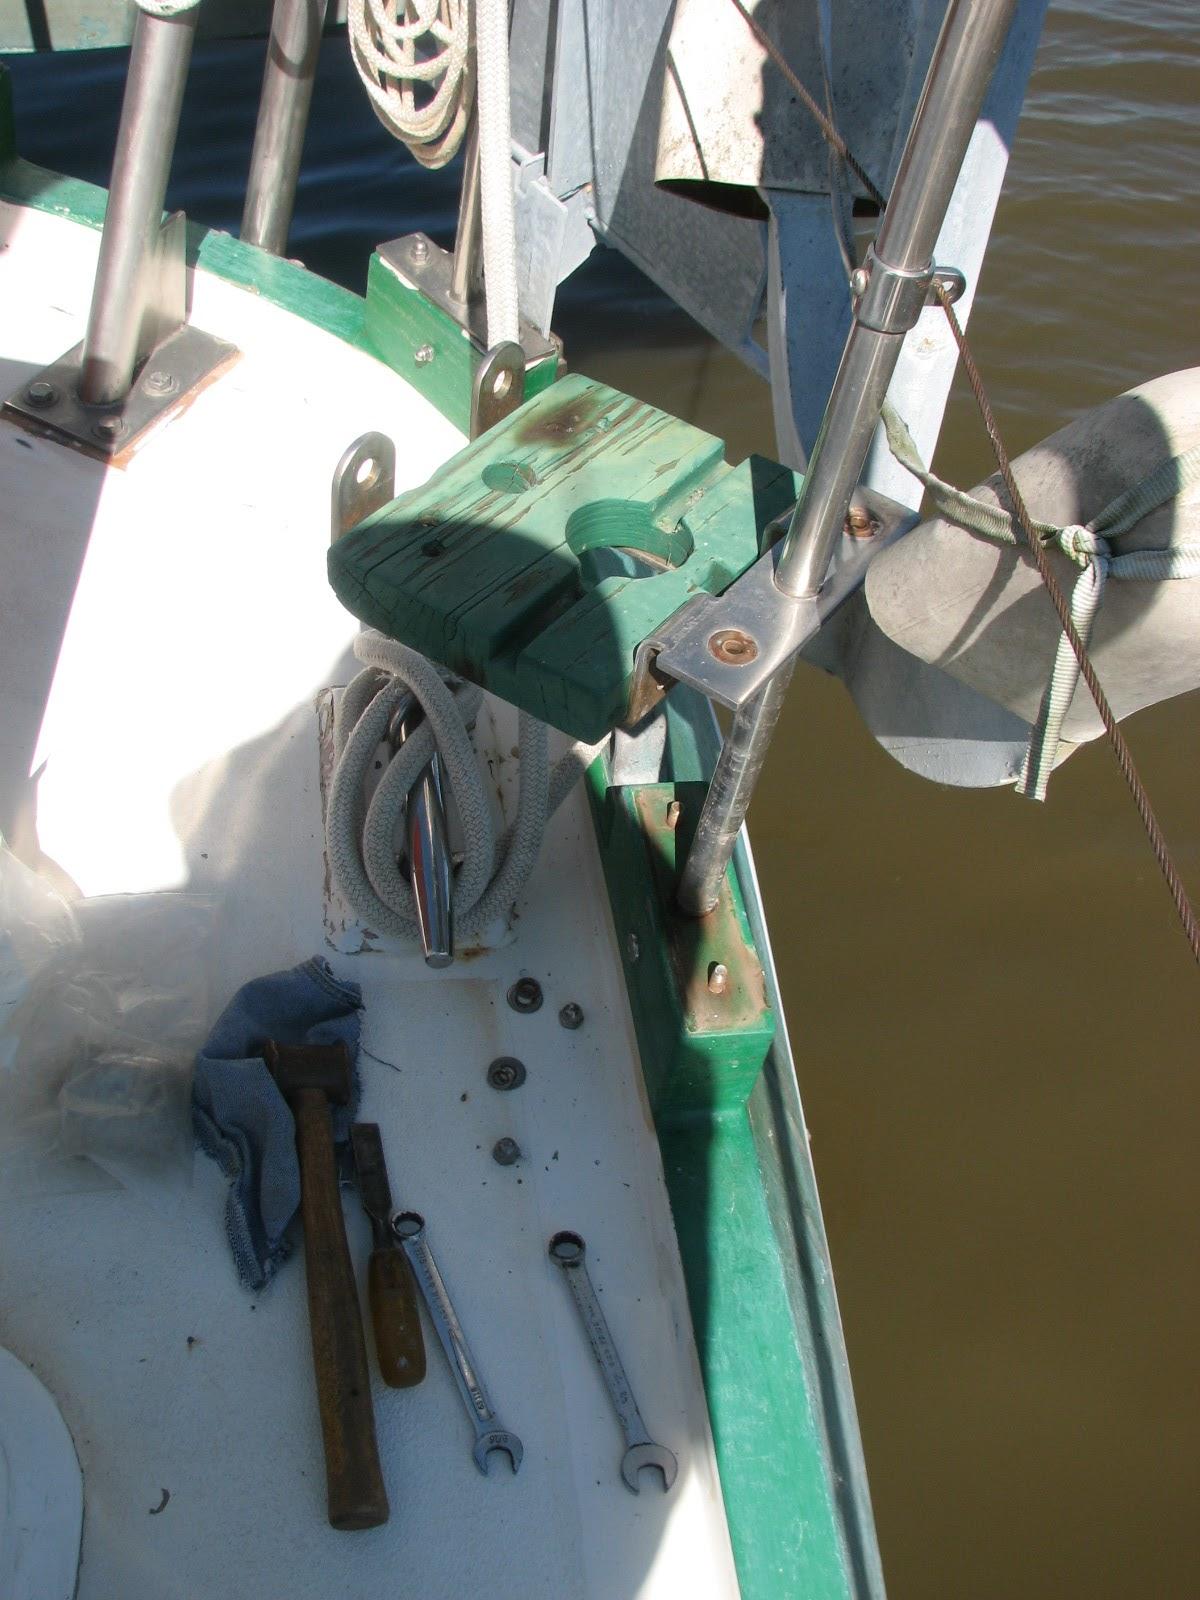
I moved the stainless steel plate out
of the way. I cleaned up the area, applied the Ace
Rope Caulk Weatherstrip, and put the stainless steel
plate back on the stanchion.
Stainless Steel Plate Moved To Enable
Rebedding
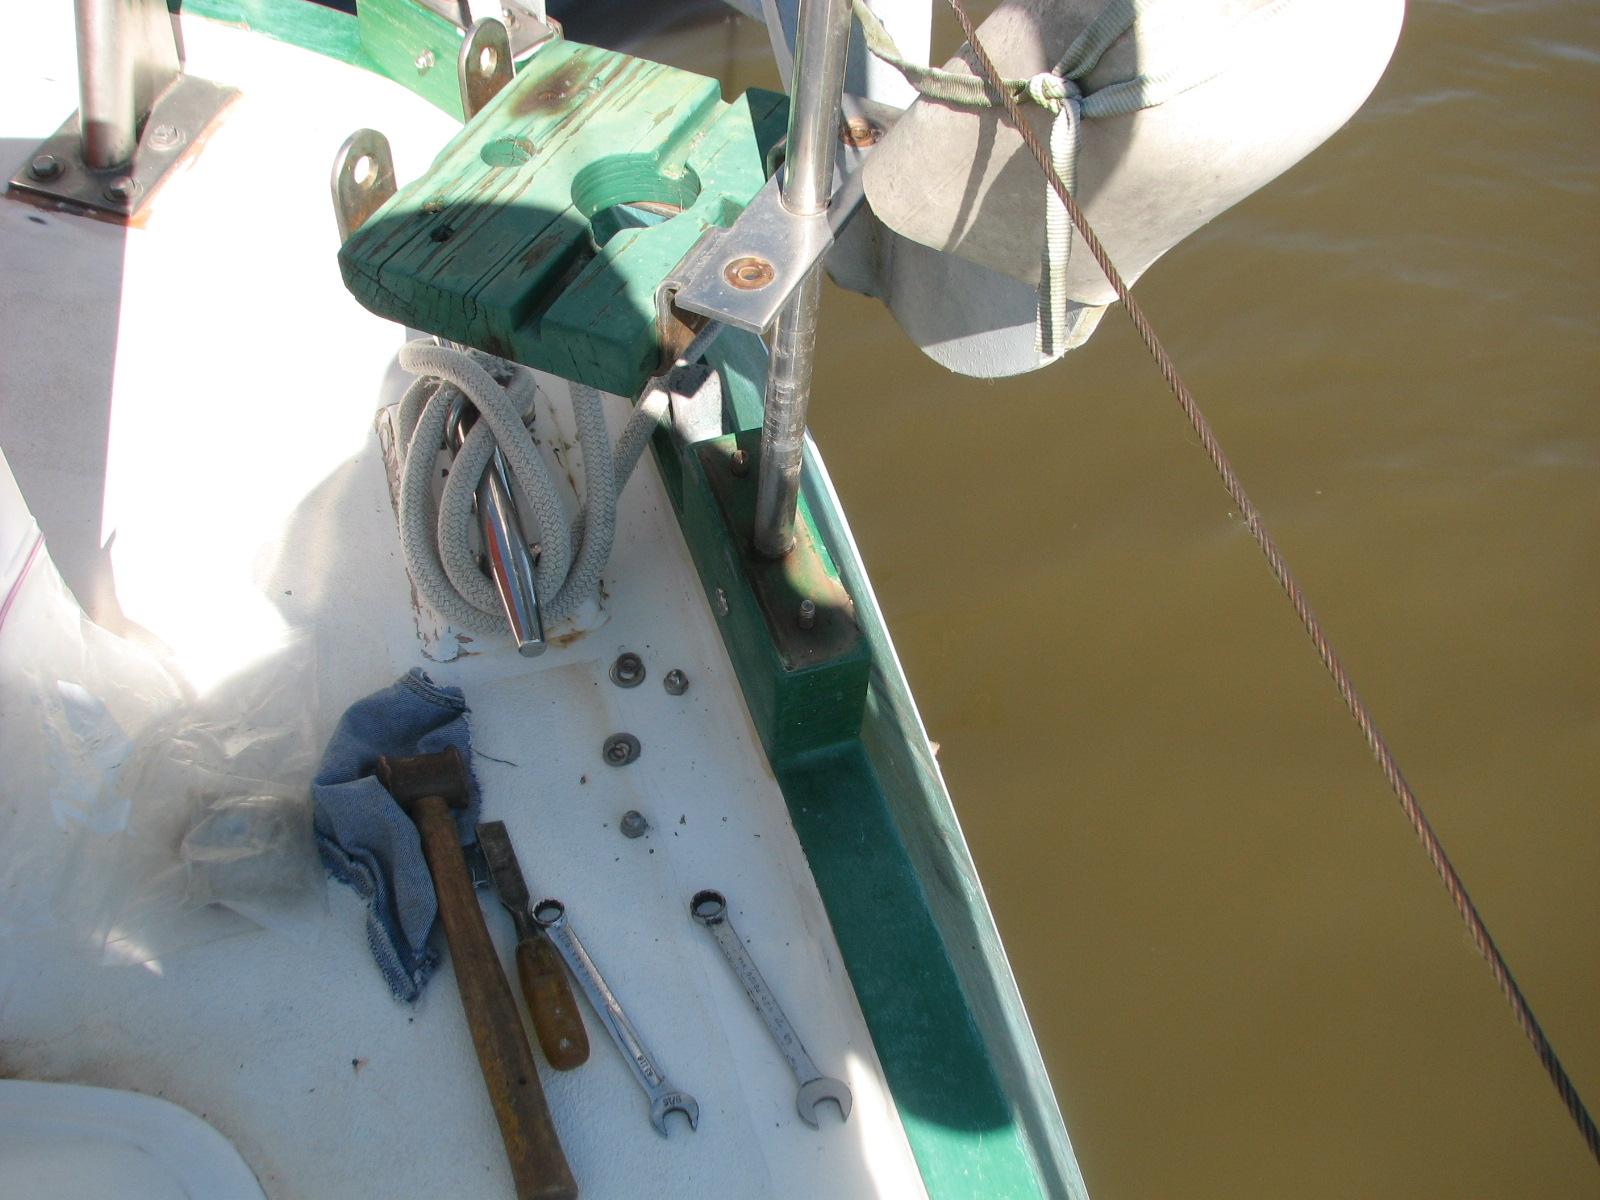
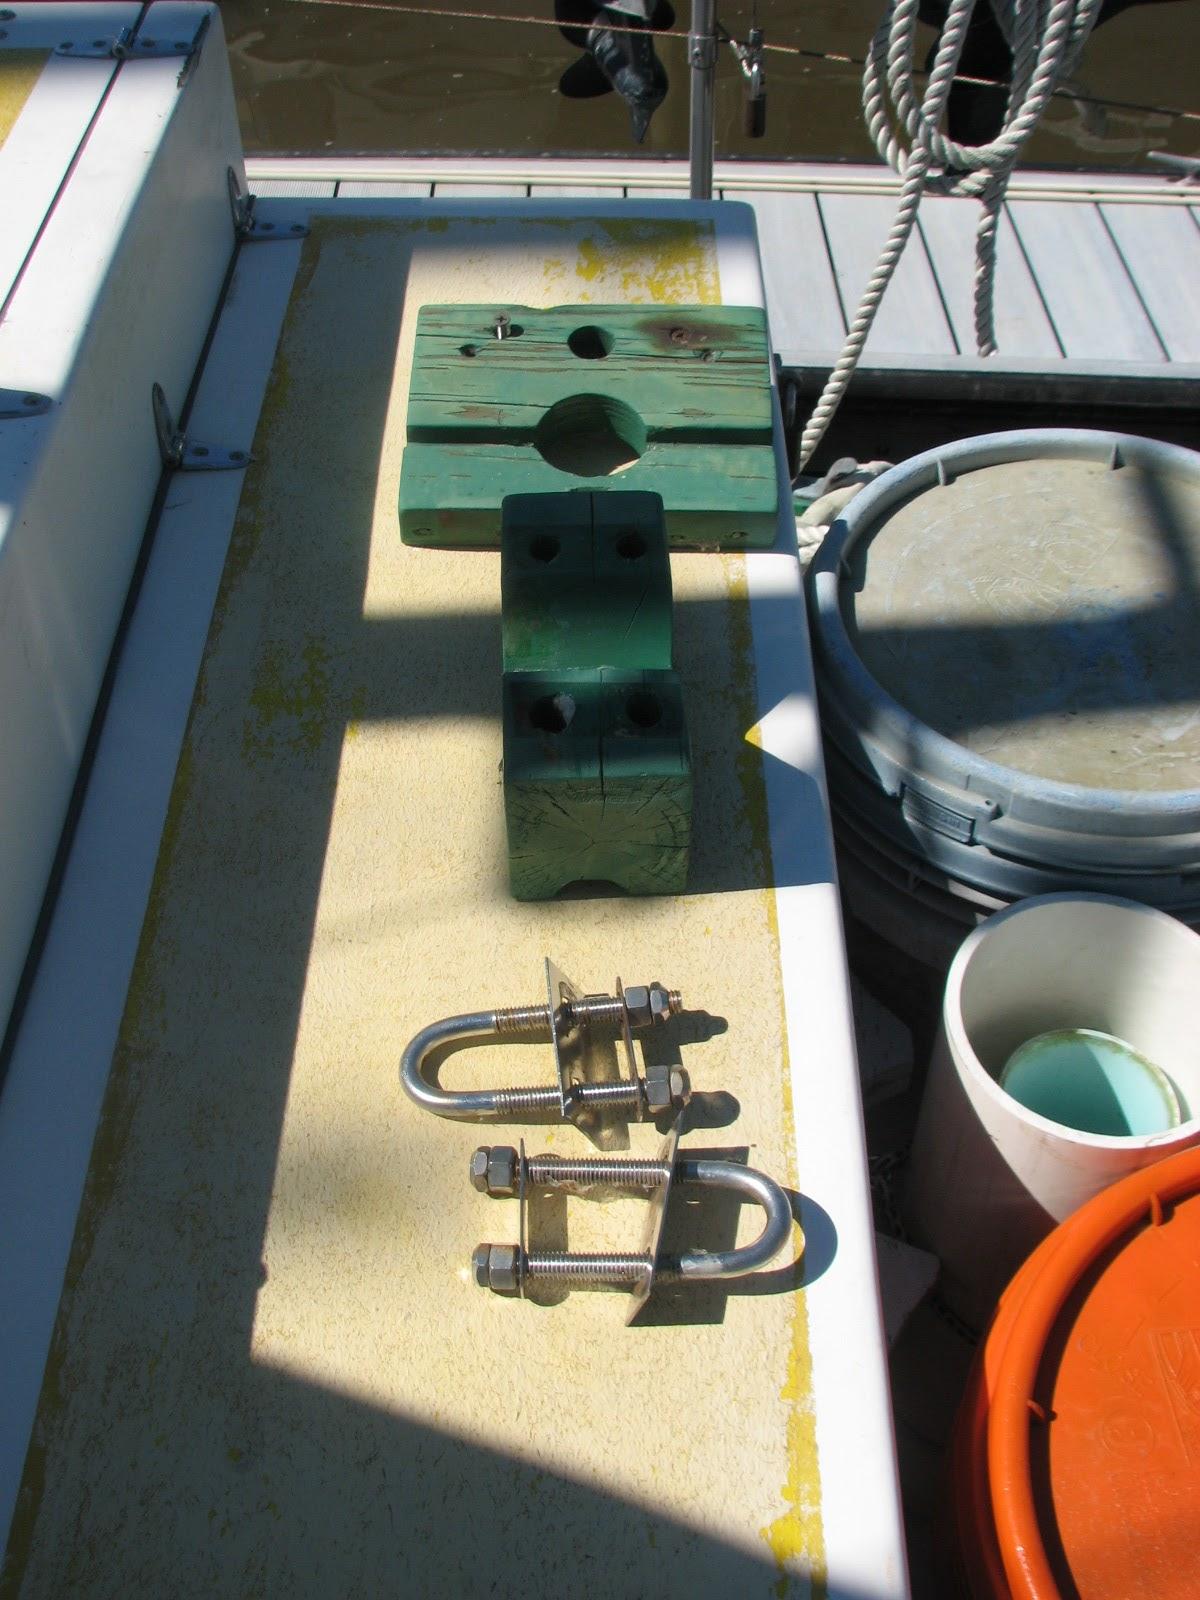
I have a wooden block attached to the
anchor support that the anchor actually sits on, and another wooden
block used to tie the anchor to the liferail. Kitty suggested I
replace these two wooden blocks with fiberglass
pieces. I heartily agreed, because once they were made, no more
maintenance. The down side is that I do not have the blocks of
fiberglass,
I will have to build them. I have the spare Strongwell
Extren plate, so all I will have to do is cut the
pieces of plate, and sandwich the pieces of plate together using
fiberglass
mat and polyester
resin.
I took the two pieces of wood off of
the support and life rail to take over to the shop.
Wooden Block On Stainless Steel Support
Wooden Block On Liferail
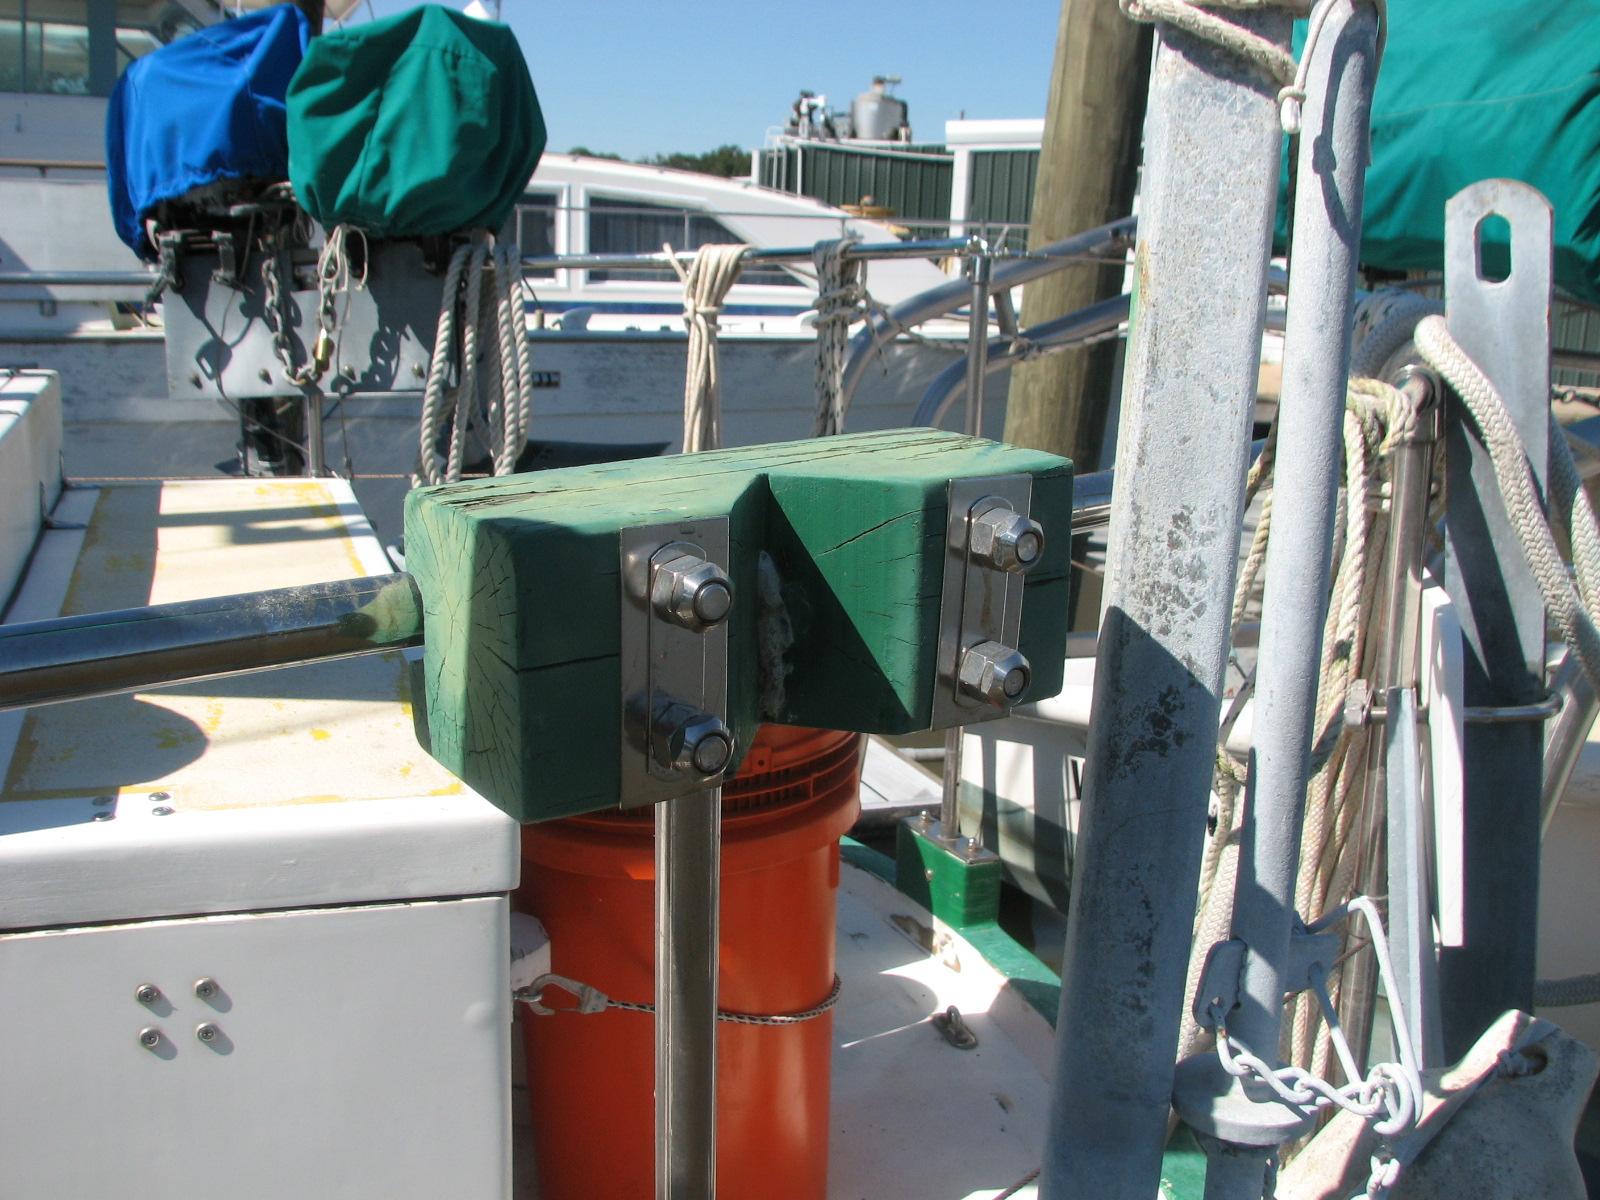
Wooden Blocks Ready To Take To Shop
Anchor Back On Supports Without Wooden
Blocks
Now all of the stanchion support block
have all been rebedded, and again we wait for a rain storm to see if
any progress has been made on the leaks.
I started in on attempting to put on
the side base pieces for the hard dodger, but decided I will
construct a piece of the Strongwell
Extren plate that is flat on the top for the hard
dodger, and angled on the bottom to fit the contour of the dog house.
I loaded the upright, all of the
weights, fiberglass
mat, sander, “Box
O’ Resins”, and wooden blocks into the Black
Beast, and went back to the shop.
I got out a couple of pieces of my
Strongwell
Extren plate, and using the wooden blocks as a
template I was able to get the pieces of plate necessary. I also was
able to template out a couple of pieces to build my angled piece of
plate.
Of course this meant I needed to roll
the table saw outside the shop
and bring out my new Evolution
Rage III compound miter saw. I set a good sized
squirrel cage fan in the door of the shop,
so most of the dust is kept outside during the cutting process. I cut
all of the pieces I needed. I then cleaned up all of the pieces and
cleaned up the table saw and Evolution
Rage III compound miter saw with air from the
compressor.
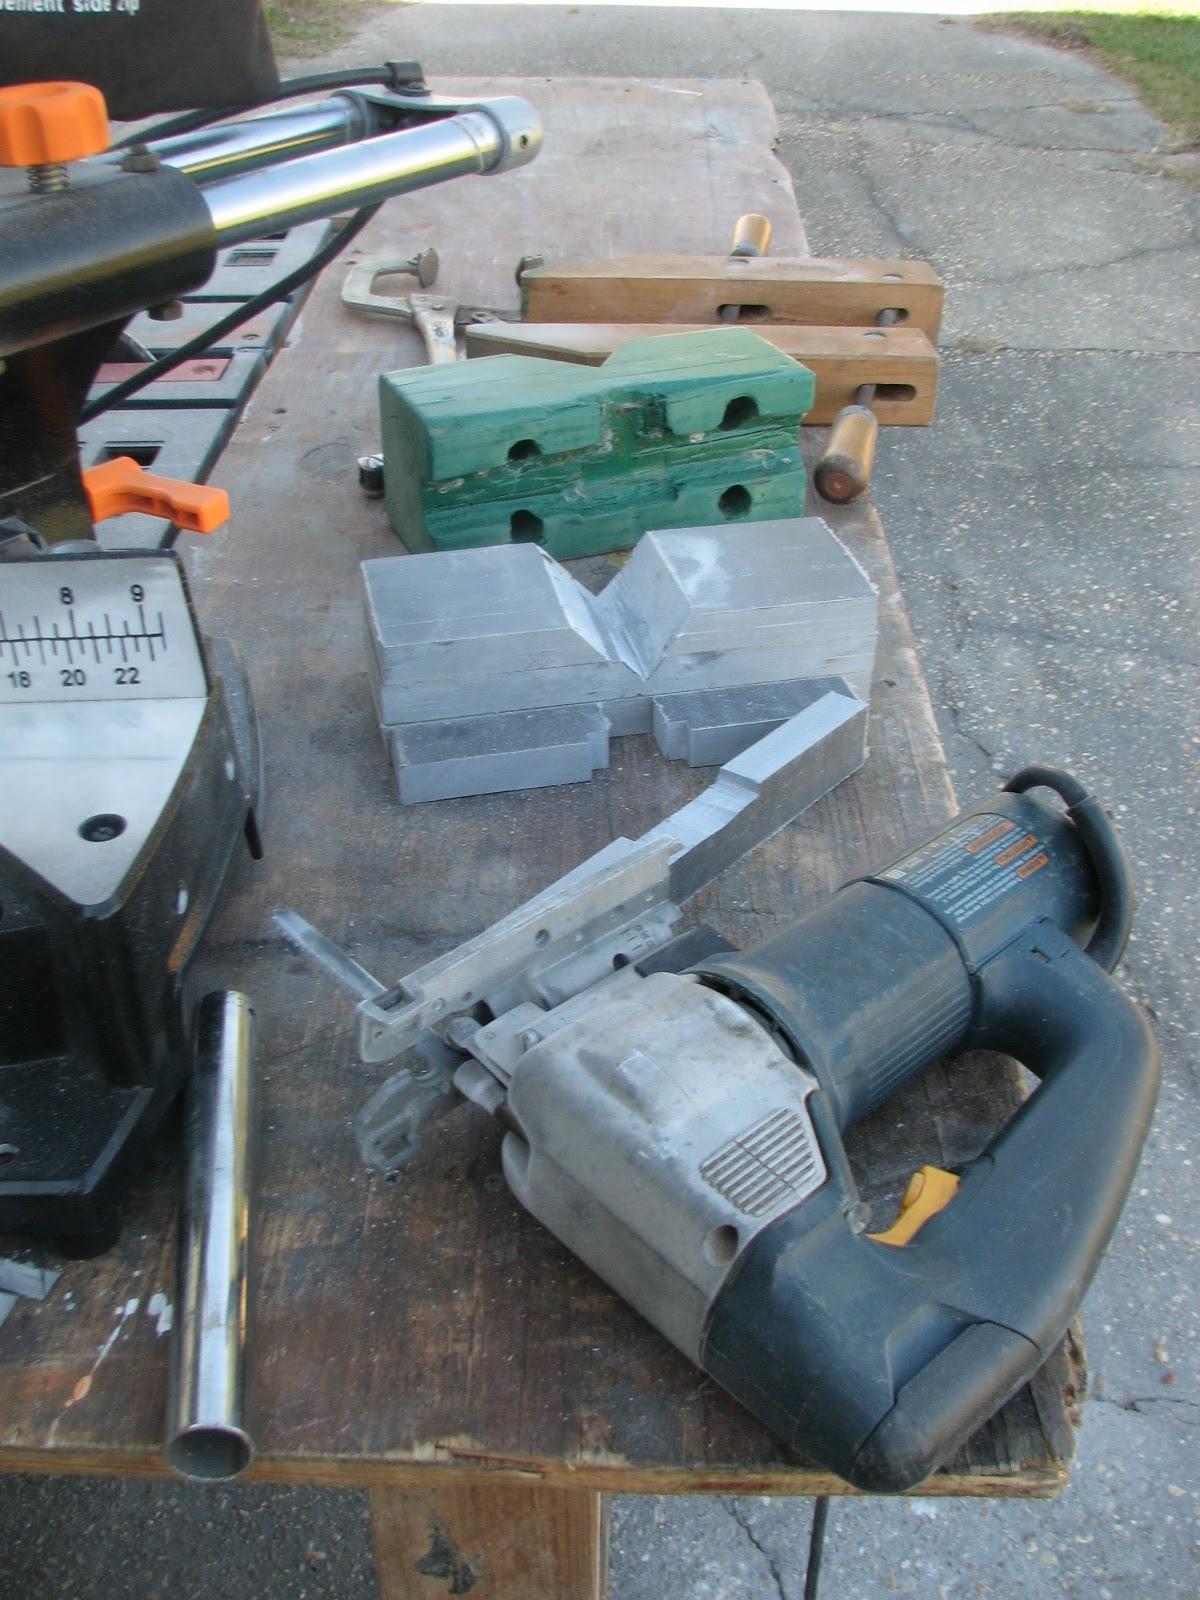
Some Of The Pieces Cut On Table Saw
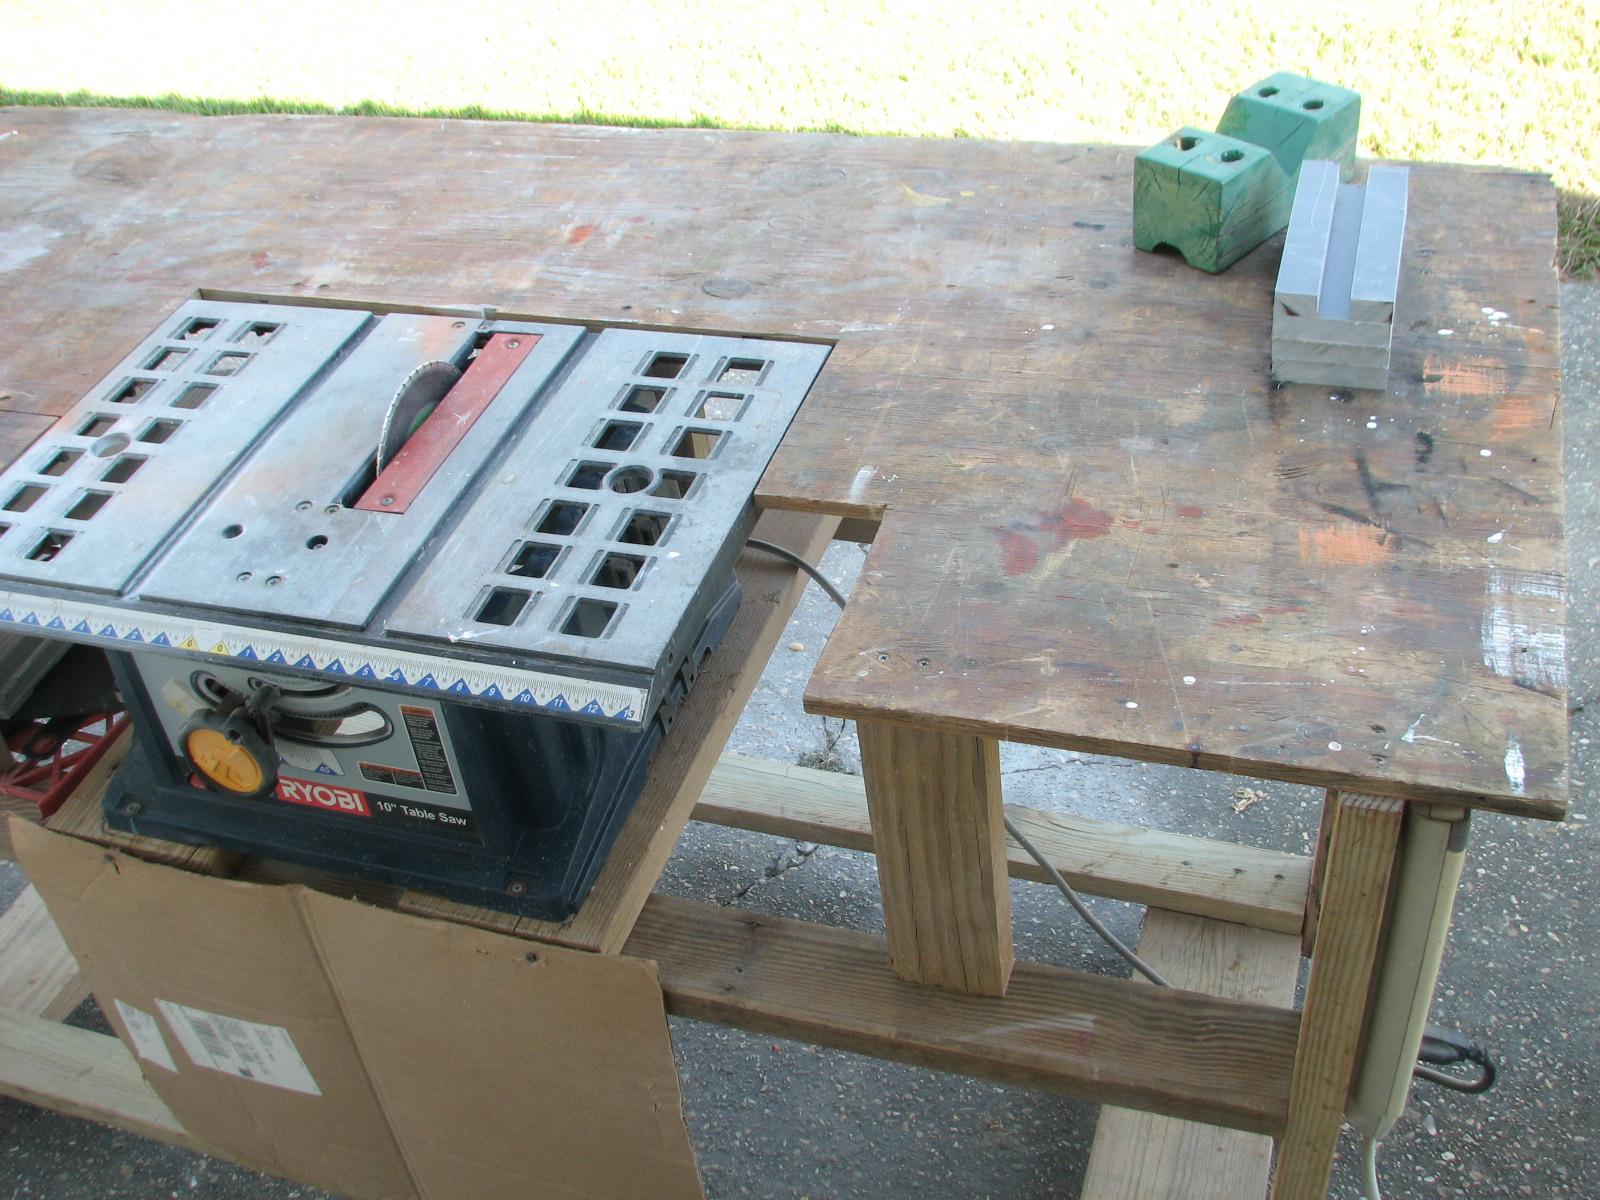

Using Jig Saw With Fiberglass Cutting
Blade
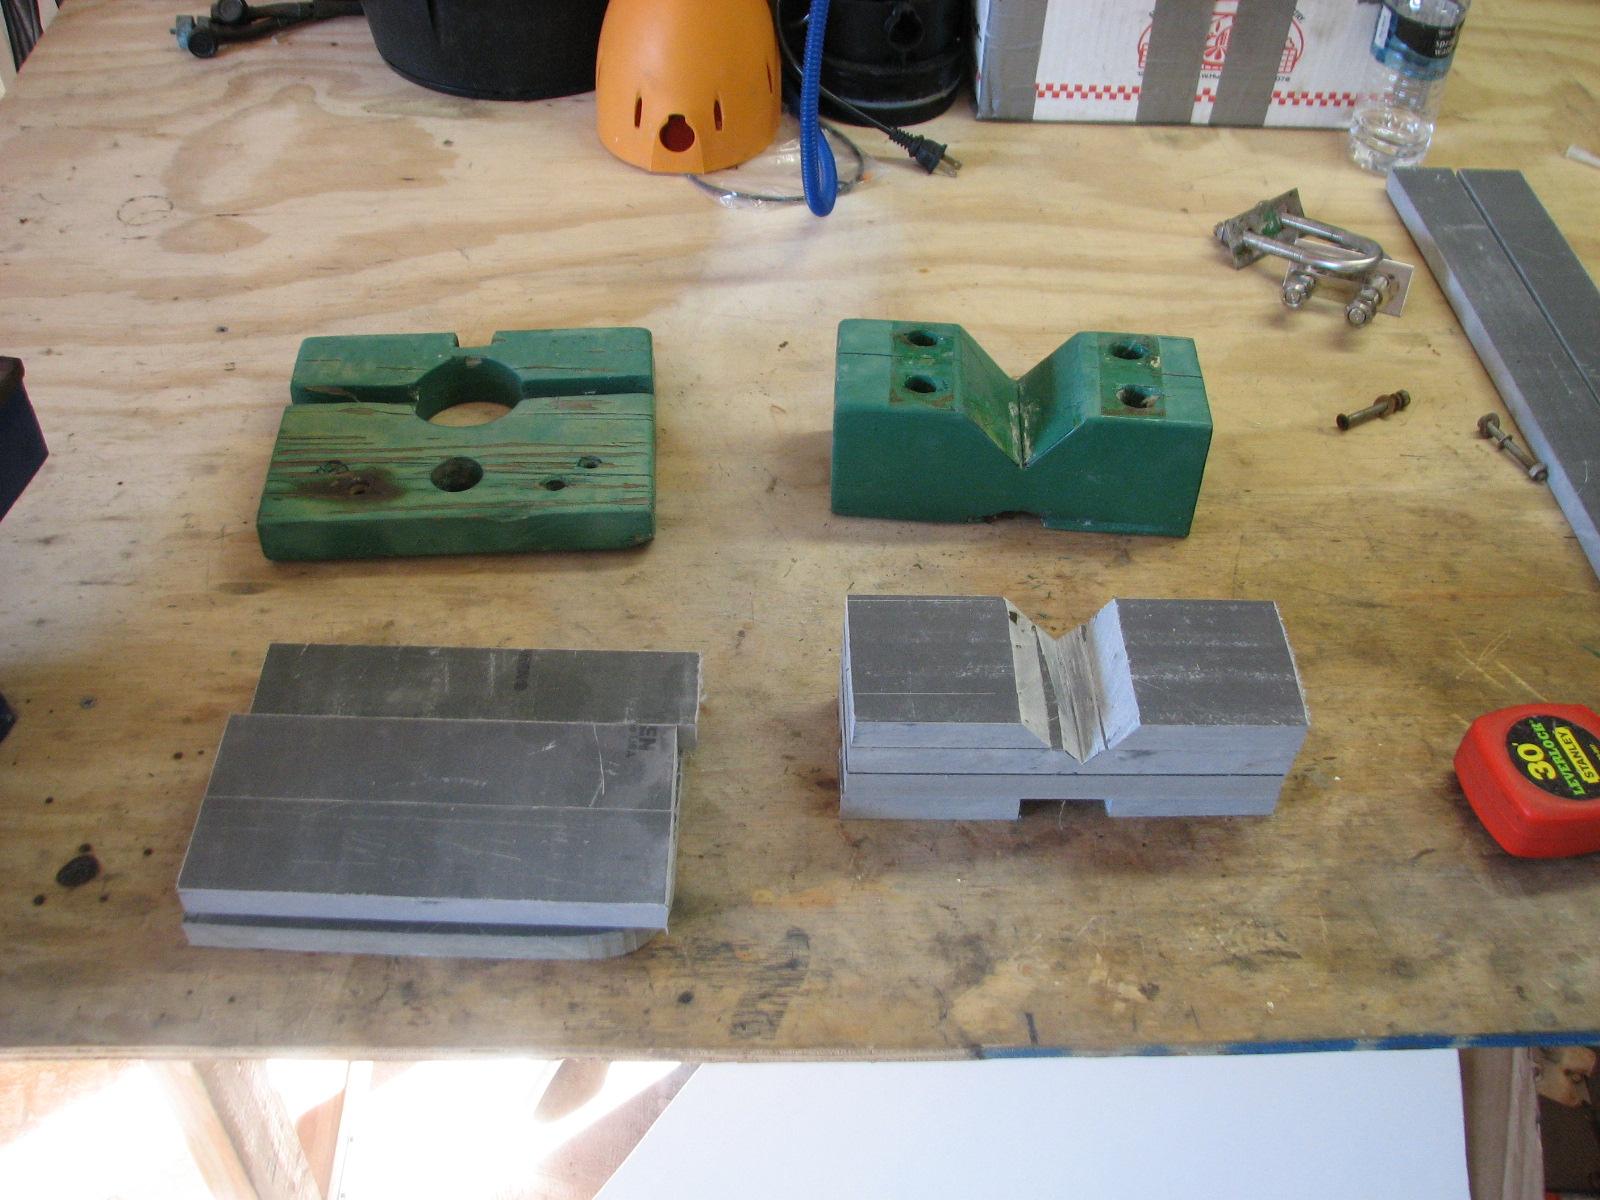
Cut Pieces On Bench With Wooden Pieces
As Templates
Next I worked on getting together the
scrap pieces of the Strongwell
Extren plate, and some small left over pieces from the
grating I put on the bowsprit. With these pieces and the original
piece I had cut for the hard dodger, I am going to build the angled
piece for the sides of the hard dodger base.
Scrap Pieces With Original Base Piece
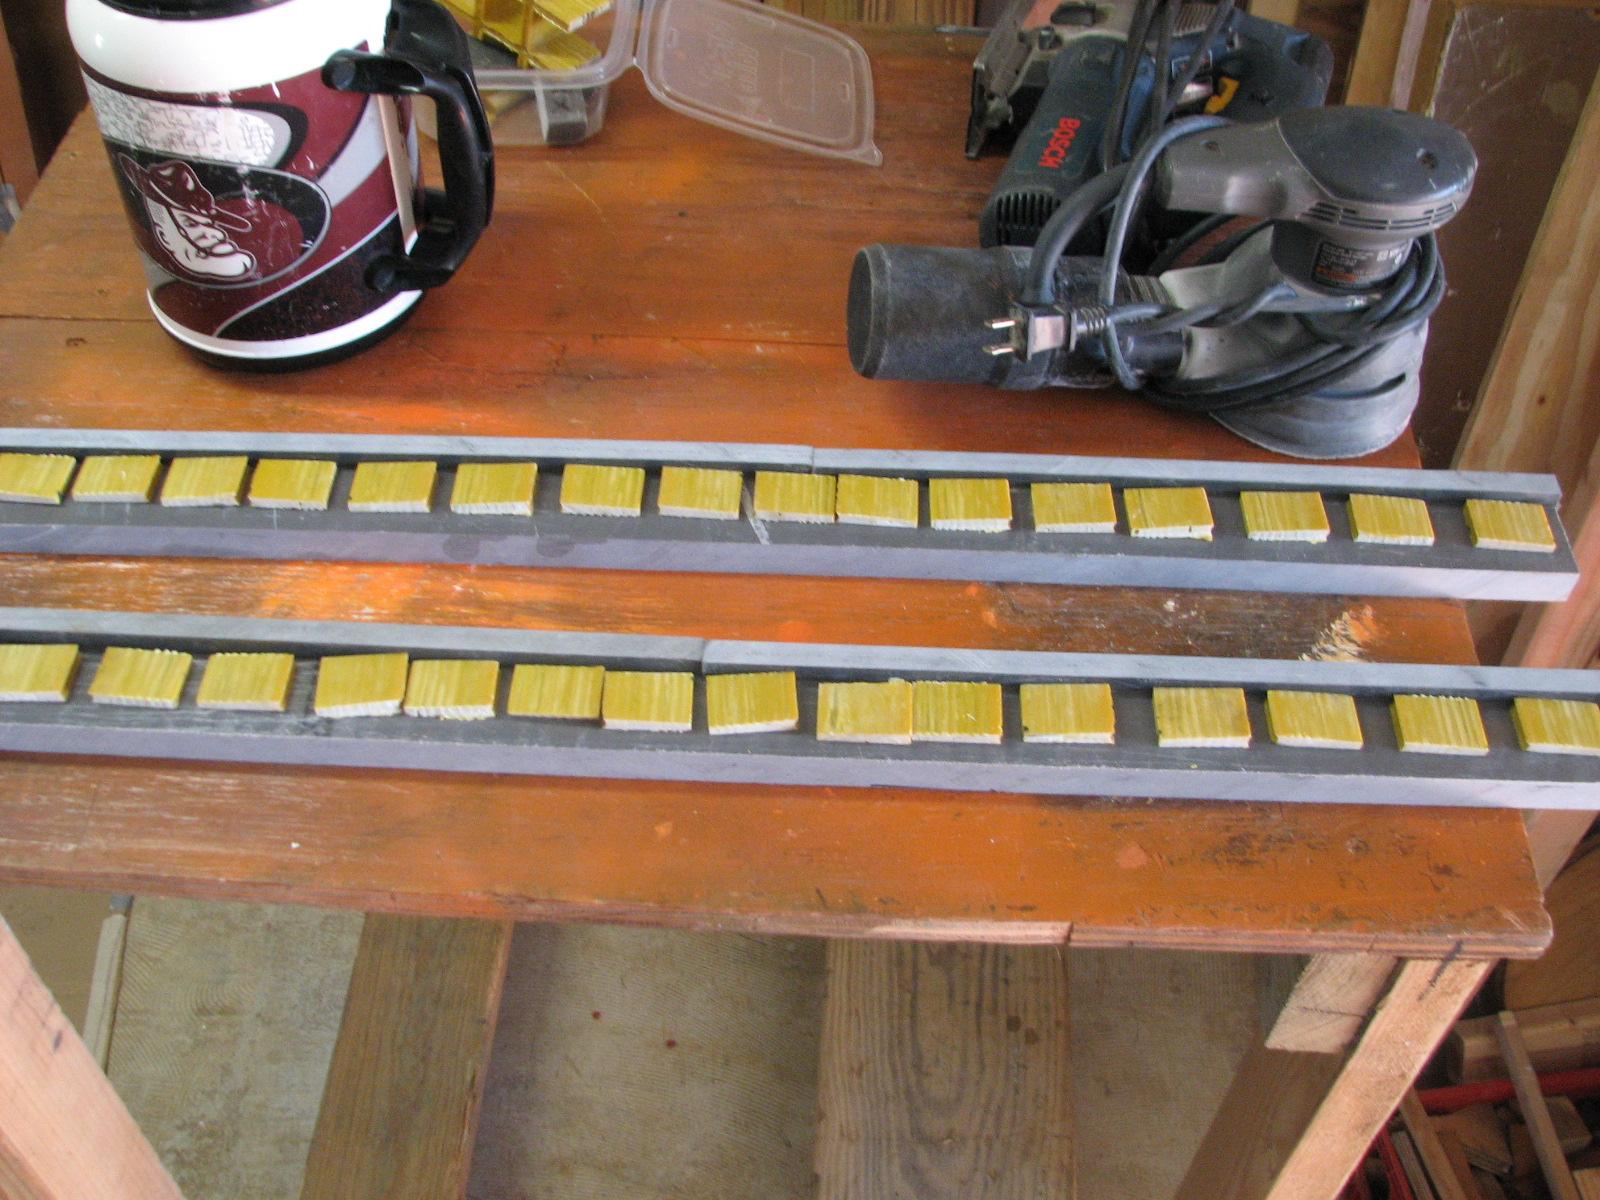
I started in sanding all of the pieces
of the Strongwell
Extren plate I am using to build all of these parts. I
sand down all of these parts to rough them up so the fiberglass
and polyester
resin will stick together to form a single piece.
Kitty came back from her excursion to
Lafayette,
so I did not finish the sanding. It was well after 1700. Will finish
the sanding and do the glassing tomorrow.
October 25, Friday, 2013
Started off the morning with my normal
ritual of getting on the Internet, answering email, and checking the
weather, while making a pot of coffee. I also spent time with our two
cats, Jillian
and Jordan.
Went over to the shop
and straightened up the shop. When I finished the welding yesterday,
I went off and left everything out. Not very me, if you know what I
mean!
I dusted the welder off, and put away
all of the cables and accessories. I then swept and vacuumed the
shop,
so now it looks like I work there.
Next I had to do some more cutting of
the Strongwell
Extren plate. I had to notch one of the upright pieces
of plate that will span the center and starboard sections of the hard
dodger. I also had to cut some small filler pieces to fill in under
where I am going to glass in the side pieces of plate for the hard
dodger. This will become clearer, as I actually do it.
Do do the cutting, I had to use the
table saw. I rolled the tables saw out of the shop,
made the cuts, then cleaned up the saw and the rolling table. I then
put the table saw back into the shop,
and I was finally done. As with a lot of projects, the prep and
cleanup took a lot longer than the actual cutting.
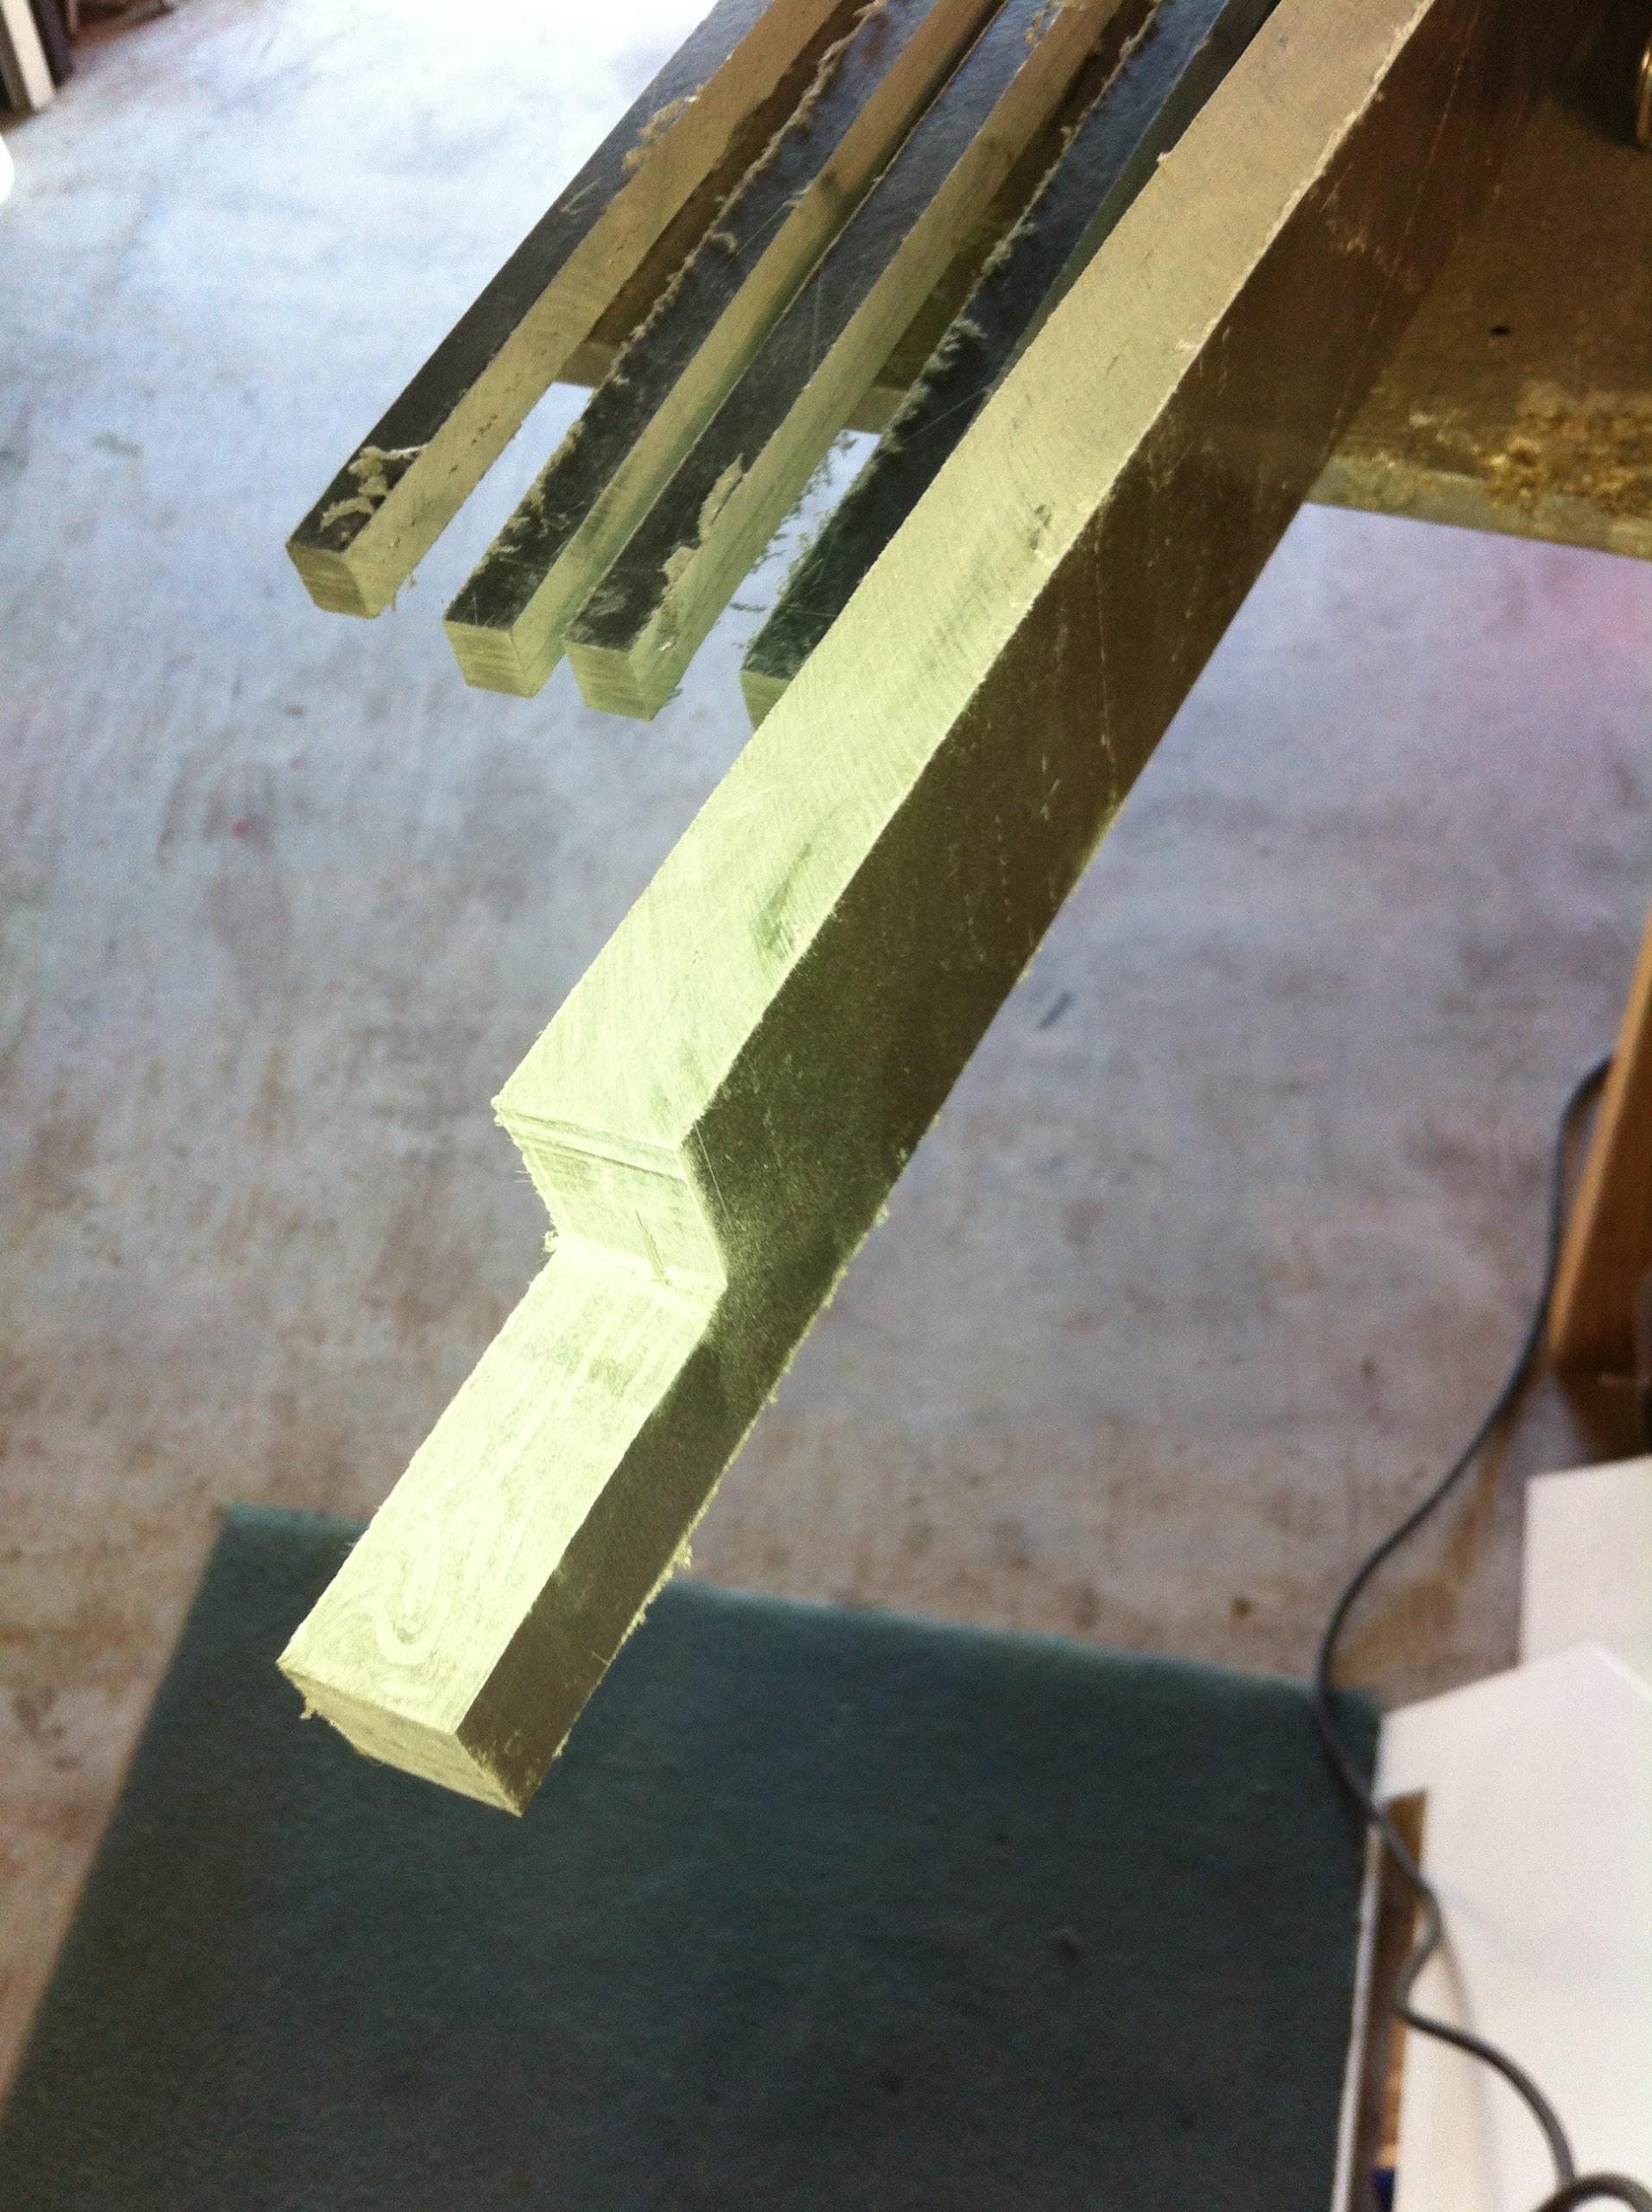
Cut Fill Pieces And Notched Upright

Notched Hard Dodger Upright
Went back to DREAM AWAY and had
breakfast. Today I was not going to work on the hard dodger, but try
and locate, the fix a couple of leaks on DREAM AWAY. I “had” all
of the leaks fixed on DREAM AWAY. The last rain we had was
substantial, so it showed a couple of leaks, and of course the source
was not obvious.
First thing to try was run the hose in
the suspected area of the leaks, get frustrated because it never
finds a leak, and then check the obvious.
The first leak to attempt to repair was
the turning block on the port side, and the backing plate for the
turning block which is located in the head. We removed the backing
plate and found a couple of damp areas, not wet, but suspicious.
Backing Plate For Turning Block
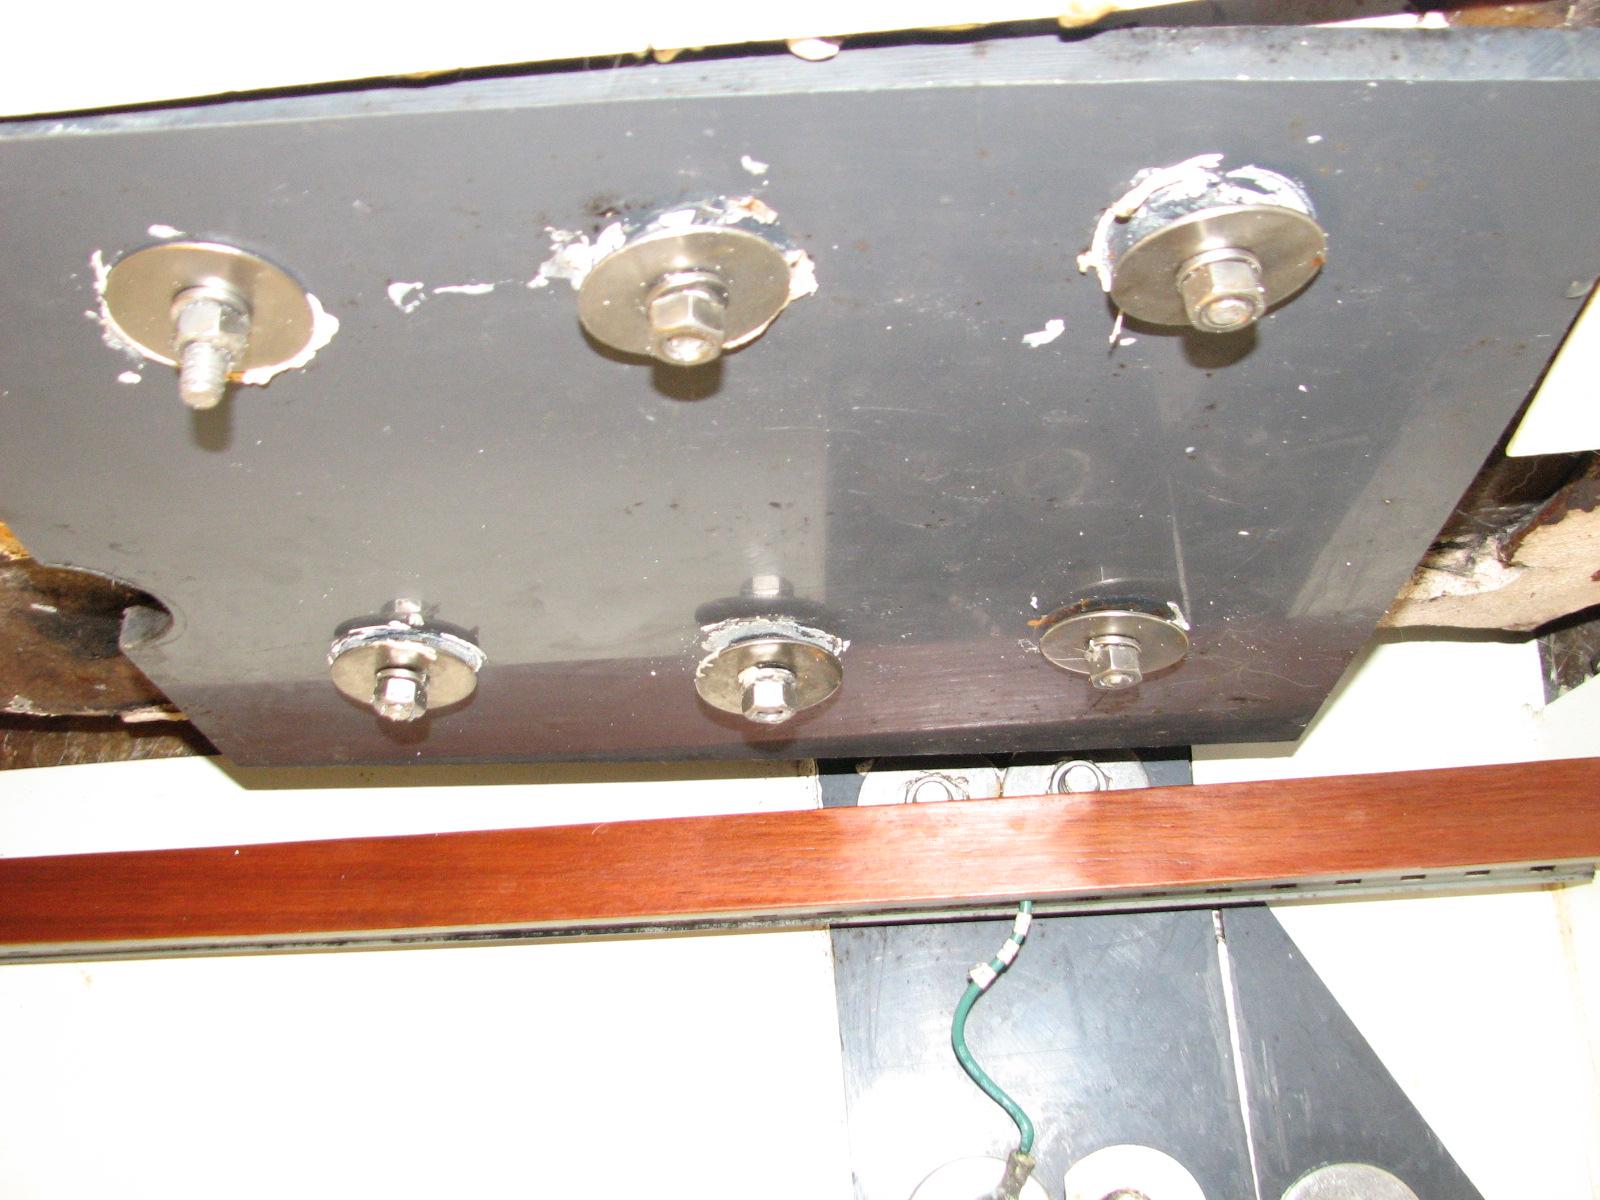
Because of the dampness, I decided to
remove the bolts holding the backing plate, and also rebed the
backing plate. When I removed the six bolts holding the backing plate
to the deck, I did not see any dampness on the bolts. In fact the Ace
Rope Caulk Weatherstrip I used around the bolts still
looked in good shape. I also cound not budge the turning block from
the deck. I surmised, because of that, it was not leaking.
Turning Block On Deck
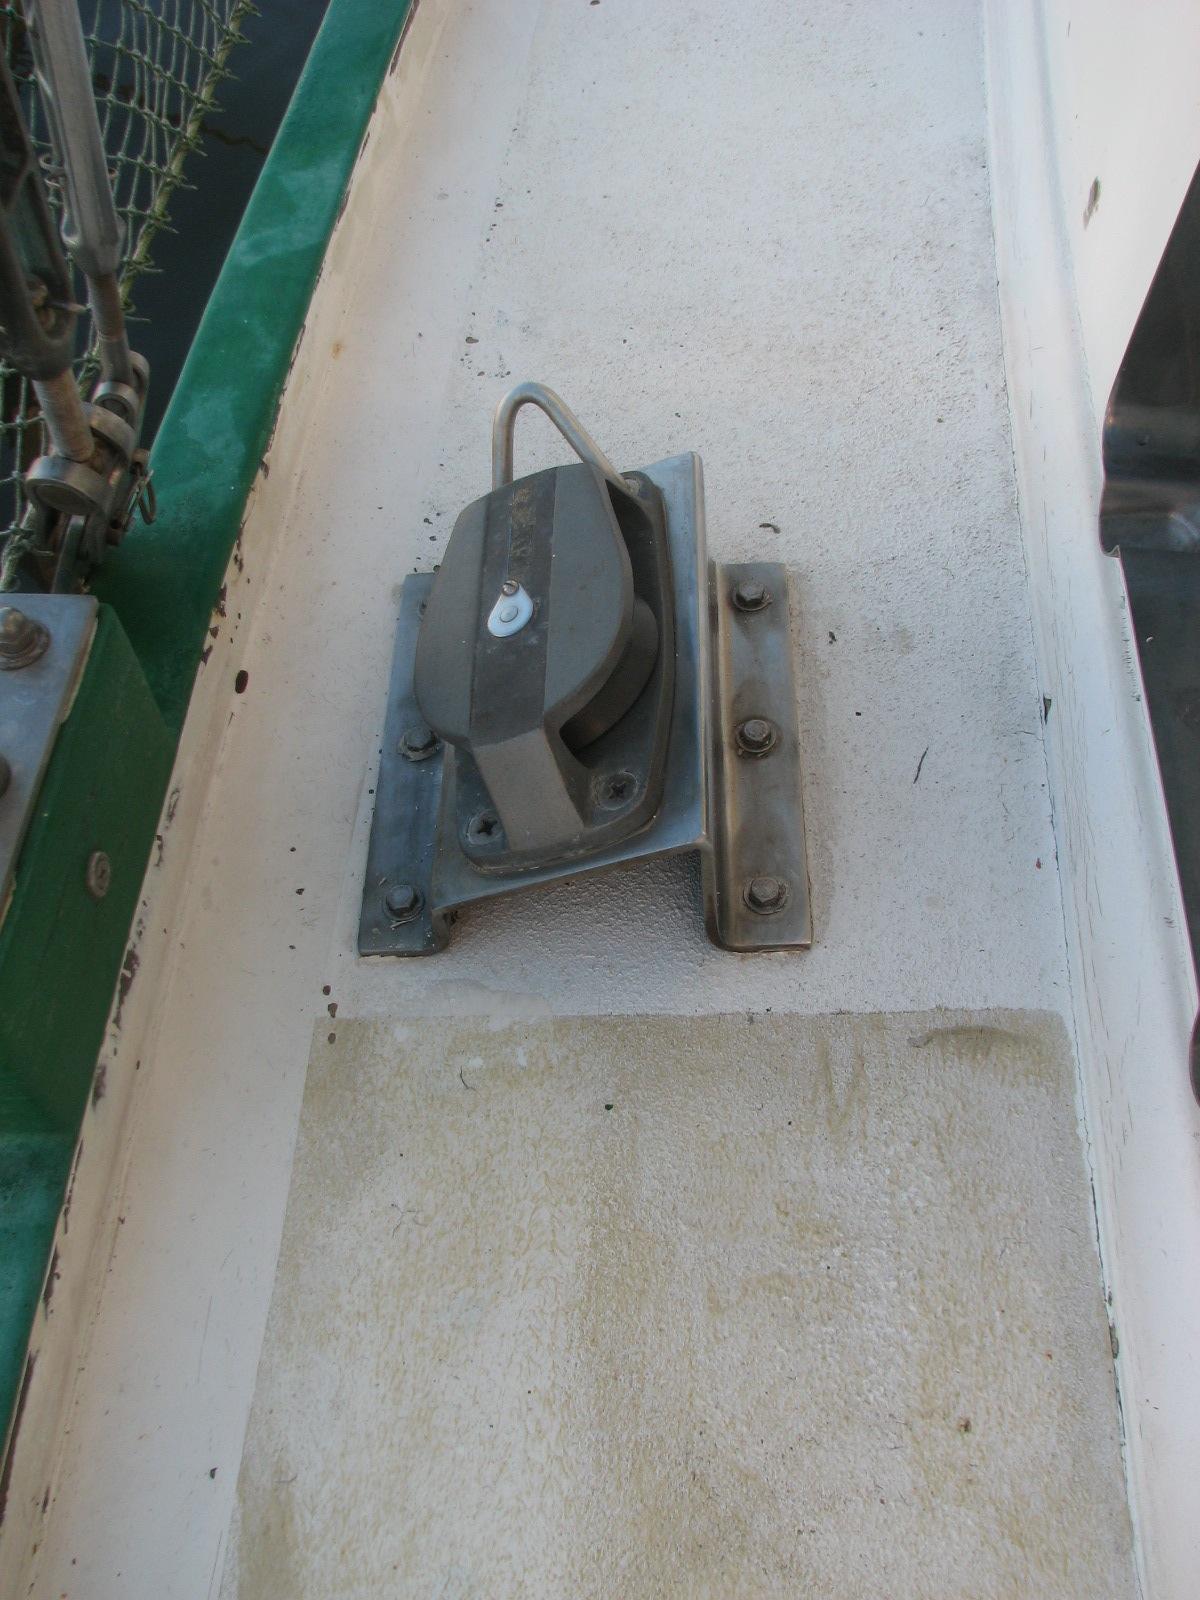
I cleaned up the bolts, applied more
Ace
Rope Caulk Weatherstrip to the bolts, and put the
bolts through the deck and into the backing plate. I tightened all of
the nuts on the bolts, and was pretty satisfied the turning block was
not the source of the leak.
While I was on deck working on the
turning block, I noticed a piece of the gelcoat
broken out, and I could see raw fiberglass
in the hole. This might be a source of the leak, so I will repair
that possibility tomorrow.

The next suspect on the list is a cleat
that is on top of the cabin, with it’s backing plate in the head.
We removed the bolts from the cleat, and lifted the cleat off of the
deck. I rebedded the cleat and it’s bolts using the Ace
Rope Caulk Weatherstrip, and then tightened it all
back together.
Another suspect in the find the leak
project are all of the new stanchion bases I fabricated and installed
on the aft portion of DREAM AWAY. The fabrication and construction is
all covered on my web
page. I suspected that water may be leaking under the
stainless steel plates, and then down through the threaded rod, and
into the boat.
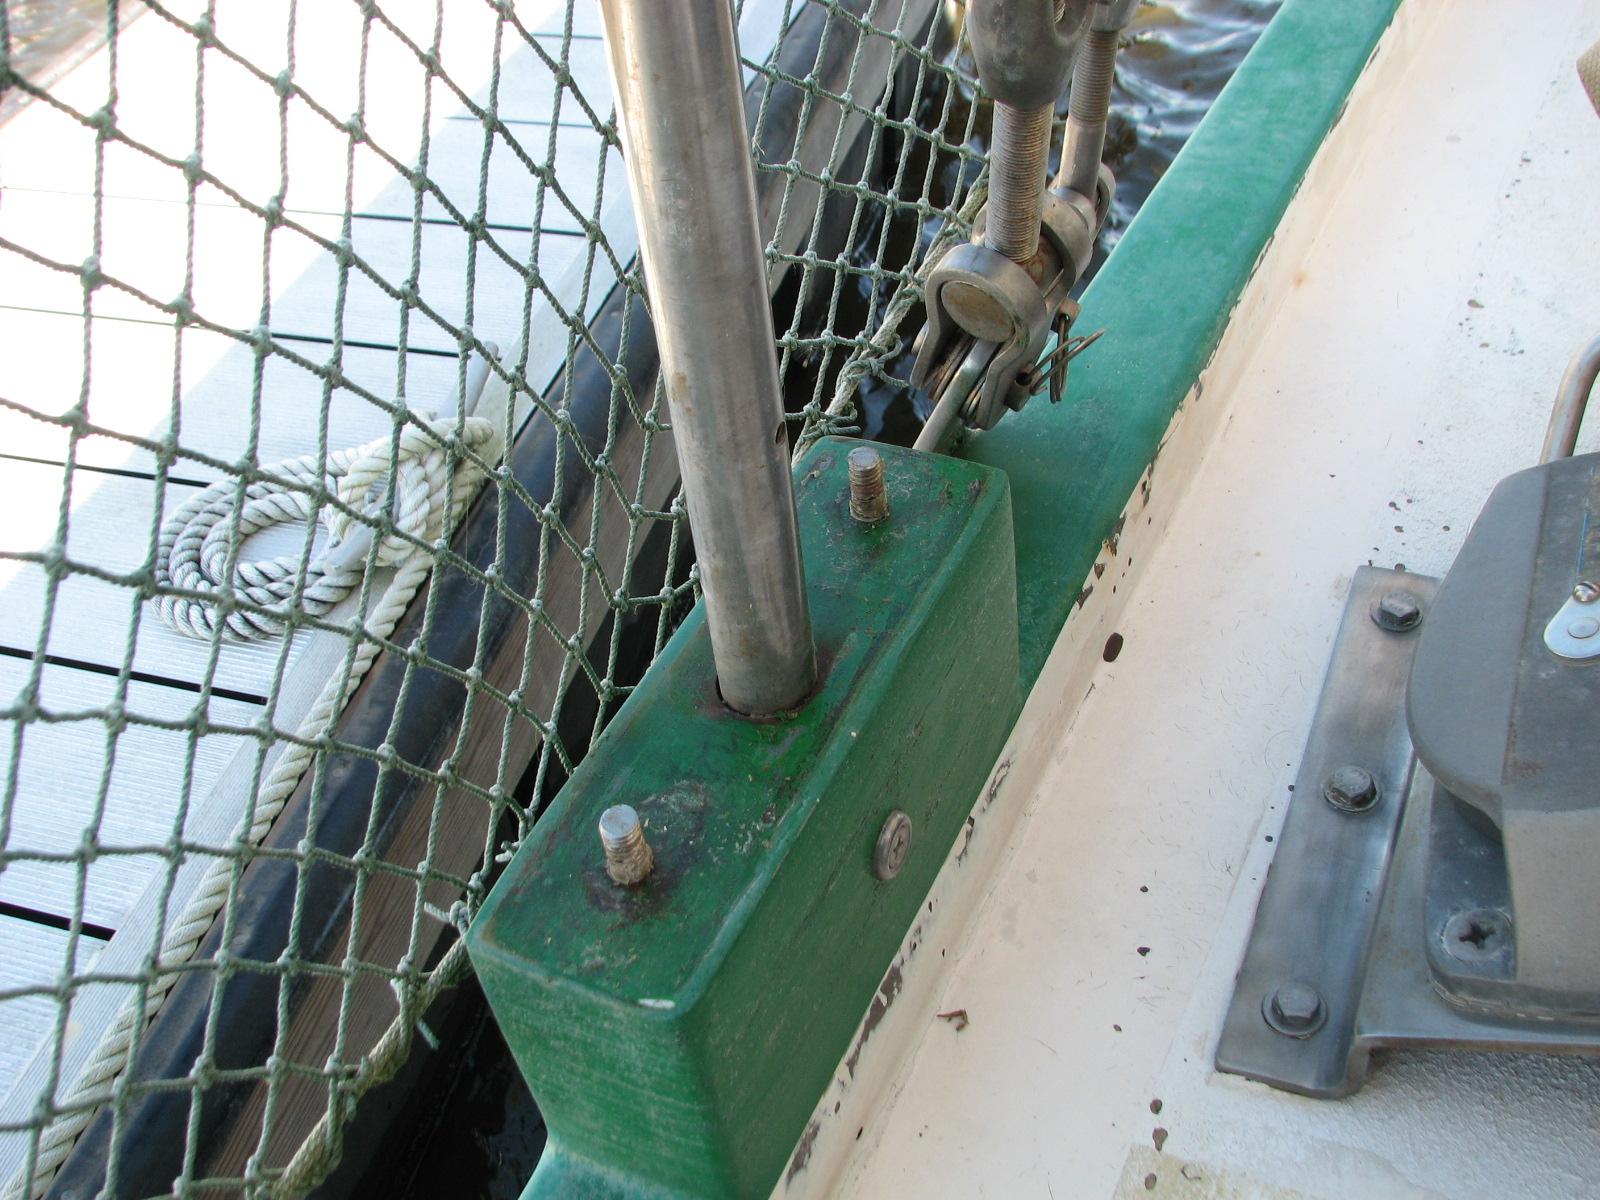
I decided to pull up the stainless
steel plates on all 14 of the stanchion bases, and apply the Ace
Rope Caulk Weatherstrip, then bolt the plates back
down to the stanchion bases.
Stanchion Base, Stainless Steel Plate
Removed
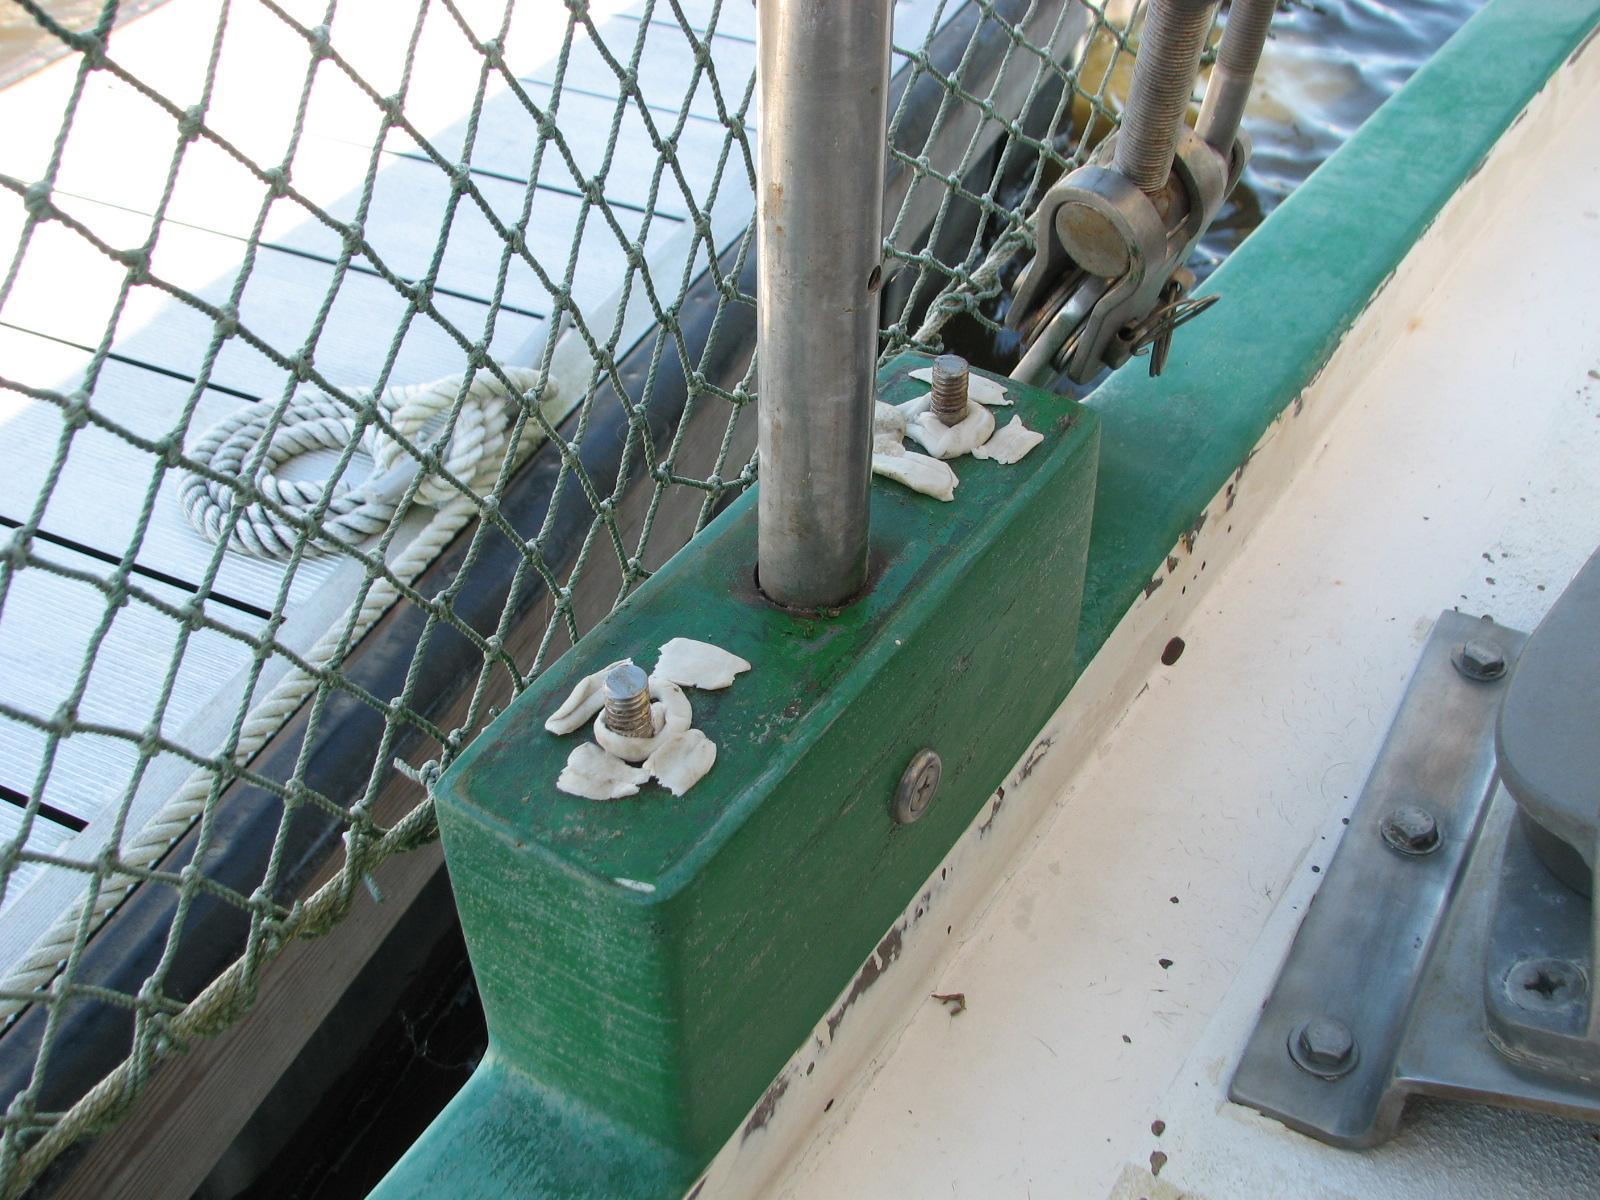
Stainless Steel Plate Back On Stanchion
Base
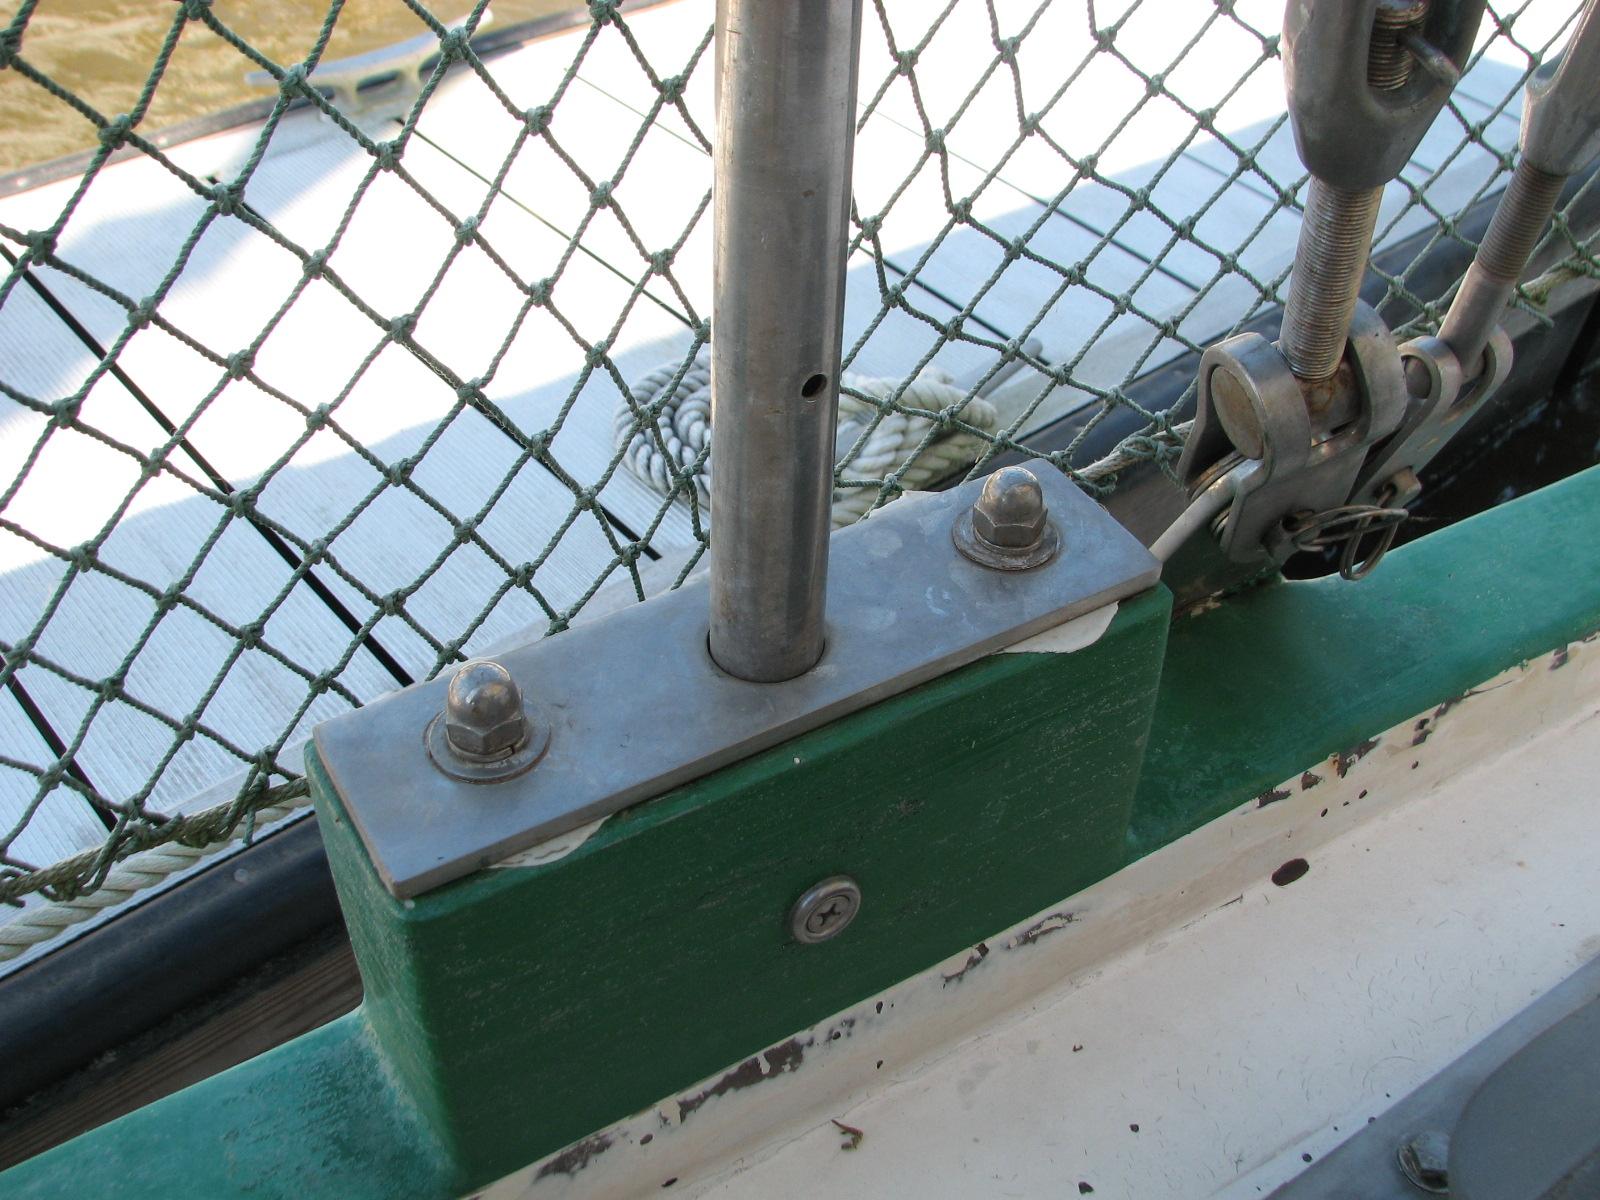
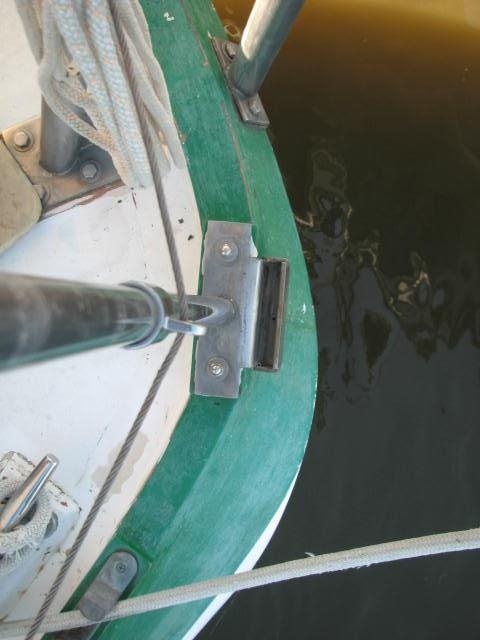
I was able to do 13 of the stanchion
bases. One of the port side stanchion bases also supported the stern
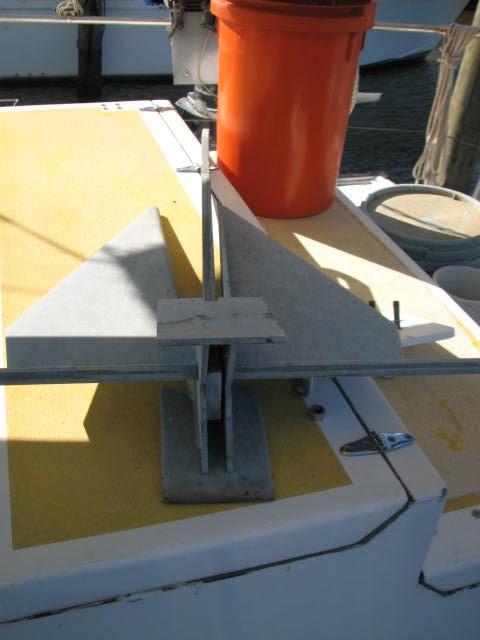
anchor. The anchor systems on DREAM AWAY are covered in the Ground
Tackle section of the About
DREAM AWAY page. This one was a bit of a pain.
Stainless Steel Plate And Holder For
Stern Anchor
Stern Anchor On Aft Deck Box
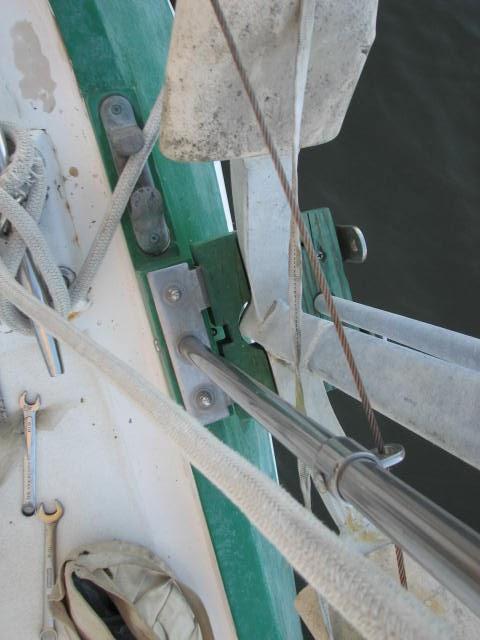
The 14th and last one did not get done
today! That stanchion base also hold the 100 LB storm anchor. I have
to use the mizzen boom to raise the anchor off of the stanchion base.
It will be done tomorrow, running out of time today.
Stanchion Base With Storm Anchor
October 24, Thursday, 2013
Started off the morning with my normal
ritual of getting on the Internet, answering email, and checking the
weather, while making a pot of coffee. I also spent time with our two
cats, Jillian
and Jordan.
Went over to the shop
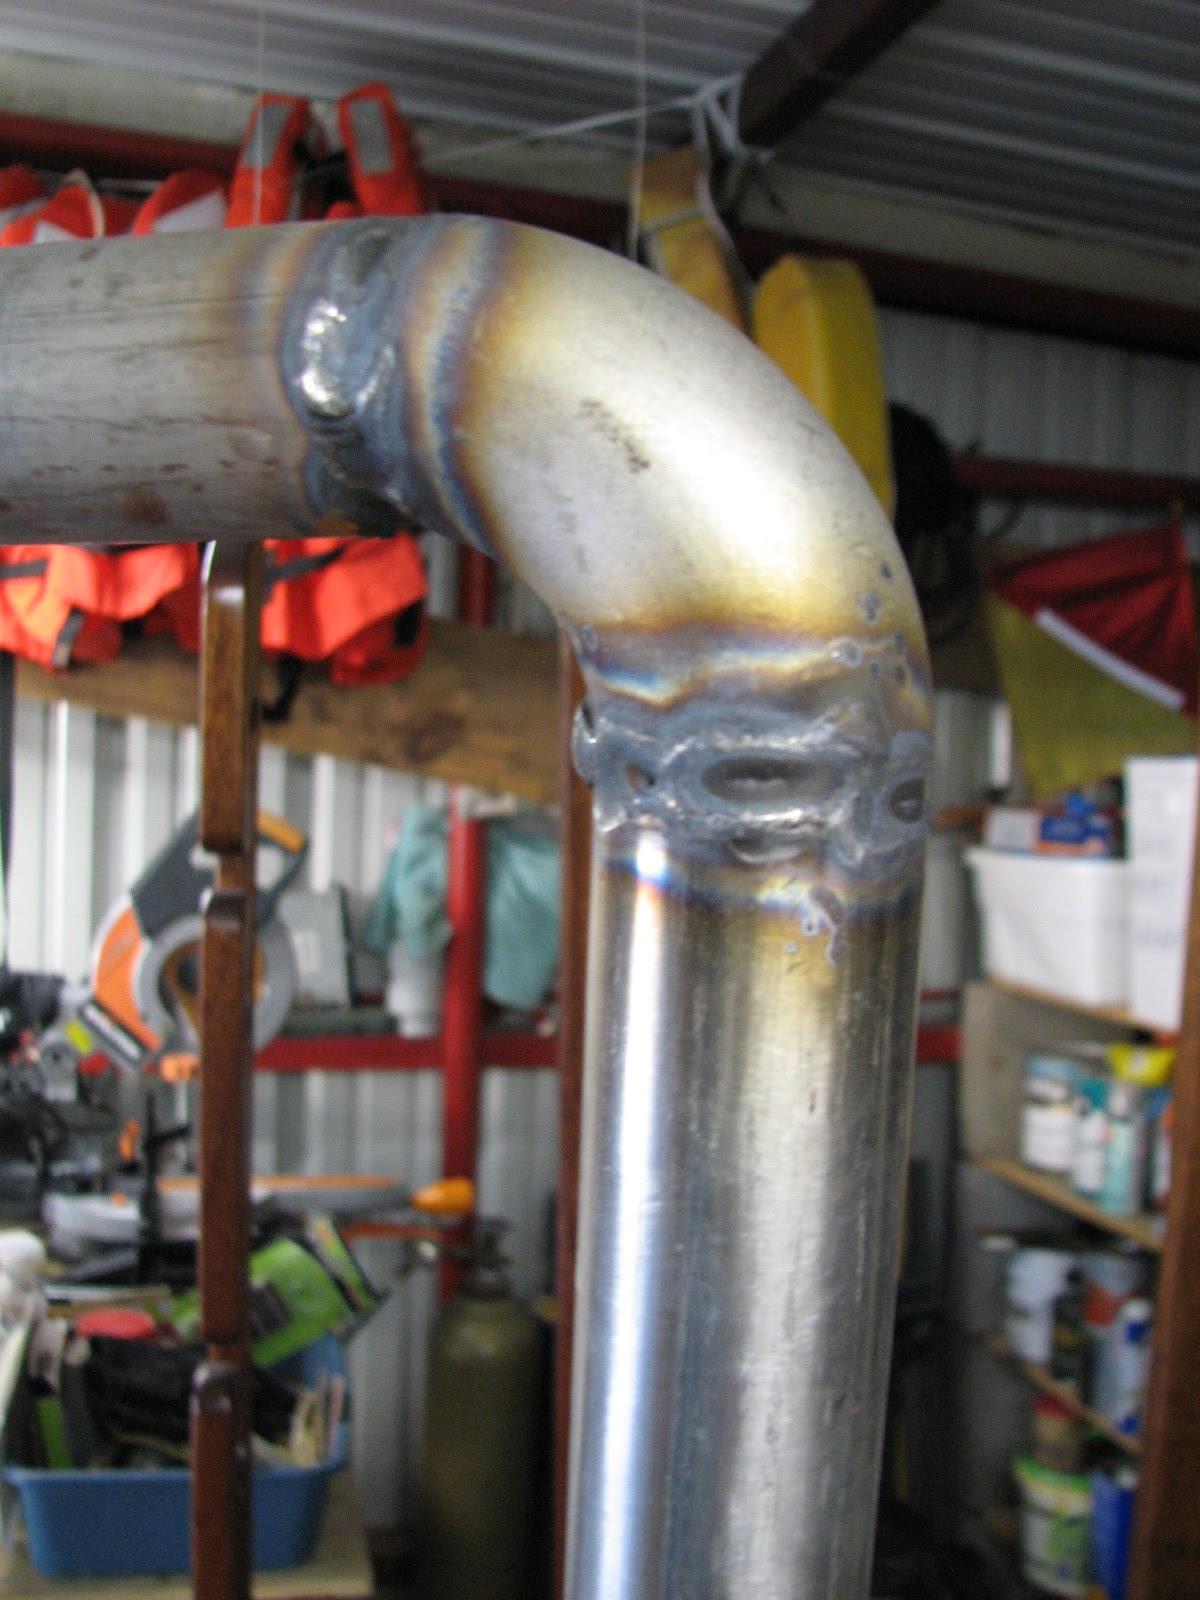
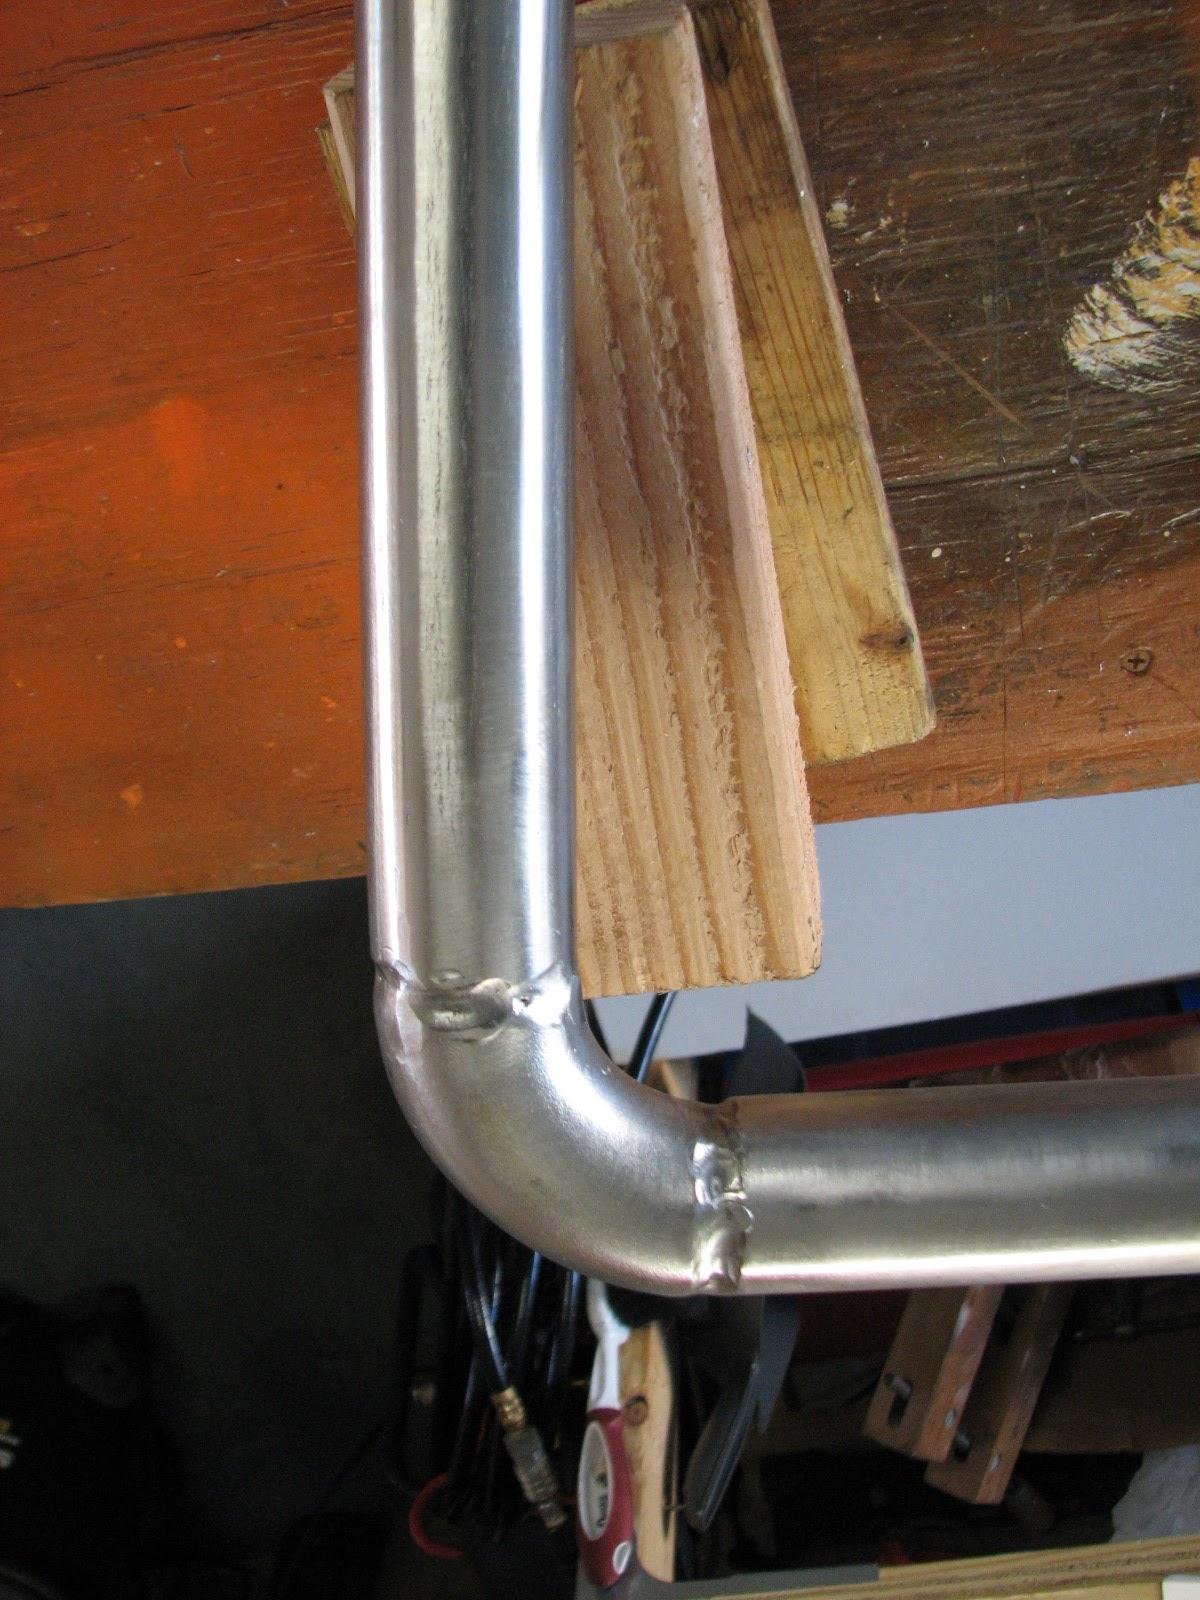
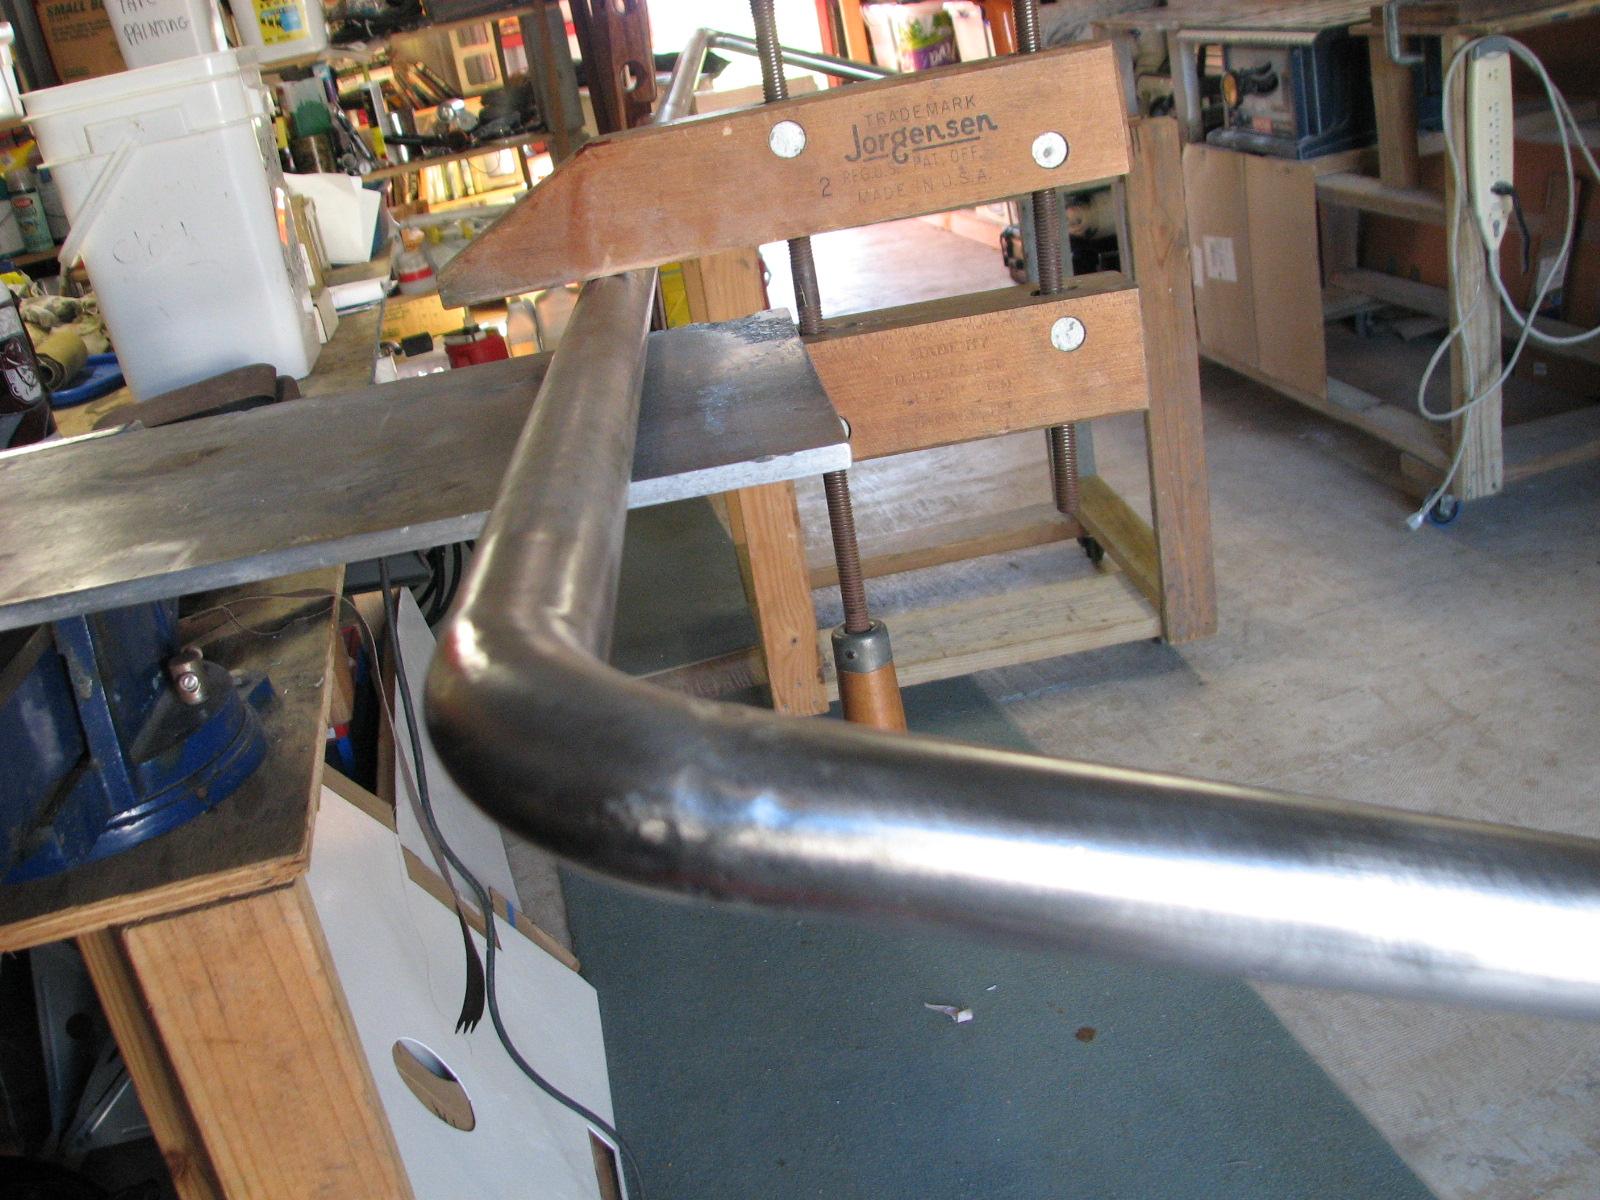
and worked on cleaning up the welds on the pipe for the hard dodger.
Some of the welds were not pretty, but they clean up with a grinder,
sandpaper, and a stainless steel wire wheel.
Welds Before Cleanup
Welds After Cleanurp
Pipe Clamped Up Getting Cleaned Up
When I had finished all of the cleanup,
and some of the polishing, I loaded the pipe into the Black Beast. I
will have to do more welding to the pipe. I will have to add supports
for the fiberglass
pieces that will be holding the plexiglass
pieces of the hard dodger. I also may fill in some of the dips in the
welds to make them look even better.
The real question is how much did the
pipe flex or twist during the welding process. I clamped down the
sections as I was welding, but from previous experience all side of
the work need to be clamped as well as possible. We will see when we
get over to DREAM AWAY.
Went back to DREAM AWAY and had
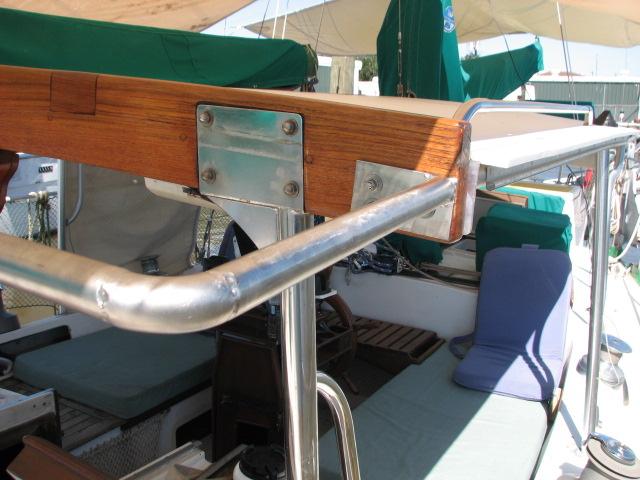
breakfast. Kitty then helped me get the pipe piece bolted to the boom
gallows. The piece had not twisted very much, and it fit right onto
the boom gallows. We were both very happy about that.
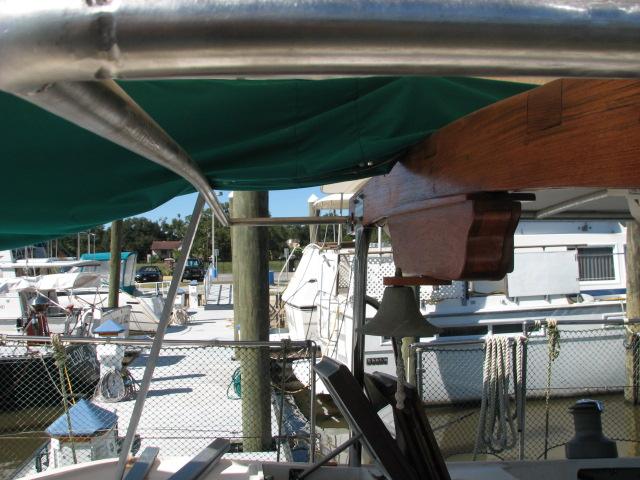
Pipe Piece On Boom Gallows
Pipe Piece Port To Starboard
I had brought over with me one of the
Strongwell
Extren plate pieces cut to be one of the hard dodger
uprights. The uprights will be the frame that holds the plexiglass
in the hard dodger. The uprights will have a groove cut into them for
the plexiglass
to slide into. So far the plan for the hard dodger is working out.
Upright Sitting On Base And Leaning On
Upper Support Pipe

Now it was time to get to work on
getting the piece of Strongwell
Extren plate that has to be glassed to the dog house
on the port side. Just like the starboard side, I had to make cuts in
the top of the dog house for the cut piece of plate. I measured the
area and then cut out the fiberglass.
Measured Area To Be Cut Out Of Top Of
Doghouse
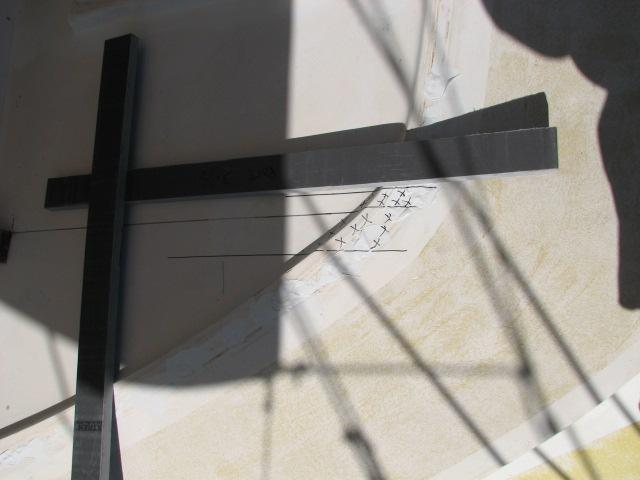
Area Cut Out Of Doghouse Top
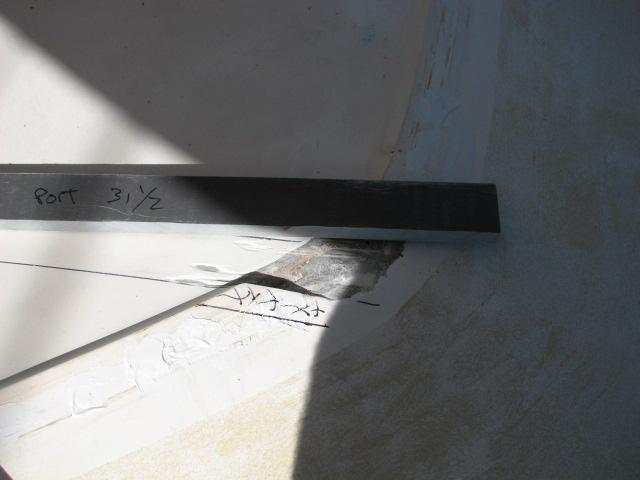
The bad news about the cut was a bad
measurement! I had cut the channel for water to escape on the wrong
side of the plate. I remeasured, cut again and moved on. It will not
be a big problem, and I even found a piece of scrap Strongwell
Extren plate that pretty well fits the area.
I cleaned up the area that was cut in
the doghouse top, and sanded and prepared the area for the
application of the fiberglass
and the polyester
resin. I cut the needed pieces of fiberglass
mat, and dry fit the them along with the piece of plate. I also got
the weights handy that will be needed on the piece of plate. There is
a slight crown to the doghouse top, and the weights are needed to
“bend” the piece of plate.
All was prepared, so I mixed up a batch
of the polyester
resin. I wetted out the area with the resin, then put
down the fiberglass
mat, and made sure it was wetted out. I then put the piece of plate
on top of the wetted out mat, and then put on the weights. The resin
kicked off pretty quick, so I did not have to hold it long.
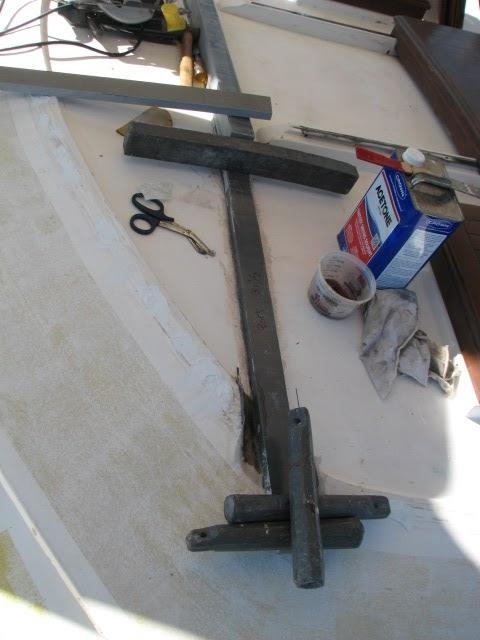
Weights On Outer End Of Plate
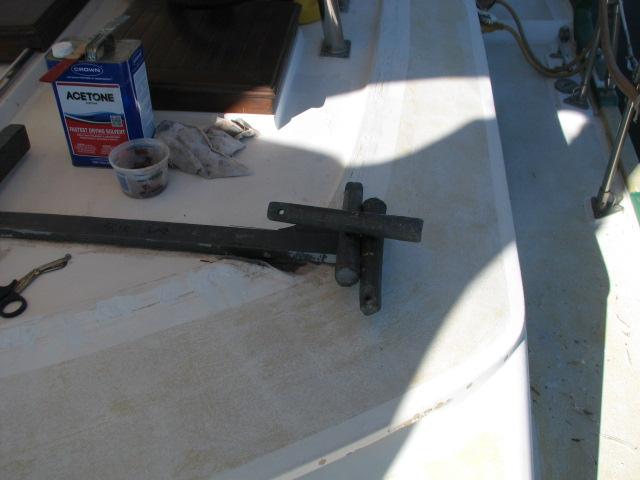
Weight On Inner End Of Plate
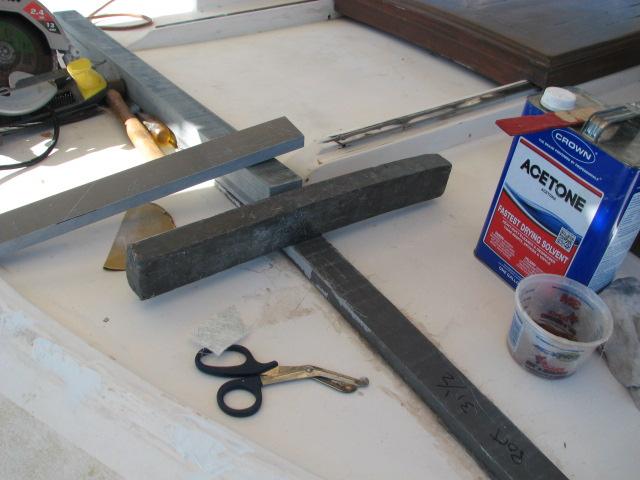
Plate With Weights At Both Ends
One more item to check. I wanted to
make sure the new piece of pipe for the pipe
clamps would accomplish the task I have in mind. I
have to glass an additional piece of the Strongwell
Extren plate to the sides of the doghouse for the side
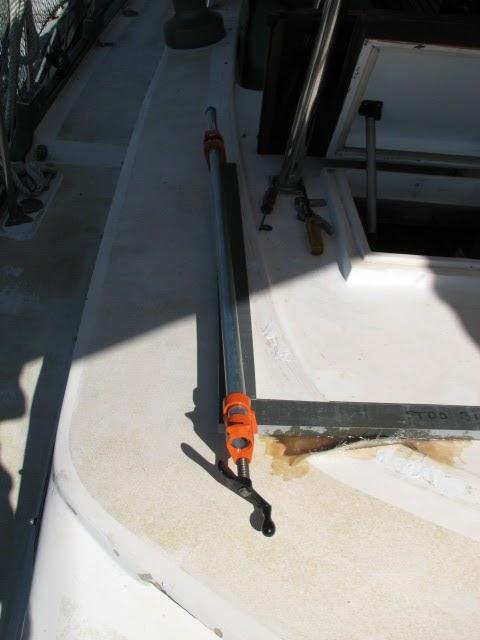
windows in the hard dodger. One I glass and clamp the plate down, I
have to fill in the area under the plate. I clamped the piece of
plate to the starboard side front base of the hard dodger, and I am
sure it will work the way I have it in my mind.
Plate Clamped To Starboard Base
All that remained was to clean up. I
loaded up the “Box
O’ Resins”, the Skil
saw with the fiberglass cutting blade, sander,
weights, and other items in the Black Beast. Then I had to hose down
DREAM AWAY, as there was a lot of residue and dust on the boat.
When I finally get all of the pieces of
plate I am using for the hard dodger base glassed down, there will be
a lot of cleanup and sanding, application of filler and finishing
putty, and finally a couple of coats of gelcoat
for the finishing touch.
Now it was off to the shower, and a break in the cockpit. No adult beverage
as today is a fast day on our diet.
October 23, Wednesday, 2013
Started off the morning with my normal
ritual of getting on the Internet, answering email, and checking the
weather, while making a pot of coffee. I also spent time with our two
cats, Jillian
and Jordan.
Went over to the shop
and set up for cutting the long bar on the hard dodger stainless
steel upper support. The old adage of measure twice, cut once really
came into play here, except I measured many times. I measured and
verified that the center was the center, and I cut equal distance
from the center, but the total length was the same aa we measured
yesterday.
I finally made the cuts on the pipe,
and trimmed up the ends. Then I did the set up to actually tack weld
the long pipe to each end.
Long Pipe Tack Welded To Starboard End
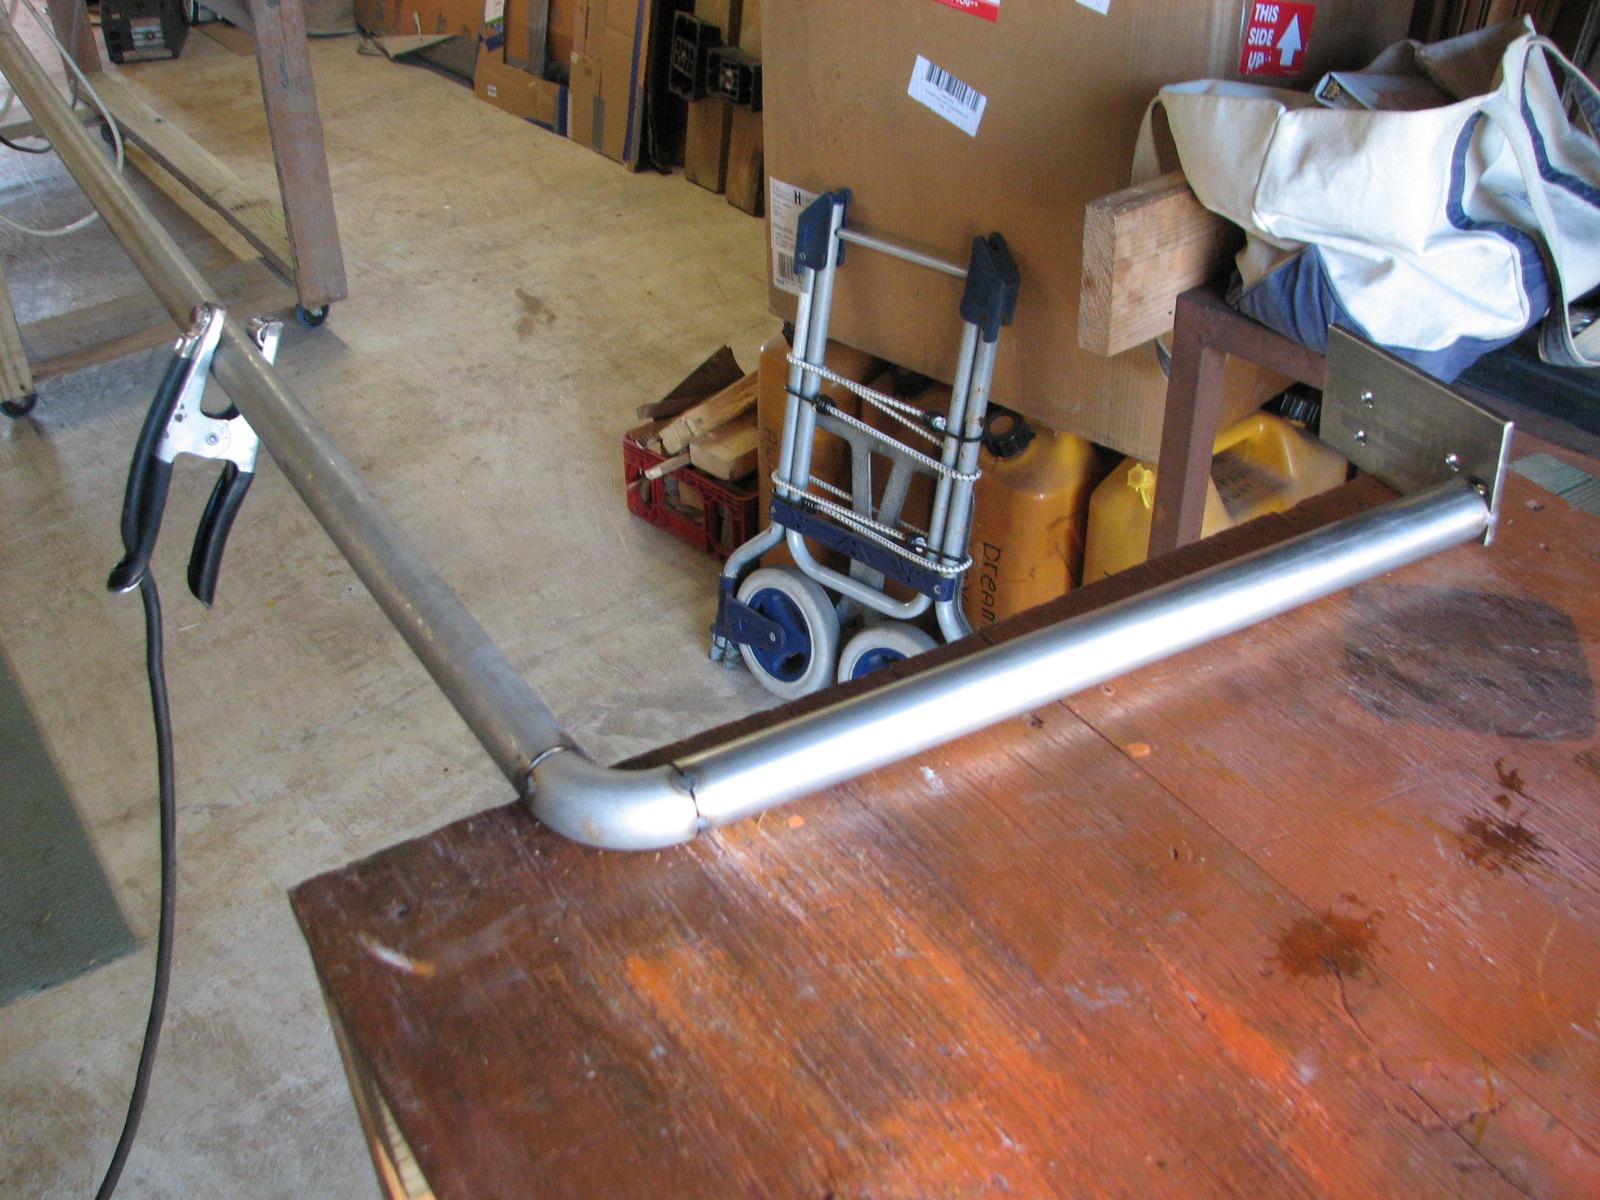
Long Pipe Tack Welded To Port End
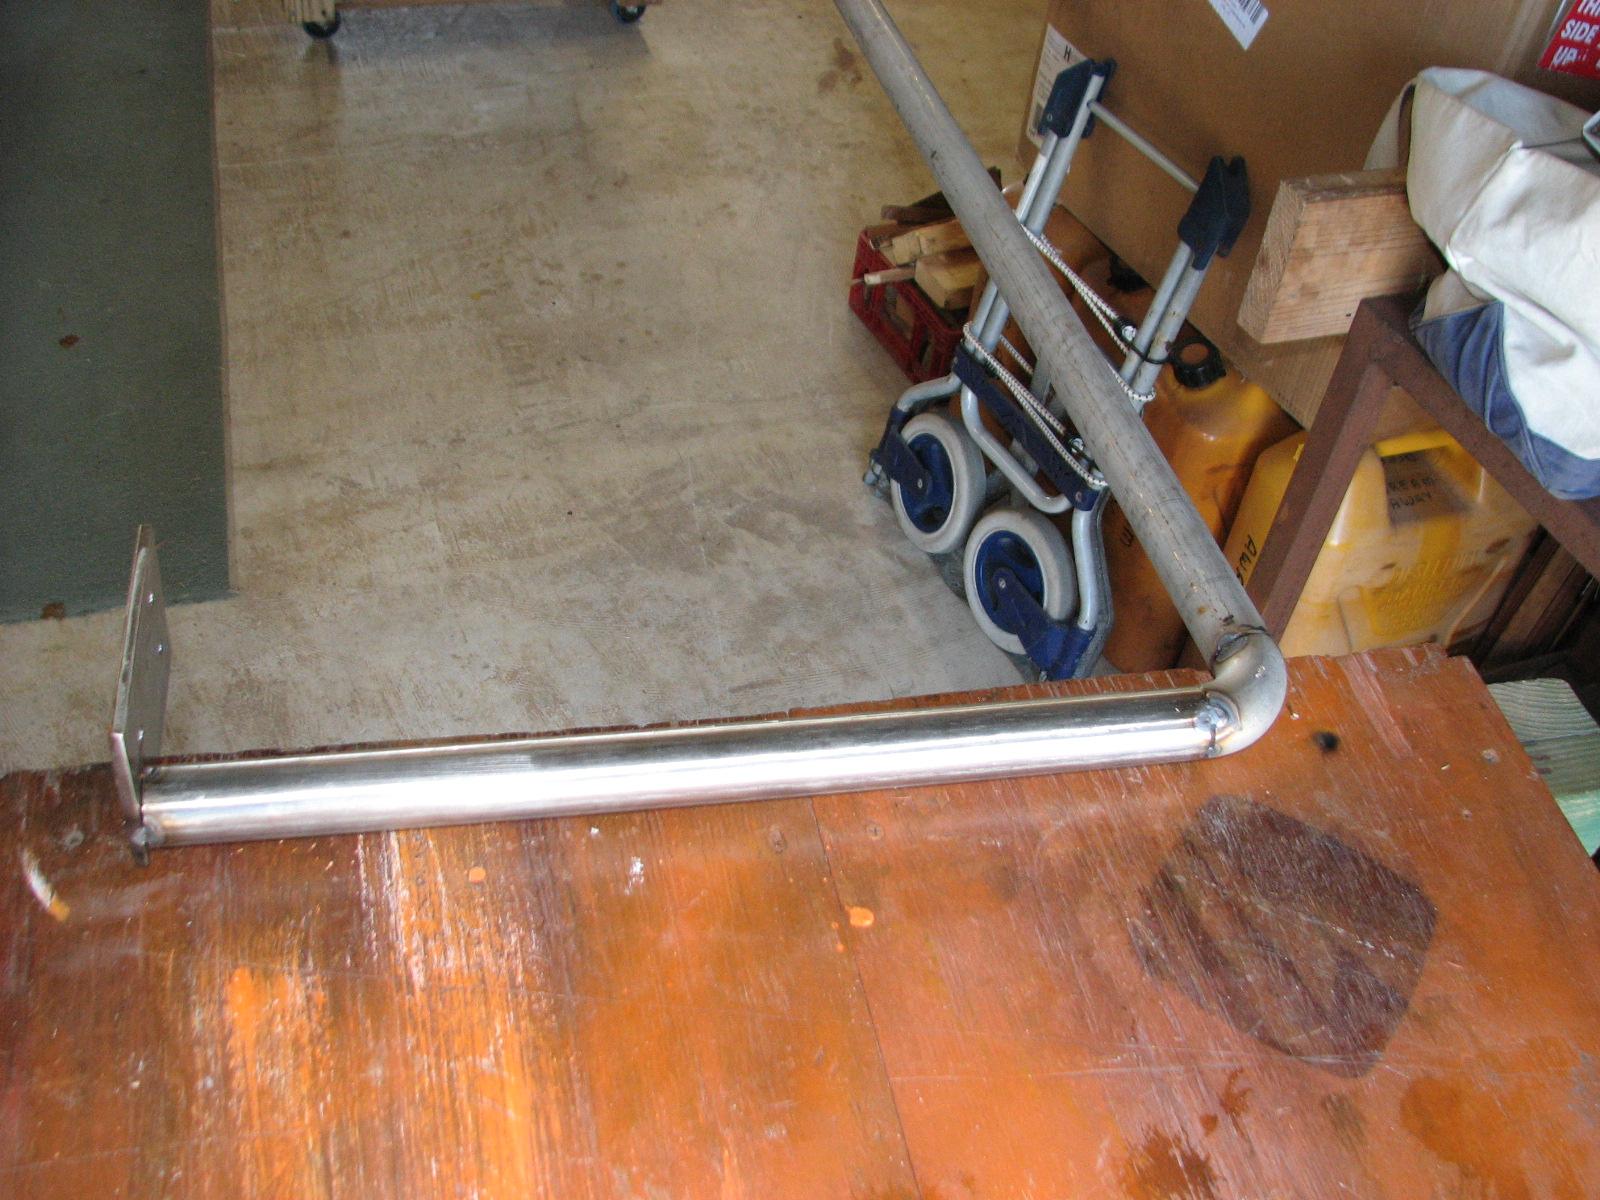
Long Pipe Tack Welded Showing Both Ends
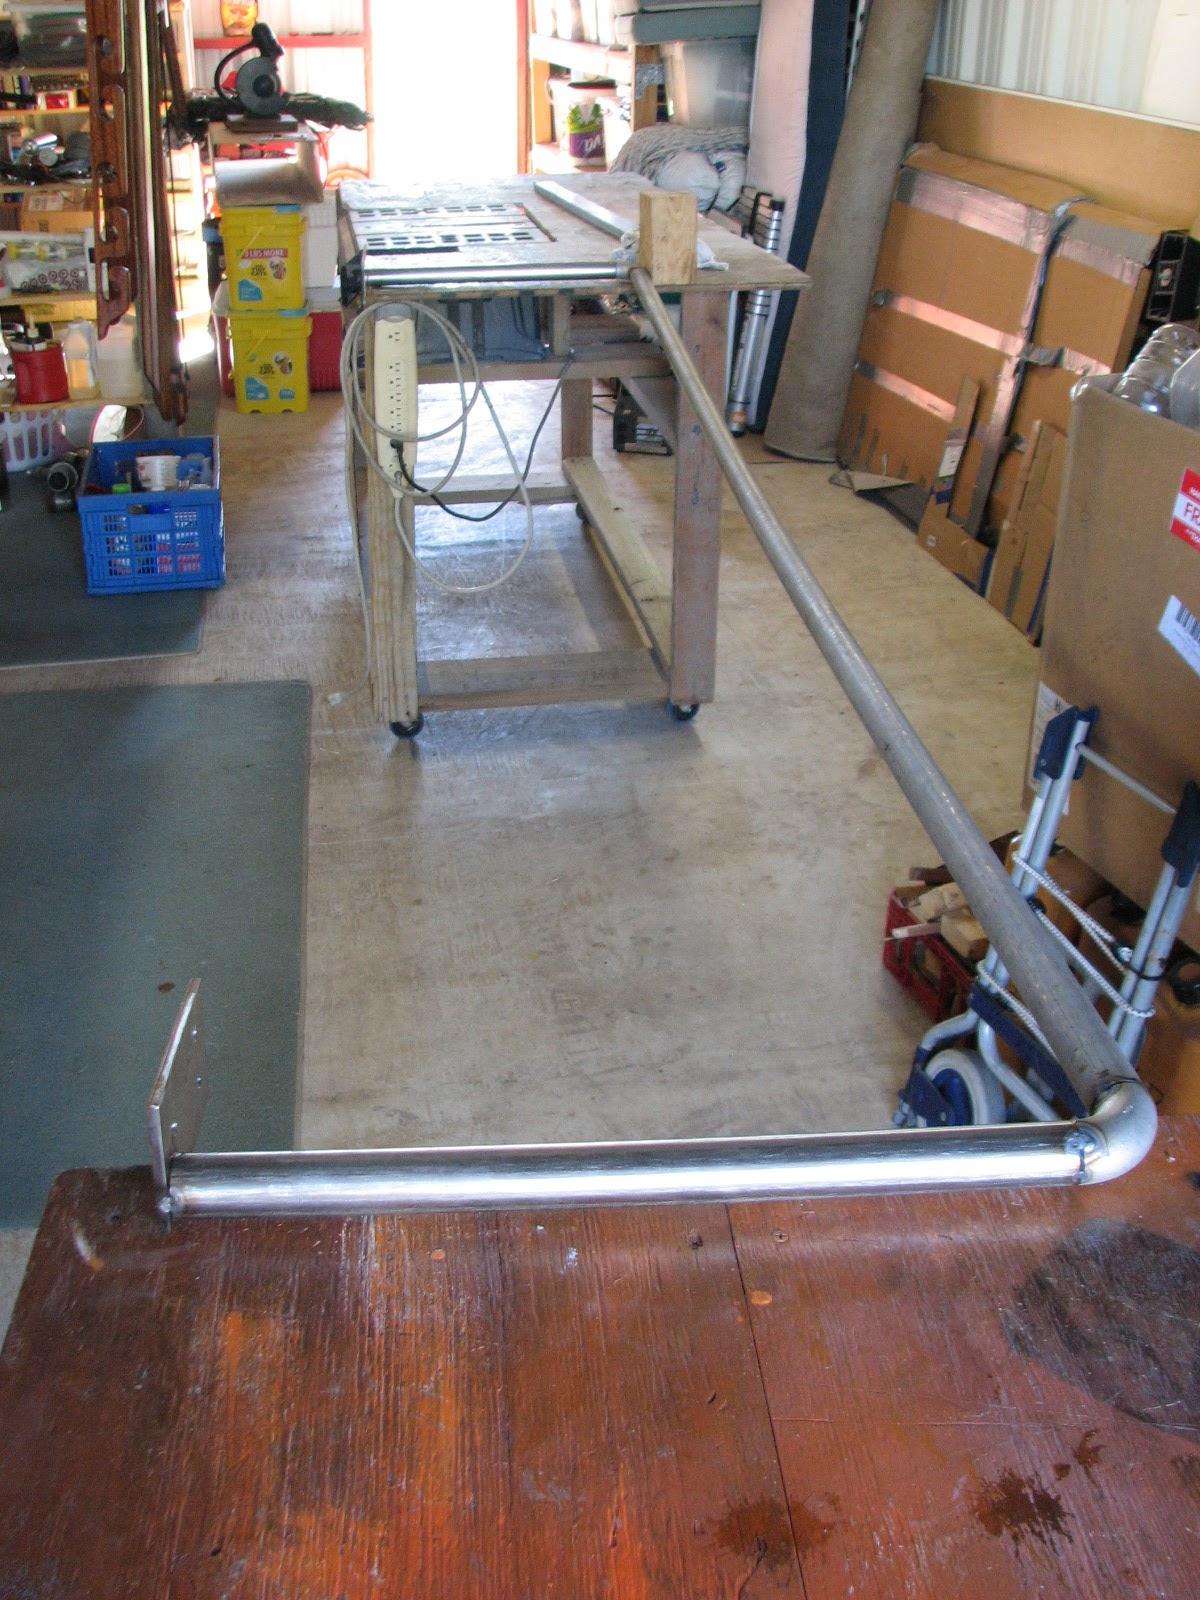
We were meeting the port director at
the marina
so he could look over the new shower
trailer and discuss location and hookup. We made those
decisions, and decided I would attempt to get an extension cord and
hoses to get to the shower
trailer in its present location, and test the
functionality of the onboard systems.
Kitty then called a locksmith in New
Iberia to get a key for the maintenance room door on
the shower
trailer. It was an ordeal, but we finally got the
project accomplished, after driving around New
Iberia to find the locksmith, and now the maintenance
room door is locked.
When we came back to the marina,
we met Cheryl and Johnal who are cruisers that are considering coming
to the marina
next month for a couple of months. We all went to Jac’s
Po'boy
shop here in Delcambre and had lunch.
After lunch, we came back to the
marina,
and I got to work on the hard dodger frame. Kitty helped me, but we
did finally get the top frame up and on the boom gallows. That is the
whole point in the tack welds. The frame was “adjusted” some to
make the fit, but was happy to see it went well.
Frame On Port Side Of Boom Gallows
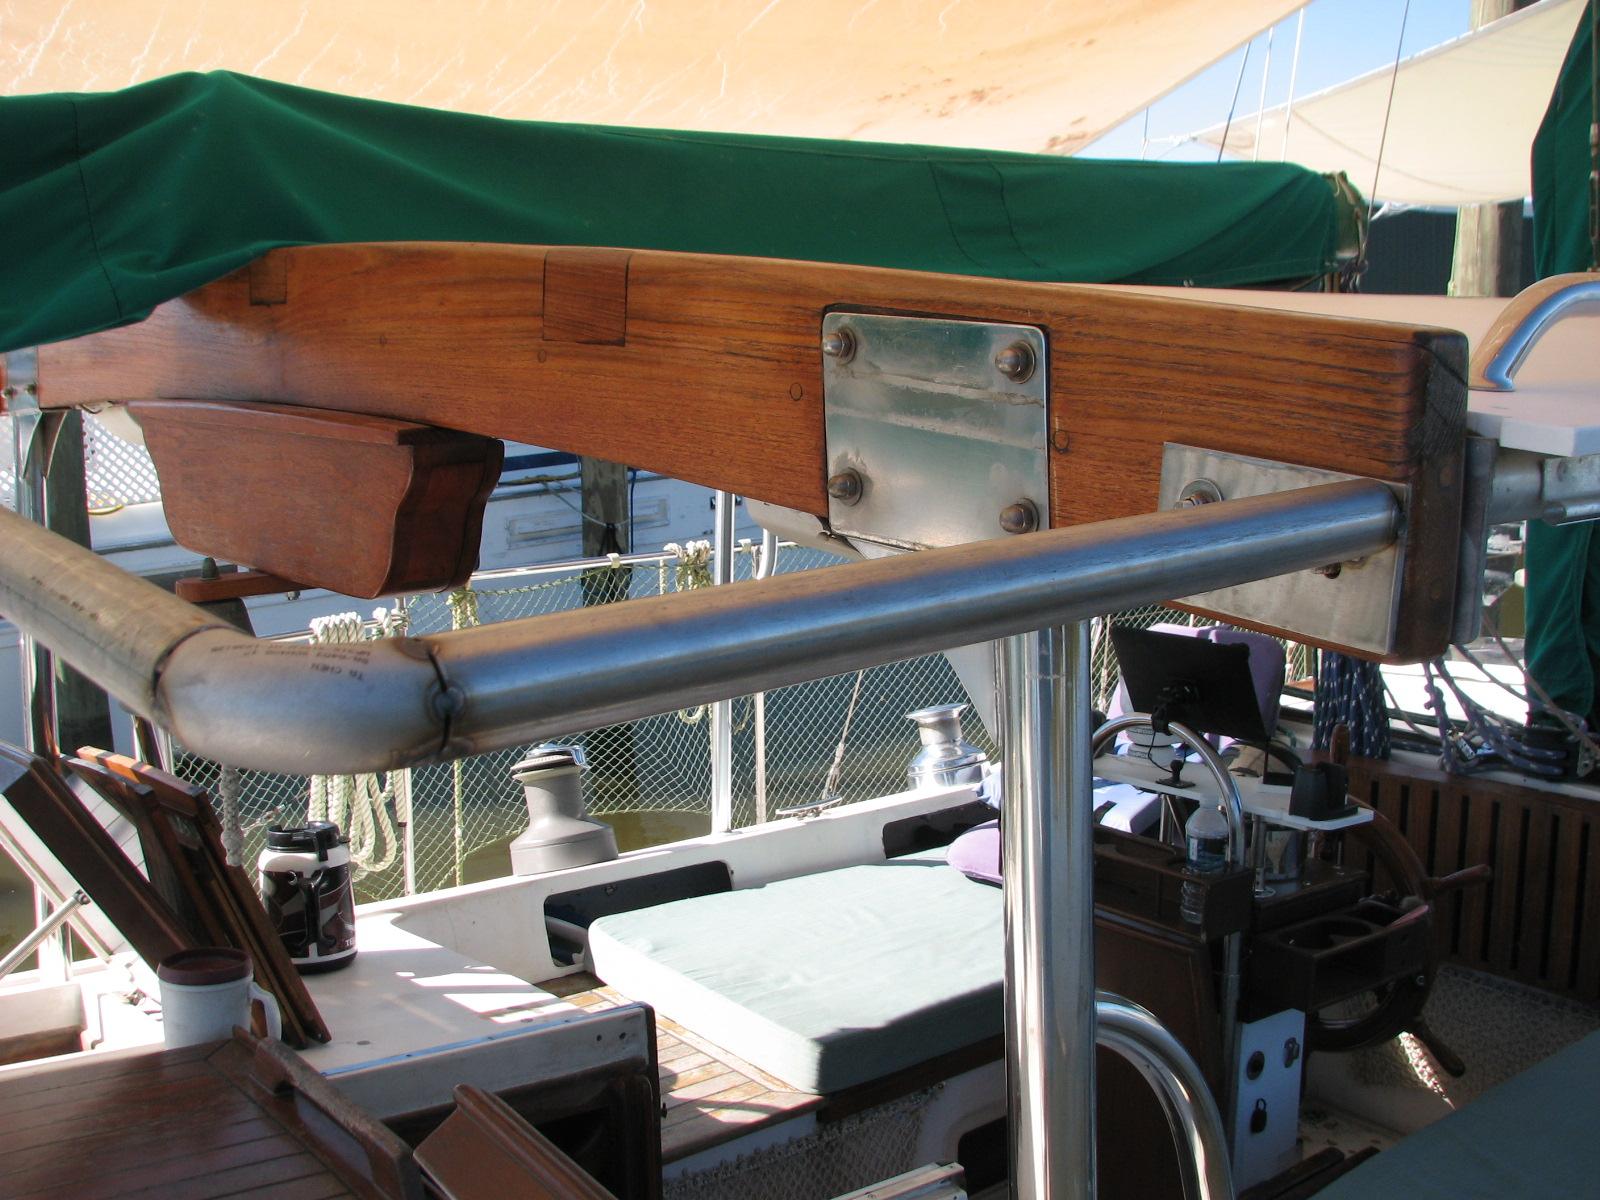
Frame On Boom Gallows Showing Starboard
Side
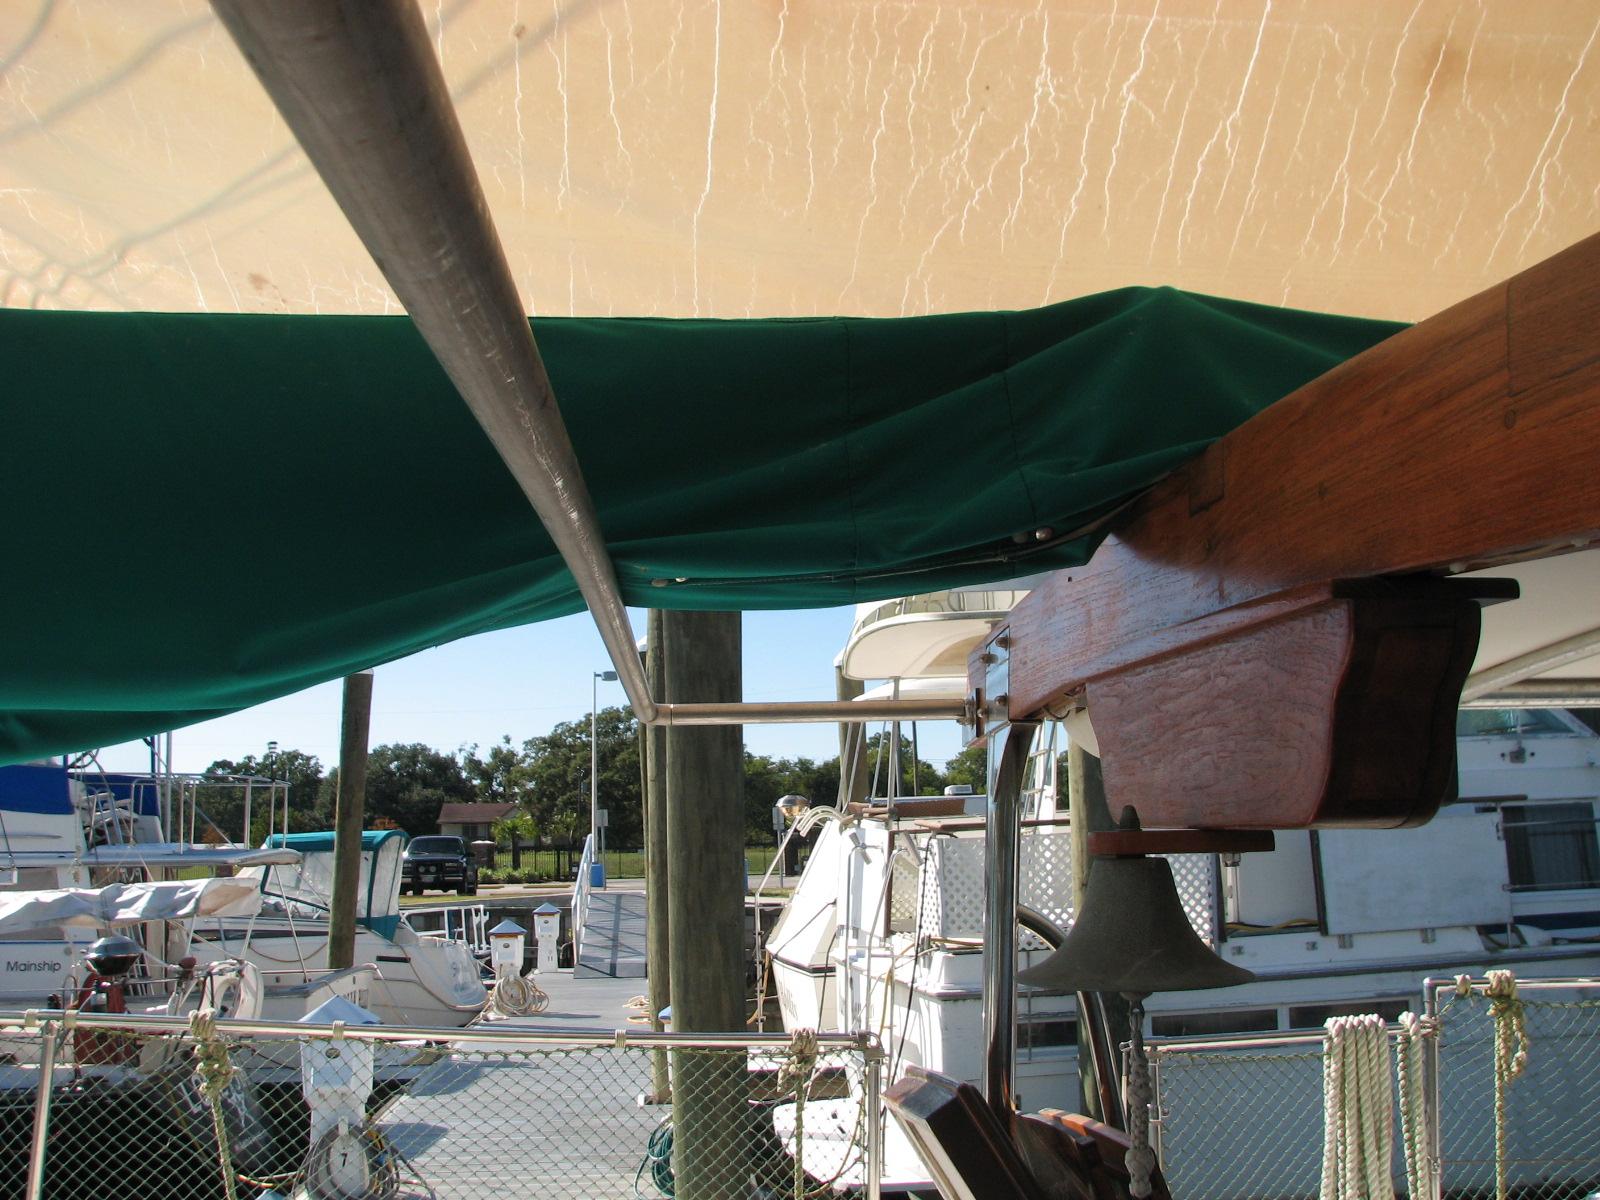
We took the frame off of the boom
gallows, and I took it to the Black Beast
and went back over to the
shop.
I did the set up and the clamping of the pipe down to a flat surface,
and completed all of the welds. I will bring the pipe/mount over to
DREAM AWAY tomorrow to verify it still fits.
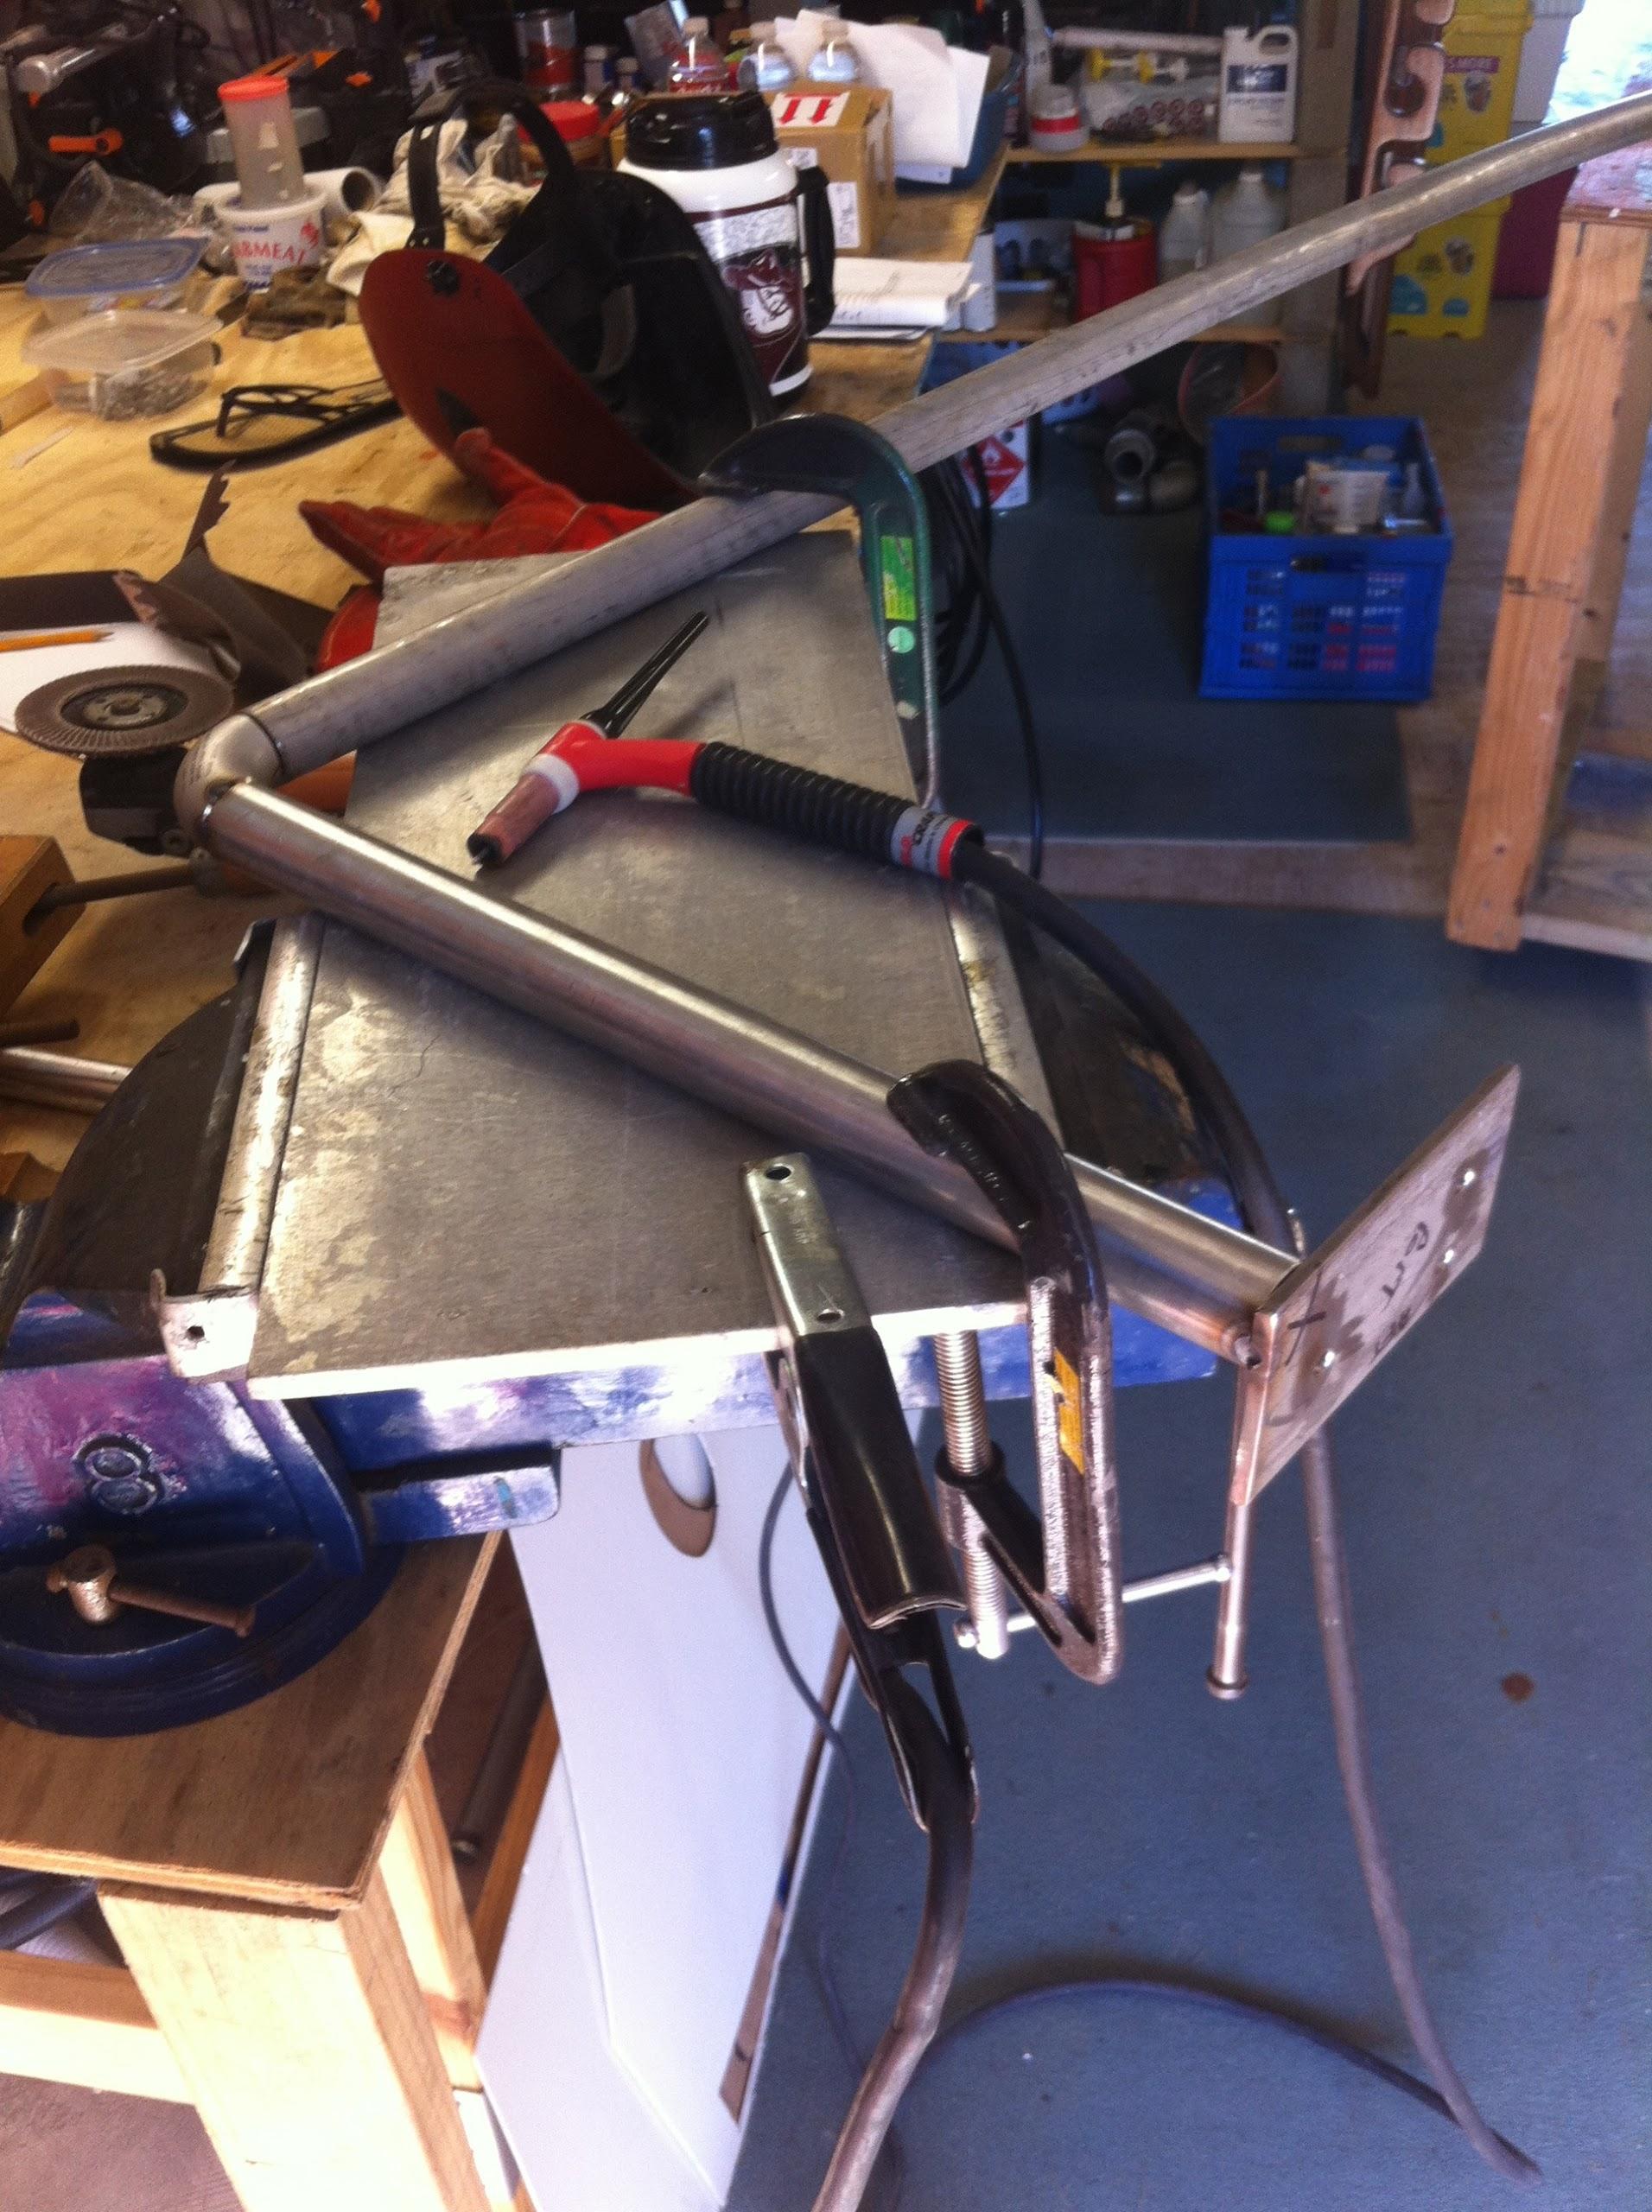
Set Up With Clamps For Welding
October 22, Tuesday, 2013
Started off the morning with my normal
ritual of getting on the Internet, answering email, and checking the
weather, while making a pot of coffee. I also spent time with our two
cats, Jillian
and Jordan.
Went over to the shop
and decided I had to move the Structoglas
from where we left it yesterday in front of the storage shelves. If
left there it would surely be damaged. I moved the table saw out of
the way, the Jim
Rabby Painting I have, and all of the cardboard
templates I had behind the table saw also.
I then moved all five sheets of the
Structoglas
up against the wall, and then moved everything back into place. It
will be a fair amount of effort to move stuff to get to the sheets of
Structoglas,
but the Structoglas
will not get damaged in it’s present location.
Since I had the welder all set up, I
finished welding on the base piece for the main mast sail deck. There
is still some sanding and grinding required to finish off the piece
to make sure it is ready for installatio.
Finished Main Mast Sail Deck Piece
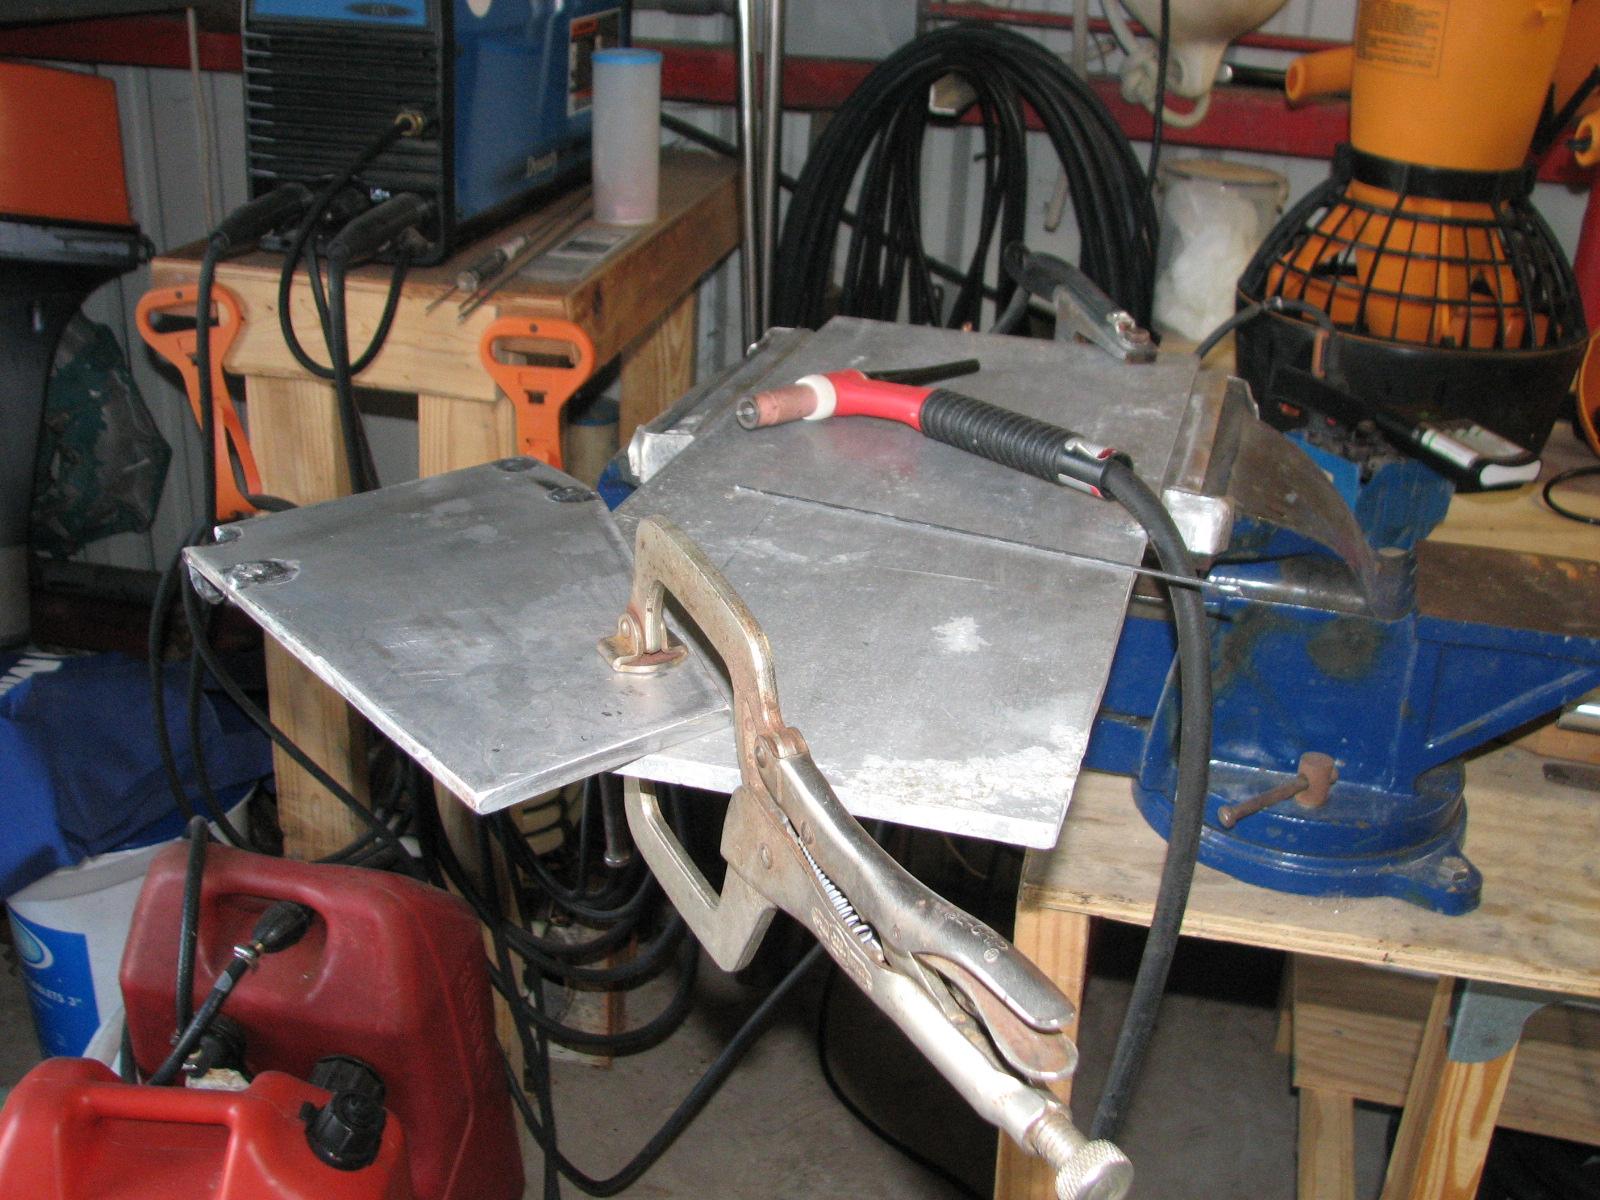
I then set up the welder to weld
stainless steel. I wanted to tack up one of the base pieces for the
top of the hard dodger. With the piece just tacked up, if there are
any changes to be made it can be done easily. The base piece
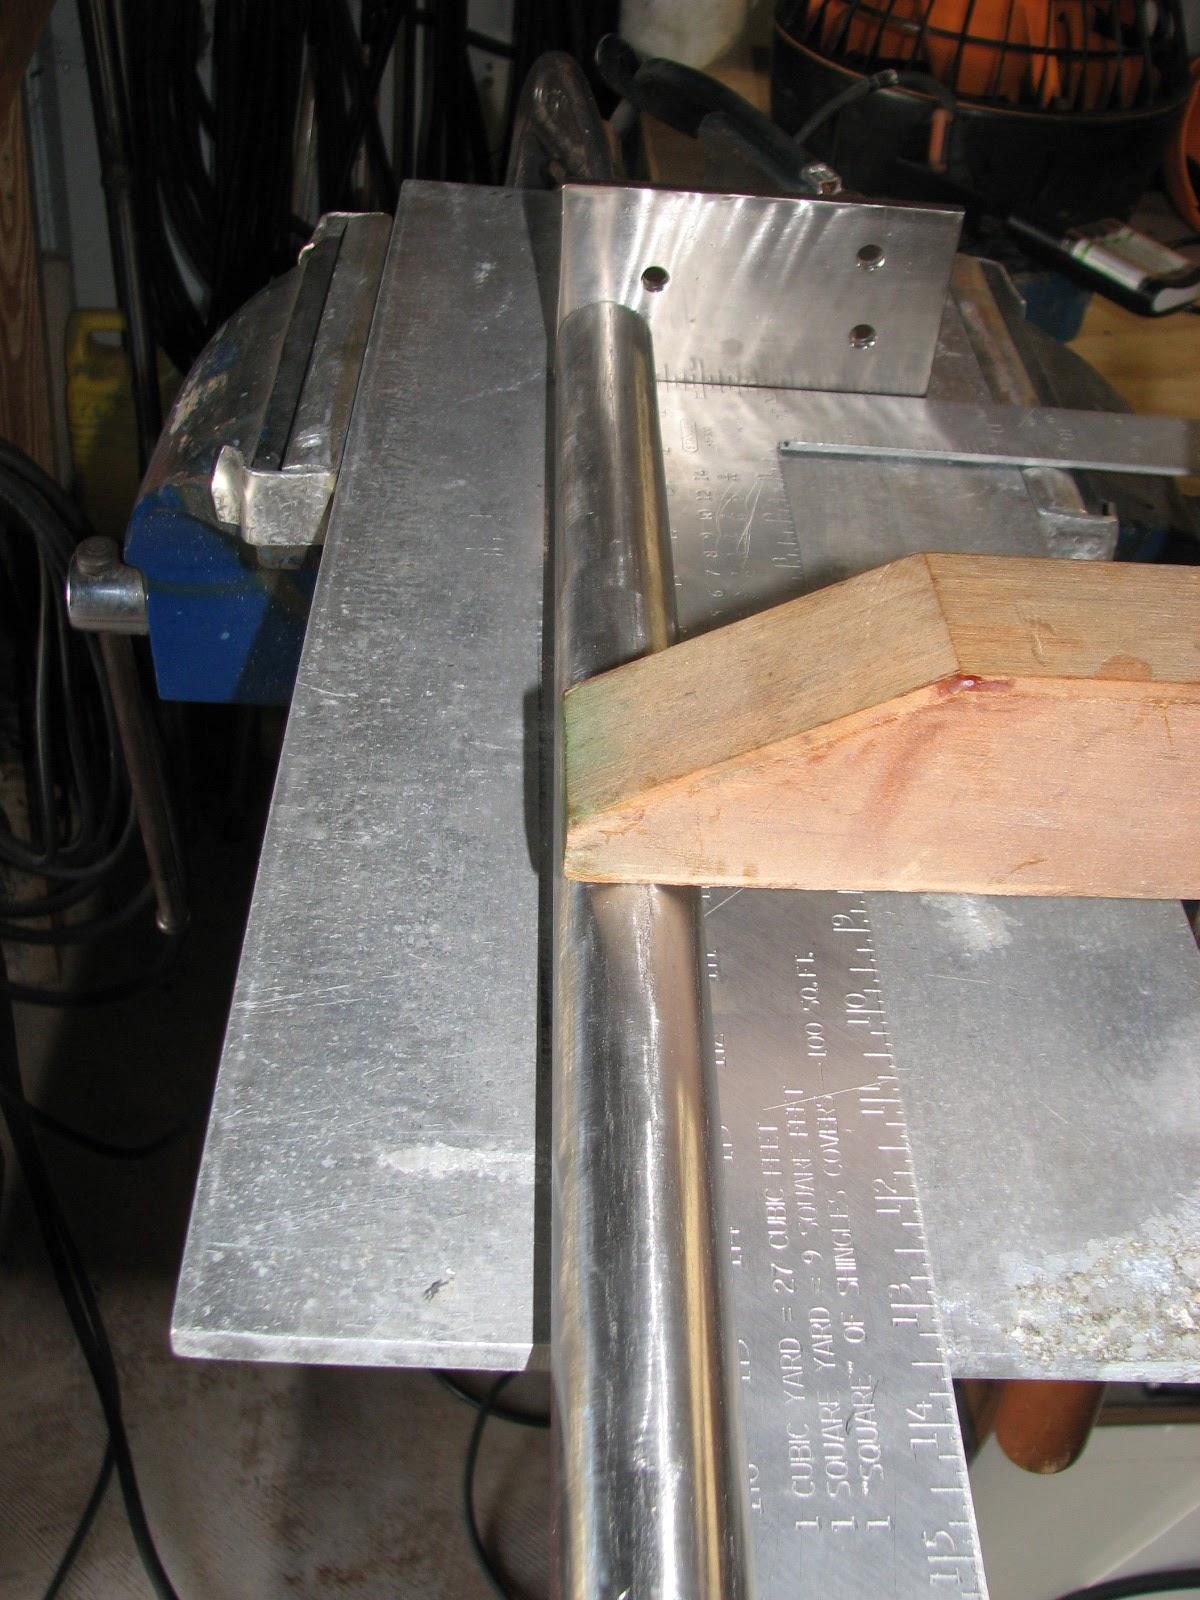
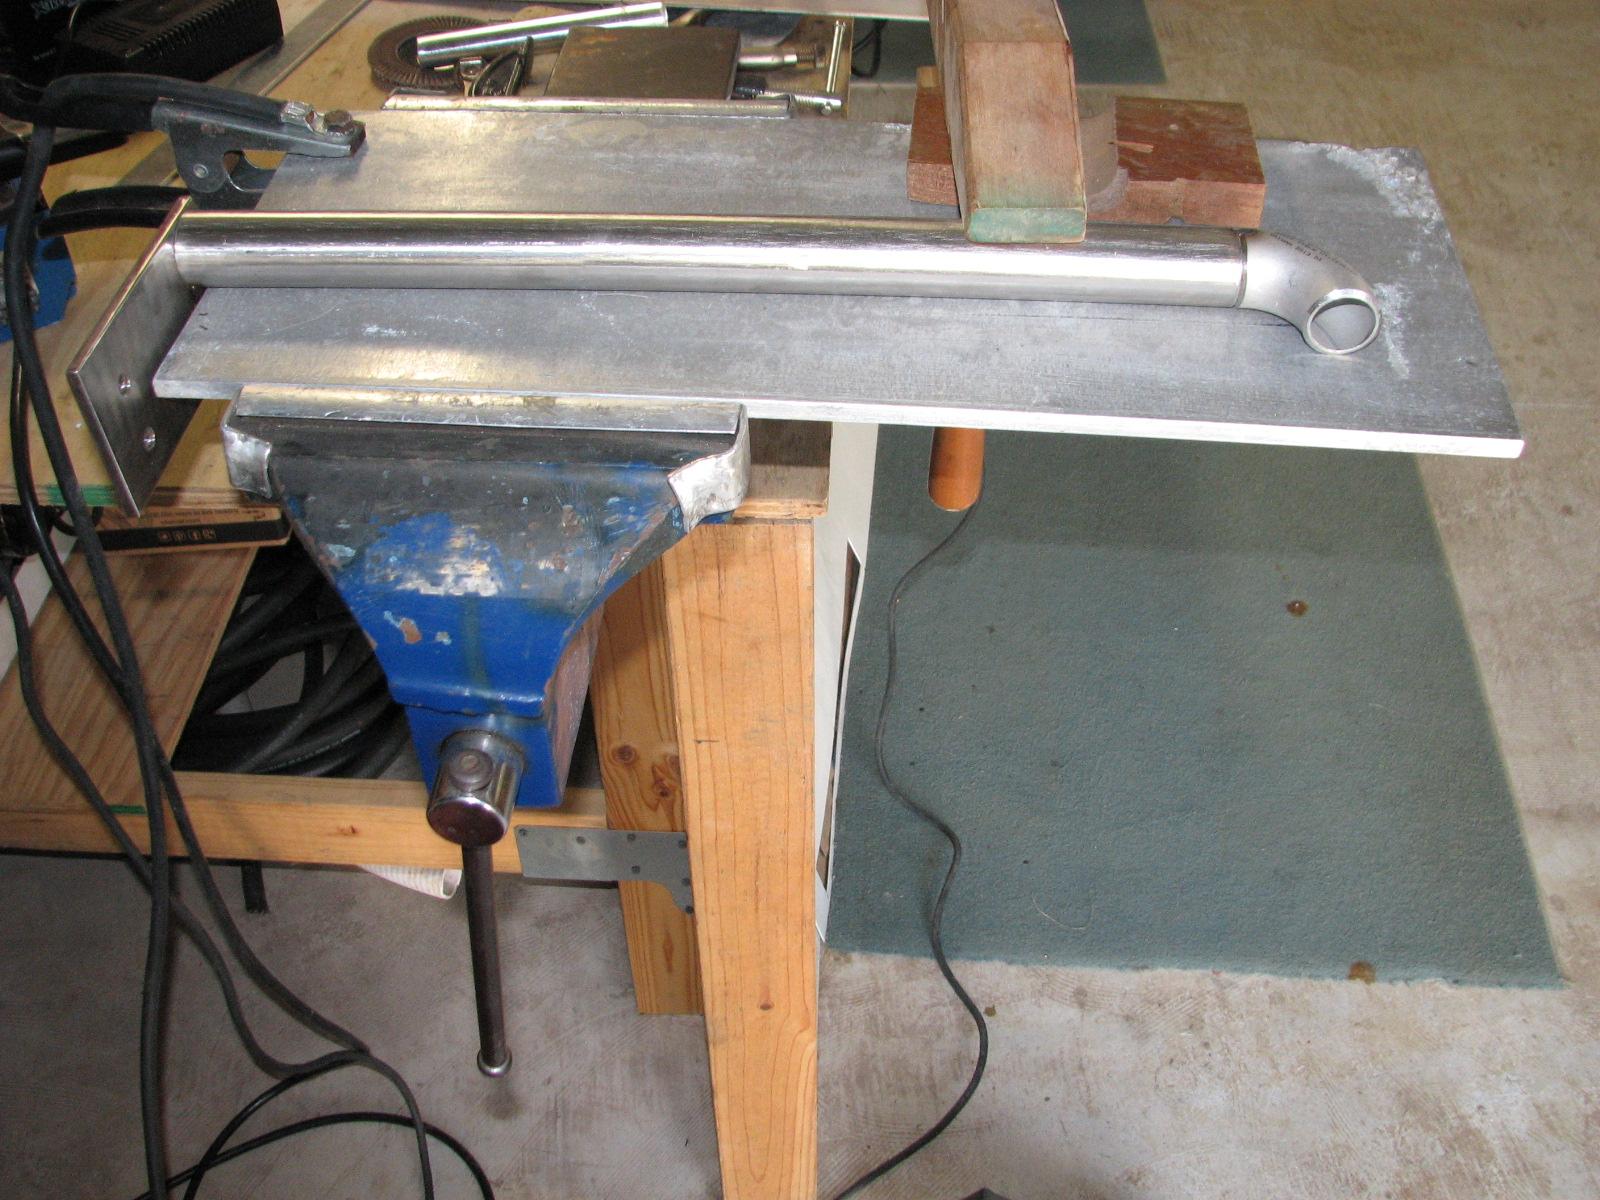
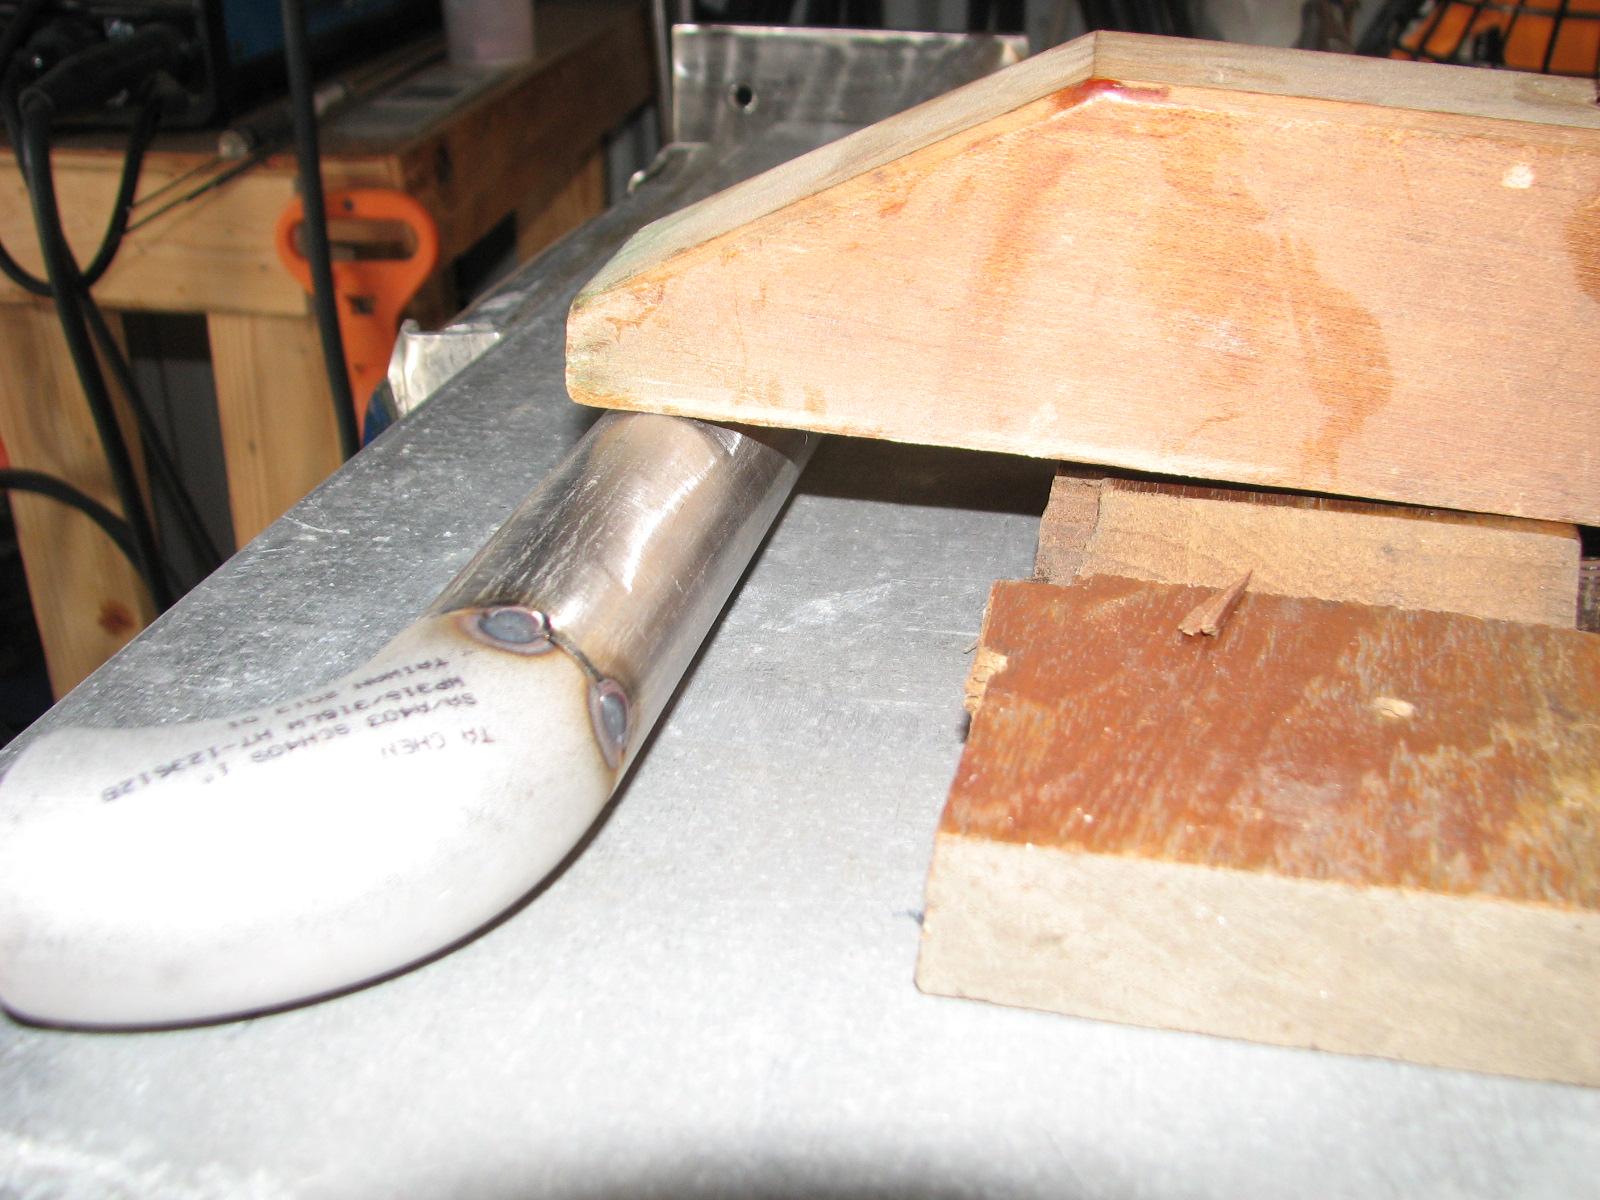
consisted of the base, the 18” pipe, and the short weld ell. I did
the set up, and then did the small welds.
Base And Pipe Setup
Weld Ell Setup
Tack Welds On Weld Ell
I left the shop
and went over to DREAM AWAY with the tacked up piece for the hard
dodger.
Kitty and I had breakfast, and then got
busy with domestic shores. Our good friends Iris and Terry were
coming over in the early afternoon, and were staying for dinner.
When Iris and Terry arrived, Kitty and
Iris went off shopping and visiting, and Terry and I walked over to
the shop.
I wanted to show Terry the shop, but also wanted to tack up the other
base piece for the top frame of the hard dodger.
I did the set up on the pieces, and
tacked them up. Terry and I then went back to DREAM AWAY with the two
tacked up pieces, and the long piece of pipe that is to be welded
between the two base pieces.
When we got back to DREAM AWAY, we
bolted the two base pieces to the boom gallows, and then hung the big
piece of pipe between the two base pieces, and marked where the cuts
will be made. With the big piece of pipe marked, I will be able to
cut off the ends of the pipe, and tack it to the base pieces. That
will be tomorrow mornings project.
October 21, Monday, 2013
Started off the morning with my normal
ritual of getting on the Internet, answering email, and checking the
weather, while making a pot of coffee. I also spent time with our two
cats, Jillian
and Jordan.
Went over to the shop
and continued sanding the stainless steel pipe for the hard dodger. I
also sanded smooth the stainless steel base for the starboard side of
the top of the hard dodger frame.
Starboard Base Of Hard Dodger Frame
Before Sanding
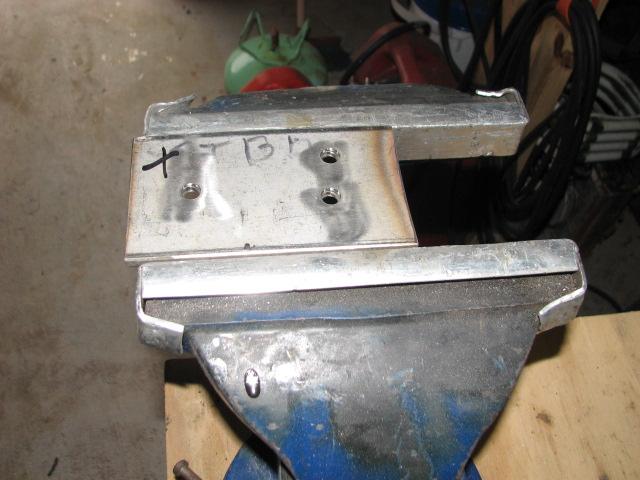
Starboard Base Of Hard Dodger Frame
After Sanding
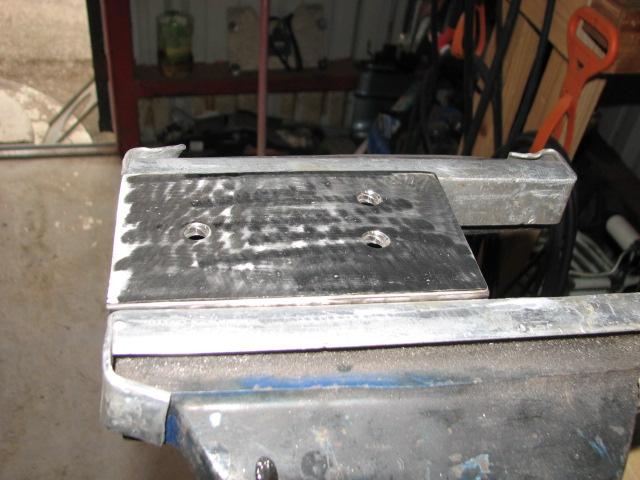
I decided to set up the welder
and tack the pipe and base together. When I checked the welder
it was still set up to weld aluminum. I was last welding on a base
piece for the main mast sail deck, and had not finished.
I decided to continue with the aluminum
welding and finish the base piece for the main mast sail deck. Just
when I was ready to start welding, Kitty called to say she was up,
and to come home for breakfast.
Set Up To Weld Main Mast Sail Deck Base

I went back to DREAM AWAY and had
breakfast. After breakfast we went to the Lowe’s
in New
Iberia to pick up the five sheets of Structoglas
I had ordered for DREAM AWAY projects.
We drove directly to the shop
and unloaded the Structoglas,
then back to DREAM AWAY. We had lunch, then drove over to Abbeville
to meet our friends Iris and Terry who were driving their new motor
coach from Florida back to Texas. We had a great visit, and dinner at
Shuck’s
in Abbeville.
October 20, Sunday, 2013
Started off the morning with my normal
ritual of getting on the Internet, answering email, and checking the
weather, while making a pot of coffee. I also spent time with our two
cats, Jillian
and Jordan.
Went over to the shop
and started in on repairing a screen for the forward facing hatches
in the main cabin. Our cat Jordan,
when he is outside roaming the decks likes to lie down on the screens
we have in all of the hatches. When he does lie down in the screen,
he falls through, and the screen has to be repaired. He did this
yesterday, that is why the repair is necessary.
Screen On Bench Ready For Repair
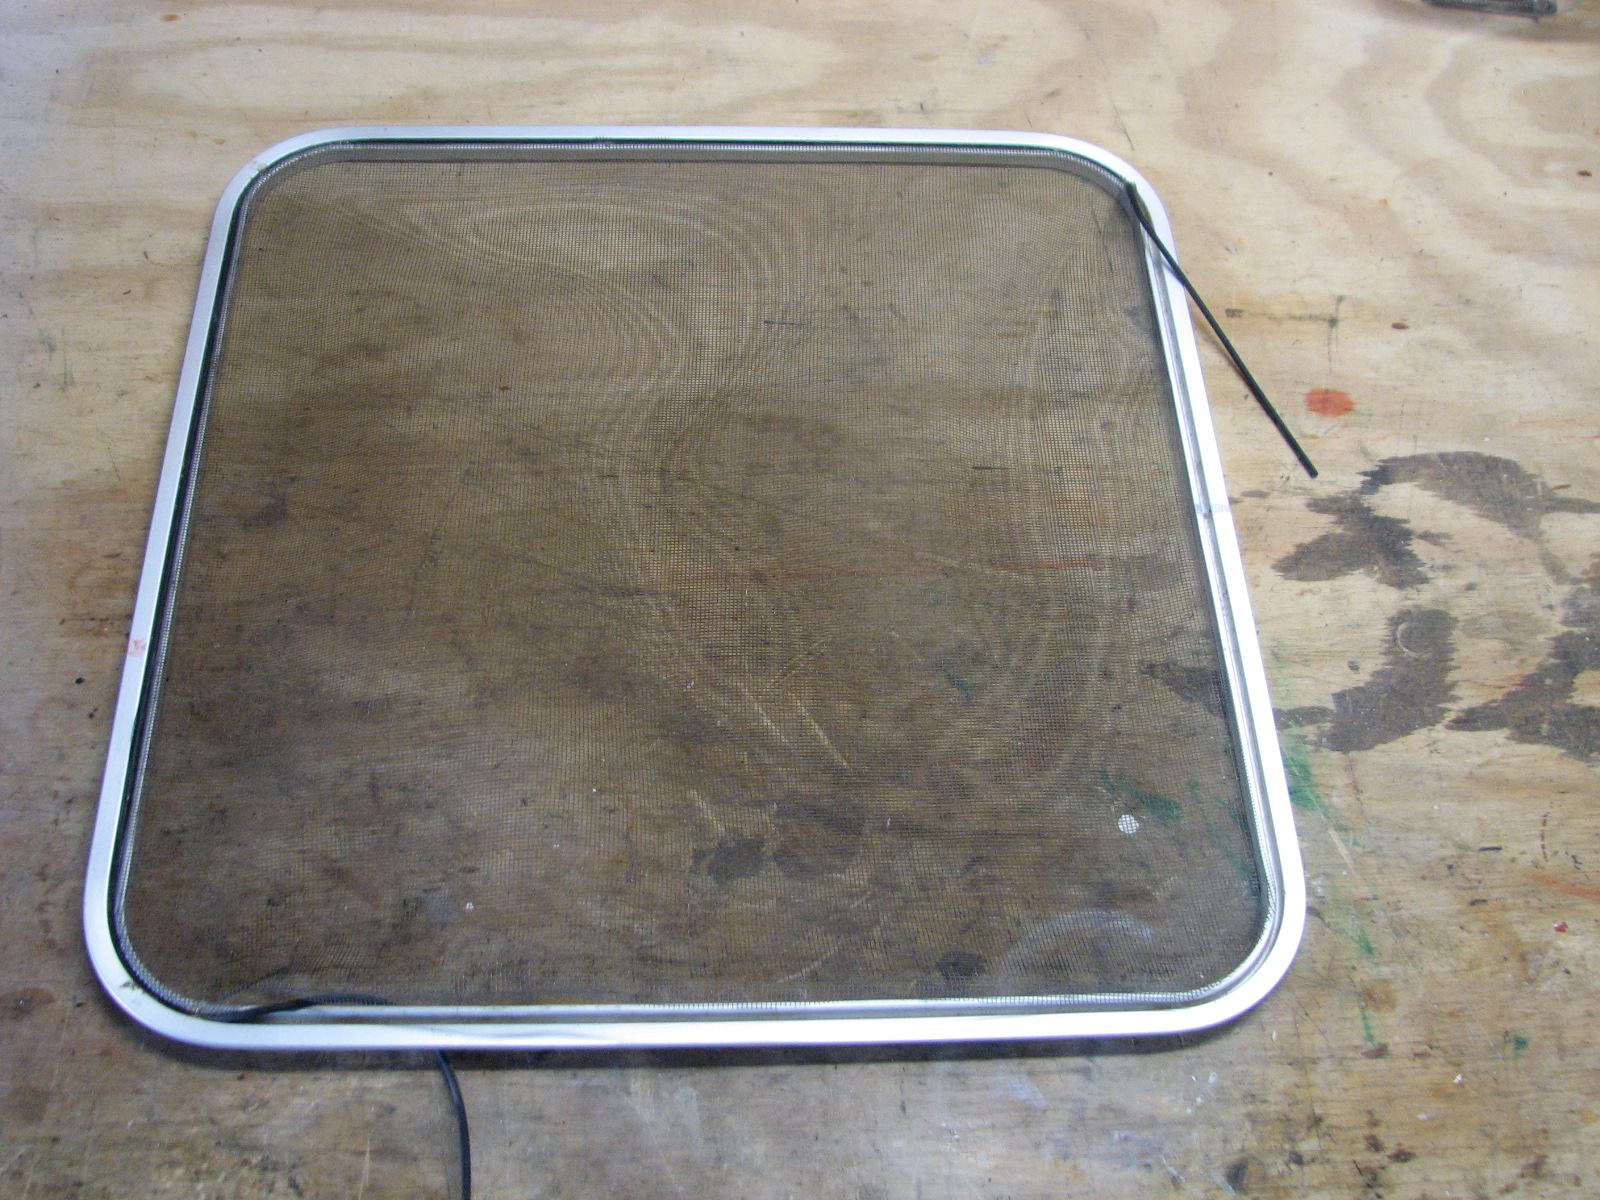
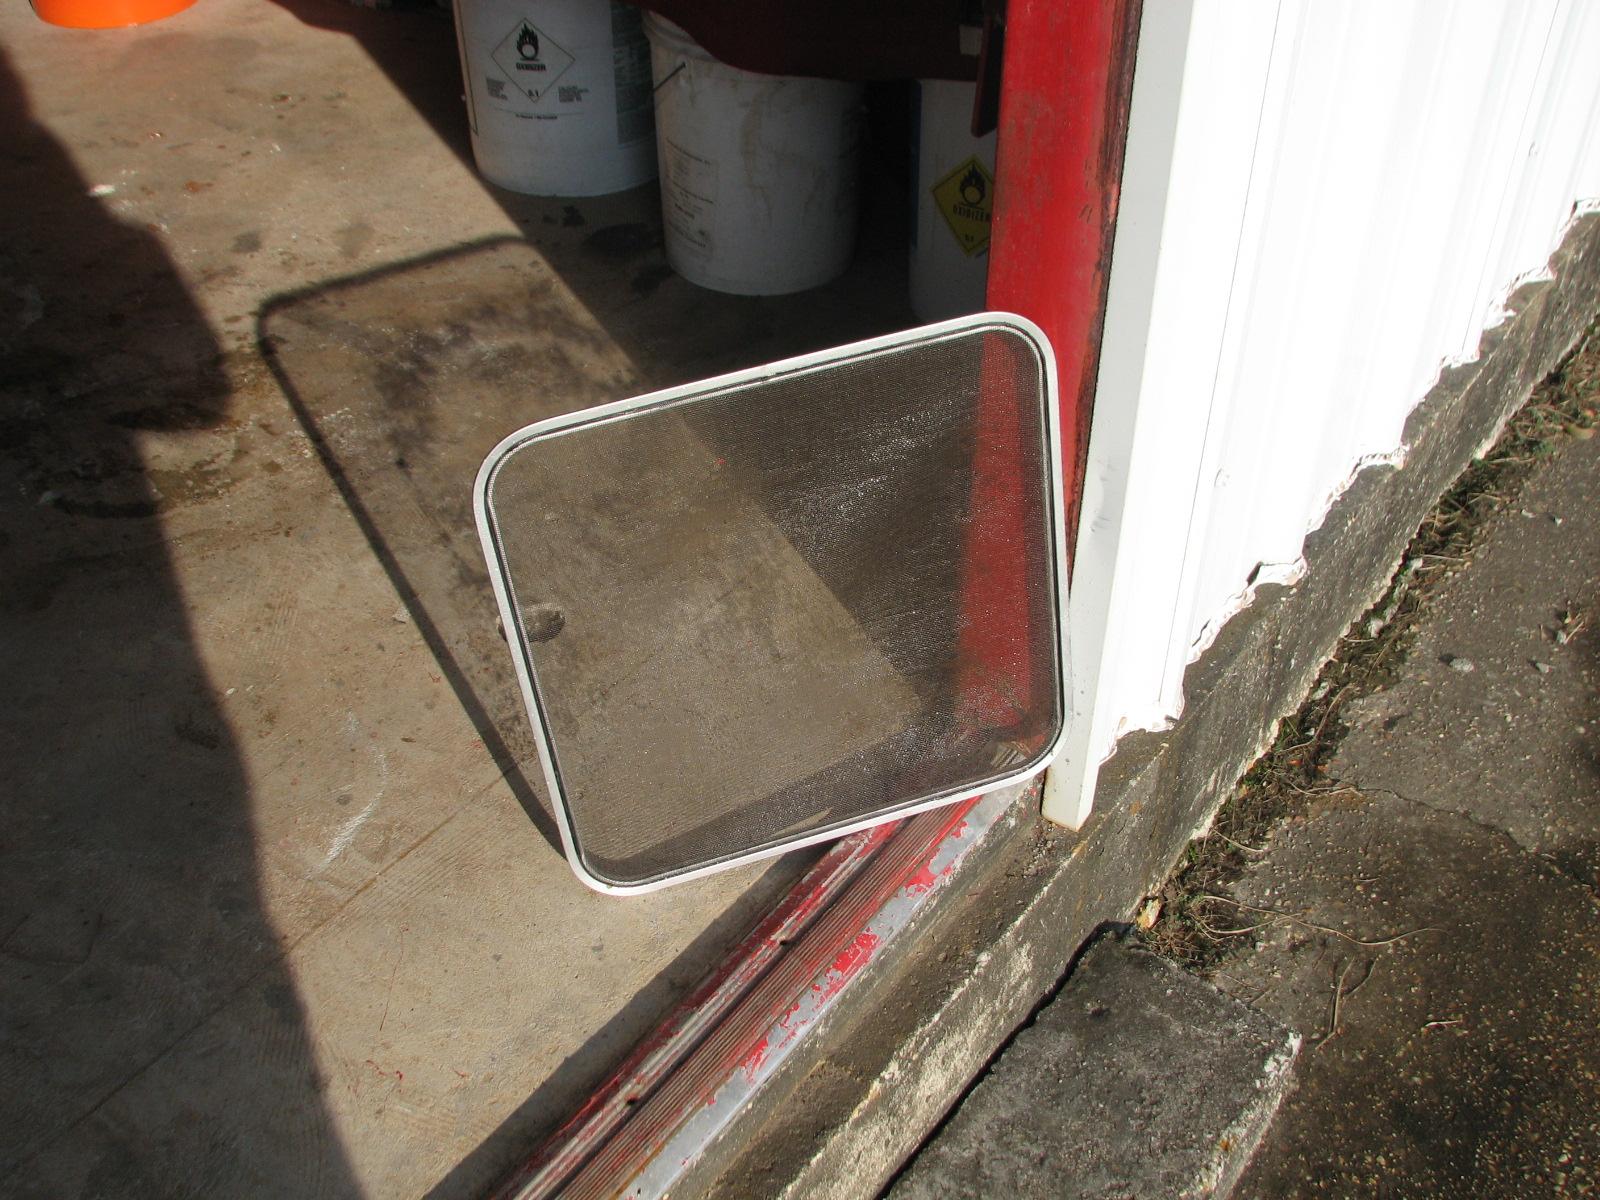
I repaired the screen, then I washed
the screen, and set it out to dry.
Repaired Screen Drying In The Sunshine
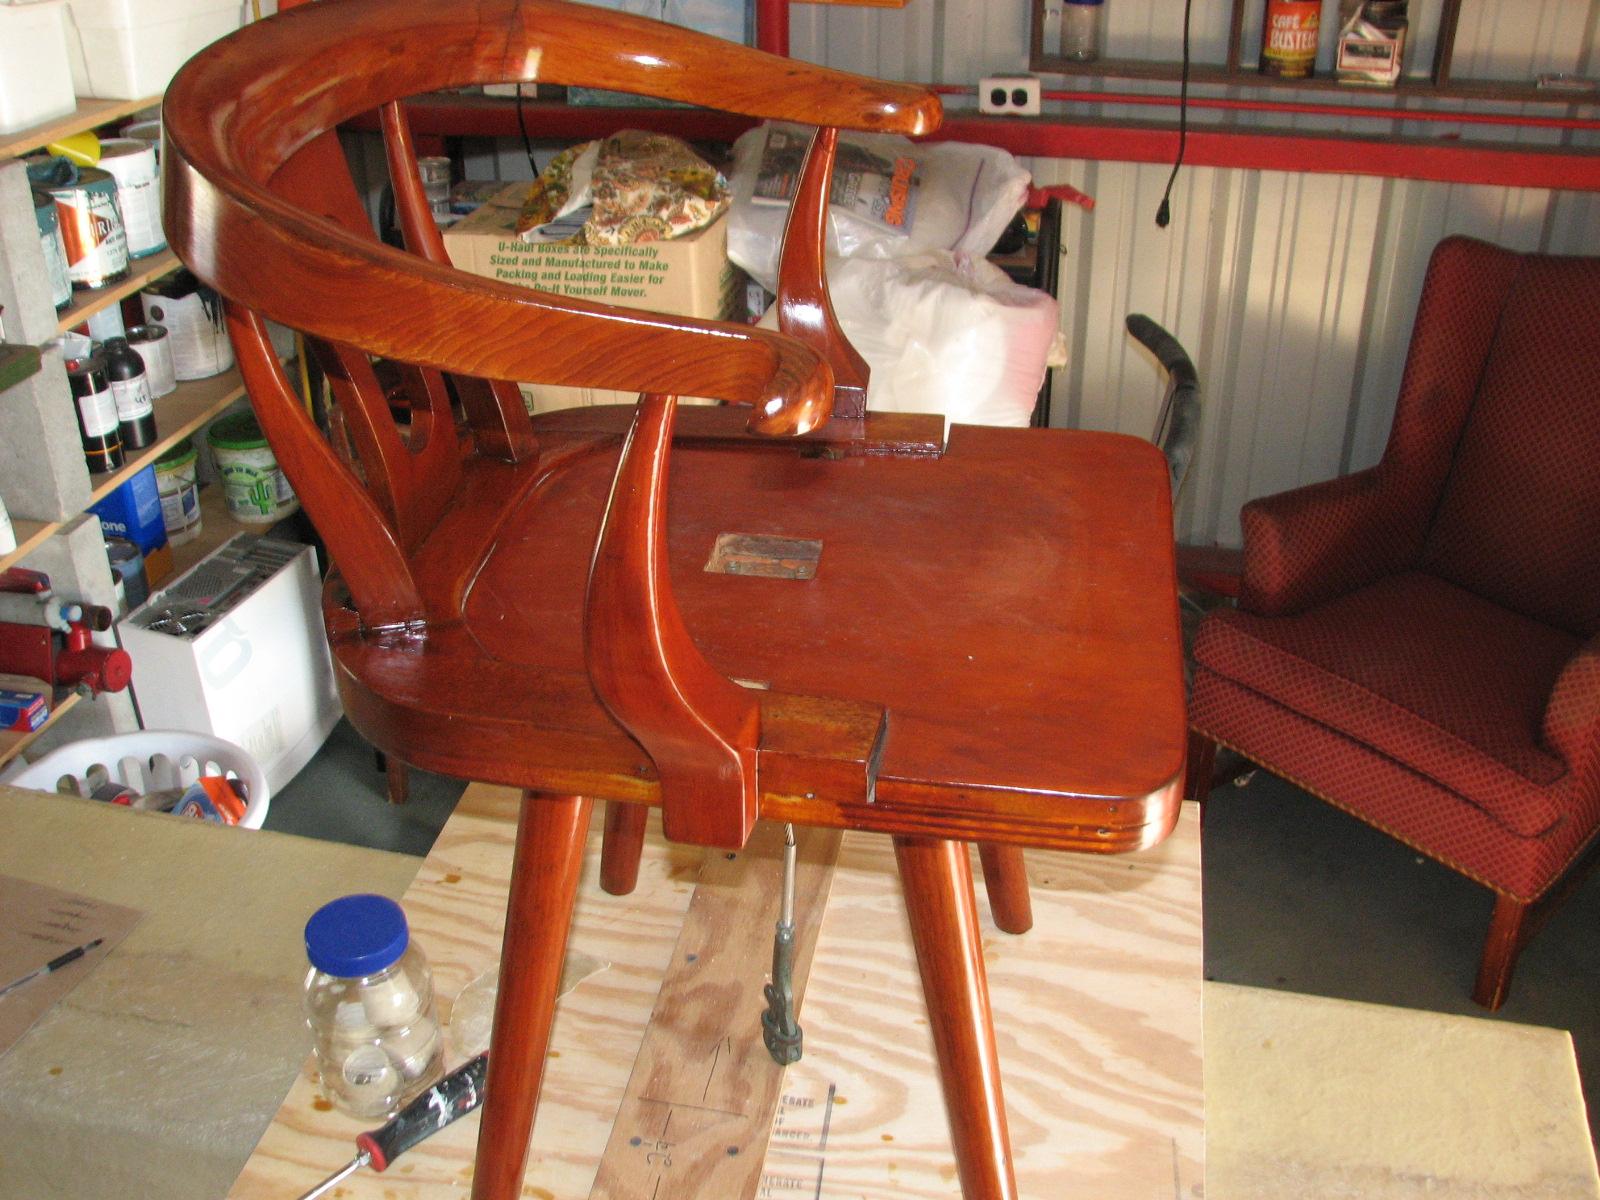
I had finally applied eight coats of
varnish to the nav
station chair, so I was ready to take it back to DREAM
AWAY. I first had to put the cushion back on and the rubber ends on
the legs, and it was ready to go.

Next I worked on the upper frame for
the hard dodger. I got out a piece of the 1” stainless steel pipe,
and cut off two 18” pieces with the chop
saw.
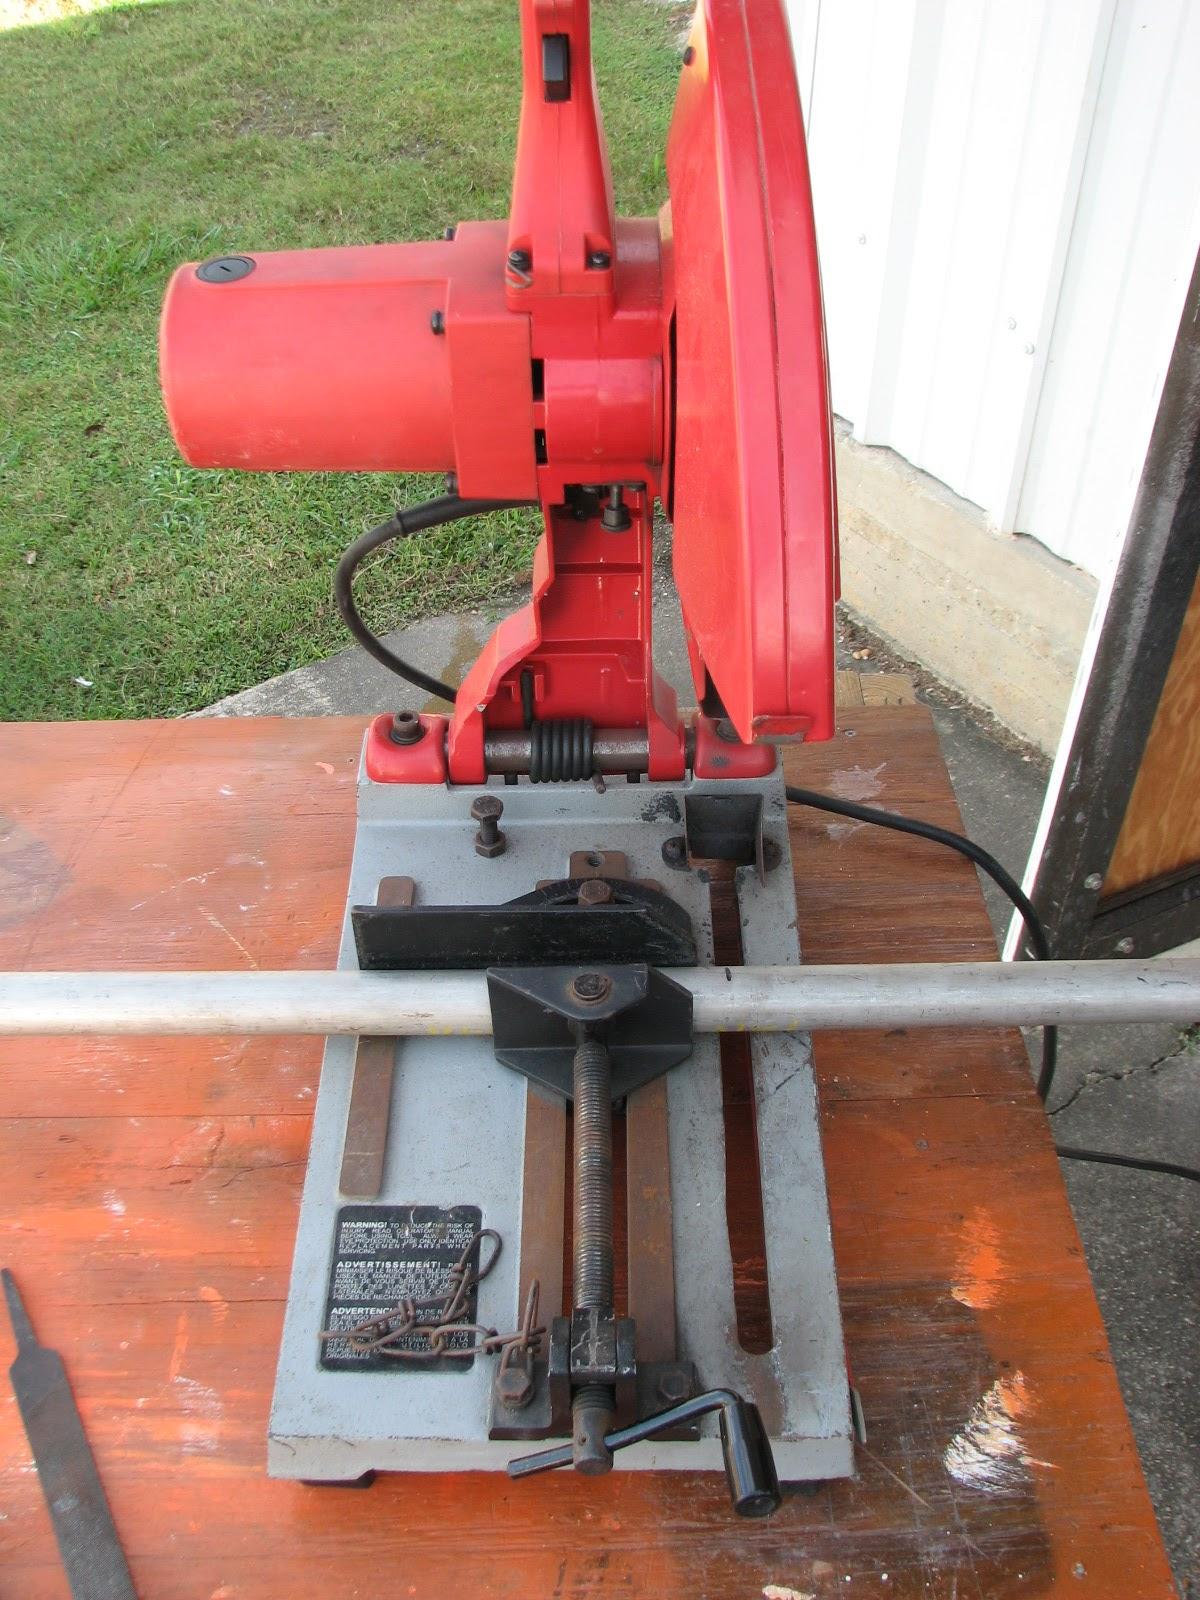
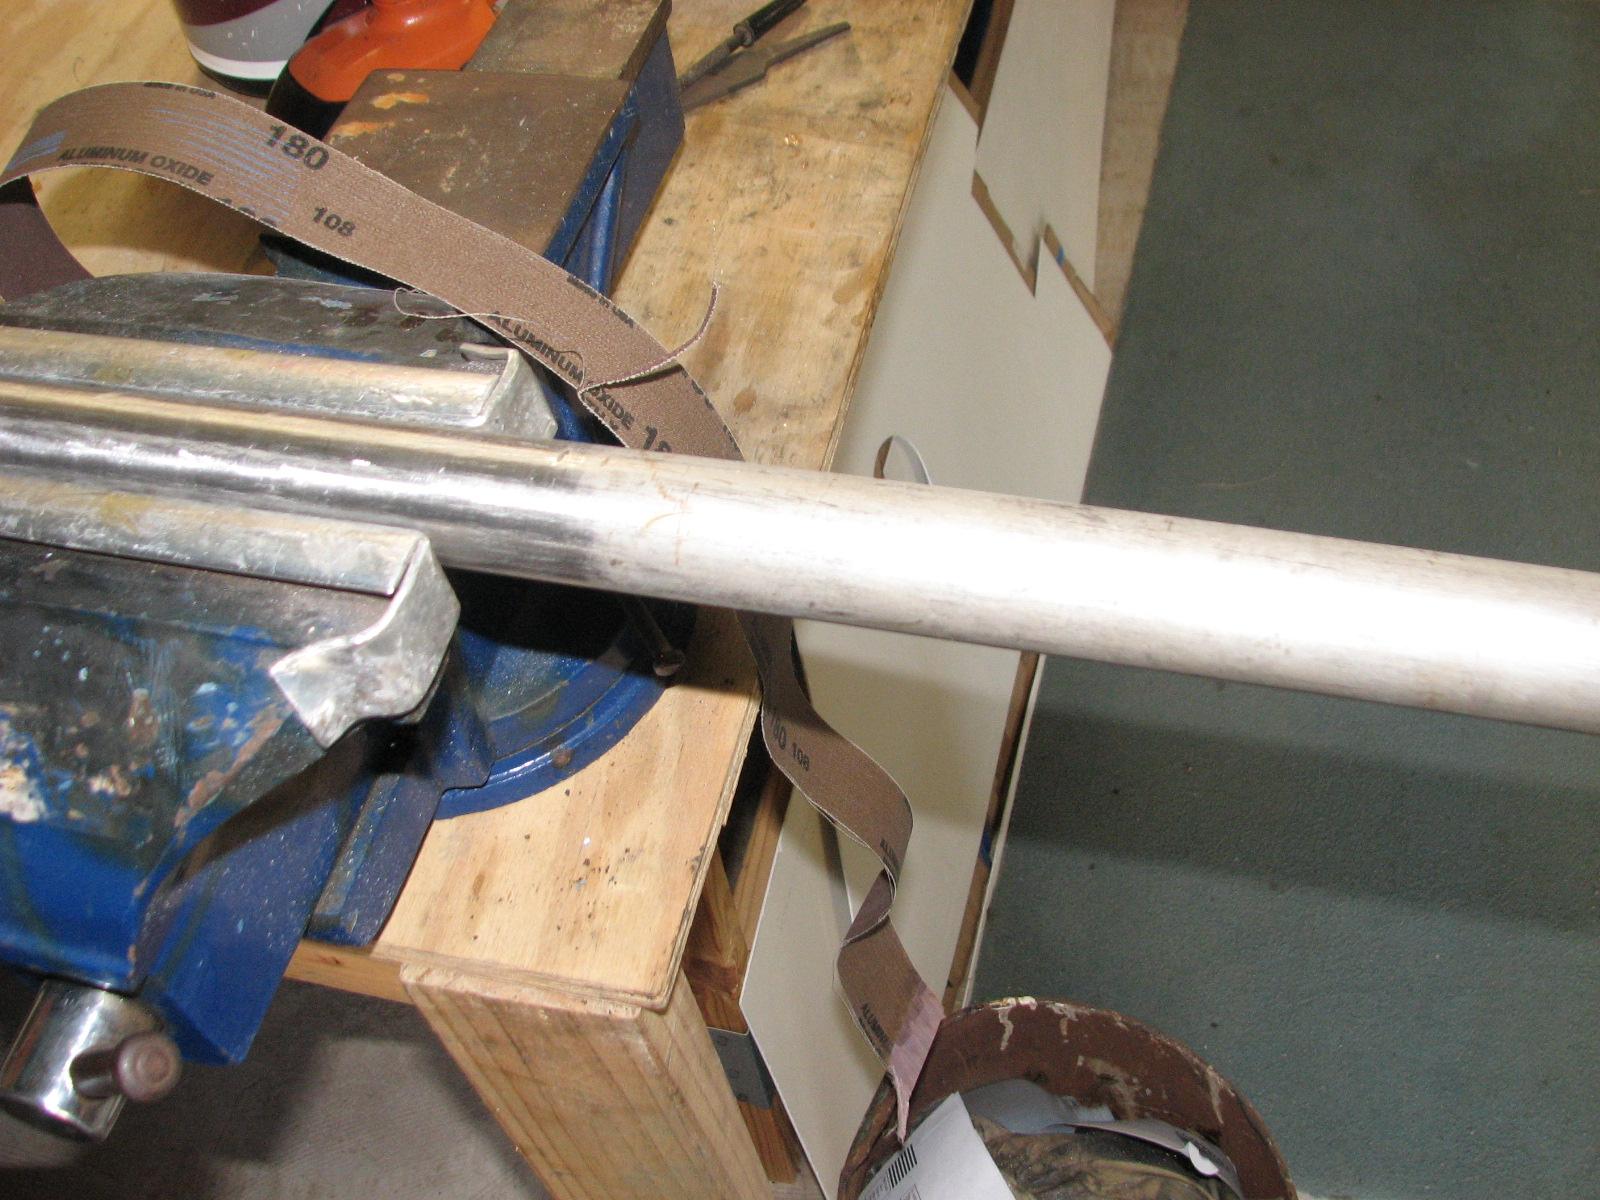
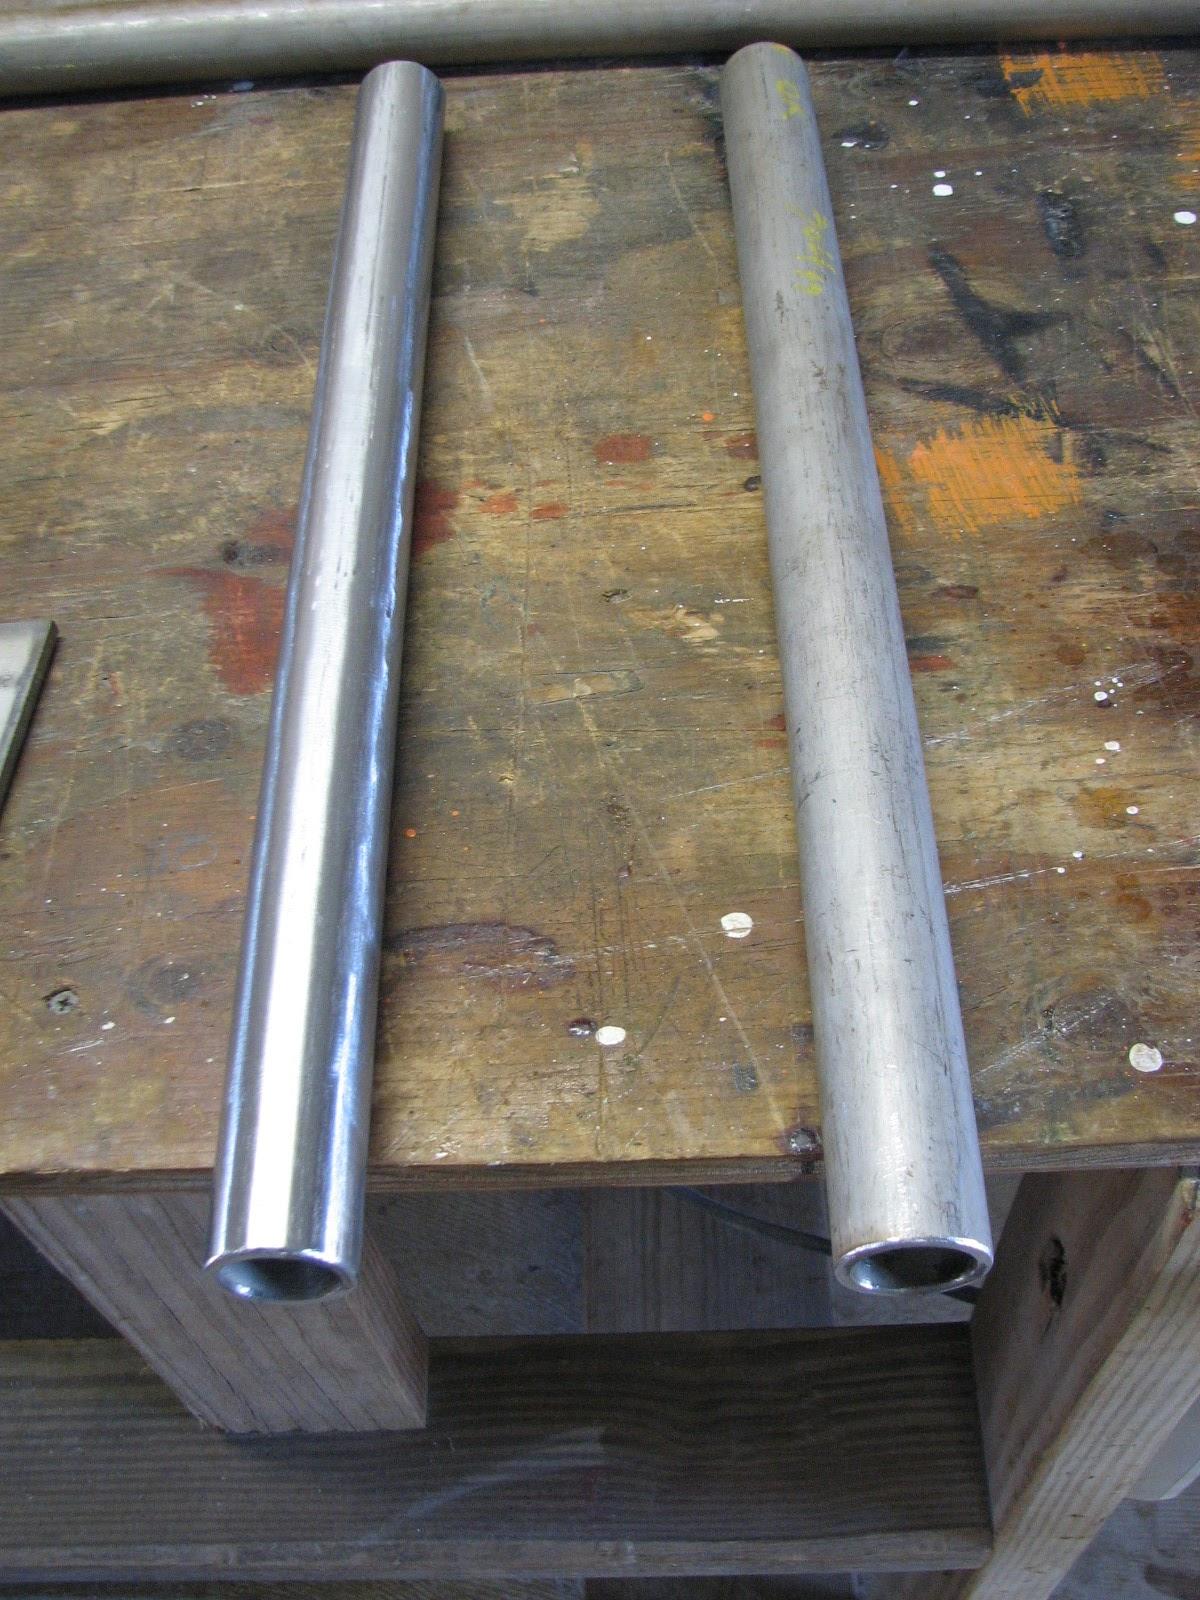
The two pieces then had their ends
trimmed, and filed smooth. I then got sand paper and polished the
pipe. It will not be perfect, but look better than coming straight
from the mill. I also polished the base piece the pipe will be welded
to.
Pipe Undergoing Sanding
One Piece Complete, One To Go
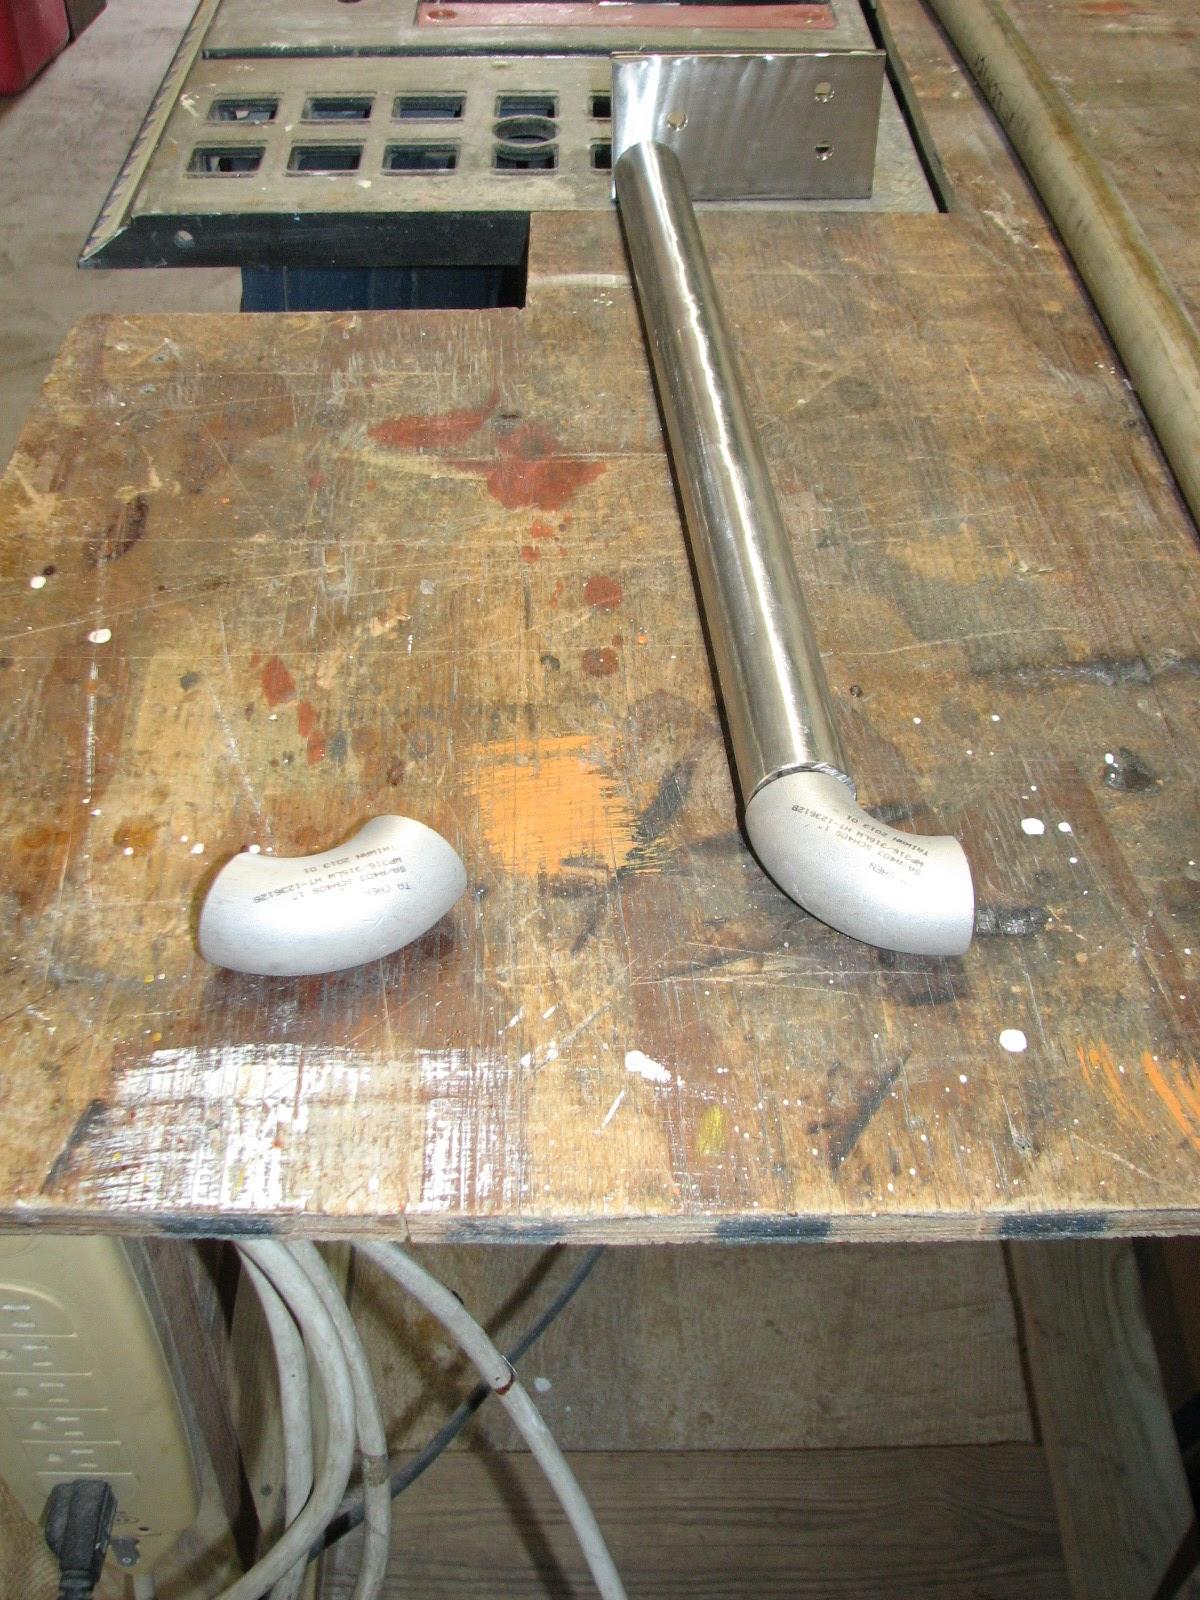
I then did a dry fit of the polished
pipe, the base plate, and the weld ell. I will tack these pieces
together, and then check the fit on the boom gallows. I will have to
get the starboard side and the port side tacked together, so I can
measure the exact length of the pipe for the middle.
Dry Fit Of Pipe, Base, And Weld Ell
“Box O’ Resins"

After breakfast on DREAM AWAY, I
prepared the deck in the center of the dog house where I was going to
put the hard dodger center piece of fiberglass.
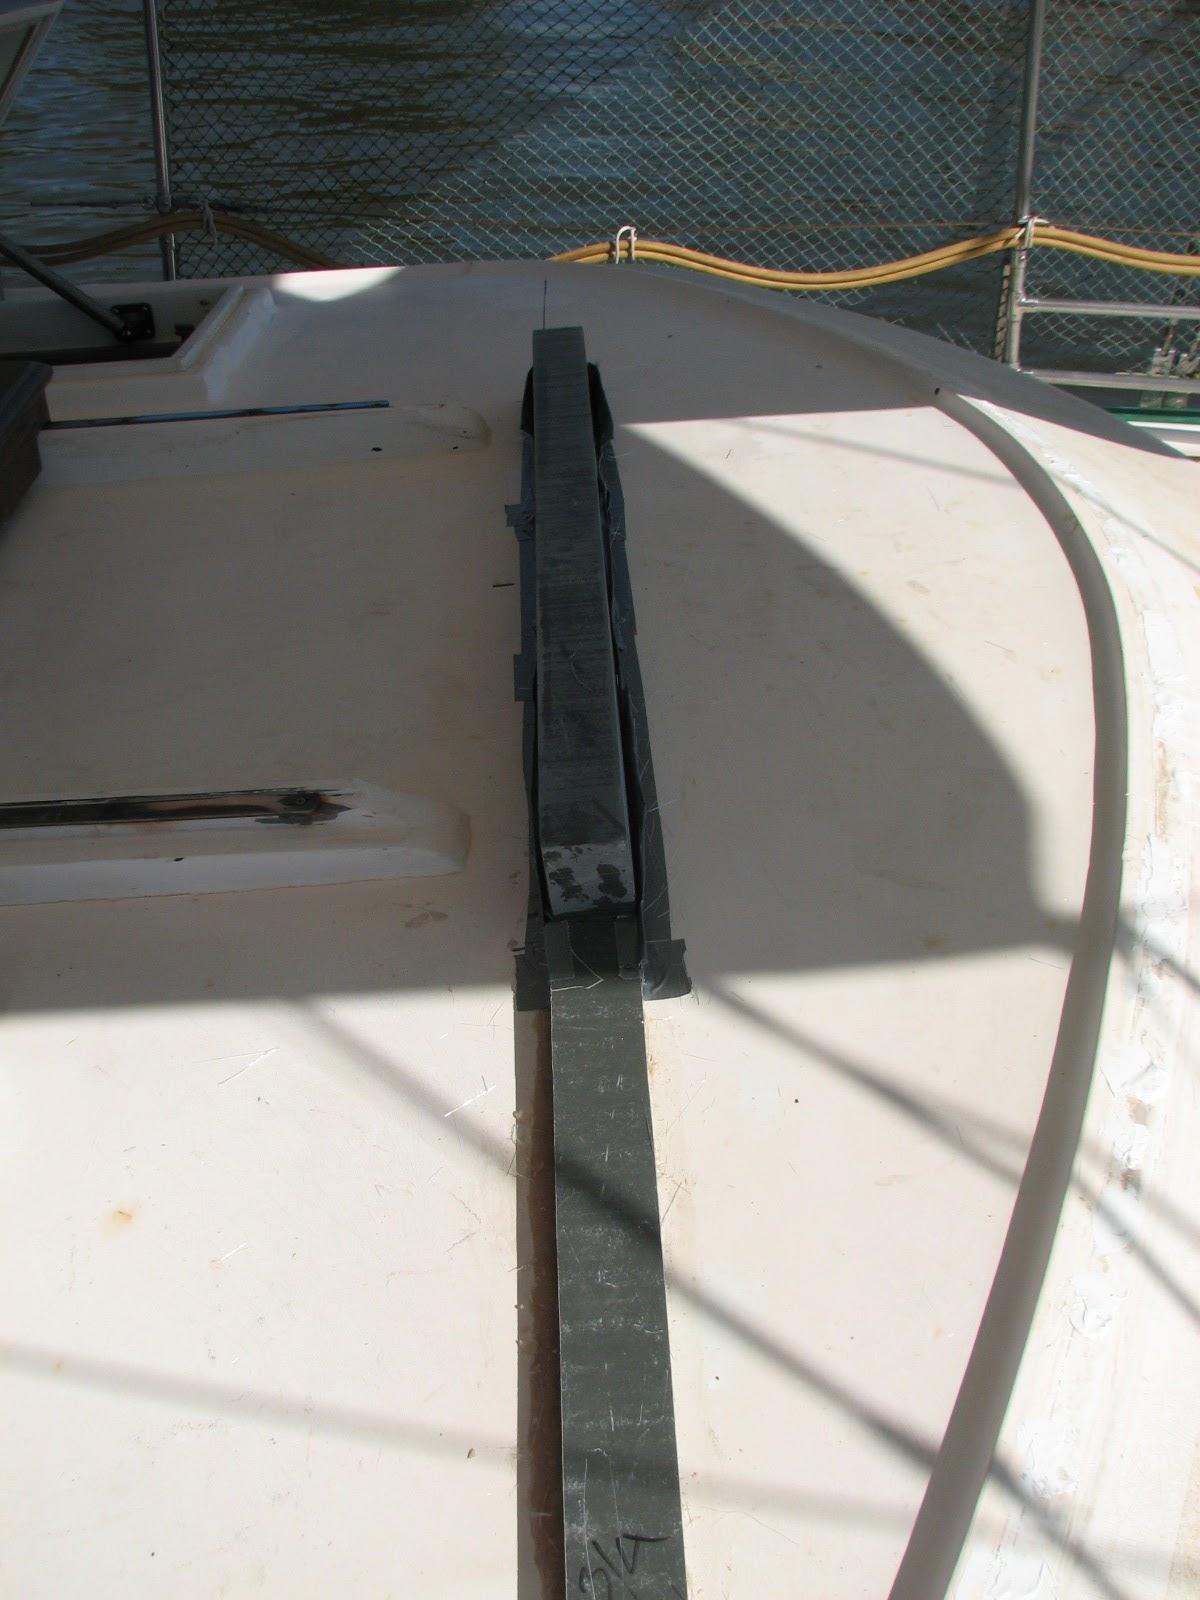
I did the measuring, then I built dams out of duct tape to keep the
resin from running all over the place.
I then cut all of the necessary
fiberglass
mat I would need to fill in the crown under the center piece. When
that was all prepared, and I did a dry fit, I was ready. I mixed a
pot of polyester
resin, not too hot, and applied the polyester
resin to the mat and the center piece. The dams worked
perfectly, and the application went off wonderfully.
Hard Dodger Center Piece Fiberglassed
In Place

Hard Dodger Center Piece Fiberglassed
In Place
October 19, Saturday, 2013
Started off the morning with my normal
ritual of getting on the Internet, answering email, and checking the
weather, while making a pot of coffee. I also spent time with our two
cats, Jillian
and Jordan.
Spent extra time on the computer
catching up. Did not get any DREAM AWAY projects done today. Ran some
errands, and then watched the Texas Aggie football game.
Unfortunately the Aggies lost to Auburn.
October 18, Friday, 2013
Started off the morning with my normal
ritual of getting on the Internet, answering email, and checking the
weather, while making a pot of coffee. I also spent time with our two
cats, Jillian
and Jordan.
Went over to the Port
of Delcambre’s storage room and unloaded the steps
and railings that came with the shower
trailer. Until the port director decides where the
trailer is going to be situated, there is no use attaching the steps
and handrails to the shower trailer.
I also got under the Black Beast to
check the rear brakes. A couple of months ago, I tried adjusting the
rear brakes on the Black Beast. The passenger side would adjust, but
the driver’s side would not. I checked again this morning, and the
same situation prevailed. I decided to apply some Aero
Kroil to the adjuster. I will do this application for
a couple of weeks, and see if the adjuster can be loosened.
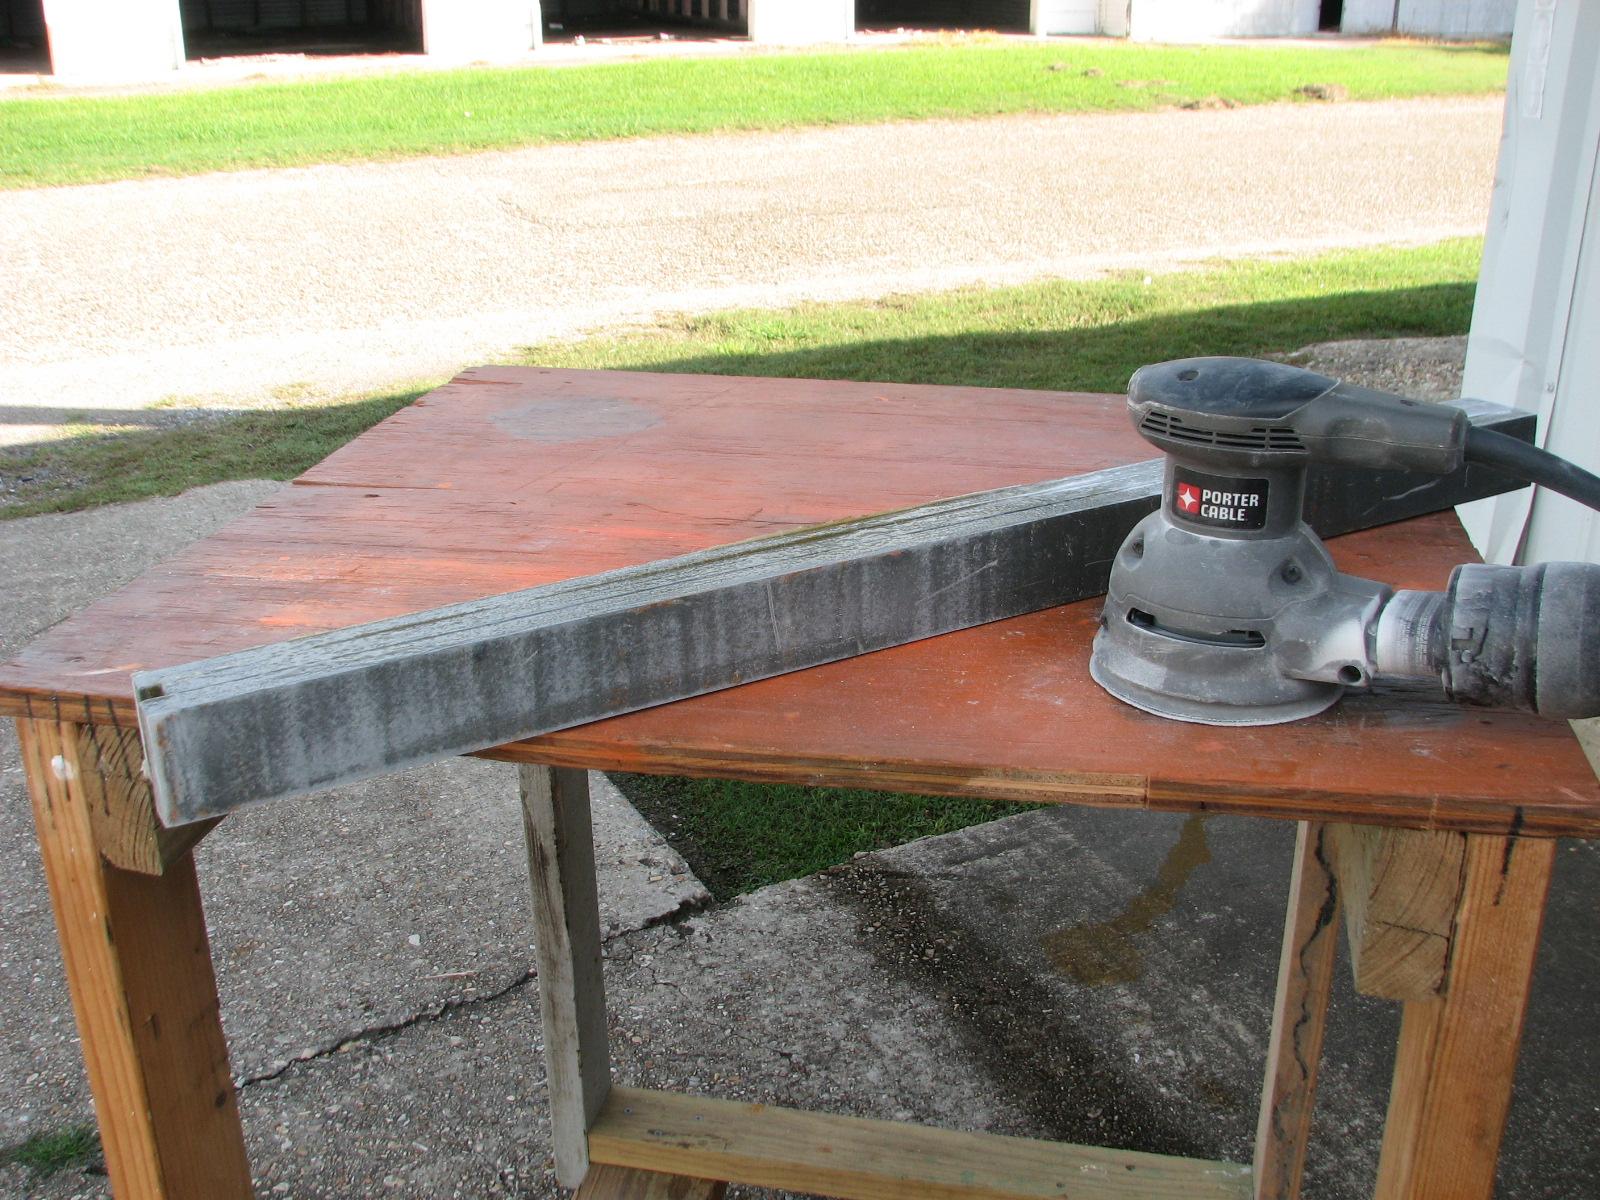
I then got to sanding the center base
piece for the hard dodger. This is the piece that is actually three
pieces of Strongwell
Extren plate I had glassed together.
Sanding Center Hard Dodger Base Piece
Went over to DREAM AWAY to have
breakfast, and then returned to the shop.
I finished sanding the center piece of fiberglass for the hard
dodger. I used the Evolution
Rage III compound miter saw to trim the ends of the
sanded center piece to the measured length.
I knew I was going to use one of the
pieces of the 1” stainless steel pipe for the top frame of the hard
dodger, so I decided to get started on that phase of the project. I
cut off the threaded ends of one piece of pipe that was at least 100”
long, actually 114” long after the trimming.
I also wanted to put a crown in the
pipe to match the crown in the hard
bimini. I measured the pipe to find the center, and
marked that location. I then put two pieces of 4” X 4” on the
floor of the shop,
and then stood in the middle of the pipe. This action got a pretty
good crown in the pipe, but I did not want to overdo it.
I loaded the pipe and blocks of wood
and the center piece of fiberglass
into the Black Beast, and went over to DREAM AWAY.
I fitted the center piece of fiberglass
to the top of the dog house, and the fit was very close. I have come
up with a plan to glass the center piece to the dog house, but did
not have enough time today, and also rain was on the way.
I then checked the fit of the crown on
the stainless steel pipe. It needed some adjustment, so I used the
two pieces of 4” X 4” blocks and stood in the center of the pipe.
After a couple of adjustments, I was able to get the crown very close
to the crown of the hard
bimini.
Now I can set up a jig to tack the
stainless steel pieces together, and then check the actual fit on
DREAM AWAY.
October 17, Thursday, 2013
October 16, Wednesday, 2013
We got up this morning, had a cup of
coffee, loaded the Black Beast with our luggage, and
the big chair,
and drove to Clear
Lake Shores, Texas.
We met our friends Pam and Steve for
lunch, then we took Alan and the big chair to Alan’s boat. On our
way to Rosharon,
Texas, we stopped at the Momentum
Metal Recycling in League City, Texas. I wanted to
purchase some more 1” stainless steel pipe for the main cabin grab
rails. I was lucky, and they one piece 10’ long, which I purchased.
We then drove on to Rosharon,
Texas, to spend the night with friends.
These friends, Connie and Wayne, are
the ones who got the port looking at and finally purchasing the
shower trailer.
October 15, Tuesday, 2013
Started off the morning with my normal
ritual of getting on the Internet, answering email, and checking the
weather, while making a pot of coffee. I also spent time with our two
cats, Jillian
and Jordan.
Went over to the shop
and started in on the submerged running of the SeaScooter. I had
charged the battery for the SeaScooter over night, so I know the
battery was topped off.
We went through the same drill we did
yesterday with the SeaScooter. We used masking tape to secure the on
button down, then tied the unit into the bucket of water. The
SeaScooter ran full blast for about 30 minutes, and it ran slower,
but still capable of moving a diver around.
After 1.5 hours, the SeaScooter was
still running. When we removed the SeaScooter from the water, it
still made the thrashing machine sound. The sounds have not gotten
any better or worse. I am going to charge the battery again, and run
the unit on the bench a couple of more times to see if there is any
change in the sound.
I think the SeaScooter could be a
useful and functional unit. It’s runtime, if you run it from the
time the diver is in the water, until the diver is out of the water,
it will outlast a normal divers tank of air.
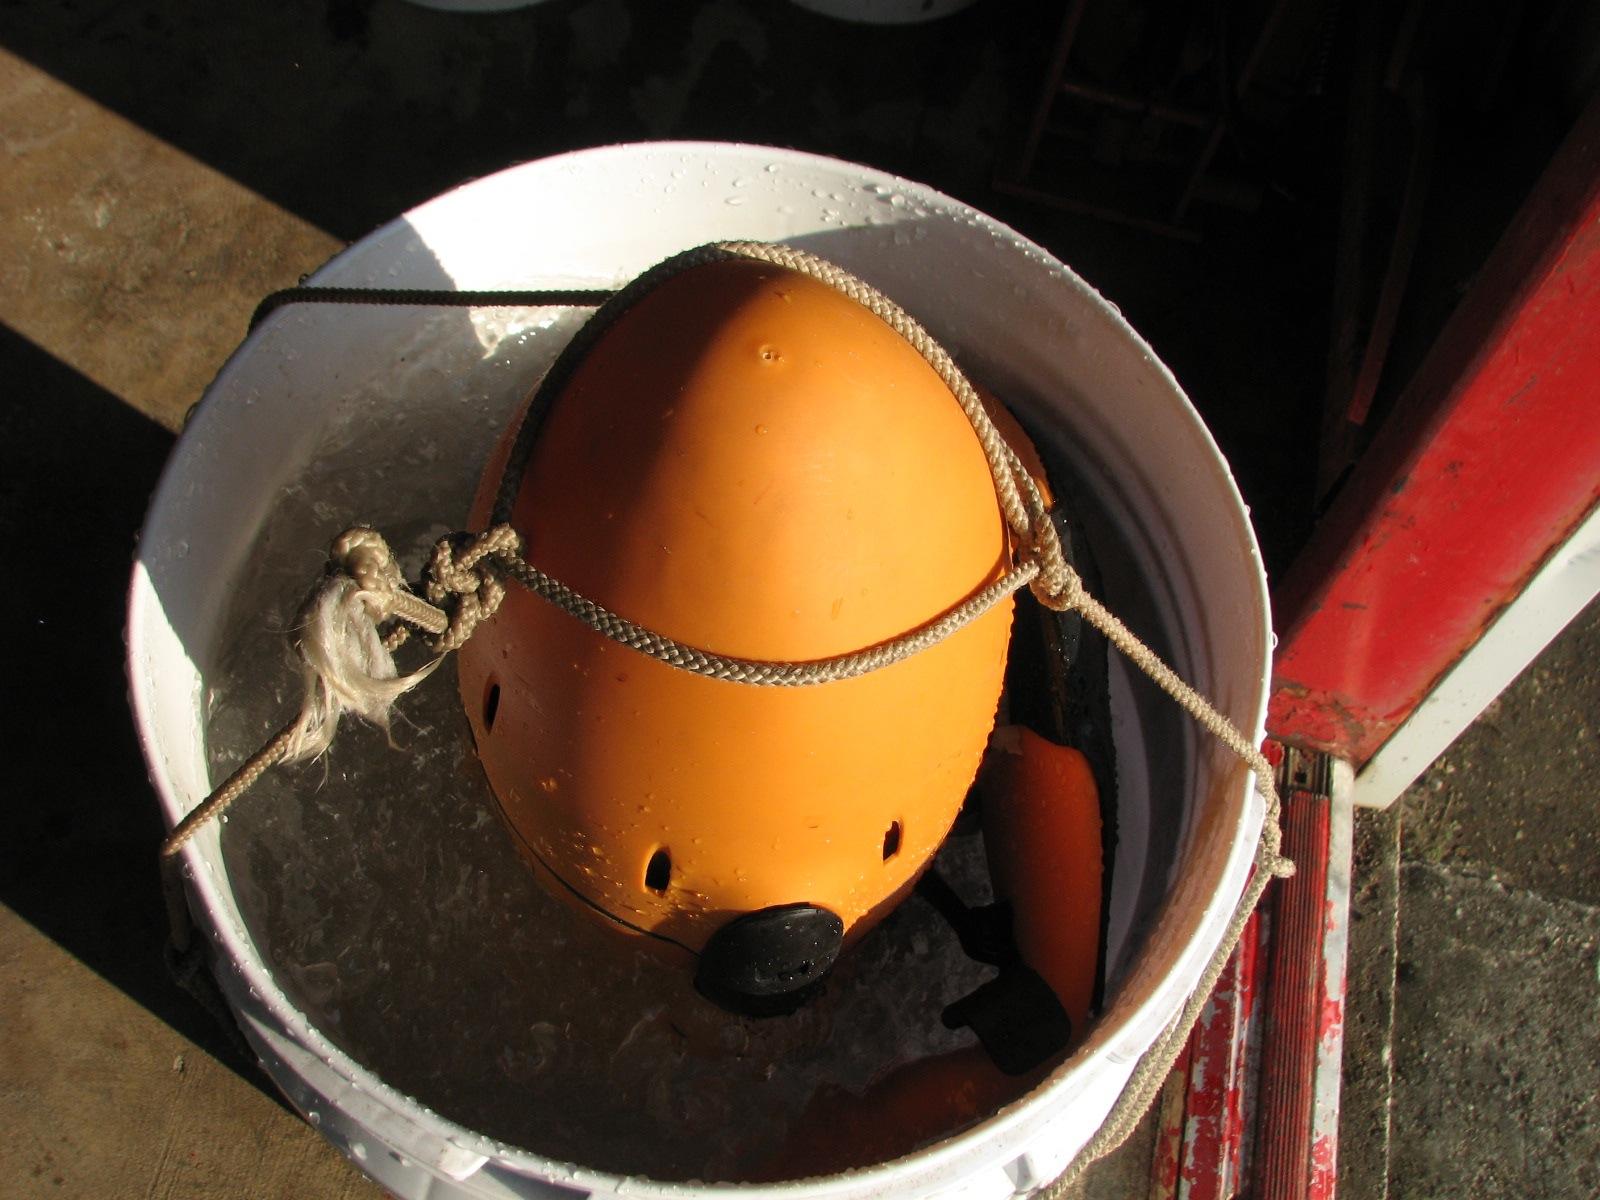
SeaScooter Running In A Bucket Of Water
Next on the list was to put together
the center base piece for the hard dodger base. The piece of
plexiglass
in the center of the hard dodger will have to clear the companionway
hatch, so the base needs to be higher off of the deck than the other
base pieces.
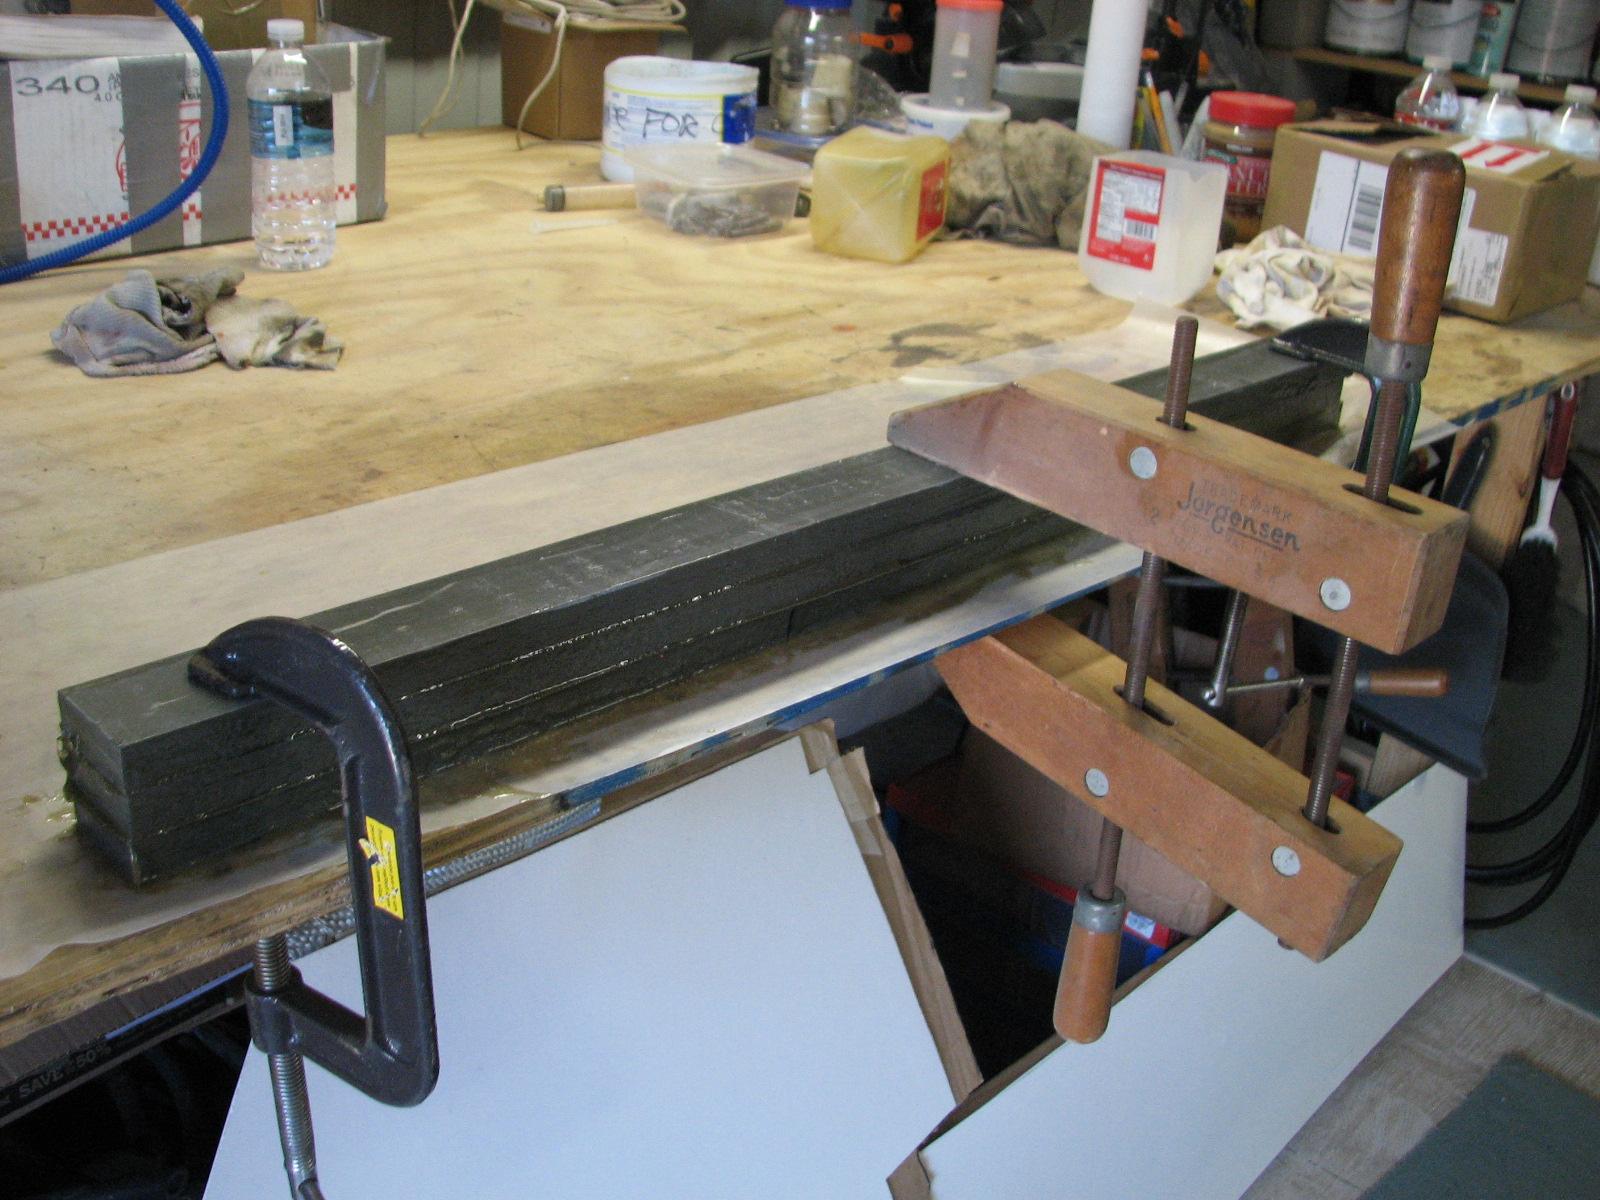
To accomplish this I decided to
fiberglass together three ¾” pieces of the Strongwell
Extren plate we had cut yesterday. I measured and cut
two pieces of fiberglass
to put between the three pieces of Strongwell
Extren plate. We sanded the surfaces of the Strongwell
Extren plate, so the resin would adhere to the plate.
I also got out clamps, and did a dry fit.
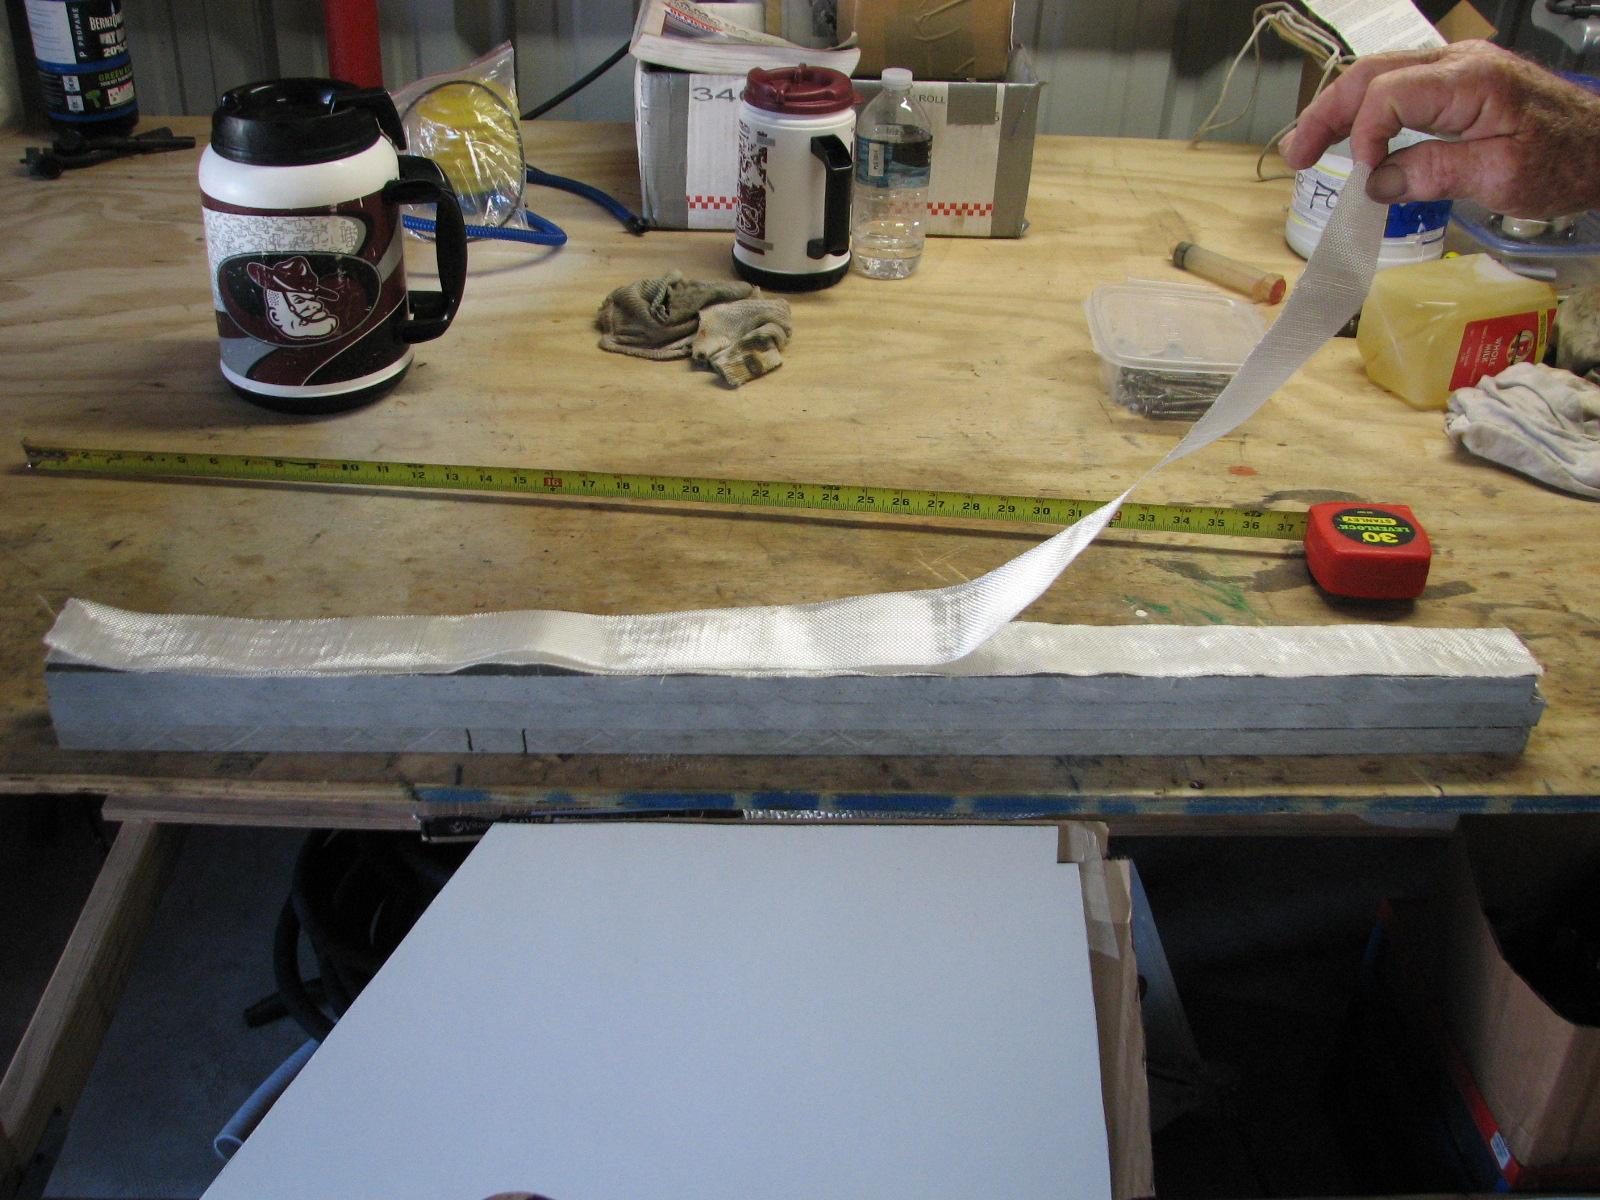
I laid out a piece of wax paper on the
bench, and then mixed up a batch of polyester
resin. We then put down the first piece of plate, and
wetted out the surface, then laid in the piece of fiberglass,
and wetted it out with the polyester
resin. We continued this process until we had all
three pieces of plate glassed together. We applied the clamps to the
piece, and applied just enough pressure to keep the pieces together,
but not so much as to squeeze out the resin.
Completed Piece On Work Bench
When we finished that, we loaded up the
“Box
O’ Resins”, the Skil
saw with the fiberglass cutting blade, sander,
weights, and other items and went back to DREAM AWAY.
We had a great Kitty prepared
breakfast, then we got to work on the hard dodger base on the
starboard side.
I have decided that the hard dodger was
going to be at 90 degree angles, not a wrap-around or curved dodger.
There will be three pieces of plexiglass
in the forward facing part of the dodger. These three pieces will
slope back to the stainless steel top of the hard dodger. On each
side of the hard dodger will be one rectangular piece of plexiglass
that will go straight to the stainless steel top of the hard dodger.
Also on each side will be a triangular piece of plexiglass
that will be the fill between the forward facing pieces and the side
pieces.
Of course there are a couple of issues
that will have to be addressed before I can realize the hard dodger
as I have it designed. Because of the way the Hardin had the “dog
house” with the eyebrow designed, I have to make some
modifications. There is also a crown in the top of the “dog house”
to be accommodated.
I know this seems complicated, but I
hope the pictures will help to explain what I am talking about.
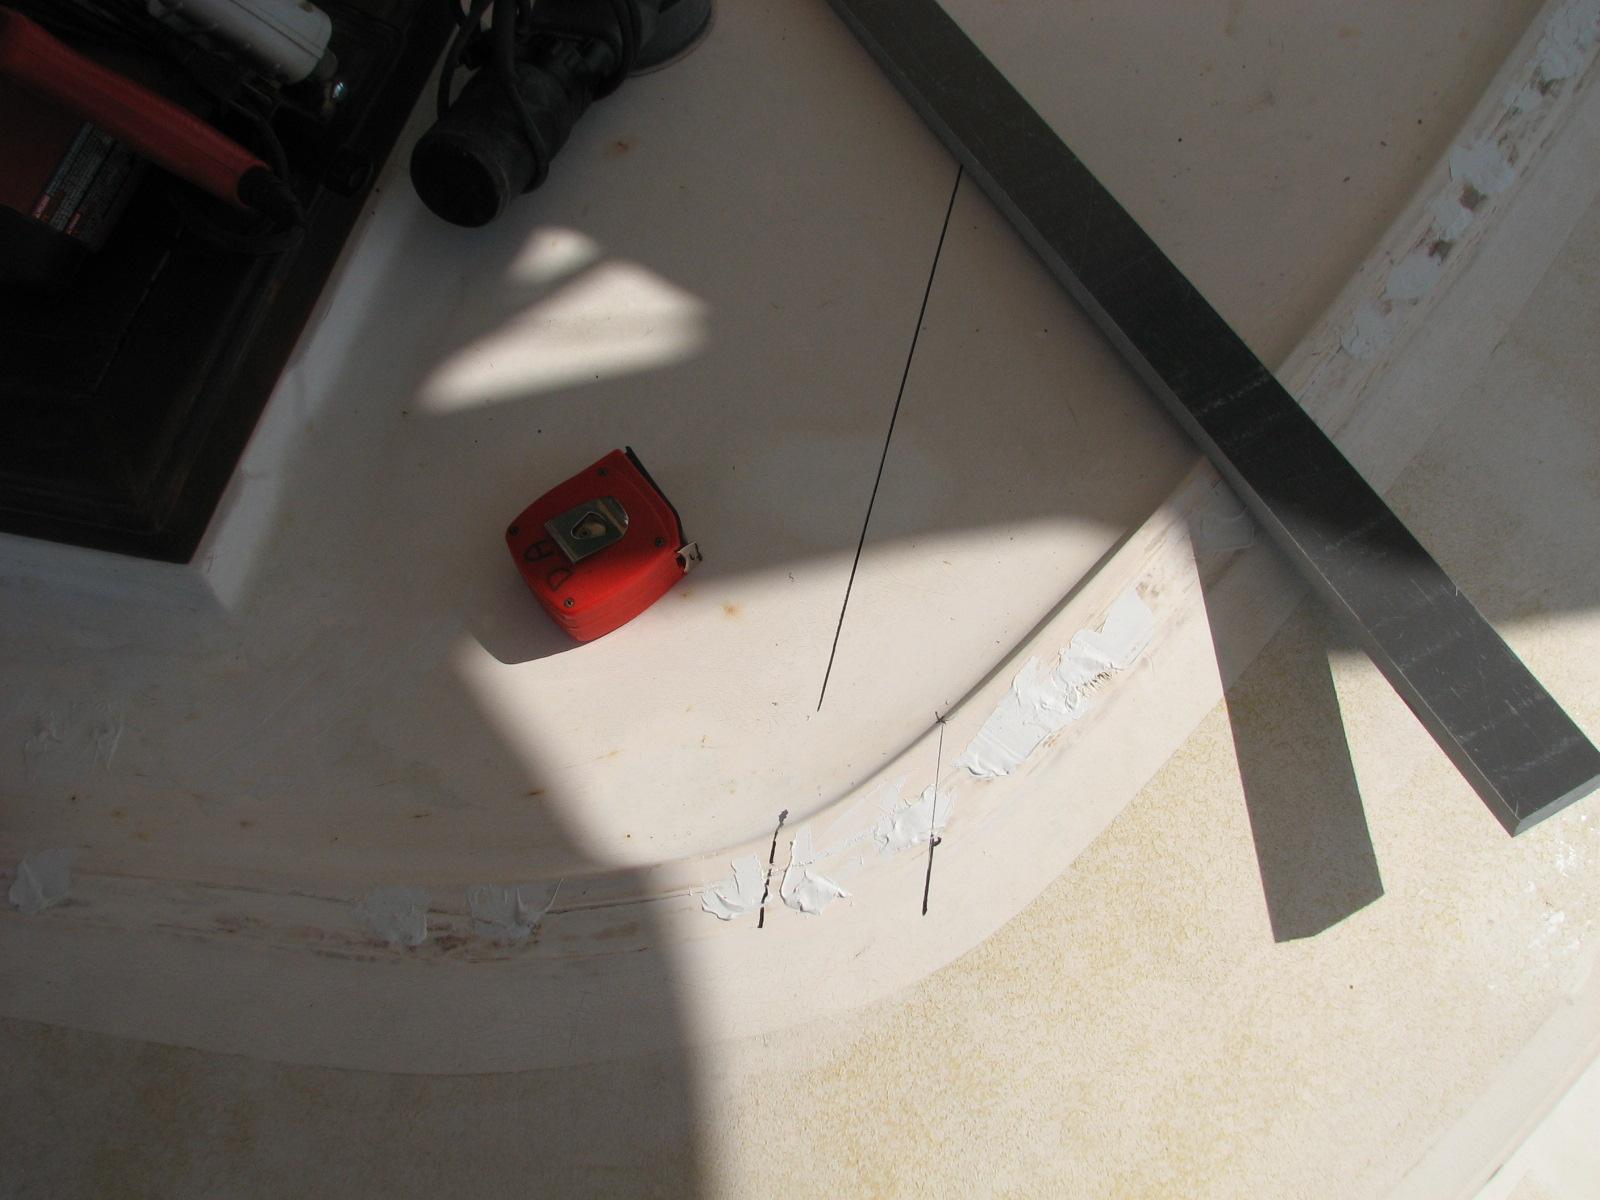
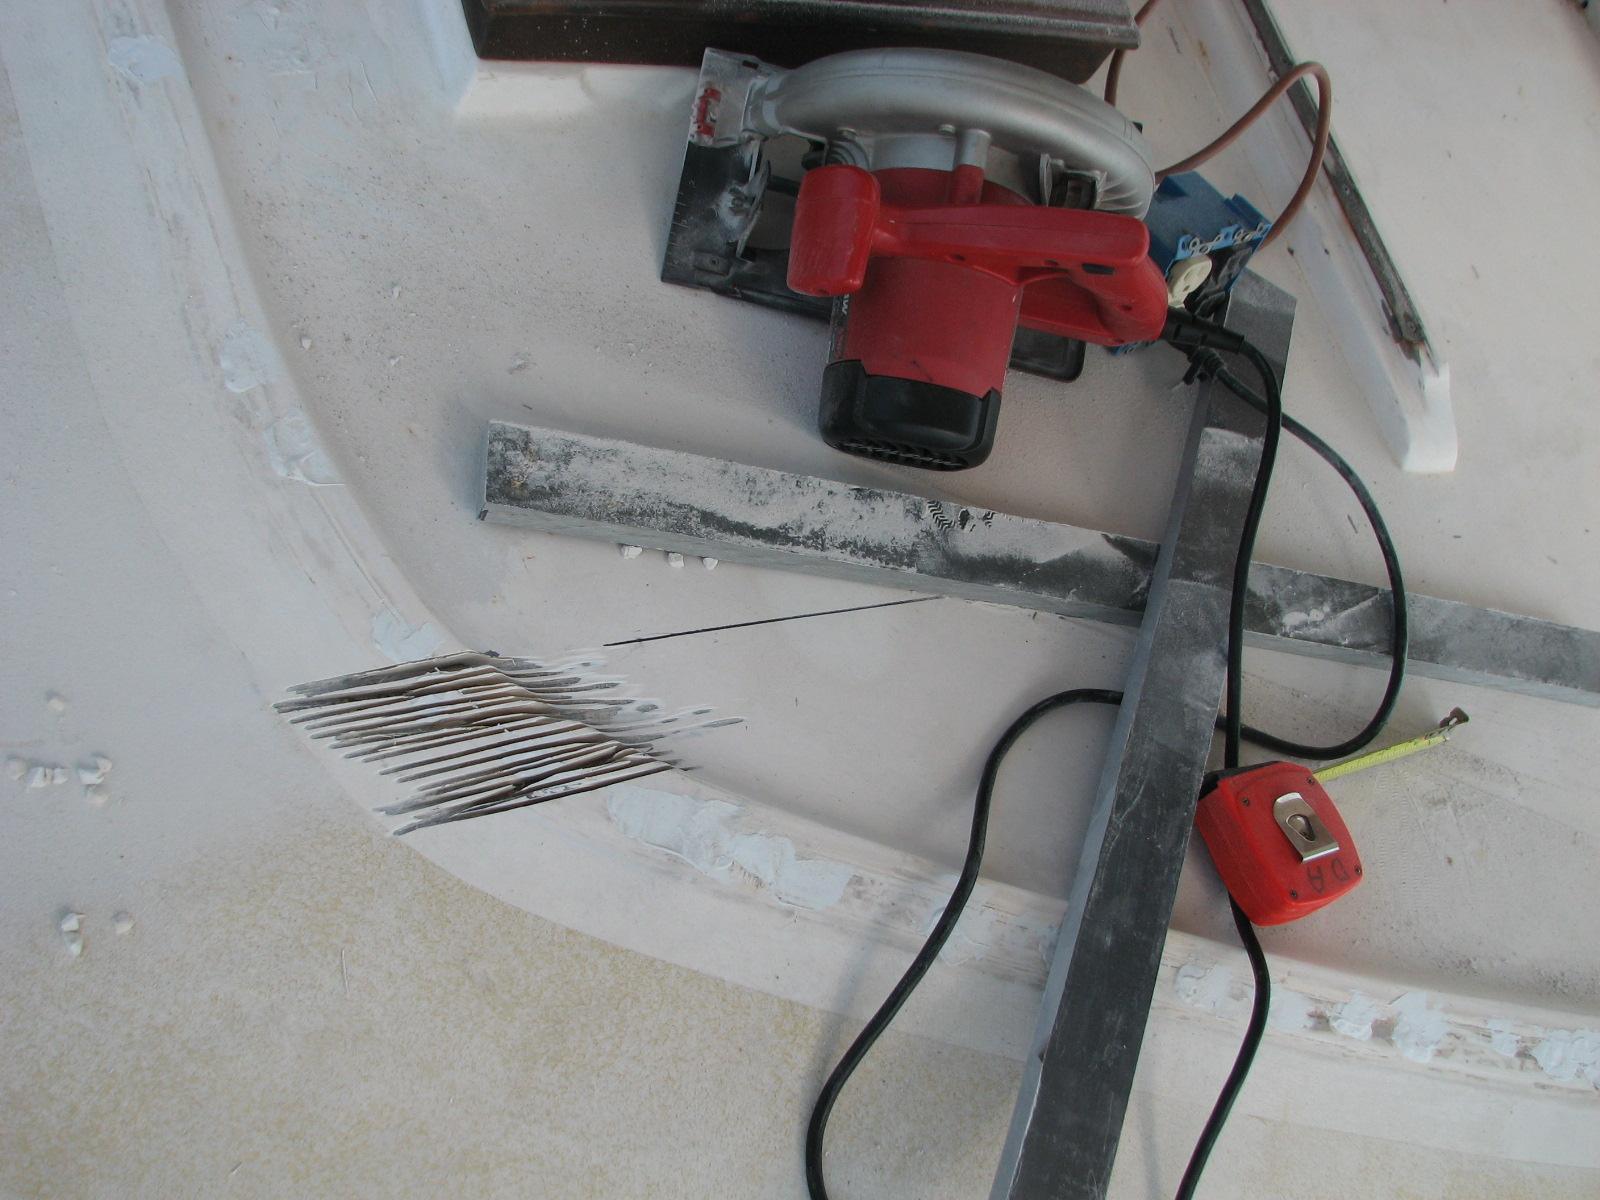
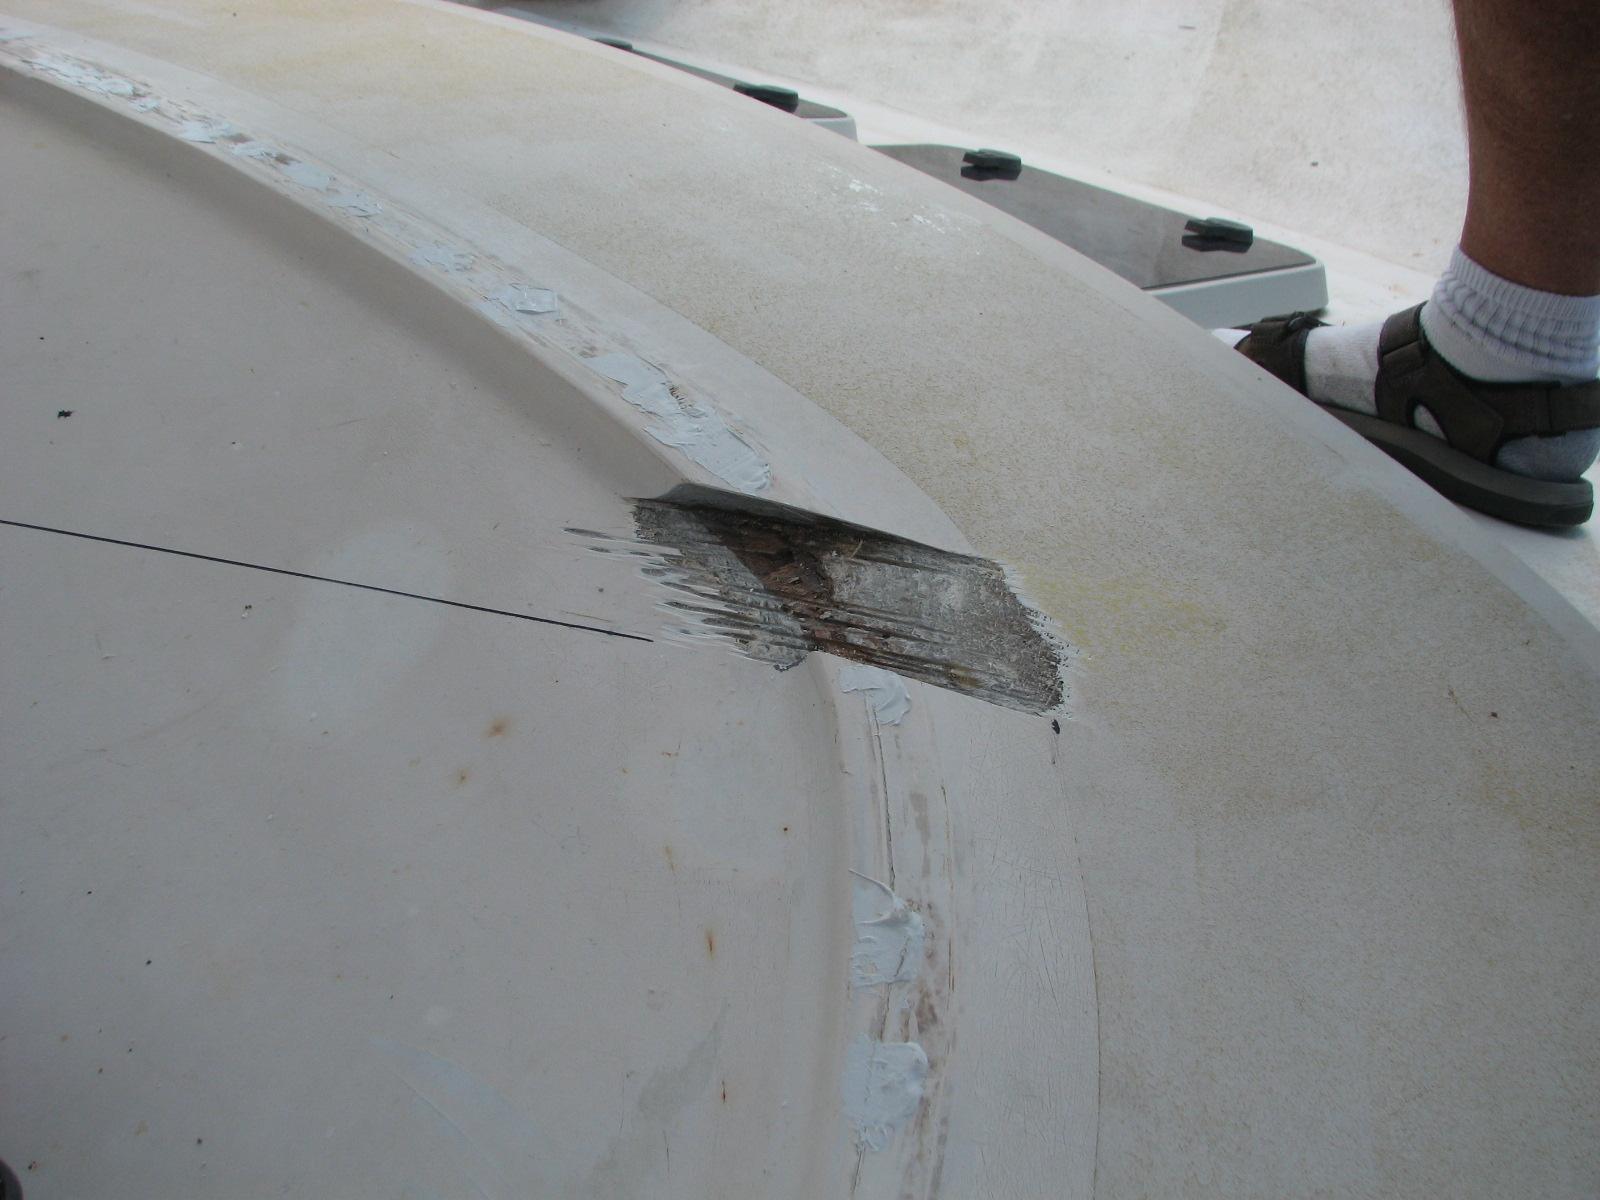
We had to cut out the eyebrow on the
starboard side to fit in the starboard forward base for the hard
dodger. I also had to cut out a channel in front of the hard dodger
base so water would not accumulate after the hard dodger base is
glassed in.
Alan and I measured and set up the cuts
with the Skil
saw with the fiberglass cutting blade. We made the
cuts in the eyebrow, and then used a chisel and file to get the area
smooth enough that we could set the base piece of Strongwell
Extren plate to lay flat.
When we were satisfied with the fit, I
cut the necessary pieces of fiberglass
mat we would use to glass the Strongwell
Extren plate to the top of the doghouse. I then mixed
up a batch of polyester
resin. I wetted out the measured area on the deck,
then wetted out the two cut pieces of fiberglass
mat, then we applied the Strongwell
Extren plate. There was a slight crown to the deck
surface, so we had to use weights to force the Strongwell
Extren plate to follow the crown. I also put down some
fiberglass
mat in the channel in front of the hard dodger base piece.
Measured Area Top Of Doghouse And Hard
Dodger Base Piece
Cuts Made In Eyebrow
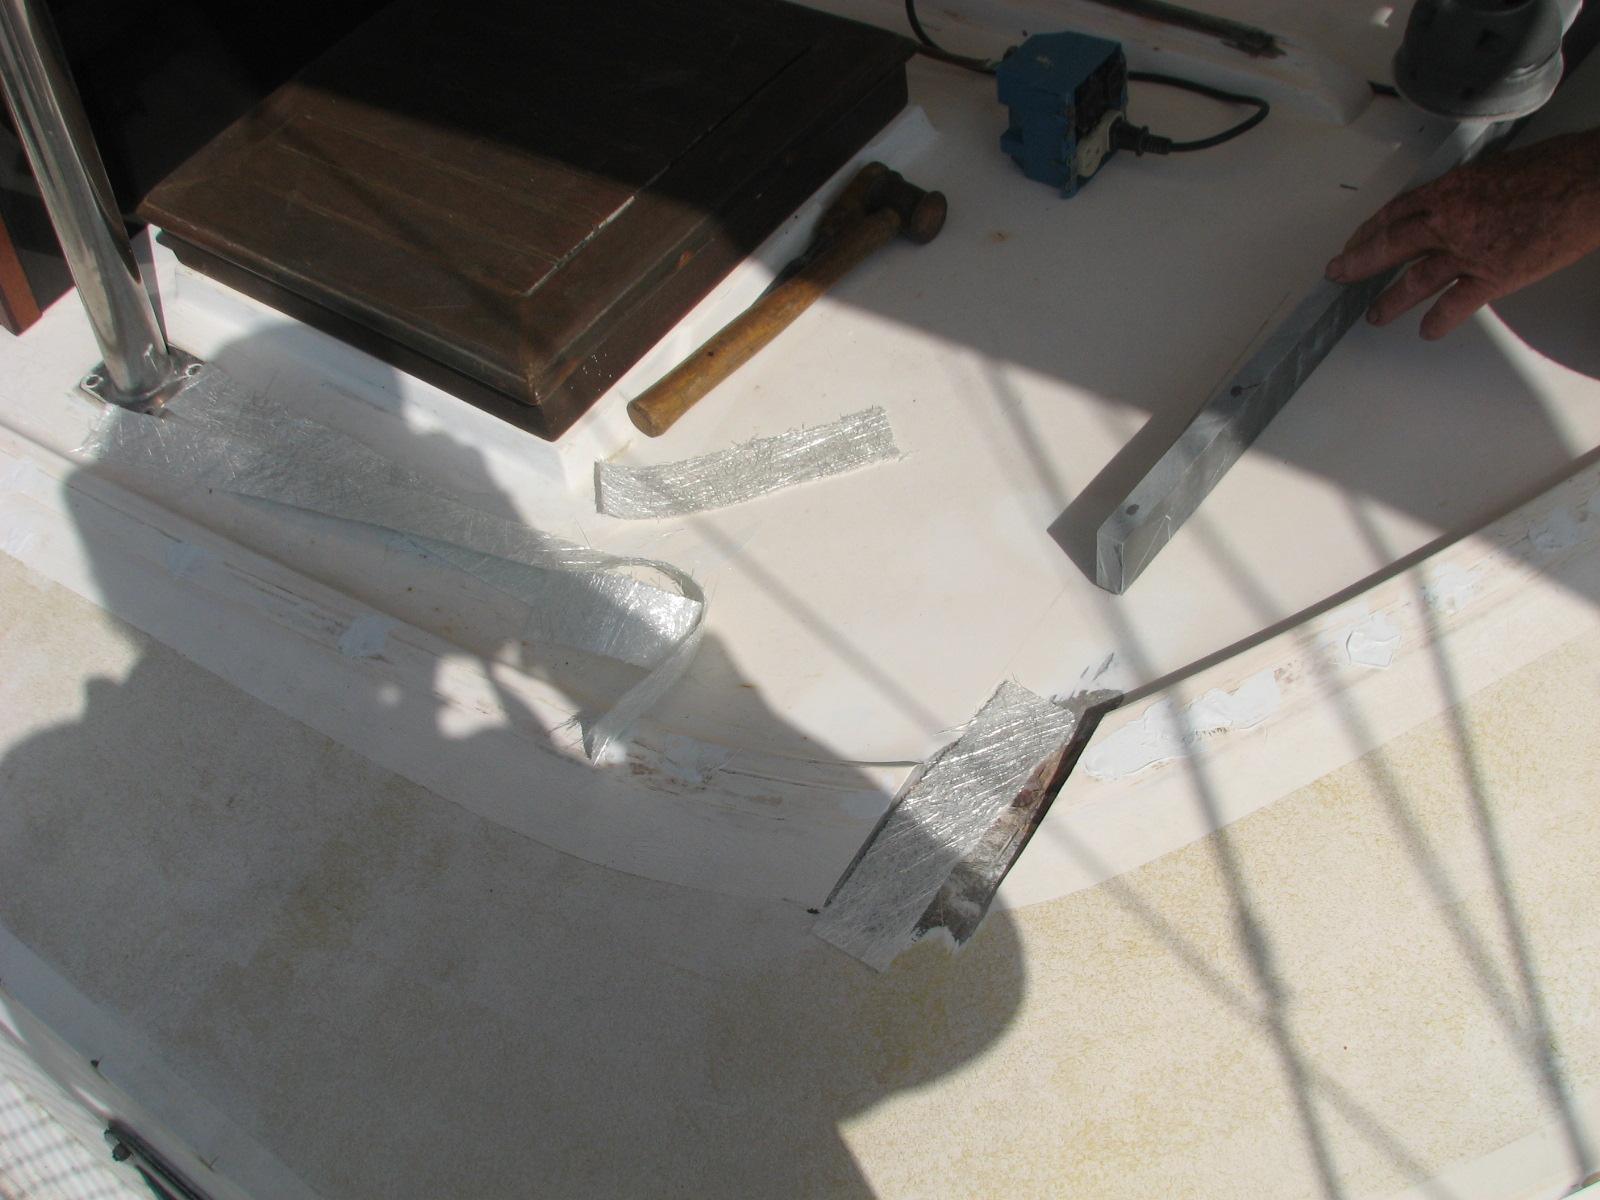
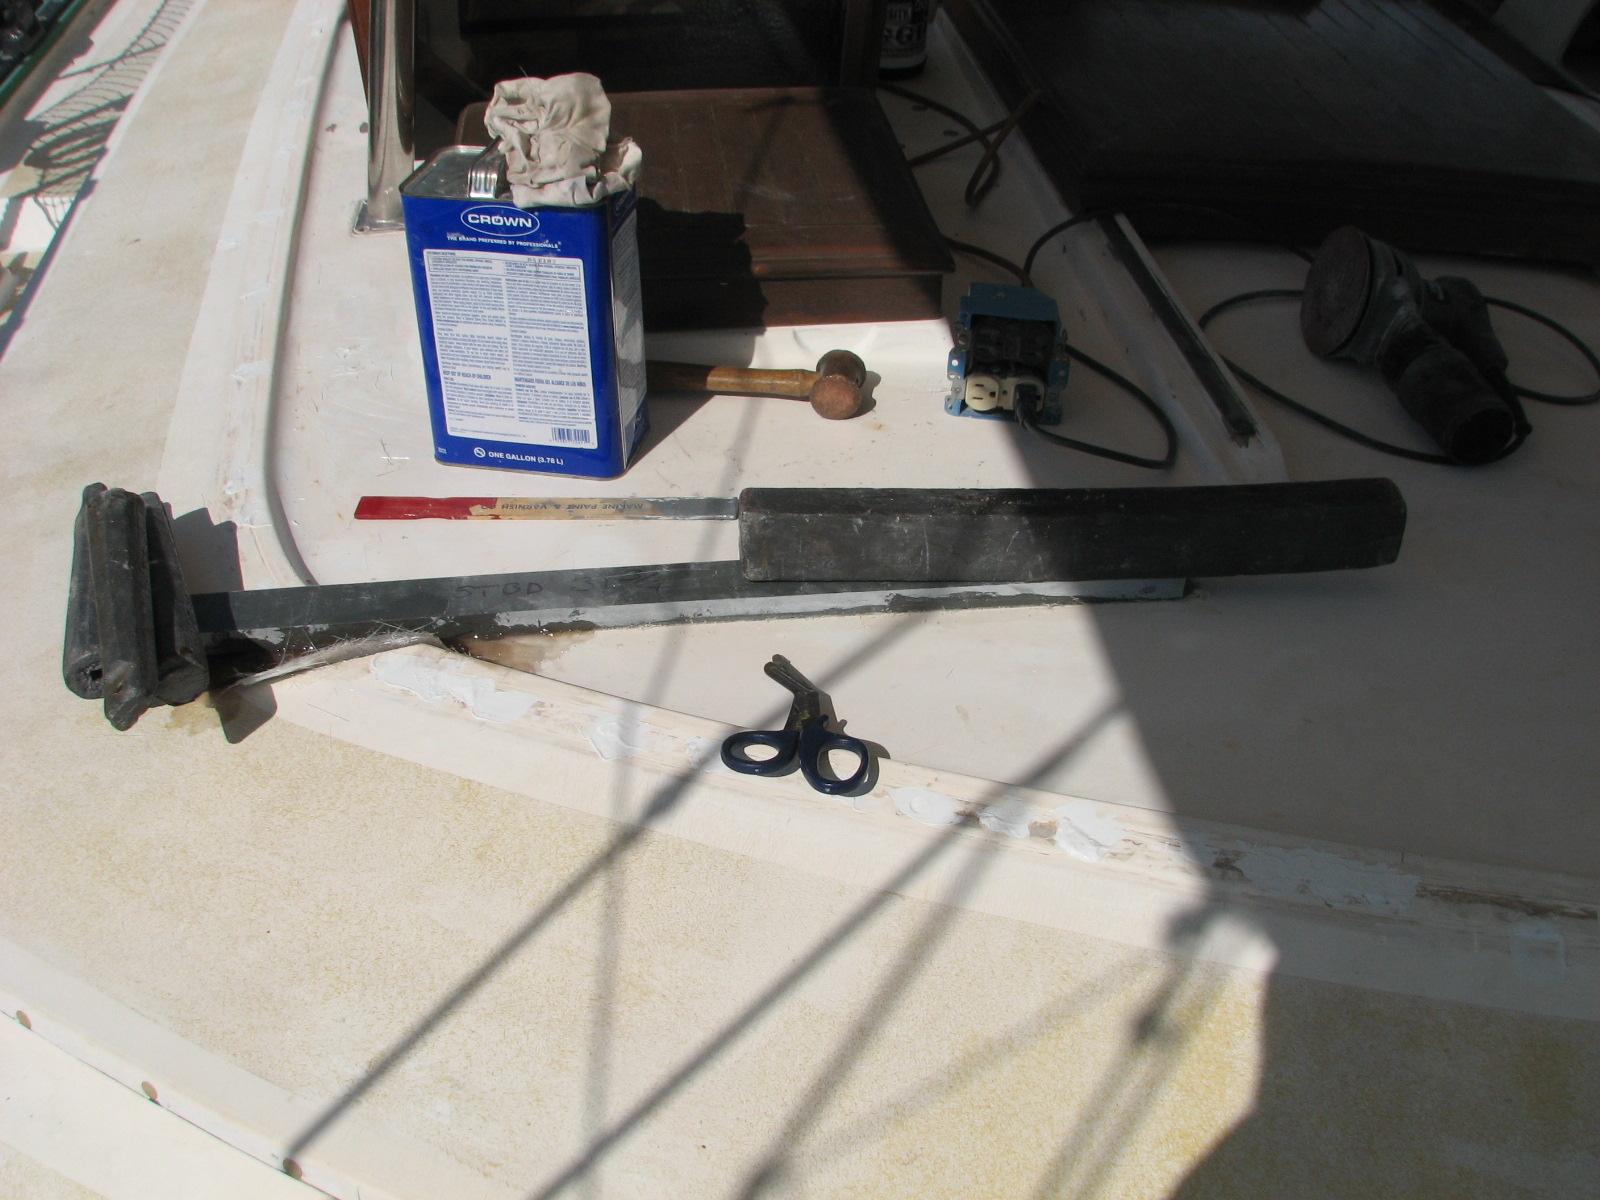
The resin I mixed up was pretty hot, so
it kicked off pretty quick. Alan and I loaded all of the tools,
parts, weights, and “Box
O’ Resins” into the Black Beast, and took it all
back to the shop
and unloaded it. We got the Black Beast ready for the trip to Clear
Lake Shores.
October 14, Monday, 2013
Started off the morning with my normal
ritual of getting on the Internet, answering email, and checking the
weather, while making a pot of coffee. I also spent time with our two
cats, Jillian
and Jordan.
Went over to the shop
and started in on the submerged running of the SeaScooter. It was fun
trying to get the SeaScooter tied into the bucket of water after
taping down the start switch. I am not sure I could have done it
myself. The Sea Scooter moves an impressive amount of water.
The Sea Scooter ran full blast for
about 30 minutes, and then slowed down considerably. After 50
minutes, and it was still running, I stopped the SeaScooter and
removed the battery. I was not sure the battery was fully charged, so
I will take the battery and charger over to DREAM AWAY and make sure
the battery is fully charged.
SeaScooter Running In Bucket Of Water
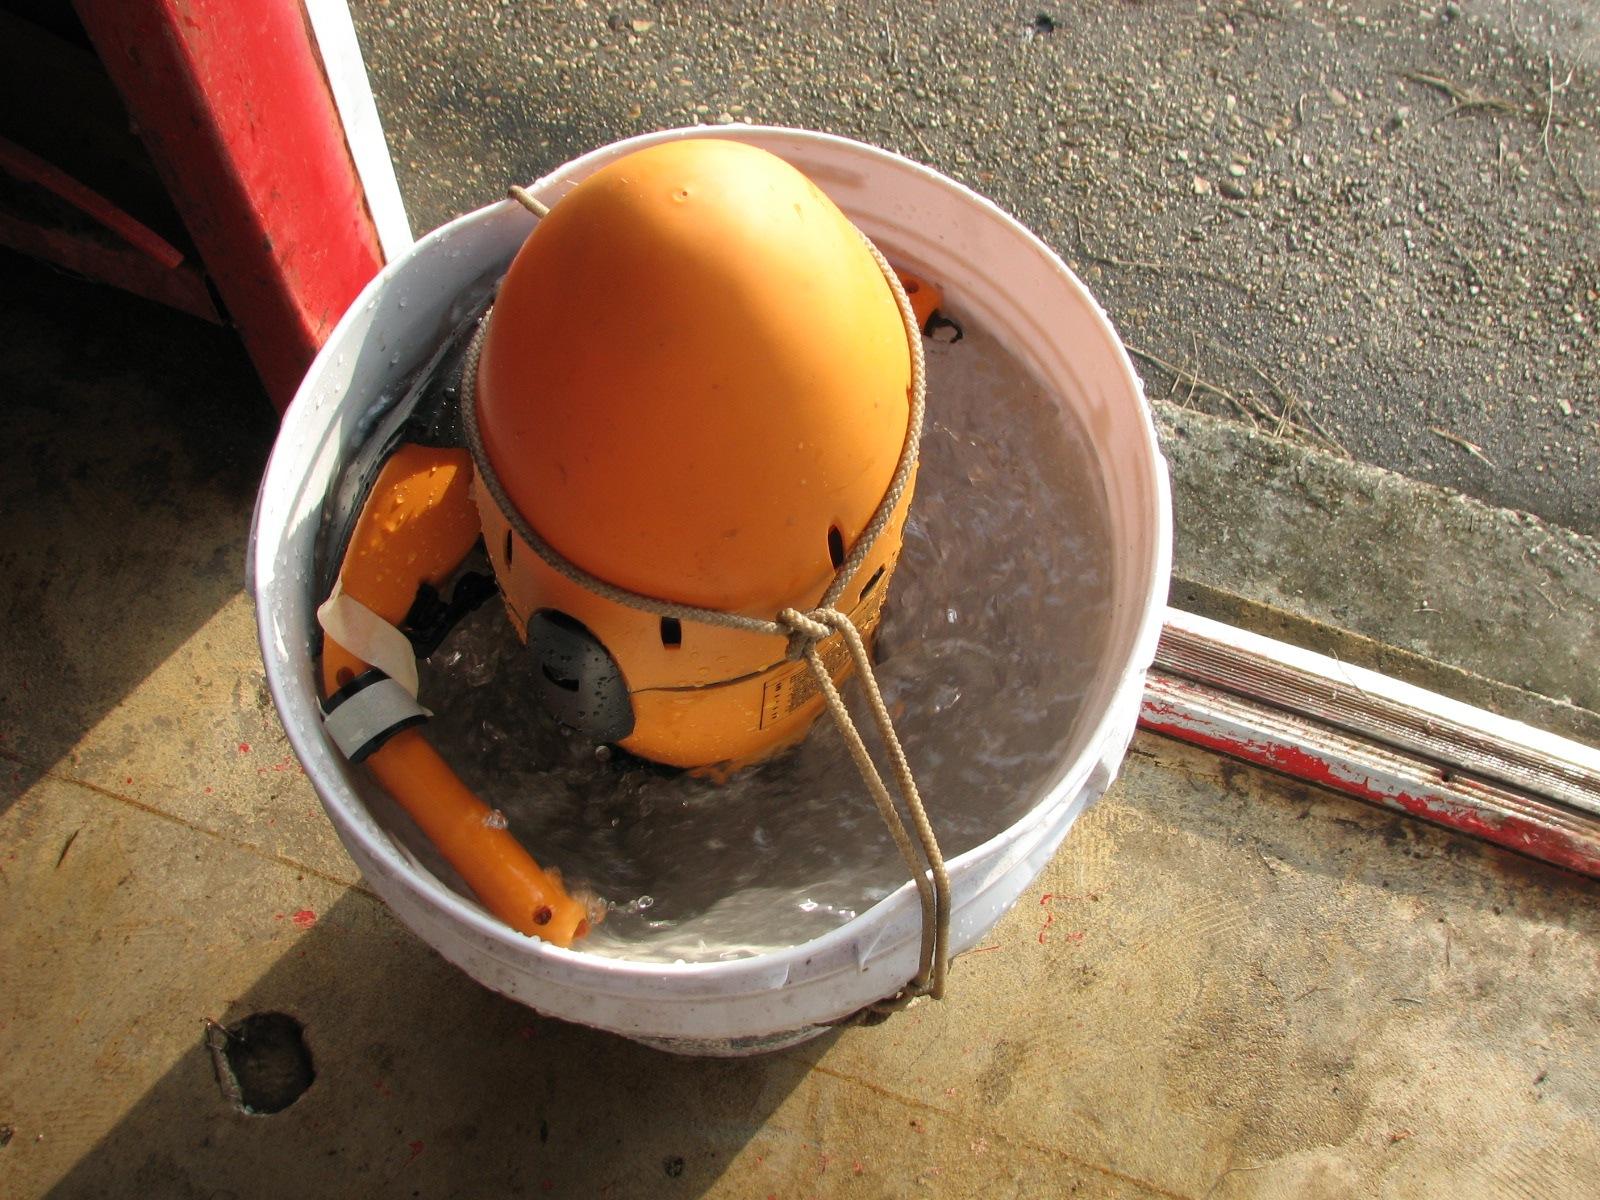
SeaScooter Running In Bucket Of Water
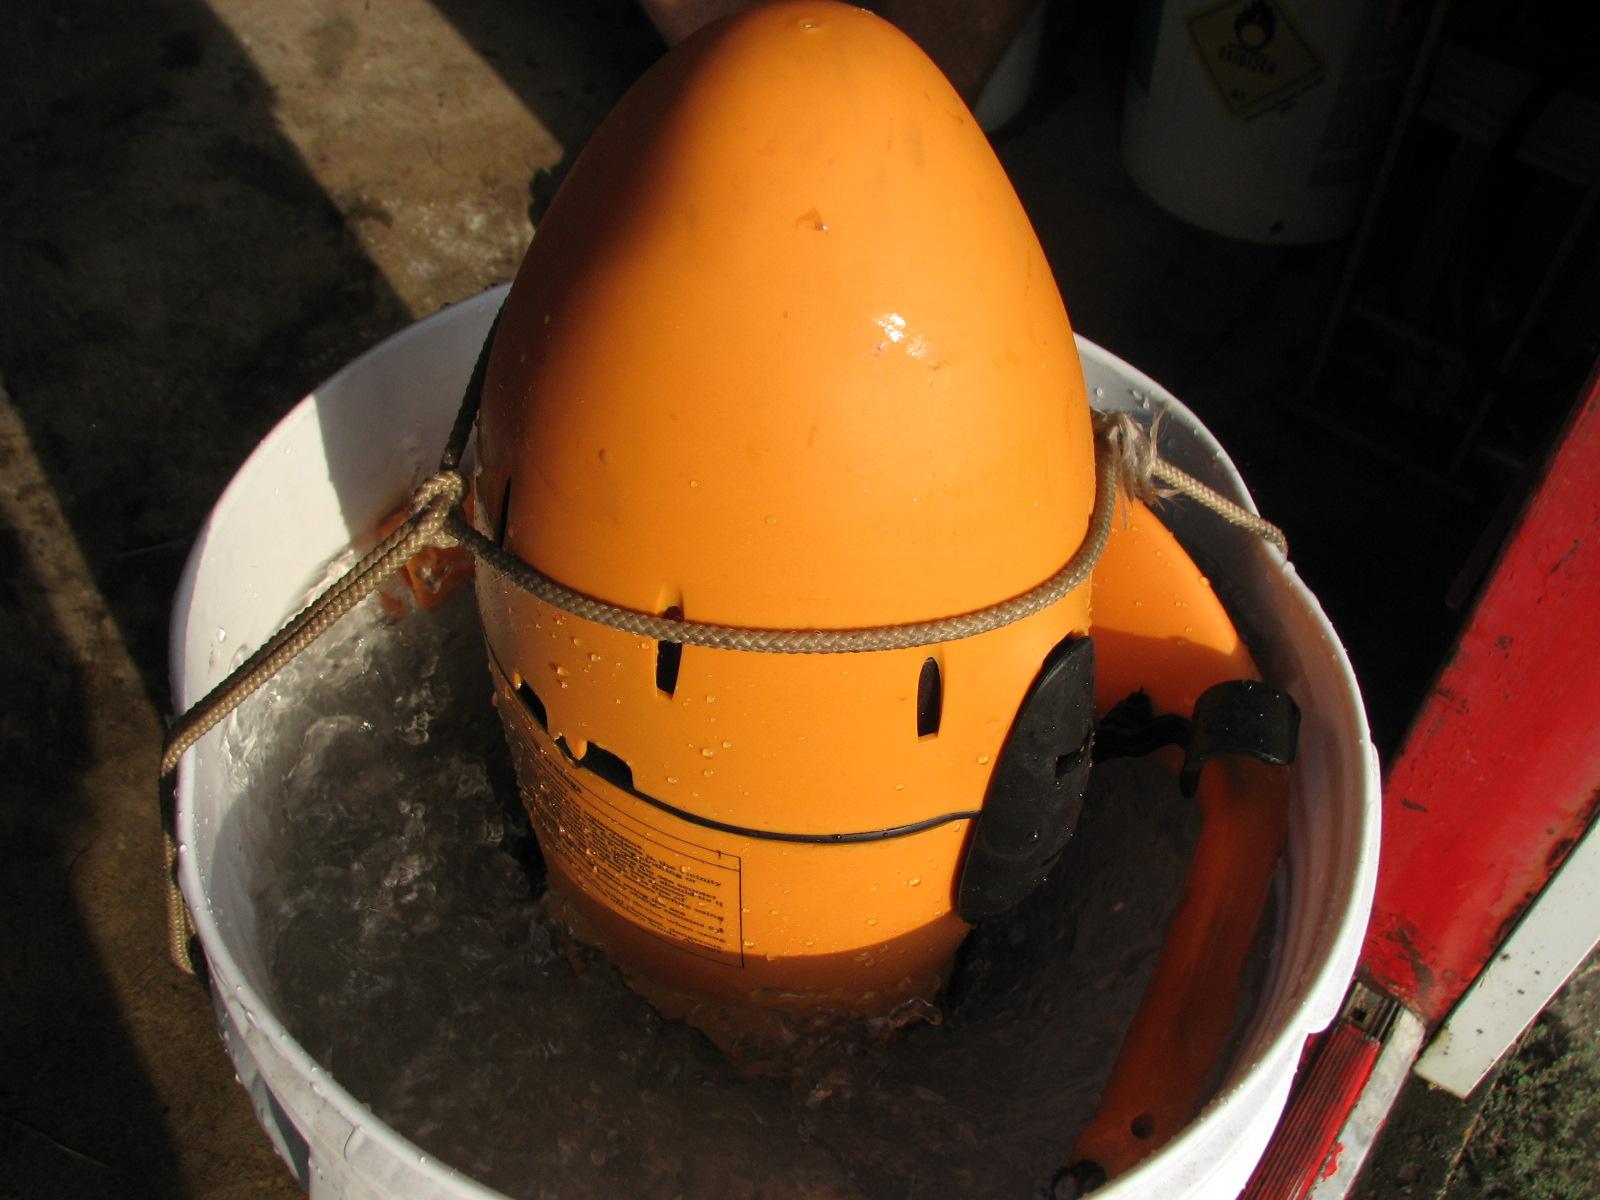
Alan got busy painting the second
bucket for the after deck on DREAM AWAY, while I sanded on the nav
station chair.
Alan Painting After Deck Bucket
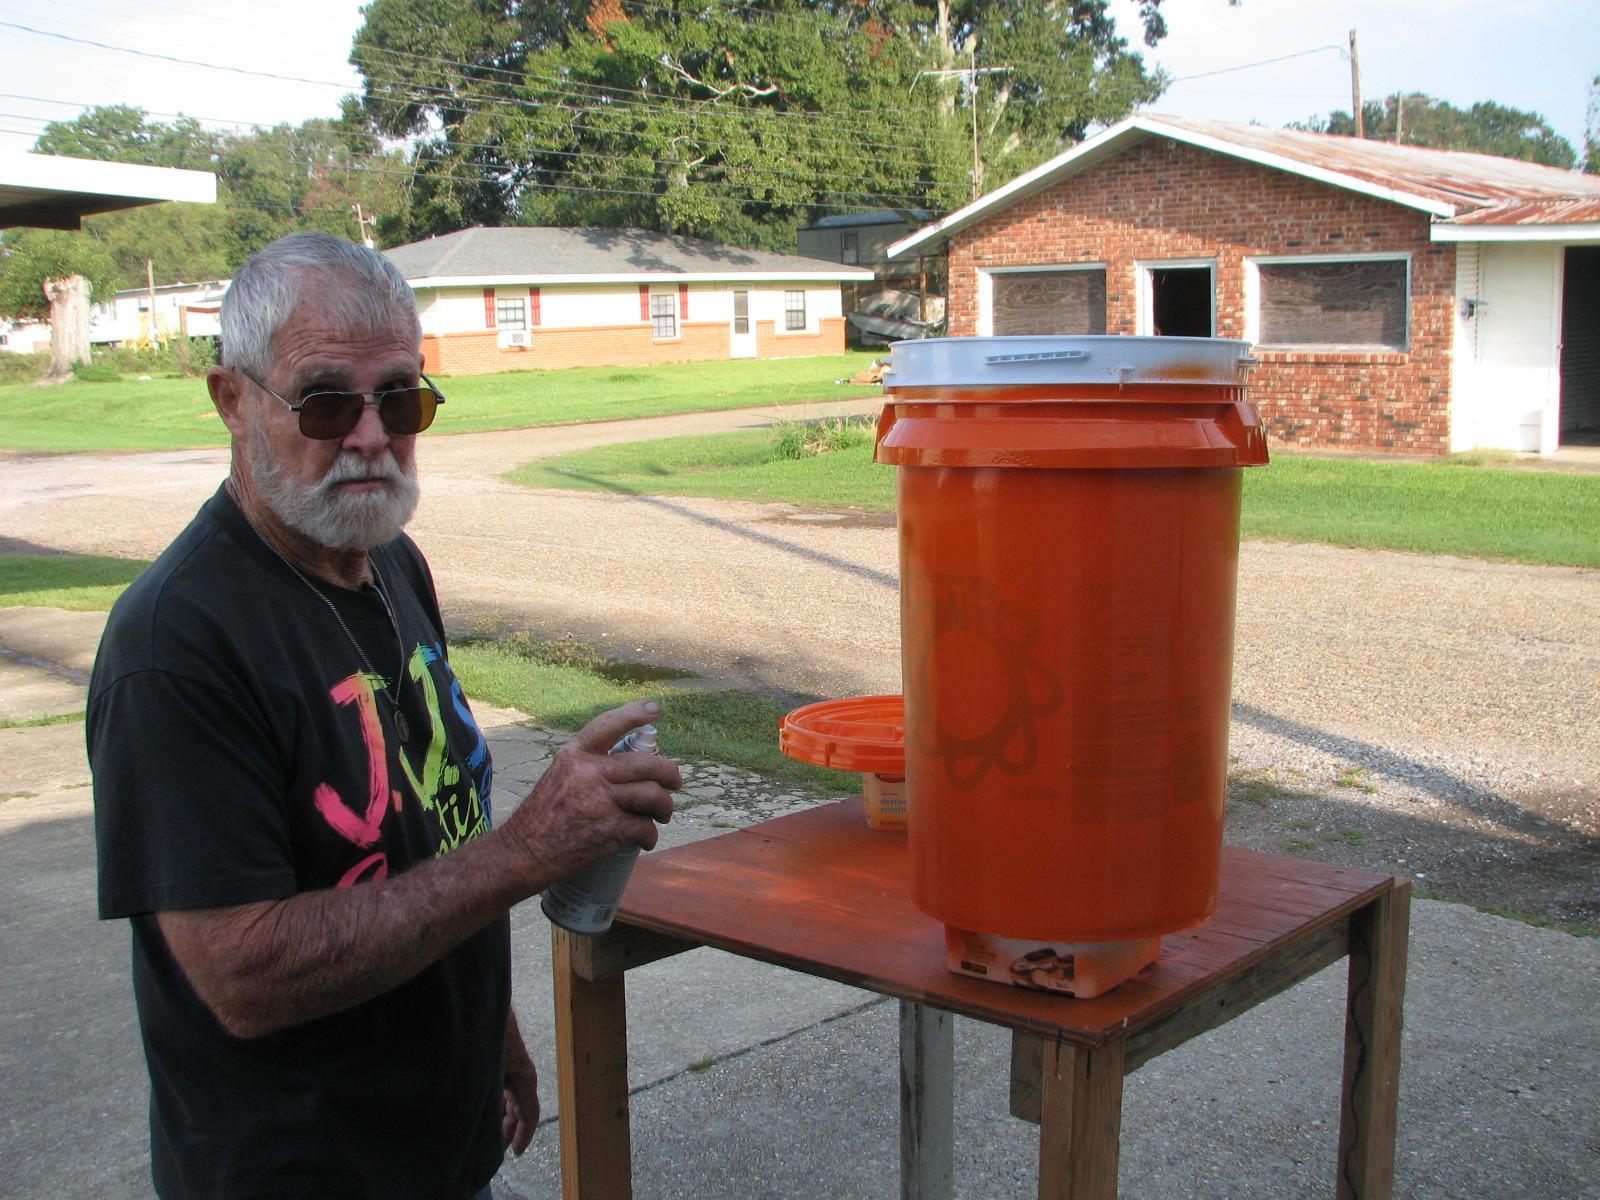
First Coat After Deck Bucket
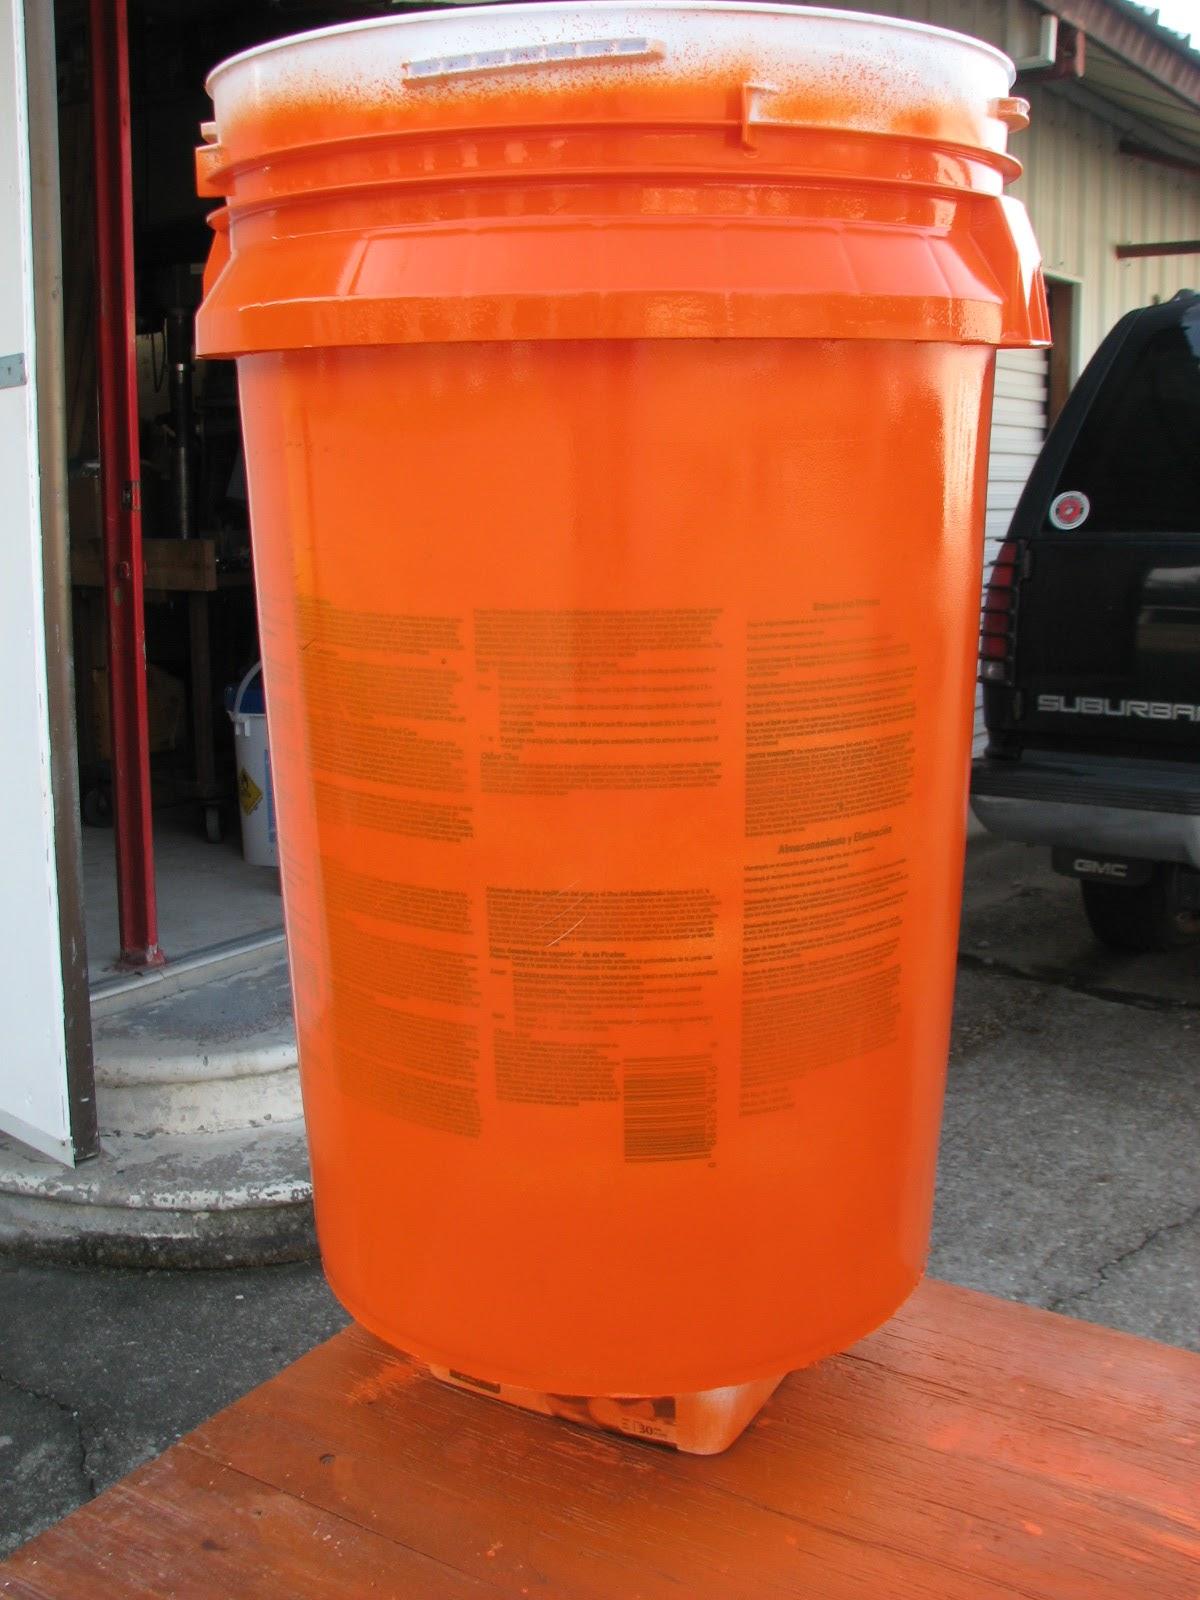
I got out my drawings for the hard
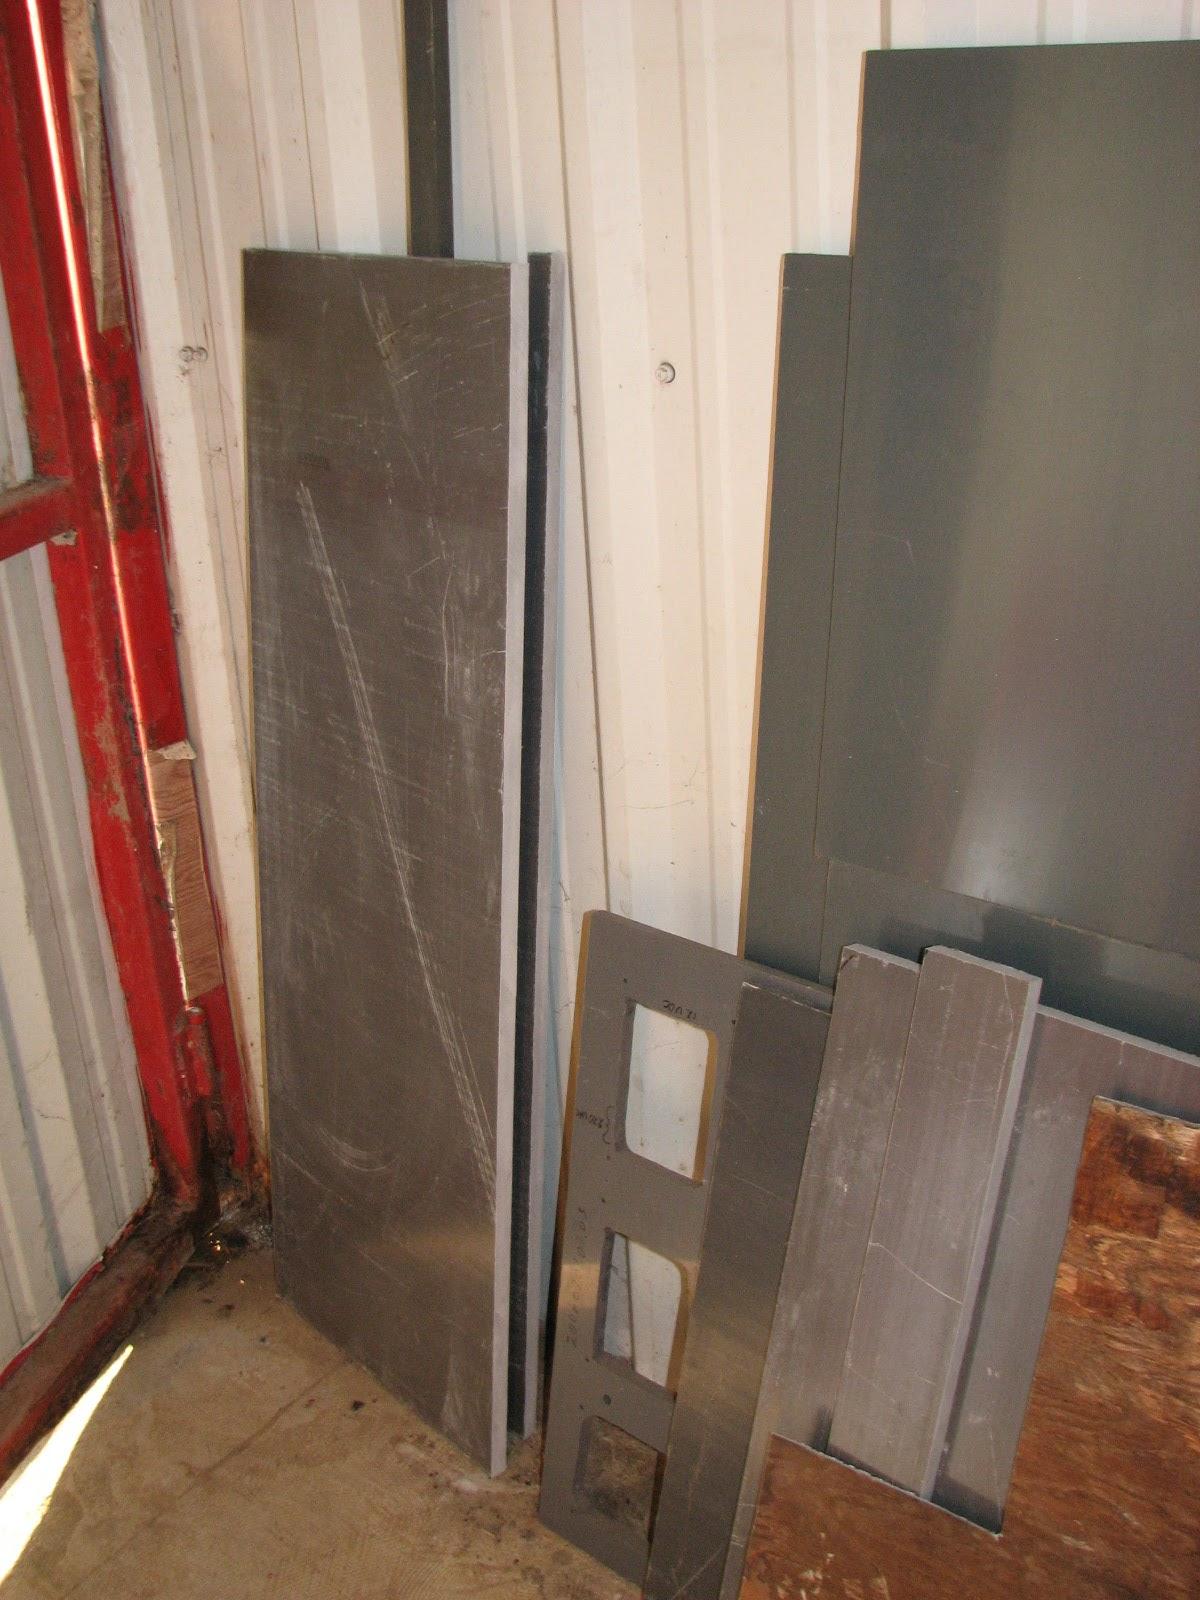
dodger. Alan and I looked over the stash of
fiberglass
I had accumulated for the project, and decided to cut a couple of
pieces of fiberglass
to take over to DREAM AWAY and work on the exact measurements we
needed for the hard dodger. I wanted to make sure the plan in my mind
would actually work on the boat. Then I wanted to verify we had all
of the necessary fiberglass.
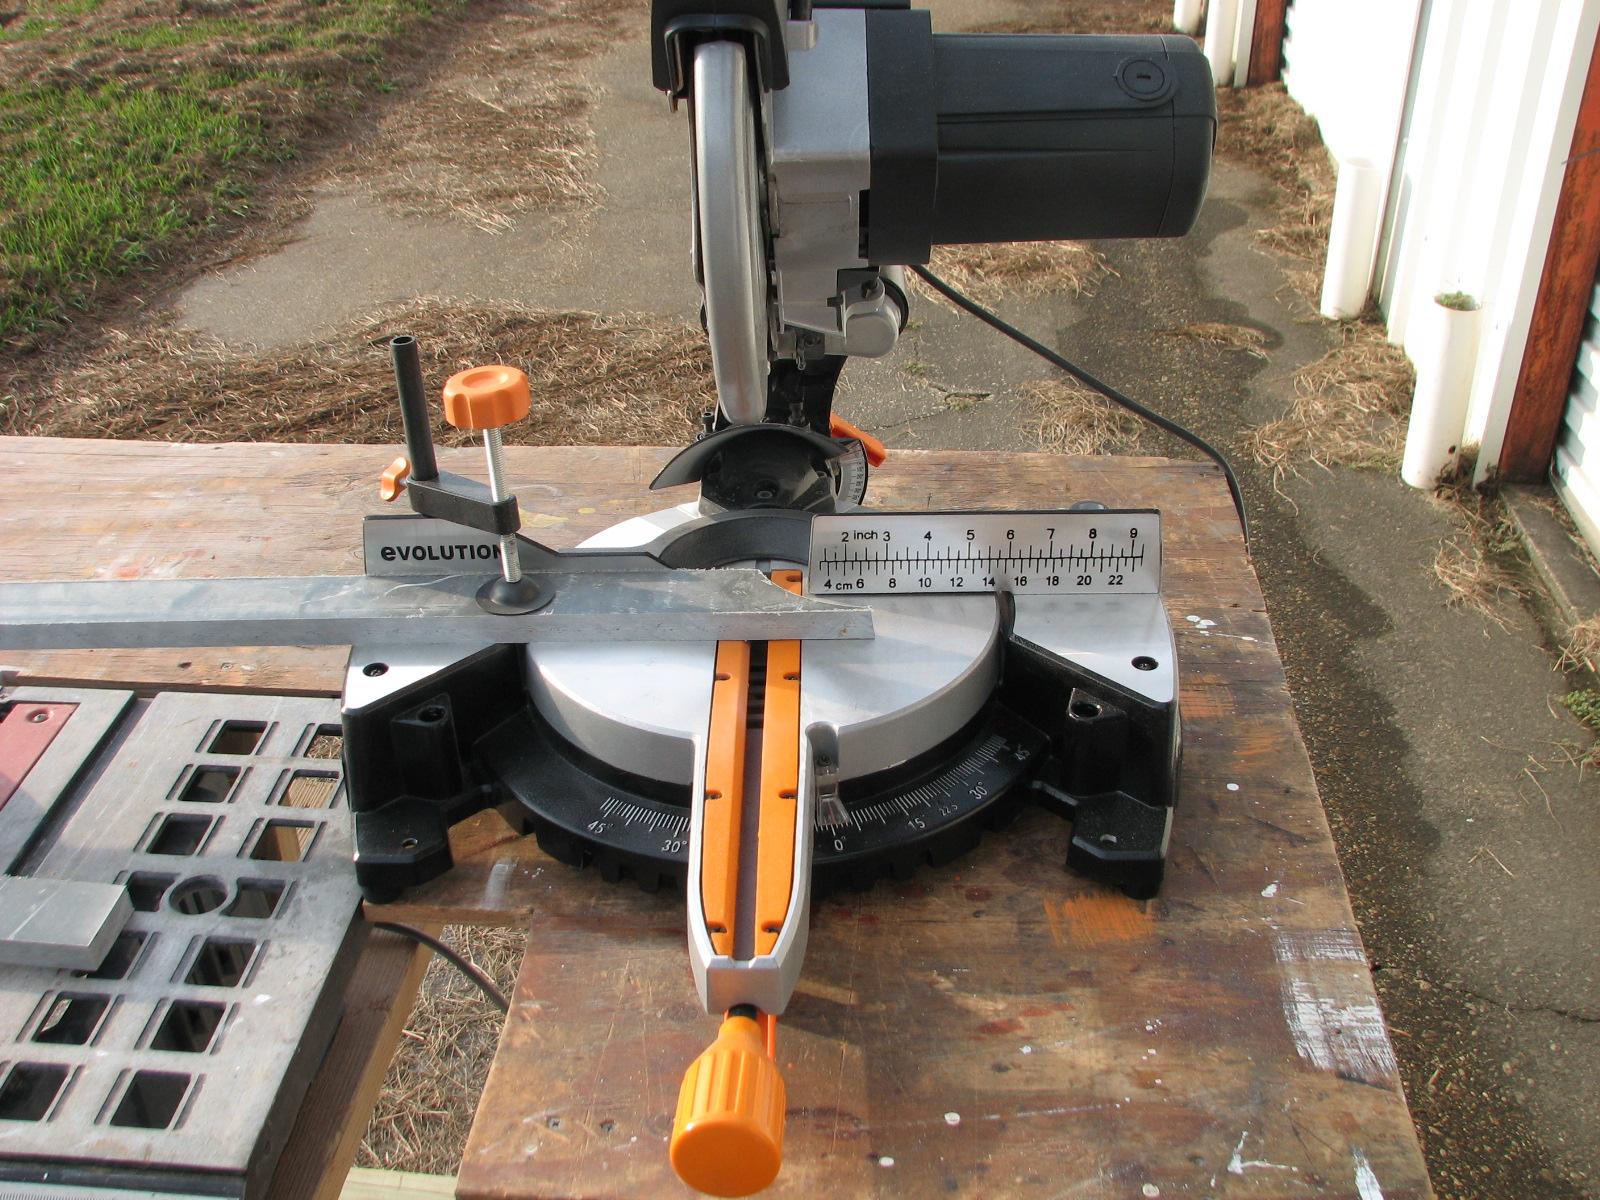
We rolled the table saw out of the shop
and onto the driveway where I cut four pieces of
fiberglass
2” wide and about 35” long. I used the new
Evolution
Rage III compound miter saw to trim the ends of the
cut fiberglass.
We loaded up the cut pieces of
fiberglass,
and the SeaScooter battery and went over to DREAM AWAY to have
breakfast. When we arrived on DREAM AWAY, I plugged the SeaScooter
battery into it’s charger.
After breakfast, Alan and I went out on
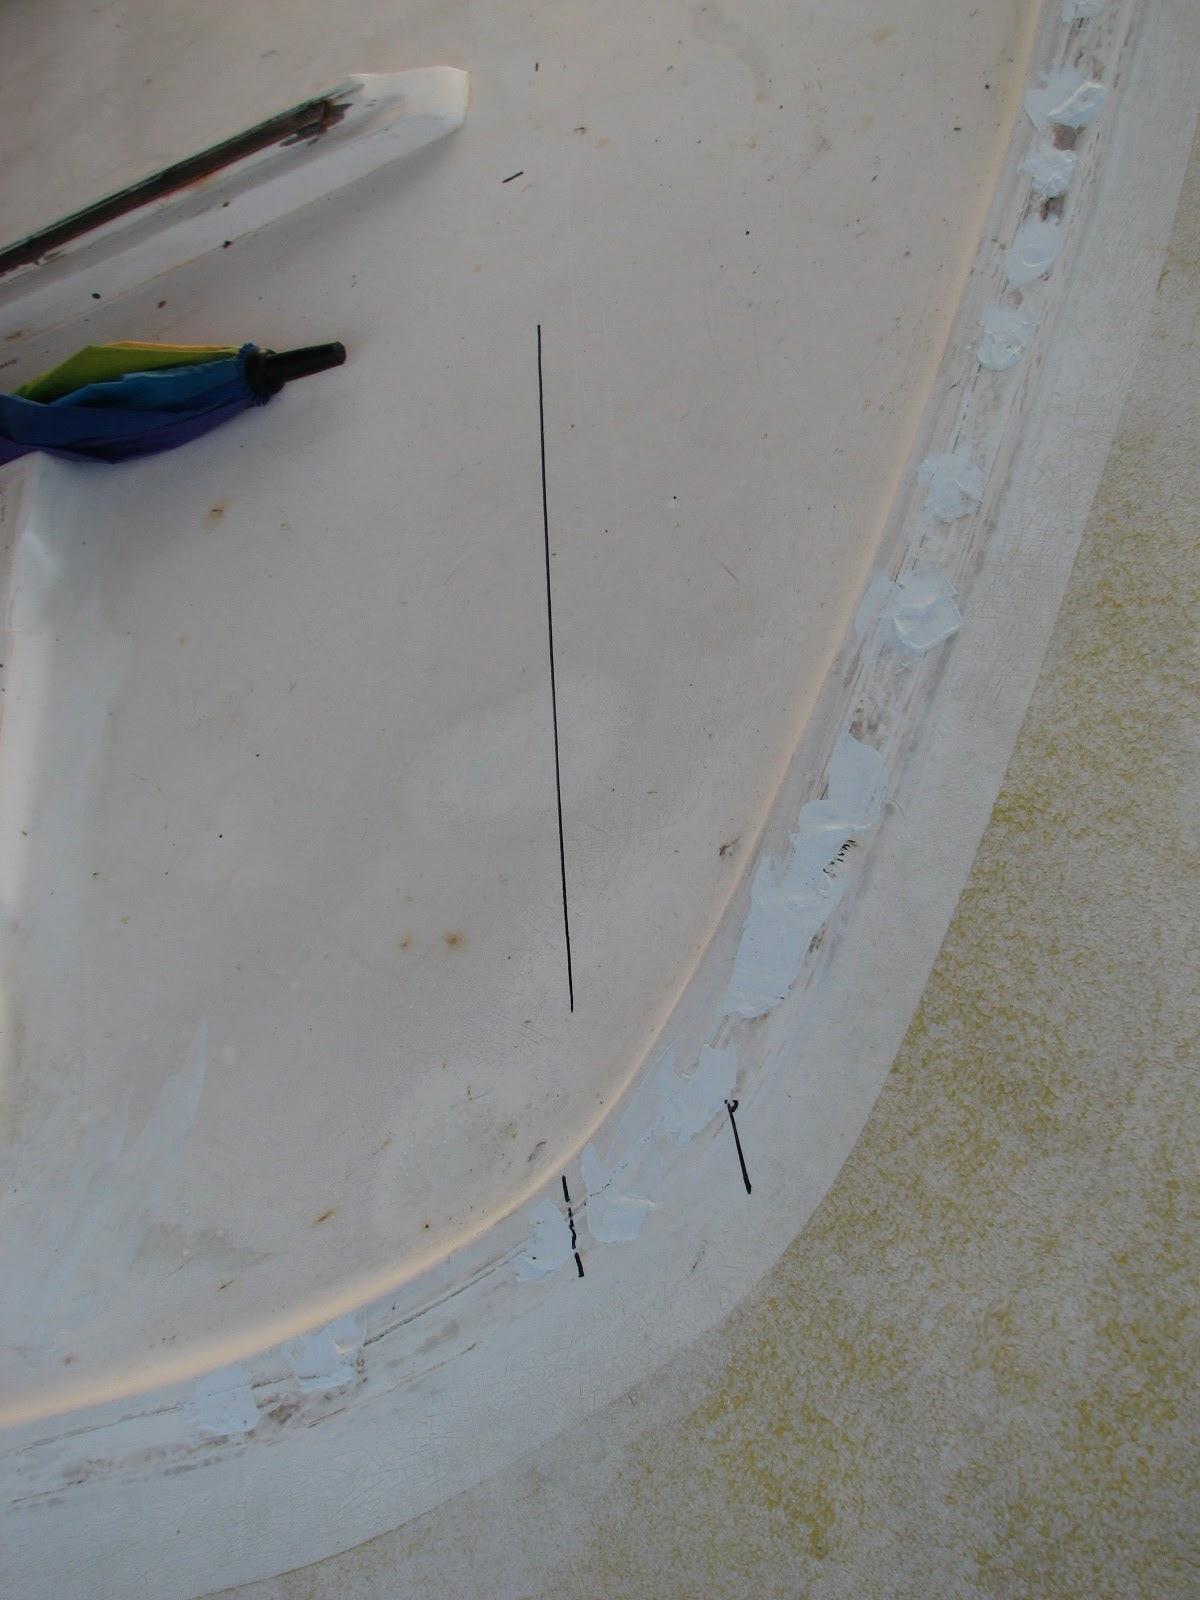
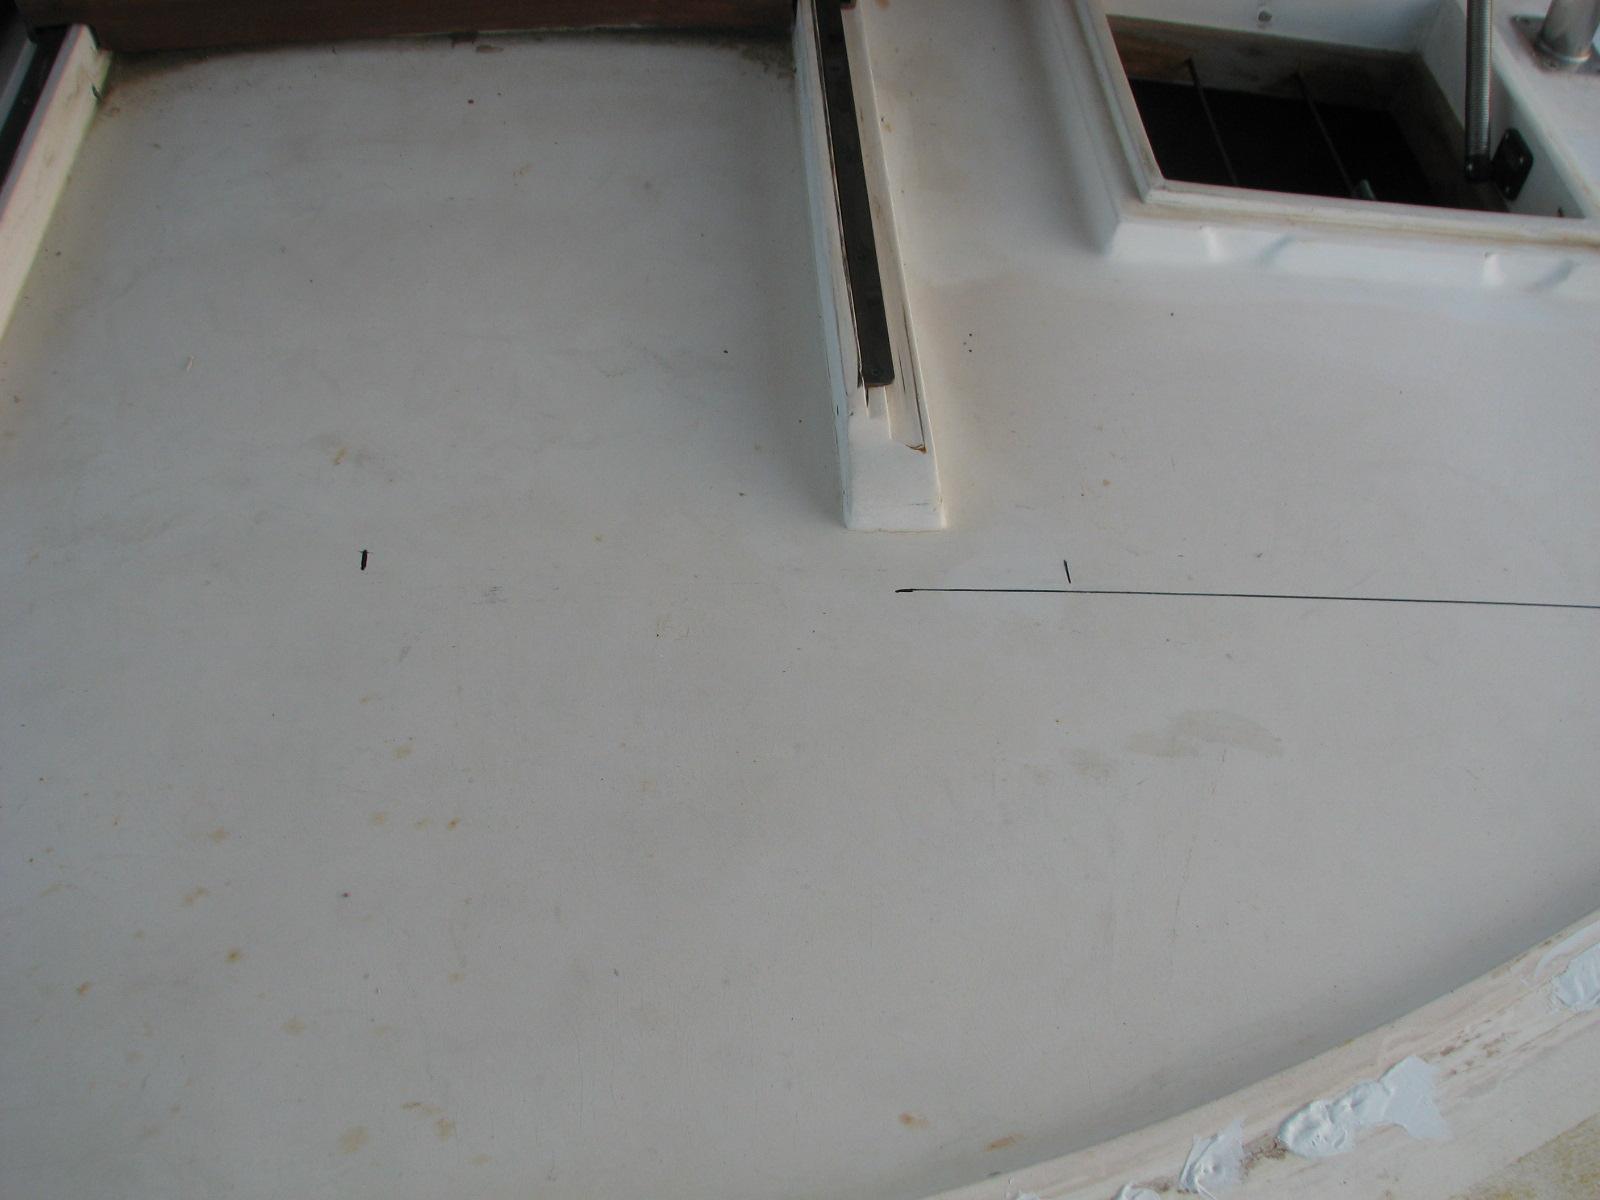
the eyebrow of DREAM AWAY and did the measurements and marking for
the base of the hard dodger. Sounds easy, but took a fair amount of
time to get in position and get the measurements made properly.
Starboard Side Measurement
Center And Port Side Measurement
With measurements in hand we went back
to the shop.
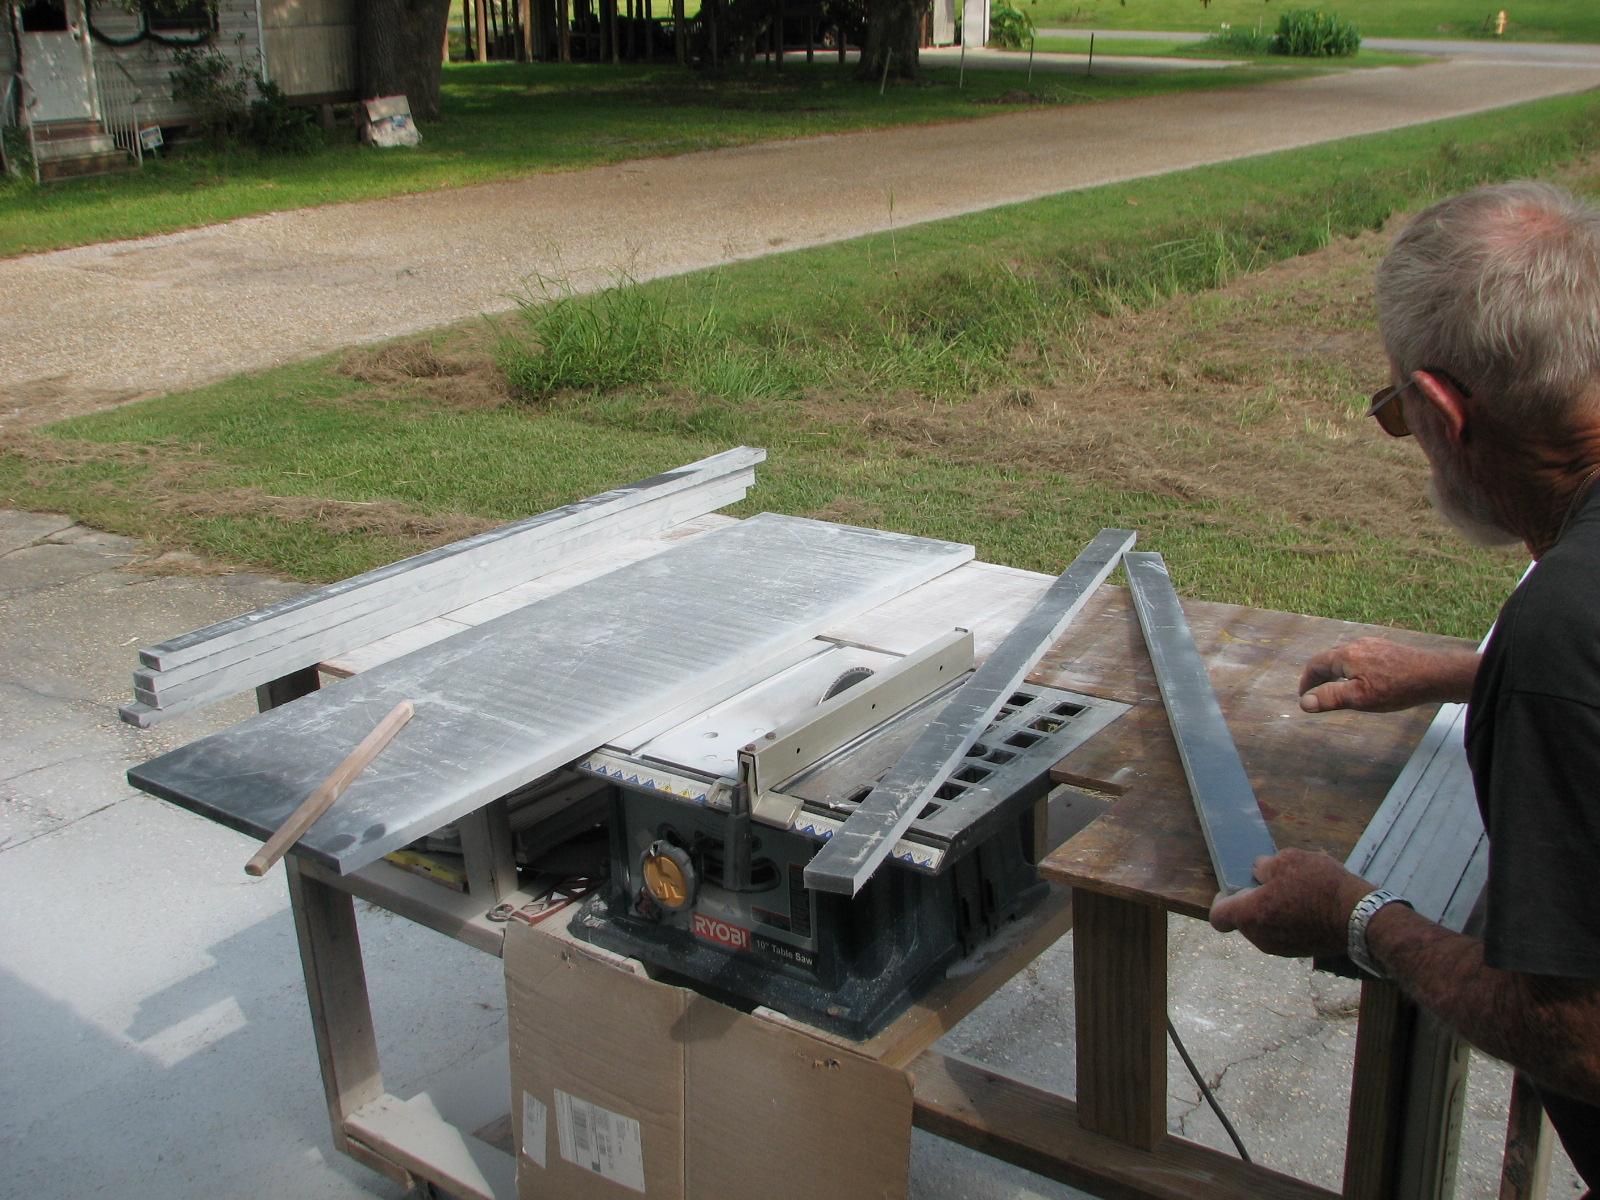
We rolled the table saw out of the shop
and onto the driveway. We did the measurements, set up the fence on
the table saw, and cut all of the fiberglass
pieces necessary for the hard dodger. There will be a couple of
additional fiberglass
pieces that will need to be cut, but I can not get accurate
measurements until the hard dodger is mostly together.
When all of the fiberglass
pieces were cut we cleaned up the saw, and all of the cut pieces. We
put the saw back into the shop and headed to DREAM AWAY for a shower
and an adult beverage.
Cutting The Pieces On The Table Saw
Cutting The Pieces On The Table Saw

October 13, Sunday, 2013
Started off the morning with my normal
ritual of getting on the Internet, answering email, and checking the
weather, while making a pot of coffee. I also spent time with our two
cats, Jillian
and Jordan.
This was another no DREAM AWAY project
day. Spent the morning working on the computer, and catching up on
financial stuff and scanning in paperwork.
Around noon Alan, Kitty and I went into
New
Iberia, and attended the Red,
White and Roux Gumbo cookoff. We had a great time and
ate a lot of good gumbo. Had an unusual gumbo from the team from
Saint Louis, a ham and pork gumbo. We headed back to DREAM AWAY, and
I got back on the computer.
October 12, Saturday, 2013
Started off the morning with my normal
ritual of getting on the Internet, answering email, and checking the
weather, while making a pot of coffee. I also spent time with our two
cats, Jillian
and Jordan.
Went over to the shop
and started in on the spare outboard. We separated the lower
drive from the upper
casing to see if we could discover the problem. We
looked into the water tube and found the problem. The good news was I
had put together the two pieces with the water tube correctly, the
bad news was the water tube was clogged up with debris.
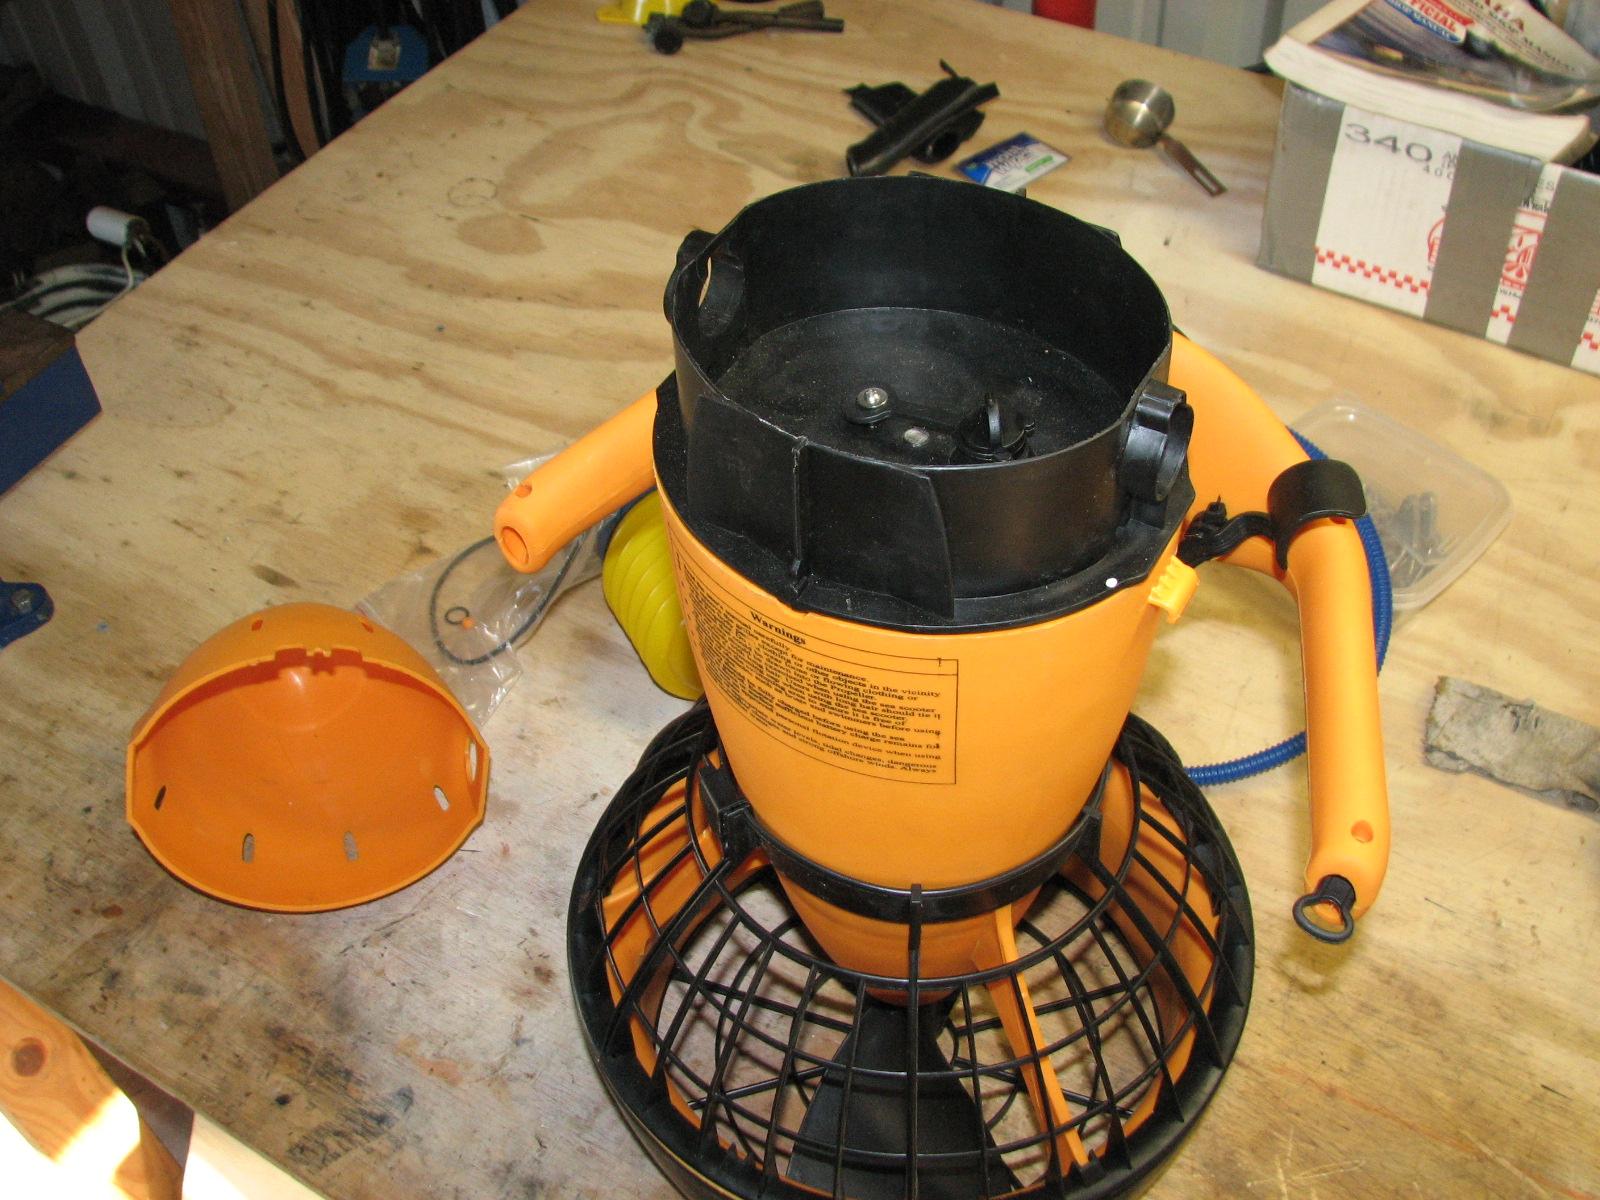
My plan was to fill one of the big
buckets i have in the shop
with water, and run the SeaScooter in the bucket to see how long it
would run. This plan was put on hold.
SeaScooter Ready For Water Test
Before I lugged the spare outboard back
to the marina,
we decided to use the bucket full of water to test the outboard. We
cleaned out the water tube, and put the lower
drive and the upper
casing back together. We started the engine on the
stand, and initially it pumped water, but then stopped again.
We took the cover off of the motor, and
disconnected the “P” tube. I used my air compressor, and blew out
the “P” tube. It was clean. We then blew back into the “P”
tube, through the engine. Bubbles appeared in our bucket of water,
then they quit! Now it was back to taking the
lower
drive and the
upper
casing back apart again. The water tube was clogged
with debris again.
Taking Spare Outboard Apart Again
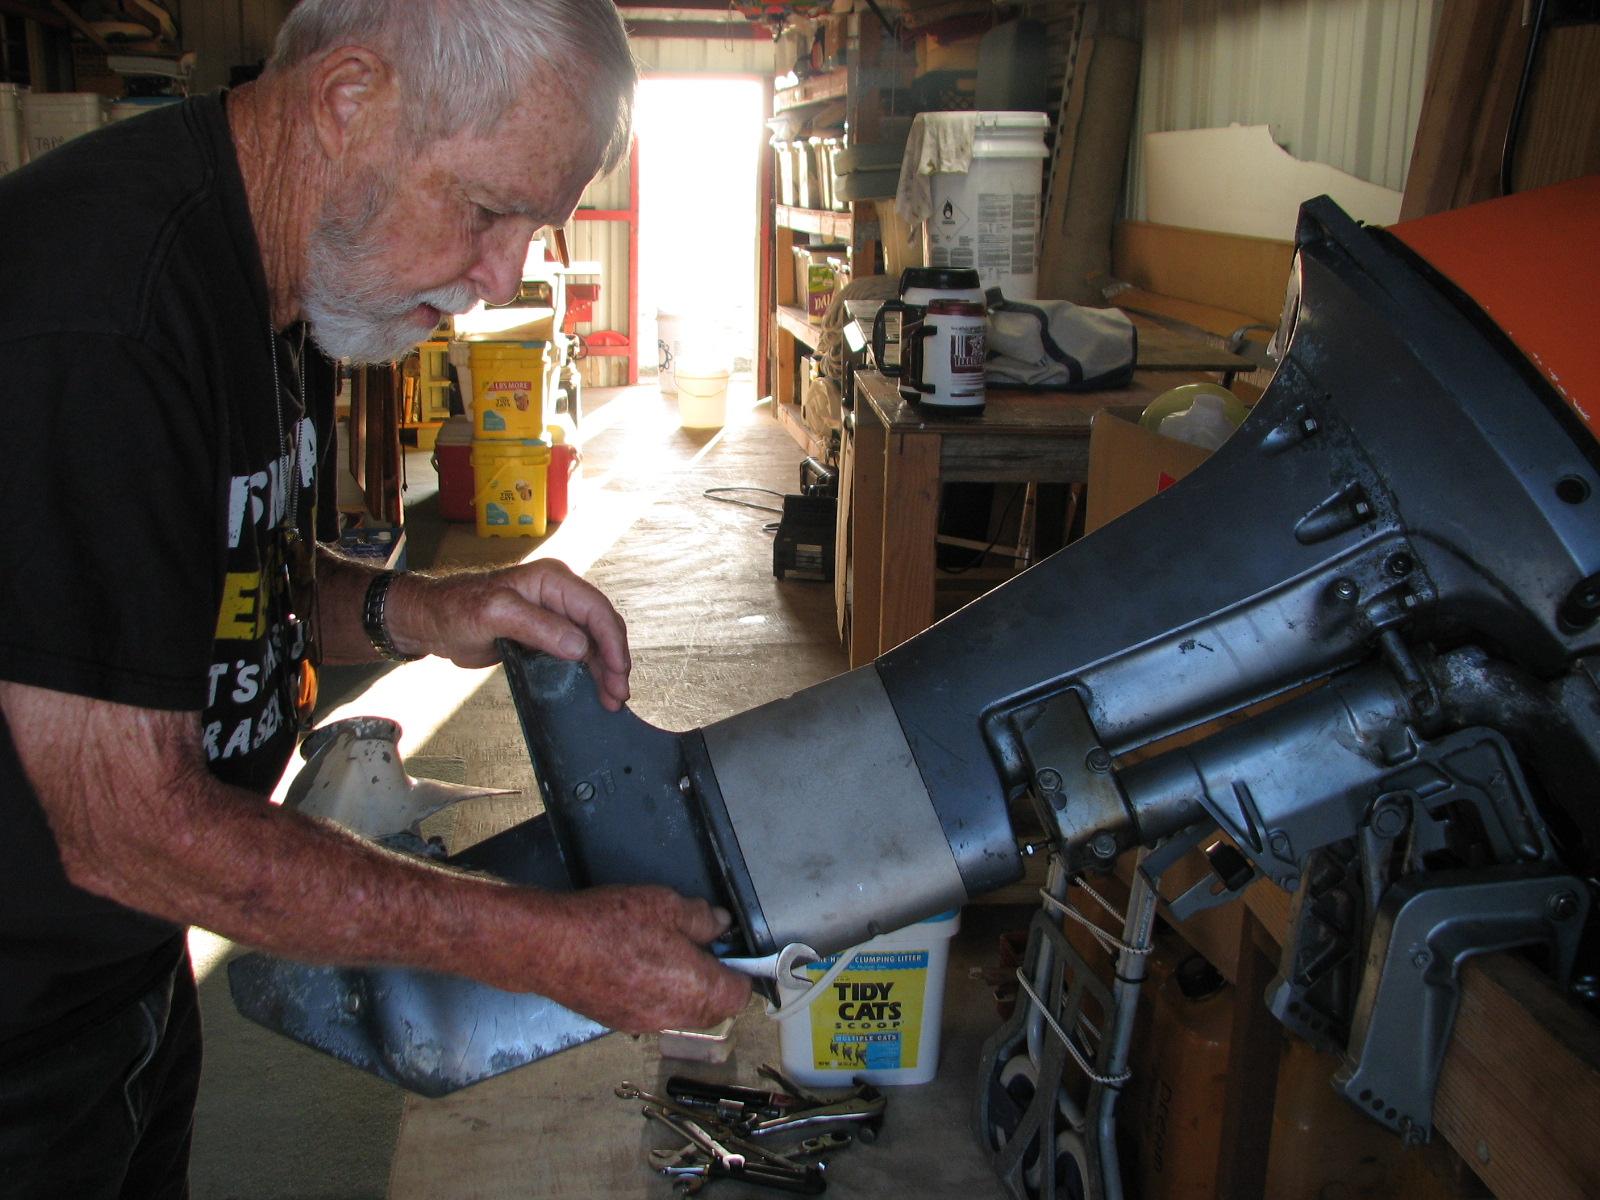
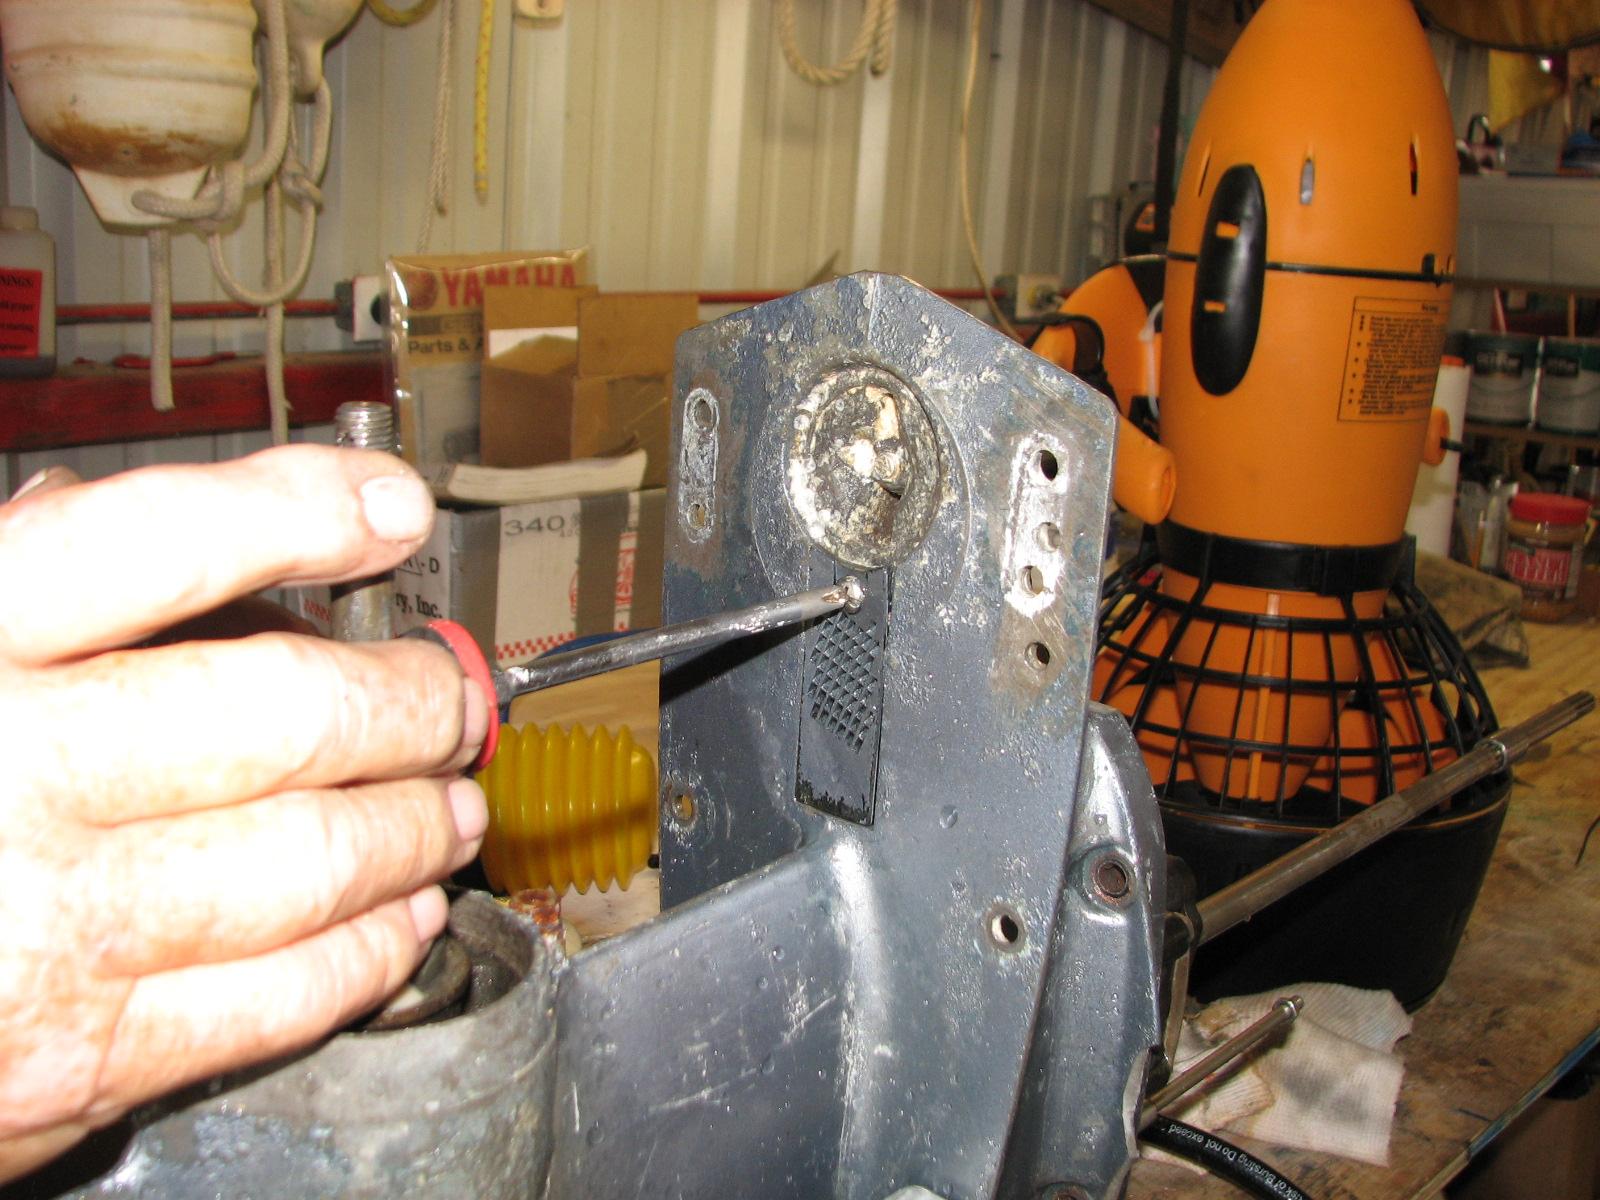
We took the water pump apart from the
lower
drive, and cleaned out all the surfaces and pathways.
We then put the pump back together, and reassembled the lower
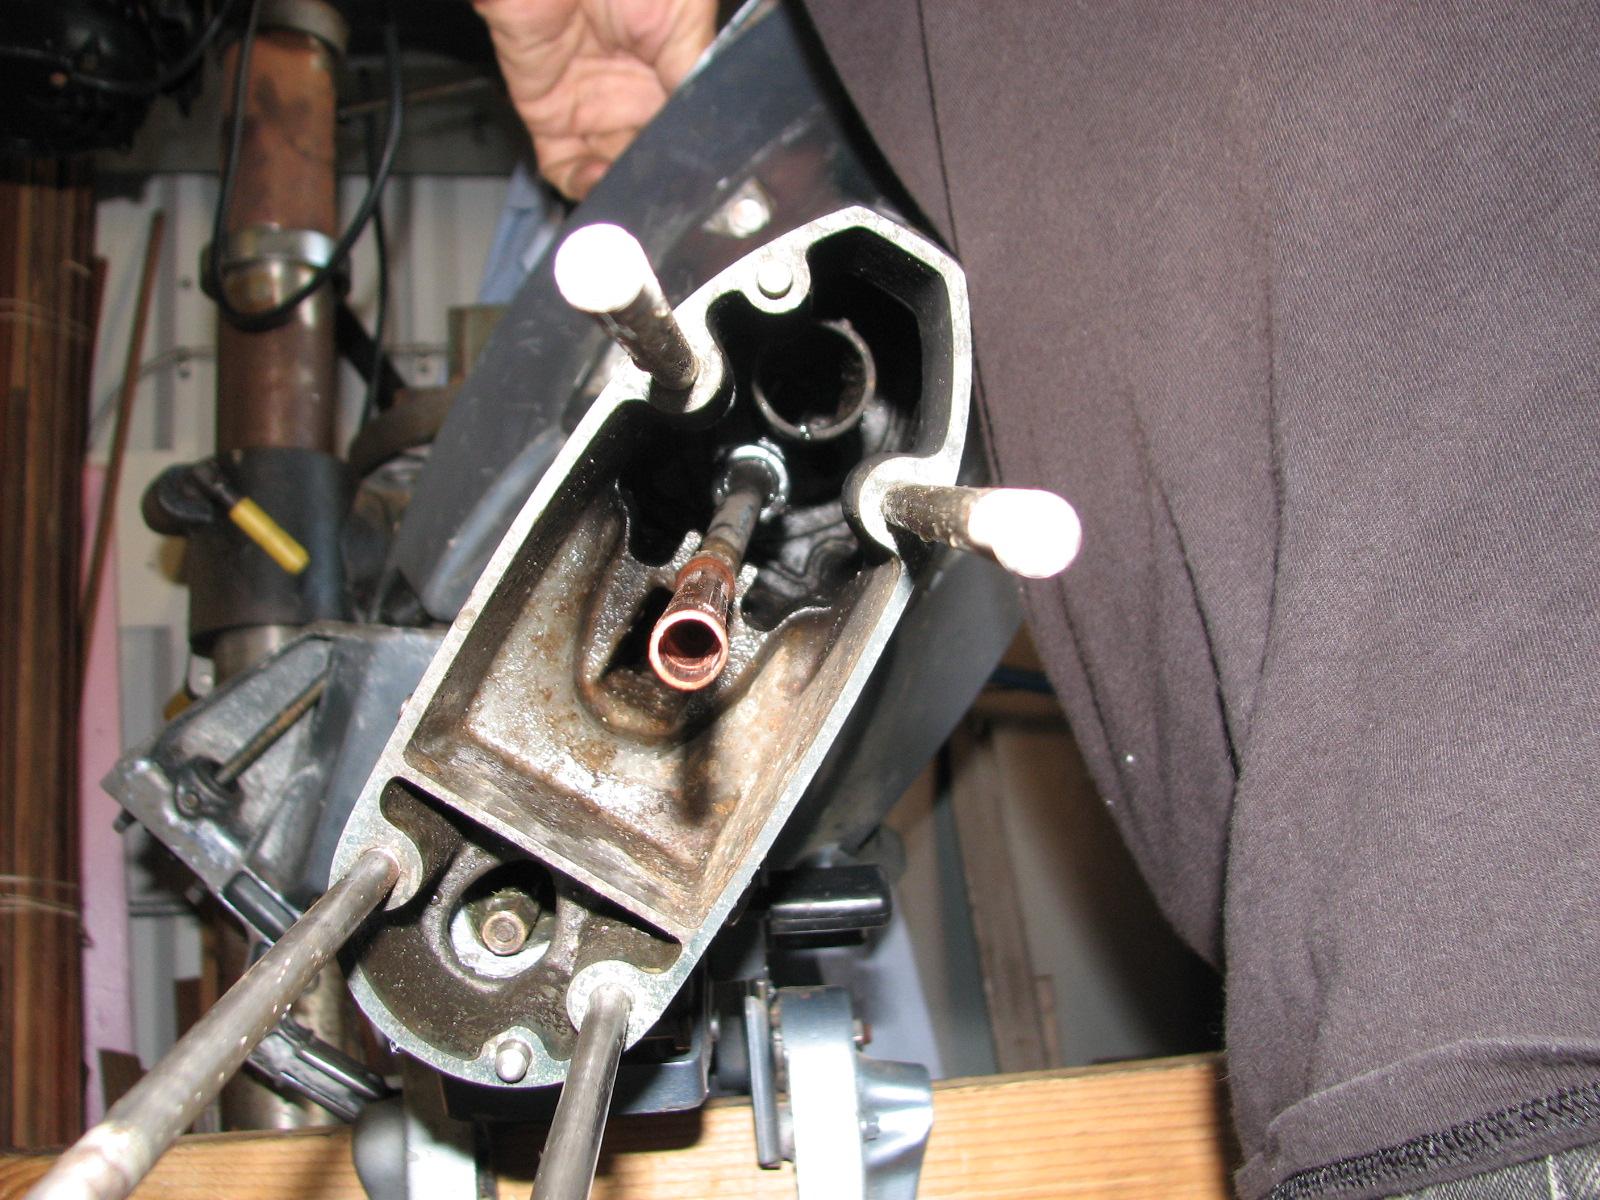
drive. I also used the air from the air compressor to
blow out the water tube and up into the engine, and it was clear.
Checking All Water Passages
Looking Up Water Tube
We again put the lower
drive and the upper
casing back together. We started the engine and the
water pump was working this time. We ran the engine for about five
minutes, and it just kept pumping.
Now it was time to put the spare
outboard and the fuel tank into the Black Beast, and go back to the
marina.
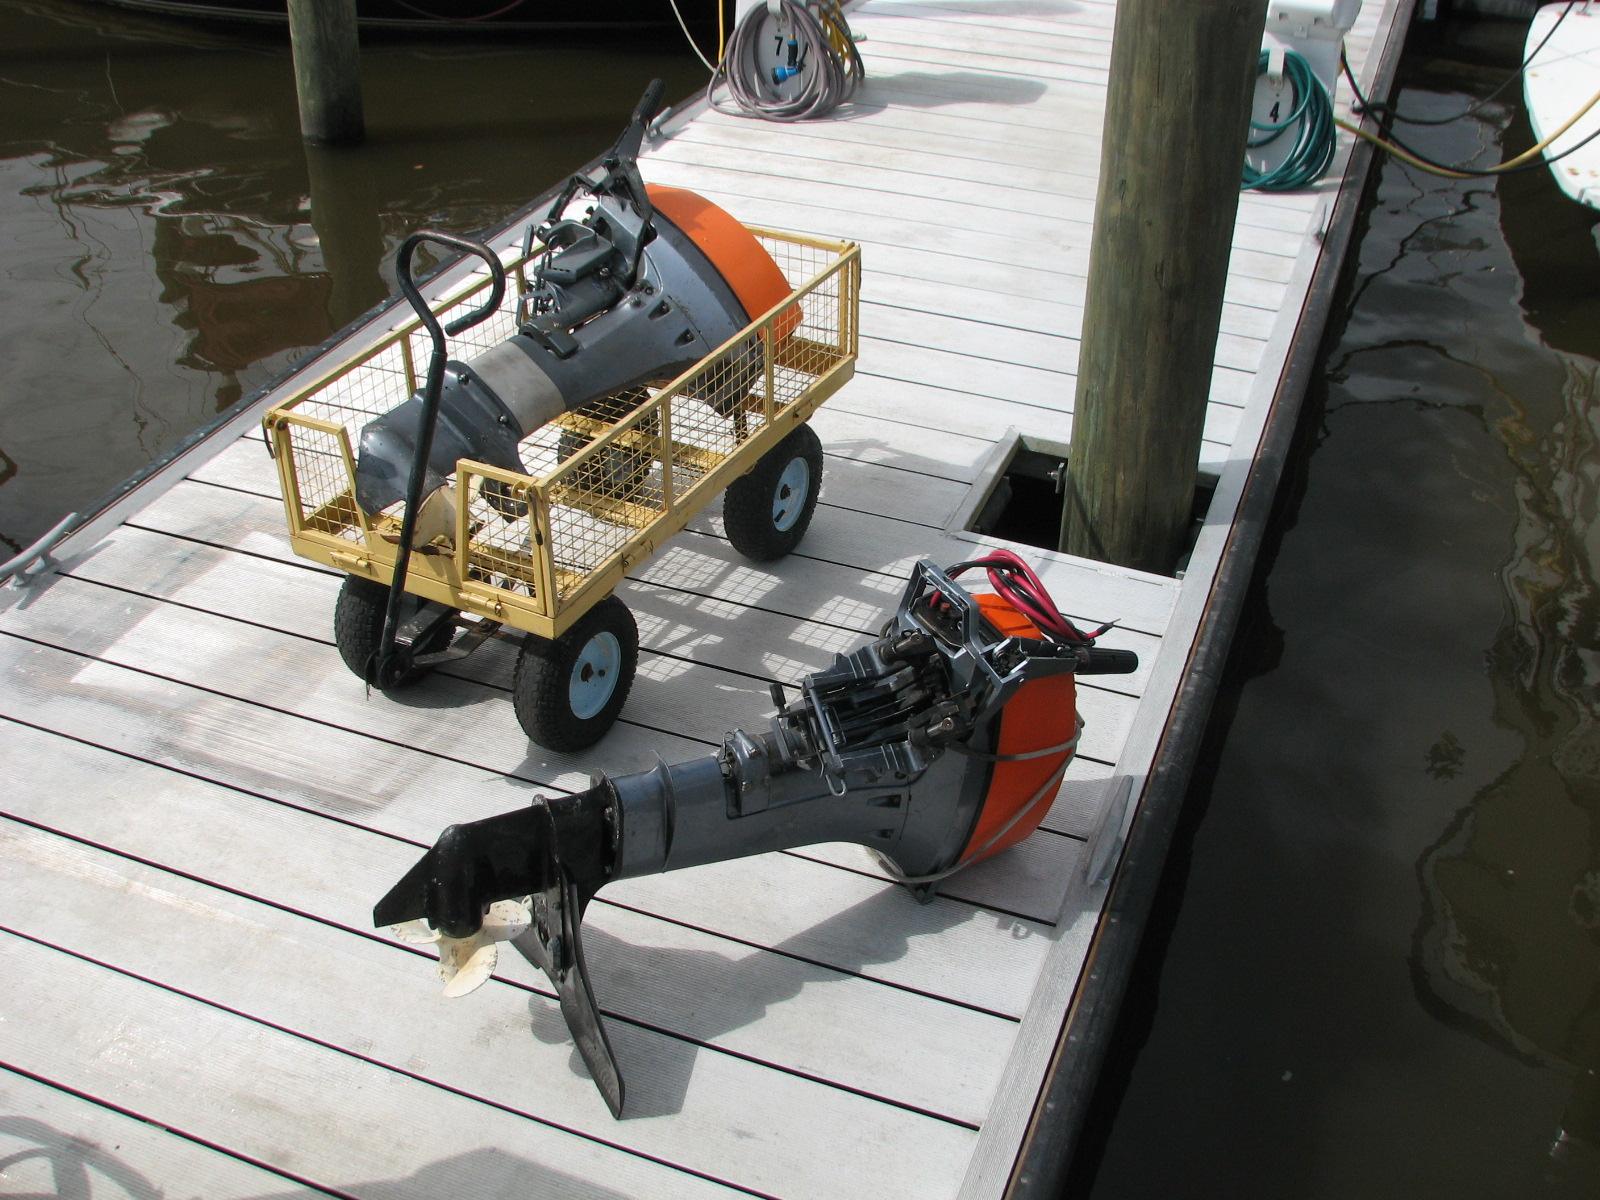
We took the spare outboard down to the tender. We removed the main
engine, and put the spare engine on the tender. It started right up
after putting on the dead man key.
Outboard Exchange On Dock Next to
Tender
We drove down the bayou, and then got
it up on a plane. It was still pumping lots of fresh water, and was
running pretty good. It was not running perfect, but the spare engine
was running, that was the important news. I will have to take a look
at the plugs and the carburetor. We went back to the marina,
and changed out outboard engine again! The spare outboard off and
into the Black Beast, the main outboard back on the tender and all
locked on.
We took the spare outboard to
the shop.
I then applied the fifth coat of varnish to the
nav
station chair. We then went back to DREAM AWAY.
Alan and I got to work on the remainder
of the teak wood on the eyebrow. We removed the wood, then scraped
off all of the remaining putty and adhesive under the removed teak.
We then drilled out all of the screw holes with the counter sink, and
cleaned up the whole area with the vacuum.
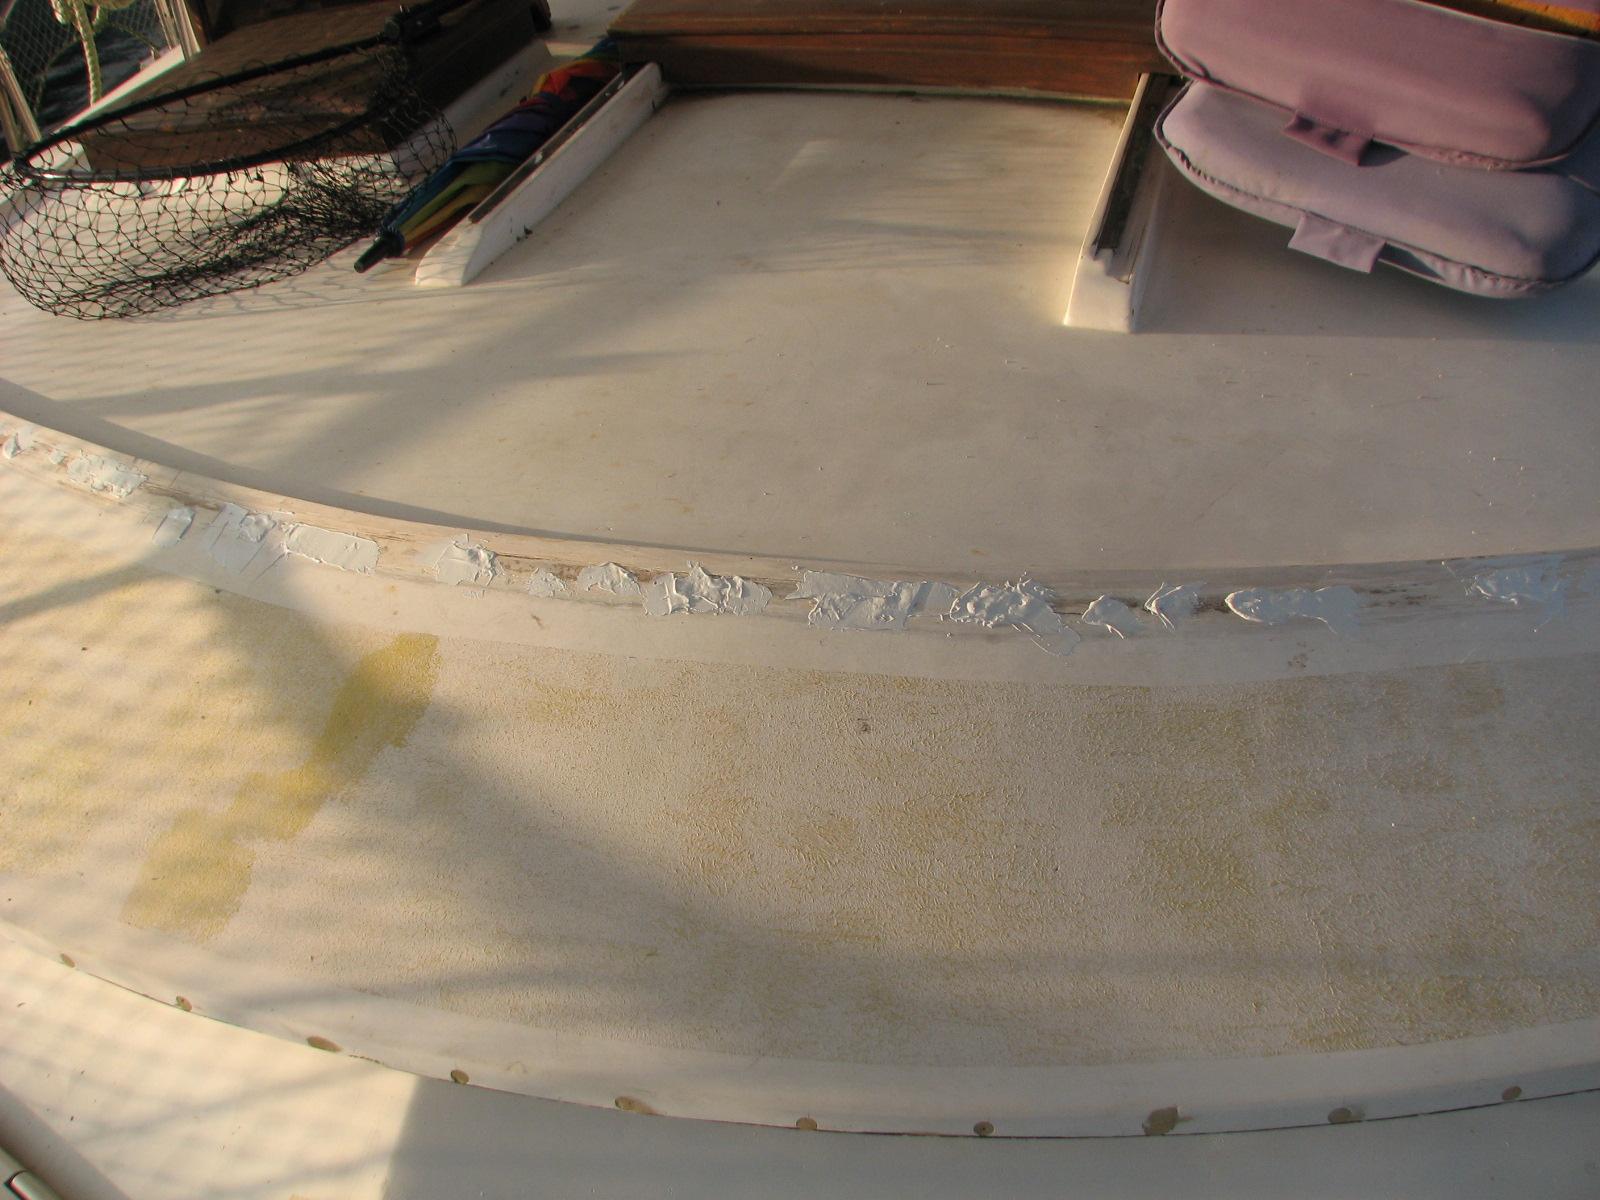
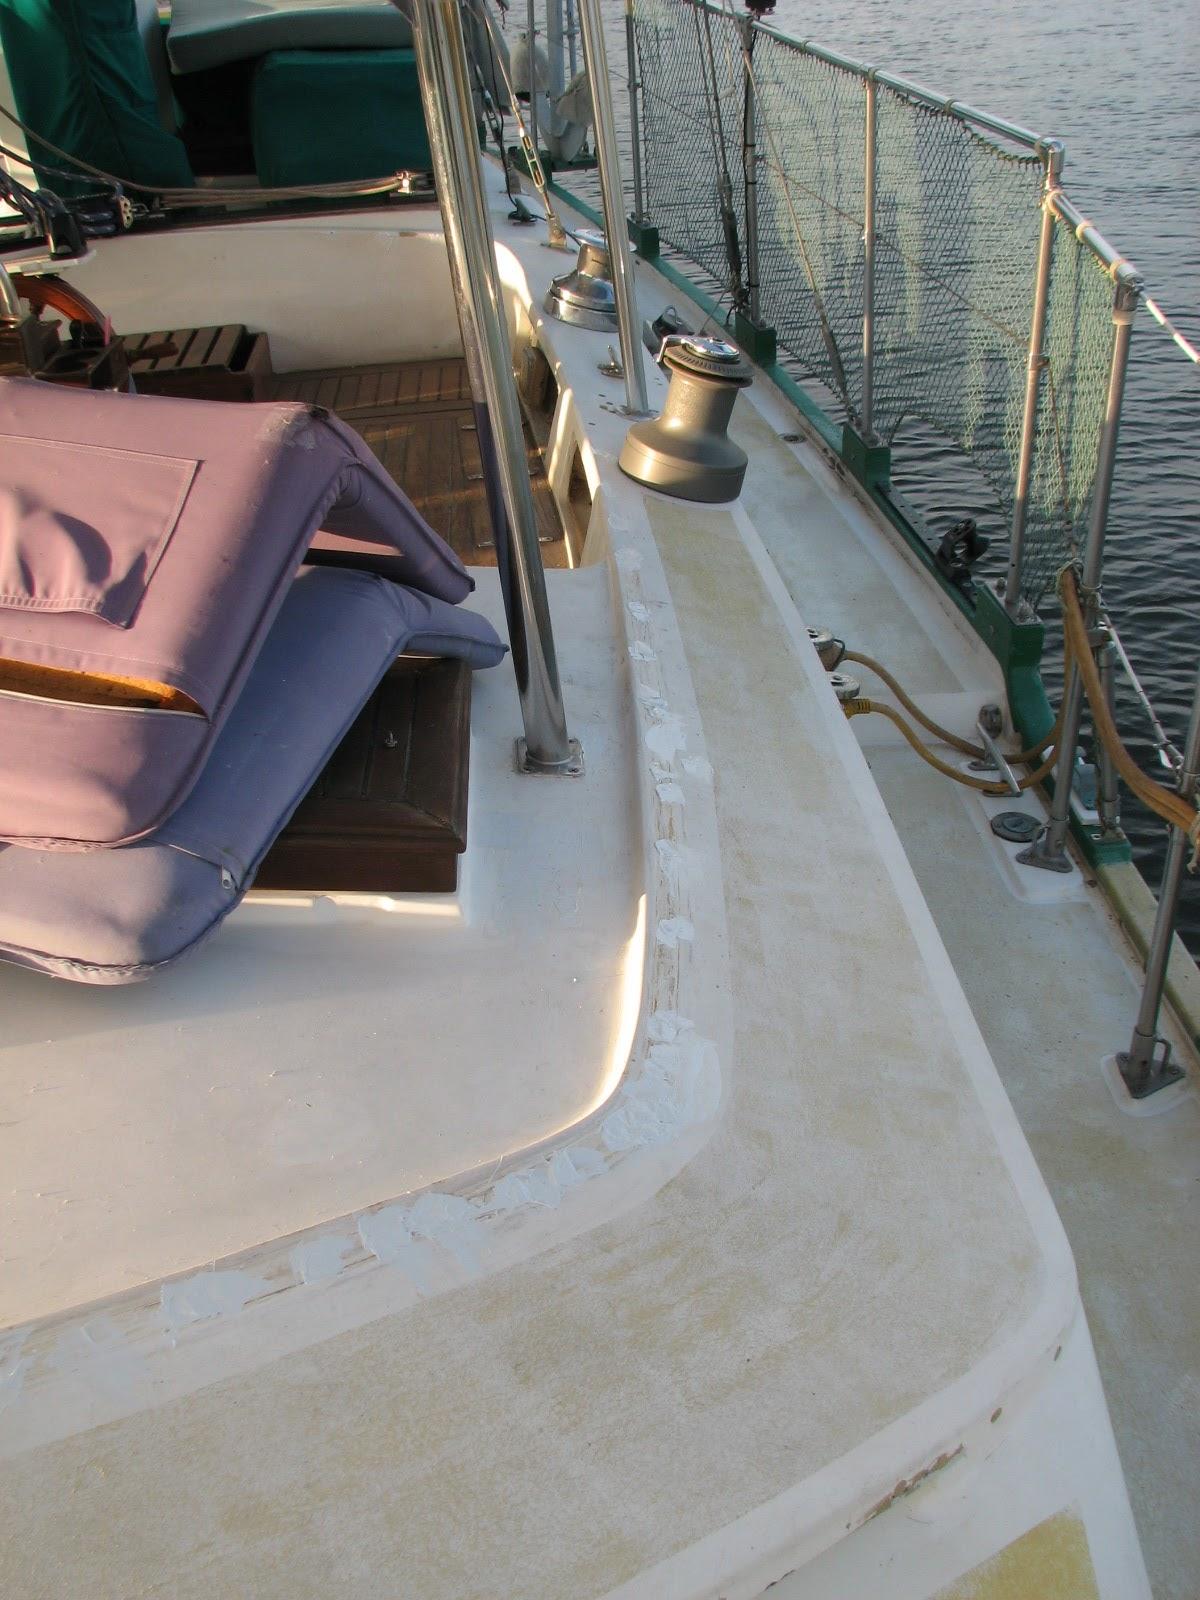
I mixed up a batch of Marine-Tex,
and applied it to all of the area and hole we had cleaned out.
October 11, Friday, 2013
Started off the morning with my normal
ritual of getting on the Internet, answering email, and checking the
weather, while making a pot of coffee. I also spent time with our two
cats, Jillian
and Jordan.
Went over to the shop
and realized I had pretty much finished up all of the projects I was
working on in the shop.
I still have to do some more testing of the SeaScooter, and I want to
do one more check on the spare air conditioner. I am going to have to
get a couple of projects going in the shop.
I did do some preventative maintenance
on the Black Beast. I checked all of the fluids, and applied a coat
of Rain-X
on all of the windows.
I loaded up the electric start outboard
motor, battery, and the backing plate cover for the head, and went
back to DREAM AWAY.
Kitty had breakfast ready, so we had a
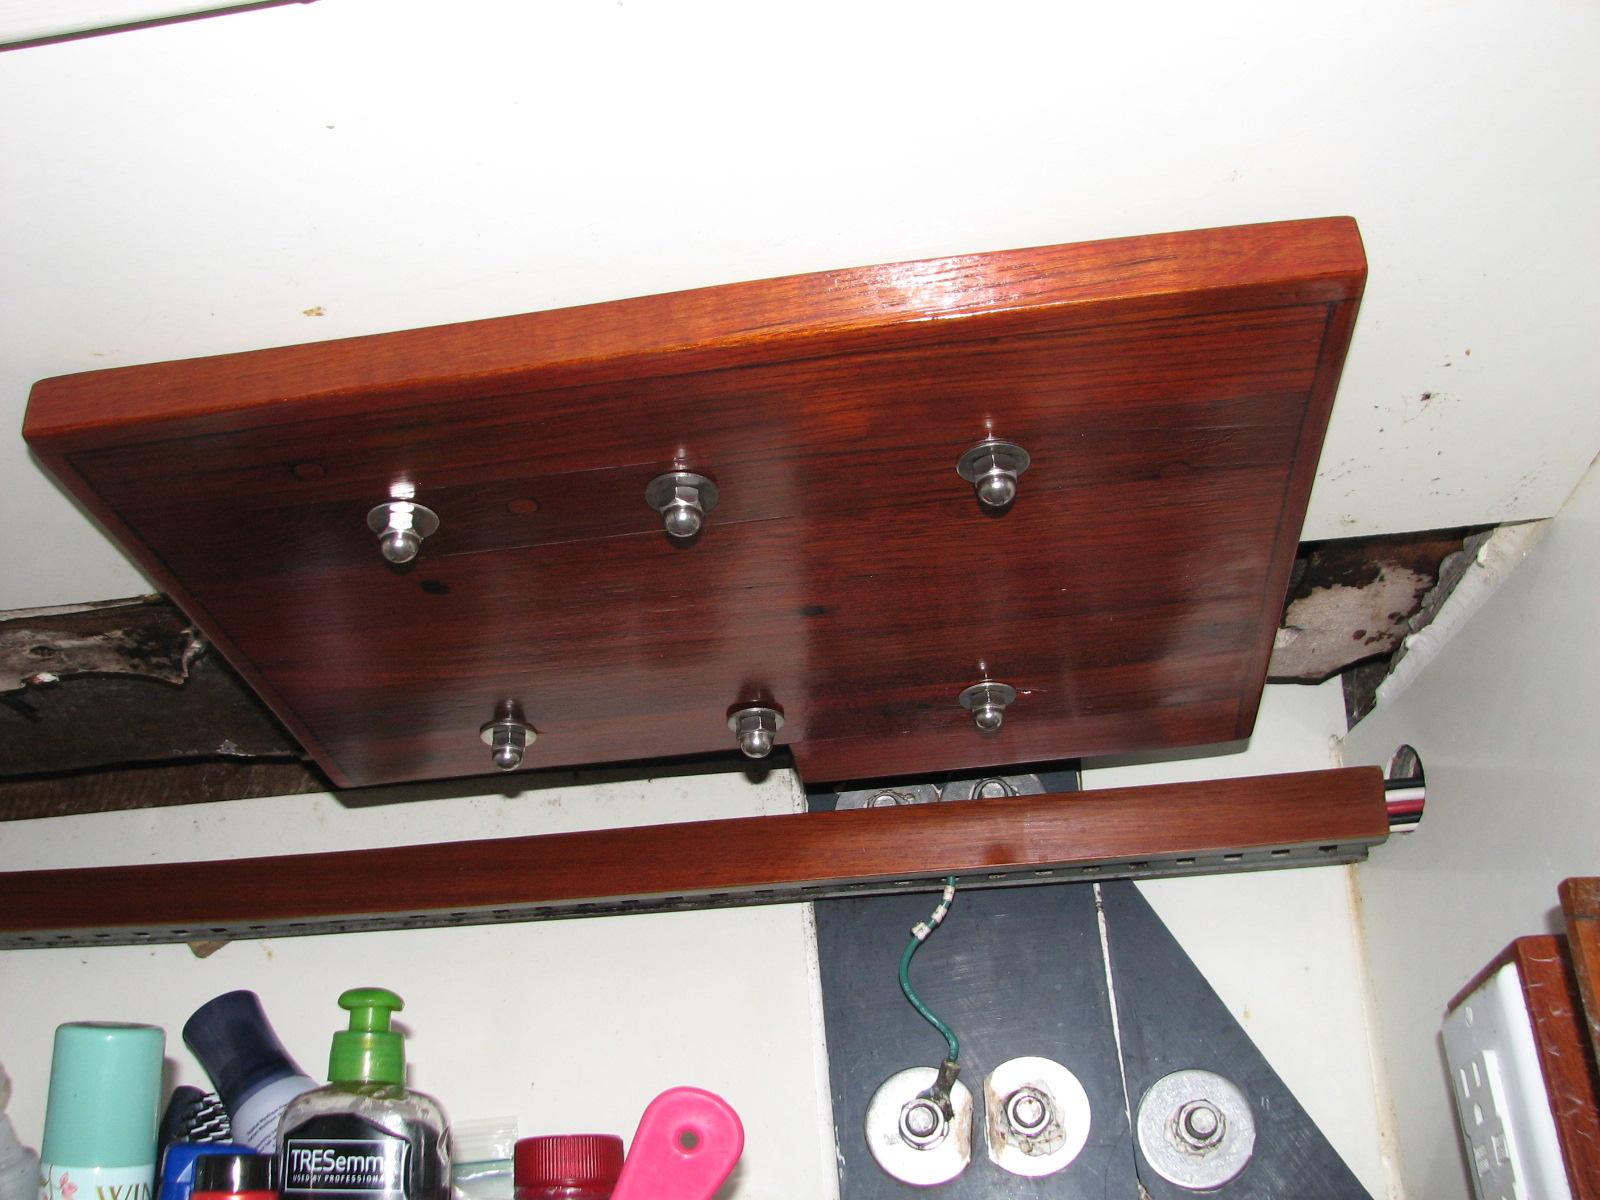
nice breakfast, and then I installed the backing plate cover for the
head. Now we are waiting for the Structoglas
to come in so we can finish off the head.
Backing Plate Cover Installed In the
Head
The tender was pretty much finished, so
I slid it into the water, and tied it off to the dock. I installed
the battery into the new battery box, and then I put the outboard
motor on the tender. I connected the new battery cables from the
motor to the battery.
I wanted to check to see if the
rectifier
I had installed on the motor was working. I checked the voltage on
the battery with my DVM.
I primed the carburetor with fuel, and just for grins, I tried one
pull on the manual starter, and it started right up! It’s great to
have a Yamaha.
I checked the battery again with the
DVM,
and the voltage was higher than the first check. I increased the
RPM’s of the engine, and the voltage climbed, so the
rectifier
is working. Now I know the battery will be charged when the engine is
running. I shut the engine down, and then started it with the
electric start, and it started right up, again. This was sweet.
Tender Ready With Outboard And Battery
Installed

I got Kitty into the tender, and
explained how to start the engine, since it was her electric start,
and she started the engine. She backed us out of the
marina,
and we went down the Delcambre
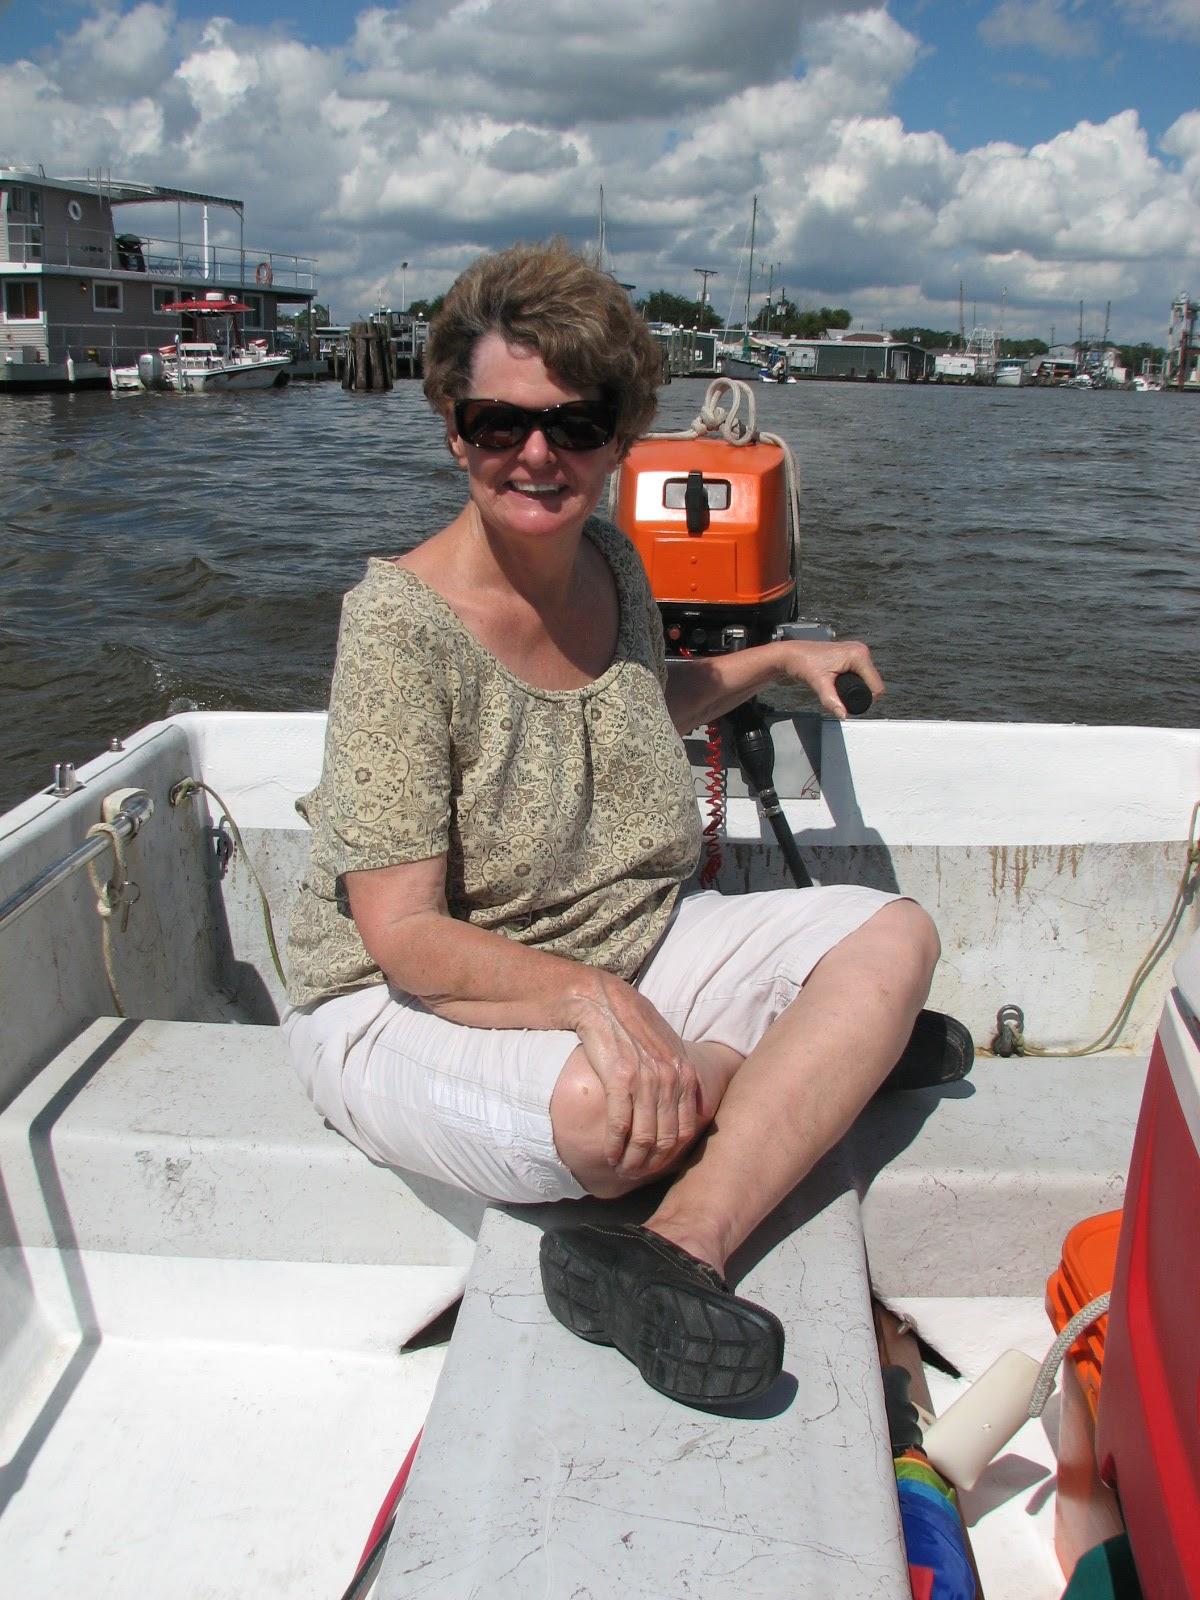
Canal. Kitty loved driving the tender using “her”
outboard.
Kitty At The Helm
I took over at the helm, and we went
further down the Delcambre
Canal. I opened up the engine, and got the tender on a
plane with us both in the tender. I turned around, and went back to
the marina.
Now that the main outboard engine and
electrical systems were running with the tender, it was time to test
the finished spare outboard engine.
I went over to the shop
and loaded up the spare outboard, manual bilge pump, and the oars in
the Black Beast. Back to the marina,
and brought all of the stuff down to the tender. I removed the main
outboard and installed the spare outboard on the tender. I also
installed the oars and the manual bilge pump. I was ready for the
next trip.
The spare Yamaha
outboard started after two pulls, so that was good. The problem was
there was no water coming out of the Pee tube. This means I did not
put the
upper
casing and lower
drive together properly. I probably did not mate the
water pump tube correctly, although I made a big effort to do so.
I pulled the spare outboard off of the
tender, and put the main outboard back on the tender. I loaded the
spare outboard back into the Black Beast, and took it over to the
shop.
I came back to DREAM AWAY, took a
shower, and then we headed to New
Iberia. We had some grocery shopping to do, then we
went to the train station to pick up our friend Alan, coming for a
visit from Houston.
After getting Alan, we stopped at a Chinese buffet in New
Iberia, and hurt ourselves, but it was very good
eating. Then it was back home to DREAM AWAY.
October 10, Thursday, 2013
Started off the morning with my normal
ritual of getting on the Internet, answering email, and checking the
weather, while making a pot of coffee. I also spent time with our two
cats, Jillian
and Jordan.
Did not go over to the shop
this morning, but stayed on DREAM AWAY, and did computer work. I go a
DREAM AWAY update out that included the September Maintenance Log. I
also worked on emails.
We had to drive into
Lafayette
as I had an appointment with my cardiologist for a stress test. I
completed the test, and then we drove back to Delcambre.
When we returned, I got back onto my computer, and started in on
emails. before I quit for the evening, I was down to 30 emails.
October 09, Wednesday,
2013
Started off the morning with my normal
ritual of getting on the Internet, answering email, and checking the
weather, while making a pot of coffee. I also spent time with our two
cats,
Jillian
and Jordan.
Went over to the shop
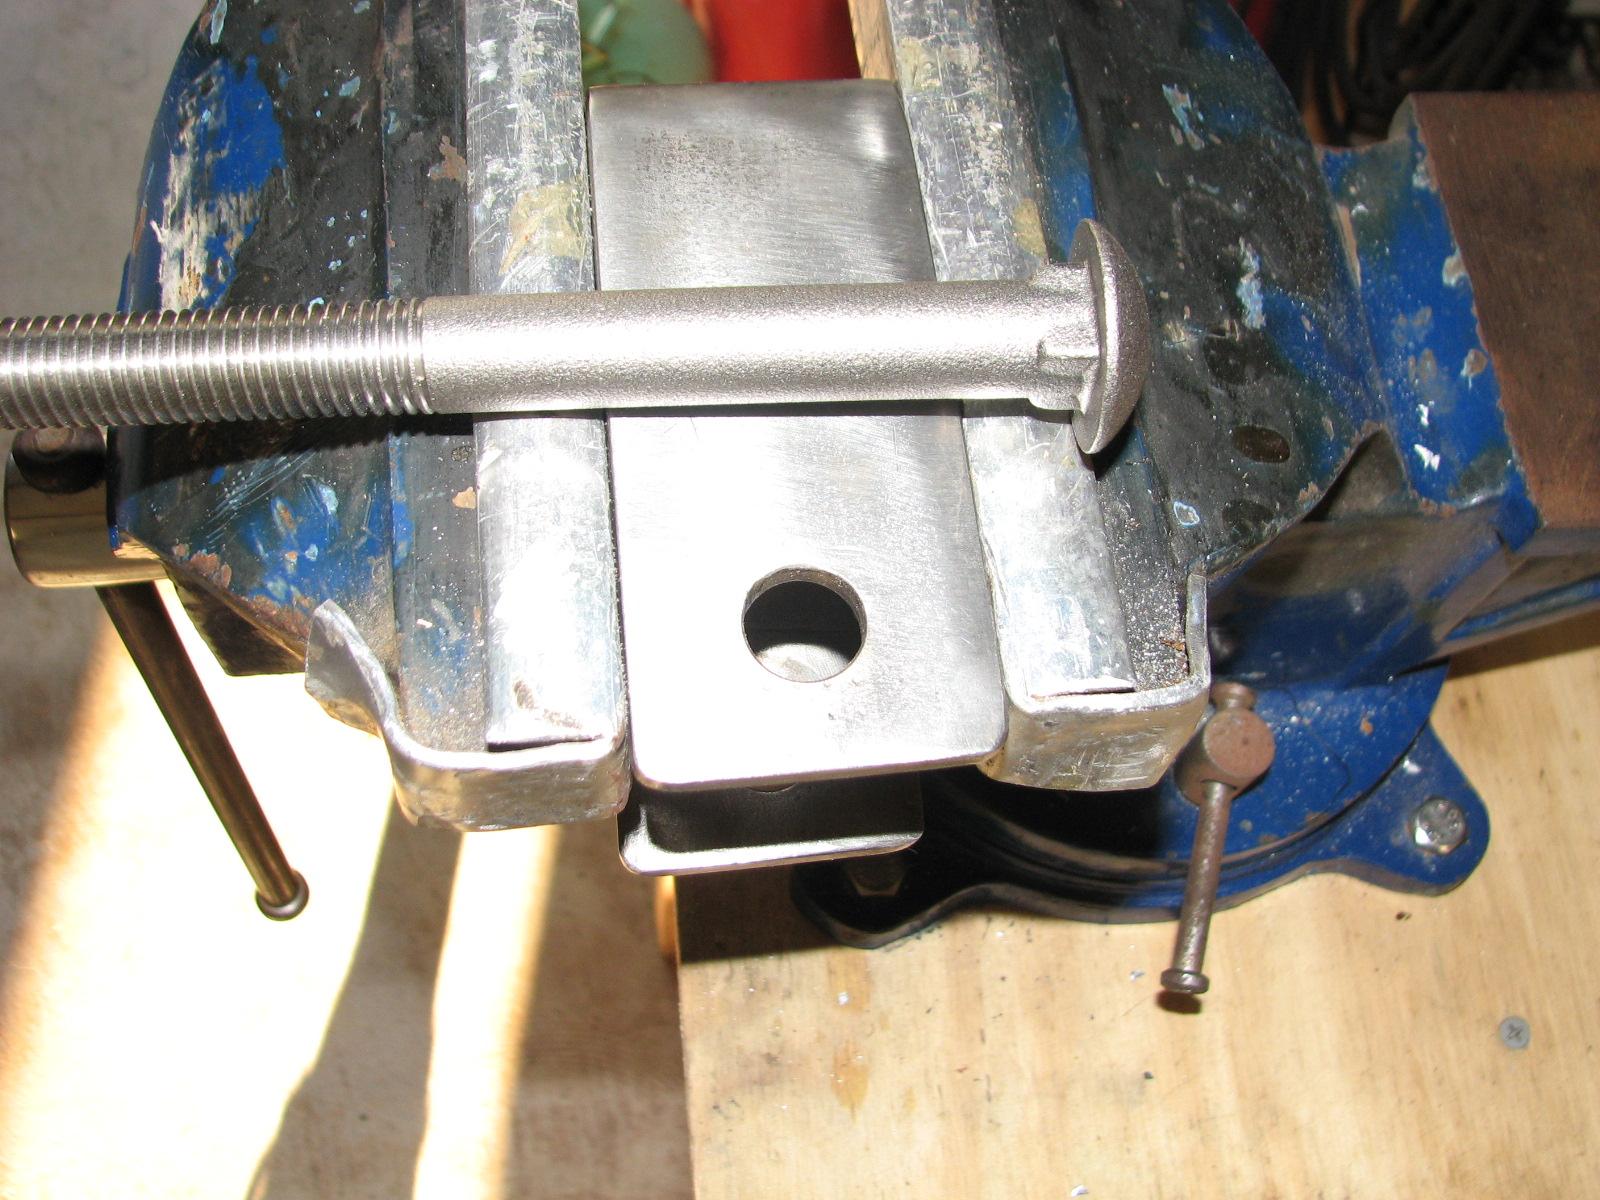
this morning and started in on the carriage bolt I received that had
to be modified for my use on the backstay
fitting. There were not enough threads on the bolt for
me to use, so my modifications will make the bolt into a pin.
The first item on the list was to make
a square hole out of a round hole for the carriage bolt head to fit
into. For this task I used metal files and the stainless steel saw
blade for my Sabre
Saw. The saw did the major work, and I finished up
with the files.
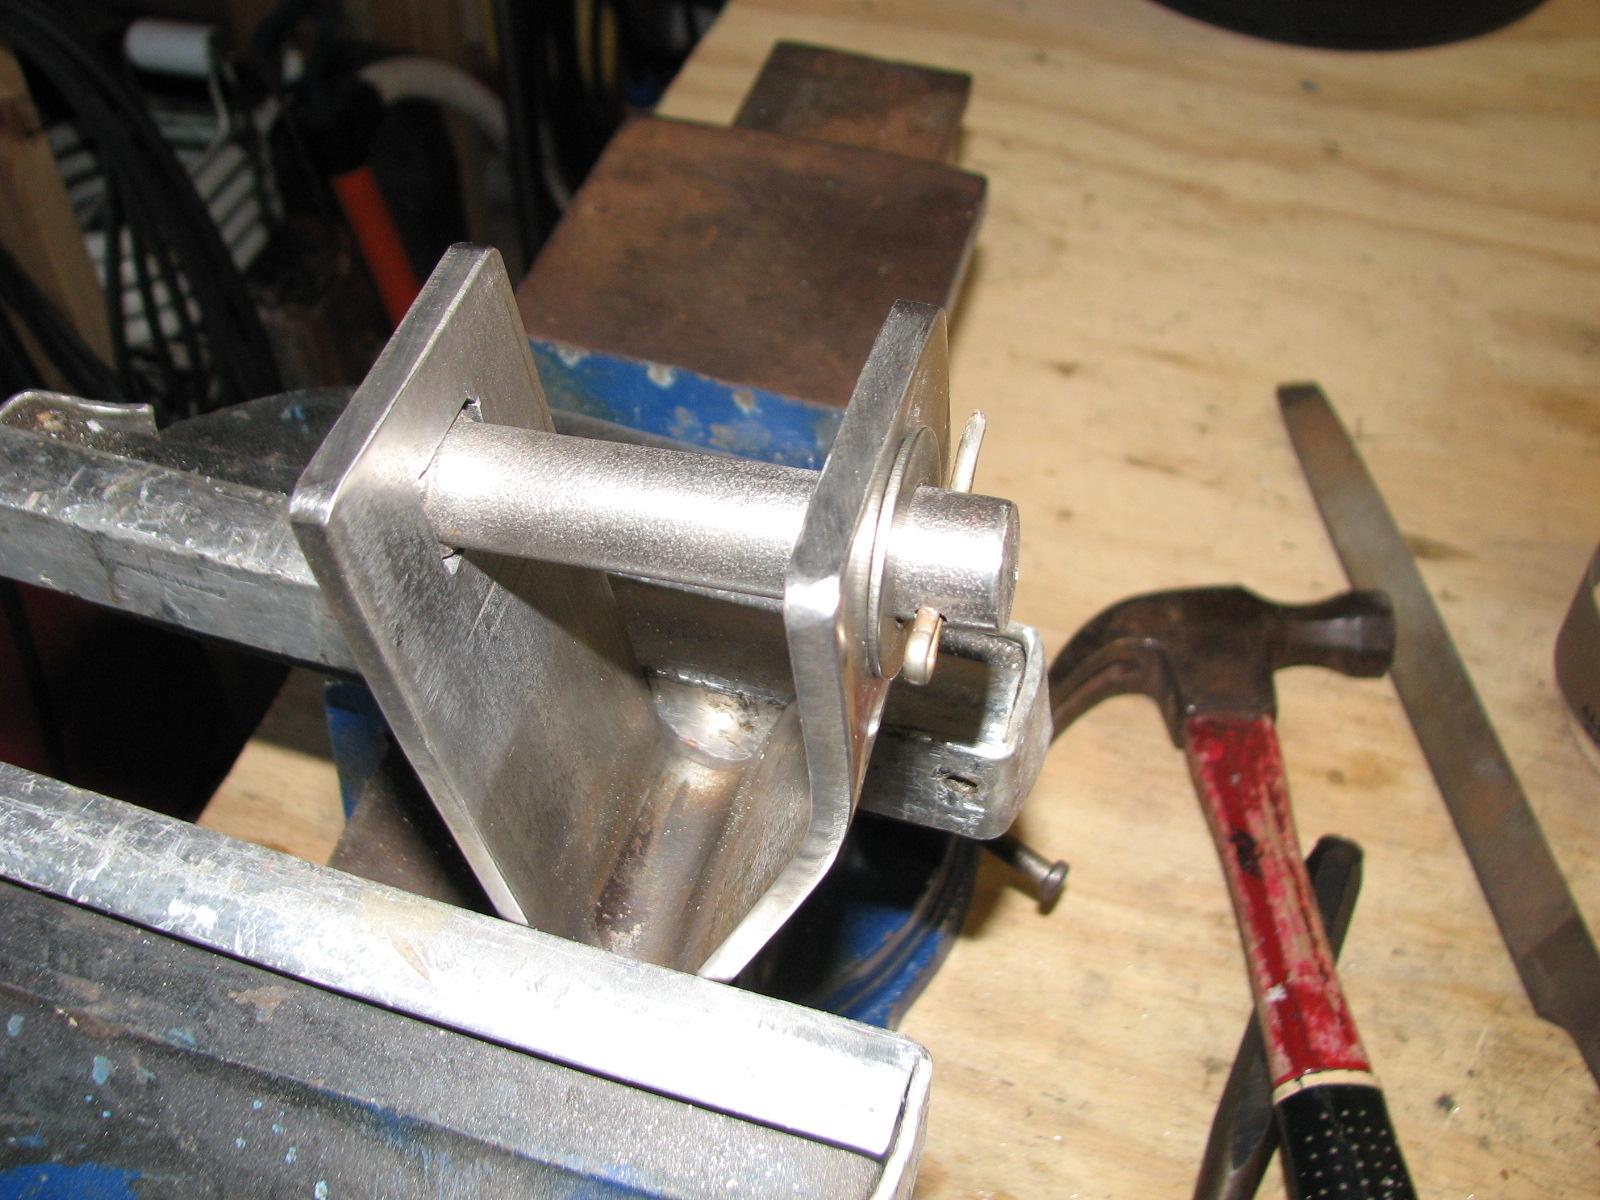
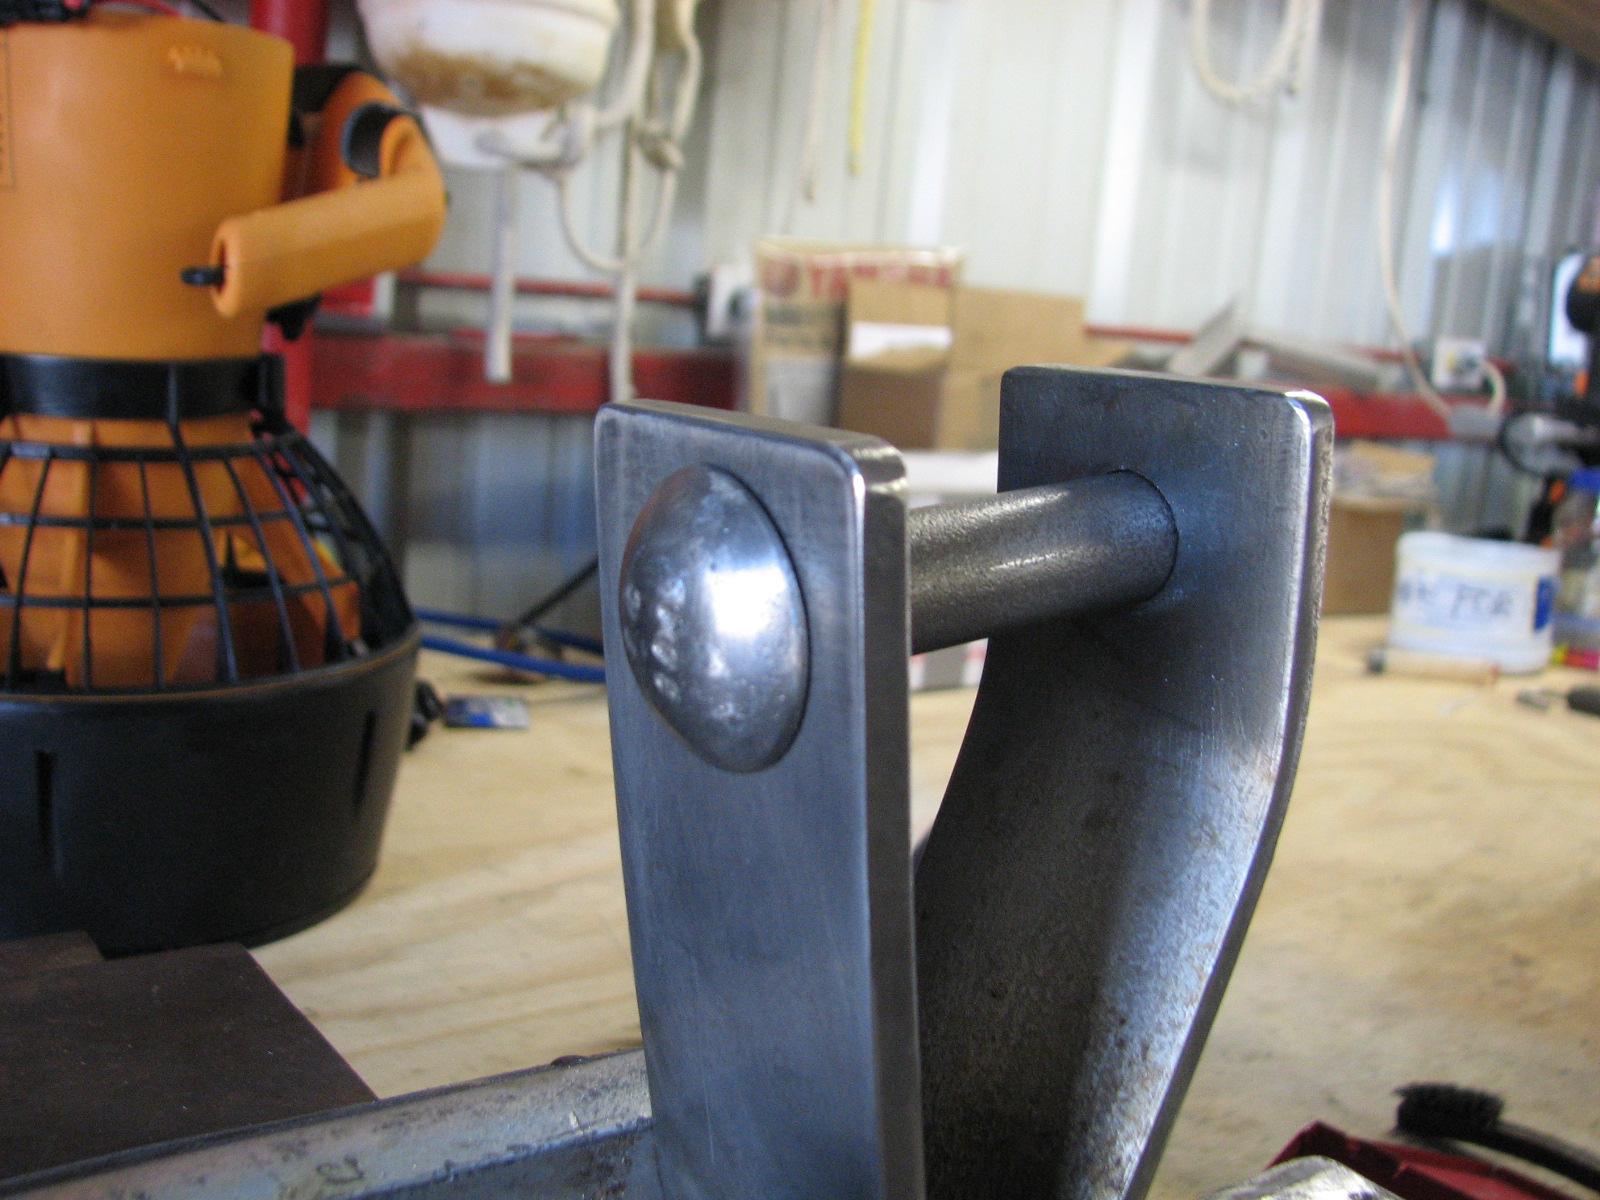
I then cut the bolt, making it a pin to
the proper length using my chop
saw. When I verified the length and fit of the pin, I
drilled a hole through the pin, using my drill
press, for the cotter
pin to hold the pin into the backstay
fitting. When all was finished, I polished the head of
the pin so it would not rub on the main sail halyard.
Left the shop,
and went to the marina.
I unloaded the outboard engine, and the “Box
O’ Resins”, and took them down to the tender on
the dock beside DREAM AWAY.
I needed to finish the battery cables
from the outboard engine to the new battery box. I put the outboard
engine on the tender, and ran the wires. I measured the wires, cut to
the proper length, and put on the terminal ends. I put shrink tubing
on the cable ends in the battery box. I removed the negative cable
from its location on the outboard motor, and installed a piece of
shrink tubing on it, and then reinstalled the negative cable. The
positive cable on the outboard motor, already had a protective cover.
That finished the battery cable project on the outboard motor.
Battery Cables Running From Outboard To
Battery Box
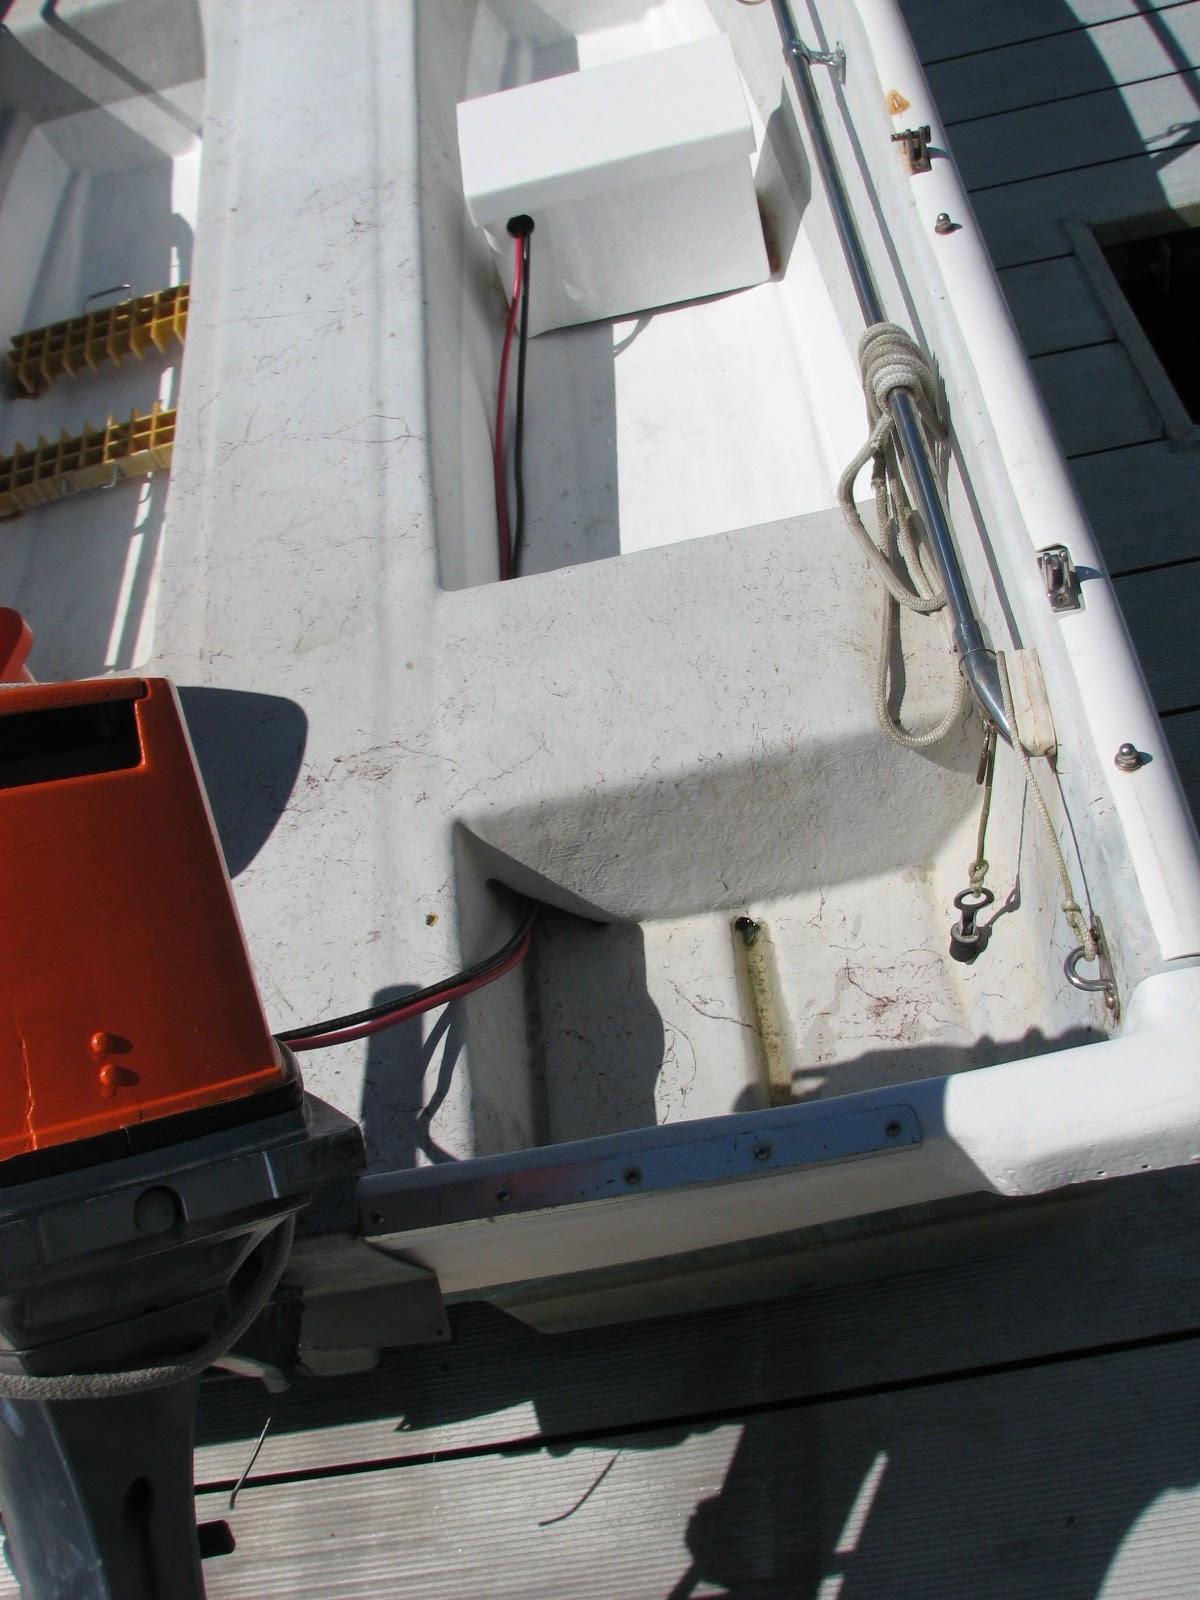
Cables Running To Outboard Moto.
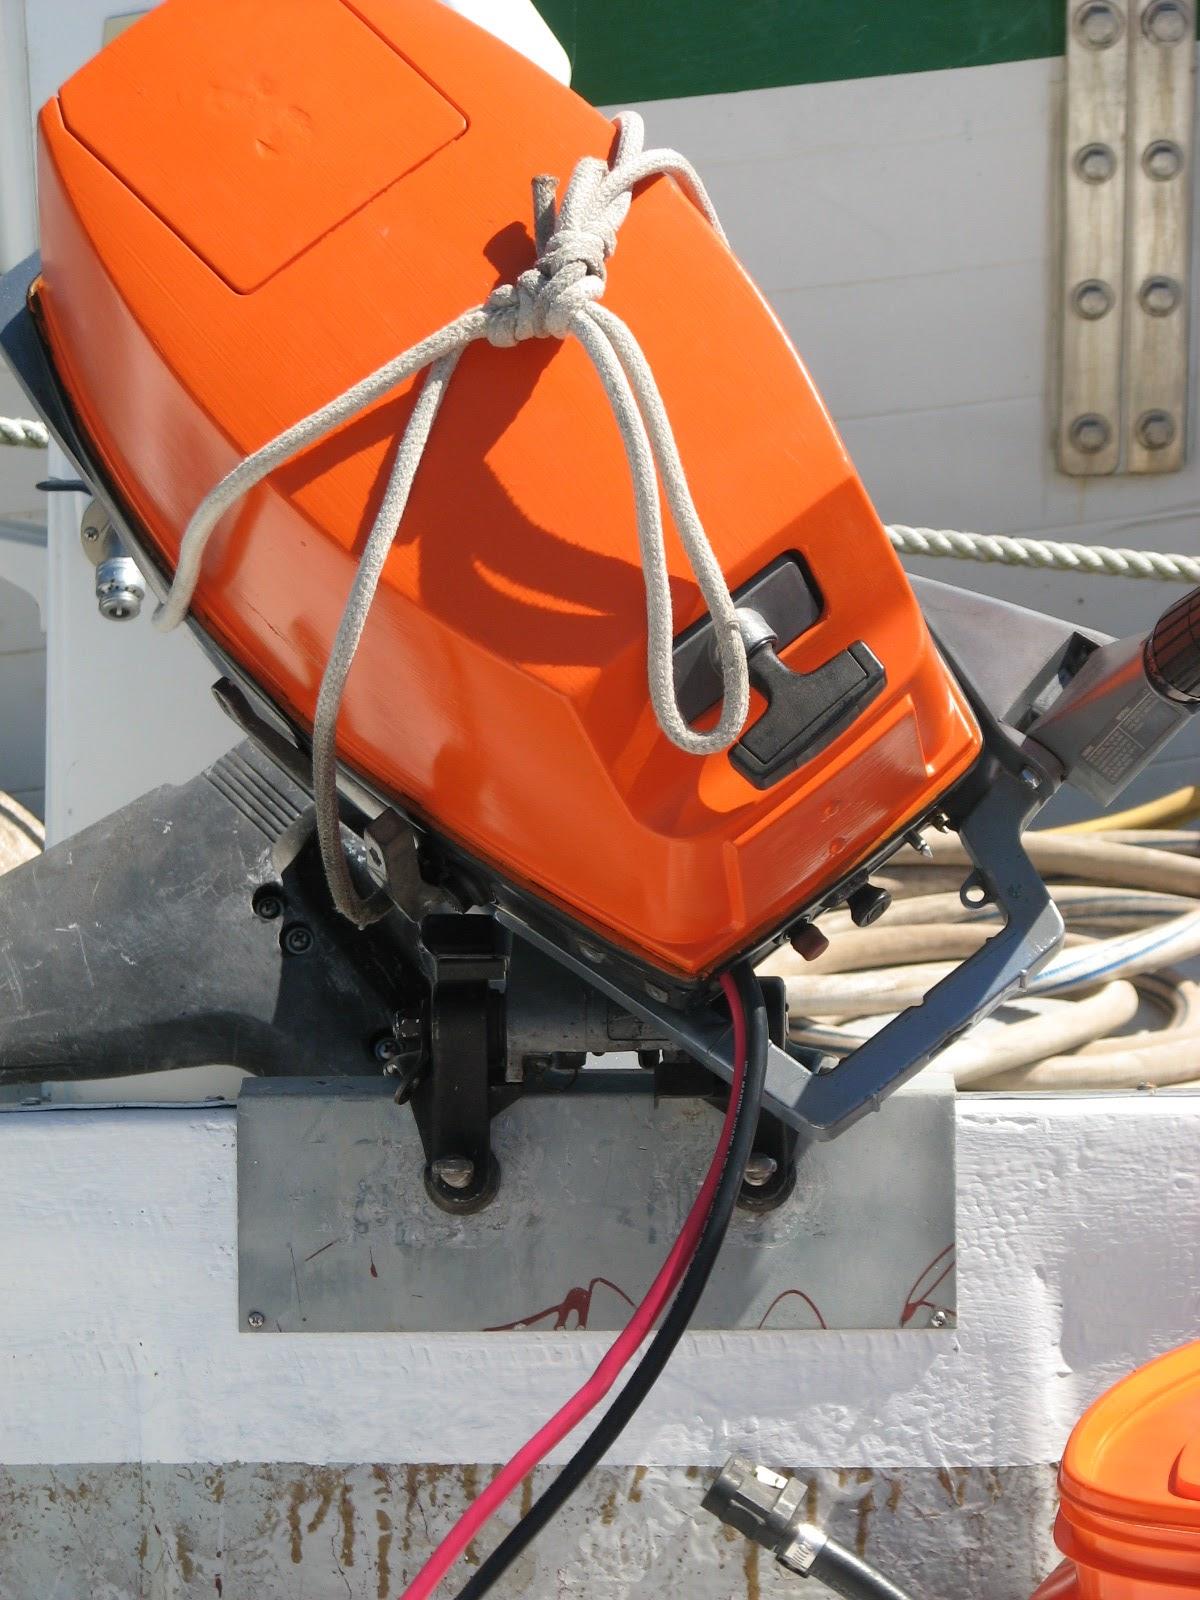
I sanded the hole I cut in the battery
box, and the areas where I fiberglassed
the battery box and fuel tank gratings to the deck of the tender.
After sanding the areas, I cleaned the areas and made them ready for
the gelcoat
application. I wanted to make the installation of the battery box and
fuel take gratings look finished.
I then mixed up a small batch of
gelcoat,
and applied it to the battery box hole and areas attaching the box to
the deck, and the same with the fuel tank gratings. Now we wait for
the gelcoat
to set up, and we are done with that project.
Fuel Tank Gratings Before Gelcoat
Application

Fuel Tank Gratings After Gelcoat
Application
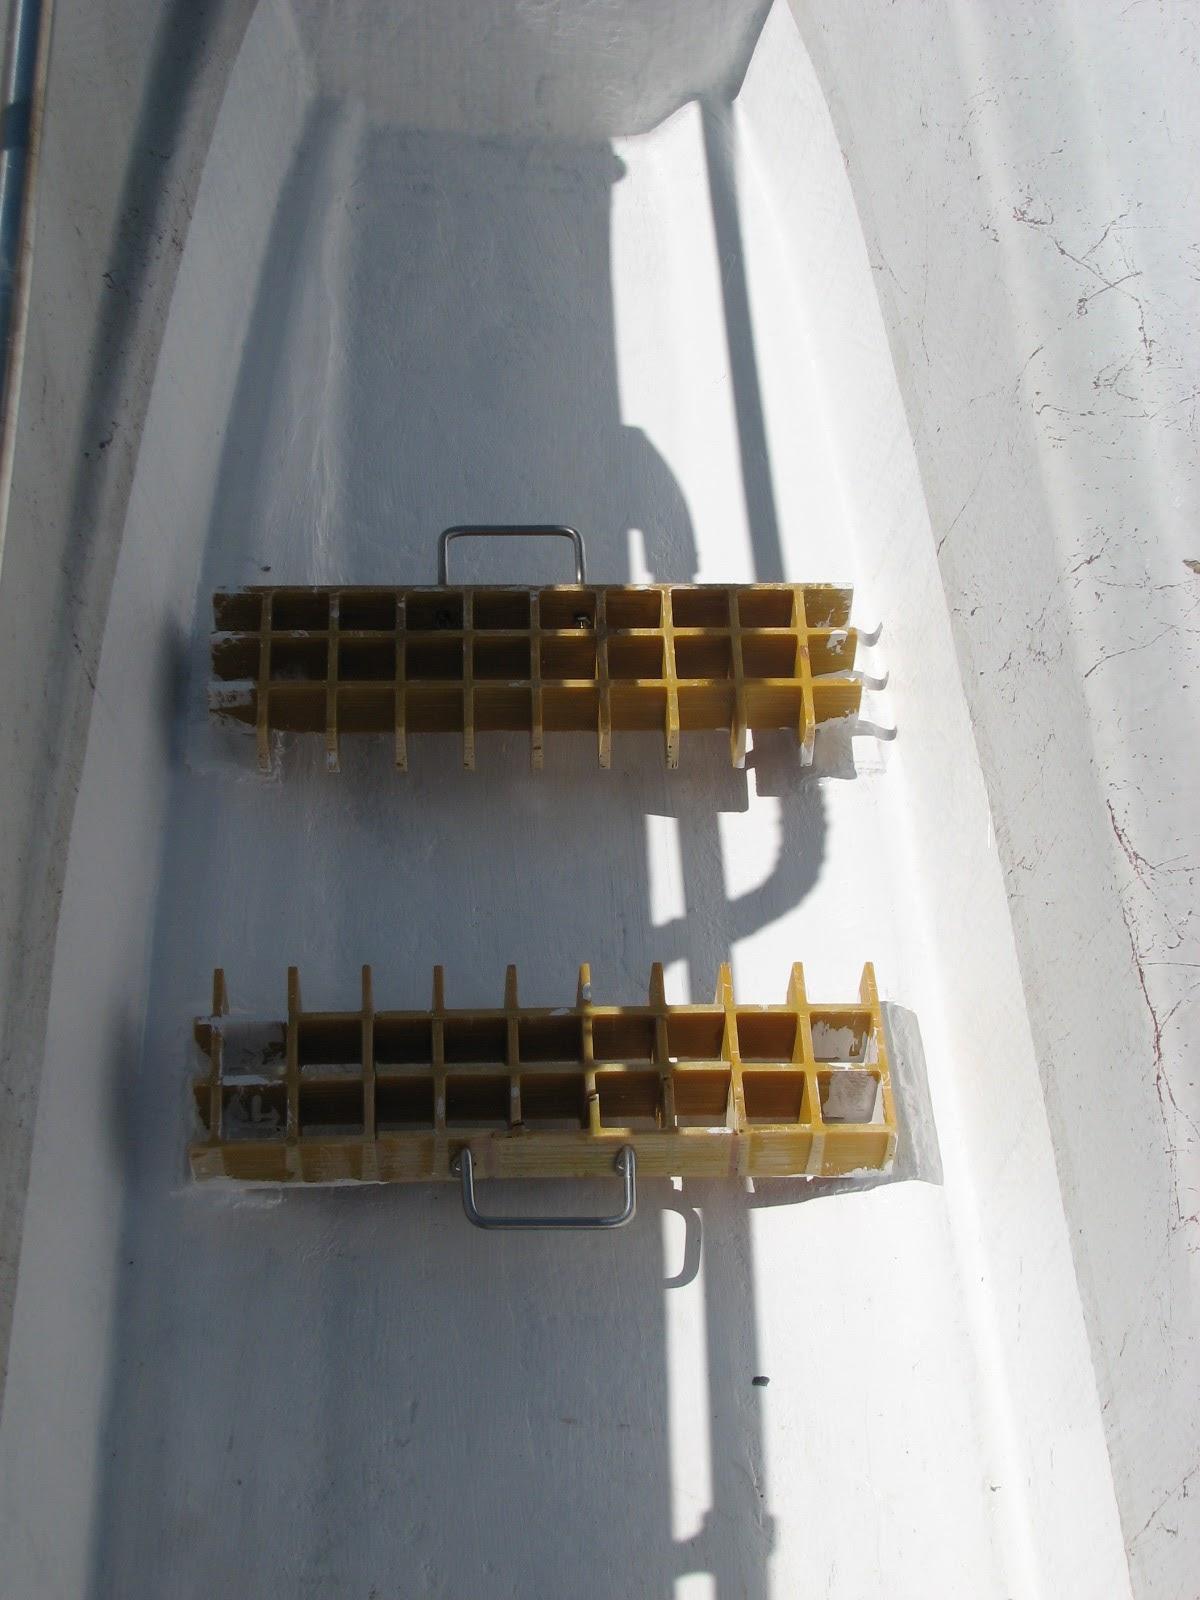
Battery Box Gratings After Gelcoat
Application
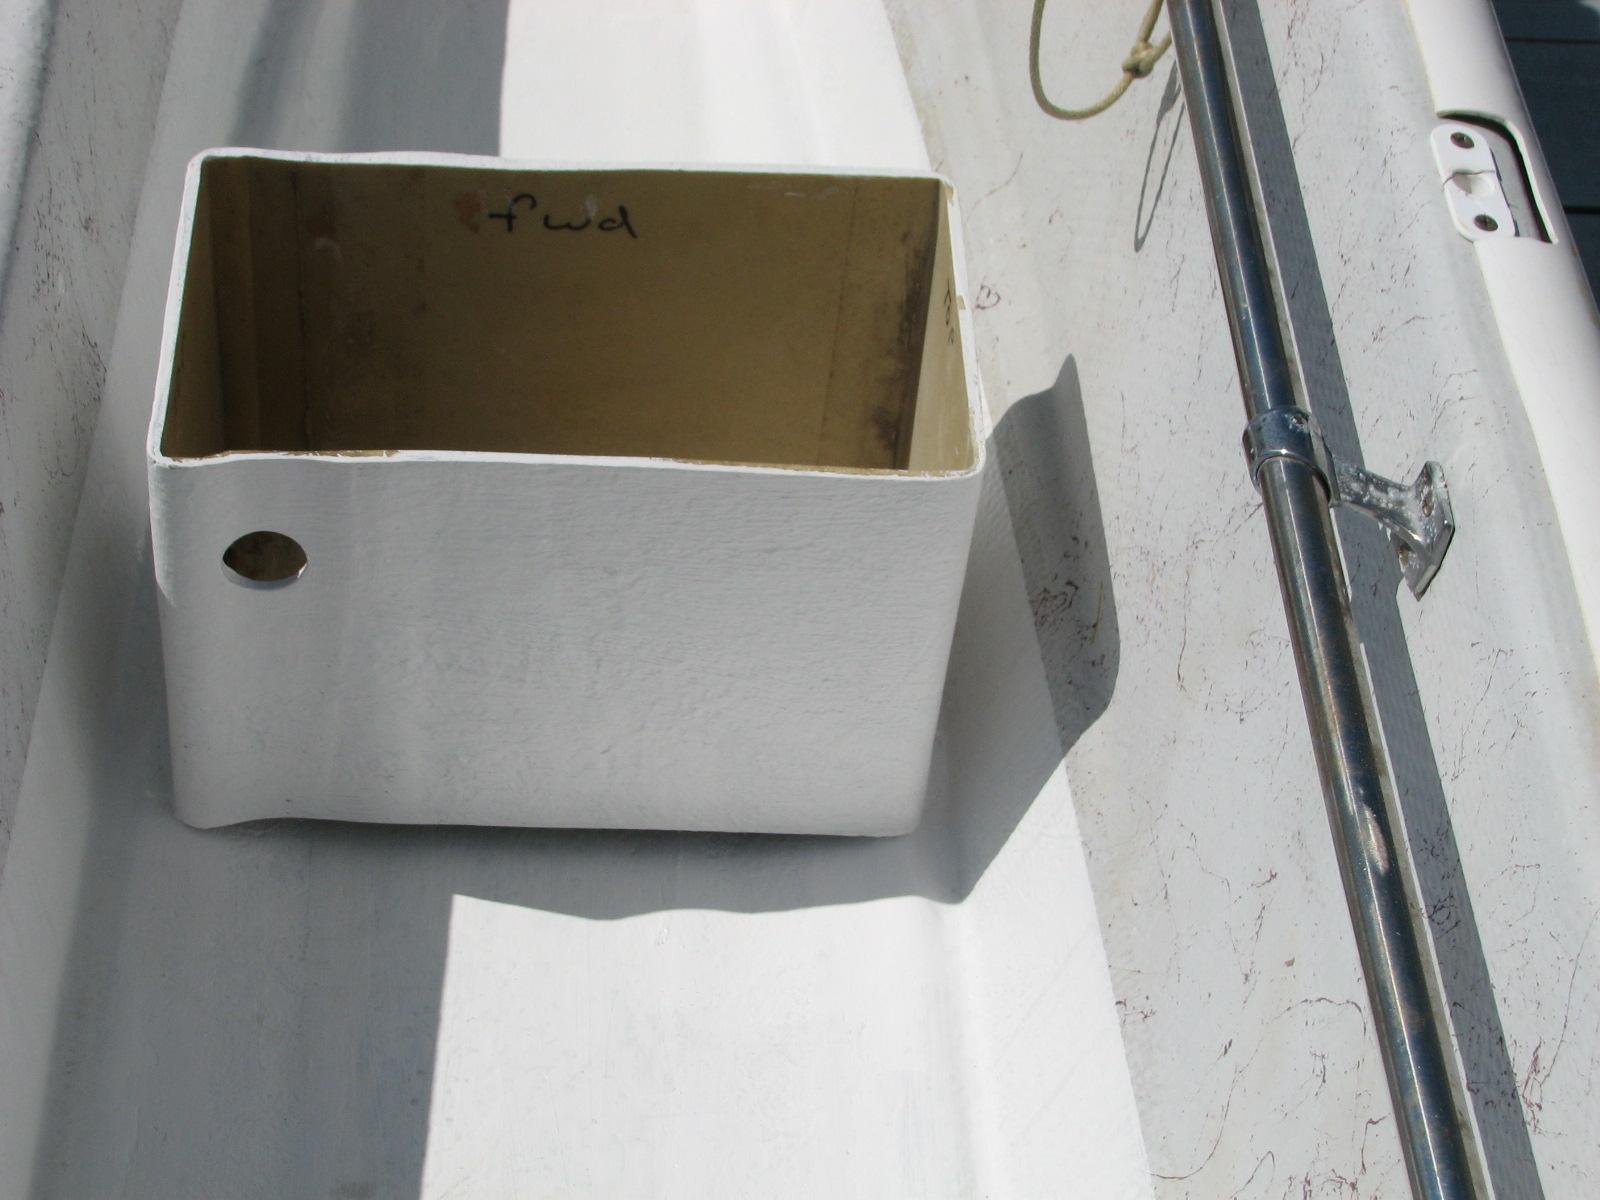
Last item for the day, and one of my
favorites, going up the main mast. I was not comfortable have the
backstays
down for over a week. I know there was no way the mast could fall
over, it still made me uncomfortable.
Kitty was to stay on deck, as my
helper, and I went up the mast. No trouble going up, just watching
for wasps, and spraying them as I climbed up the mast. At the top
there was quite a few of them, but they were encouraged to depart.
Now it was back down the mast, and get
everything put back as it was. I attached both backstays
to their respective chain
plates. I put all of the lifts and halyards
back in place, the awnings back in place and the boson’s
chair away.
I took the Black Beast over to the
shop,
and unloaded all of the tools, the “Box
O’ Resins”, clothes and books. Came back to DREAM
AWAY, took a shower and got ready to go to the New Iberia Public
Library for a class on Tapas,
and accompanying wines. Kitty and I really enjoyed the class.
October 08, Tuesday, 2013
Started off the morning with my normal
ritual of getting on the Internet, answering email, and checking the
weather, while making a pot of coffee. I also spent time with our two
cats, Jillian
and Jordan.
Went over to the Shrimp
Festival Pavillion and packed up all of the Delcambre
Seafood and Farmers Market tents, tables, and chairs.
We had left the items at the Pavillion to dry out on Saturday.
Everything was dry, so Tammy and I loaded all of the stuff into our
vehicles, and took it all over to the Port
of Delcambre’s storage room. We unloaded both
vehicles, and I loaded the lawn mower and fuel can into the Black
Beast.
I then went over to the marina.
I finished trimming the grass around the gardens and lawn, and then
cut the grass. When finished we had lunch, and then I took the lawn
mower back to the Port
of Delcambre’s storage room, then I went to the
shop.
The seven inch carriage bolt I had
ordered had arrived. I checked it out against the hex bolt it is
replacing, and I will need to do several adjustments to make the
carriage bolt work on the backstay
fitting.
I had the terminals necessary to
fabricate the battery wires for the outboard engine. In the positive
terminal, I had to add two wires in addition to the battery wire. One
wire to power the start switch, and one wire from the rectifier.
This was done successfully, and I also fabricated the negative
terminal. When the terminals were fabricated I installed them onto
the outboard motor.
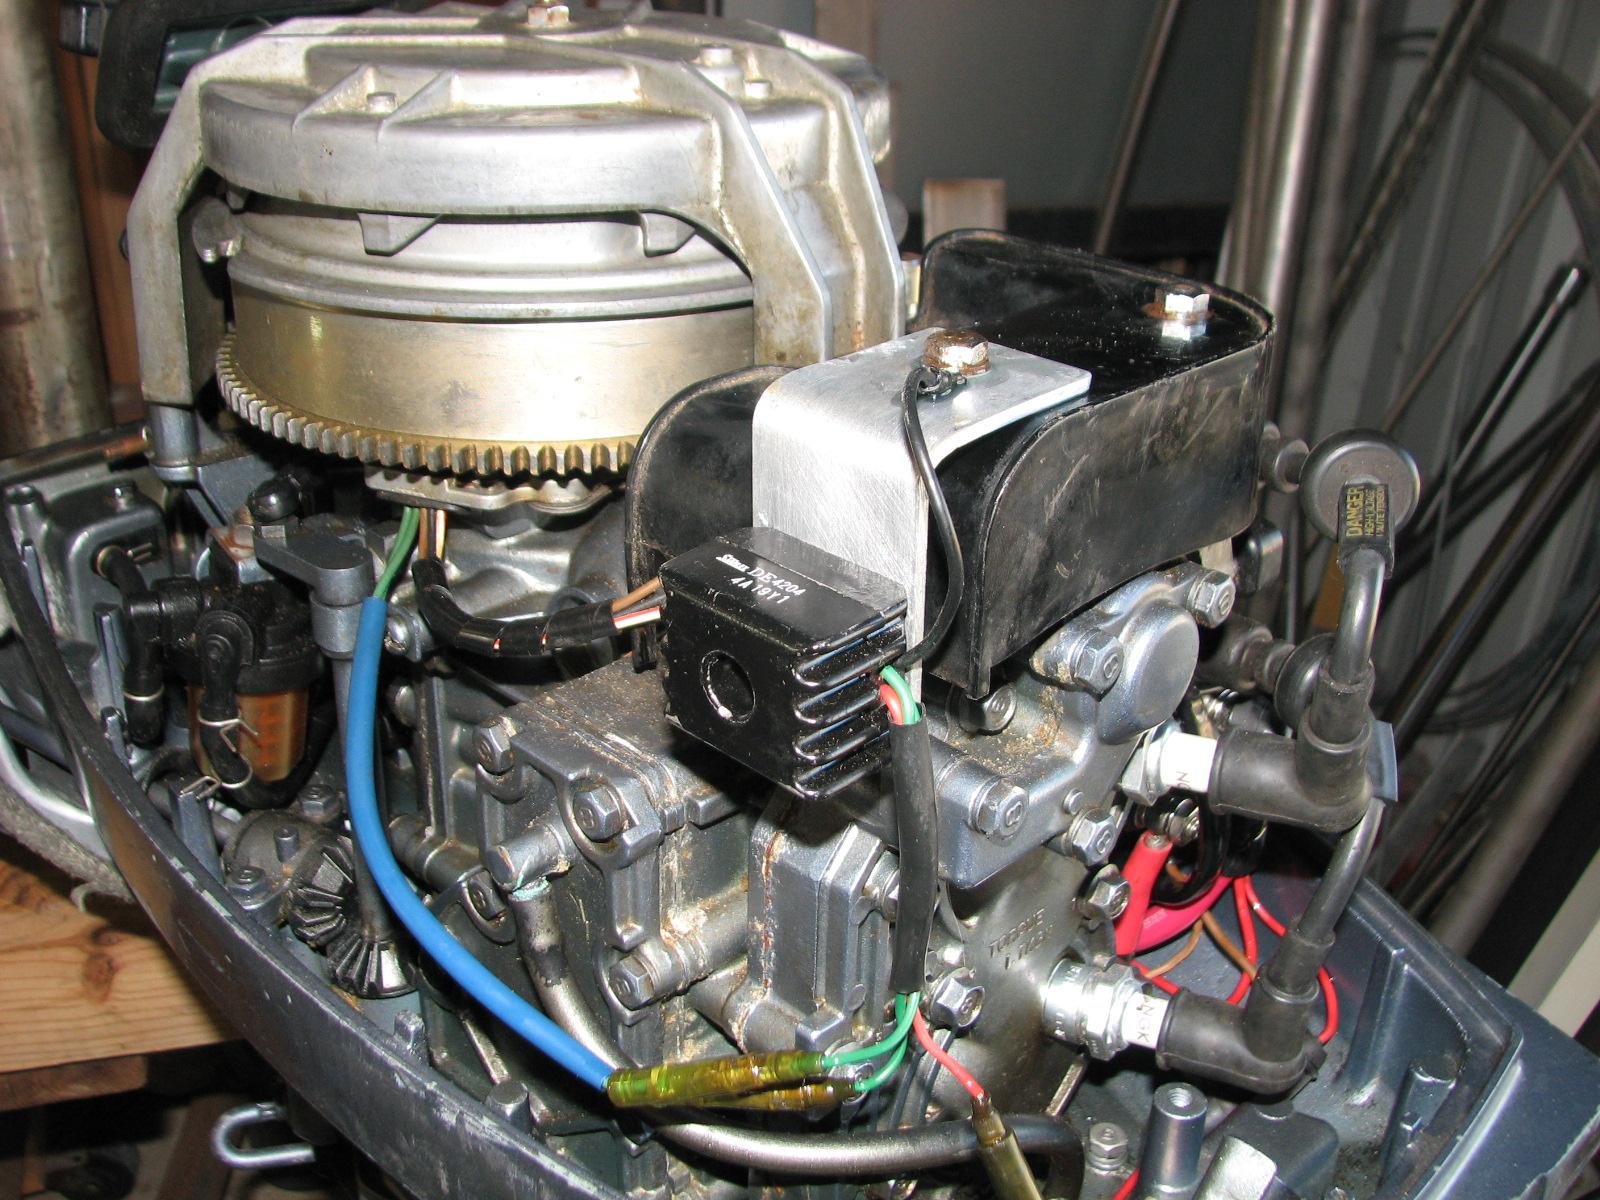
Positive Battery Cable Bolted to
Started

Negative Battery Cable Bolted To Engin.
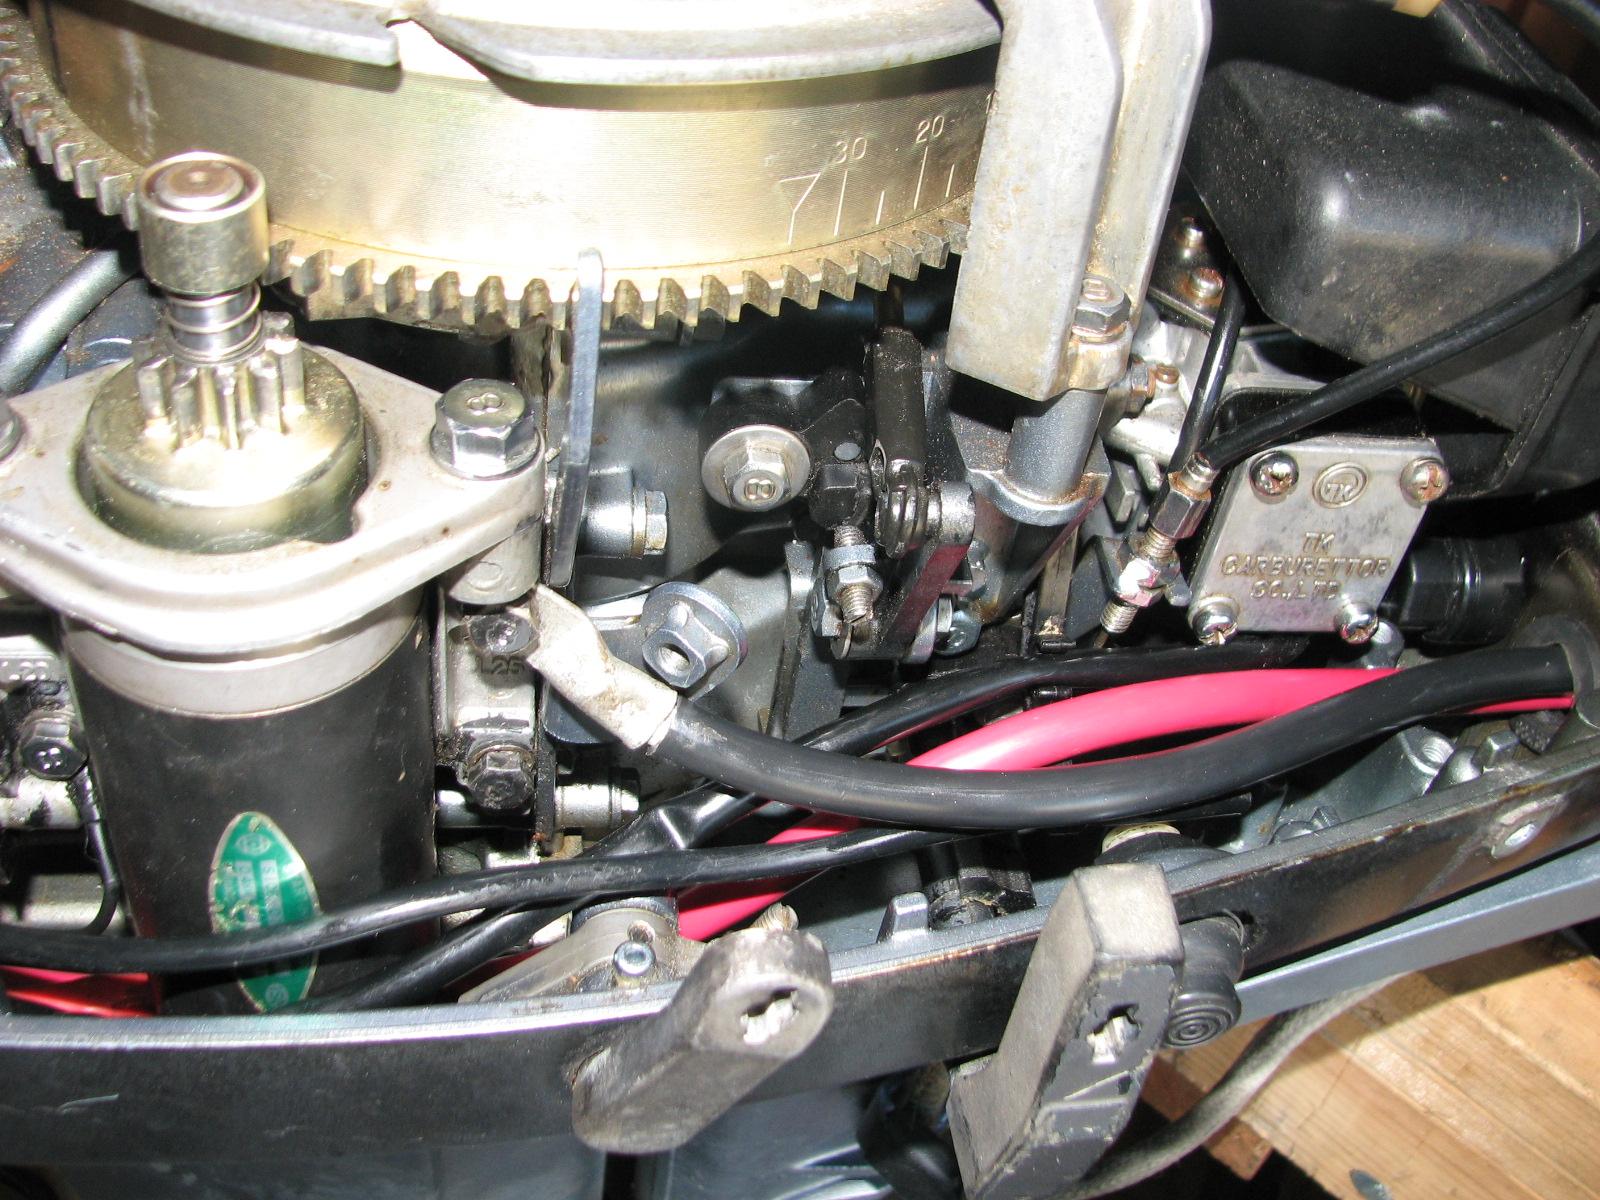
I then applied the fourth coat of
varnish to the
nav
station chair and the fifth coat on the backing plate
cover for the head.
I loaded up my “Box
O’ Resins”, and the outboard engine into the Black
Beast, and went back to the
marina.
I was going to put the outboard motor
on the tender, and cut the new battery cables to size, and also apply
a coat of gelcoat
to the hole I cut in the battery box, and to cover the fiberglass
I used to attach the battery box and fuel can gratings to the tender
deck.
When I got on DREAM AWAY, I was so
tired, I could do one thing more. I took a shower, had dinner and was
in bed very early. I realized the problem was the drugs I took to
combat my fall allergies.
October 07, Monday, 2013
Started off the morning with my normal
ritual of getting on the Internet, answering email, and checking the
weather, while making a pot of coffee. I also spent time with our two
cats, Jillian
and Jordan.
Spent some extra time catching up on
emails, but had an emergency come up at the
marina.
The oldest boat we have at the marina
had sunk! This boat is a wooden boat built in 1915 as a Maine lobster
boat.
The owner of the boat arrived and asked
me to watch over the process of raising the boat and see that it got
to the GEO
Shipyard in the Port
of Iberia. The owner had hired LeBlanc
Marine to raise the boat, and they would then tow the
boat to the Port of Iberia.
By 1530, the boat had been raised, and
was on it’s way. I do hope all works out with the boat, and we will
see it again at the marina
in a couple of months.
Boat Underwater

Boat Mostly Raised And Floating
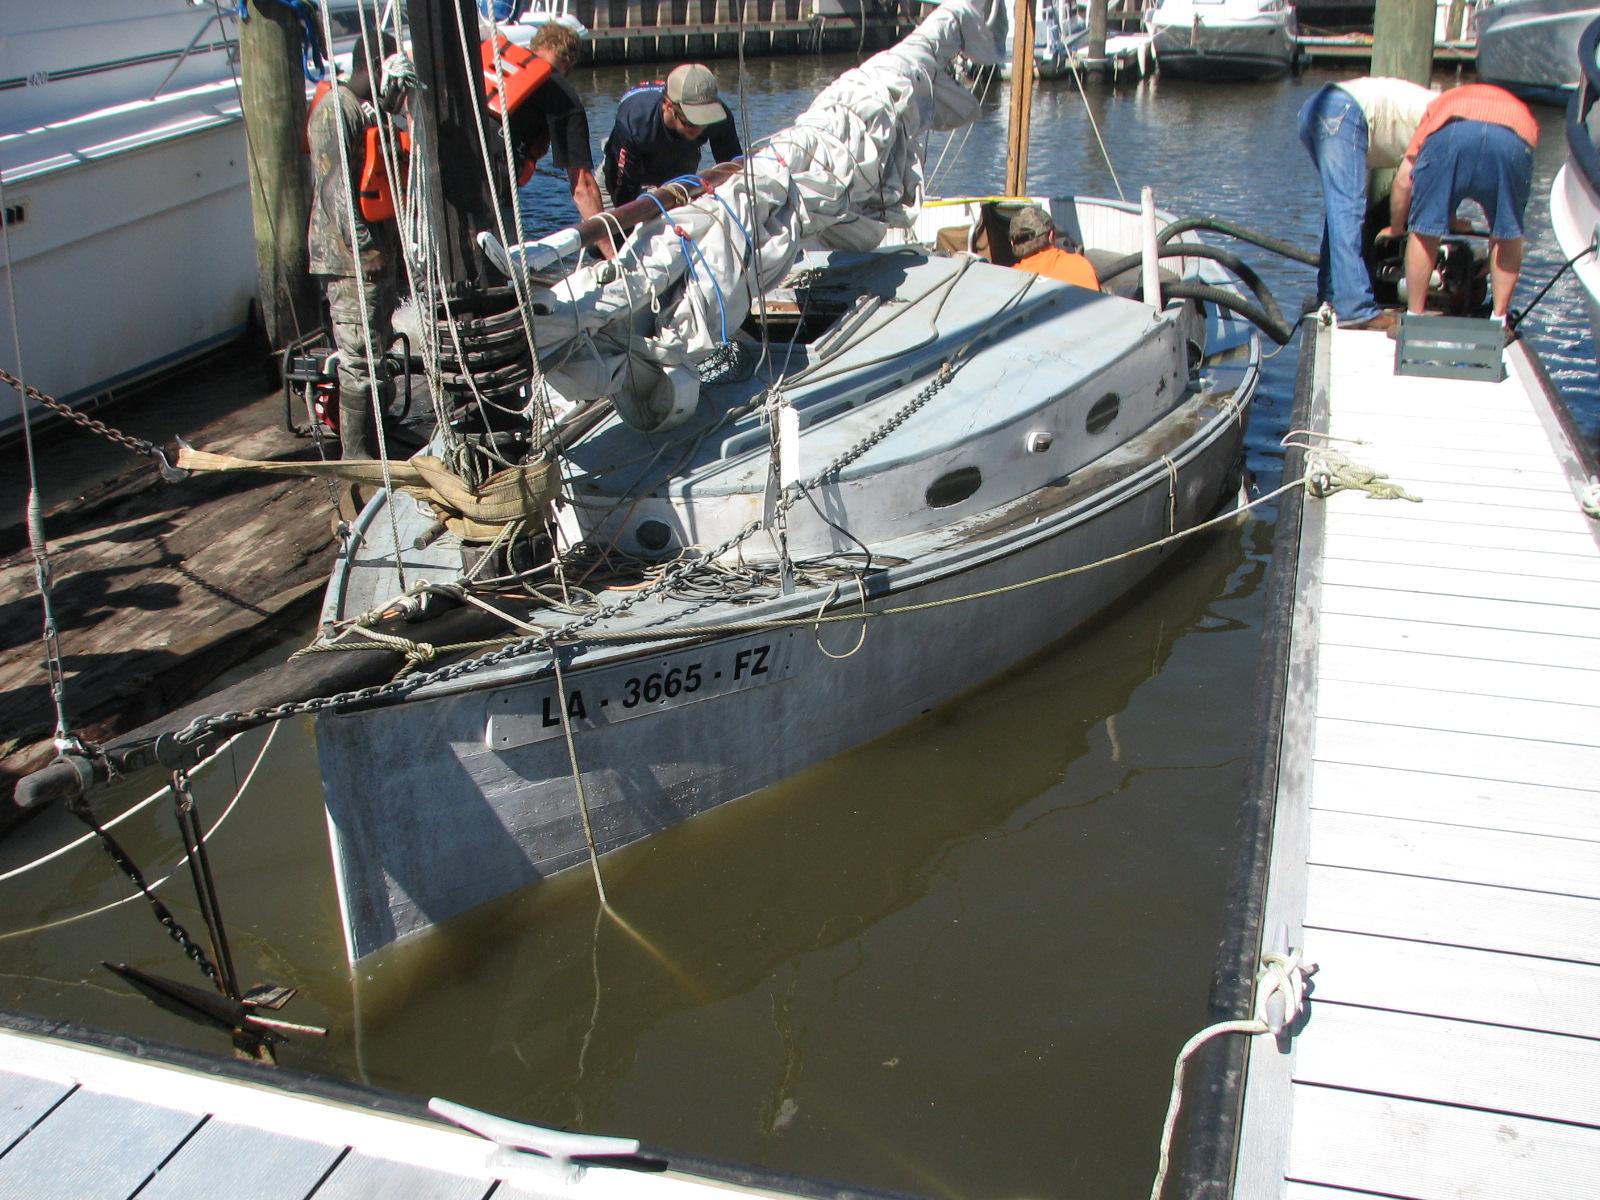
I then got started on a project on pier
“C”, to try and keep the seagulls off of the pier. Who knows if
it will work, but it is worth a try. Right now it is some streamers
hanging from a cross of scrap aluminum I had in the shop. If the
streamers do not work, I will try old CD’s and DVD’s.
Streamers From Aluminum Cross And Pier
“C"
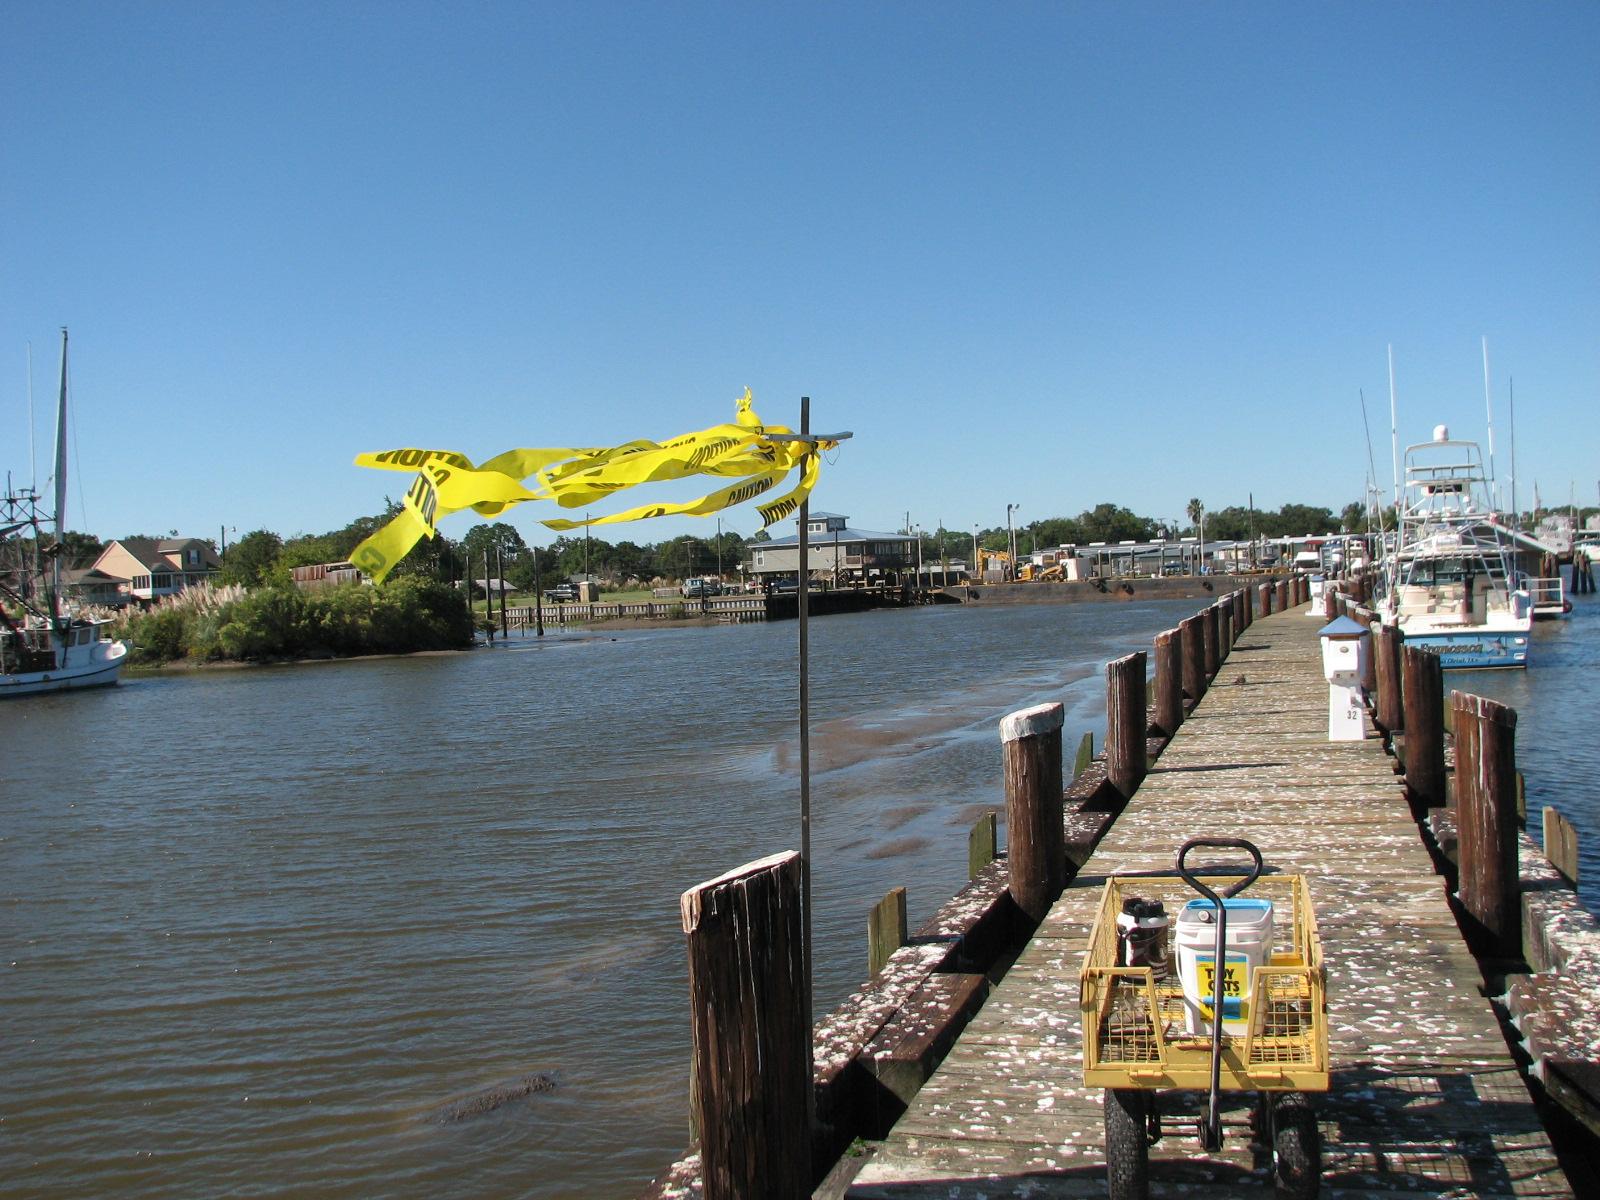
The remainder of the day was spent
cleaning out the gardens and trimming grass in preparation of cutting
the grass tomorrow. I did not finish the trimming, so will have more
to do tomorrow.
October 06, Sunday, 2013
Started off the morning with my normal
ritual of getting on the Internet, answering email, and checking the
weather, while making a pot of coffee. I also spent time with our two
cats, Jillian
and Jordan.
Today was an electronics catch up day.
I have to catch up the October Maintenance Log. I also have to catch
up on web page update, email and paper work scanning. Did not make
it!.
I got the October Maintenance log
caught up, but at 2013 in the evening I am just starting on the email
of which there are 131 messages! Before stopping for the night, I got
the emails down to 99. Will do more catch up tomorrow.
October 05, Saturday, 2013
Up and at ‘em at 0430. While making
my pot of coffee, I checked the weather on the Internet. When the
coffee was finished, I filled my big “Aggie” cup and walked over
to the Shrimp
Festival Grounds at 0515. My job was to help direct
traffic for the Delcambre
Seafood and Farmers Market. It was forecast for a 60%
chance of rain, and the morning set up and start of the market was
beautiful. The first spattering of rain did not show until 103
Kitty showed up at 0730, and worked the
registration booth at the market as a volunteer until 1000. She had
to leave because she was overheated. I worked the market in the
registration booth after Kitty left, and then at the end of the
market at 1300, I helped shutdown, and put away tents, tables and
chairs. I went back to DREAM AWAY, around 1430 where Kitty had a
great lunch prepared. We then had a nap, and I finished out the day
with computer work and catch up. No DREAM AWAY projects today.
October 04, Friday, 2013
Started off the morning with my normal
ritual of getting on the Internet, answering email, and checking the
weather, while making a pot of coffee. I also spent time with our two
cats, Jillian
and Jordan.
Kitty was up early, so we had
breakfast, and I got to work removing the teak trim wood on the
starboard side to prepare the deck for the hard dodger frame.
Once I got several screws removed, I
was able to lift off the teak wood. Then the area where the teak wood
was had to be cleaned up and sanded smooth. I then counter sunk each
of the screw holes, and then vacuumed the area. Next I mixed up a
batch of white Marine-Tex,
and then applied it to the deck to fill in all of the counter sunk
holes.
Removing Teak Trim On Eyebrorw.
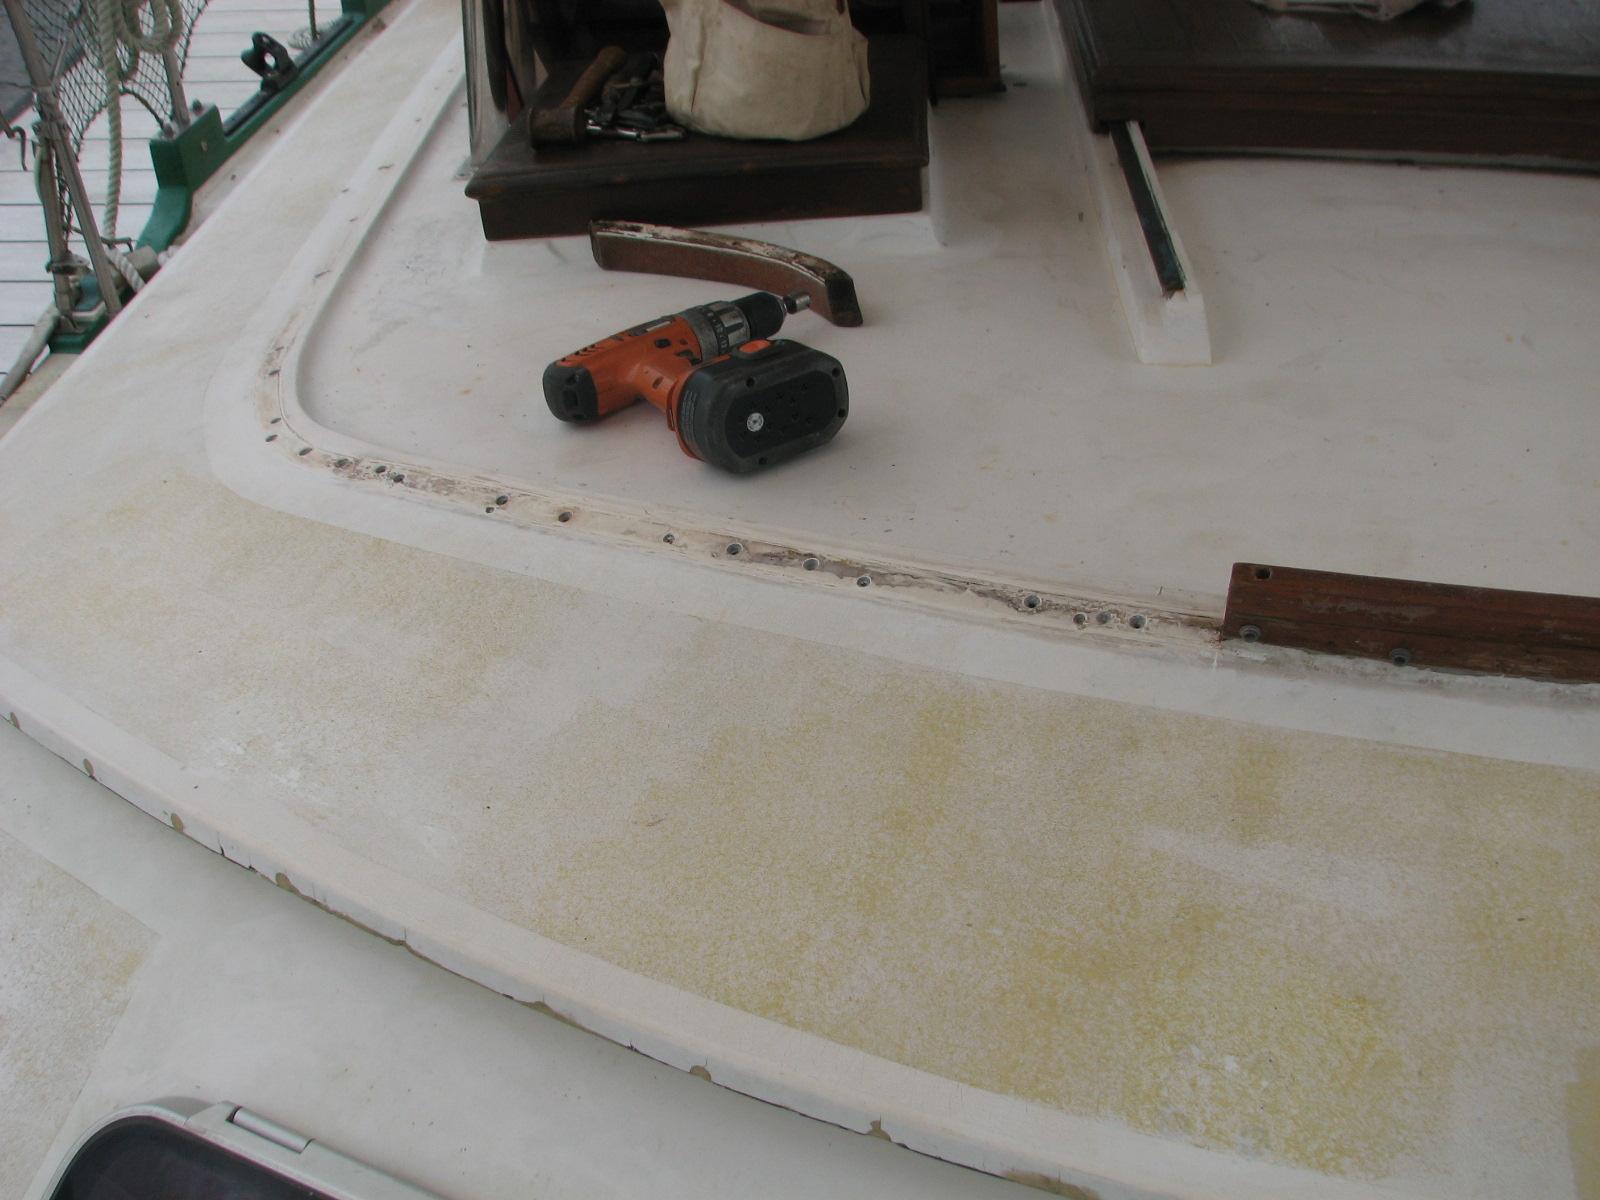
Counter Sunk Holes On Eyebrow

Did some weeding in the marina
gardens, and trimming around the gardens.
When I got there, I realized I did not
bring the proper connectors for the battery cables, so could not
finish the wires.
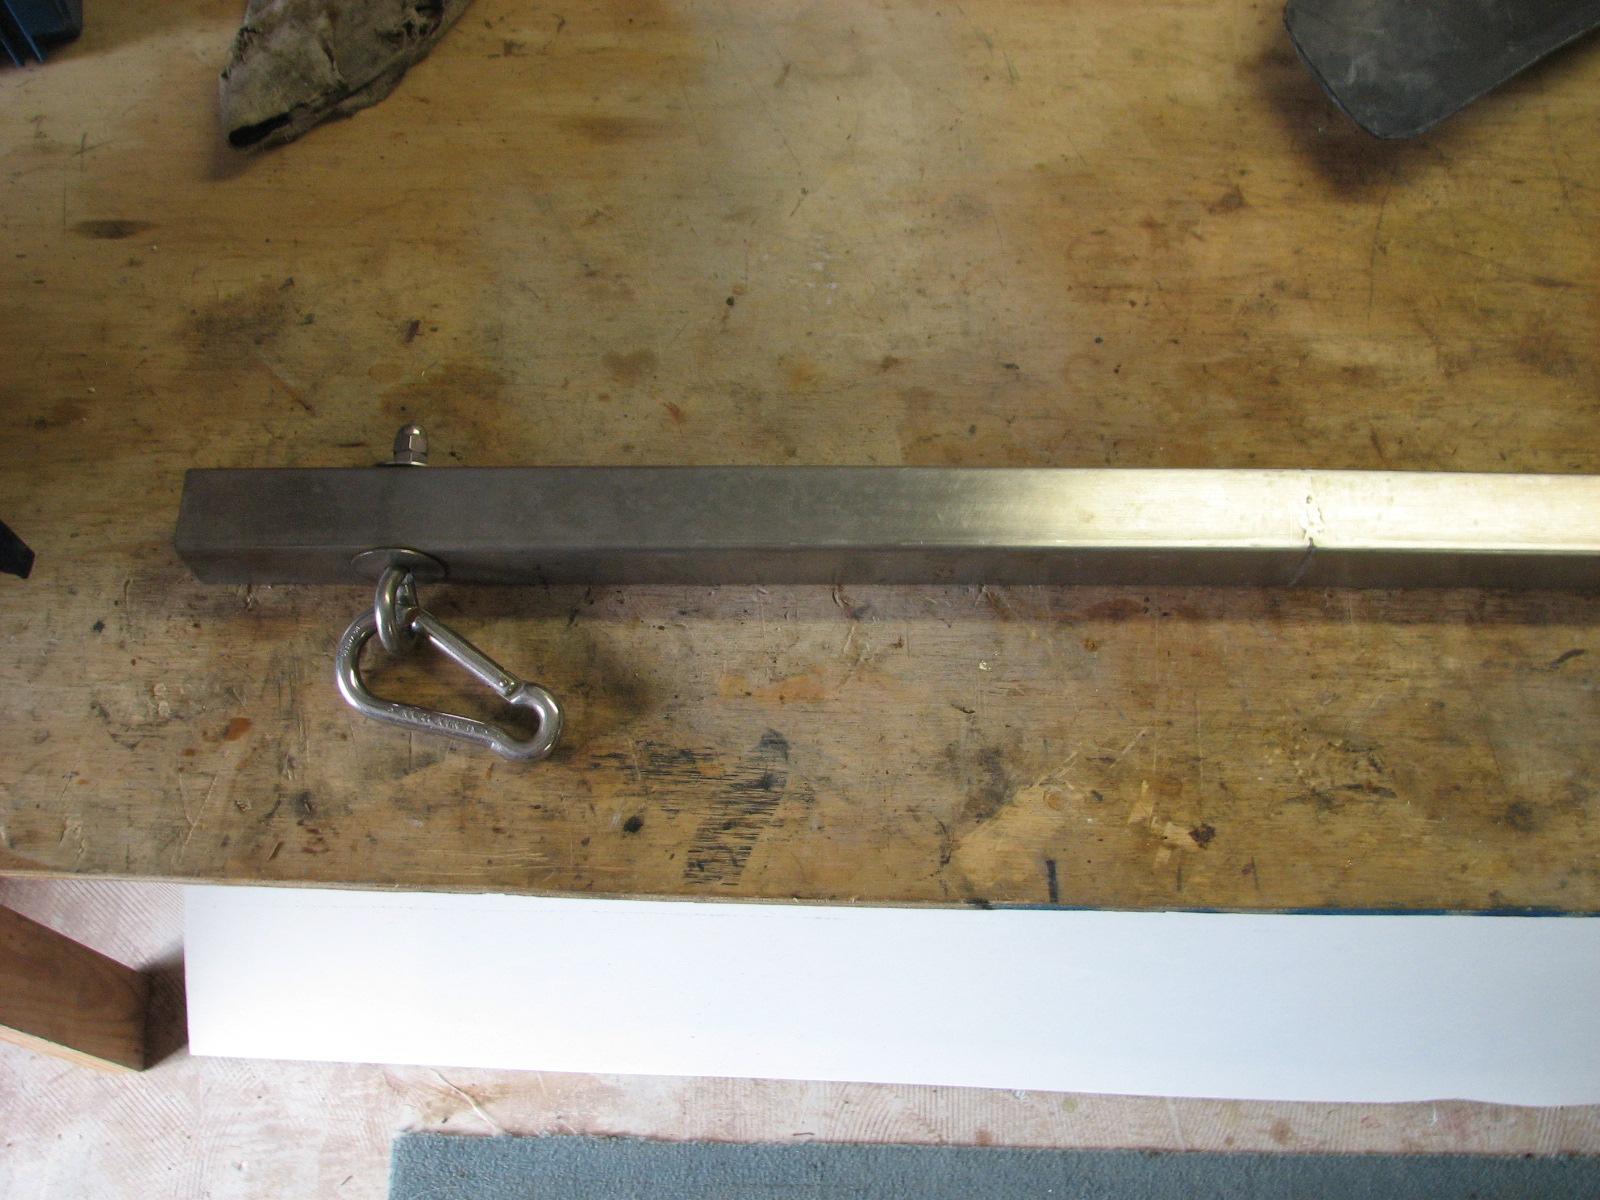
I did realize I had the tender spreader
bars in the shop
and would be needing them soon, so I cleaned them up and got them
ready for use.
Cleaned Spreader Bar On Work Bench
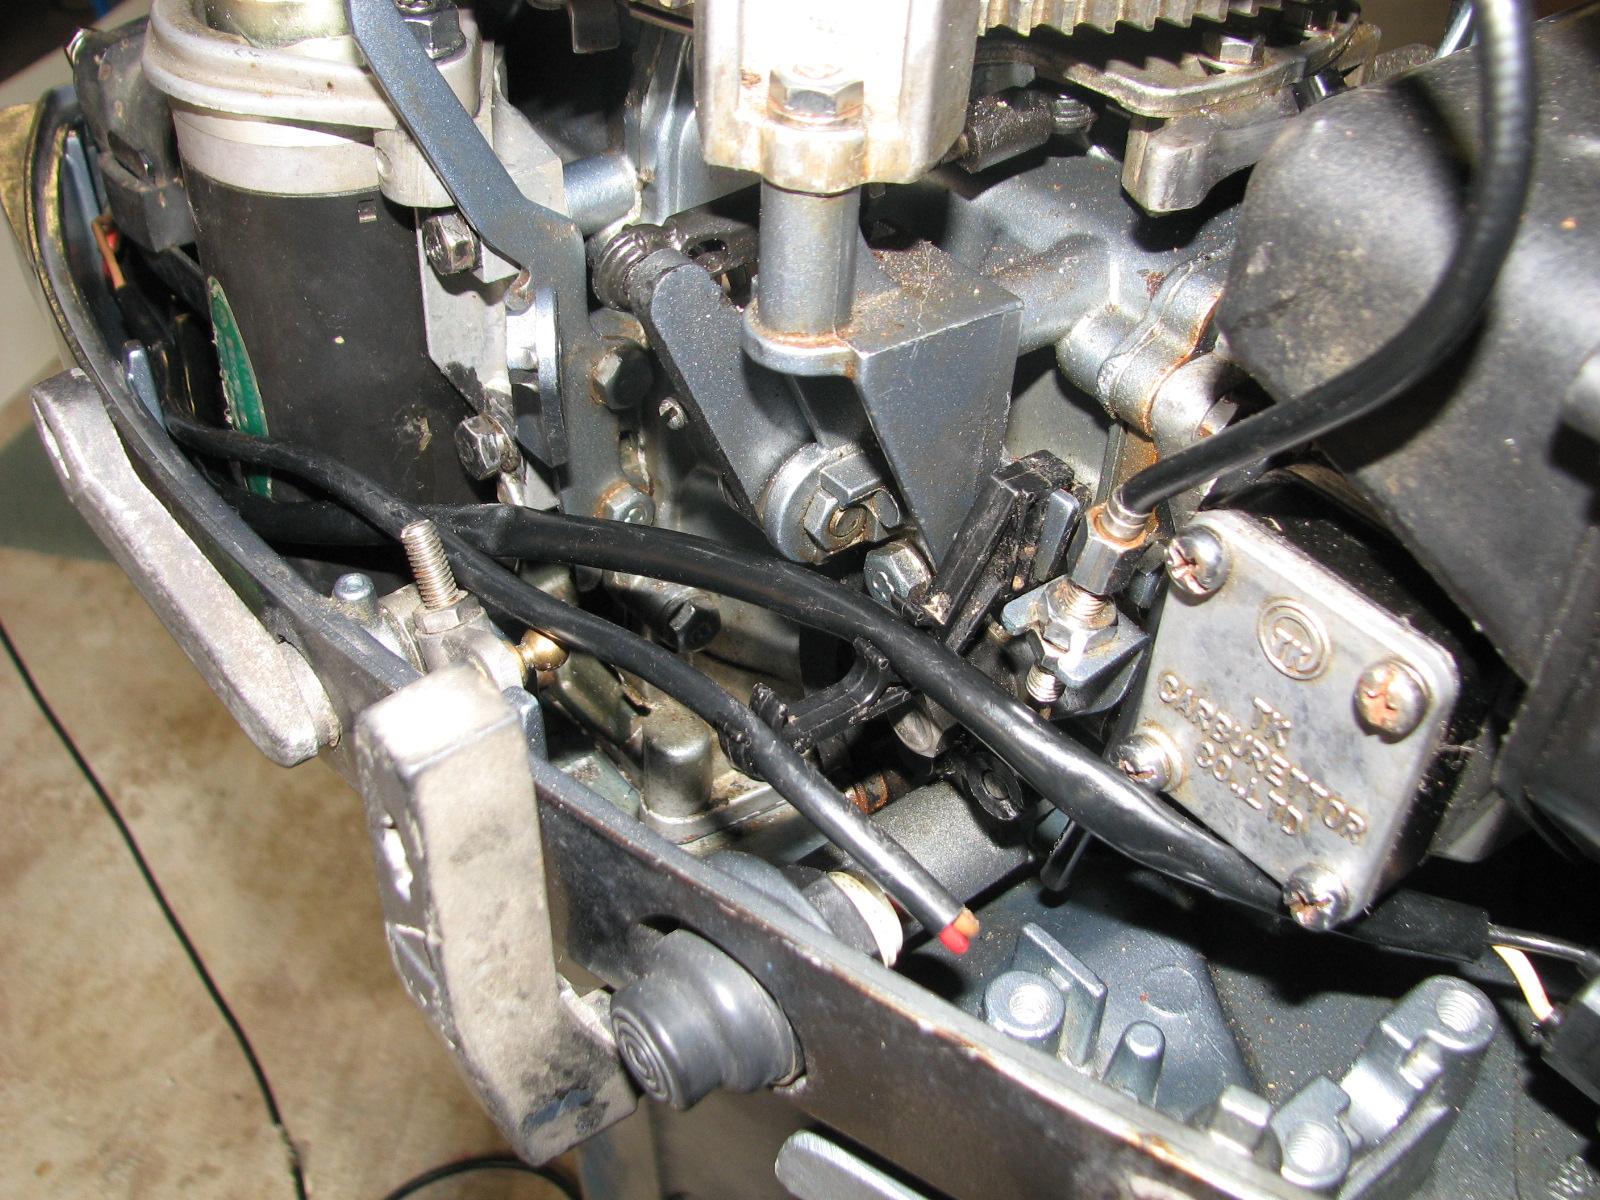
I did work on some other electrical
issues on the outboard motor. I moved some wires around to a loom so
the start switch wire and the kill switch wire were out of the way of
things.
Wires And Loom On Outboard
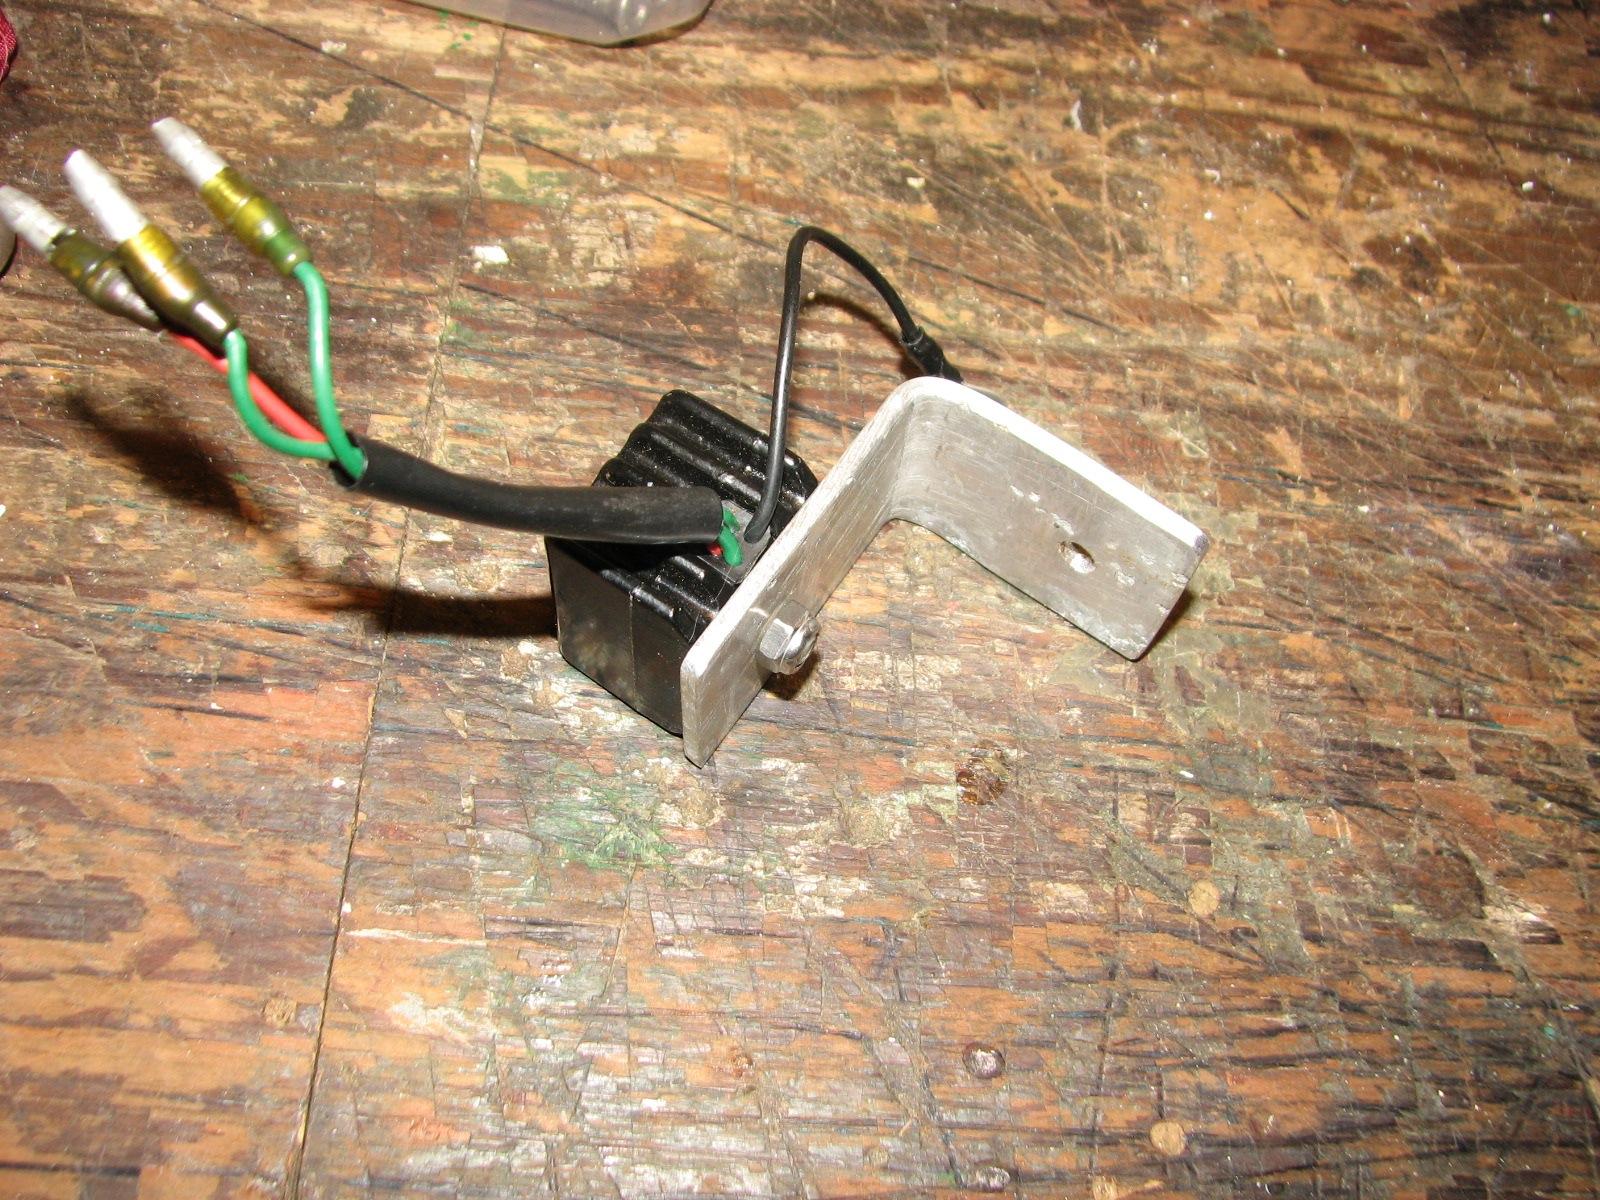
I came across a wiring diagram for the
rectifier
in my Yamaha
after market shop manual. According to the diagram, I would be able
to connect the rectifier
into the electrical system without the big wiring harness provided
with the electric start option I purchased.
The only problem was how to attach the
rectifier
to the motor. I finally figured a way, so I fabricated a small piece
of aluminum to attach the rectifier
to, and then attach the aluminum piece to the terminal
cover.
It should all work, once I get the
battery cables made up with an extra wire on the positive connection
to power the rectifier.
I brought the rectifier
and the aluminum piece over to DREAM AWAY to get the proper bolt and
nut to attach the rectifier
to the aluminum piece. I got the fasteners, so when I go back to the
shop
with the rectifier,
and the proper battery connectors, I should be able to get it all
connected up.
October 03, Thursday, 2013
Started off the morning with my normal
ritual of getting on the Internet, answering email, and checking the
weather, while making a pot of coffee. I also spent time with our two
cats, Jillian
and Jordan.
Went over to the shop
and worked on the Black Beast. There were several items that needed
attending to, that had been put off.
I repaired the covering on the console.
It was pretty easy to do, as all it needed was a coating of contact
cement, and wait approximately 10 minutes, and then put the piece
back on the center console.
While I waited for the contact cement
to set, I took the the right side rear door apart. There was
something loose in the door, and needed to be investigated.
Everything on the door worked, so did not know what to expect. When I
got into the door, I found a one inch square of metal, but had no
idea where it came from. Removed the piece of metal, and put the door
back together.
When that was done the contact cement
had set up, so I applied the piece of material to the console. Now I
had two Black Beast projects complete.
Now to the right side back door.
Sometimes the door would not open from the inside, and there was
something loose inside that door. I took that door apart and
discovered a piece of the locking mechanism that is riveted to the
door was loose. One of the rivets was broken, and the second rivey
was very loose. I did not have my rivet gun nor my rivets at the
shop,
so I would have to wait until I got those two items off of DREAM
AWAY.
Last item for the morning was to
completely clean out the rubber channels around all of the doors. I
have mentioned before that I had some serious leaks around the front
two door, and also the two barn doors in the back. I finally figured
out what the problem was.
Apparently this truck had been parked
under some very dirty trees by the previous owner. The rubber
channels were blocked with dirt. I cleaned out the channels, but not
a great job. The leaks had been stopped, but I knew if I did not
completely clean out the channels, the problem might return. So the
channels were cleaned out around all six doors.
I then went back to DREAM AWAY and had
breakfast. I then drilled a hole in the tender battery box for the
electric wires to exit. I also found in my wire stash on board two #4
AWG black and red wires to use for the new battery cables for the
electric start outboard motor.
Got the rivet gun, rivets, electric
battery cables, and the outboard safety wire and went back to the
shop.
First thing to was to repair the
outboard safety wire. this wire is used to lock the outboards to the
lifeline when not on the tender ot dinghy. The problem with the wire
was left over wire from the Nicopress
sleeve. Those remaining wires have always been a problem, but I never
fixed the problem, so now was the time. I cut off the wires even with
the sleeve.
Wires Sticking Out Of Sleeve
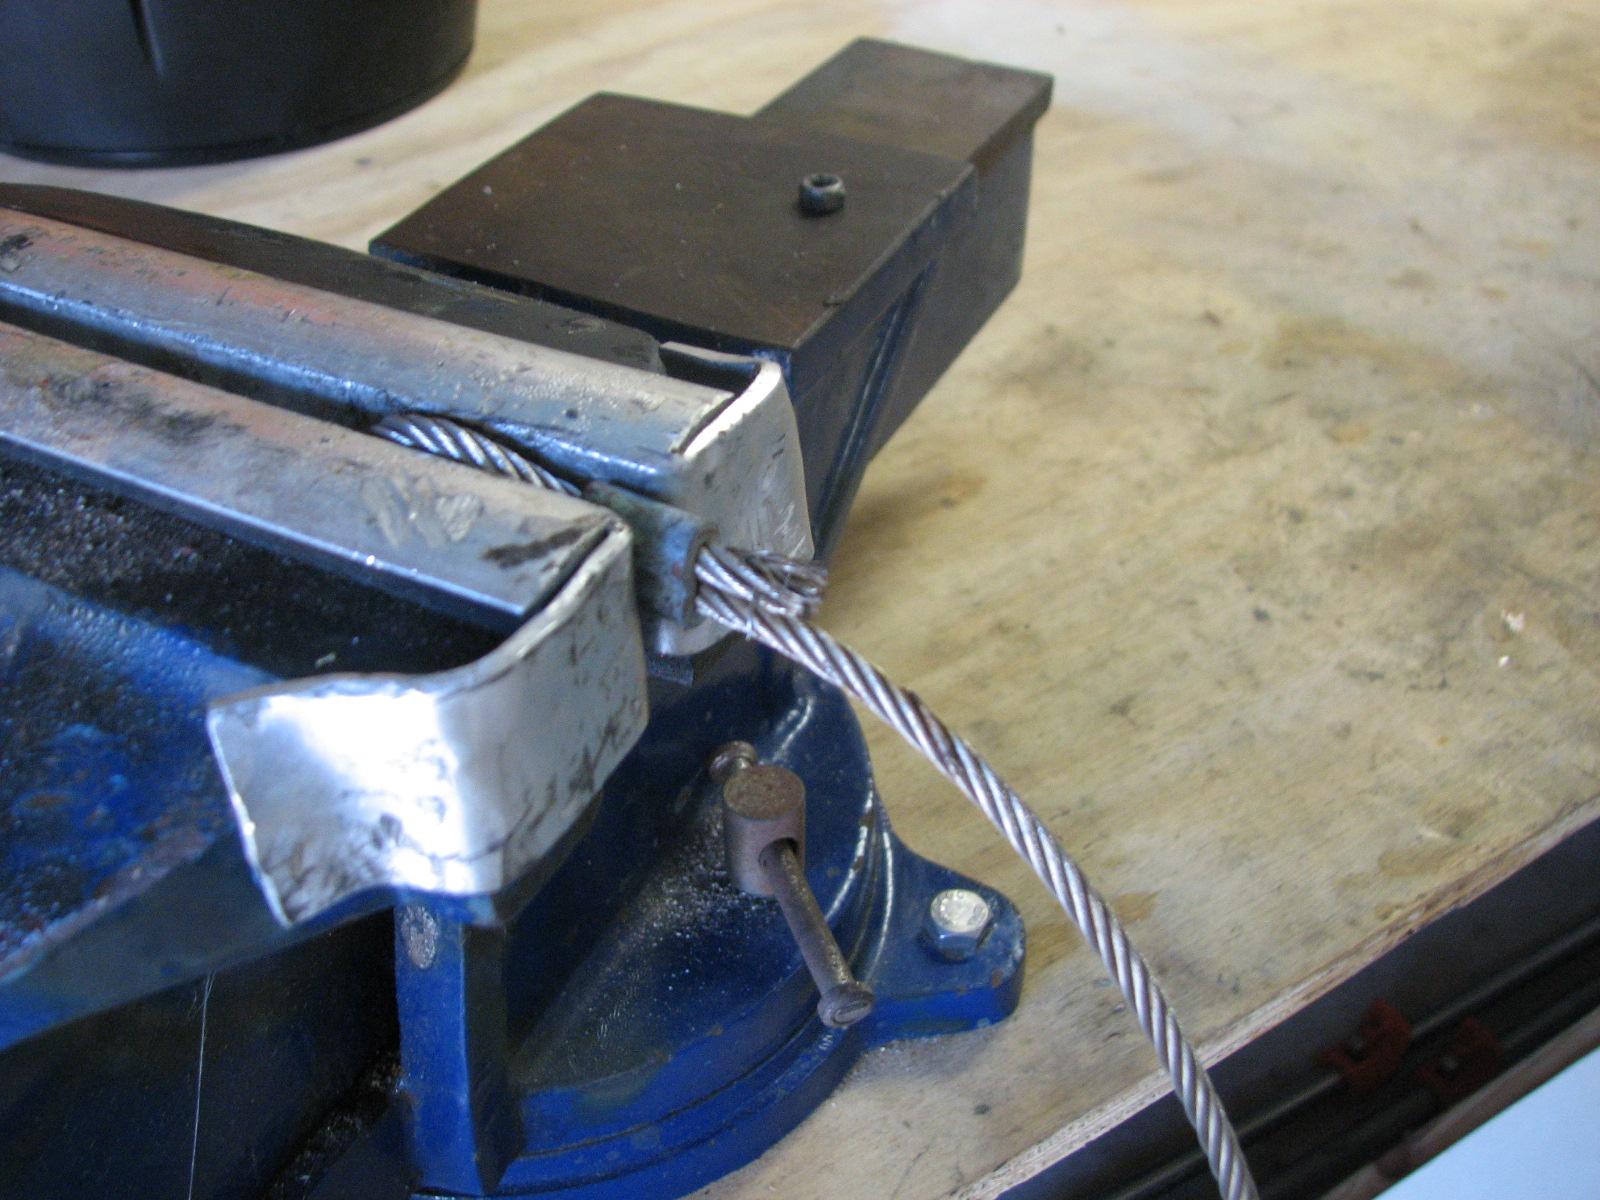
Wires Removed

I then went to work on the right side
passenger door. I drilled out the broken rivet, and put in a new
rivet. I then drilled out the loose rivet and replaced it. Now the
door worked properly from inside the truck. I put the door back
together, and that was finished.
The remaining Black Beast project for
the day was repairing the two reading lights for the back seat. It
turned out both bulbs were defective, so off to V&V Auto Parts in
Delcambre to purchase new light bulbs, and that problem was fixed.
I went back to DREAM AWAY, and started
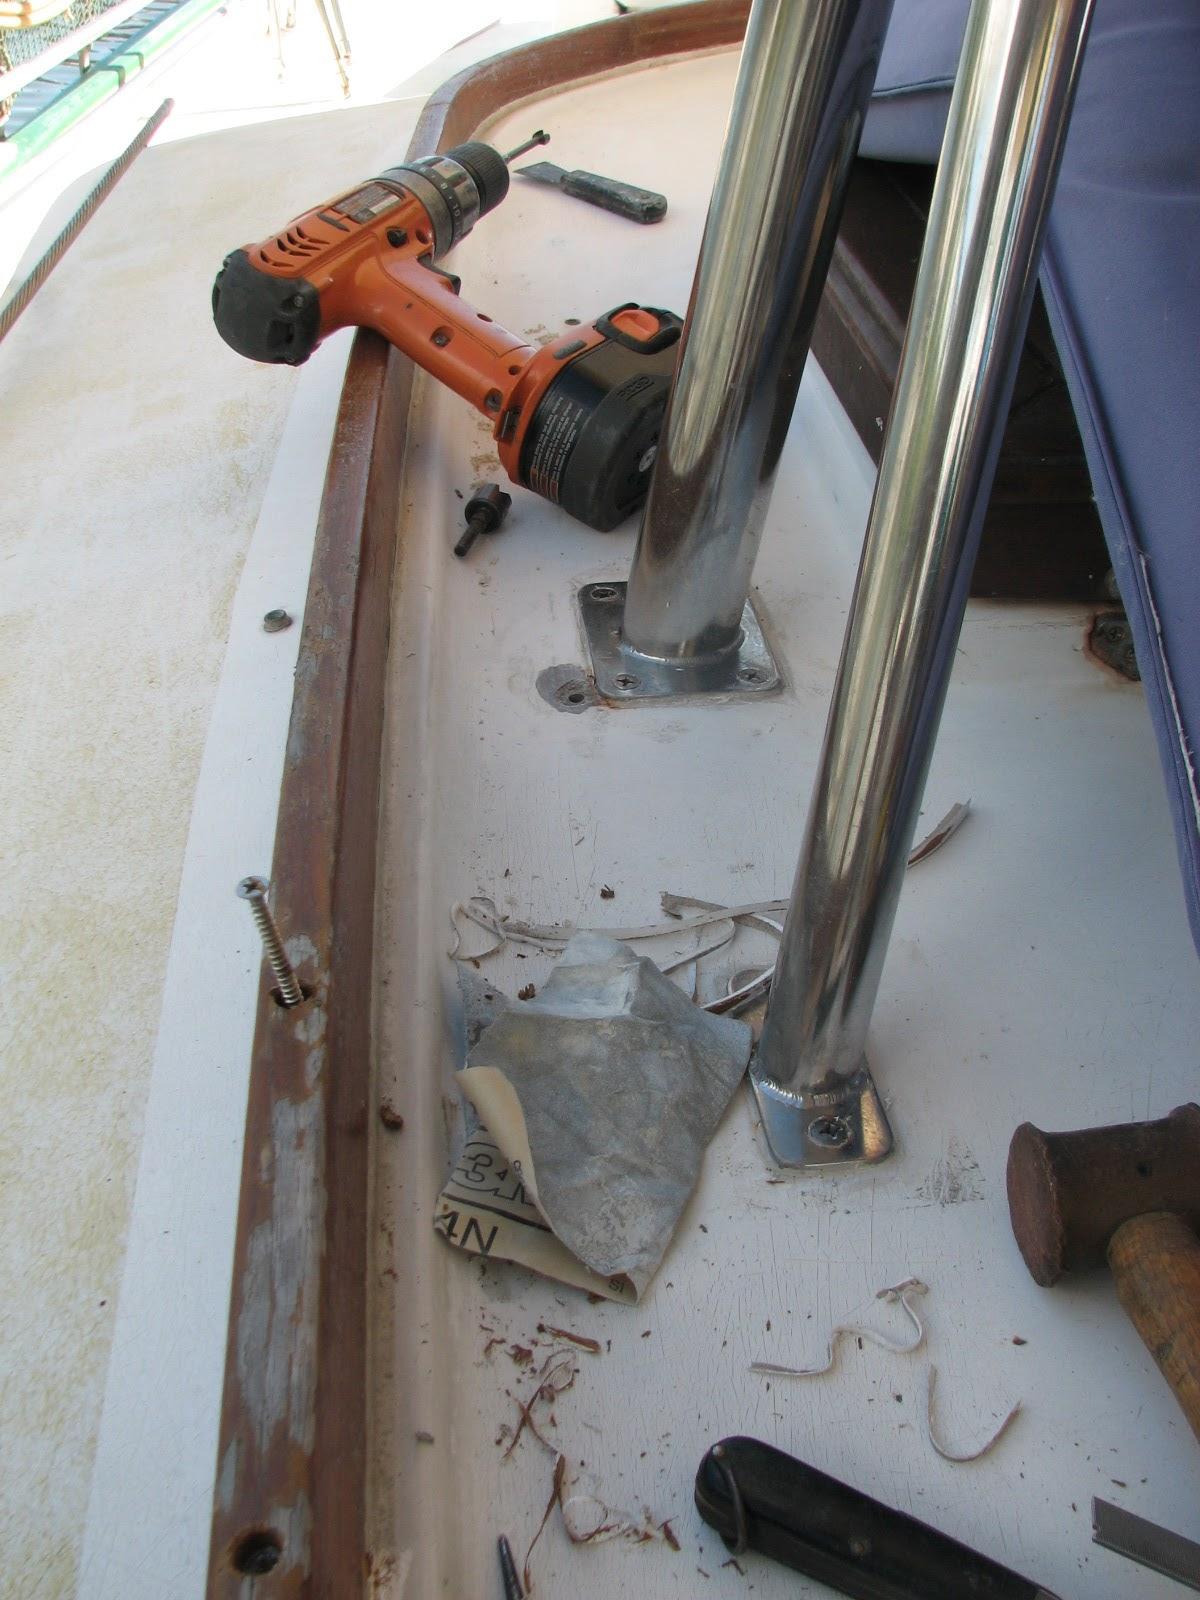
removing the teak trim on the eyebrow to make way for the frame of
the new hard dodger. This means the teak bungs had to be drilled out,
then the heads of the Phillips head screws had to be cleaned out.
When this was done, hopefully the screw would back out, and then move
on to the next screw. Had pretty good luck today, except for the
first screw, the head was broken off. Will continue with the teak
removal over the next couple of days.
Removing Teak And Screws On The Port
Side
October 02, Wednesday,
2013
Started off the morning with my normal
ritual of getting on the Internet, answering email, and checking the
weather, while making a pot of coffee. I also spent time with our two
cats, Jillian
and Jordan.
Started off the morning by weeding the
marina
gardens, and trimming grass around the trees and parking lot.
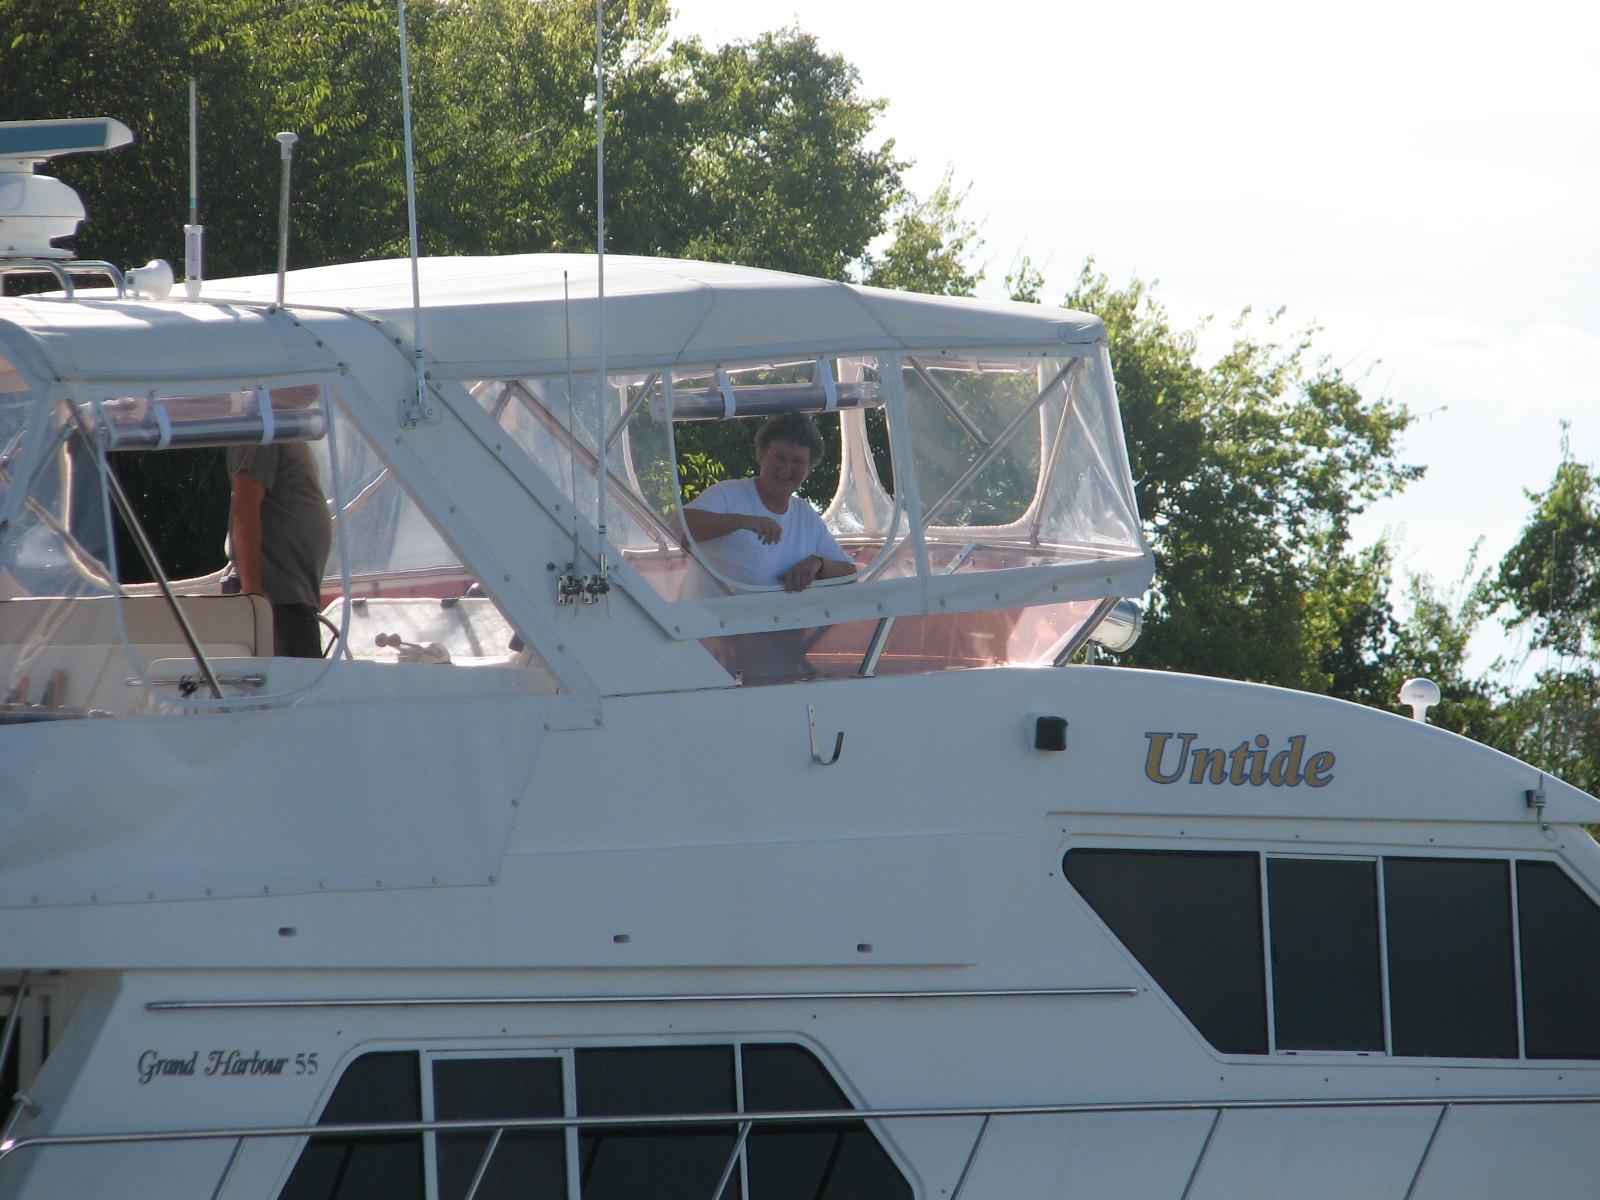
Warren And Monica Leaving On UNTID.
I then went over to the
shop
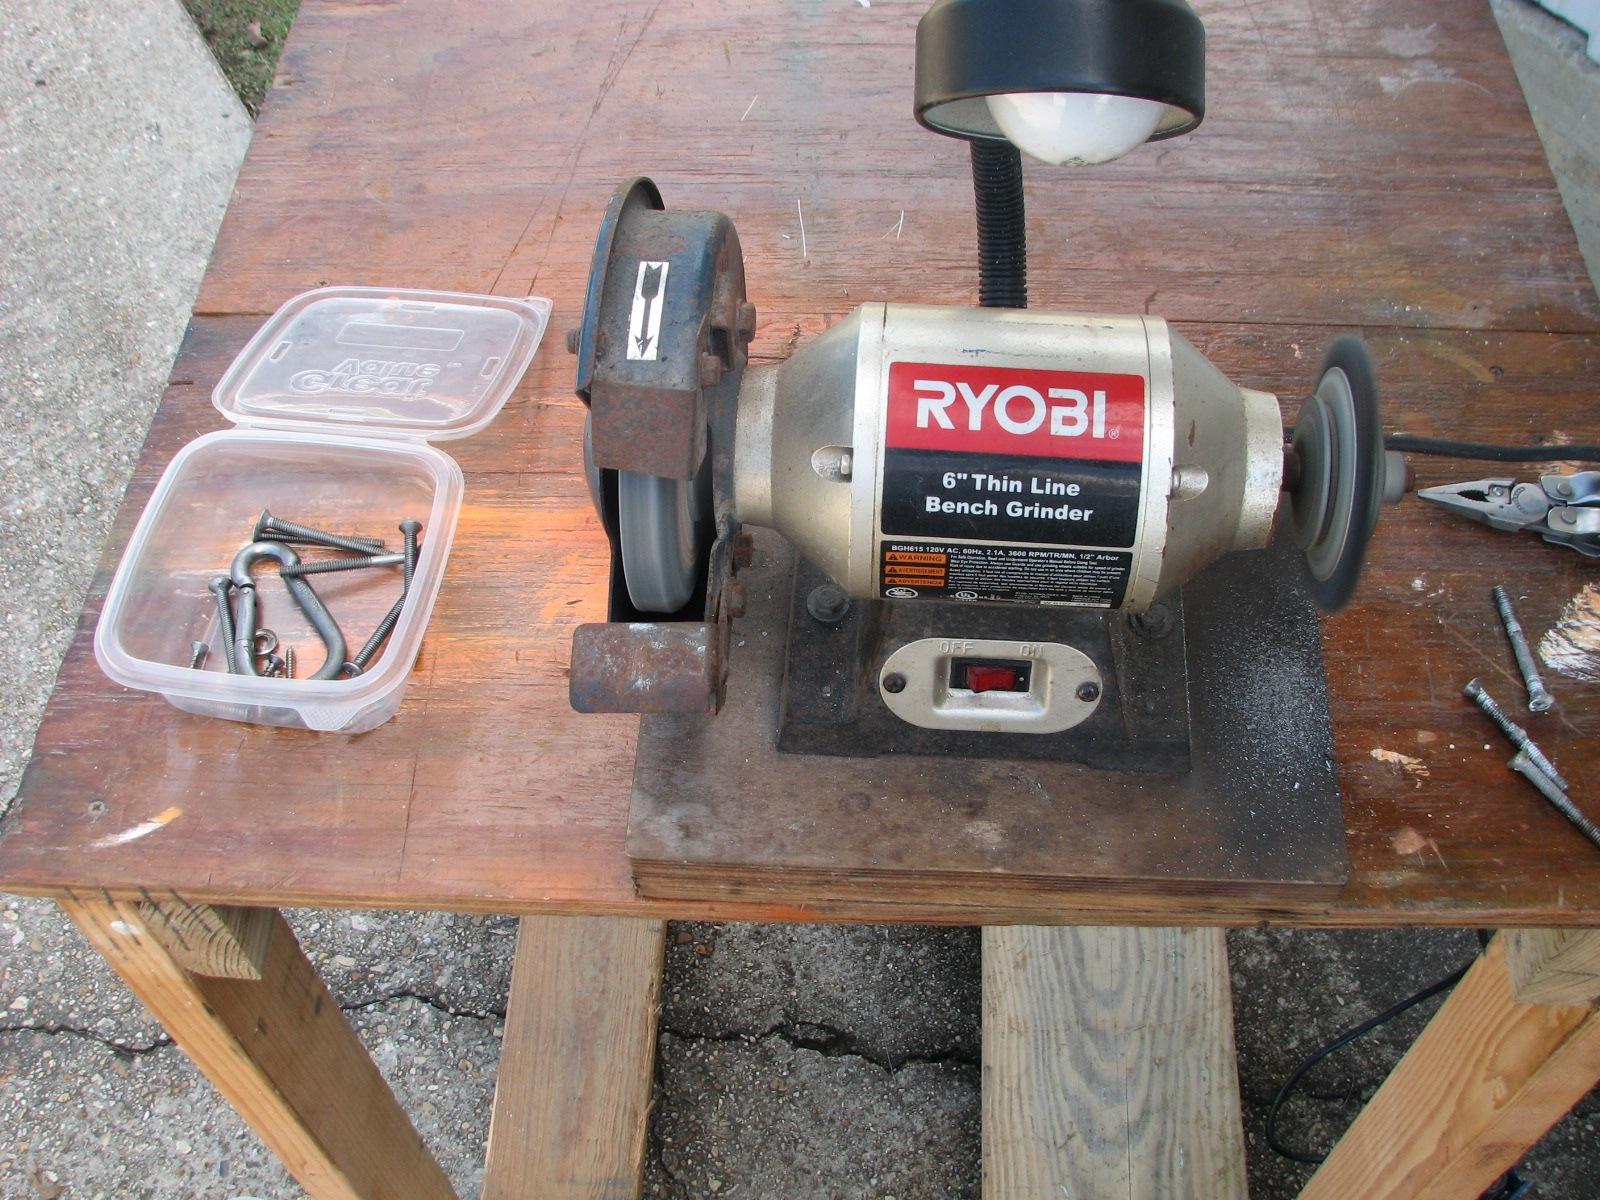
and started in cleaning all of the left over parts from the boom
gallows project. We had changed out several of the bolts for shorter
bolts. The remaining bolts needed clean up before I could put them
back in my stash of fasteners.
Bench Grinder With Parts Being Cleaned
I got back into the SeaScooter testing.
I was busy with a couple of other items, but I wanted to see if the
“thrashing machine” sound would go away or get worse by running
the SeaScooter. The SeaScooter was on the bench, so I taped the start
control on, and let it run. It ran for 2.5 hours before the battery
started to slow down.
Depending on your mood, it was good
news! The “thrashing machine” sound did not change during the
run. My thought is, if there is a problem with the motor/gearing, it
would get worse. Now I will charge the battery up and run the
SeaScooter in a bucket of water and see how that goes.
SeaScooter On Workbench Running, On
Switch Taped
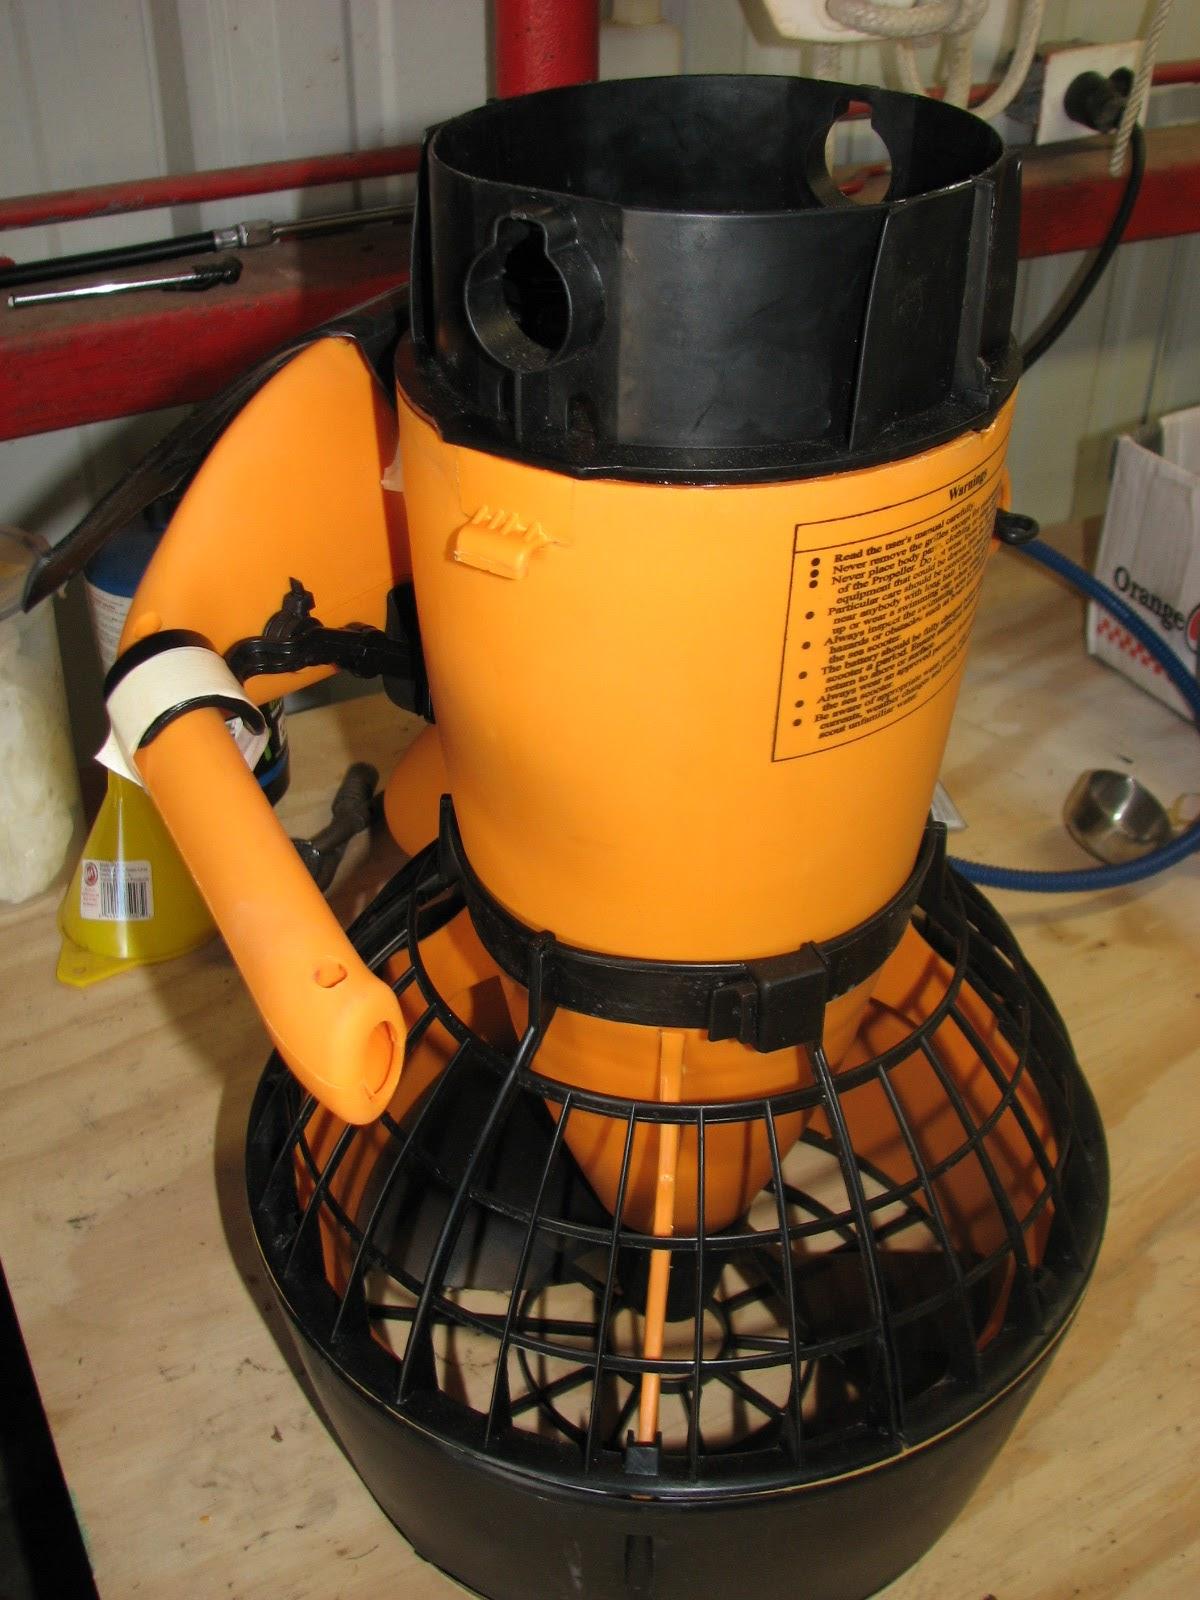
We had modified the template we made
for the piece of Structoglas
we are going to install on the head overhead. Provision had to be
made for cutouts to accommodate the fan and backing plates that are
in the head overhead. I marked the Structoglas
and then made the cutouts.
Next on the list was putting
together my PVC
pipe to be used to clean heat exchangers. I cleaned out the cap I had
purchased in Morgan
City, and the end of the 6” PVC
pipe. I then used PVC
cement and cemented the cap to the pipe. I cut the PVC
pipe to the length necessary for the longest heat exchanger I own.
I had another problem to solve, in that
the cap on the sealed end of the pipe was round, so the pipe would
not stand up on it’s own. I cut a two inch piece of pipe off of the
unneeded piece of pipe. I then glued the two inch piece of pipe to
the cap. This made the bottom of the pipe flat and would now stand on
it’s own. Now I have a vessel to clean heat exchangers, and this
one will not be thrown away.
Cap Cemented Onto PVC
Pipe
Lead Bar On Top Of Cemented Two Inch
Bottom On Cap
Finished Heat Exchanger Cleaning Vessel

Next on the project list was to finally
finish off the assembly of the spare outboard. I got the lower
drive, the long shaft extension from Bay
Manufacturing, ready to be installed onto the upper
casing. The hardest part of this is to make sure the
water tubes are matched up.
Lower
Drive And Long Shaft Extension Ready For Installation
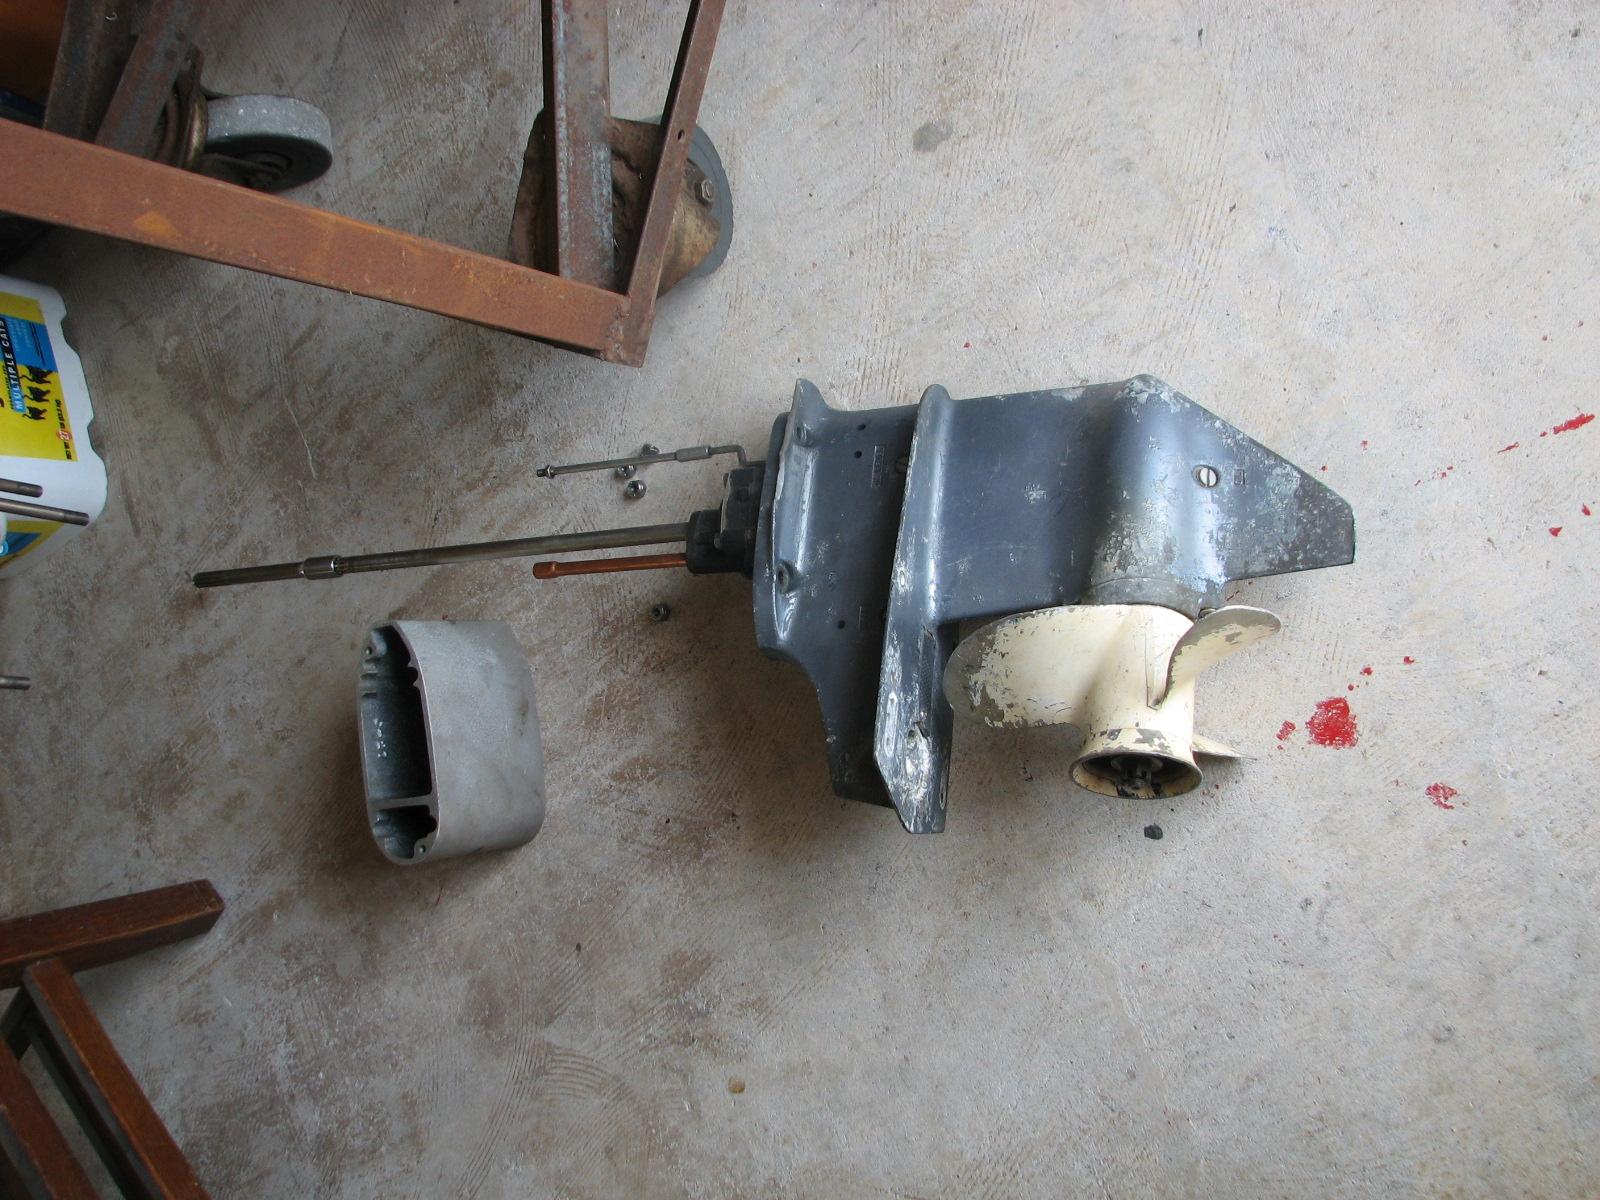

I got the outboard all back together,
with one exception. I had to install the kill switch into the bottom
cowling. I got this accomplished without much trouble.
Kill Switch Not Installed, Laying Out
Front
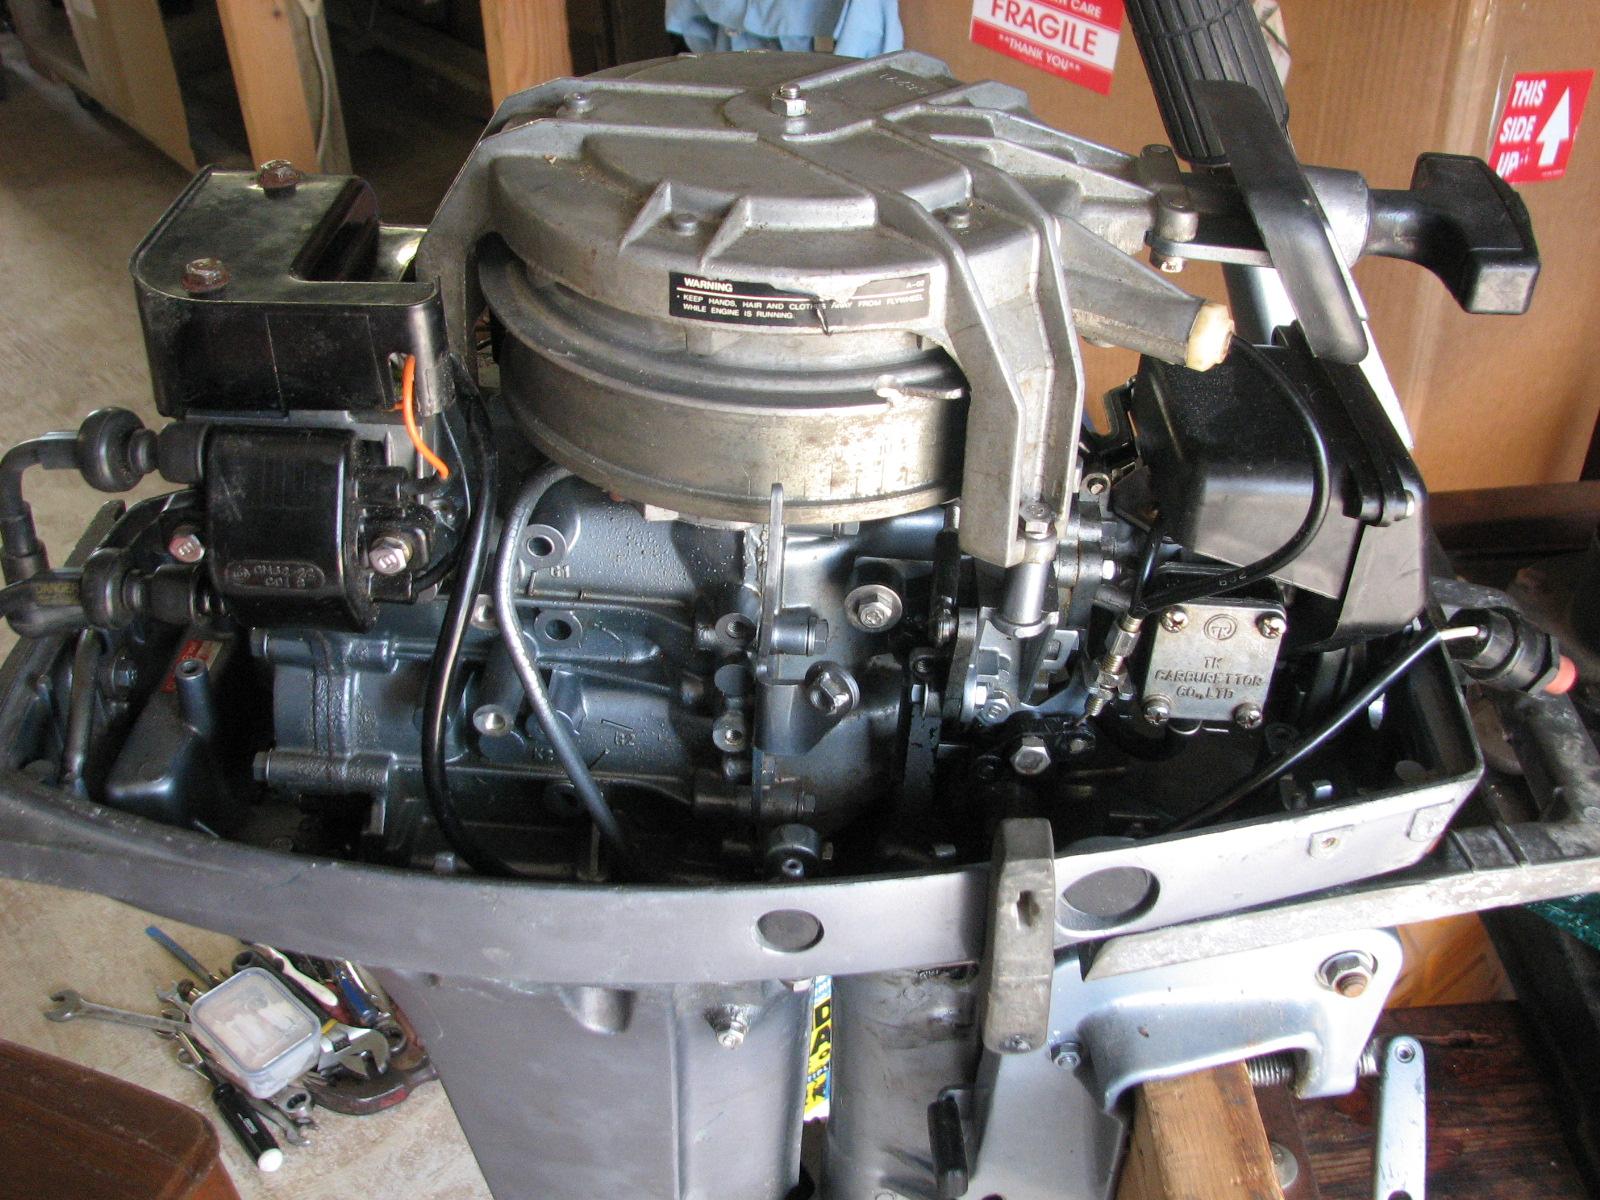
Completely Assembled Spare Outboard
Engine, Side View
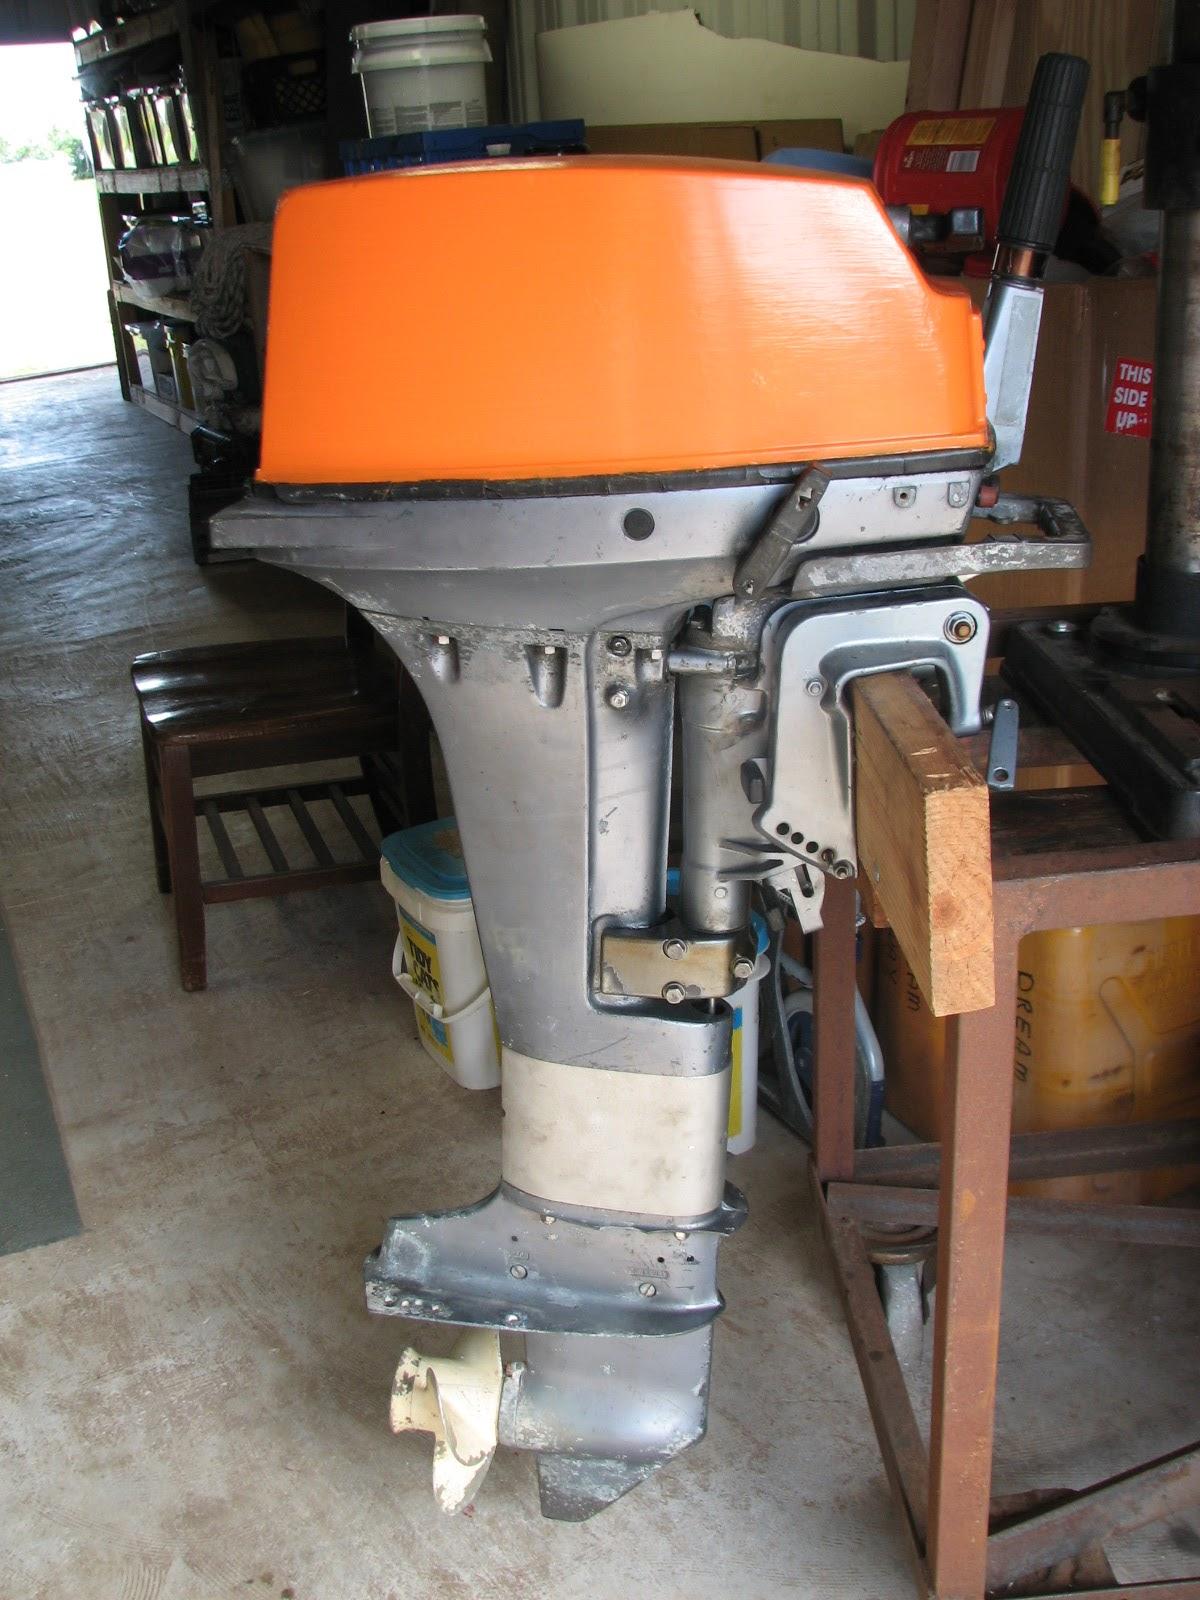
Completely Assembled Spare Outboard
Engine, Front View
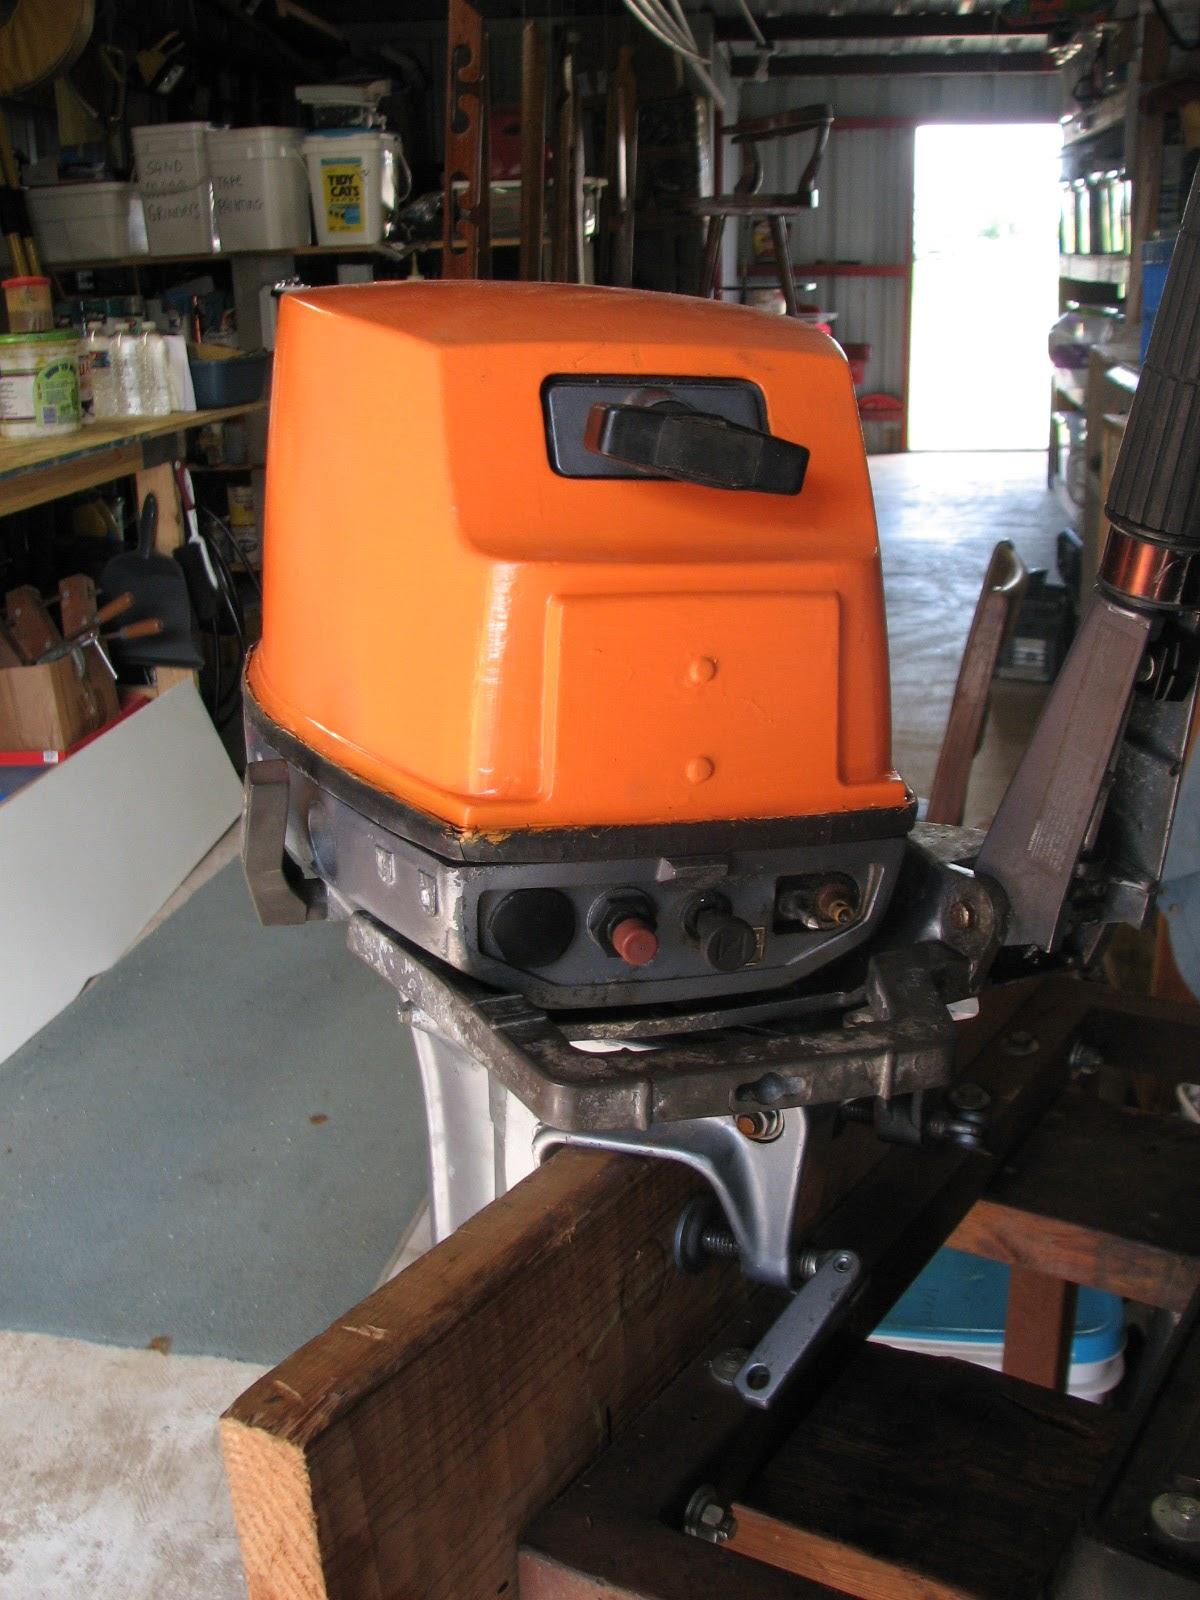
I took the painted accessories bucket
and tender fuel can cover over to DREAM AWAY and installed them in
the tender.
Bucket And Fuel Can Cover Installed
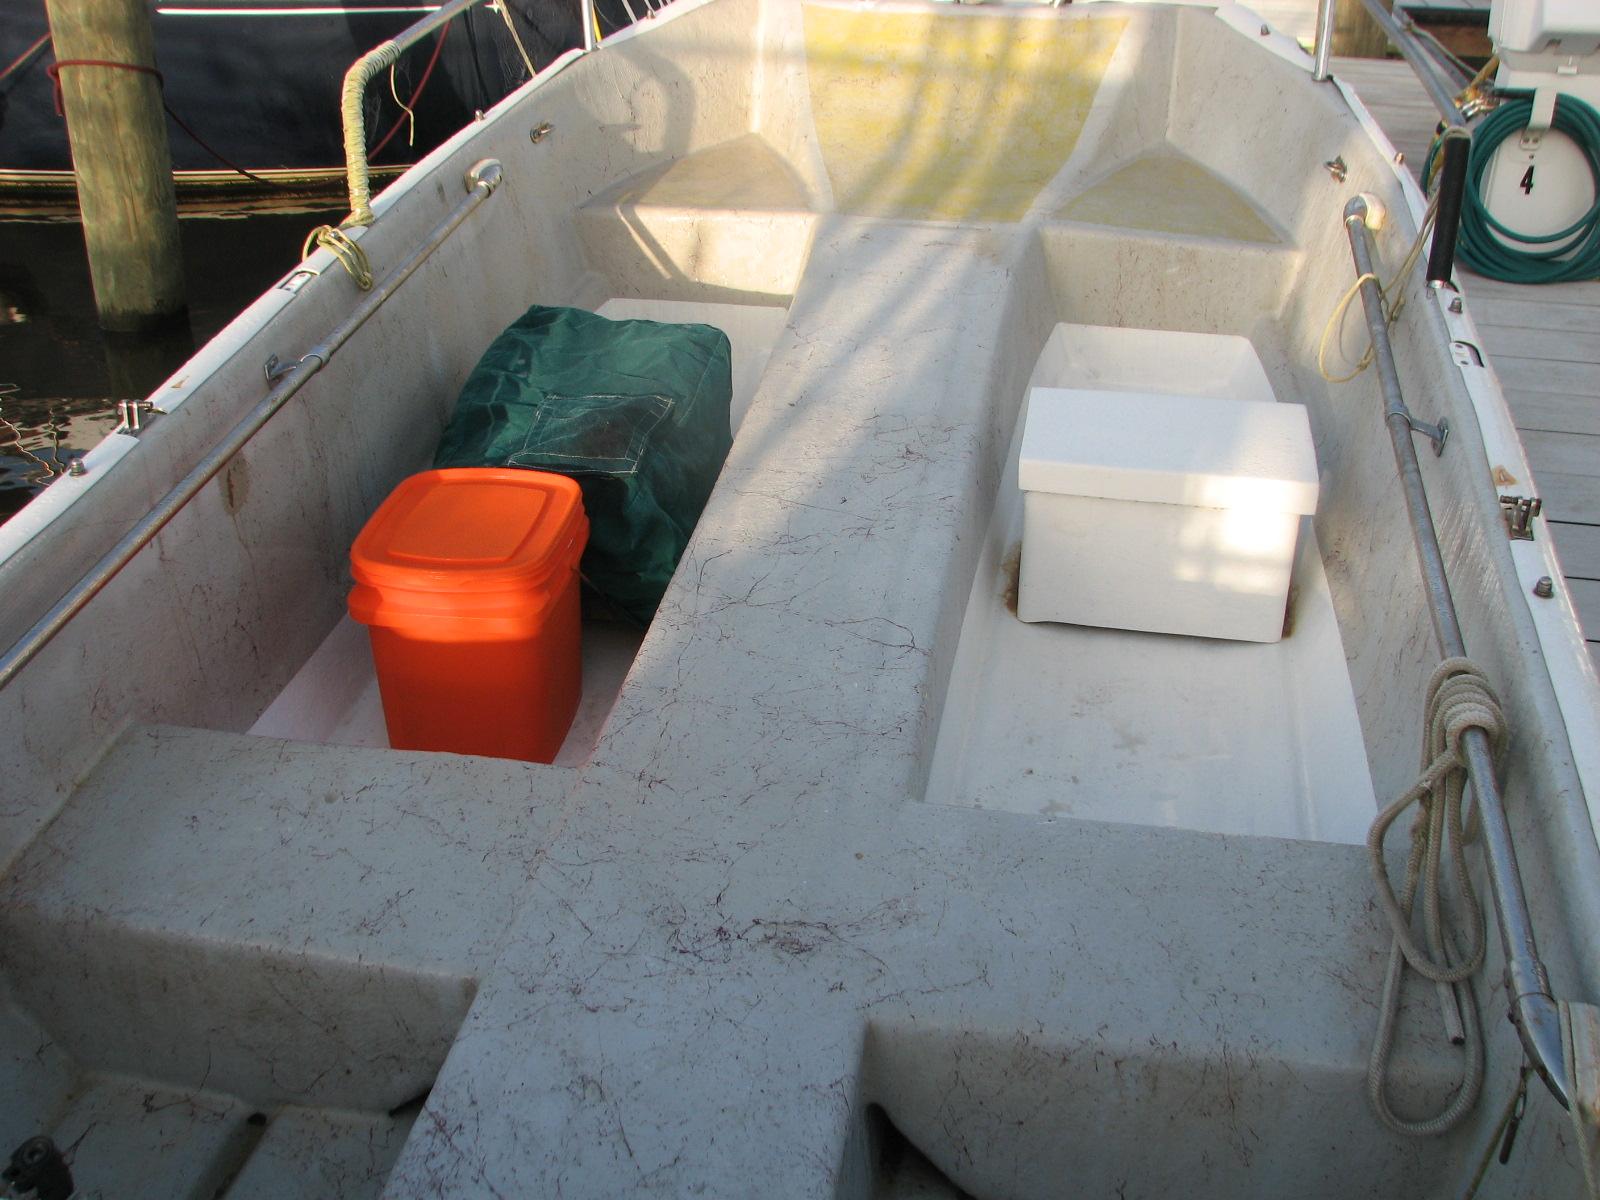
October 01, Tuesday, 2013
Started off the morning with my normal
ritual of getting on the Internet, answering email, and checking the
weather, while making a pot of coffee. I also spent time with our two
cats, Jillian
and Jordan.
Went to the
shop
this morning to finish off the spare outboard. Remember from my entry
for September 28th, “Hopefully all that remains is the
lower
drive, and a couple of small items, and this motor
will be ready for a run and a test”.
When I looked at the outboard motor, I
realized I had forgotten to insert the steering
handle shaft that goes from the tiller assembly to the
engine to adjust the throttle. No problem, just remove the bolts from
the steering
handle, insert the shaft, then get back to the
installation of the lower
drive.
Well as you can guess it was not that
simple! One of the bolts holding the steering
handle onto the steering
bracket would not come out. Typical with these
outboard motors in a saltwater environment, stainless steel bolts
into cast aluminum, and it seizes up. I did not want to break off the
bolt and have to go through that hassle. I liberally applied Aero
Kroil, and hoped that would free it up.
I finally got it all right, the
throttle adjusted properly, and the power
head back on the bottom
cowling, and everything was as it was supposed to be.
Now I could move on, but I had other things to get on.

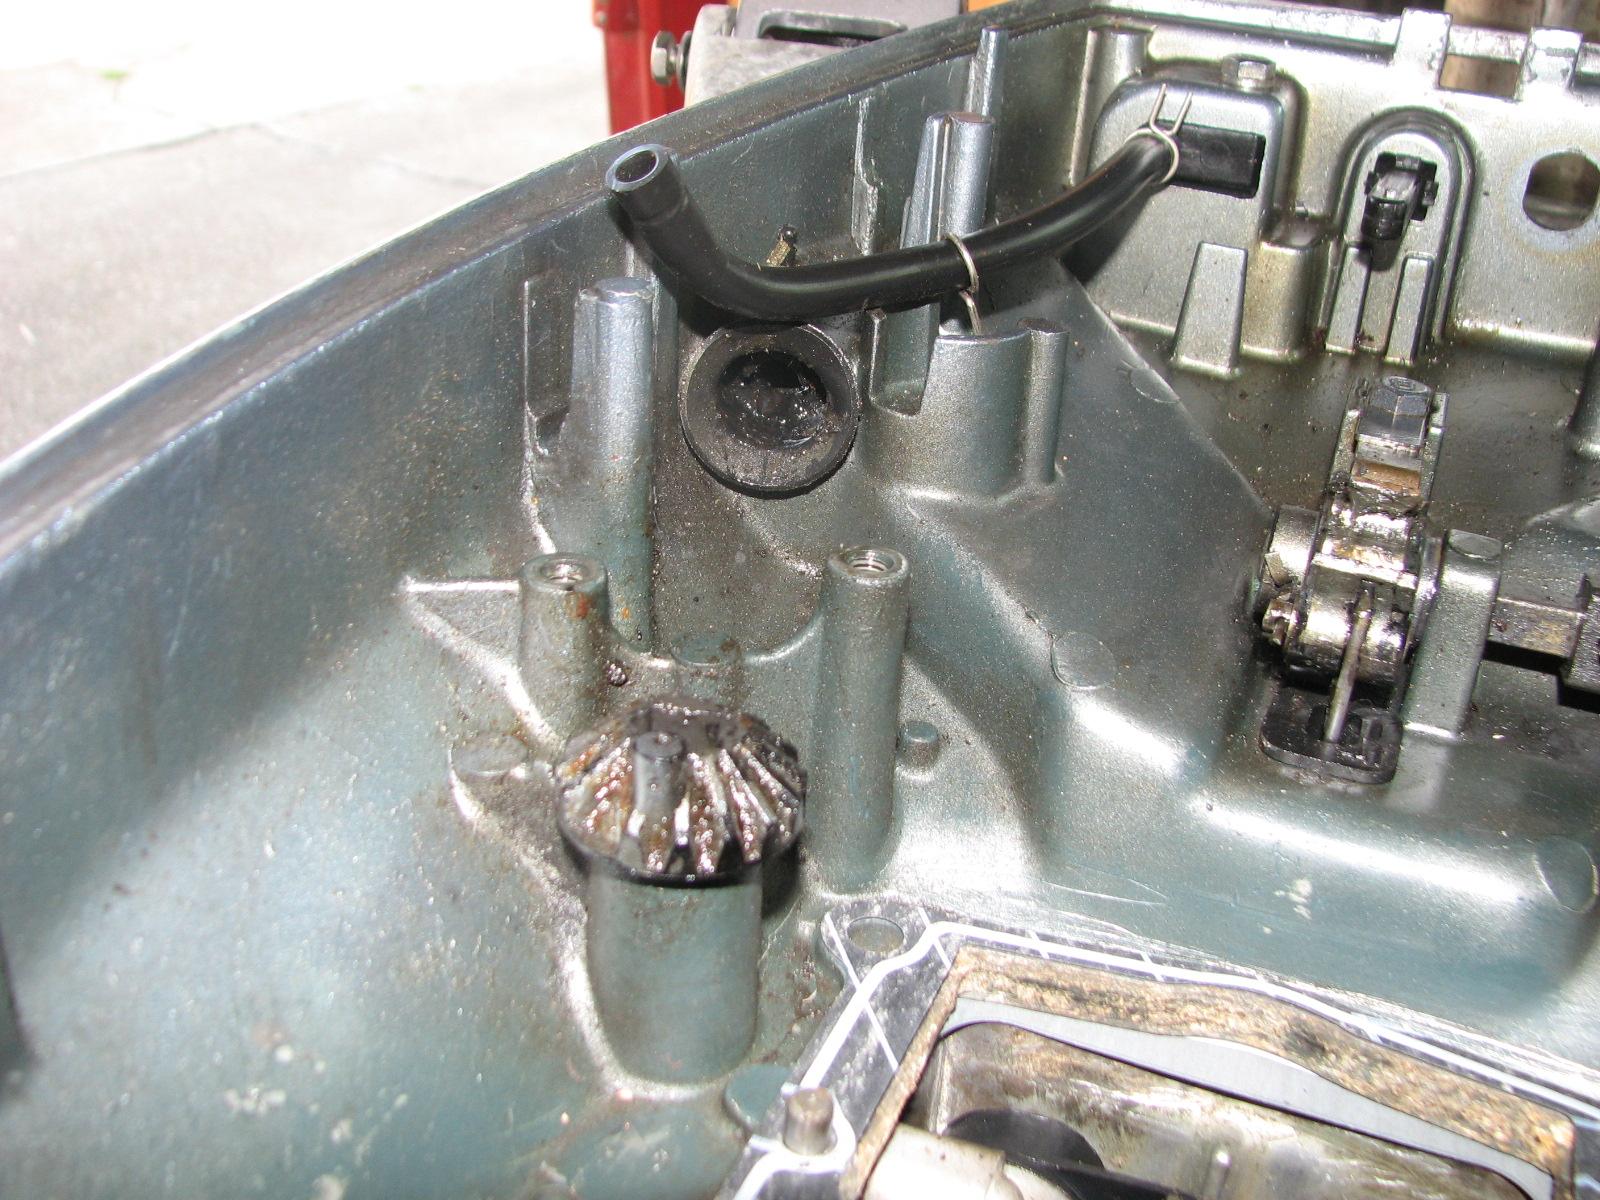
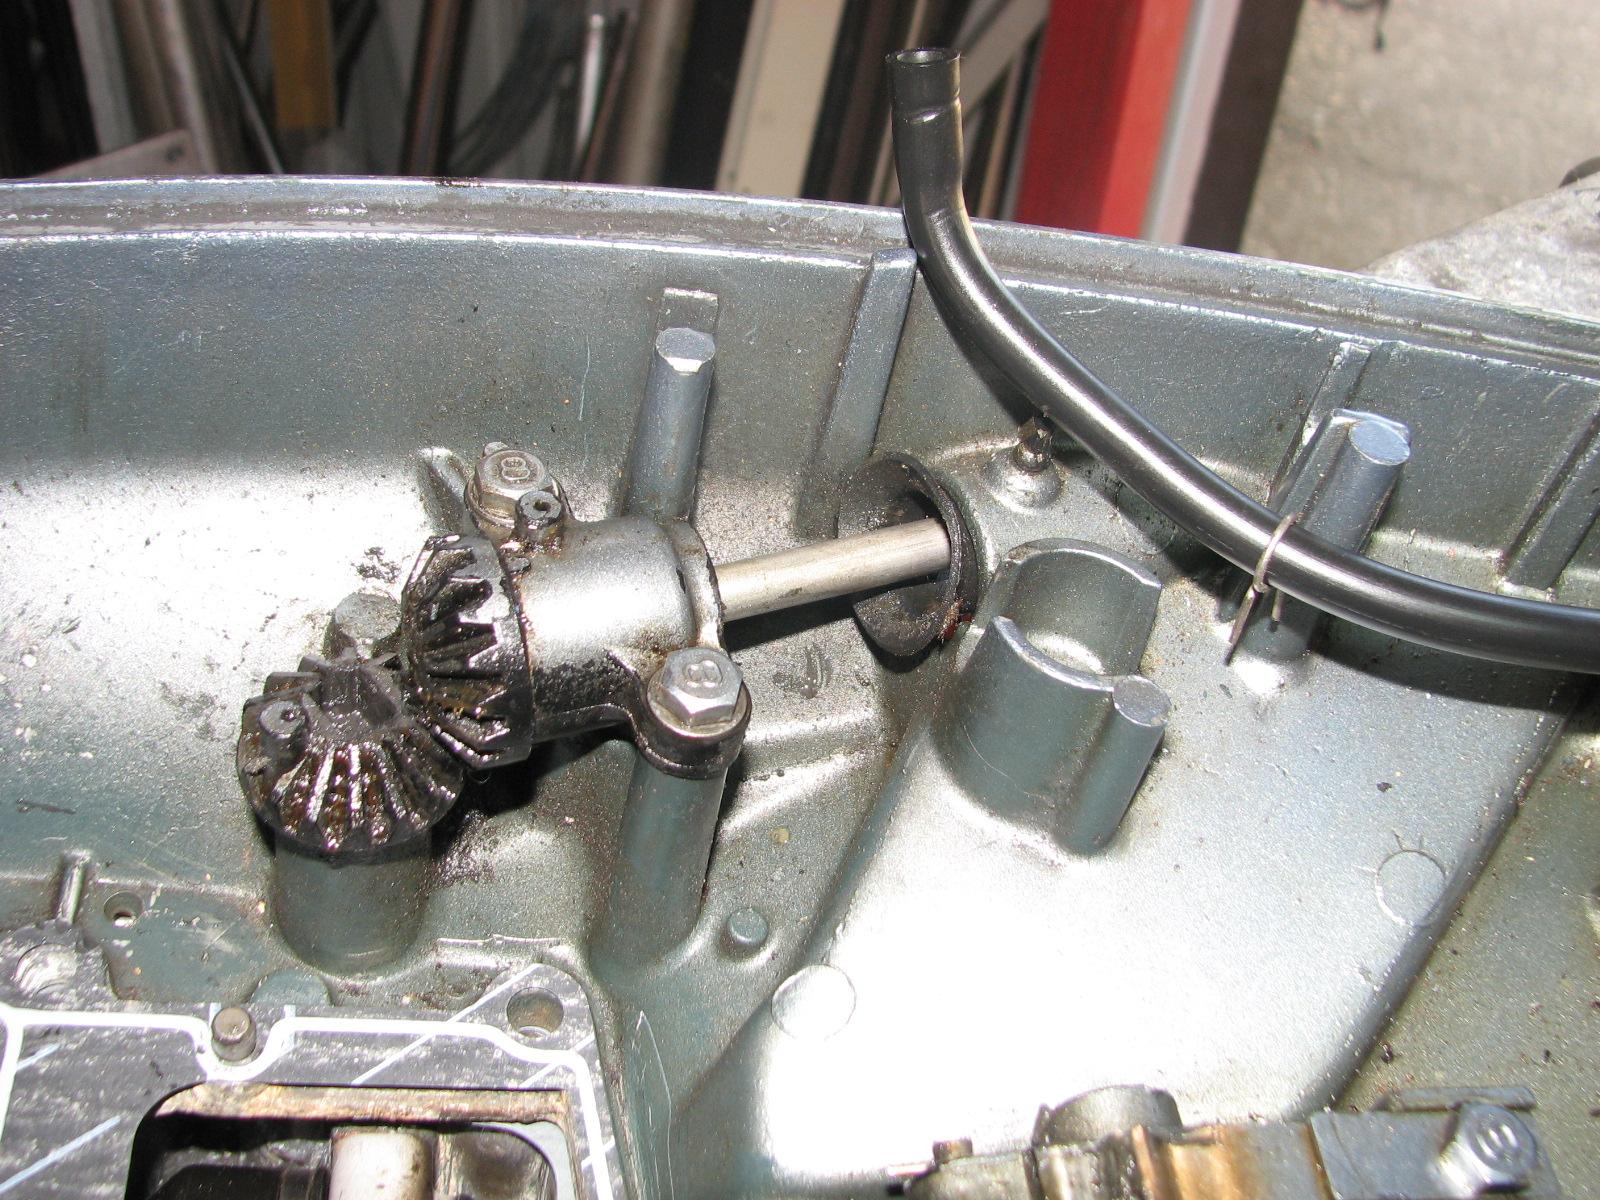

Yesterday I had stopped at a lawn mower
repair shop, and purchased a new fuel pump for the Blender
Blaster. I got the new pump installed and the Blender
Blaster is ready for a party.
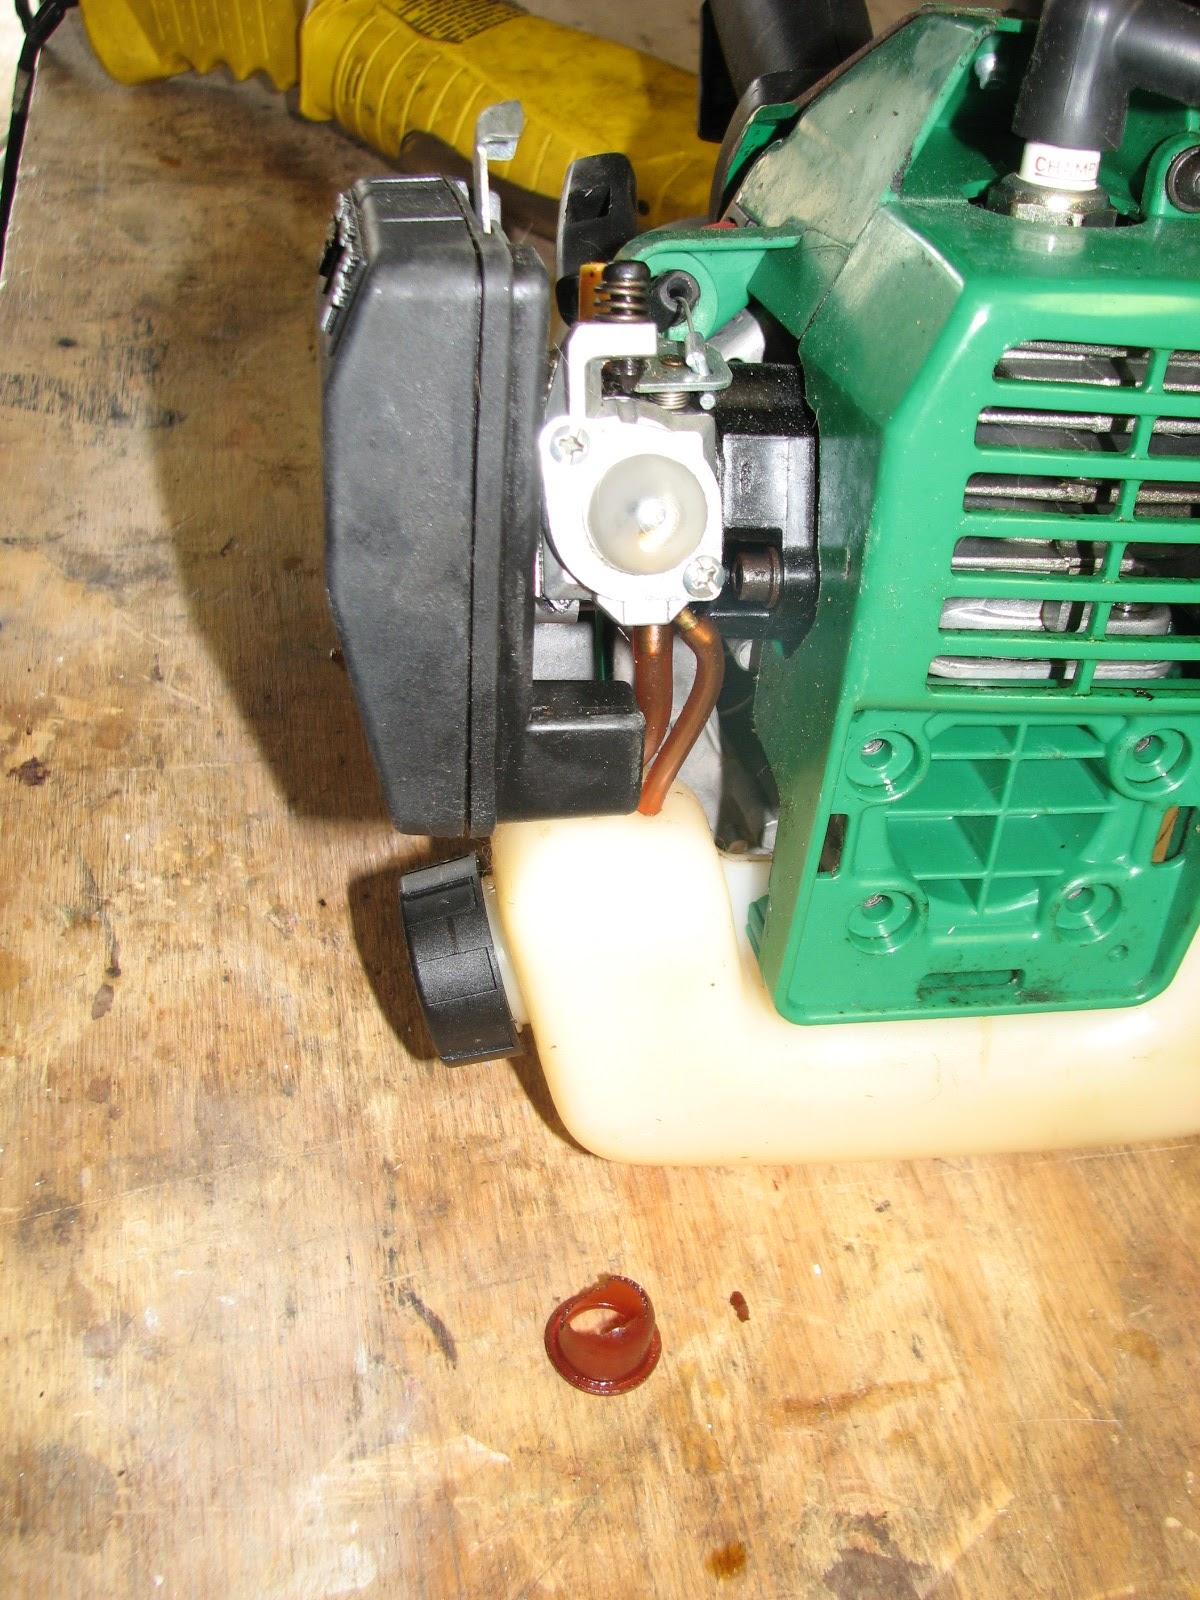
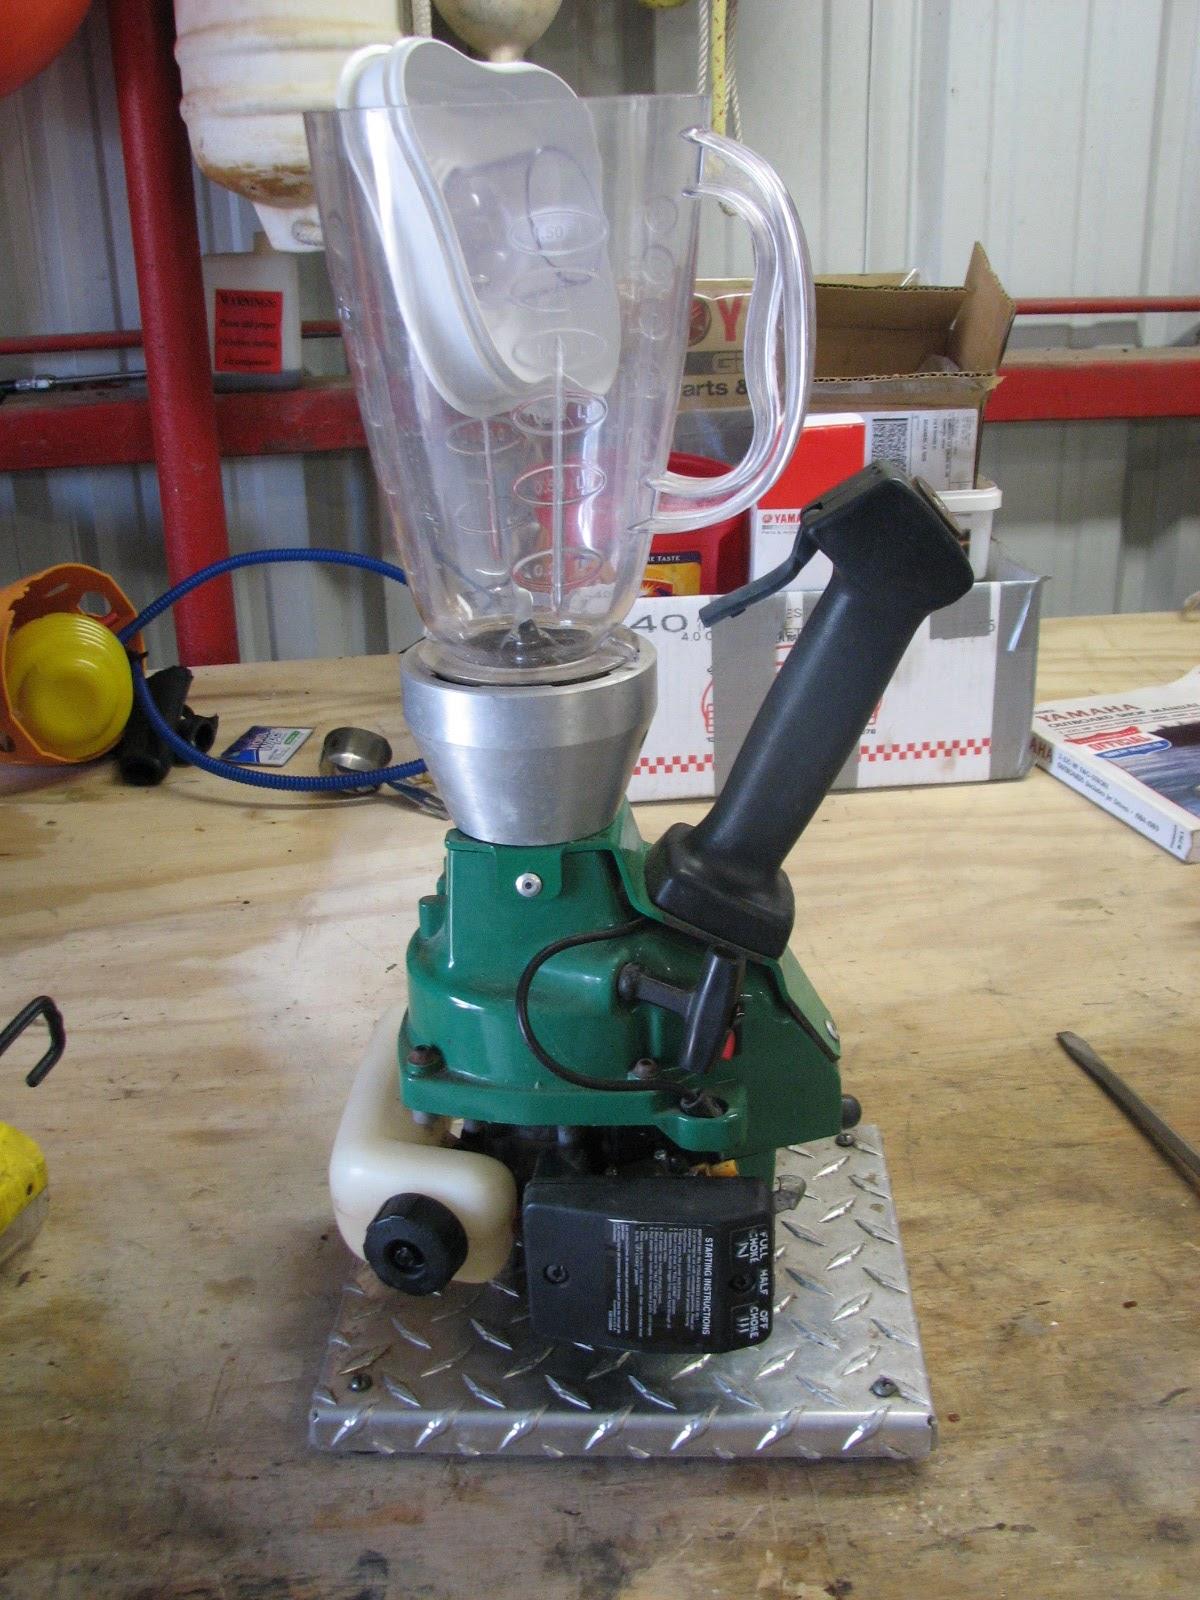
Left the shop
and went back to DREAM AWAY to work on the tender after I had lunch.
I installed the hardware I removed from
the transom of the tender to apply the gelcoat.
The hardware looks good with the double coat of gelcoat
applied.
Transom Of The Tender

Now it was time to fiberglass
in the two gratings to support the fuel tank on the port side of the
tender, and fiberglass
the battery box on the starboard side of the tender.
Gratings In Their Proper Location
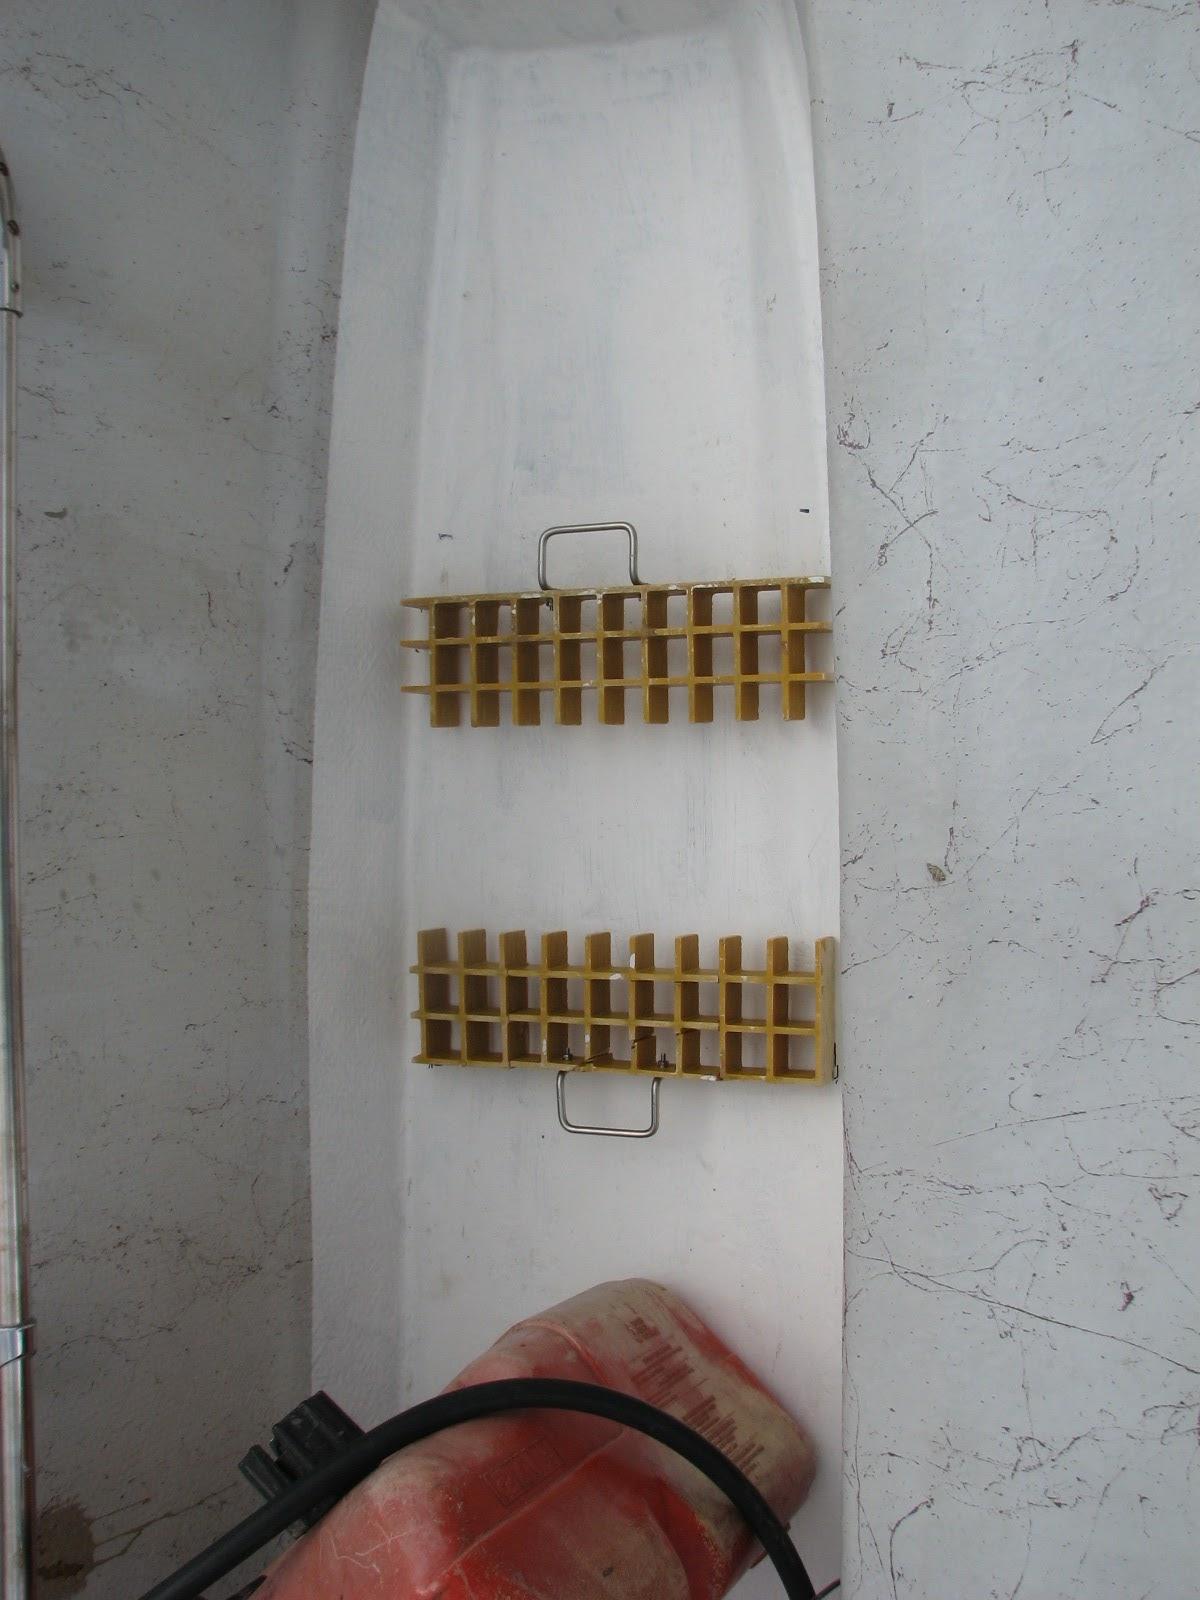
Battery Box In Its Proper Location
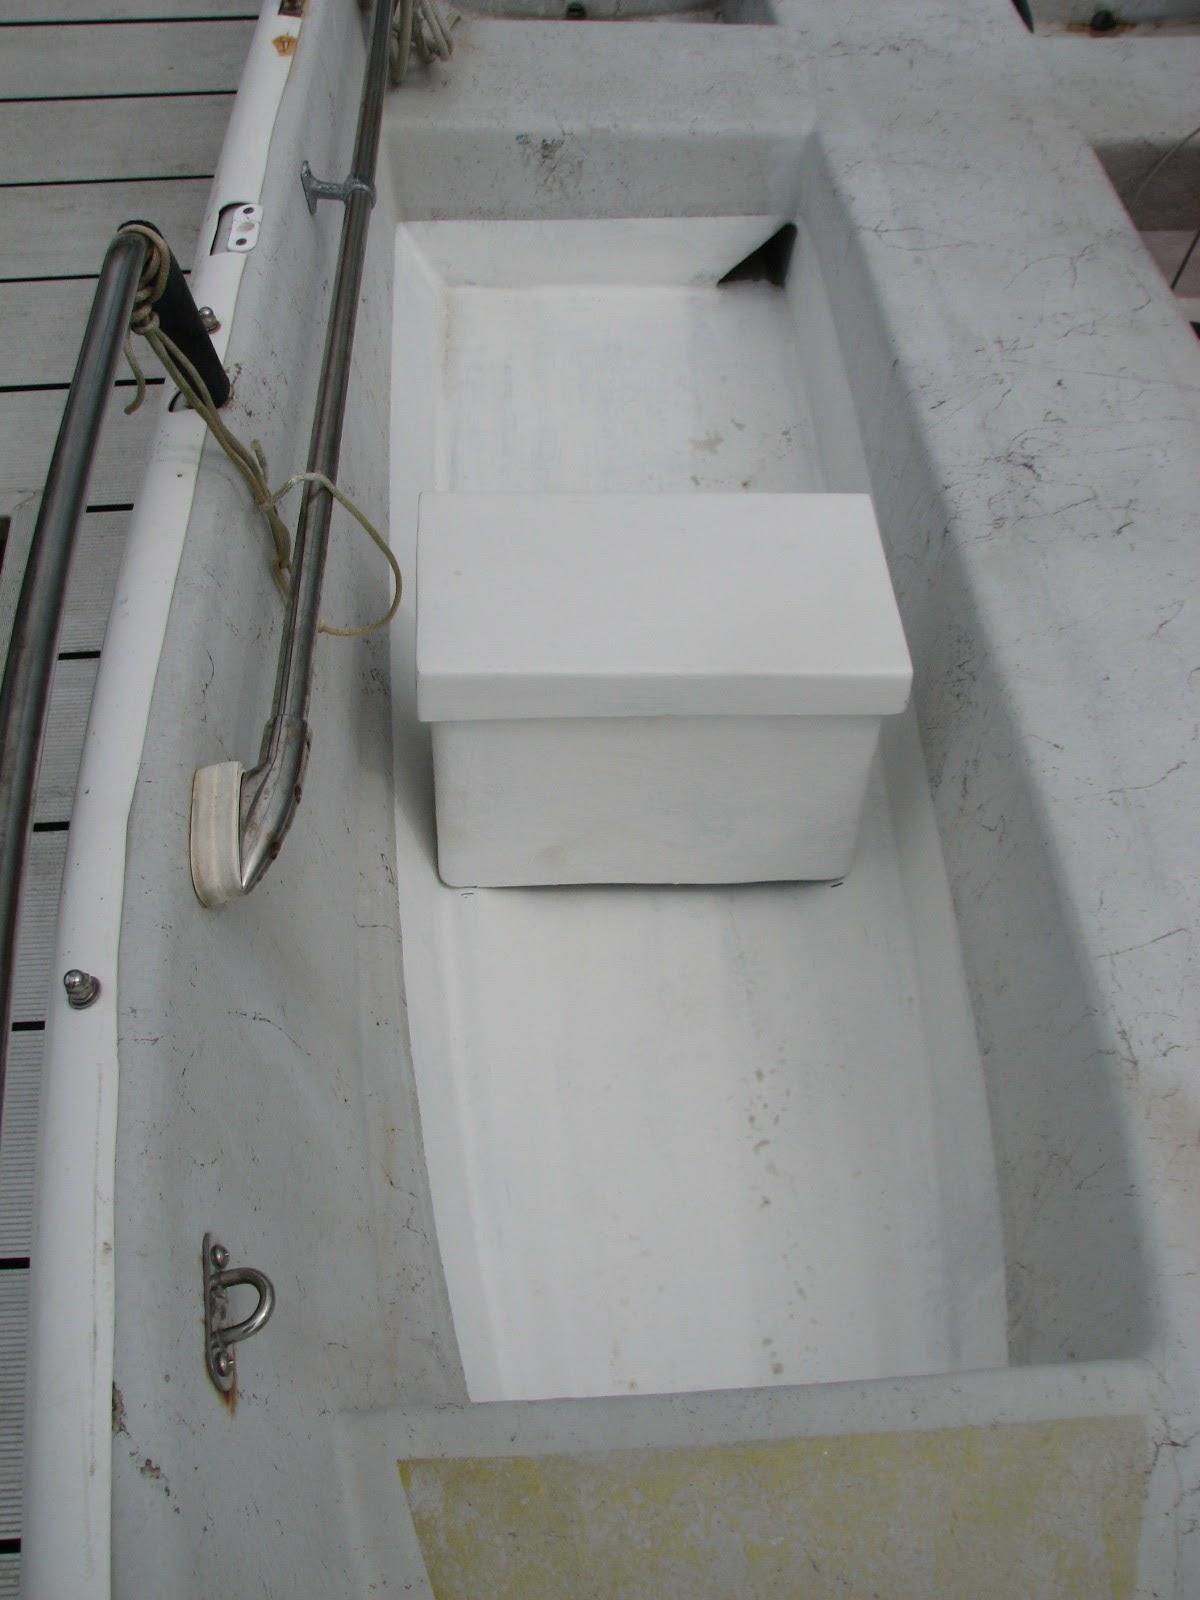
The battery box and the gratings are
only touching the deck of the tender at their outer edges. I have
already cut three pieces of chopped
strand mat to put at each end of the grating and the
battery box. I have the locations marked so I am ready to go.
Battery Box Glassed To The Starboard
Tender Deck
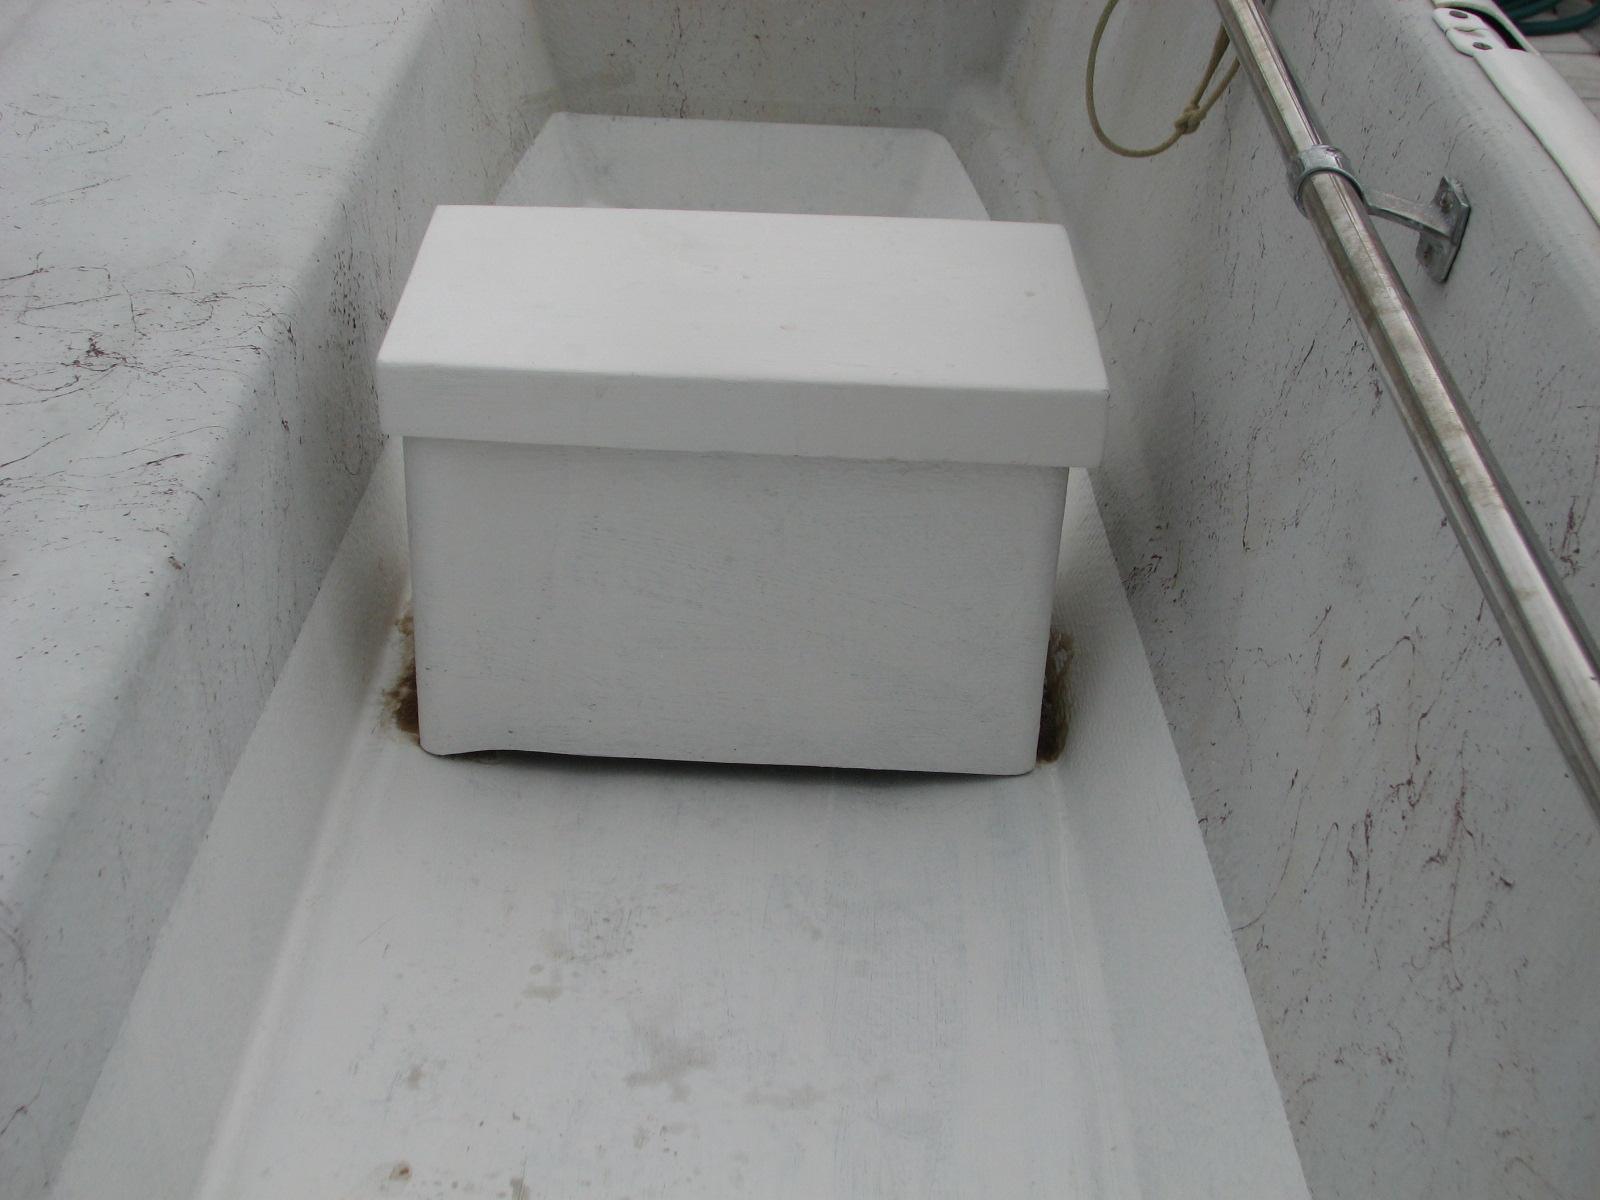
Fuel Tank Gratings Glassed To Port
Tender Deck
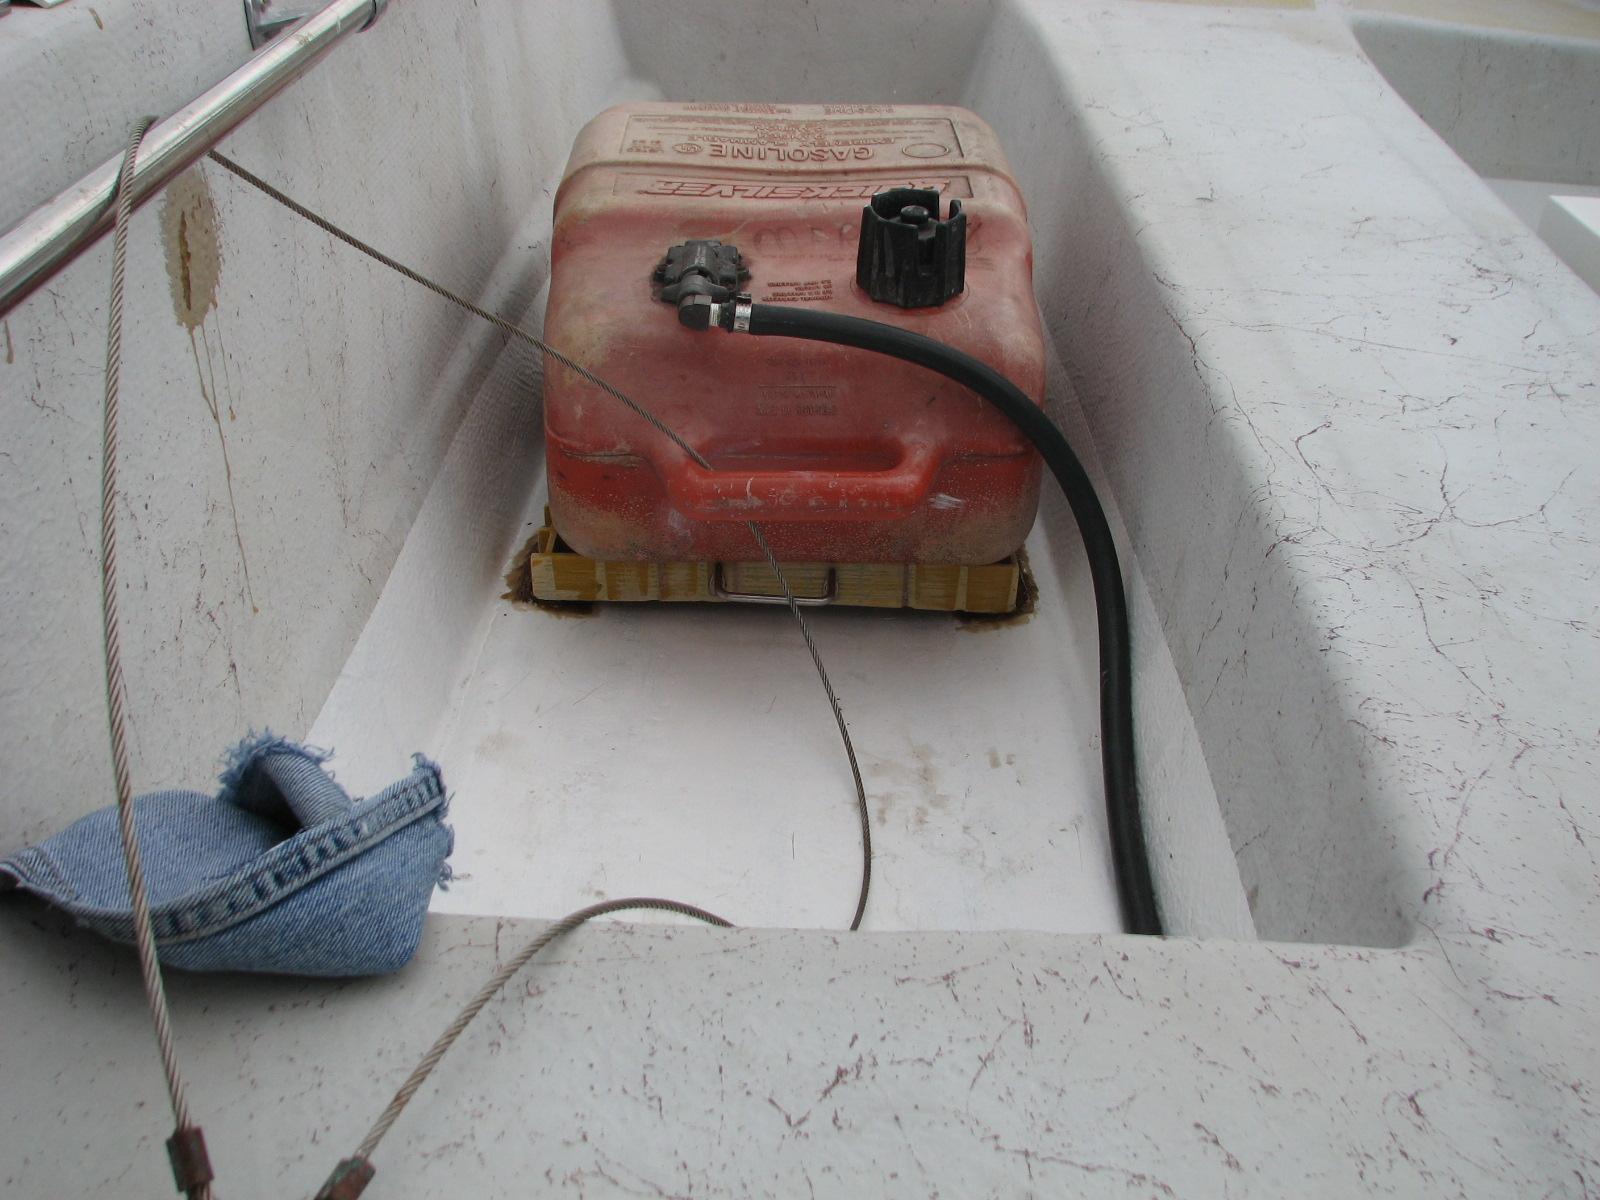
While the resin was setting up, I went
into DREAM AWAY, and Kitty and I finished the boom gallows backing
plated project. We cut out all of the expanding foam that had
hardened from the holes where the new backing plates will be
installed.
We used new bolts, and got all of the
backing plates installed, and tightened up. We then installed the
decorative teak covers over the exposed hardware to complete the
project. That completes the boom gallows support new backing plate
project.
Backing Plates Installed
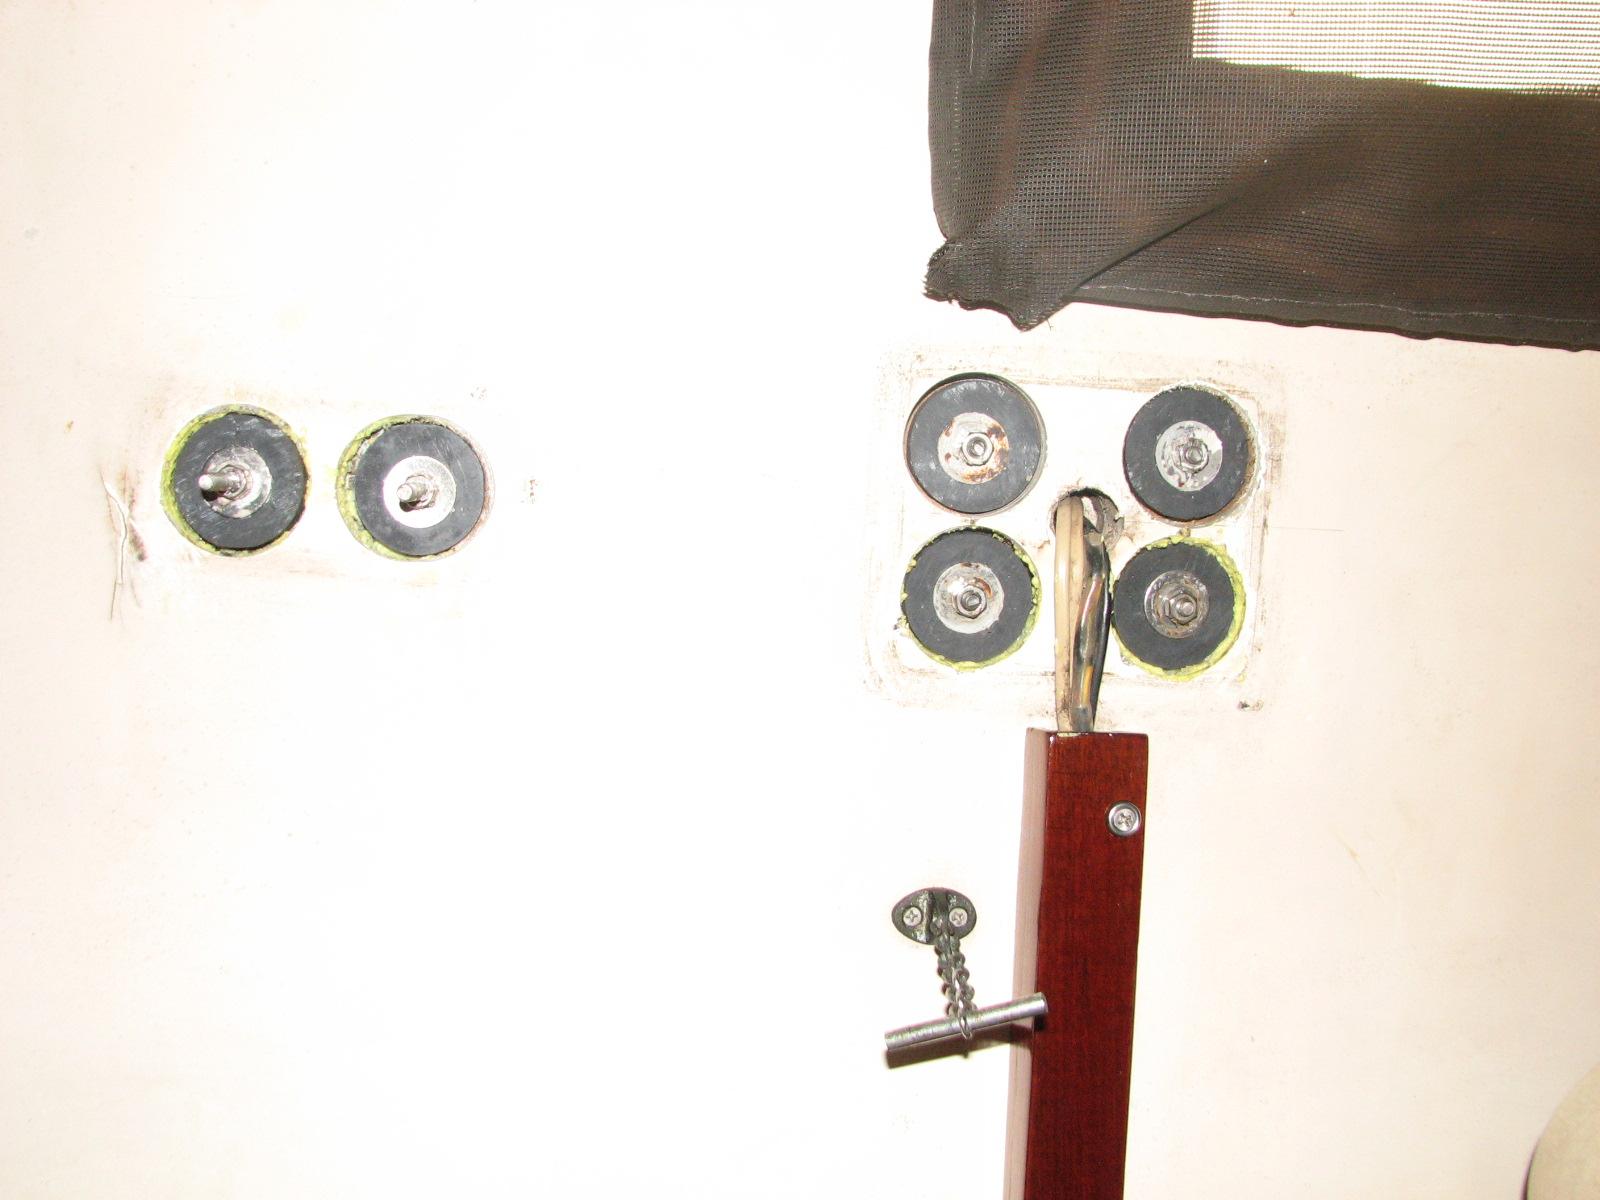
Decorative Teak Covers Installed
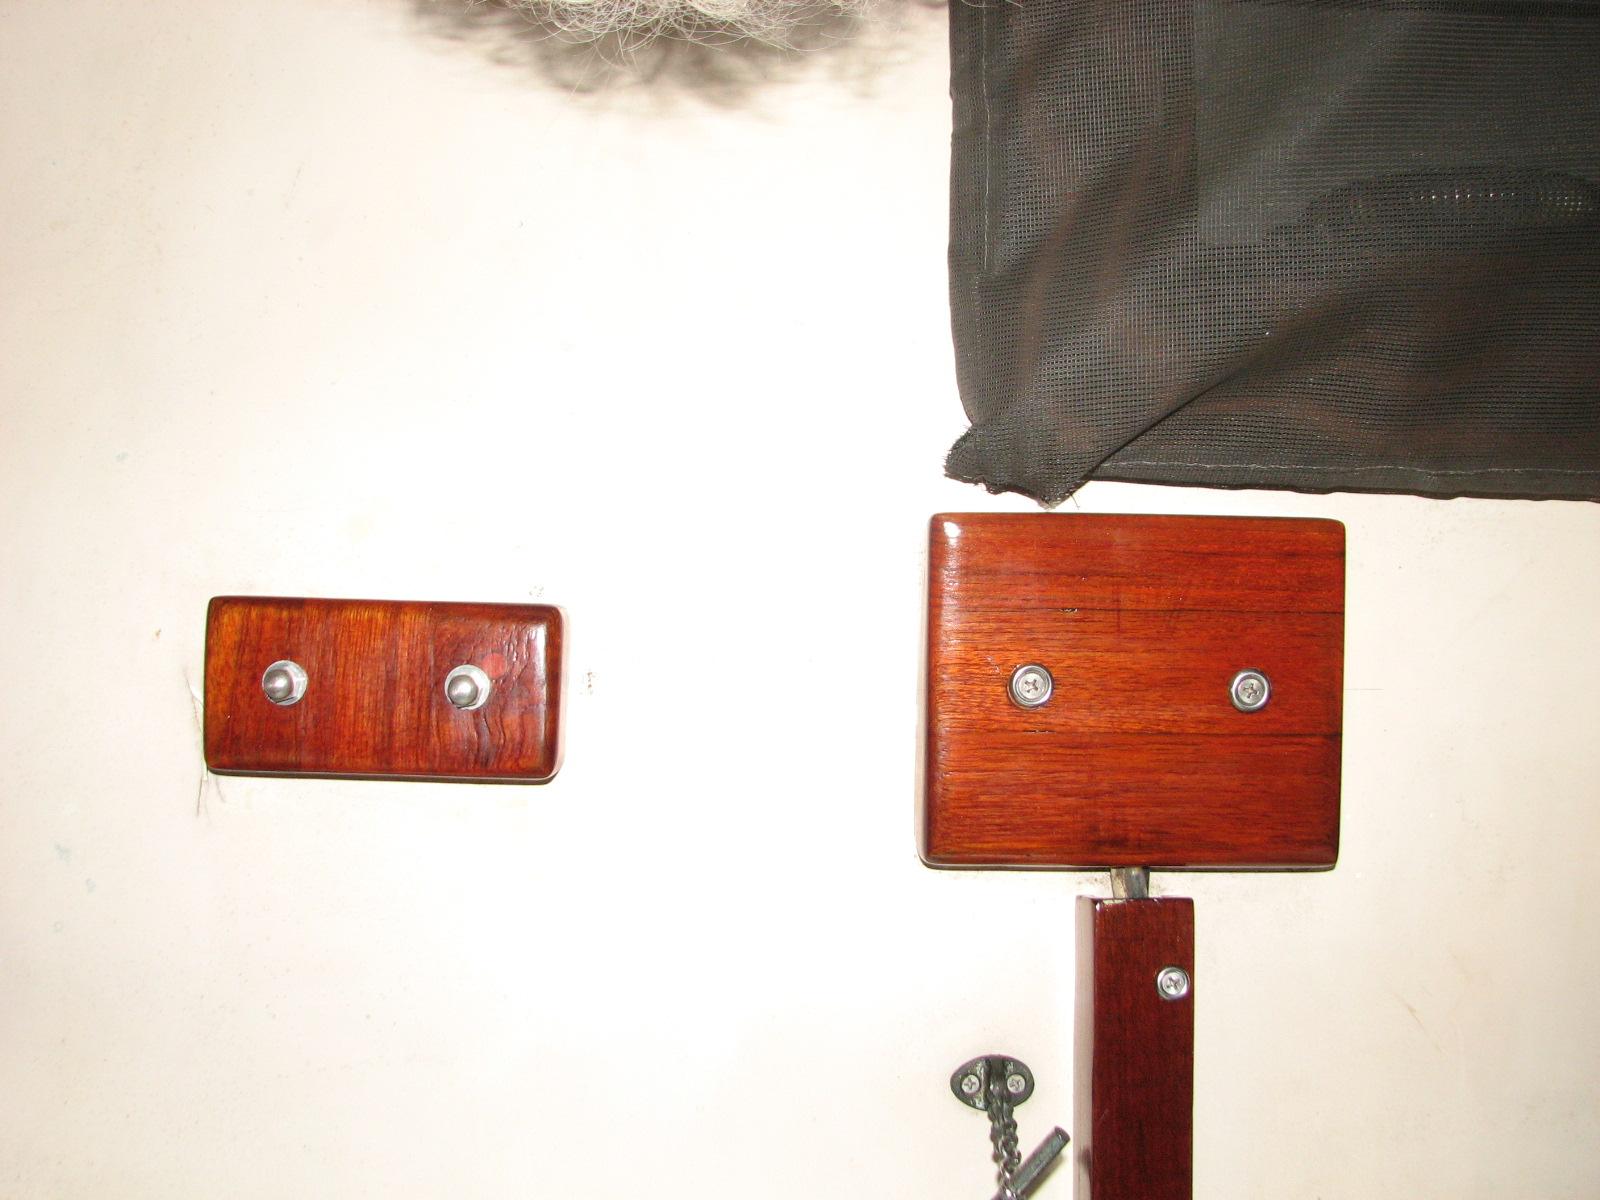
Last item for the day was to modify the
template we had made for the head overhead. We had to cut out the
spots for the backing plates and the fan in the head.
To celebrate project completion we had
a tot of a new rum Kitty had purchased for me as a Christmas present.
It is a special edition of
Old New Orleans rum. We own bottle 526 of 756 total
bottled.
Our Bottle
