Maintenance Log November 2010
November 30, 2010, Tuesday.
Got right to work
on the cap rail. Filled in the Wilma damage, and several other places
that needed filled in. After the putty set up, got into removing the
cap rail. Got all of the cap rail on the port side removed. Removed all
but four feet of the residue 5200 on the cap rail. Will finish
up the residue removal tomorrow, weather permitting.
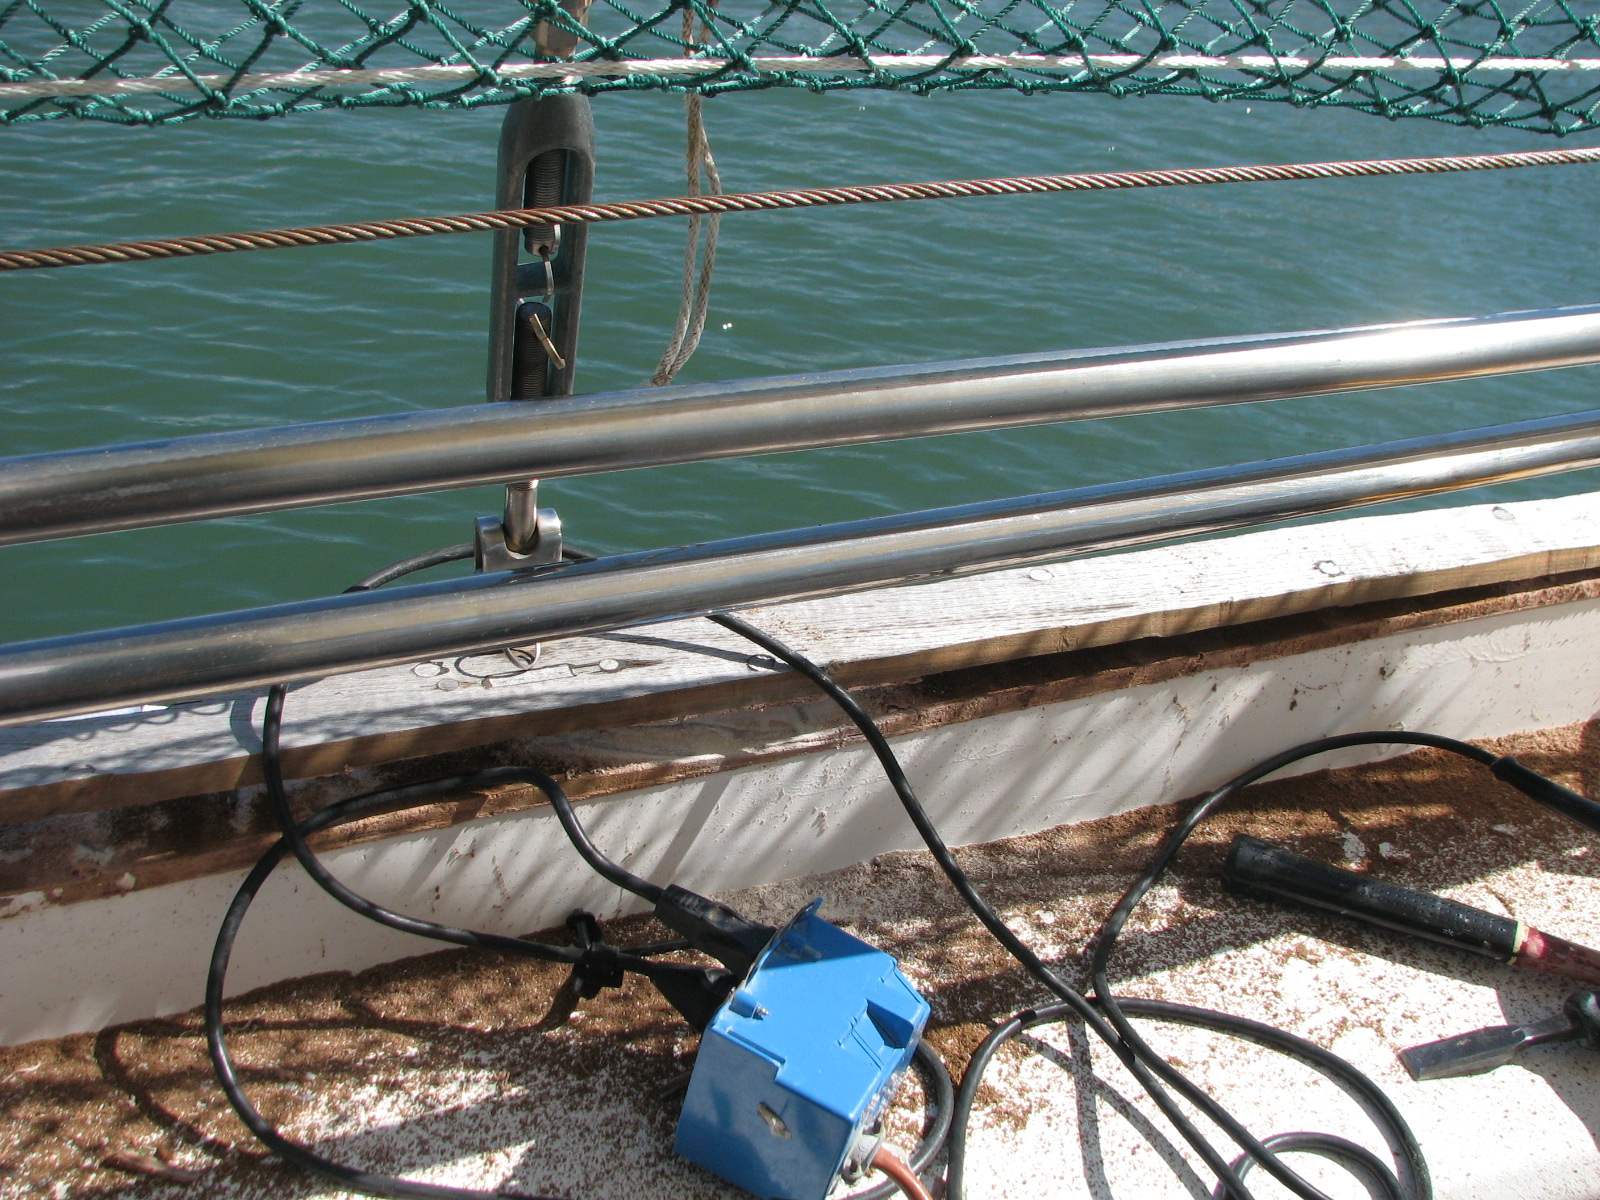
Teak Cap Rail Lifted Off Of Hull To Deck Joint
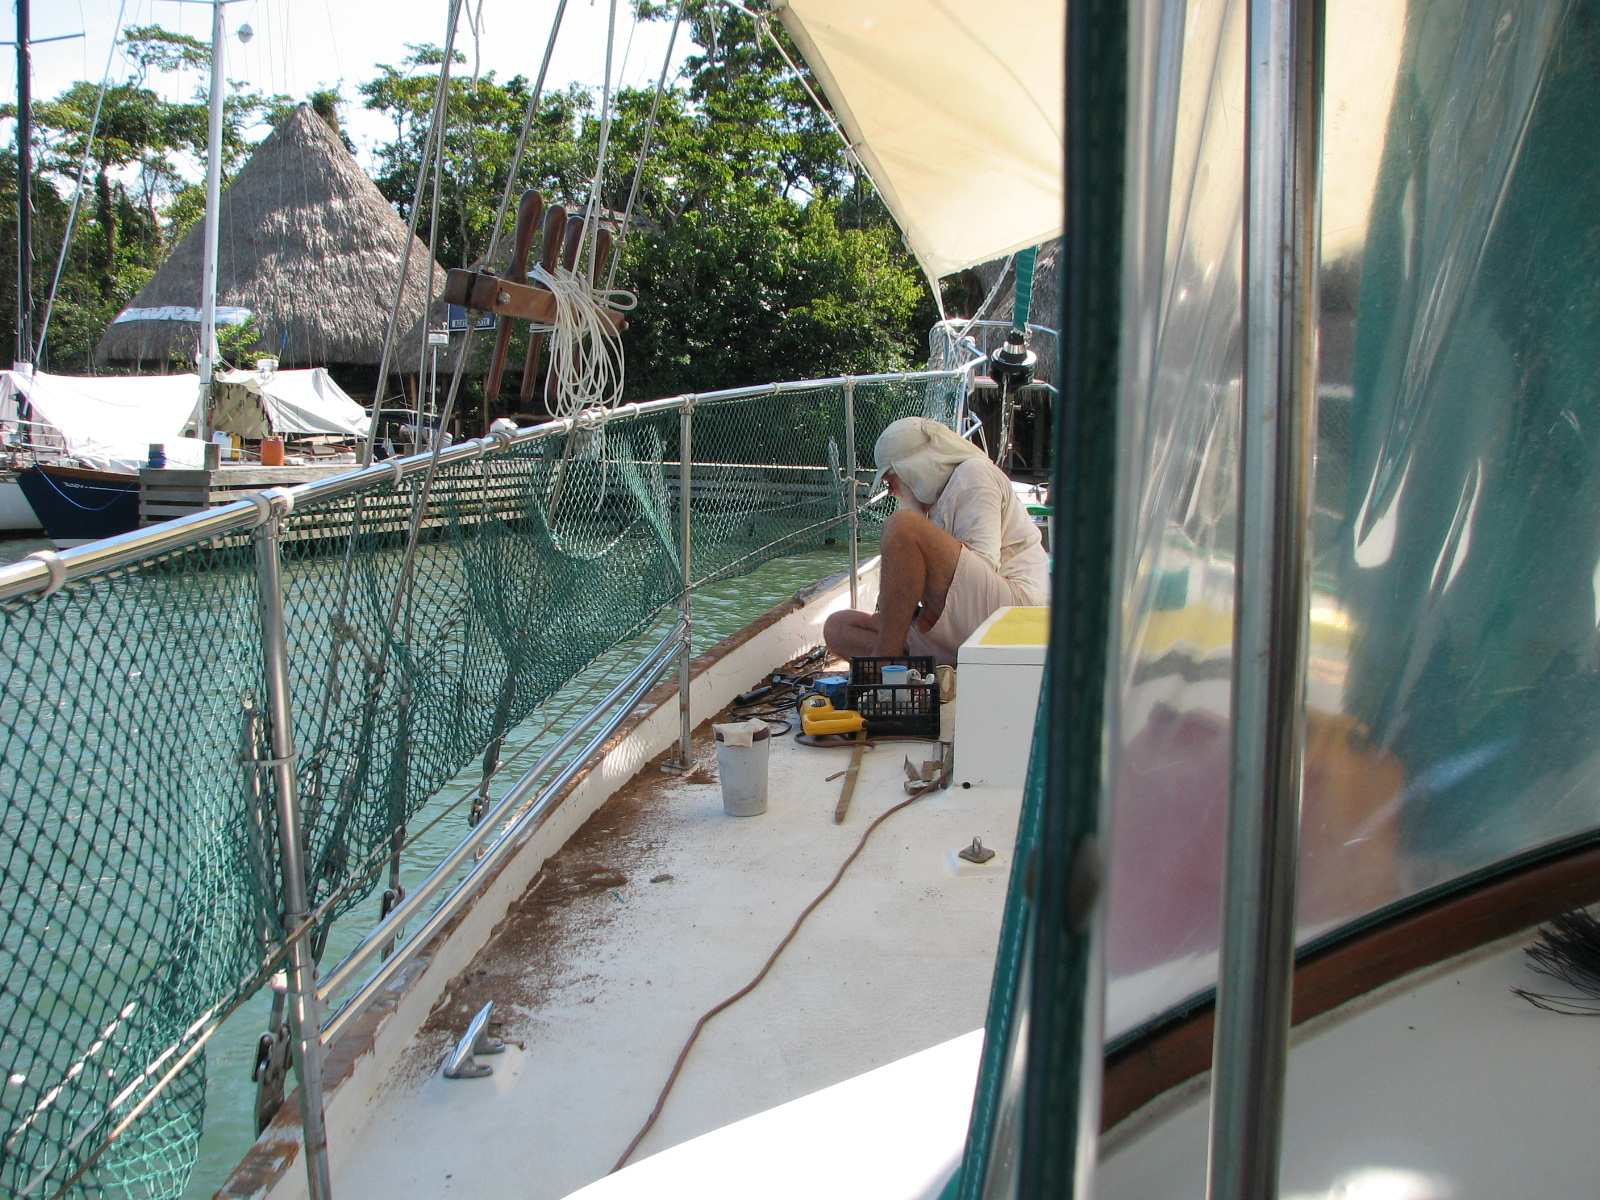
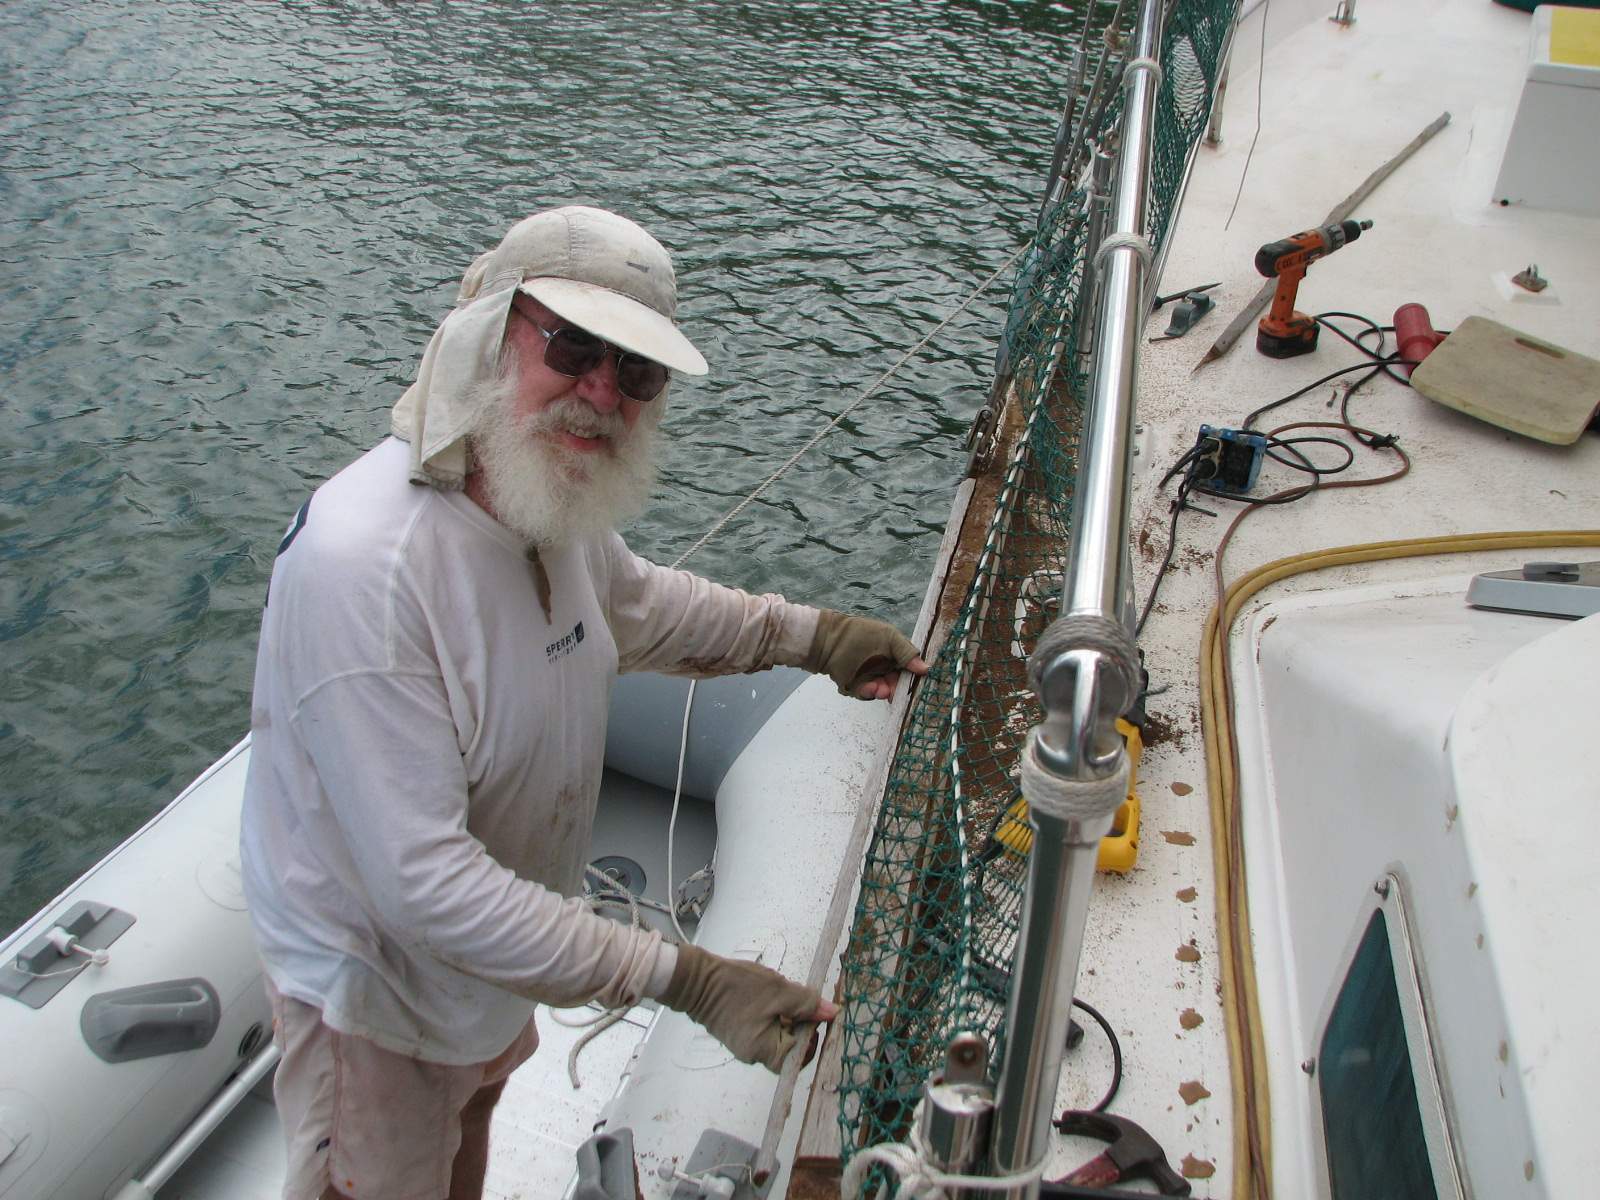
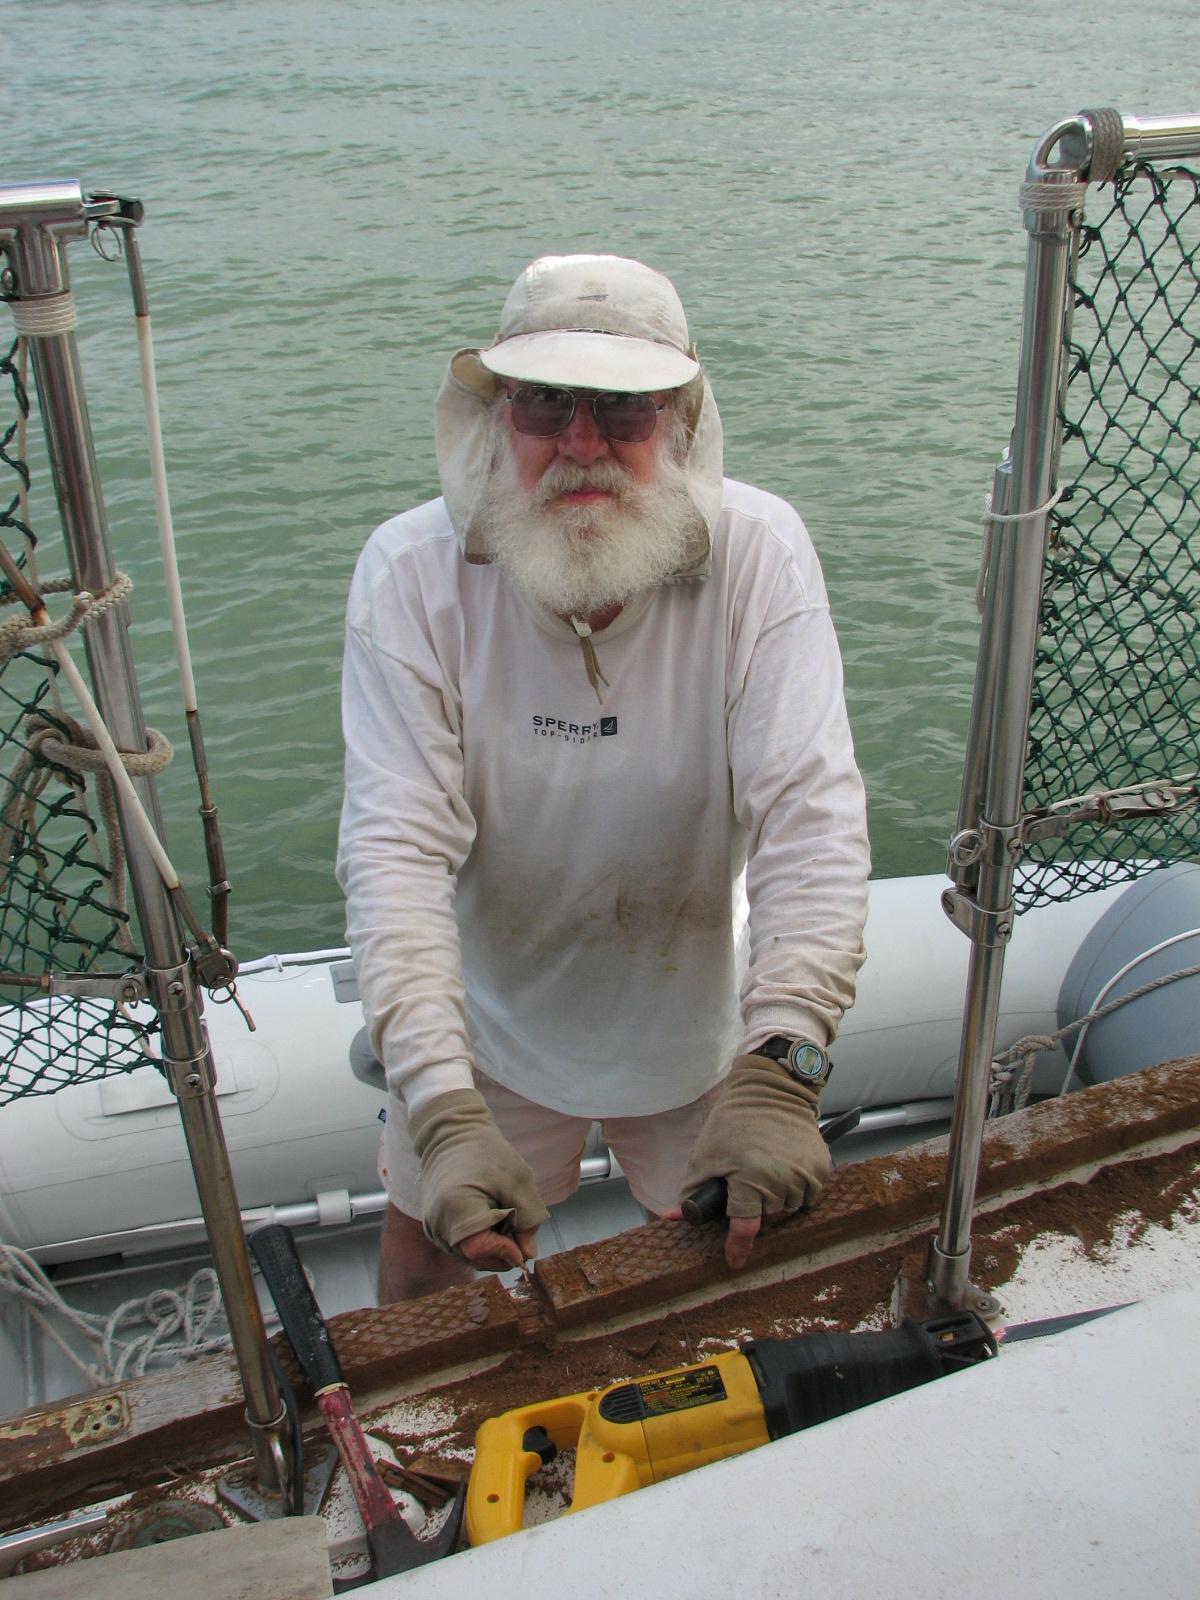
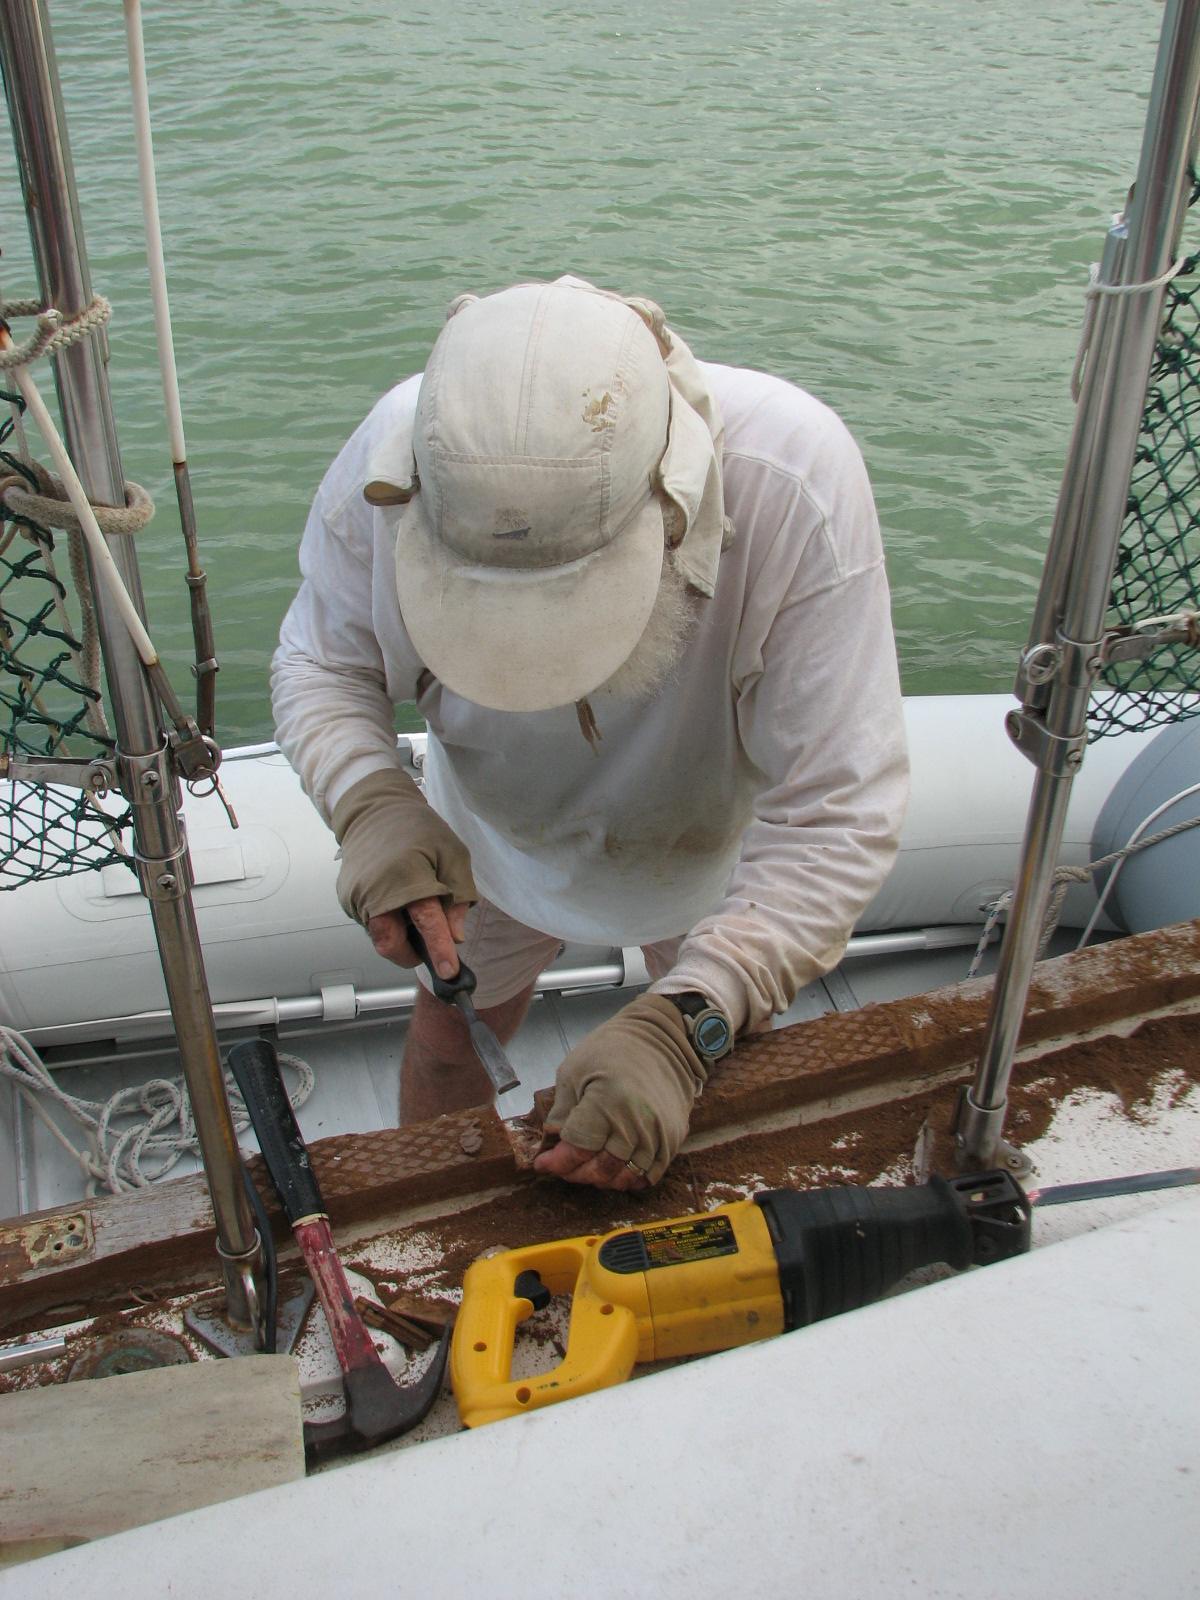
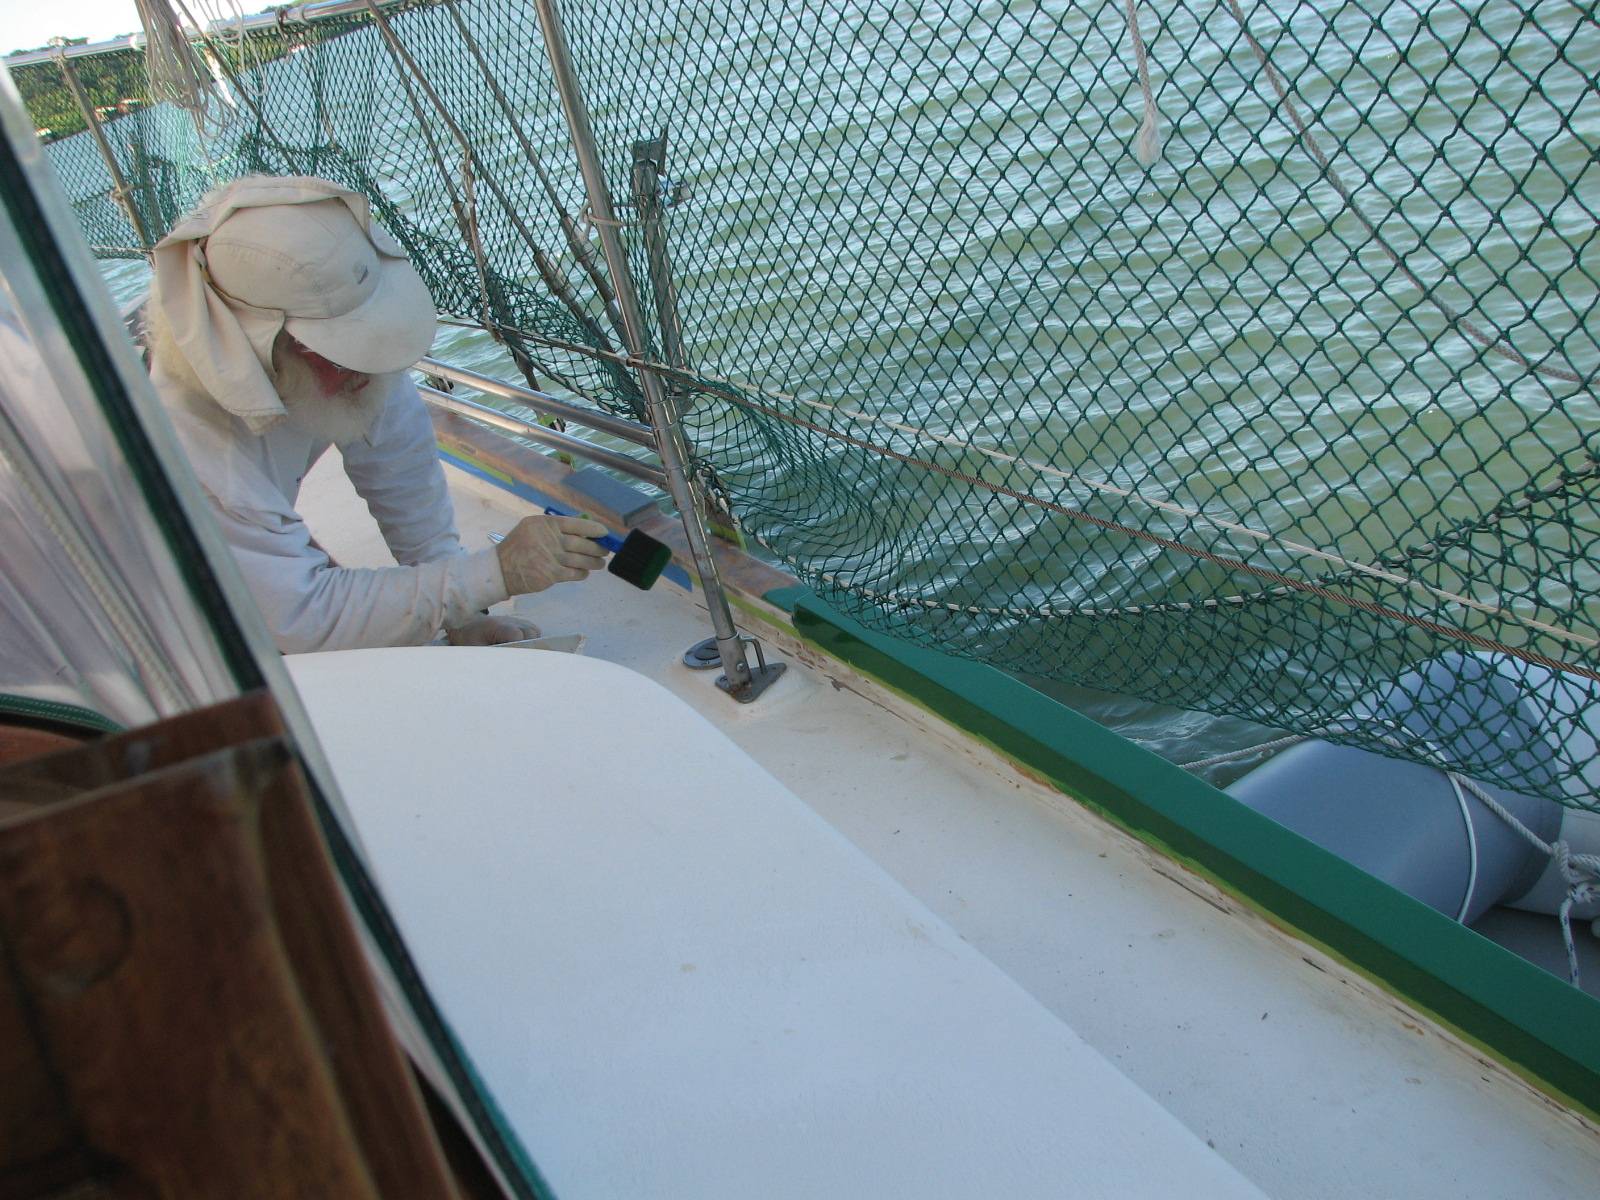
Captain Removing Teak Cap Rail
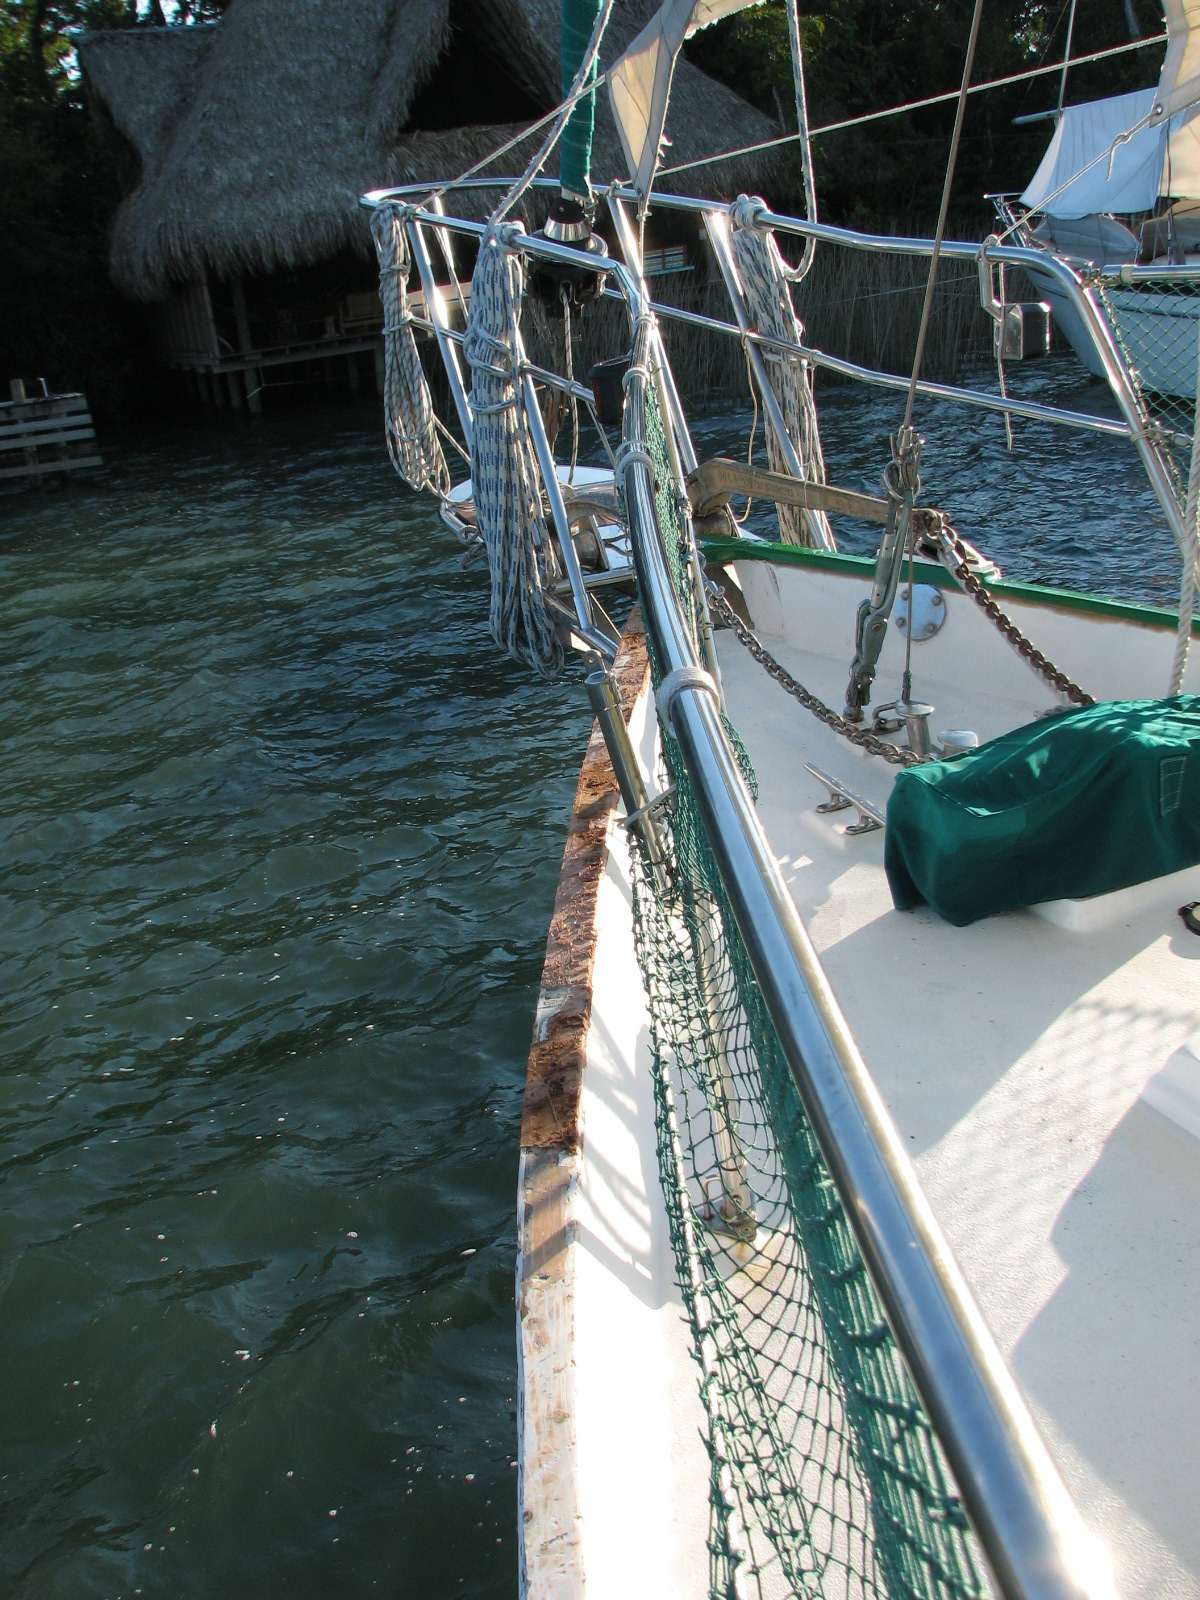
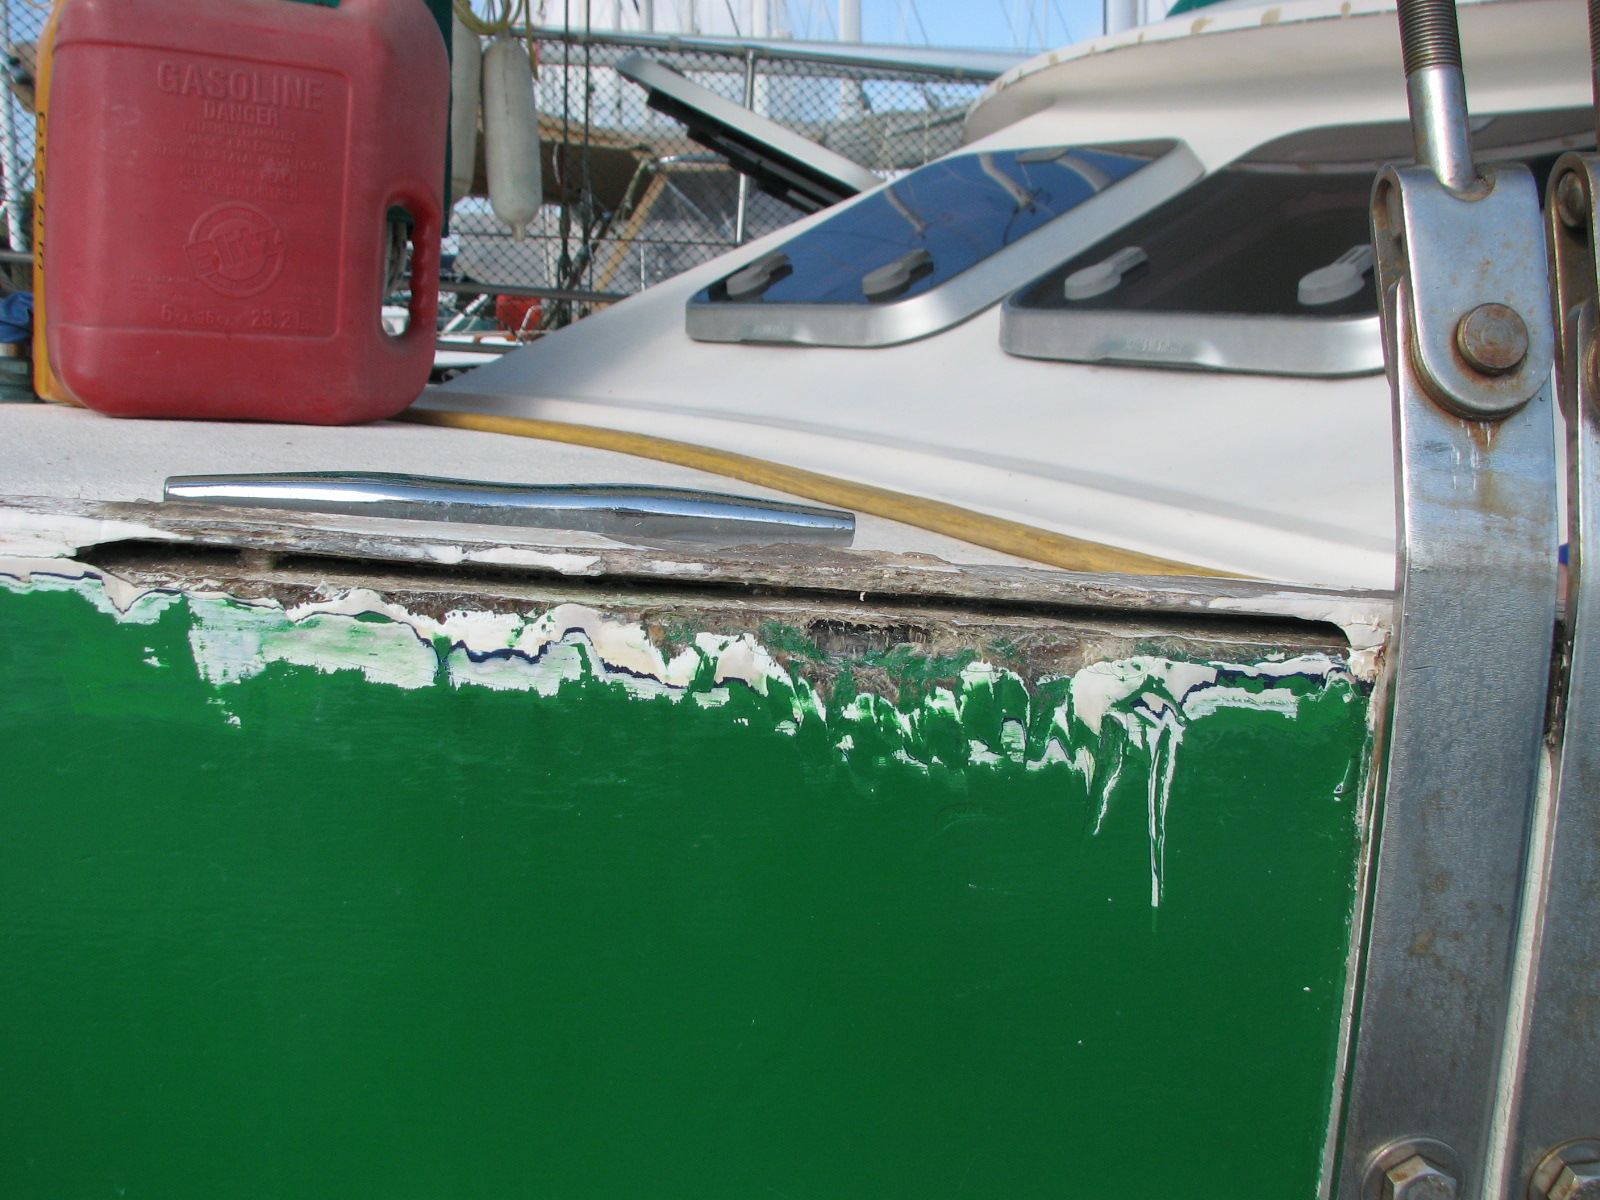
Teak Cap Rail Completely Removed, 5200 Residue Remaining
November 29, 2010, Monday.
I wiped down the forward deck
box lifting handle and applied the fourth coat of Cetol on the handle.
Finally got a few minutes to test the ice maker. Brought the testing
procedure up on my computer and checked out the different points in the
test procedure. It appears the motor that runs the process of
extracting the ice is bad. I will have to take the unit apart and see
if the motor is available separate from the ice making mechanism. If
possible, I might be able to get the motor locally. If not I will wait
until I can get one from the states.
Ice Maker Head Showing Test Points
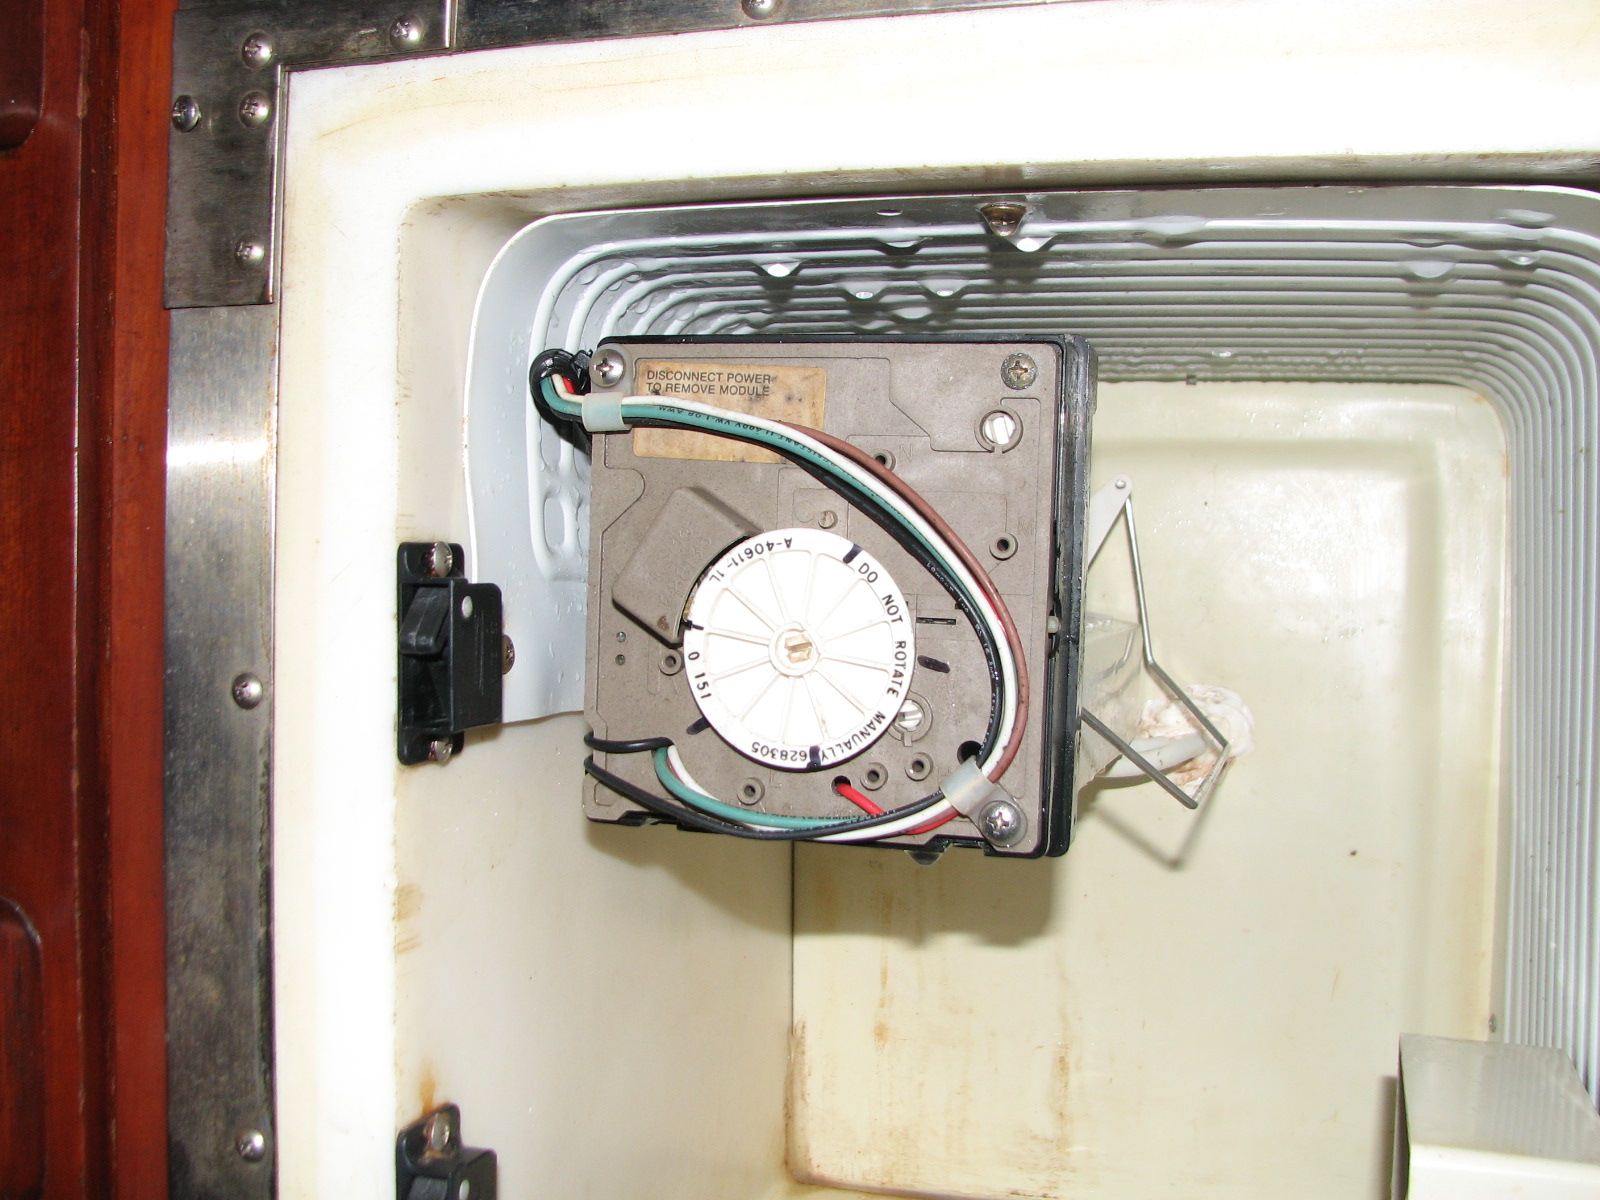
Started back into working on the cap rail. Not sure what happened, but
the putty I applied to the cap rail yesterday did not set up. I scraped
and cleaned off all of the bad putty, preparing it for new putty. I
mixed up new putty and mixed in a little more hardener, and
applied new putty to the area of the hull to deck joint from which I
removed the cap rail yesterday.
I then removed another six feet of cap rail from the port side. I got
up to the area that was damaged during hurricane Wilma in 2005. I am
sure this is where my major leaks are on the port side. The good news
is, the area can be repaired and made ready to be covered with
fiberglass.
Captain Removing Sides Of Cap Rail
Captain Cutting Off Bottom
Of "U" Cap Rail With Reciprocating Saw
Wilma Damage To Cap Rail, All Cleaned Out
Ready For Putty
November 28, 2010, Sunday.
Was
able to get a good start on the port side cap rail removal project. I
got the safety netting and all of the stanchion supports moved out of
the way. I am starting on the cap rail amidships, and then moving
forward. I got several pieces of hardware removed from the cap rail,
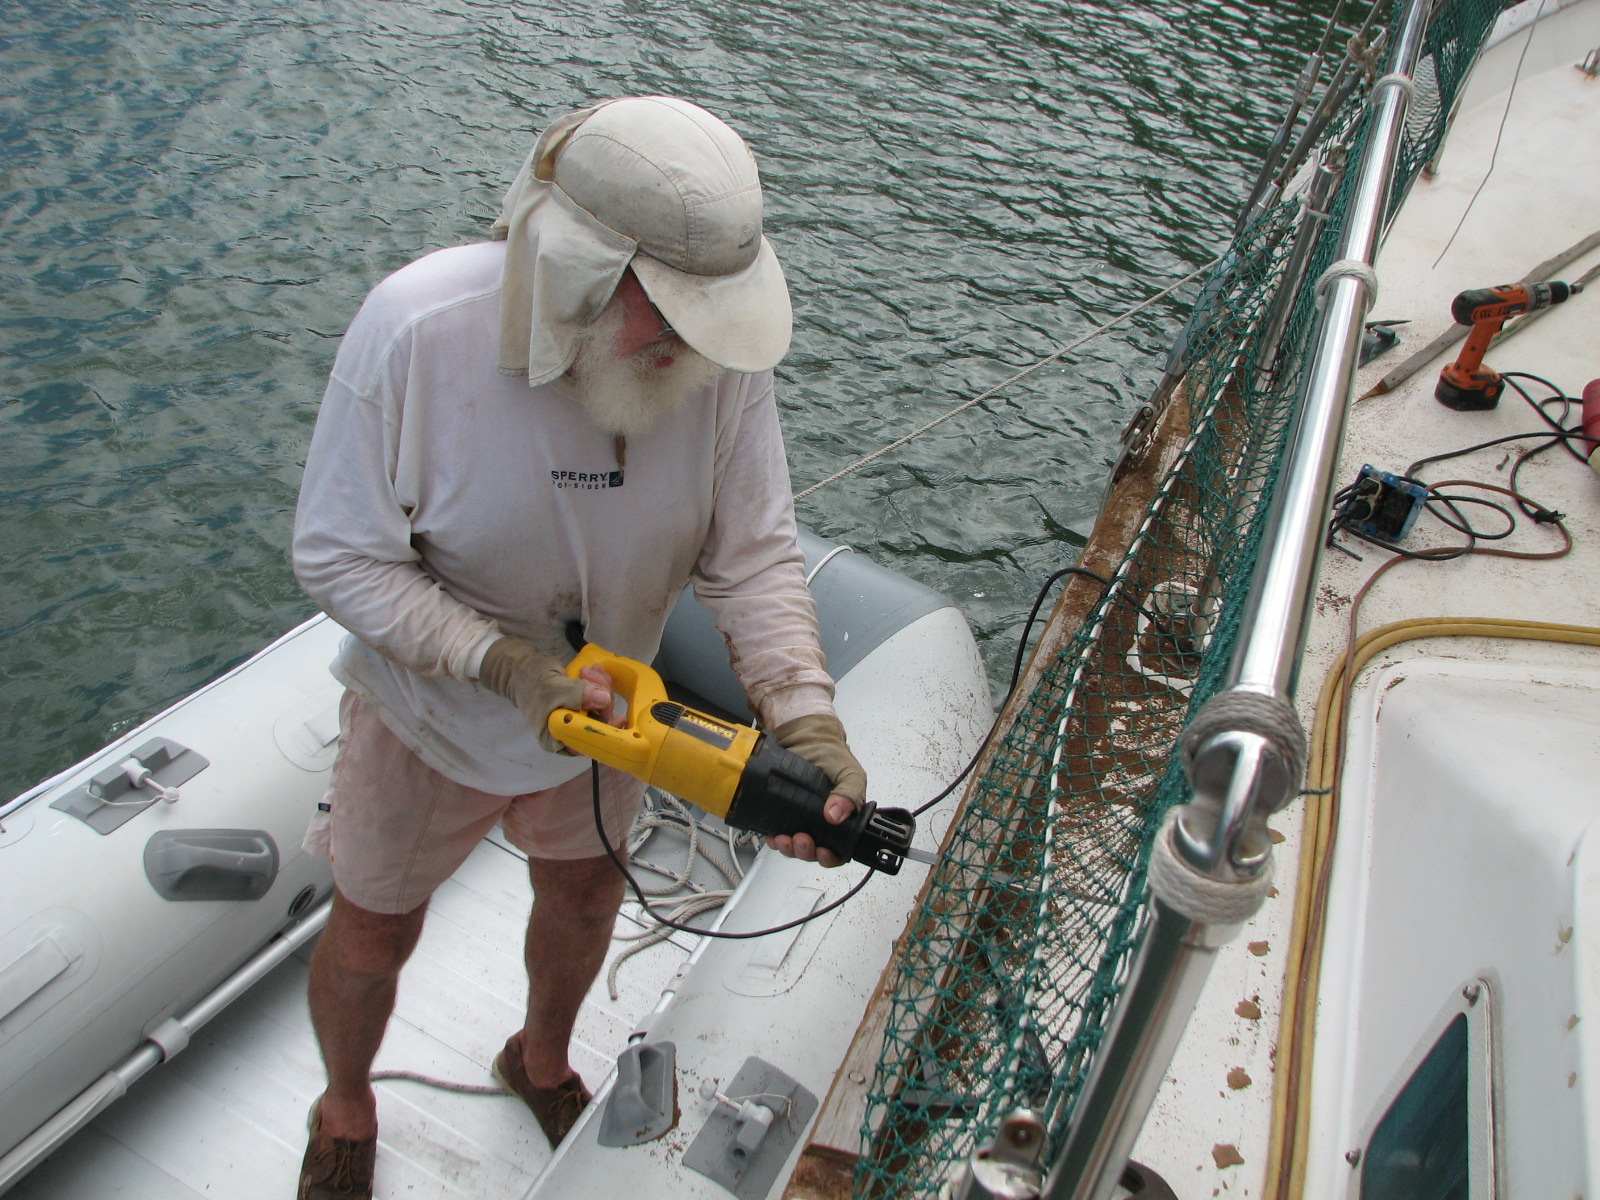
and then started the cutting process. The actual cap rail is a "U"
shaped piece of teak that covers the hull to deck joint. With the jig
saw, I cut off the sides of the "U", and then use a Sawzall®
Reciprocating Saw to cut through the 5200 to separate the teak, which is the
bottom of the "U", from the hull to deck joint. Next I have to remove
the wood and 5200 residue. Tomorrow I will use a heat
gun to see if I can remove the residue 5200 from the hull to deck joint. I will
also try and get some pictures of the actual removal of the cap rail
teak.
Captain Cutting Into Cap Rail With Reciprocating Saw
Captain Removing 5200 Residue, Getting Ready To
Cut More Cap Rail Off
November 27, 2010, Saturday.
Ready
to turn Dream Away around, but had to wait for the rain to pass. Rain
stopped and was able to get Dream Away turned around and settled in her
new position. Got the lines all set up for the new orientation, and
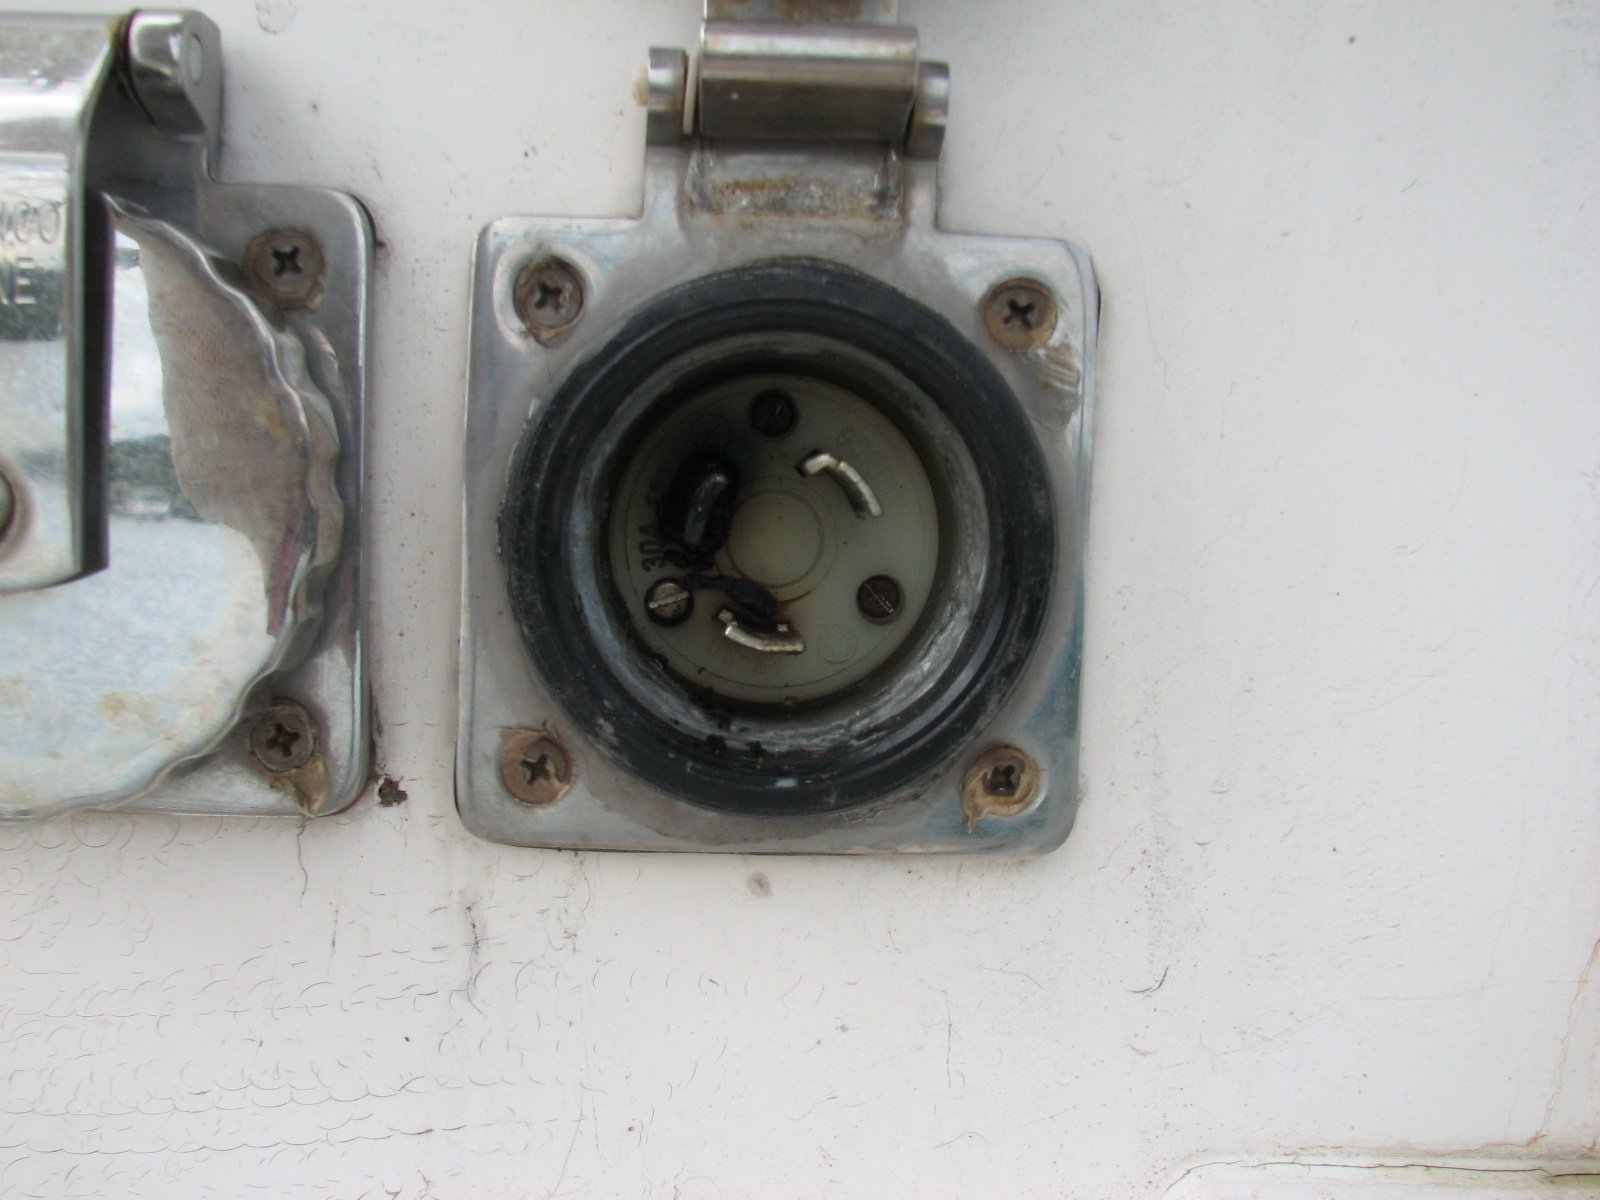
went to install the electrical cords, and one of the
connector/receptacle connections was burned up. This happened to be the
connection for the air conditioner.
As usual, I had the spare receptacle and connector for the repair. I
was able to get the new parts installed, and the electrical connections
to Dream Away are back in working order. I also took apart all of the
other electrical connections on the wiring from the dock to Dream Away.
I cleaned the connections, and sprayed everything down with Corrosion Block to keep back any
problems of that type.
Connector From Wire To Dream Away
Receptacle On Dream Away
It started to rain again, so spent the remainder of the day cooking and
making dip!! Hopefully tomorrow I will get started on the port side cap
rail project!!
November 26, 2010, Friday.
Was
able to find some scrap pieces of Starboard that
I used to cut out sacrificial
pieces for under the starboard side chocks. I got the pieces cut out
and got them installed under the three chocks on the starboard side.
The difficult part was drilling the holes in the Starboard pieces. The holes in the hull
to deck joint were already drilled and tapped, so had to measure the
placement of the holes, and then drill the holes in the sacrificial
pieces. Was very successful, with the placement of the holes. Got all
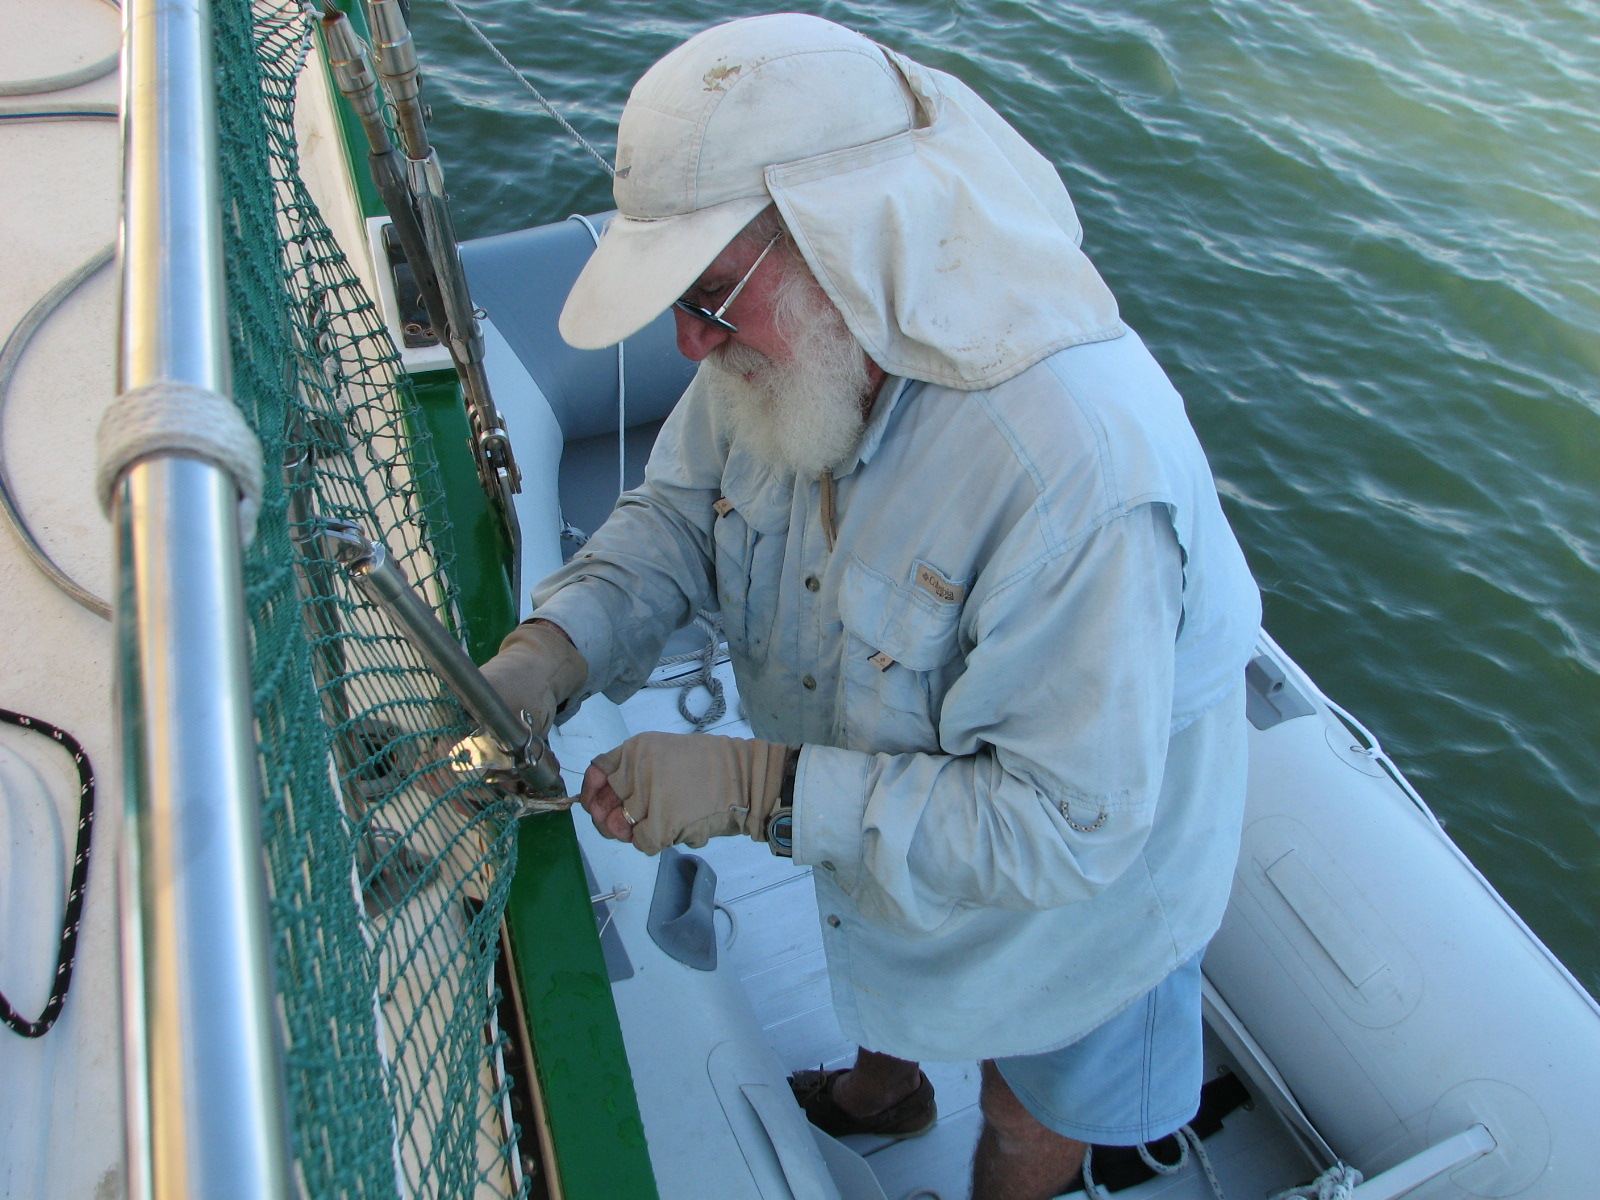
three pieces installed. I also was able to get the netting tied down to
the lifeline stanchion supports. We are now ready to turn Dream Away
around and start on the port side cap rail.
Captain Attaching Netting To Lifeline Stanchion Supports
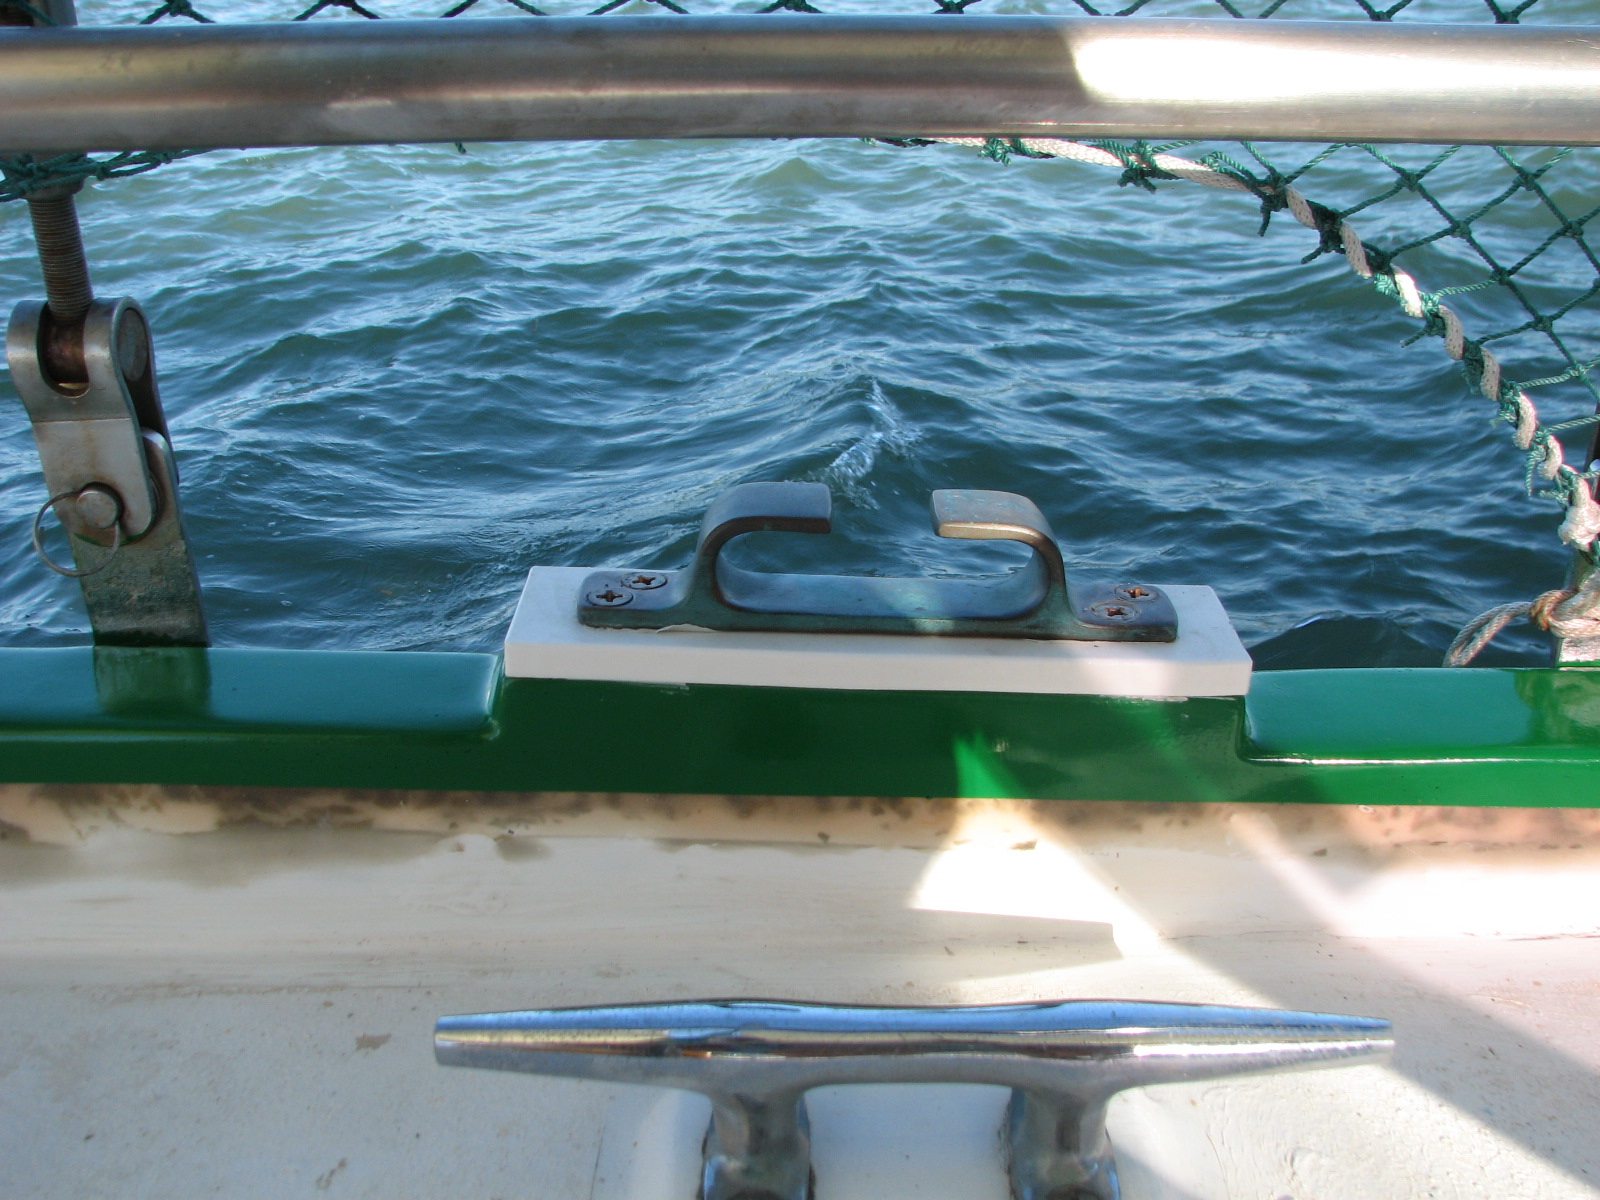
Starboard Mid-ship Chock
With Sacrificial Starboard Between Chock And Cap Rail
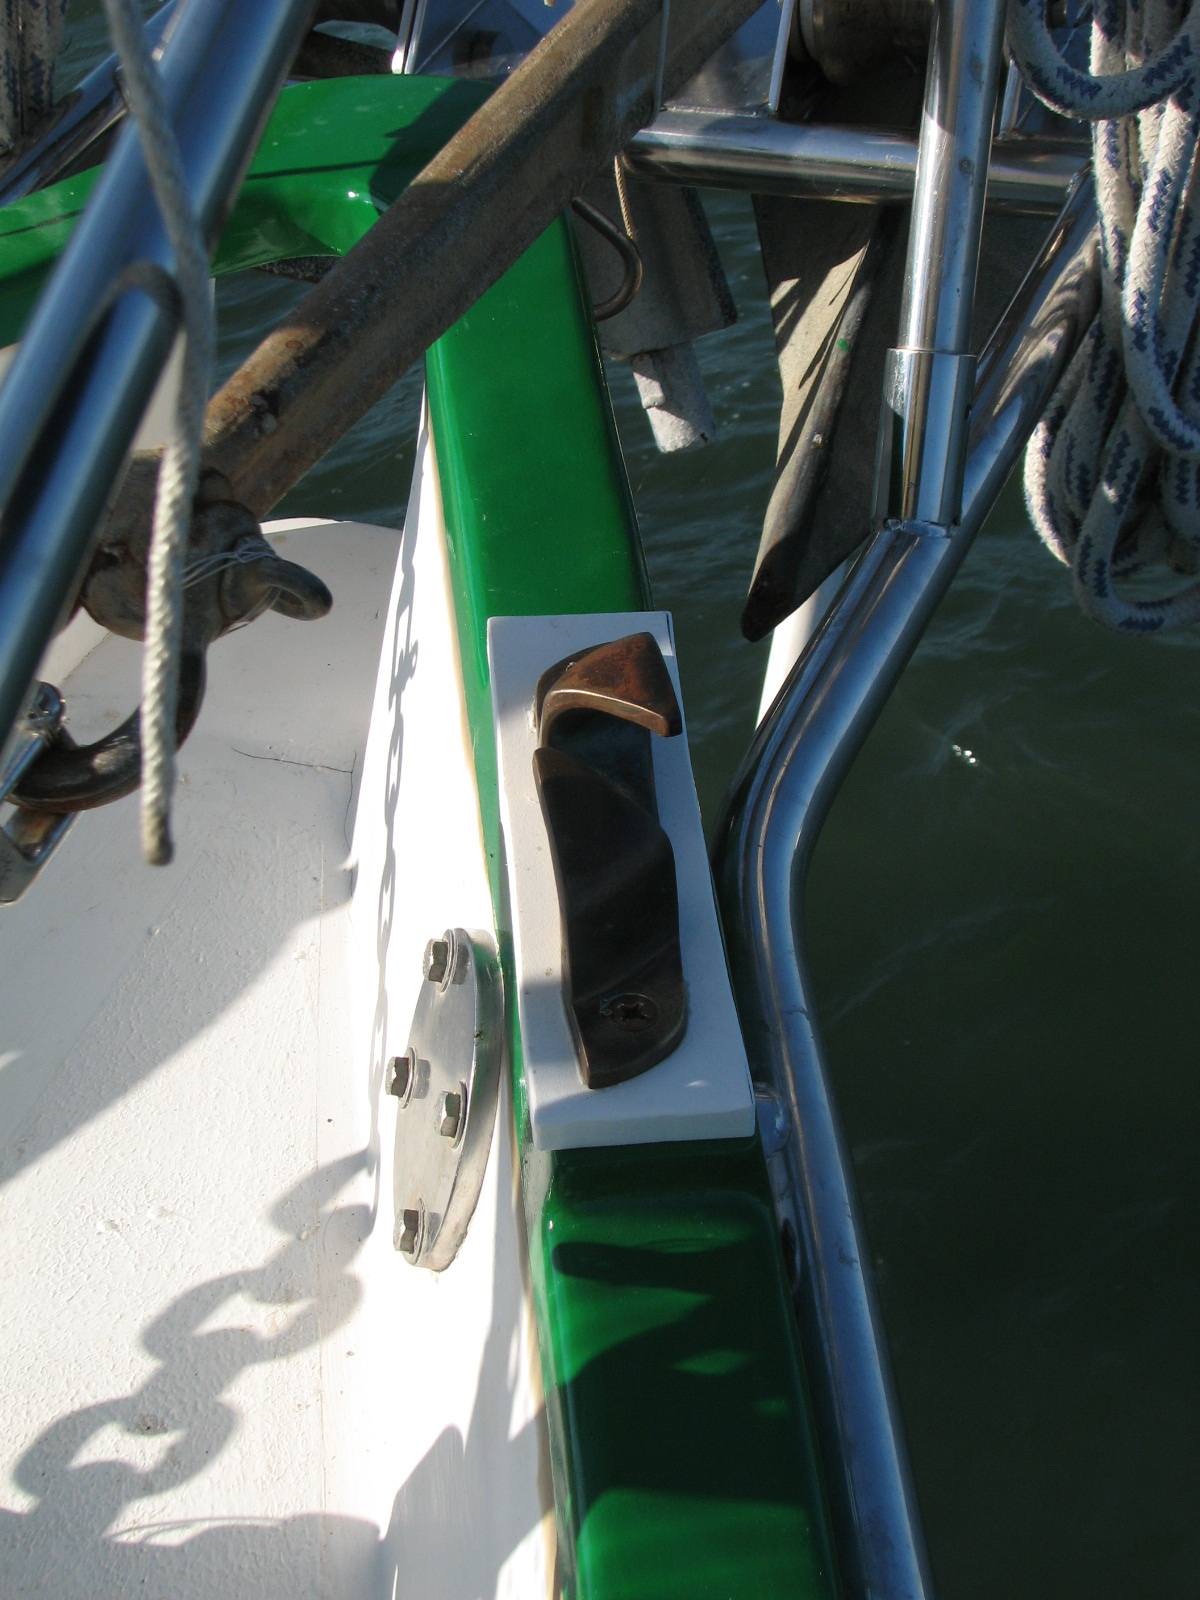
Most Forward Starboard
Chock With Sacrificial Starboard Between Chock And Cap Rail
November 25, 2010, Thursday.
Thanksgiving
Day, no work on Dream Away today.
November 24, 2010, Wednesday.
Went
into town to do some shopping and to get time on the telephone. The
cellular company was offering triple day to day, so took advantage of
that.
Sanded down the
lifting handle for the front deck box. I wiped down the handle and
applied the third coat of Cetol on the handle.
Finally got most of the hardware
back on the starboard side cap rail. I only need to install the Genoa
track, but it is not required to get the boat turned around to start on
the port side cap rail. I did realize one problem as I was installing
the chocks. When a line runs through any of the chocks, it is going to
wear on the new paint and fiberglass. I am going to have to put a small
piece of wood or Starboard under each chock as a sacrificial
piece for the lines.
Tomorrow will be a day off,
cooking Thanksgiving day turkeys. Friday I will get the sacrificial
pieces made, and hopefully by Saturday morning, I will get the boat
turned around and started on the port side cap rail.
November 23, 2010, Tuesday.
A
good productive work day, and also our daughter, Judy's,
birthday!
The sun was out, so started in
again on the installation of the starboard side cap rail hardware.
While I was there, I also tightened up the two starboard main mast
lowers. They were just a tad bit loose, so fixed that issue before it
became a problem. As I was drilling and tapping holes for the hardware,
it started to rain! Mad scramble to get all of the tools, and
electrical cord down below. Also had to rush to get the hatches closed.
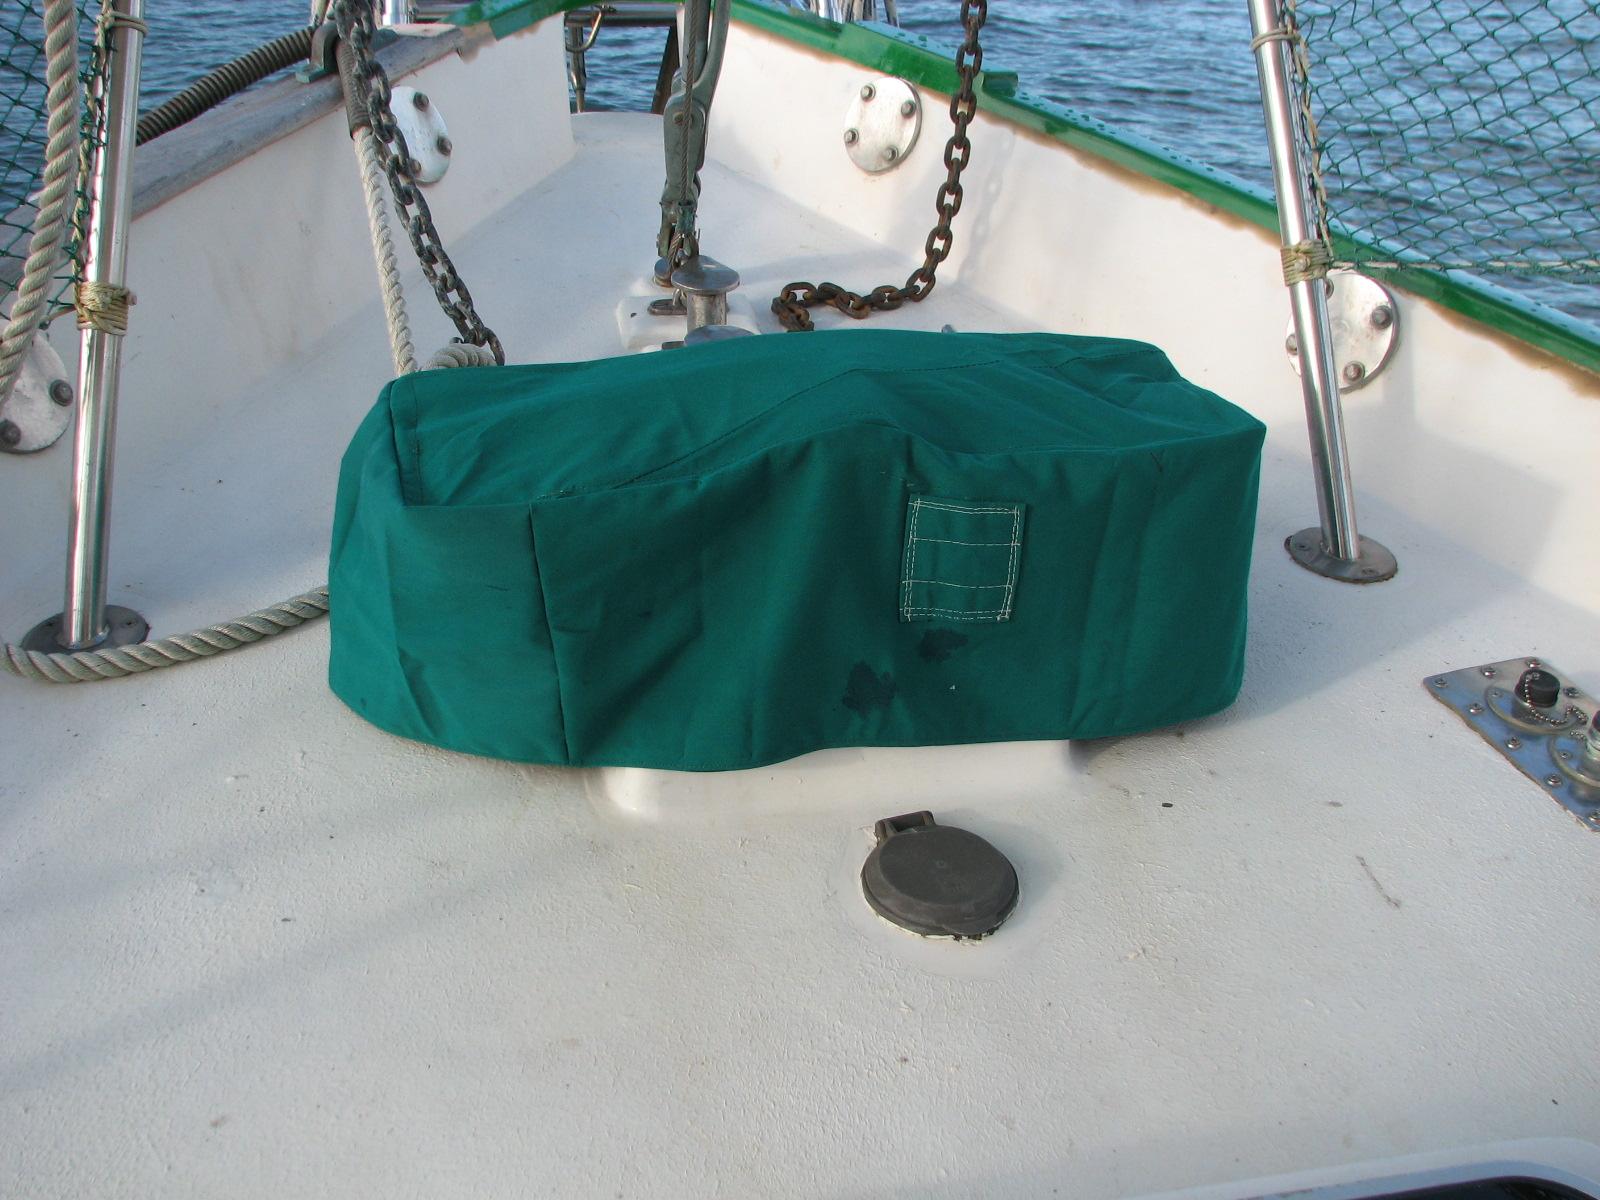
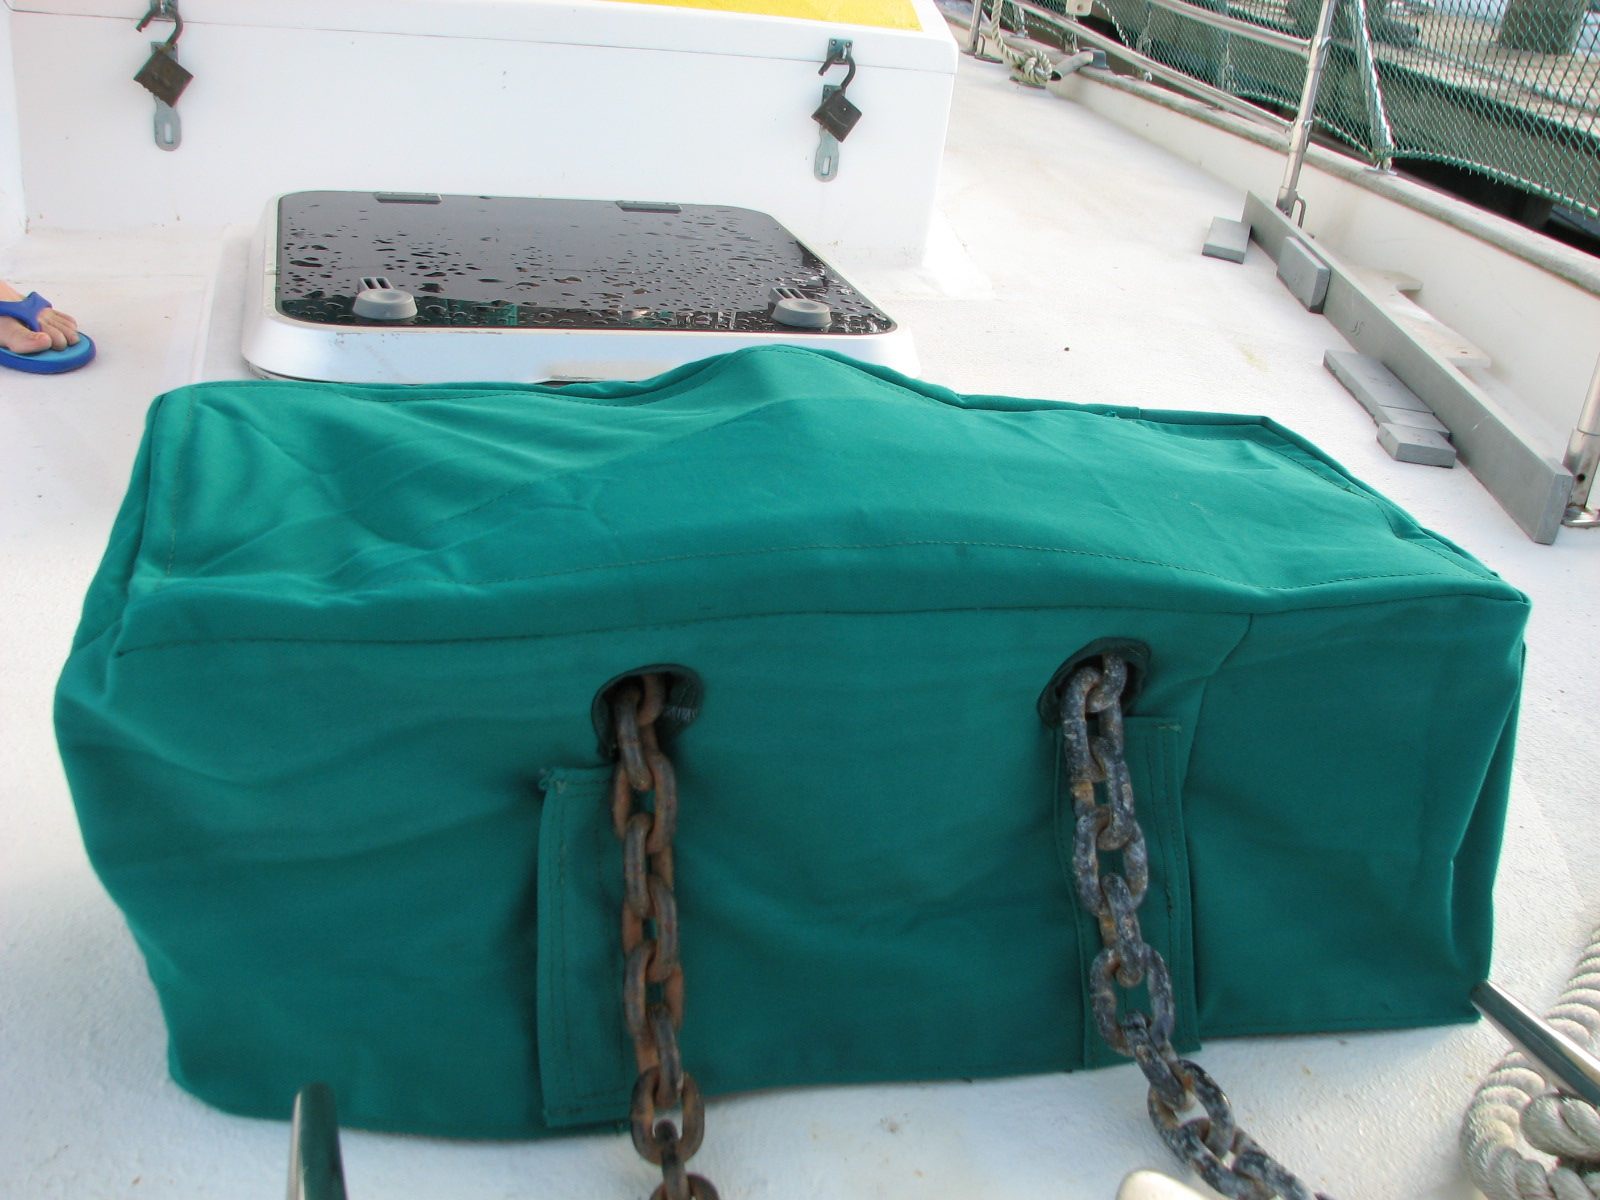
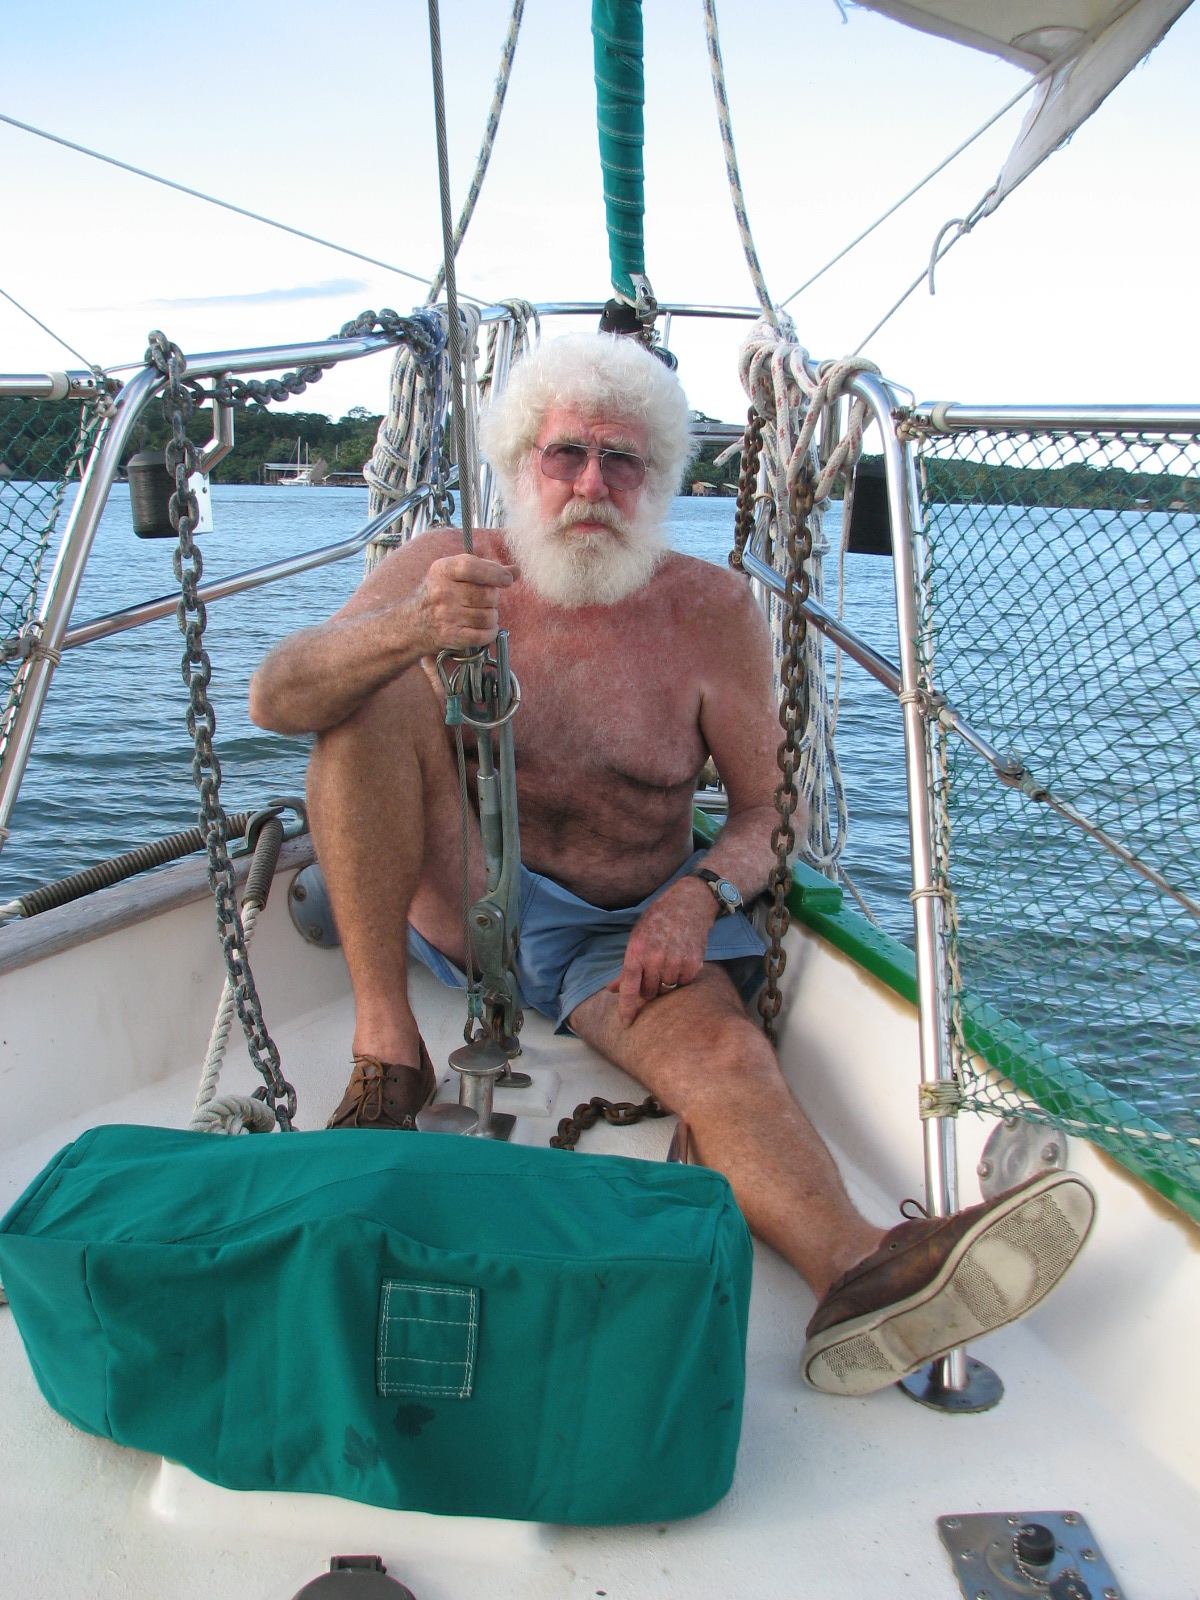
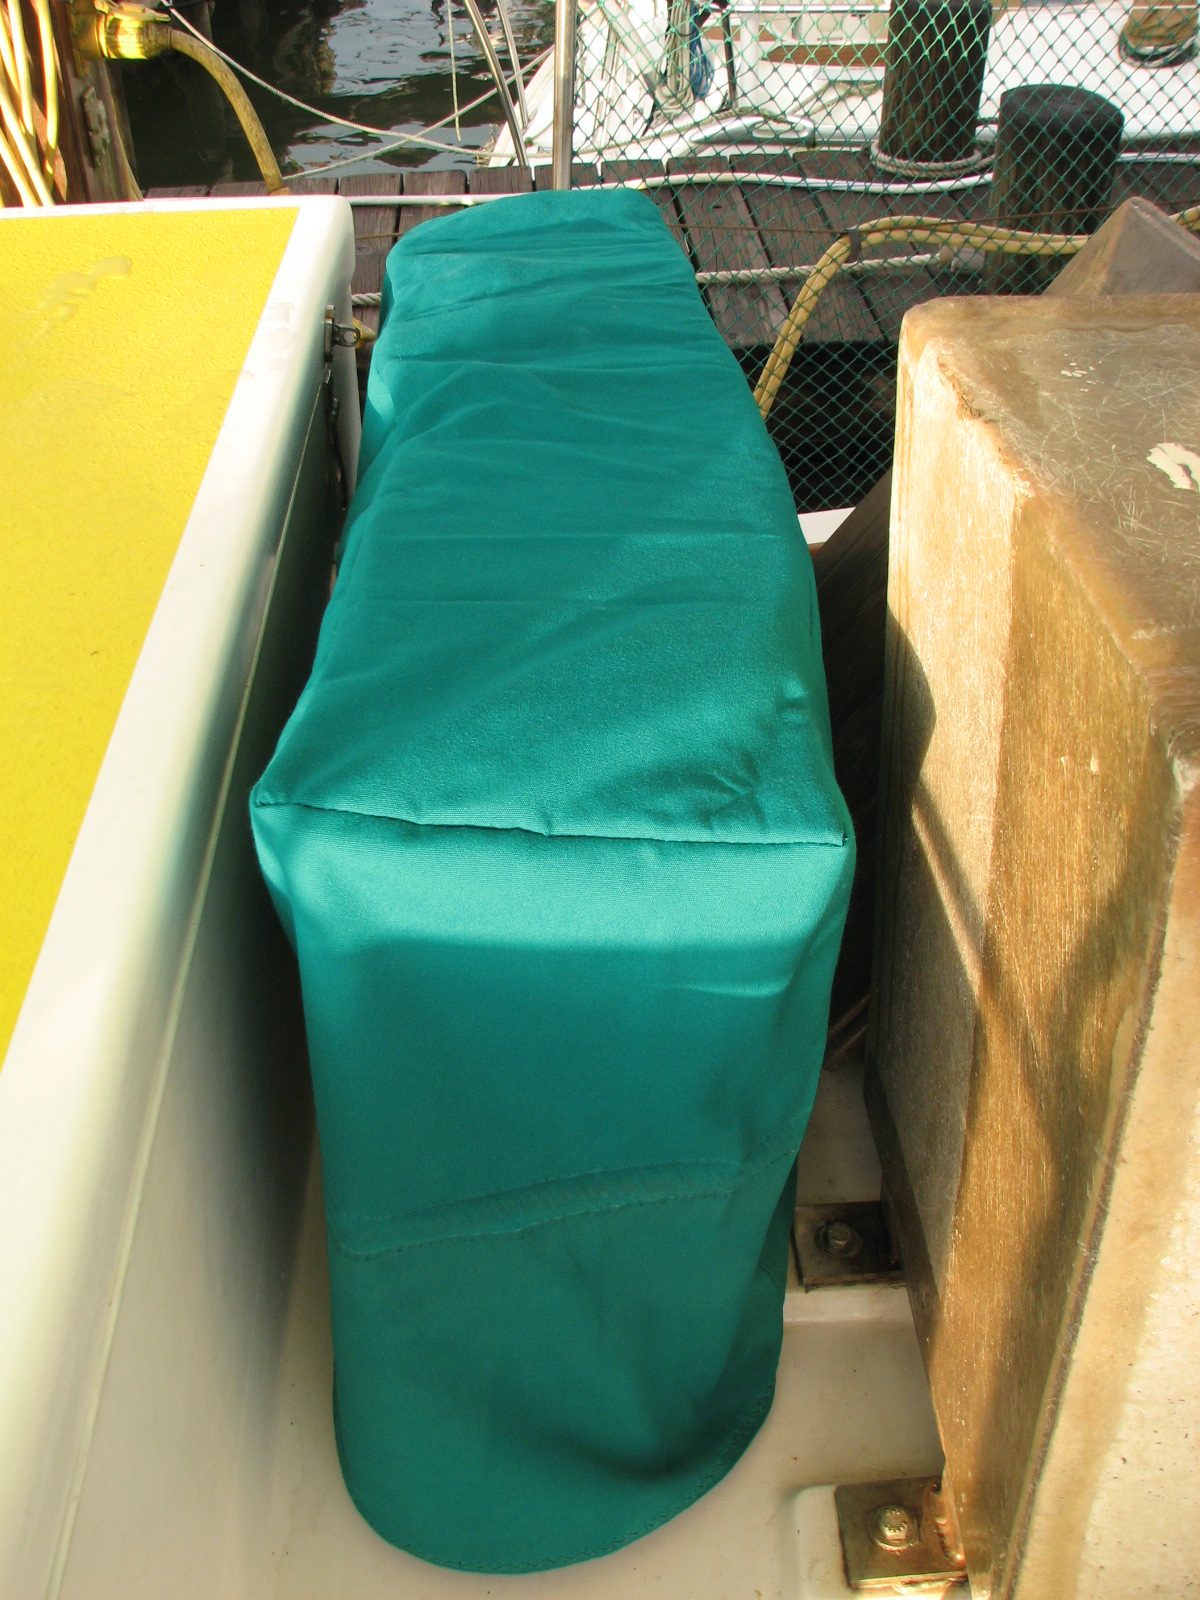
Back to the sewing projects. I
was able to get some pieces to use for the chain exit of the windlass
cover, so got the windlass cover completed and installed.
Back Of Windlass Cover
Front Of Cover With Hook
& Loop Covers And Chain Exit Holes
Captain (Tailor) With The Completed Anchor Windlass Cover
November 22, 2010, Monday.
Went
into town to grocery shop and get a standard household receptacle for
the Sharp Microwave. The weather was beautiful, so was
looking forward to a good day putting the starboard side deck hardware
back on Dream Away.
It was not to be, by the time we
returned to Dream Away, It had just started to rain. First on the list
was to remove the receptacle on loan from the marina
Back to the sewing projects. I finished the second oar pocket/holder on
the starboard side of the dinghy, so that project is complete.
Next is the cover for the Lighthouse 1501 anchor windlass. I got the
pieces measured and cut out. Since I am using various scraps for all of
these covers, it is a challenge to maximize the use of the material to
get the correct sized pieces. The good news is sewing together a couple
of pieces to make one big piece is easy, because they are all straight
seams. I got the basic windlass cover cut out and sewn together. Now
the challenge will be to make holes in the material to allow the anchor
chain passage through the cover, and to make tie downs of some sort so
the cover will not blow away. I will probably use hook & loop for
the tie downs. Not sure when I will get back to this project, as I am
hoping for good weather tomorrow to get the hardware put back on Dream
Away.
November 21, 2010, Sunday.
Another rainy day in paradise, so it was back
to the sewing projects. I got the pieces cut out for the boarding
ladder cover, and got it sewn together. It looks pretty good, and will
keep the sun off of the ladder when on deck.
Starboard Side View Of Boarding Ladder Cover
Port Side View Of Boarding Ladder Cover
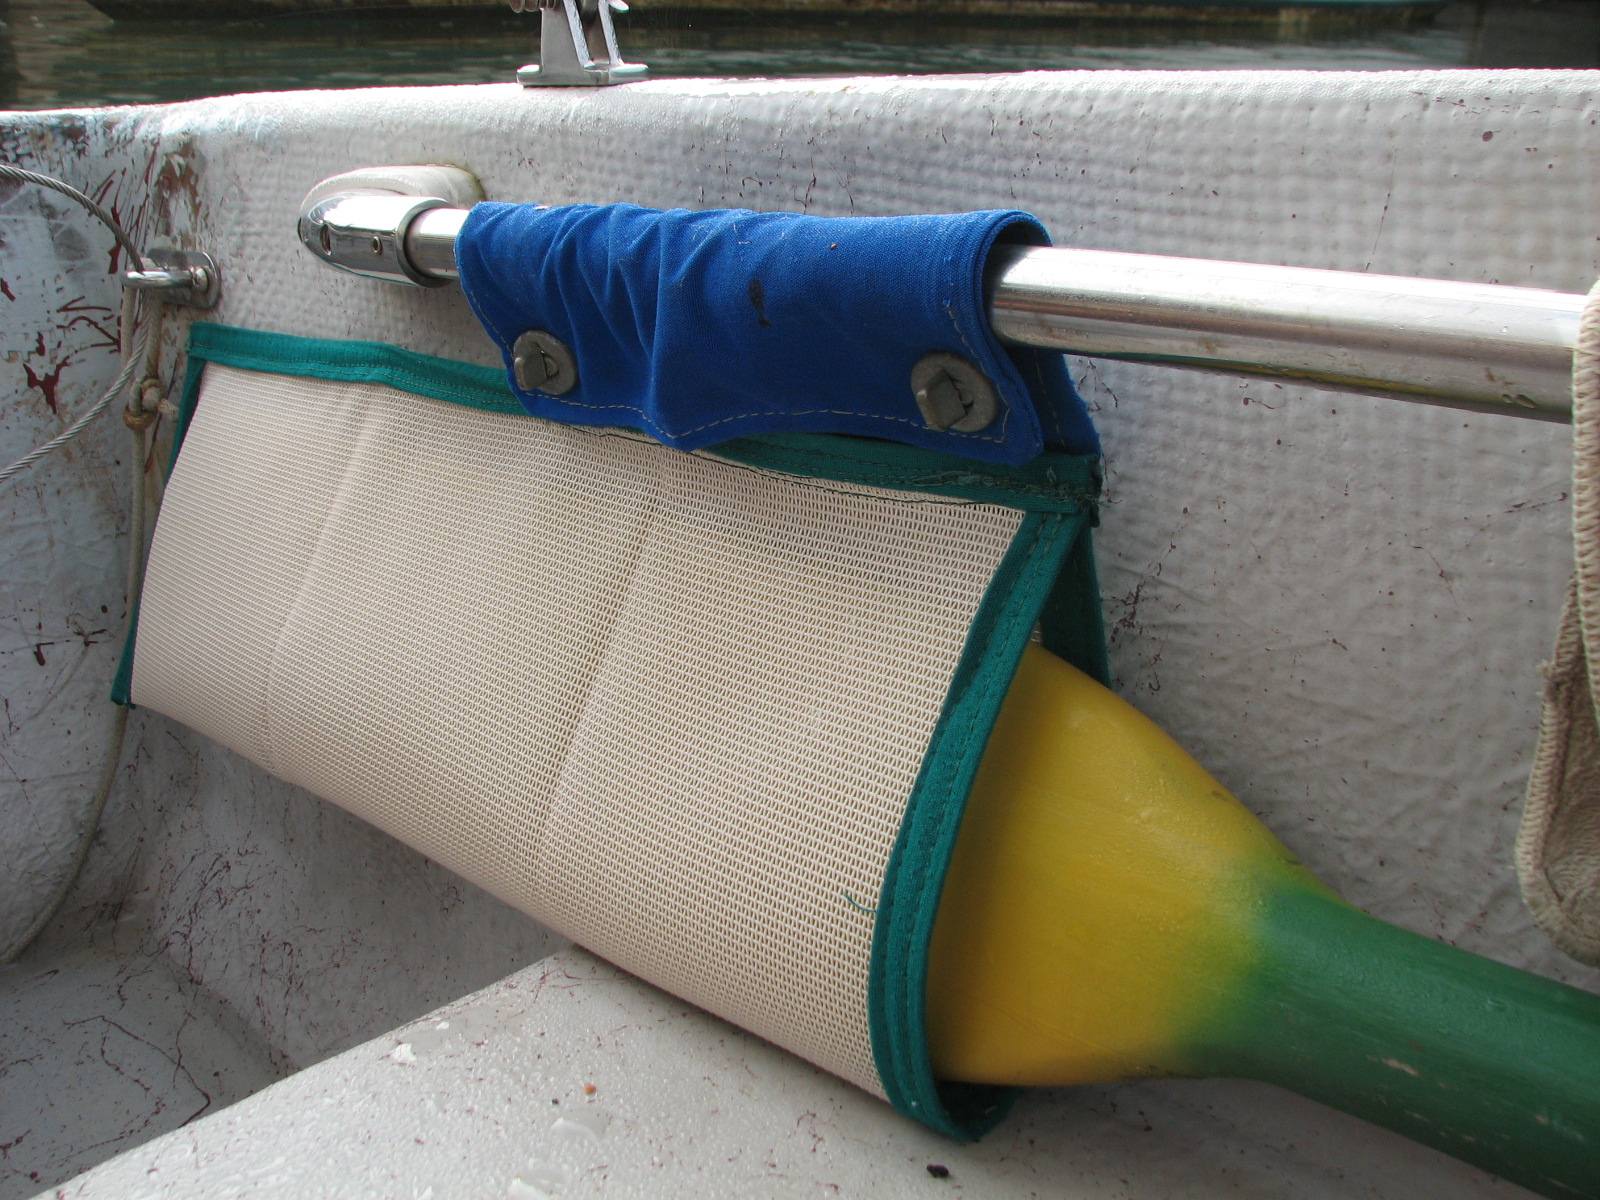
I also started on another sewing
project. In the dinghy there are holders or pockets that hold the end
of the oars off of the bottom of the dinghy. The actual pockets were
deteriorating because of UV, so needed to be replaced. I had some spare
sun shade material, so decided to use it to replace the pockets/holders
for the dinghy oars. I got one made and on the dinghy before happy hour.
Dinghy Oar Cover/Holder
A problem reared its ugly head
with our Sharp Microwave. We had to take
apart the shelf above the microwave to get to the GFCI
receptacle, because the circuit breaker was tripping. We discovered
that every time we opened the door to the microwave the GFCI
circuit breaker would trip, very annoying! I was able to borrow a
standard receptacle from the marina, so we were able to get through the
day. I modified the shelf just above the microwave to make it easier to
get to the GFCI receptacle.
Kitty made some, from scratch,
Parker House rolls as a practice run for our Thanksgiving meal this
coming Thursday. She presented them hot at our happy hour for all to
test, and it was unanimous, very good! In fact we encouraged Kitty to
make another batch each day until Thursday, to make sure she was doing
it right. Not sure if we made any progress with our request, as it took
her about four hours to make the rolls. The rolls went fast, and I did
not have my camera, so I have no photos!!
November 20, 2010, Saturday.
As
predicted, it was another rainy day, with a couple of spots of
sunshine. I got out the sewing machine, and finally finished the last
Jerry Jug cover. Could not find a problem with the sewing machine.
Looked up the video for lubricating the sewing machine, and did a
complete lubrication on the unit, and also cleaned the machine. I then
took the measurements for the boarding ladder cover and the windlass
cover. I was able to find a couple pieces of material to use for the
boarding ladder cover. I got that all measured out and ready to cut.
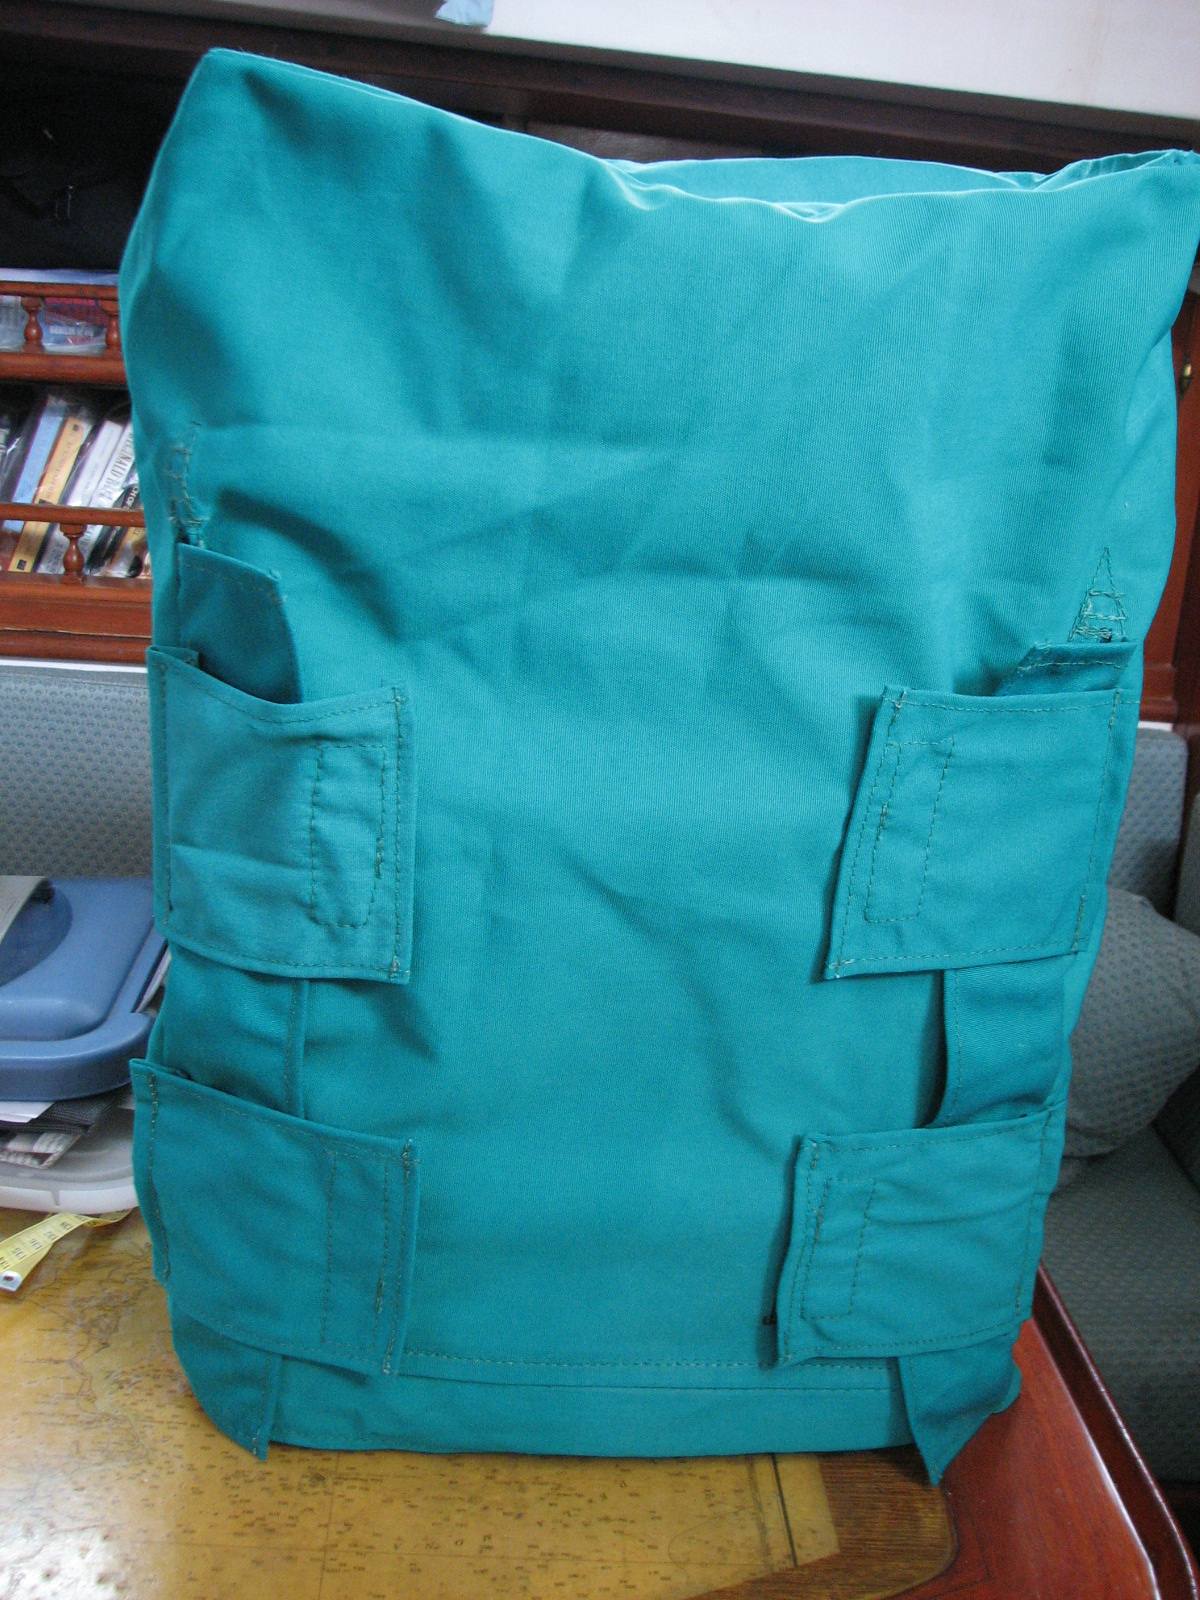
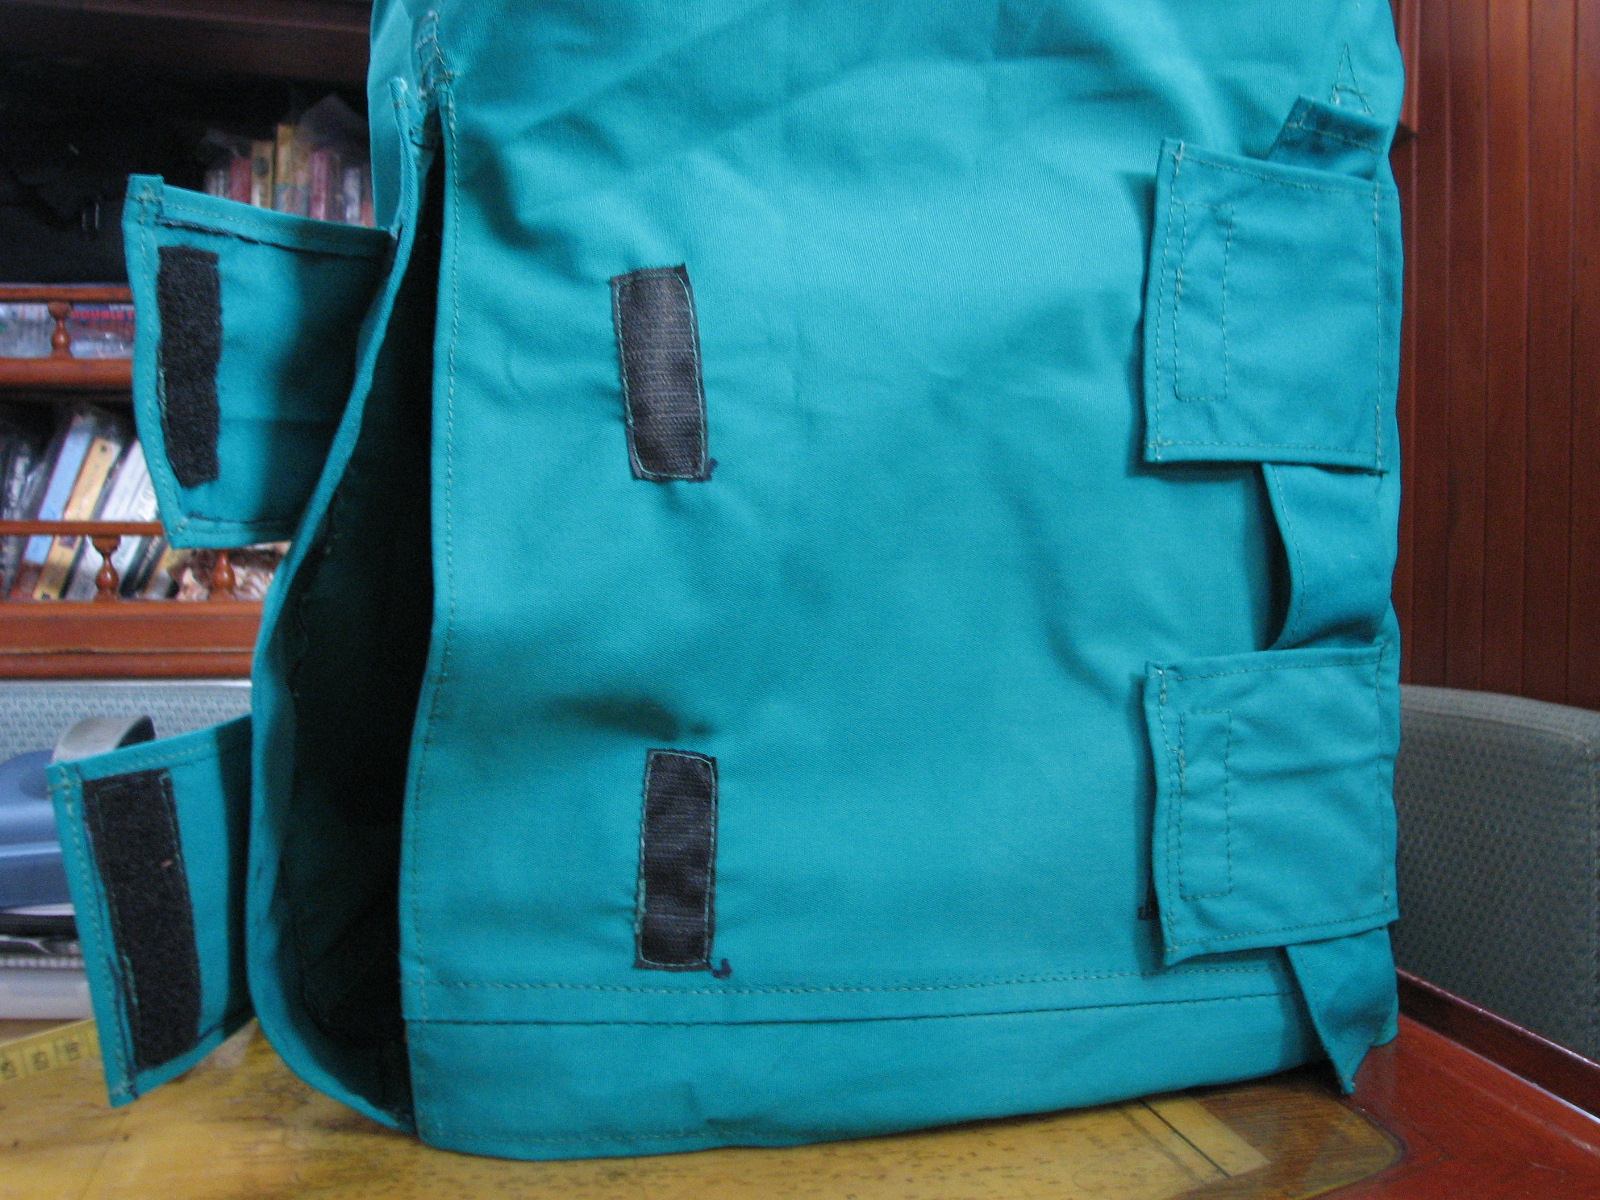
Completed Diesel Jerry Jug Cover
Completed Jerry Jug Cover Showing Hook & Loop Hold Downs
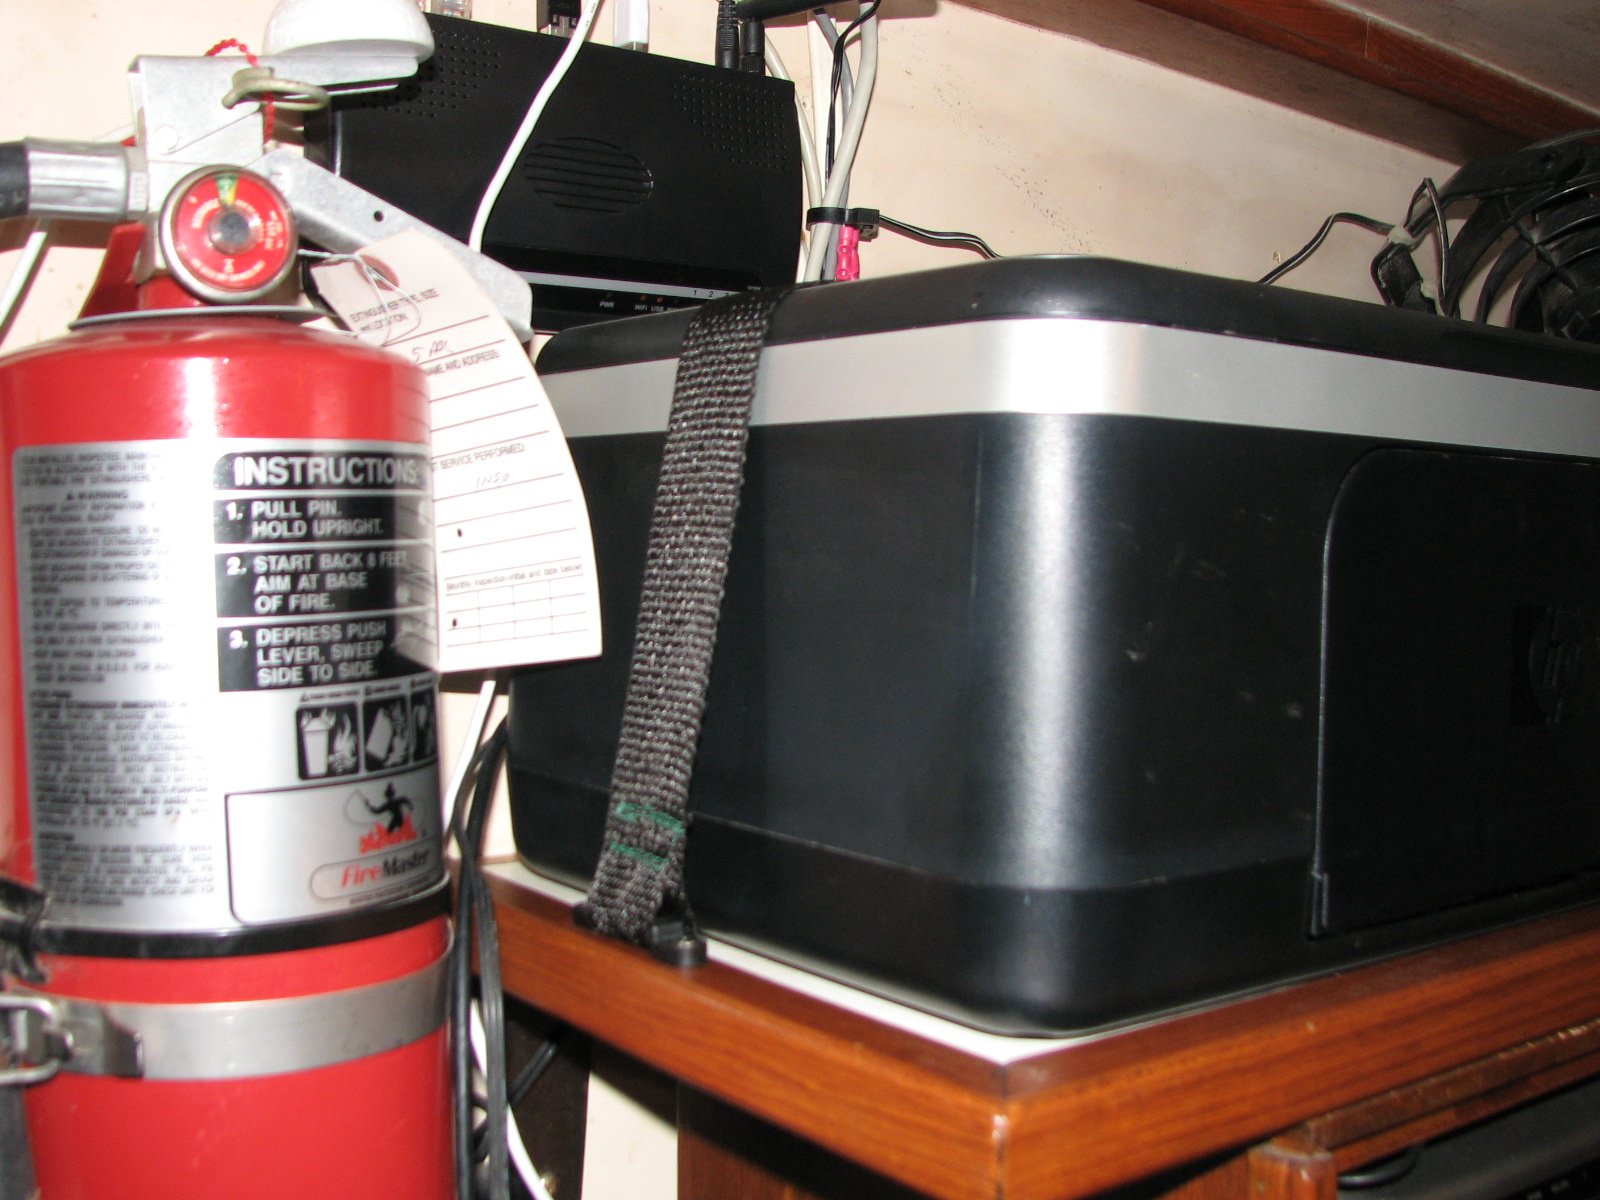
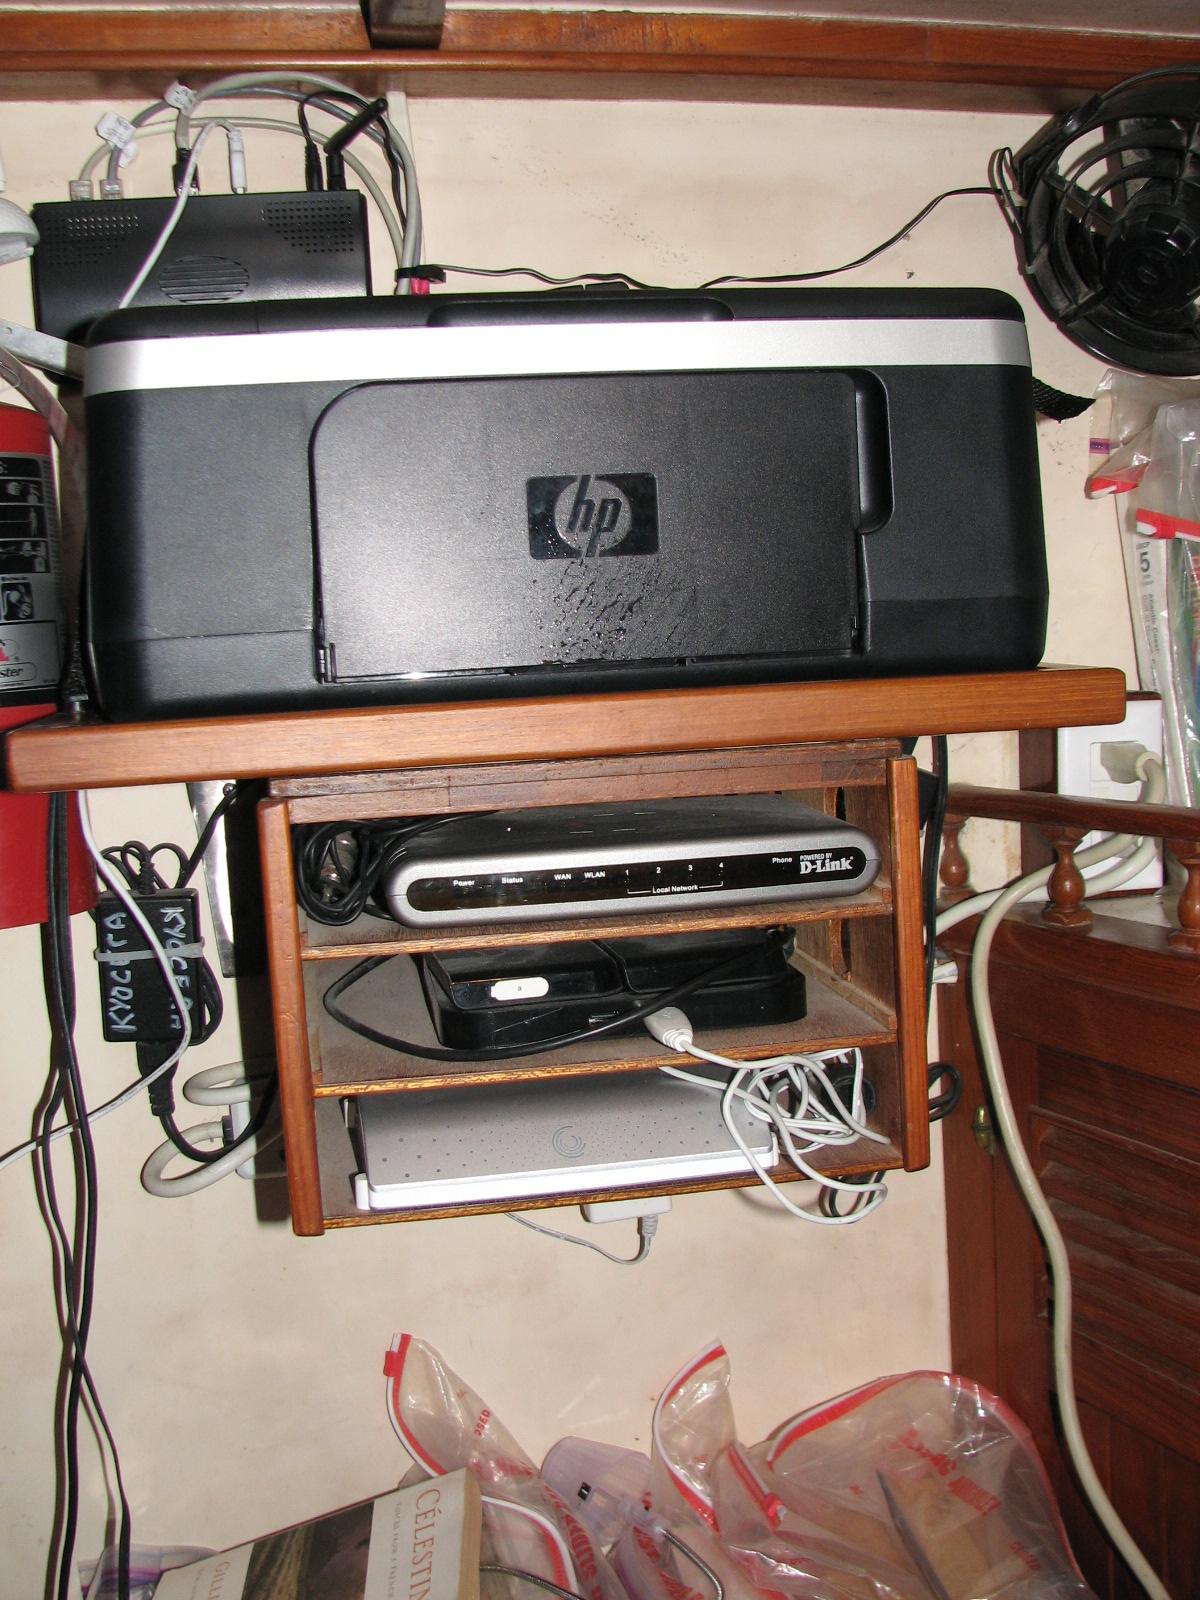
I then sewed up a couple of hold
down straps for the HP printer in the computer
electronics area. When we made the passage earlier this year to Roatan,
the printer fell off of it's shelf, and broke the paper tray, but
otherwise the printer worked just fine. I decided to prevent this from
happening again by using the hold down straps.
Hold Down Strap On HP Printer On Printer Shelf
Printer Shelf On Top Of Other Computer Electronics
November 19, 2010, Friday.
A
front came down from the States, so it rained all day. Sewing gear back
out and working again on the Jerry Jug covers. Finally got to the last
Jerry Jug cover, but had a problem with the machine. It was dark and
the light was not good so put all of the gear away. I will probably
finish the last Jerry Jug cover tomorrow, because it is supposed to be
very wet and rainy tomorrow. If I ever finish the Jerry Jug covers, I
can start in on the windlass cover, outboard covers, and the boarding
ladder cover.
November 18, 2010, Thursday.
Went
into Fronteras to grocery, vegetable, and paint shop. By the time we
got back to Dream Away it was starting to rain. Got out all of the
sewing gear, and started in on the Jerry Jug covers.
November 17, 2010, Wednesday.
Took the day off.
Kitty and I went to Morales with the Monkey
Bay marina manager. Had a great time!!
November 16, 2010, Tuesday.
Started the day by cutting all of the 5/16" bolts I will be using to
attach the Genoa T-Track to the starboard side cap rail. Also gathered
up all of the hardware to be put back on the starboard side cap rail.
This is all of the chocks, the fittings for the stanchion supports, and
the fasteners to attach all of the parts.
I
attached one of the chocks and three of the stanchion support fittings.
I am using bolts rather than screws, so each hole had to be drilled
out, then tapped. Because the drilled holes do not go all of the way
through the hull to deck joint, I could use the tap for five to seven
turns, then back the tap out, vacuum out the hole, then back with the
tap for five to seven more turns. Took a lot more time to get the
hardware on than I expected, but the job is being done right, and so
far it looks good.
November 15, 2010, Monday.
Went
up to he shop here at Monkey Bay and sanded down
the oar I had put the thinned epoxy on, and sanded down the lifting
handle for the front deck box. I wiped down the handle and applied the
second coat of Cetol on the handle.
Applied one coat of Nyalic
on the starboard cap rail and shear stripe. Do not have a lot of Nyalic
left, so only applied one coat. When I finish the port side cap rail
and shear stripe, and apply two coats to it, hopefully I will have
enough Nyalic to apply
a second coat to the starboard cap rail and shear stripe.
When the coat of Nyalic
dried, I removed all of the masking tape and paper on the starboard
side. Bearing in mind my 36" rule, the starboard cap rail and shear
stripe look pretty good.
I added 5 gallons of diesel fuel
to the port fuel tank. I poured my 1 gallon of "Good Diesel" into the
port tank, and put fresh diesel into the "Good Diesel"
jug. I keep a gallon of known good diesel just in case of some
emergency. I also use it when I change filters, and have to top off the
filter housing. I also poured about two pints of used vegetable oil
into the port fuel tank.
November 13, 2010, Saturday.
Day
started off raining, so got out the sewing gear and continued with the
Jerry Jug covers. I am getting them done, but it seems slow!!
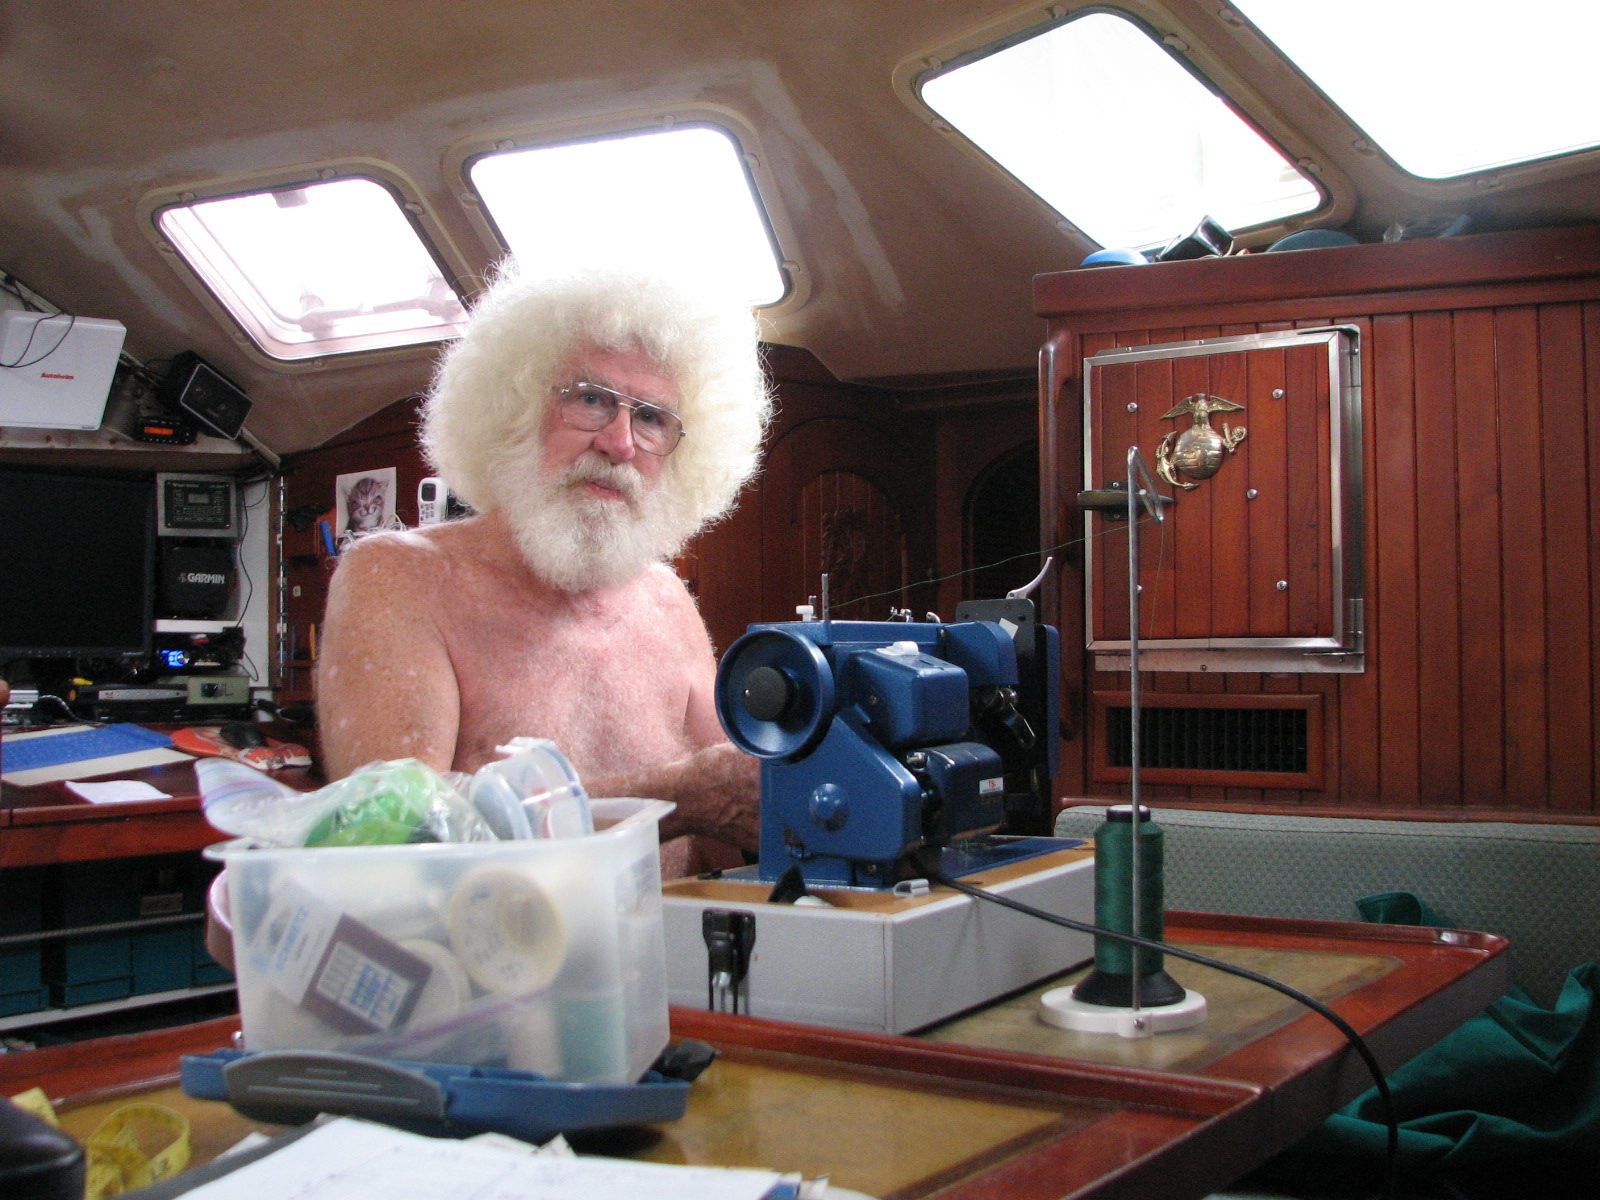
Captain Hard At The Sewing Machine
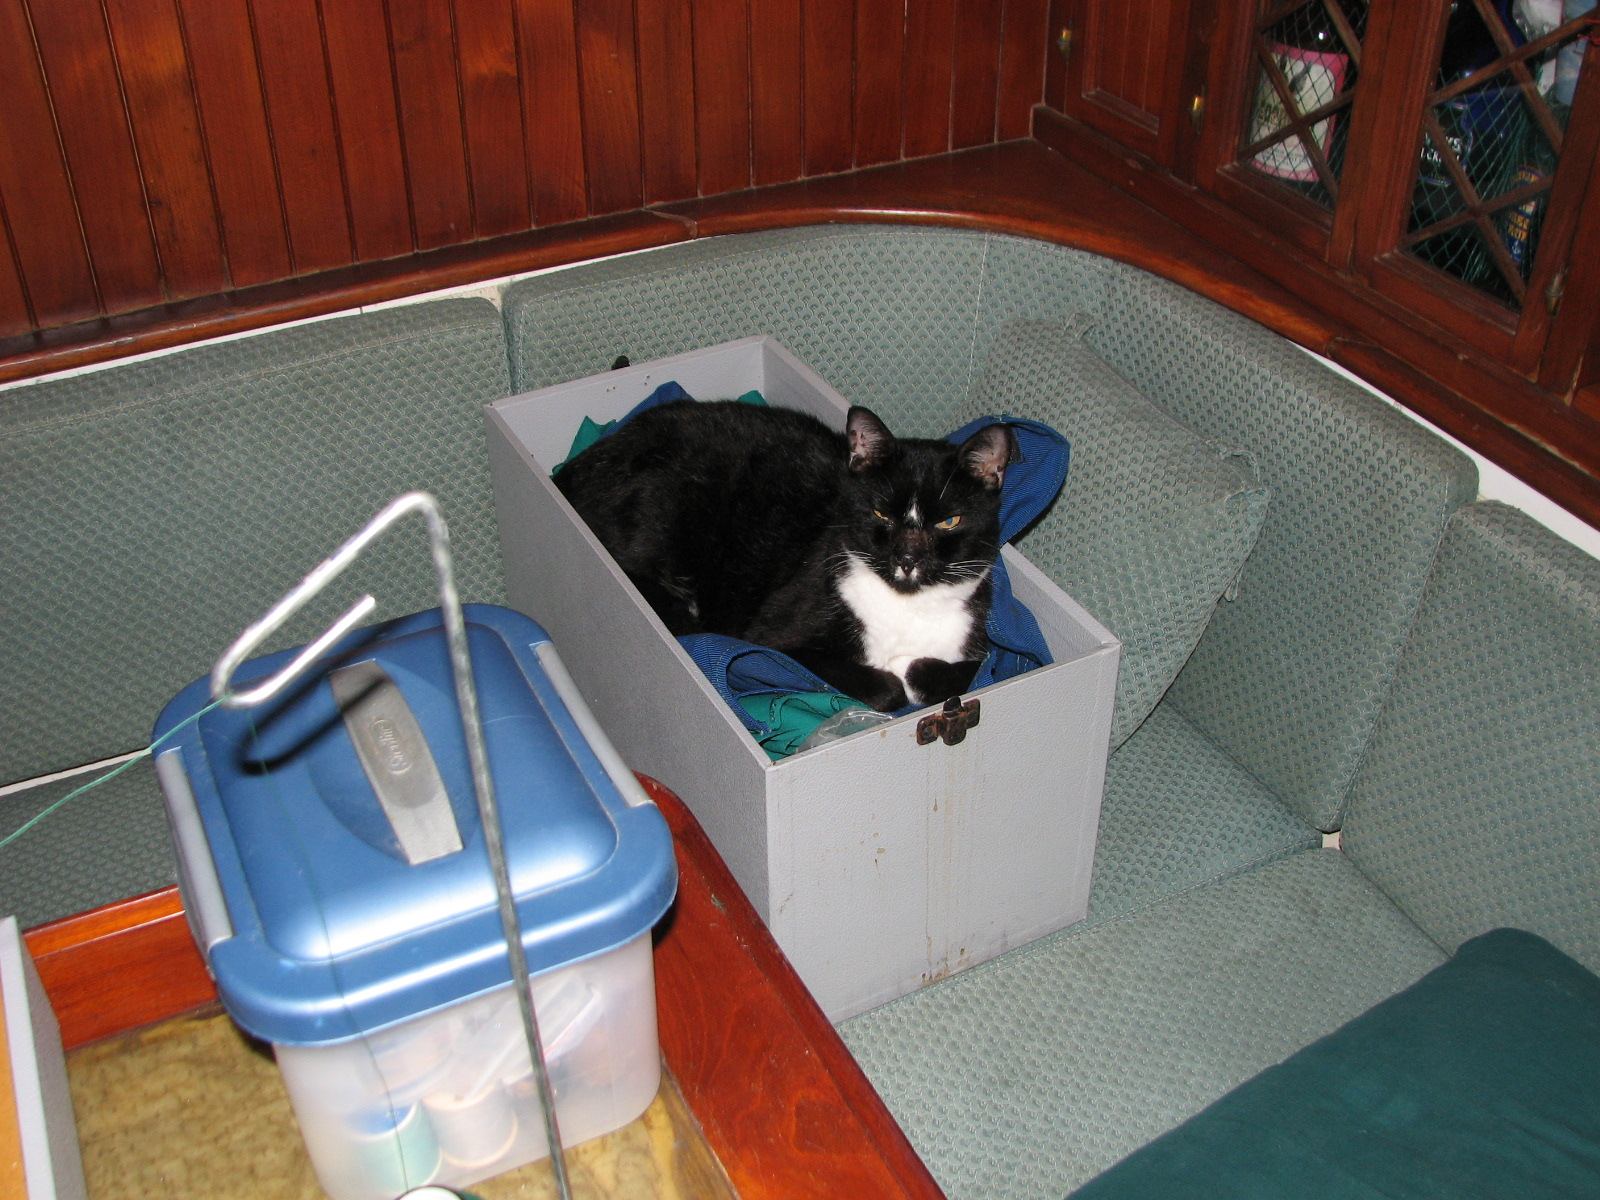
Sewing Helper Hard At It!!
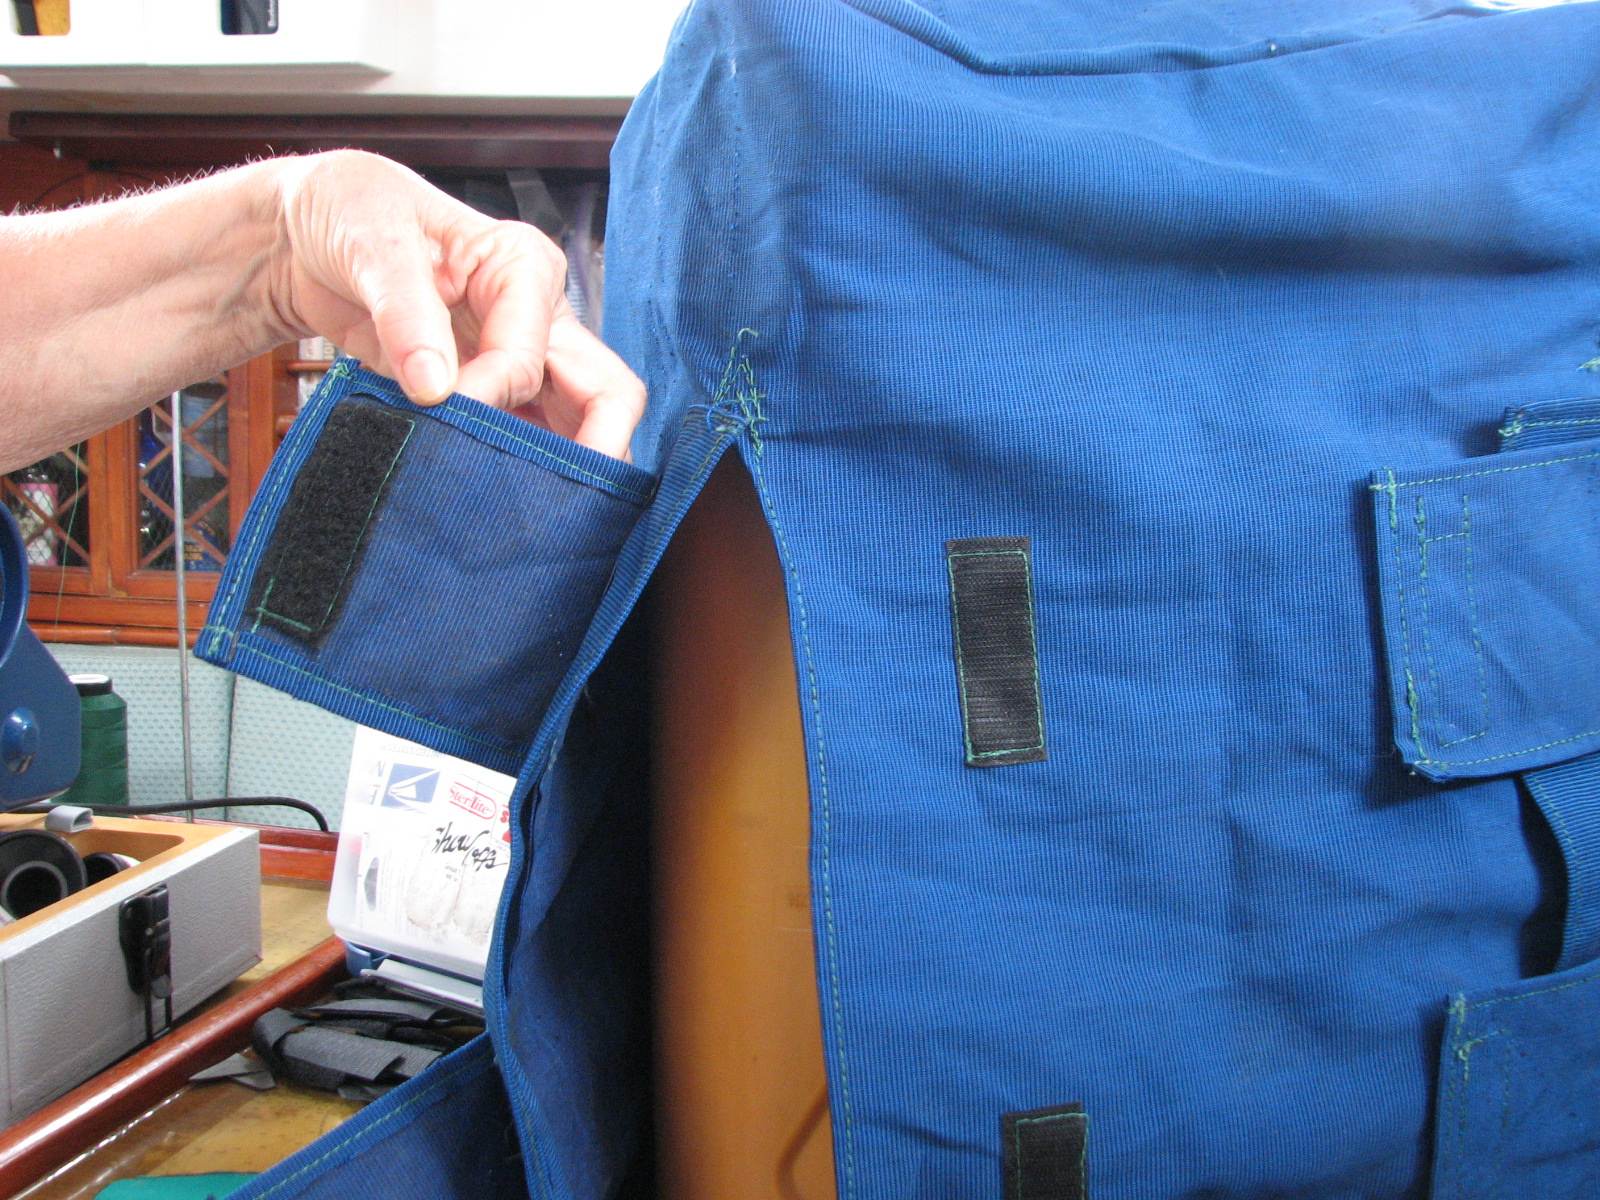
Jerry Jug Cover Showing Hook And Loop Tabs
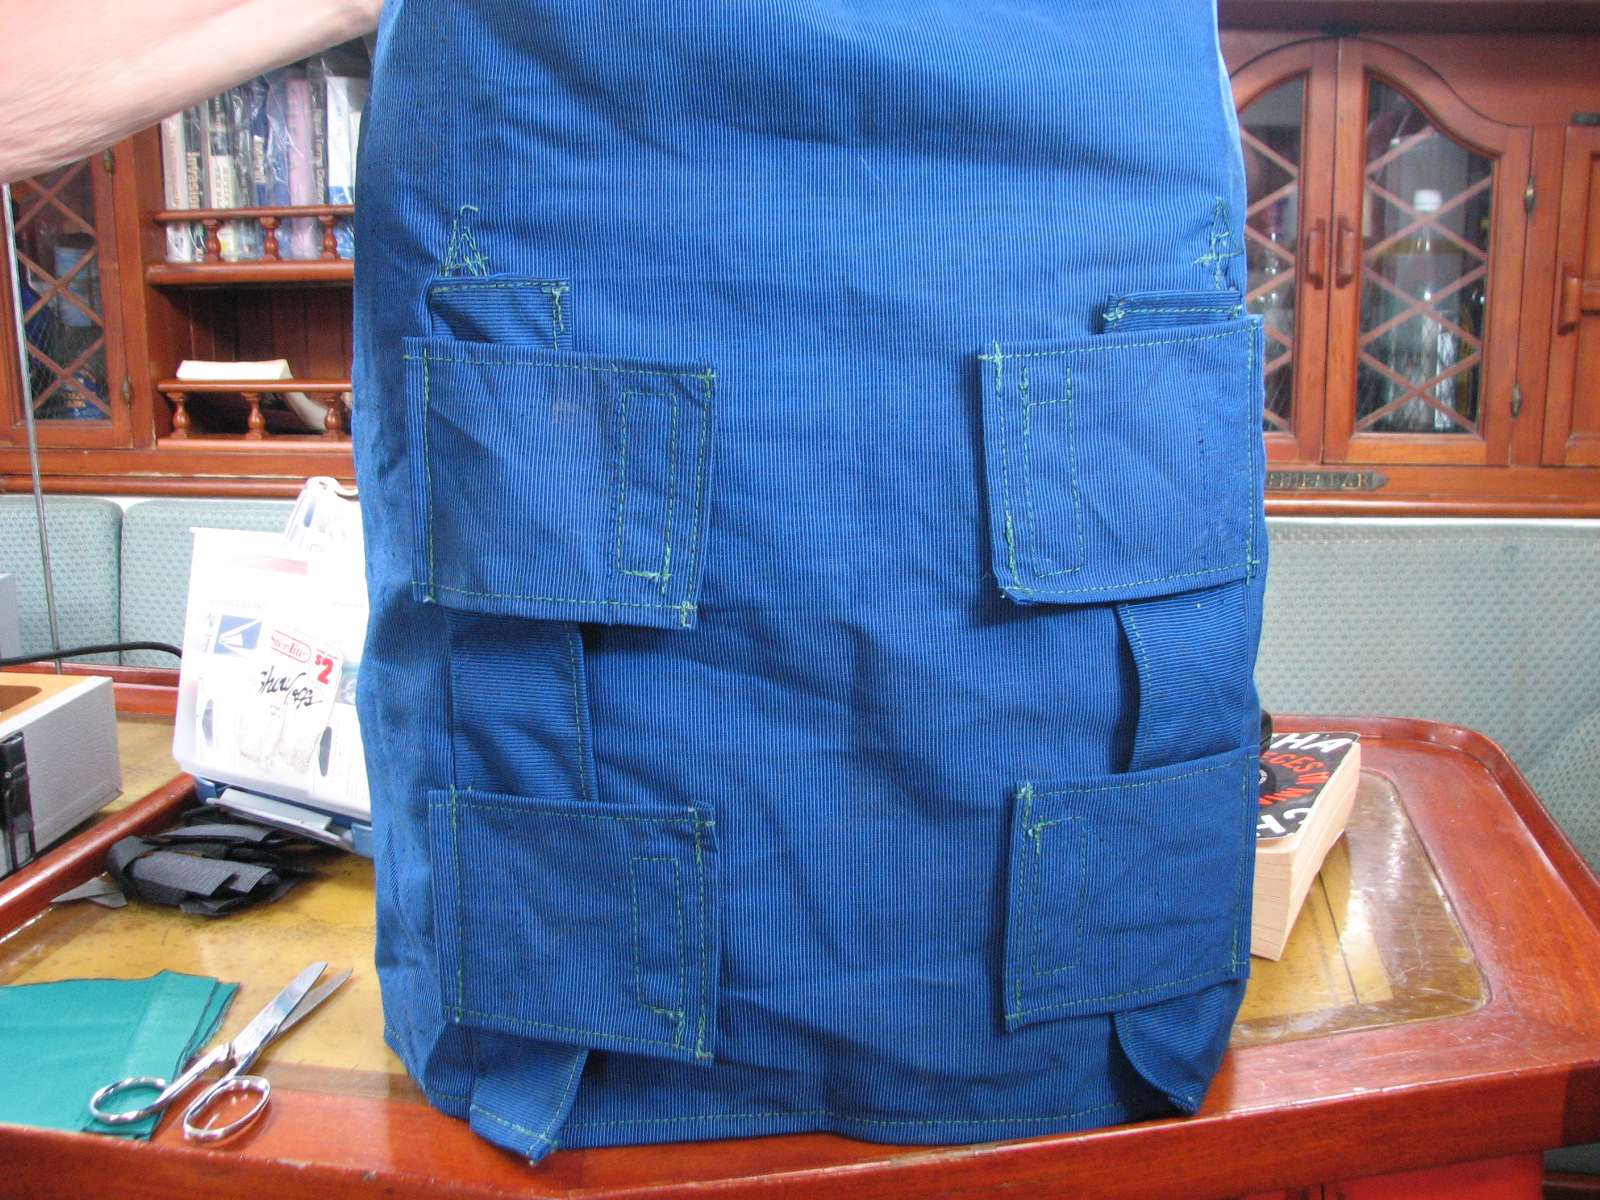
Finished Product On A Jerry Jug
By noon, the day was looking
good, and the sun was out. Got everything together, and applied the
second coat of Easypoxy Kelly Green to the
cap rail and shear stripe. The plan is now to let the paint dry for 48
hours, and then apply the two coats of Nyalic. When that dries, remove the
masking tape, and install the hardware.
November 12, 2010, Friday.
Another
rainy day, so did not get the second coat of paint on the cap rail,
shear stripe.
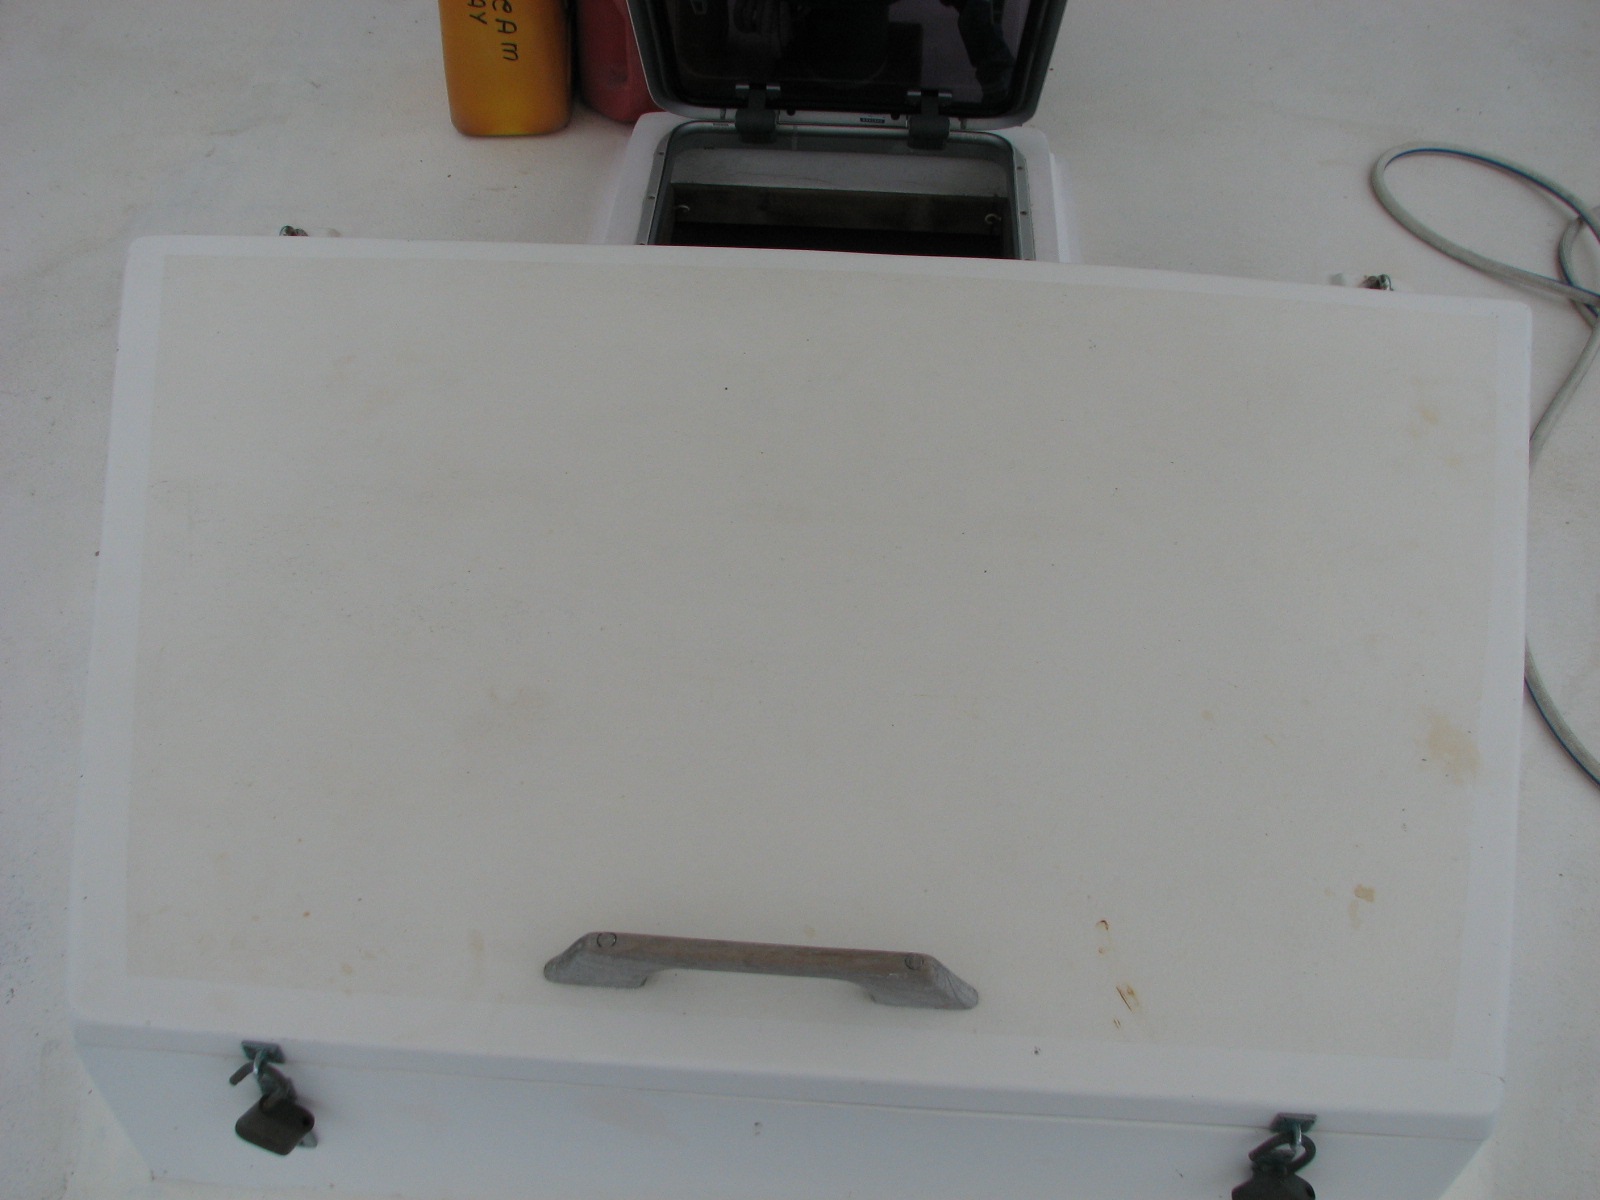
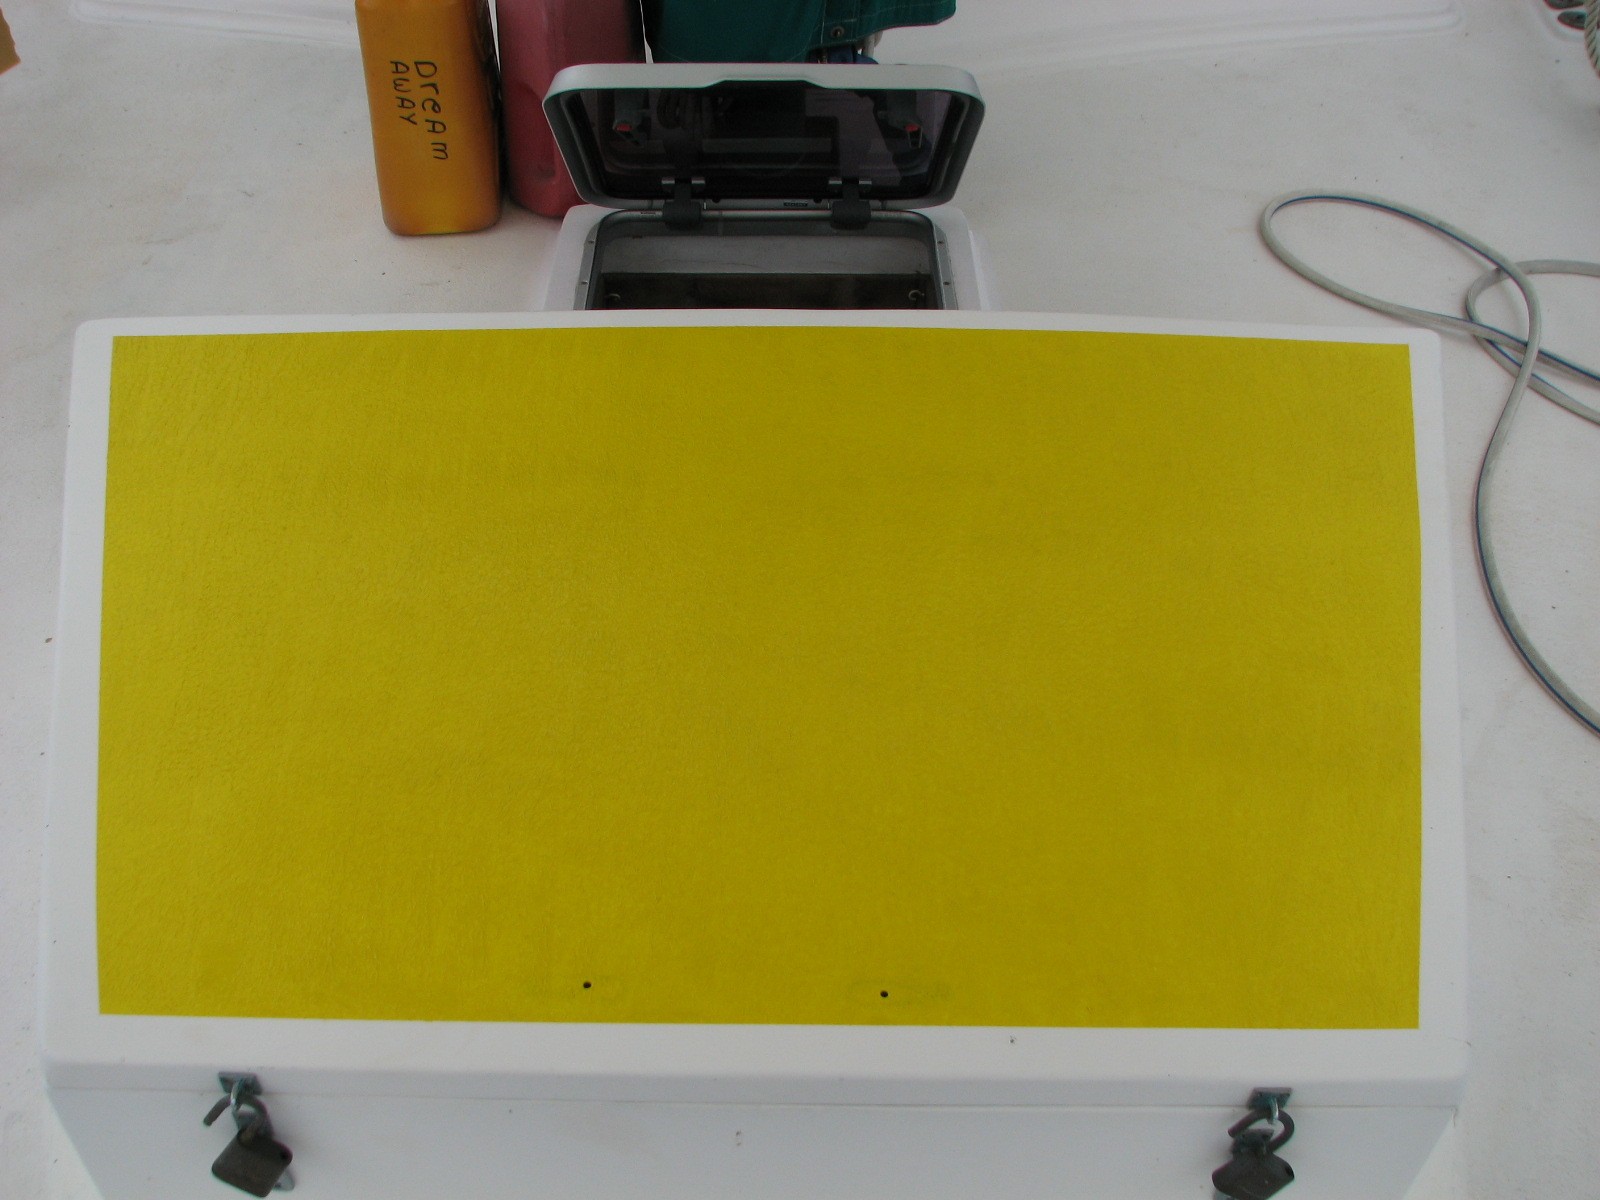
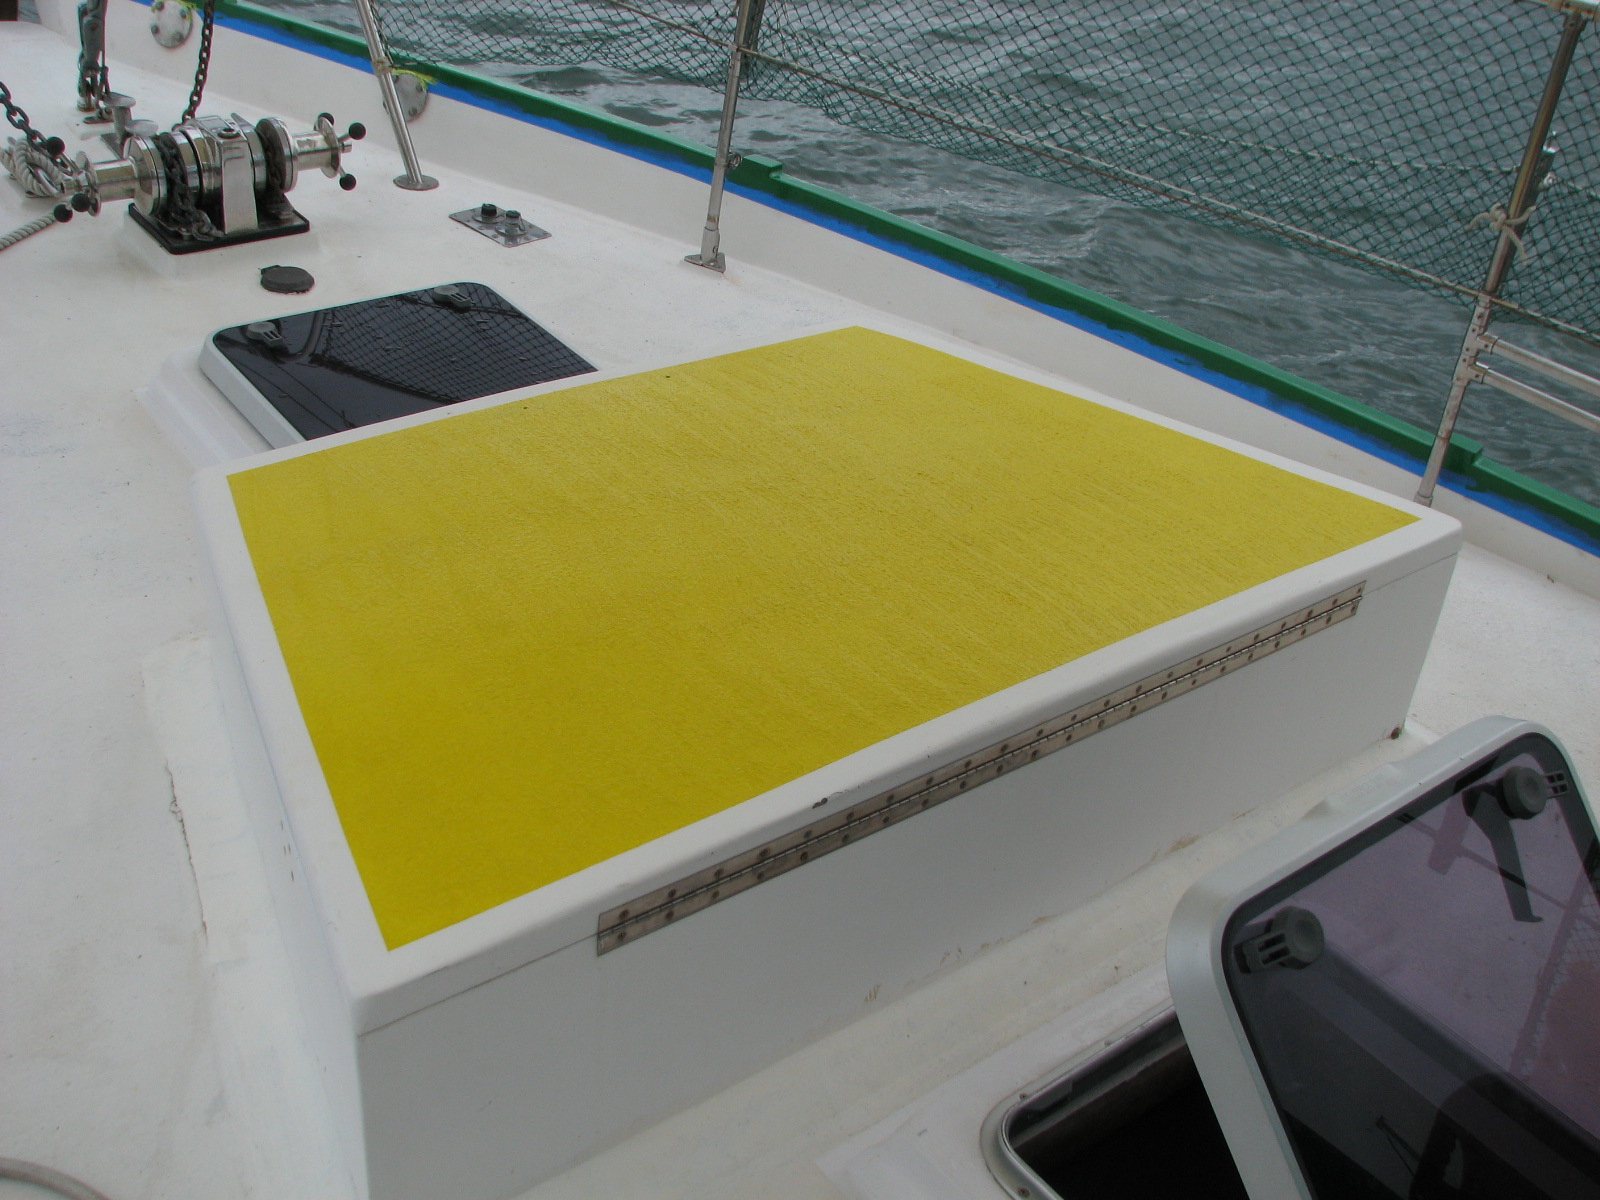
Masked off the area on the
forward deck box to roll on the non-skid gelcoat. Mixed up two 5 ounce
pots of the thickened, waxed gelcoat, and rolled it on the forward deck
box. waited about four hours, and brushed on the PVA wax. about an hour later it rained.
Forward Deck Box Lid Before Masking And Gelcoating
Forward Deck Box After Application Of Non-Skid Gelcoat
Forward Deck Box After Application Of Non-Skid Gelcoat
Mixed up some
epoxy, thinned it out with acetone and painted it on the second
side of the oar. Also put the first coat of Cetol on the forward deck box
handle. Must purchase some good exterior paint for the dinghy oar.
Got out the sewing machine and
continued sewing on the Jerry Jug Covers. Sewing is my usual rainy day
project. The Jerry jug covers are a lot of work because there are so
many small parts to be sewn together. It is much easier to sew large
items with long seams.
November 11, 2010, Thursday.
A wet rainy day, so no second
coat today on the cap rail. Ran the generator for three hours, and ran
a full cycle on the battery charger.
Took one of the oars out of the
dinghy, and stripped all of the paint off, and sanded down to bare
wood. Mixed up some epoxy, thinned it out with acetone and
painted it on the oar. Also, stripped down the handle for the forward
deck box, getting it ready for Cetol.
November 10, 2010, Wednesday.
Going
to try and keep this up for all to see. Was able
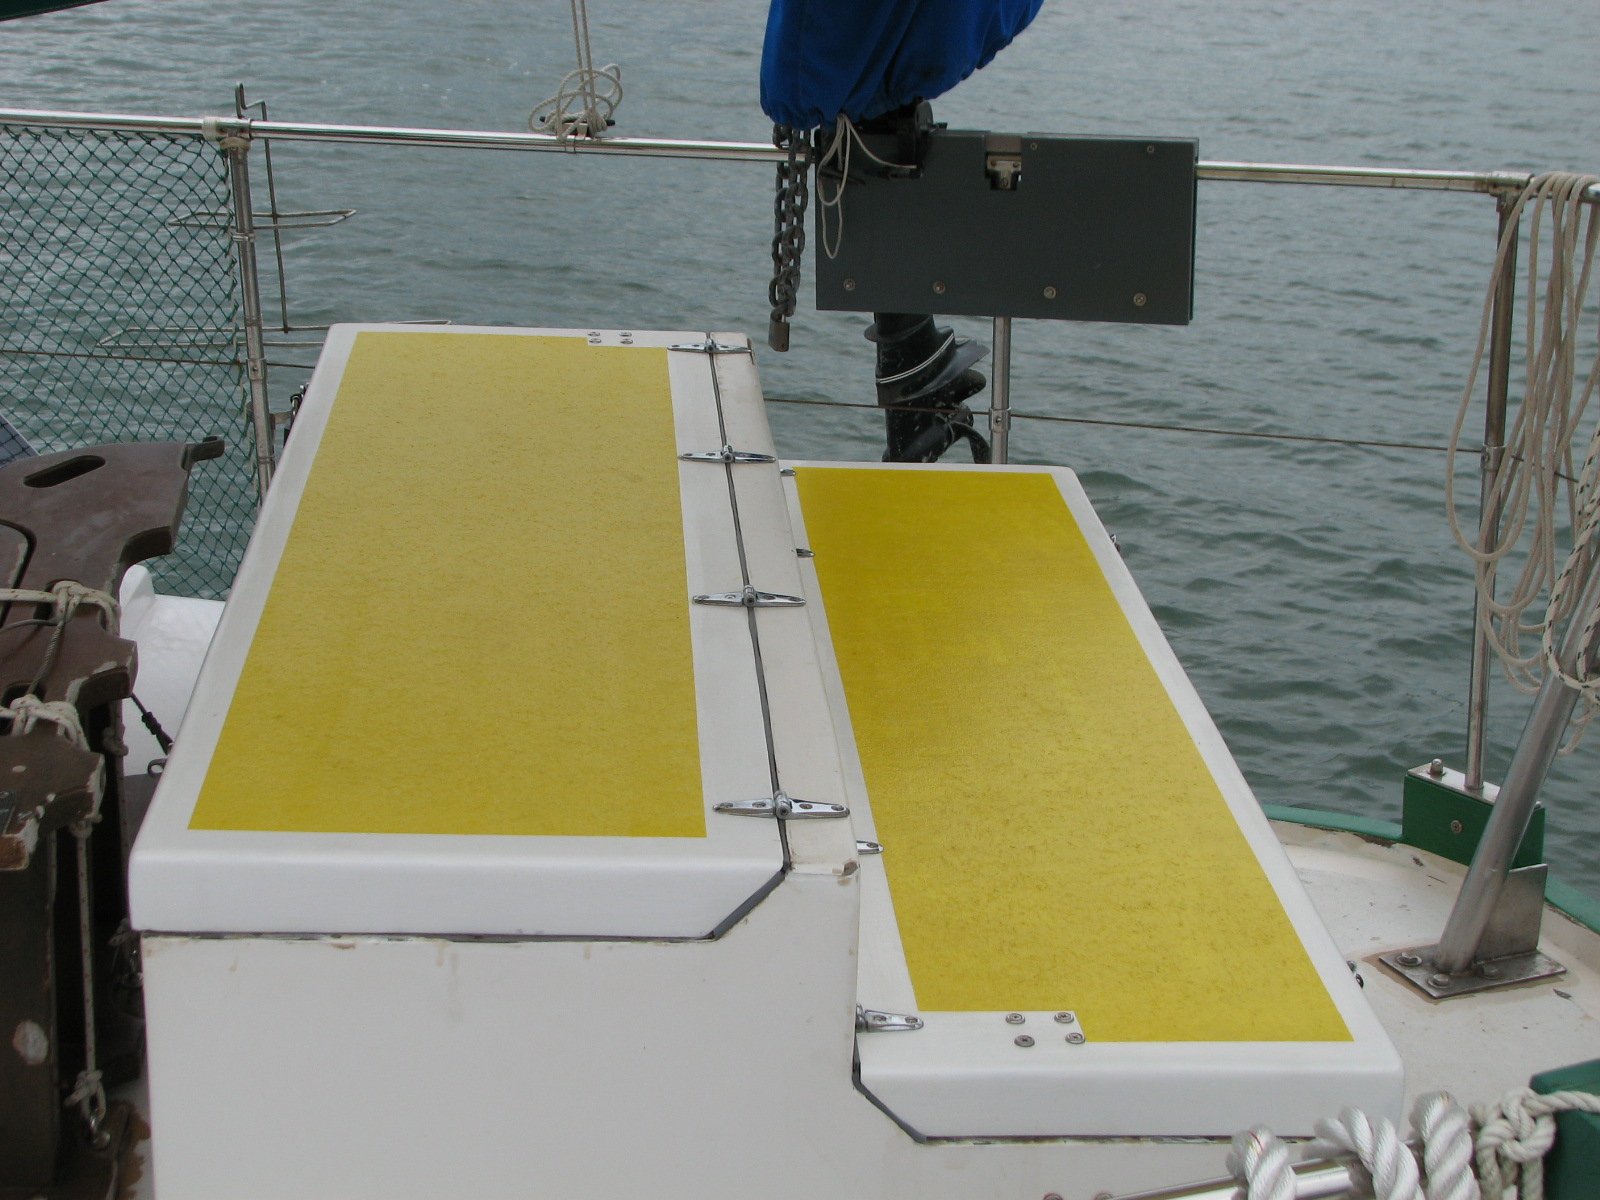
to put all of the hardware back on the aft deck box lids. I put on some
weather stripping to keep water out of the aft deck boxes. Did not have
enough weatherstripping, so had to cut the weatherstripping I had in
half to make it stretch. I then installed the aft deck box lids with
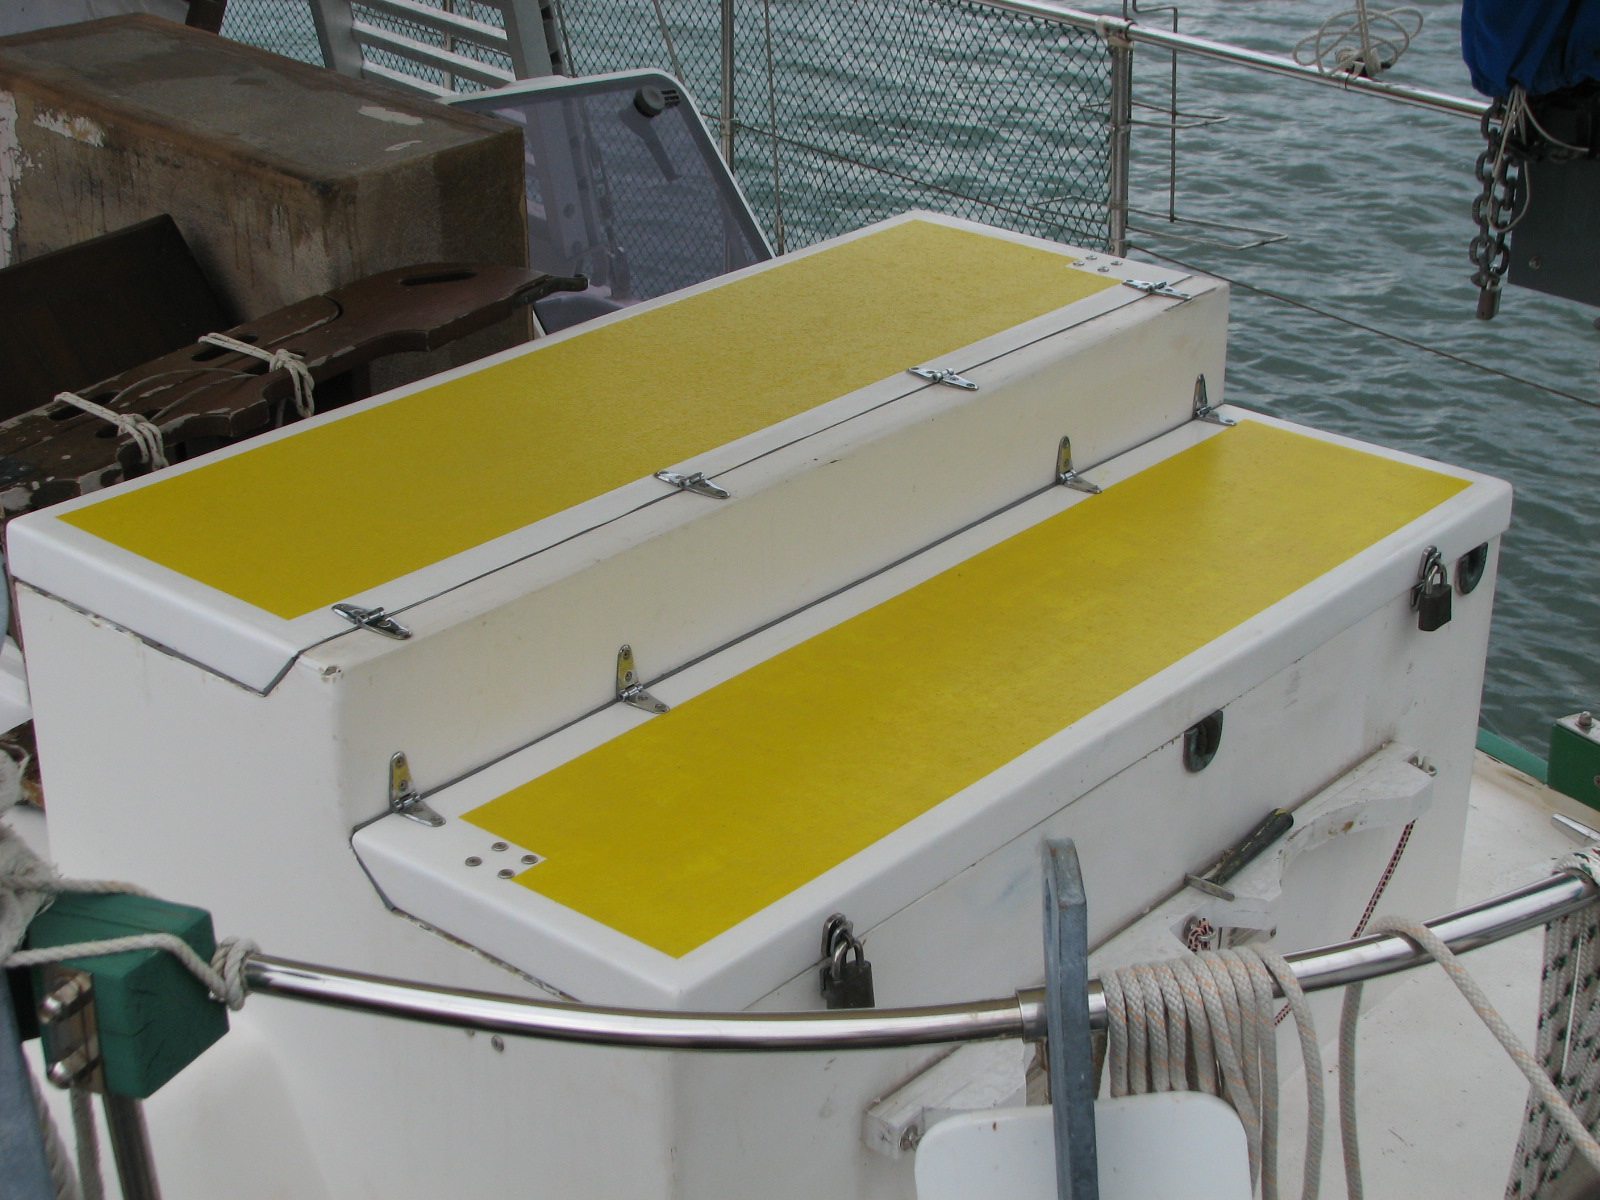
the yellow non-skid on them. Finally figured out the gelcoat issue with
the non-skid. Looks good, will get some pictures on later today.
Side View Of Newly Installed Aft Deck Box Lids
Aft View Of Newly Installed Aft Deck Box Lids
Put the first coat of single part
epoxy paint on the starboard cap-rail and shear stripe. Was able to use
a roll and tip to get the paint on. Started with a foam brush, but the
foam brush came apart and had to finish with a standard bristle brush.
Will have to clean up the mess made with the foam brush tomorrow, and
apply the second coat. Other than the problem with the foam brush, the
first coat went on very well.
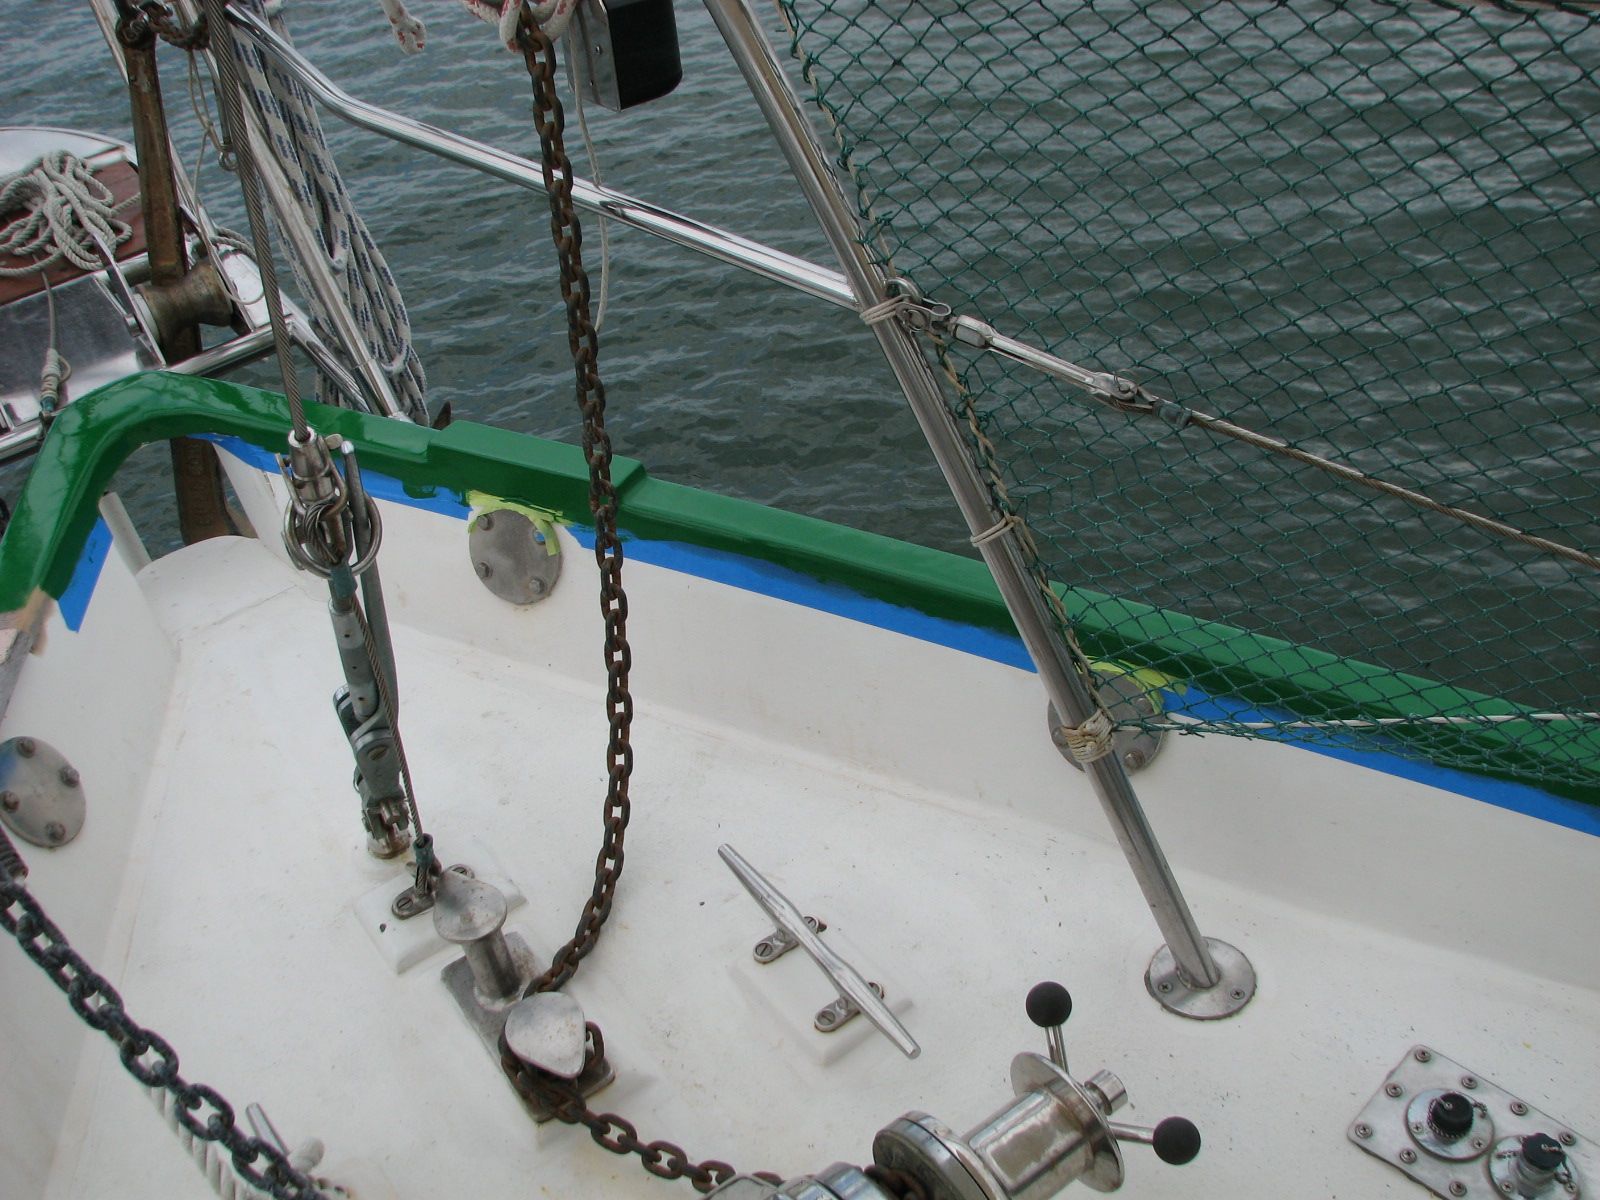
Jim Applying Single
Part Epoxy Paint To Starboard Forward Cap Rail
Bow Cap Rail After Paint Application
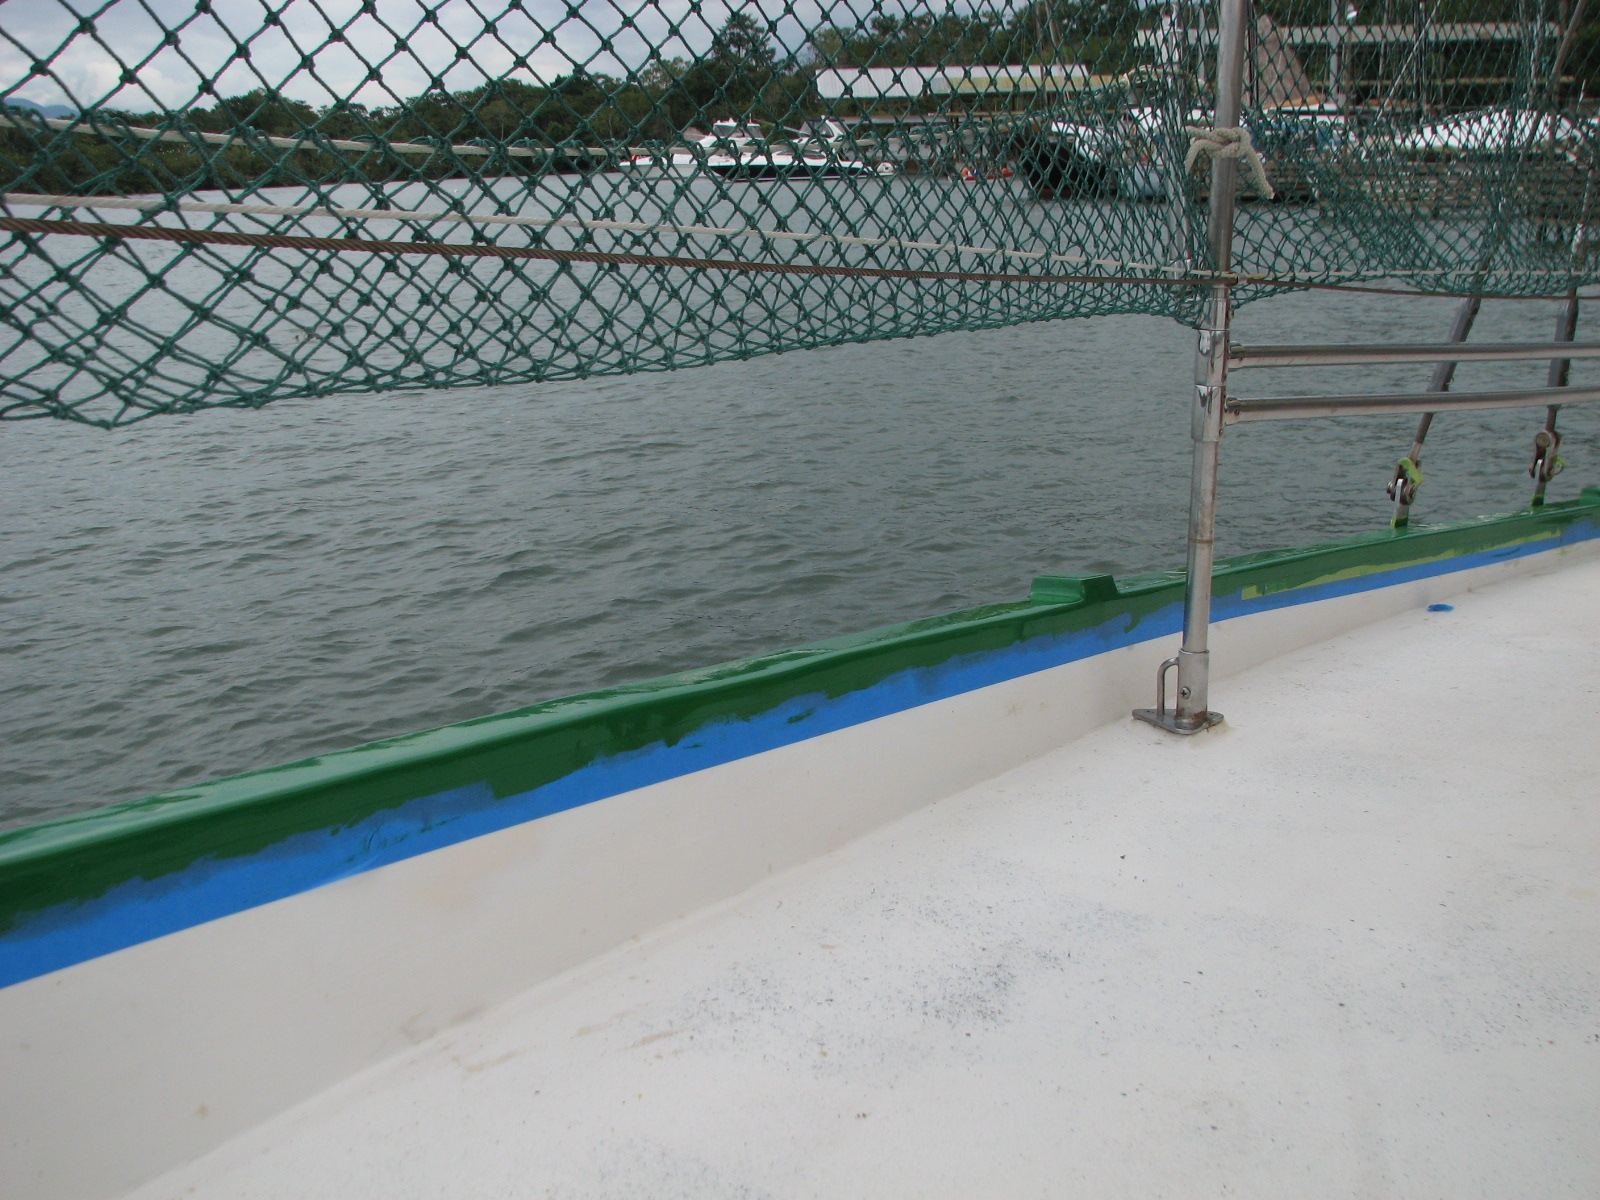
Cap Rail On Starboard Side
November 9, 2010, Tuesday.
Did
final sanding on cap rail and shear stripe on starboard side. Masked
off the cap rail and the shear stripe. Getting ready to apply first
coat of paint.
November 8, 2010, Monday.
Did
final sanding of port and starboard name board area. Will call the area
done. The gelcoat does not cover the area completely, but there are no
leaks from the name boards! When I get a chance to spray gelcoat on the
hull, the area will be perfect.
November 7, 2010, Sunday.
The lid that was sticky seems to
have finally kick off. I washed the wax off of the lid with yesterdays
gelcoat on it and it seems to have kicked off. Good news!!
November 6, 2010, Saturday.
Mixed
up a pot of yellow gelcoat for the second lid. I mixed wax (a Styrene
substitute) into the gelcoat, and added more cabosil into the gelcoat
mixture. rolled the gelcoat onto the lid. I waited until thegelcoat
started to kick off, the brushed on a caot of normal floor wax. I also
put the sticky lid out into the sun again.
November 5, 2010, Friday.
Mixed up a pot of
white gelcoat . This time I thickened the gelcoat with talc,
and applied the gelcoat to the forward name board area with a 2" wide
putty knife.
November 4, 2010, Thursday.
Sanded gelcoat off
of forward name board area. Put the sticky lid out into the sun to see
if it will kick off.
November 3, 2010, Wednesday.
First
project of the day was to get the repaired Inverter/Charger installed
back into the electrical system on Dream Away. This took most of the
day, as I had to clear off the work bench in the garage. I also had to
move one of the tool boxes so I could get to the area where the
Inverter/Charger had to be installed. Got the unit installed, and it
functioned as I had hoped. The charger and the Inverter work as planned.
November 2, 2010, Tuesday.
Finally
got the word late last week that our Charger/Inverter was repaired.
Today was the day I decided to go pick it up. I took the 0300 bus from
Rio Dulce to Guatemala City. Arrived intothe bus station around 0830.
Our Guatemala City taxi driver, Juan, was waiting for me at the bus
station. we took off to the Xantrax repair facility. I picked up the
repaired unit, paid for the repairs, and headed back to the bus
station. I then caught the 1130 bus from Guatemala City to Rio Dulce,
arriving in Rio Dulce around 1600. I finally got back to Dream Away
with the repaired Inverter around 1700. A very long Day
November 1, 2010, Monday.
Sanded gelcoat off of forward
name board area. Mixed up a pot of white gelcoat and applied it to the
port and starboard name board area. Washed wax off of problem top, but
the top is still sticky. Back to the chemical drawing board!!
