Maintenance Log November 2013
November 30, Saturday,
2013
Started off the morning with my normal
ritual of getting on the Internet, answering email, and checking the
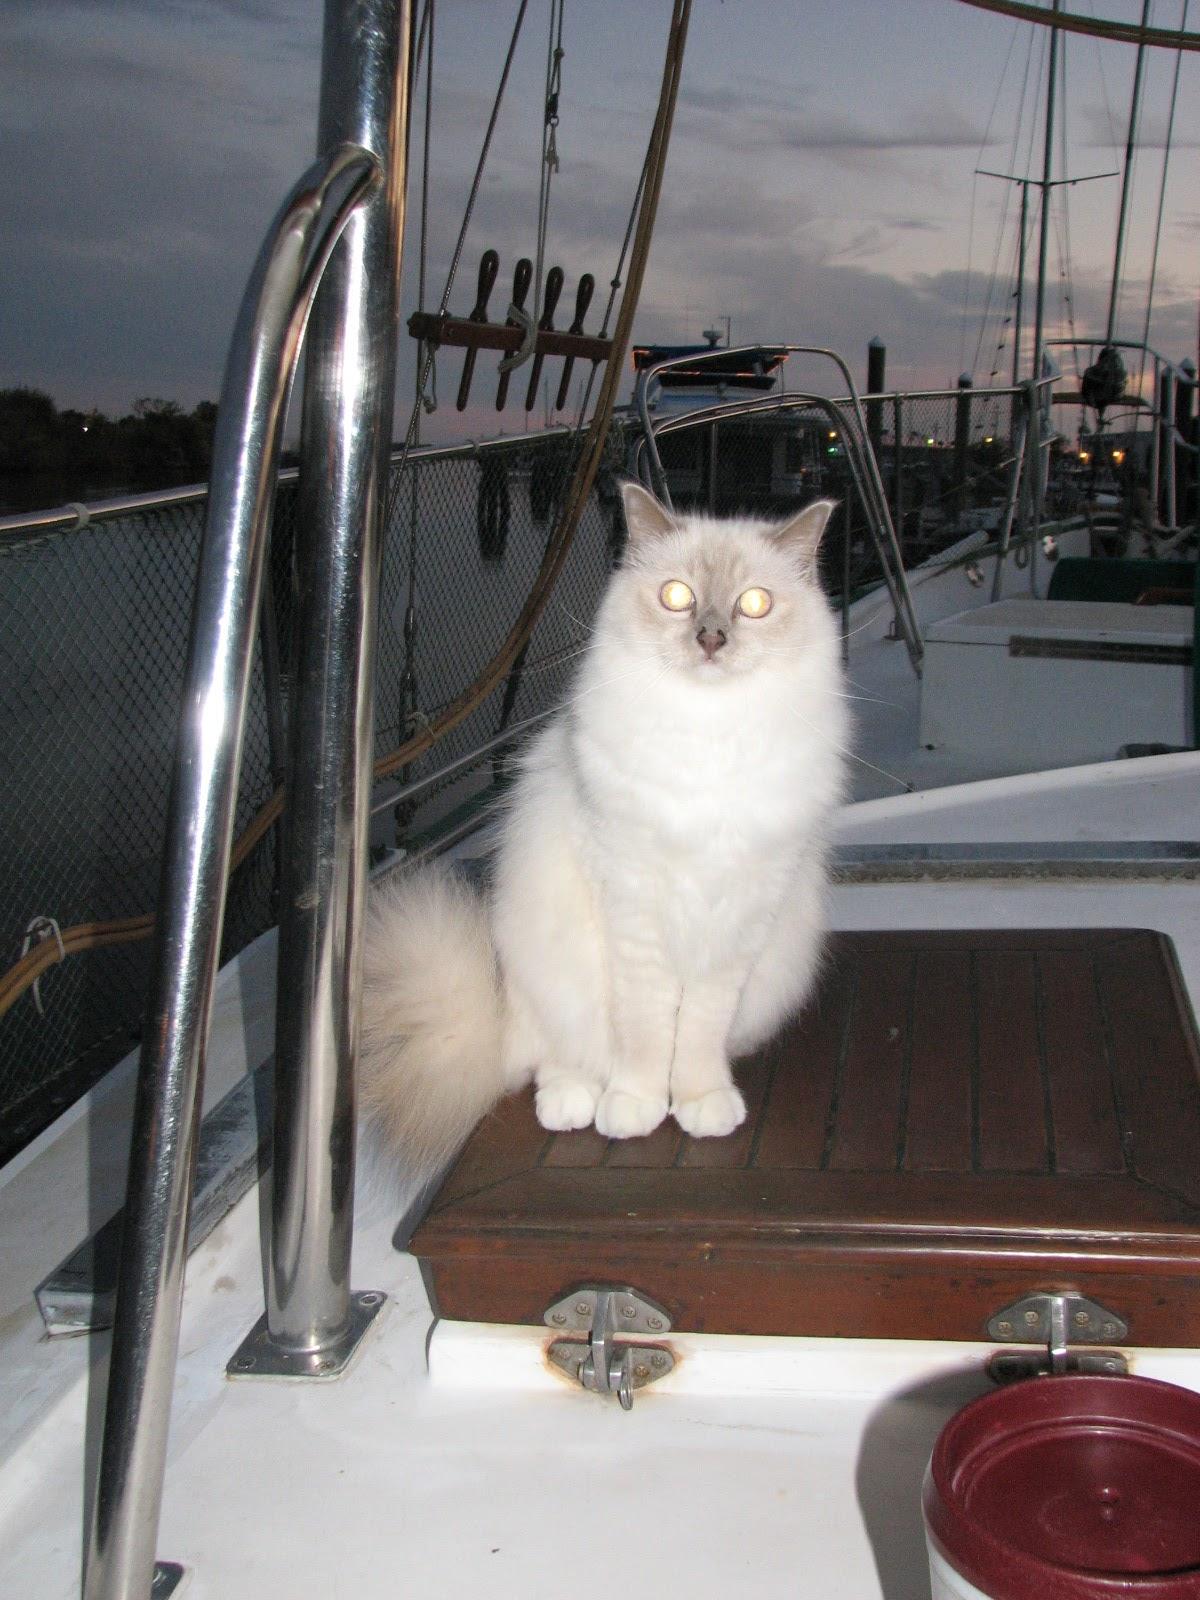
weather, while making a pot of coffee. I also spent time with our two
cats,
Jillian and Jordan
Went over to the
shop and unloaded the
Black Beast. We had a lot of
stuff in the
Black Beast that I brought from
the store room in Atlanta.
Most of it is to give away, and some of it I will sell on
Ebay.
The big item was on the
Black
Beast. When we were on the way up to Atlanta, we
stopped at the Georgia welcome center. When I got out of the truck,
the door handle broke off! I put off working on the problem while in
Atlanta. It was fun though, having to roll down the window every time
I wanted out. The weather in Atlanta was not great. Lots of cold,
rain, and snow.
I started on the problem this morning.
I verified the problem was in fact a broken door handle, and not a
handle that just fell off. I put the door back together, and when I
went back to DREAM AWAY, I ordered a new door handle on
Ebay.
I will replace the handle when the new one comes in, and service the
lock and opening mechanism.
The remainder of the day was spent
watching football and catching up!
November 22 thru November
29, 2013
Went on a driving trip from Delcambre,
to Atlanta
and back to visit with our children over the Thanksgiving holiday.
November 21, Thursday,
2013
Started off the morning with my normal
ritual of getting on the Internet, answering email, and checking the
weather, while making a pot of coffee. I also spent time with our two
cats,
Jillian
and Jordan.
Did not get any DREAM AWAY projects
done today. I saw our cruisers, Tammy
and Bruce off. They were meeting family in New Orleans
for Thanksgiving, so needed to get on the way. We had a great time
meeting and visiting with them.
The remainder of the day was spent
packing and getting ready for our trip to Atlanta.
I checked all of the fluids in the Black
Beast, and vacuumed it out. By evening the truck was
packed and ready to go.
November 20, Wednesday,
2013
Started off the morning with my normal
ritual of getting on the Internet, answering email, and checking the
weather, while making a pot of coffee. I also spent time with our two
cats,
Jillian
and Jordan.
Went over to the shop
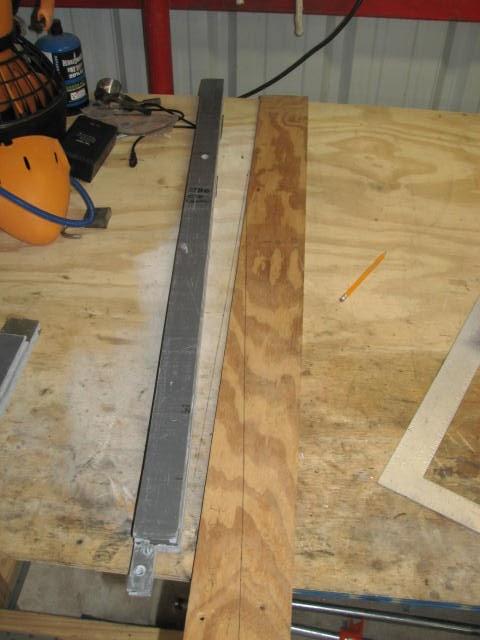
and rolled the table saw out of the shop,
and prepared it to cut the Strongwell
Extren plate for the hard dodger uprights. I also set
up my squirrel
cage fan to blow the dust away from me while cutting
the plate.
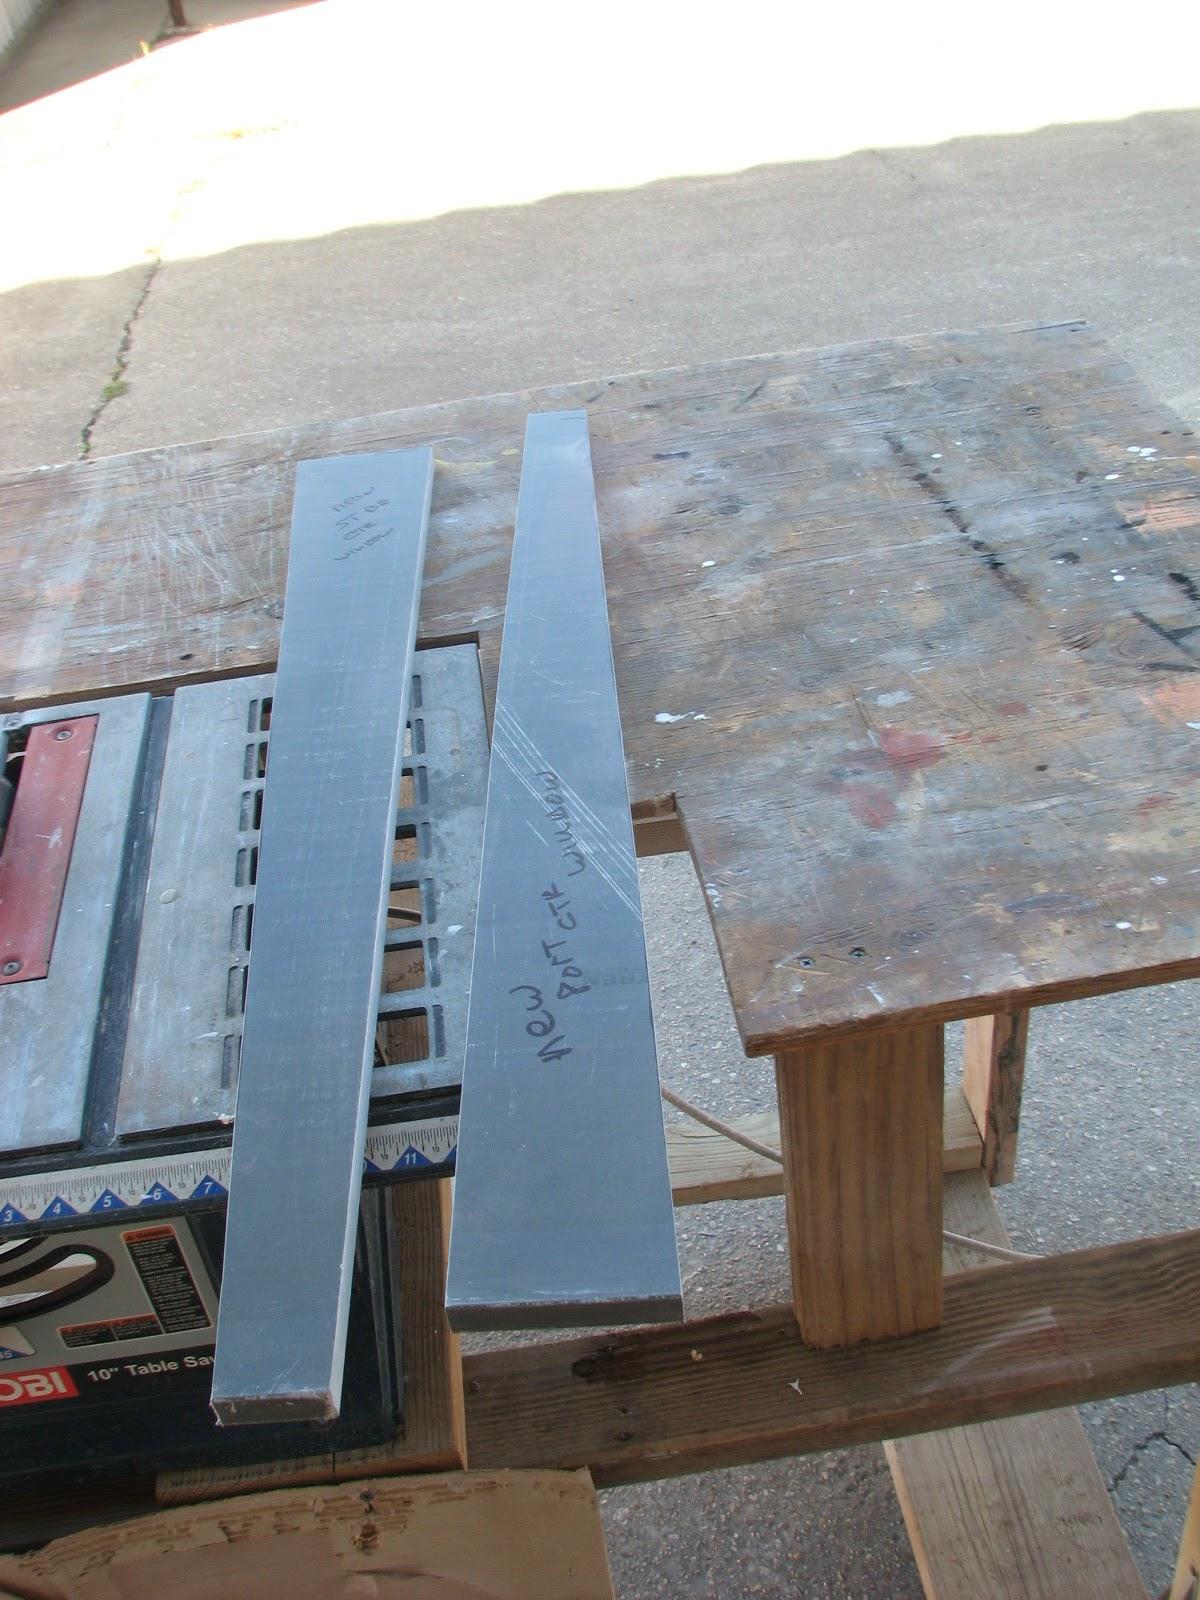
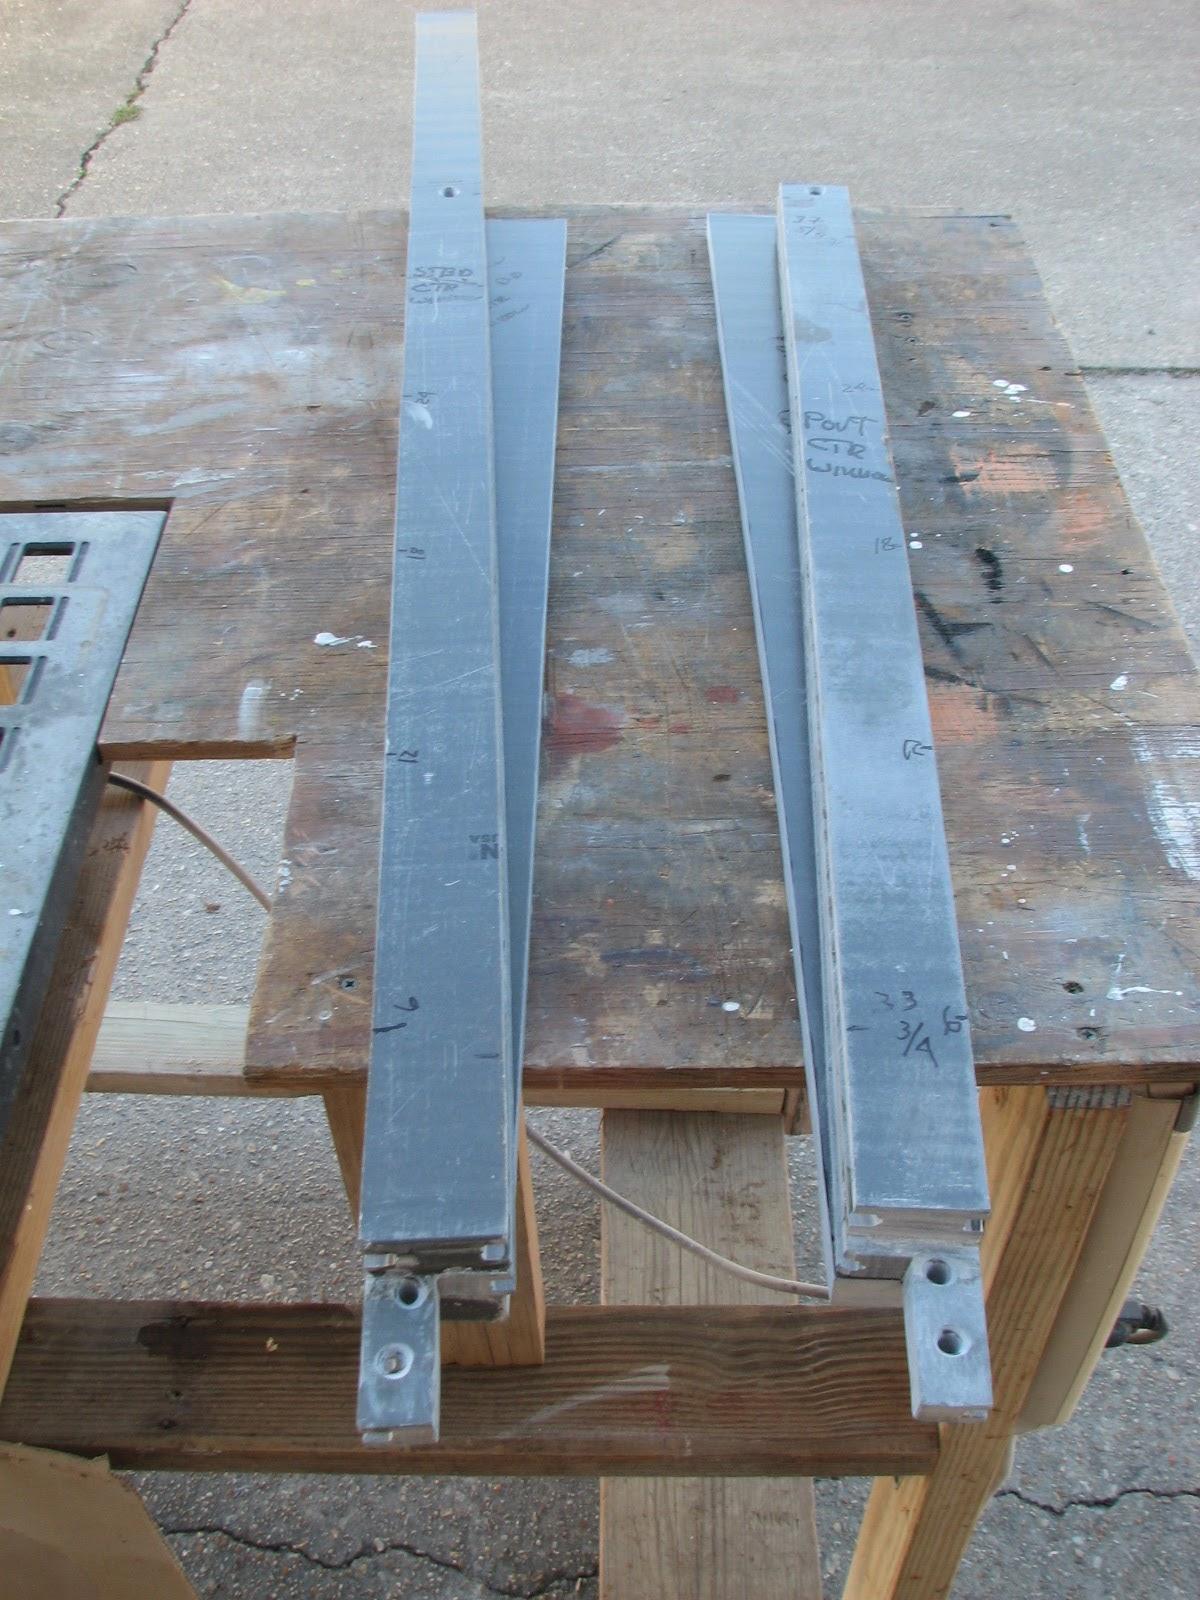
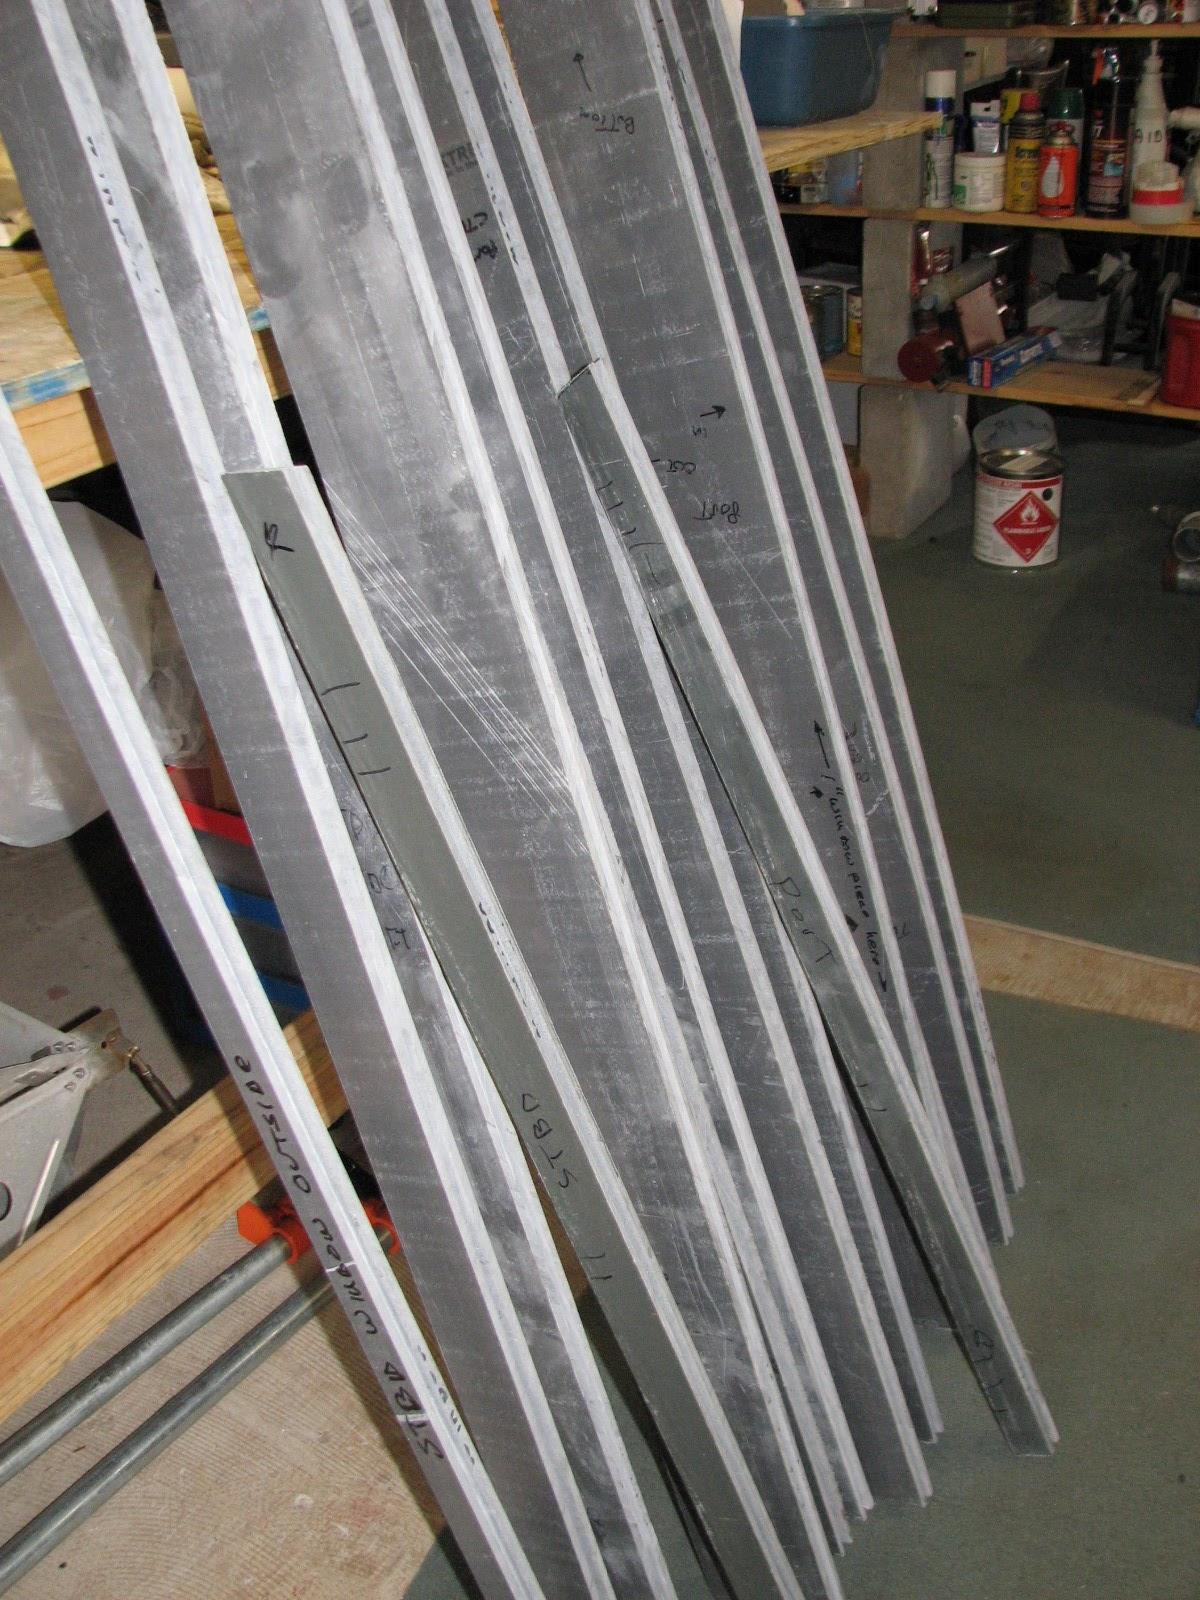
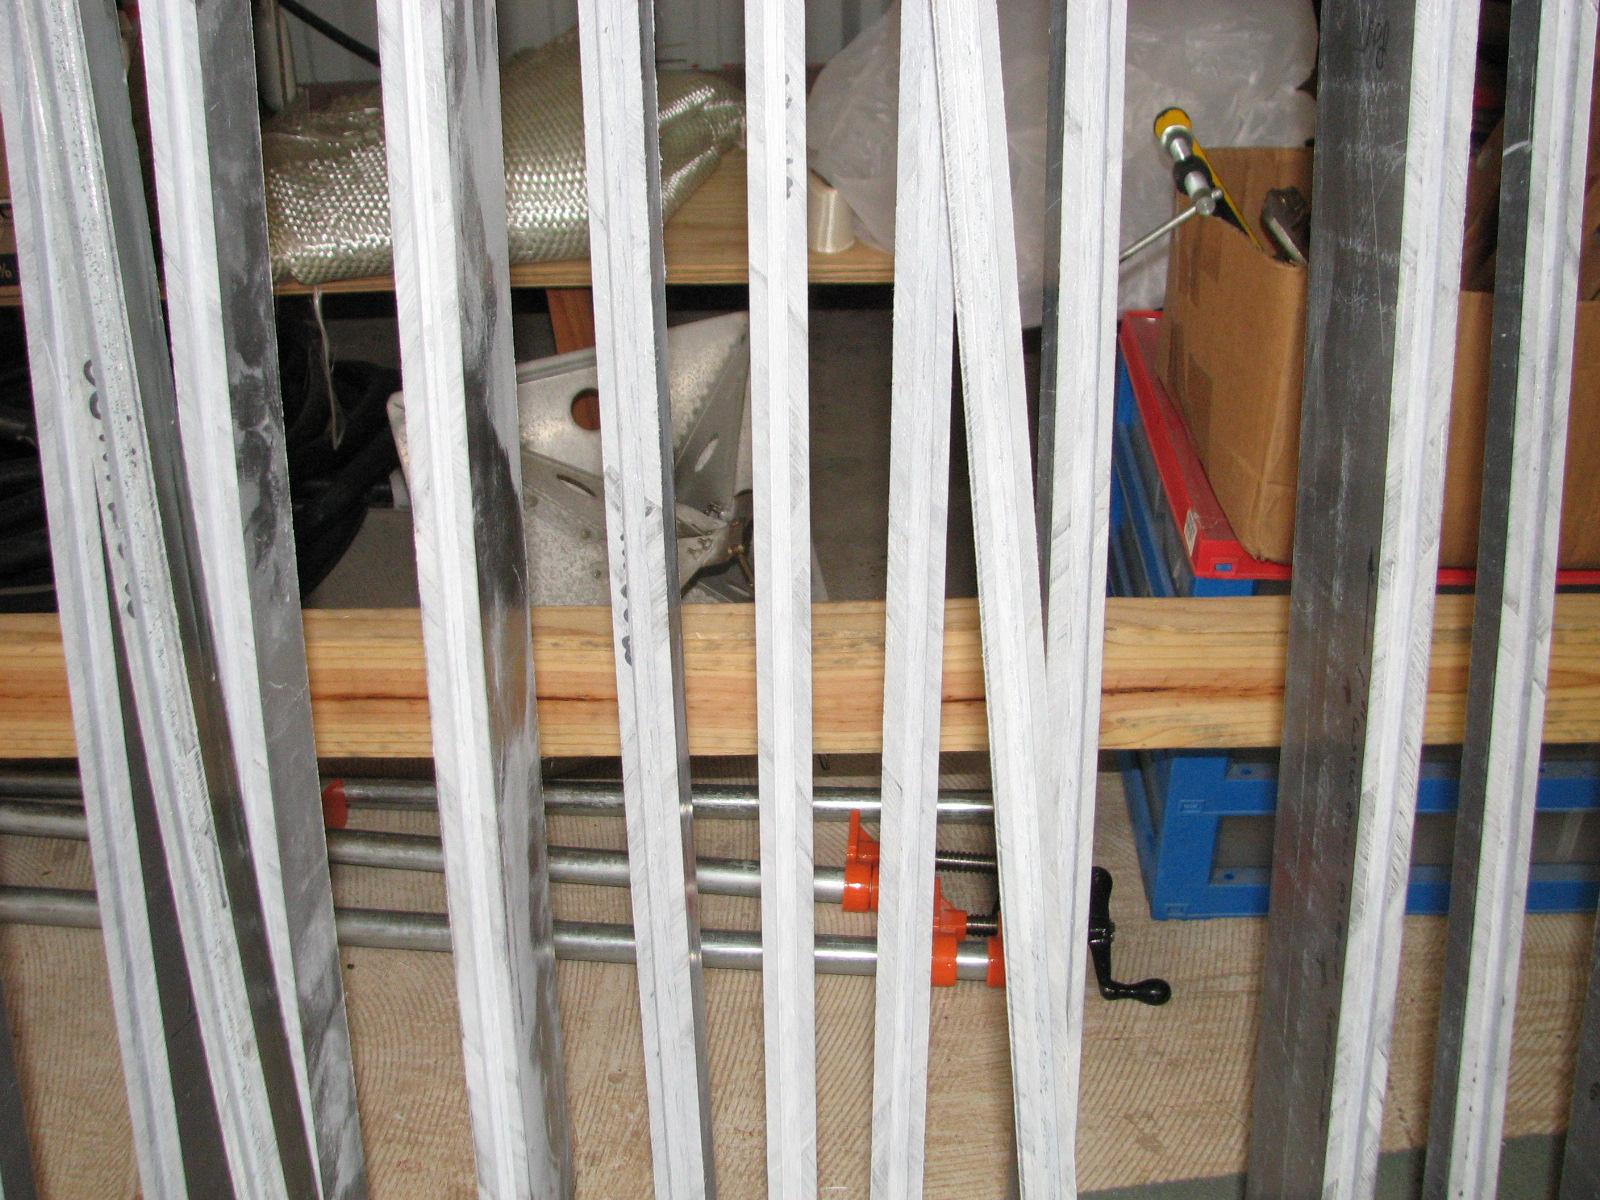
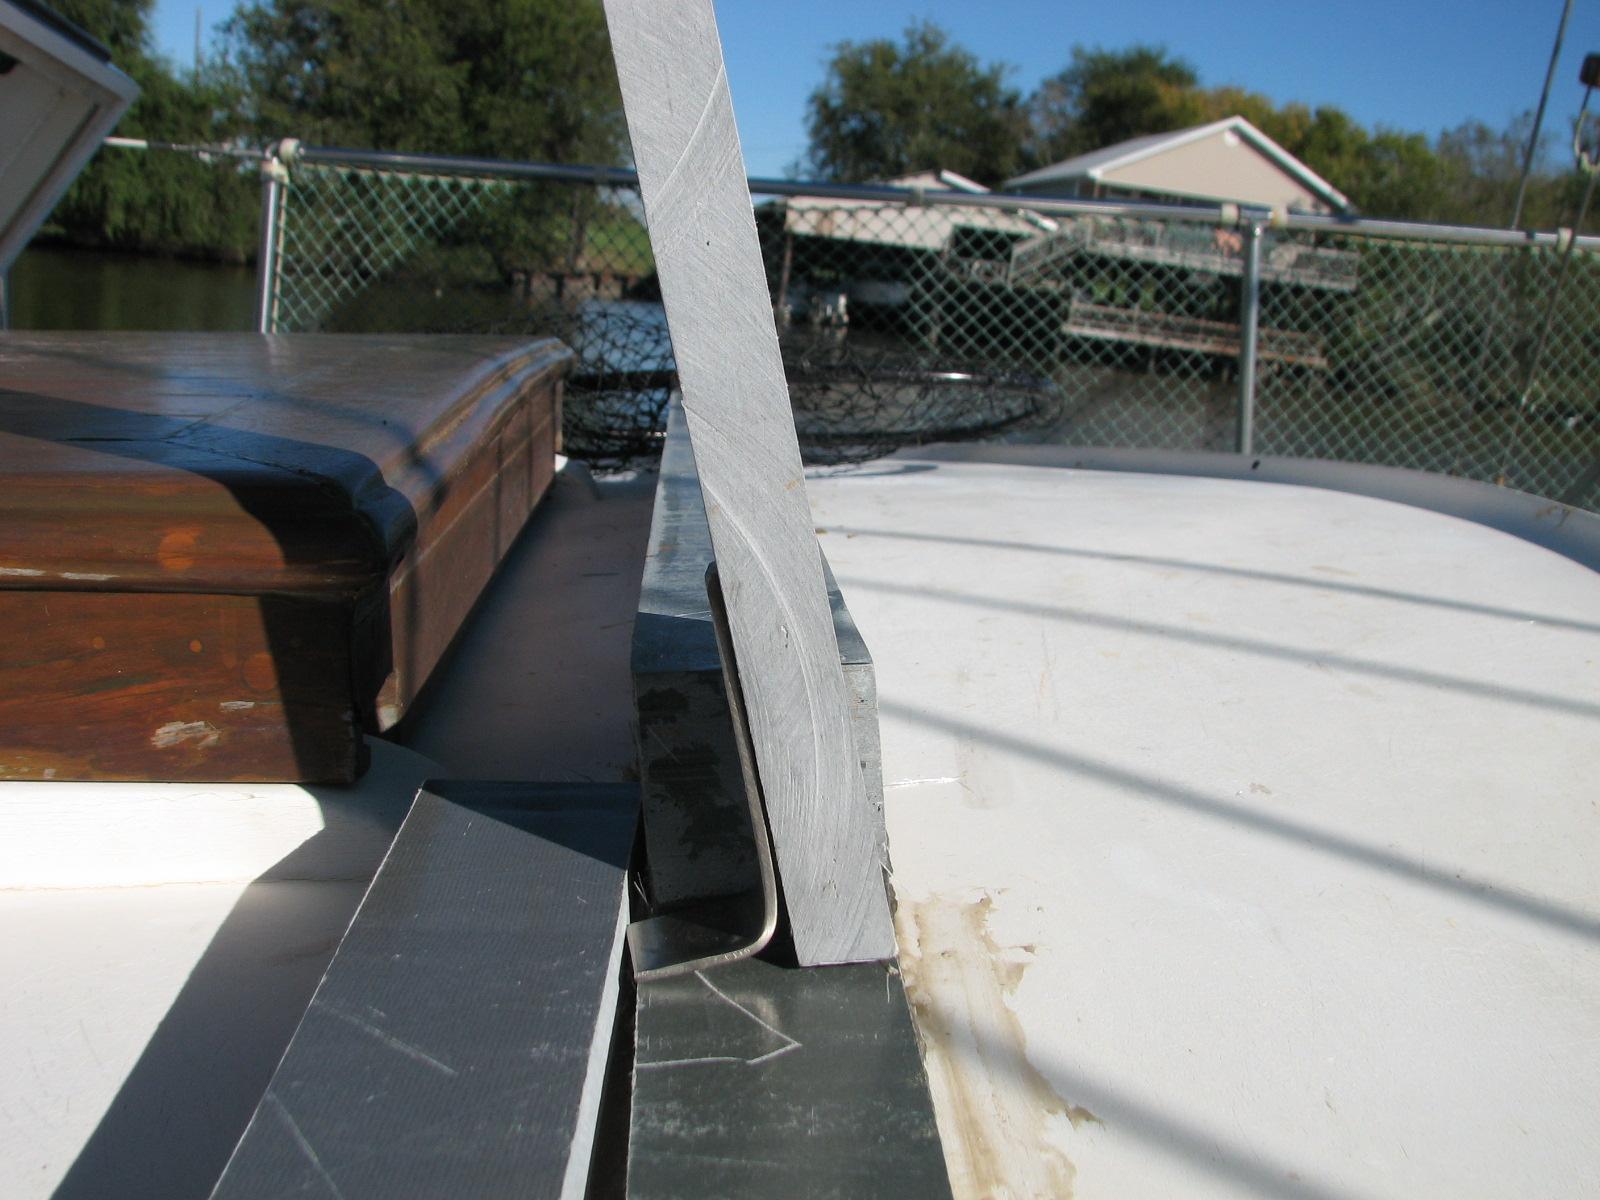
I cut the plate and matched the new
pieces with the original hard dodger uprights. They looked good, but
did not want to do any more cutting until I did a dry fit of the new
pieces on DREAM AWAY.
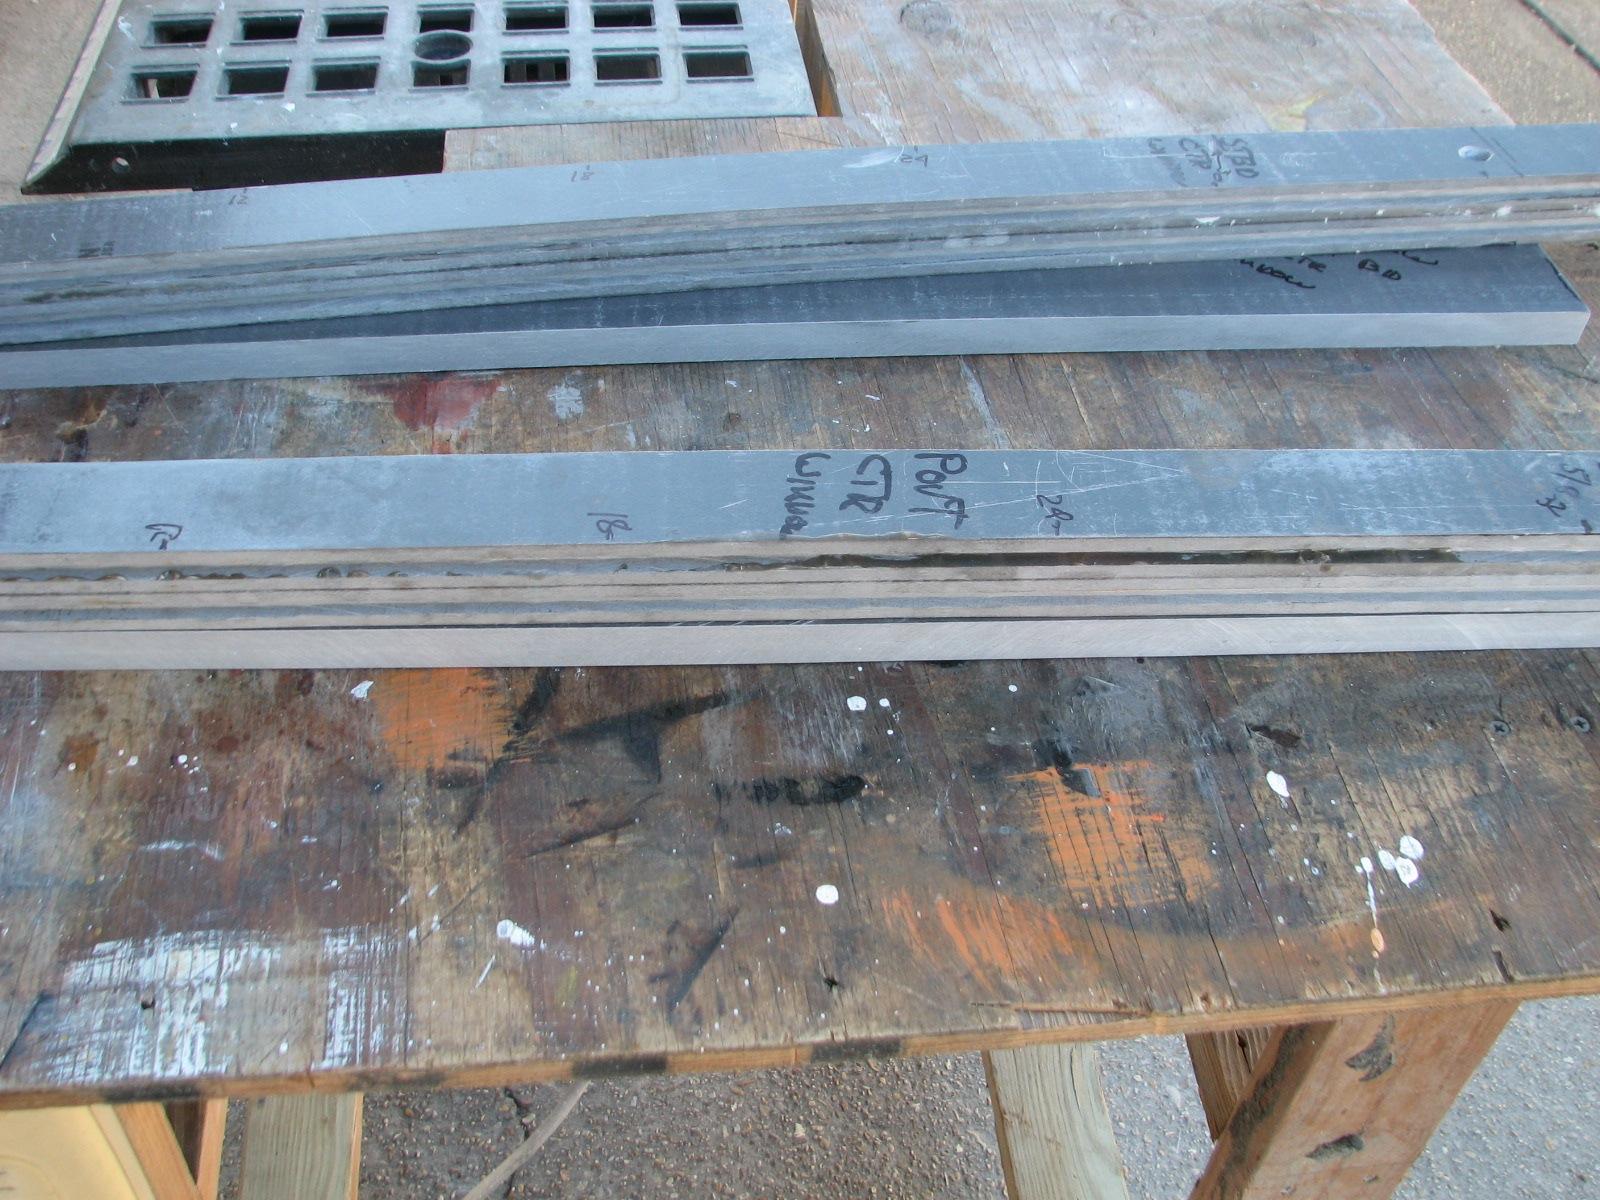
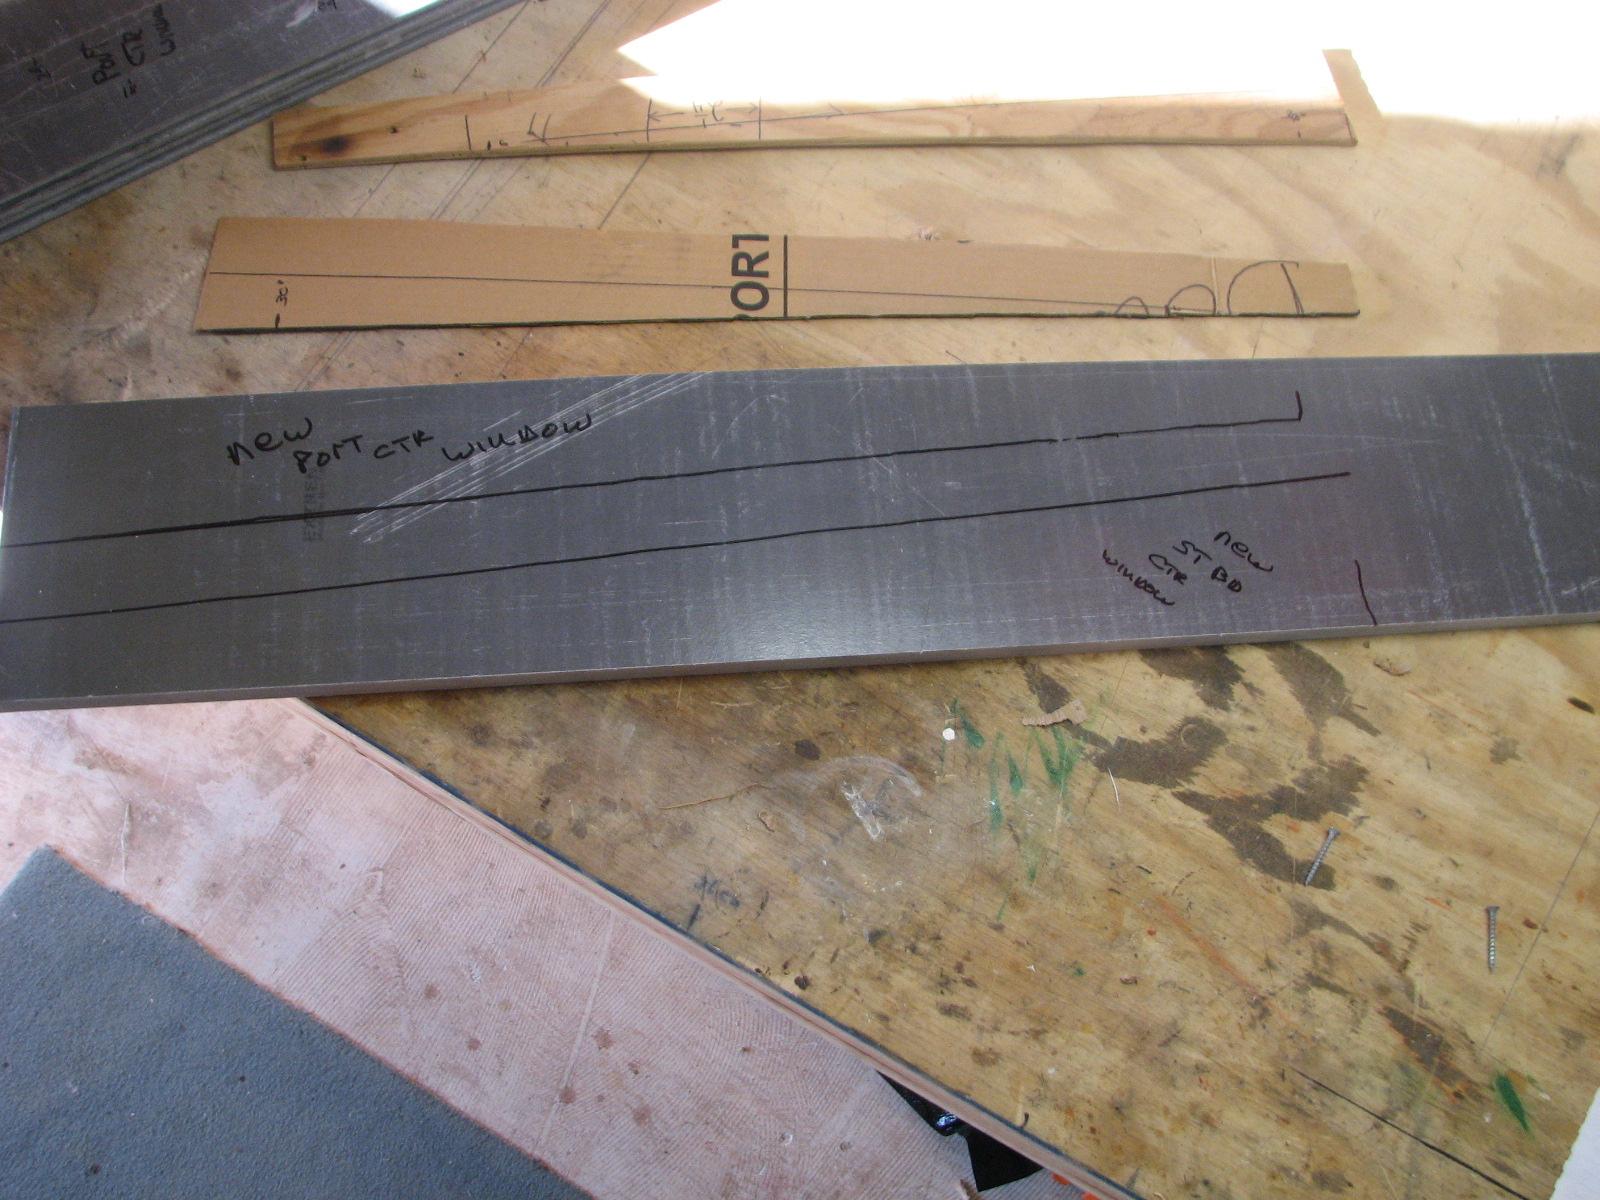
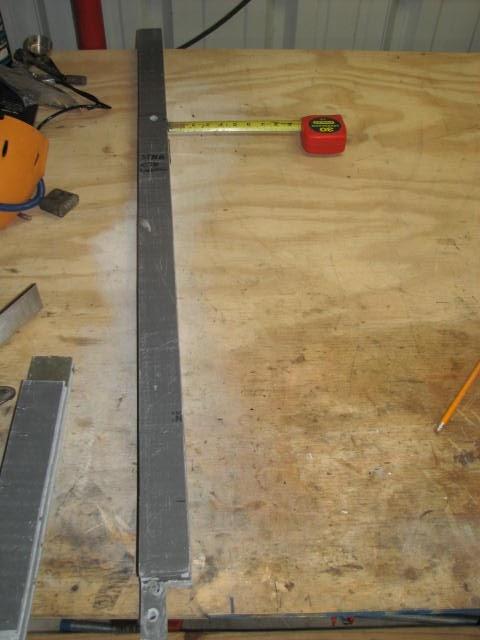
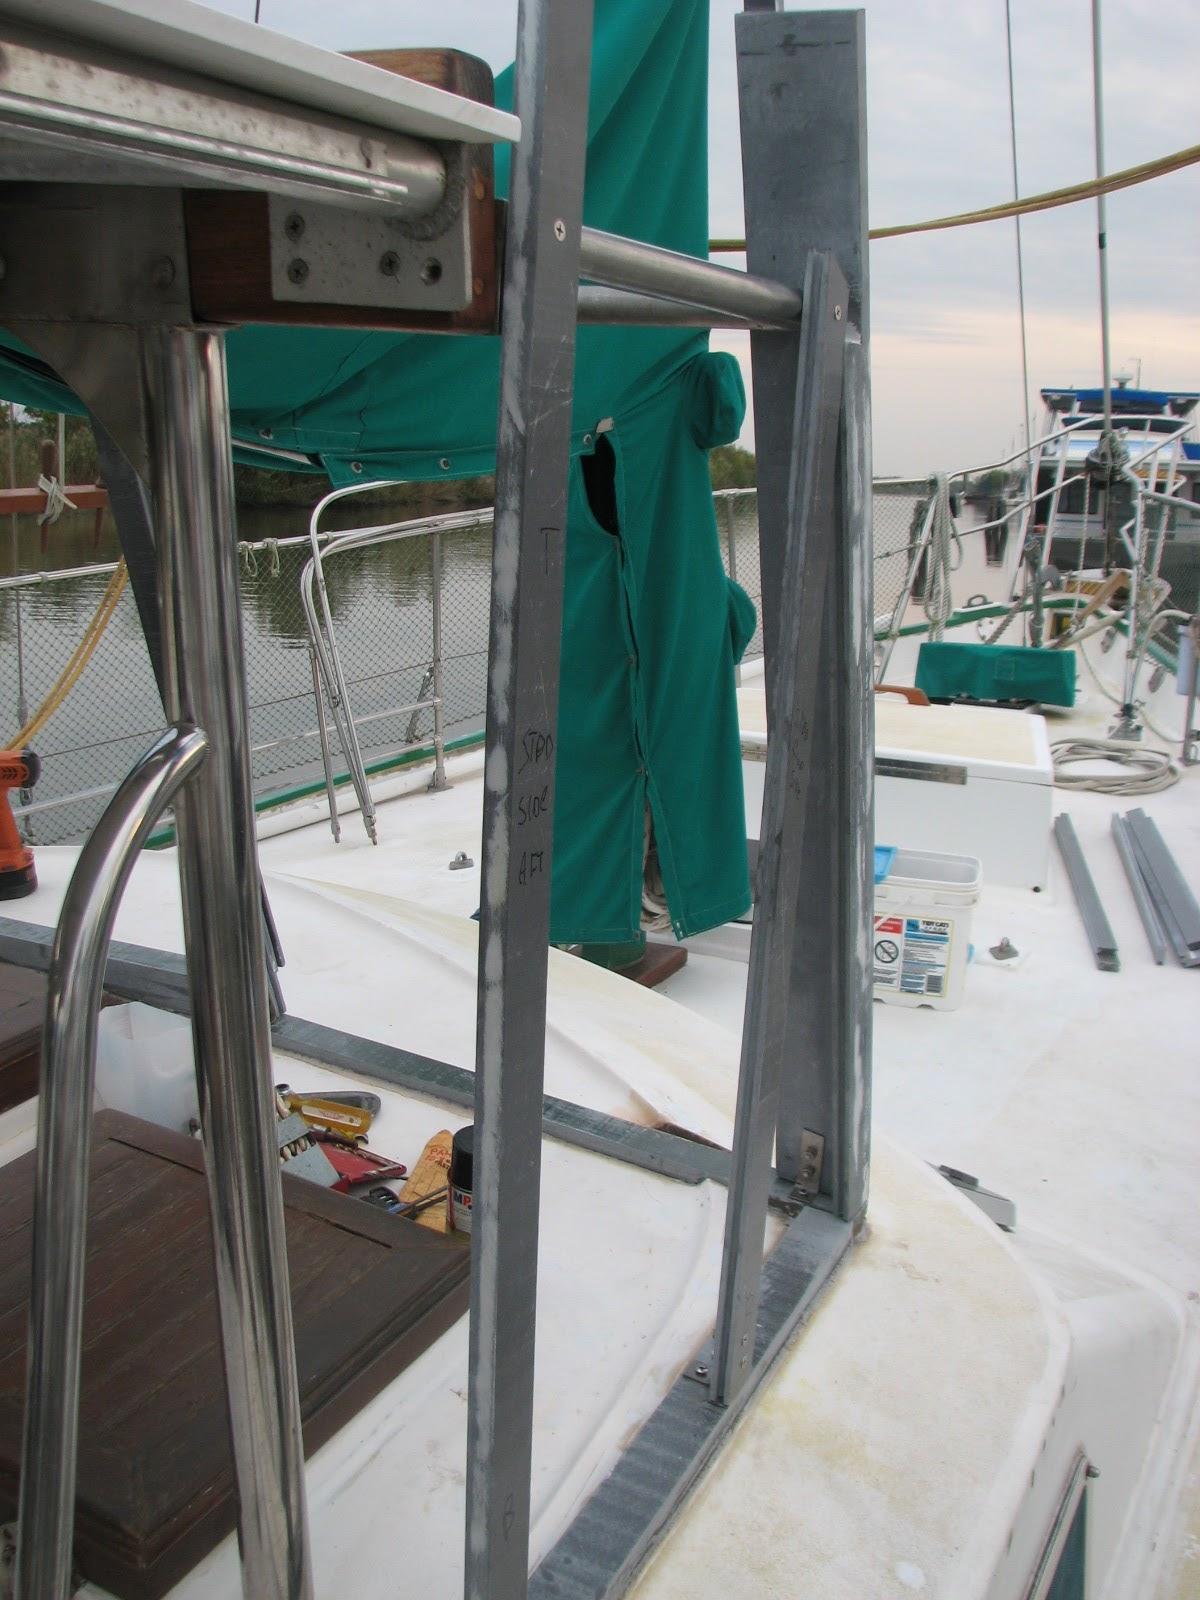
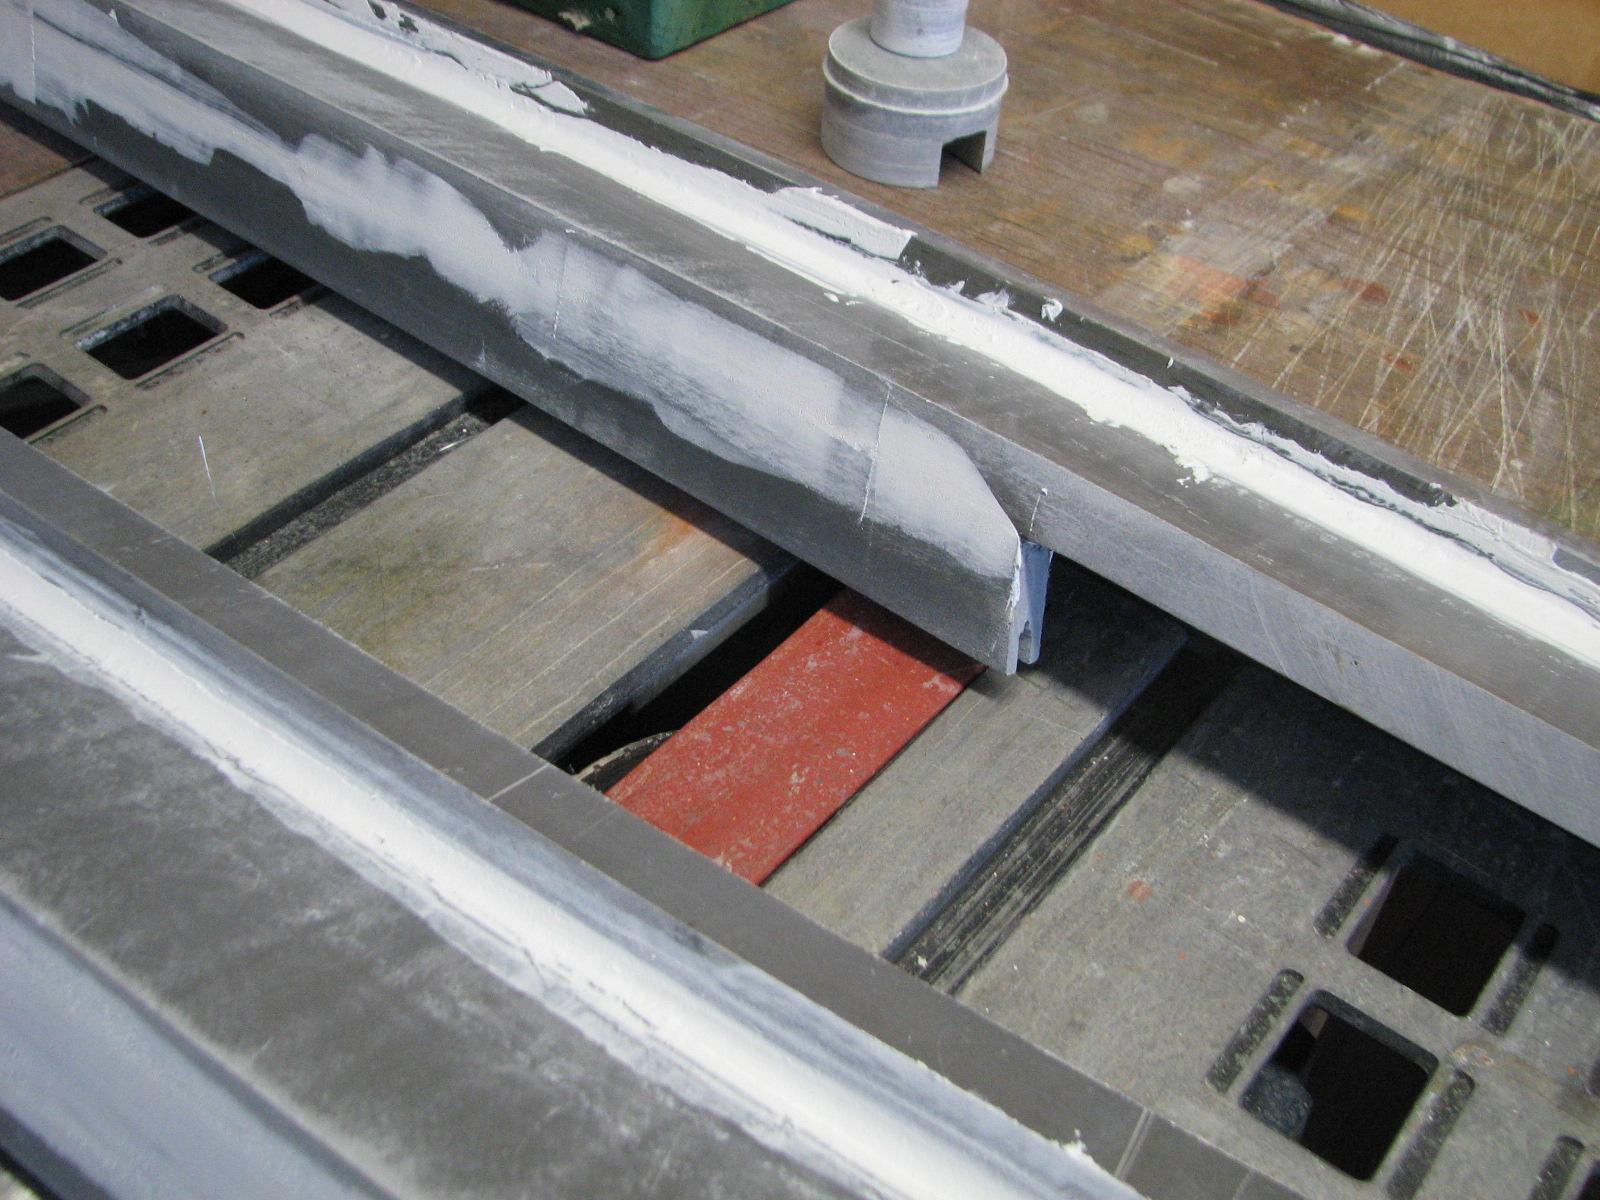
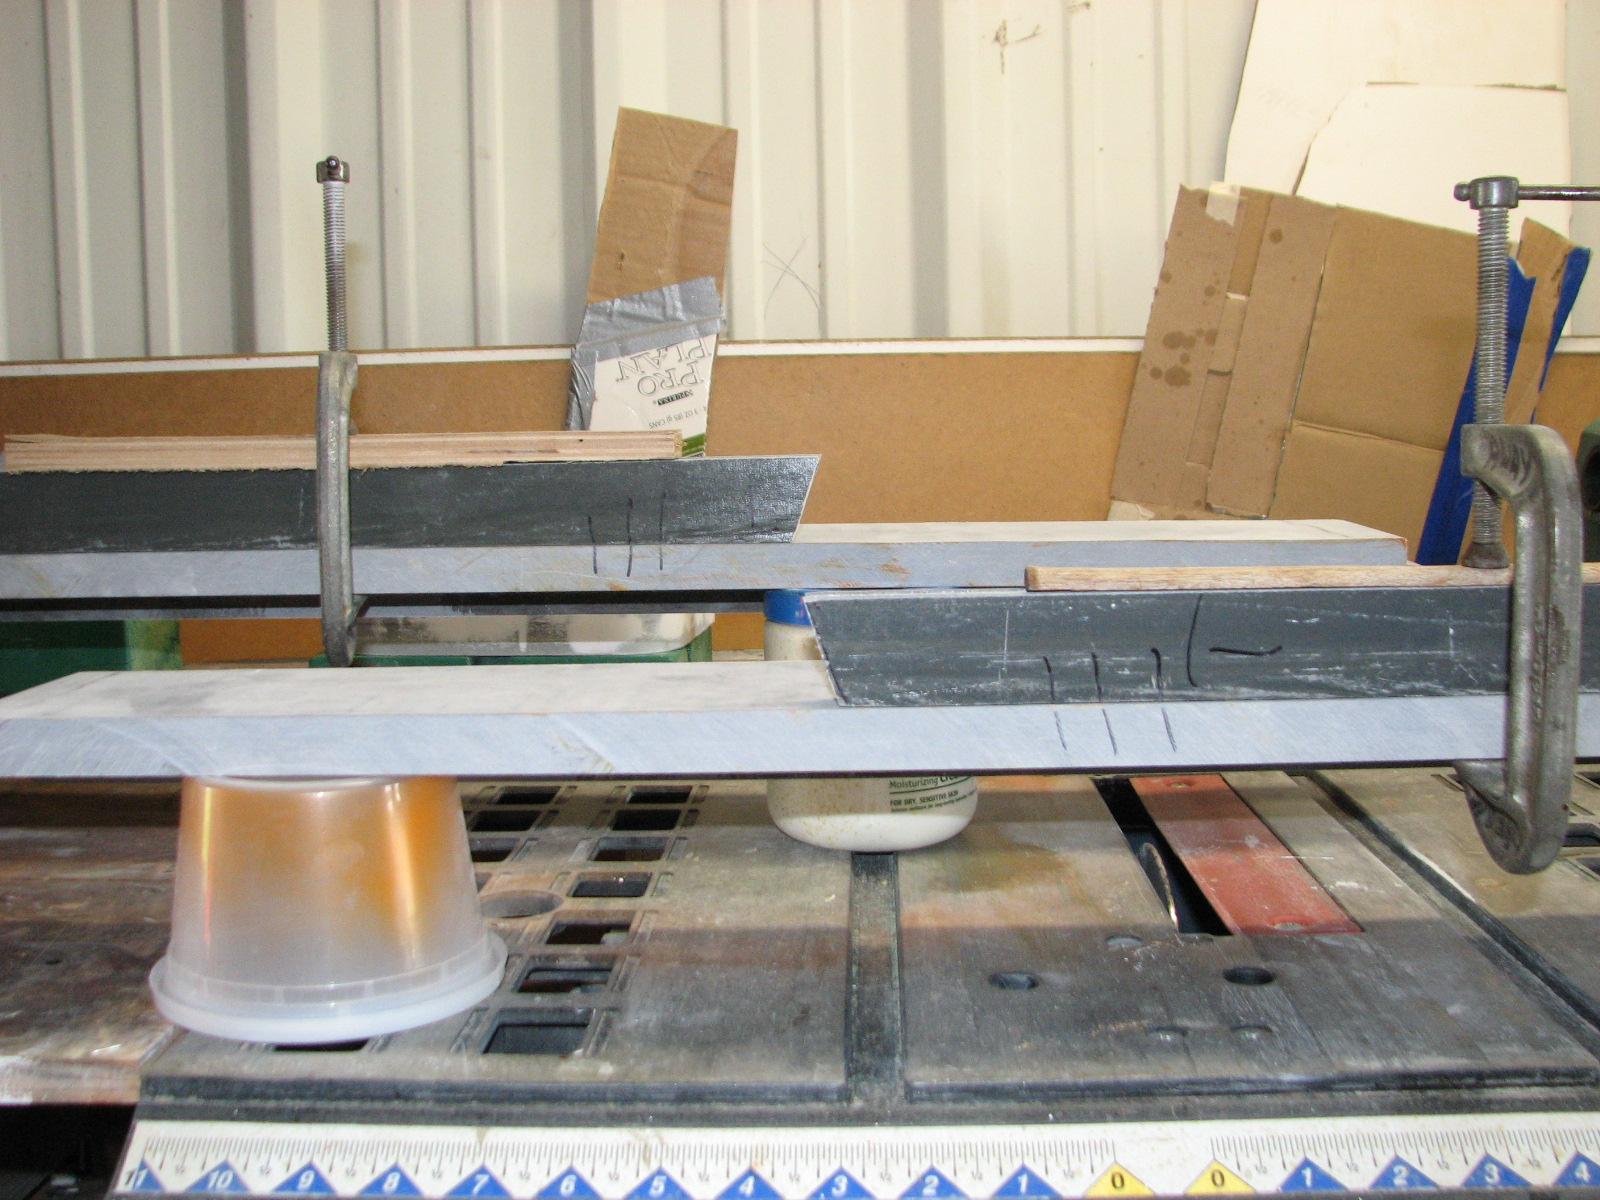
New Pieces Matched Up With Original
Uprights
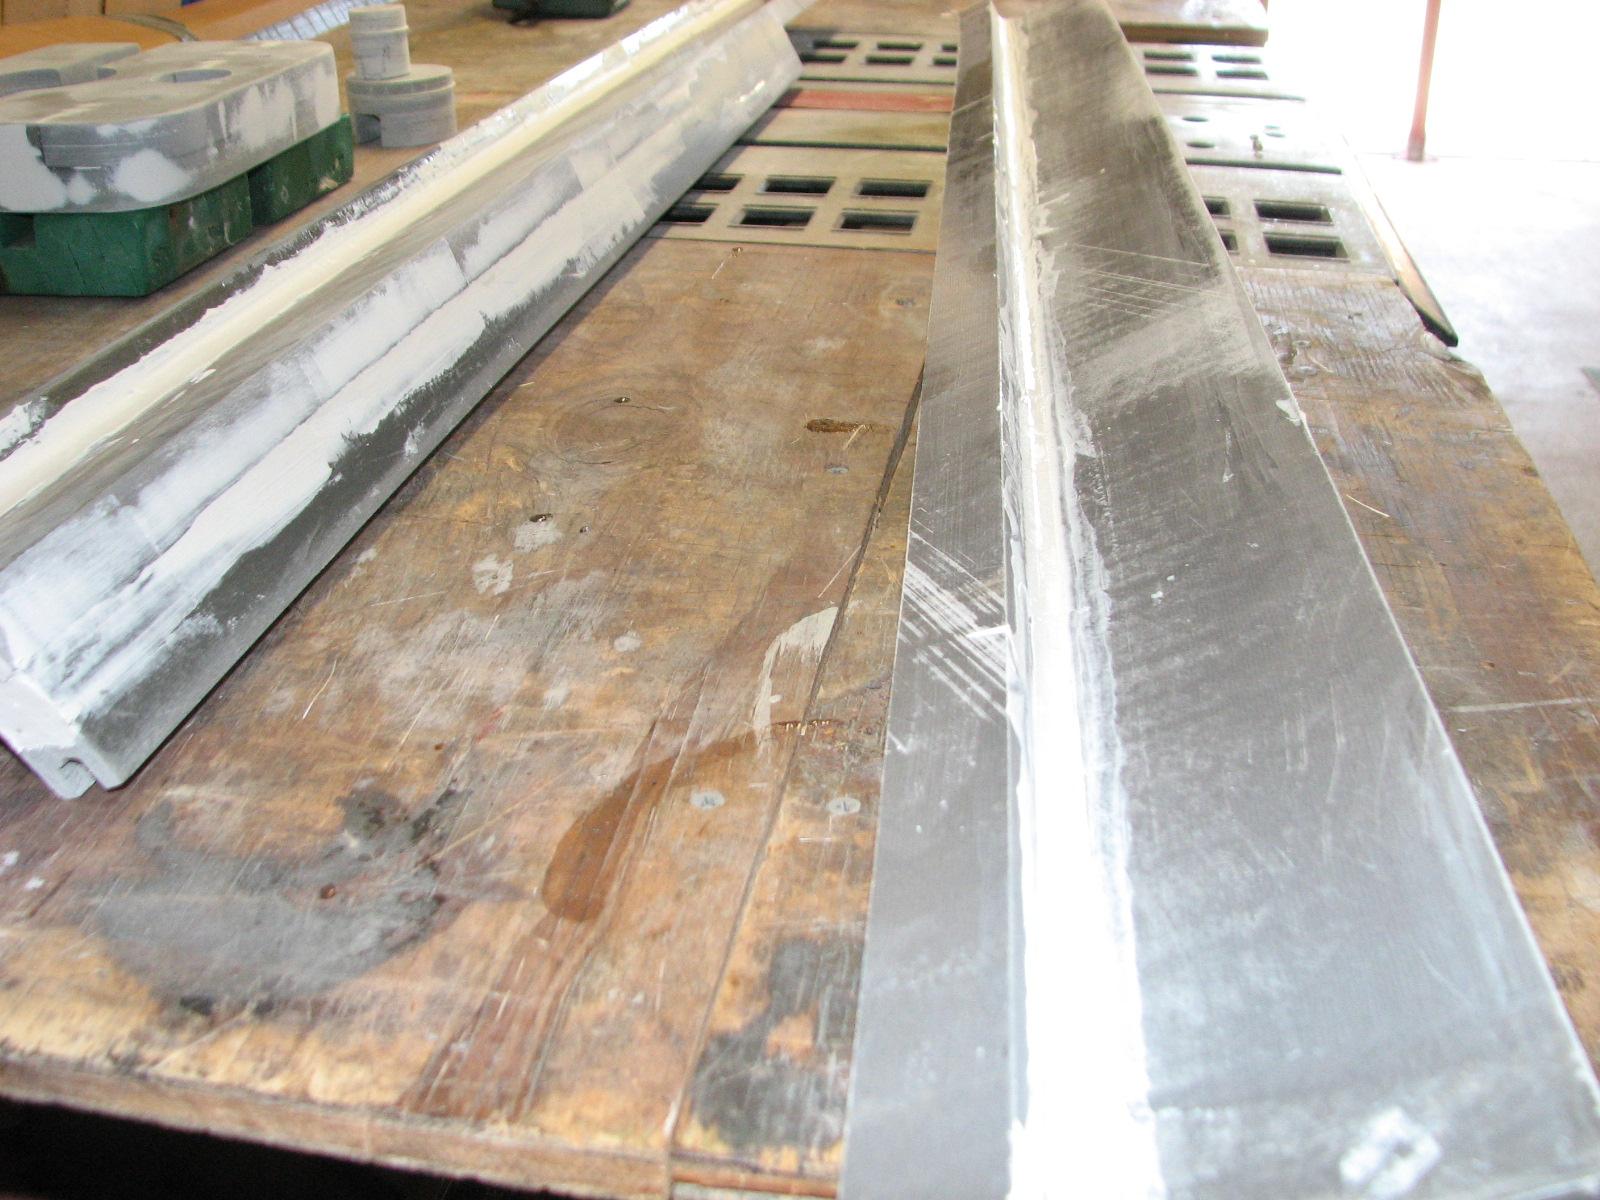
New Pieces Matched Up With Original
Uprights
When I got to the marina,
I replaced the last two toilet seats in the shower
trailer. So now it is ready for prime time. The
digital controller is ordered for the on demand hot water heater.
When it arrives and is installed, hopefully that will fix the last
remaining problem with the shower
trailer.
Our cruisers, Tammy
and Bruce, left the marina
around 1000 this morning. They went to Leblanc Fuel dock to top off
their fuel tanks, and then they will be on their way east.
I brought down to DREAM AWAY, the box
of clamps and the new and original hard dodger uprights. Kitty and I
bolted and clamped on the original uprights, and then clamped on the
two new uprights that will repair the sliding window problem. With
the two new uprights clamped on the measurements are rights on.
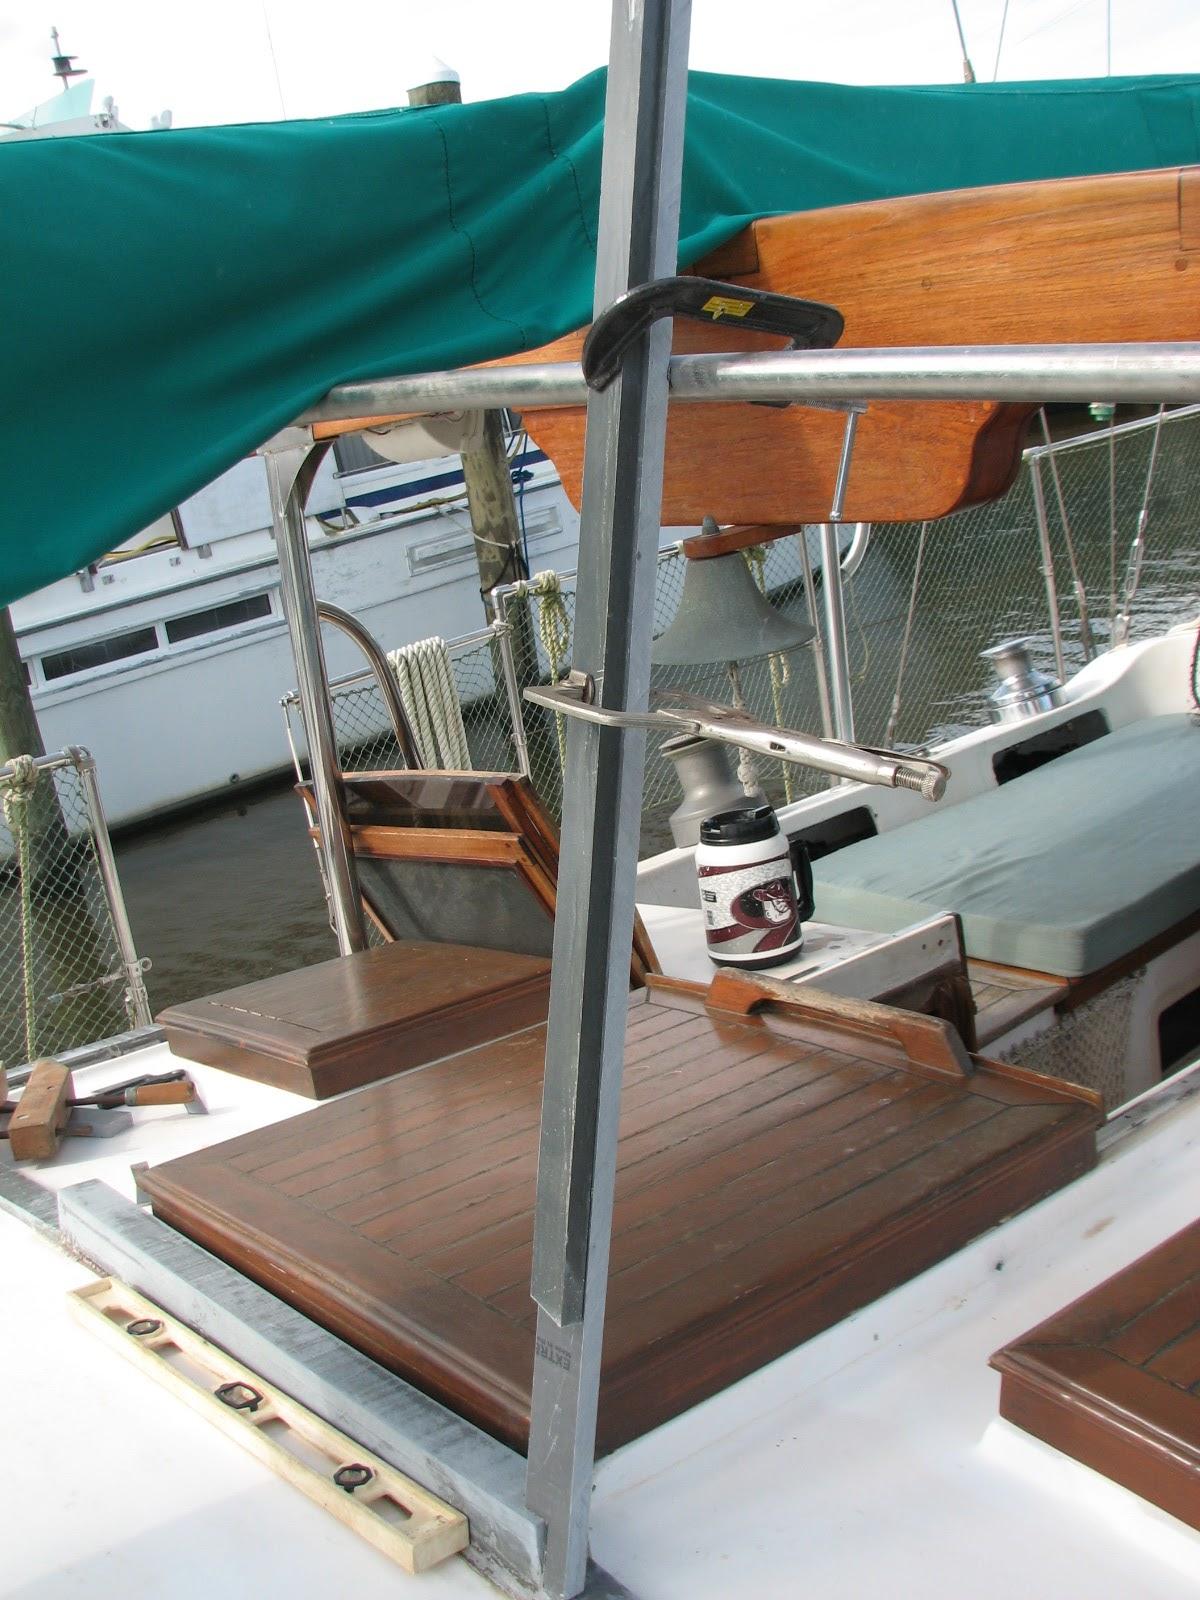
Now “all” I have to do is cut off
the piece on the original upright that was there for the sliding
window, and glass on the the new piece.
Tammy
and Bruce on DOS LIBRAS are back at the marina!
While getting fuel, they inadvertently put diesel fuel into one of
their water tanks. It was only about three gallons, but quite a
problem.
I helped Bruce pump out the water tank
and start the cleaning process on the water tank. Tammy and Kitty
went off to the Tabasco
Factory on Avery Island.
I finally got to mix up and pour the
Smith’s
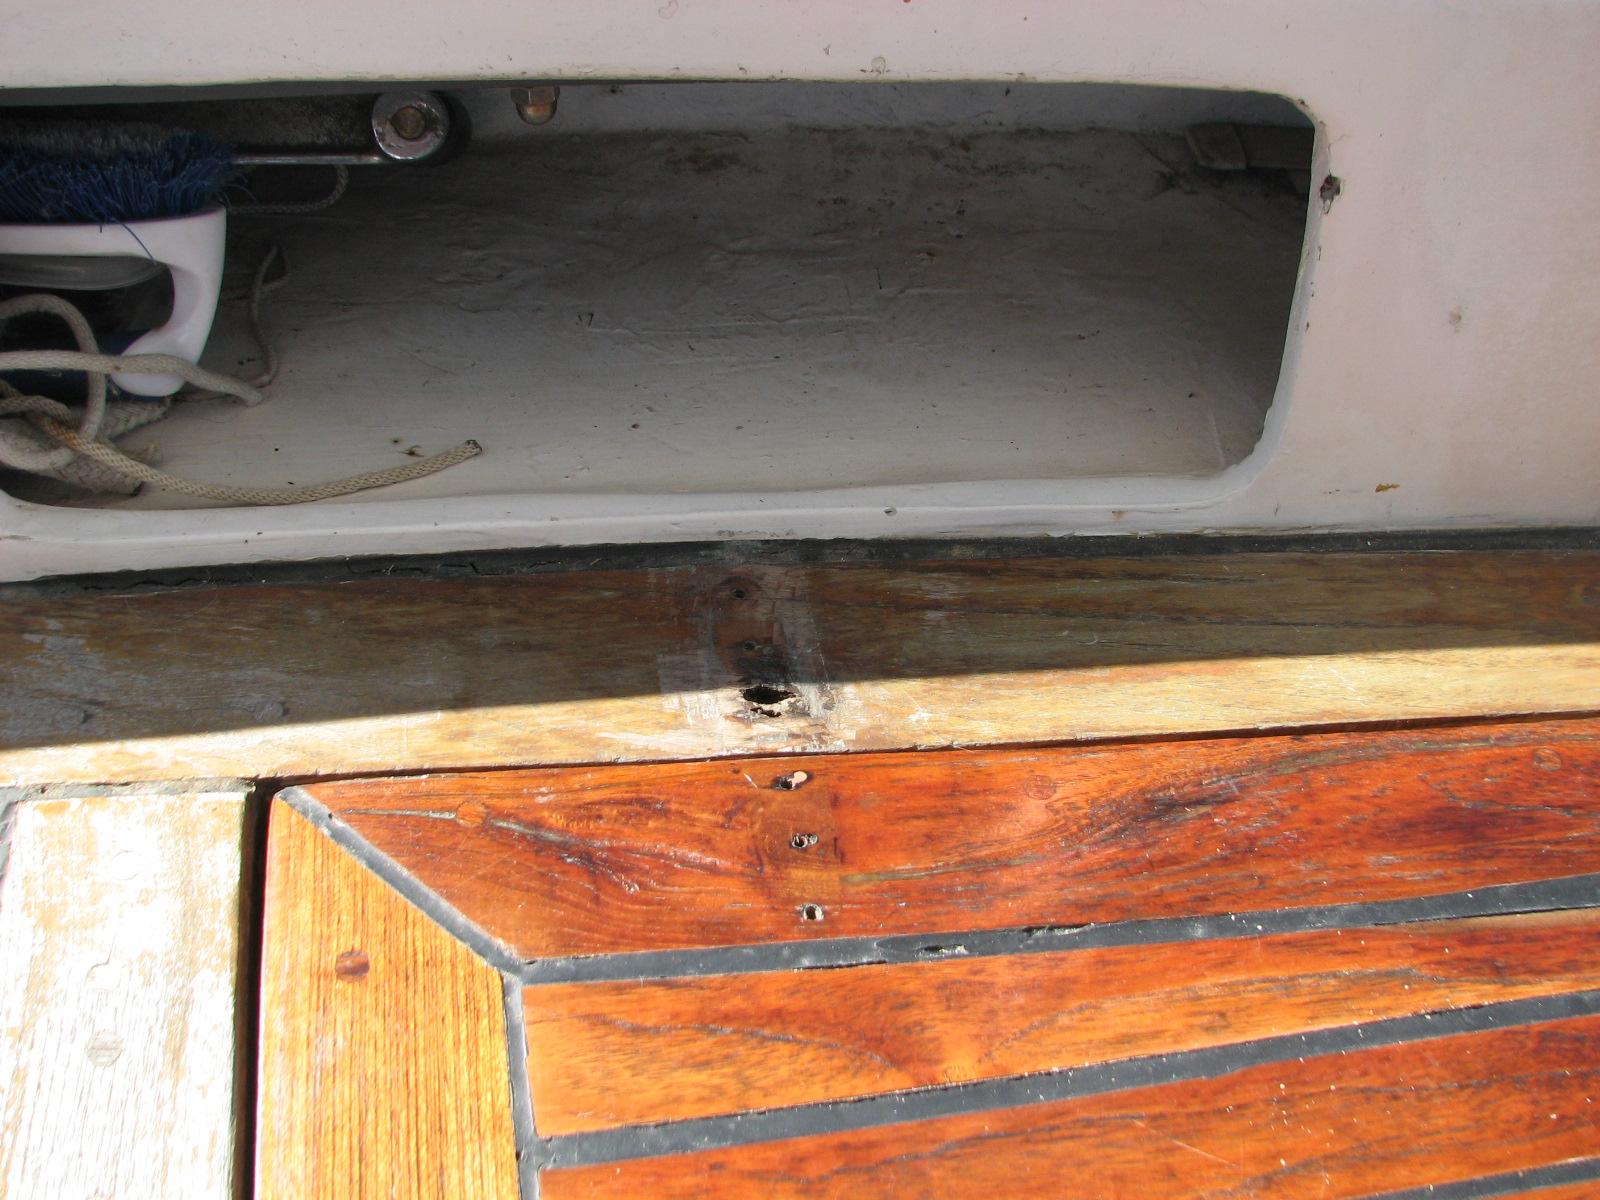
penetrating epoxy into the holes in the cockpit seat,
so I could bolt down the hatch in the cockpit. I had a bit of rot in
one of the screw holes. I saturated all of the screw holes with the
Smith’s
penetrating epoxy just to be sure I got everything.
Next I will put filler into the old rotten area, and then will be
able to screw down the cockpit hatch.
Rotten Area In Cockpit Next To Hatch
When that was complete, I put three
medium sized blobs of the
finishing
putty on the mixing board. I do this so I do not add
the cream
hardener to a large amount of putty, and have it go
off too soon. I am using the
finishing
putty as a filler to level out flat surfaces, and as
filler to make smooth radiuses in corners of the hard dodger base on
the dog house.
Hopefully I will not have to make many
applications of the finishing
putty. You never get it perfect the first time. After
the first application, you sand down the area, you find a few places
that were not filled properly with the finishing
putty. Then another application, then sanding. It
seems like this could go on forever, but I use the "36” rule.
The 36” rule is, if it is perfect
from 36 inches away, then it is perfect. When I do finally get all of
the area looking good, I will then apply the gelcoat.
Kitty and Tammy returned from their
outing, so I had a shower, and we went to Tammy
and Bruce’s
boat for a wonderful dinner. They are heading out to the east
tomorrow, so it was nice to get together.
November 19, Tuesday, 2013
Started off the morning with my normal
ritual of getting on the Internet, answering email, and checking the
weather, while making a pot of coffee. I also spent time with our two
cats,
Jillian
and Jordan.
Went over to the shop
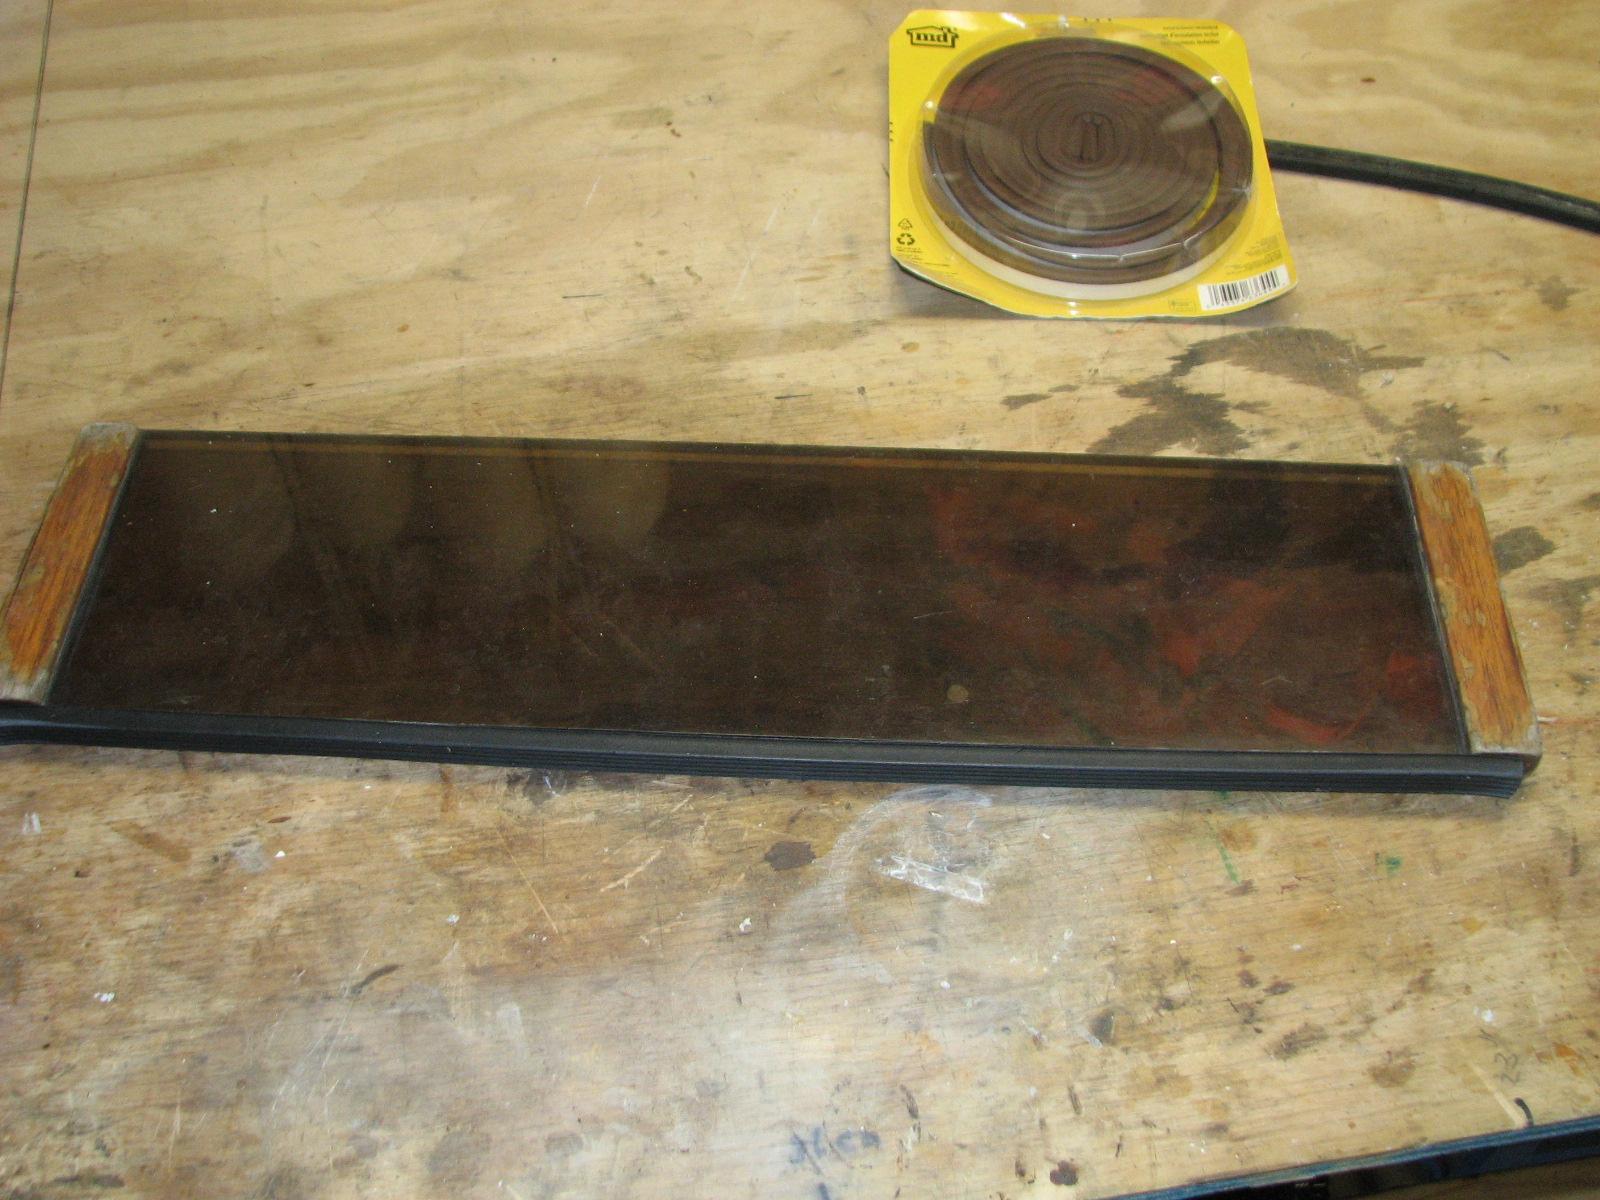
and started replacing the weather stripping on one of the companion
way inserts. The old weather stripping was failing and needed to be
replaced. It was a simple matter of completely removing the old
weather stripping, and applying the new weather stripping.
Old Weather Stripping On Companionway
Insert
New Weatherstripping Applied To
Companionway Insert
Now it was back to the problem uprights
on the hard dodger. Yesterday I had taken angles and measurements
while the uprights were clamped to the lower and upper base of the
hard dodger. Based on those angles and measurements, I cut out two
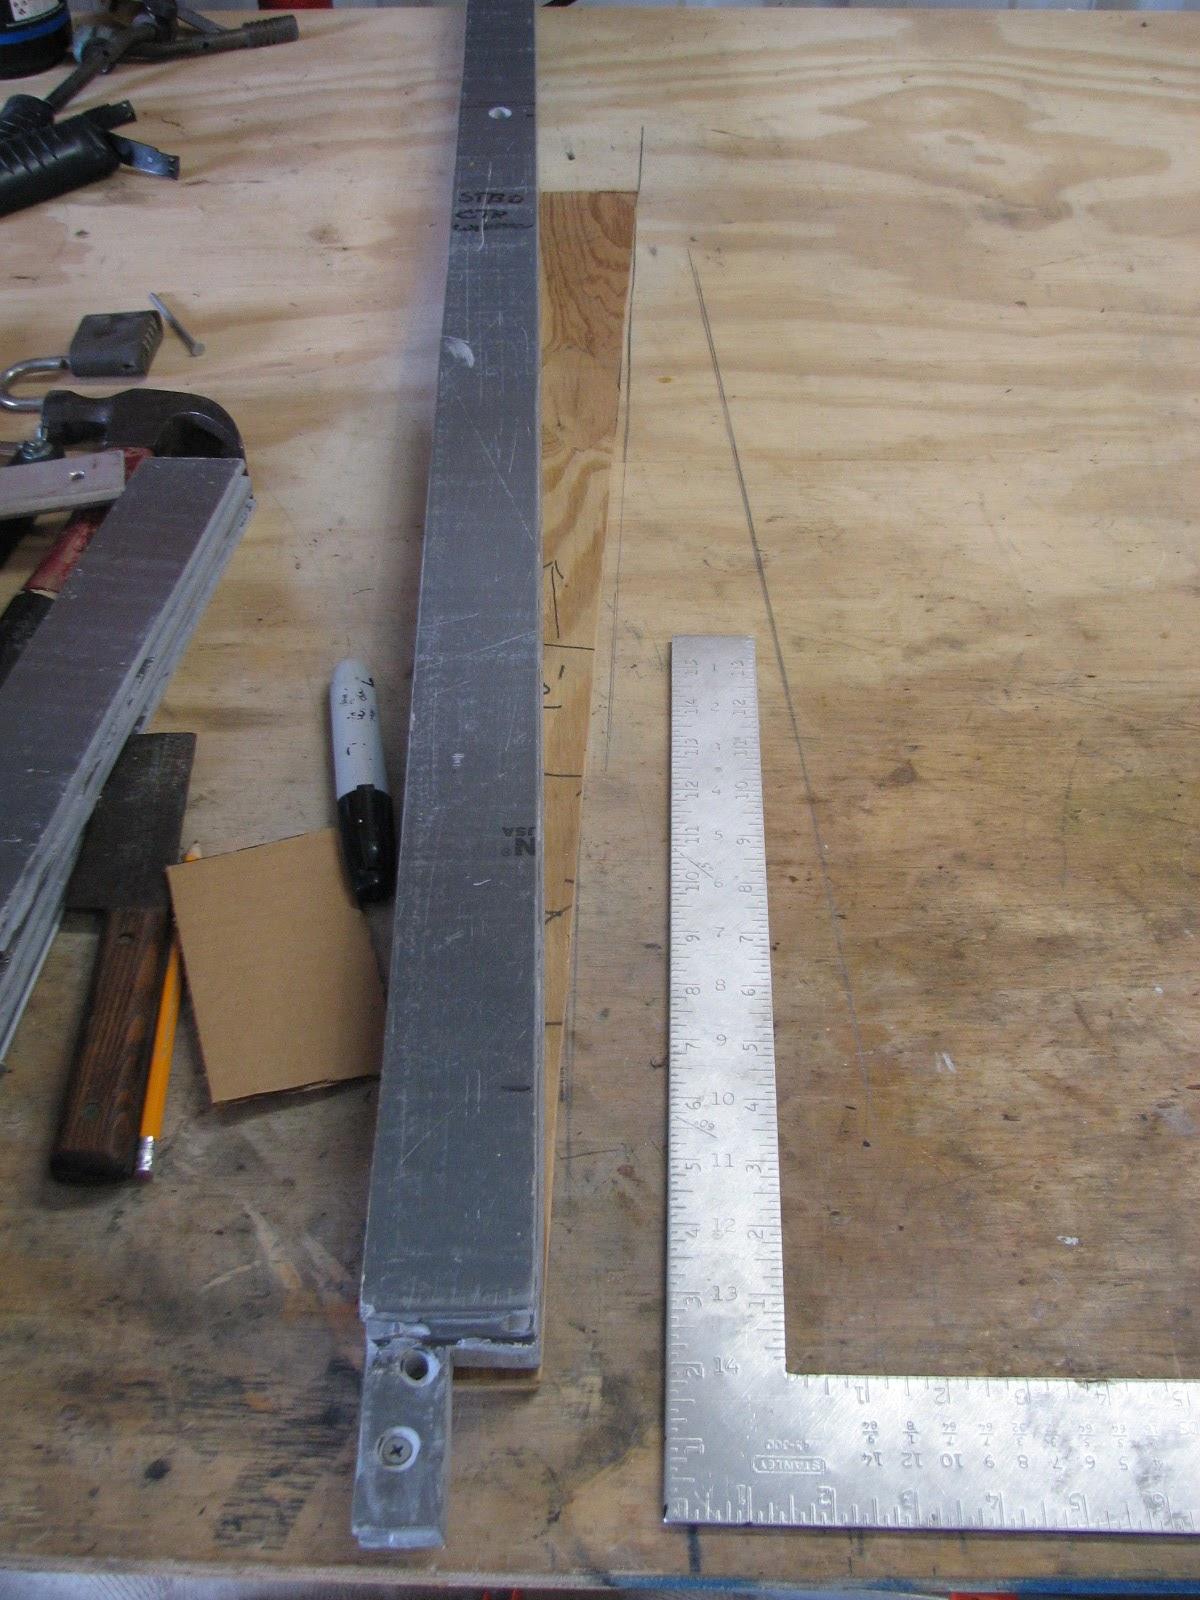
templates for the new pieces of Strongwell
Extren plate. One template was of thin plywood, and
the other was of cardboard.
It seemed no matter how I laid them out
on the bench I could not get the proper accurate measurement. Instead
of frustrating myself further, I decided I would take the uprights
and templates back to DREAM AWAY, and make the measurements on the
hard dodger uprights.
Starboard Upright And Template On
Workbench
Port Upright And Template On Workbench
In the meantime, while waiting for
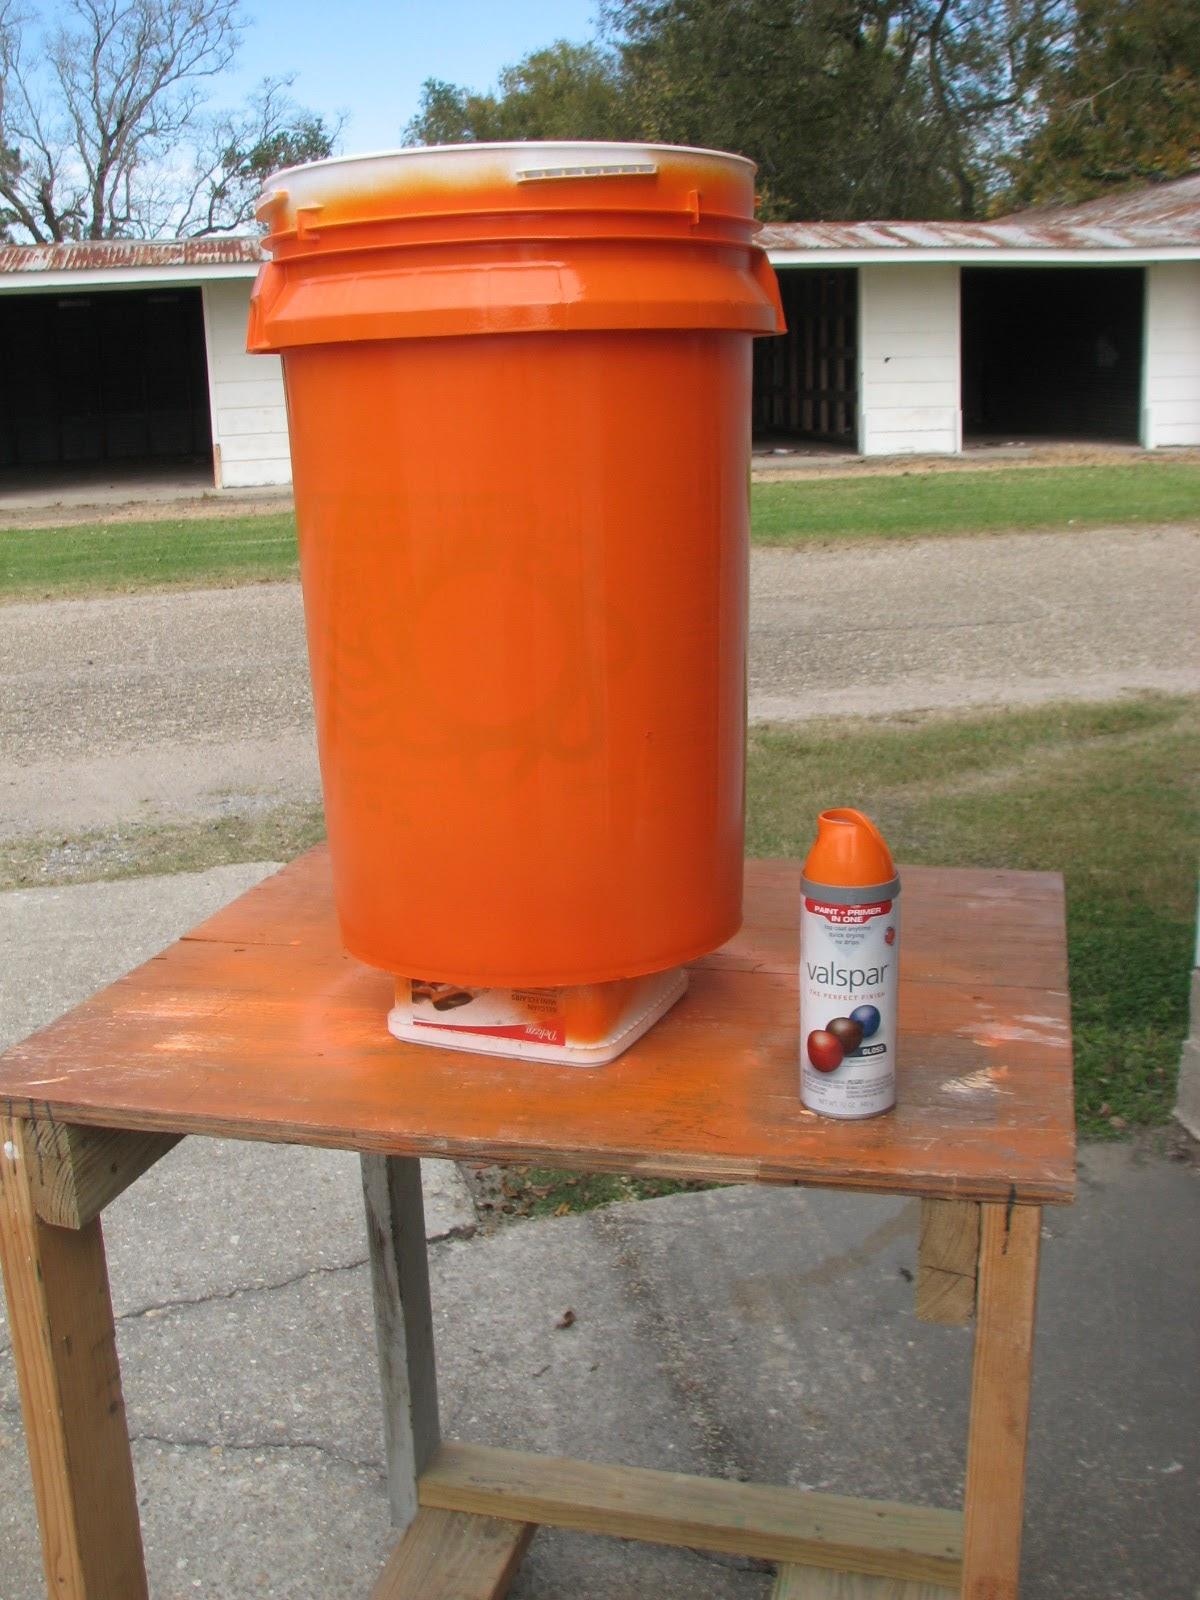
Kitty to awake, I finally got back to painting one of the barrels
that act as a trash container, and goes on the stern of DREAM AWAY.
Paint Applied To Barrel
While they were gone I went to work on
the hard dodger uprights. First on the list was to attach the two
center uprights to the lower base, and clamp them to the upper base.
When this was done I verified the measurements on the outside
uprights to the center uprights.
When I was comfortable with these
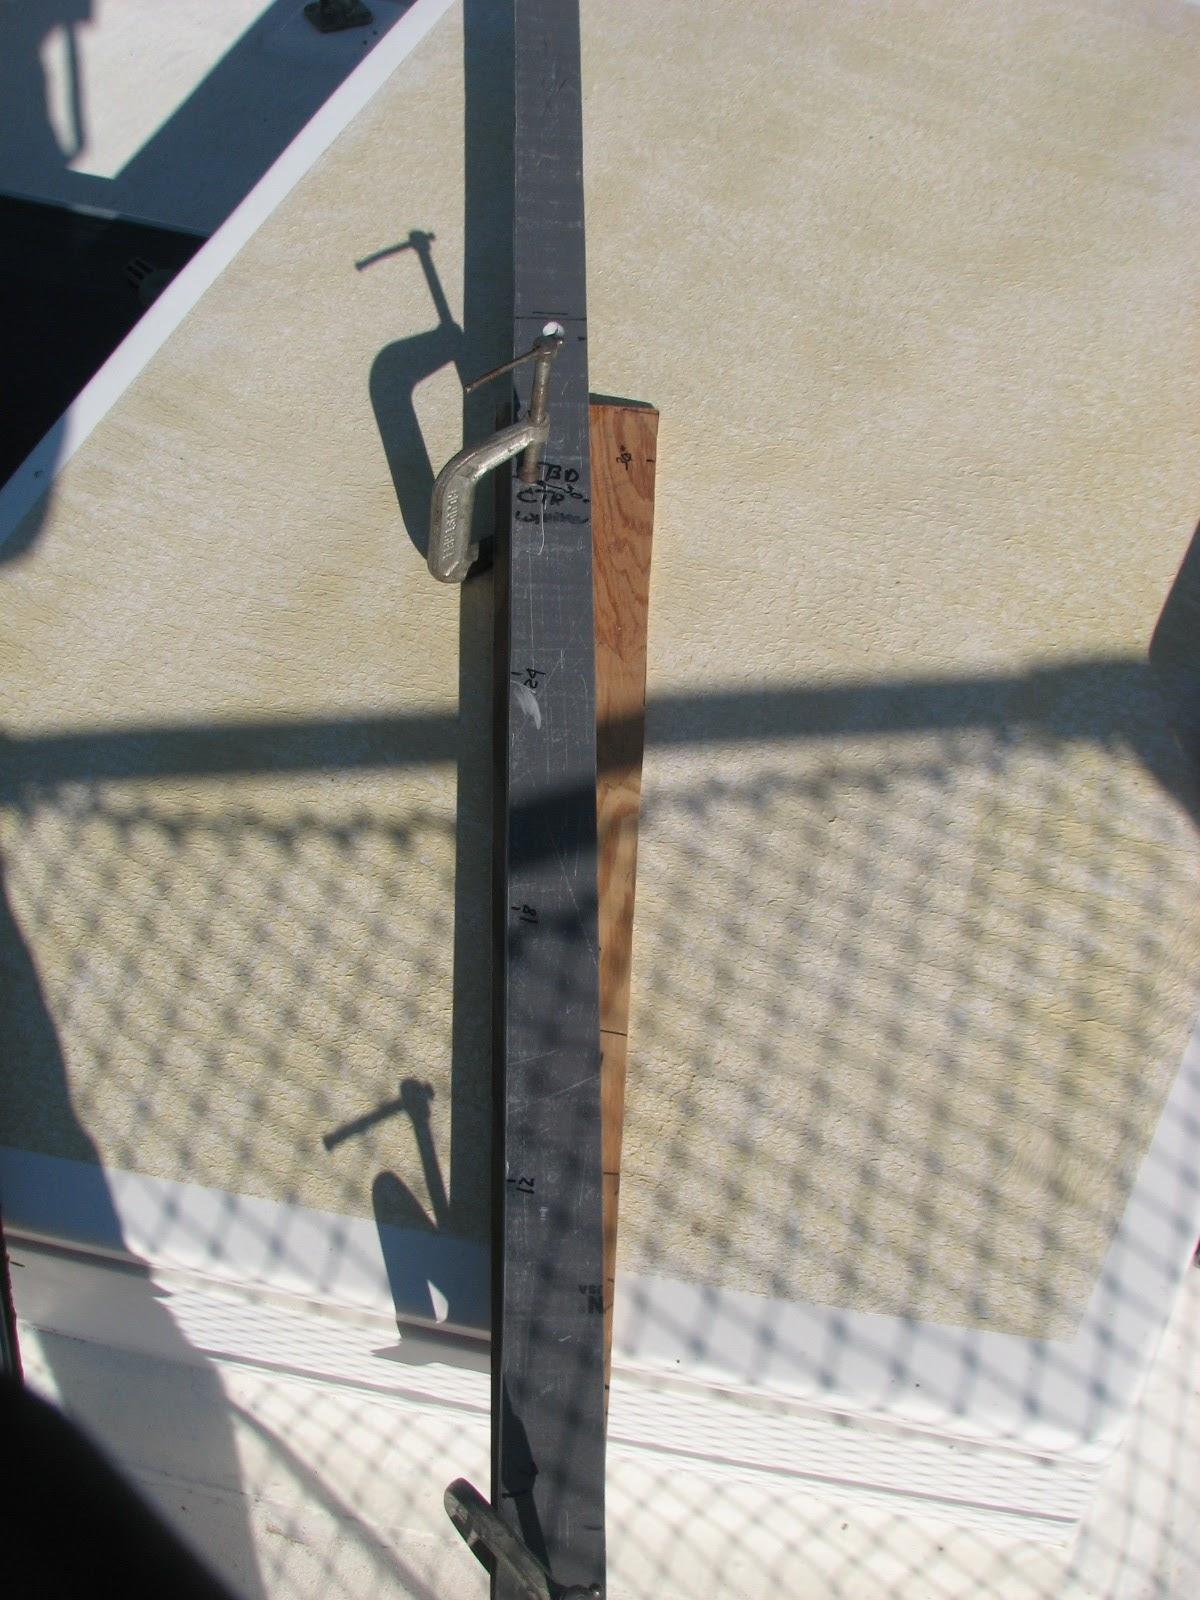
measurements, checking more than twice, I clamped the templates on
the two center uprights. I then moved and measured the templates
until the measurements between the two templates was the same at the
top and the bottom. This will allow the plexiglas
panel to slide up and down in the center of the hard dodger.
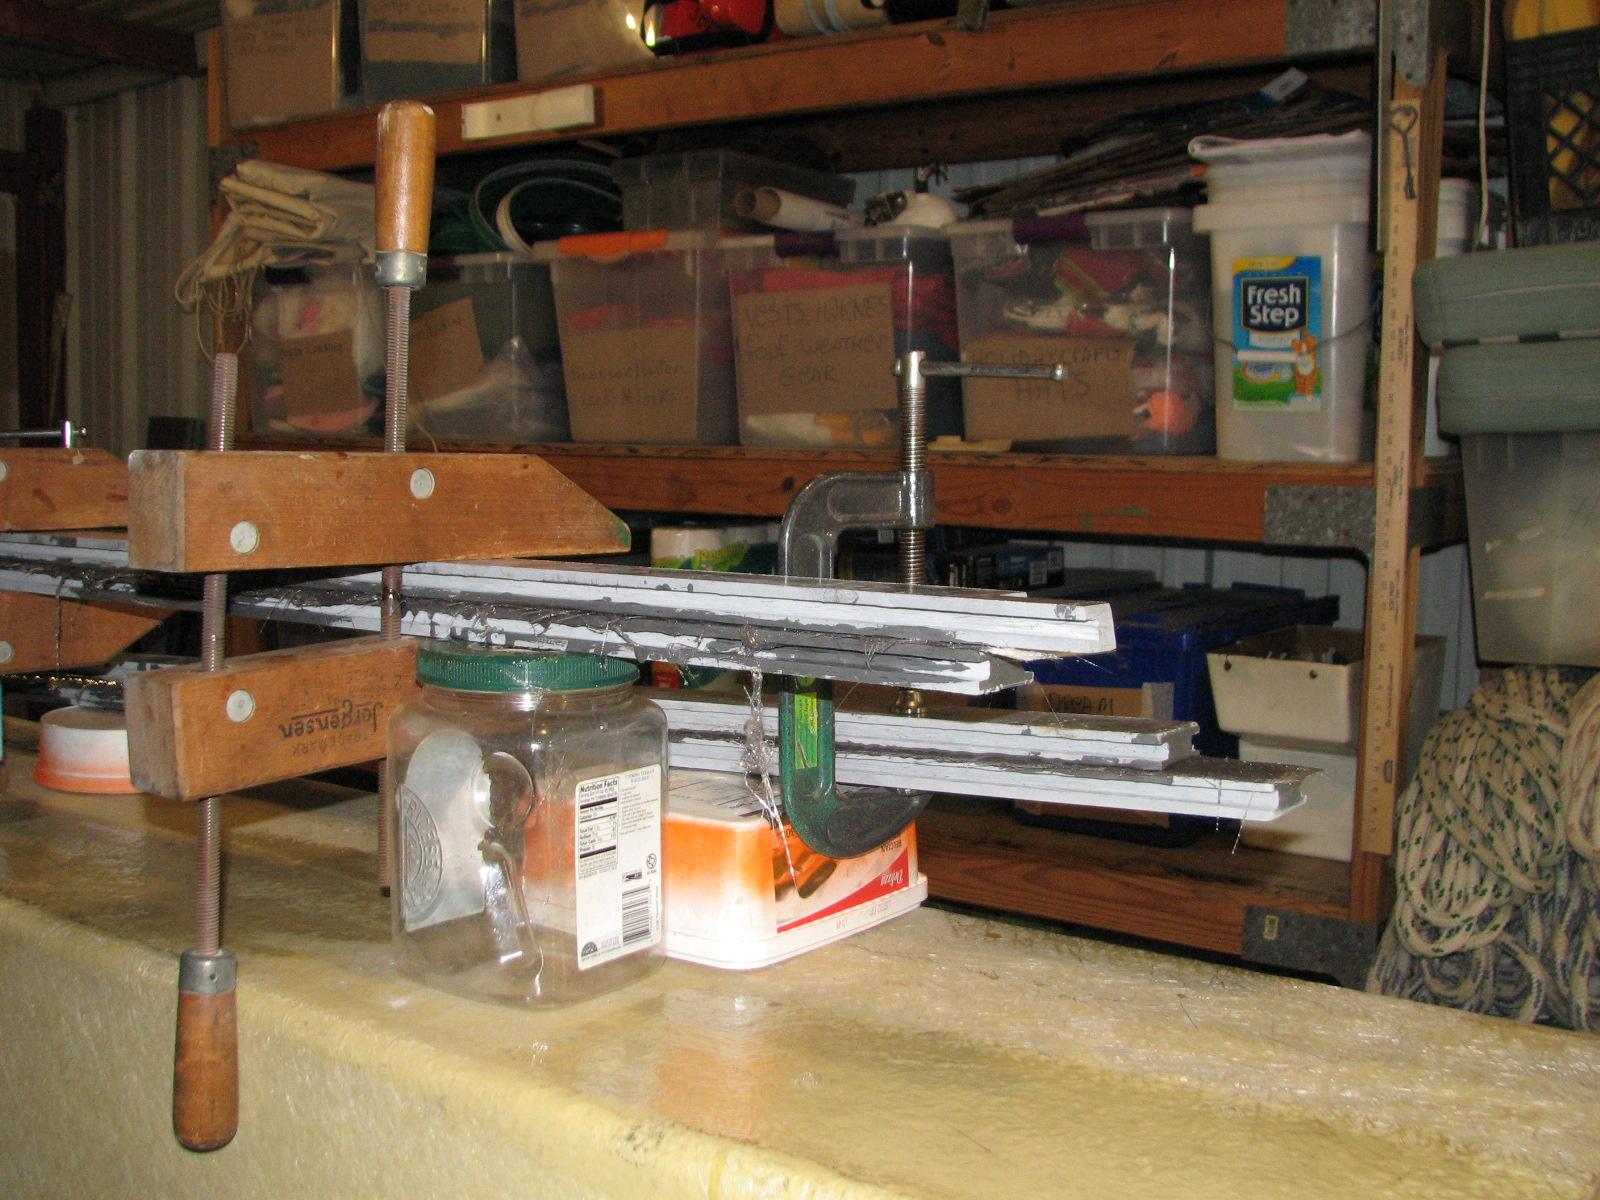
I made sure the clamps holding the
templates were very tight. I then loaded the tools, clamps and
uprights into the dock cart and walked over to the shop.
Measured And Clamped Uprights With
Templates
Measured And Clamped Uprights With
Templates
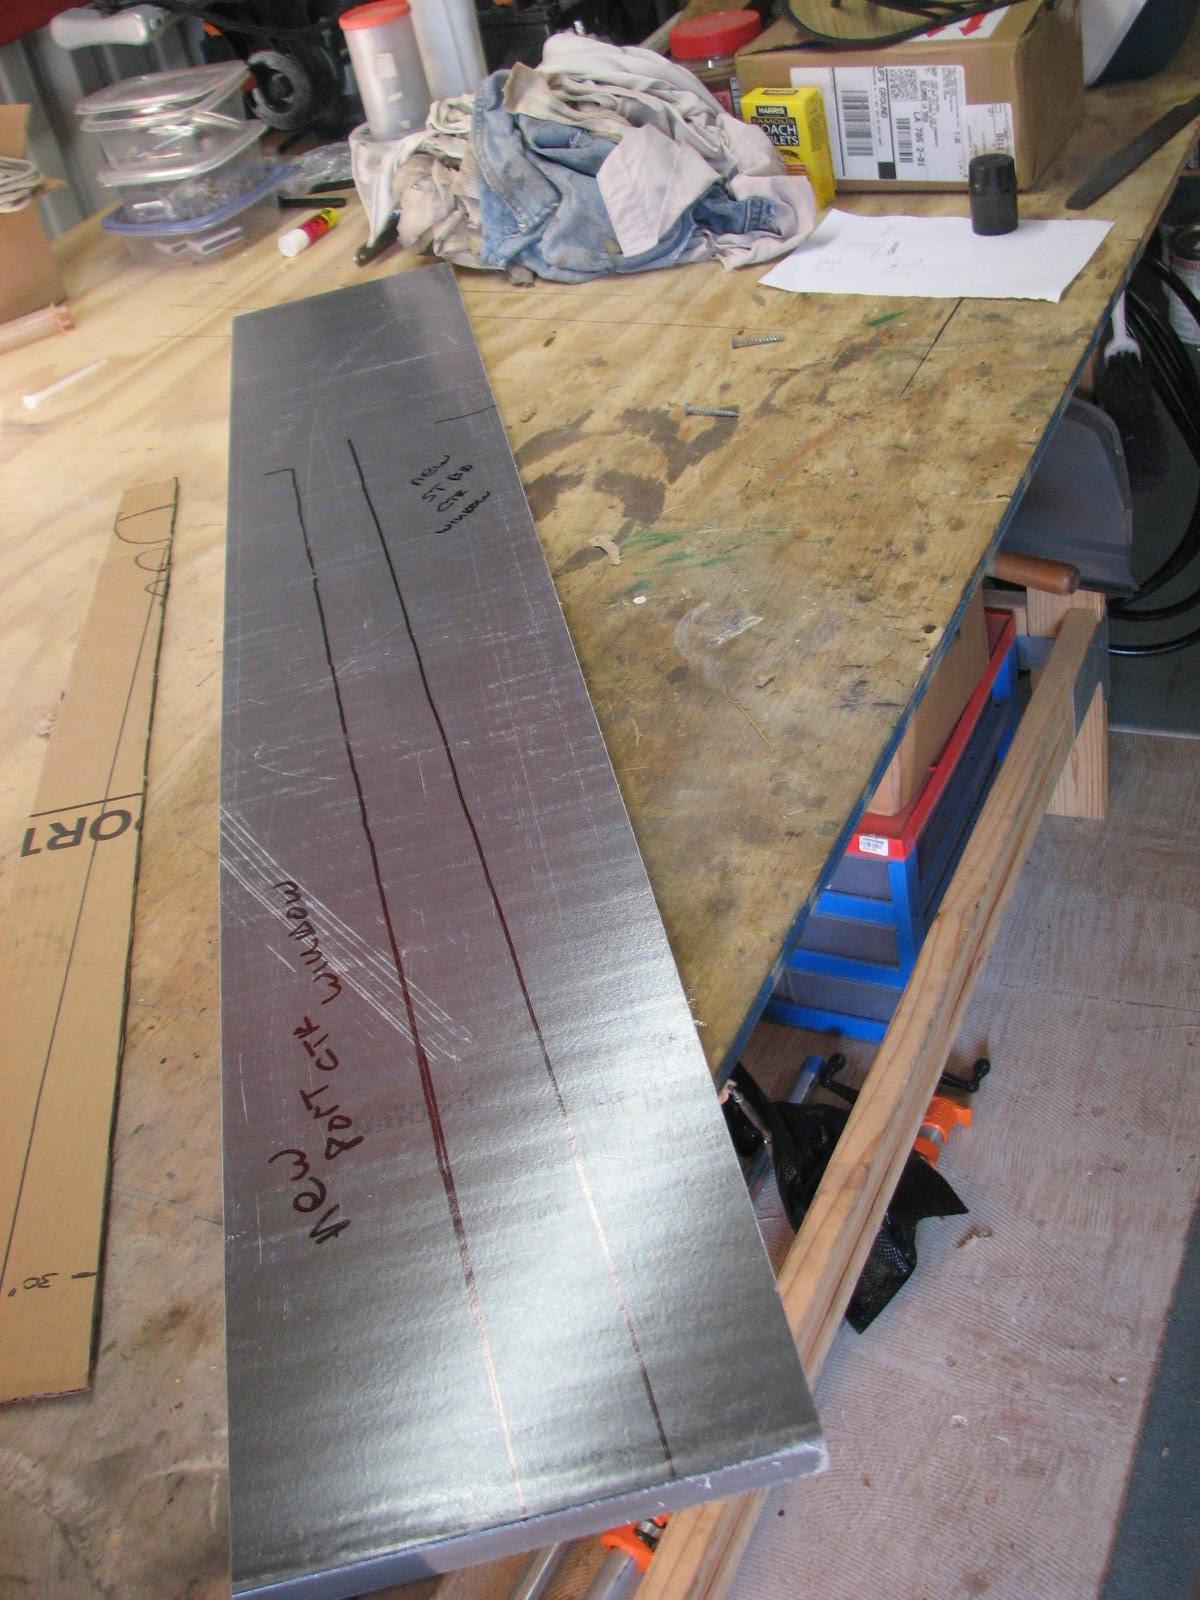
When I got to the shop,
I measured out the two uprights with the templates, onto the
remaining piece of tall Strongwell
Extren plate. I checked these measurements several
times.
Tomorrow I will cut out the two pieces
of plate, and also cut the channels in them.
Kitty had arrived home by now, so I
walked back to DREAM AWAY, and had a welcomed shower.
November 18, Monday, 2013
Started off the morning with my normal
ritual of getting on the Internet, answering email, and checking the
weather, while making a pot of coffee. I also spent time with our two
cats,
Jillian
and Jordan.
Went out to the hard dodger and
accurately measured and marked up the two cent forward uprights for
the hard dodger. When I had completed the measuring, I removed the
two uprights from the base, loaded them into the Black
Beast, and drove over to the shop.
I laid out the two uprights on the
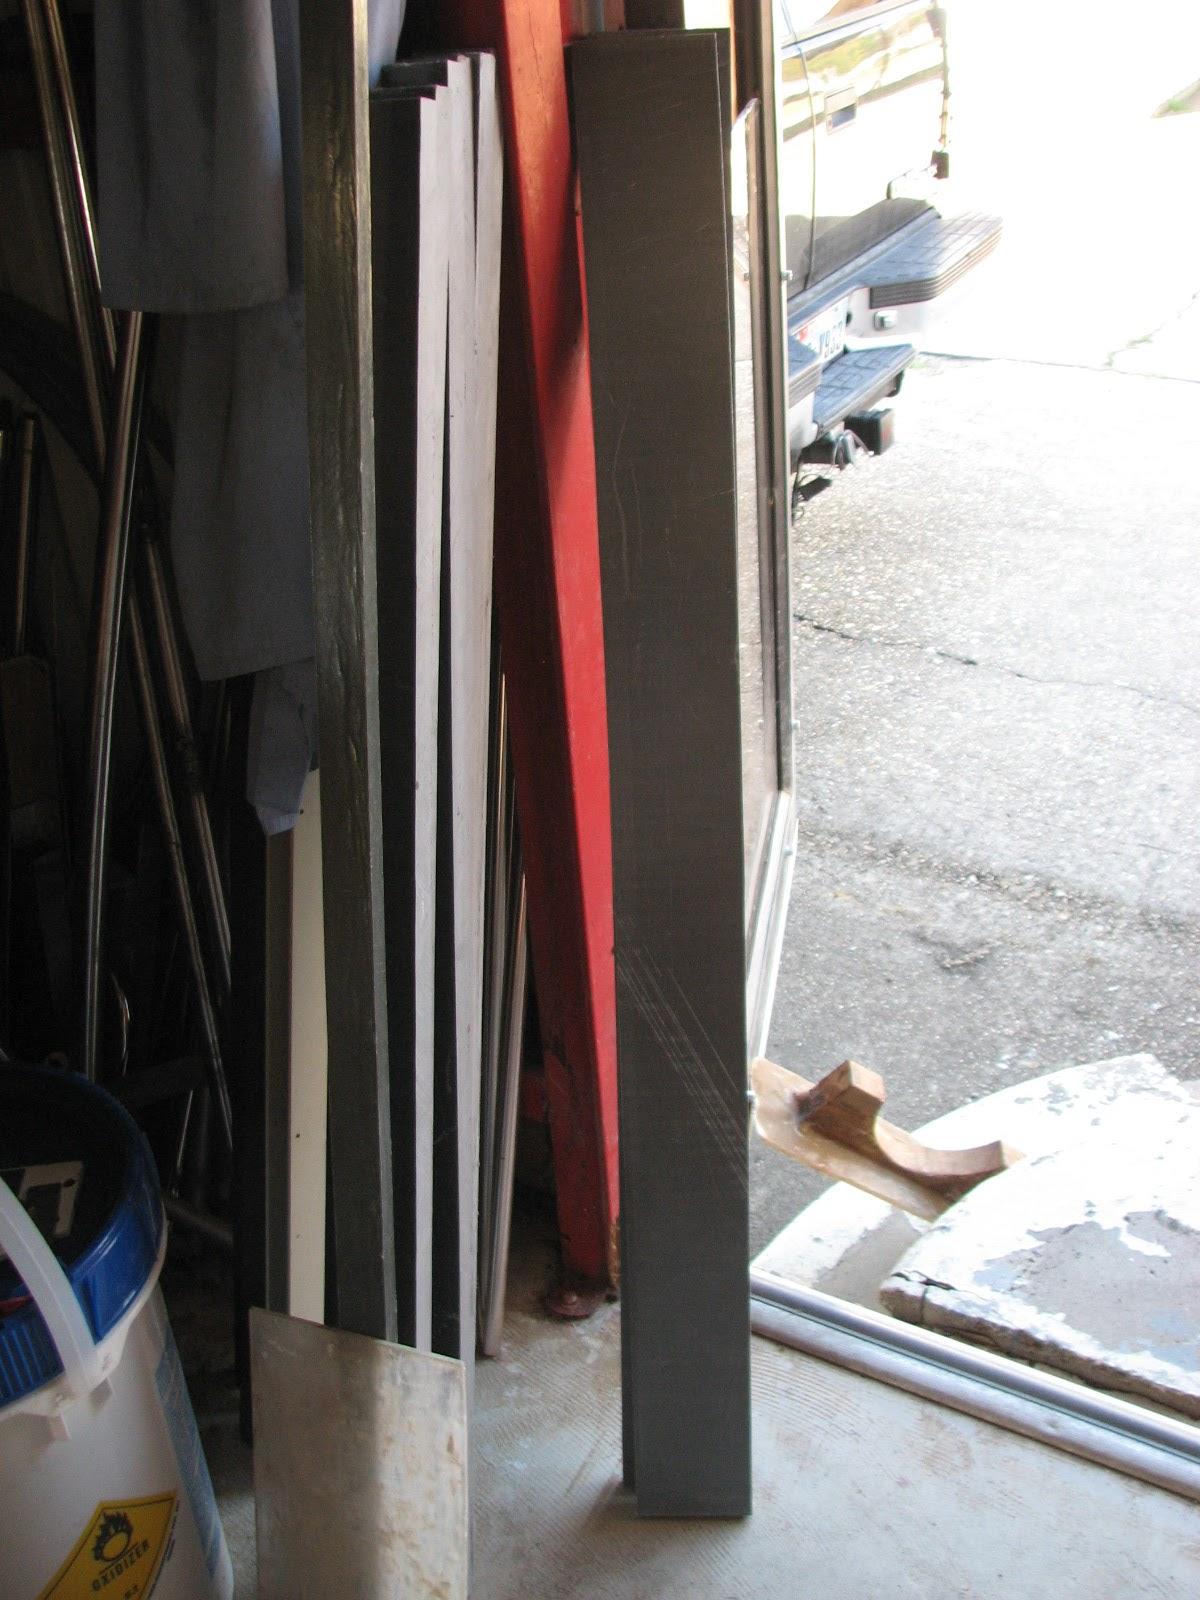
workbench, as I wanted to see if the remaining piece of Strongwell
Extren plate will work for the fix. I also wanted to
get a piece of wood or cardboard to use as template material to make
sure if the size of plate I will need.
It appears I have enough of the plate,
and I did find one piece of plywood I can use as a template. That is
the good news.
The bad news is I realized I did not
measure the angle of each upright from the hard dodger base on DREAM
AWAY. I have the distance between the uprights at the bottom and the
top, but not the angle.
I will have to bring the uprights back
to DREAM AWAY, bolts the bottoms to the base and clamp the tops to
the stainless steel base, and then measure the angles. That will have
to be tomorrow’s project.
Upright Laid out On Workbench
Upright On Workbench With Template
Material
I went back to DREAM AWAY to get ready
for the day’s outing. We took our new cruisers, Tammy
and Bruce, out to some them some of the sights in New
Iberia. We left Delcambre,
and drove to the Konrico
Rice Mill. We all watched the video, then Tammy
and Bruce took the tour of the mill. When the tour was
complete Tammy
and Bruce did some shopping in the company store,
purchasing some of the goodies available.
We then drove to downtown New
Iberia and had lunch at
Victors
Cafe. It was a very tasty meal, and we all had left
over to take home!
We then went to Shadows
On The Teche house. Kitty and I watched the video
about the house with Tammy
and Bruce, and then they took the tour while Kitty and
I read our books. When the tour was complete, we headed back to
Delcambre,
completing three errands on the way.
We had about an hours break, then it
was off to Abbeville
to have dinner at Shuck’s.
Another great meal, then back to the marina
for a well deserved bit of relaxation.
November 17, Sunday, 2013
Started off the morning with my normal
ritual of getting on the Internet, answering email, and checking the
weather, while making a pot of coffee. I also spent time with our two
cats,
Jillian
and Jordan.
I took the hoses, and the pressure
washer out on
Pier
“C” to where I had washed off the dock yesterday.
The dock was very clean, even though I saw birds at the end of
Pier
“C” where I had not washed and put up the
monofilament line. So far the monofilament line seems to be working.
I finished pressure washing Pier
“C”, and put up more of the monofilament line.
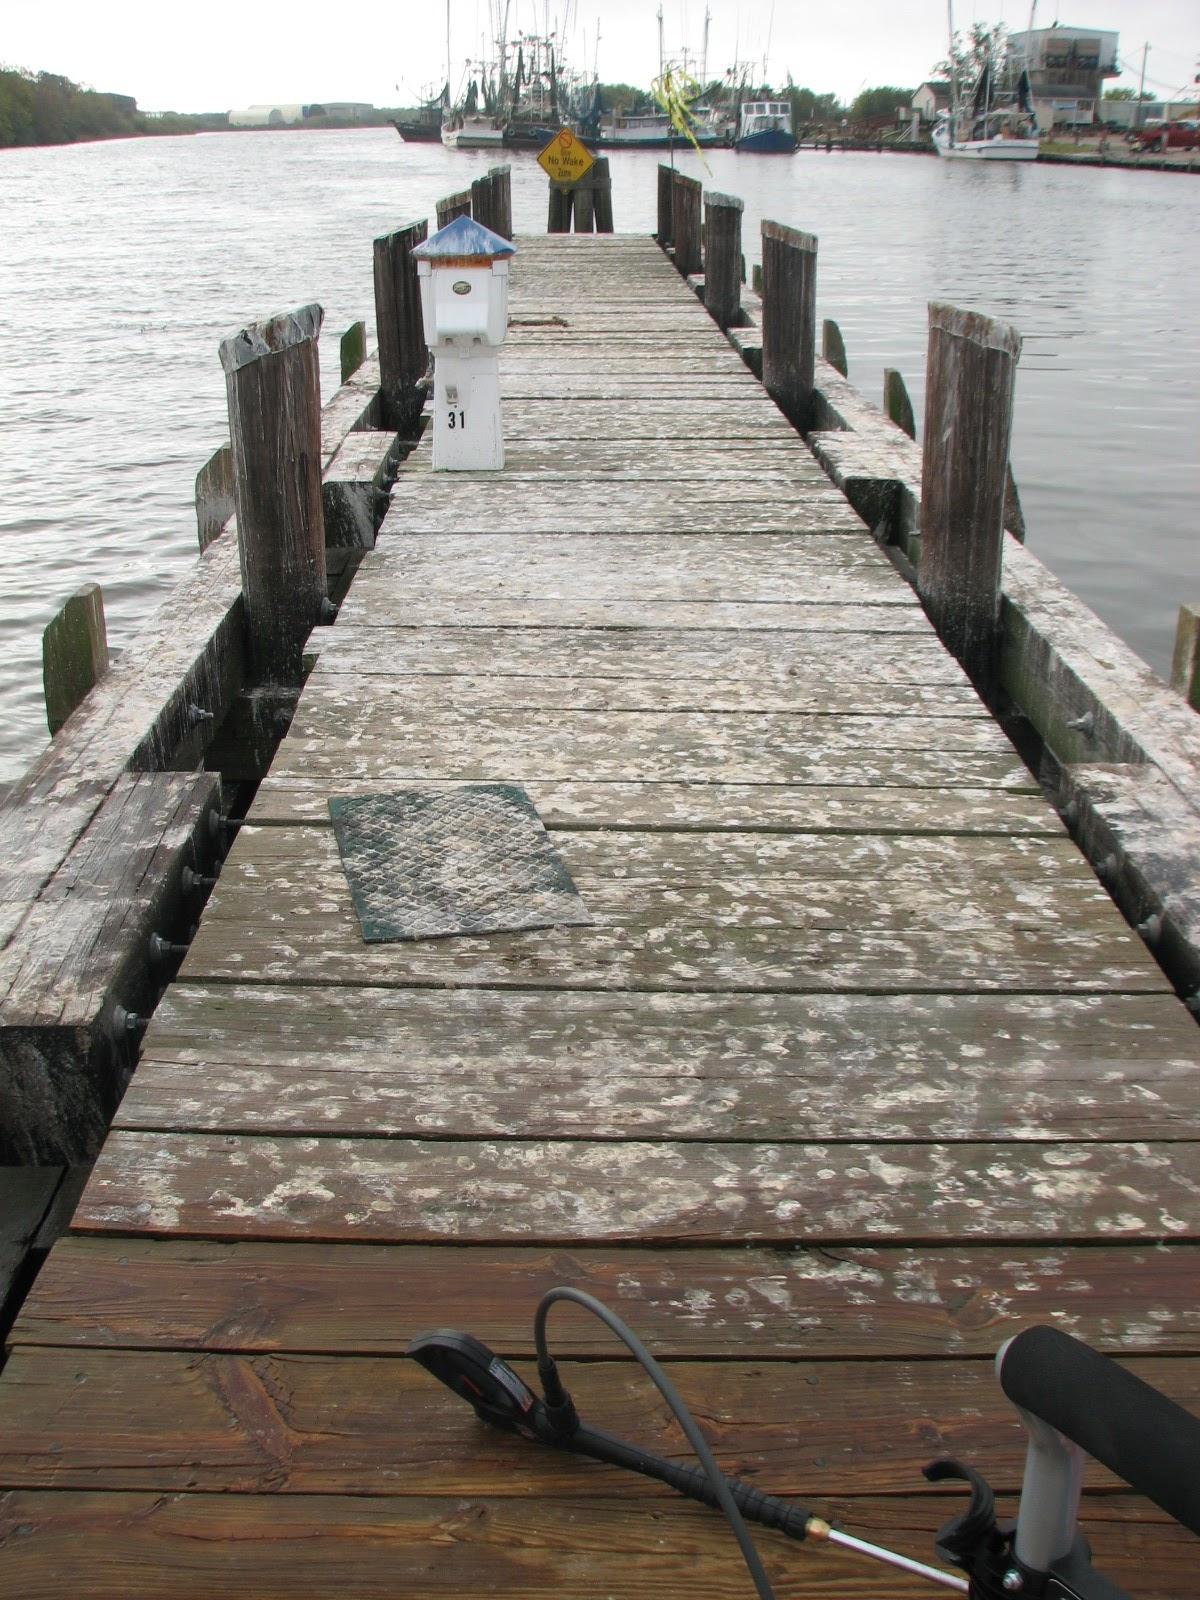
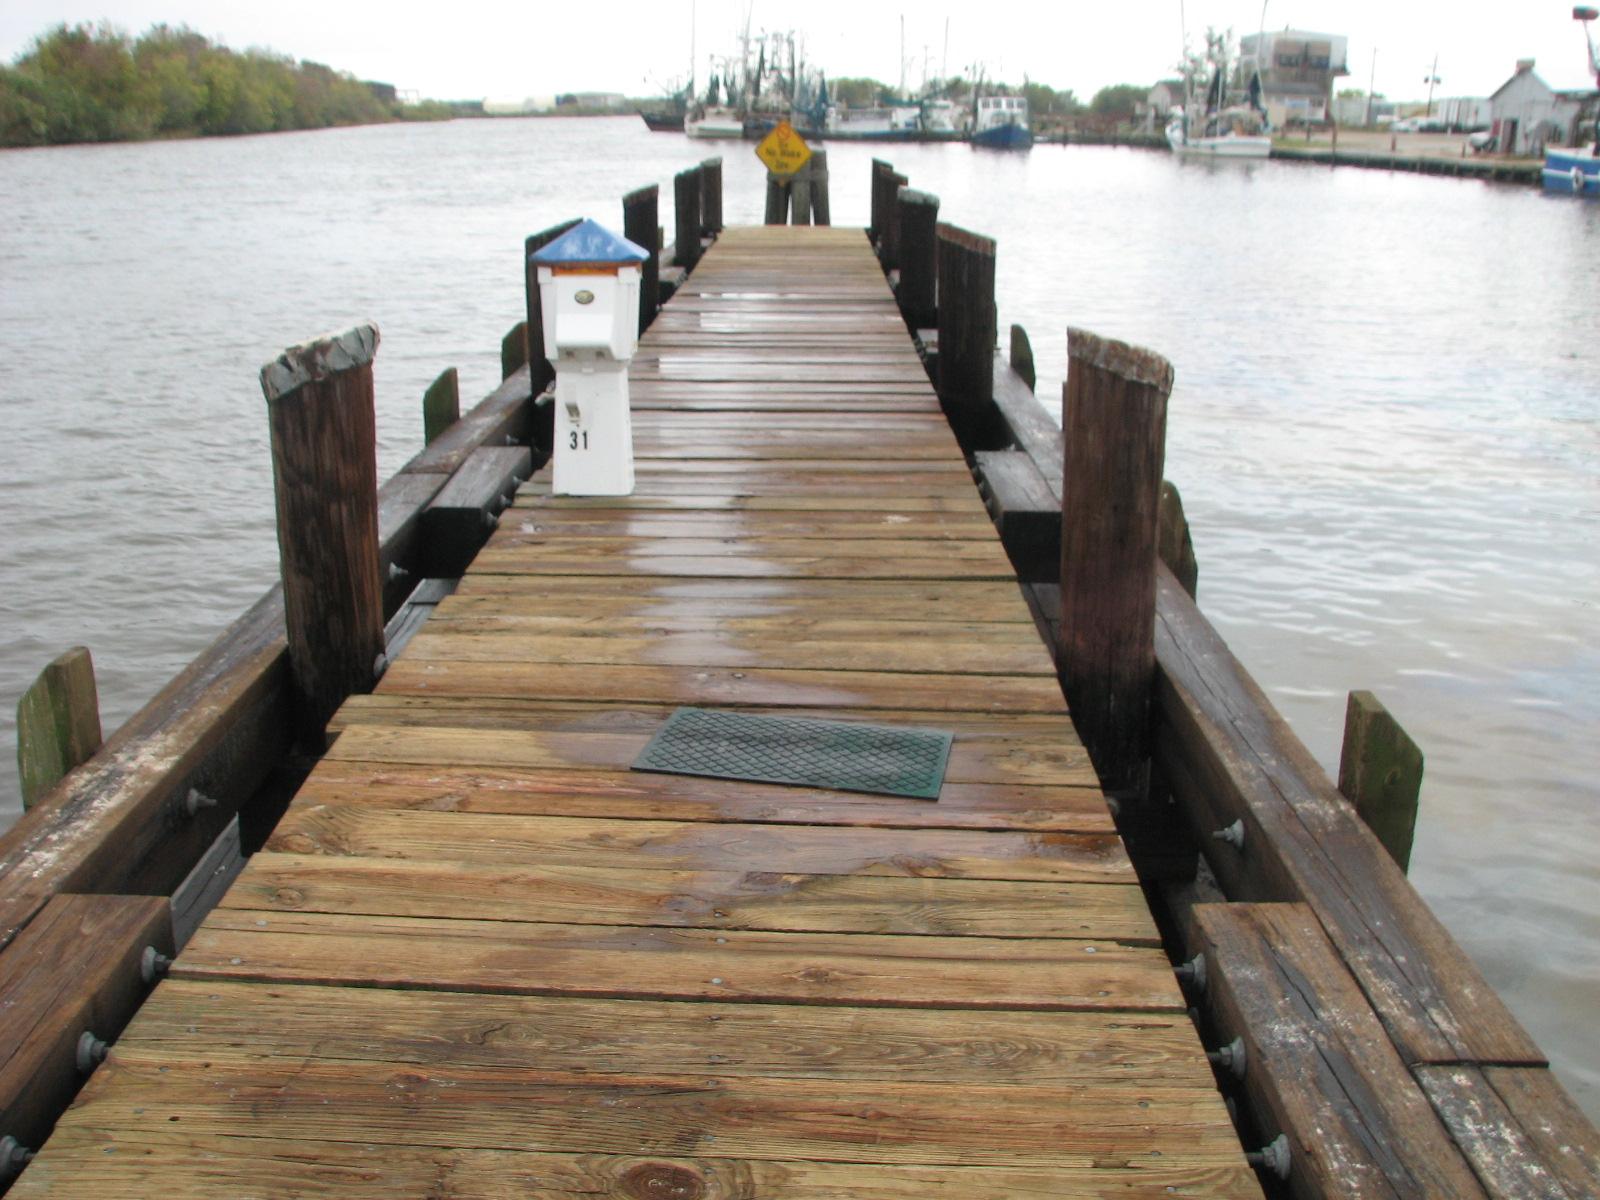
As you can see from the before and
after shots, the birds made quite a mess of the dock. I am VERY
hopeful the monofilament line will keep the birds away, and the dock
will remain clean!
The main reason Pier
“C” was being cleaned up is because we have a
cruising boat coming into the marina,
and the end of Pier
“C” is the easiest dock to tie up to and get away
from.
Bruce, T-Boy And Tammy WIth Welcome
Basket
Kitty and I worked on our problem with
the forward uprights on the hard dodger. We are going to modify the
two center forward uprights so the sliding window will actually work.
I hope to start on that project tomorrow.
November 16, Saturday,
2013
Started off the morning with my normal
ritual of getting on the Internet, answering email, and checking the
weather, while making a pot of coffee. I also spent time with our two
cats,
Jillian
and Jordan.
I went out on deck to measure the sizes
of the plexiglas
panels I will be needing. I am planning to purchase template material
today as we are driving into New
Iberia.
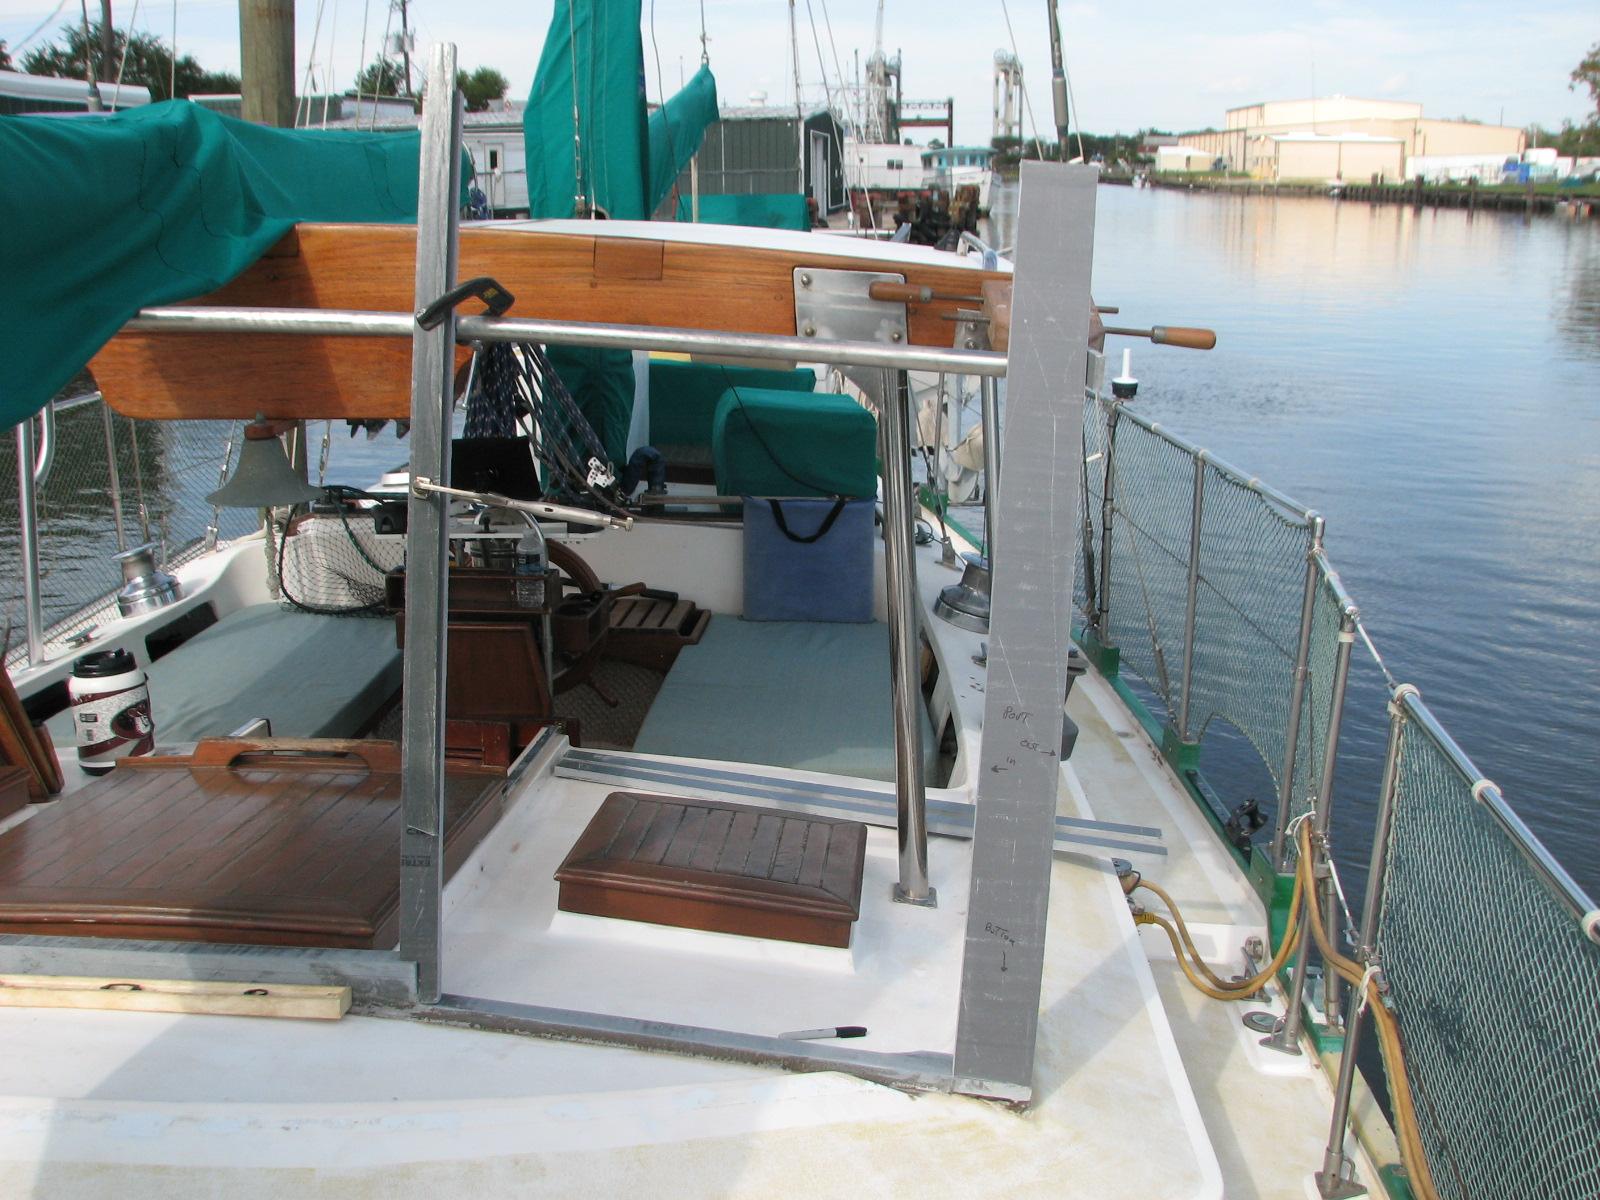
Had a major problem come up with the
forward facing uprights. The two center uprights are straight, but
the port and starboard outer uprights are not straight. What this
means is the planned sliding windows will not slide down, because the
distance between the uprights get smaller as it gets closer to the
bottom!
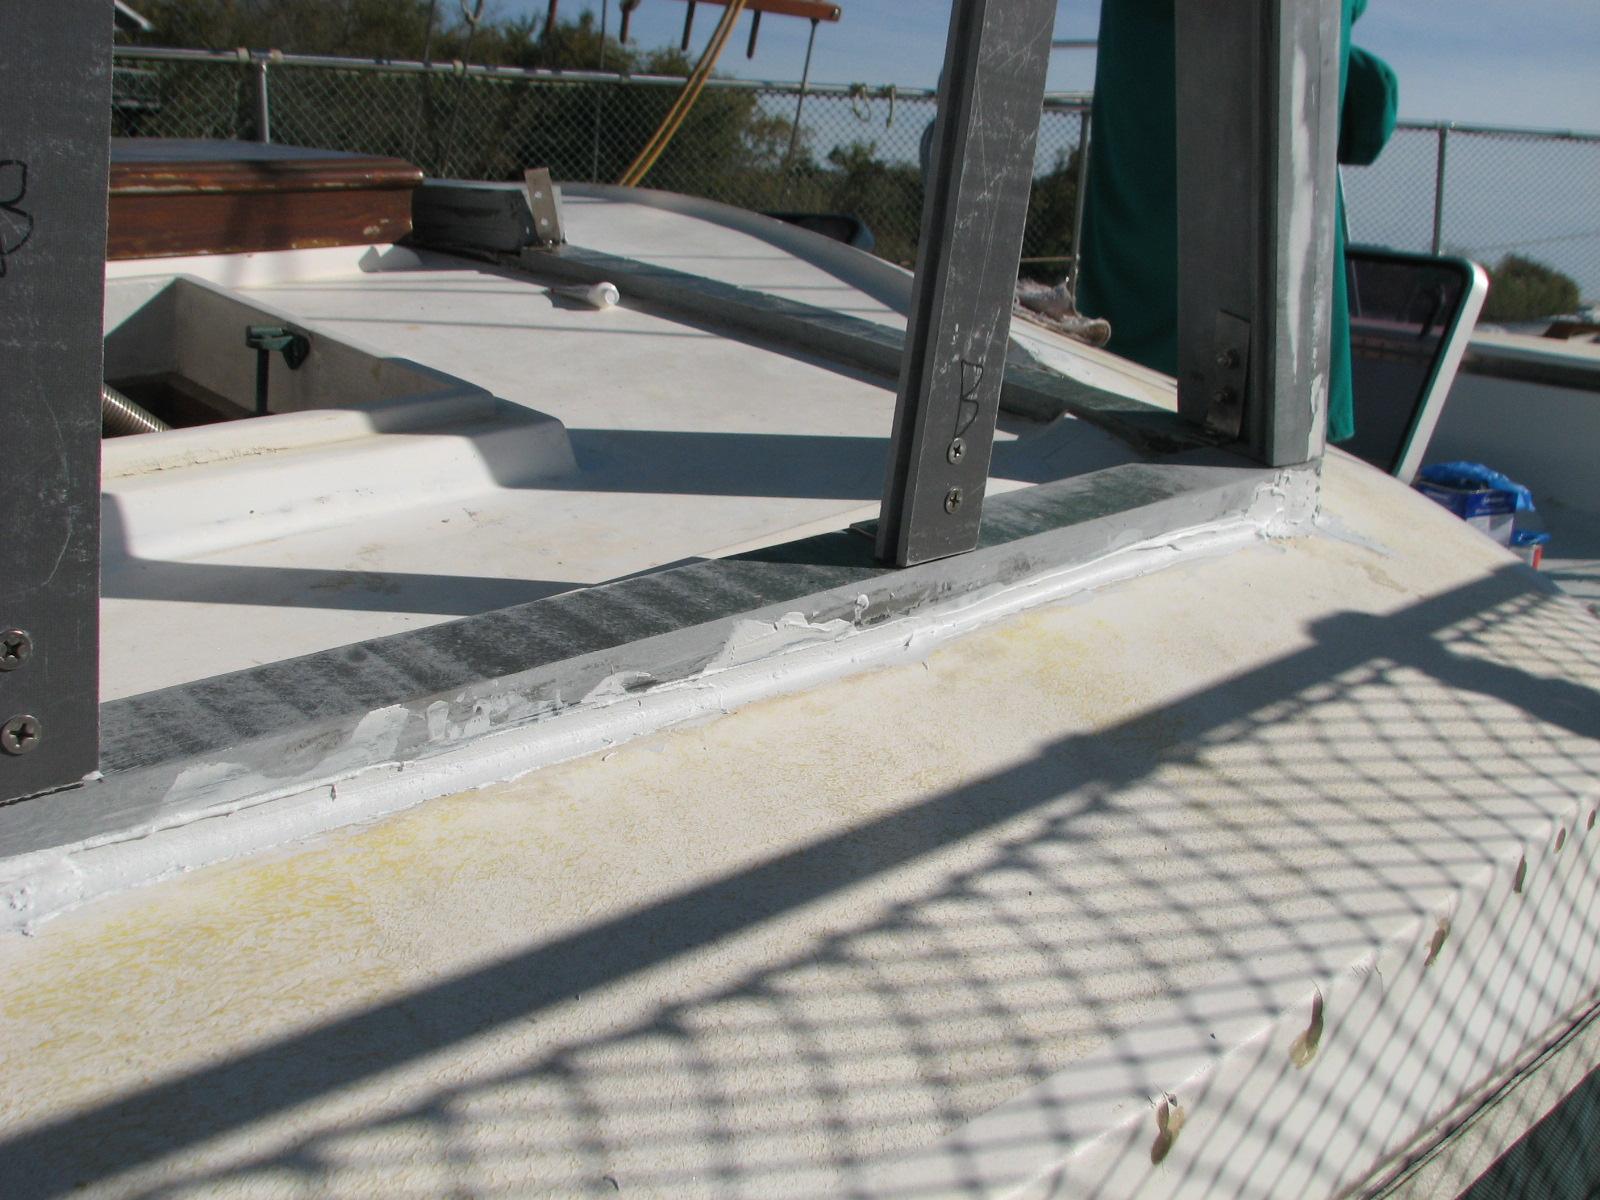
I have Come up with a not too major of
a solution. The two outer uprights are four inches wide, so I will
cut them such that when they are installed, they inside edges will be
straight. I will have to cut off a piece of the Strongwell
Extren plate I glassed on for the window track, and
glass it back on once the upright is cut. So the progress on the hard
dodger has been slowed down a bit!
We got back to dream away around 1630.
We enjoyed an adult beverage while relaxing in the cockpit, reading
and entertaining our cats.
November 15, Friday, 2013
Started off the morning with my normal
ritual of getting on the Internet, answering email, and checking the
weather, while making a pot of coffee. I also spent time with our two
cats,
Jillian
and Jordan.
I took the hoses, and the pressure
washer out on Pier
“C” to where I had washed off the dock yesterday.
The dock was very clean, even though I saw birds at the end of Pier
“C” where I had not washed and put up the
monofilament line. So far the monofilament line seems to be working.
I continued pressure washing the dock
on Pier
“C”, picking up where I had left off yesterday. I
washed off about half of the remaining “soiled” area, and the
strung the monofilament line over the freshly cleaned area. I ran out
of the monofilament line, so will have to pick up some more when we
pick up the two remaining toilet seats for the shower
trailer.
It was lunchtime, so Kitty and I had
lunch, then started in on the hard dodger uprights. My goal for the
day was to finish off all of the hard dodger uprights.
We did have a major disaster today.
Today was the monthly running of the generator. I try to run the
generator and main engine once a month for several hours. After the
generator had ran for about 15 minutes, it started making a horrible
noise and sounded like it was coming apart.
I checked the temperature and oil
pressure guages, and they looked normal, and immediately shut the generator down. I
then checked the oil and water again, but they were both good. I had
checked both before I even started the generator.
I cranked the generator, and it turned
over with no problem, but would not start. It is a diesel, so you
need good air and good fuel for the unit to run. I will check the air
supply, and verify it is good, but I suspect a fuel injector or the
injector pump. Fortunately I have a spare injector pump, and
injectors. Another project has risen very high on the list!
I decided to wait on the generator, as
it was not a pressing matter. The day is beautiful, so I wanted to
get the outside work done on the hard dodger.
We got the remaining hard dodger
upright installed. It went much easier today, as I learned a little
secret. This Strongwell
Extren plate I am using for the uprights, is extremely
hard and dull my drill bits. If I sharpen my bits before each hole in
the fiberglass
and the stainless steel, the drilling goes much easier.
We got all of the uprights attached to
the lower fiberglass
base, and to the upper stainless steel base. This is a major
milestone. I still have a lot remaining. I have to cut off the tops
of the uprights so the King
Starboard top will fit snugly. I have to do all of the
finishing work on the fiberglass
base and the uprights, and then apply gelcoat.
I also have to measure the plexiglas
windows so I can make templates, and then purchase the plexiglas.
And last I have to weld on some supports to the stainless steel top
base to support the King
Starboard top.
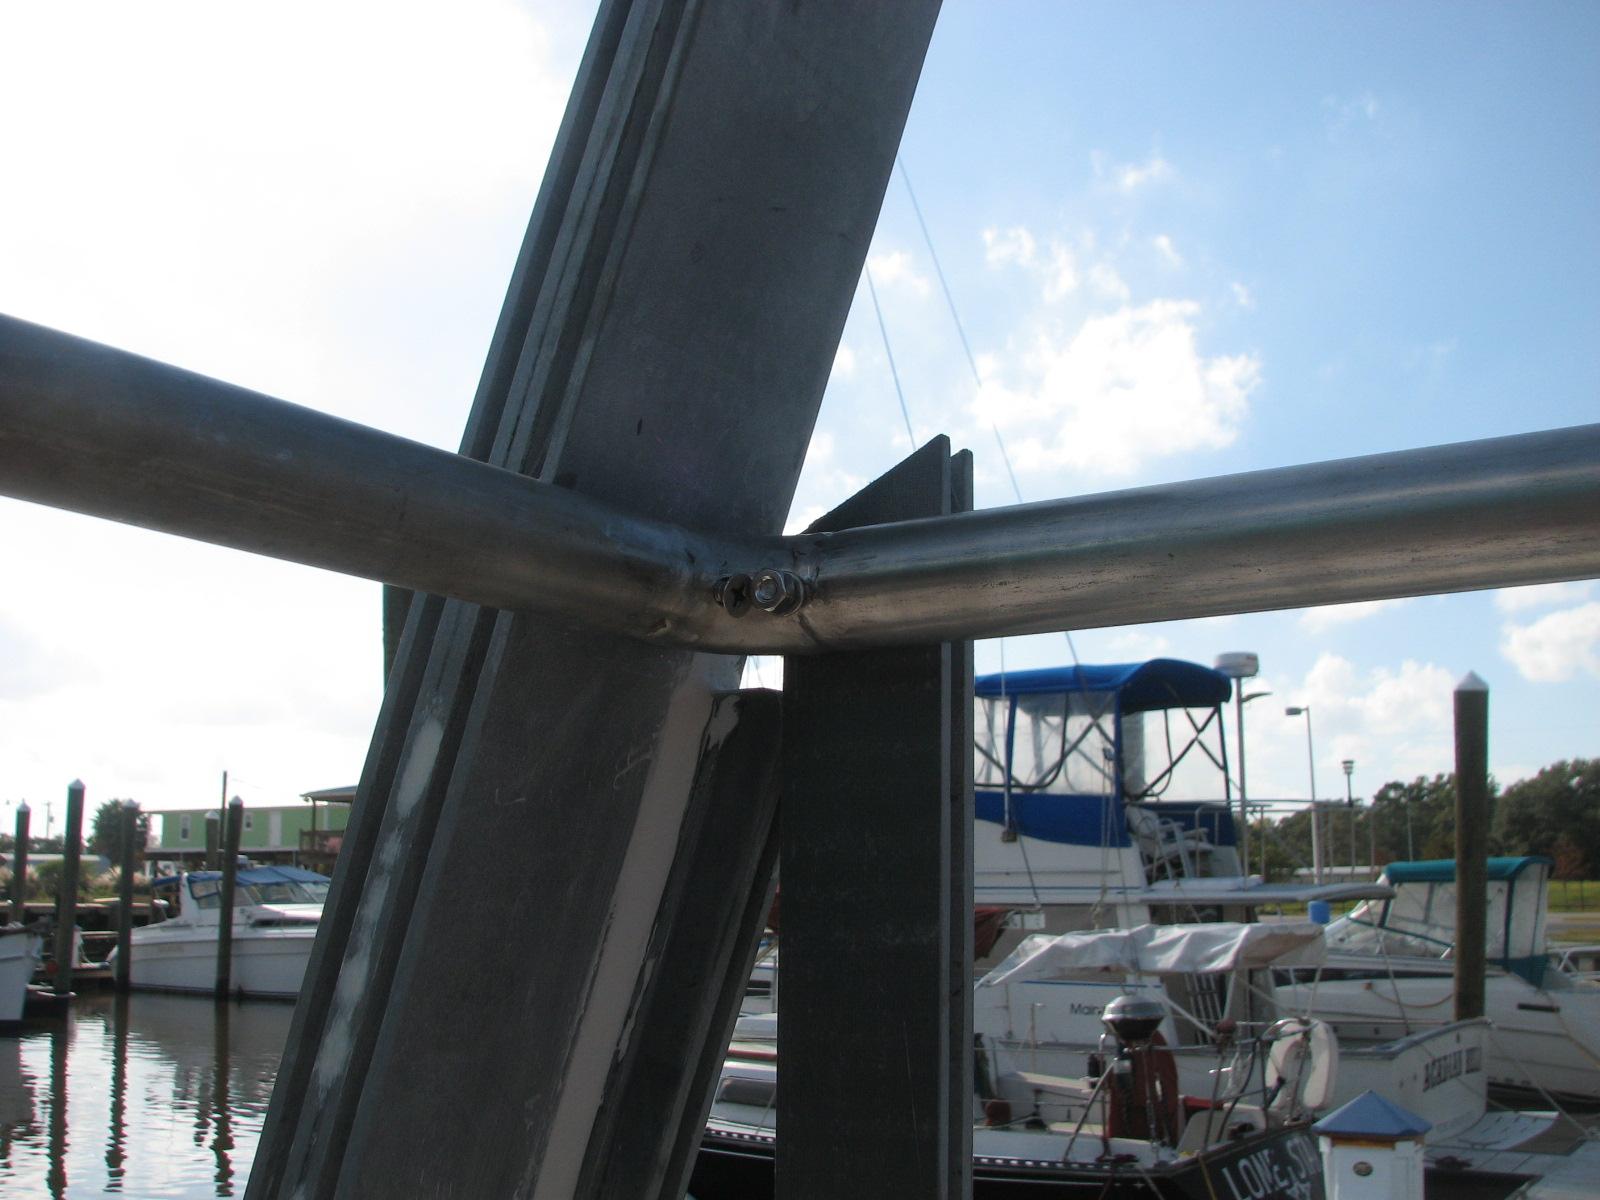
Top Bolt Details
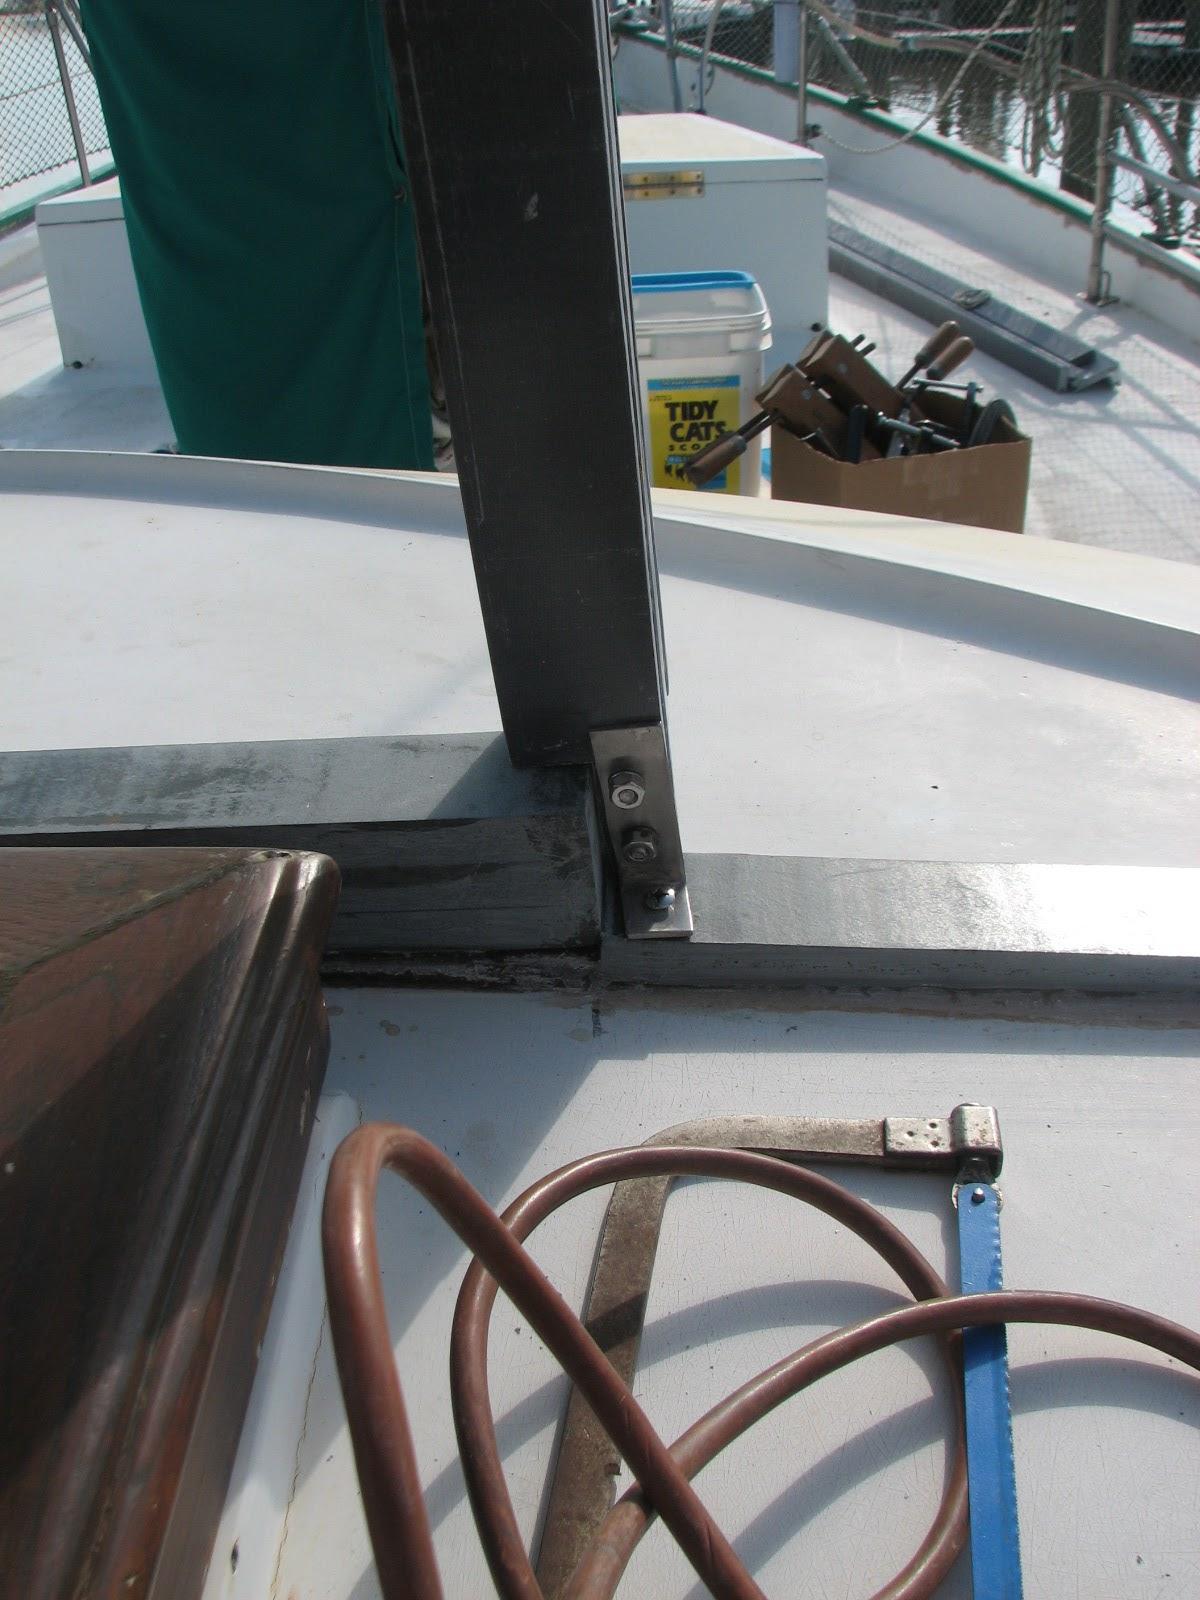
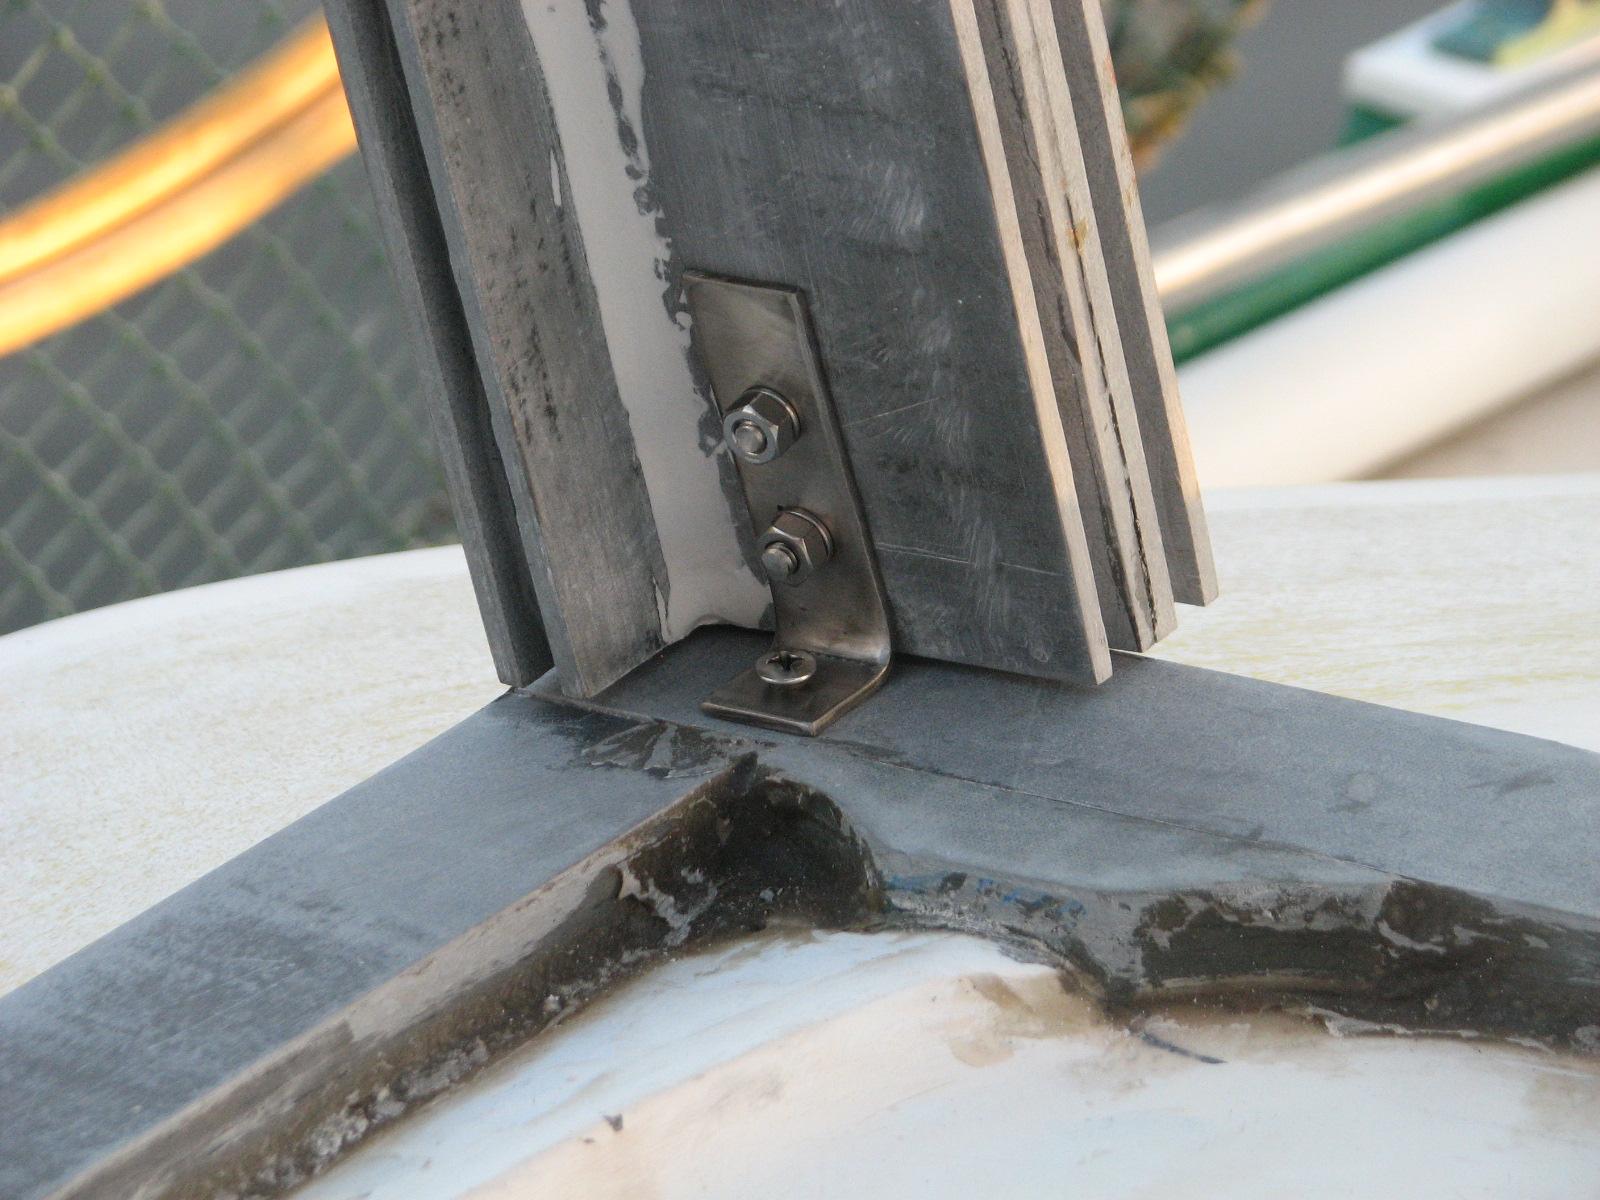
Bottom Bolt Details
Corner Bolt Details
All Uprights From Starboard Side
Starboard Side Uprights
Port Side Uprights
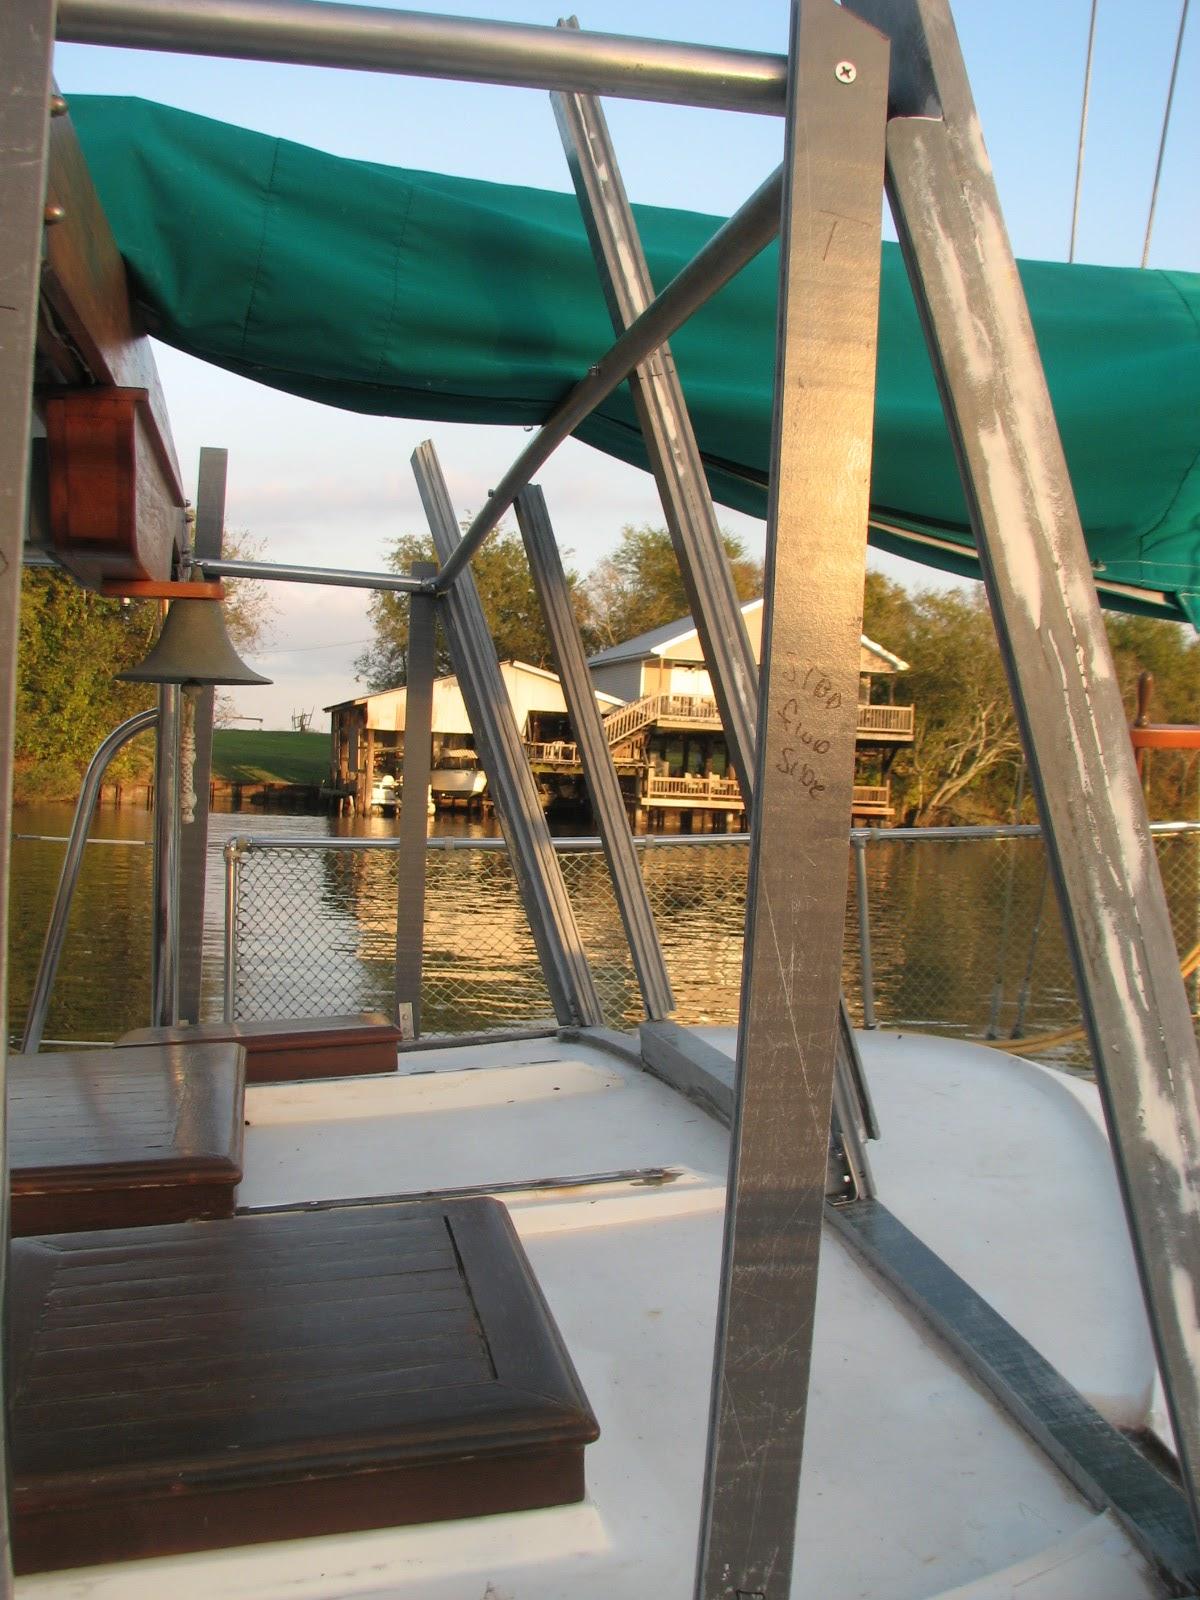
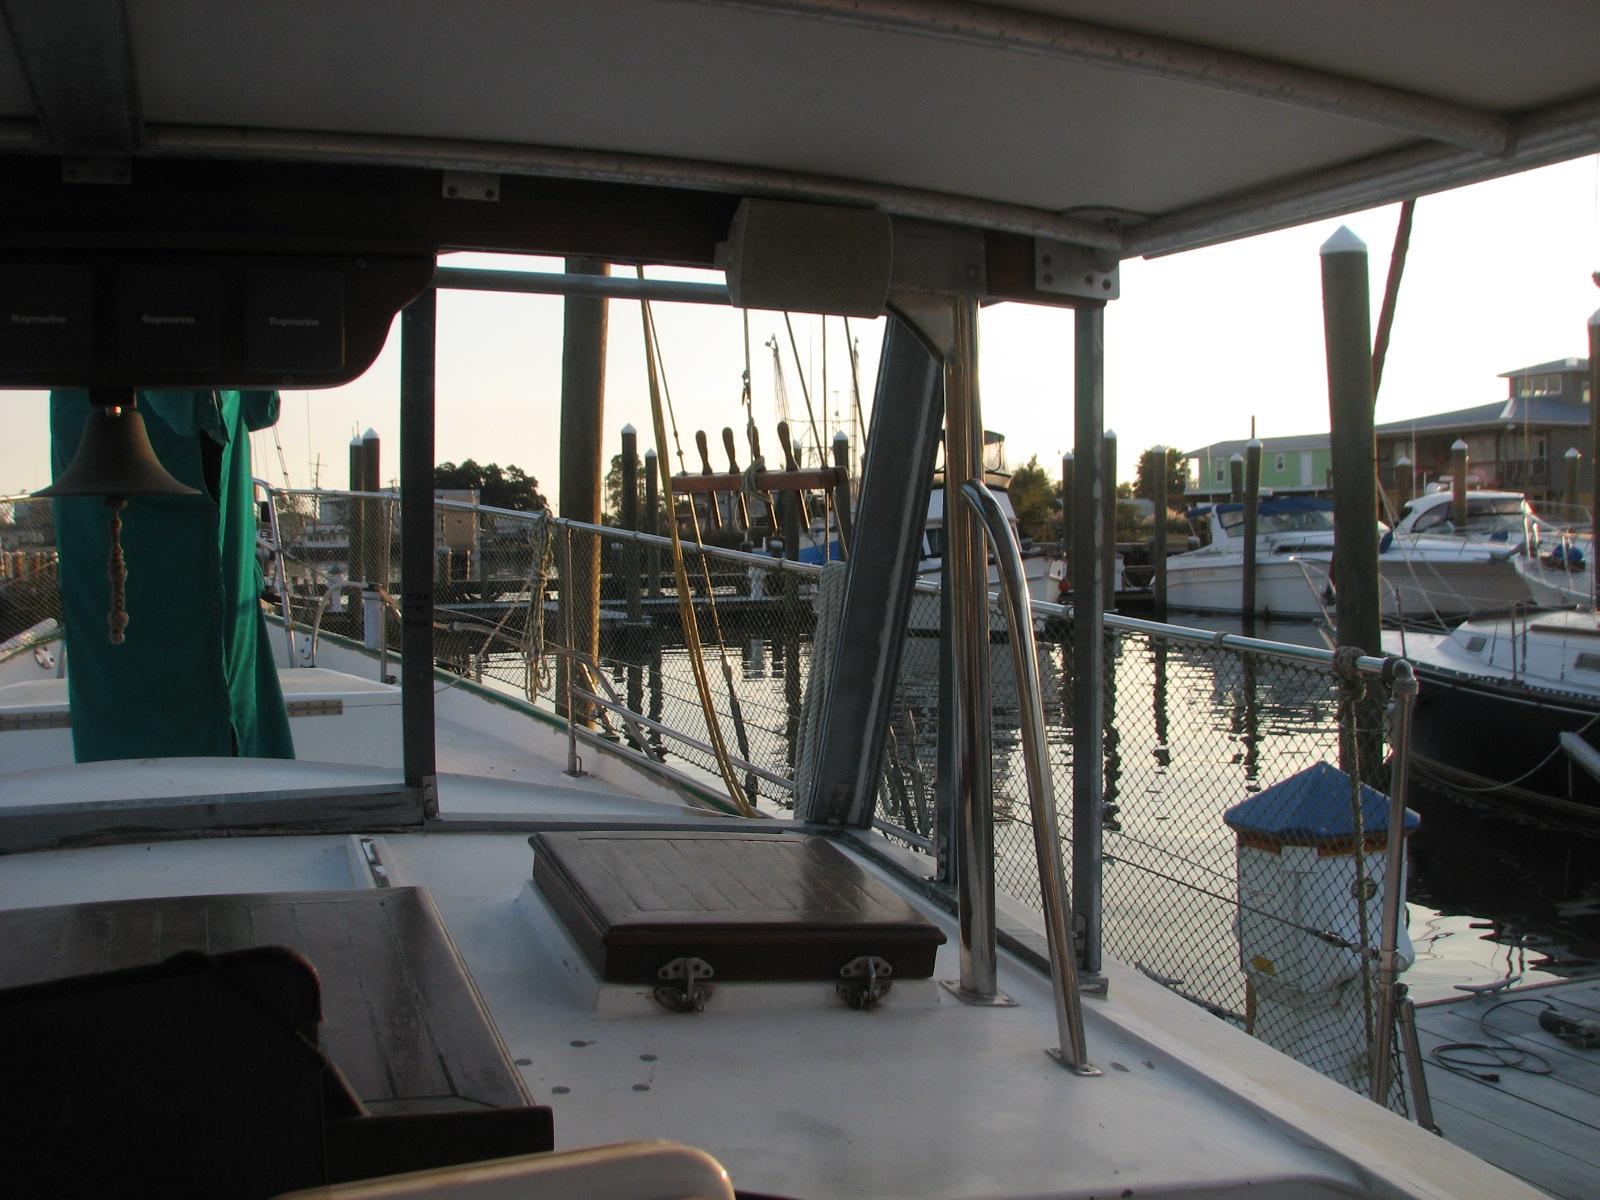
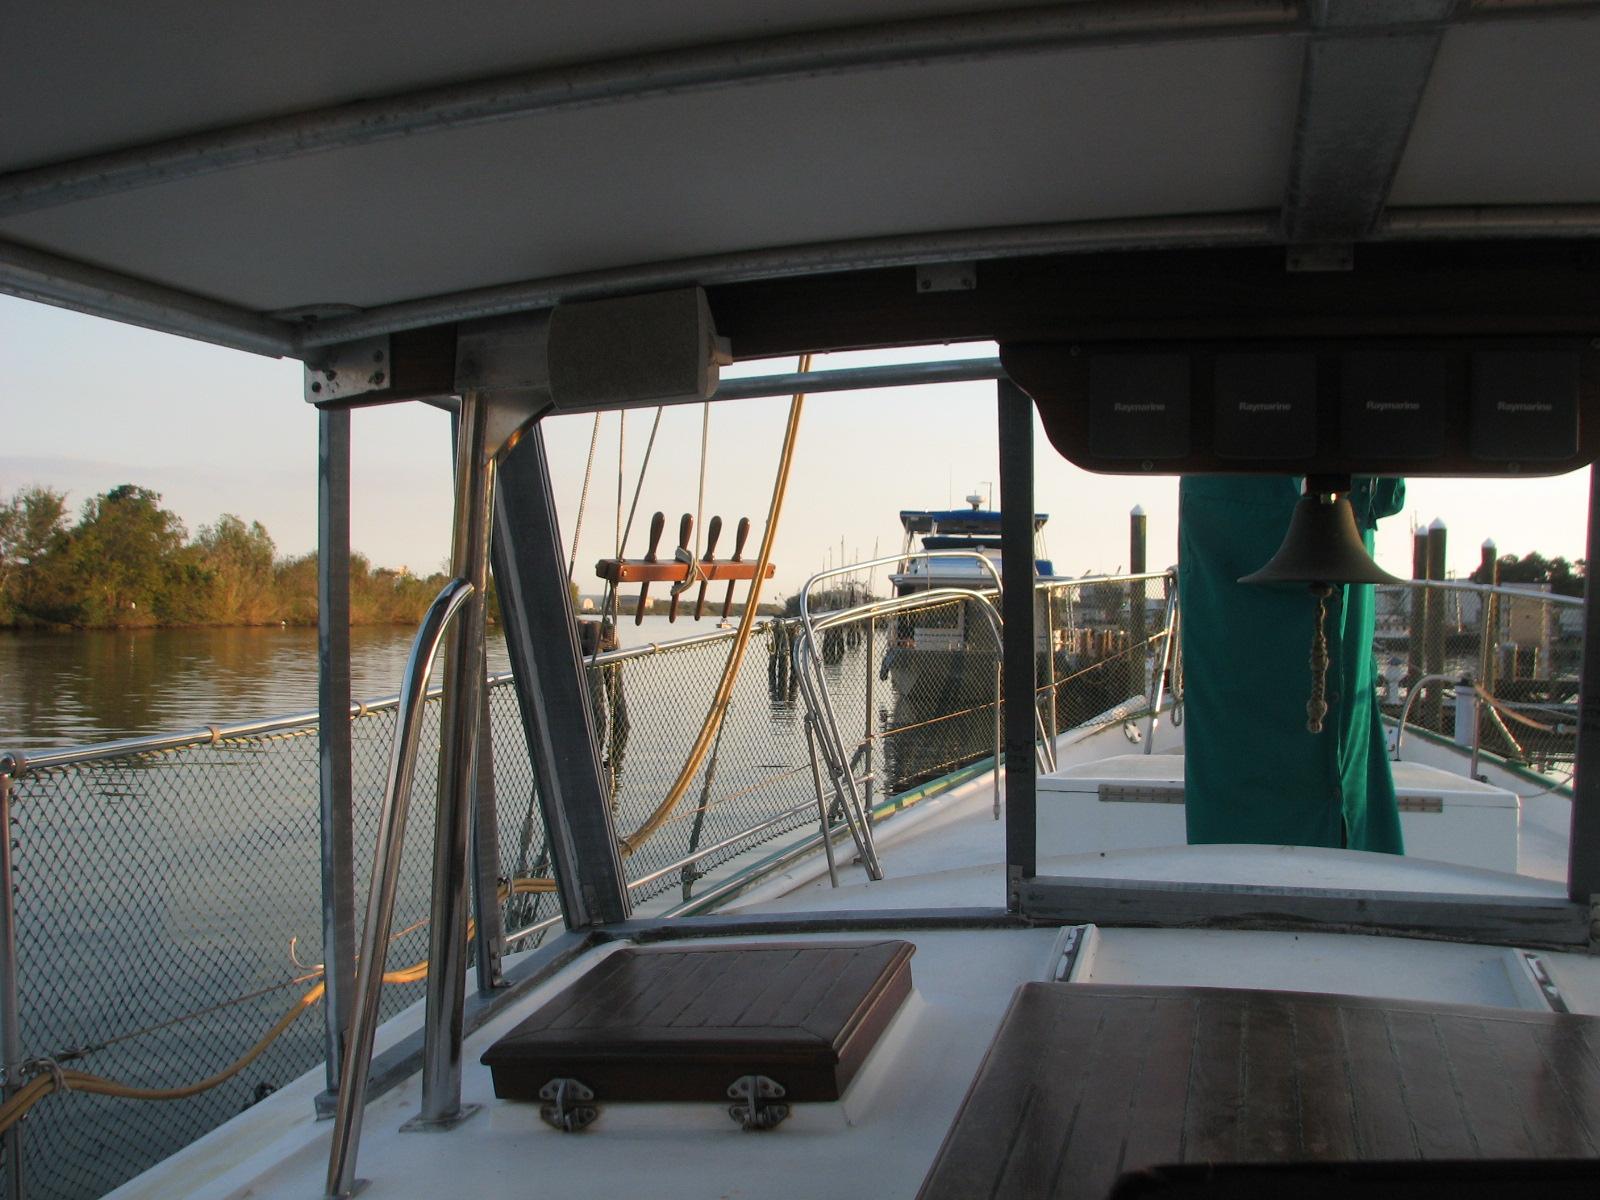
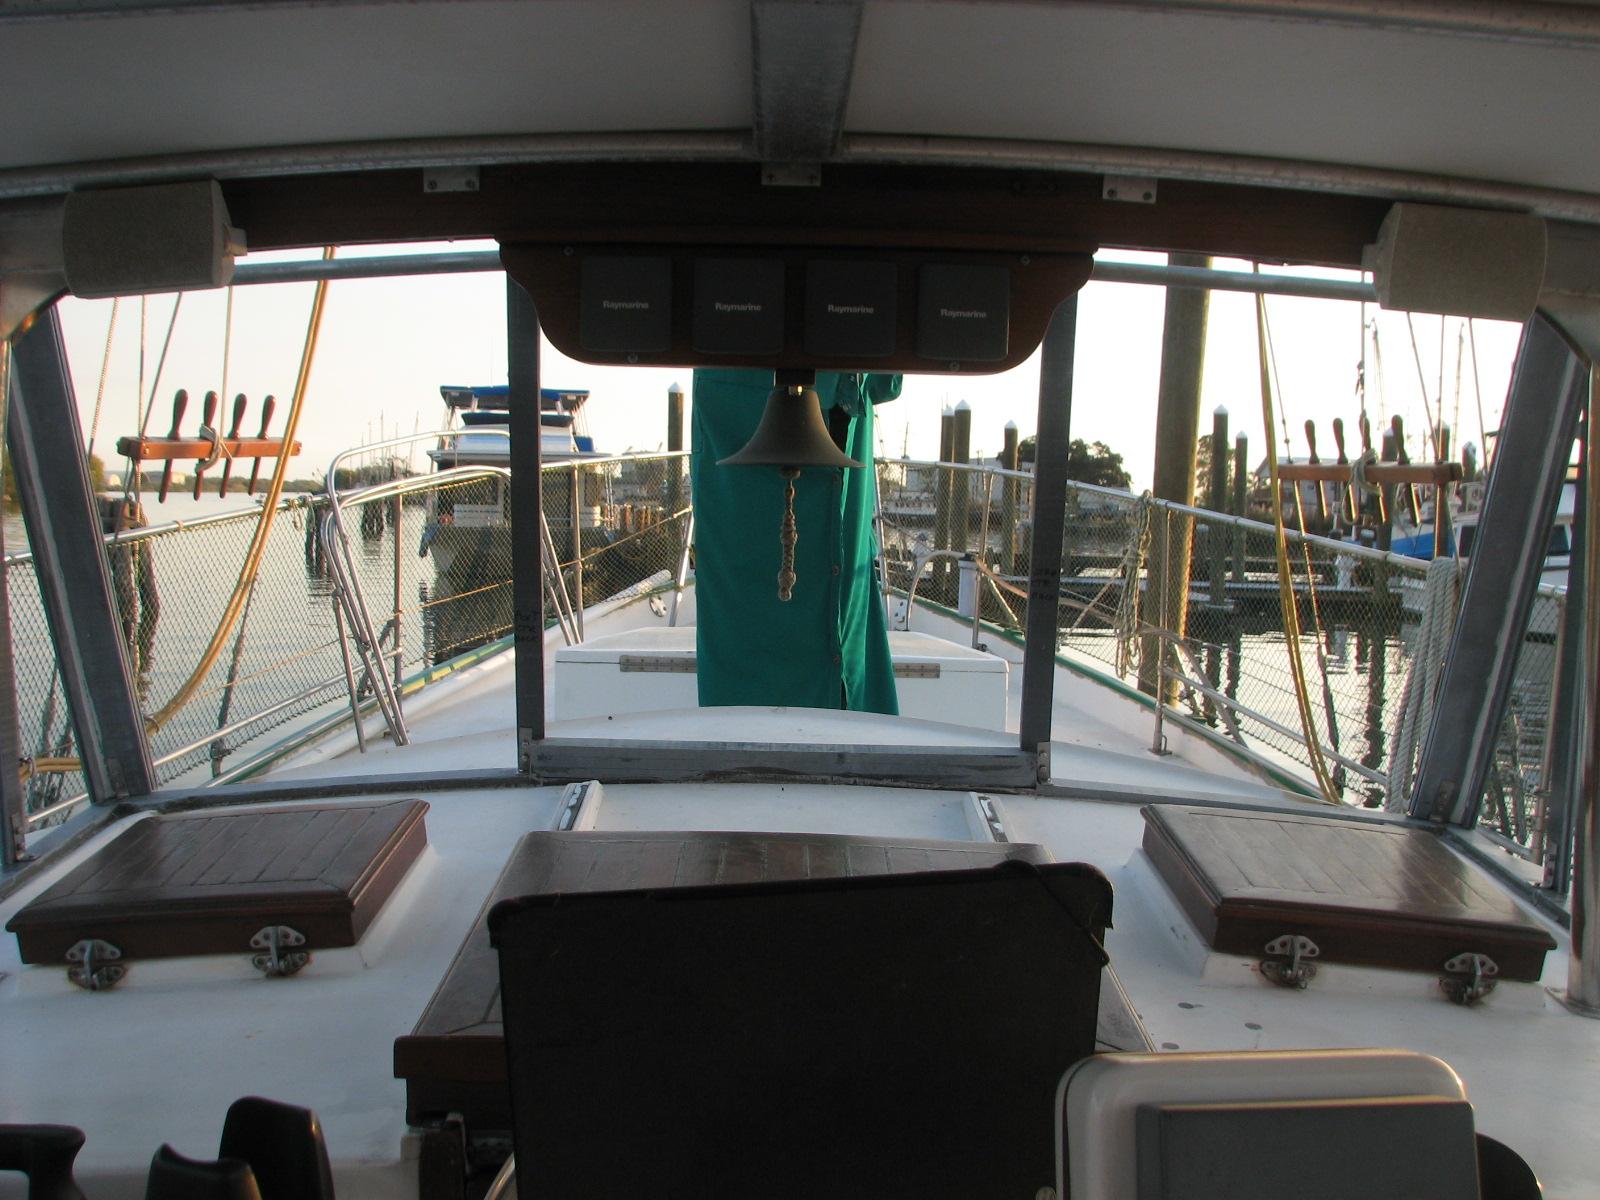
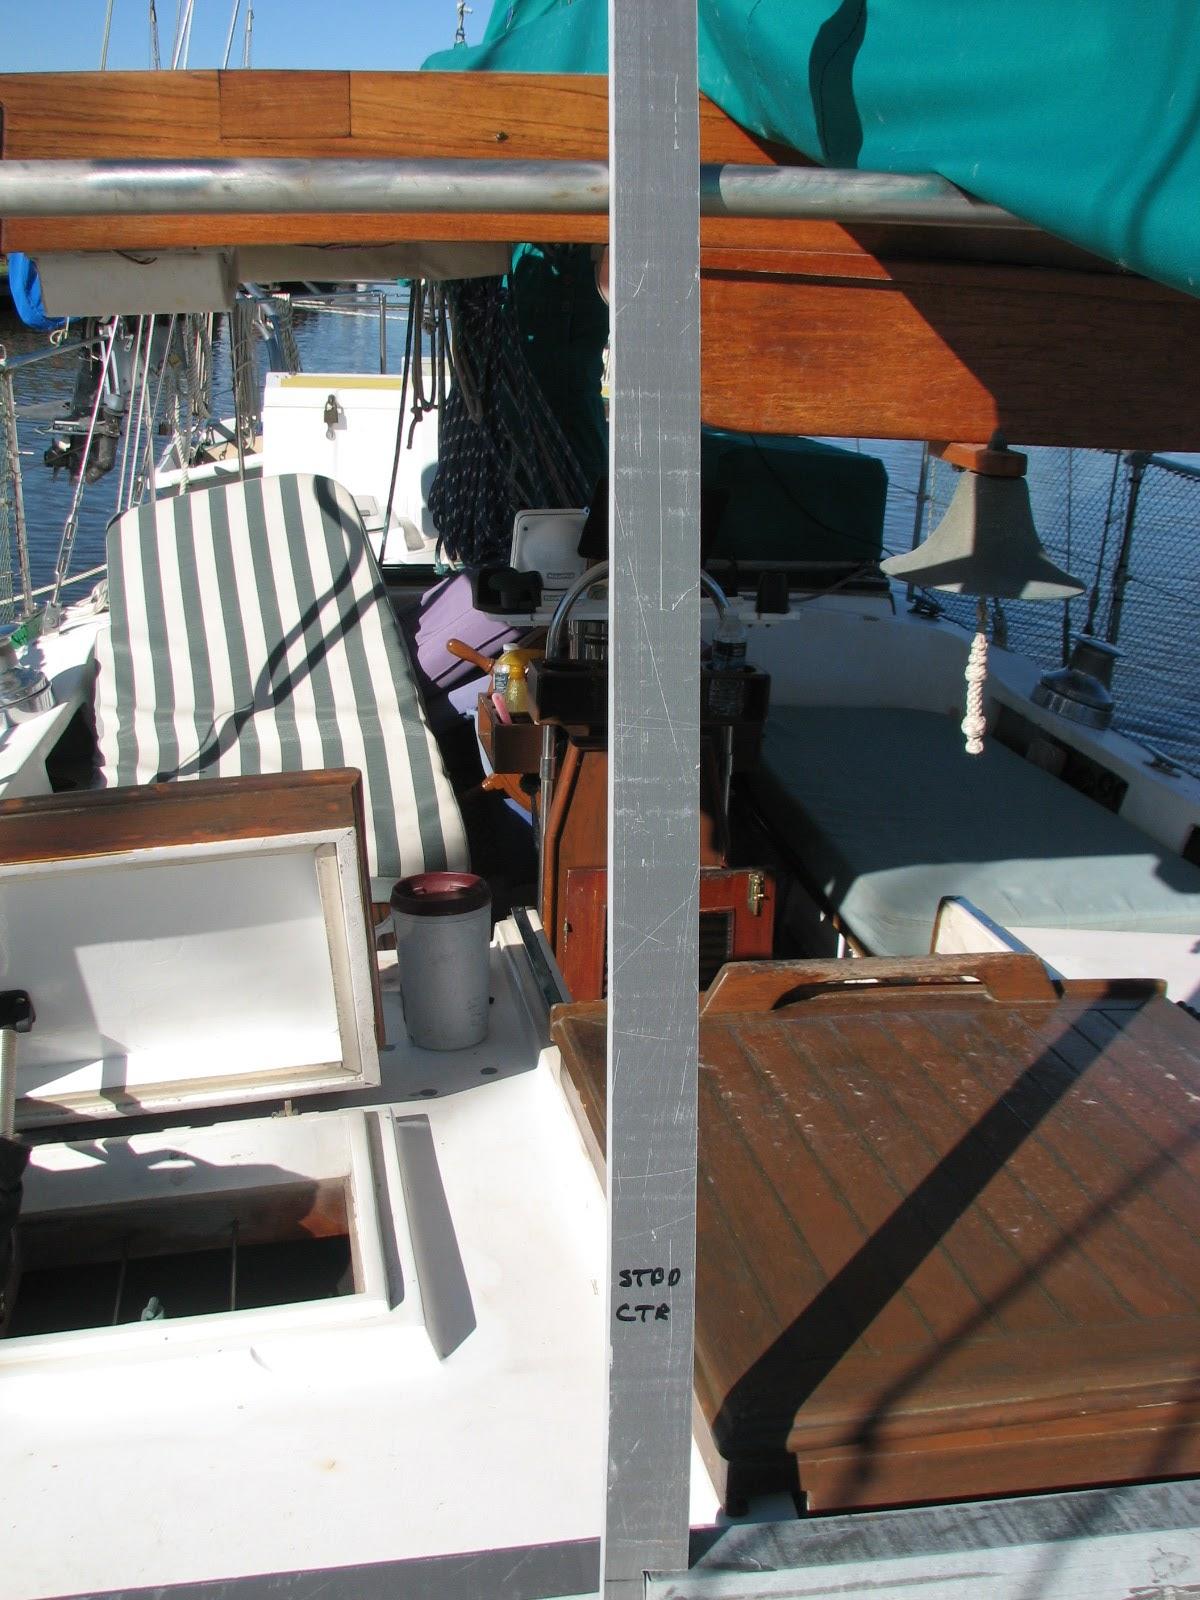
Hard Dodger Uprights Center From
Cockpit
This last picture will give you some
idea of how the finished product will look. All of the grey
fiberglass base and uprights will be white.
I took all of the tools and the “Box
O’ Resins” up to the Black
Beast, came back to DREAM AWAY, and cleaned up the
area. It was time for a shower and an adult beverage.
November 14, Thursday,
2013
Started off the morning with my normal
ritual of getting on the Internet, answering email, and checking the
weather, while making a pot of coffee. I also spent time with our two
cats,
Jillian
and Jordan.
Went over to the shop
and went through a box of Cat
Pump parts I had purchased very cheap on Ebay.
It seems that none of the parts will fit my water
maker Cat
Pump. I may have to sell all of the parts on Ebay.
The wind had died down, and the day was
getting warmer, so I had to get out and pressure wash Pier
“C”. We have two cruising boats coming in, and
one of them will be on the end of Pier
“C”.
The amount of bird droppings on the end
of Pier
“C” is amazing! I got a fair amount of the end of
Pier
“C” cleaned off, when the water pressure dropped.
I discovered a break in the water line on Pier
“C”.
I called Kitty, and she got the plumber
organized. While waiting for the plumber to show up, I ran some
monofilament line between the pilings on Pier
“C”. Rumor has it this will keep the birds from
landing on the dock. Time will tell. When I go out to finish Pier
“C” tomorrow we will see if there are any fresh
droppings on the pressure washed area.
While still waiting for the plumber, I
did a pressure washing job on Pier
“B”. It needed cleaning as there was a lot of bird
dropping on it also.
The plumber came and did the repair,
and got the water back on Pier
“C”. I loaded the pressure washer and fuel can
into the Black
Beast, and dropped them off at the Port
of Delcambre’s storage room.
I brought the tools down to DREAM AWAY,
and kitty and I worked on installing more of the hard dodger
uprights. It is slow, hard work, but we are making good progress. By
the time we finished at 1700, we had half of the uprights installed.
I still have to cut off the top of each
upright, but I did not want to do that until I have all of the
uprights installed, and there are no hidden issues.
Starboard Side And Front Uprights
Connection Point At Side And Front
Upper Stainless Steel Base
Starboard Side Uprights, Kitty In
Cockpit
Starboard Side From Forward
Starboard Side, Side View
Captain At Work On Uprights, Looking
Forward
We are making good progress. I did get
a call from Piedmont
Plastics with a quote for two sheets of King
Starboard. The price was very good, but the shipping
charge from their warehouse in Harahan, Louisiana is $130.00.
I may pick up the King
Starboard on the way to or from Atlanta, as that trip is
scheduled for next week.
My plan is to replace the King
Starboard on the hard Bimini with anti-skid King
Starboard product, and to use the King
Starboard I remove from the hard Bimini to use as the
top on the hard dodger. I will have a lot of King
Starboard left over that I hope to make cup holders
and such to replace the teak ones I have in the cockpit. This will
cut down maintenance!
November 13, Wednesday,
2013
Started off the morning with my normal
ritual of getting on the Internet, answering email, and checking the
weather, while making a pot of coffee. I also spent time with our two
cats,
Jillian
and Jordan.
Did not go to the shop
today or work on any DREAM AWAY projects. Spent the day on the
computer working on the web page, catching up on email and scanning
in documentation.
It was way too cold and windy to be
outside working or even at the shop.
The shop
is not temperature controlled, so it would have been very cold
working there.
November 12, Tuesday, 2013
Started off the morning with my normal
ritual of getting on the Internet, answering email, and checking the
weather, while making a pot of coffee. I also spent time with our two
cats,
Jillian
and Jordan.
I went over to the
shop,
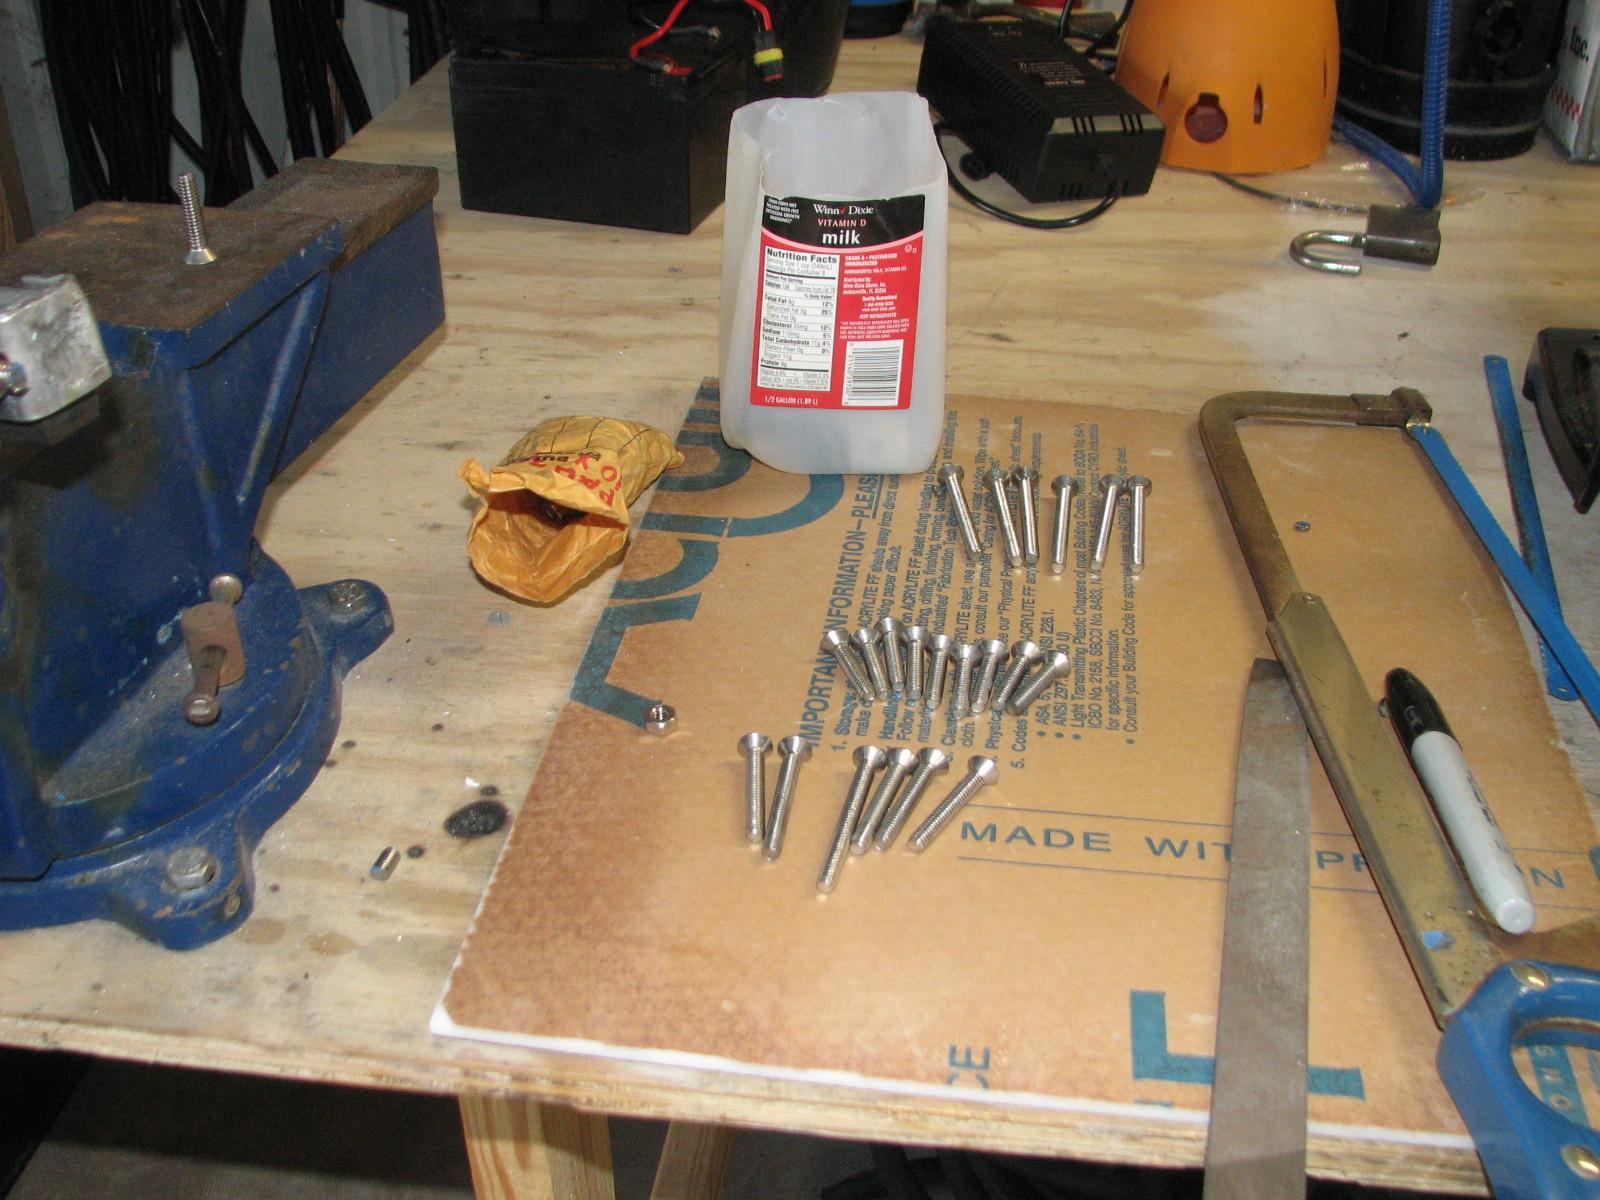
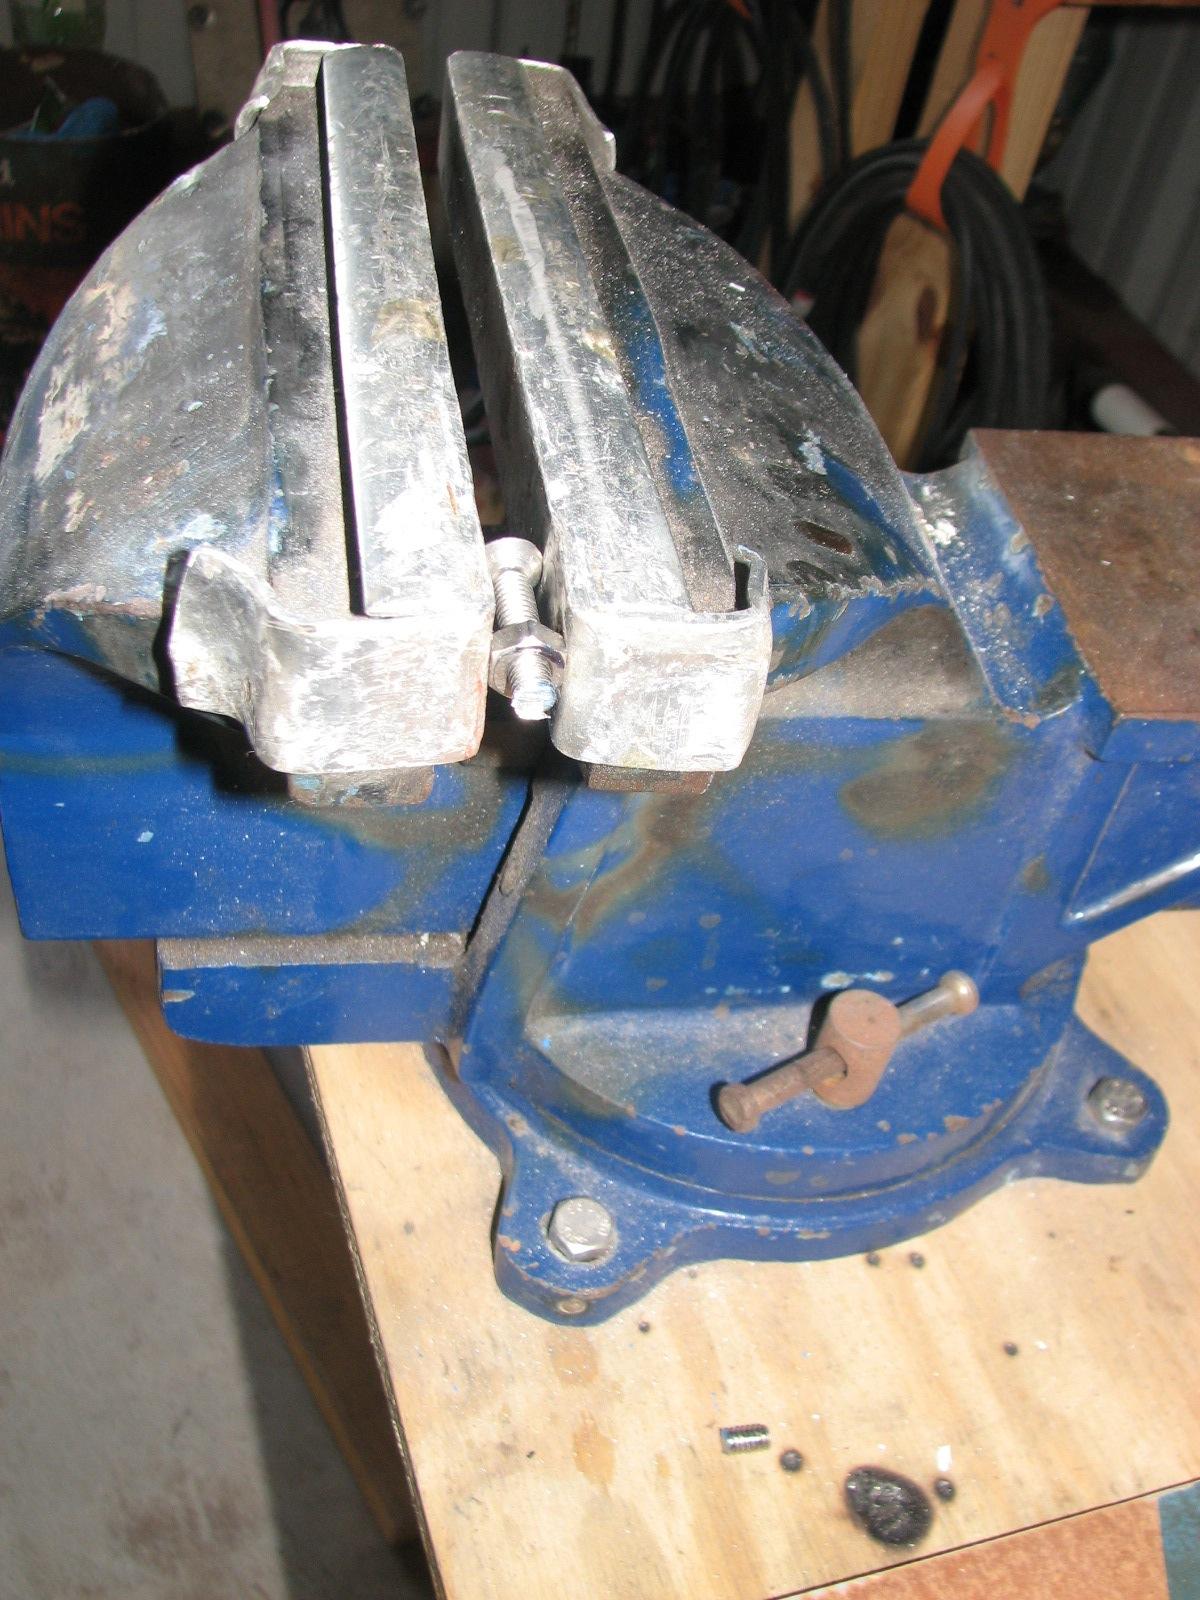
and worked on “adjusting” the bolts needed to install the
uprights for the hard dodger. By “adjusting” (cutting off the
ends) the bolts I got all of the bolts to their proper size.
Bolts That Need “Adjusting”
“Adjusting” A Bolt
I went back to DREAM AWAY and Kitty and
I had breakfast. After which we drove into New
Iberia to run some errands. When we returned, the
weather had dropped in temperature, and the wind was blowing a steady
15 knots, and gusting higher. We decided not to work on the hard
dodger today.
I did some work on the Port
of Delcambre’s shower
trailer. The hinge assemblies had broken on all three
toilets in the shower
trailer with the hard use of this past weekend. We had
stopped and purchased a toilet seat at Lowe’s
in New
Iberia. The new seat fit perfectly, and was less than
half the price of the manufacturers toilet seat. We are sure the port
director will approve the purchase of two additional toilet seats.
The remainder of the day was spent on
the computer, and then we went to the Port
of Delcambre’s public meeting. We go to the meeting
to catch up on what is happening with the Port
of Delcambre’s
activities, and to get our monthly pay check!
November 11, Monday, 2013
Started off the morning with my normal
ritual of getting on the Internet, answering email, and checking the
weather, while making a pot of coffee. I also spent time with our two
cats,
Jillian
and Jordan.
After breakfast I went over to the
shop,
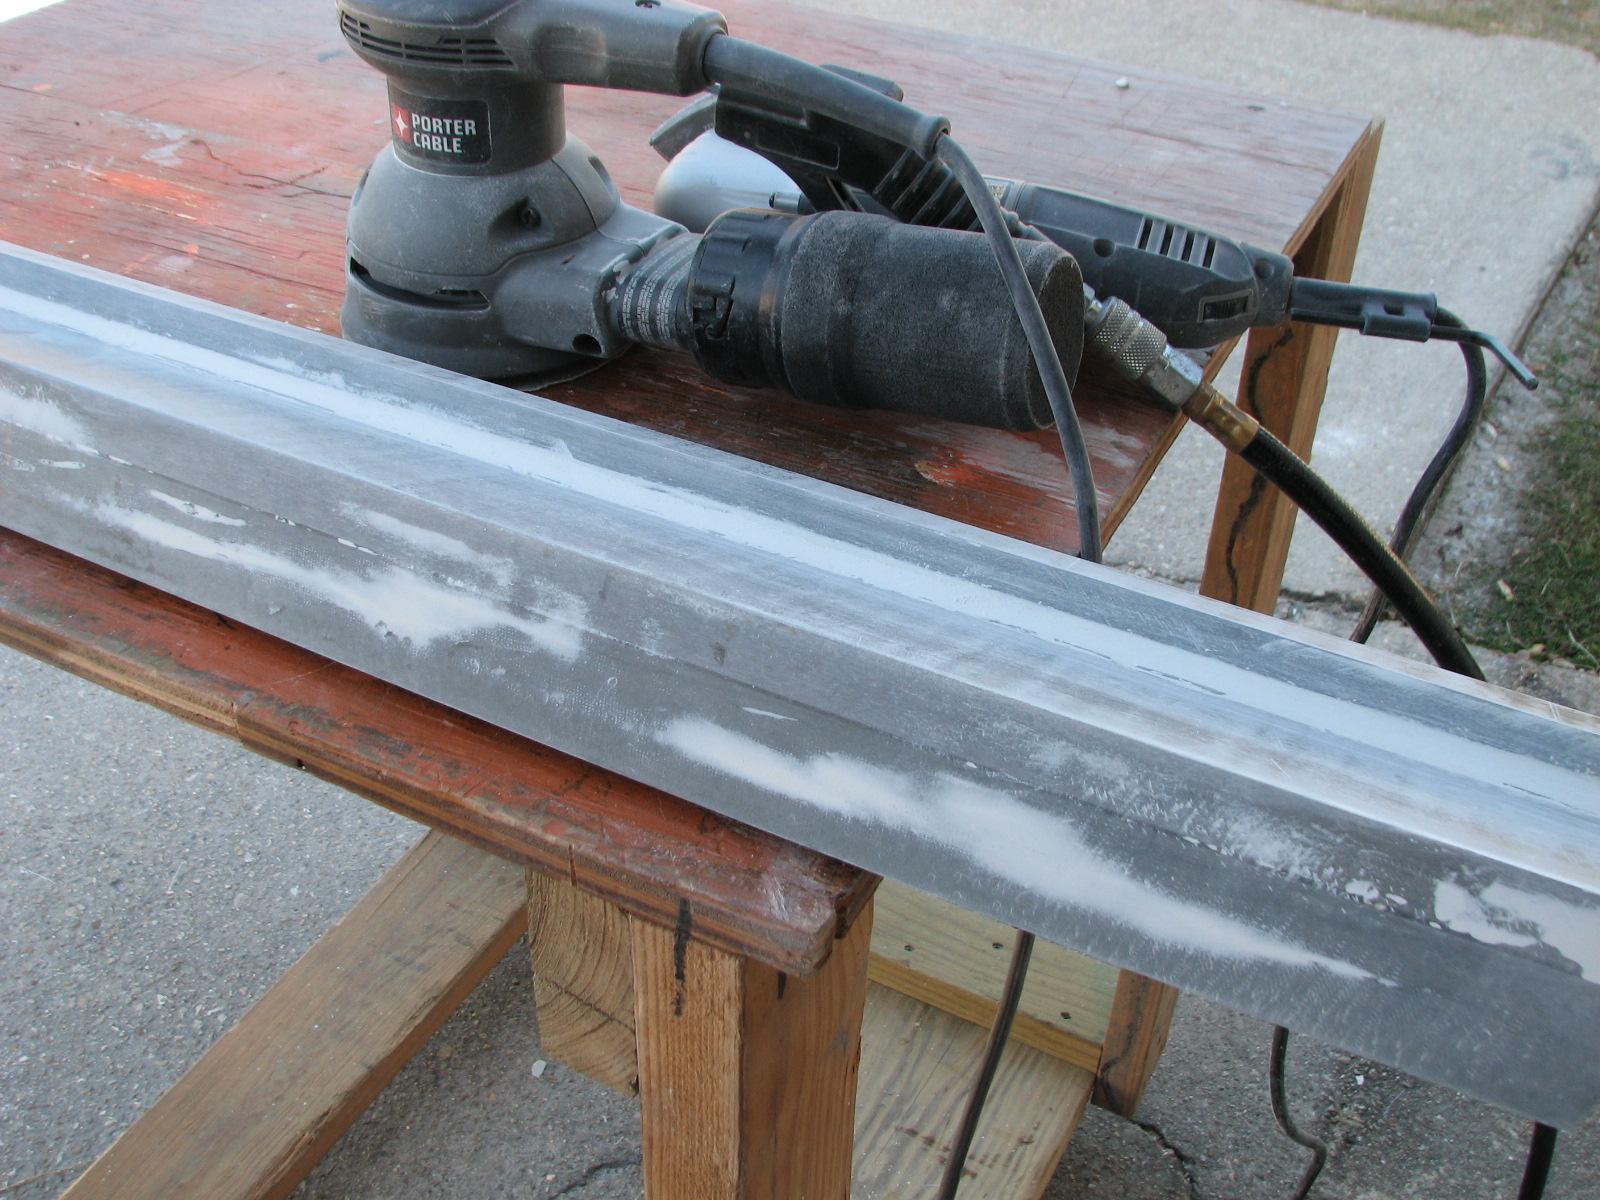
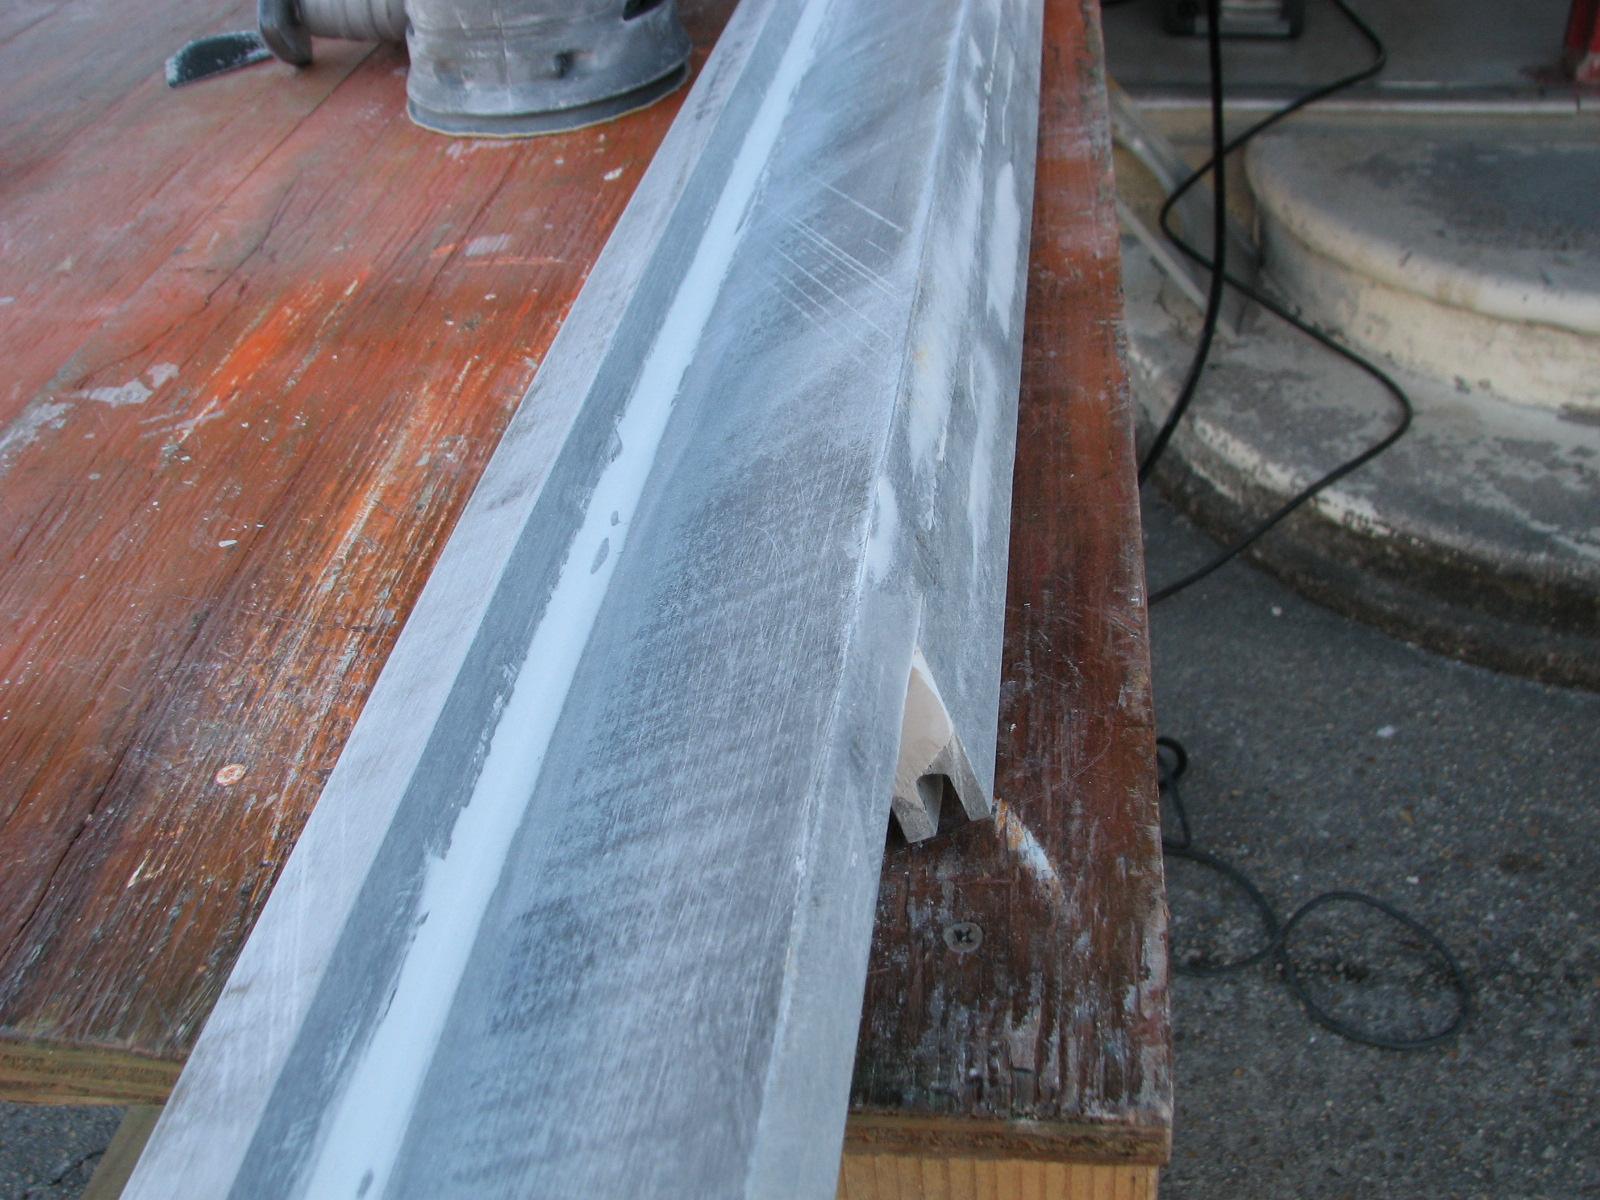
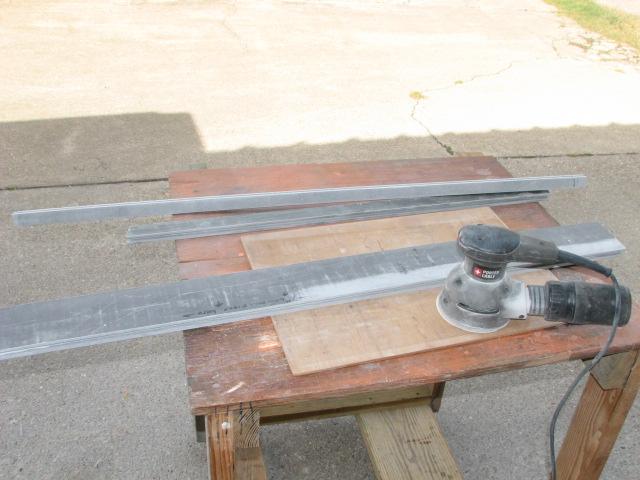
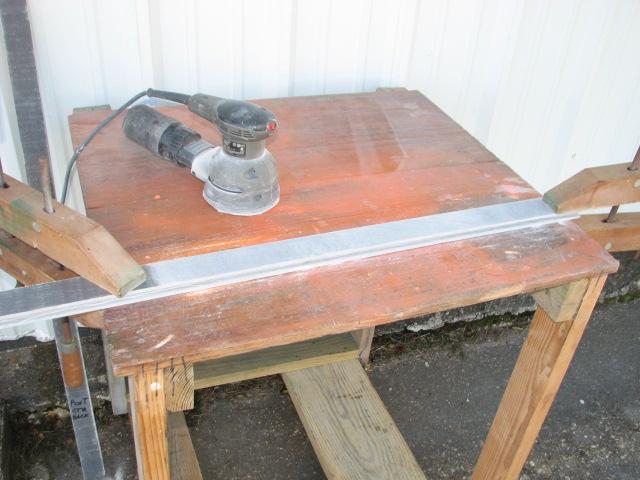
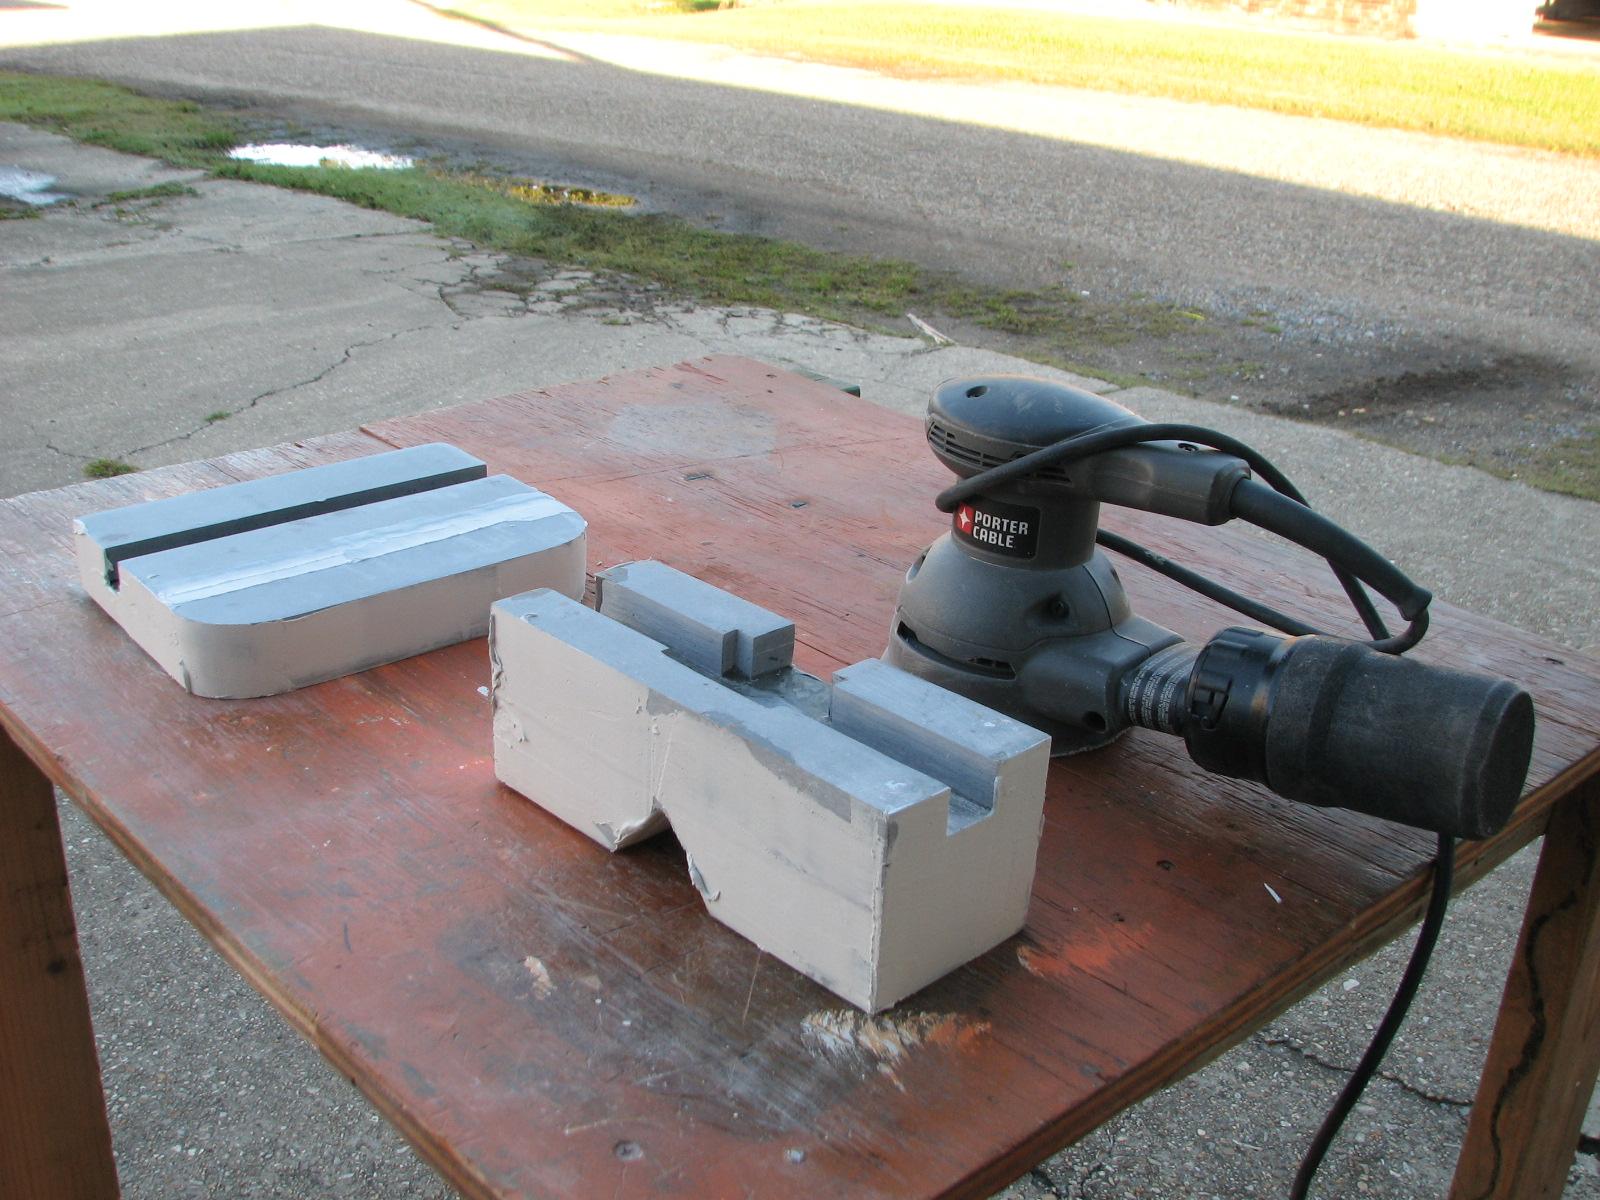
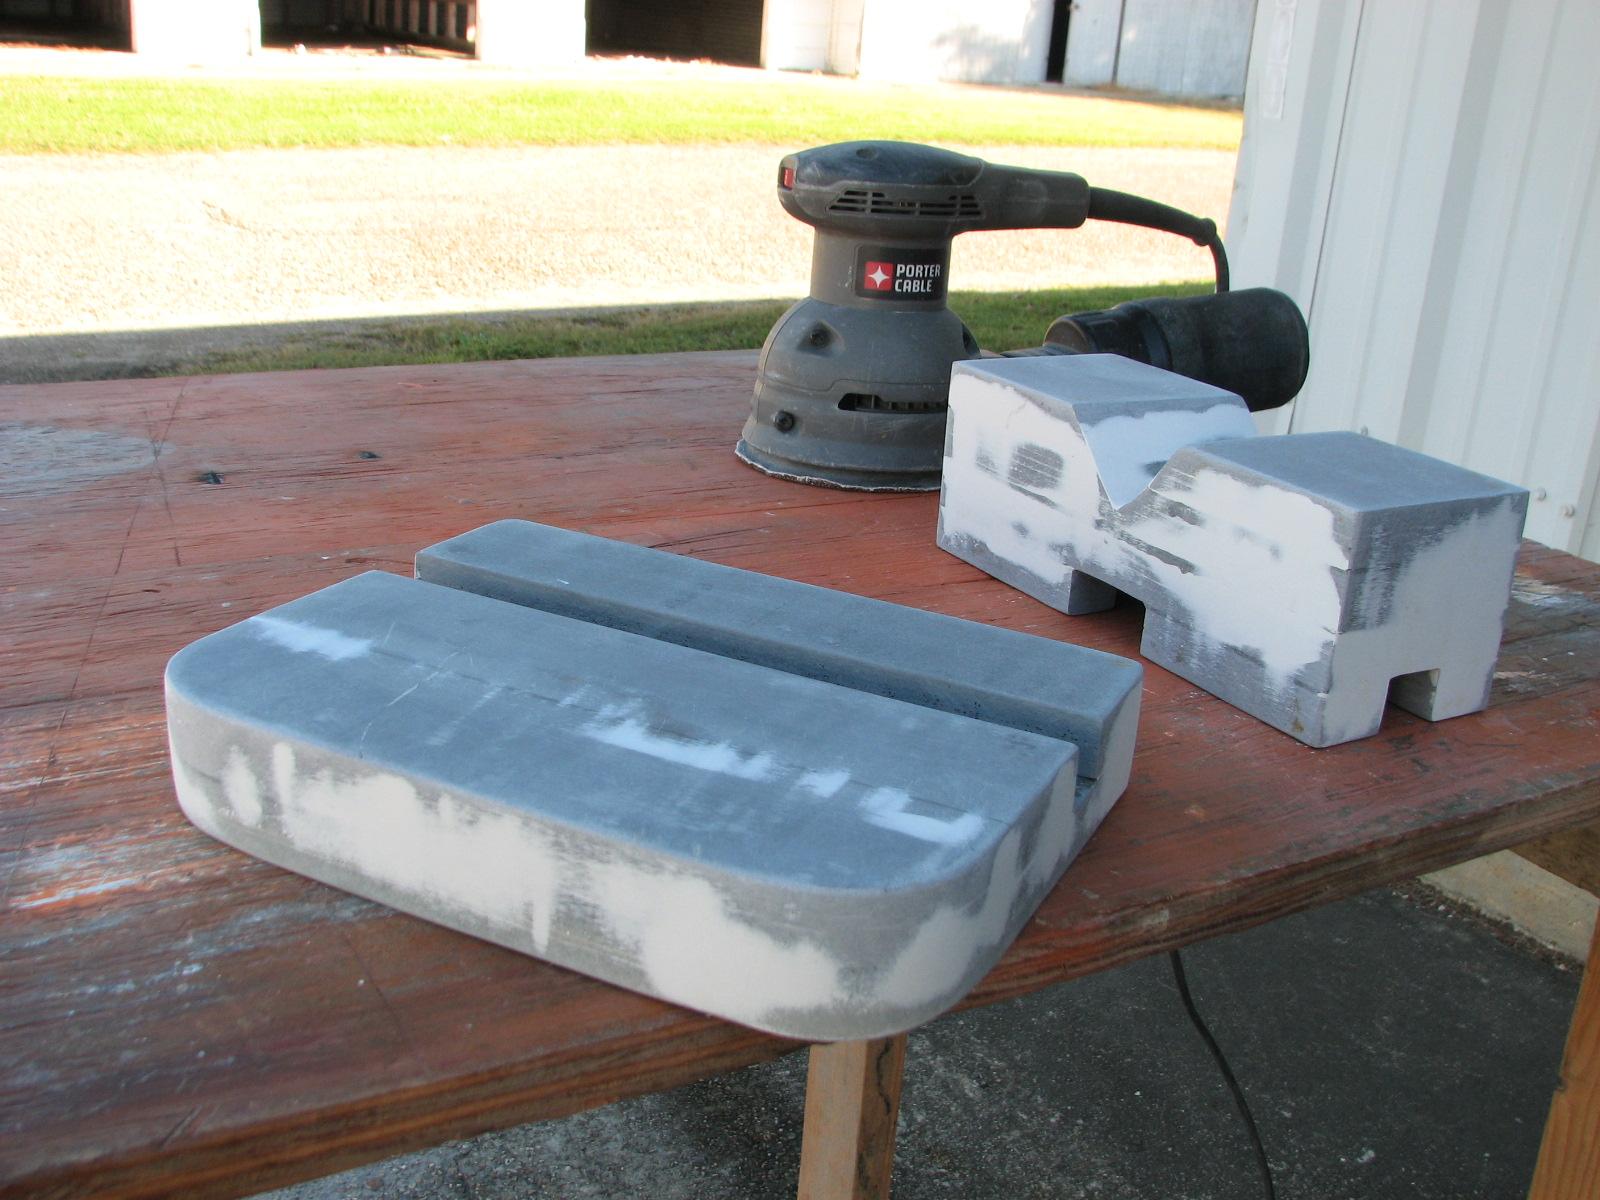
and sanded down the two hard dodger uprights I had applied the
finishing
putty to yesterday.
Sanded Hard Dodger Uprights
Sanded Hard Dodger Uprights
I hauled all of these items down to
DREAM AWAY, to start installing the uprights onto the base of the
hard dodger. We got one upright installed. It is very time consuming,
and I broke two drill bits drilling through the stainless steel pipe
of the top base. But we got our start!
Stainless Steel Tab Installed On Hard
Dodger Base
Top Of Installed Upright
Bottom Of Installed Upright
I decided to stop the installation
after the first upright was installed. It was time consuming, and I
needed time to get all of the tools and material back to the Black
Beast.
There was a nice service at the war
memorial, and all of the service flags were changed. I assisted with
the changing of the Marine Corps flag.
After the service we had complimentary
refreshments at the Magdalen
Place. Kitty and I then went to Chili’s
for dinner as they were offering complimentary meals for all
veterans.
November 10, Sunday, 2013
Started off the morning with my normal
ritual of getting on the Internet, answering email, and checking the
weather, while making a pot of coffee. I also spent time with our two
cats,
Jillian
and Jordan.
After breakfast I went over to the
shop,
and sanded down the two hard dodger uprights I had glassed
together this past Friday.
Sanding On The Uprights
Sanding On The Uprights
I put two medium sized blobs of the
finishing
putty on the mixing board. I do this so I do not add
the cream
hardener to a large amount of putty, and have it go
off too soon.
I then added the cream
hardener to one blob of the finishing
putty, and mixed well. I then applied the finishing
putty to the two uprights. In some areas I use the
finishing
putty as a filler to level out flat surfaces, and as
filler to make smooth radiuses in corners. Both uses make the
finished product look close to professional.
When the application of the finishing
putty was finished, I cleaned up the area, and went
back to DREAM AWAY. I was taking the remainder of the day off to try
and catch up on email, and to relax a bit.
Today is the 238th birthday of the
United States Marine Corps, so it was time to celebrate Marines past
and present, and those who had made the supreme sacrifice for this
nation.
November 09, Saturday,
2013
Up and at em’ at 0445, and at the
Delcambre
Shrimp Festival grounds at 0515. I put the steps down
and put on the railings of the shower
trailer. I connected the electricity to the shower
trailer, and verified lights and operation. I also
double checked we had plenty of toilet paper and paper towels in each
rest room.
Then I became a traffic monitor at one
of the entrance gates to help the vendors get into the grounds, and
find their correct spot to set up for the market. I finished that at
0750.
I picked Kitty up at the marina
parking lot, and we drove to the American
Legion in Abbeville.
The American
Legion was putting on a “typical military”
breakfast for veterans and their spouses. The breakfast consisted of
scrambled eggs, SOS,
bacon, biscuits and coffee. Can’t get much more military!
It was a great breakfast, and brought
back some good and bad memories. The mayor and one city councilman
from the city of Abbeville
was there and each gave a short speech. There were two World War II
veterans there.
We also did some a lot of our Christmas
shopping while at the market. We purchased some of the local sauces,
jellies and pickled vegetables that we thought is typical of
Acadiana.
The market was over at 1300, so now it
was time to help with the breakdown and loading of all of the tents,
tables and chairs owned by the Port
of Delcambre. We did have some help from some of the
local kids, so they took care of loading all of the stuff on the
trailer and transporting the tents, tables and chairs back to the
Port
of Delcambre’s storage room.
Kitty and I did a small bit of cleanup
on the shower
trailer. I drained the remaining water out of the
fresh water tank, and disconnected the electricity. I then removed
the hand rails, and put the steps up in travel mode. We got the
shower
trailer hooked up to the Black
Beast, and drove back to the
marina.
We disconnected the shower
trailer, and Kitty drove into New
Iberia to run an errand.
I stayed at the marina,
and dropped the stairs down to gain access to the restrooms. I then
cleaned out the two restrooms in the shower
trailer that were used during the market. I emptied
the trash cans, and then mopped the floors in each of the two
restrooms.
It was a hard day for the shower
trailer. The reason we only used two of the three
restroom was because the toilet seat hinges were broken on the third
restroom. At the end of the market, the toilet seat hinges were
broken on the other two toilets. Another project!
Kitty got back to the marina
at the same time I finished up, so we unloaded the Black
Beast, and relaxed in the cockpit for a bit.
We were tired and were in bed by 2030!
November 08, Friday, 2013
Started off the morning with my normal
ritual of getting on the Internet, answering email, and checking the
weather, while making a pot of coffee. I also spent time with our two
cats,
Jillian
and Jordan.
Went over to the shop,
and started sanding all of the uprights that I had glassed
together yesterday. It is important to get as smooth as possible.
These double uprights will be the uprights on the front of the hard
dodger and will have the sliding, opening windows in them. Going
through the sanding process, I could see I may have to recut some of
the channels in the hard dodger uprights.
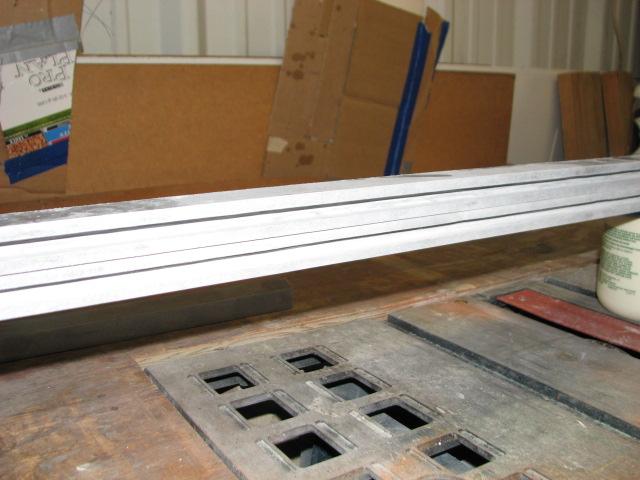
Sanding The Uprights Glassed Together
Sanding The Uprights Glassed Together
When all of the sanding was complete, I
did a dry fit of two uprights that had to have another piece of the
Strongwell
Extren plate glassed to it. The two uprights on the
front outside edge had to have a piece of plate glassed to it for the
sliding opening windows. It also had to have a piece of plate glassed
to it for the stationary side window.
After the dry fit of the parts, I cut
the fiberglass
mat that I use to glass the two pieces together. I then do a dry fit
of the fiberglass
mat.
I then mix up a batch of the polyester
resin, wet out the fiberglass
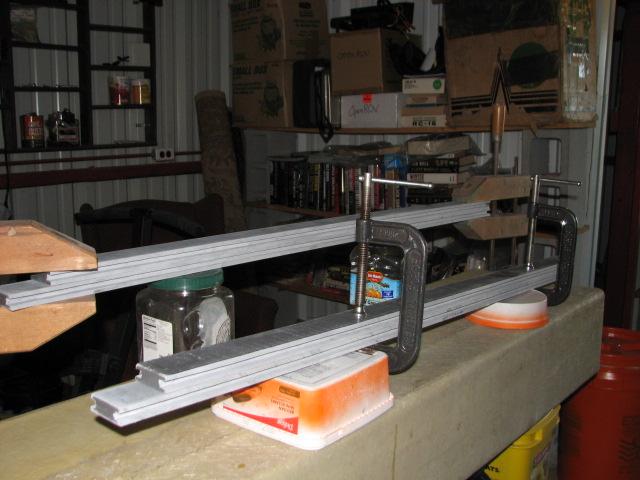
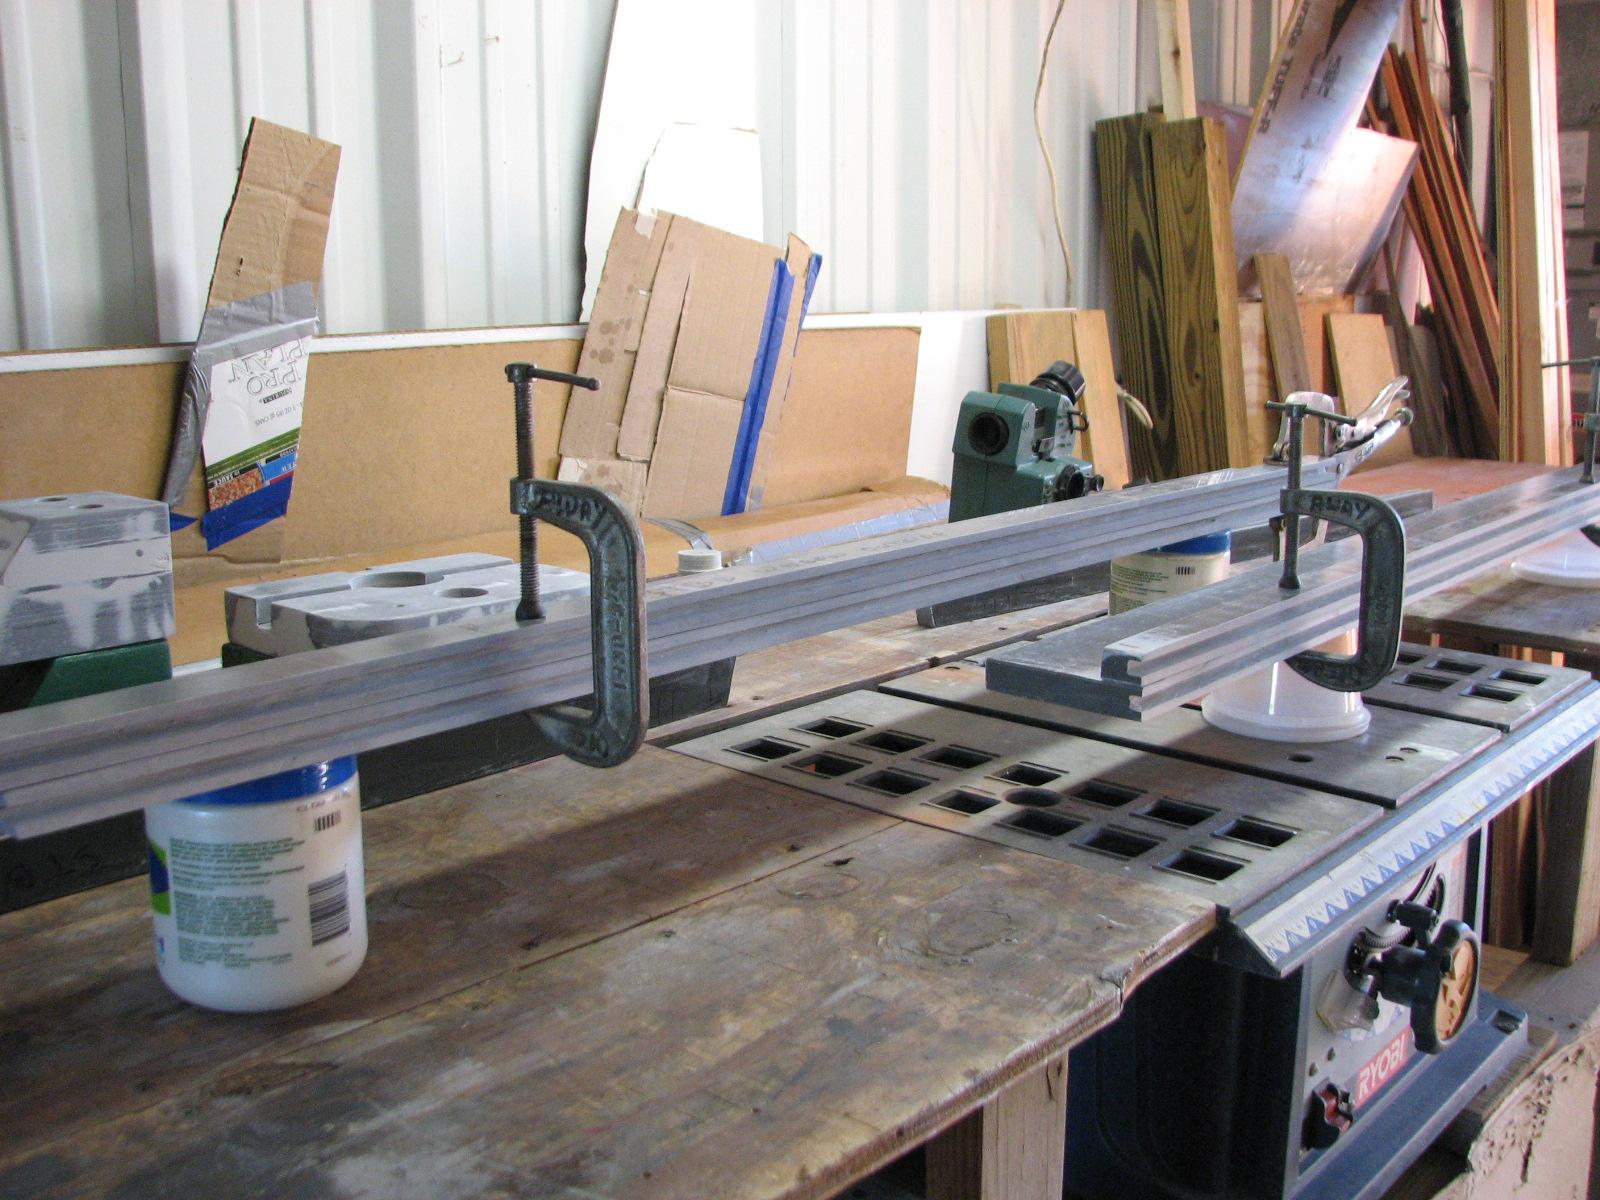
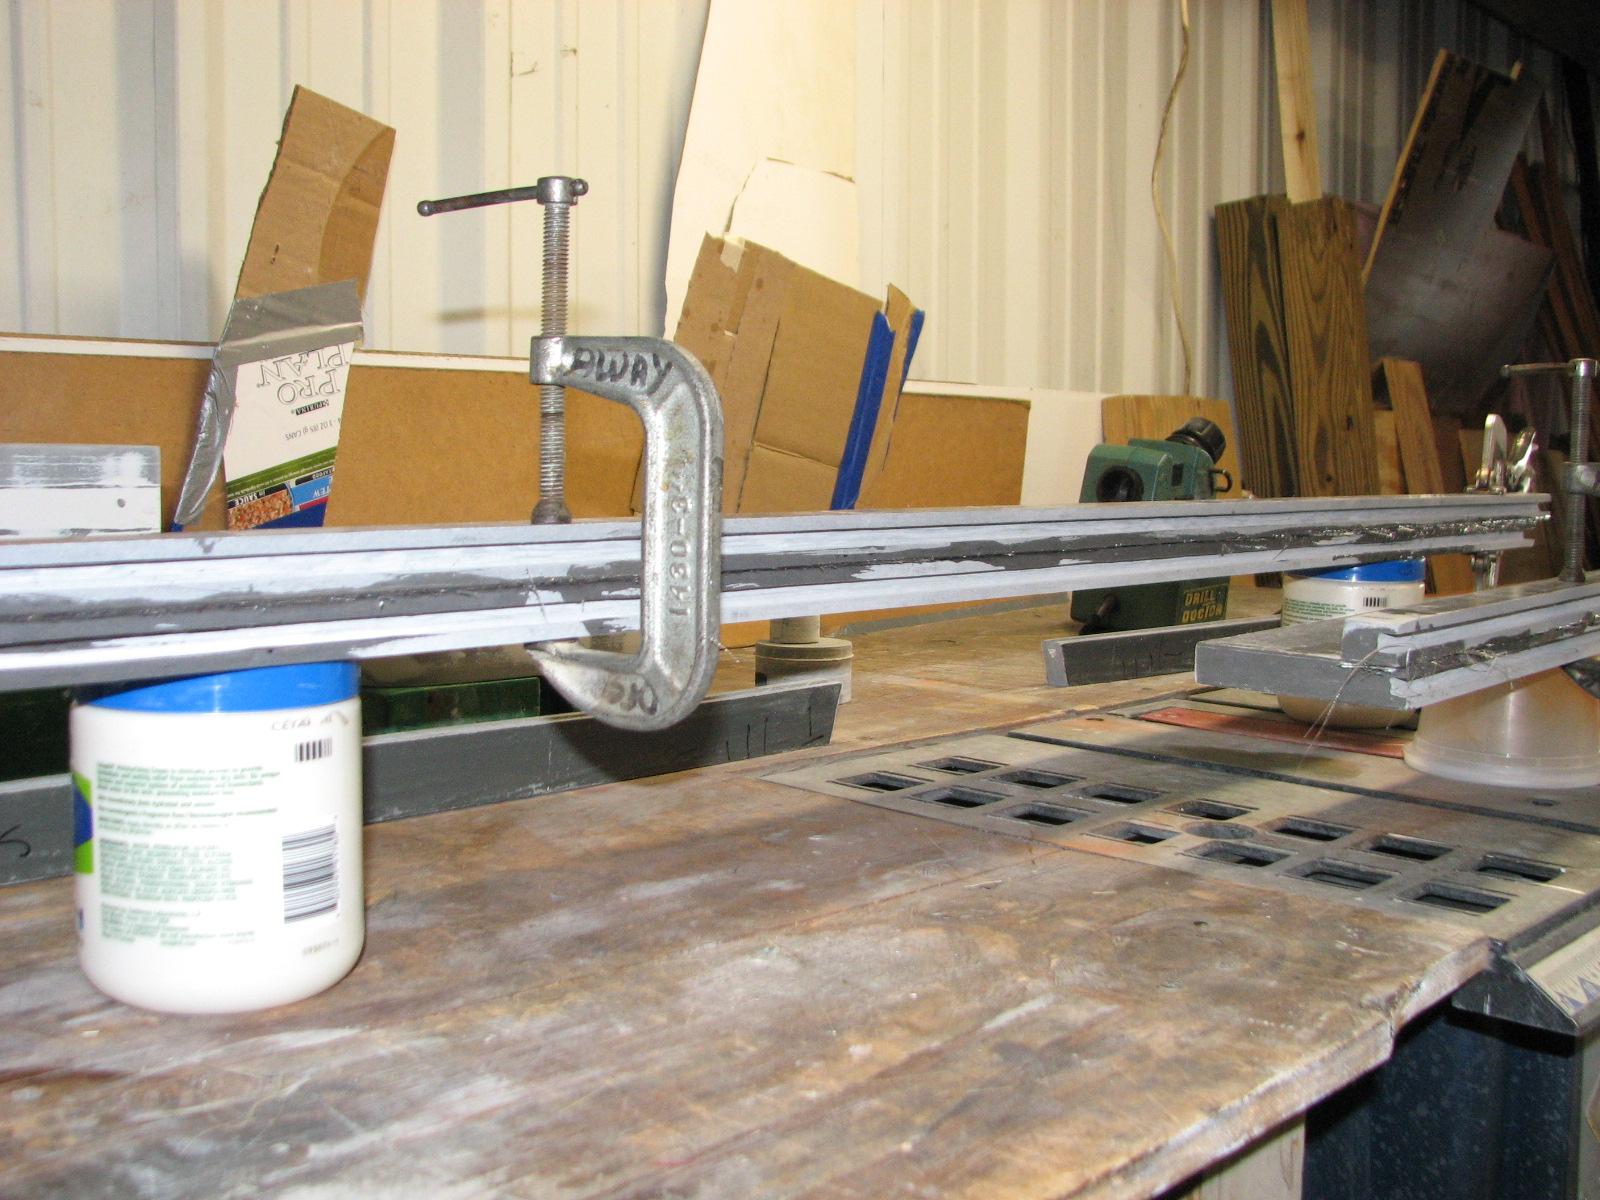
mat, and then clamp the two pieces together. As usual we wait for the
chemical process to happen, and we magically have one pice of plate
instead of two!
Two Pieces Of Plate Glassed And Clamped
Together
Two Pieces Of Plate Glassed And Clamped
Together
We hooked the shower
trailer to the Black
Beast, and went over to the Delcambre
Shrimp Festival grounds, maybe a third of a mile! When
we got there the Port director pointed out the location, and we moved
the shower
trailer to that location and unhooked it from the
Black
Beast. We dropped down the steps on the shower
trailer, and made sure all was ready in two of the
restrooms. I put water in the fresh water tank to about half full. We
verified we had electricity for the trailer, then put the steps back
up into the travel position. This was for security.
Kitty and I then traversed the
Delcambre
Shrimp Festival grounds looking for fire ant nests.
When we found a nest I applied ant poison. I ran out of the poison,
so had to go to the Port
of Delcambre’s storage room to get some more. I came
back, and we finished the ant eradication project.
We went back to DREAM AWAY, had an
adult beverage, a shower, and a great dinner of pork ribs!
November 07, Thursday,
2013
Started off the morning with my normal
ritual of getting on the Internet, answering email, and checking the
weather, while making a pot of coffee. I also spent time with our two
cats,
Jillian
and Jordan.
Went over to the shop,
and started sanding all of the uprights that I had cut
channels into yesterday. I had to get edges smooth, and also to rough
up the places where two pieces of the uprights had to be glassed
together for the opening windows in the hard dodger.
Channelled Uprights Ready For Sanding
Channelled Uprights Ready For Sanding,
Look Close For Channels
Sanding The Uprights
Two Sanded Uprights Ready For Glassing
I also connected the electricity and
water to the shower
trailer, because we had a service coming by later this
afternoon to clean the shower trailer.
Kitty and I then had lunch, we had a
late breakfast, and I went back to the. I finished sanding all of the
uprights for the hard dodger, and had the specific uprights sanded to
be glassed together.
Sanding The Uprights
I then did a dry fit of all the
uprights that were to be glassed together, to make sure they all fit
together , and to make sure I had the required number of clamps. I
needed to clamp the two pieces together after applying the fiberglass
and polyester
resin.
Dry Fit Of Uprights
Dry Fit Of Uprights
I then got out my stash of fiberglass
mat and cut all of the required pieces, and verified the fit. When I
was satisfied with everything, I mixed up a pot of polyester
resin and applied it to the uprights. Even though it
was chilly out I did not make the mix too hot. I wanted to make sure
I had plenty of working time to wet out the mat, put the two pieces
together, then put on the clamps, and finally clean up any drips.
I did this with all four sets of
uprights I glassed together.
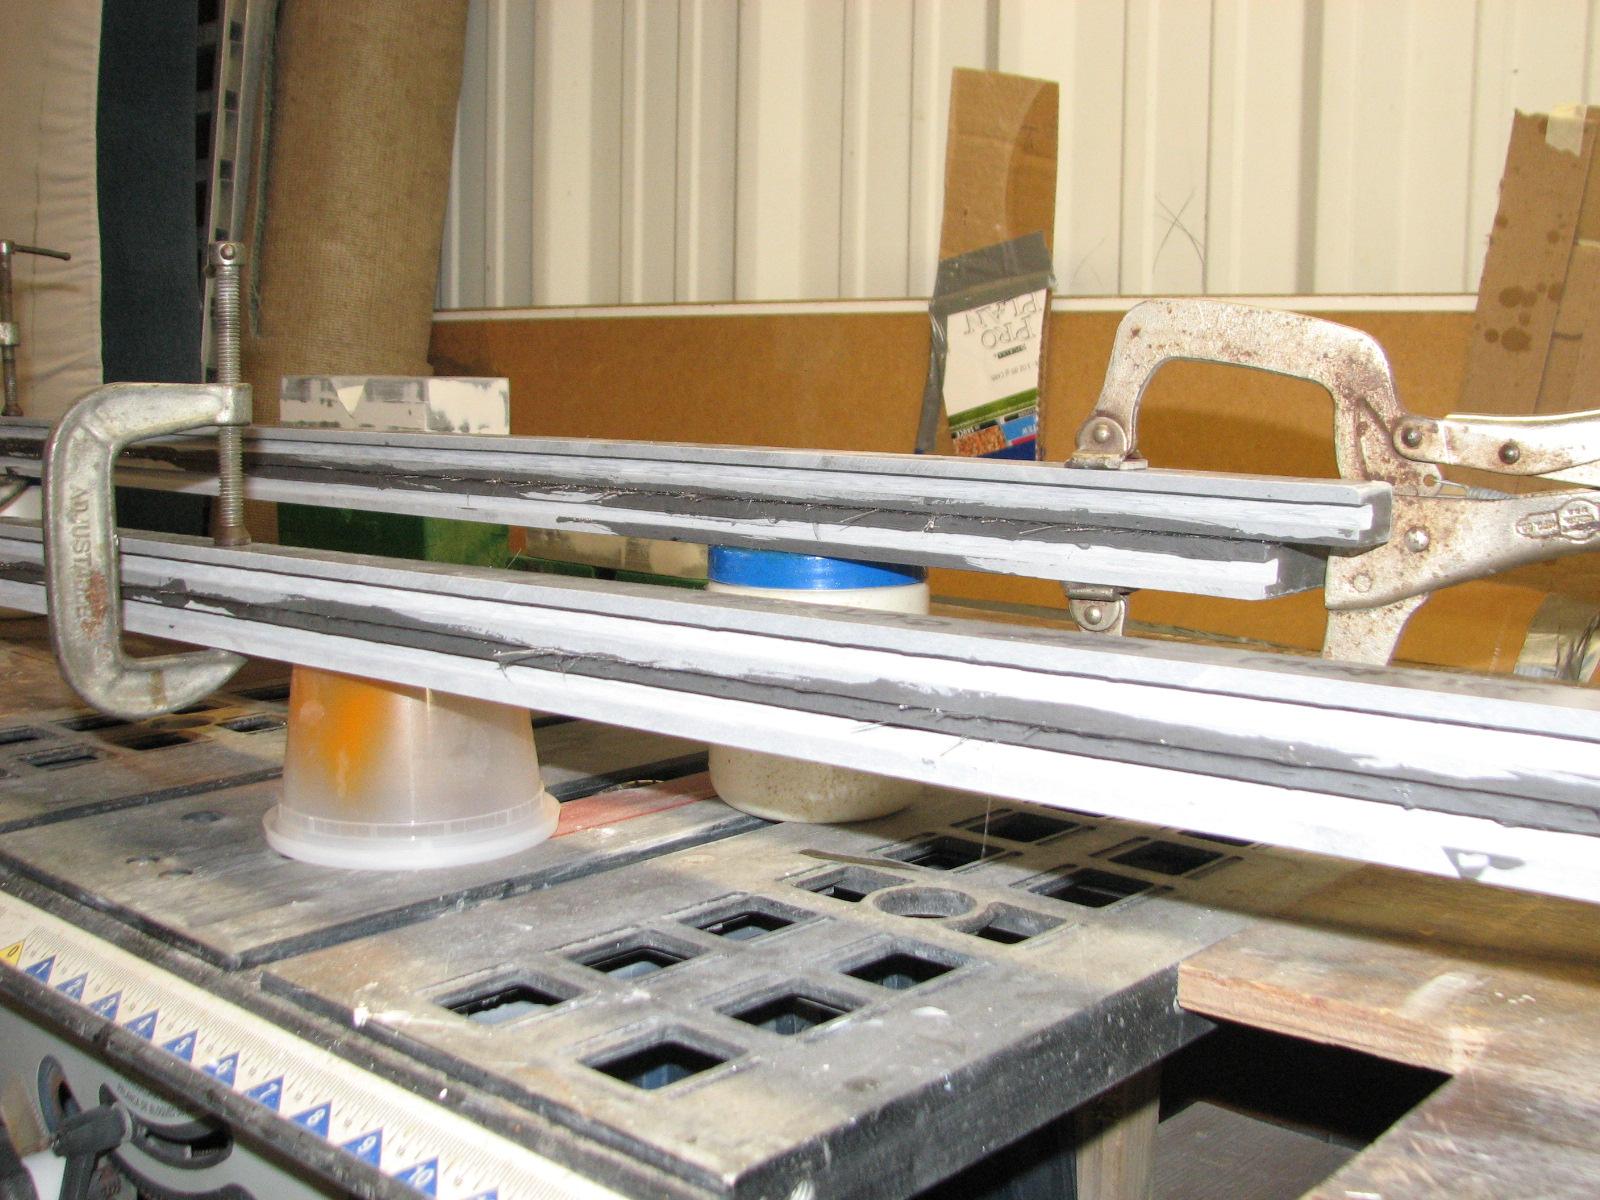
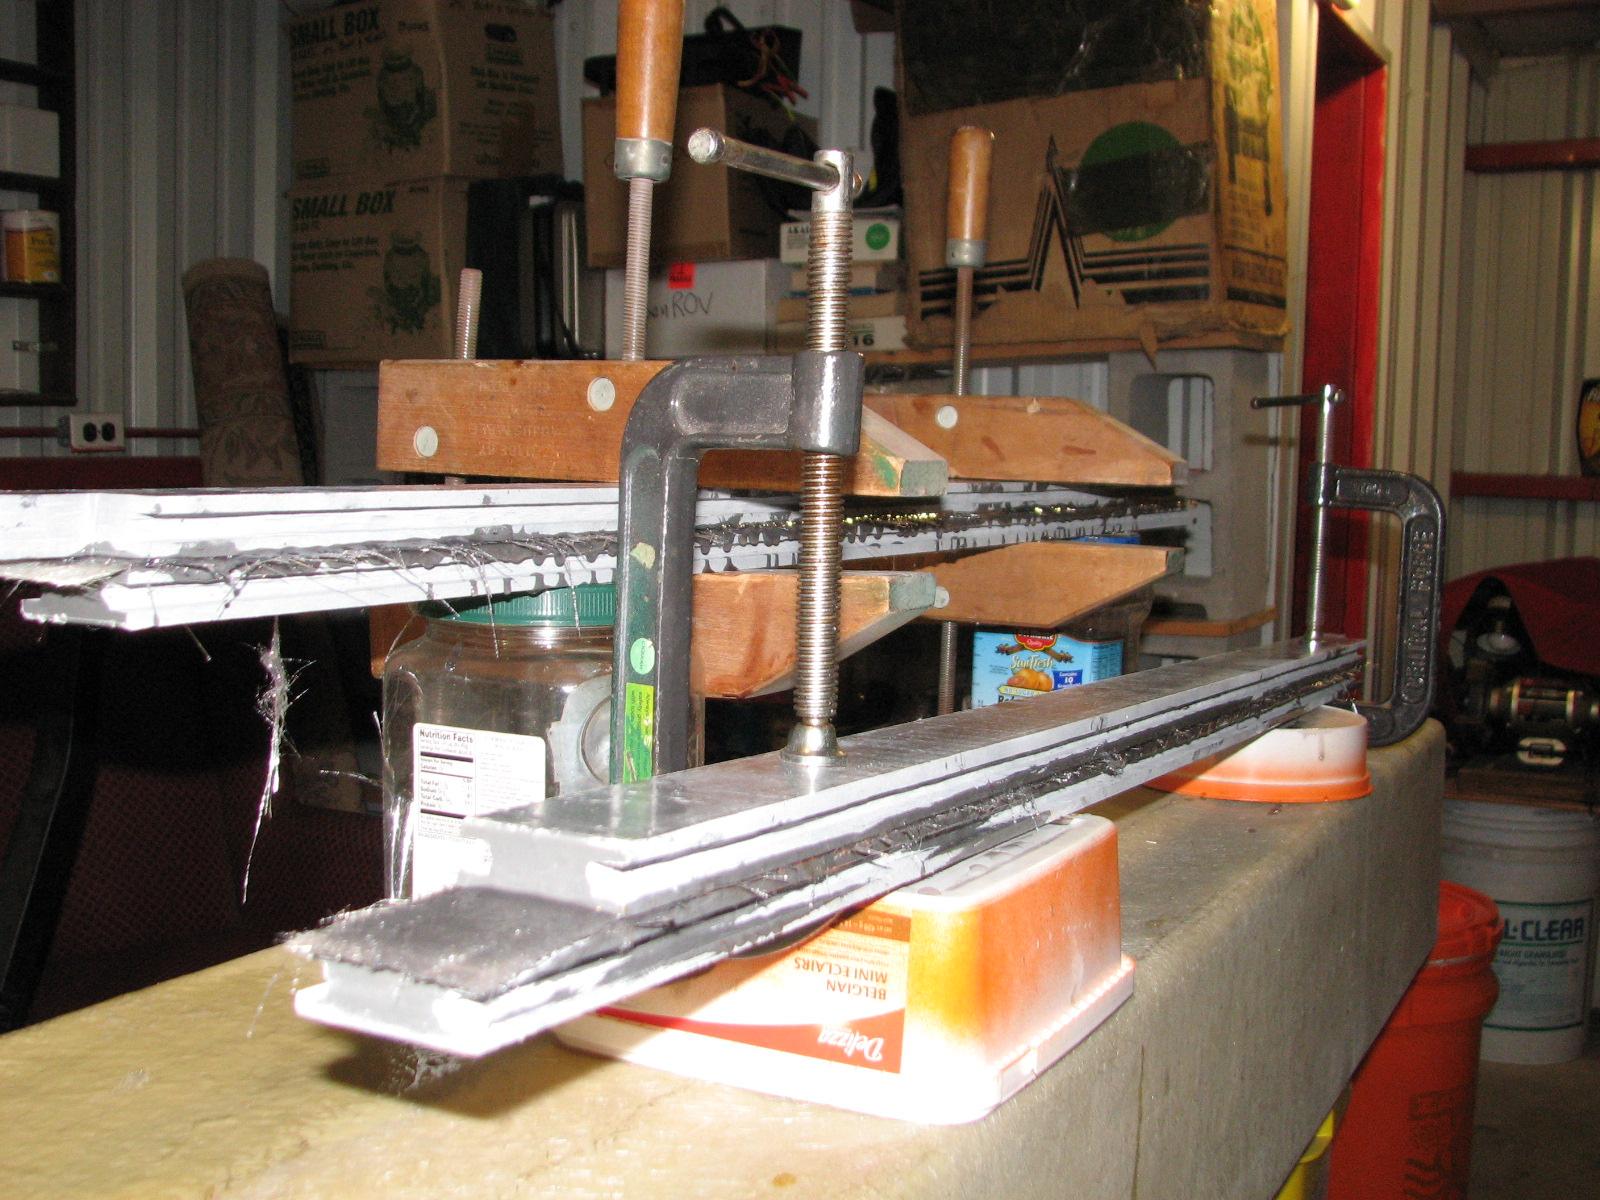
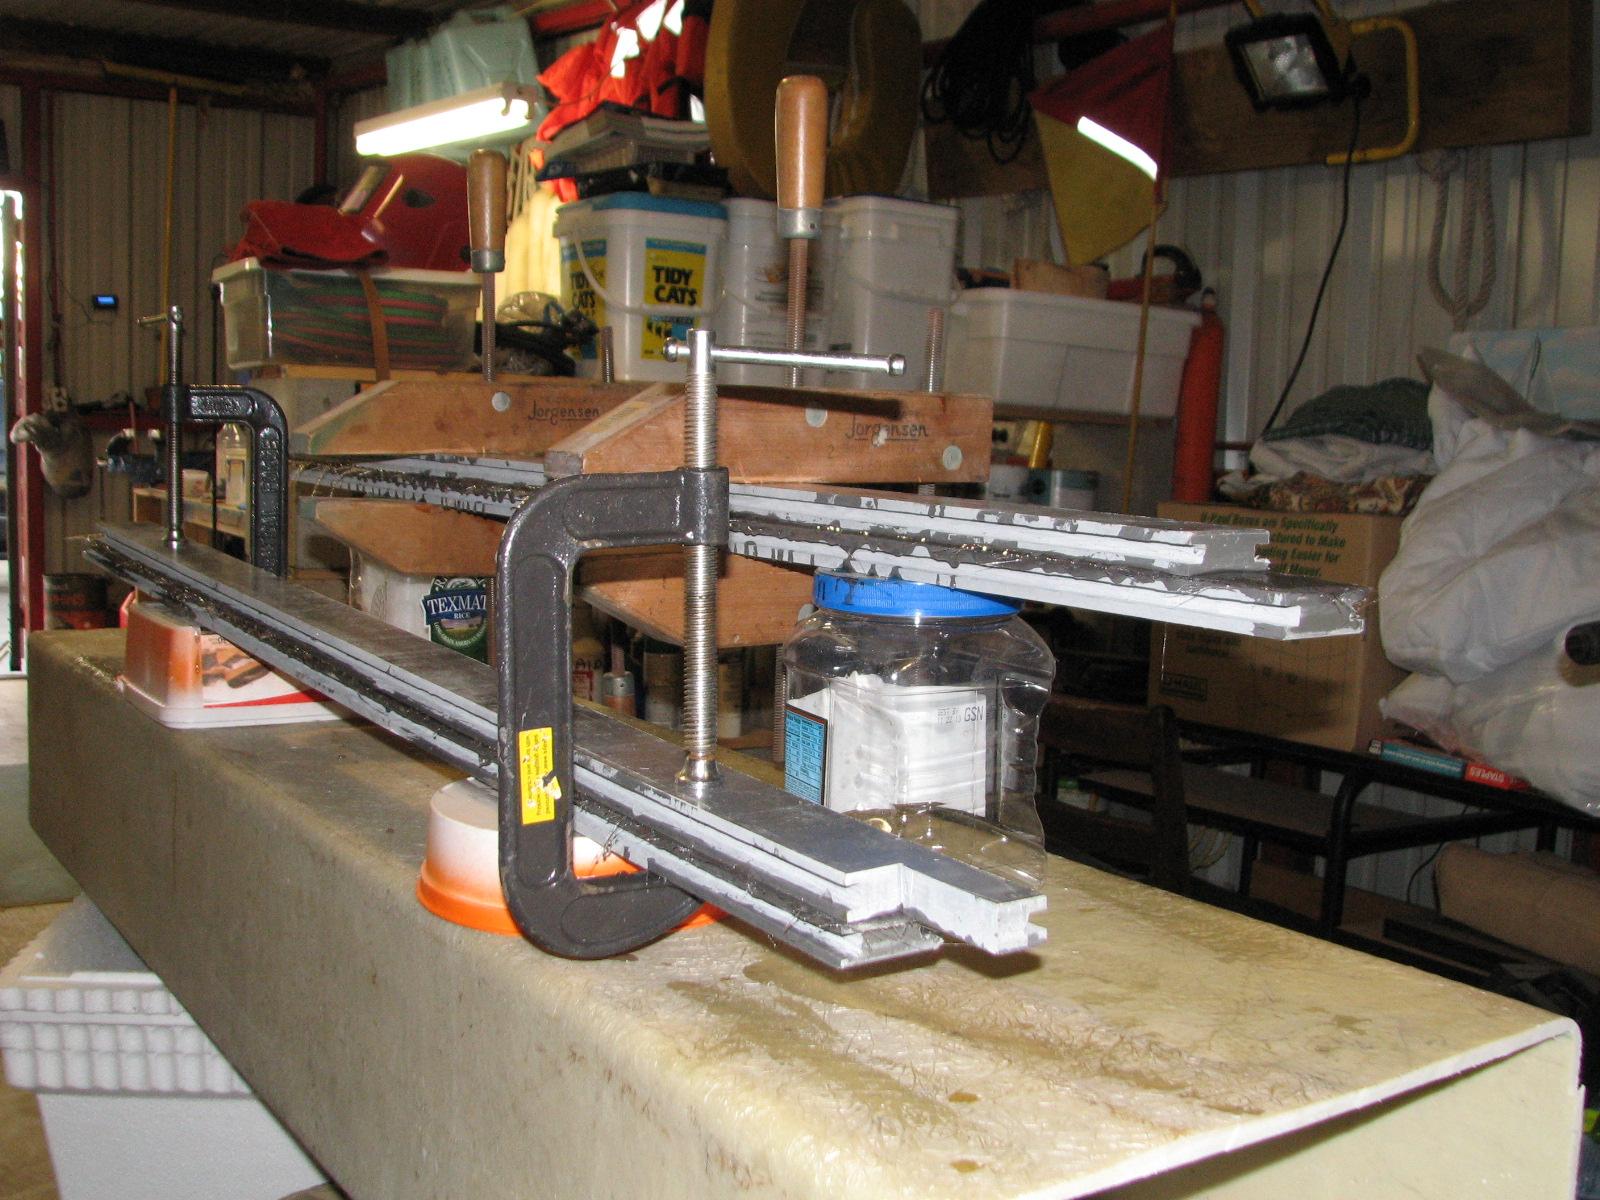
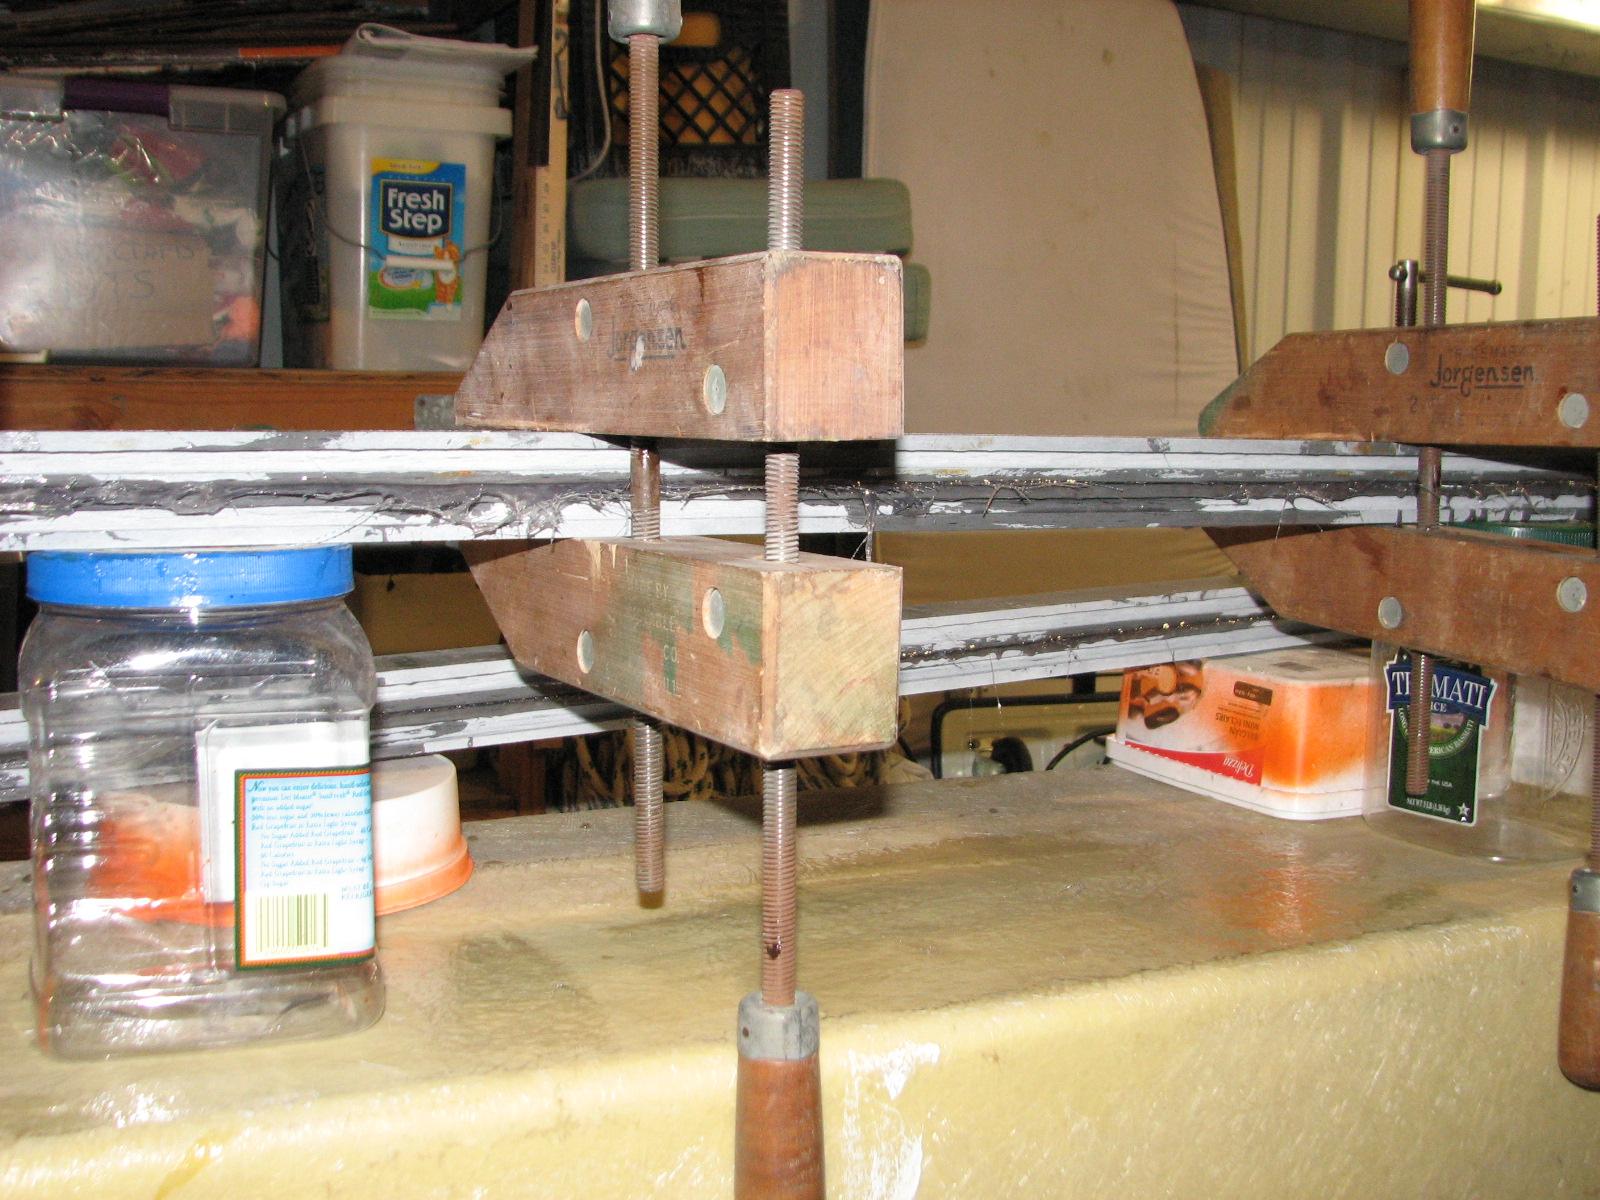
Uprights Glassed Together And Clamped
Uprights Glassed Together And Clamped
Uprights Glassed Together And Clamped
Uprights Glassed Together And Clamped
Uprights Glassed Together And Clamped
Uprights Glassed Together And Clamped
When I finished all the glassing of the
uprights, I cleaned up the uprights as best as I could. If you do too
much, you end causing more problems with resin everywhere, than when
you started. Besides thats why they made big grinders!
I then cleaned up the area, and my
self, and went back to DREAM AWAY and a hot shower.
Later that night we watched a two hour
special on PBS about Jimi Hendrix.
November 06, Wednesday,
2013
Started off the morning with my normal
ritual of getting on the Internet, answering email, and checking the
weather, while making a pot of coffee. I also spent time with our two
cats,
Jillian
and Jordan.
I had breakfast and walked over to the
shop,
and continued cutting the channels in the hard dodger
uprights.
As I mentioned yesterday I had cut at
least one channel in each hard dodger upright for the
plexiglas
panels to be inserted into. The channels are ½” deep by ¼”
wide, and the length of the uprights are at least 38” long and
there are 12 uprights with a toyal of 20 cuts! As you can tell, this
is a lot of cutting.
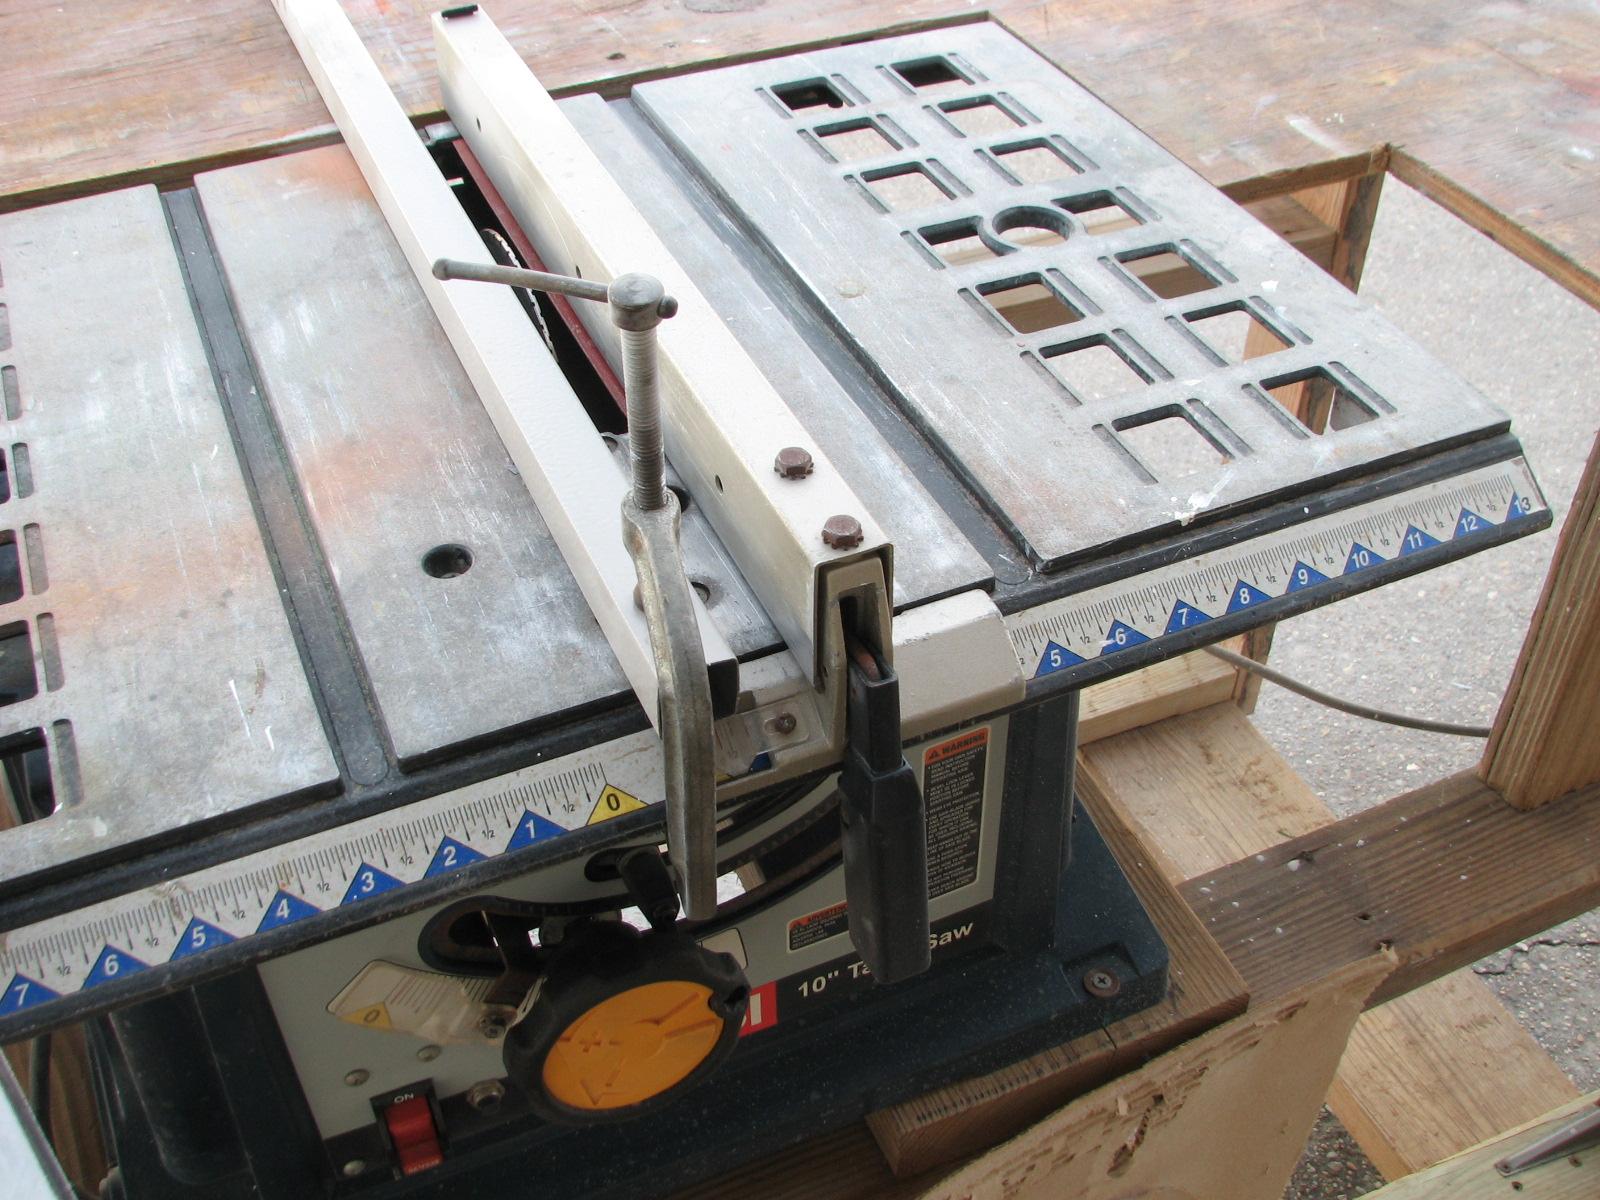
I managed to get two fences set up on
the table saw so that I cannot cut wrong. We will see how that goes
in reality!
Fences Set Up On Table Saw
Fences Set Up On Table Saw
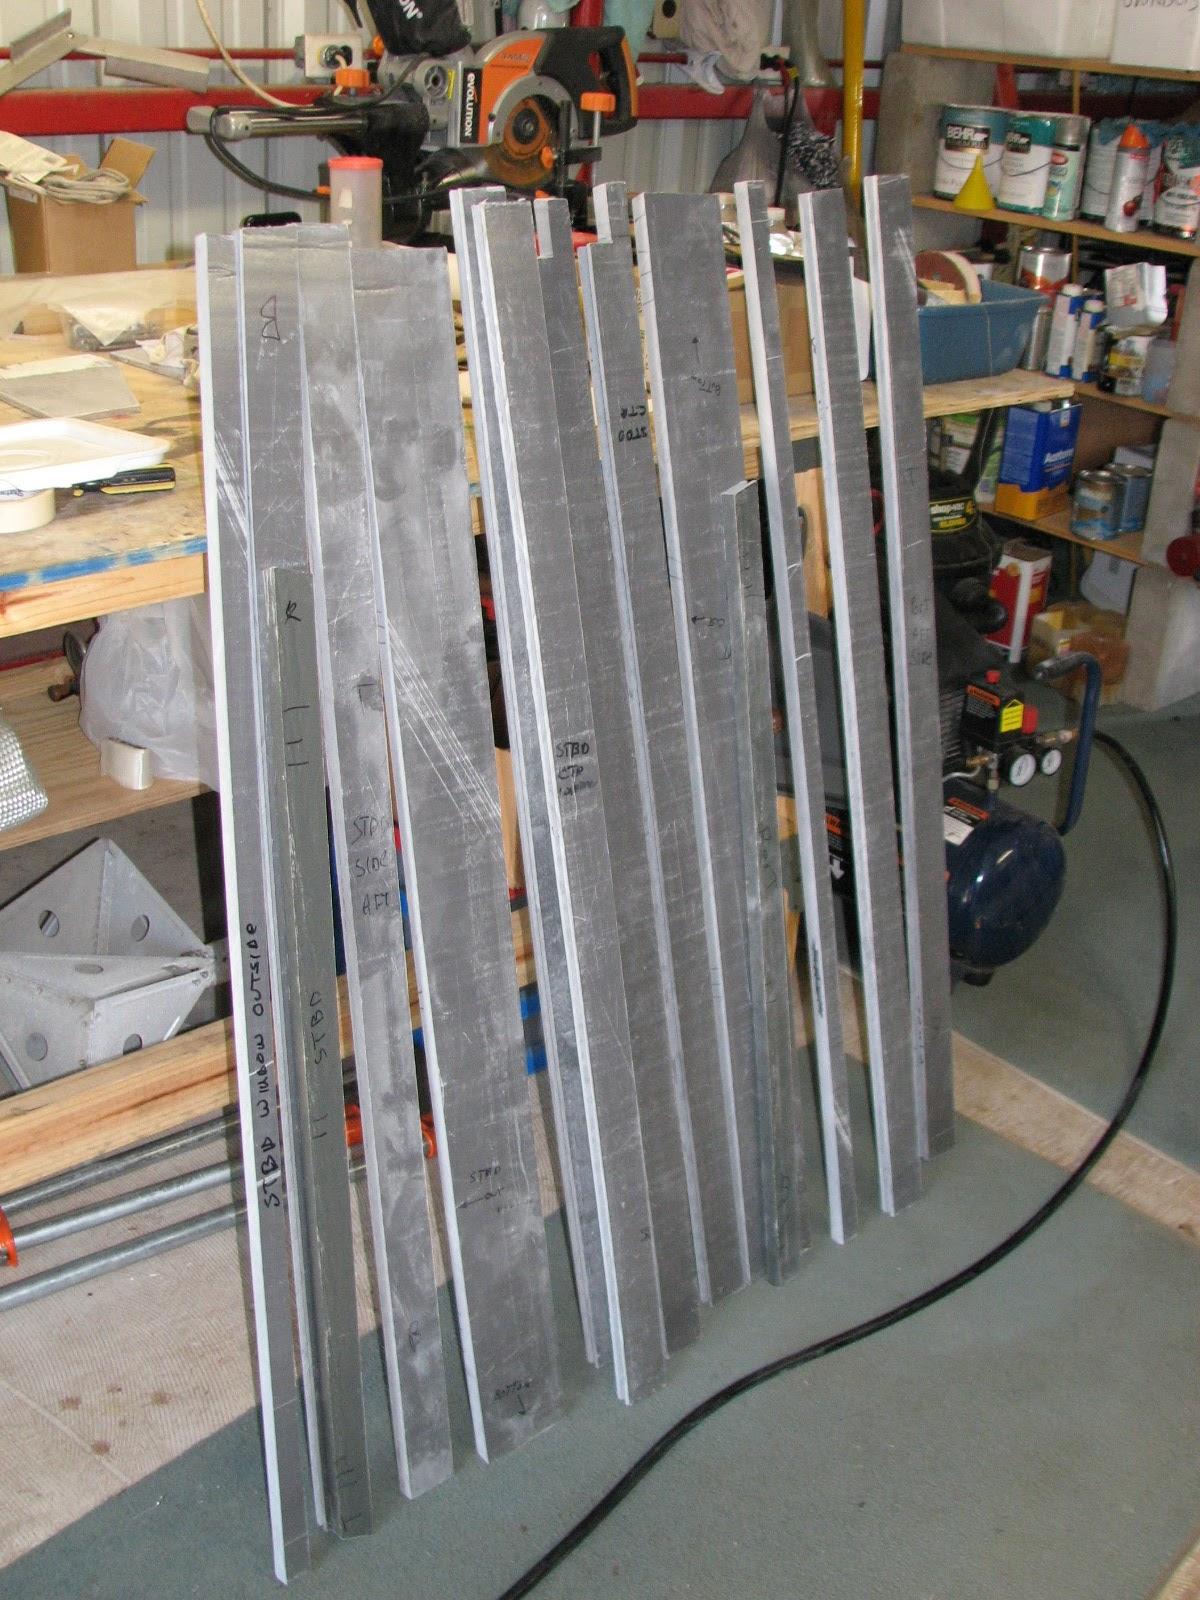
All Of The Uprights That Need Cutting
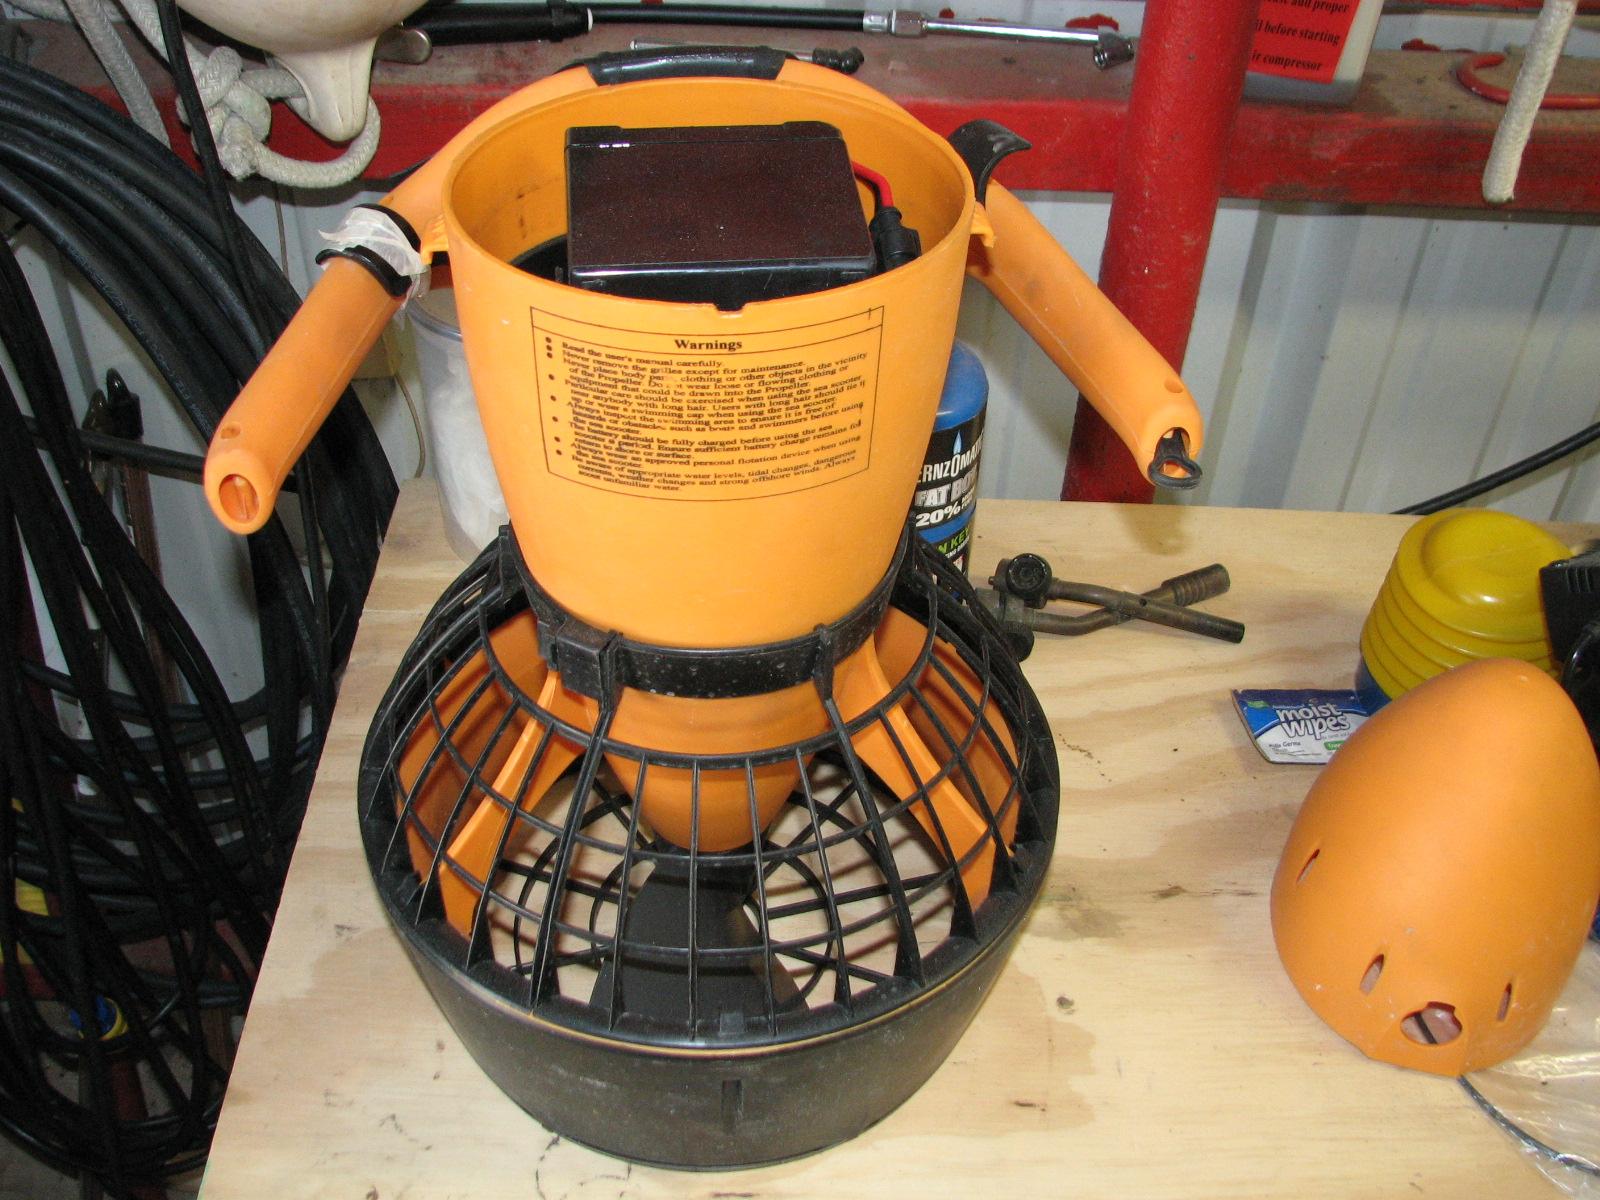
While I was doing the cutting on the
hard dodger uprights, I taped down the start control on the
SeaScooter. I ran the SeaScooter until the battery was almost out.
Since I can not run the SeaScooter under a load, I decided to run in
“on the bench” several time to check out the reliability of the
SeaScooter and the battery. Testing continues.
SeaScooter Running On Workbench
When I finished all of the cuts in the
hard dodger uprights, the morning was gone, and I needed a shower. I
cleaned up the table saw and it’s table, then walked back to DREAM
AWAY.
I took a shower and spent the remainder
of the day working on the computer in catch up mode as usual.
November 05, Tuesday, 2013
Started off the morning with my normal
ritual of getting on the Internet, answering email, and checking the
weather, while making a pot of coffee. I also spent time with our two
cats,
Jillian
and Jordan.
I went over to the shop,
and got to work on the stainless steel tabs for the hard
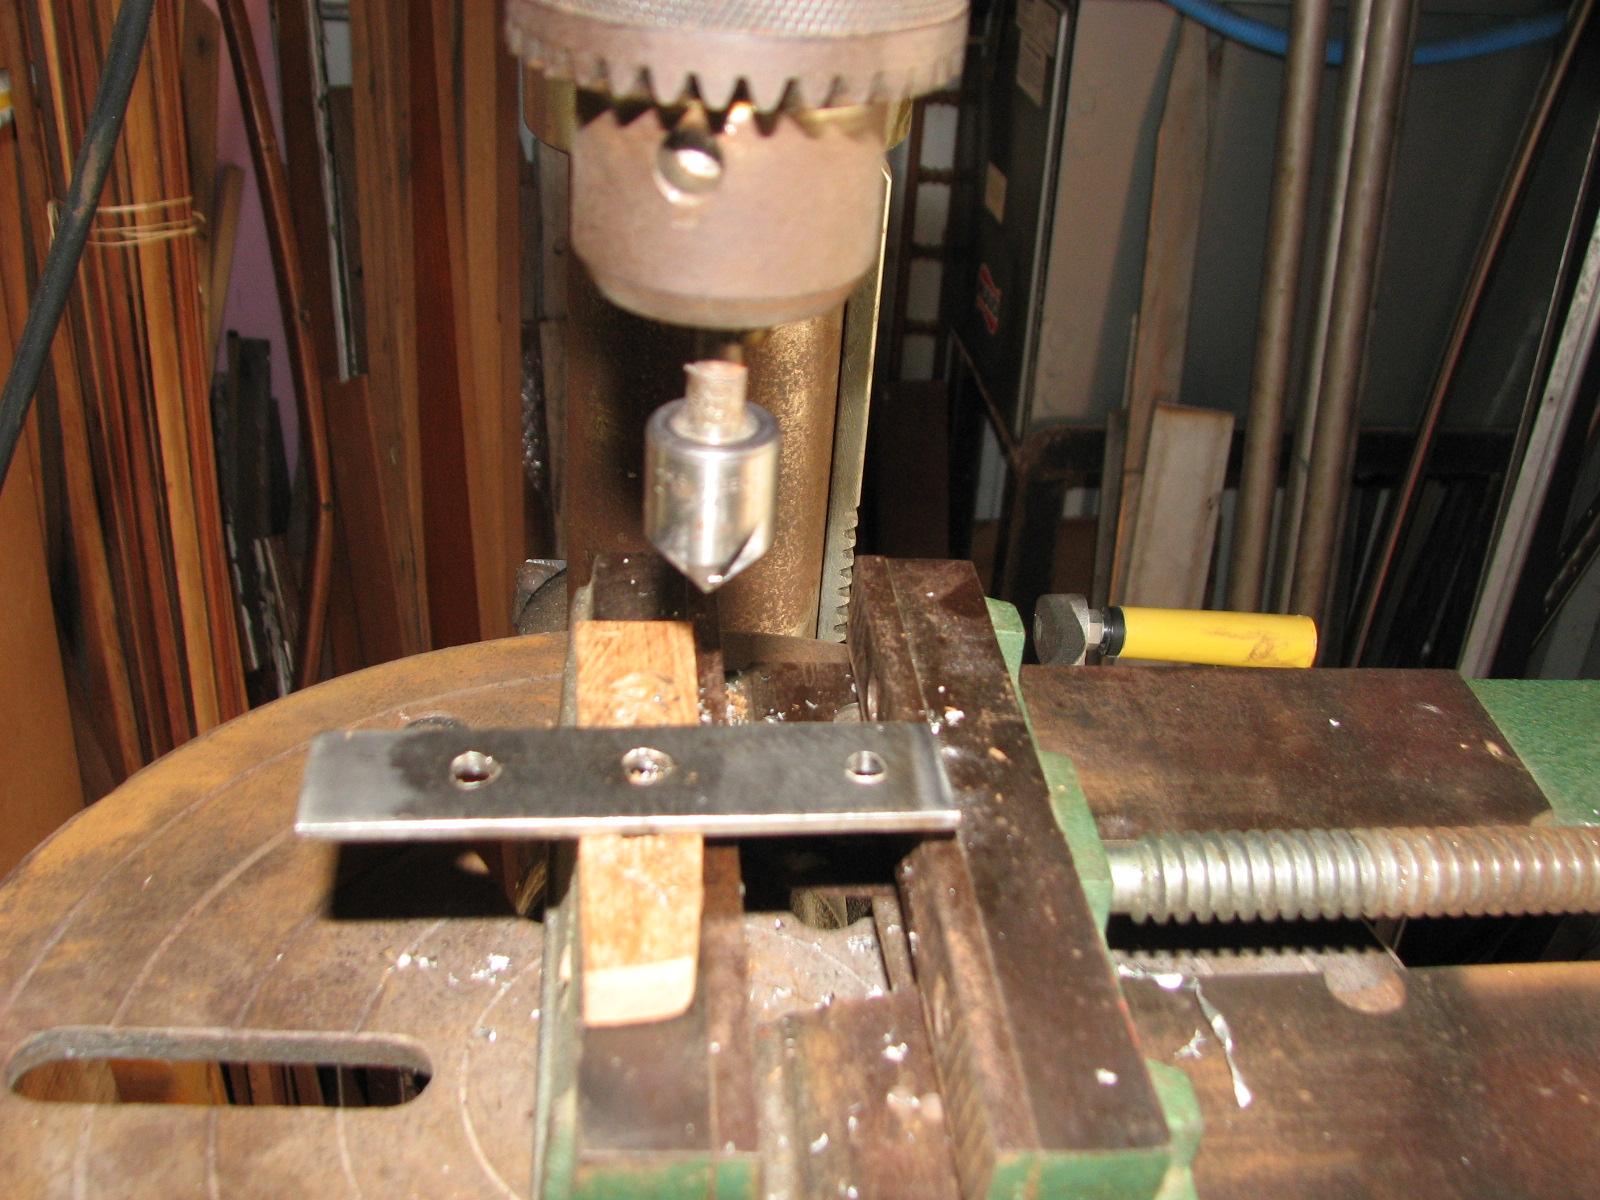
dodger. I used the countersink
to clean out all of the drilled holes in the tabs.
I then got out my high speed grinder
and put on a 120 grit flap disk. With this disk, I cleaned up the
surfaces and the edges of all of the tabs. The tabs were now ready
for bending to meet the angle of the hard dodger uprights.
Kitty and I had our small breakfast.
Kitty and I are on a diet, the 5-2
diet. Good or bad, it seems to be working, and it is
not that difficult to stay on. I have lost 16 pounds in the two
months we have been on the diet.
Kitty and I removed the piece of
Structoglas
that I had put up in the back of the aft cabin. We have a leak that
is showing itself by water running off the piece of Structoglas.
It is supposed to rain tomorrow, so I am hoping I can find the source
of the leak?
I really hope the source of the leak is
not the davit bases. That will be a real struggle to fix, but one way
or the other it will have to be done.
Kittu and I took the piece of
Structoglas
off of DREAM AWAY and loaded it into the Black
Beast. I decided it was safer to store it in the shop.
I got the lawn mower, fuel can, grass
trimmers and gloves out of the Black
Beast. I went to work on weeding the gardens, trimming
the grass around the trees and sidewalks, and mowing the grass. I
also had to spread poison on several fire ant nests.
Kitty needed the Black
Beast to run some errands, so I walked over to the
Port
of Delcambre’s storage room with the lawn mower and
the fuel can. I locked the storage room and then walked down to my
shop
and went to work.
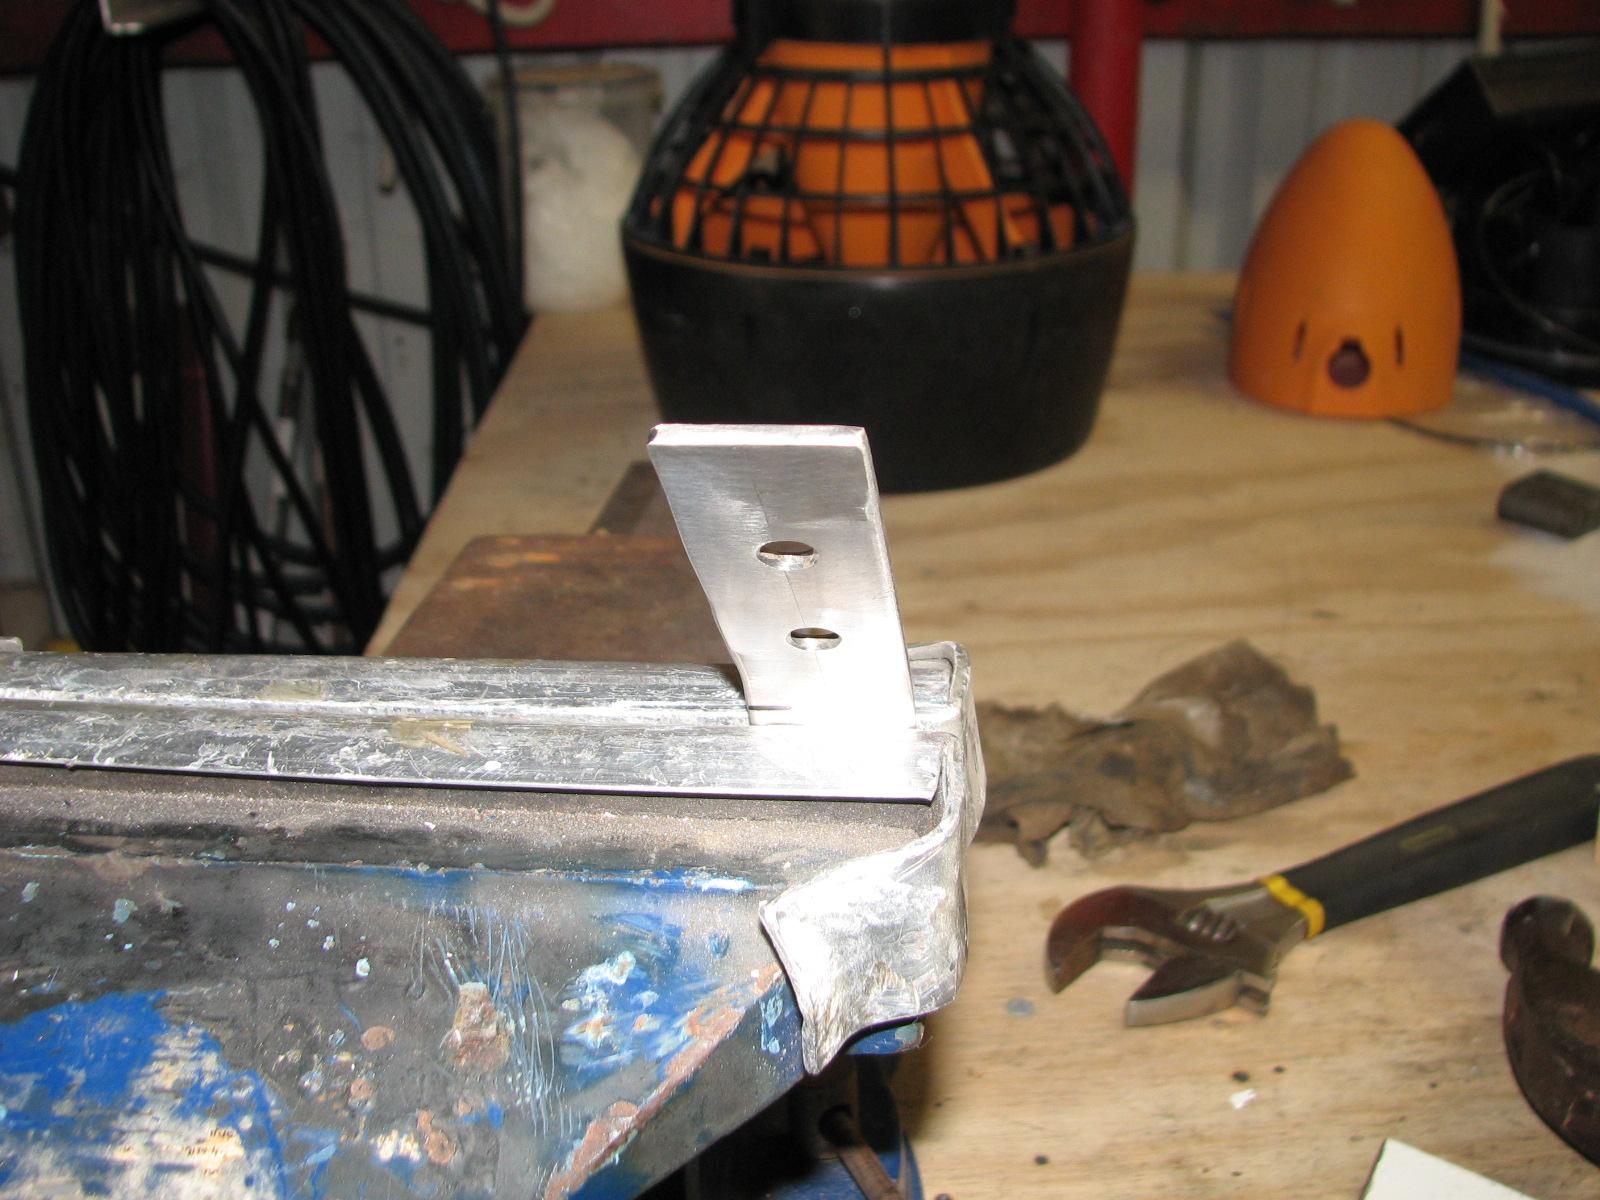
First item on the list are the
stainless steel tabs for the hard dodger uprights. I had to bend all
of the uprights to at least 100 degrees. I did this by putting the
tab in the vice, and then getting a piece of aluminum plate to put up
against the tab, then hitting the aluminum with the hammer. This
method works wonderfully, and does not mark the tabs.
One Tab In the Vice Partially Bent
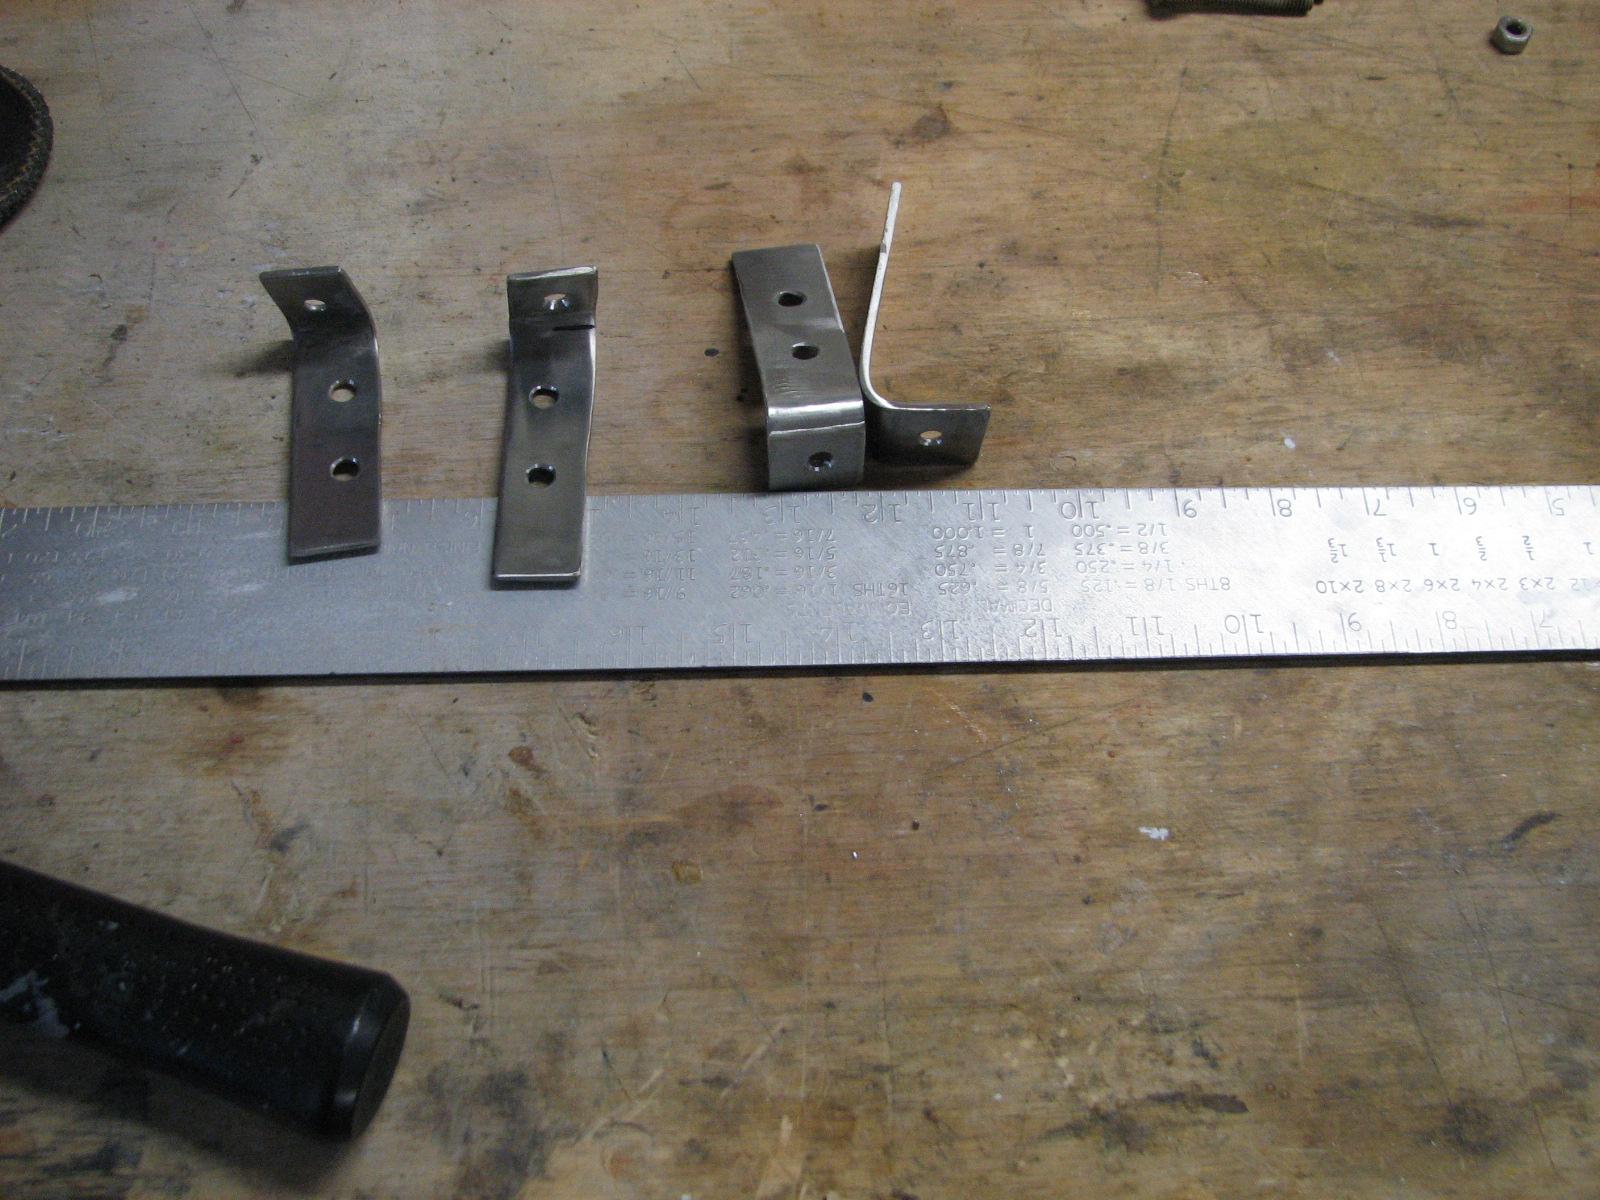
Bent Tabs On Workbench
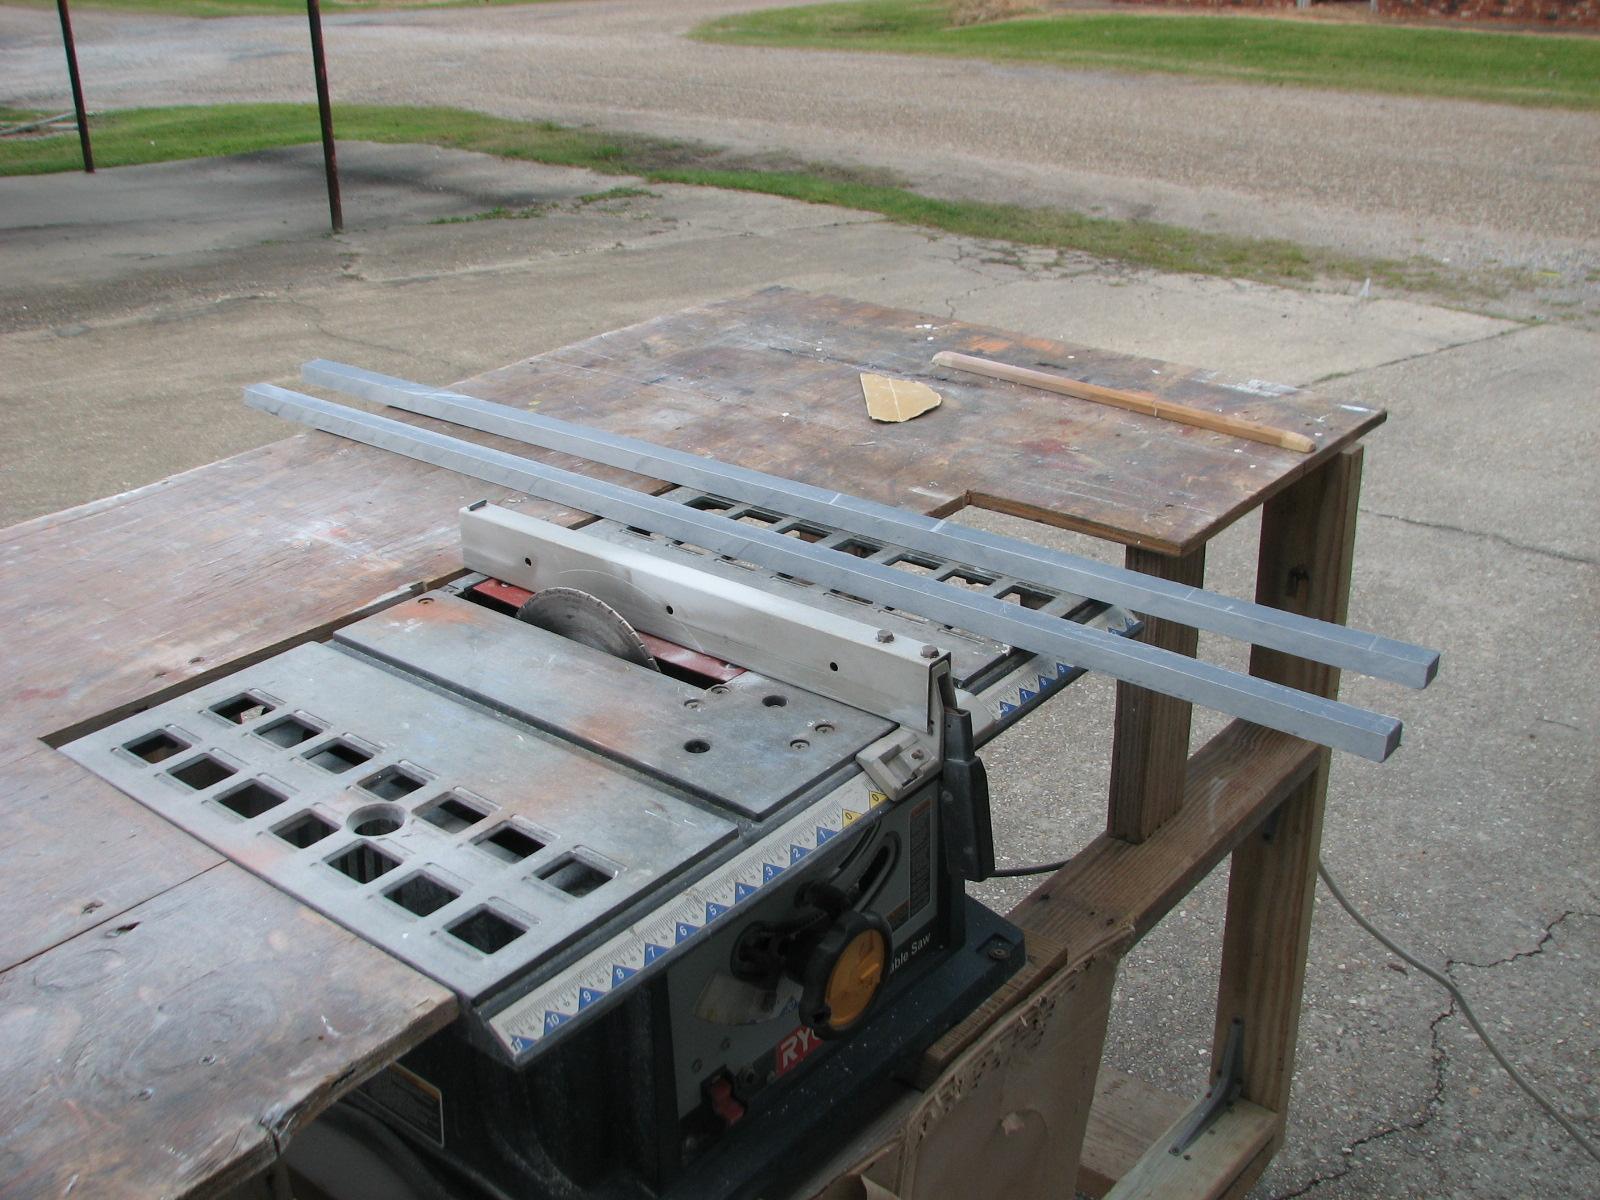
The next job is going to be a dirty
dusty one. I have to cut a lot of the Strongwell
Extren plate that I am using for the hard dodger
uprights. I rolled the table saw out of the
shop
onto the driveway. I set up the fence on the saw, and placed my big
squirrel cage fan to blow as much dust as possible away from me.
First off I cut a 2” piece of plate
into two 1” pieces for the uprights. These pieces will be glassed
to another upright, so I will be able to have windows in the hard
dodger facing forward that will be able to open and close. The plans
is to have a fixed piece of plexiglas
panel in one upright, and the upright glassed to it will have a
plexiglas
panel that will slide to open position or closed!
The next phase of the cutting is to cut
at least one channel in each hard dodger upright for the plexiglas
panels to be inserted into. The channels are ½” deep by ¼”
wide, and the length of the uprights are at least 38” long and
there are 12 of them! As you can tell, this is a lot of cutting.
I managed to get two fences set up on
the table saw so that I cannot cut wrong. We will see how that goes
in reality!
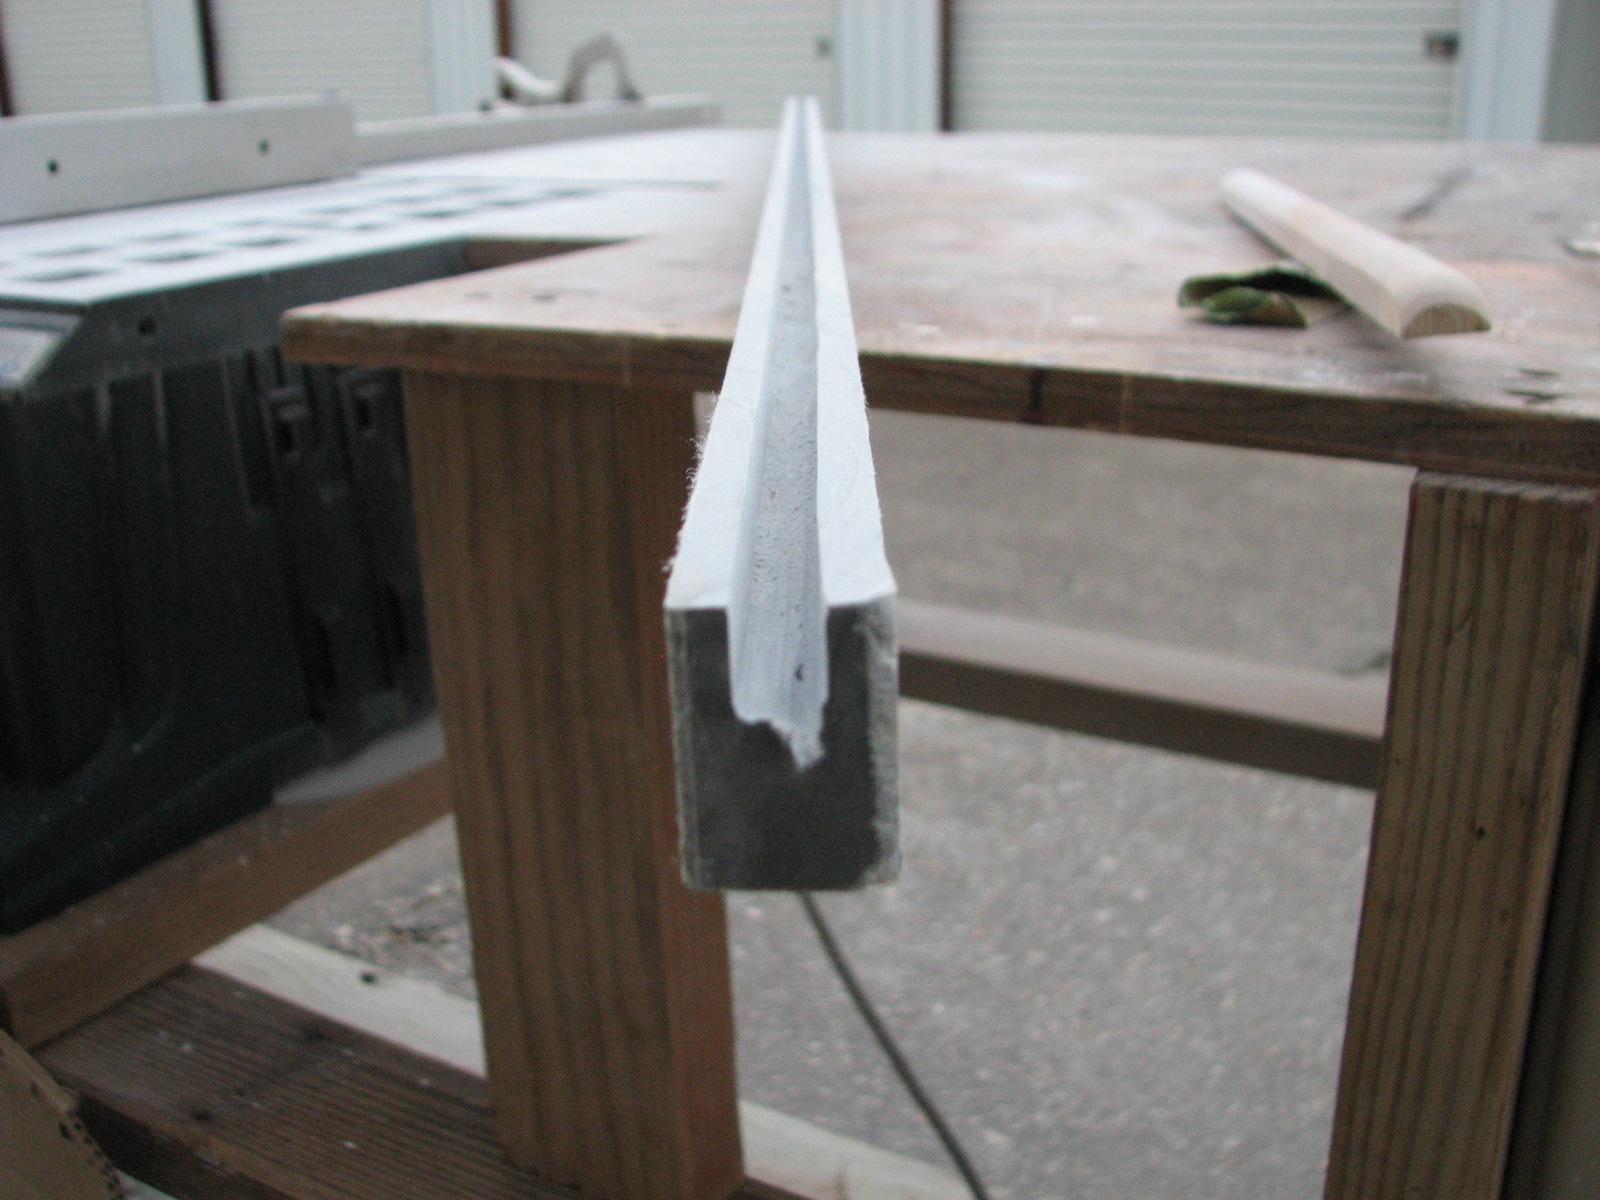
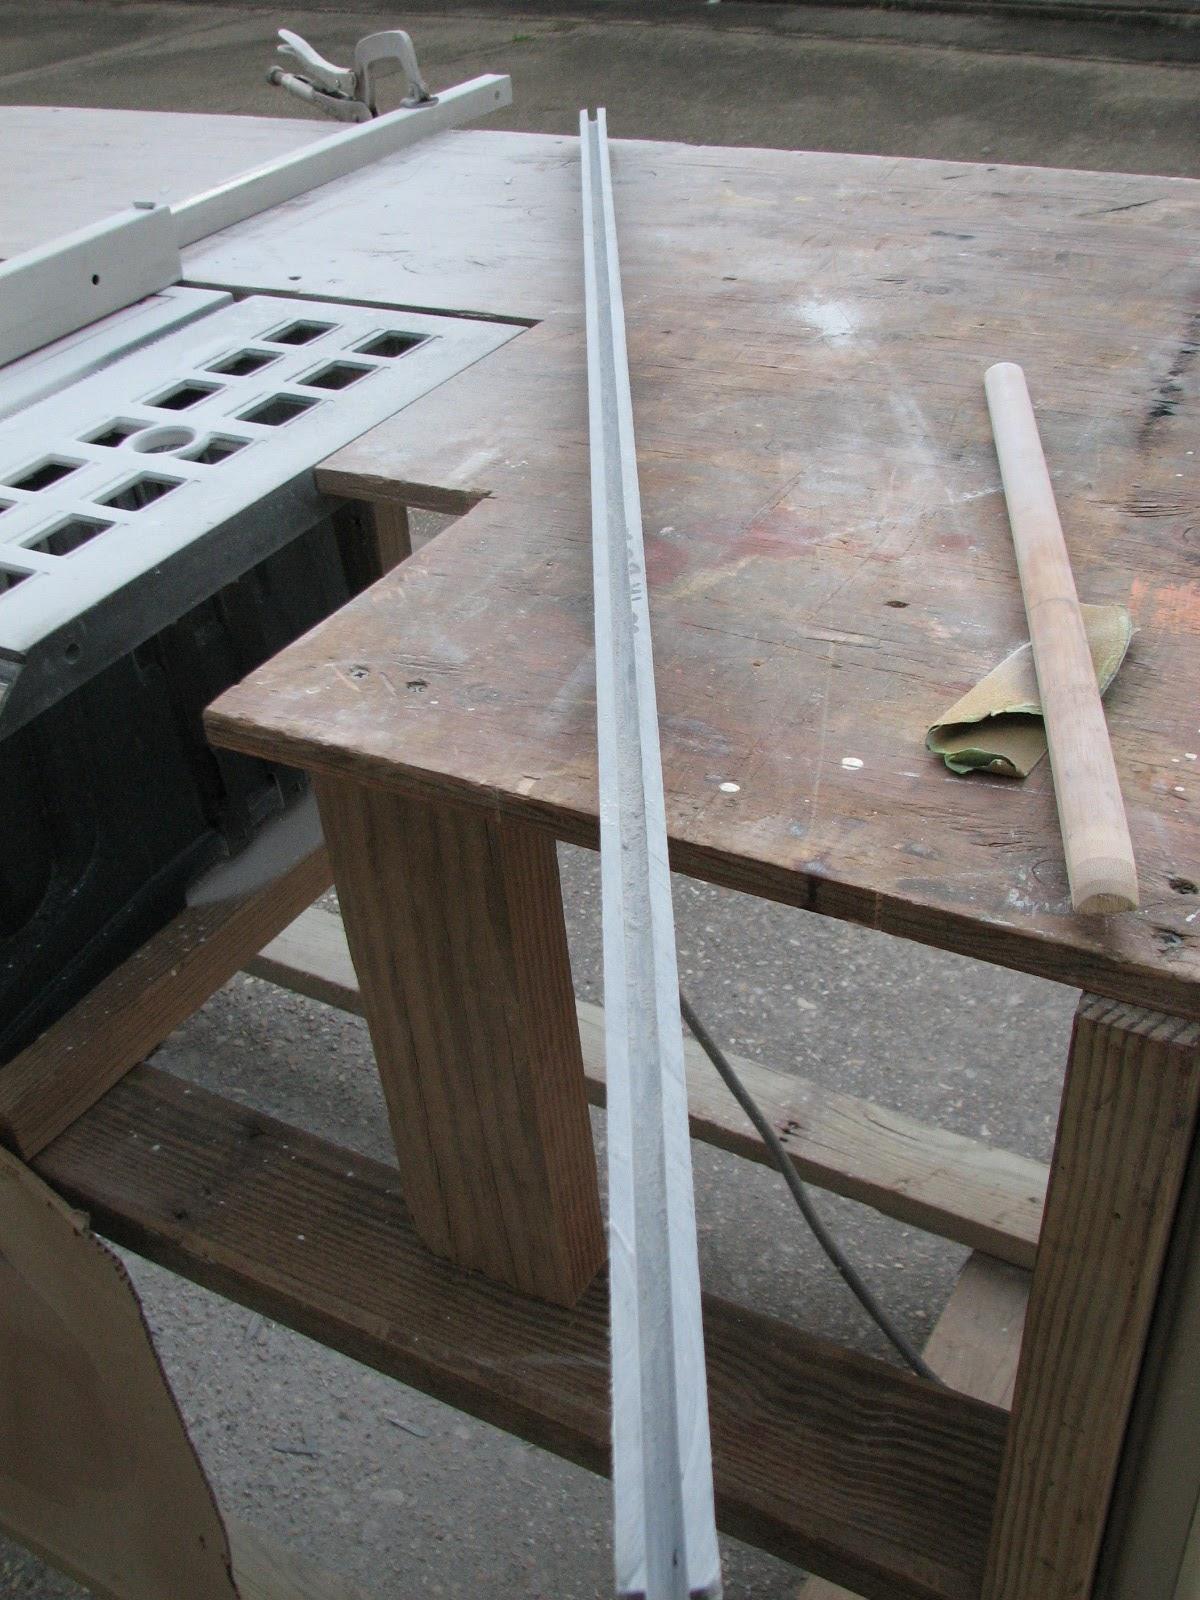
Channel Cut In One Upright
Channel Cut The Full Length Of The
Upright
I worked on the cutting the channels
until it was too dark to see. I cleaned off me and the table saw of
all of the fiberglass
dust, and put the table saw back into the shop.
I gather up my sack and water glass and
walked back to DREAM AWAY. I was really looking forward to getting a
shower and getting the fiberglass
dust off of me.
November 04, Monday, 2013
Started off the morning with my normal
ritual of getting on the Internet, answering email, and checking the
weather, while making a pot of coffee. I also spent time with our two
cats,
Jillian
and Jordan.
I had my breakfast and went over to the
shop,
and set up to finish drilling the holes into the anchor support
pieces. The first piece needed just two 5/16” holes for the bolts
to hold it to the adapter I have on the stanchion base. I used the
original anchor support piece as the pattern to drill the holes in
the new fiberglass
piece.
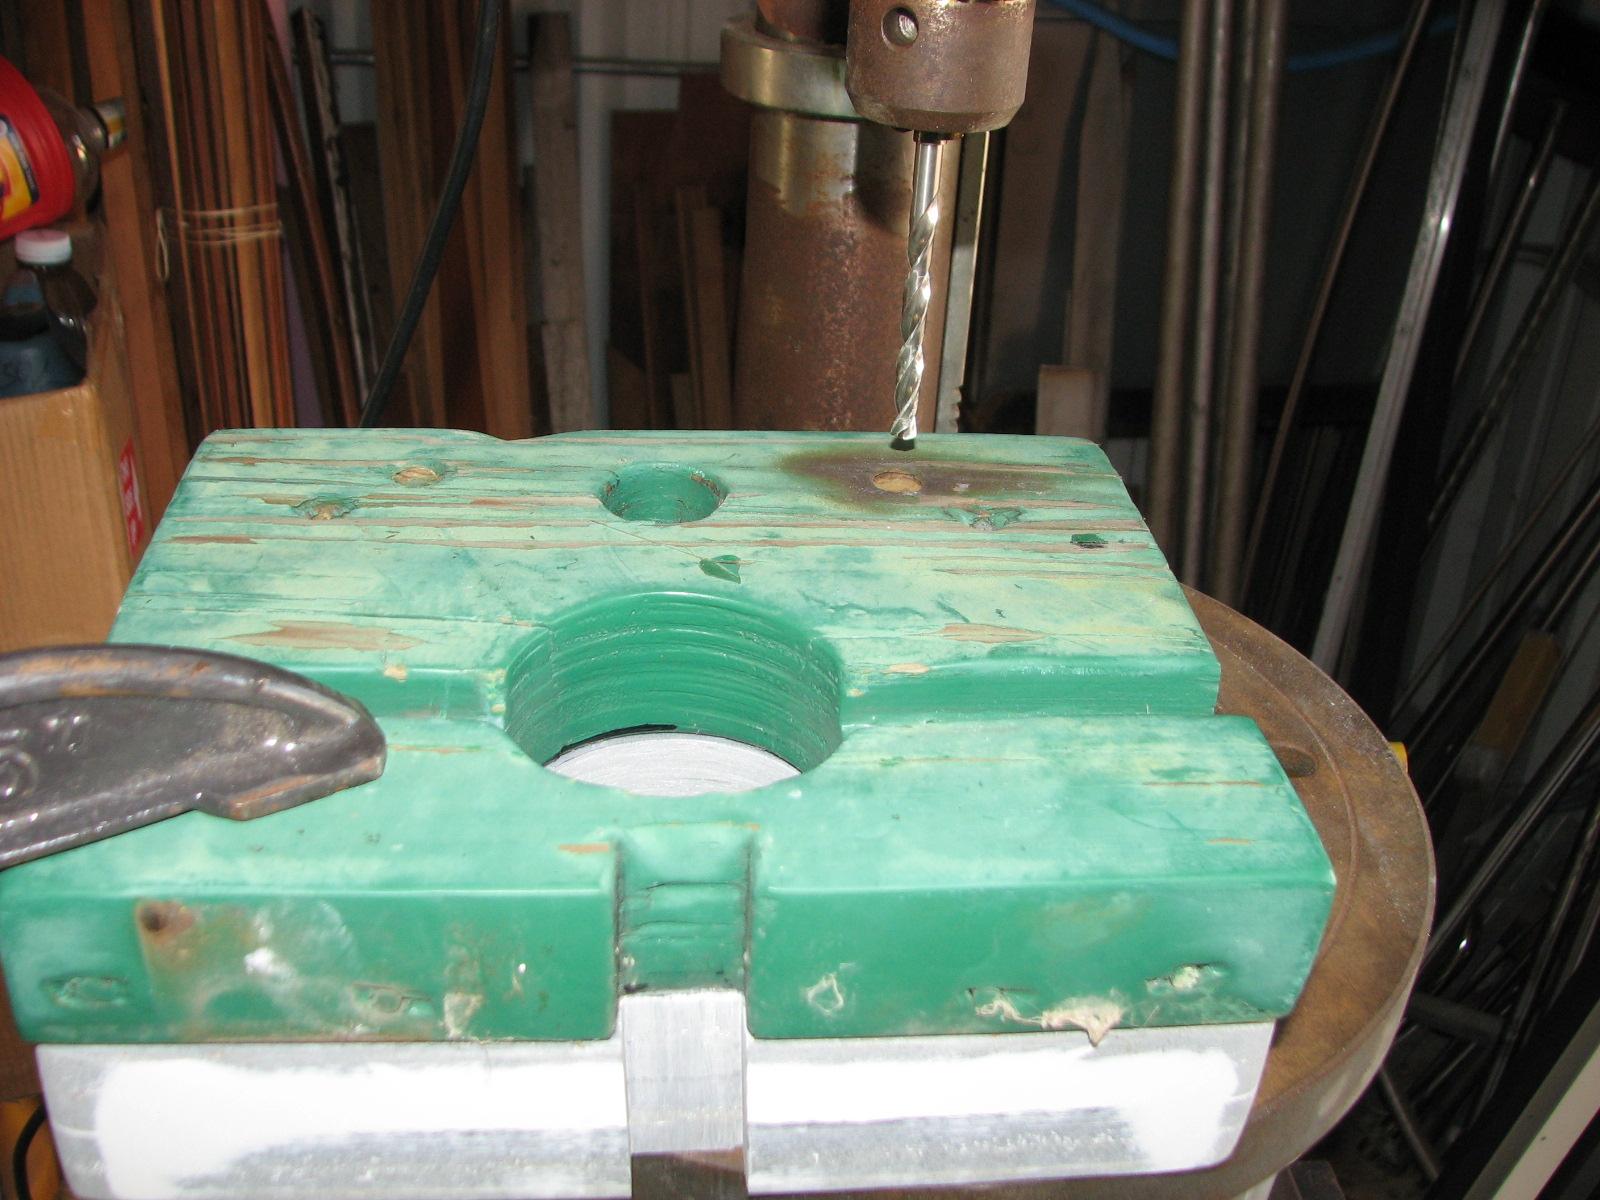
Drilling Holes In First Anchor Support
Piece
I brought over my ¾” drill bit to
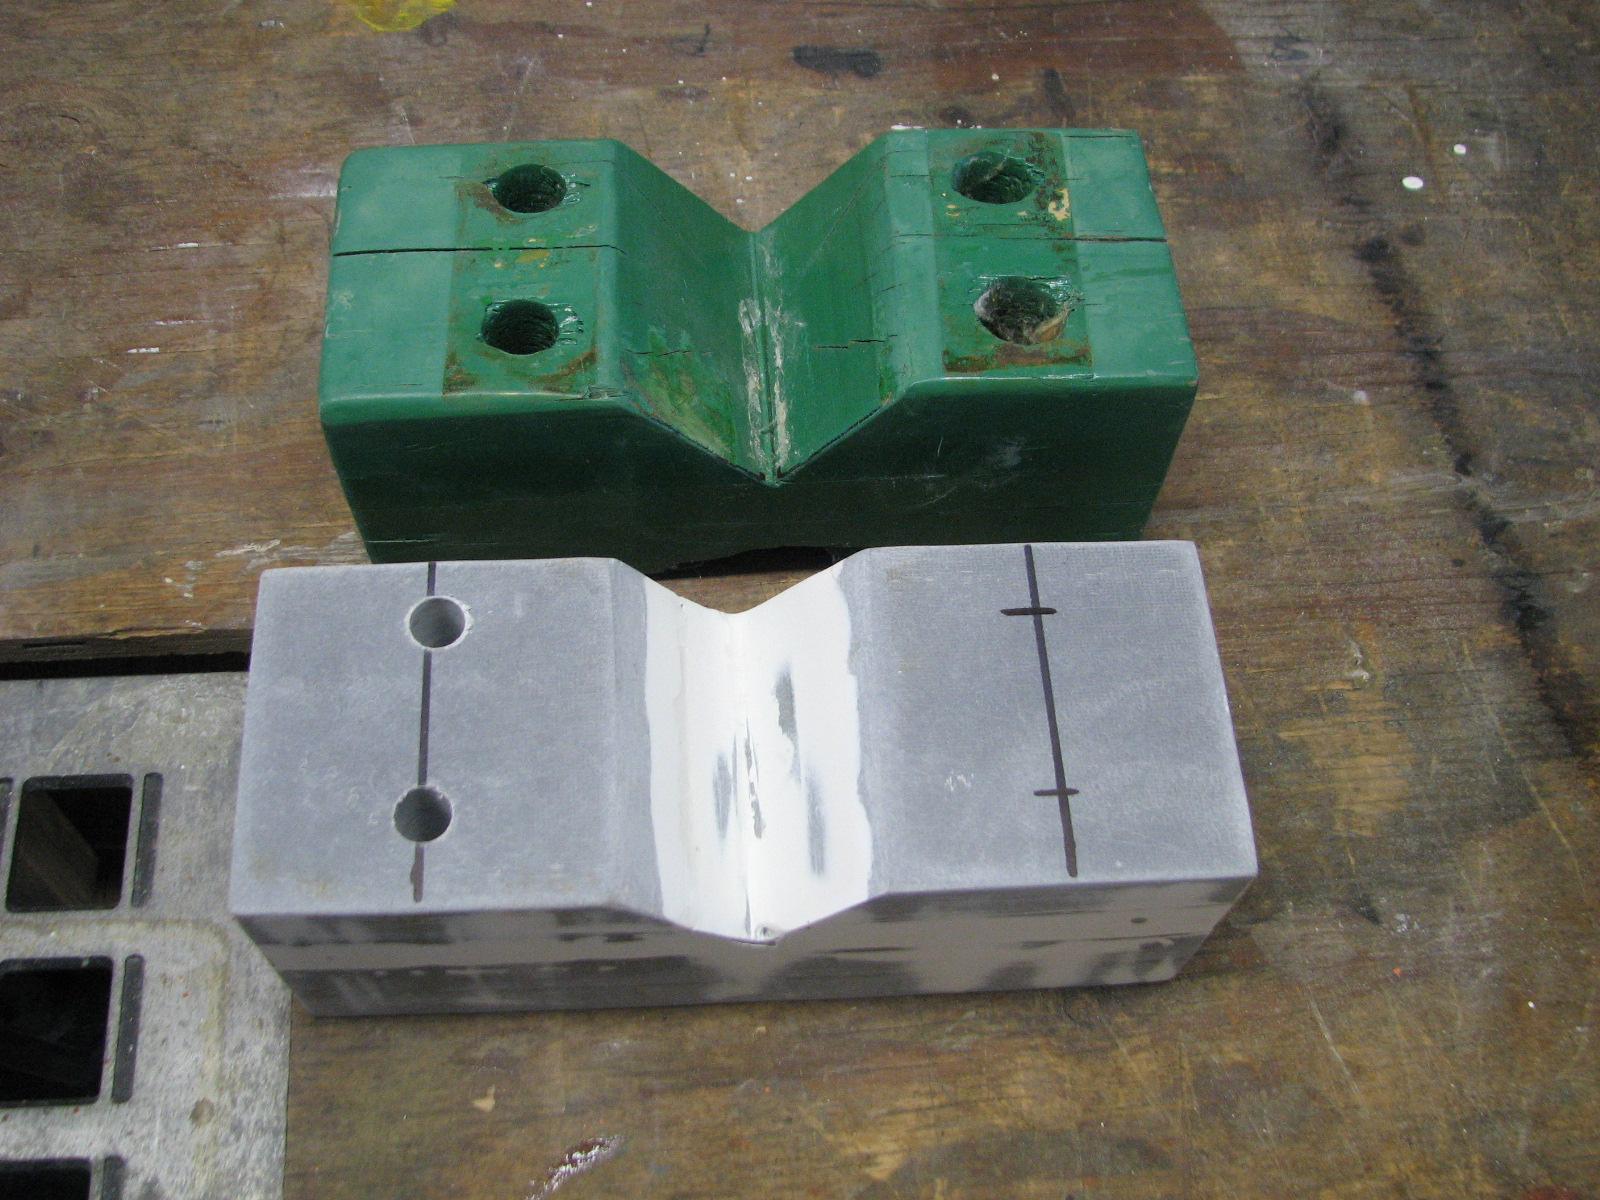
drill the necessary holes in the second anchor support piece.
Piece To Be Drilled And Original Anchor
Support Piece
Drilling The Holes In The Anchor
Support Piece
Now that I have all of the holes
drilled and cuts made in the anchor support pieces, they are ready
for final sanding and the the application of gelcoat.
I hope to applying gelcoat
to all of the uprights for the hard dodger very soon, so I will wait
and do all of the pieces at the same time.
Next project is the Shop-Vac
vacuum cleaner. As I mentioned yesterday, it had given up the ghost,
so I was hopeful I could somehow repair the problem. Yesterday as
part of the fix the vacuum cleaner, I had cleaned the filter used
inside the tank, but that was not the problem. I will have to get a
new cartridge filter.
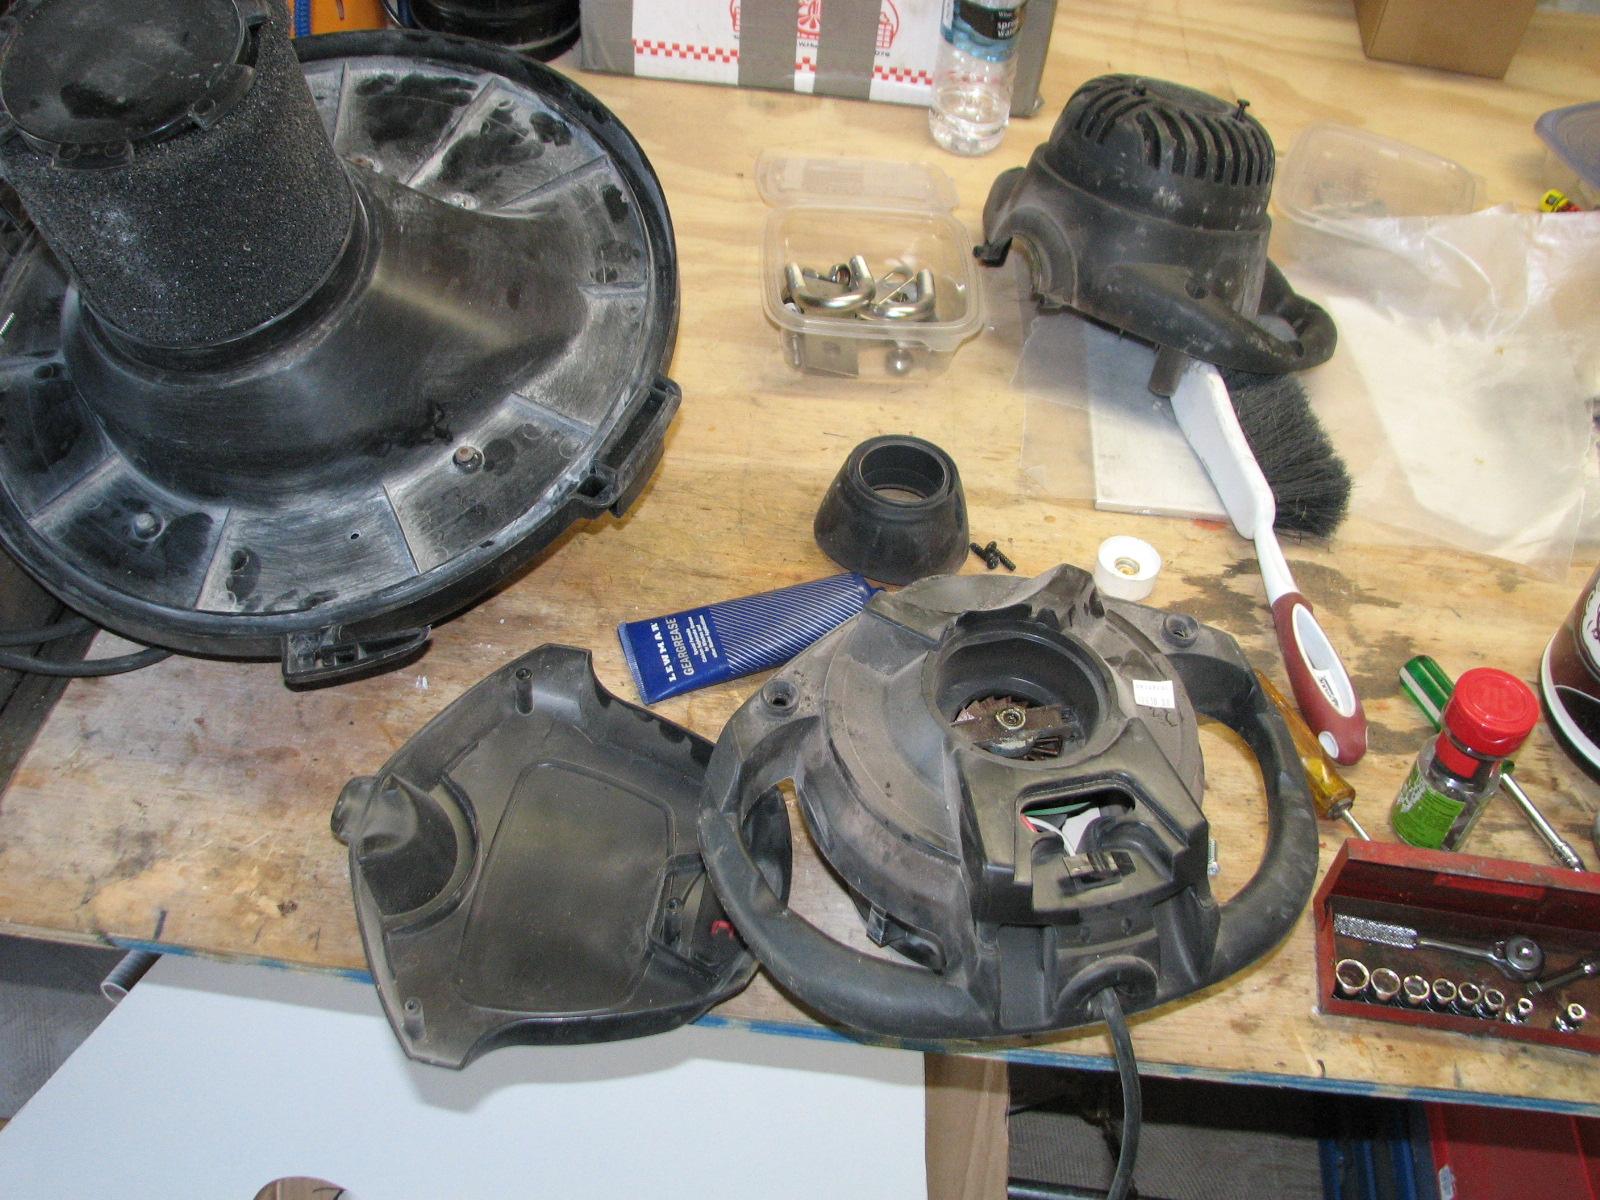
I took the Shop-Vac
vacuum cleaner apart, and found two problems. The first major problem
was a nut and washer had come off of the shaft of the motor. I put
the nut and washer back on the shaft, and tightened as much as
possible. That fixed the main problem.
The next issue was shaft noise, like a
bearing going bad. It turned out to be the other end of the shaft in
a bushing, was not lubricated. I started the vacuum,and forced grease
into the bushing and that solved the second problem. I put the unit
back together, and it is working fine.
Shop-Vac
Vacuum Cleaner Apart On Work Bench
I again loaded the “Box
O’ Resins”, sanders, saws, a box with all of the
clamps in it, and all of the hard dodger uprights into the Black
Beast, and went to the marina.
I brought pretty much everything down
to DREAM AWAY except for the “Box
O’ Resins”. The main project on the hard dodger
today was to get all of the uprights cut to line up on the hard
dodger base.
My first measurement, I could not do,
because I needed a small short piece of the Strongwell
Extren plate. I walked over to the
shop
and brought back two pieces.
Needless to say after a couple of hours
of work, and cutting, Kitty and I got all of the bottoms of the hard
dodger up rights cut. The difficult part of the project was the
bottoms all had compound angles because of the crown of the doghouse,
and the angles the uprights leaned back to meet the top stainless
steel base for the uprights.
Two Saws On Dock Used For Cutting The
Uprights
Captain Making A Cut
Checking Uprights On Port Side
Port Center Upright With Additional
Piece For Sliding Window
Now that all of the bottoms are cut, I
need to cut and drill out the stainless steel tabs that are required
to attach the bottoms of the uprights to the hard dodger base.
I also have to cut grooves in the sides
of all of the uprights so the plexiglas
panels will slide into the uprights.
I then loaded everything I had brought
down to DREAM AWAY, back into the Black
Beast, and then back to the
shop,
and unloaded it all.
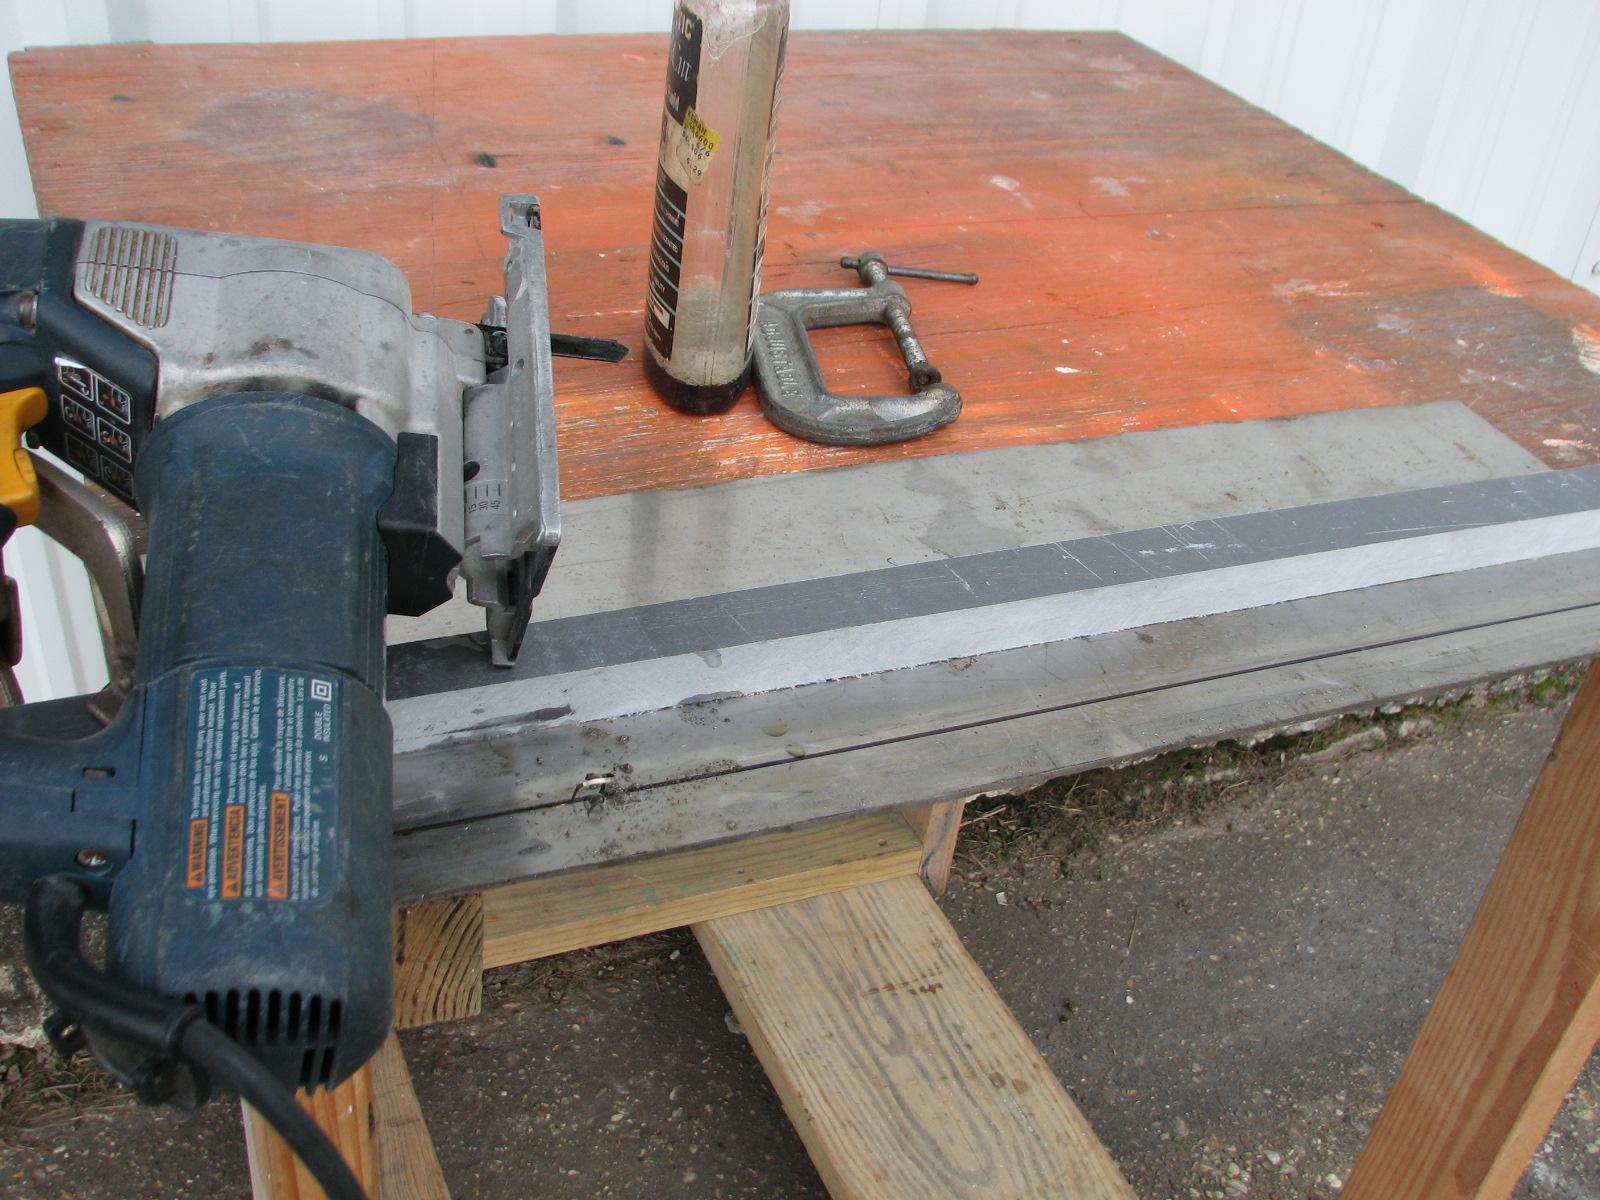
I changed blades in the Bosch
jig saw from the fiberglass
blade to the stainless steel blade. I clamped down a “fence” on
the stainless steel plate I was cutting, and cut the 1” piece of
stainless steel to be used for the tabs. I used cutting fluid to help
the process along. When the piece was cut, I cut it into 4” tabs.
Stainless Steel Plate Ready To Cut
I then measured all of the tabs and
marked where to drill the holes in the tabs. I smacked each
measurement for a hole with a center punch, then set up the drill
press. I drilled out all of the holes, but forgot my countersink on
DREAM AWAY.
Tomorrow I will bring the countersink
with me to the shop,
and finish off all of the tabs. I will also set up the table saw to
cut the grooves in the hard dodger upright.
A long day, I went back to DREAM AWAY,
ready for a shower and an adult beverage, not necessarily in that
order! It was not to be. When I got on DREAM AWAY, Kitty told me the
toilet was not flushing! This sounded like a lot of fun.
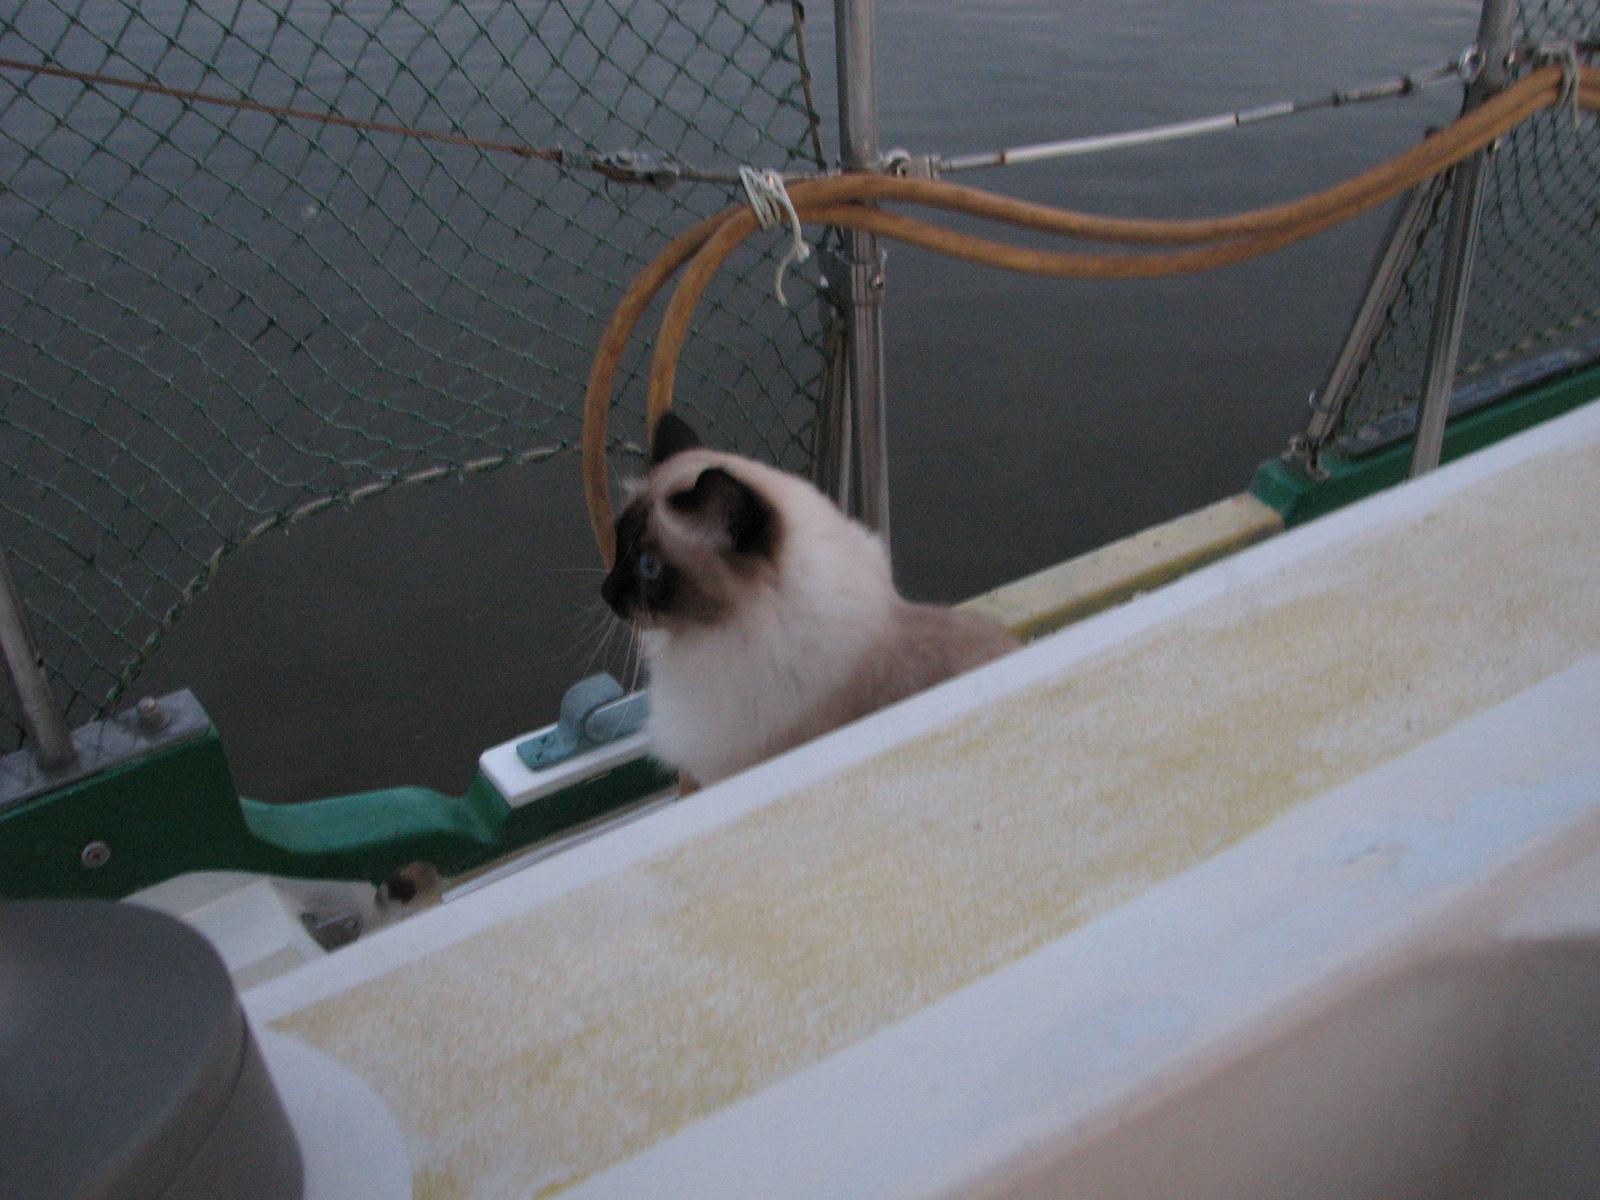
I took a few minutes to have a sip of
my adult beverage while we watched the cat play on deck. A couple of
birds were diving into the canal getting fish, and Jilly and Jordie
were fascinated.
Jillie Watching Me
Jordie Watching The Bird
Now it was time to face the toilet
issues. Because of recent events, I assumed the line or the pump was
clogged. I had to remove all of the toilet and pump spare parts to
gain access to the hoses.
When I finally gained access to the
hoses, they were disconnected and the pump removed. Lets just say it
was clogged. I took the pump outside on the dock and cleaned it all
out. The pump was put back, the hoses connected, and the toilet now
worked. All of the spare parts were returned to their original
location and the job was finished.
Pump Back In The System
Finally at 1900 I was able to take my
shower!
November 03, Sunday, 2013
Started off the morning with my normal
ritual of getting on the Internet, answering email, and checking the
weather, while making a pot of coffee. I also spent time with our two
cats,
Jillian
and Jordan.
Went over to the shop,
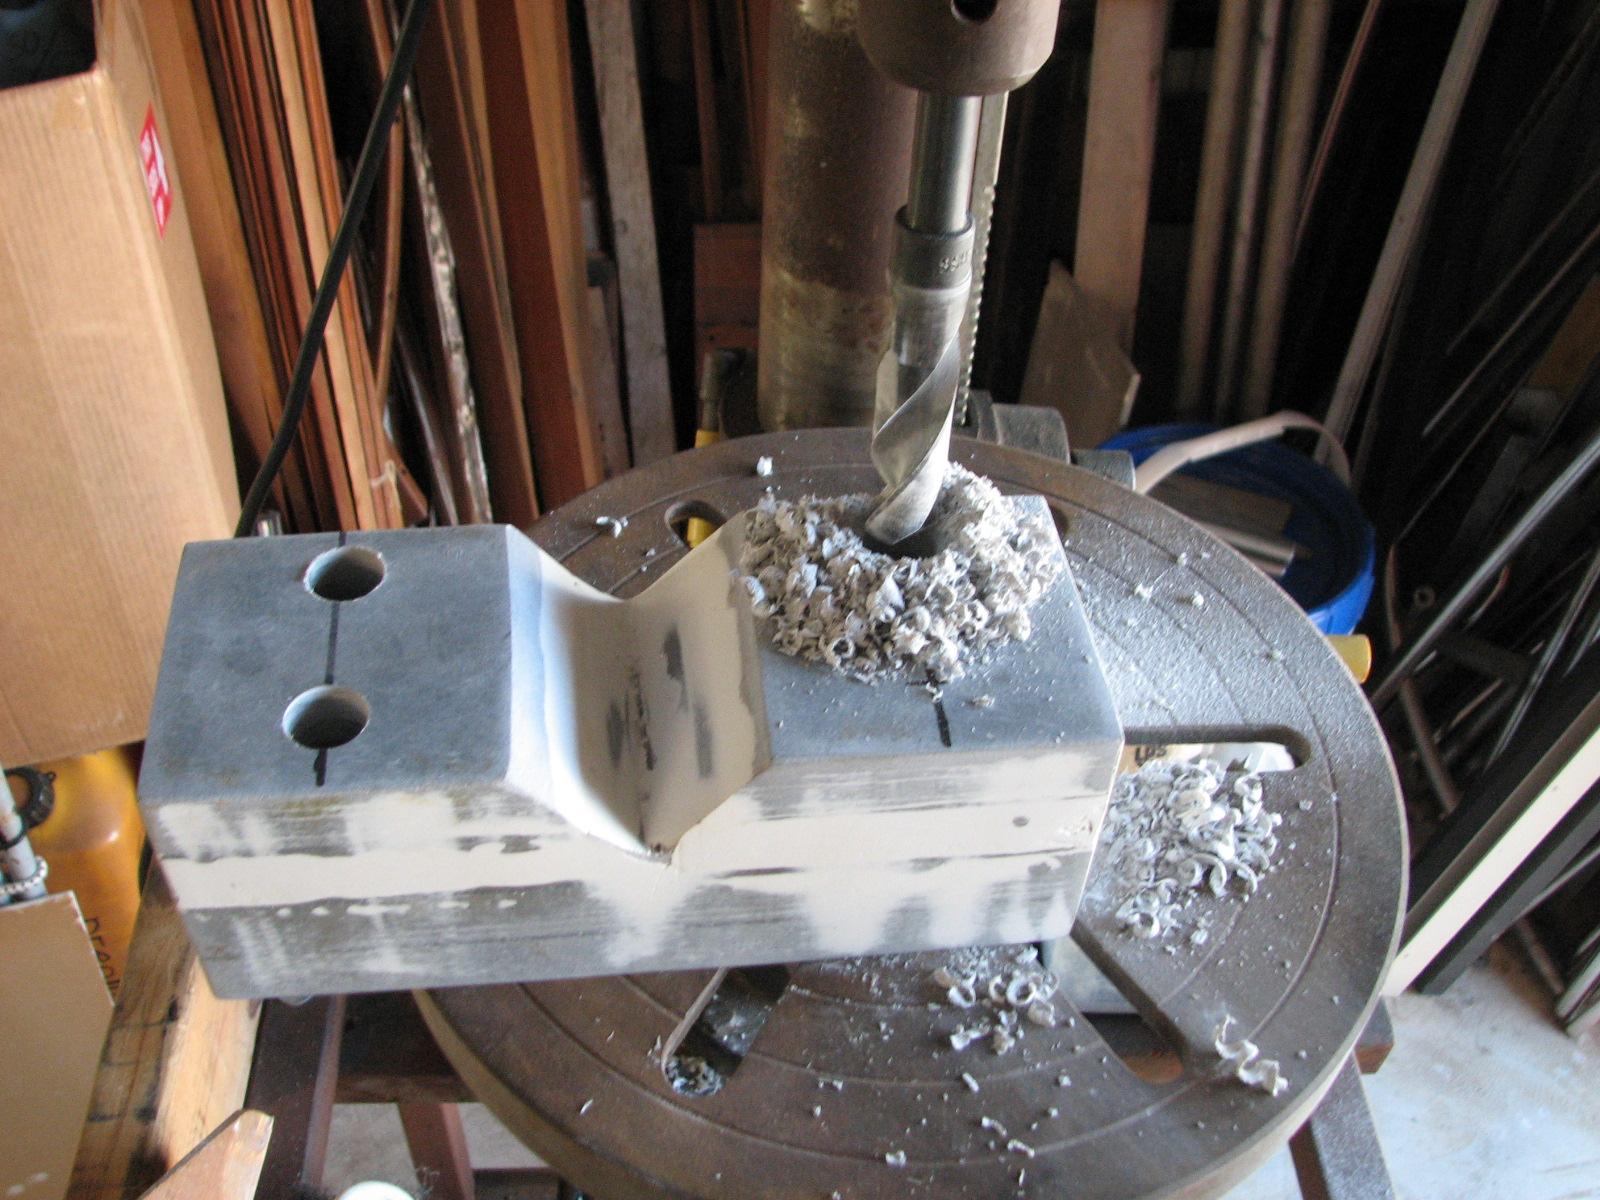
and started in on drilling out the two anchor support bases. One of
the pieces I drilled out, but I needed a bigger bit. I will have to
bring over my larger bits tomorrow and drill out the holes again.
Drilling Holes In First Anchor Support
Piece
The second anchor support piece needed
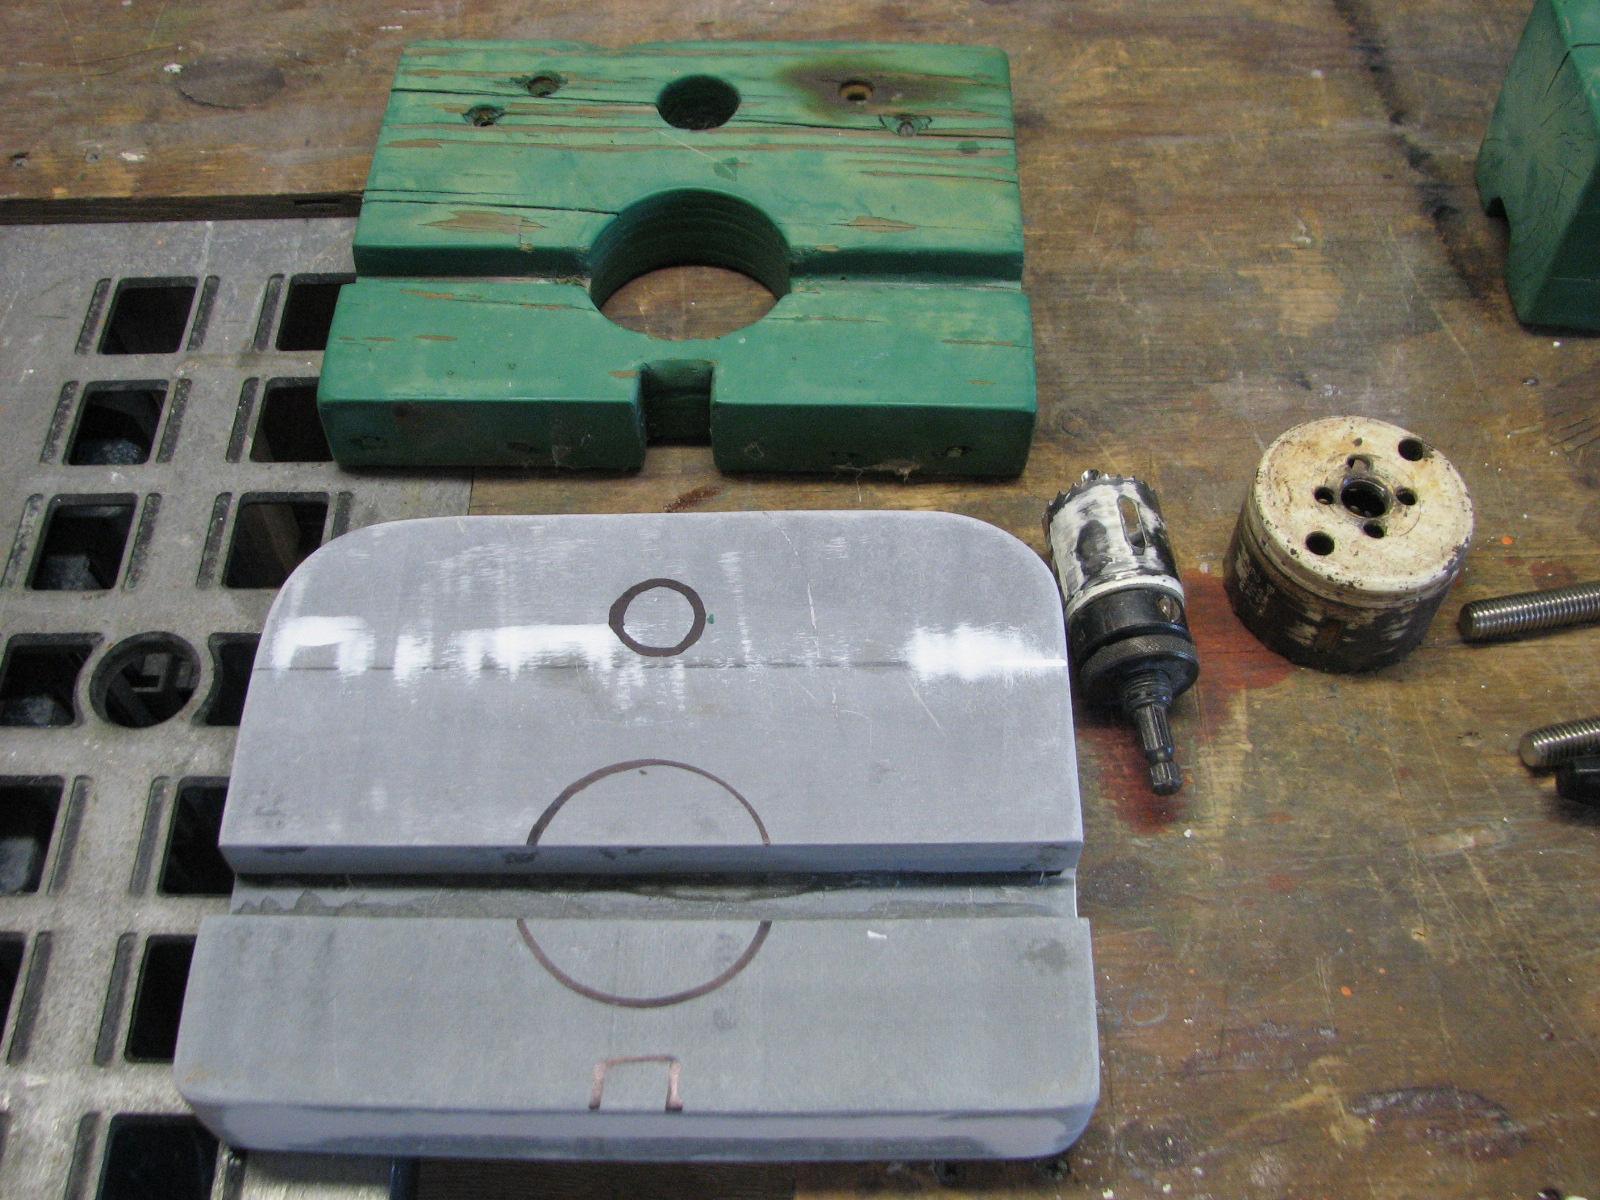
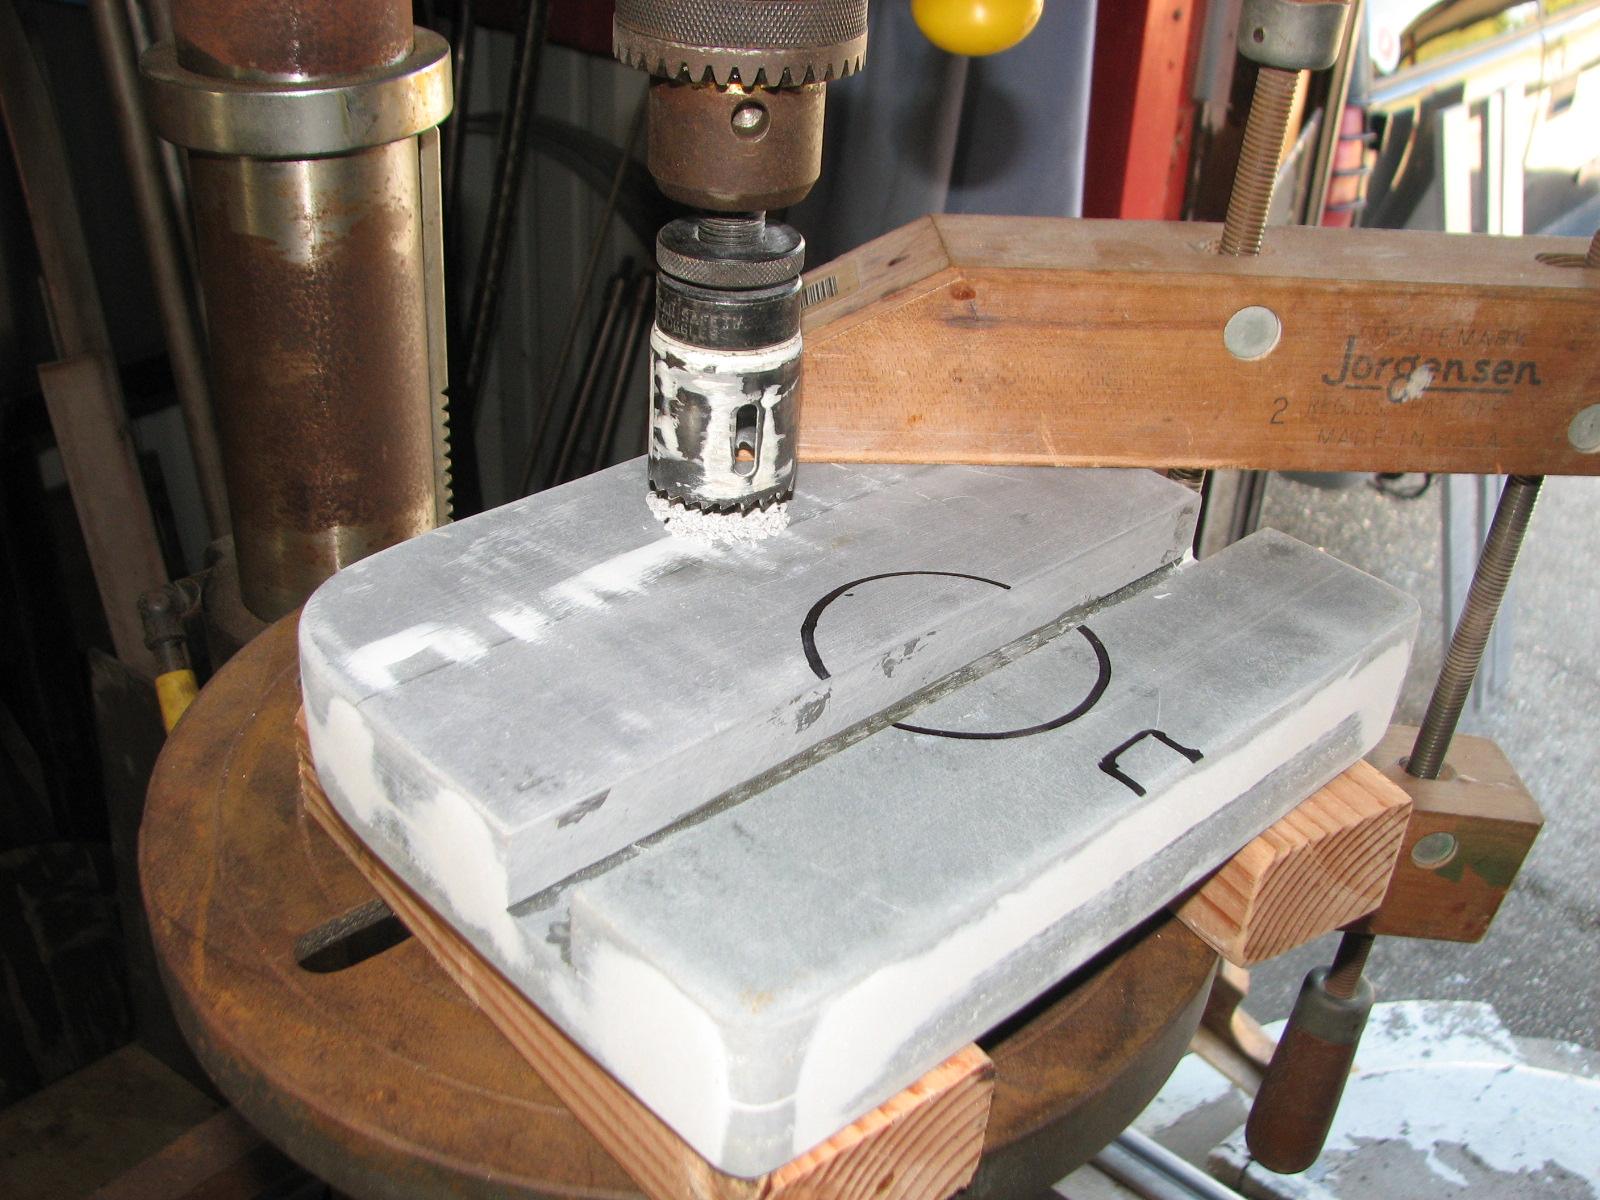
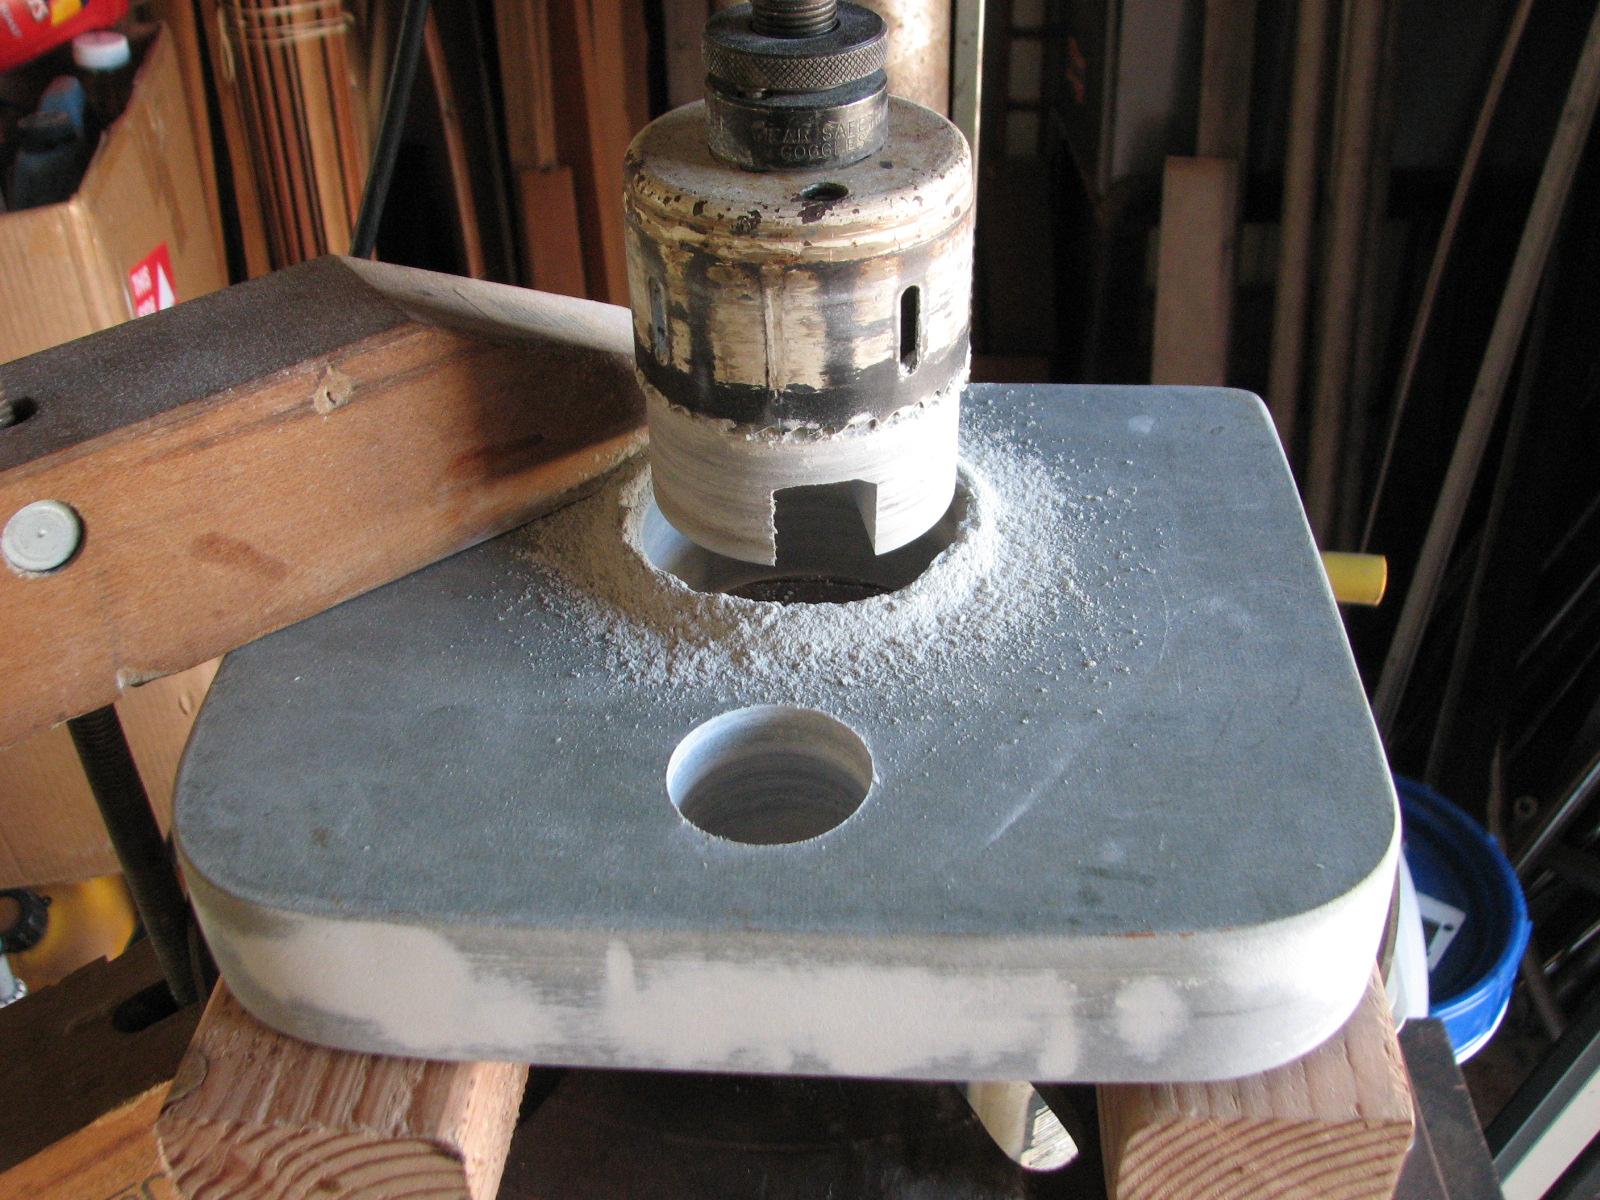
to be drilled out with hole saws.
Marked Up Anchor Support Piece
First Hole Being Drilled
Second Hole Drilled
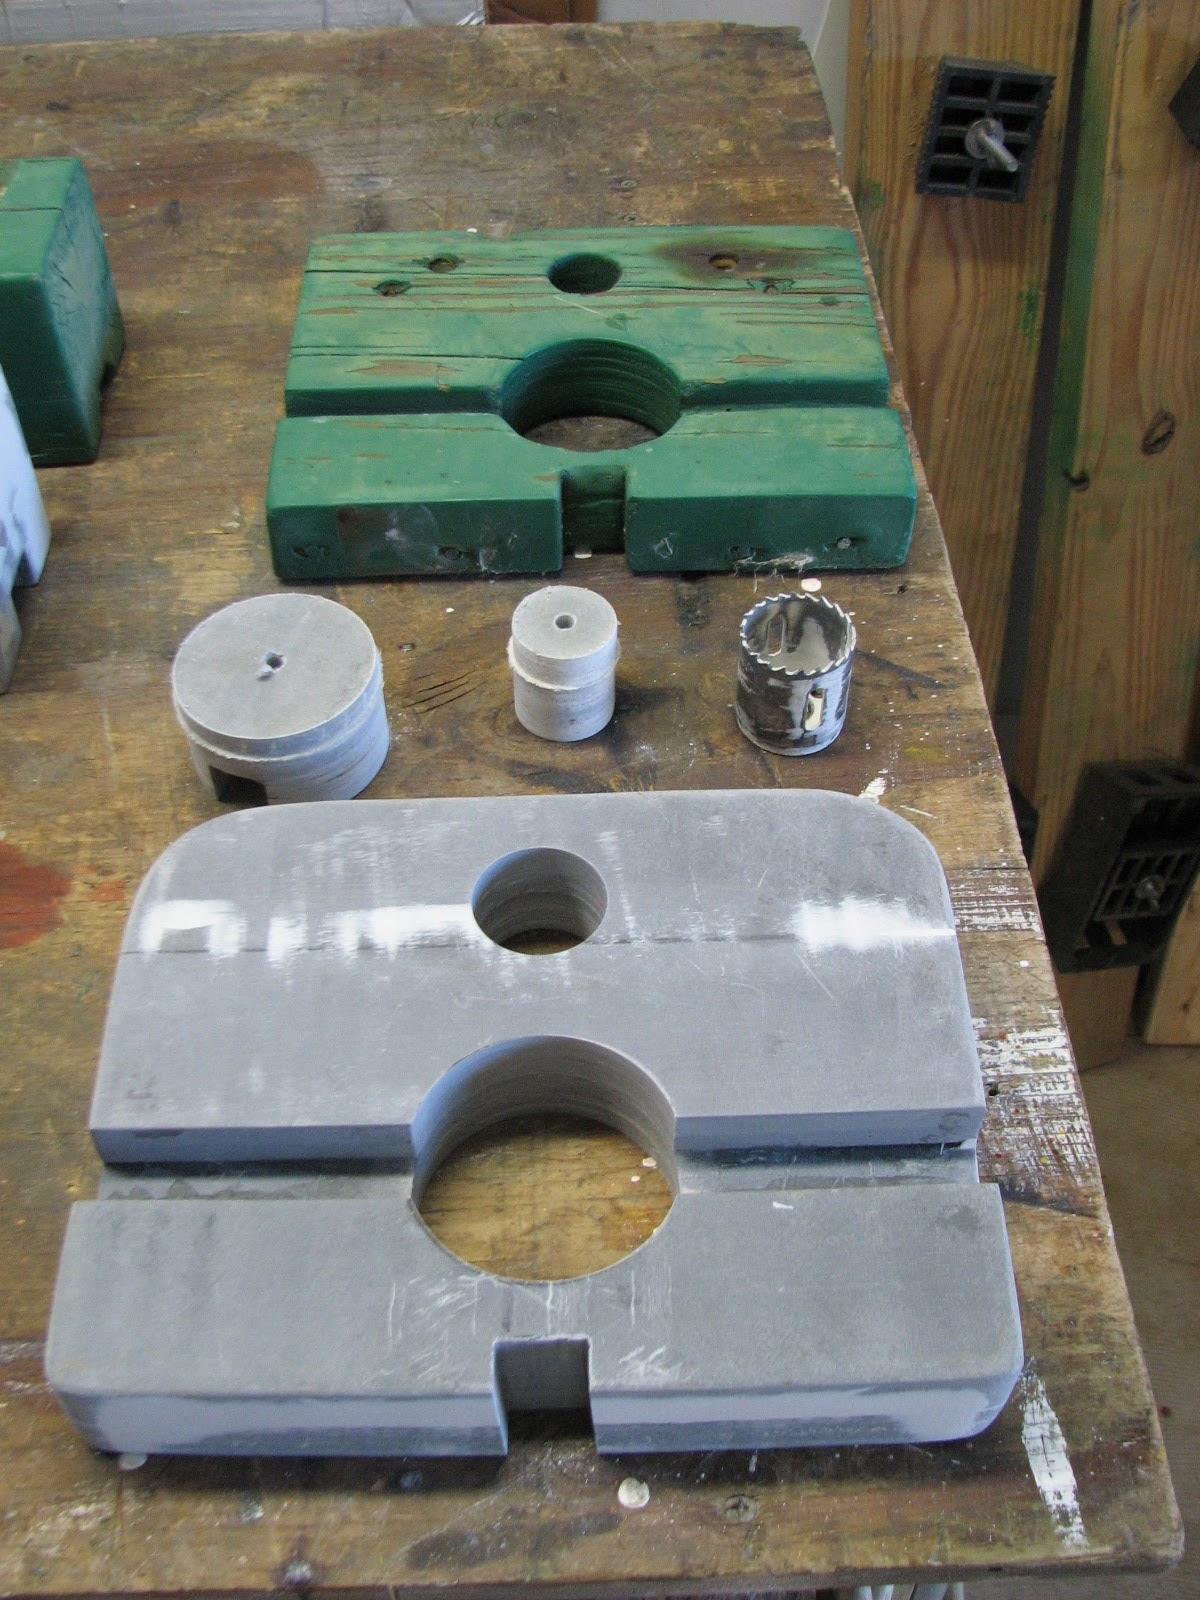
Holes Drilled With Plugs And Original
Piece
While making the cuts in the anchor
support pieces, I was using my wet dry vac, and the motor made a
funny noise, and quit. I will look into that tomorrow, but I may have
to put a new wet dry vac on the shopping list.
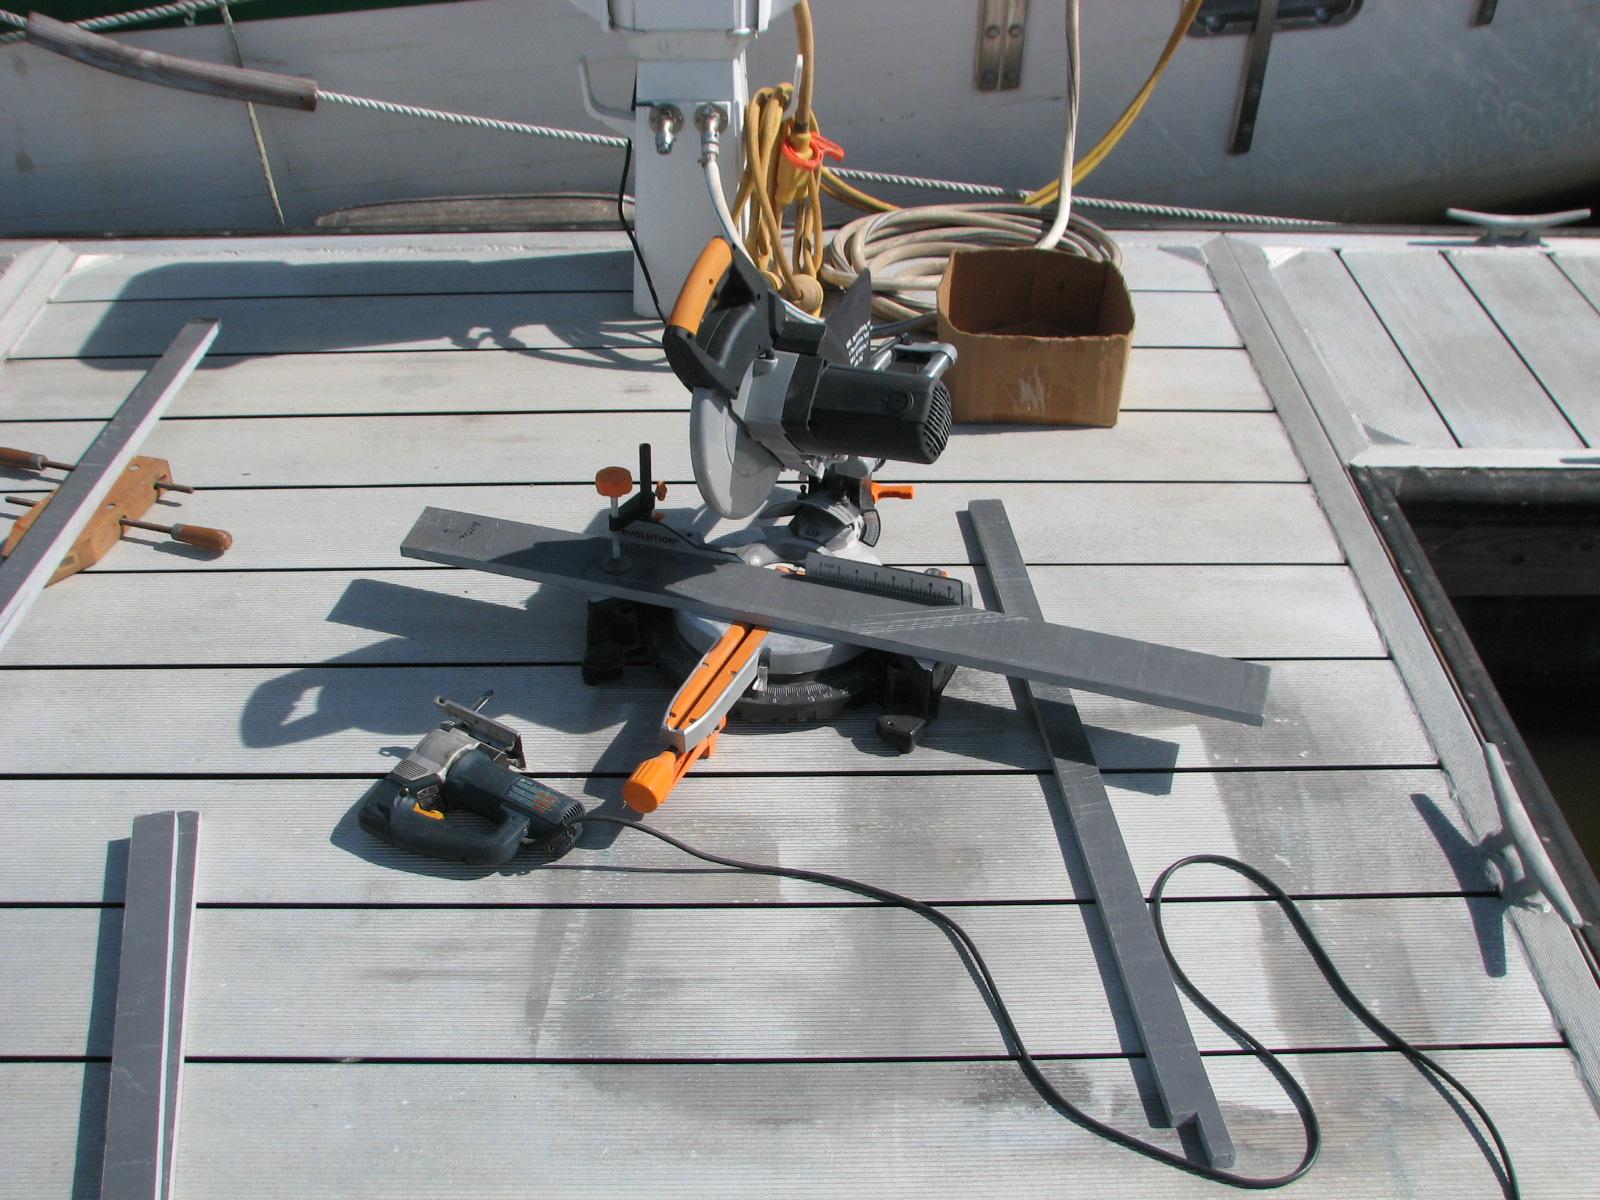
I got out the the
Evolution
Rage III compound miter saw, and made the angled cuts
in the two outside forward facing uprights for the hard dodger. I
cleaned up the area and the saw. I put the the
Evolution
Rage III compound miter saw into the Black
Beast along with two sanders, the jig saw, and all of
the uprights for the hard dodger.
I went over to DREAM AWAY, and brought
down a couple of the uprights to see how the cuts went. The cuts were
not exactly on, but that will be fixed later. I realized I will have
to bring a few of my clamps to DREAM AWAY from the shop.
It will make working with the uprights easier and safer.
As it turned out we did not get any
further work done on the hard dodger. We had a social commitment in
the afternoon. We went over to our friend Bonnie’s house and
watched the Saints game. She had made a wonderful lunch, which we
thoroughly enjoyed, but the game’s outcome was not good for Bonnie.
She is an avid Saints fan!
We came back to DREAM AWAY, and I
worked on the web page update, and attempts to upload files to the
web server. Very frustrating, as the program I use to upload the
file, Transmit, is not working in a very unusual way. More fun with
computers!!
November 02, Saturday,
2013
Started off the morning with my normal
ritual of getting on the Internet, answering email, and checking the
weather, while making a pot of coffee. I also spent time with our two
cats,
Jillian
and Jordan.
Went over to the
shop
and rolled my sanding table outside, and sanded down the two anchor
support pieces. These are the two pieces on which I had applied
finishing
putty yesterday. I just have to drill some holes in
each piece, do some final sanding with 220 grit sandpaper, and they
will be ready for gelcoat
application.
Anchor Support Pieces Before Sanding
Anchor Support Pieces After Sanding
Next was the fun part, as I had to cut
the two 4” pieces of Strongwell
Extren plate. I rolled the table saw out of the
shop
onto the driveway. I set up the fence on the saw, and placed my big
squirrel cage fan to blow as much dust as possible away from me. I
then made the two cuts.
I cleaned up the table saw, the cut
pieces, and put the table saw back into the shop.
I loaded up several of the hard dodger uprights, the two new cut
pieces, and the “Box
O’ Resins” into the Black
Beast.
I cut two more of the 1” X 4” tabs
needed for the hard dodger uprights, and put them into the Black
Beast, and went over to DREAM AWAY.
I spent about an hour trimming grass
and weeding the gardens around the marina.
As I mentioned on the past Friday, the
leak in the head was still a problem. As with most leaks, I am not
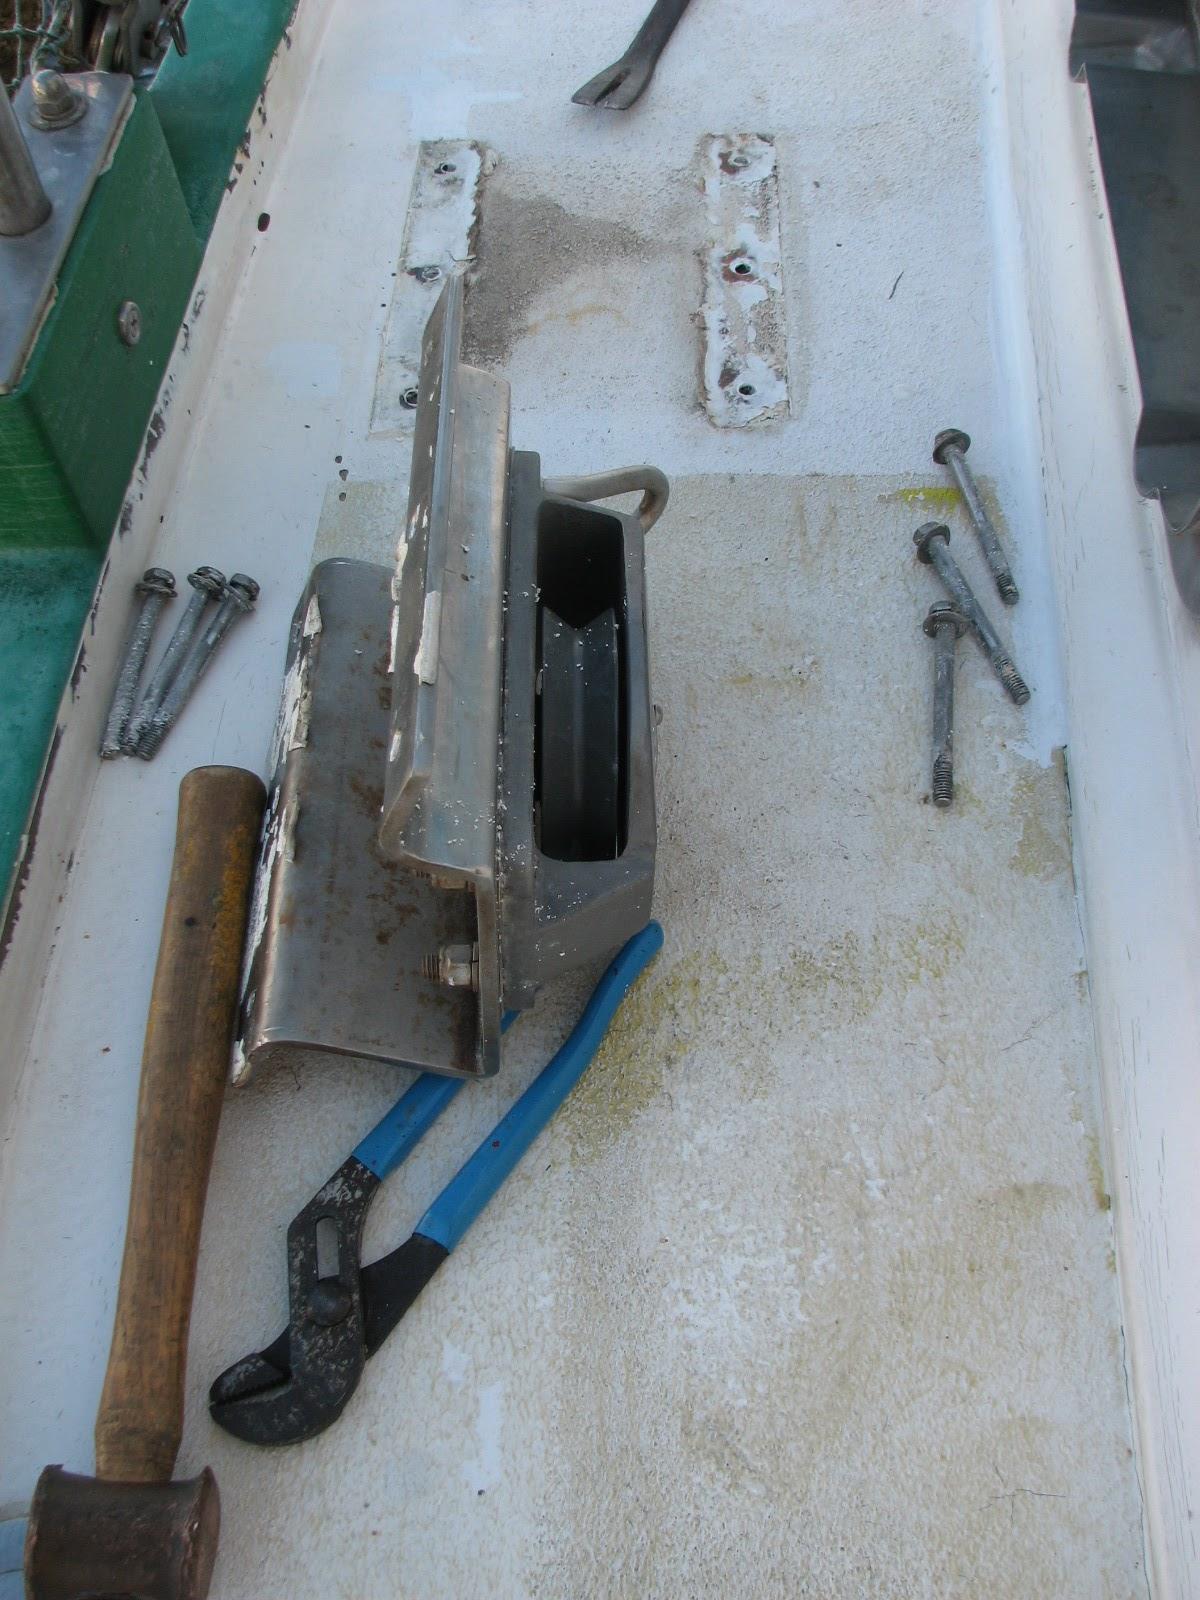
sure of the source, so today I decided to remove the turning block
from the deck, and reseal it.
When I removed the turning block and
it’s base from the deck, it did not look like it was leaking. It
also did not look like the sealant had completely covered the bottom
of the base. I cleaned up the deck, and the bottom of the base of the
turning block. I then applied the Ace
Rope Caulk Weatherstrip to the base, and bolted it
back to the deck.
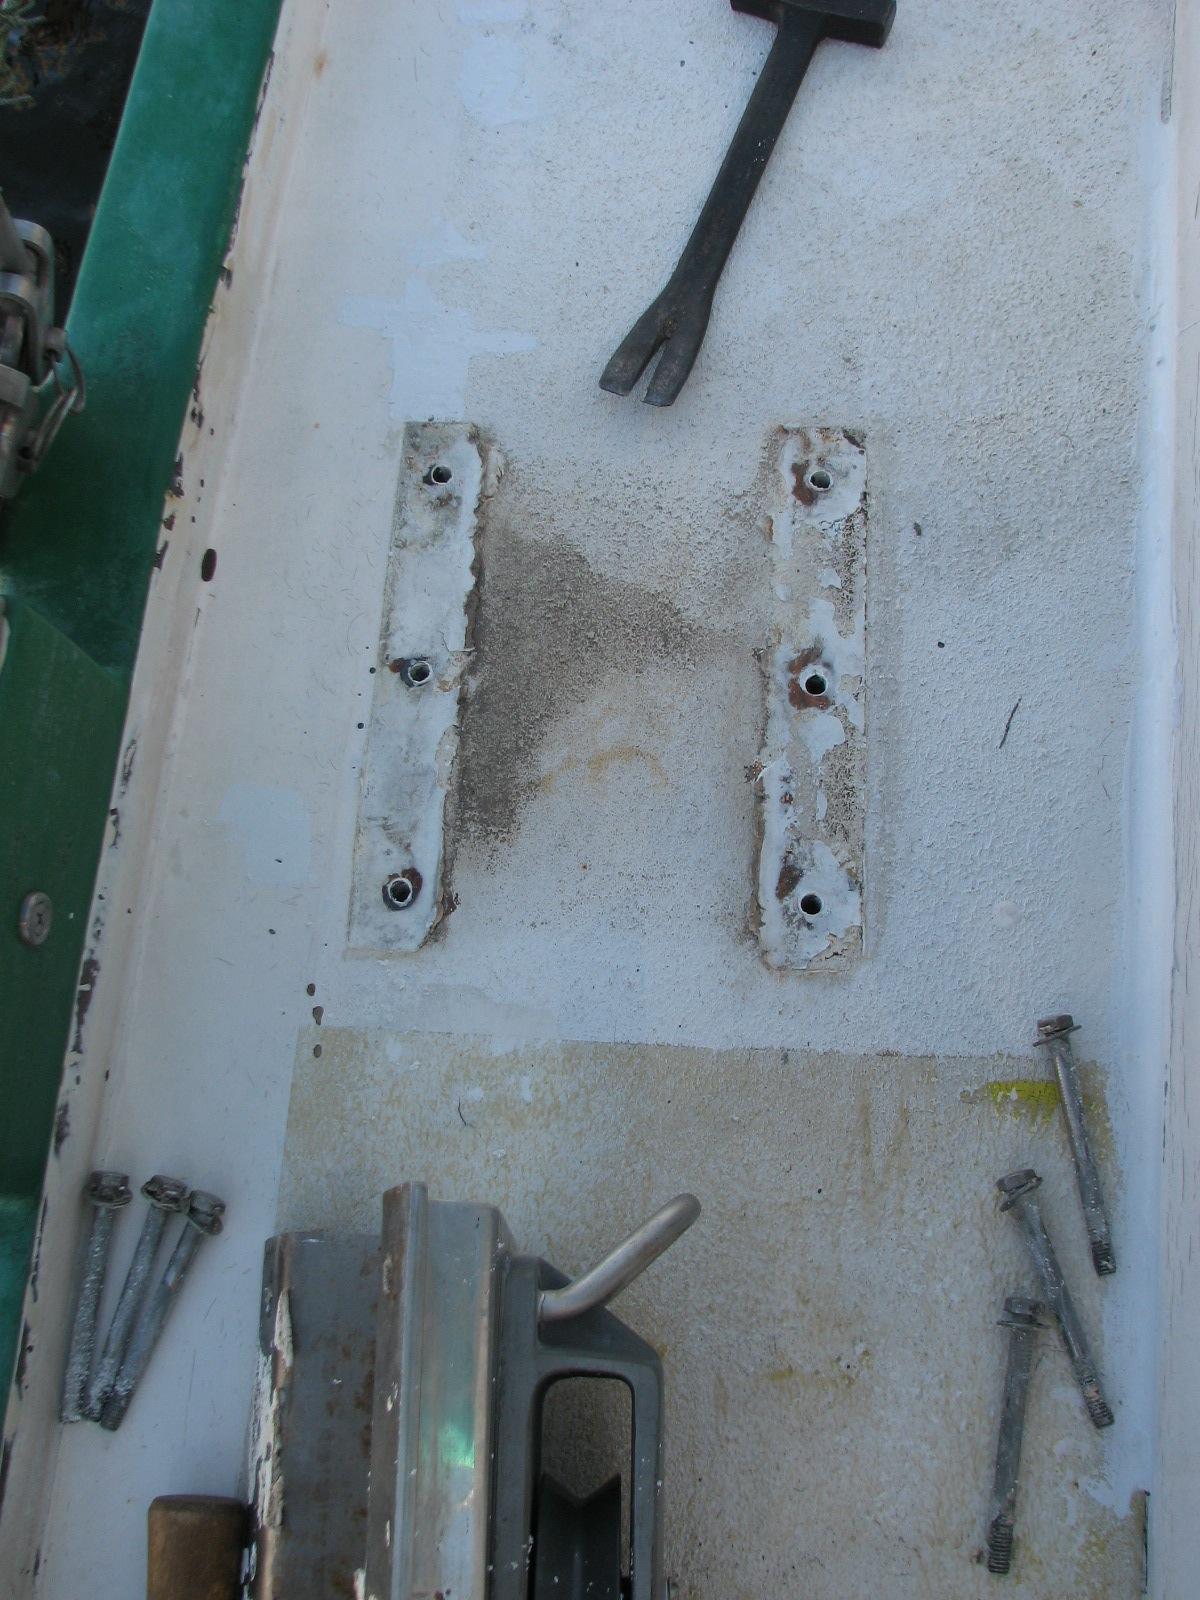
Turning Block Base Removed From The
deck
Deck With Turning Block Base Removed
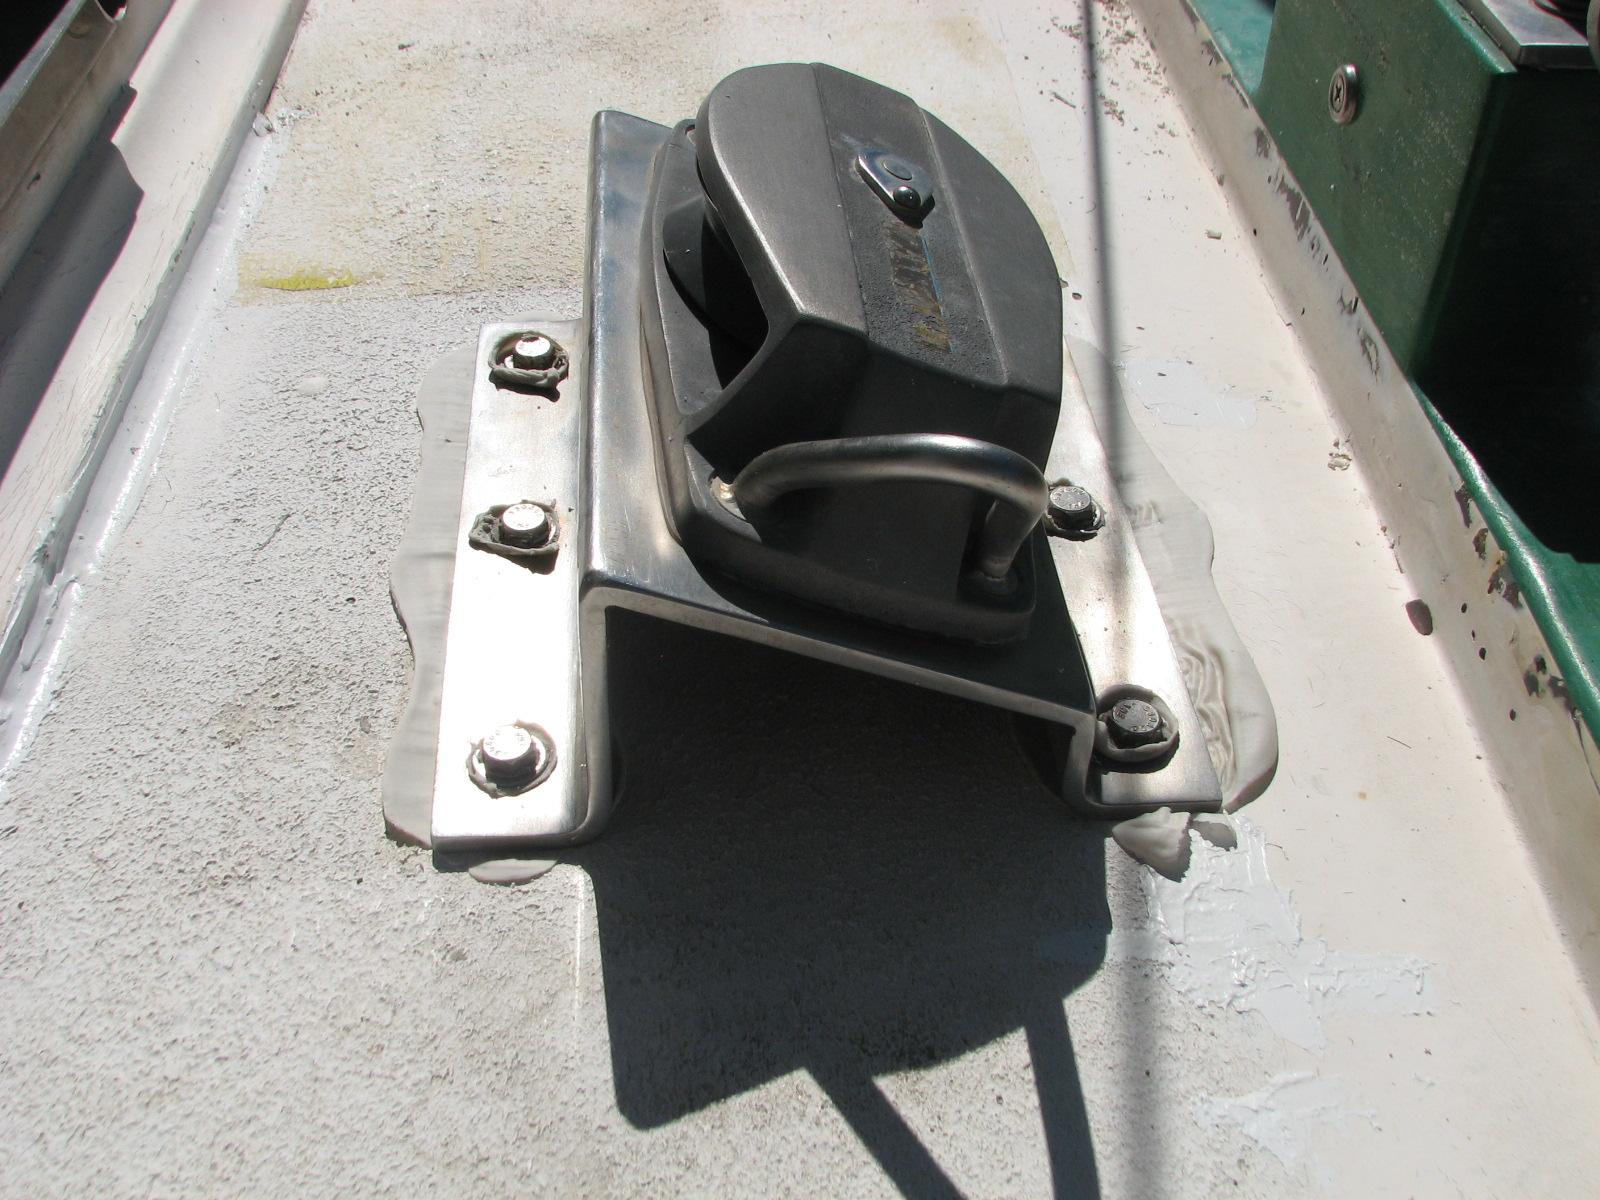
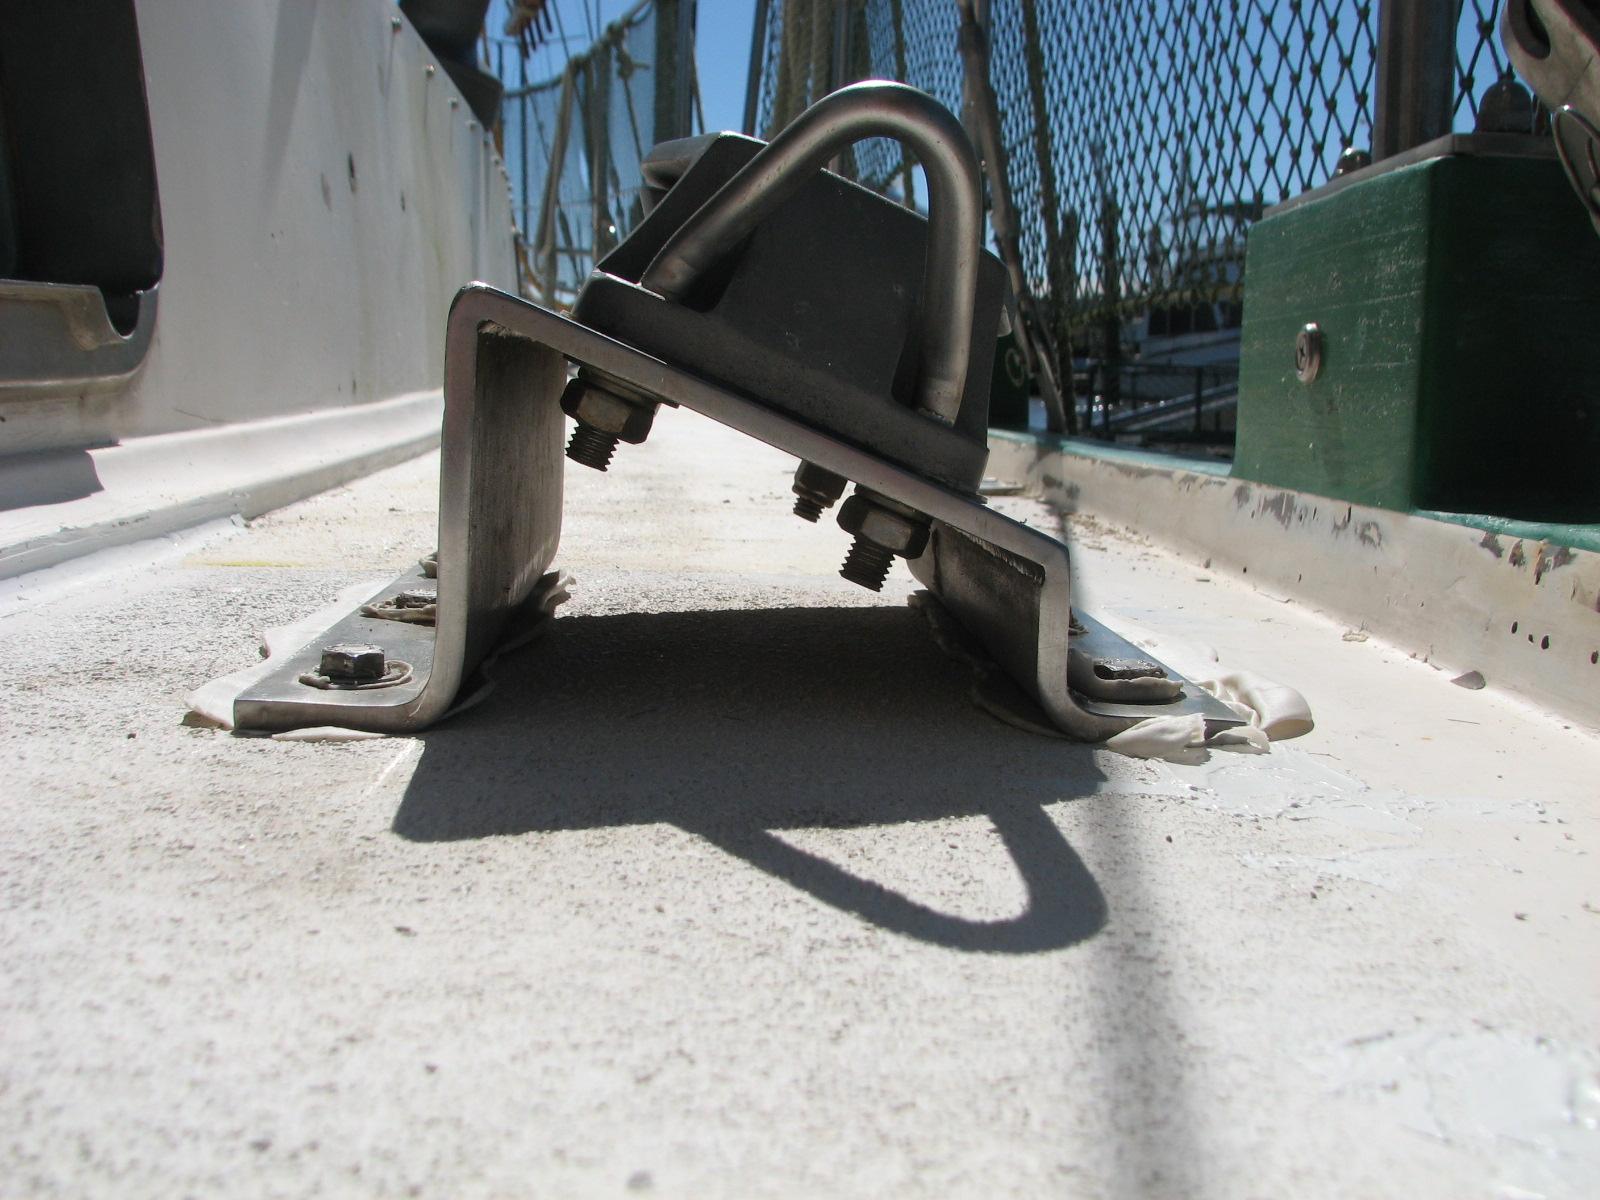
Back Back On Deck, Caulk Squeezing Out
Under The Bolted Down Turning Block
Base
After we got the base all bolted down,
the next item is familiar to every boat owner looking for a source of
a leak. I got out the hose and ran water all over the area. Anything
that looked like it might be a source of the leak that is upstream
from the area of the deck where the turning block is bolted down to
the deck. I ran the hose for three hours, and of course not a drop
below decks! We have some rain predicted this coming Wednesday, so
maybe that will show success or not!
If by some chance this fixes the leak,
I will rebed the turning block on the port side. The turning blocks
were installed at the same time, so there could be a problem with the
port side block in the very near future. So far, no problem on the
port side.
Water Running From Hose Over Suspected
Area
While I left the hose running over the
turning block area, I turned to on the hard dodger base. I needed to
sand down the base and all of the putty that had been applied. I got
the area as smooth as seemed necessary. It is now ready for the
application of the finishing
putty.
Kitty and I did some more measuring of
the uprights for the hard dodger. We marked the uprights, and I
loaded them all back into the Black
Beast. I will take them over to the
shop,
and make the cuts in the morning. I think the next time we do the
measuring of the uprights, I will bring all of the saaws over to
DREAM AWAY, and we can do the cuts and measuring right away. This
will make quicker and easier progress.
Since I had done the sanding on the
hard dodger base, I had to wash down DREAM AWAY. There was a fine
film of fiberglass
dust all over the front of the boat and the cockpit.
Now it was time for a shower and an
adult beverage. Kitty had made a roast for supper. We were going to
have that, and then go to Joel’s boat and watch two football games.
We watched the Florida
State vs Miami game and then the Texas A&M vs UTEP
game.
I was 1 for 1. Very sorry Miami lost so
bad to Florida State, but happy about the A&M game!
November 01, Friday, 2013
Started off the morning with my normal
ritual of getting on the Internet, answering email, and checking the
weather, while making a pot of coffee. I also spent time with our two
cats,
Jillian
and Jordan.
Went over to the
shop
and started sorting through the metal I have stashed. I was lucky,
and found a piece of ⅛” plate that I can use as the anchors for
the fiberglass
uprights on the hard dodger. I thought I was going to have to use
some of my ¼” plate as the anchors. I knew the ¼” would be very
hard to work with.
I calculated I would need 10 anchors,
or tabs, 1” X 3”, and 10 tabs 1” X 4”. I measured the
dimensions on the plate and started cutting. For the long cuts, I
used my Bosch
jig saw, and the shortcuts I used my
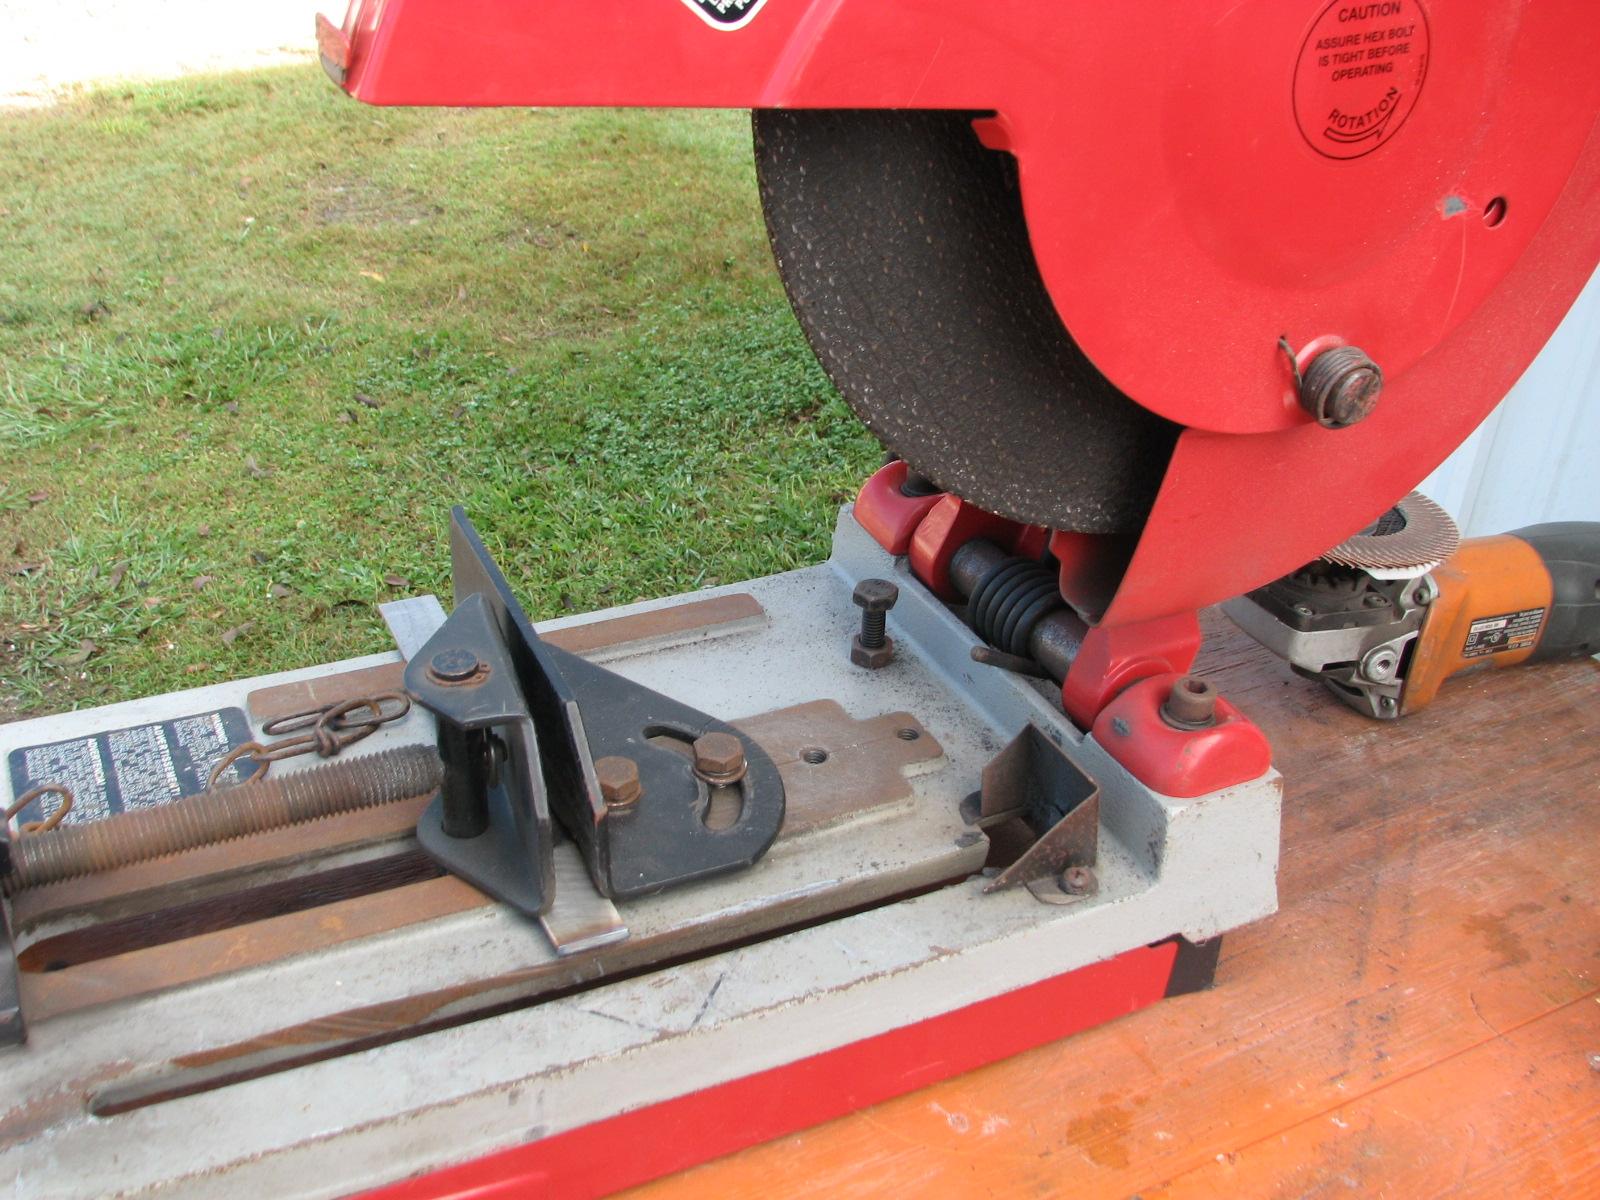
Milwaukee chop saw.
I only cut two of the 1” X 3” tabs and two of the 1” X 4” tabs.
I wanted to take the tabs over to DREAM
AWAY and do a check and dry fit to make sure the idea will work
before I take the time and effort to cut them all out.
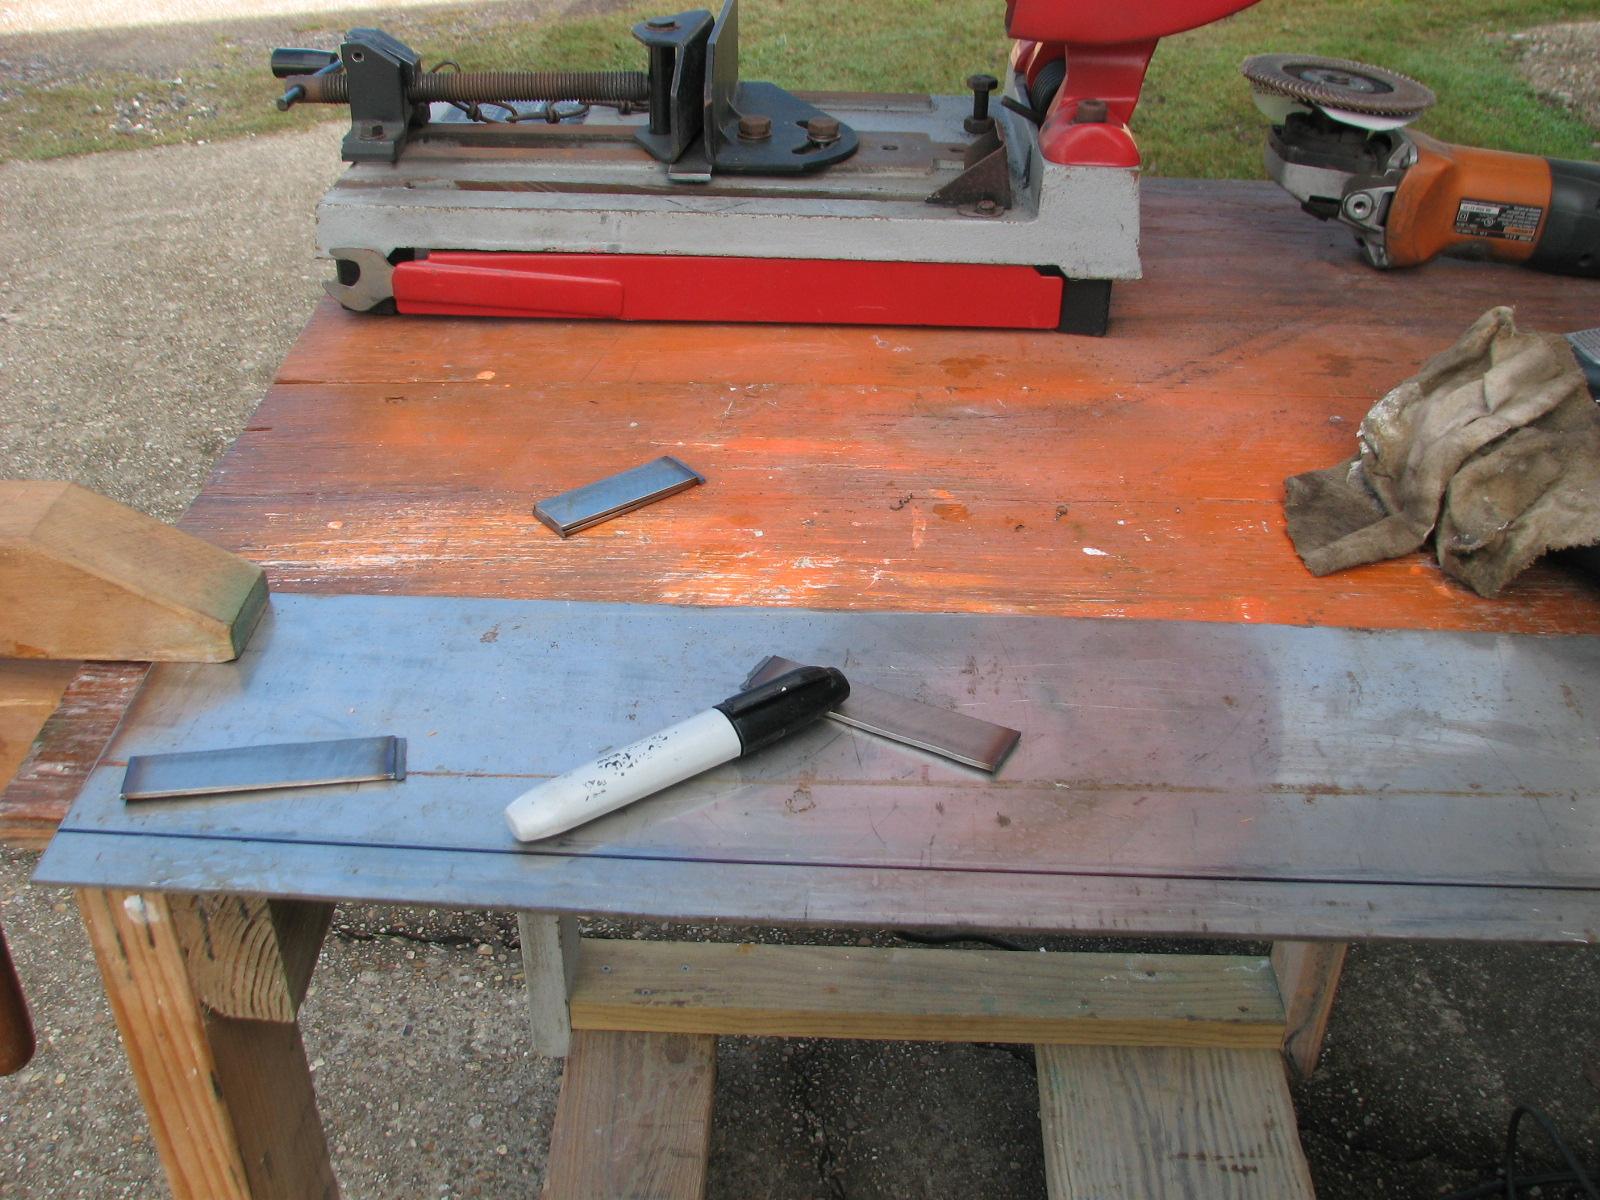
Plate And Cut Tabs
Chop Saw Ready To Make A Cut
When I got the four tabs cut, I cleaned
them up and removed all the sharp corners. I loaded the tabs and two
of the fiberglass
uprights for the hard dodger into the Black Beast.
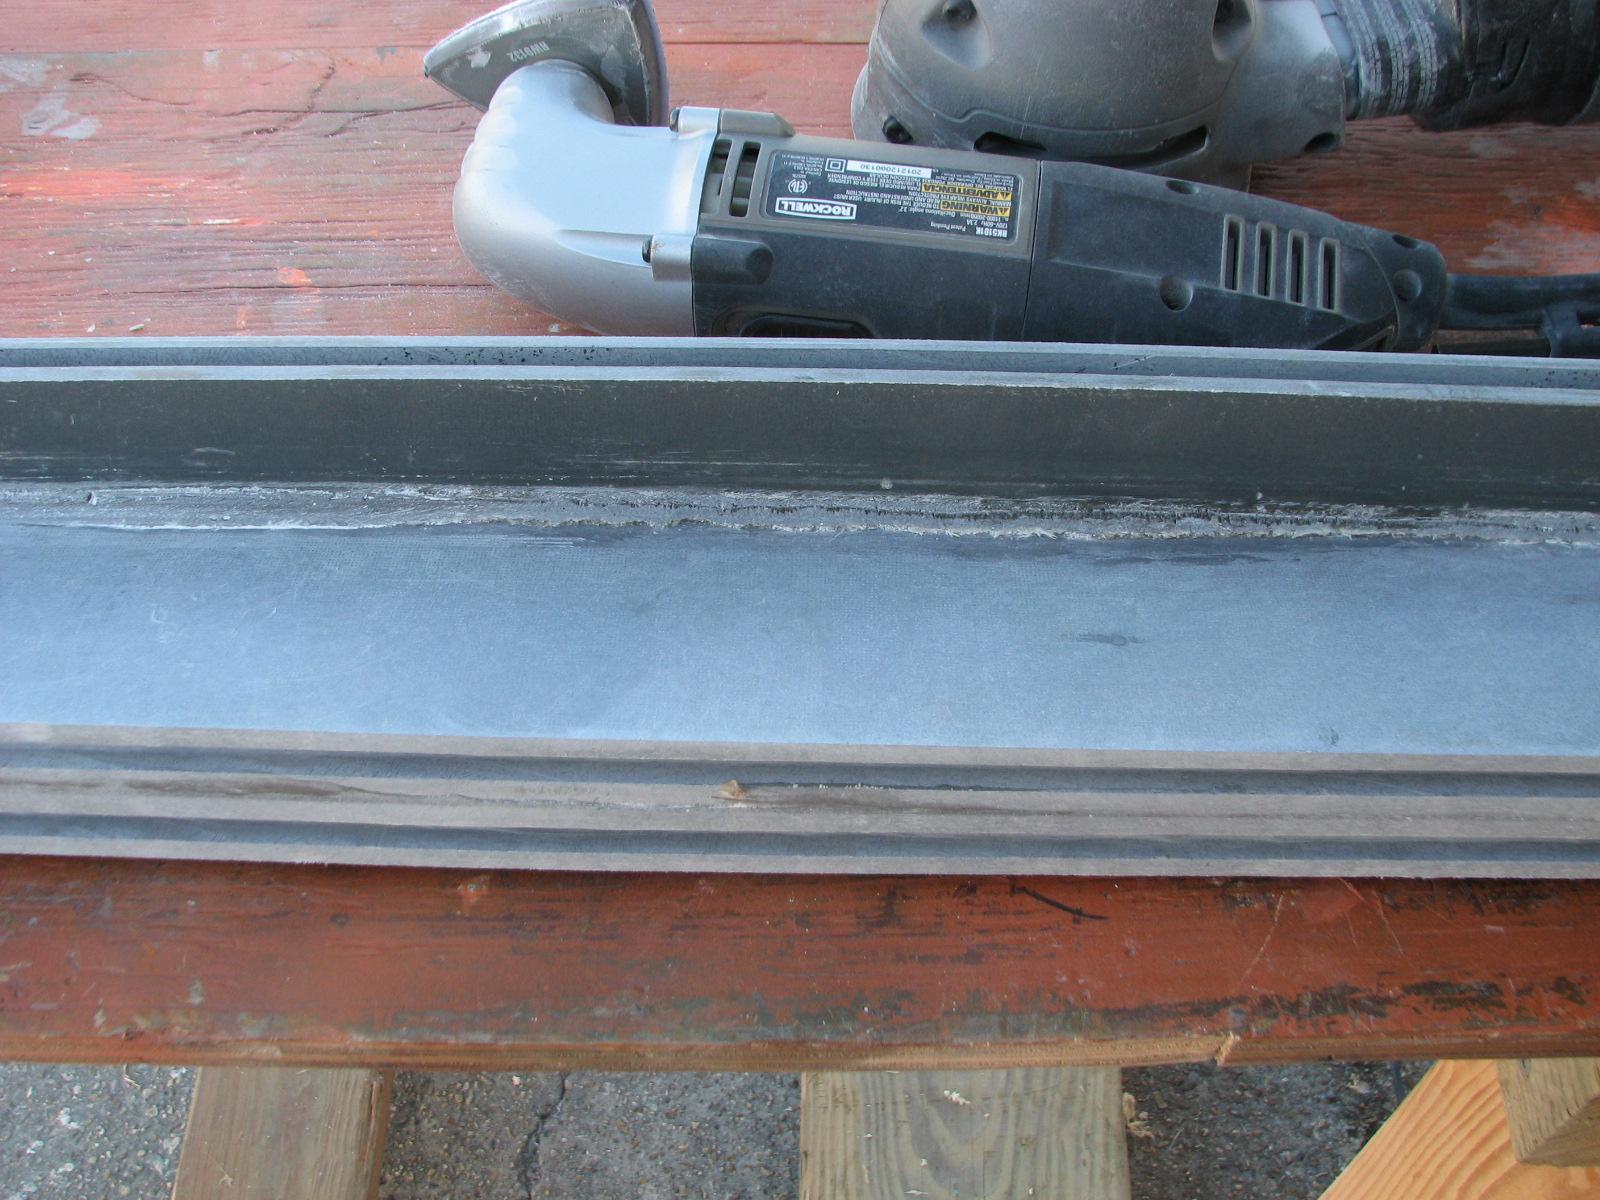
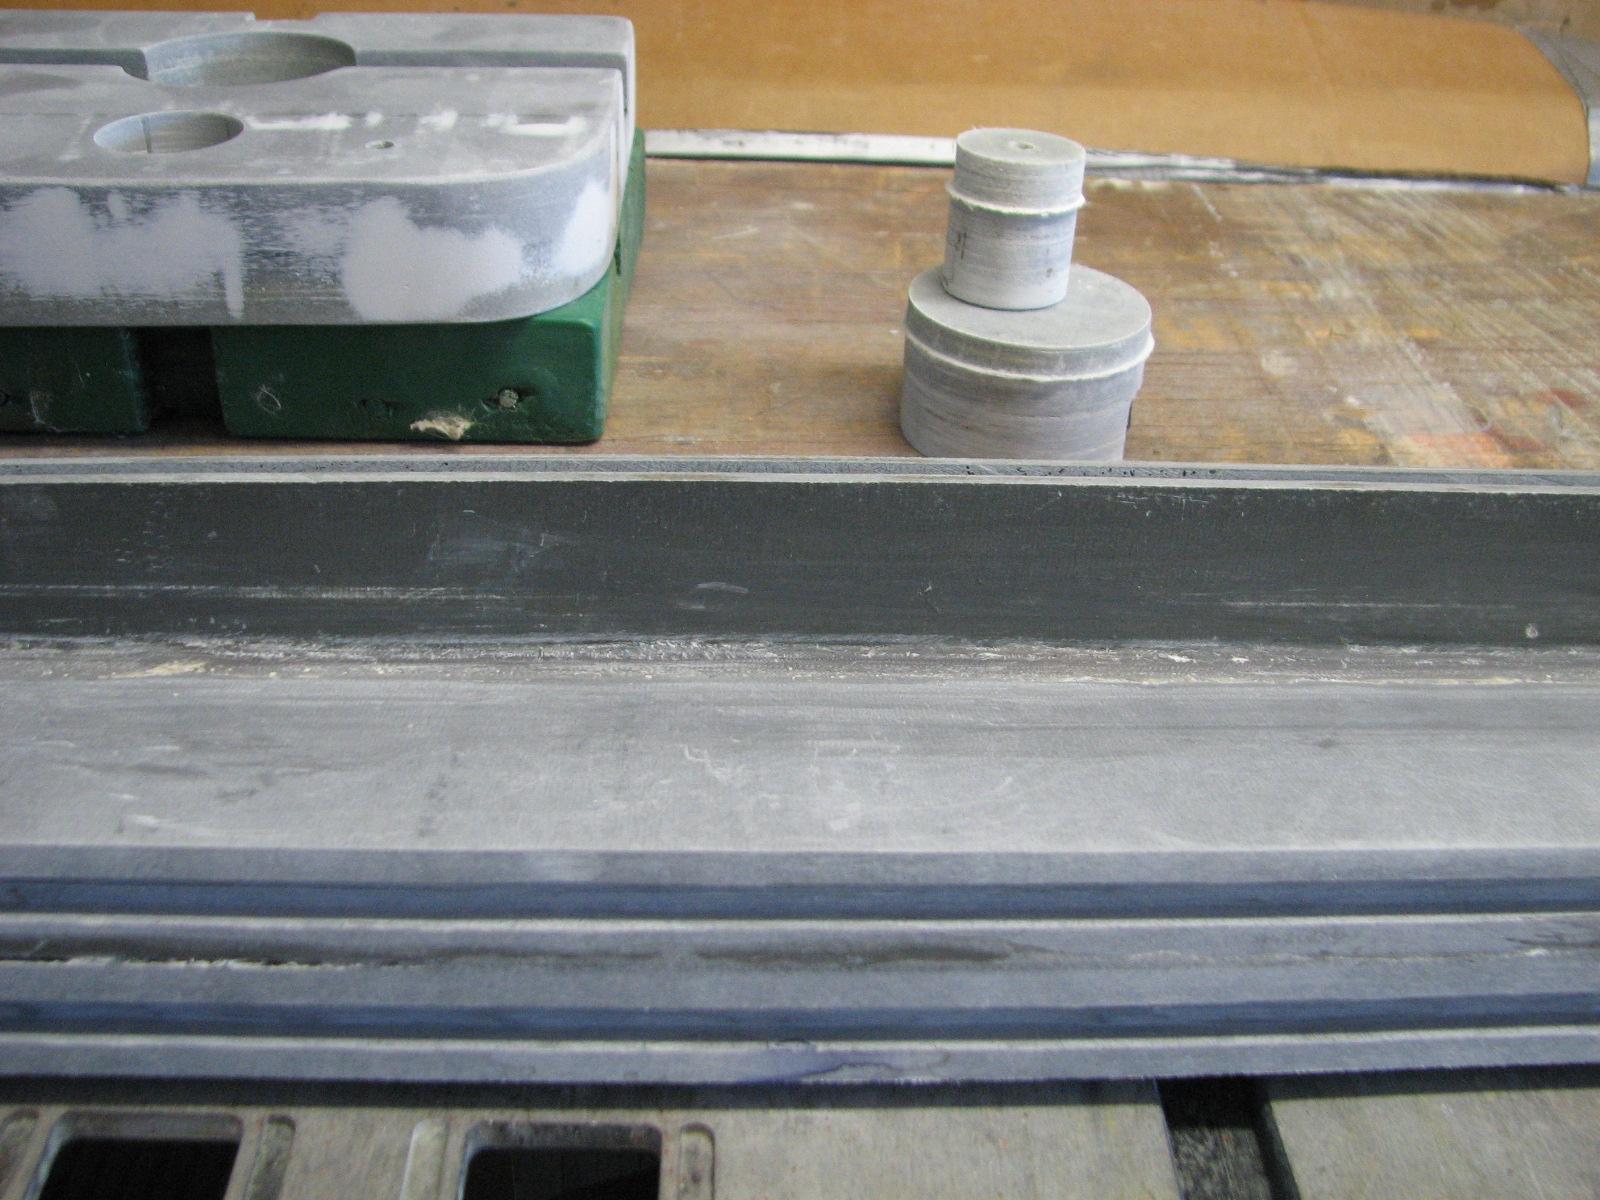
I then checked the two anchor support
blocks, and I had to make an adjustment on one of the supports. I was
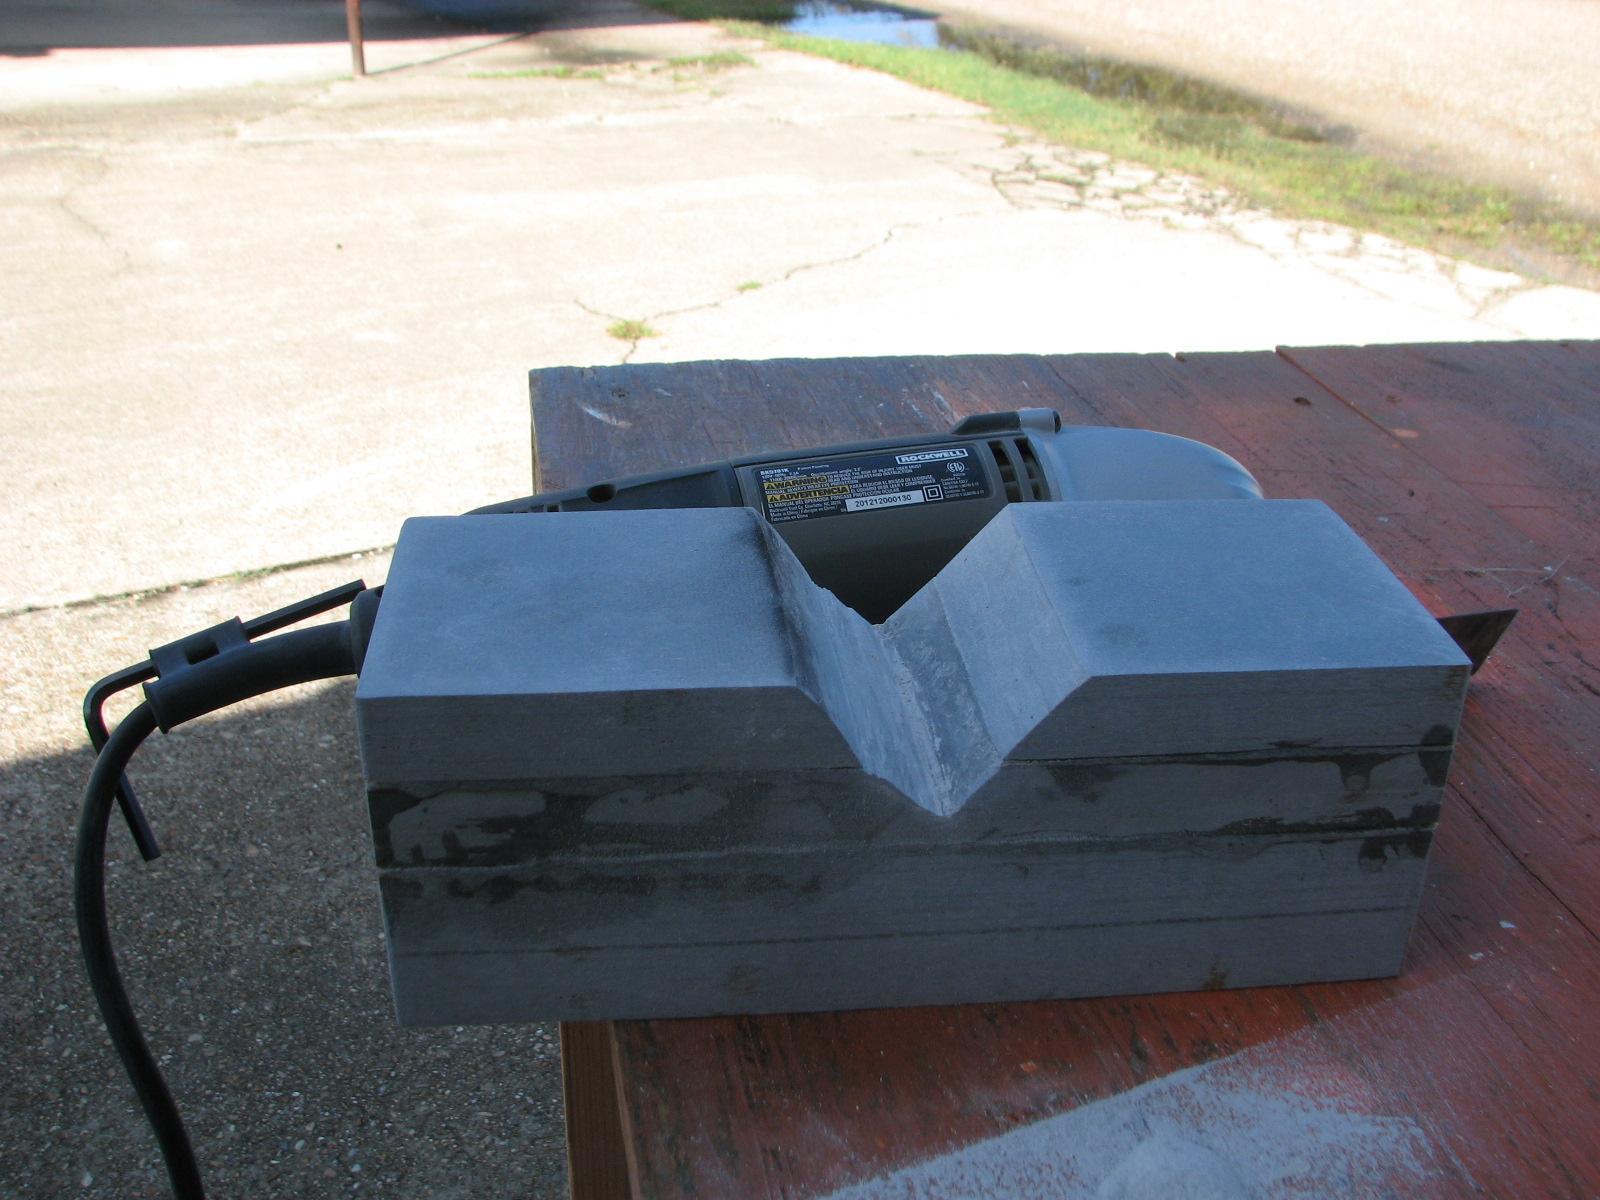
able to use my Rockwell
Sonicrafter tool to make the adjustments. When I
cleaned up the two supports, after the adjustment, I was ready to
apply some finishing
putty.
Anchor Support Piece After Adjustments
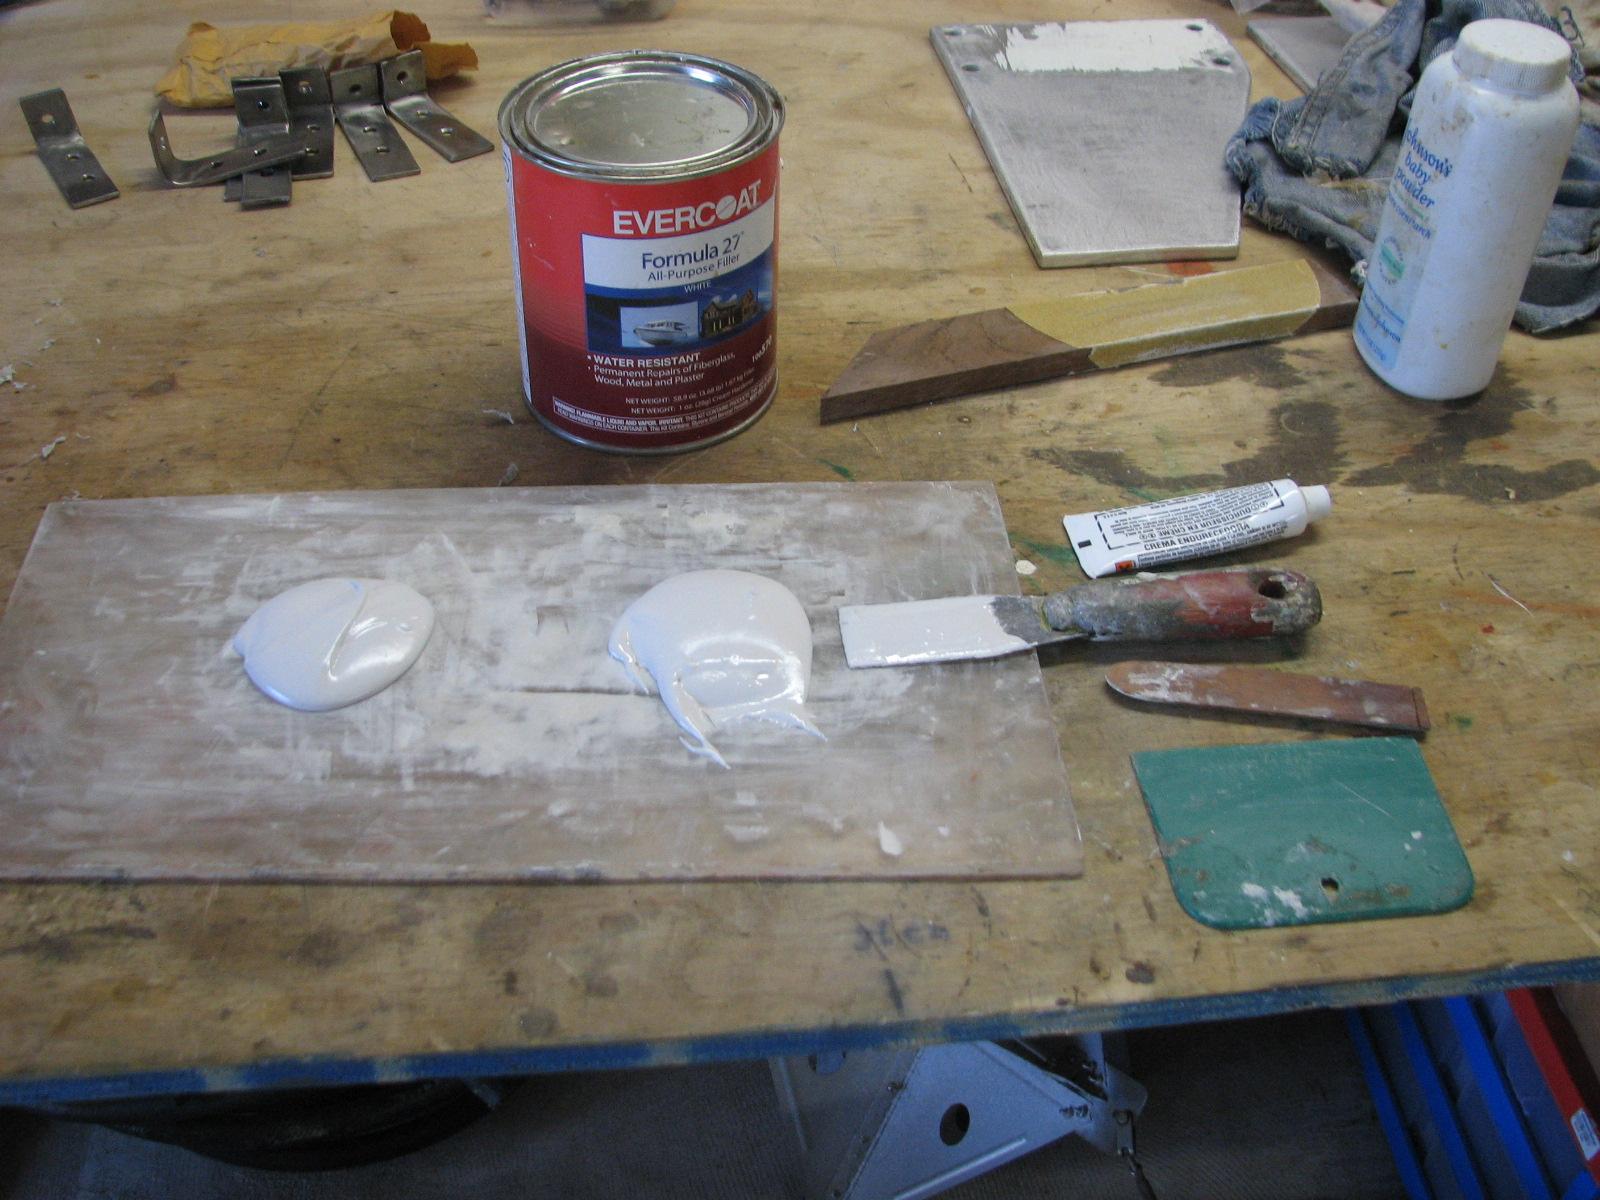
I got out my putty mixing plate and
applied two separate blobs of the finishing
putty on the plate. I added the cream
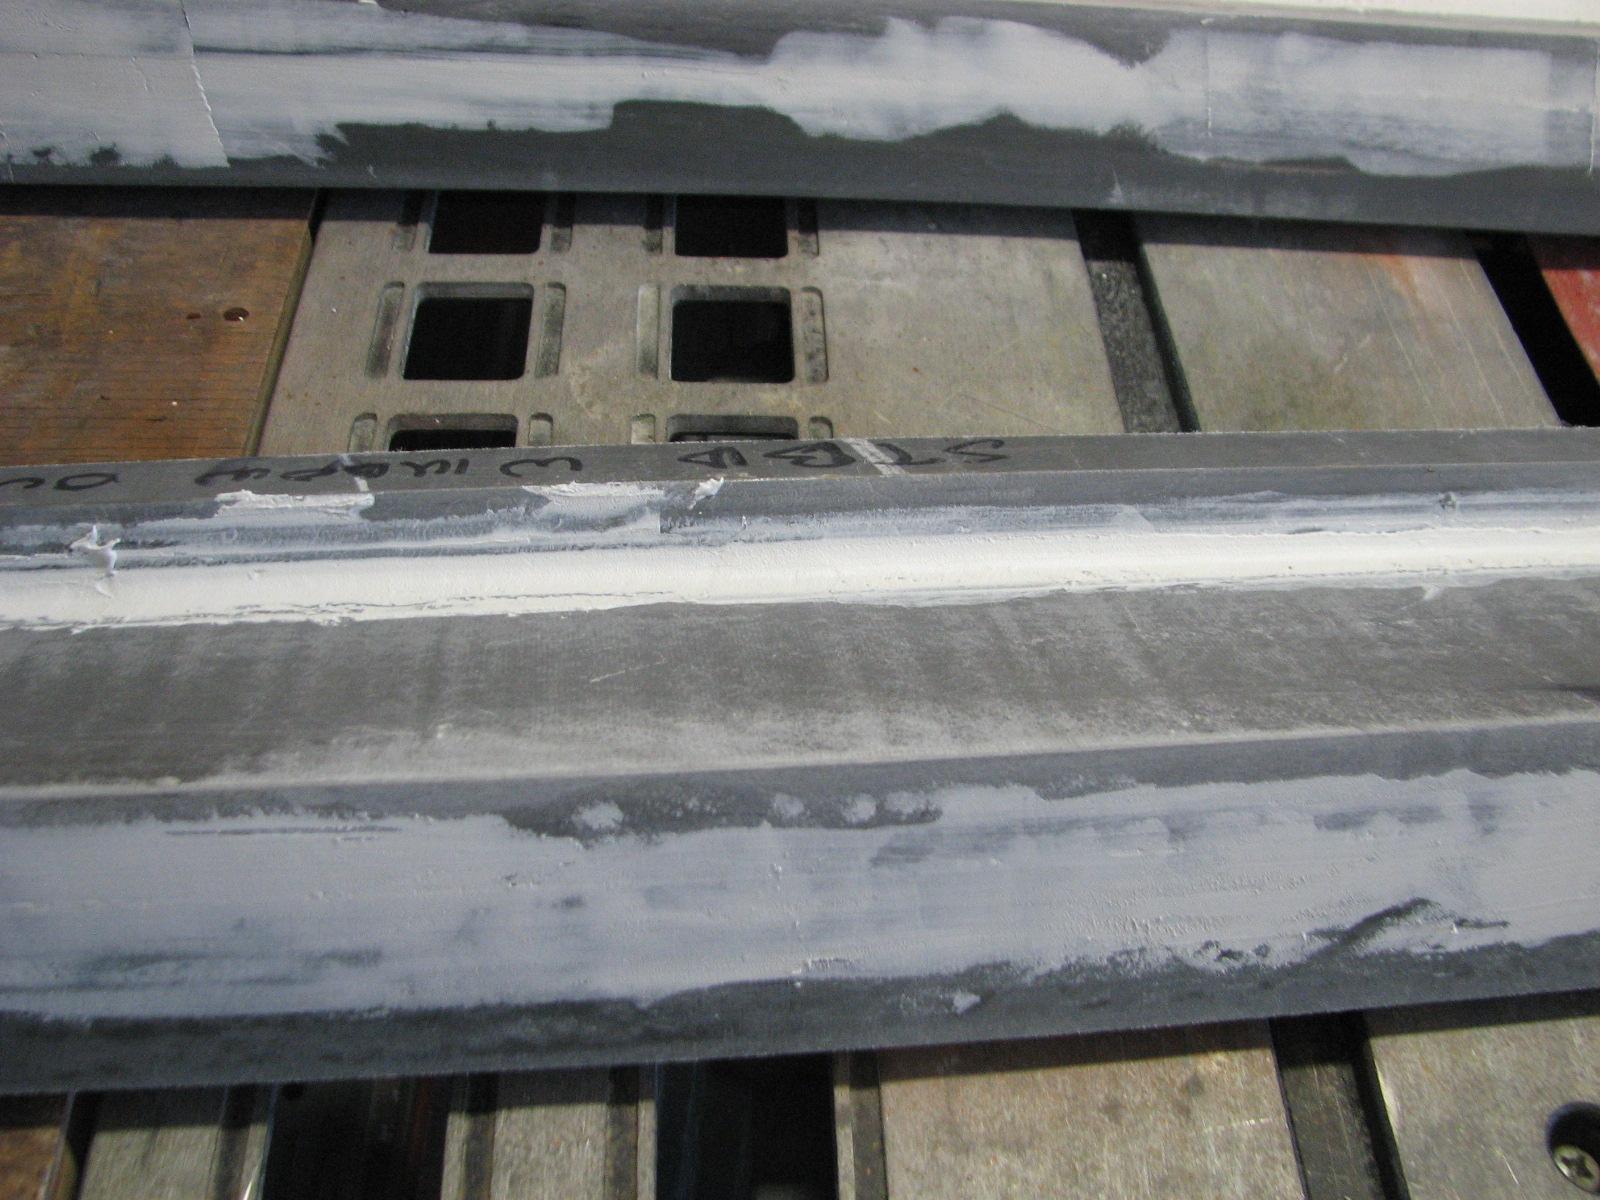
hardener, and mixed it in quite well. I then applied
the putty to the first anchor support piece.
I then added the cream
hardener to the second blob, mixed it up well, and
applied the putty to the second anchor support piece.
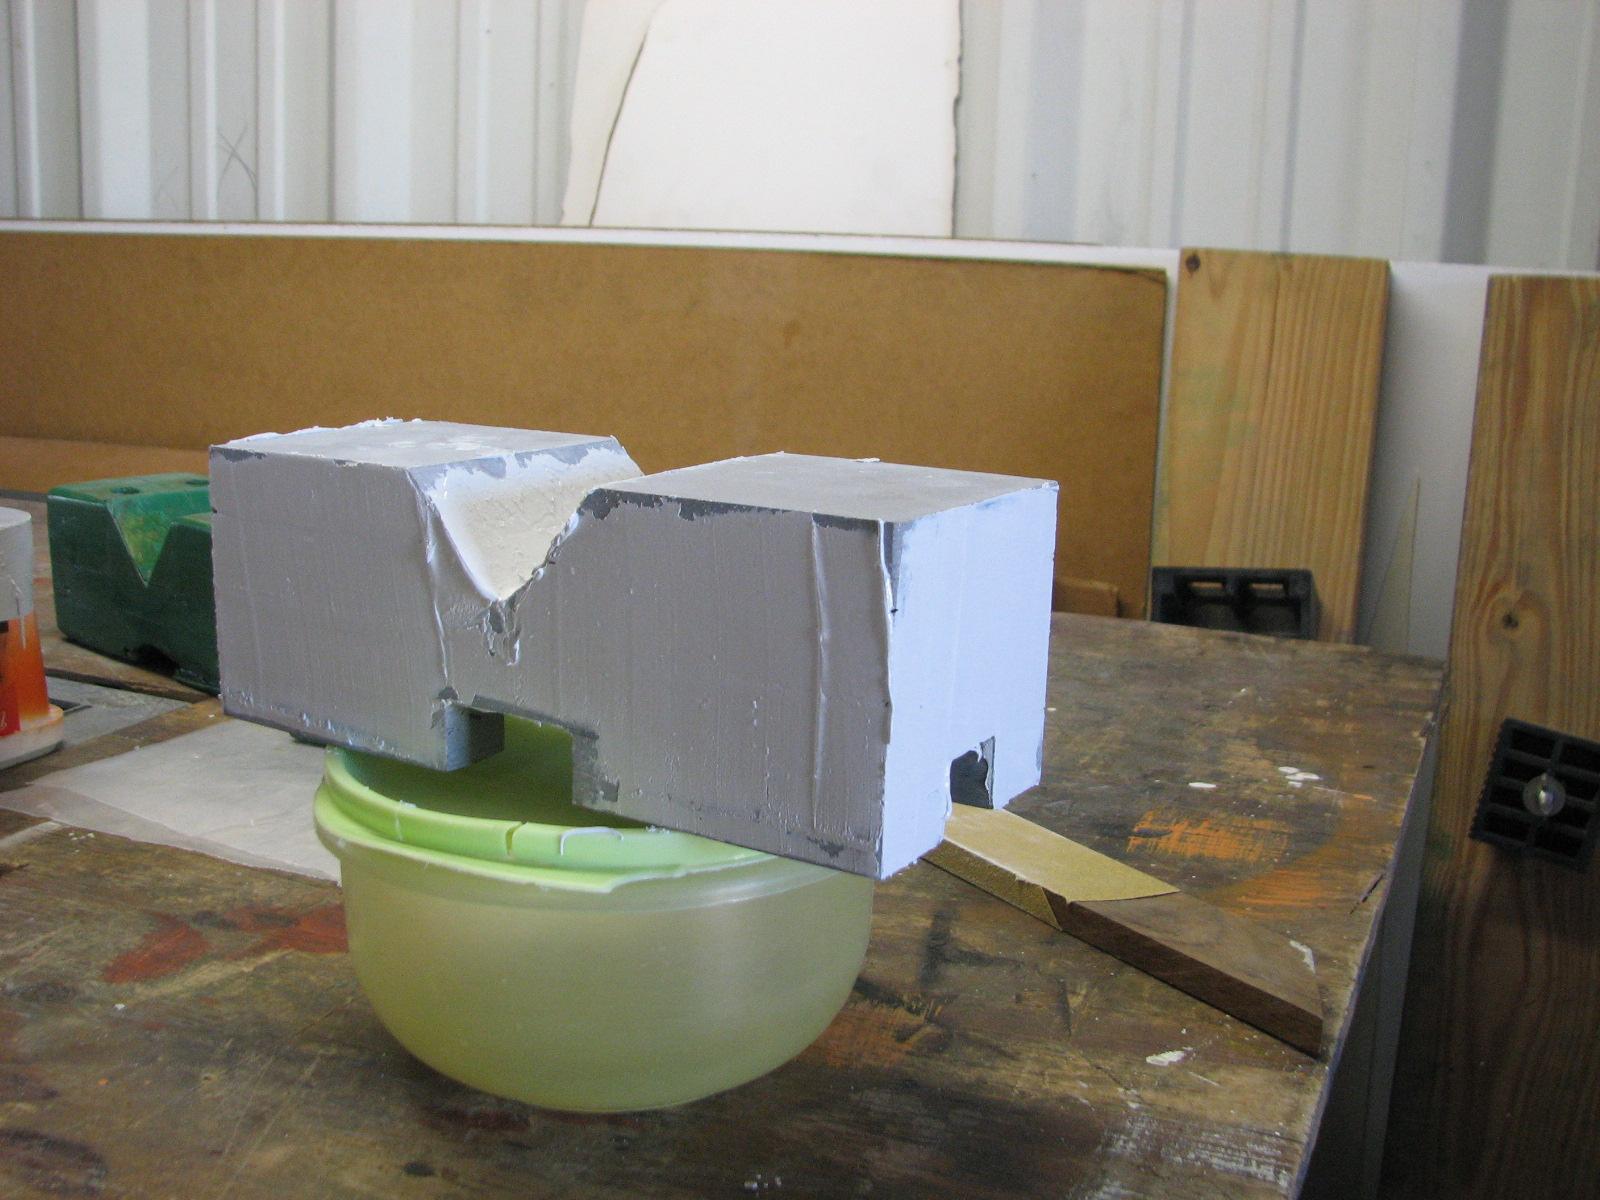
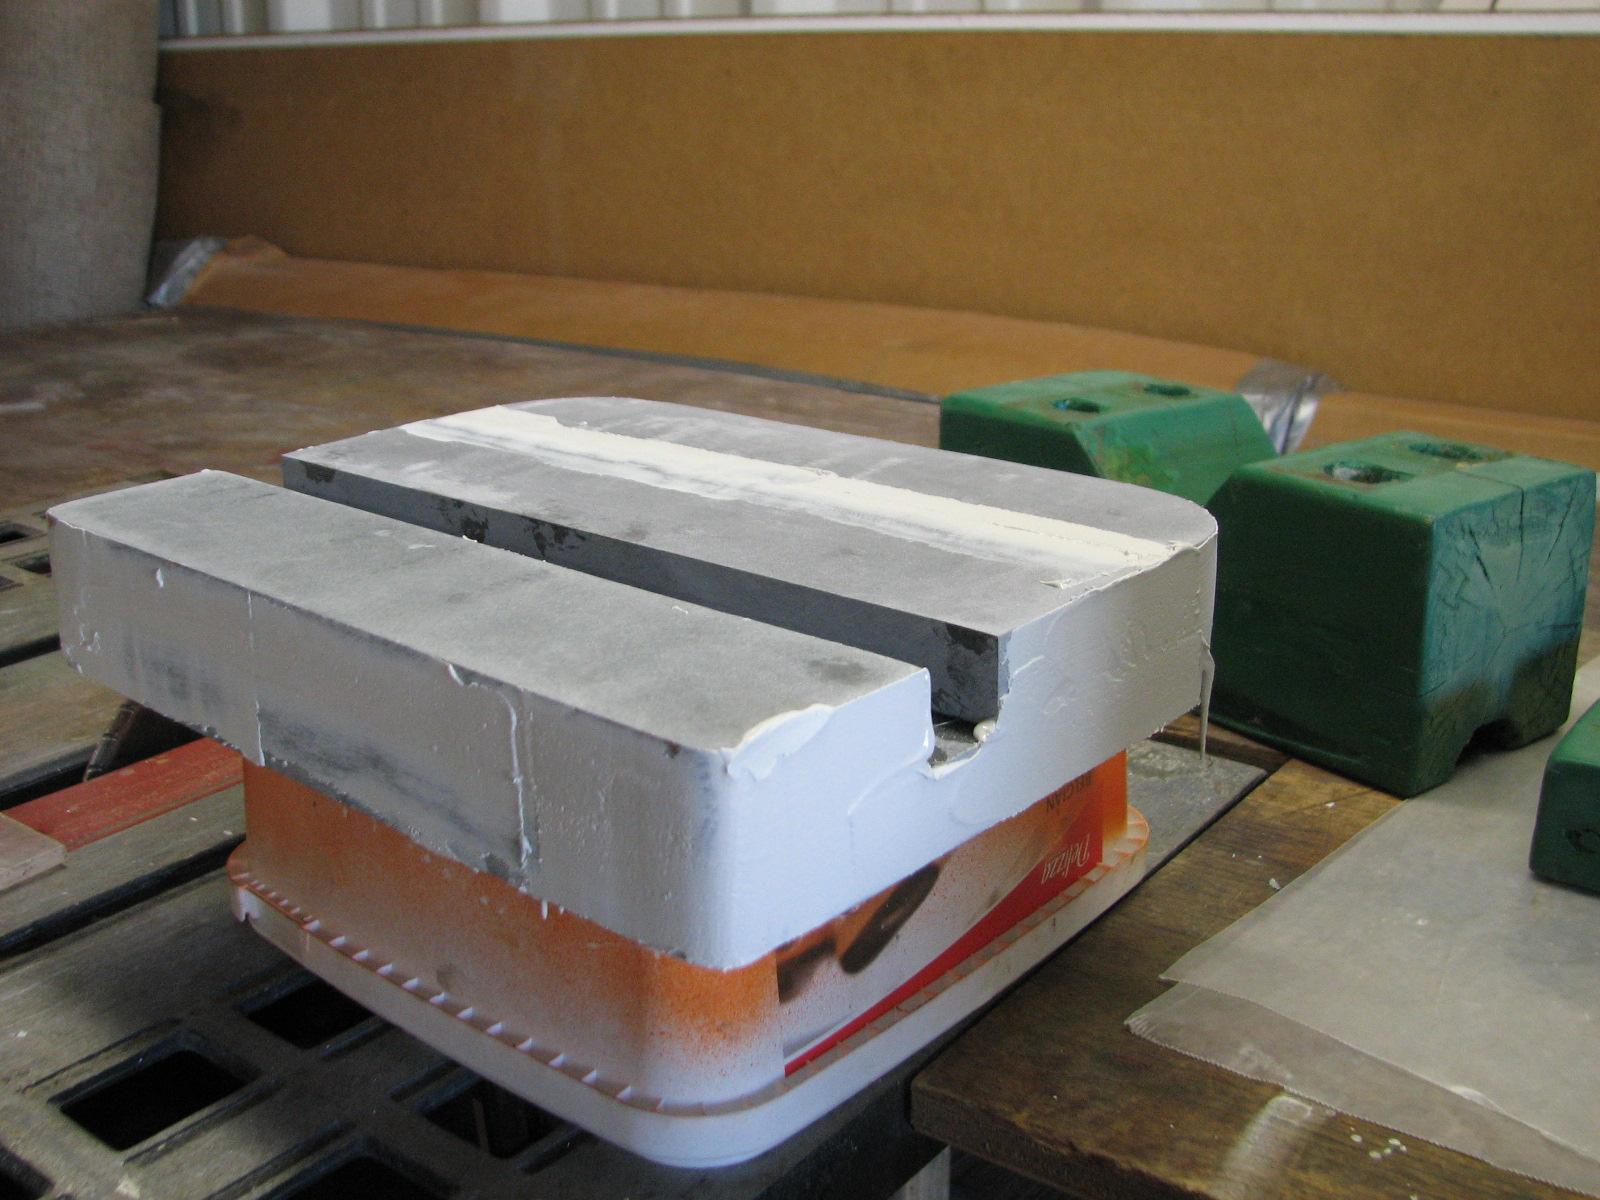
Putty On First Anchor Support Piece
Putty On Second Anchor Support Piece
I got a couple of tools , and went back
to the shower
trailer. My project for the day on the shower
trailer is to make sure the steps and railing can be
installed, and to get one of the shower rooms presentable.
I got two hoses connected up, and one
end of the second hose into the shower. We ran the water, and of
course the shower would not drain. I went under the shower
trailer and loosened the drain connection and cleared
the debris.
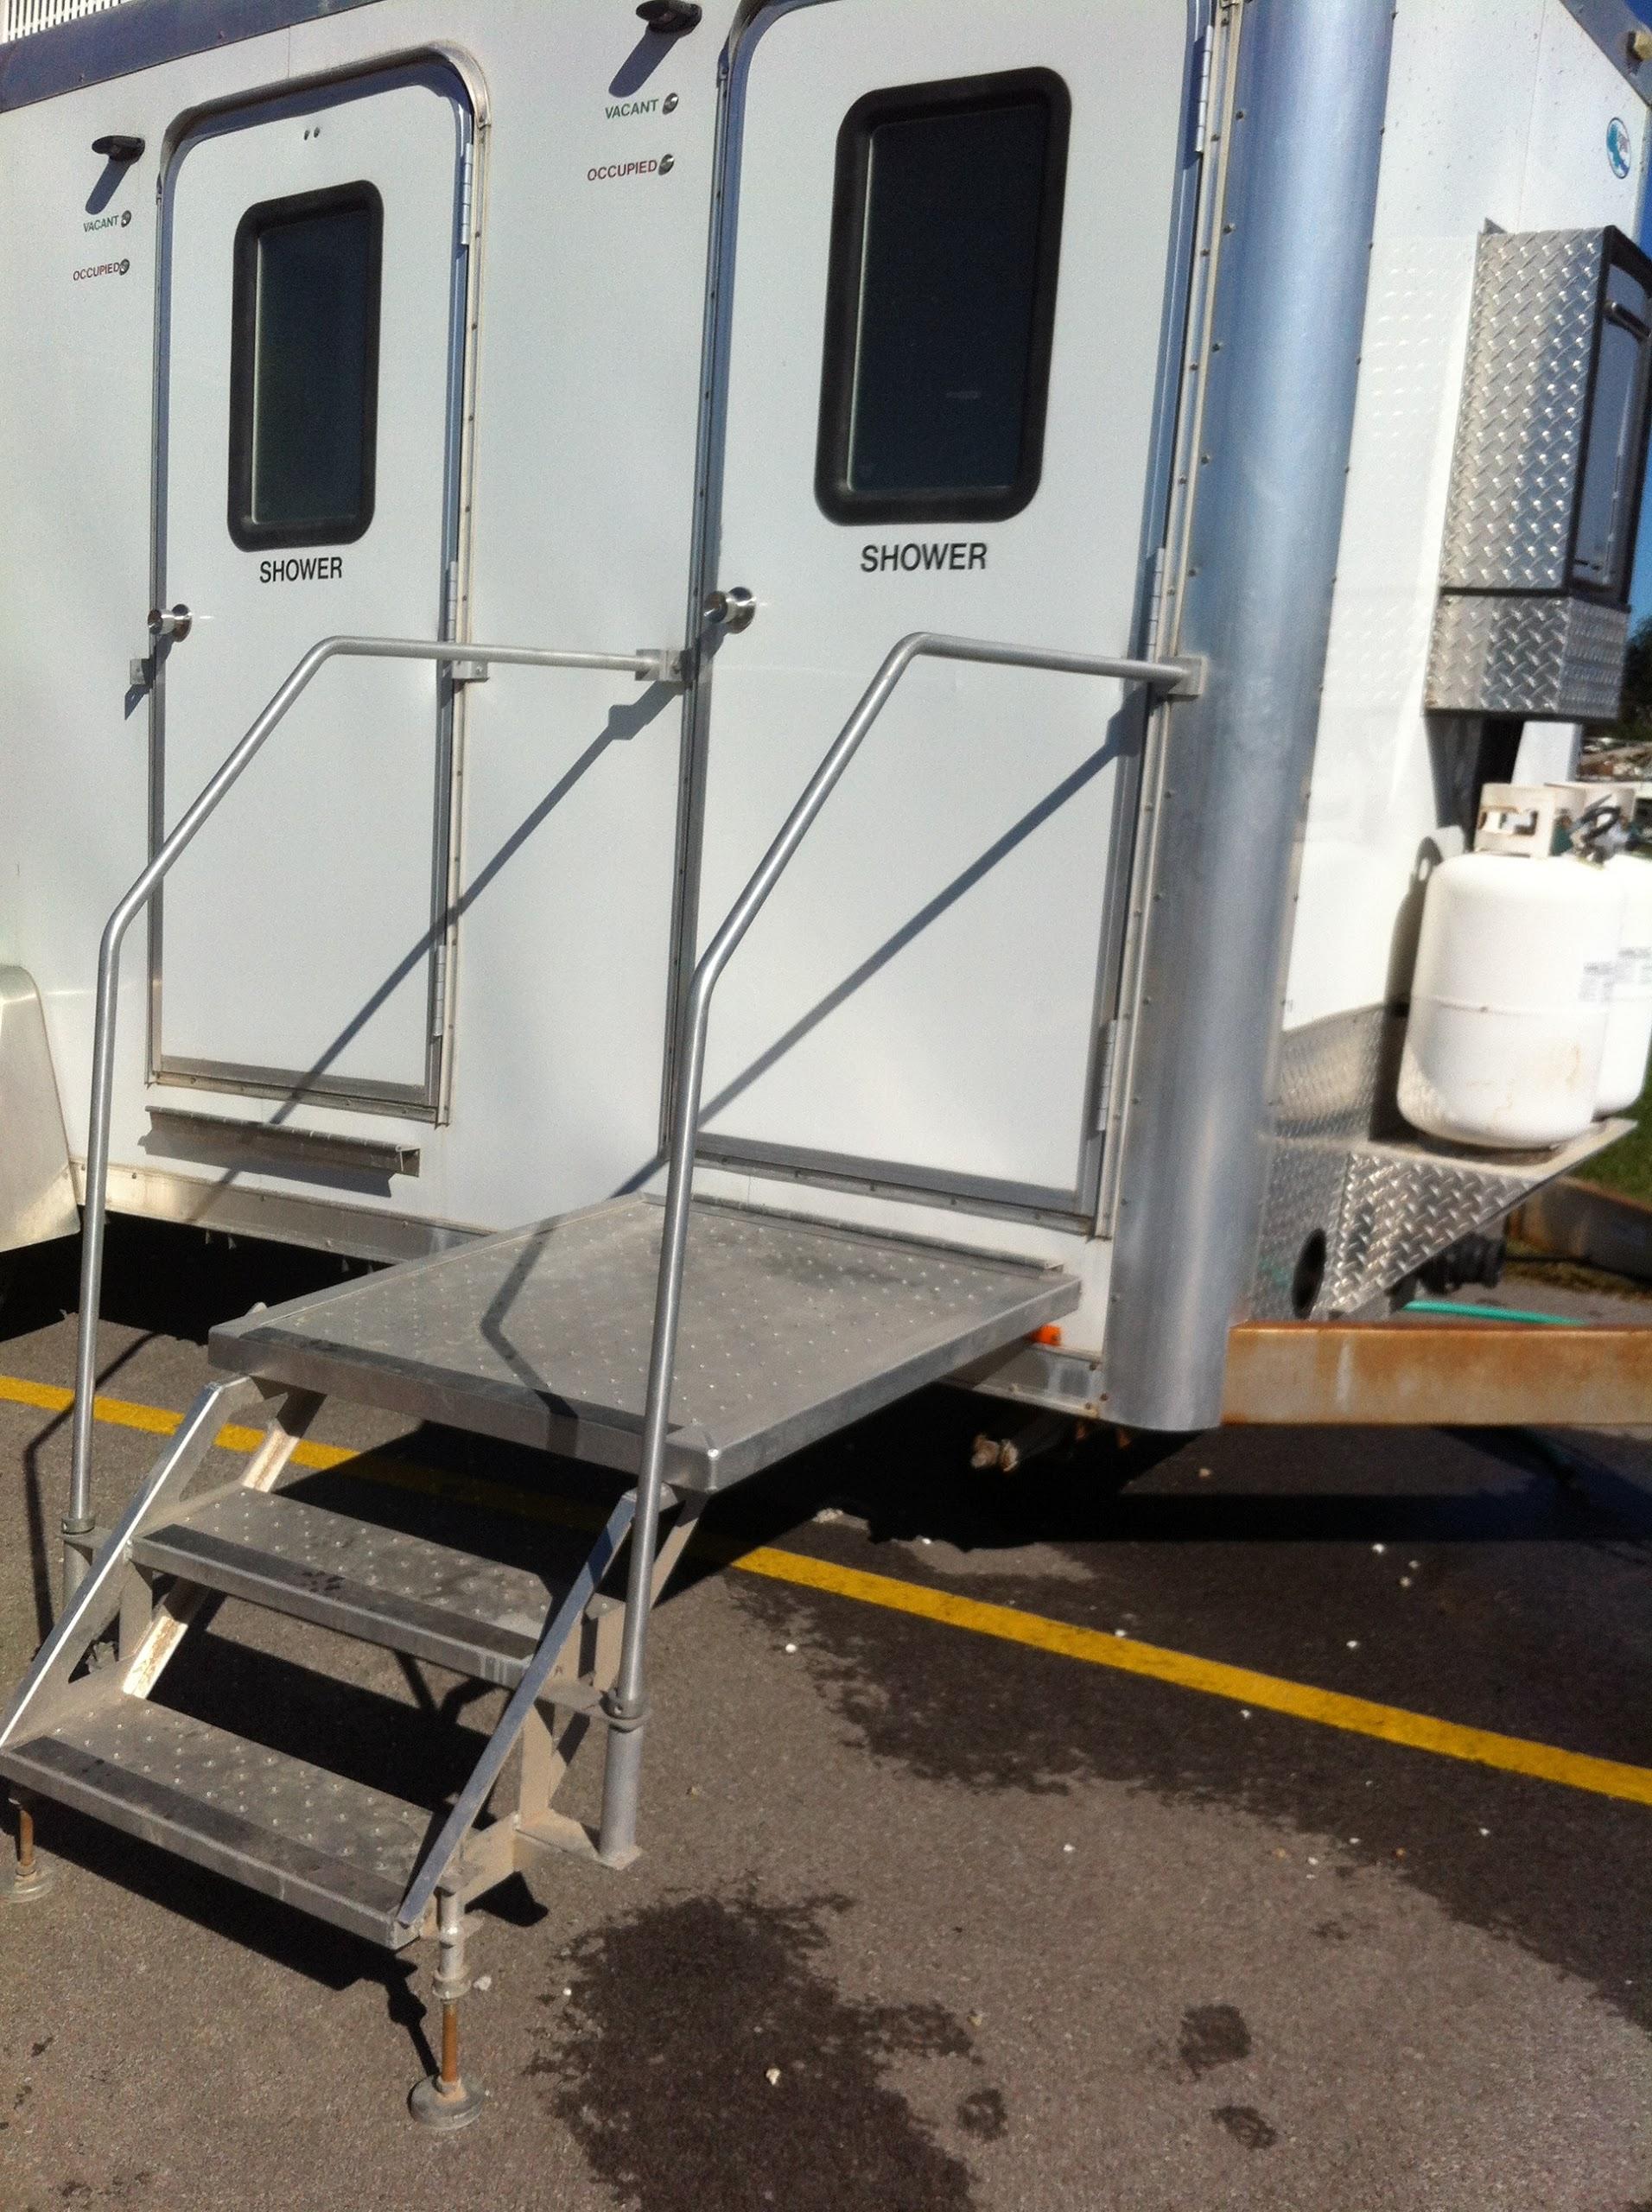
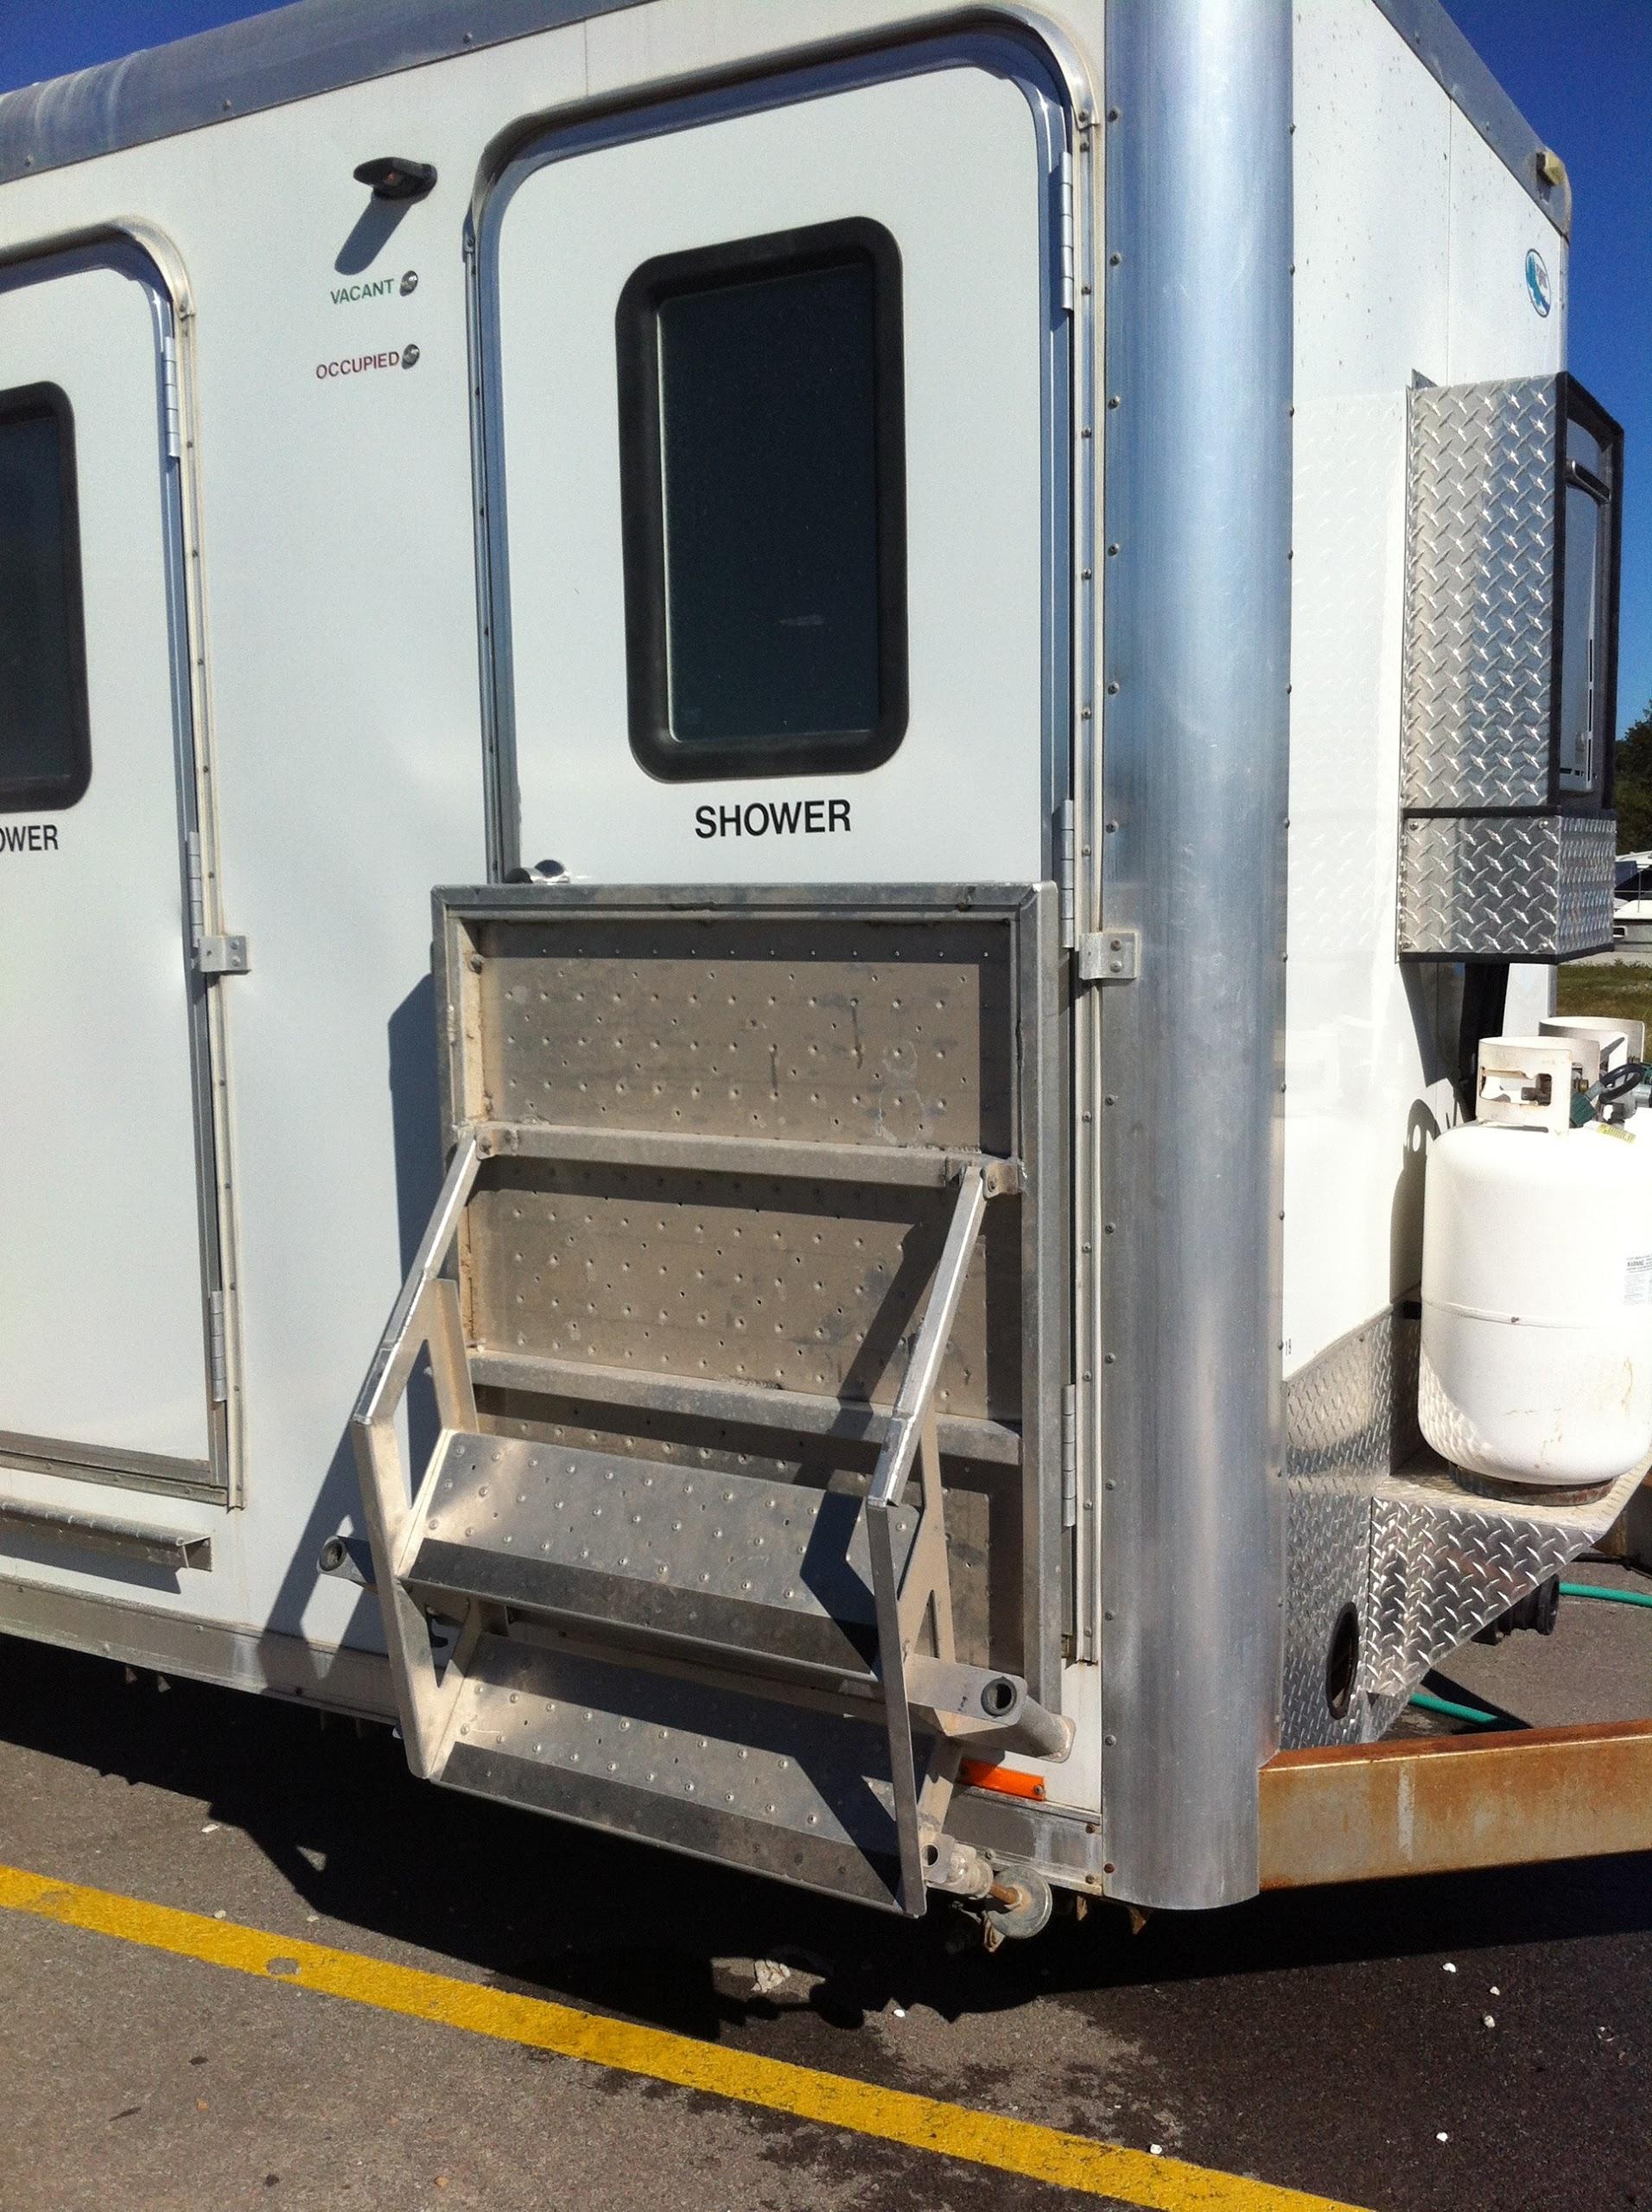
Kitty and I got the steps installed,
the first shower room presentable, and verified the steps would fold
up to the sides of the trailer, and that the shower
trailer could be moved with the steps folded up.
Steps and Railings Installed
Steps Folded Up On Trailer
Because of all of the time spent on the
steps for the shower
trailer, I did not have time to do any sanding on the
hard dodger for DREAM AWAY. I did verify that the tabs I have cut
will work on the bottom of the hard dodger uprights.
Kitty and I decided not to use the tabs
on the top of the uprights. We will be able to cut the upright at the
proper length and angle, then through bolt the upright to the
stainless steel pipe that is the top support for the hard dodger. We
are still working on the “how to” in the forward corners of the
hard dodger, but we will come up with a solution.
Hard Dodger Upright With Stainless
Steel Tab At Base
Upright Leaning Against Top Support
We also decided we needed to change the
width of the outboard formars uprights of the hard dodger. To make
the forward uprights and the side uprights meet properly, the
outboard formars uprights need to be 4” wide. I still have some
left over Strongwell
Extren plate, so I will be able to cut two pieces 4”
wide. I then took all of the uprights back to the
Black Beast.
