Maintenance Log December 2013
December 31, Tuesday, 2013
Started off the morning with my normal
ritual of getting on the Internet, answering email, and checking the
weather, while making a pot of coffee. When the coffee is started, I
feed our two cats, Jillian
and Jordan, and spend time with them brushing their
beautiful coats.
Checked Kitty’s computer and still no
successful restore of the data from the iPhone 4S to the iPhone 5. I
tried several things, but still could not get a successful restore.
Kitty got up early, and we drove back
to the AT&T store in New
Iberia. Before Kitty could use the new iPhone 5, we
had to get the contacts off of the iPhone 4S. We got to the store and
were helped by a nice young lady who eventually got the iPhone 5
updated to Kitty’s satisfaction.
When we got back to DREAM AWAY, I got
to work fixing this iPhone issue. I will not go into any details, but
I am making progress.
Spent the rest of the day working on
the iPhone issue, preparing cat food for the next week, and making
sure we have blackeye peas for New Years Day.
December 30, Monday, 2013
Started off the morning with my normal
ritual of getting on the Internet, answering email, and checking the
weather, while making a pot of coffee. When the coffee is started, I
feed our two cats, Jillian
and Jordan, and spend time with them brushing their
beautiful coats.
Went over to the shop
and started looking through all of the items I want to put on eBay.
Several things need to be tested and batteries charged or purchased
to see if they still work.
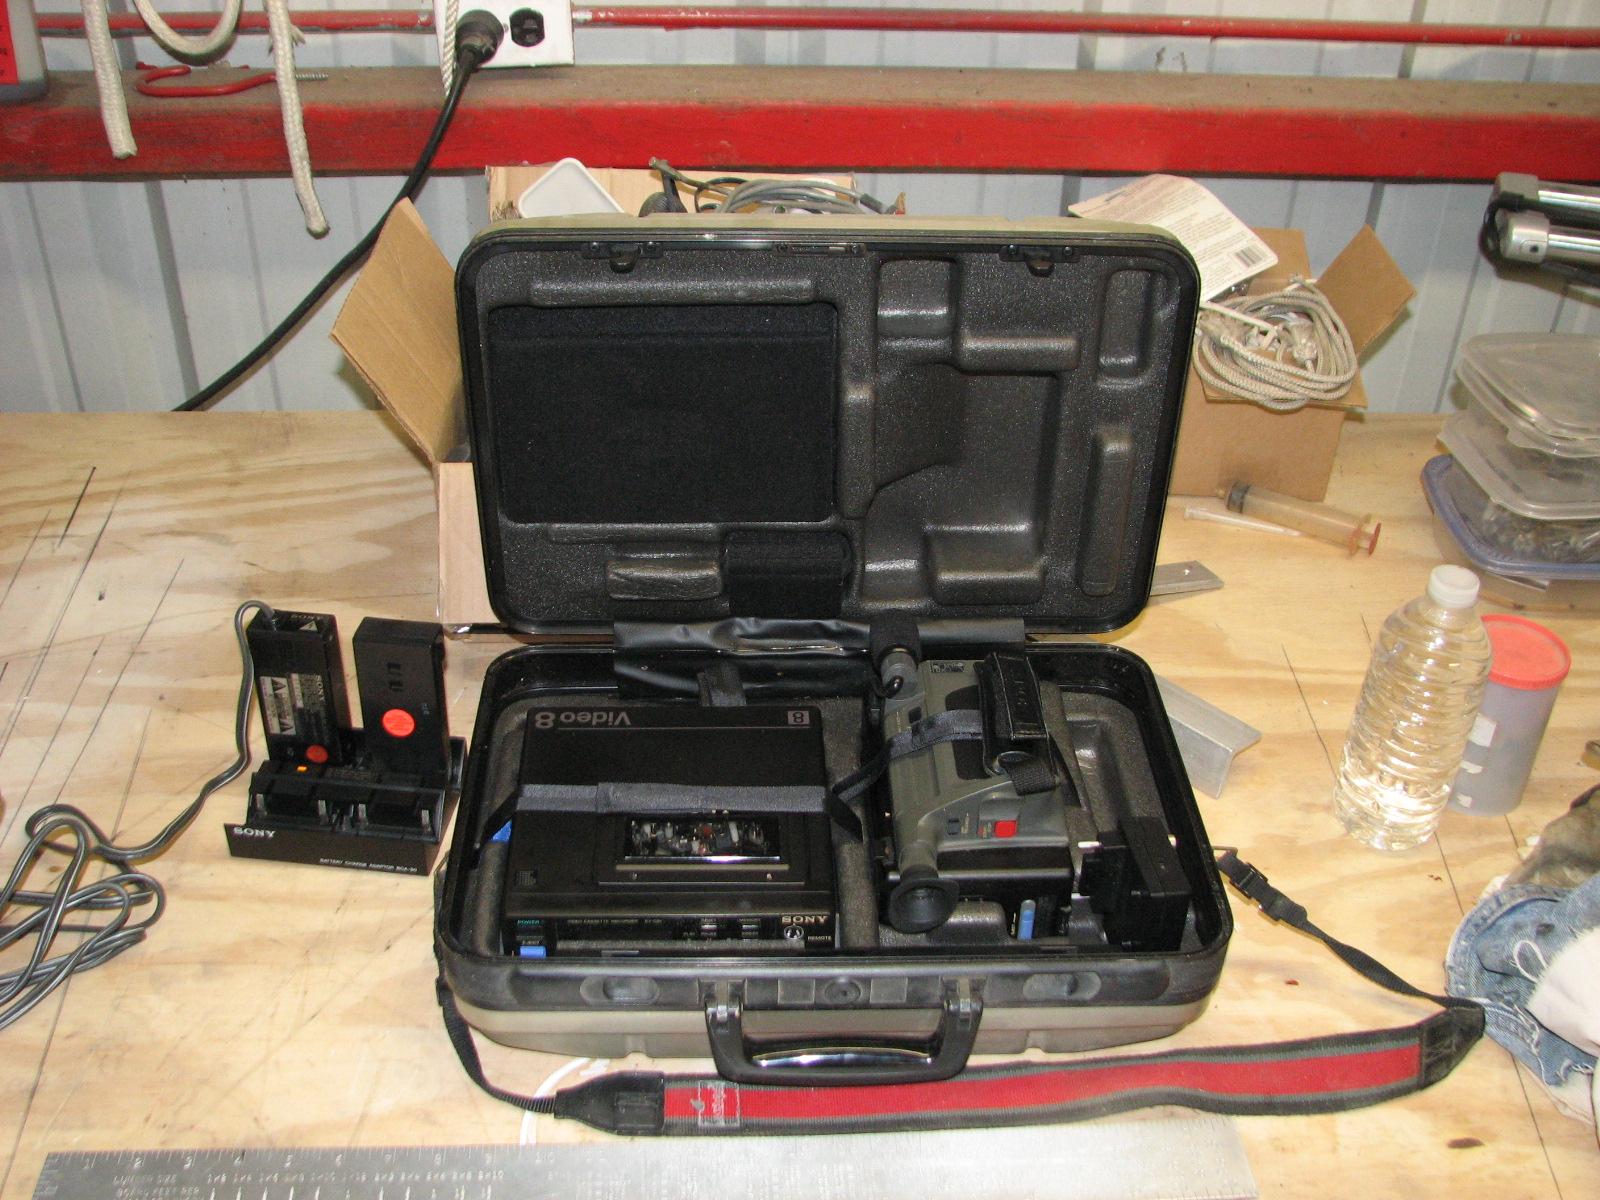
I started off with an old Sony video
camera system. I even have an underwater housing for the camera. I
got out the battery charger, and the batteries, and plugged them in.
Time will tell!
Sony Video Camera On Workbench
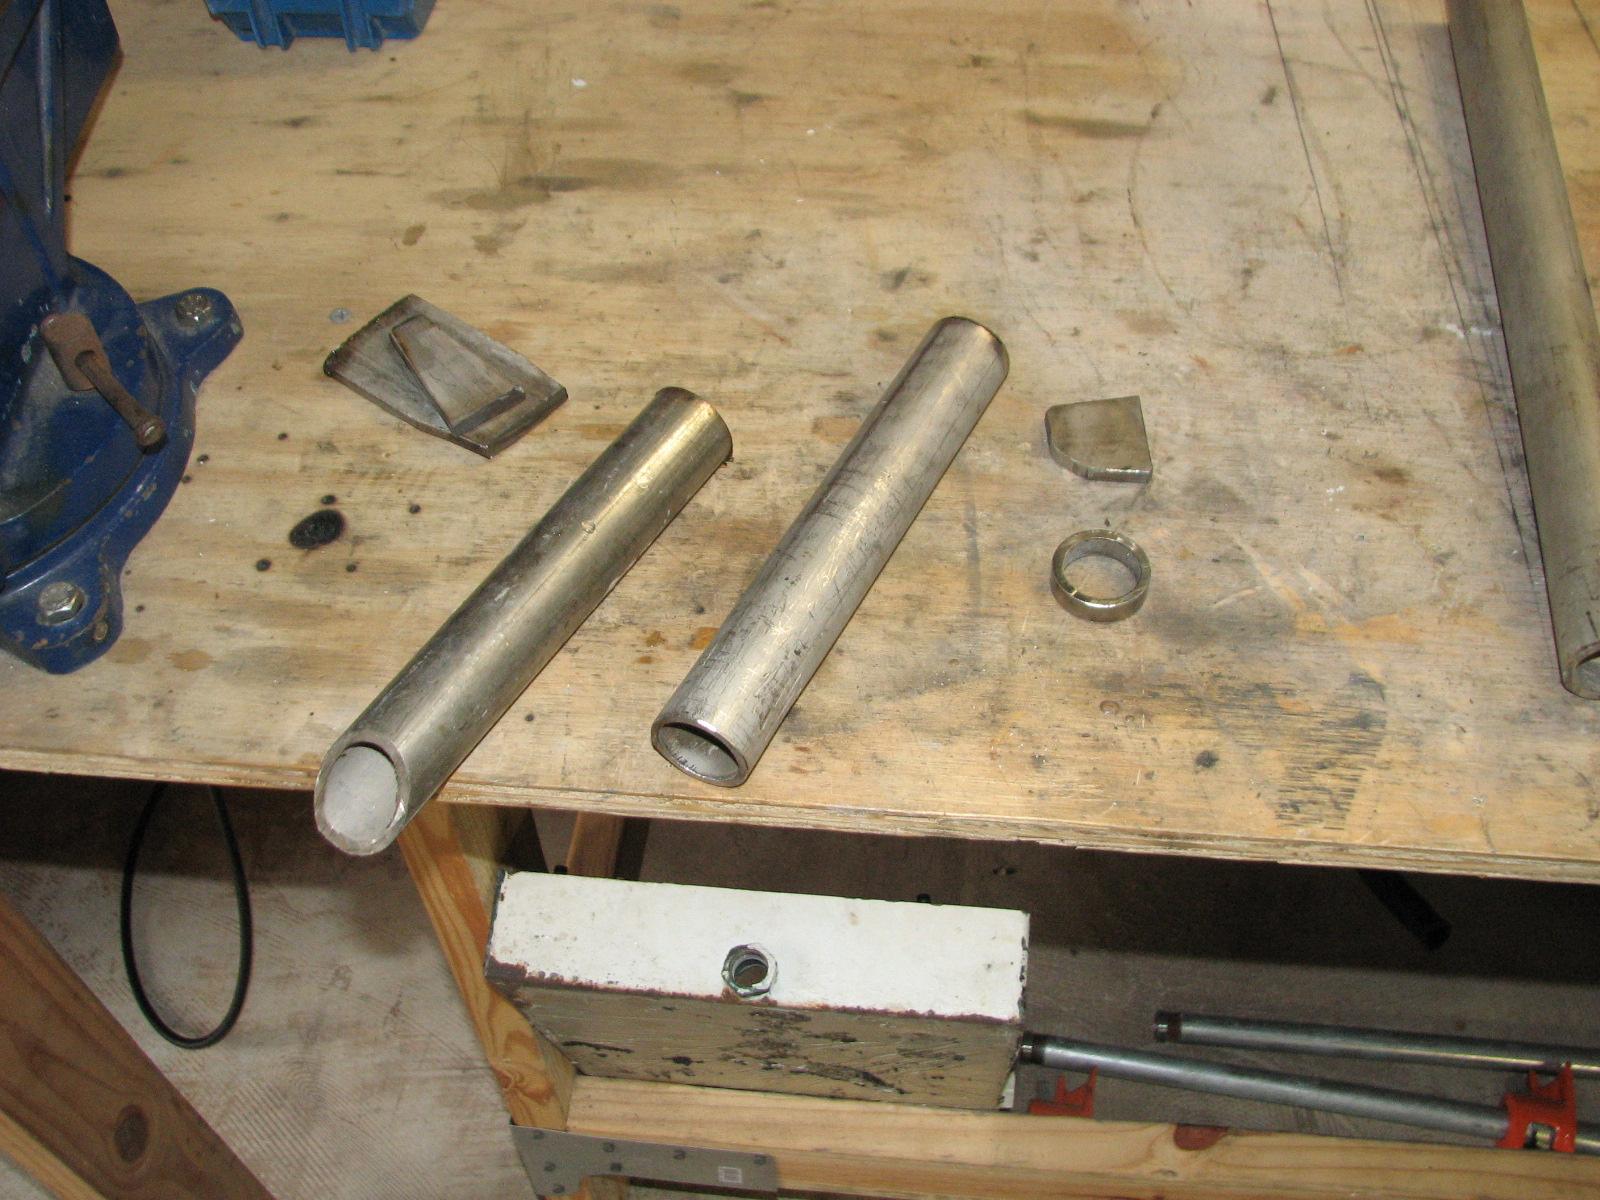
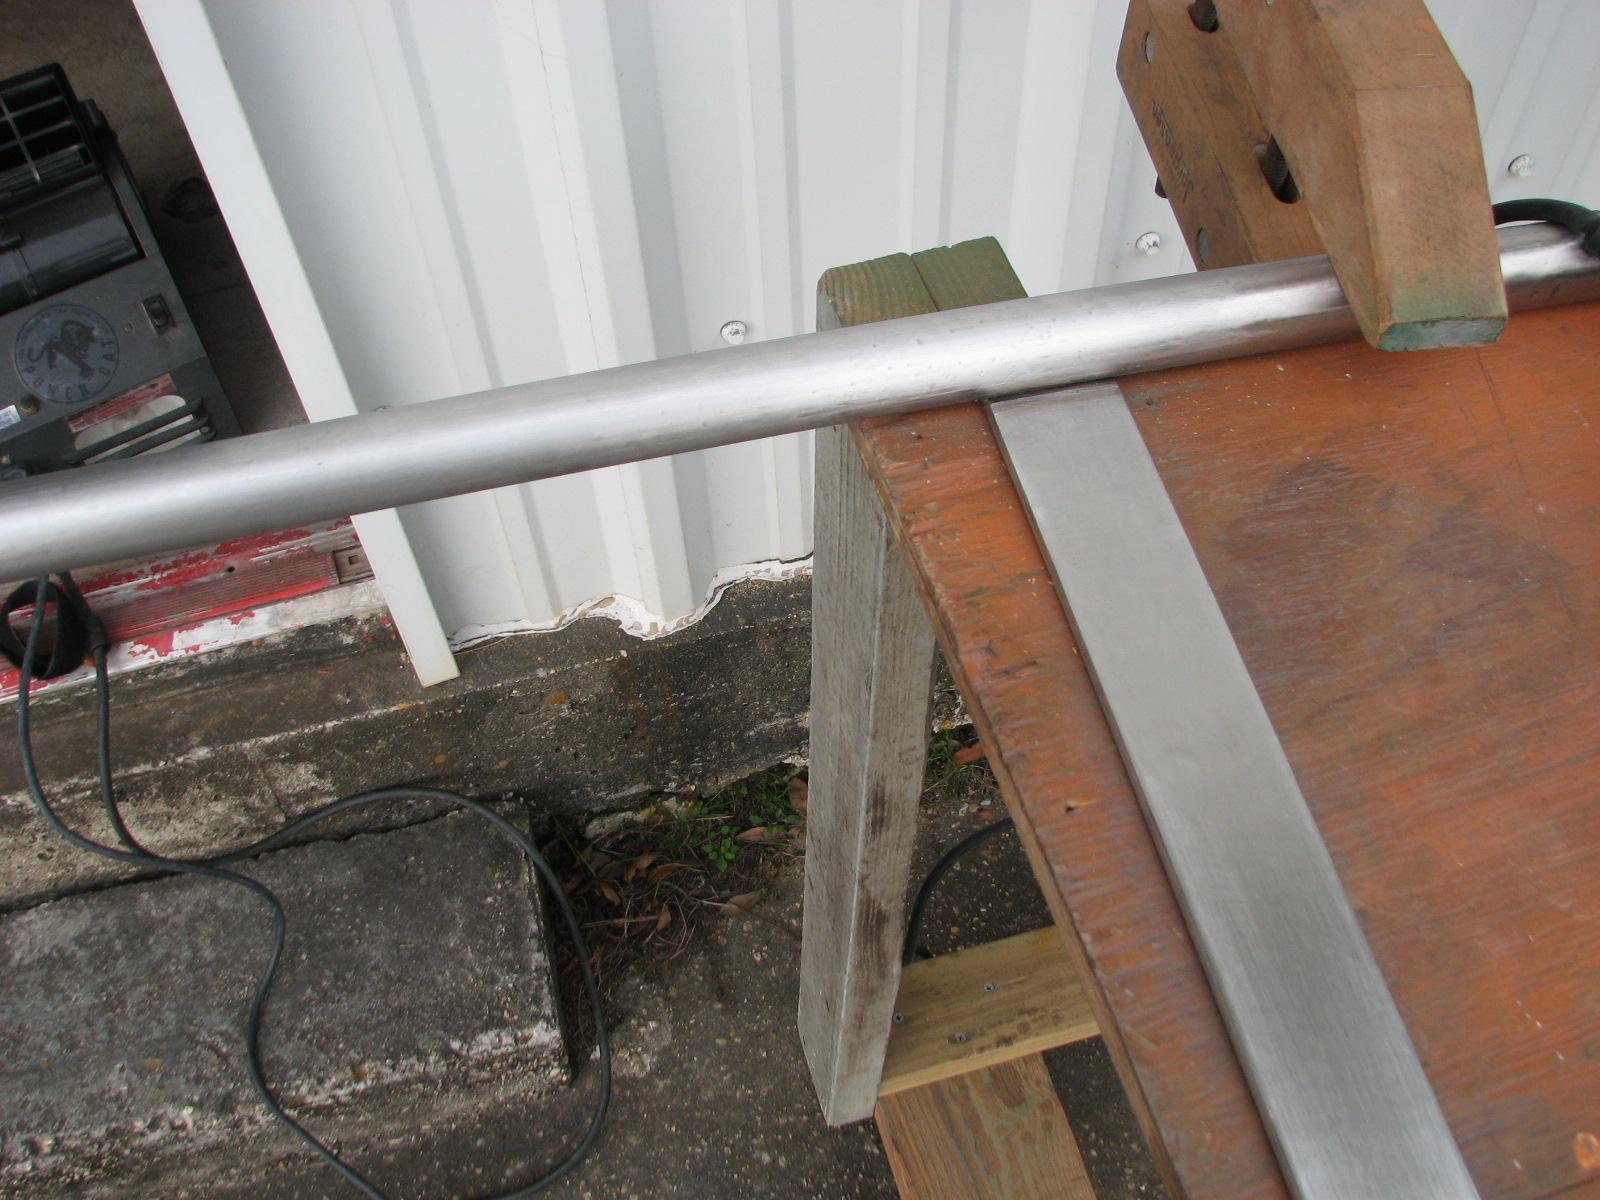
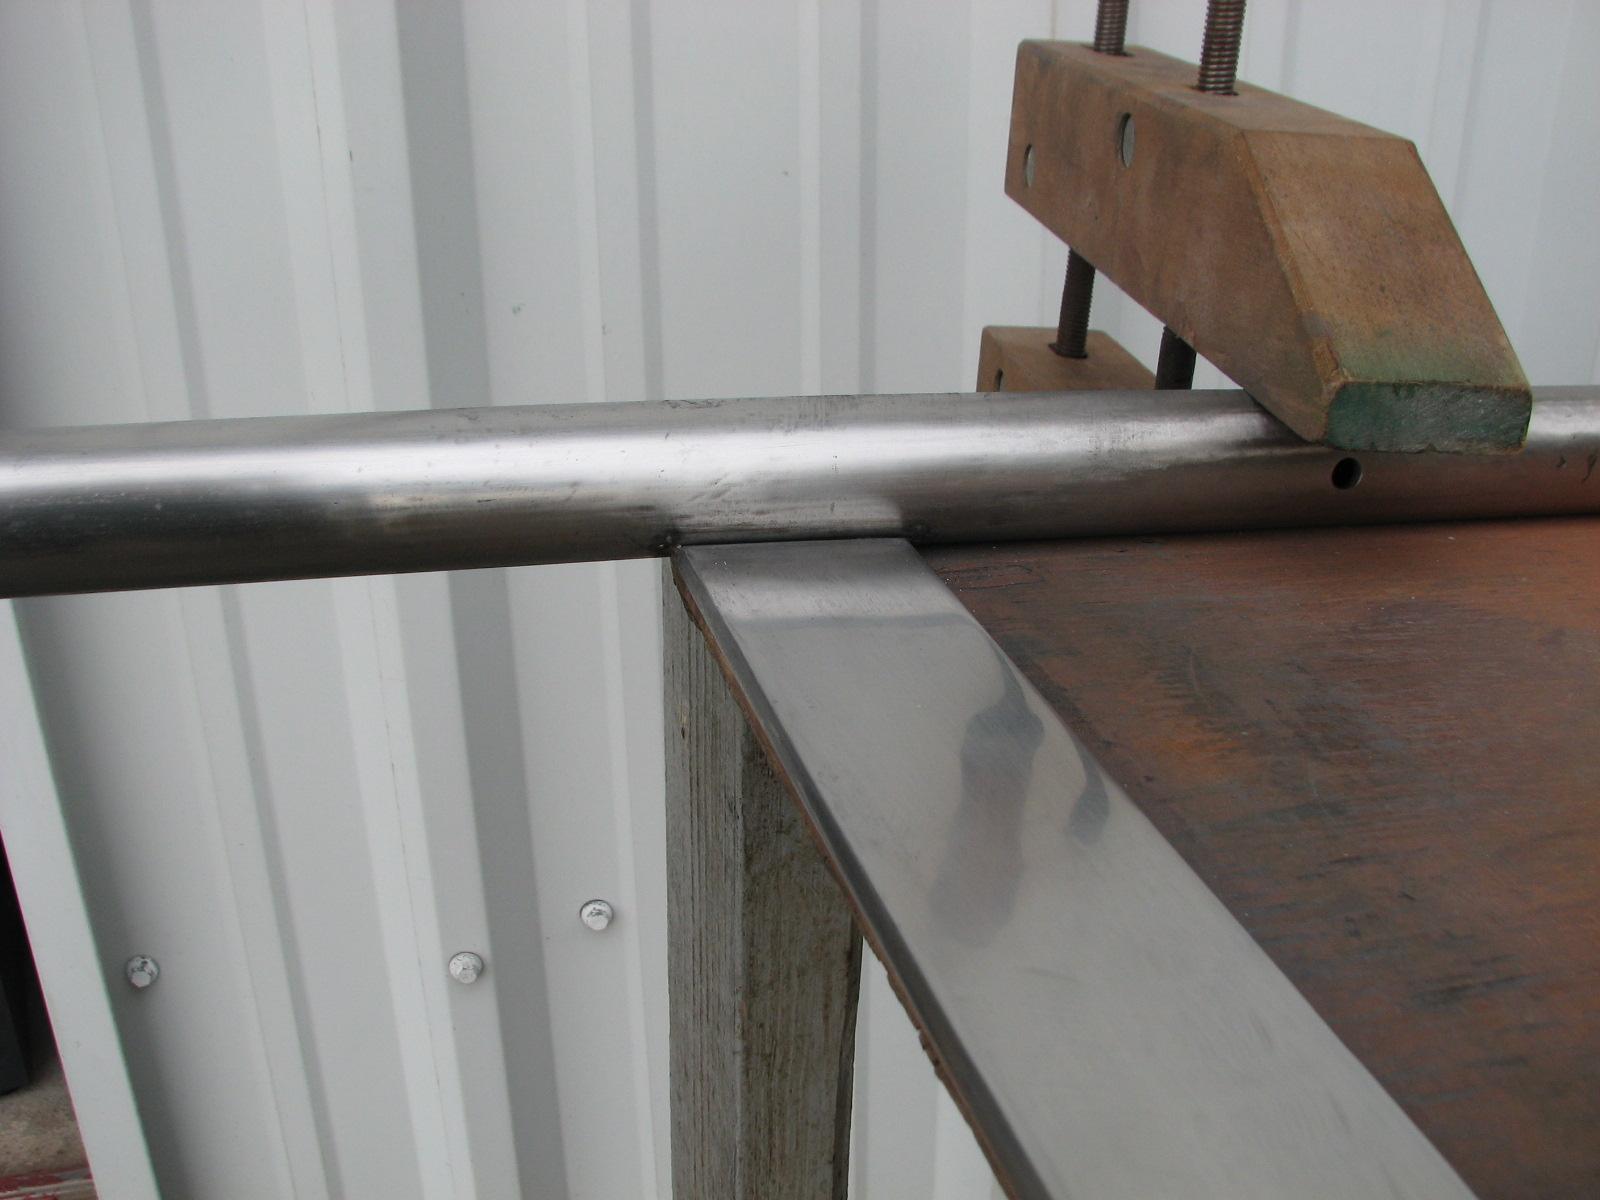
Next I started in on fabricating the
standoffs I am going to use for the main cabin grab rail. Kitty and I
have decided not to use metal grab rails in the main cabin, but
stainless steel pipe standoffs that will have rope threaded through
them to be used as hand holds.
The plan right now is to keep the
standoffs permanently mounted, and remove the rings and rope when in
port. We will see how the fabrication process goes.
Stainless Steel Pipe and Plate For Main
Cabin Standoffs
I then went back to DREAM AWAY and had
breakfast. Kitty and I then went into New
Iberia as we both had appointments with the
podiatrist.
After the appointments we stopped by
the AT&T store to get the new SIM card for Kitty’s iPhone 5.
That was no problem, and we got the new card and had it installed
very quickly.
When we got back to DREAM AWAY, we
needed to do the backup of the iPhone 4S, and then restore to the
iphone 5. We started around 1830, and finally went to bed at 2330.
Still no successful restore of the data from the iPhone 4S to the
iPhone 5. Between AT&T and Apple, I am not a happy camper!
December 29, Sunday, 2013
Started off the morning with my normal
ritual of getting on the Internet, answering email, and checking the
weather, while making a pot of coffee. When the coffee is started, I
feed our two cats, Jillian
and Jordan, and spend time with them brushing their
beautiful coats.
Went over to the shop
and sanded the fiberglass
uprights for the hard dodger. I used 220 grit sandpaper to smooth out
the first coat of gelcoat.
It was going to get much warmer this afternoon, so I knew I would be
able to apply the second coat of gelcoat
later.
I spent some time cleaning up the shop
and moving items around. On the bad weather days, I will be in the
shop
getting some items ready to put on eBay.
That will be a fun process!
I loaded the the
“Box
O’ Resins” and the stainless steel upper base for
the hard dodger into the
Black
Beast, then went over to DREAM AWAY and had breakfast.
After breakfast Kitty and I attached the stainless steel upper base
for the hard dodger onto the boom gallows. We did not bolt down the
three new stainless steel supports to the boom gallows as yet.
When we finished that project, I
applied another application of the finishing
putty to the fiberglass
hard dodger base on DREAM AWAY.
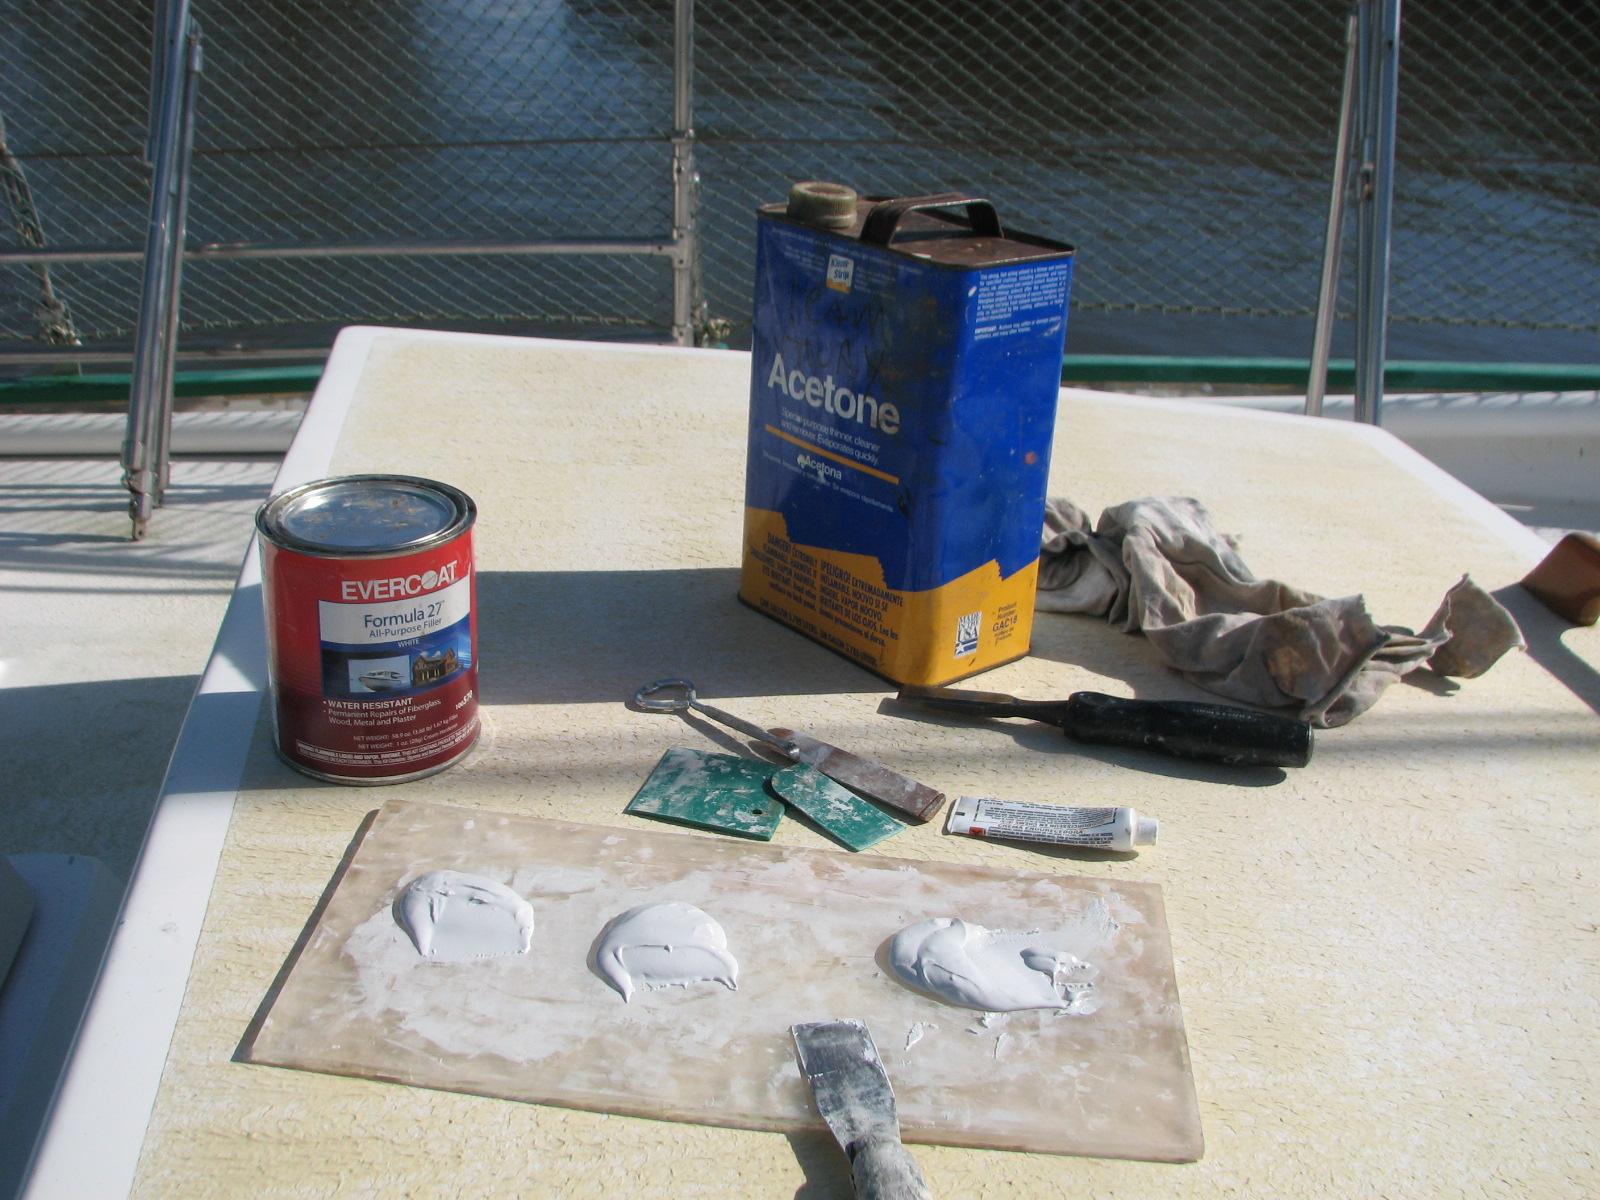
I put three blobs of
finishing
putty on the mixing board. I added the
cream
hardener when it was needed. I then applied the
finishing
putty as needed. Fortunately I do not need warm
weather to sand dome the putty areas after it has hardened, just dry
weather!
I wiped the hard dodger uprights all
down with a tack
rag, to get all of the dust and debris off of them. I
got out all of the stuff I will need to apply the
gelcoat
to them.
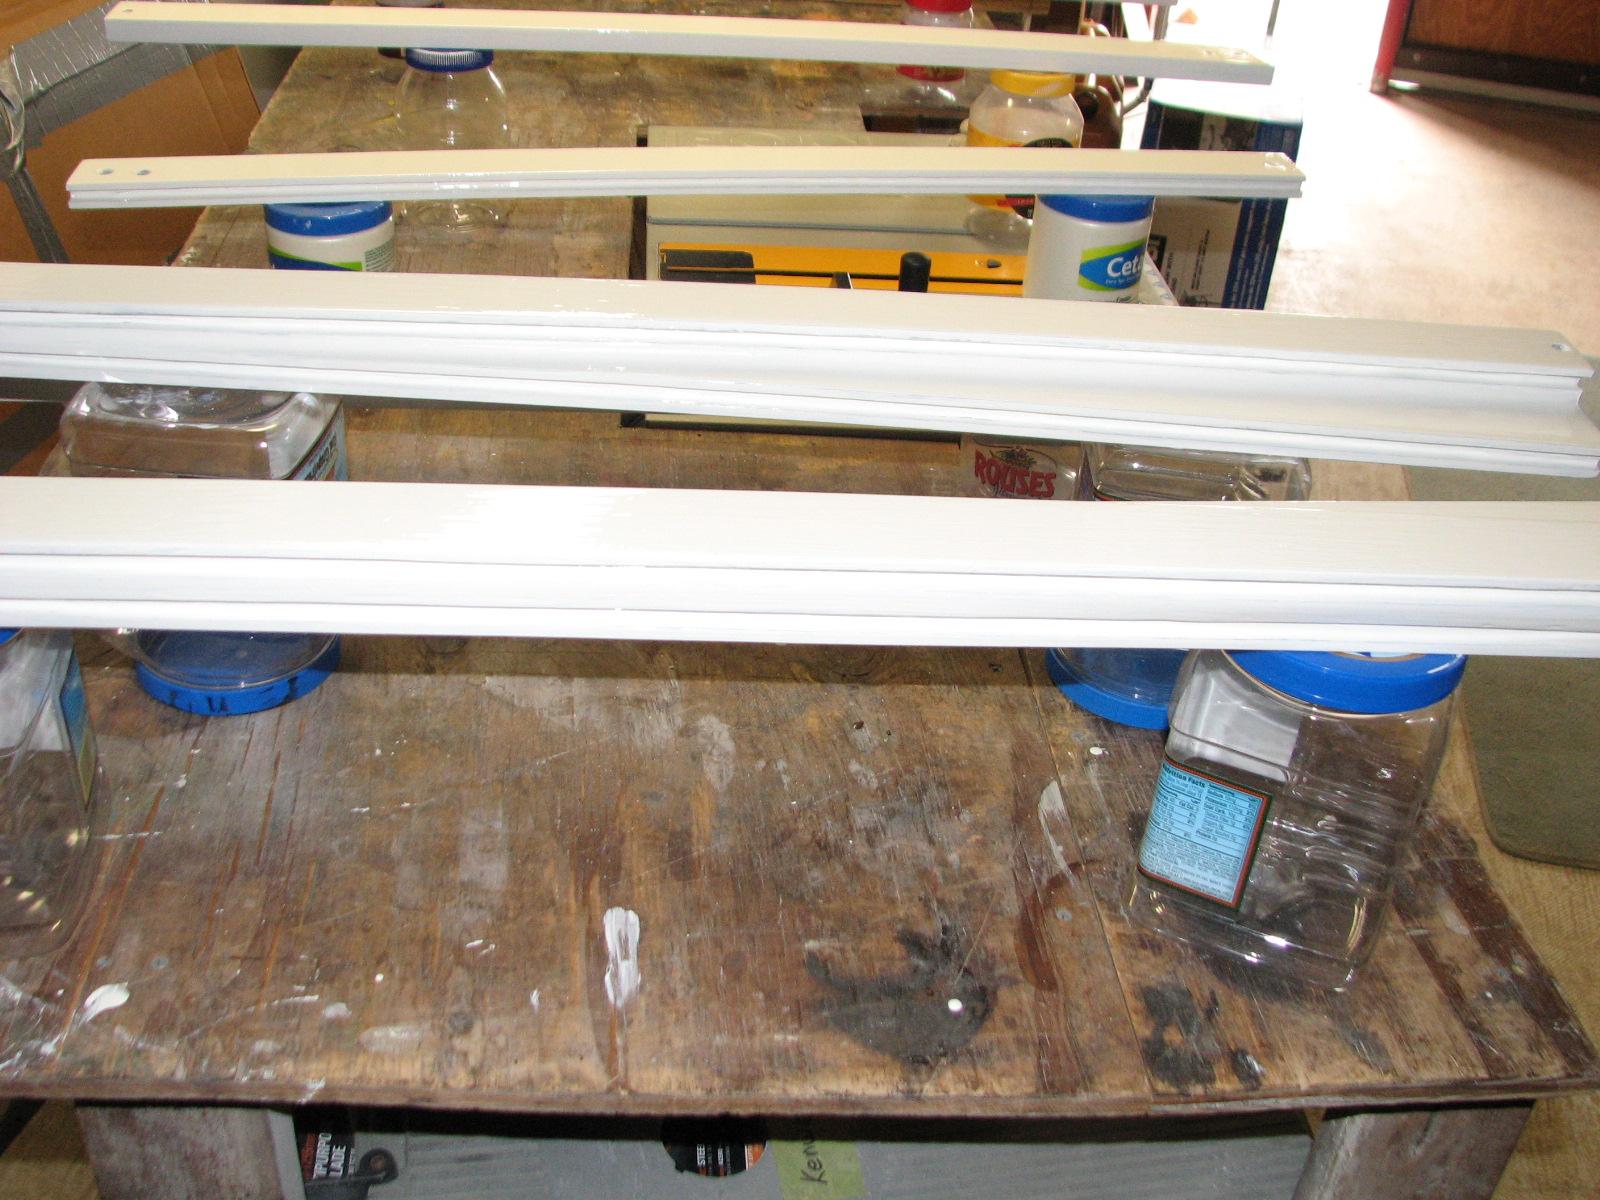
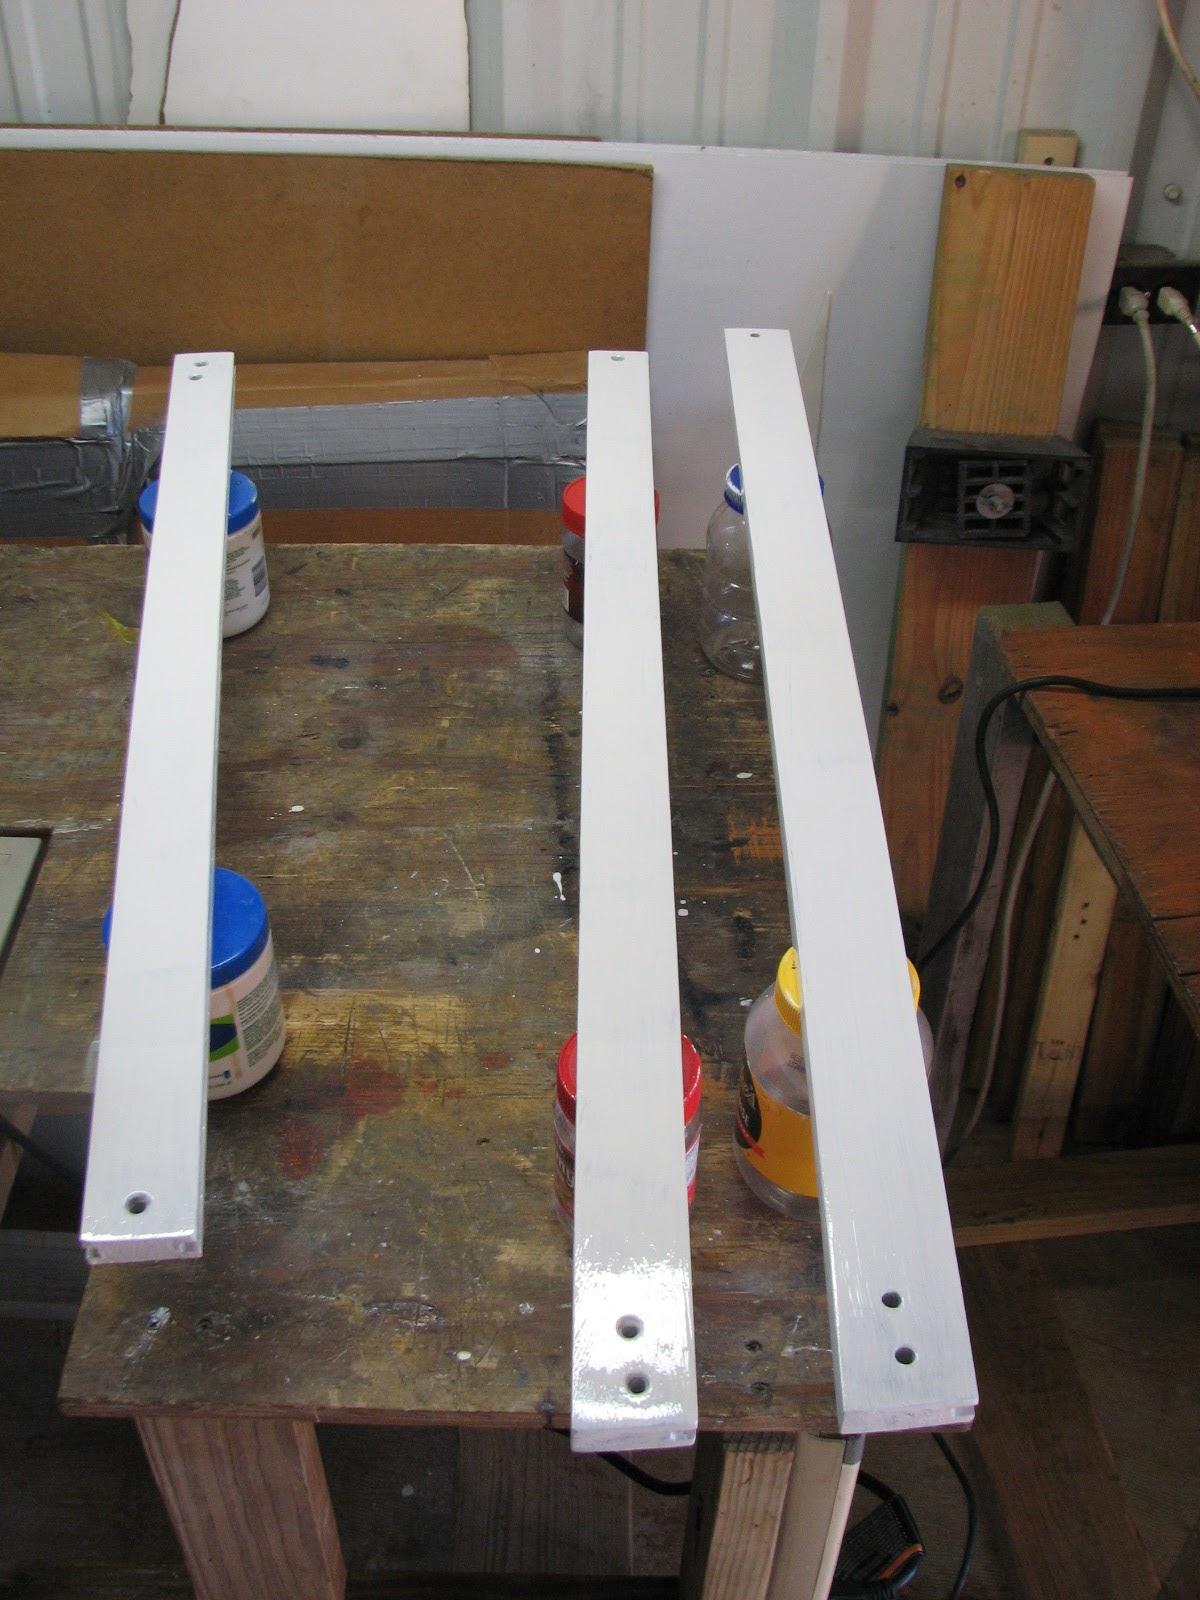
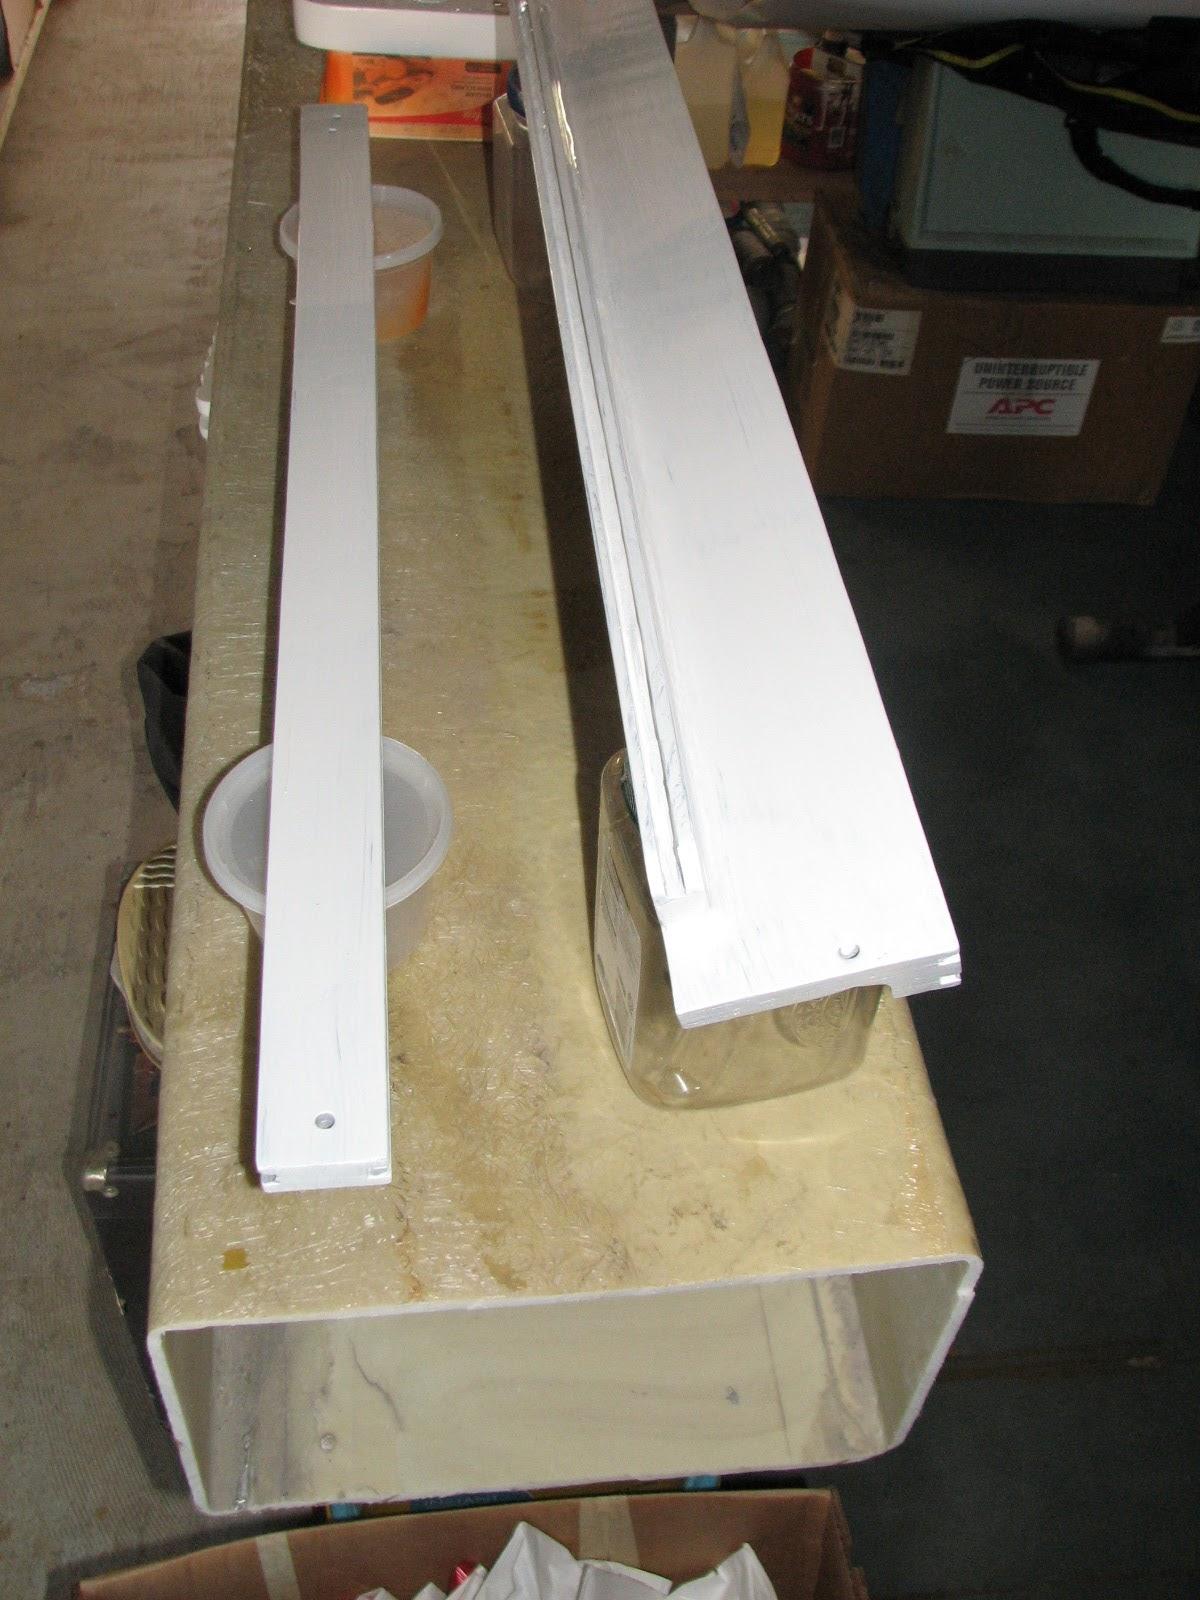
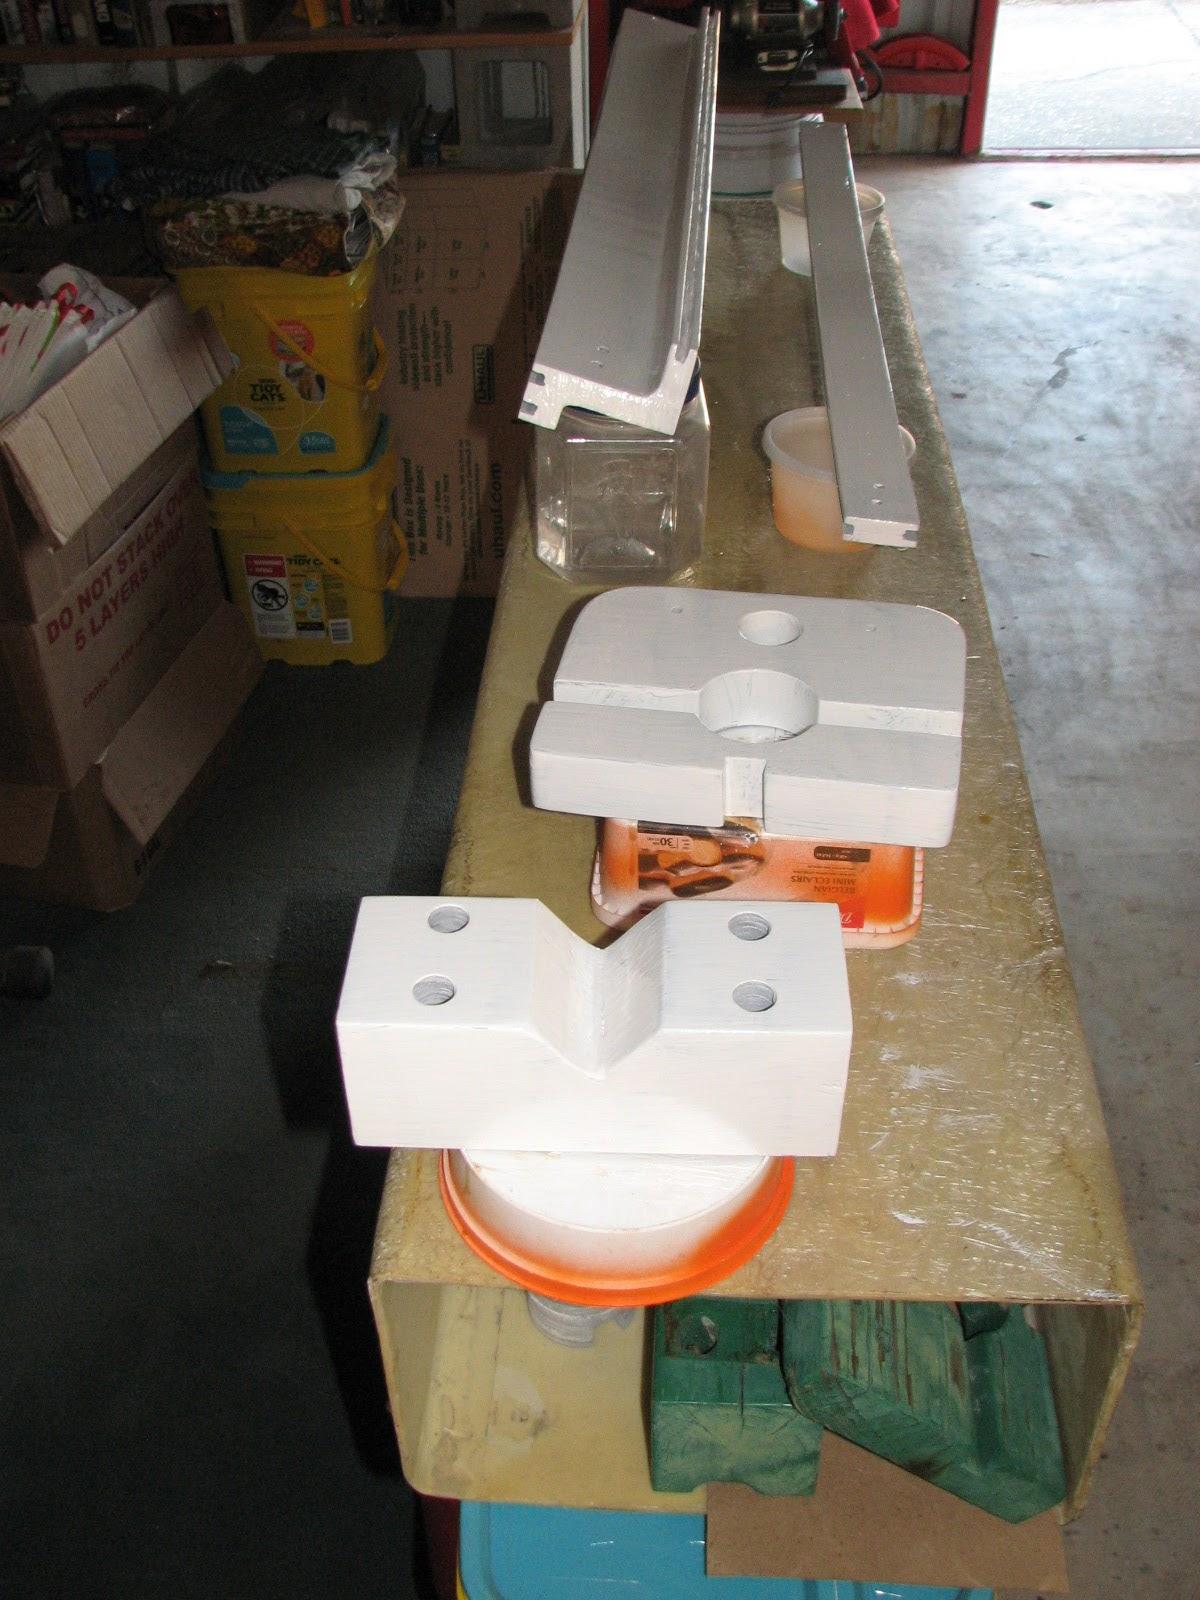
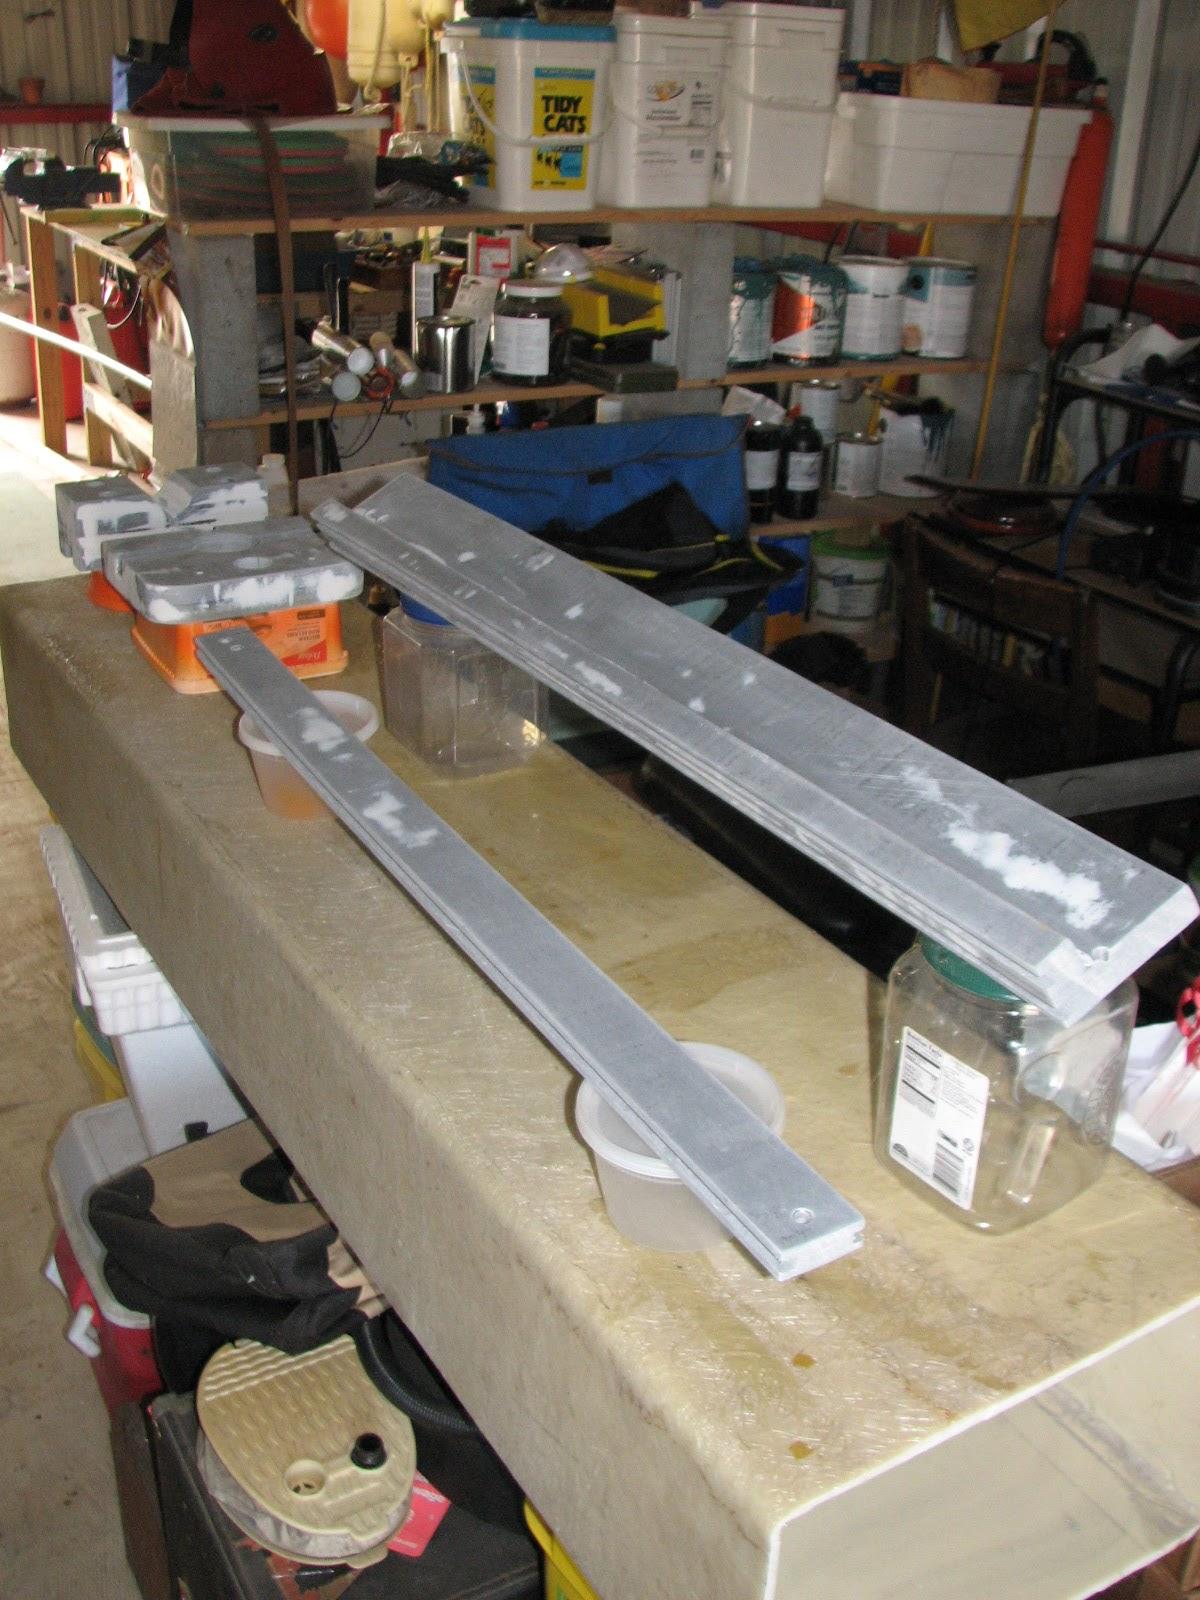
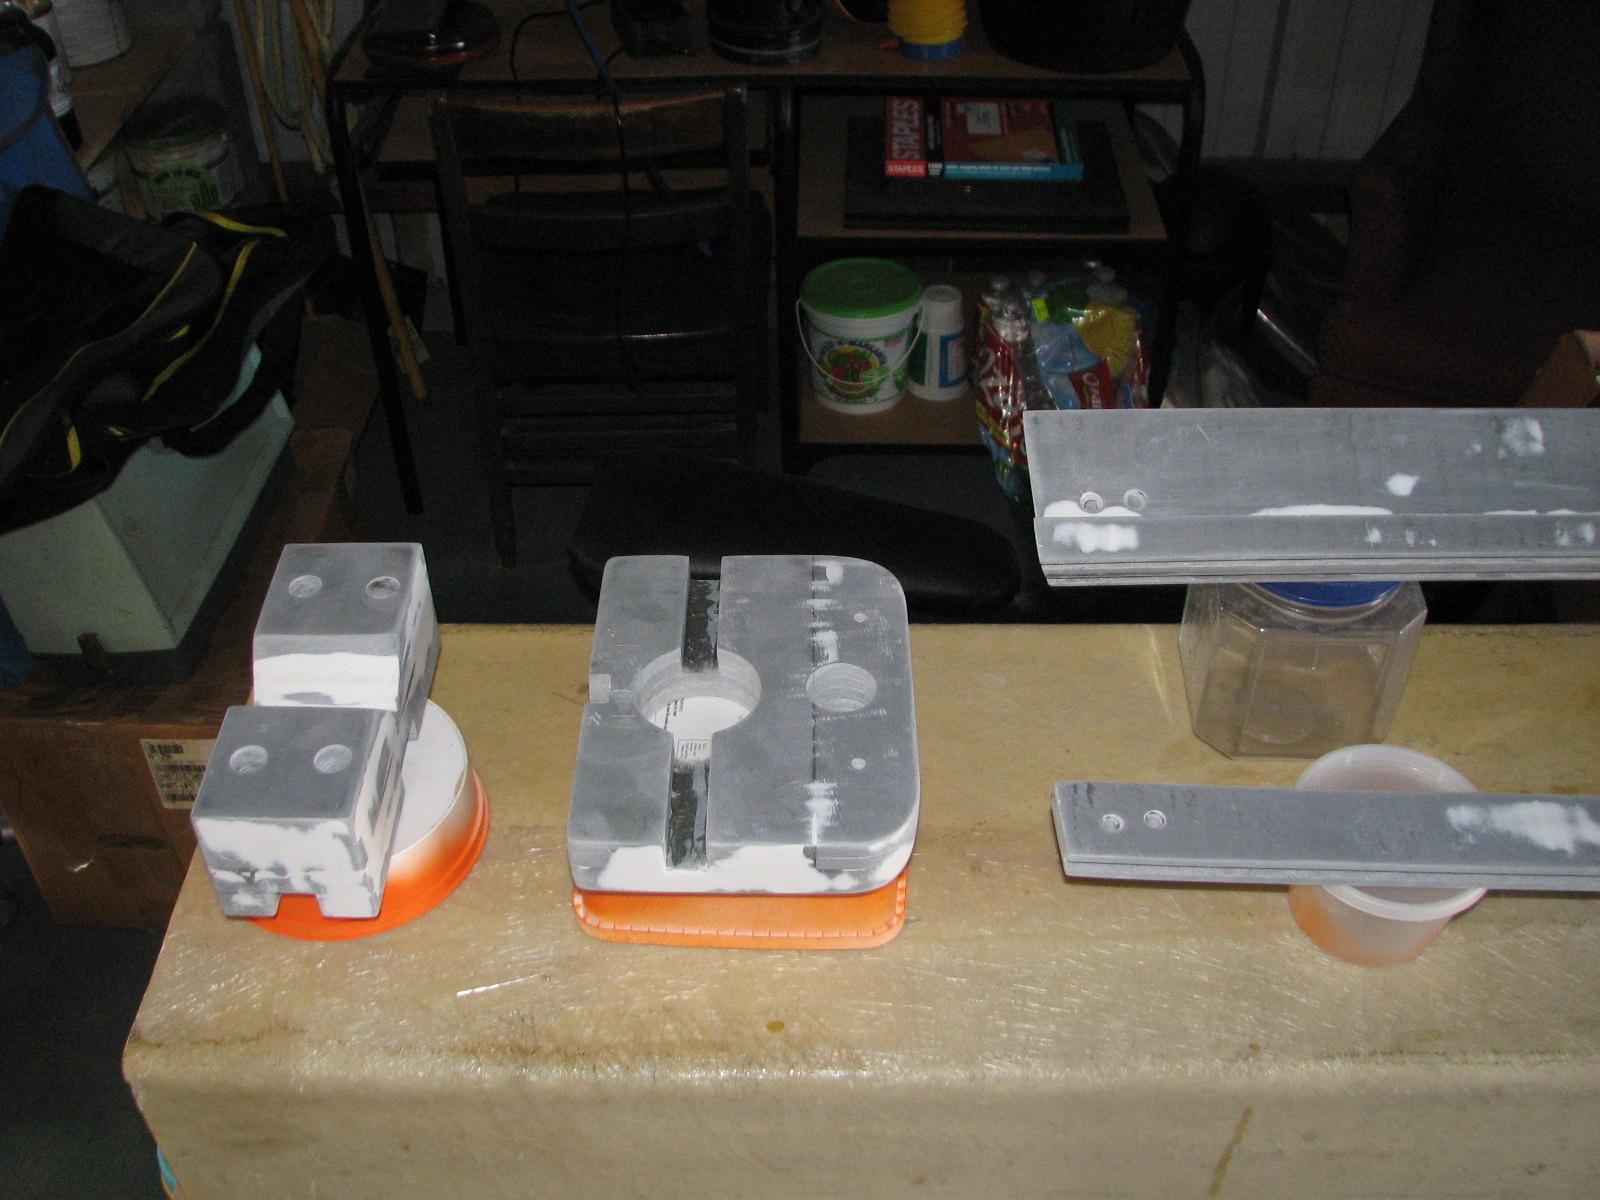
I mixed up a pot of gelcoat
and applied it to all of the hard dodger uprights and the storm
anchor parts. It will have a couple of days to really set up, as I
have to wait for a warm day to apply the first coat of gelcoat
to the opposite side of the uprights.
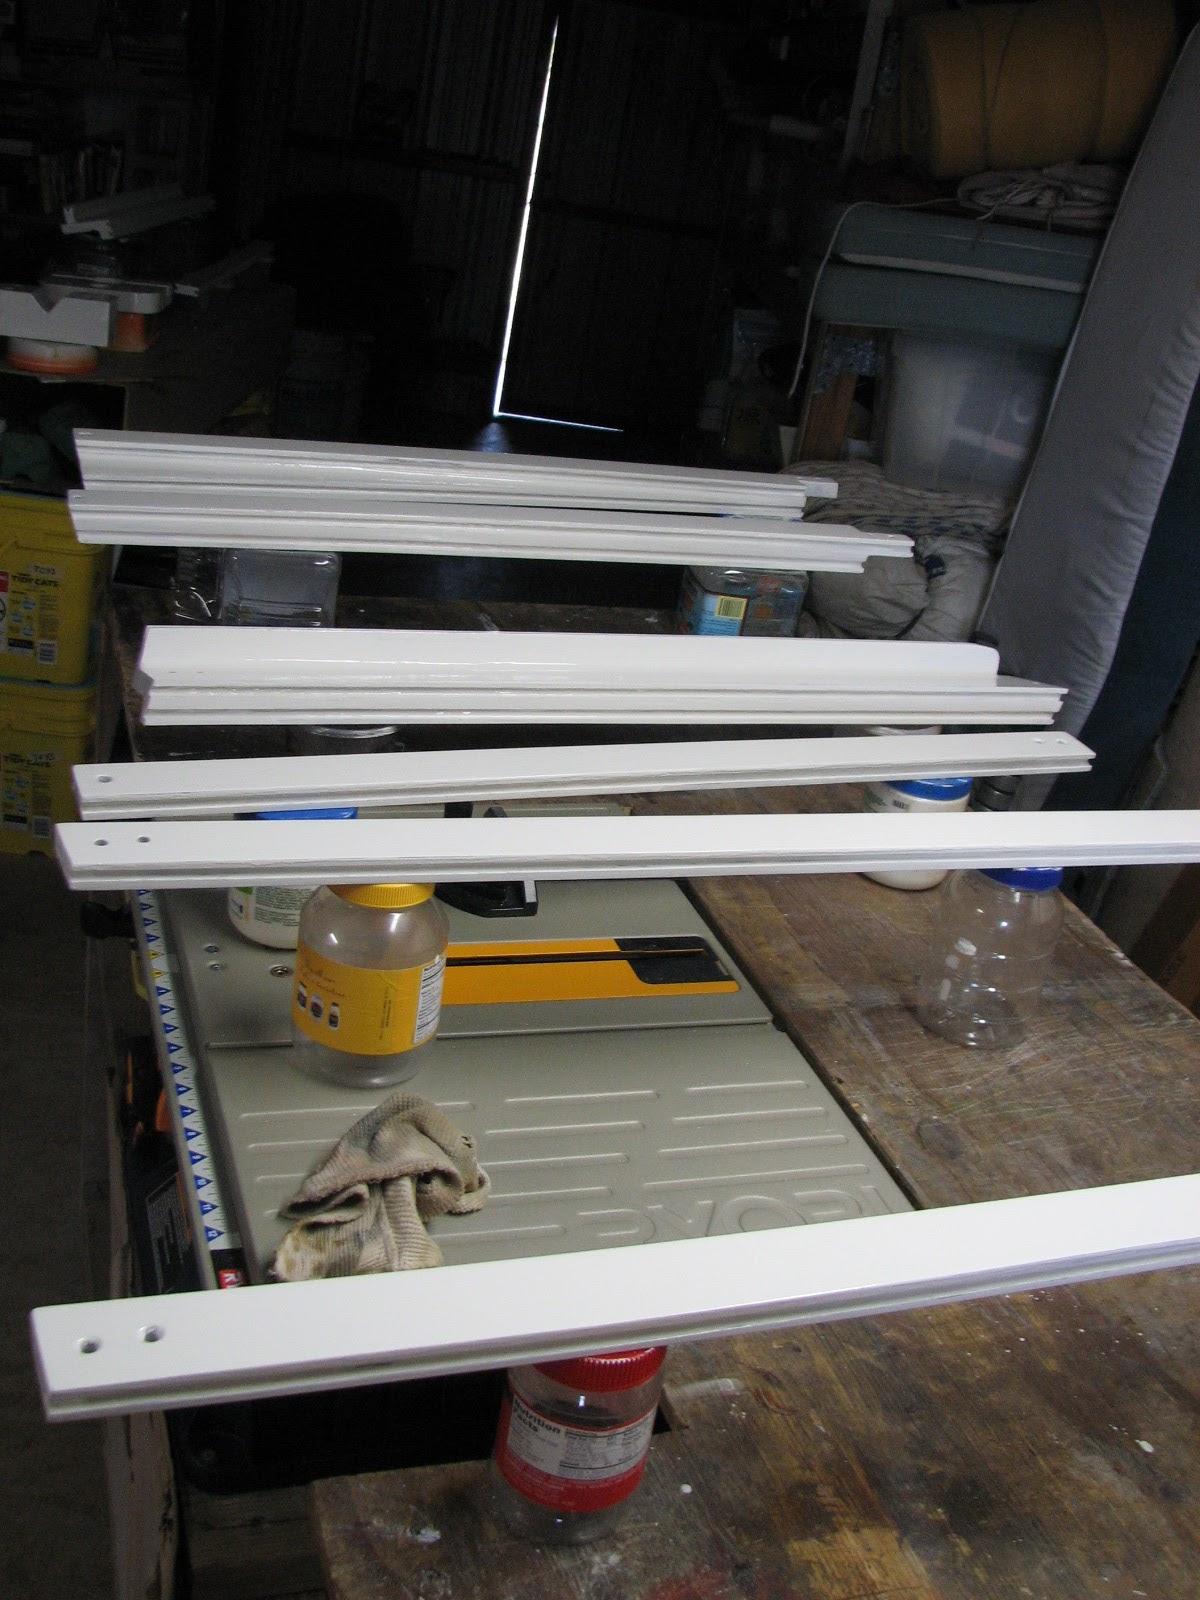
Second Coat Of
Gelcoat
Applied To The Hard Dodger Uprights
Second Coat Of
Gelcoat
Applied To The Hard Dodger Uprights
Second Coat Of
Gelcoat
Applied To The Hard Dodger Uprights
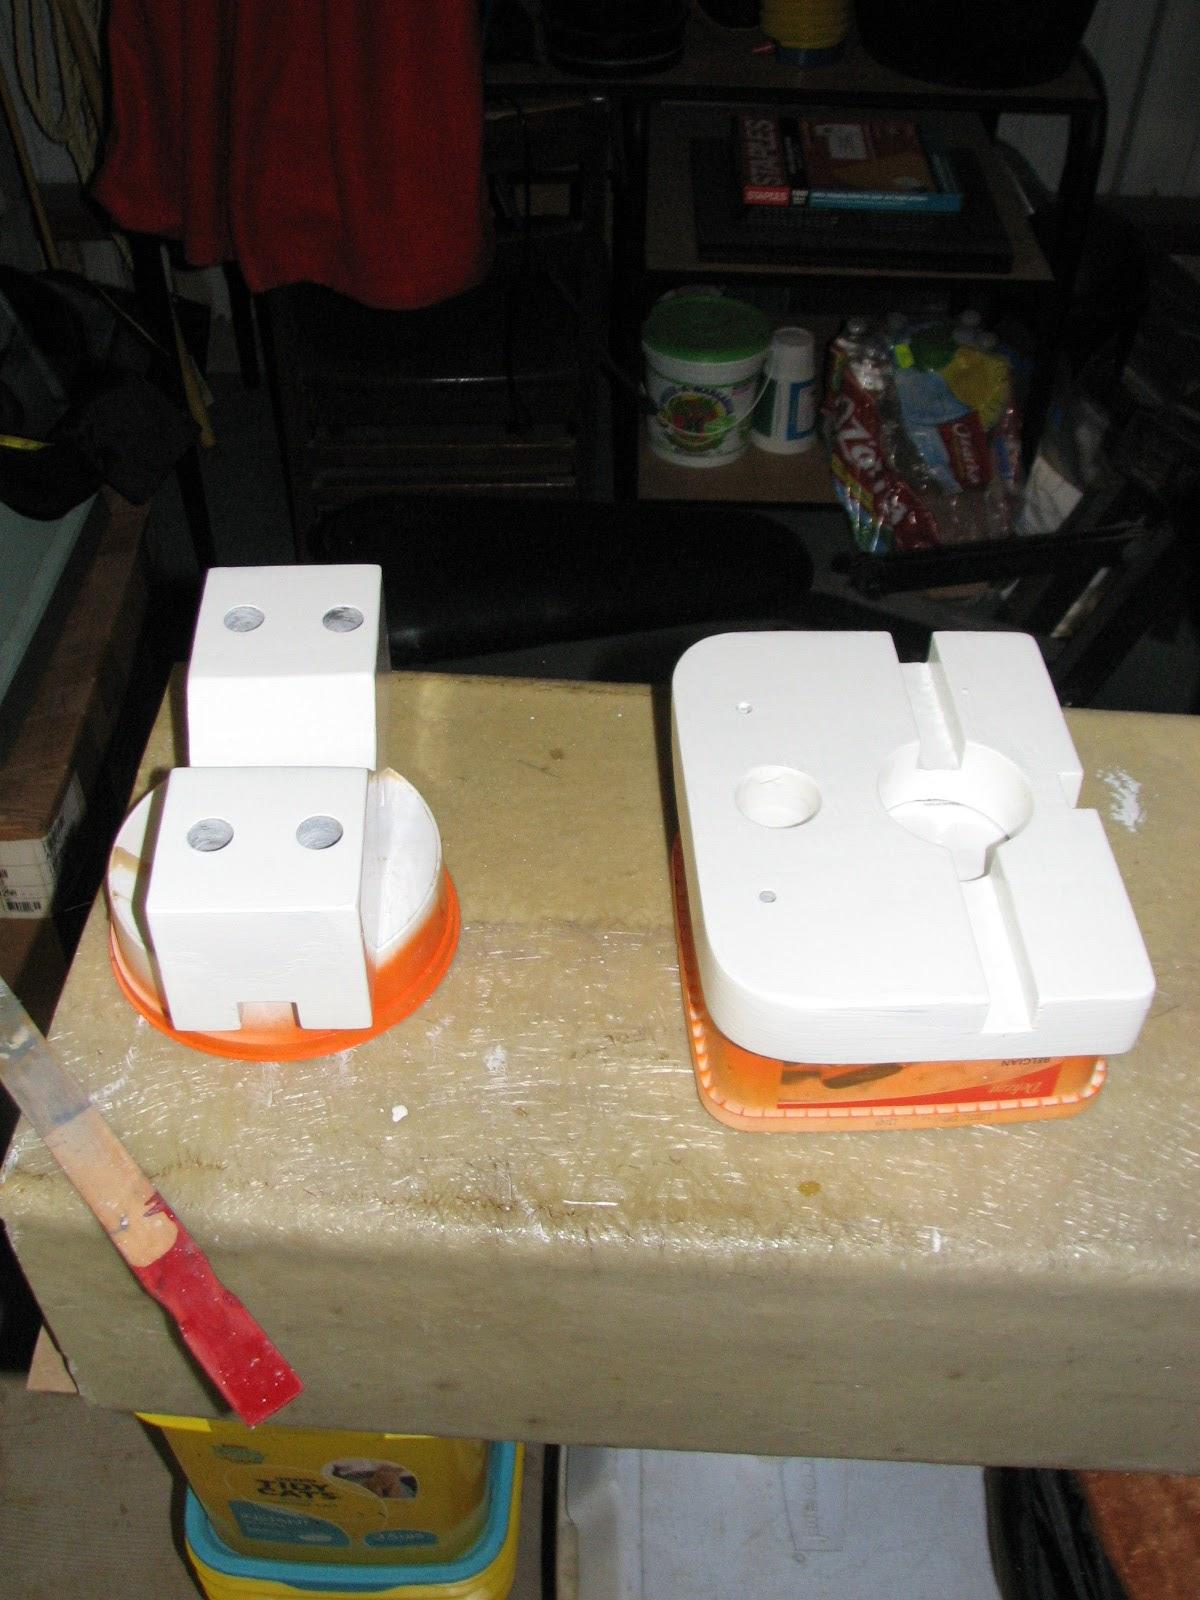
Second Coat Of
Gelcoat
Applied To Storm Anchor Parts
Before going over to the
shop to do the
gelcoating, Kitty and I discussed the plan for the handrails in the
main cabin for long passages. I believe we have come up with a plan
that is functional during a passage, and will be able to be removed
when in port and they are not needed. I will be working on this
project over the next few days.
December 28, Saturday,
2013
Started off the morning with my normal
ritual of getting on the Internet, answering email, and checking the
weather, while making a pot of coffee. When the coffee is started, I
feed our two cats, Jillian
and Jordan, and spend time with them brushing their
beautiful coats.
Did not go over to the shop
this morning because of the weather. It was cold and rainy from the
time I got up until well past noon!
I spent the morning on the computer
again catching up on stuff. At one rain brake, I went out to the
shower
trailer and turned on the heater, put some water in
the on board water tank and then drained the holding tank into the
sewer system.
Came back to DREAM AWAY from that
project with my box of metric tools in hand. I decided today is the
day I want to work on the generator.
Considering what happened when the
generator failed, and it’s inability to start, I decided I was
having a fuel problem. I had Kitty operate the start switch while I
bled the injectors. I had verified I was getting fuel to the injector
pump using the manual pump in the lift pump, but I was not getting
any fuel to the injectors.
No problem, I had a spare rebuilt
injector pump, which I swapped in. When I got the system all back
together, and again verified I had fuel to the injector pump, I tried
bleeding the injectors. Again no fuel!
I tried removing the stop switch from
the injector pump, and then was able to get fuel to the injectors! I
then had Kitty attempt to start the generator, and it started right
up and ran normally. I quickly inserted the stop switch into the
injector pump, and we were able to stop the generator. I installed
the stop switch properly, and we started the generator again. It ran
but not well, just like with the original problem. I surmised the
problem was with the stop switch partially actuating, not allowing
the injector pump to deliver the proper amount of fuel to the
injectors.
I have a spare stop switch, so I
installed it. By the way this stop switch is very difficult to
install because of it’s location. I could slide the generator out
on it’s slides, but that is very time consuming. It took about 20
minutes to get the stop switch installed into the injector pump. When
I got it installed, I had Kitty start the generator. It started right
up, but still was running bad.
So new injector pump, no change, new
stop switch, no change. The only remaining item the the circuit in
the stop relay. I have a spare, but by now it was 1730, and would
take another 45 minutes just to get the spares put away, the
generator buttoned up and the garage put back into shape.
I will continue with the generator on
the next bad weather day.
December 27, Friday, 2013
Started off the morning with my normal
ritual of getting on the Internet, answering email, and checking the
weather, while making a pot of coffee. When the coffee is started, I
feed our two cats, Jillian
and Jordan, and spend time with them brushing their
beautiful coats.
Went over to the shop,
and got back into sanding and polishing the stainless steel upper
support for the hard dodger. Sanding and polishing stainless steel is
a time consuming process, especially on a round piece of pipe.
I start out with a 120 grit flap disc
to get most of the major imperfections out of the metal. After that I
start sanding with 80 grit, then 100 grit, 120 grit, 220 grit and
finish off with 320 grit sandpaper. On stainless steel I really want
to look close to perfect, I continue with 400 grit, 600 grit, and
finish off with 800 grit sand paper. I am not going to that length
with this project!
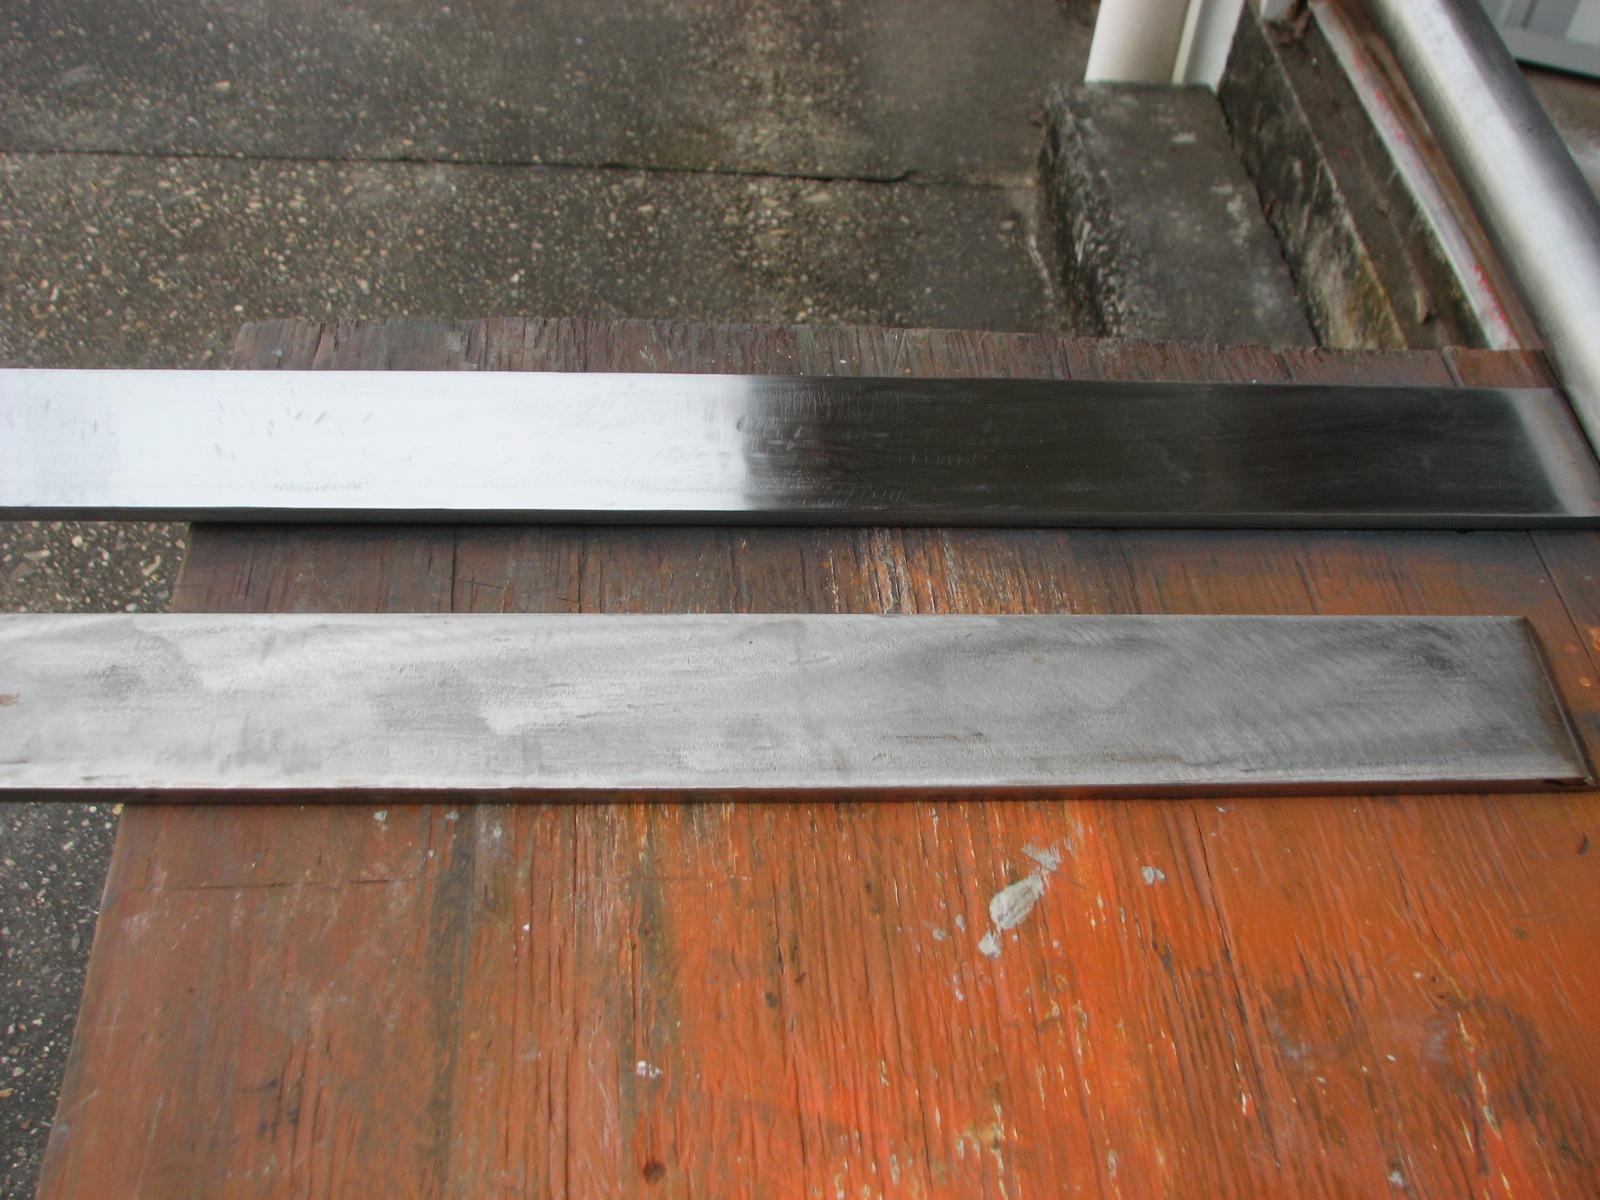
Today while sanding, I took a picture
after using each grit of sandpaper, but the difference was hard to
discern. The pictures you will see here are of one when I started,
and one when I finished. I will also show a picture of a piece of
stainless steel I started with beside the finished piece of stainless
steel. With that you can really see the difference.
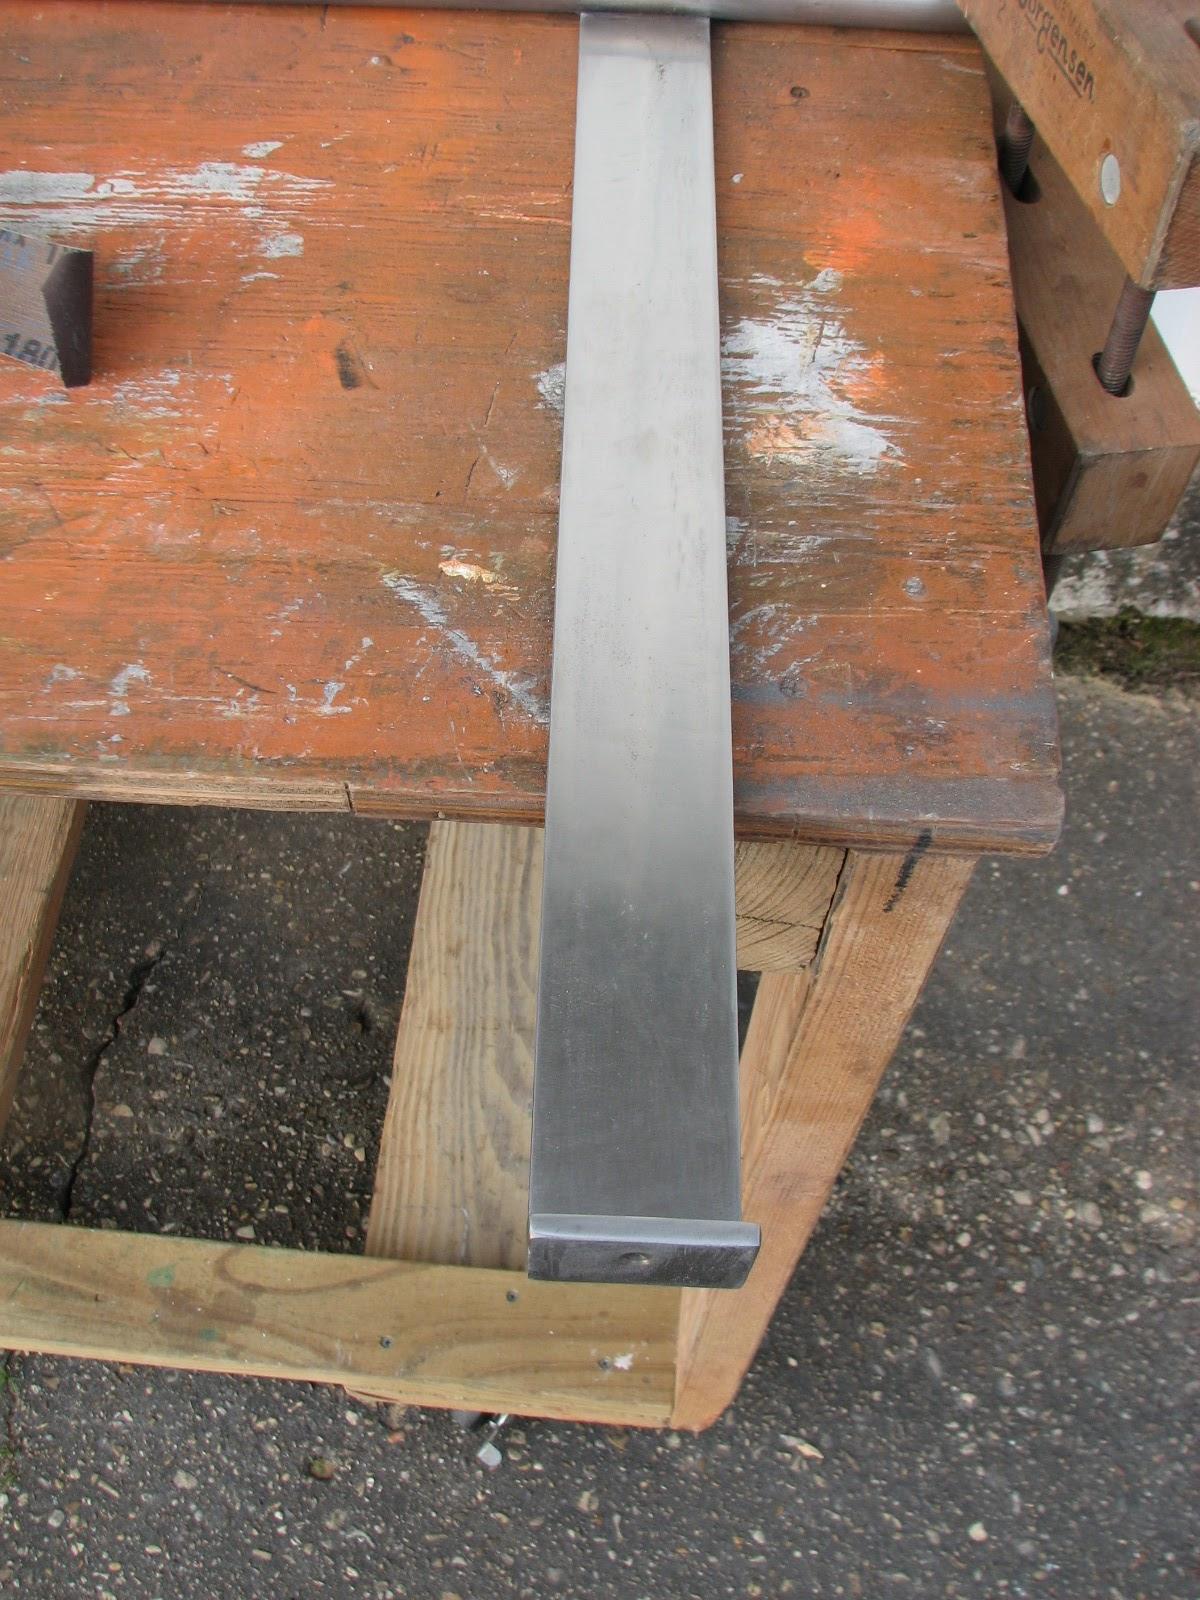
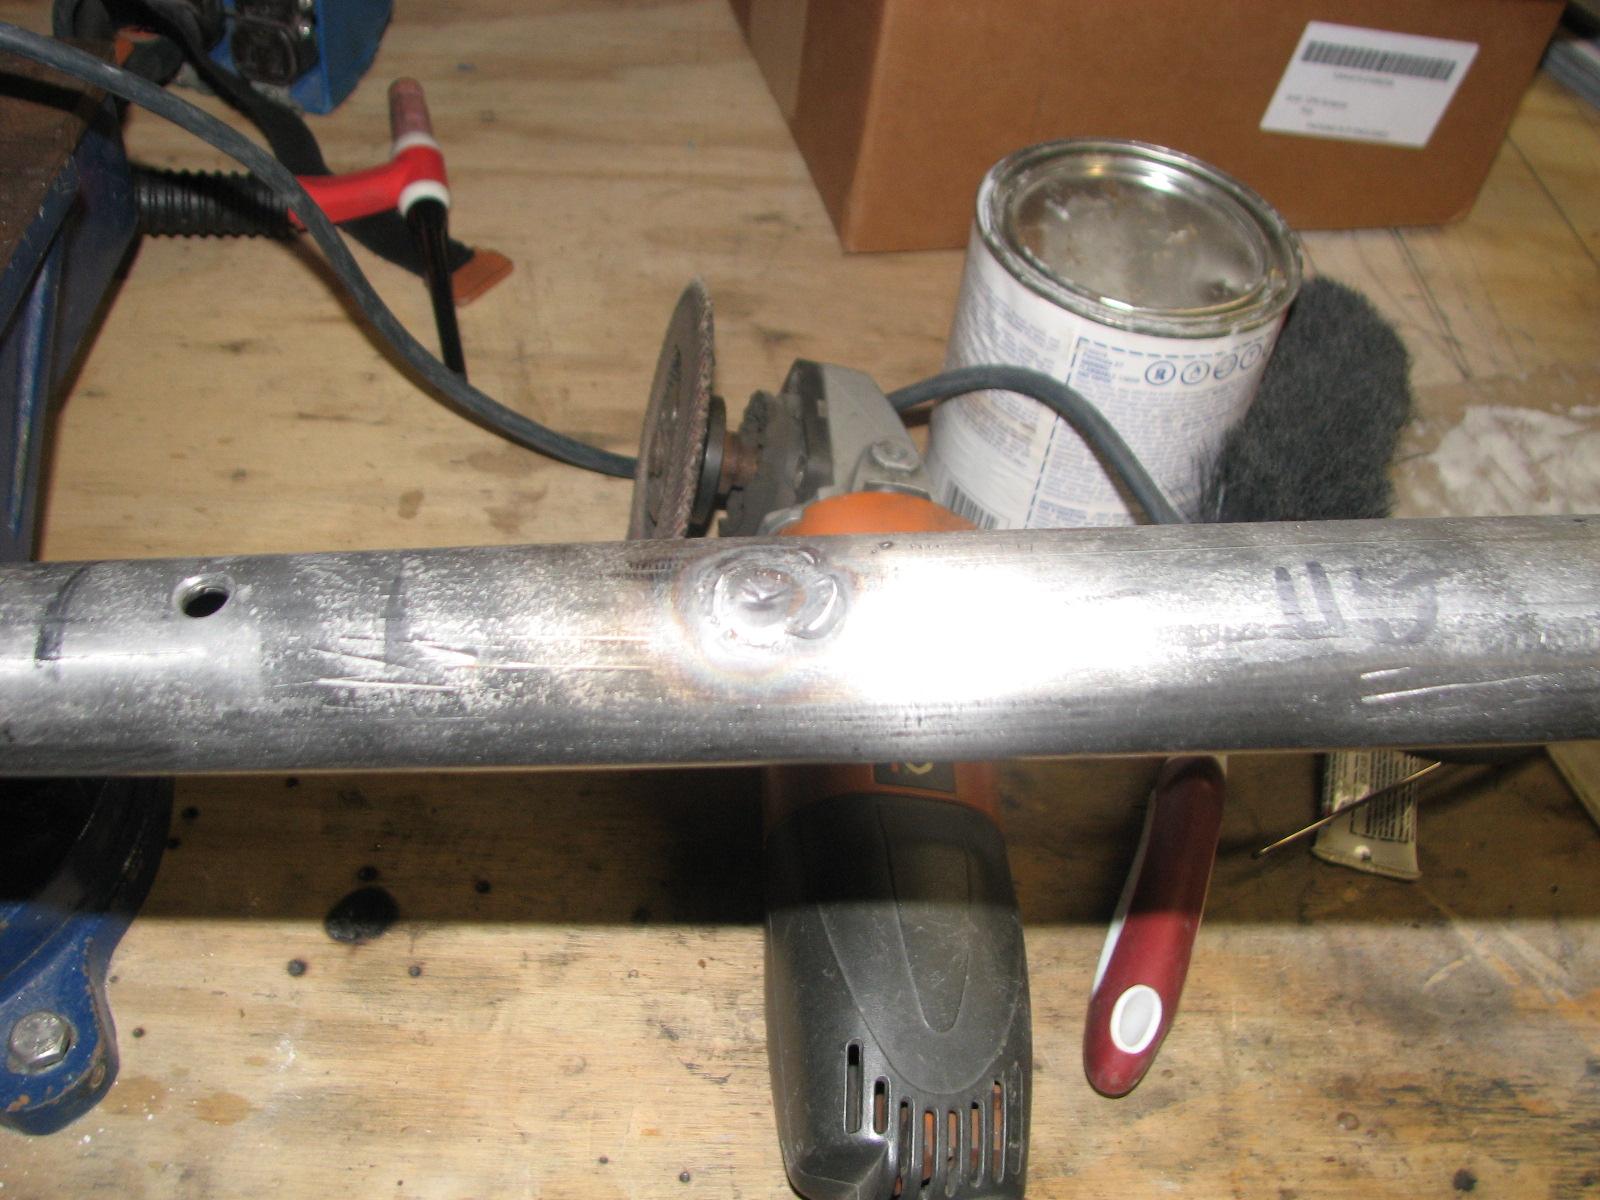
Stainless Steel After Sanding With 80
Grit Sandpaper
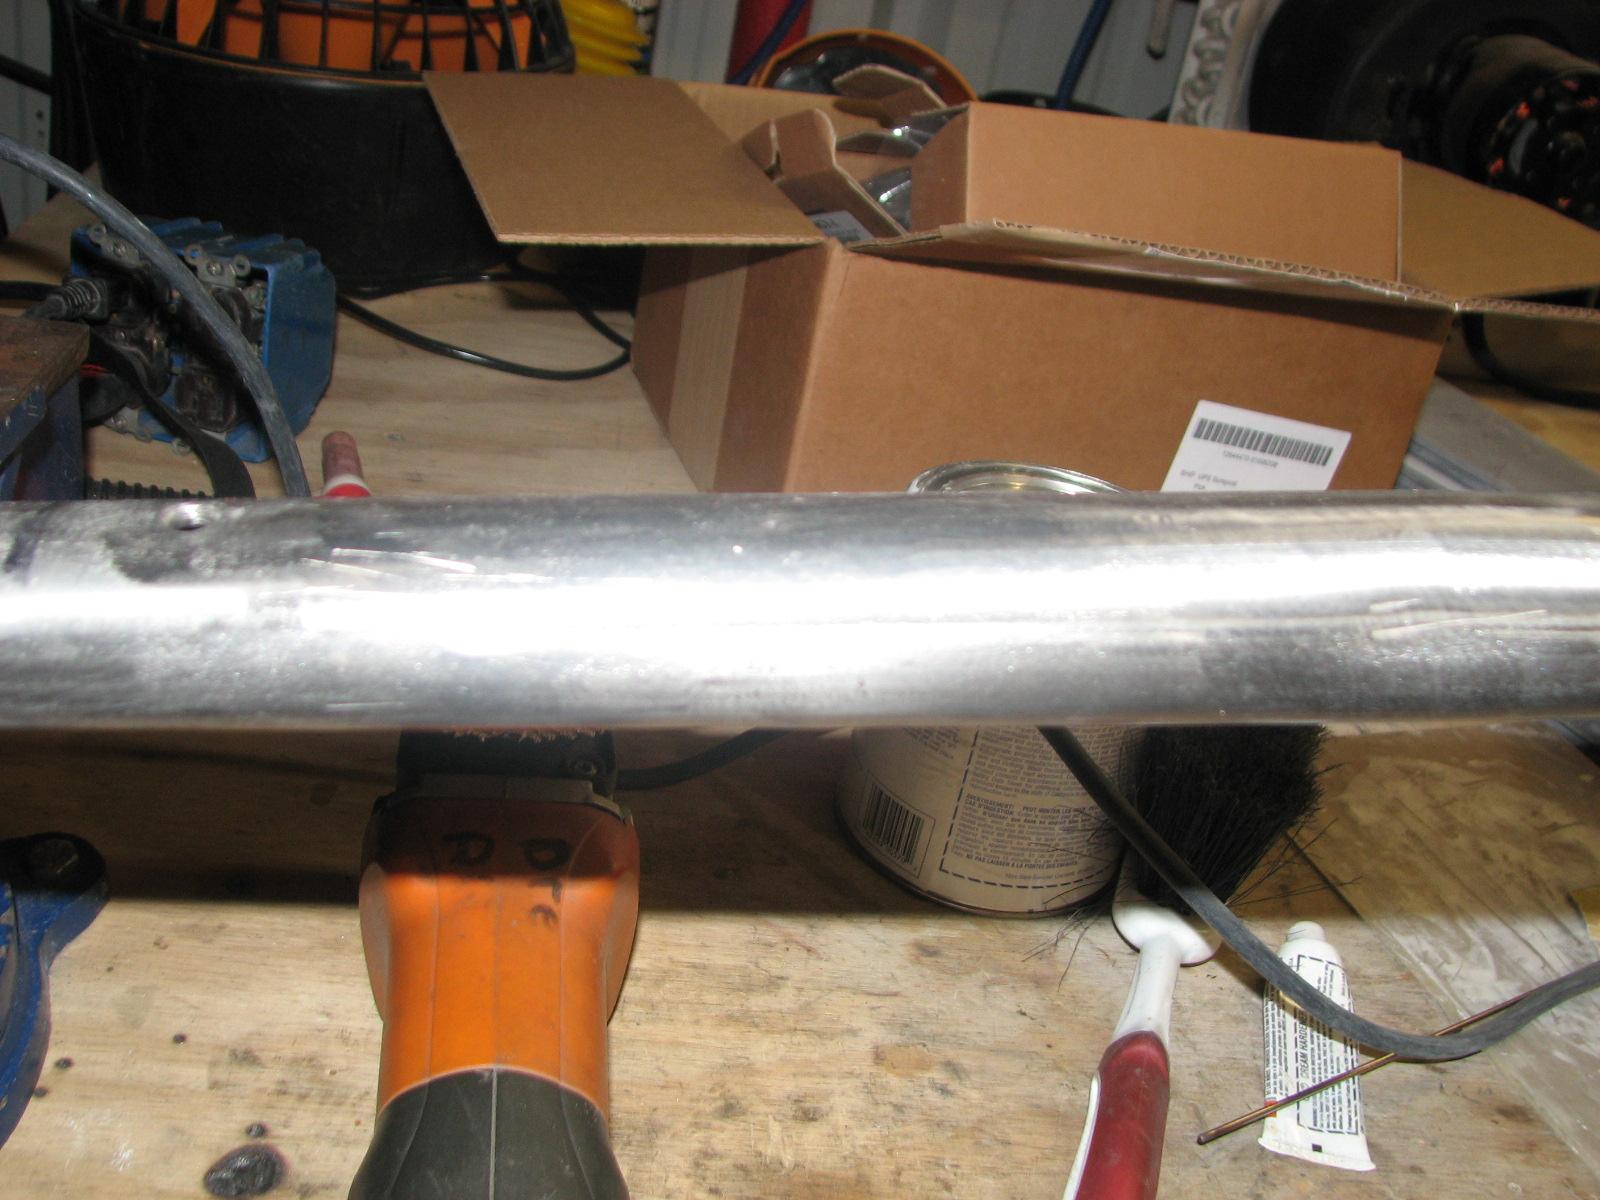
Stainless Steel After Sanding With 320
Grit Sandpaper
Original Piece On The Bottom, Polished
Piece On Top
I finished sanding the three pieces of
flat bar and some of the pipe, but I still had more to do on the
pipe.
After breakfast, I pressure washed the
underside of the
Black Beast.
Since
I had done the repair on the power steering hose I wanted to be able
to monitor the repair with a clean underside.
Kitty drove into New Iberia to drop off
the laundry, and I took the pressure washer out to Pier “C”, and
did some cleaning of pilings and started to work on getting all of
Pier “C” cleaned off before the spring!
When I finished the pressure washing, I
took the pressure washer and fuel can and walked back to the shop.
It was just a bit too cold to apply the finishing
putty to the lower base of the hard dodger on DREAM
AWAY. It was also too cold to attempt another coat of gelcoat
on the hard dodger uprights in the shop.
I got to work sanding and polishing the
upper stainless steel base for the hard dodger. I was able to finish
the polishing, so that piece is ready for installation.
December 26, Thursday,
2013
Started off the morning with my normal
ritual of getting on the Internet, answering email, and checking the
weather, while making a pot of coffee. When the coffee is started, I
feed our two cats, Jillian
and Jordan, and spend time with them brushing their
beautiful coats.
Went over to the shop,
and I am happy to report the gelcoat
I had applied on the hard dodger uprights, Tuesday had kicked off!
This application of gelcoat
will have to be sanded with 220 grit sandpaper, and a second coat
applied. The same thing will have to be done to the bottom half of
the uprights, as I can only do a half at a time.
Somewhat warm sunny day, so I started
in on sanding and polishing the upper stainless steel base for the
hard dodger. The three additional stainless steel supports I had
welded to the base needed to be sanded and polished.
Base Outside On Table Preparing For
Sanding And Polishing
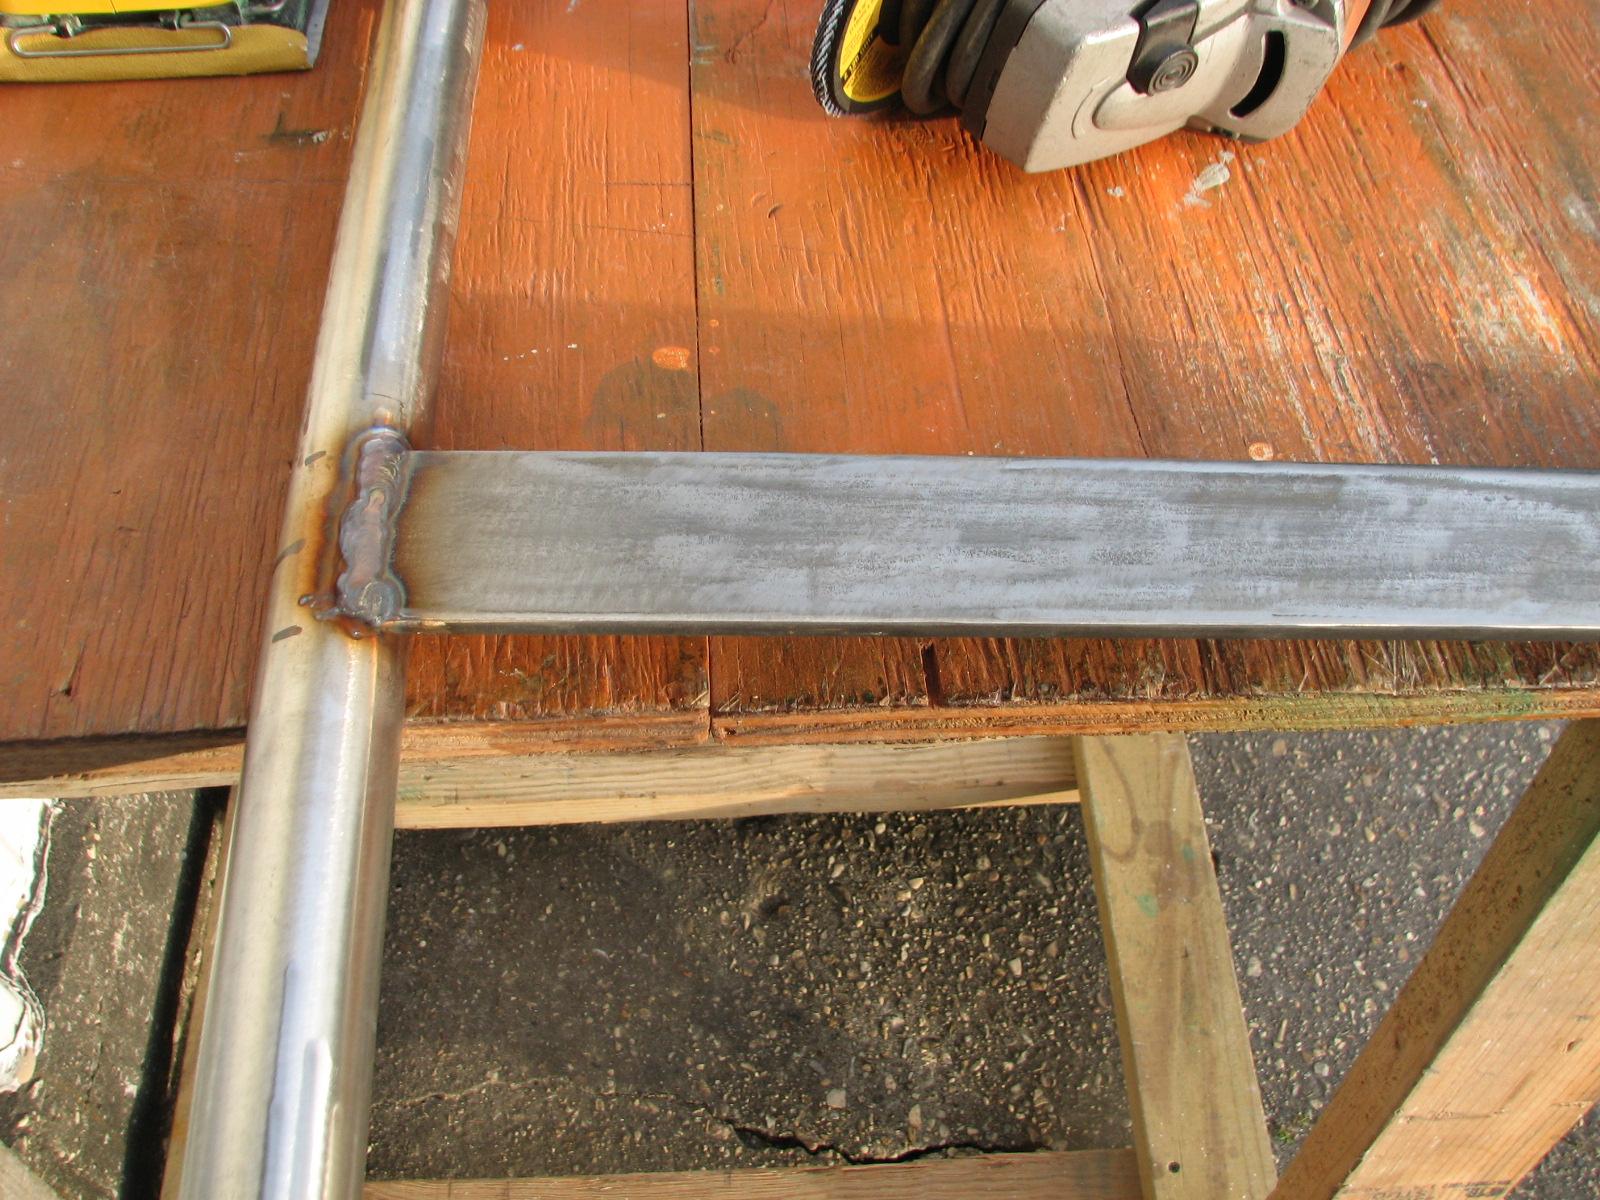
Welded Support On Pipe
Polished Support
Kitty called and was making breakfast,
so I left the shop
and went back to DREAM AWAY. After breakfast, Kitty went out to do
some errands. It is a warm sunny day ( relatively speaking) so I
walked over to the shop
and got all of my sanders and brought them all back to DREAM AWAY.
I got busy and sanded down all of the
finishing
putty I had applied to the hard dodger base. The wind
was out of the north, so most of the dust was blown to the bow and
not back into the cockpit.
After I did all of the sanding with the
power sander and hand sanding, I know I will need to make another
application of the finishing
putty. I hope the weather will permit the application
tomorrow.
I put all of the sanders and sandpaper
back into the milk crate on the cart, and then hosed down DREAM AWAY
to get all of the dust washed off. I took all of the sanders back to
the shop
and cleaned them all off with high pressure air. I blew all of the
dust off of me, and then headed back to DREAM AWAY for a welcome
shower.
December 25, Wednesday,
2013
Started off the morning with my normal
ritual of getting on the Internet, answering email, and checking the
weather, while making a pot of coffee. When the coffee is started, I
feed our two cats, Jillian
and Jordan, and spend time with them brushing their
beautiful coats.
Spent the day enjoying the holiday,
exchanging presents and relaxing. I caught up on some scanning, and
Kitty did some baking.
Went to a friends house for Christmas
dinner, which was wonderful. Stayed and watched the new Lone Ranger
film. After the film they loaded us up with left overs, and we came
back to DREAM AWAY.
December 24, Tuesday, 2013
Started off the morning with my normal
ritual of getting on the Internet, answering email, and checking the
weather, while making a pot of coffee. When the coffee is started, I
feed our two cats, Jillian
and Jordan, and spend time with them brushing their
beautiful coats.
I went over to the
shop
and started in again on the stainless steel pieces I am attaching to
the stainless steel upper base for the hard dodger. Let me say today
is a beautiful day, but the temperature was 34 degrees when I first
came to the shop.
Yesterday I had finished the first
piece of stainless steel, and had cut the second piece. Now I
finished the final fit on the second piece.
Fitting Finished On First Piece
Fitting Finished On Second Piece
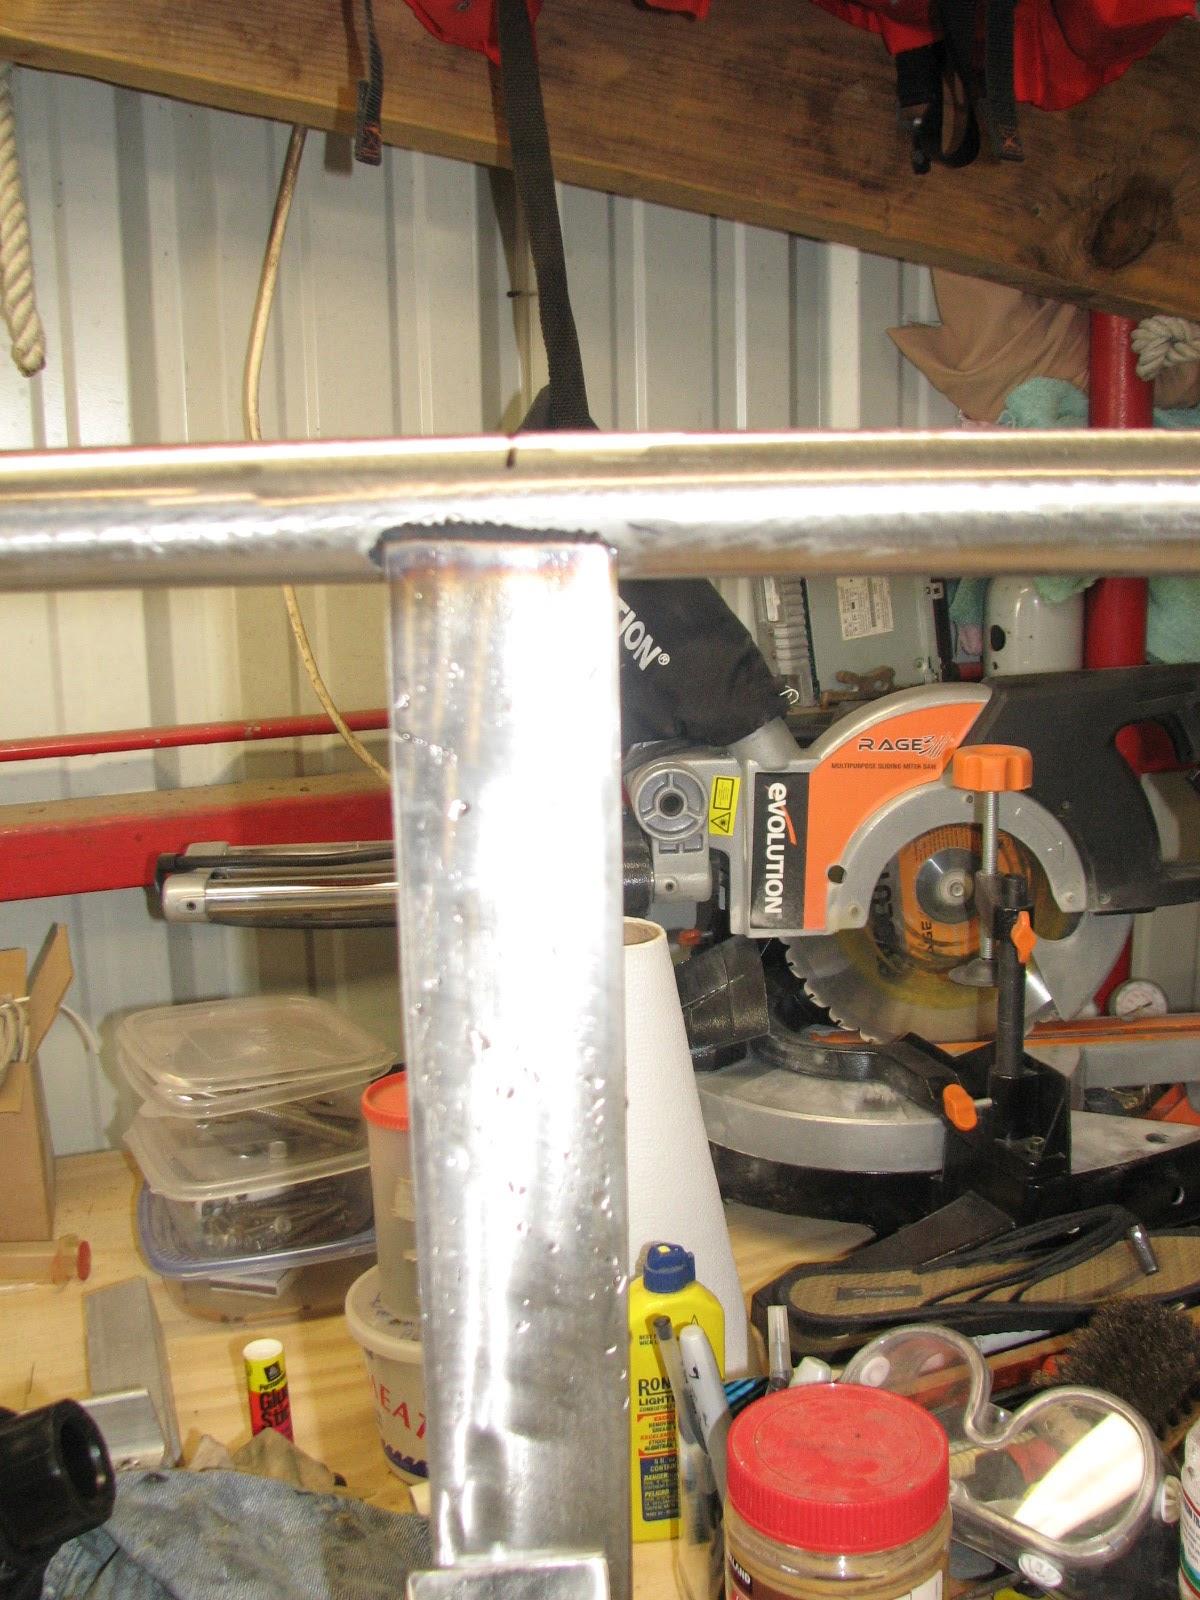
I then set up and measured the third
stainless steel piece. I made the cut with the chop
saw, and this time the cut was almost perfect. All I
had to do was some minor trimming, and the piece fit perfectly.
Measuring Third Piece Of Stainless
Steel
Now that all three pieces of stainless
steel were cut and fitted, I was ready to tack weld the pieces to the
stainless steel base pipe.
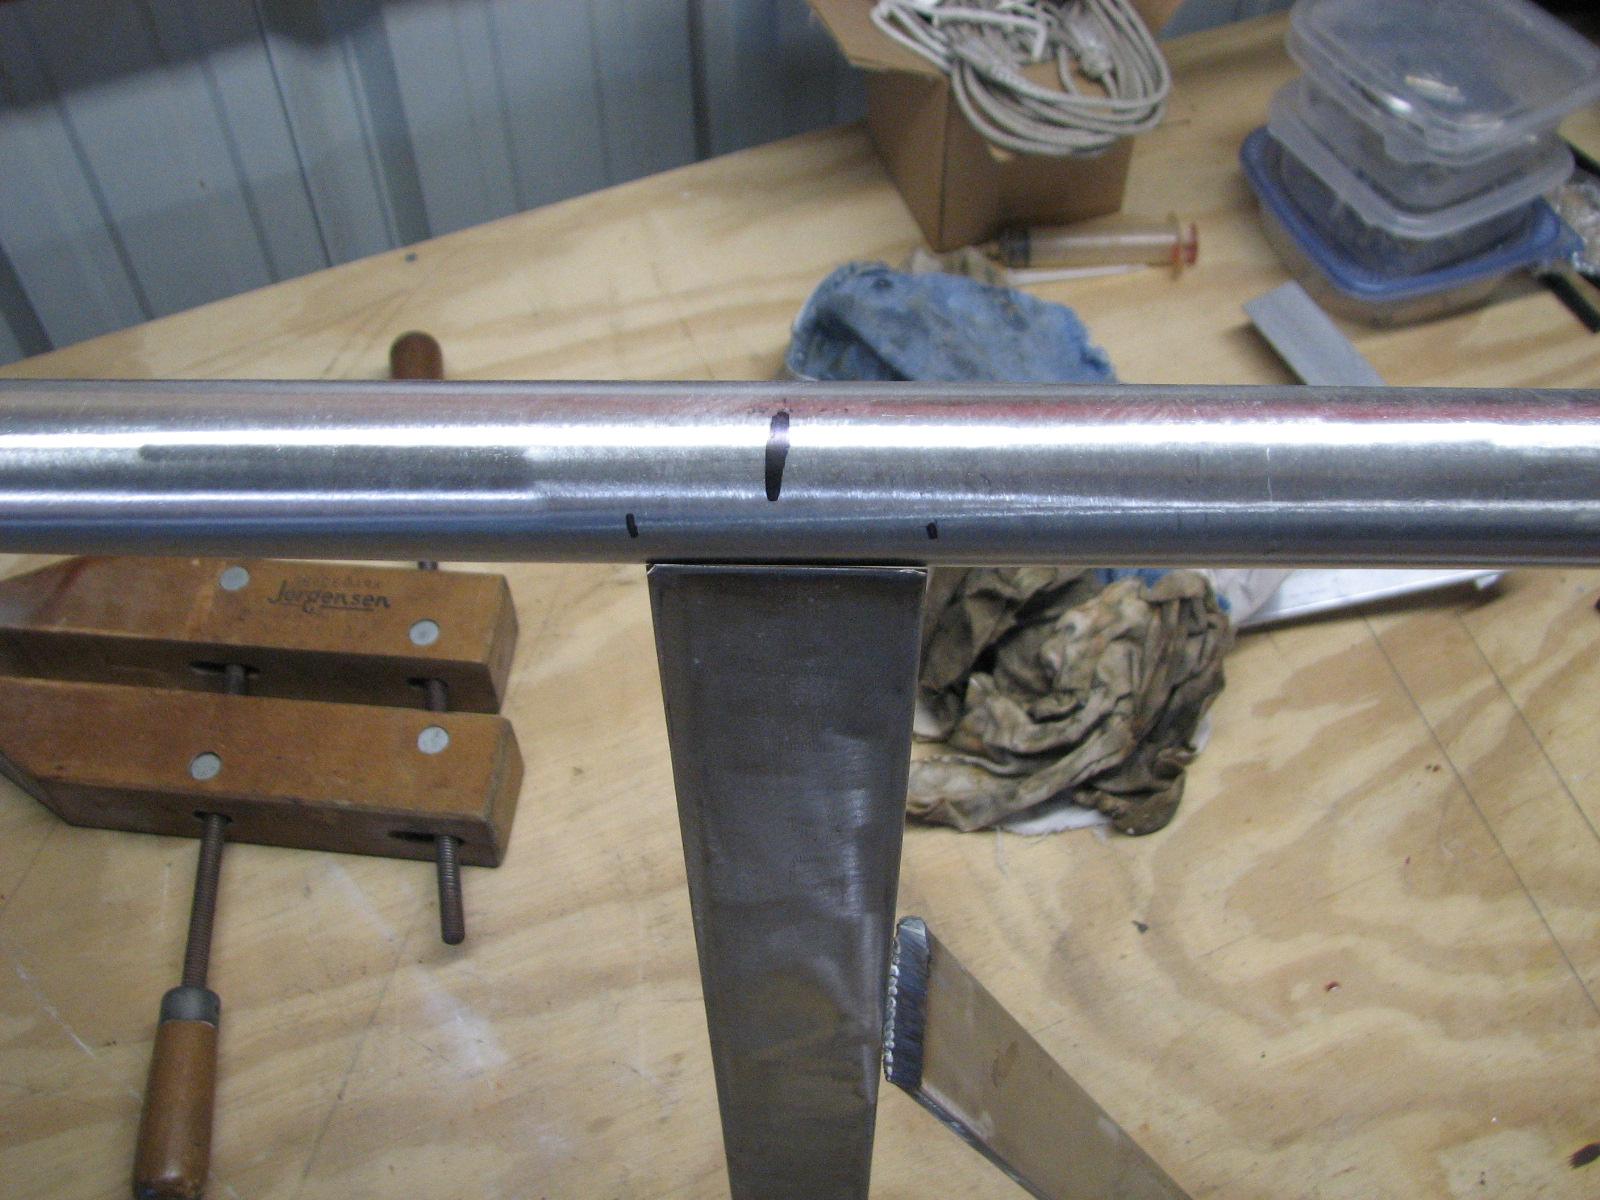
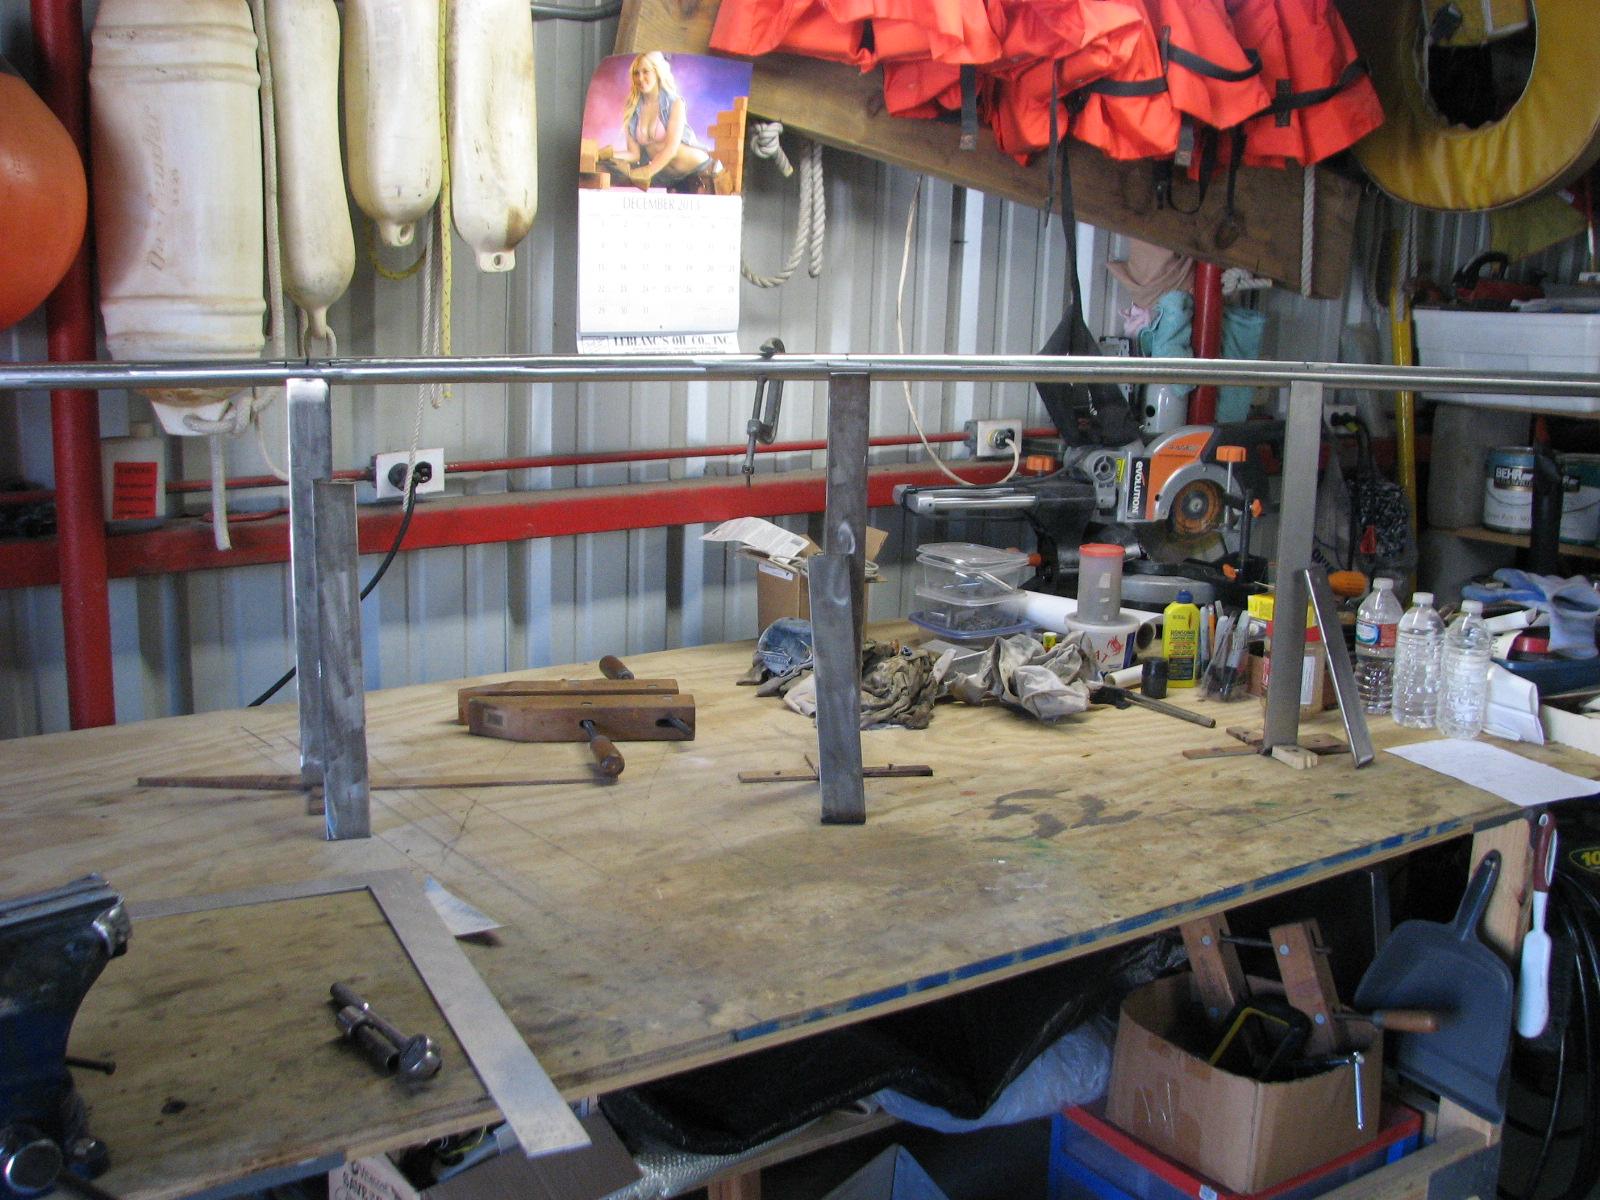
Three Stainless Steel Pieces Fitted To
Base Pipe
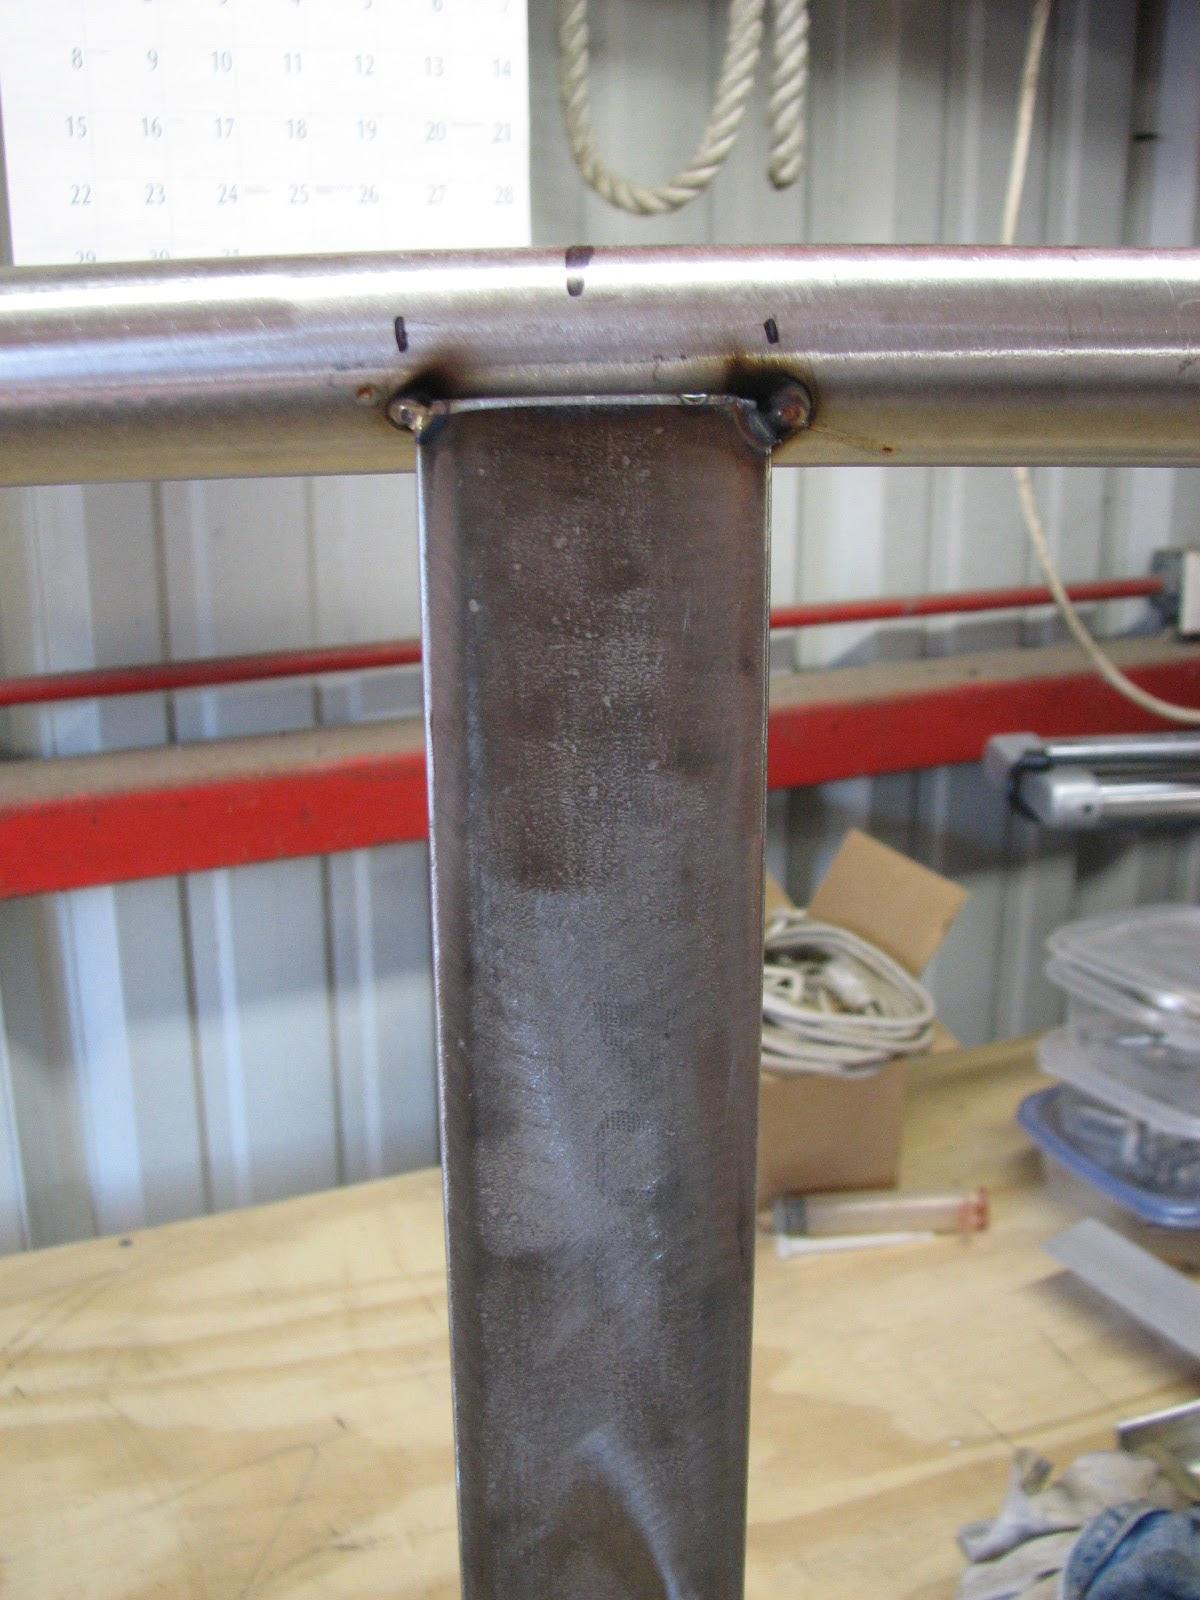
I set up the welder and made the tack
weld on all three pieces.
Tack Weld On One Piece Of Stainless
Steel
During the tack weld process, I
realized the position of the stainless steel base was very awkward to
do a very good job of welding. To actually complete the welding of
the pieces, I will have to reposition the base on the workbench.
Kitty called and said she was making a
nice hot breakfast, so I left the shop
and headed back to DREAM AWAY for hot coffee and breakfast.
After breakfast, I went back to the
shop,
and it was a lot warmer. First item was to make some repairs to the
Black
Beast. I had noticed a drip of oil at the front of the
engine, so it needed to be investigated. As it turned out, one of the
power steering hoses was leaking, so I tightened up the hose clamps
holding it together. That should fix the problem, but I will have to
pressure the underside of the truck.
Next item was to gelcoat
the fiberglass
hard dodger uprights and the storm anchor parts. The temperature was
in the mid 50’s, and it was bright and sunny, so I decided to give
it a go. I mixed up a batch of the gelcoat
and applied it to the uprights. Since I was at the lower end of the
temperature scale, I added a bit more MEKP
catalyst, but did not want to go overboard. We will see tomorrow if
the gelcoat
sets up overnight.
First Coat Of Gelcoat
Applied To The Hard Dodger Uprights
First Coat Of Gelcoat
Applied To The Hard Dodger Uprights
First Coat Of Gelcoat
Applied To The Hard Dodger Uprights
First Coat Of Gelcoat
Applied To Storm Anchor Parts
If the gelcoat
does not set up, I will have to mix up a good hot batch to apply and
complete the chemical process.
Now it was back to the stainless steel
pieces to be welded onto the hard dodger upper base. I moved the
stainless steel upper base on the workbench to make the welding
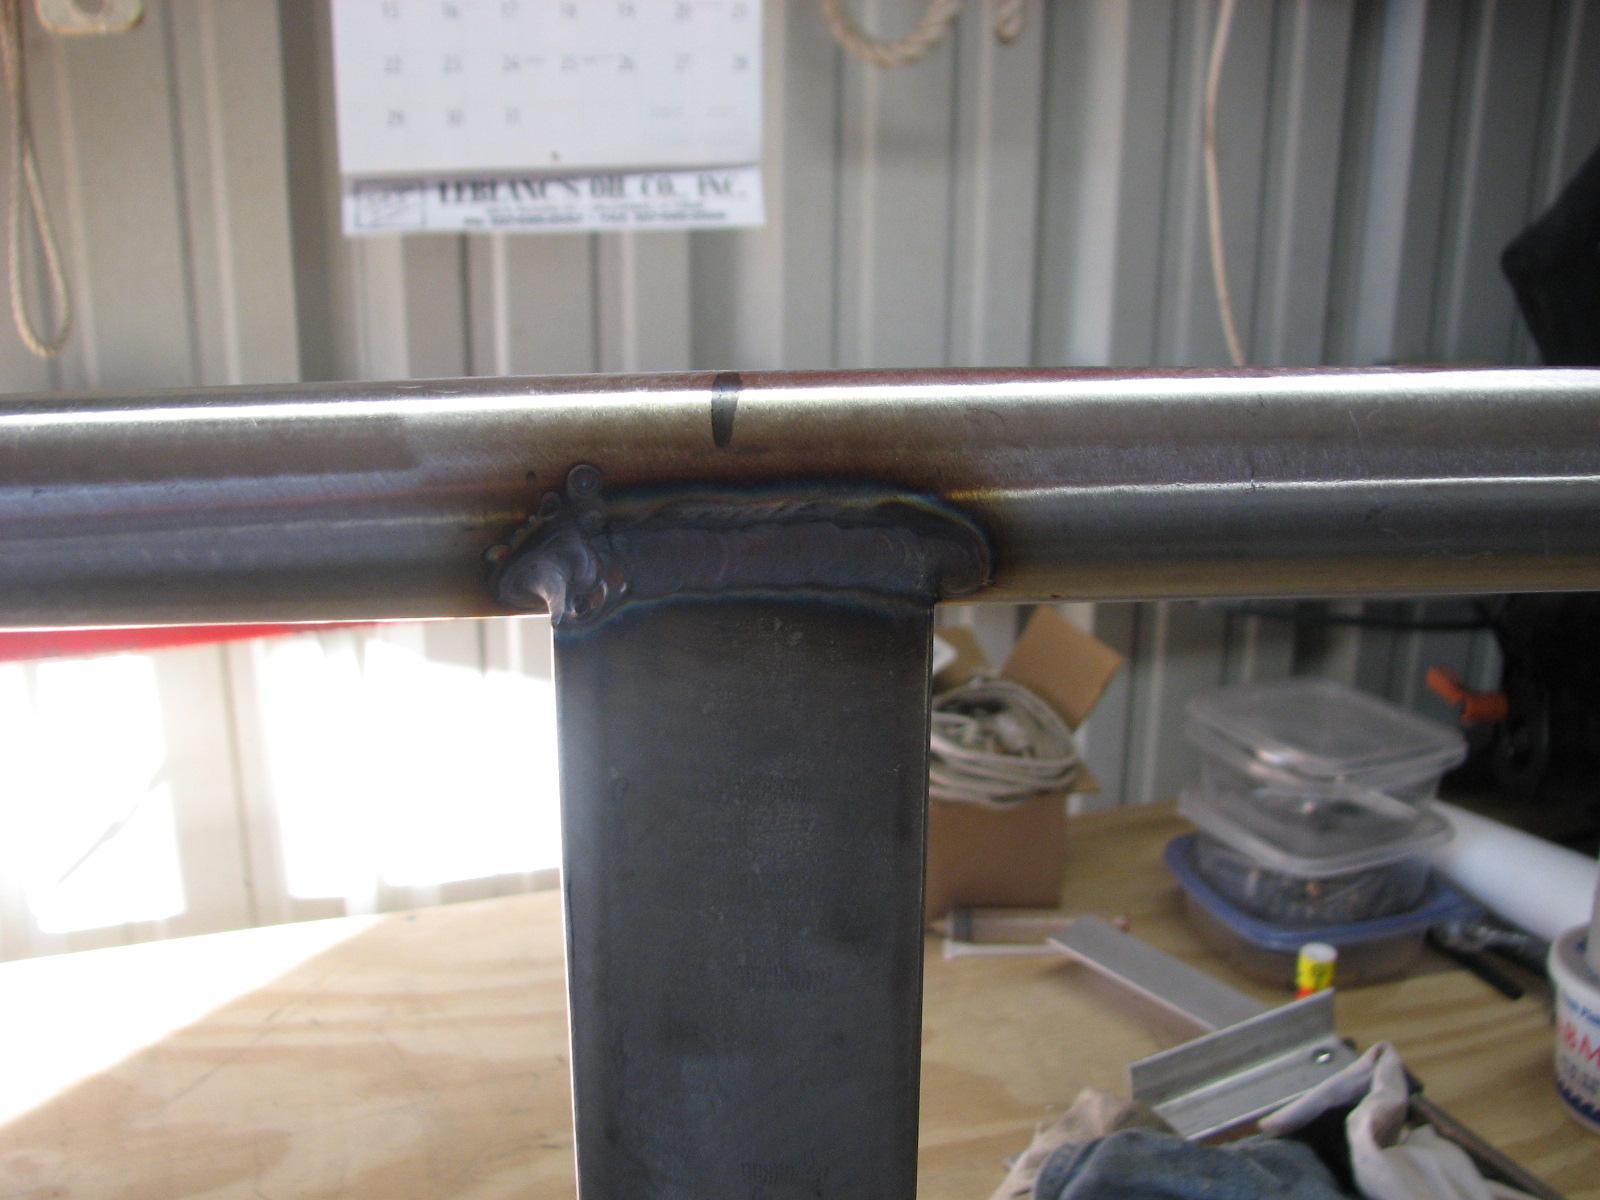
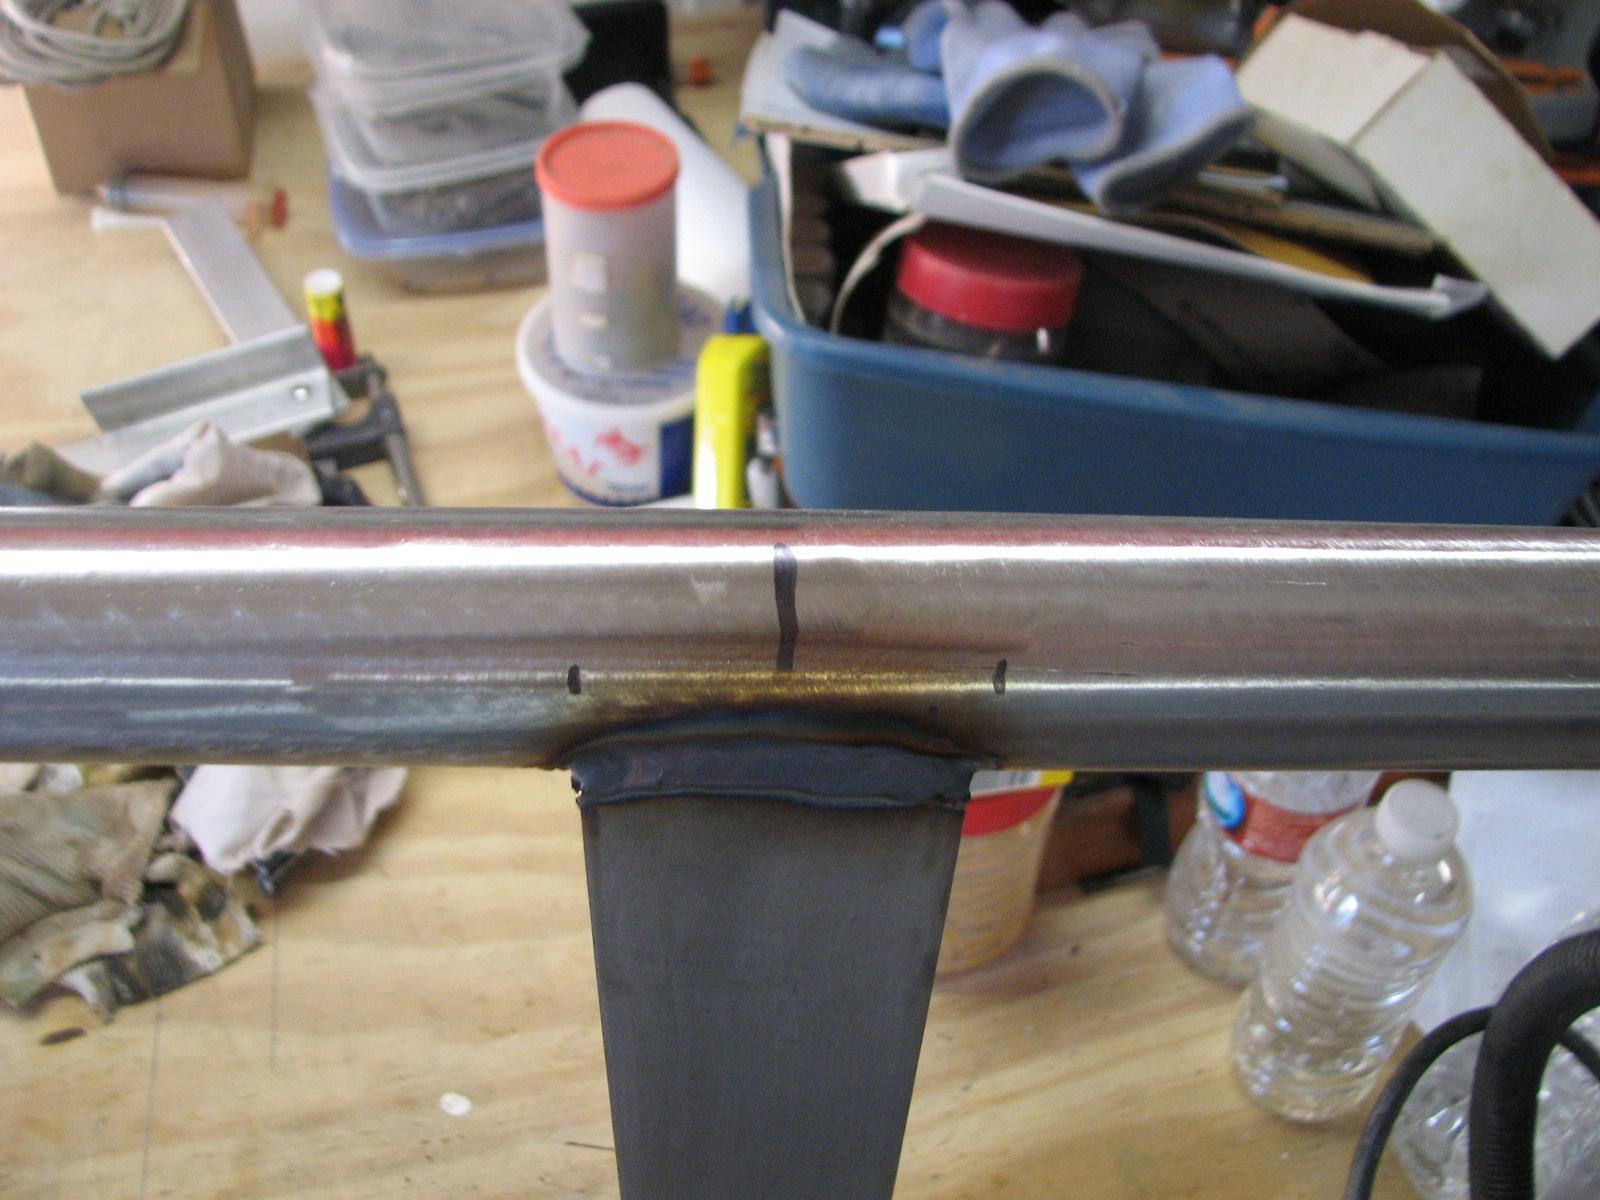
process much more convenient. This worked out very well, and I was
able to make some really good welds.
First Piece Welded On
Second Piece Welded On
Now all that remains, is to clean up
the welds, and then sand and polish the stainless steel so it can be
installed back on the boom gallows on DREAM AWAY.
I left the shop,
and went back to DREAM AWAY for a hot shower and dinner. We had
decide to have our Christmas dinner on Christmas eve. We are having a
Christmas Day dinner with some friends here locally.
Kitty And Dinner Ready To Go
December 23, Monday, 2013
Started off the morning with my normal
ritual of getting on the Internet, answering email, and checking the
weather, while making a pot of coffee. When the coffee is started, I
feed our two cats, Jillian
and Jordan, and spend time with them brushing their
beautiful coats.
I then went over to the
shop
to see if it was possible to apply a coat of
gelcoat,
but it was too cold. No gelcoat
application until later in the day.
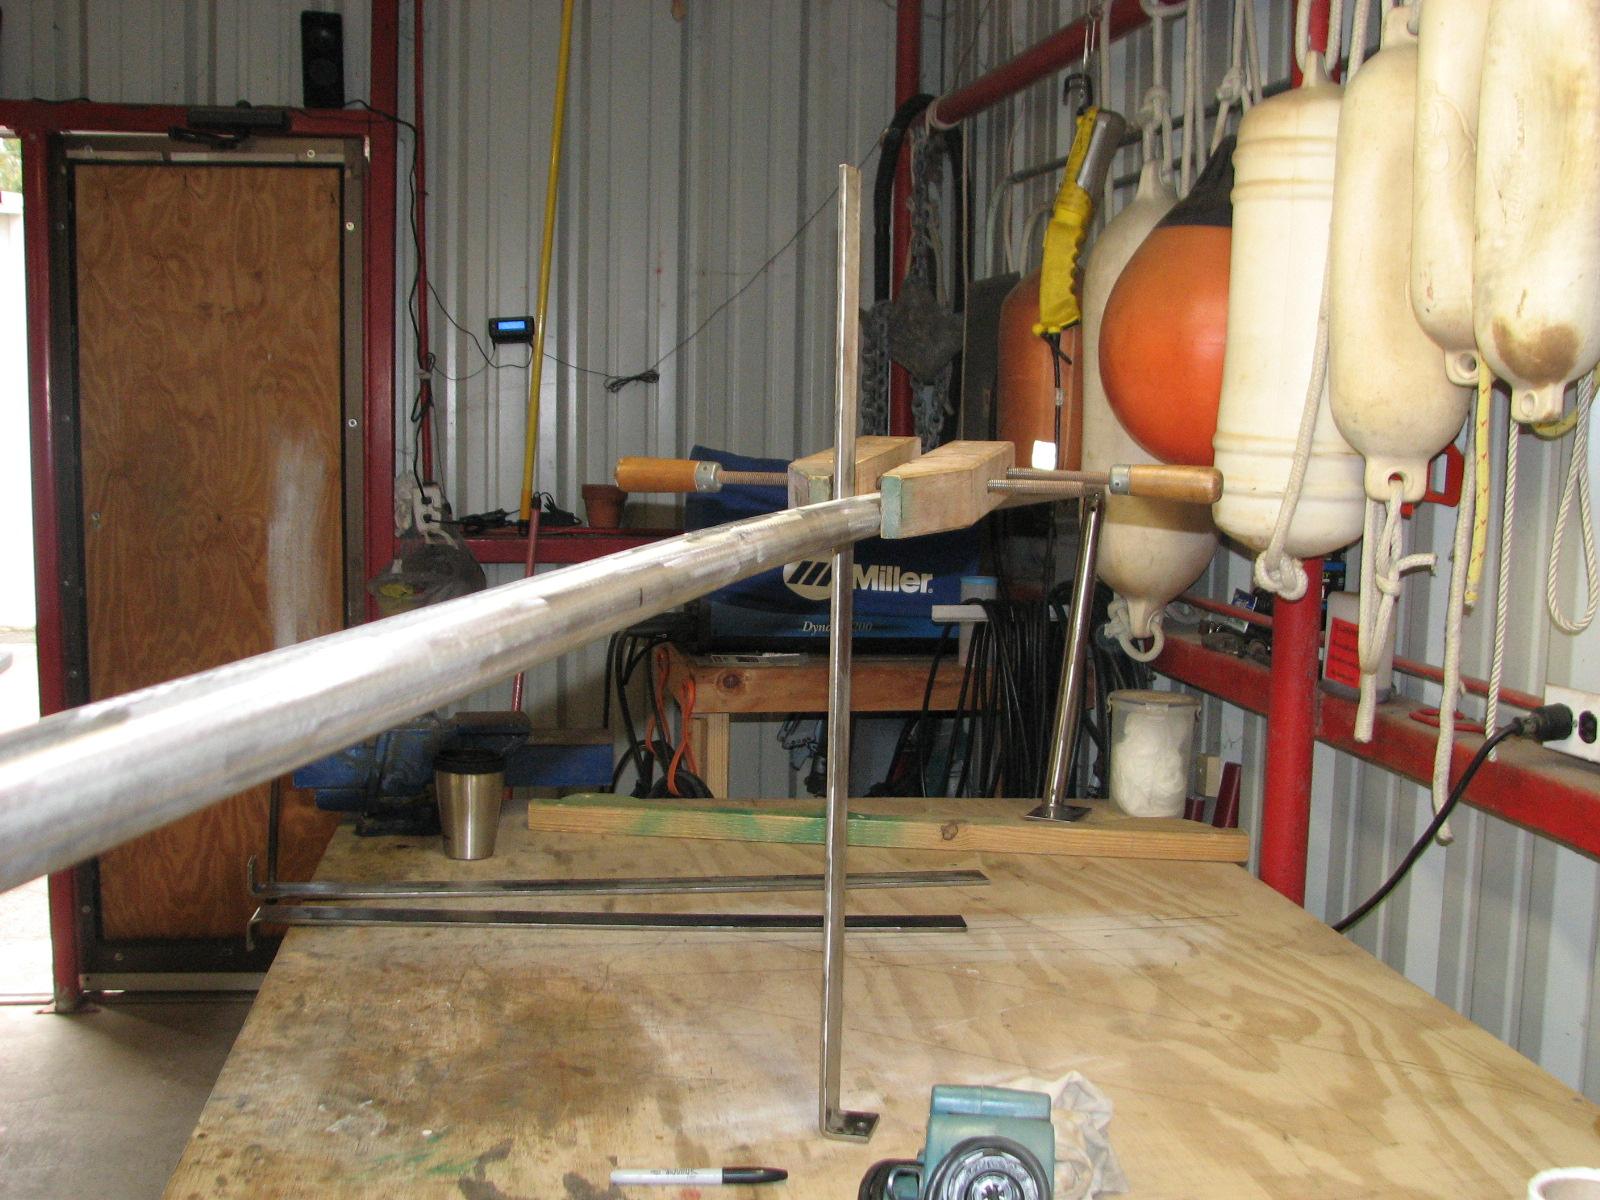
I then started working on the stainless
steel upper base for the hard dodger. I had screwed down the outer
frame of the base to the workbench so I would have a flat surface to
work from. Trying to emulate the boom gallows where the stainless
steel upper base would ultimately be attached to.
Stainless Steel Upper Base Screwed Down
To The Workbench
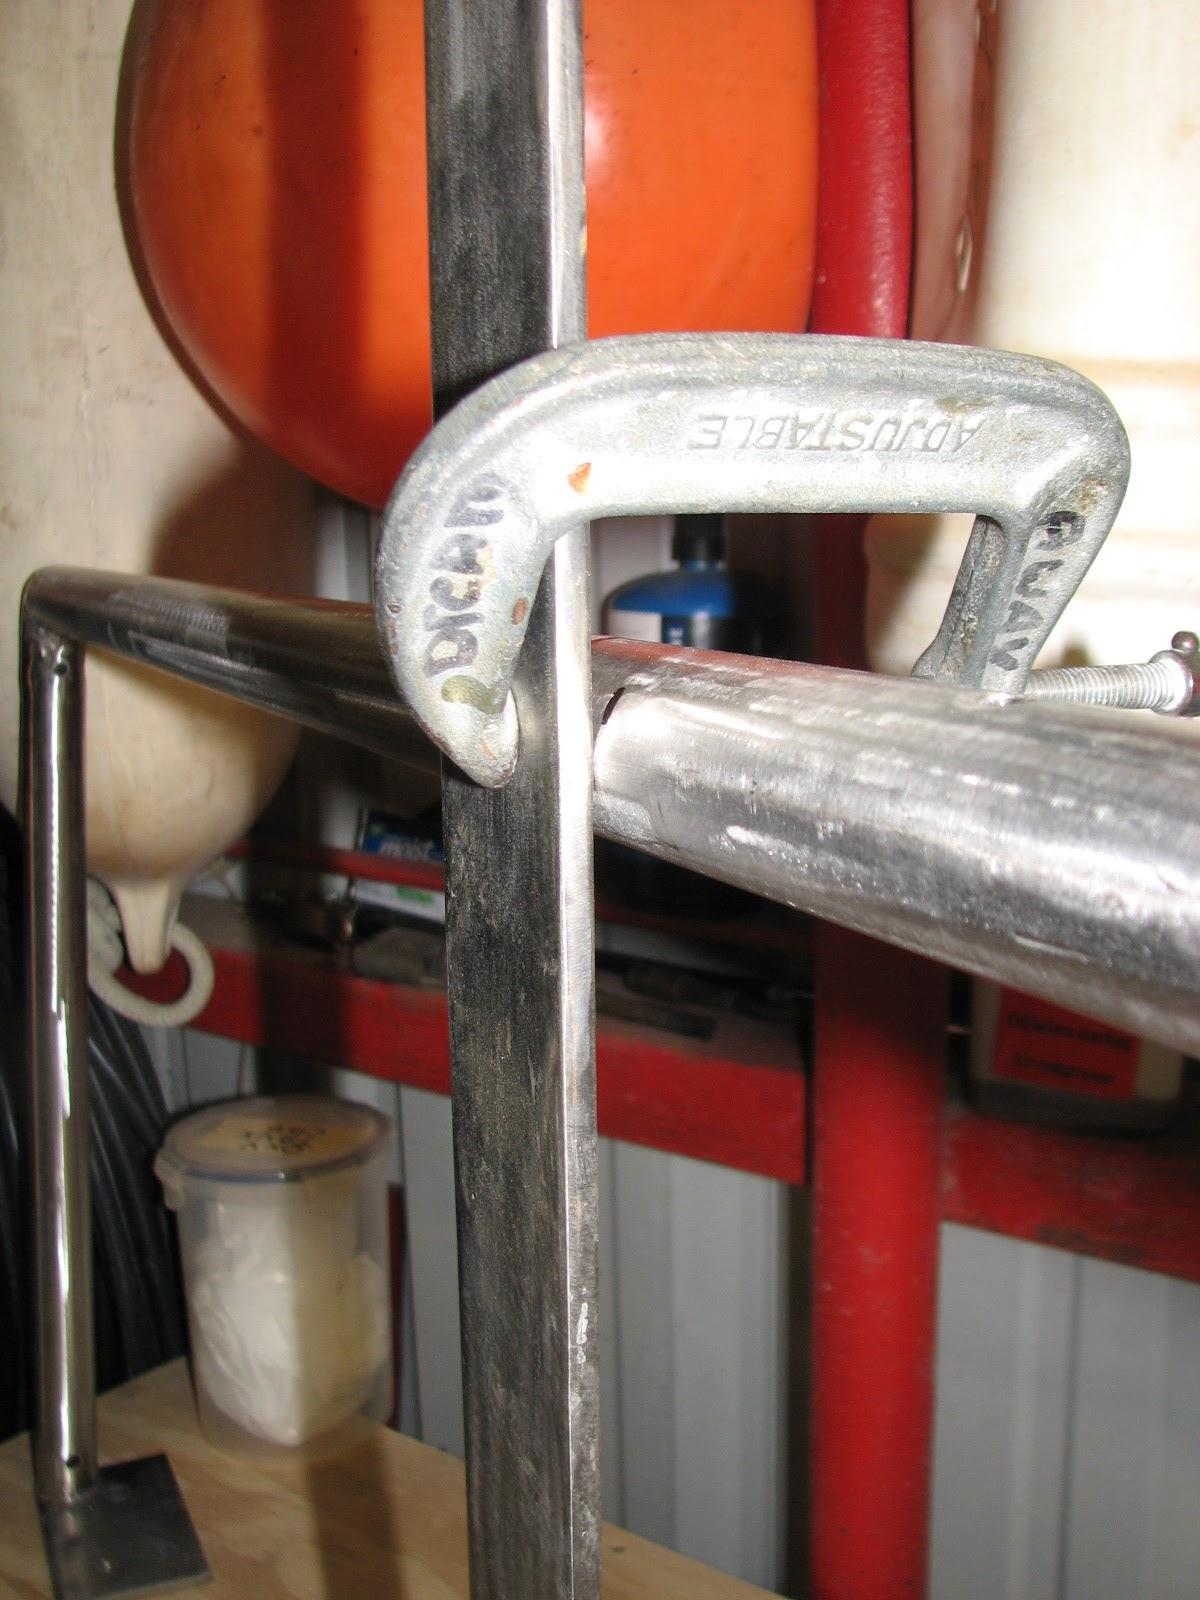
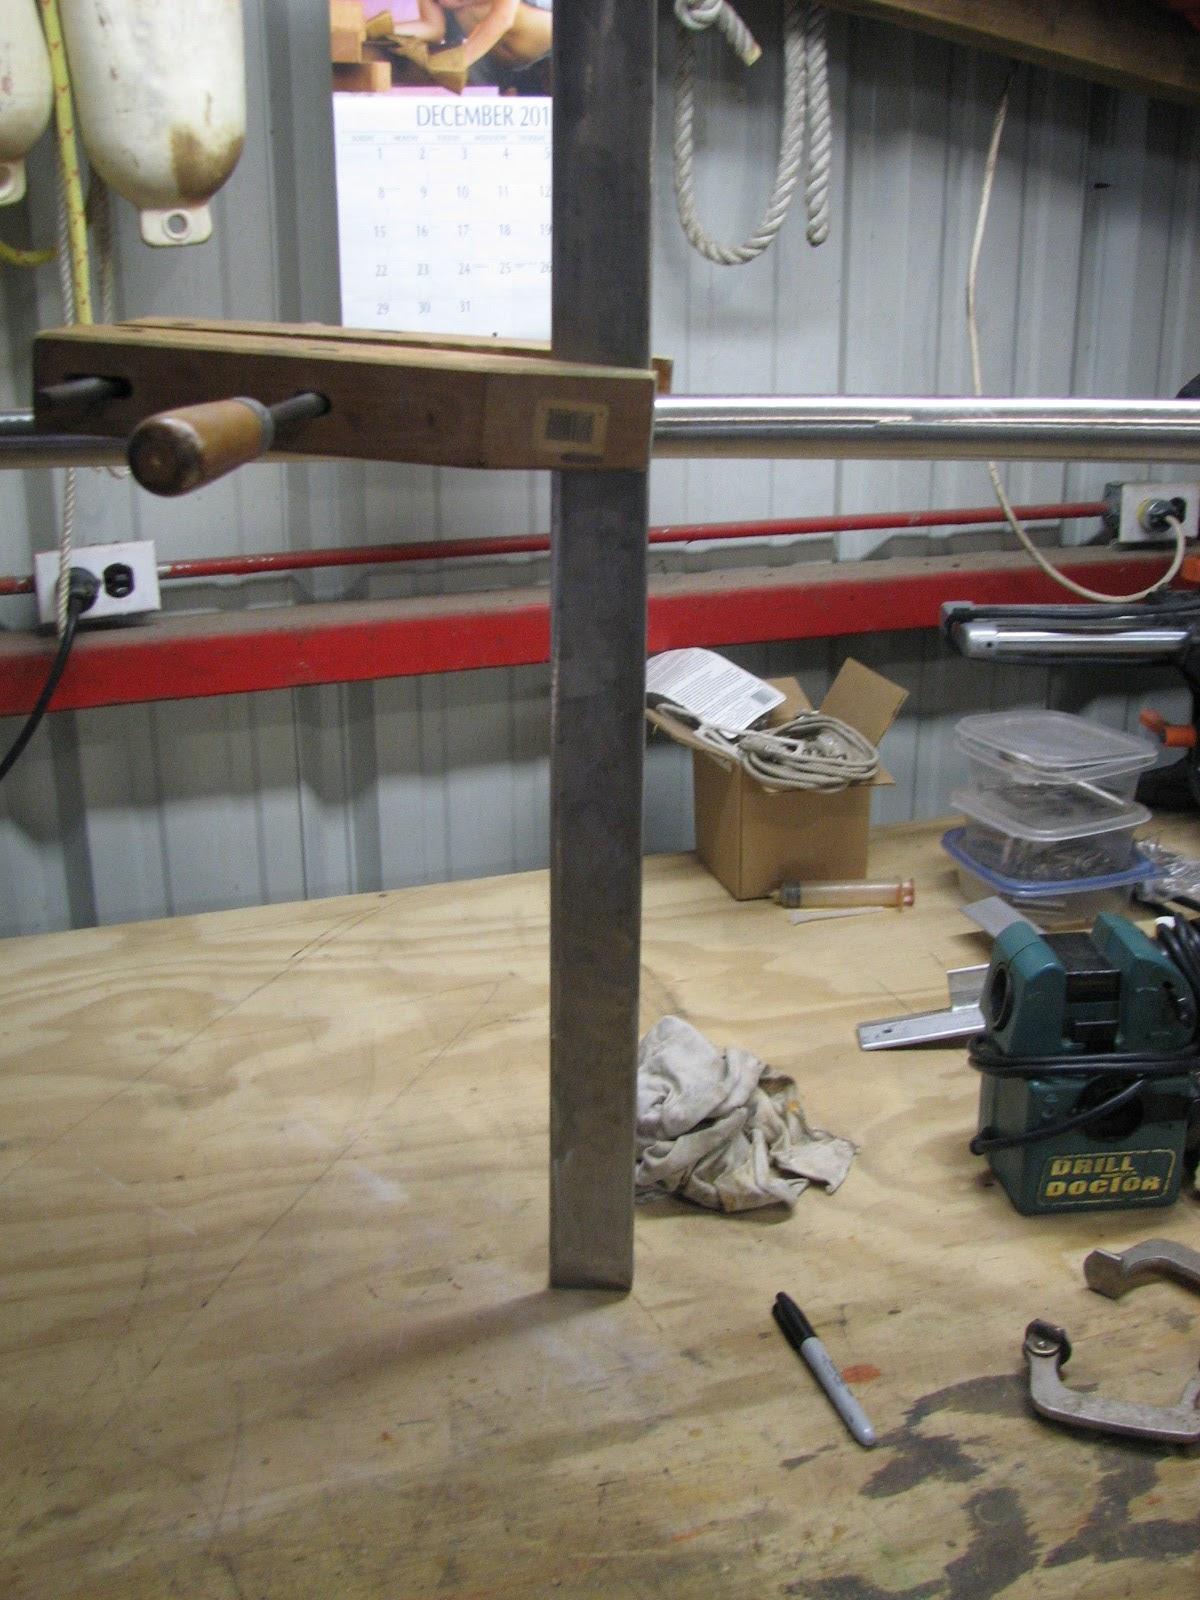
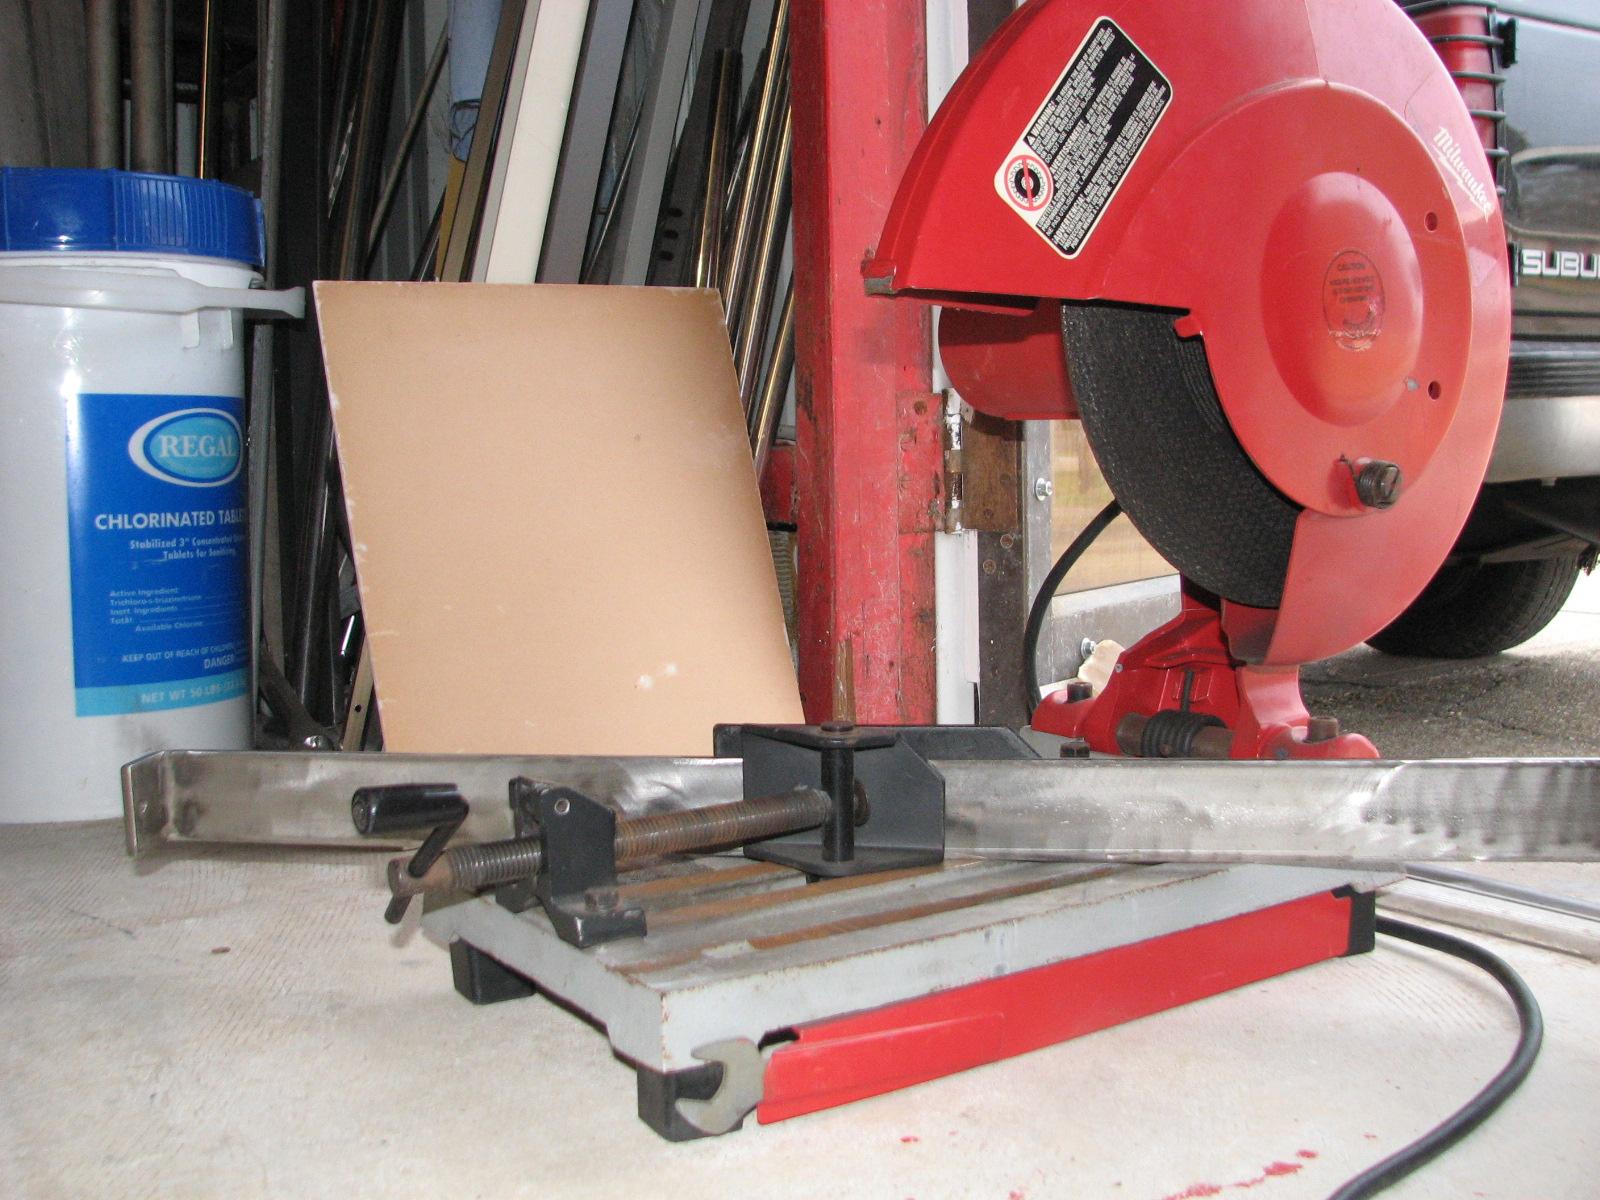
I needed to fit and cut the three
additional stainless steel pieces that would be welded onto the pipe
of the stainless steel upper base. I measured, and then set up the
chop
saw to make the cut.
Measuring Stainless Steel Piece To Be
Cut
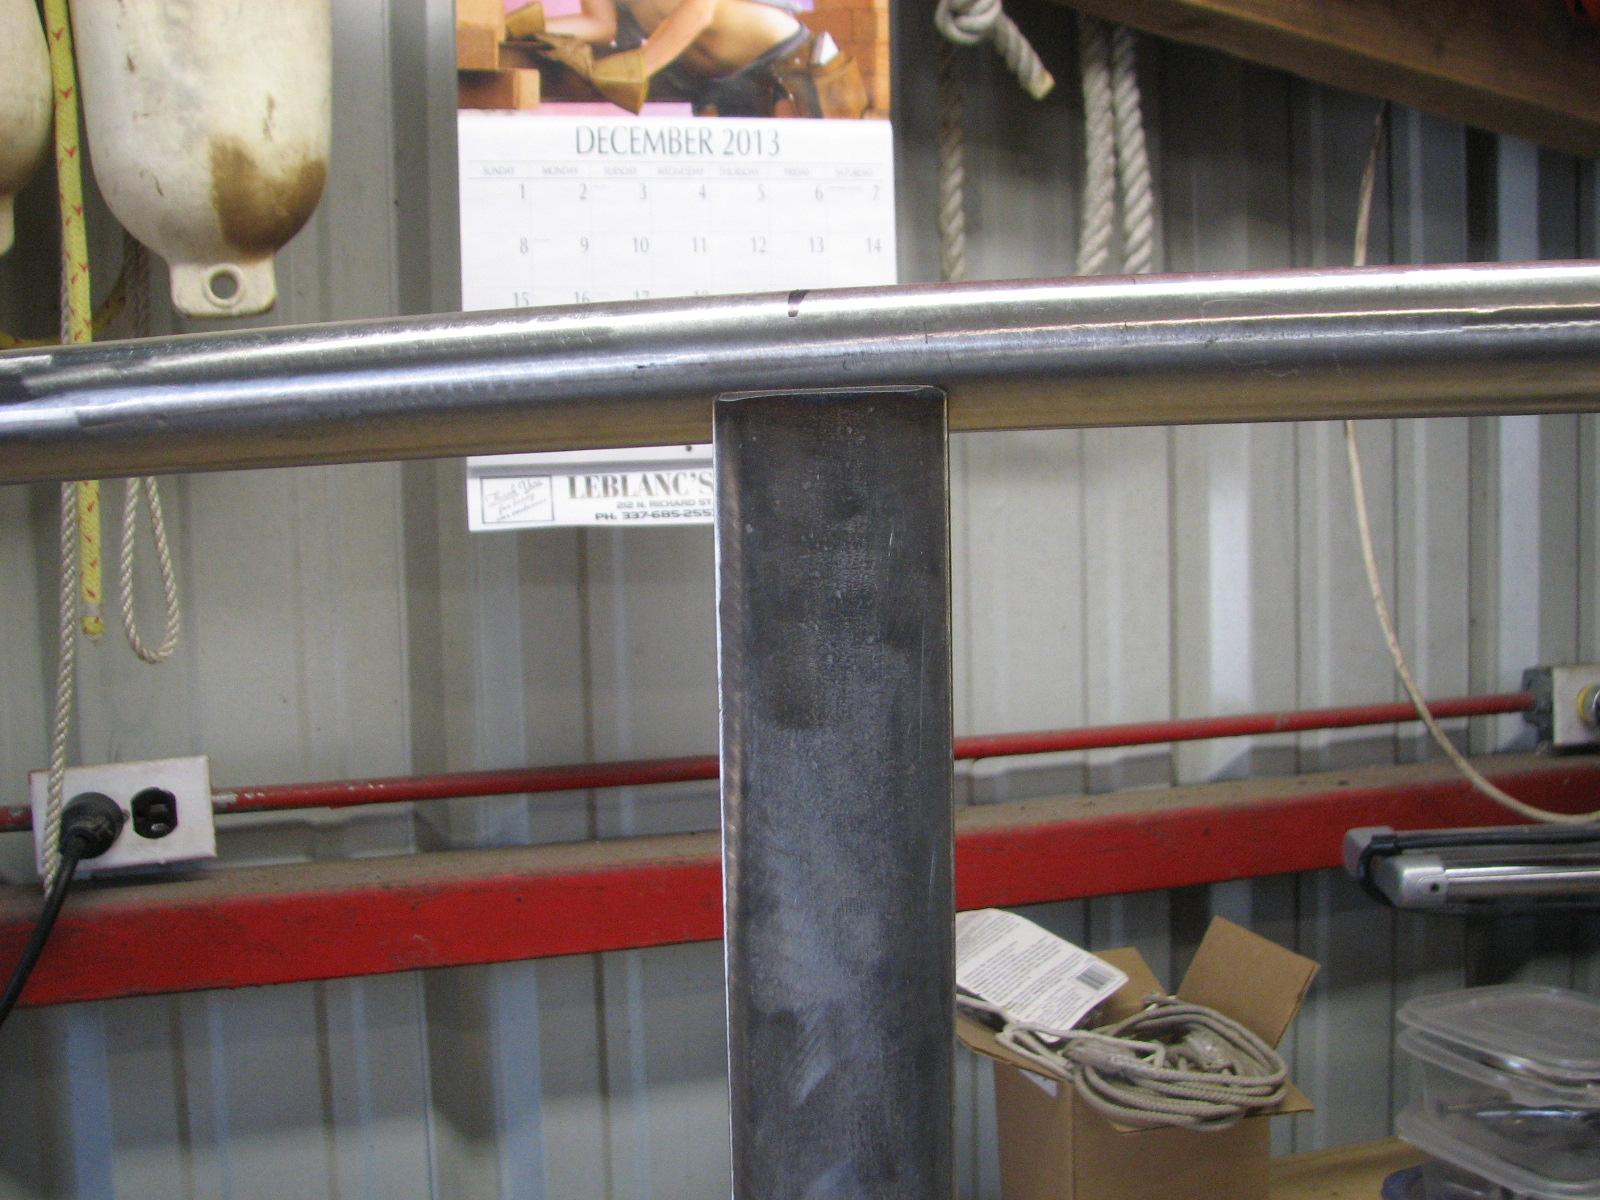
After making the cut there was still
some adjustments that had to be made. I eventually got the stainless
steel piece adjusted so that it fit just right, and is ready to be
welded to the pipe.
Stainless Steel Piece Fitted To Pipe
I then set up and cut the second
stainless steel piece. I also had to do some additional adjusting to
get the piece to align properly. Thank goodness for power tools!
Second Piece During Alignment Process
By this time, Kitty was awake and had
called. Because it was so cold, I immediately closed up the shop
and headed back to DREAM AWAY for hot coffee and breakfast.
Right after breakfast, John stopped by
to have a tour of DREAM AWAY. He brought over his locked up computer
to have me take a look into and several sacks of oranges. He also
brought over some old paper charts that I can look over and see if I
might need any.
When John left Kitty and I went off to
run a bunch of errands. We had to deliver some Christmas gifts, go by
the post office, grocery shop, and get some sanding discs.
When we returned, I made a weeks worth
of food for our two cats, and squeezed all of the oranges John had
brought to us. Now we have fresh orange juice for Rum and OJ!
December 22, Sunday, 2013
Started off the morning with my normal
ritual of getting on the Internet, answering email, and checking the
weather, while making a pot of coffee. When the coffee is started, I
feed our two cats, Jillian
and Jordan, and spend time with them brushing their
beautiful coats.
Another day of catching up on the
computer email and scanning in documentation.
Around 1145 Kitty and I drove to John
and Sharons house for lunch. They had gumbo, turkey, ham and all of
the fixins! After lunch, Kitty and I went out to the “Bee House”,
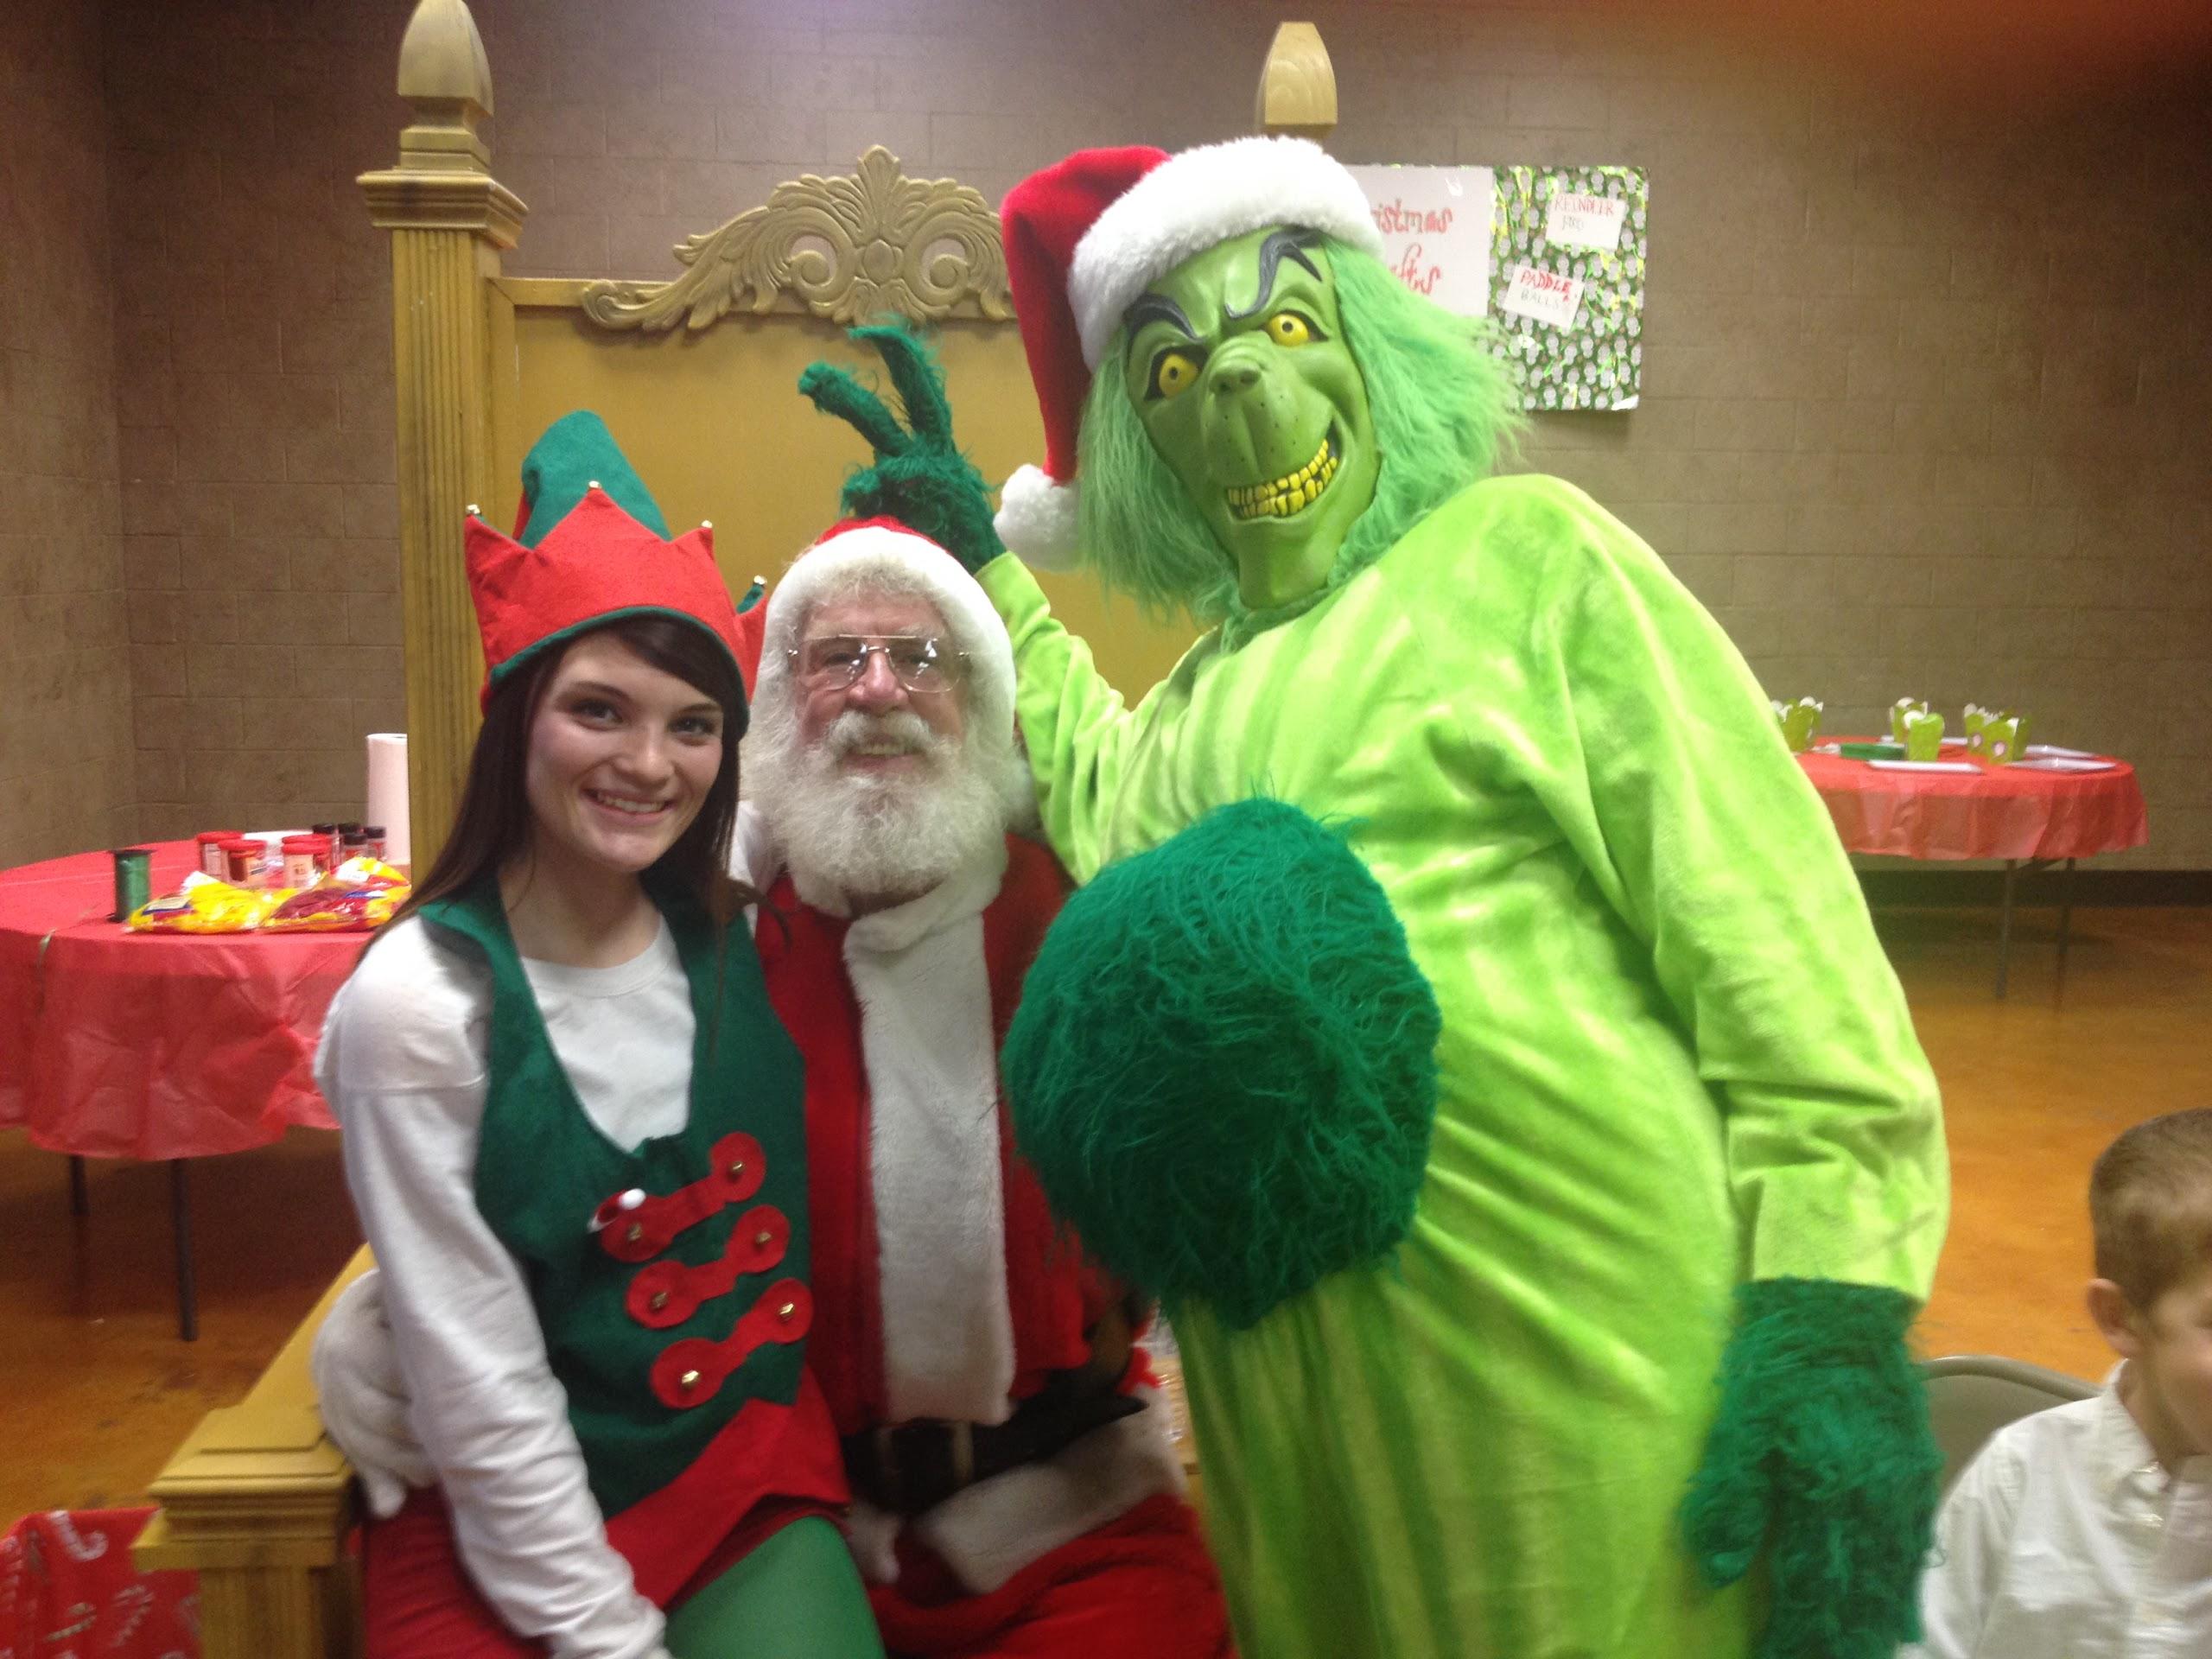
and changed into our Santa suits.
John and Sharon had several
grandchildren at the house, and then Santa and Mrs Claus arrived with
a sack of presents, it was a lot of fun. We stayed for another 30
minutes giving out presents, and the quietly left.
We both came back to DREAM AWAY and
took a nap. I am mostly past the cold, but the nap was good.
December 21, Saturday,
2013
Started off the morning with my normal
ritual of getting on the Internet, answering email, and checking the
weather, while making a pot of coffee. When the coffee is started, I
feed our two cats, Jillian
and Jordan, and spend time with them brushing their
beautiful coats.
I worked a little extra on the computer
trying to catch up on emails and financial issues.
Kitty and I then got into our Santa
Claus and Mrs Claus outfits, and drove over to the Creole
Market in West
End Park in New
Iberia. We parked near the swimming pool, until the
fire truck arrived. We boarded the fire truck, and the truck took us
around to the area of the park they had set up specially for Santa
Claus.
The kids were lined up for pictures and
conversation with Santa and Mrs Claus. It was a great time, and the
rainy weather held off, so the event was quite a success.
We left the park around 1300 and drove
back to DREAM AWAY. Kitty went off to Lafayette with our friend
Bonnie. I stayed on DREAM AWAY, to take a nap and try and get rid of
the cold I have! I also did catching up on emails.
December 20, Friday, 2013
Started off the morning with my normal
ritual of getting on the Internet, answering email, and checking the
weather, while making a pot of coffee. When the coffee is started, I
feed our two cats, Jillian
and Jordan, and spend time with them brushing their
beautiful coats.
I then went over to the
shop
and got to work on the fiberglass
uprights for the hard dodger. I wiped them all down with a
tack
rag, to get all of the dust and debris off of them. I
got out all of the stuff I will need to apply the gelcoat
to them.
I also screwed down the stainless steel
upper base for the hard dodger to the workbench. This will make it
easier to cut and weld on the additional pieces of stainless steel.
The cold I am trying to shake, has me
feeling pretty rough, so I left the shop
and went back to DREAM AWAY to take a nap. Pretty much did nothing
the remainder of the day.
I did help our neighbor, Joel, change
the oil in his boat engine, and adjust the alternator on his boat
engine. Joel is young , and this is his first boat. He asked me for
my assistance on these two projects because he had never done either
before. Now he knows what to do, and has the confidence to do it
again on his own.
December 19, Thursday,
2013
Started off the morning with my normal
ritual of getting on the Internet, answering email, and checking the
weather, while making a pot of coffee. When the coffee is started, I
feed our two cats, Jillian
and Jordan, and spend time with them brushing their
beautiful coats.
As soon as it was daylight, and with
first cup of coffee, I walked out to the end of Pier “C” to check
on CAJUN DREAM. It was still floating, and the water level in the
boat had not risen at all. This was good news. The port stuffing box
was the problem.
I went back to DREAM AWAY and finished
off the Maintenance Log update and checked email.
Around 0800, I went back out to CAJUN
DREAM to get the suction hose and the 2” pump. I returned these
items to the city warehouse. The mayor was actually at the warehouse
when I returned them, so I expressed our thanks to him and the city
for the loan of the pump.
I then went over to the shop
and started in on sanding the
last two fiberglass
uprights for the hard dodger. When the sanding was completed, I
arranged all of the hard dodger uprights, and the two pieces for the
storm anchor security system to be ready for the application of
gelcoat.
Hard Dodger Uprights Ready For Gelcoat
Application
Hard Dodger Uprights Ready For Gelcoat
Application
Storm Anchor Parts Ready For Gelcoat
Application
I loaded the the
“Box
O’ Resins” into the
Black Beast, and went to the
marina.
After breakfast, I applied finishing
putty to the areas of the hard dodger bottom base that
had not had any finishing
putty applied. I am hopeful the weather will be
favorable tomorrow or Saturday to be able to sand down the hard
dodger bottom base in preparation for the gelcoat
application.
I loaded the the
“Box
O’ Resins” back into the
Black Beast, and went to the
shop.
I wanted to get the three stainless steel pieces drilled out and
bent. I am hopeful to grill out steaks tomorrow night, and I need the
bottle of propane I had taken to the
shop back on DREAM AWAY. I just
did not want to move the bottle of propane back and forth too many
times.
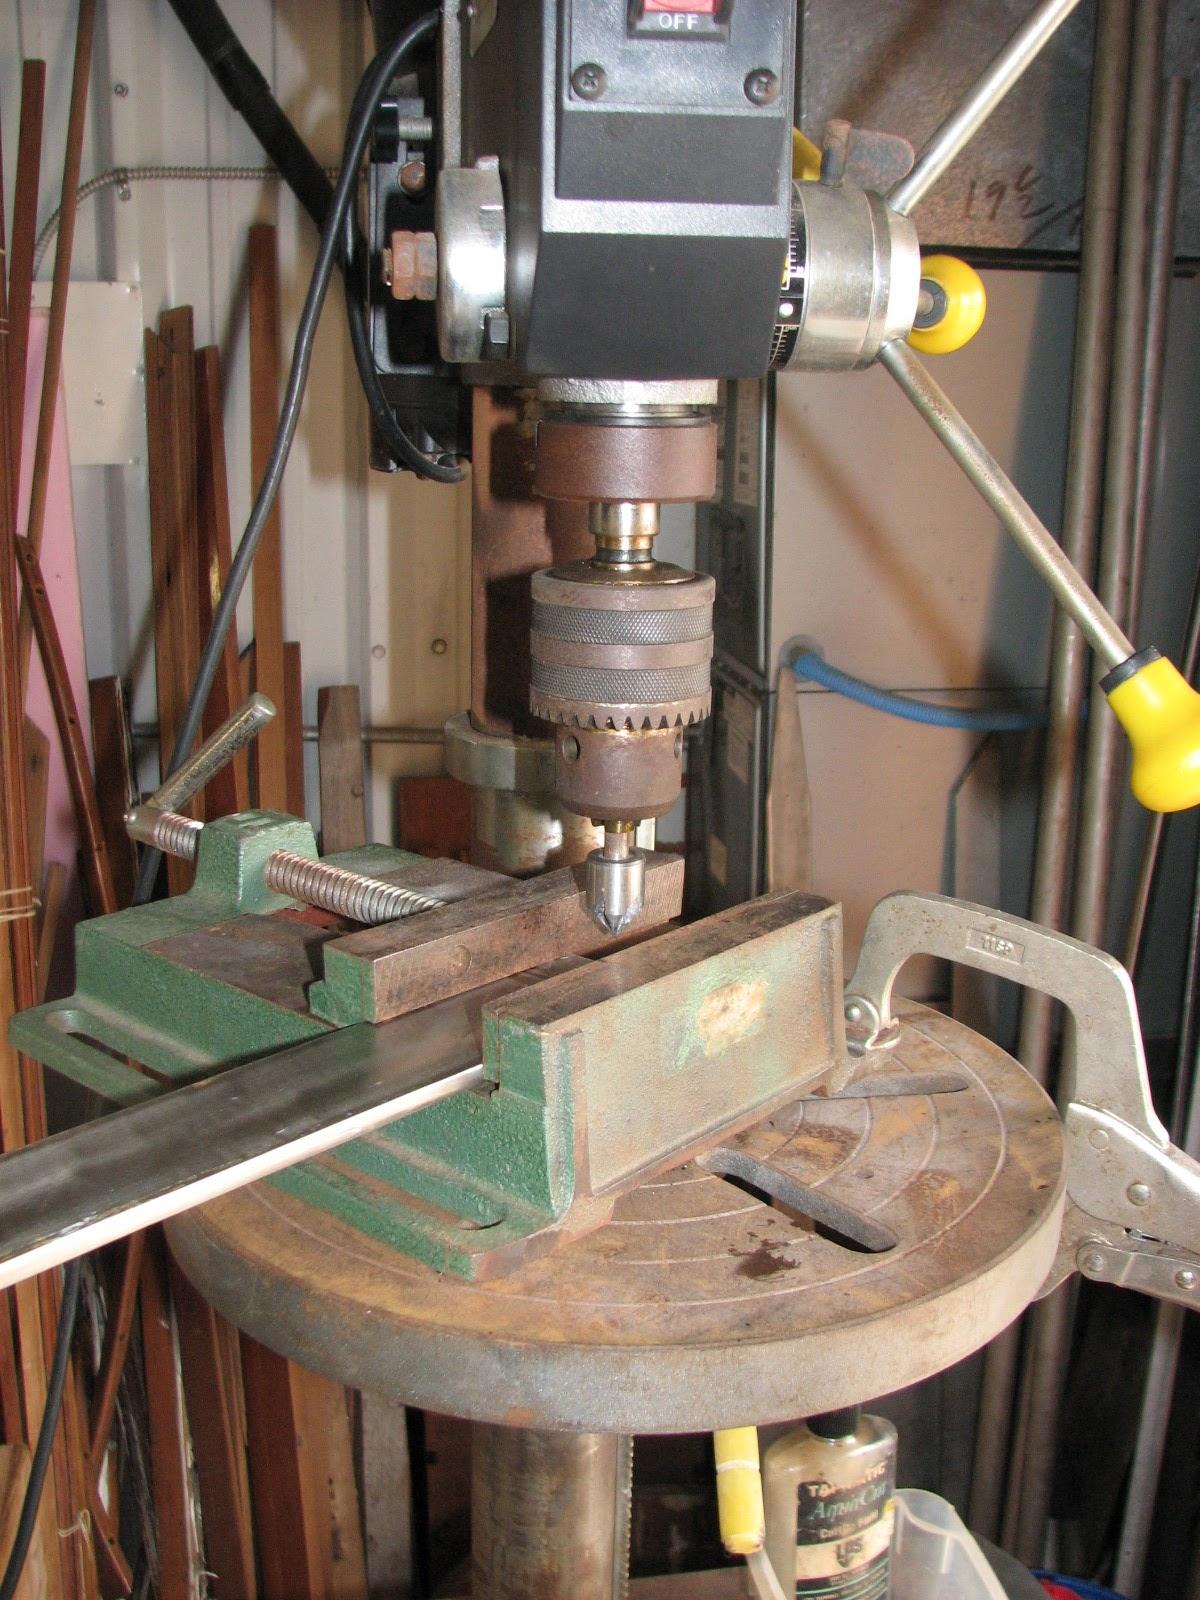
I set up the drill press, and measured
the pieces of stainless steel for the location of the holes. I center
punched each spot, and then drilled the holes, and cleaned up each
hole with the countersink.
When all of the holes were cleaned up,
I finished sanding the ends of the stainless steel pieces before
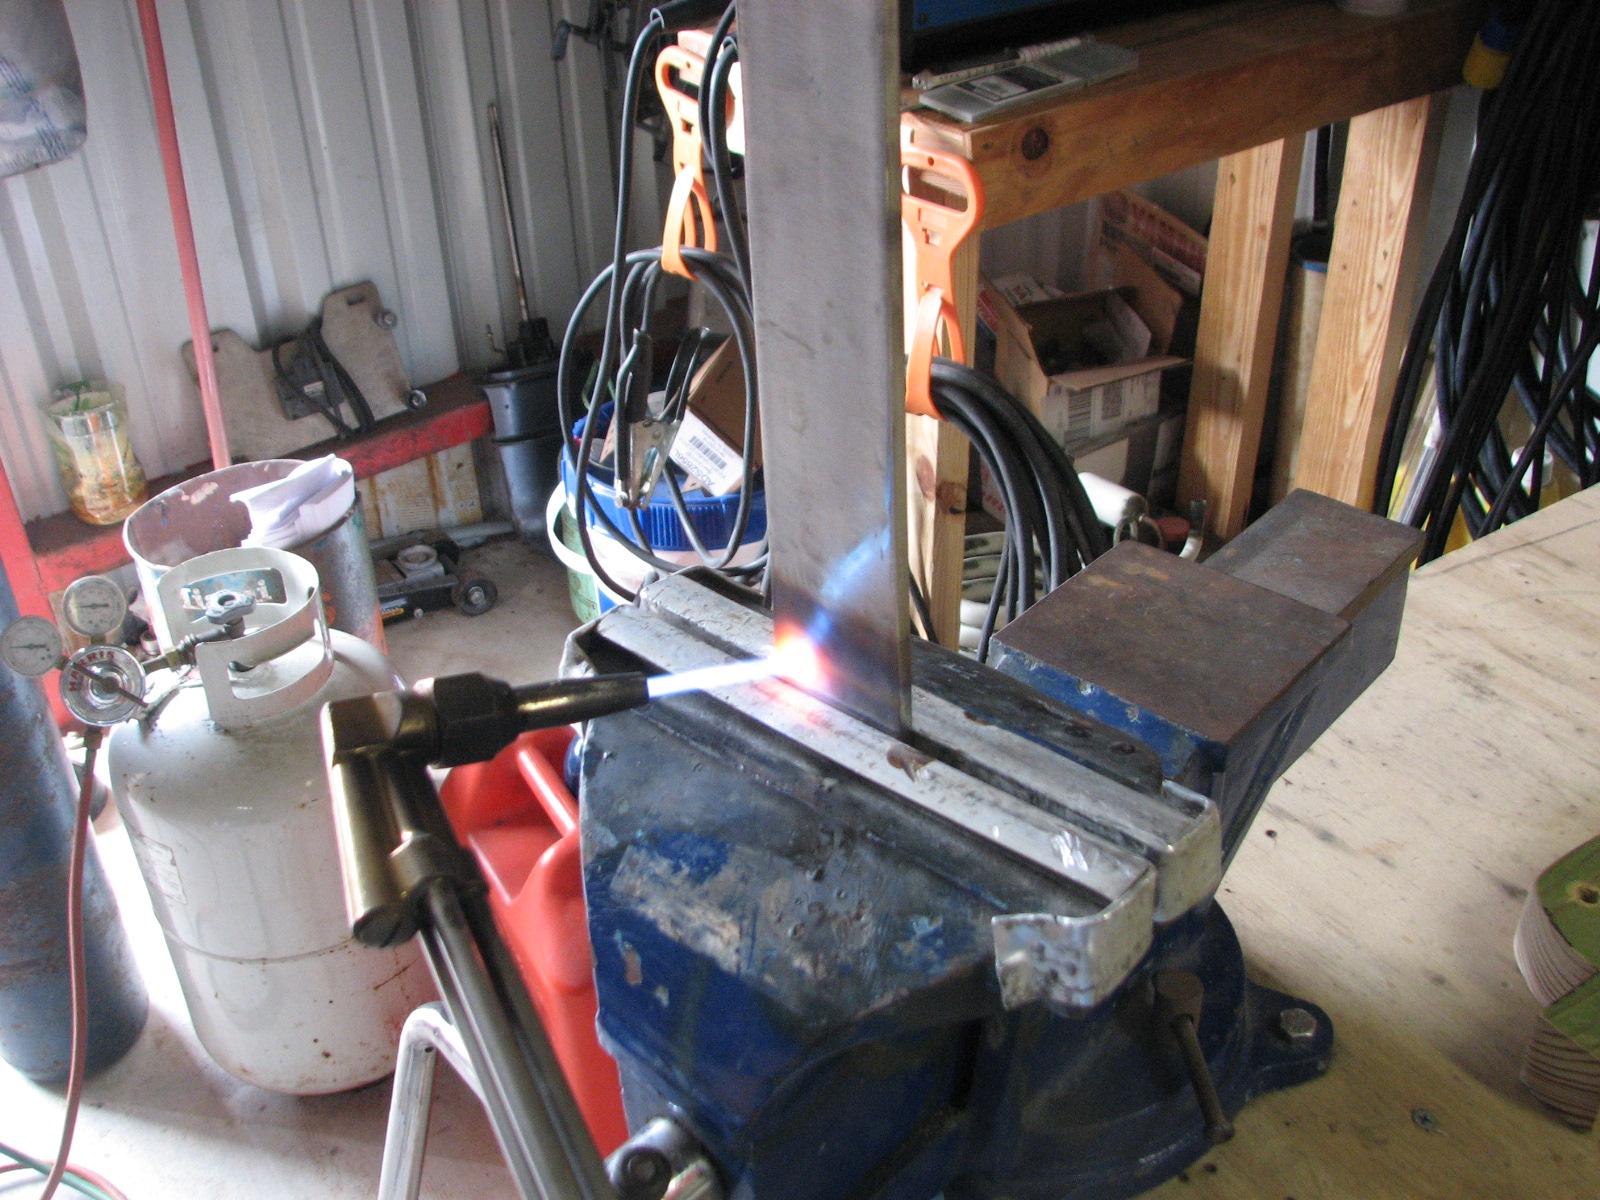
starting the bending operation. I got out my
Oxy-Propane torch
, and connected it to my oxygen tank and the propane tank.
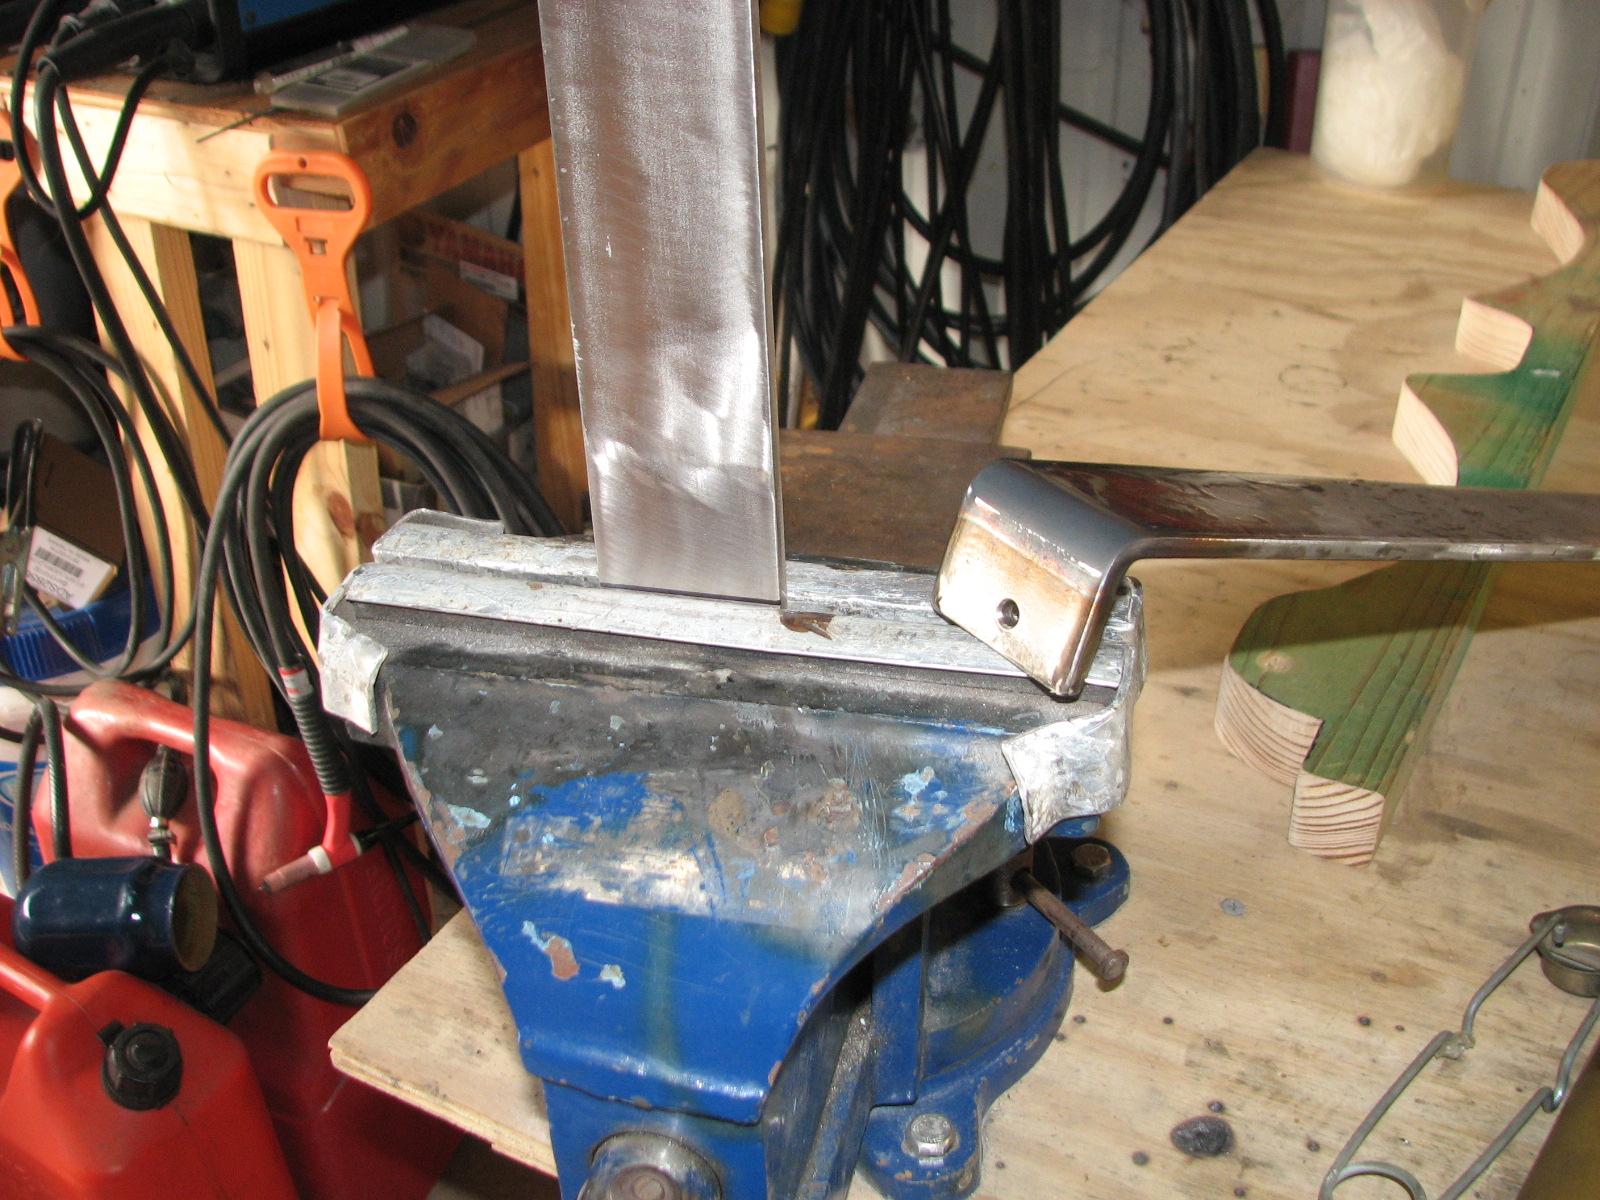
I measured the stainless steel pieces
where the bend was to be, and inserted the stainless steel piece into
the vice. I then lit the torch, and heated up the stainless steel
piece, where the bend was to be, to a cherry red. When the piece was
a steady cherry red, I then bent the piece of stainless steel.
Flame Applied To The Stainless Steel Piece In The Vice
Stainless Steel Piece After Bend
Bent Piece And Next Piece Ready To Bend
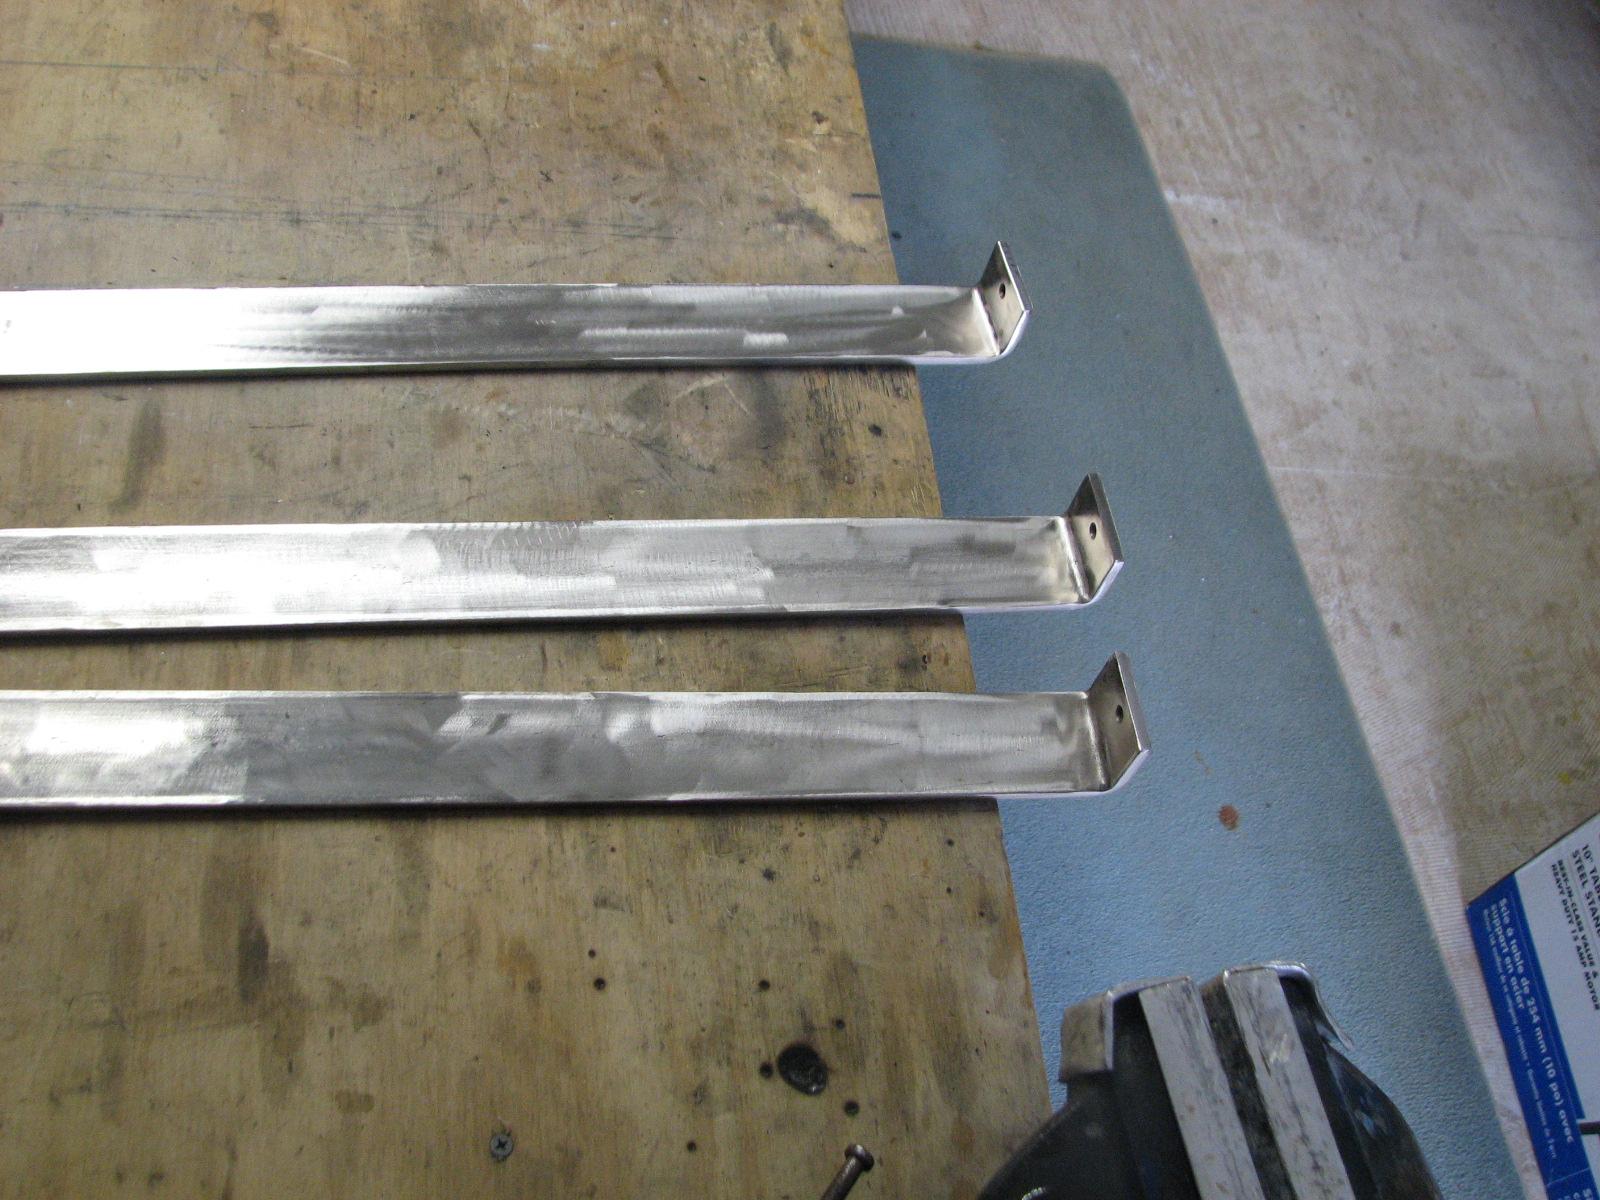
When I had bent all three pieces, I got
out the high speed grinder with a 120 grit flap wheel, and cleaned up
the heated ends of the stainless steel pieces.
Cleaned And Polished Stainless Steel
Pieces
Cleaned And Polished Stainless Steel Pieces
Now all I have to do is weld the three
pieces of stainless steel onto the upper hard dodger stainless steel
base!
I was feeling pretty tired, as I am
trying to shake a cold, so I went back to DREAM AWAY, took a shower,
and then took a two hour nap!!
December 18, Wednesday, 2013
Started off the morning with my normal
ritual of getting on the Internet, answering email, and checking the
weather, while making a pot of coffee. When the coffee is started, I
feed our two cats, Jillian
and Jordan, and spend time with them brushing their
beautiful coats.
Went over to the
shop
and started in on sanding the fiberglass
uprights for the hard dodger. I am using power sanders with 180 and
220 grit sandpaper, and hand sanding with 220 grit sandpaper. Working
on getting the uprights as smooth as possible in preparation for the
application of gelcoat.
Had not finished all of the uprights by
the time Kitty called and said she was awake. When she called I went
back to DREAM AWAY and had breakfast.
We saw Johnal off when the train
arrived at the station. We ran a couple of errands on the way back to
Delcambre,
arriving around 1400. That is when the fun began!
We noticed the power boat, CAJUN DREAM,
at the end of Pier “C” was listing heavily to starboard. When
Kitty and I walked out to the boat, sure enough, it was sinking! Then
it all started, and Kitty was at her best making phone calls to
contact the owner, find out where the key to the companion way was
and to try and get a pump.
The owner, Bill, called back and told
us where the key to the companionway hatch was. I went down into the
boat, and it was not good. The water was almost up to the starboard
aft bunk. In the engine room the water had come up about half way on
the generator and the starboard engine.
Kitty was not having much luck getting
a pump, so T-Boy and jury rigged one of my air conditioner cooling
pumps. We got the electricity and hoses all connected to the pump at
my shop,
then brought it back to CAJUN DREAM. T-Boy had to leave, so Kitty
helped me try and get the pump working. Because the pump is a
centrifugal
pump, I could not get the pump low enough to get it
primed.
Finally, Kitty contacted the mayor of
Delcambre,
and she was told the city has a big 2” pump we could borrow. An
employee at the city wharehouse contacted me and told me to come and
get the pump. The warehouse is less than a block from the
marina.
Kitty was off to New Iberia on another errand, so I was walking to
the warehouse just as T-Boy was returning from his physical therapy.
We then drove to the warehouse and picked up the pump and brought it
back to the marina.
T-Boy and I put the pump into a dock
cart and took it out to CAJUN DREAM. We got the pump on deck, and the
suction hose down into the bilge. We started the pump, and after a
bit of priming, we were pumping out CAJUN DREAM. By this time more
help had arrived because of Kitty’s phone calls.
The Delcambre police chief and one of
the officers had arrived. One of the Iberia Parish Marine Patrol
Officers also arrived. After about an hour, we had the boat pumped
out, so we called it a day. Since we did not know what caused the
problem in the first place, I resolved to go back to CAJUN DREAM
later this evening.
I went back to CAJUN DREAM around 2100,
and it was filling up with water again! I pumped the boat as dry as I
could, then looked for a leak. I found the port stuffing box was
leaking in a steady stream. I went back to DREAM AWAY to get some
tools to tighten up the gland in the stuffing box. When I returned to
CAJUN DREAM, I was able to get the stuffing box to quit leaking. I
did a final pump down on the boat to get it as dry as possible. We
will see in the morning if the stuffing box was the source of the
problem.
December 17, Tuesday, 2013
Started off the morning with my normal
ritual of getting on the Internet, answering email, and checking the
weather, while making a pot of coffee. When the coffee is started, I
feed our two cats, Jillian
and Jordan, and spend time with them brushing their
beautiful coats.
Went over to the
shop
and worked on the
Black Beast.
It was finally warm enough and sunny, I felt
like taking the driver’s door apart to replace the inside door
handle. It was a lot of fun, but I finally got the new door handle
installed and put back into service.
It was nice to be able to open the
driver’s door without having to roll down the window. I went back
to DREAM AWAY to have breakfast.
After breakfast it was back to the
shop,
and I started in on sanding the fiberglass
uprights for the hard dodger. When I got all of the uprights as
smooth as possible, it was time to add some more
finishing putty.
While the finishing
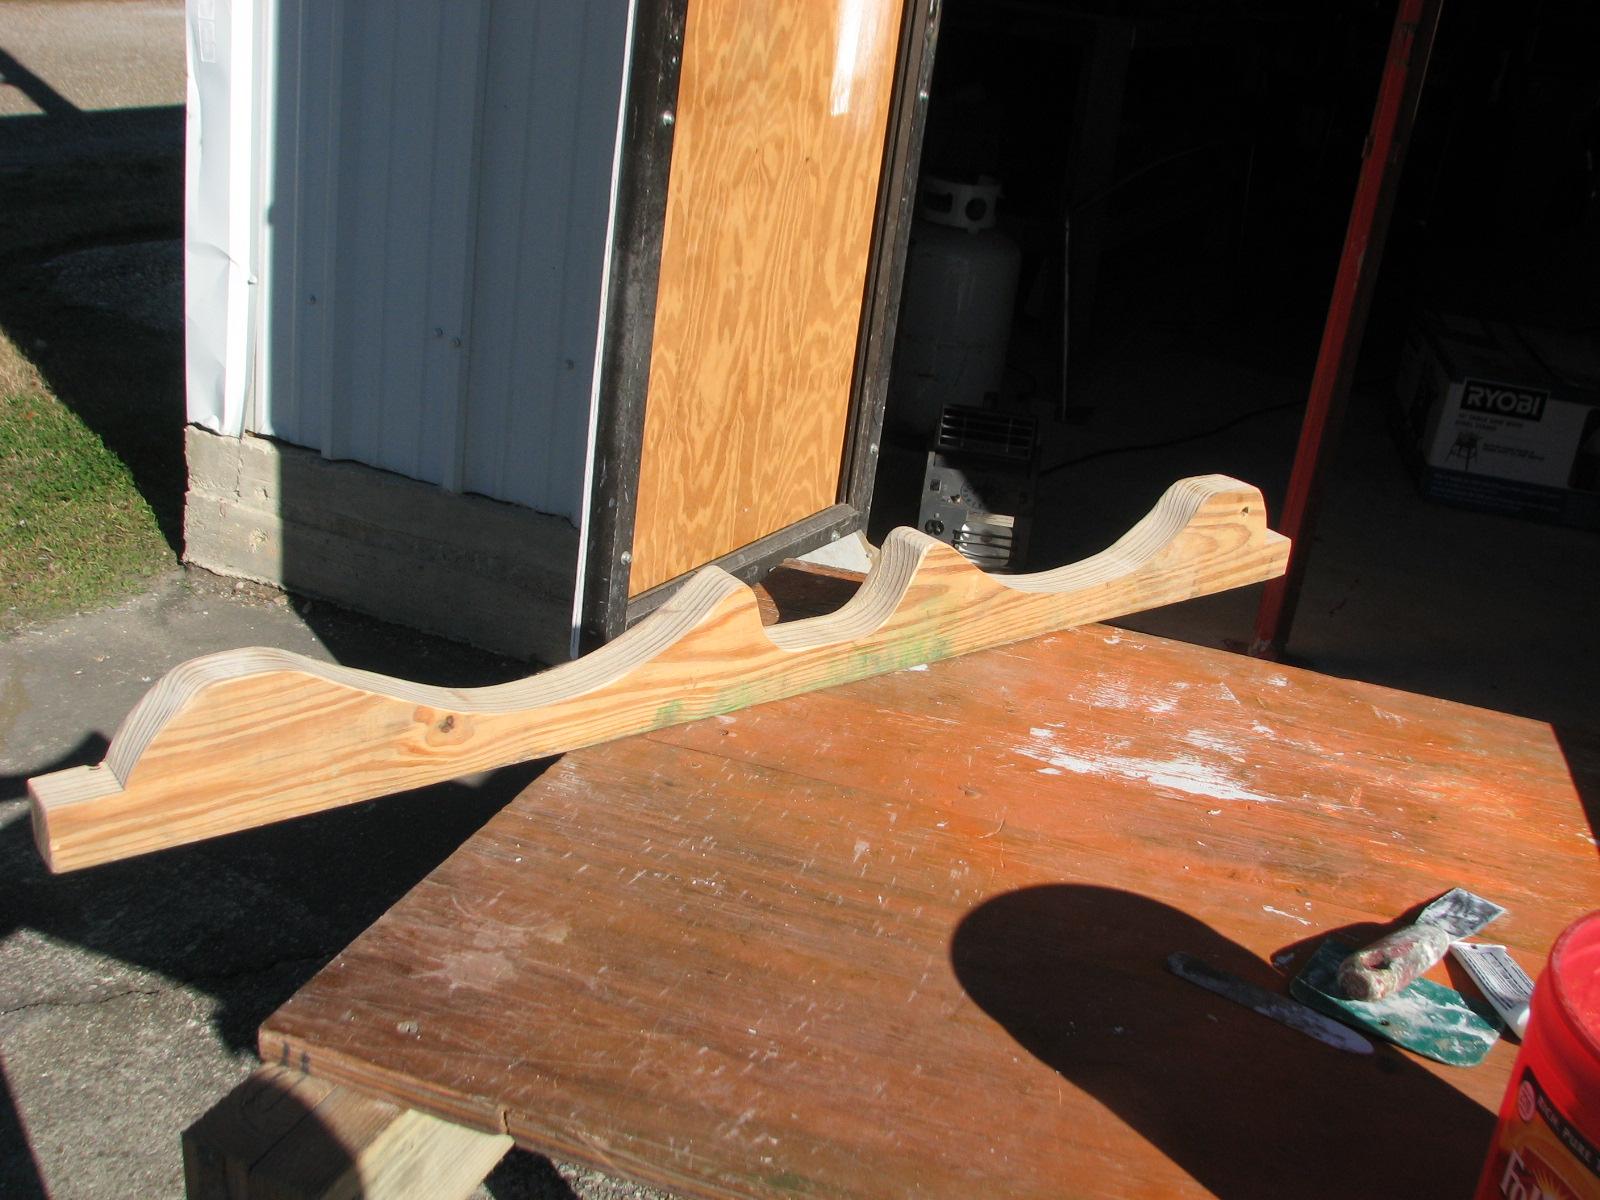
putty was sitting up, I cut out a piece of wood to
replace the piece of wood on the stern of DREAM AWAY that hold my
storage buckets.
Wood Cutout For Storage Buckets
I had a leftover piece of 2 x 6 that I
used to make a cat scratch pad for our friend Bonnie’s cat Ruby. We
know how a cat loves a scratch pad.
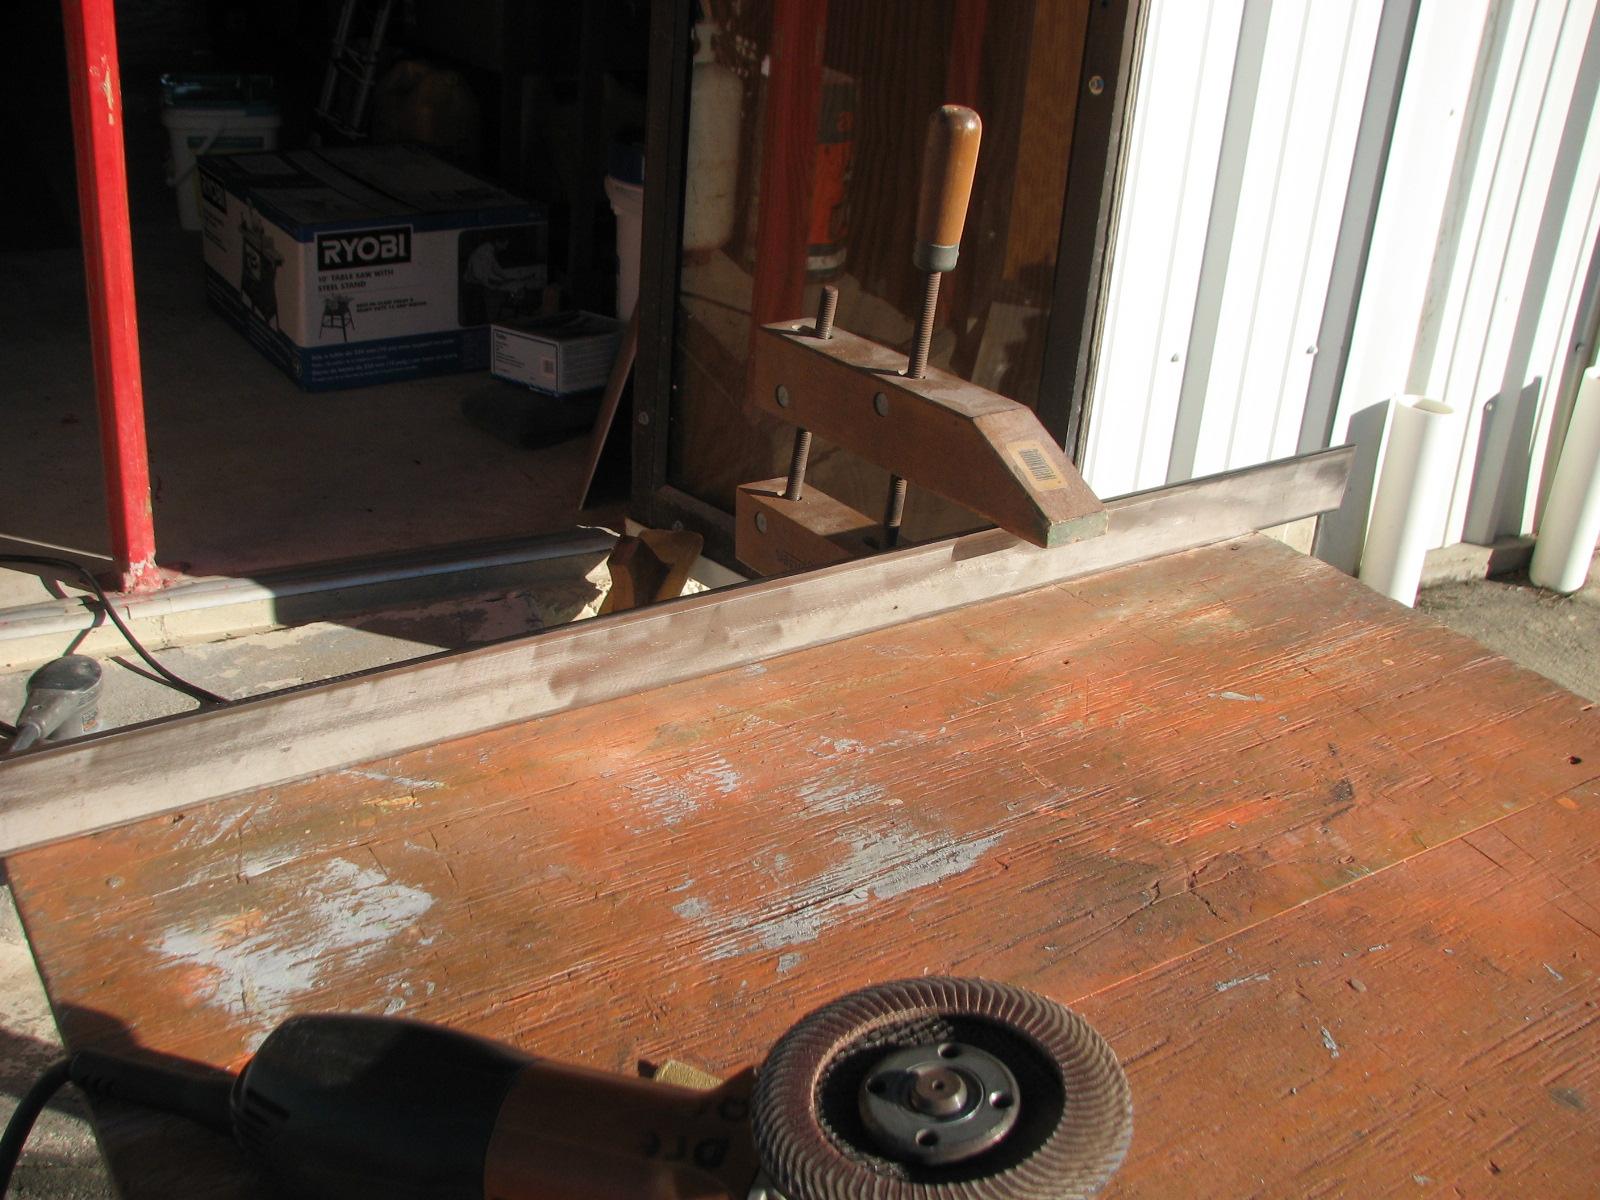
Next I started in sanding on the pieces
of stainless steel flat bar I am using for supports on the stainless
steel upper base of the hard dodger. It is better if I can get them
polished before I do the bending and welding that is necessary.
Stainless Steel Flat Bar Being Sanded
Tomorrow, I will get back to sanding
the uprights, and hopefully they will be ready for a
gelcoat
application.
December 16, Monday, 2013
Started off the morning with my normal
ritual of getting on the Internet, answering email, and checking the
weather, while making a pot of coffee. When the coffee is started, I
feed our two cats, Jillian
and Jordan, and spend time with them brushing their
beautiful coats.
This was another day with no DREAM AWAY
projects. The morning was spent going to
Lafayette
and getting the holding tank discharge hose for the
shower
trailer repaired. While at the shop getting the hose
repaired, I got a 90 degree fitting added to the end to make the
emptying of the
shower
trailer holding tank much easier.
When we got back from
Lafayette,
I was able to drain the holding tank in the shower
trailer to ¼ full. Because we are empting the holding
tank via gravity flow, I can not completely empty the holding tank. I
then put the shower
trailer back into service.
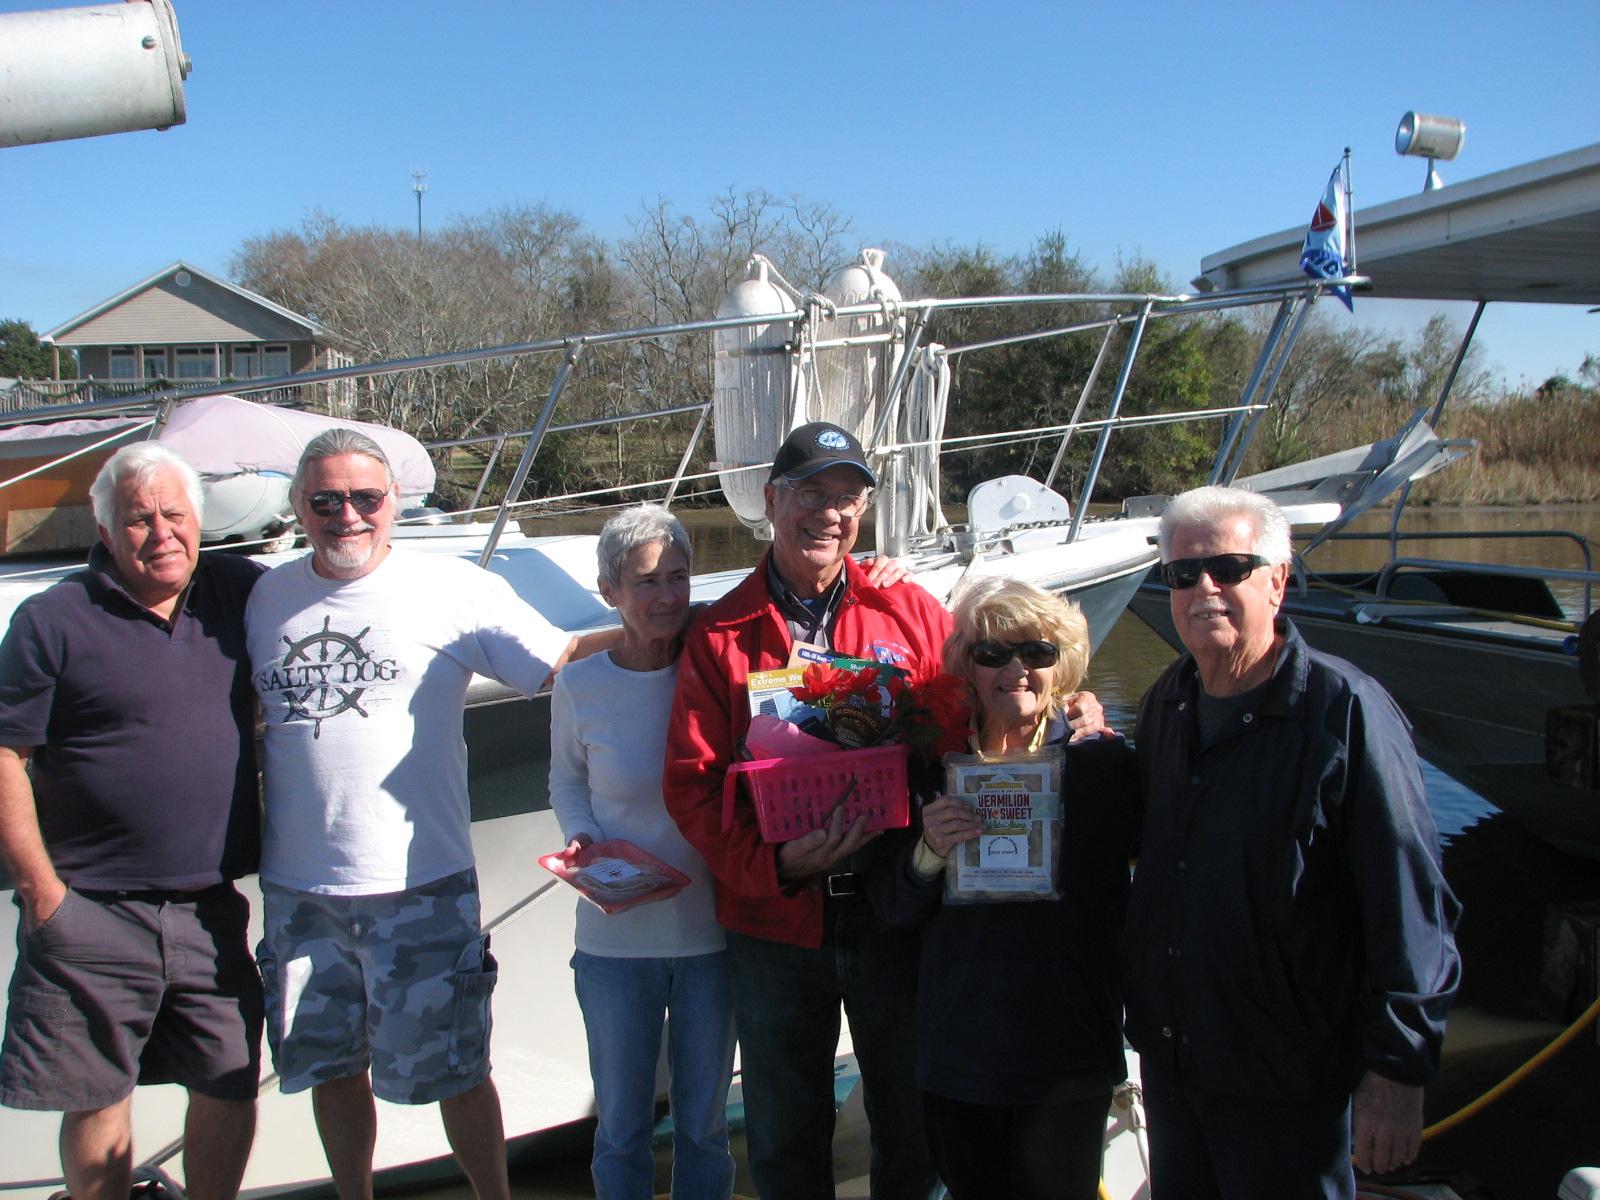
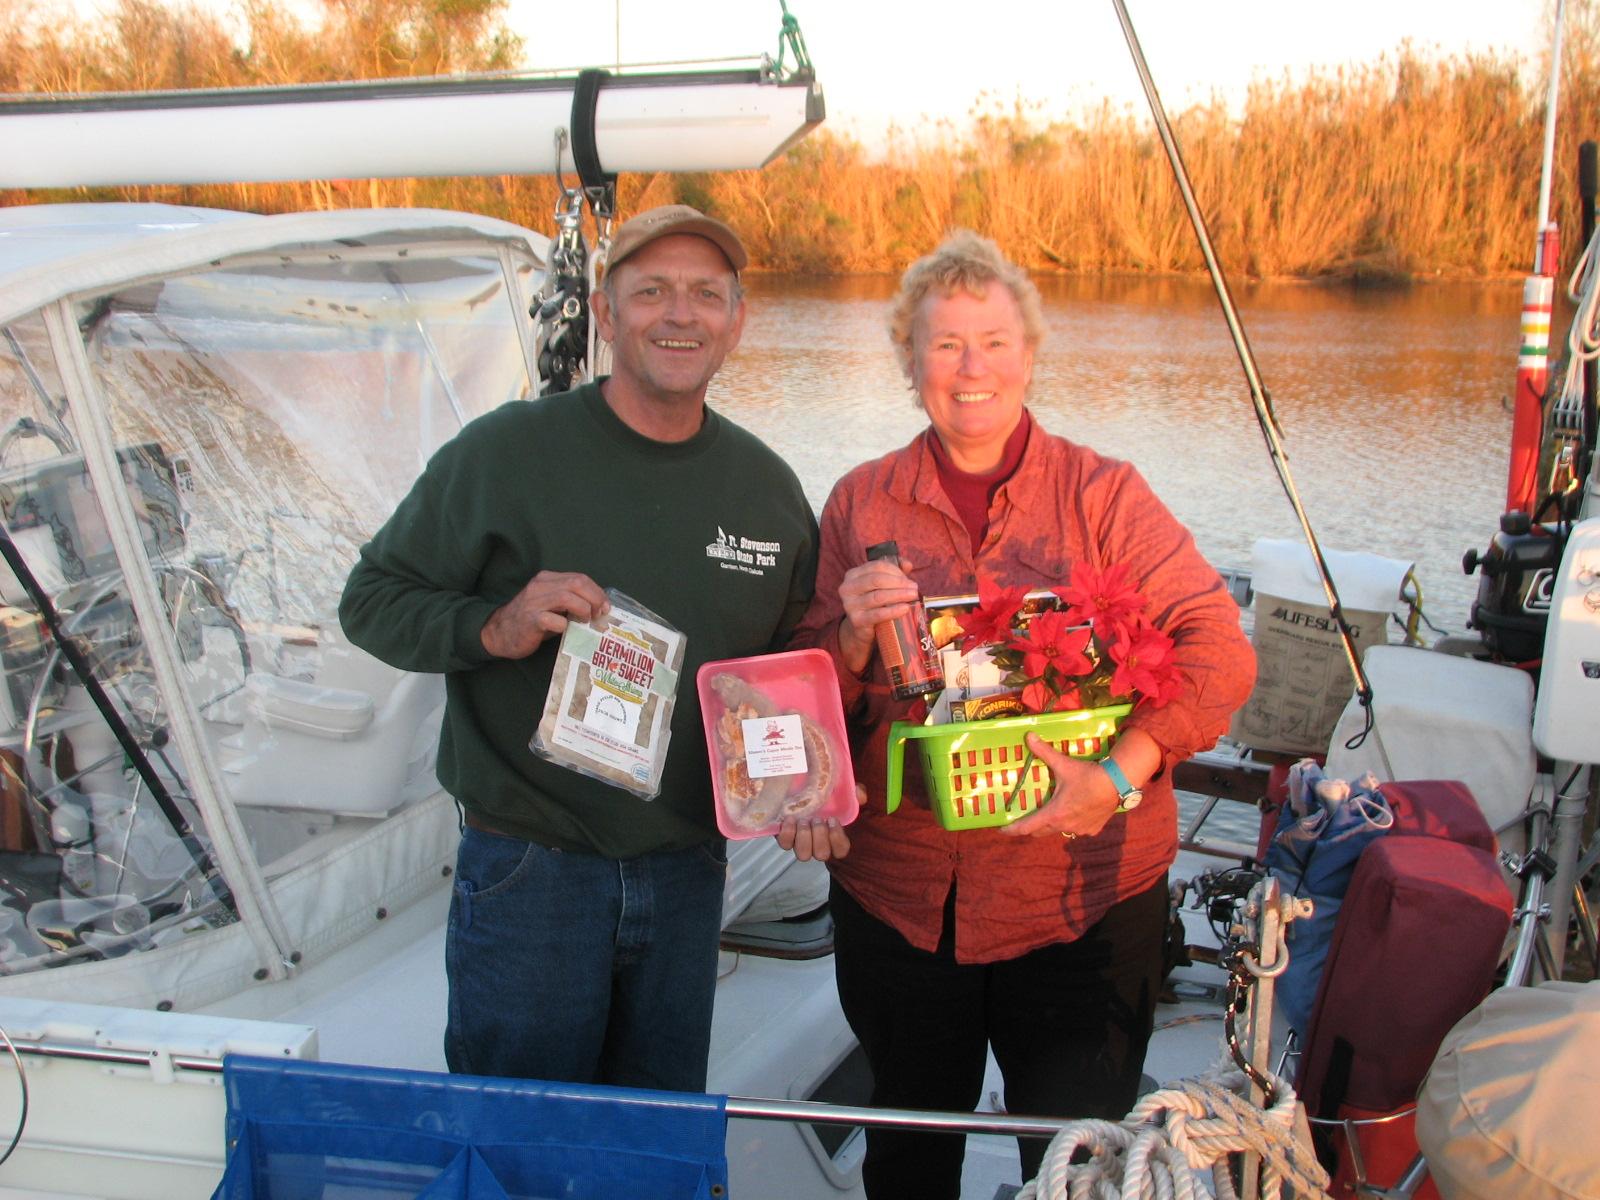
We welcomed the owners of the transient
boat MIRAGE, that came in yesterday to the marina.
They fueled up MIRAGE, and are planning to leave tomorrow morning to
continue their journey to Port
Arthur, Texas.
Crew Of MIRAGE With Welcome Basket And
Dockmaster T-Boy
We then welcomed another cruising
yacht, RUTHIE, into the marina
later in the afternoon. They were scheduled to come in tomorrow, but
made good time and got in today. The dockmaster, T-Boy Renard, was in
Lafayette
when they arrived, so it was just Kitty and I to get them into the
dock, and present the North
Pier Marina welcome basket.
Johnal And Cindy With Welcome Basket
I spent the remainder of the day
cooking and preparing cat food for our two cats, Jillian
and Jordan. We are getting away from the canned food,
from the pet food companies for two reasons. First and foremost, the
food from the pet food companies is not very healthy, and when we are
cruising, the canned food is extremely difficult to get.
December 15, Sunday, 2013
Started off the morning with my normal
ritual of getting on the Internet, answering email, and checking the
weather, while making a pot of coffee. When the coffee is started, I
feed our two cats, Jillian
and Jordan, and spend time with them brushing their
beautiful coats.
I spent a good portion of the morning
getting caught up on computer work and a bit of reading.
Our “uniforms” showed up in the mid
morning, so we were ready for the
Delcambre
Christmas parade. I dressed up as Santa Claus, and Kitty was dressed
up as Mrs Claus. The parade was supposed to be last weekend, but the
weather was so bad it was put off a week.
We were ready for the parade around
1330. The mayor of Delcambre
picked us up at the marina
in a police car, and we rode to the parade float on which we were to
ride, with lights flashing and sirens blaring.
We got on the float, and the parade
started around 1410 just before the high school. As we rode down main
street to the Delcambre
Shrimp Festival grounds we waved at all of the
children, and threw candy to them as we progressed.
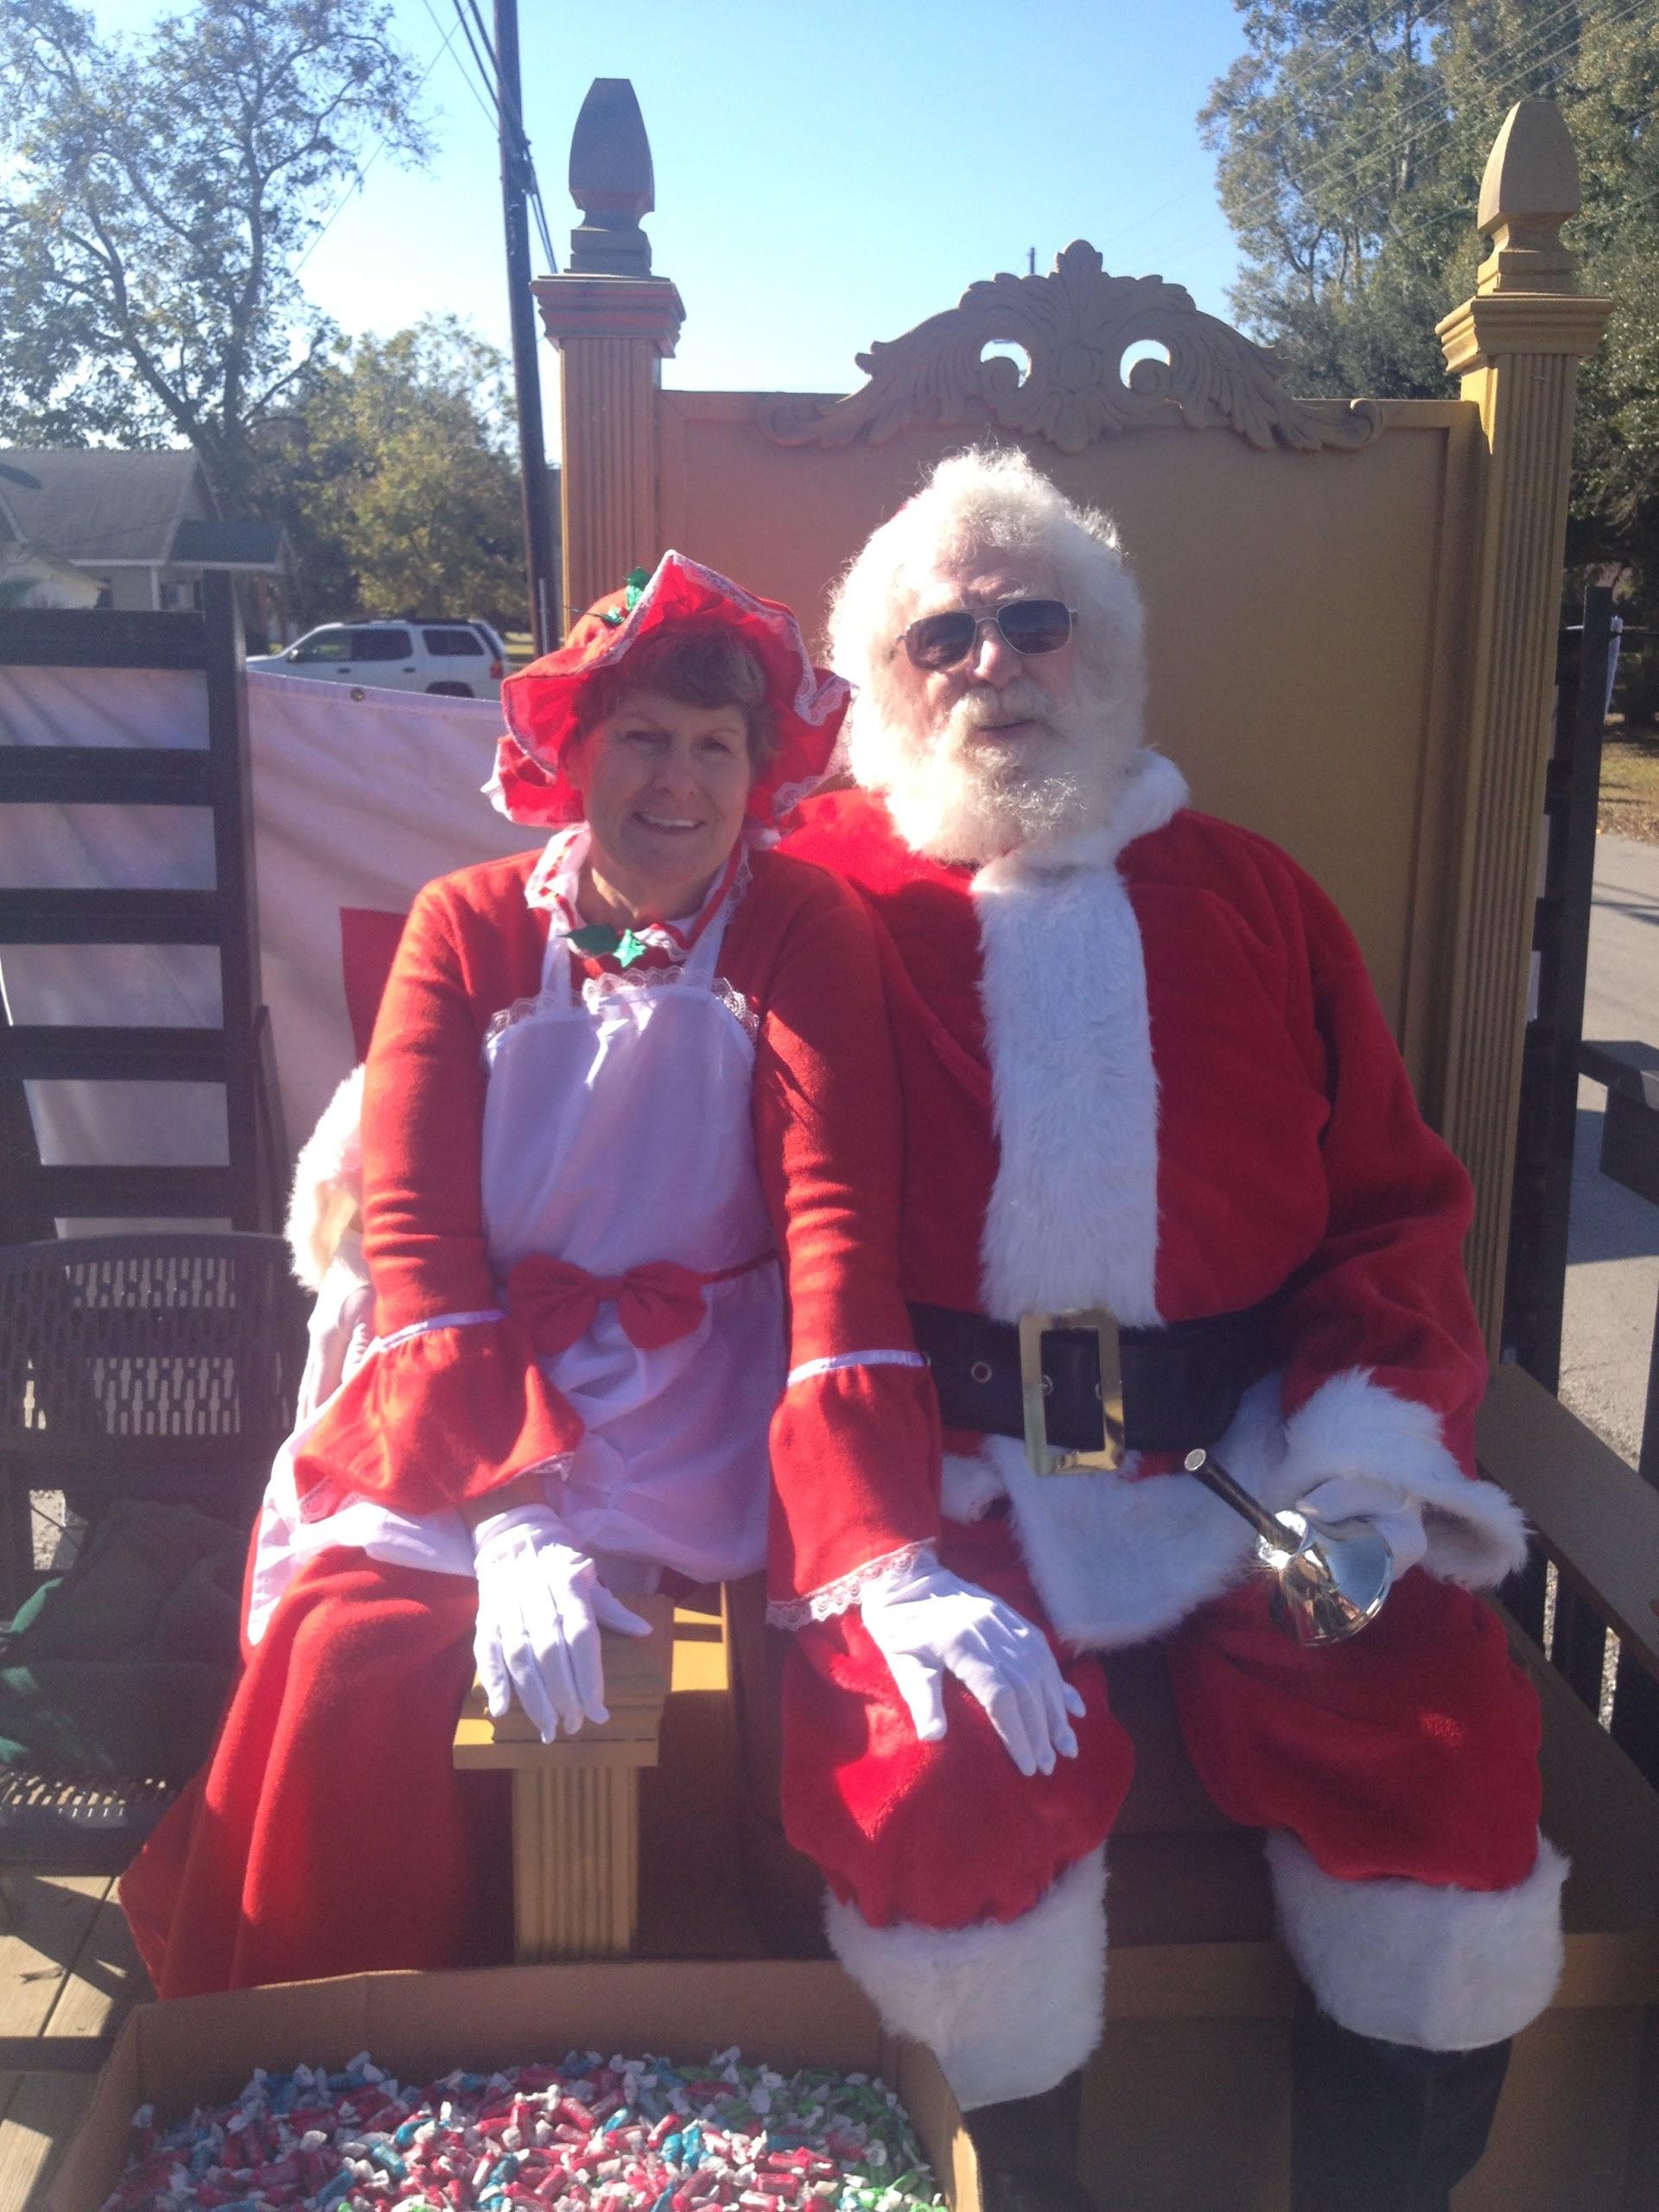
Santa And Mrs Claus On Parade Float
When we got to the Delcambre
Shrimp Festival grounds, we got off of the float and I
sat on a very large chair, with Kitty beside me on a bench. We then
did photographs with Santa. We finally finished around 1615.
We went back to DREAM AWAY, and got out
of our Santa rig. Kitty took a nap to try and shake the cold she has
picked up, and I prepared food for the Kitties.
Around 1730 I welcomed a cruiser who
came into the marina
for a couple of days on their way from Florida to Texas. The boat was
supposed to come in tomorrow, so was a surprise when it arrived
today. They will get their Welcome Basket tomorrow.
December 14, Saturday,
2013
At 0715 I quit my traffic directing
job, and headed into the
Delcambre Shrimp Festival
building to get dressed into my Santa suit for the
Pancakes
With Santa
benefit. Kitty joined me and was dressed up as Mrs Claus. We worked the
Pancakes
With Santa benefit from 0800 until 1015. We had many
pictures taken with so many wonderful children, it was a lot of fun.
We then moved over to the Delcambre
Seafood And Farmers Market still dressed in our
outfits, and I sat in an old rocking chair and had my picture taken
with several children and adults.
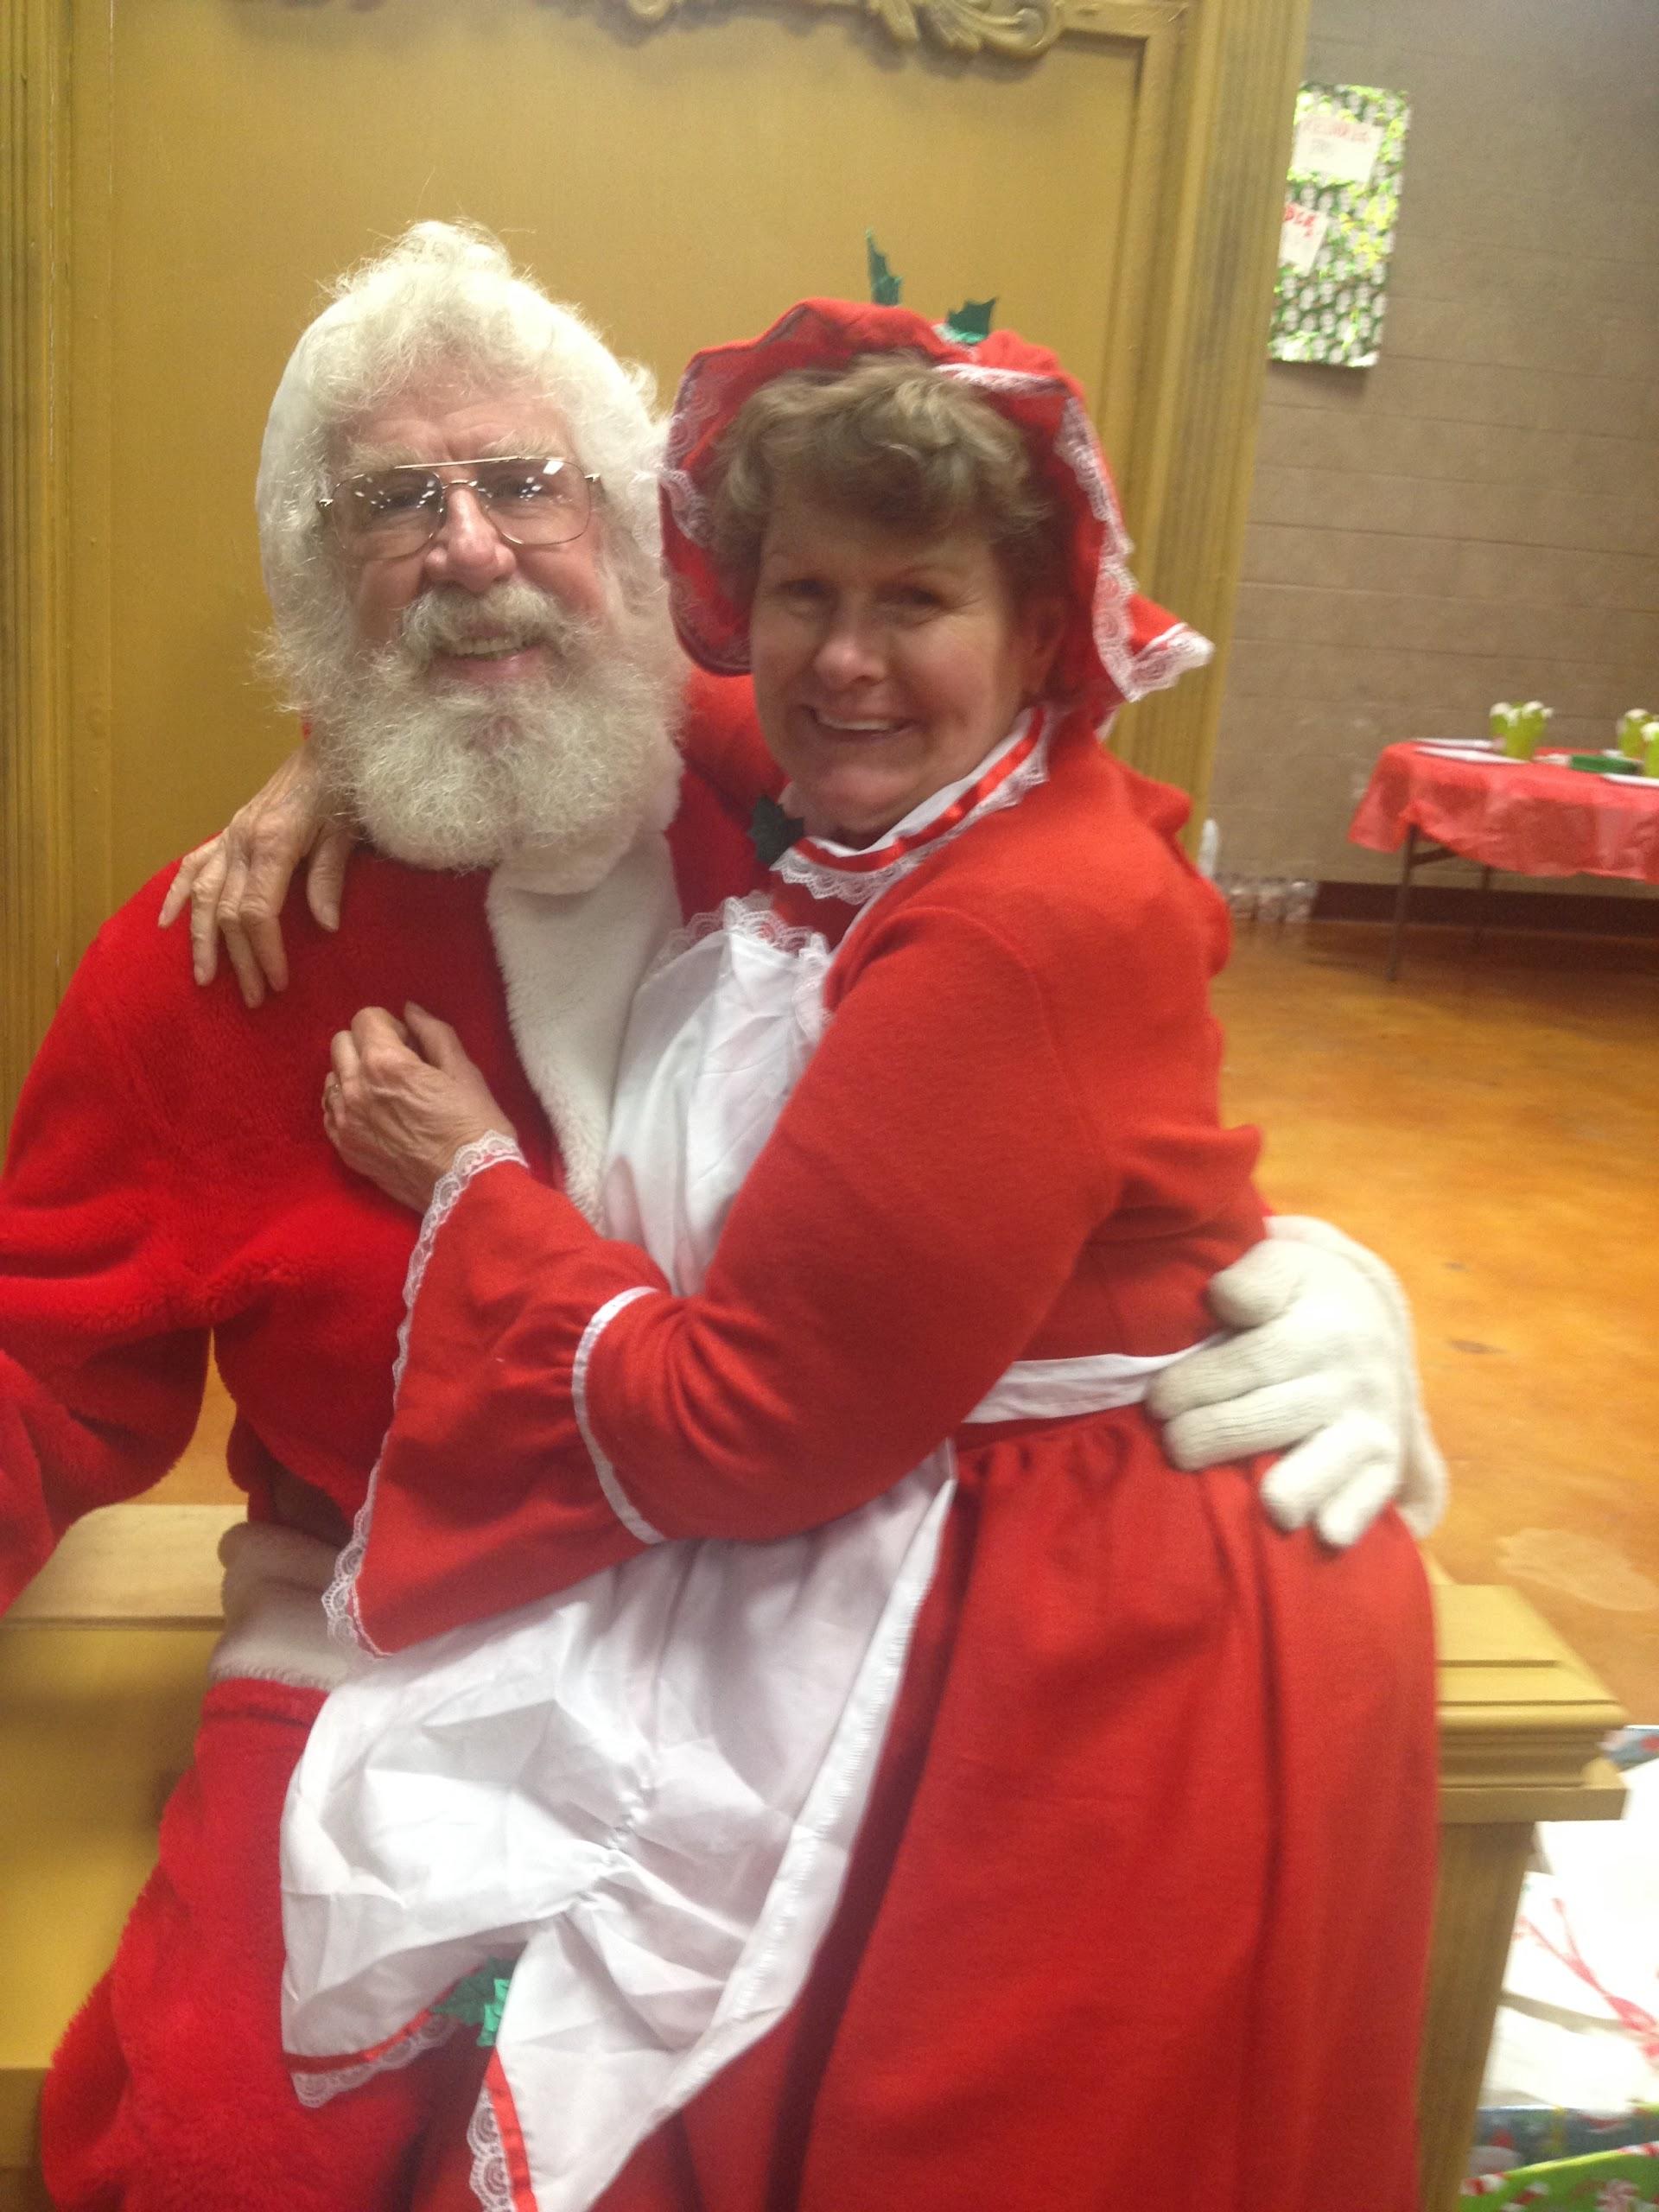
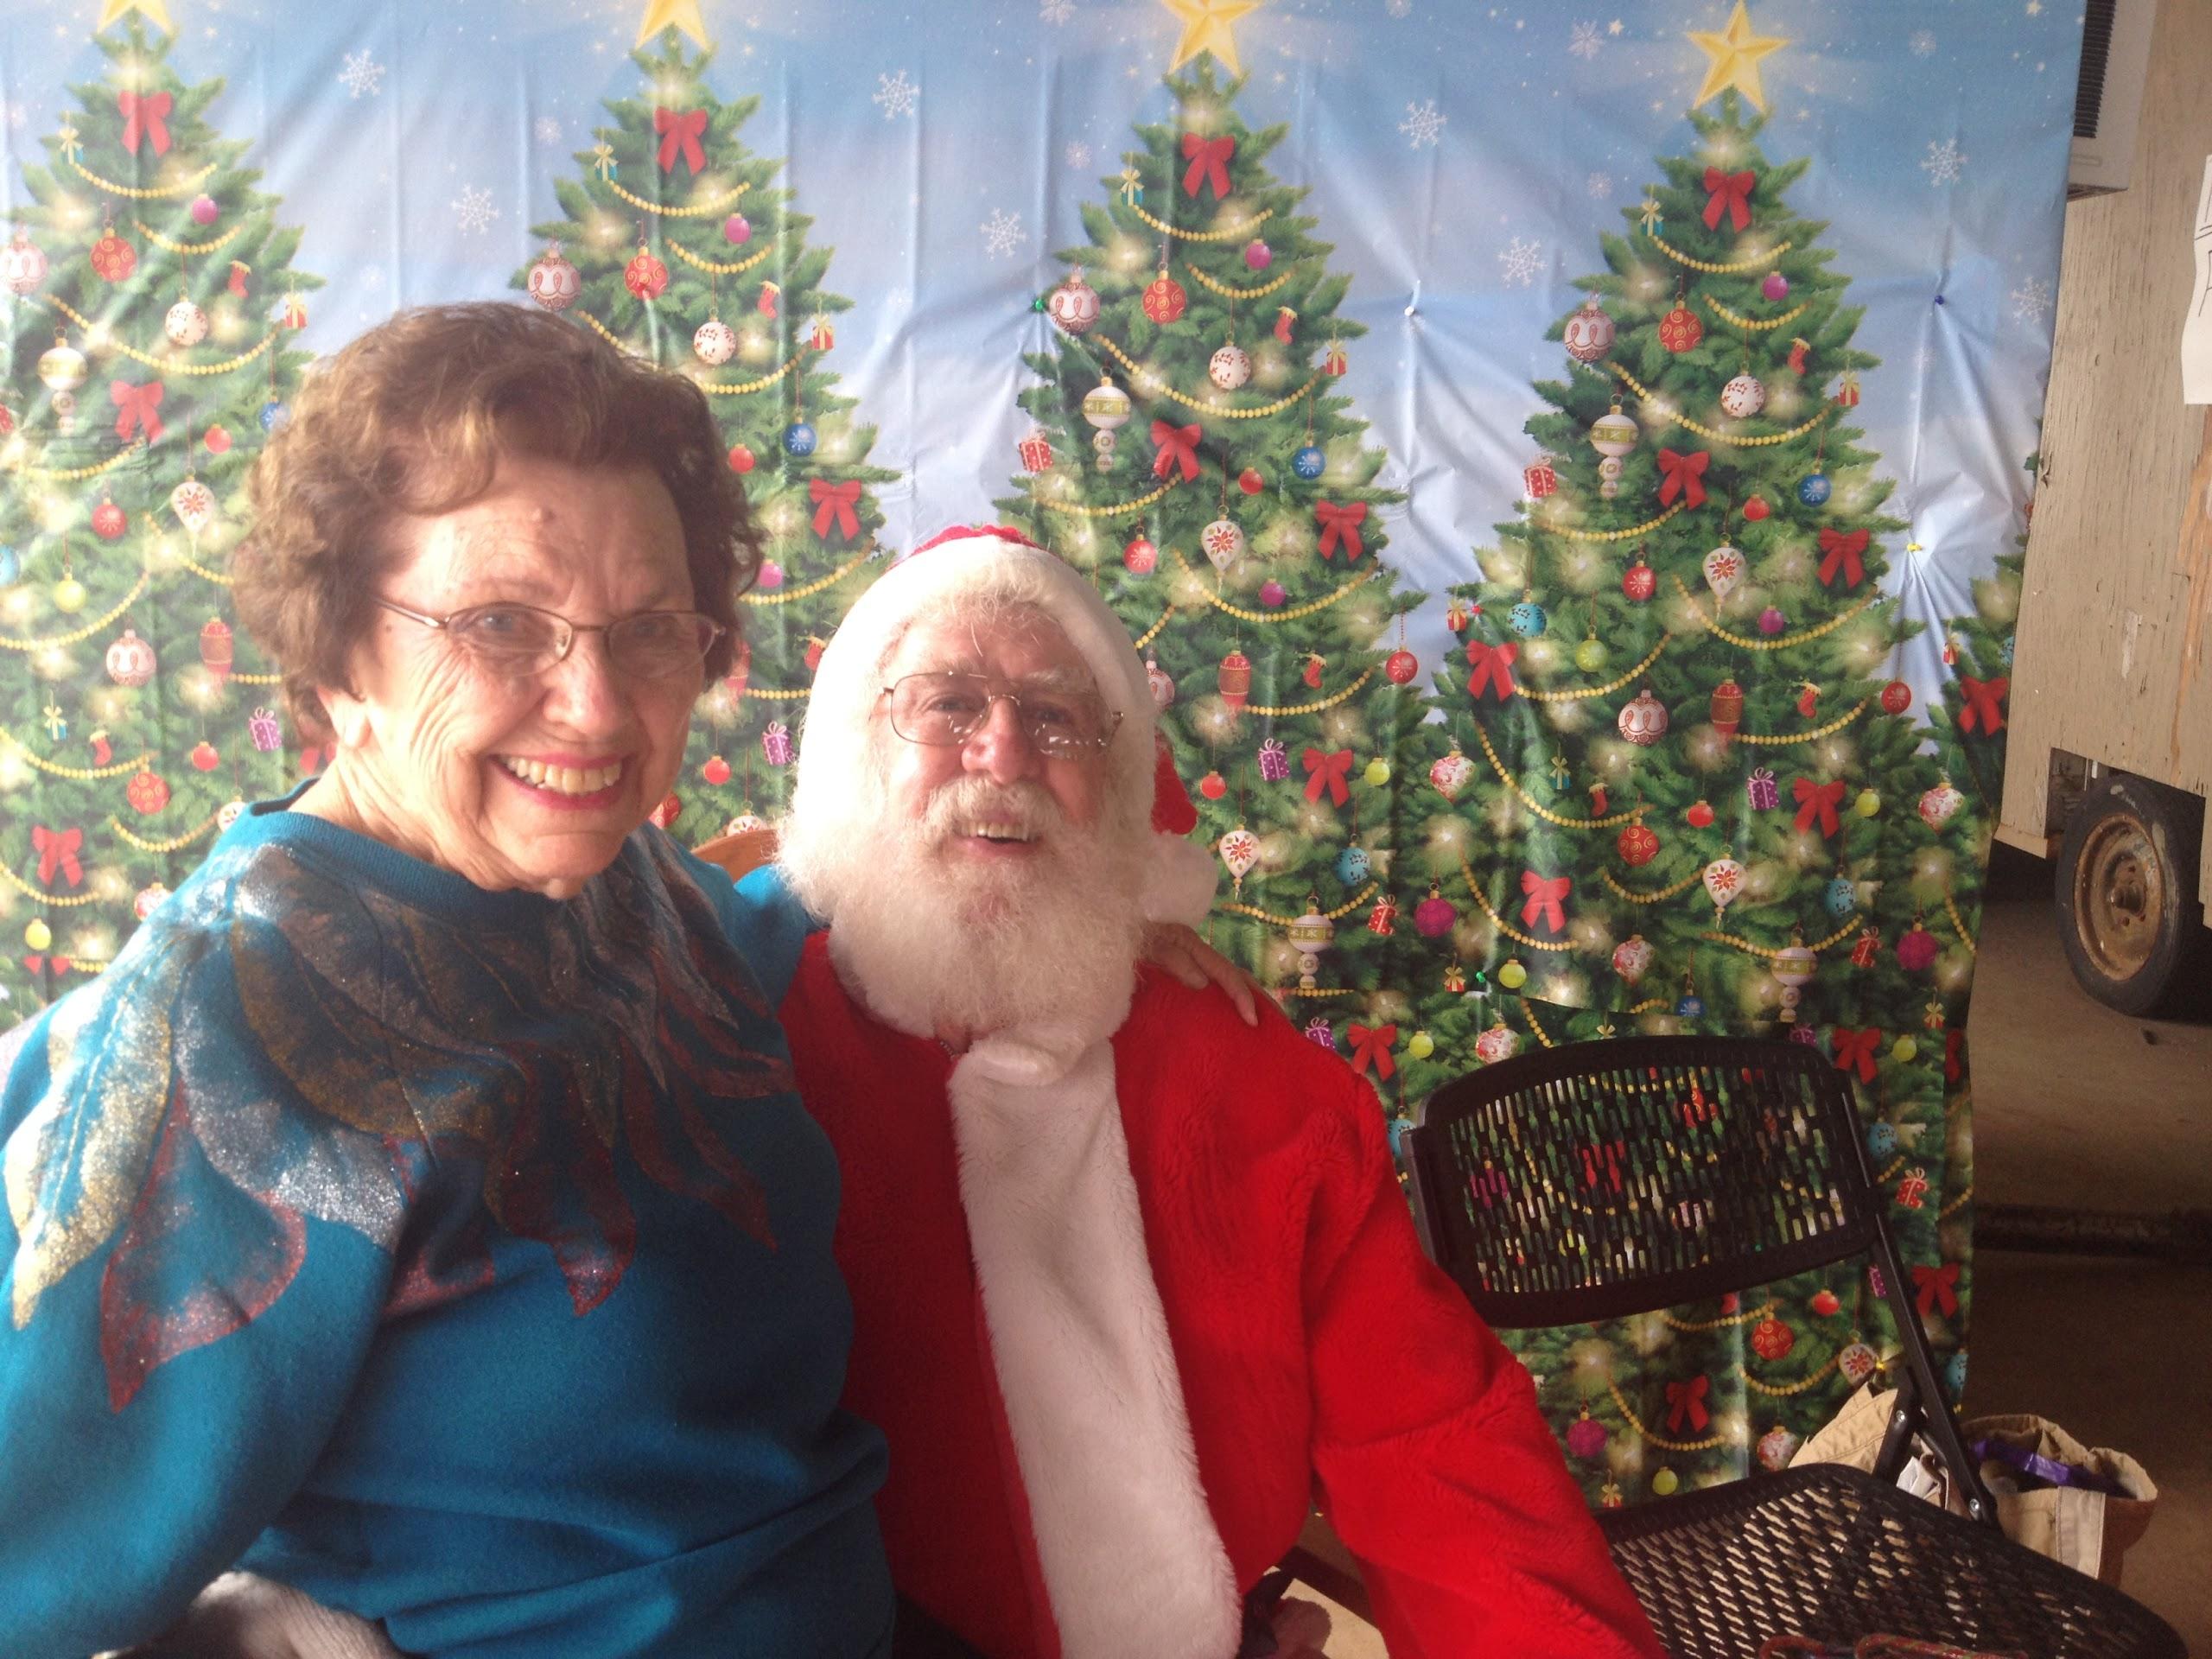
Santa And Miss Glo At The Farmers Market
After the Delcambre
Seafood And Farmers Market, we changed back into our
civilian clothes, and went back to DREAM AWAY. We both had a short
nap, then kitty got into some baking to prepare for the night’s
activities.
We were preparing for the Christmas
Boat Parade. We attended several parties immediately
following the boat parade and the spectacular fireworks display. The
fireworks were great, it seemed like it was the grand finale during
the whole show! It was a wonderful and tiring day!
One Of The Decorated Boats
Some Of The Fireworks
December 13, Friday, 2013
Started off the morning with my normal
ritual of getting on the Internet, answering email, and checking the
weather, while making a pot of coffee. When the coffee is started, I
feed our two cats, Jillian
and Jordan, and spend time with them brushing their
beautiful coats.
I went up to the parking lot to work on
the shower
trailer. A hose with quick release connector was
purchased to drain the on board holding tank into the new sewer
connection near the shower
trailer. I had previously tested the new water outlet.
It was not the best laid out but we had water next to the shower
trailer.
I used the hose attached to the fresh
water to fill the sewer discharge hose to verify operation. It works
pretty well, but I discovered that the waste discharge hose leaks at
the quick release connector. Not a good situation. I will have to
return the hose and connector to the place where it was purchased,
and get the leak repaired.
I then went over to the shop
and looked through my stash of stainless steel flatbar. I was able to
find the three pieces I will require for the supports on the
stainless steel base of the hard dodger.
I went back to DREAM AWAY, and we spent
the remainder of the day running errands and grocery shopping.
December 12, Thursday,
2013
Started off the morning with my normal
ritual of getting on the Internet, answering email, and checking the
weather, while making a pot of coffee. When the coffee is started, I
feed our two cats, Jillian
and Jordan, and spend time with them brushing their
beautiful coats.
I then went over to the shop
and got back into working on the stainless steel base for the hard
dodger. I finished up the welding, and then started in on the
grinding and sanding of the welds. I also sanded on the pipe to clean
up as many imperfections as possible.
I also drilled out all of the holes in
the pipe. I did some welding very near some of the holes, and I
wanted to make sure the bolts would still go through all of the
holes.
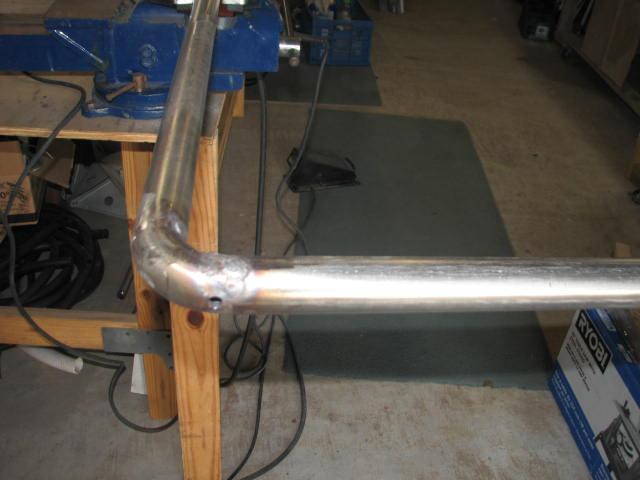
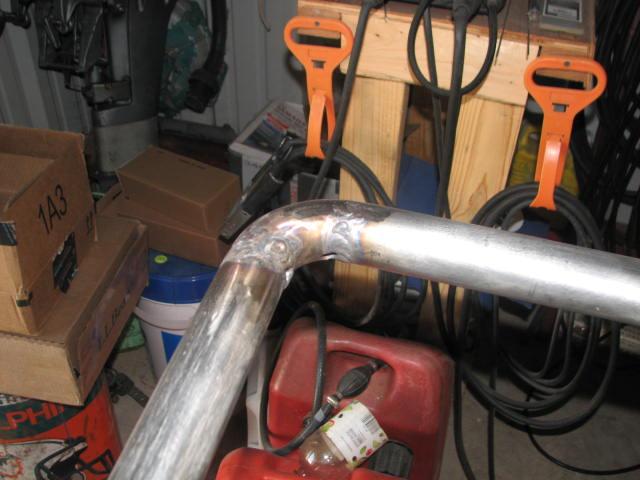
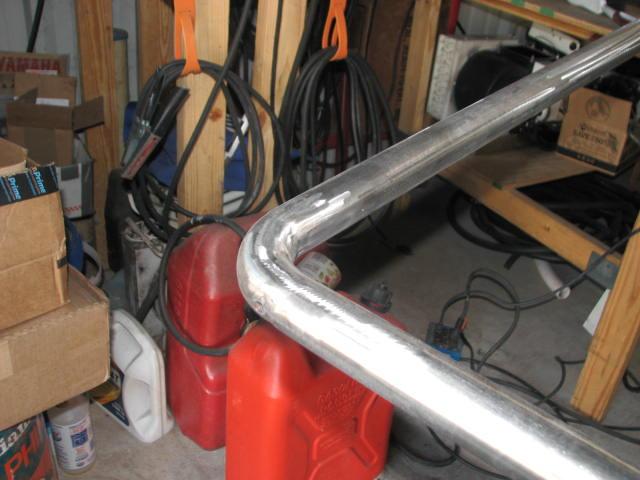
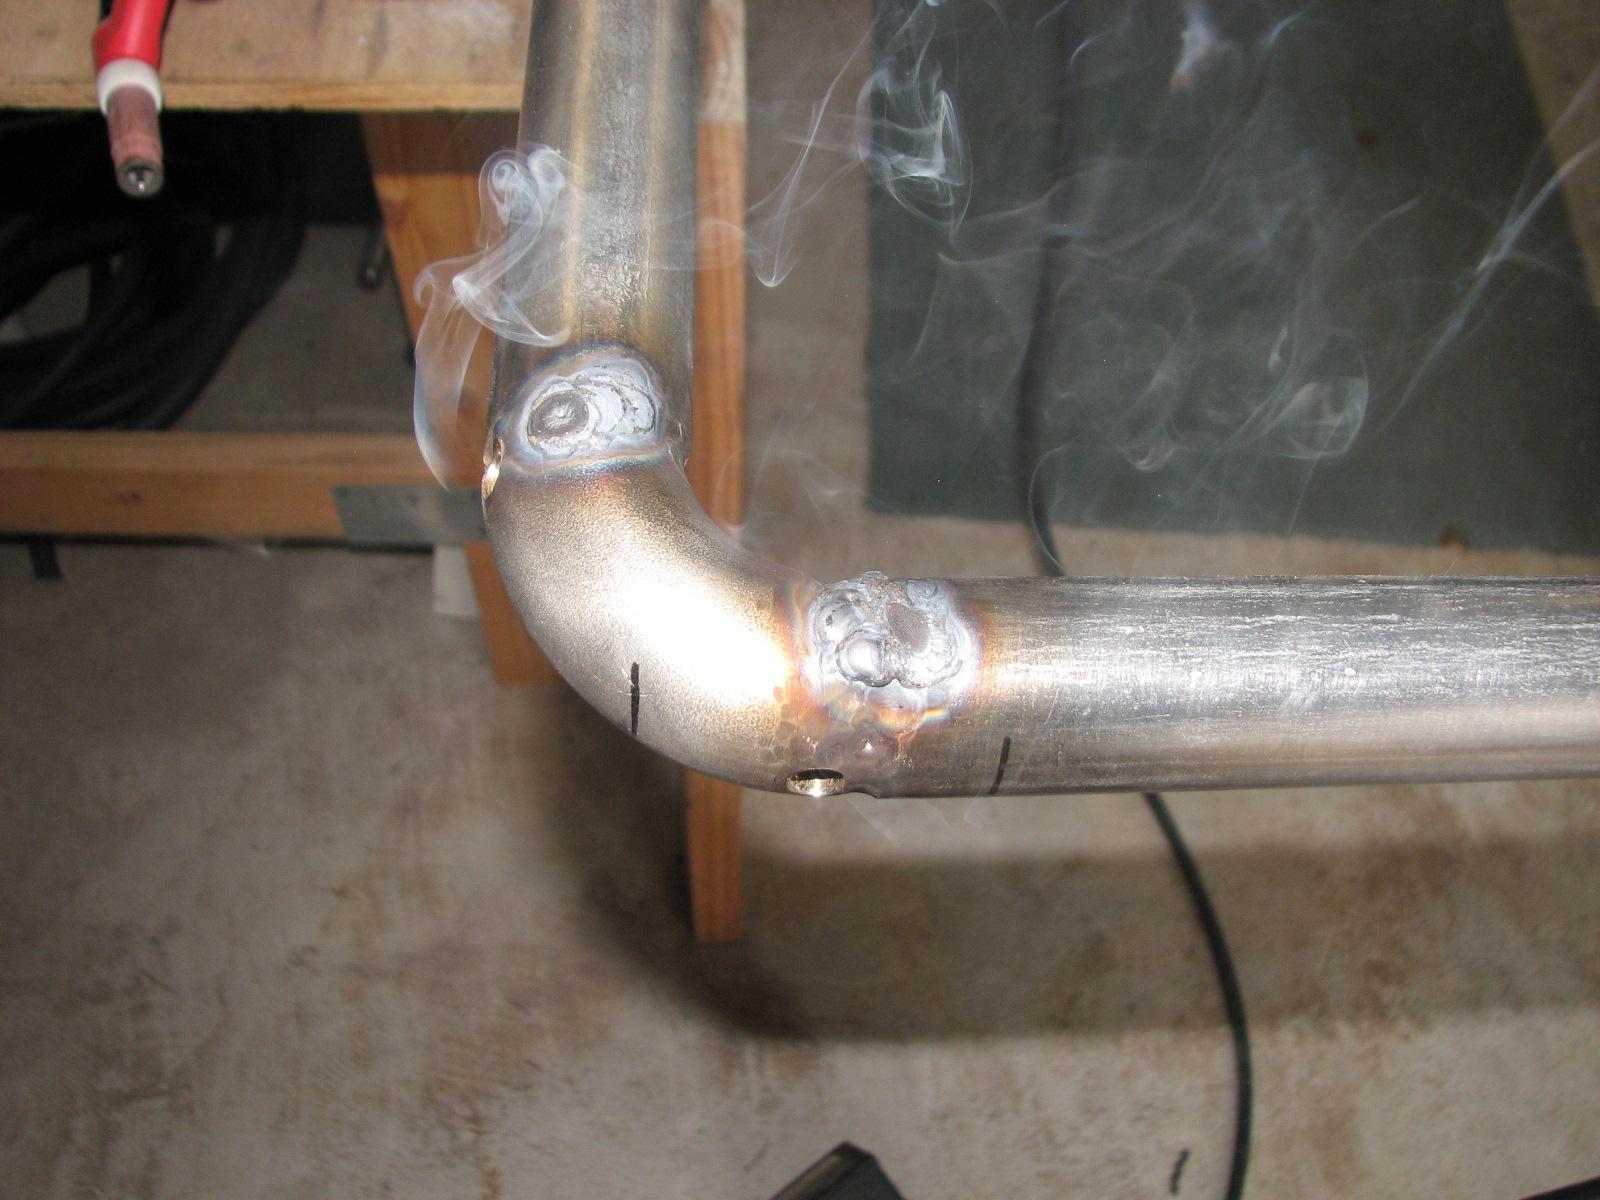
New Welds In Corner Of Pipe
New Welds In Corner Of Pipe
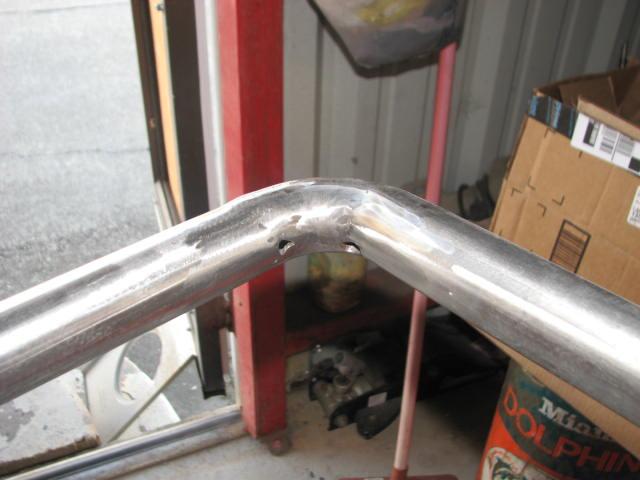
Sanded And Polished Corner Welds
Sanded And Polished Corner Welds
When I finished sanding and polishing
the pipe, I then cleaned up the shop.
Sanding and grinding on metal is very dirty work, so the shop
needed a good cleaning. I headed back to the marina,
but as I was locking up the shop,
I realized I had more to do on the stainless steel pipe base for the
hard dodger.
I had to fabricate three braces to weld
onto the pipe, to support the King
Starboard I will be using for the hard top on the hard
dodger.
At the marina
I talked with the plumber who is putting in the sewer and water pipes
for the shower
trailer. We are hoping the drain hose will work
properly. When the plumbers finish their work, I will have to run a
test of the new drain system.
Kitty and I then went off to New
Iberia to run errands, no more project were done on
DREAM AWAY.
December 11, Wednesday,
2013
Started off the morning with my normal
ritual of getting on the Internet, answering email, and checking the
weather, while making a pot of coffee. I also spent time with our two
cats, Jillian
and Jordan.
Kitty and I went off to the Delcambre
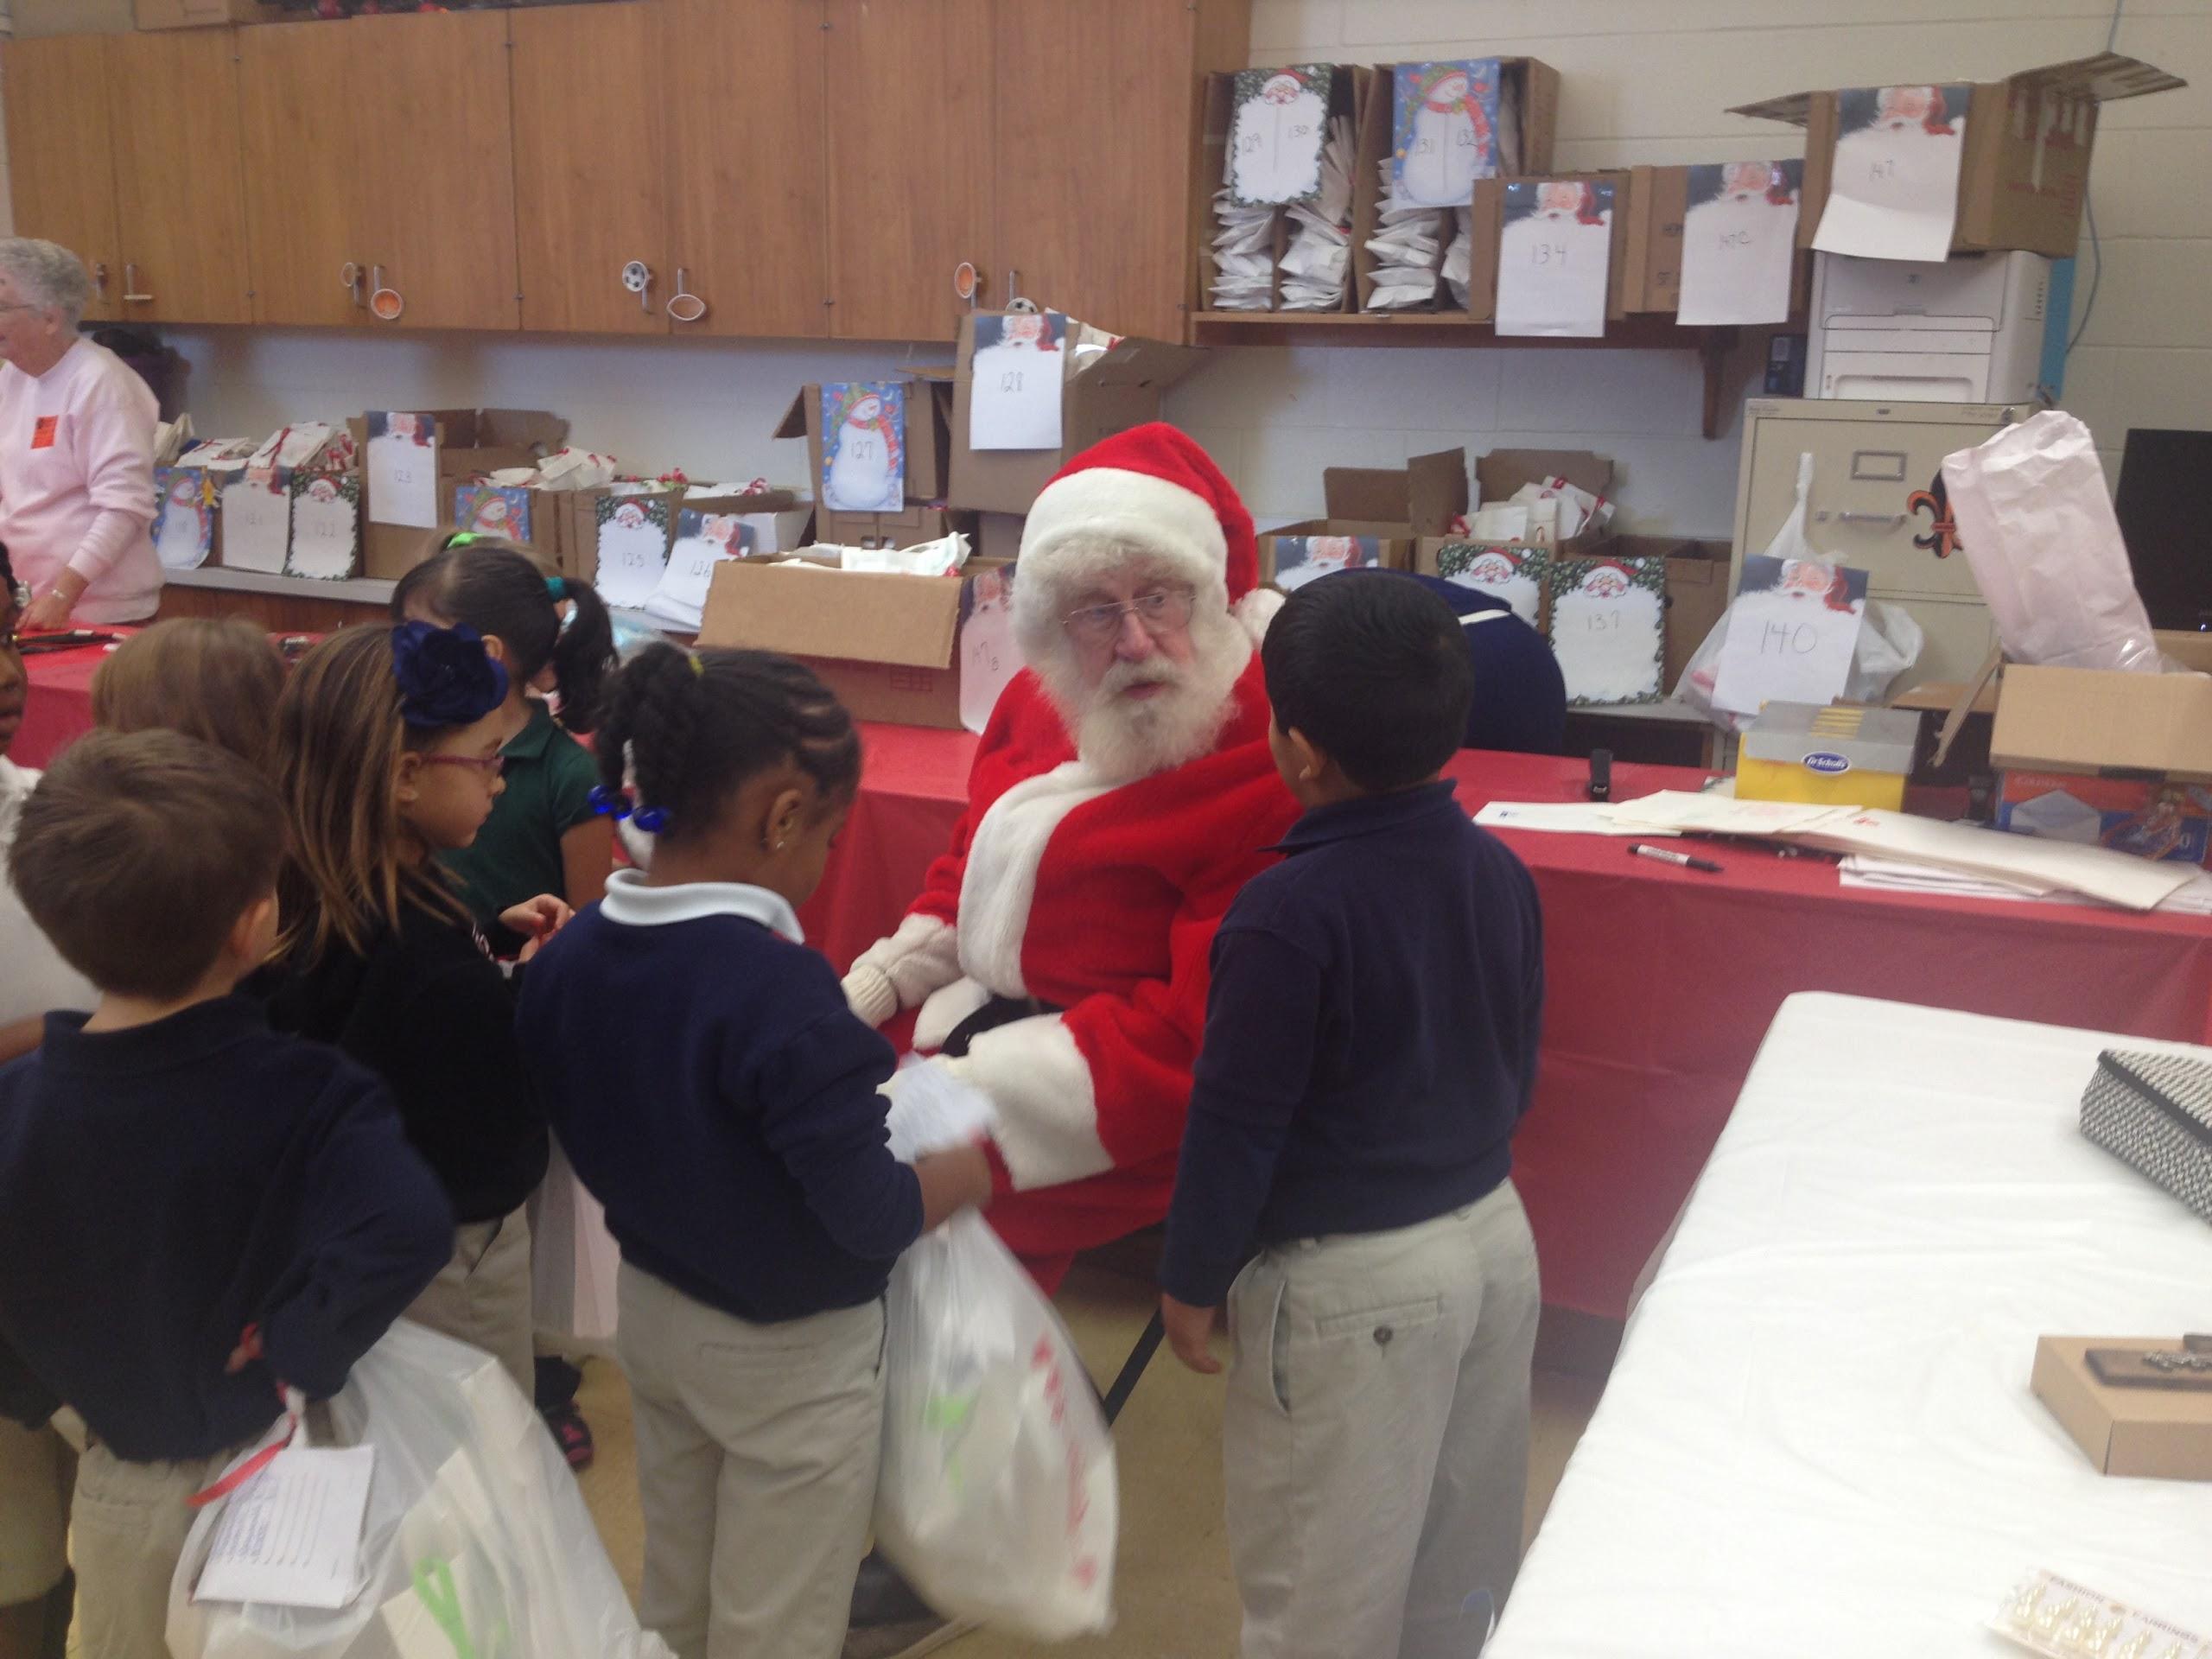
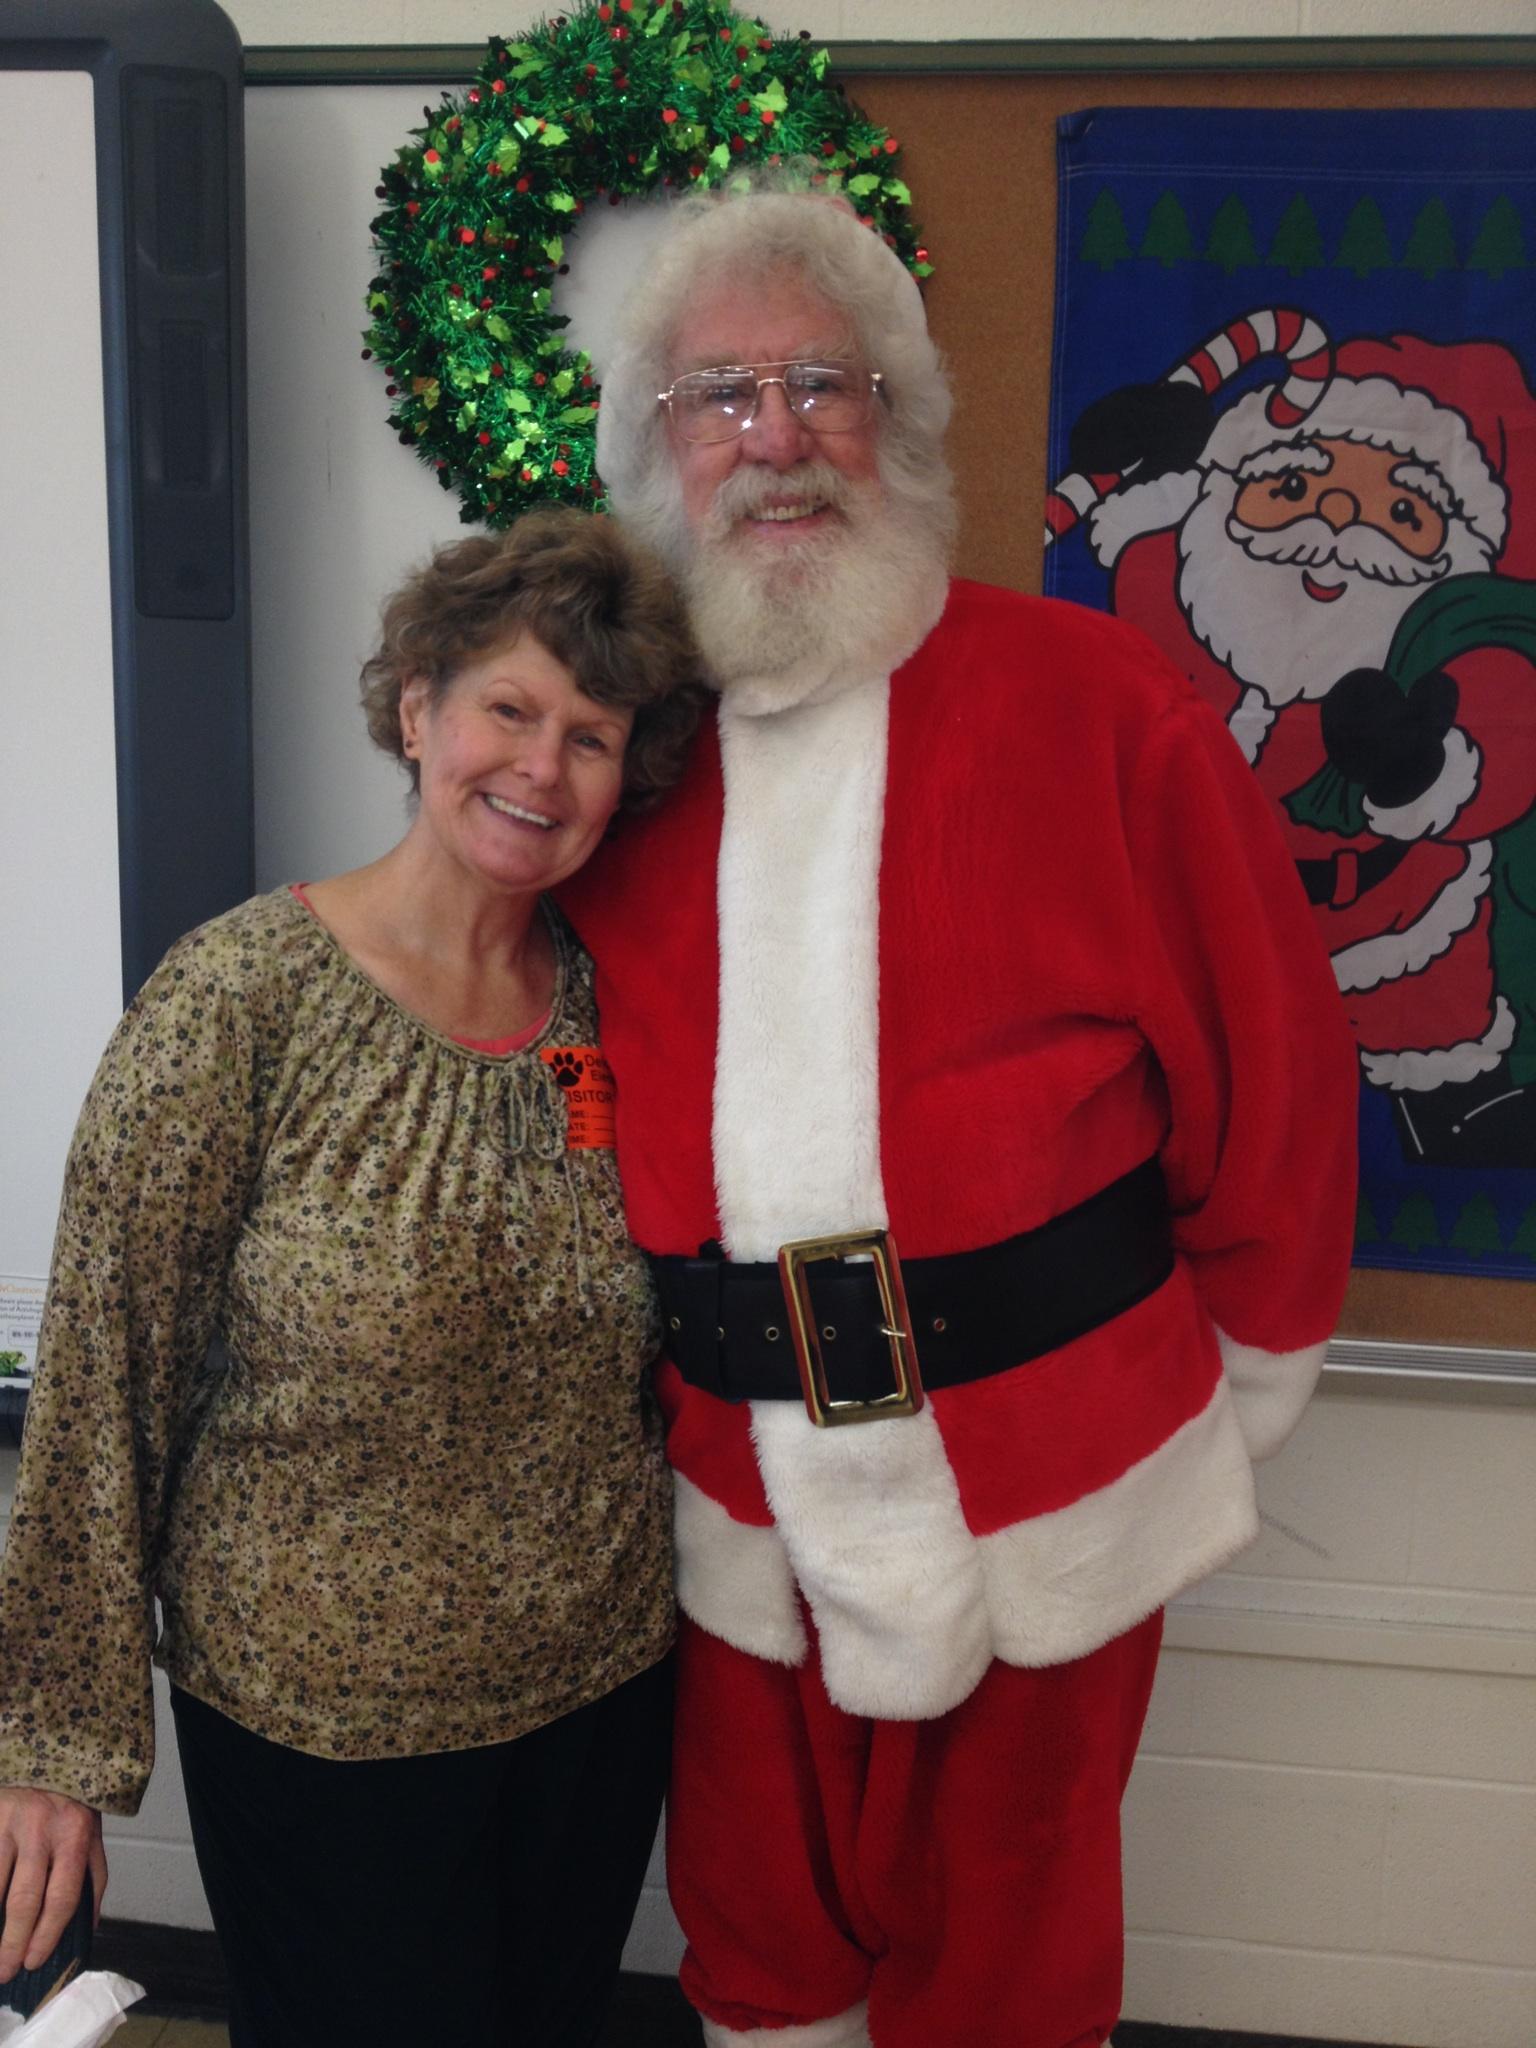
Elementary school again this morning, arriving around
0850. They have a Santa’s workshop at the school for all of the
kids, and I dressed up as Santa Claus. Kitty was a helper with the
other ladies to help the children do their Christmas shopping. We
worked Santa’s Workshop until 1300, and then had lunch.
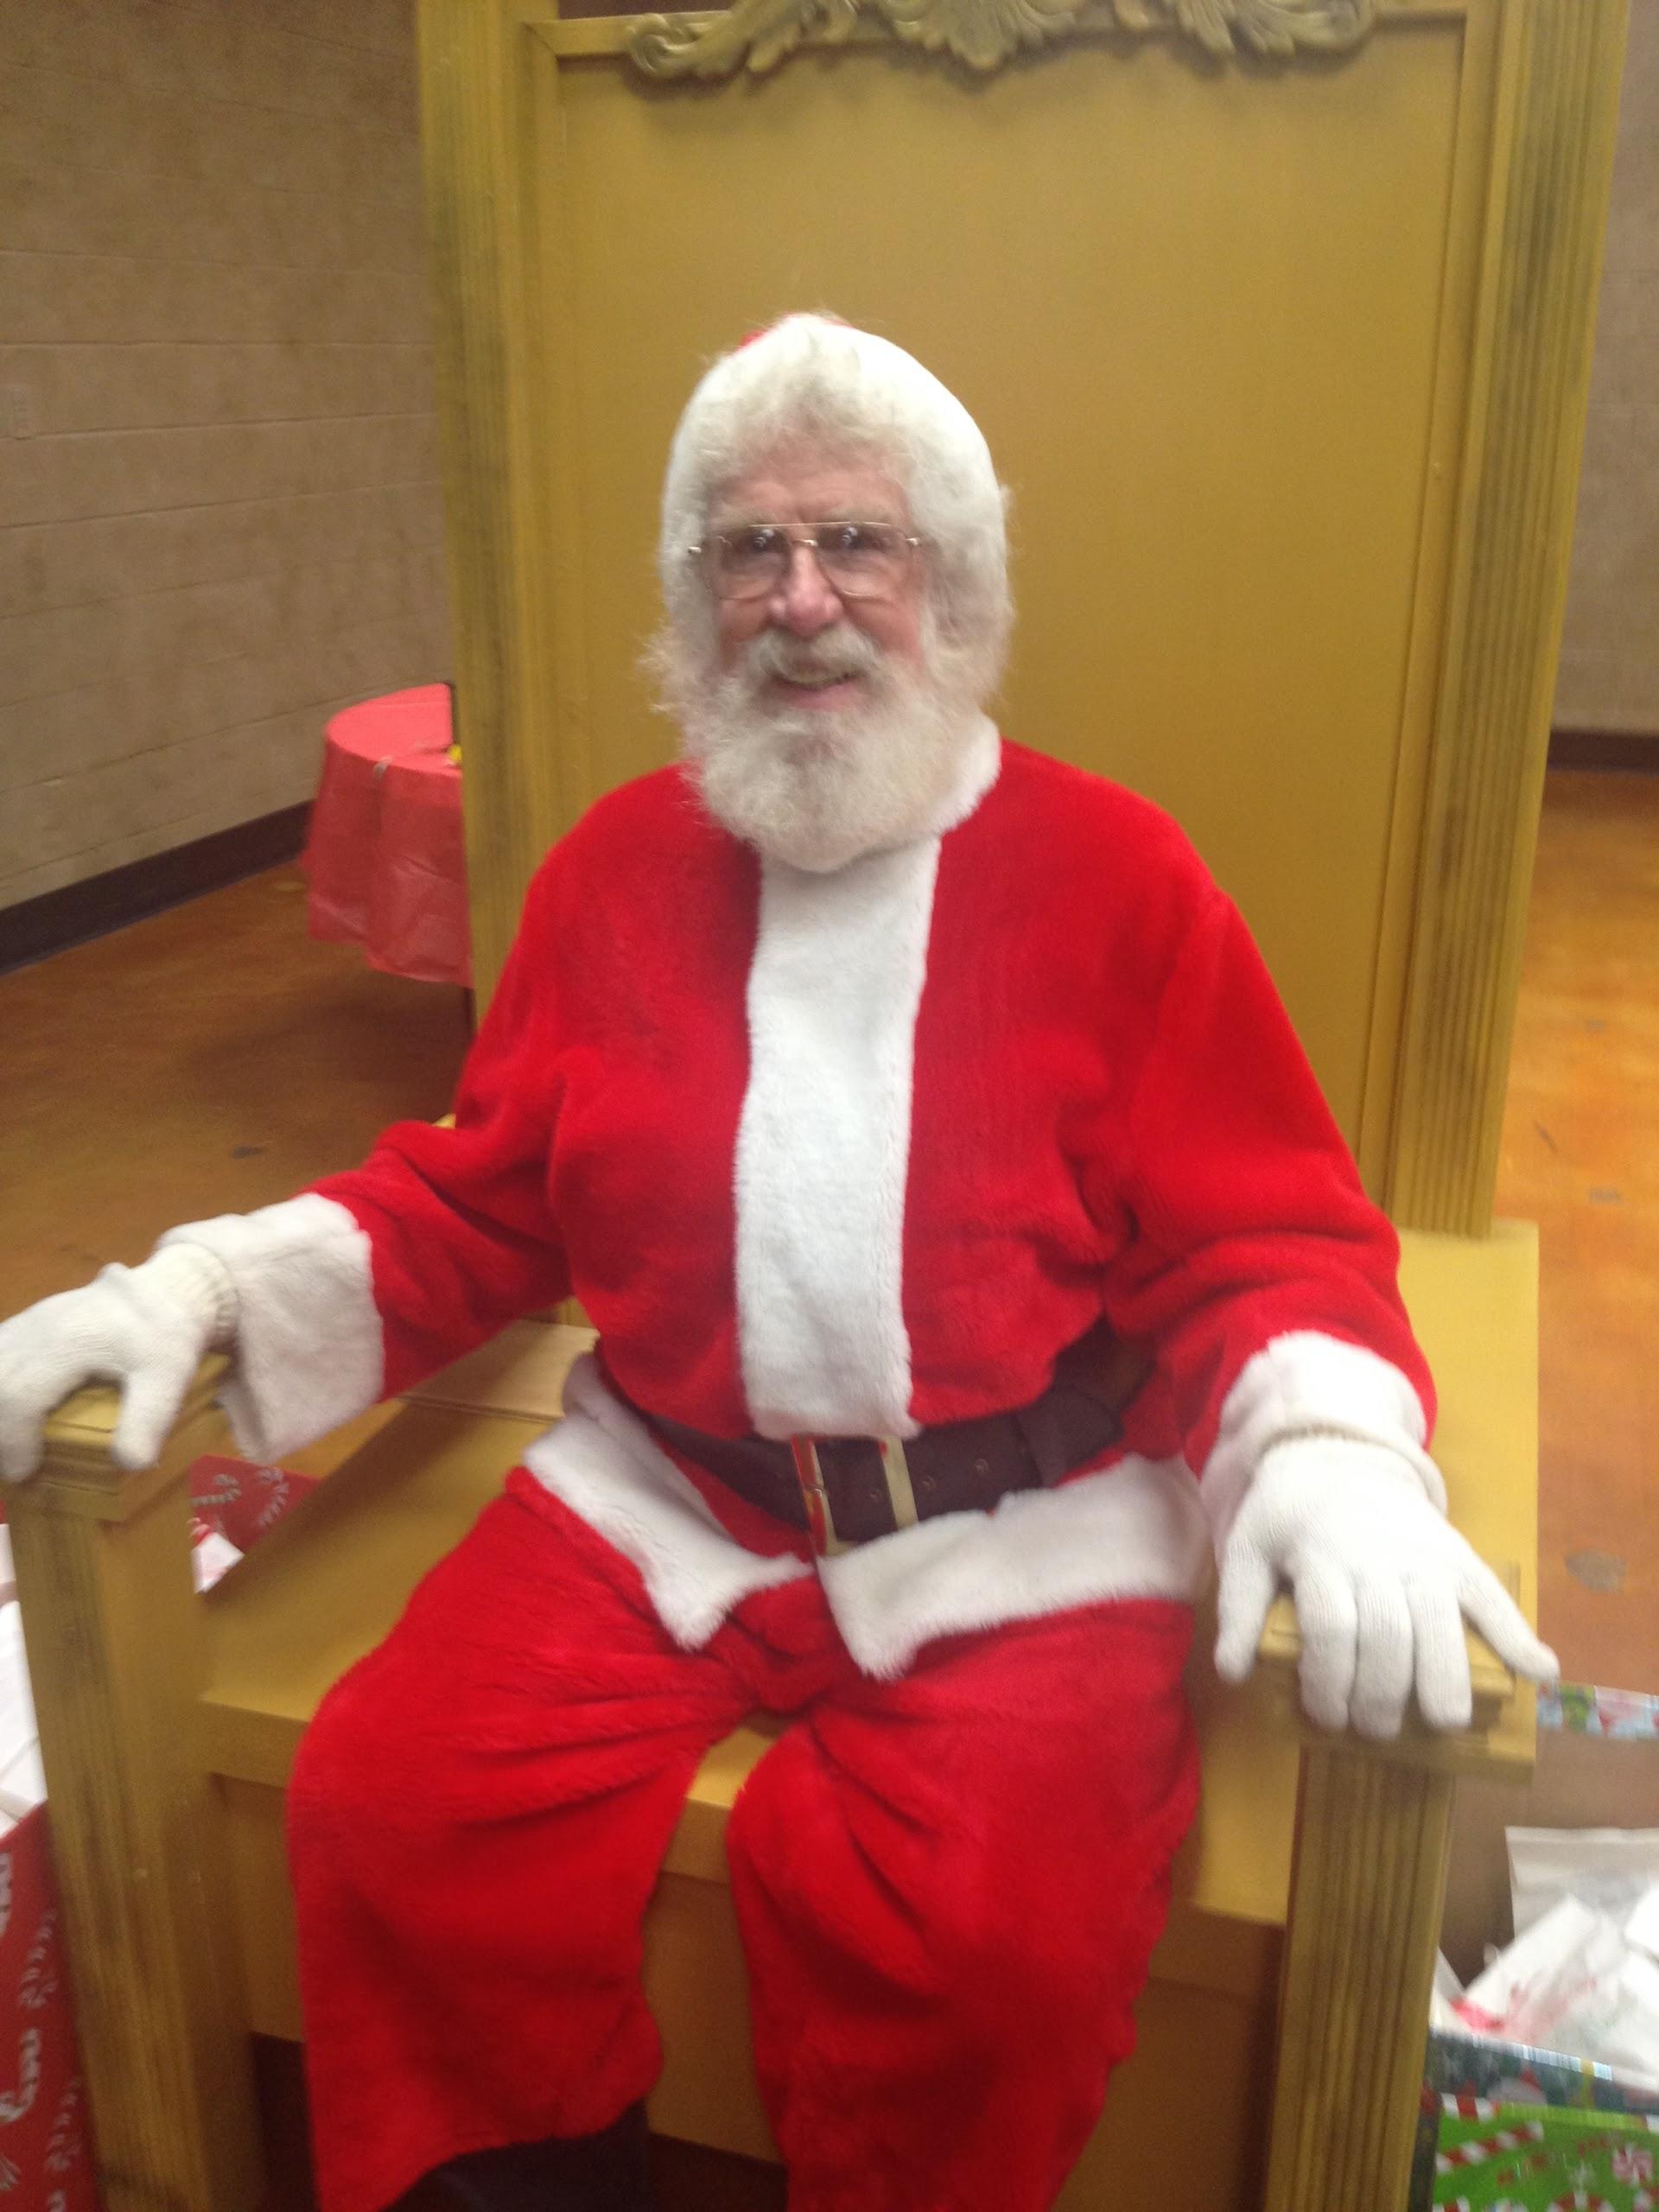
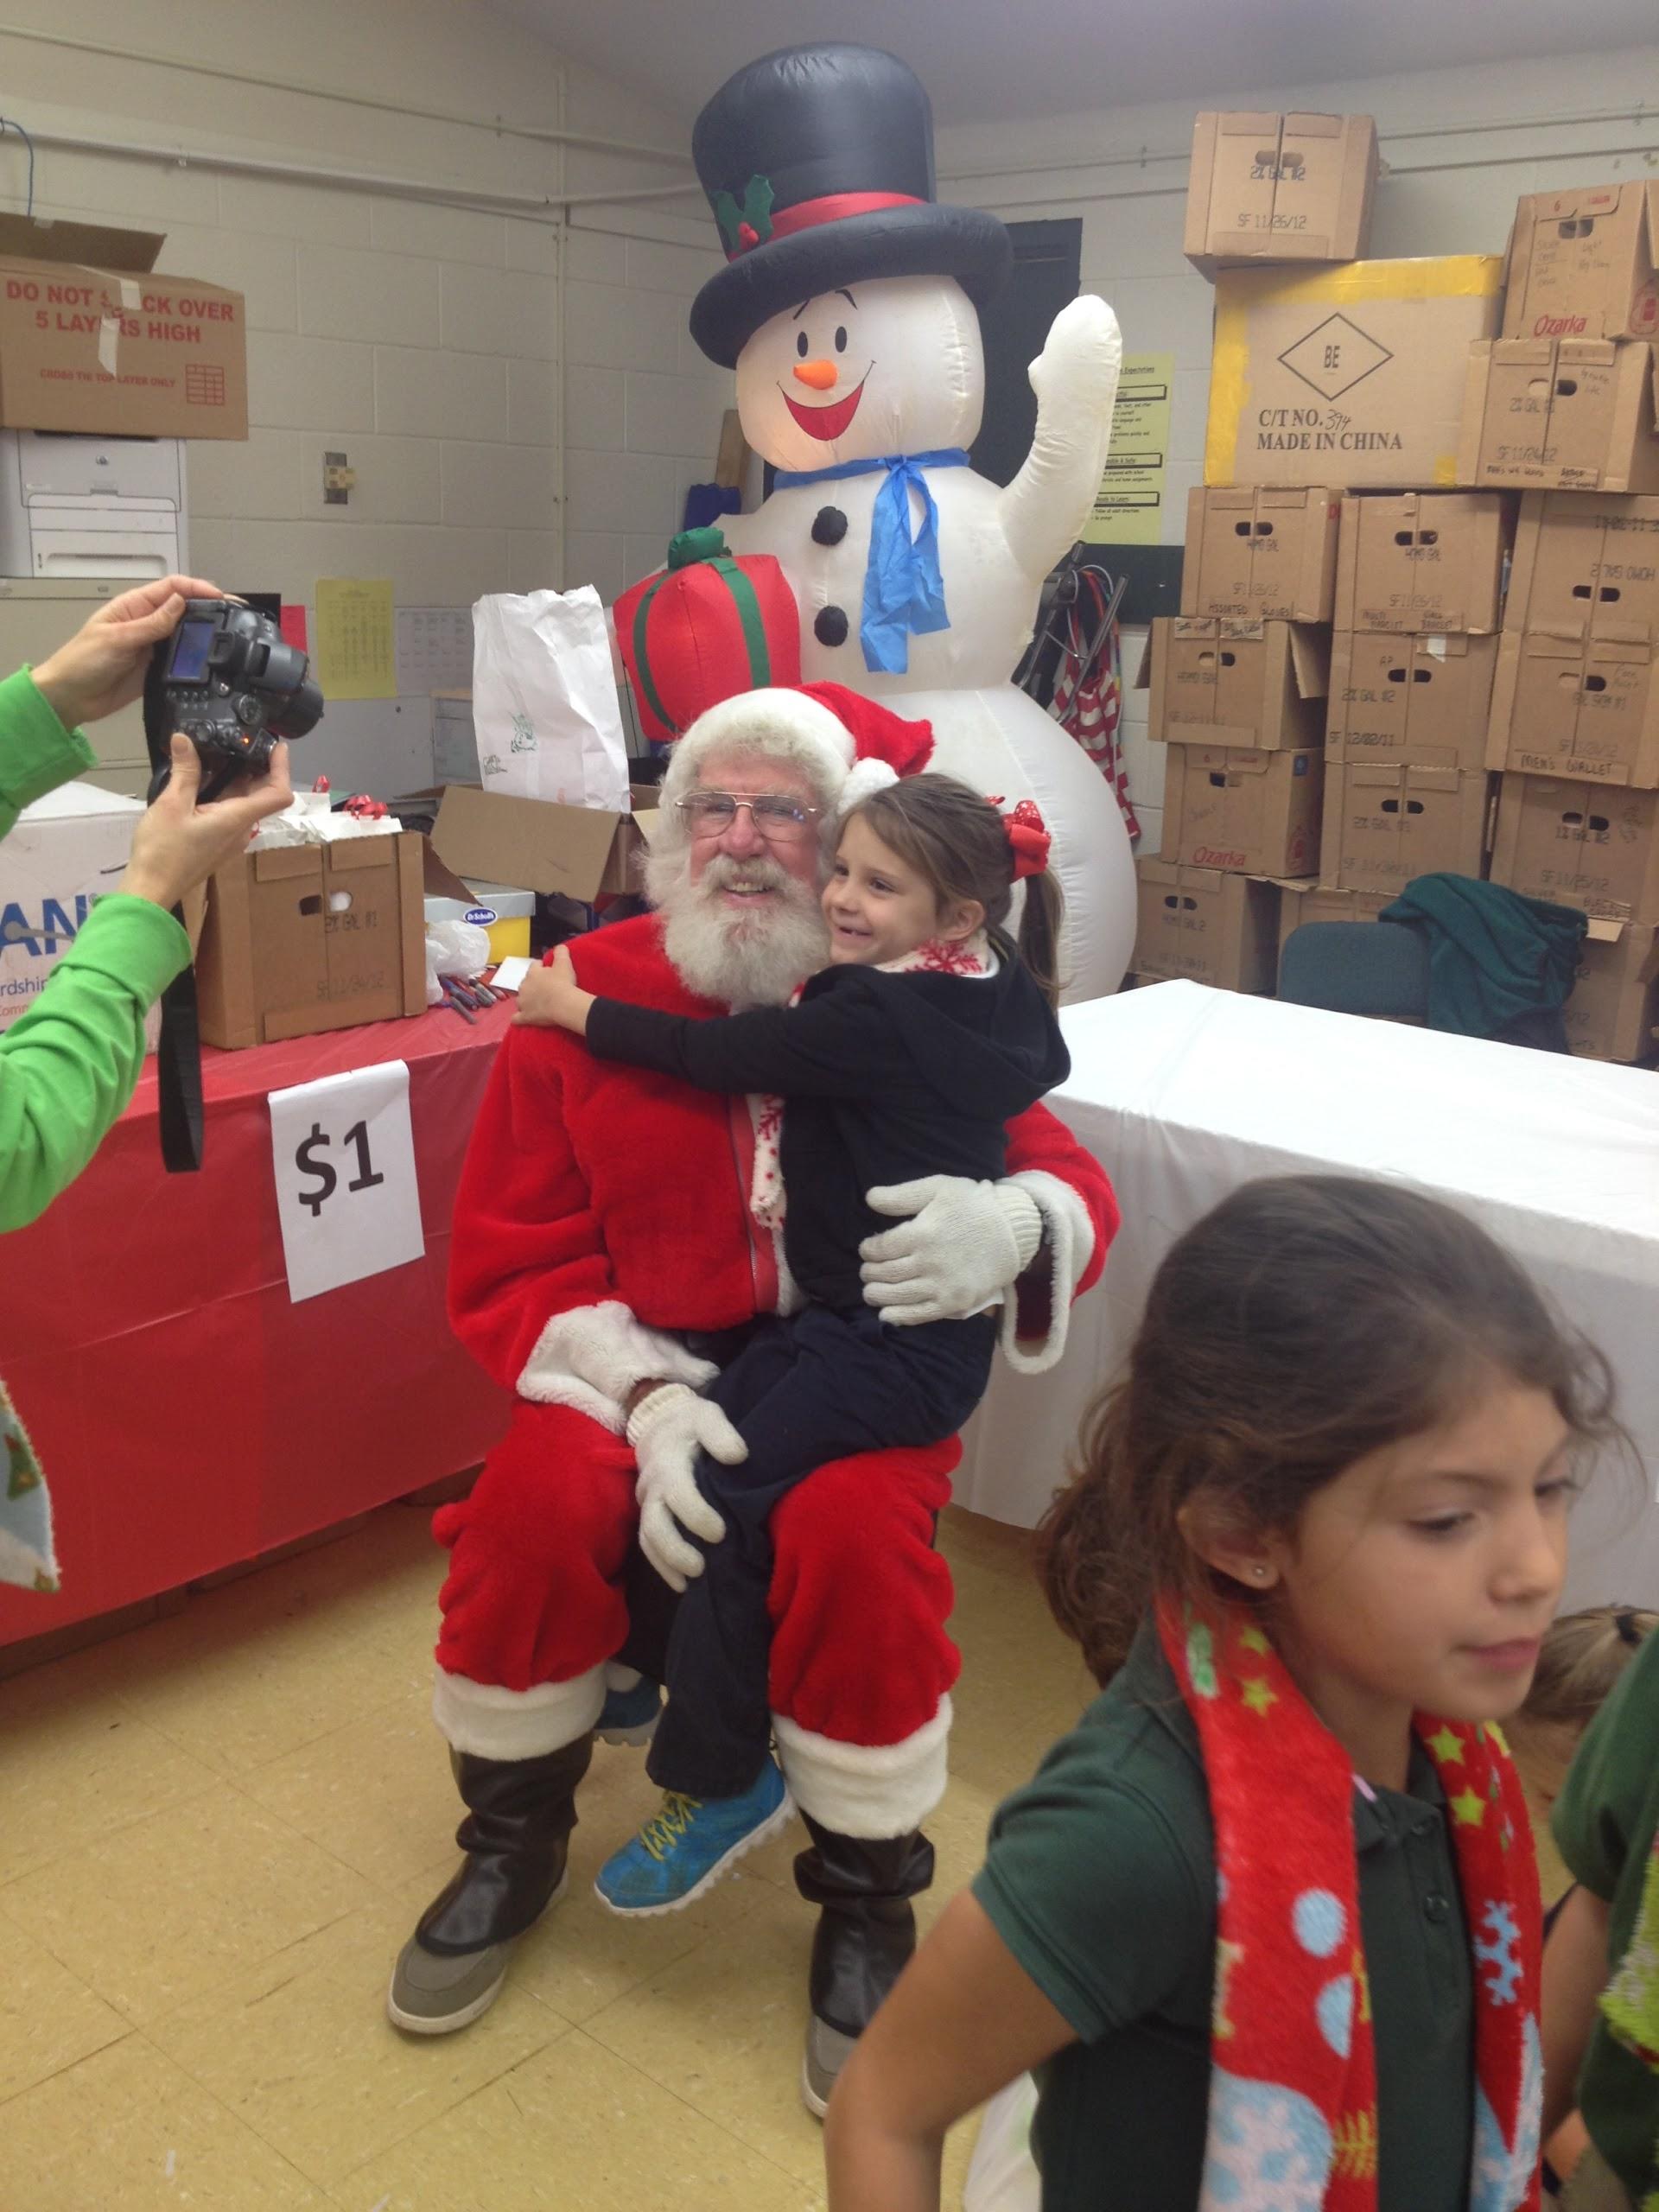
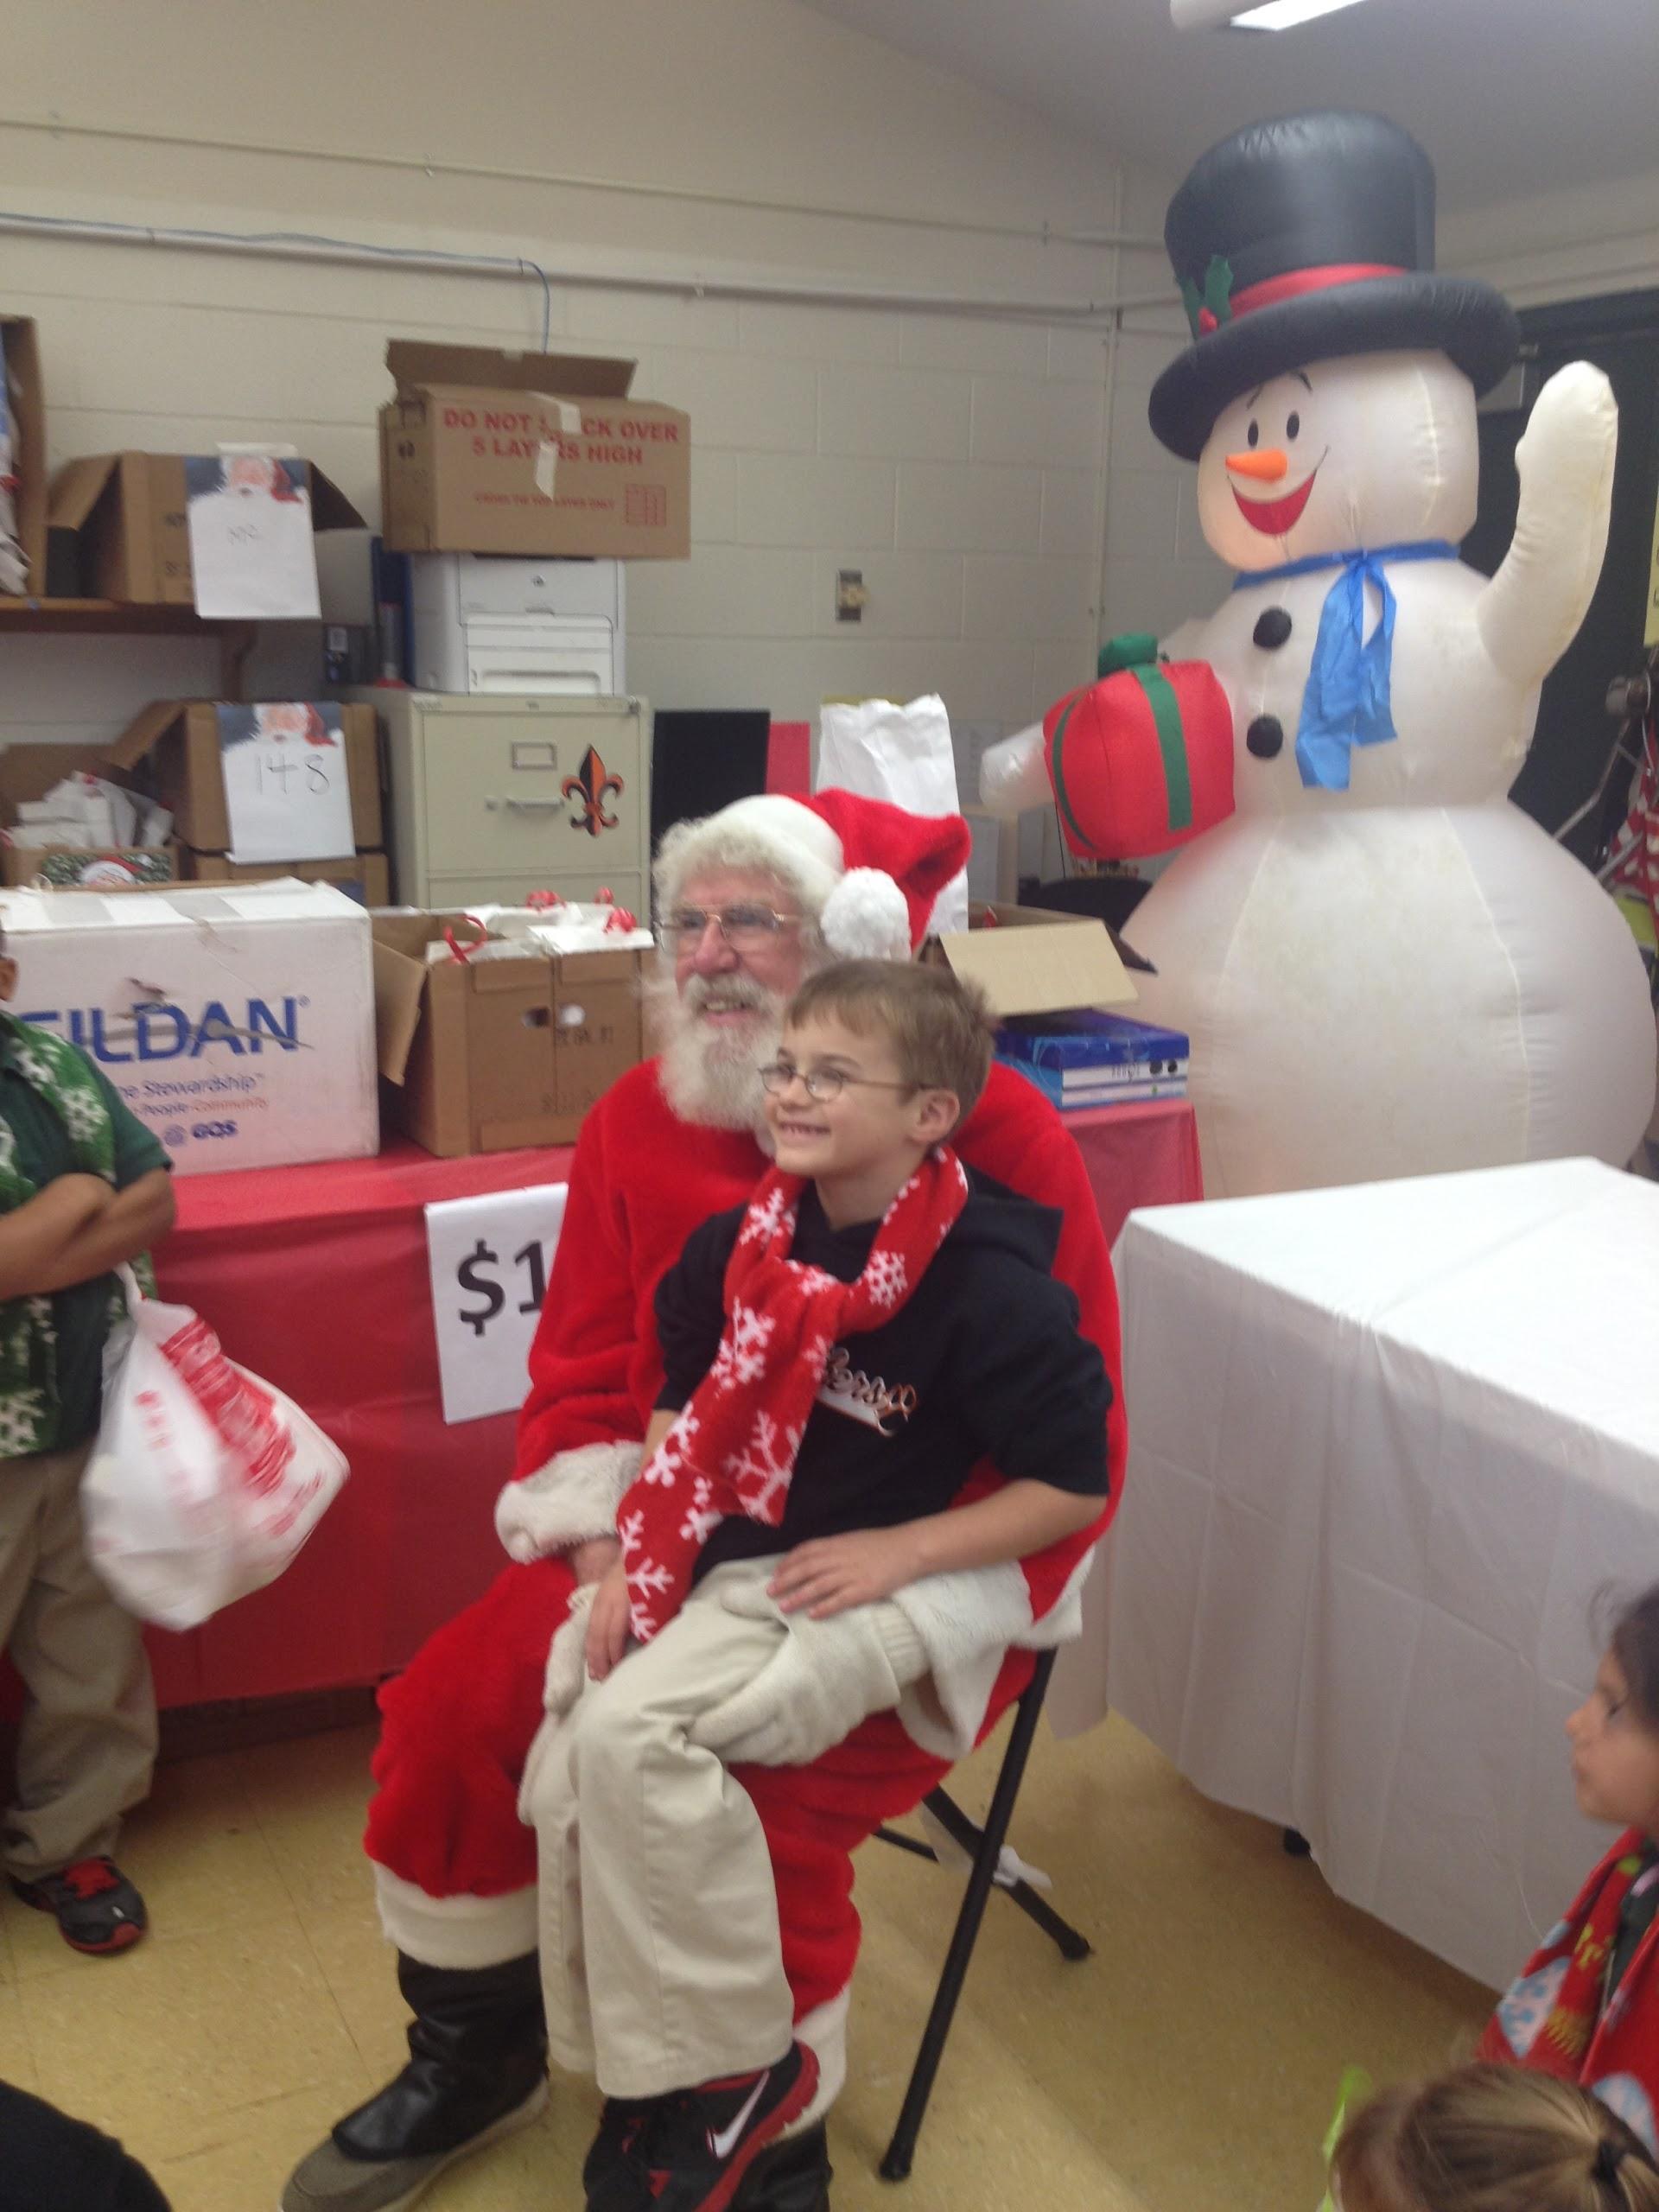
Santa With One Of The Children
Santa Catching Up On The “List”
Kitty went to Pam’s Hair Hut to have
her hair done, and I walked back to DREAM AWAY. I changed into my
work clothes, and walked over to the shop
to get back into welding on the stainless steel base for the hard
dodger.
Unlike me, I had left the shop with the
welder all set up, so I got back into welding up the holes in the
base that needed filled, and then cleaning up some of the previous
welds.
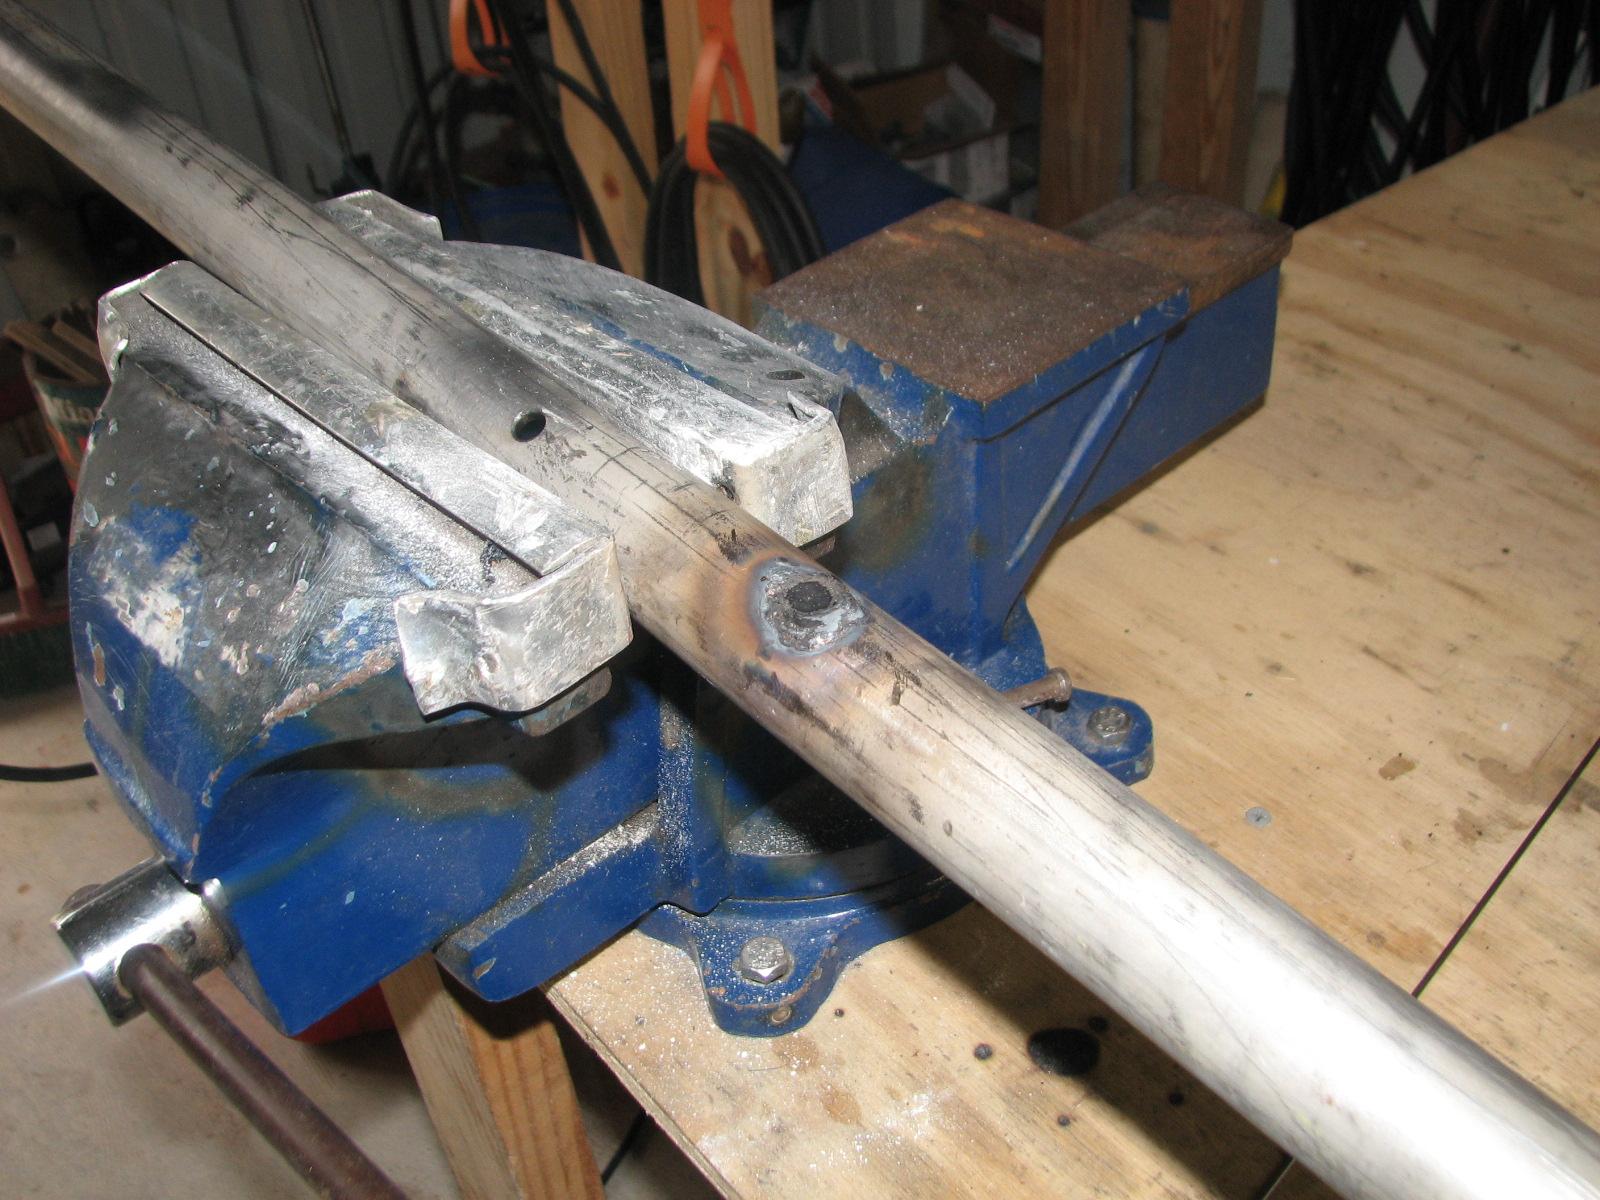
Welded Up Hole In Hard Dodger Base
When I had finished the welding it was
time to get out the high speed angle grinder with a flap
disk attached. With the flap
disk I am able to smooth out the welds and to smooth
out minor imperfections in the pipe.
Welded Up Hole In Hard Dodger Base
After Using Grinder And Flap
Disk
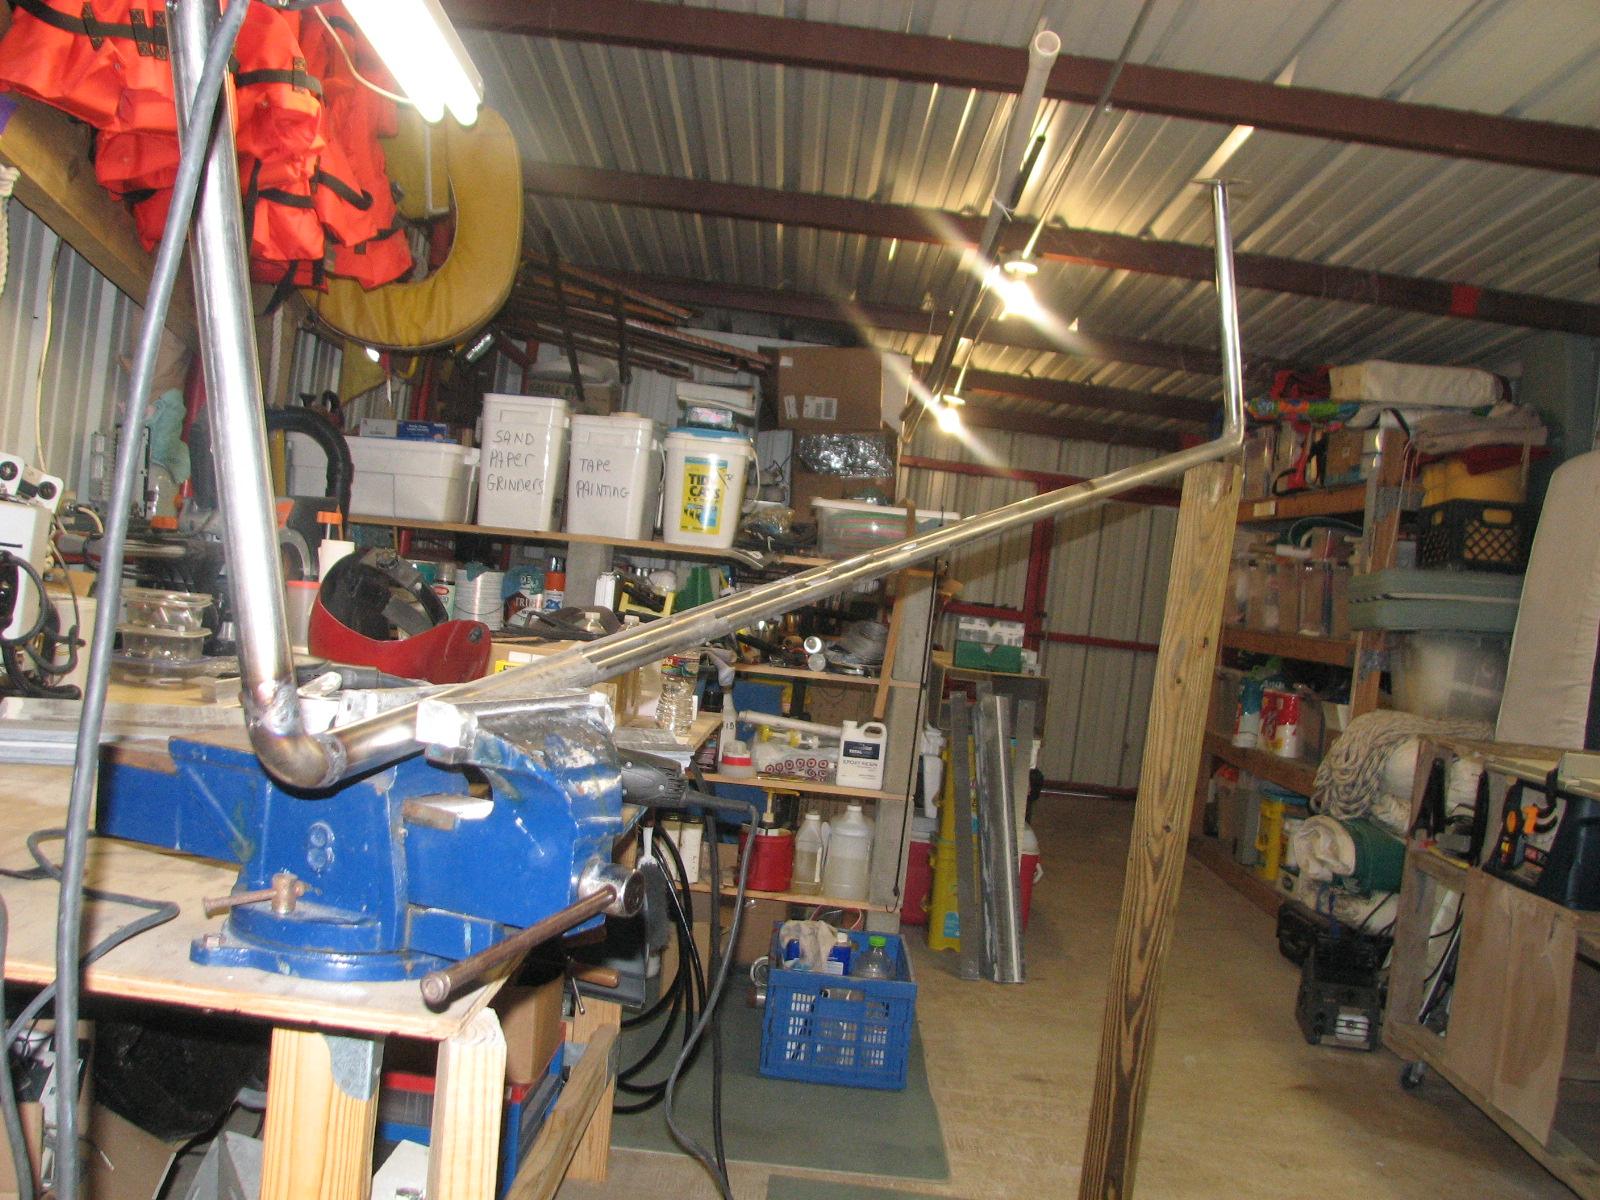
Pipe Set Up In Shop
For Welding
Kitty called and said she was finished
at Pam’s Hair Hut, so I closed up the shop,
and walked back to DREAM AWAY. I will finish up the welding tomorrow
on the stainless steel pipe, and make some progress on the grinding
and sanding.
December 10, Tuesday, 2013
Started off the morning with my normal
ritual of getting on the Internet, answering email, and checking the
weather, while making a pot of coffee. I also spent time with our two
cats, Jillian
and Jordan.
Kitty and I went off to the Delcambre
Elementary school again this morning, arriving around
0830. They have a Santa’s workshop at the school for all of the
kids, and I dressed up as Santa Claus. Kitty was a helper with the
other ladies to help the children do their Christmas shopping.
Jim (Santa) and Katherine (Kitty)
Santa With One Of The Children
We left the school when they had the
fourth graders come in, and then we went back after lunch to be there
for the pre-K and kindergarten. We will do the same thing tomorrow
for four classes of 1st graders.
No DREAM AWAY projects today.
We did go to the Port
of Delcambre meeting at 1800 to get out paychecks for
the last month. The good news is the port Director wants to keep us
both on in the coming year!
December 09, Monday, 2013
Started off the morning with my normal
ritual of getting on the Internet, answering email, and checking the
weather, while making a pot of coffee. I also spent time with our two
cats, Jillian
and Jordan.
The plumber was coming out today to
start work on the water connection and the sewer connection for the
shower
trailer. I wanted to make sure the shower
trailer was in the proper location for the plumber to
gauge size and location of the pipes.
I then went over to the shop,
and was going to start sanding on the uprights, but decided it was
too cold to be standing outside.
Since I had the stainless steel upper
base for the hard dodger inside the shop,
I decided to do some welding on it. I had some holes that needed
filling on the base, and some funky welds that needed to be cleaned
up a bit. I wanted the stainless steel base to look like someone with
a hint of welding ability fabricated the piece. Besides I need the
practice!
Filling Hole In Stainless Steel Base
Cleaning Up Funky Welds At The Corner
I then went back to DREAM AWAY, and had
breakfast. Kitty and I then went off to the Delcambre
Elementary school. They have a Santa’s workshop at
the school for all of the kids, and I dressed up as Santa Claus and
Kitty dressed up as Mrs Claus. It was great fun and all of the
younger kids really enjoyed it.
Santa And Kitty Getting Ready For The
Children
Santa And One Of The Elementary Classes
Kitty and I are going back again on
Tuesday and Wednesday to Santa’s workshop and dressing up again!
December 08, Sunday, 2013
Started off the morning with my normal
ritual of getting on the Internet, answering email, and checking the
weather, while making a pot of coffee. I also spent time with our two
cats, Jillian
and Jordan.
It was very cold and rainy all day, so
I spent the day working on the computer getting caught up on email,
computer work and scanning. It was a great day to be inside!
December 07, Saturday,
2013
Started off the morning with my normal
ritual of getting on the Internet, answering email, and checking the
weather, while making a pot of coffee. I also spent time with our two
cats, Jillian
and Jordan.
The bad news about working the table
was the table was right inside one of the main mall entrances, and the
weather outside was in the 30’s! We were cold during our time at
the table.
Group At Toys For Tot’s Booth
Including Jim And Kitty
When we got home we spent the remainder
of the day relaxing and watching college football.
December 06, Friday, 2013
Started off the morning with my normal
ritual of getting on the Internet, answering email, and checking the
weather, while making a pot of coffee. I also spent time with our two
cats, Jillian
and Jordan.
Went over to the shop,
and finished cutting off the tops of the hard dodger uprights with
the Bosch
jig saw.
Cutting Off Tops Of Hard Dodger
Uprights
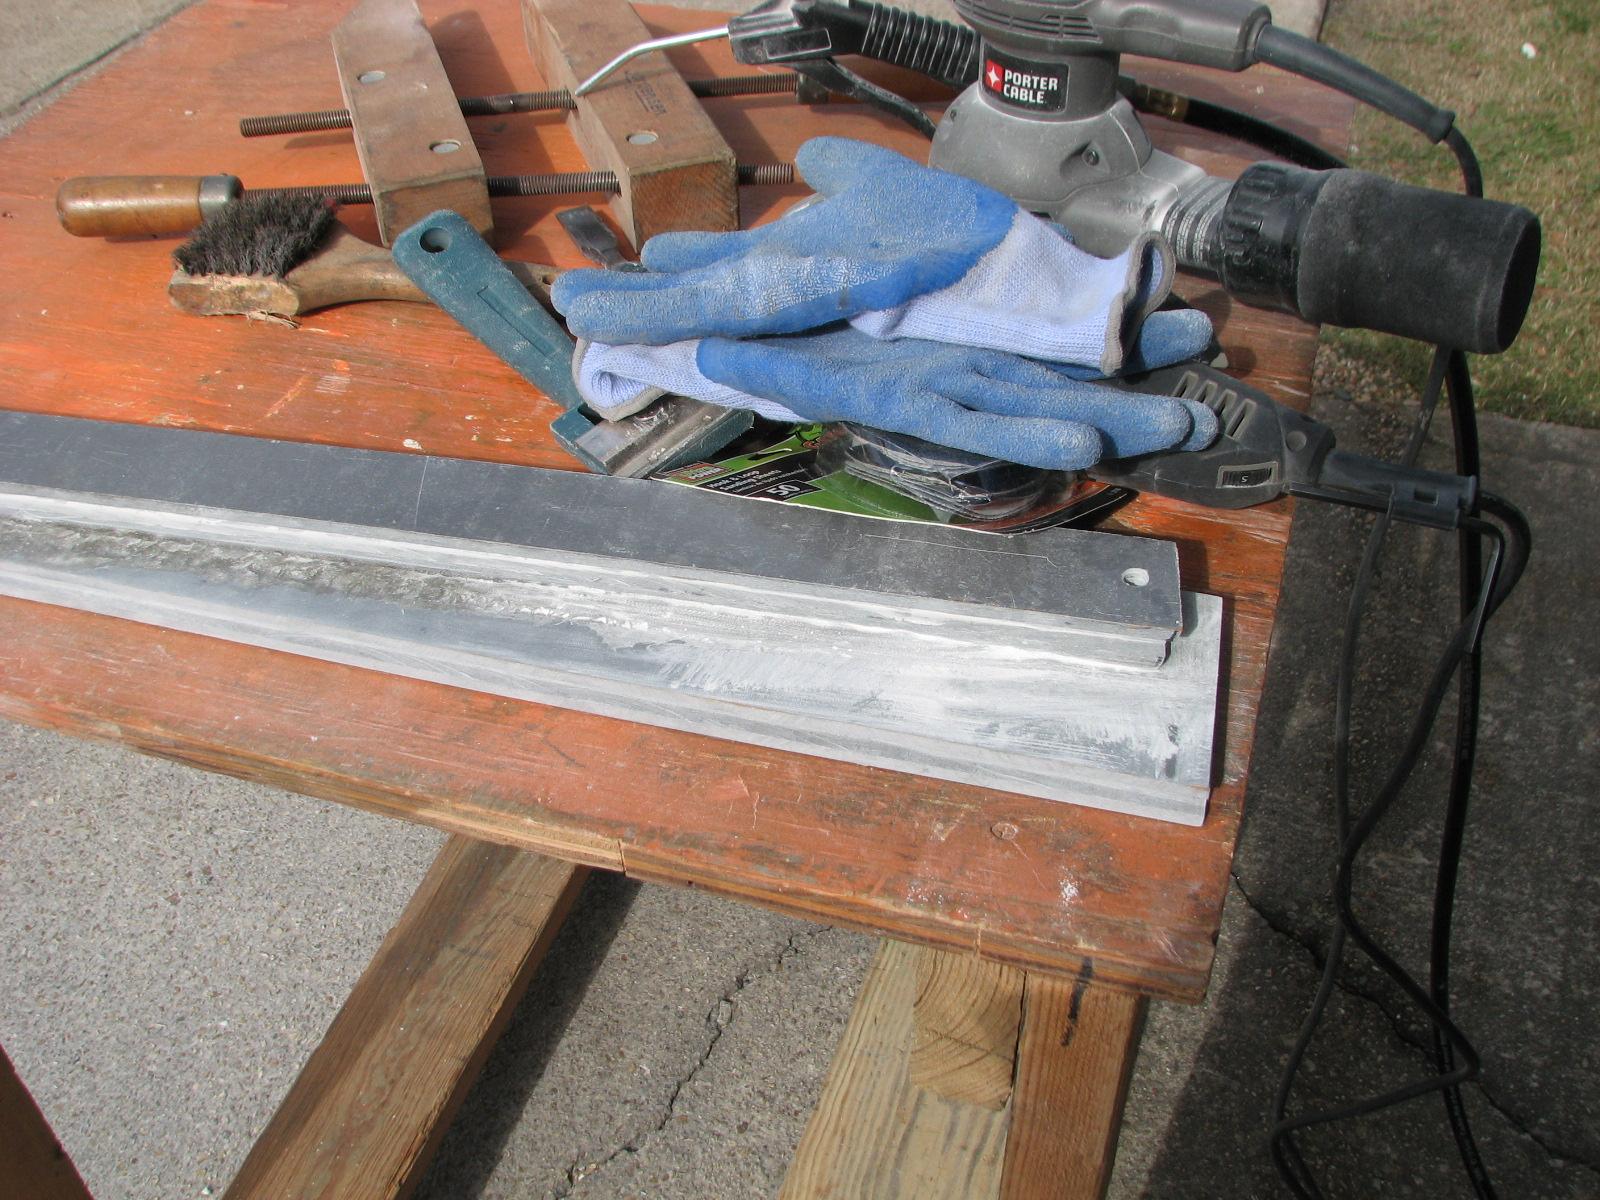
When I completed the cutting, I started
sanding the uprights. I want to get them smoothed out so I can apply
any necessary finishing
putty, but want to get them ready for the application
of gelcoat.
Setting Up To Sand The Uprights
Because the weather could not make up
it’s mind about raining, I decided to stop the sanding. I was
getting tired of moving the table and tools in and out of the shop
to miss the rain.
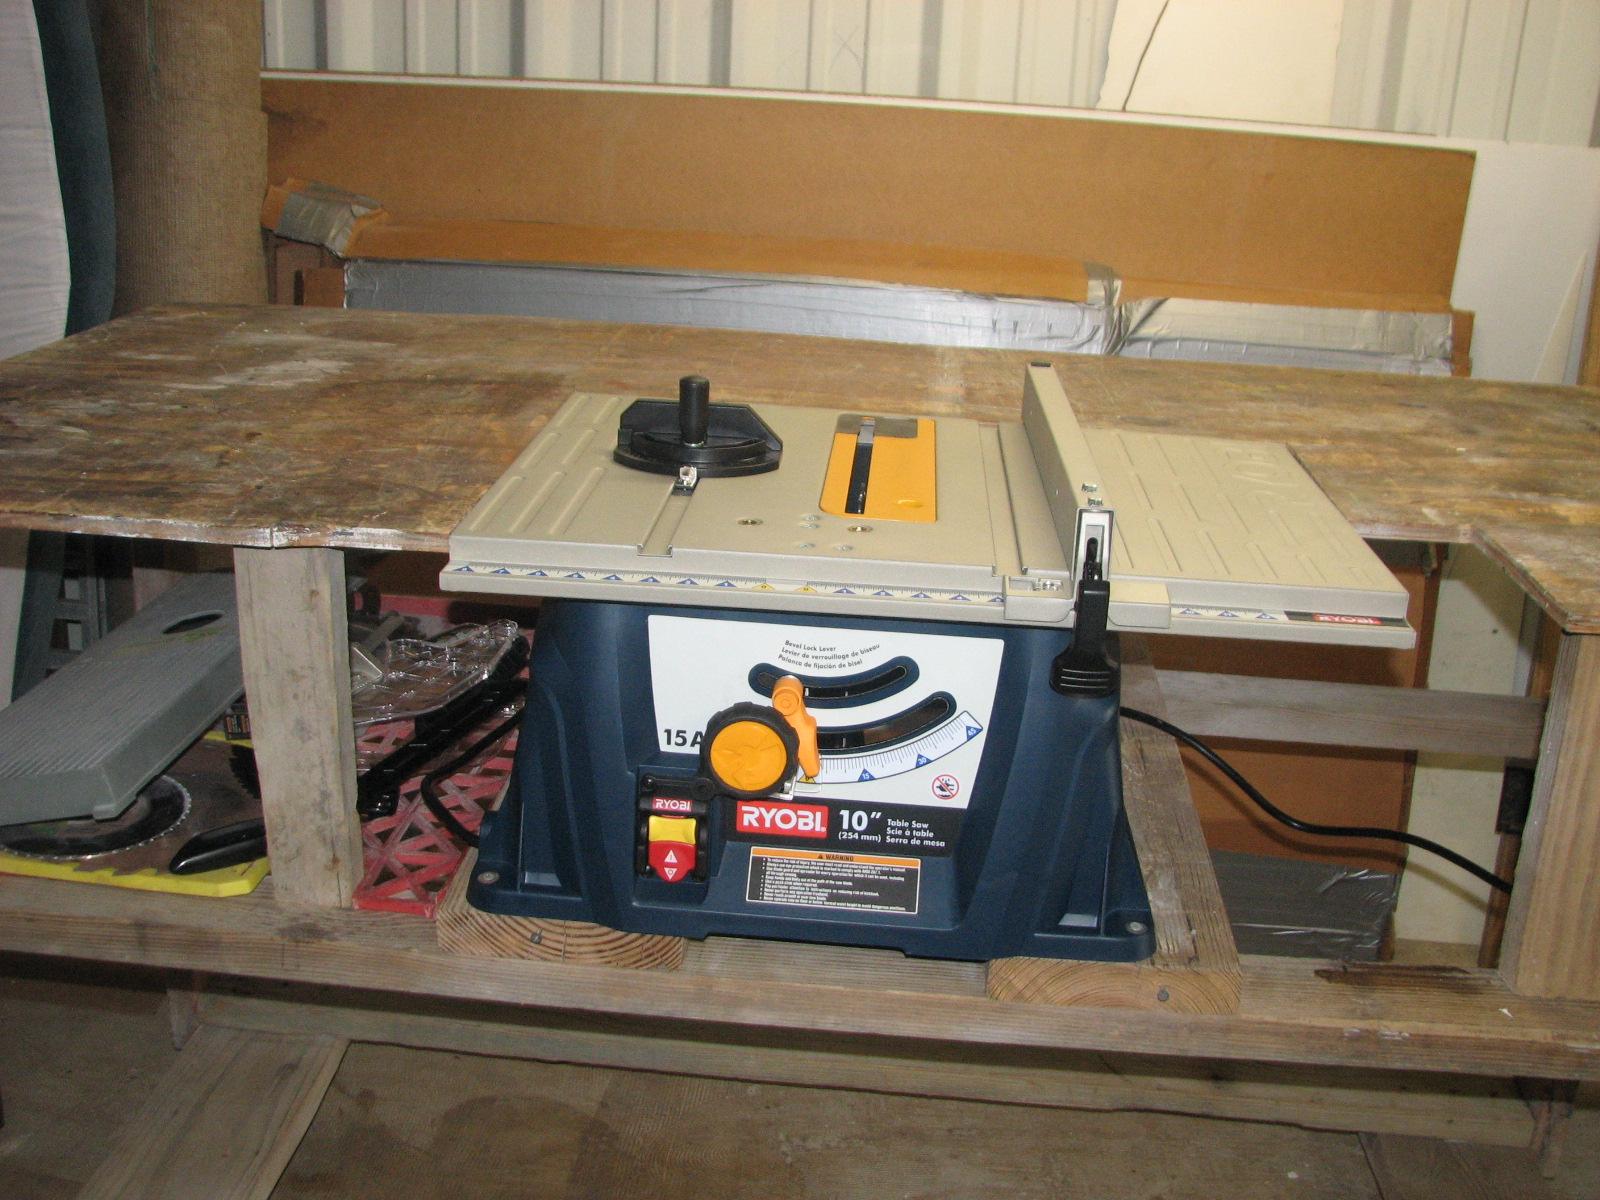
I decided to finish the integration of
the new Ryobi
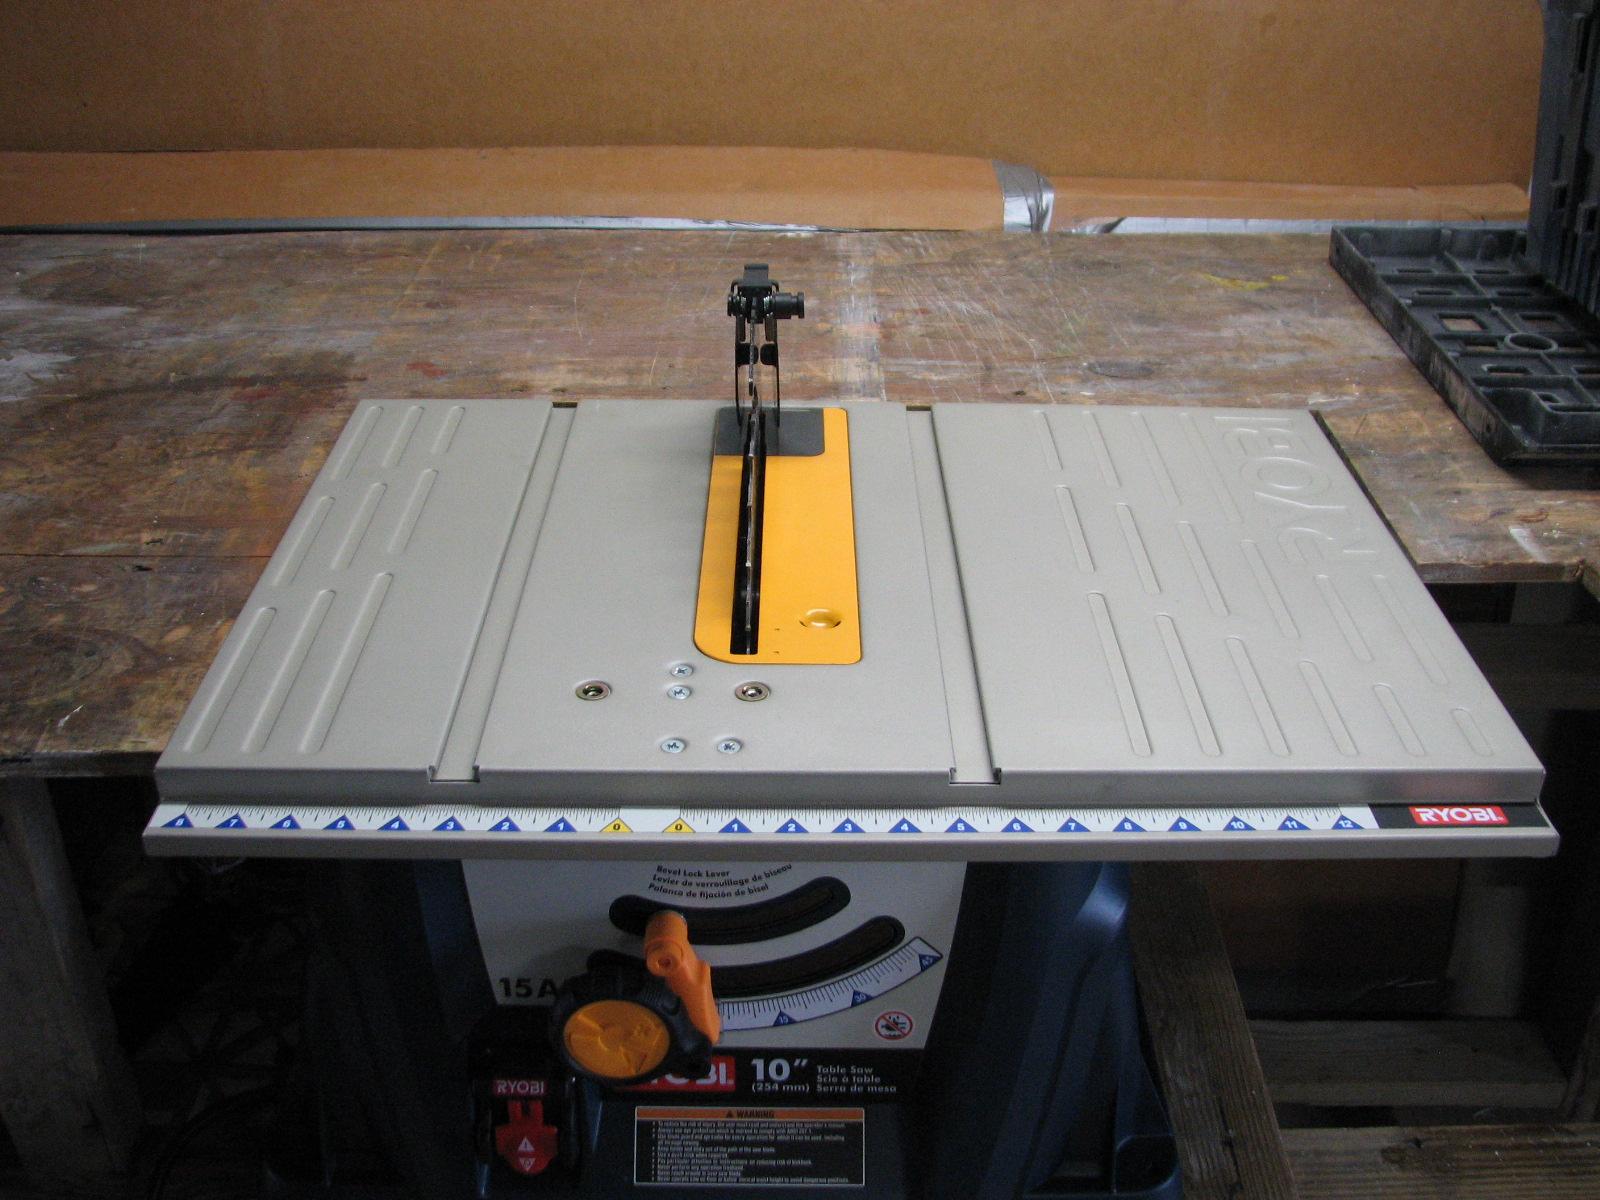
table saw on my rolling saw table. I had to do some
moving of supports, and also cut out the space for the table on the
table saw. Overall pretty easy, and now I have an operations system
again.
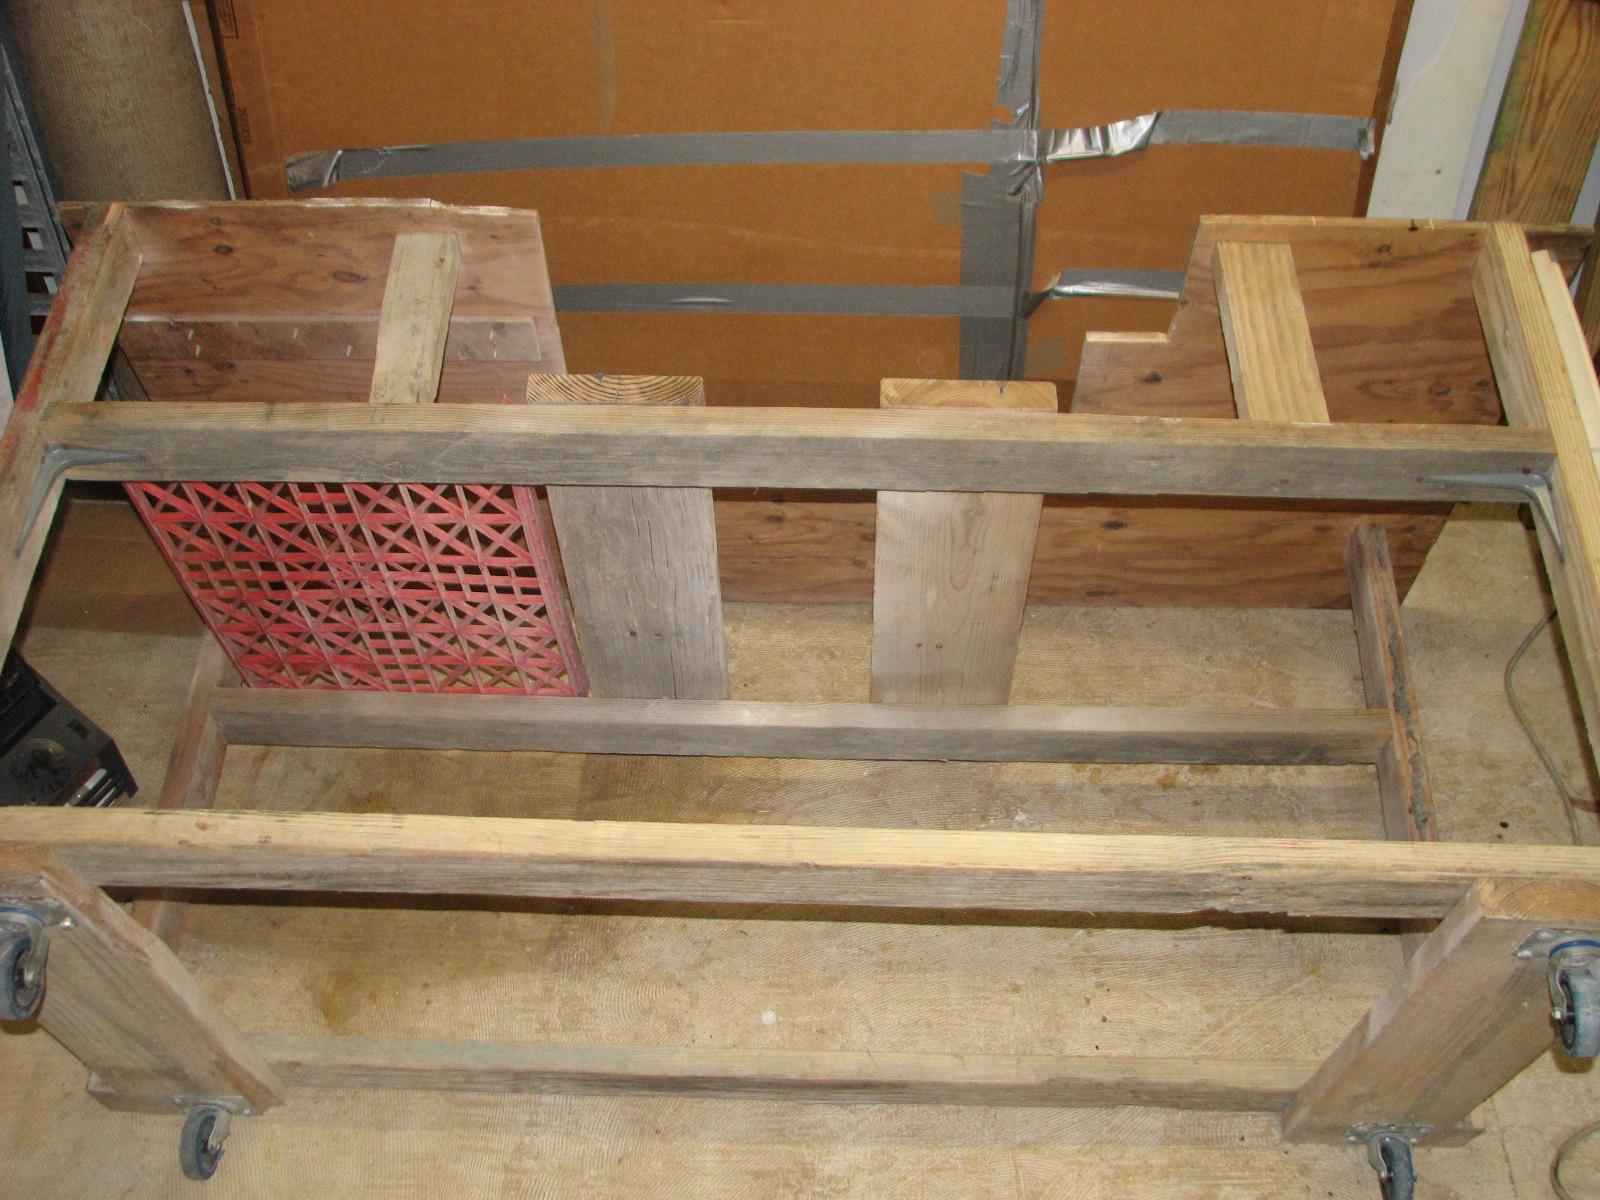
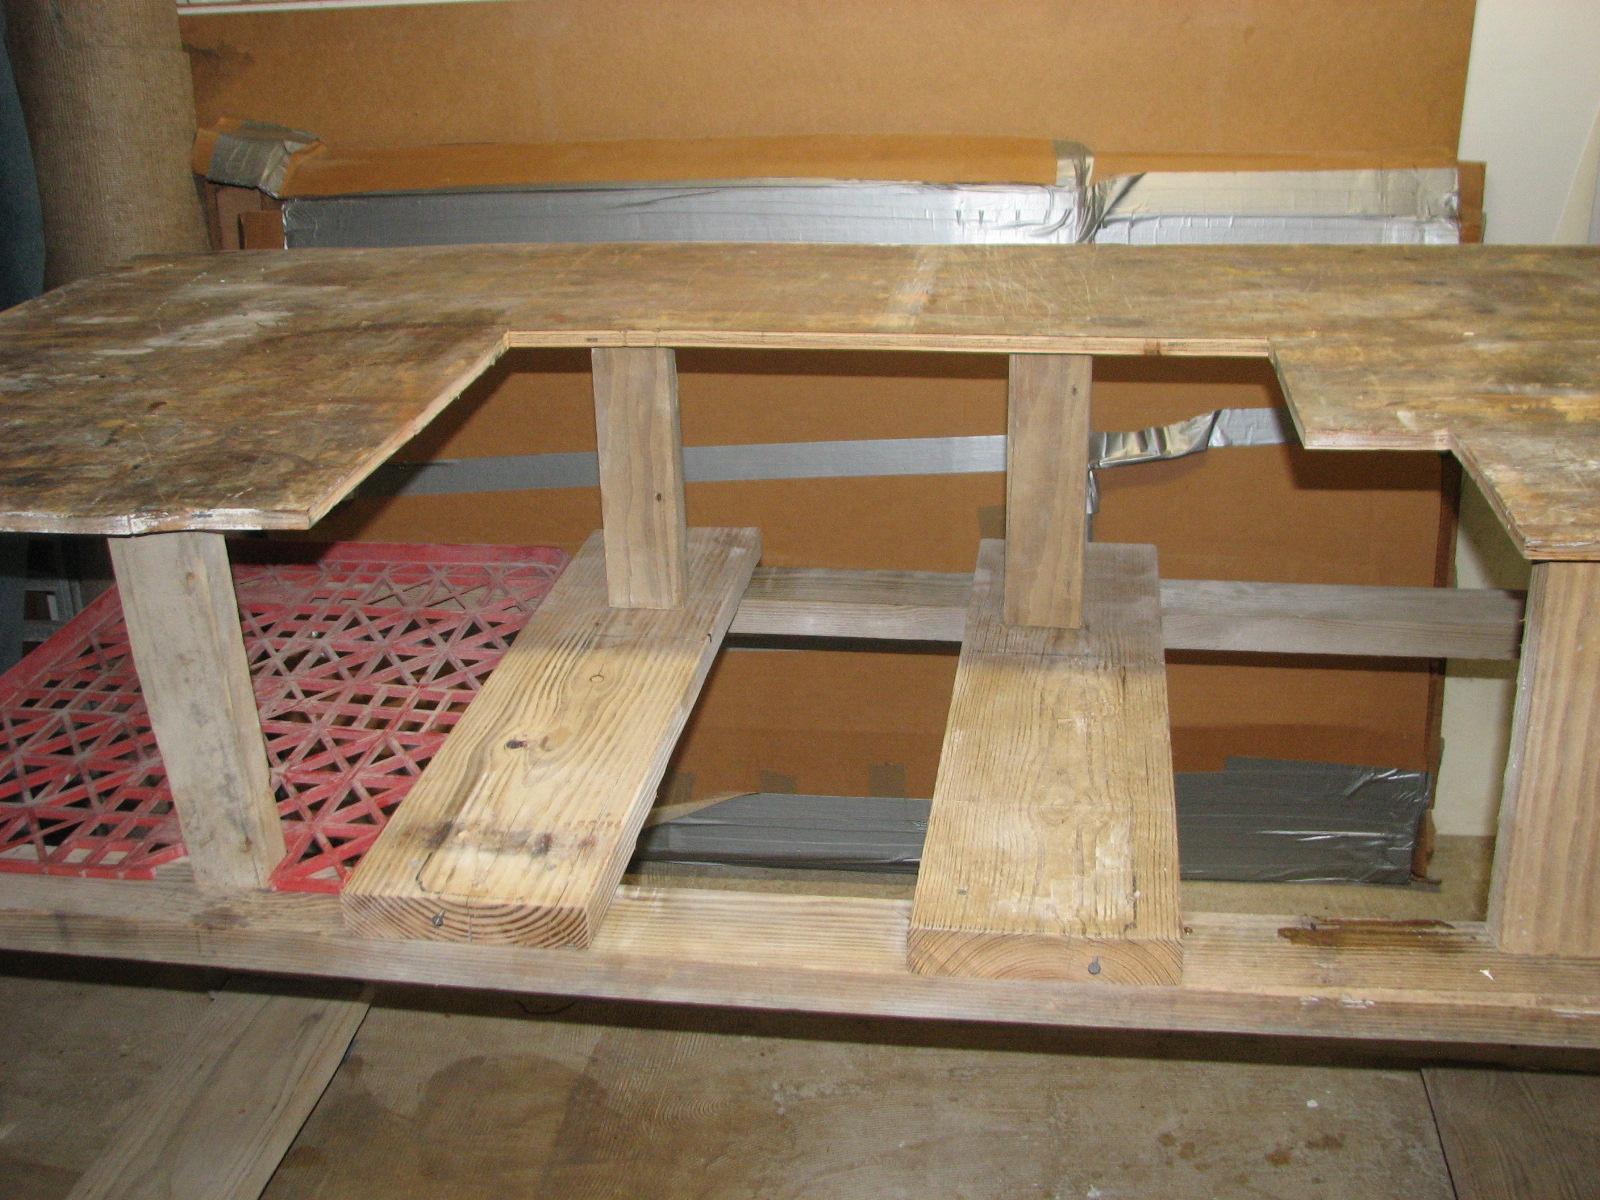
Table On It’s Back To Remove A Couple
Of Supports
Table Back Together
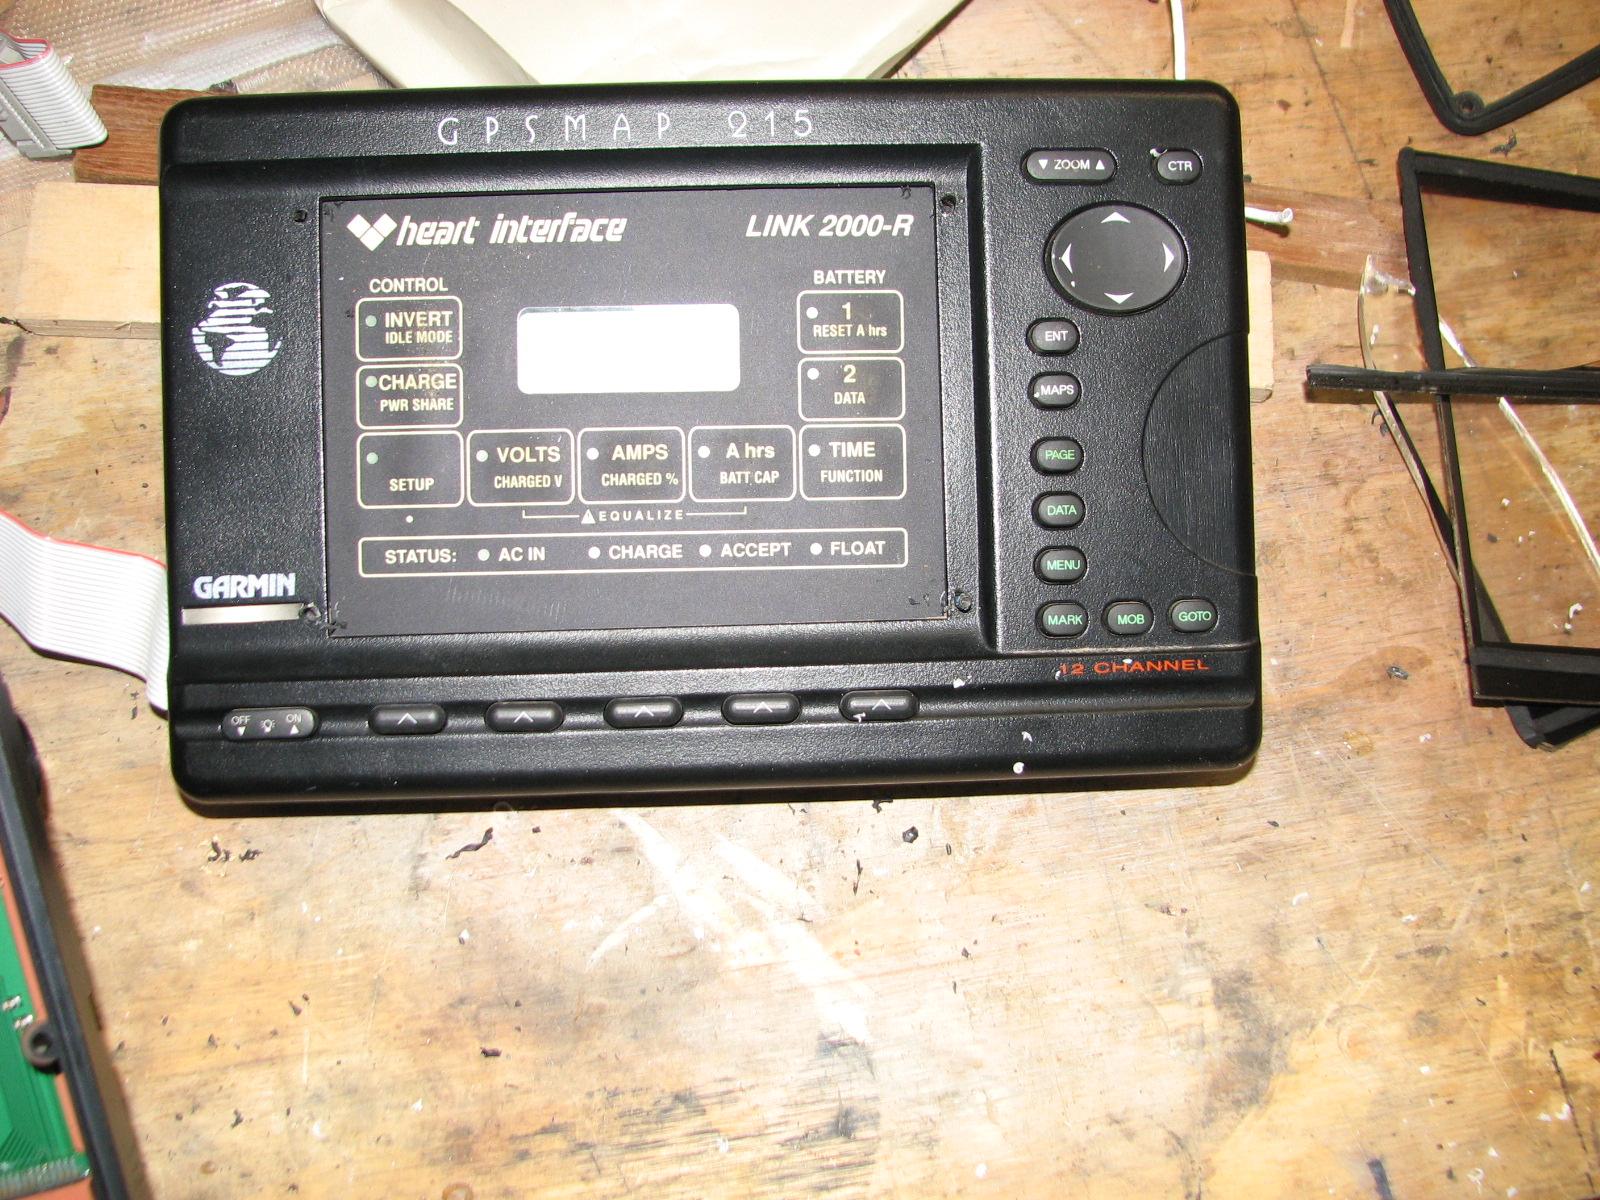
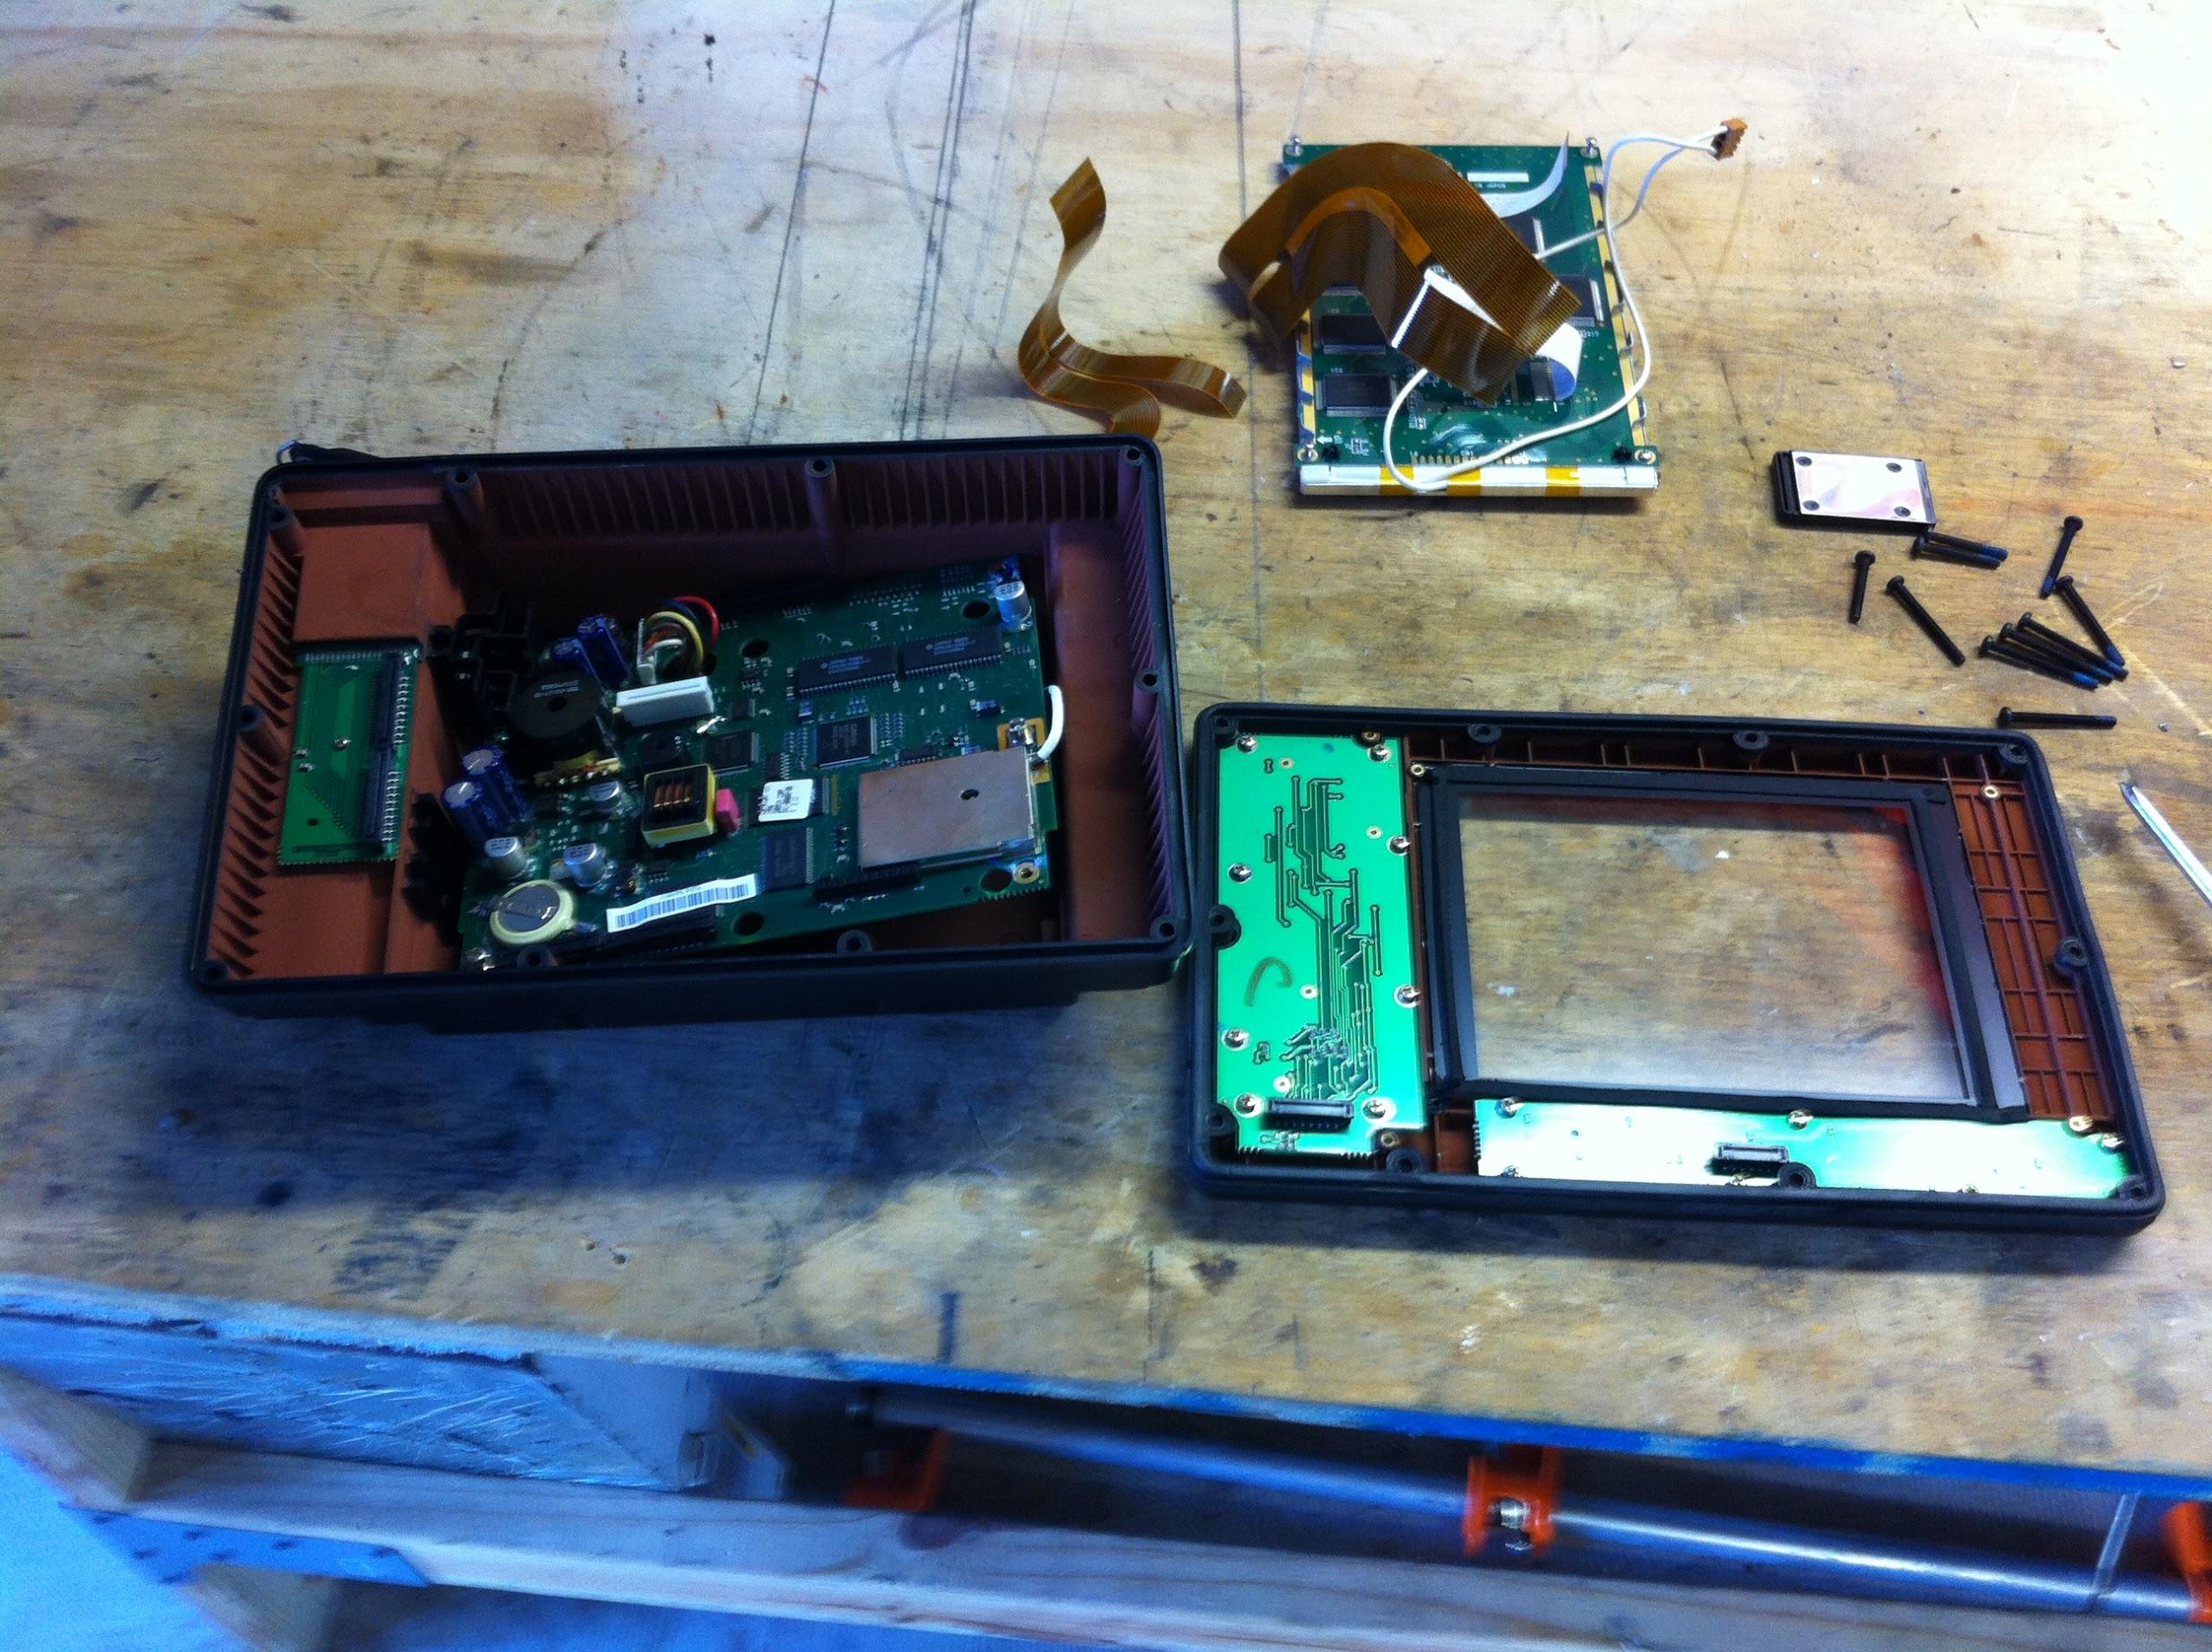
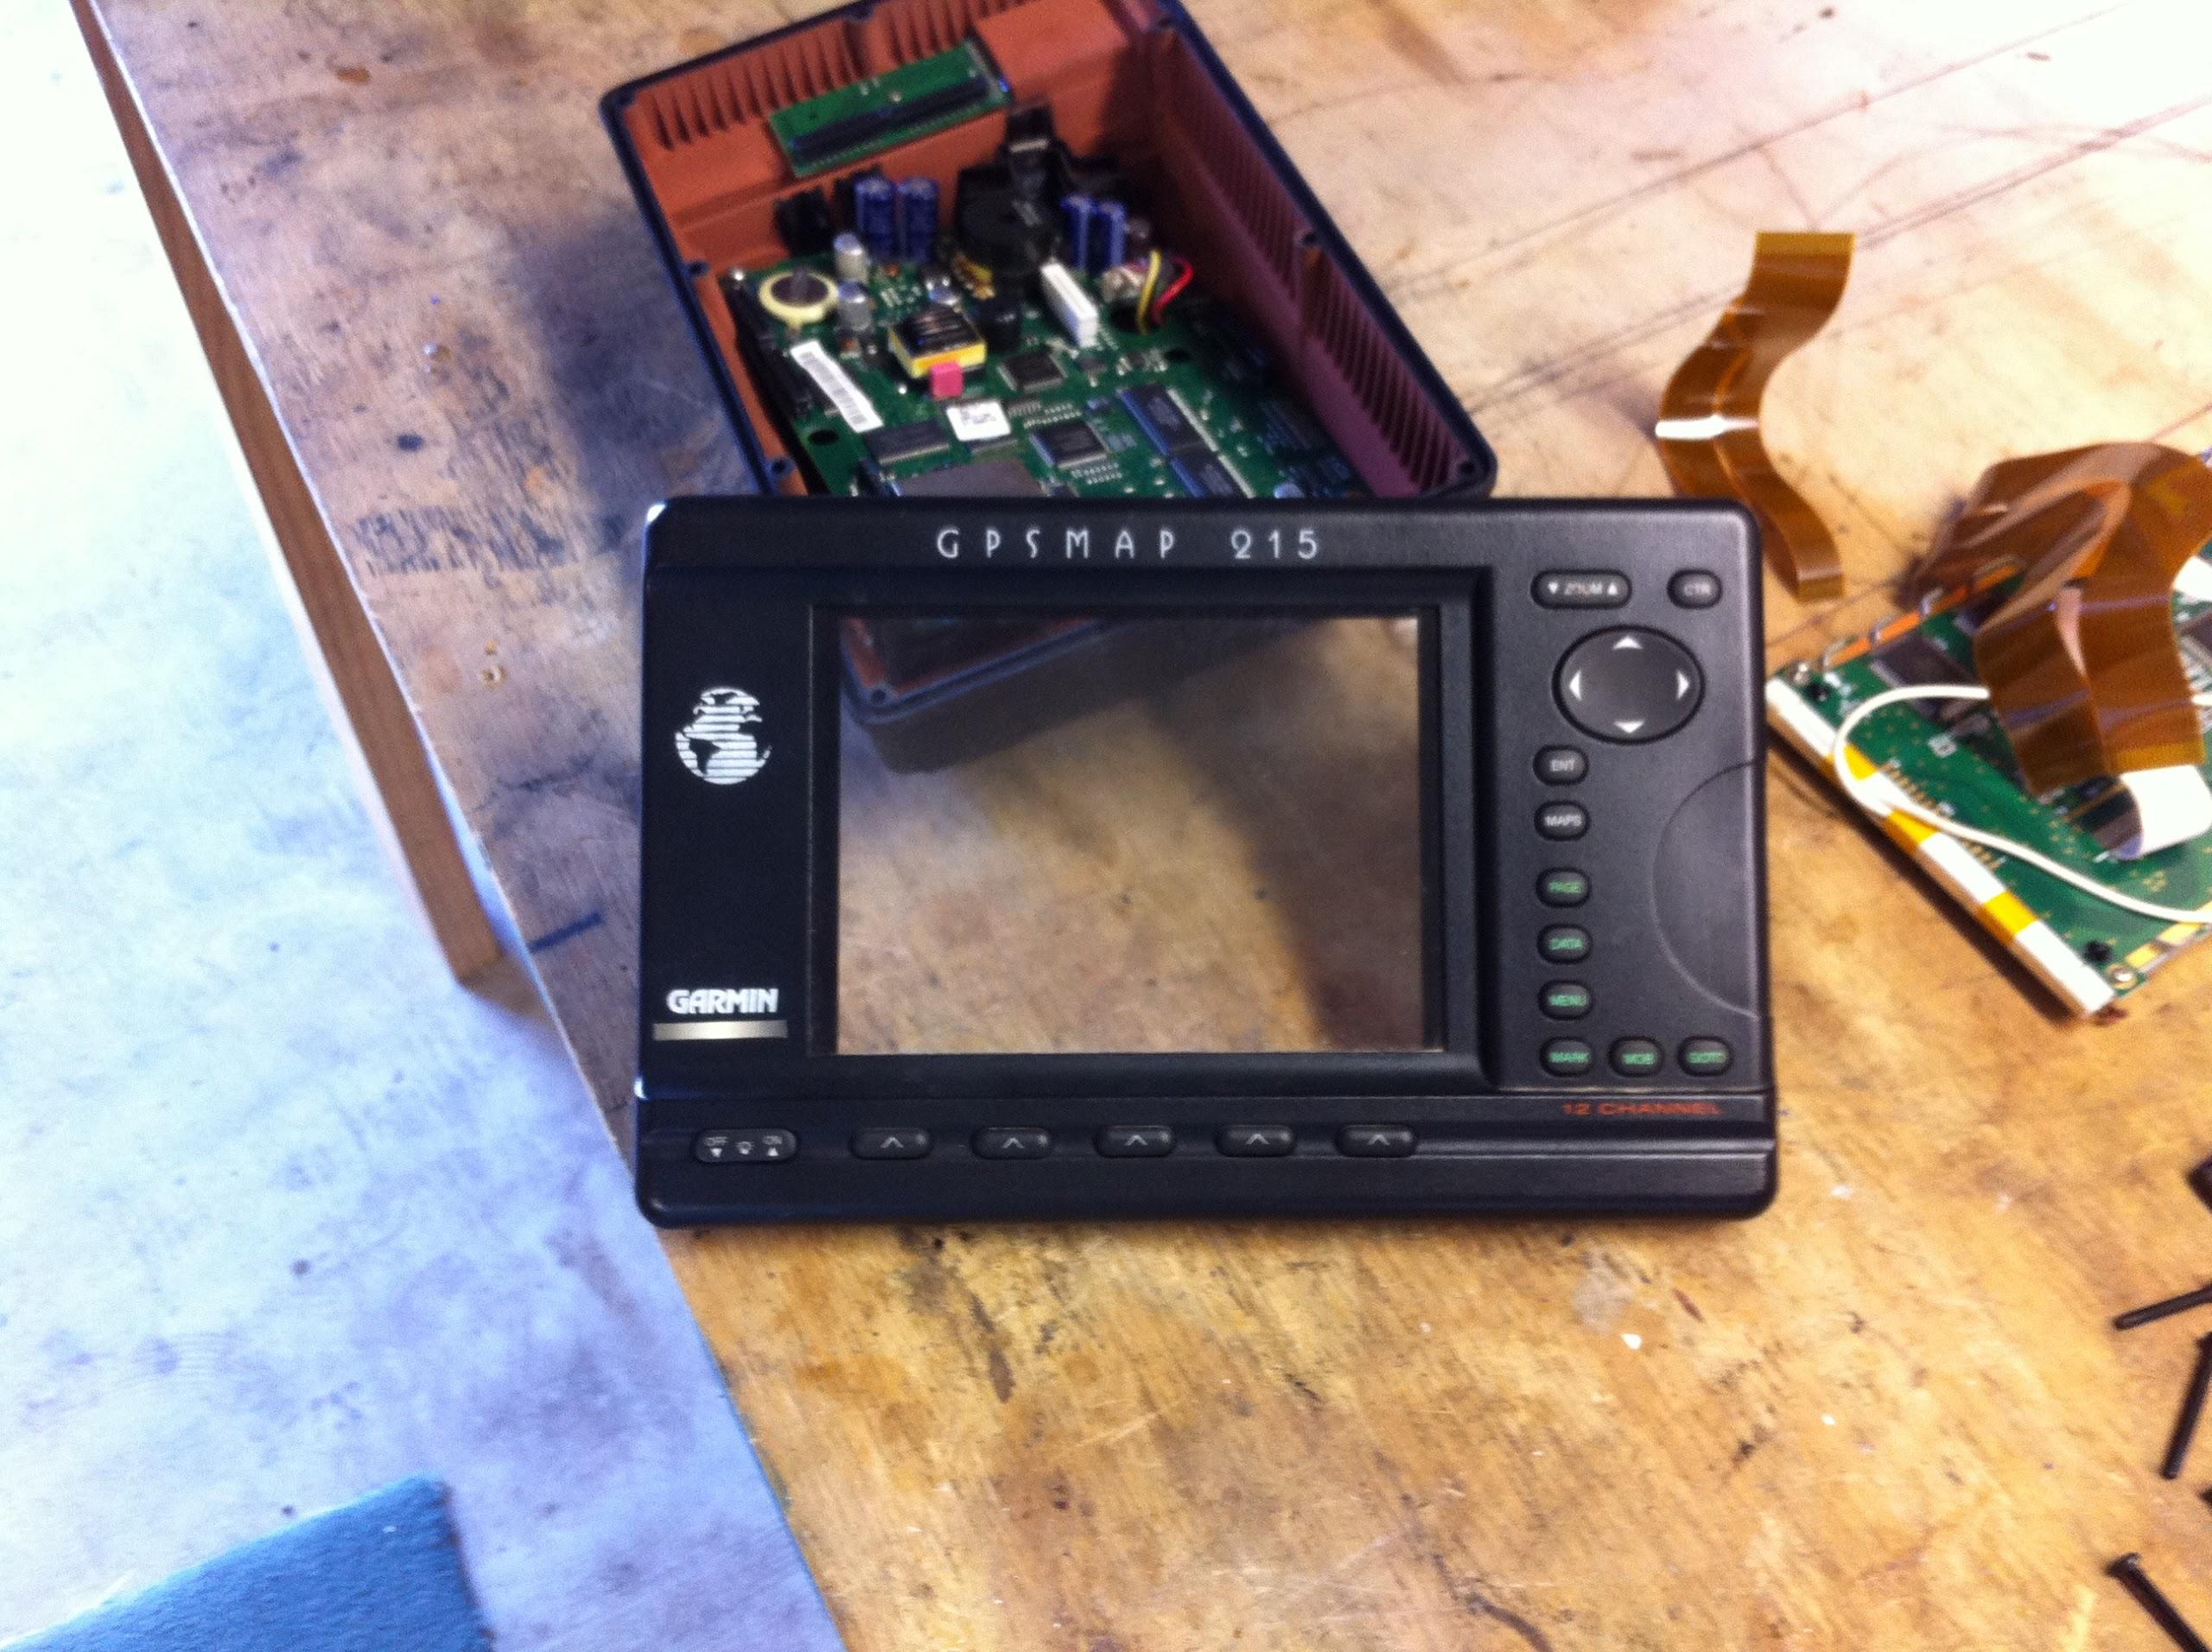
I tried and tried, but the
Garmin GPSMAP 215 housing with the
LINK 2000-R monitor
inside would just not fit in the space
available. I am disappointed as I had hoped it would work out. I am
sure I could move around the electronics in the
navigation station
and make it work. It would just take a lot of
time and resources that I do not have at this time.
I went with Kitty for her appointment
with the eye doctor in Youngsville.
When we returned it was late so no more DREAM AWAY projects.
December 05, Thursday,
2013
Started off the morning with my normal
ritual of getting on the Internet, answering email, and checking the
weather, while making a pot of coffee. I also spent time with our two
cats, Jillian
and Jordan.
Went over to the shop,
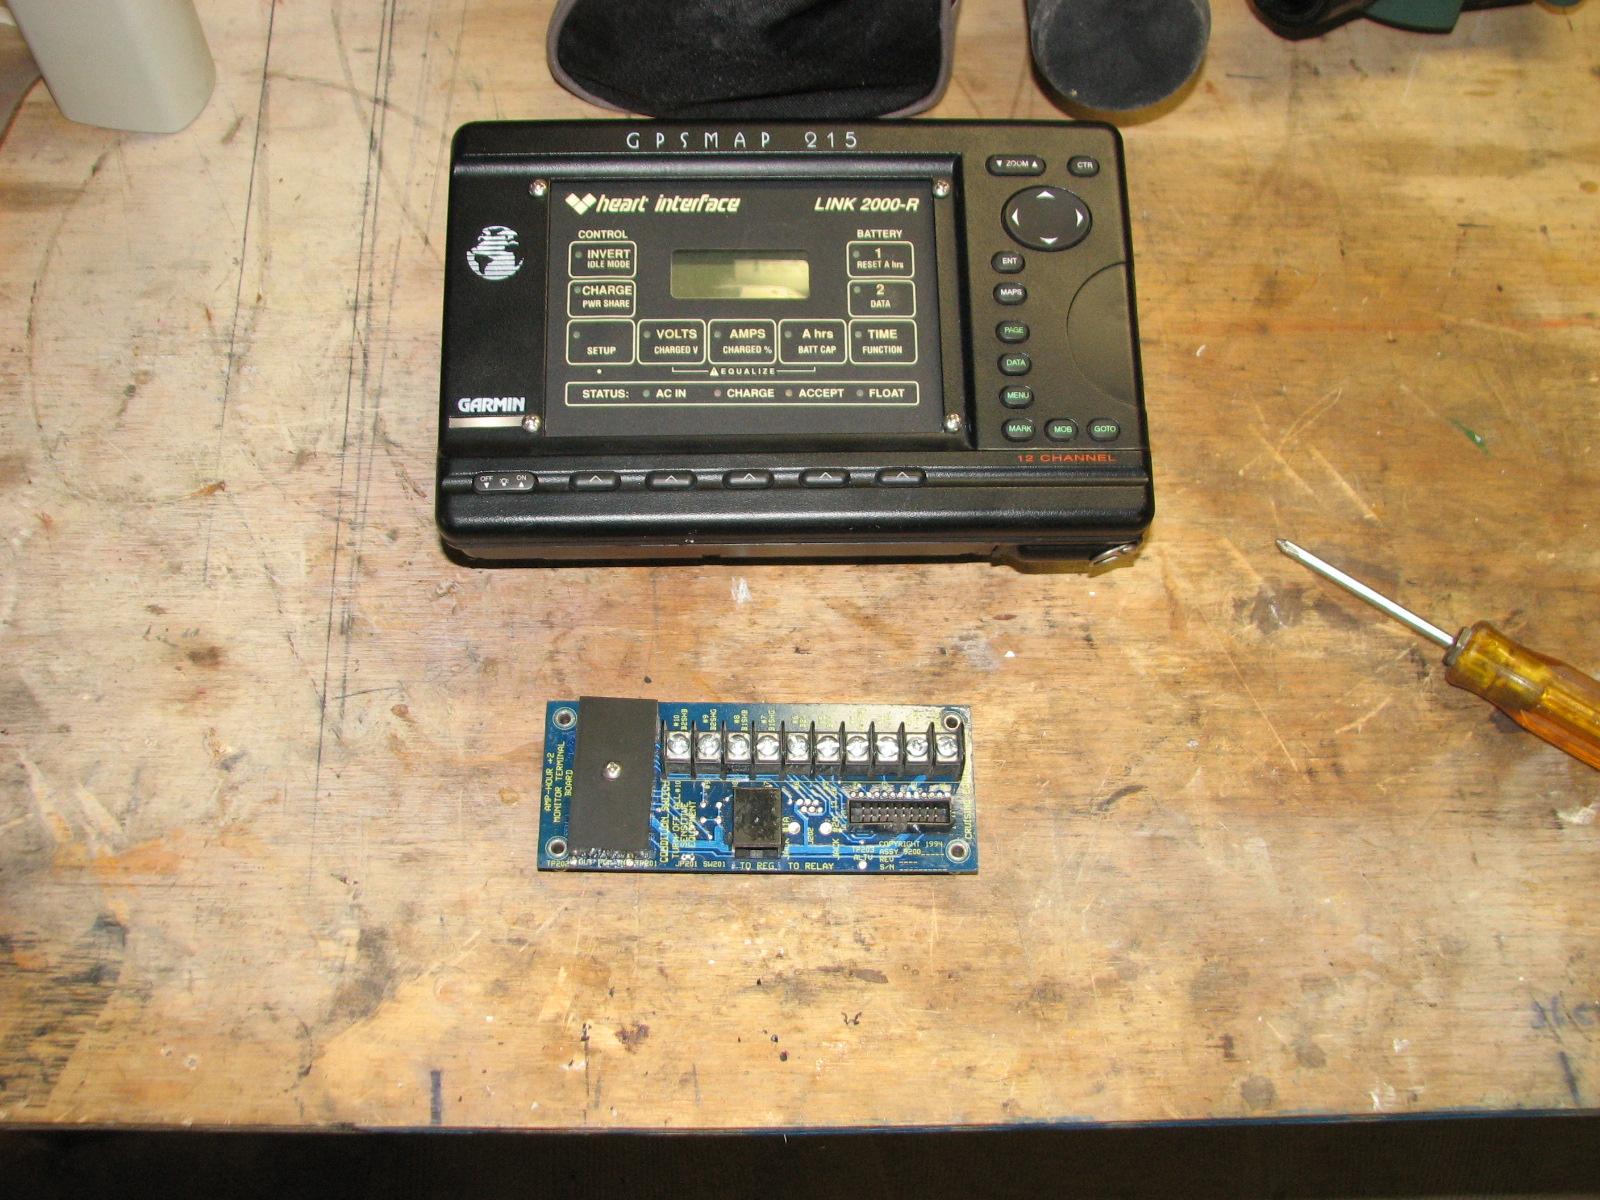
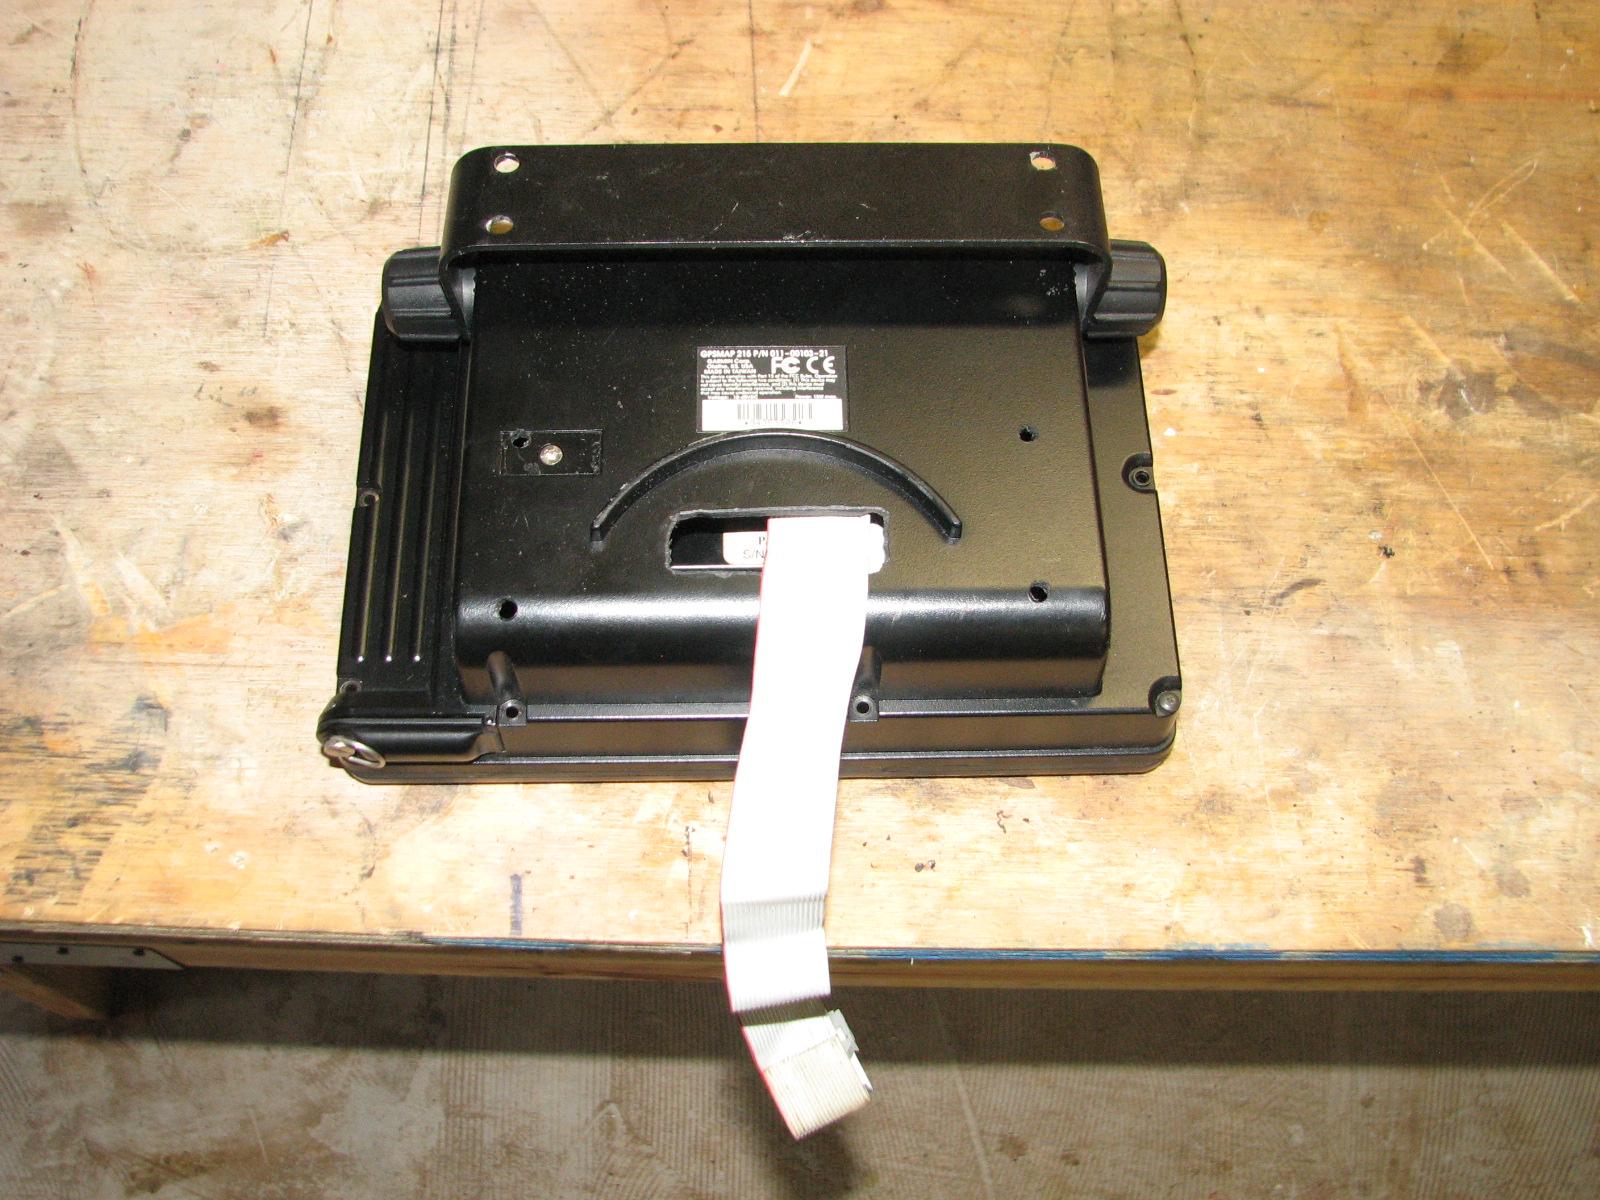
and got to work on the housing for the
LINK
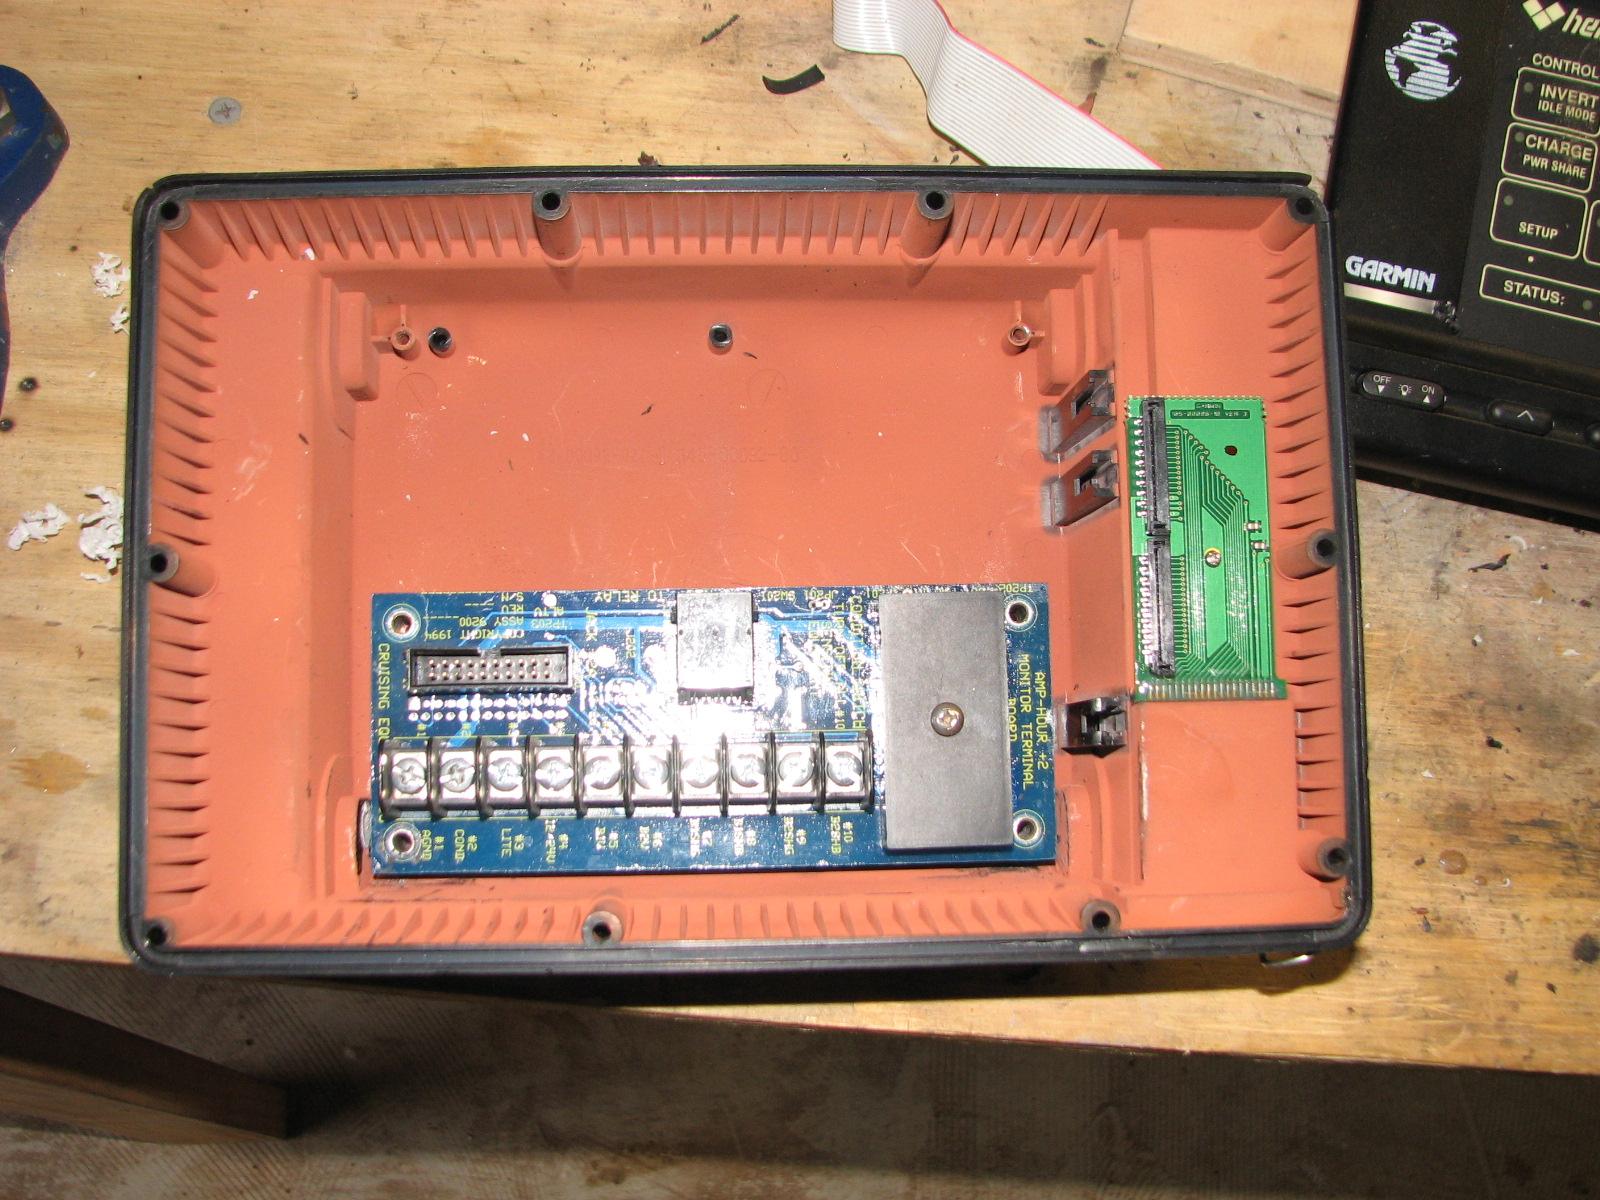
2000-R. I cut a slot out of the back of the Garmin
GPSMAP 215 housing so the cable from the LINK
2000-R monitor would reach to the terminal board. I
put the housing back together and checked out the installation.
Now it will be back to DREAM AWAY to
see if the housing will actually fit into the navigation
station.
Monitor And Terminal Board On Bench
Housing With Slot Cut In The Back
Housing With Cable Out The Back
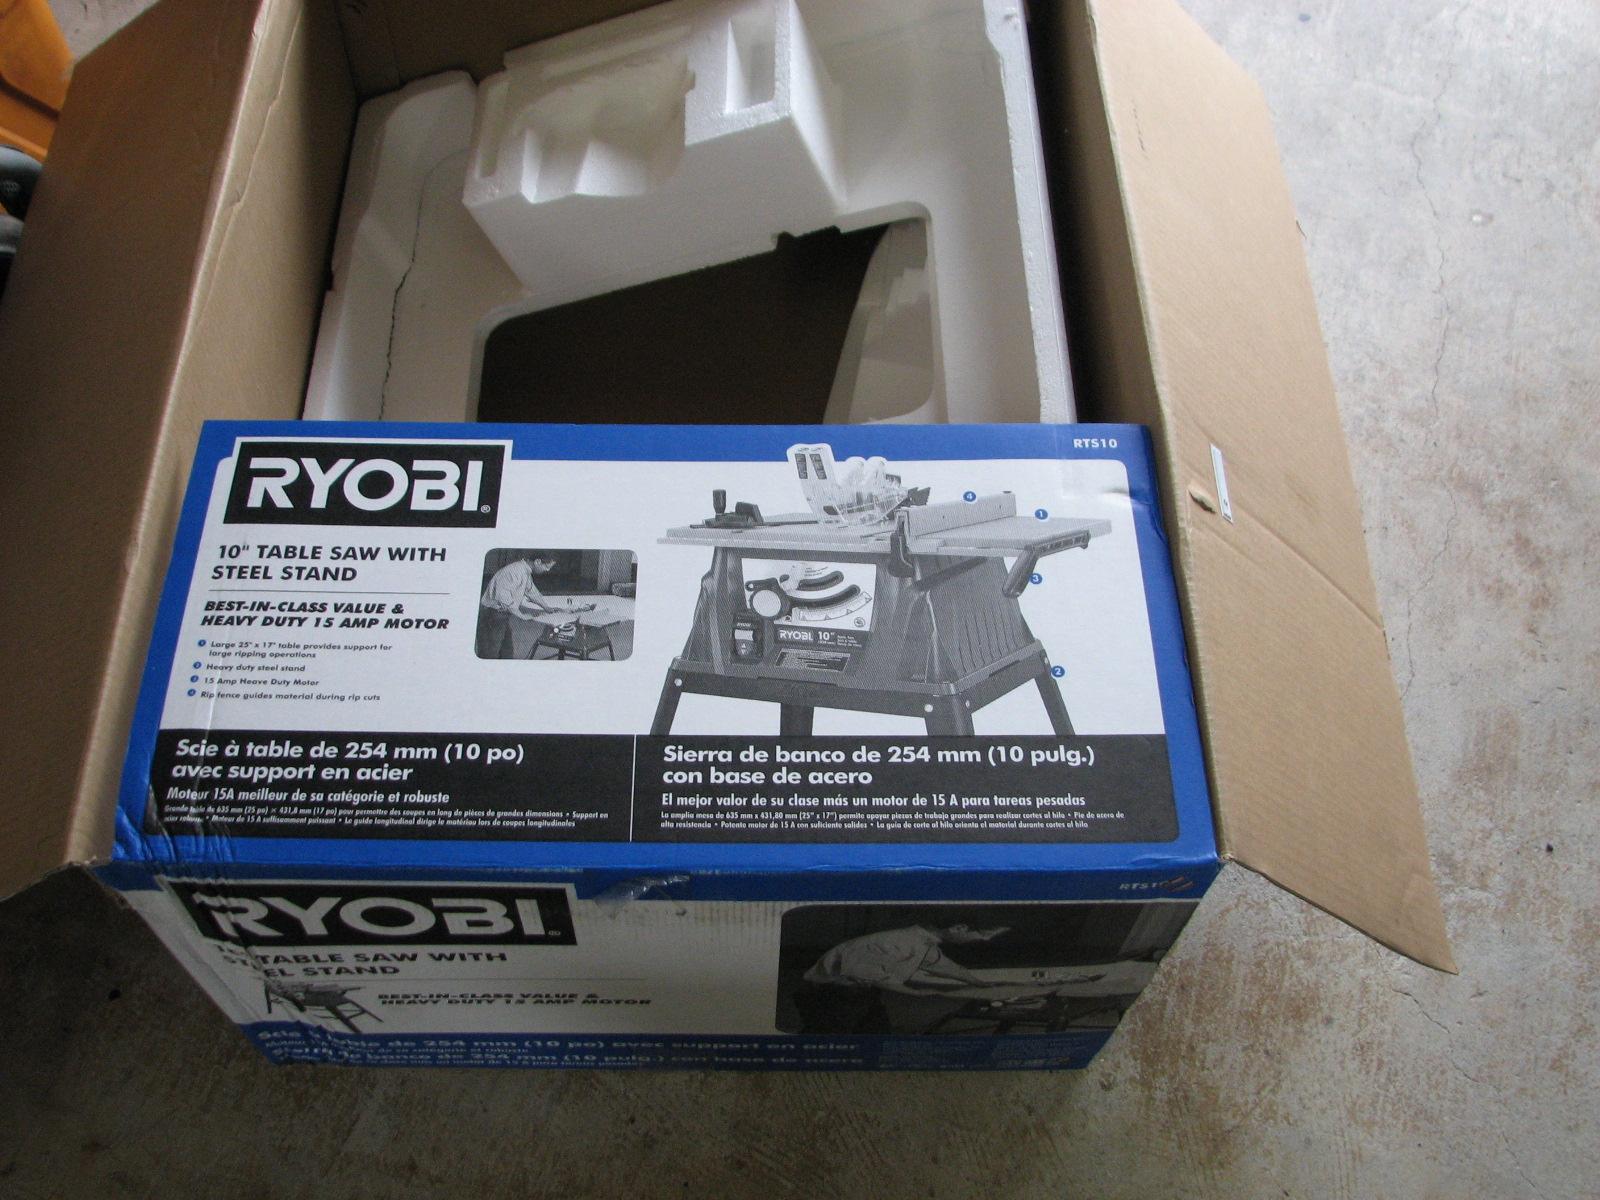
Next on the list was to set up the new
Ryobi
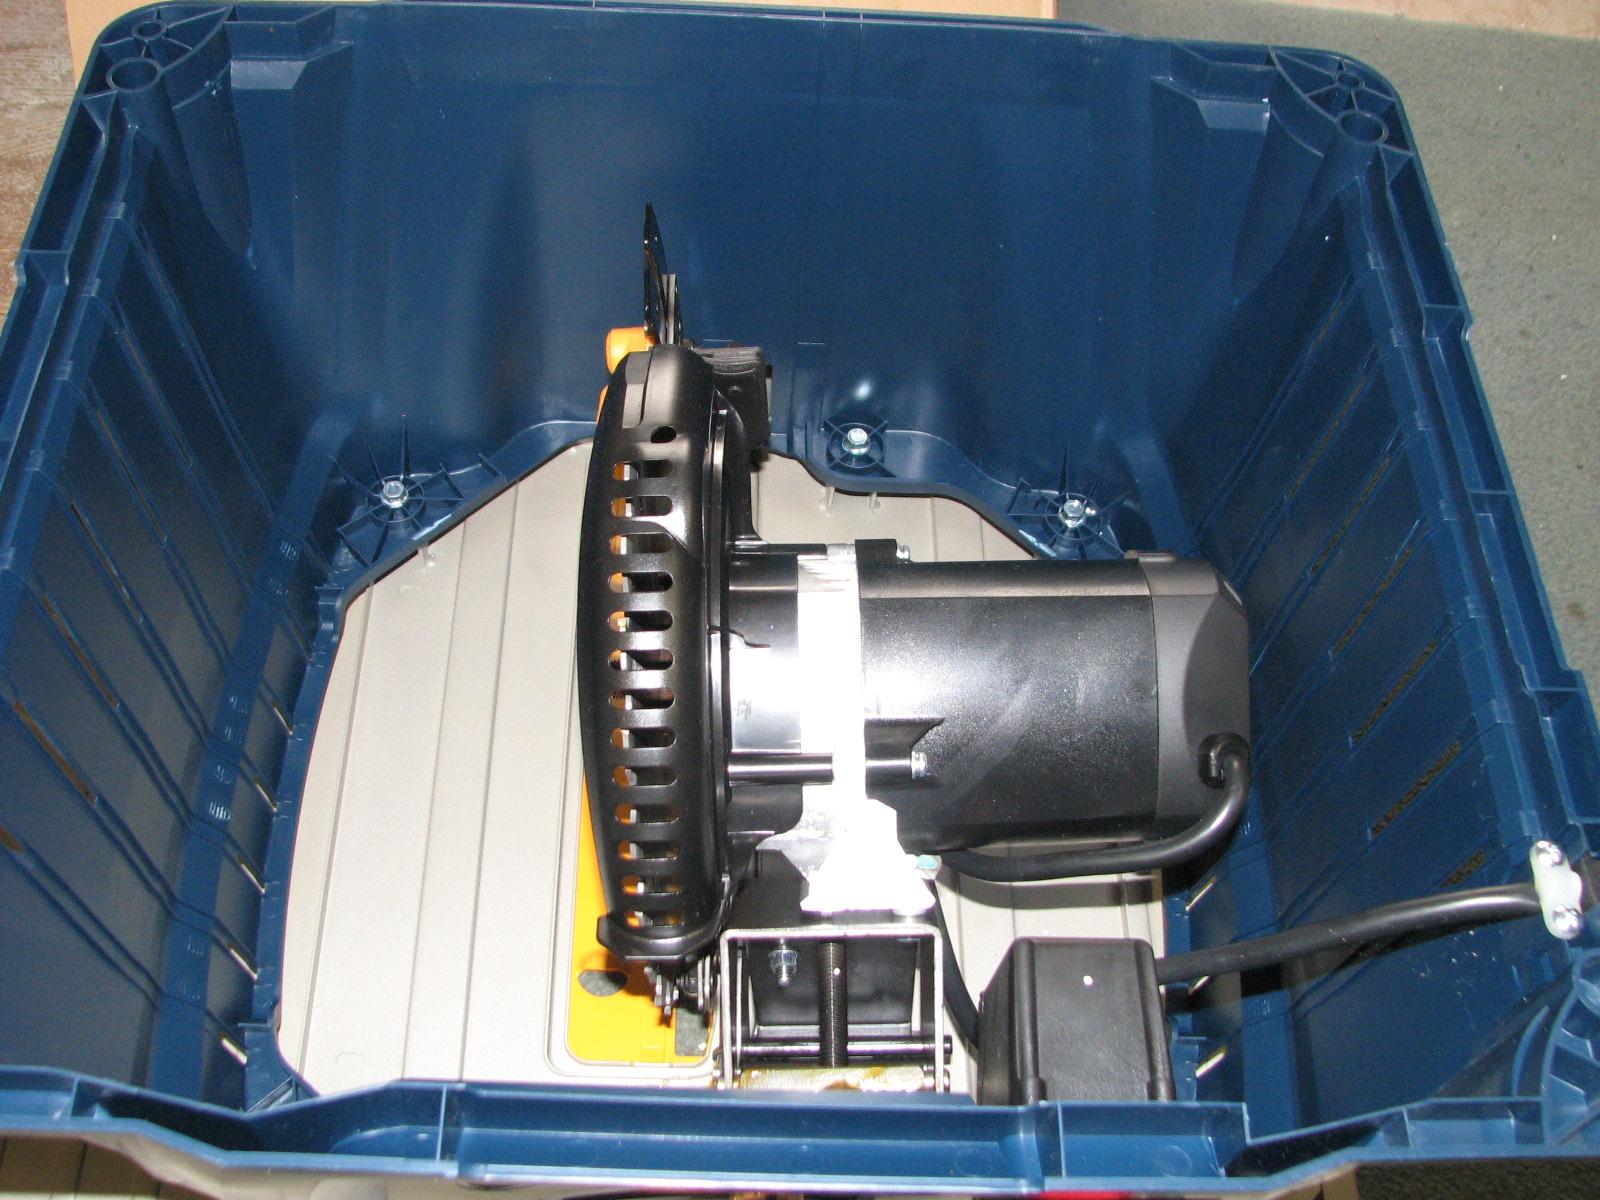
10” table saw. I opened the box, and verified I had
all of the parts, which I did not. I was missing an allen wrench and
a handle for the crank to move the saw up and down.
A minor issue and I was still able to
set the saw up and see if it would fit on my table. Naturally I will
have to make a couple of modifications to the table, but nothing
major. I did verify the saw operated.
Box In Which The New Saw Arrived
Now I loaded the freshly painted
barrell, the two sanders, the
“Box O’ Resins”, the
Evolution Rage III
compound miter saw, and the
Bosch jig saw
into the Black Beast,
and went to the marina.
I wanted to get as much done today on the hard dodger, as there is a
bad cold front coming, and outside work will not be pleasant.
I got all of the tools and the two
modified uprights down to DREAM AWAY. Kitty and I got out all the
remaining tools we would need to fit the two modified uprights to the
hard dodger bases.
I called Ryobi
about the missing parts, and they said they would send them to me and
I could expect them within seven to 14 business days! I wonder where
the parts are coming from? I get parts from China via China Post in
seven total days!
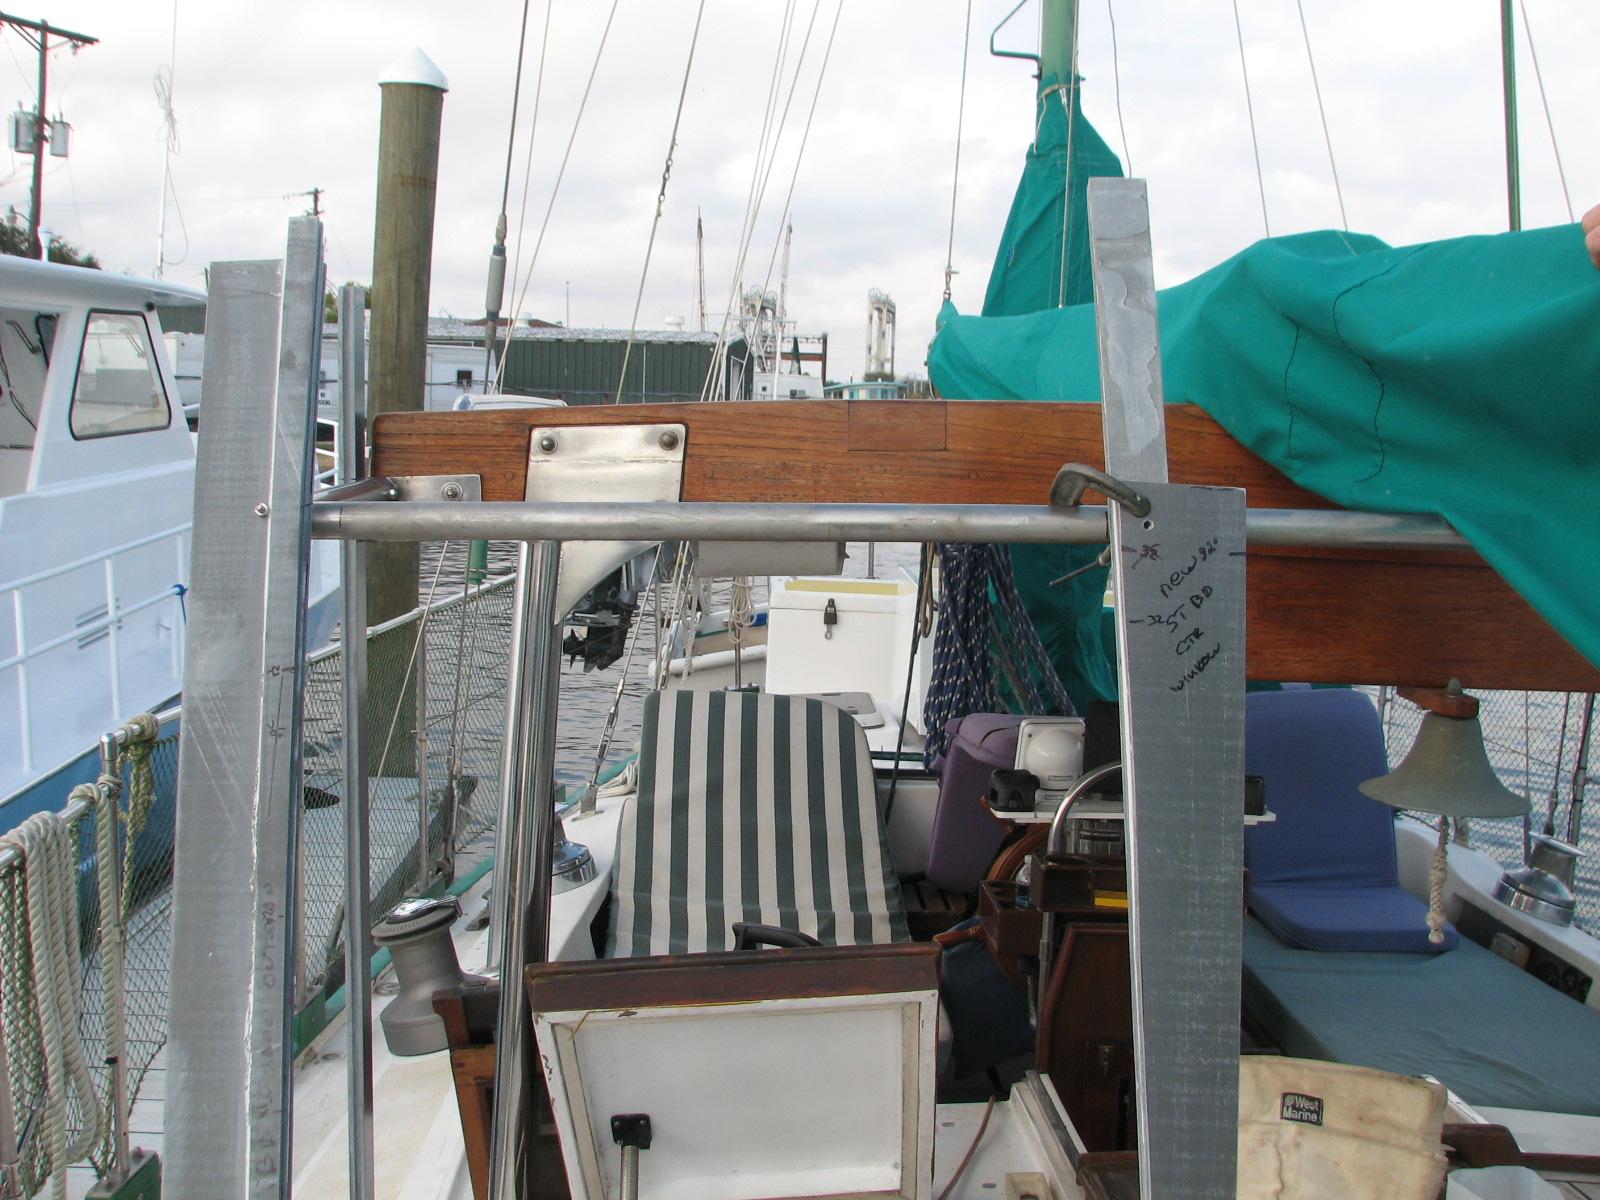
We did a dry fit of the new starboard
upright, and made sure the measurements all worked out. It did! We
then clamped up the port modified upright. Then did the measurements
between the two modified uprights, and then between the modified
uprights, and the outboard uprights. No more that a 1/16” of an
inch difference.
Dry Fit Of Starboard Modified Upright
Now all the measurements were correct
so we would be able to have opening windows in the front of the hard
dodger. Next we needed to drill new holes in the stainless steel
upper base of the hard dodger for the two new modified uprights.
We drilled the holes for each upright,
then bolted the uprights to the lower and upper base. Then we did the
measuring all over again, and all of the measurements were within a
1/16” of an inch.
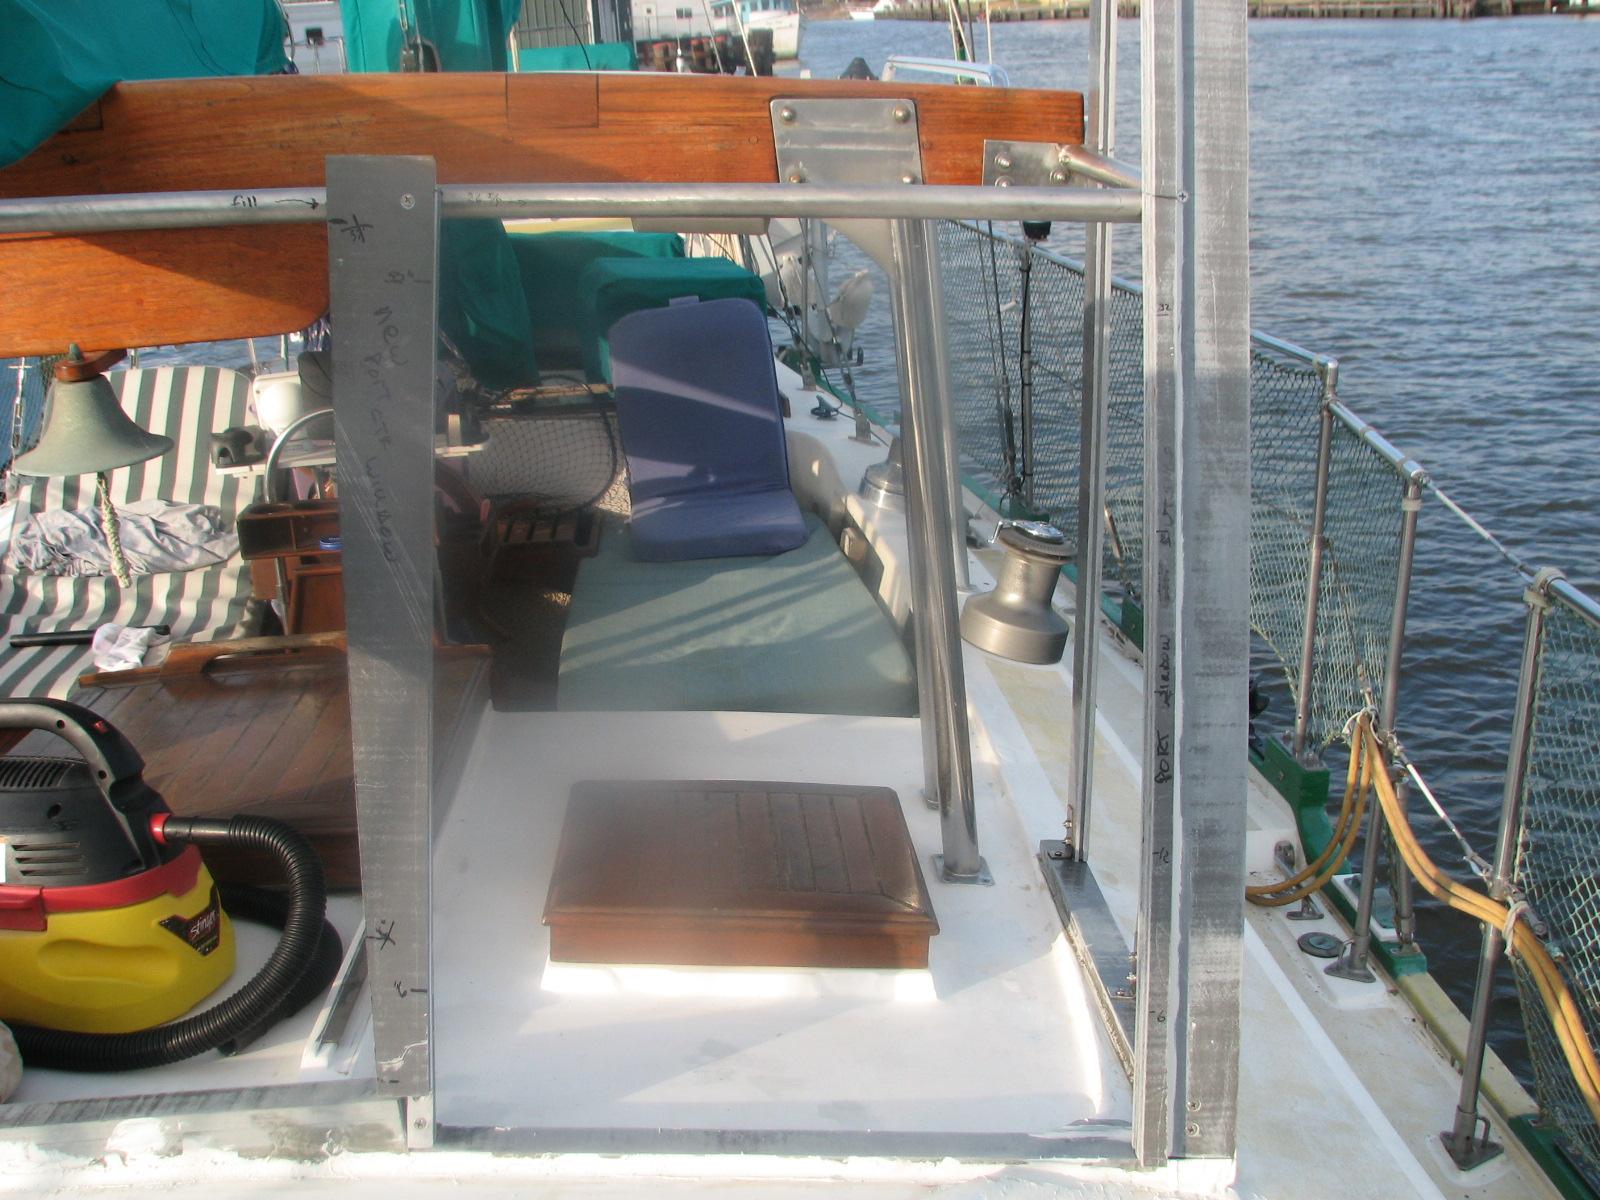
Port Modified Upright Bolted To Upper
Base
Kitty and I measured the tops of all of
the uprights on the hard dodger so they could be cut off even with
the top stainless steel base. When we finished the measuring and
marking the uprights for the cuts, we removed all of the uprights.
We also removed the stainless steel
base, as I had to weld up the holes that were no longer needed and to
clean up a couple of welds that did not look great. This will also
give me the opportunity to polish the stainless steel base.
The plan is to take all of the uprights
over to the shop
and cut them there. While I moved all of the tools and uprights to
the Black
Beast, Kitty put away the tools and vacuum cleaner
that stayed on DREAM AWAY.
Before leaving DREAM AWAY and heading
over to the shop,
I installed the second barrel on the aft deck.
Newly Painted Barrels On Aft Deck
Kitty had an errand to run, so she
dropped me off at the shop
with all of the tools and the uprights. I got all set up and did the
cutting off of the tops of the uprights. On four of the eight
uprights, I could not make the complete cut using the
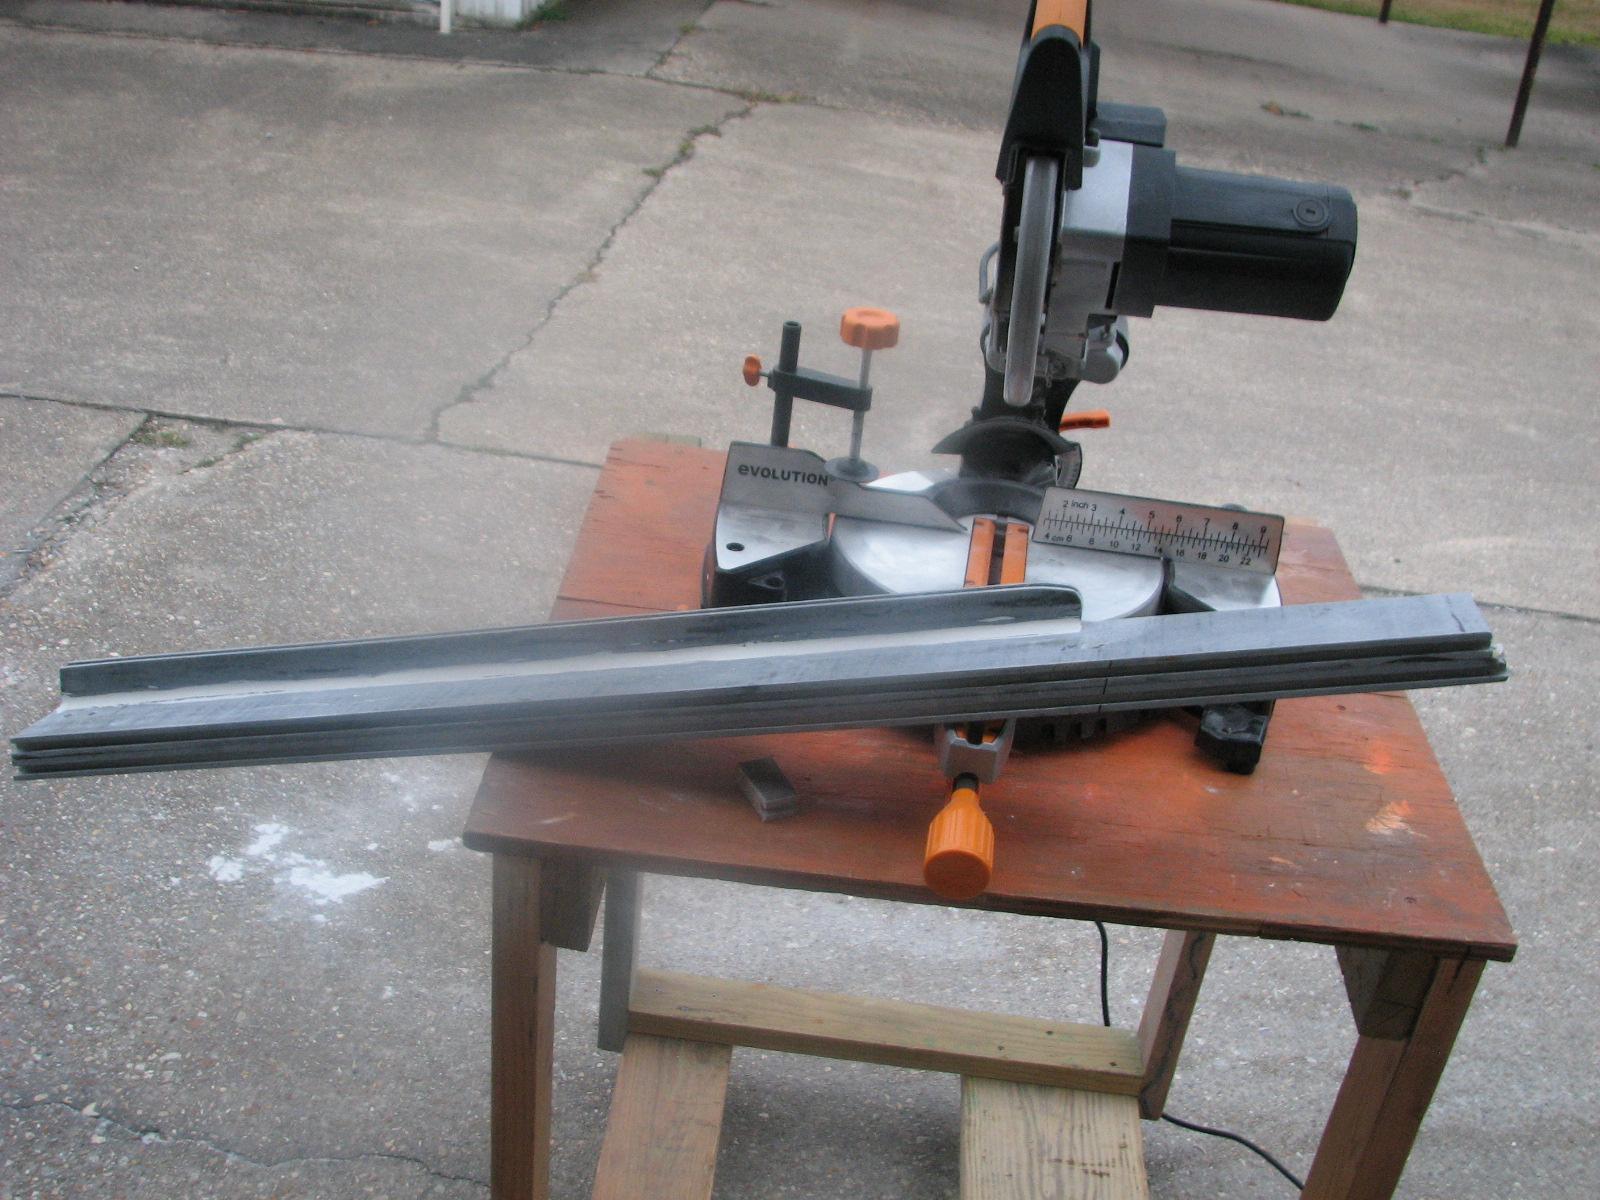
Evolution Rage III
compound miter saw. I will have to use the
Bosch
jig saw to finish the cuts.
It was getting dark, so I decided to
finish the cuts in the morning. I put all of the uprights and tools
back into the shop.
Kitty arrived at that time, so we went back to DREAM AWAY for a late
dinner and showers.
Verifying Measurement On Upright
December 04, Wednesday,
2013
Started off the morning with my normal
ritual of getting on the Internet, answering email, and checking the
weather, while making a pot of coffee. I also spent time with our two
cats, Jillian
and Jordan.
I went to the shop,
and got to work on the housing for the LINK
2000-R. I drilled the holes in the housing to bolt
the monitor to the front of the housing, and the terminal board to
the back of the housing.
I hope there is enough room inside the
housing for both of the LINK
2000-R parts and the connecting cable. I did not have
the fasteners with me at the shop.
When I go back to DREAM AWAY, I have the fasteners so I will be able
to verify.
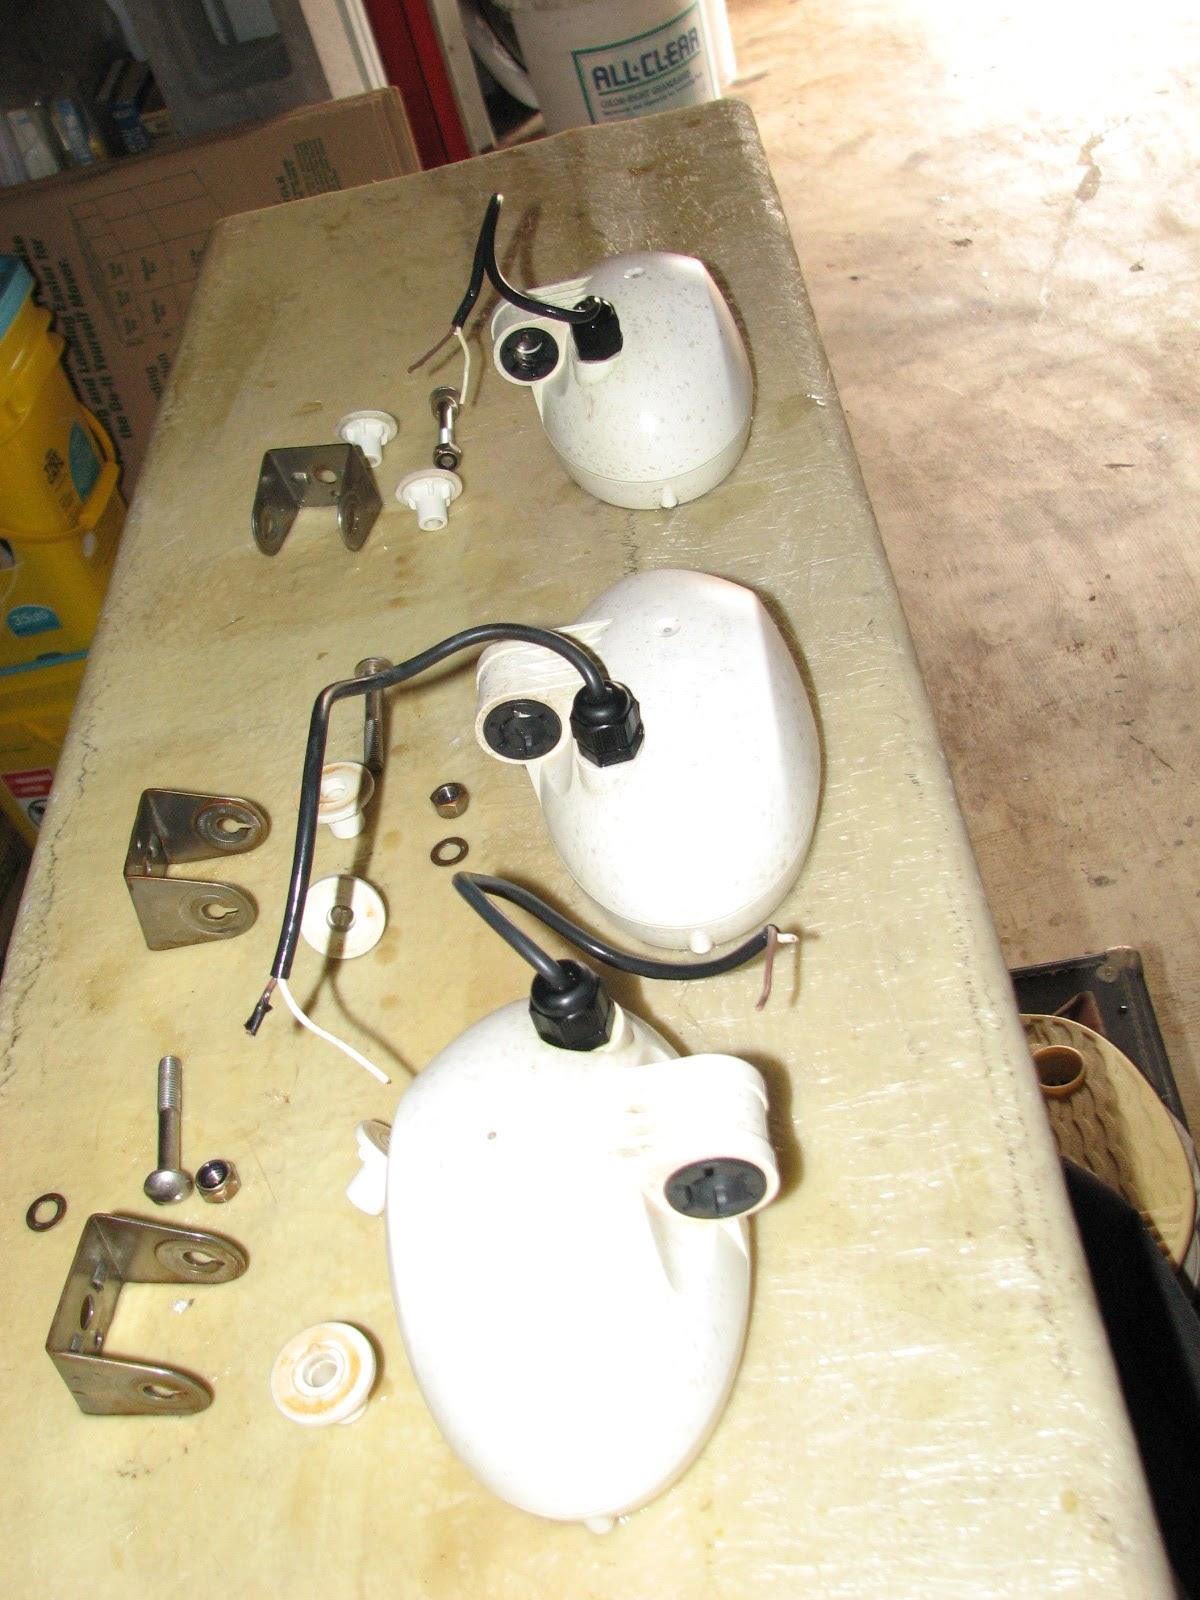
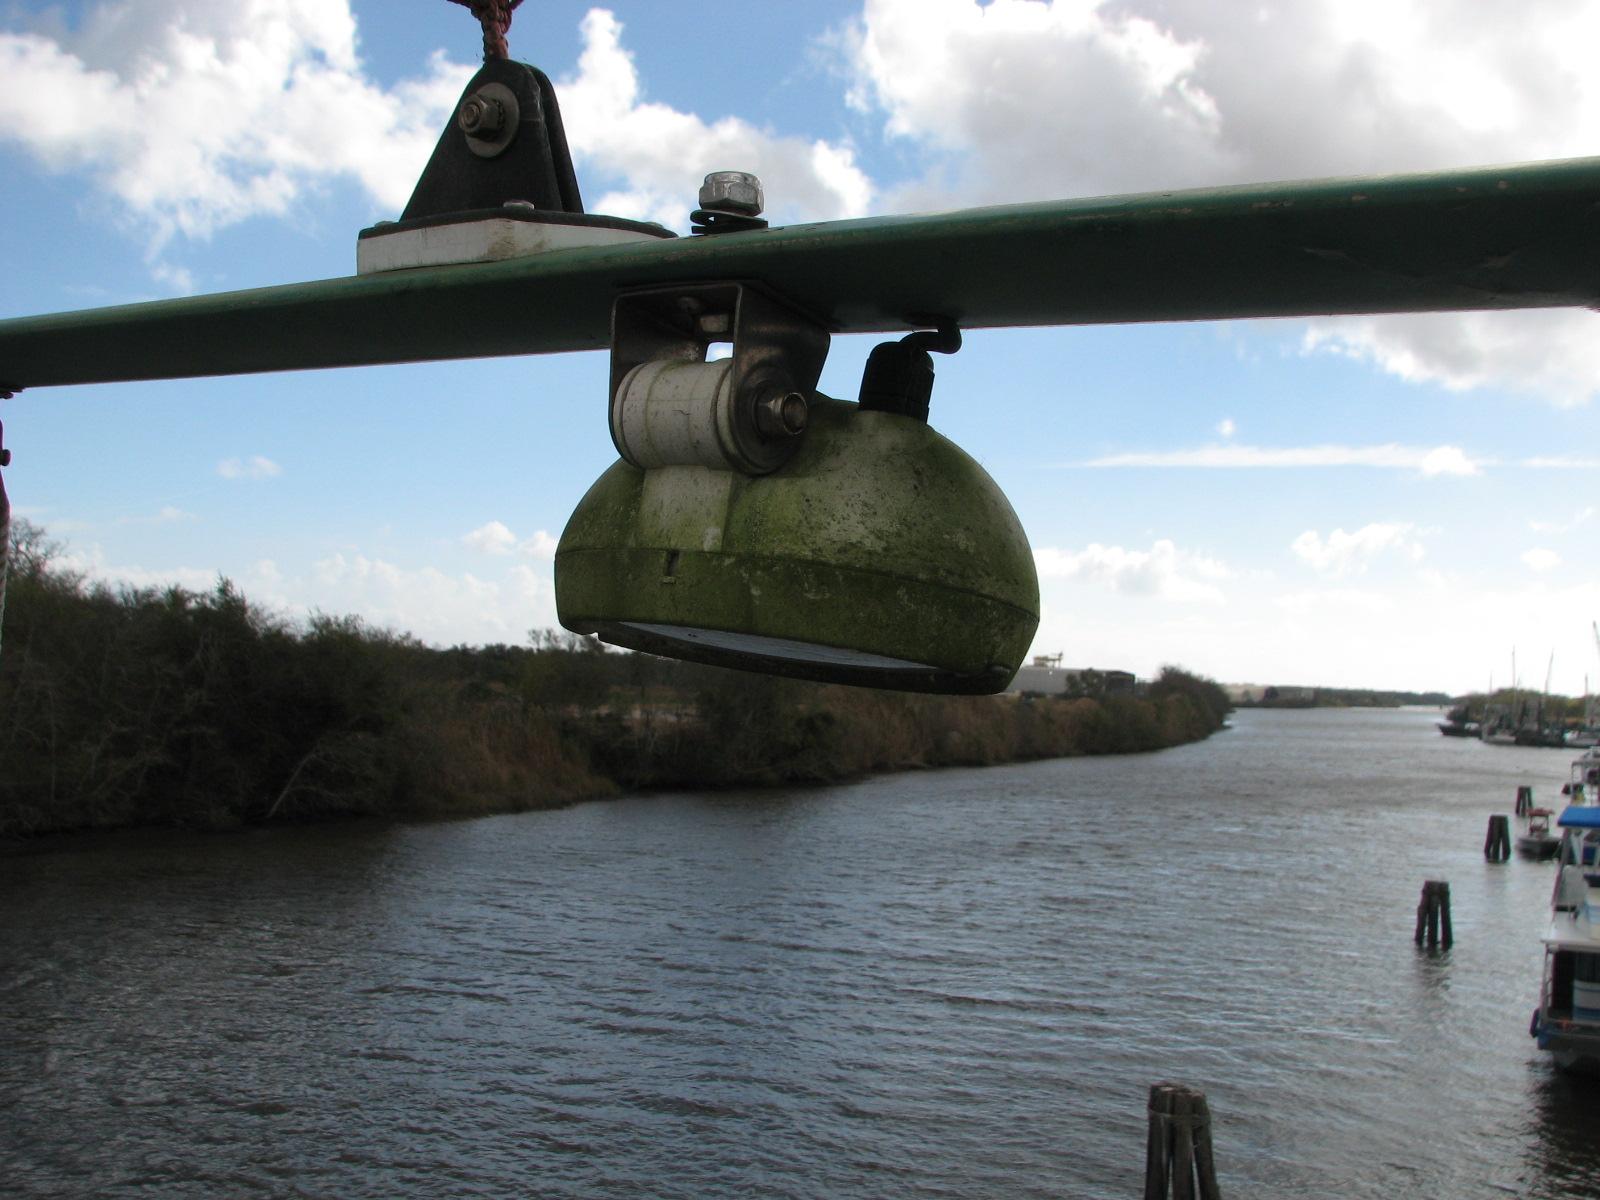
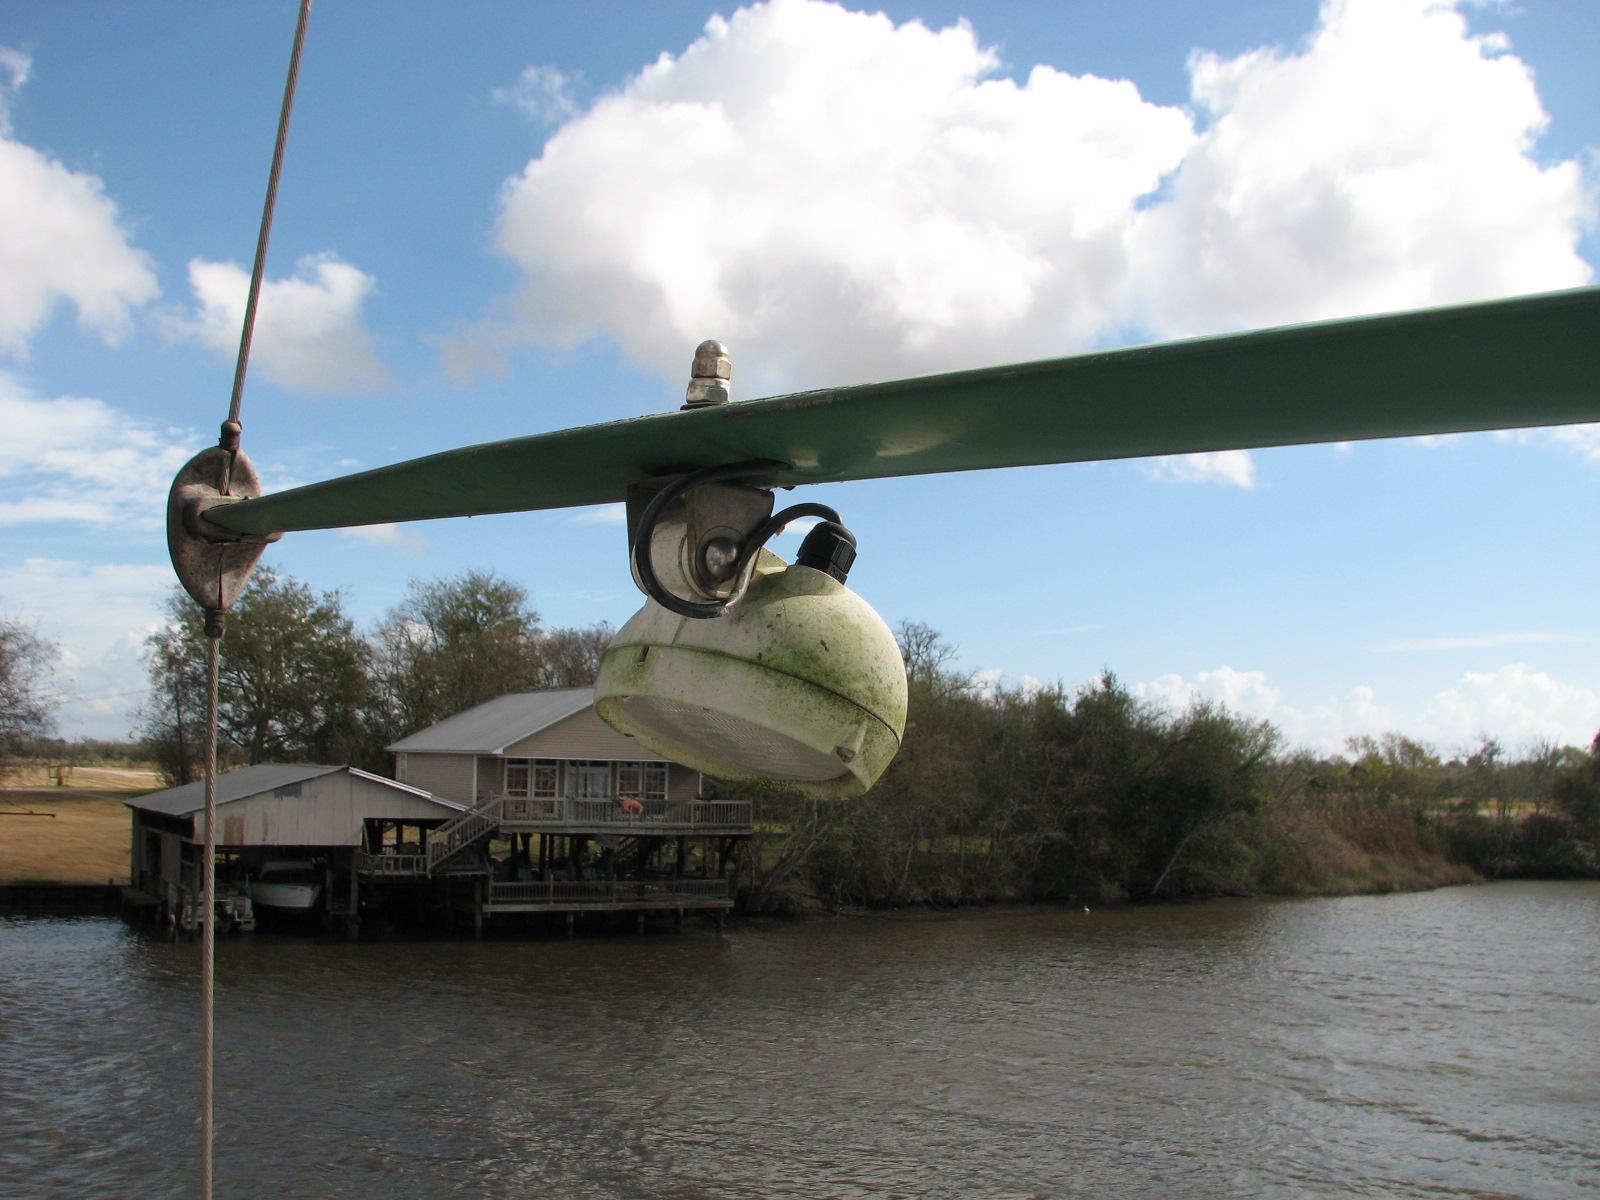
I then got to work on the three Hella
Oval 100 spreader lights. I washed off all of the
green and cleaned them up. I will be putting them on eBay
for sale.
Went back to DREAM AWAY and got out all
of the fasteners to bolt the LINK
2000-R parts into the Garmin
GPSMAP 215 housing. Once the parts were bolted in the
Garmin
GPSMAP 215 housing the housing would not go together.
That was a bit disappointing, but not a big thing. I will just cut a
hole in the rear of the housing for the cable to pass through.
Went off to Lafayette
for Kitty’s doctor’s appointment. When finished with the
appointment, we stopped for groceries, and then it was off to Home
Depot to pick up the new Ryobi
table saw.
December 03, Tuesday, 2013
Started off the morning with my normal
ritual of getting on the Internet, answering email, and checking the
weather, while making a pot of coffee. I also spent time with our two
cats, Jillian
and Jordan.
I went to the shop,
and spent some time looking for stuff that I had left behind when we
made our trip to Atlanta.
It turned out the stuff was left in Kitty’s office at the Port
of Delcambre office!
While looking for the stuff, I came
across a Garmin
GPSMAP 215 that a friend had given to me. It was
defective, and I thought perhaps I could fix it. After looking at the
condition, screen was burned out, I decided it would probably cost
more to fix it than a new one would cost. Especially since I did not
really need one anyway.
When I went back to DREAM AWAY for
breakfast, I checked on the sizes. The Garmin
GPSMAP 215 case will just fit into the nav
station. I have a spare LINK
2000-R and the monitor terminal board, and they also
just fit into the housing.
Tomorrow I will take the spares and the
housing over to the shop and see if I can get them to fit together.
It would certainly look a lot better in the nav station.
The remainder of the day was spent
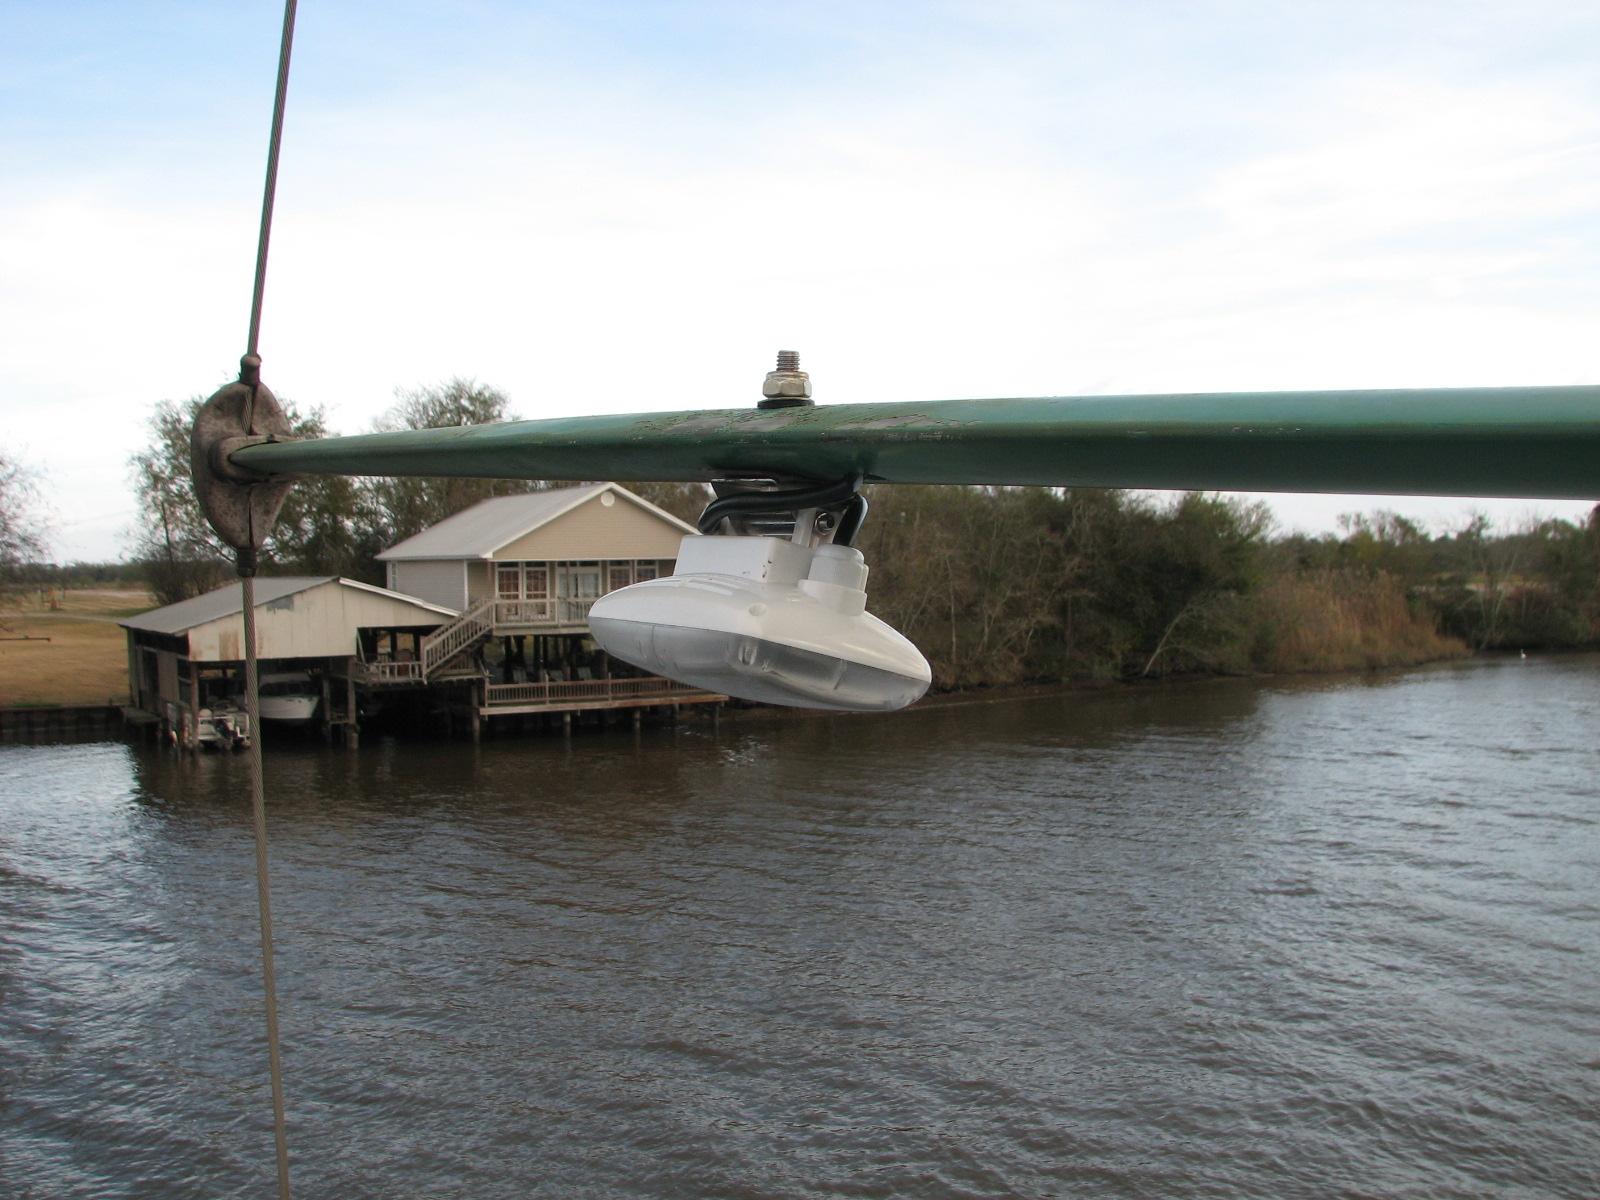
taking down the old Hella
Oval 100 55 watt spreader lights, and installing the
Lumateq
6 watt spreader lights.
I already had one of the Lumateq
6 watt spreader lights installed on the main port spreader. This was
the experiment that made me decide to replace all of the Hella
Oval 100 spreader lights. That experiment is discussed
in the Maintenance
Log For August.
Kitty assisted in getting me up the
main mast to the spreaders, and I removed the starboard spreader
light.
I disconnected the light from the
spreader and cut the wires leading to the mast. I went down the mast,
and Kitty and I got set up to go up the mizzen mast.
I went up the mizzen mast and
disconnected the starboard Hella
Oval 100 spreader light. I cut the wires from the
light leading to the mast.
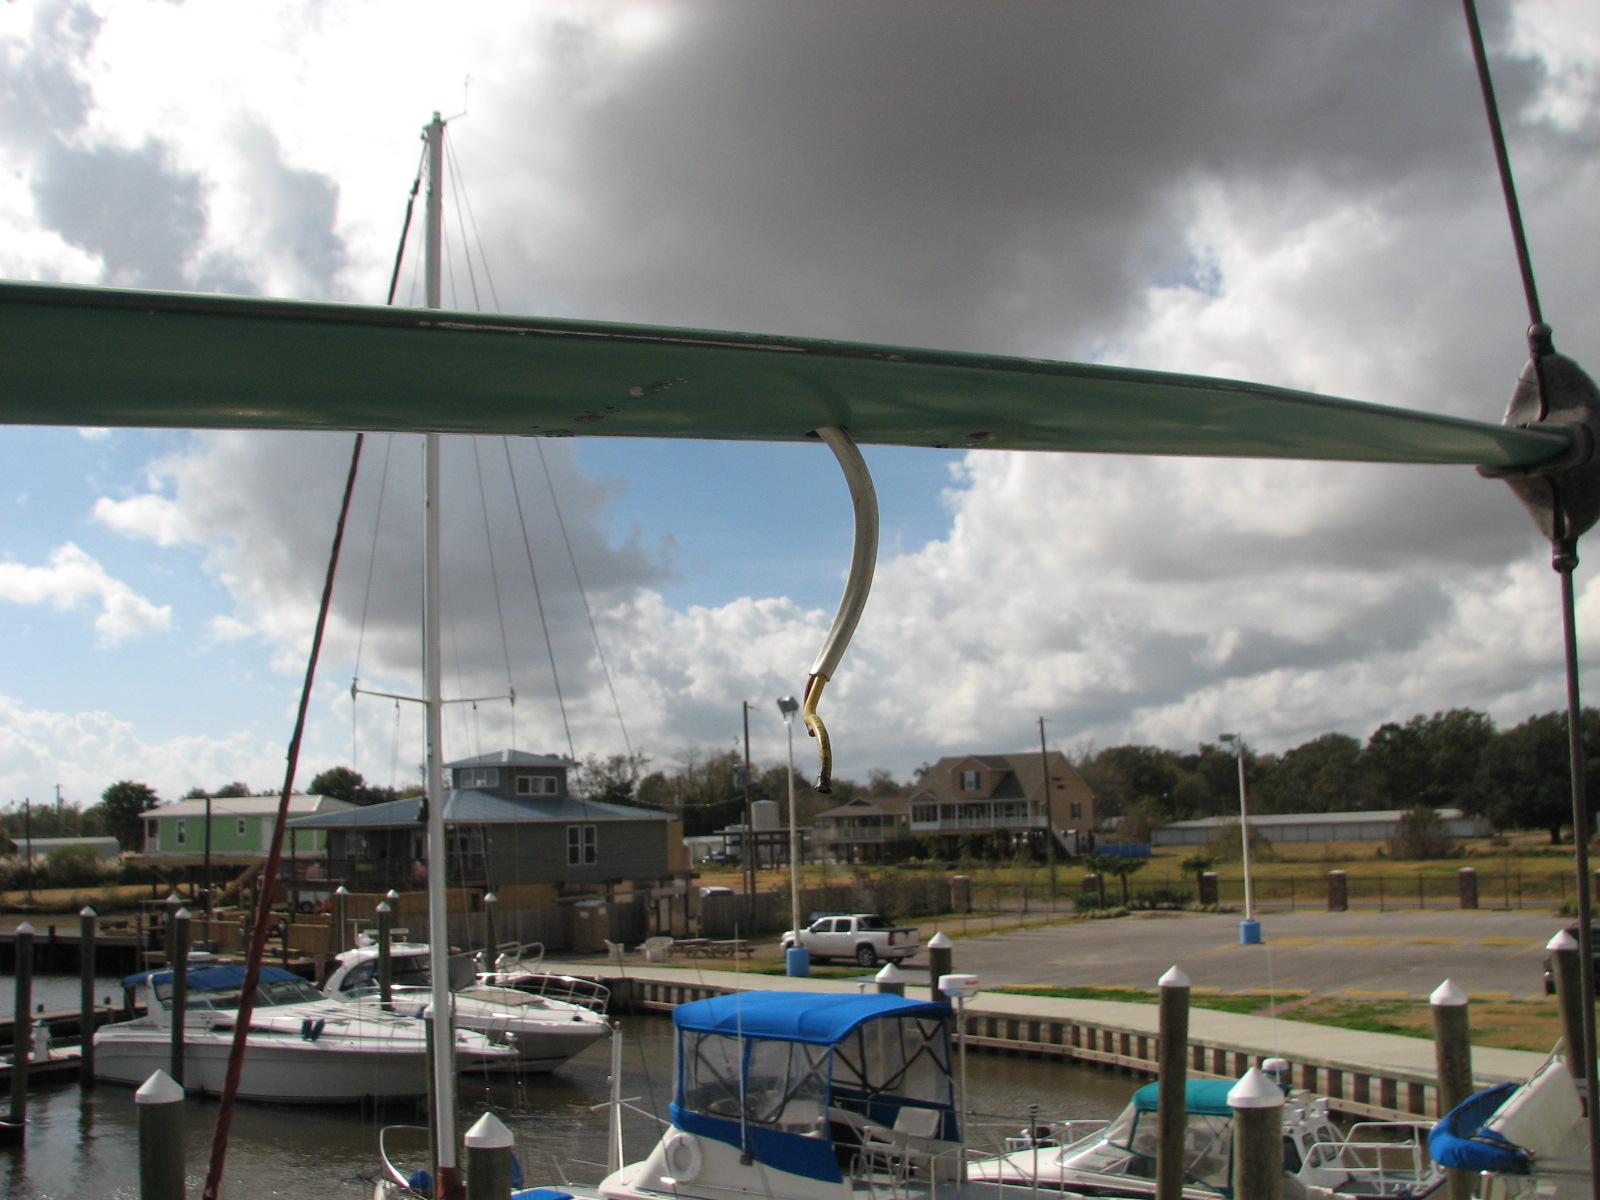
Wires Hanging Down From Starboard
Mizzen Spreader Light
When it was disconnected from the mast
wiring, I went down the mast and into the”garage” to get the
Lumateq
spreader lights ready for installation. Kitty drove off to New Iberia
to run an errand.
I stayed on DREAM AWAY and prepared the
Lumateq
spreader lights for installation. The mounting bolts had to be moved
from the old spreader lights to the new ones, and I installed shrink
wrap butt connectors on each of the wires on the new spreader light.
By the time Kitty came back from her
errand, I had finished the set up of the spreader lights. It was back
up the mizzen mast to install the starboard and port lights on the
spreaders. The light had to be bolted onto the spreader then the
wires connected from the light to the mast wiring. Then I applied
heat from a heat gun to shrink the butt connectors to make a
watertight connection. Last I aligned the light for maximum deck
lighting.
Lumateq
Spreader Light Installed On Port Mizzen Spreader
When the mizzen mast was completed, it
was down the mizzen and up the main to install the port spreader
light. We checked the operation of the lights, and they all worked. I
came down the main mast, and then had to put everything away. When
that was all finished it was the end of the day.
After dinner and when it was very dark,
I checked the the mizzen and main spreader lights. I was very
impressed with the amount of light produced by the Lumateq
spreader lights. Now when I turn on all of the spreader lights, I am
consuming 24 watts, instead of the 220 watts with the Hella
Oval 100 spreader lights.
My only complaint with the new spreader
lights is they are advertised as marine lights, but they do not use
tinned wire. Typical for a large amount of electrical products
advertised as “Marine Grade”
December 02, Monday, 2013
Started off the morning with my normal
ritual of getting on the Internet, answering email, and checking the
weather, while making a pot of coffee. I also spent time with our two
cats, Jillian
and Jordan.
Kitty went to the doctor’s in
Delcambre at 0800 to have some blood work done for her appointment on
Wednesday, and I accompanied her. On our way back to DREAM AWAY, we
stopped at LeBlanc Oil and picked up a couple of packages that were
waiting for us. When we got back on board DREAM AWAY we had
breakfast.
After breakfast, I went to the shop,
and Kitty worked on some home projects. I worked on several projects
during the course of the day. I did a time share of projects, worked
on one, then another, then back to the first. The discussion for
today will be handled like I worked on each project to completion. I
started out with the hard dodger uprights.
The uprights that I had glassed
together yesterday, had set up, so now it was time to sand them down,
and get them ready for an application of finishing
putty.
Hard Dodger Upright Ready For Sanding
When the finishing
putty had set up, I took the two uprights outside and
sanded them down smooth. The uprights are now readt to be fitted to
the lower and upper hard dodger base.
Next I worked on a new stainless steel
tray. Last june when we were in Atlanta,
my son, Stacy, told me he had a good friend who could manufacture a
couple of stainless steel trays. I needed one for the spare air
conditioning system and one for the generator.
Stacy was very aware of the problem
with the marine generator. The generator as it comes from the factory
has a very nice tray to catch any oil or water that should escape
from the engine. A great idea, except the tray is made from mild
steel. Just not a suitable in a salt water environment.
Stacy had seen the problem first hand
when he came to Georgetown,
South Carolina. That adventure is covered in the
Georgetown
to Delcambre passage. We had to remove the generator
to repair the transmission. Since the generator was out, we checked
with Northern
Lights to see about getting a stainless steel tray for
the generator. They had one, only $1400.00! We passed.
More or less the same issue with a tray
for the air conditioner. Any way, Stacy said if I could get him the
measurements his friend could make the two trays at a much cheaper
price. Since I had the air conditioner tray, I sent that tray and the
engineering drawings for the generator tray to Stacy.
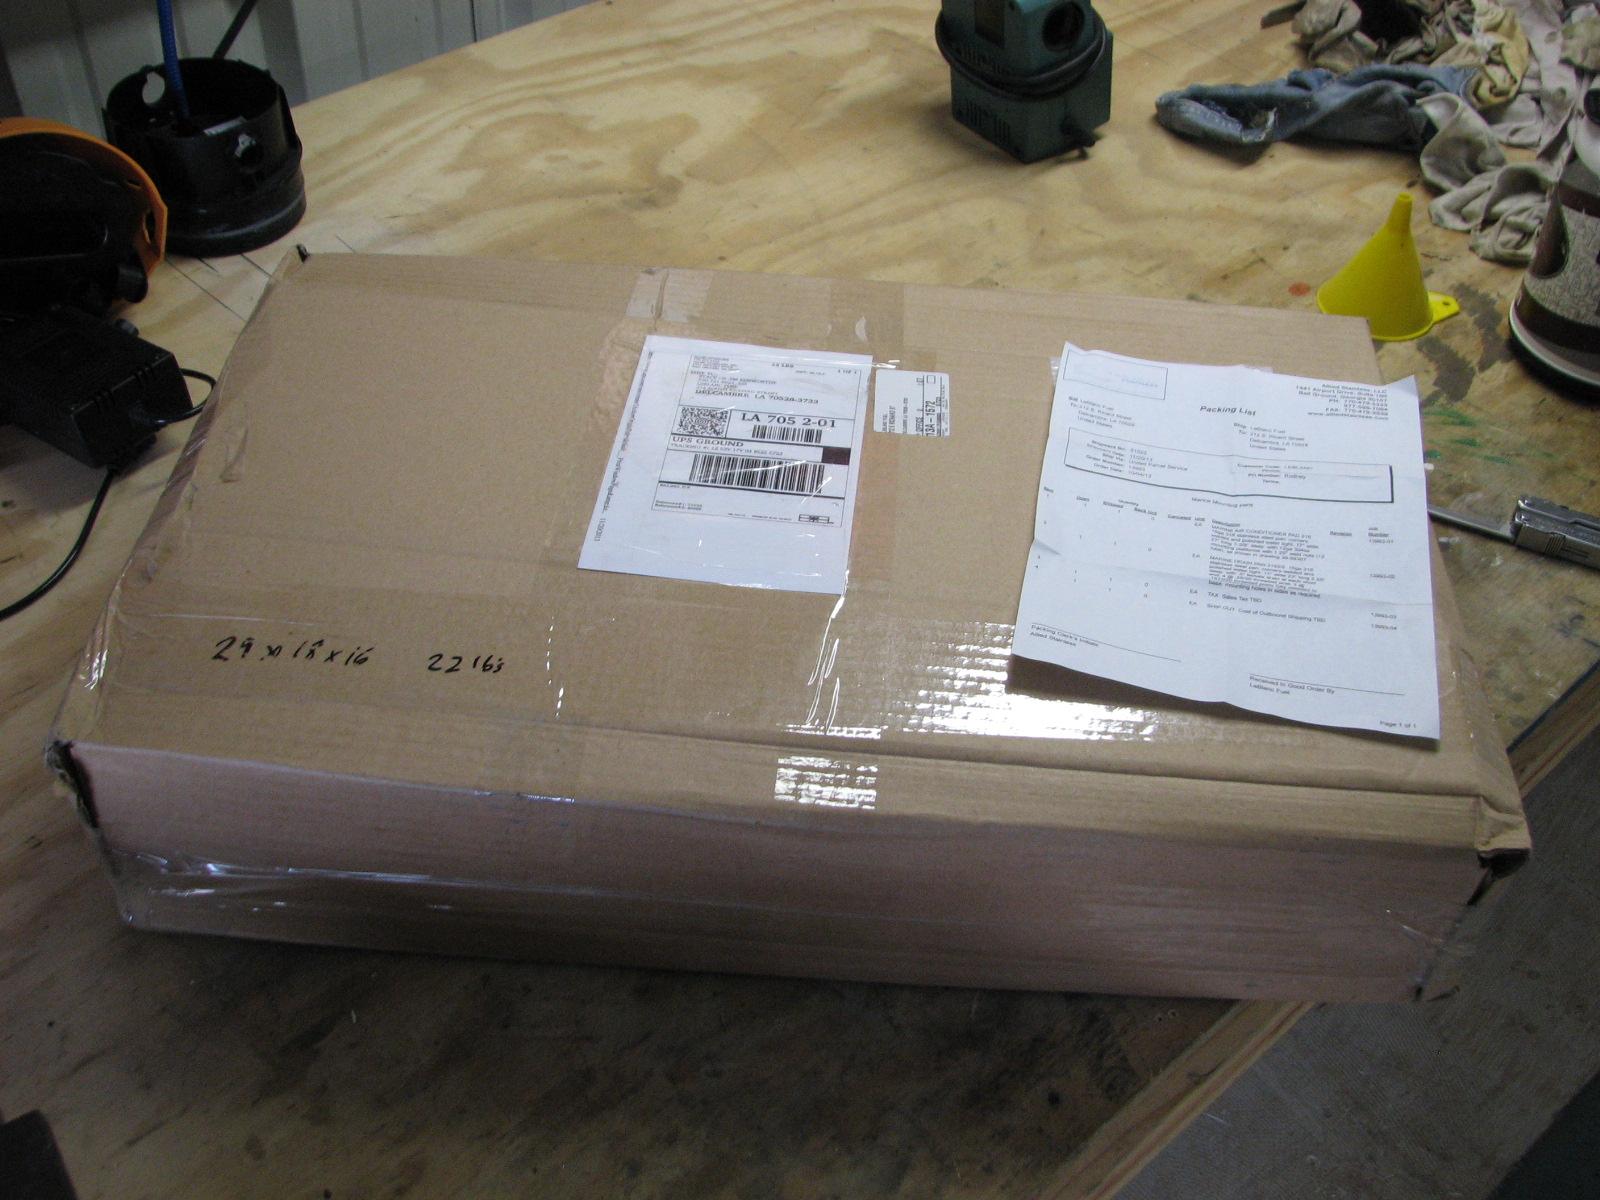
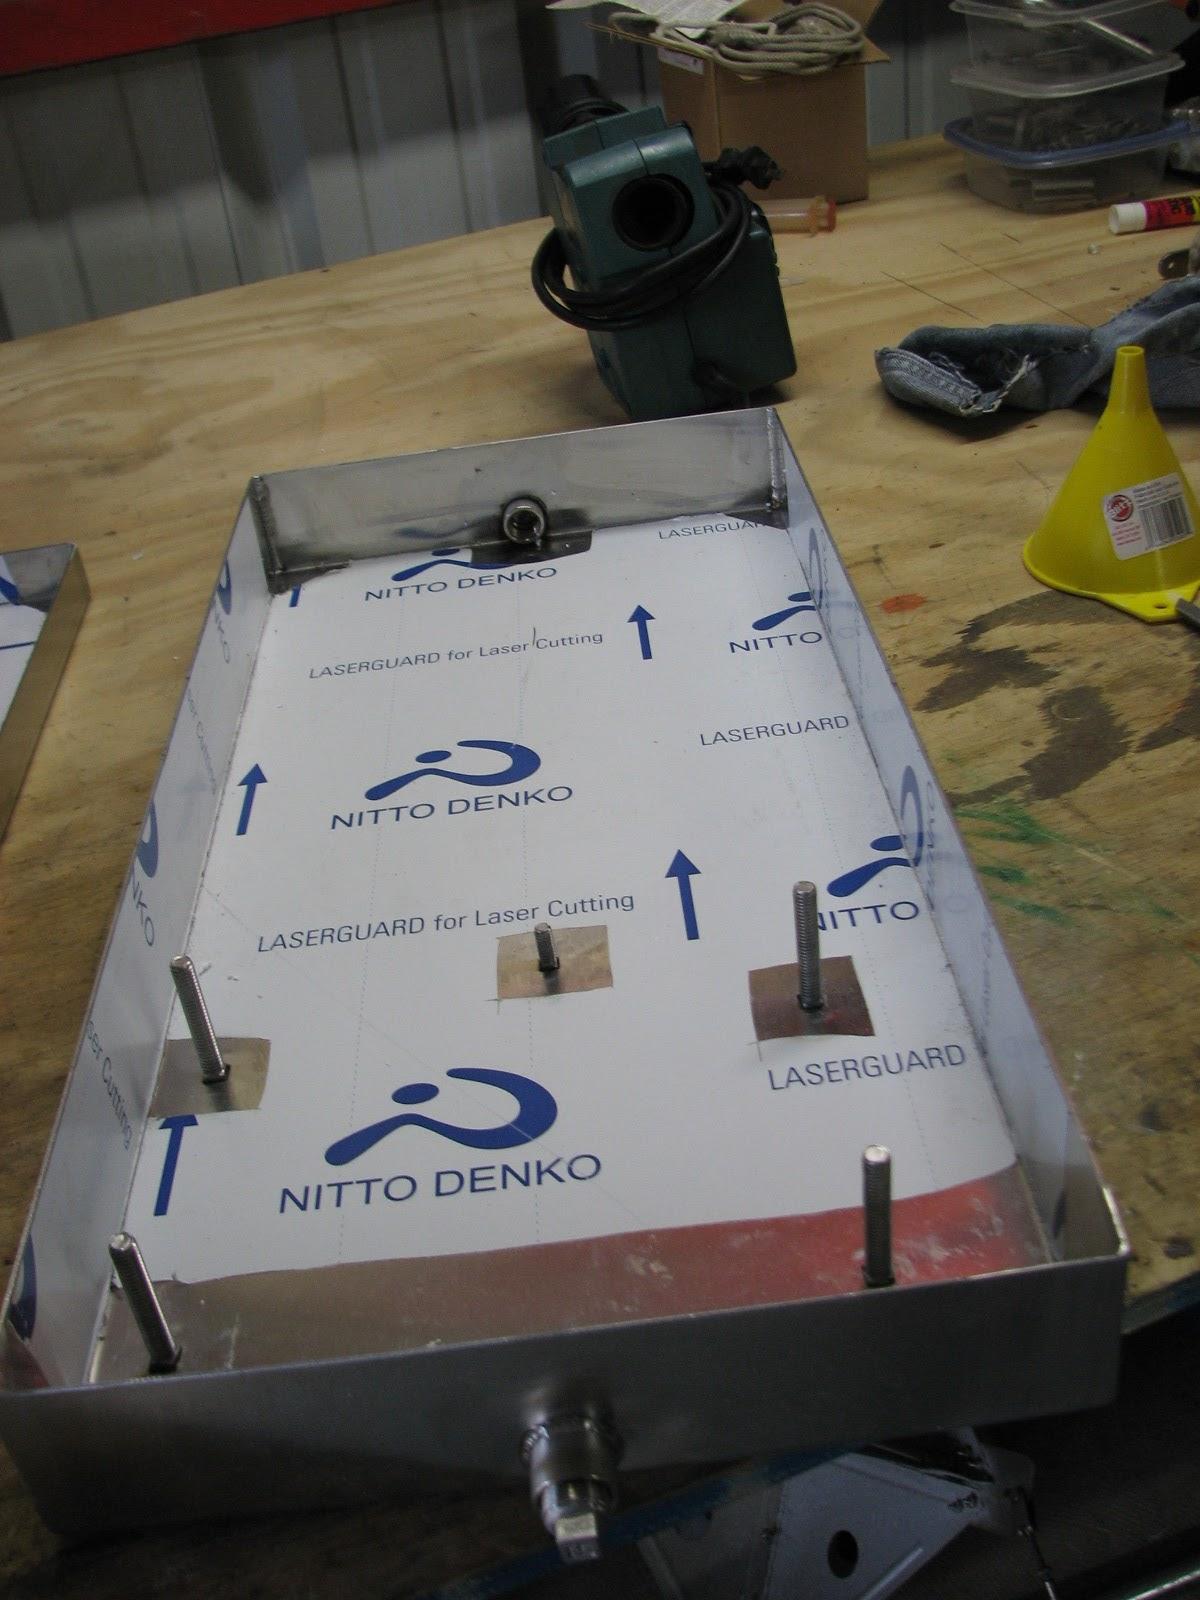
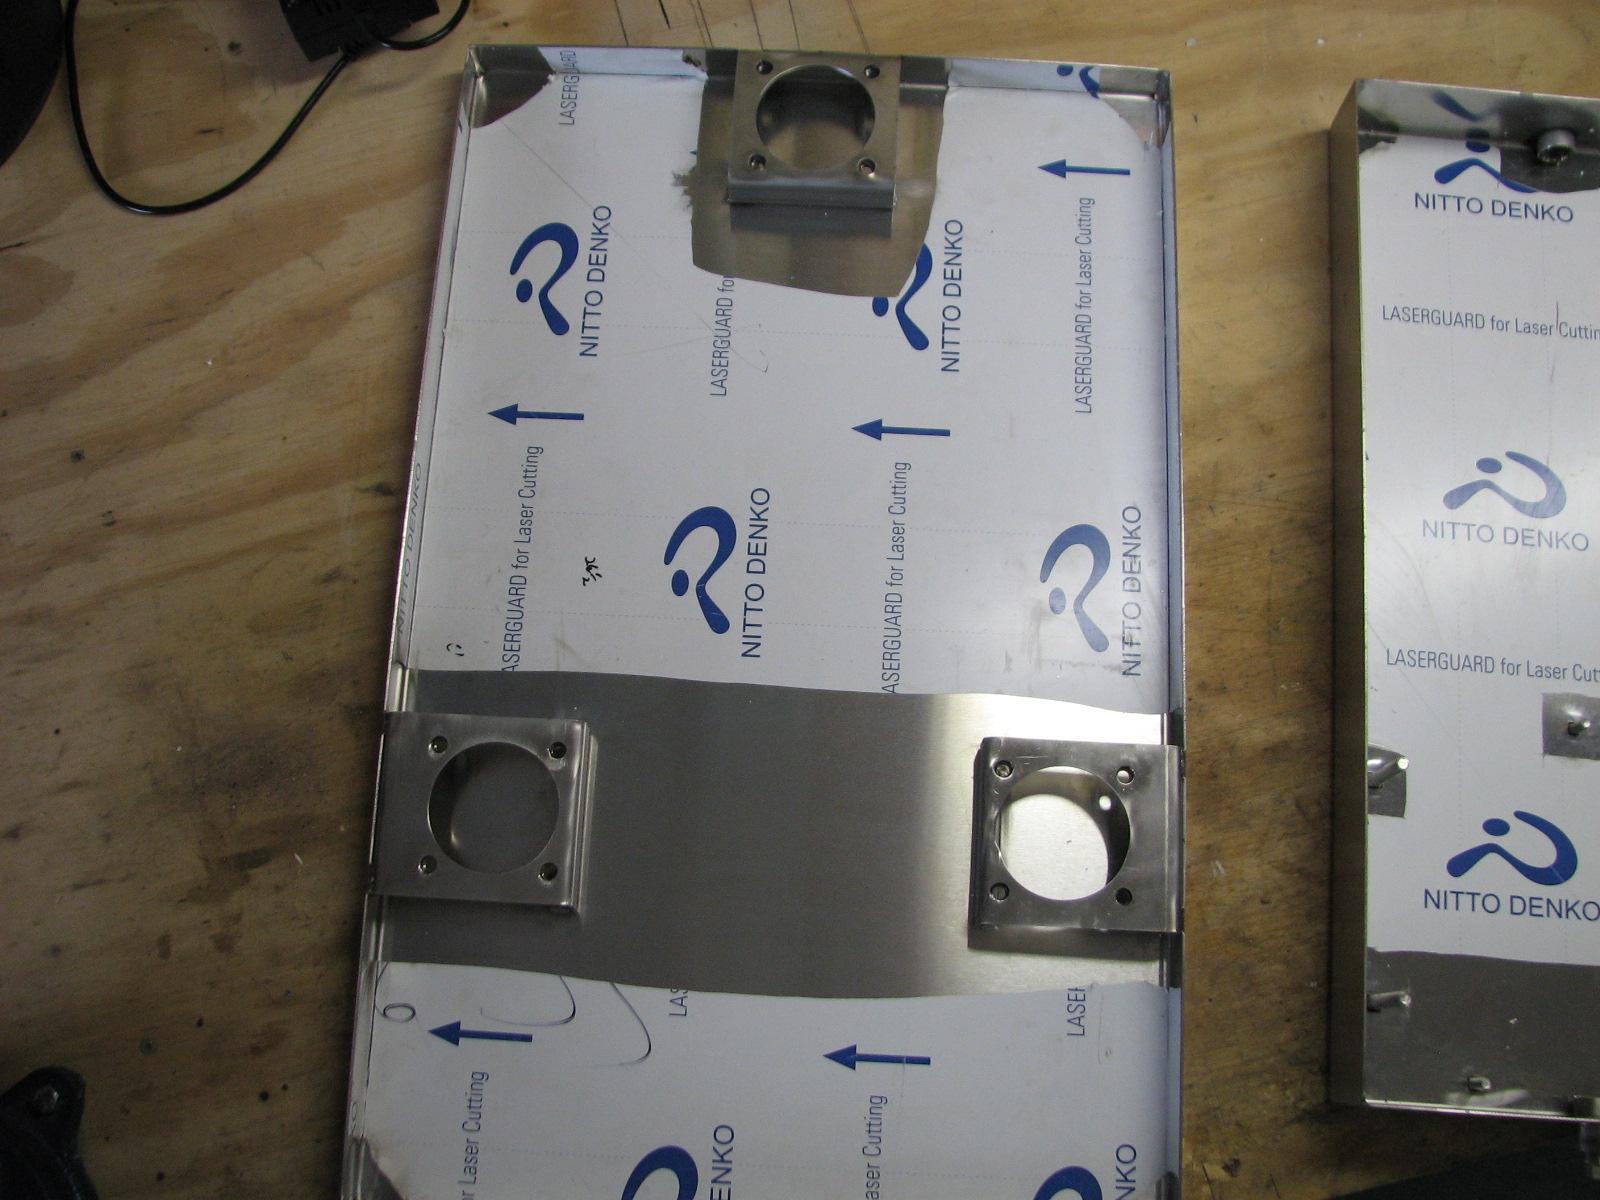
The two fabricated trays arrived in
Delcambre
while we were in Atlanta on this last trip. I opened the package
today. What a surprise.
The two trays looked great.
Box From UPS
Packaged Trays Out Of Box
Air Conditioner Tray
Generator Tray
Getting the new generator tray will be
quite a lot of fun. I will have to pull the generator out of the
engine room and then swap out the trays.
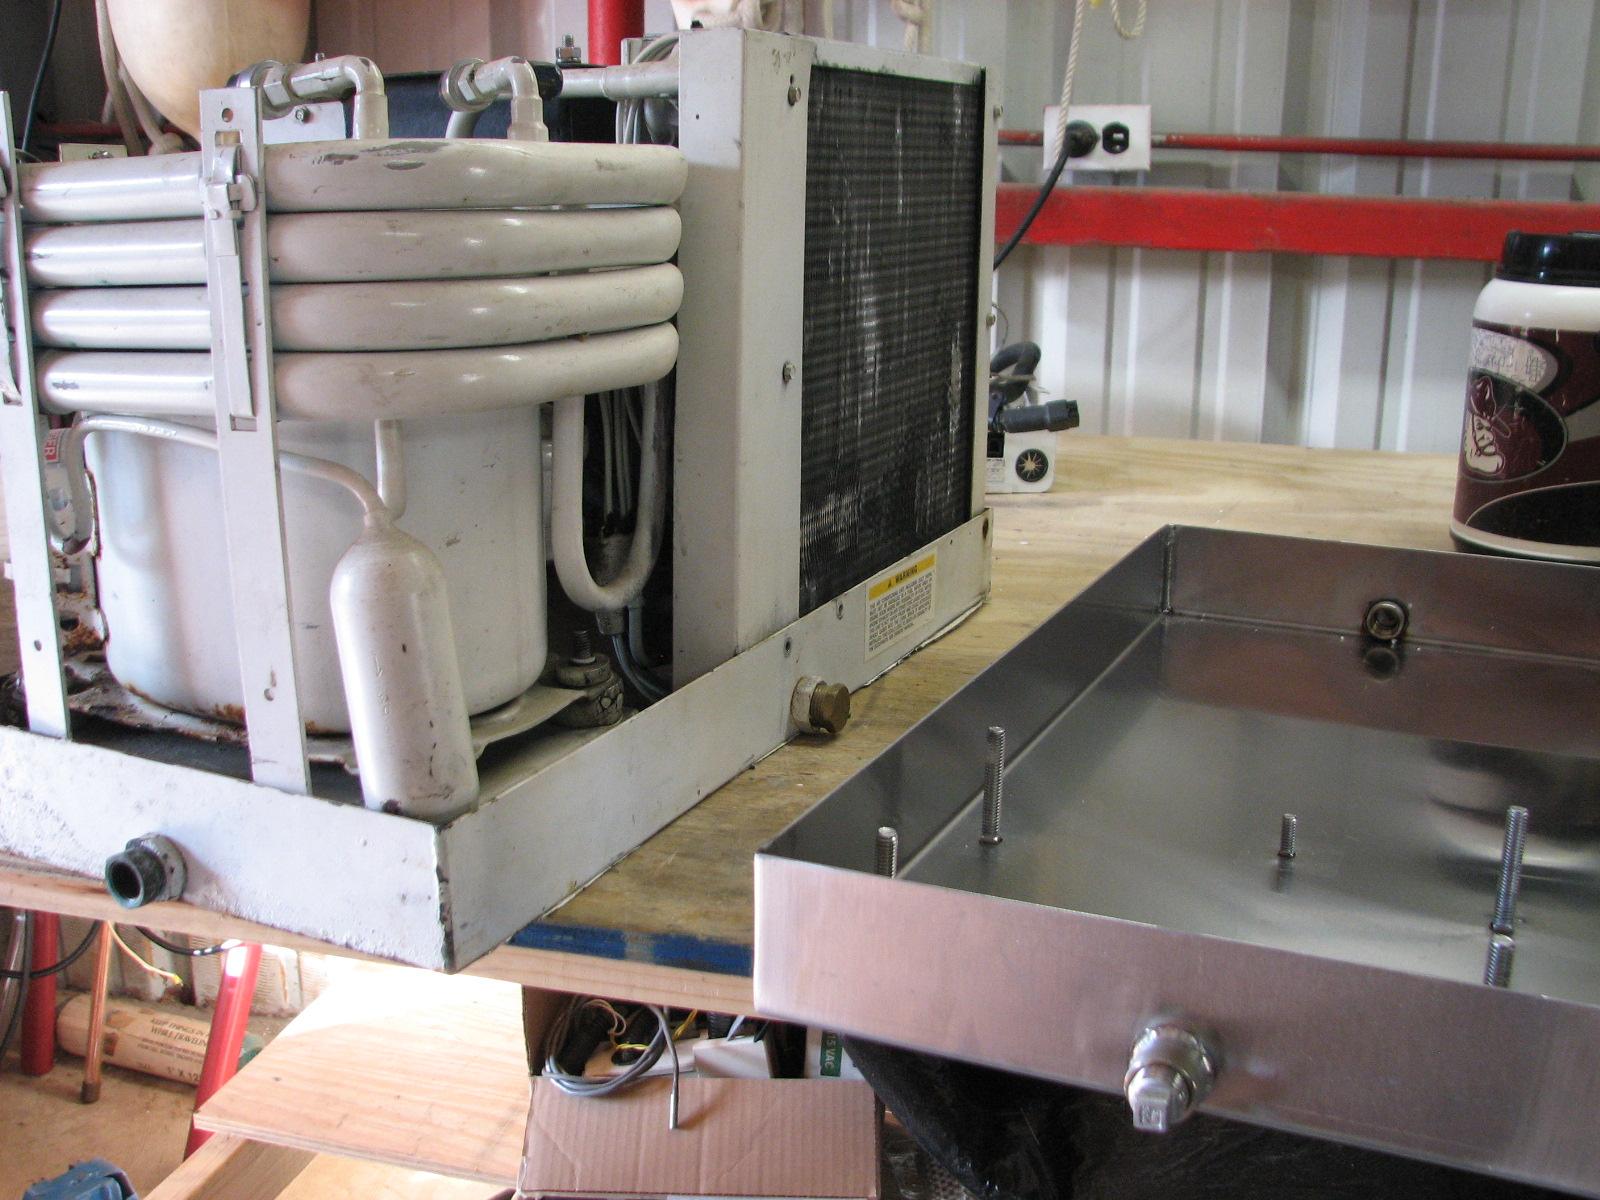
I had the spare air conditioner in the
shop
sitting in the old mild steel tray, so I decided to swap the trays
out.
Air Conditioner In Old Tray Next To New
Tray
I took the old air conditioner out of
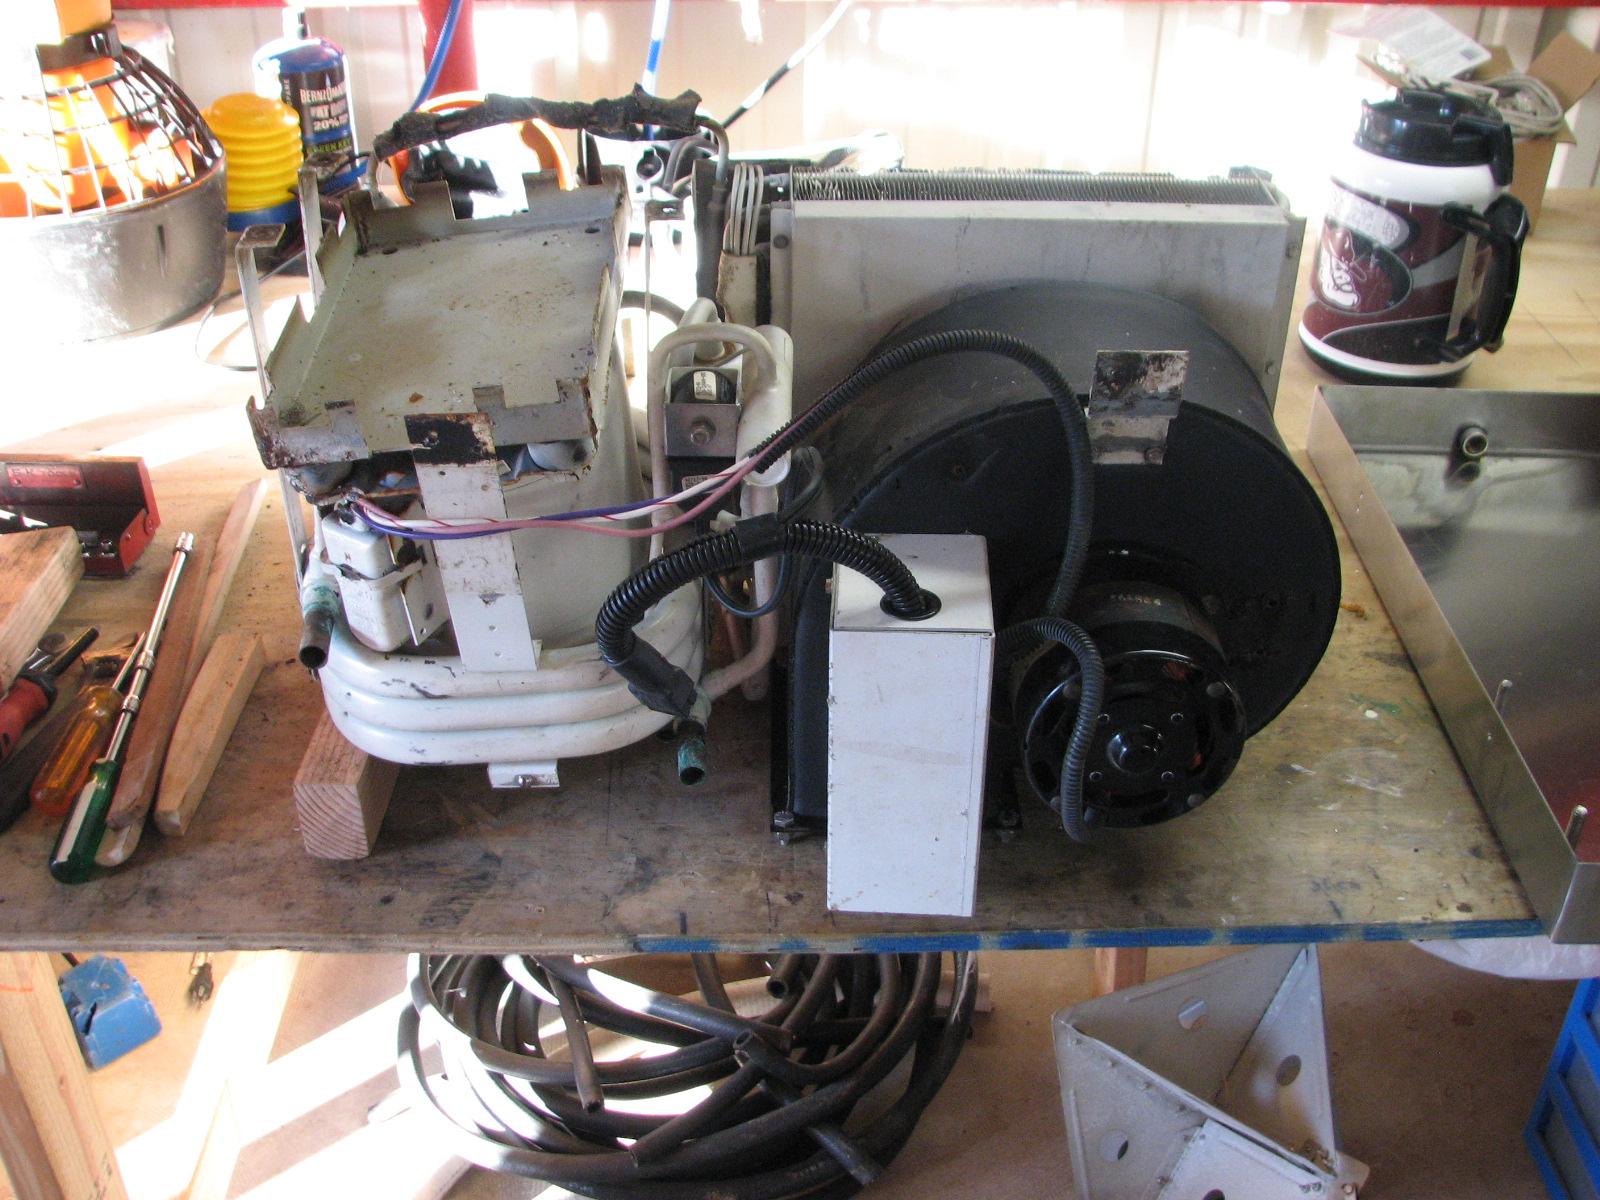
the original tray, by removing all of the bolts and screws holding it
to the tray. I then turned the complete unit upside down, and removed
the original tray.
Air Conditioner Upside Down, Old Tray
Removed
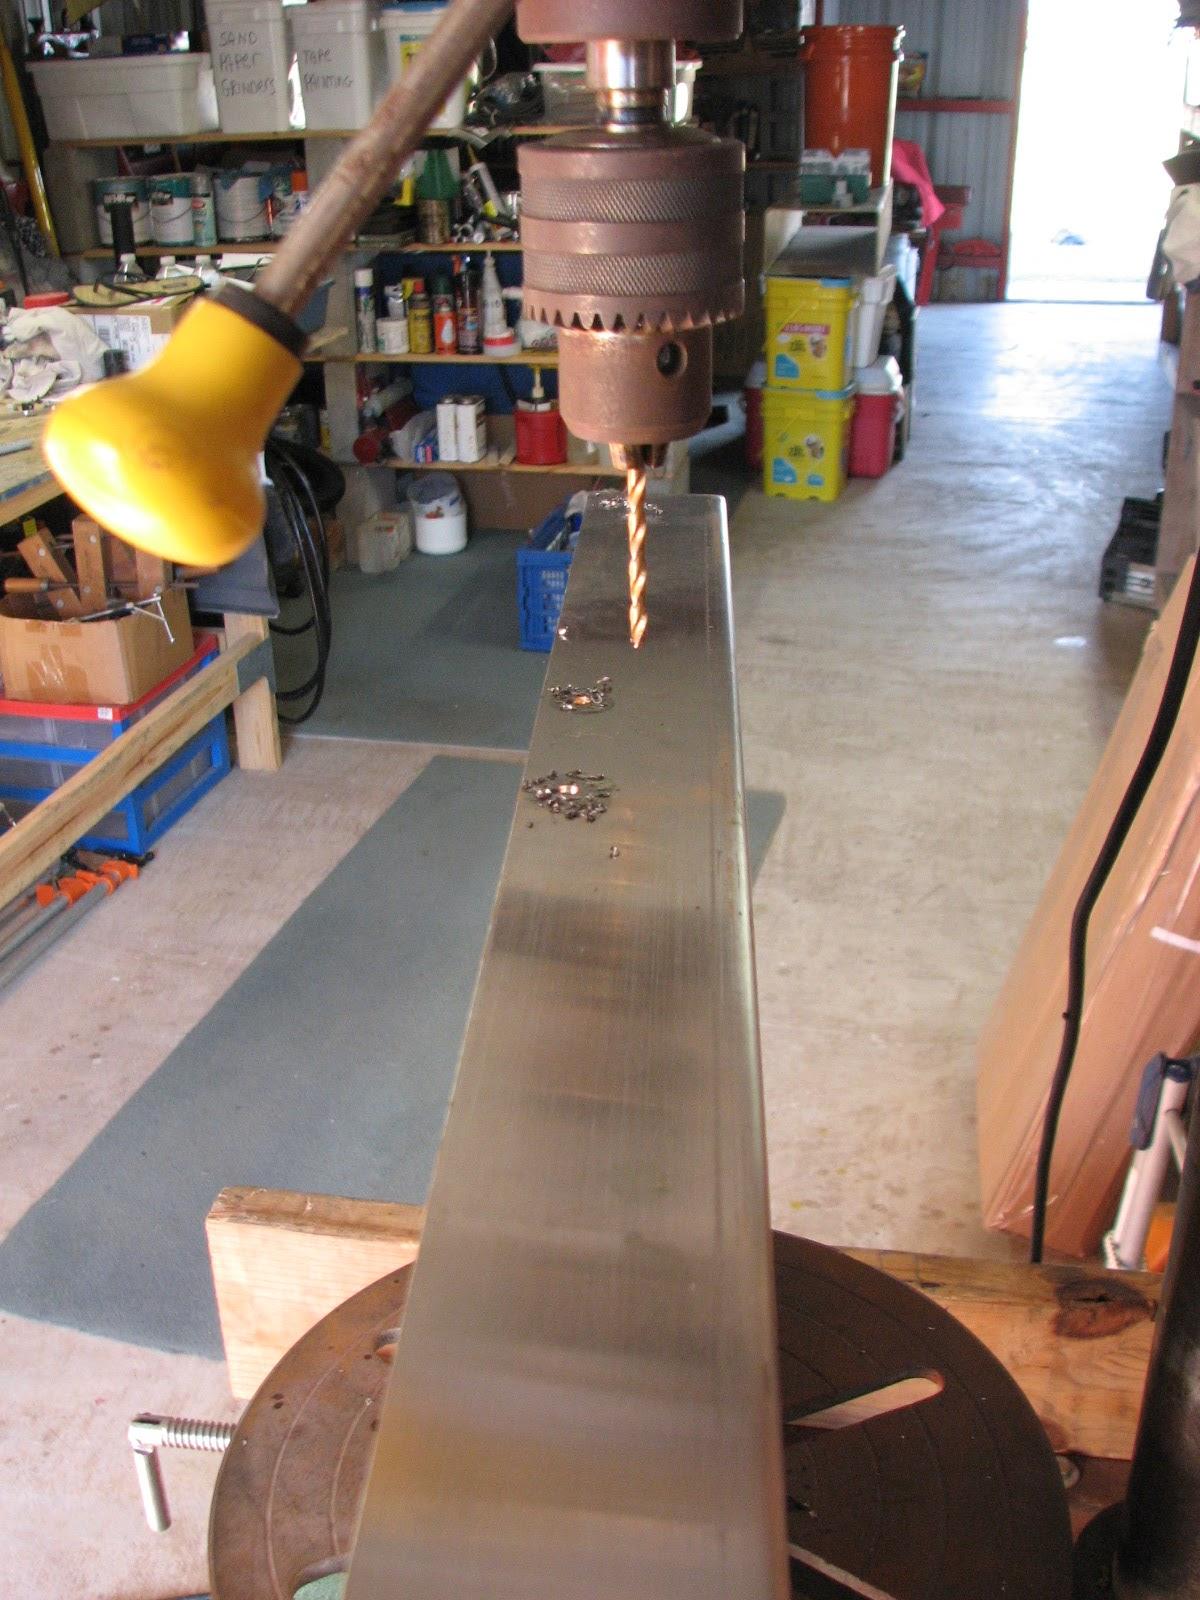
Once I had the original tray in hand, I
measured where several support screw holes were in the tray. These
holes had to be replicated in the new tray. I did the set up, and
then drilled the holes for the screws.
Drilling Holes In New Tray
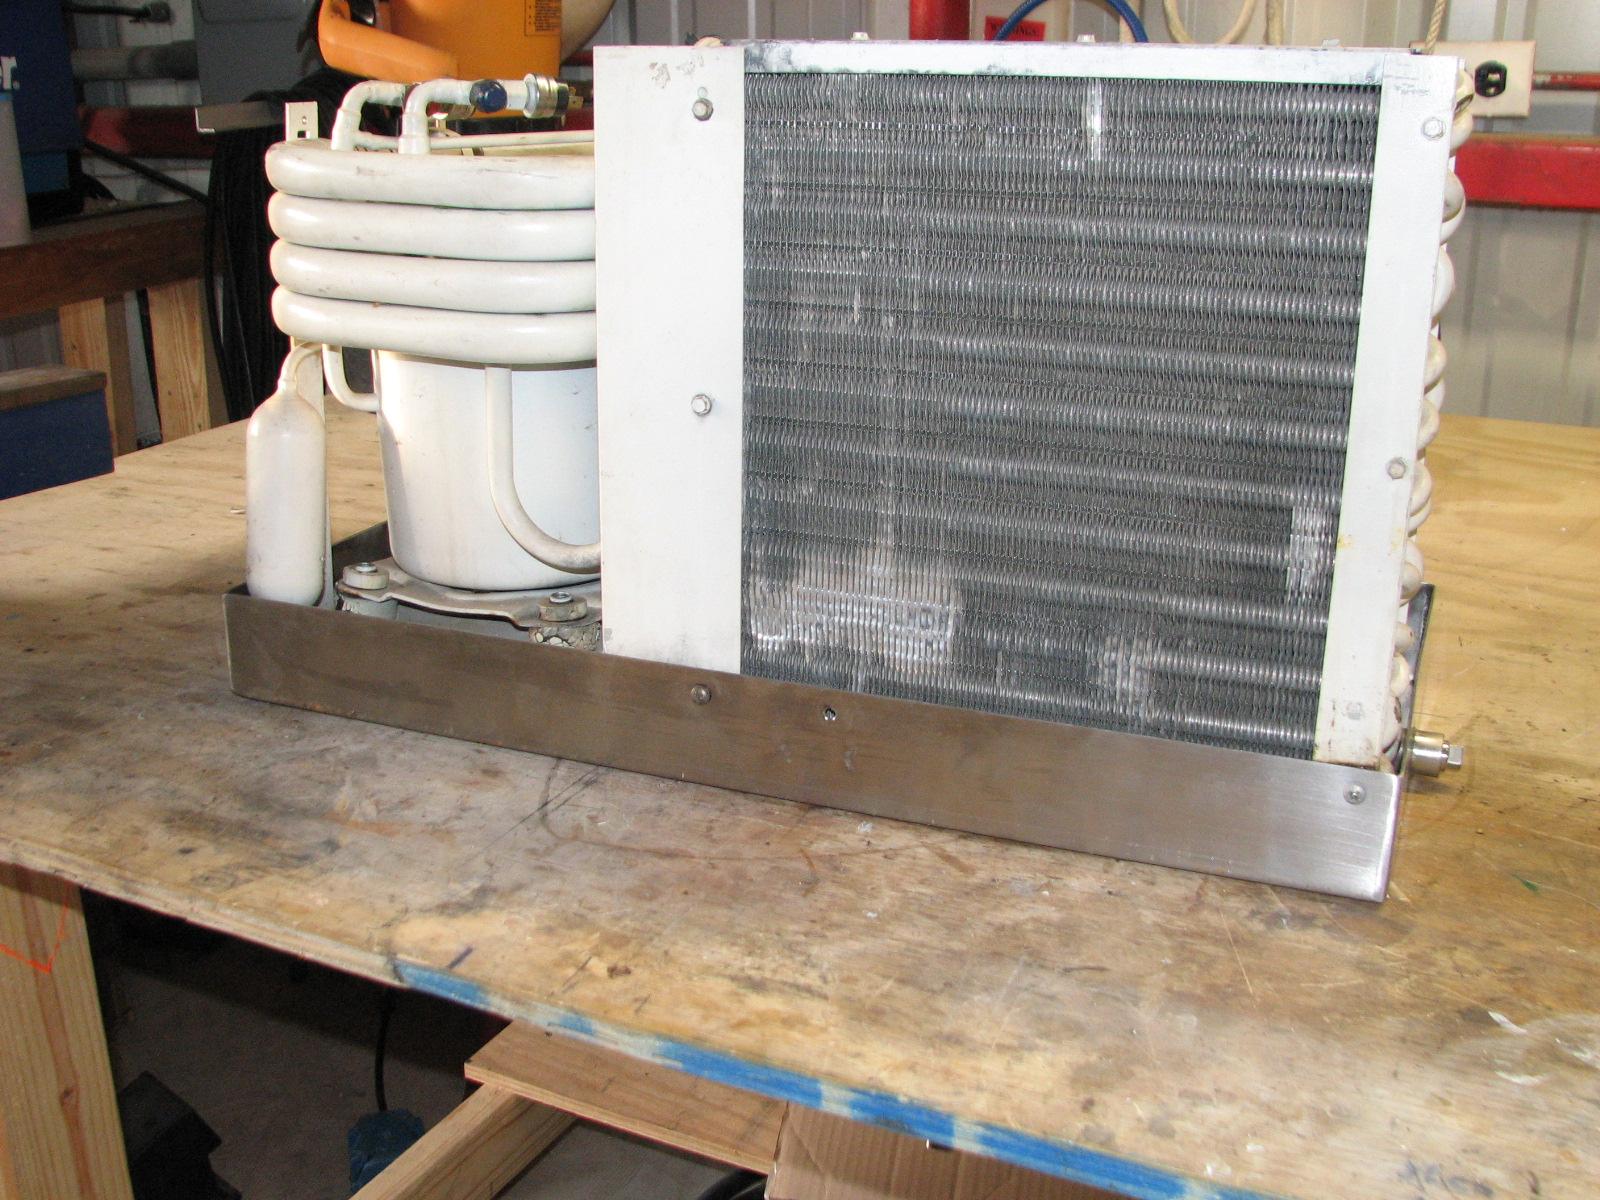
WIth the holes drilled, all I had to do
was put the new tray on top of the air conditioner, make sure all of
the holes and supports were lined up, and turn the air conditioner
over. Once the unit was turned over, I tightened up all of the screws
and bolts, and the air conditioner is ready to go. I did not check it
out today, but will do a test run on the air conditioner tomorrow.
New Tray On Spare Air Conditioner
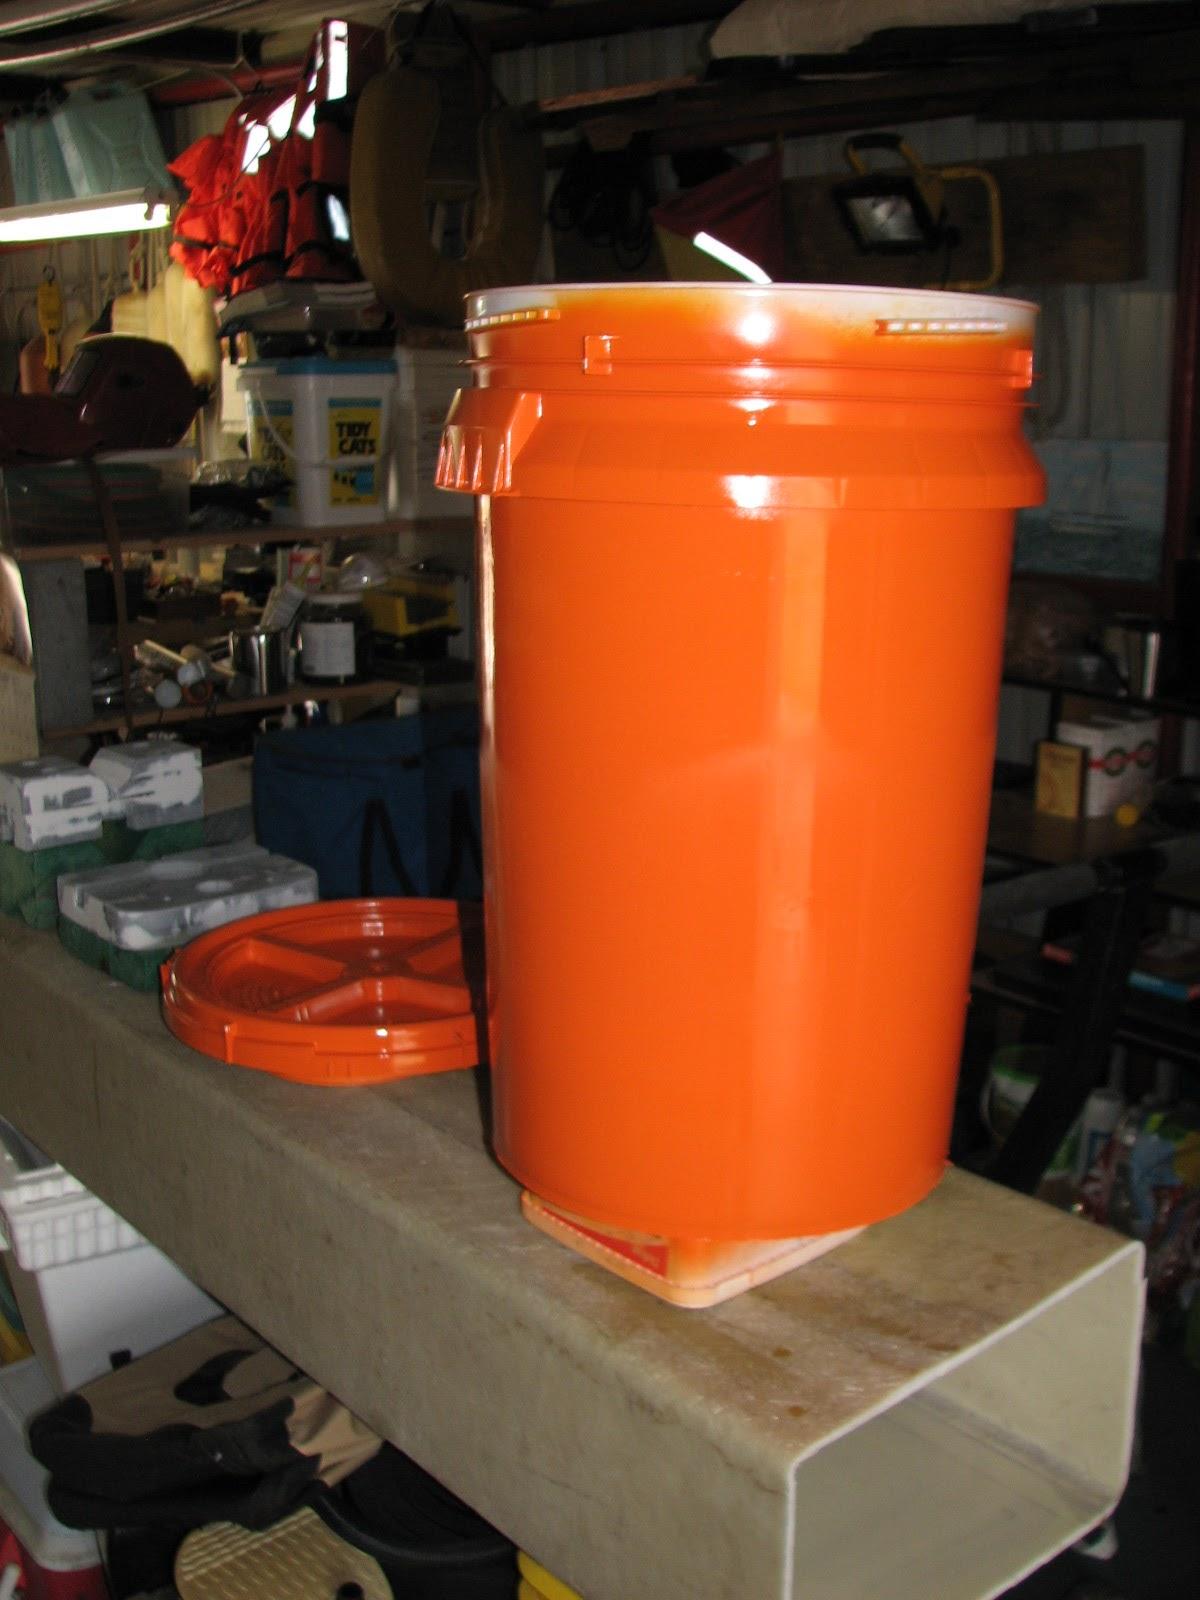
I finished off painting the second
trash bucket that I store on the stern of DREAM AWAY.
Finished Trash Bucket For DREAM AWAY
As I mentioned yesterday my table saw
had died, so today I looked into the problem. I was hoping it would
be something simple. I turned the saw upside down and checked that I
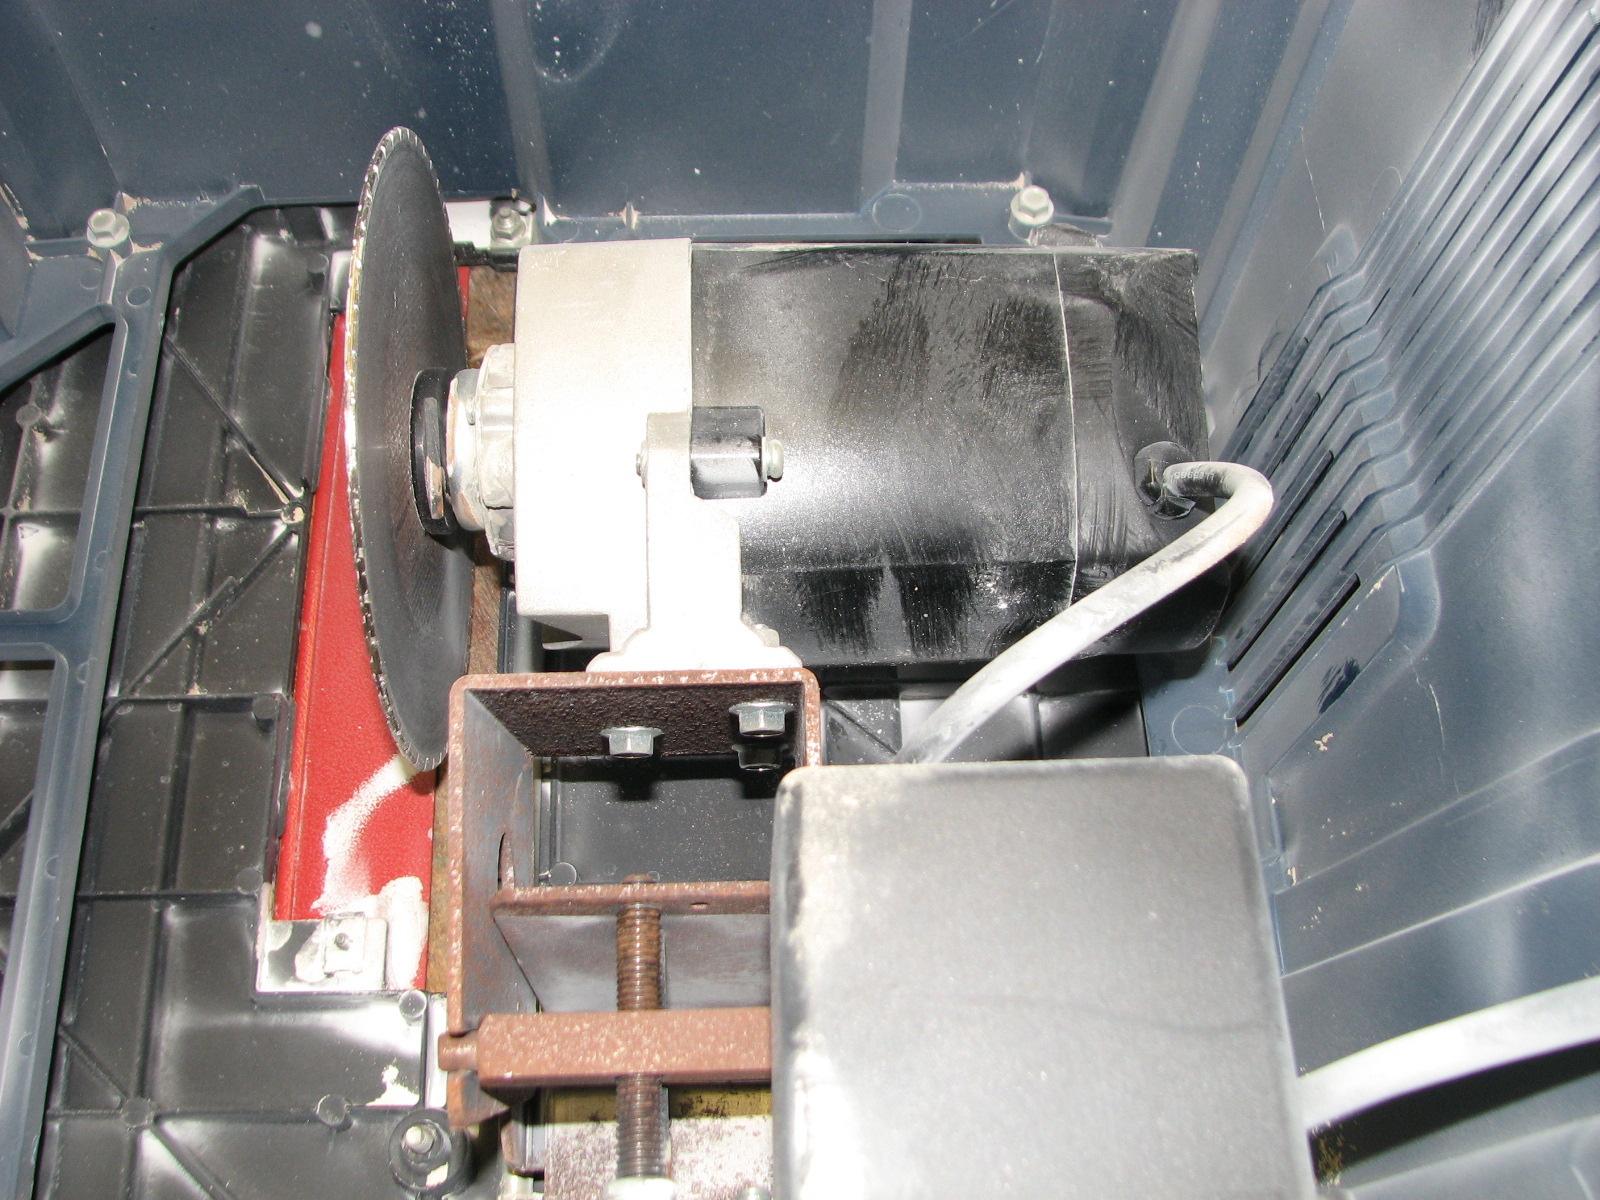
had power going to the motor through the switch. When that checked
out, I removed the motor.
Table Saw Ready For Motor Removal
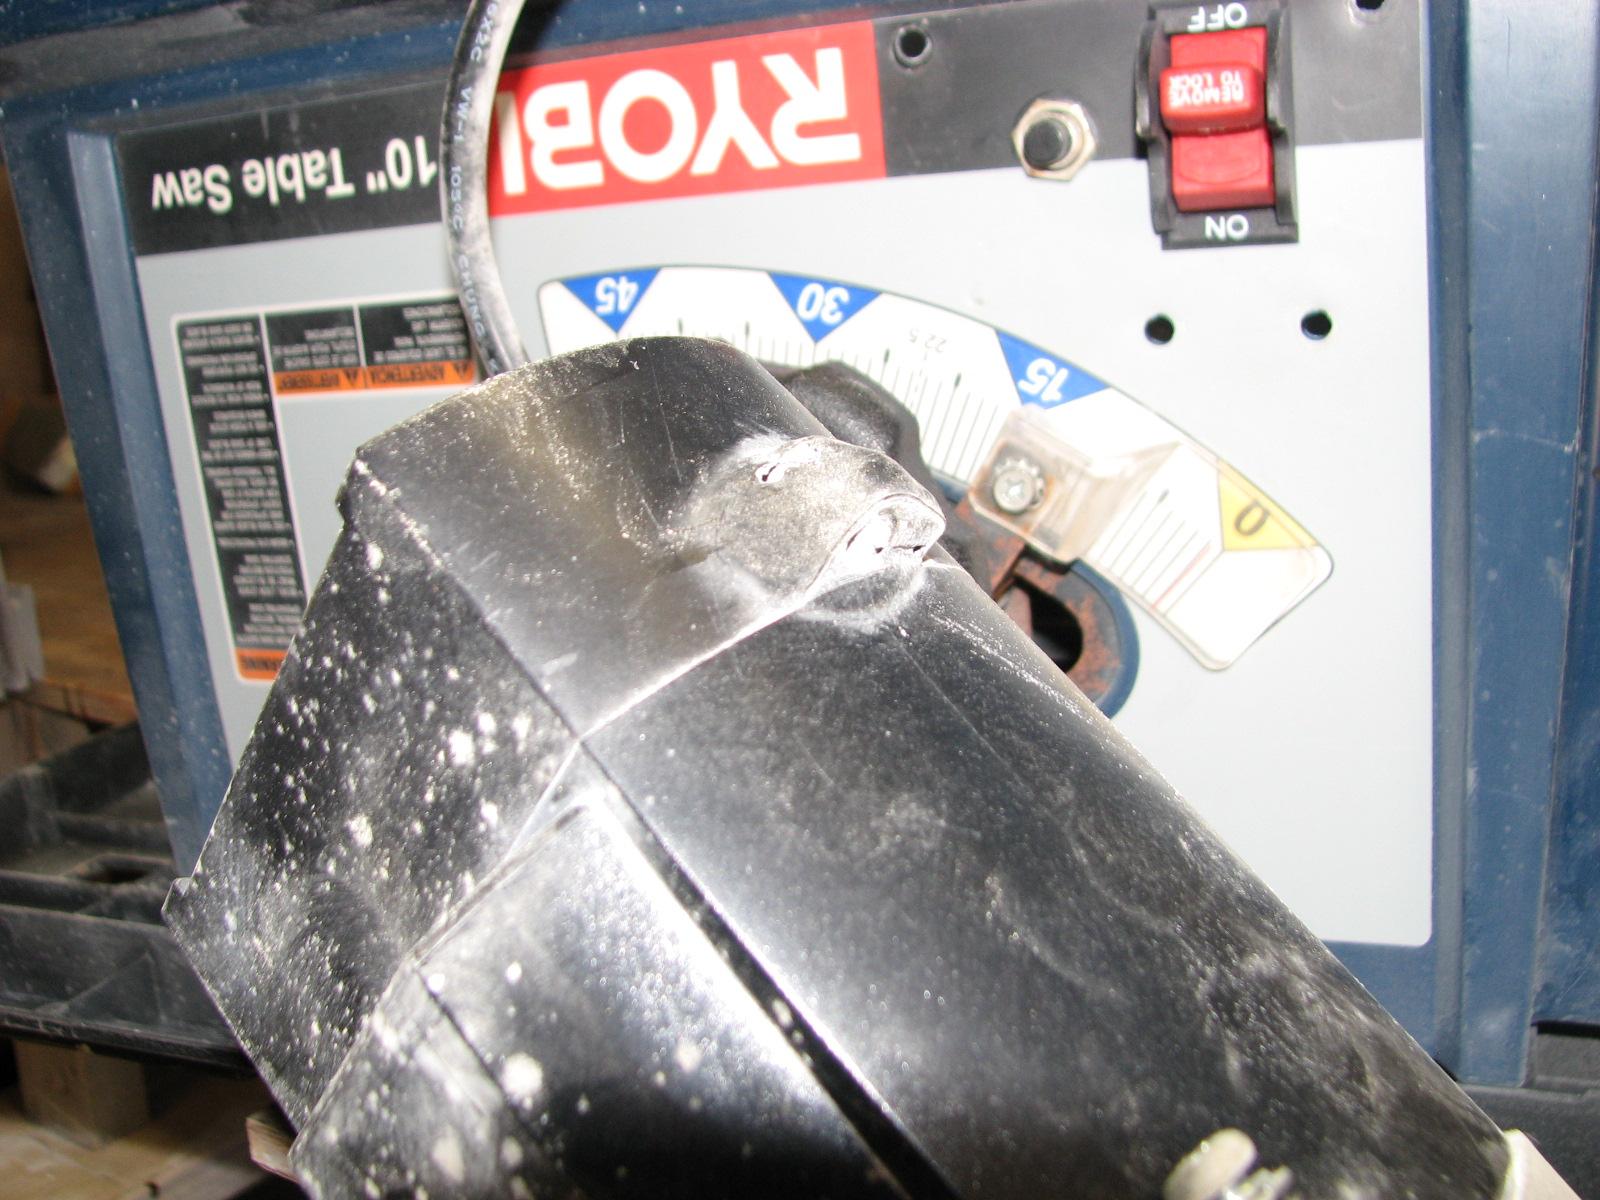
When I removed the motor, I saw what
the problem was. The brush housings had melted the plastic case that
held them, and the brushes no longer made contact with the armature.
Melted Brush Housing In Plastic Case
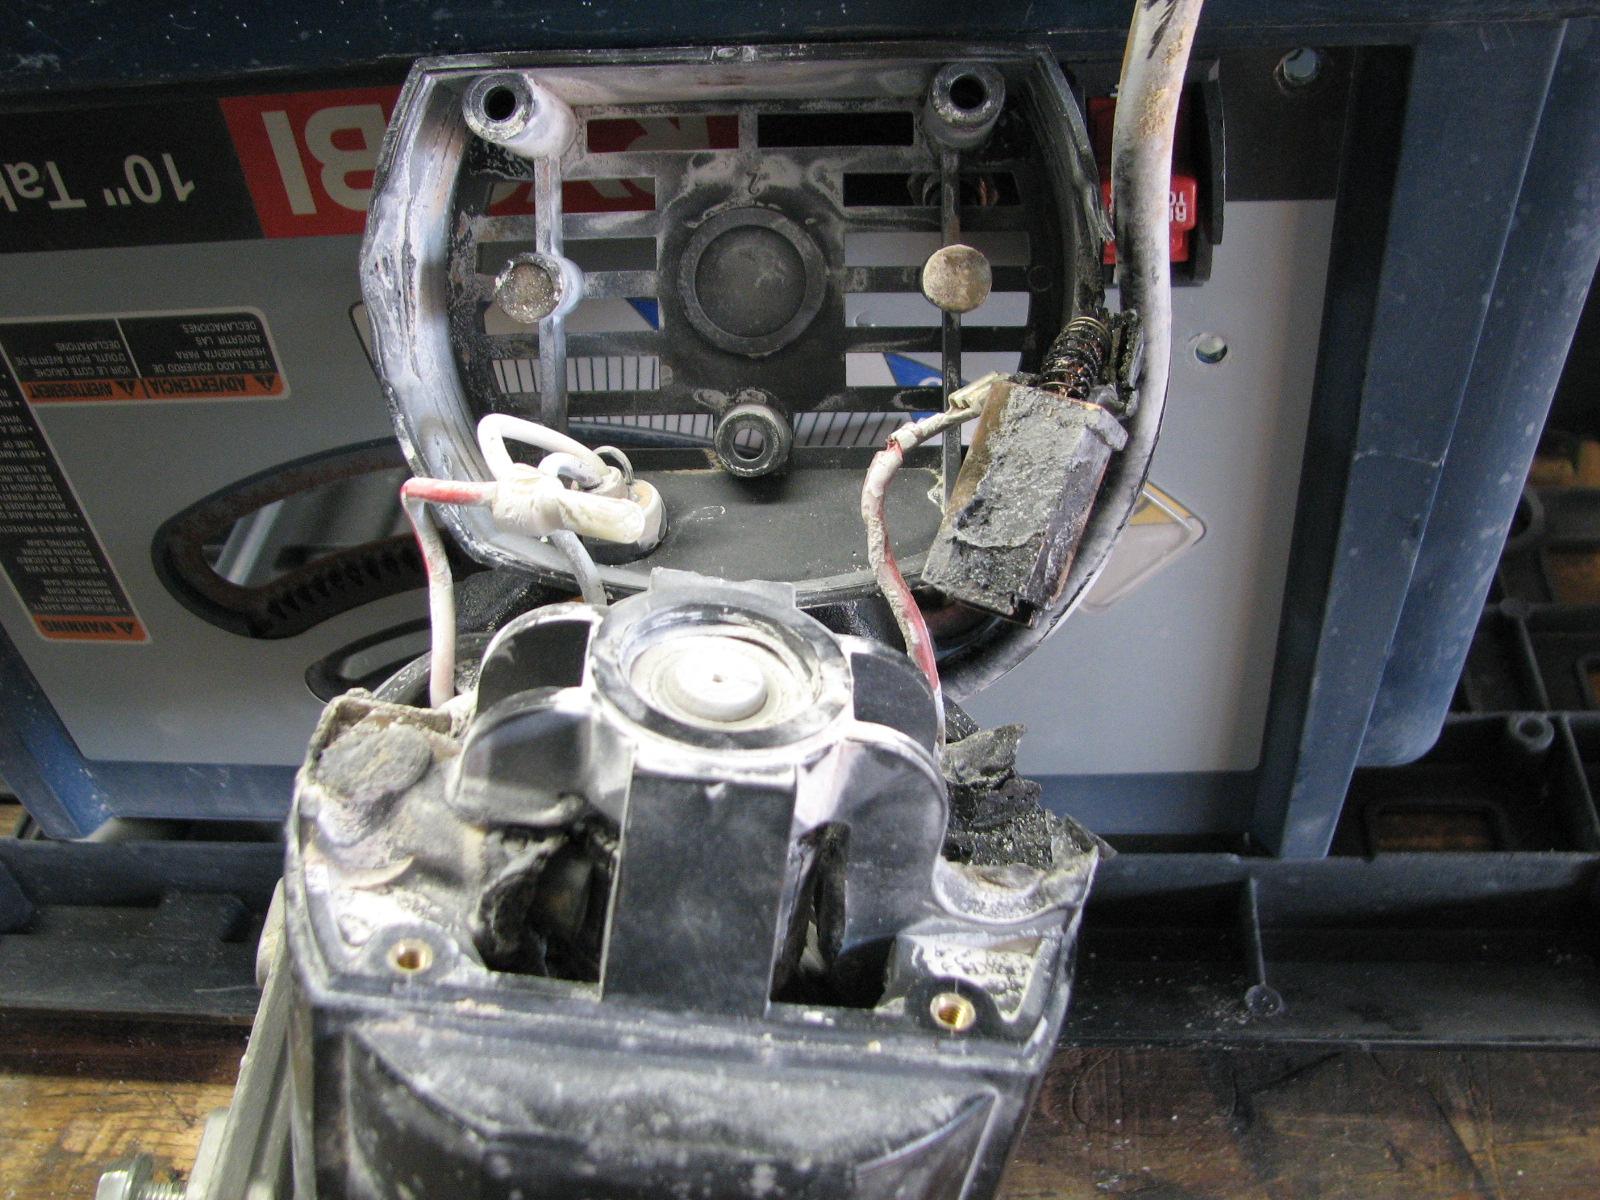
Just to make sure of the problem, I
took the back cover off of the motor, and sure enough, both brush
housing had melted.
Brush Housing In Back Of Motor
That ended the projects for the day,
but when I got back to DREAM AWAY, I did some research on the Ryobi
10” table saw. I found a new motor at $168.00, and a
new table saw, the same model for $123.00 with a three year warranty!
I guess I will be purchasing a new
table saw!
December 01, Sunday, 2013
Started off the morning with my normal
ritual of getting on the Internet, answering email, and checking the
weather, while making a pot of coffee. I also spent time with our two
cats, Jillian
and Jordan.
Went over to the
shop
and worked on the
Black Beast.
The emergency light stays on when the brake is
off. The problem is obviously the switch, but it is a bear to get to.
Spent about 20 minutes trying to get to the switch, but no luck. Will
try the Internet and see if I can find a “How To”.
Next project was to get back to work on
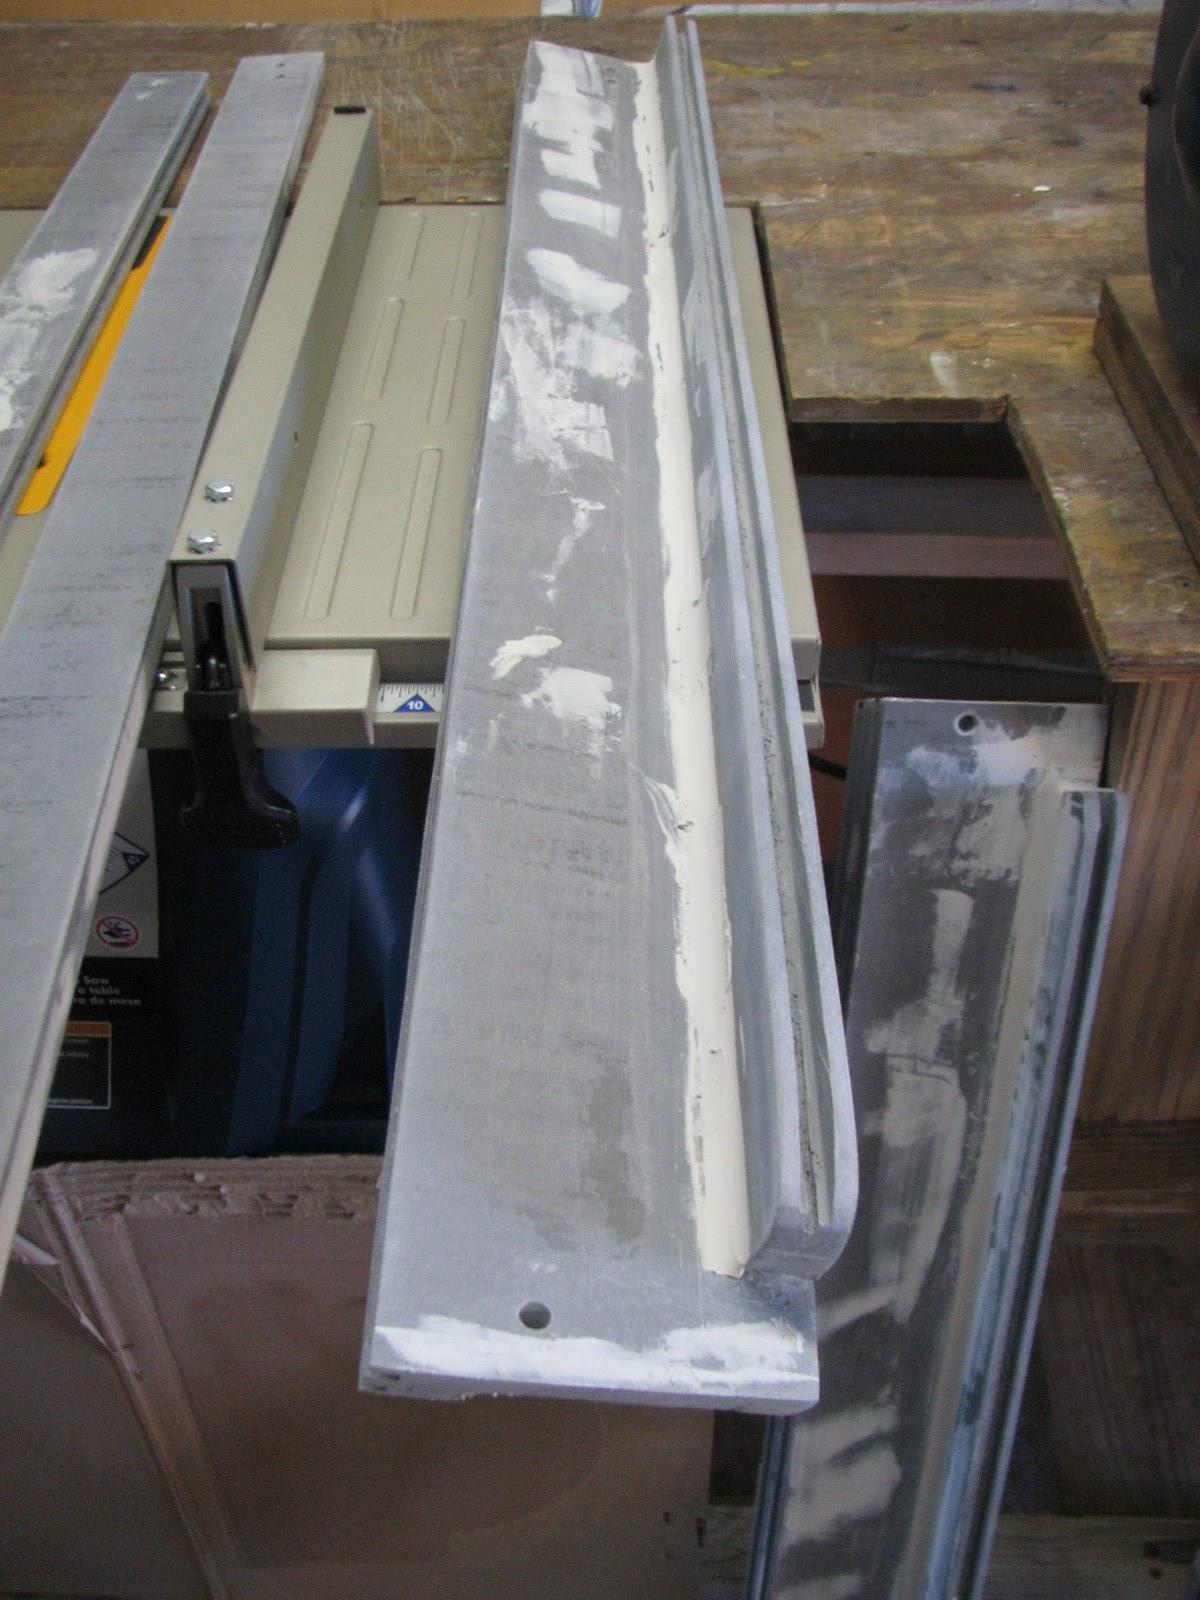
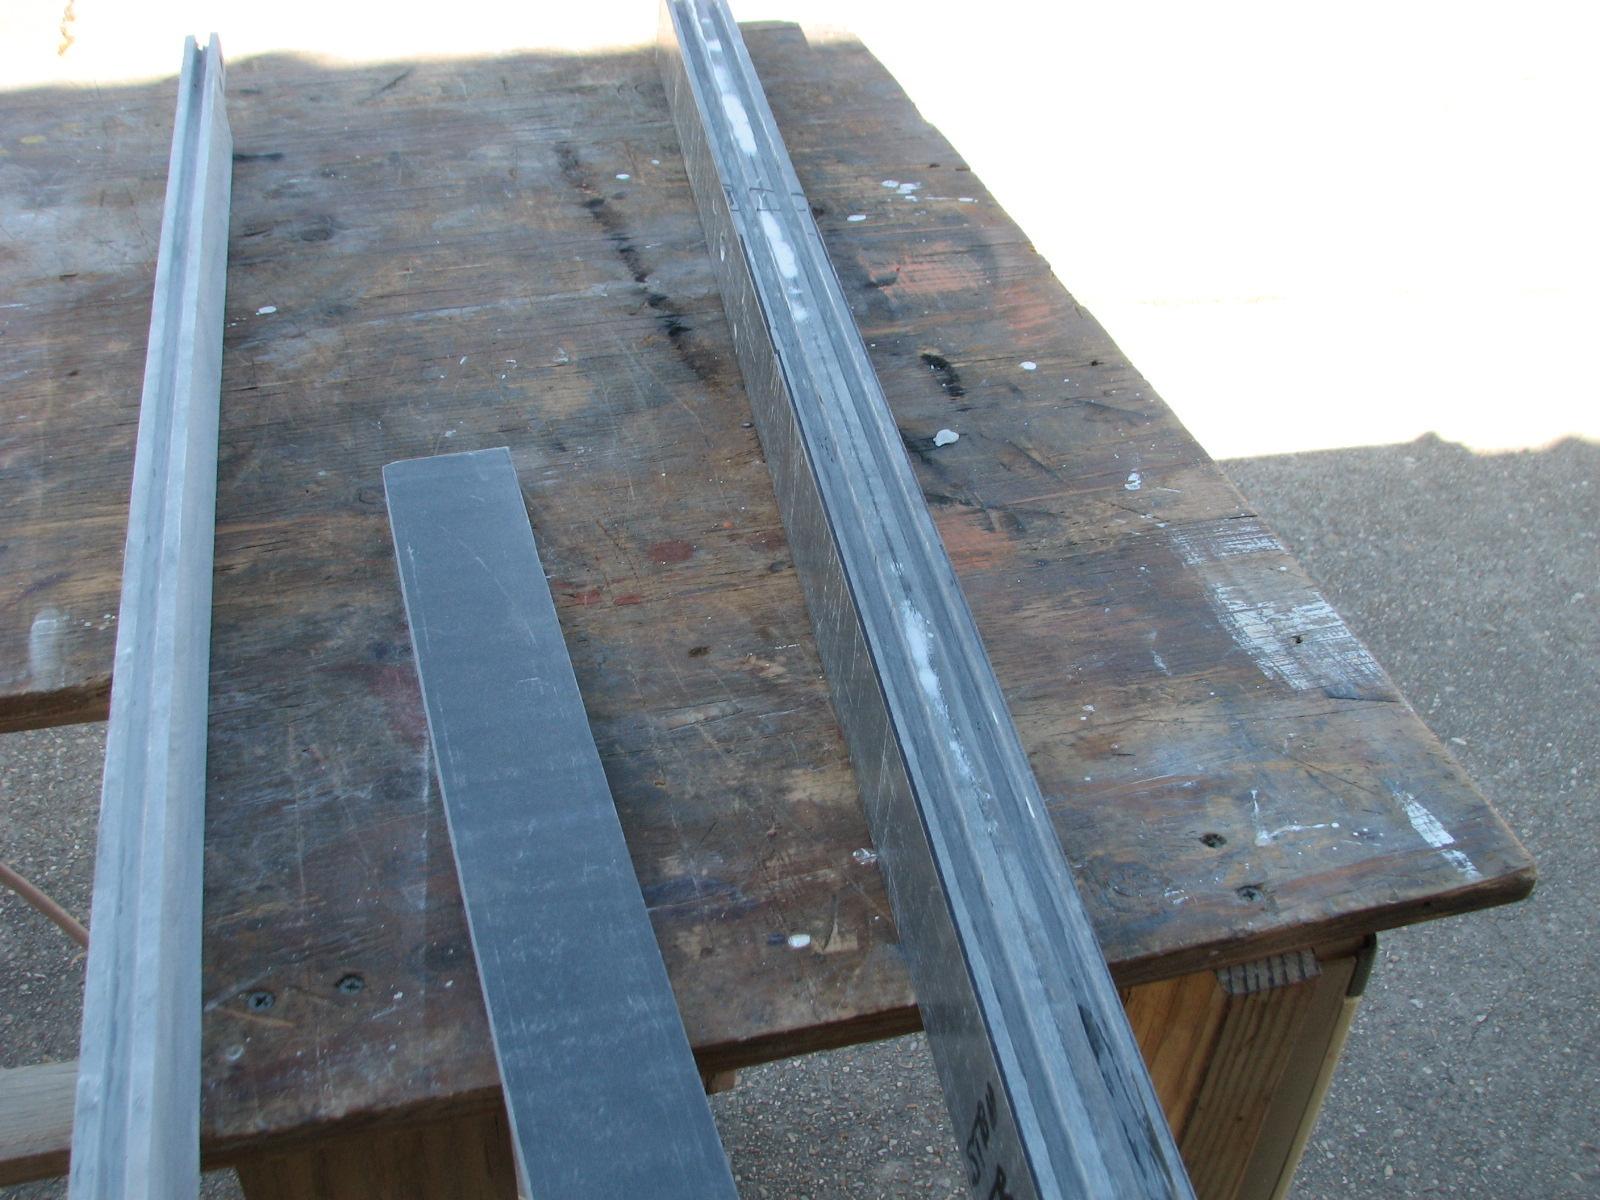
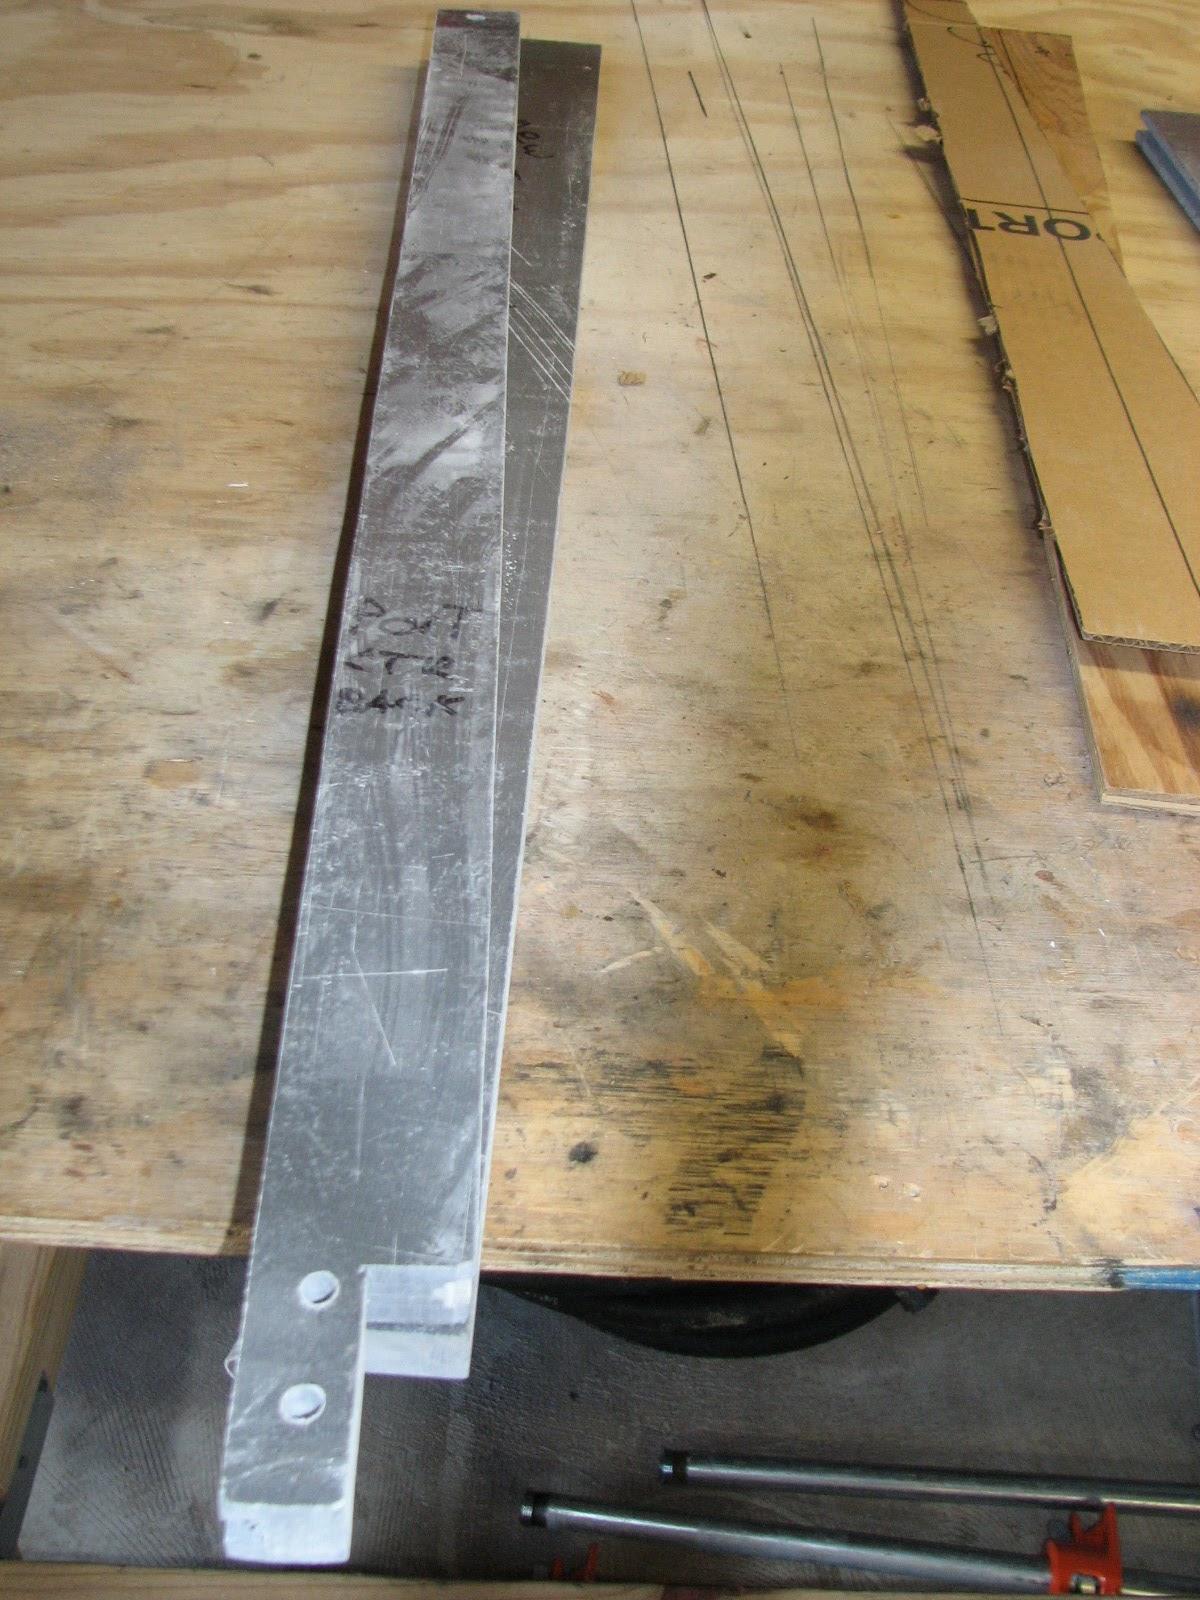
the hard dodger uprights. I had already cut the new pieces of
Strongwell
Extren plate needed for the uprights. I now had to cut
the channels in each piece of the plate.
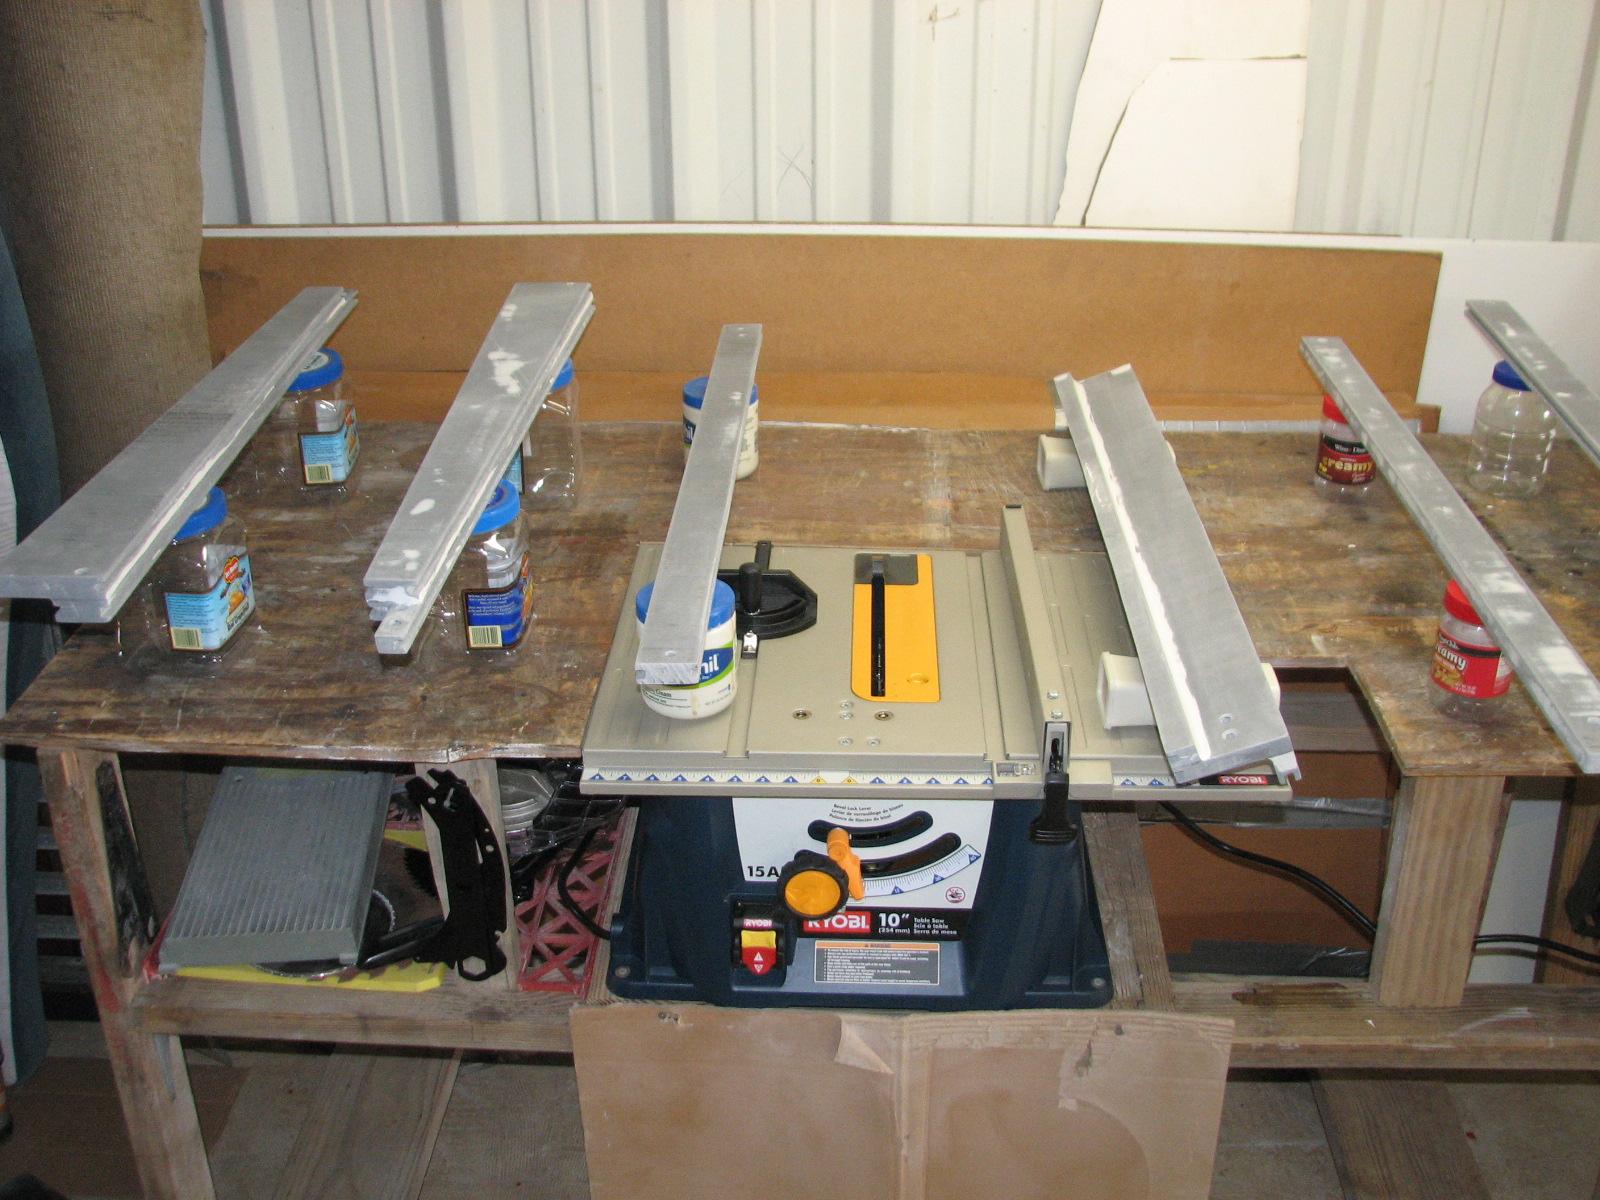
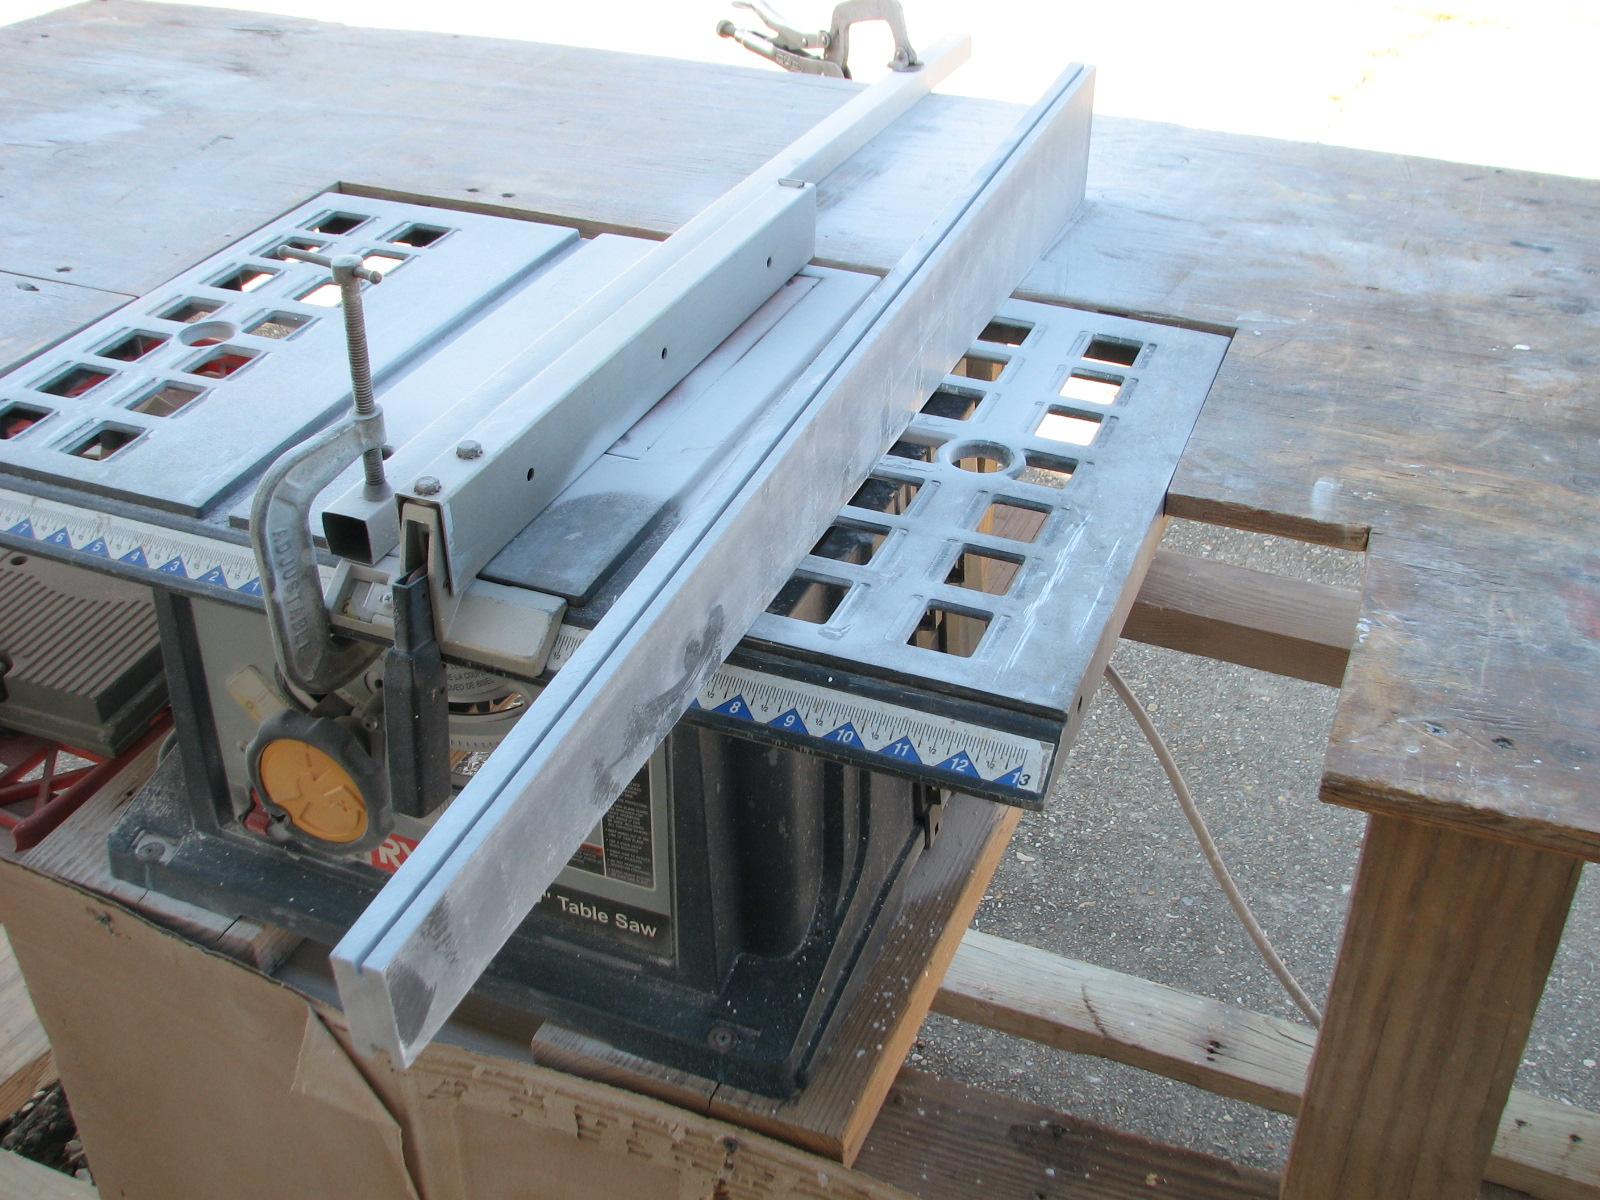
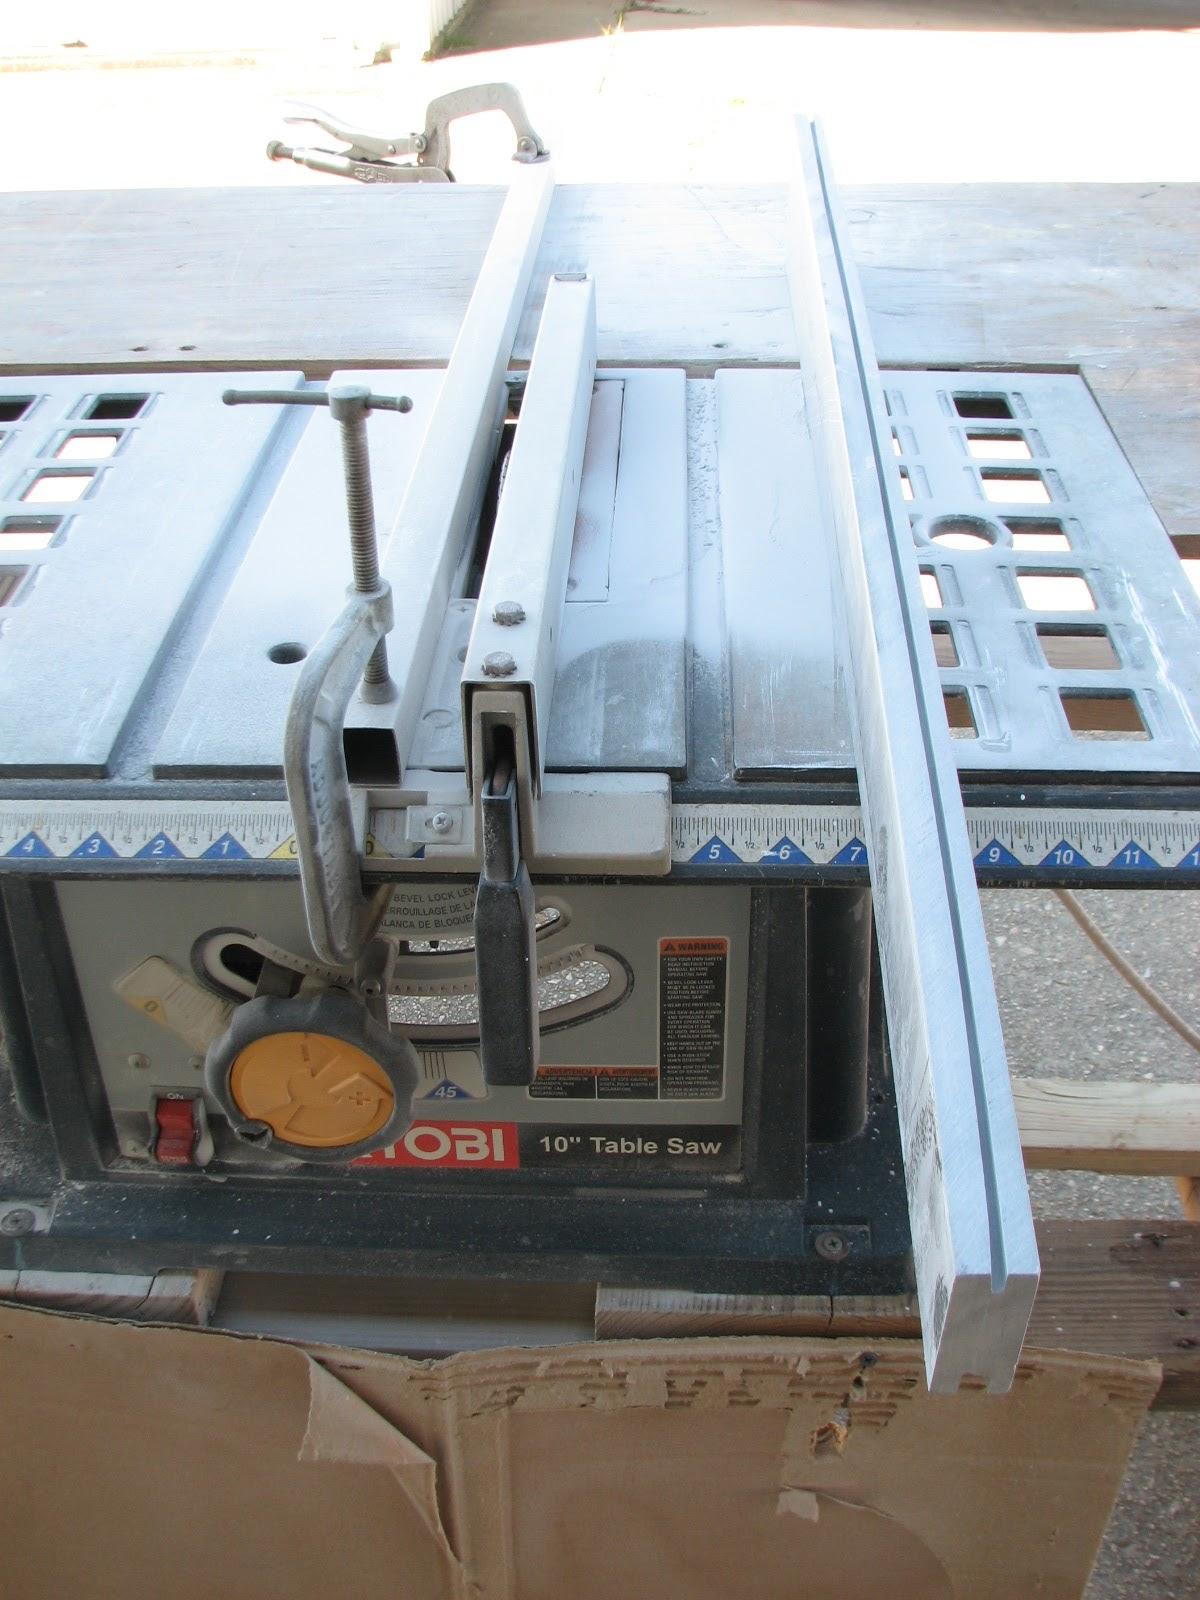
I rolled the table saw out of the shop,
and moved to the front door so the wind would blow the dust away from
inside the shop. I then set up the “fences” to get the channels
in the correct place on the ends of the plate.
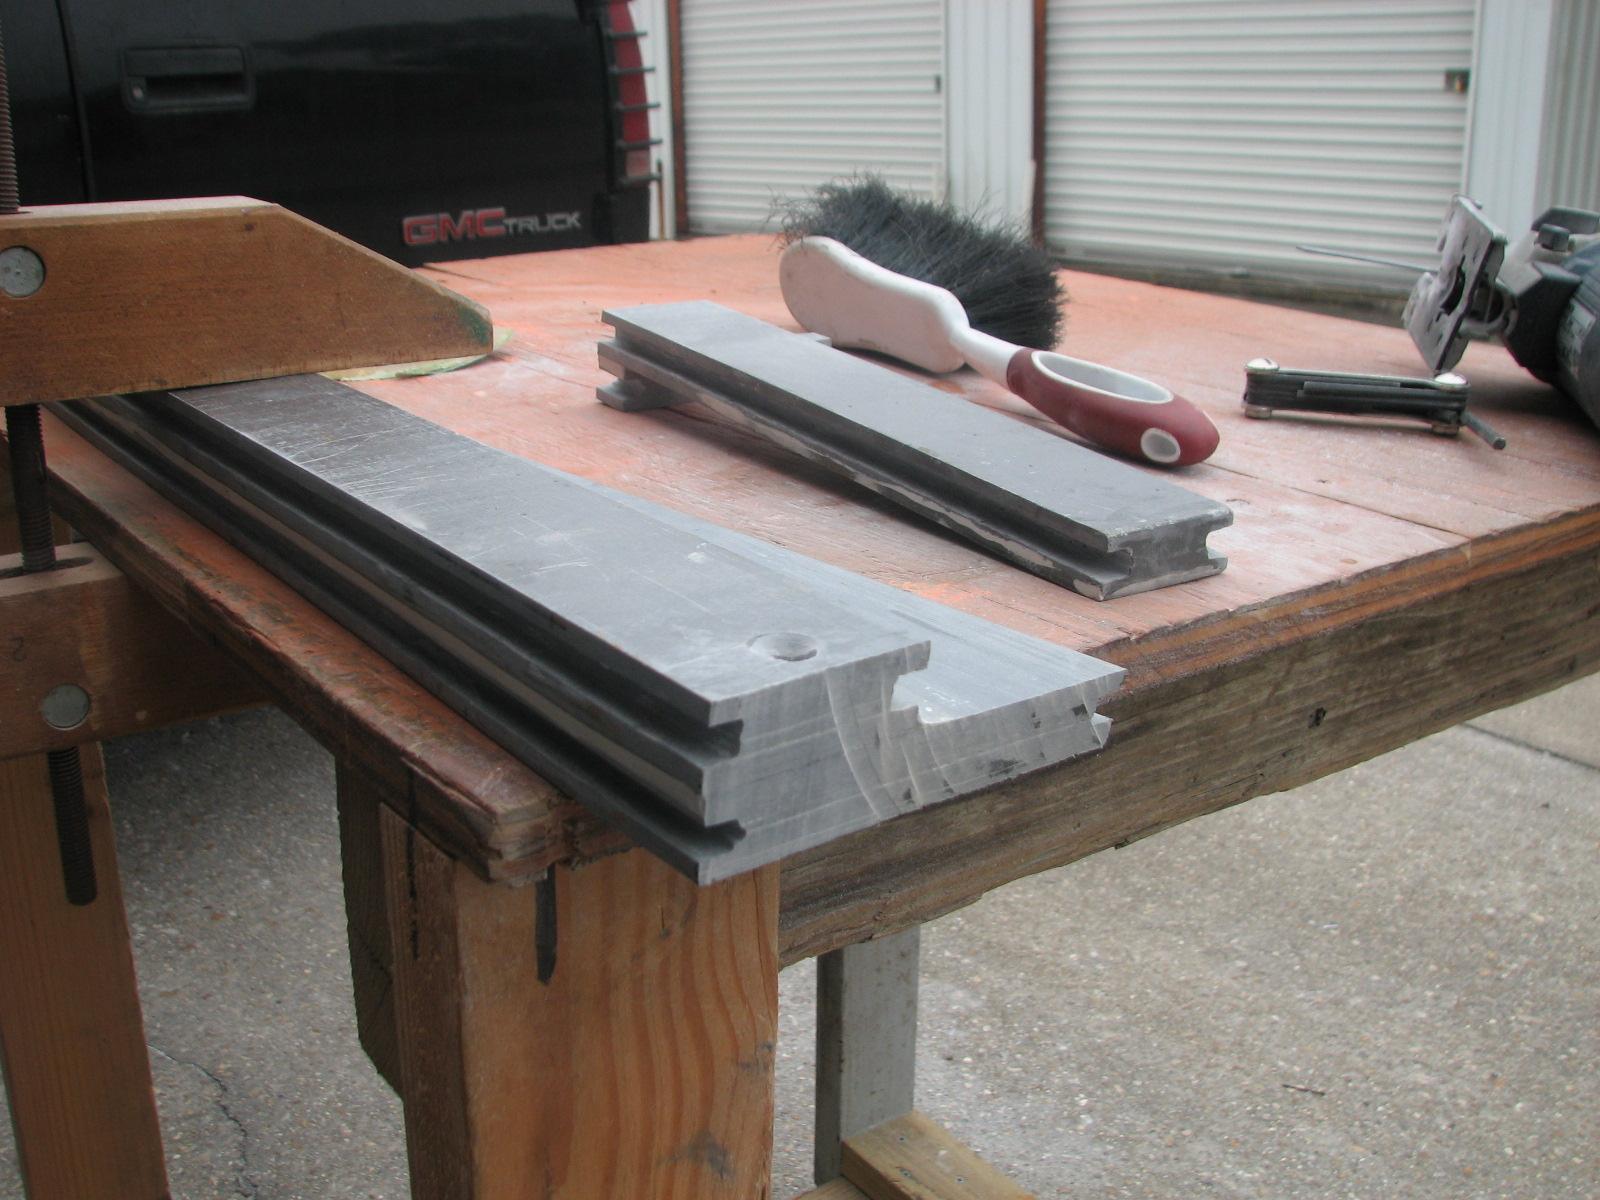
“Fences” Set On Table Saw, First
Channel Cut Made
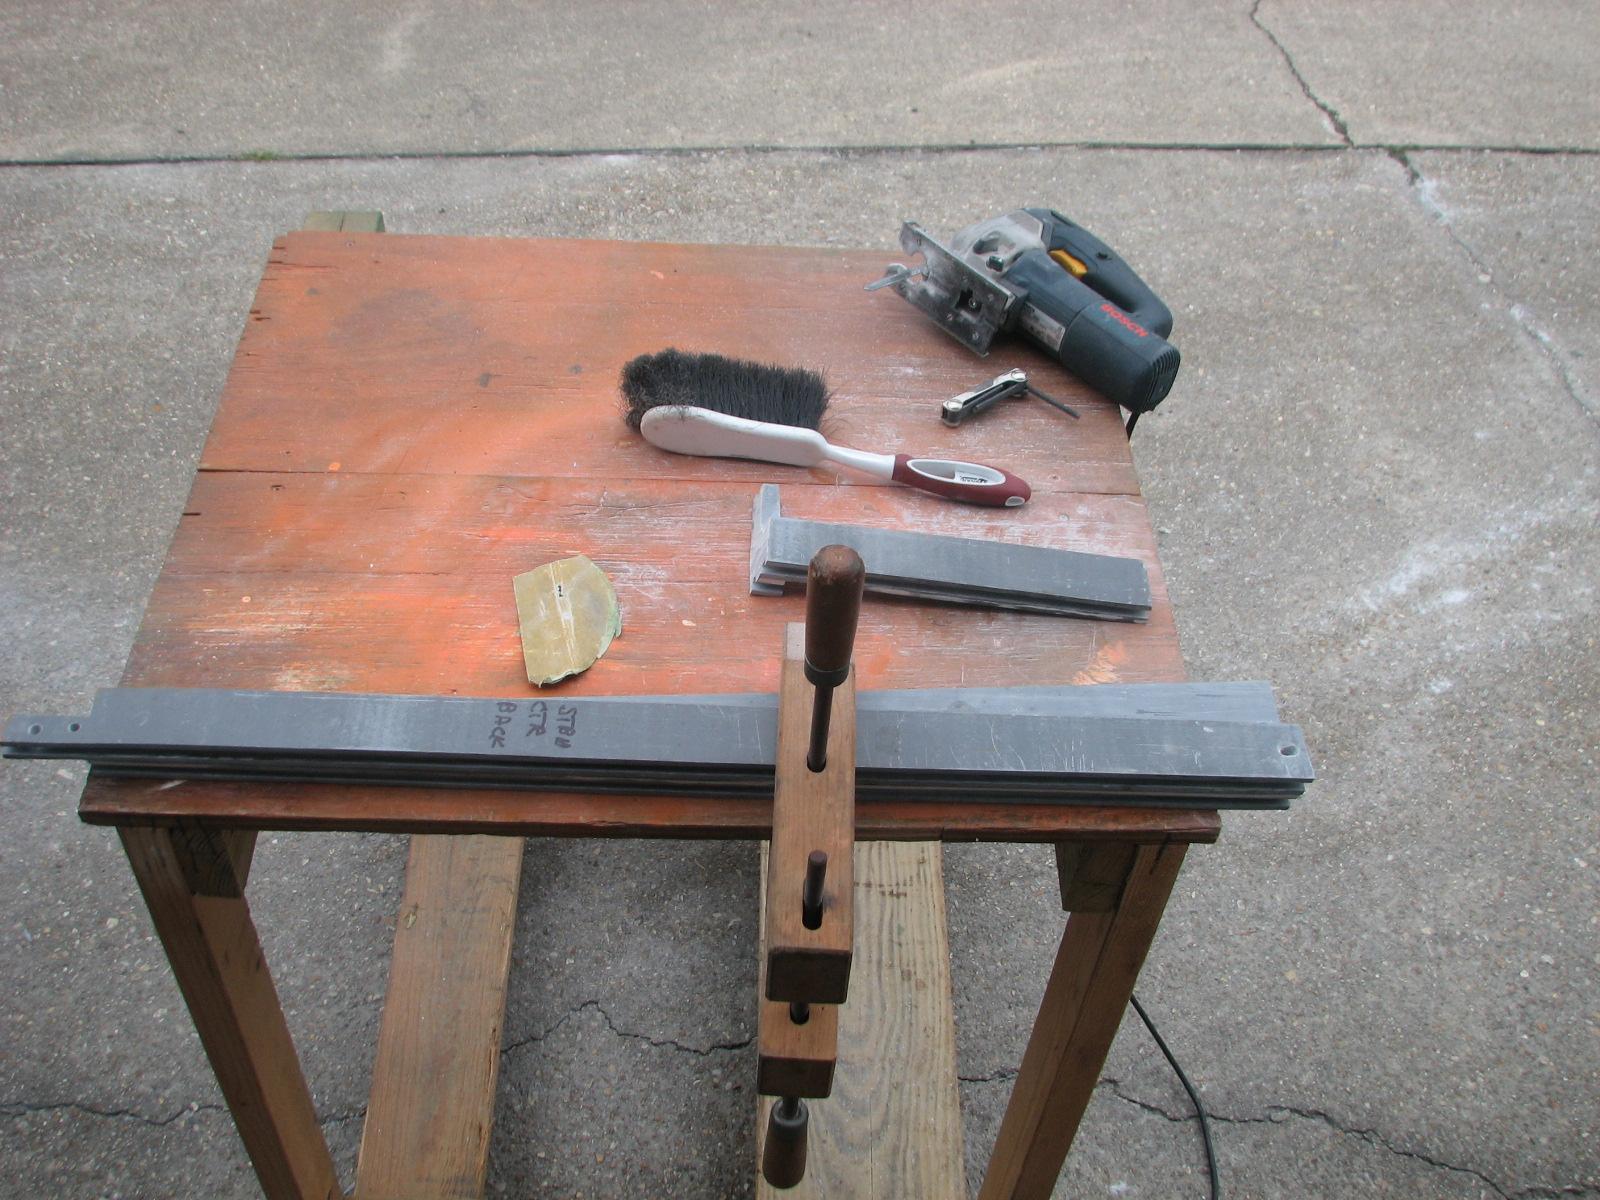
“Fences” Set On Table Saw, First
Plate Almost Finished
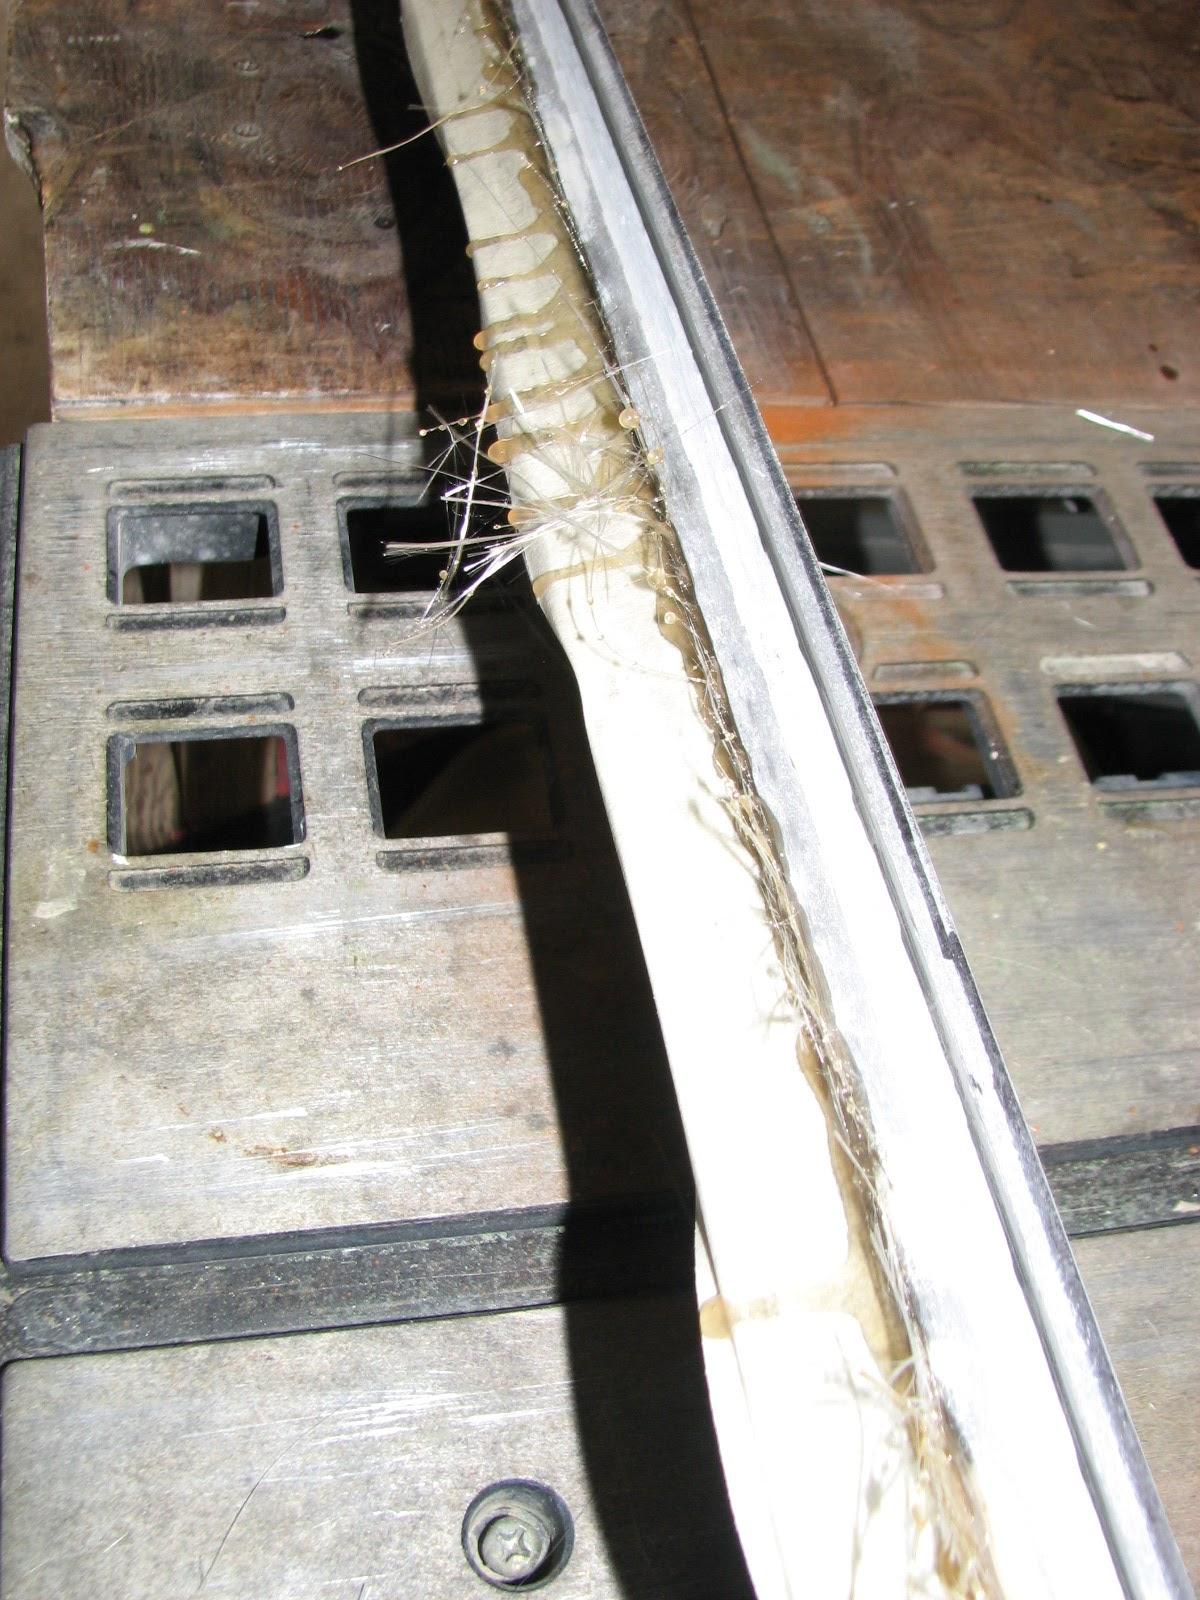
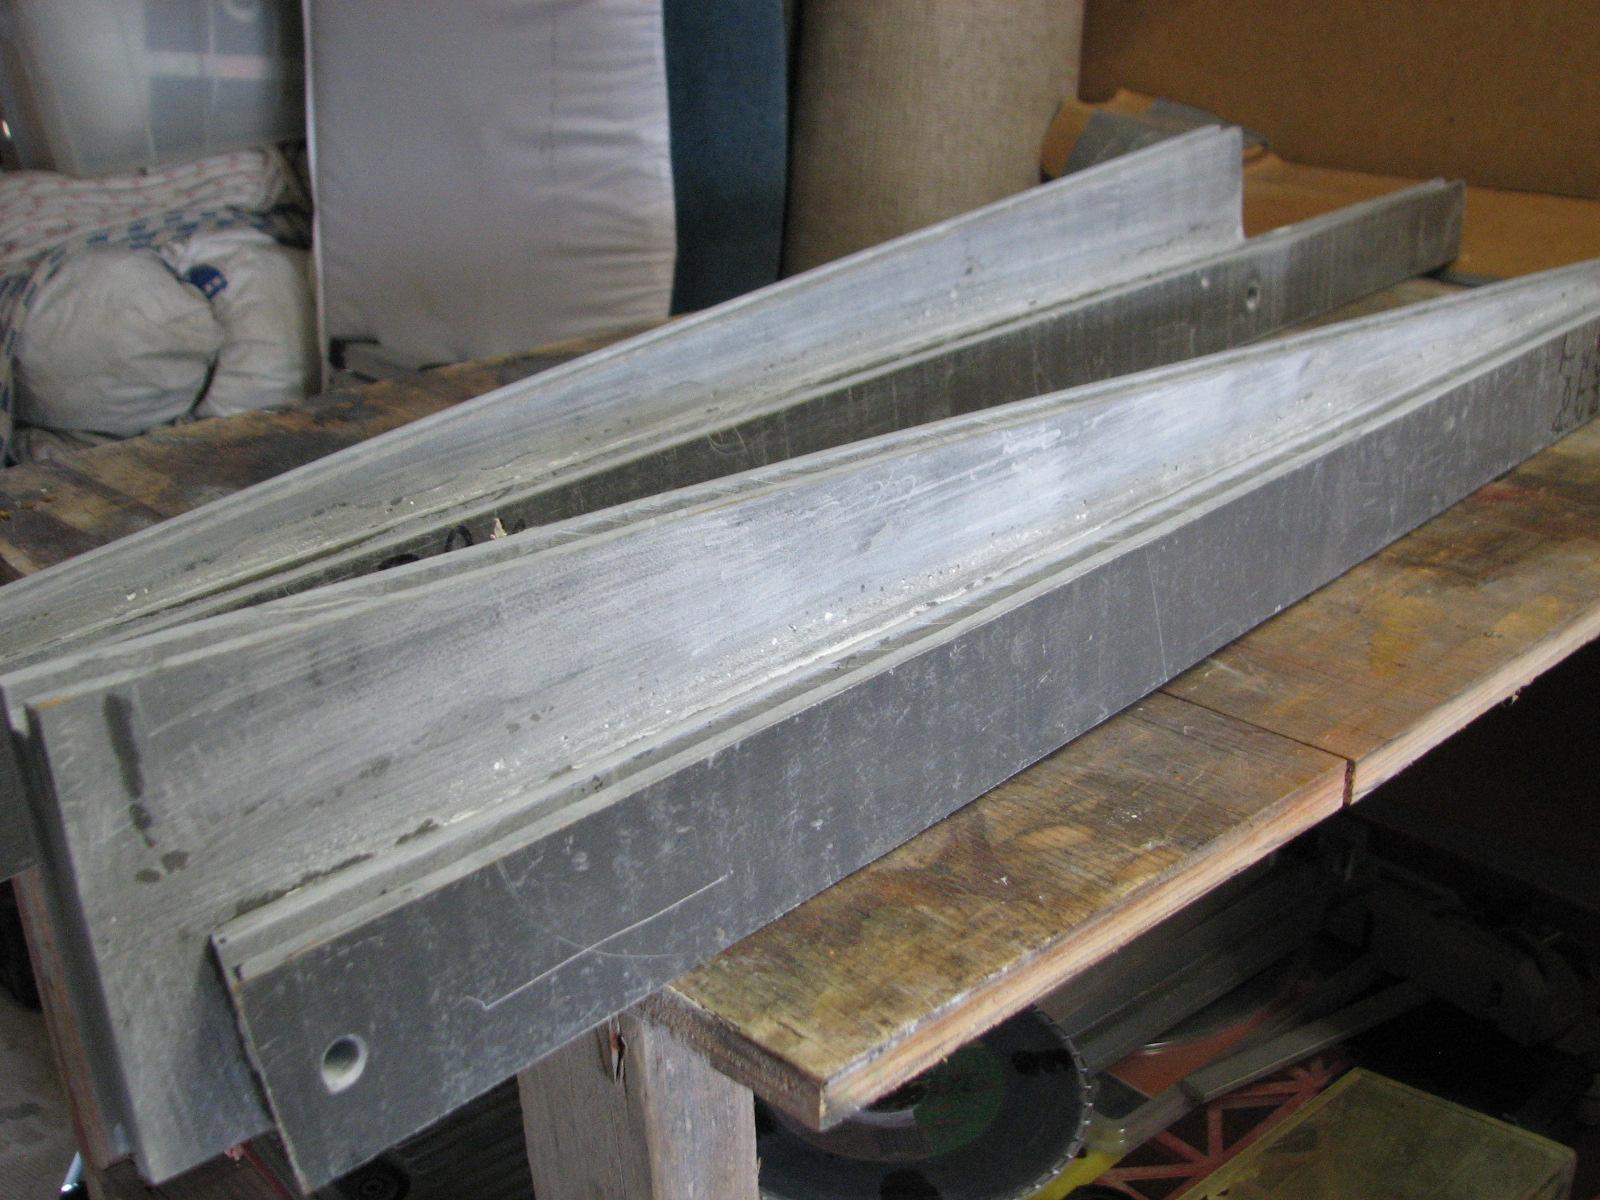
Now I had to cut off a piece of plate
that I had fiberglassed to the forward center uprights. One piece of
plate had to be cut off so I could glass the new cut pieces of plate
to the original uprights.
Left, Cut Upright, Right Upright To Be
Cut
Cut Upright With New Plate
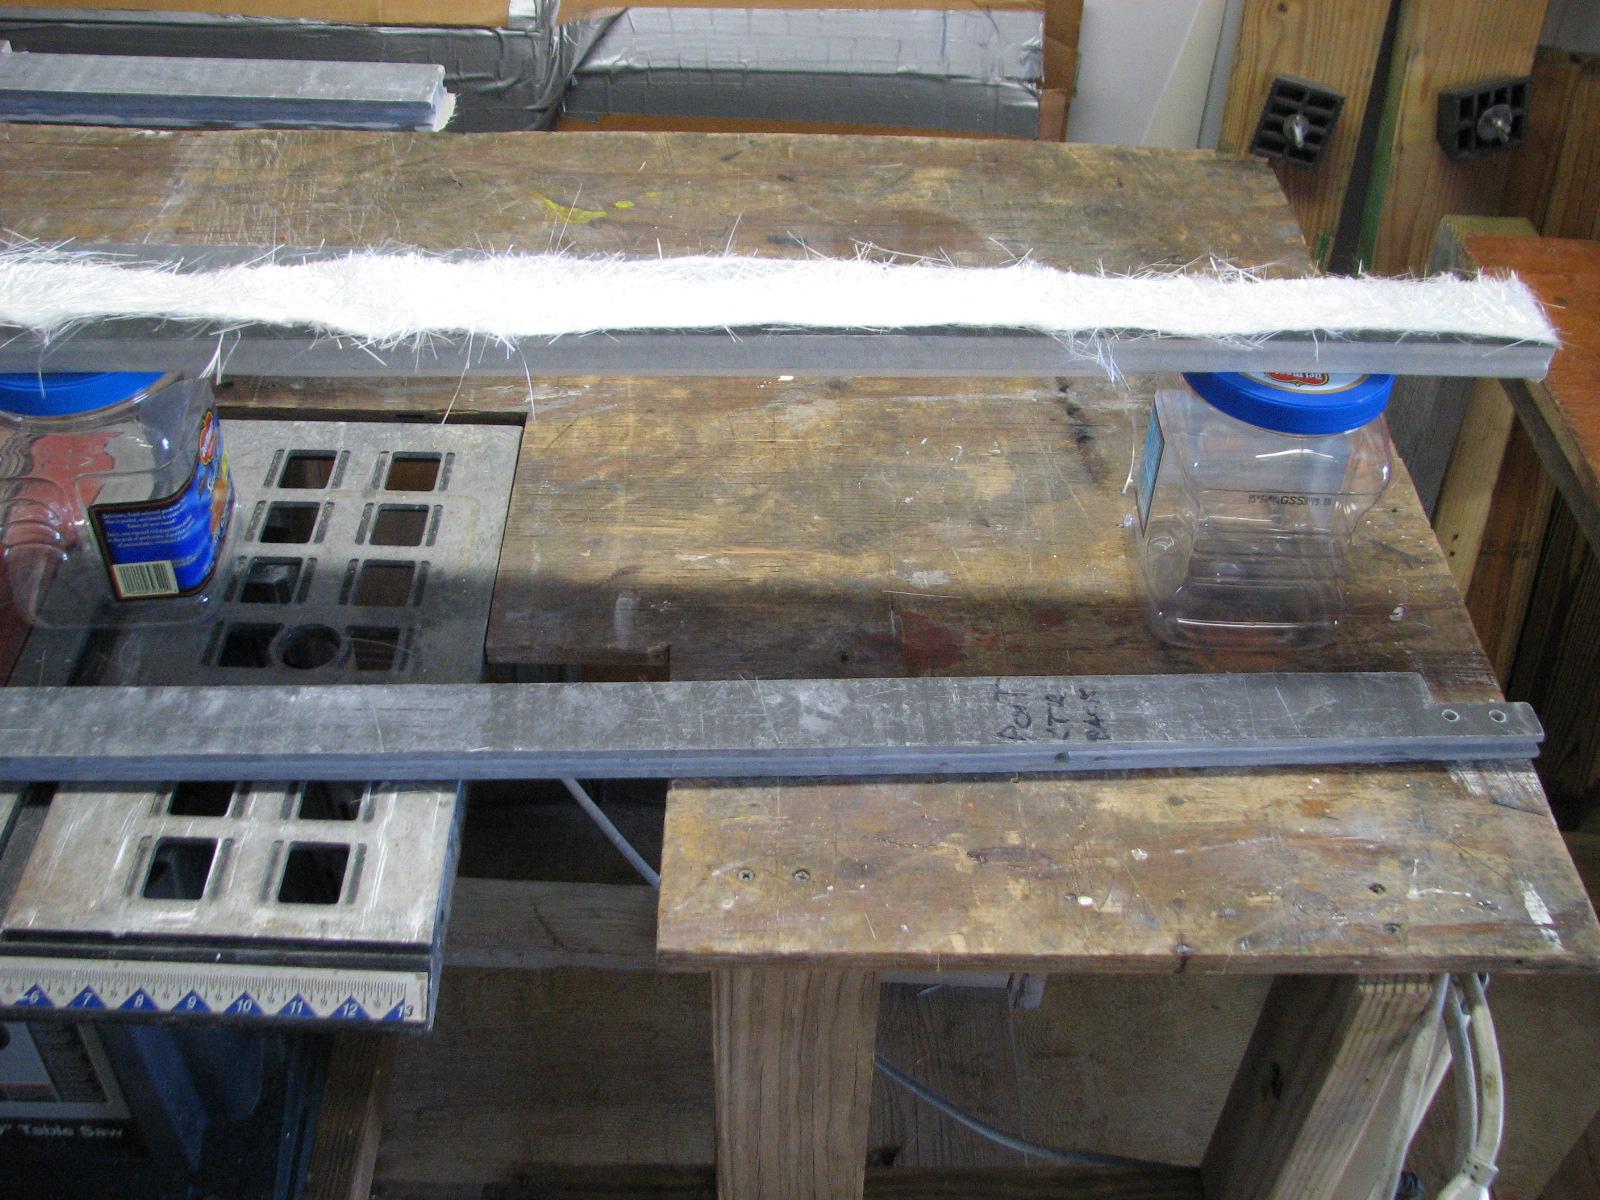
Now that the uprights and new plates
were cut, I cut some fiberglass
strips, so I could glass the two pieces of plate together. These
would be the new center port and starboard uprights. Once the
fiberglass
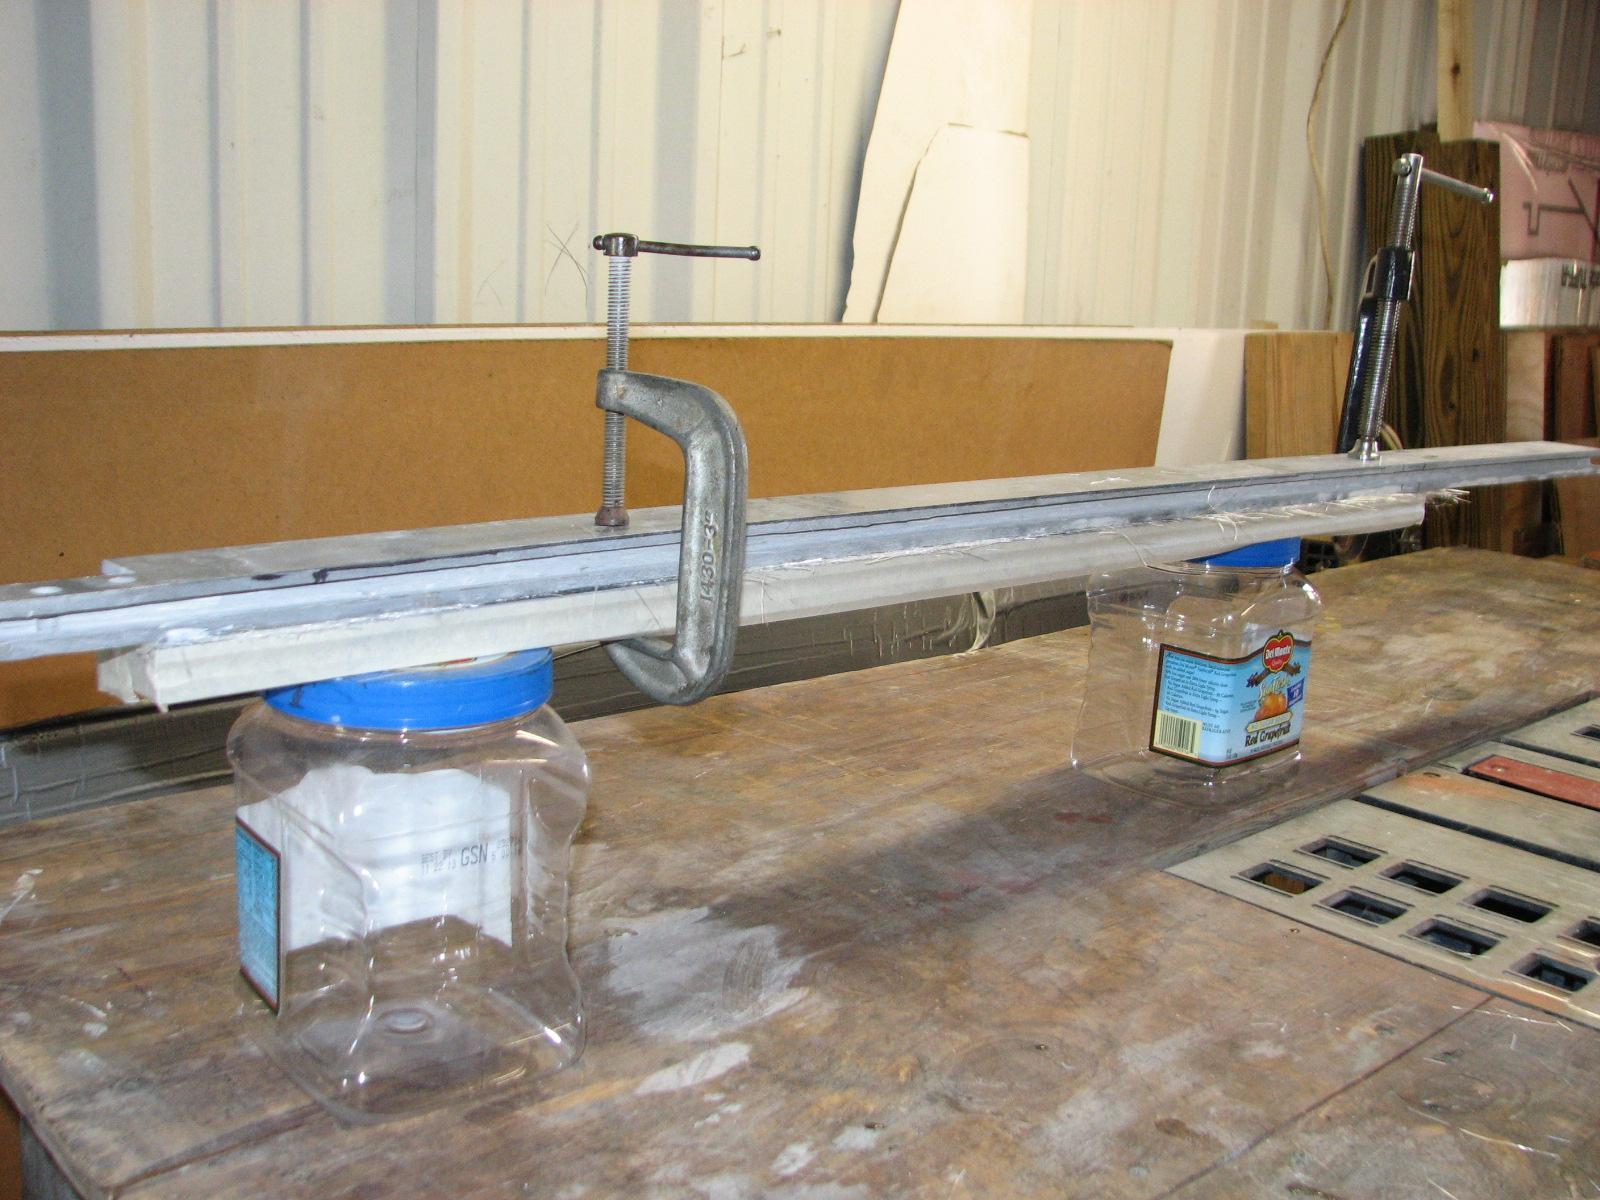
was cut I did a dry fit that included the clamps I would use to hold
the two pieces of plate together.
Cut Fiberglass
To Glass The Two Pieces Of Plate Together
Dry Fit Of Two Pieces Of Plate With
Clamps
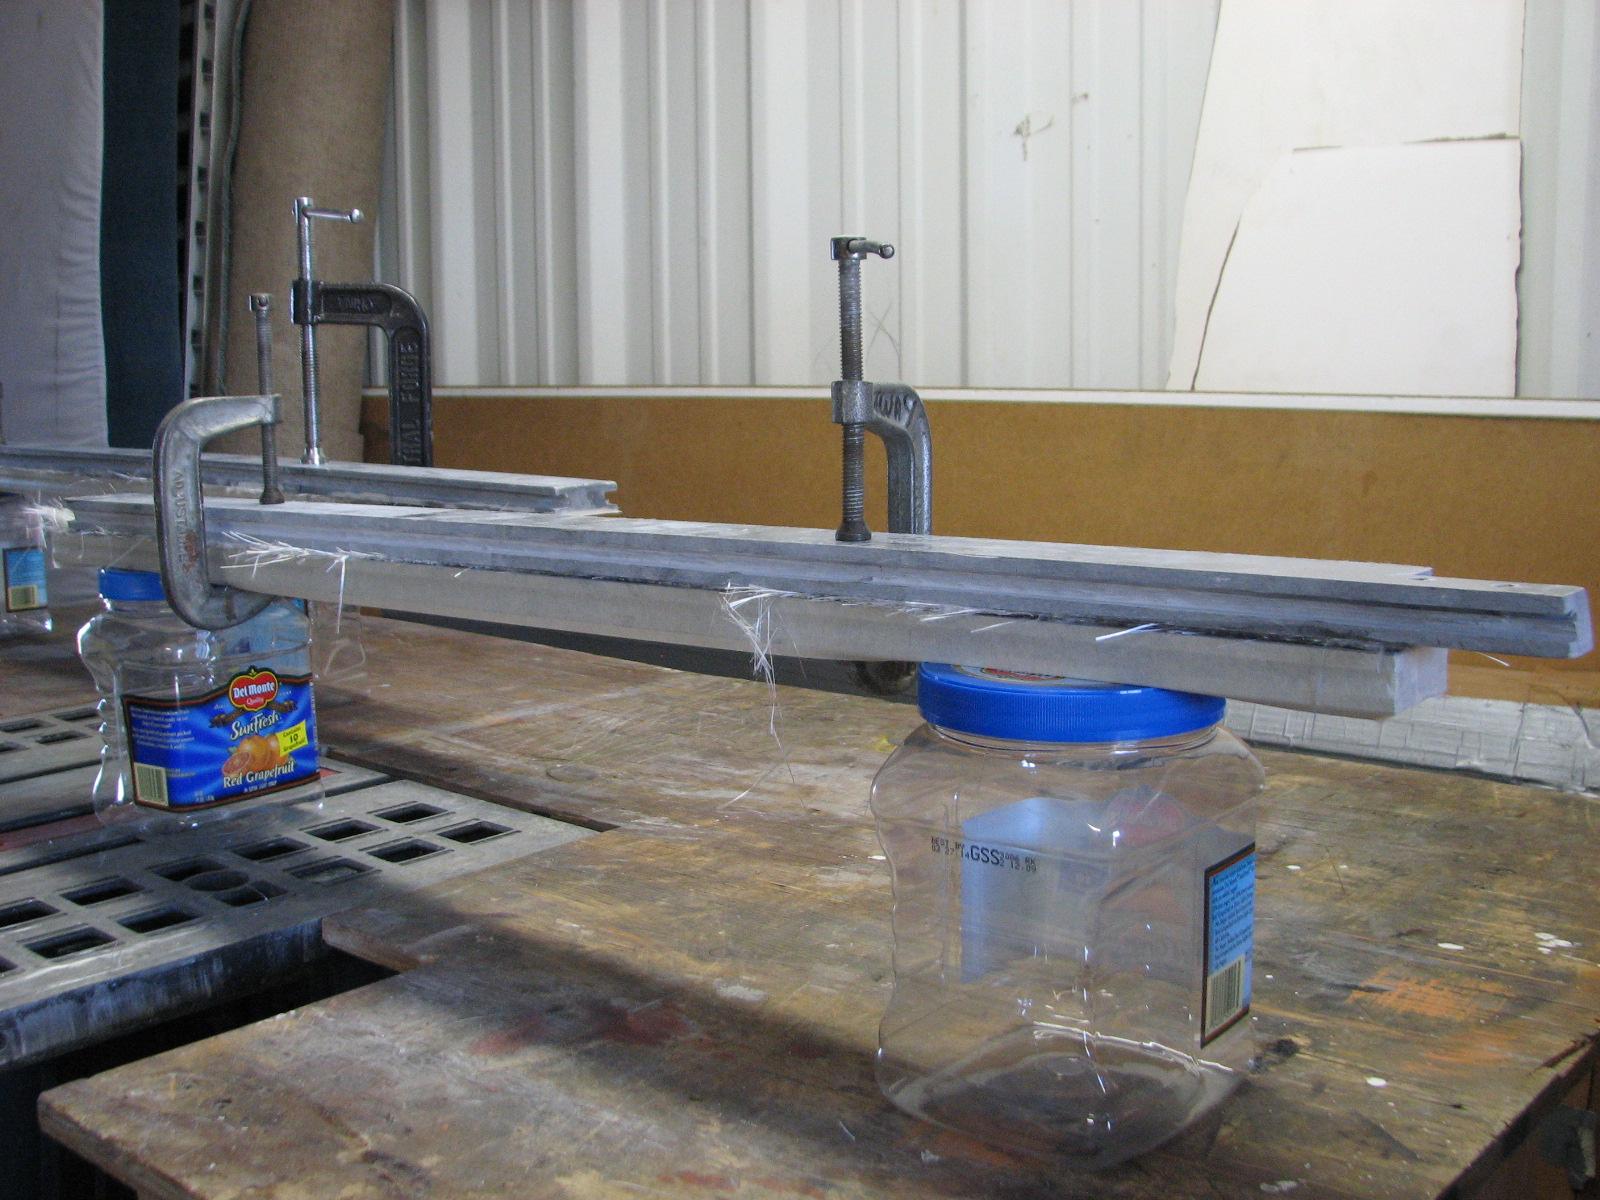
Dry Fit Of Two Pieces Of Plate With
Clamps
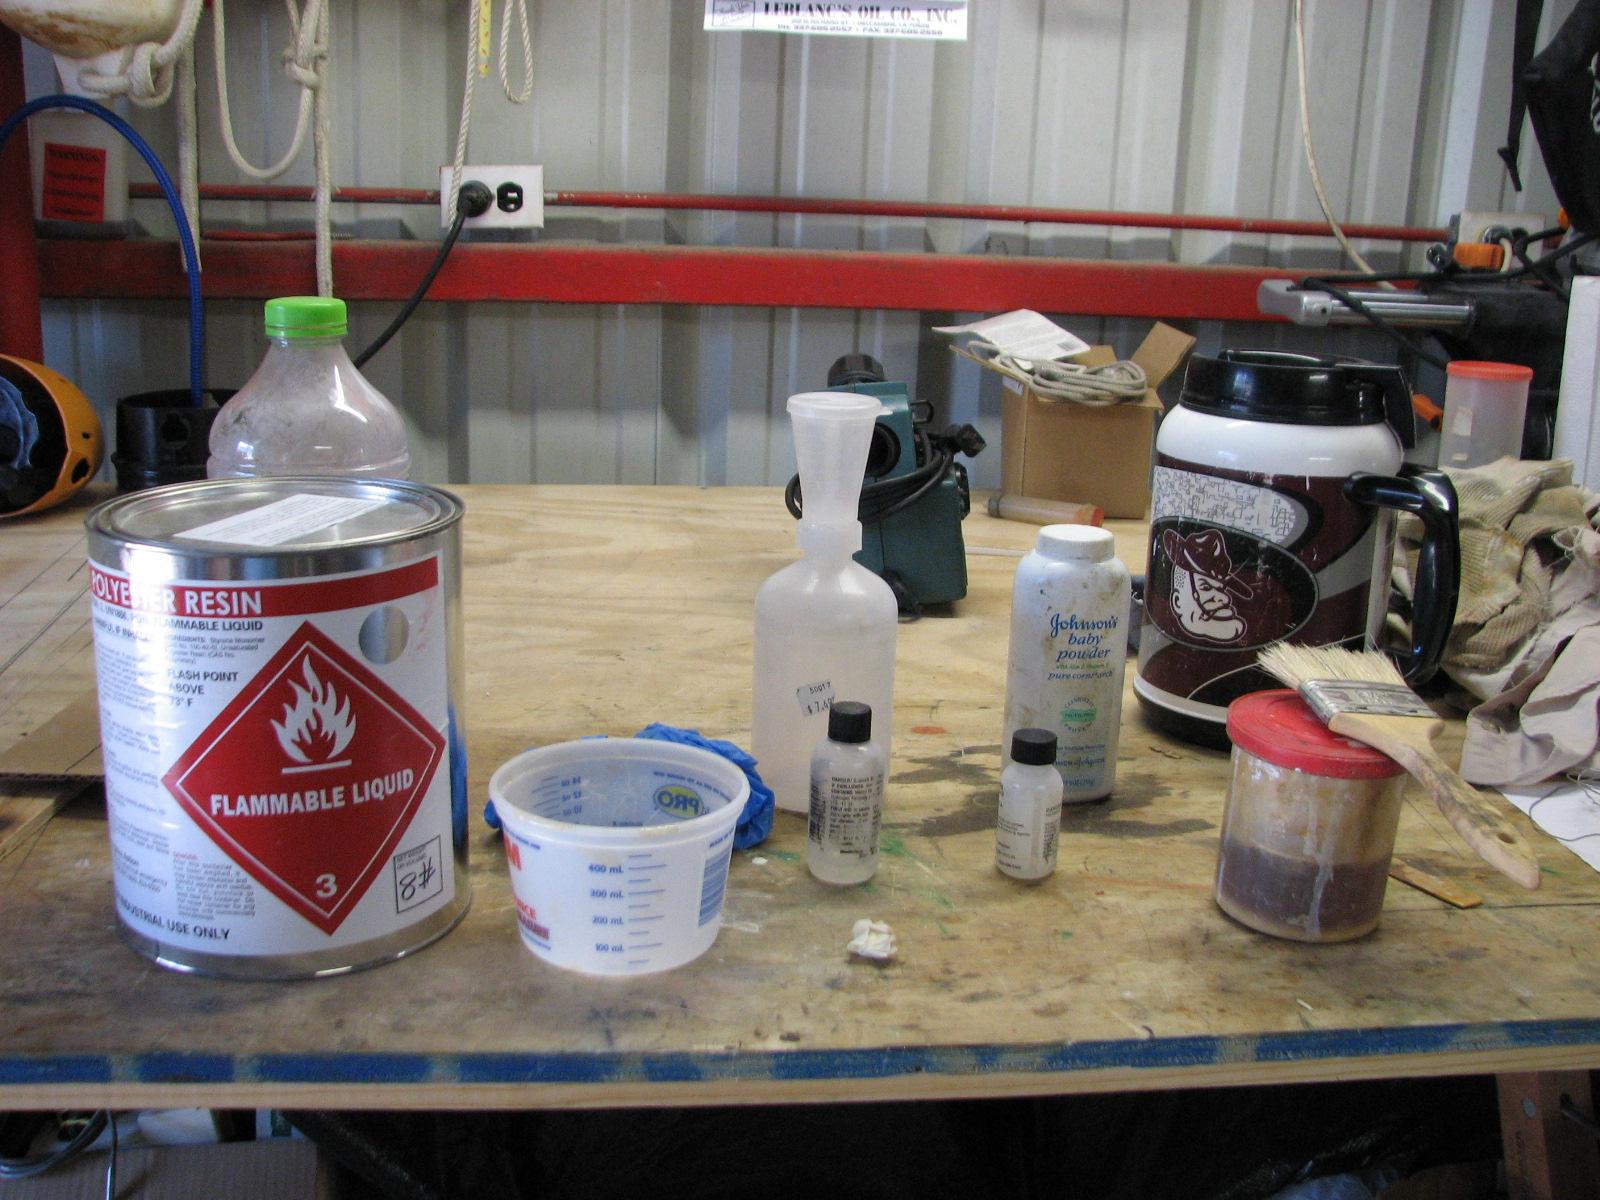
You know the drill! Now that the dry
fit was successful, it was time to mix up a batch of polyester
resin. I got all of the necessary items and mixed up a
small batch.
When the resin was mixed with the MEKP
hardener, I wetted out the fiberglass
mat on the one piece of plate, and then put the second piece of plate
on top of the wetted out fiberglass
mat. When I was satisfied with the set up, I clamped both pieces of
plate together. I did the same thing with the remaining two pieces of
plate.
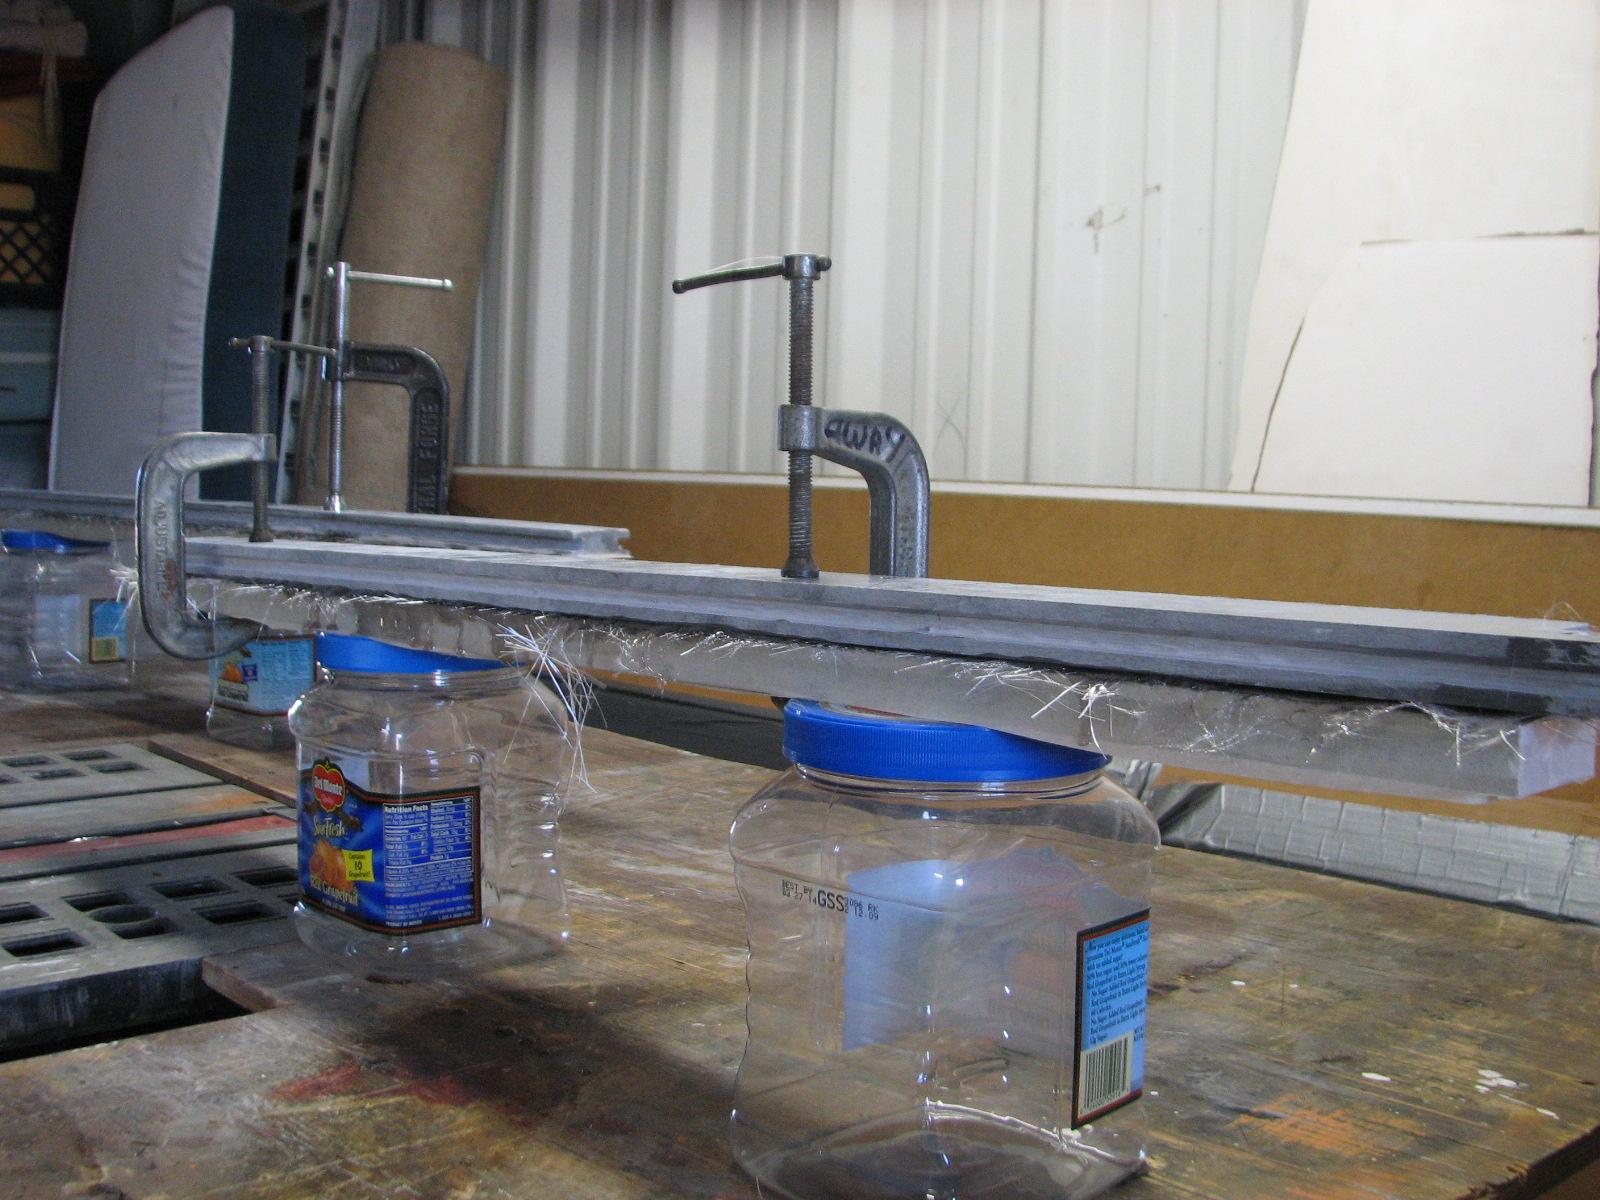
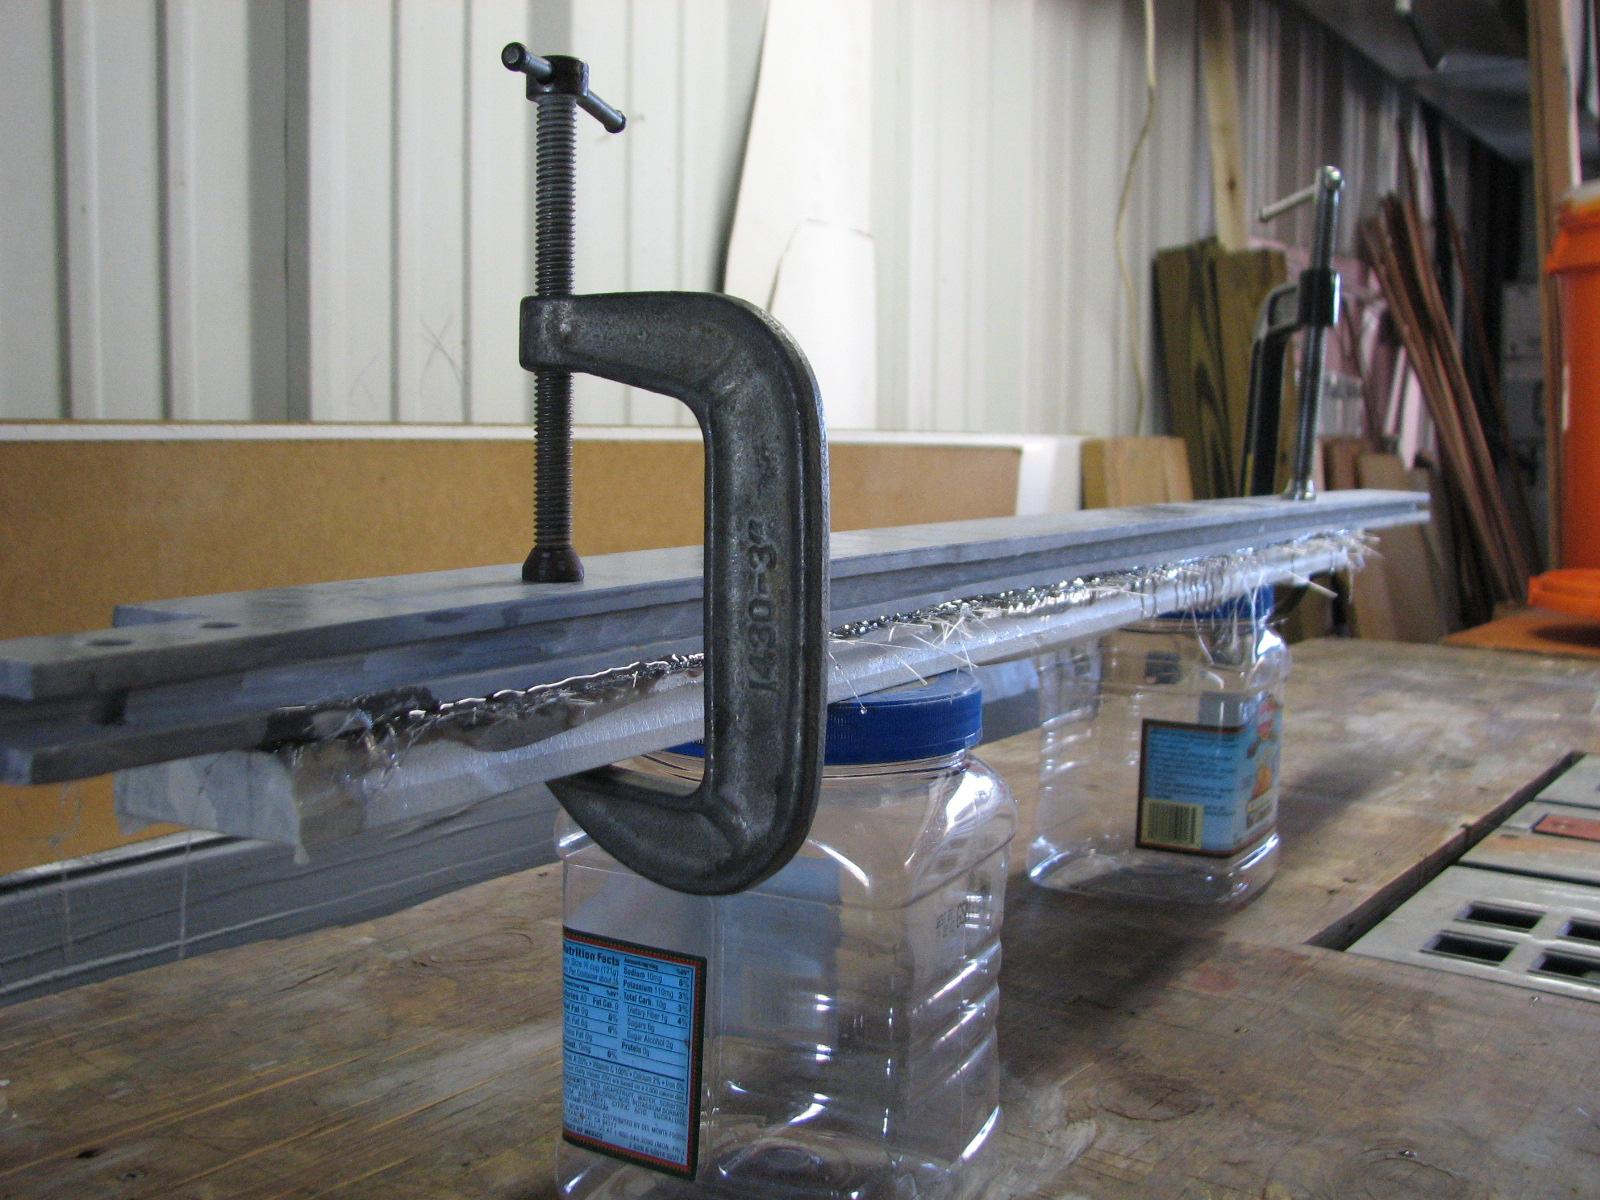
Wetted Out Plate Clamped Together
Wetted Out Plate Clamped Together
Tomorrow, after the resin set up, we
will be able to install the uprights on the lower and upper base of
the hard dodger and see if they have fixed the problem.
During the cutting process with the
table saw, the motor on the saw quit working. I am sure it is because
of the fiberglass
dust that got into the motor. I will have to look into that problem
tomorrow.
I went back to DREAM AWAY, to have
lunch. After lunch I worked on some port projects around the marina.
