Mizzen Mast Rebuild 2003

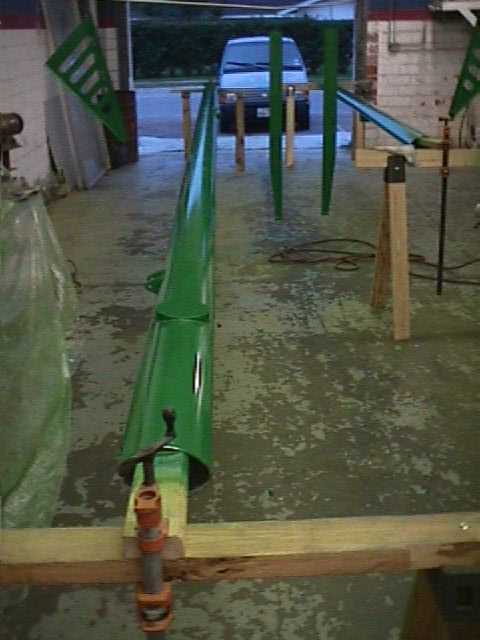
I was fortunate to have a room available to me in which to do the work on the mizzen mast. Having the use of this room was very helpful, and enabled me to do the job on the mast, and be very pleased with the results. I called the room the "Spar Shop". Once I got the mizzen mast down, I took all of the parts and fittings off of the mast. The mast, boom, spreaders, and fittings were sanded with 120 grit, then 220 grit, and finally 320 grit sandpaper. The mast was then sprayed with two coats of metal primer, followed by two coats of zinc chromate primer, and then two coats of Pettit Kelly Green Easy Poxy single-part epoxy paint. Captain Jim did the spray painting, and overall it came out very well, especially considering that this was his first time.
I had a new masthead fitting built to facilitate internal halyards. The new masthead fitting was also designed so that it could be removed and used in a new mast extrusion, if necessary. Two new intermediate stays were added on the front of the mizzen mast to replace the tri-actic stay that went from the main mast to the mizzen mast. Internal halyards were put in, and a conduit was run inside the mast for the electrical wiring. A radar mount and an Autohelm radar were added. A PA speaker for the VHF radio was added. A radar reflector was added, and mast steps were added. All of this work was done in the spar shop. When it was finished, I moved the mast, and the boom, over to the back porch of the office we had at Watergate Yachting Center at the time. The pictures show the painting done at the spar shop, and also the completed mast on the back porch, ready to go back up.